San Fierro Missions
This page contains walkthroughs of all of the San Fierro missions in Grand Theft Auto: San Andreas. There are 26 story missions in total before the next section of the map is unlocked.
Quick Links
Carl Johnson
 Wear Flowers In Your Hair
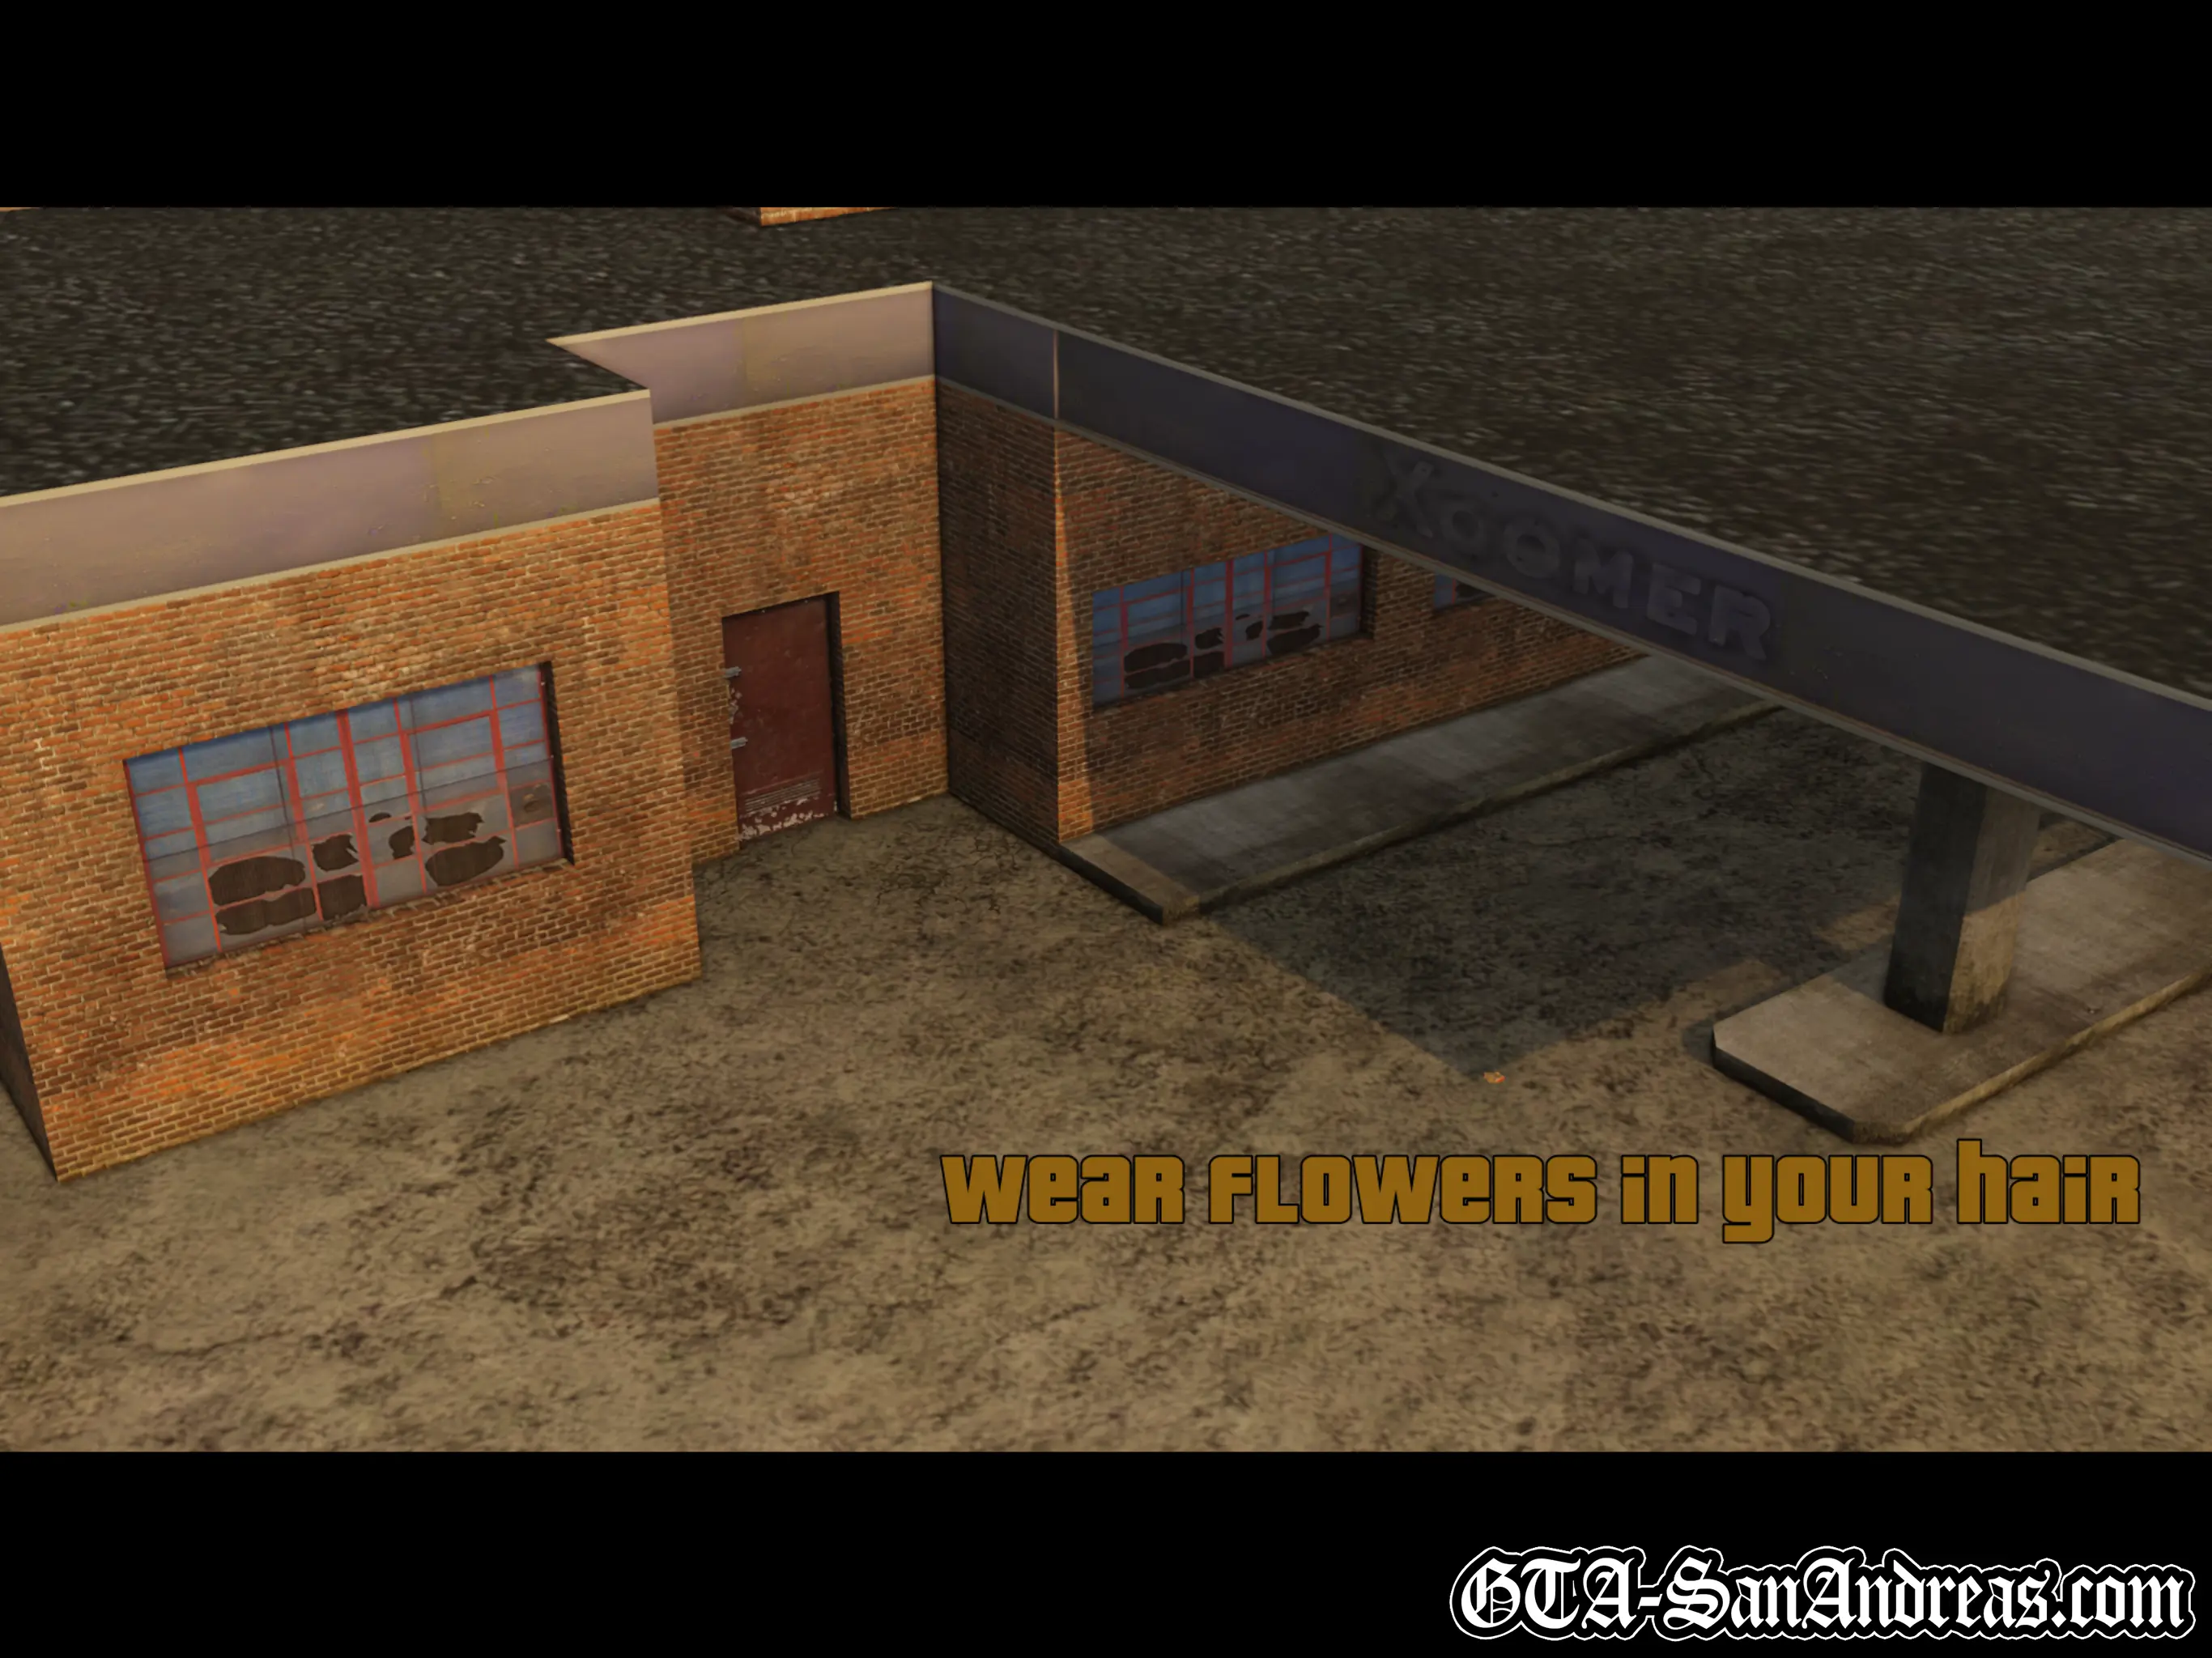
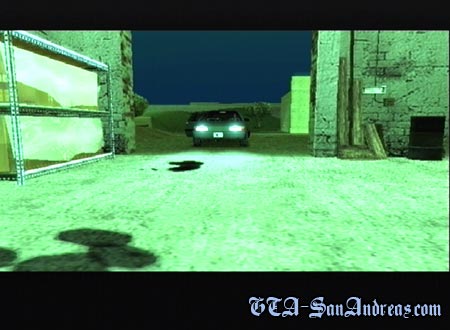
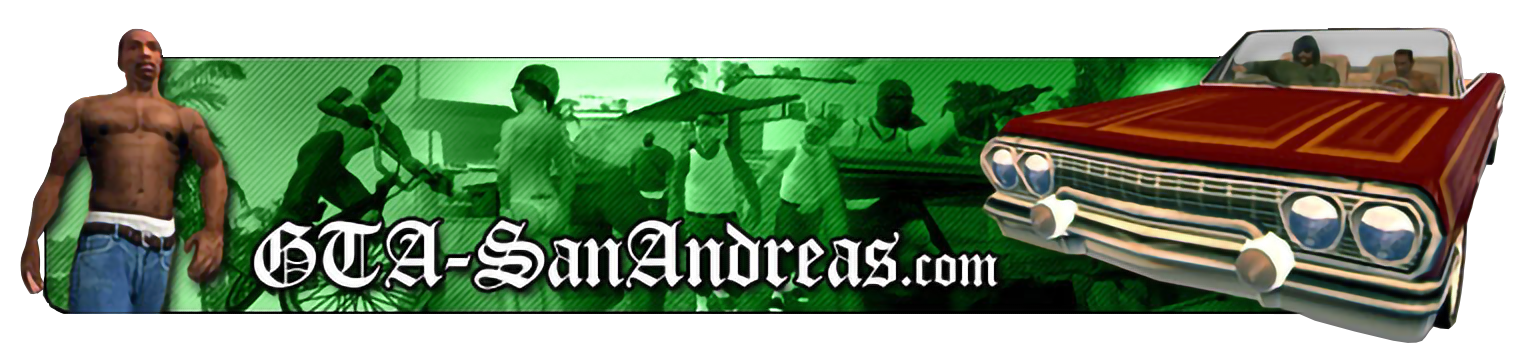
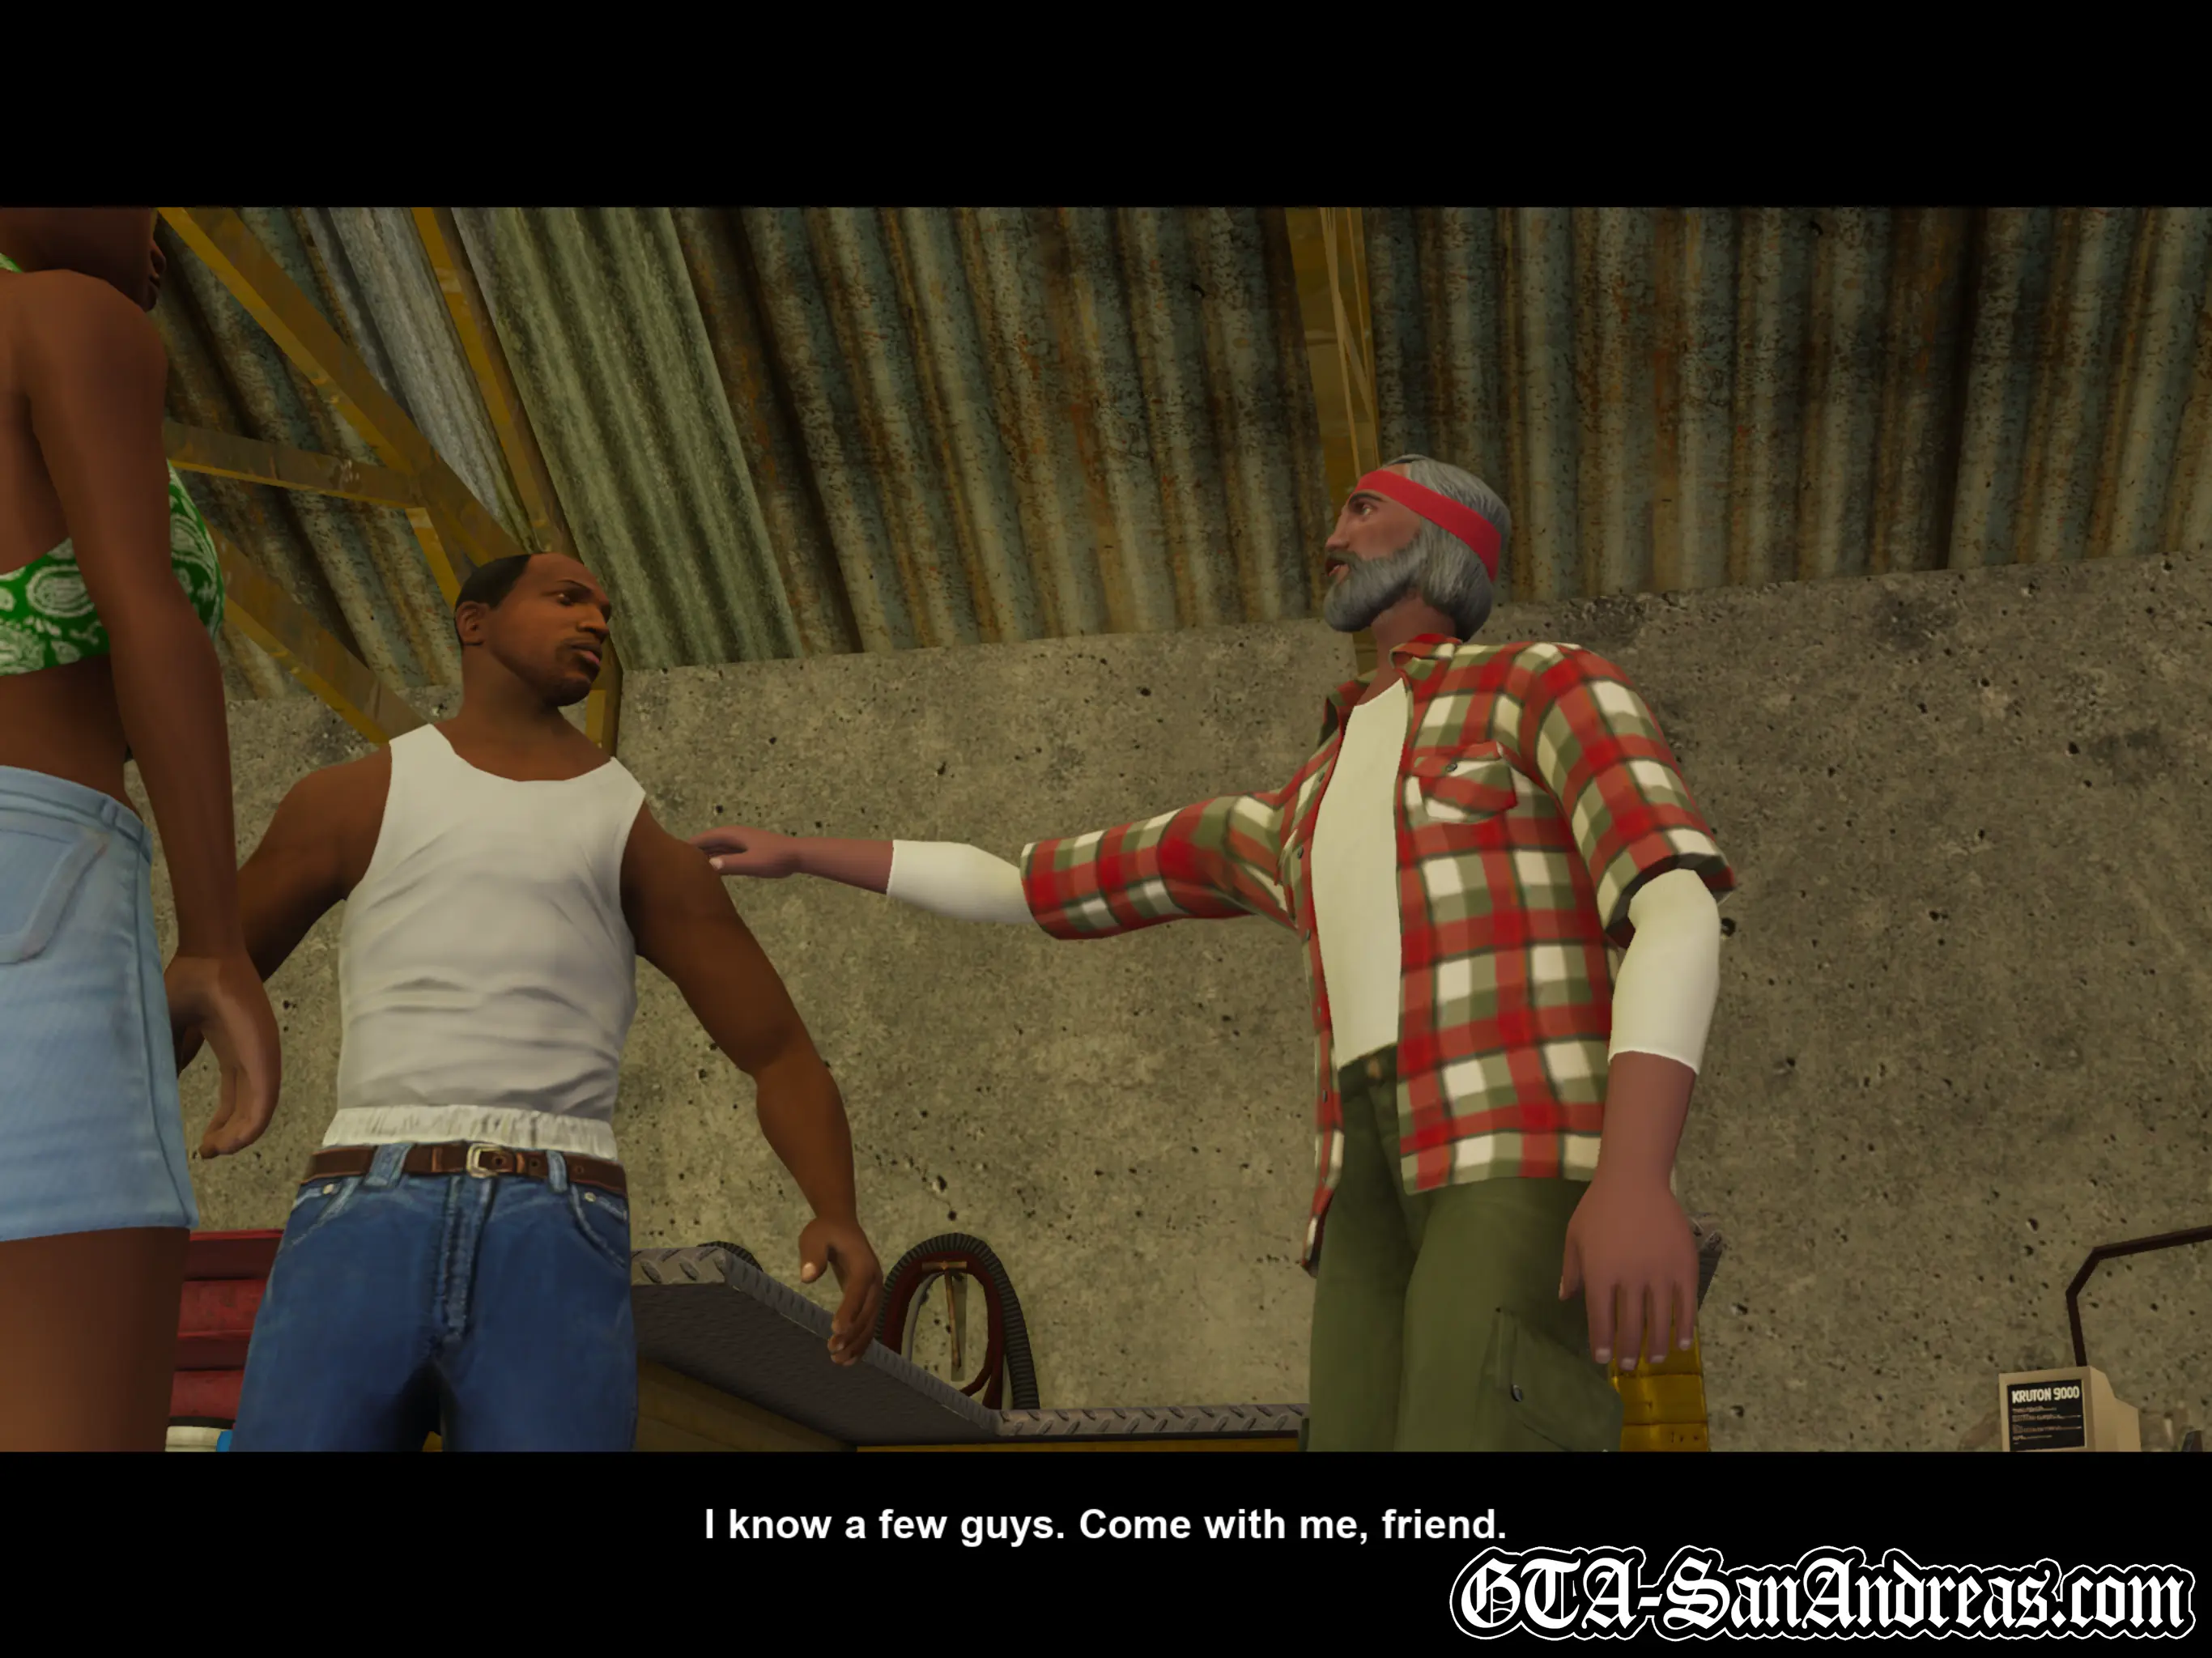
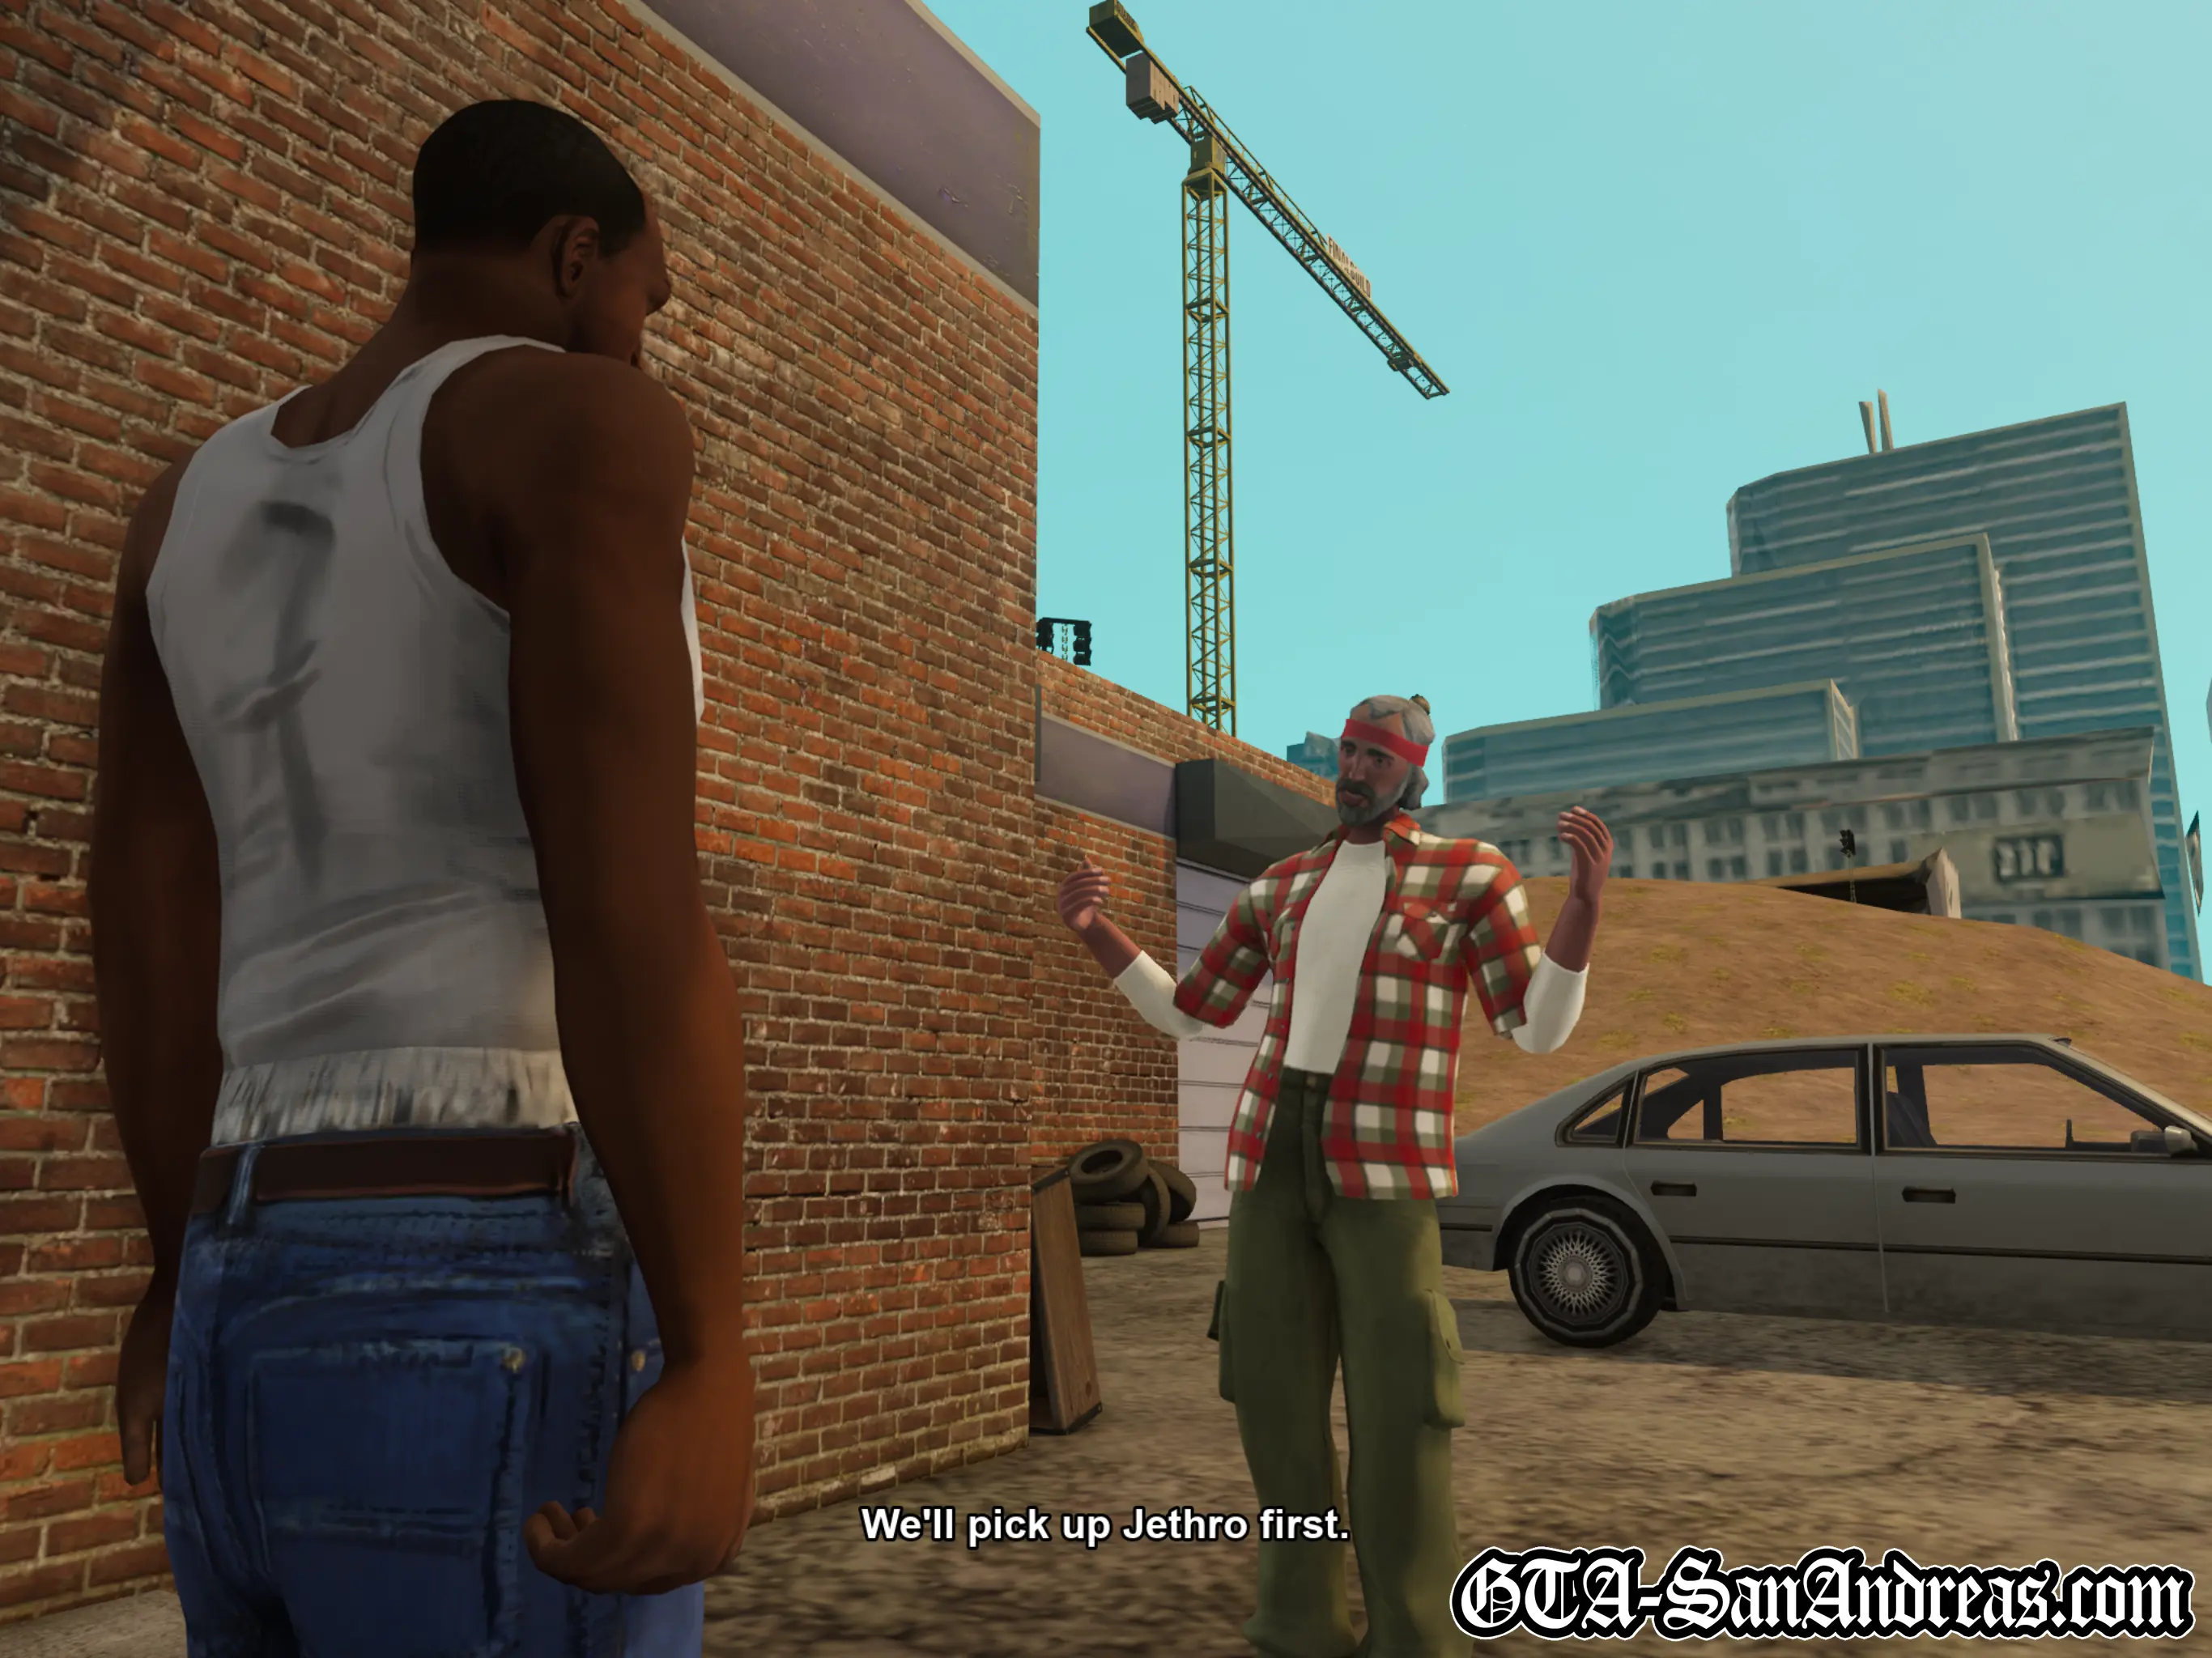
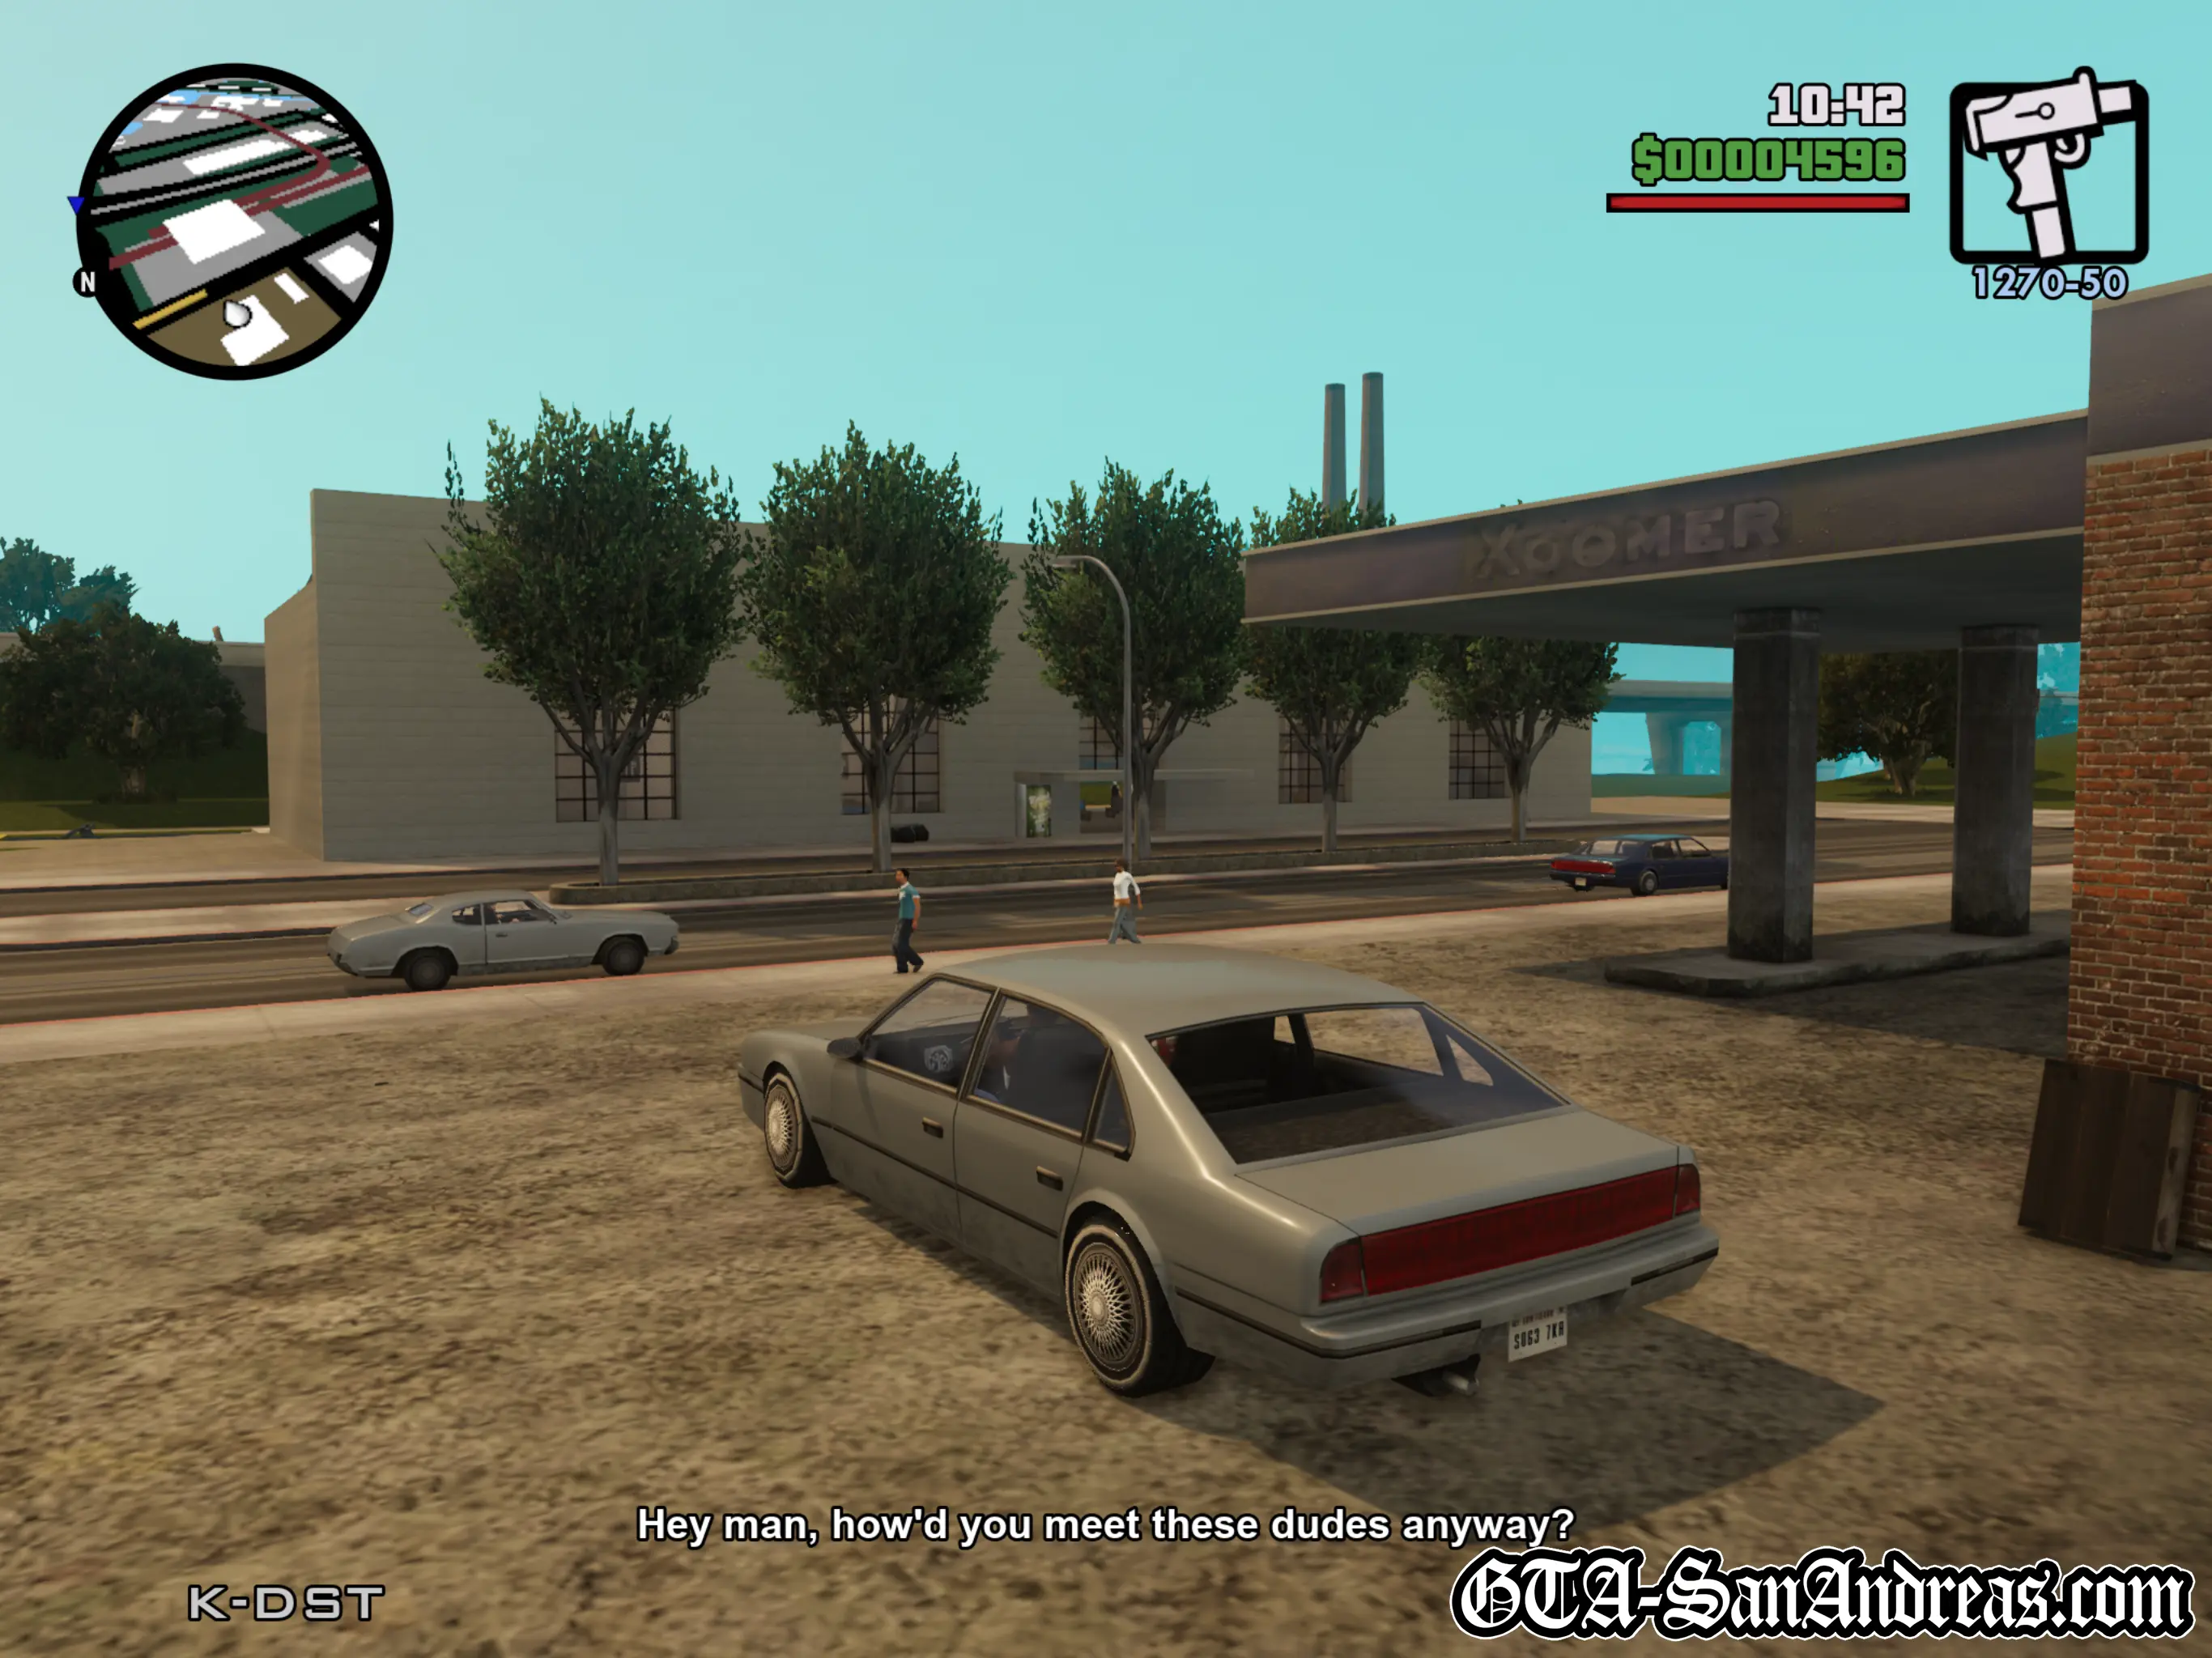
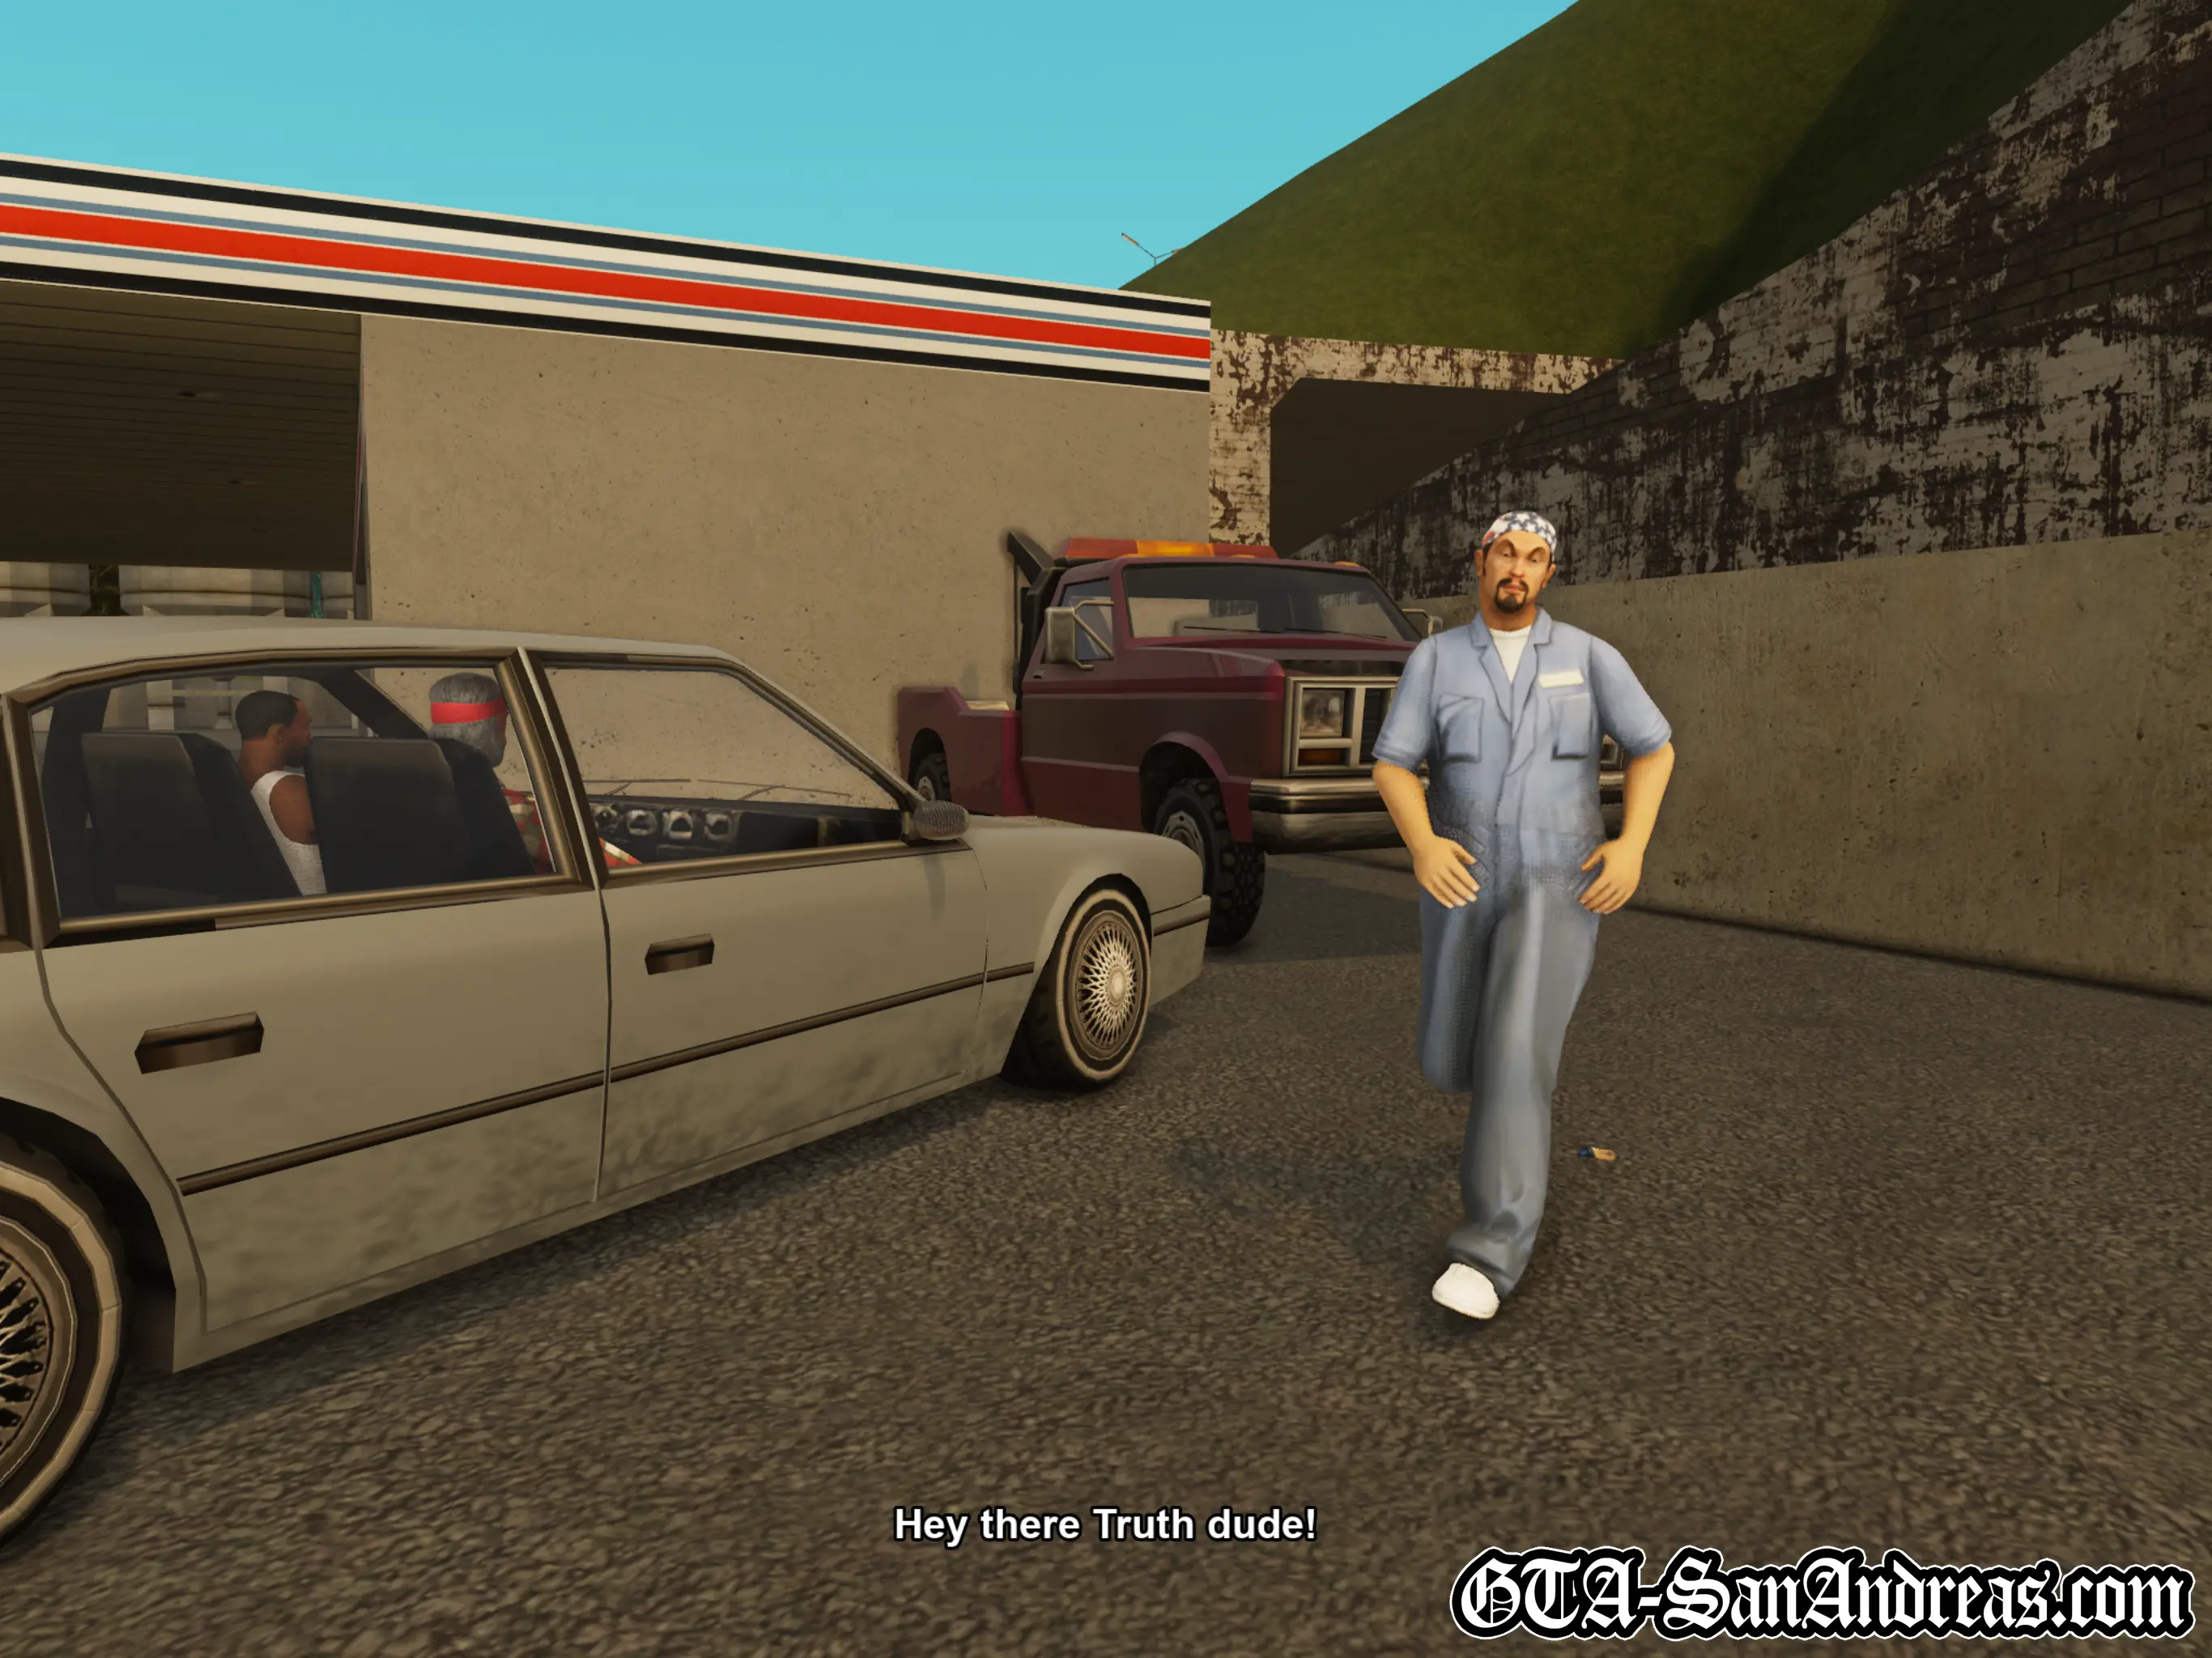
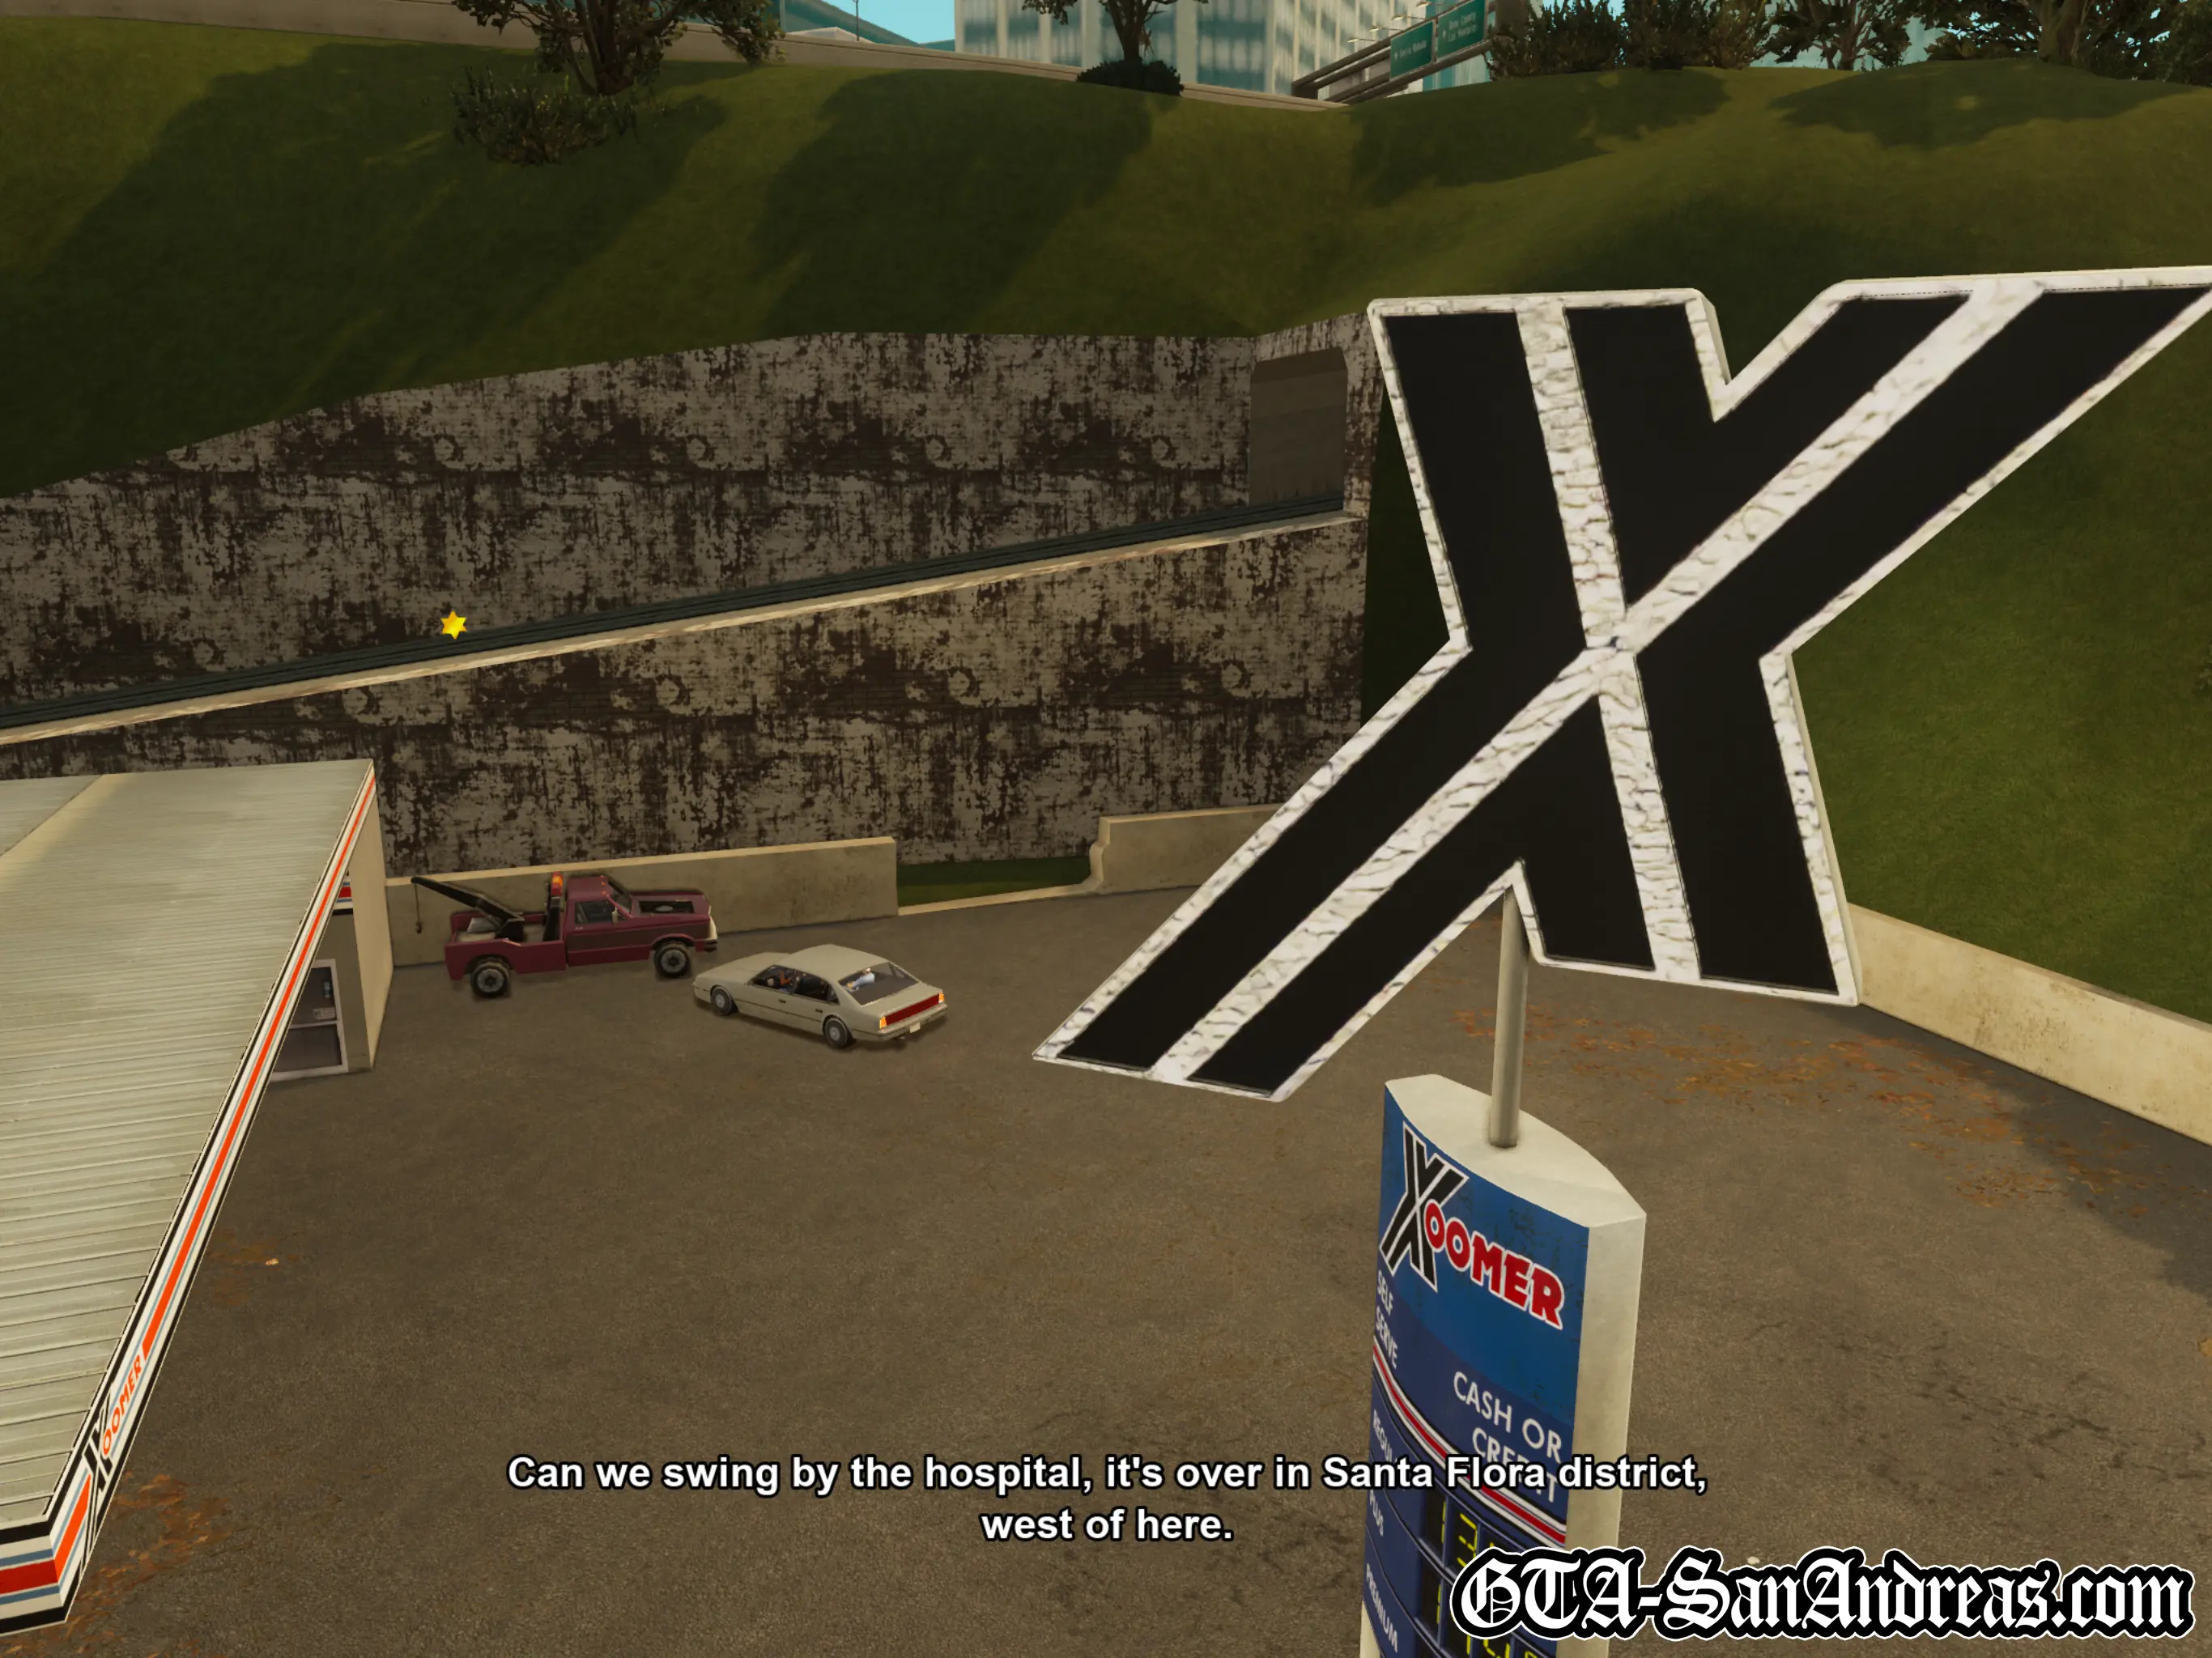
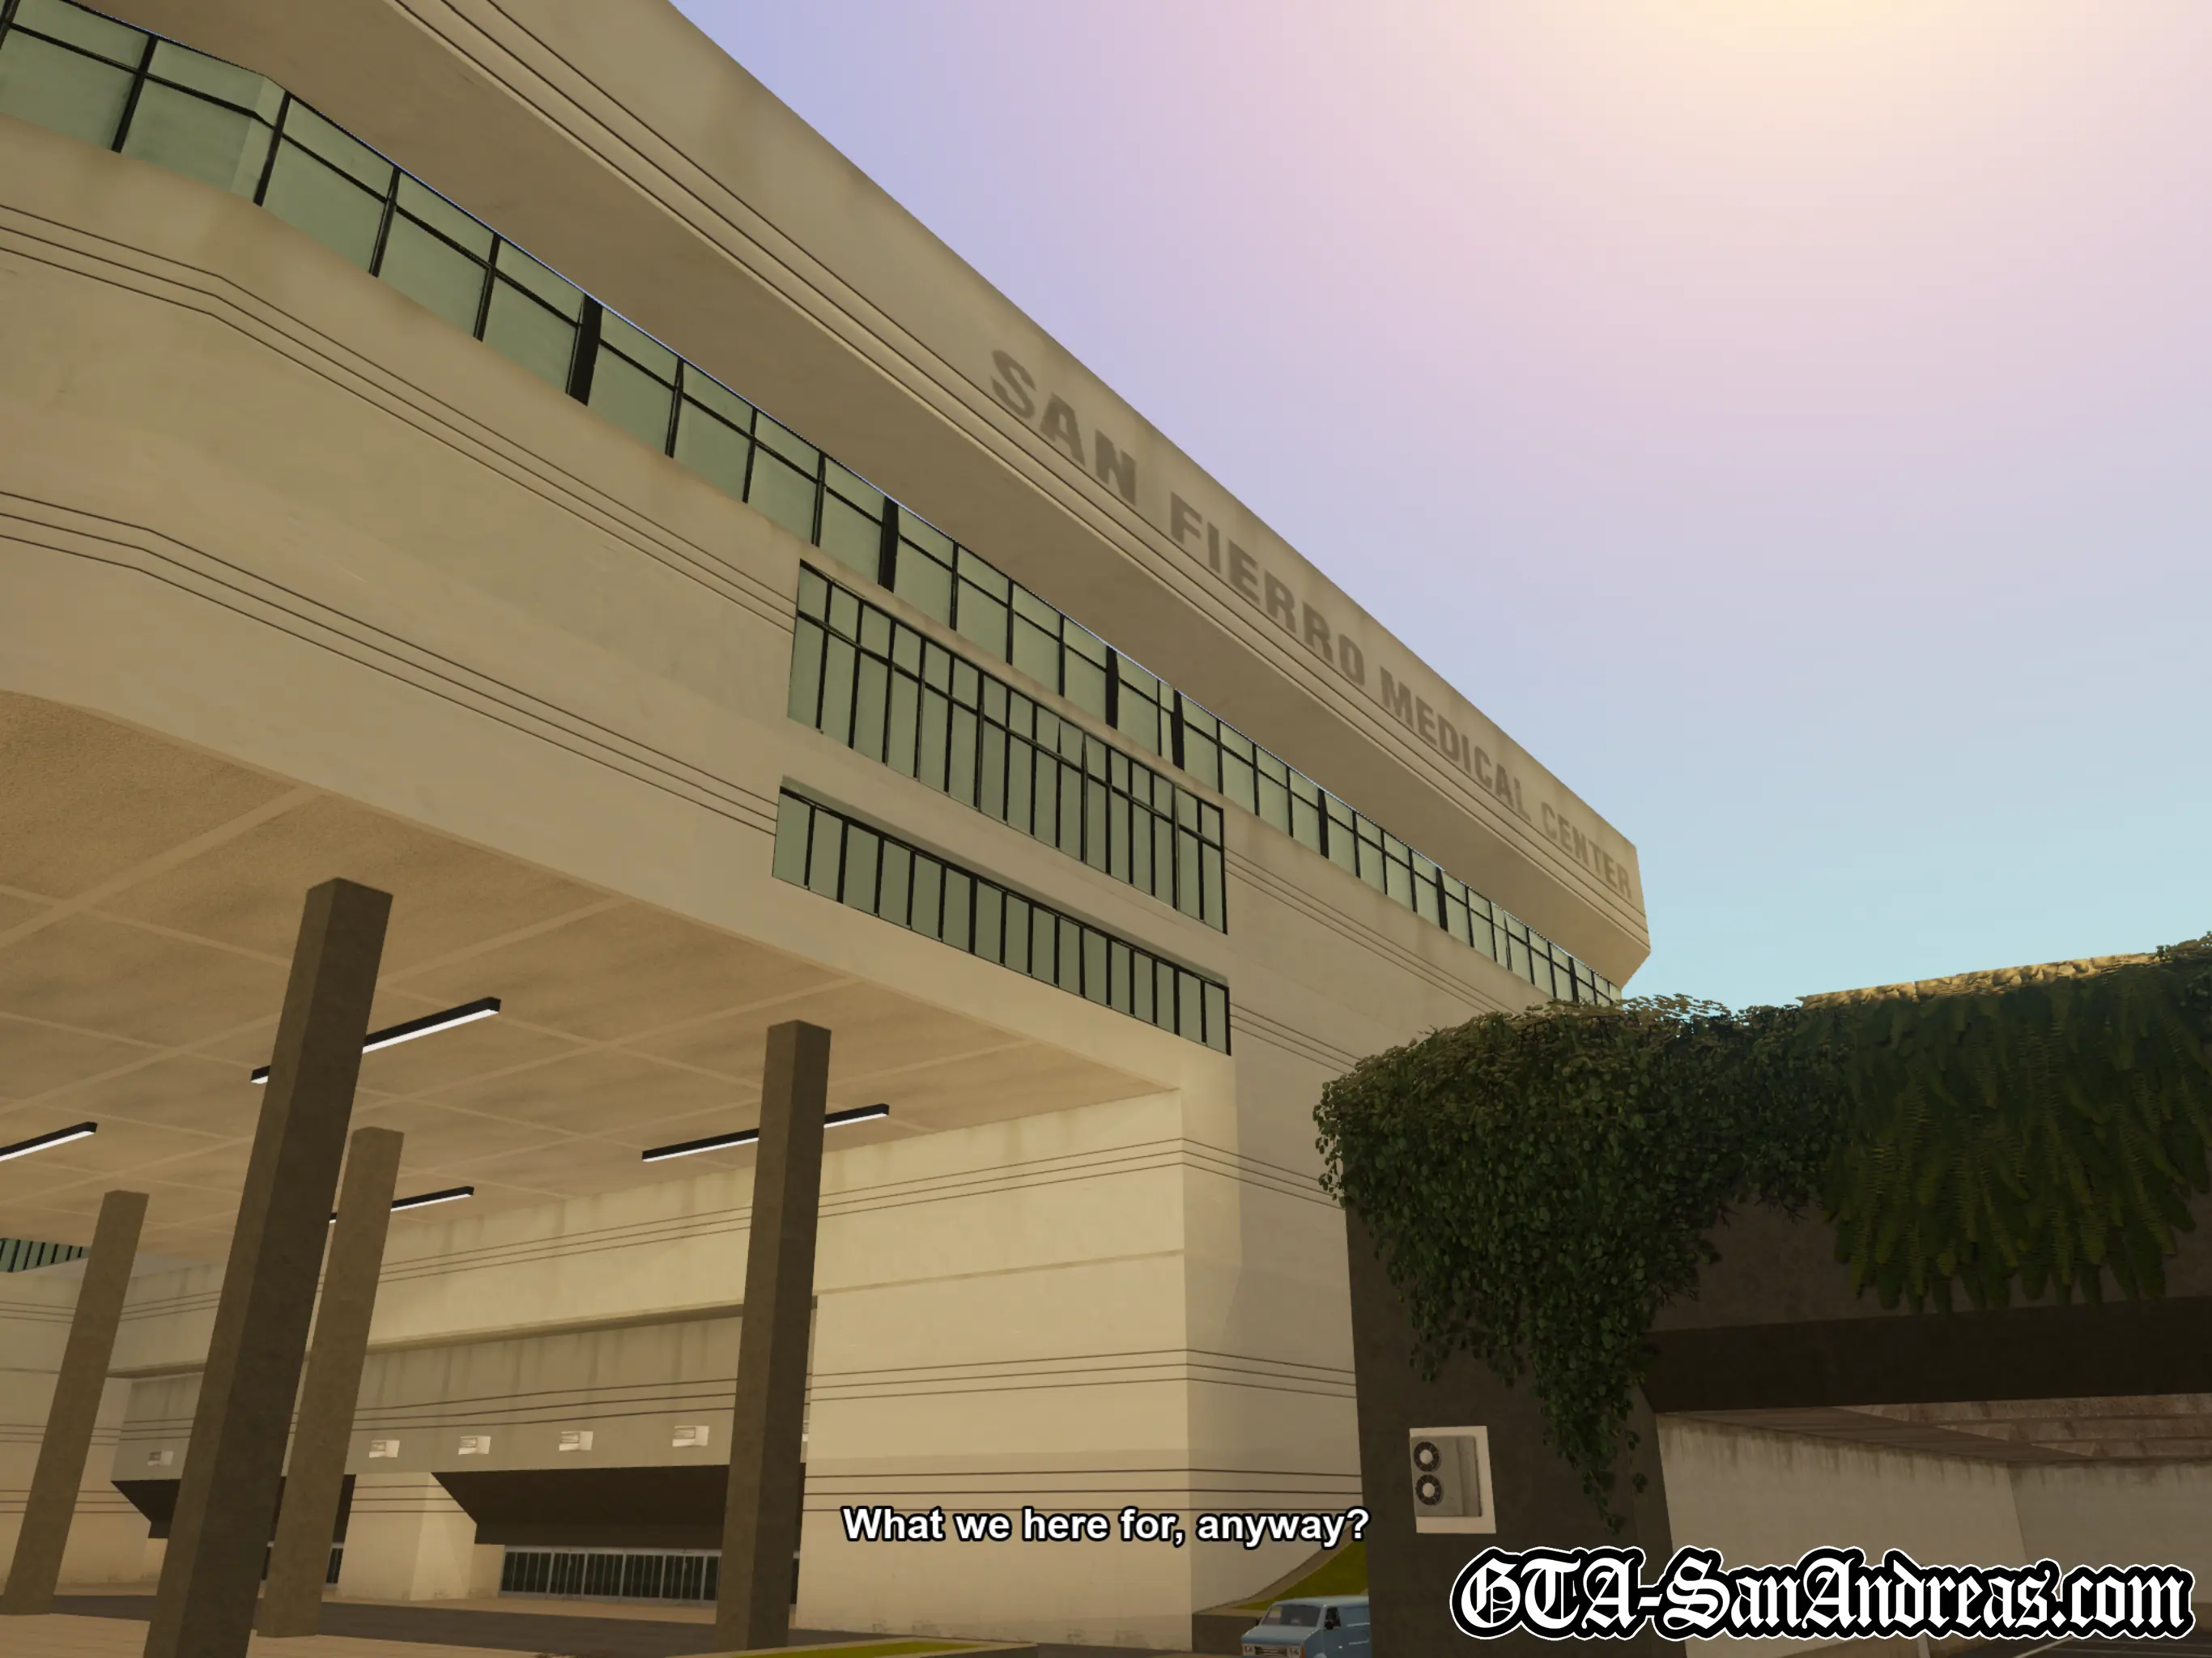
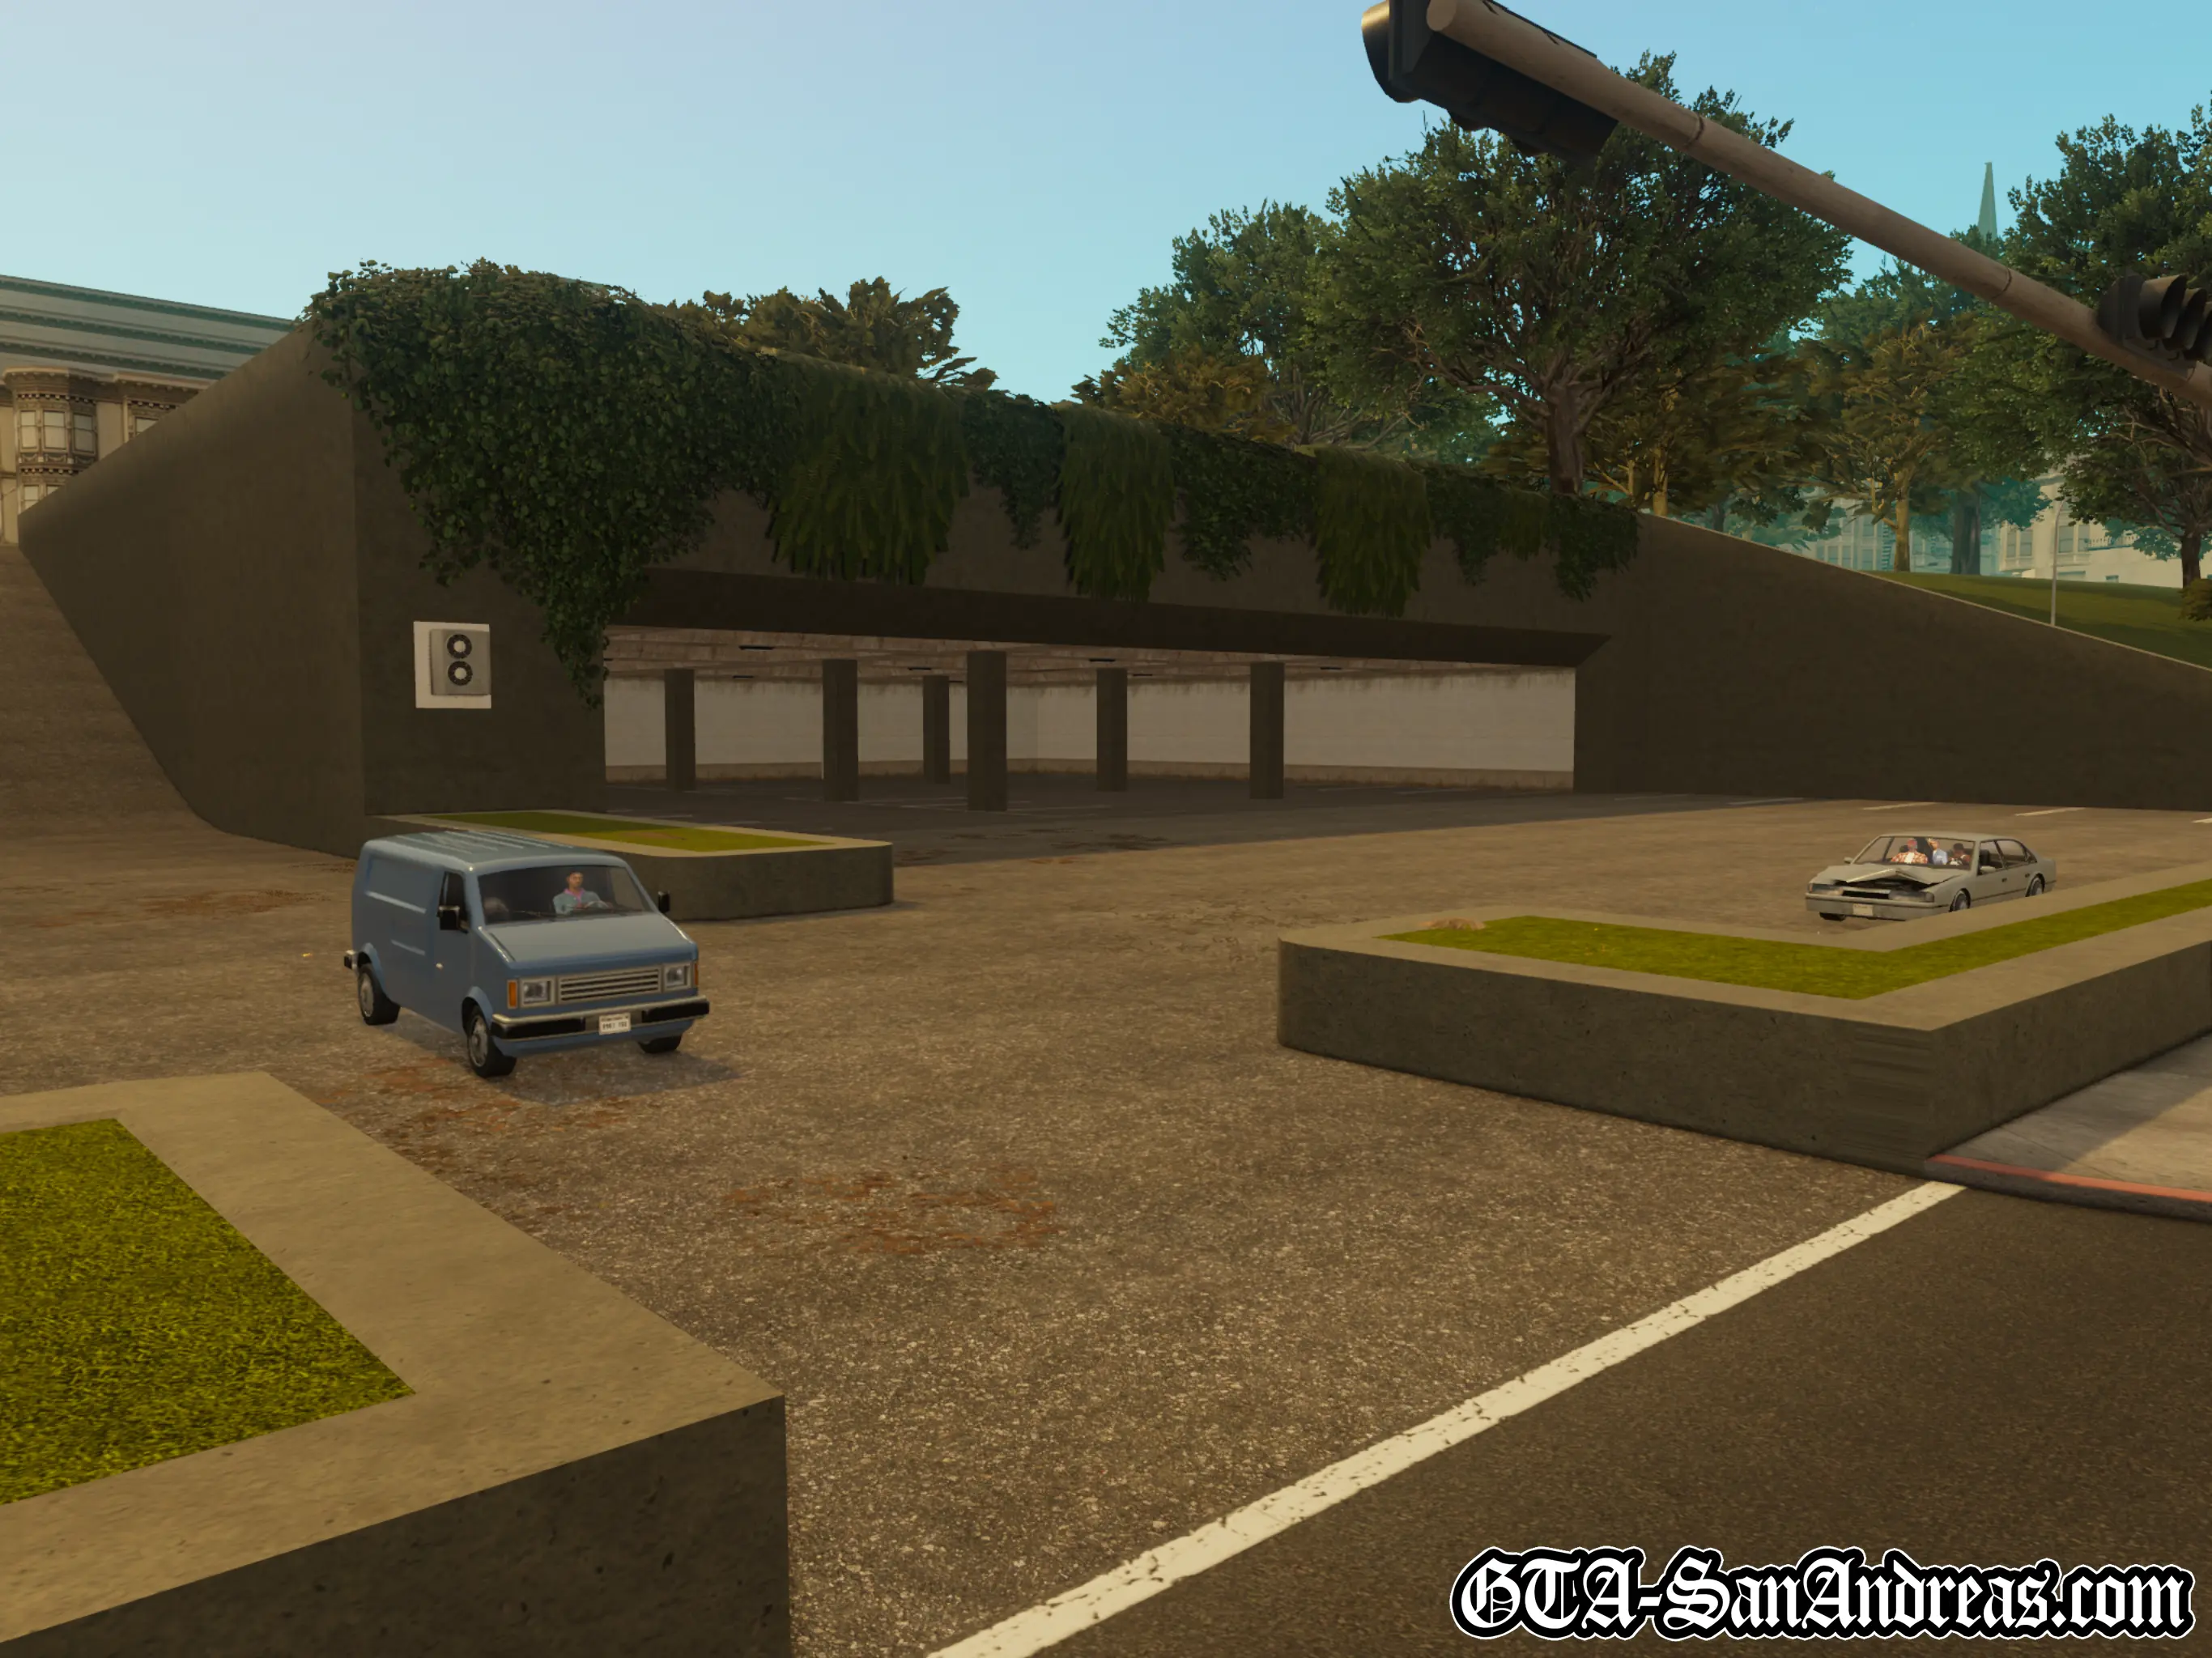
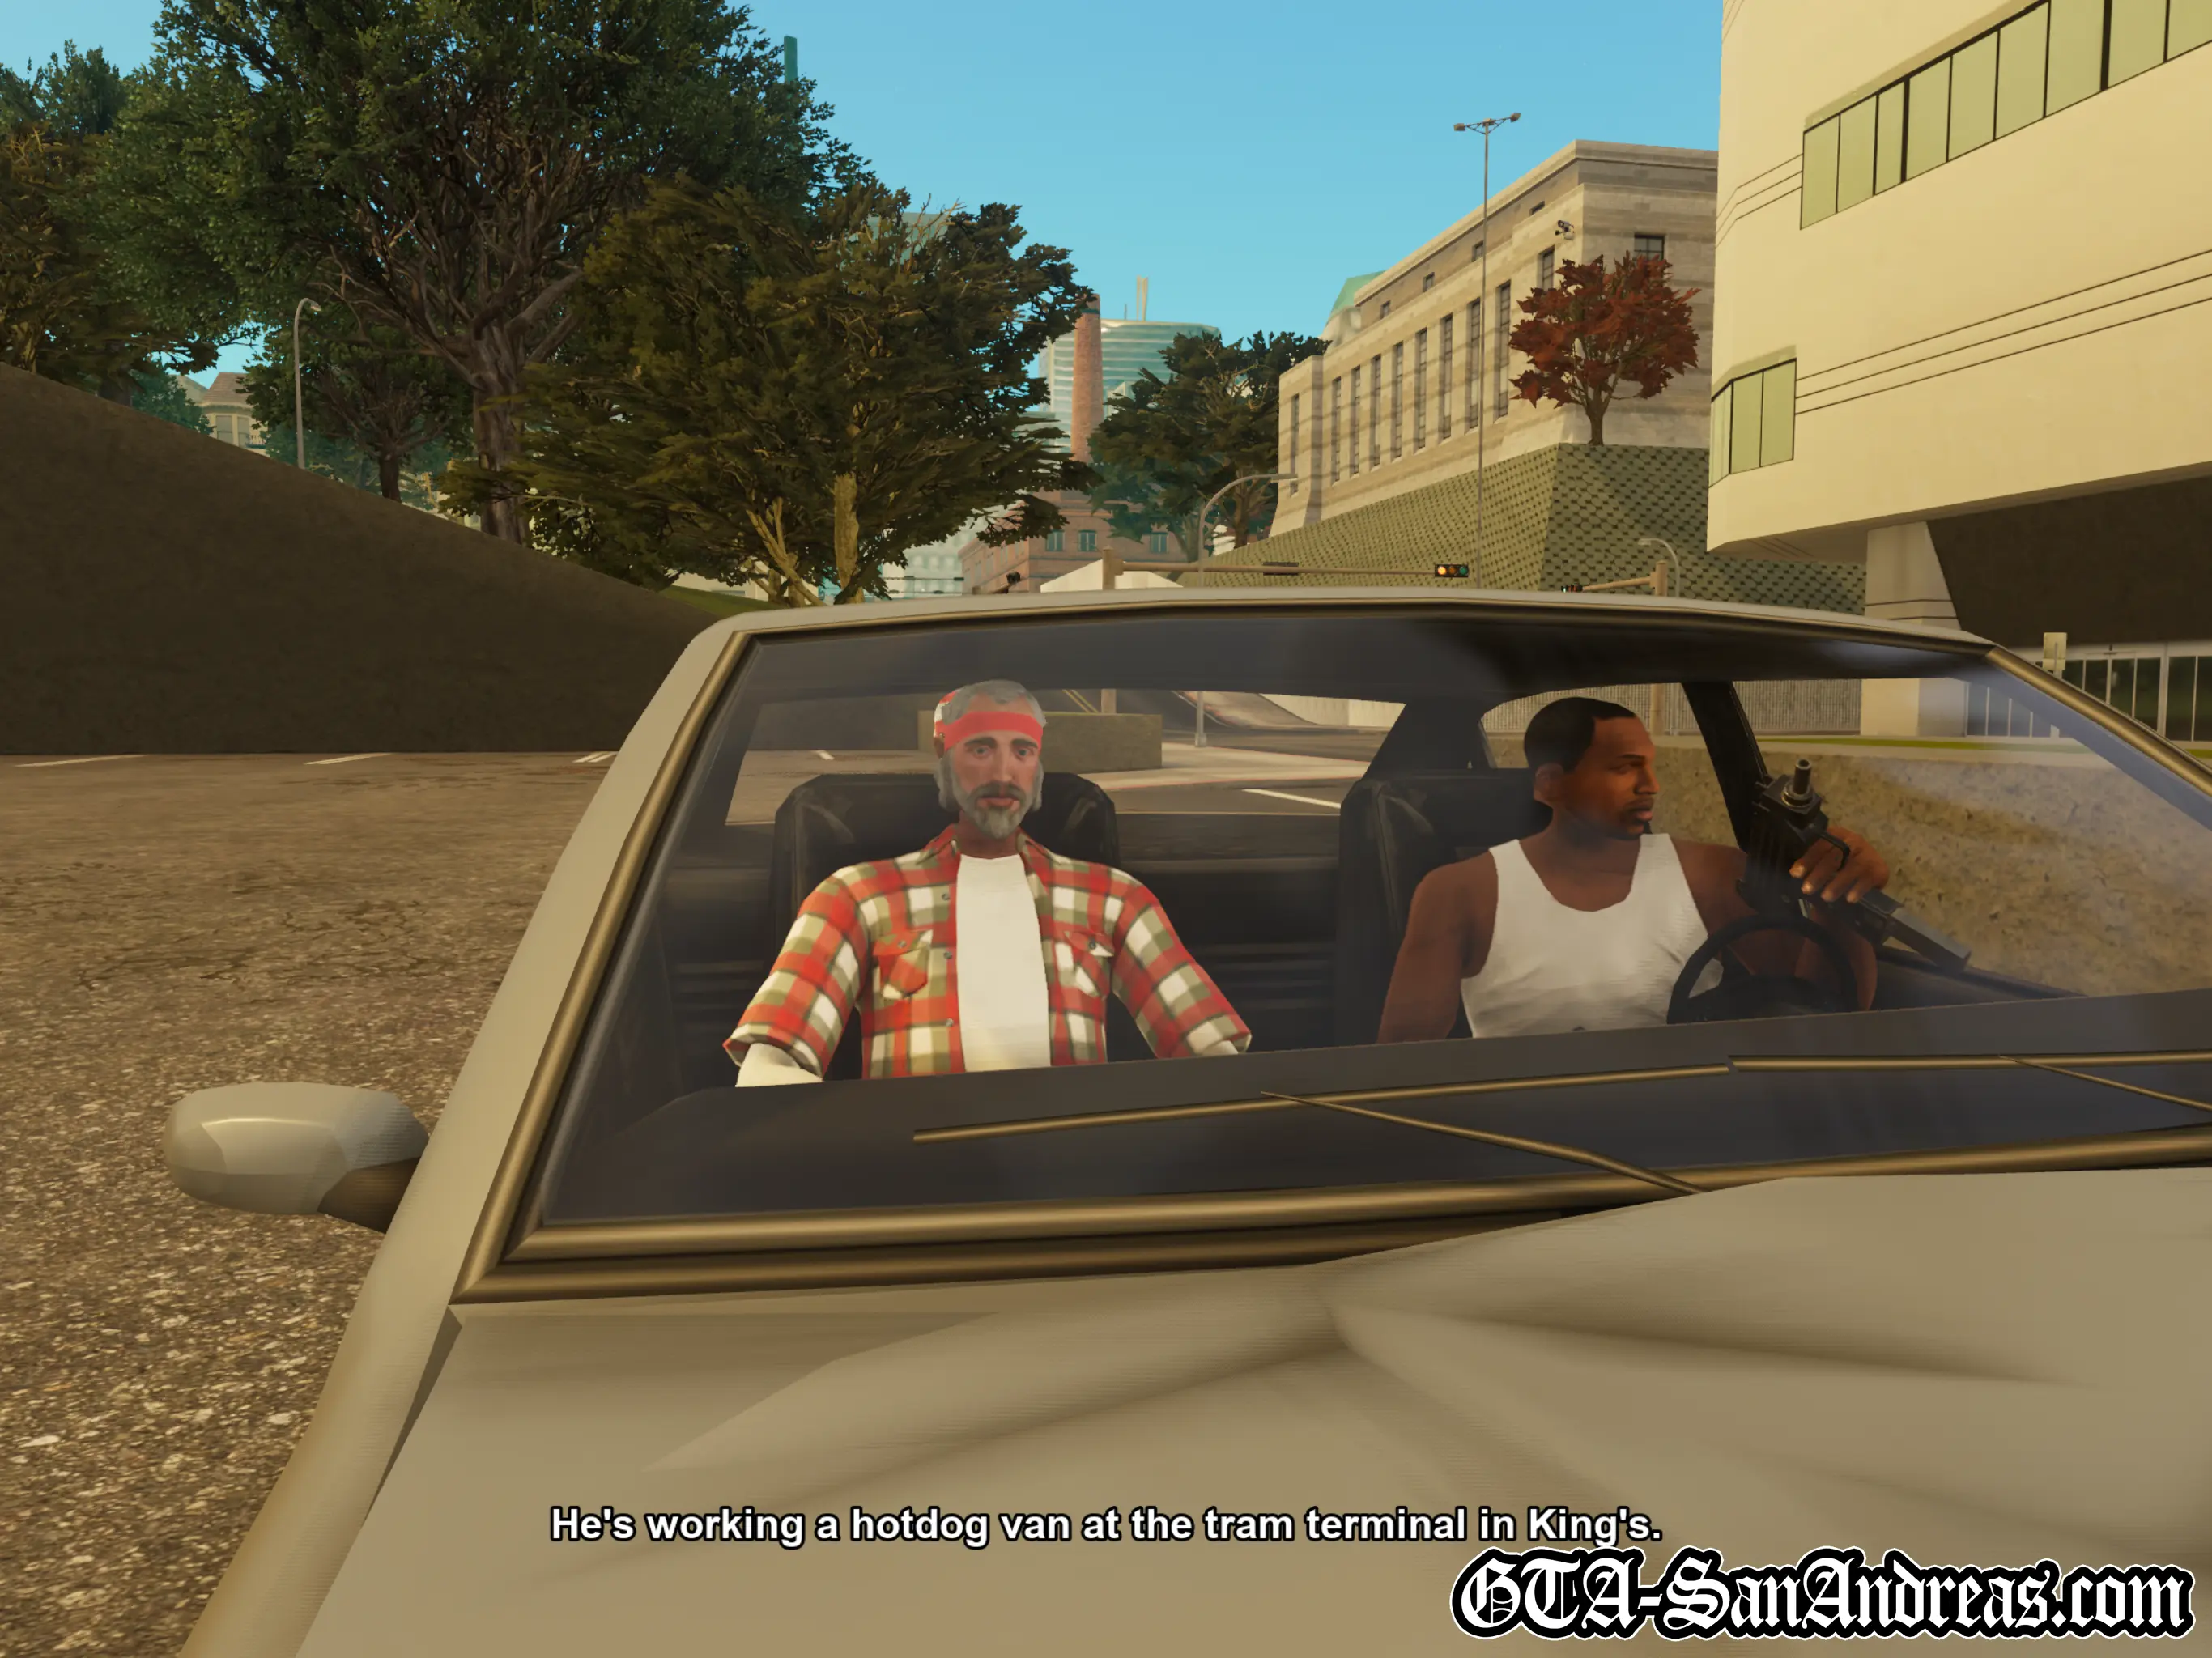
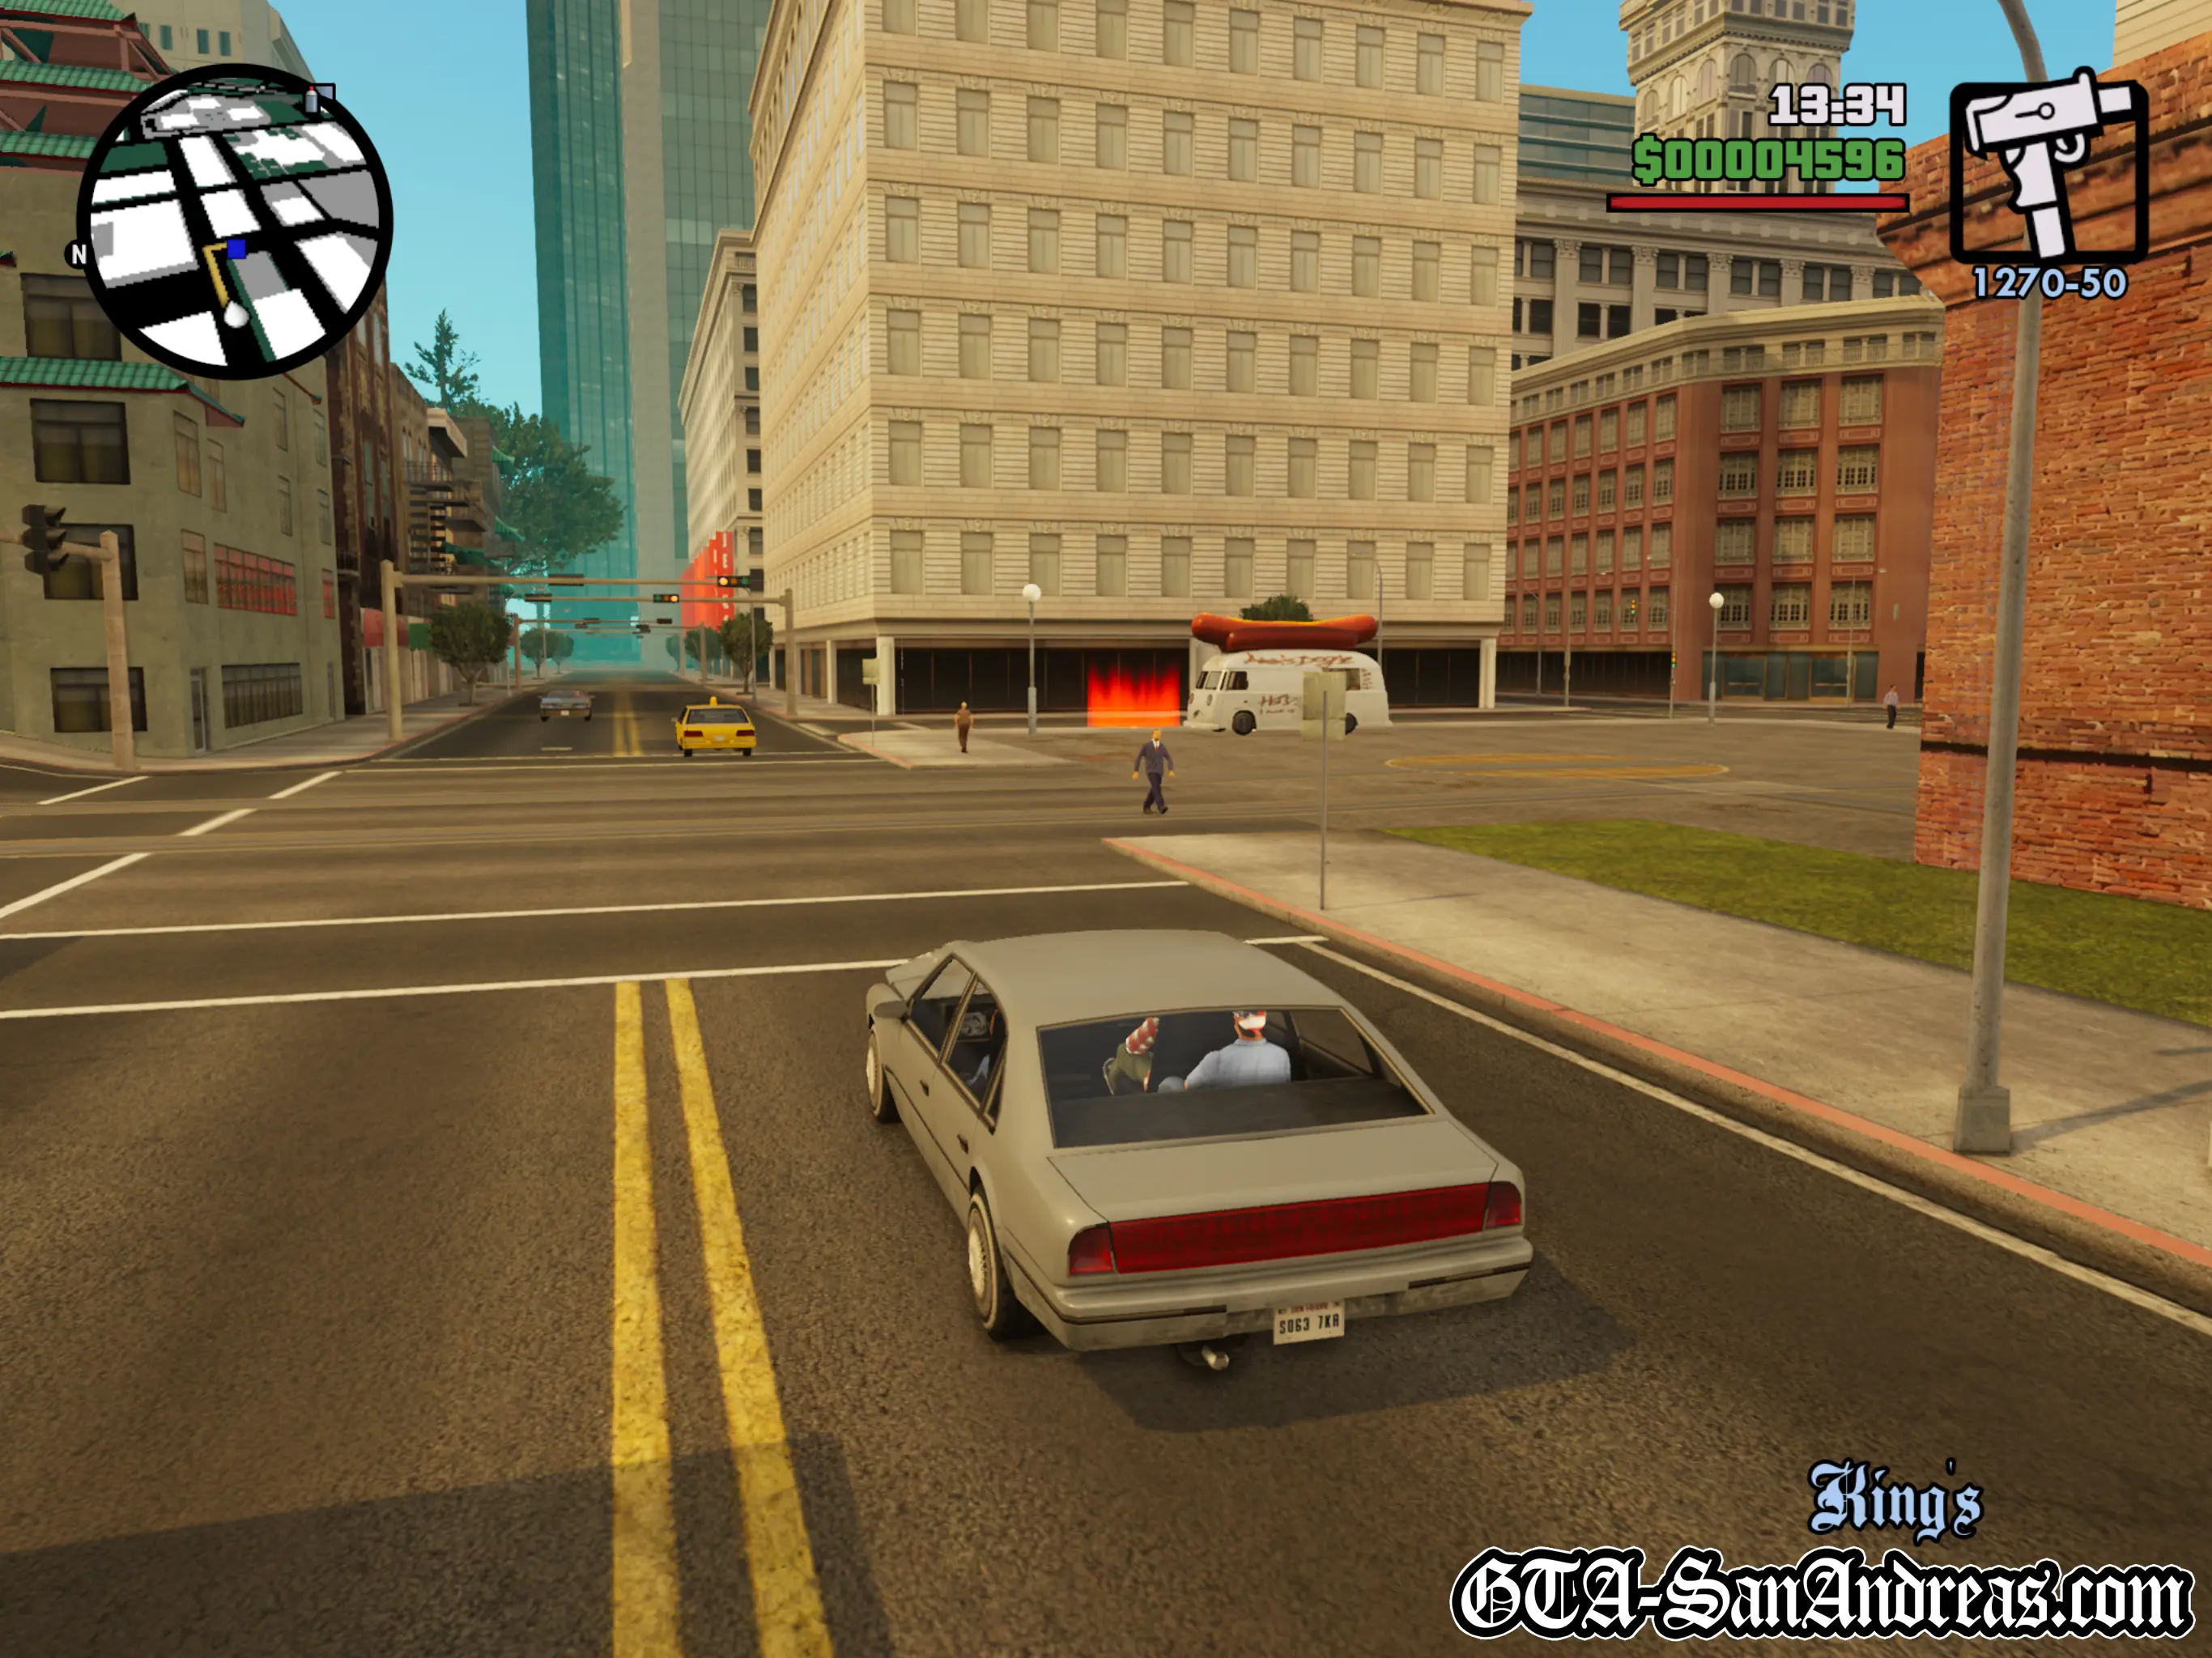
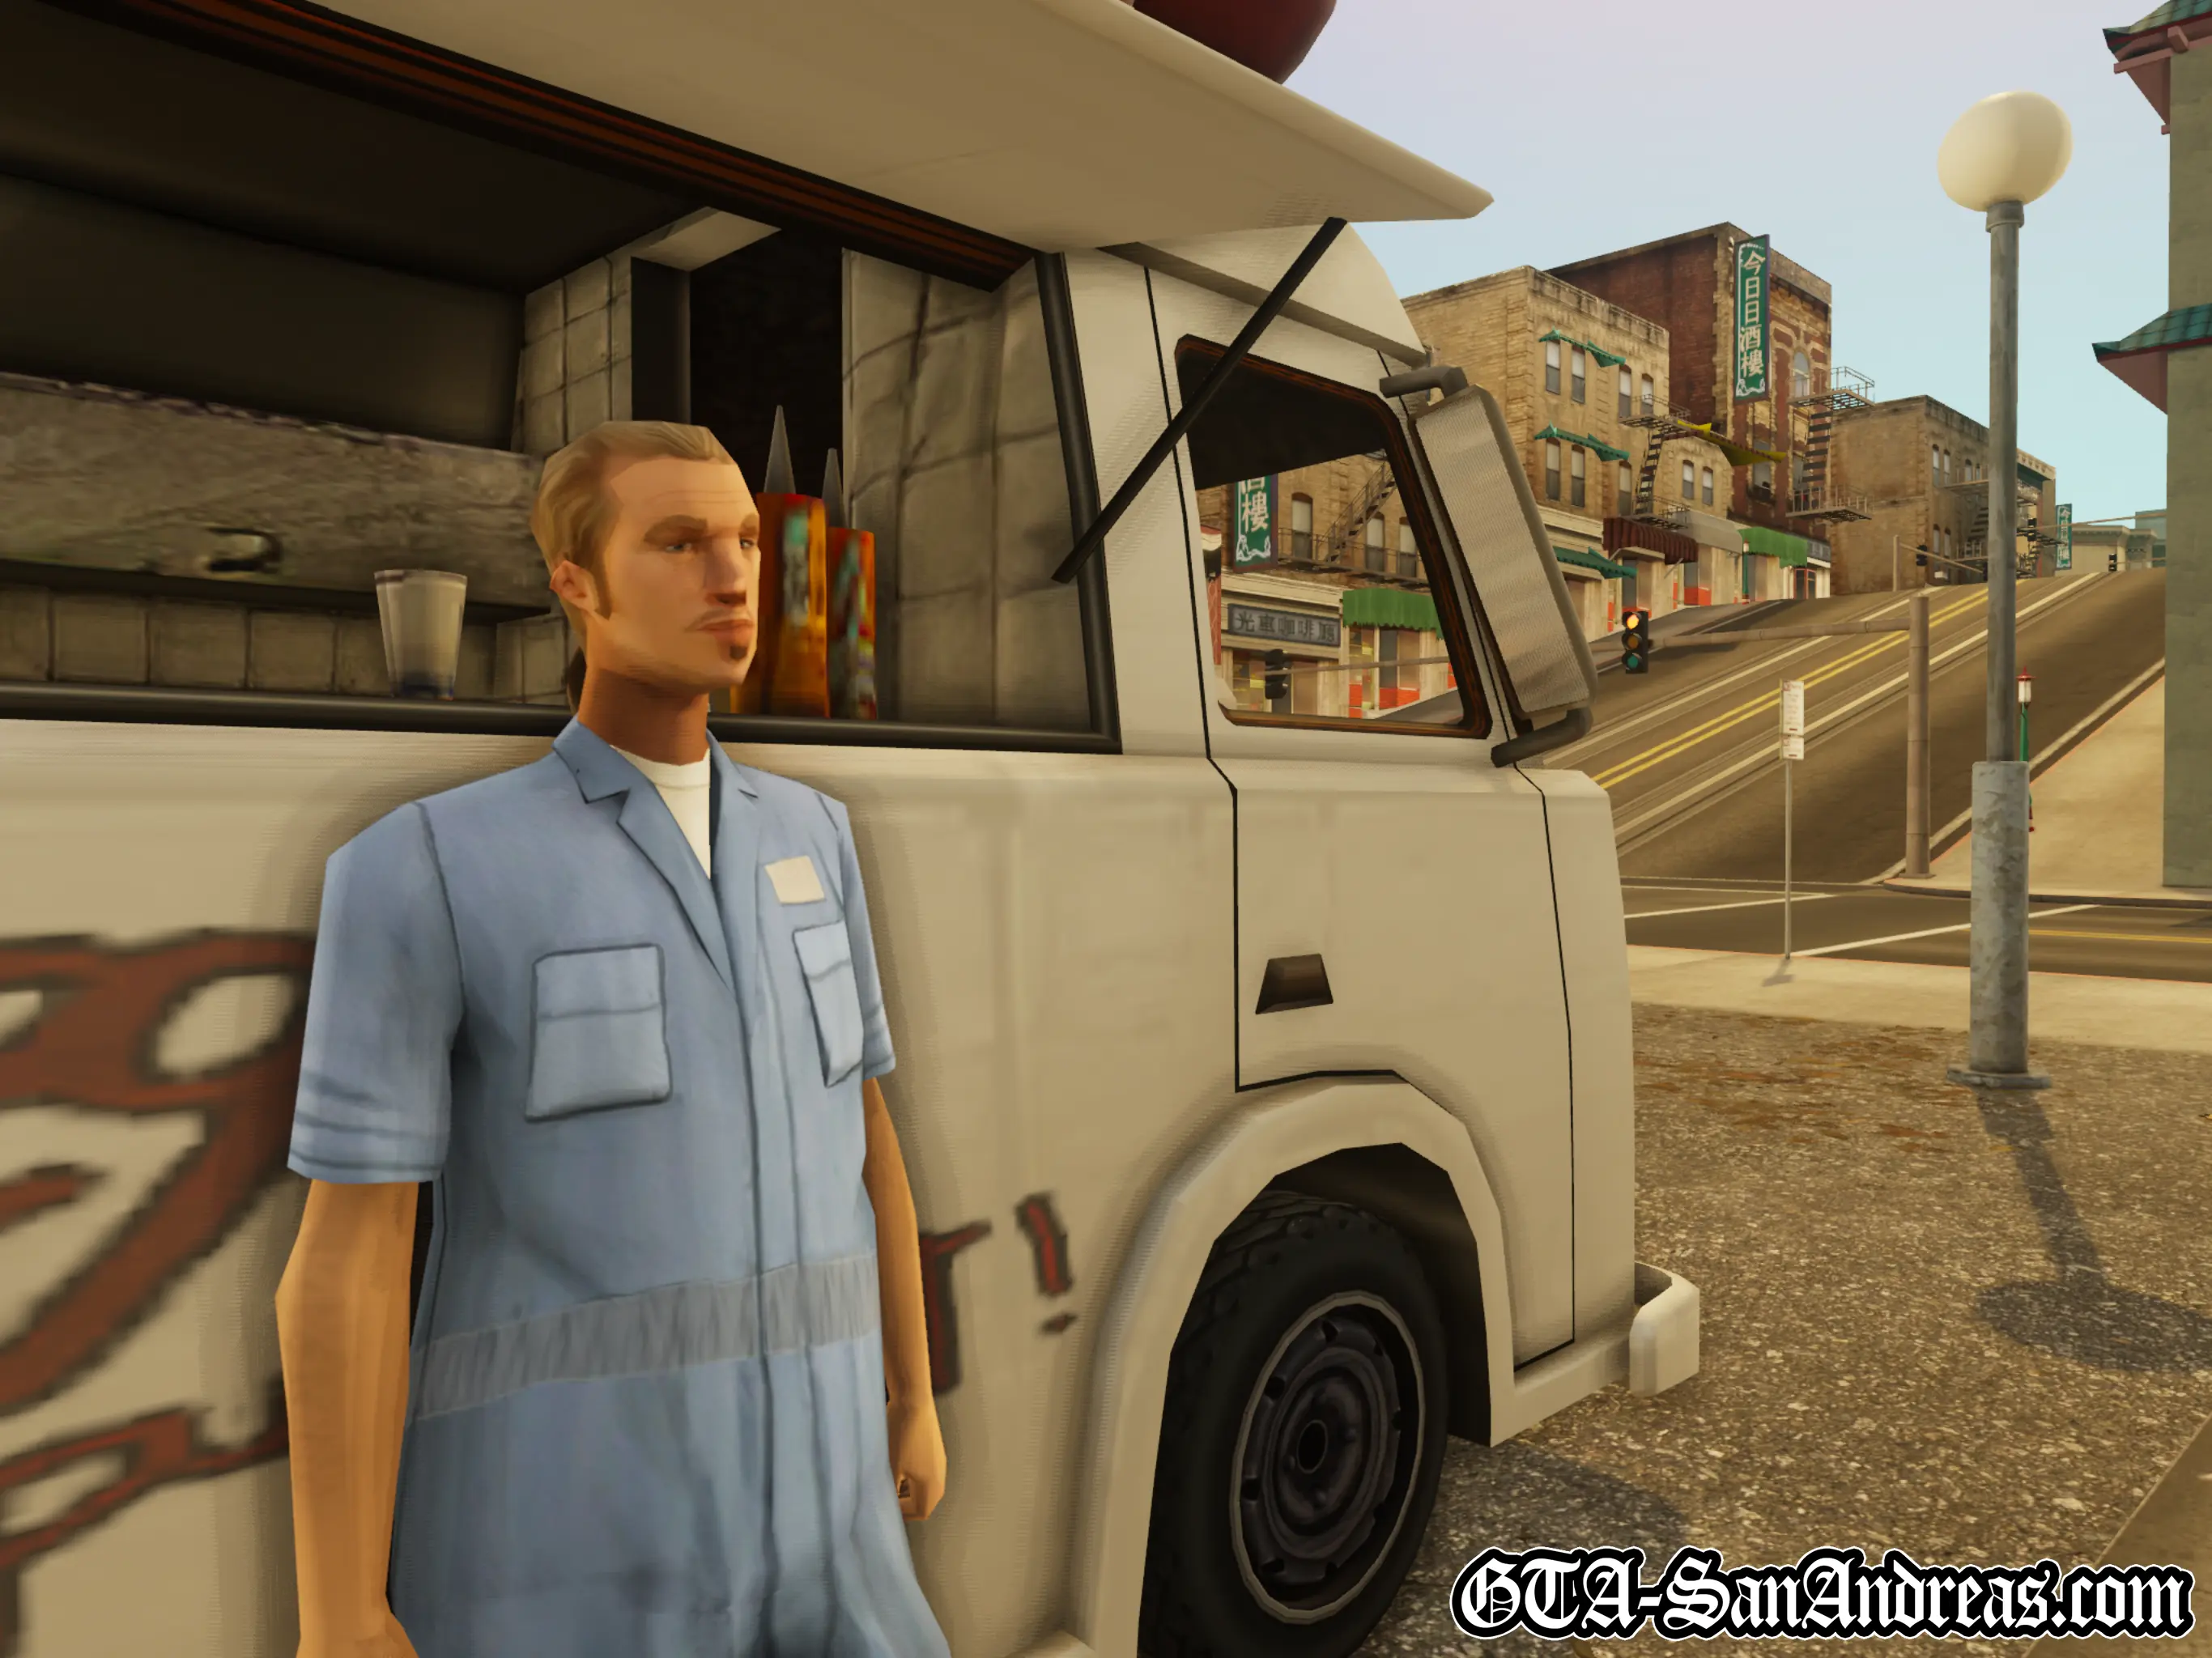
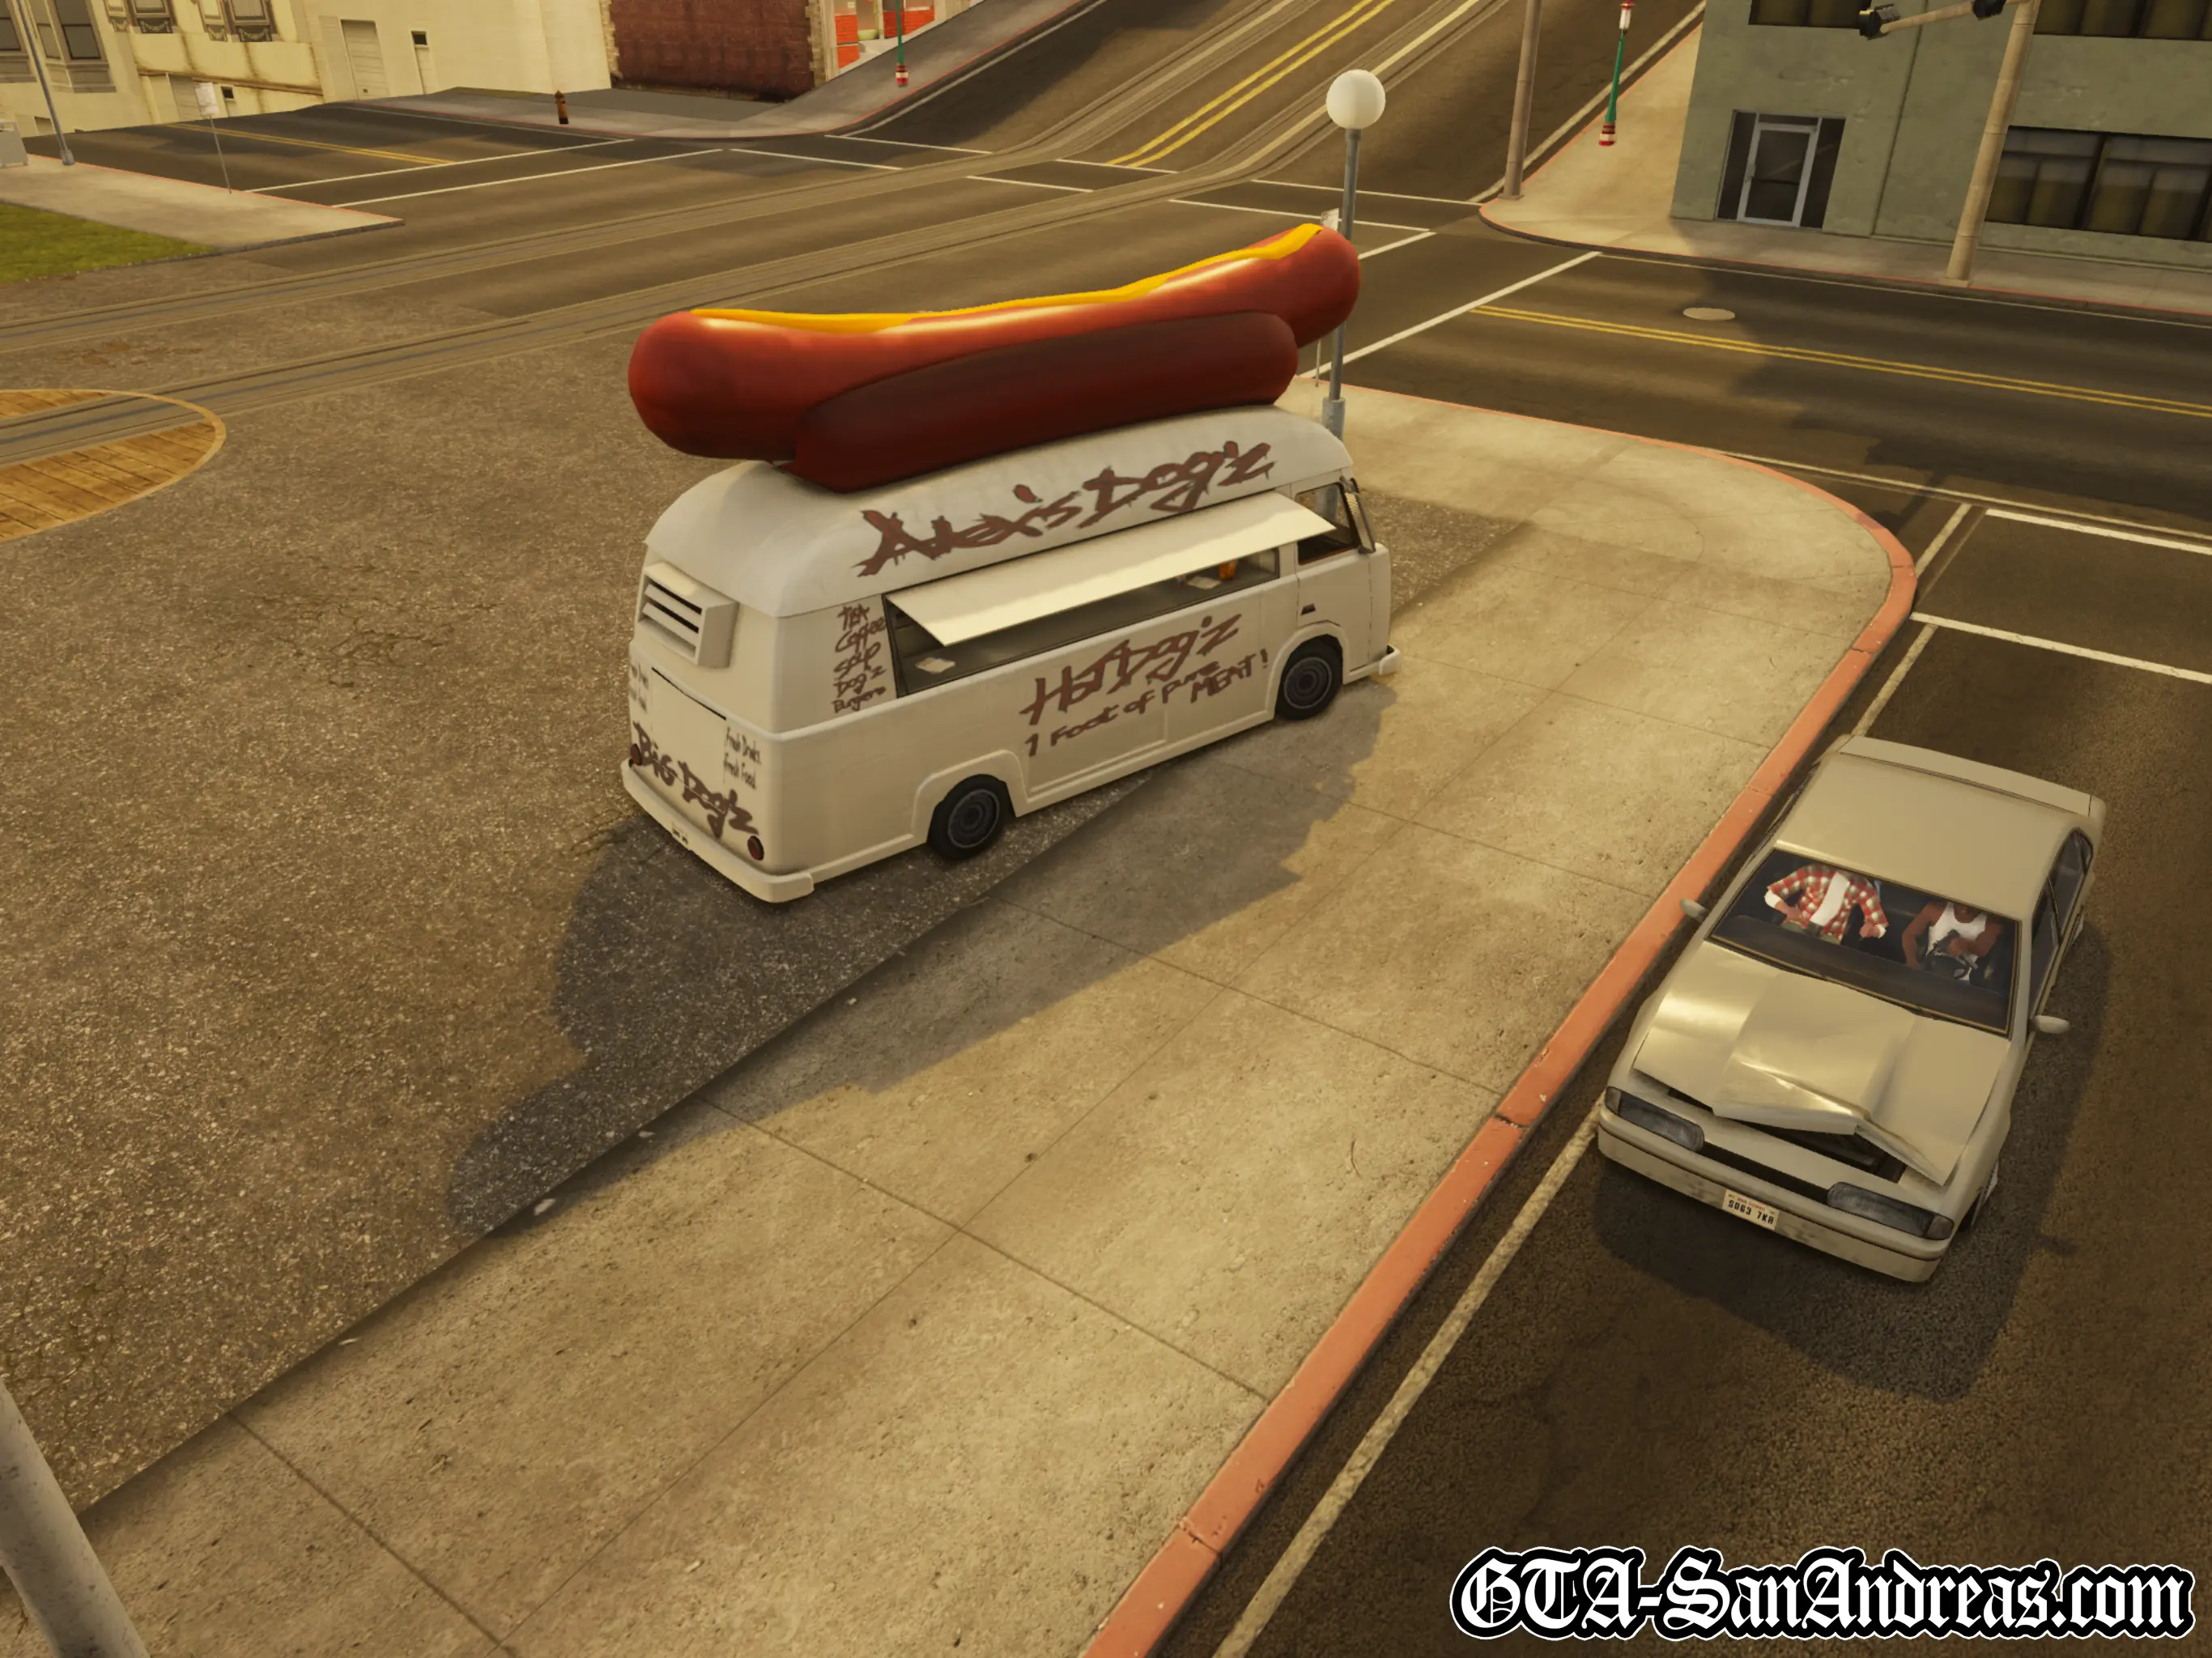
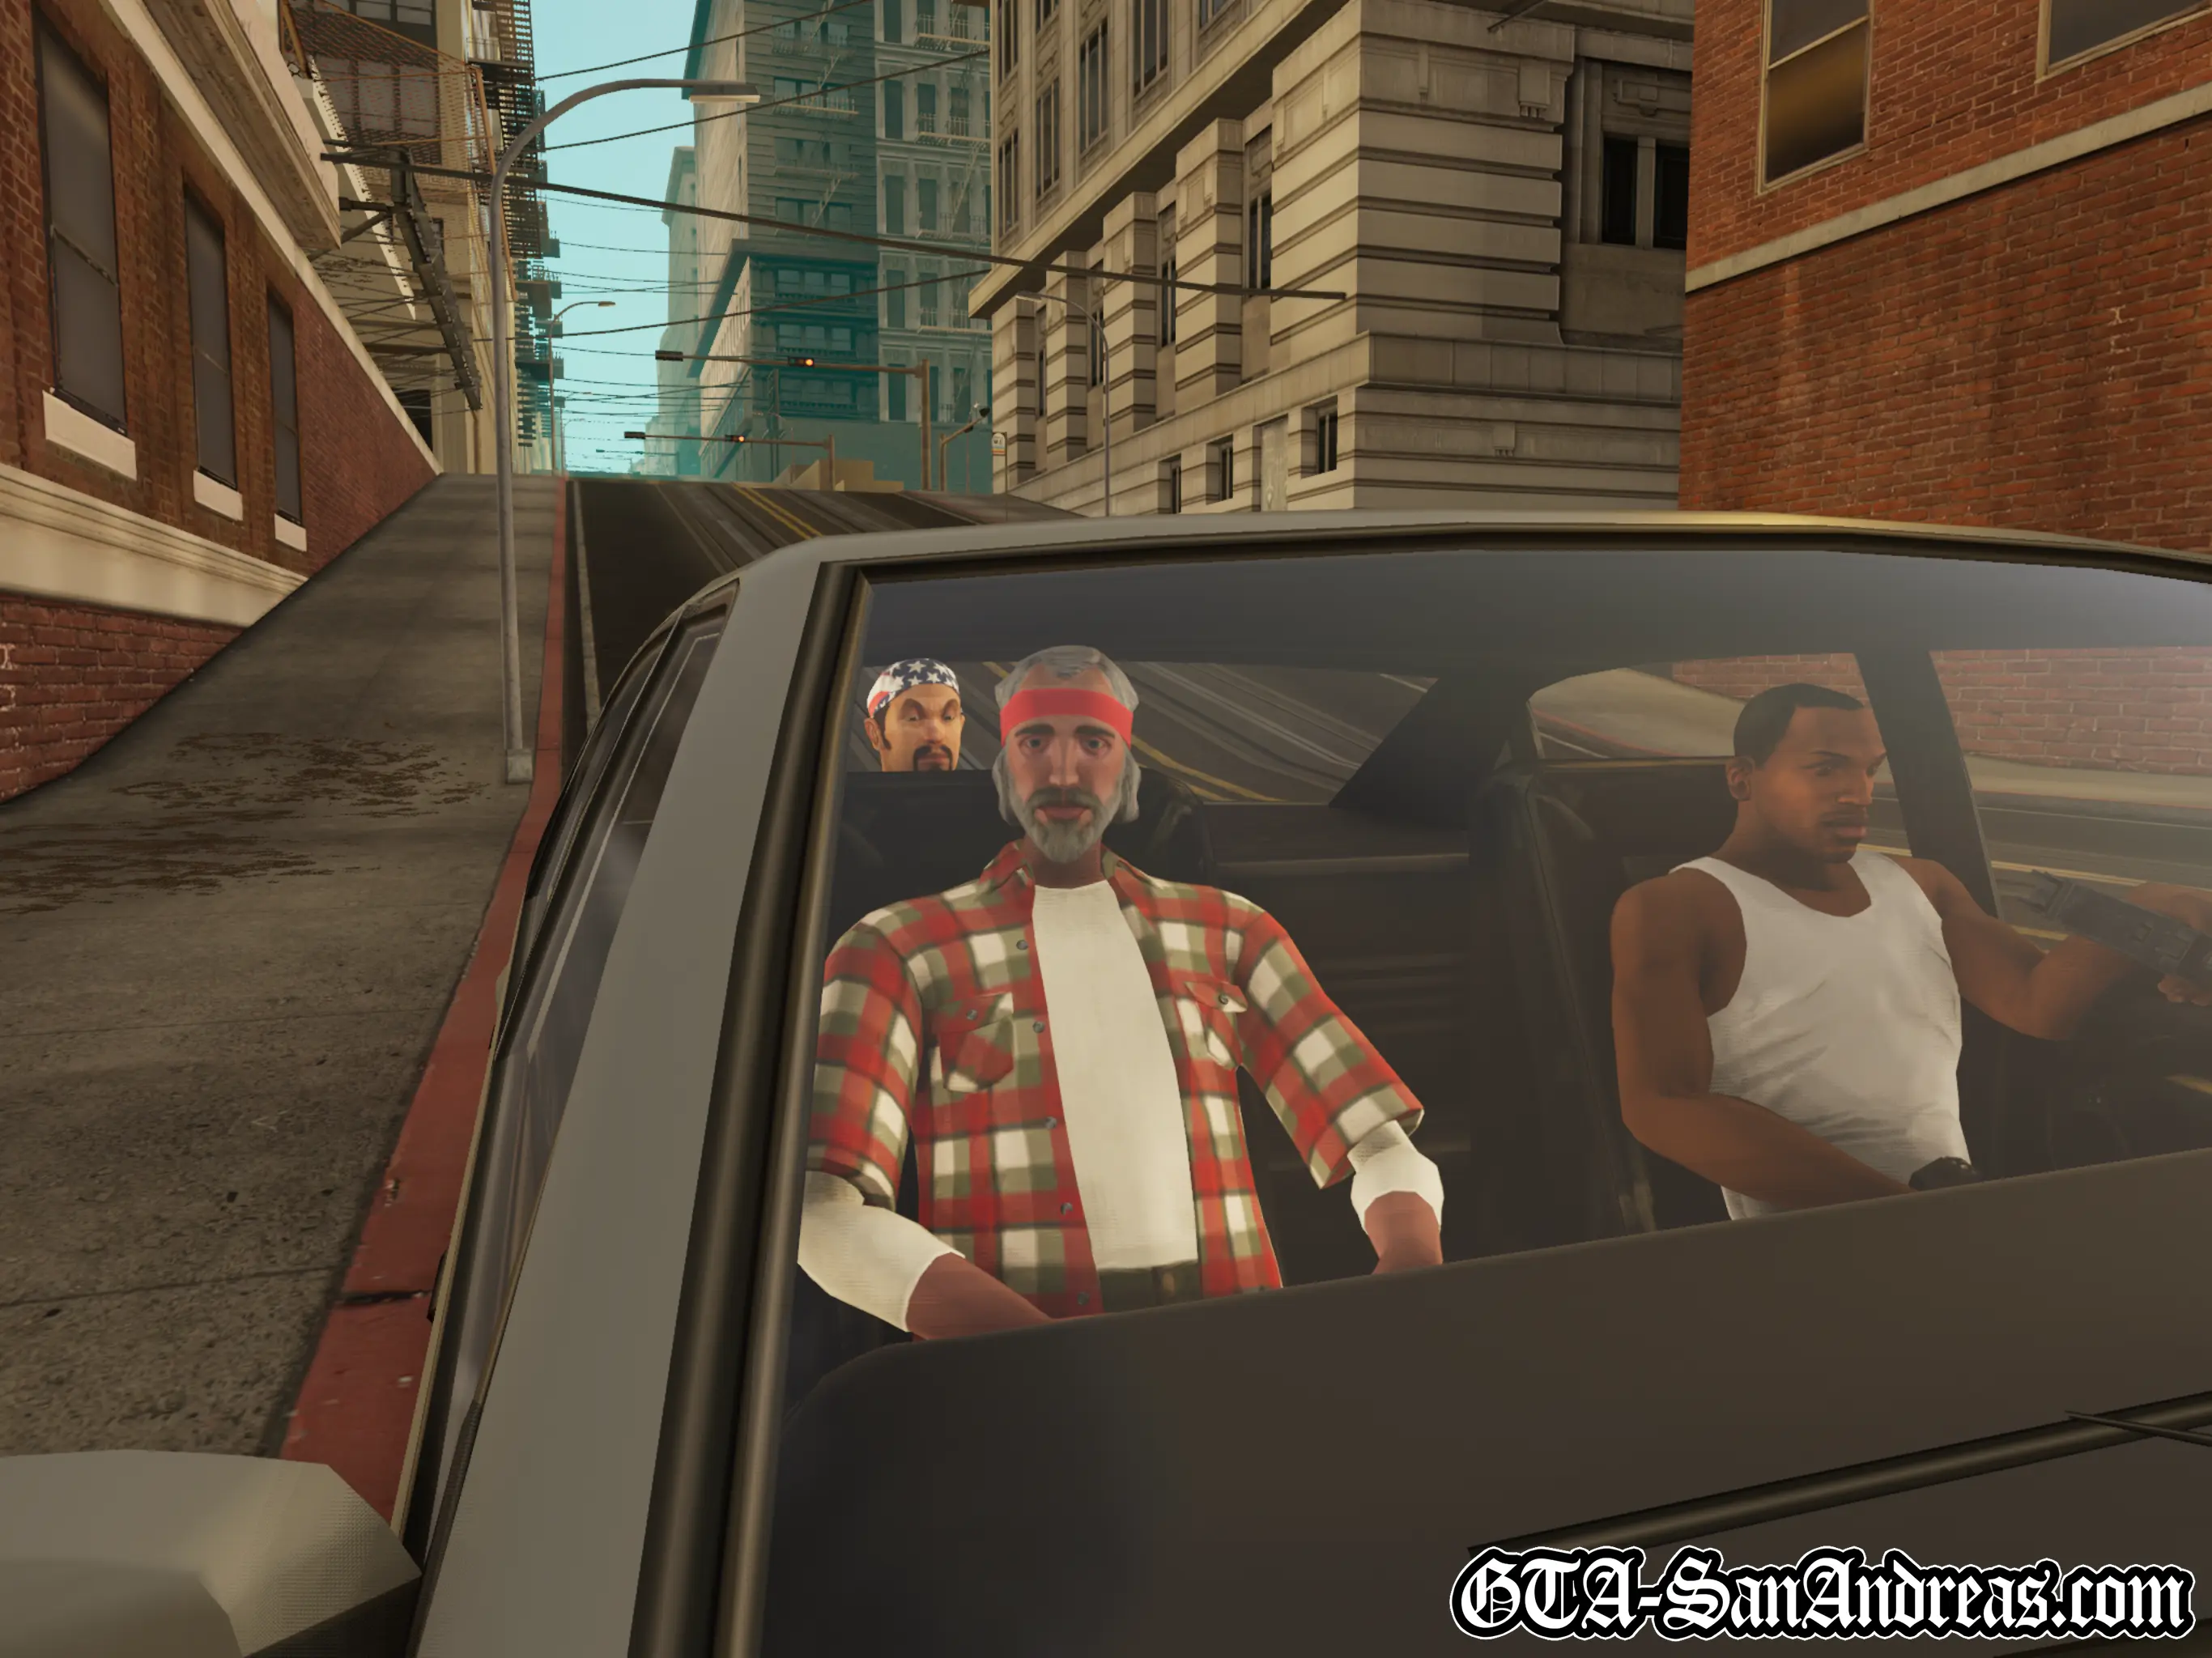
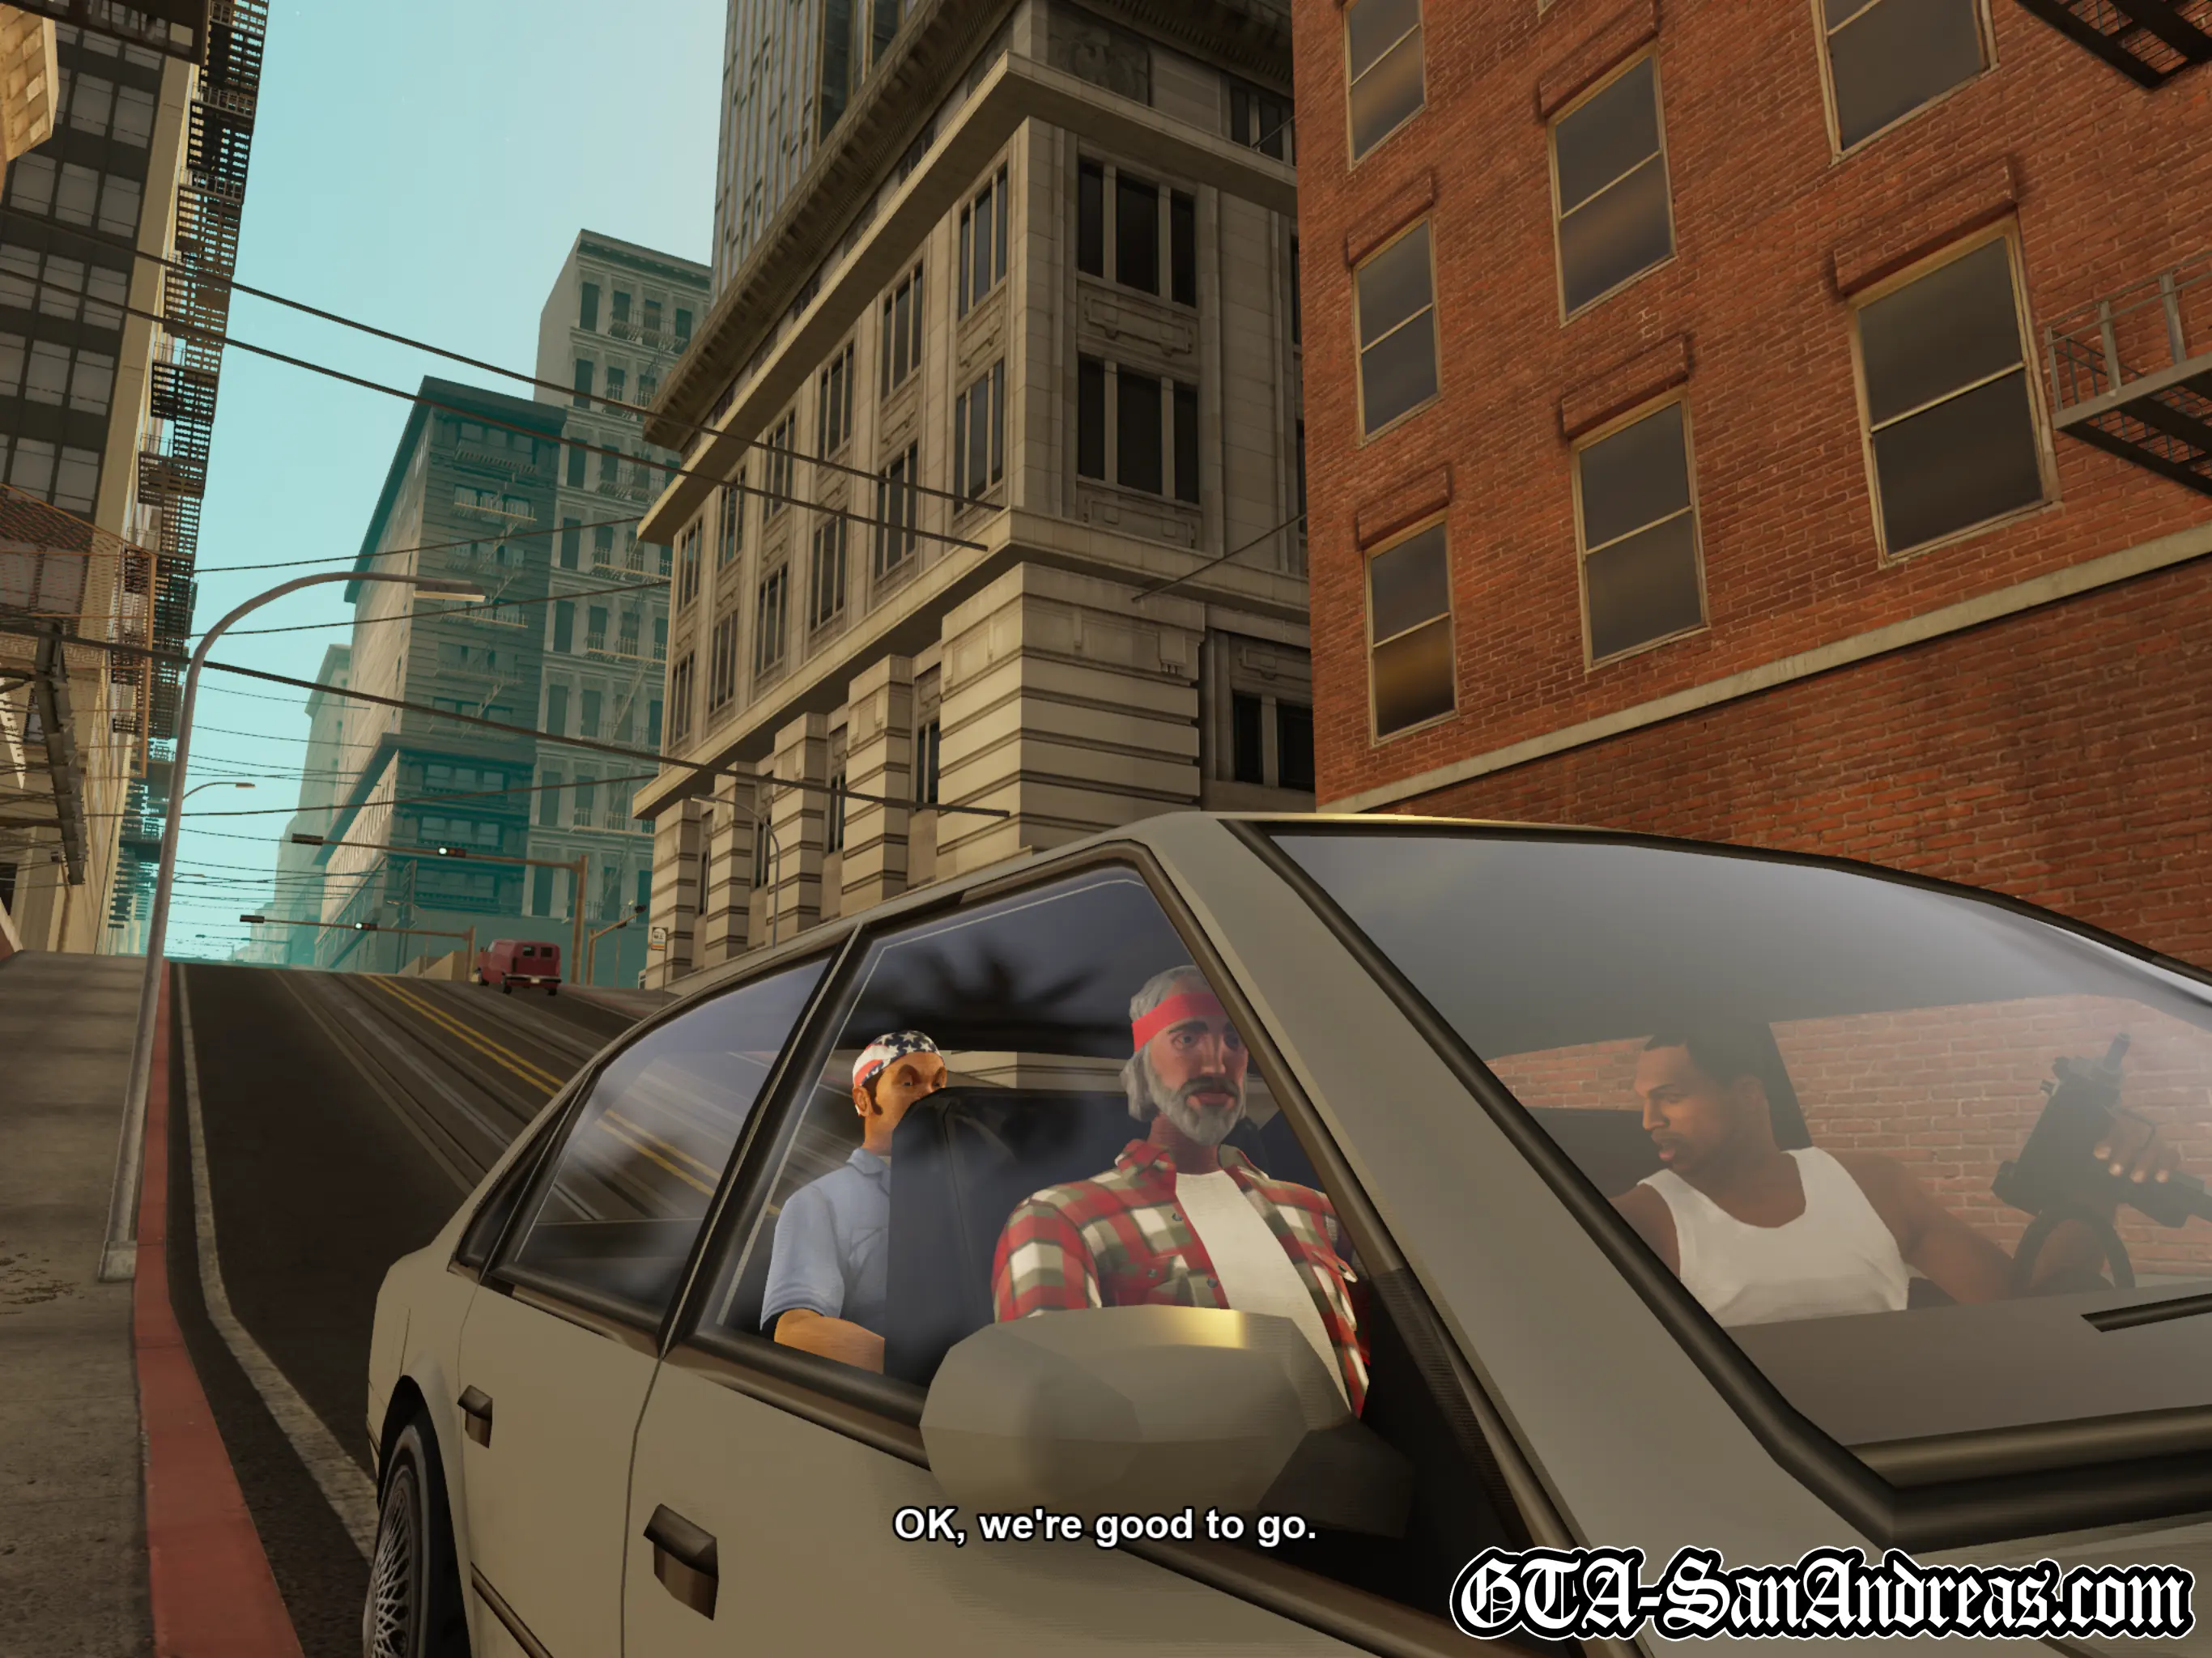
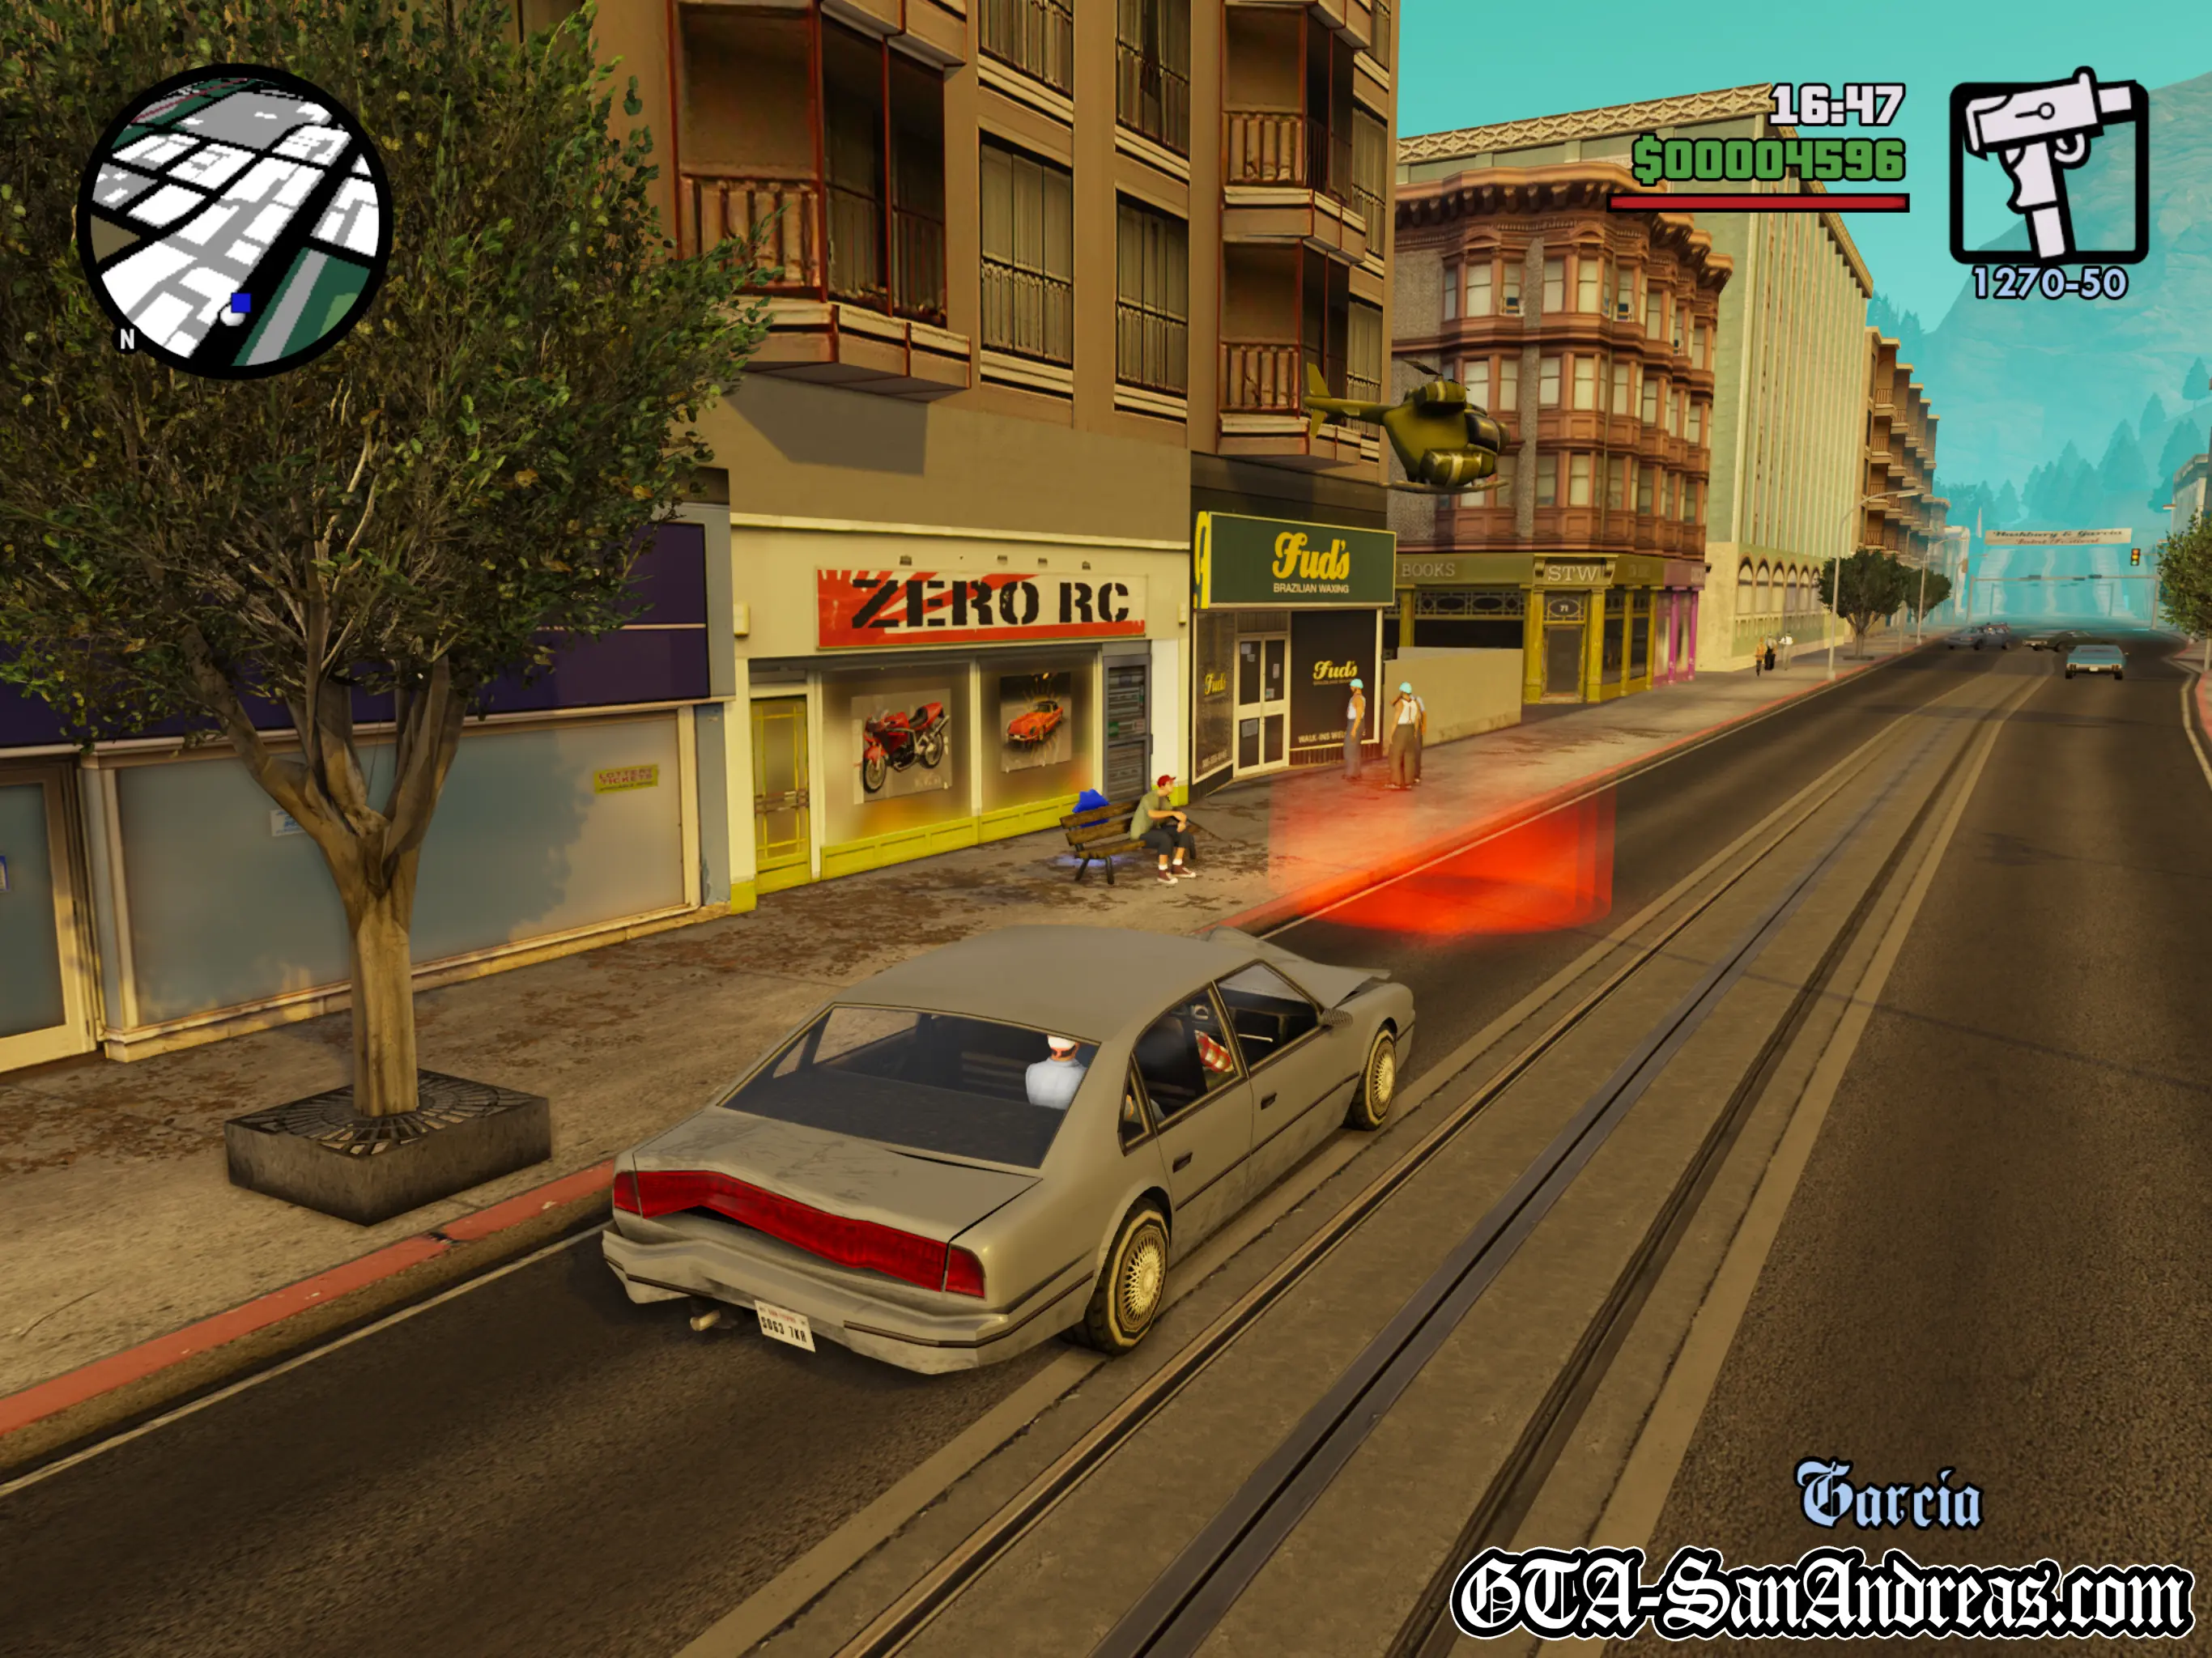
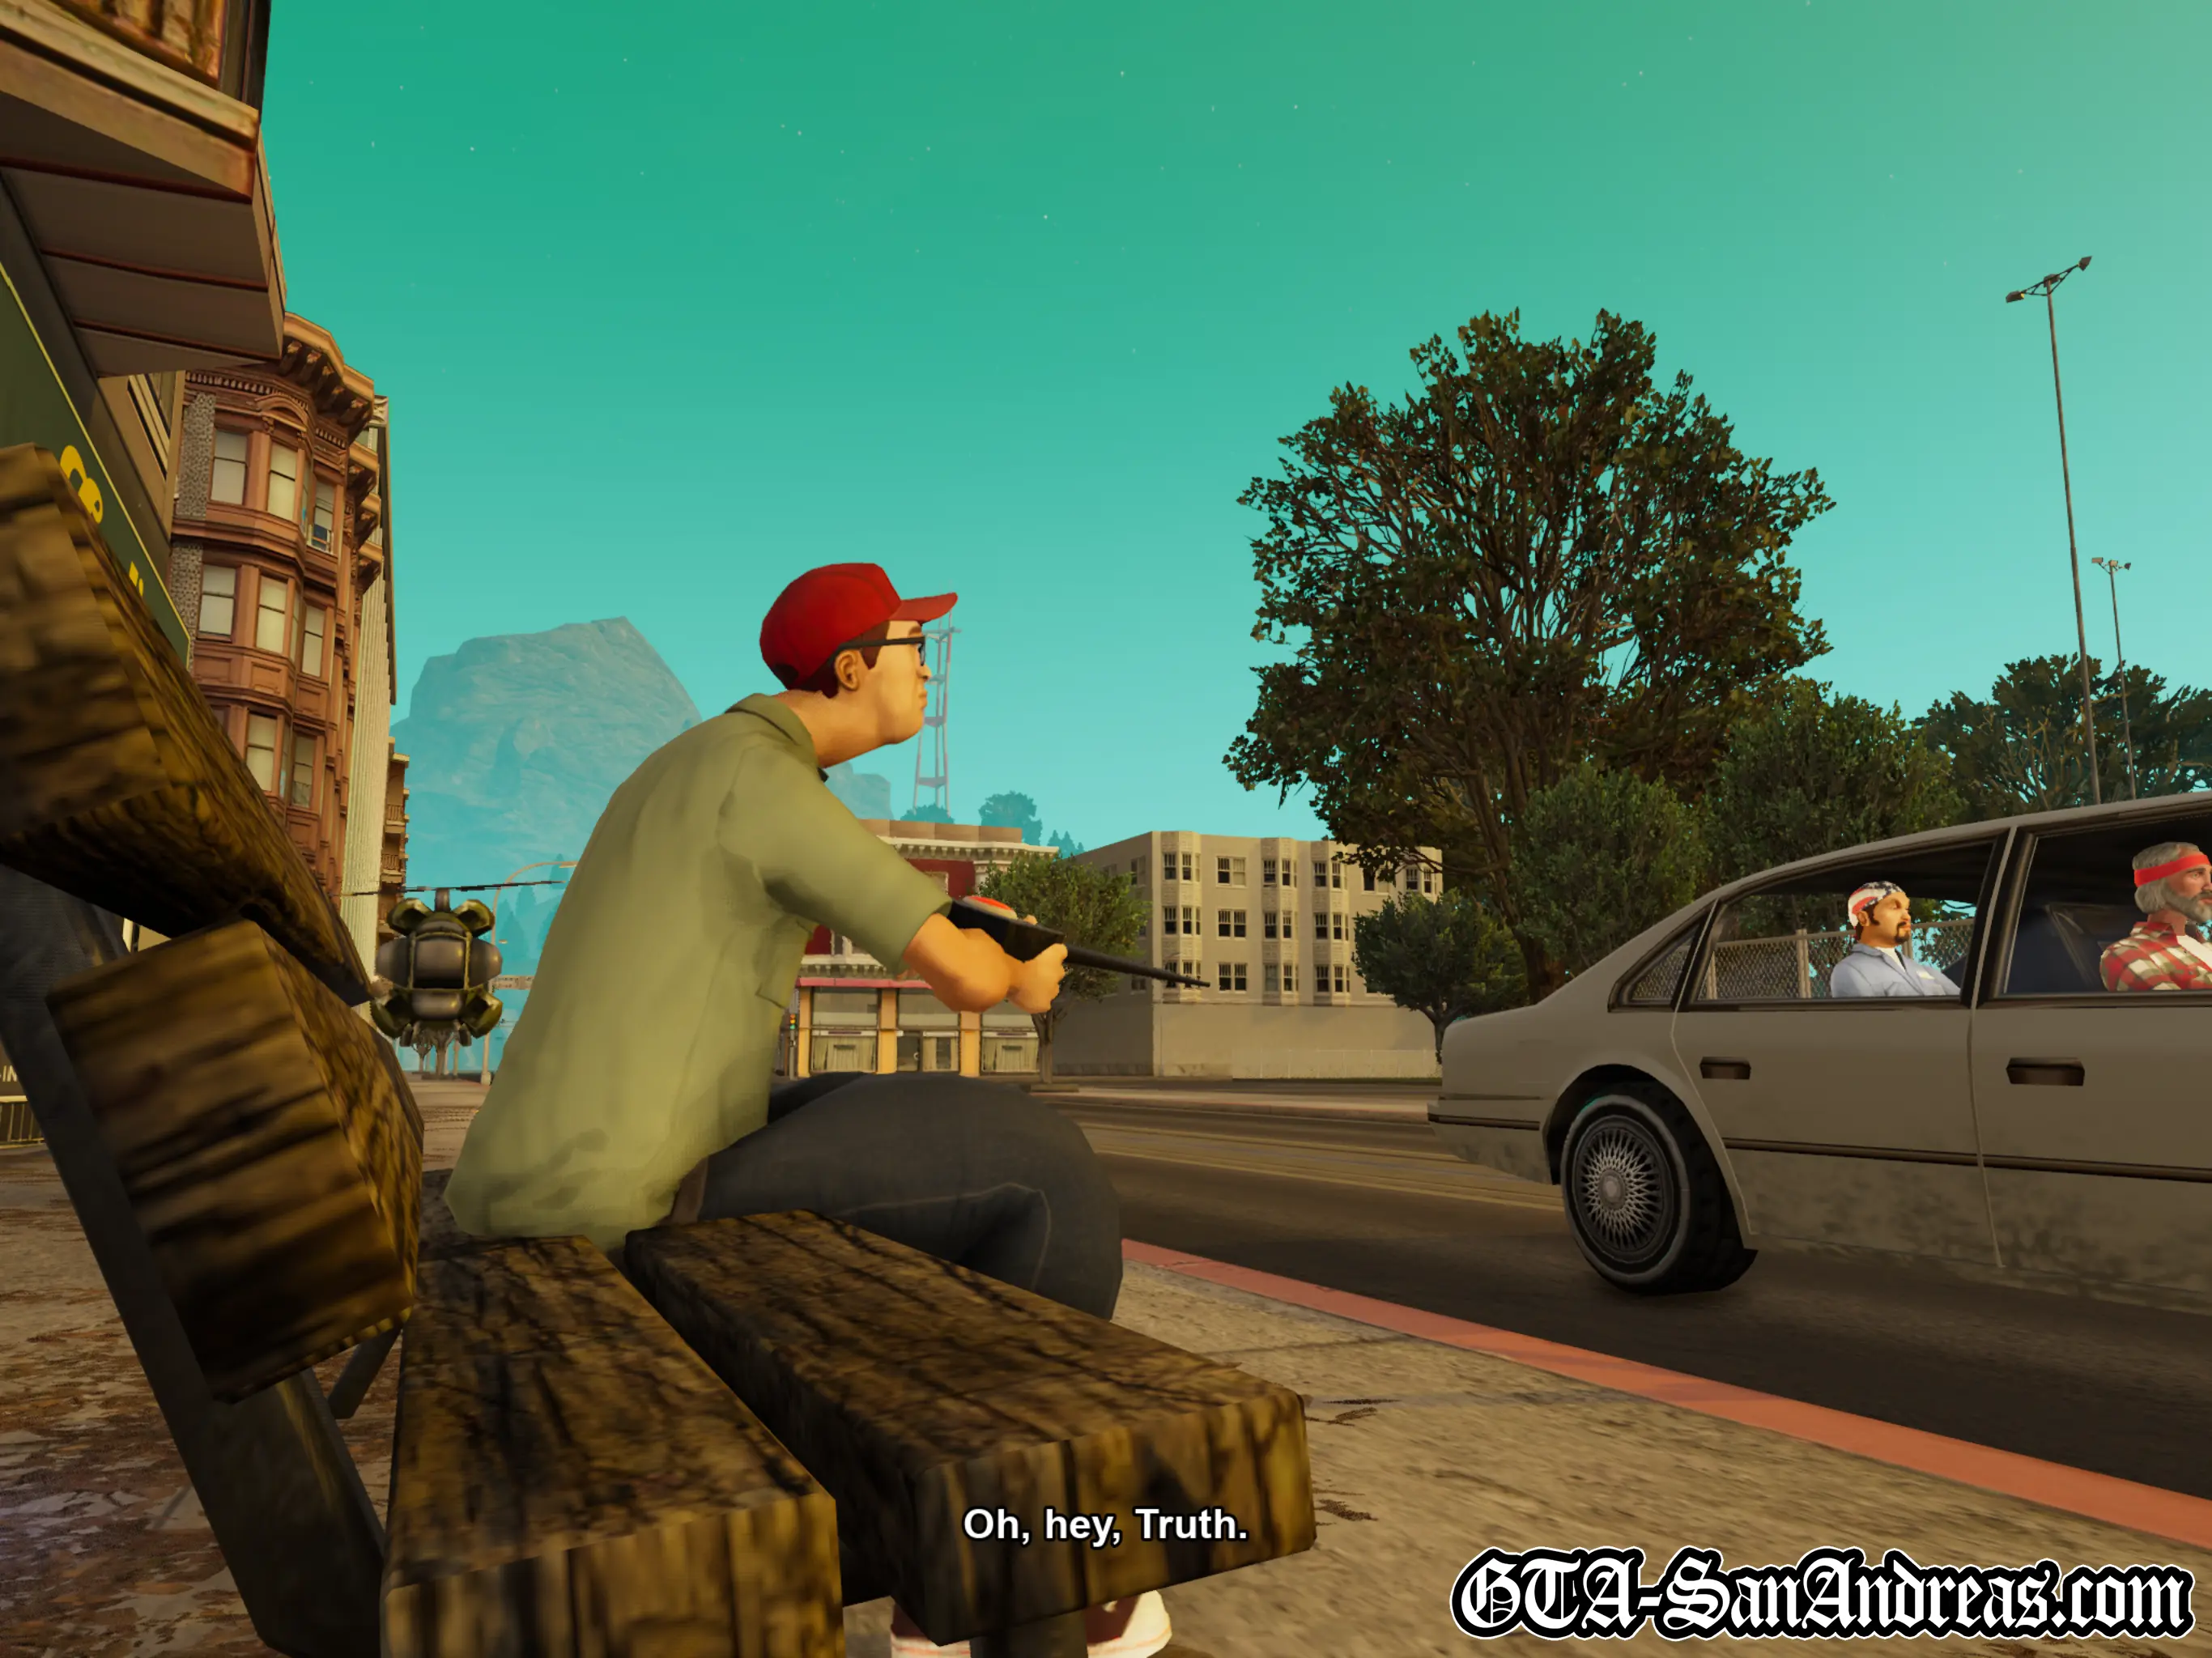
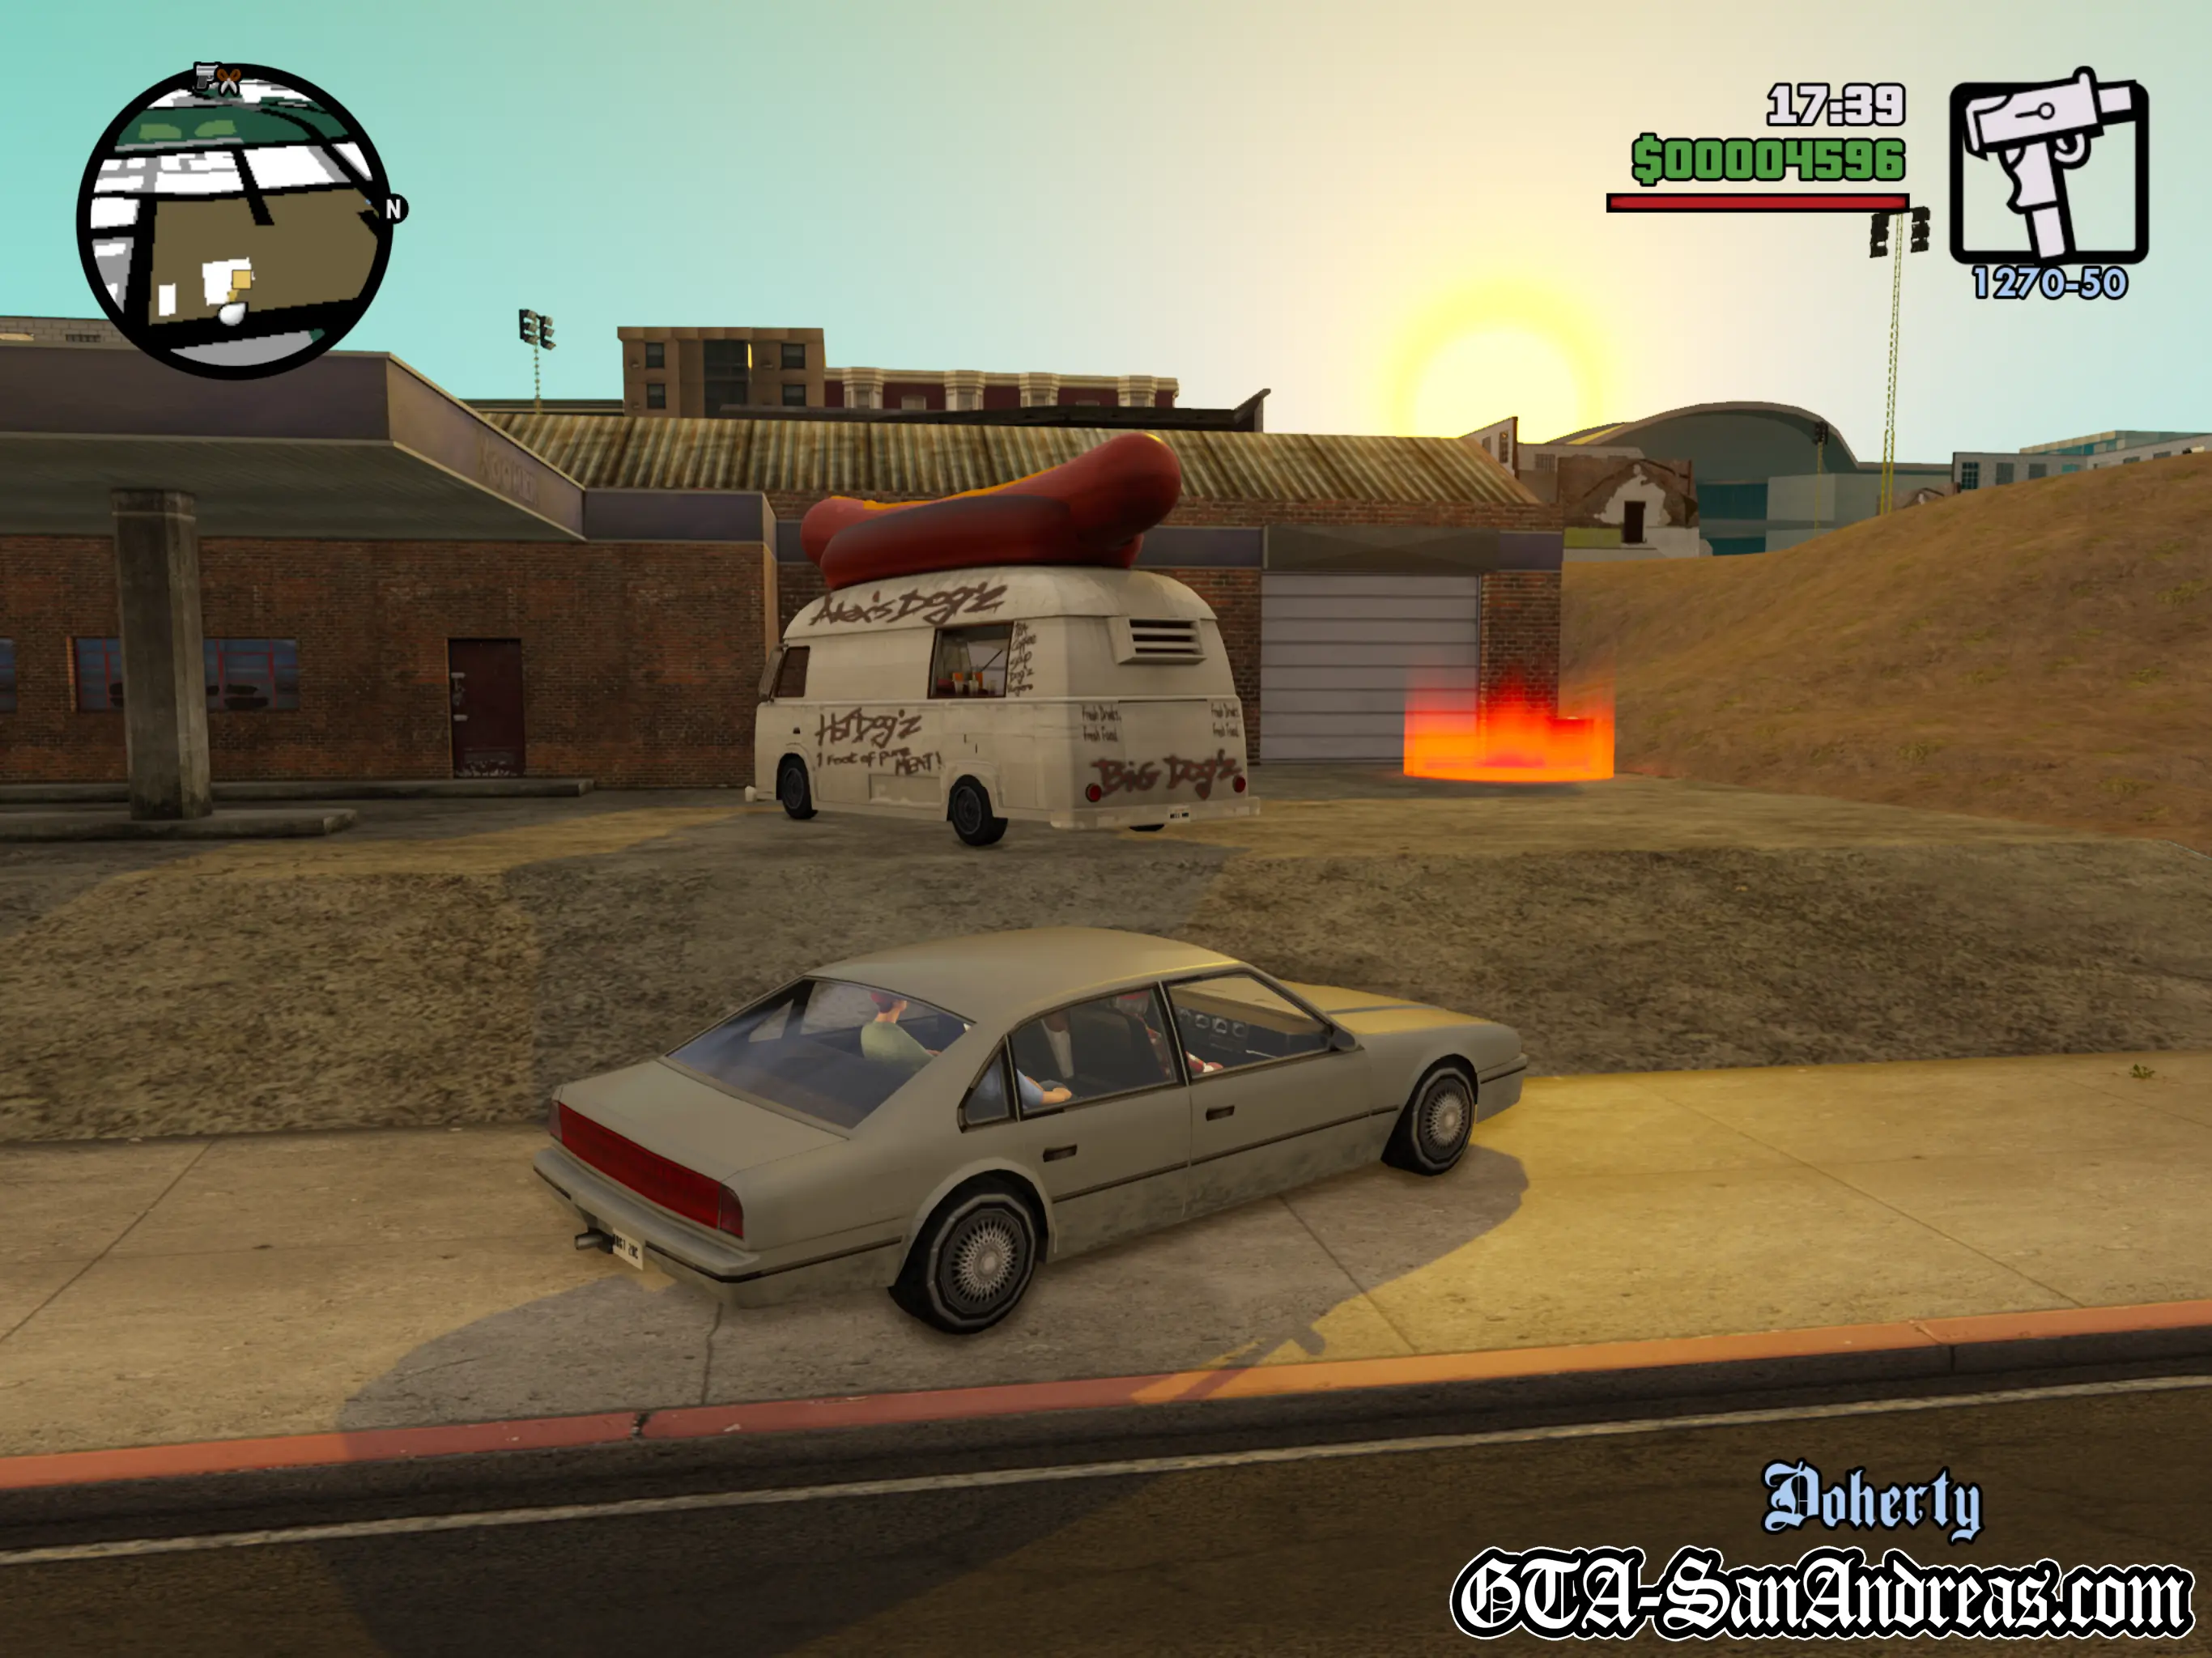
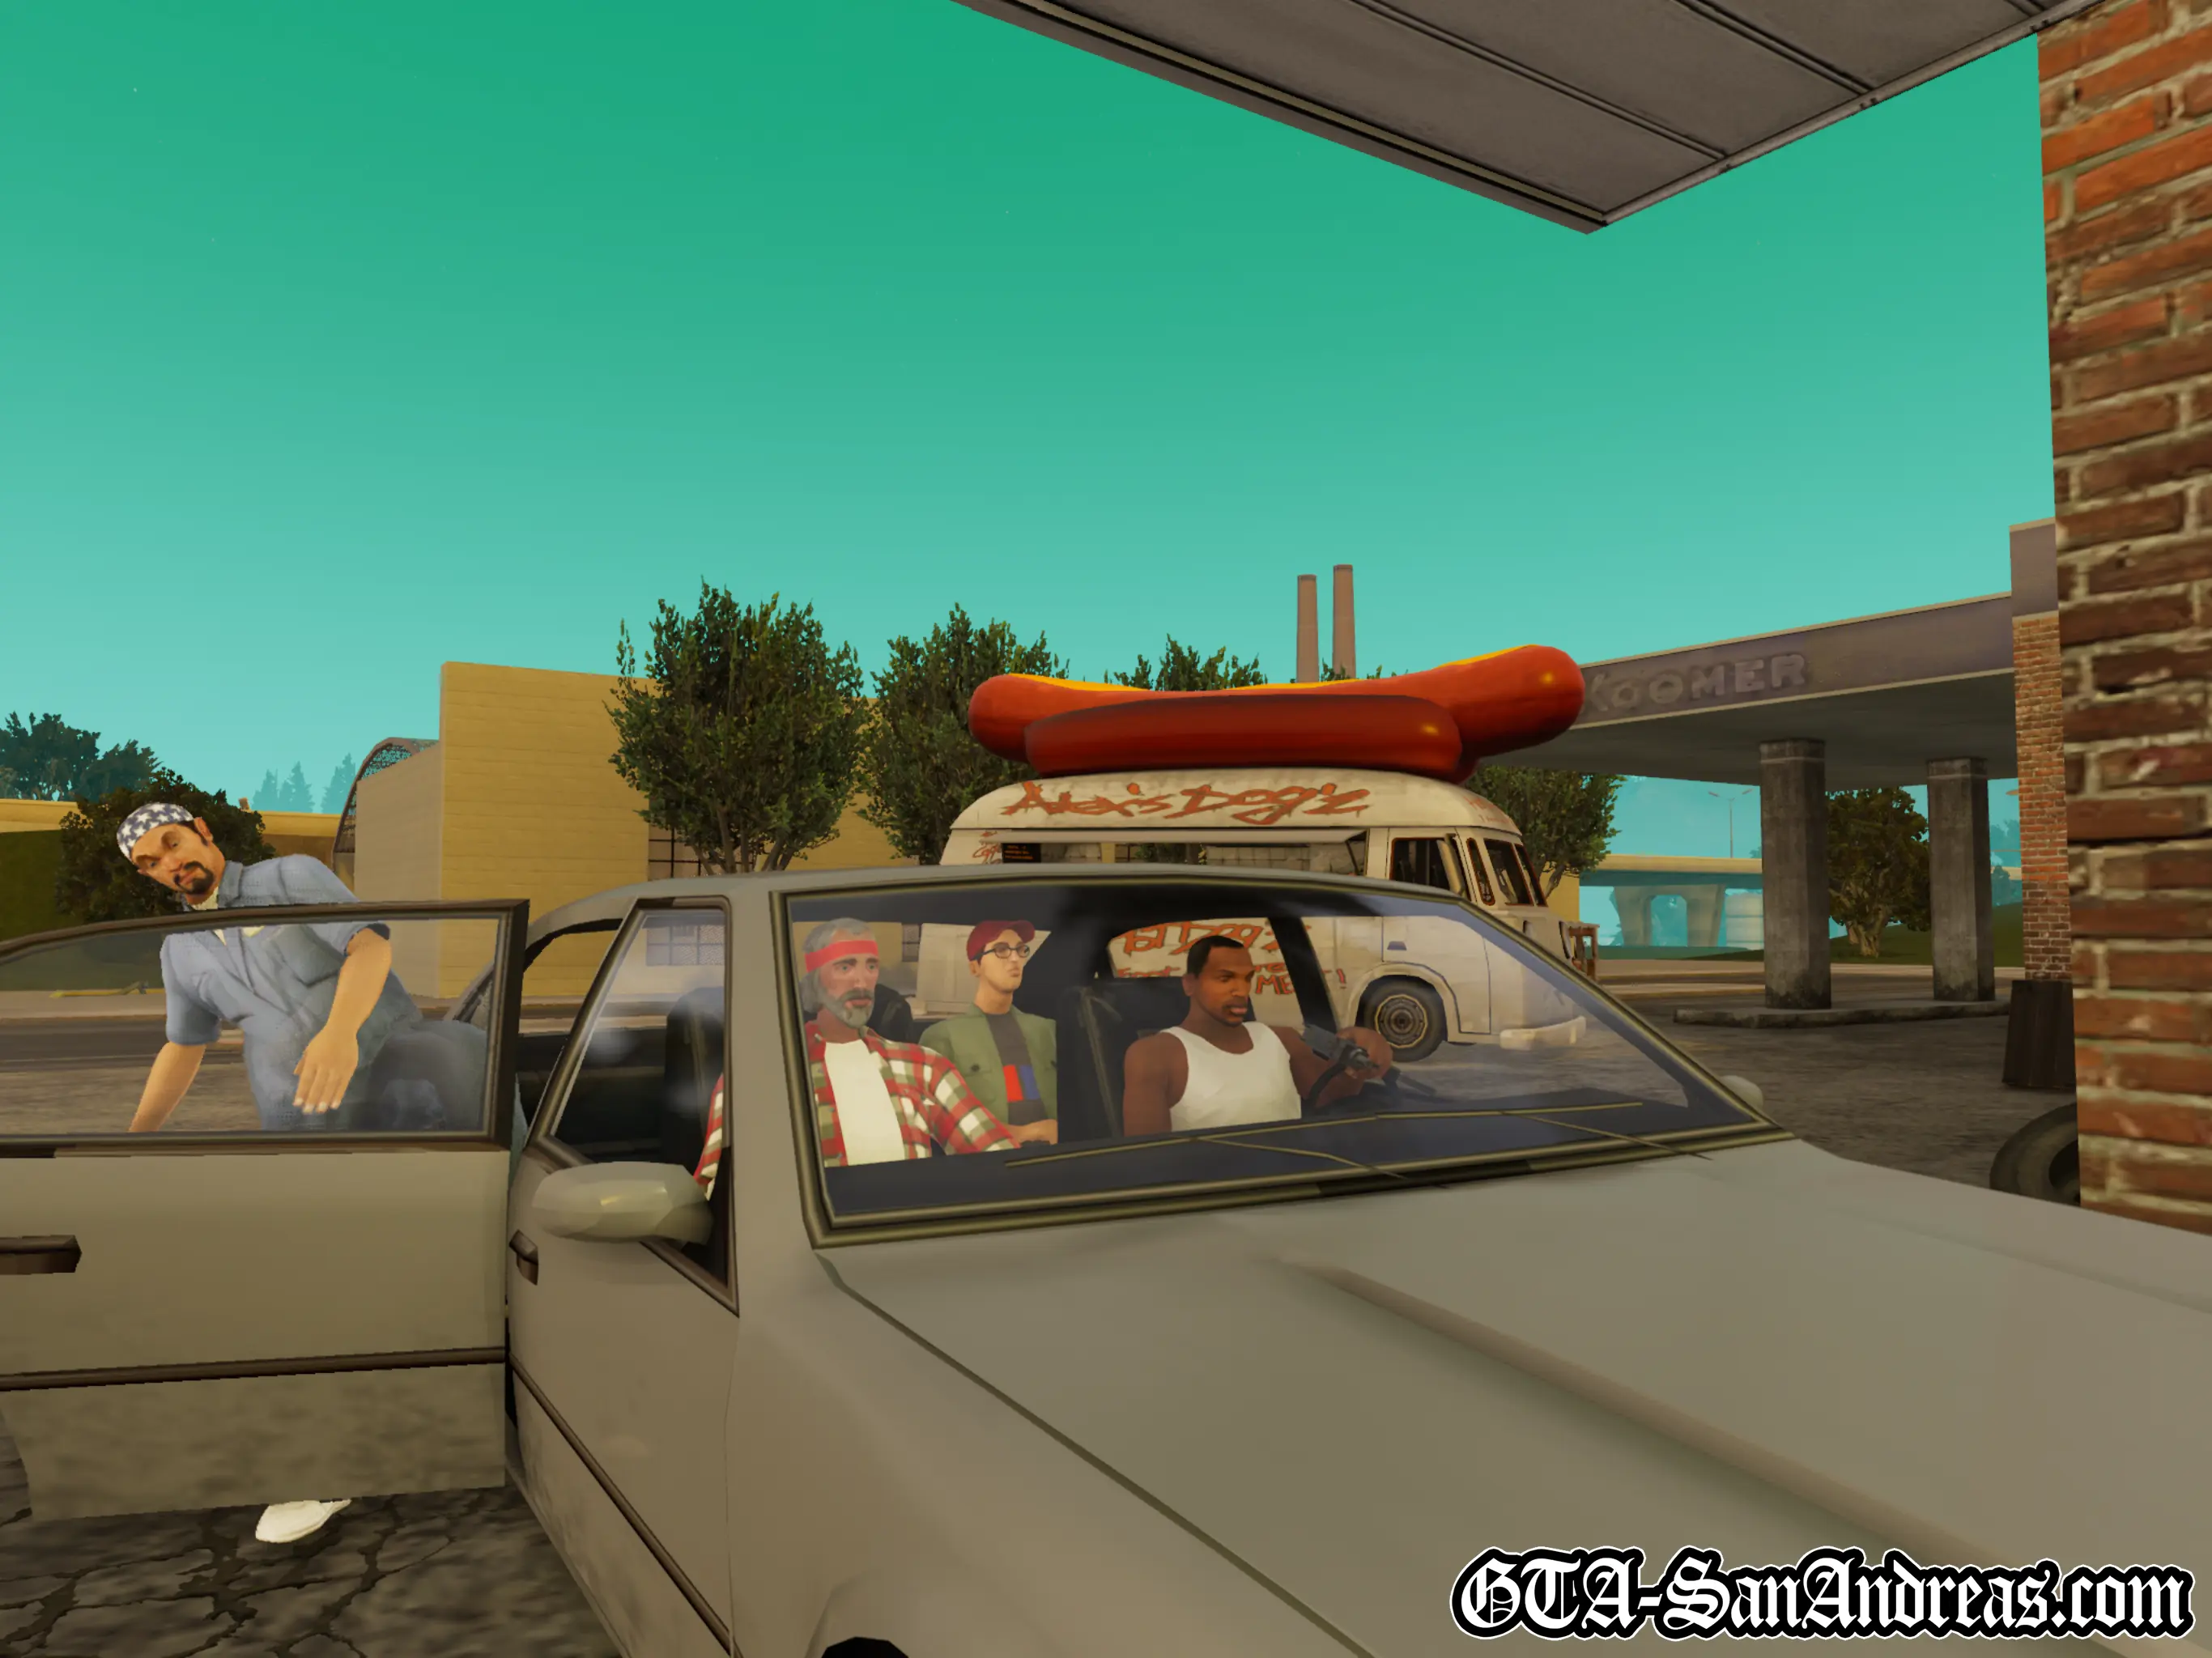
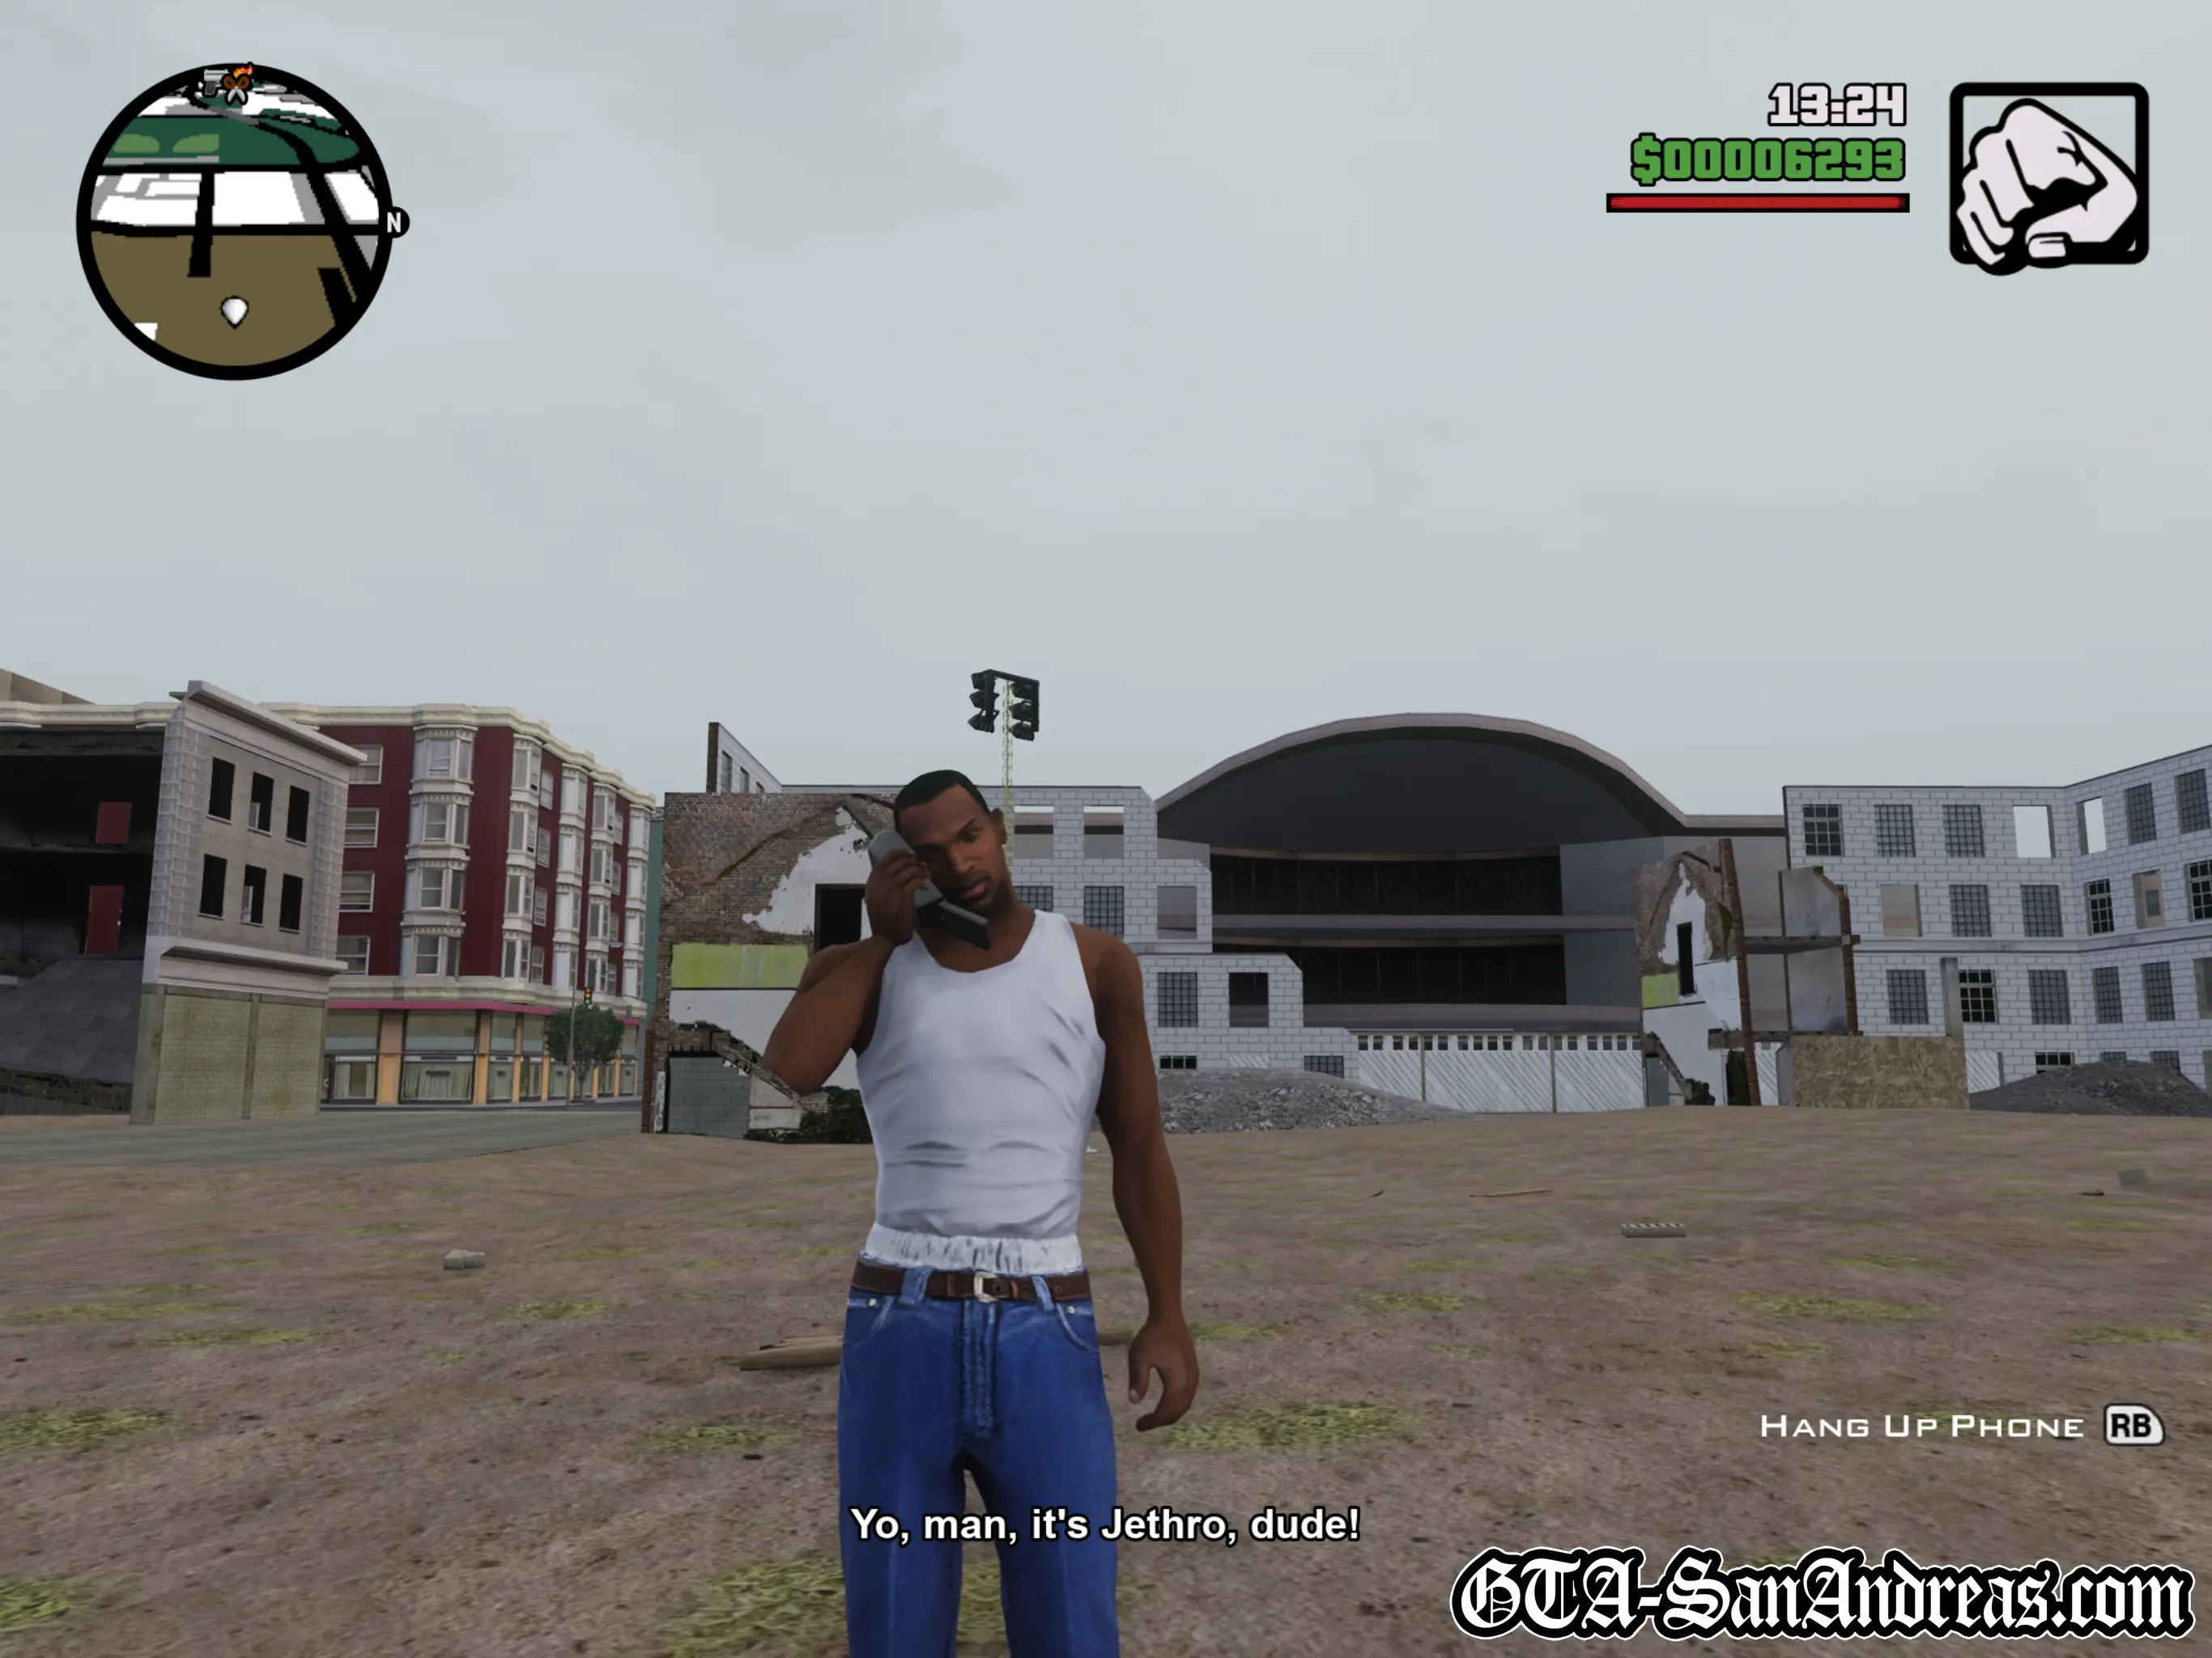
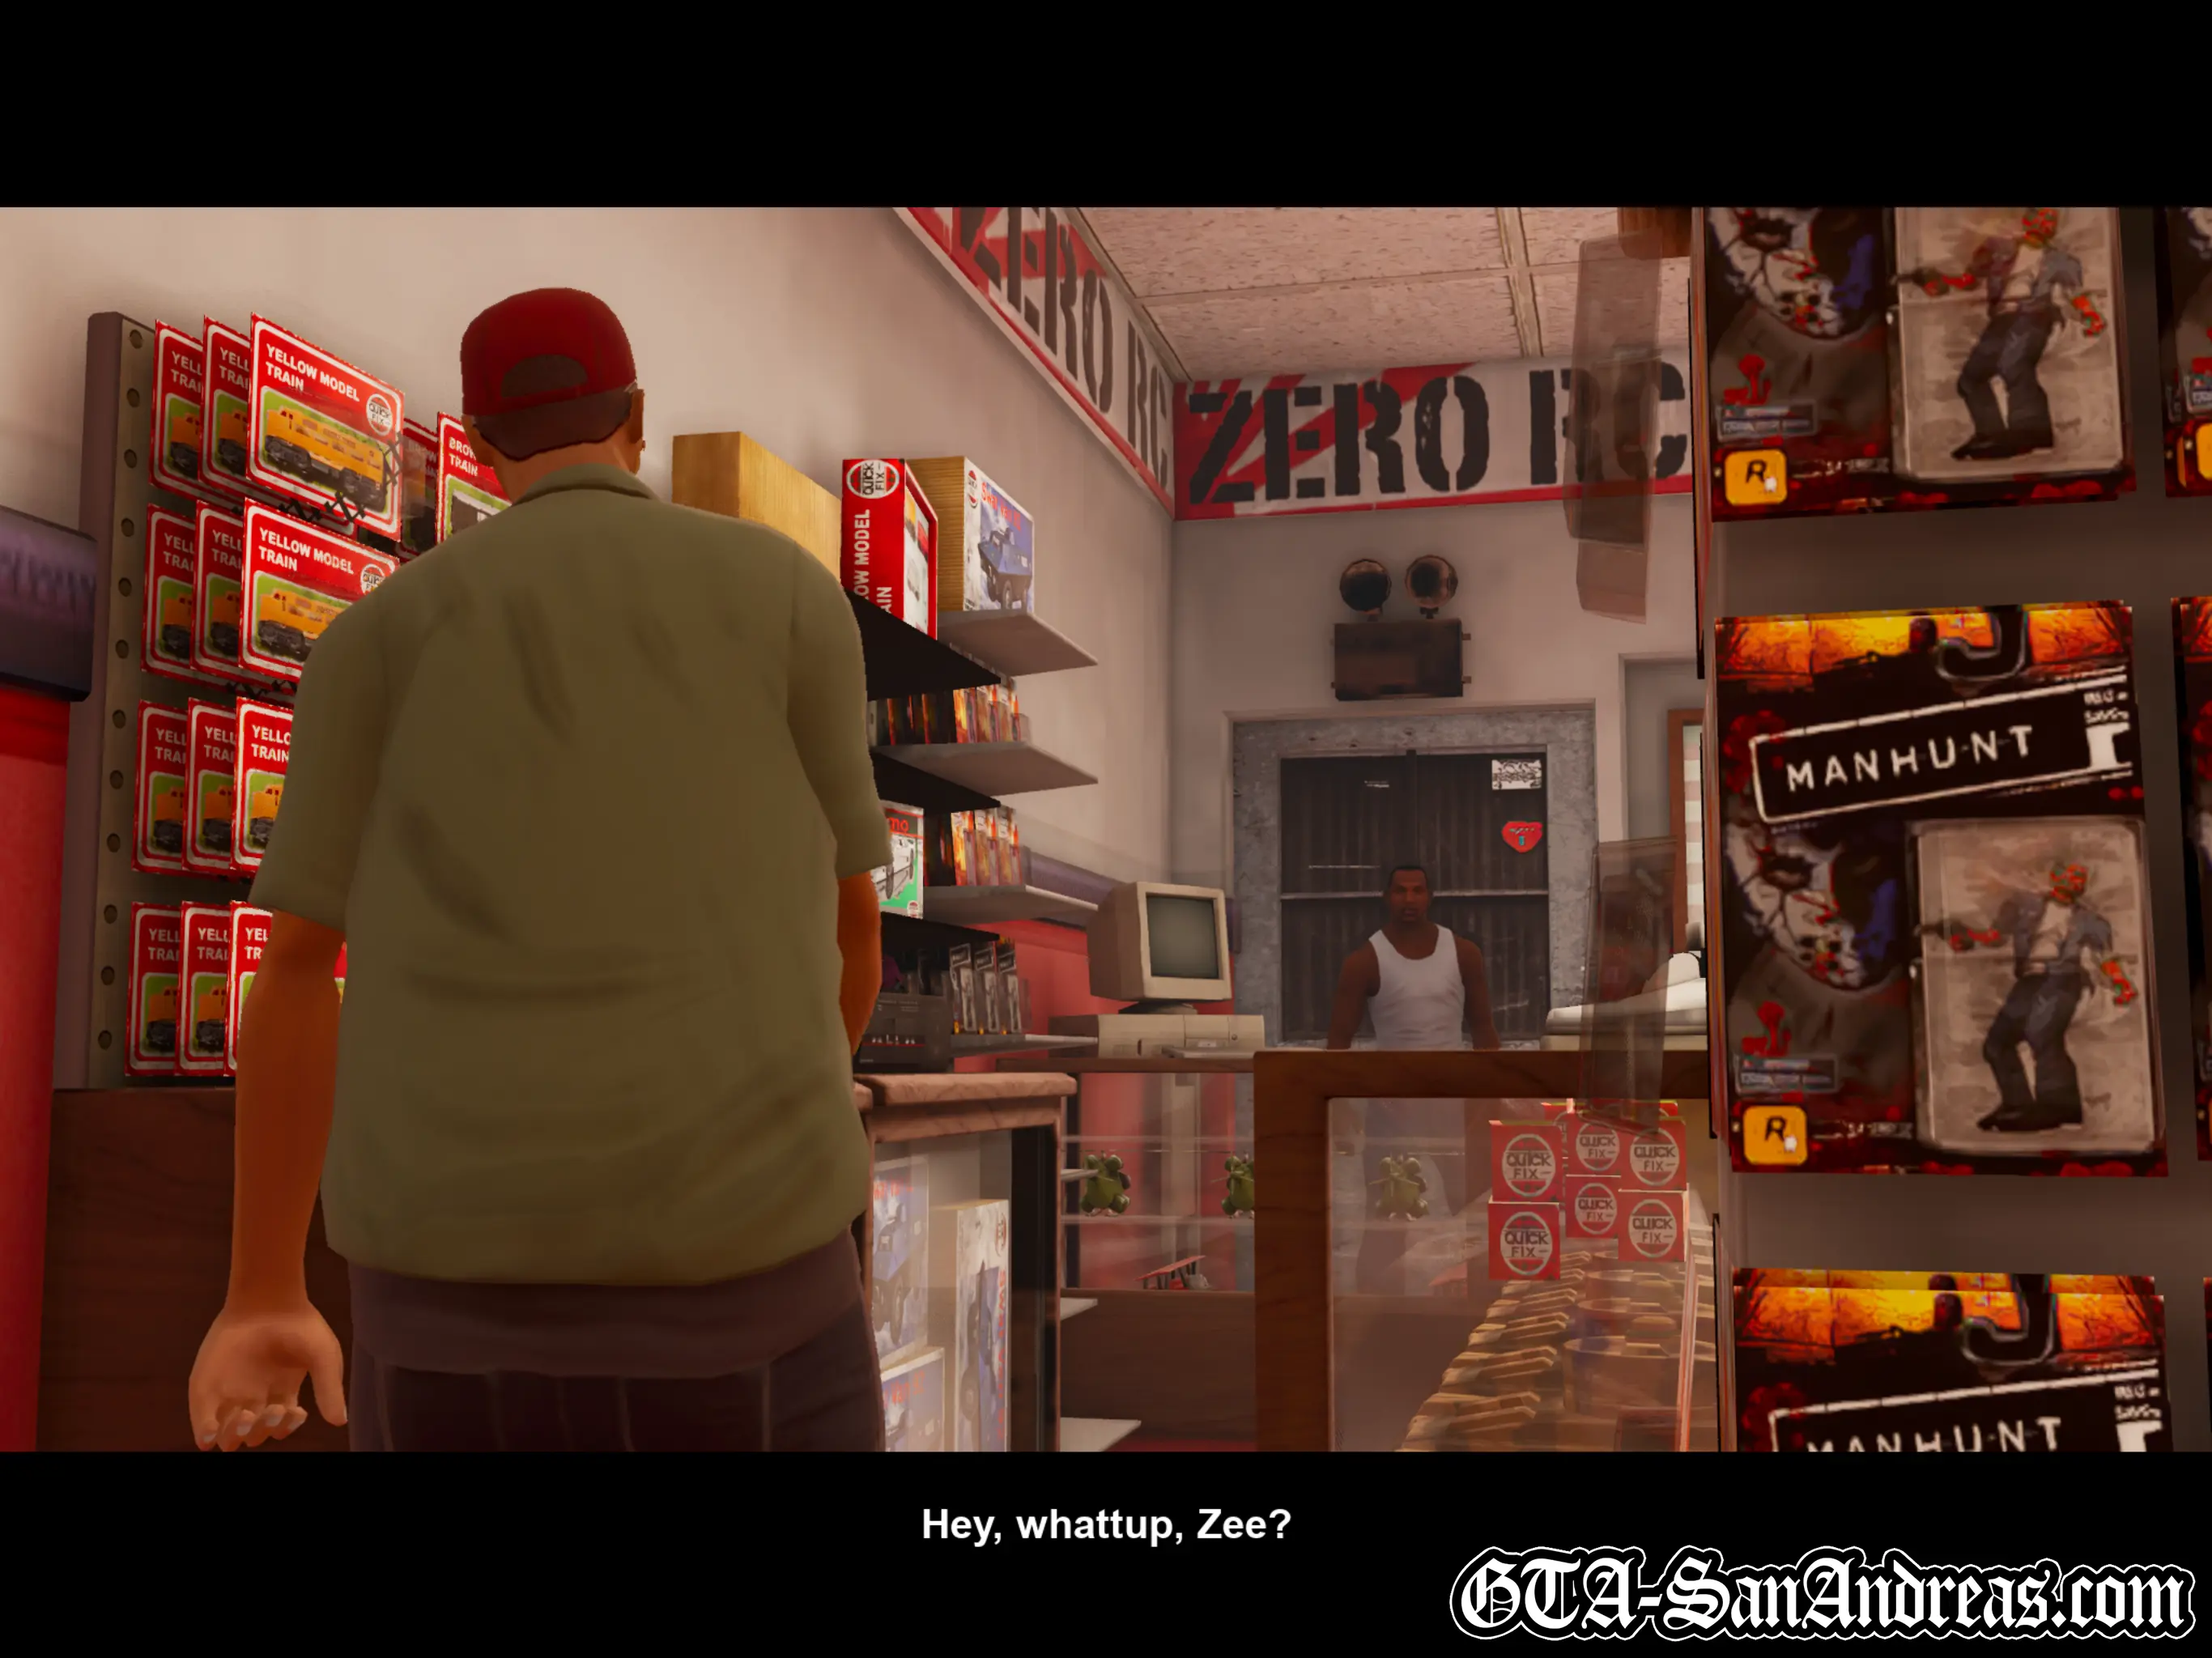
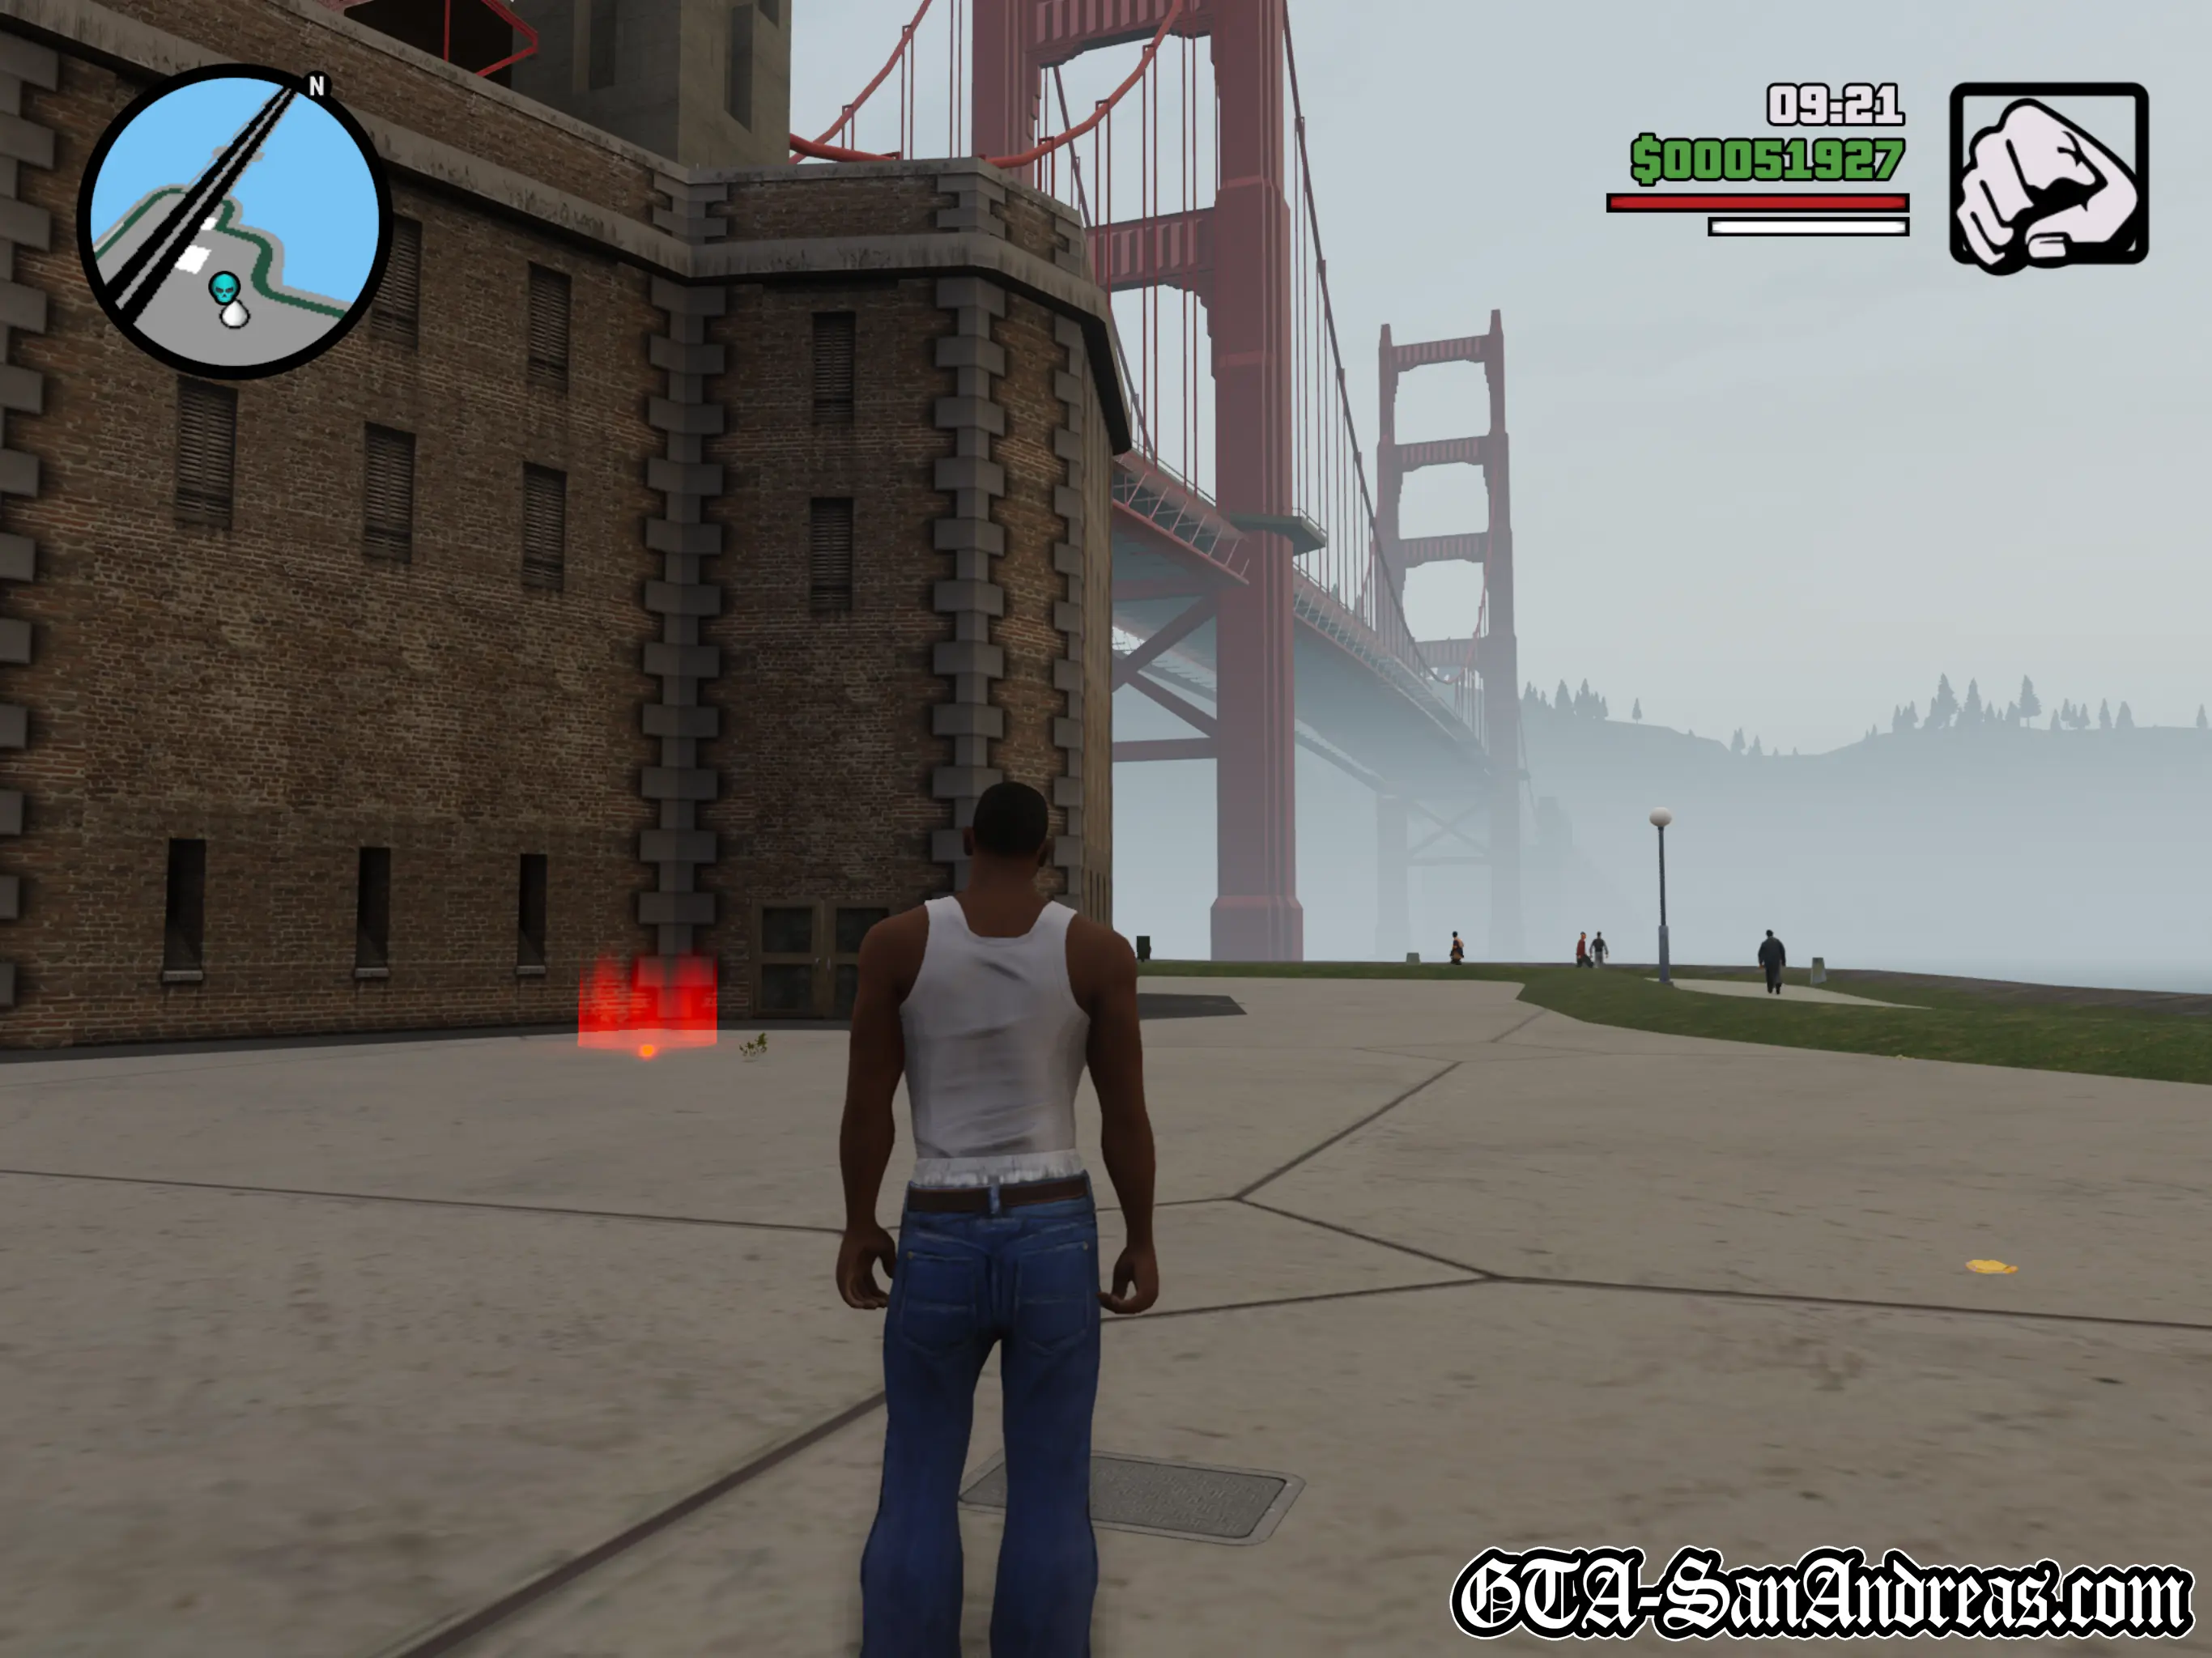
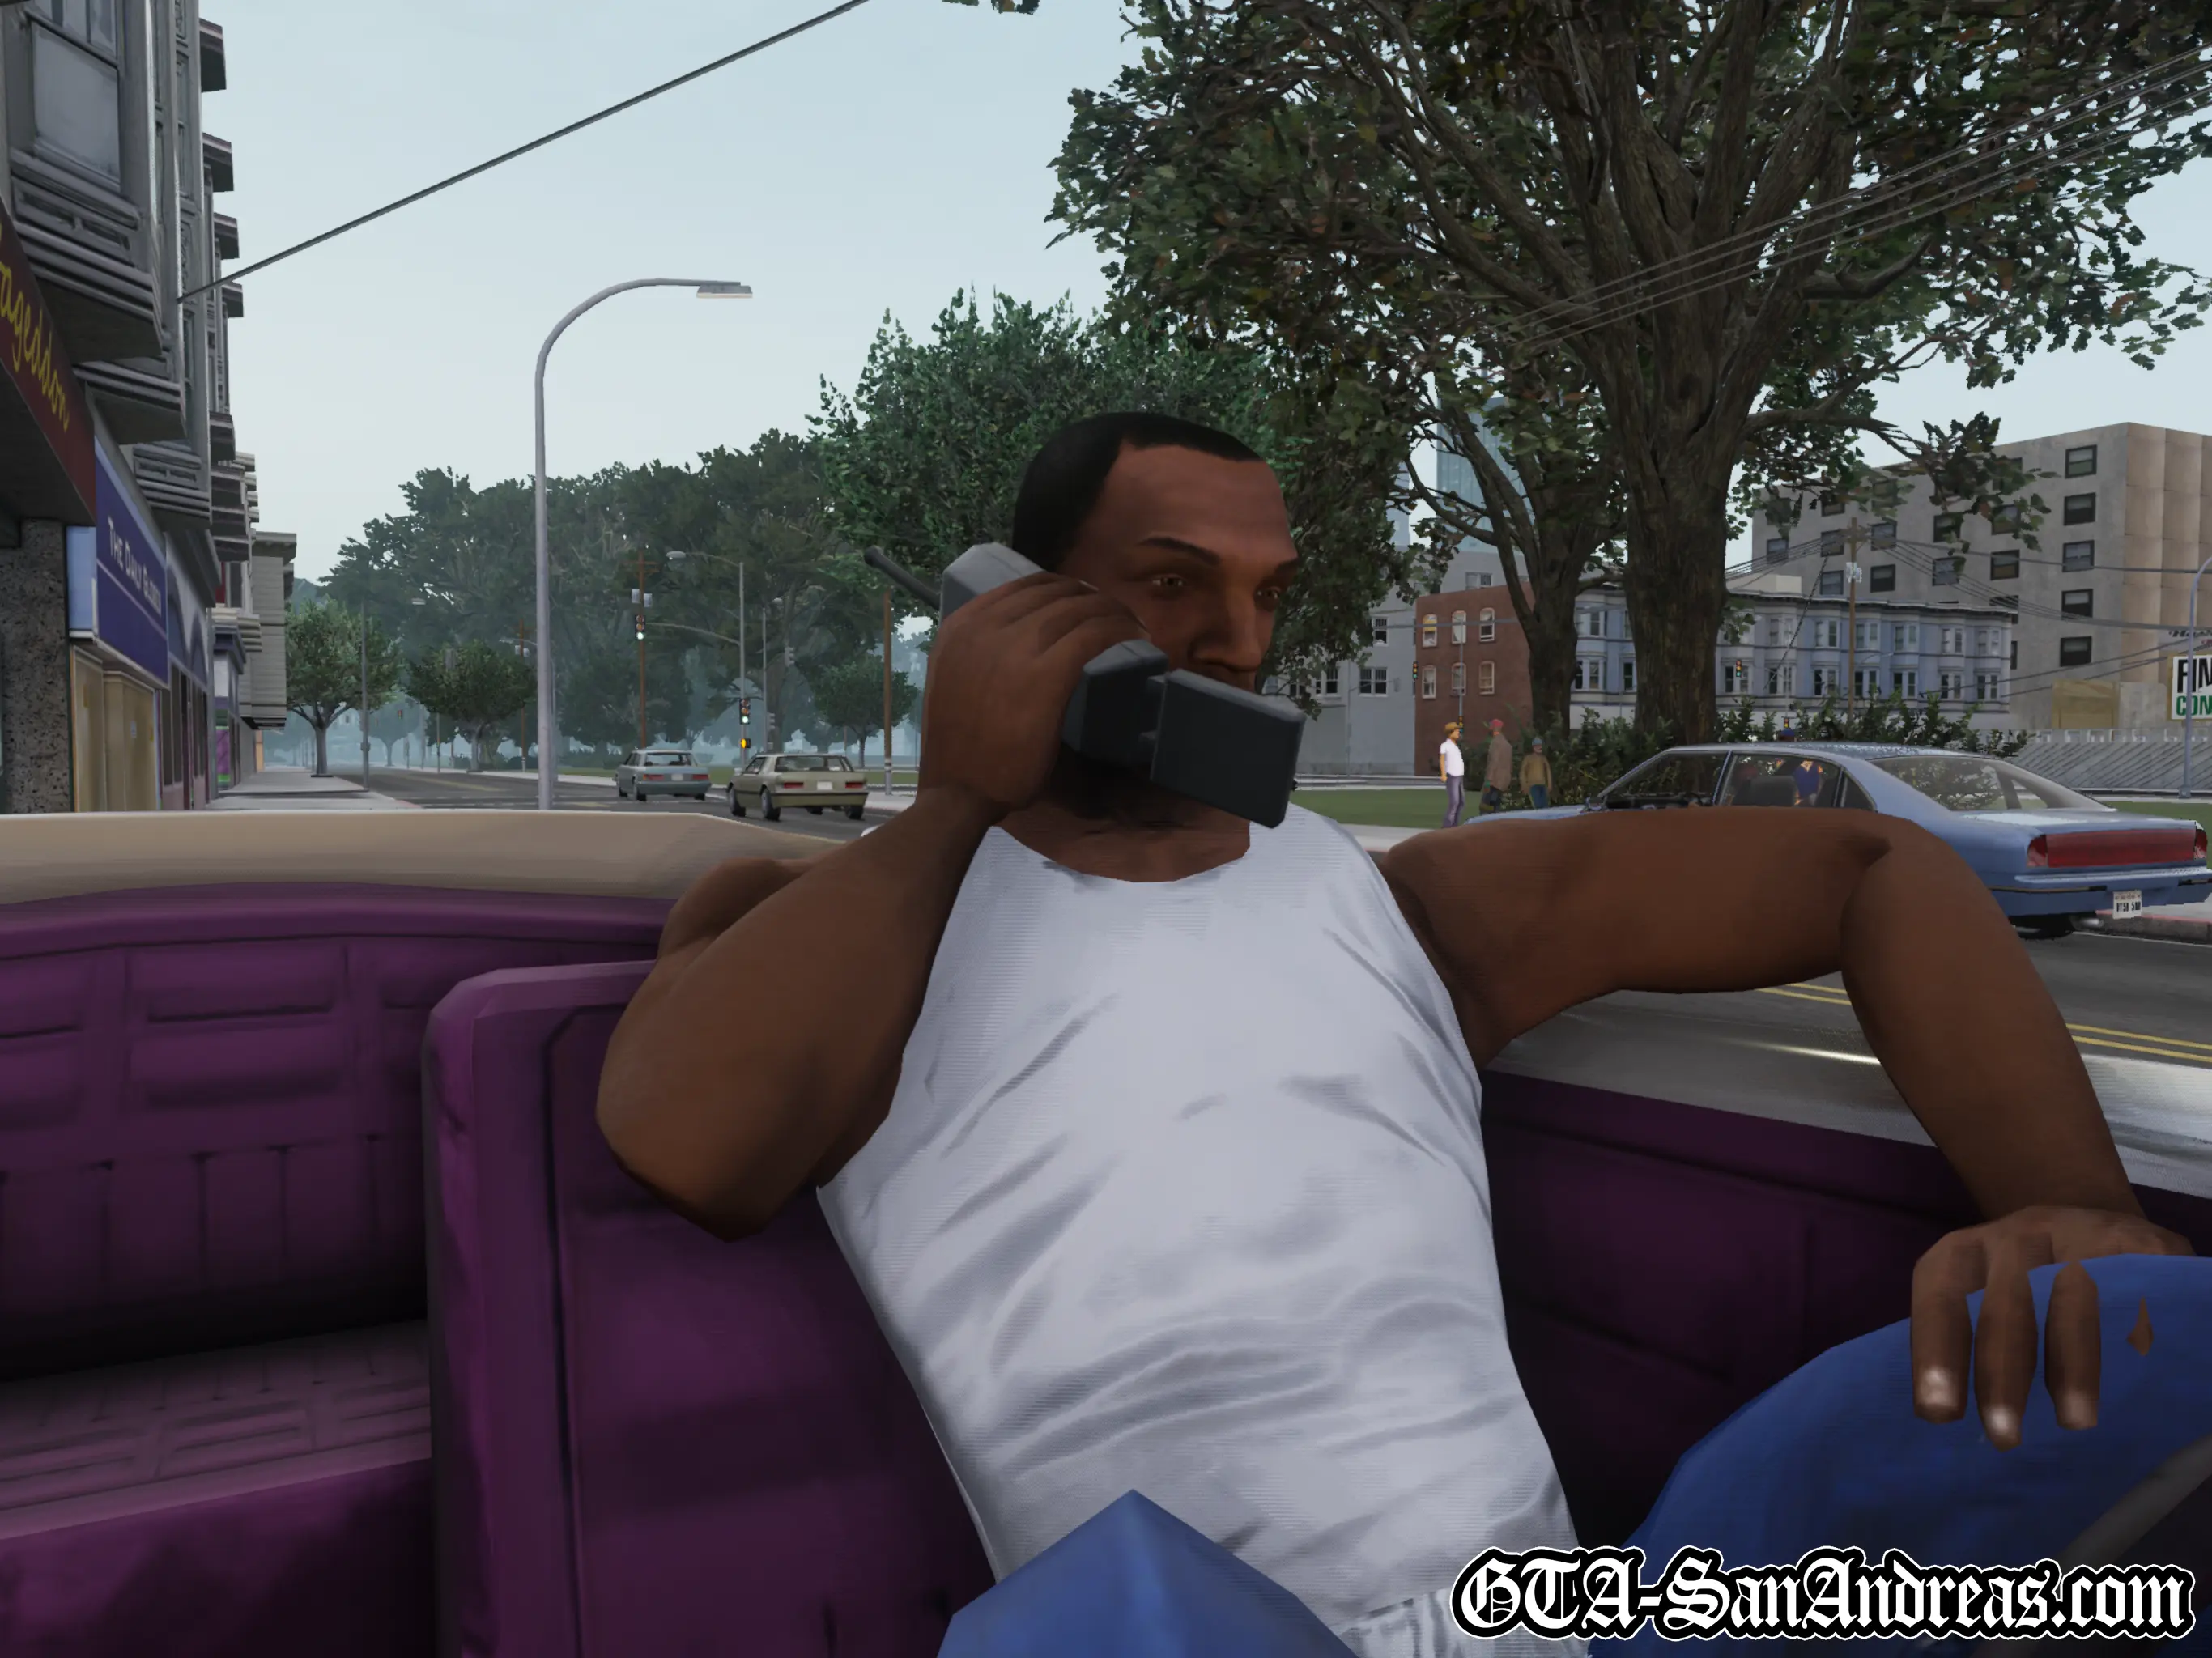
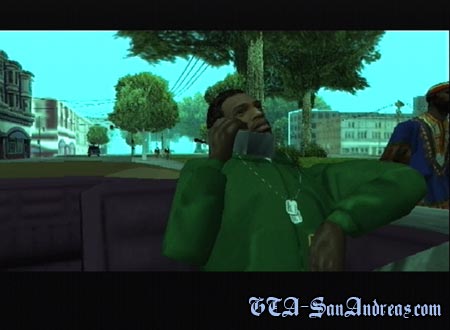
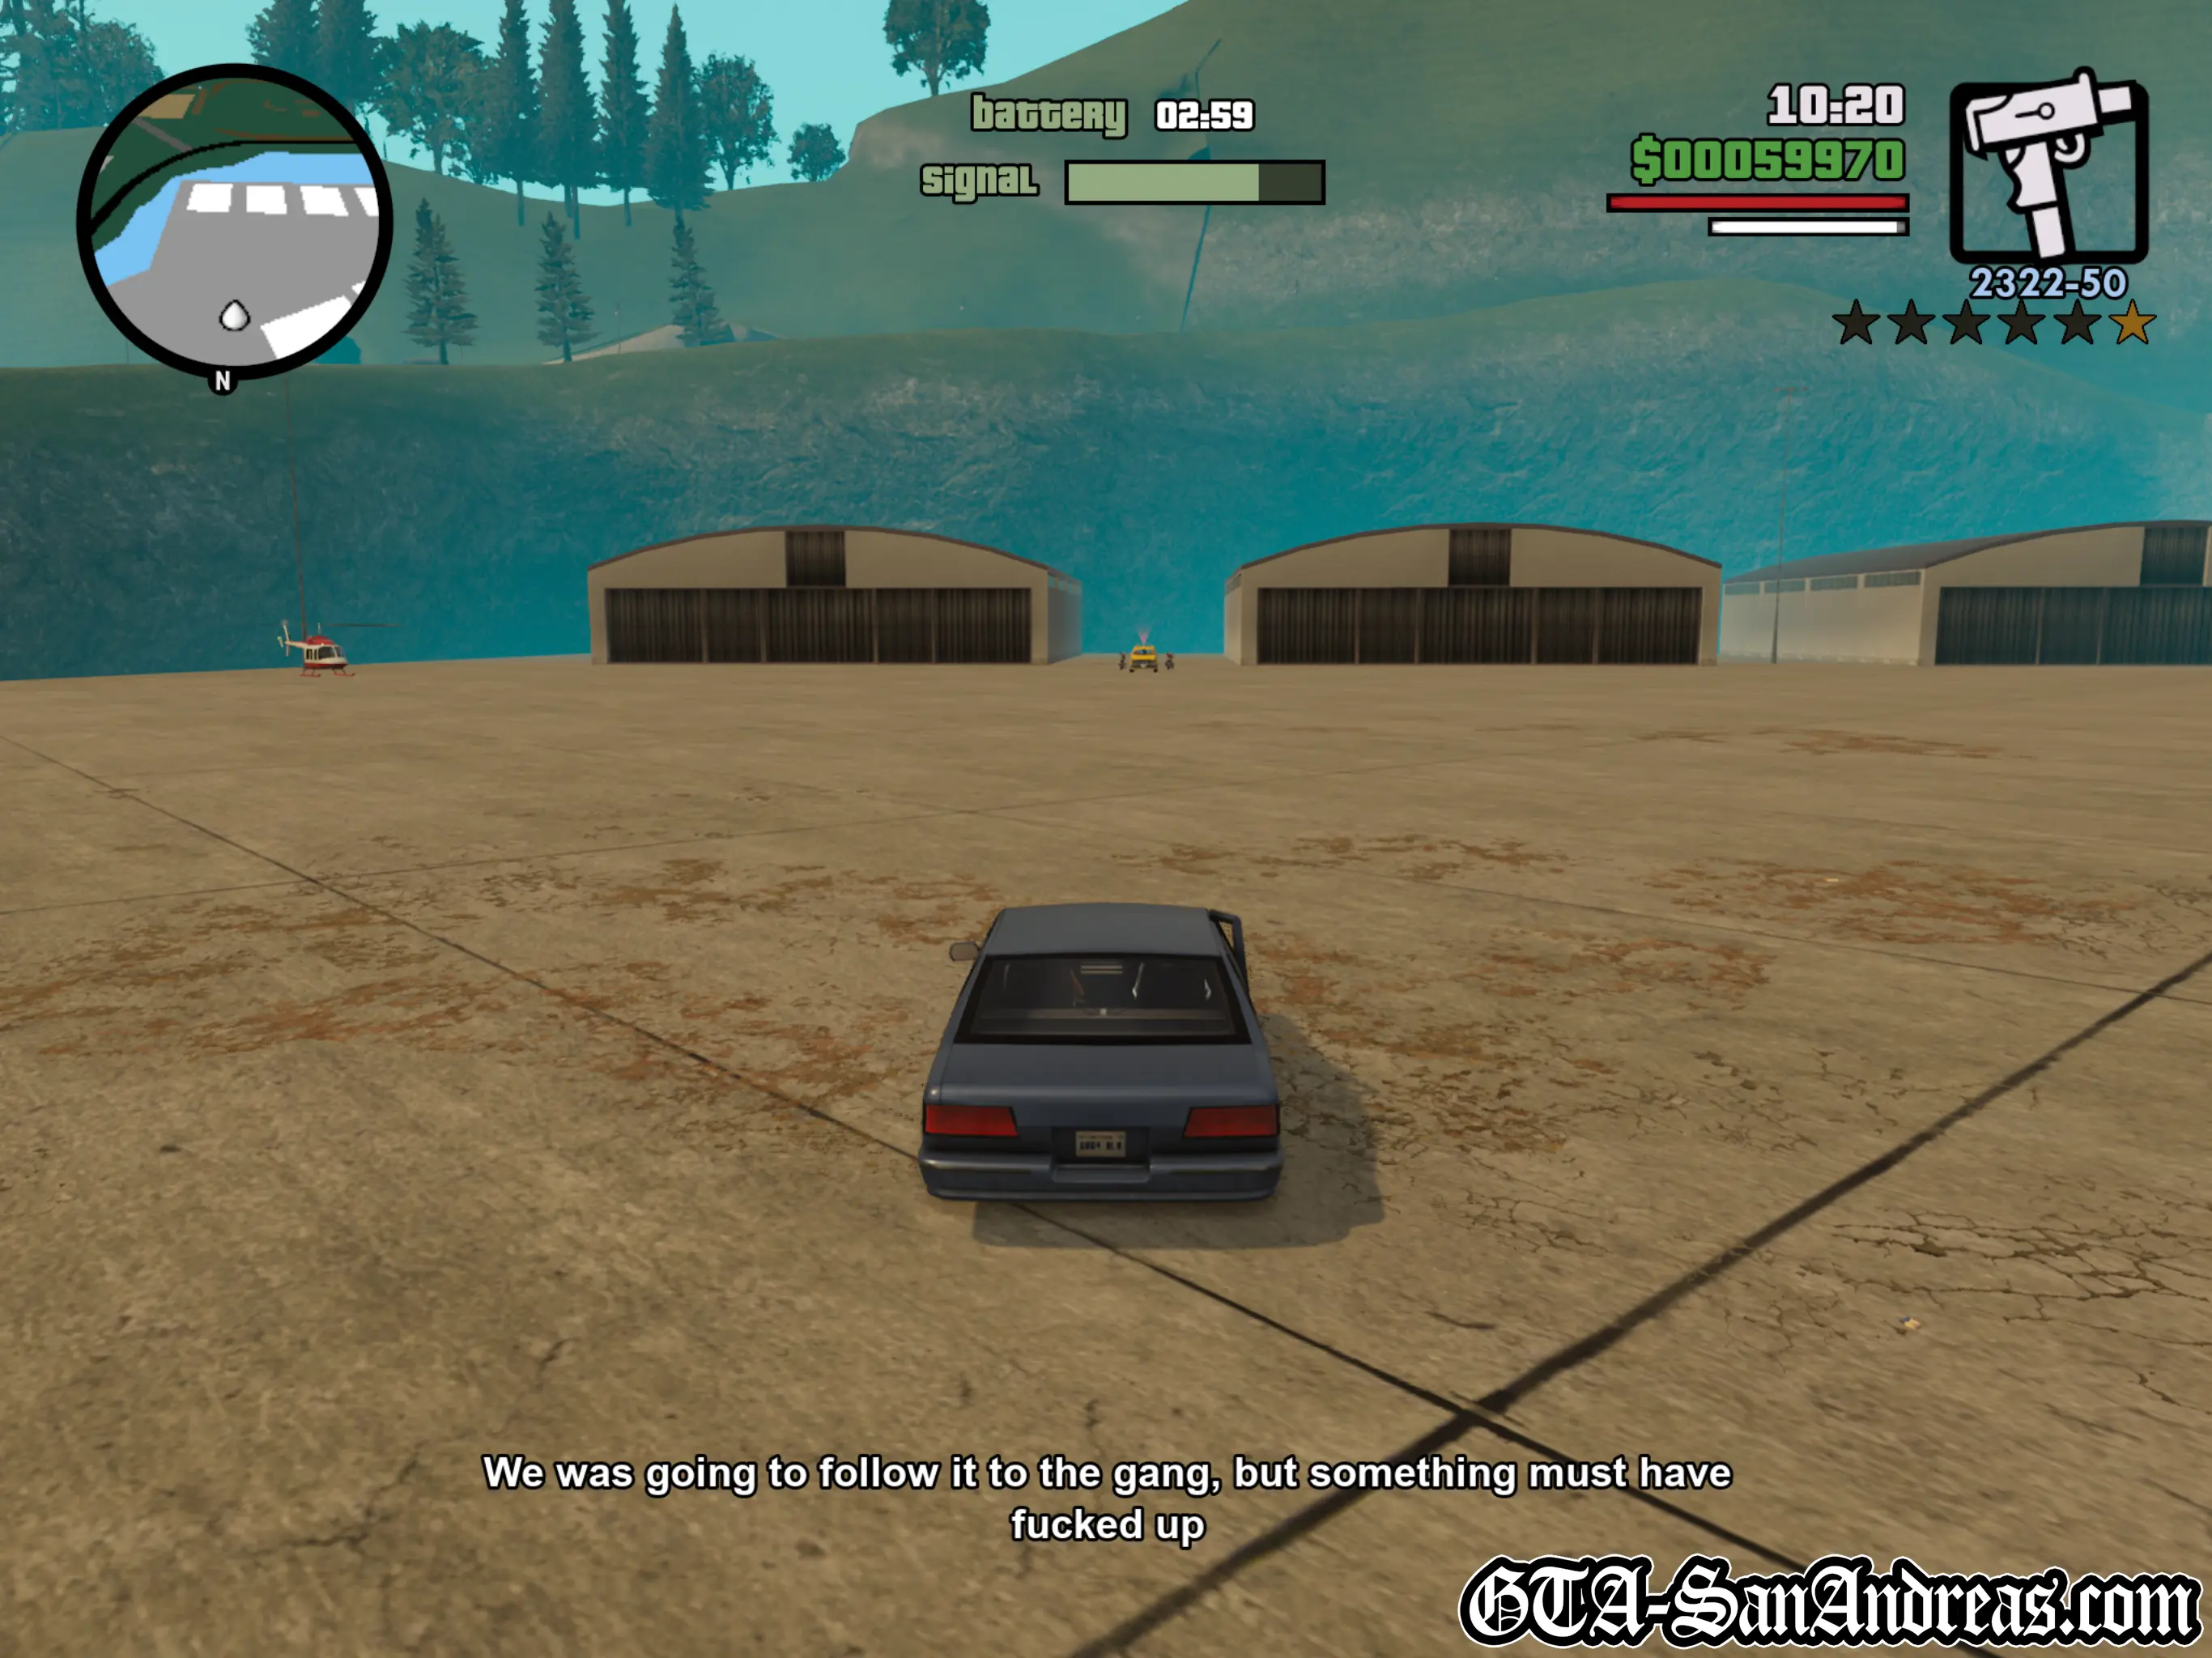
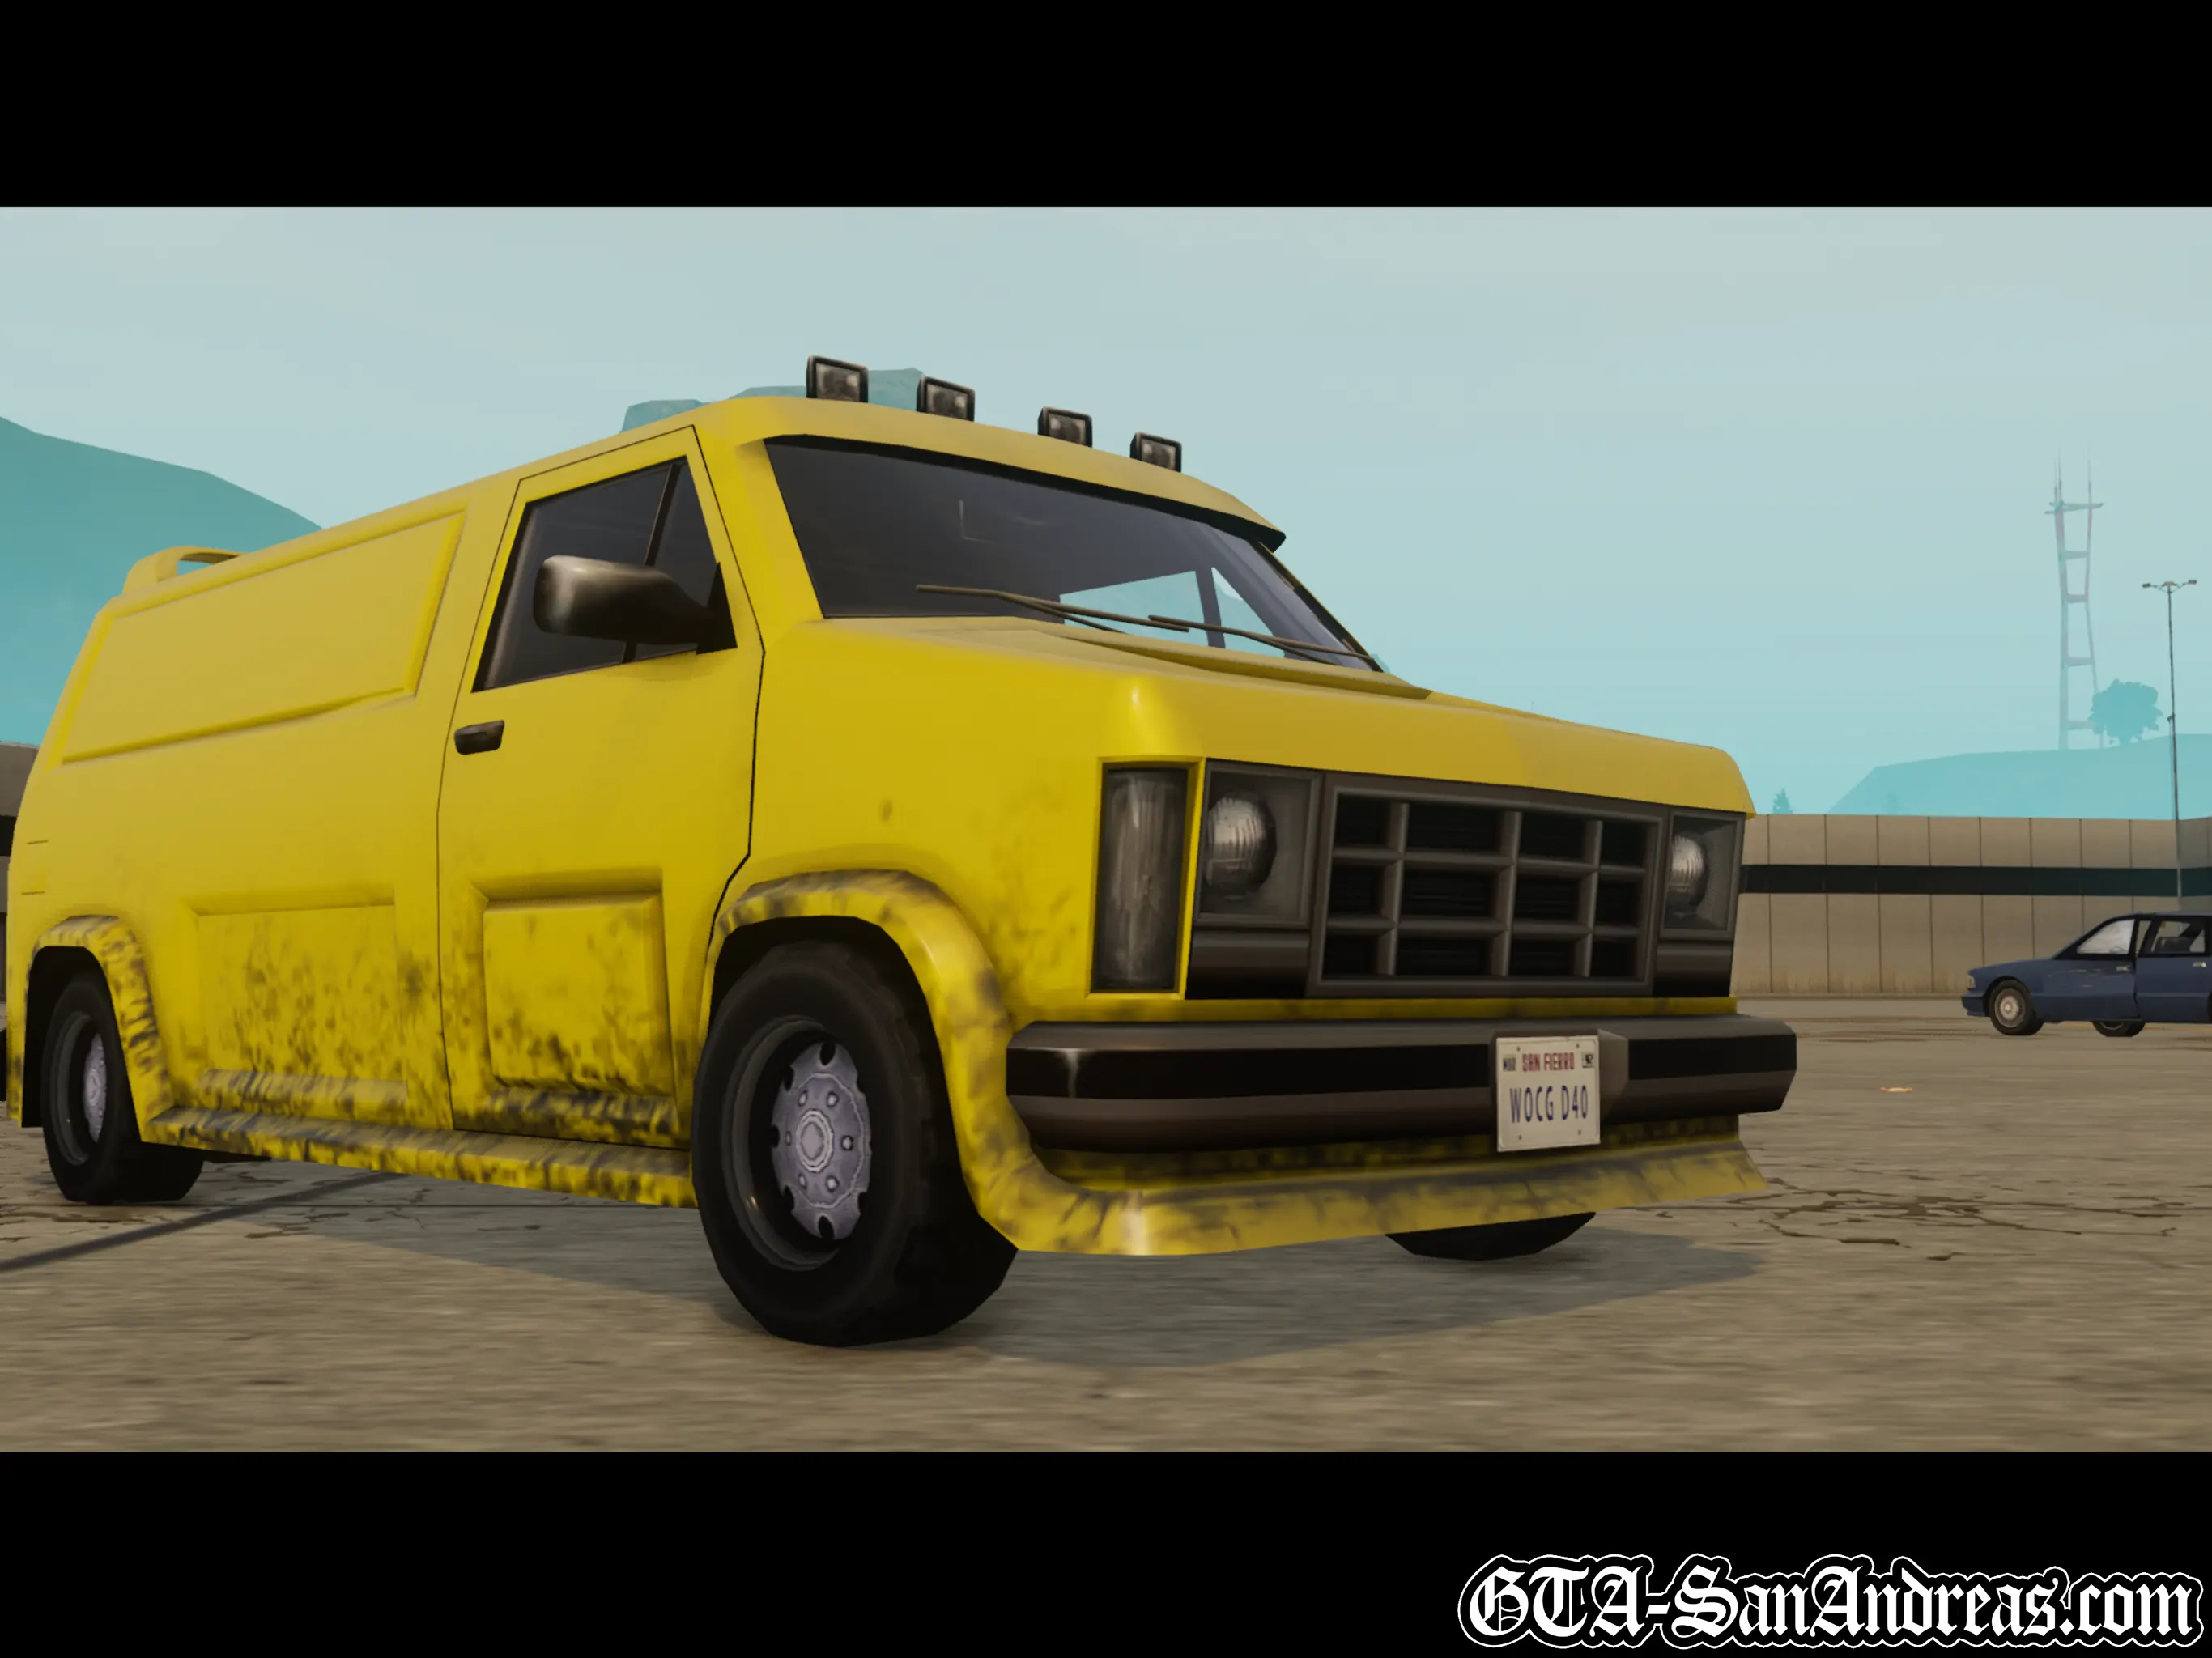
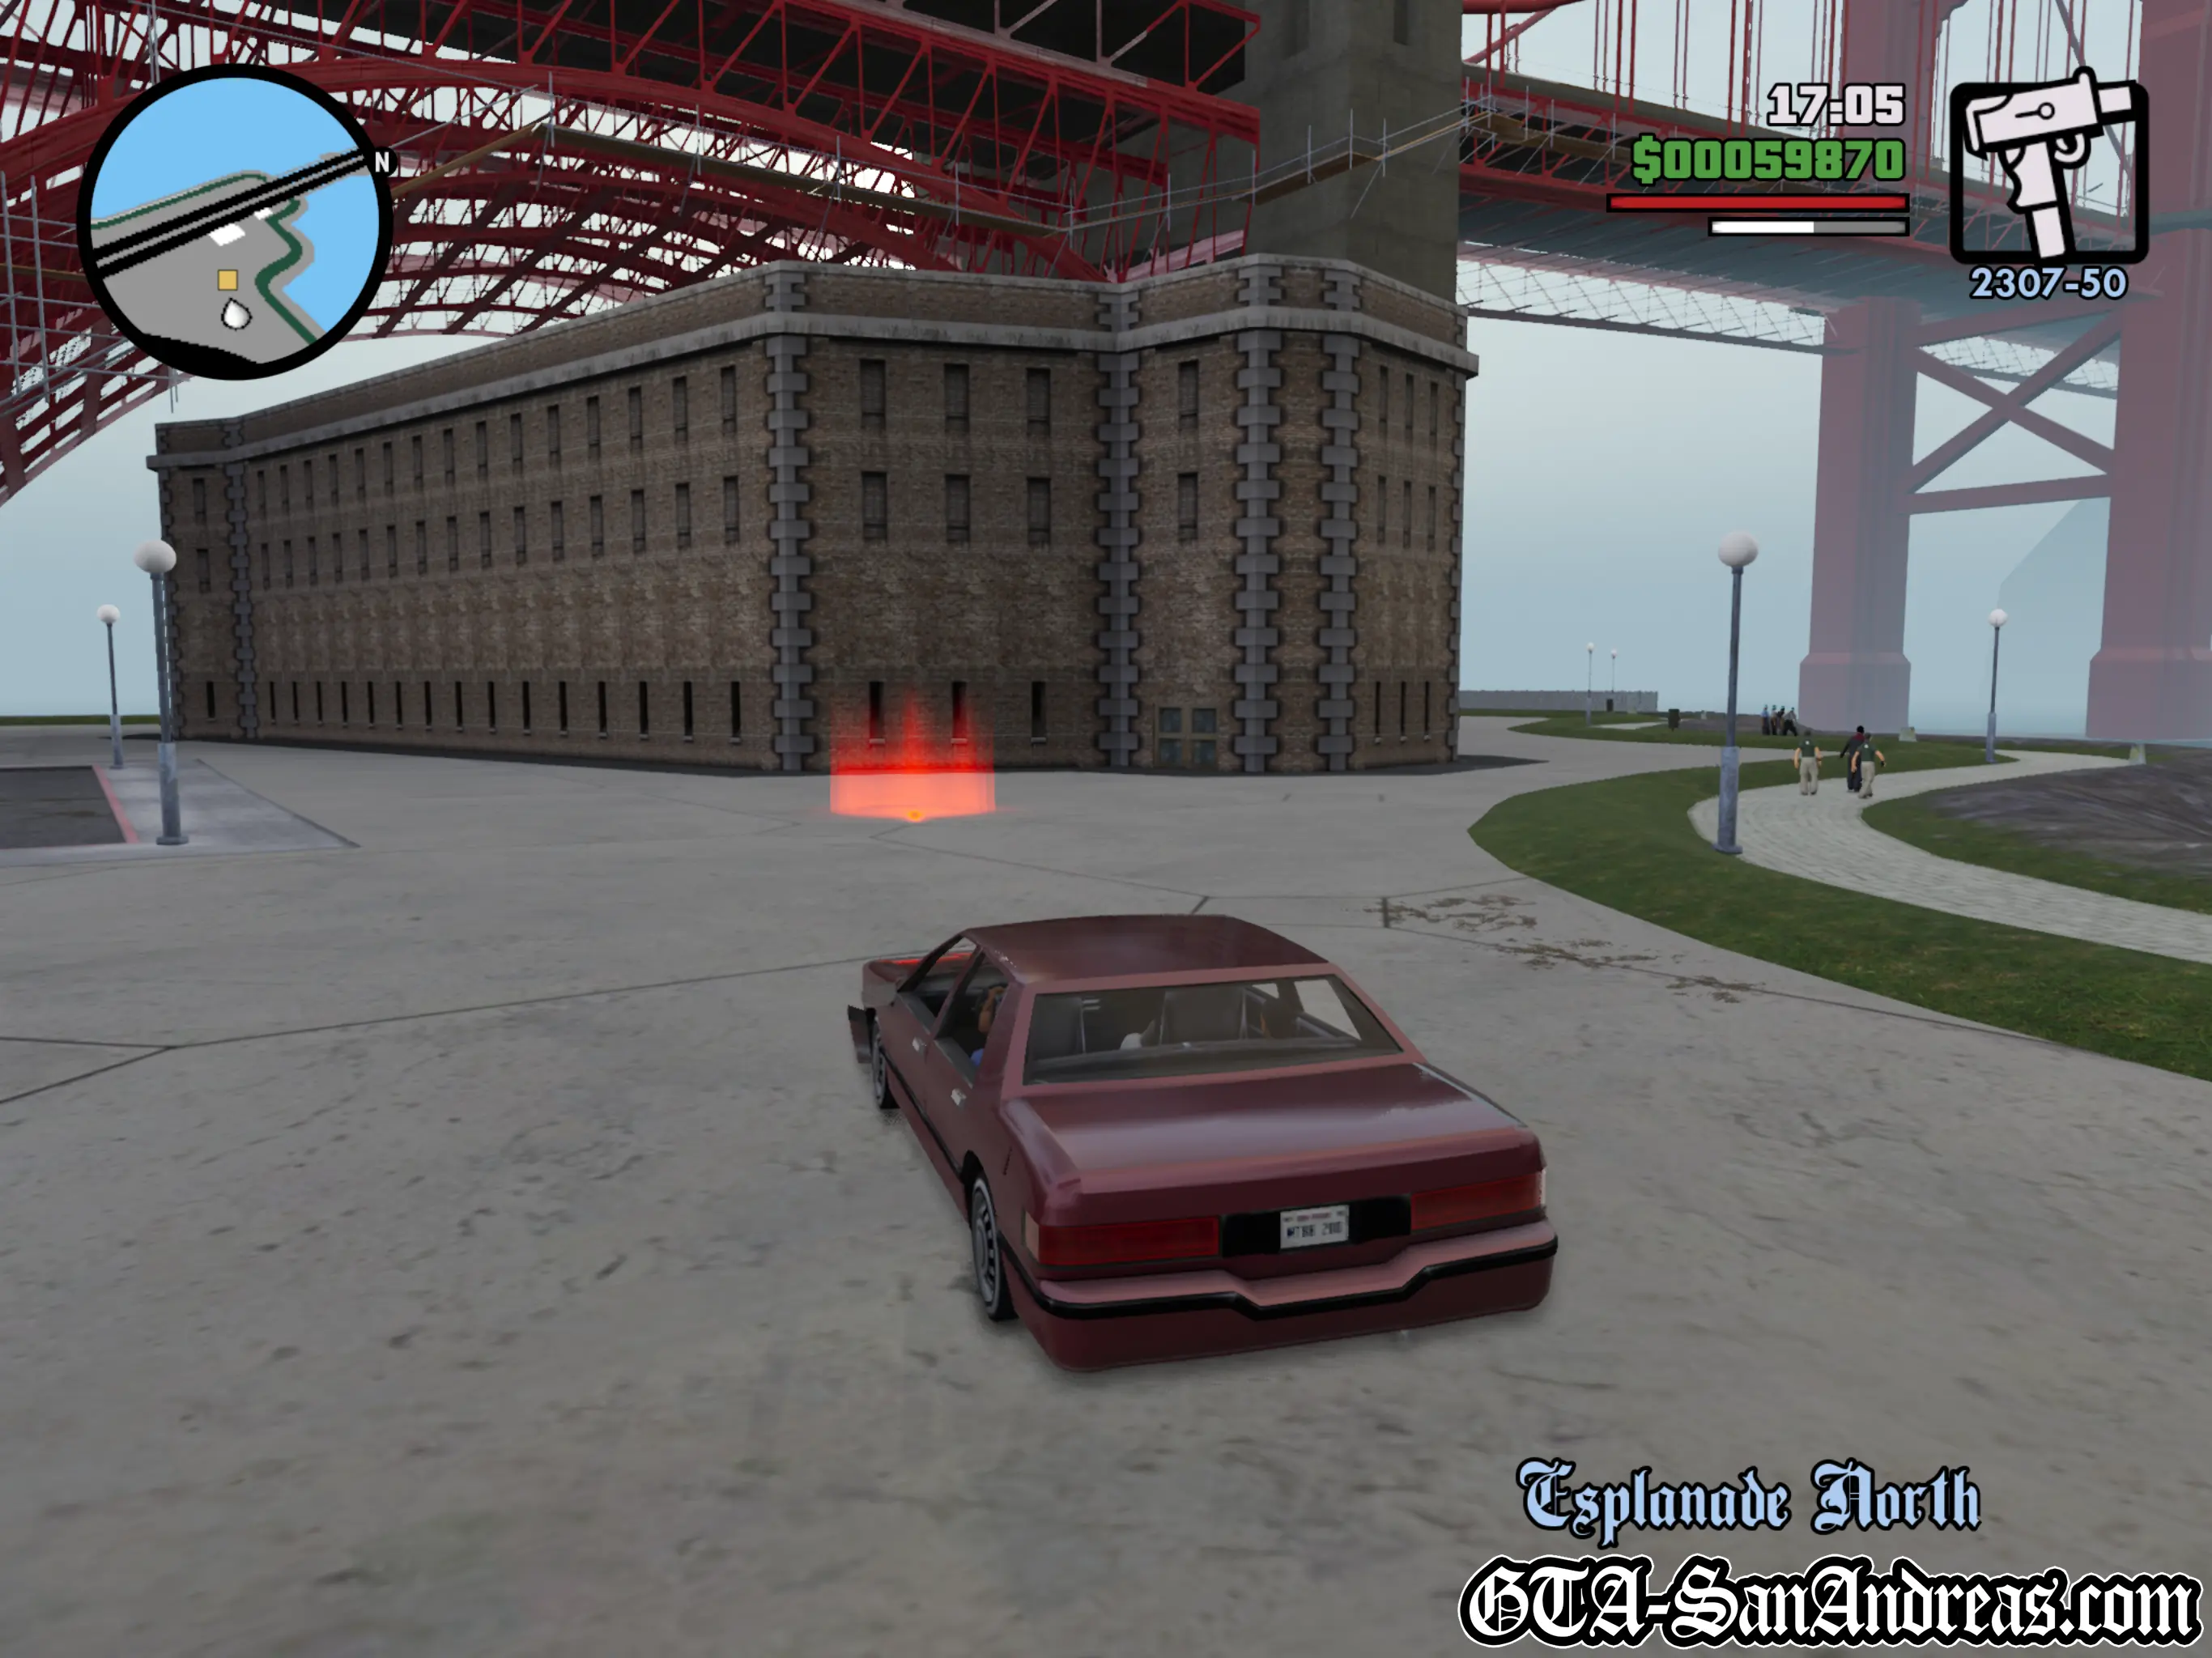
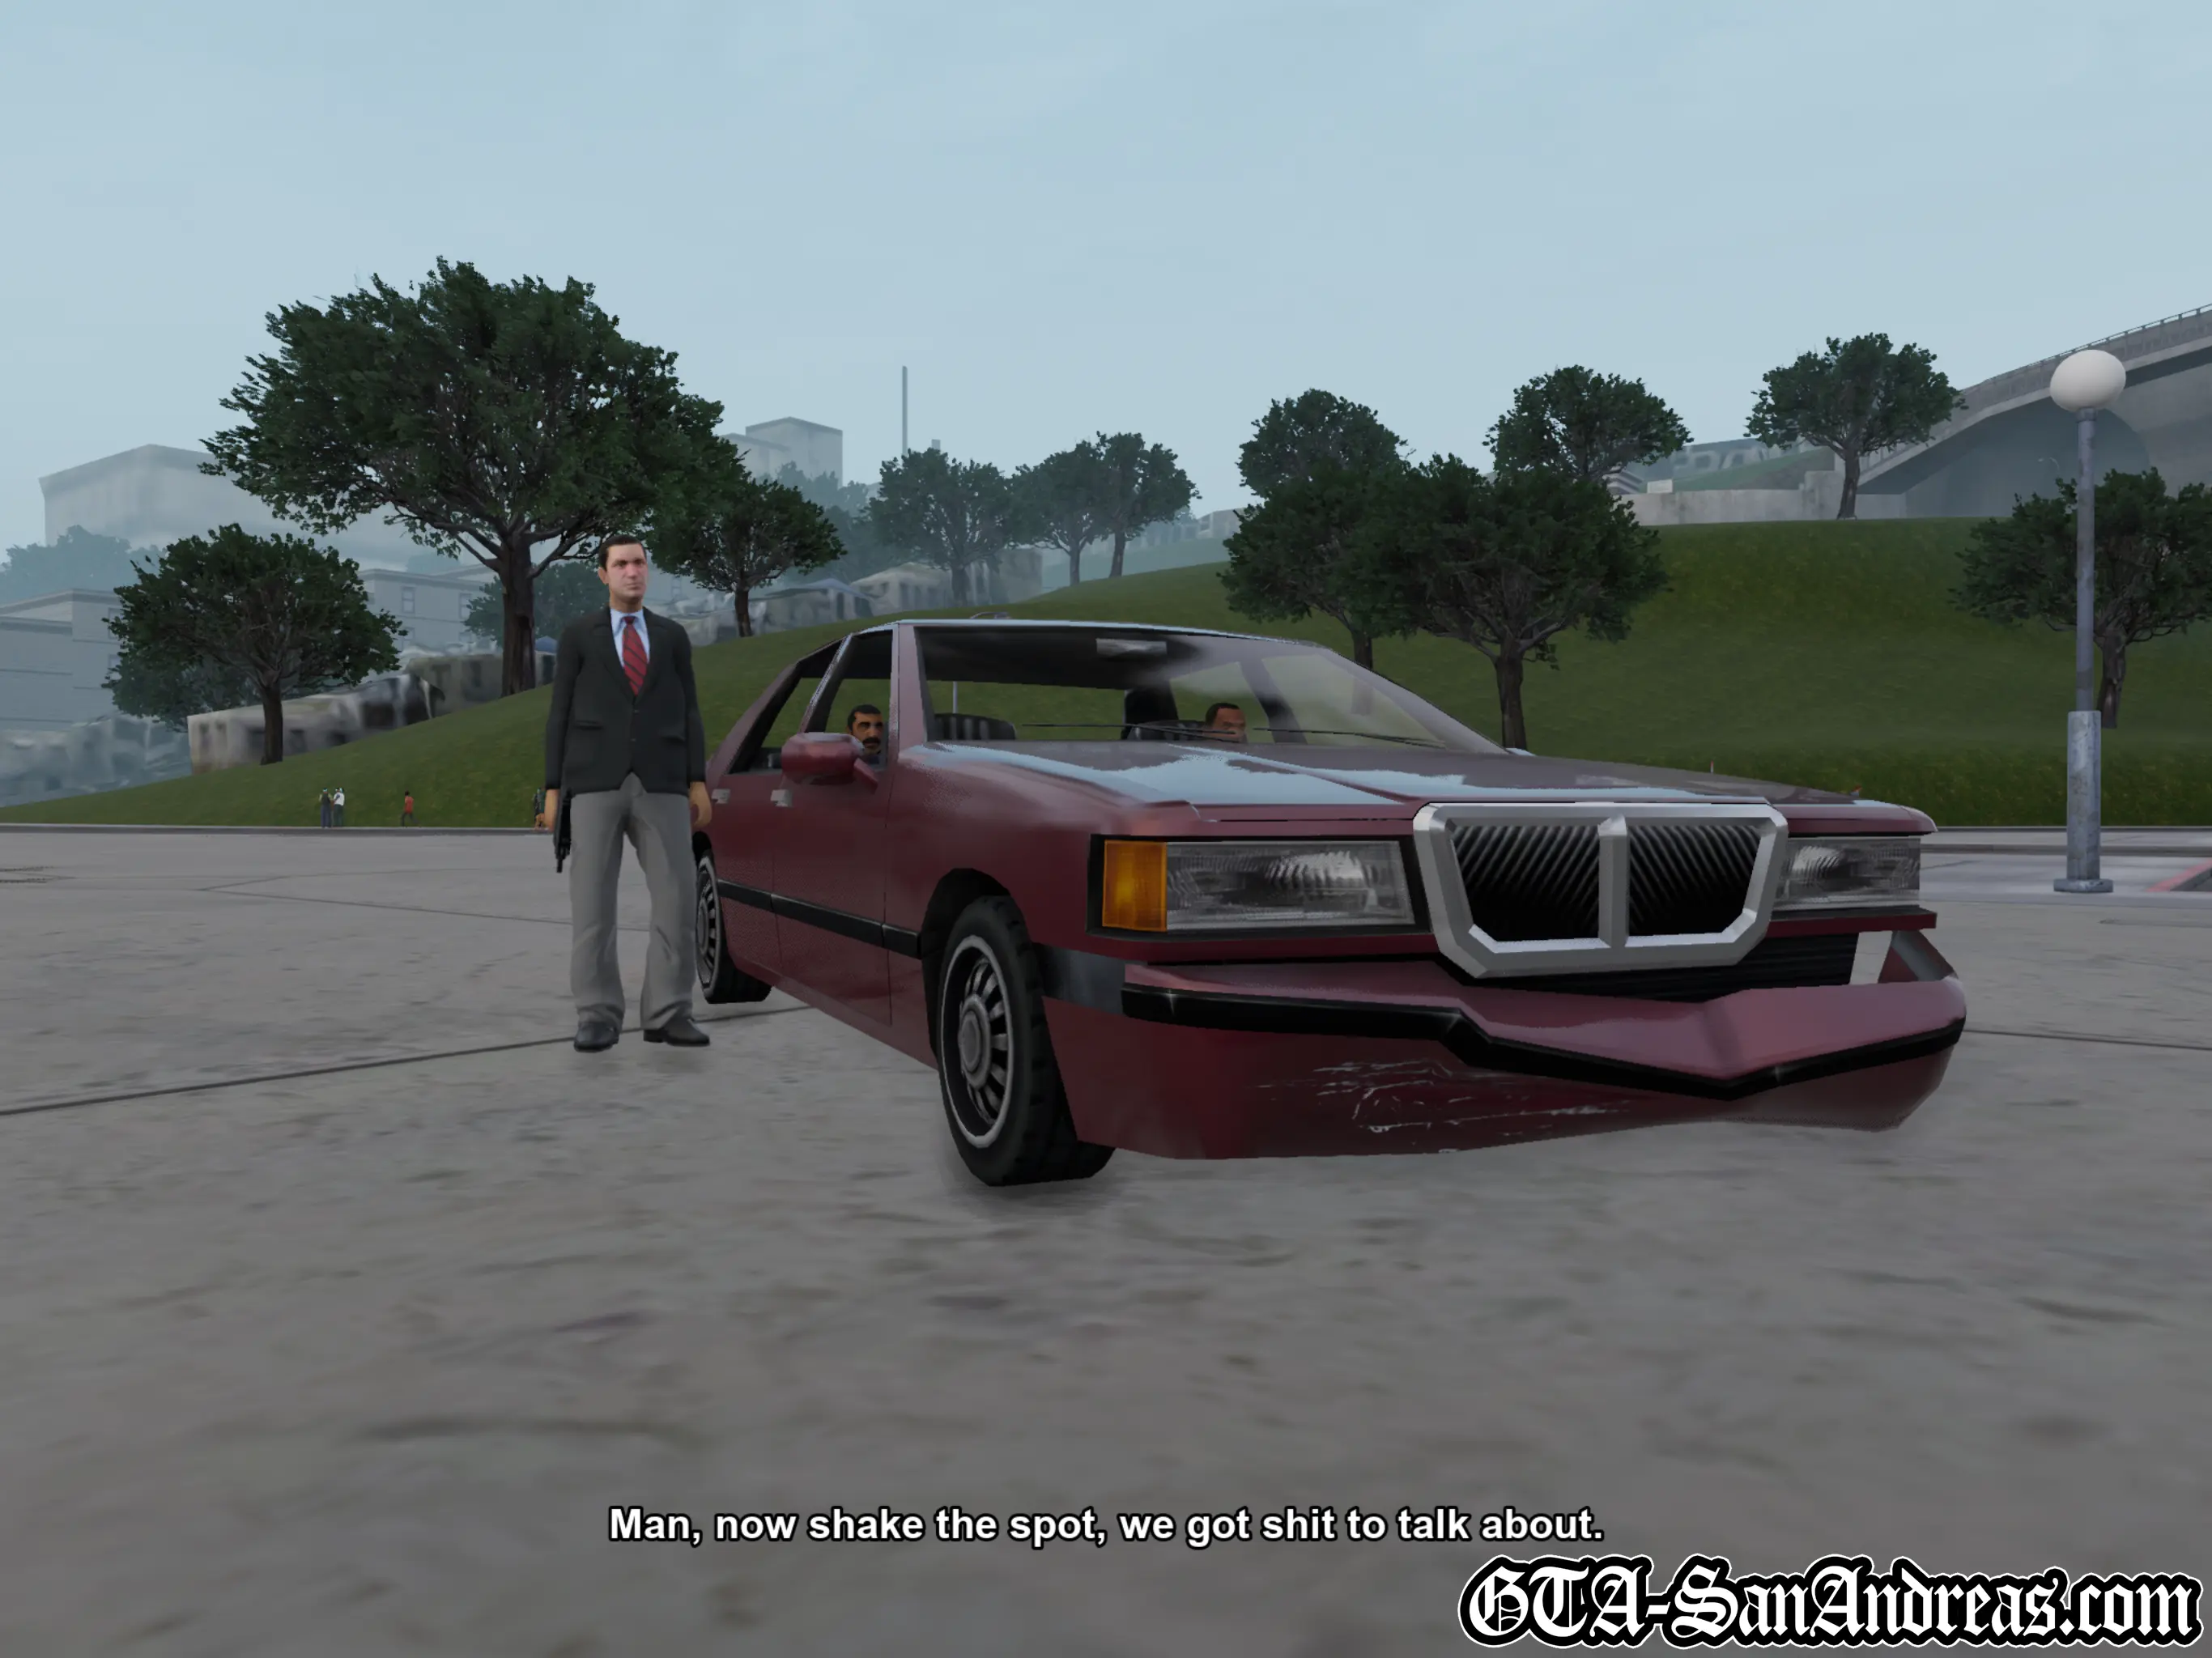
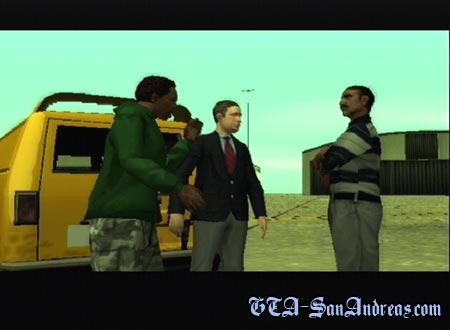
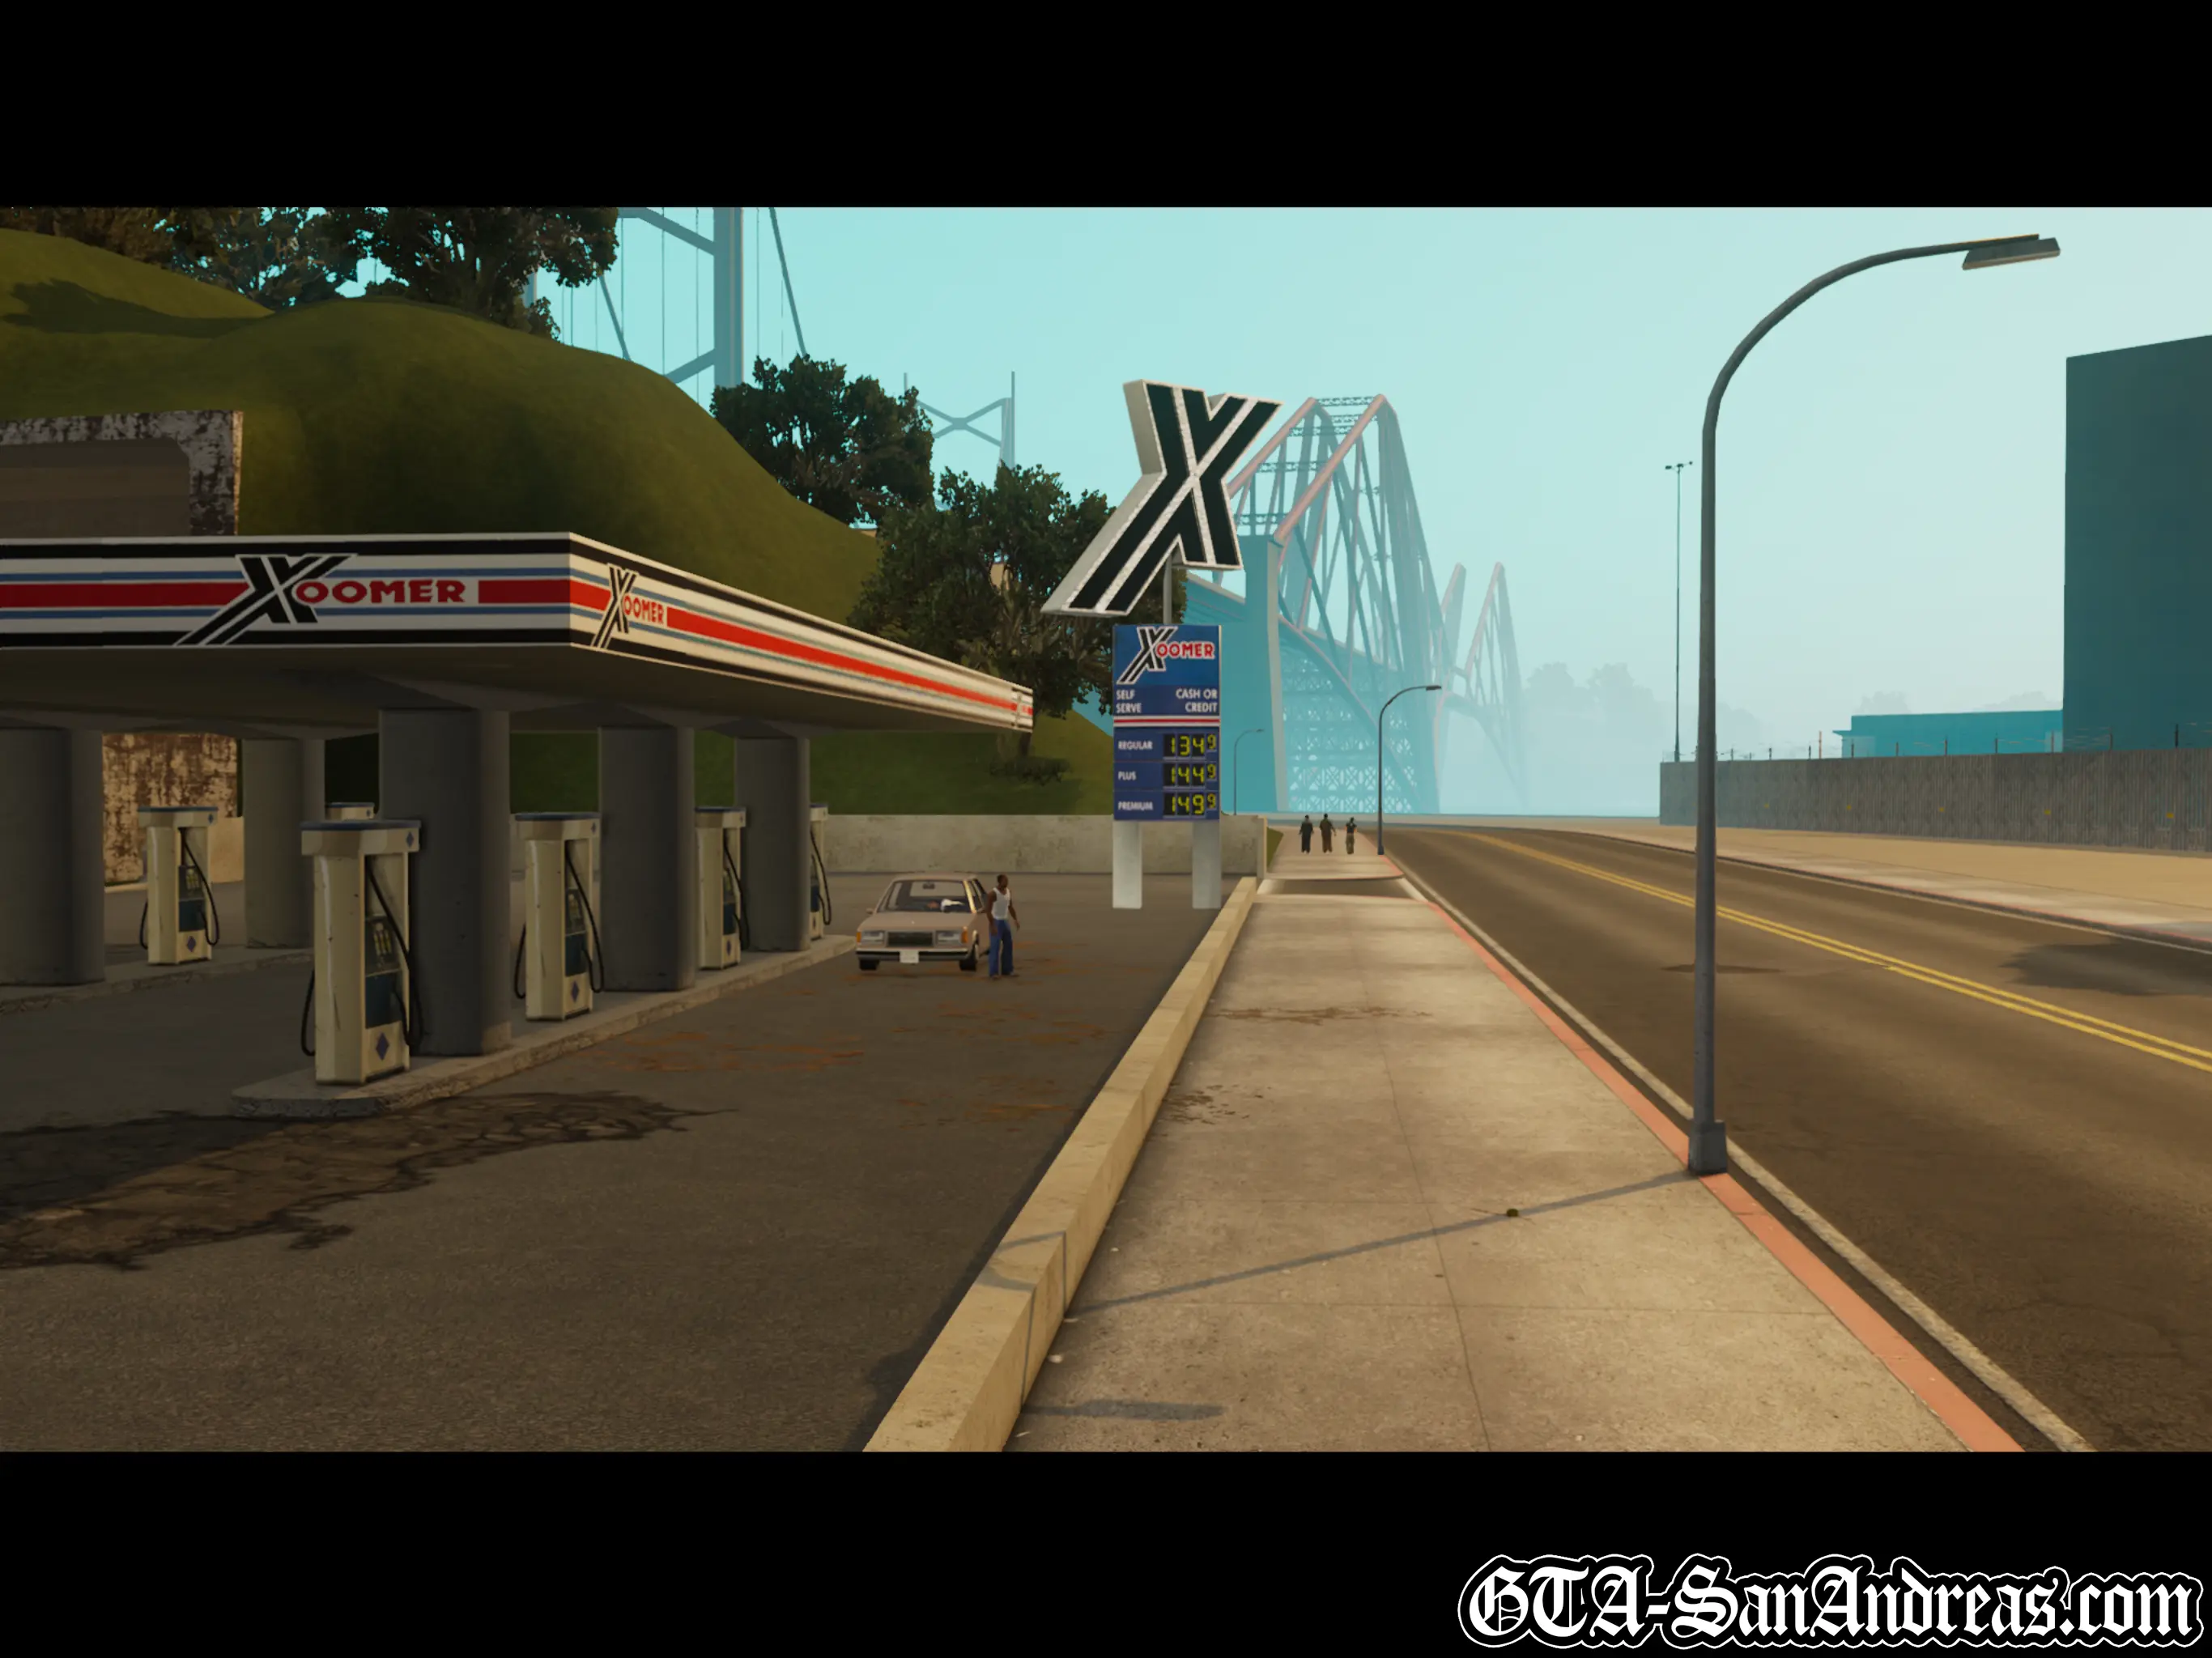
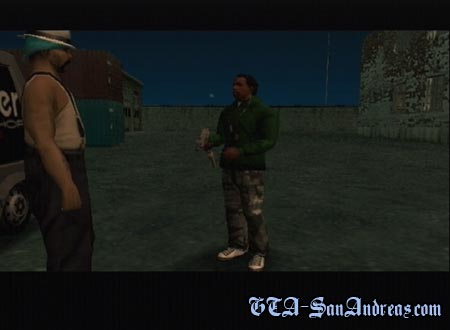
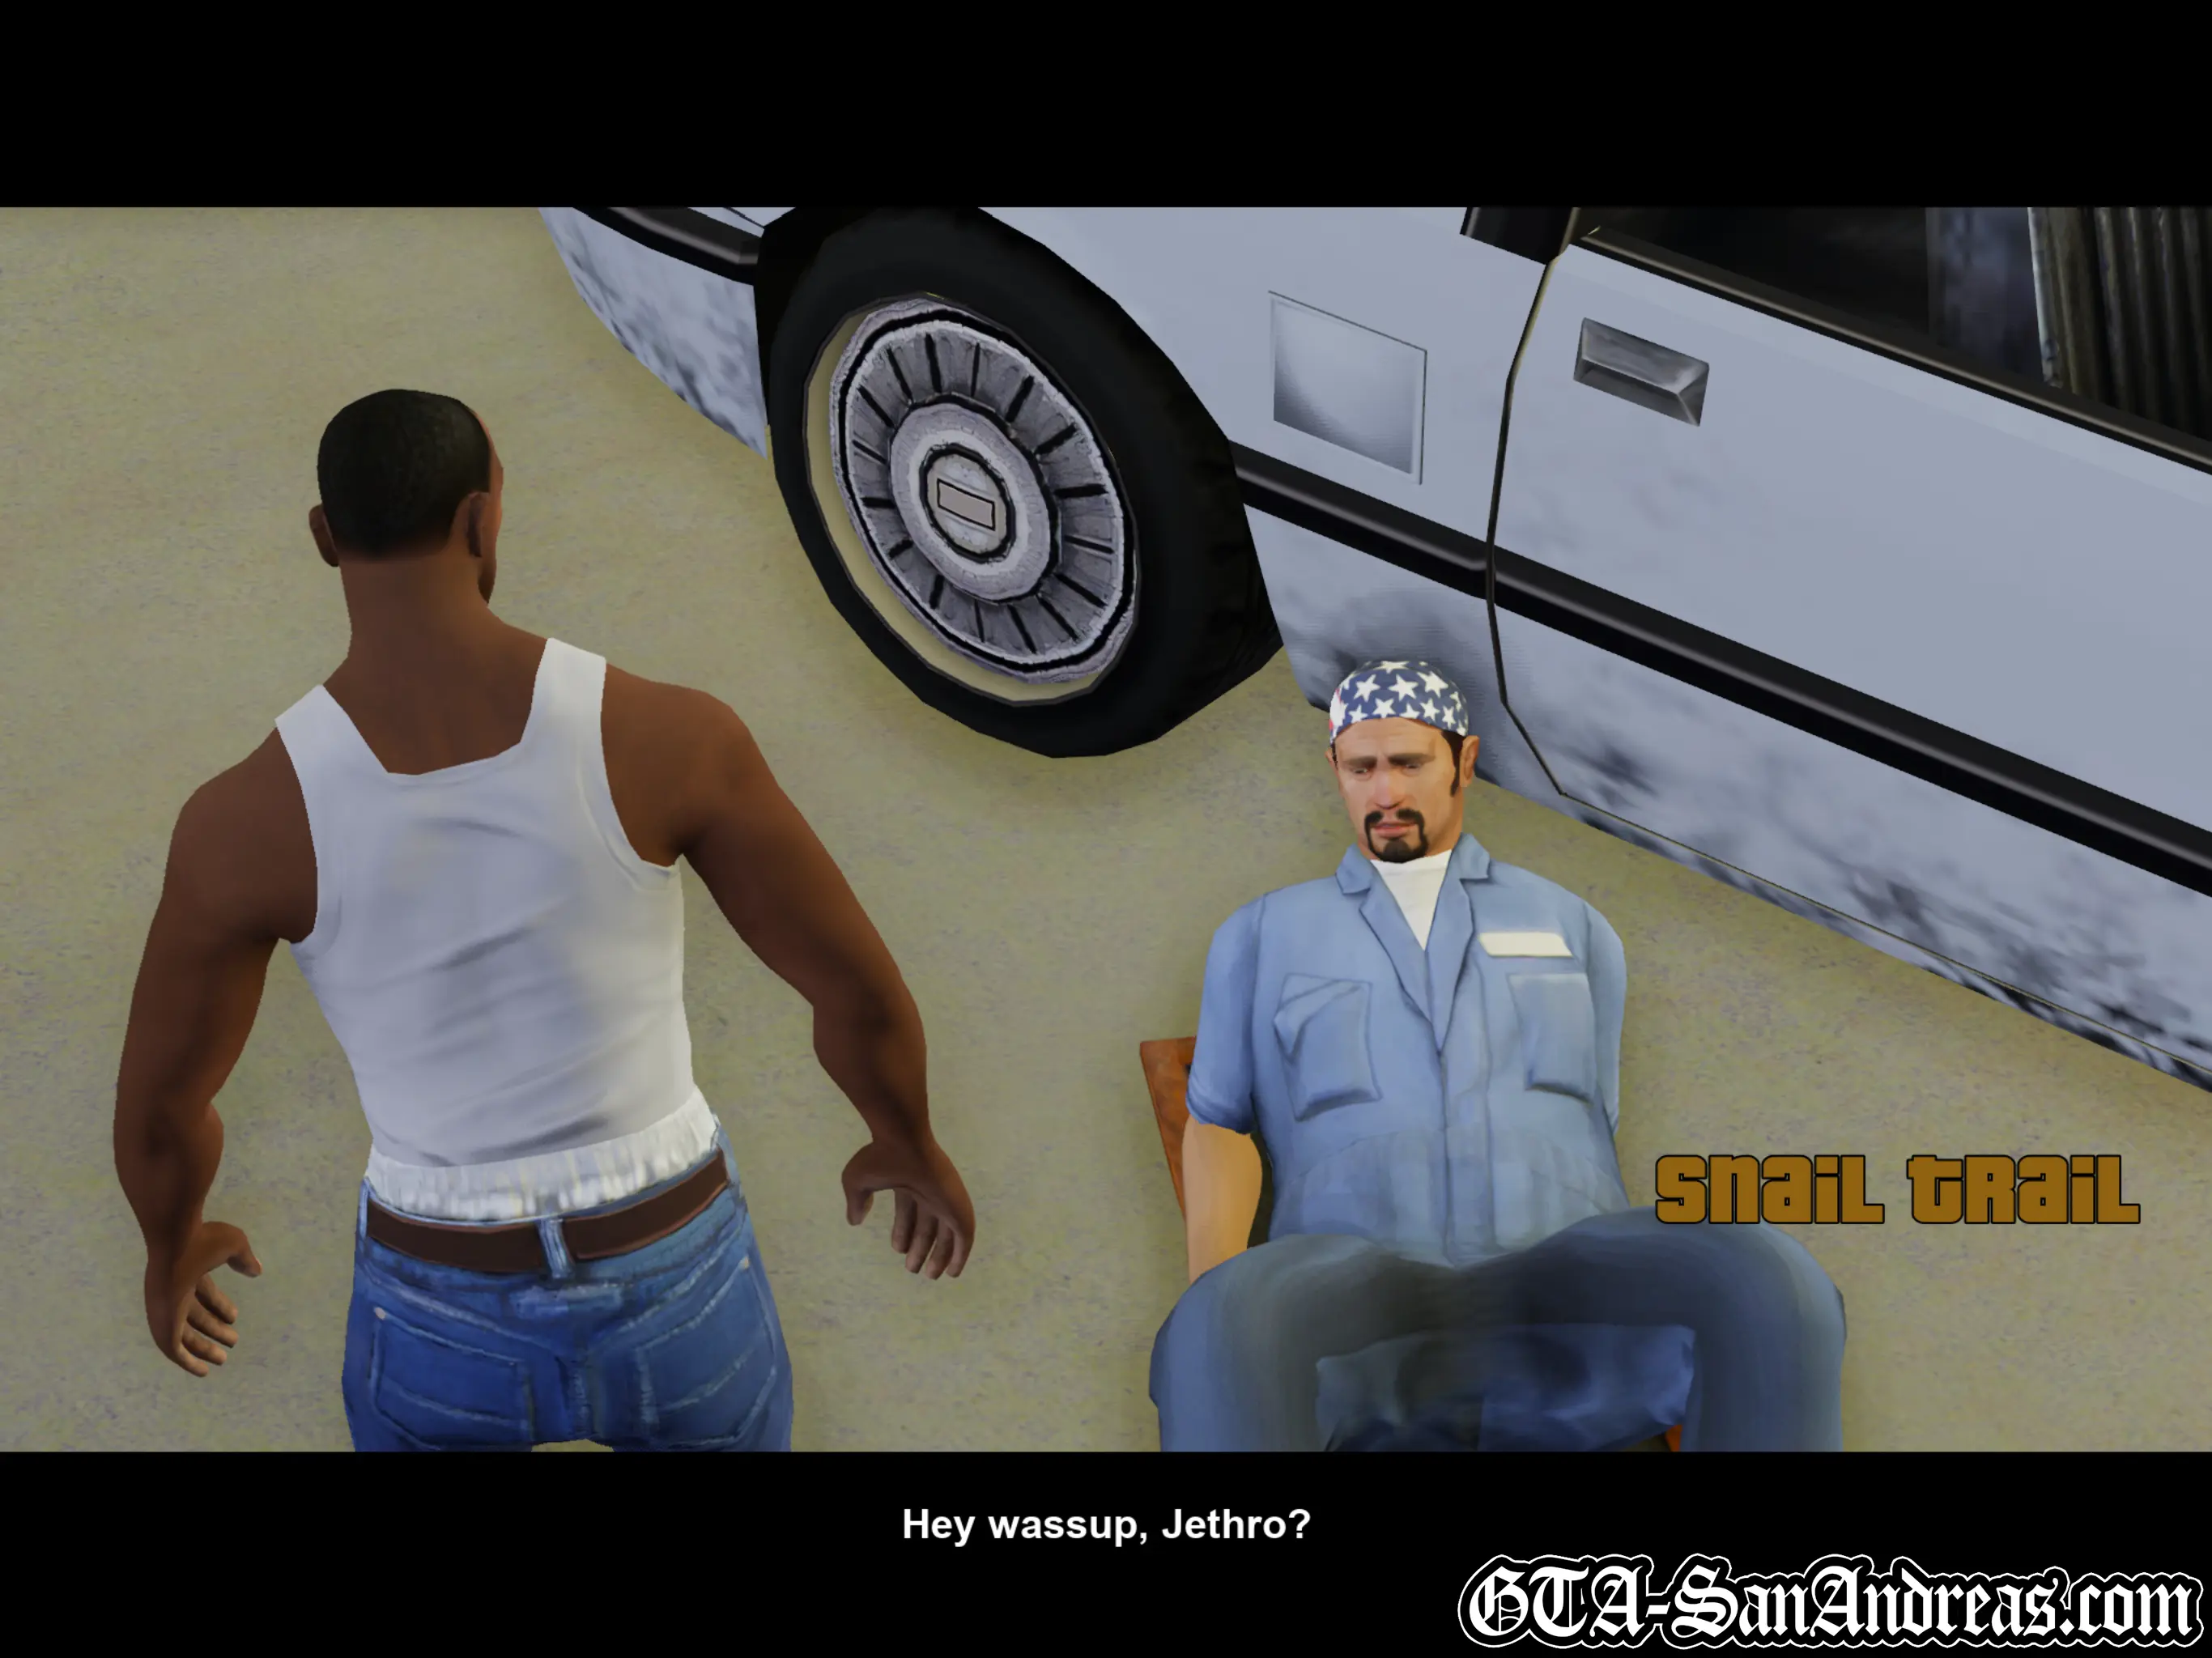
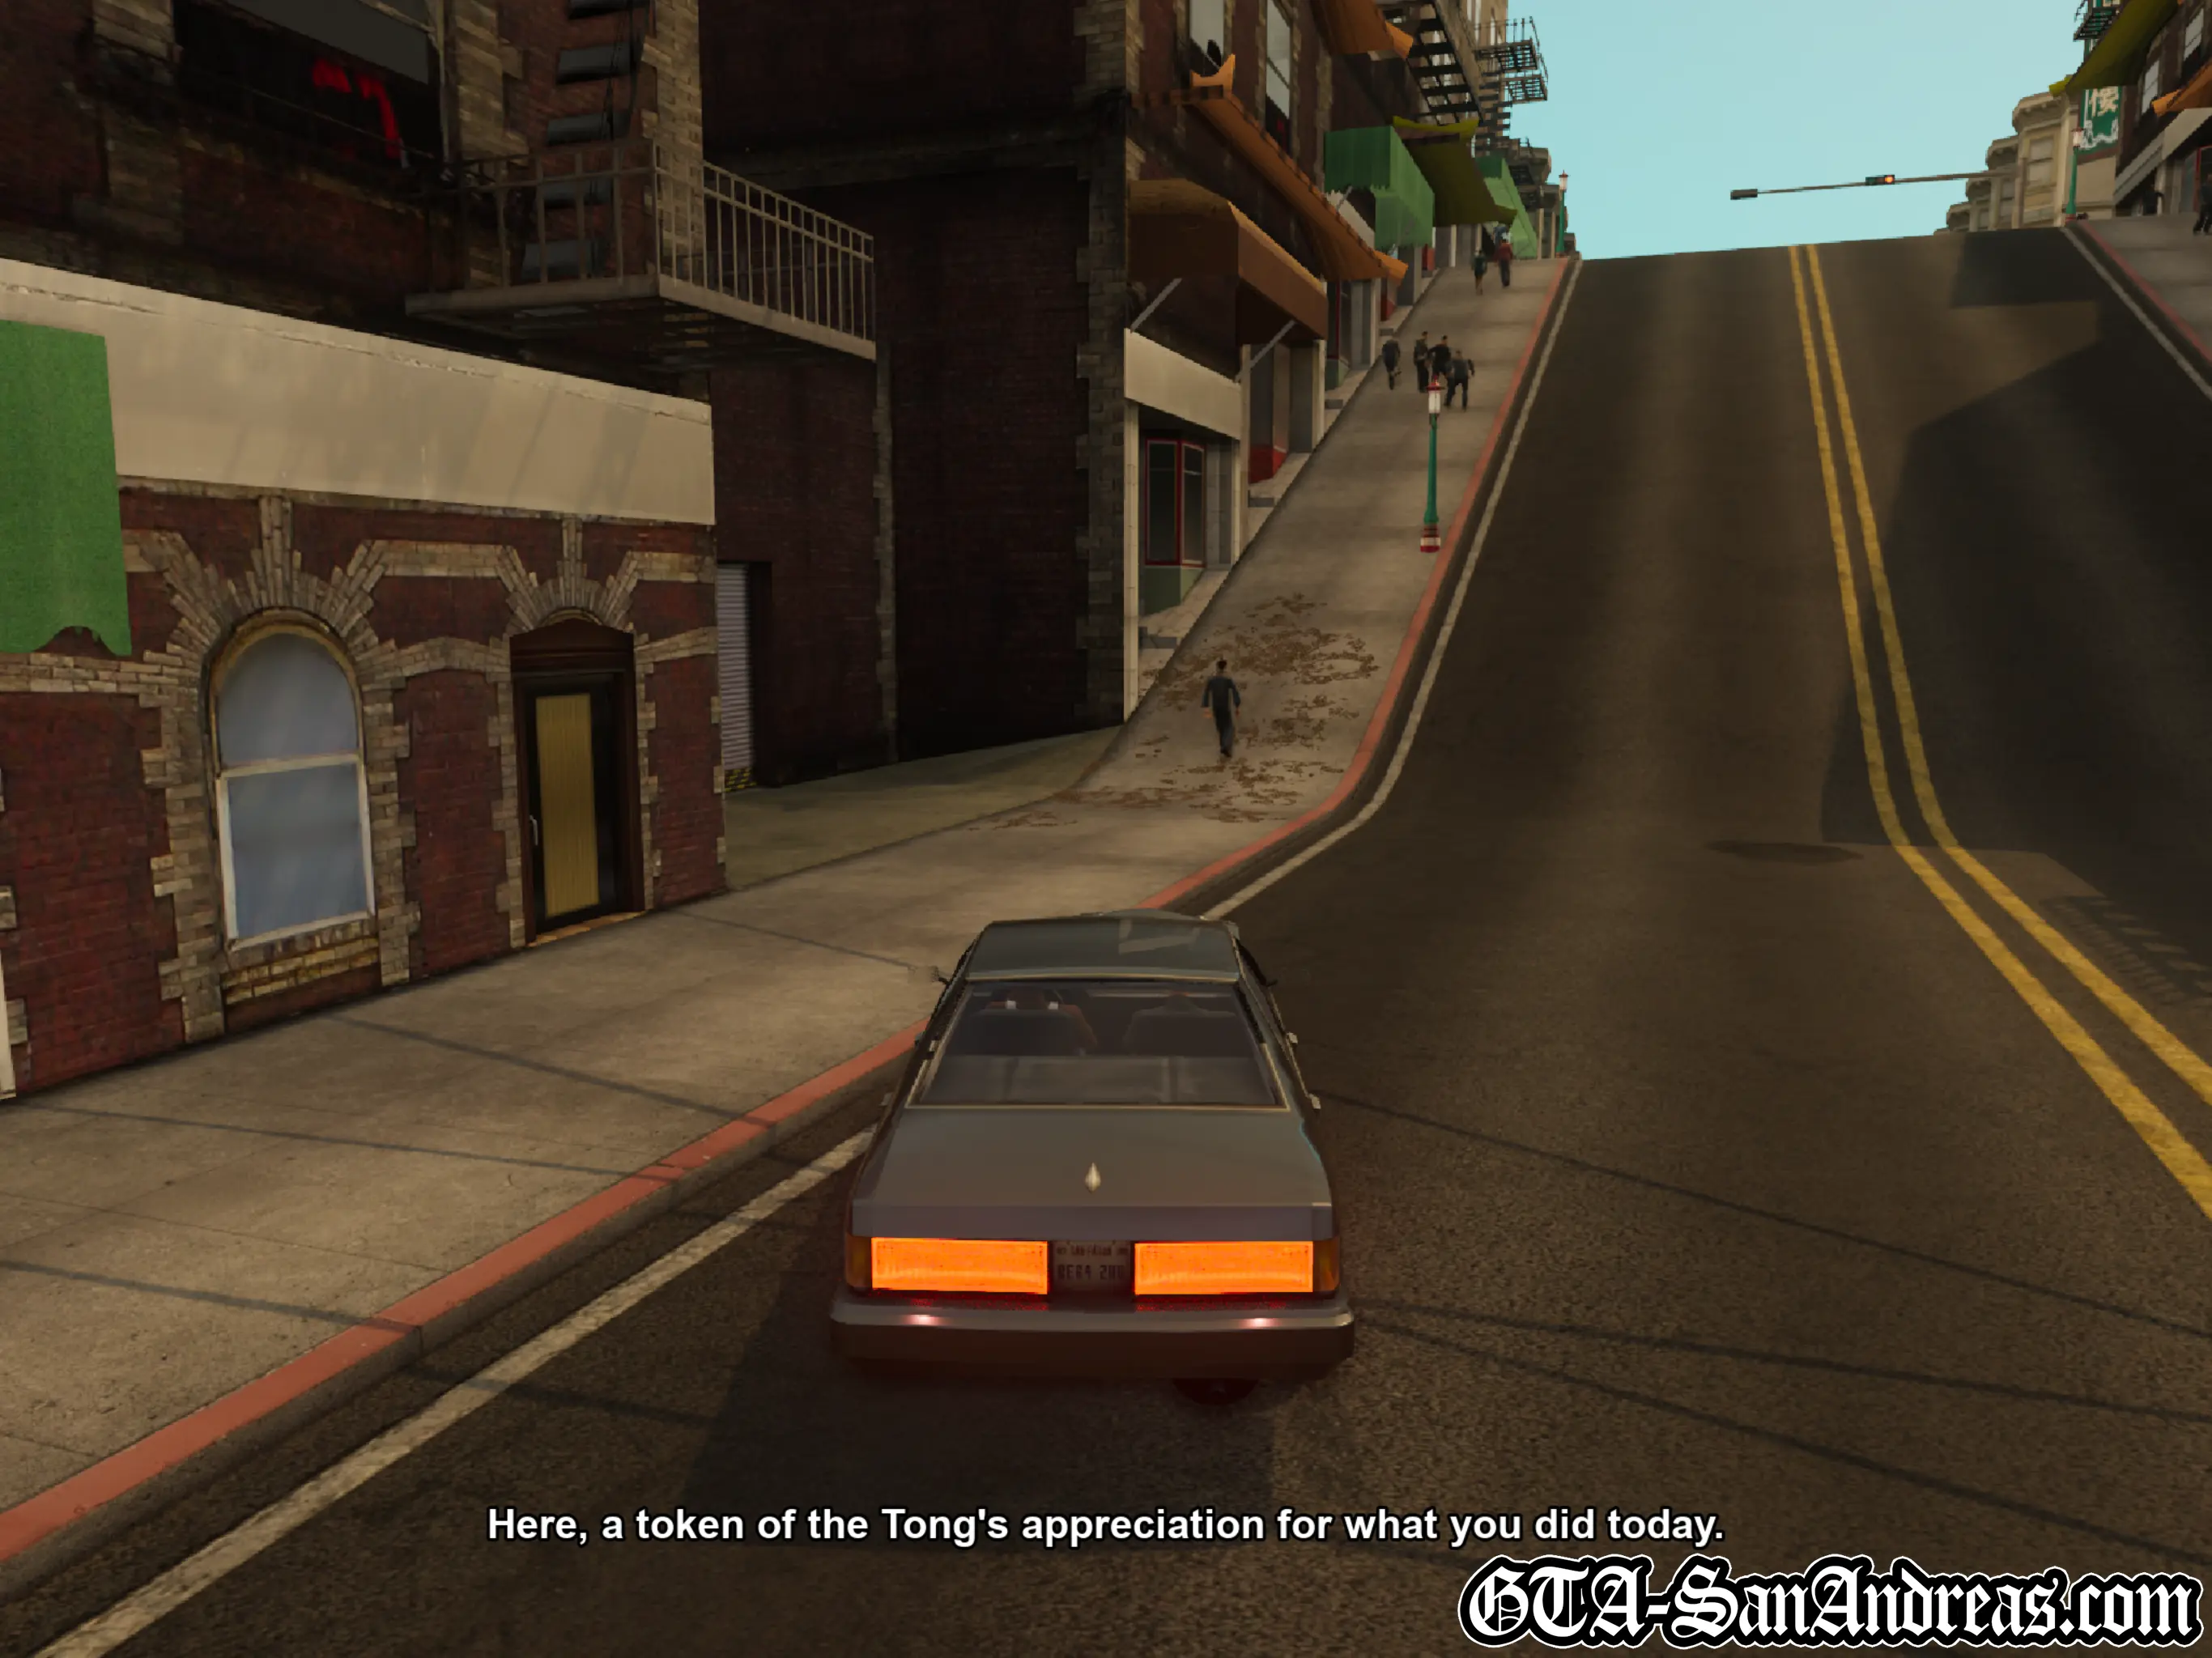
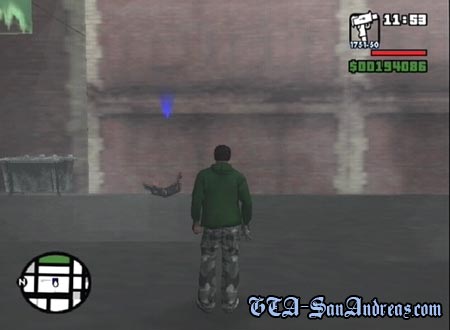
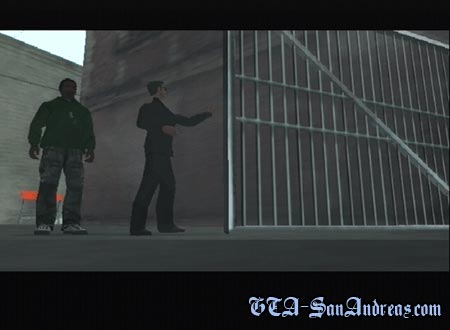
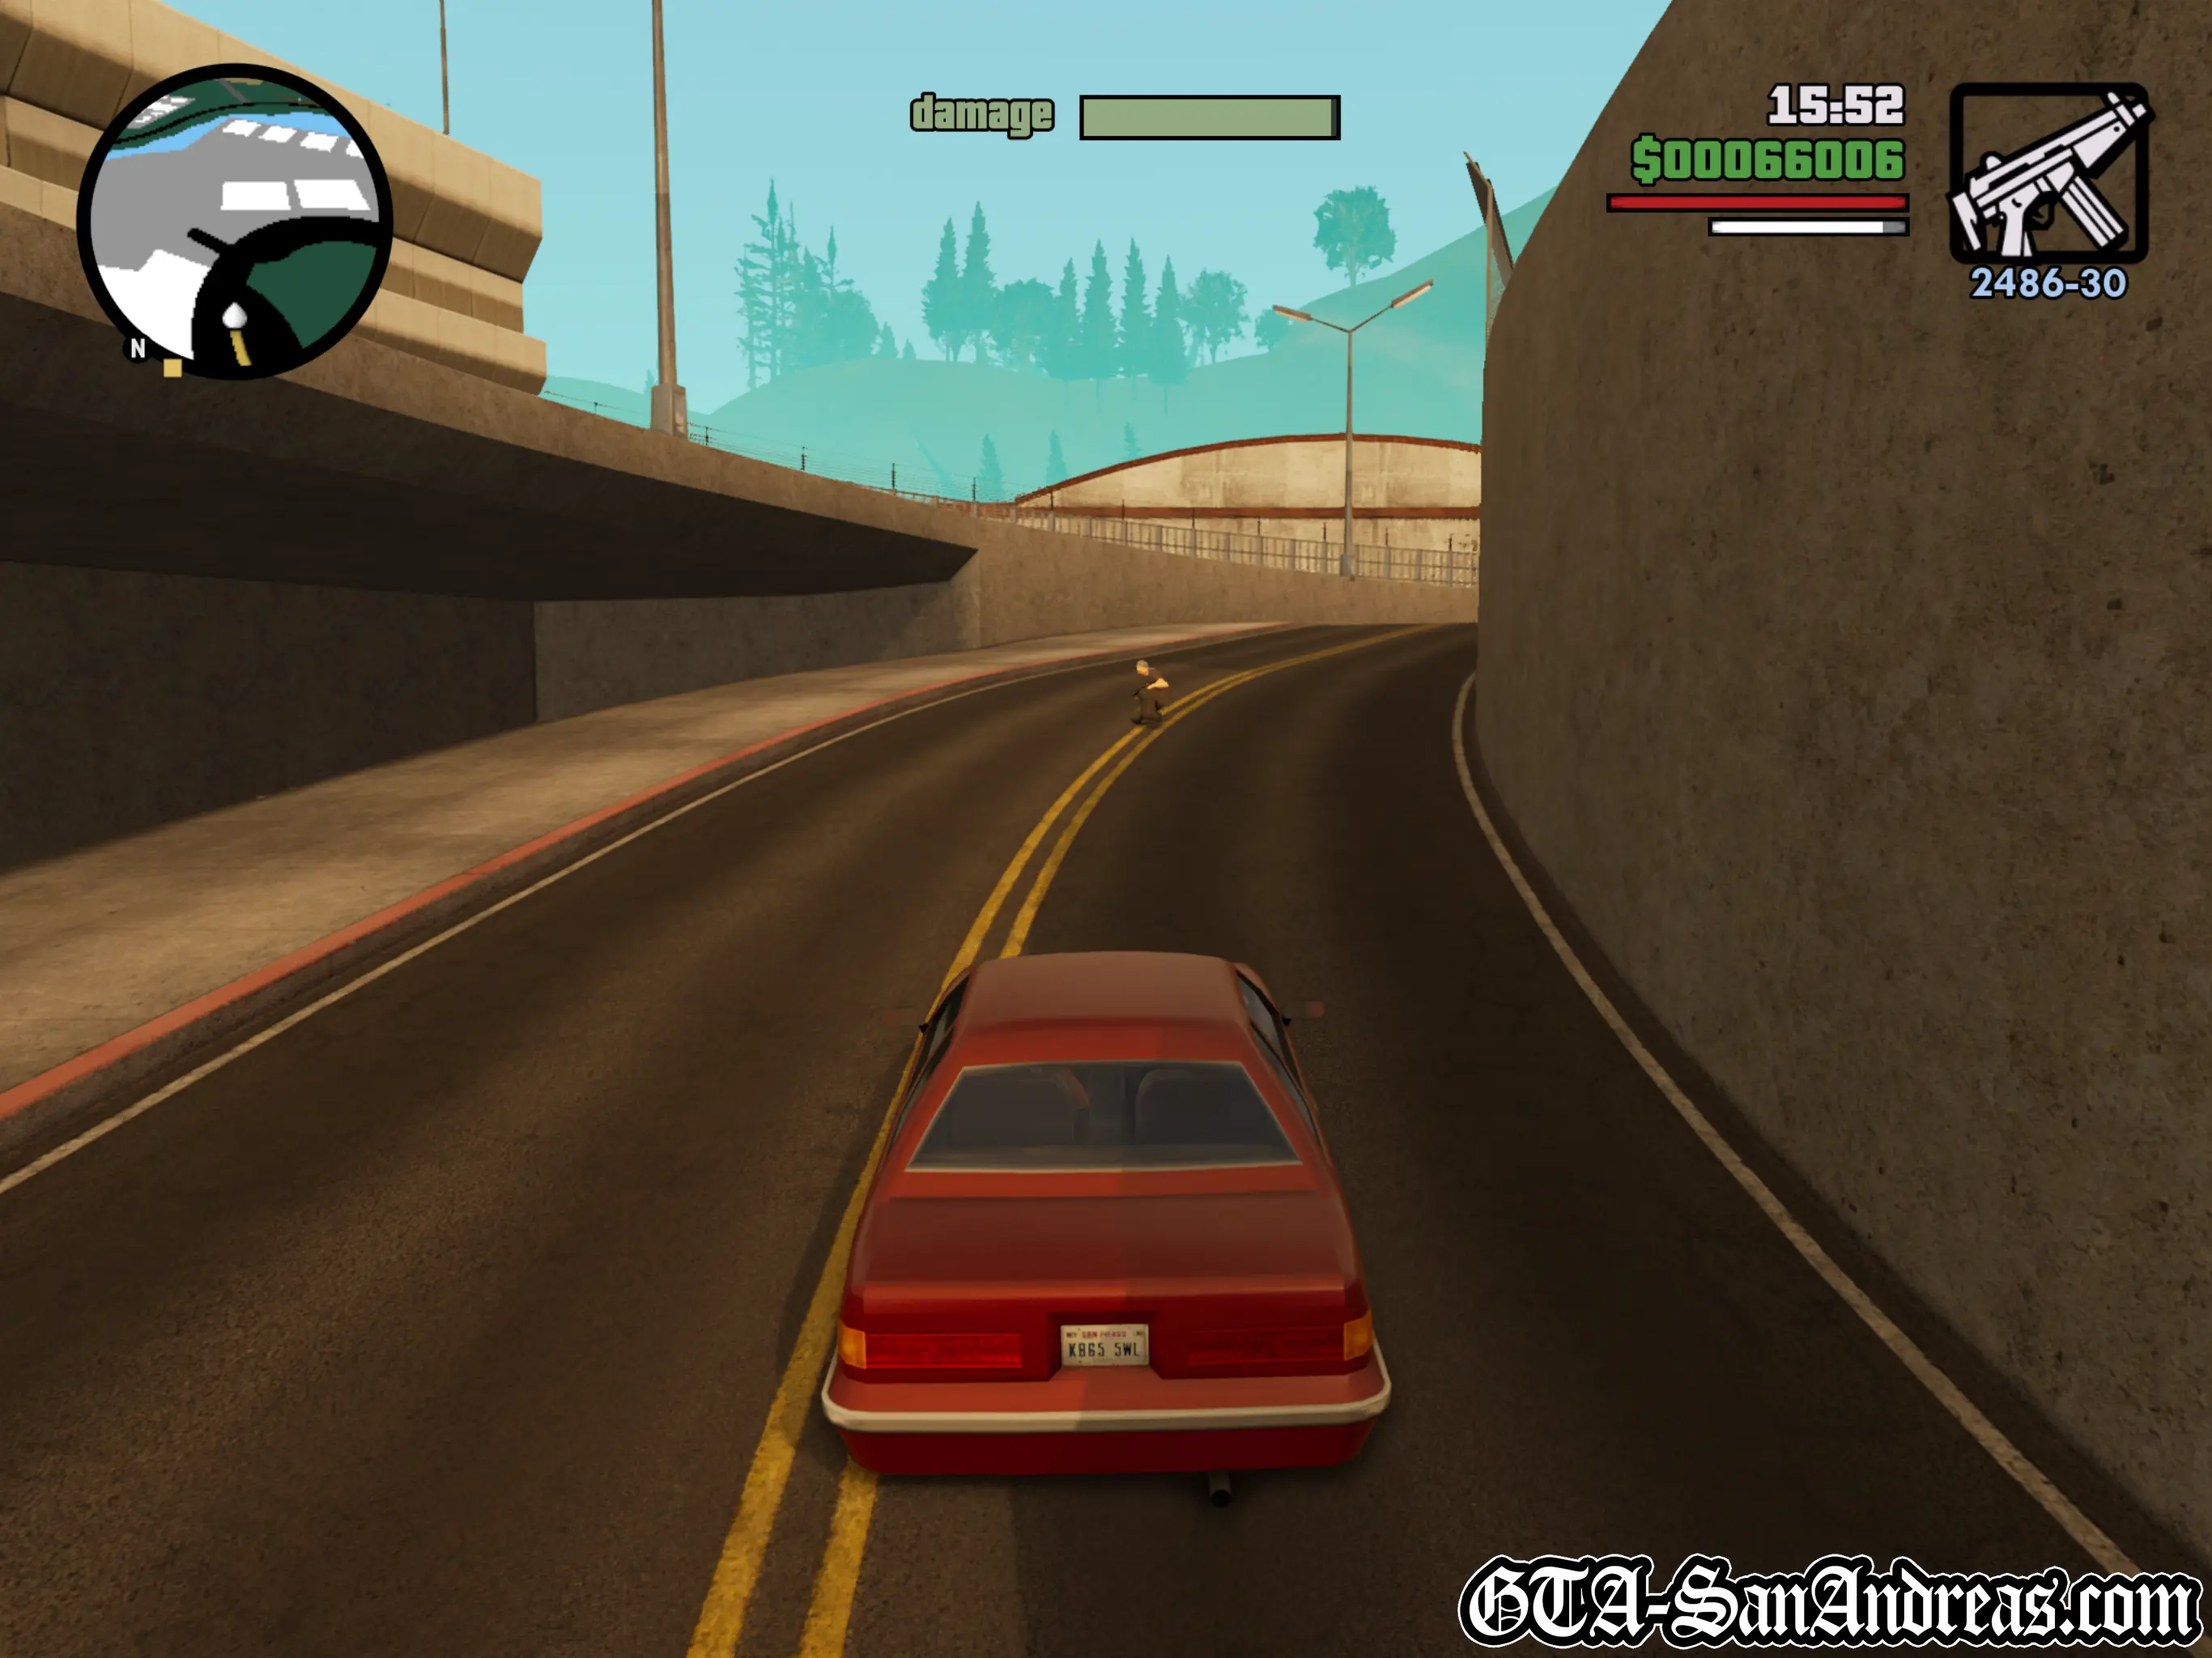
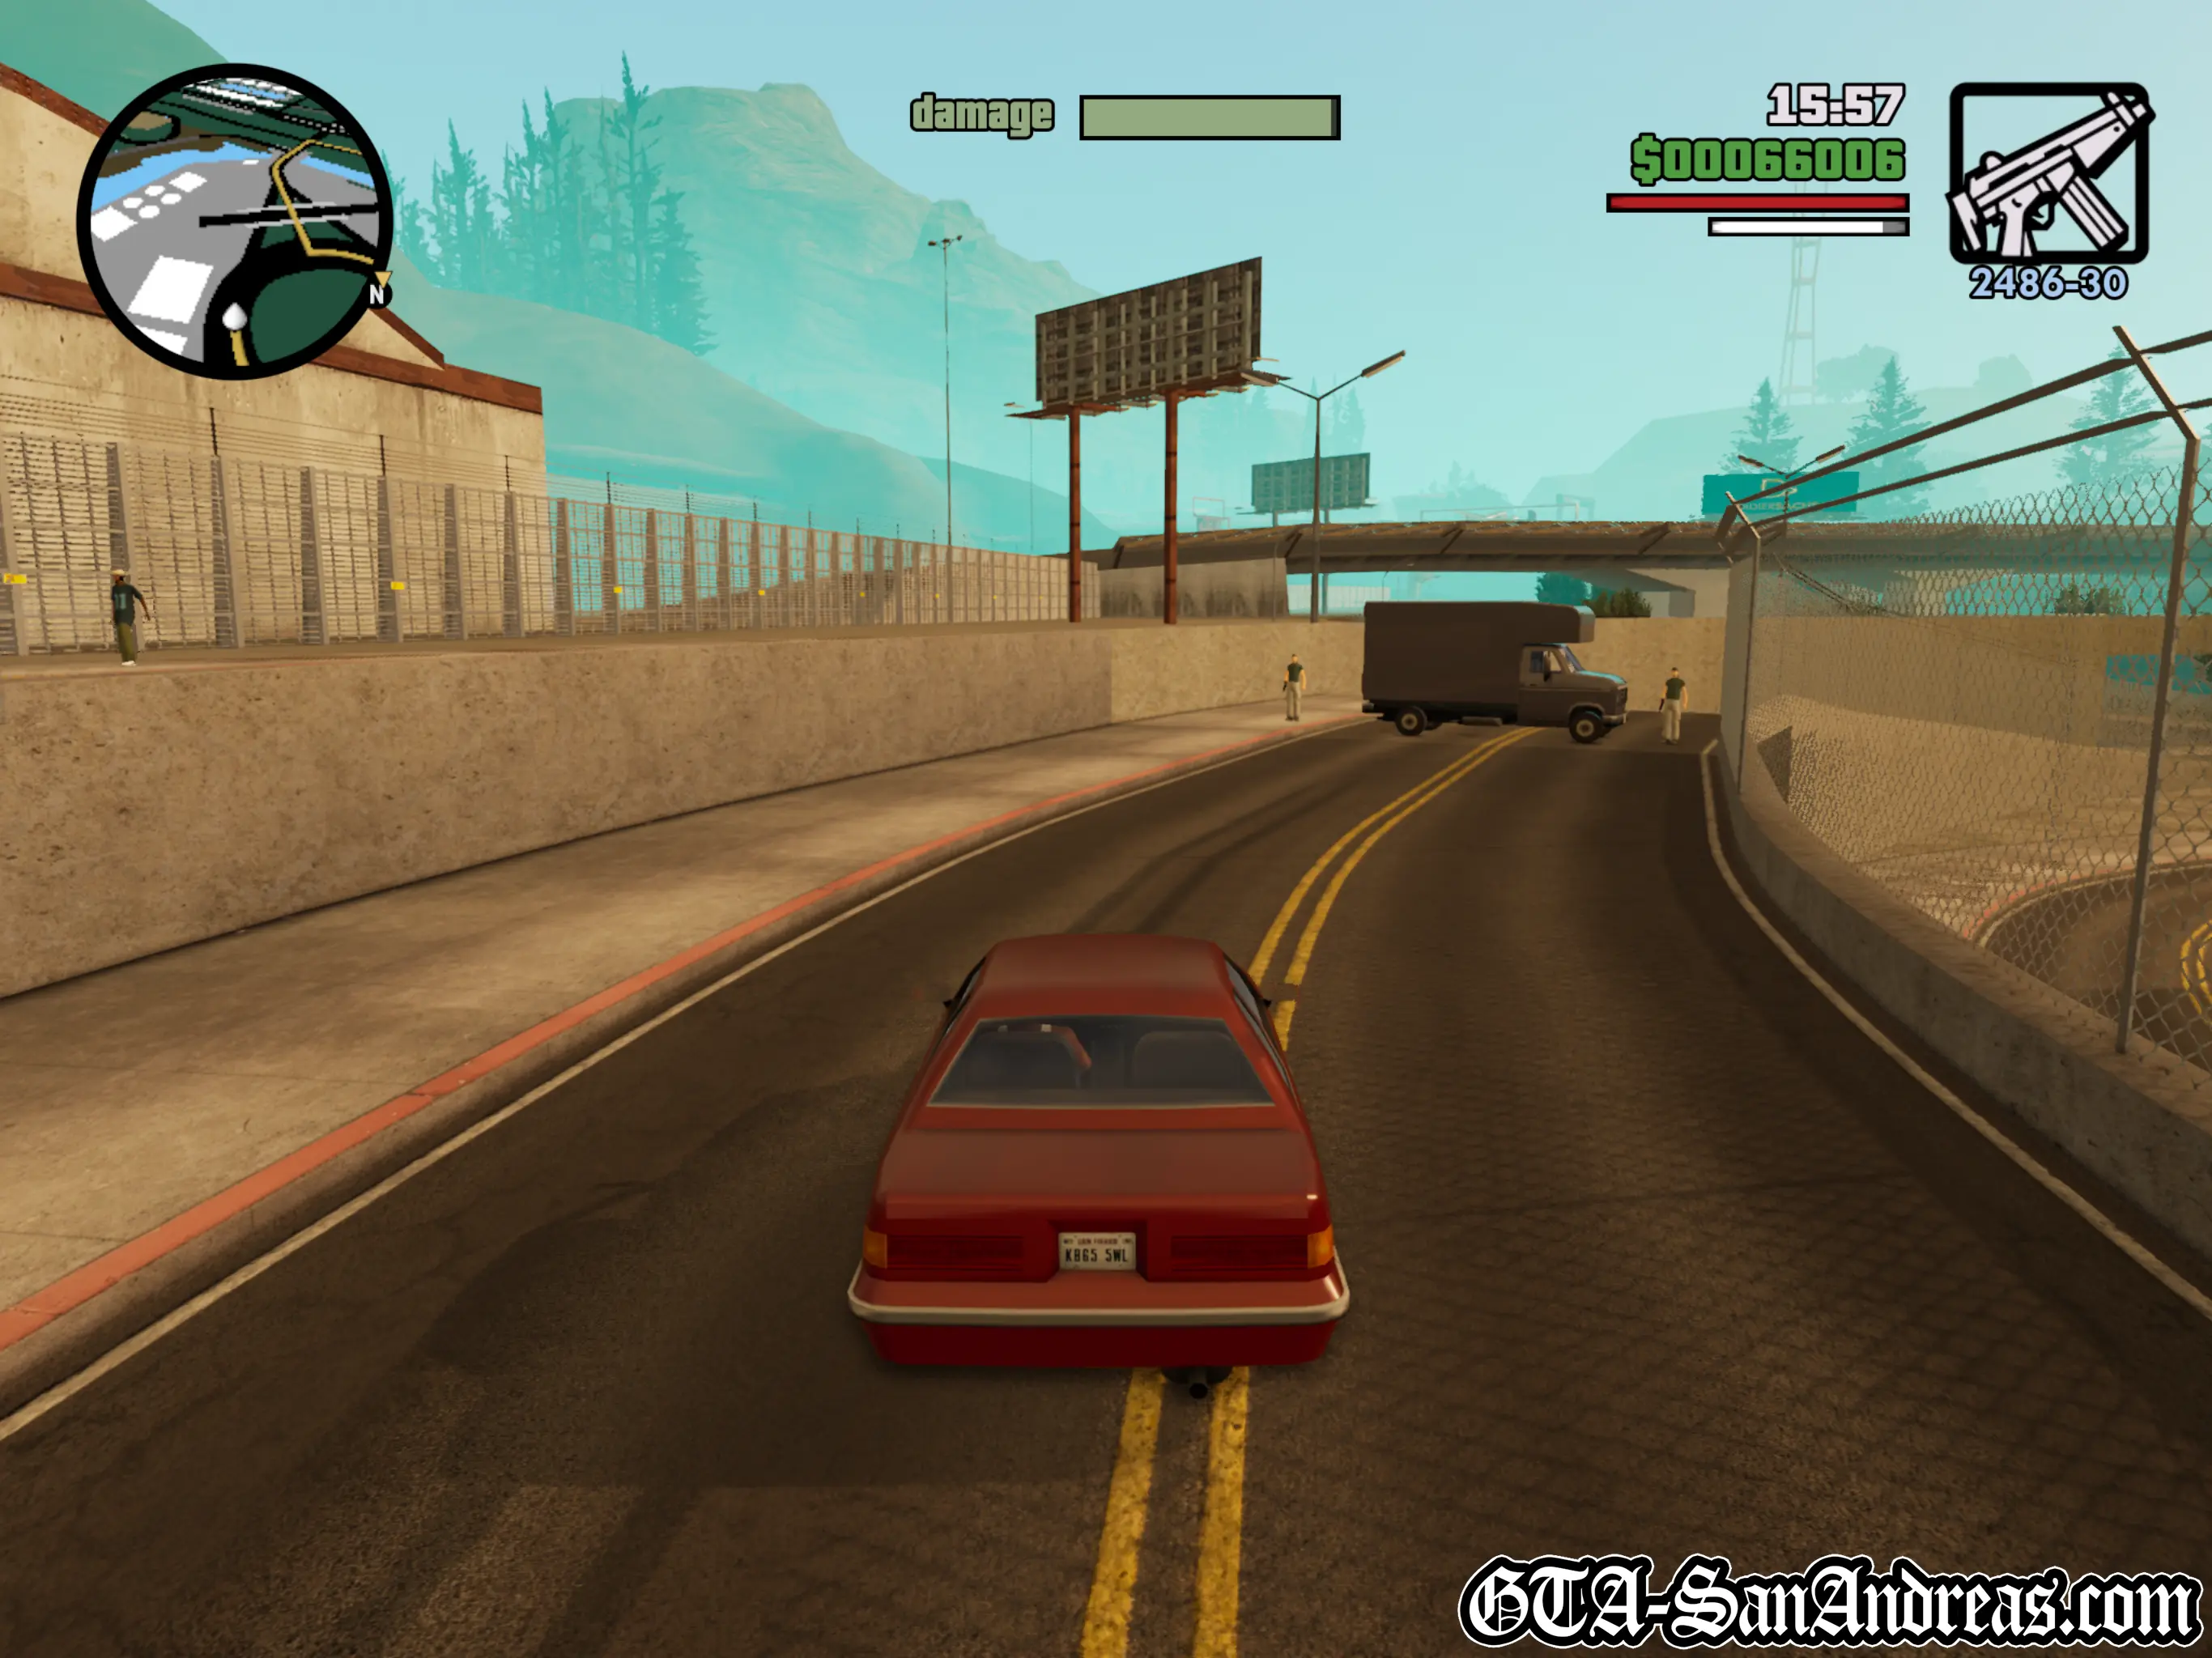
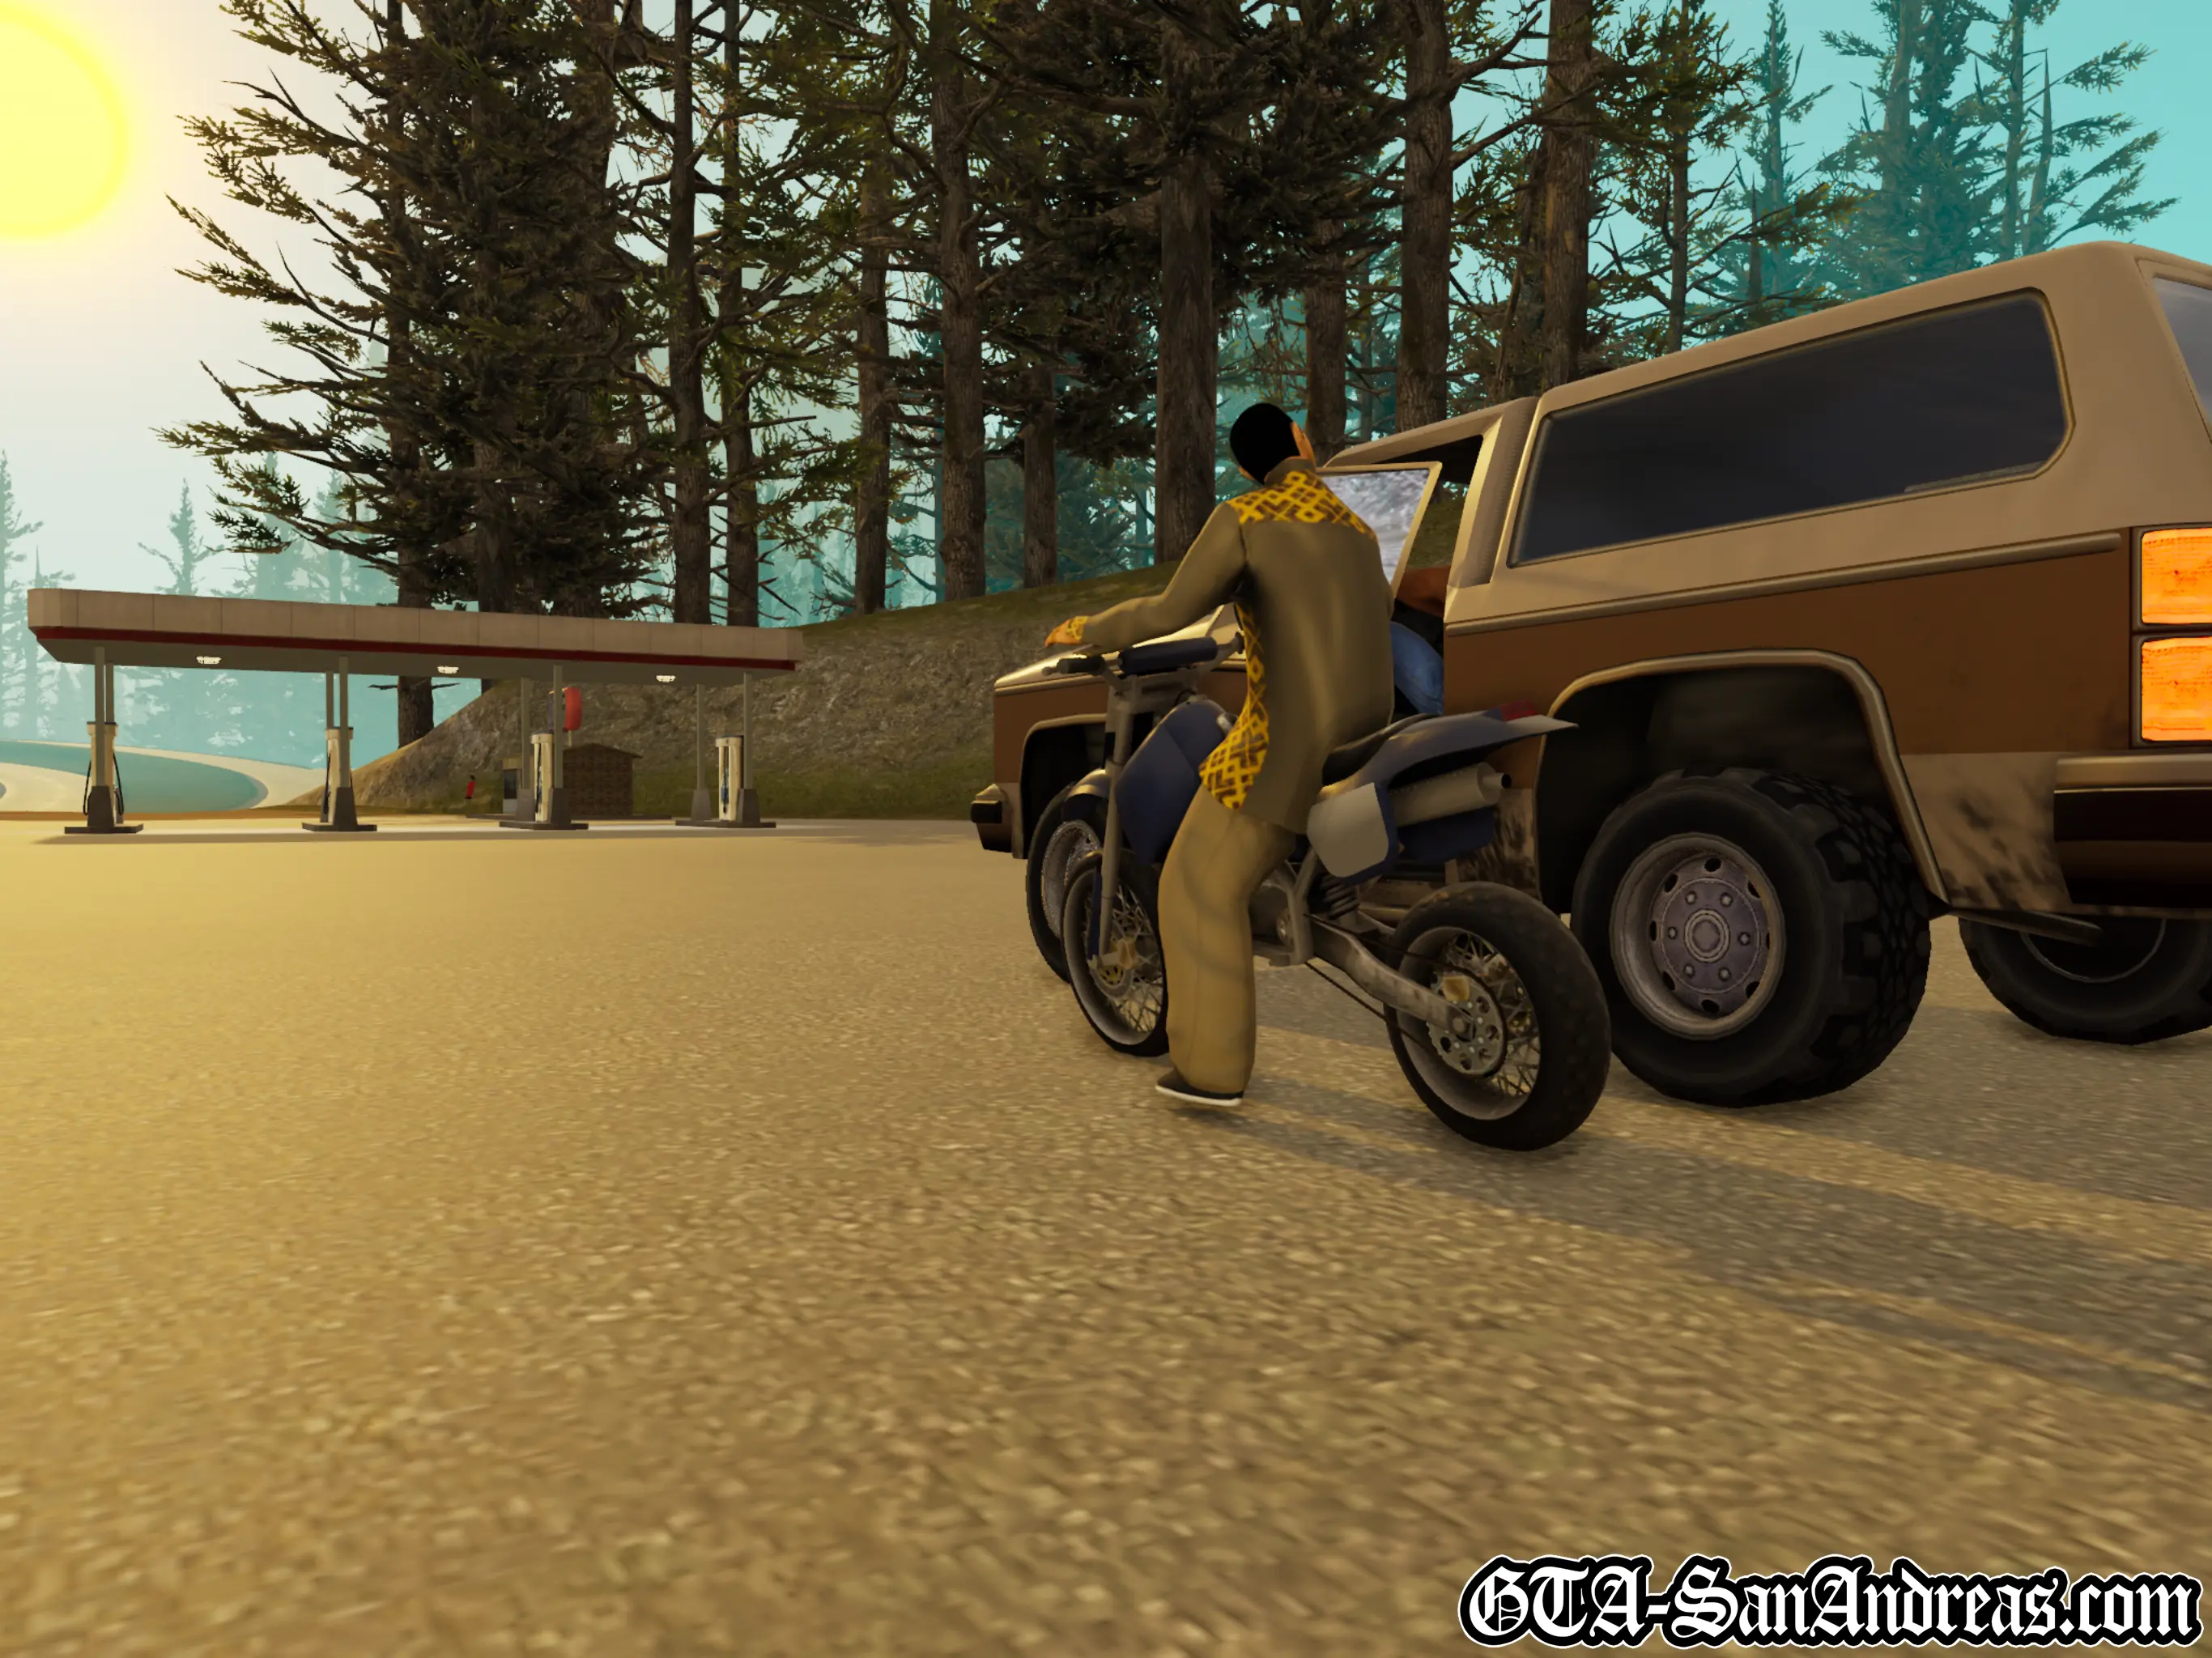
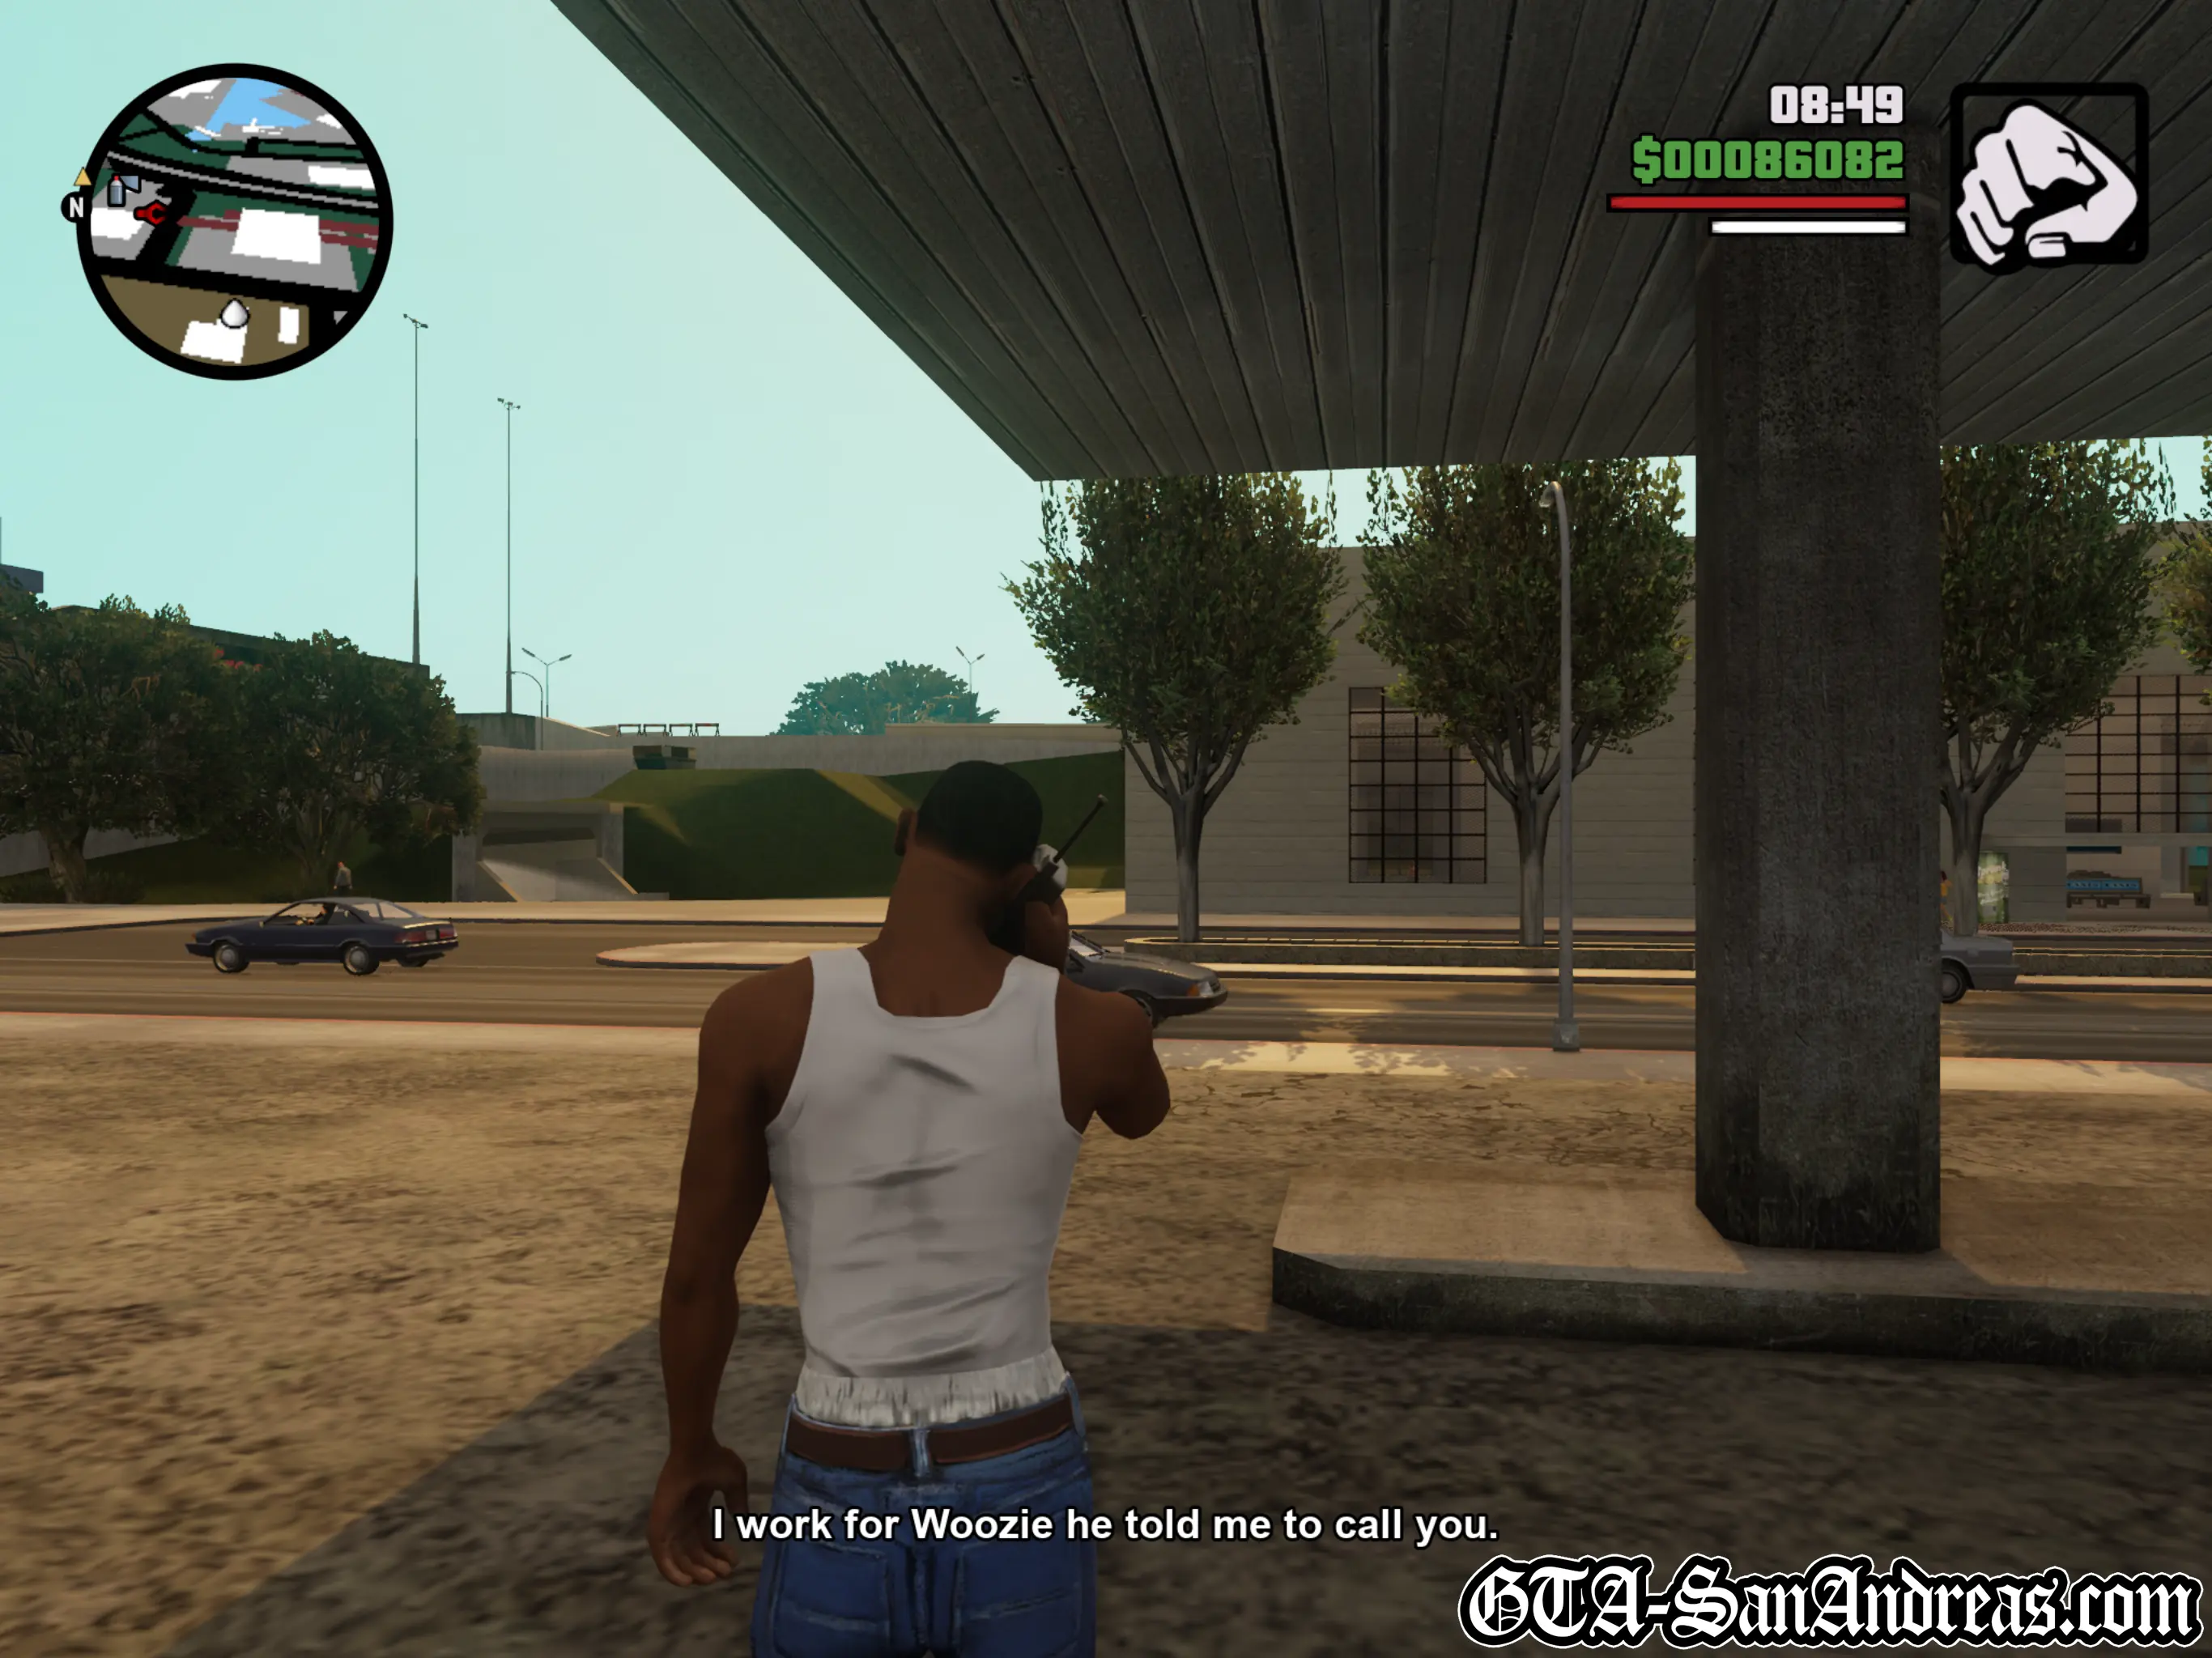
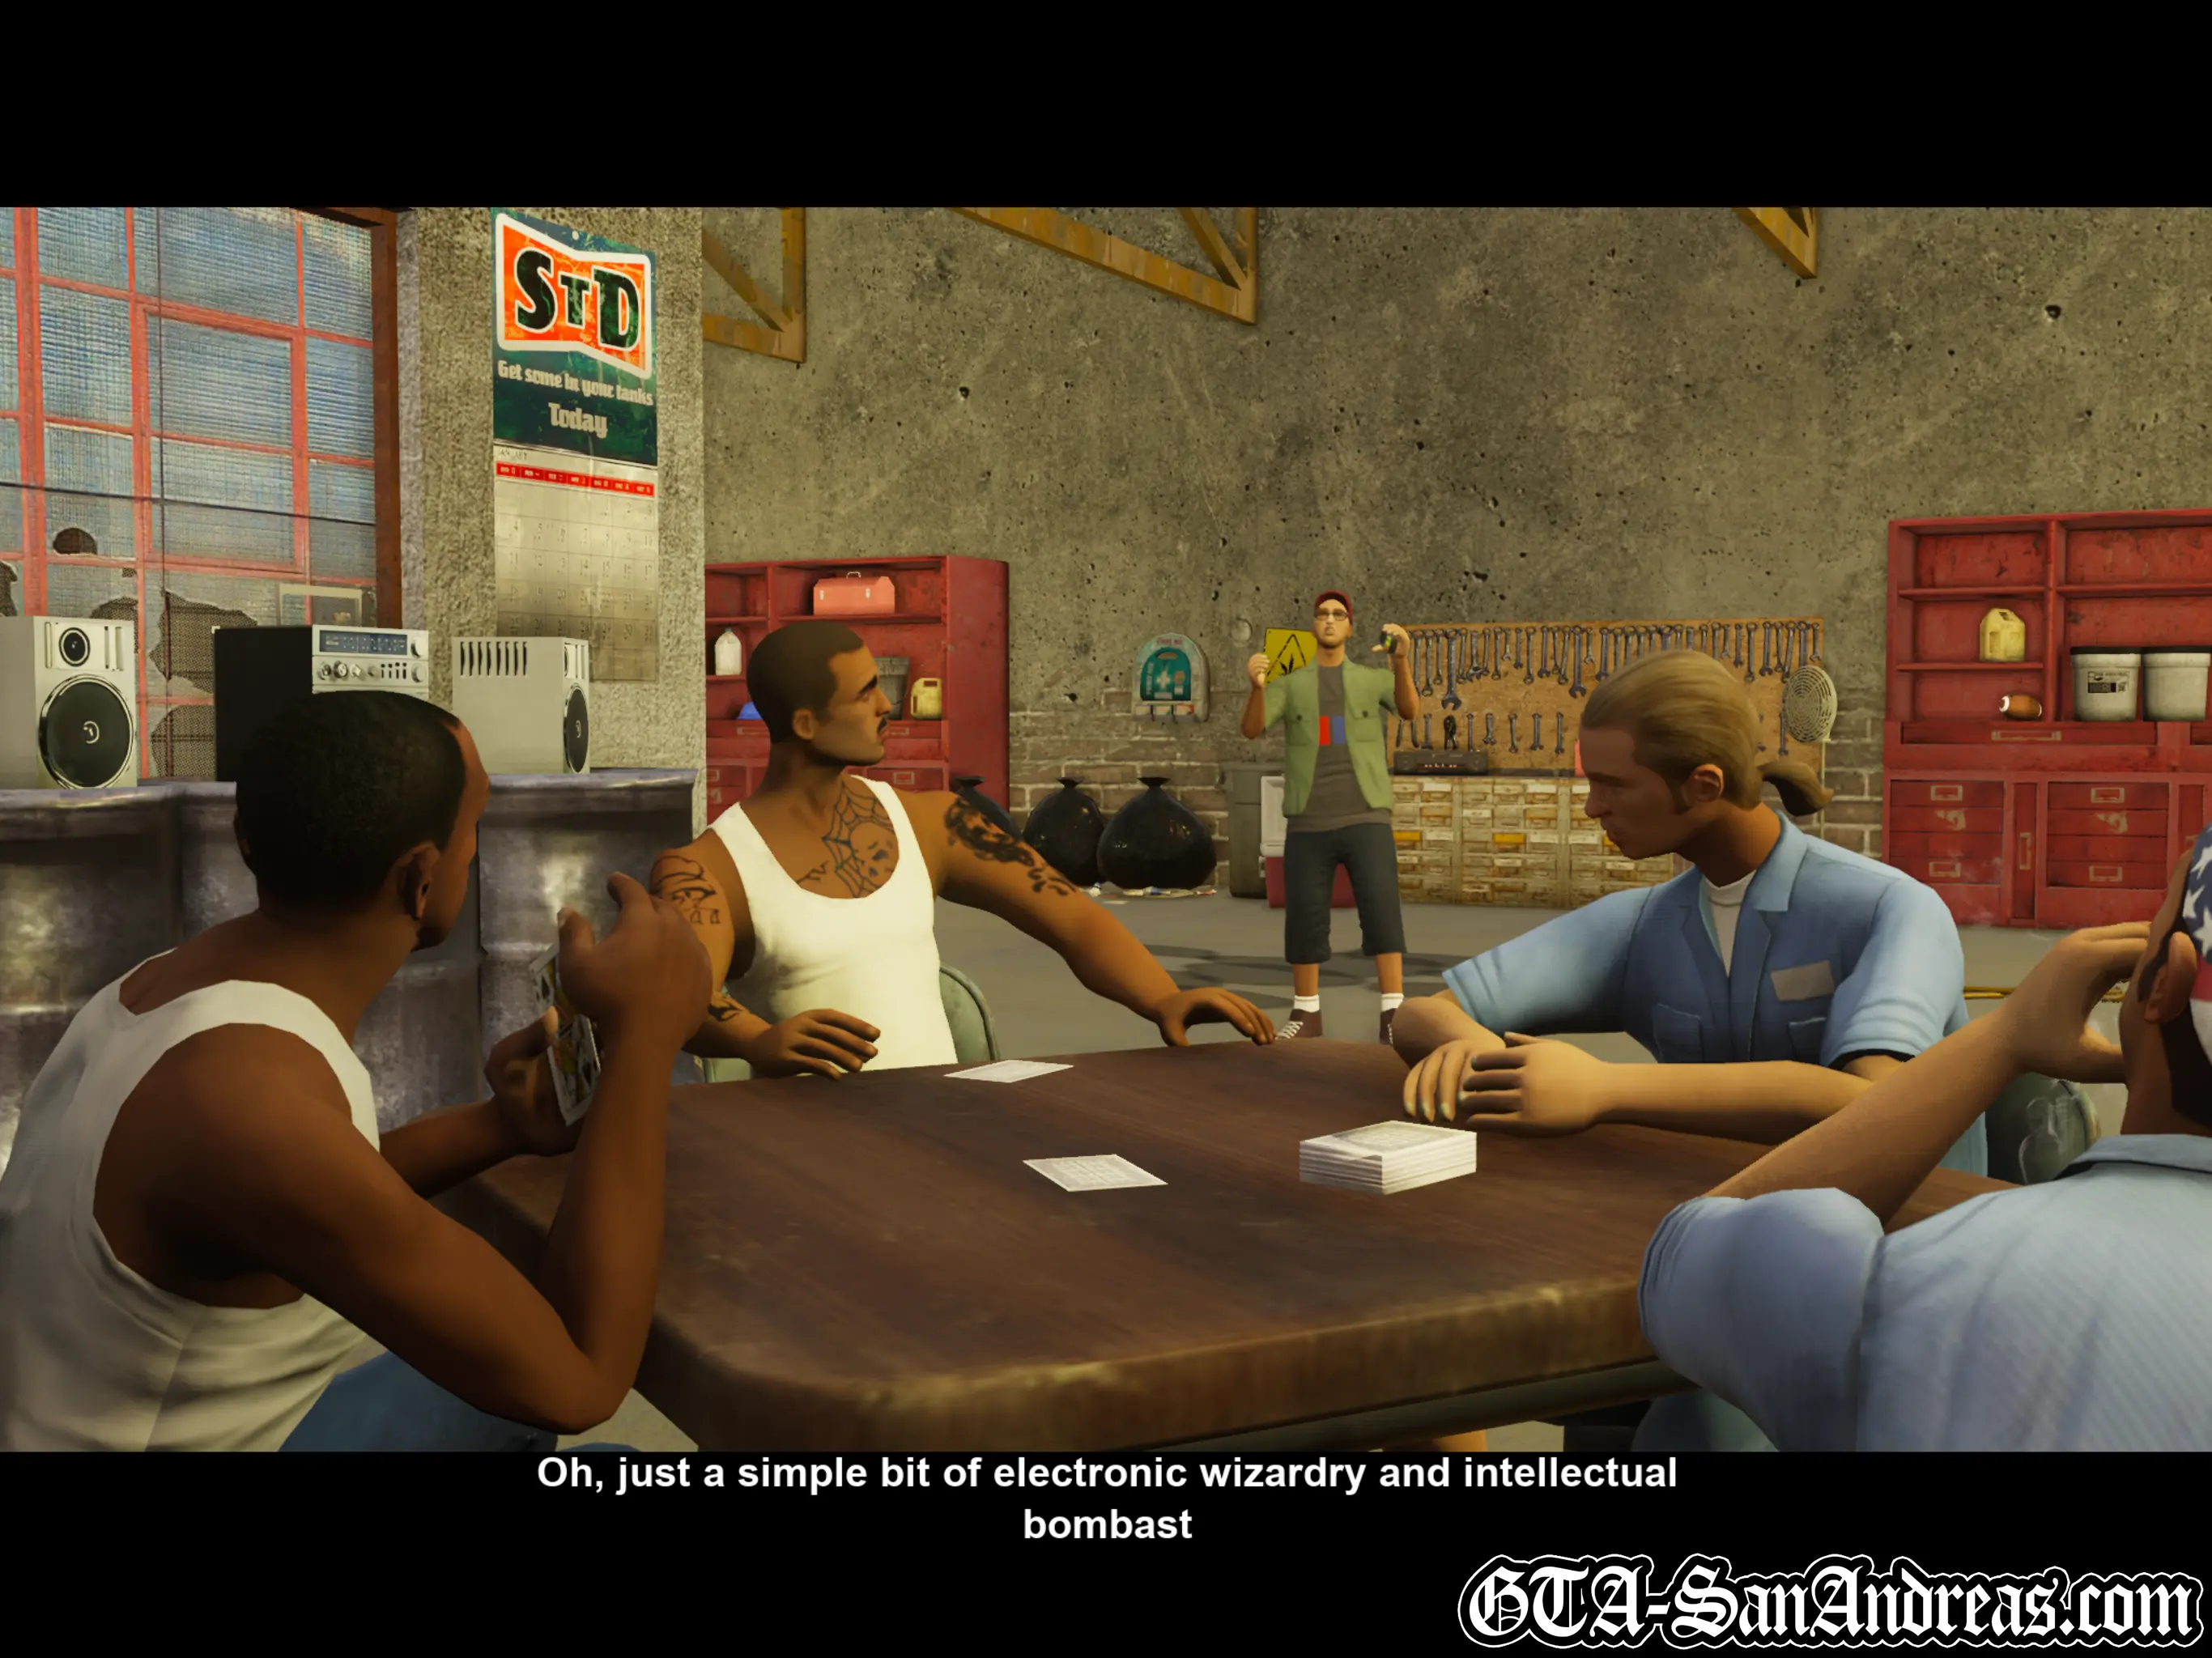
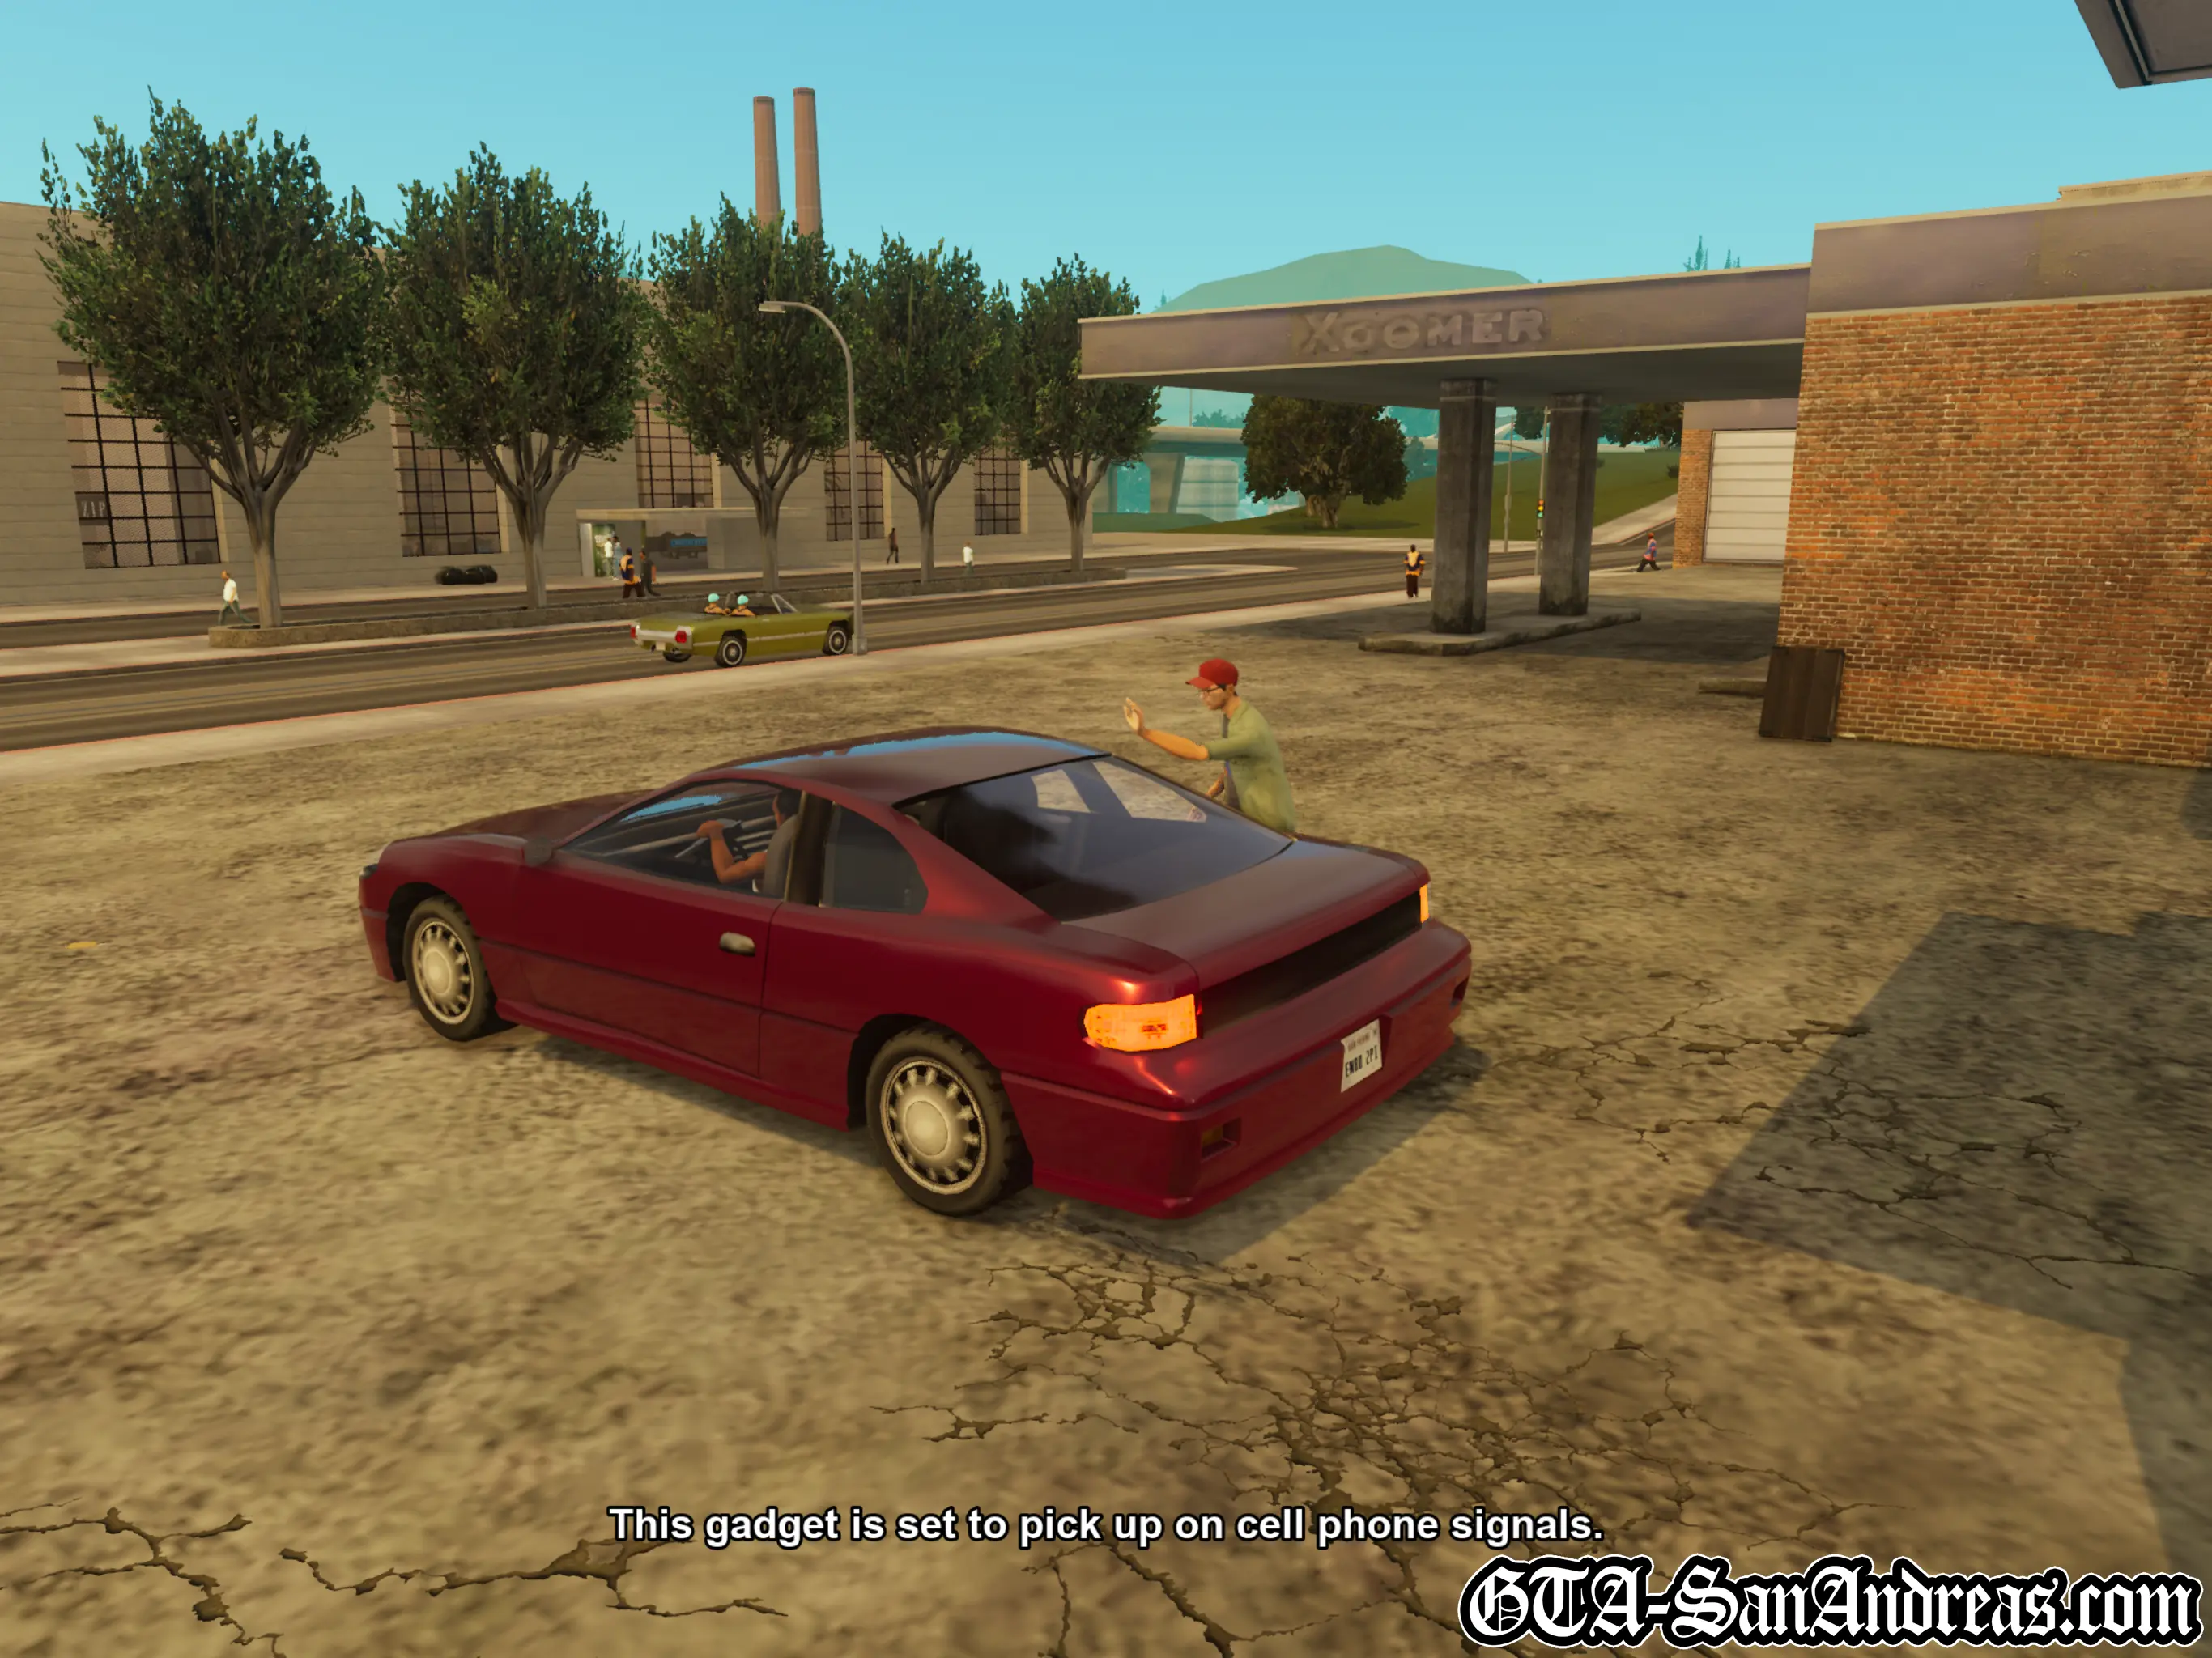
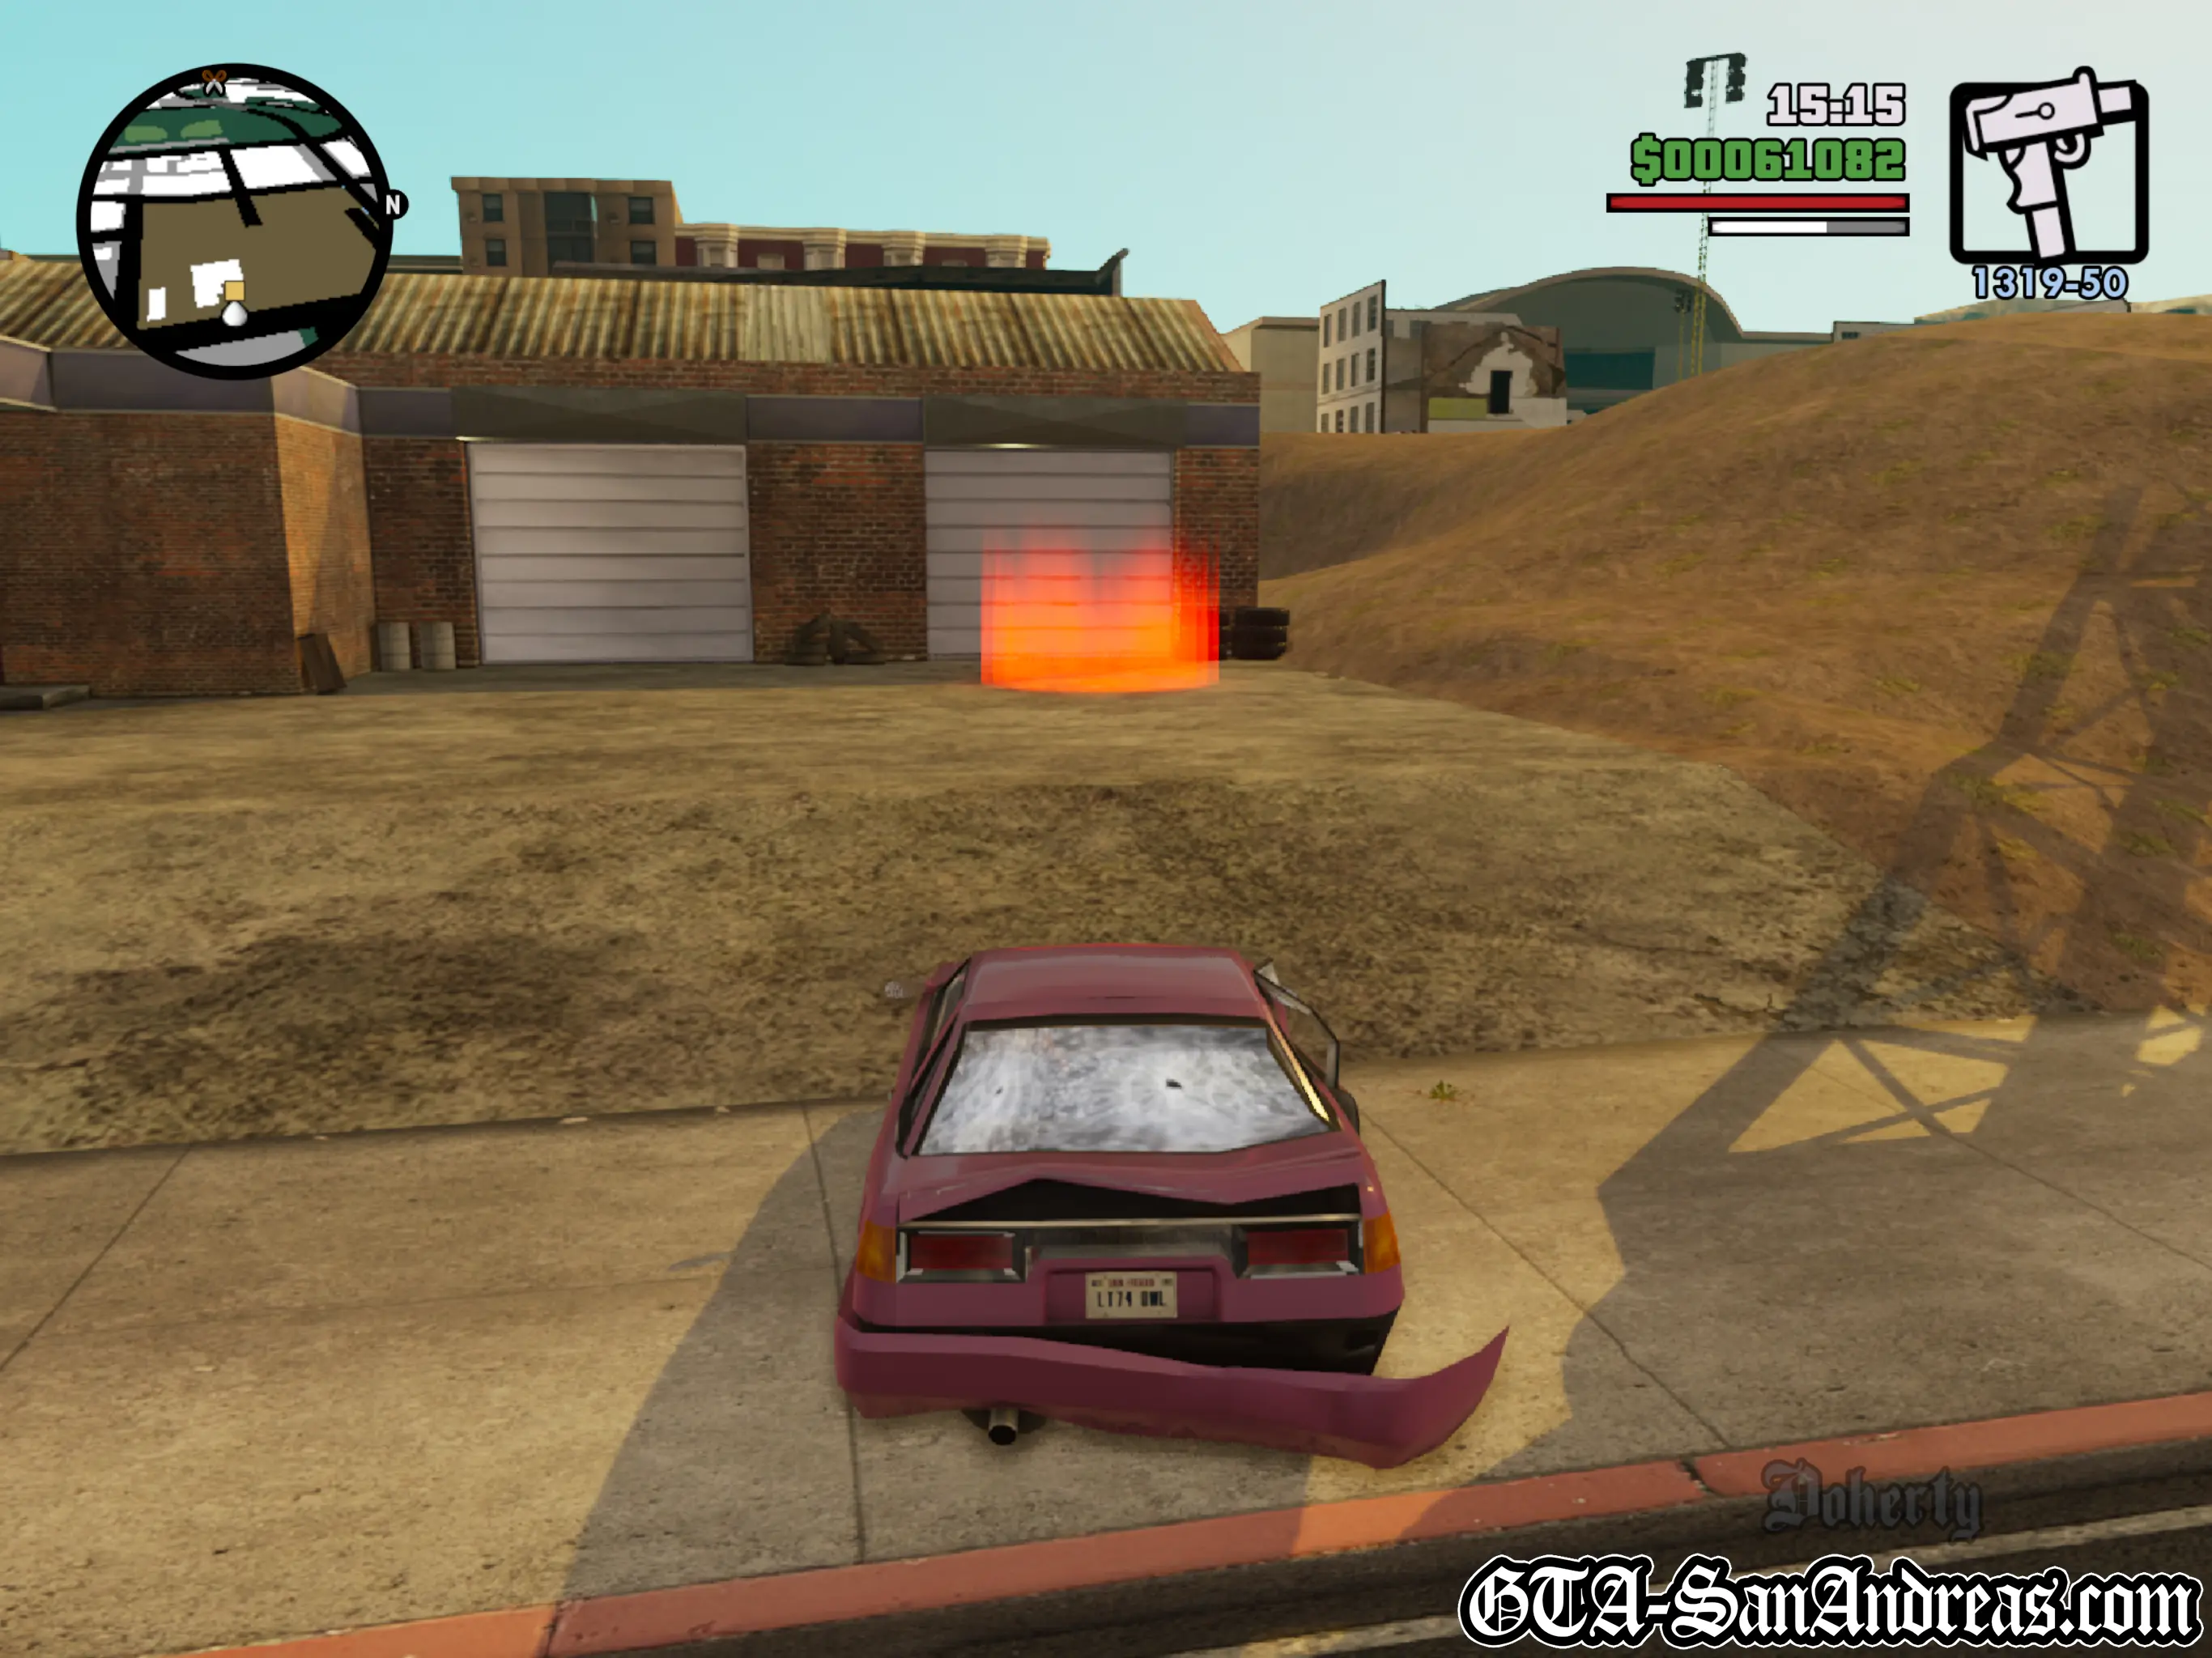
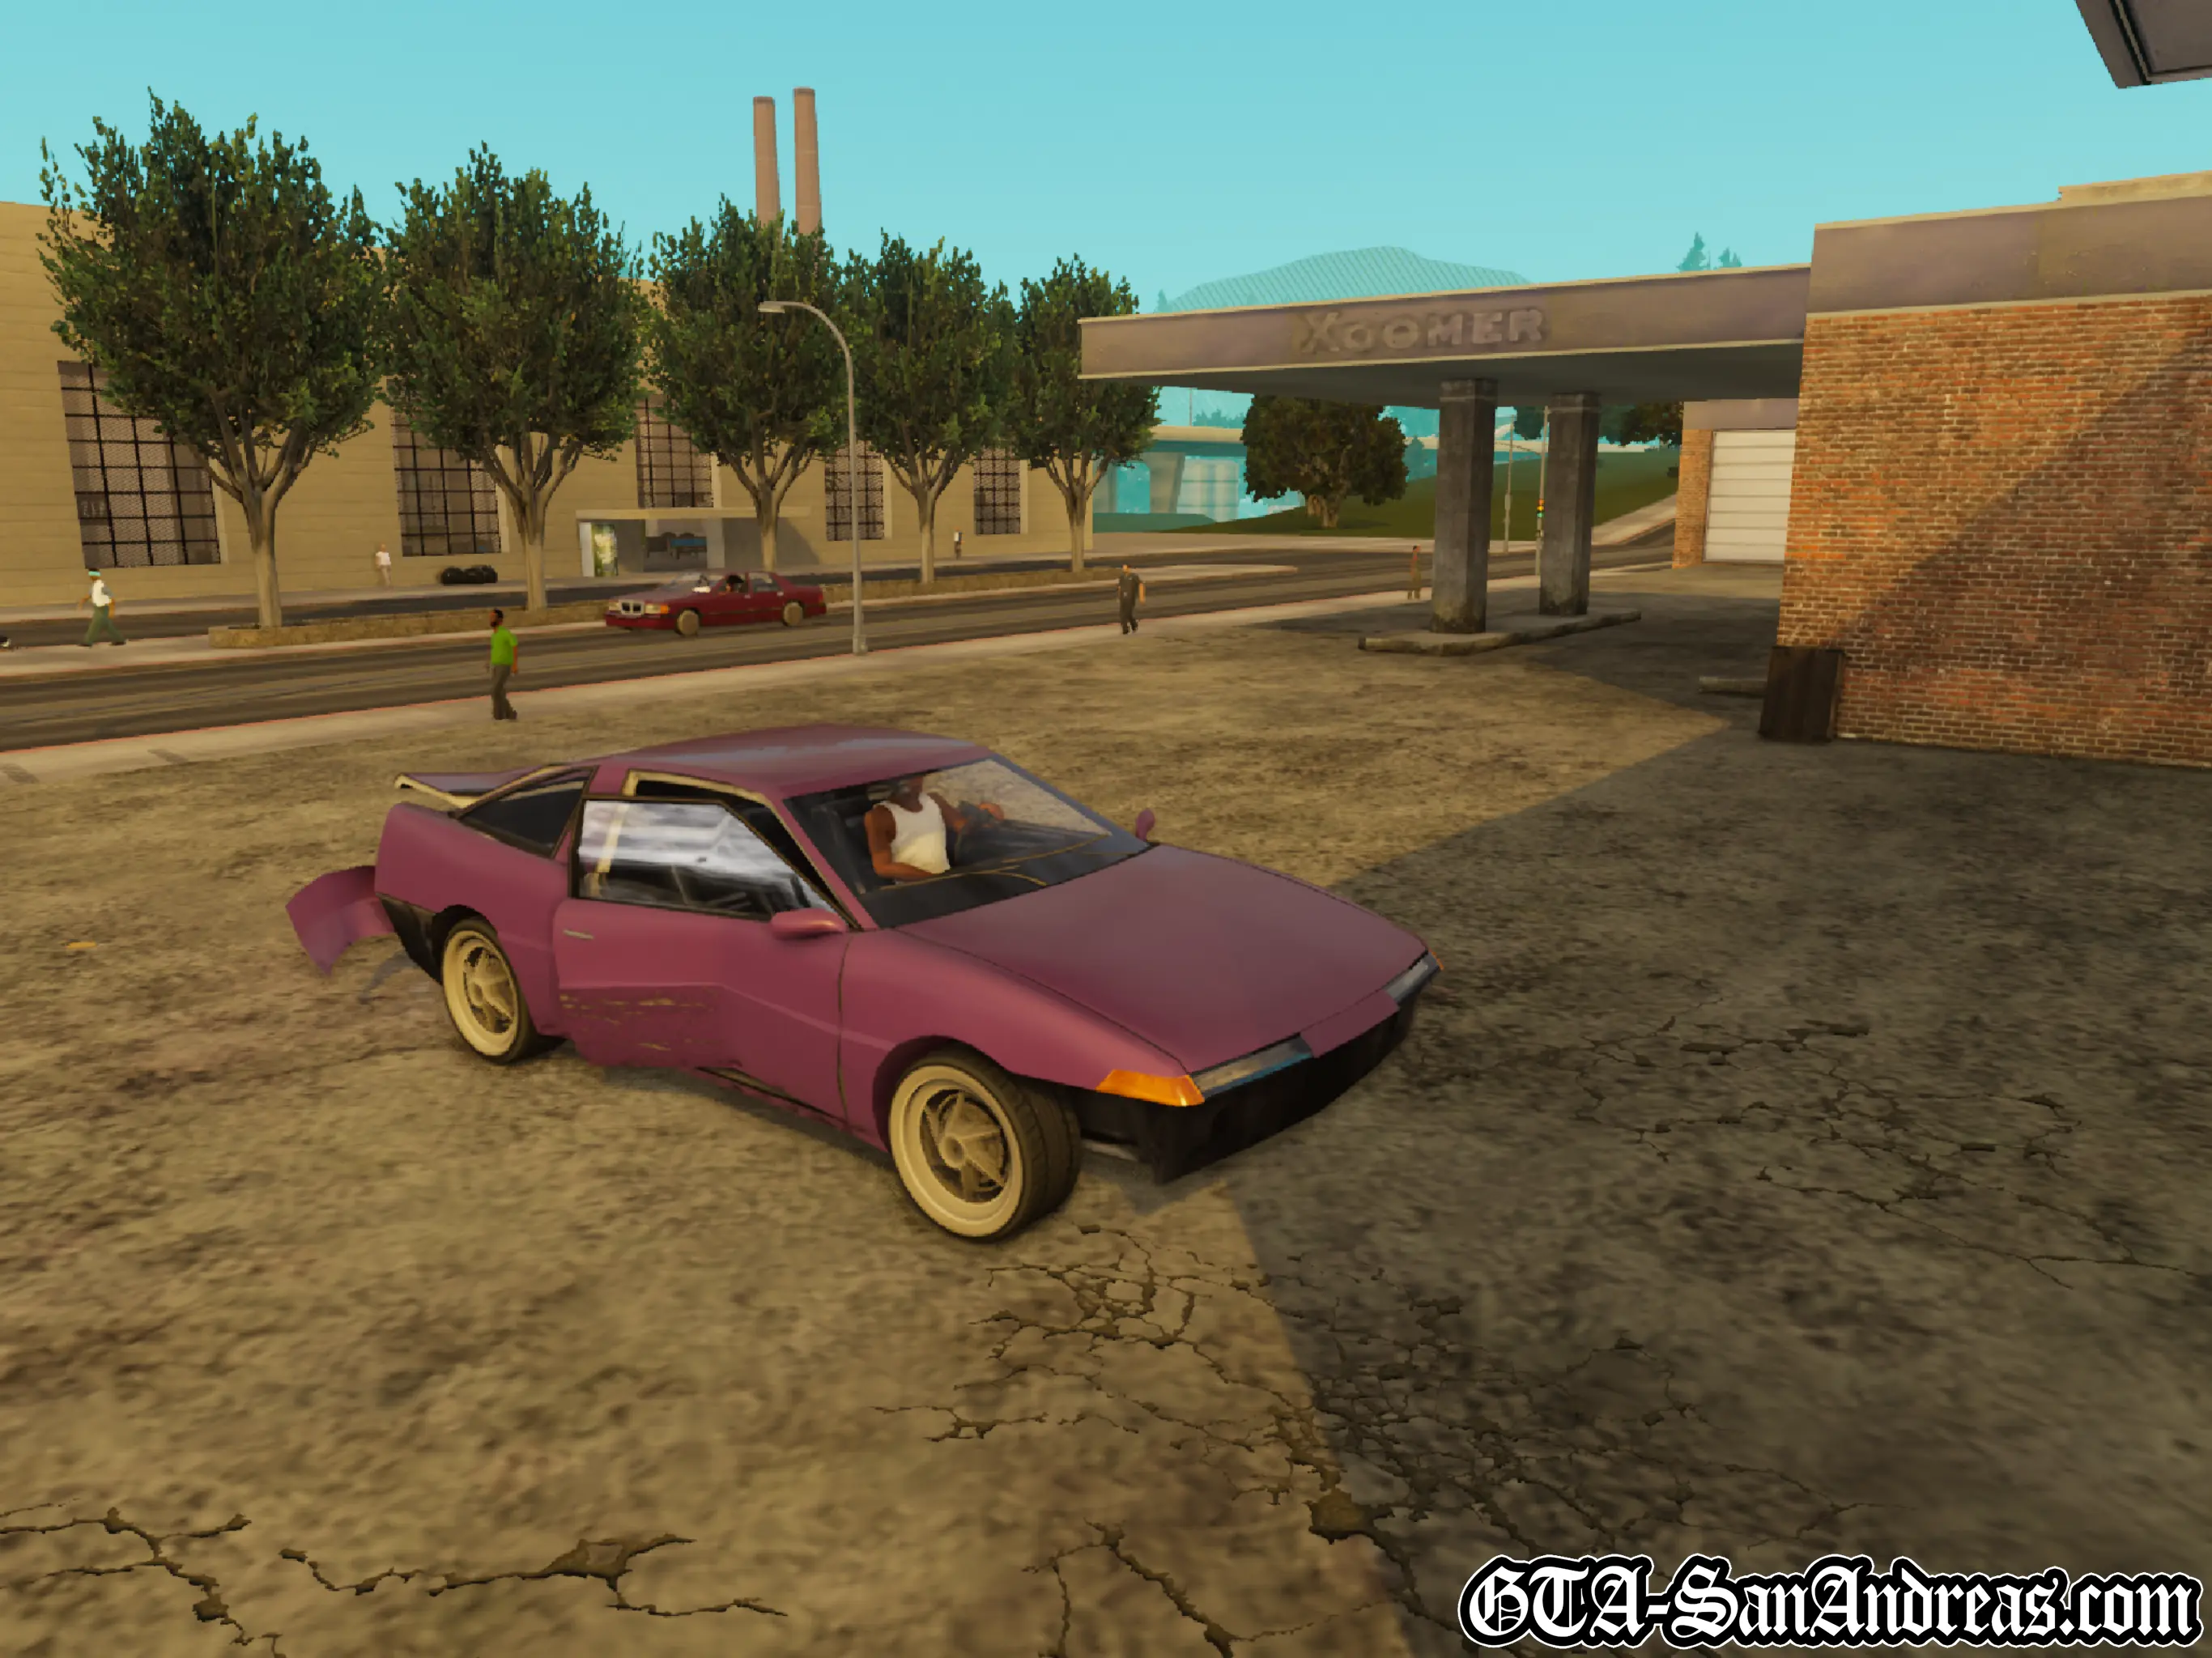
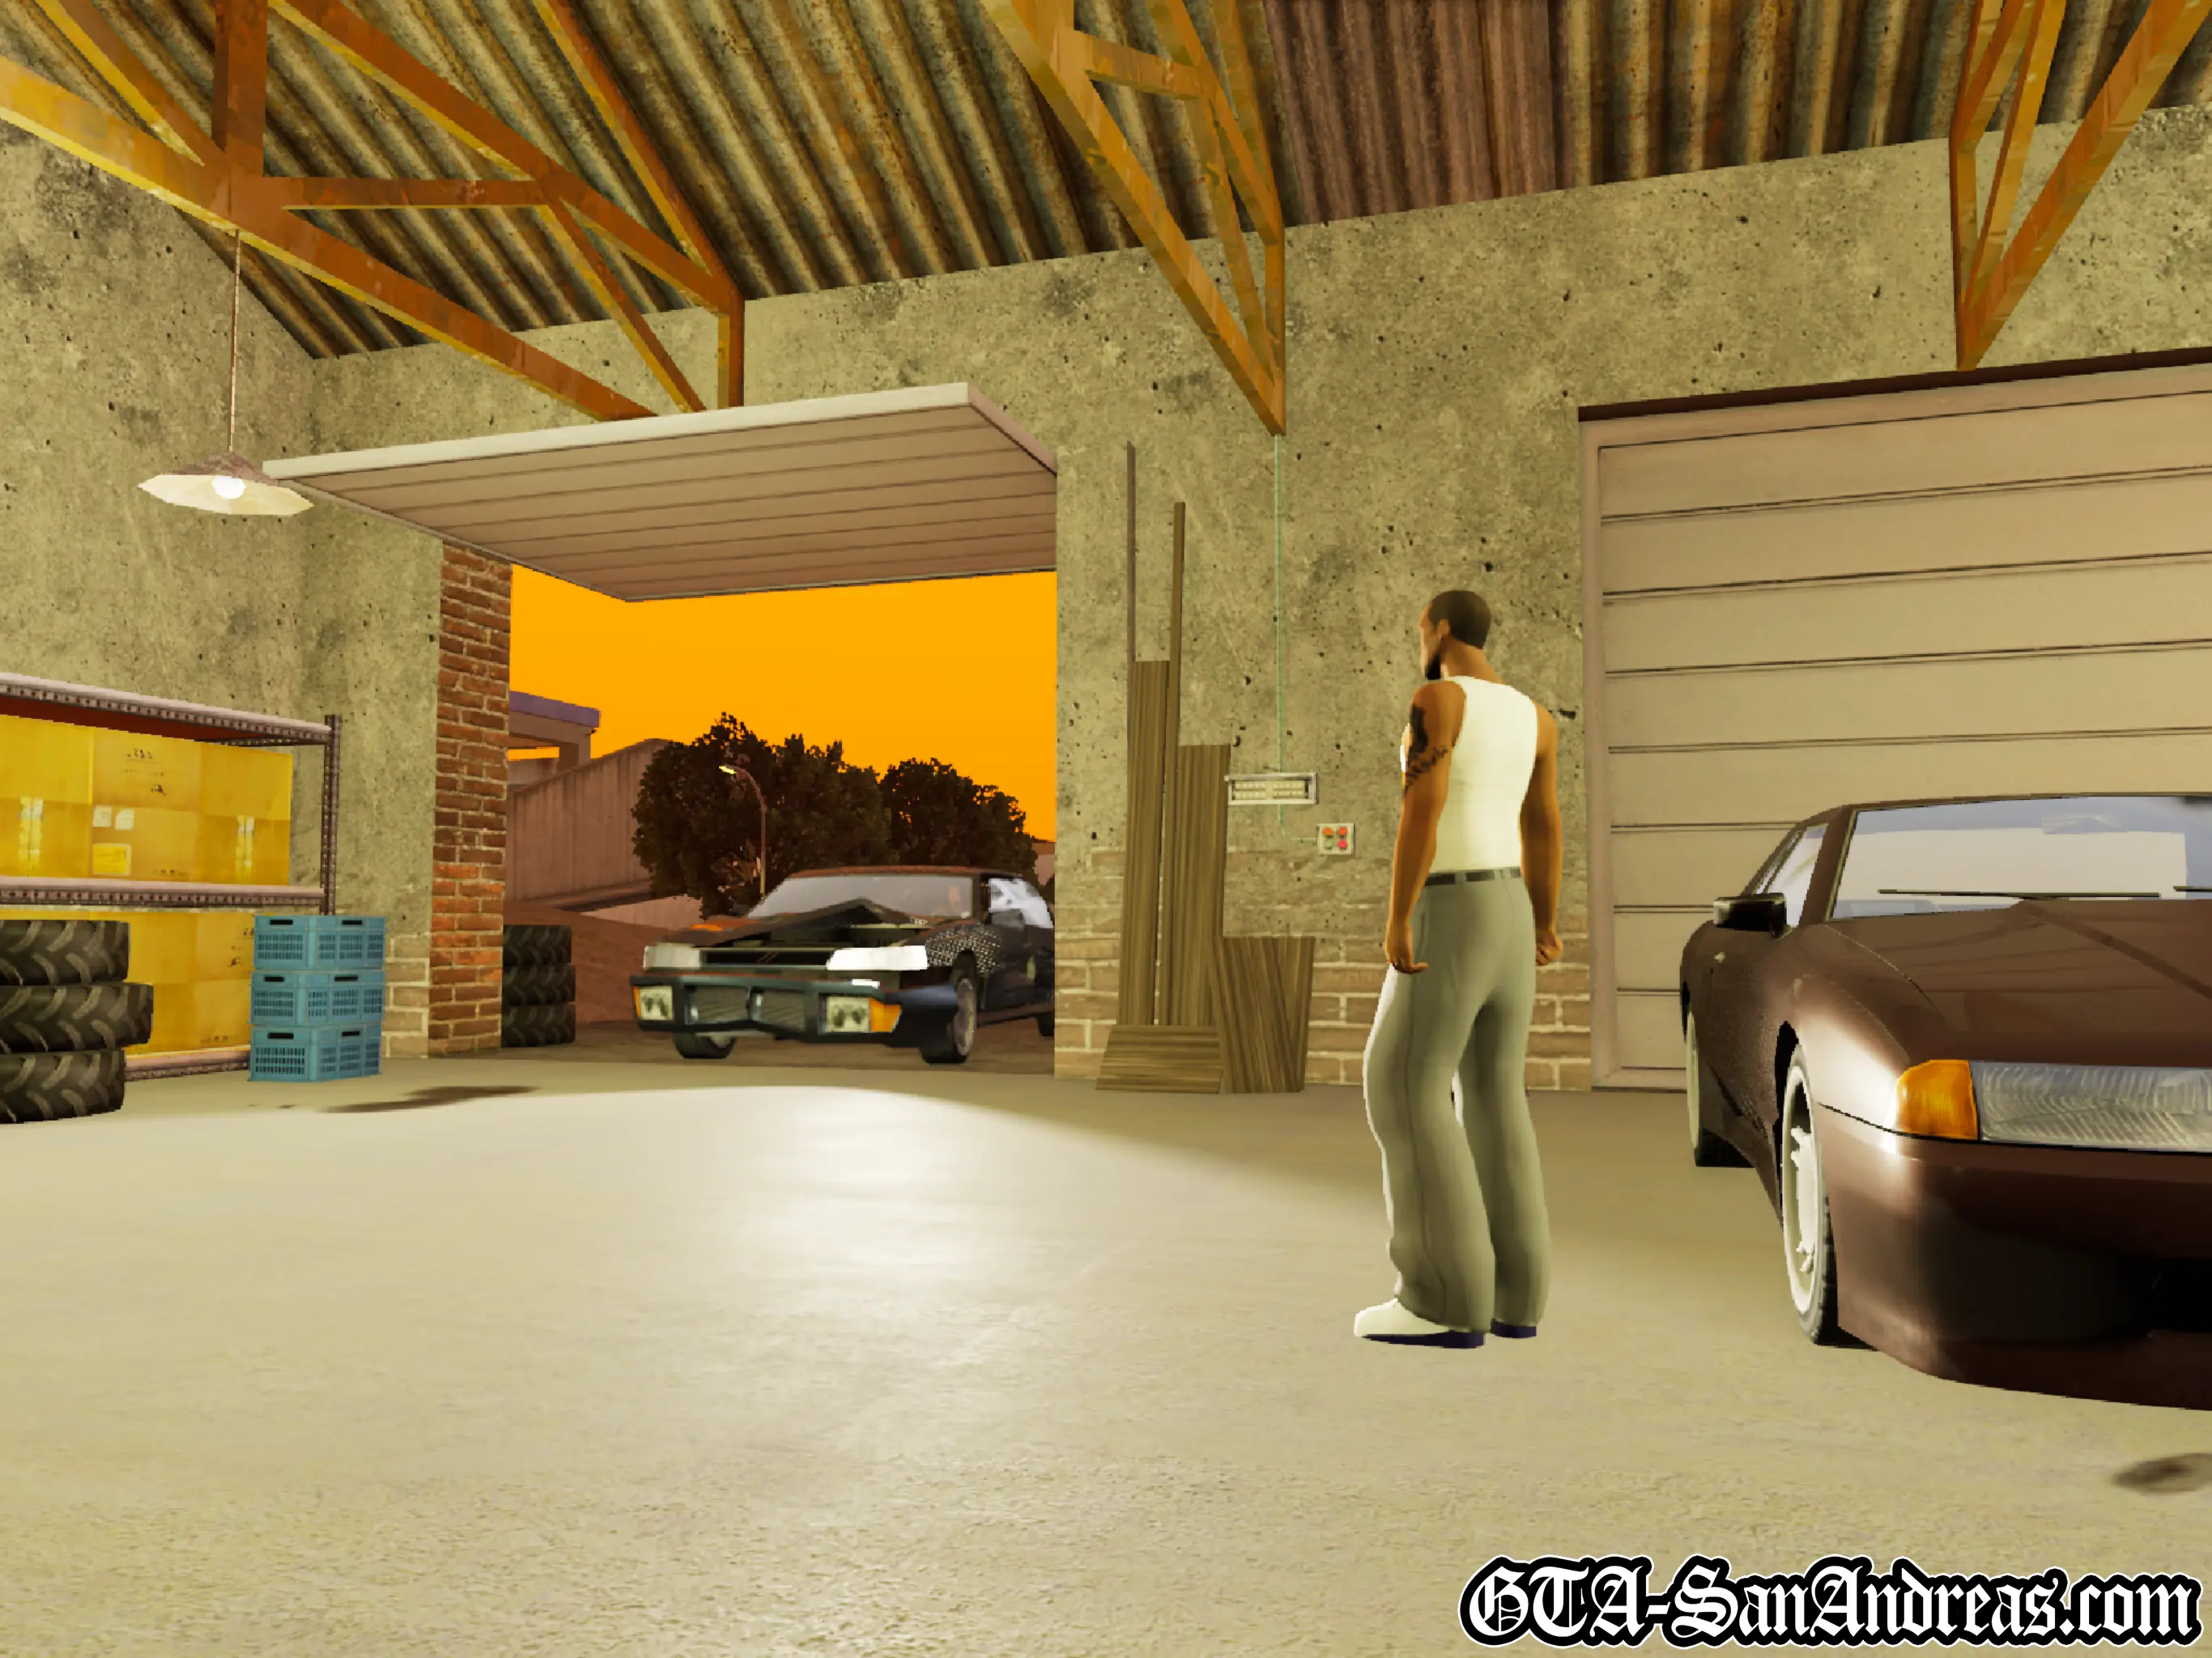
Carl is understandably pissed at the fact the garage he won is literally falling apart, but his friends and family assure him that they'll help to make something of it. The Truth says he knows some mechanics who will be willing to help out and wants you to take him to pick them up. Firstly you're going to get Jethro, a stoner who works at the Xoomer gas station at Easter Basin. He was in Vice City working at the boat yard if you remember. Drive down to Easter Basin and park in the red circle. You'll then need to hit L3 to use the horn. Jethro will get out from under a car he was fixing and get in your car. Now The Truth wants you to drive to the hospital so make your way to the red cross on the map. The Truth wants to scope out a strange van, and after it's left they will ask you to pick up Dwayne, he's working at a hot dog van just up the road. Dwayne says he's got some shit to do, and he'll meet you later, but The Truth wants you to go to the cop station, so head towards the blue blip on the radar. Park in the red circle and watch another short cutscene where a van drives off. Next you're going to pick up an electronics guy named Zero, so make your way to the blue blip and meet up with him. After picking him up, drive back to the garage and park up in the red circle.
After the mission Zero will call you and tell you his land lord is selling his shop. Carl says he's interested in buying some property so Zero will now open up on your map. For now we'll continue with CJ's missions though.
Screenshots


555 WE TIP
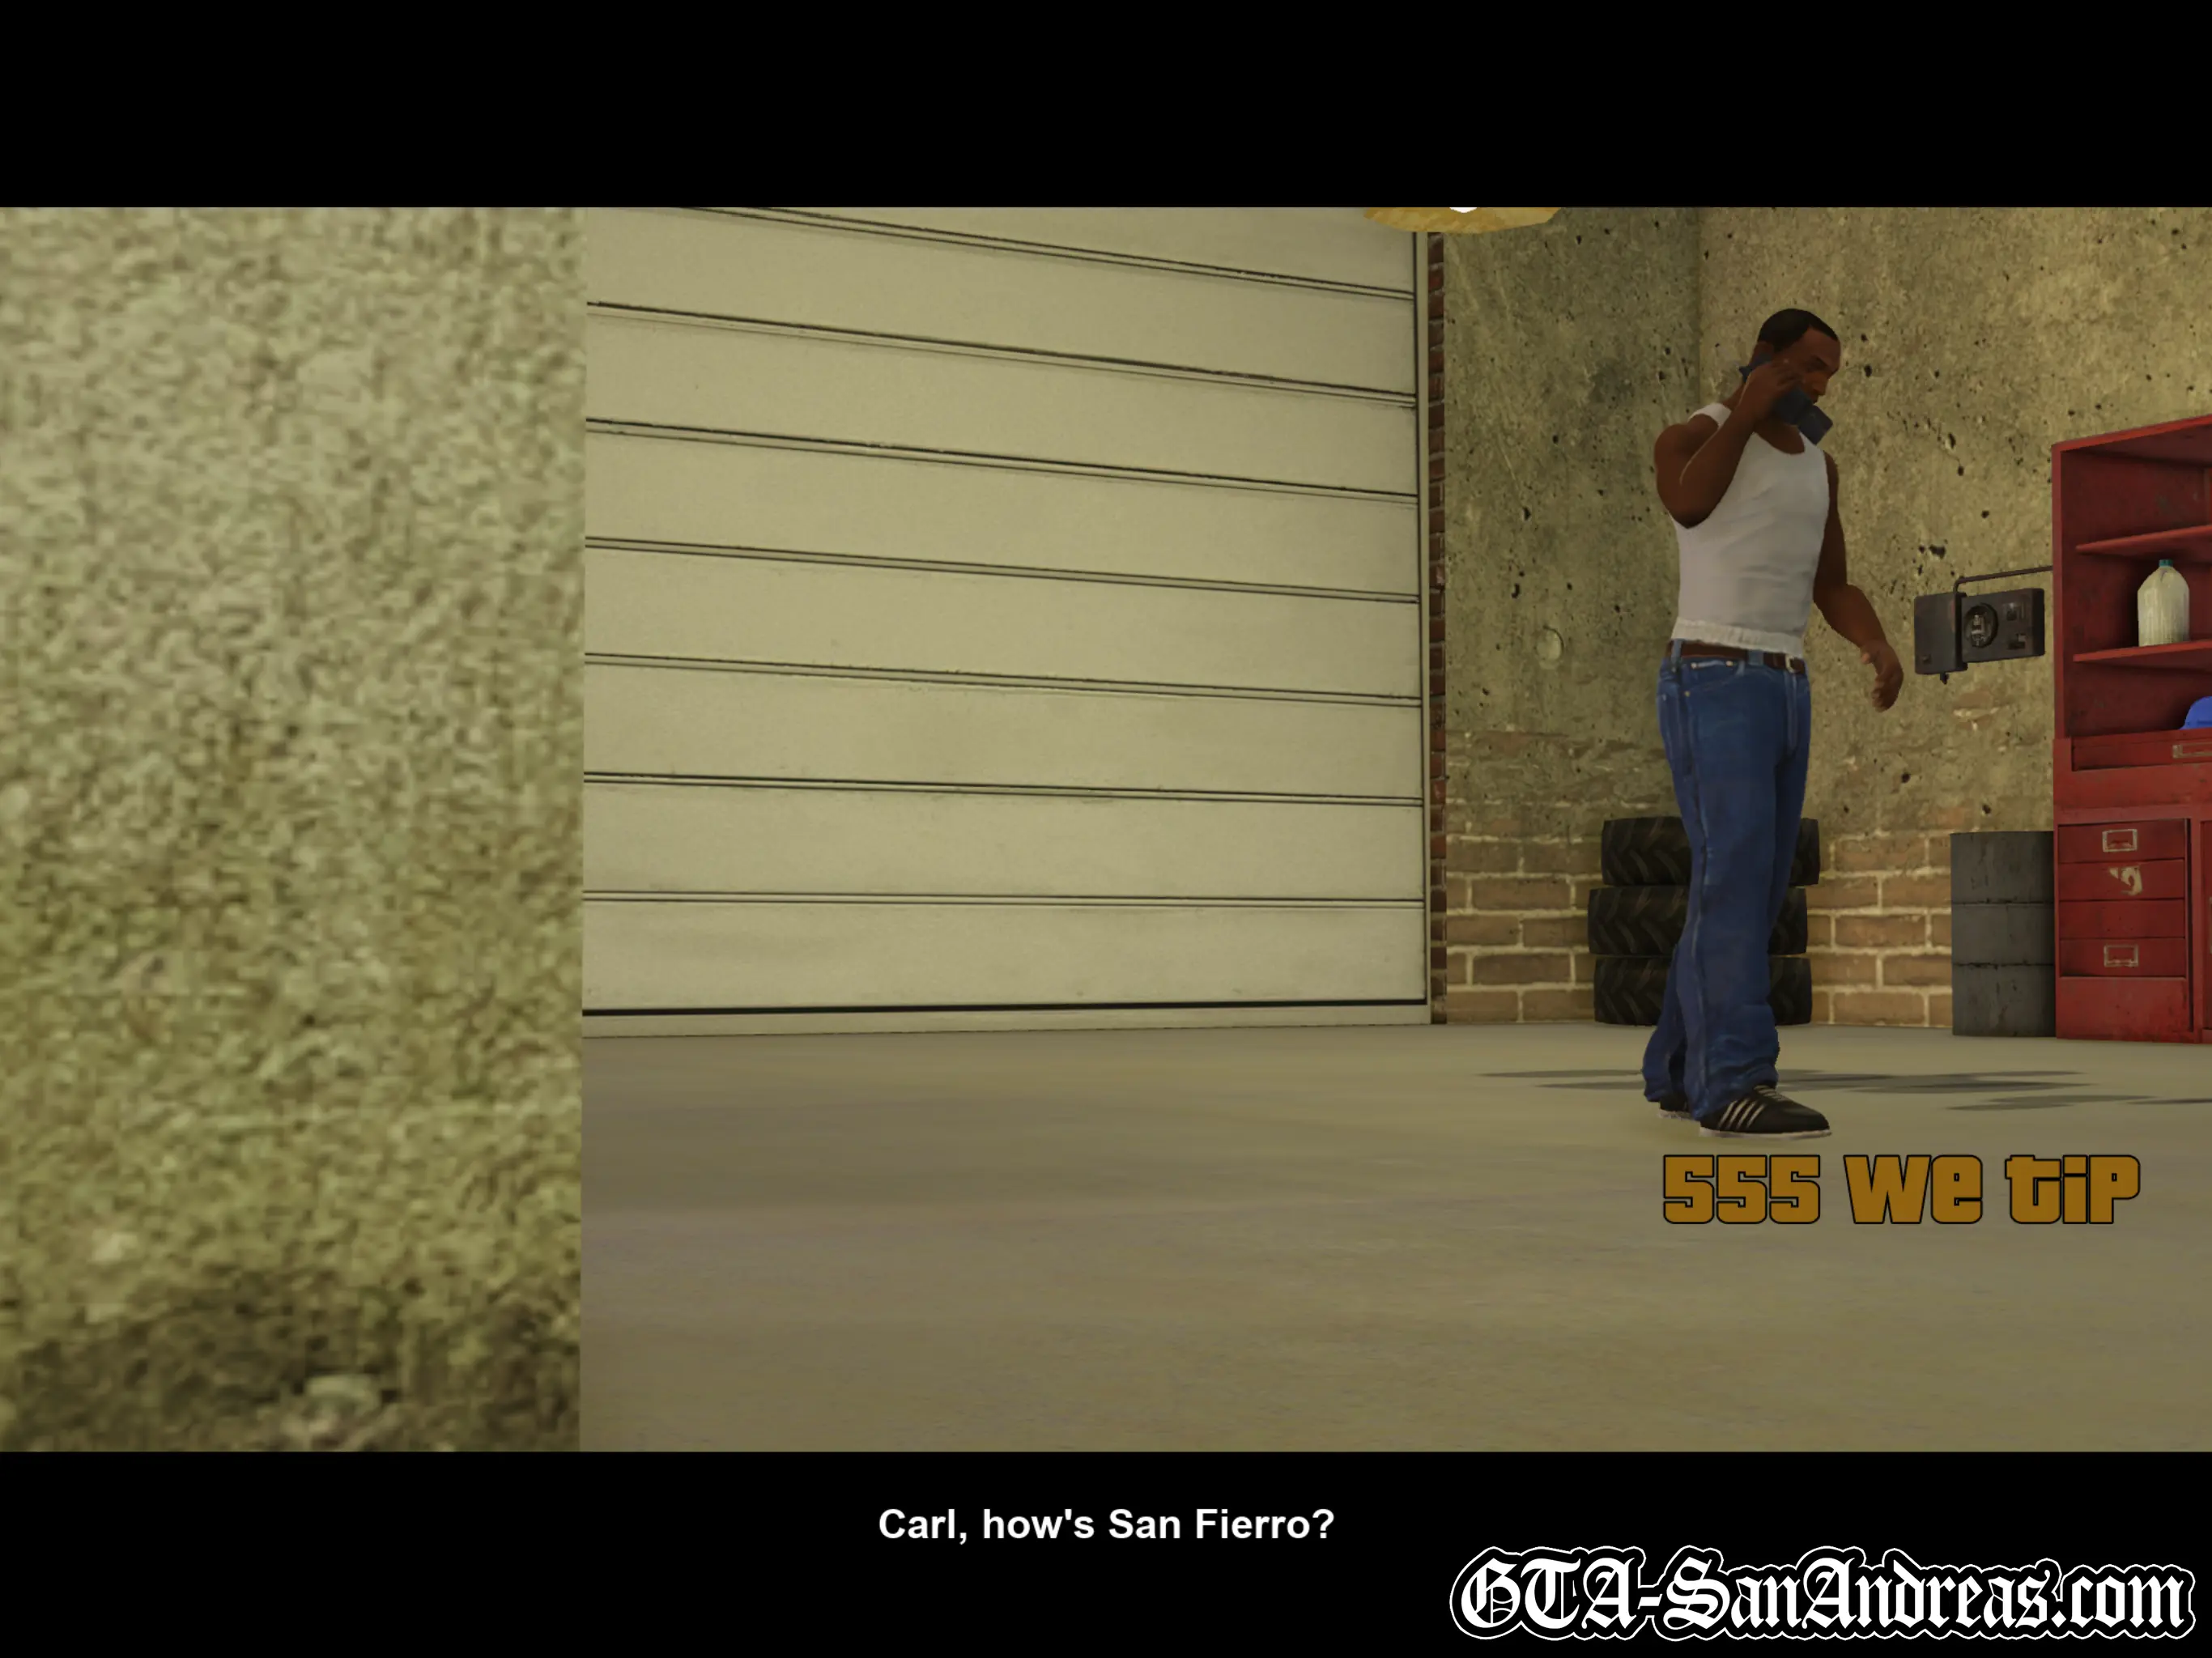
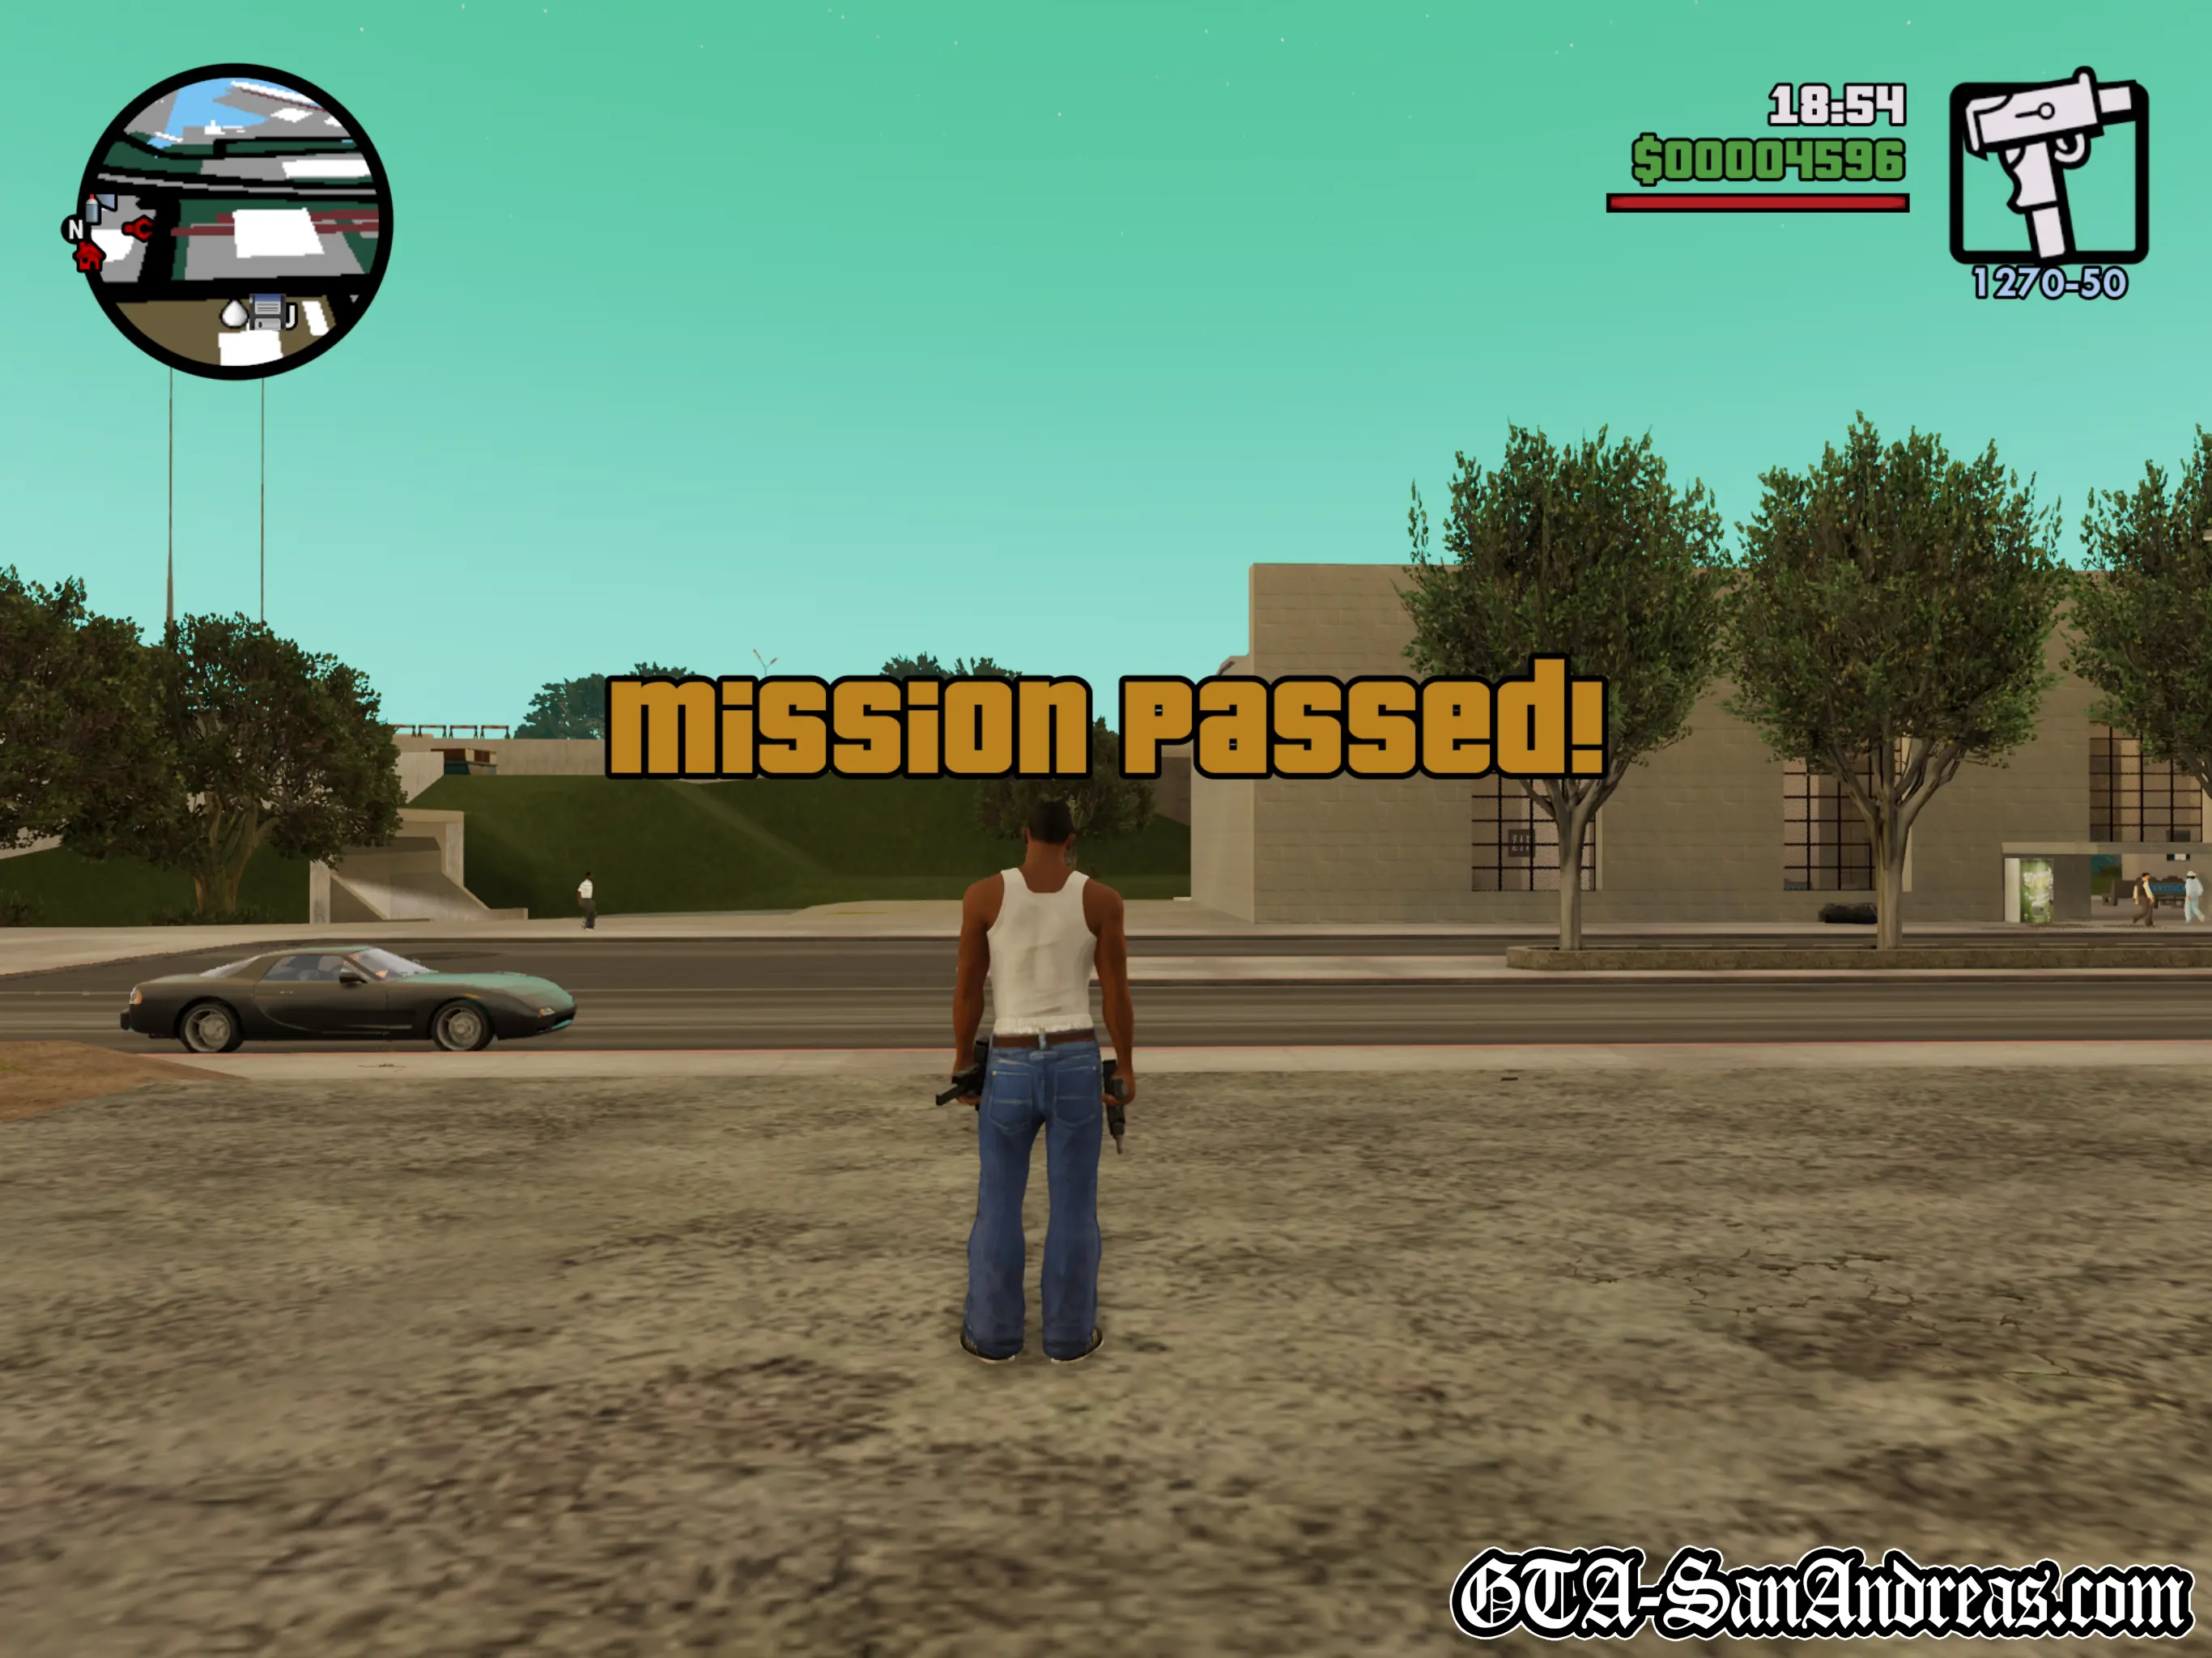
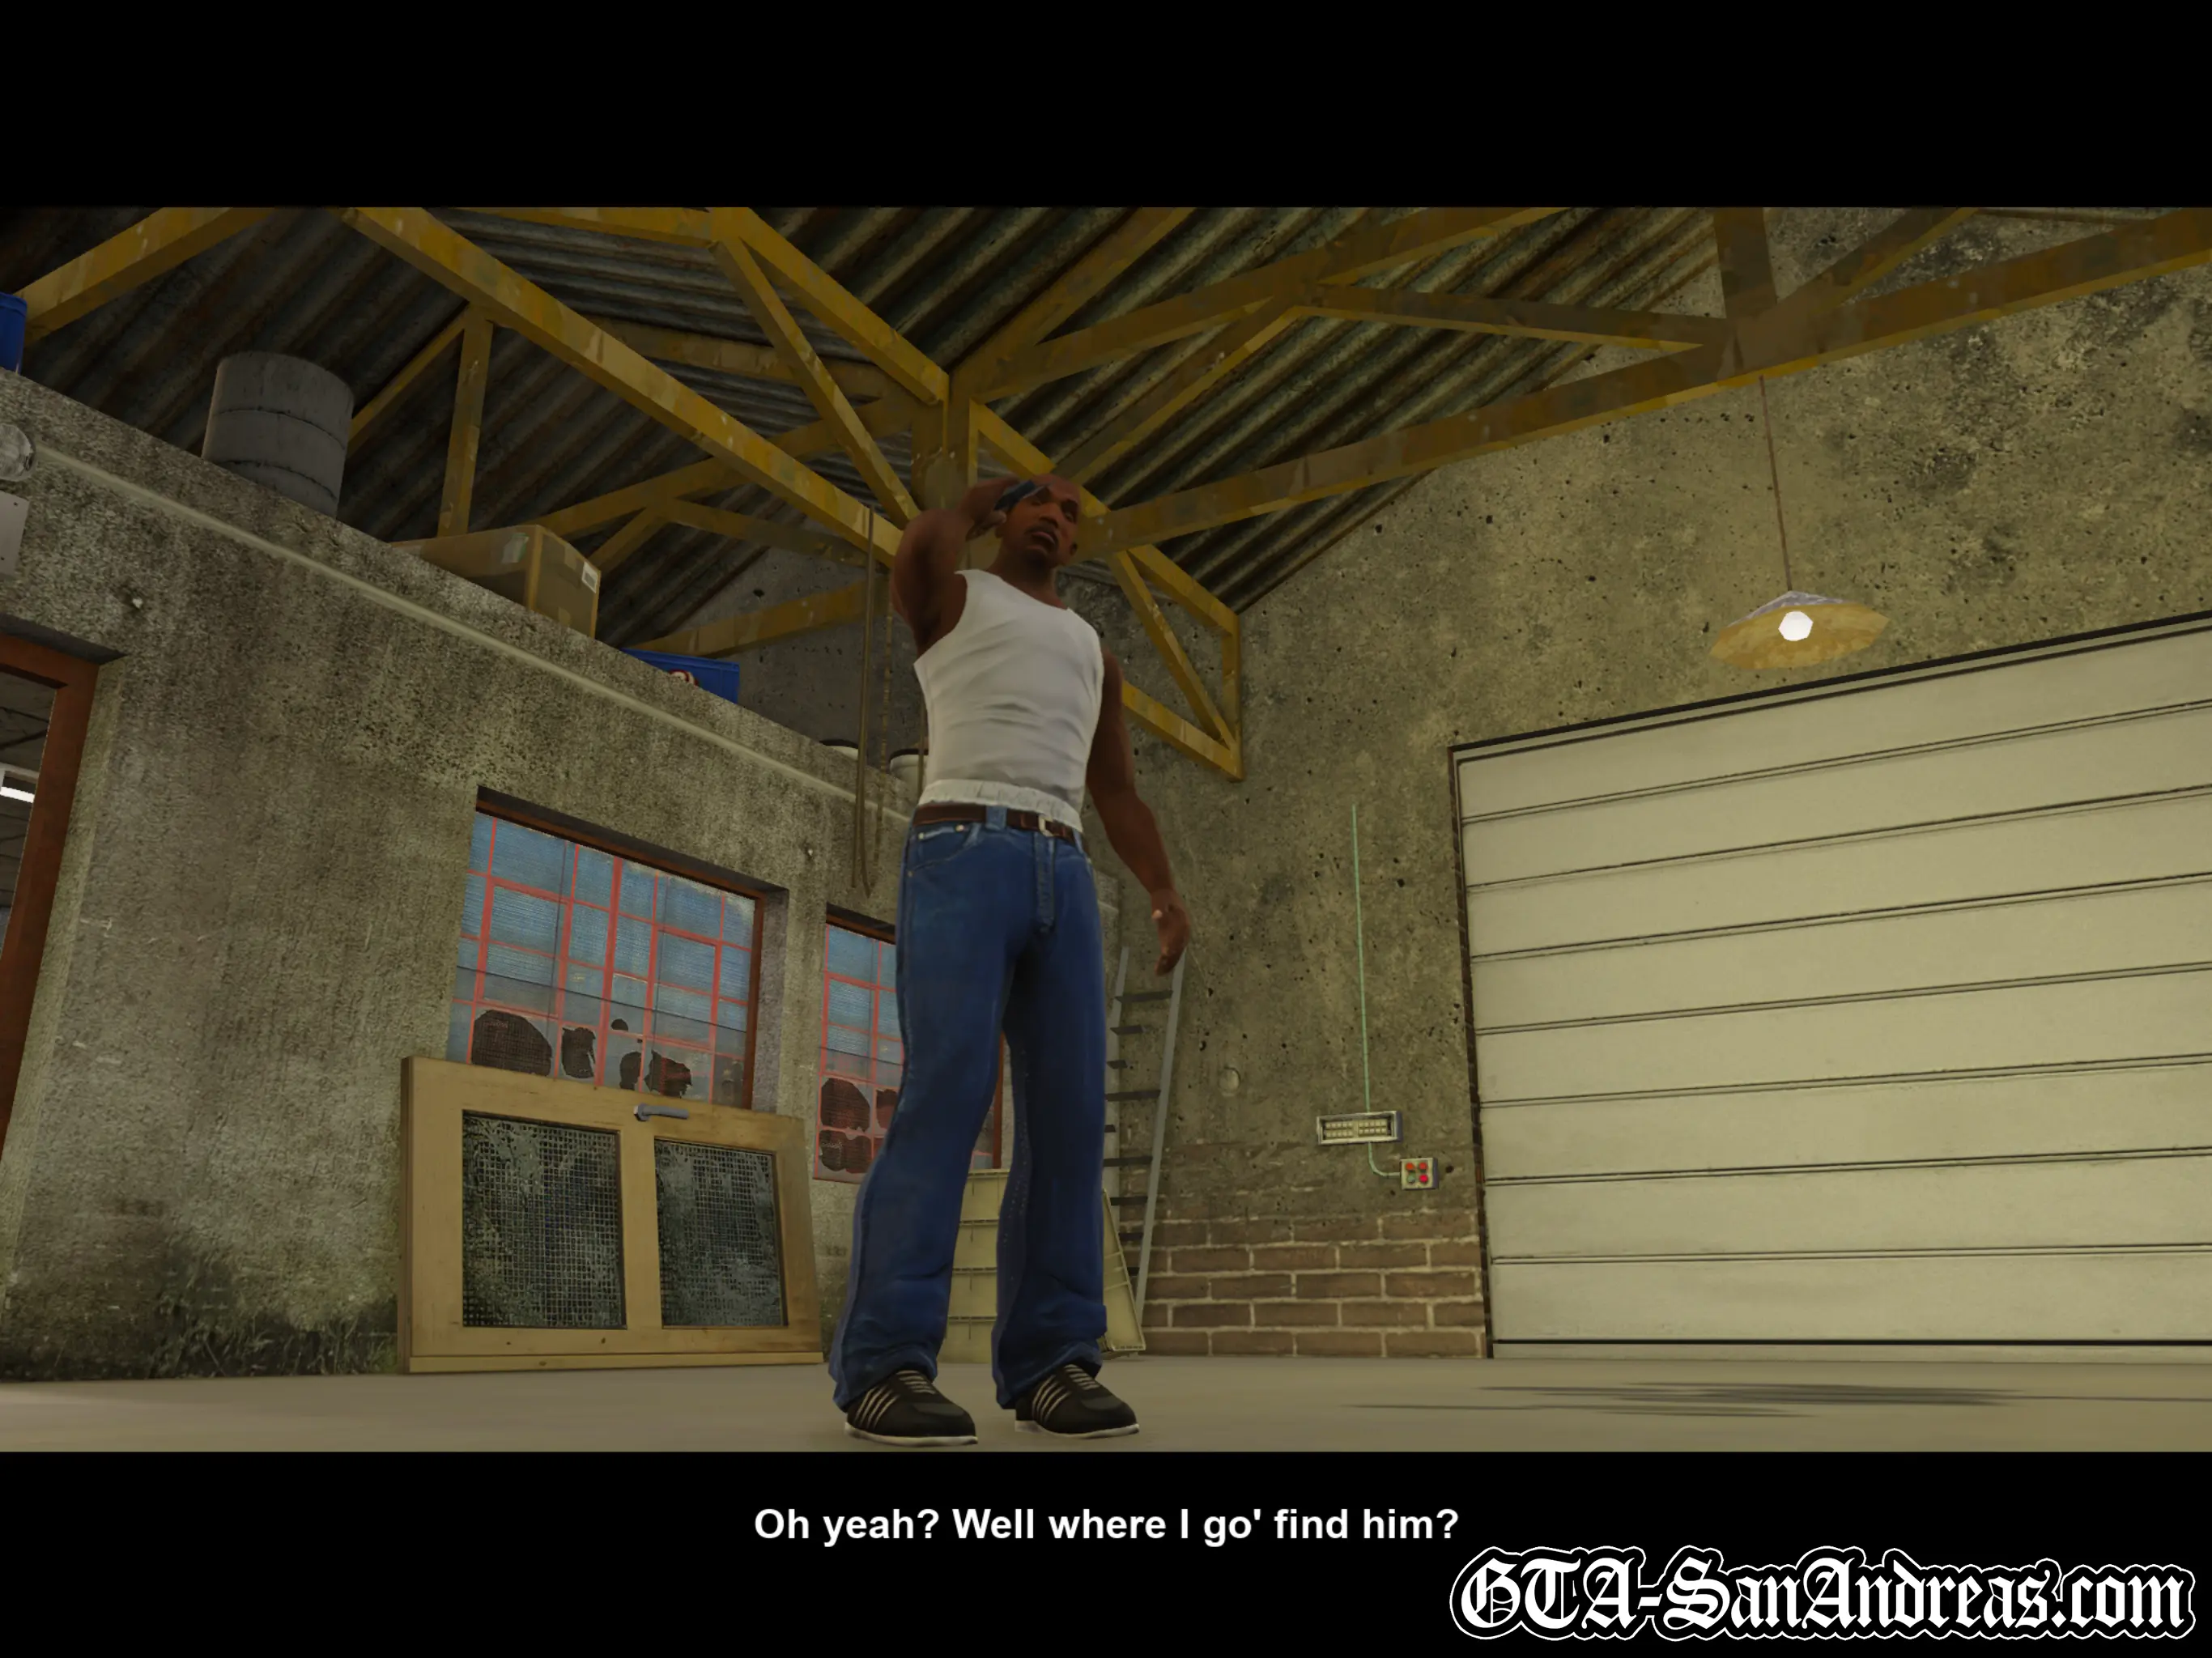
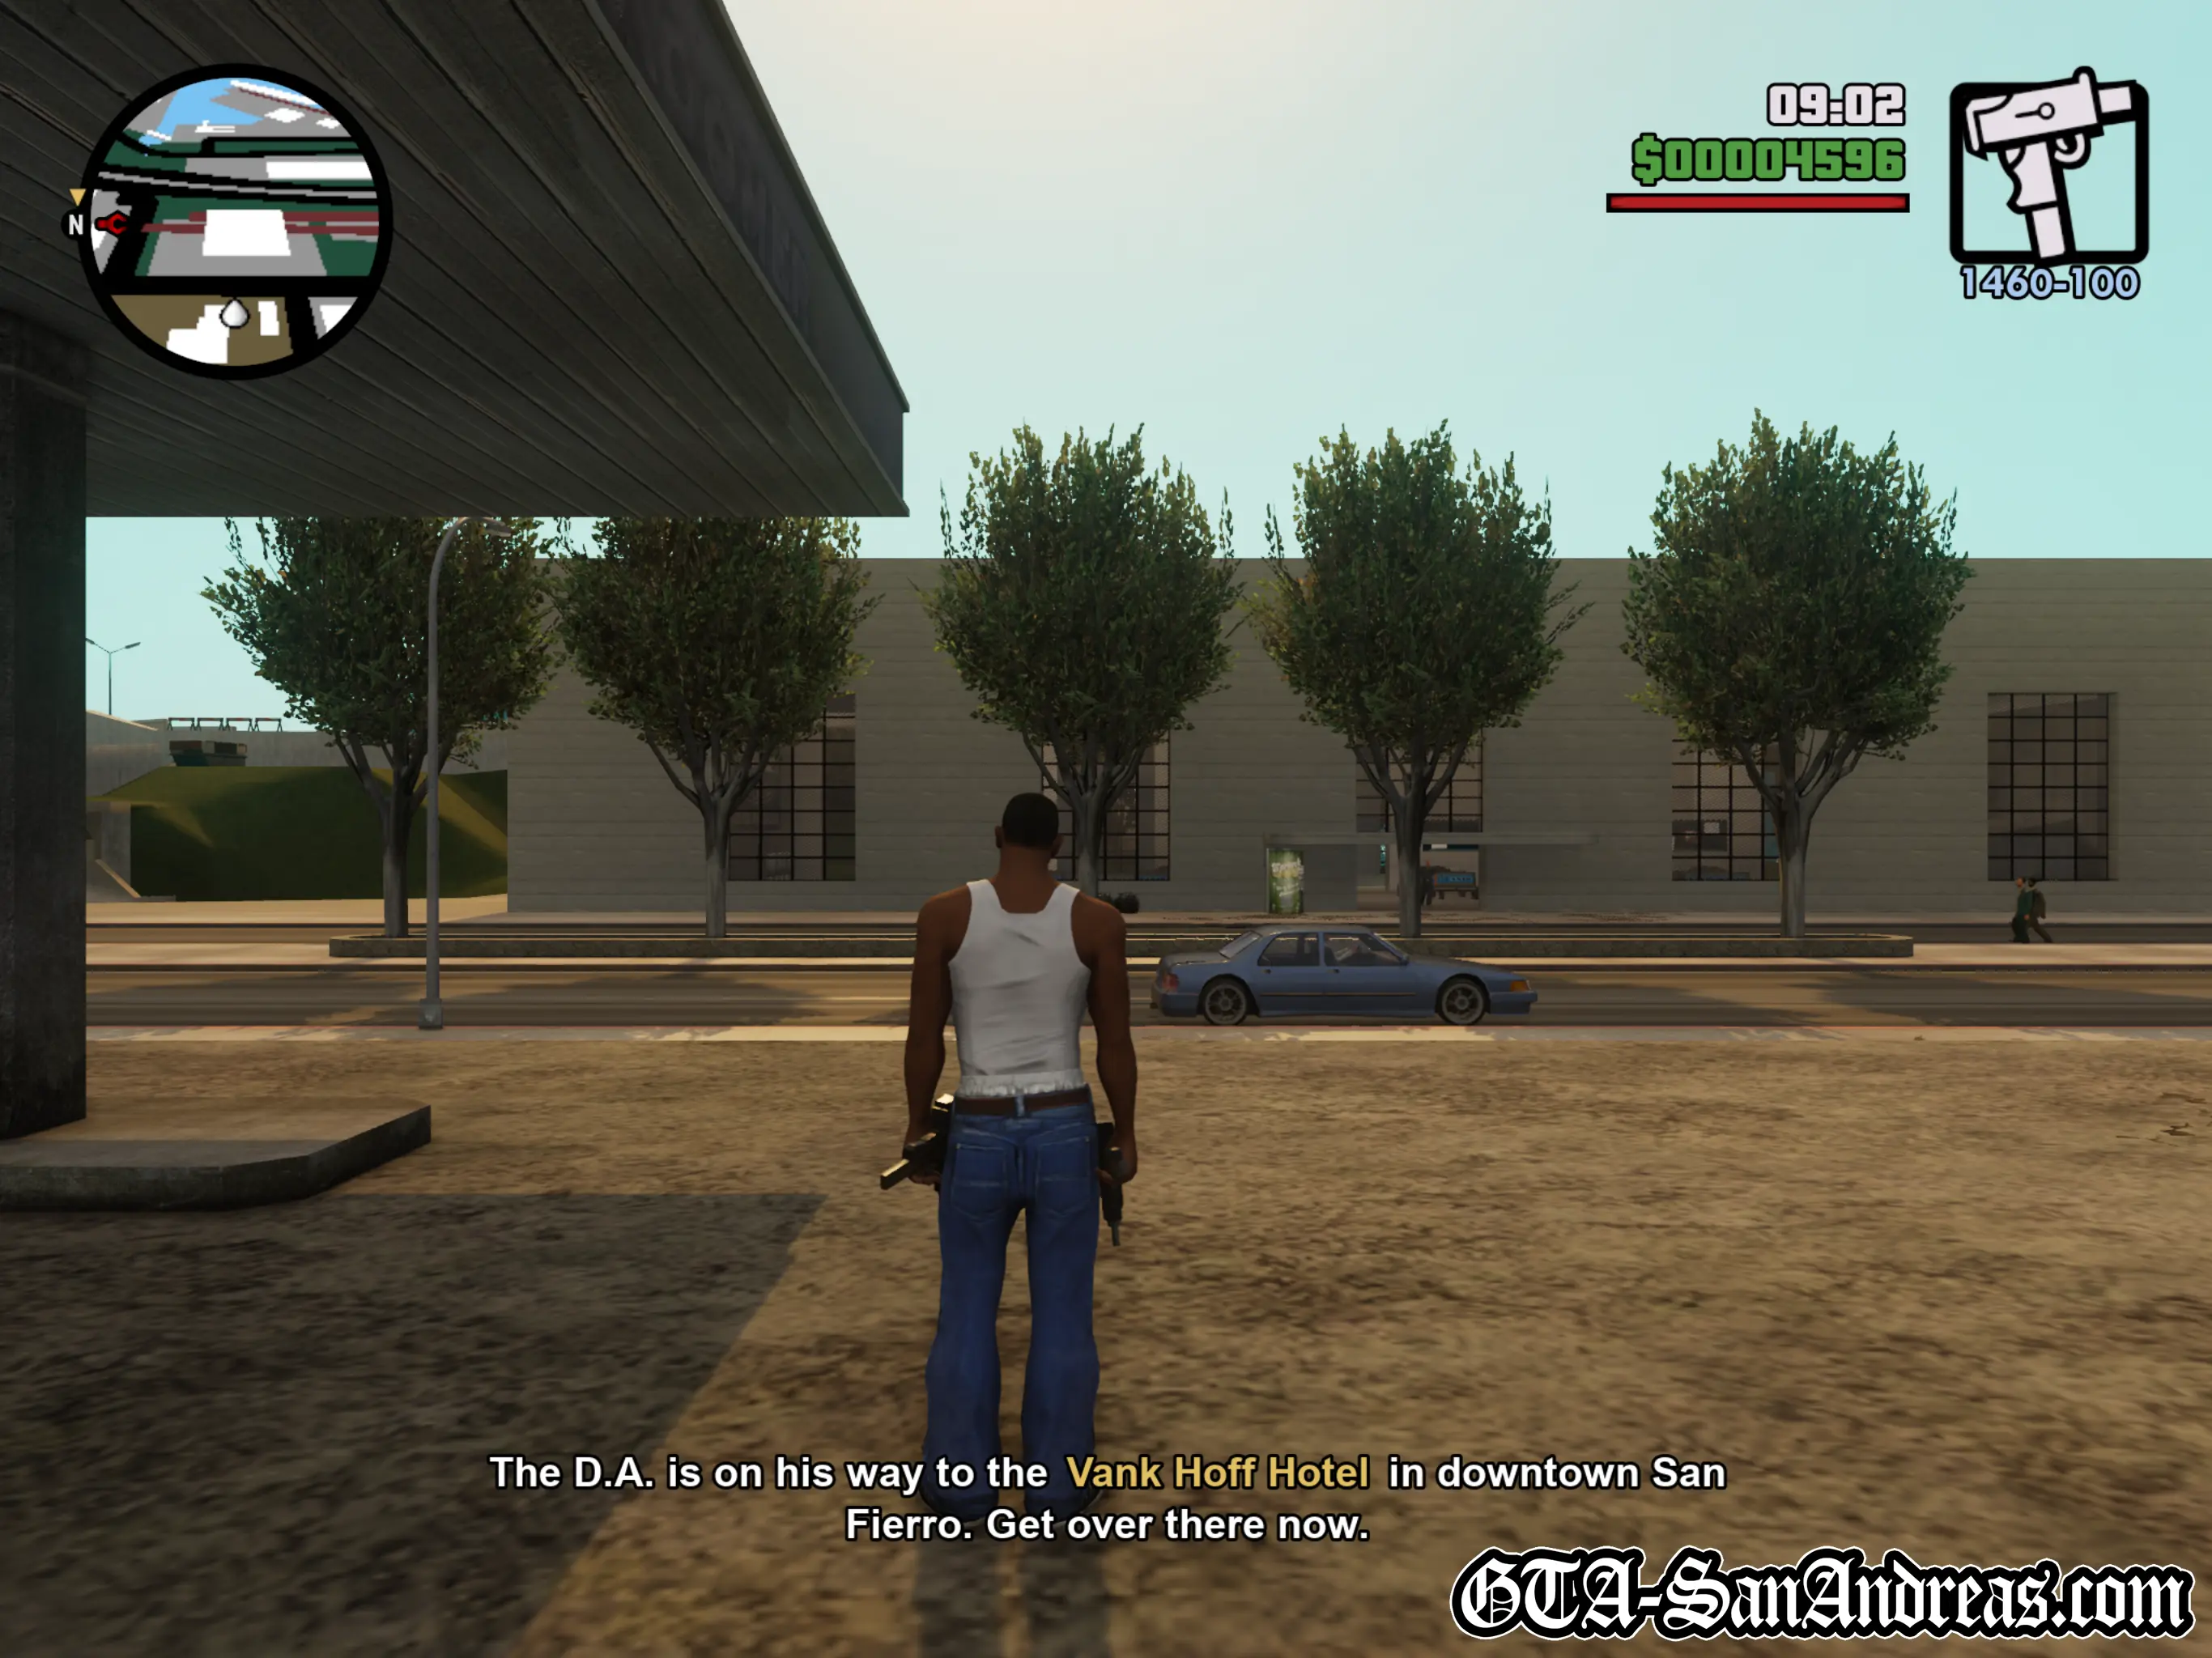
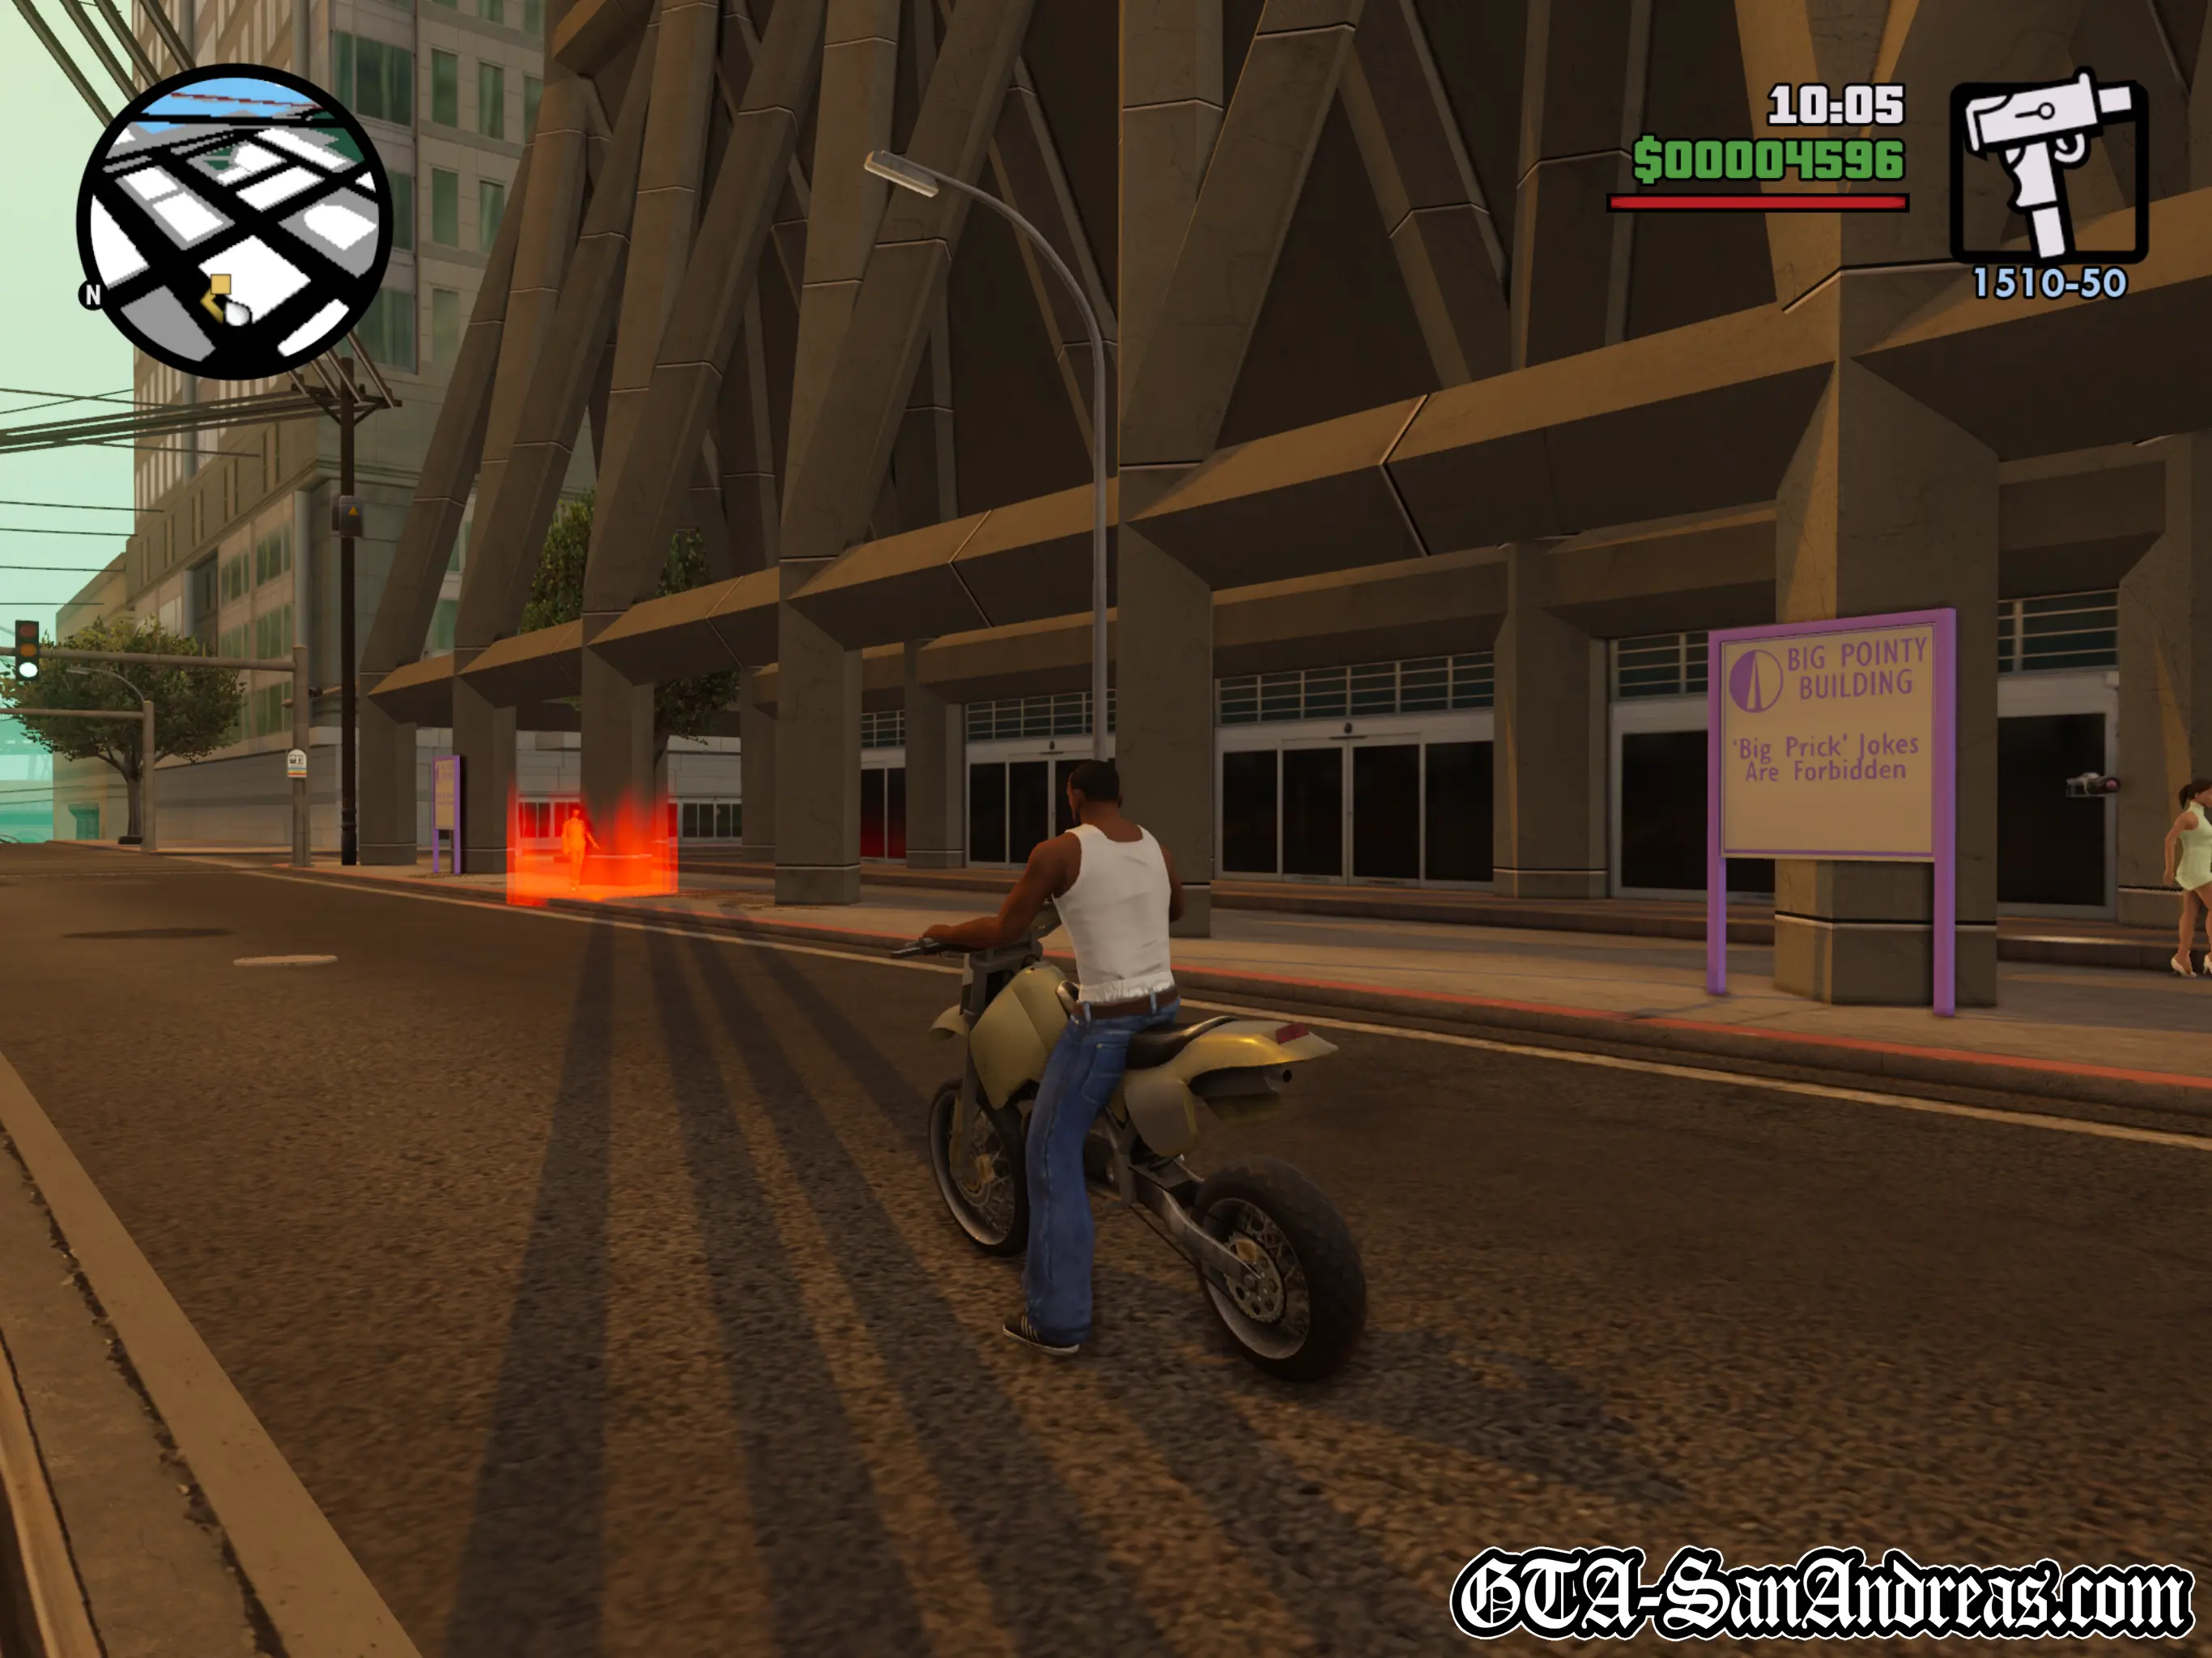
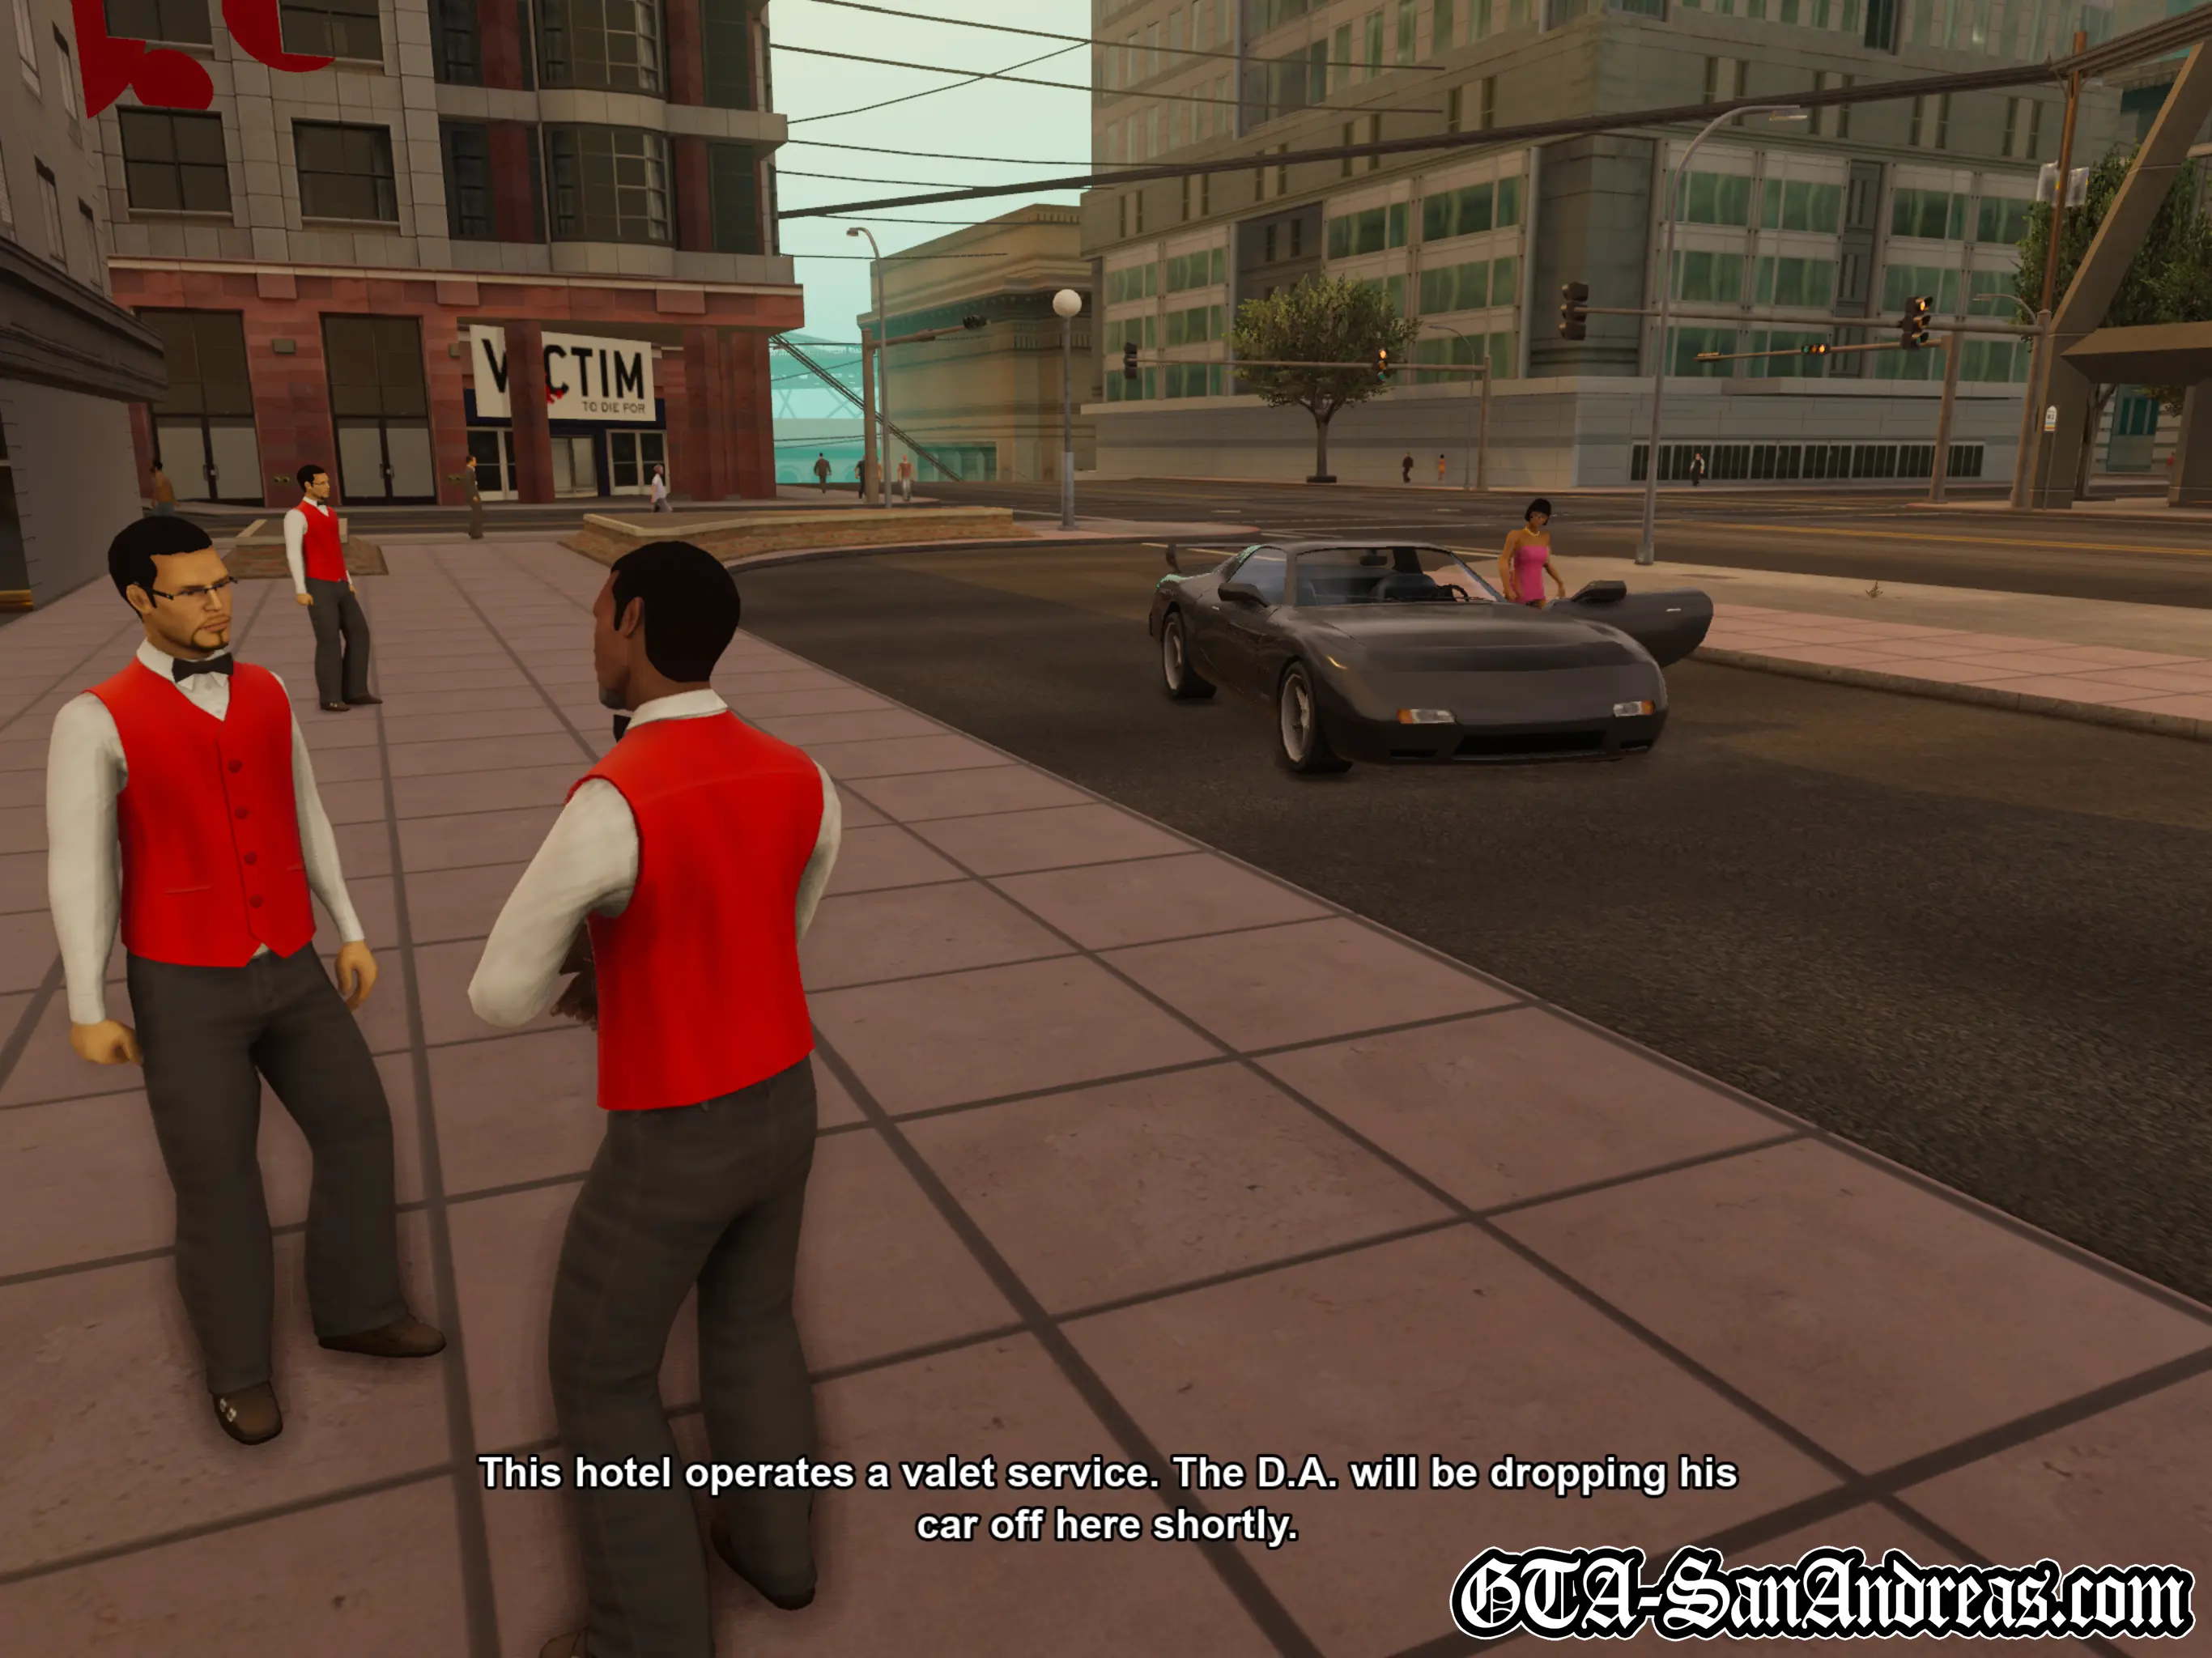
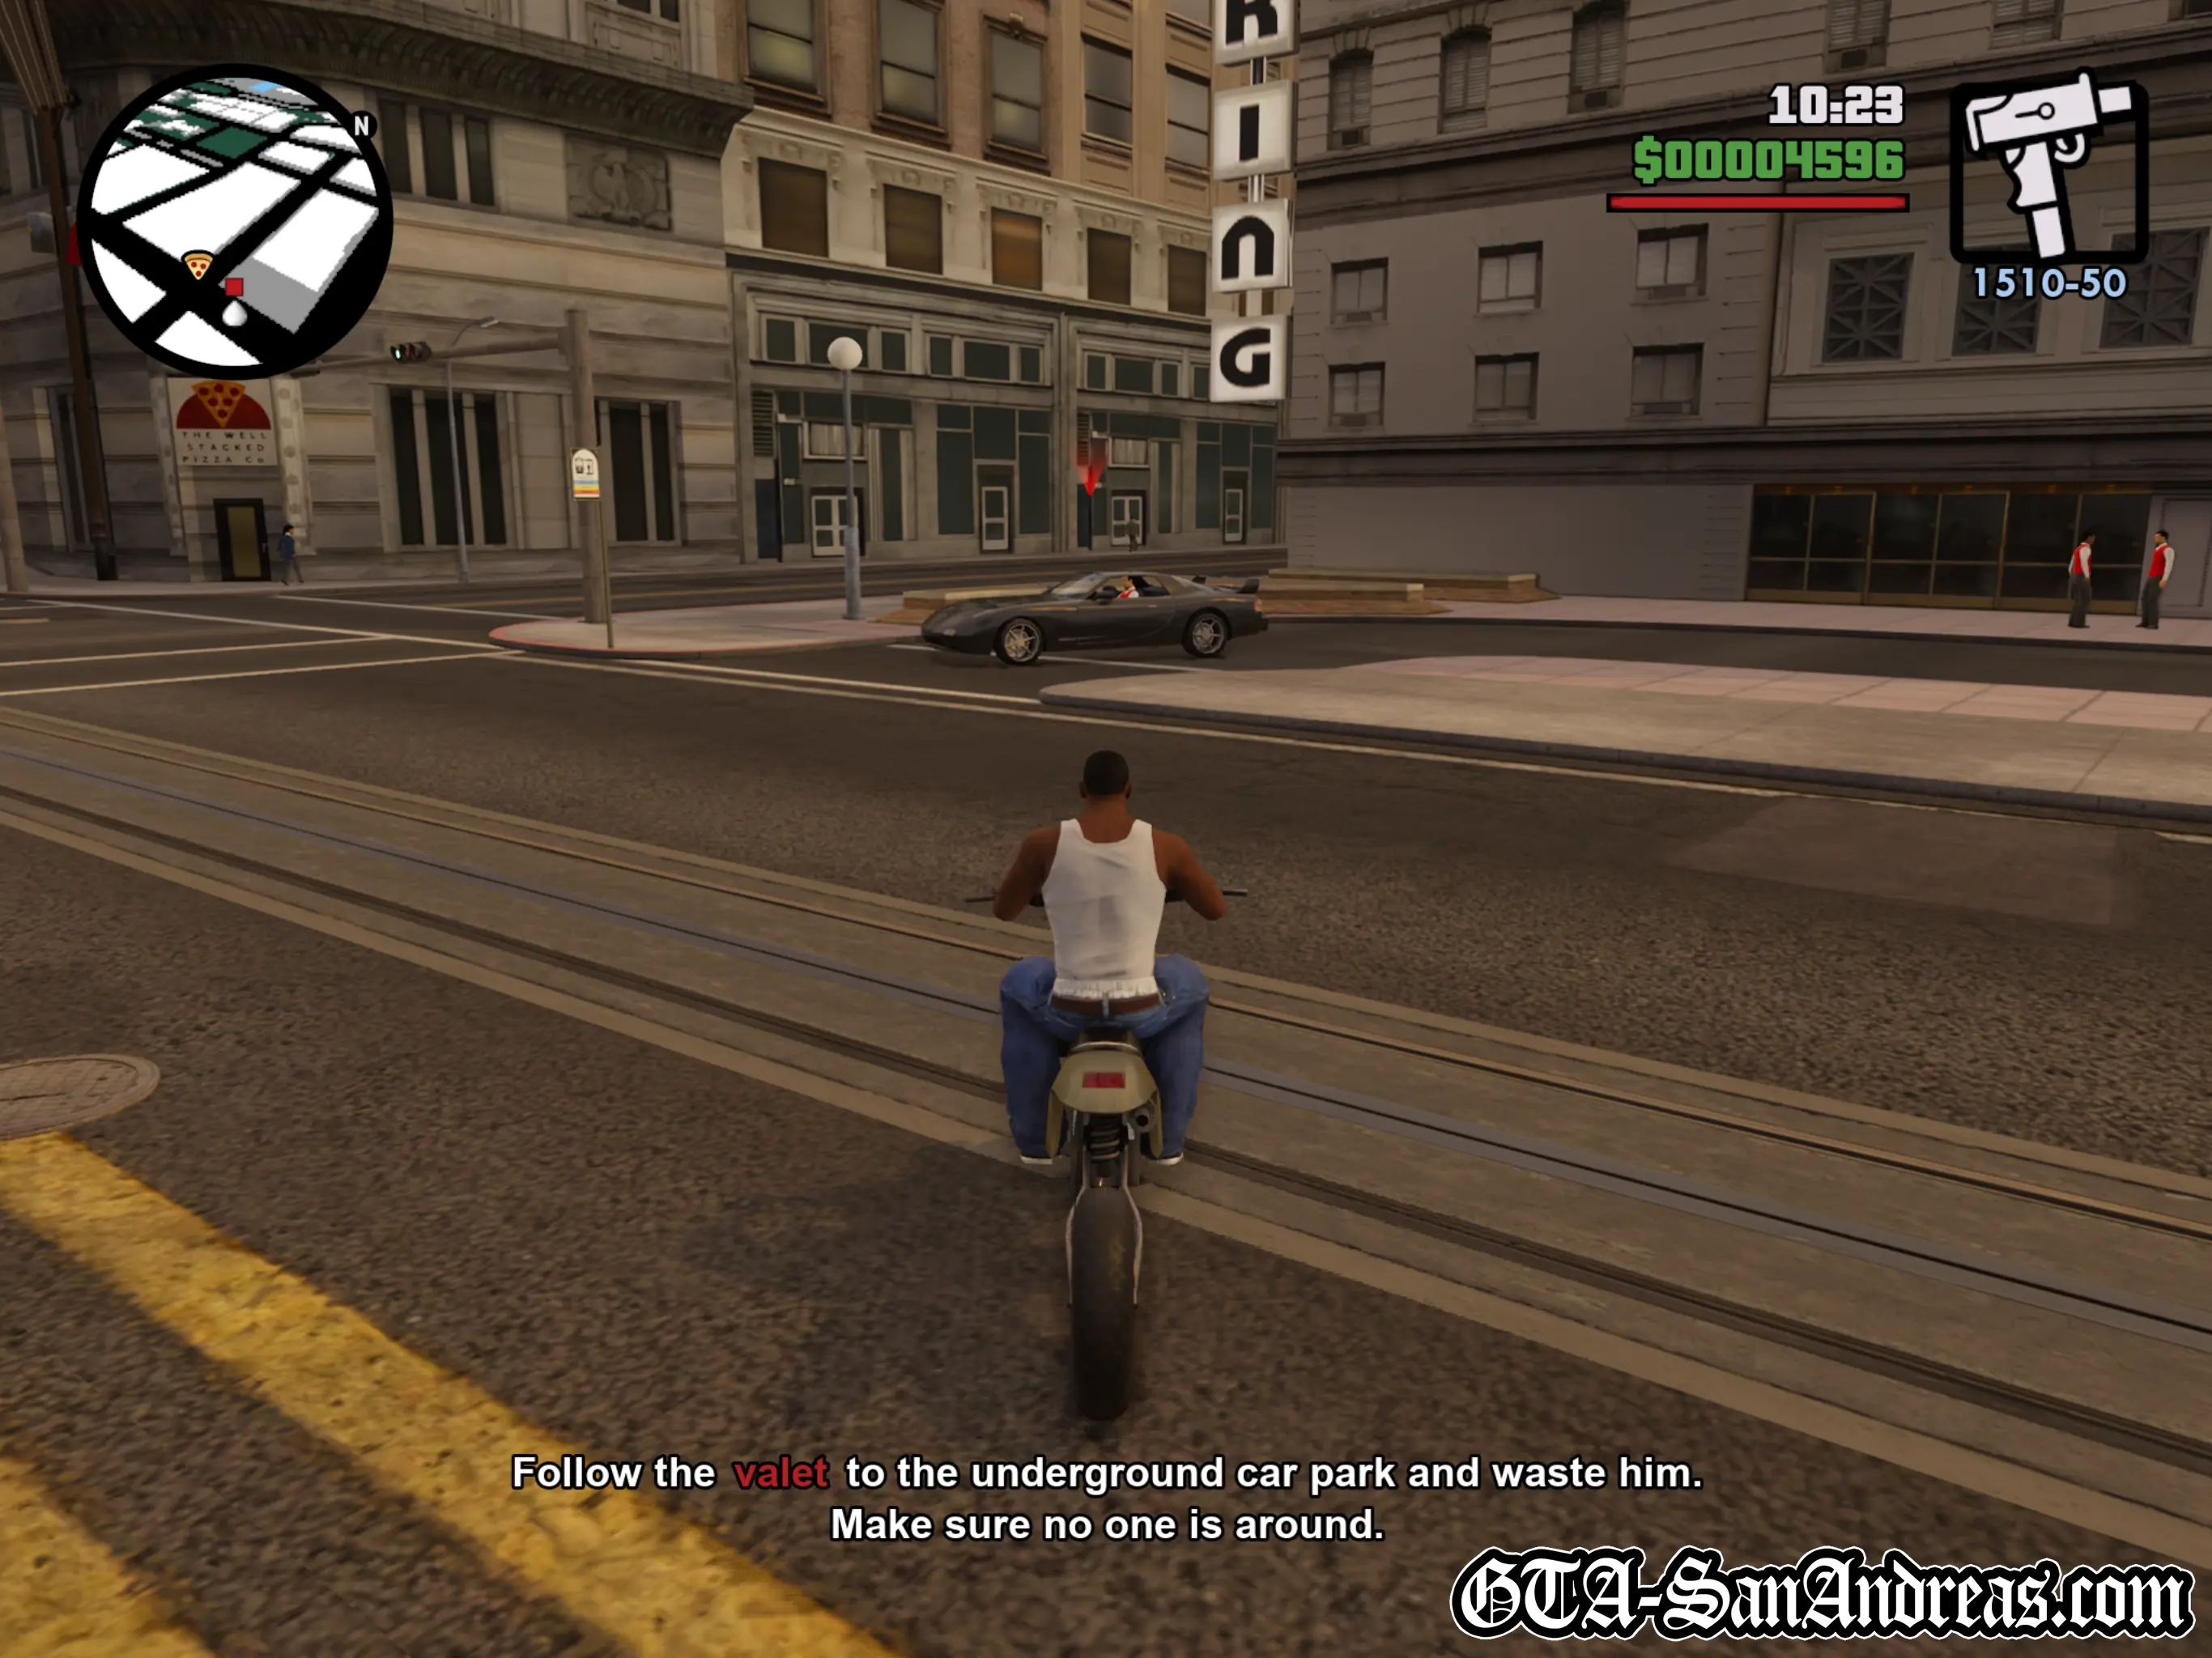
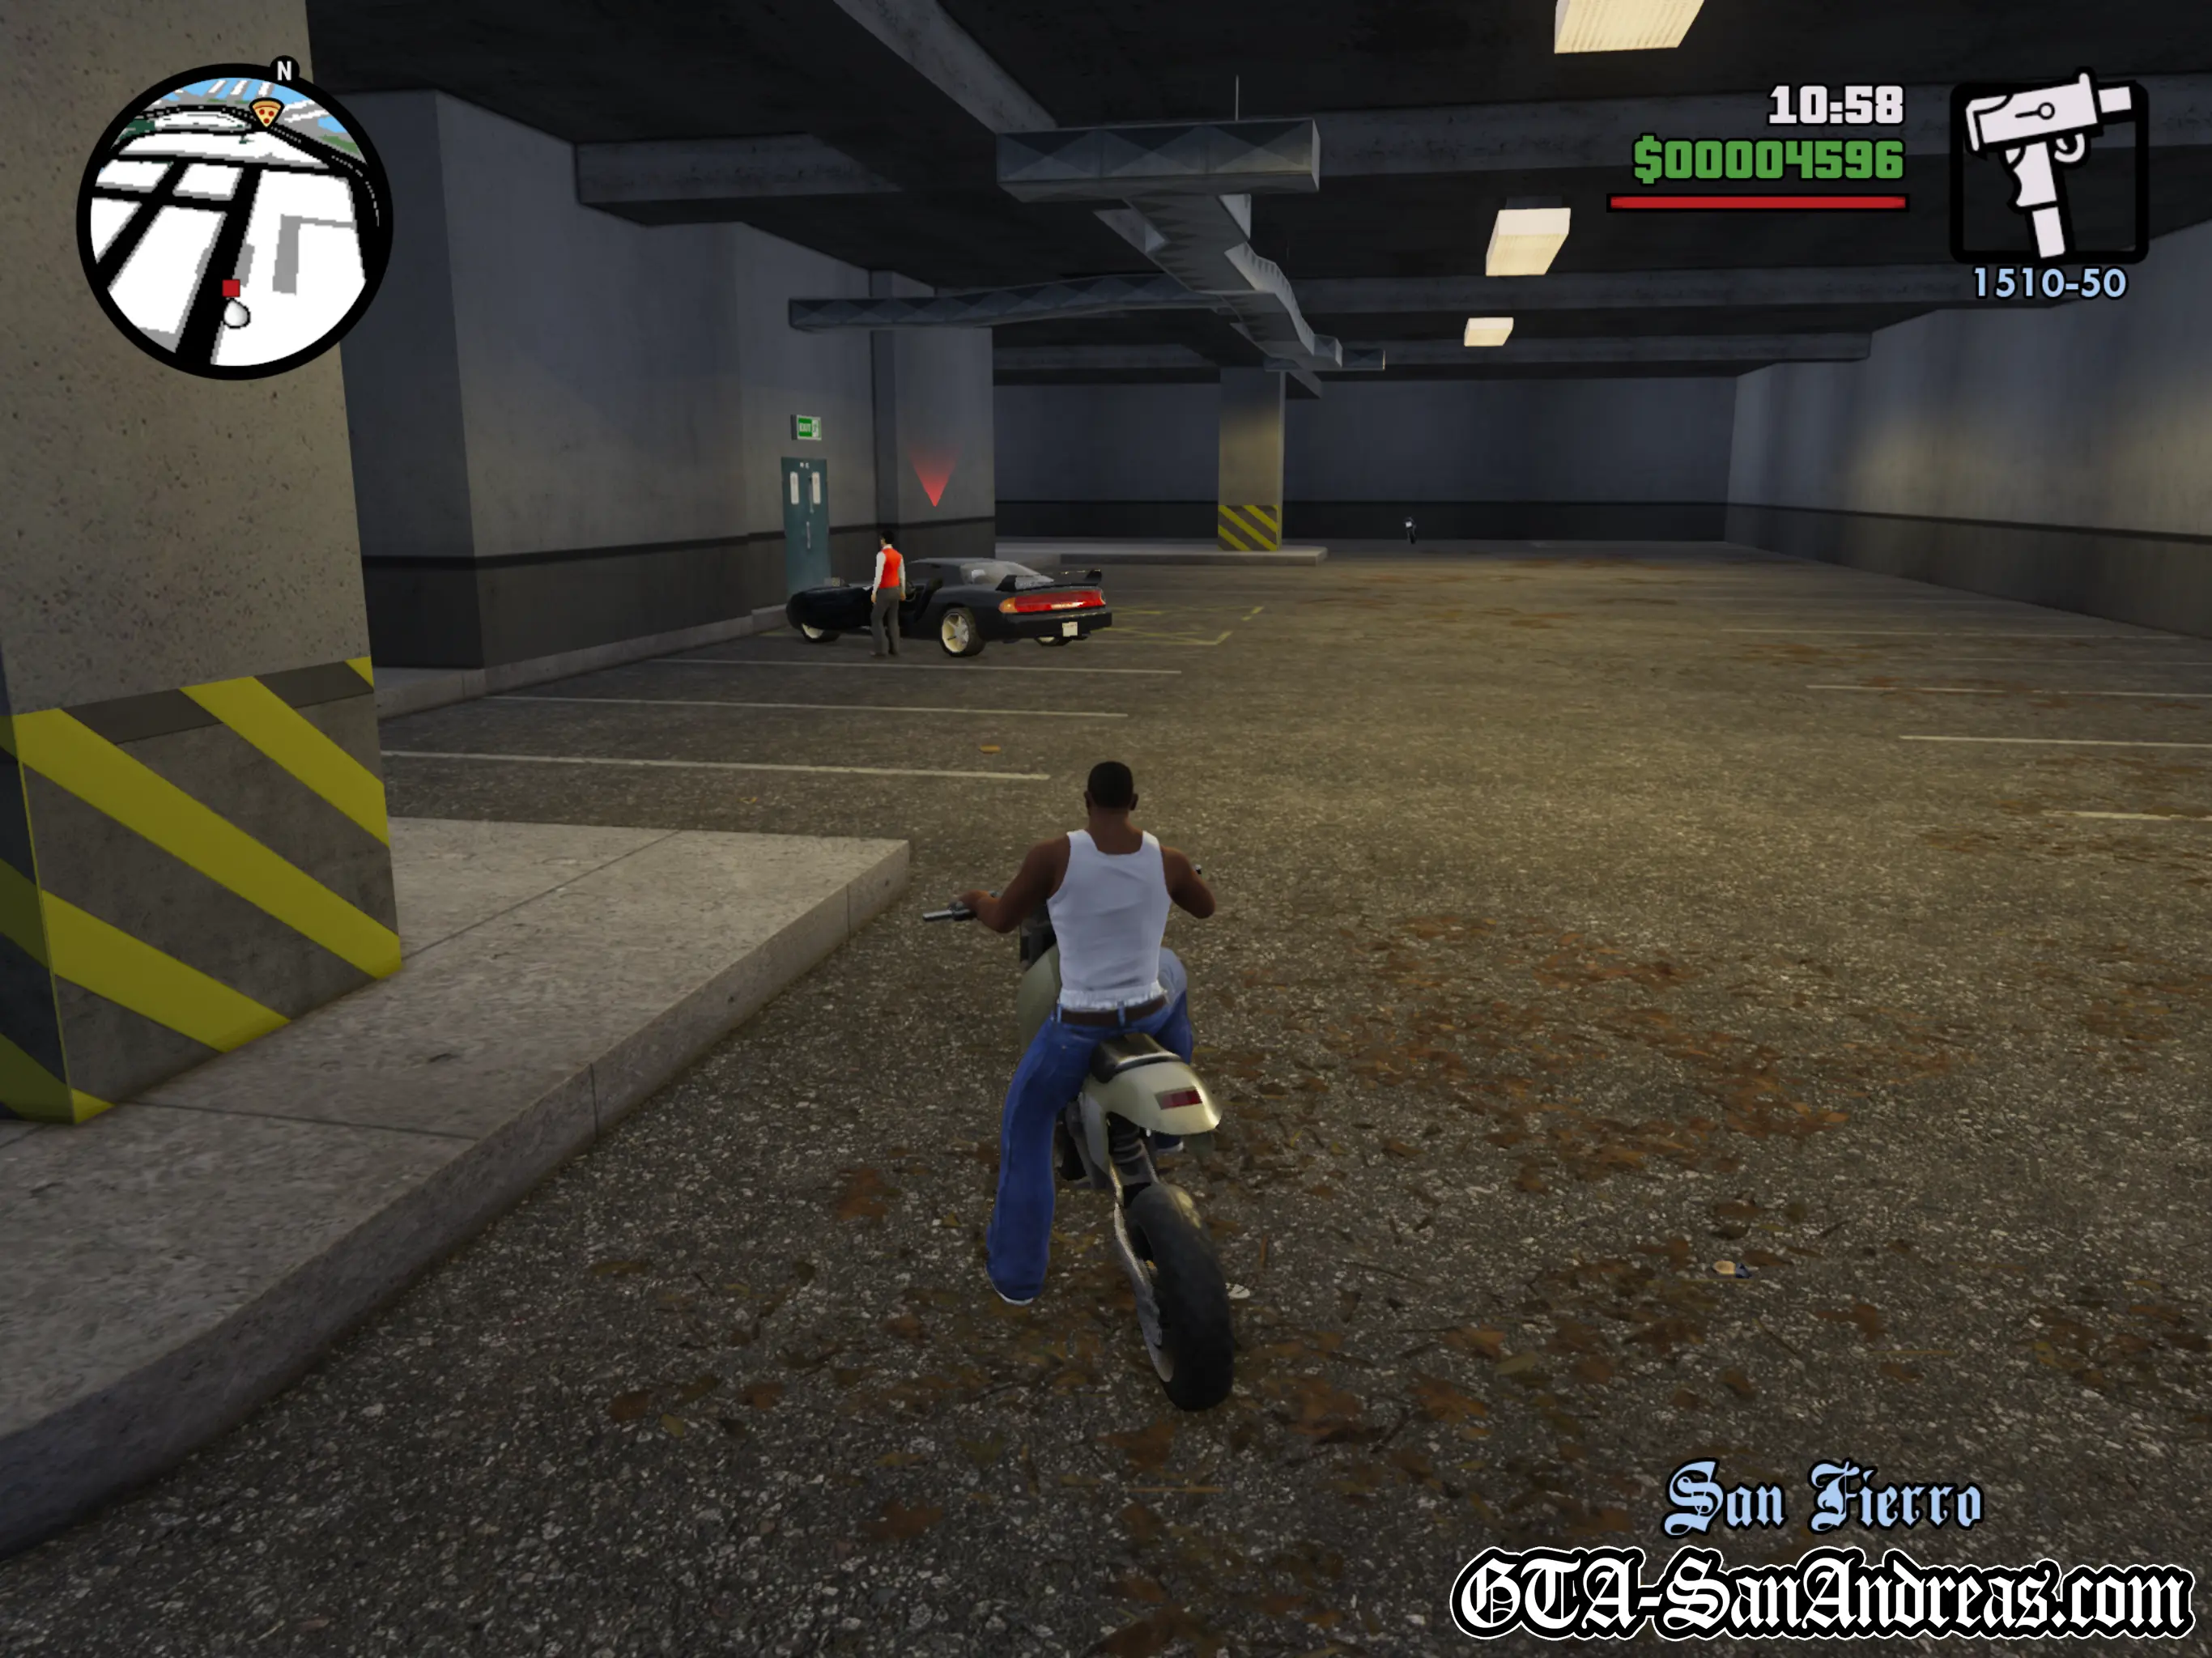
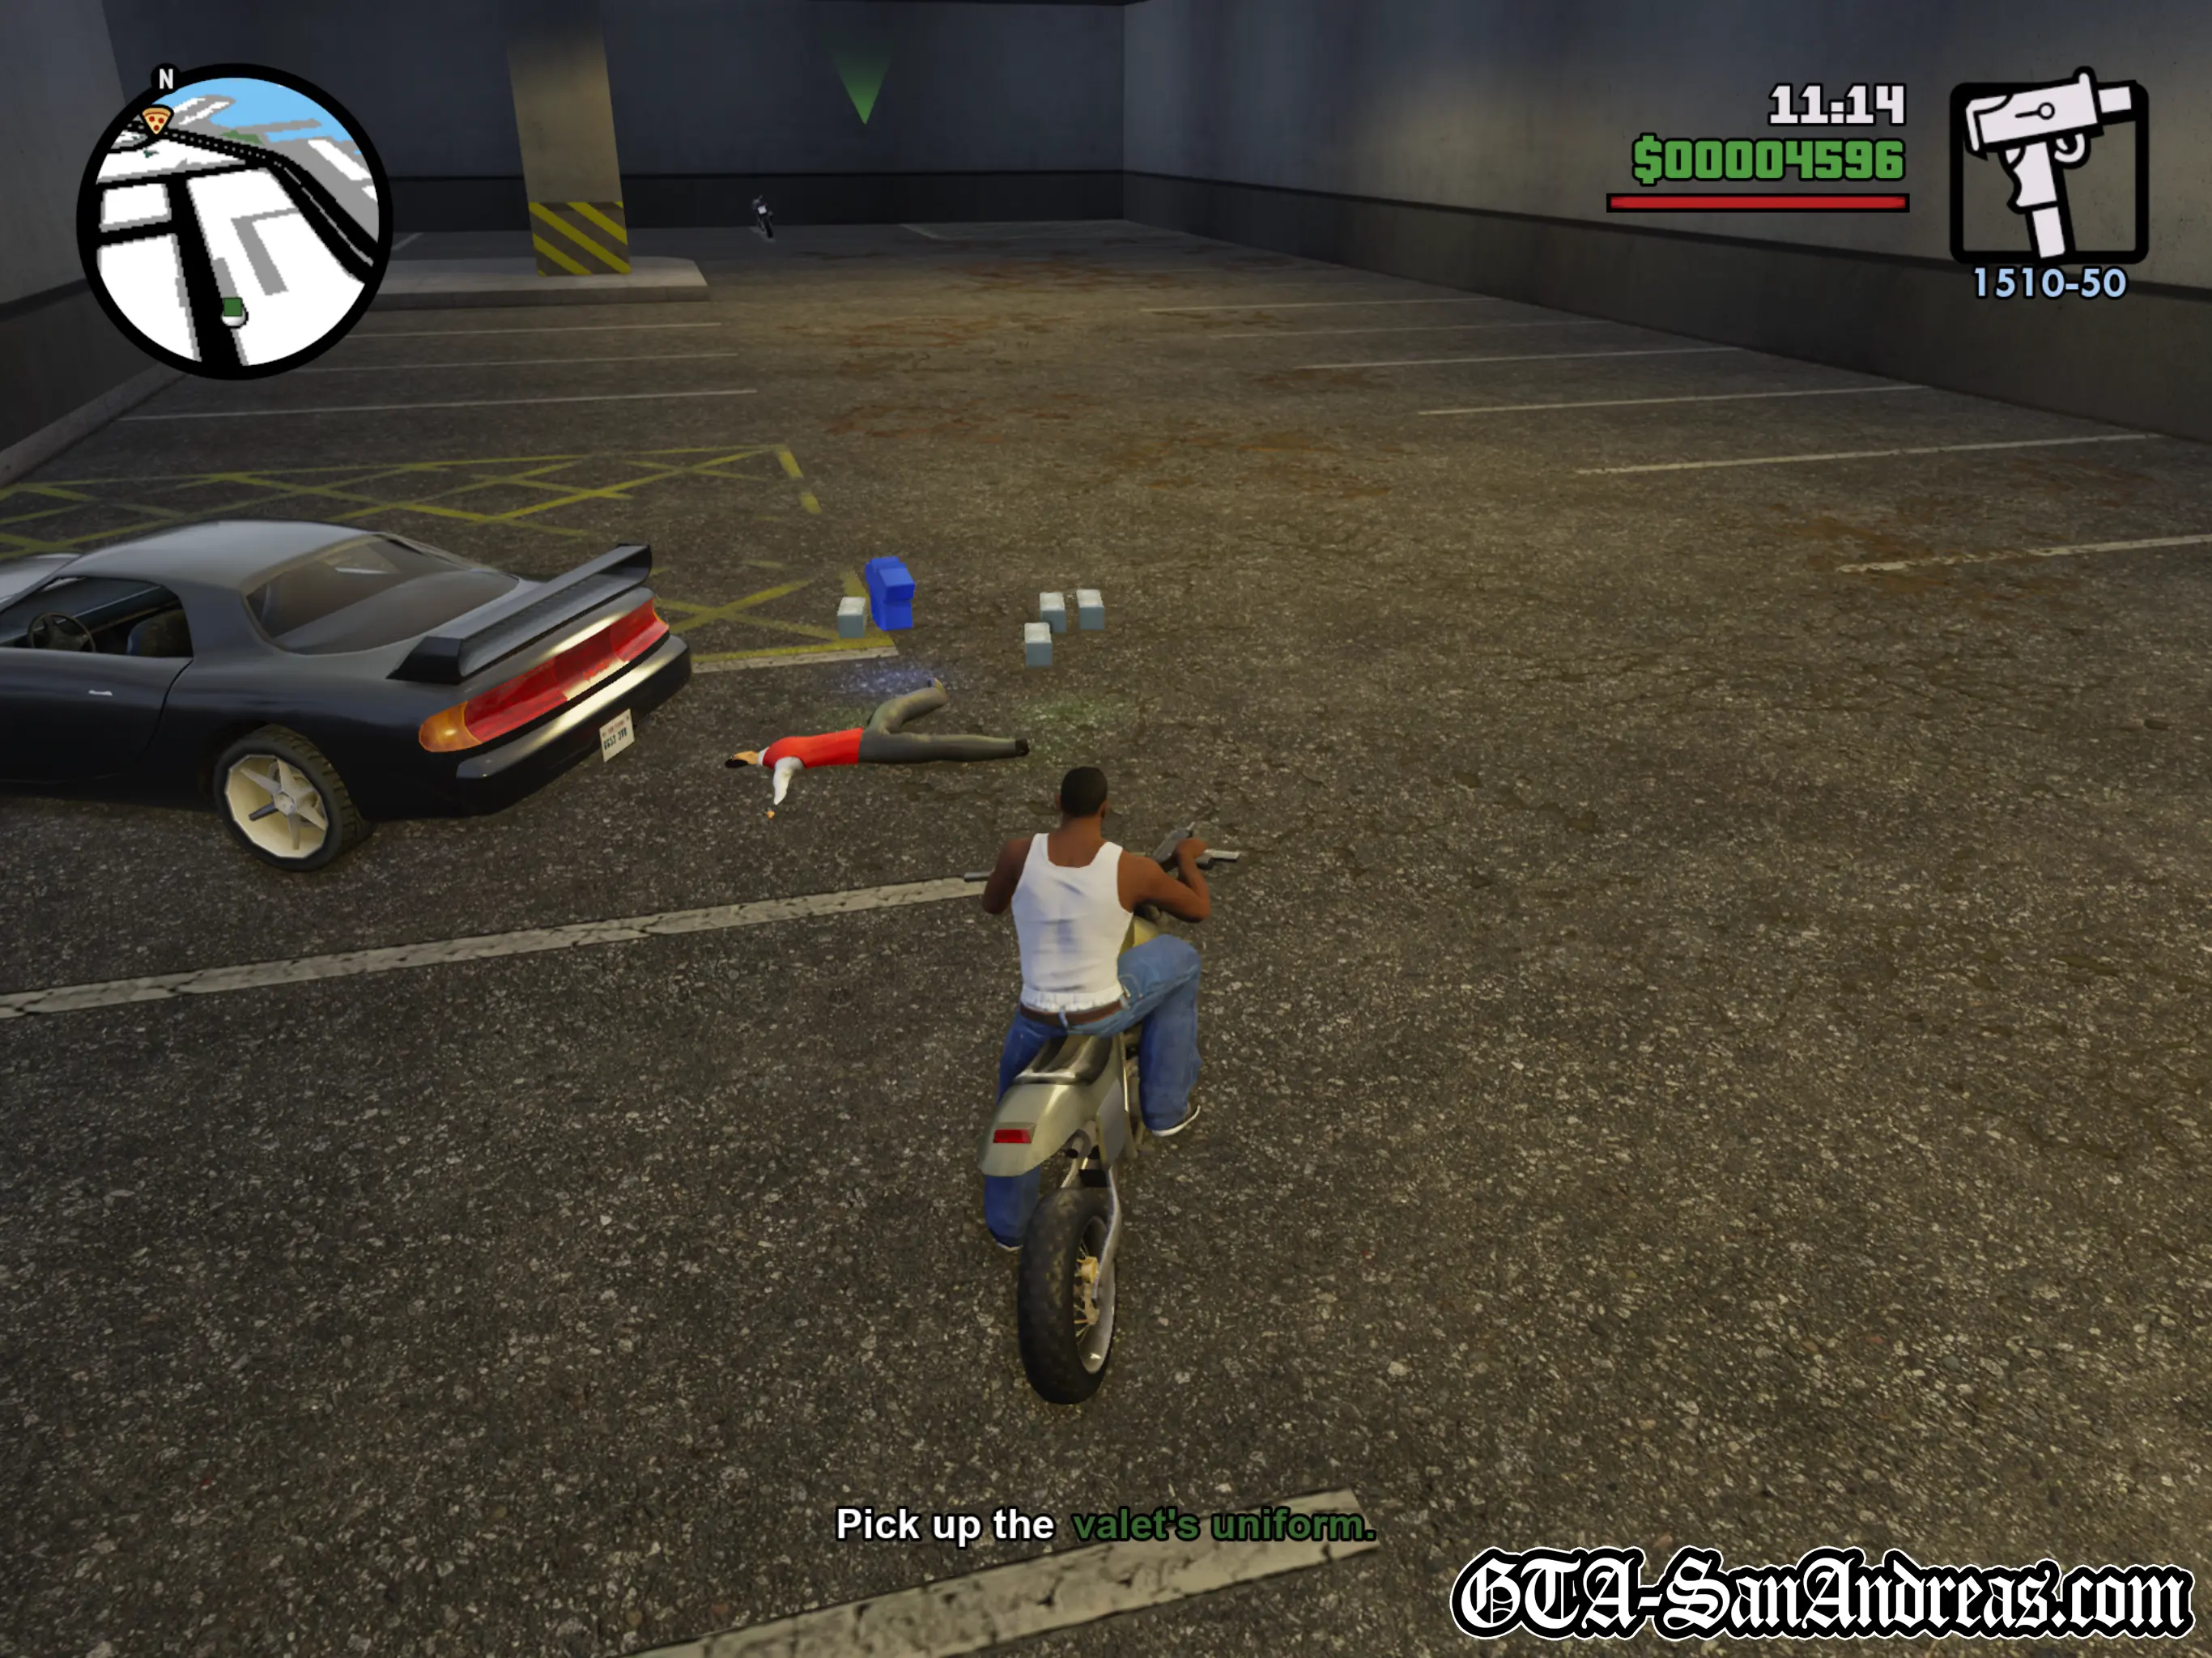
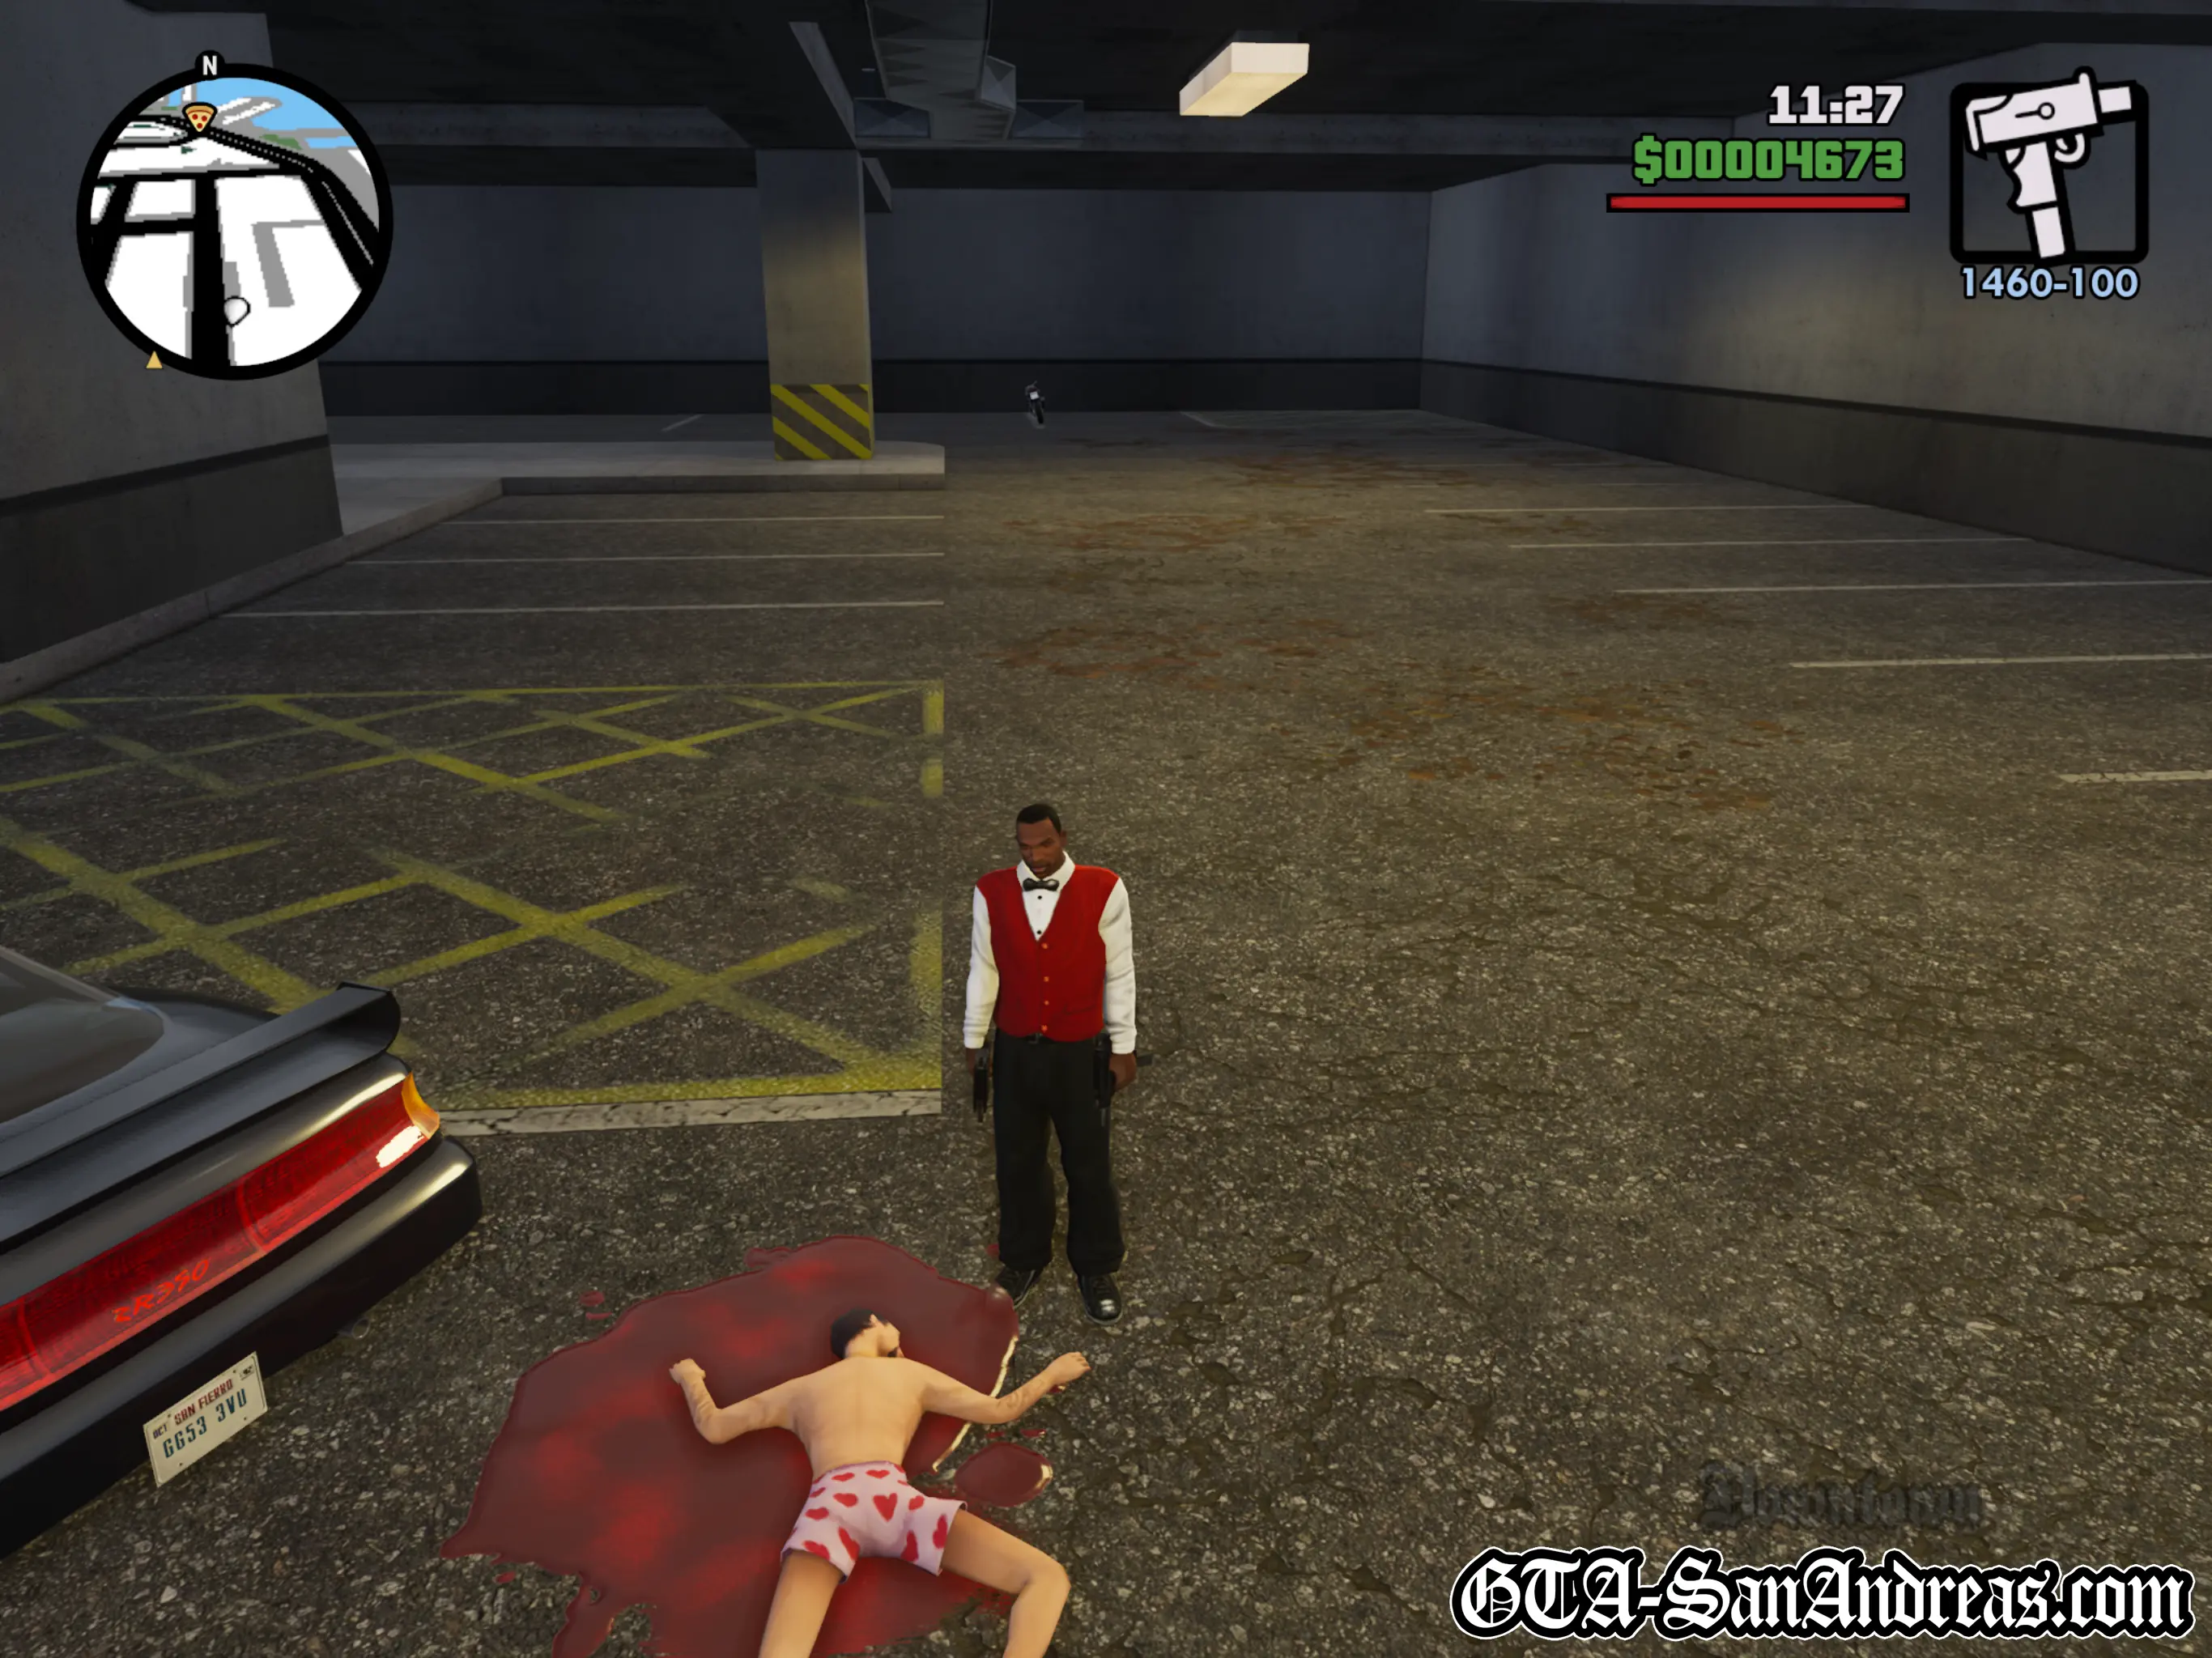
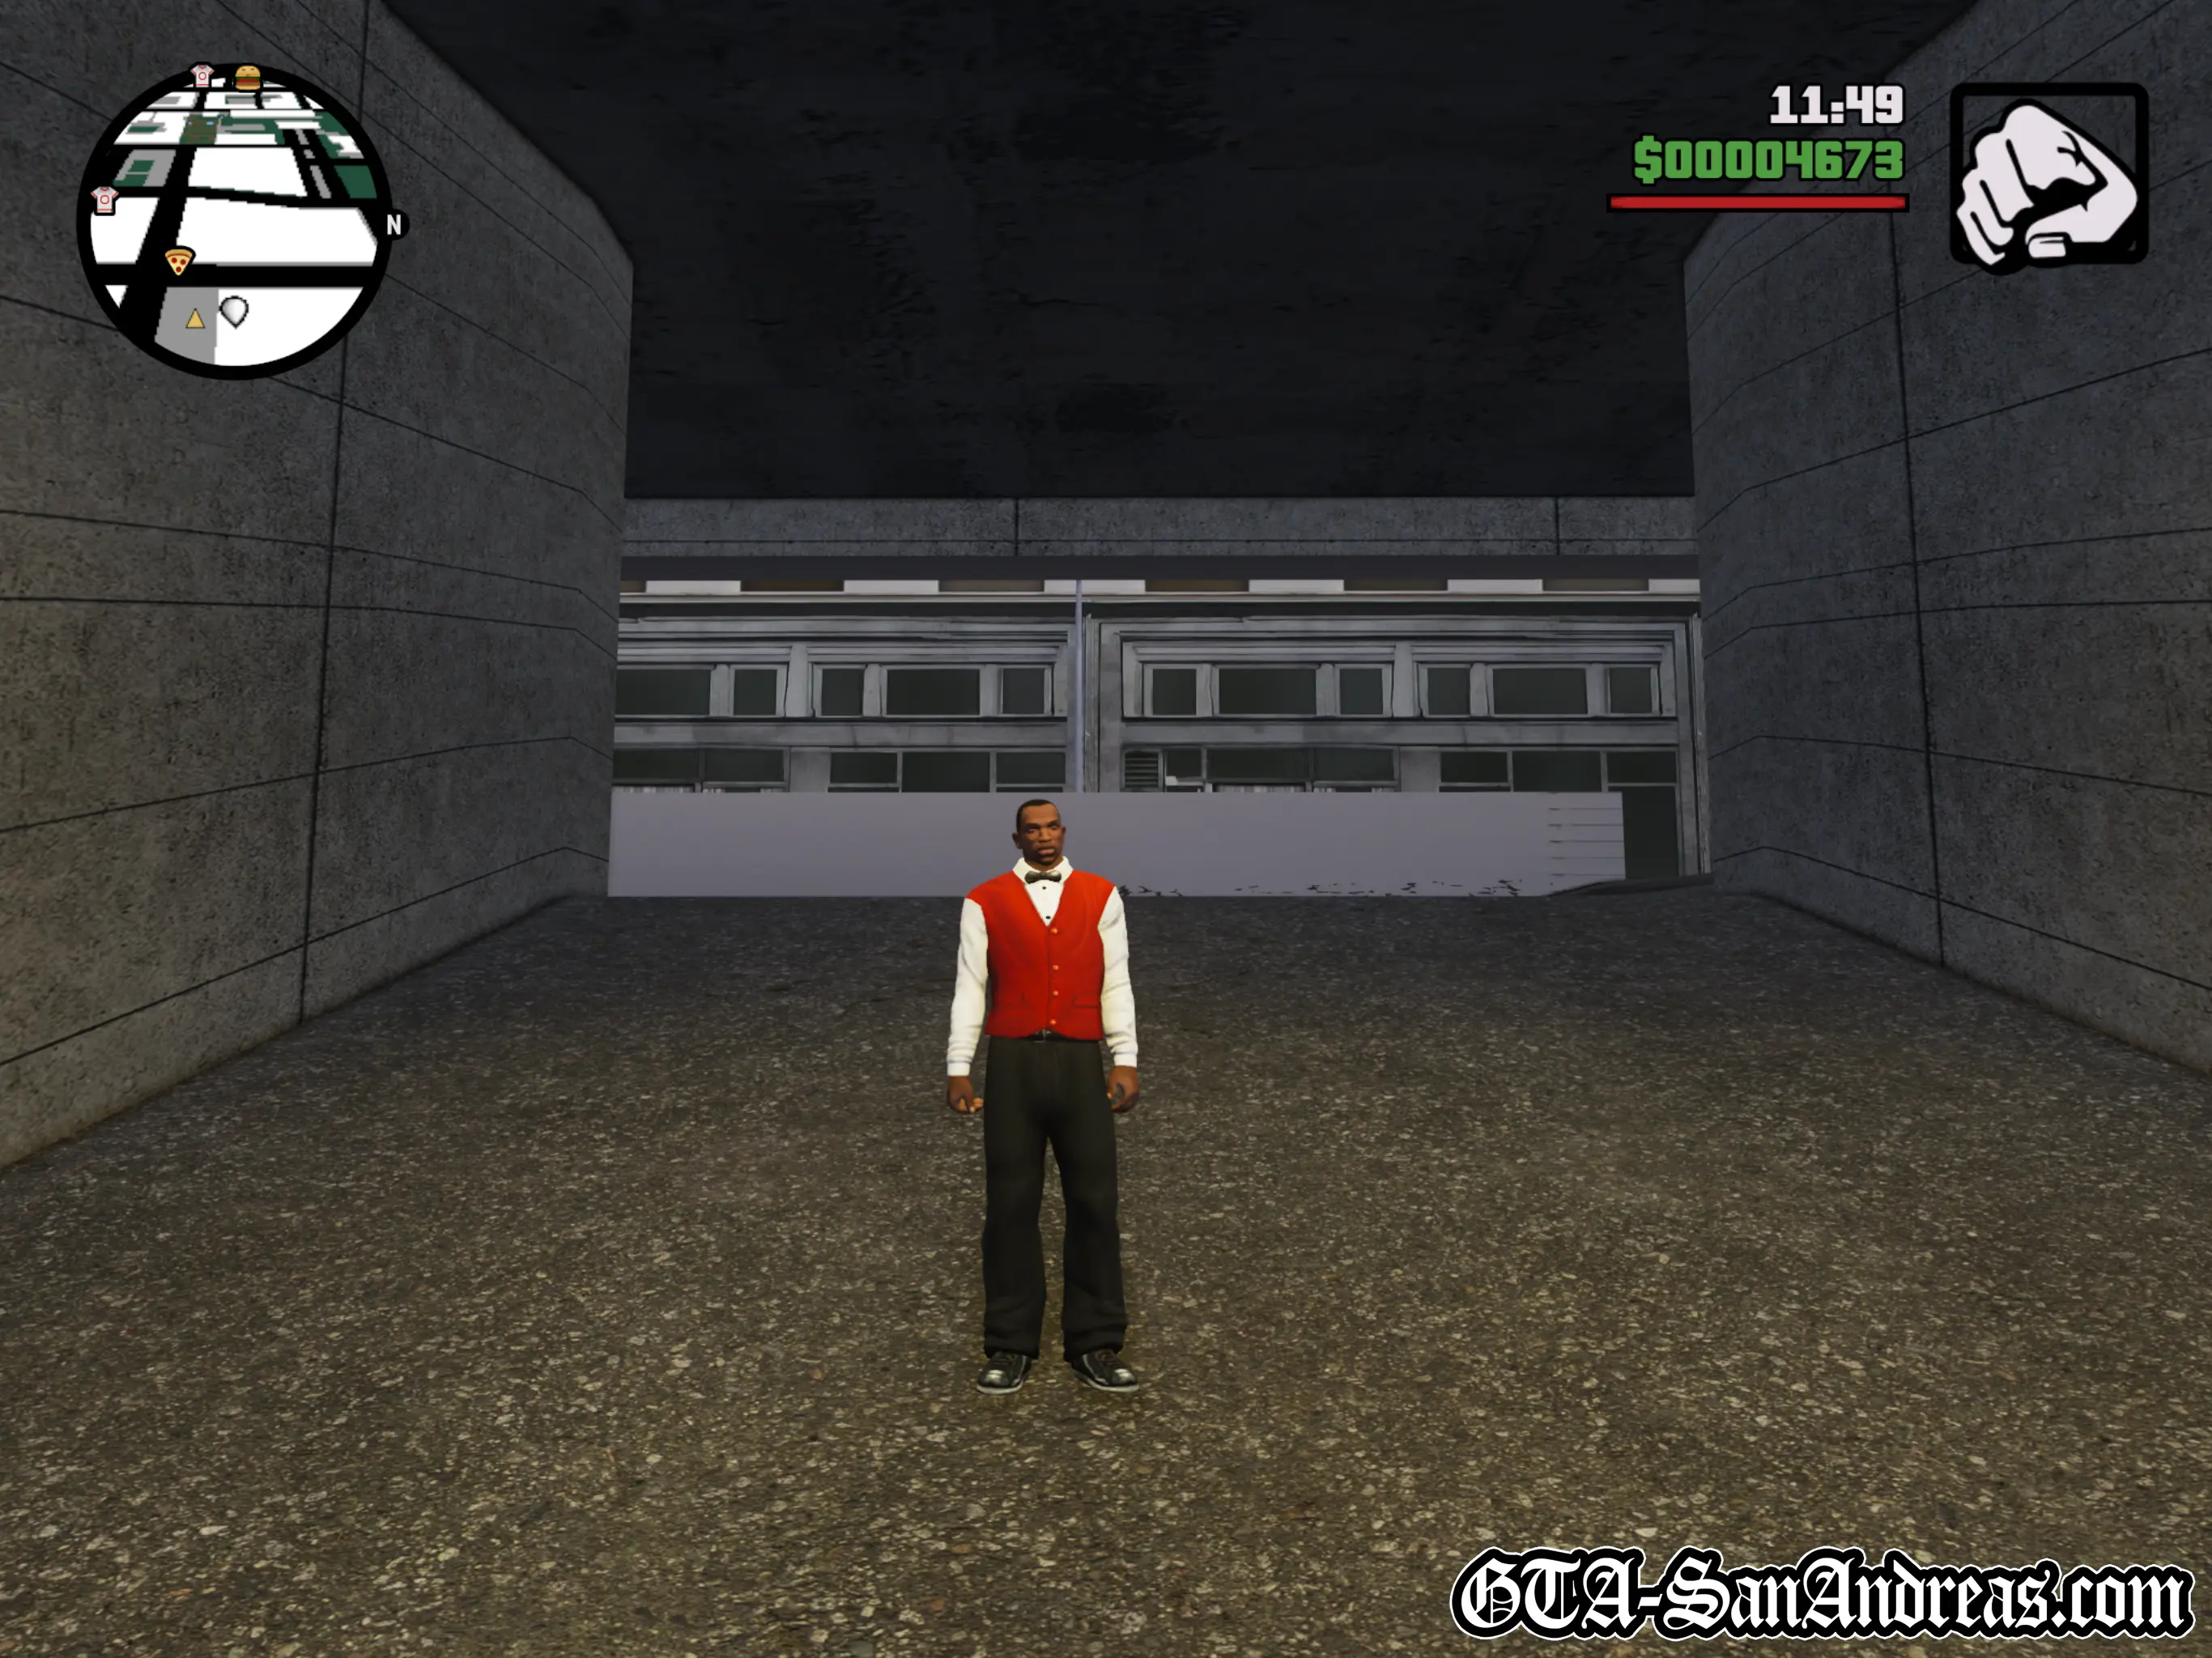
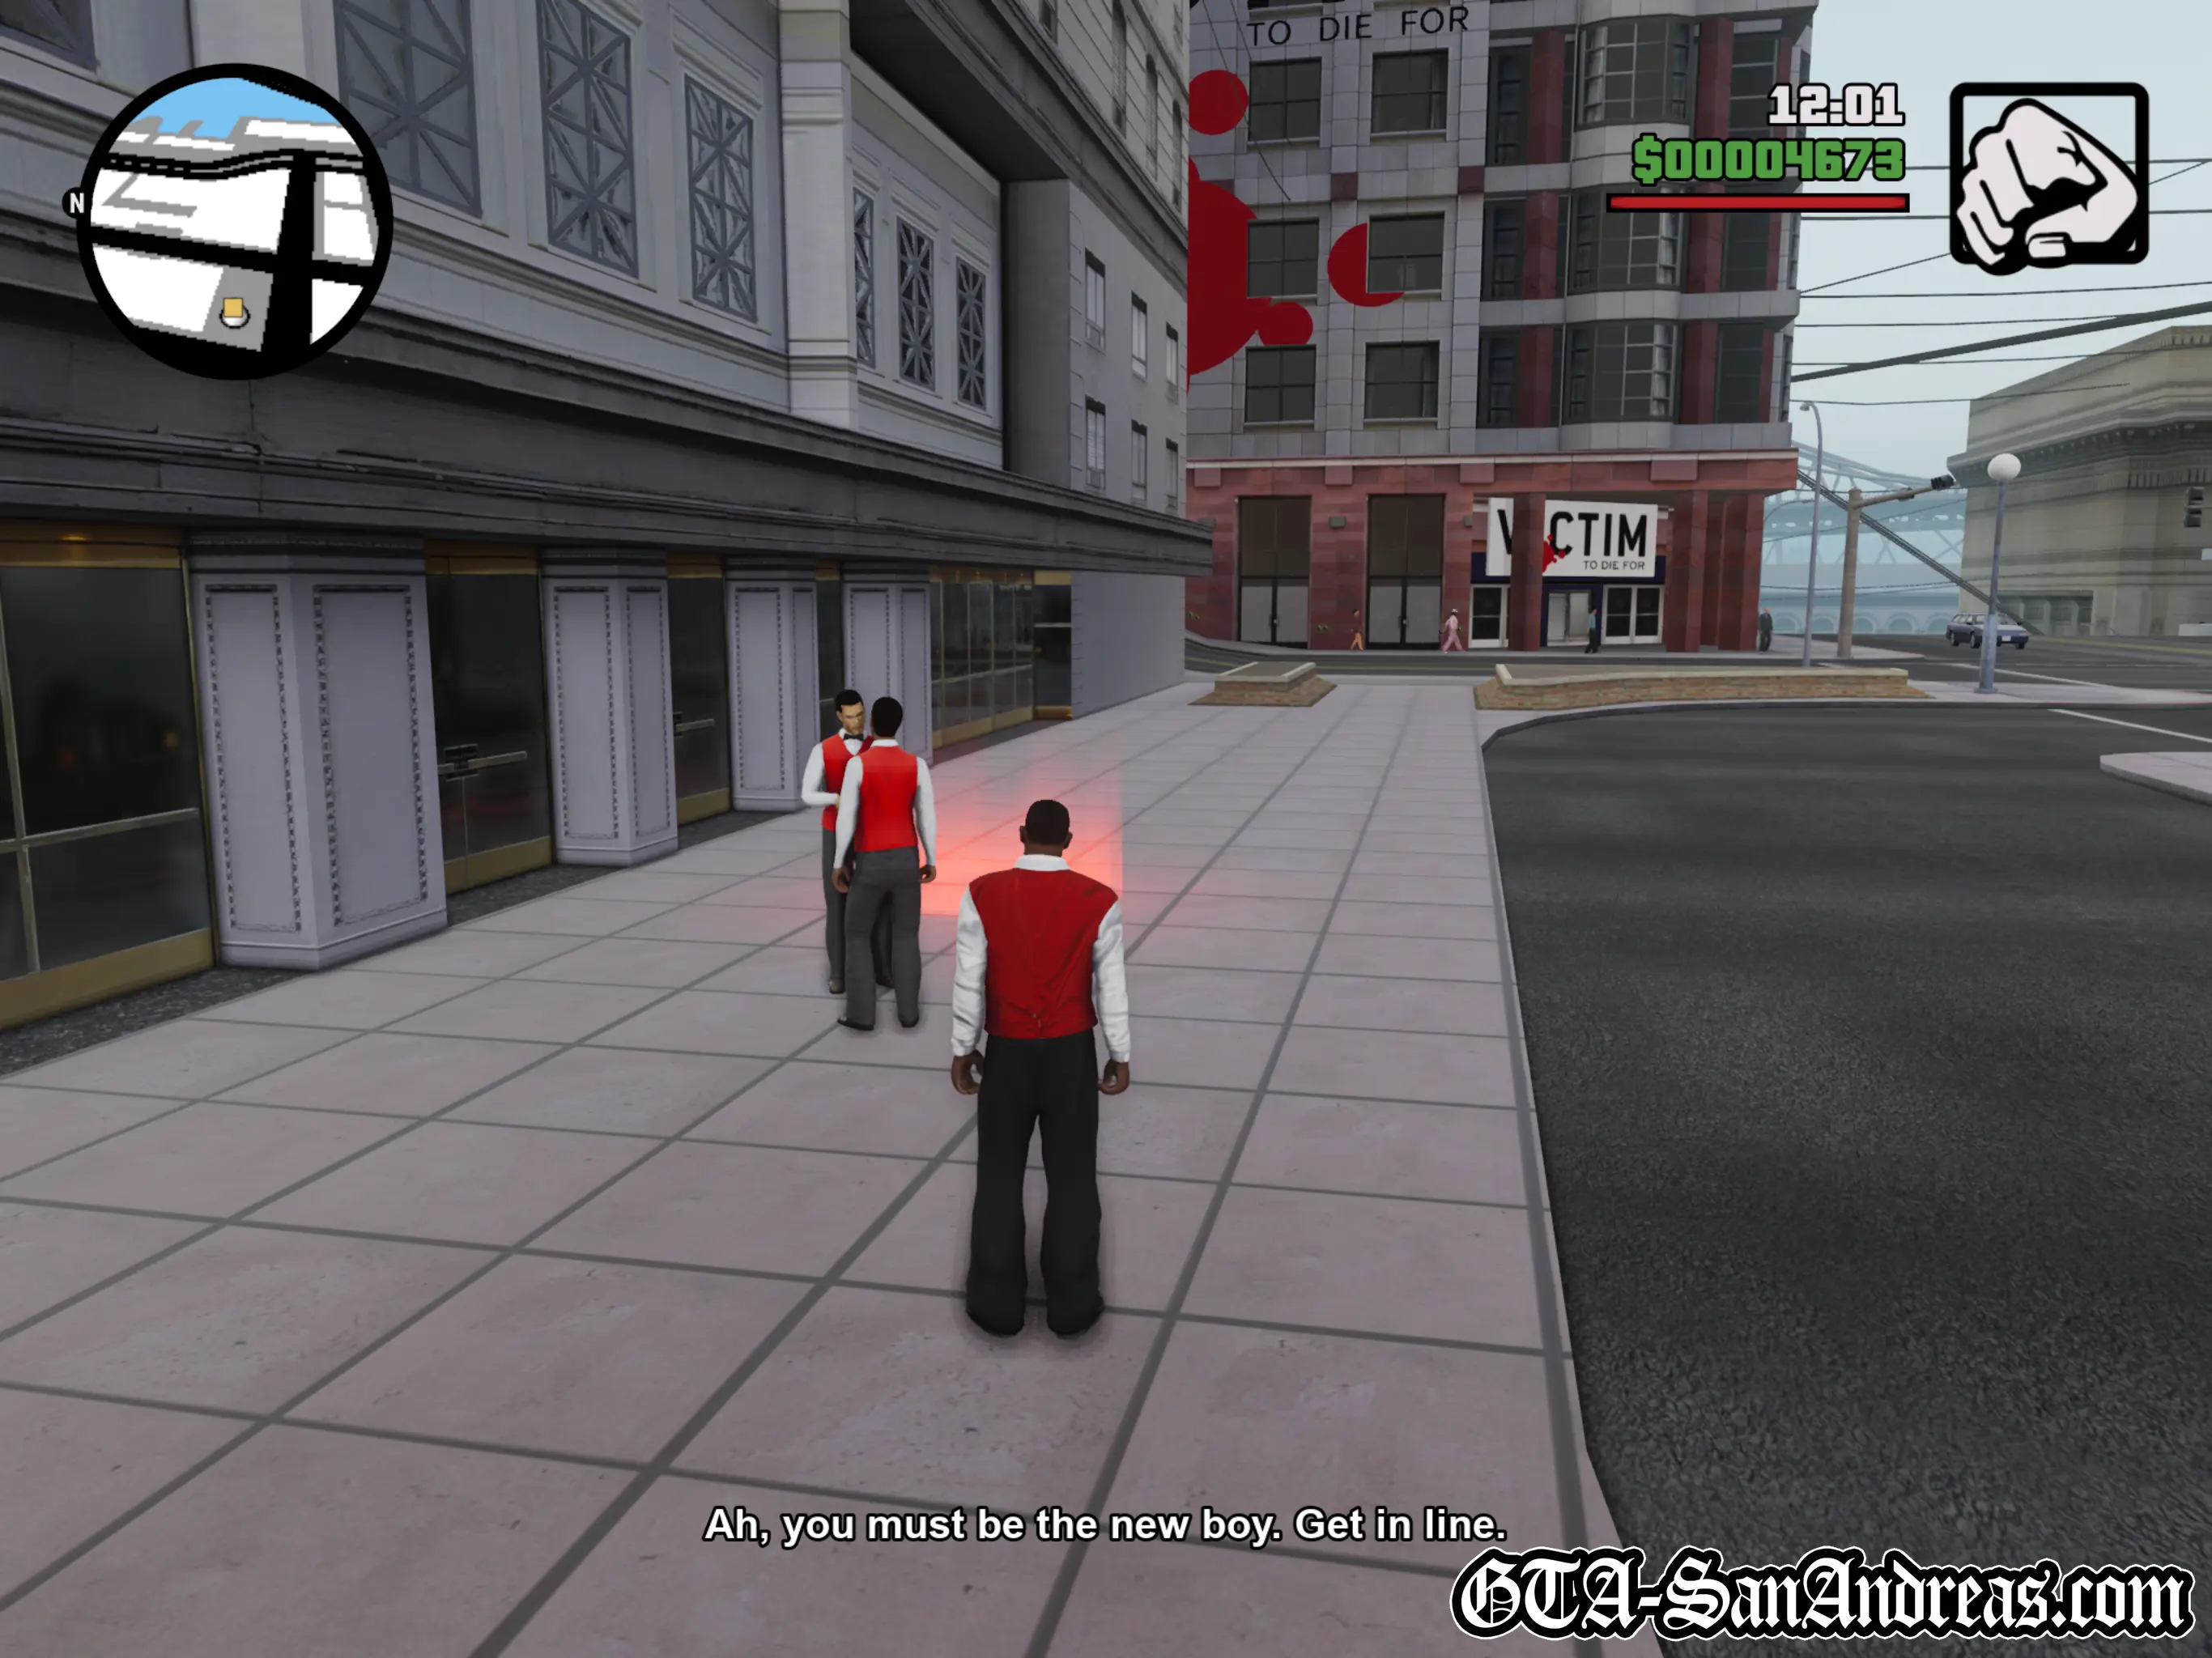
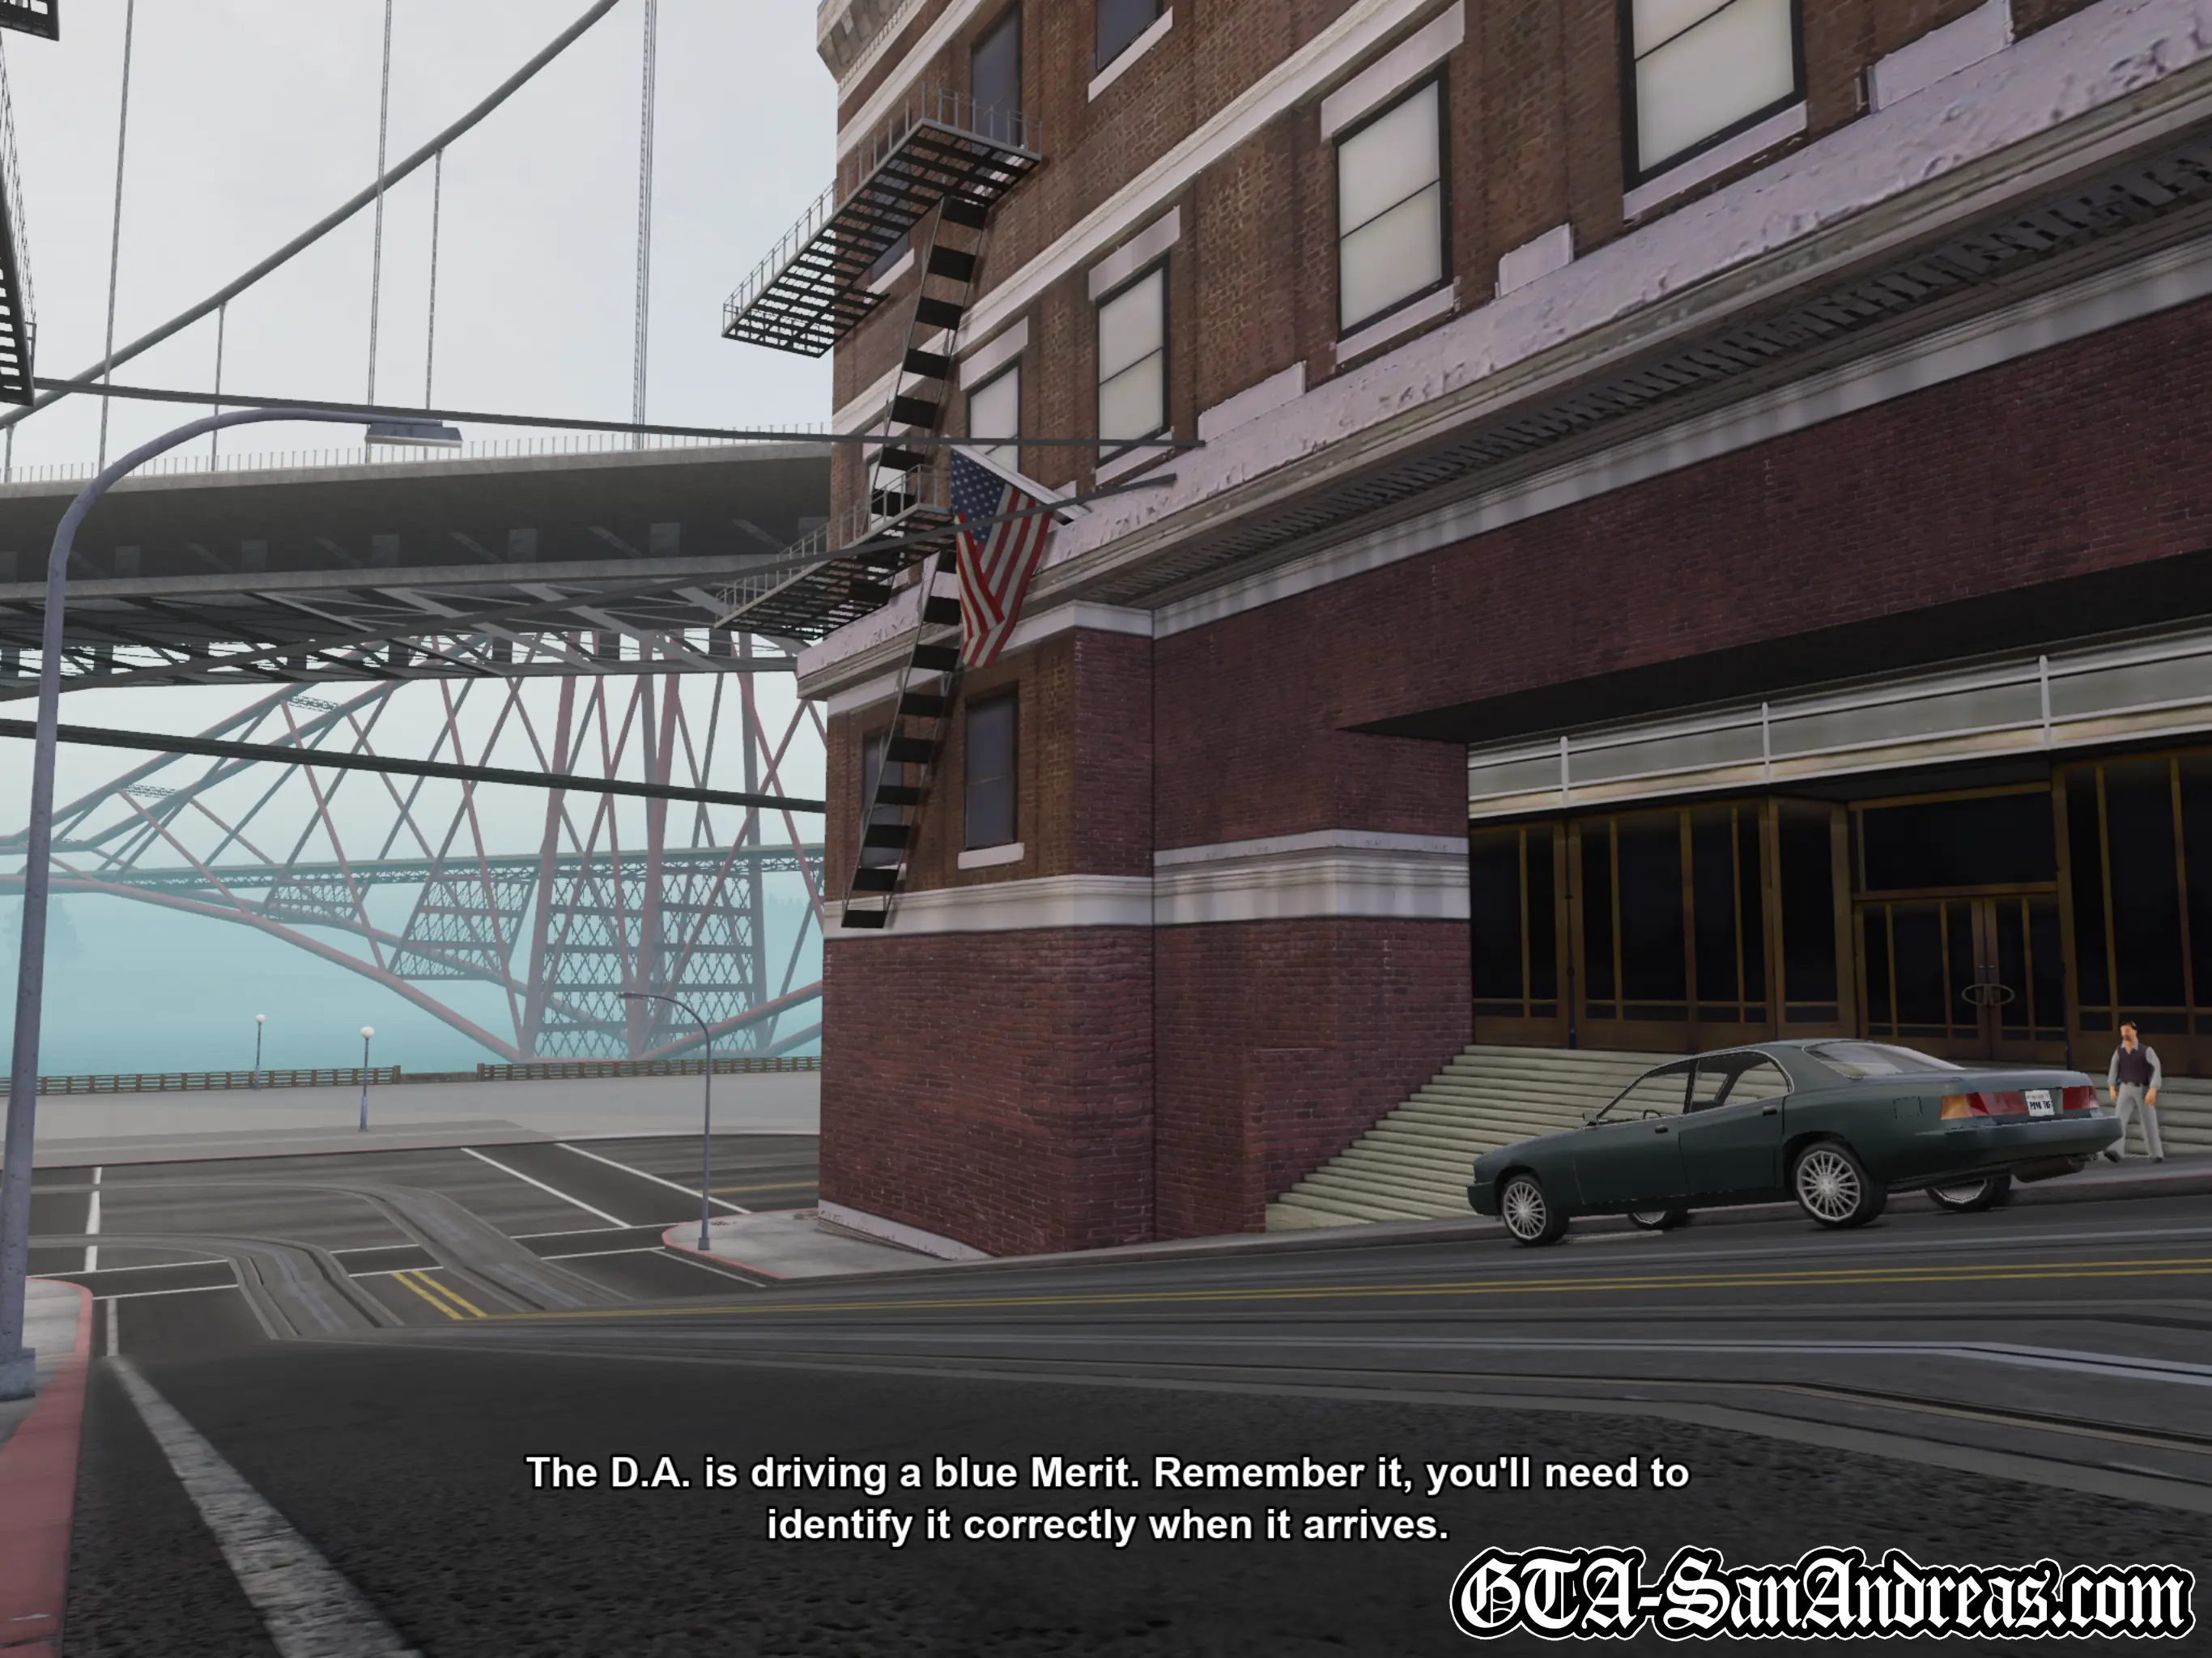
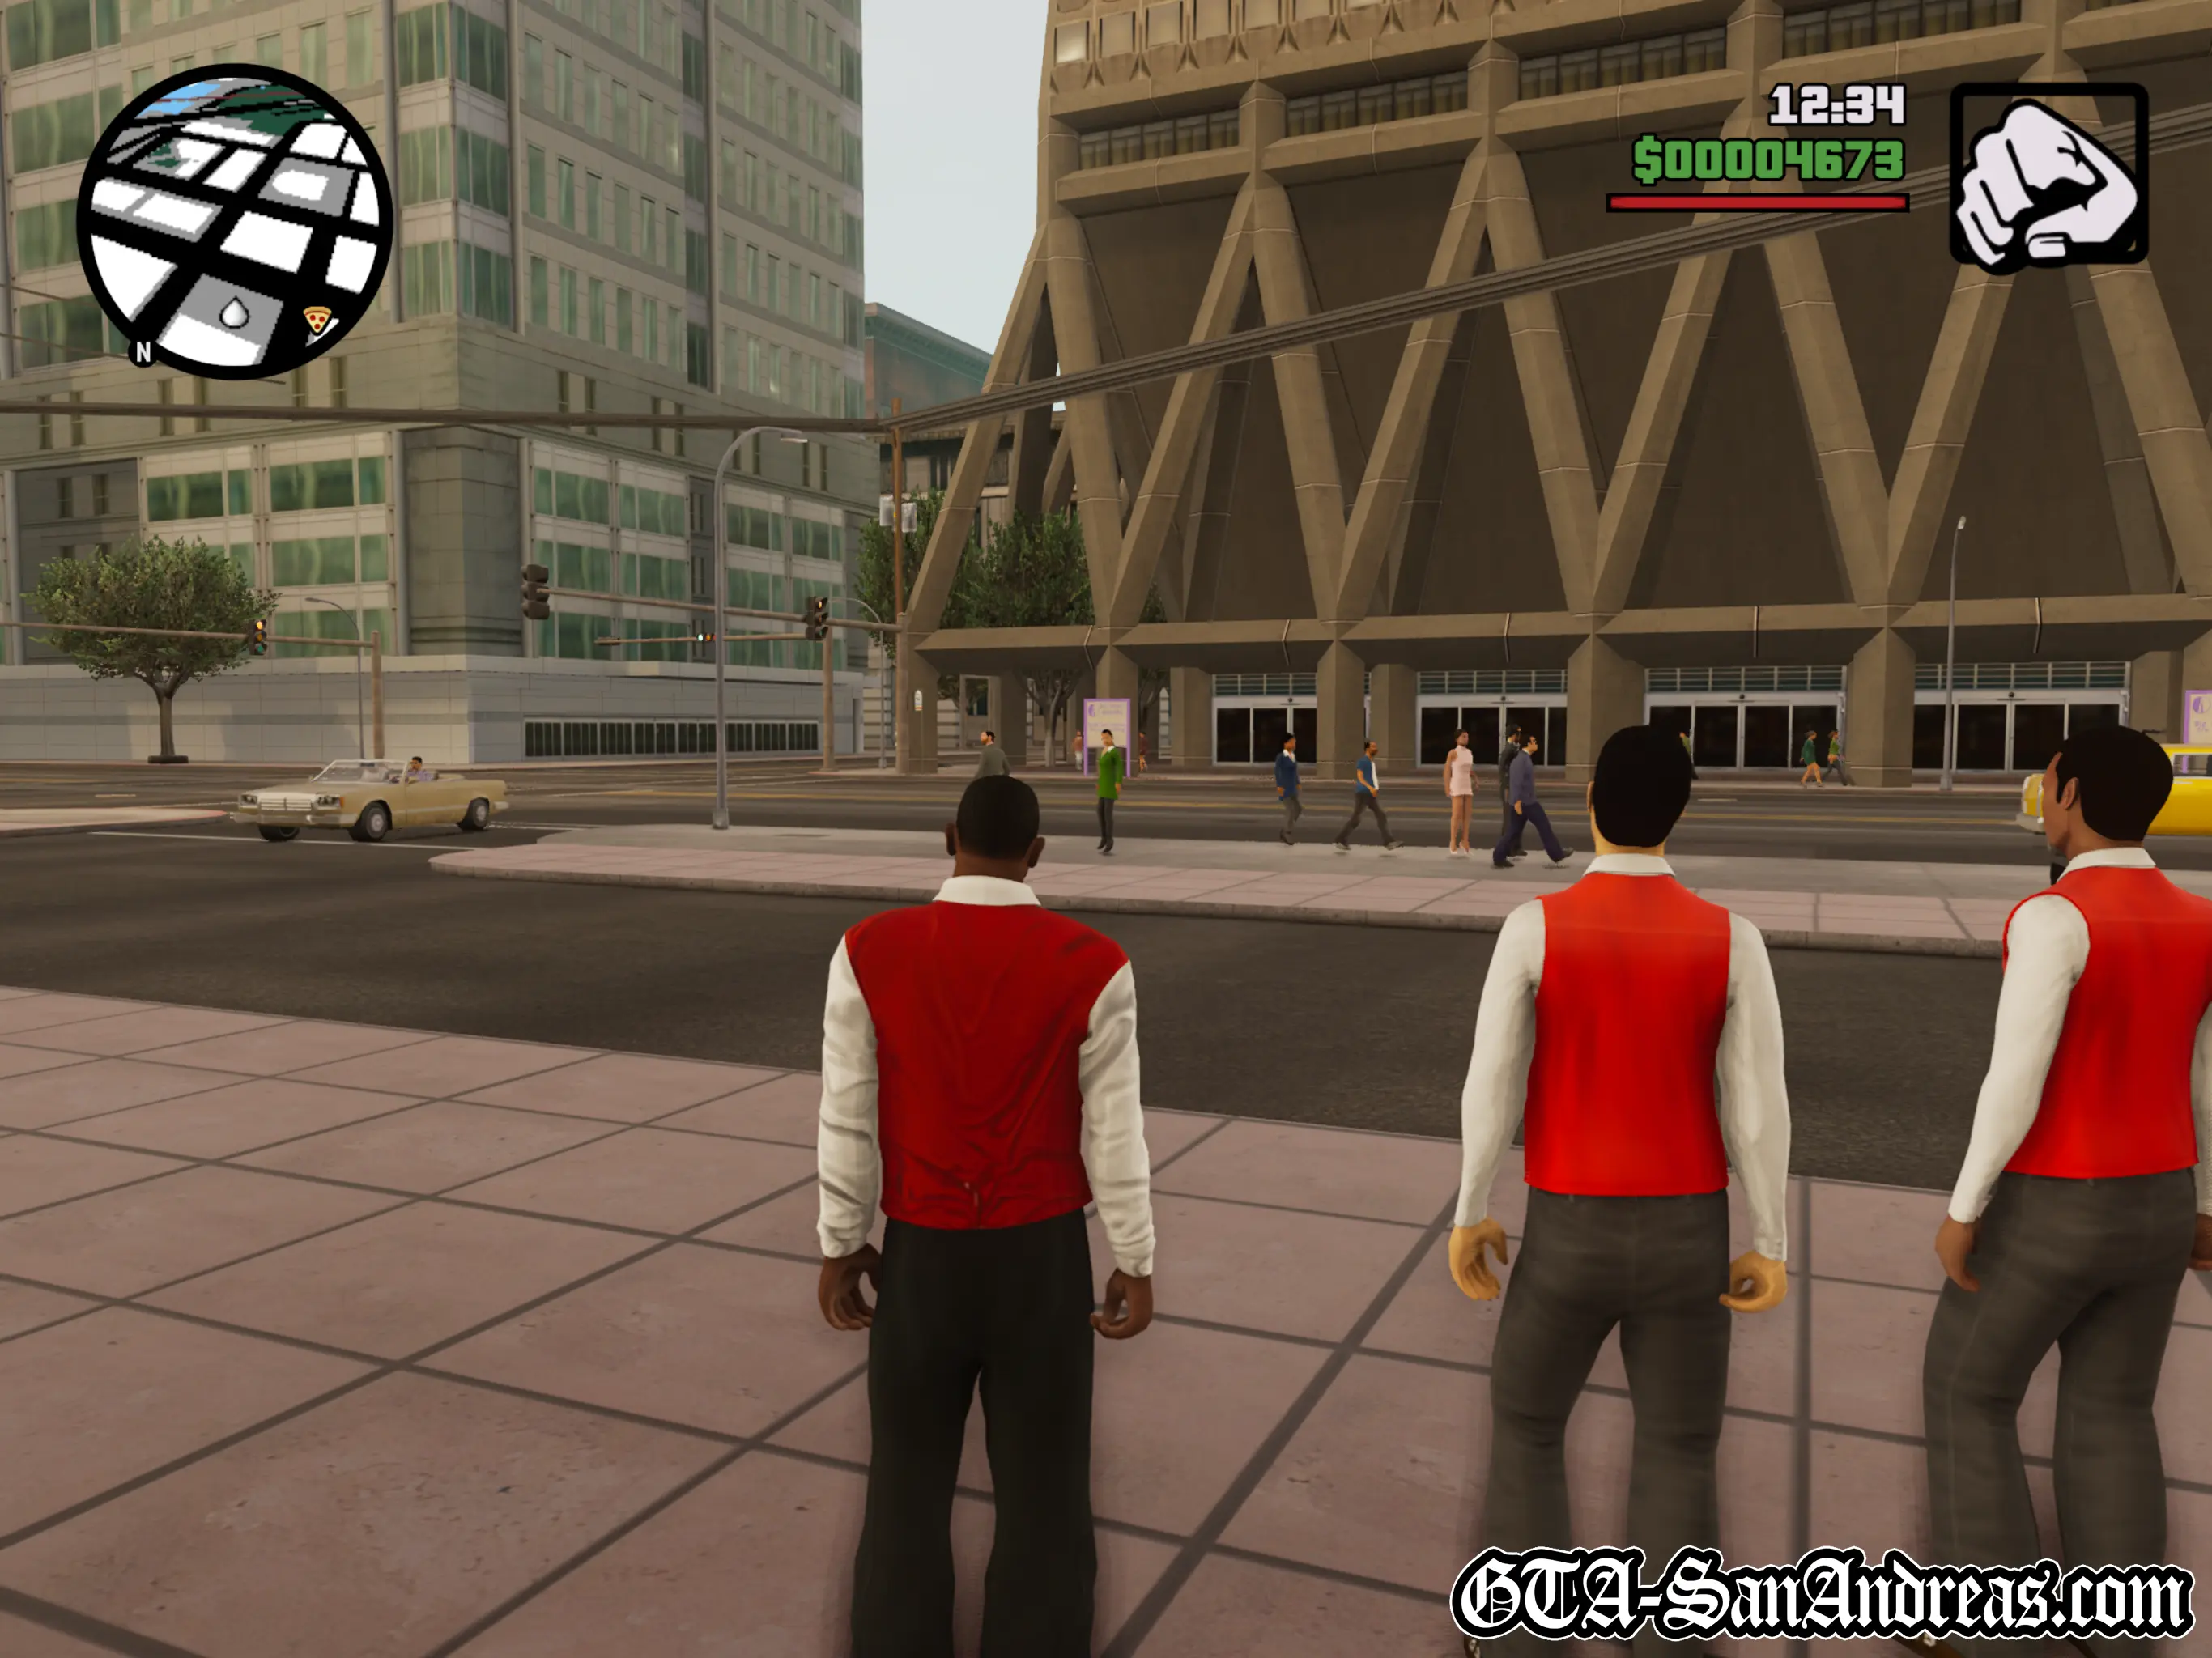
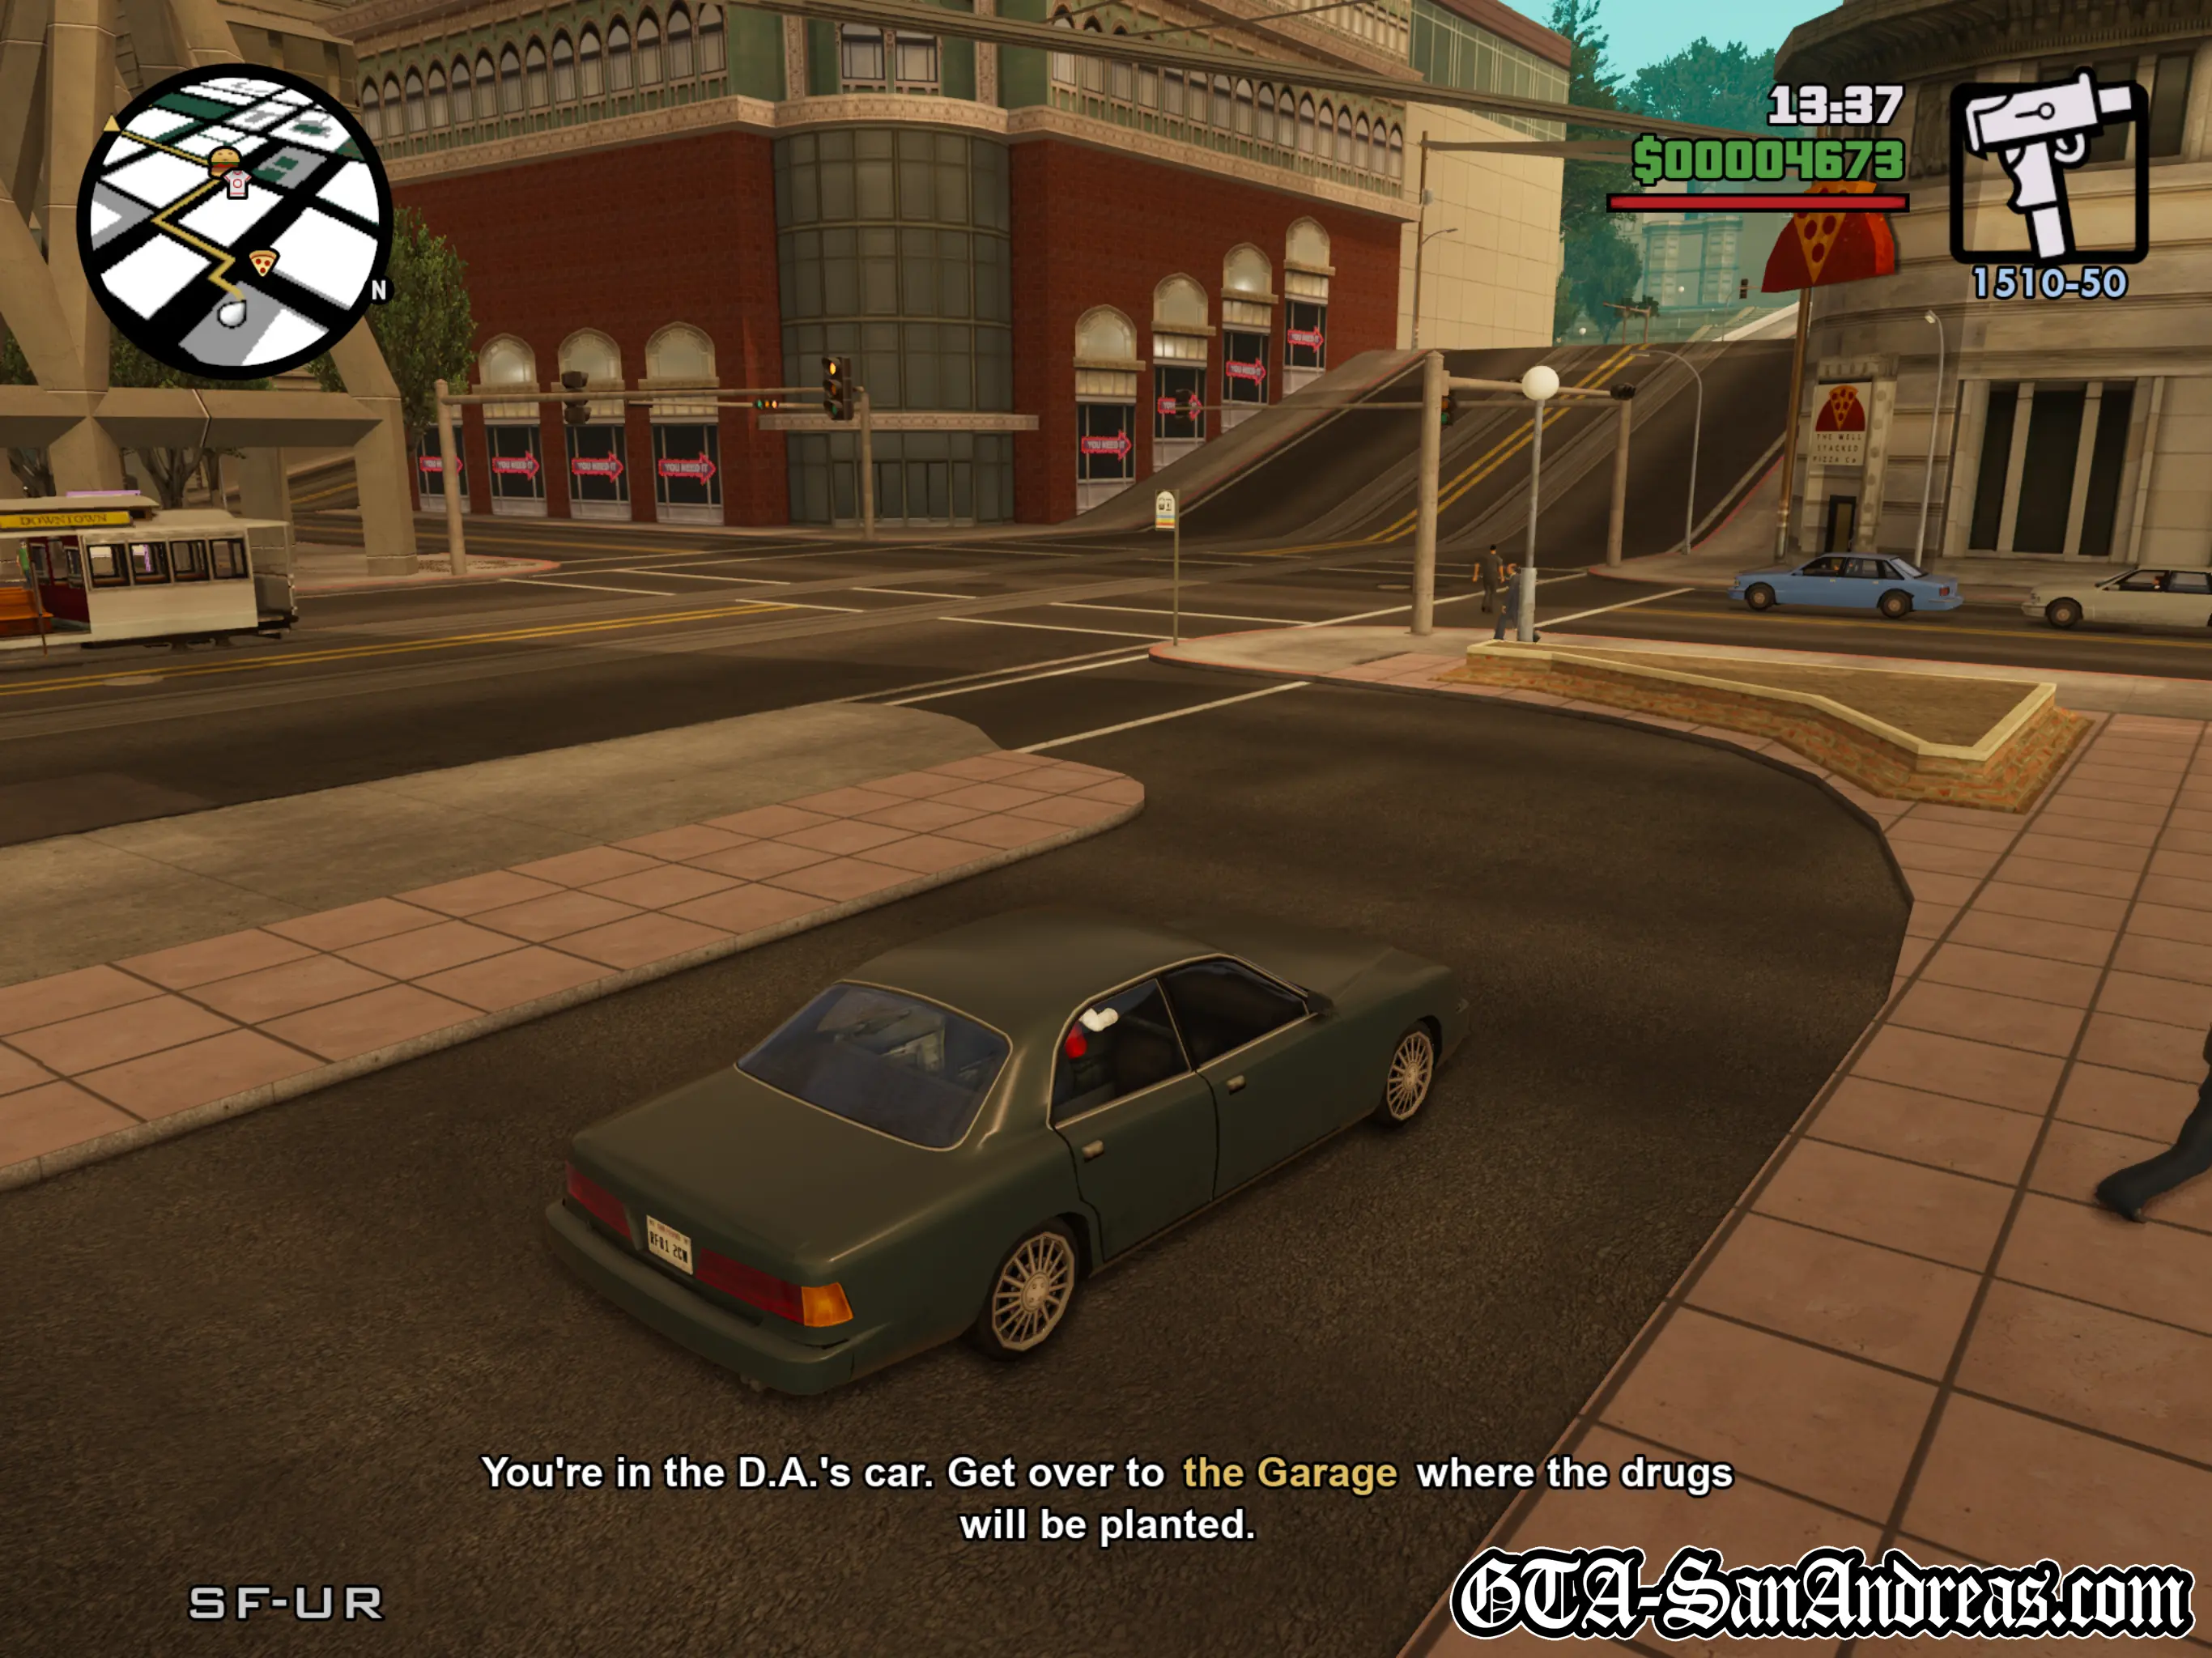
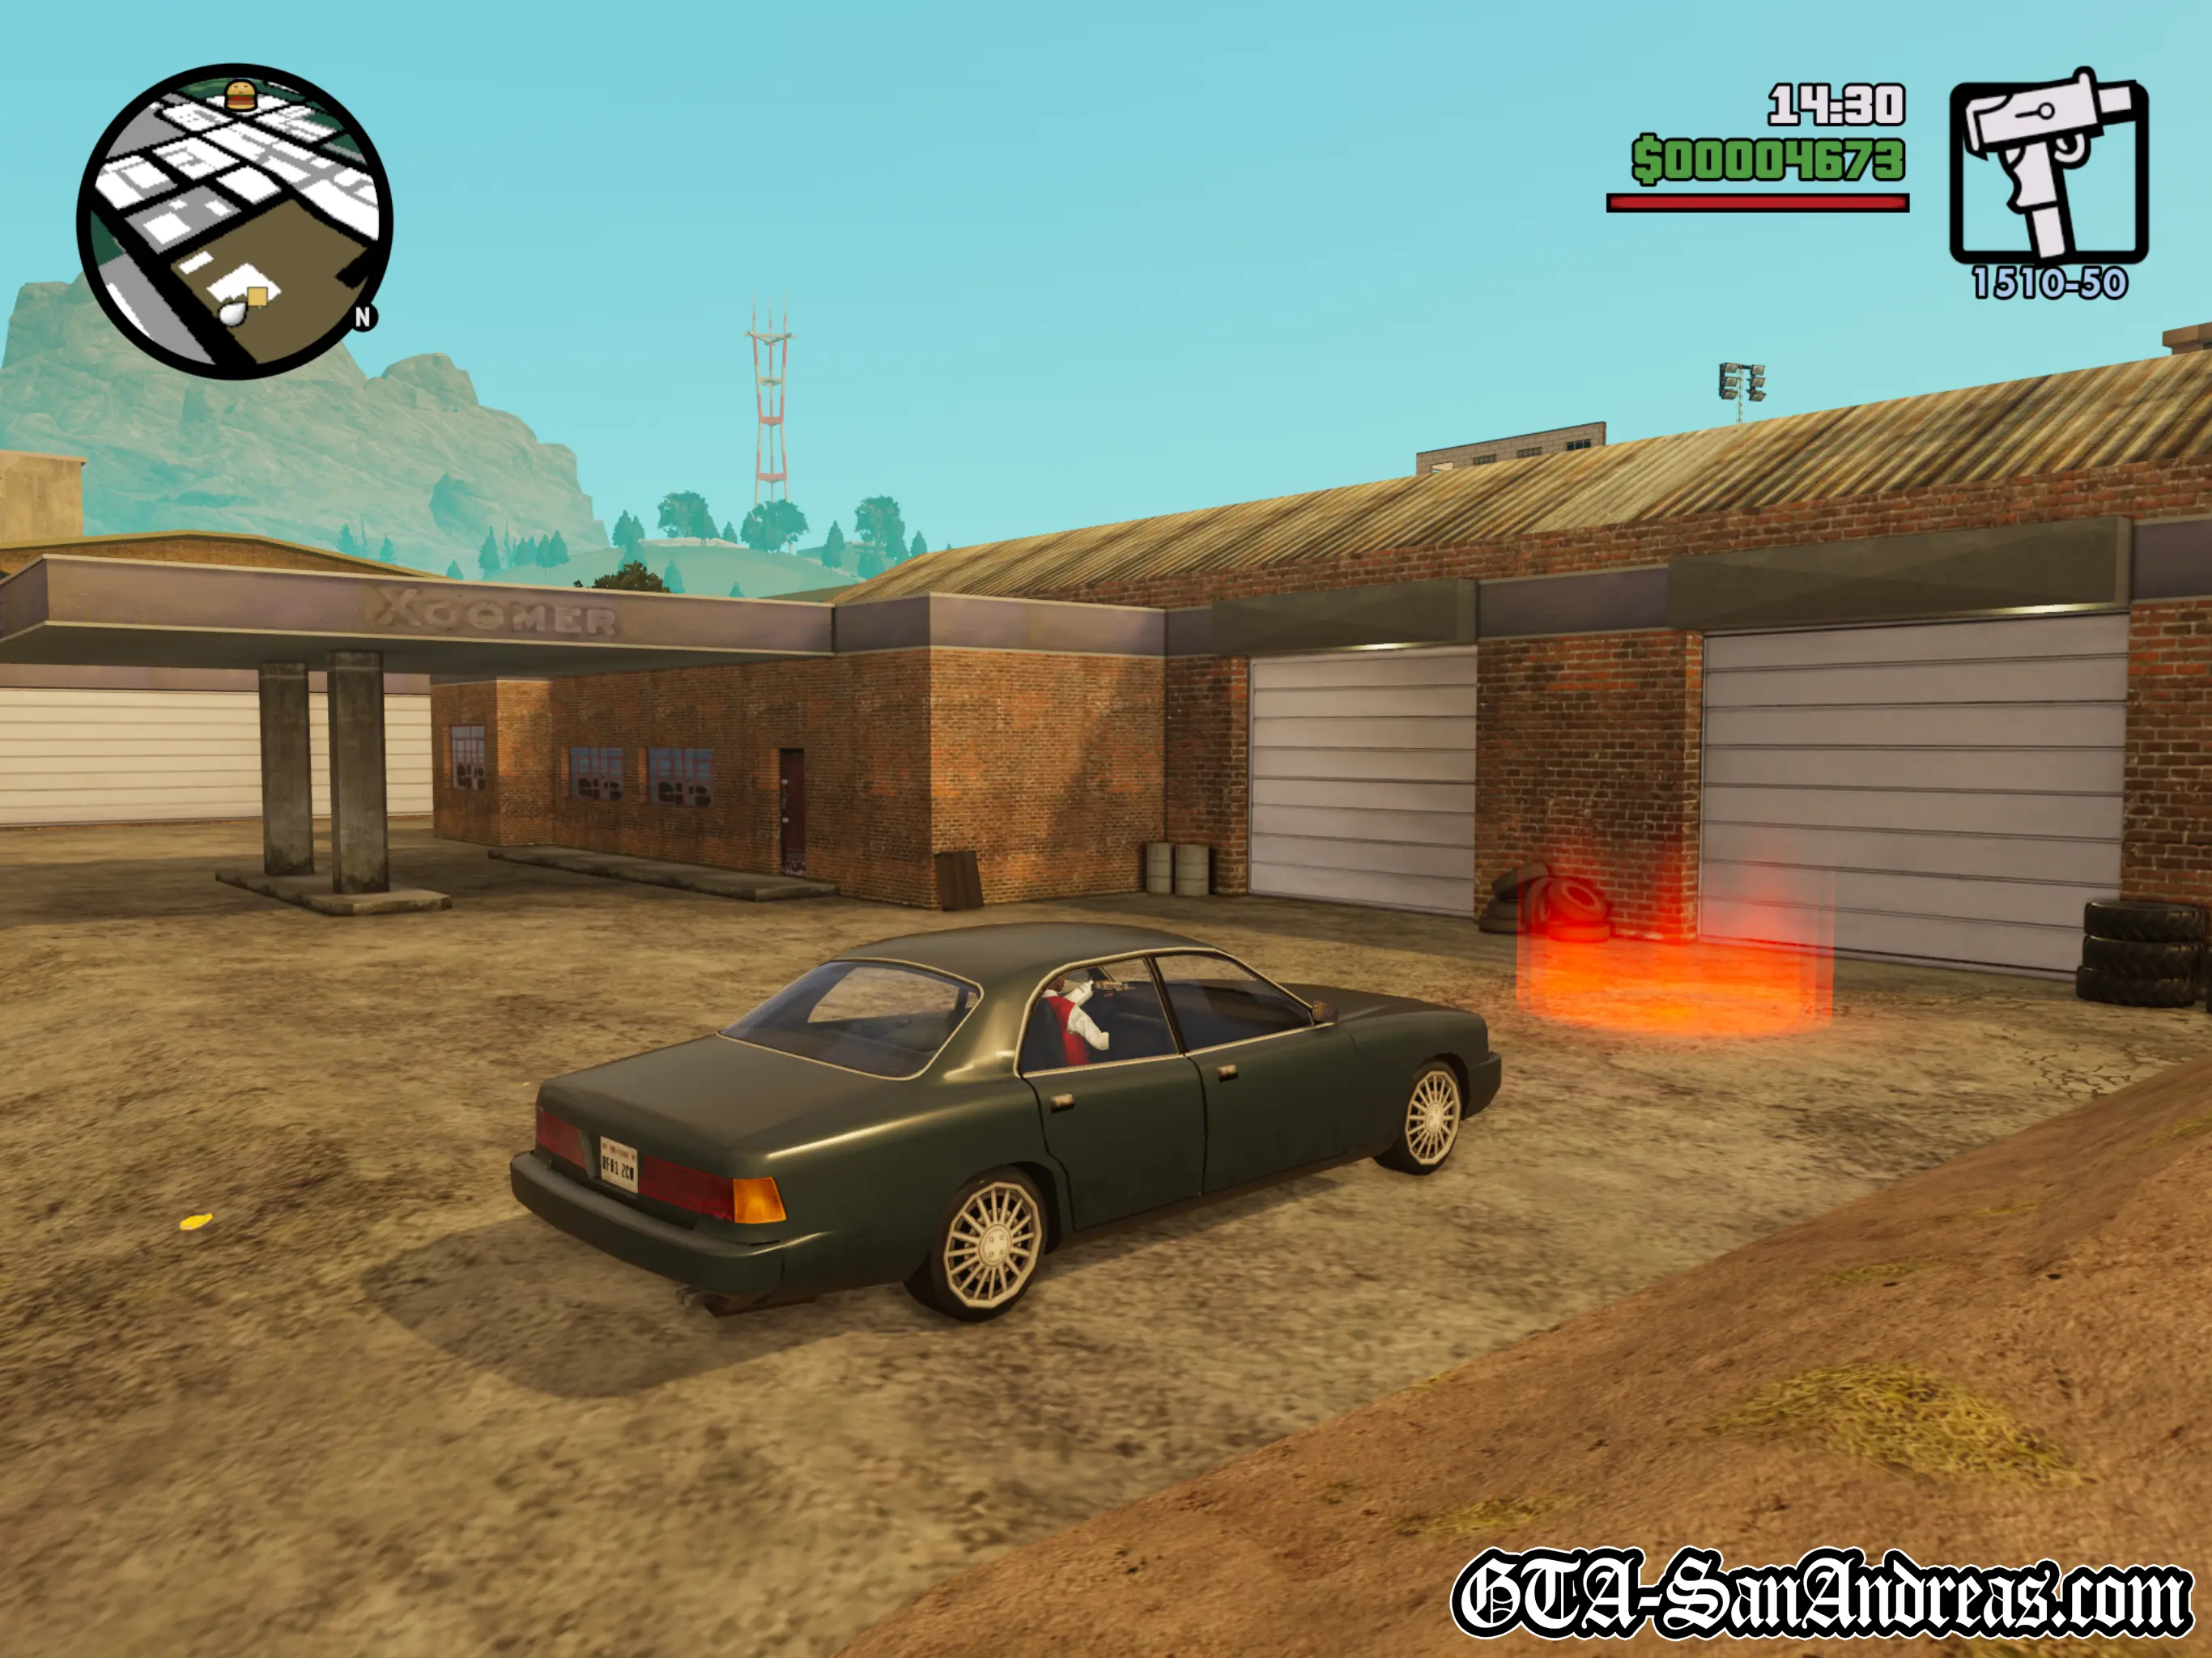
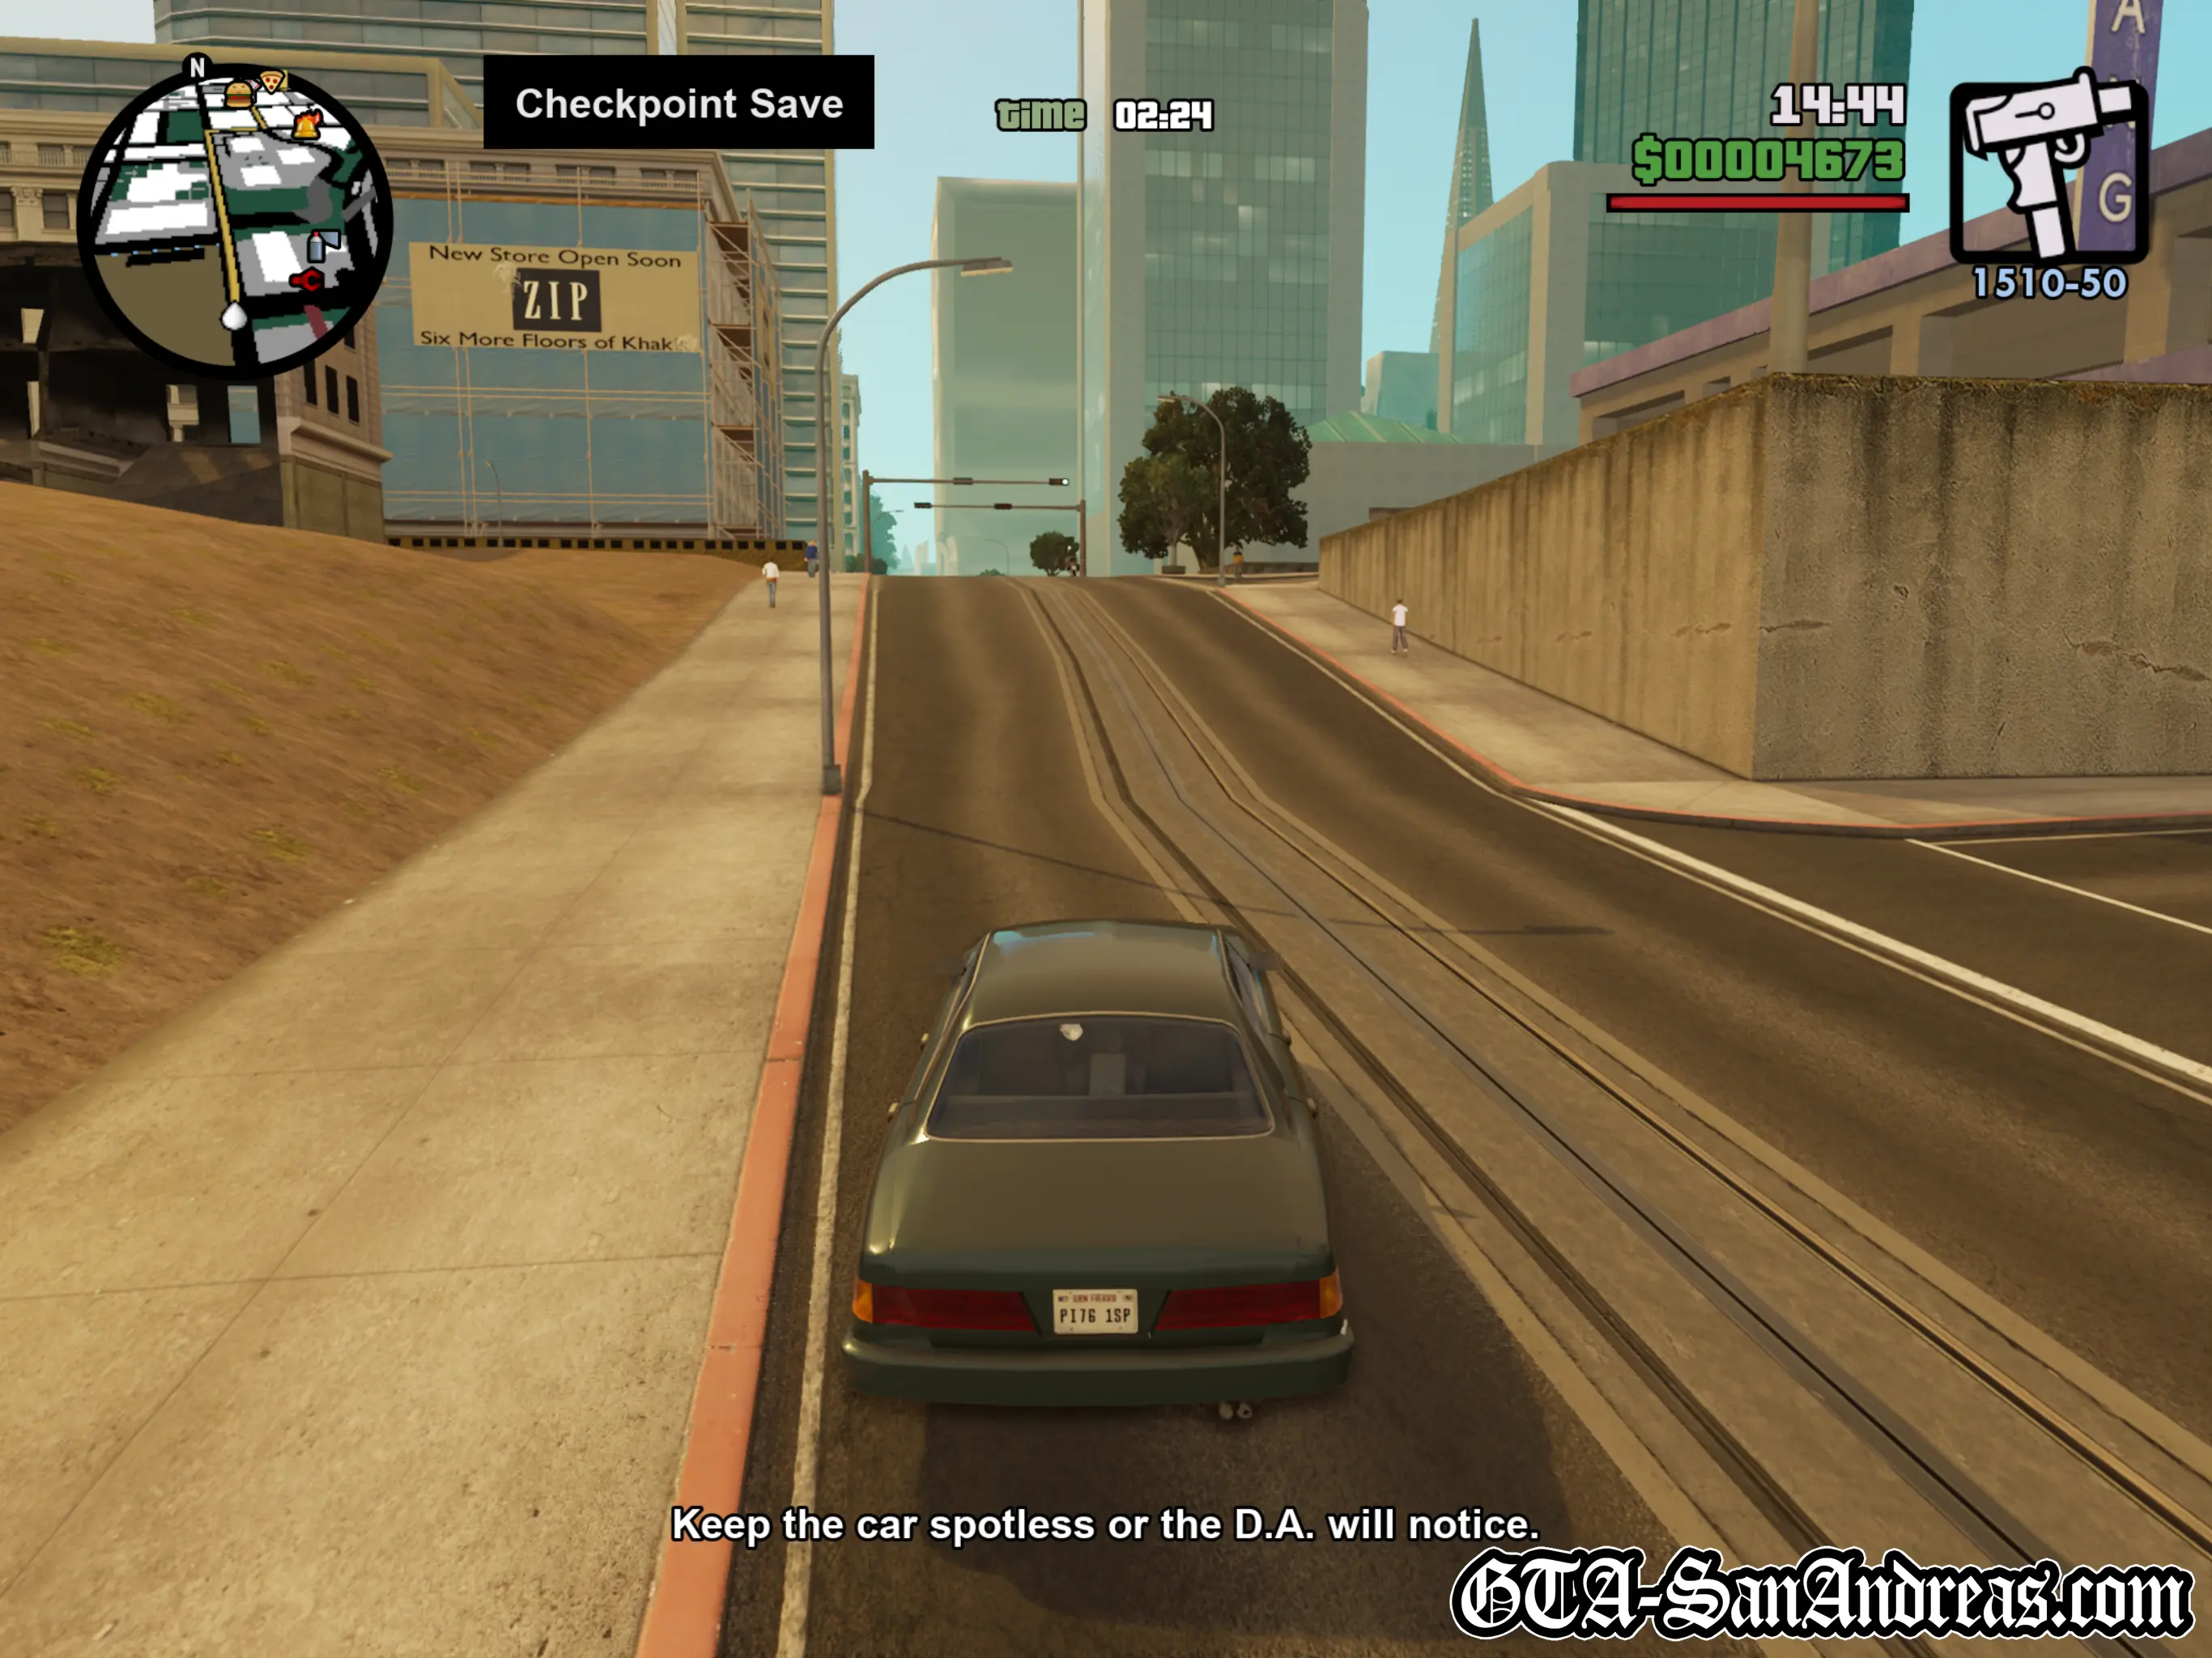
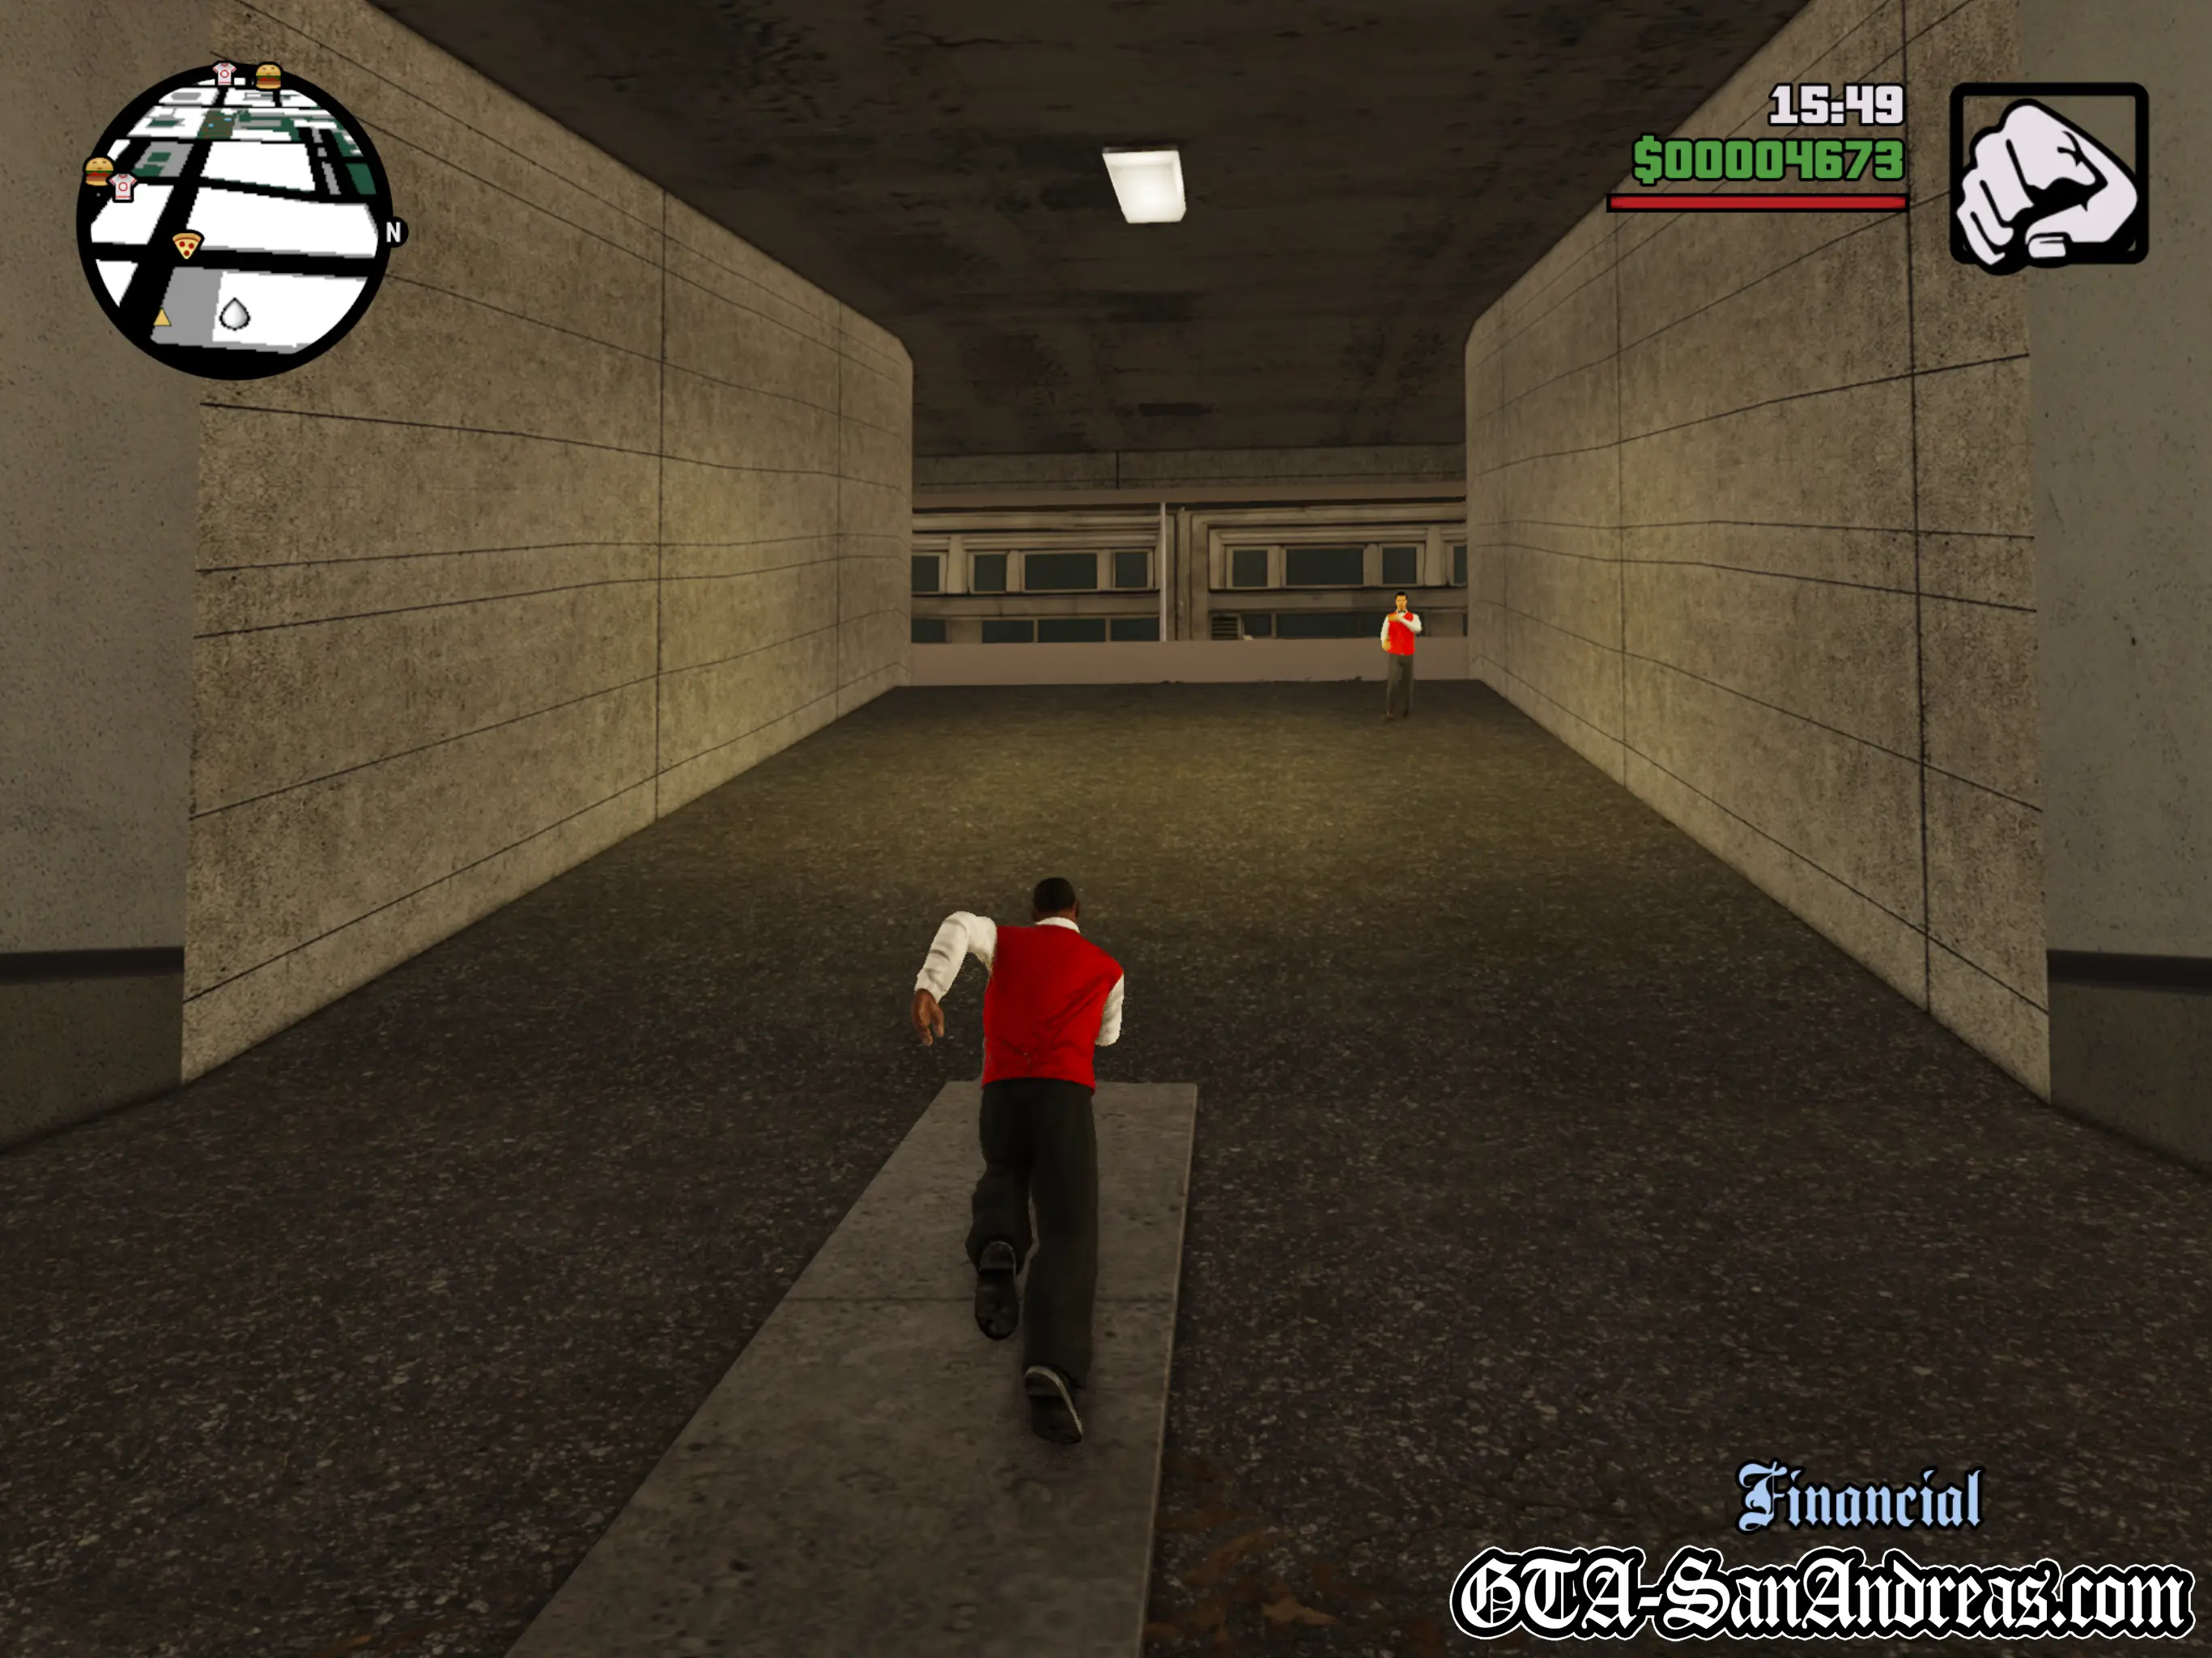
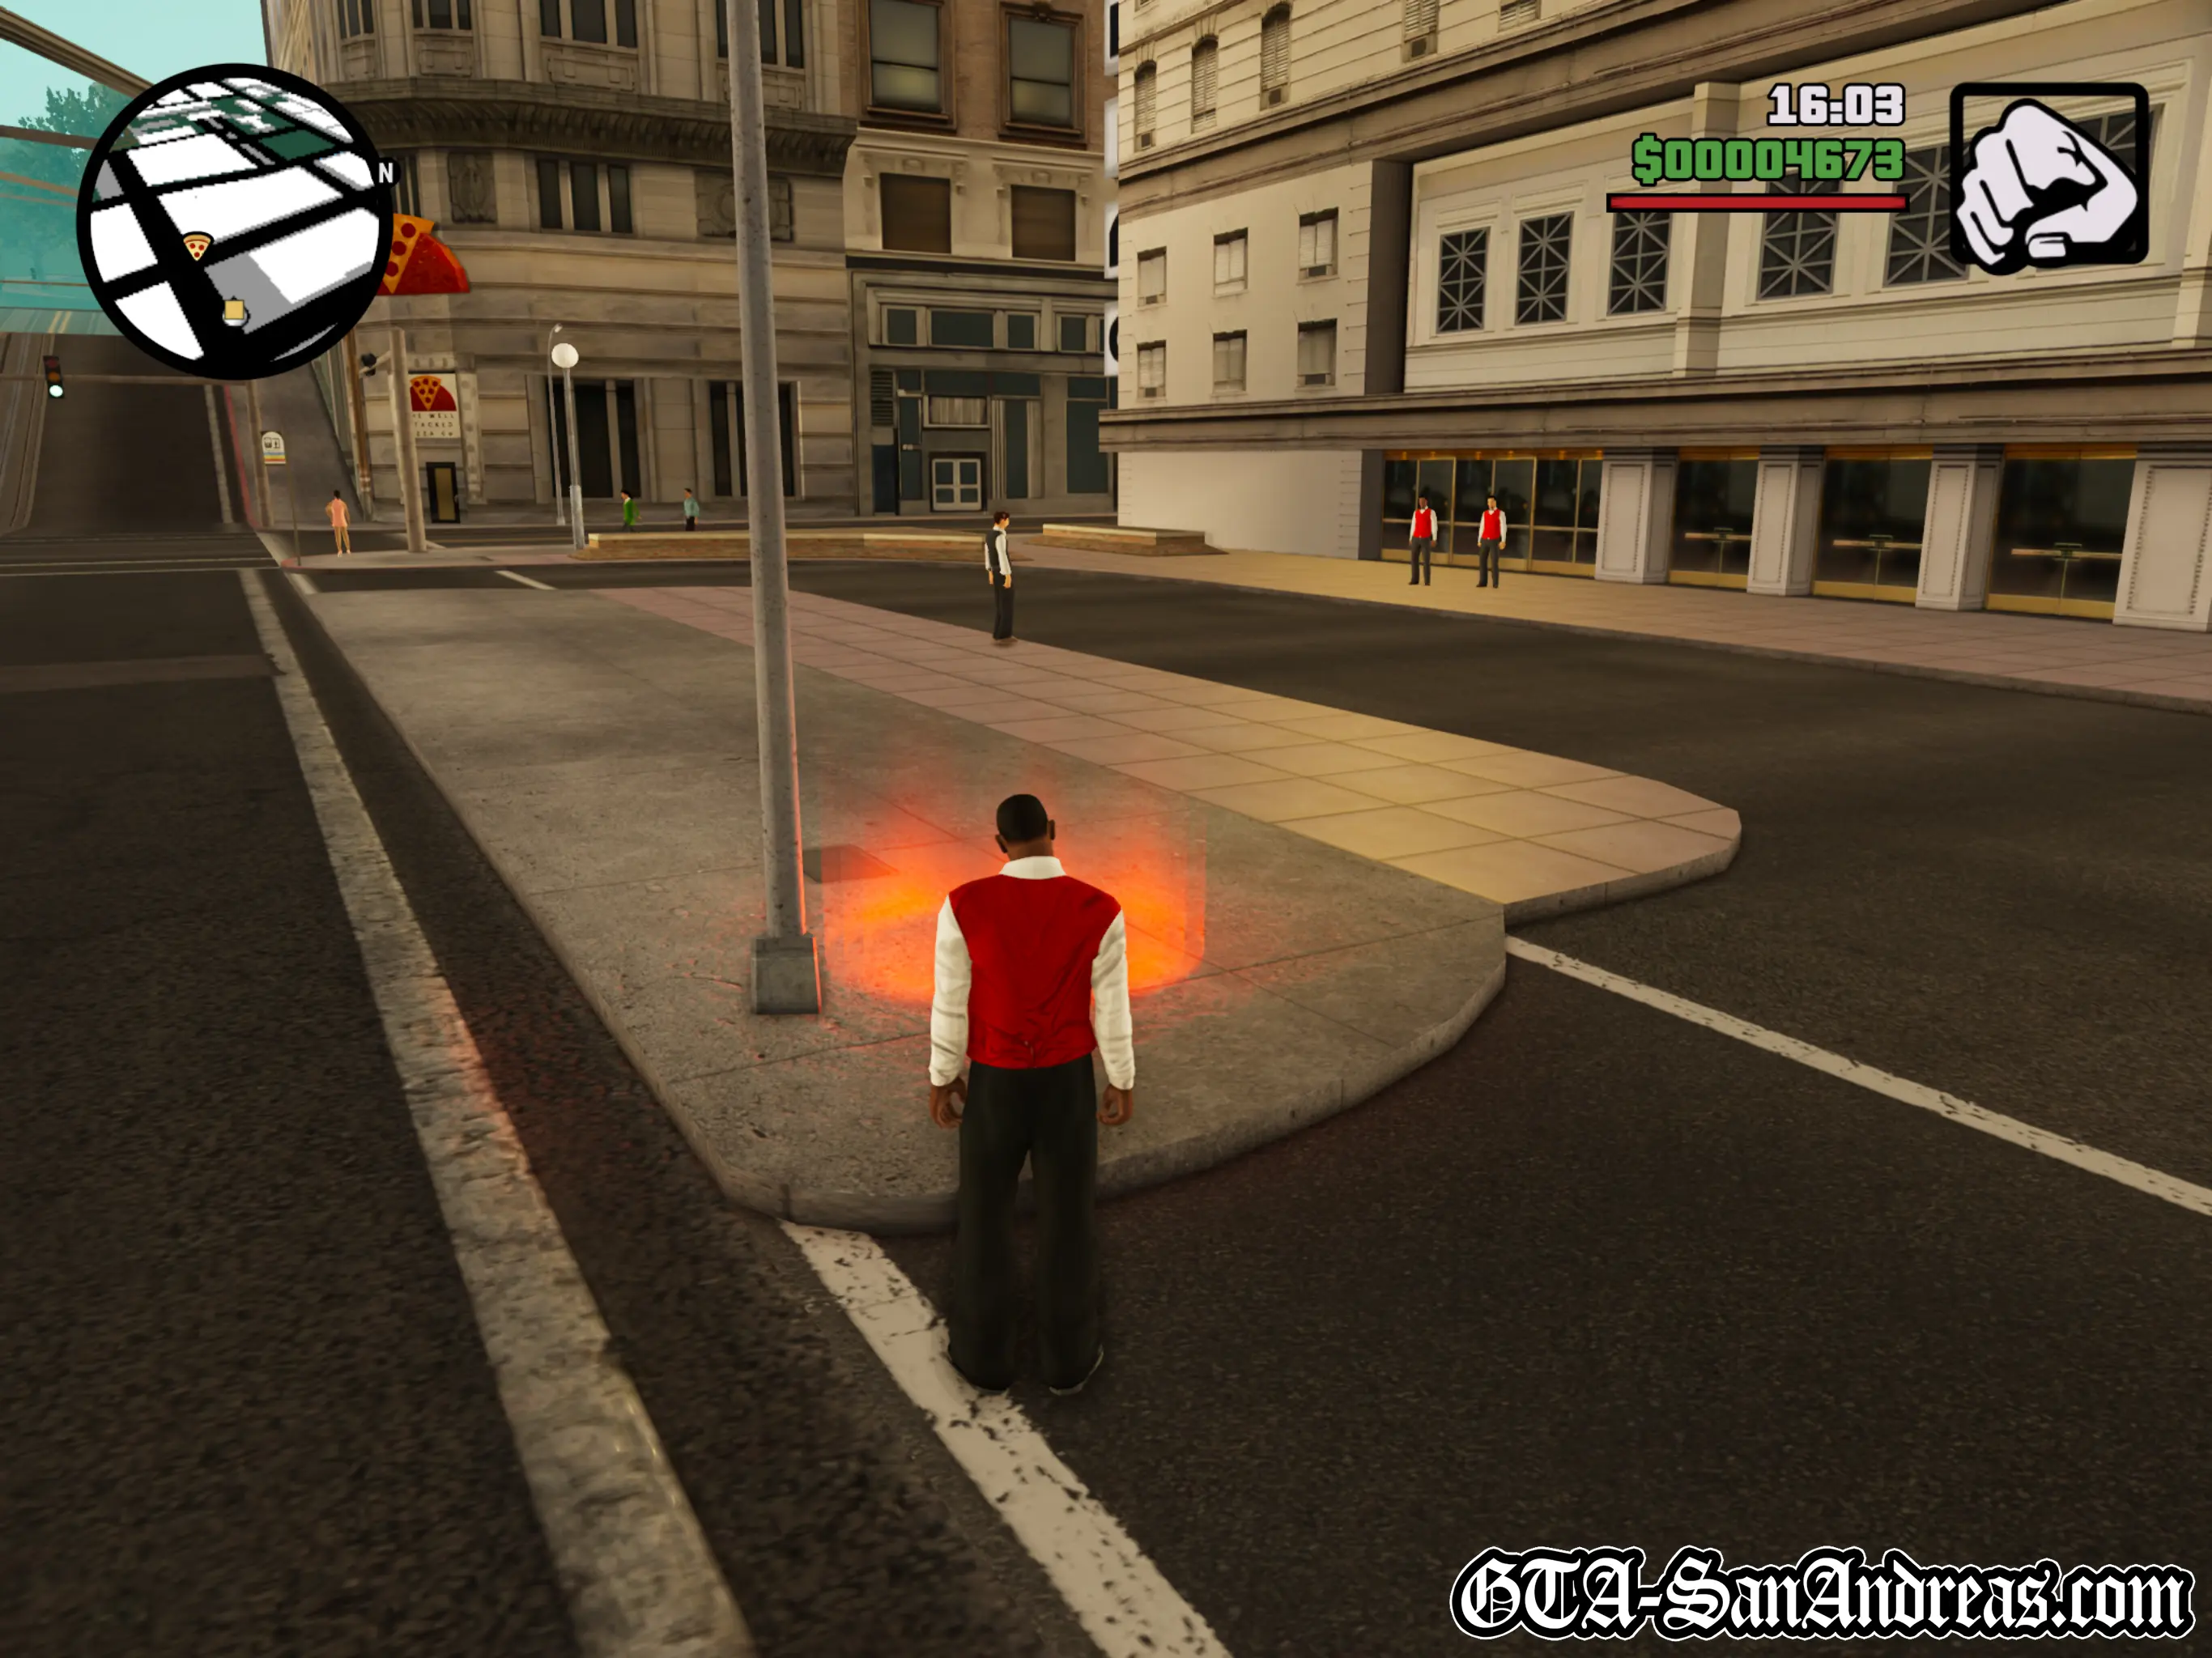
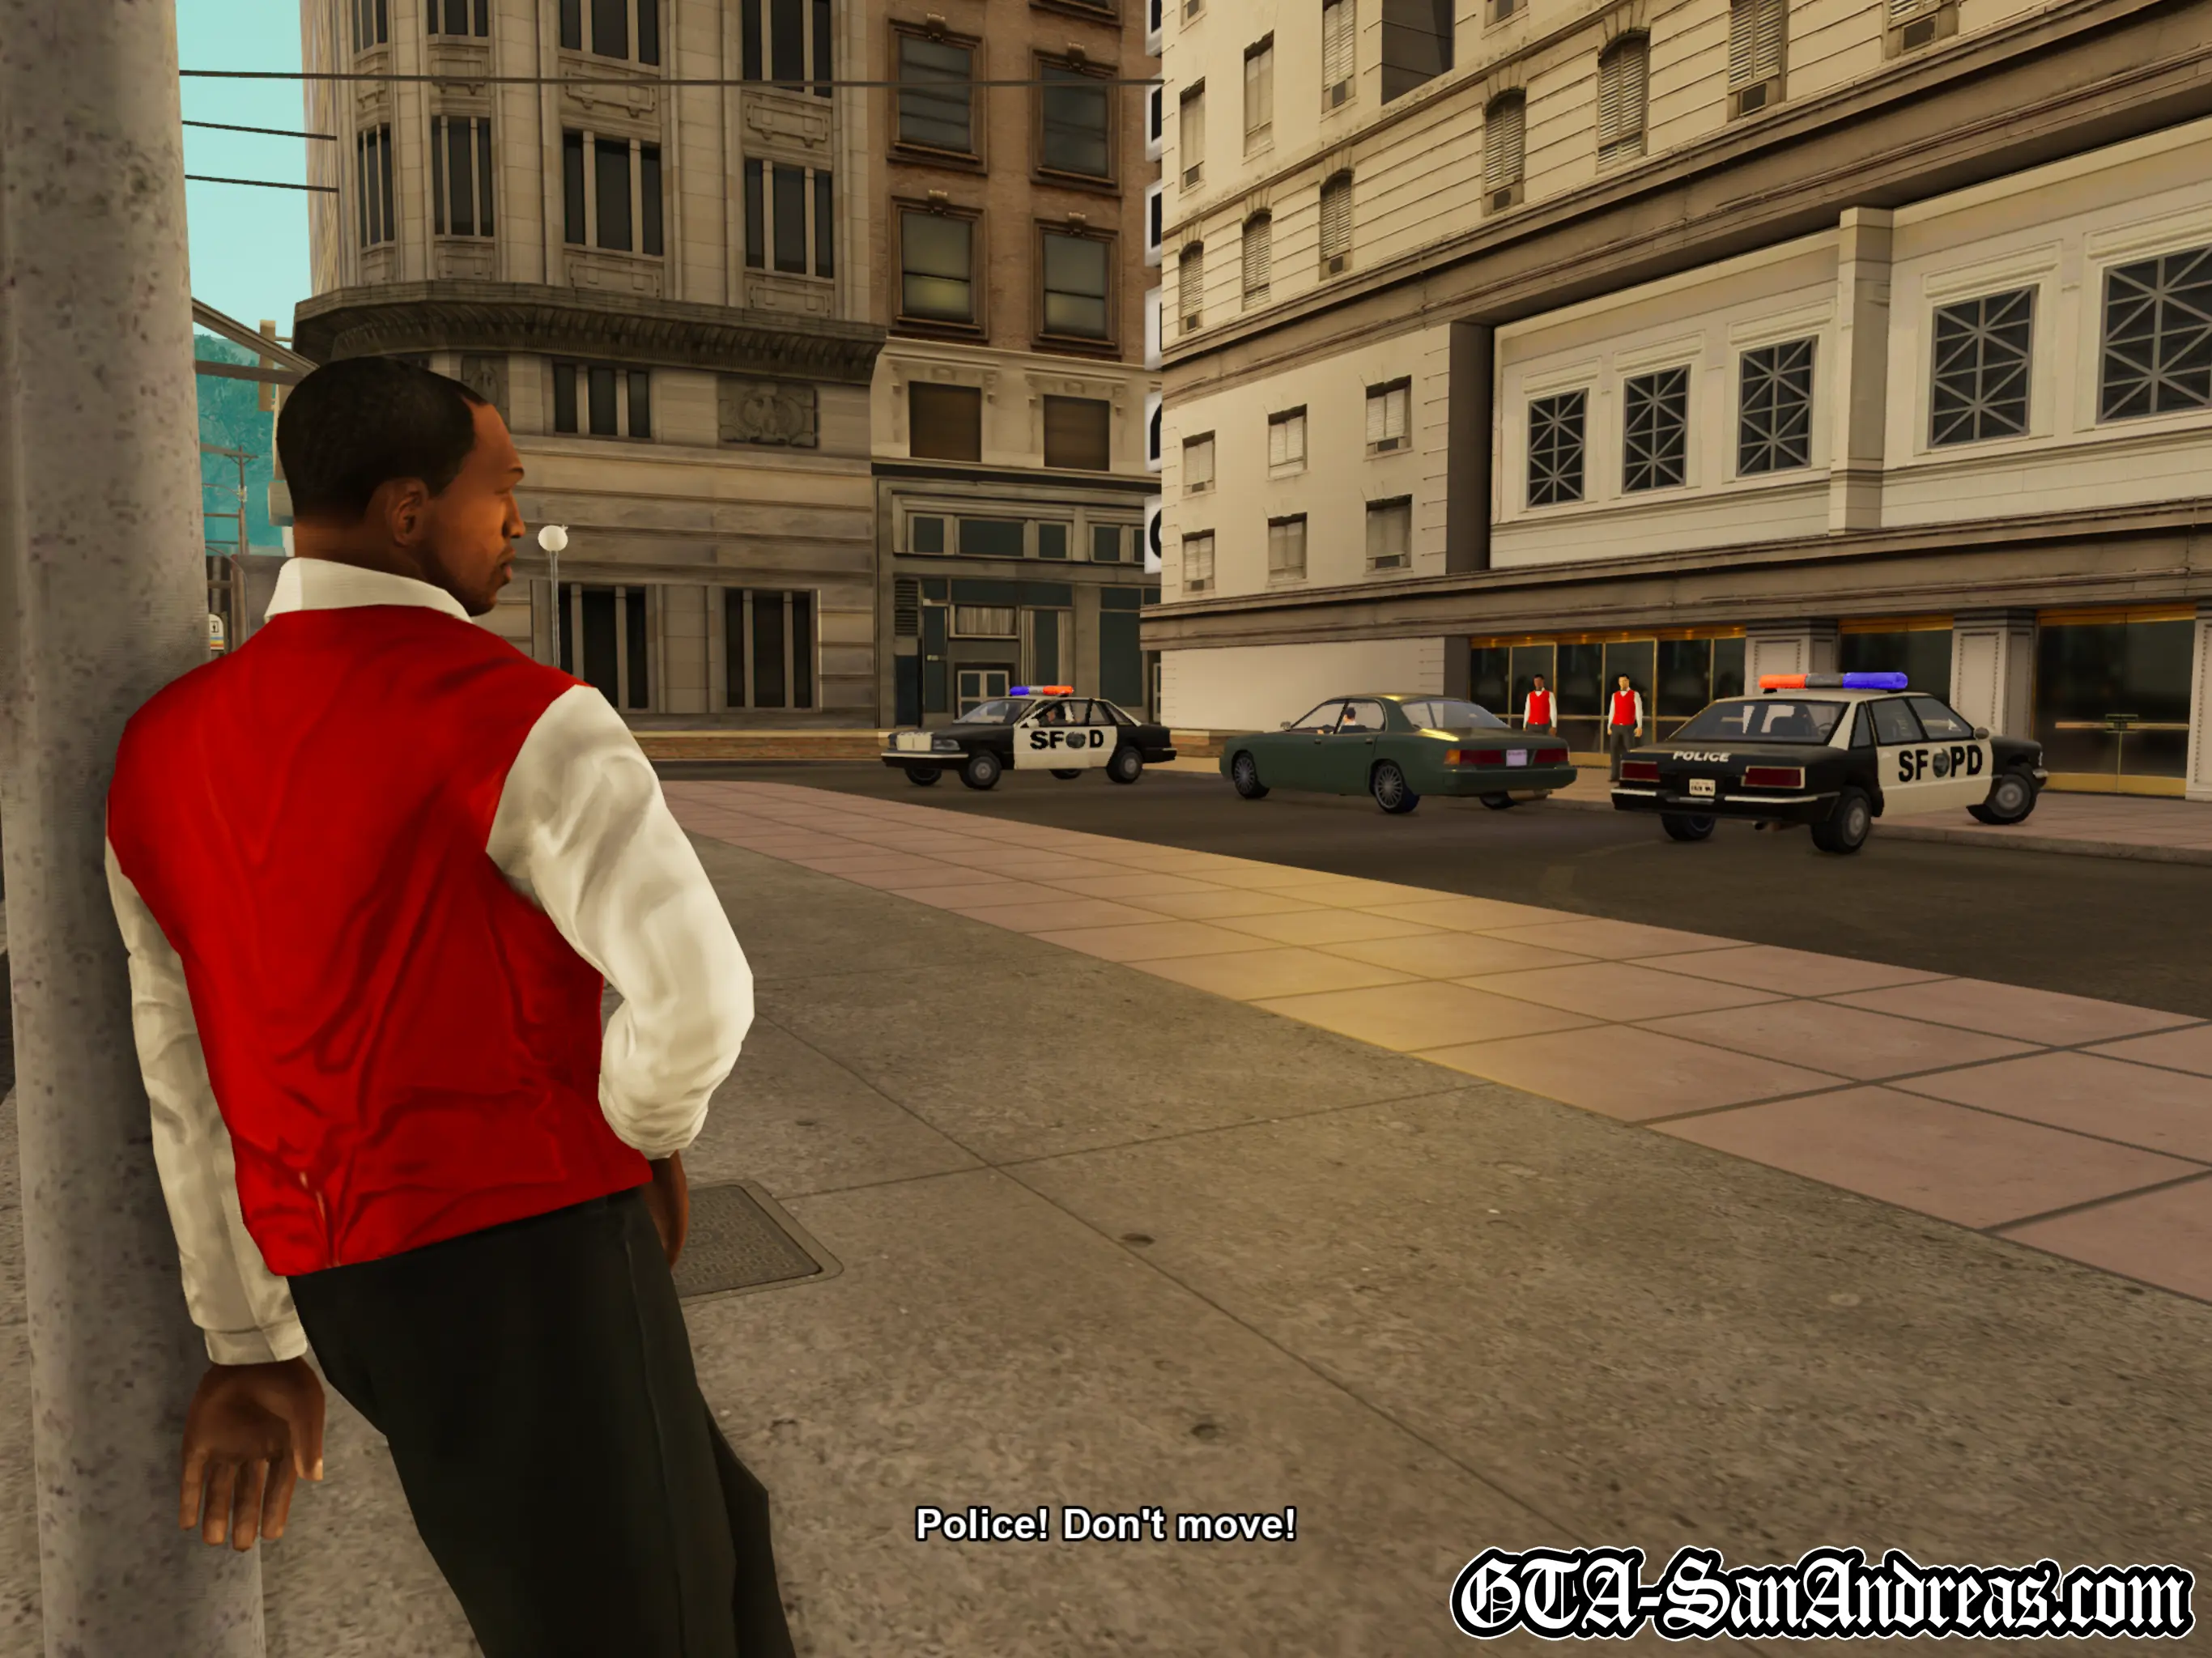
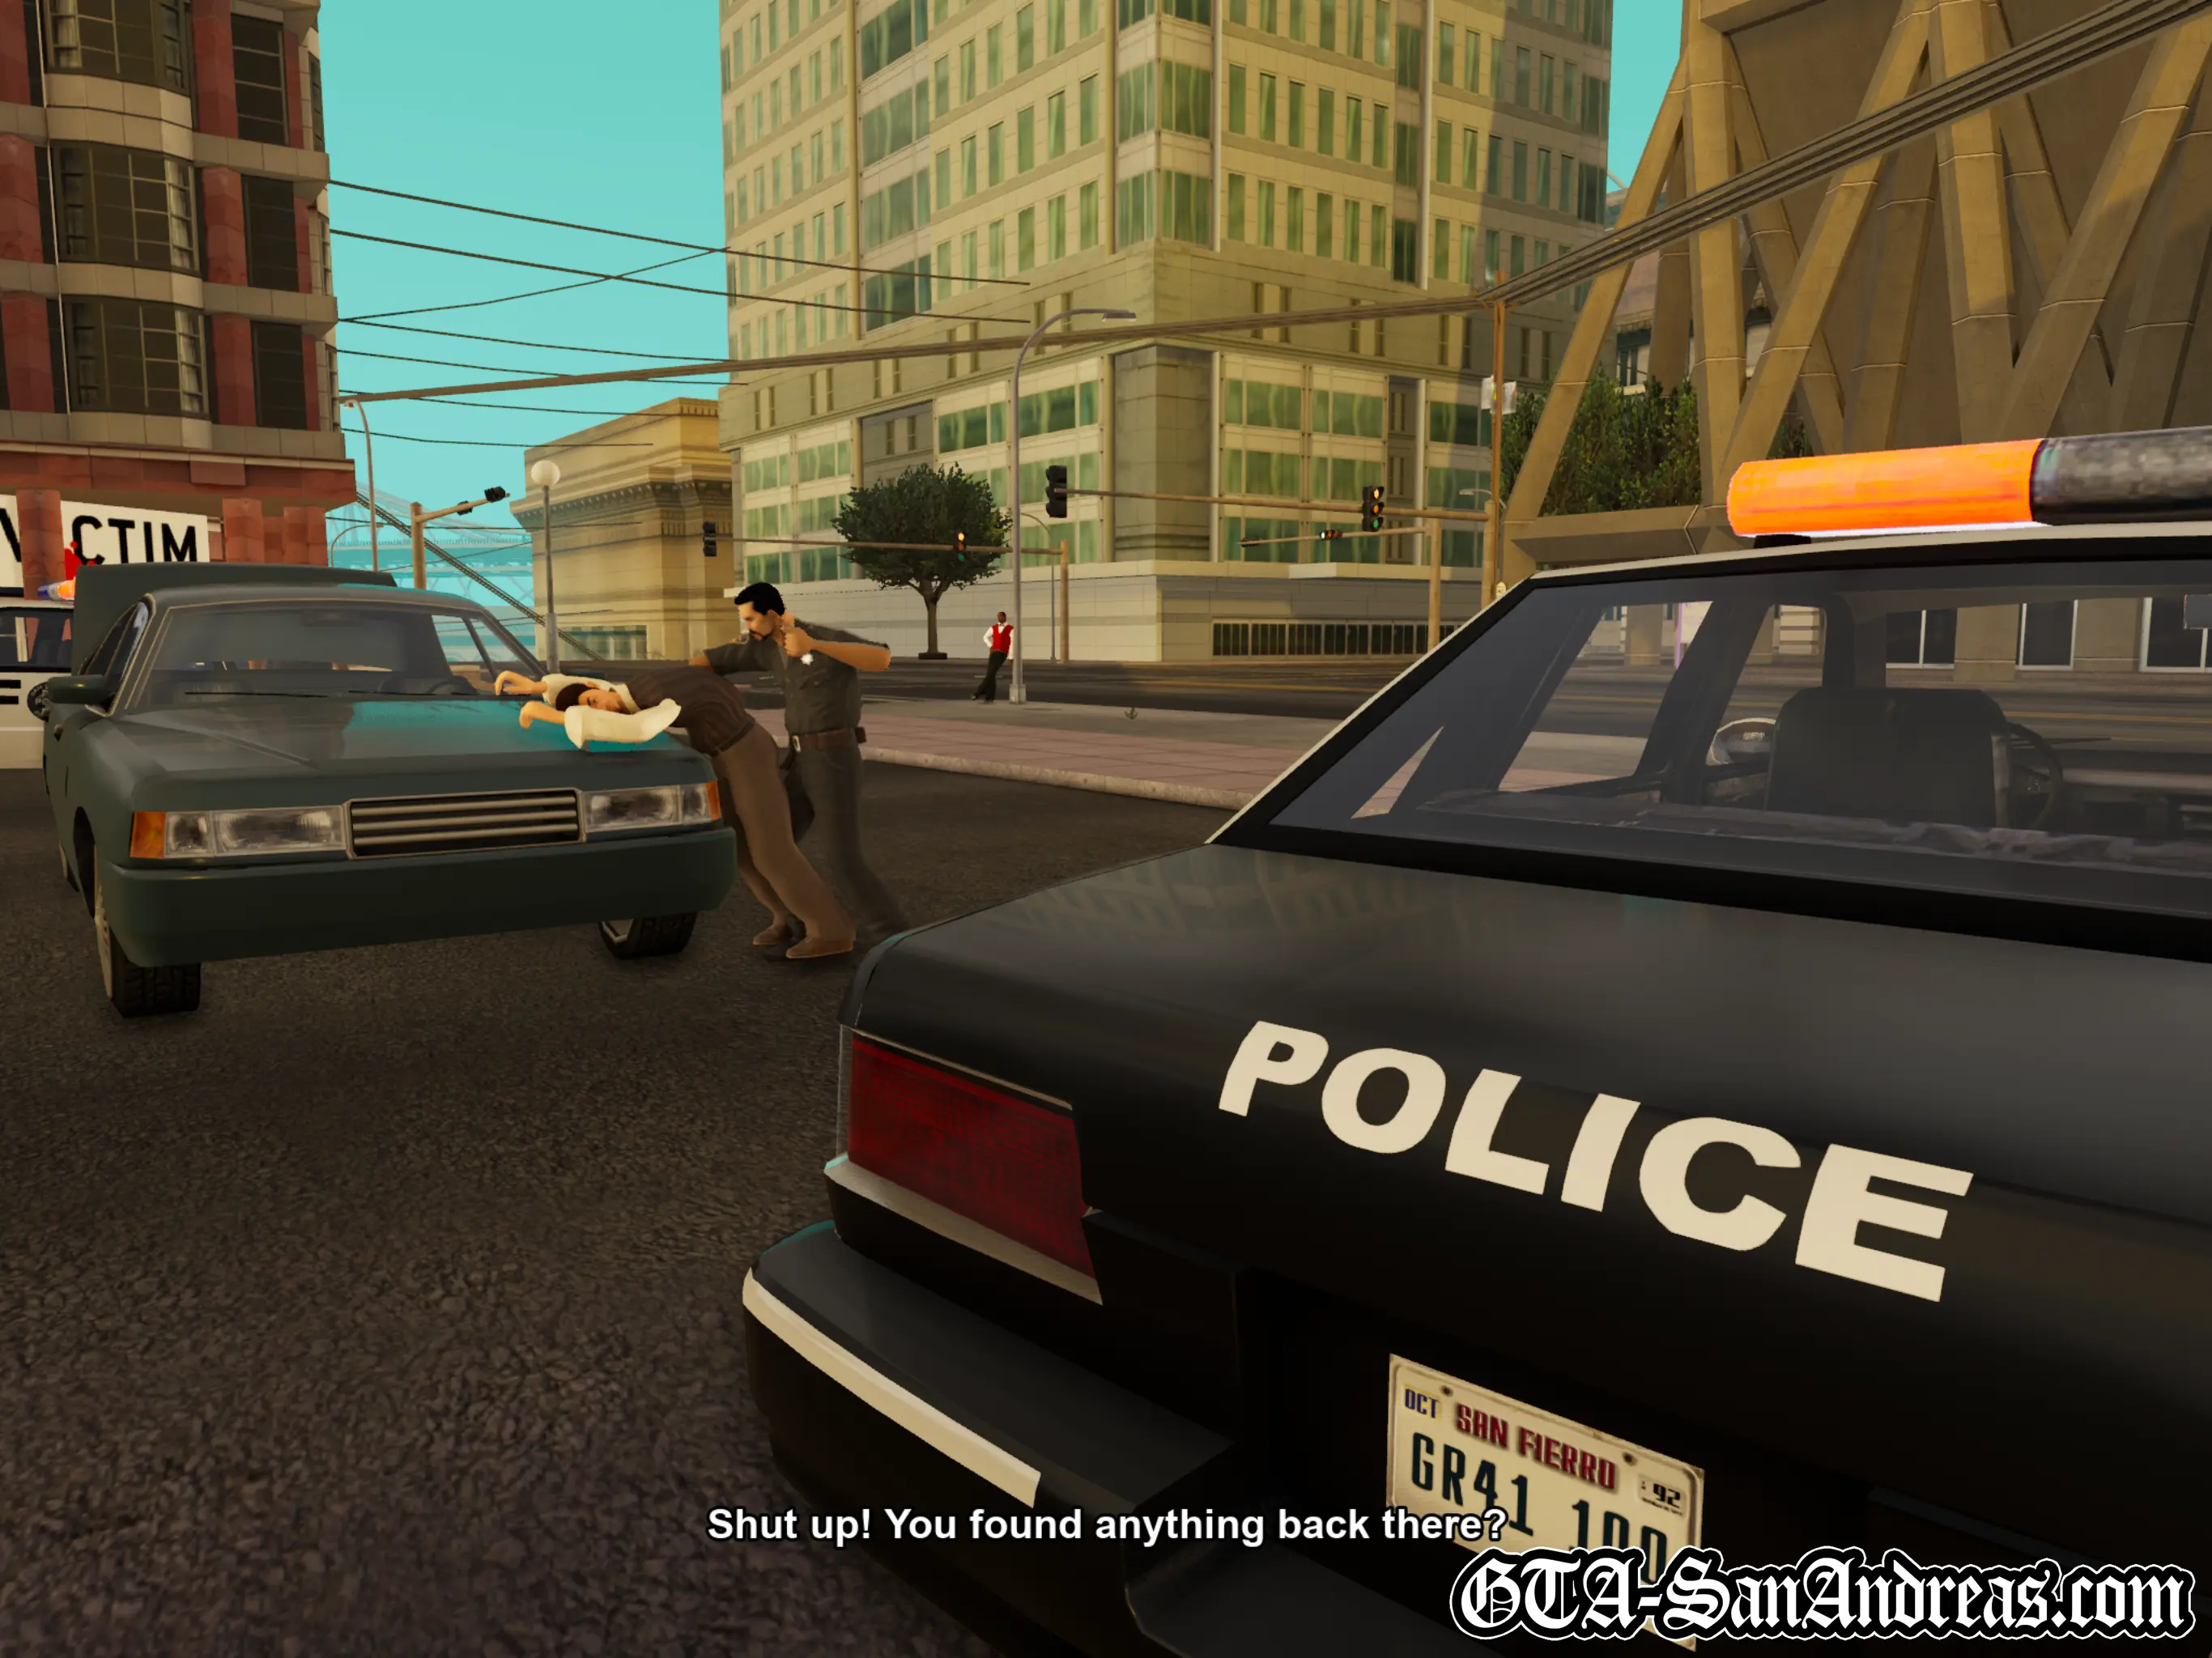
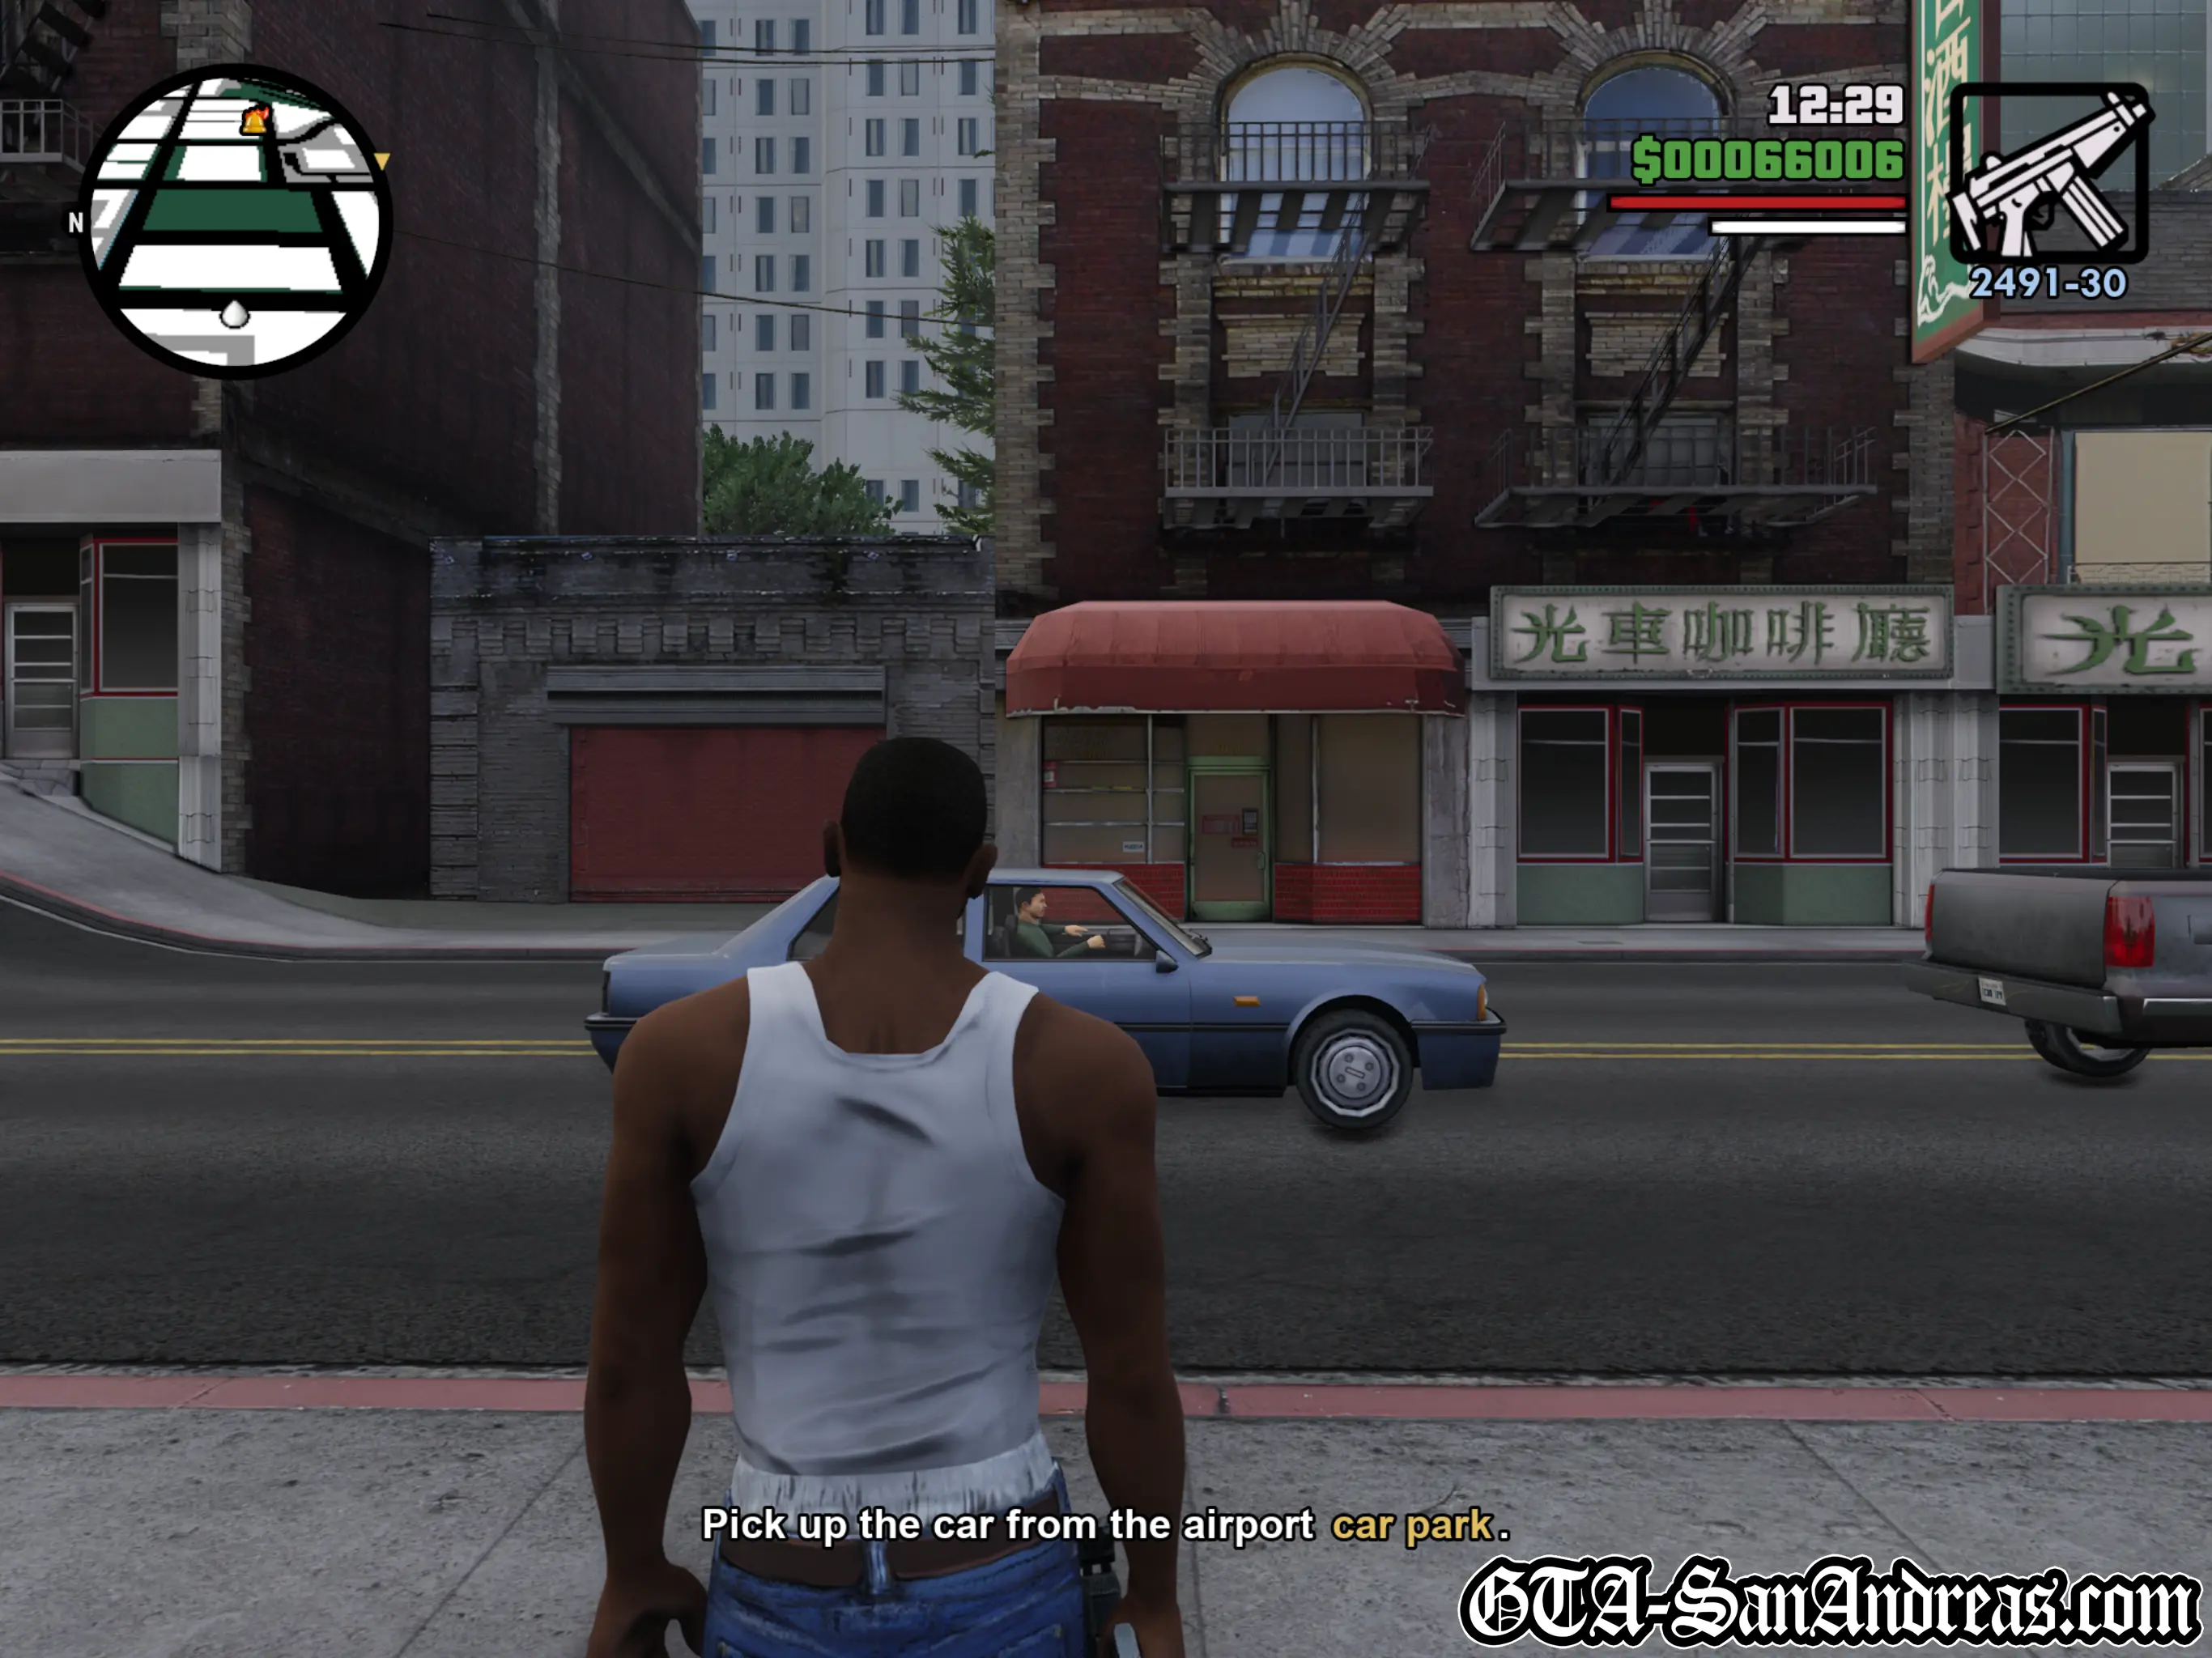
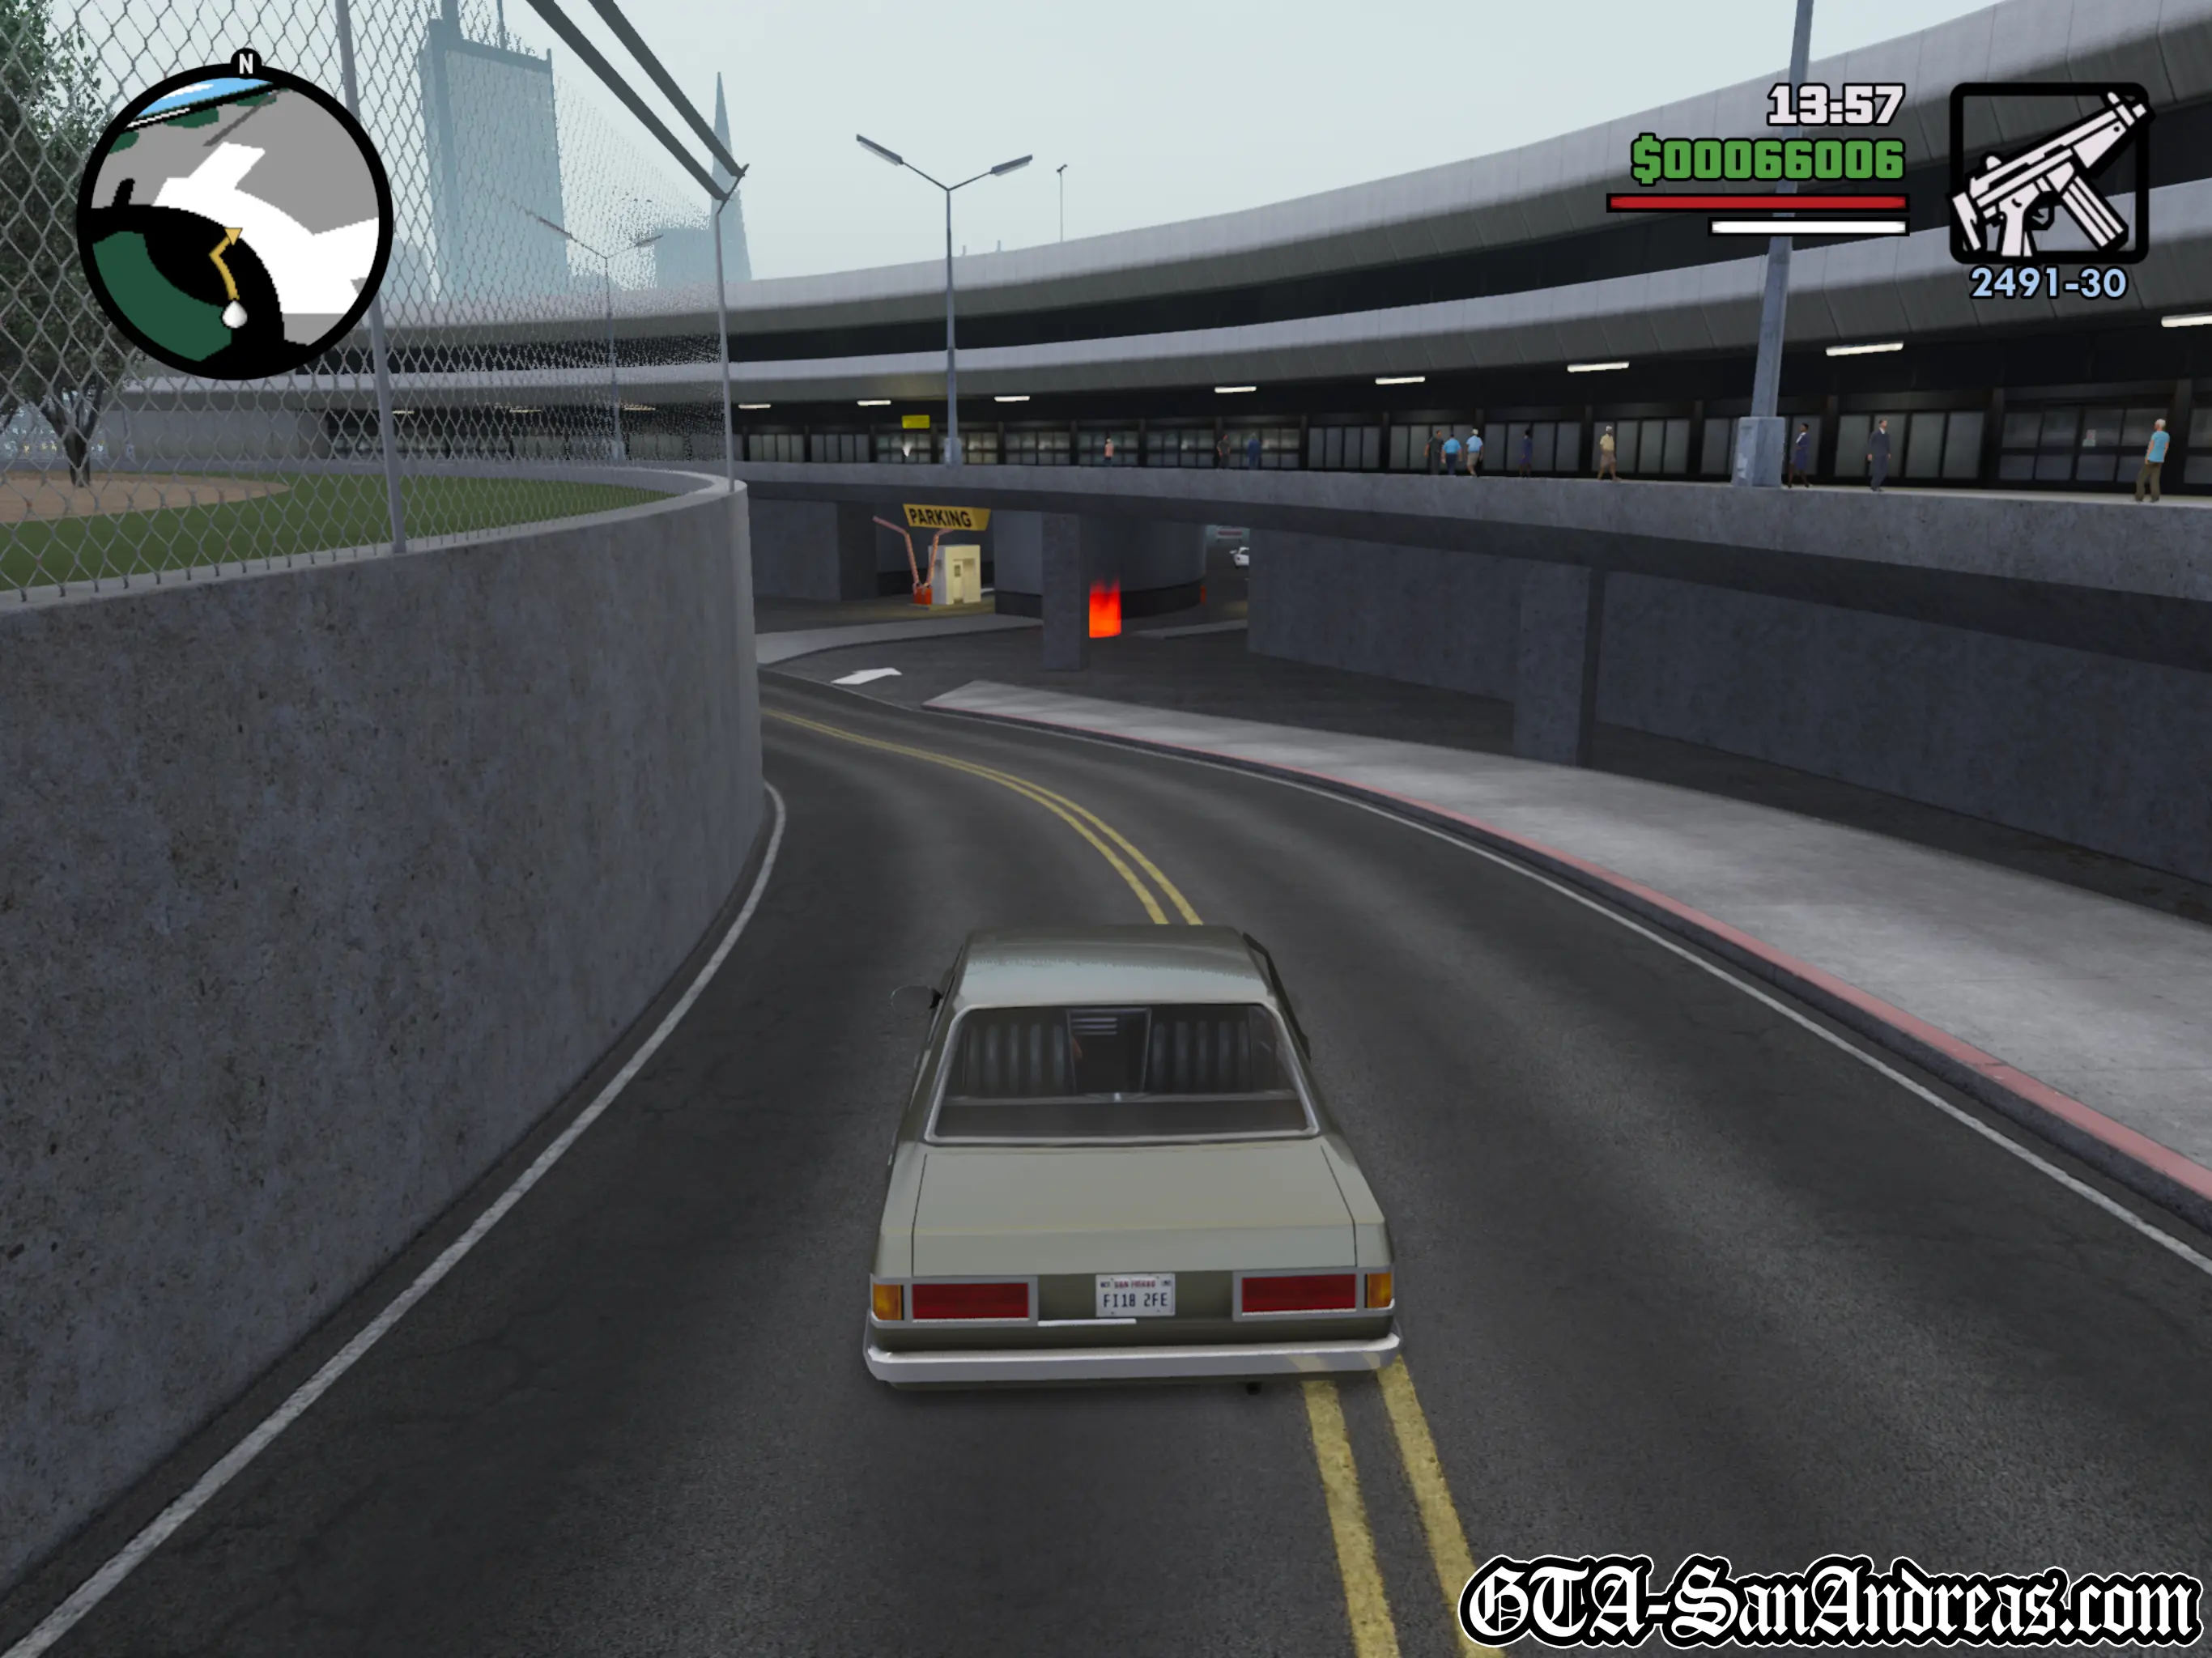
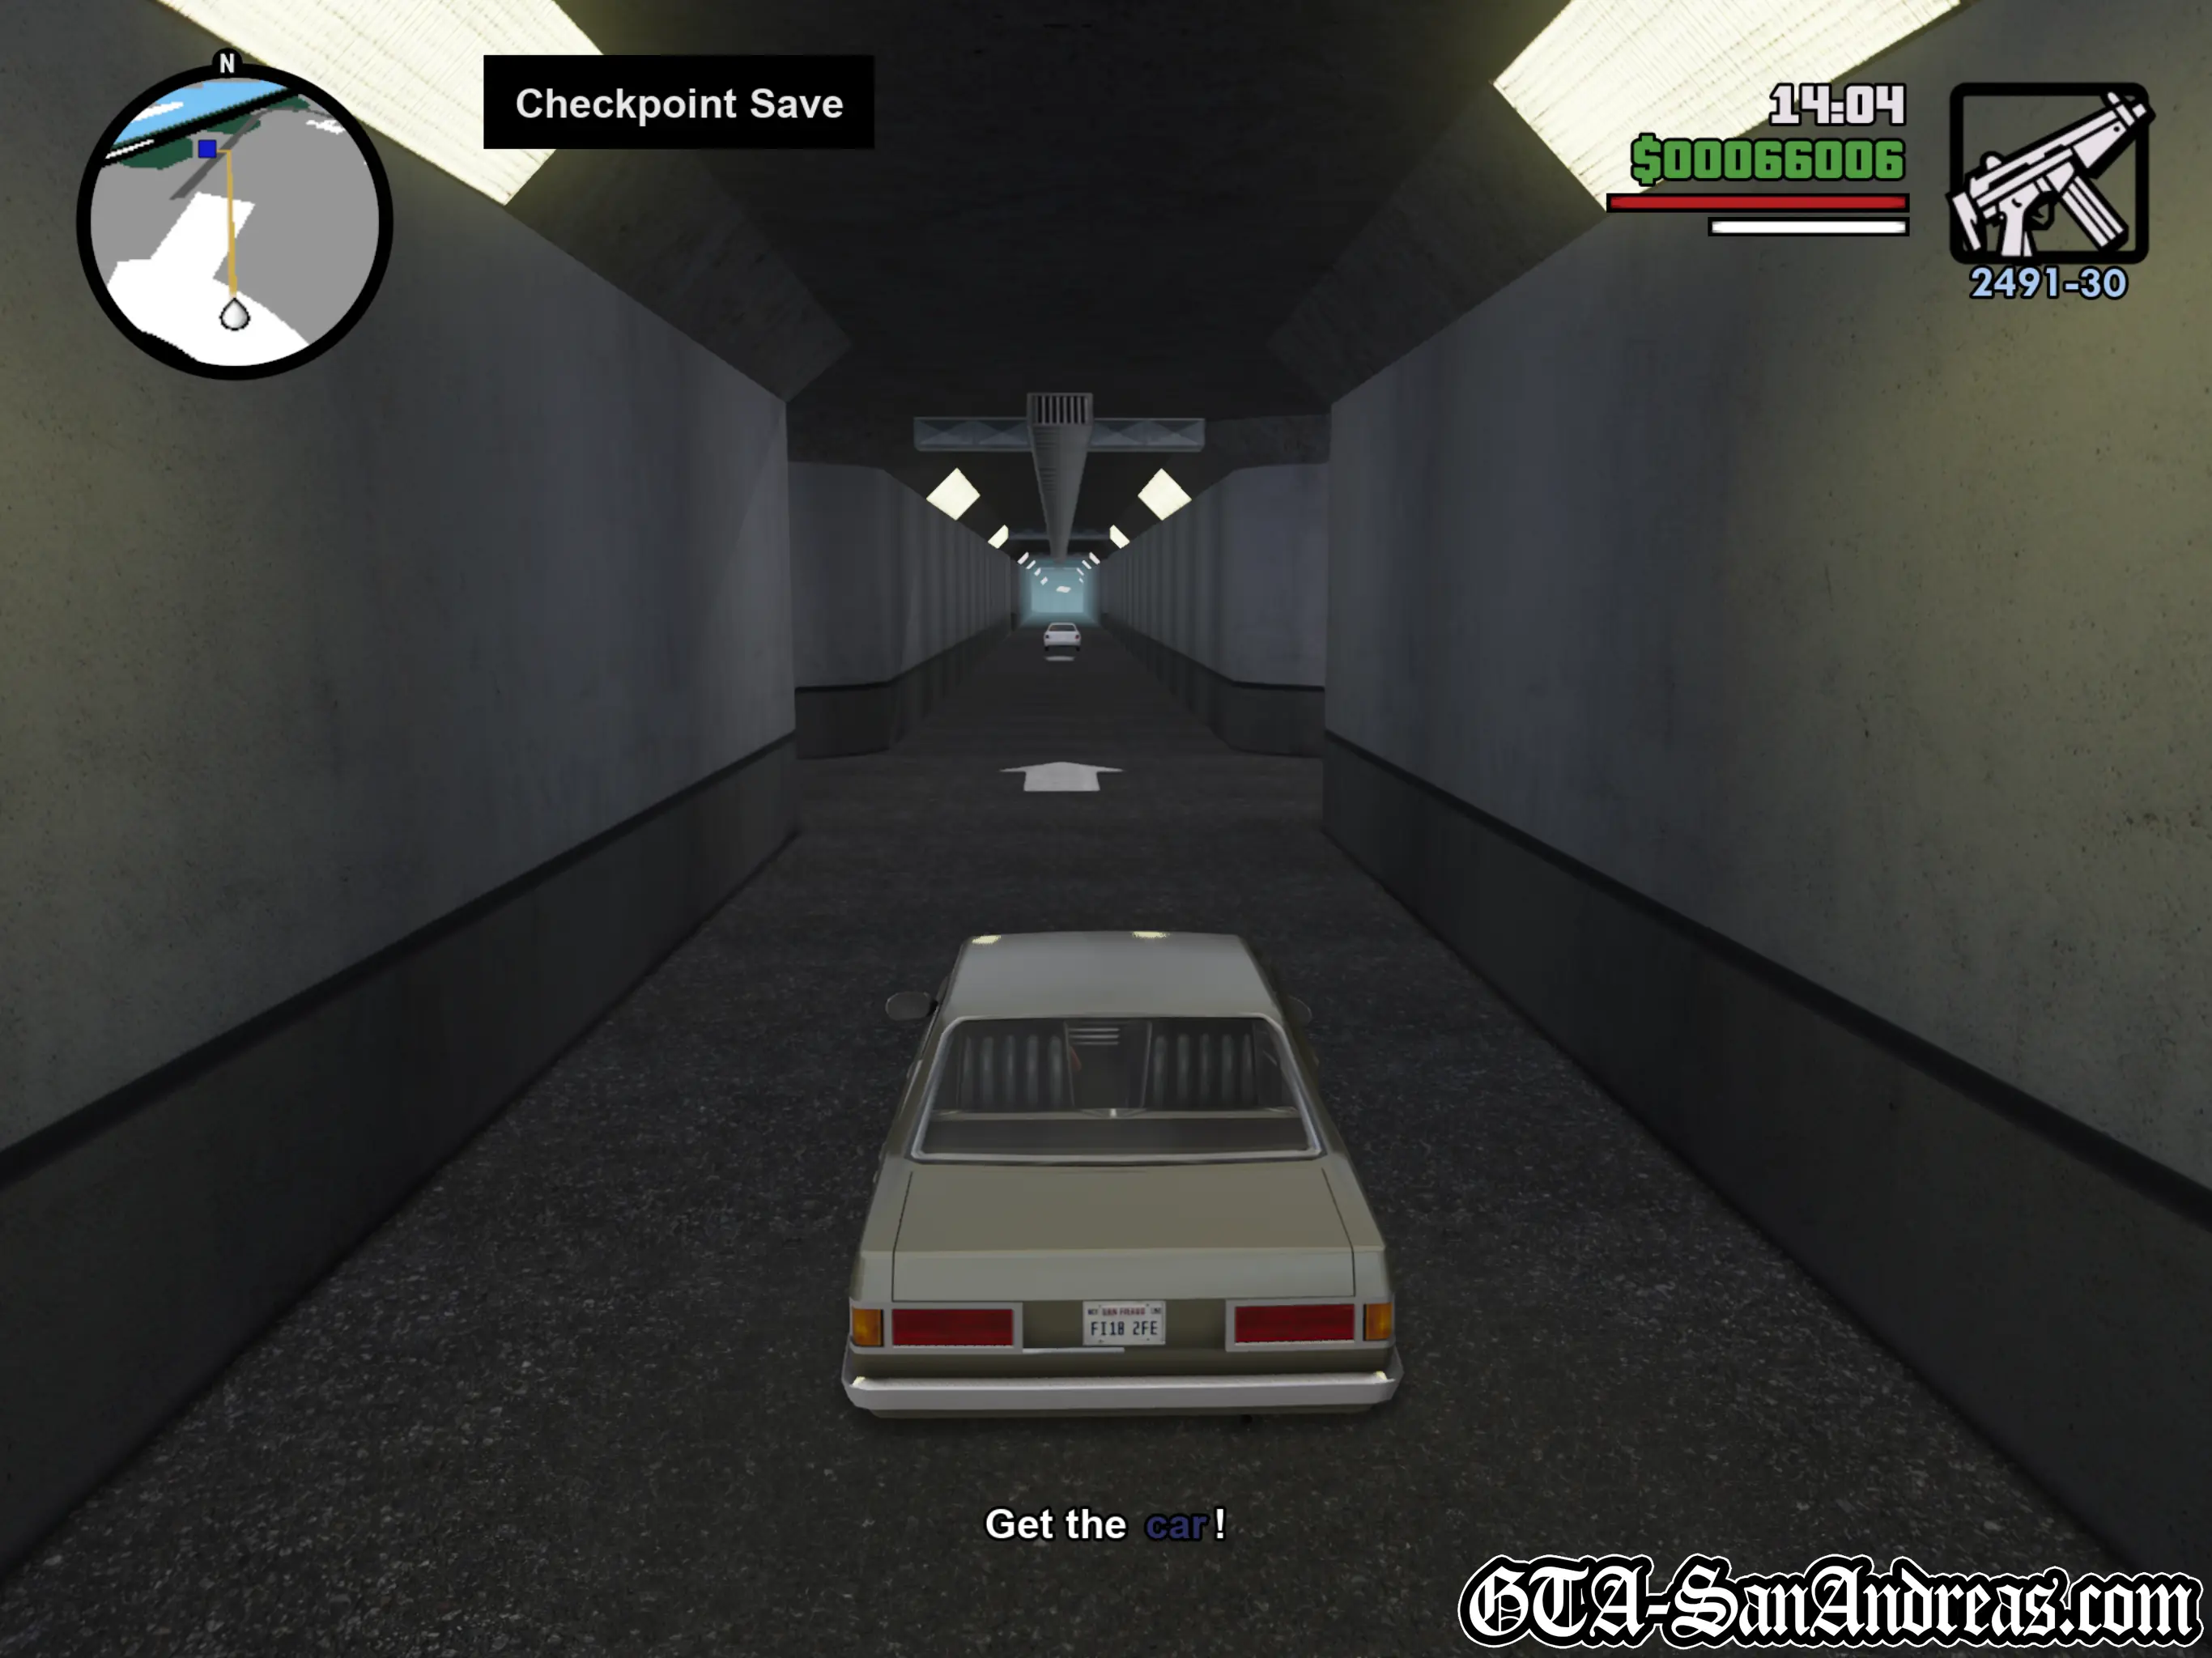
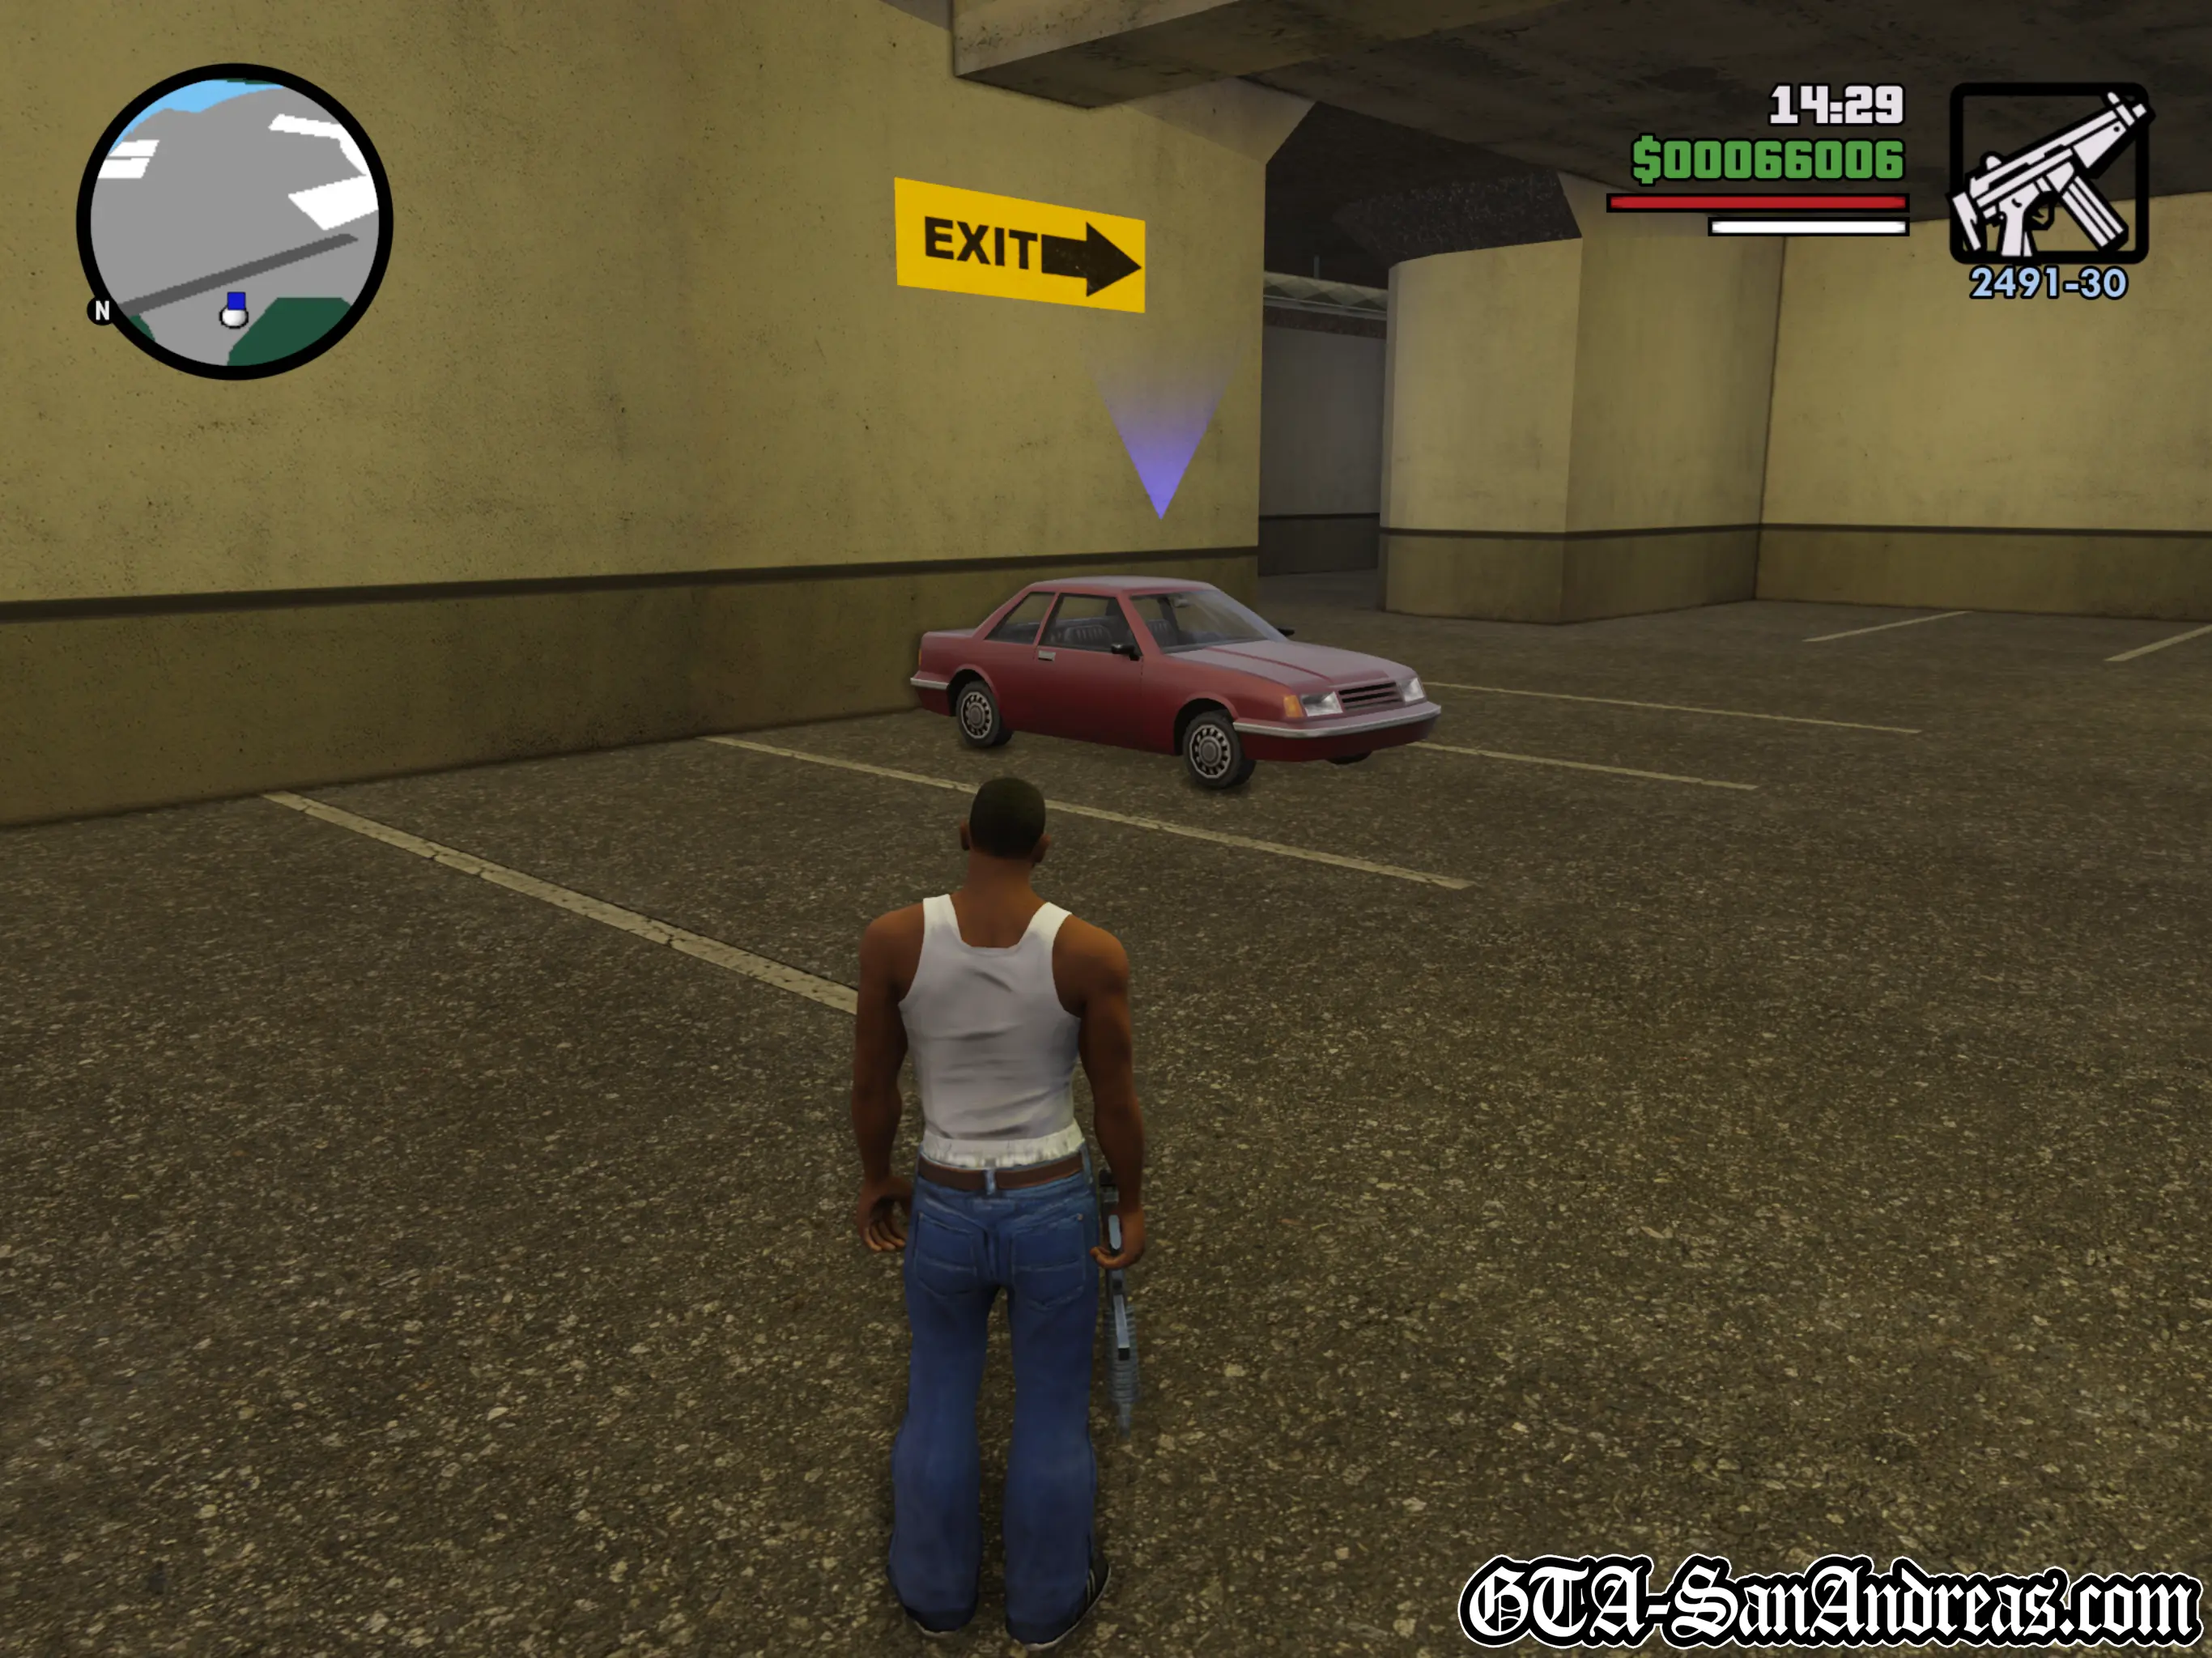
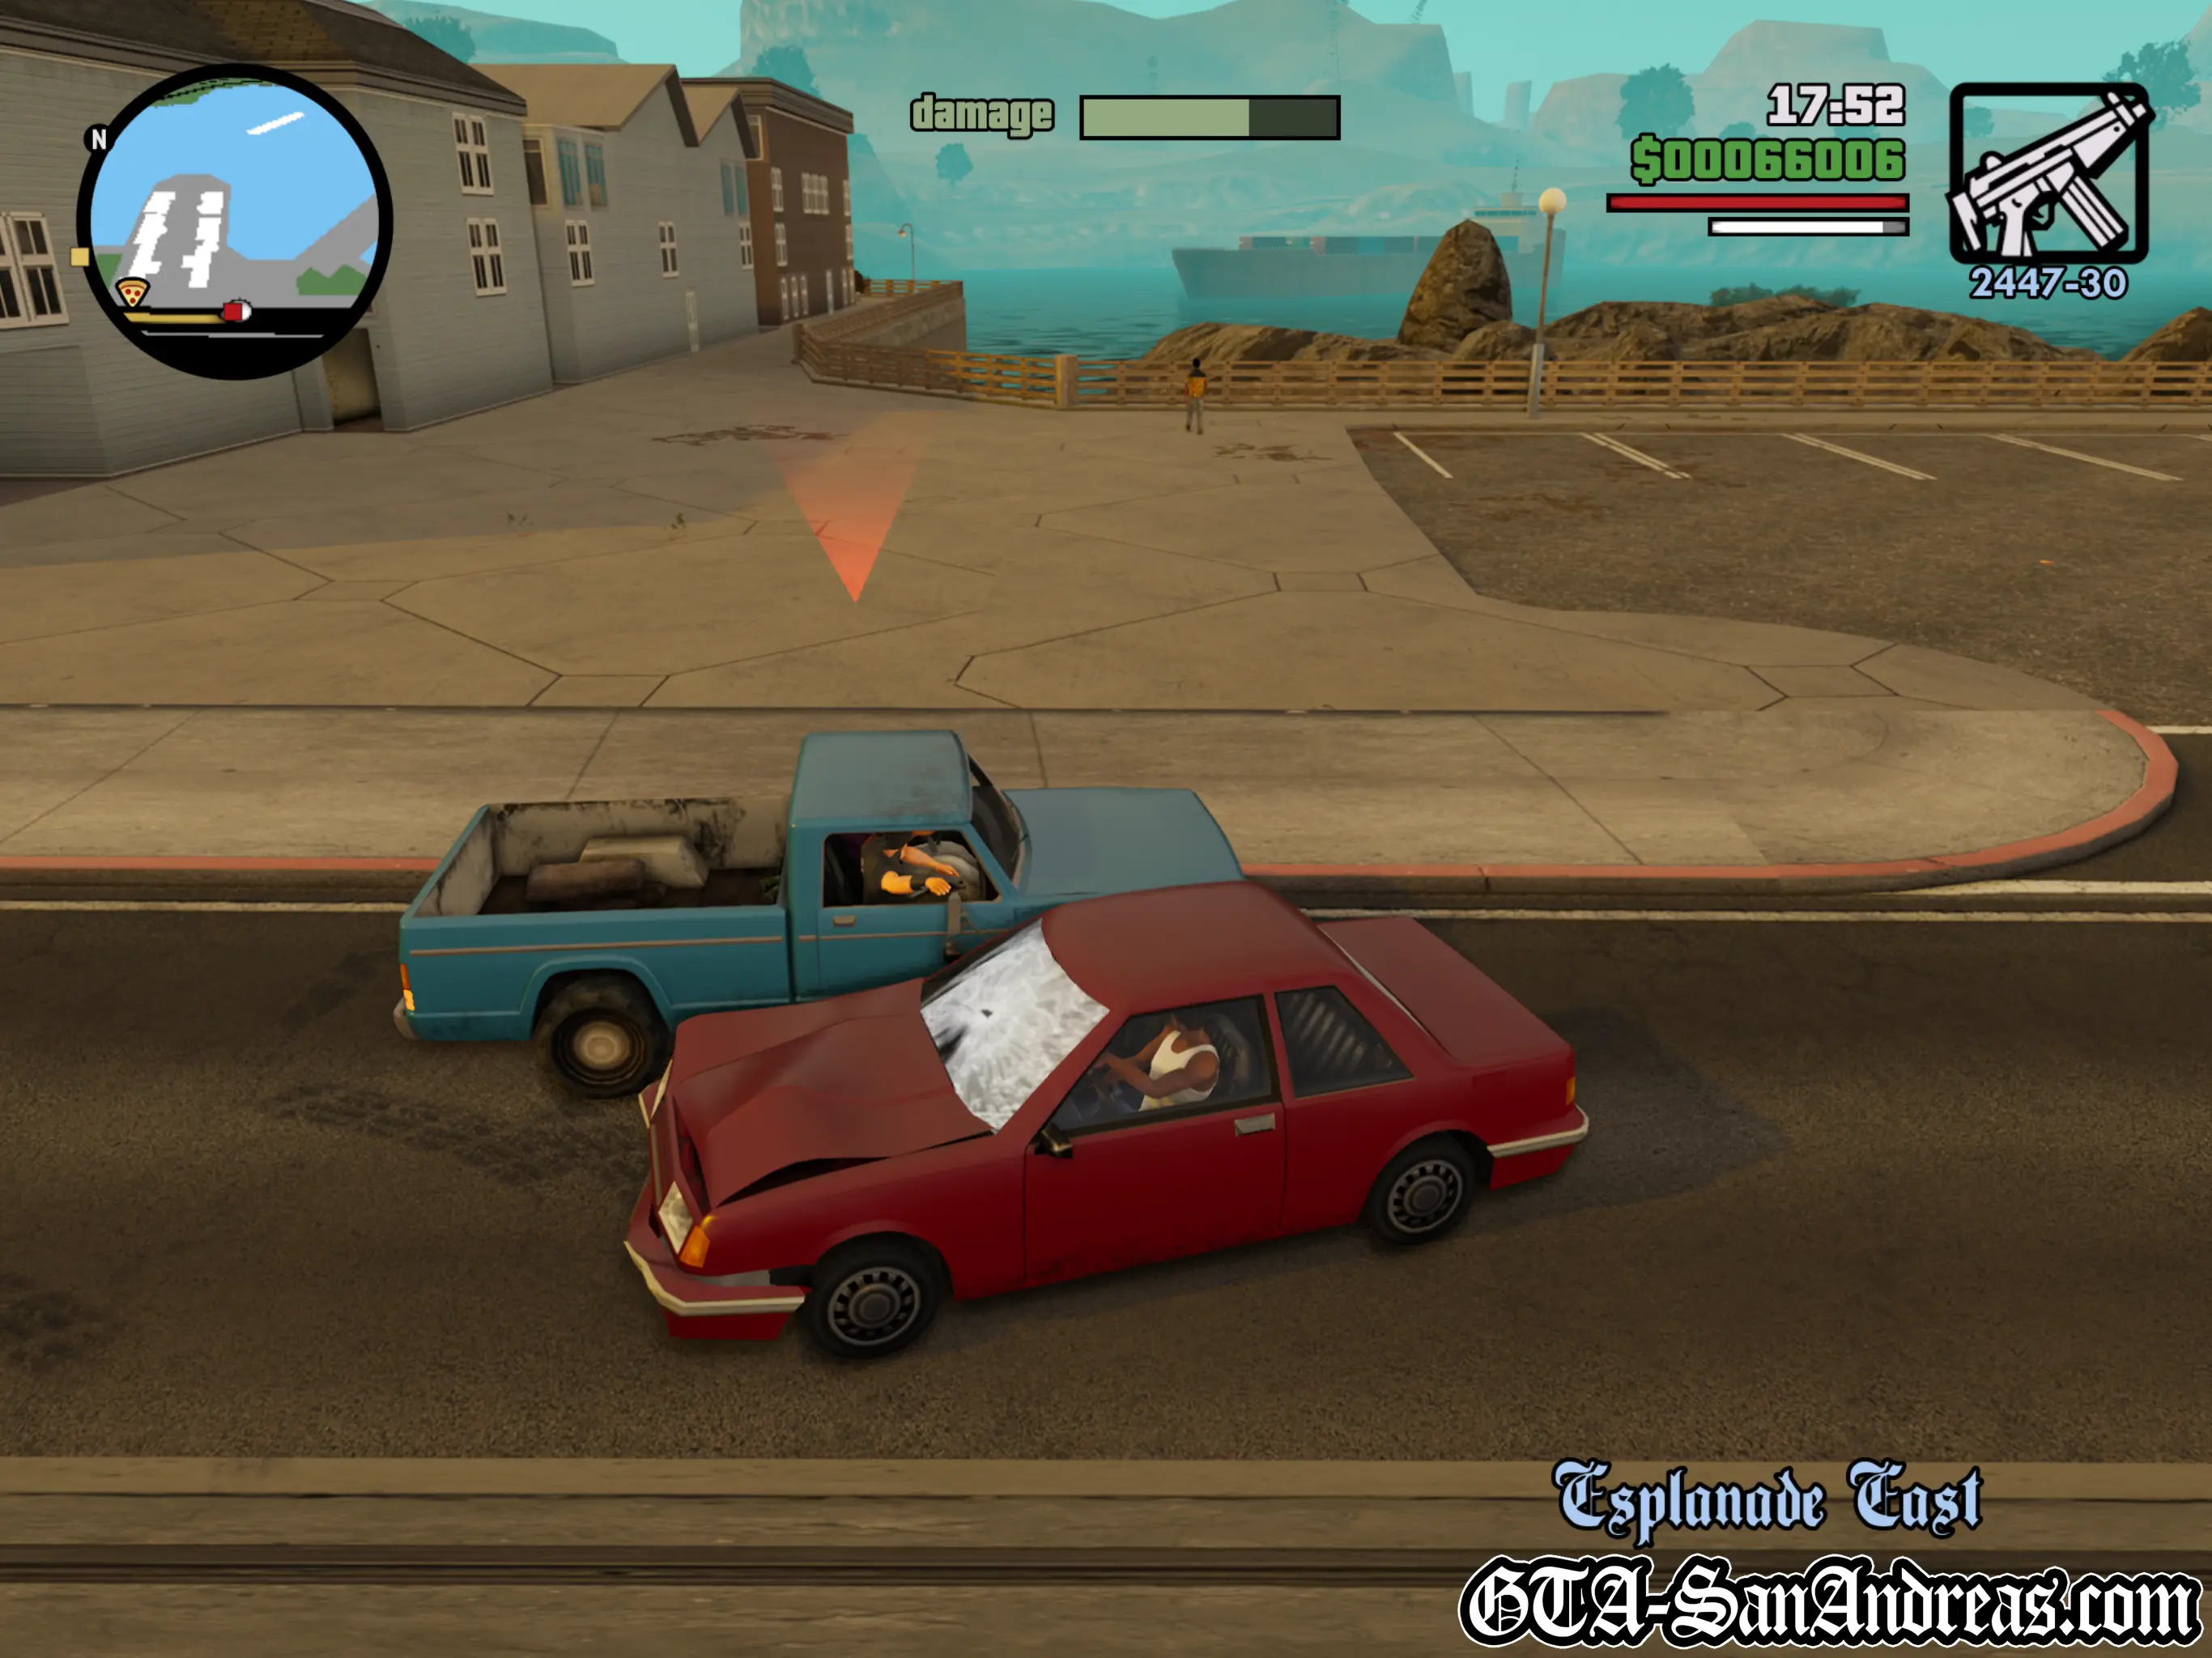
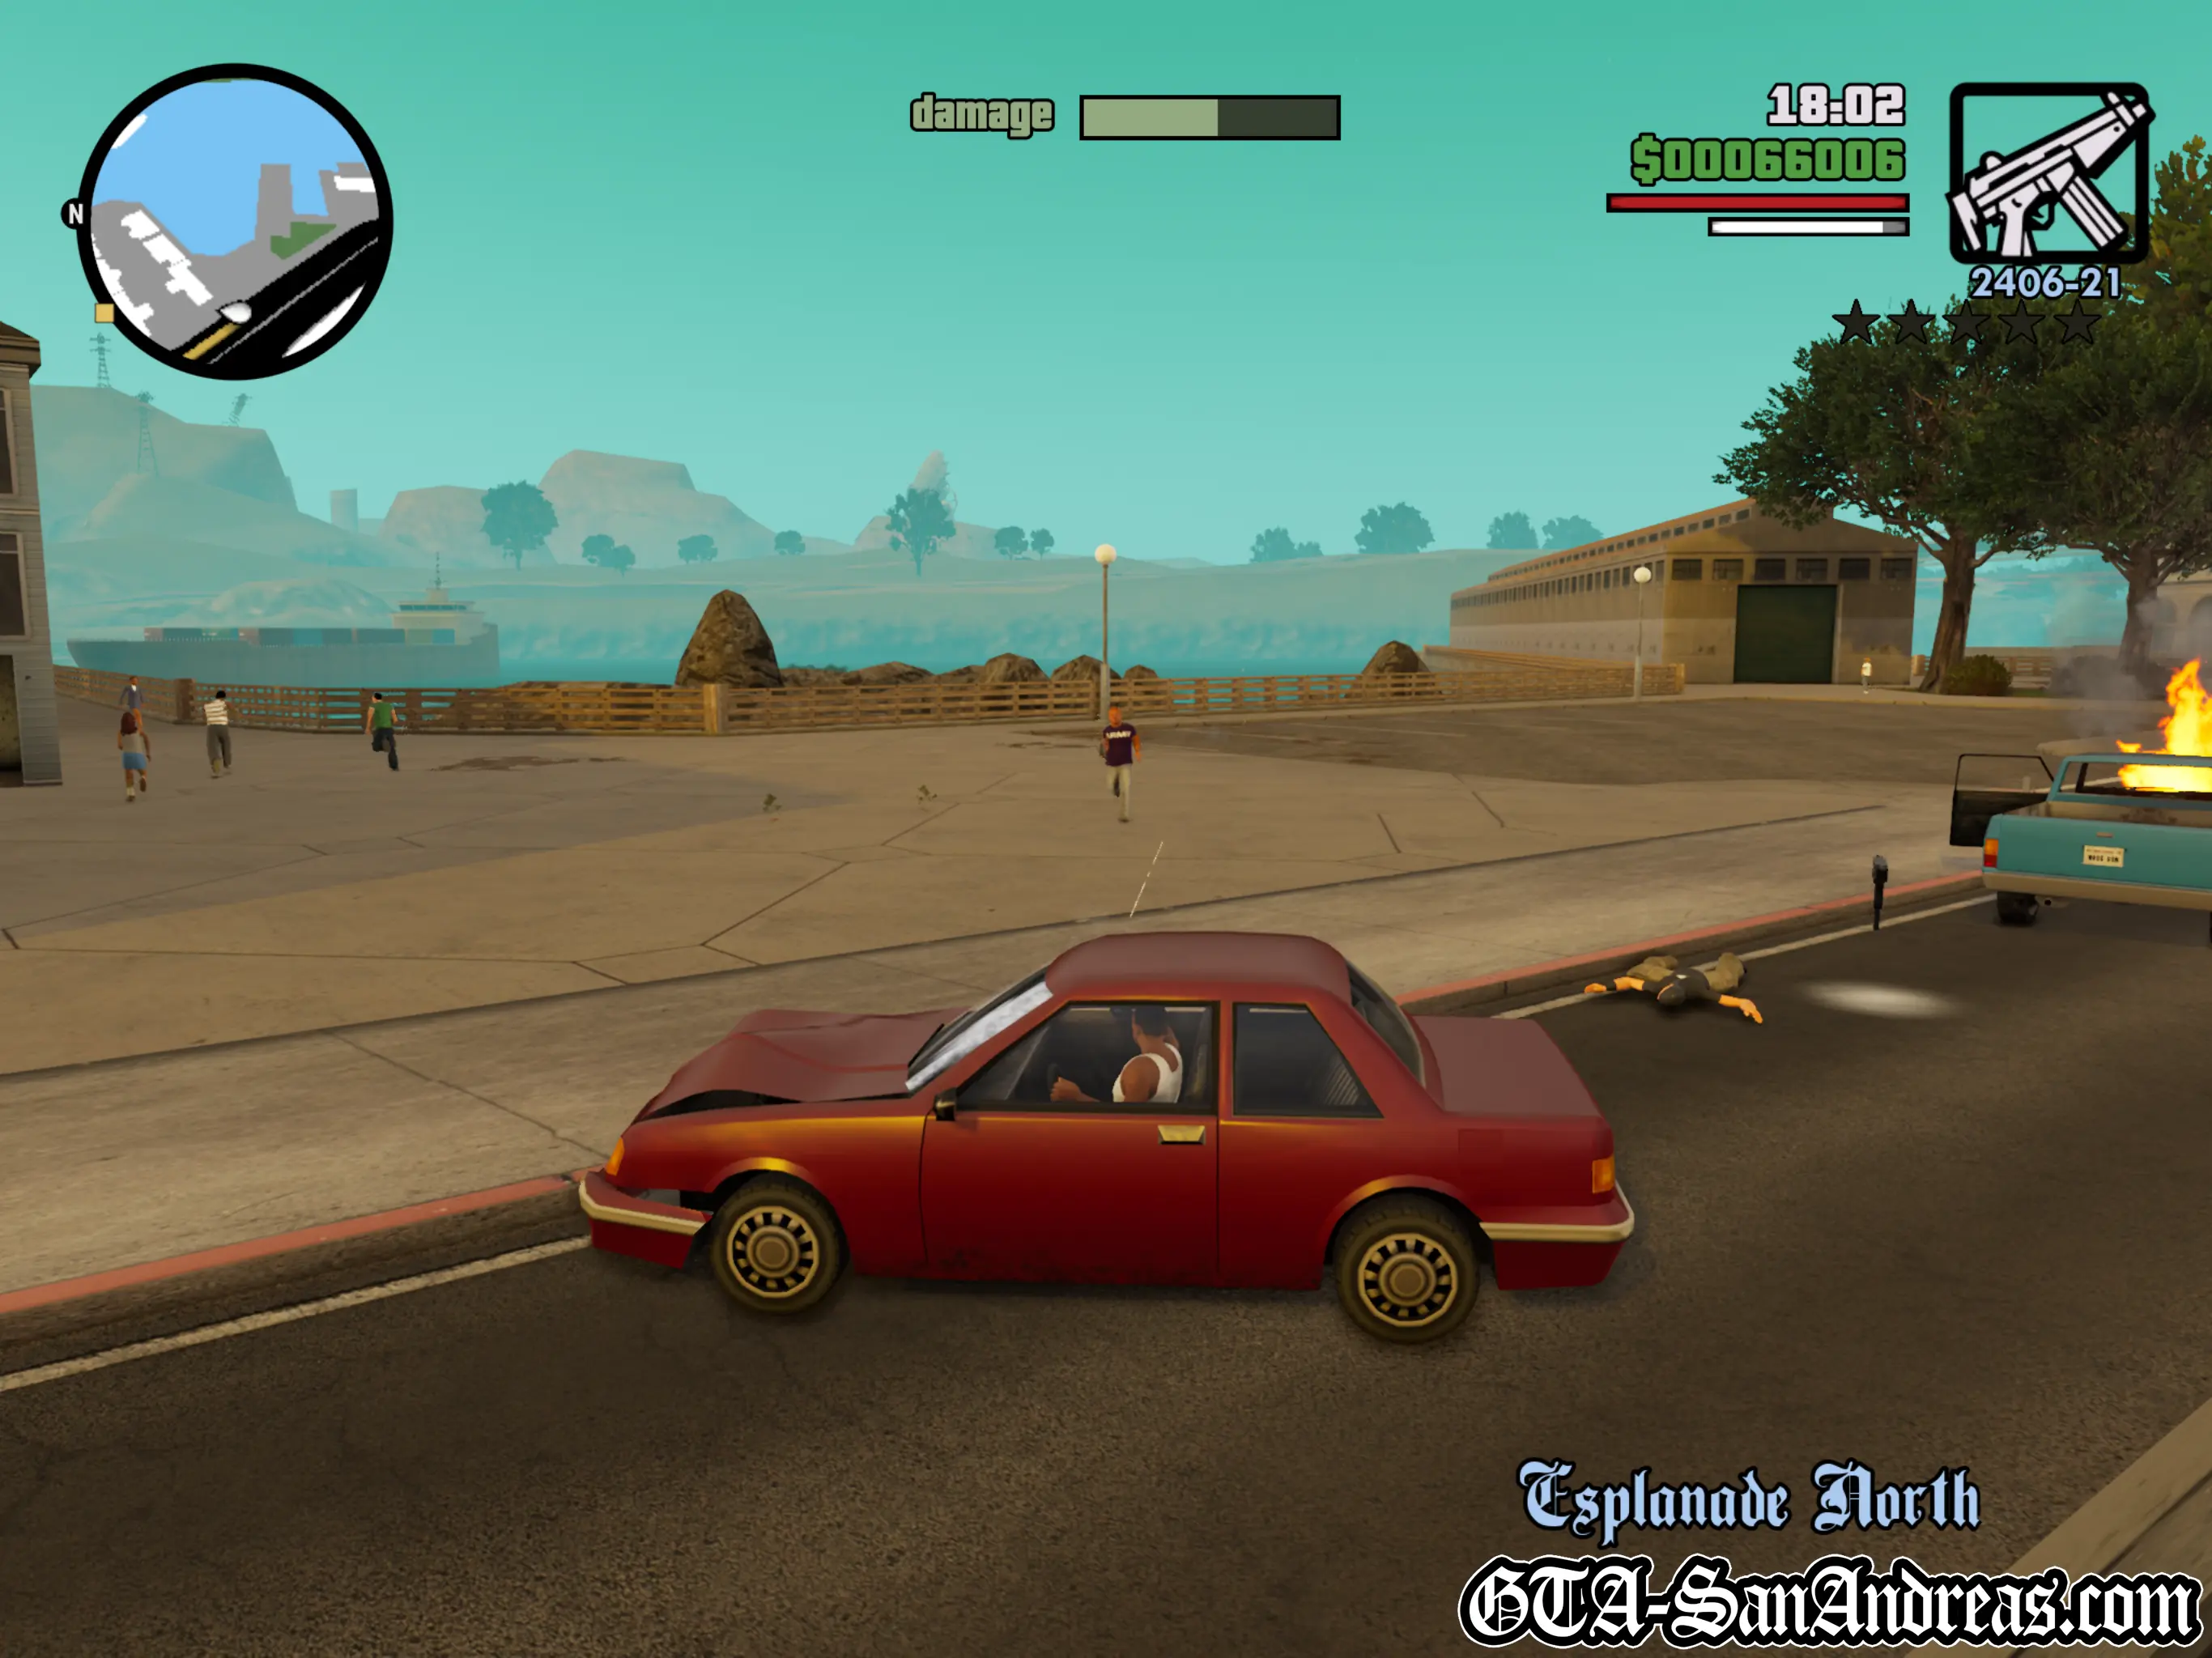
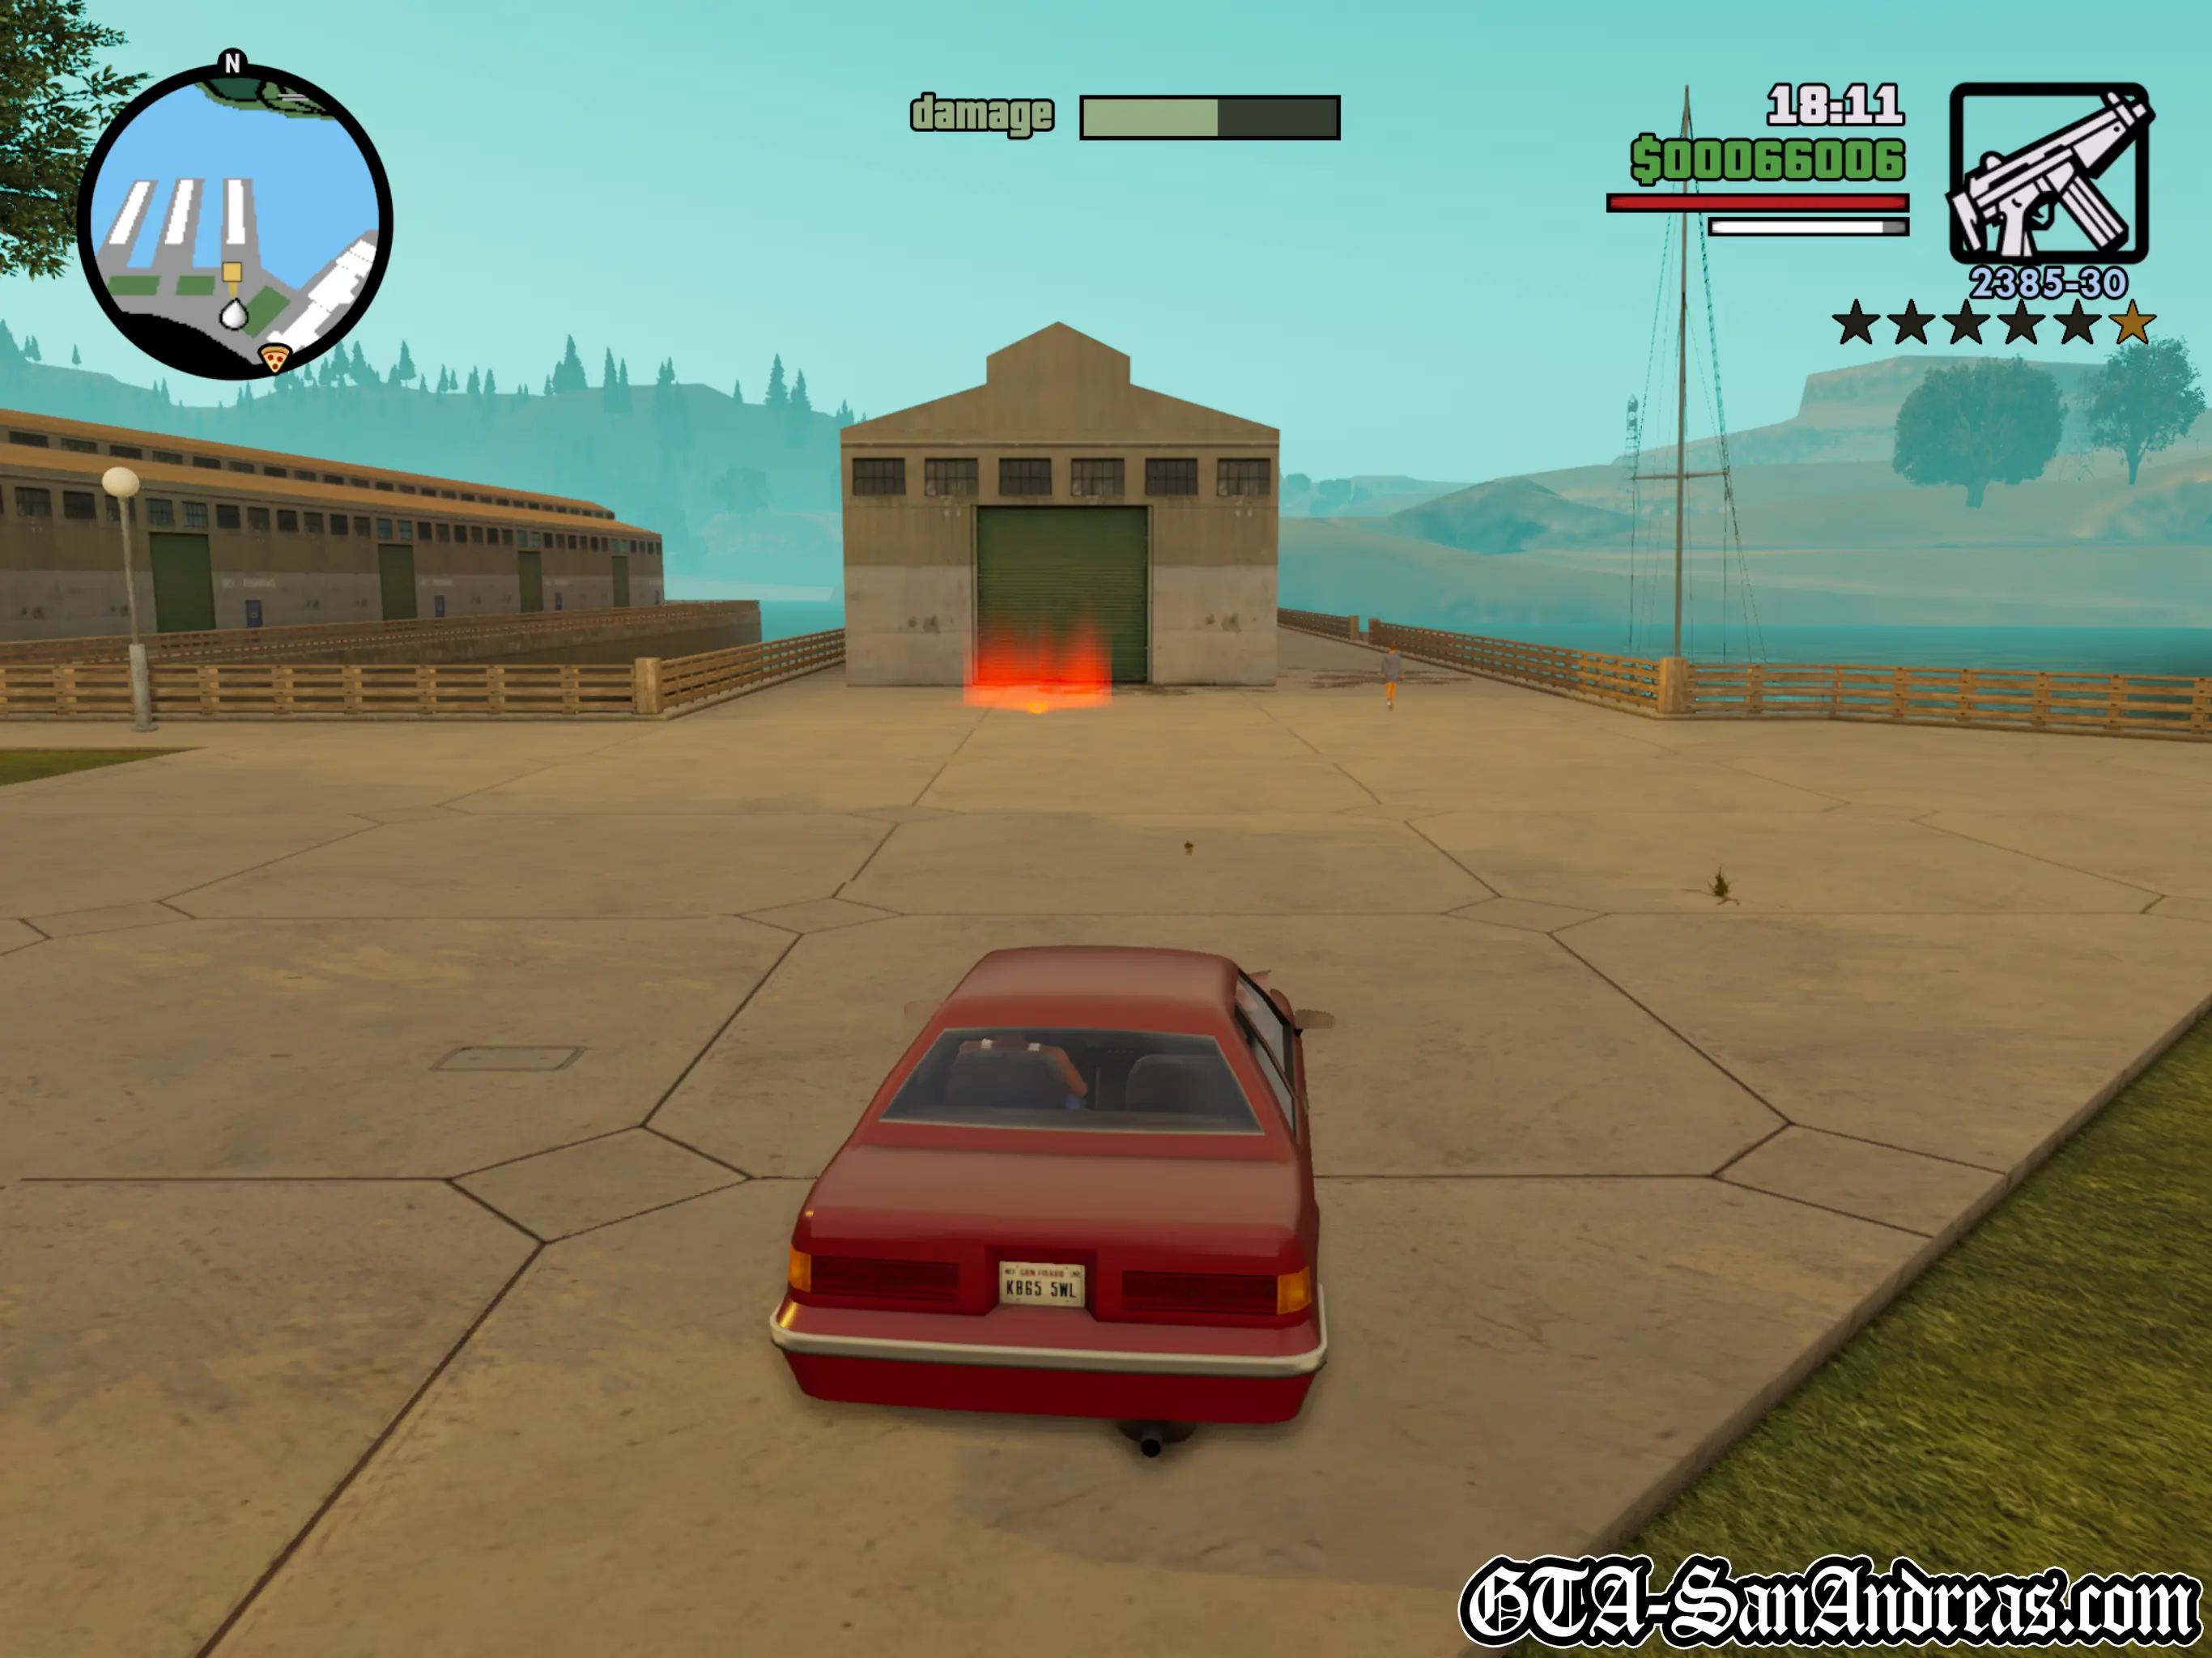
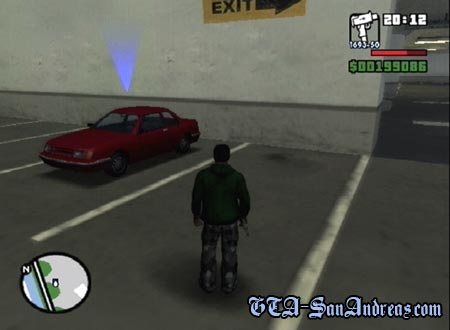
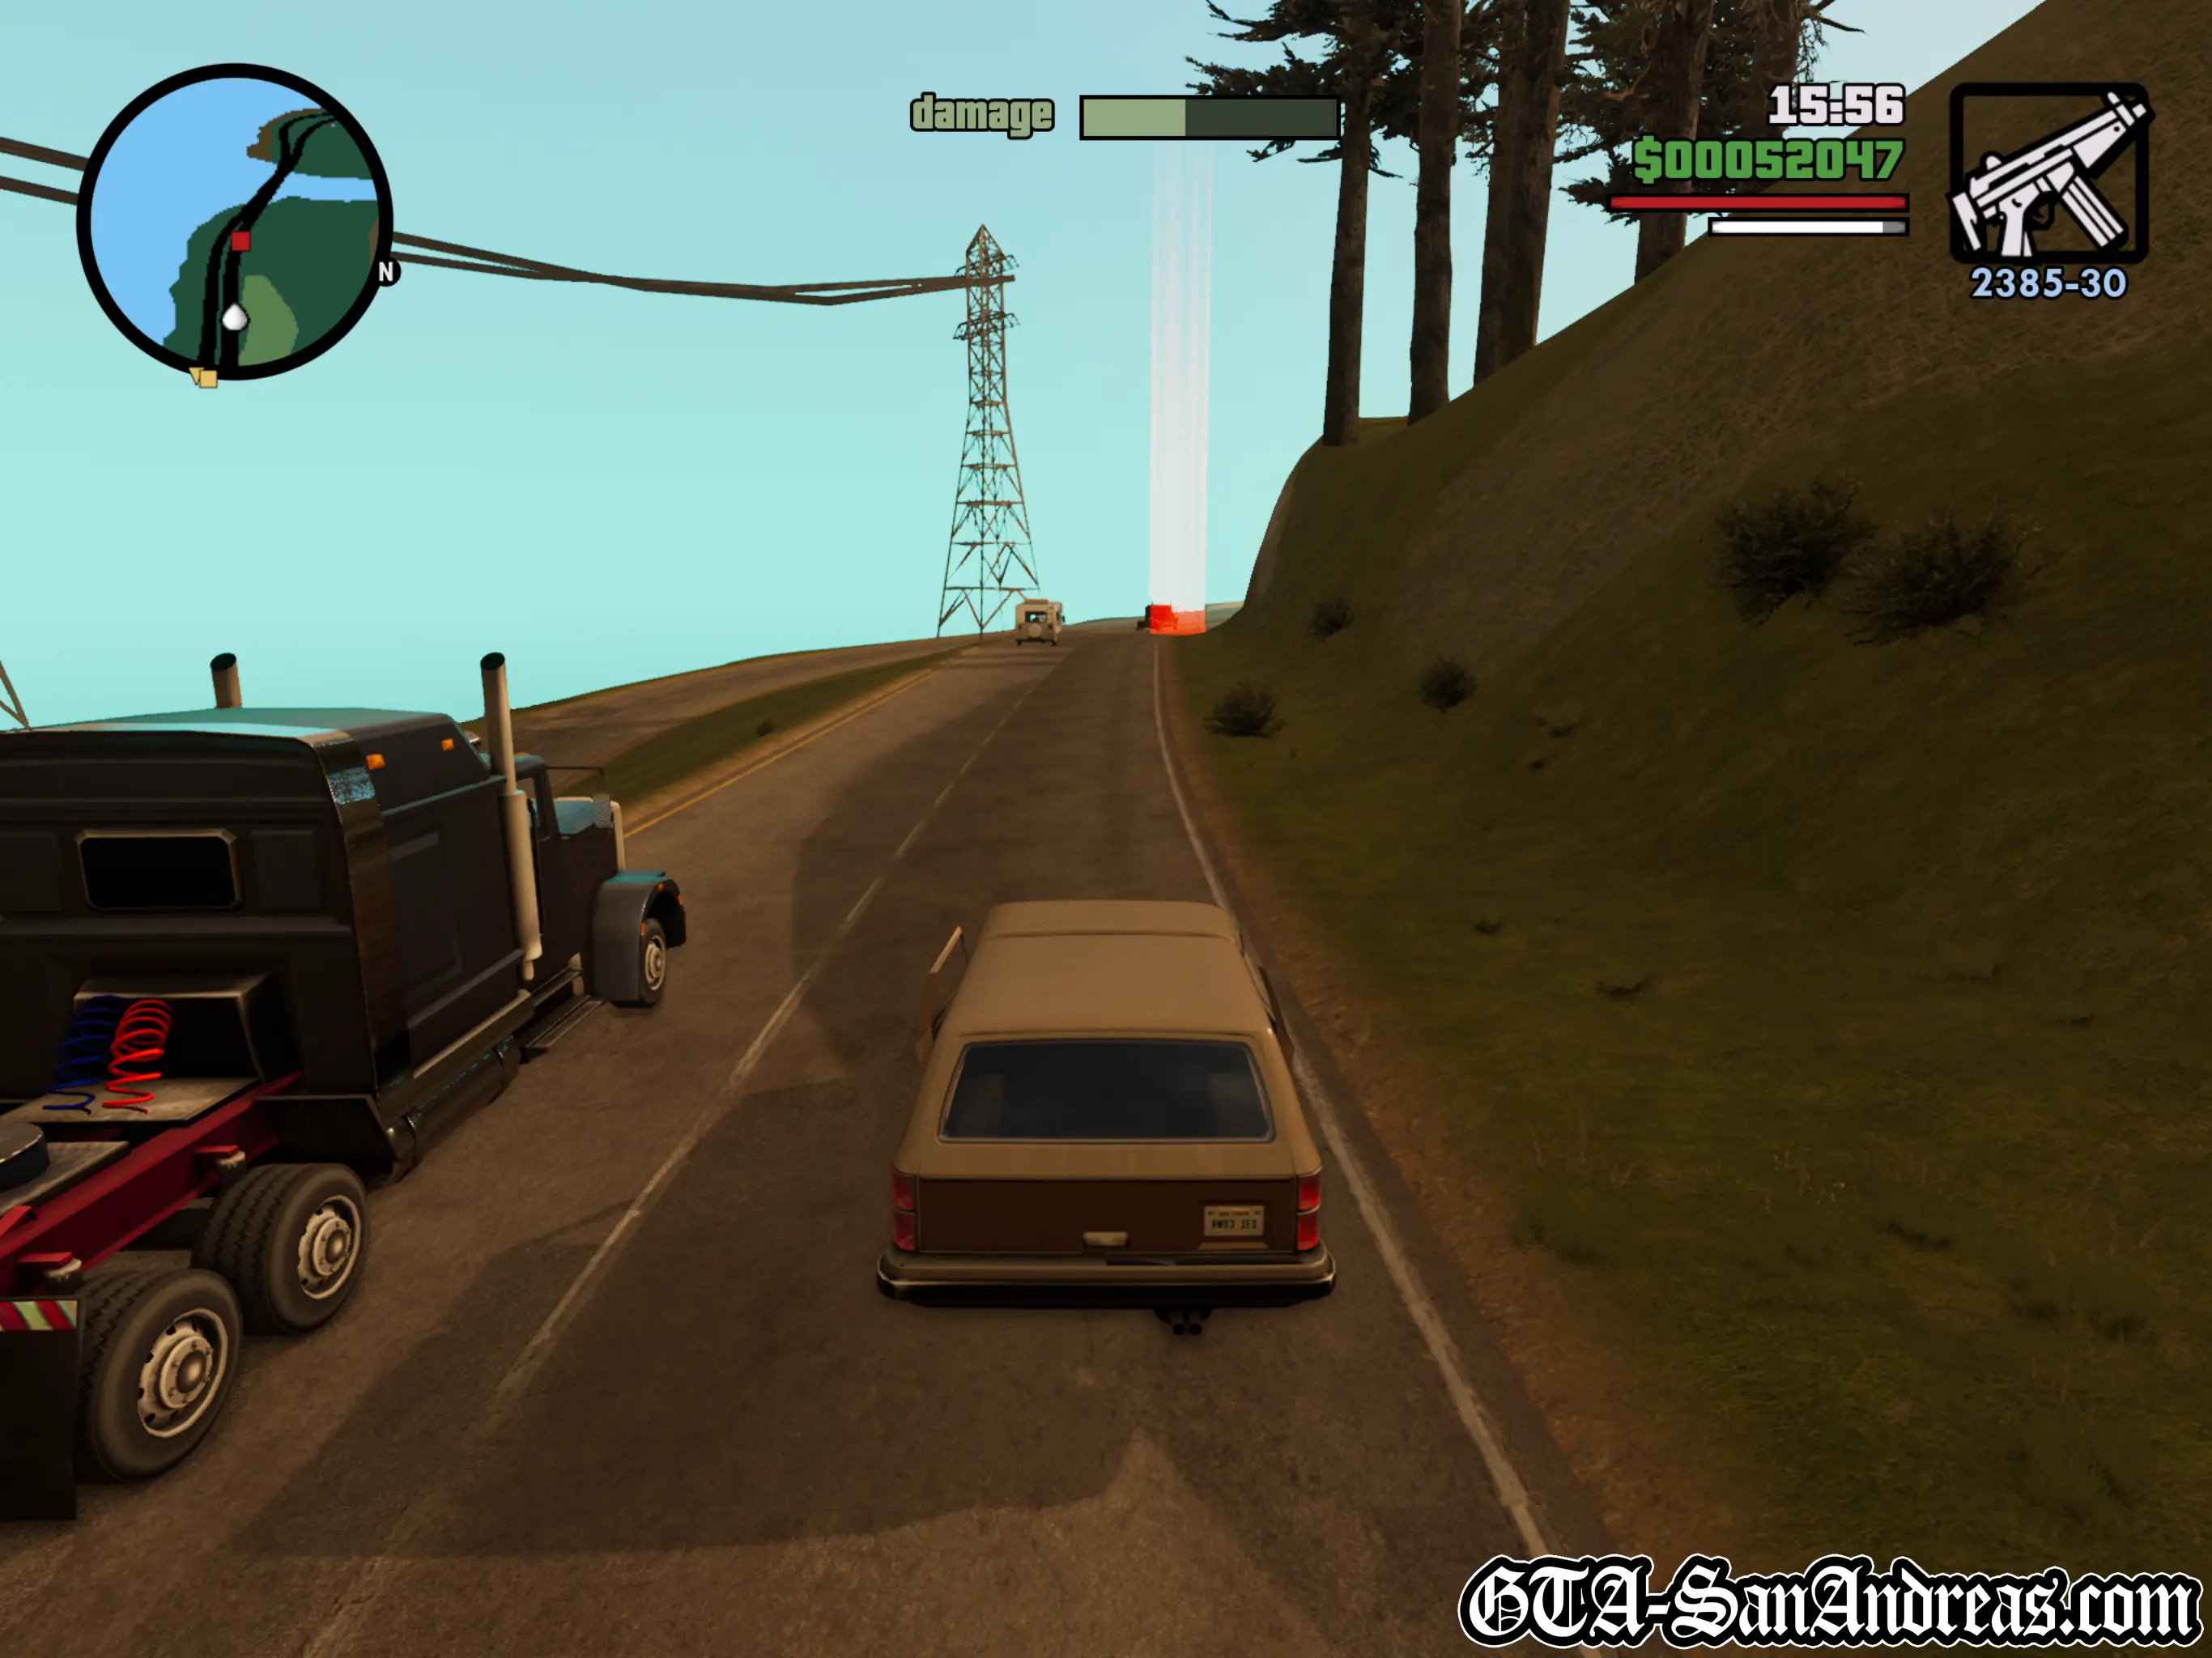
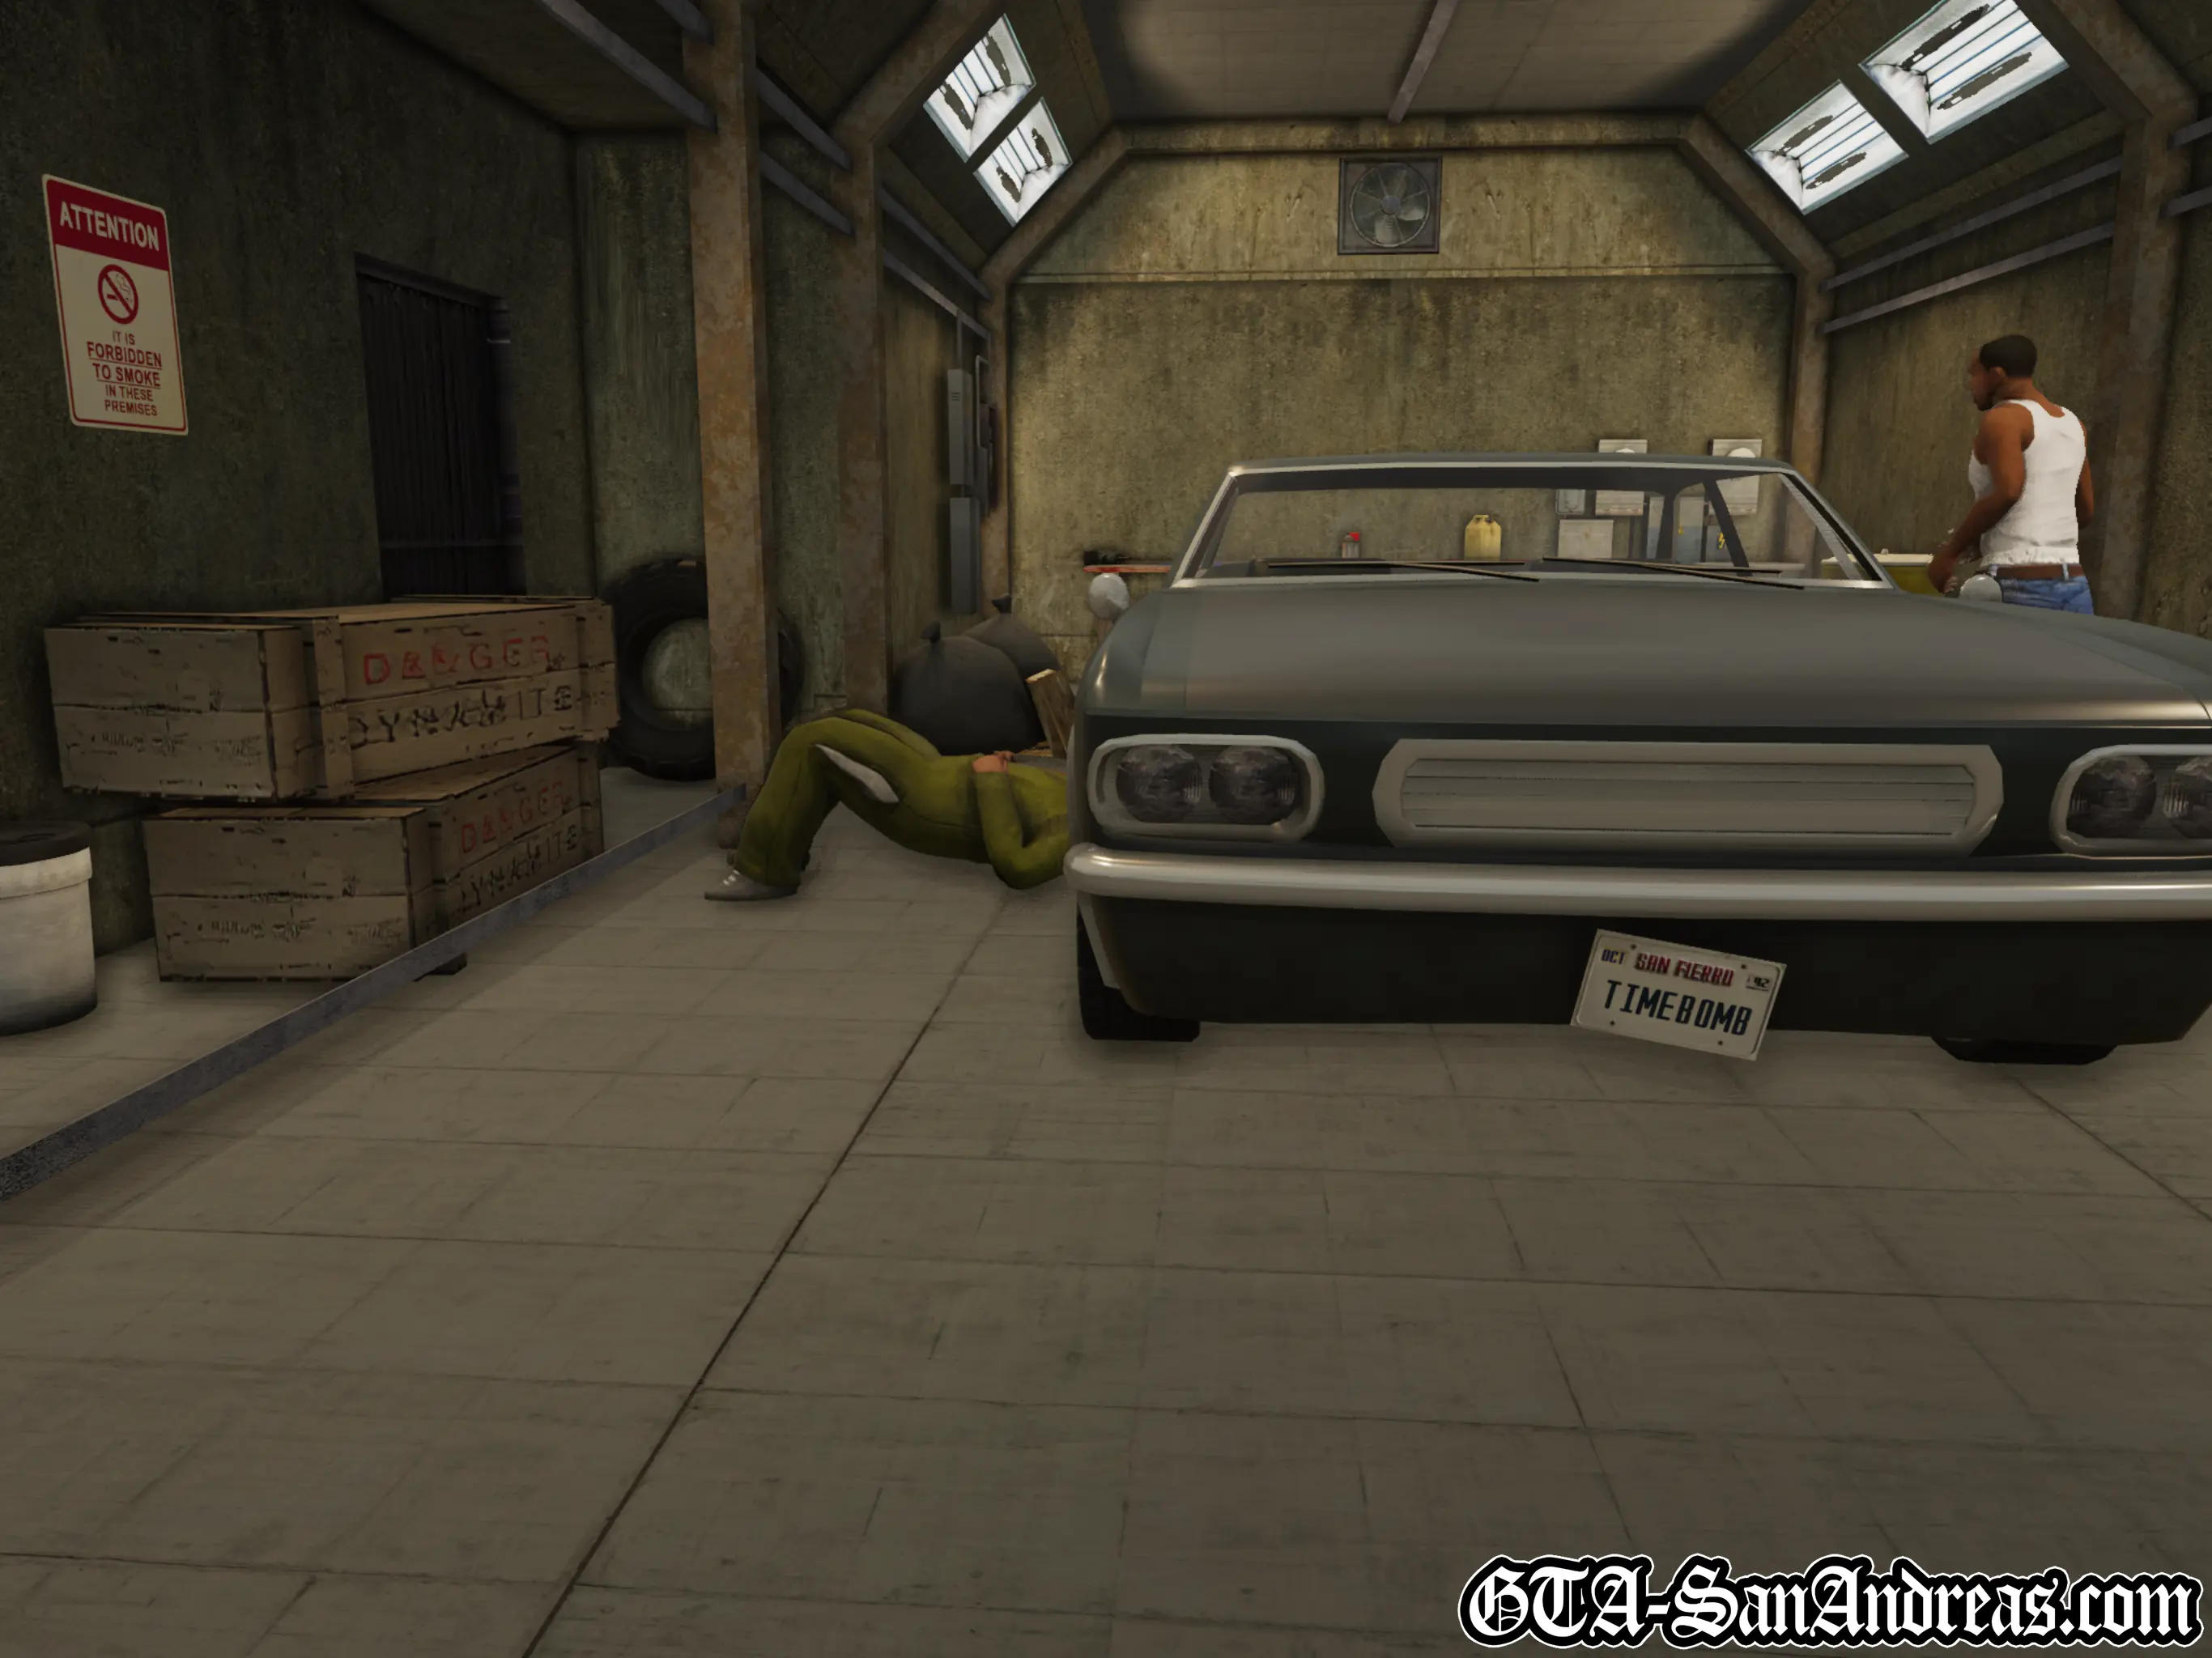
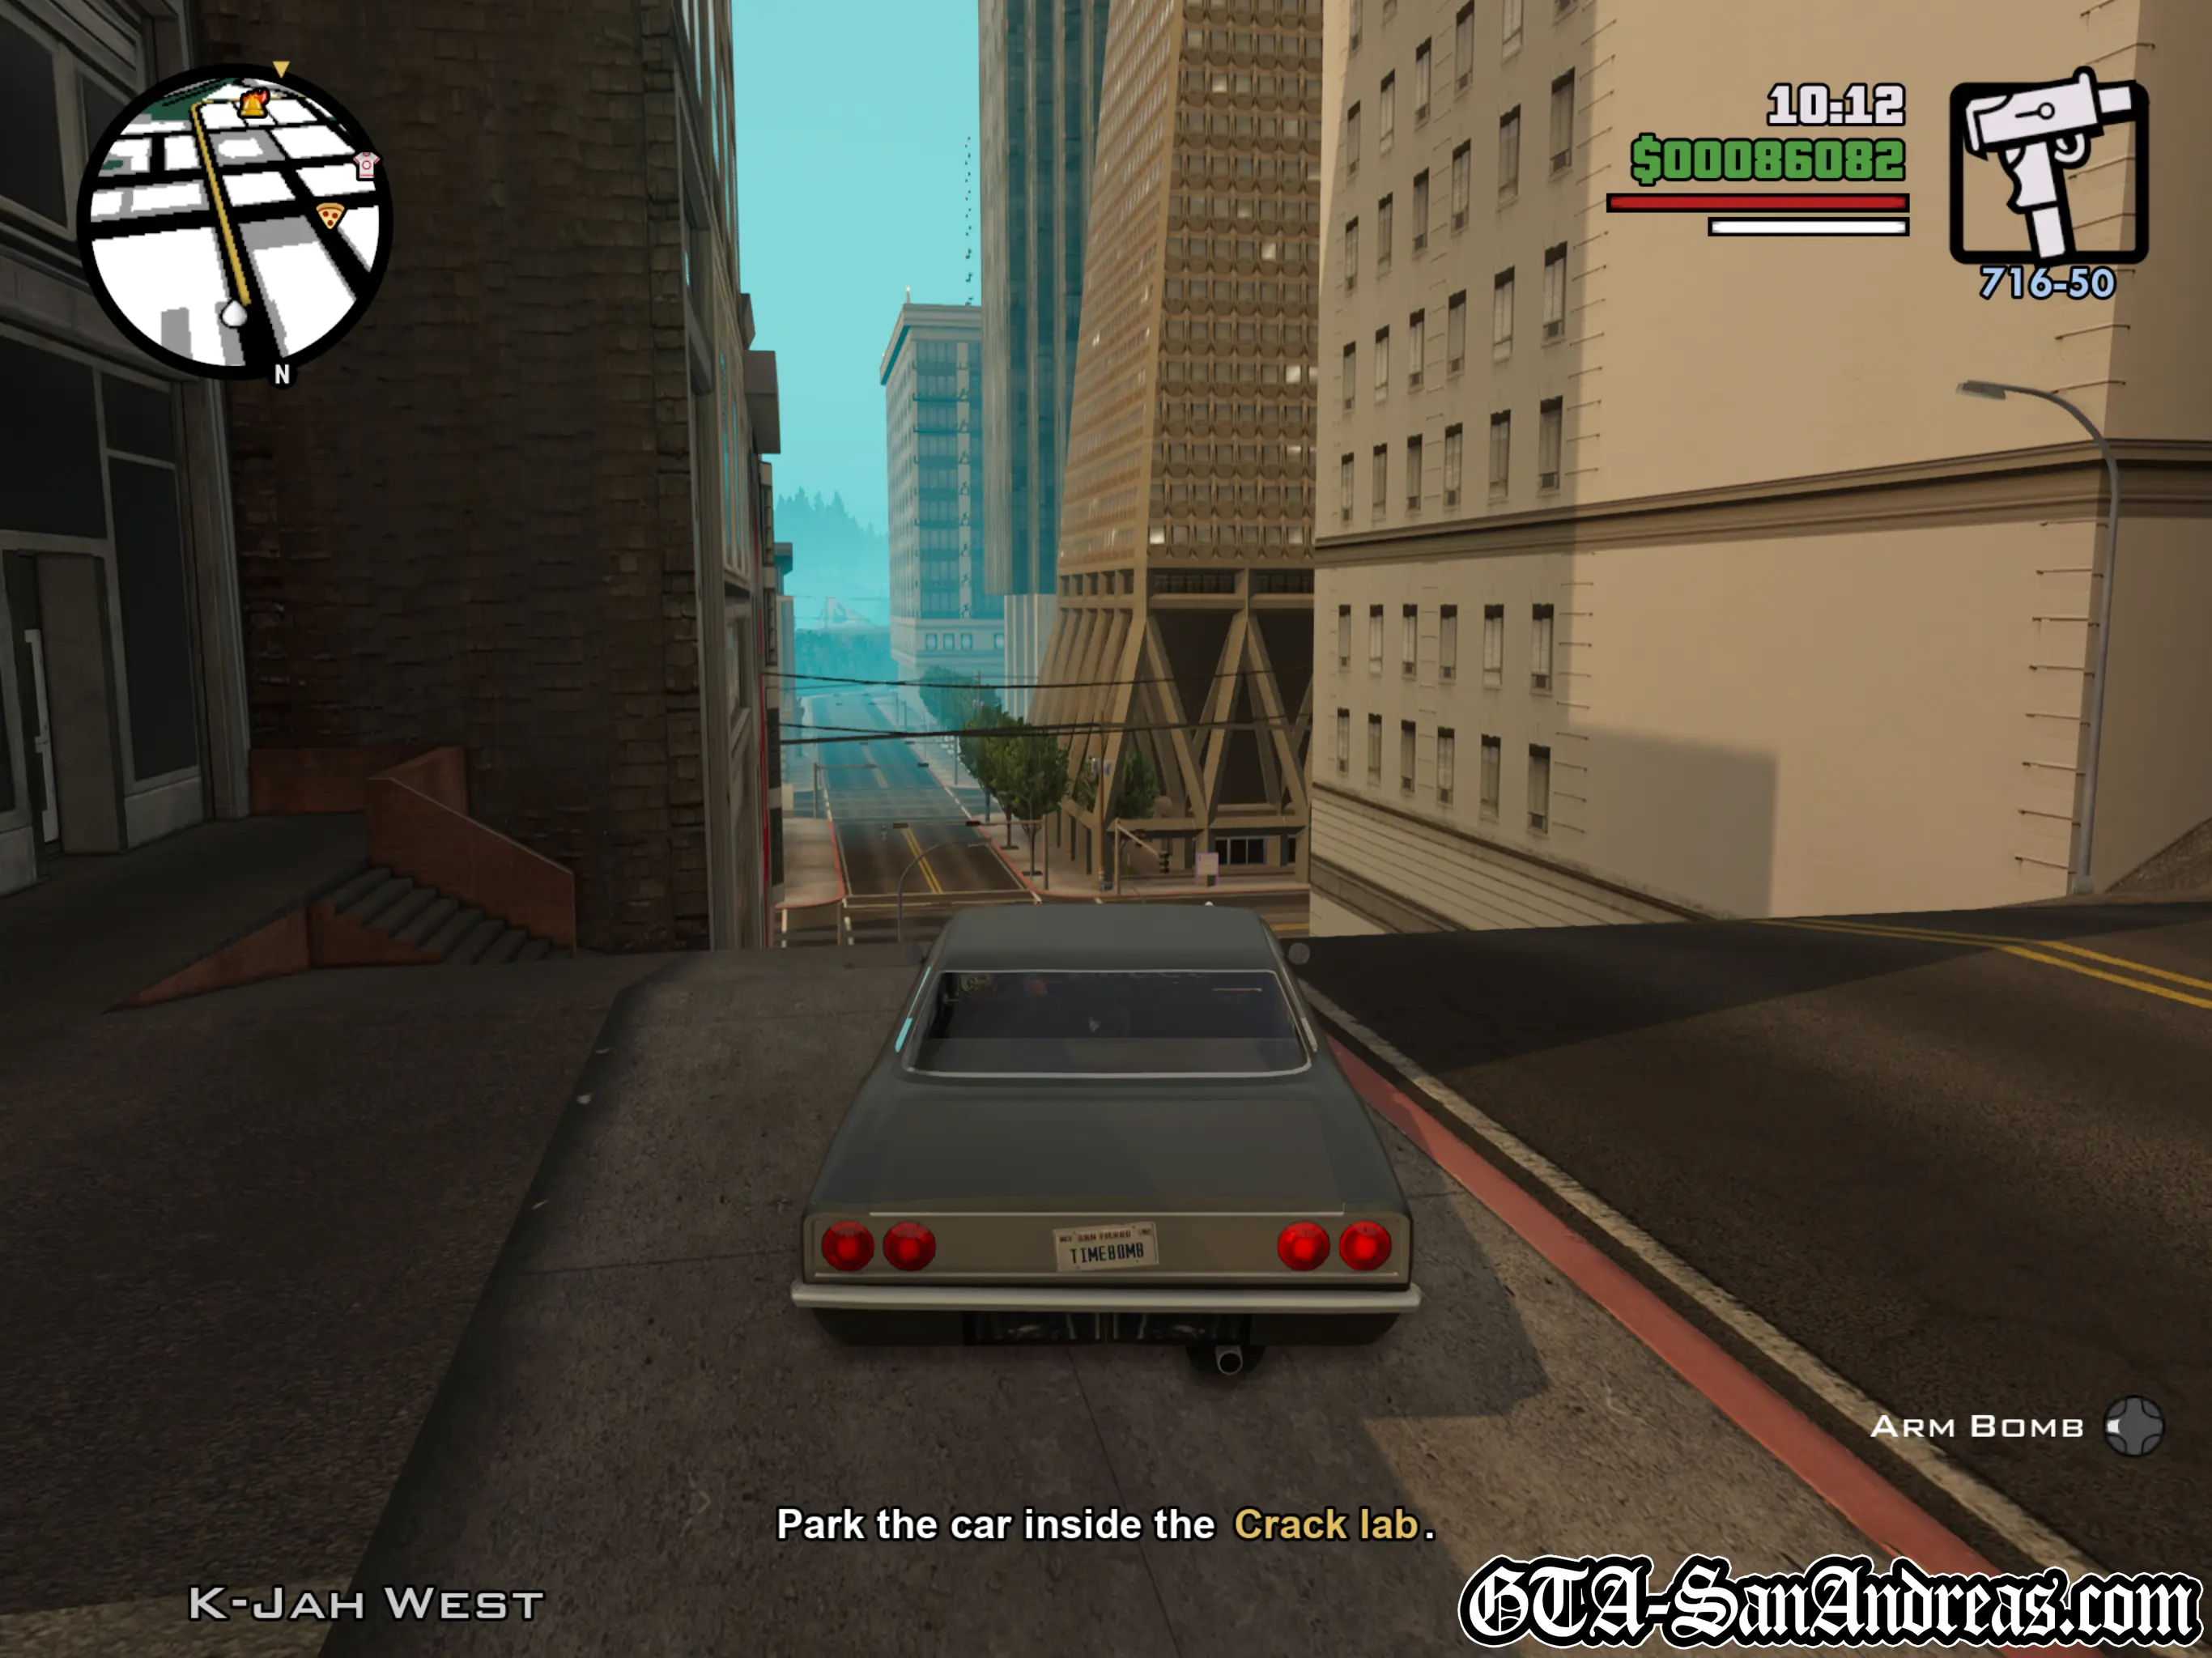
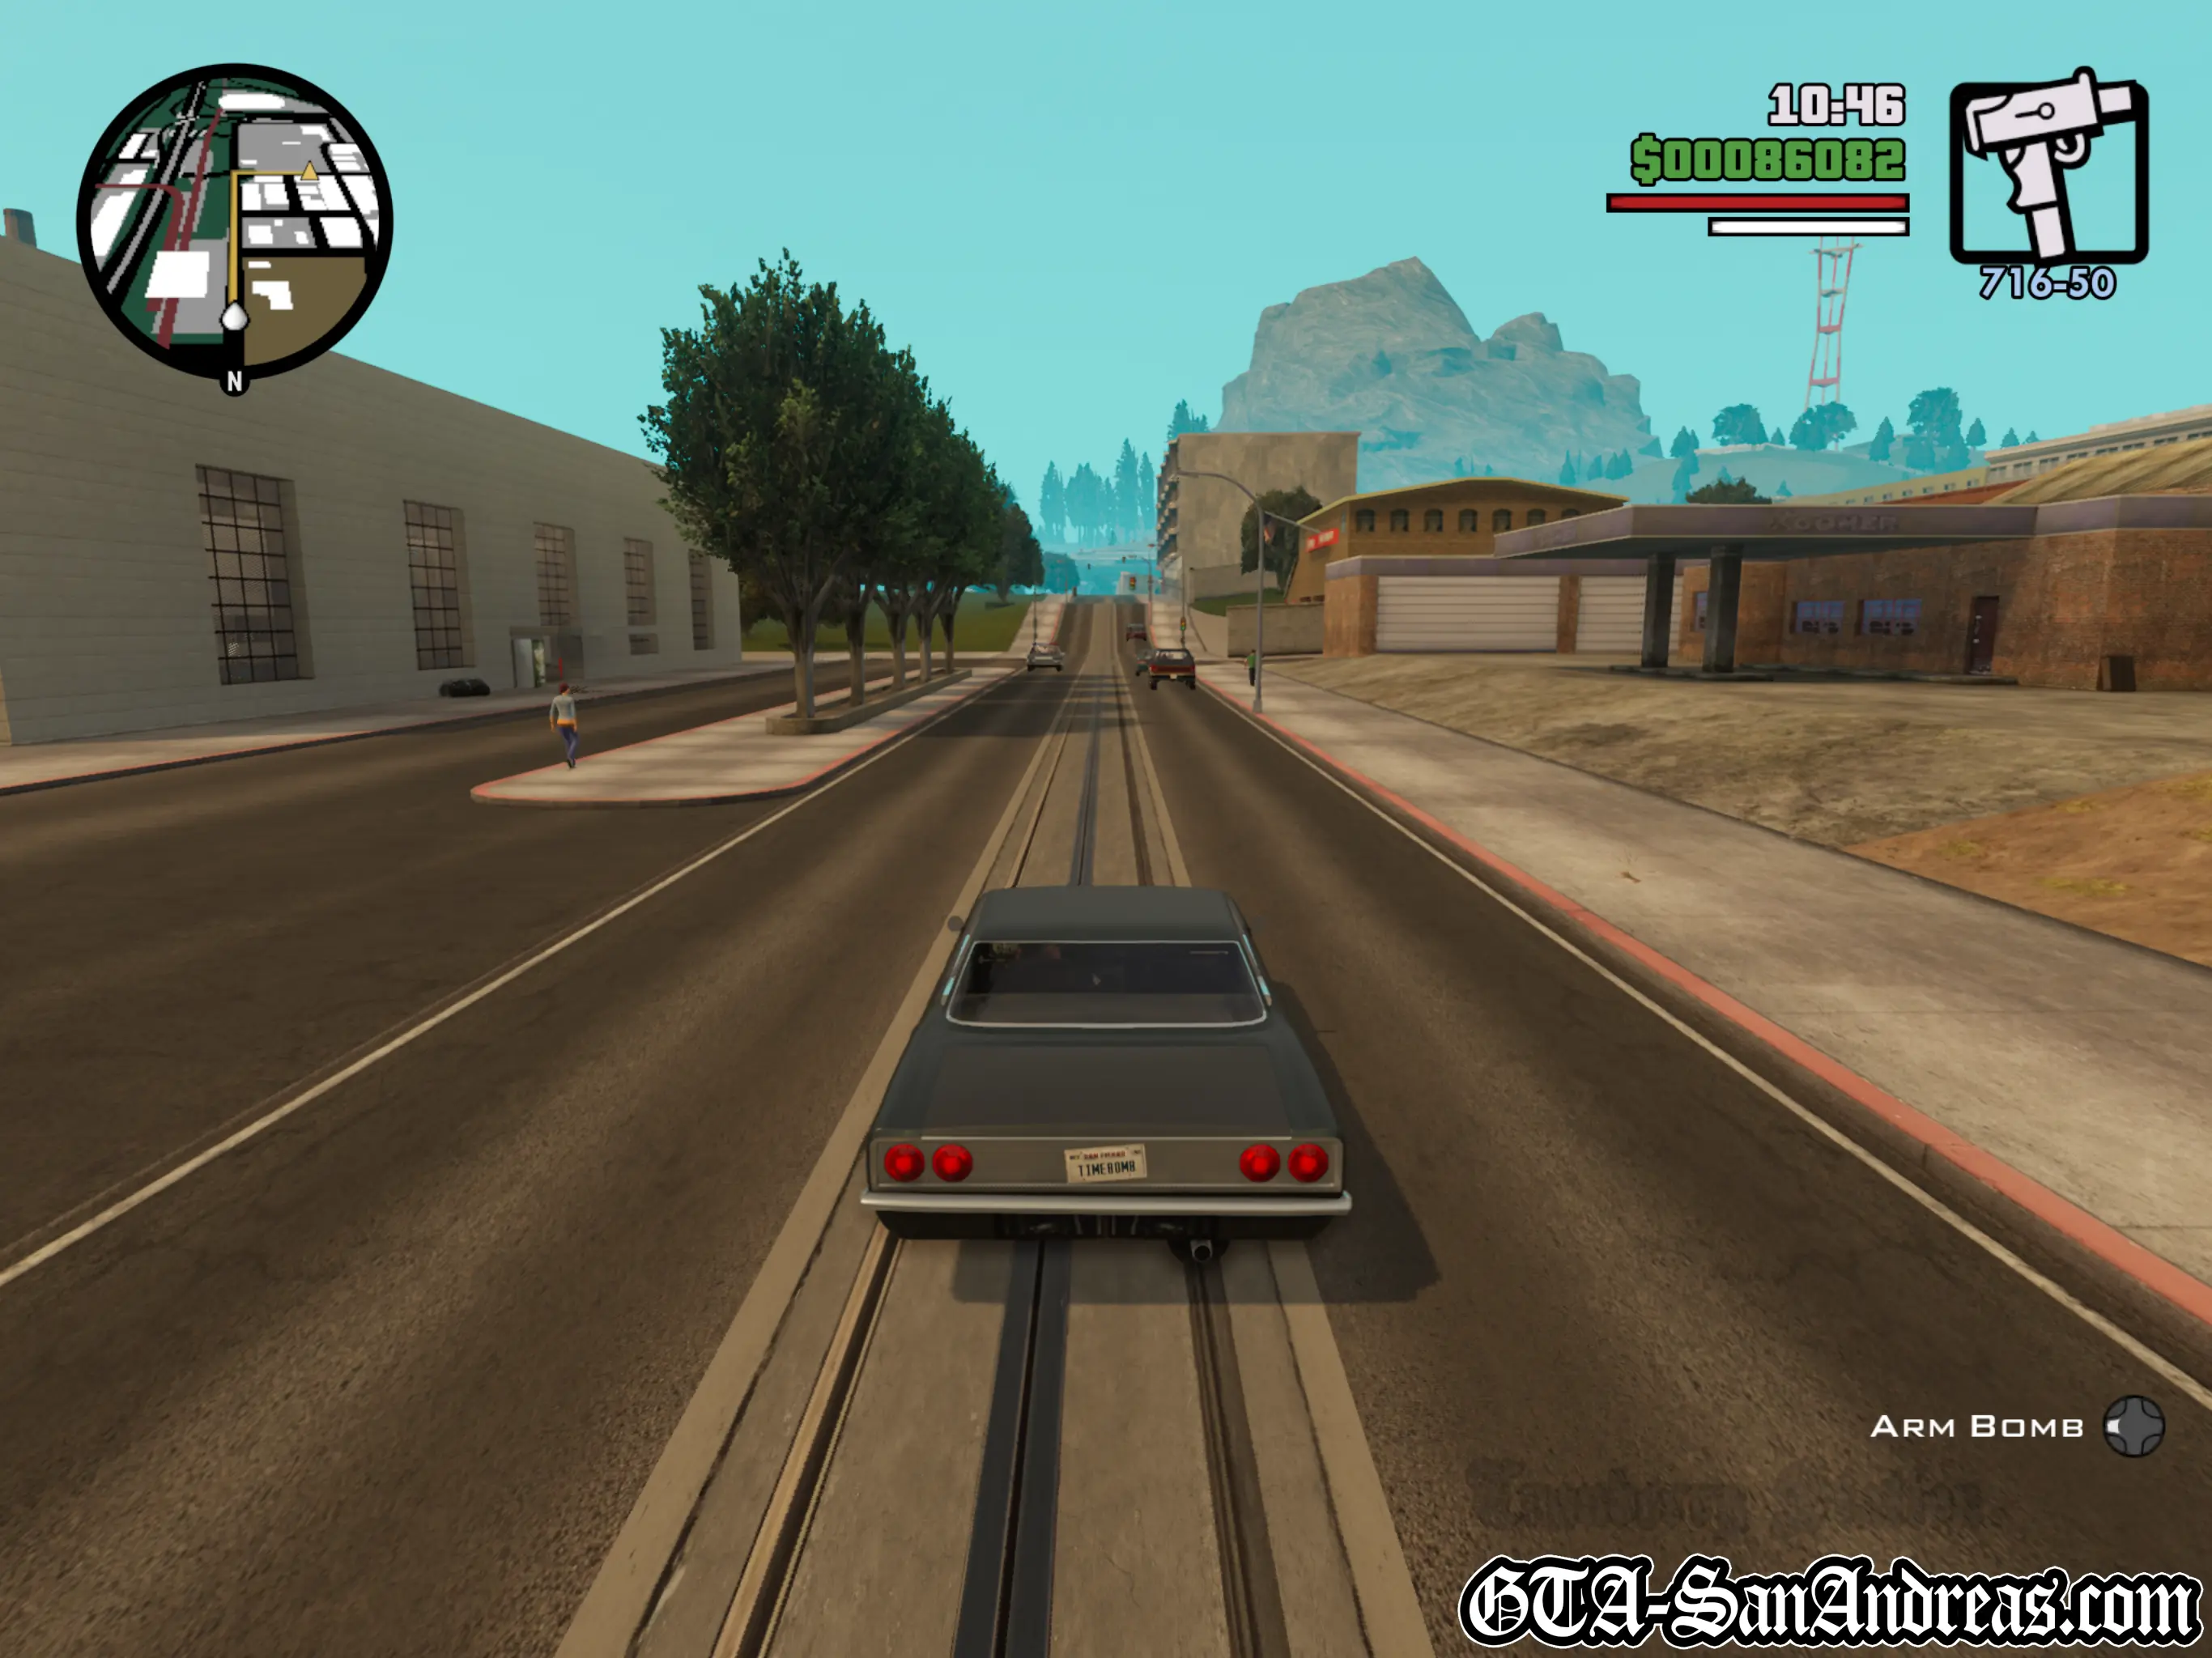
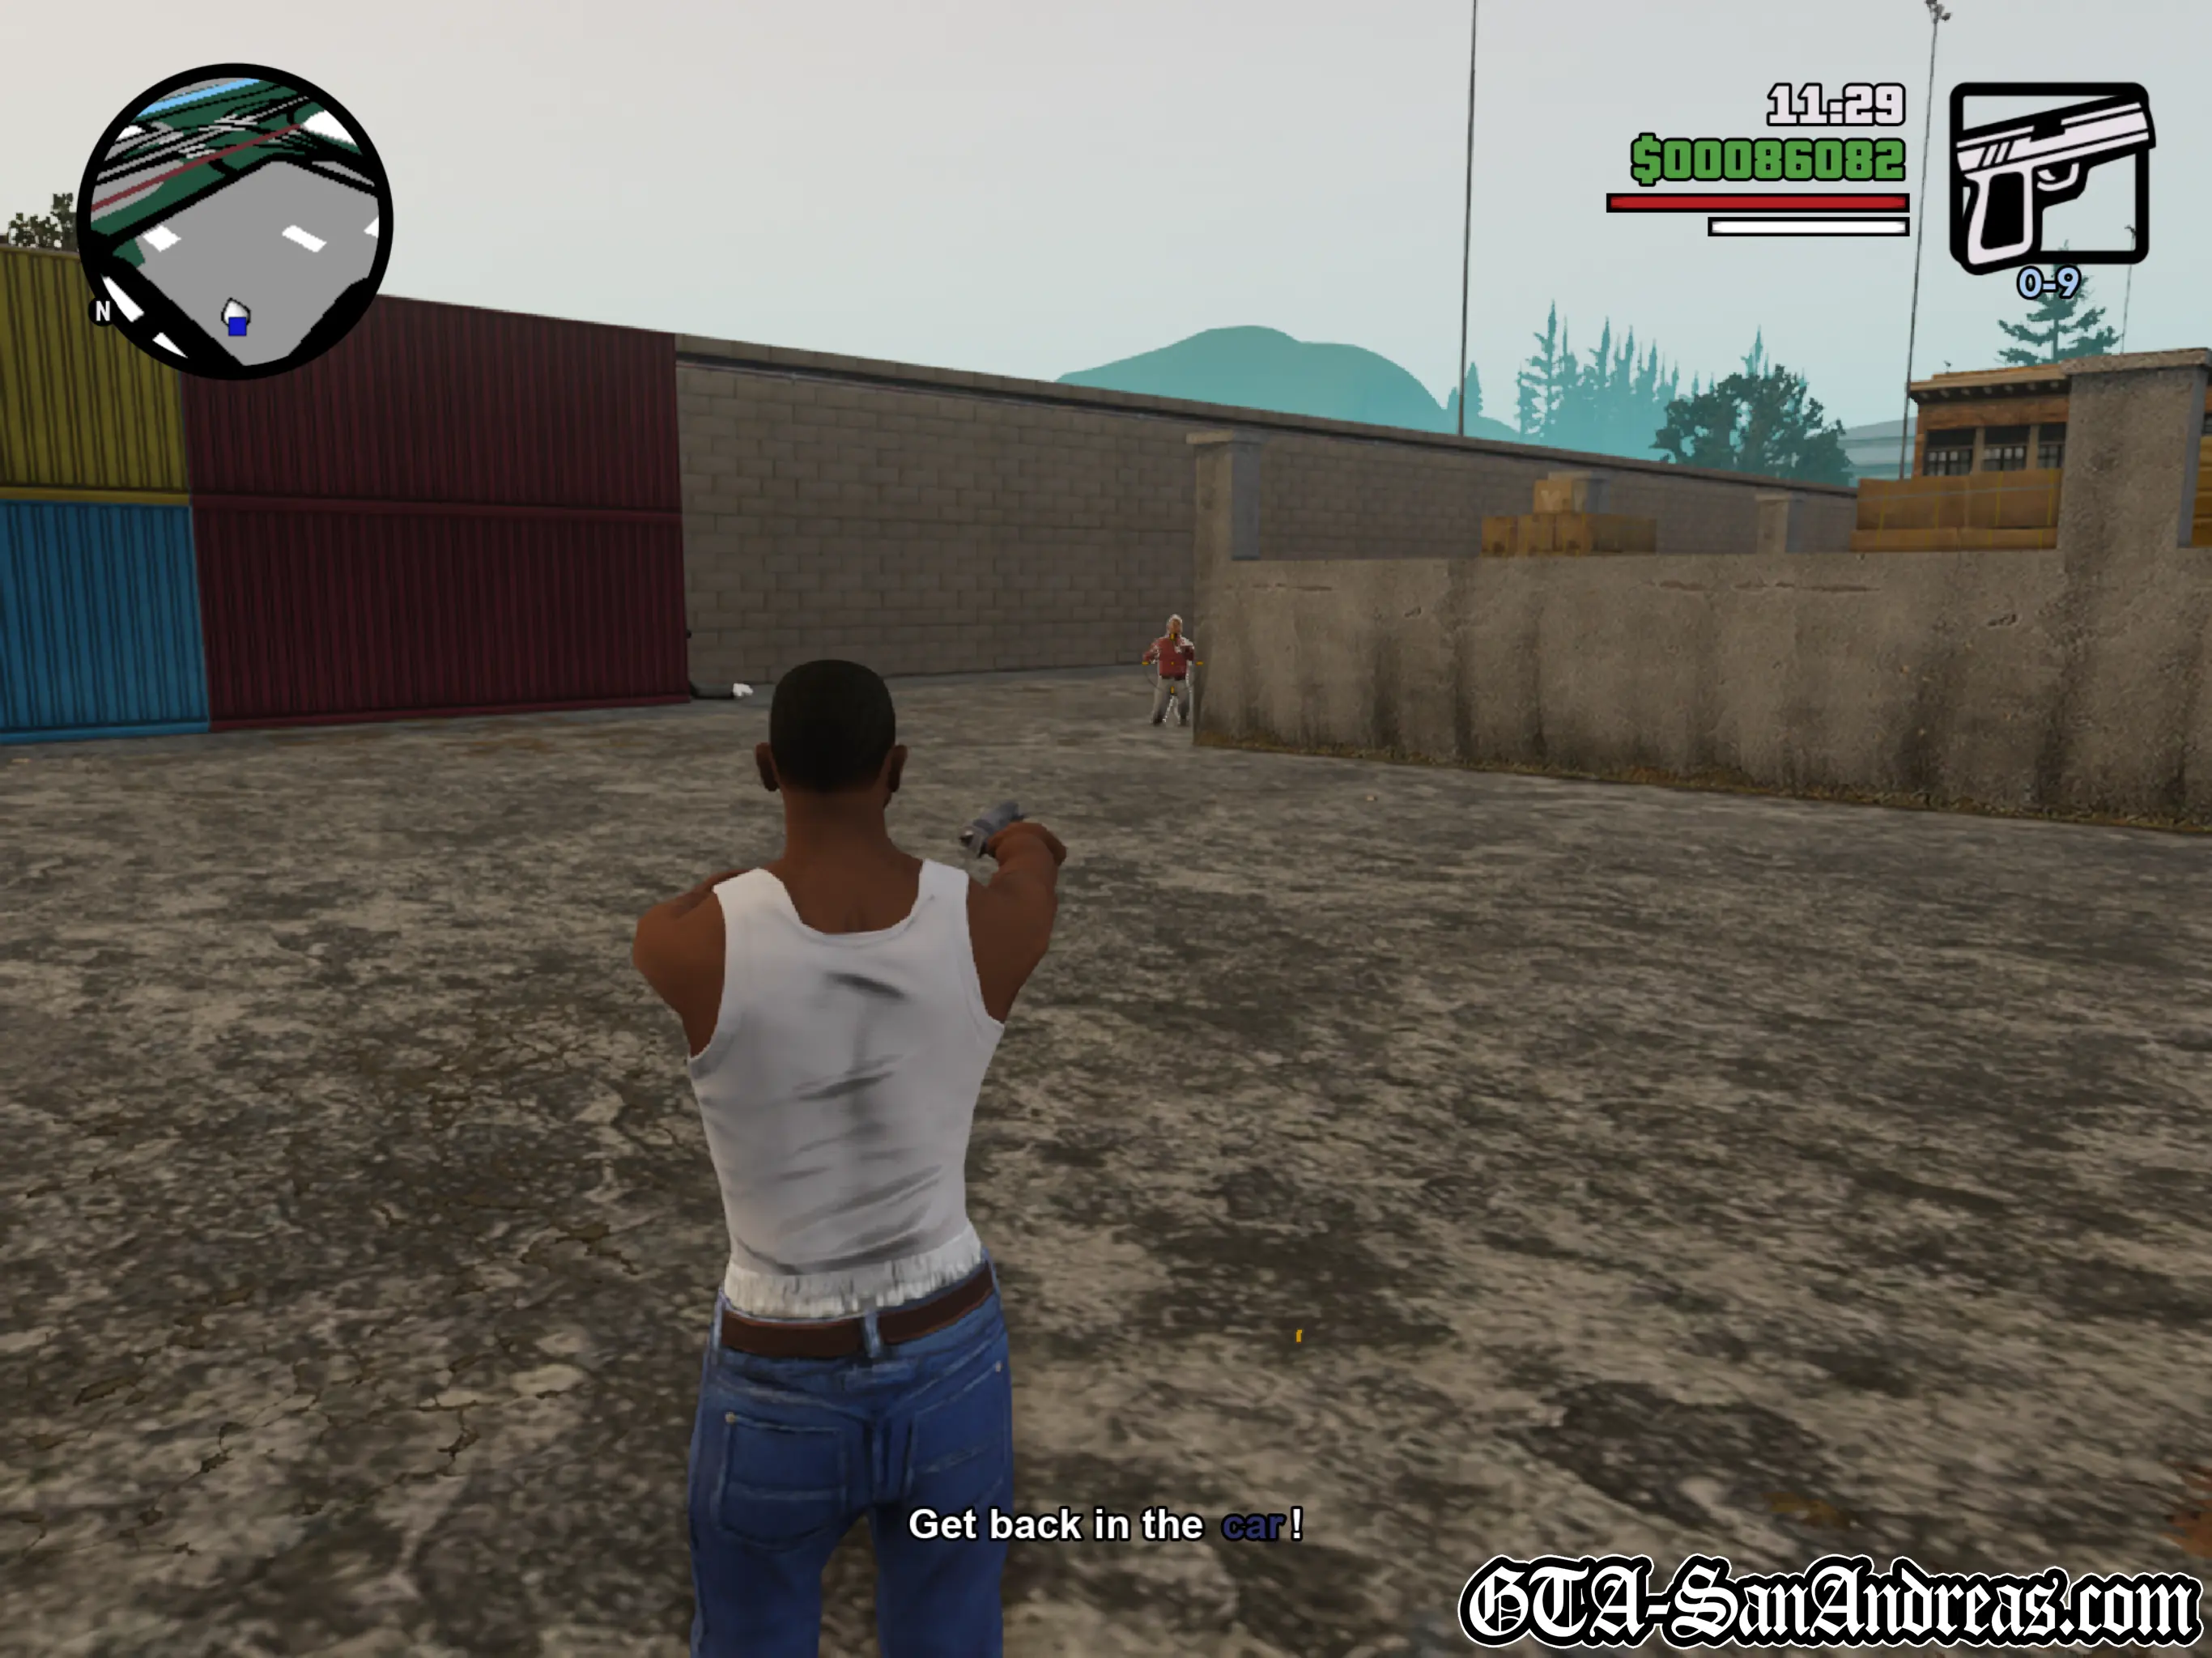
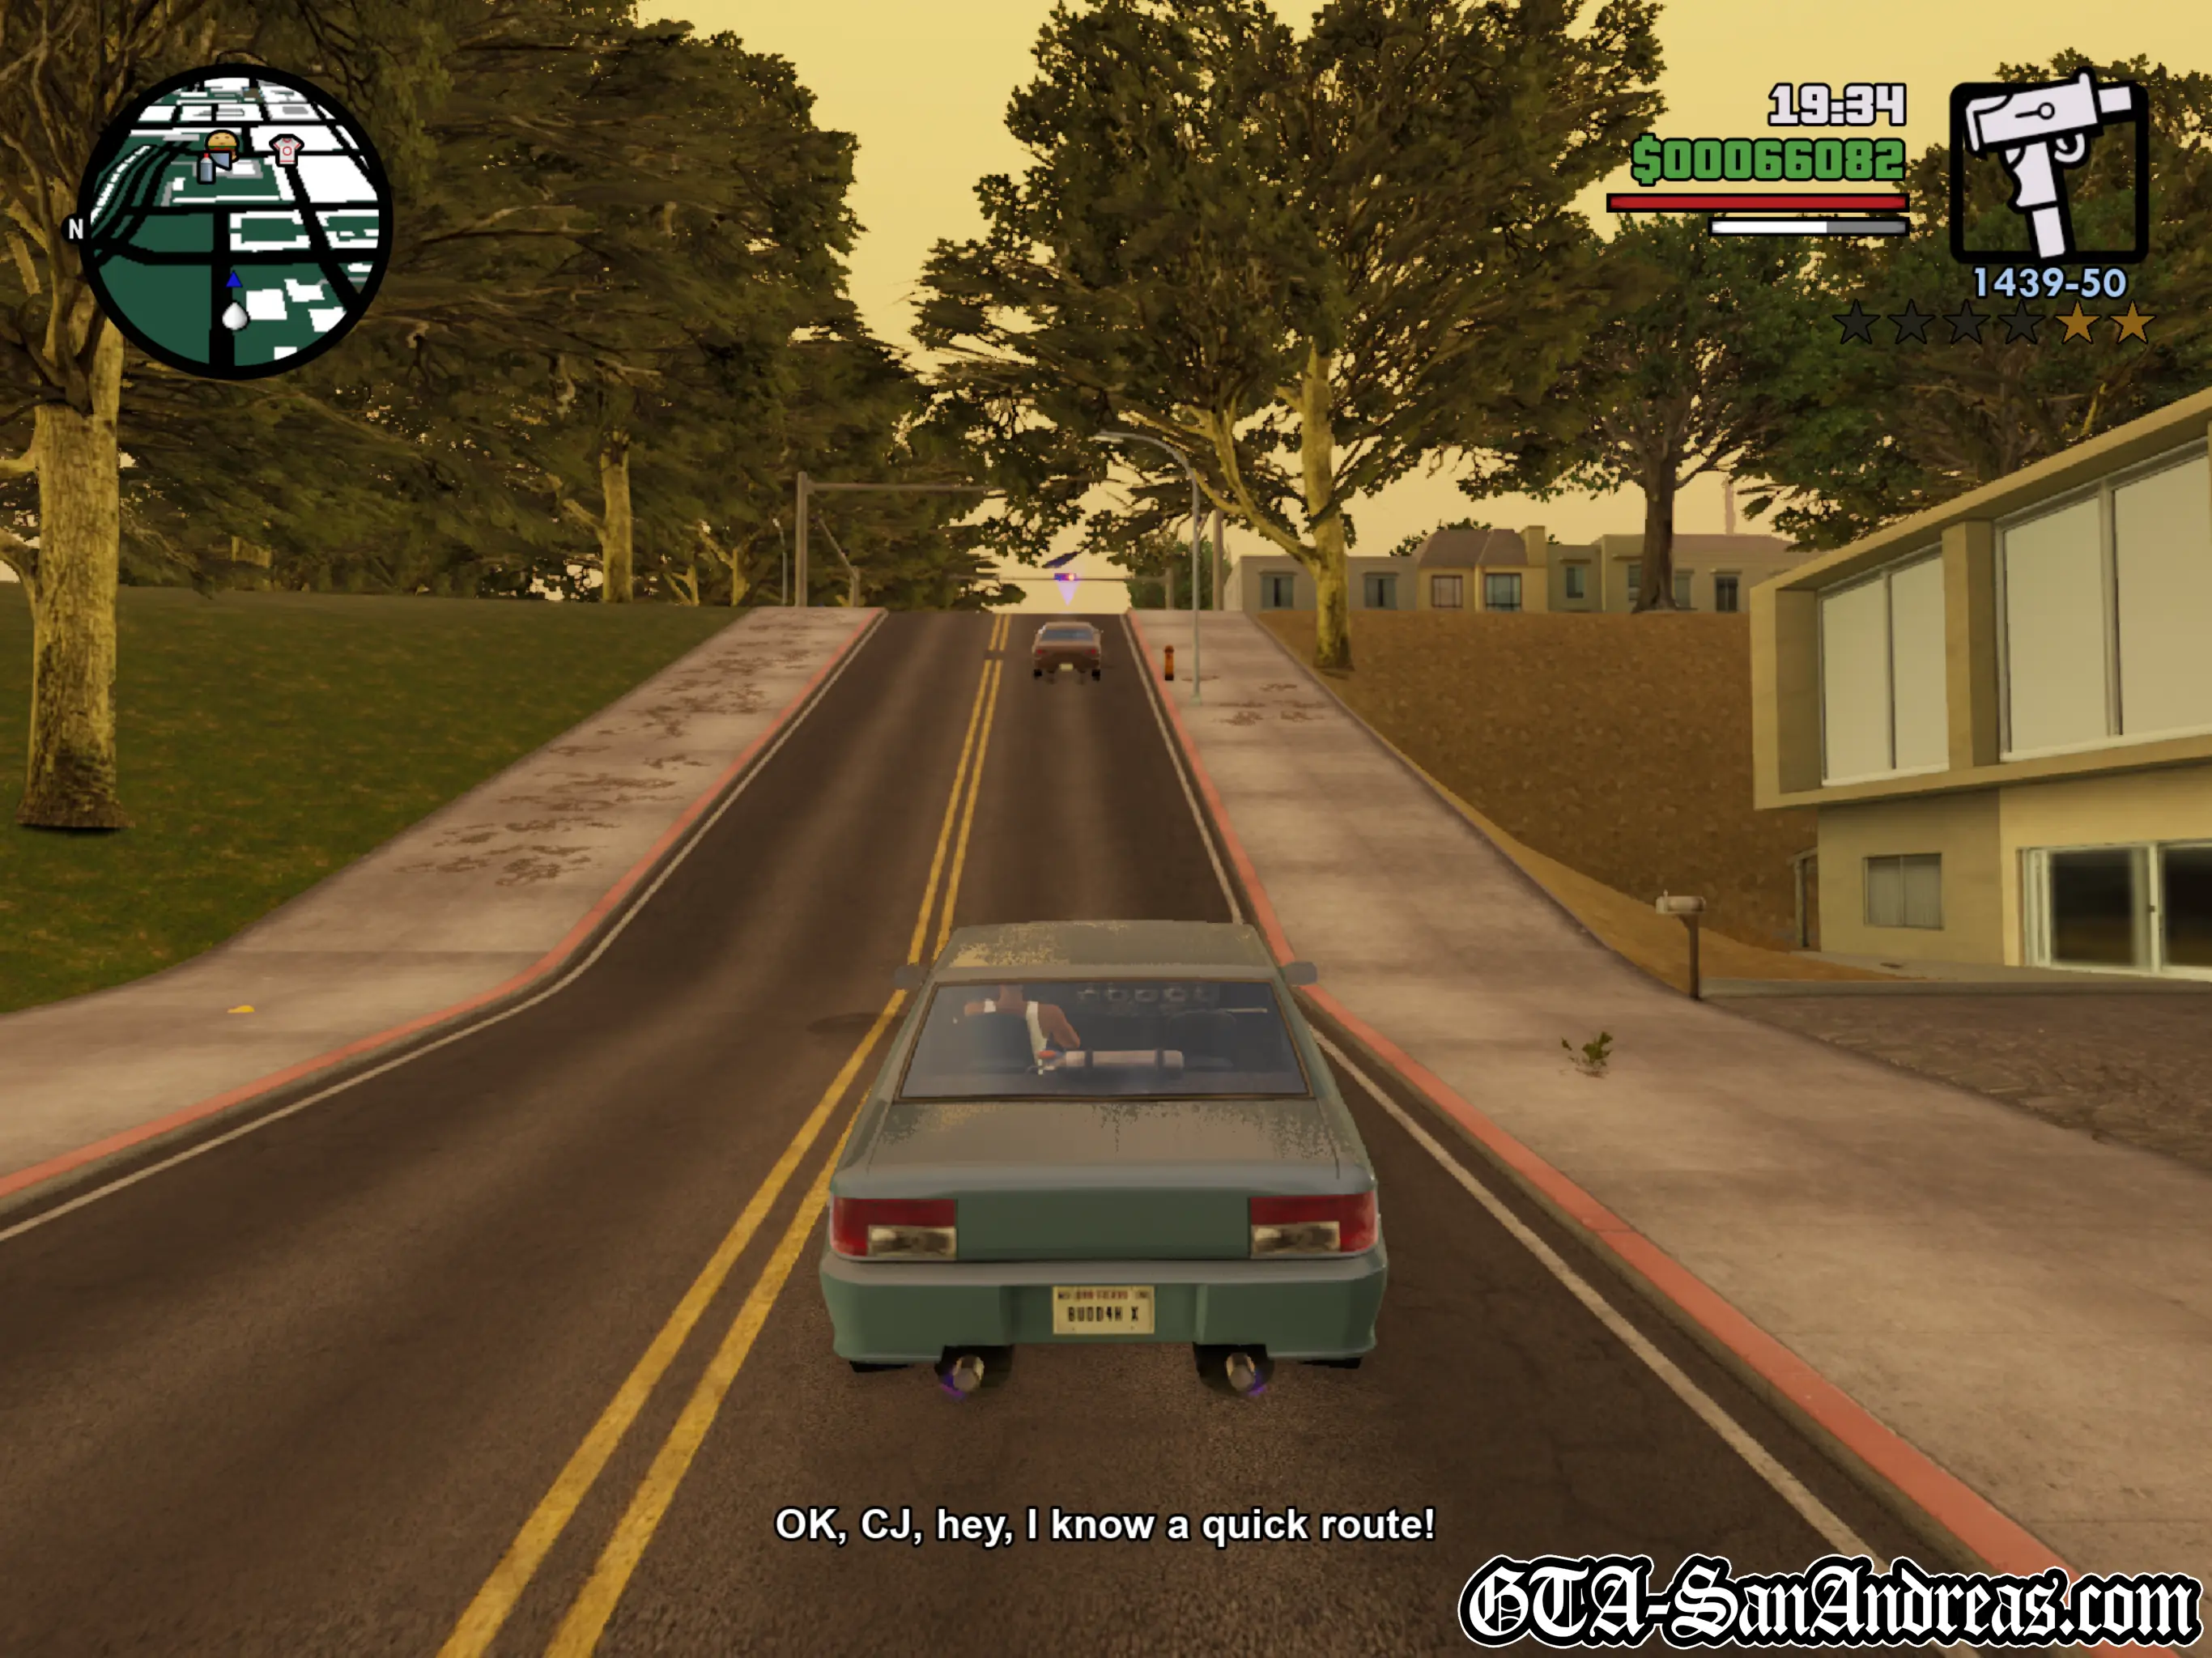
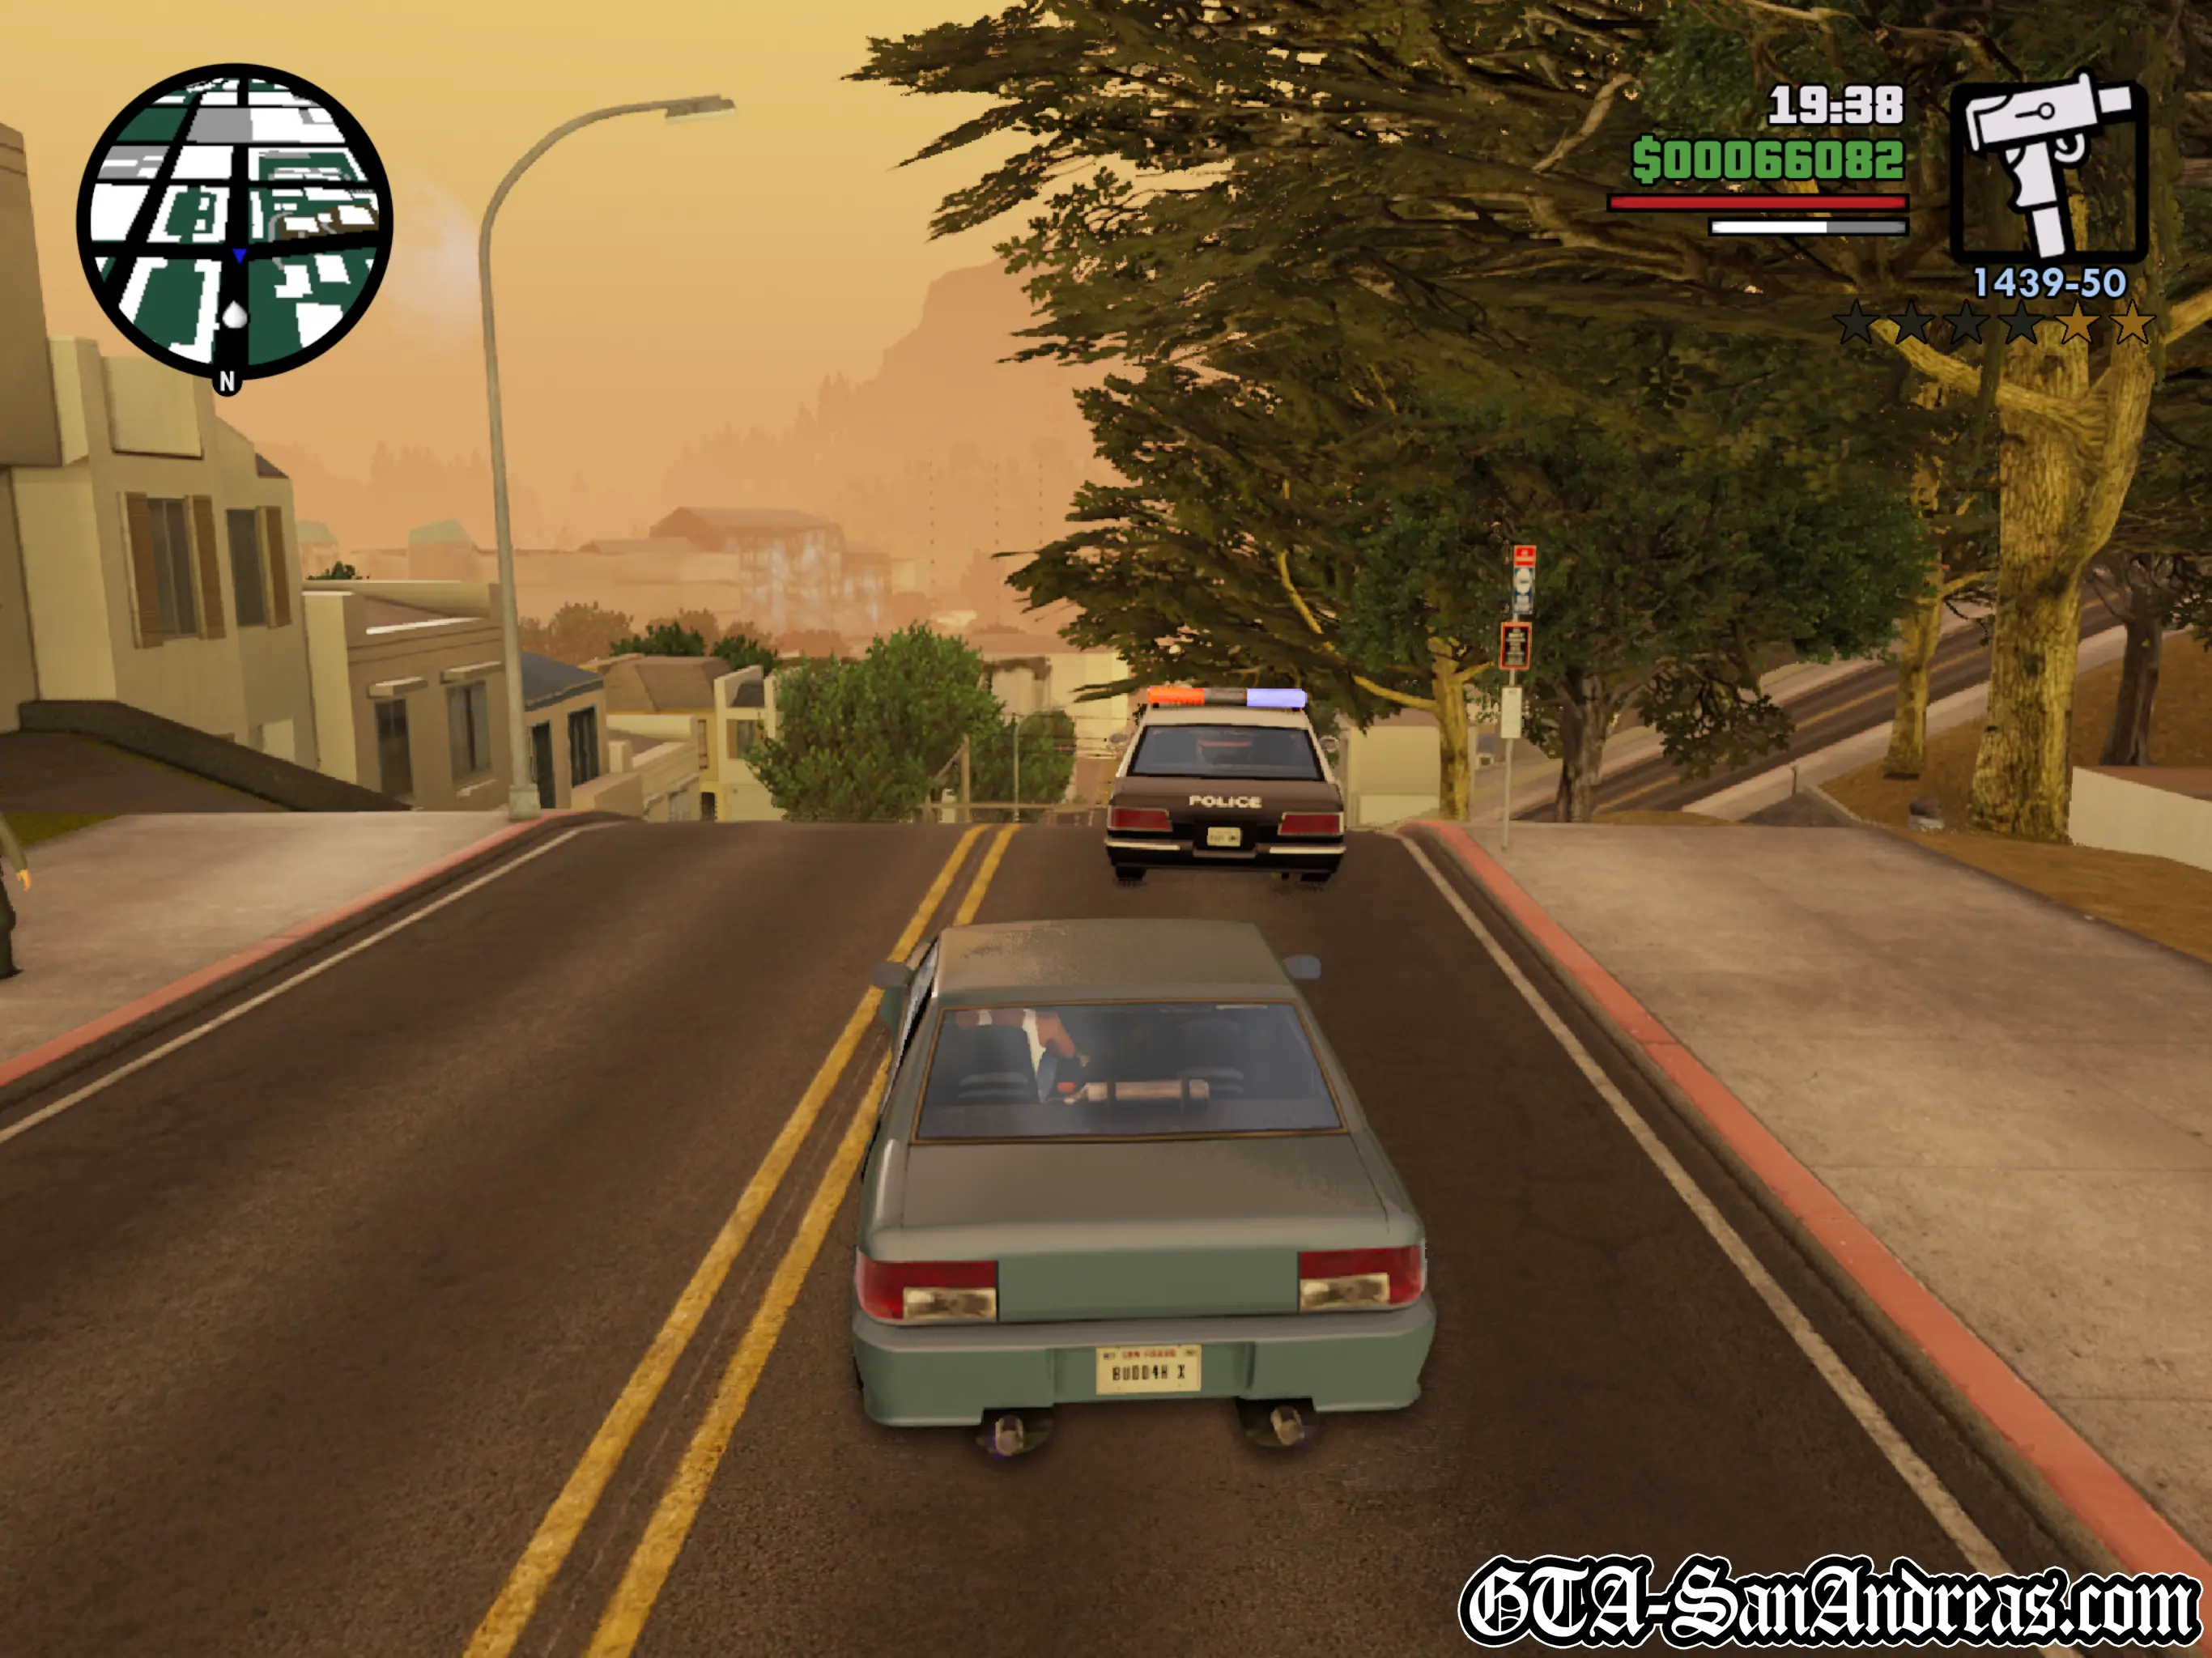
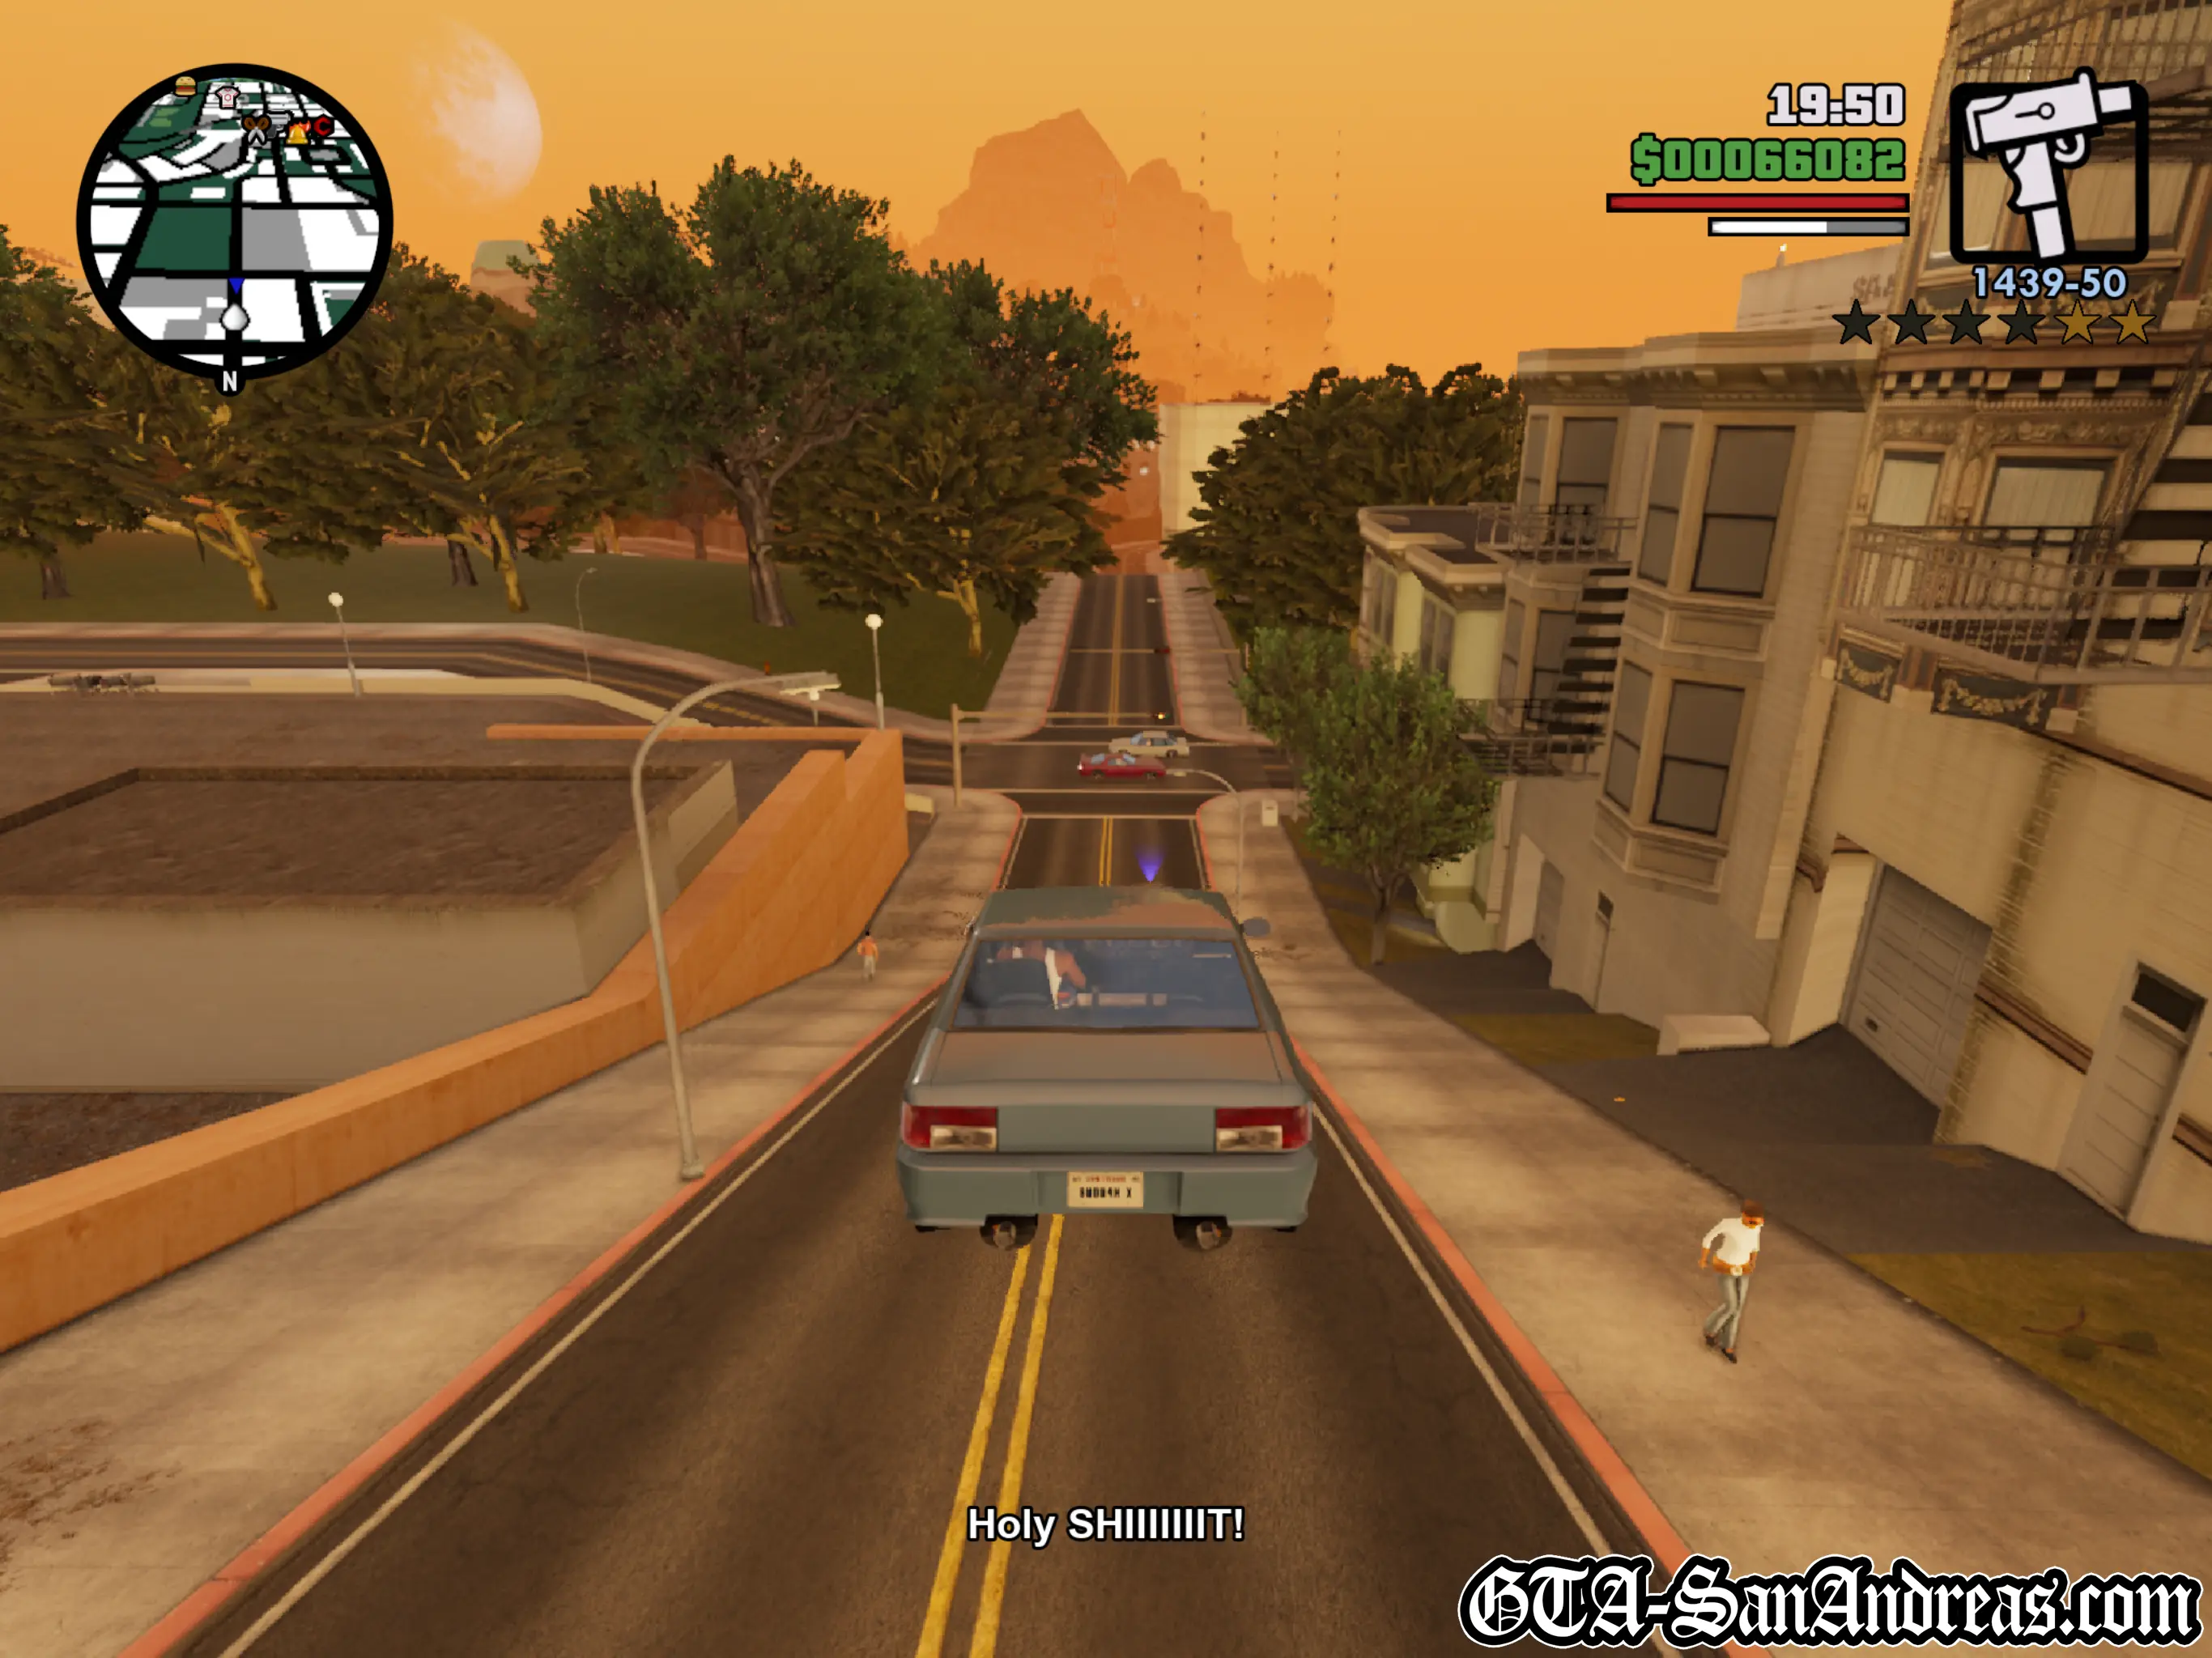
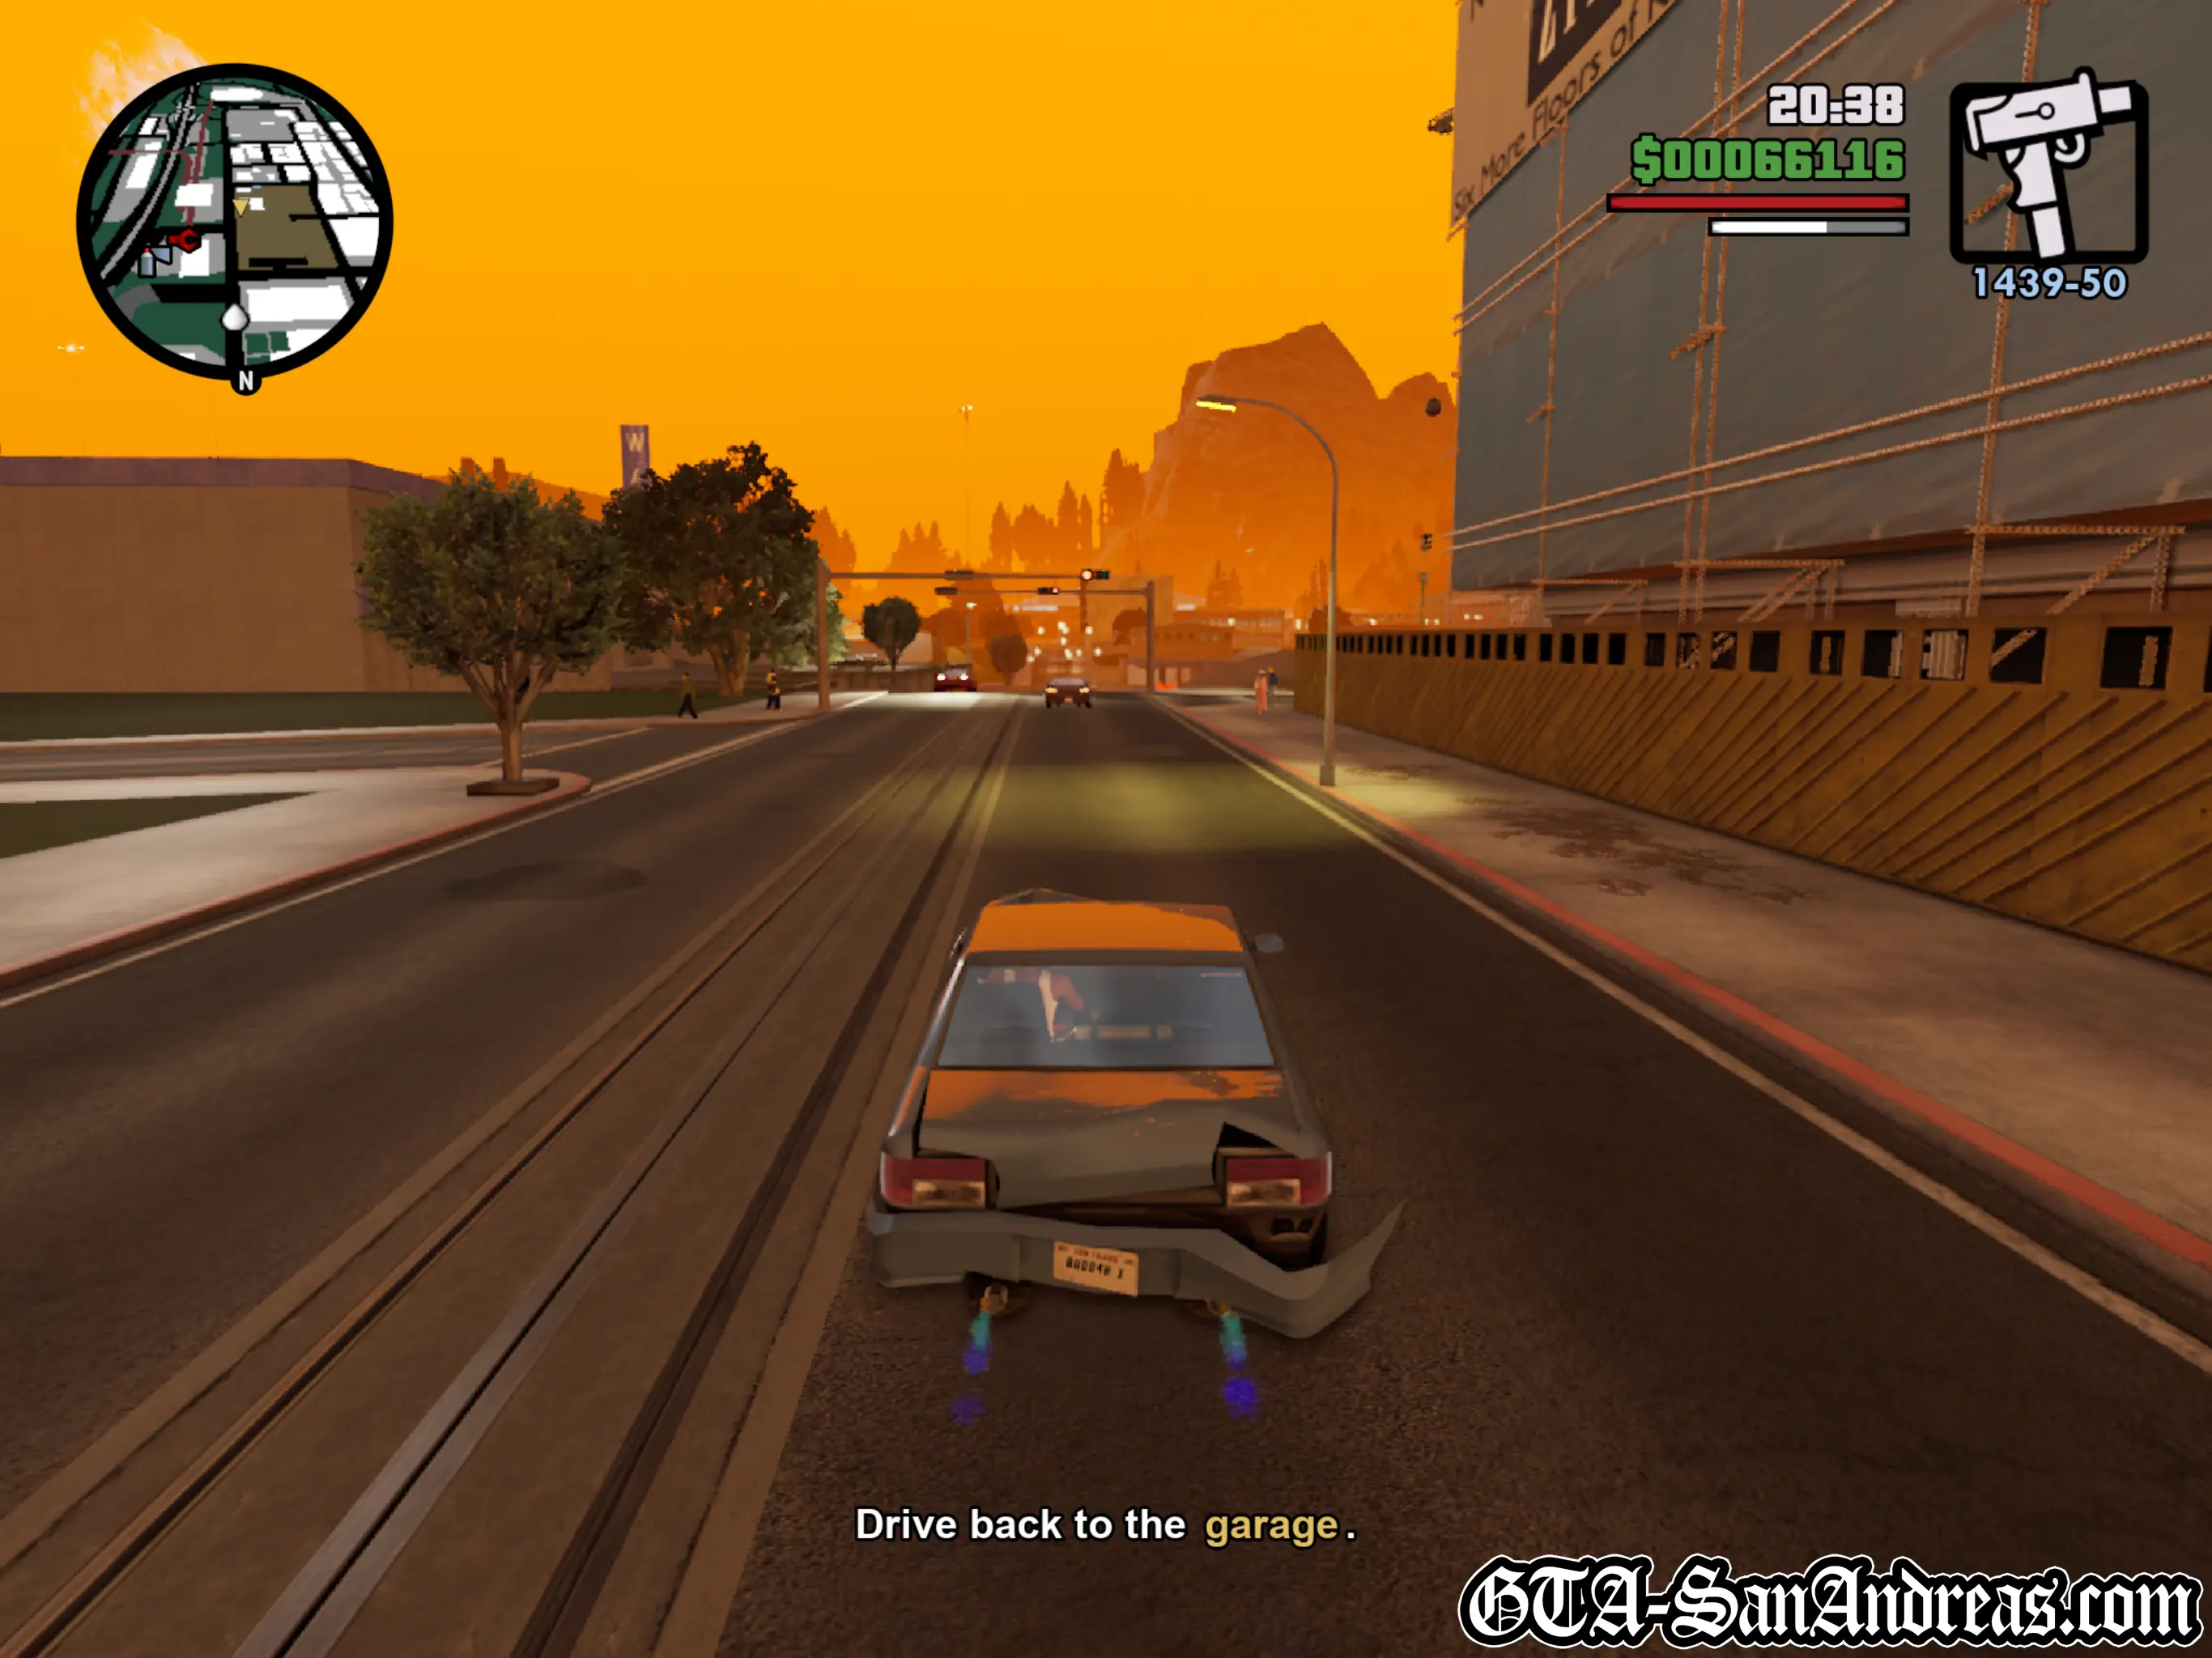
Carl receives a phone call from Tenpenny telling you he wants you to plant weed in someone's car, then call 555 we tip and get him arrested. When the mission starts grab a vehicle and make your way to the yellow blip. When you park in the circle you'll see a cutscene where one of the Valet members takes a car to the underground car park. Quickly run after it and follow it down. When the Valet guy gets out of the car, kill him and walk into his floating uniform icon. Once you've changed clothes head up and out to the front of the building and wait for the D.A.'s car. You'll know when it's him because the other Valet will say something about him being a good tipper just before parking his car. If there's no other valet people around, just watch to see what clothes he's wearing. He seems to be wearing a tuxedo and the other people wear casual clothes, so that's how you'll know. Get in it before the other Valet guy and drive the car to the garage where the drugs are being kept. Make sure you don't damage the car at all. Once you've been to the garage it's even more important that you don't crash the car. Drive slowly, you should still have time left, but if you crash you'll either need to drive back to the garage or you'll fail the mission depending on how much time you had left. Drive it back to the valet parking place without crashing it and park in the red circle. You'll then need to head down and park the car in the marked parking space. Once you've done that run like hell up top and get to the red circle. You need to call the cops before the Valet guy gets the car. Once you've called the cops you'll see a short cutscene.
The Valet Uniform Has Been Delivered To Your Wardrobe.
Valet Parking Missions Have Now Been Unlocked. You need to be wearing the Valet uniform to be able to do Valet Parking Missions.
Screenshots


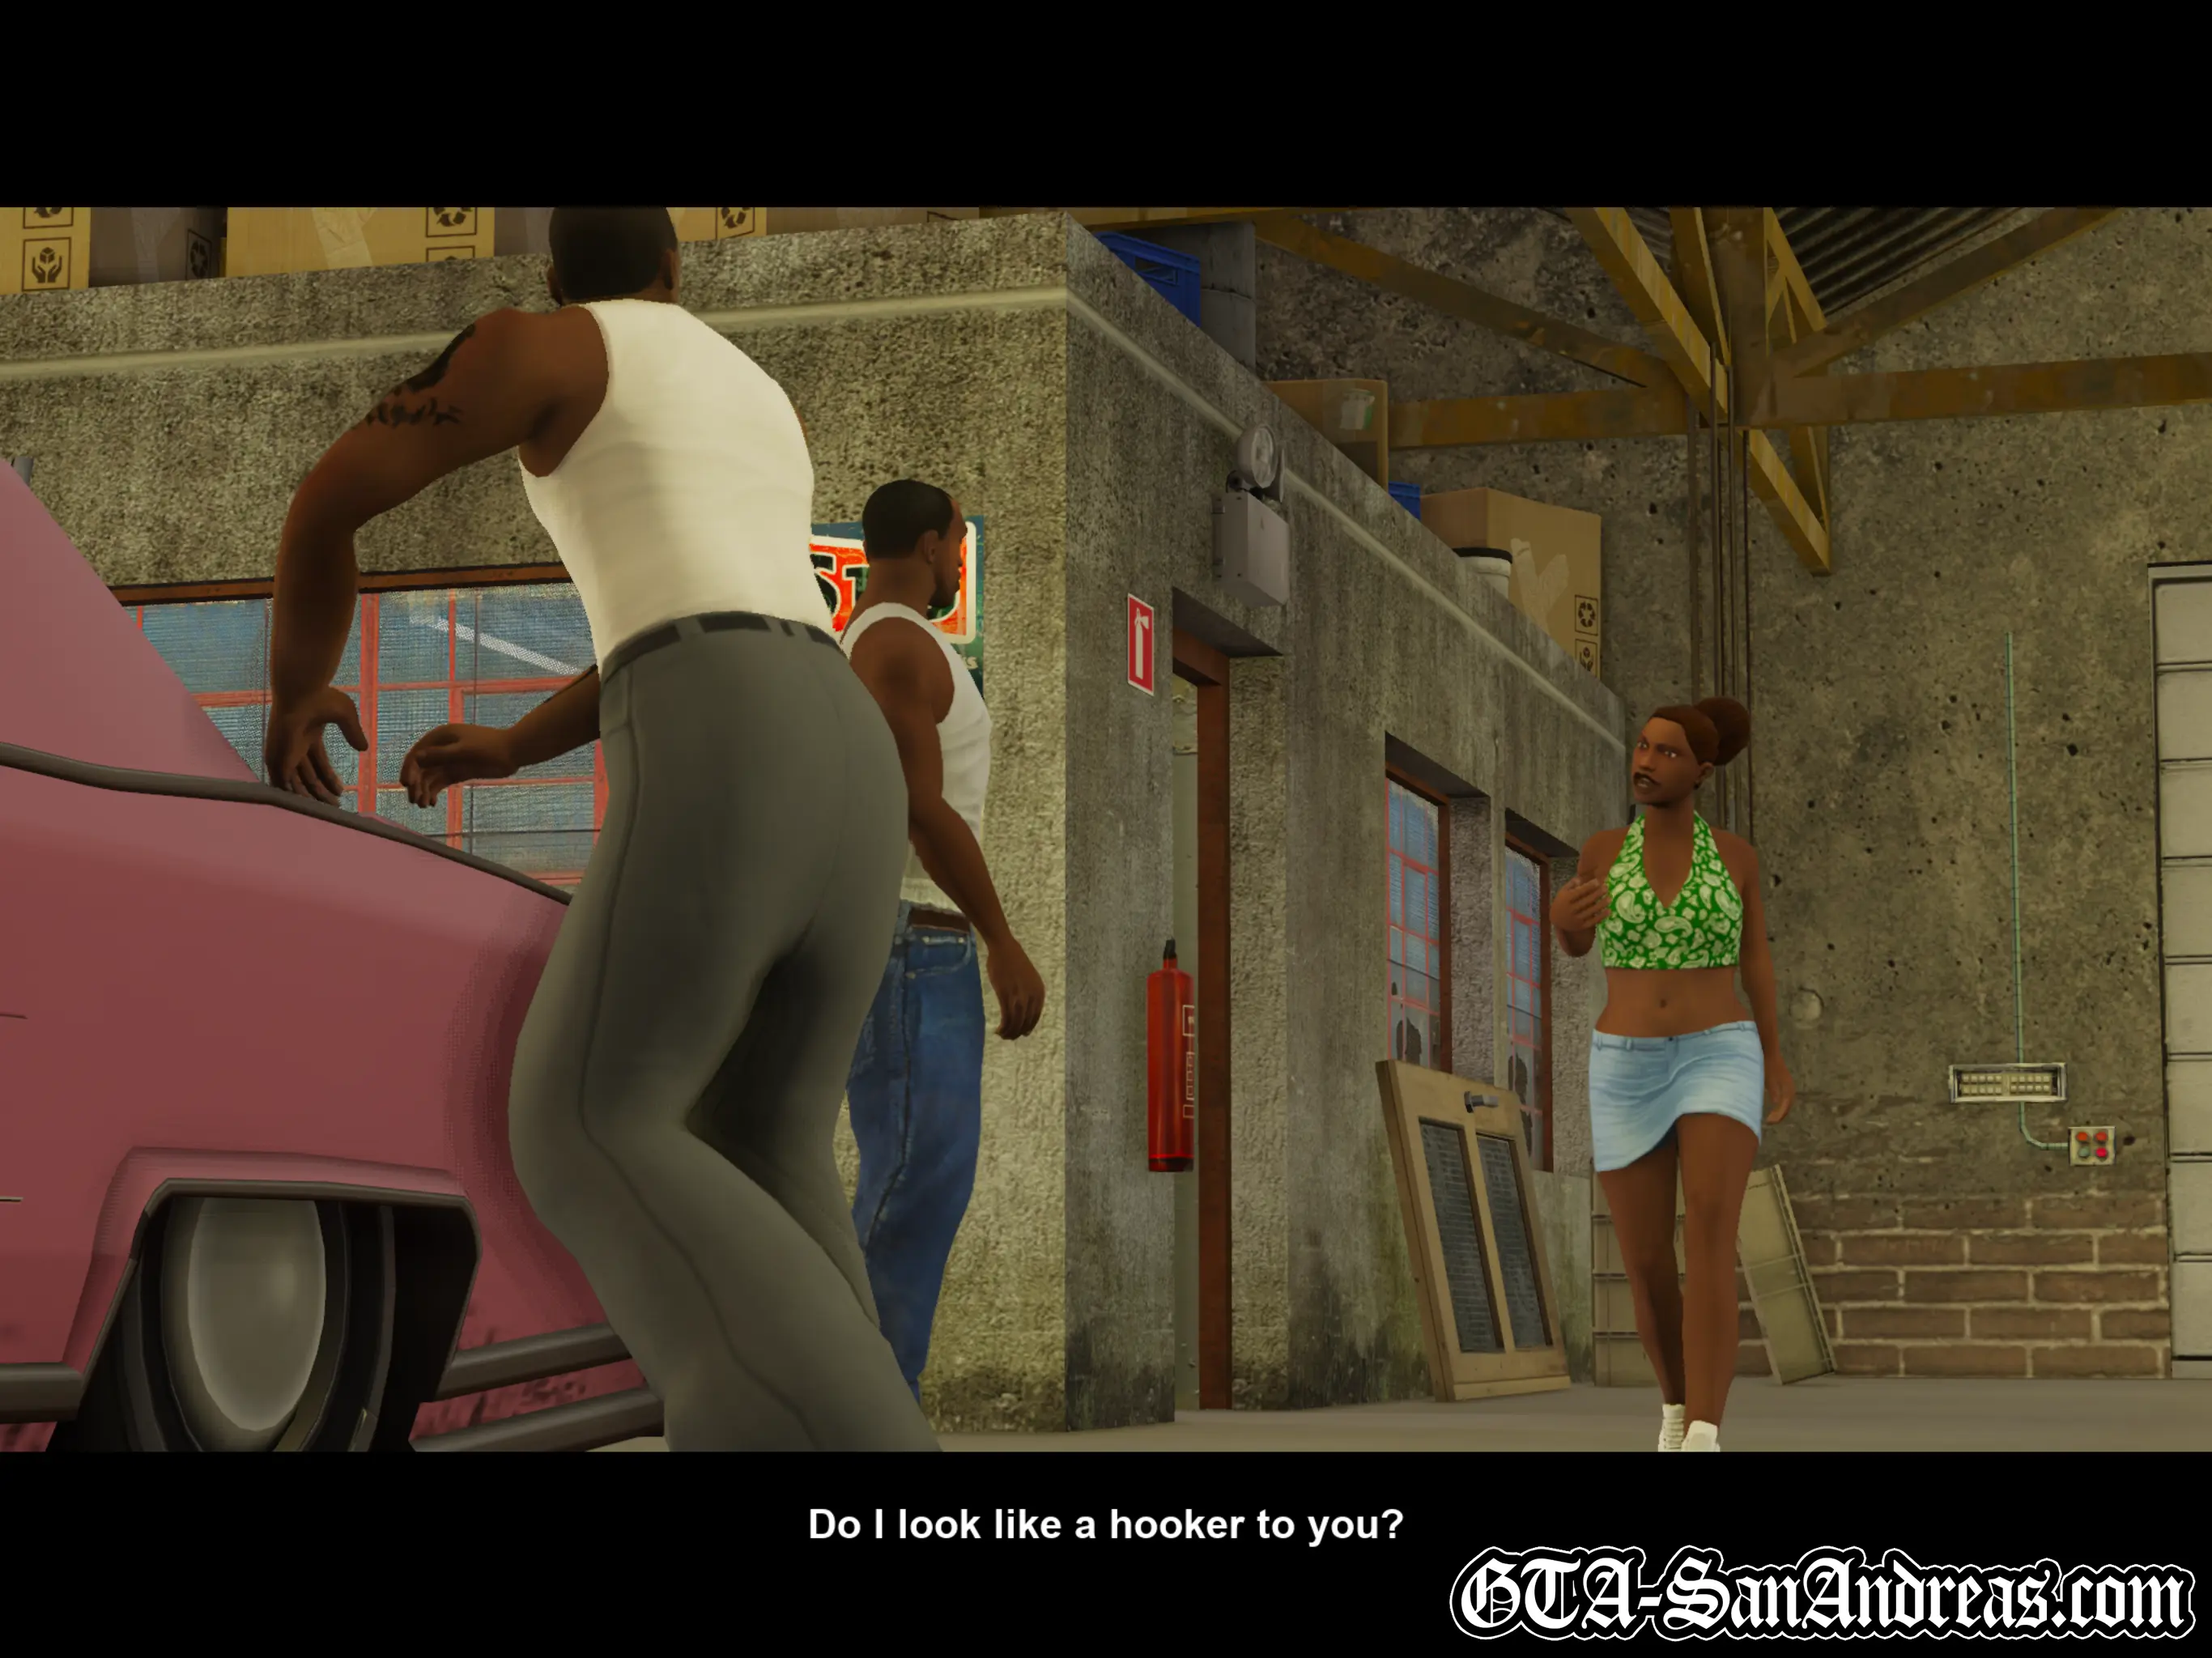
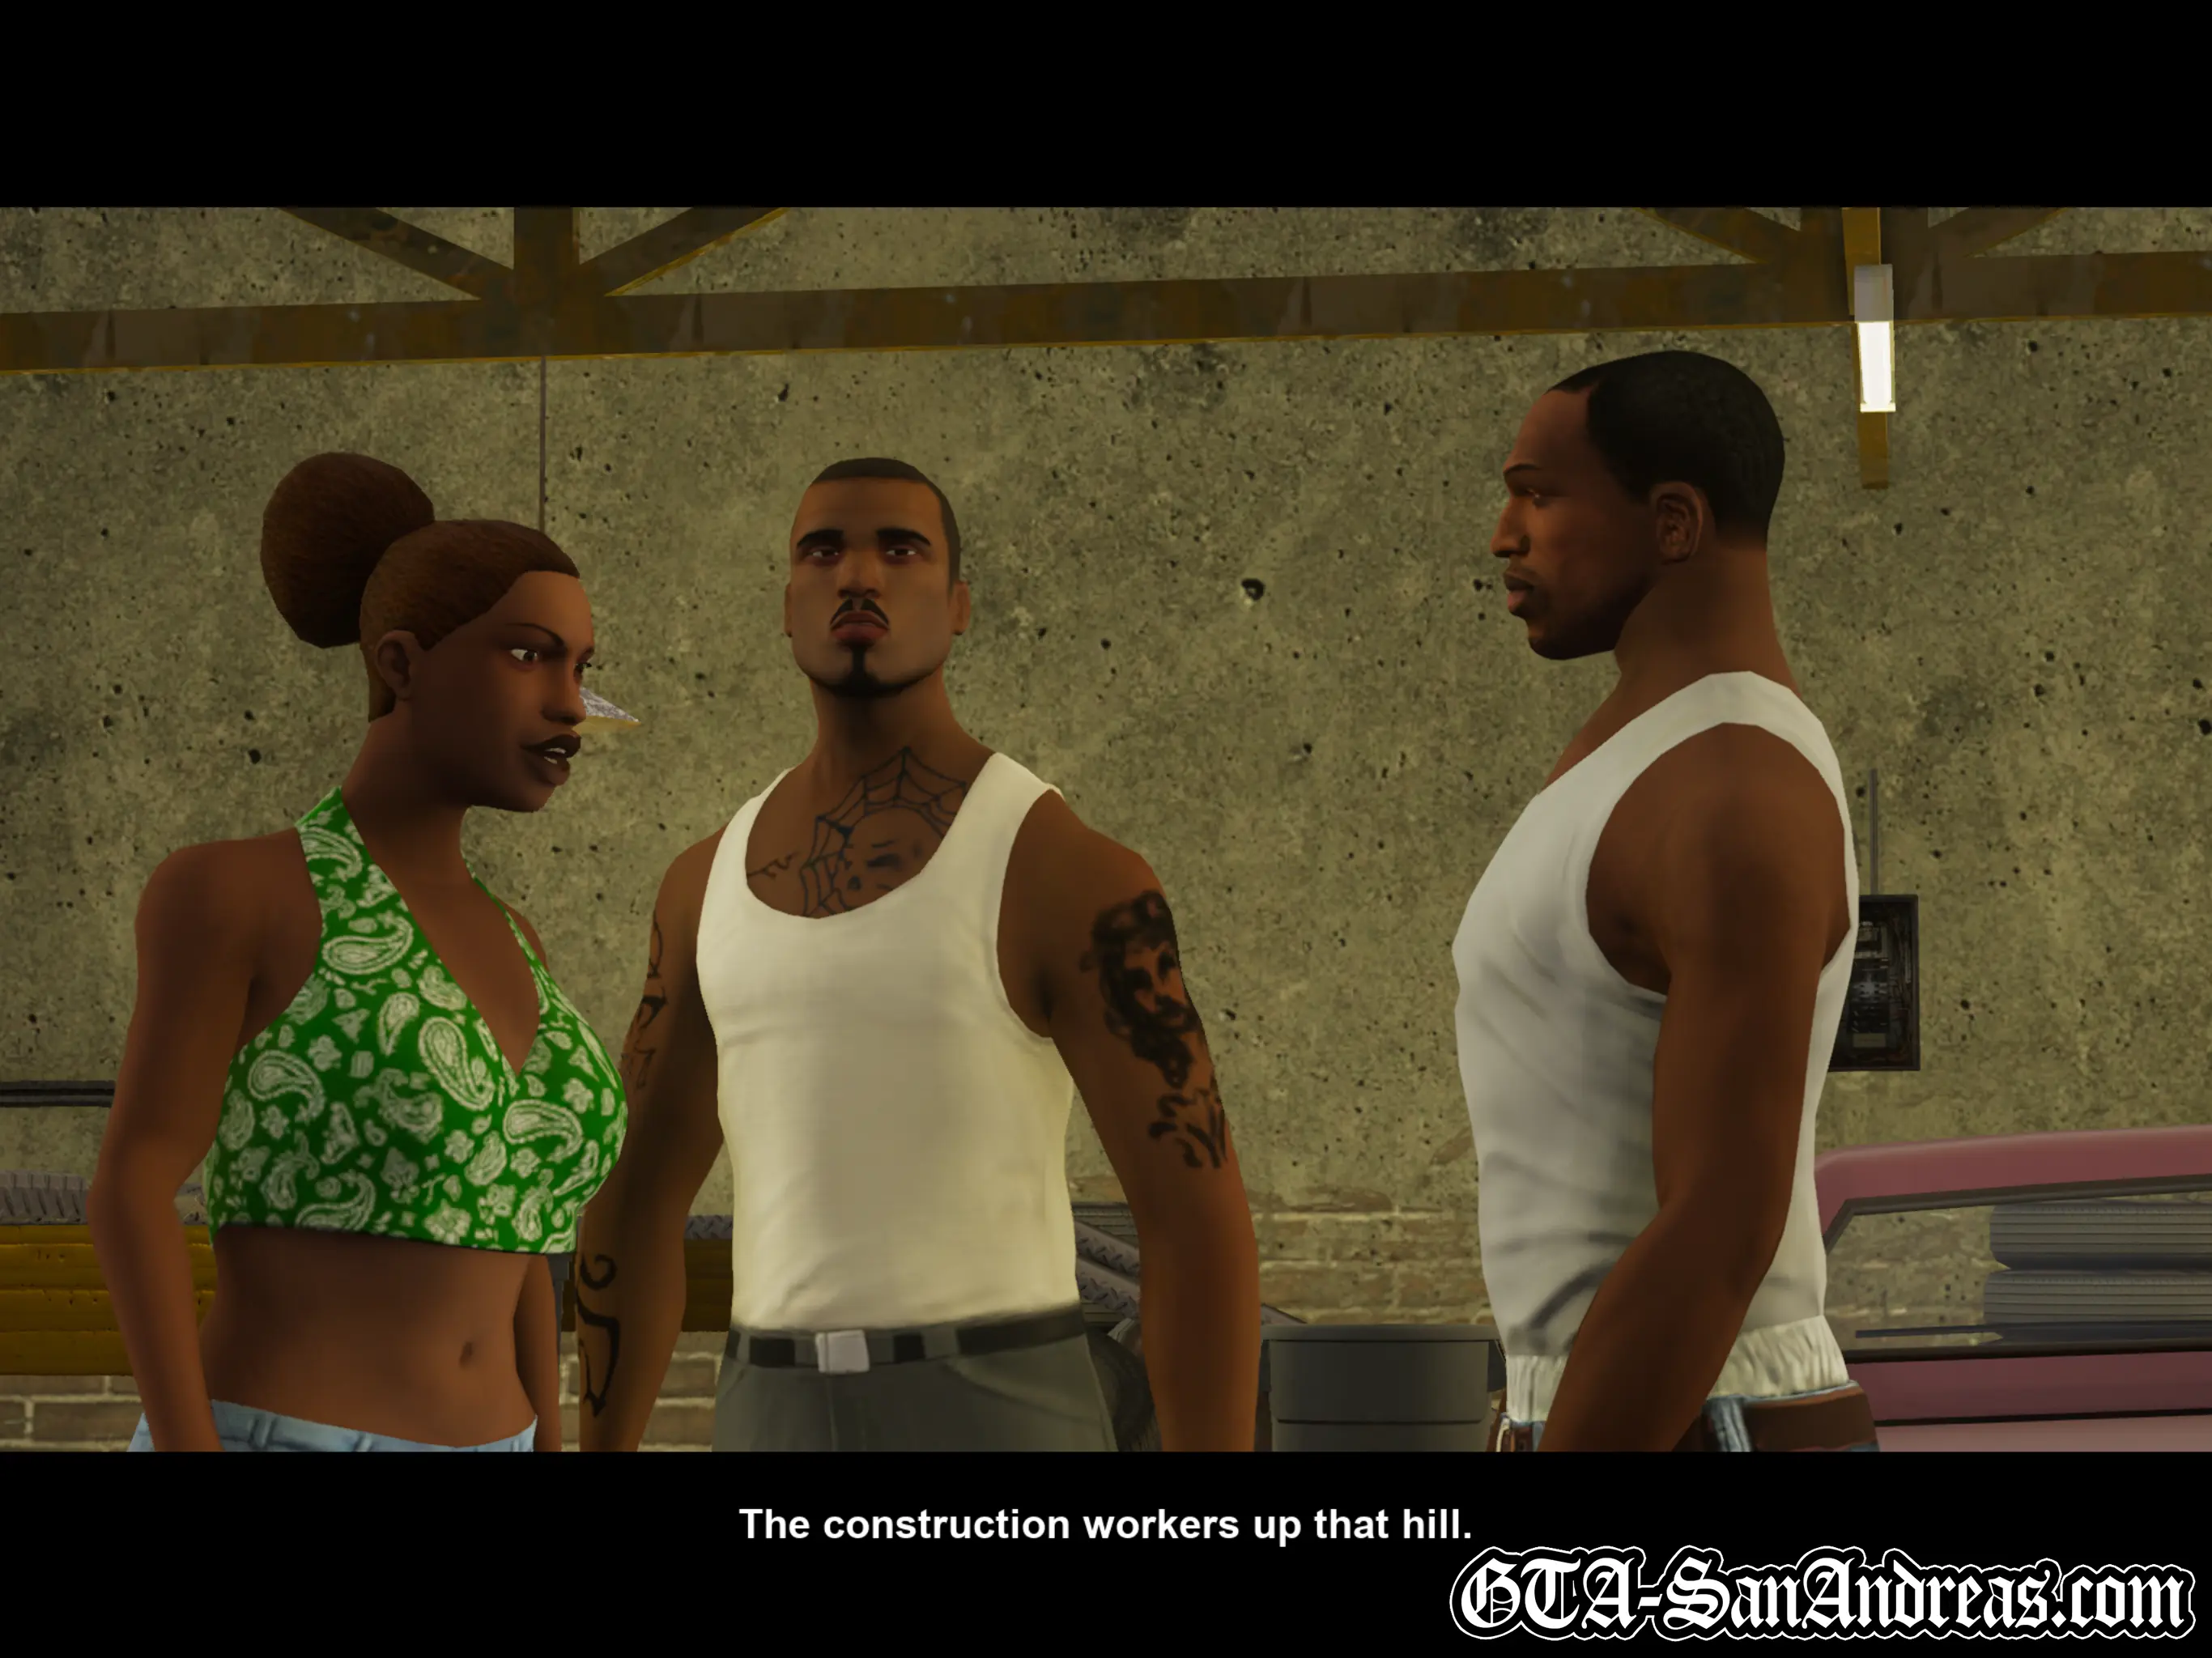
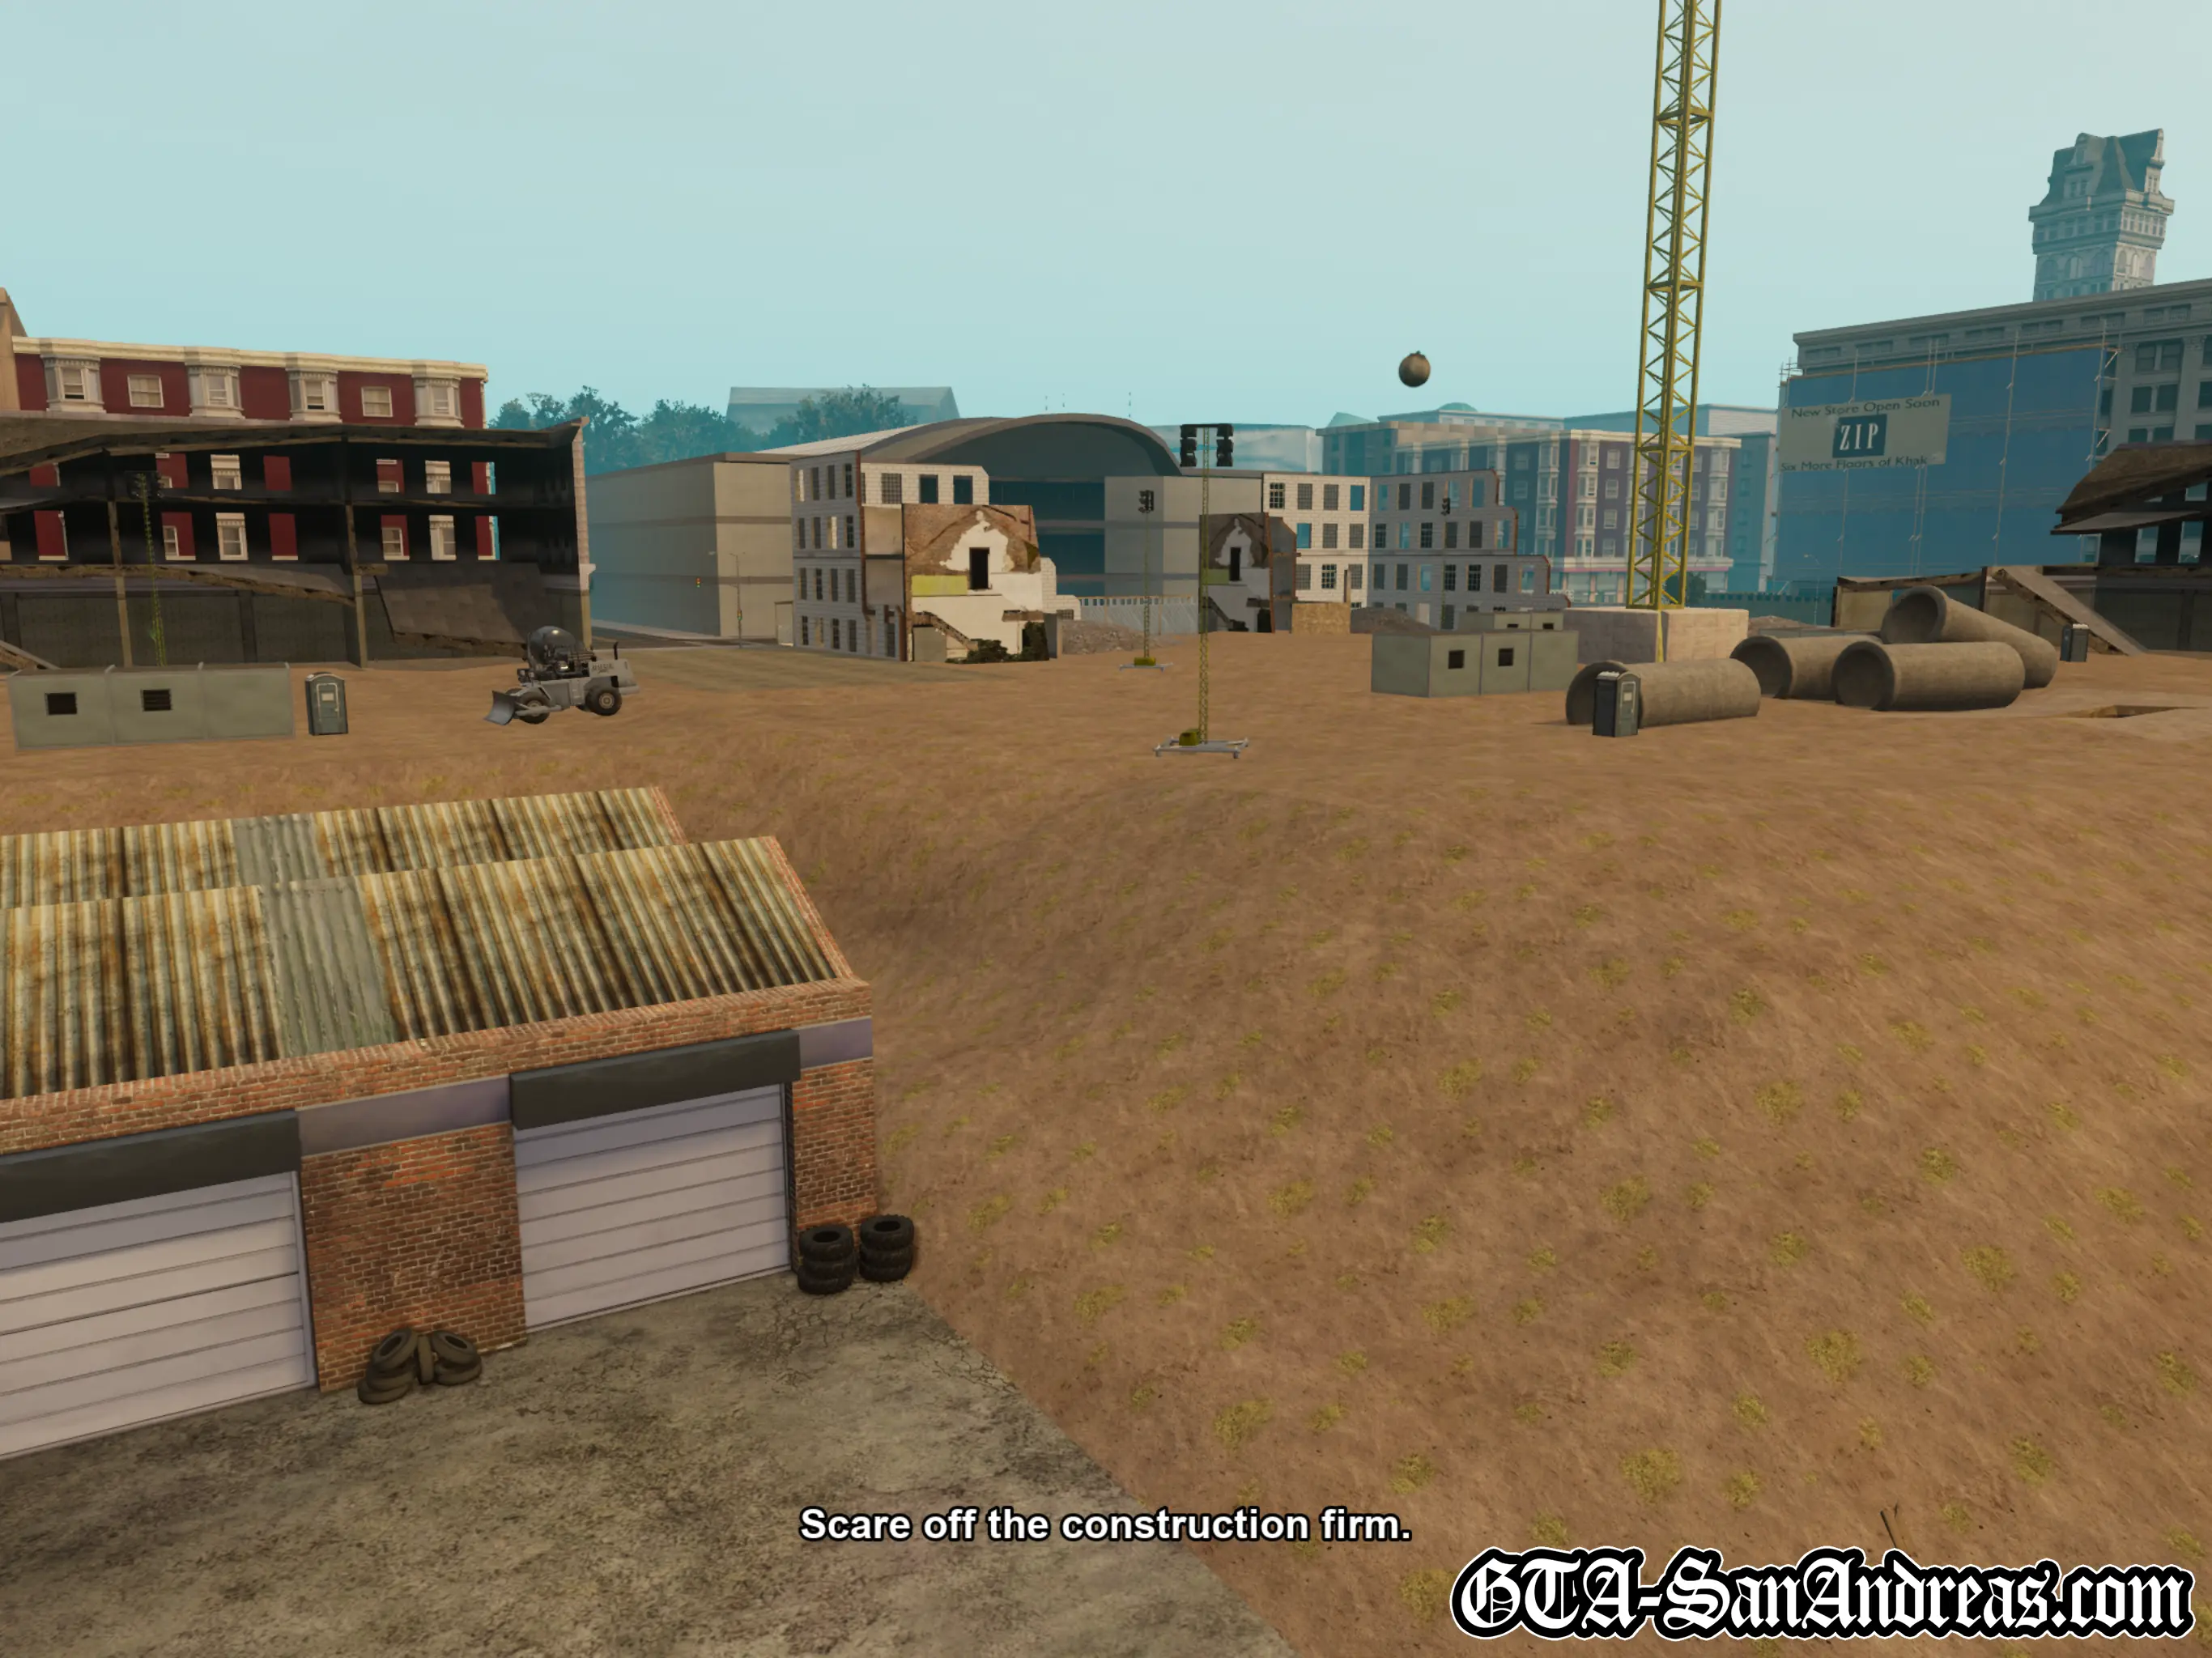
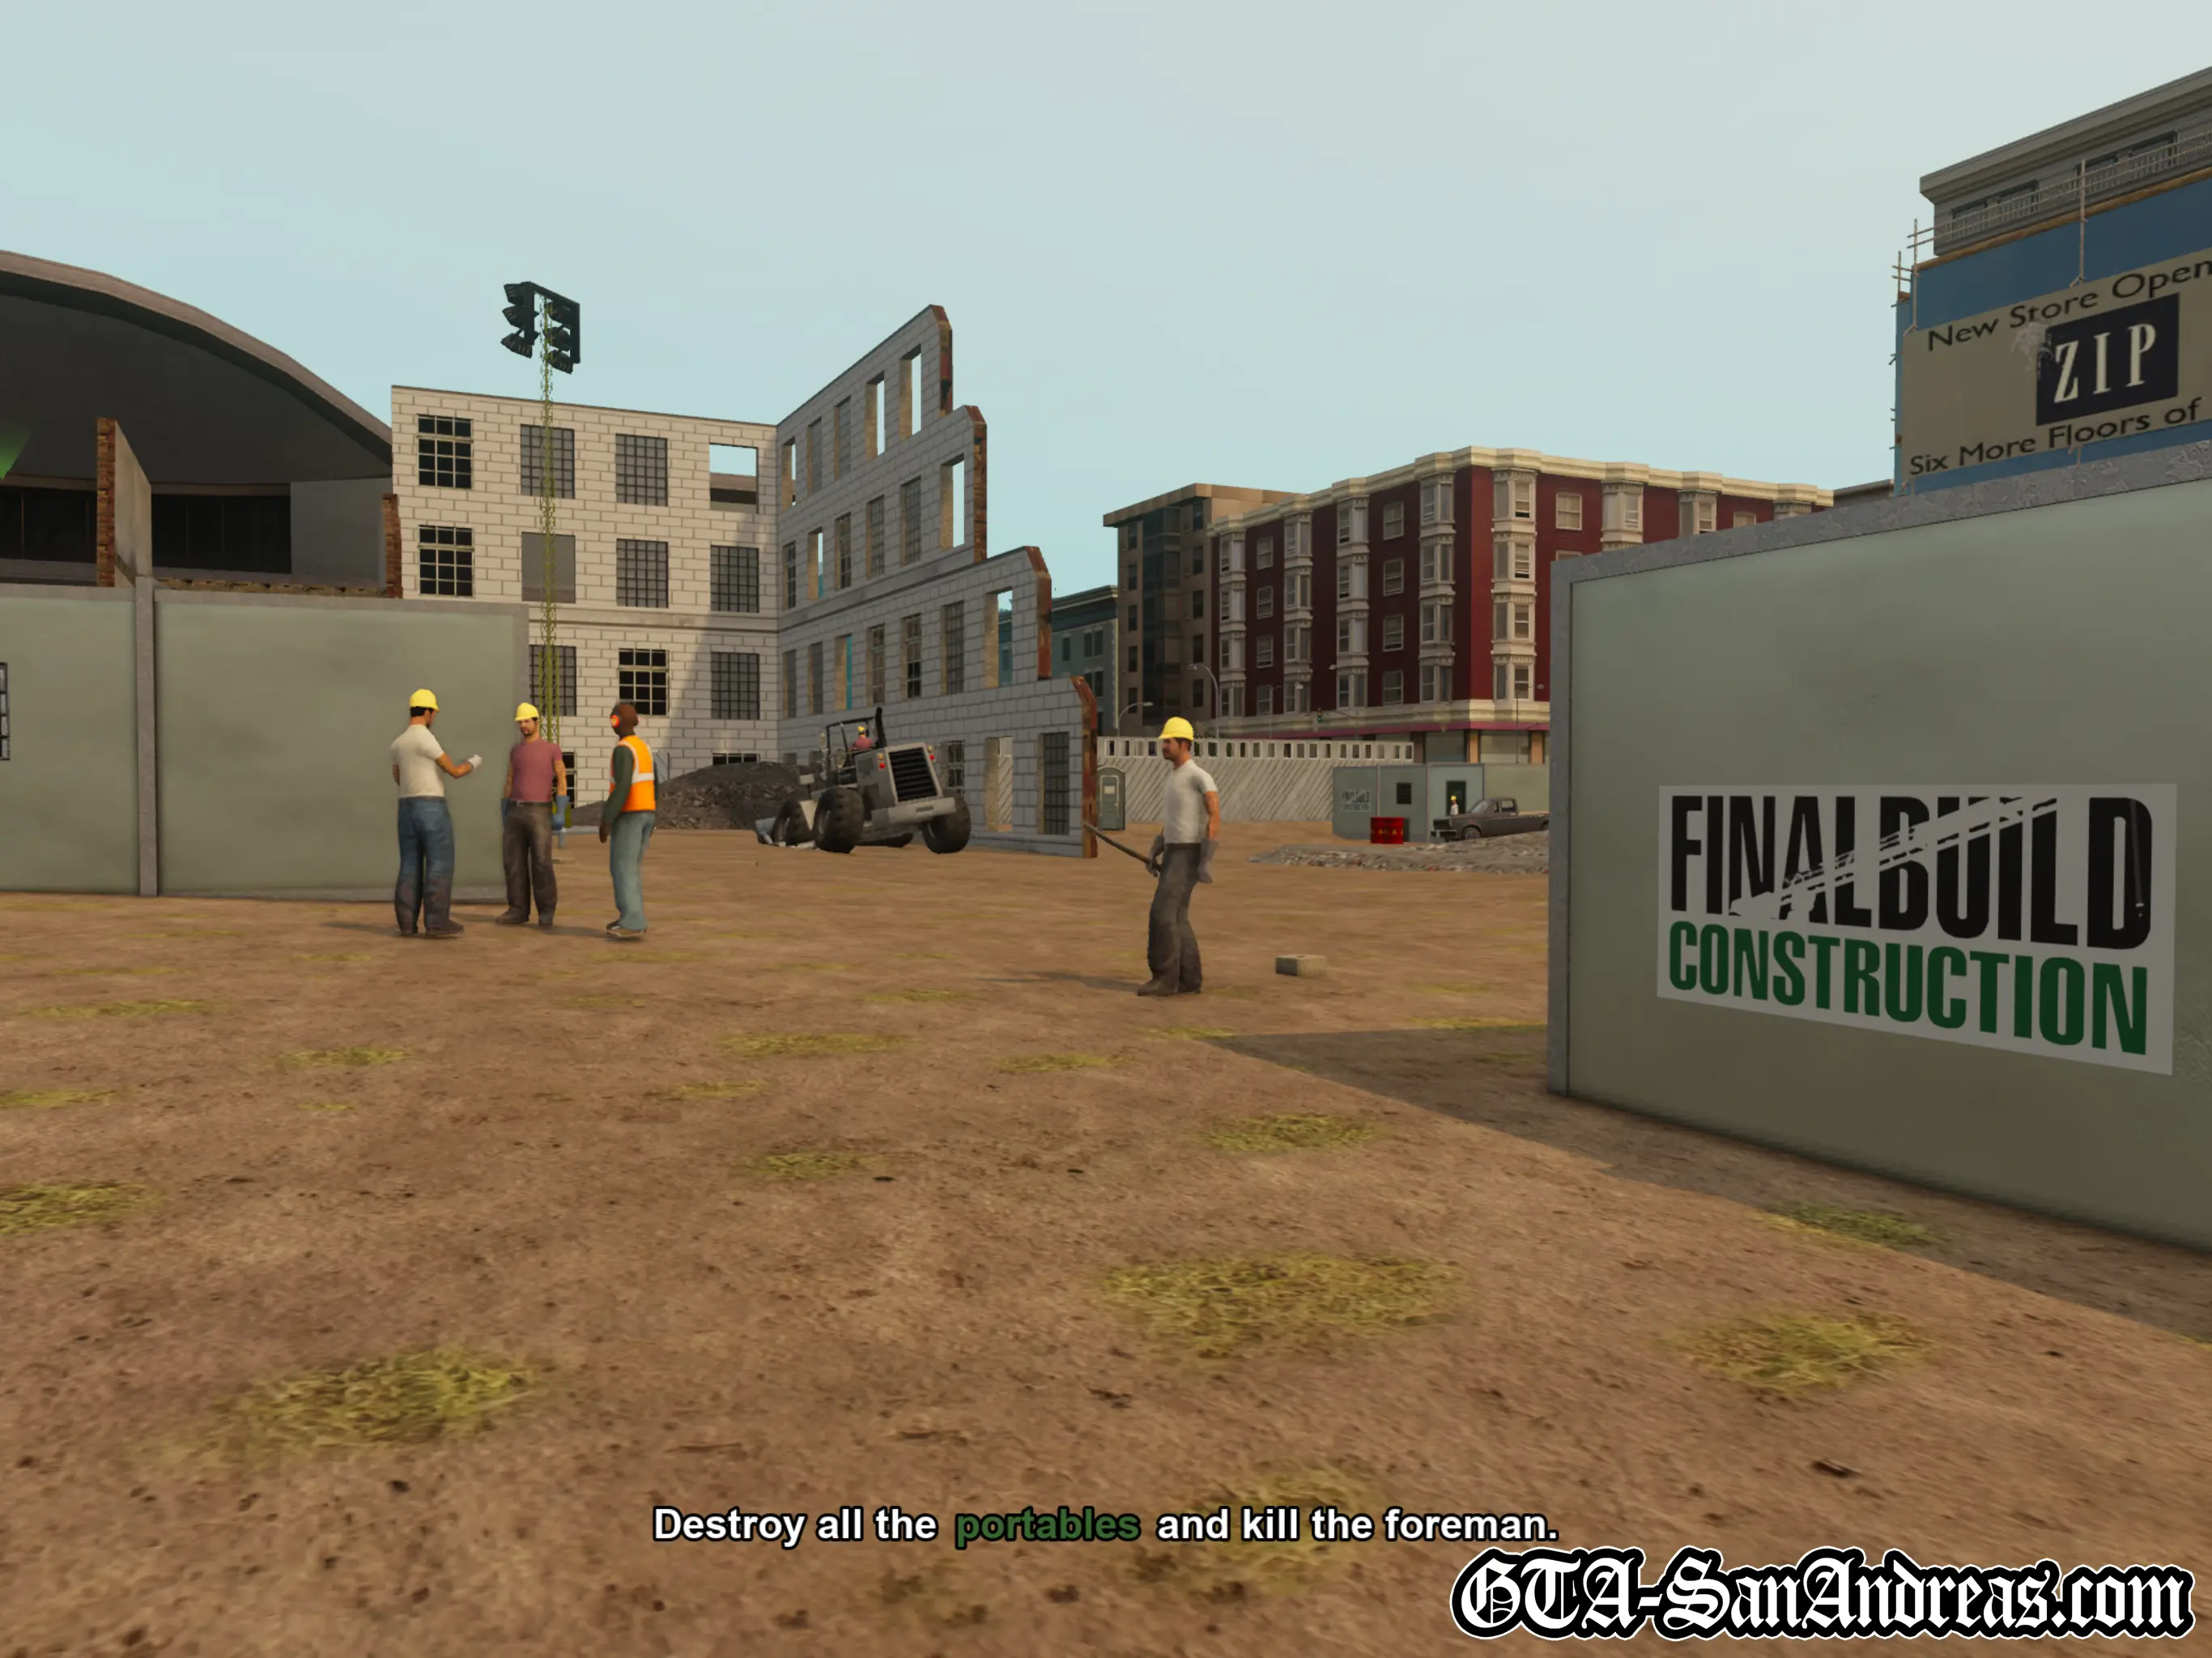
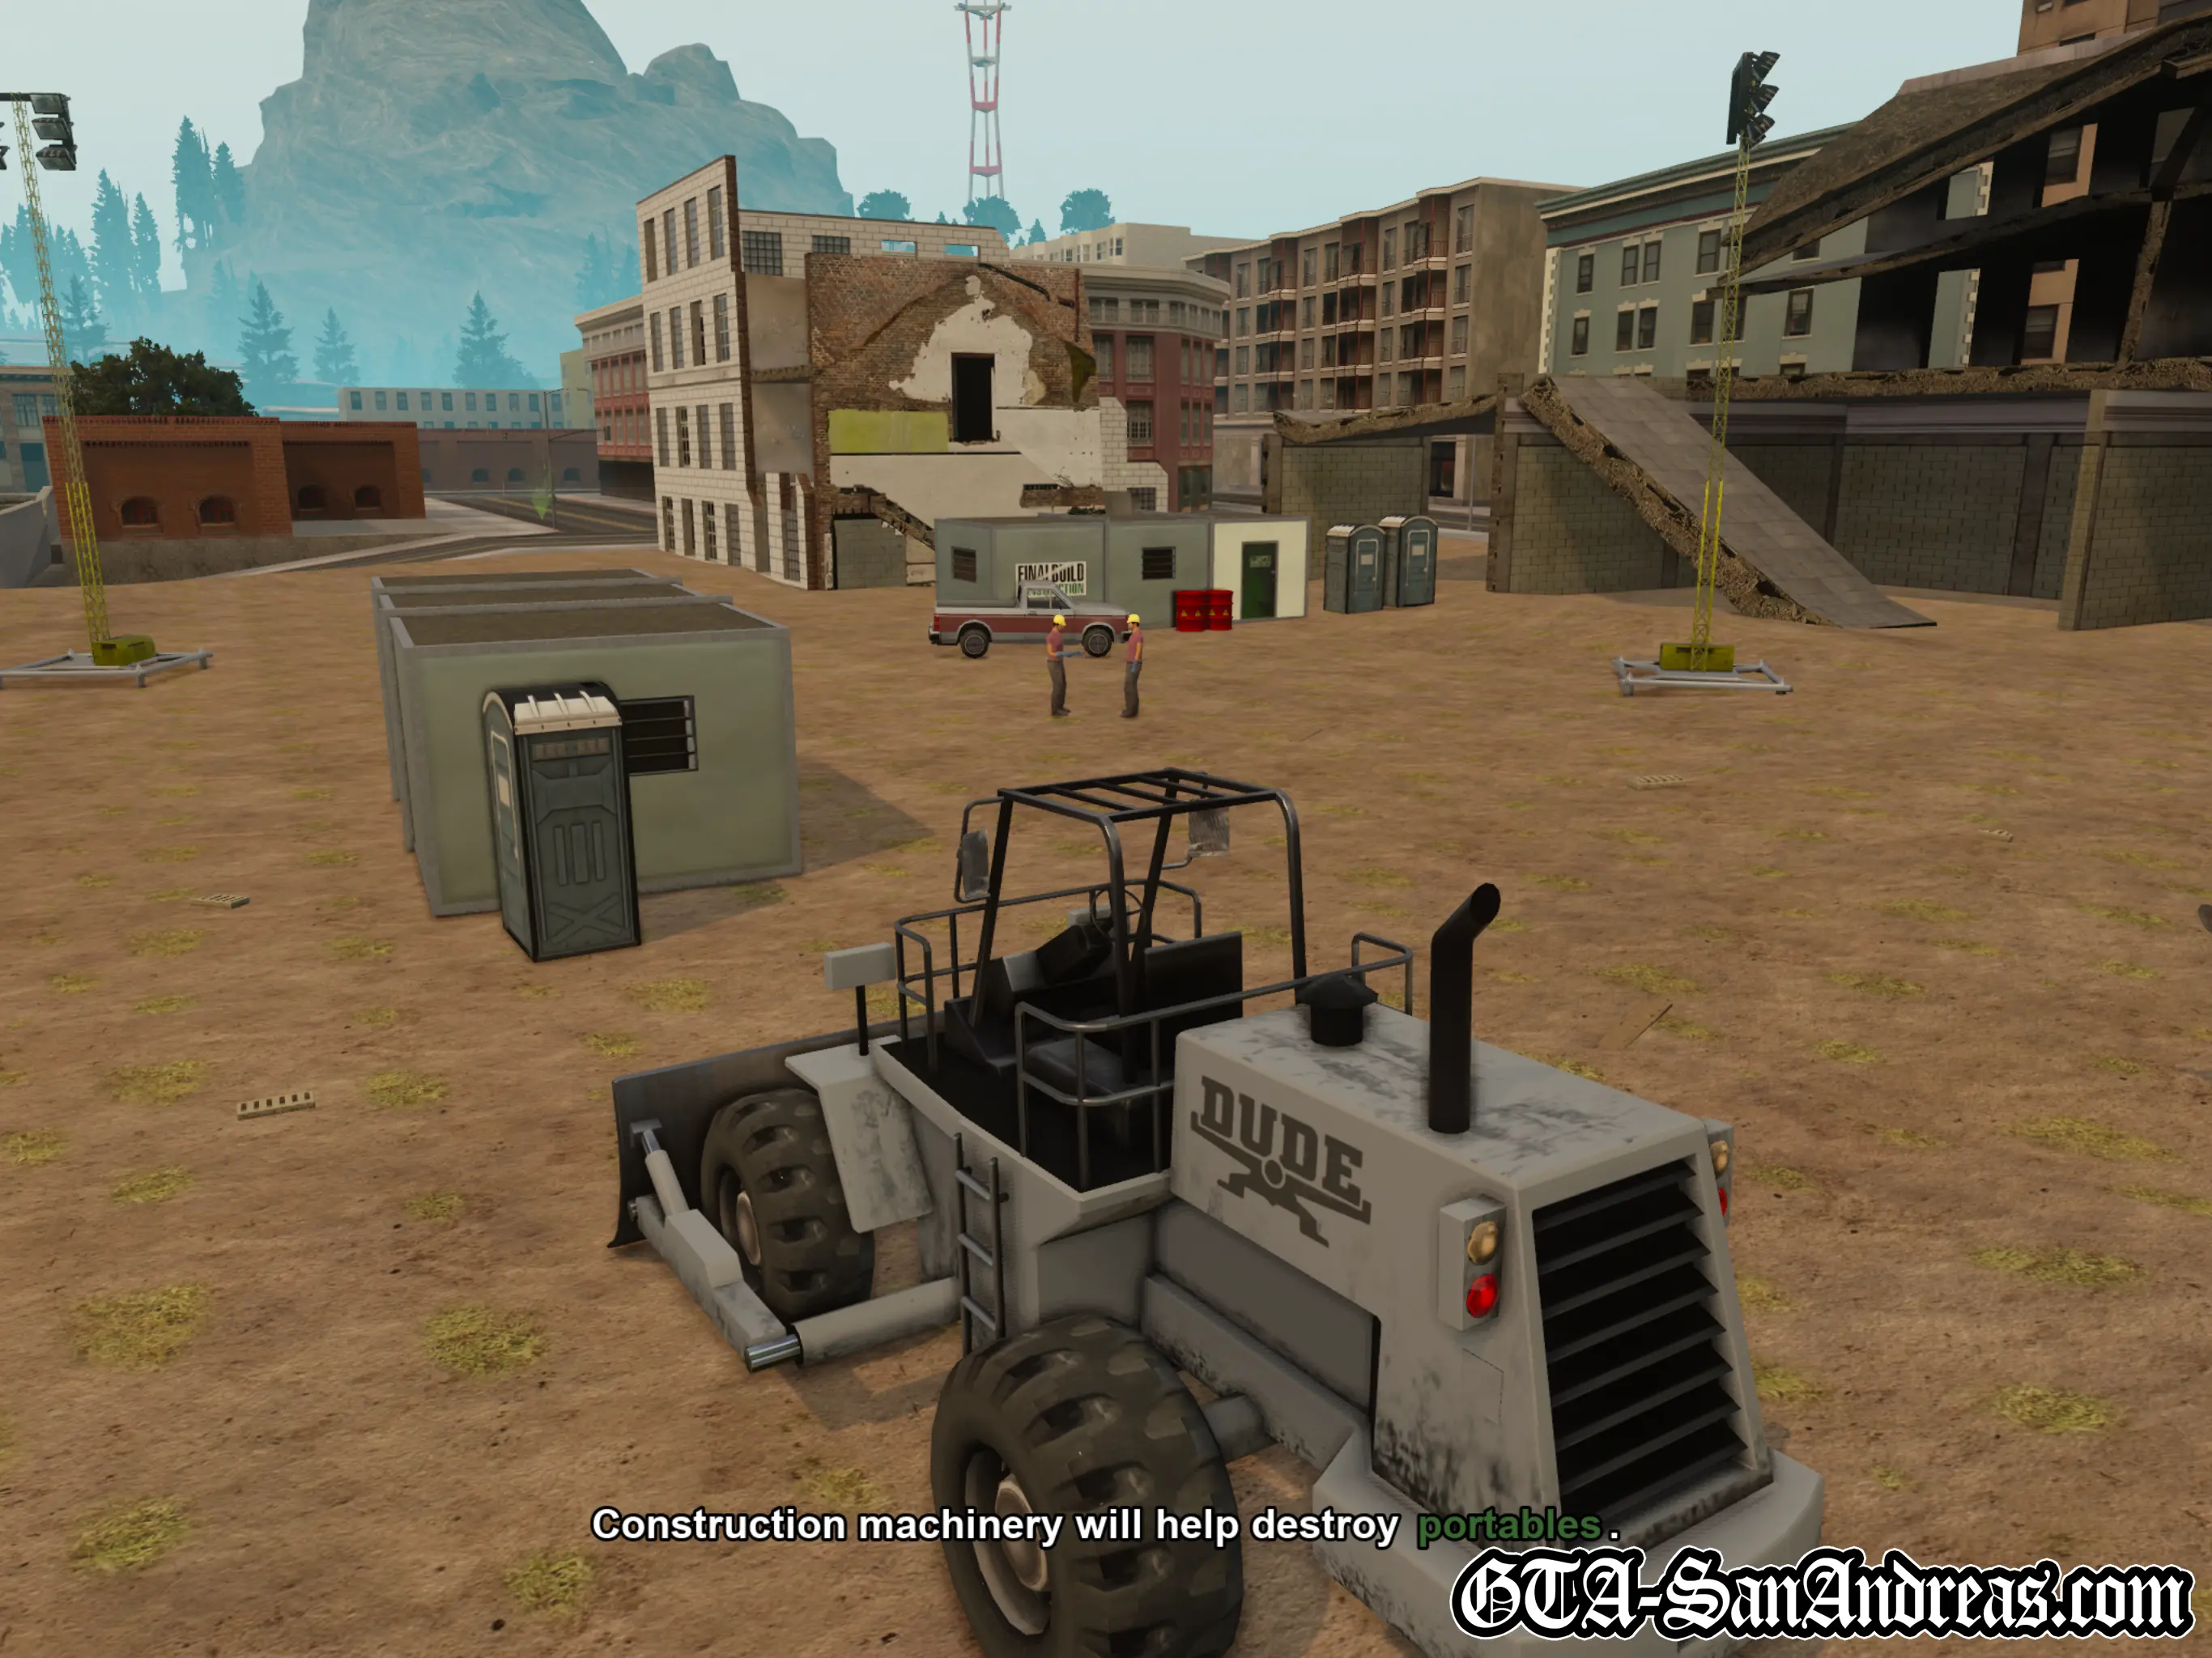
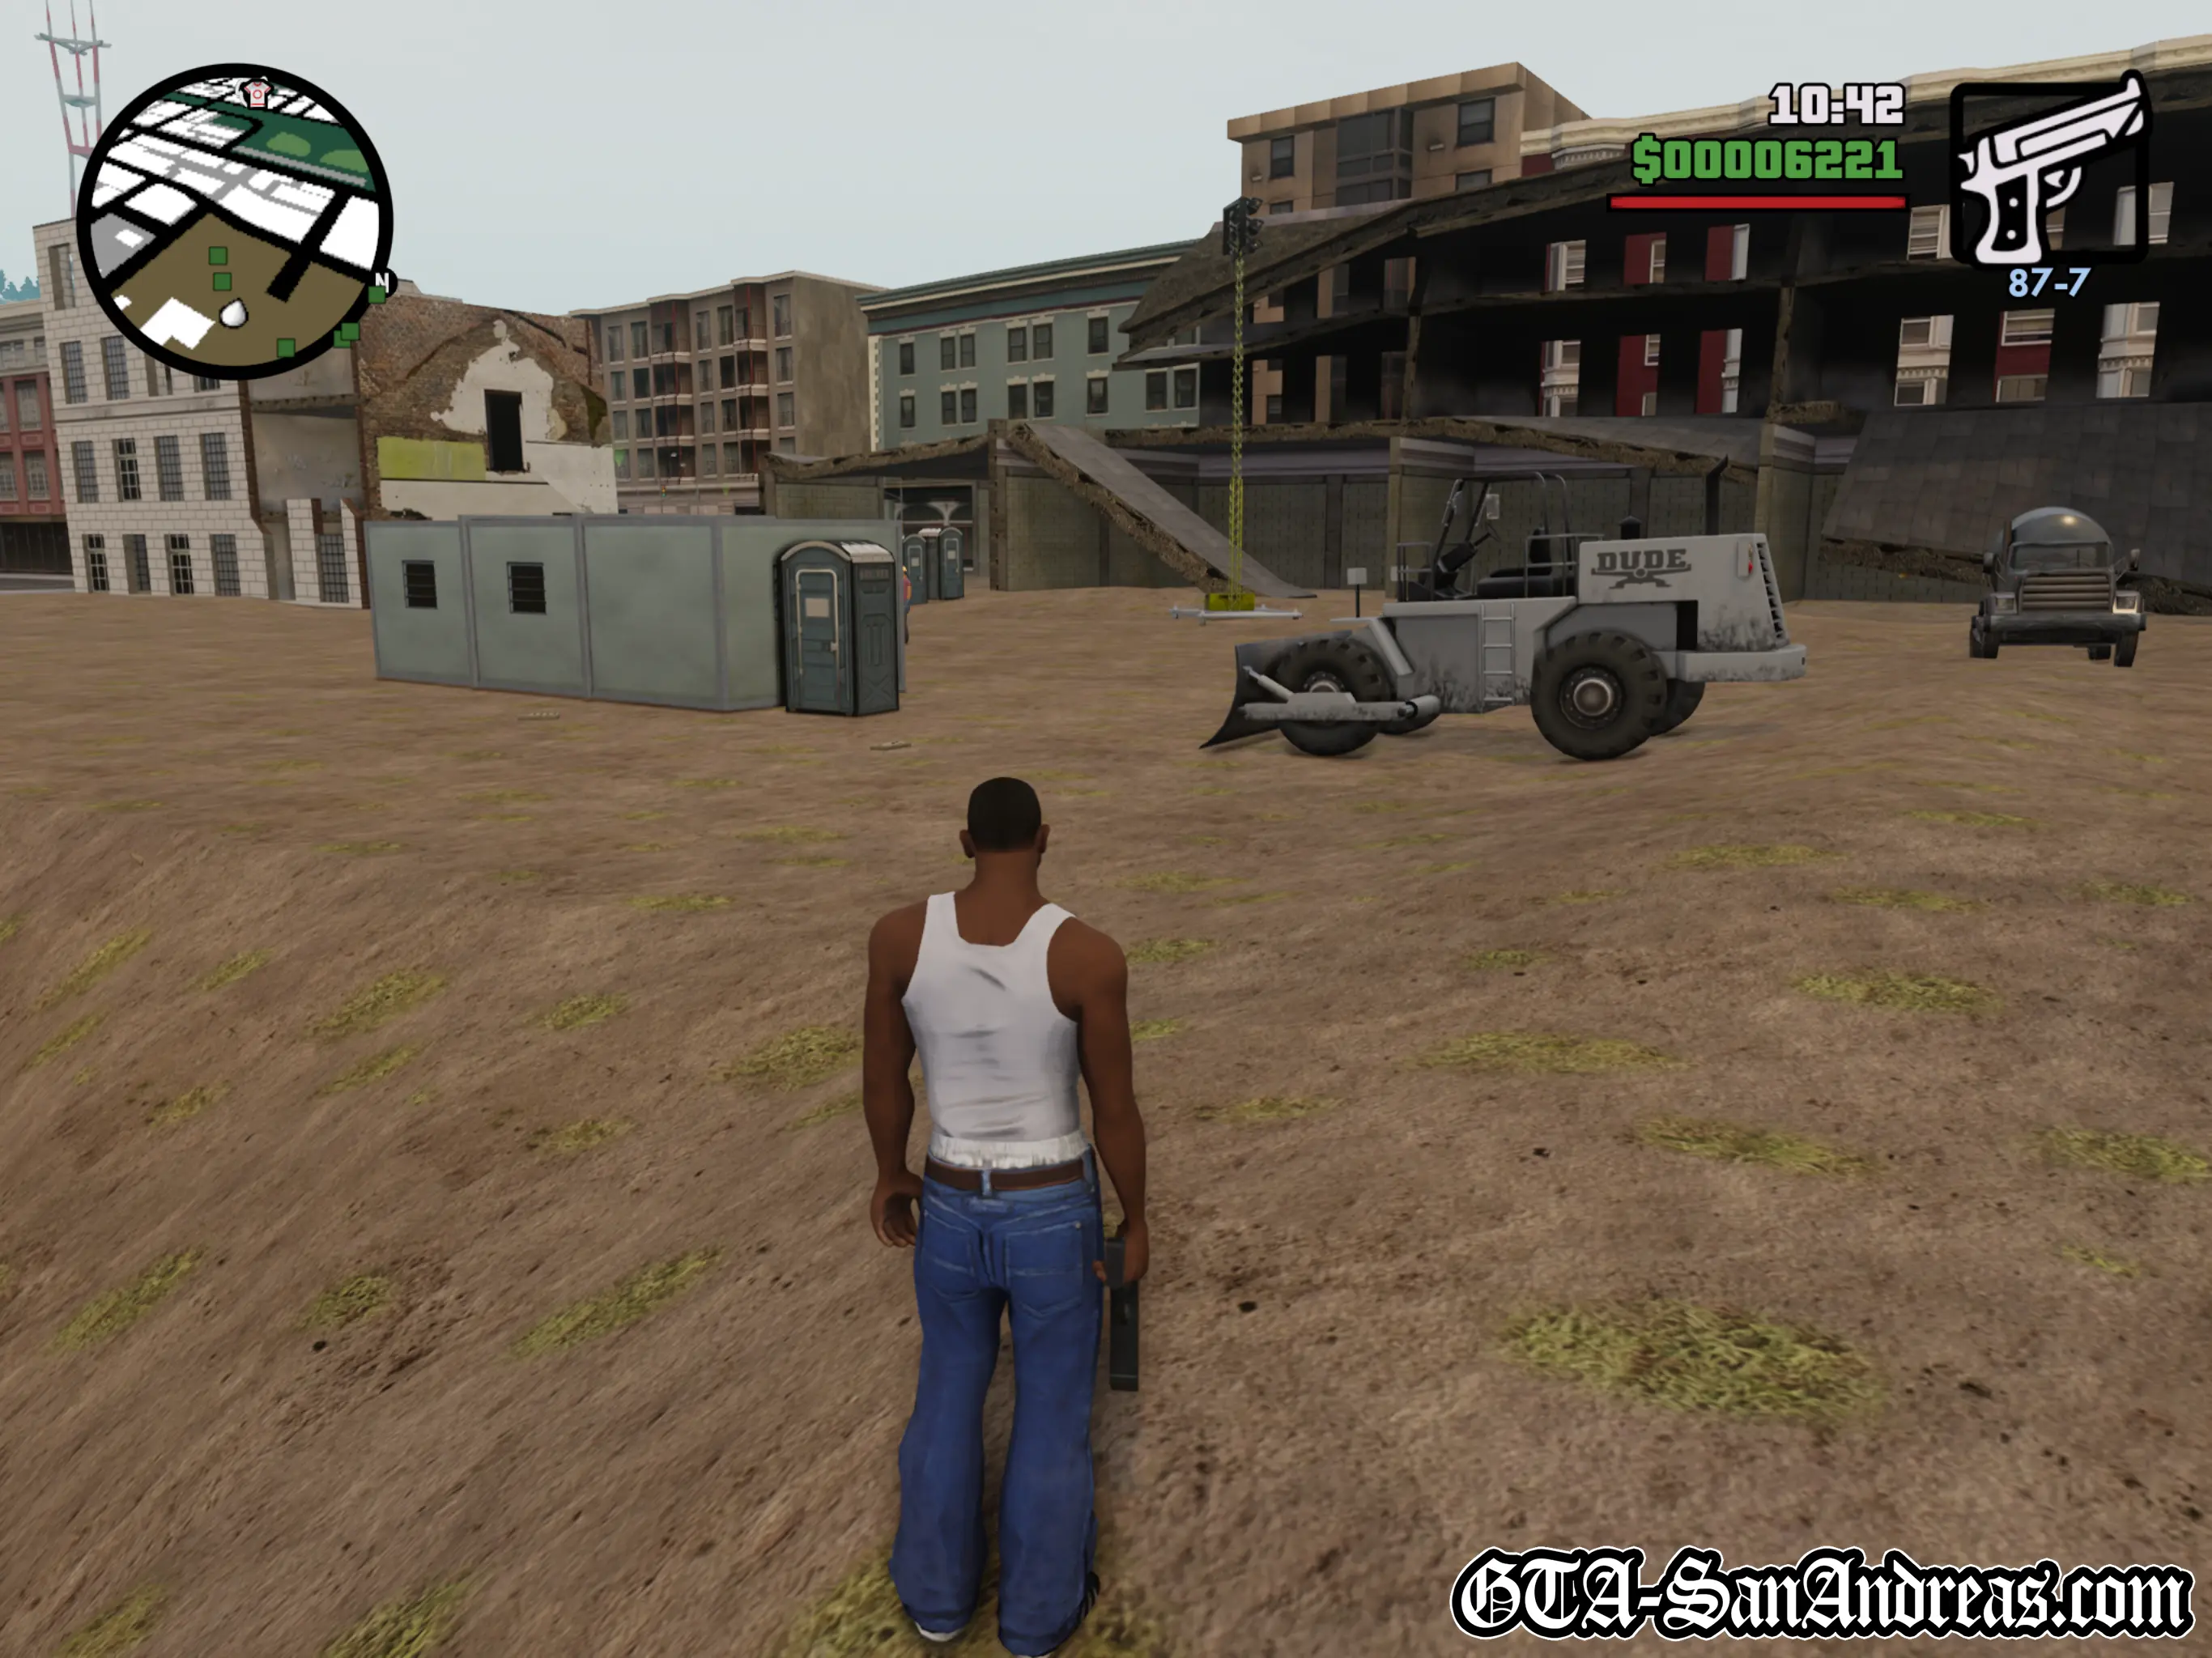
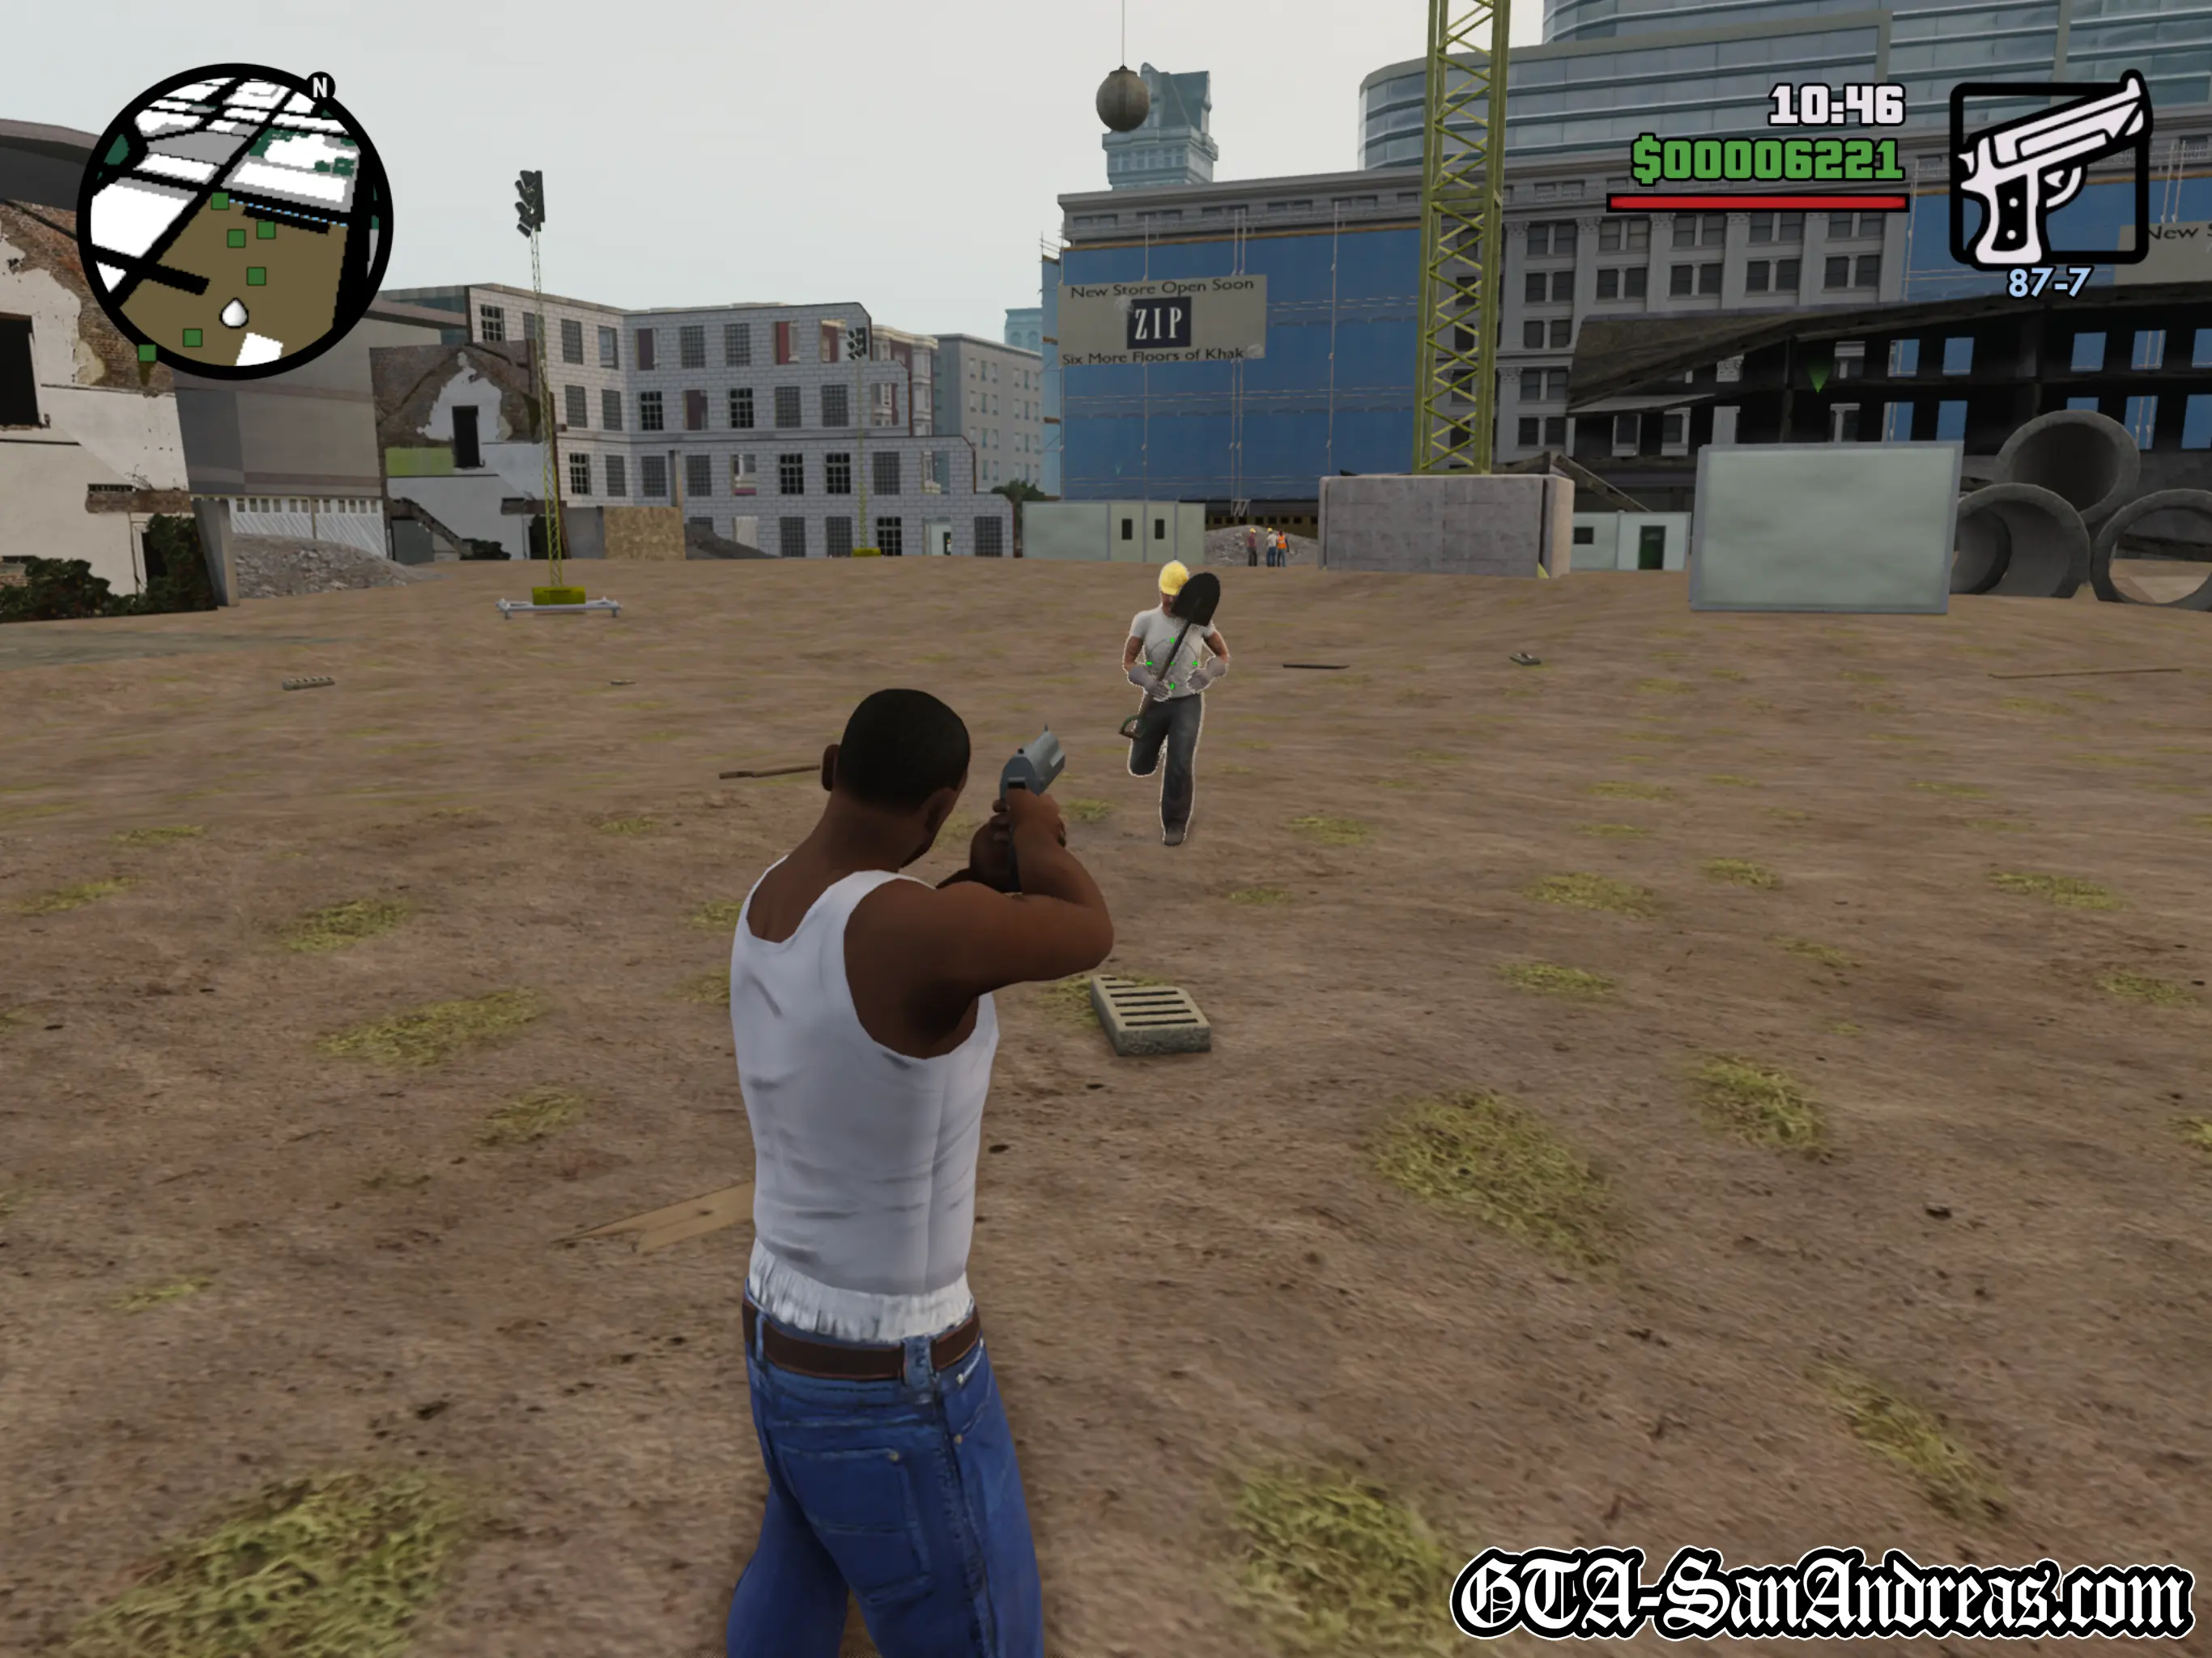
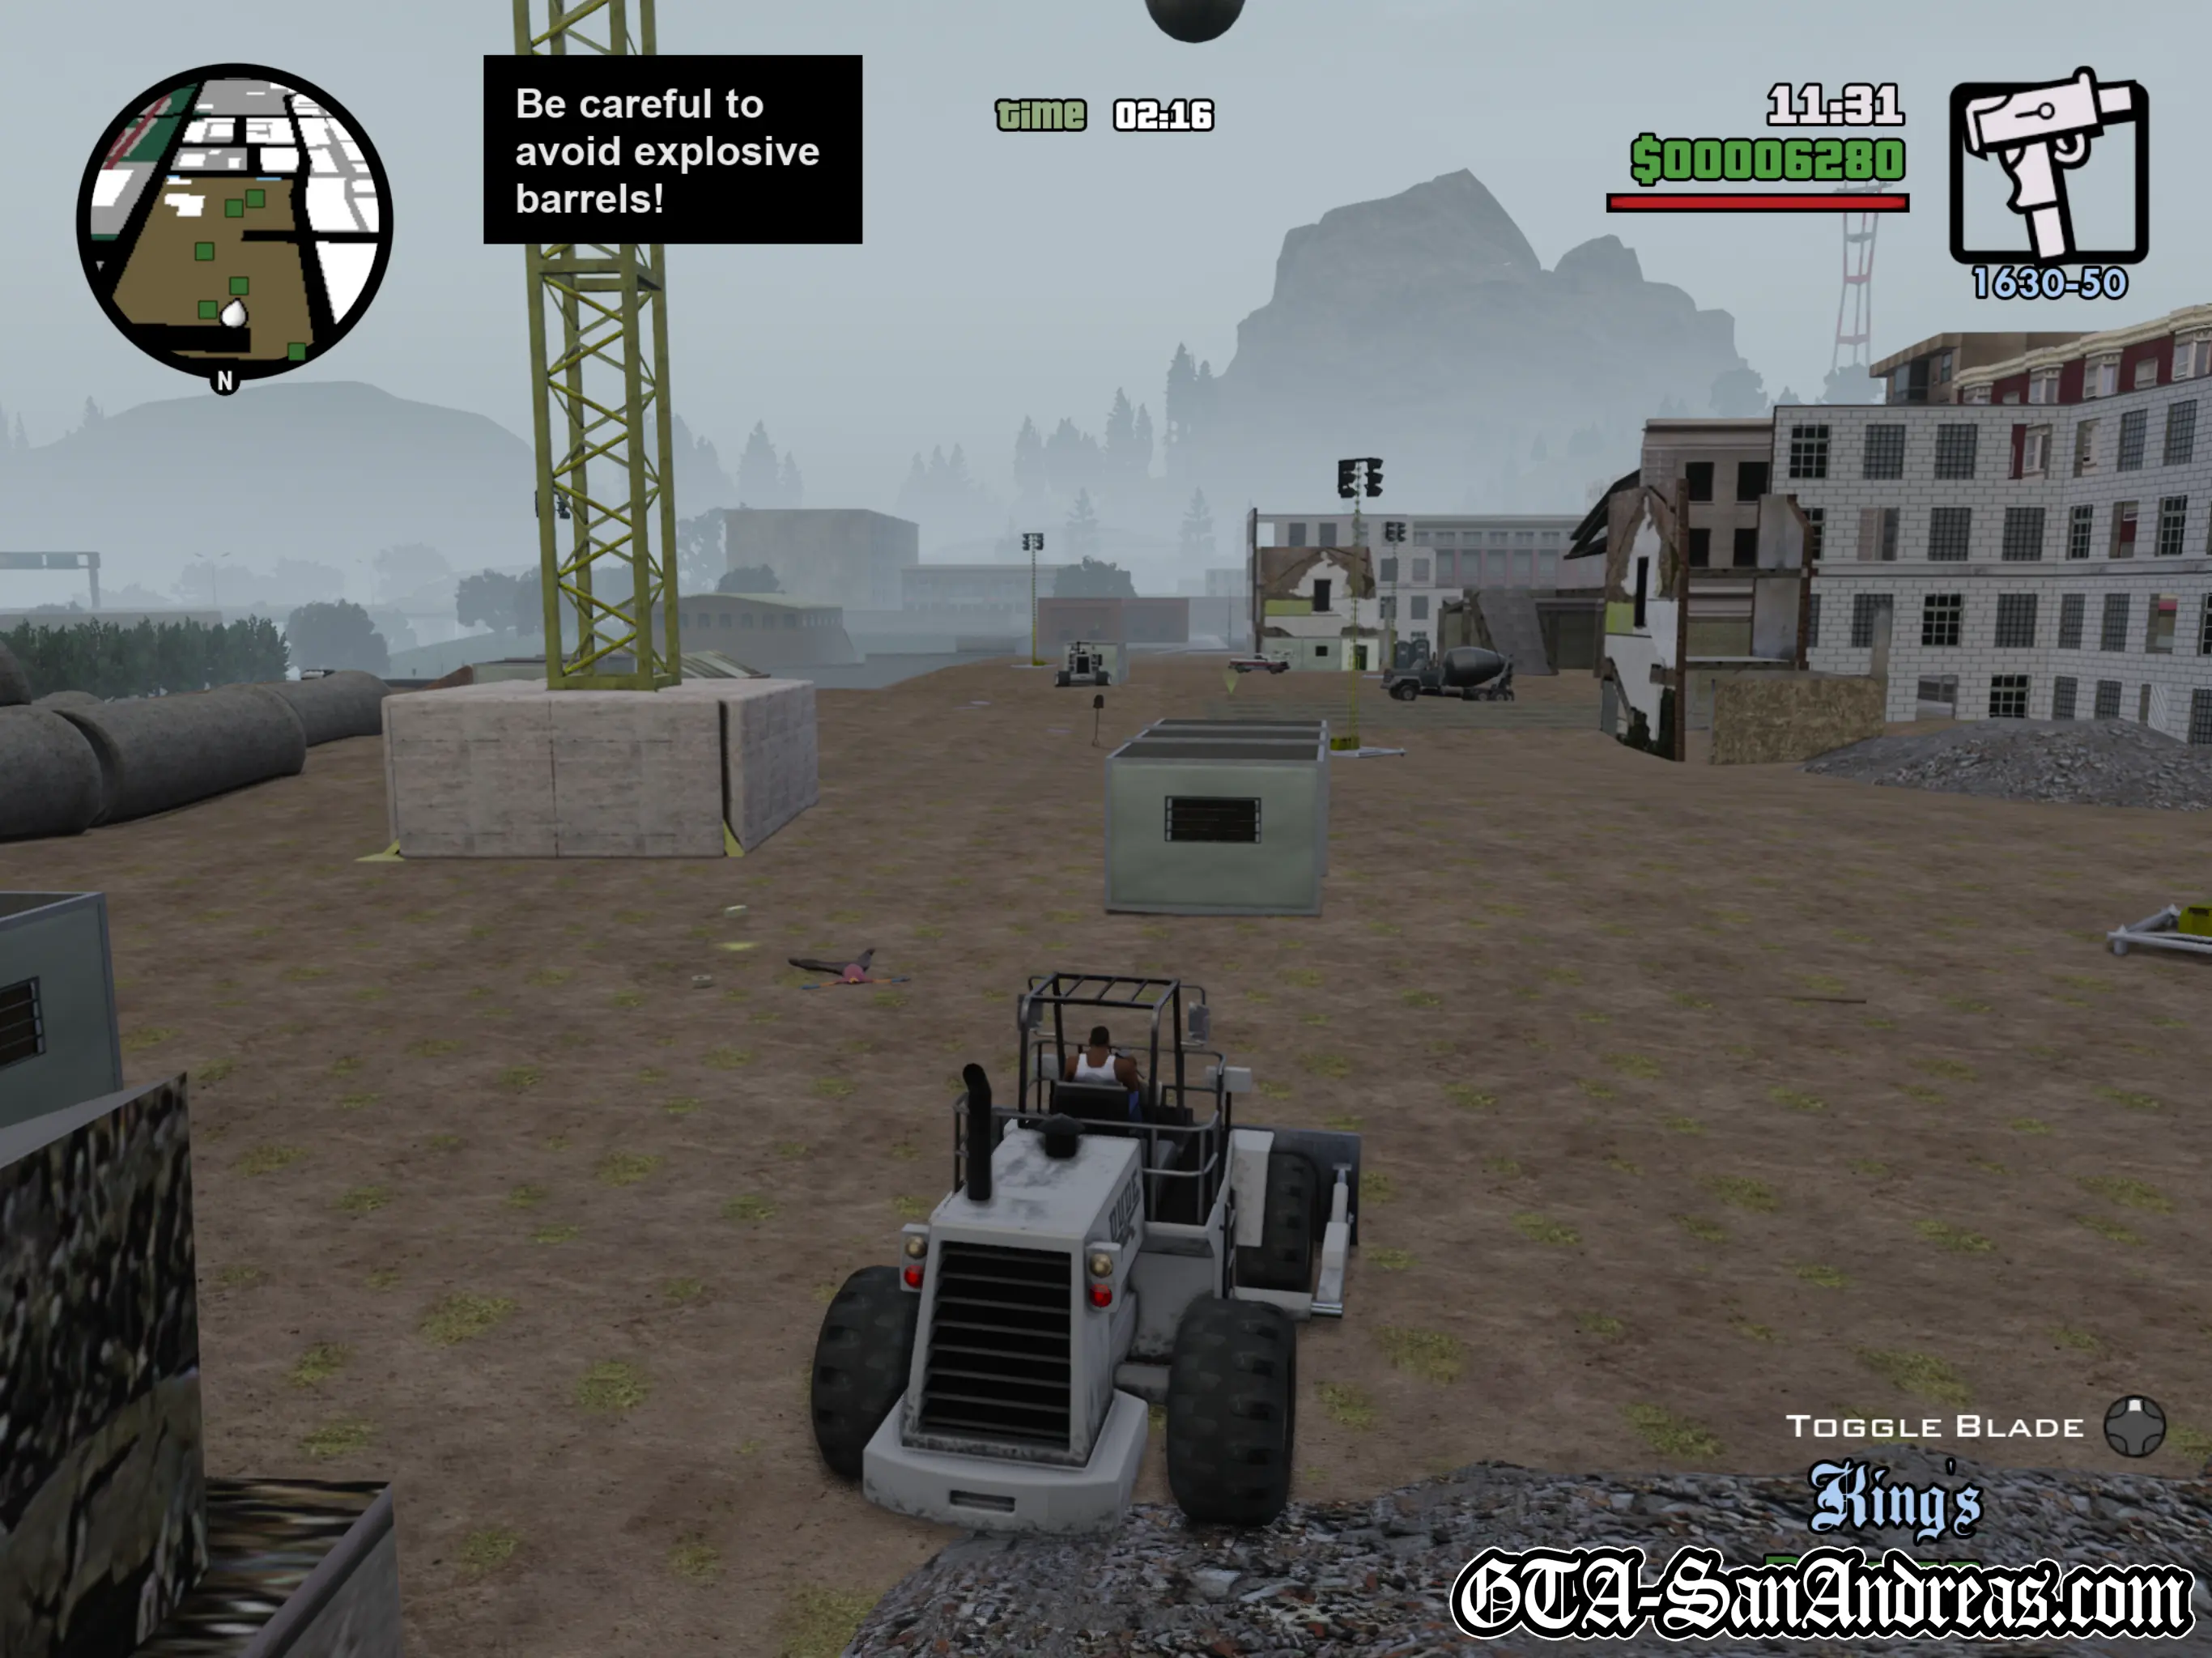
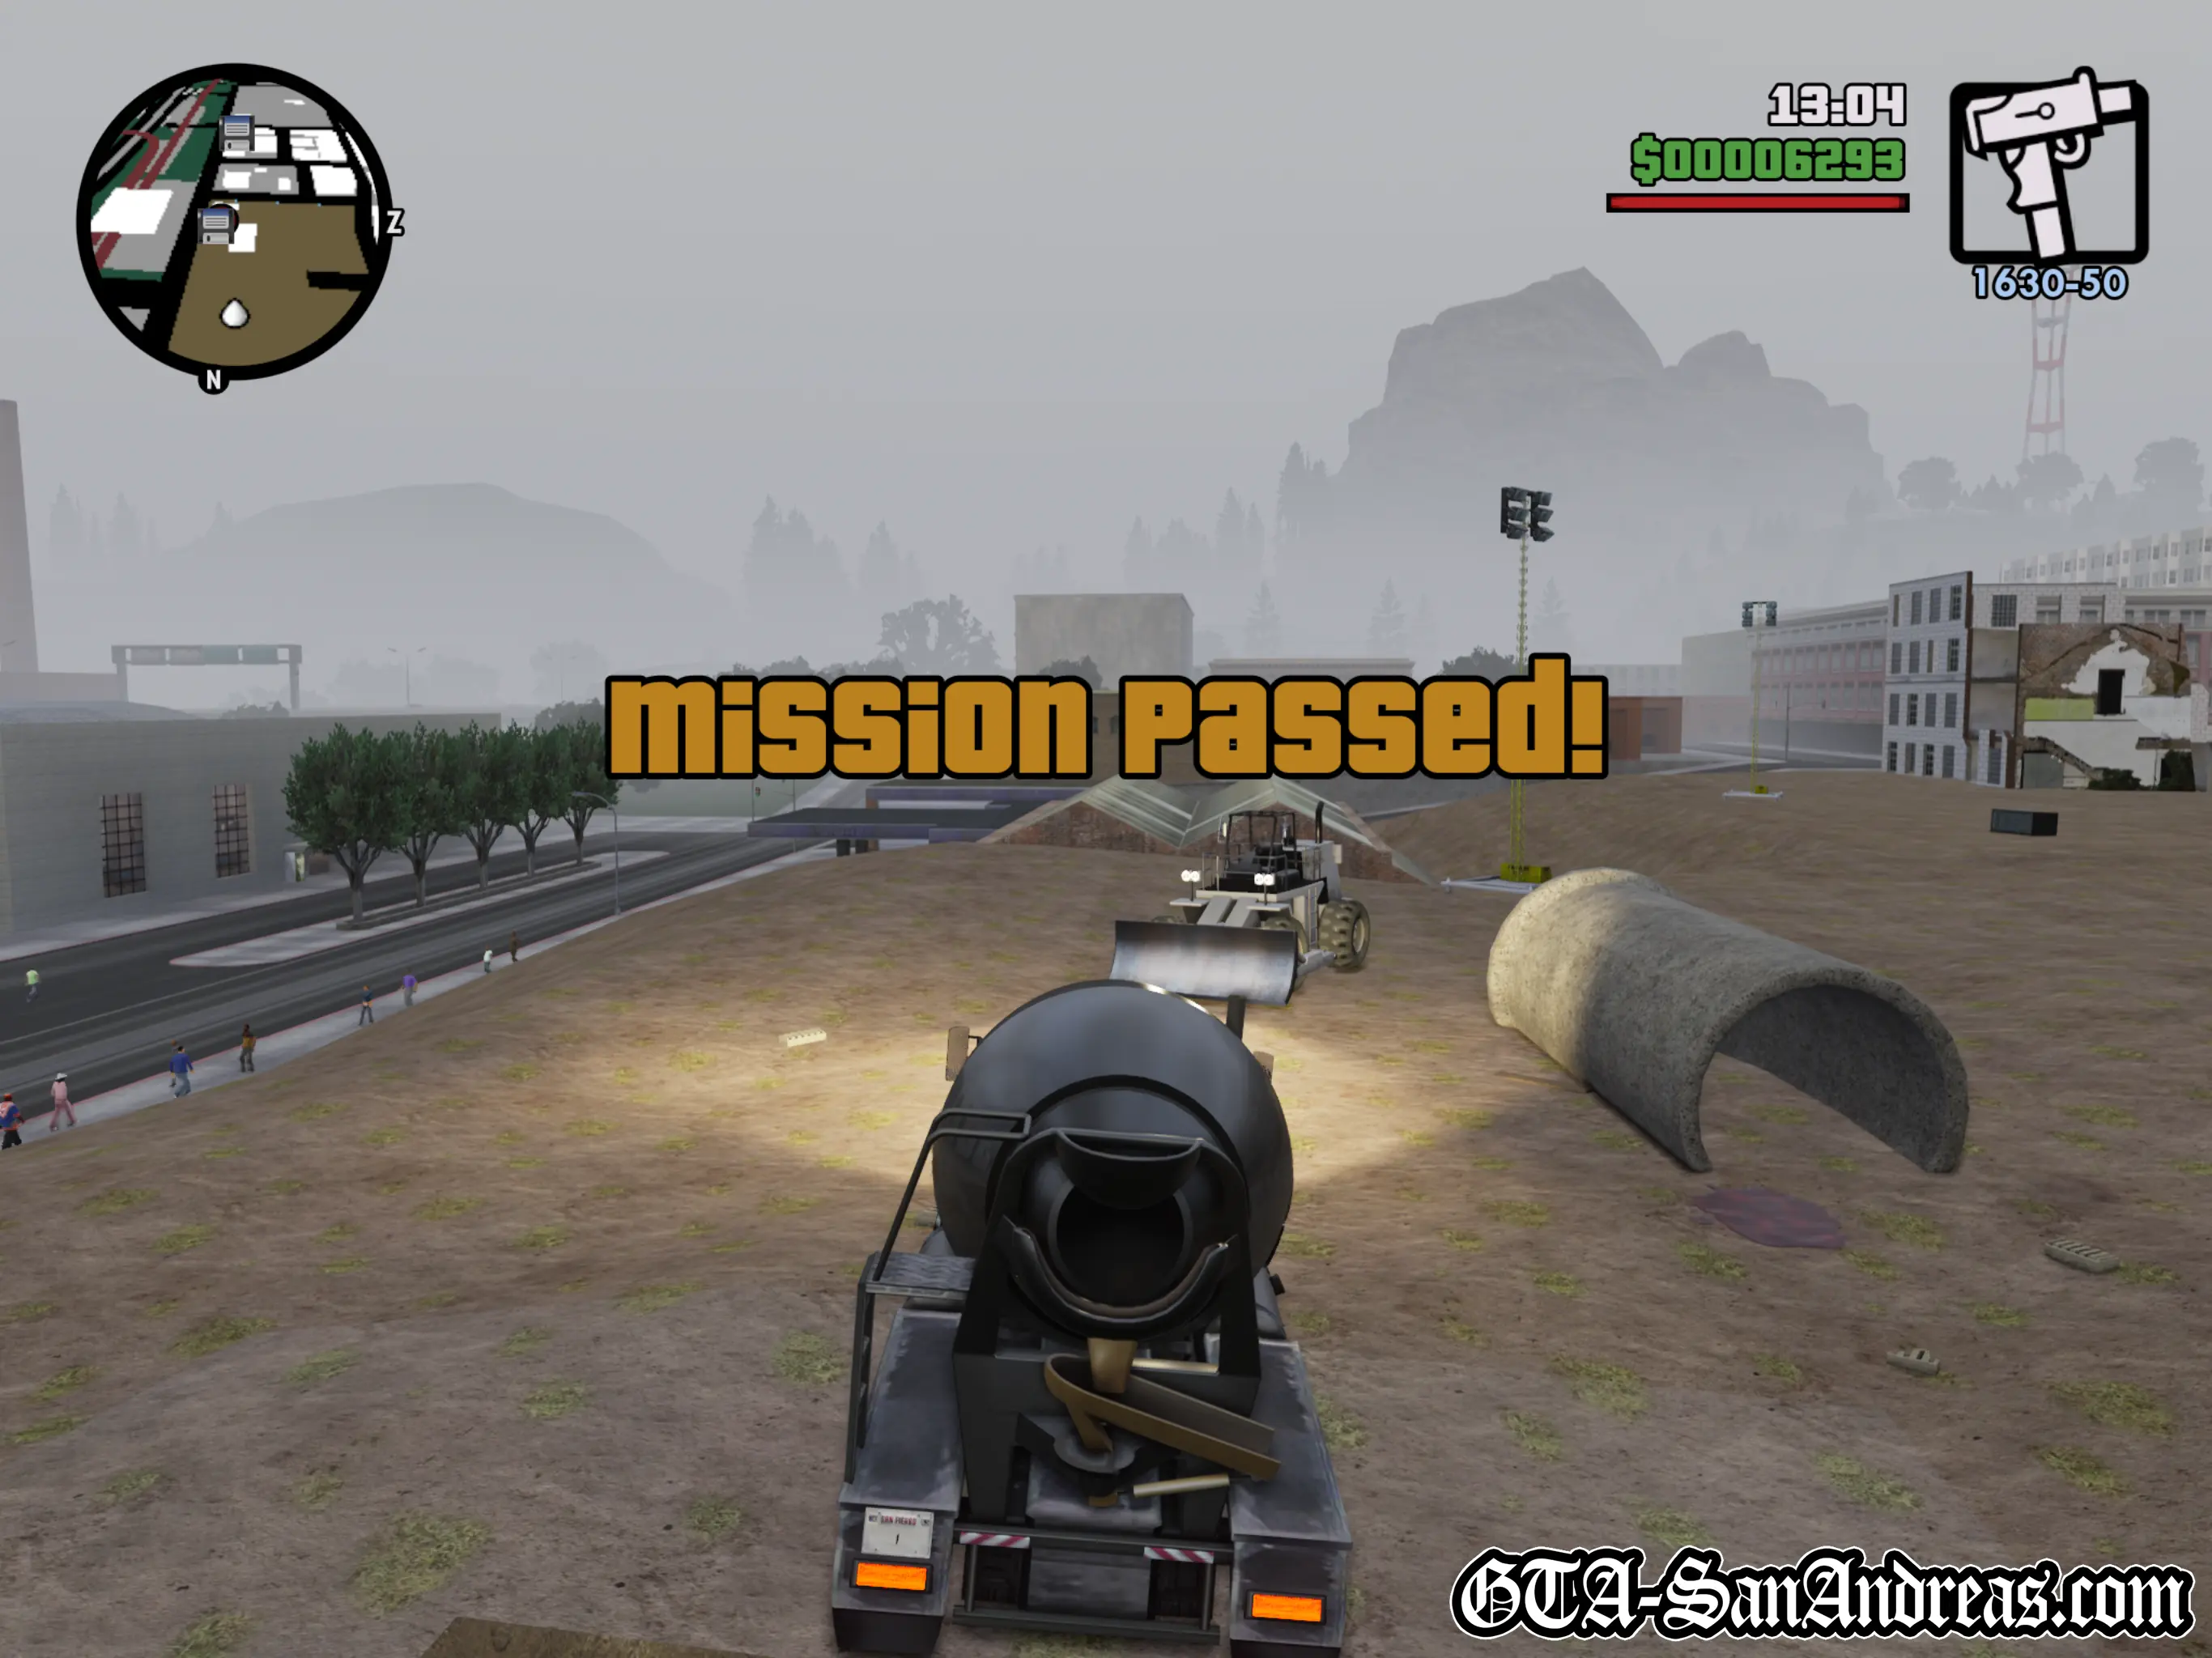
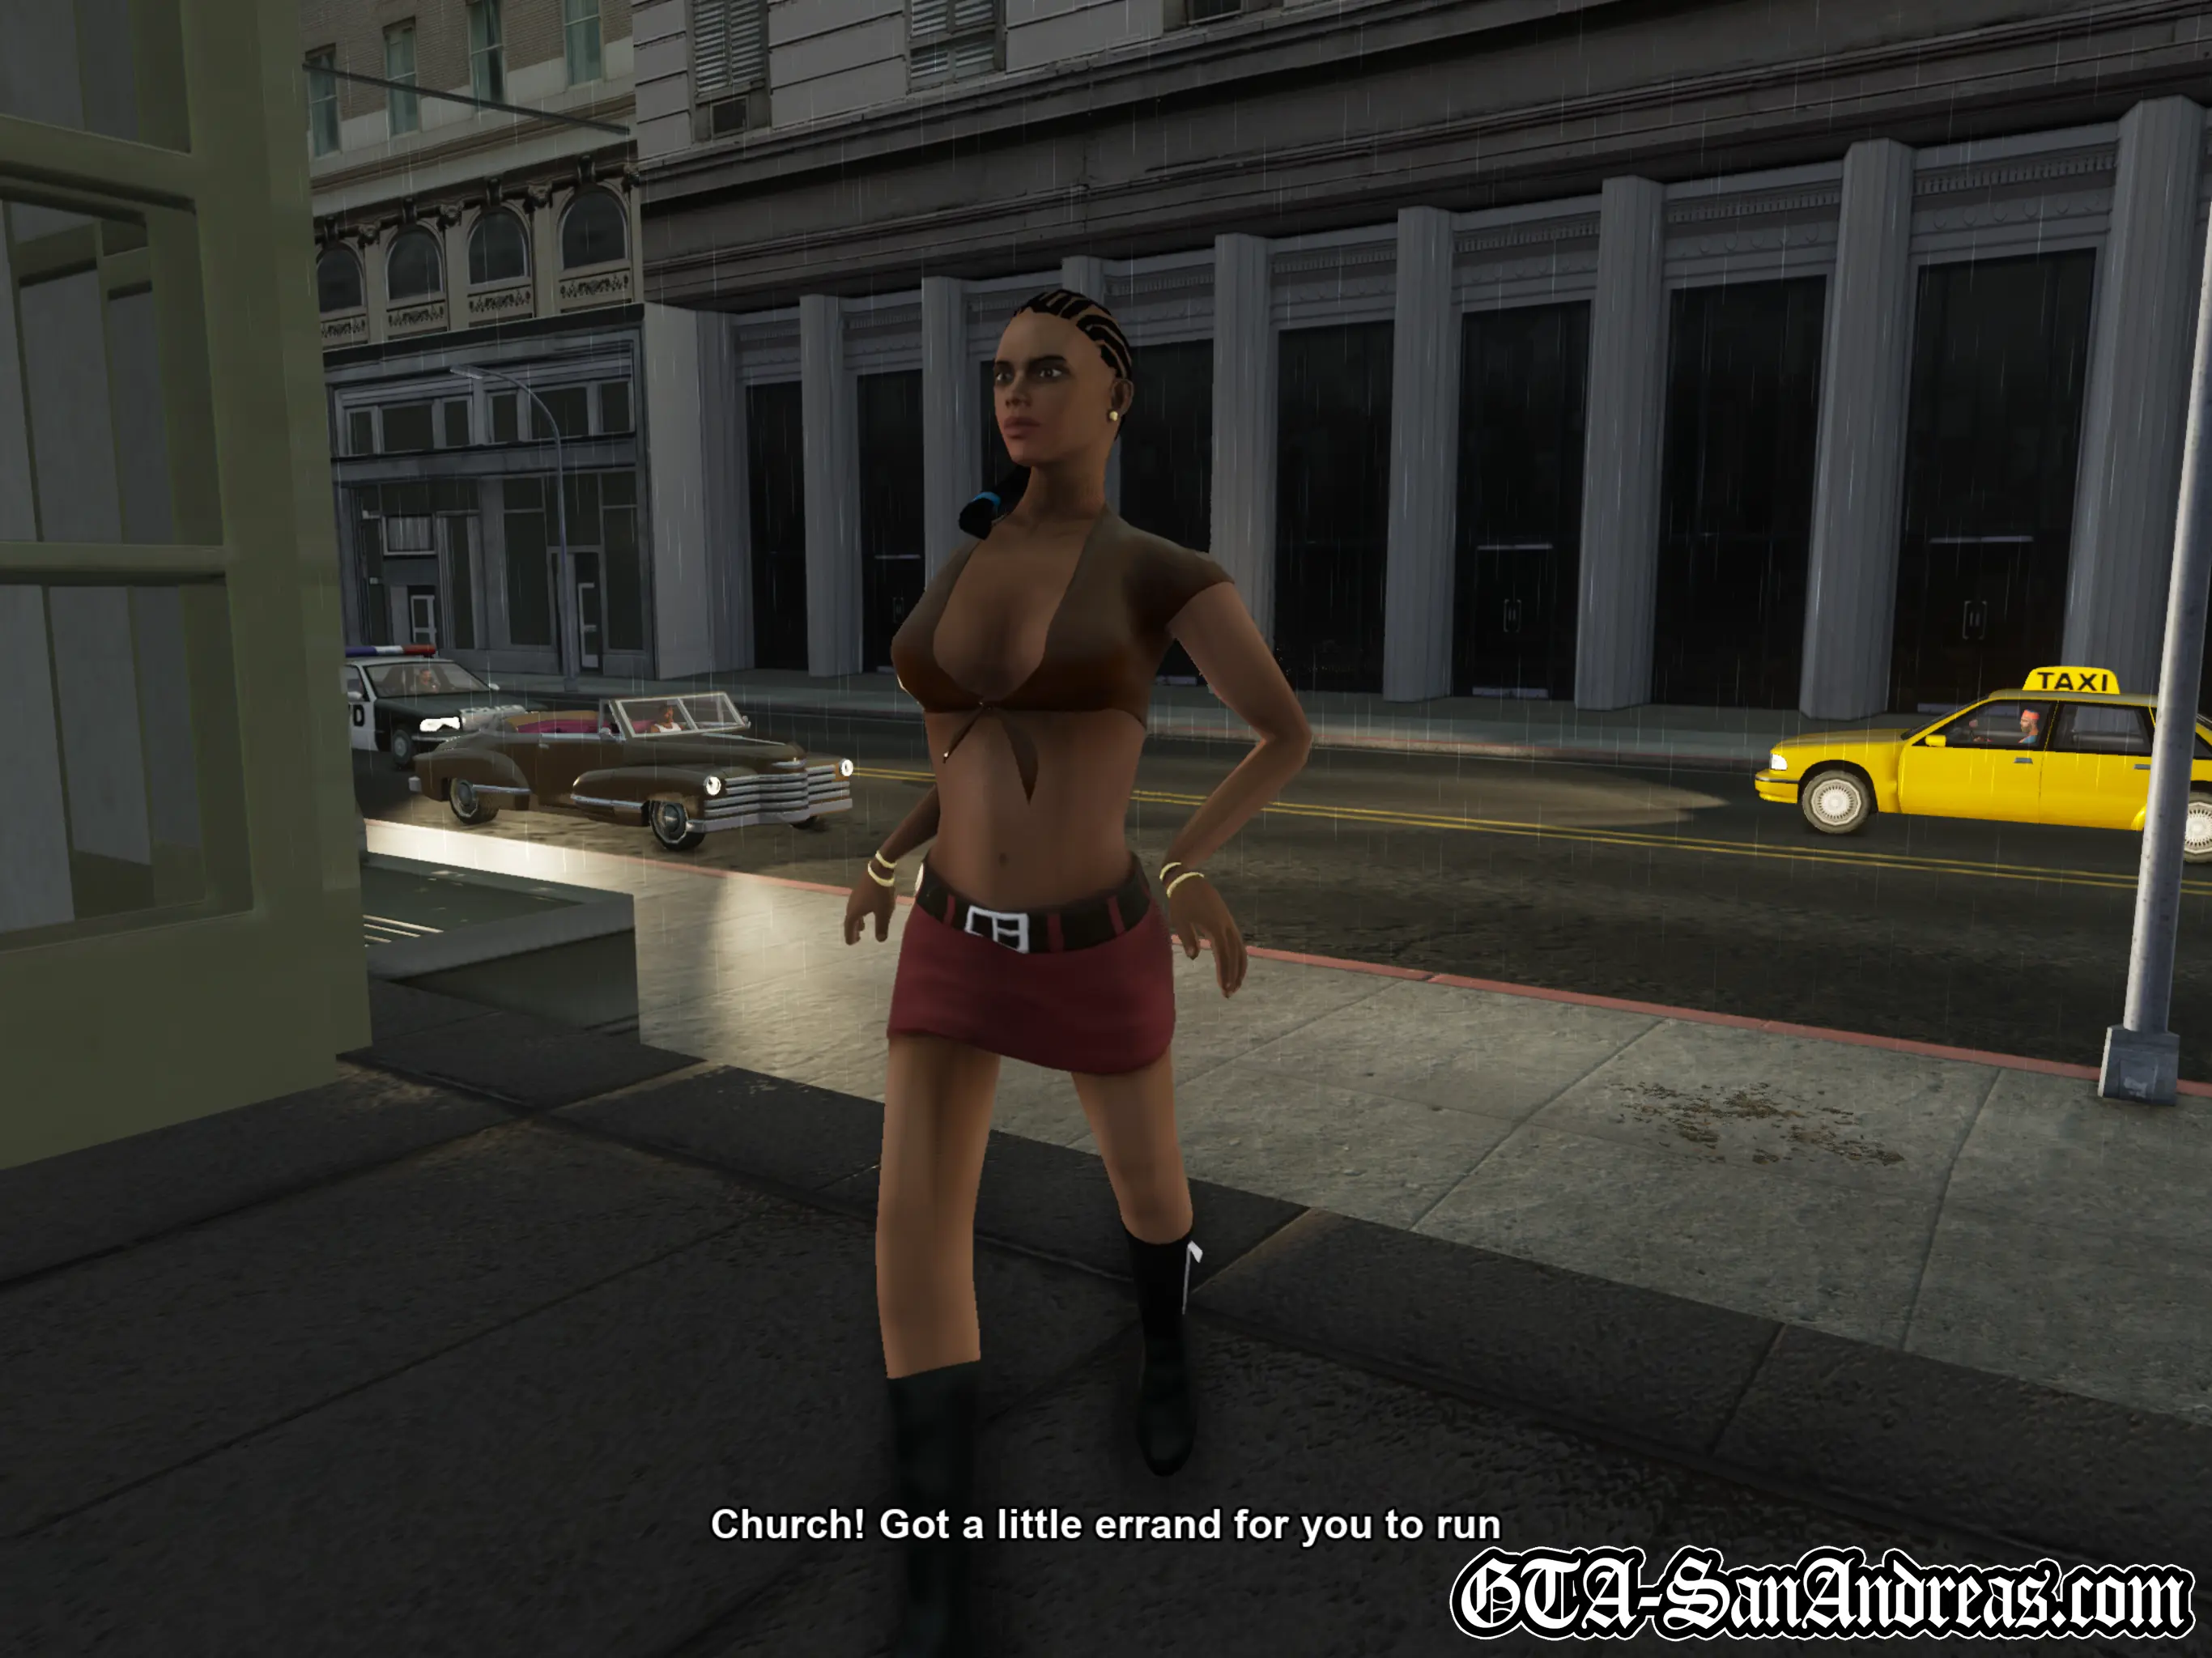
Deconstruction
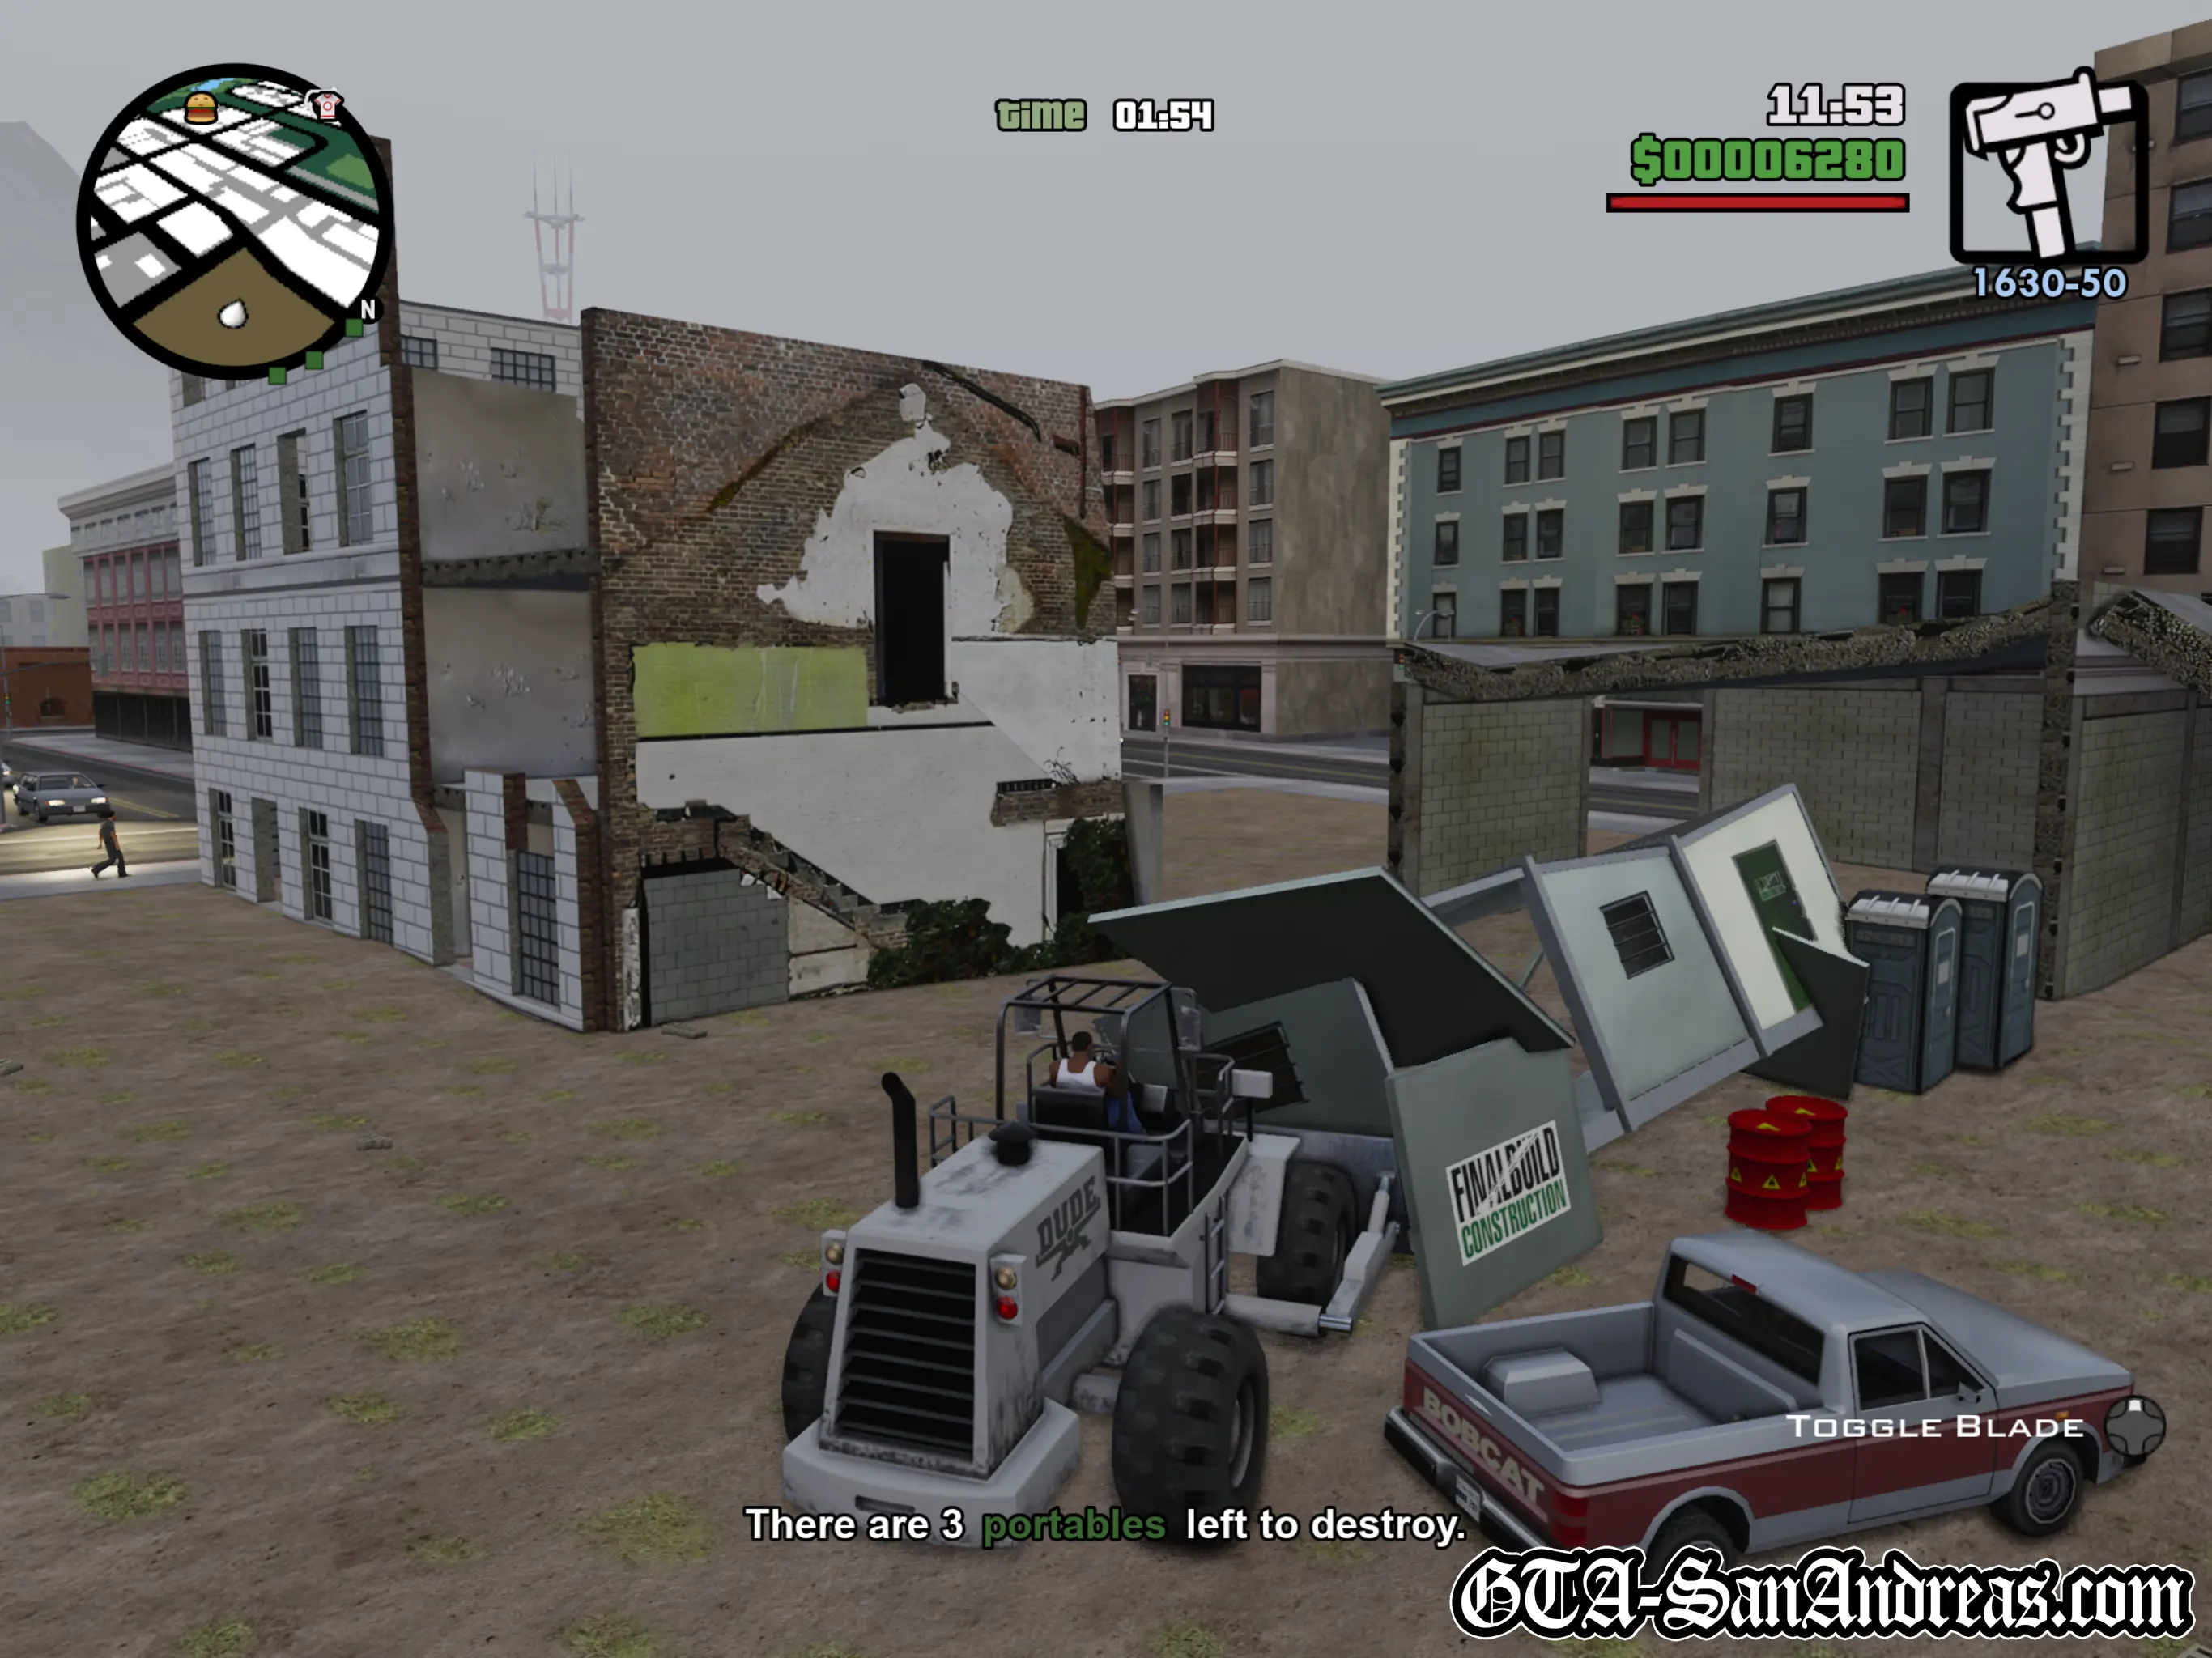
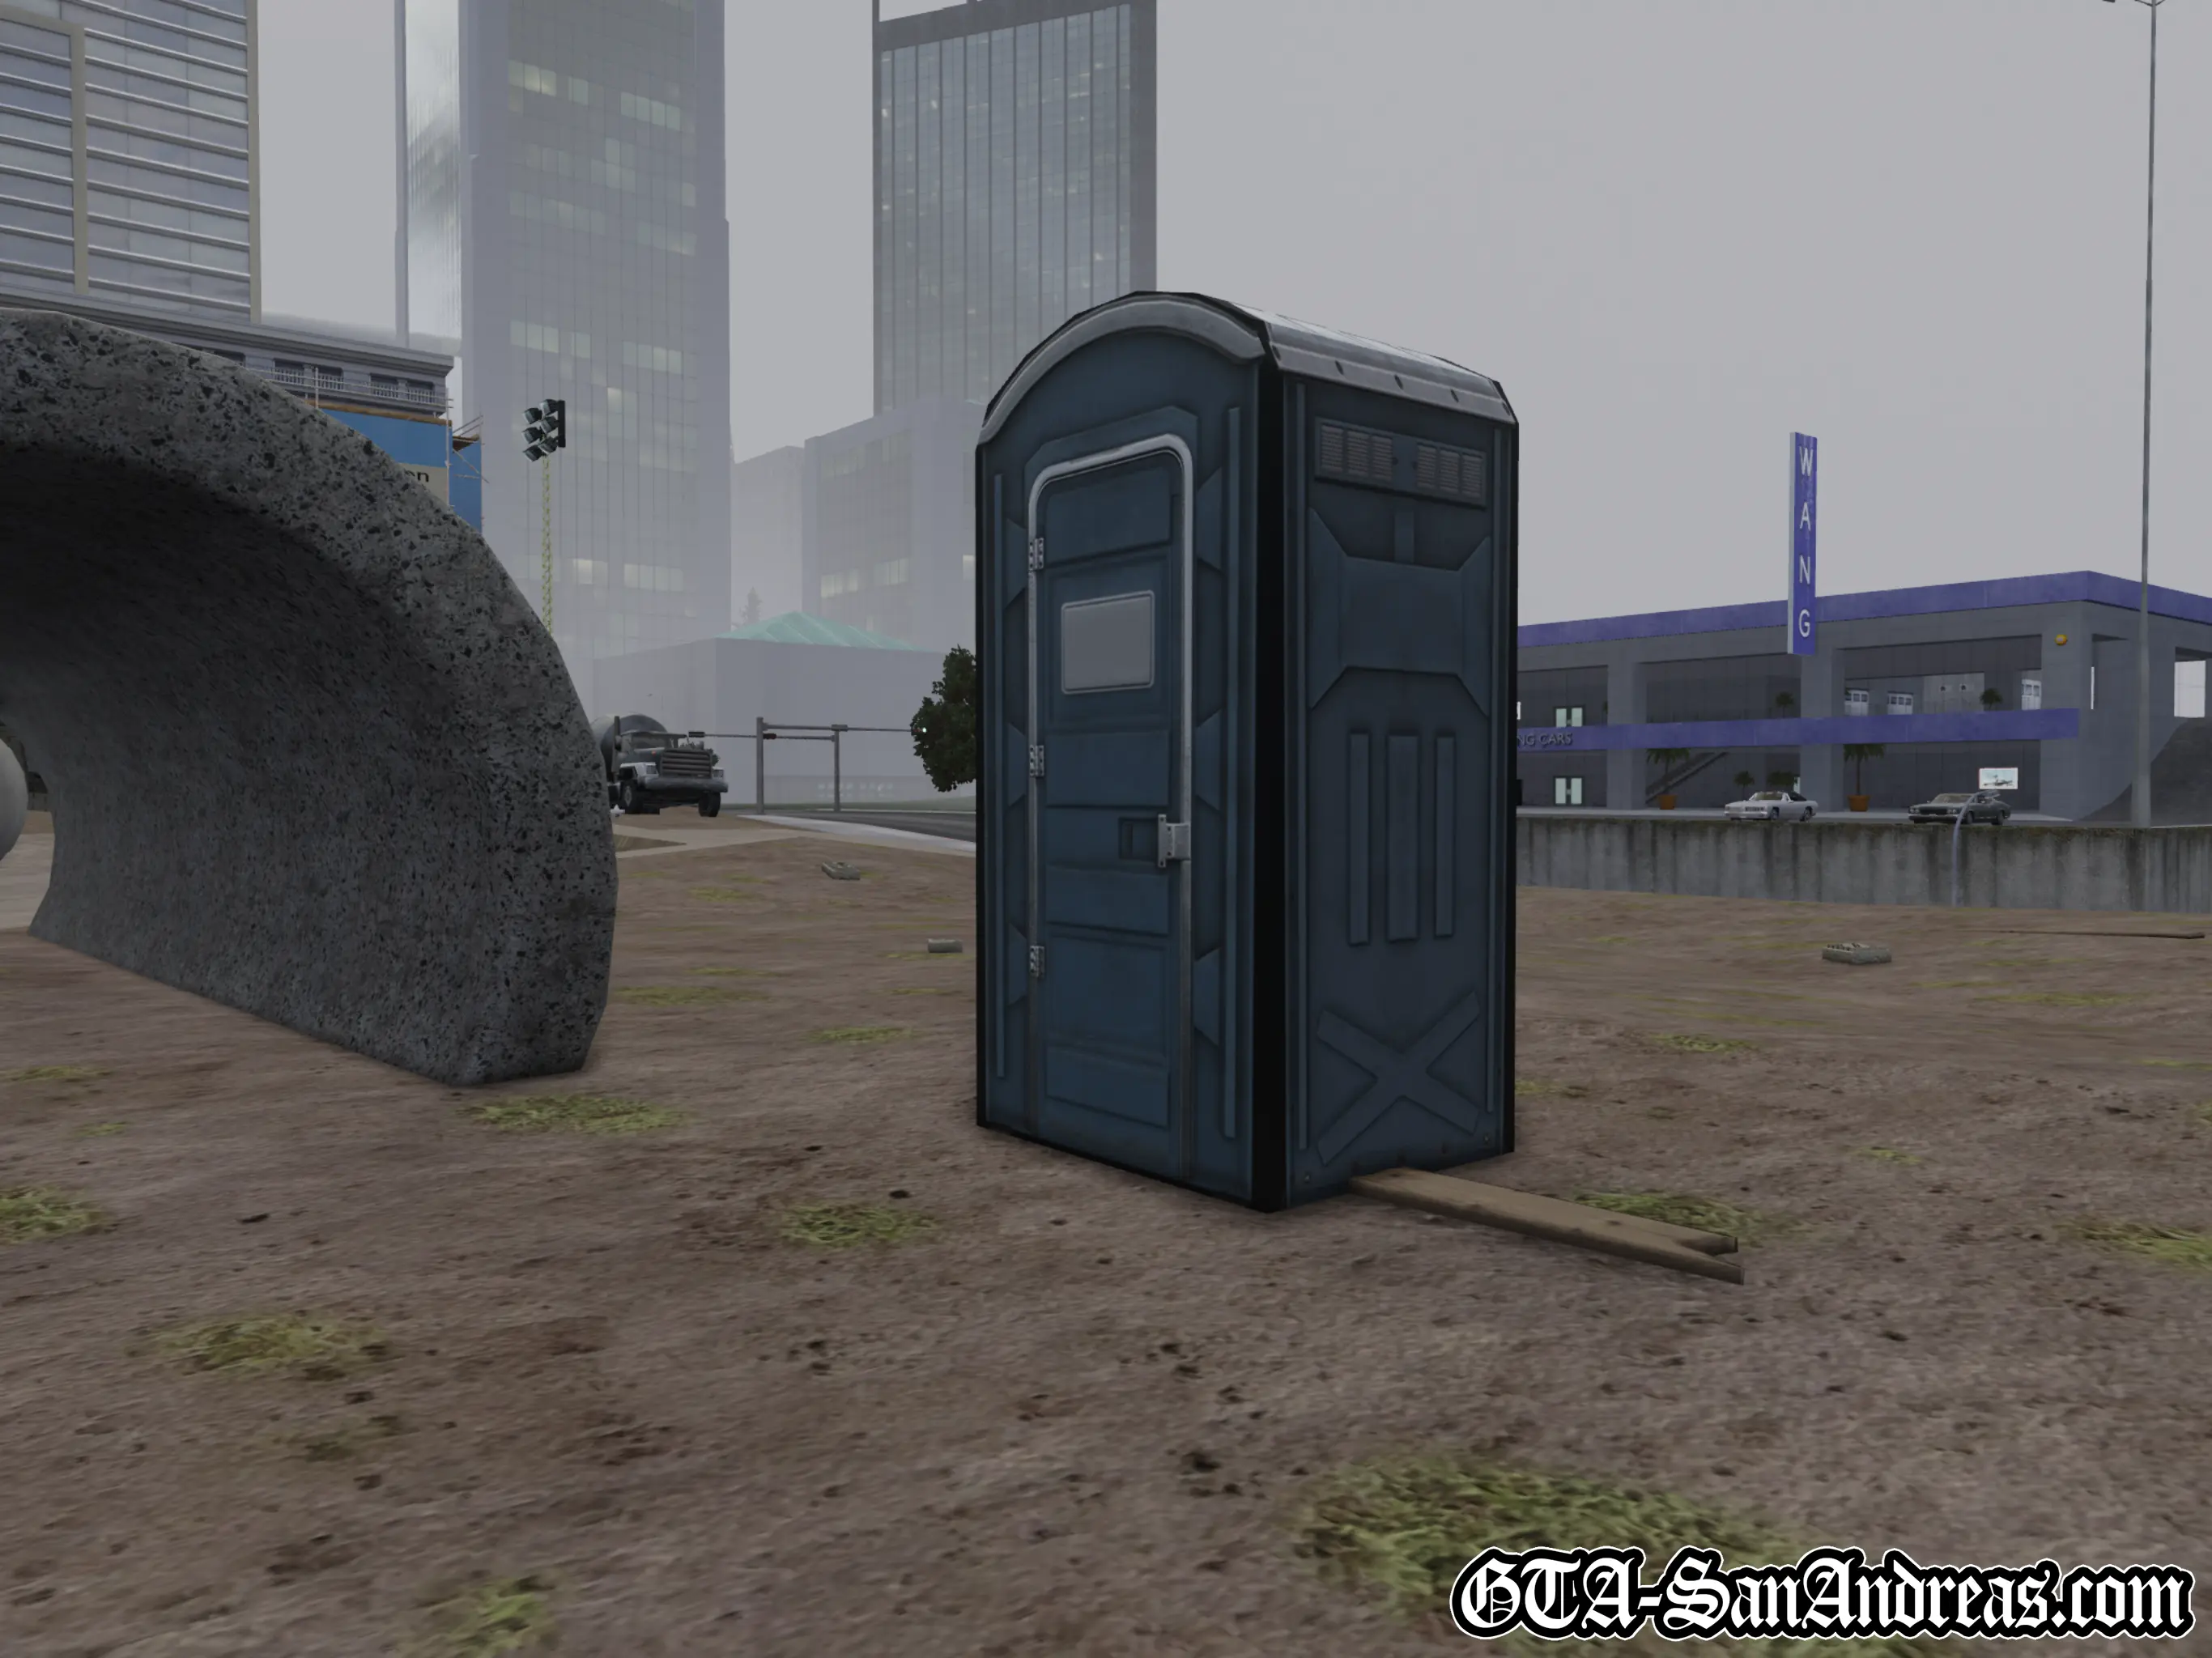
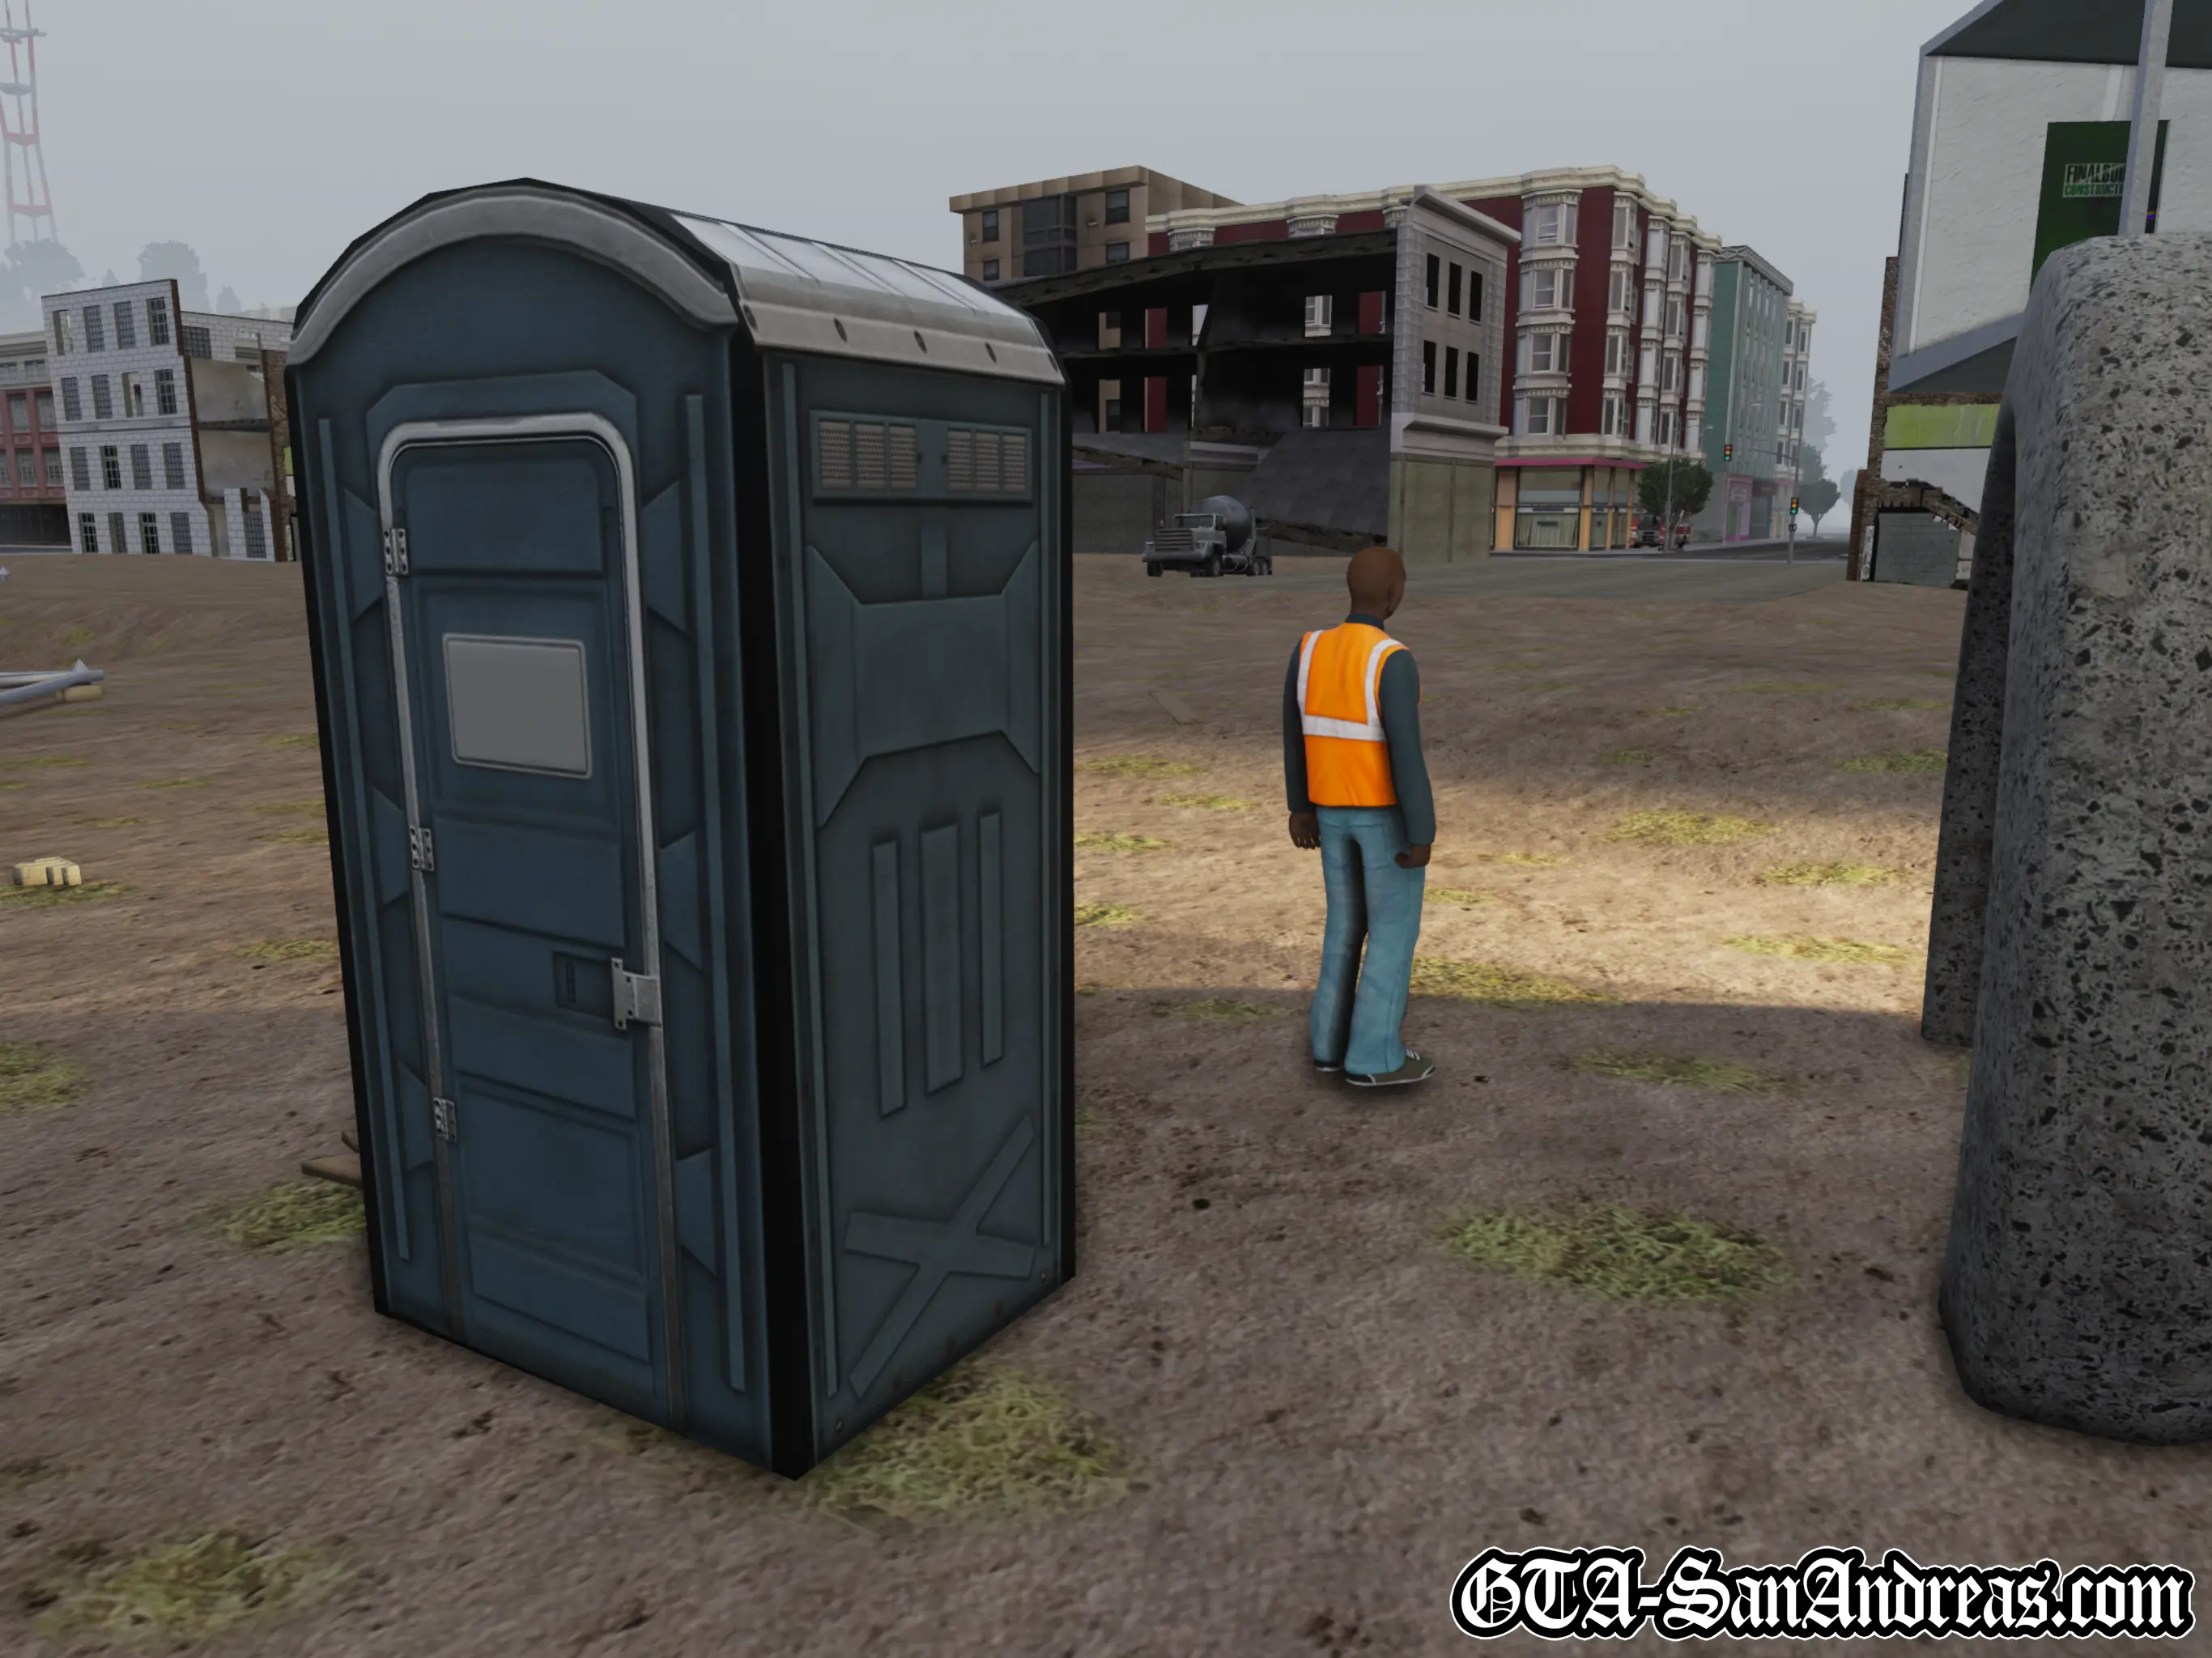
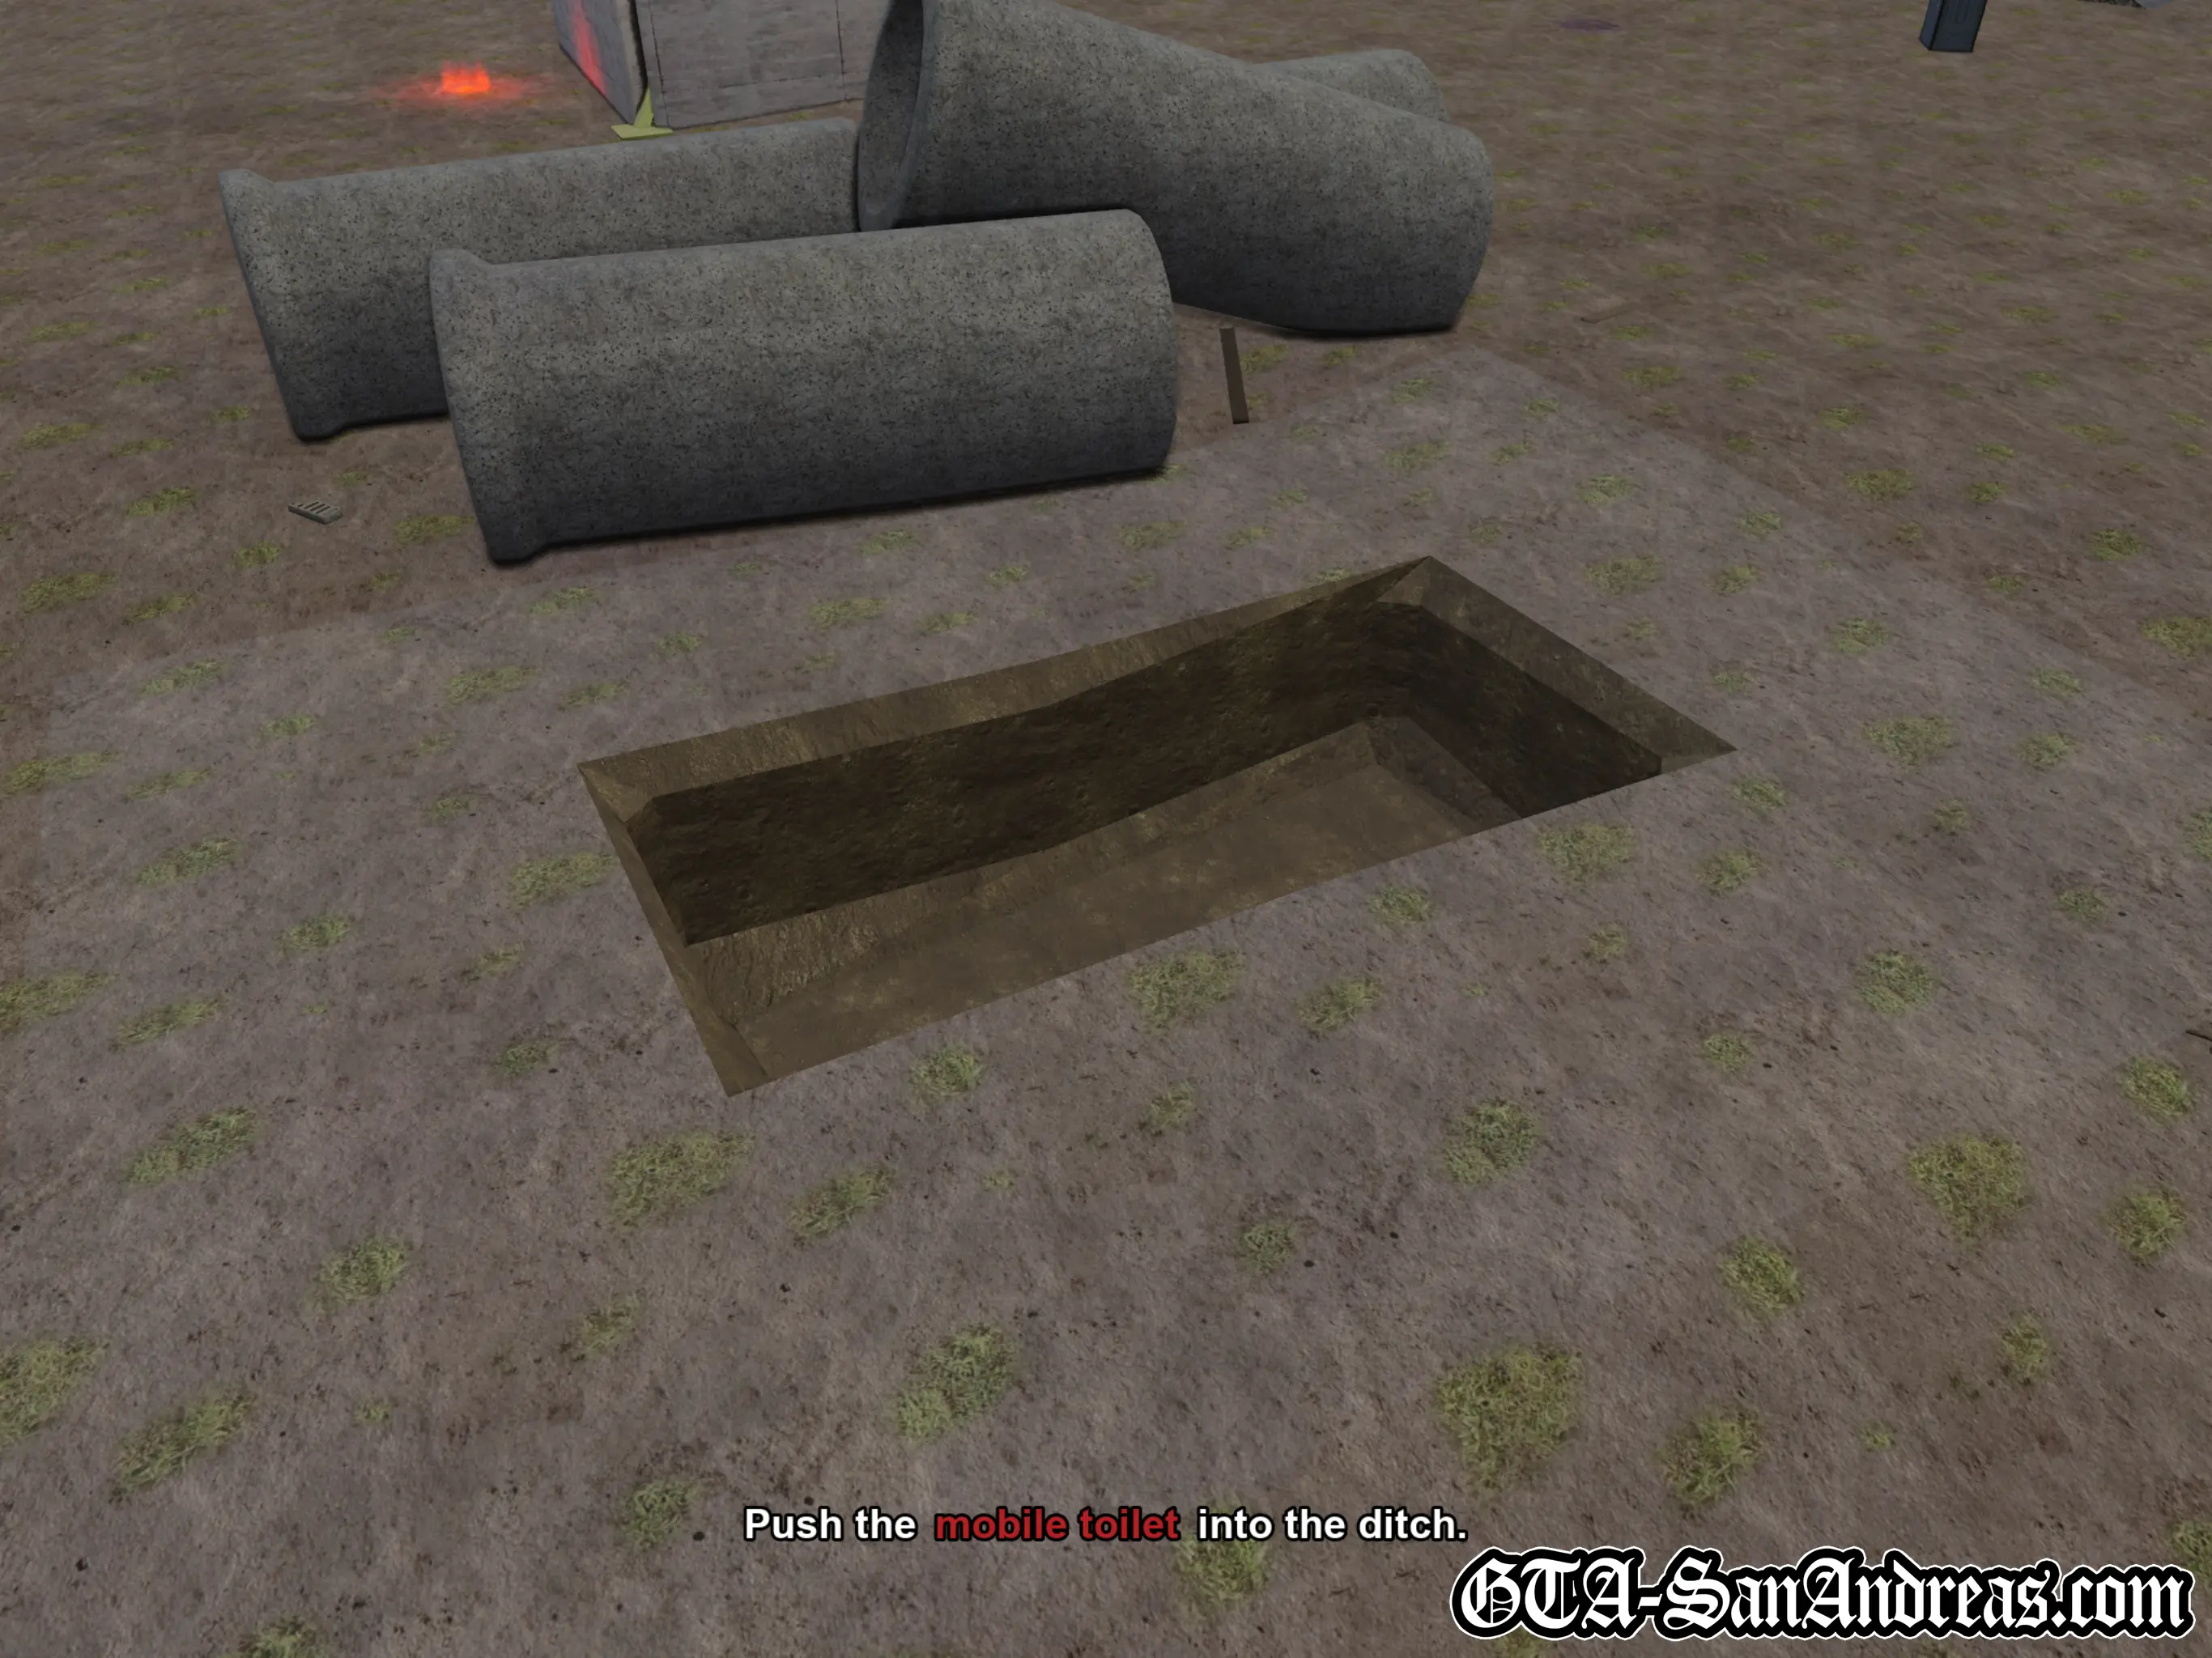
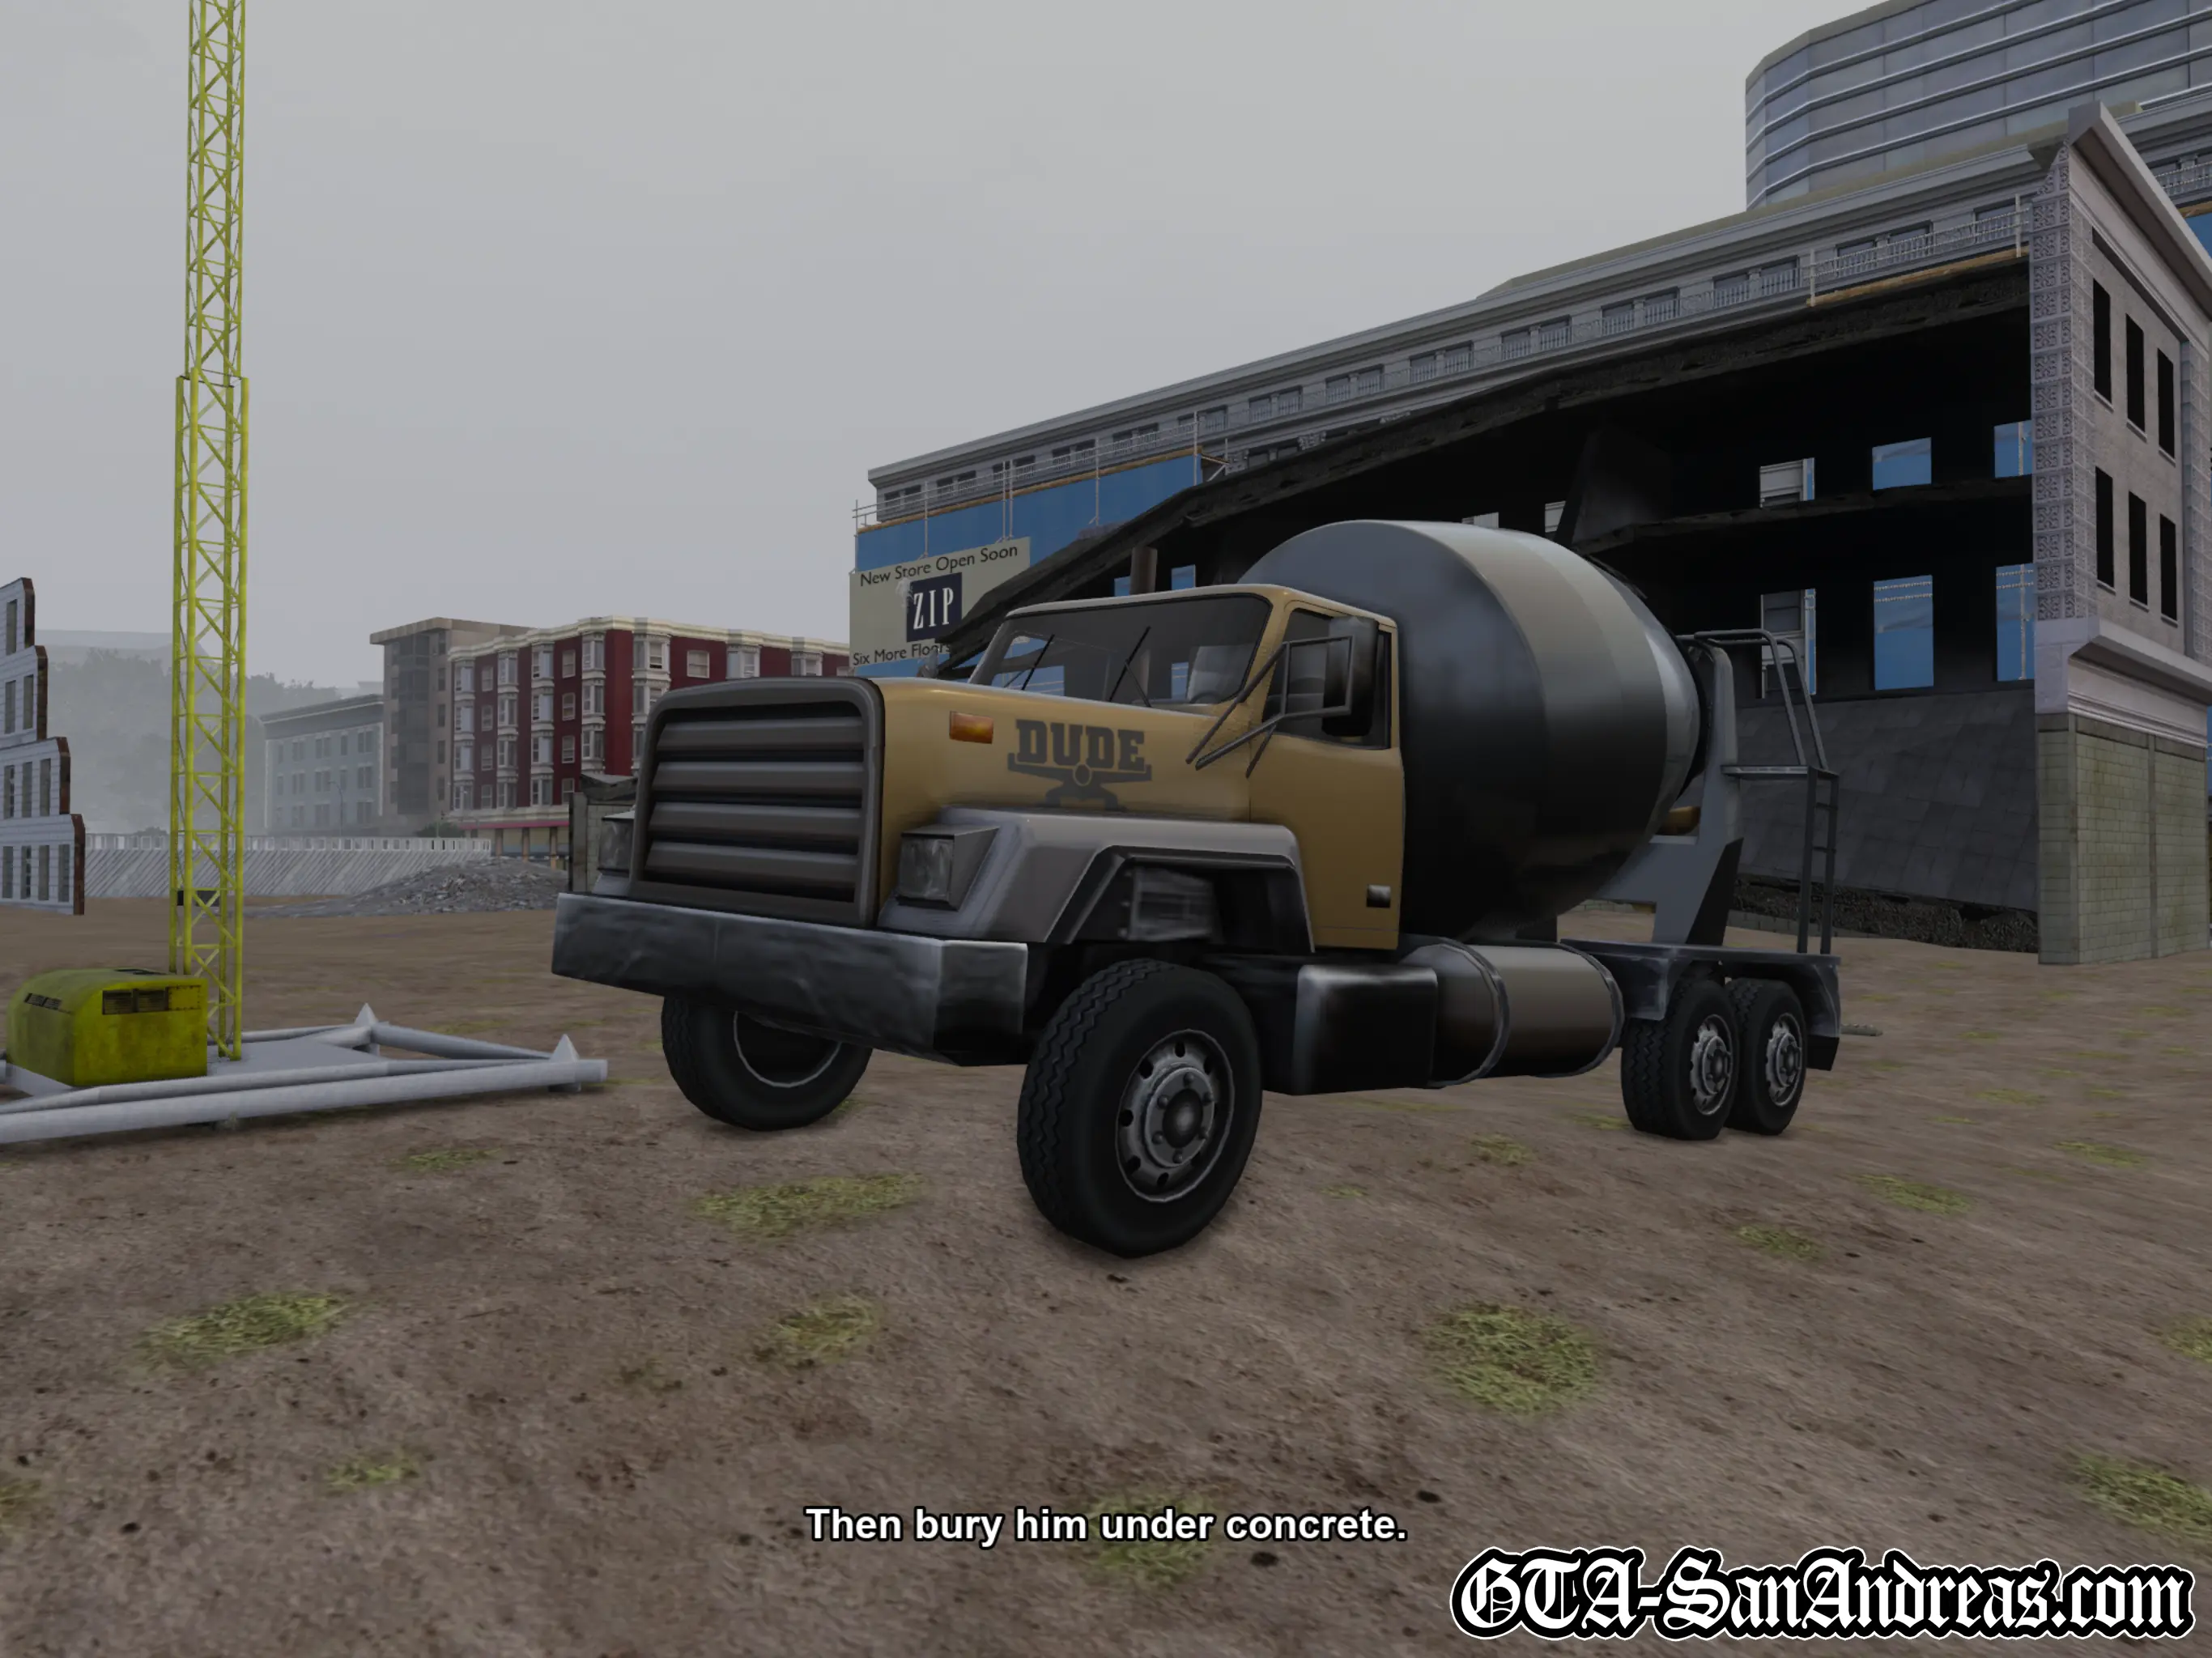
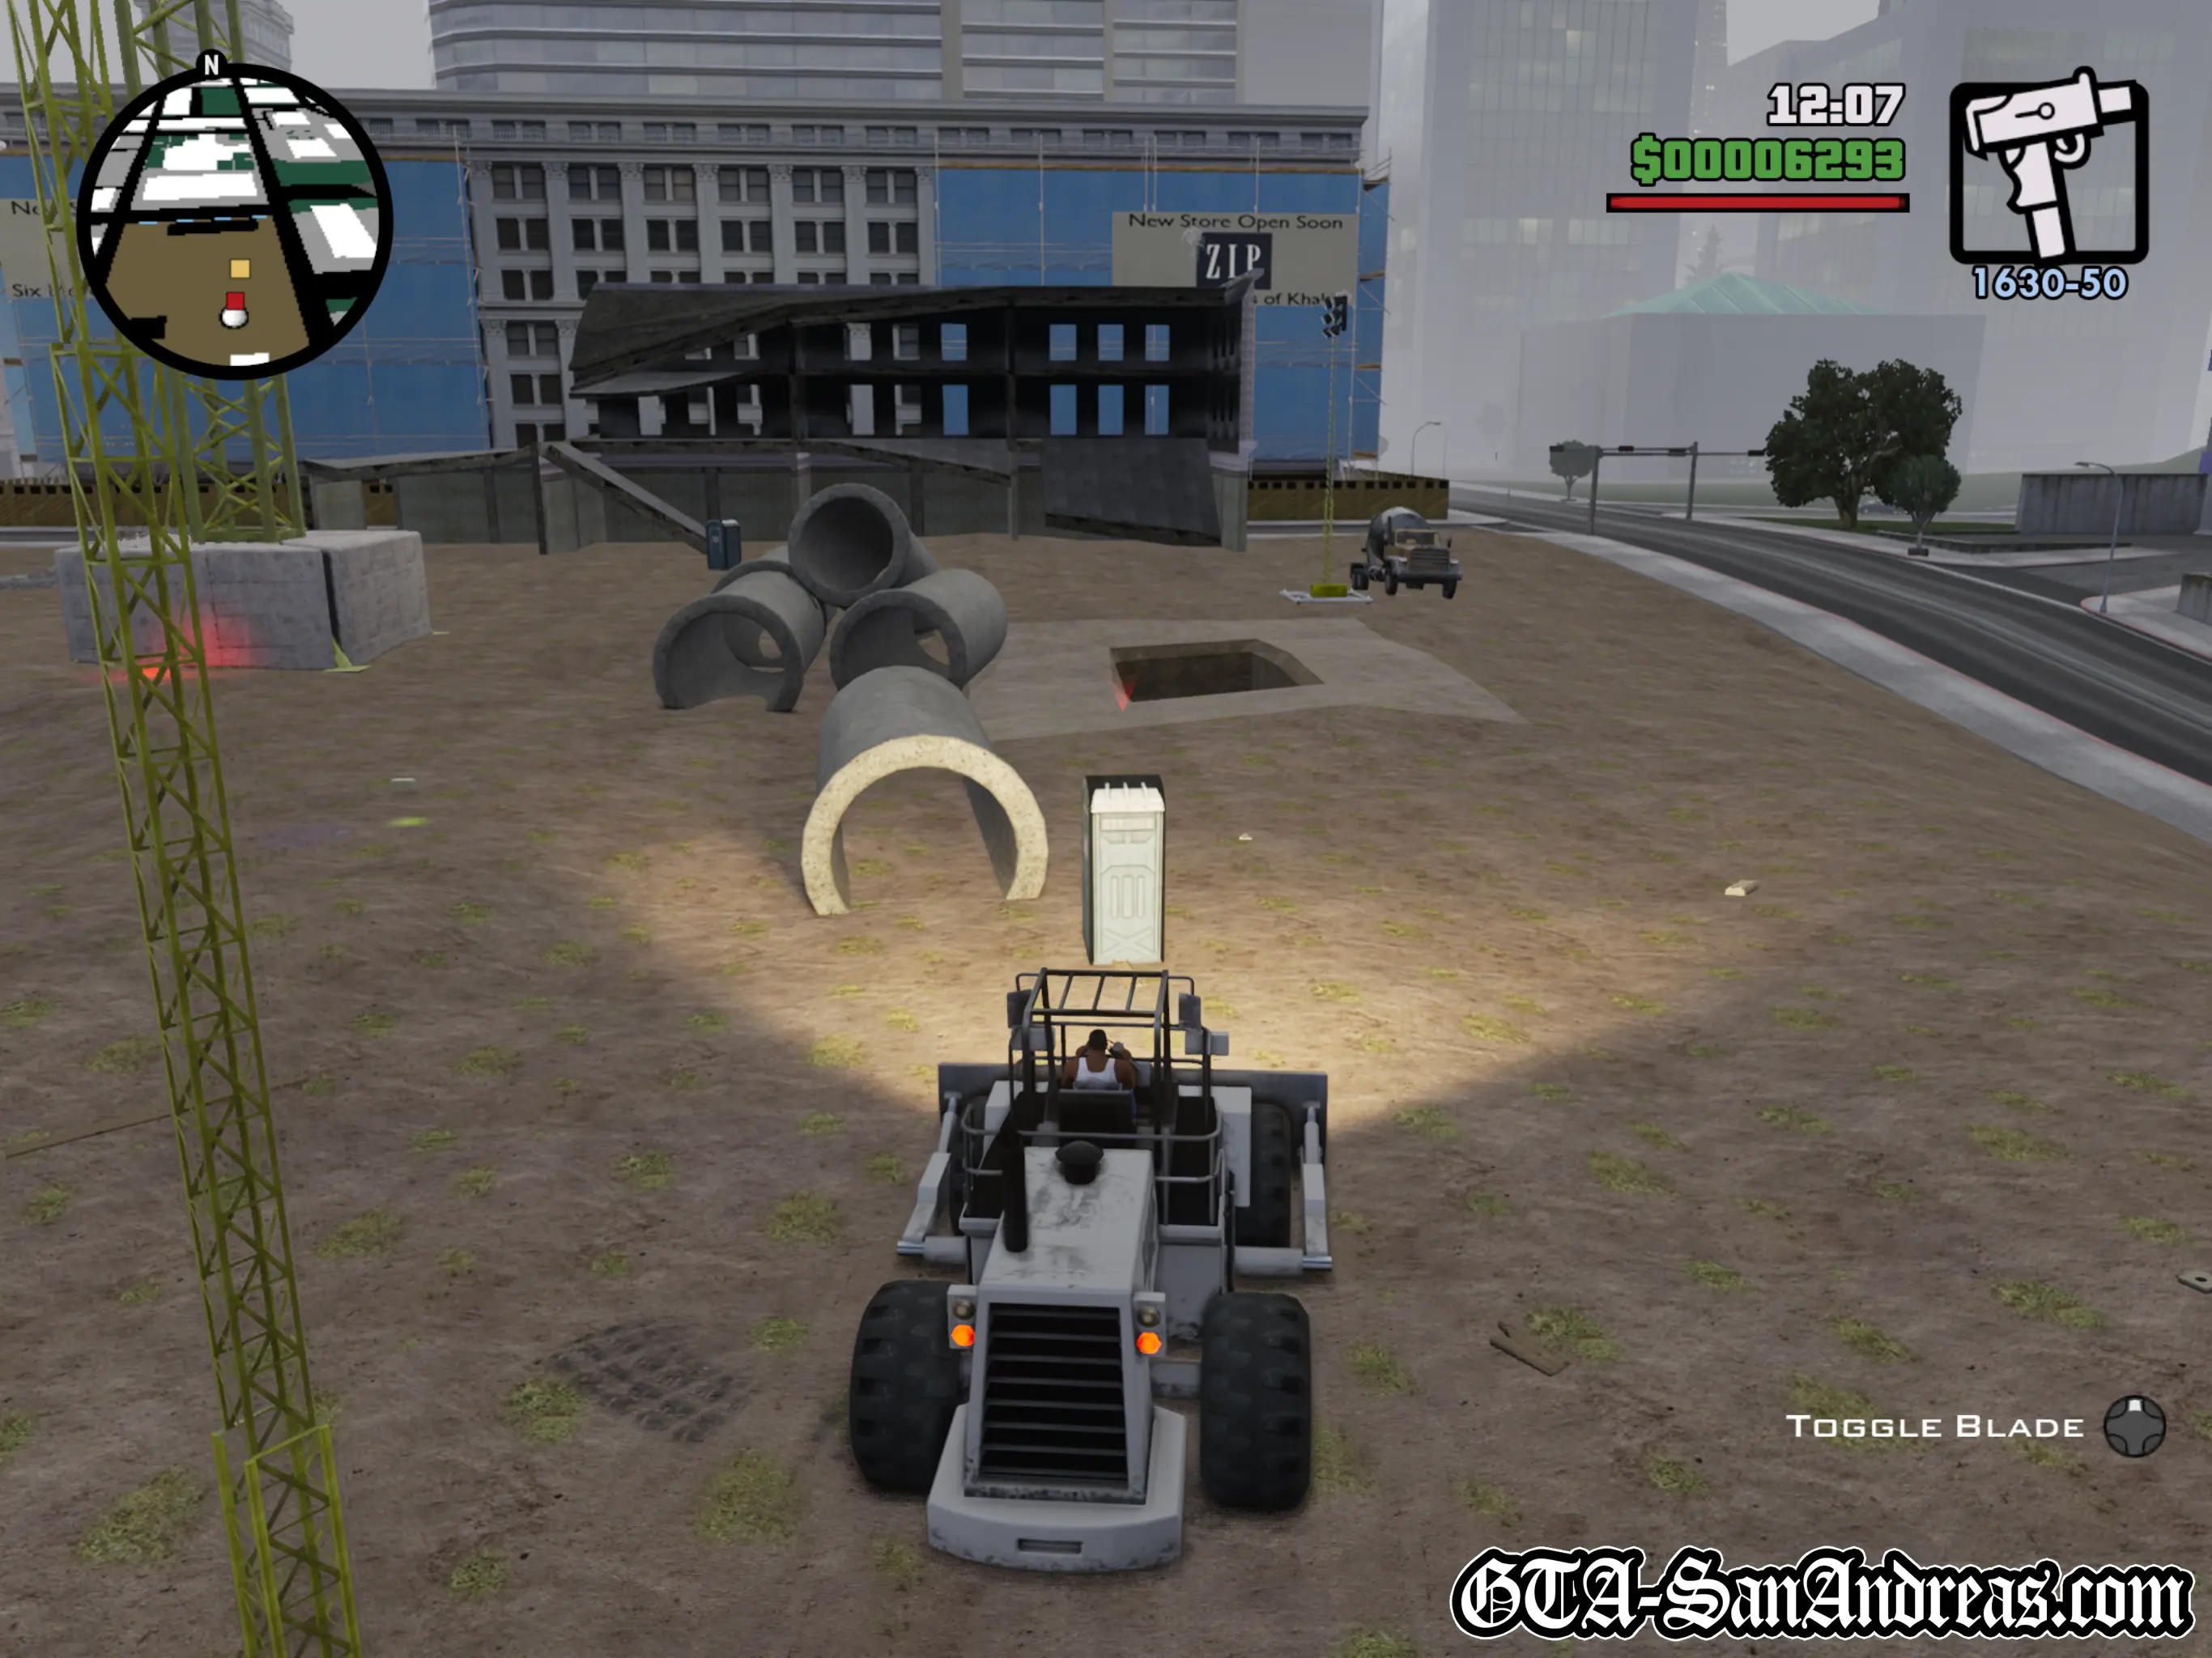
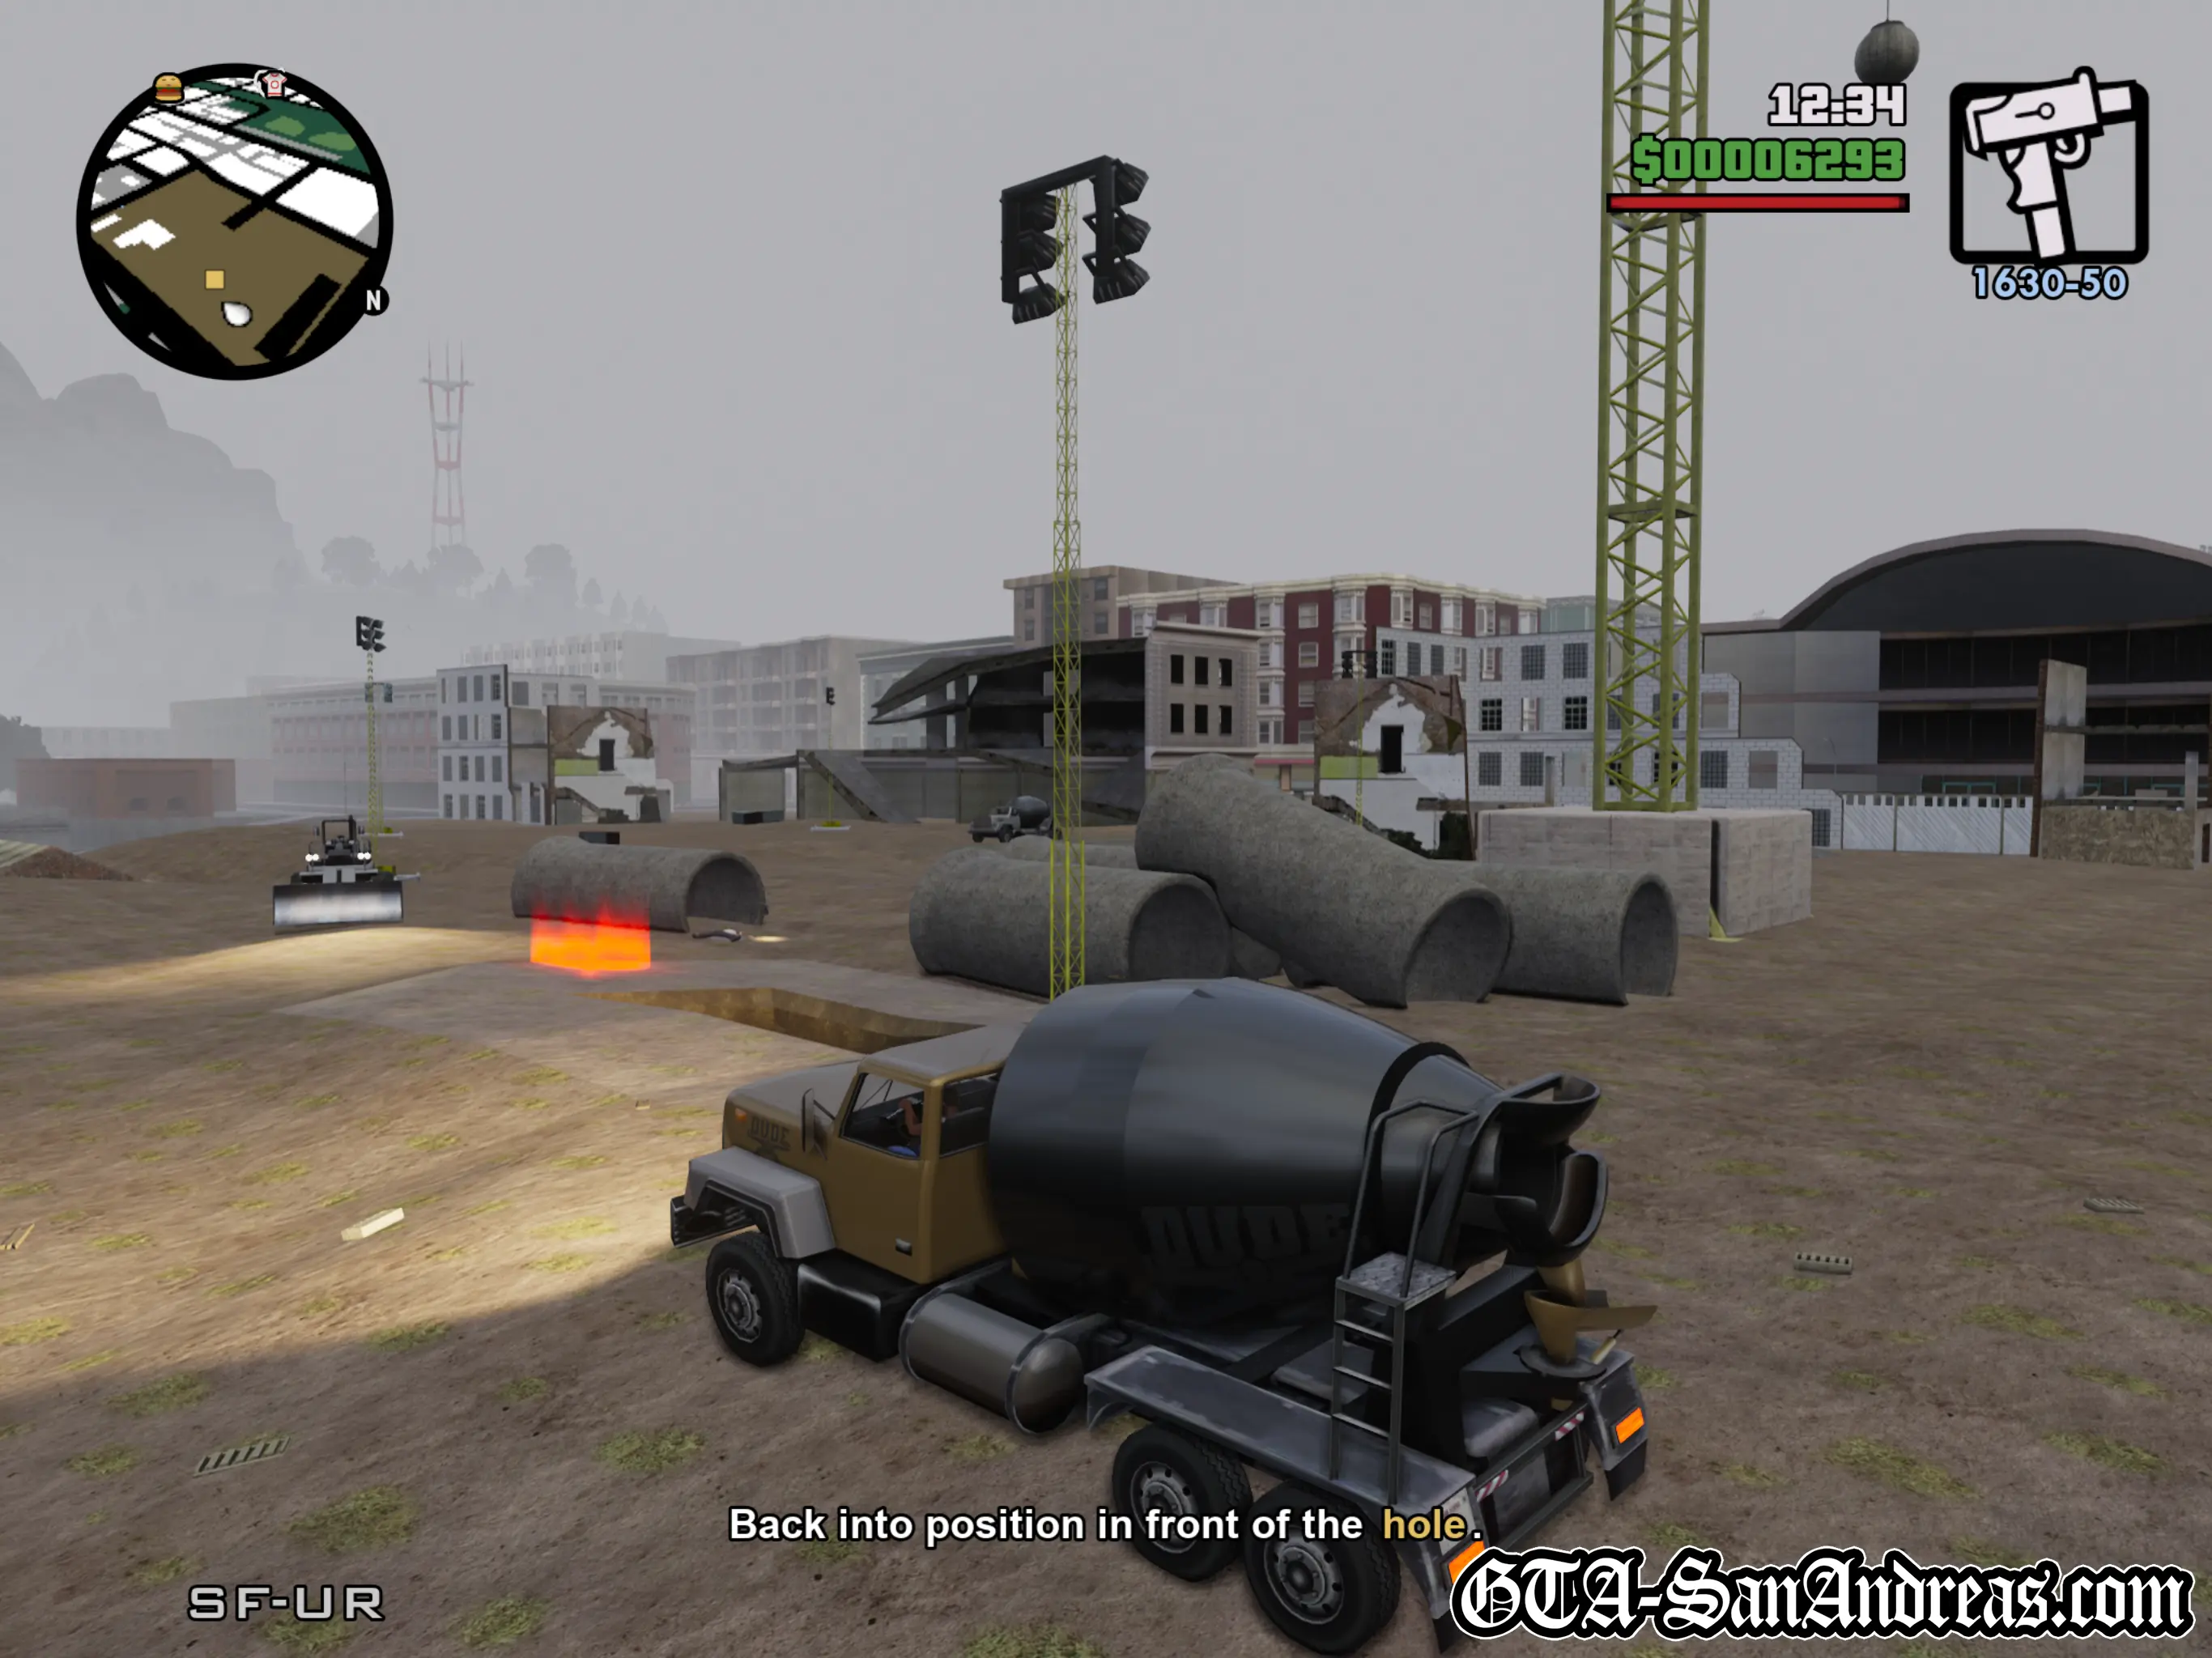
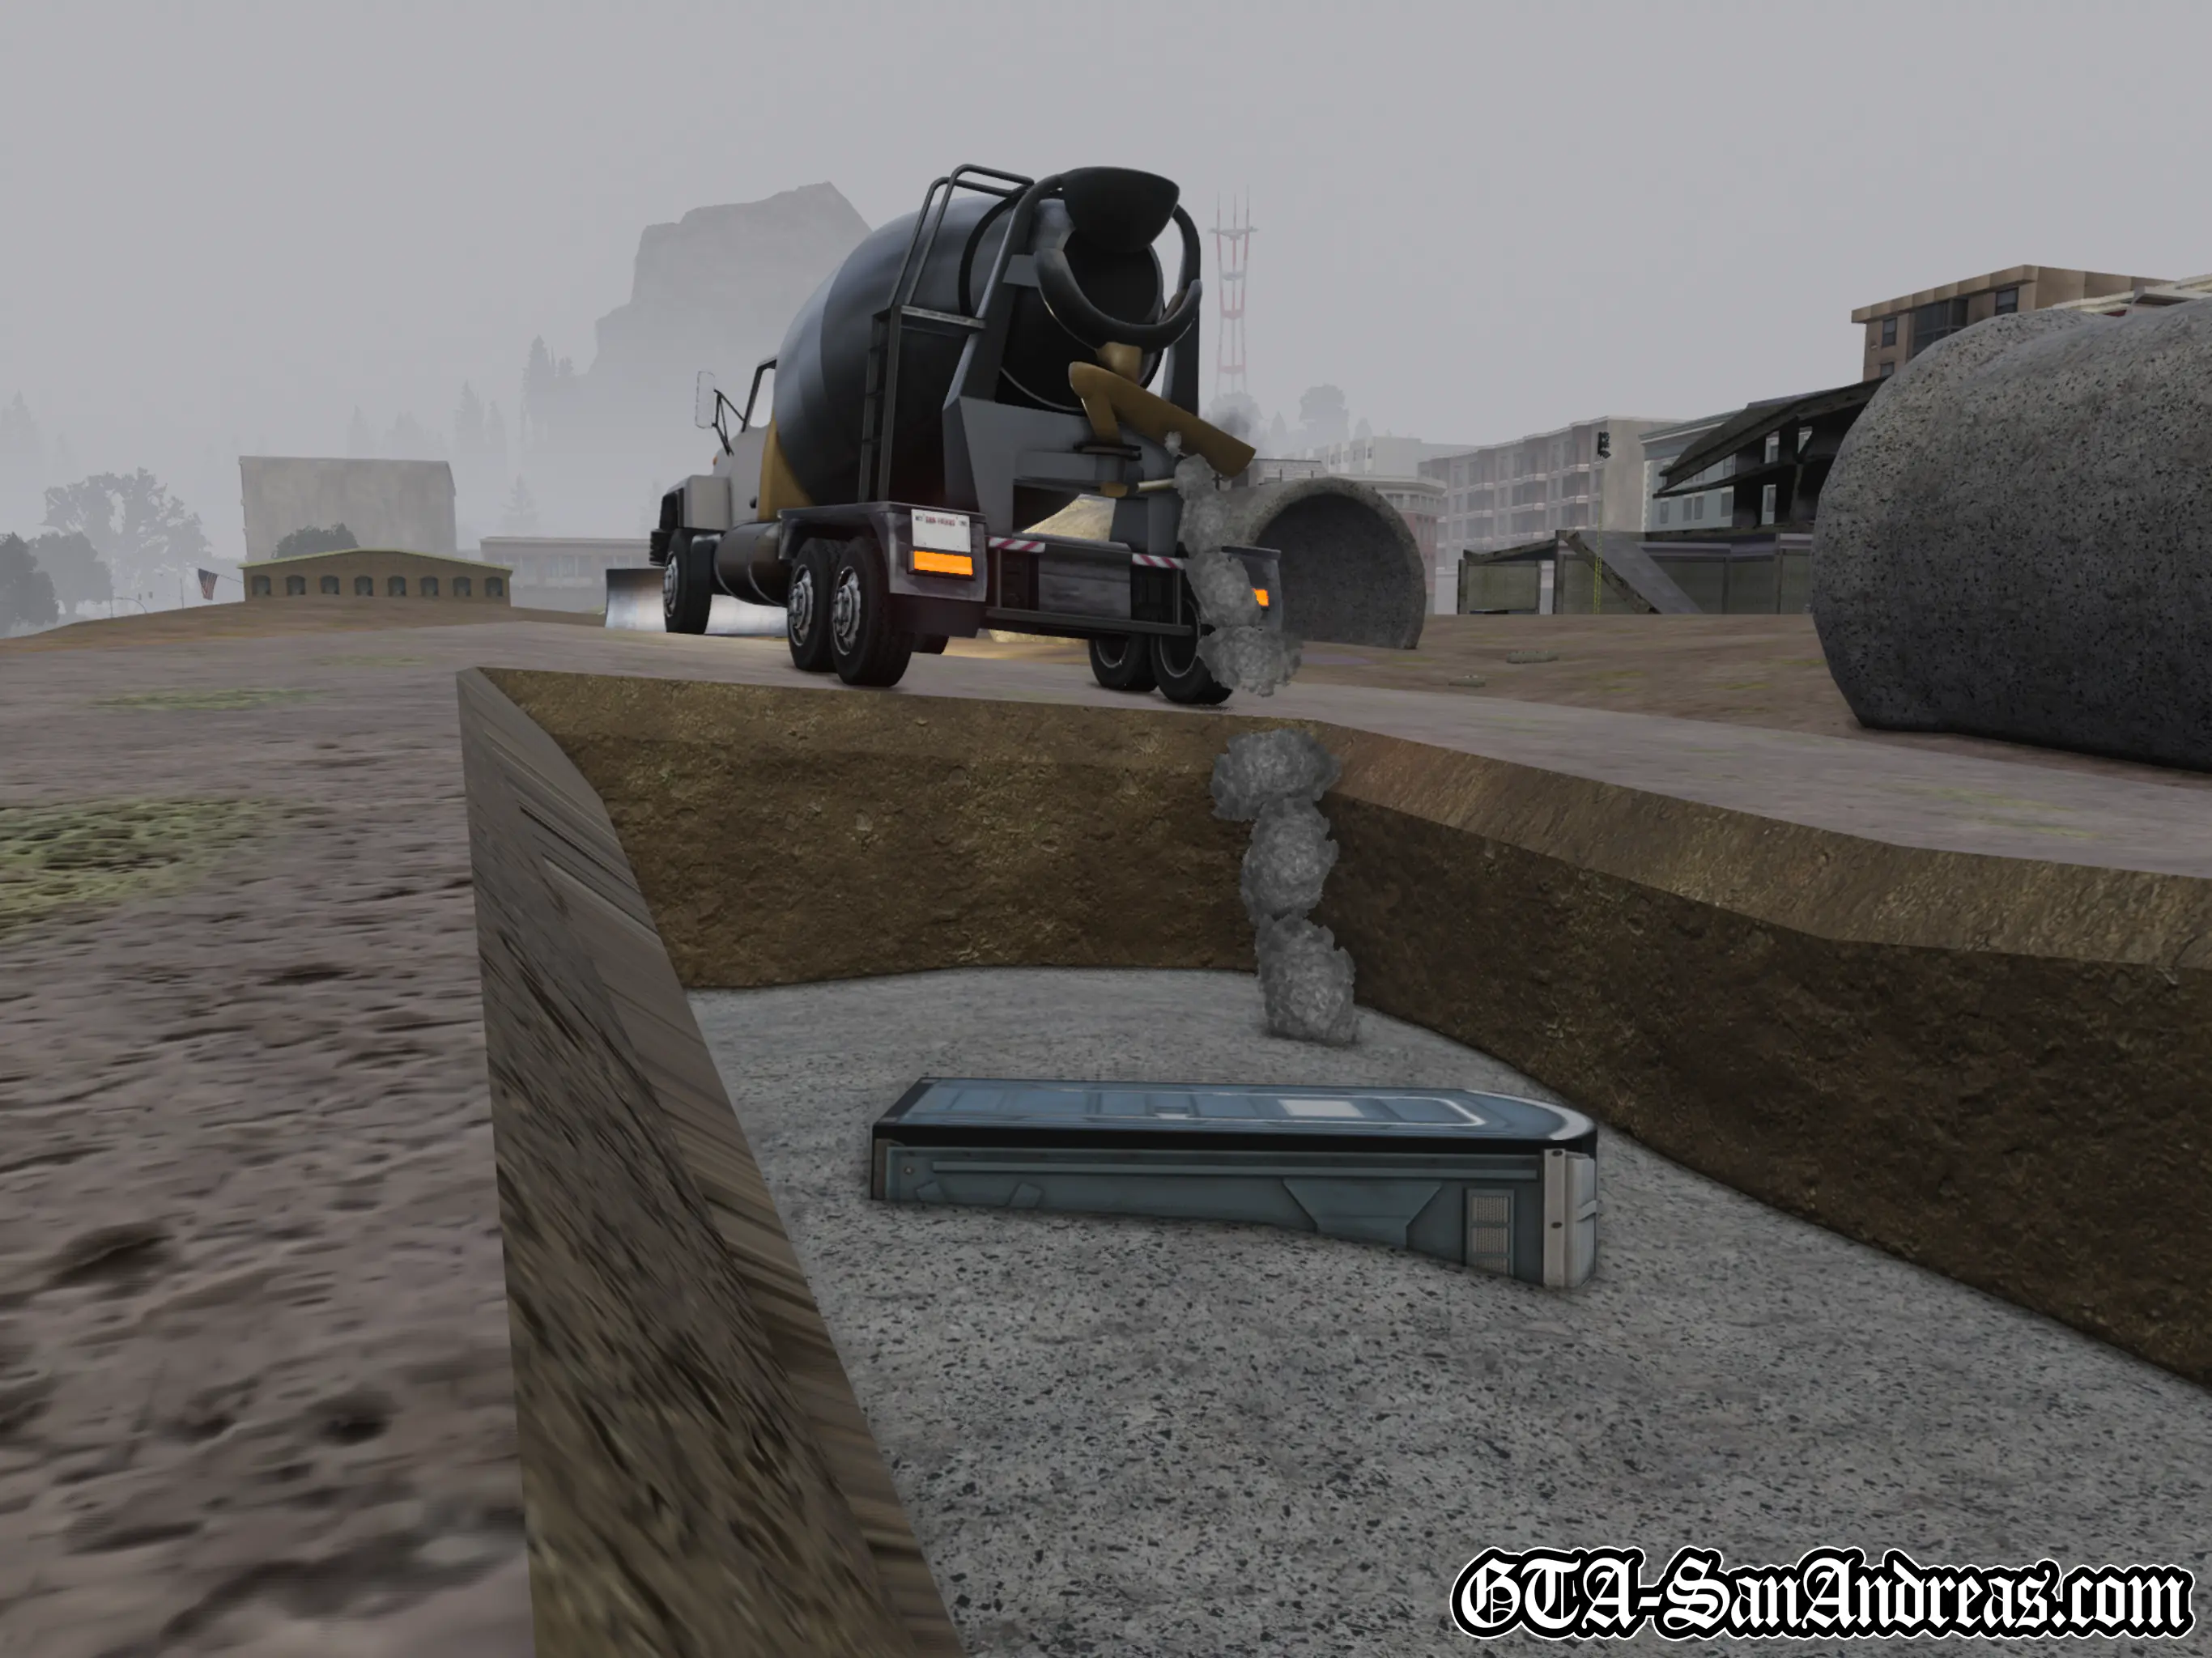
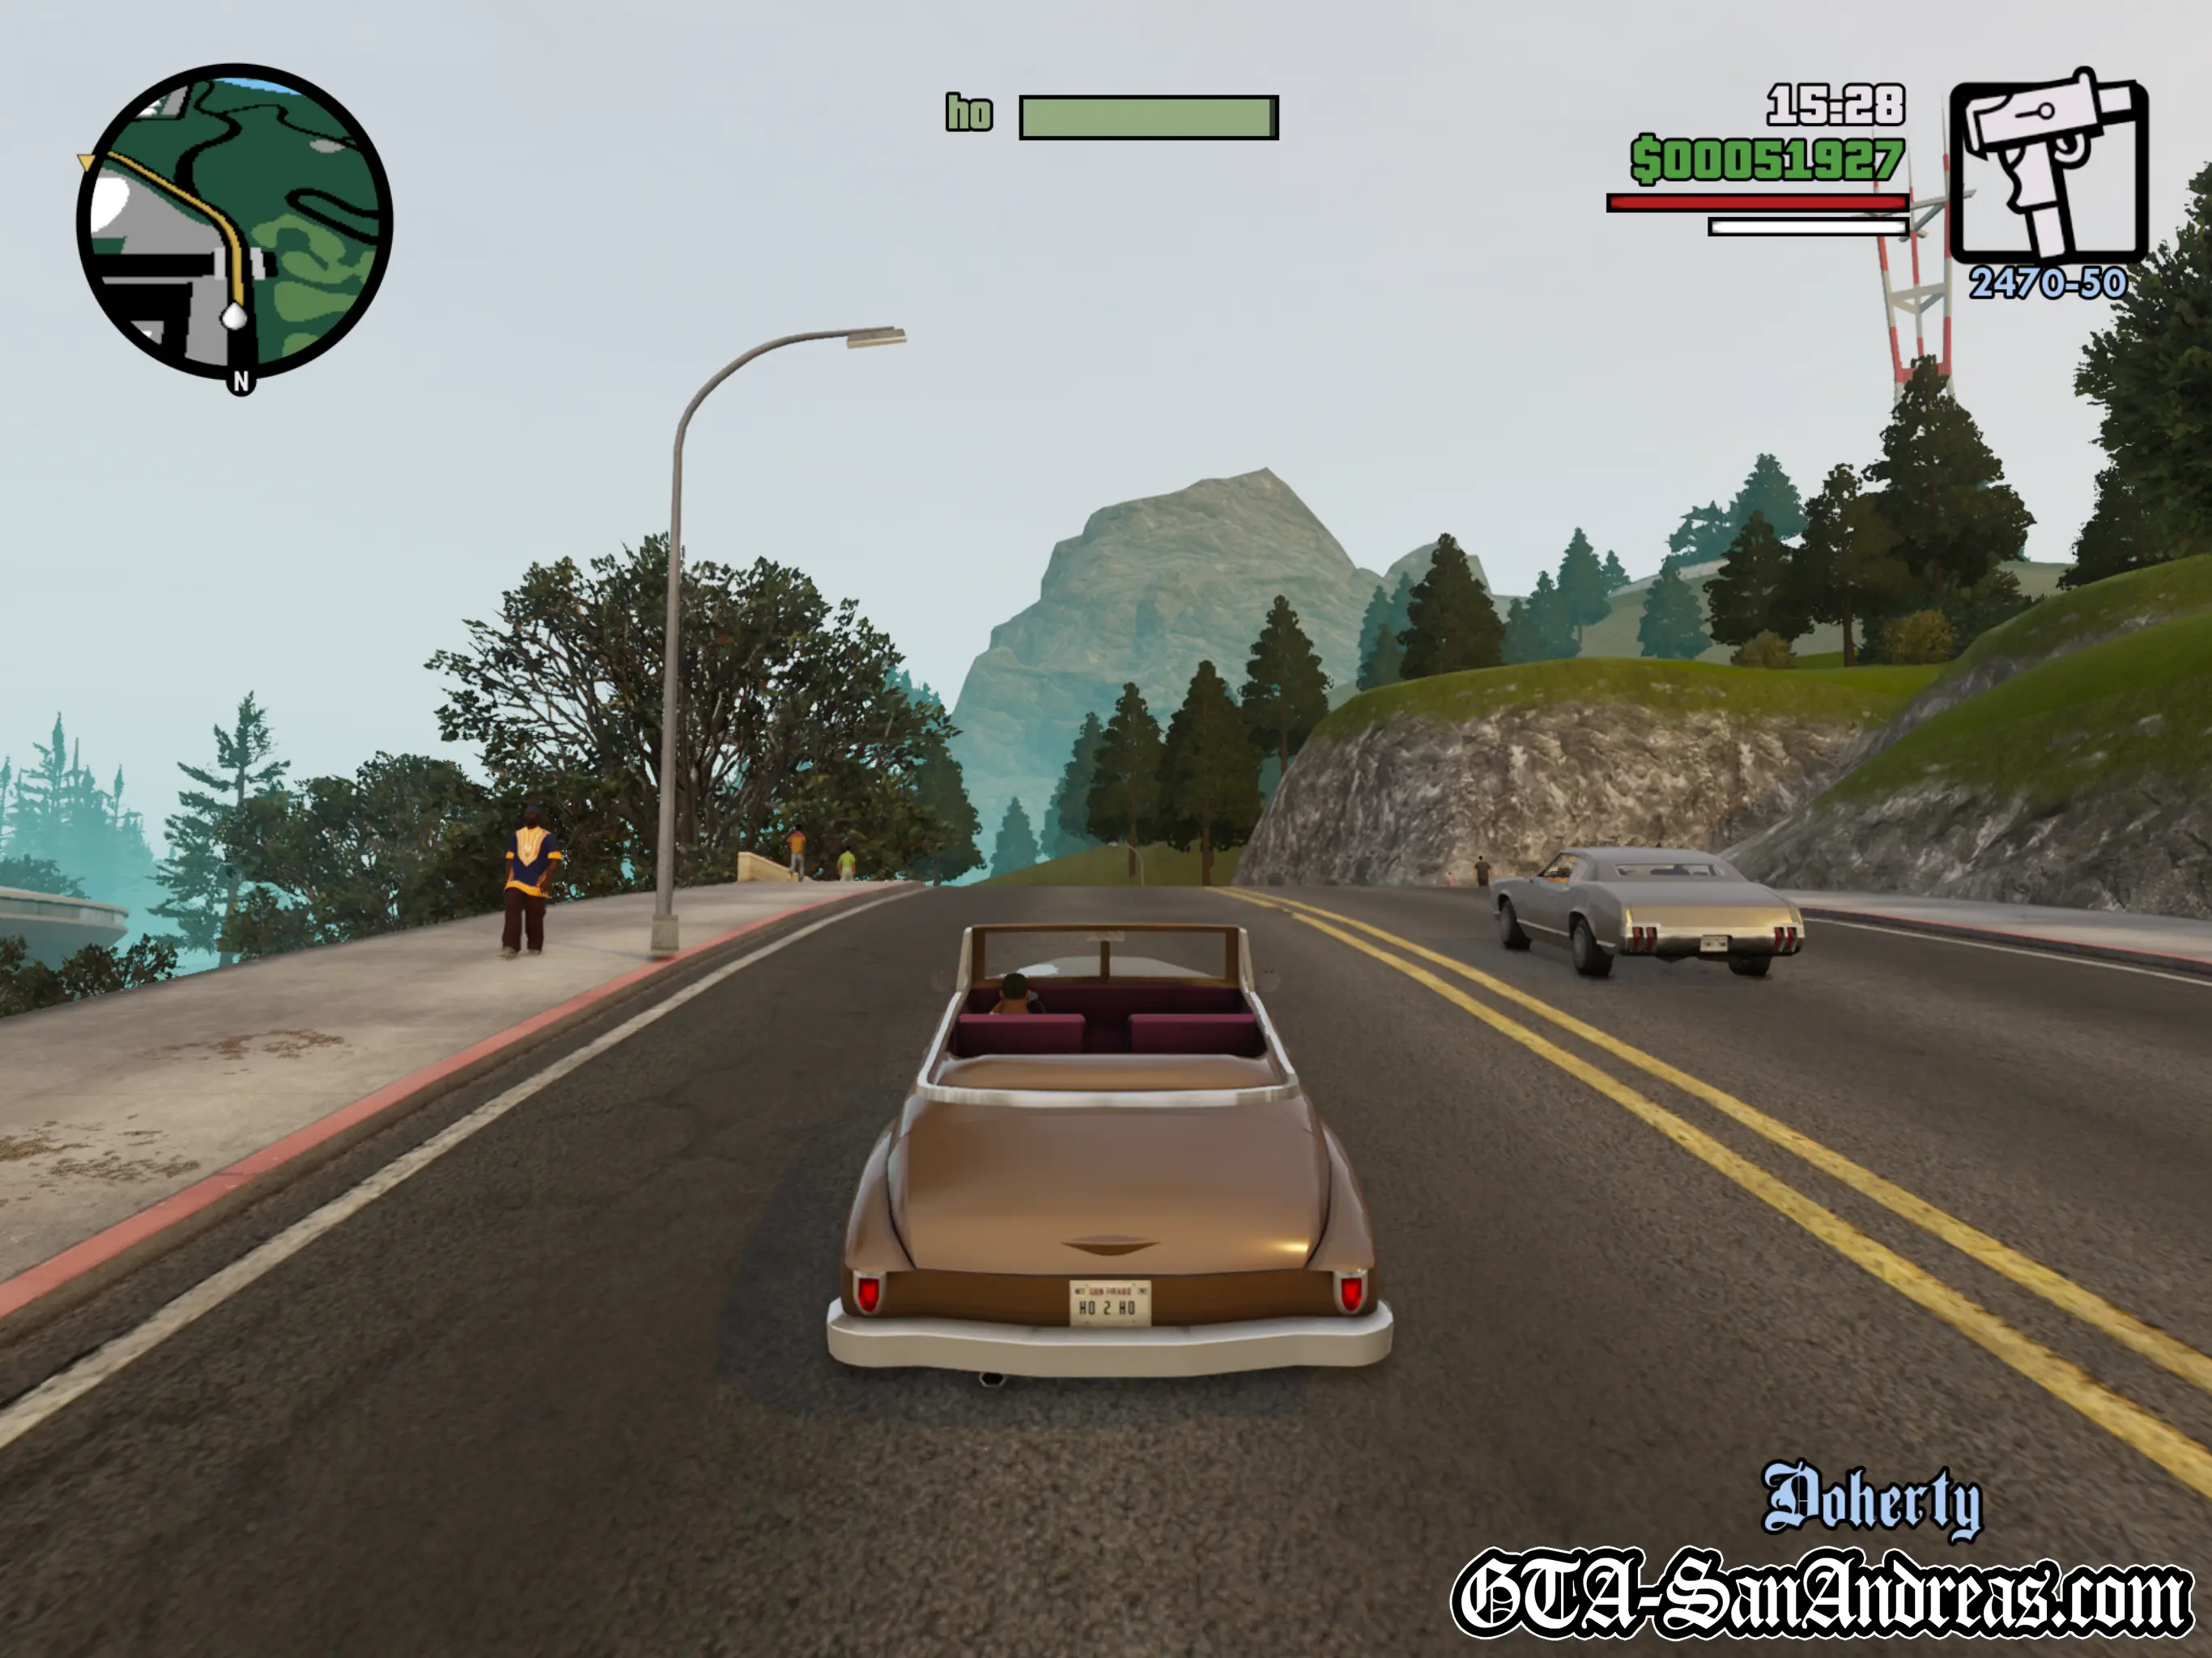
Some construction workers have been calling Kendl a ho, and she wants you to deal with them. Head up into the construction area and kill any workers you come across. Grab the bulldozer and use it to ram the portables until they smash. Take care of the barrels of explosives first though, or you'll be wasted. If you have any grenades, two of those will blow up the portables, so you can just throw them and save time, however if not, just use the bulldozer to smash them. Once all of the portables are gone you'll be asked to get rid of the main construction worker. He's hiding in a portable toilet, so grab the bulldozer and use it to push him into the pit. Once he's down, go and get a cement truck and reverse it into position where he'll be covered in cement and you'll pass the mission.
After the mission you'll receive a phone call from Jethro telling you to go to the driving school to build up your driving skills.
Driving School Has Now Been Unlocked.
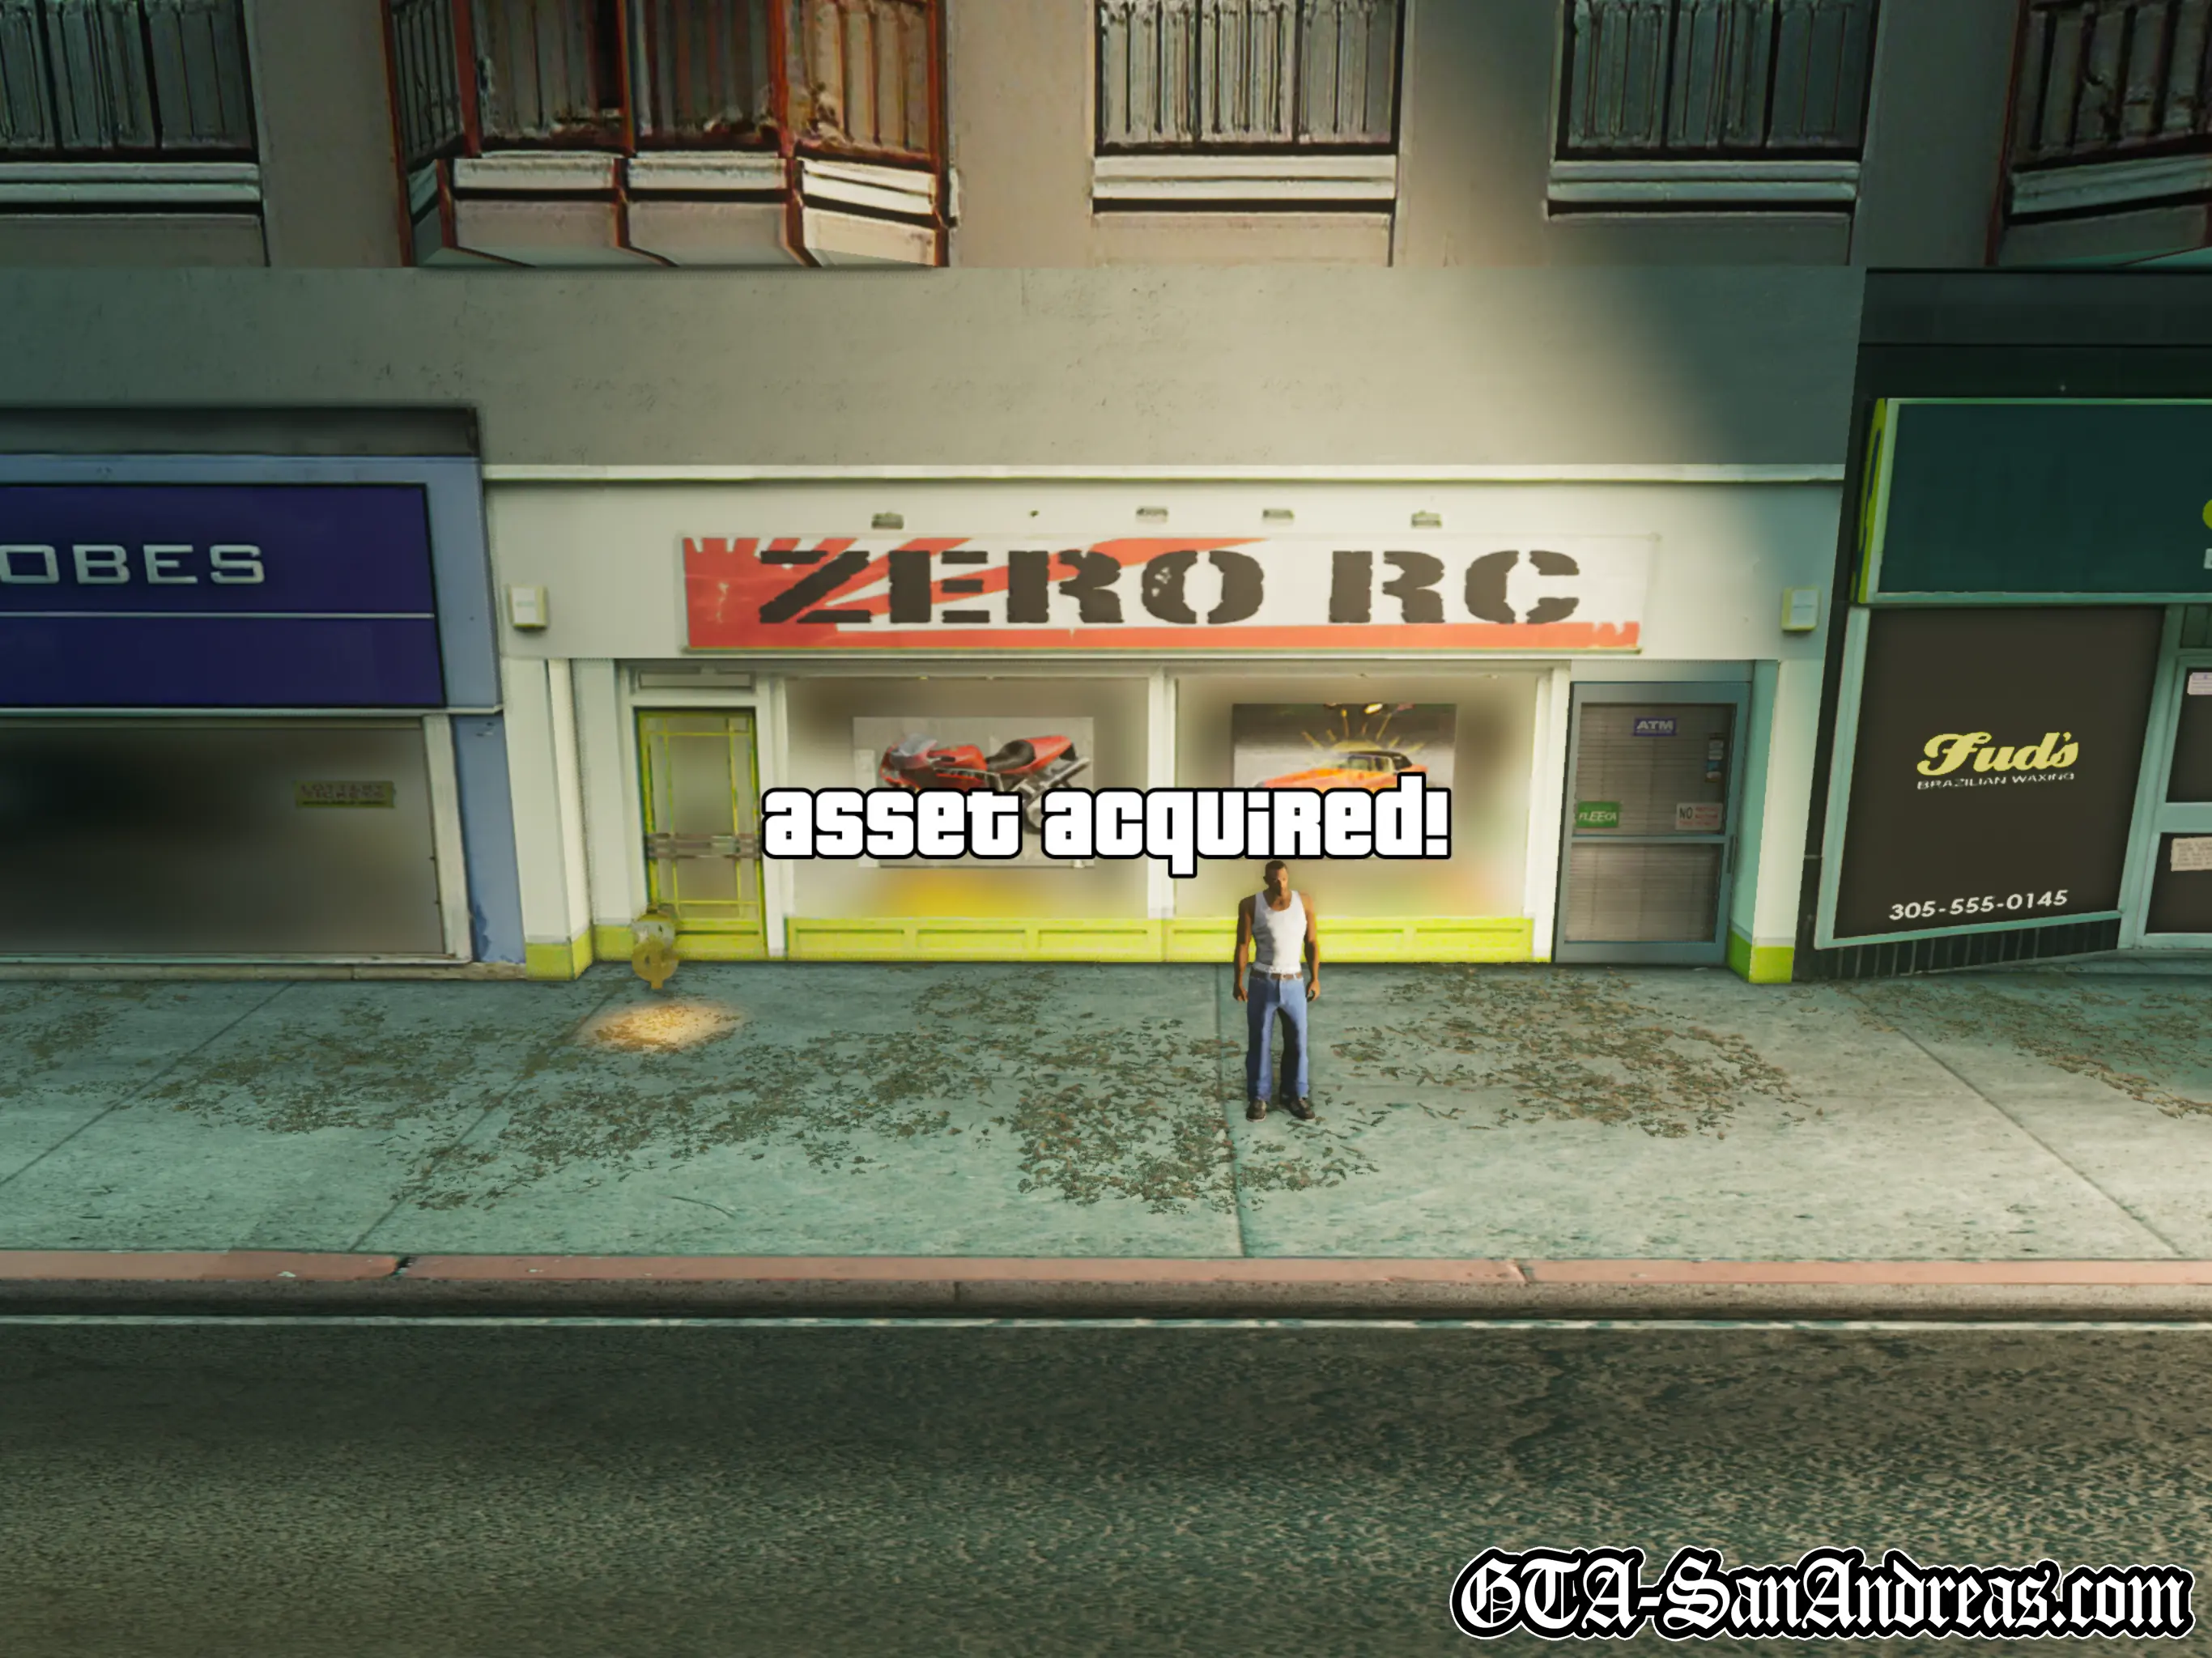
You now have a choice of what you wish to do. You can go to the driving school and spend time building up your driving stats, or you can go to Zero's RC shop and buy it, then do missions for him. Seeing as CJ's missions are now finished and are replaced with The Triads, I'd consider this a new mission opening up, and the last mission we opened was Zero, so that's where I'm going. Head to the Z on the radar and purchase Zero's RC Shop if you have enough money. If not, you can do taxi missions, or other R3 missions as well as taking all 50 snapshots which will earn you $100,000.
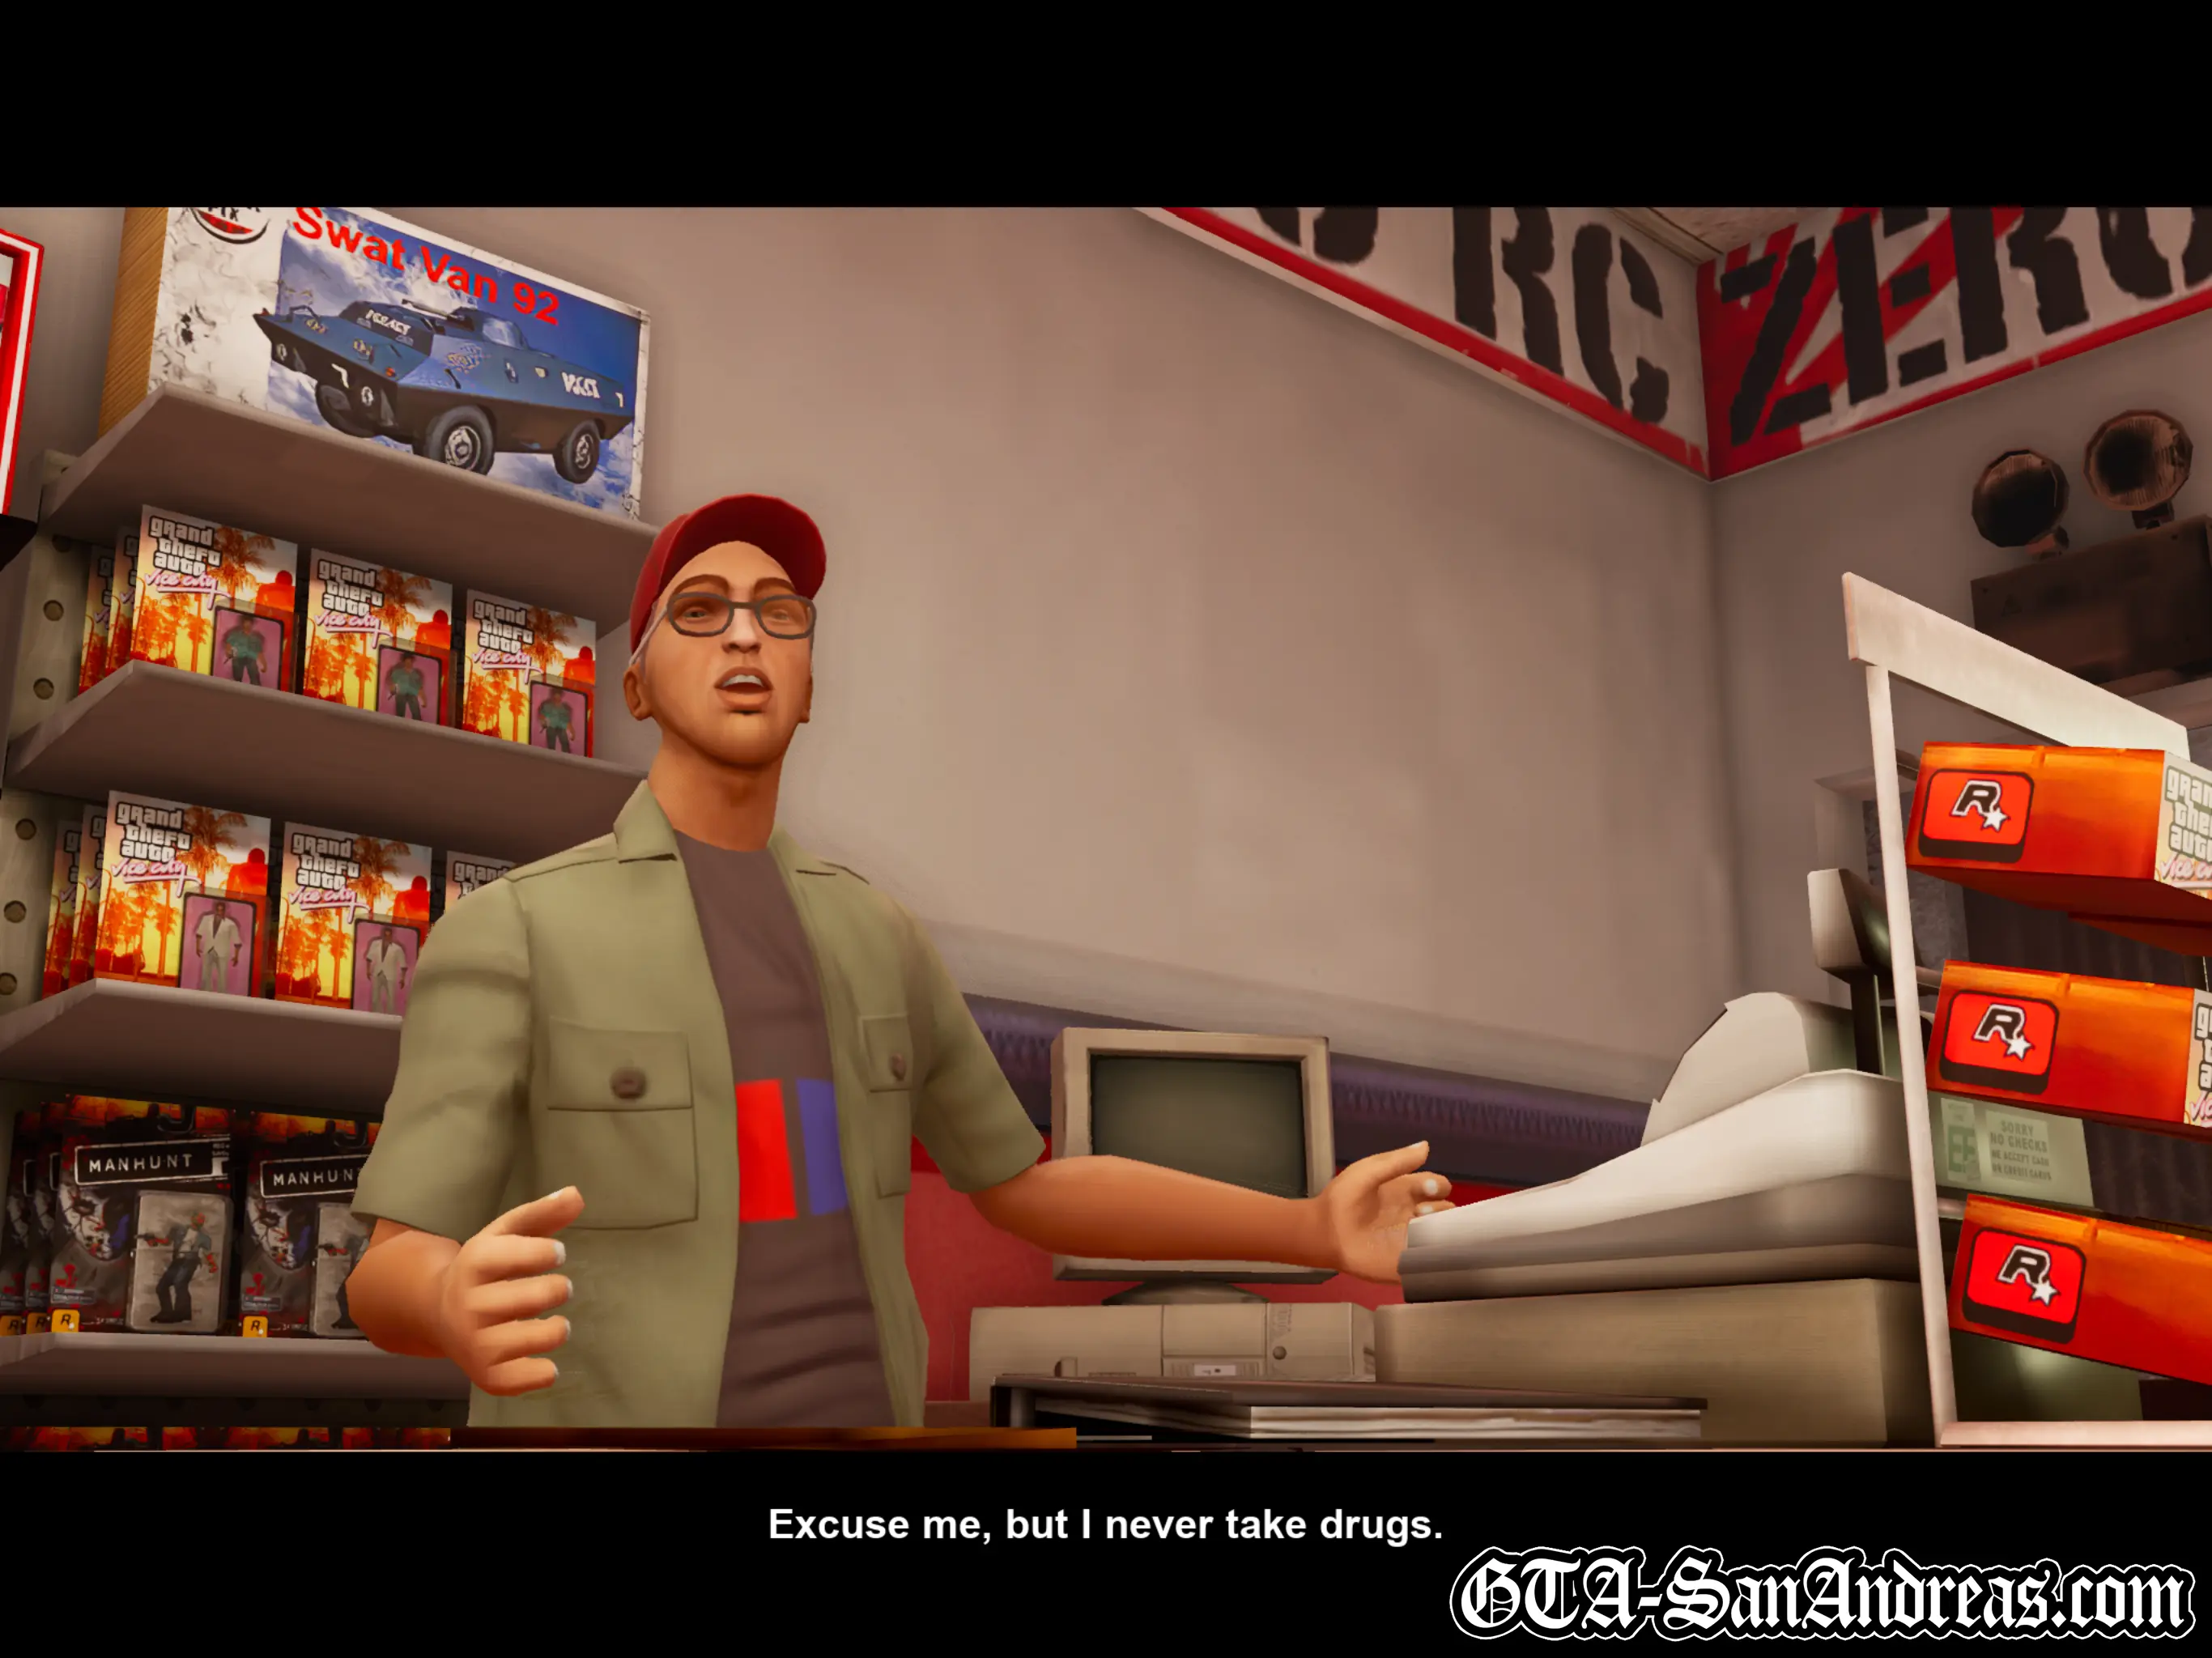
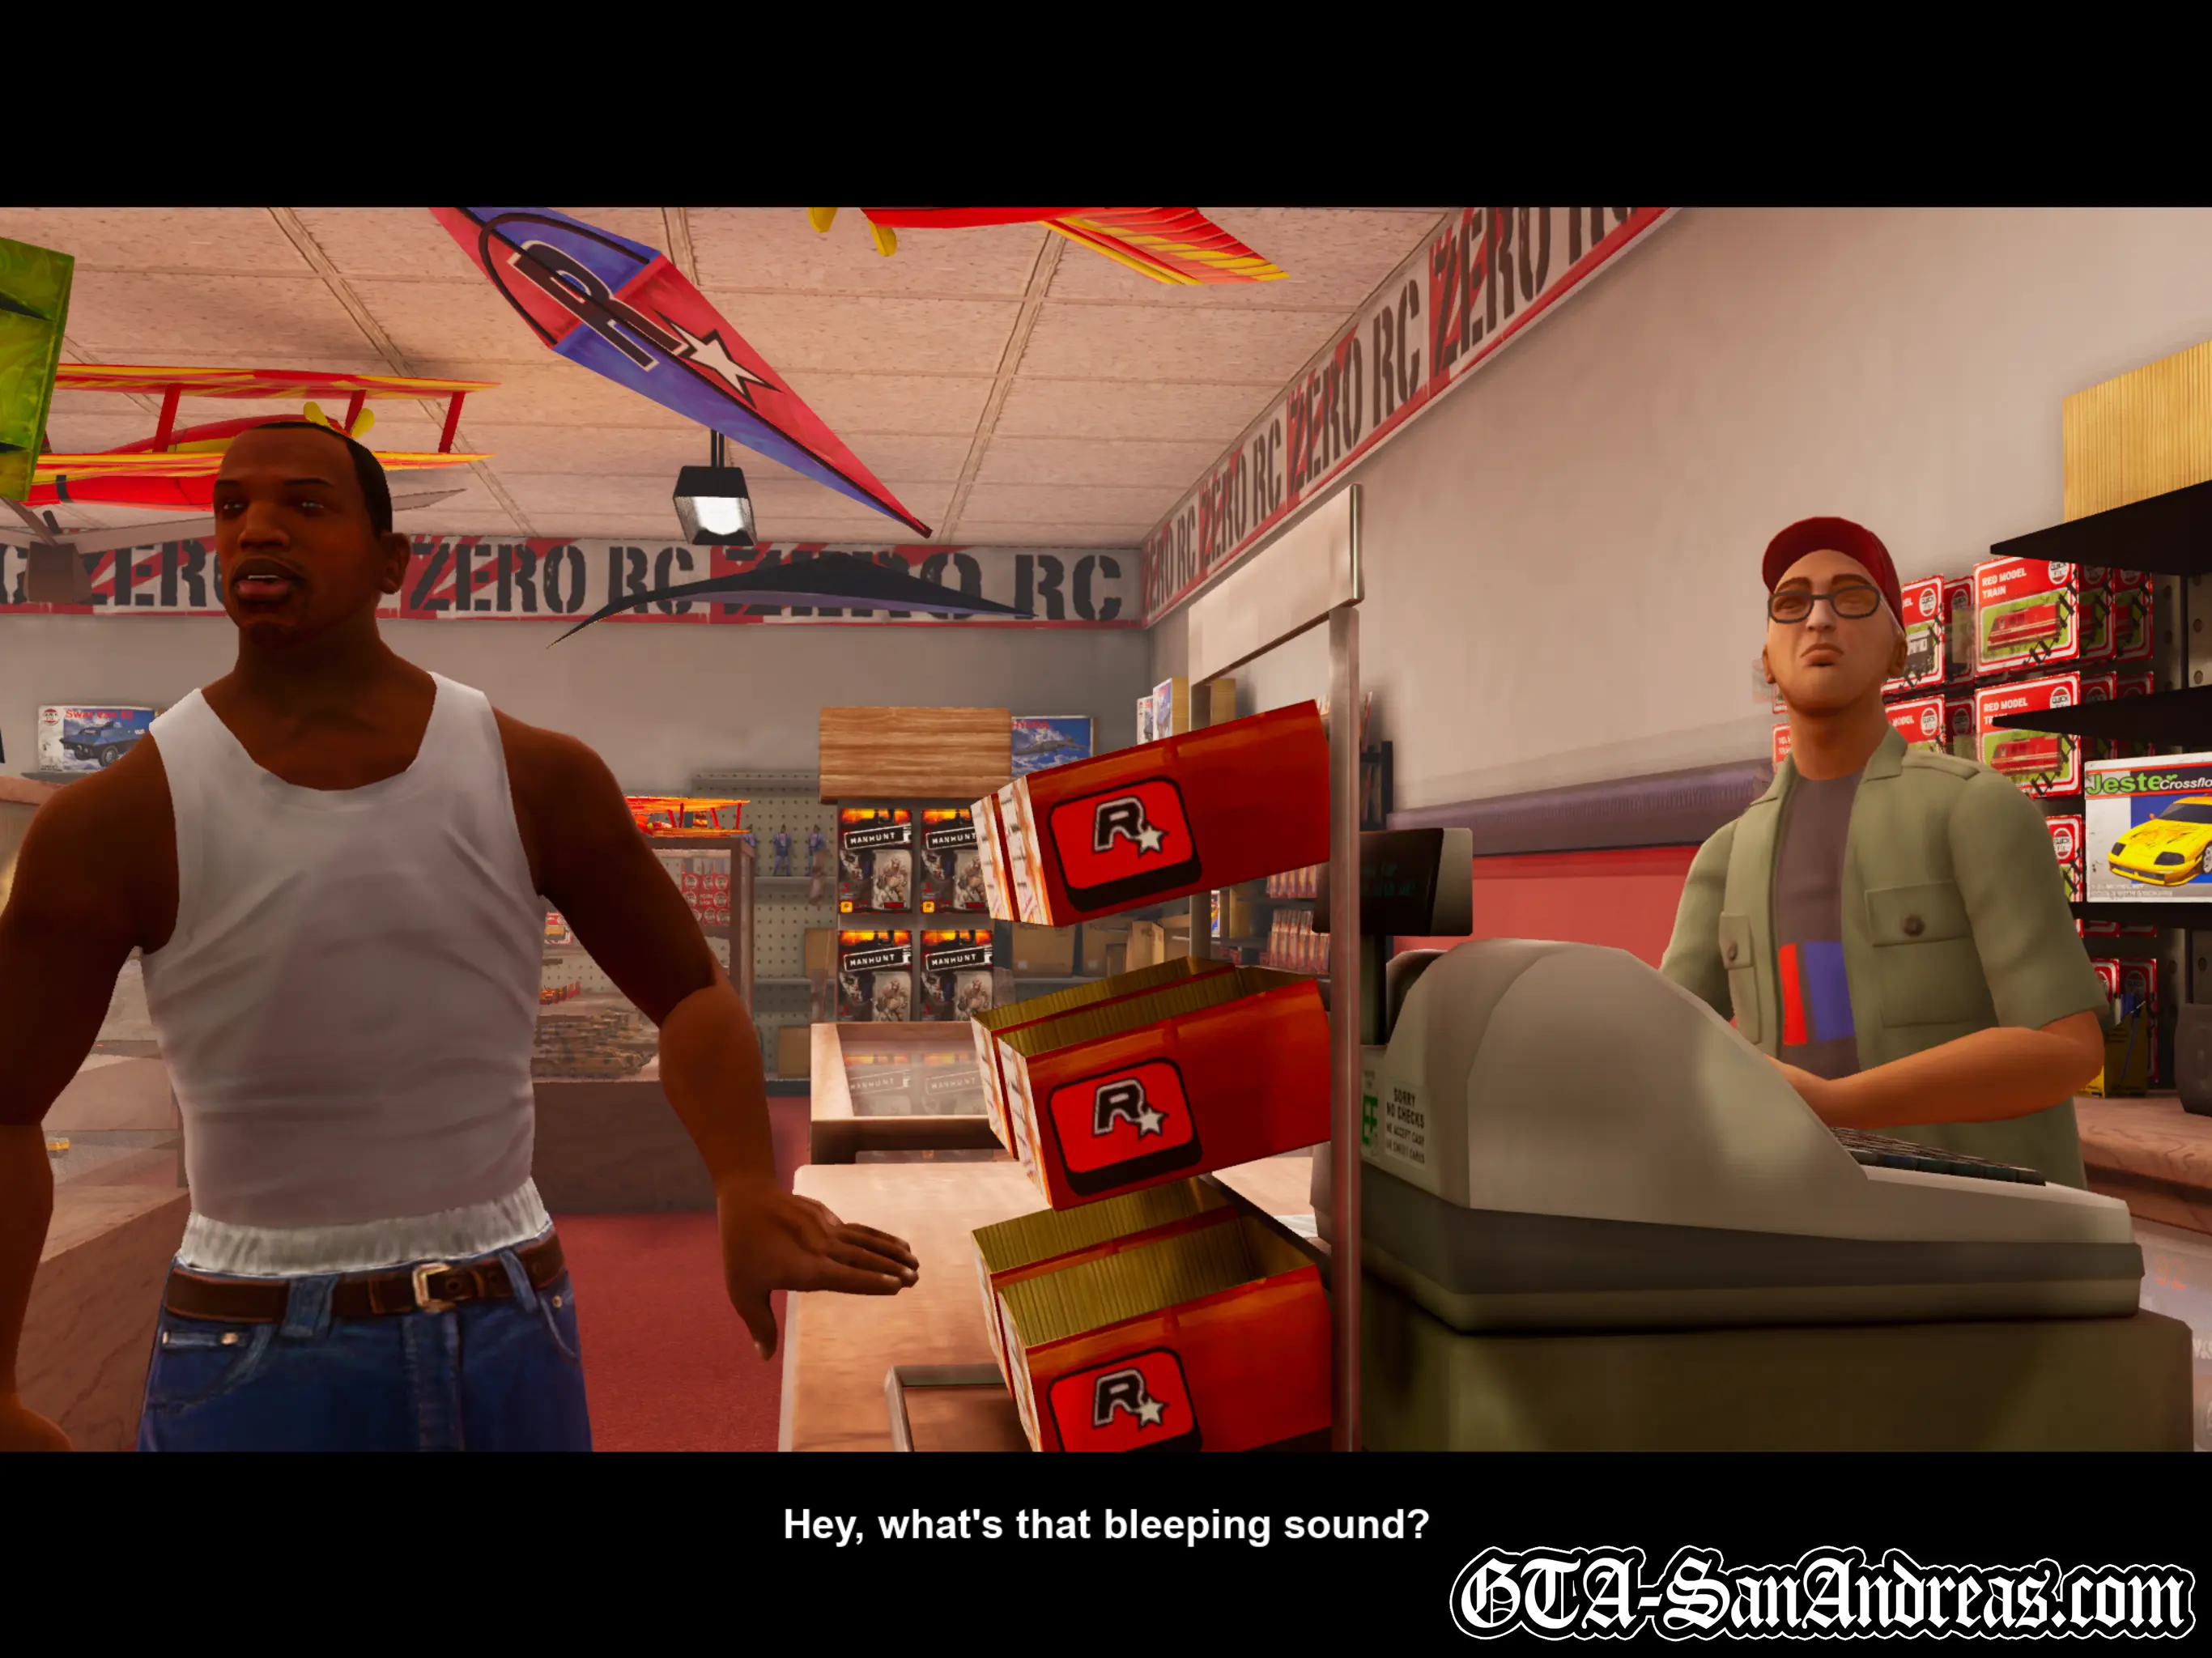
Buy the RC shop for $30,000 then go inside. Have a look around at the GTA Vice City and Manhunt merchandise, then go back outside and you'll receive a phone call from Zero opening his missions. Stand in the red circle to accept the first.
Screenshots


Zero
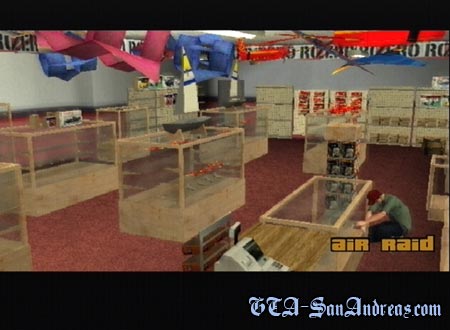
 Air Raid
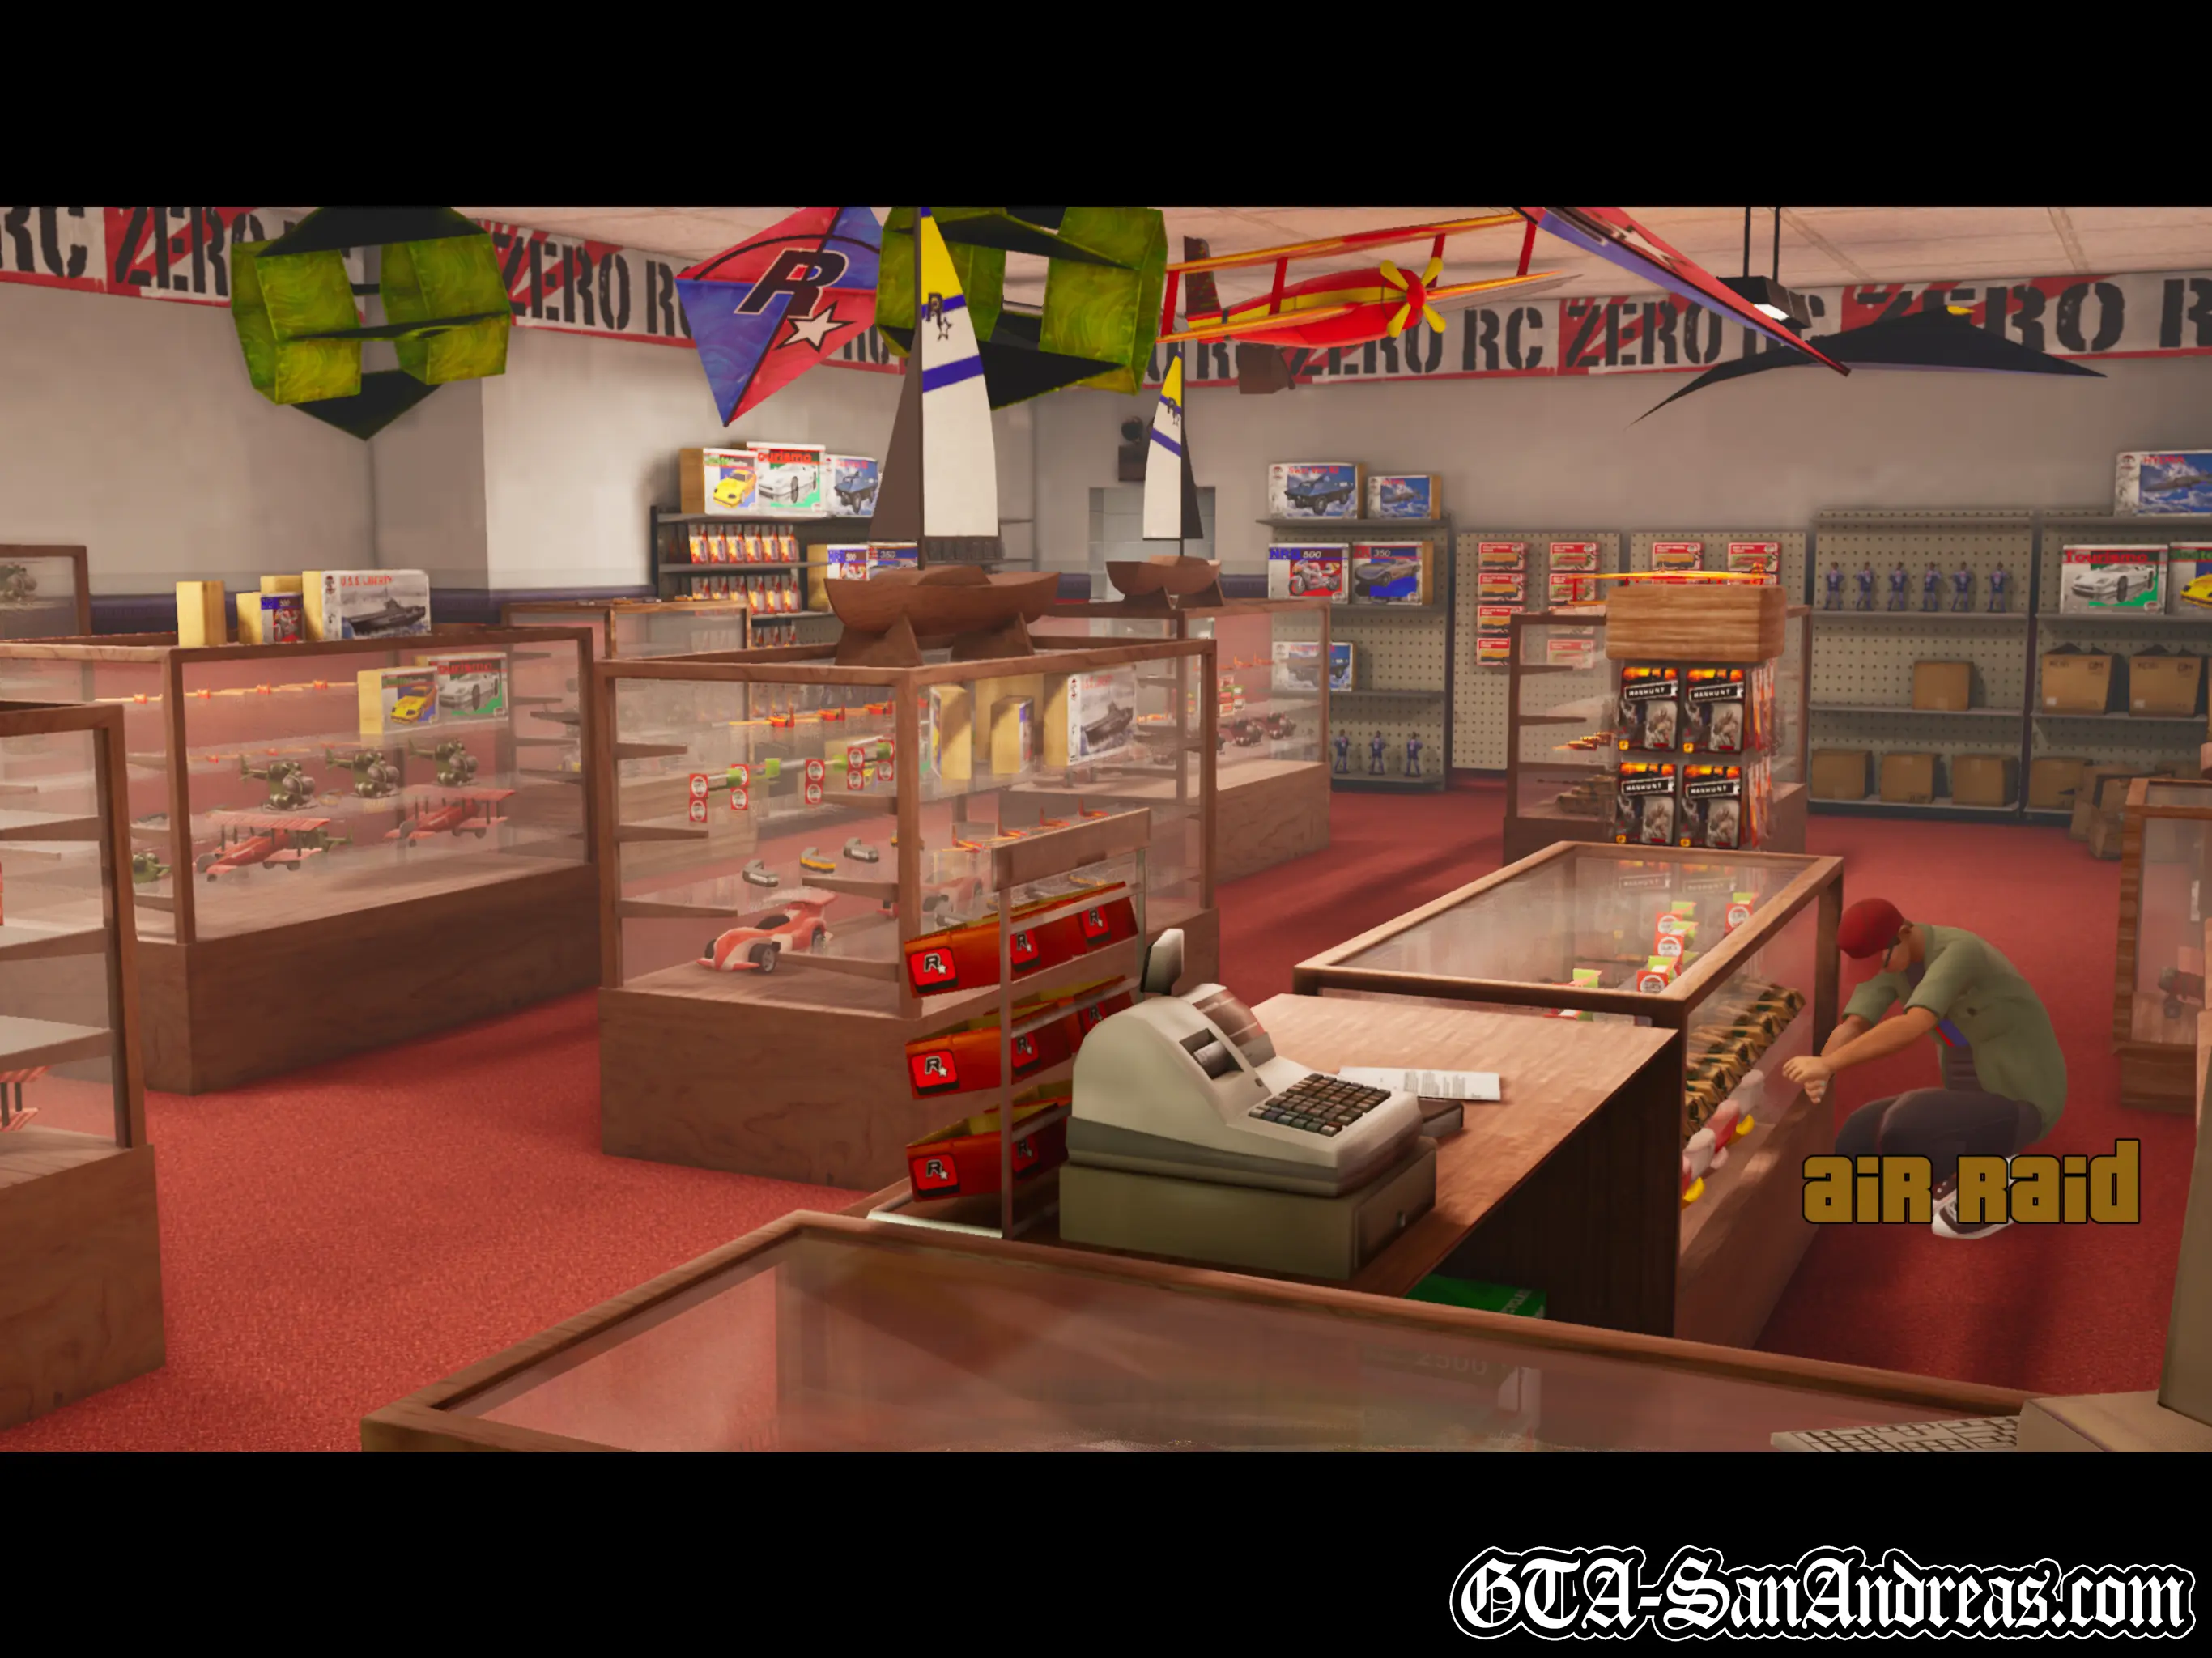
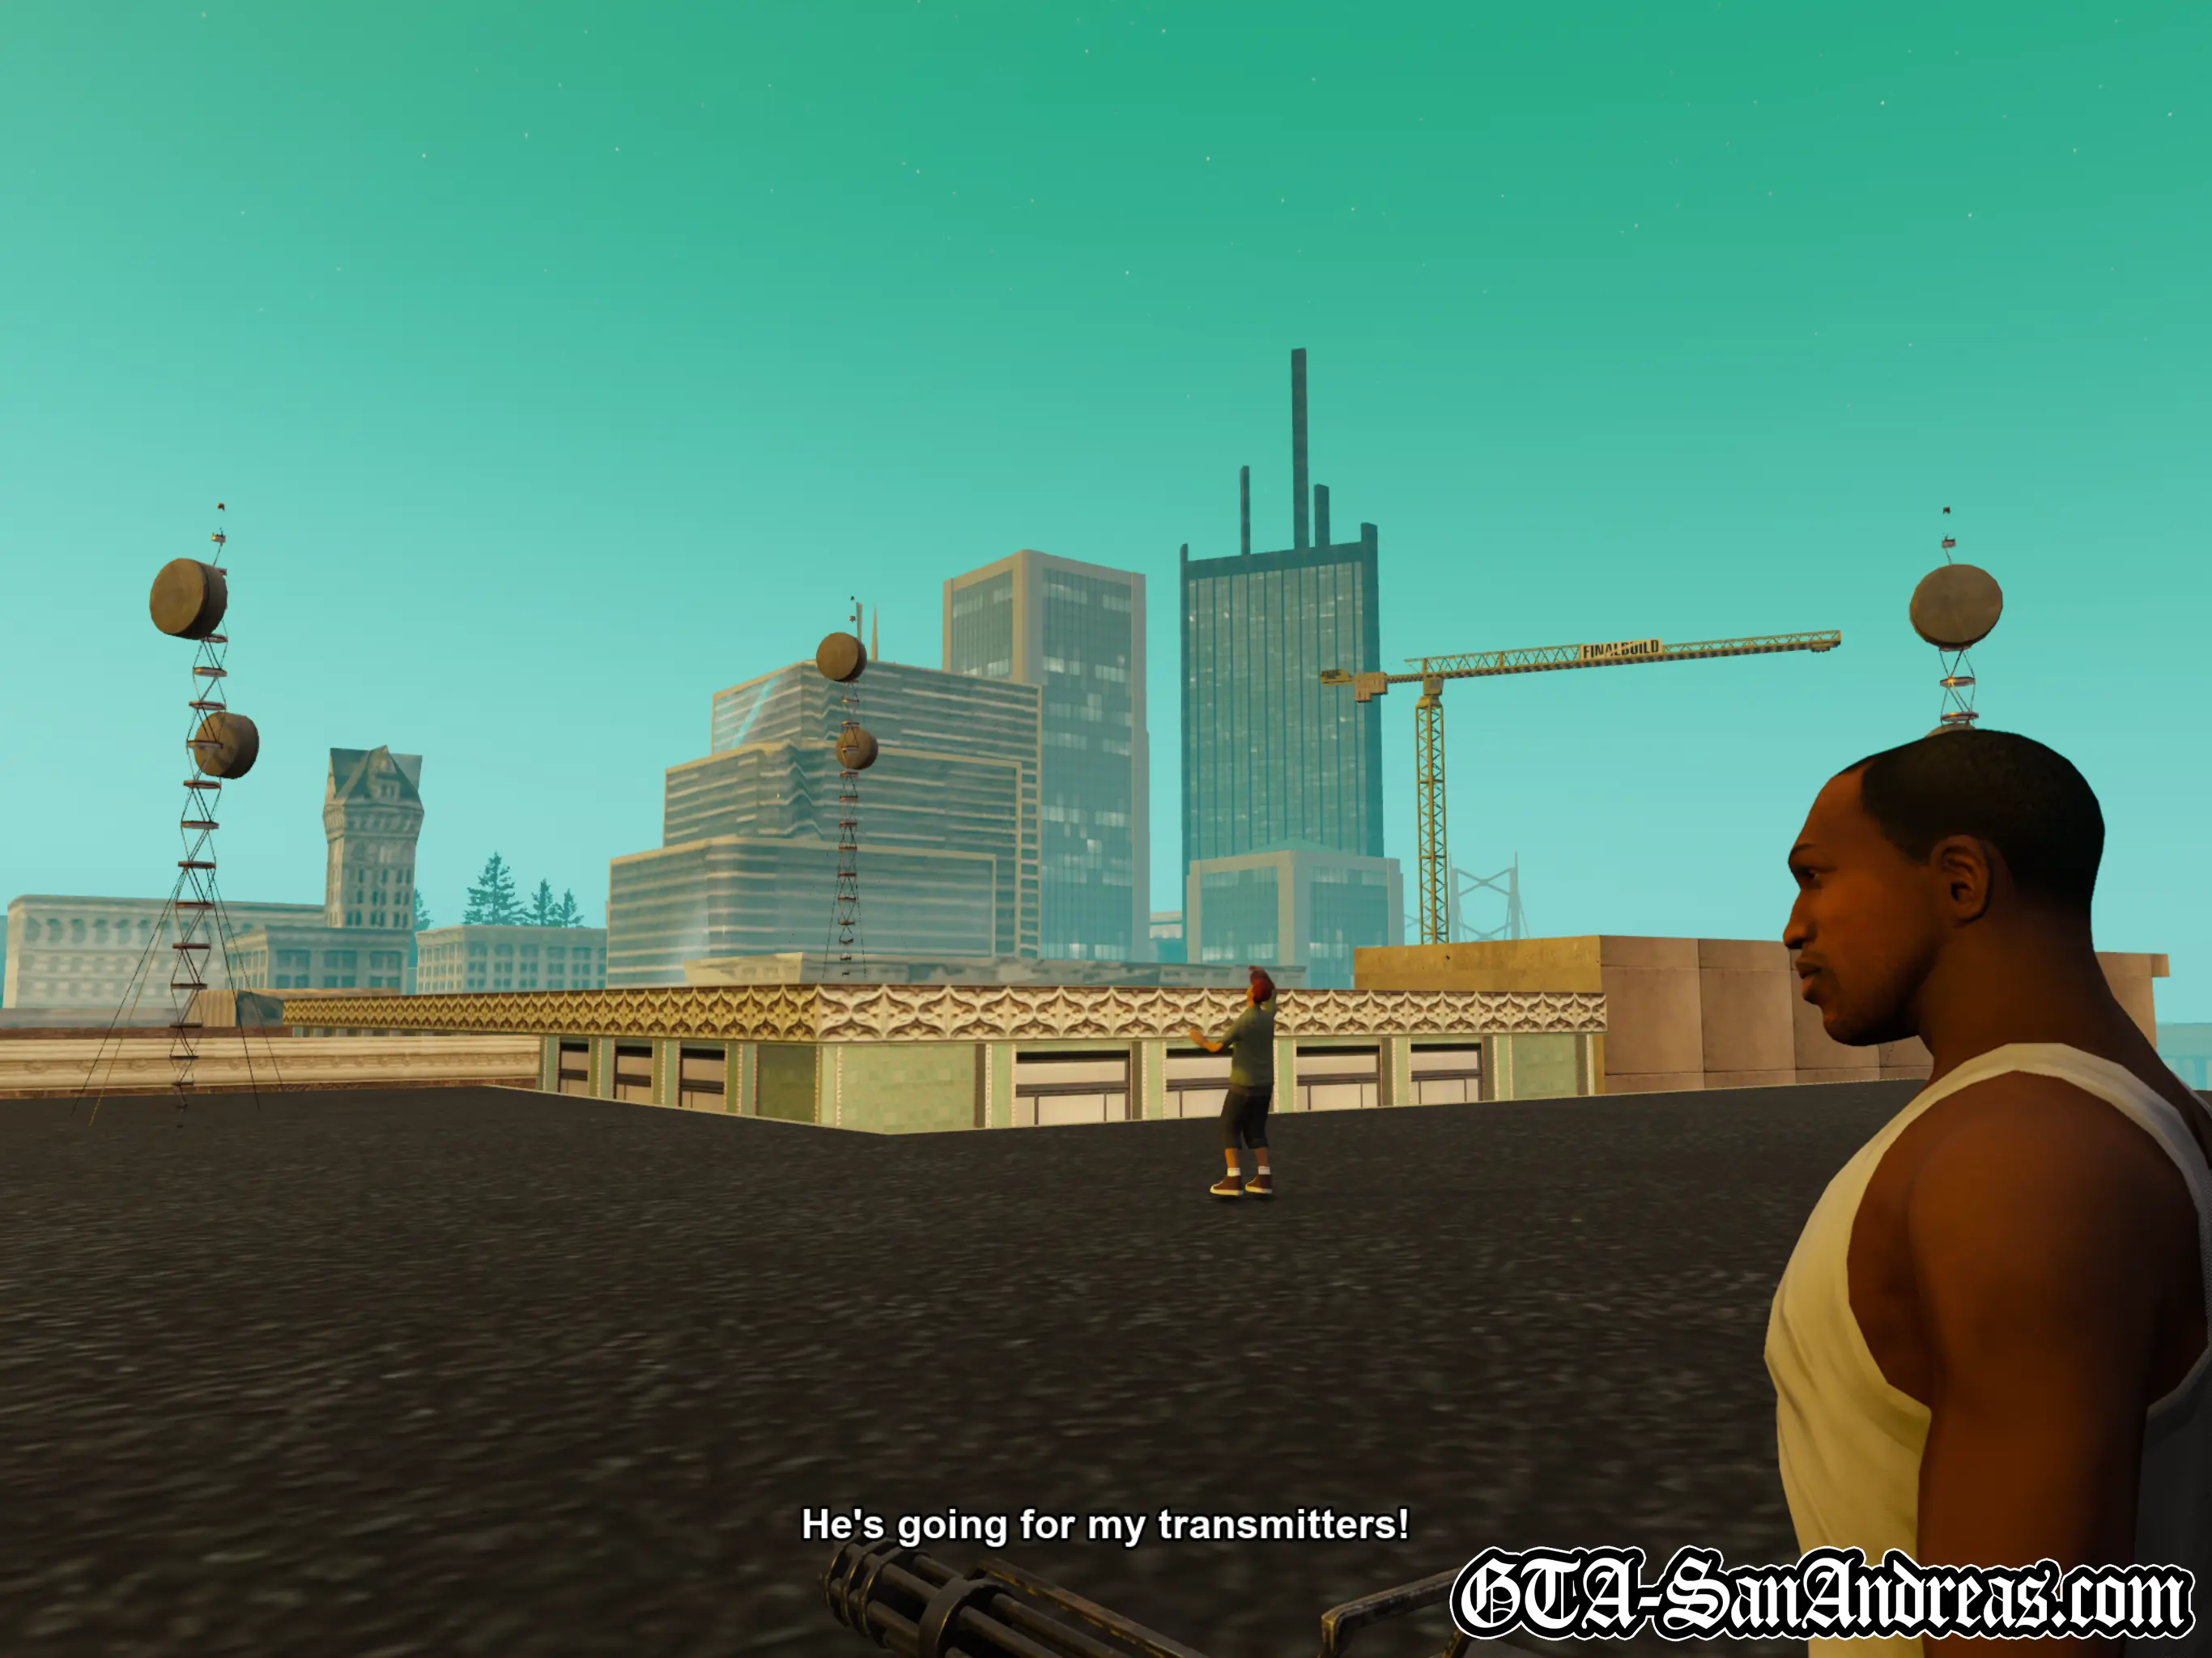
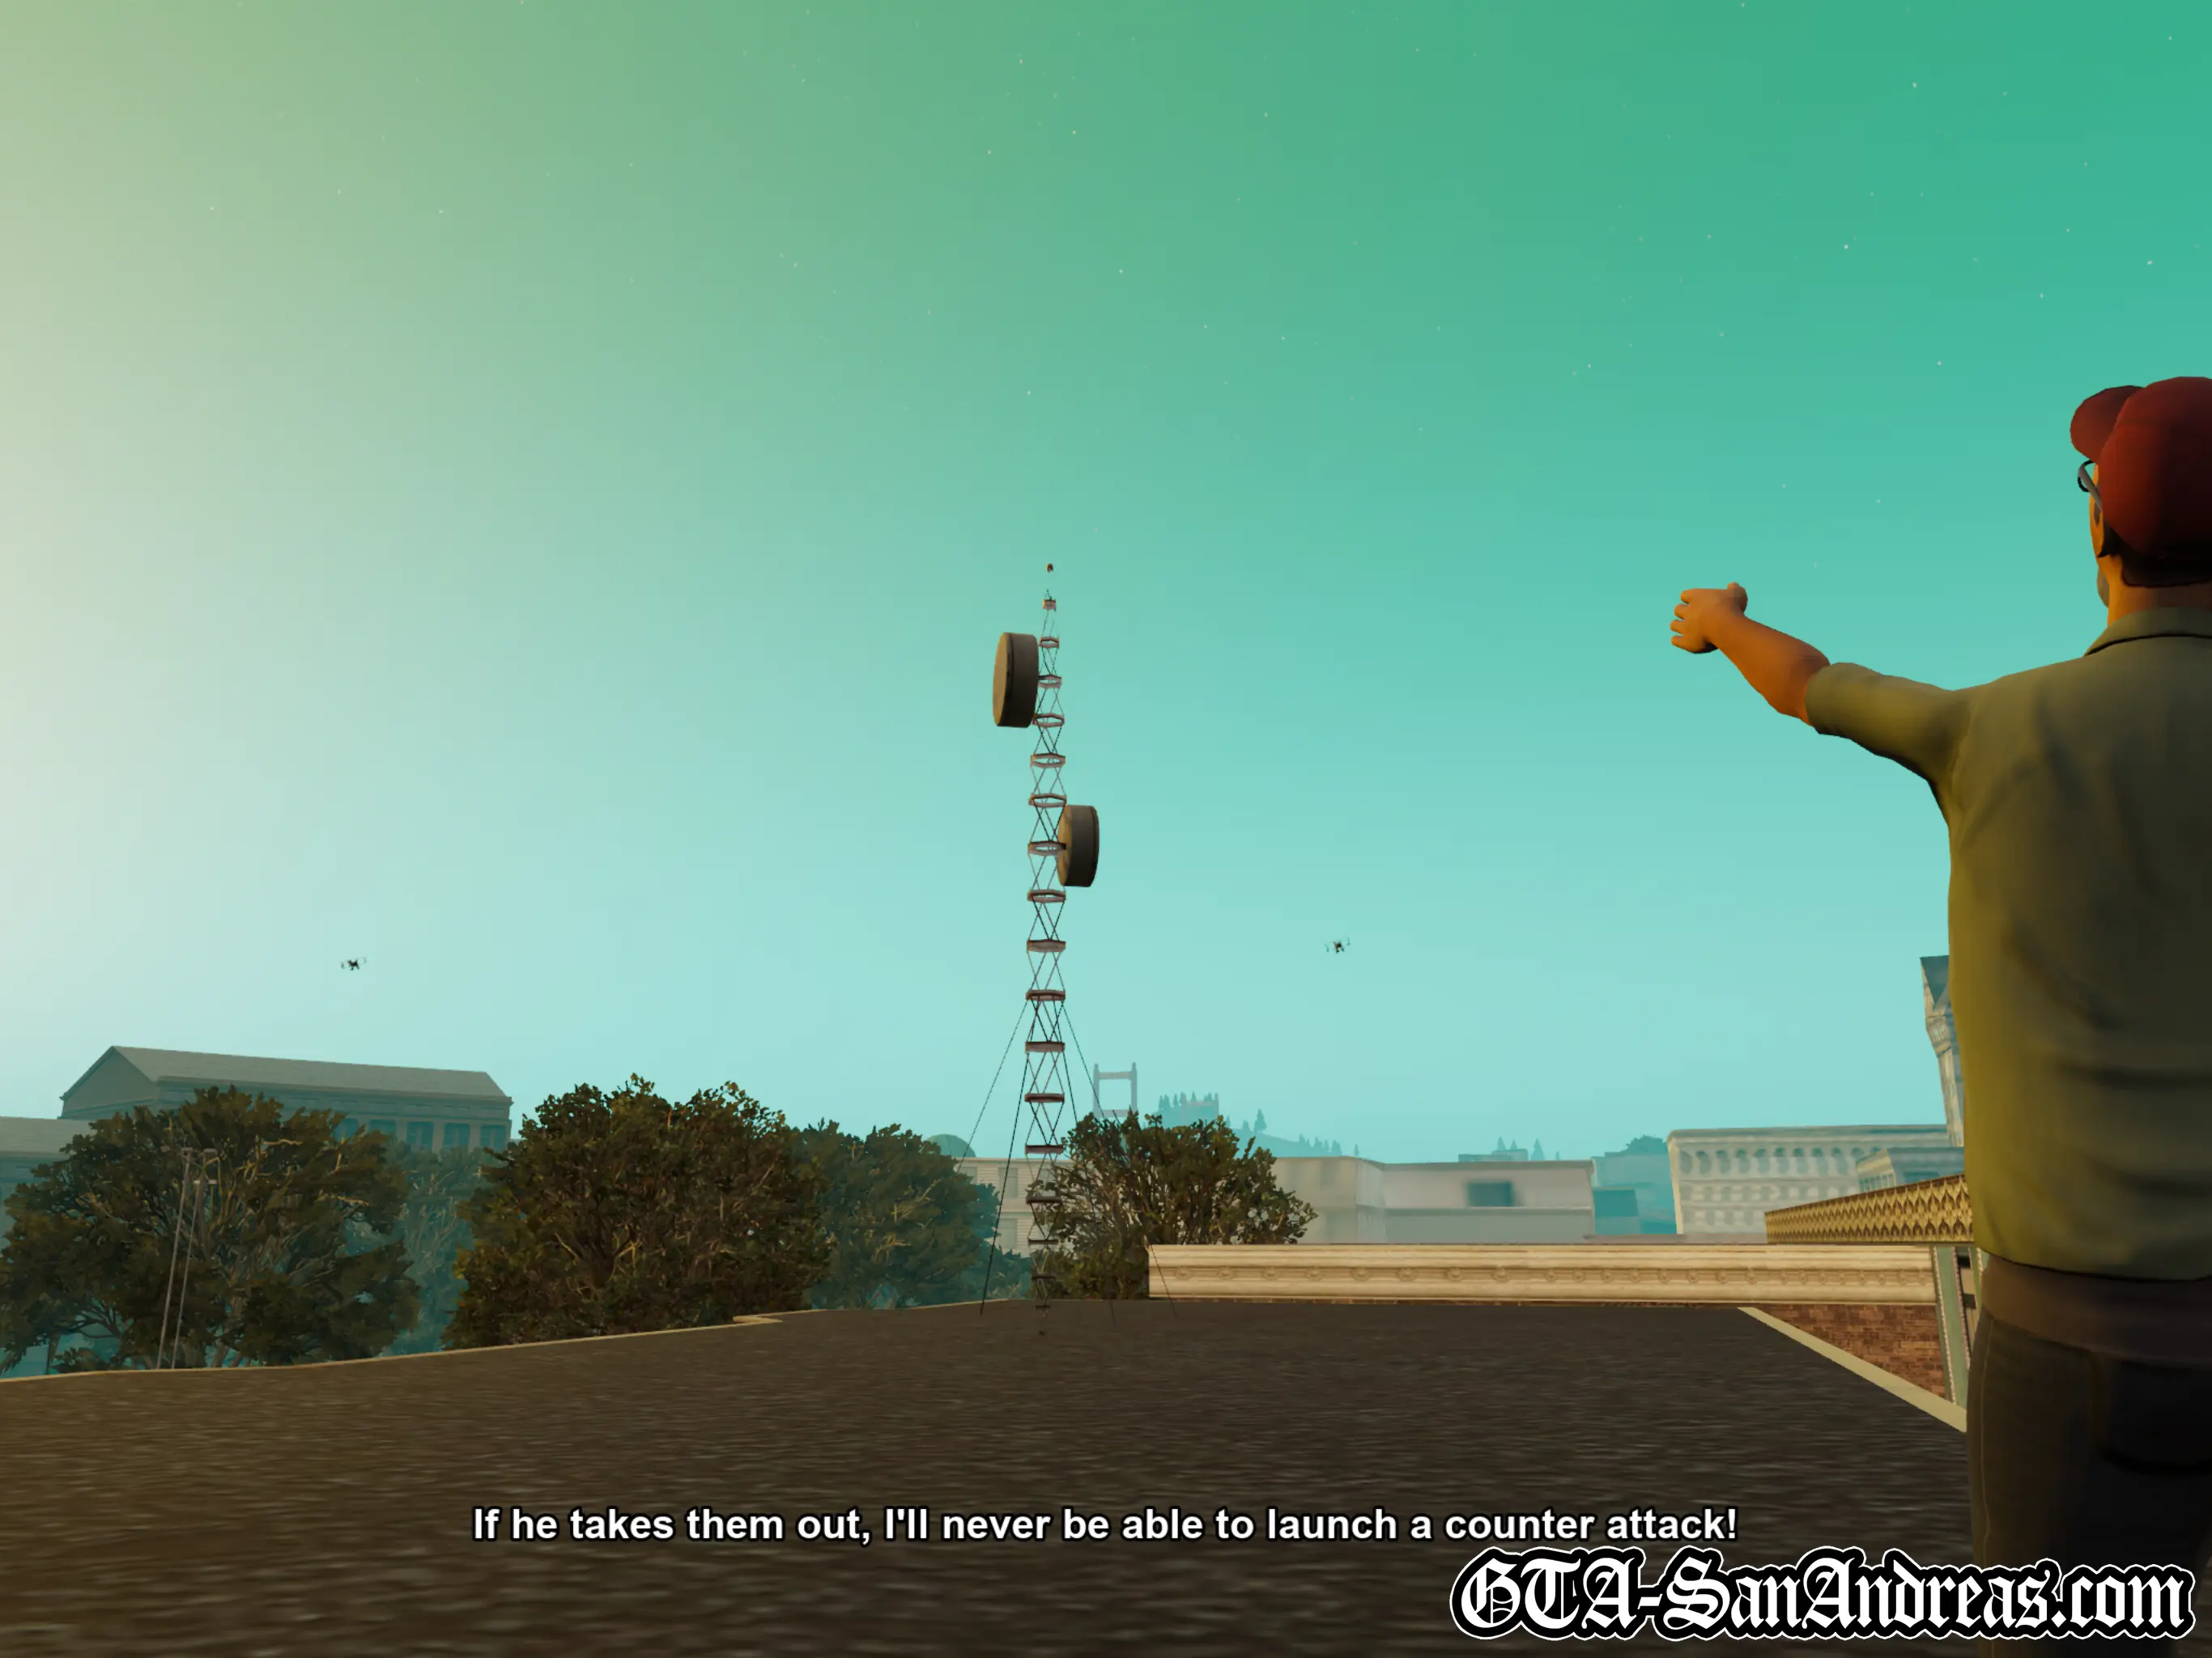
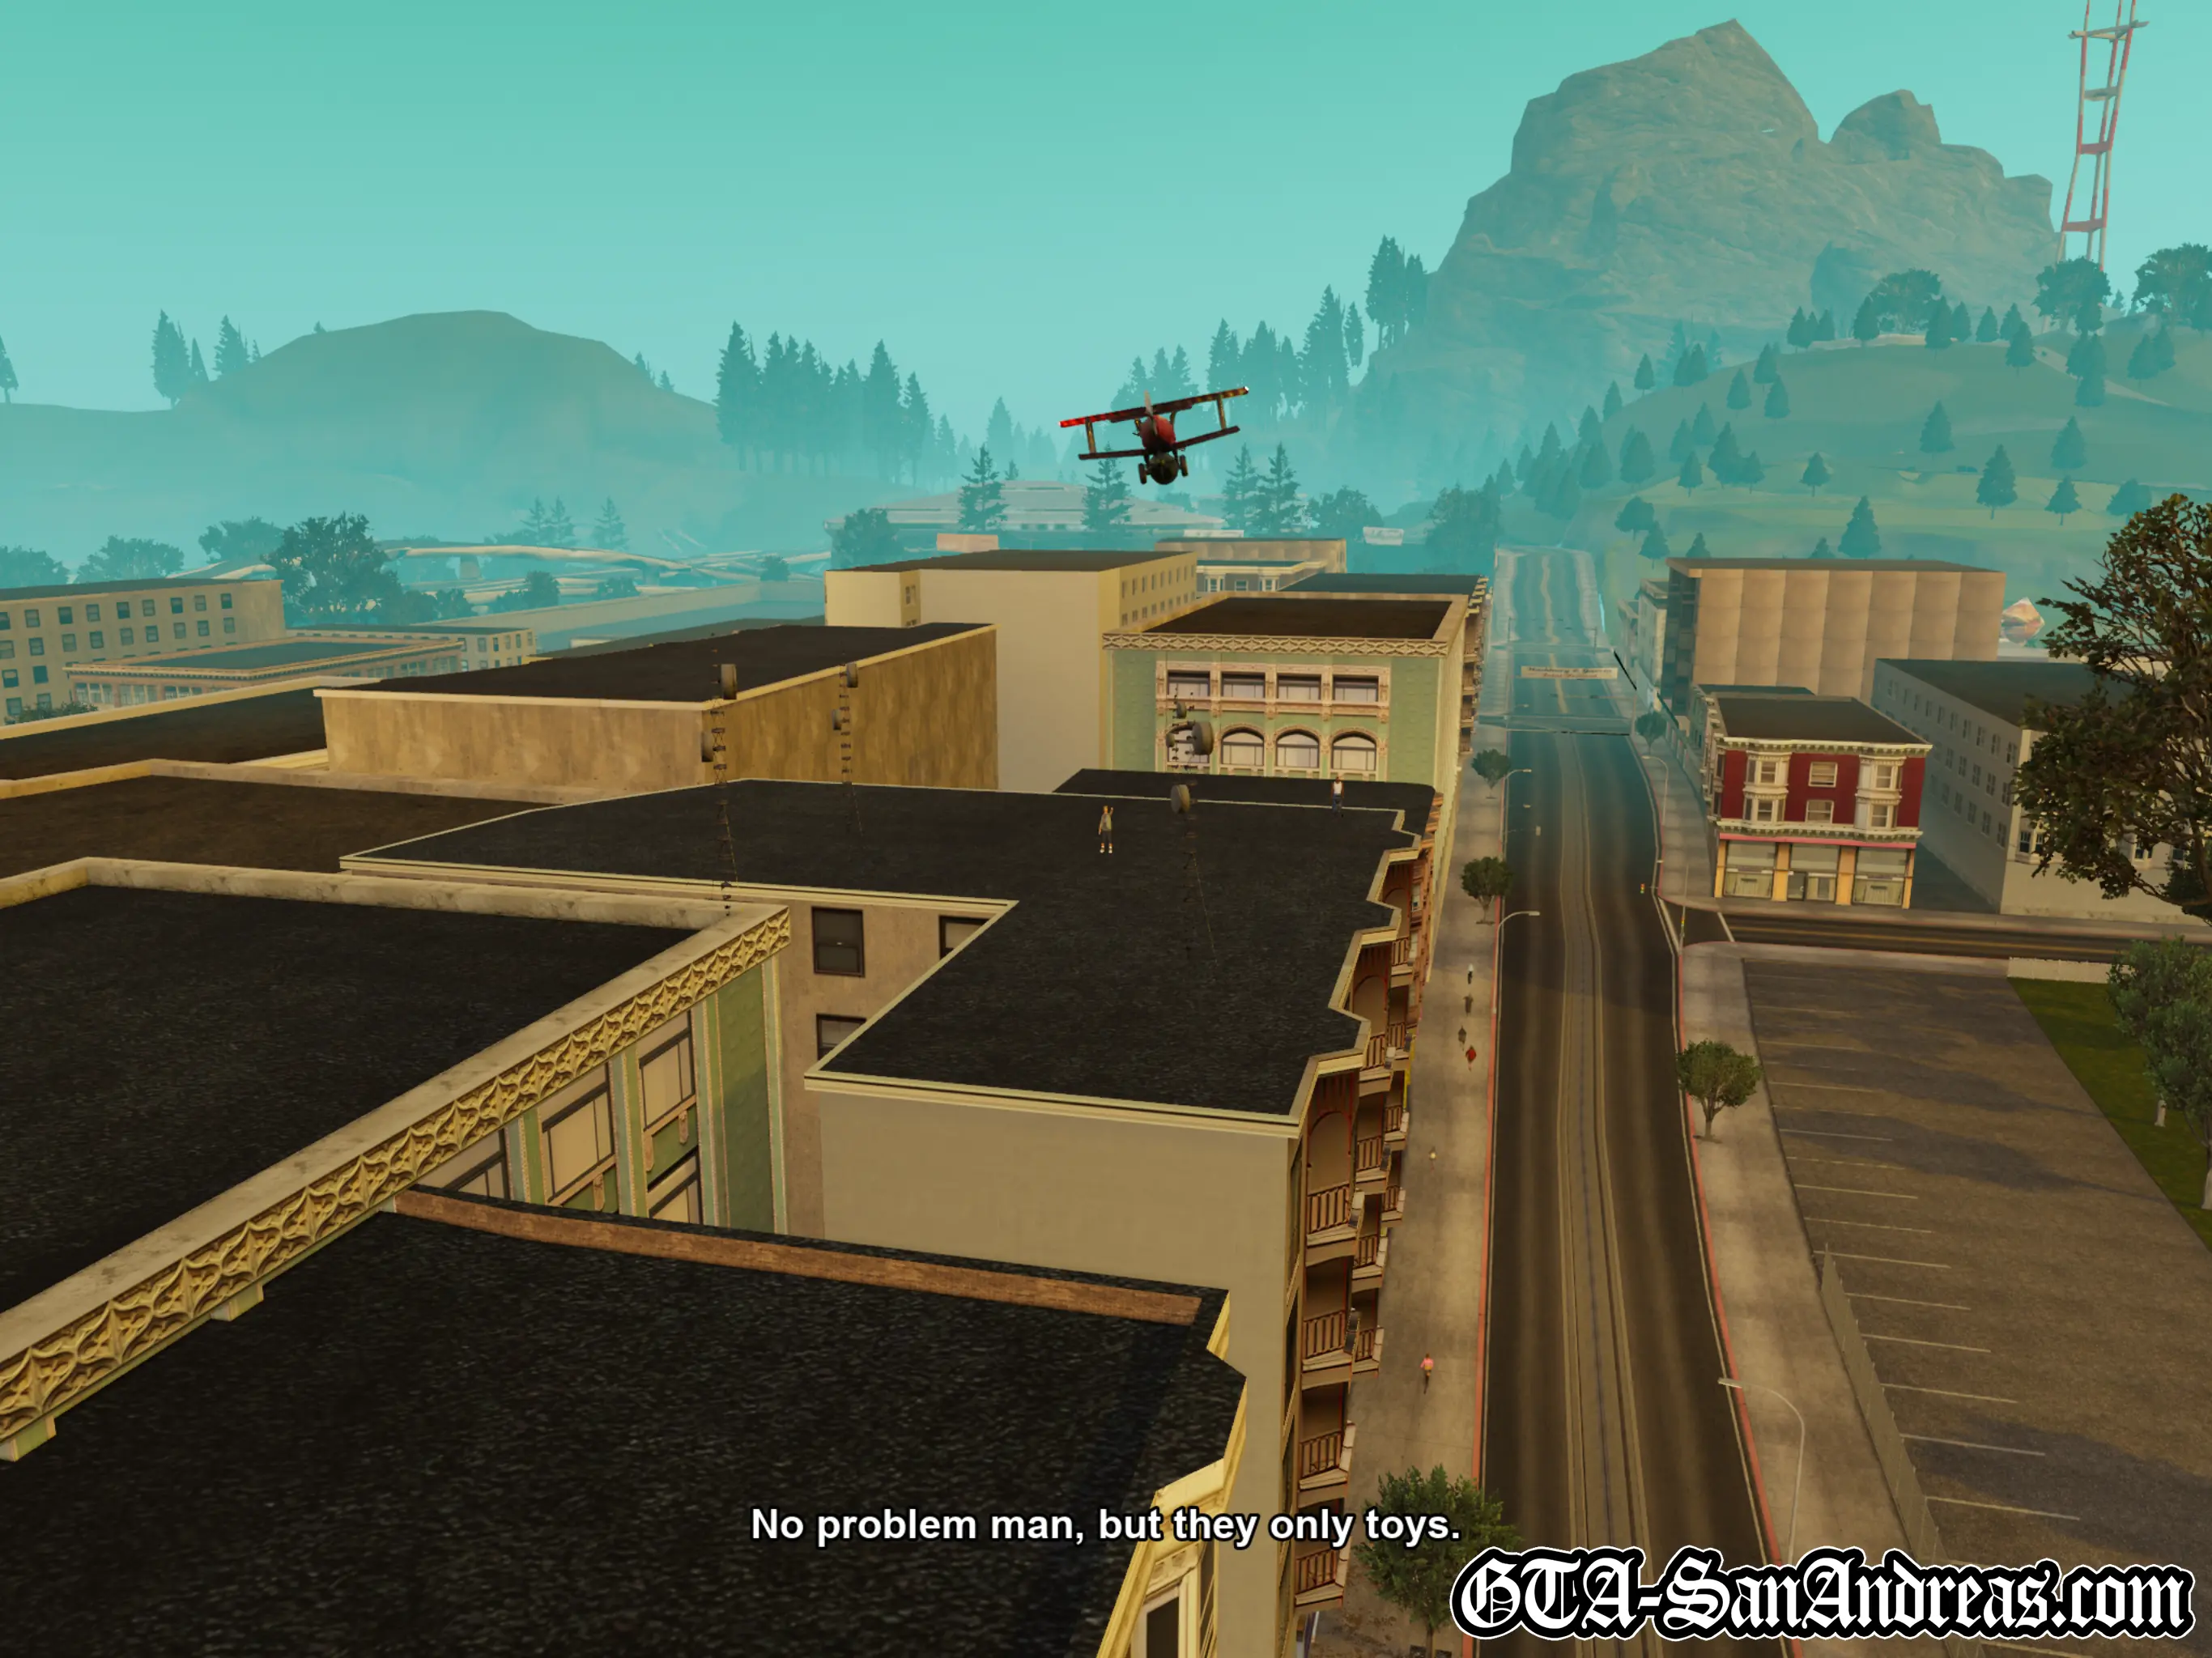
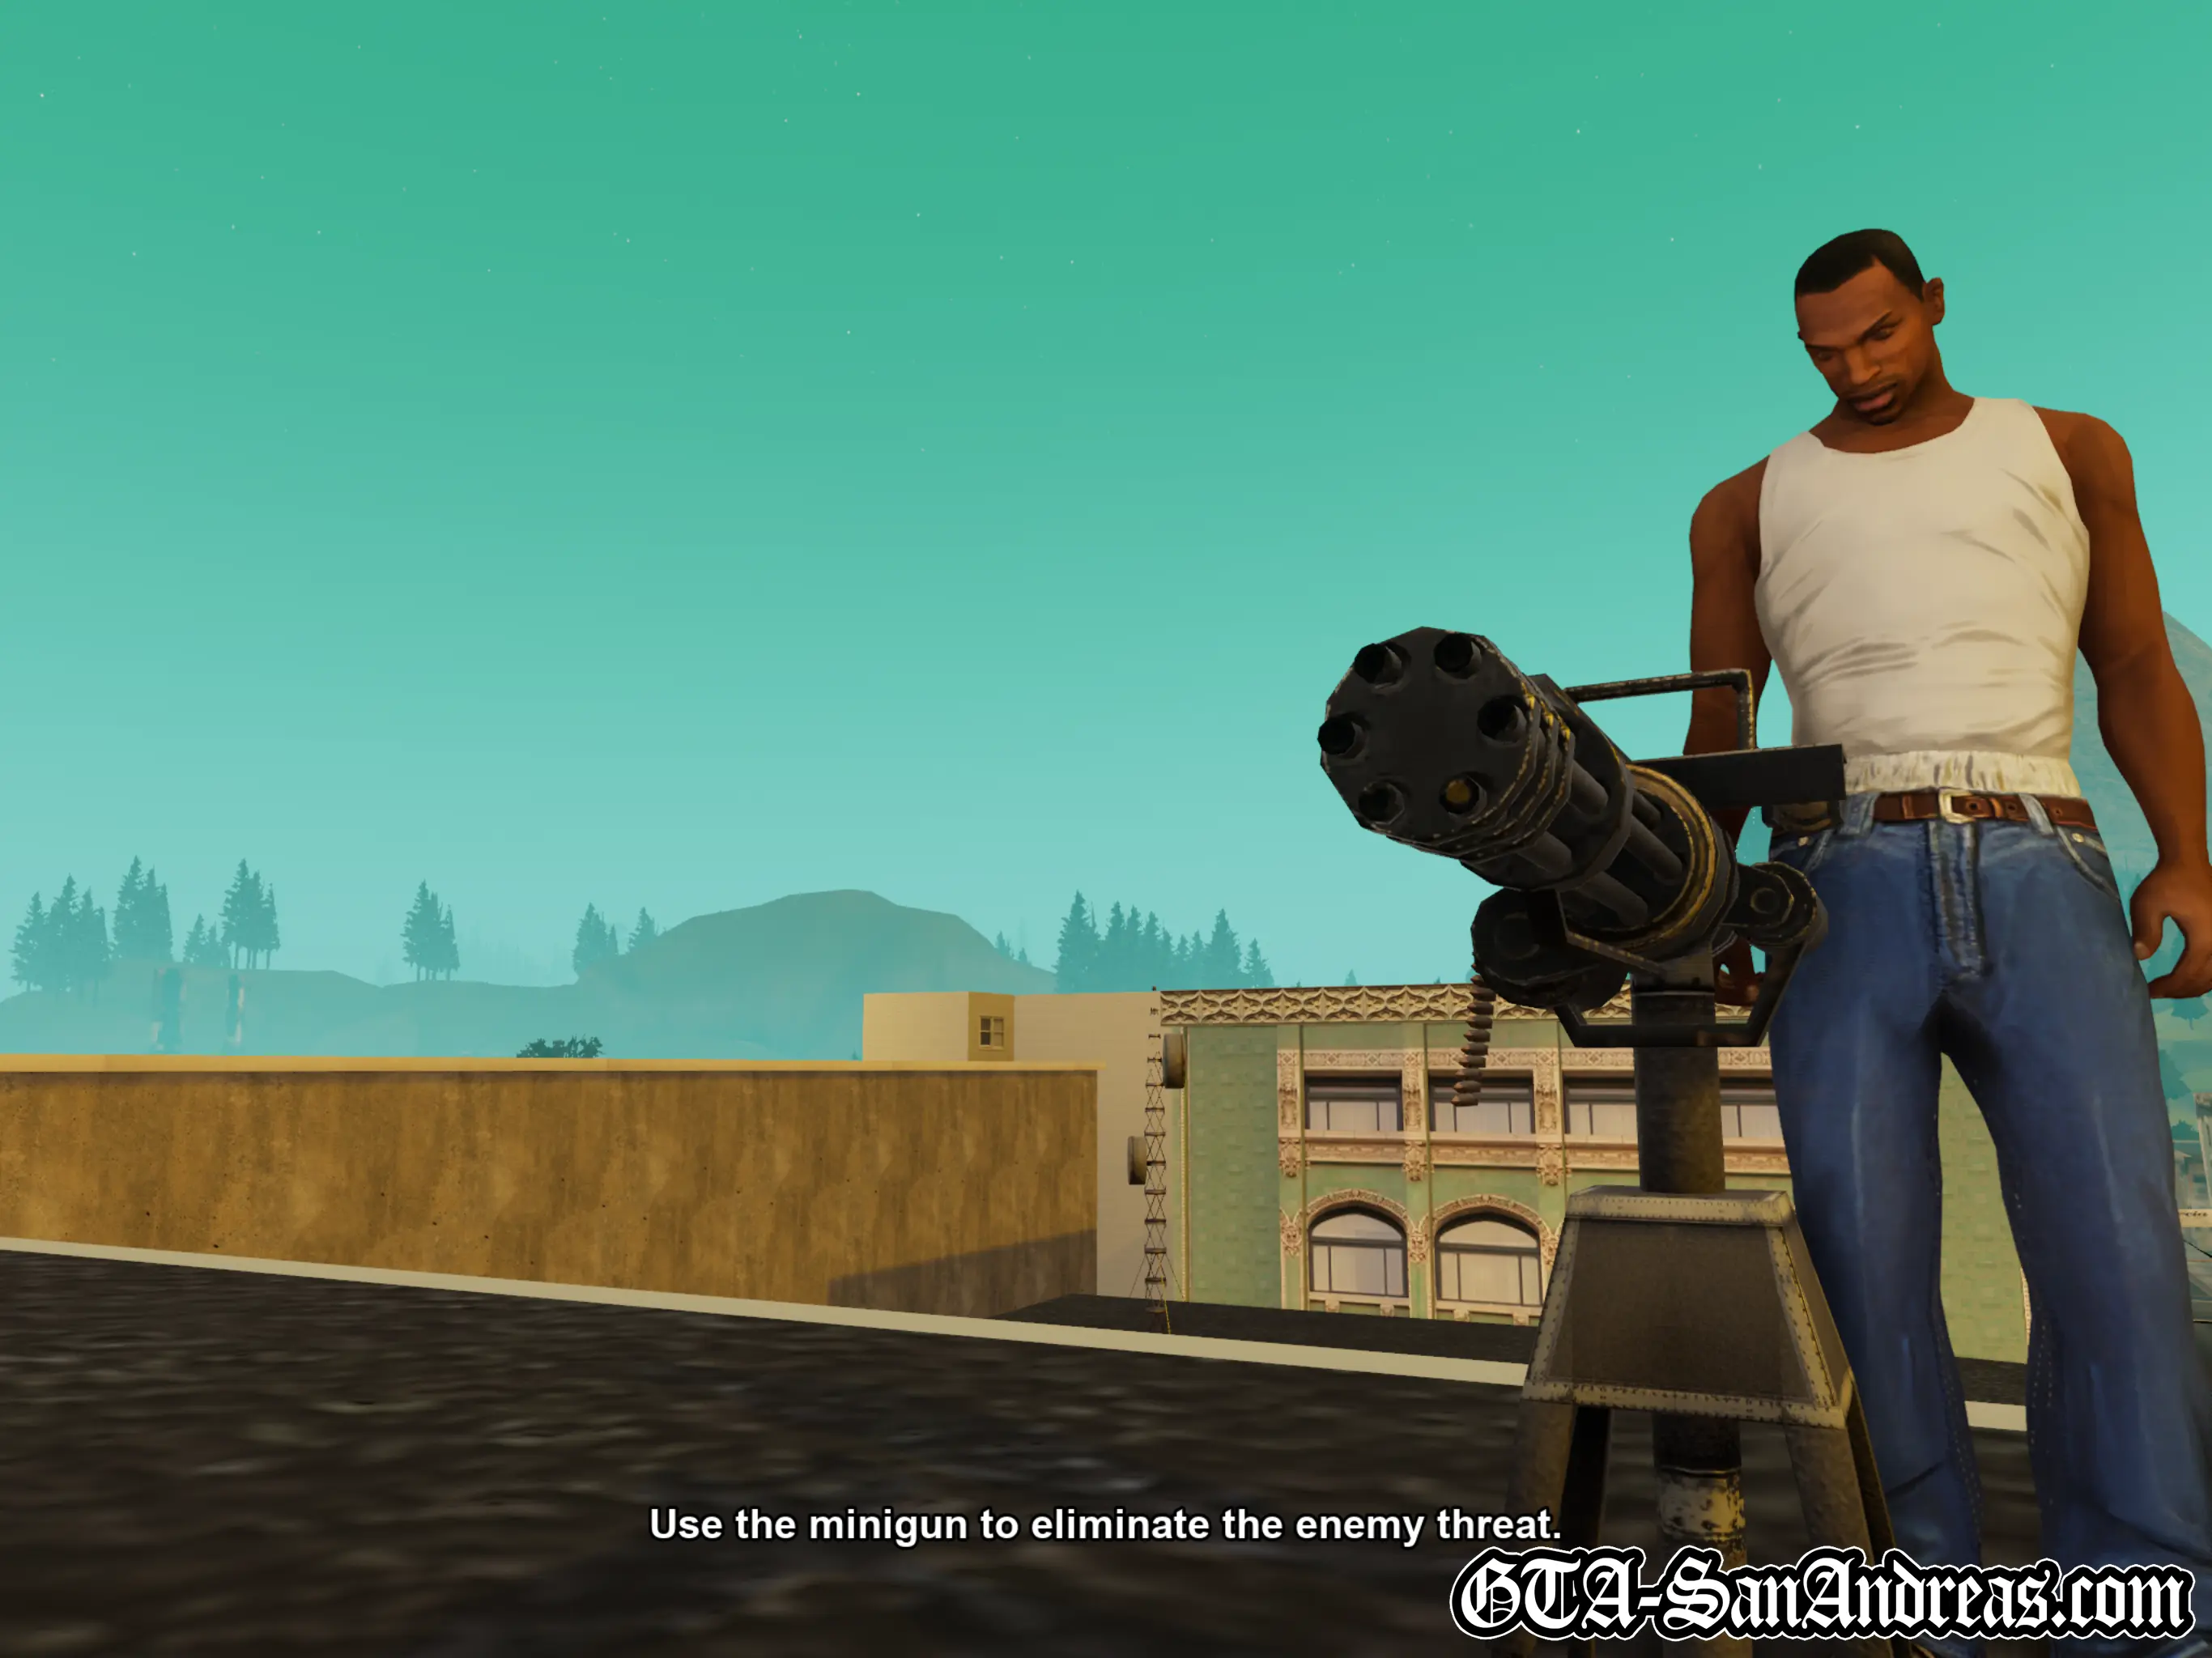
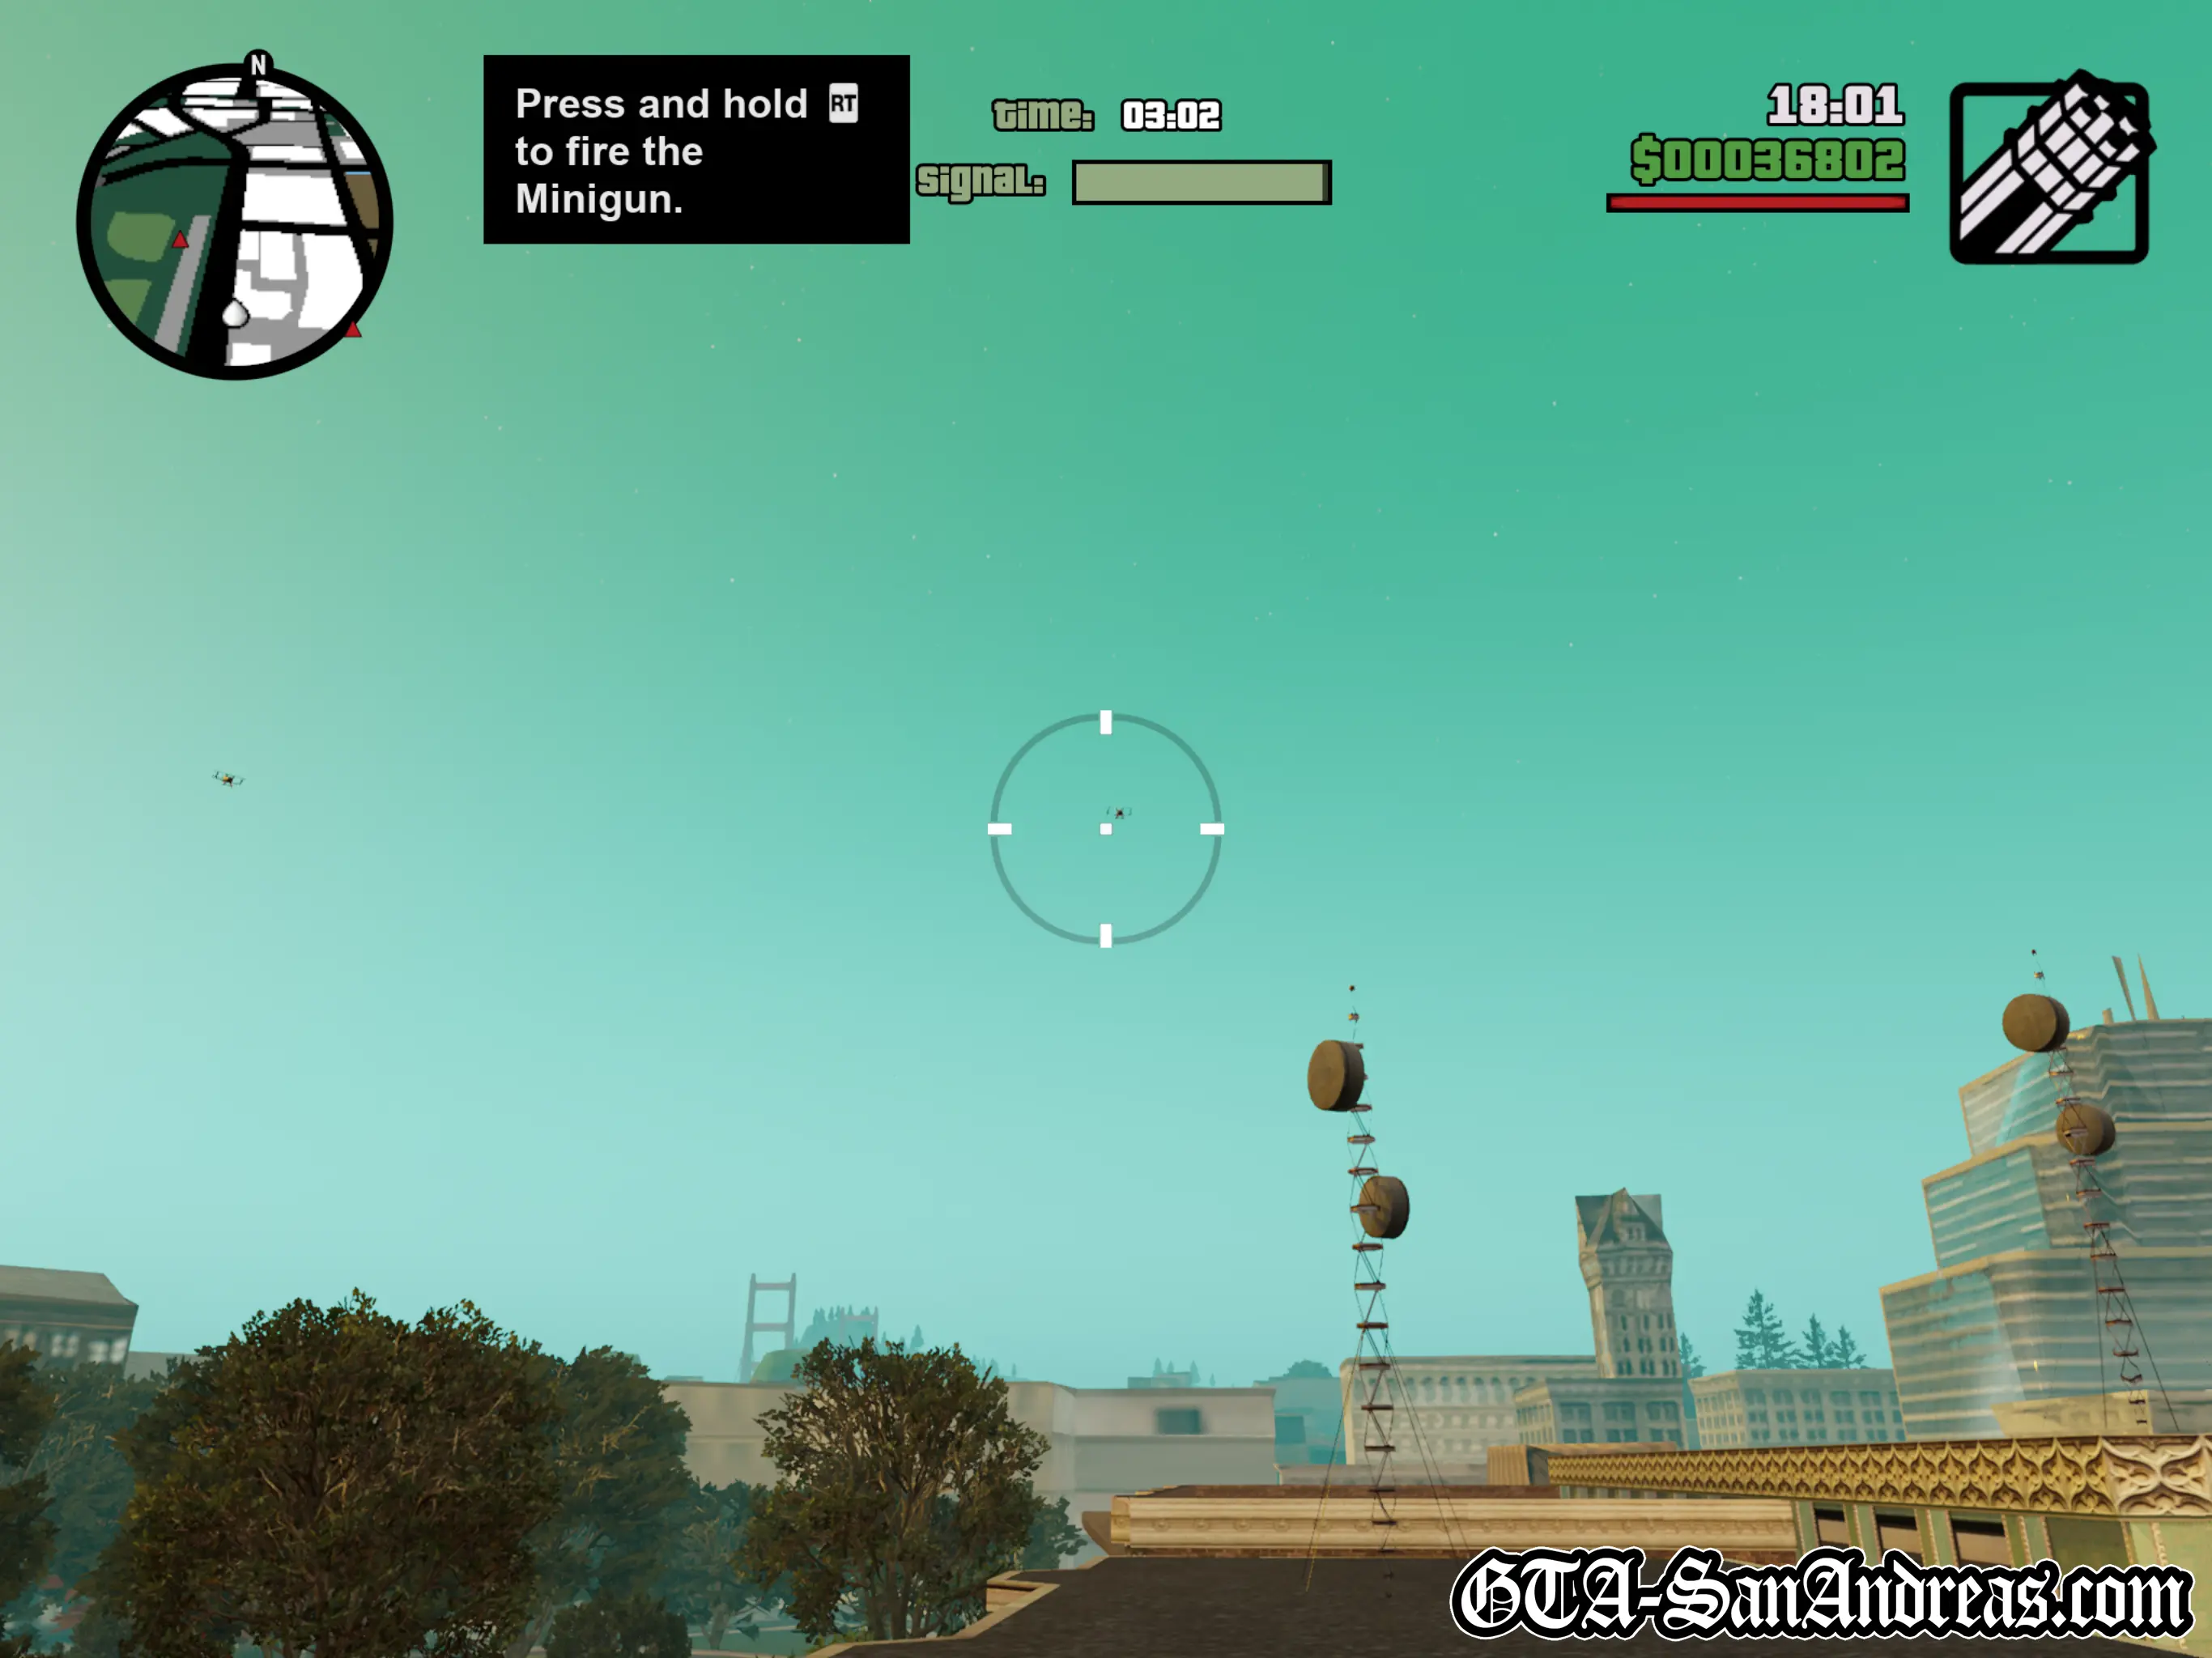
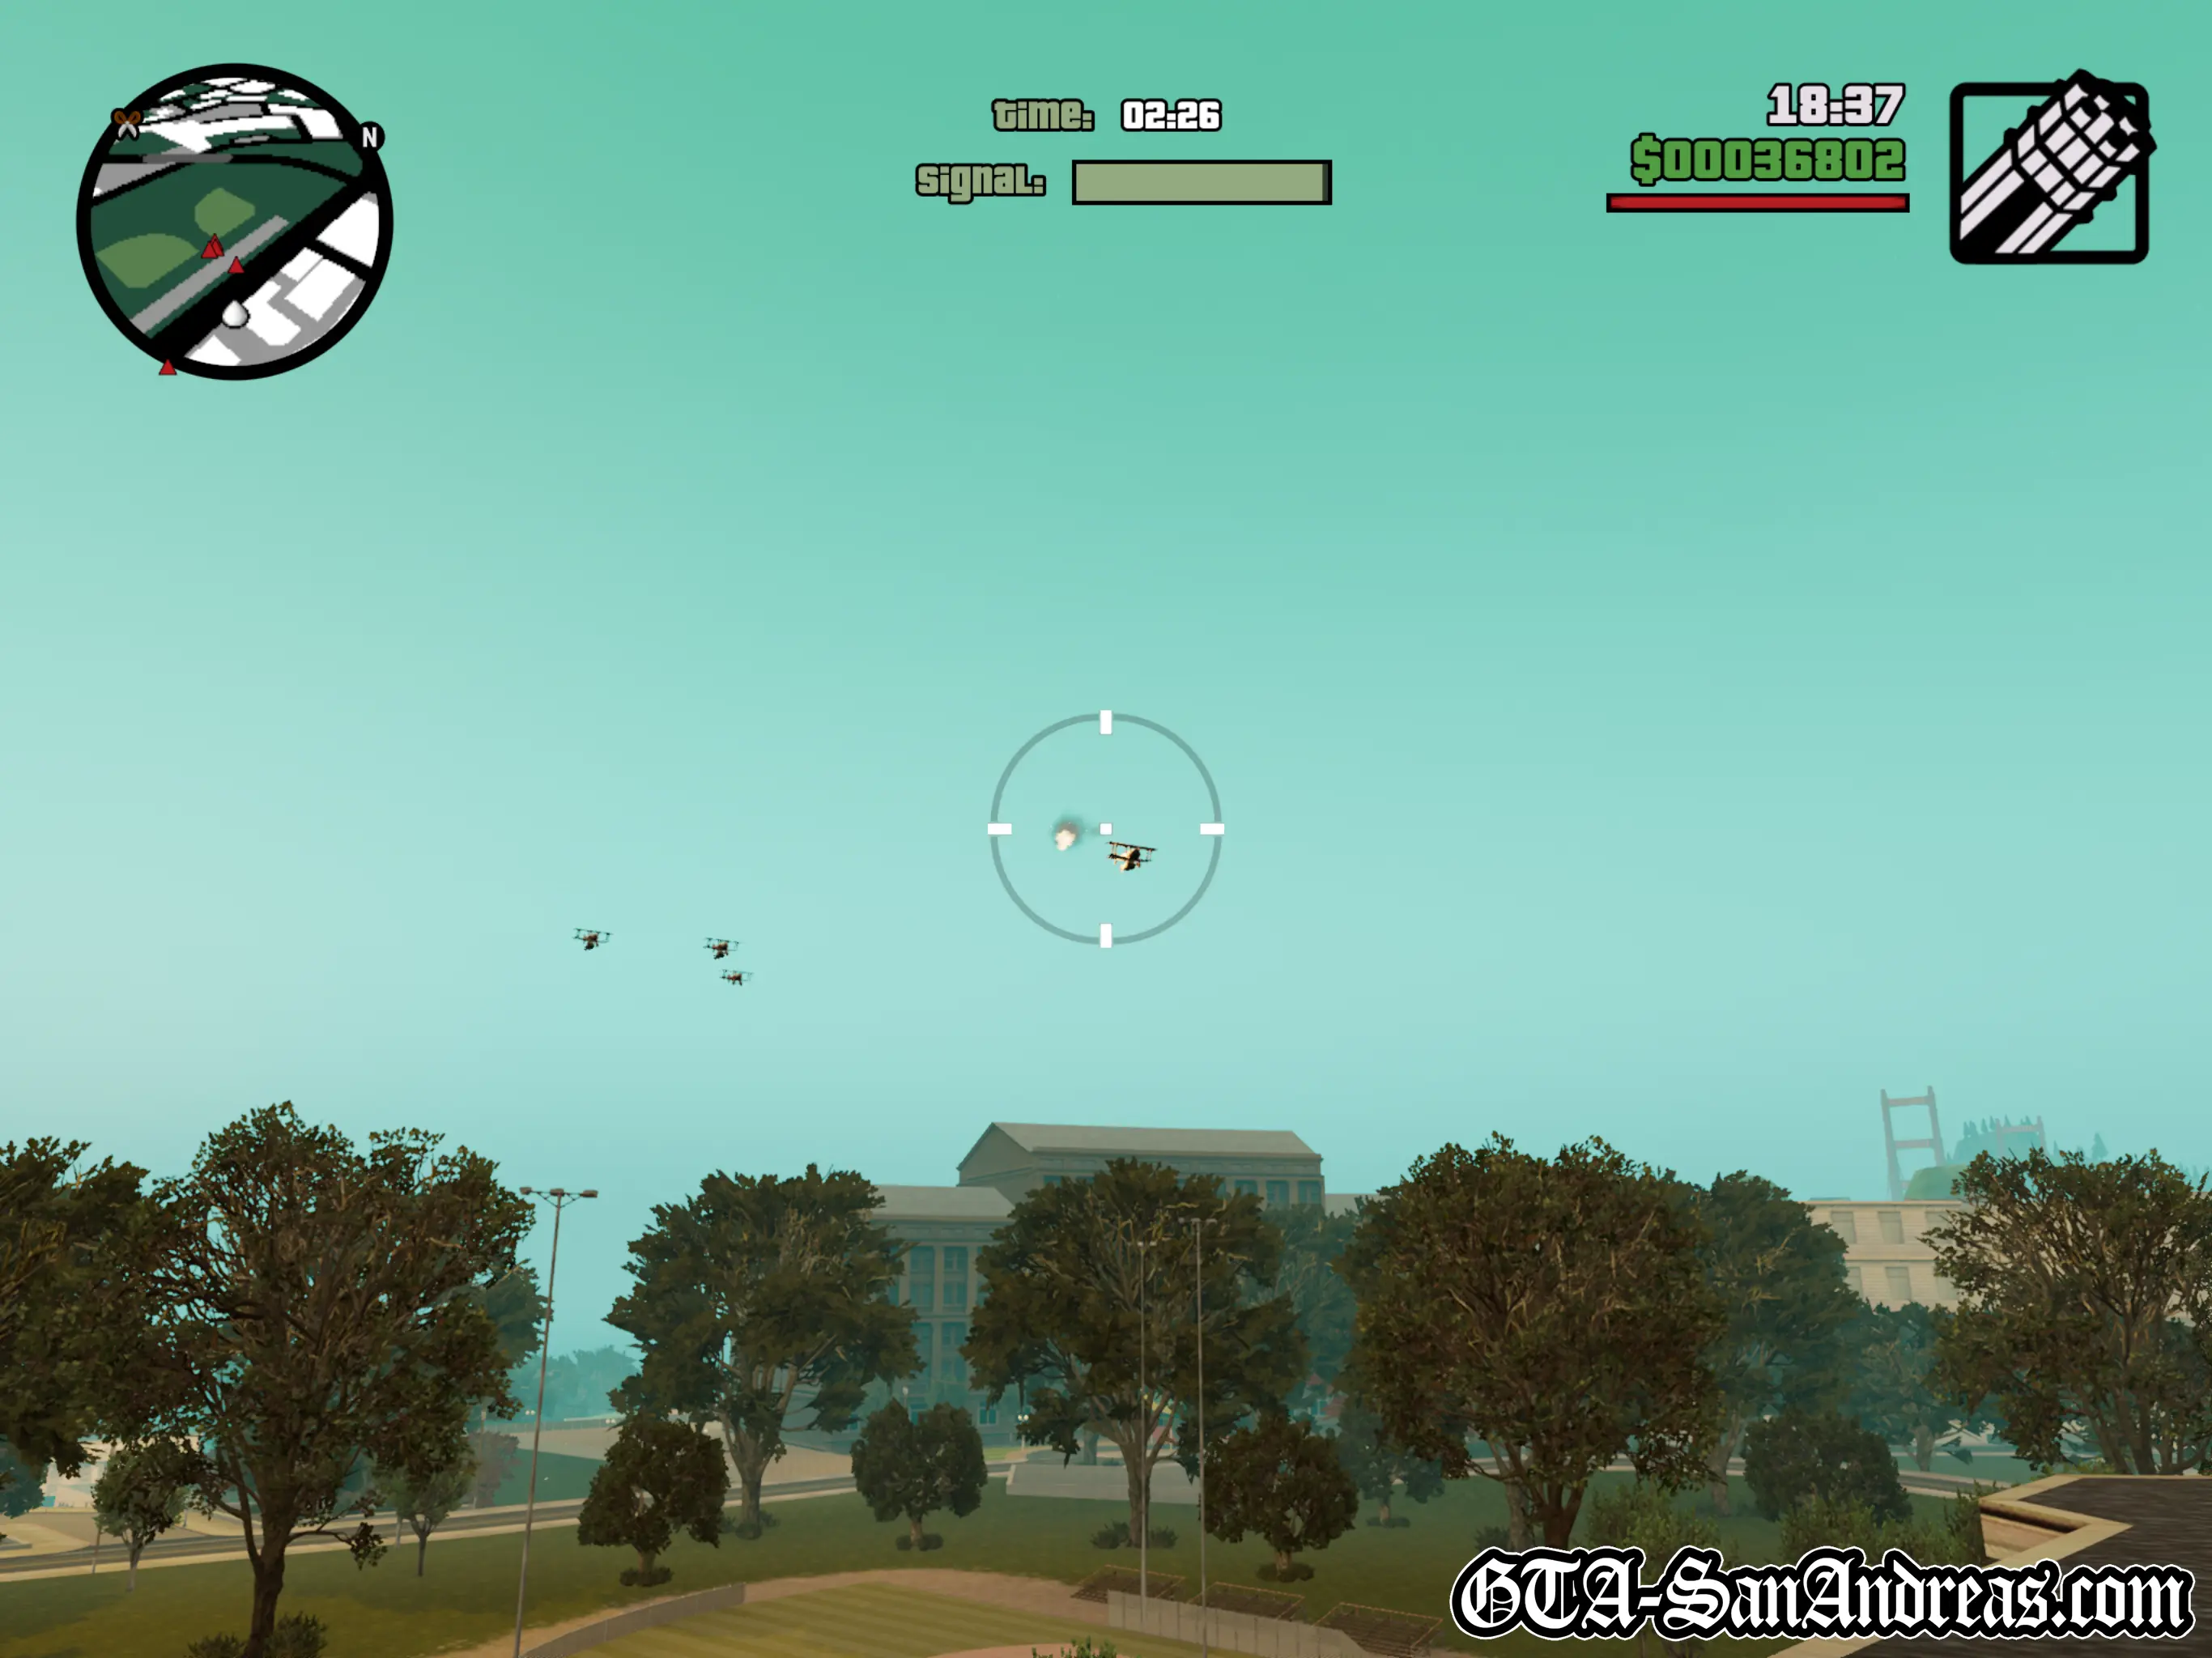
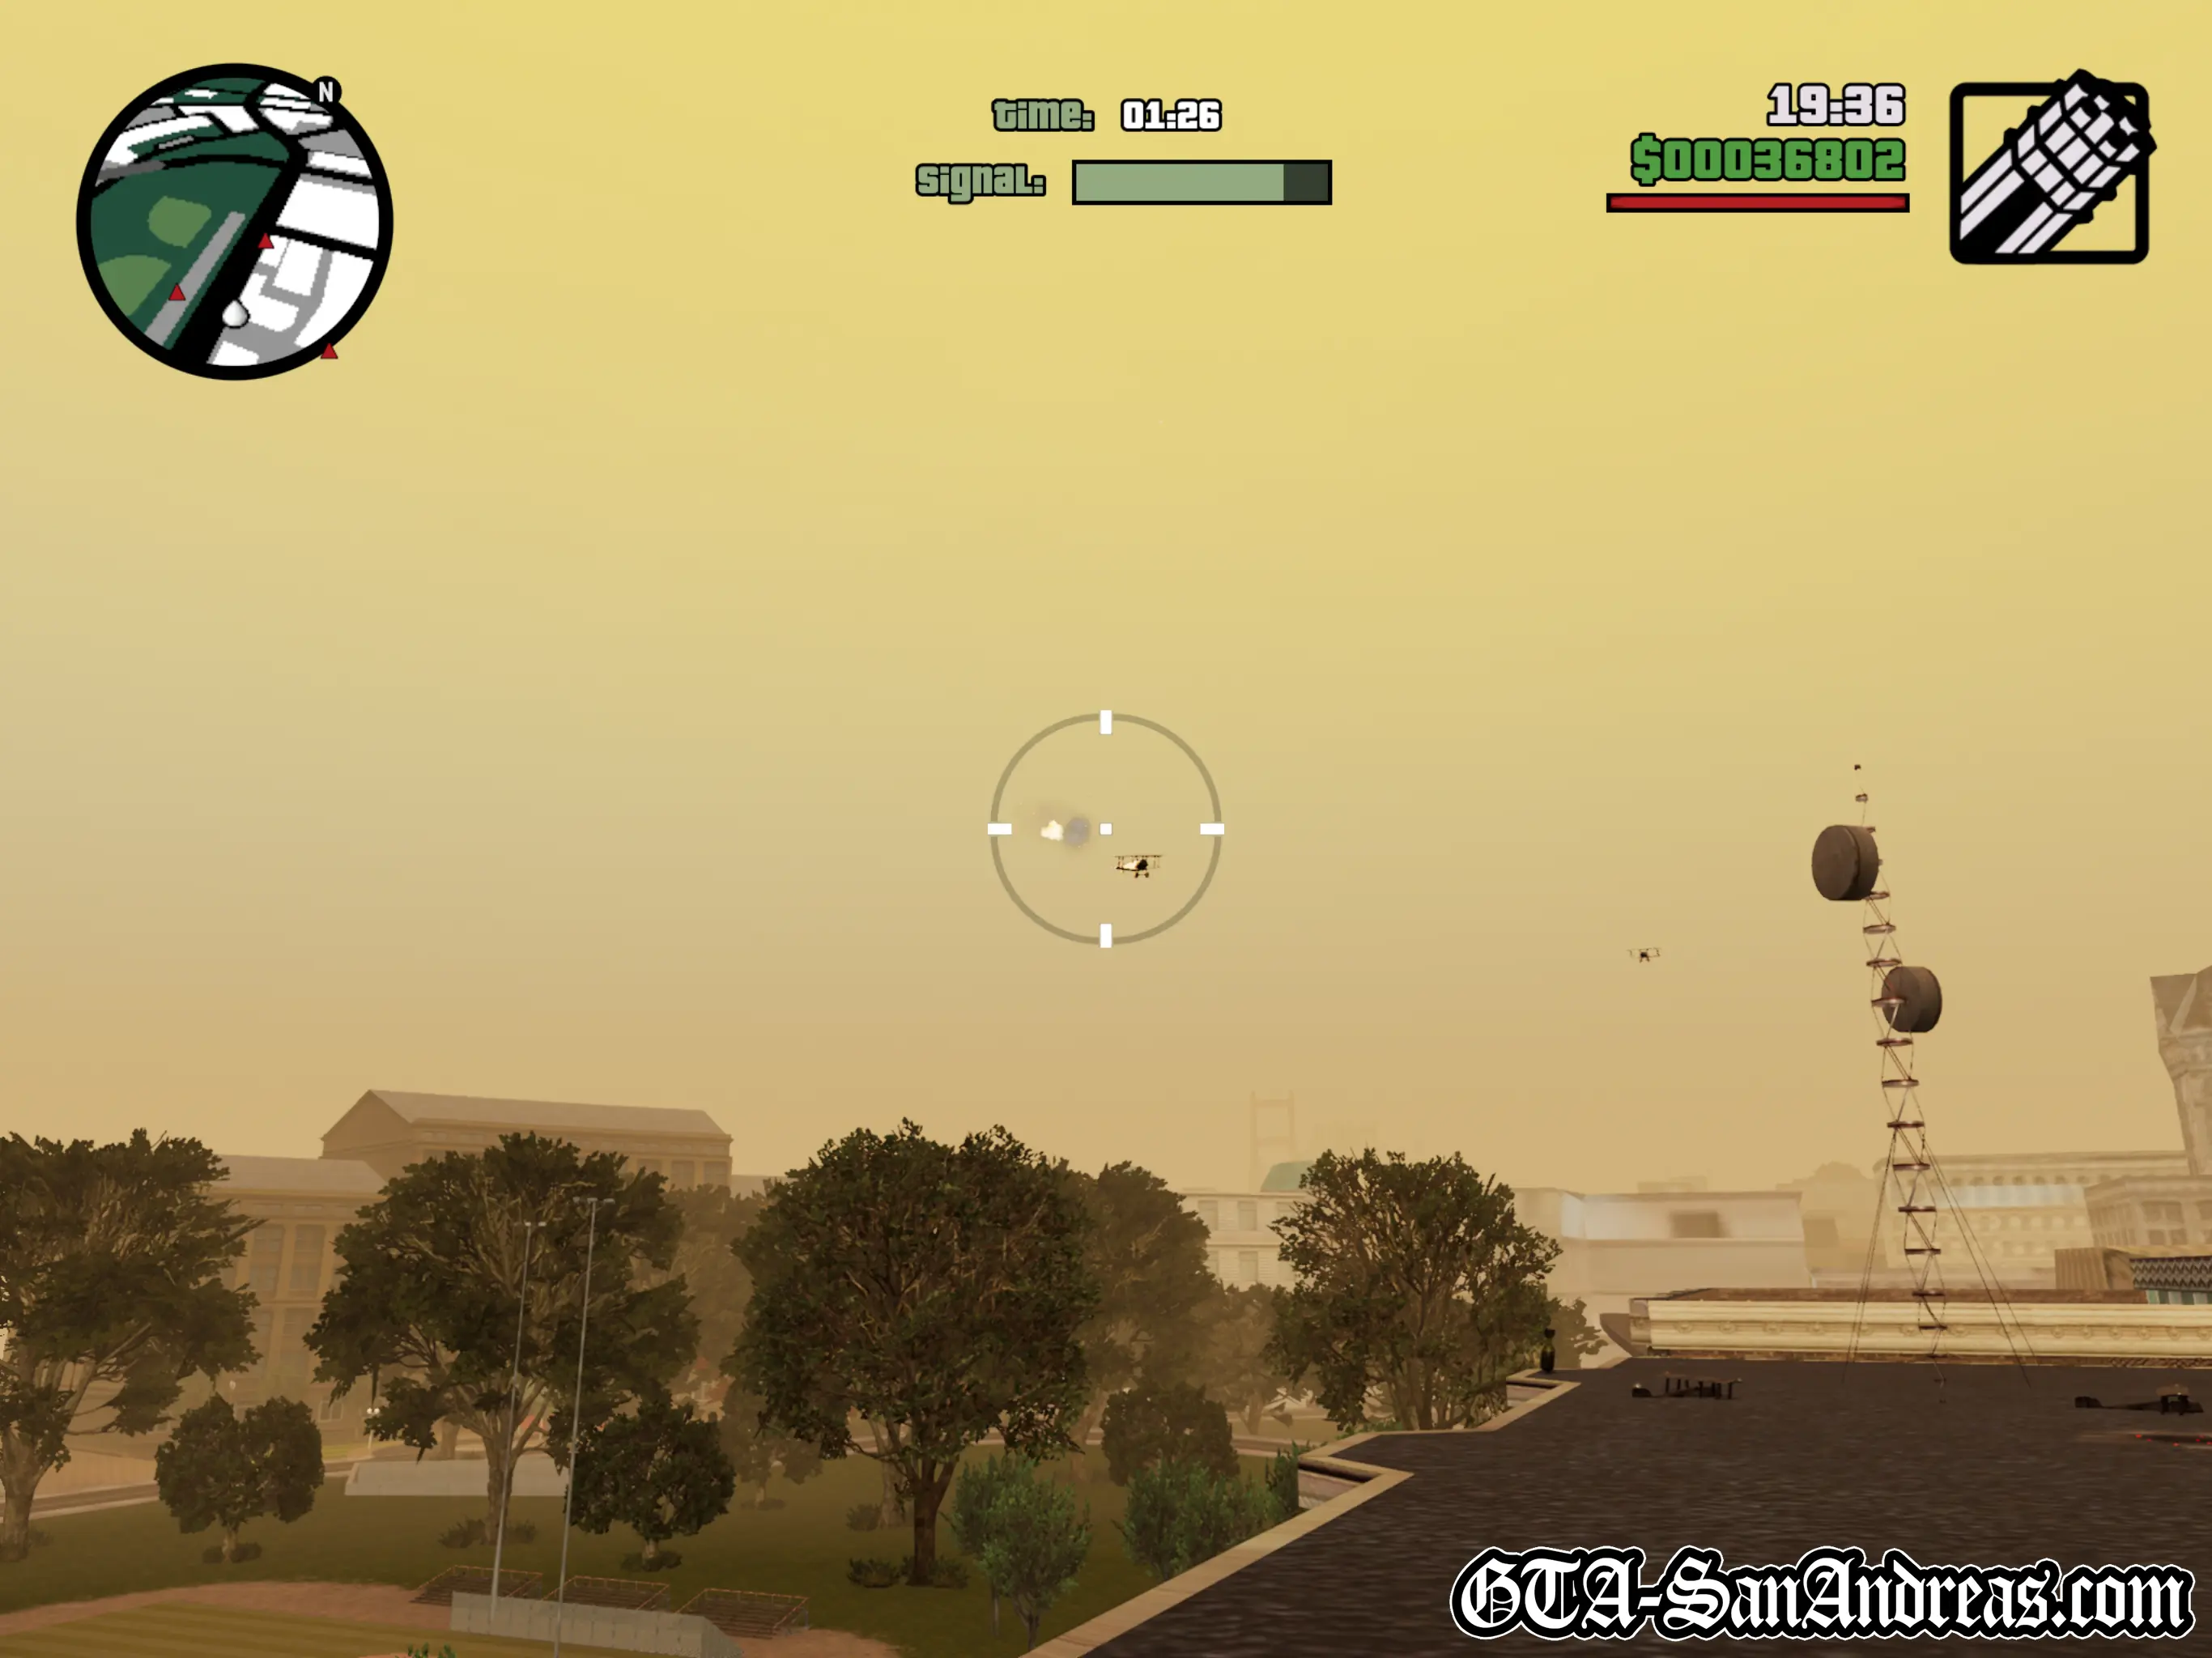
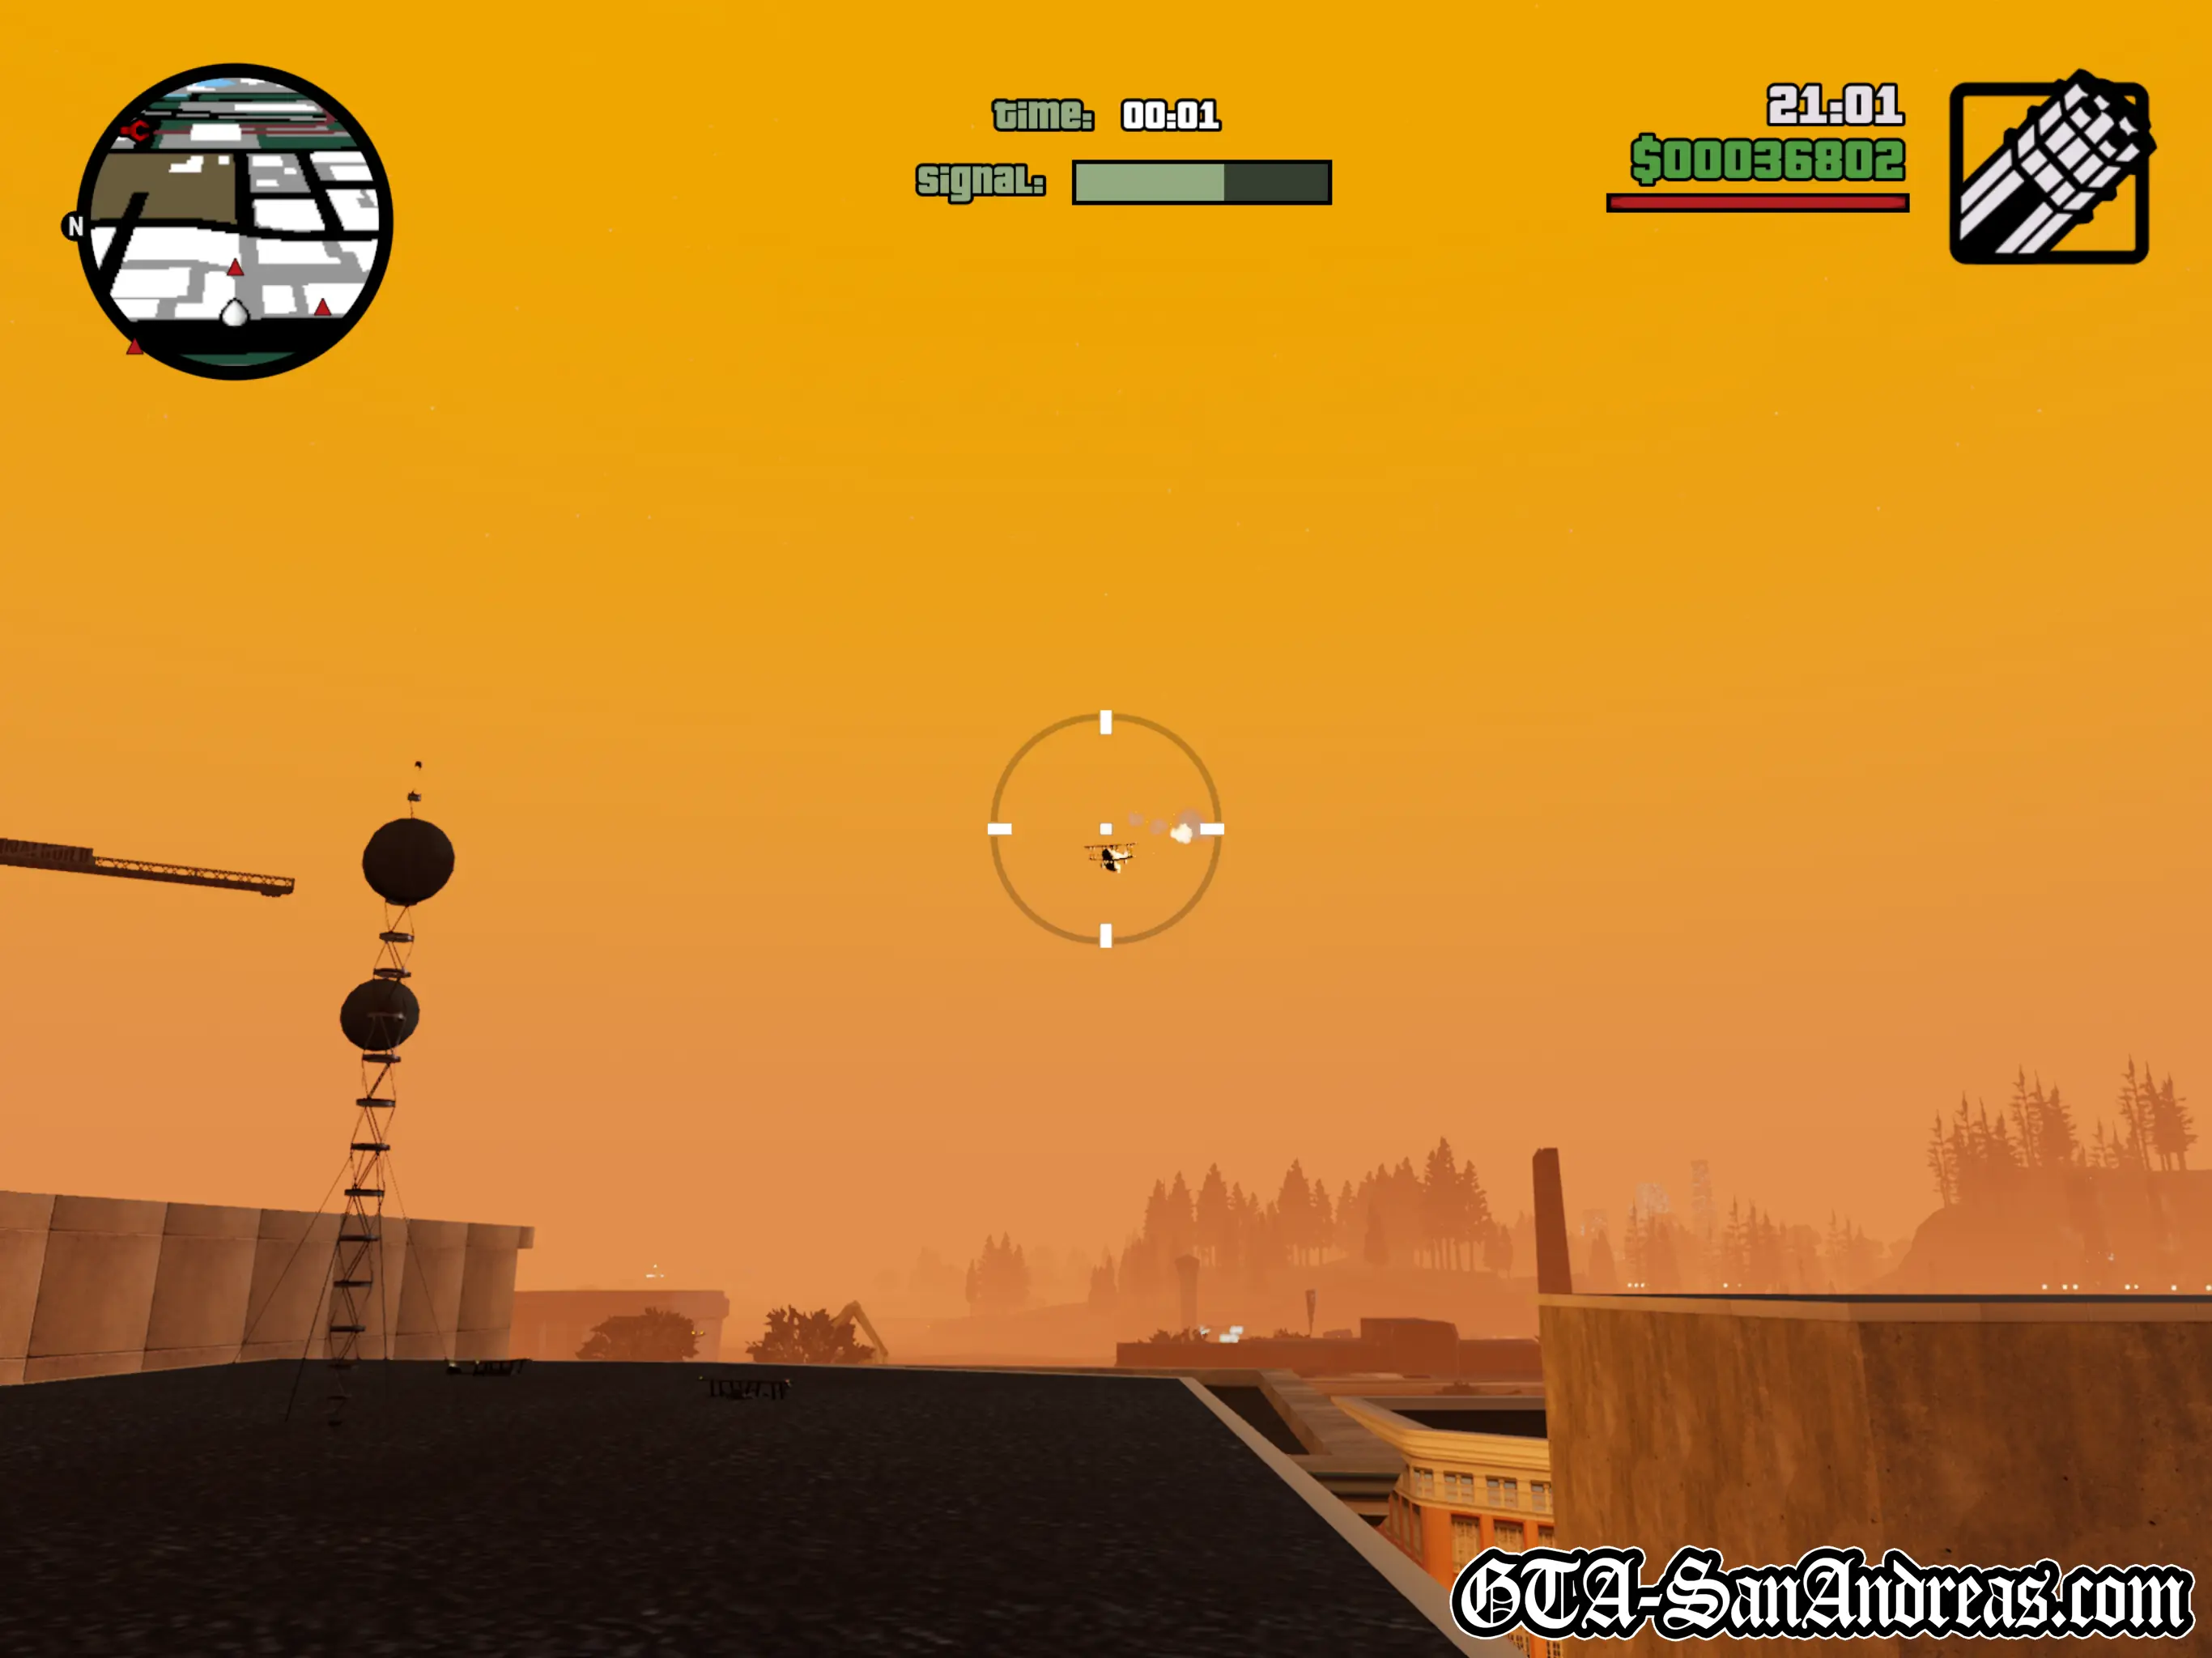
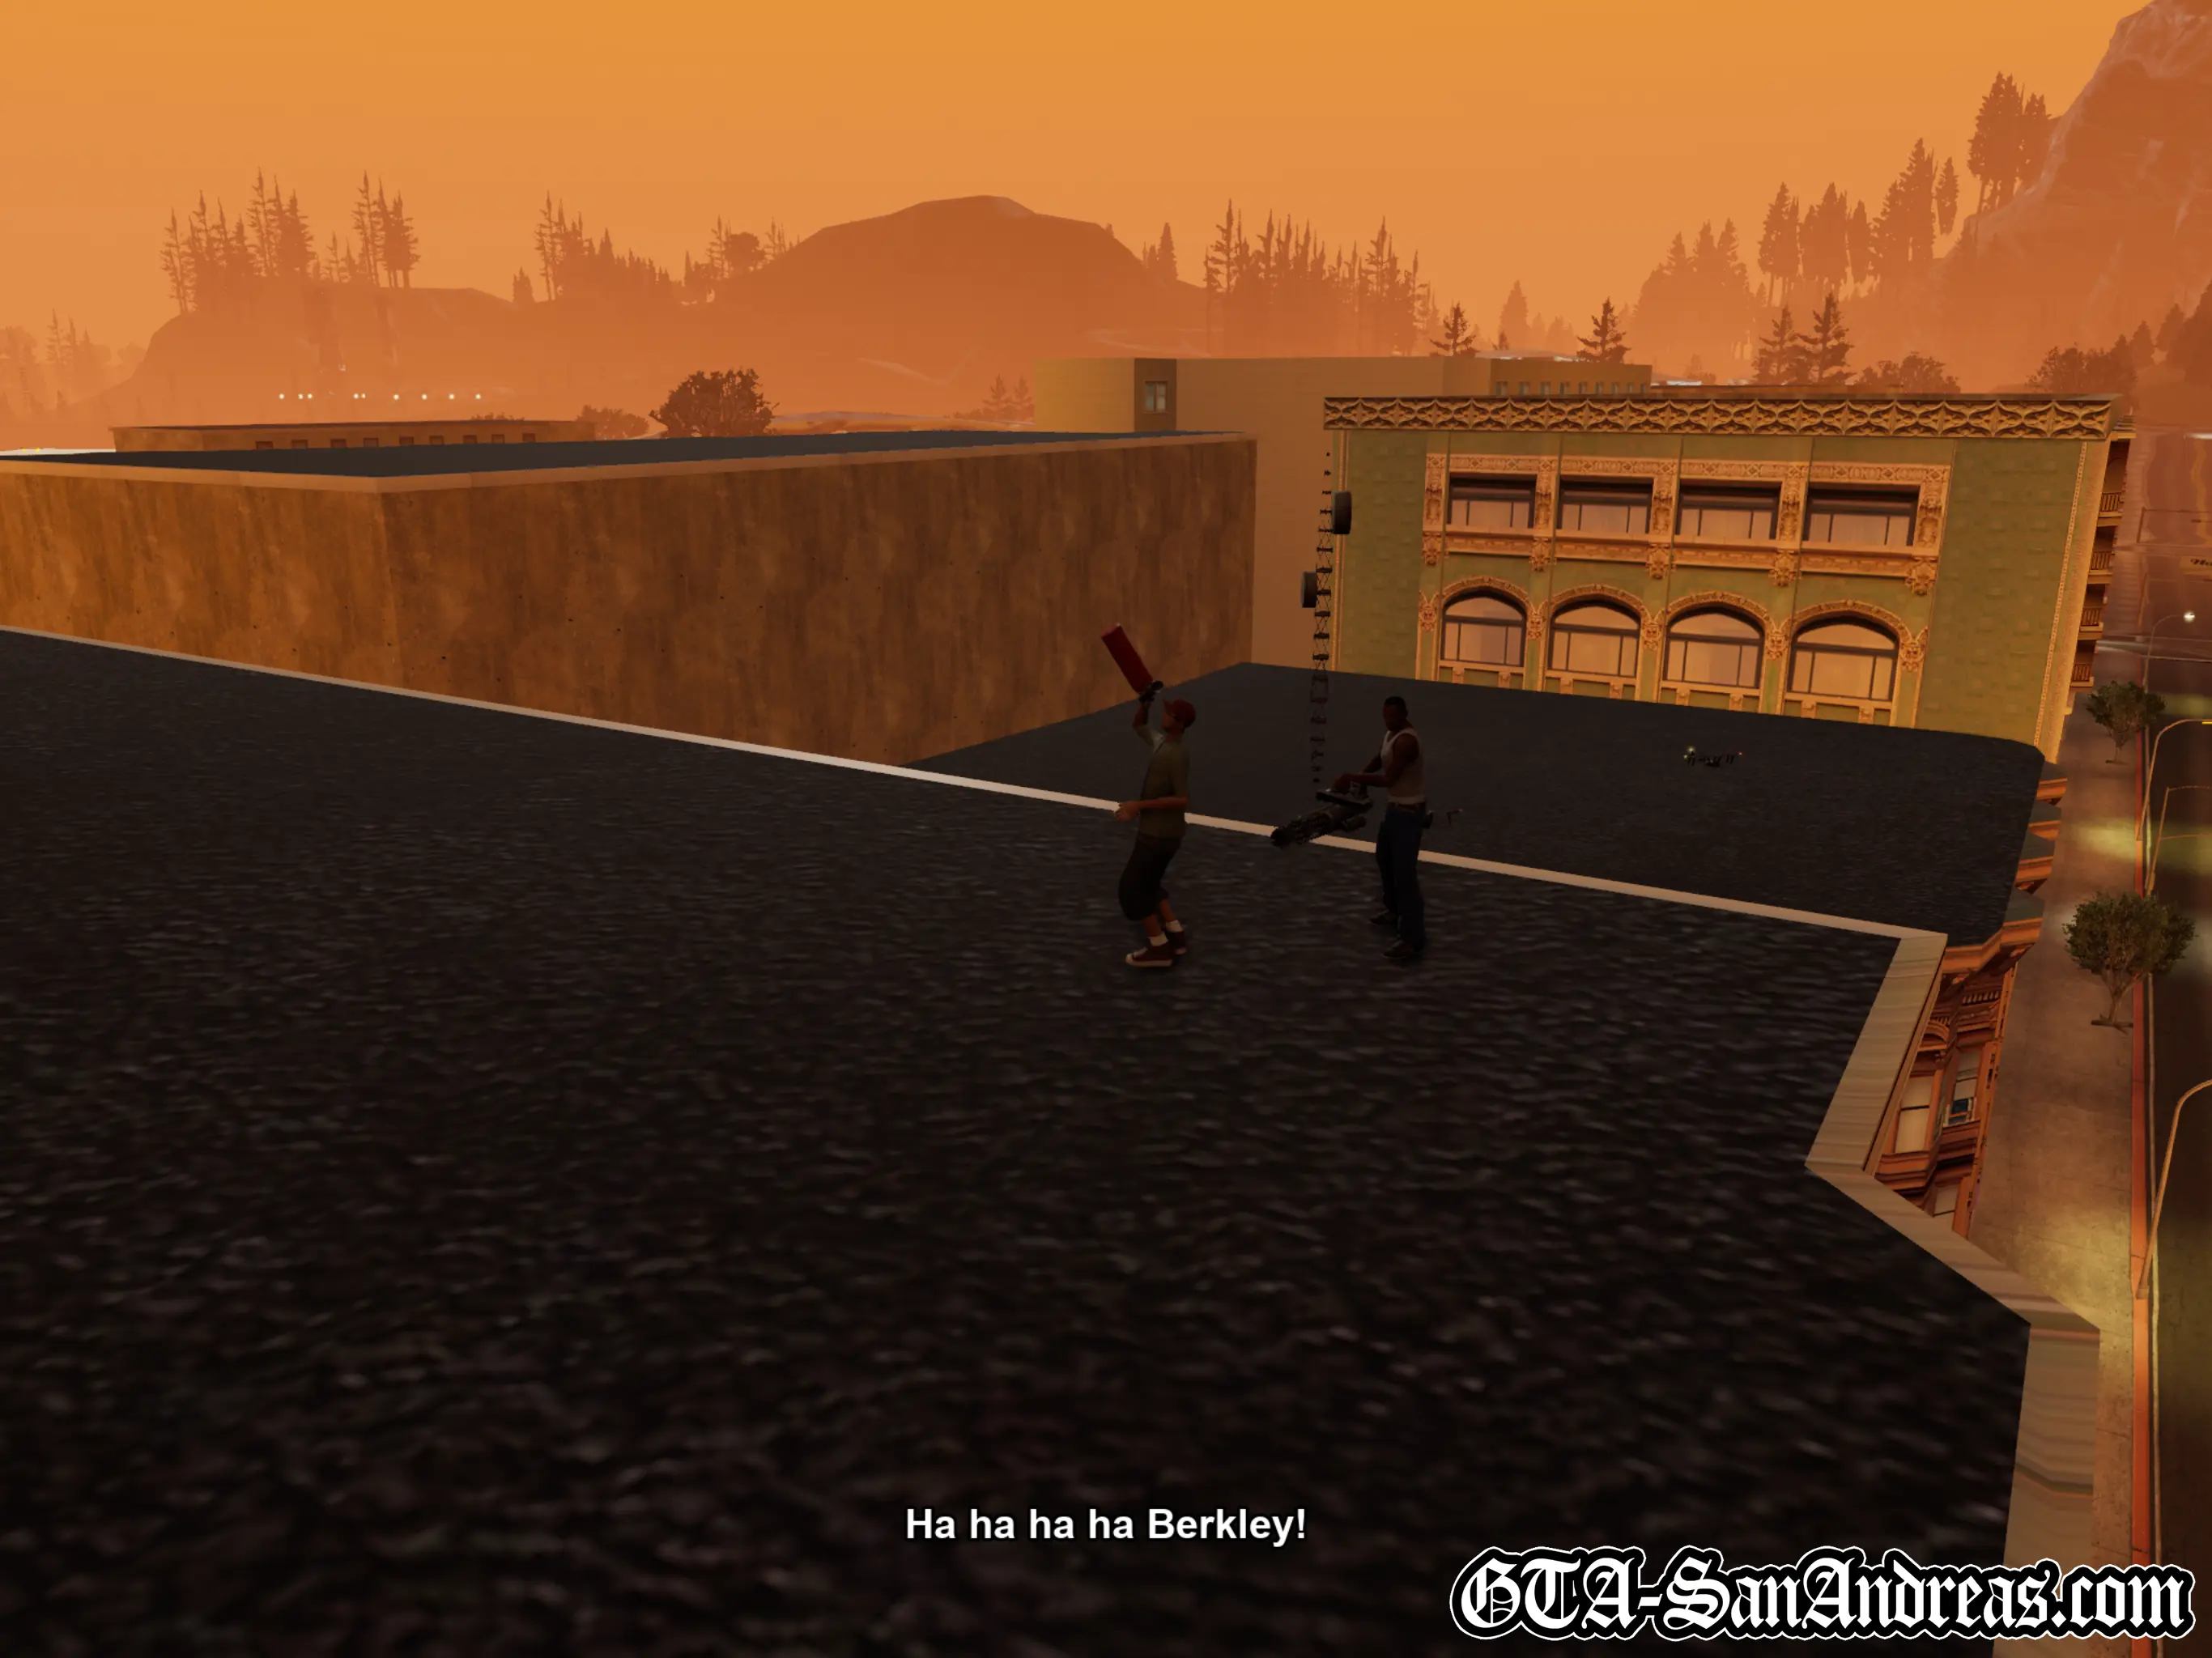
Zero tells you of a guy named Berkley who wants to get revenge on Zero because he beat him in a science fair. Berkley is sending a wave of RC planes to bomb Zero's transmitters, and you need to stop them. You're on a minigun with infinite ammo, and you need to shoot the planes out of the sky. This mission can be quite difficult due to the analog aiming, and it's a bit too hectic to be able to write a proper walkthrough for this one. Advice would be to only shoot when you're going to hit a plane, shooting constantly will make your accuracy suck. Try to take down the first five to ten planes without them dropping a bomb. If you have a good start you should be able to hang on long enough for the timer to run out and pass the mission. Use your radar to see where the next lot of planes are coming from. Always go for groups of planes, as opposed to the one plane flying over. Groups of planes will come from your left, so be prepared to take them out, but you'll also need to look behind you to the right and take out any planes heading that way. It'll get pretty mad in the middle section with about 20 planes all dropping bombs, but if you held on well at the start, they'll only take out one transmitter and you should just be able to hold on with the last one until the time runs out.
Screenshots
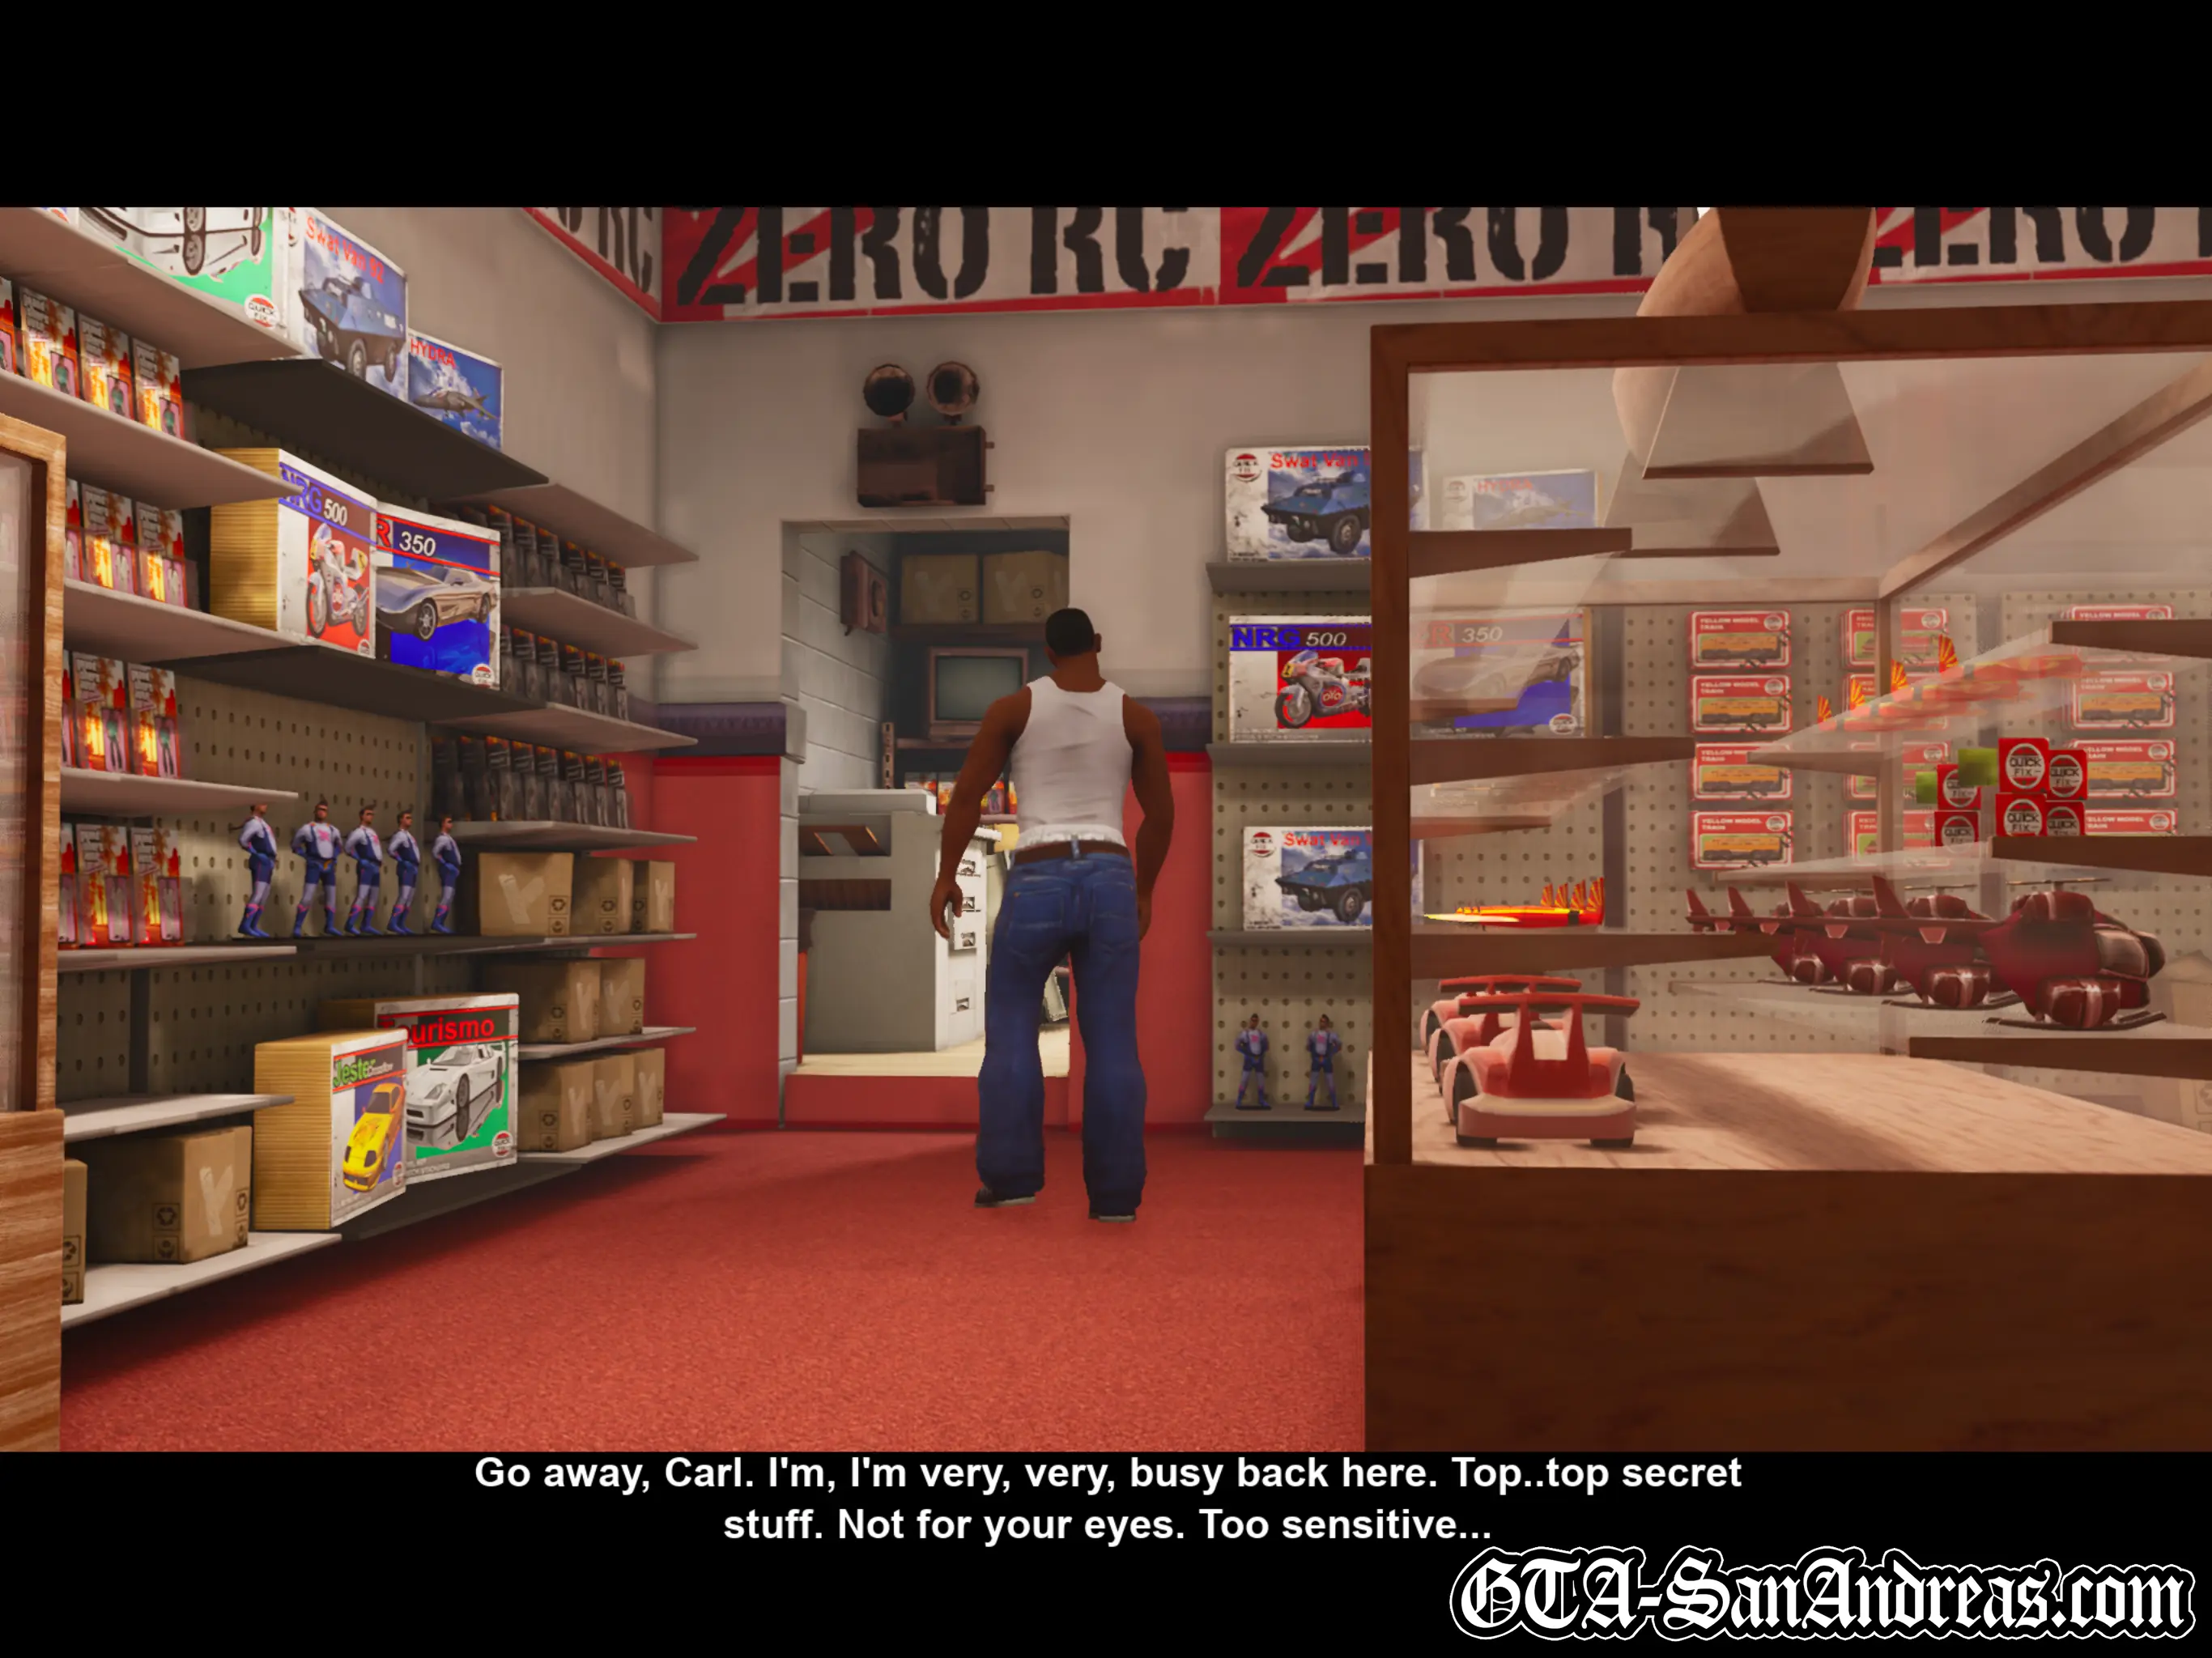
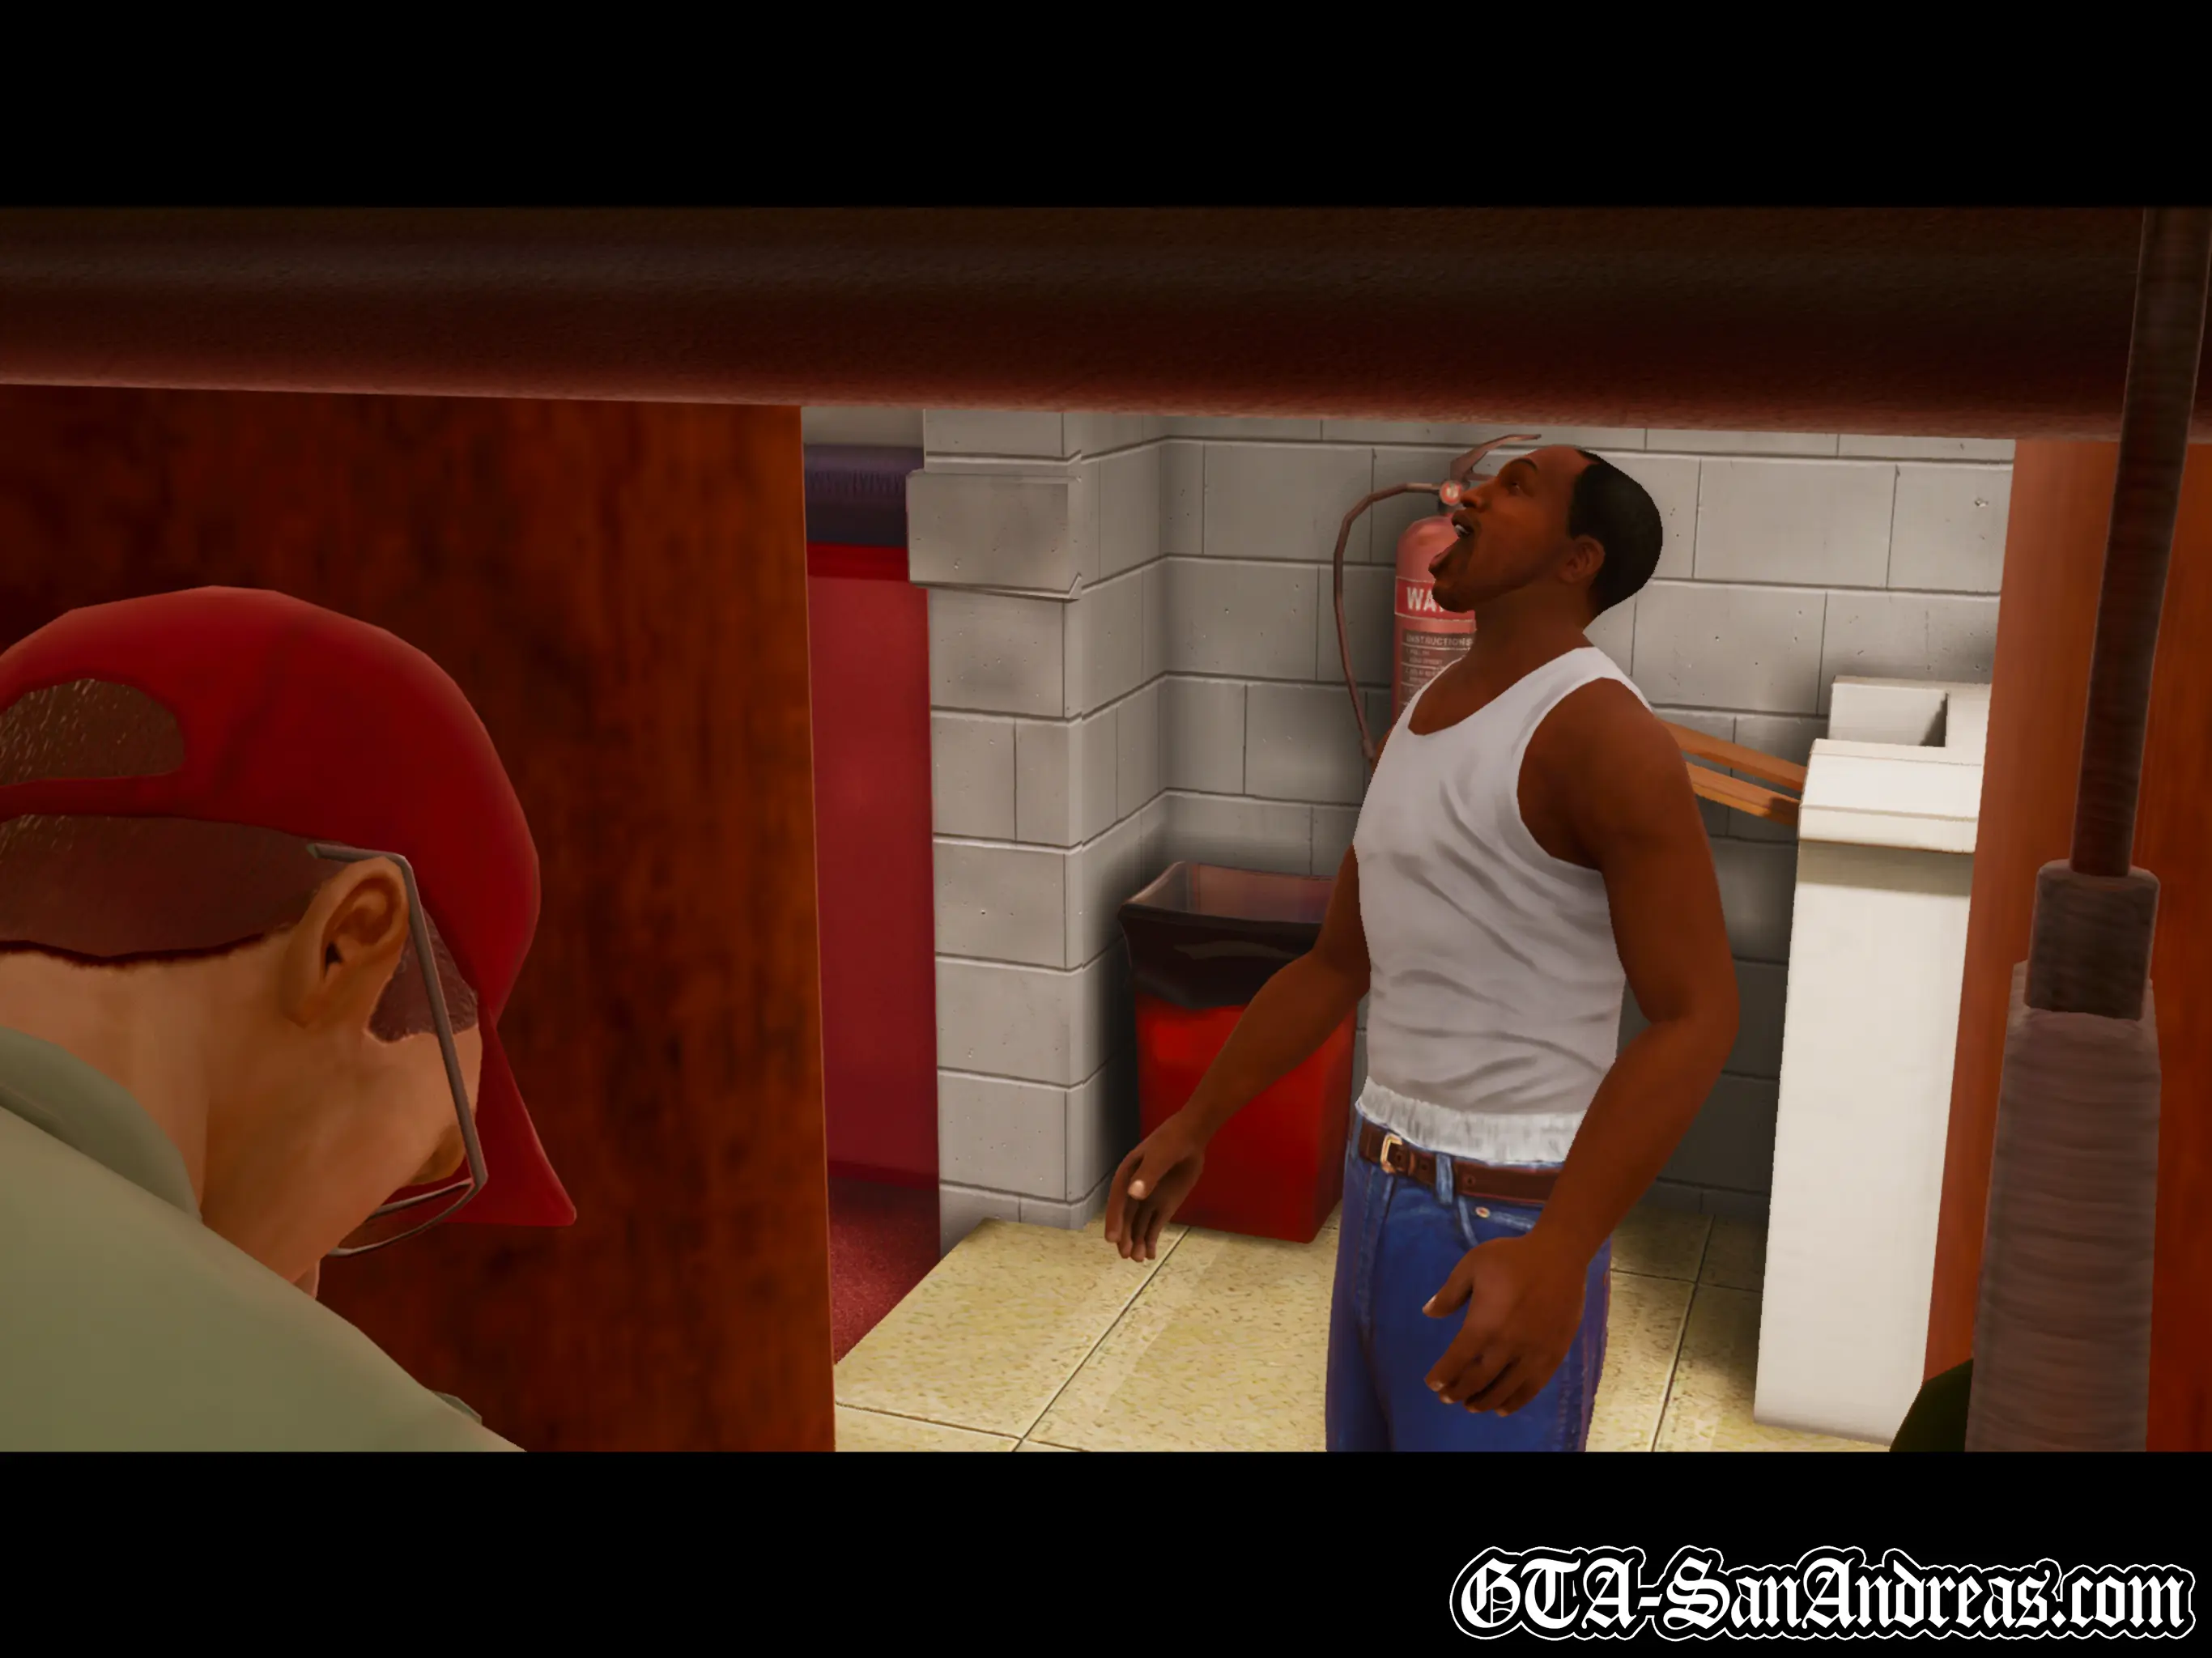
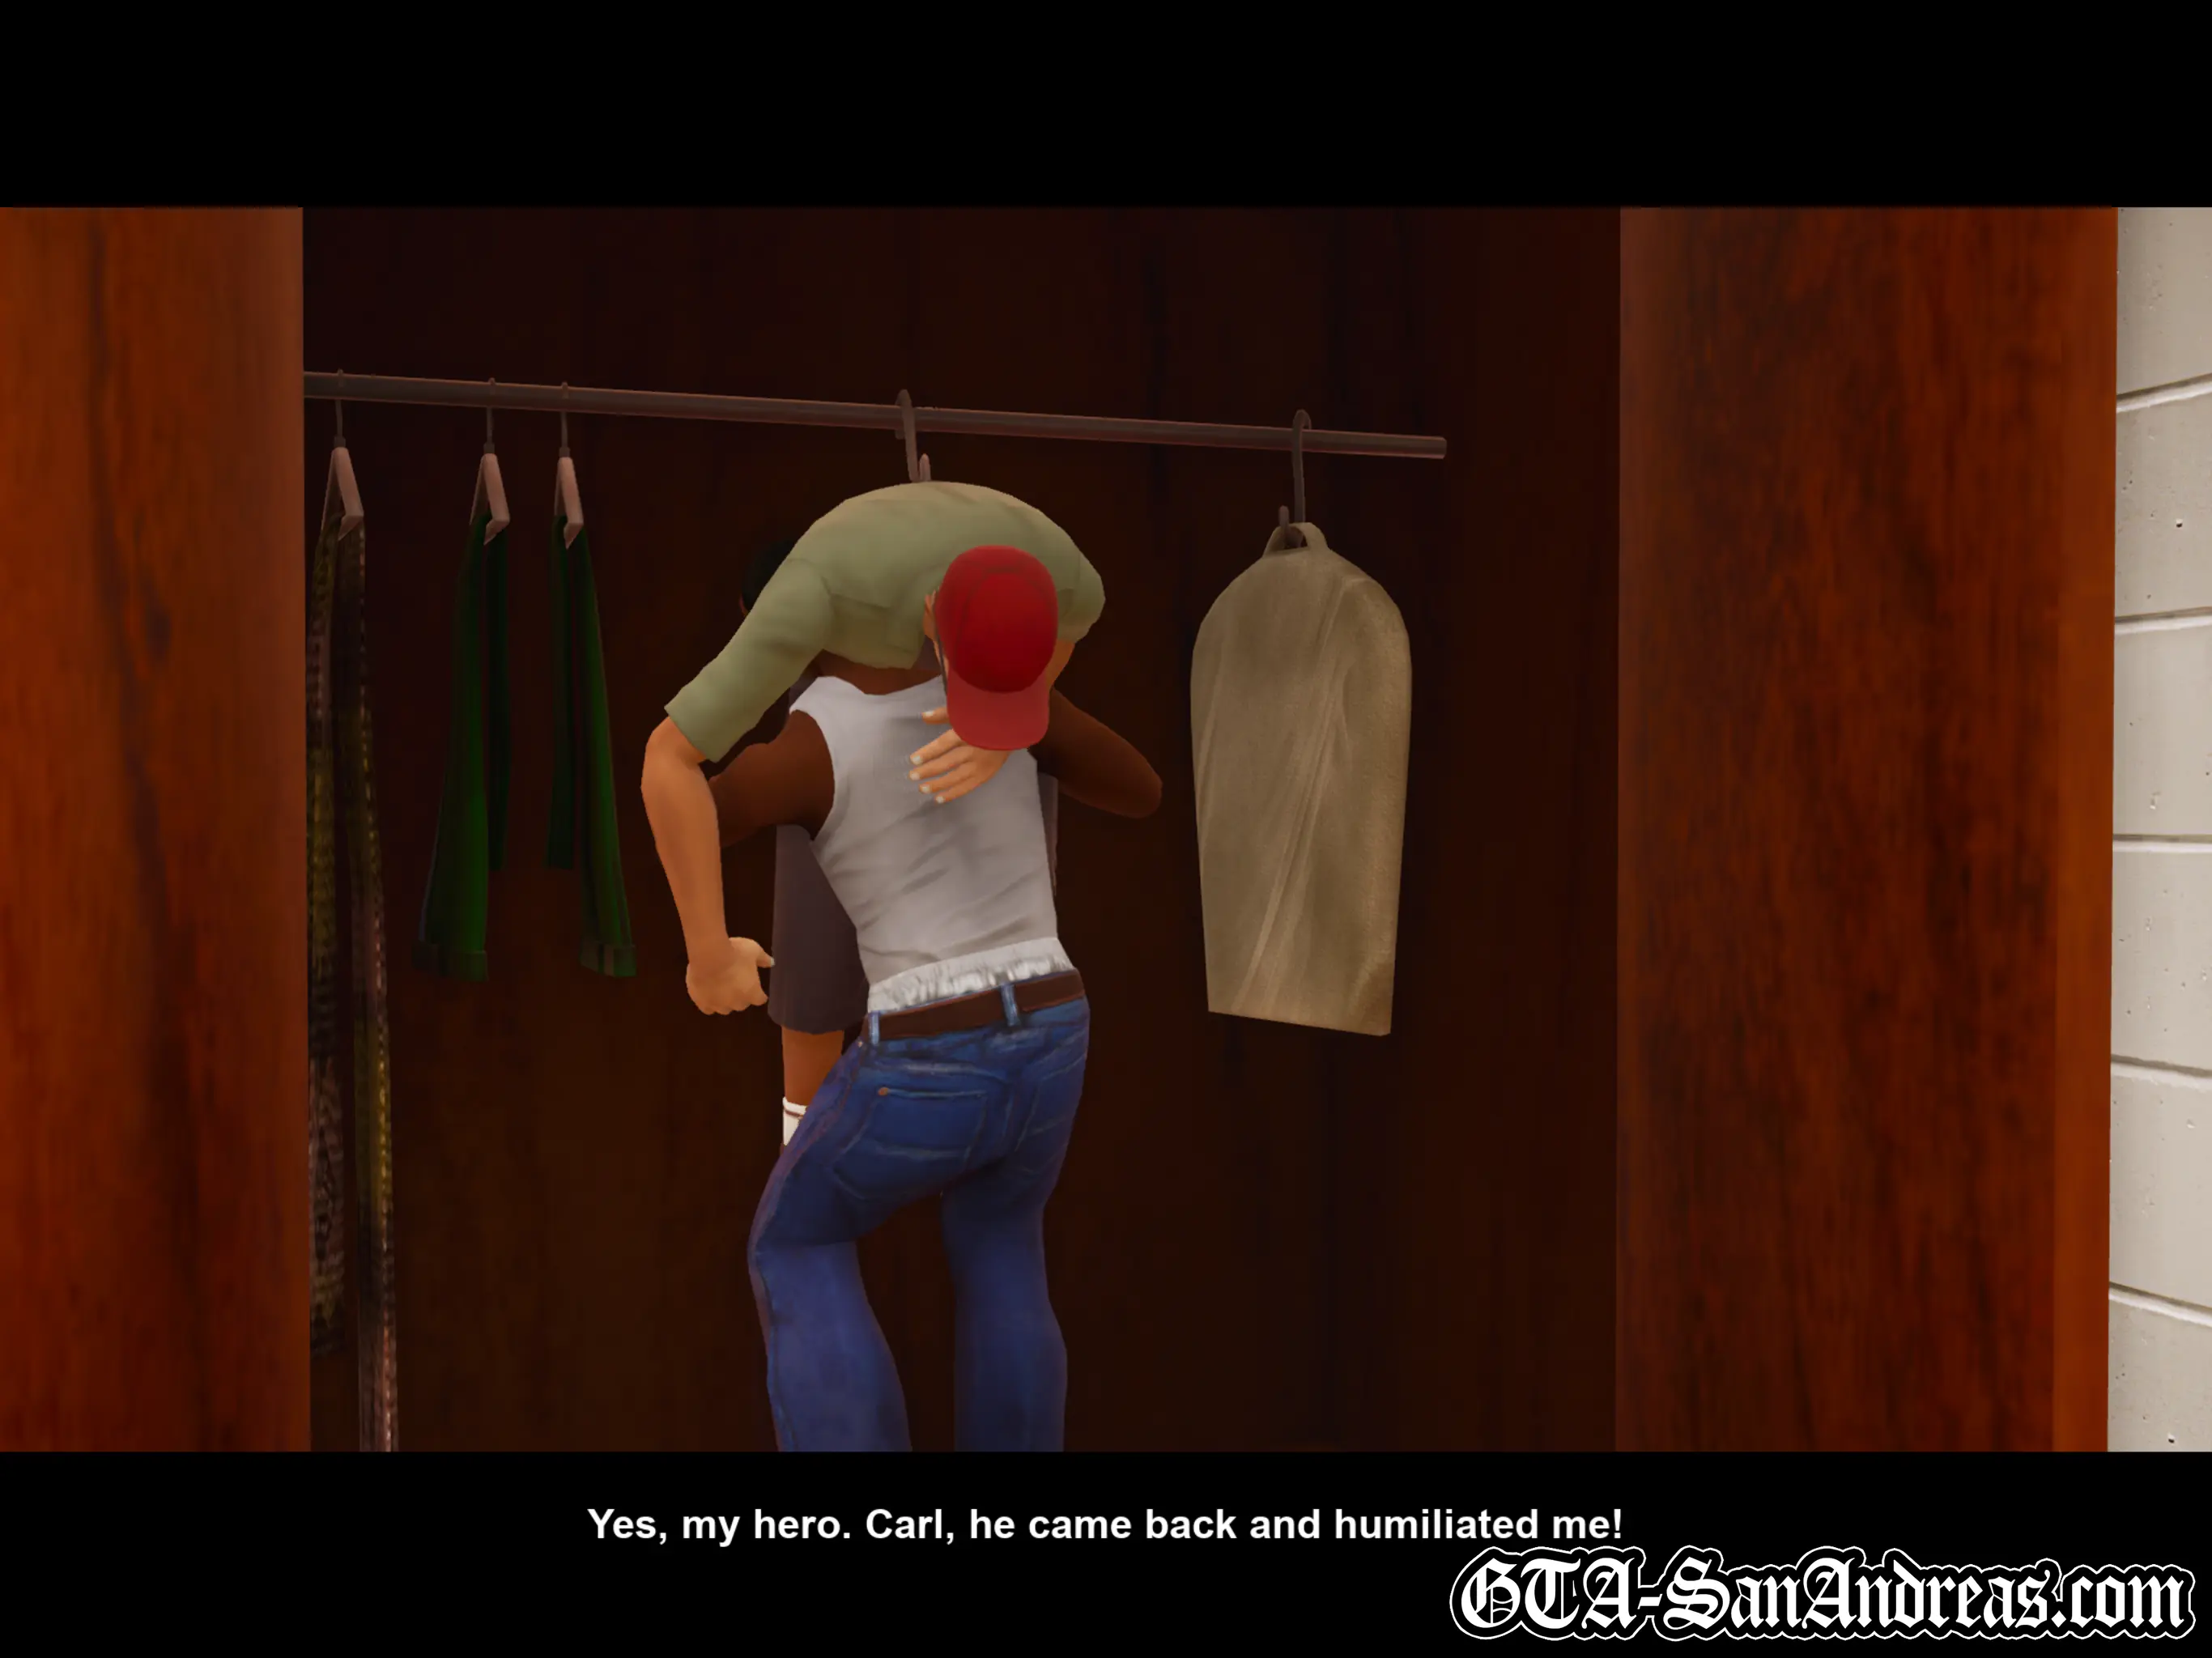
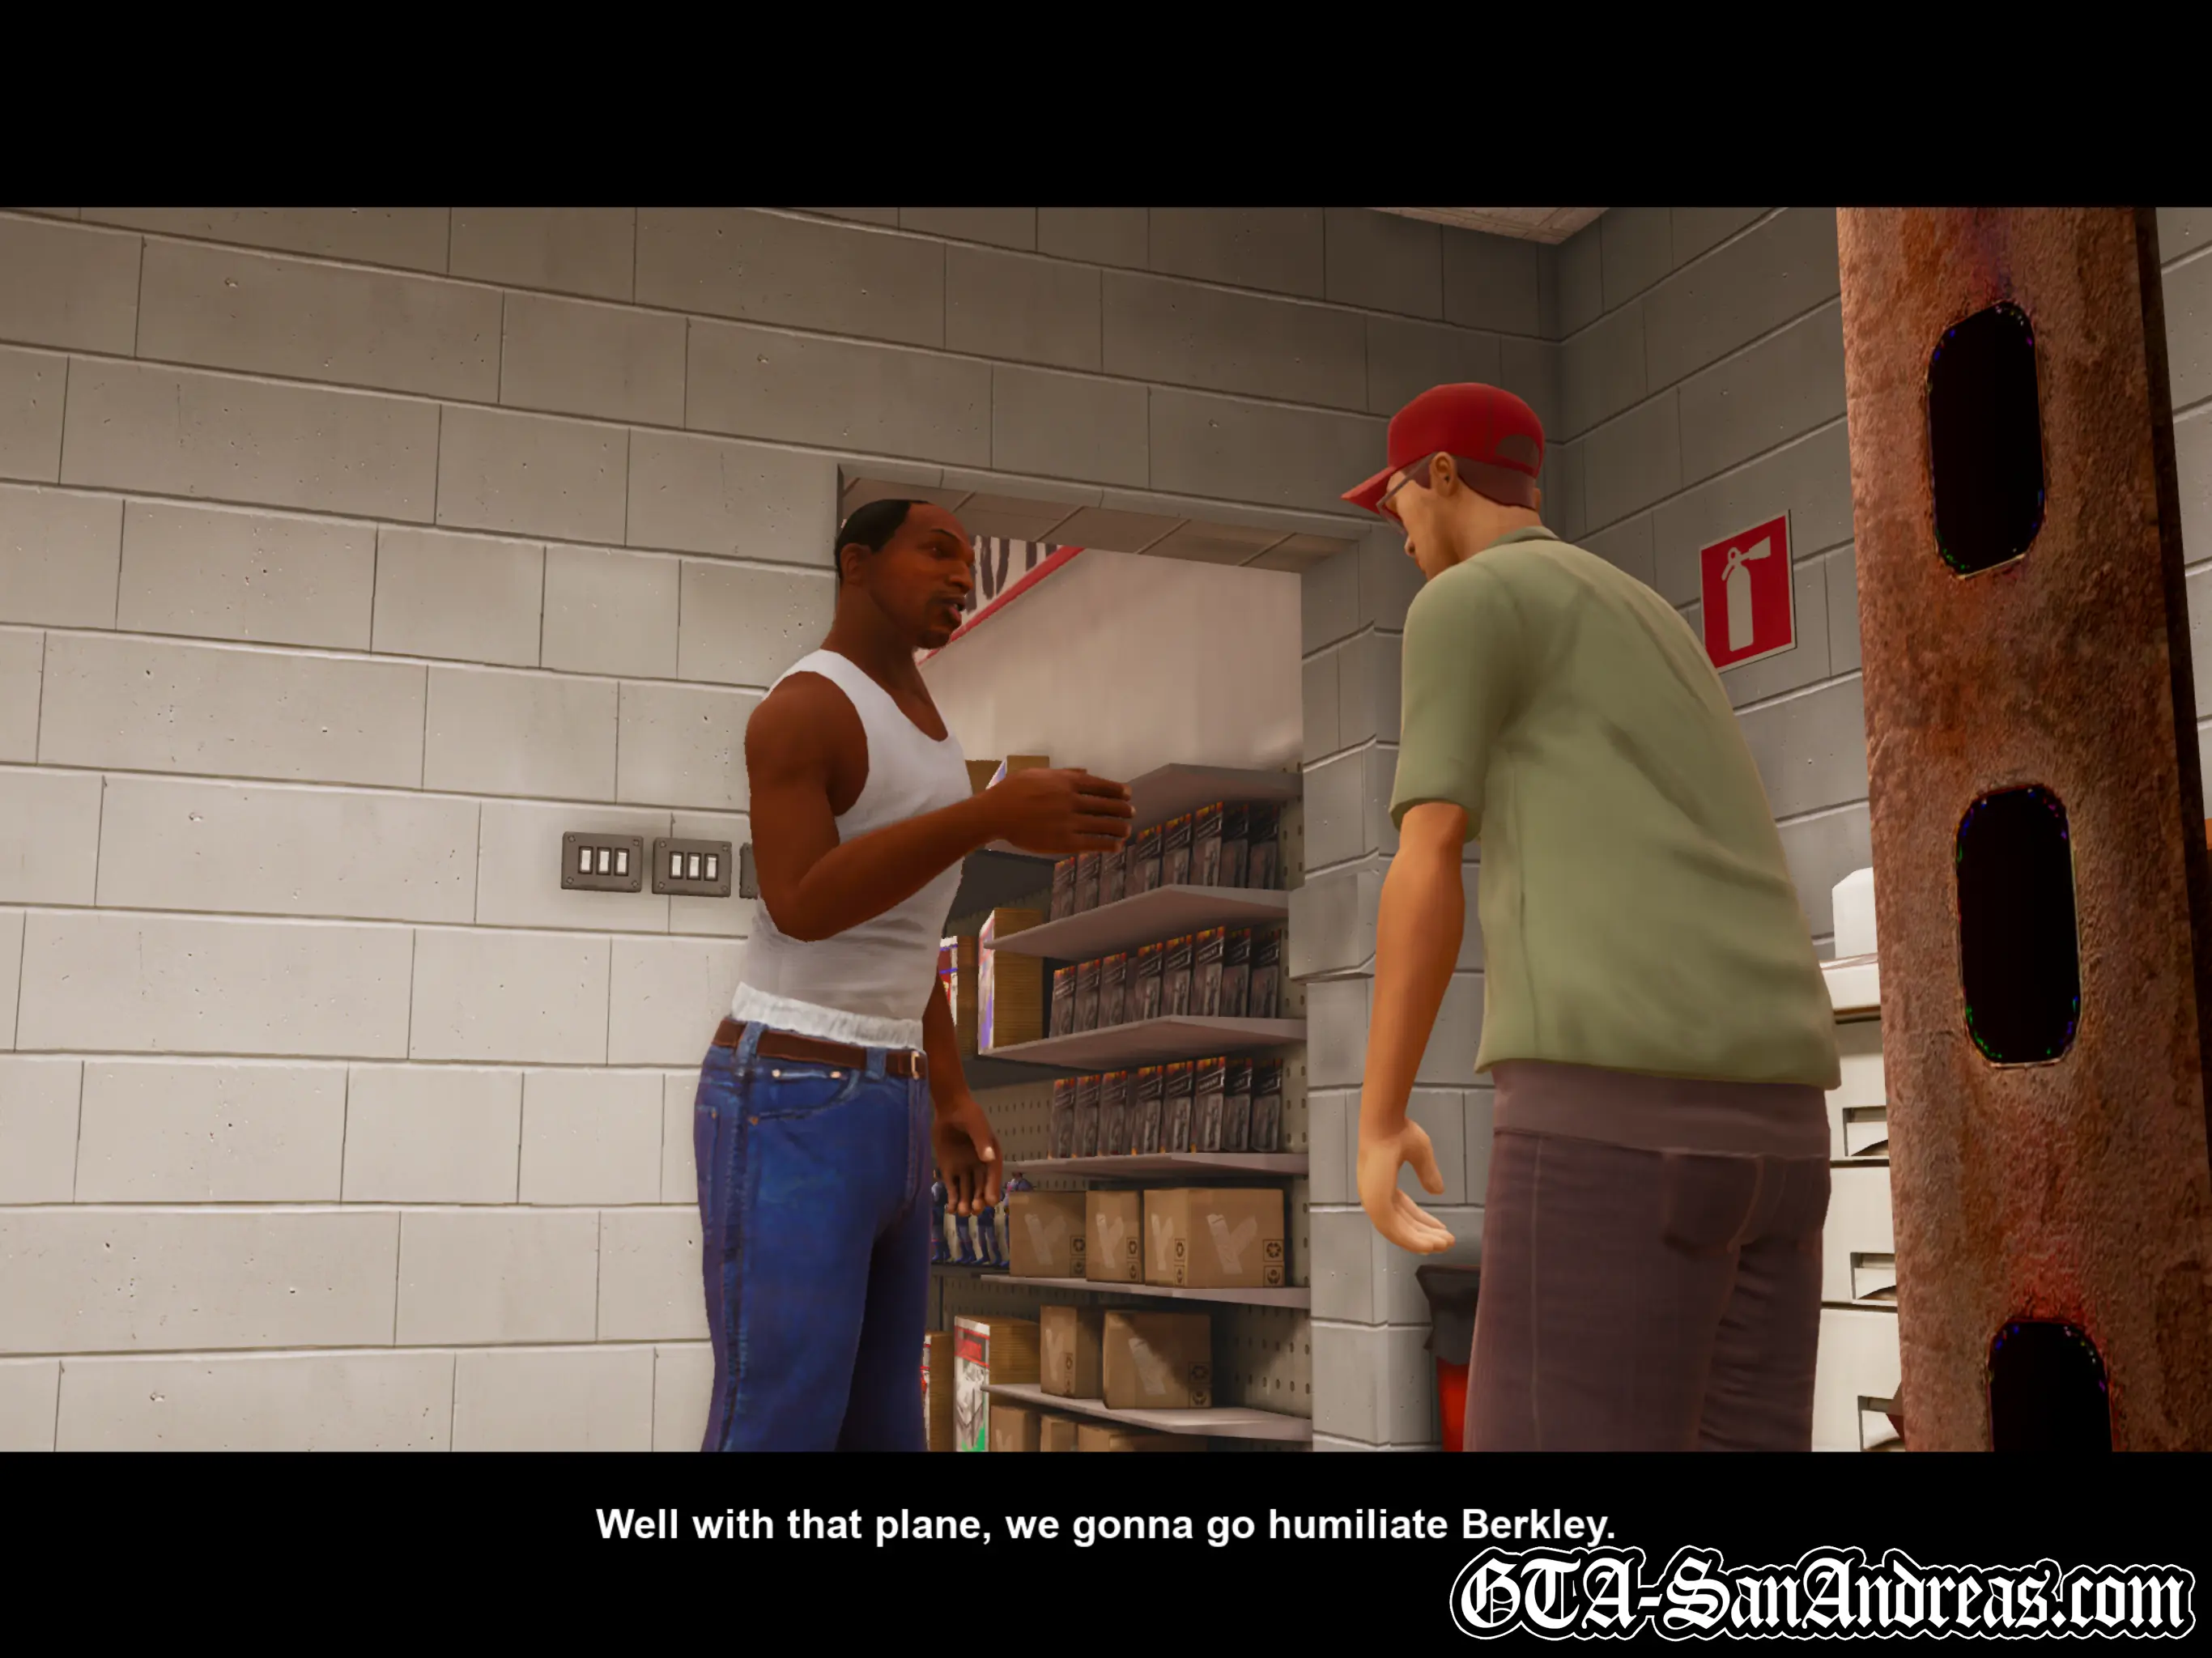
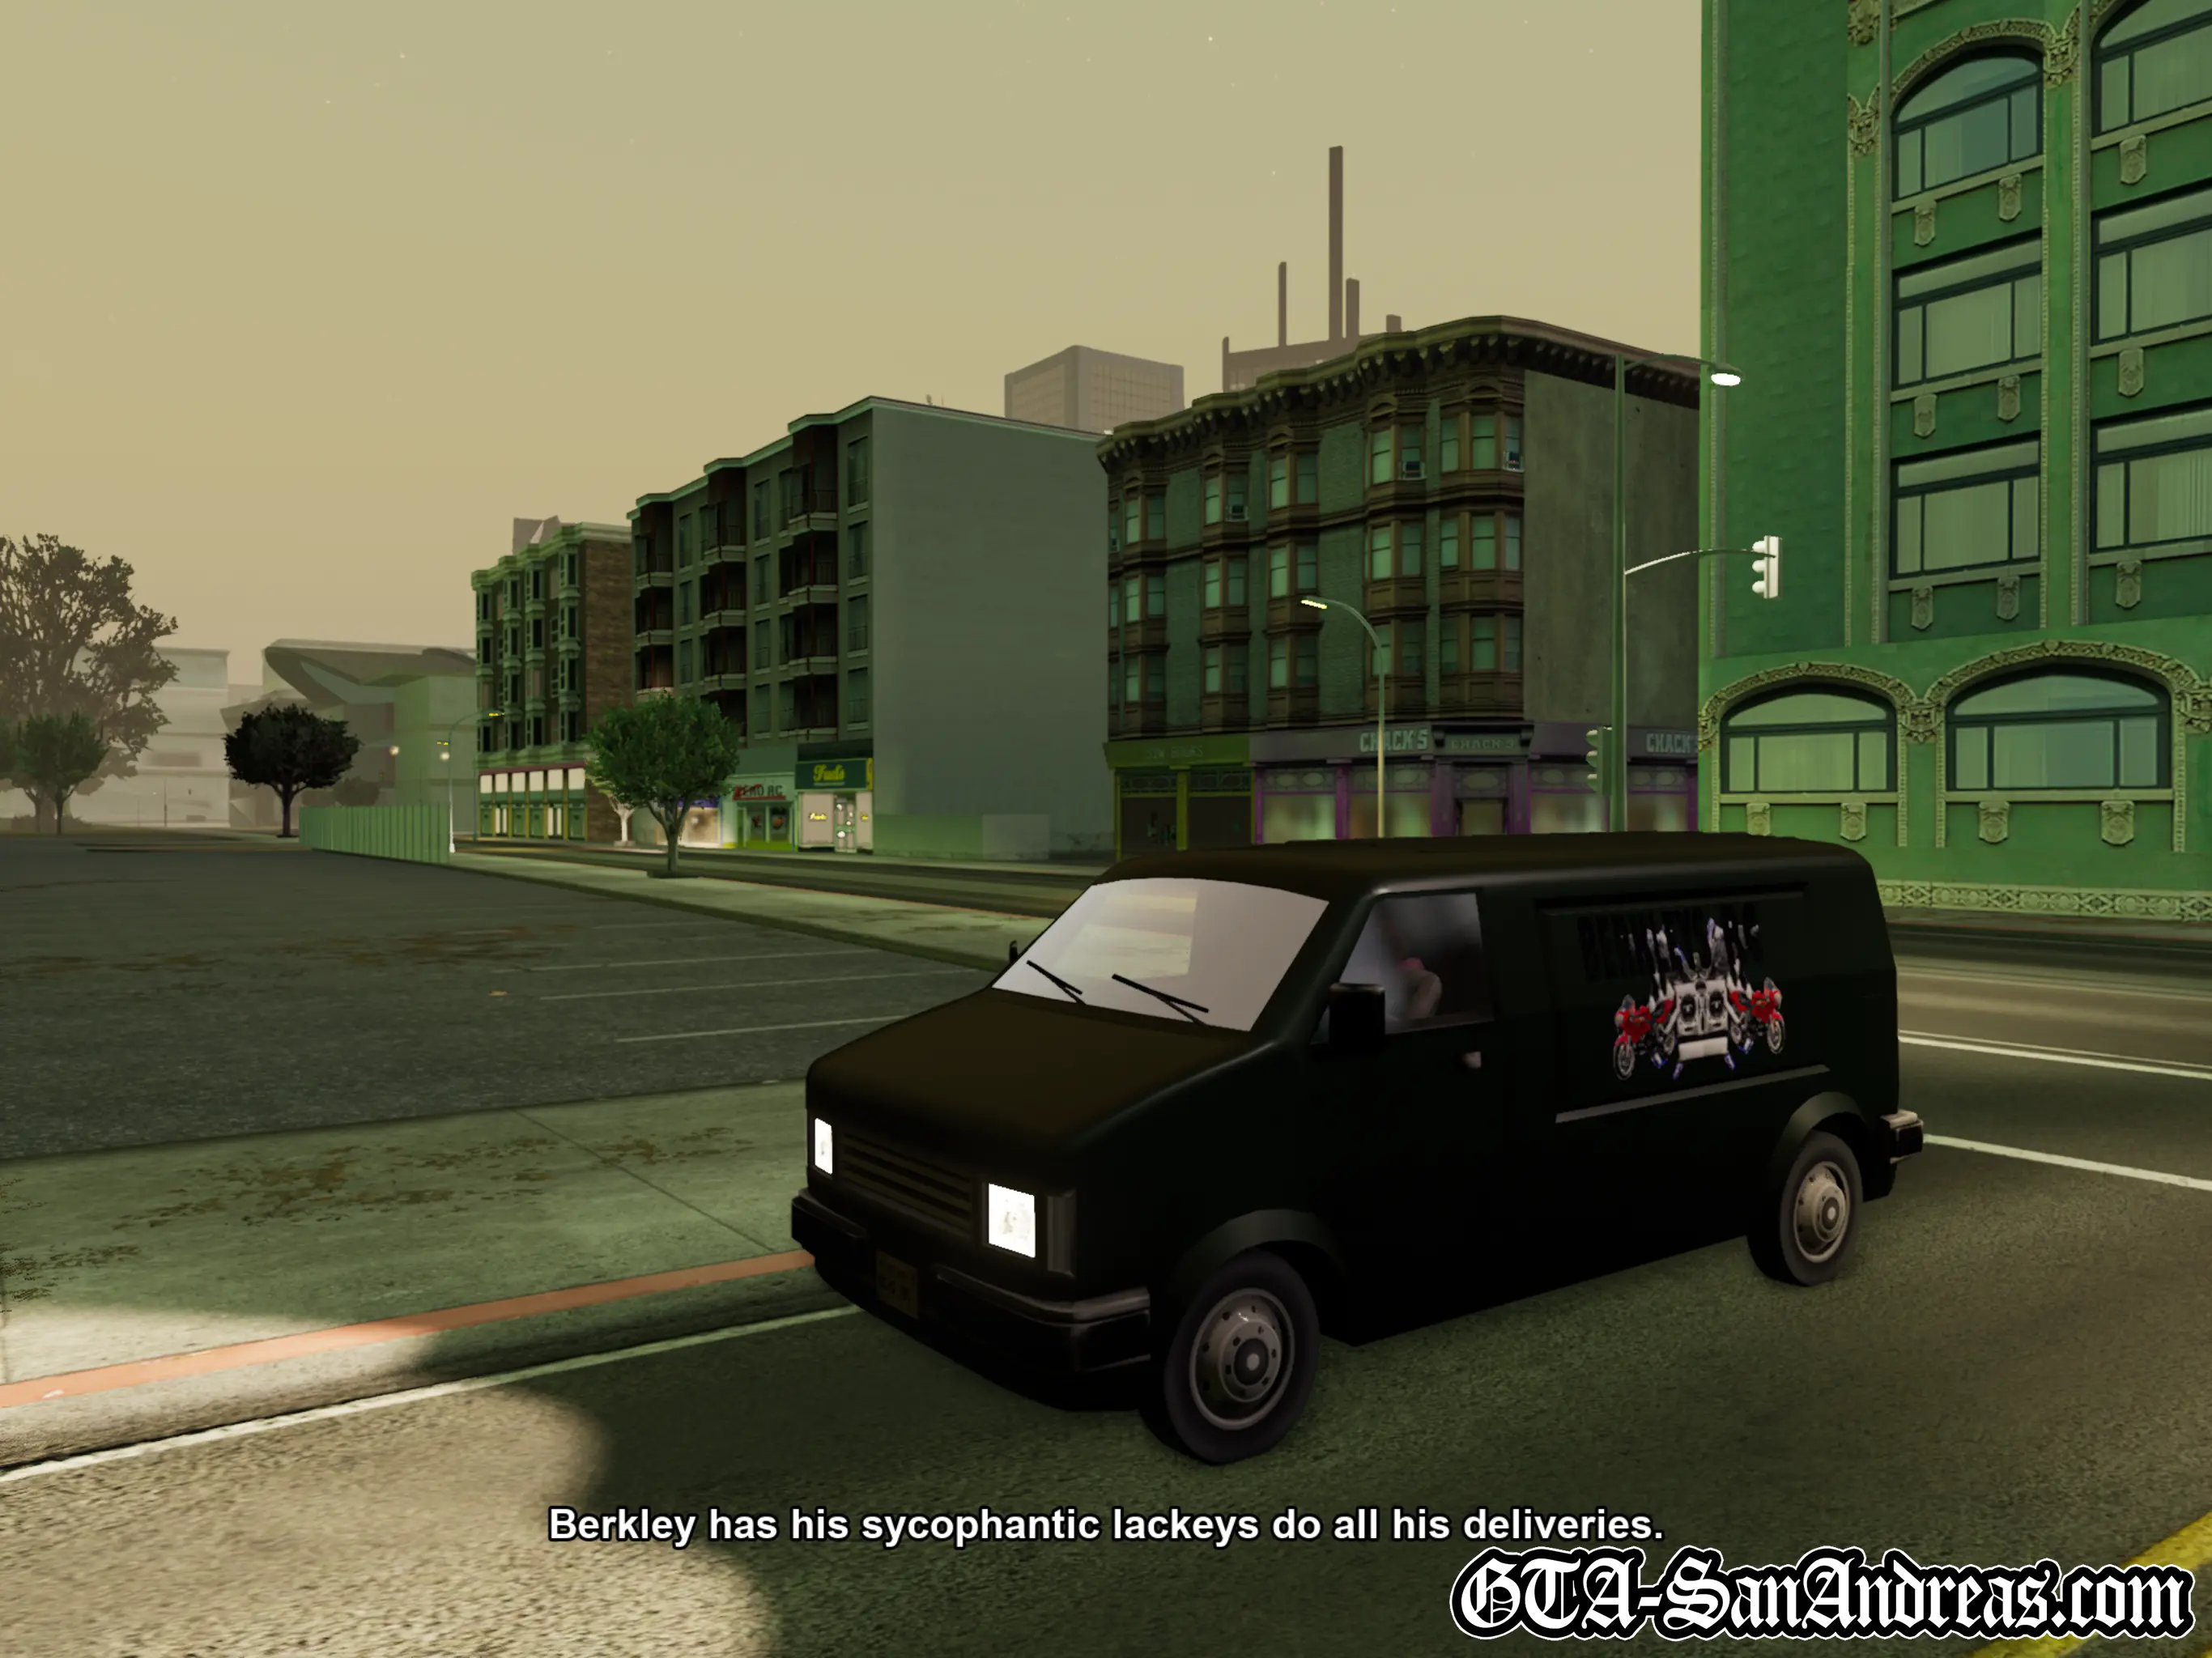
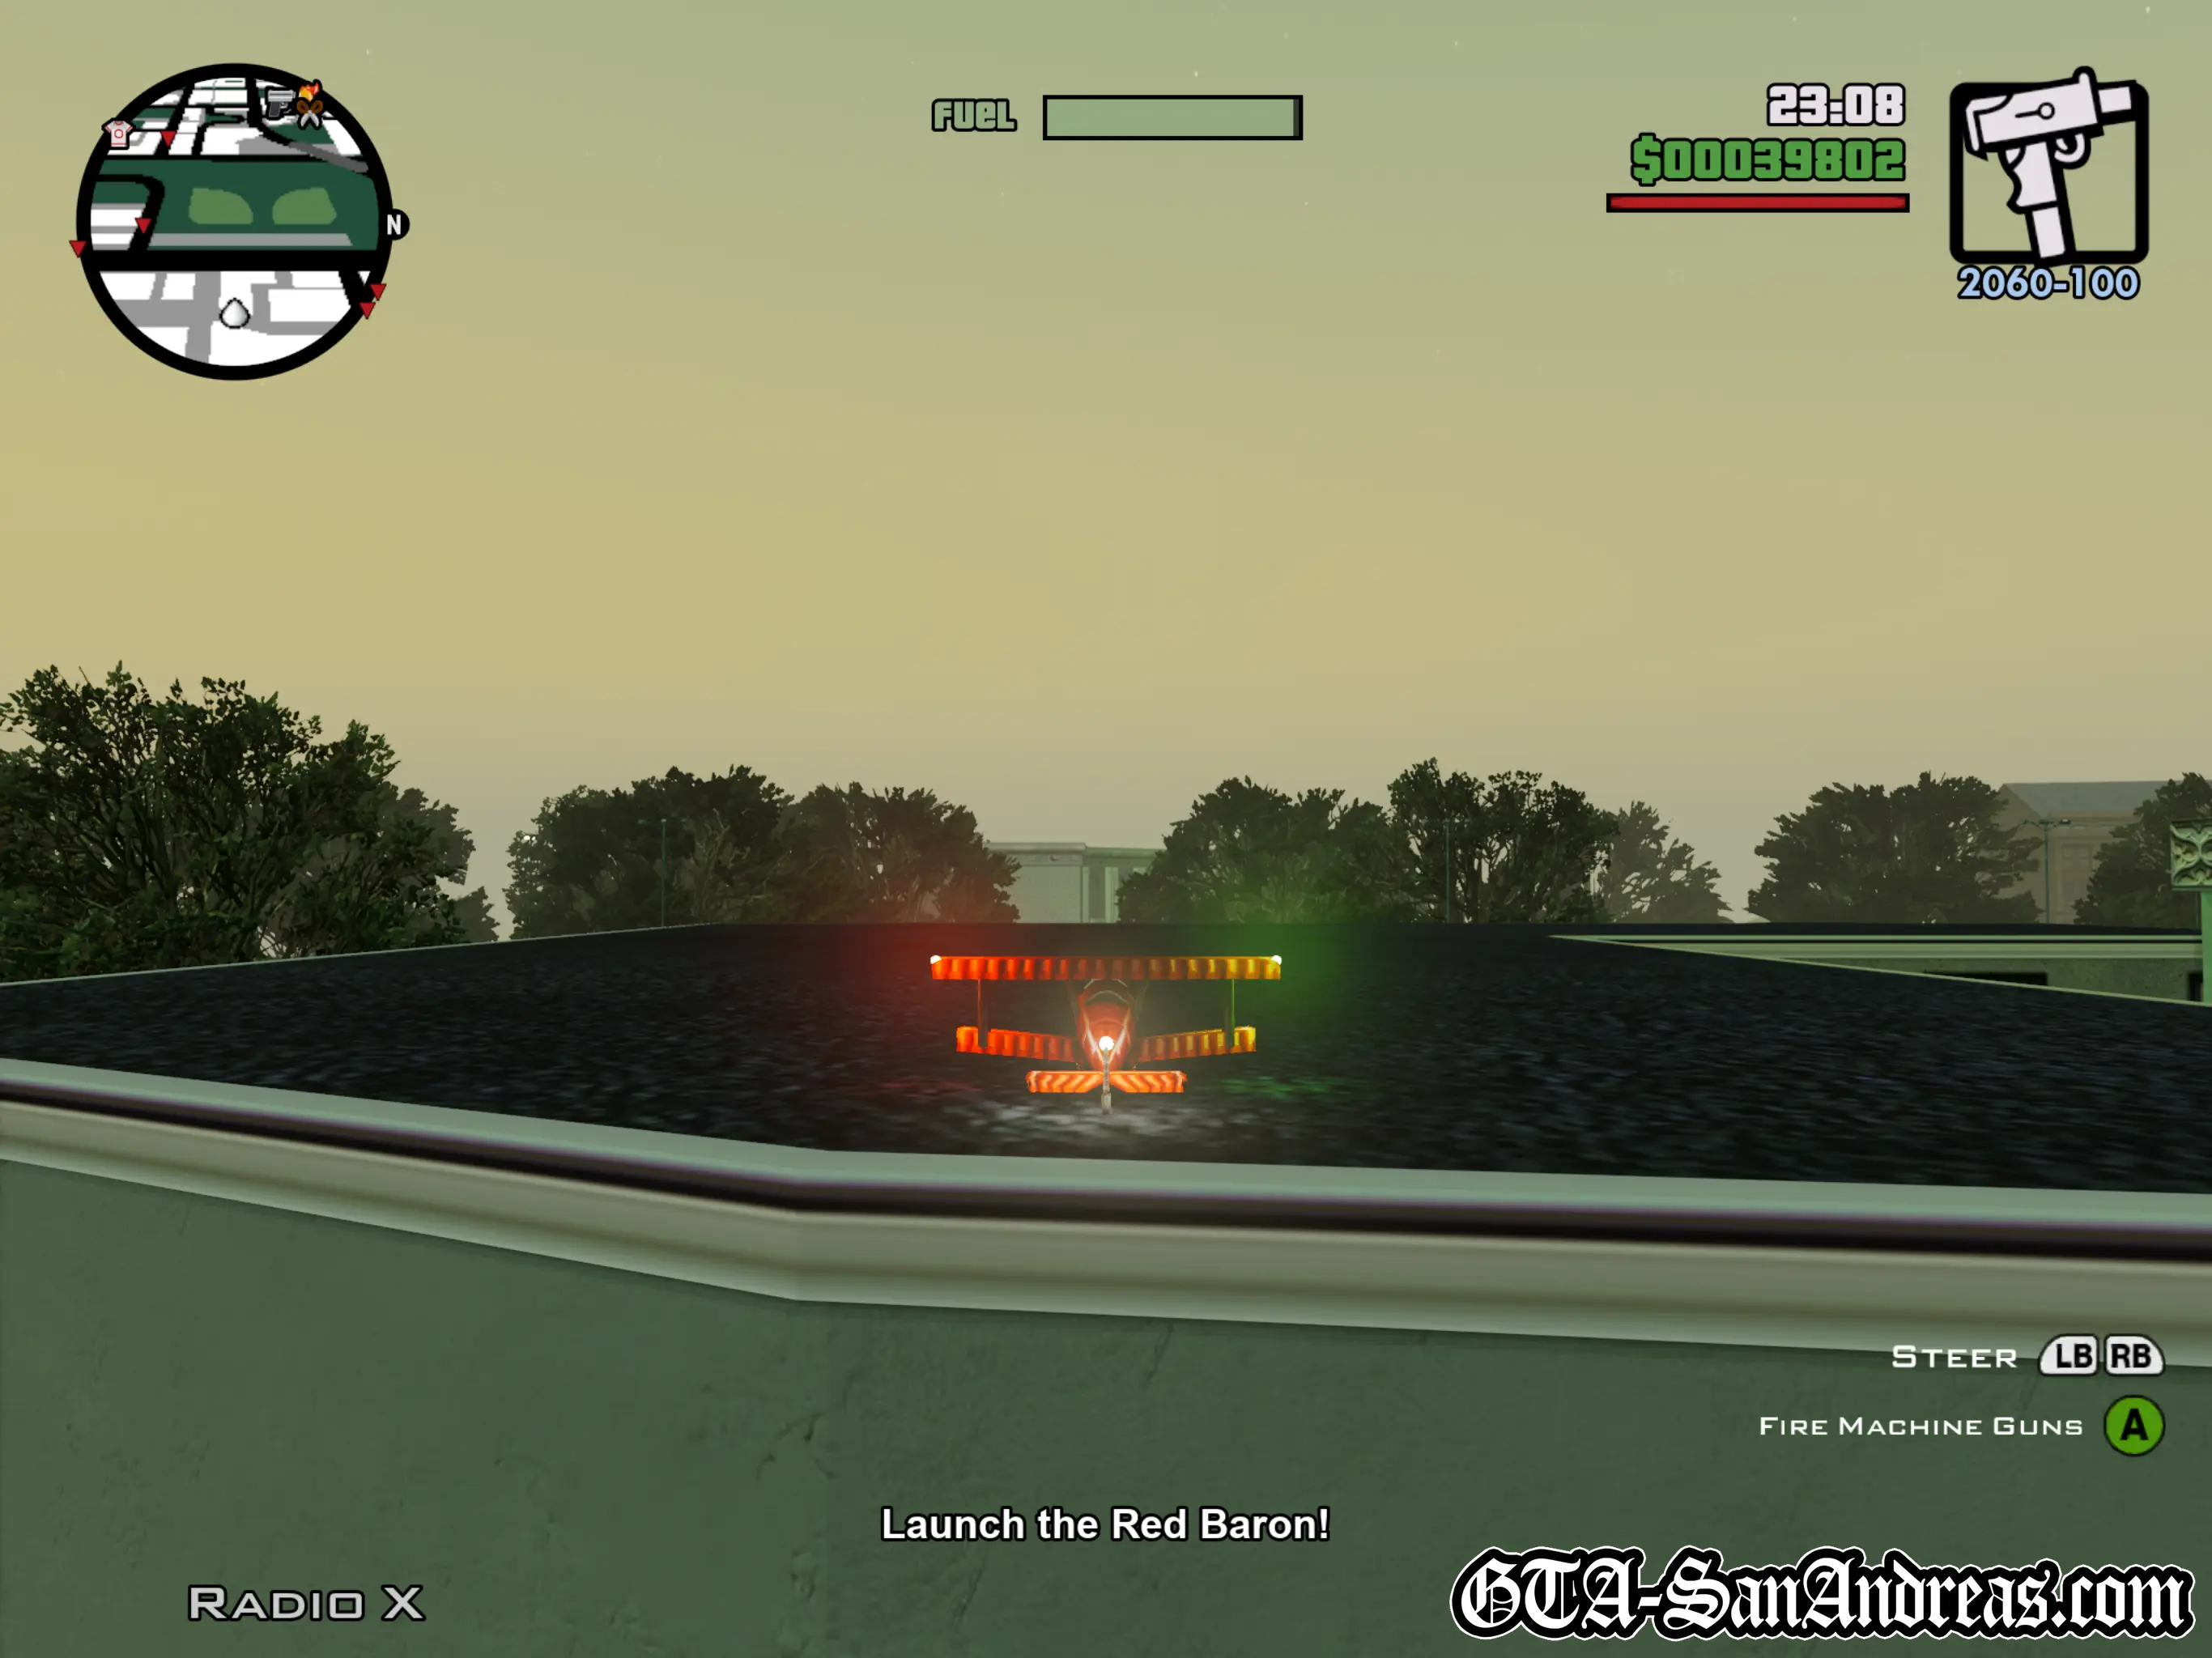
Supply Lines...
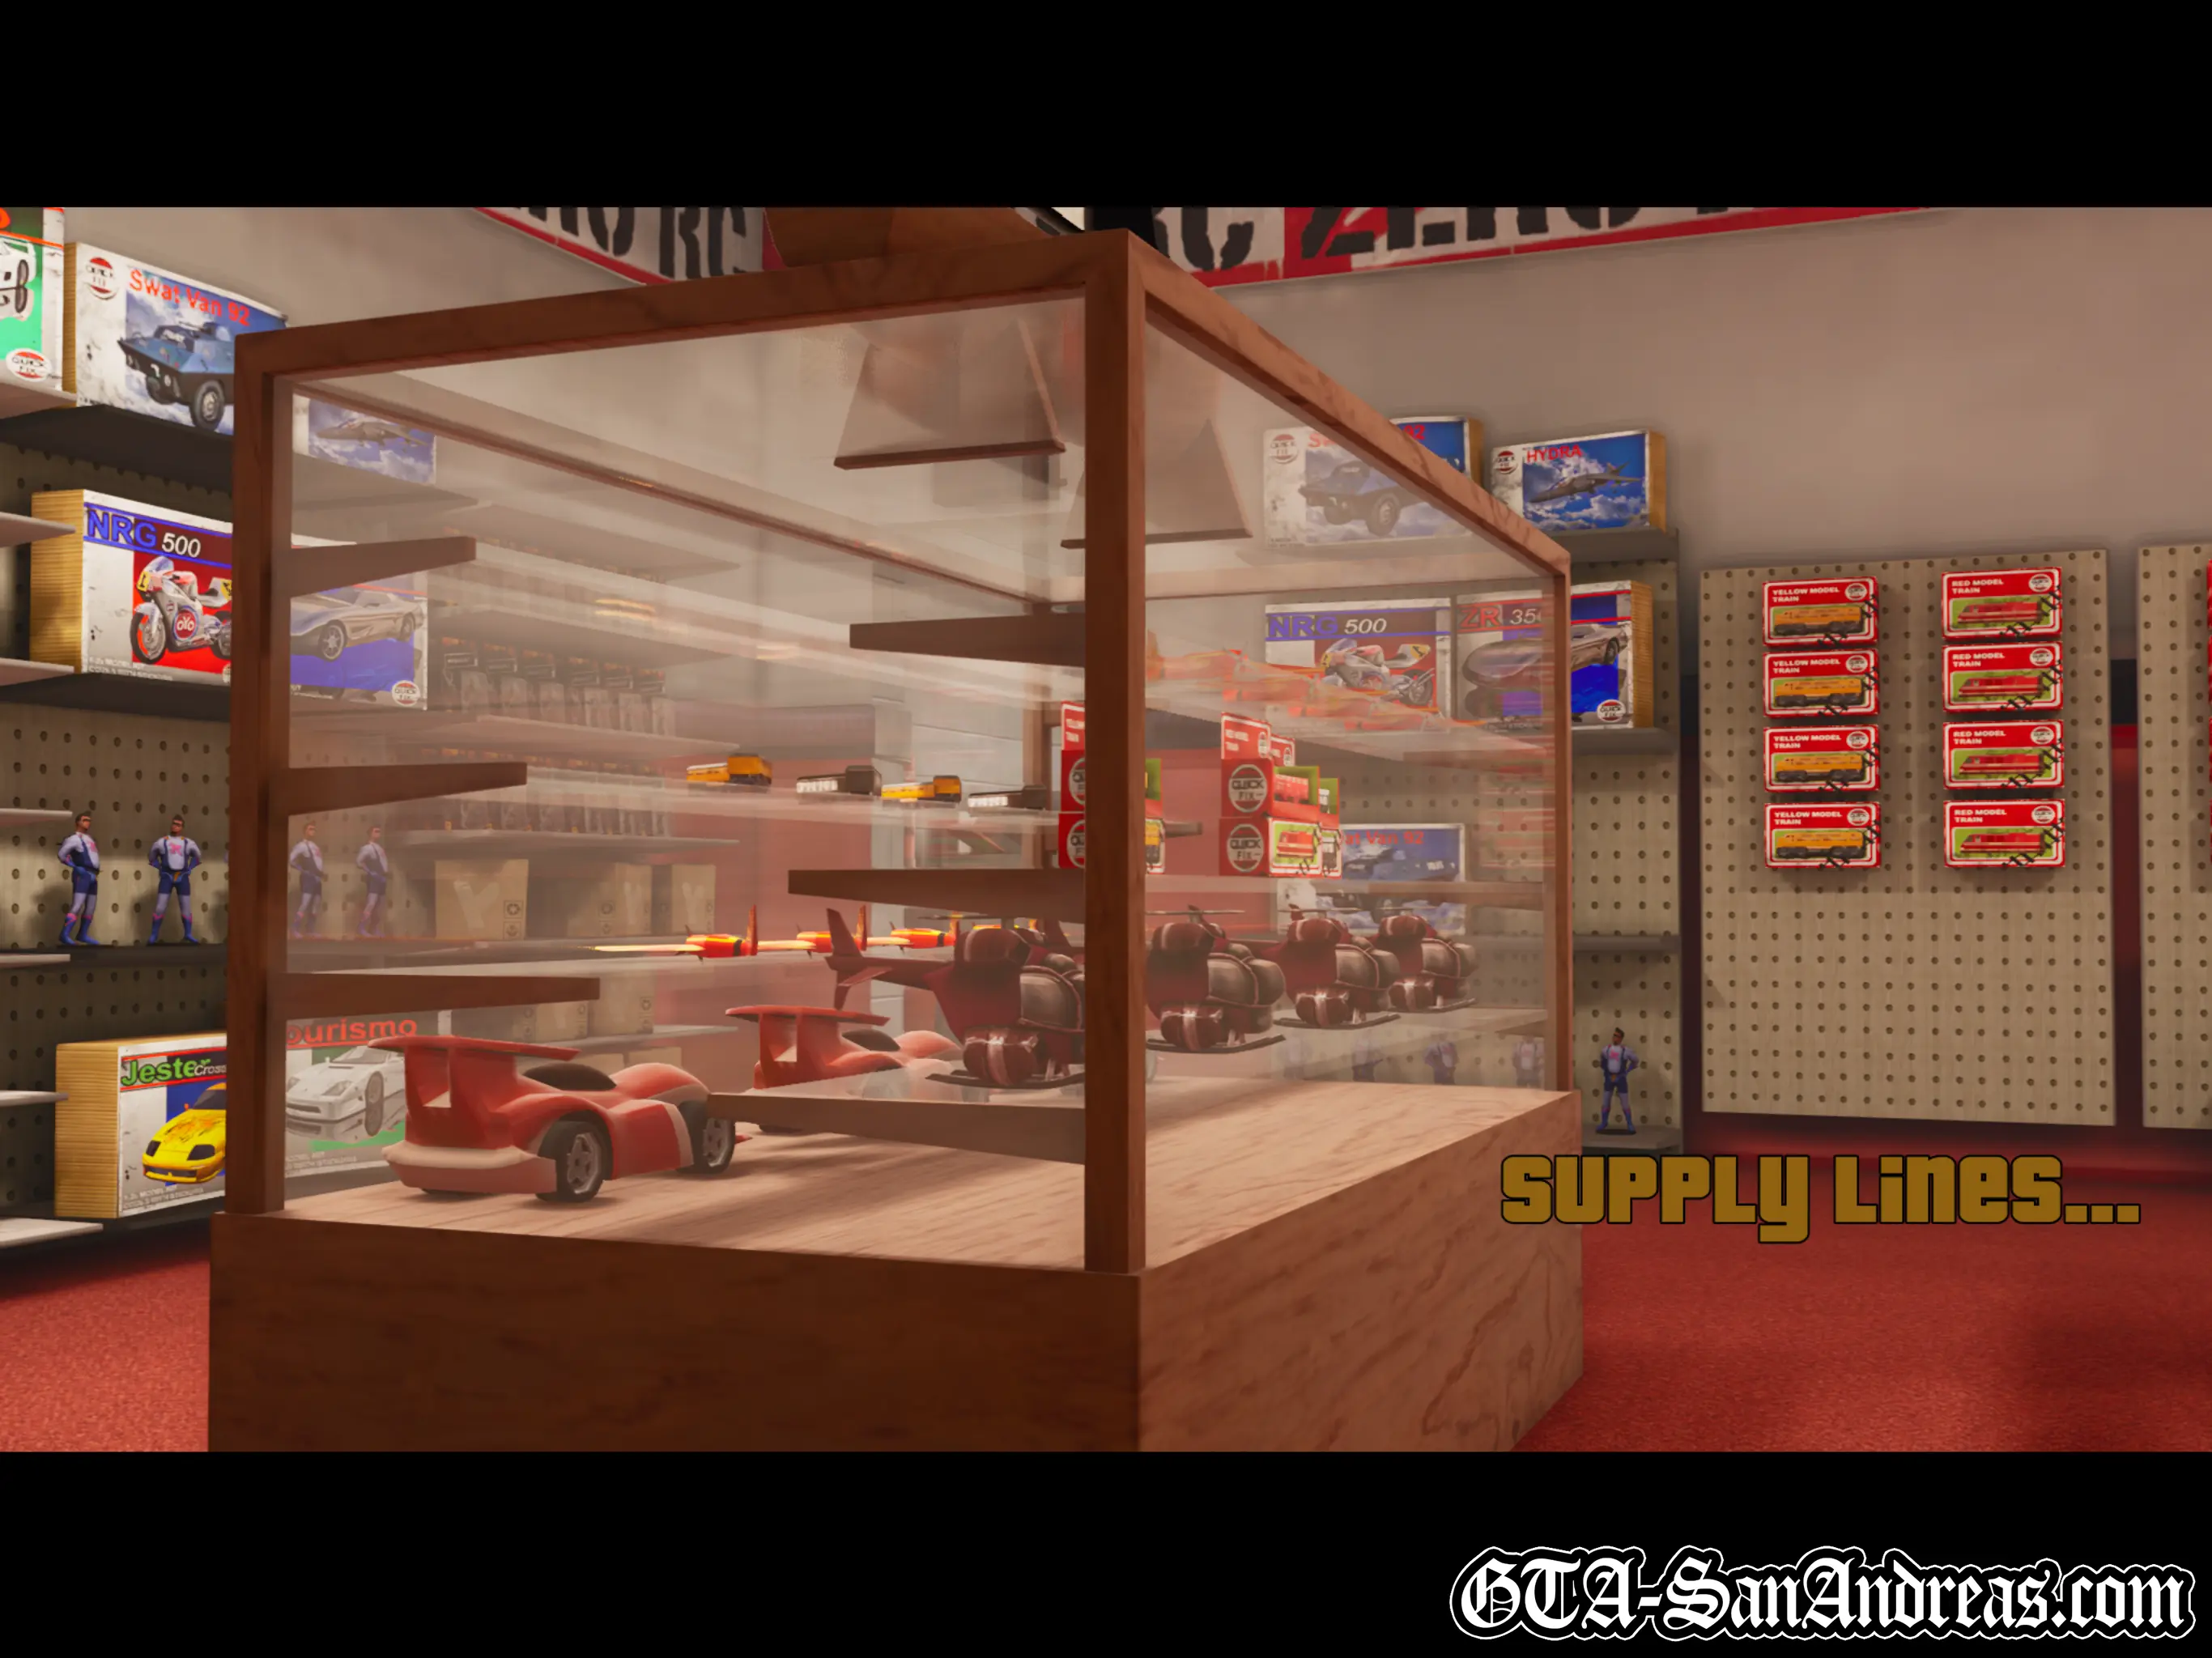
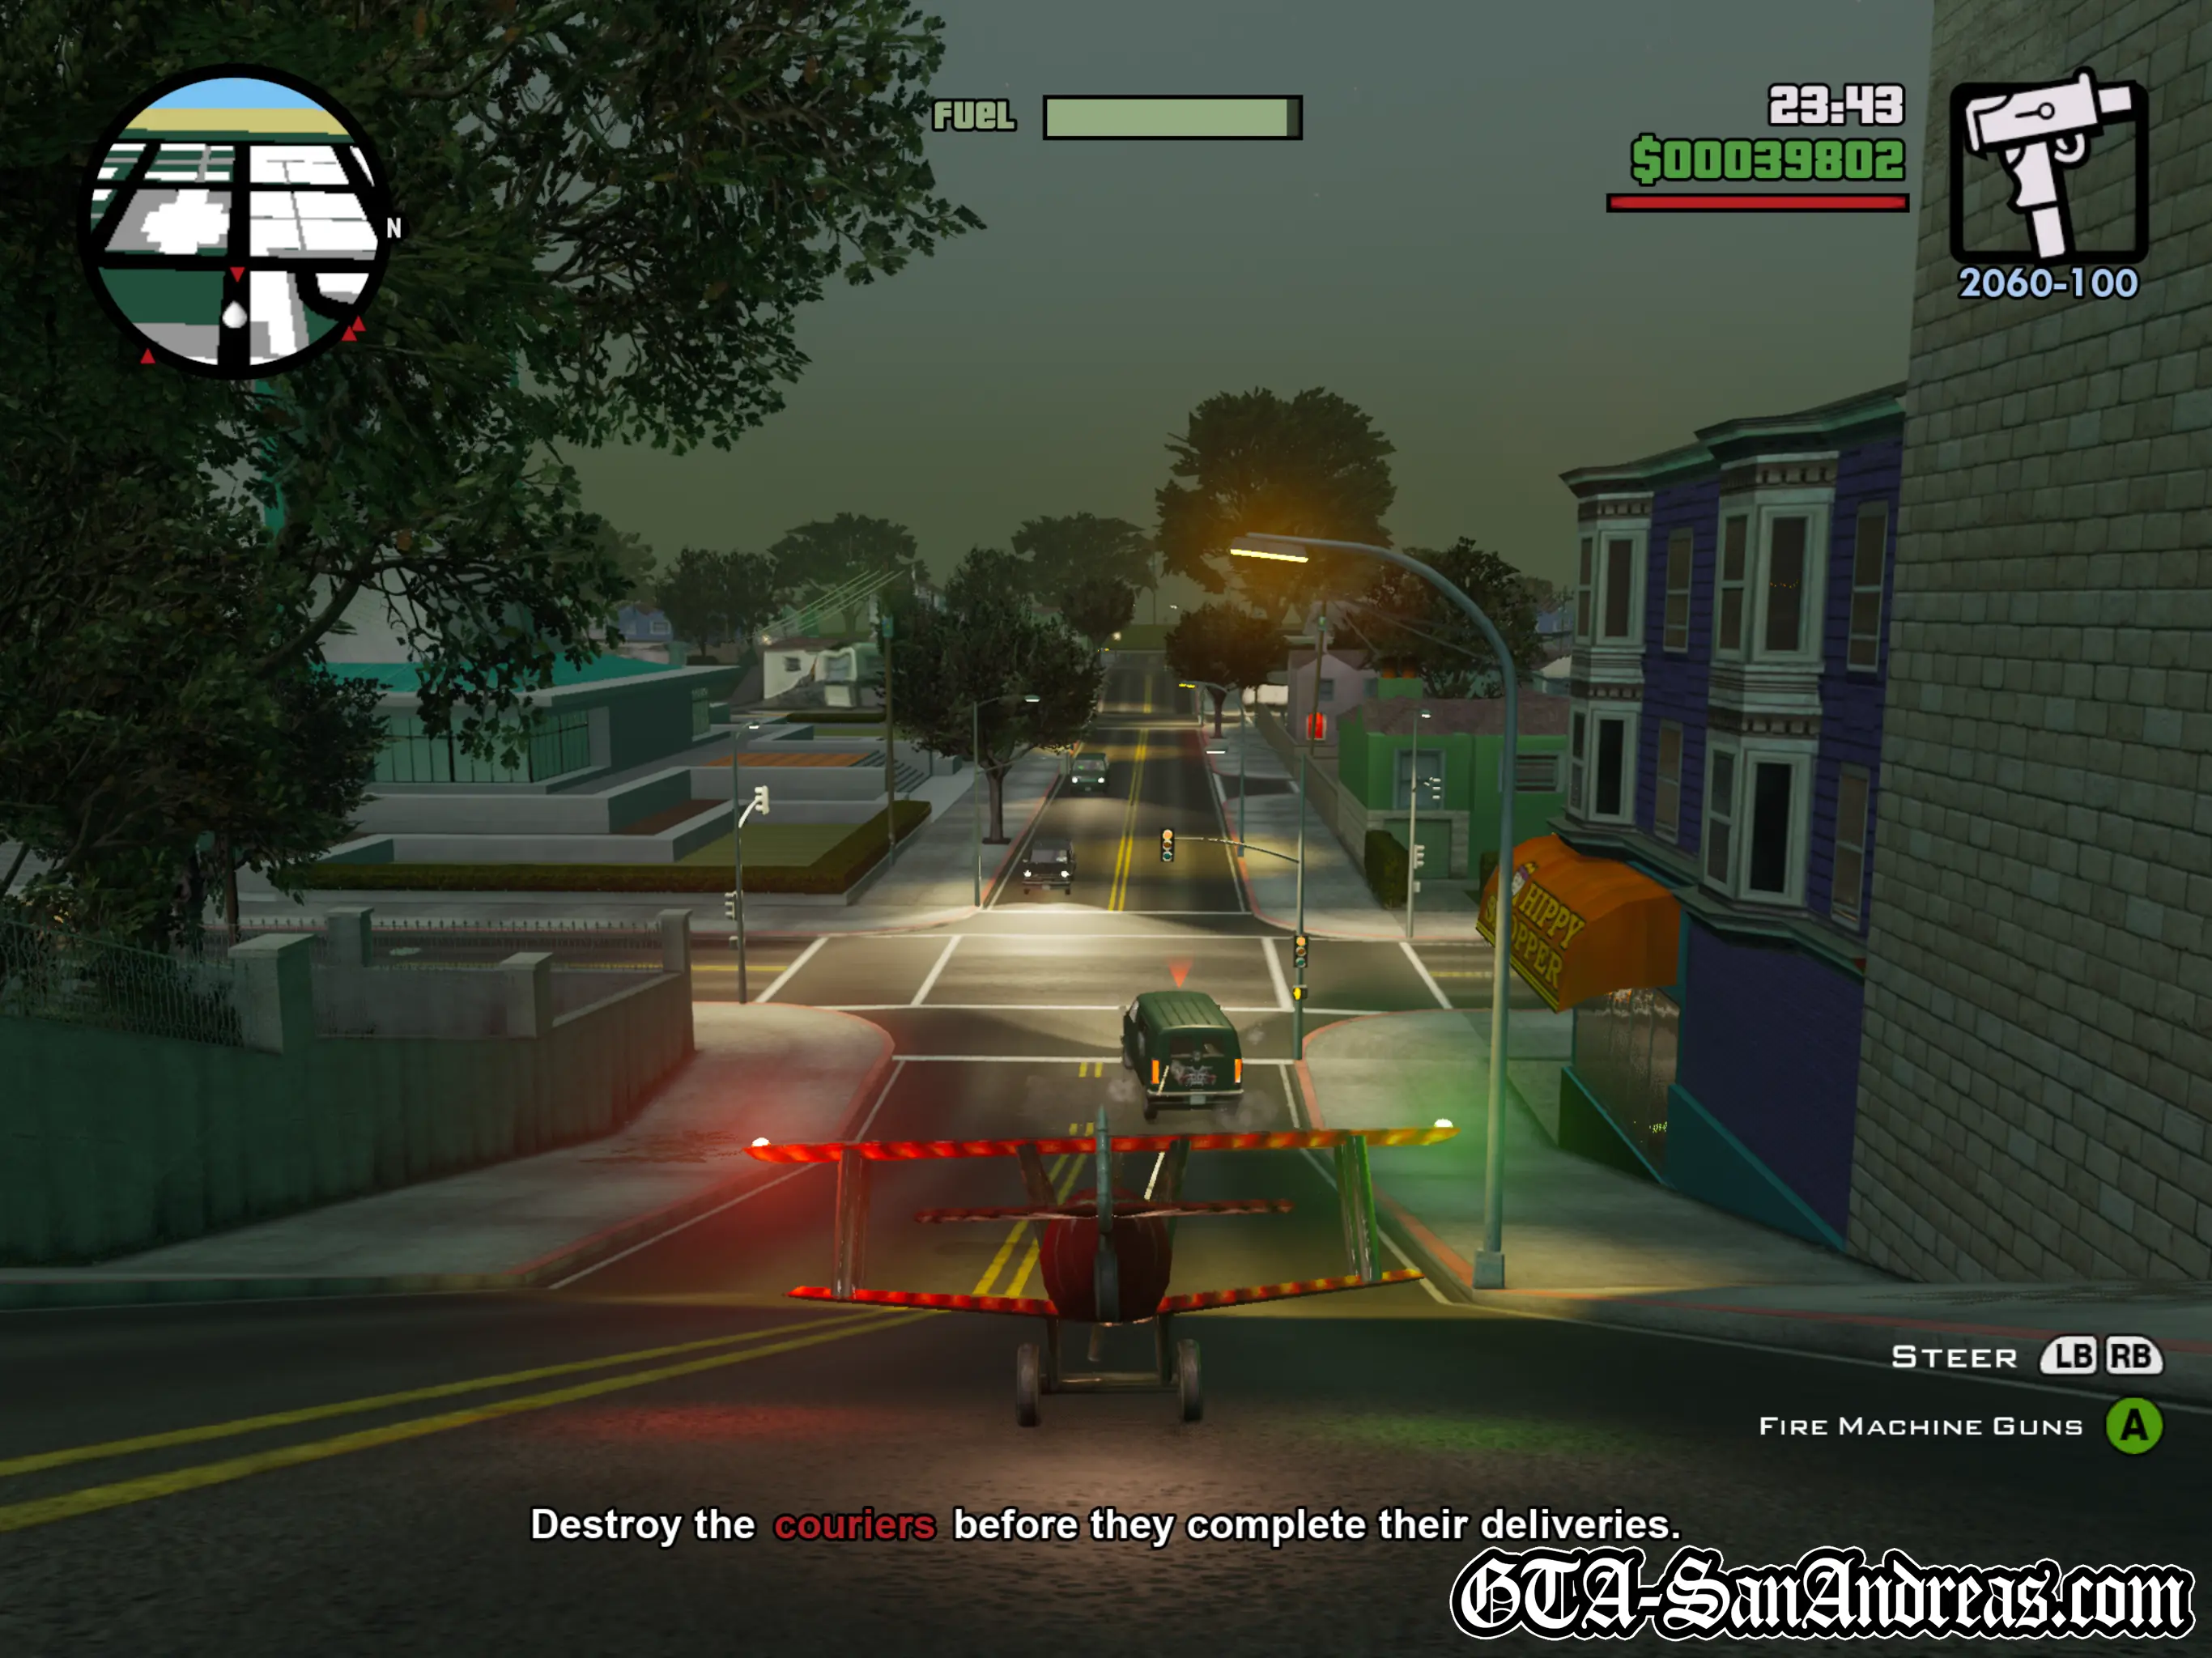
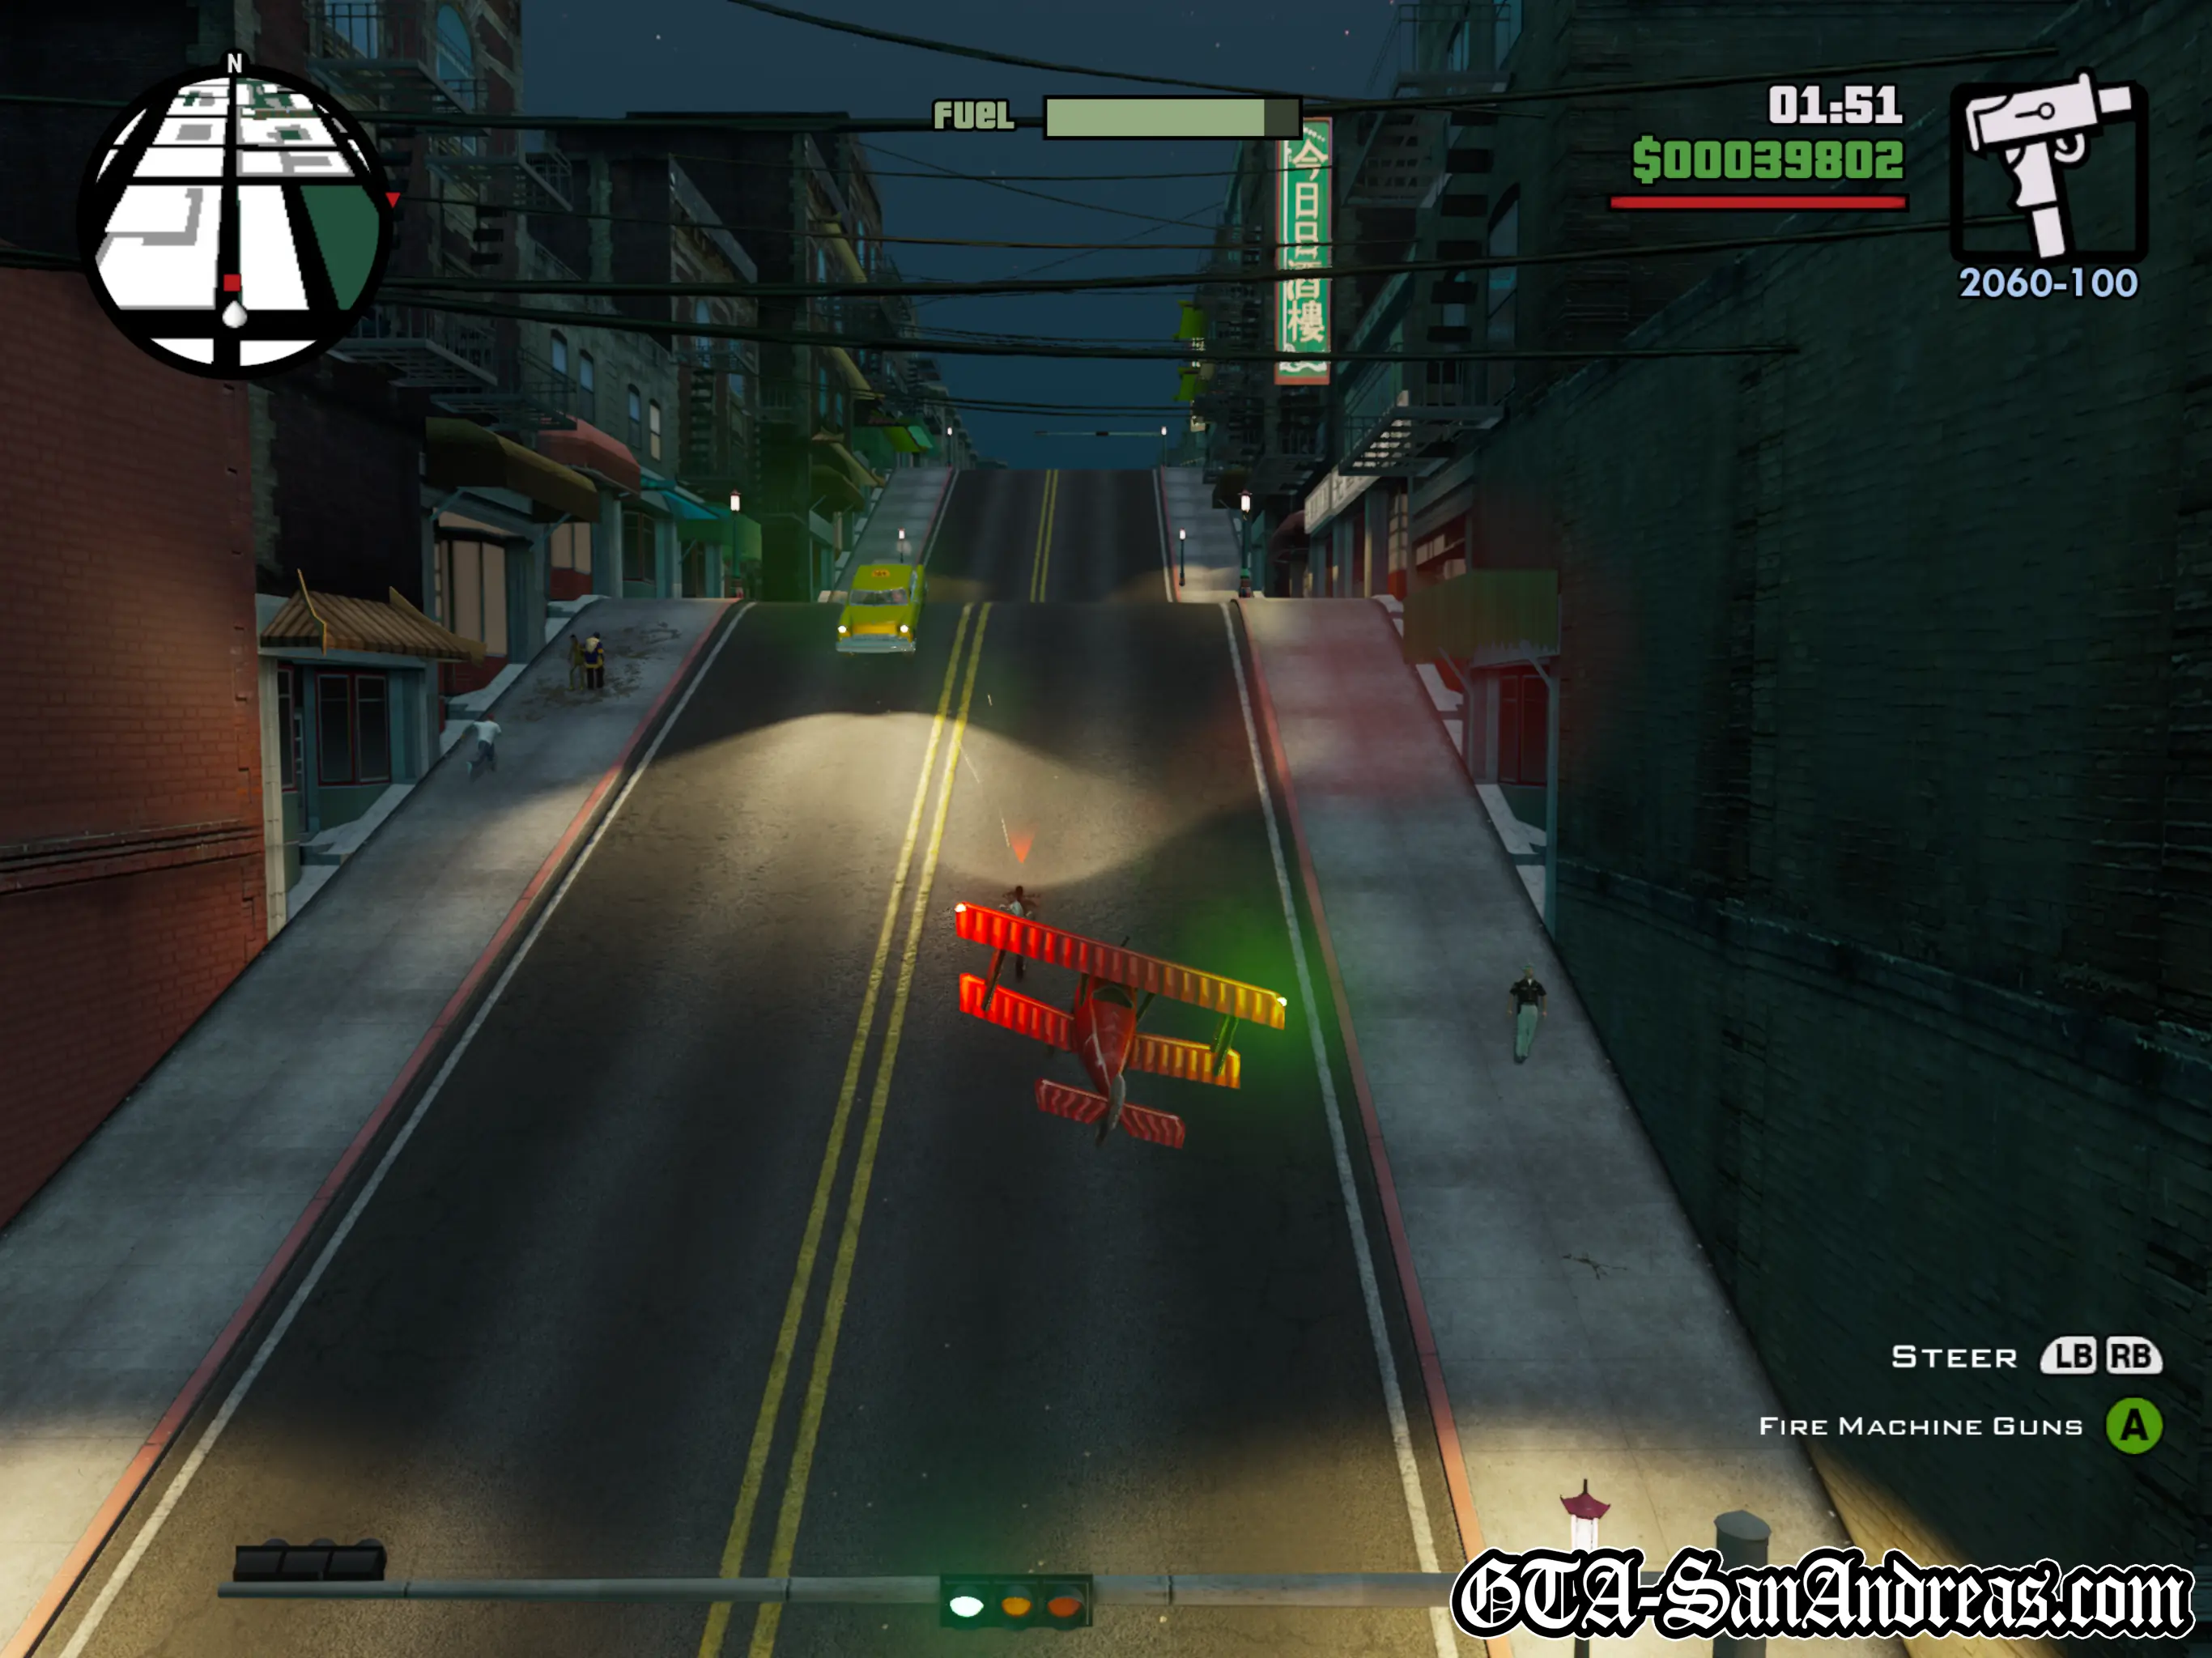
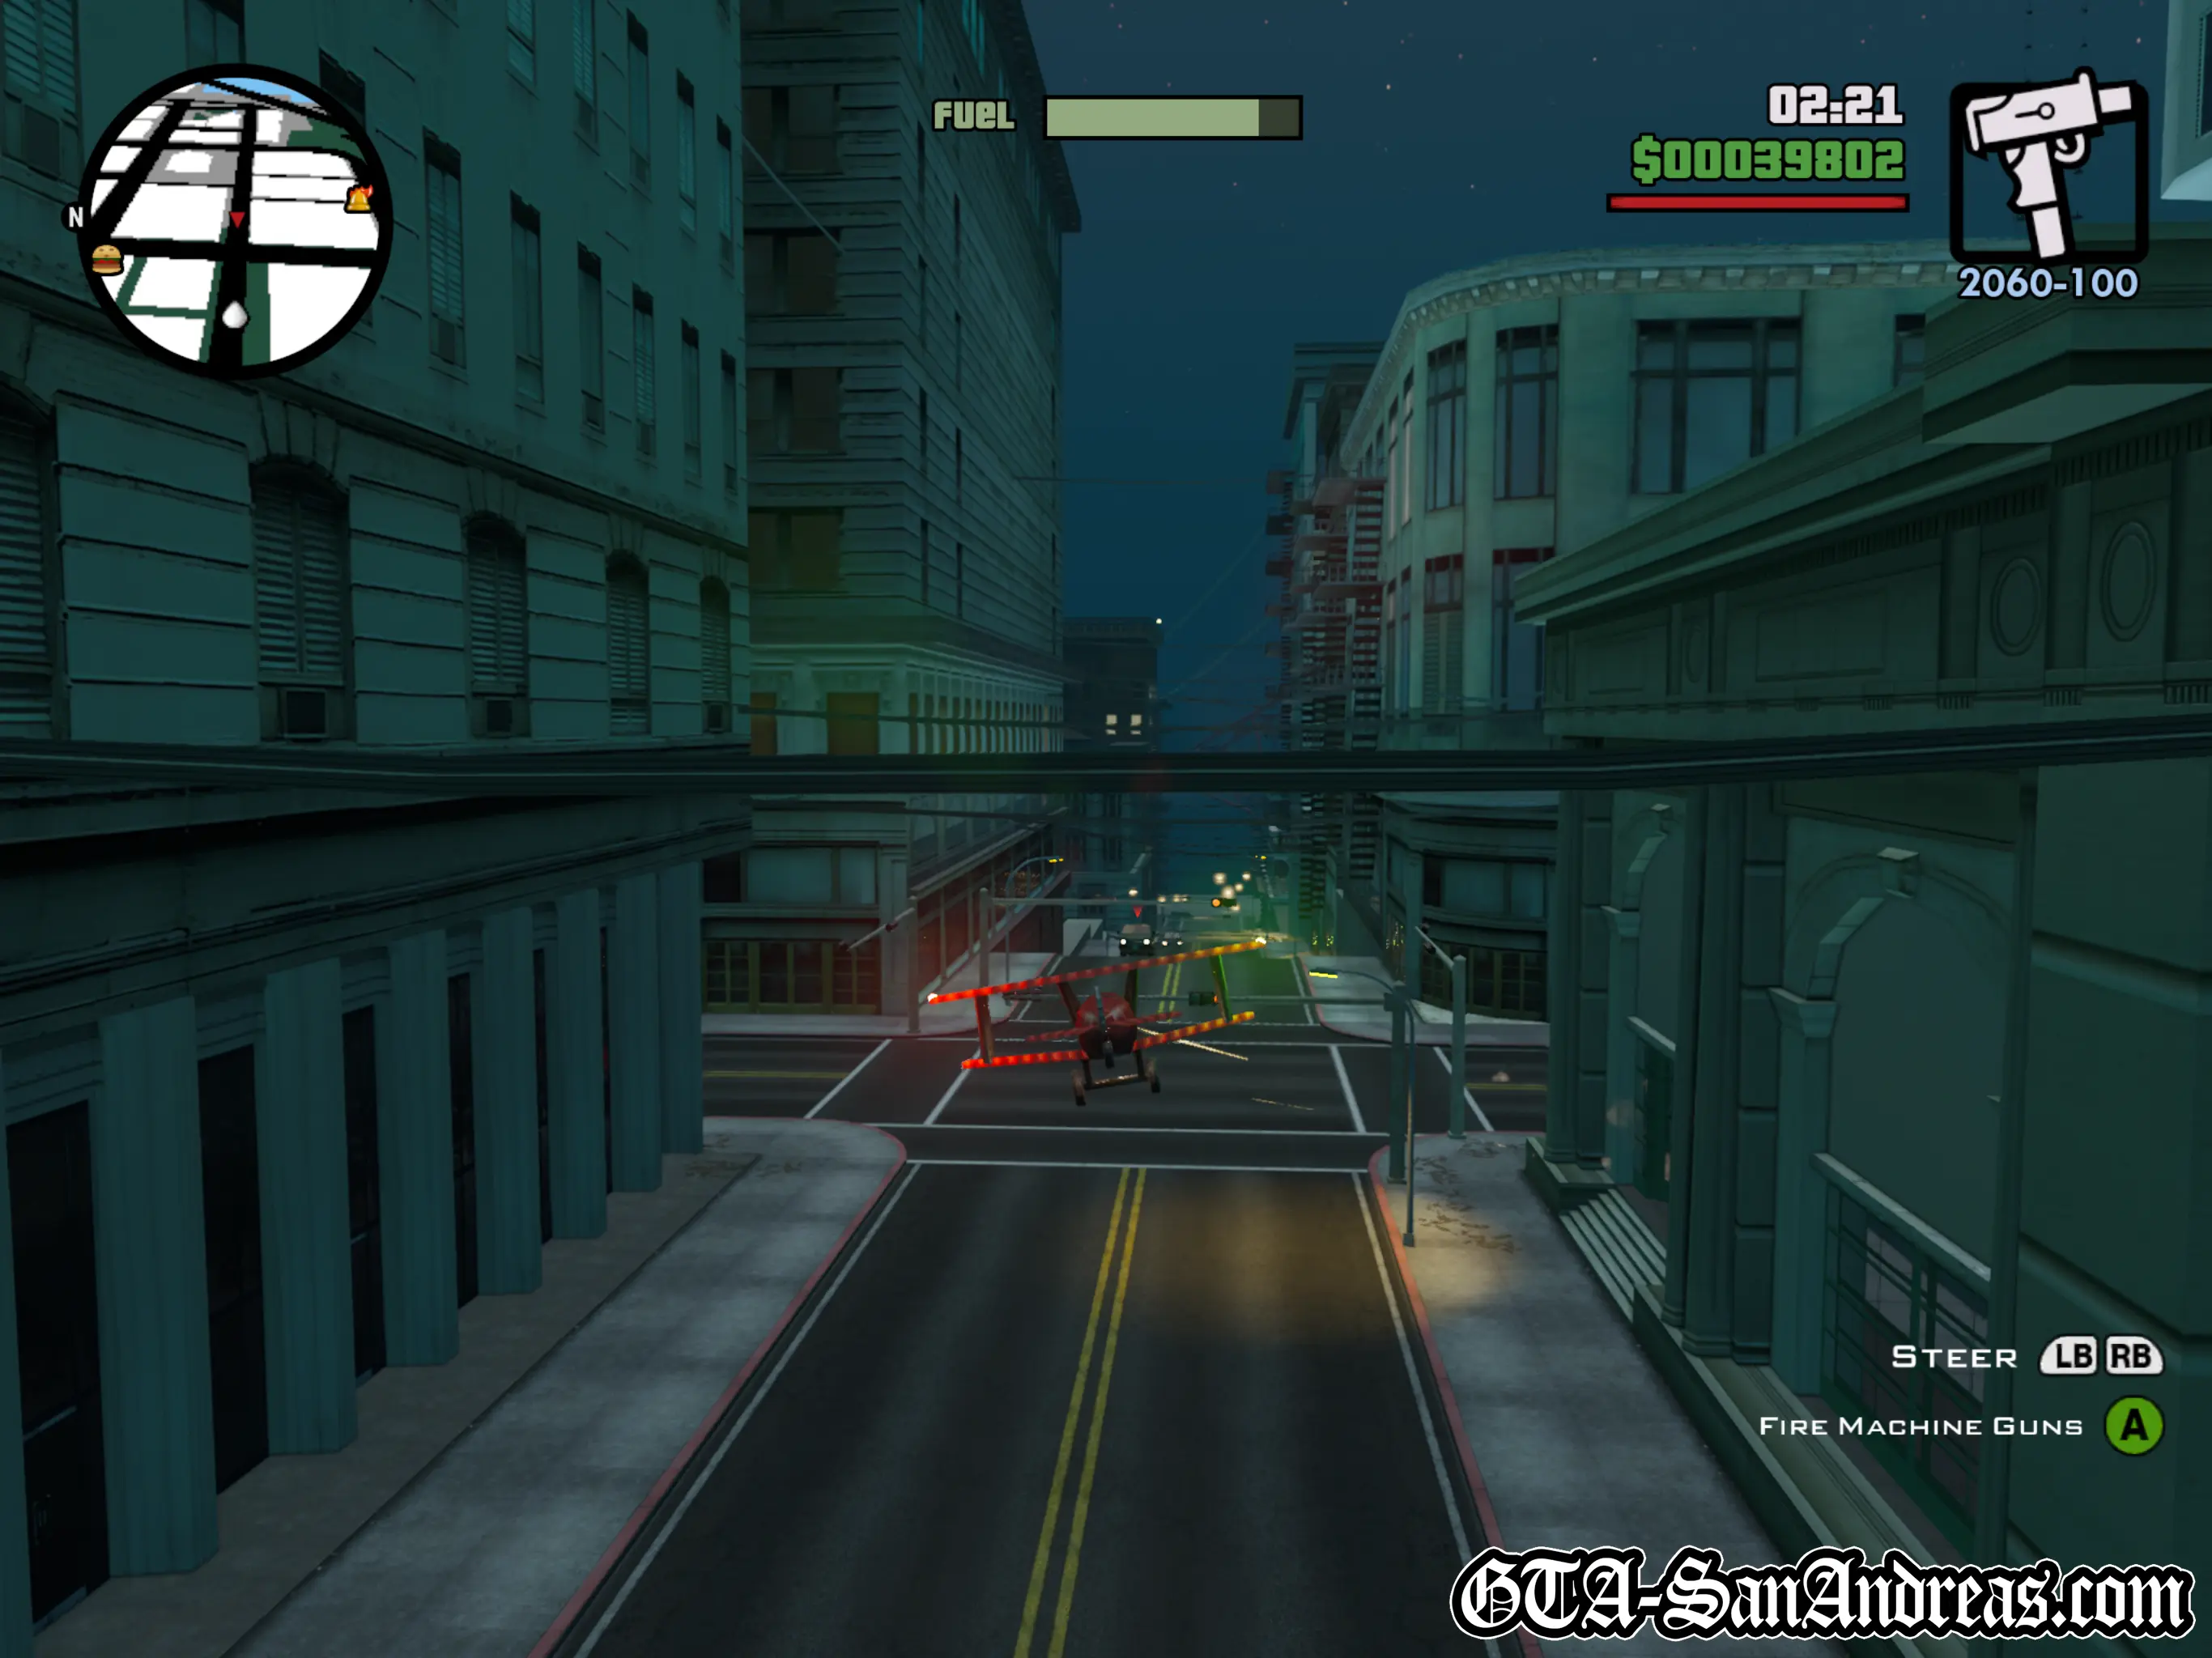
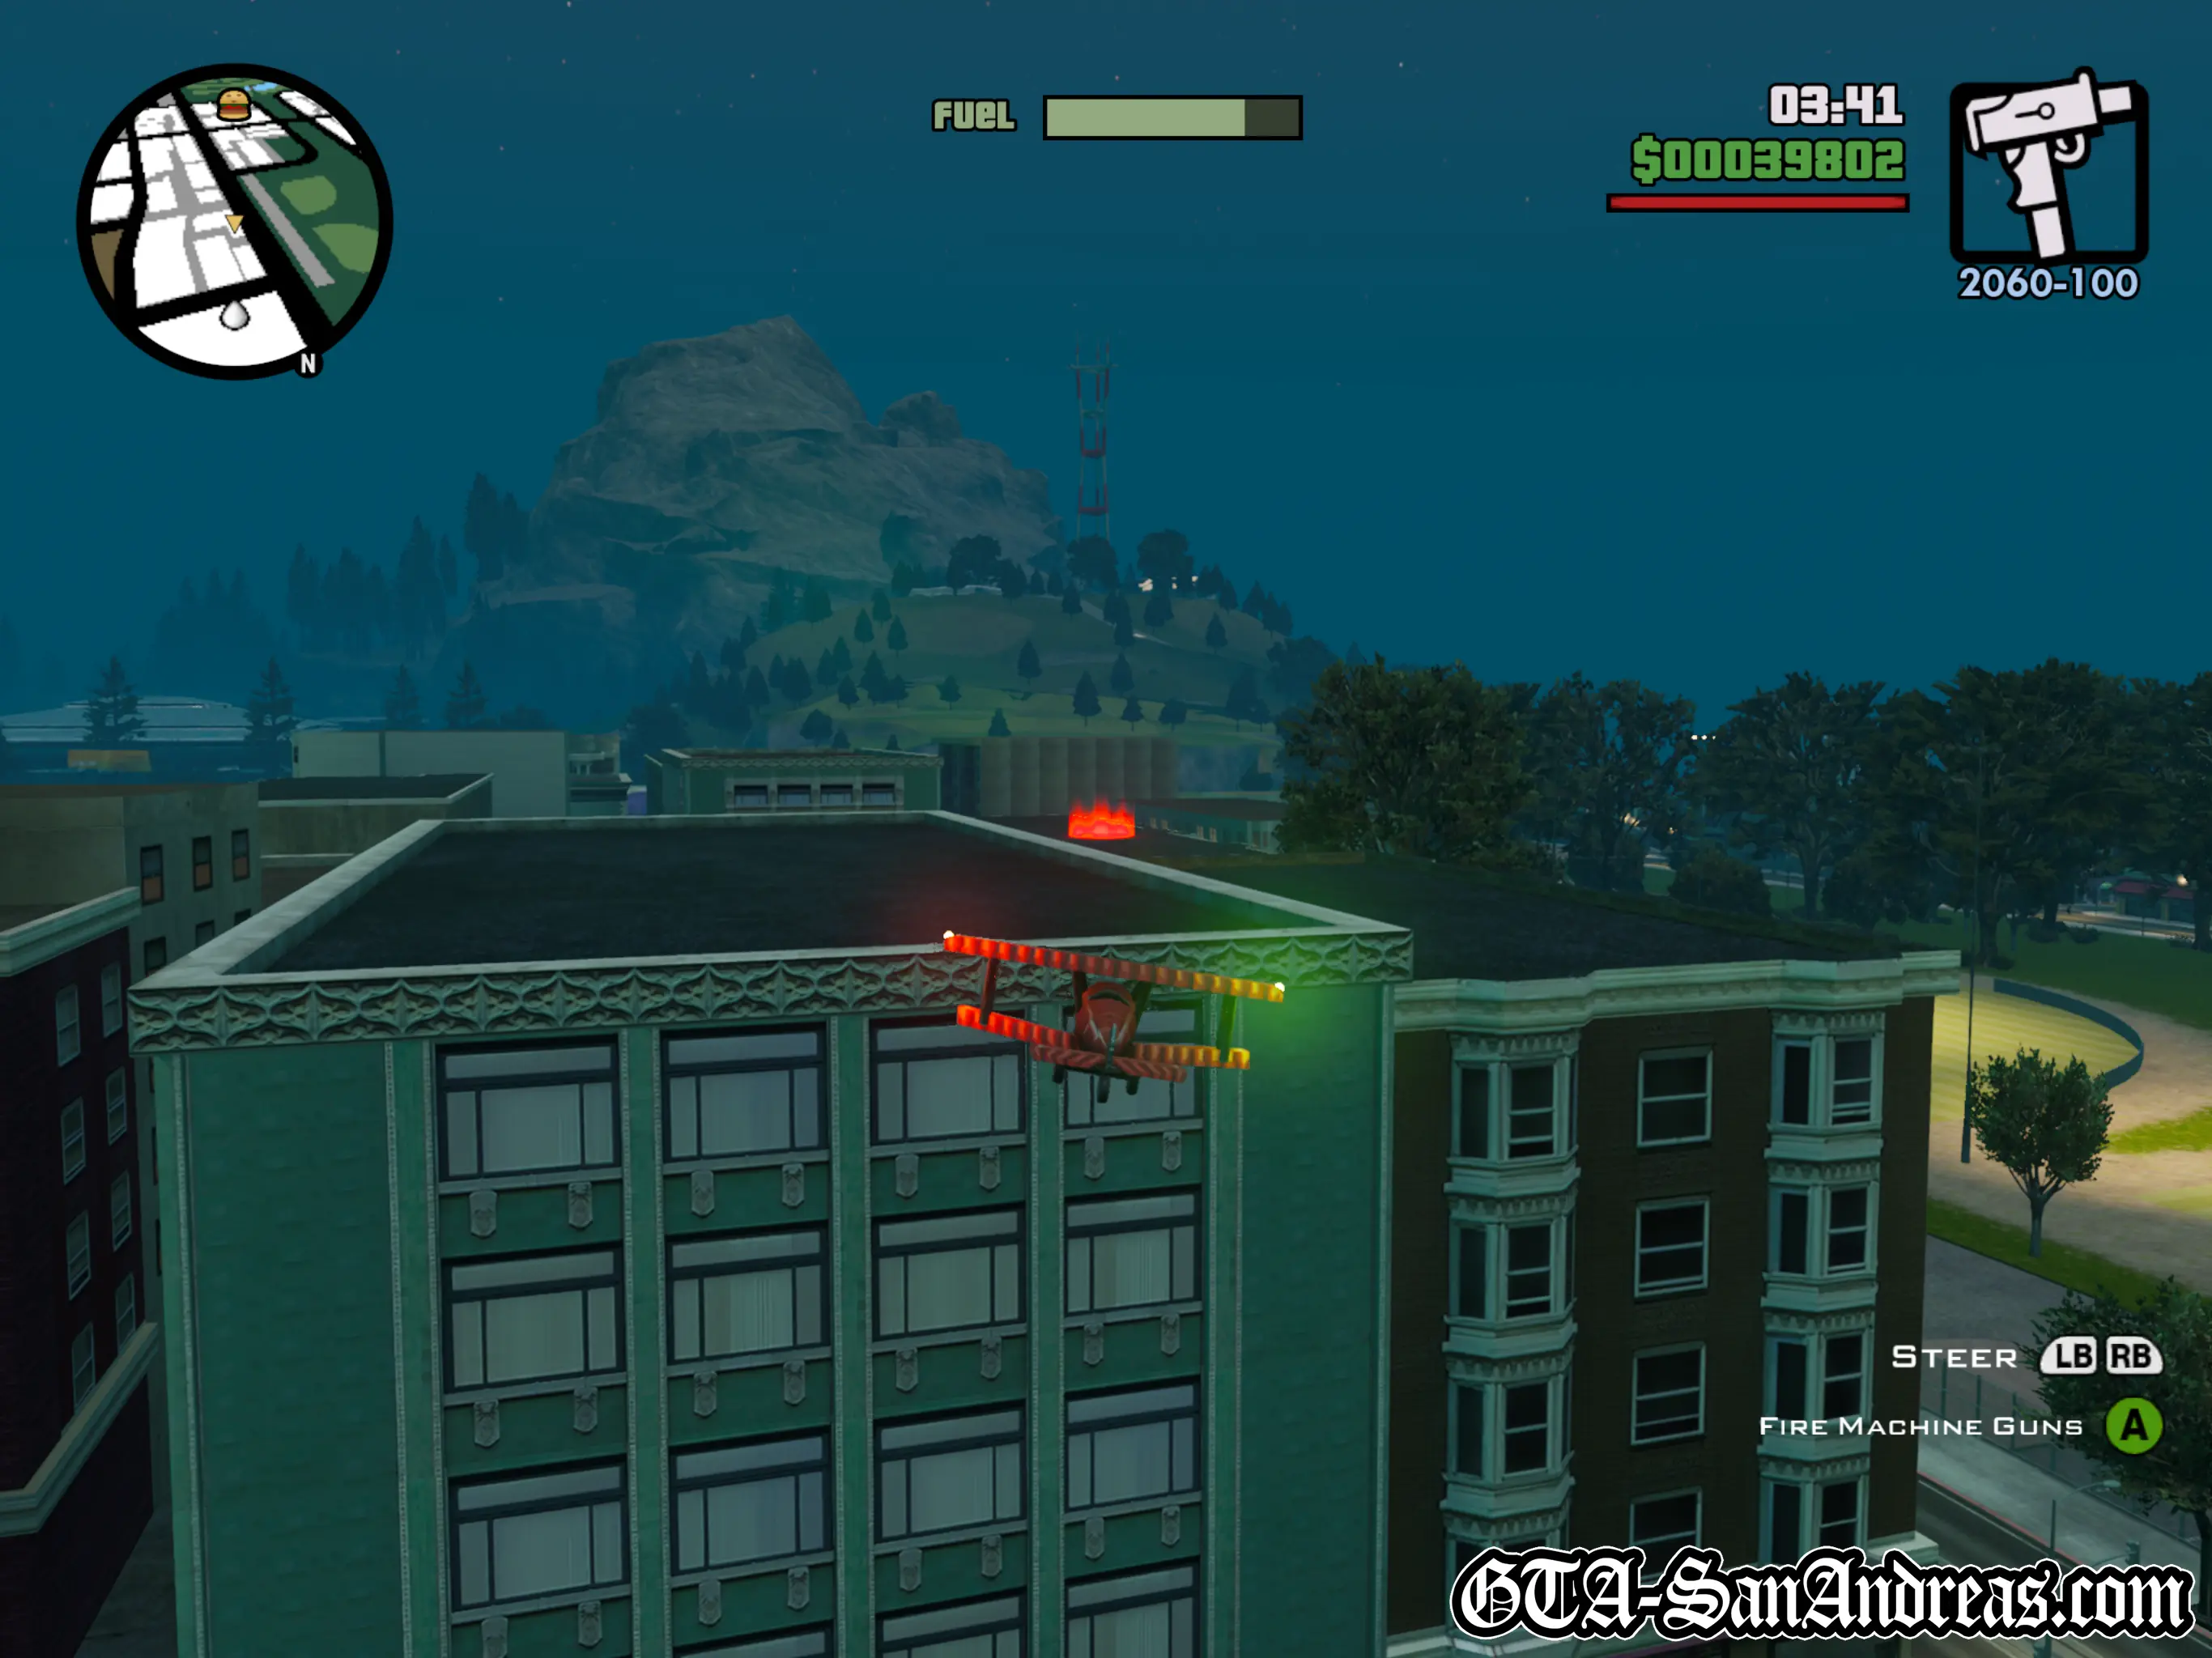
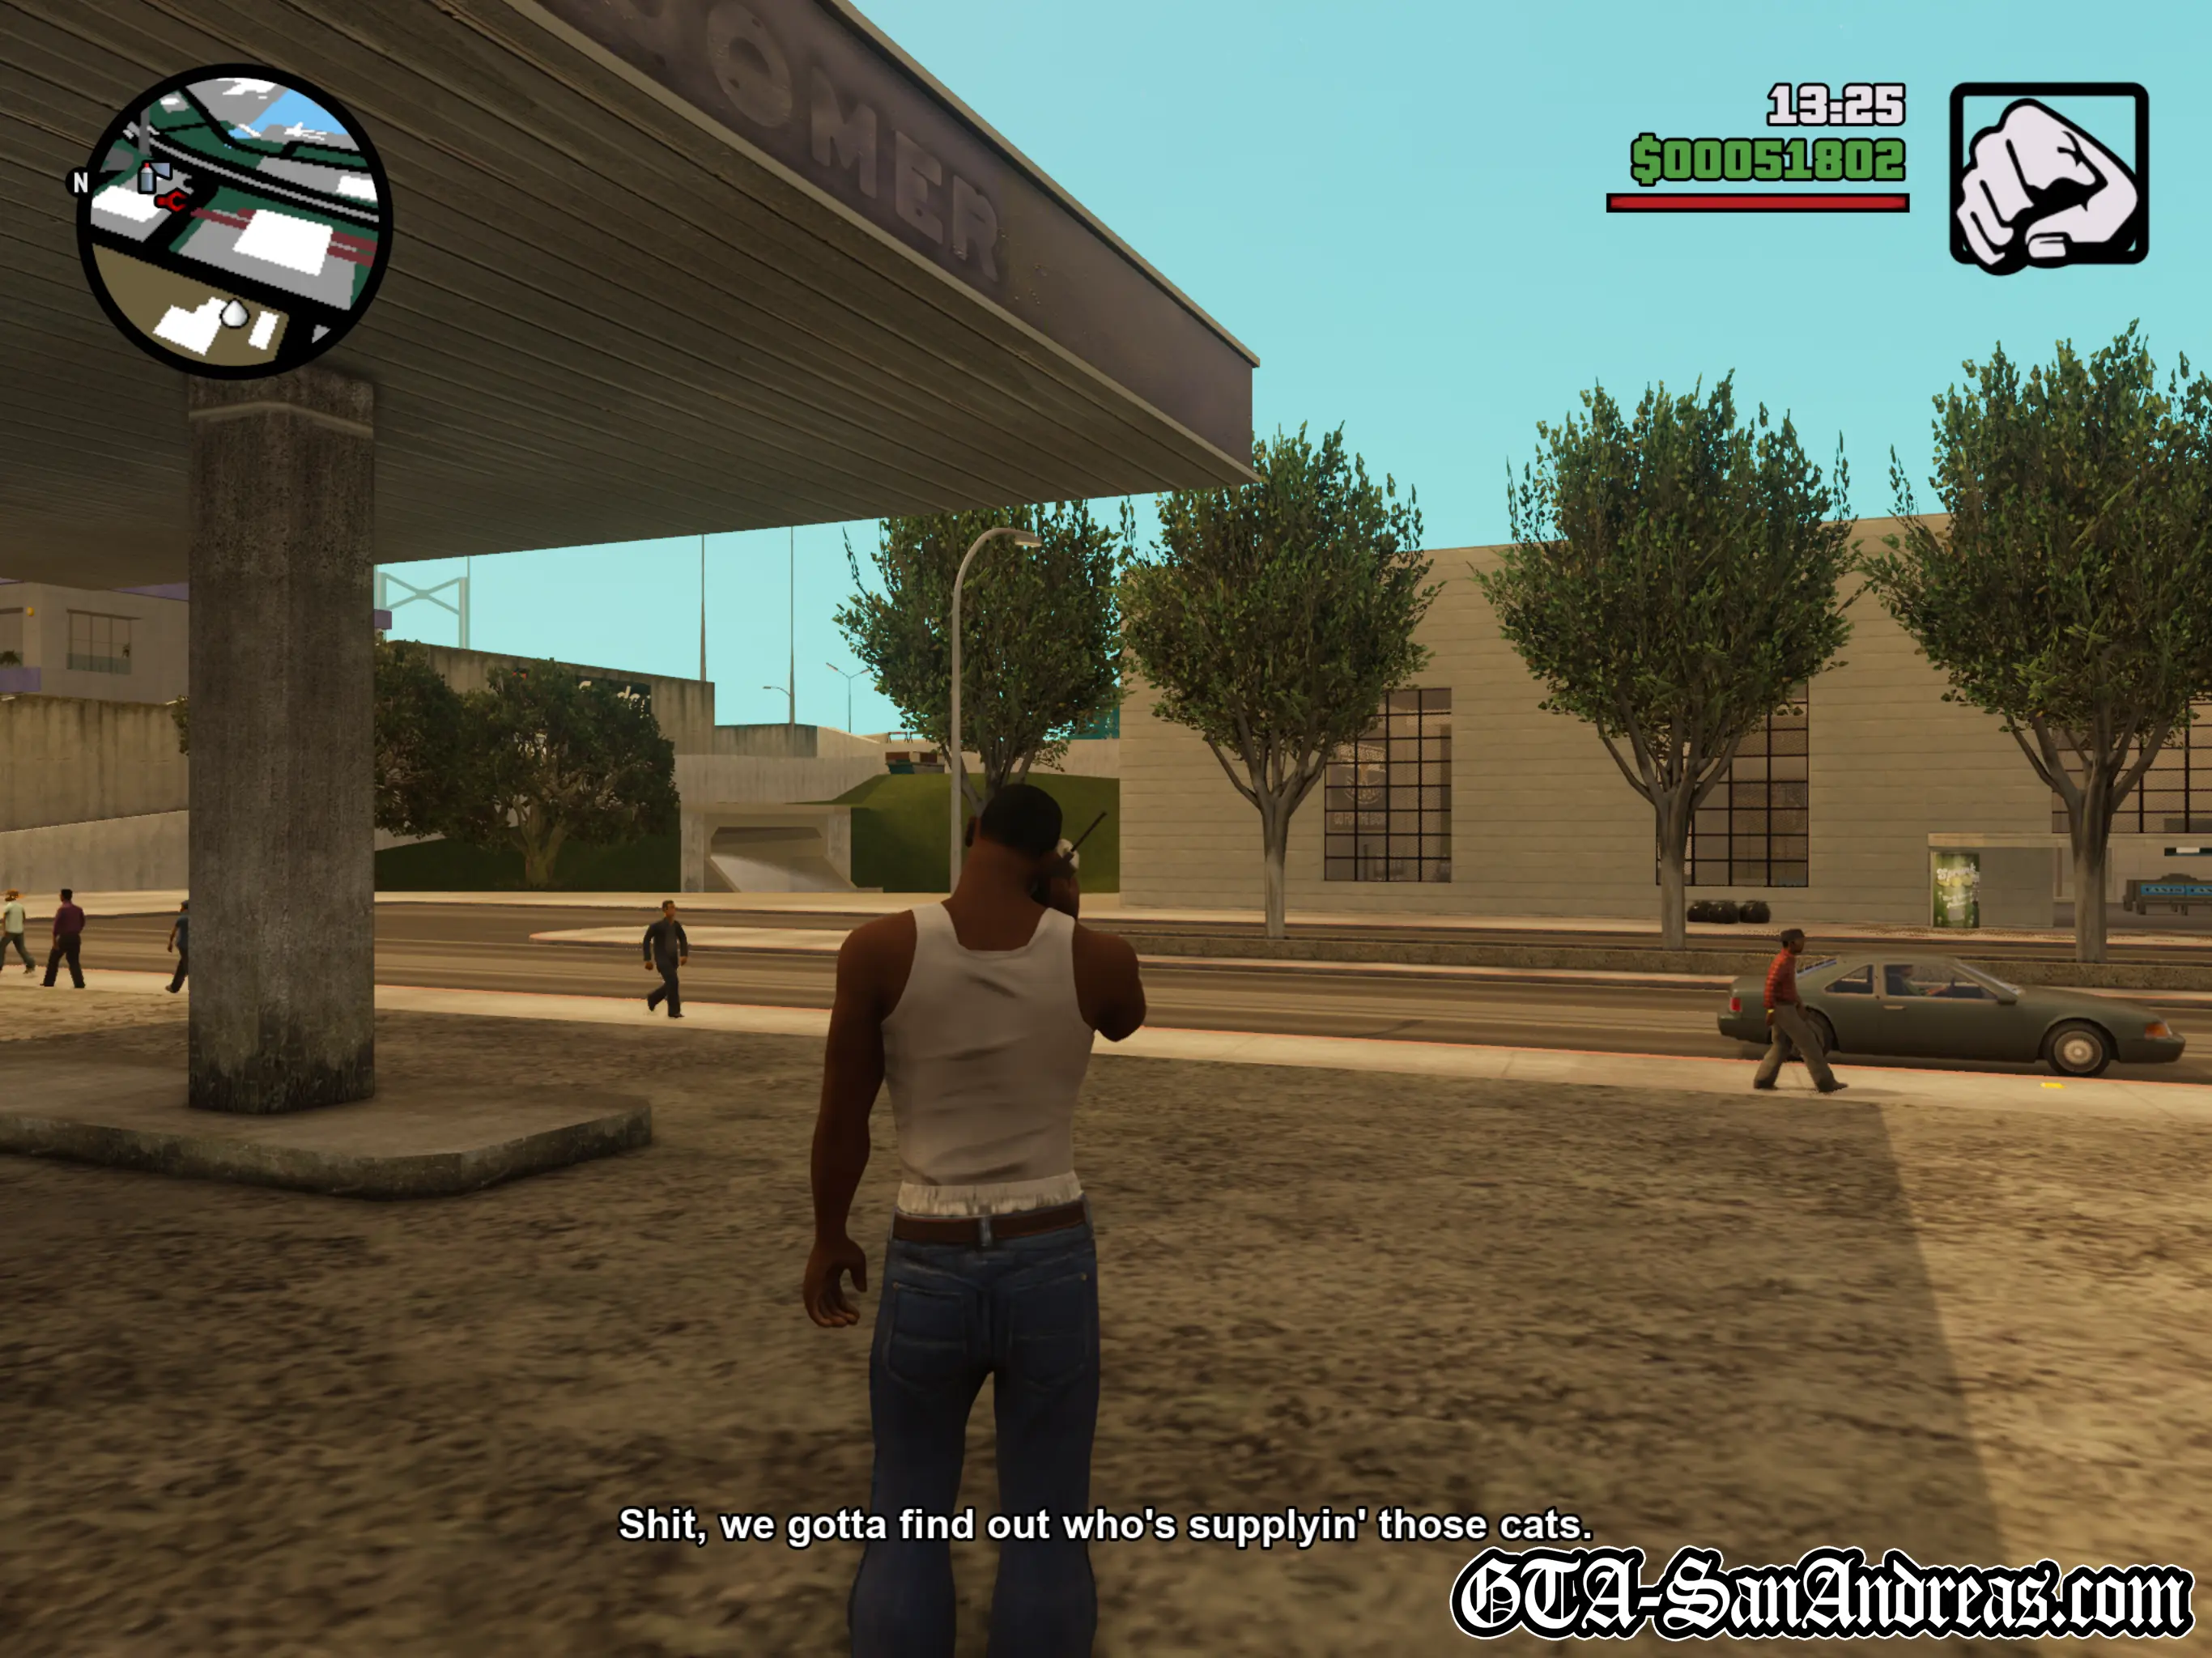
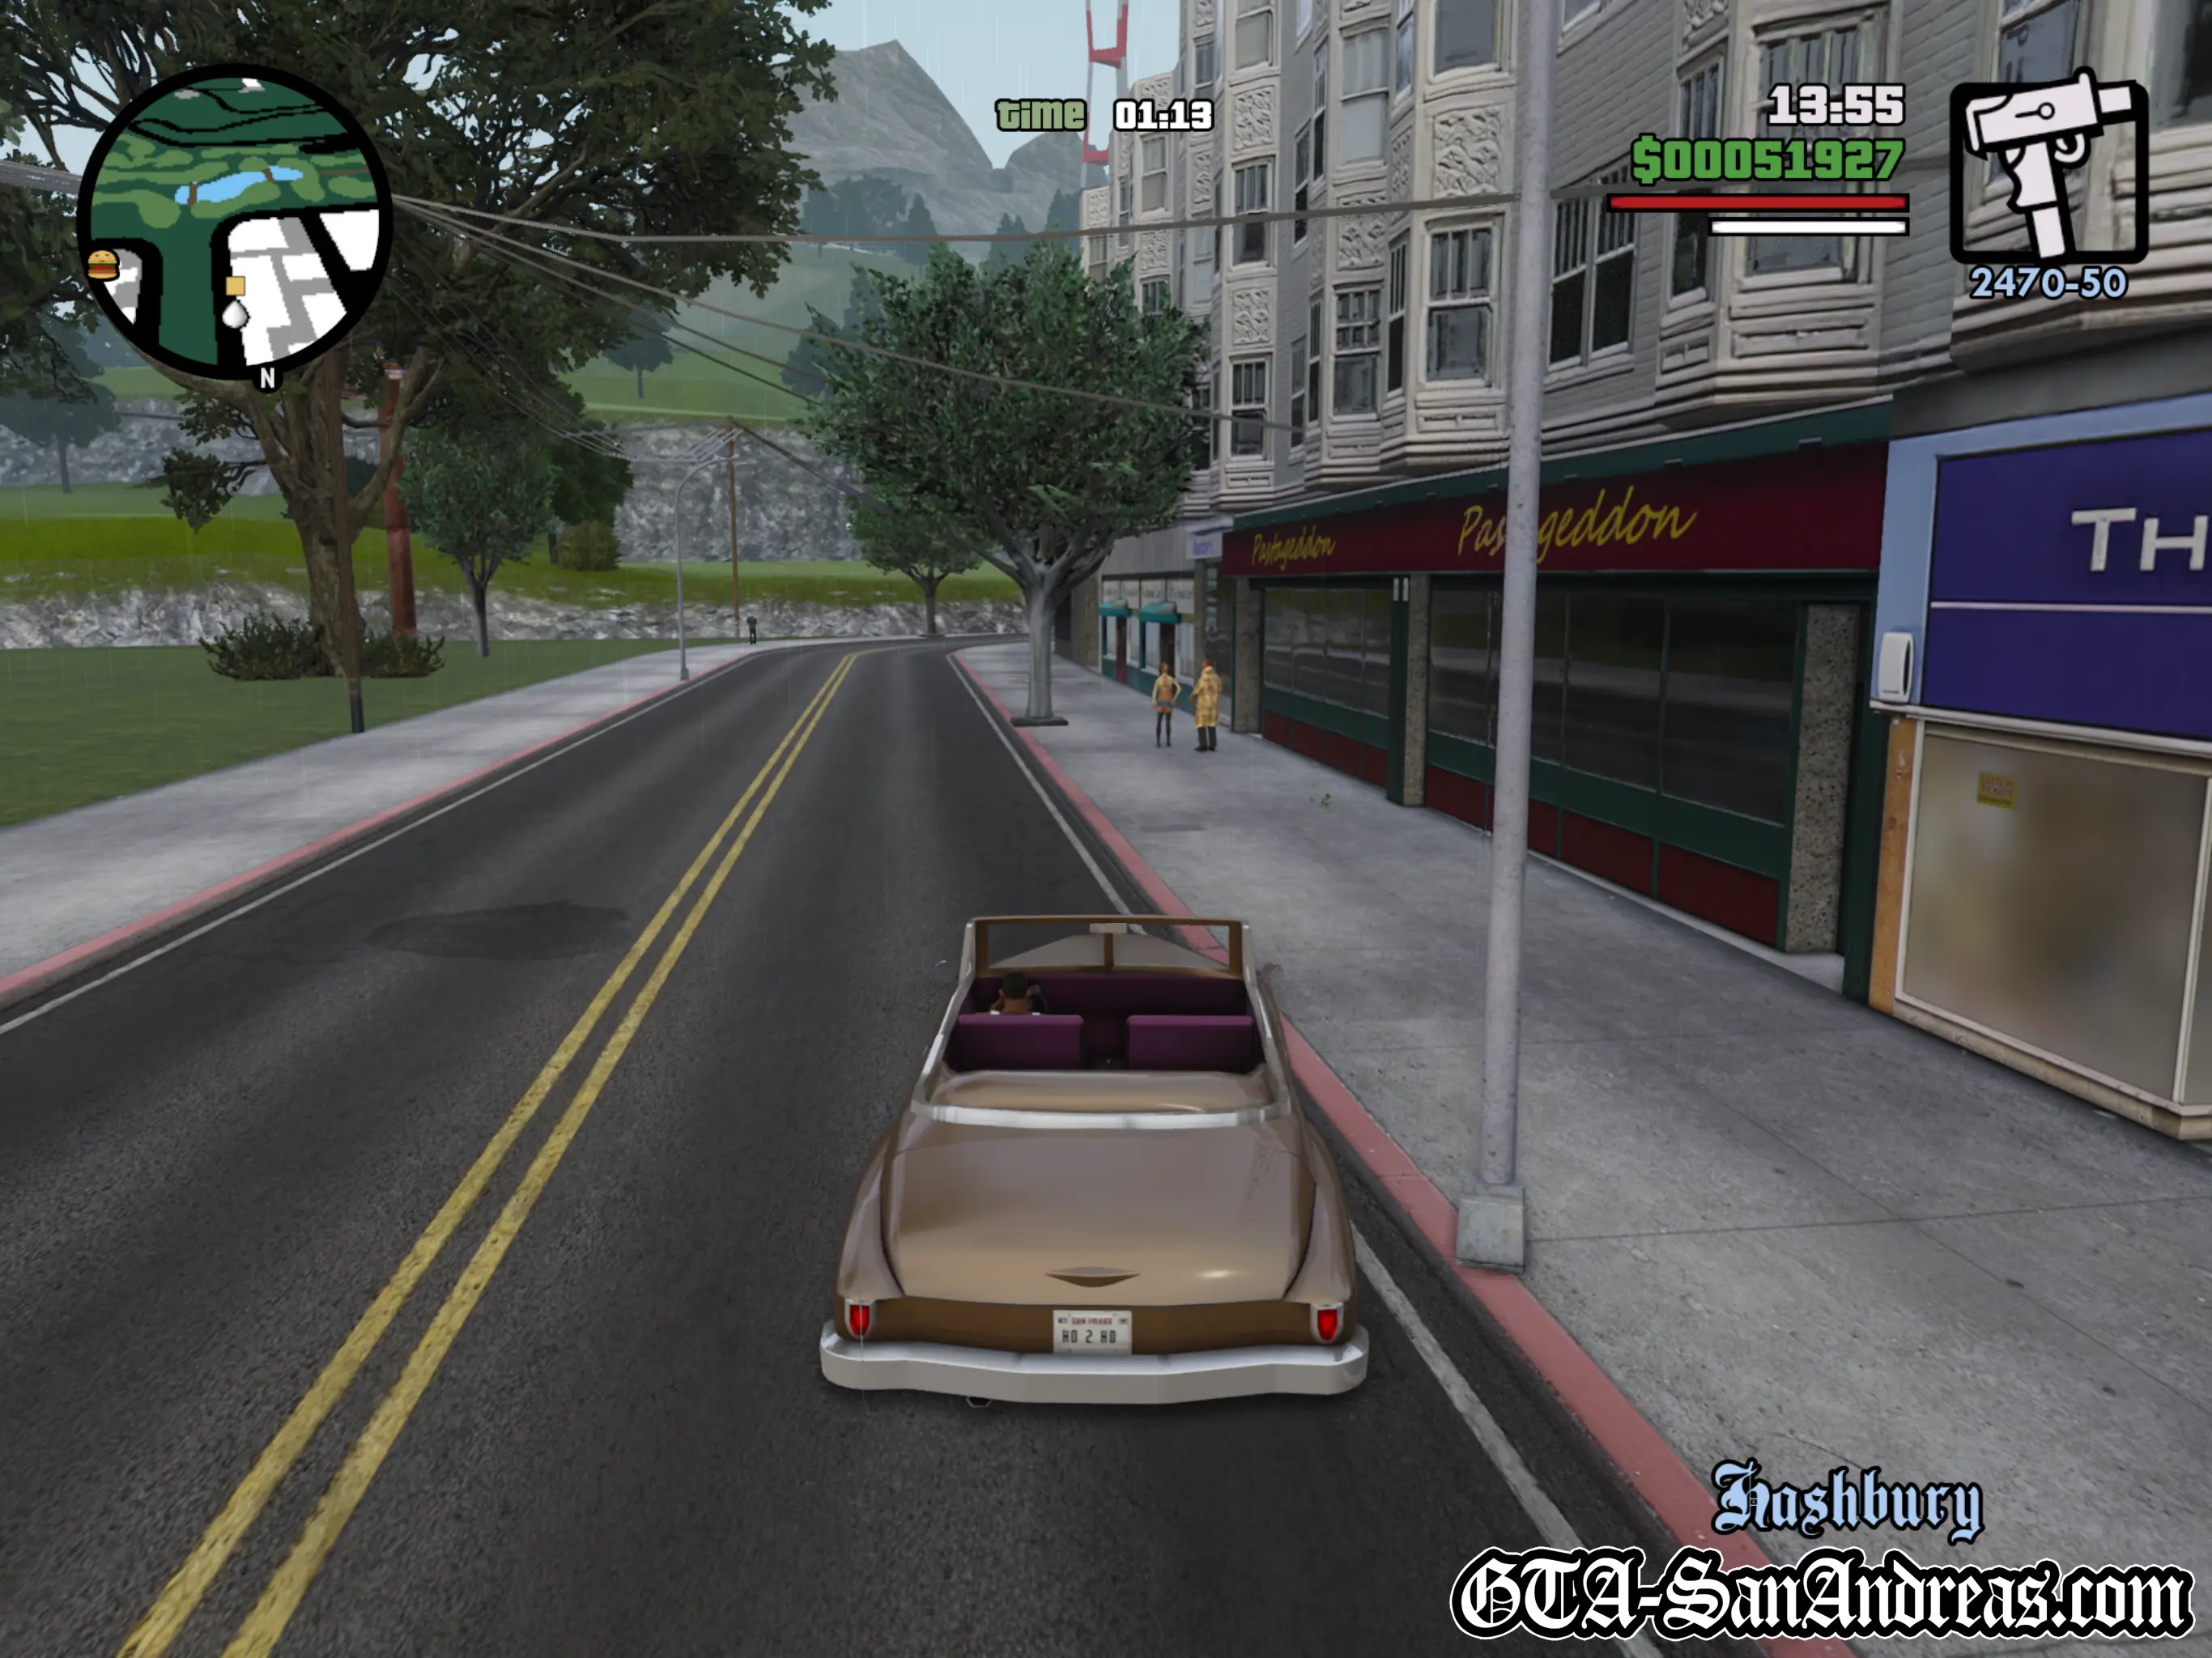
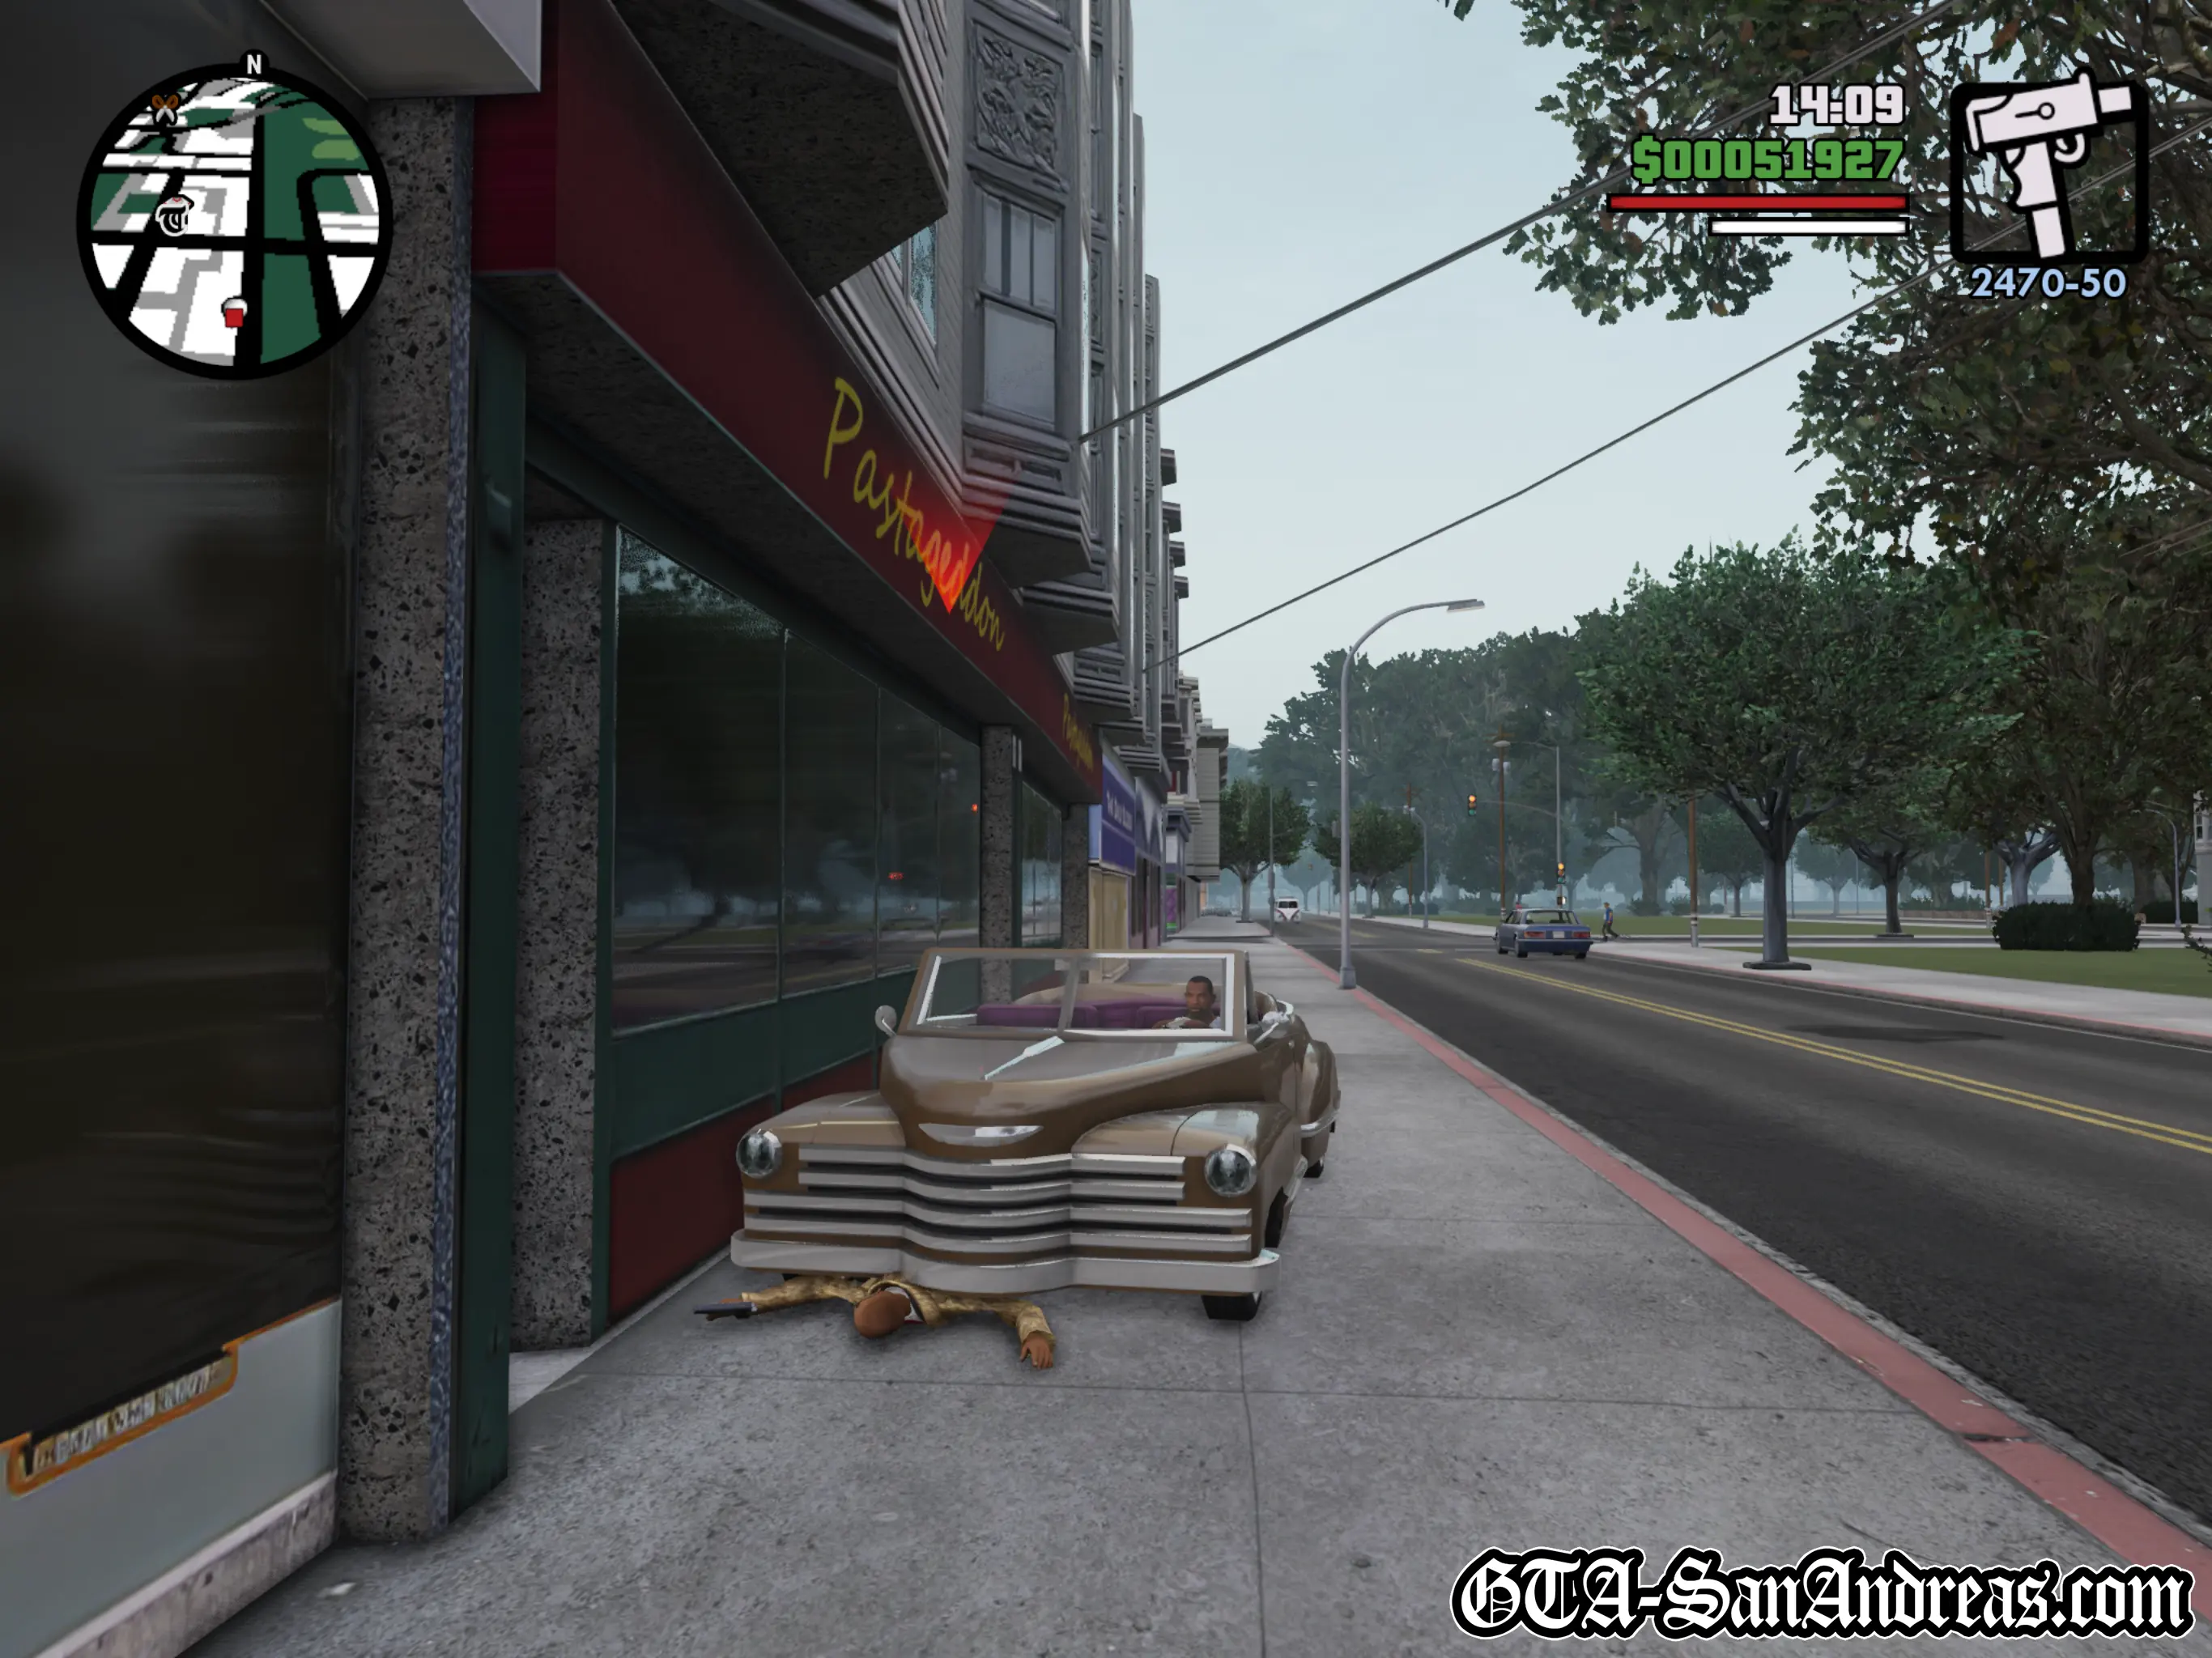
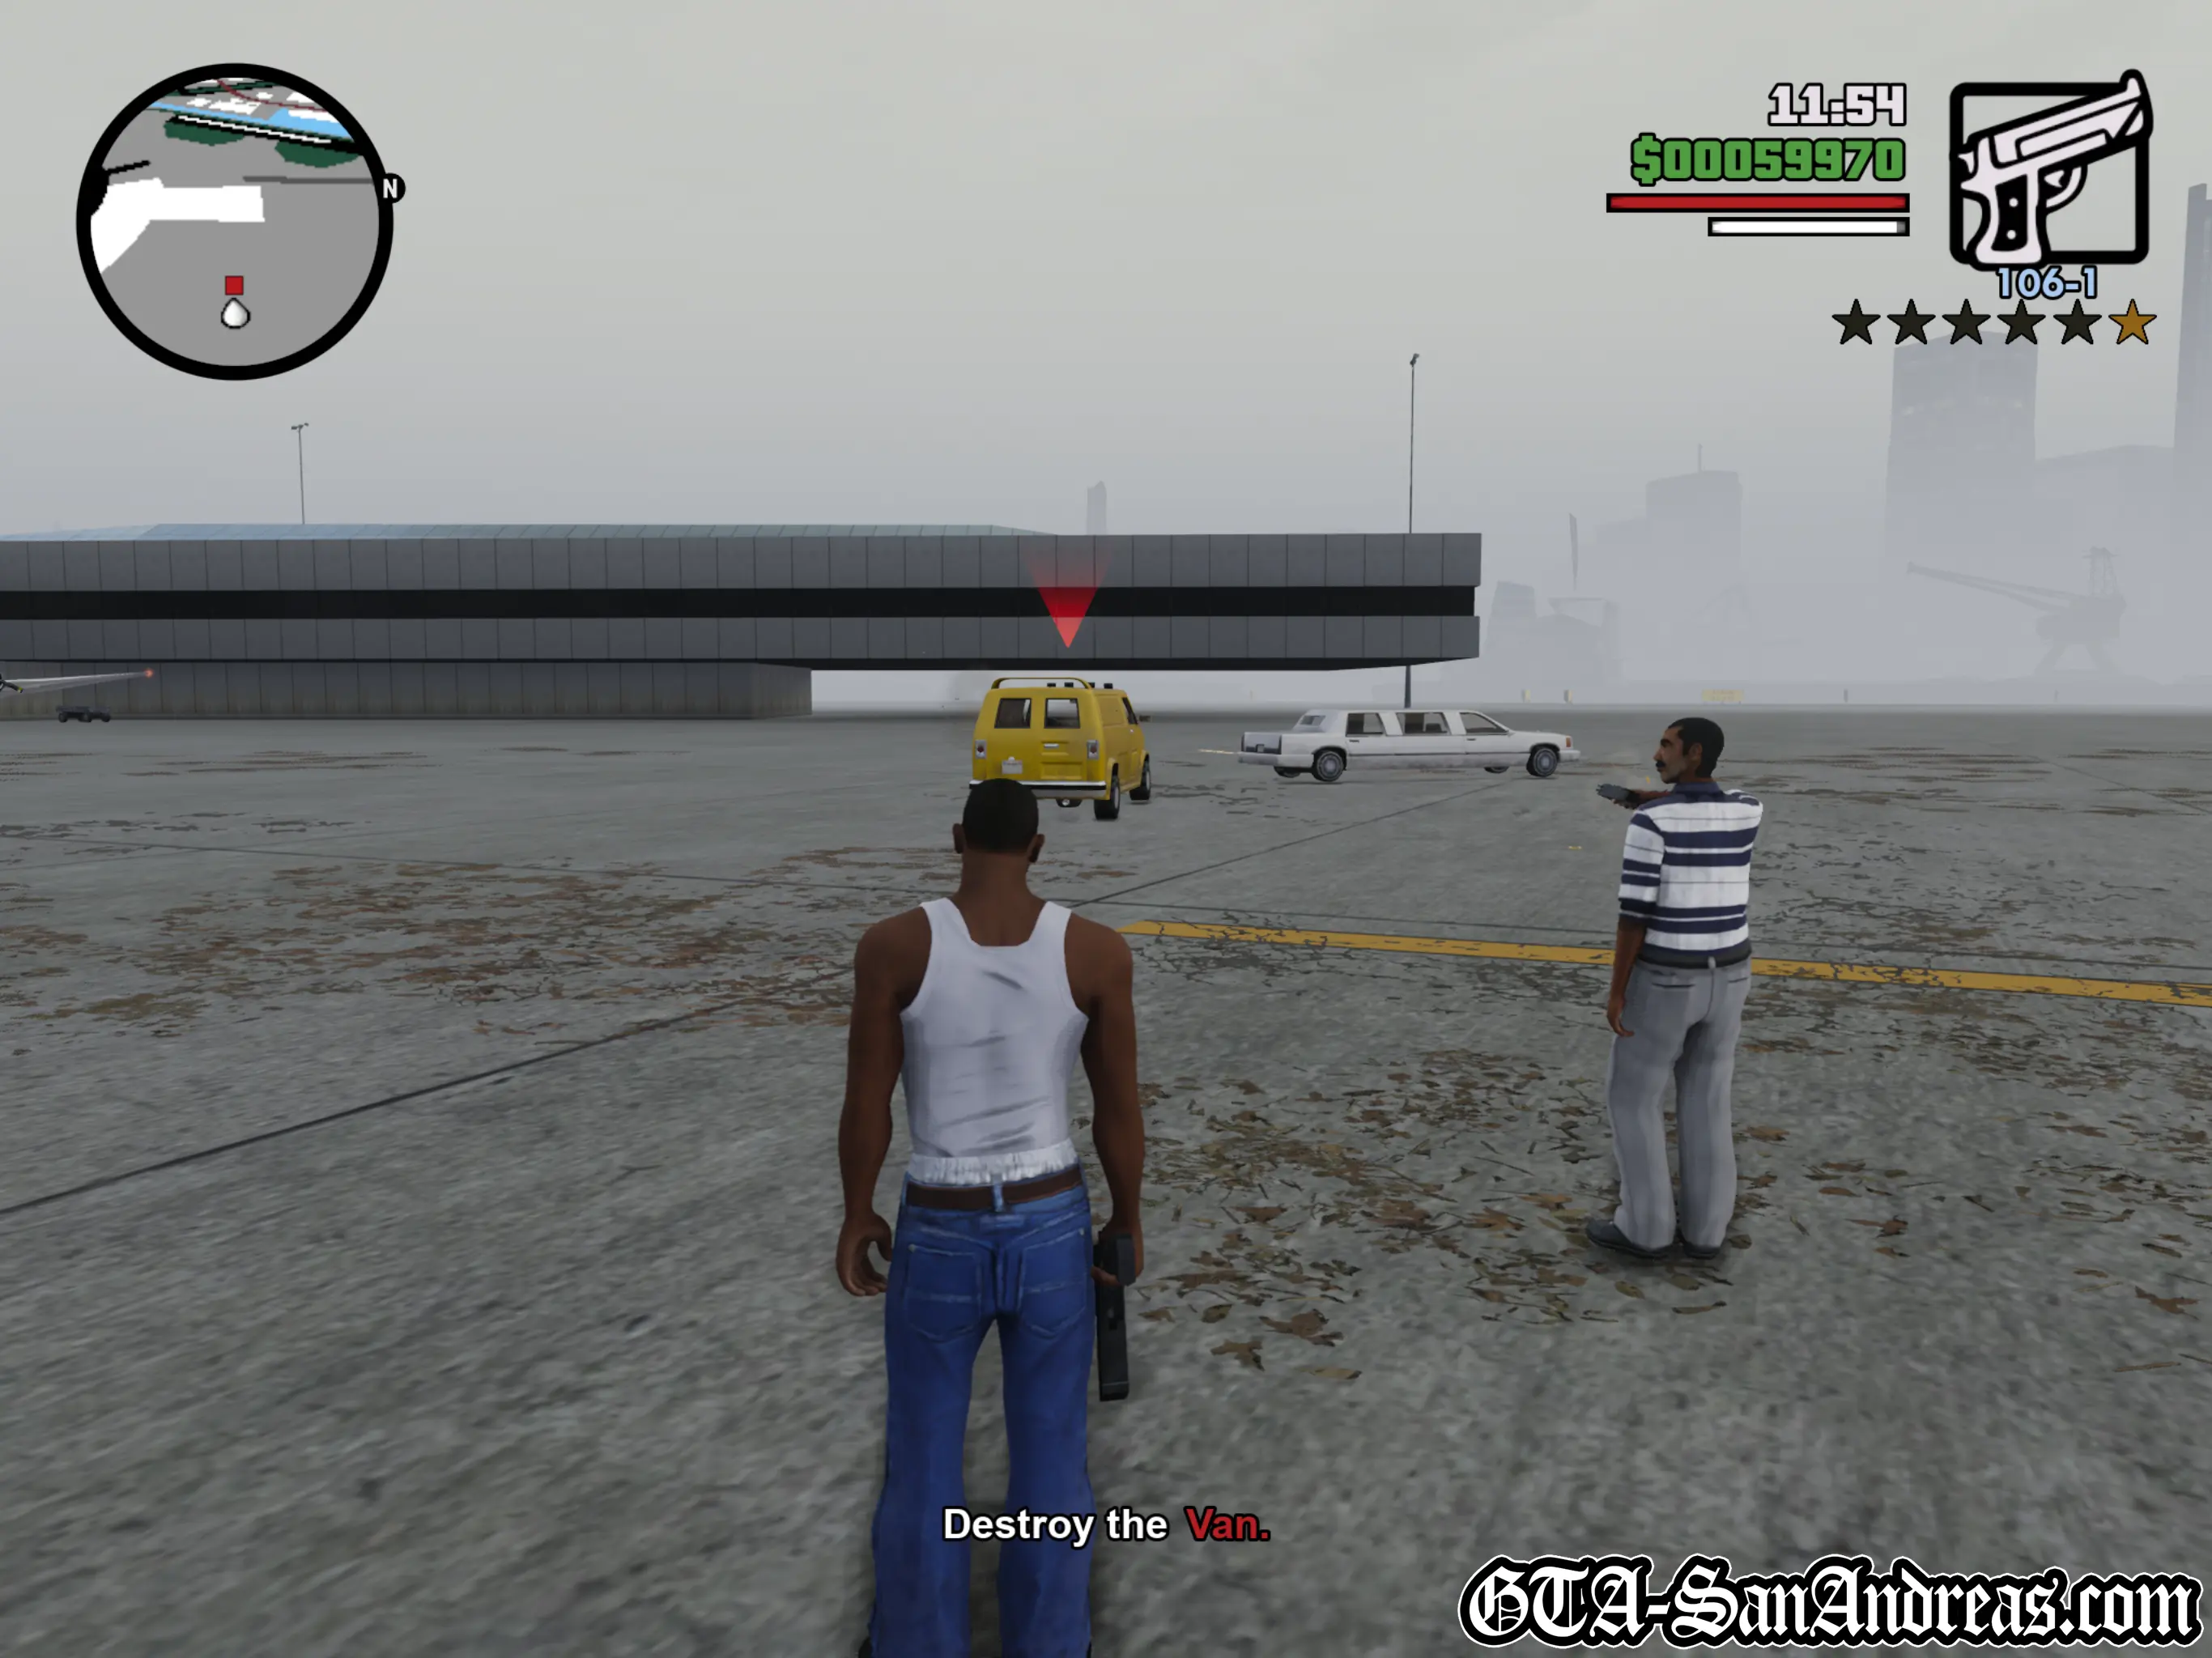
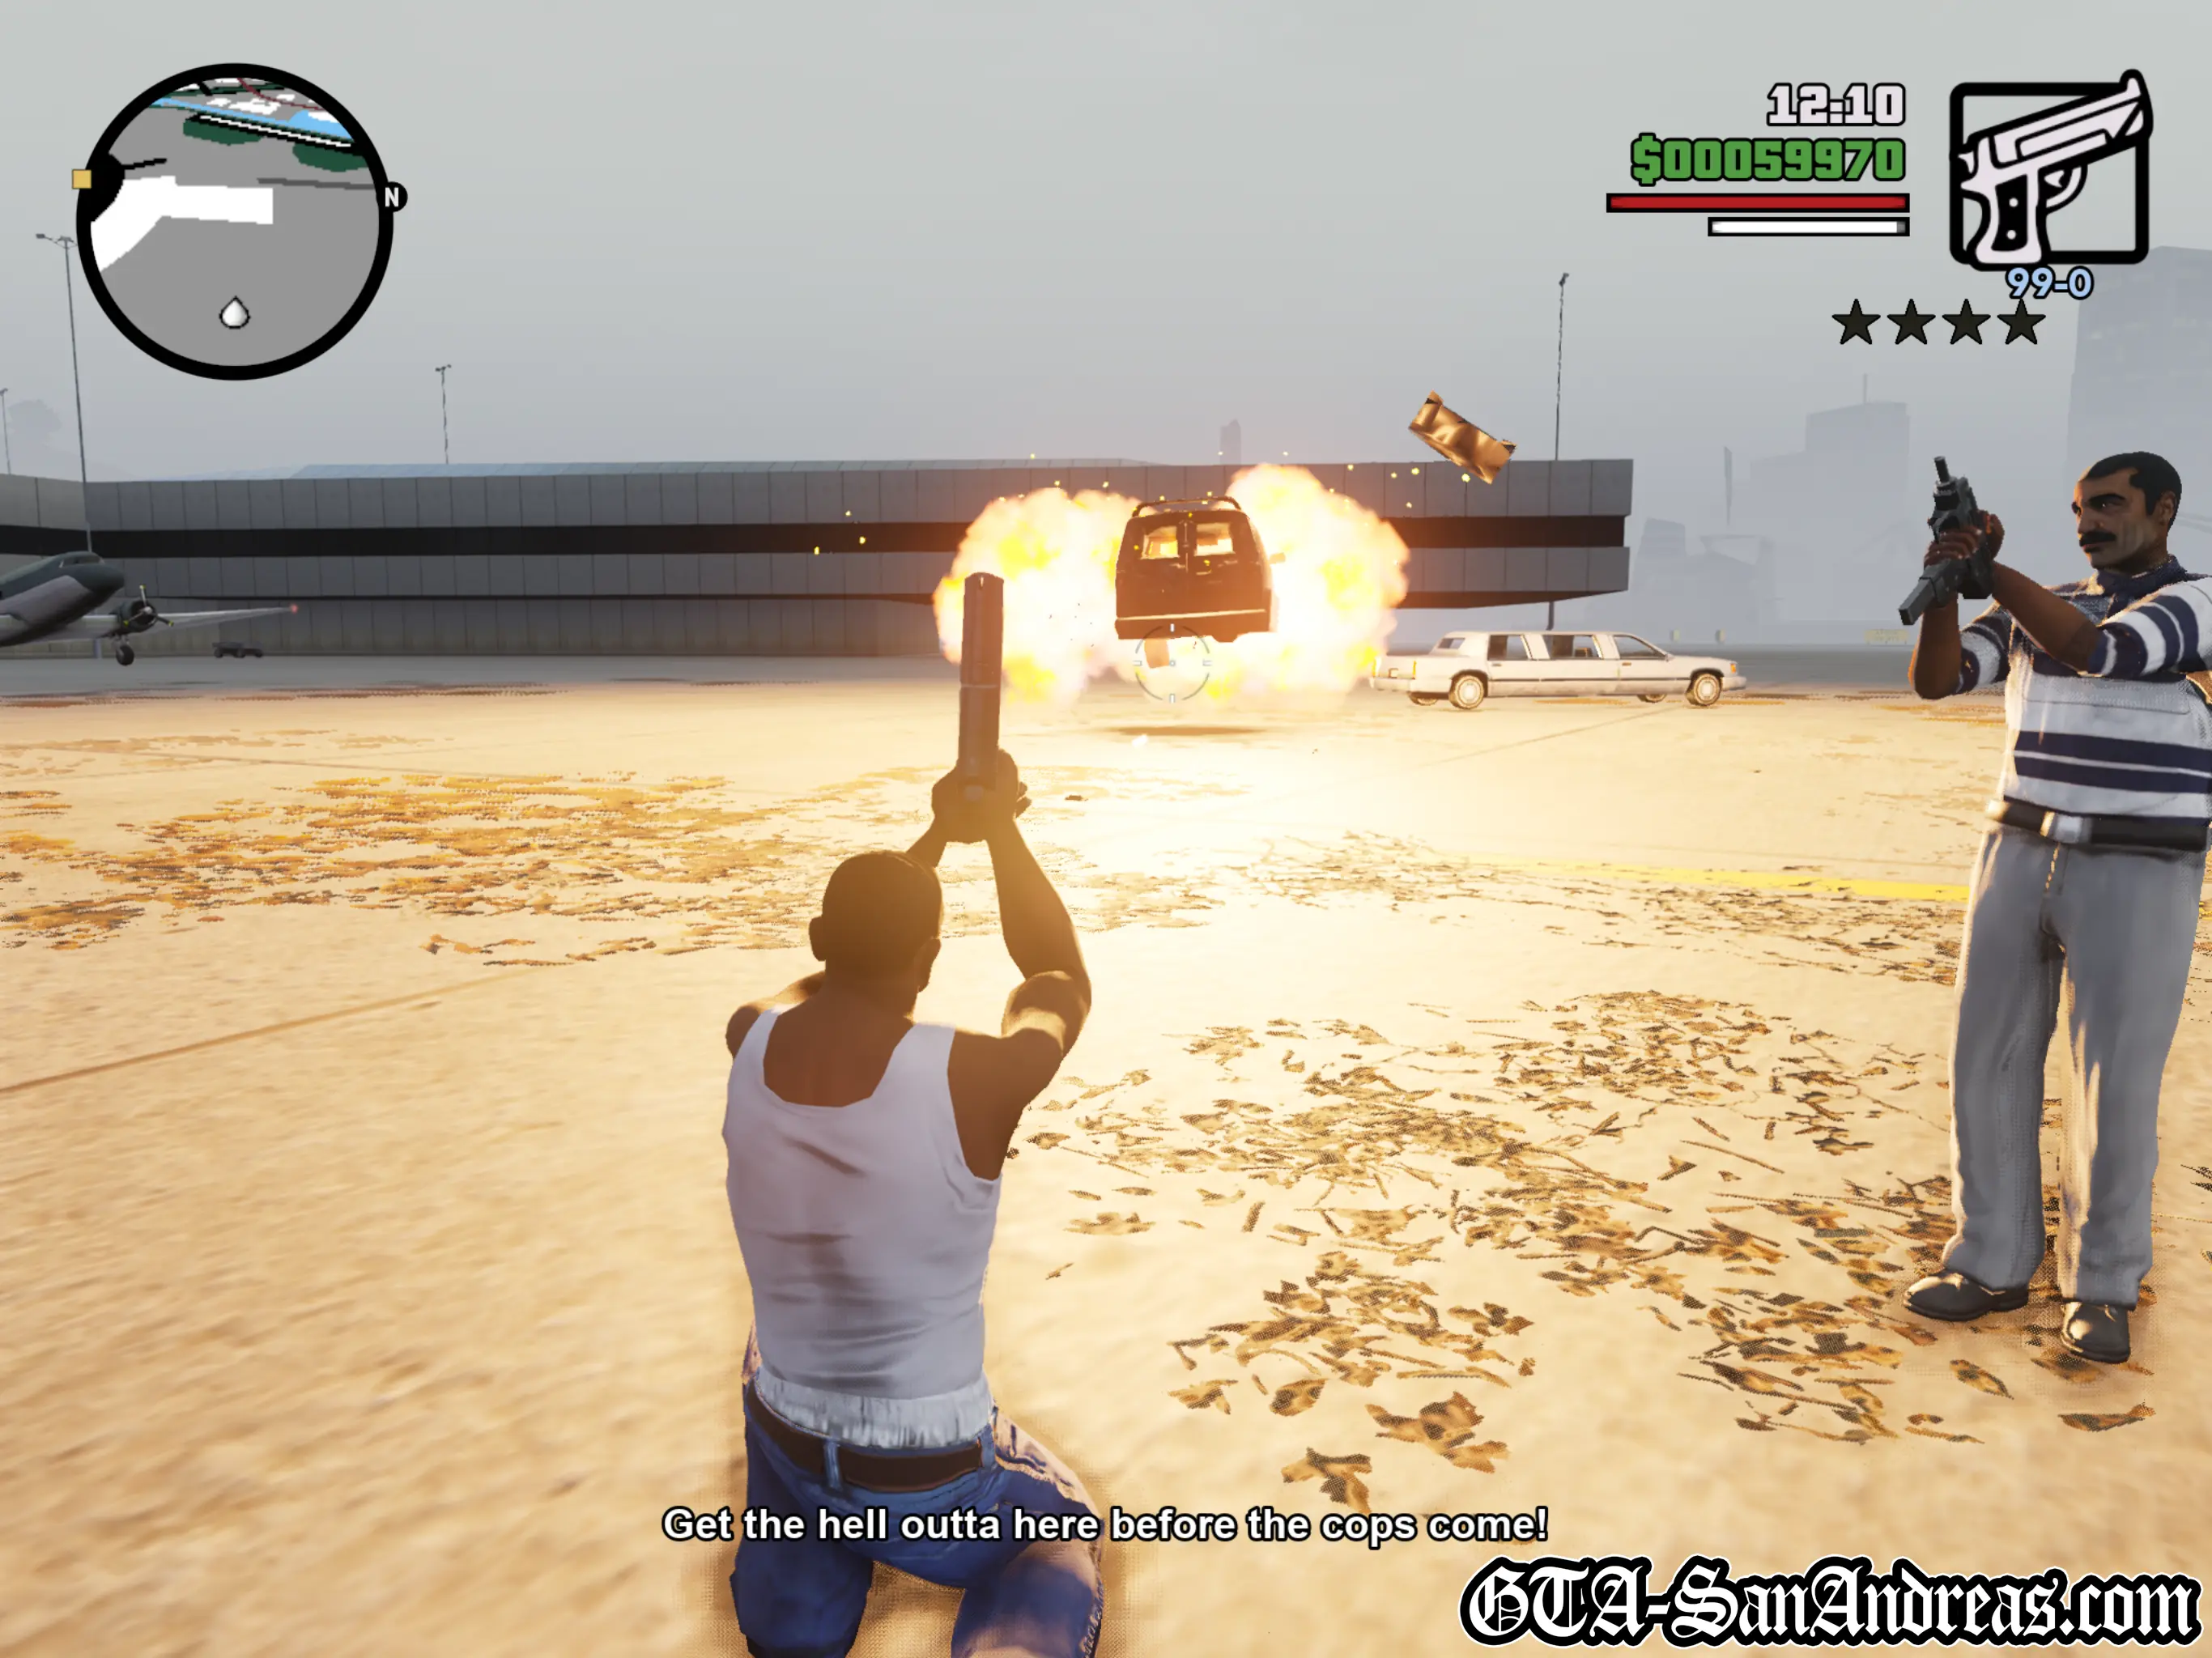
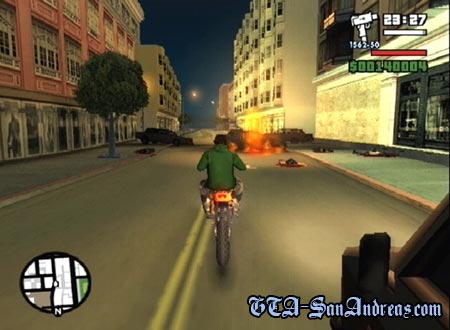
Berkley has humiliated Zero by hanging him in a closet by his underwear. Zero and Carl want to get revenge on him by destroying his 5 home delivery remote control vans. You'll be flying a plane with a machine gun attached. You can fire the gun with L1, however you've only got a certain amount of fuel, so you need to plan your route wisely. The easiest mistake to make is to go back and forth, you really want to do a round trip, so look at your map in the pause screen and see where all of the red blips are. Fly to them, and then try to take them out. You can either fly behind them shooting the vehicles until the blow up, or land on the road near them and shoot. Either way you need to destroy the vans and kill the people in them. With your fuel being limited you need to be quick at blowing them up, so you could aim for the gas tank to the back left of most of the vehicles, or you can just keep shooting. More obvious tips involve flying over buildings when needed rather than sticking to the road. You'll need to fly to all five locations and take out the vehicles and their drivers, then fly back to the van. The most important part is to plan your route, I can't stress this enough as many people have been stuck on this mission, most likely because they just fly around back and forth. The best way to go is to take out the two vehicles to the North first, head back and take out the three around Hashbury and Garcia, and then fly back to the rooftop which is close. If done perfectly you will have about 10% fuel left which is probably about 40 seconds worth, so it's not too difficult once you know what you're doing.
Screenshots


New Model Army
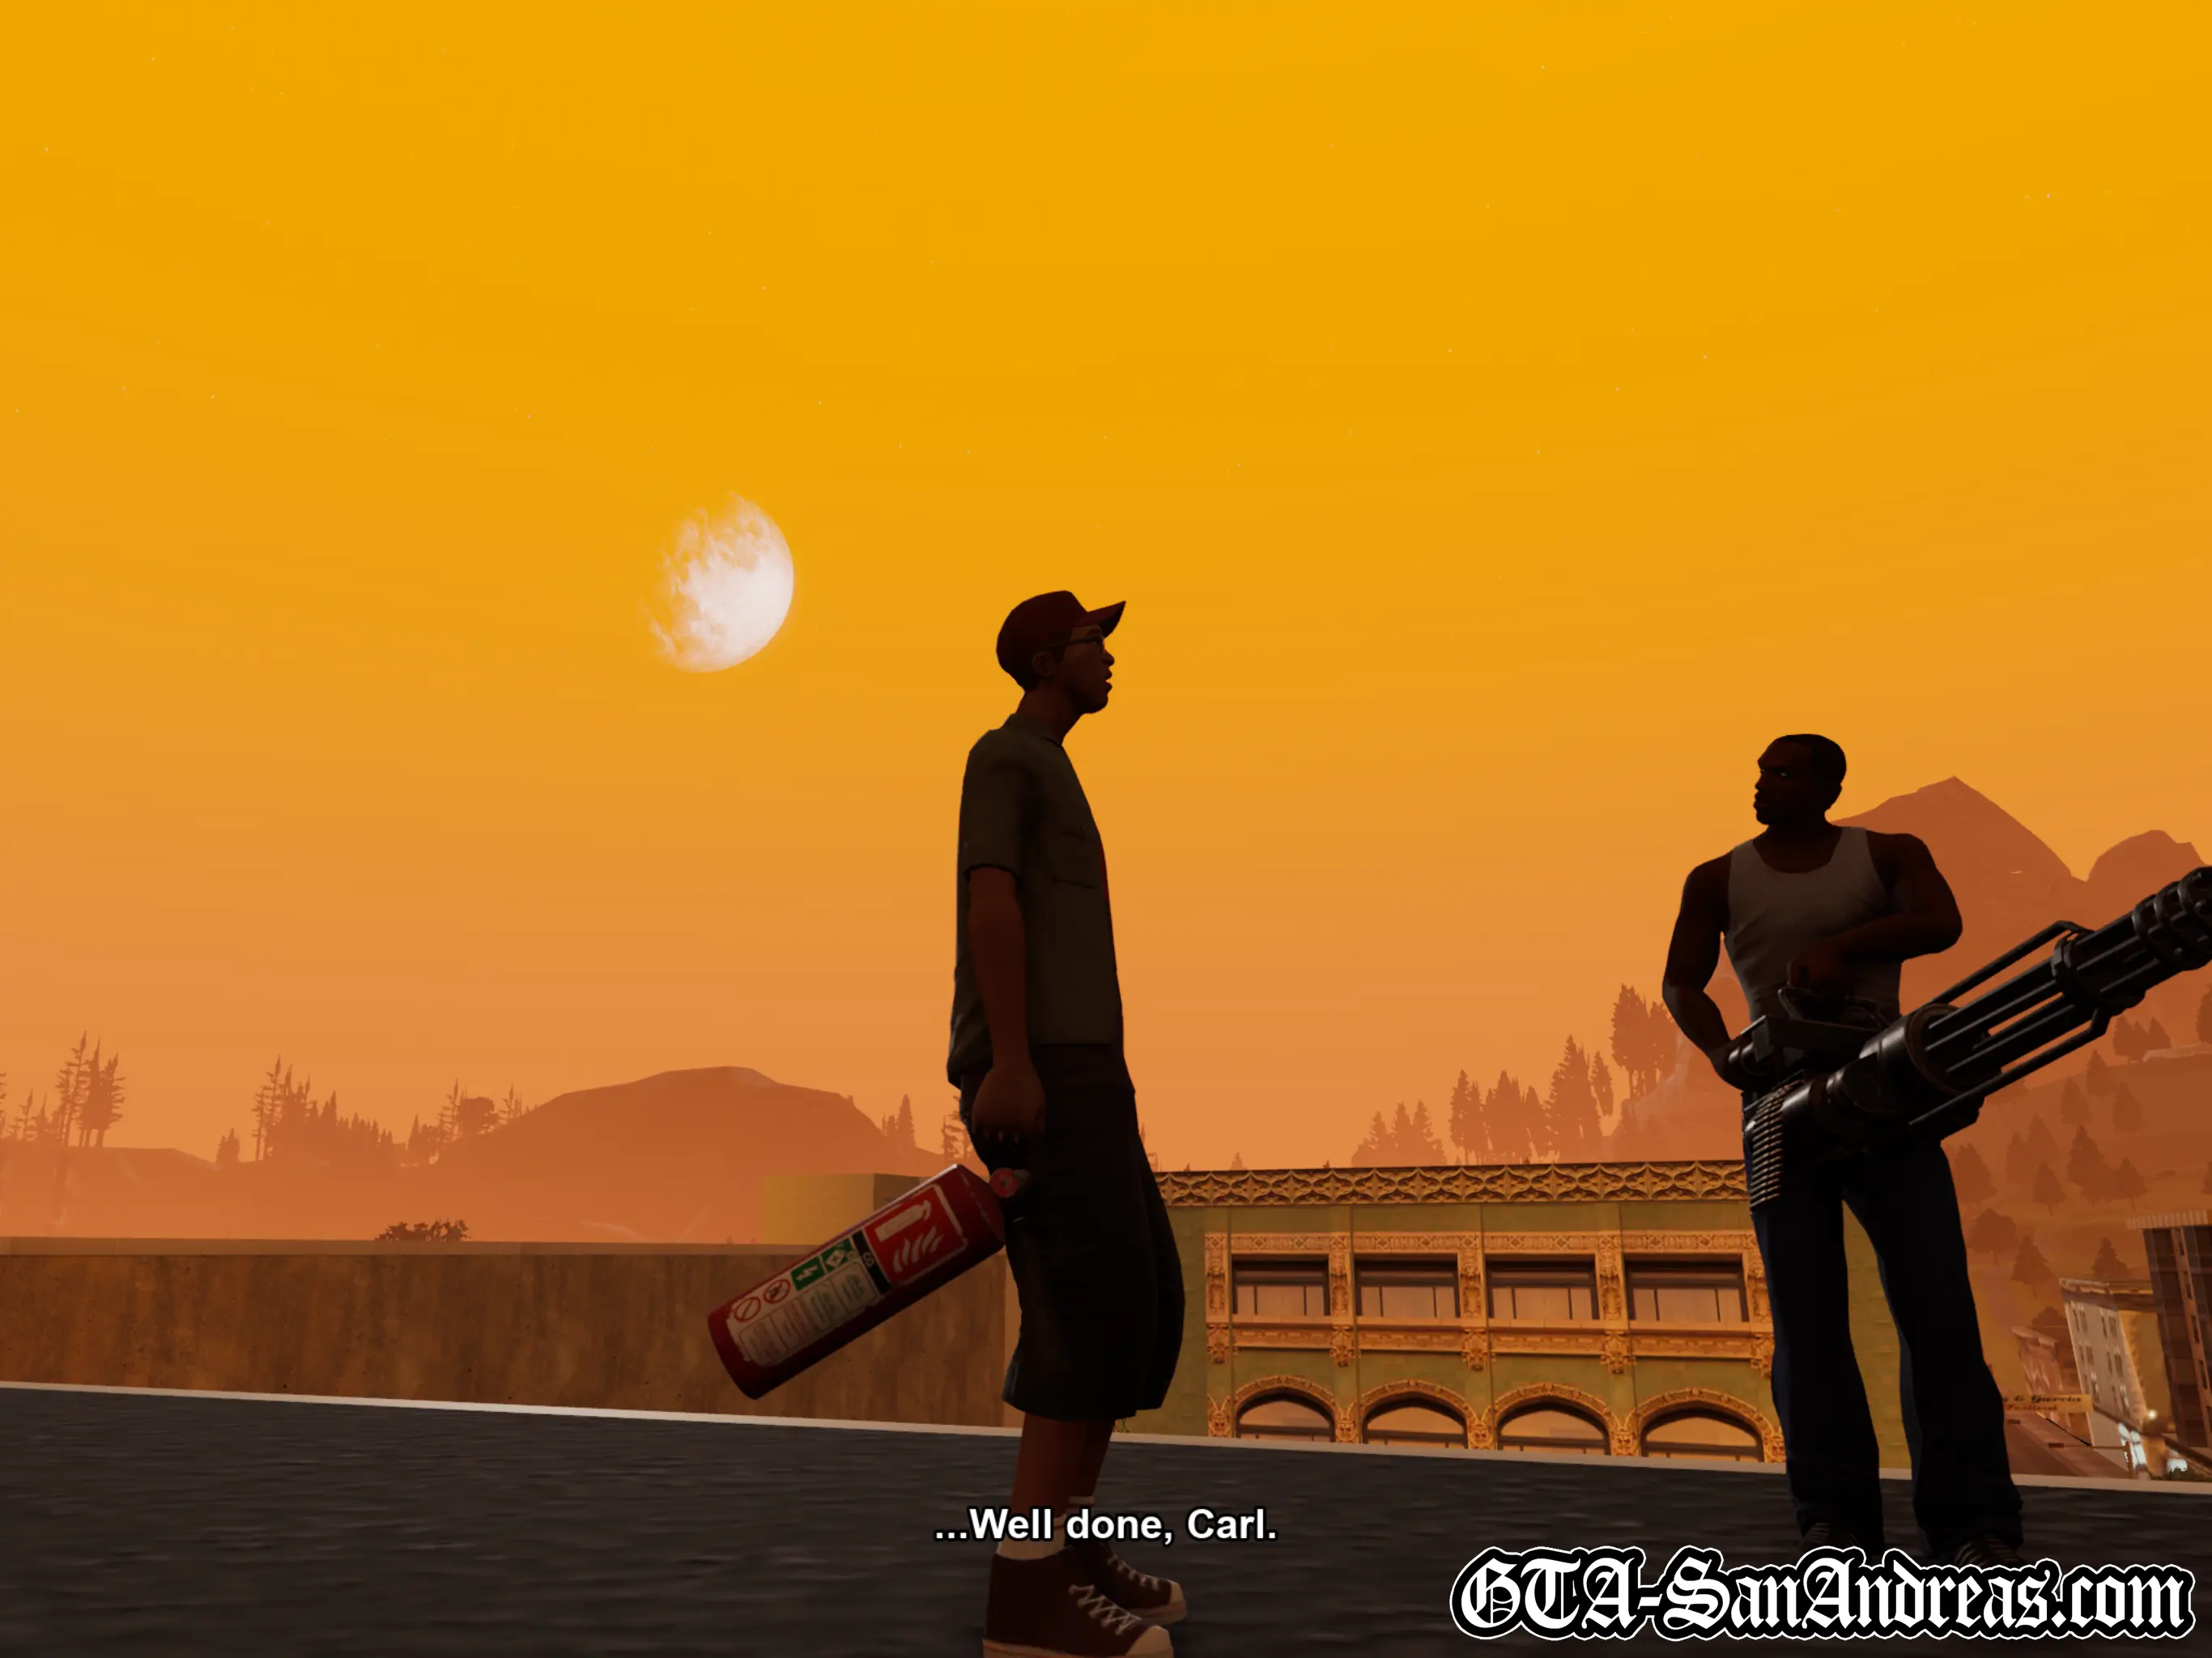
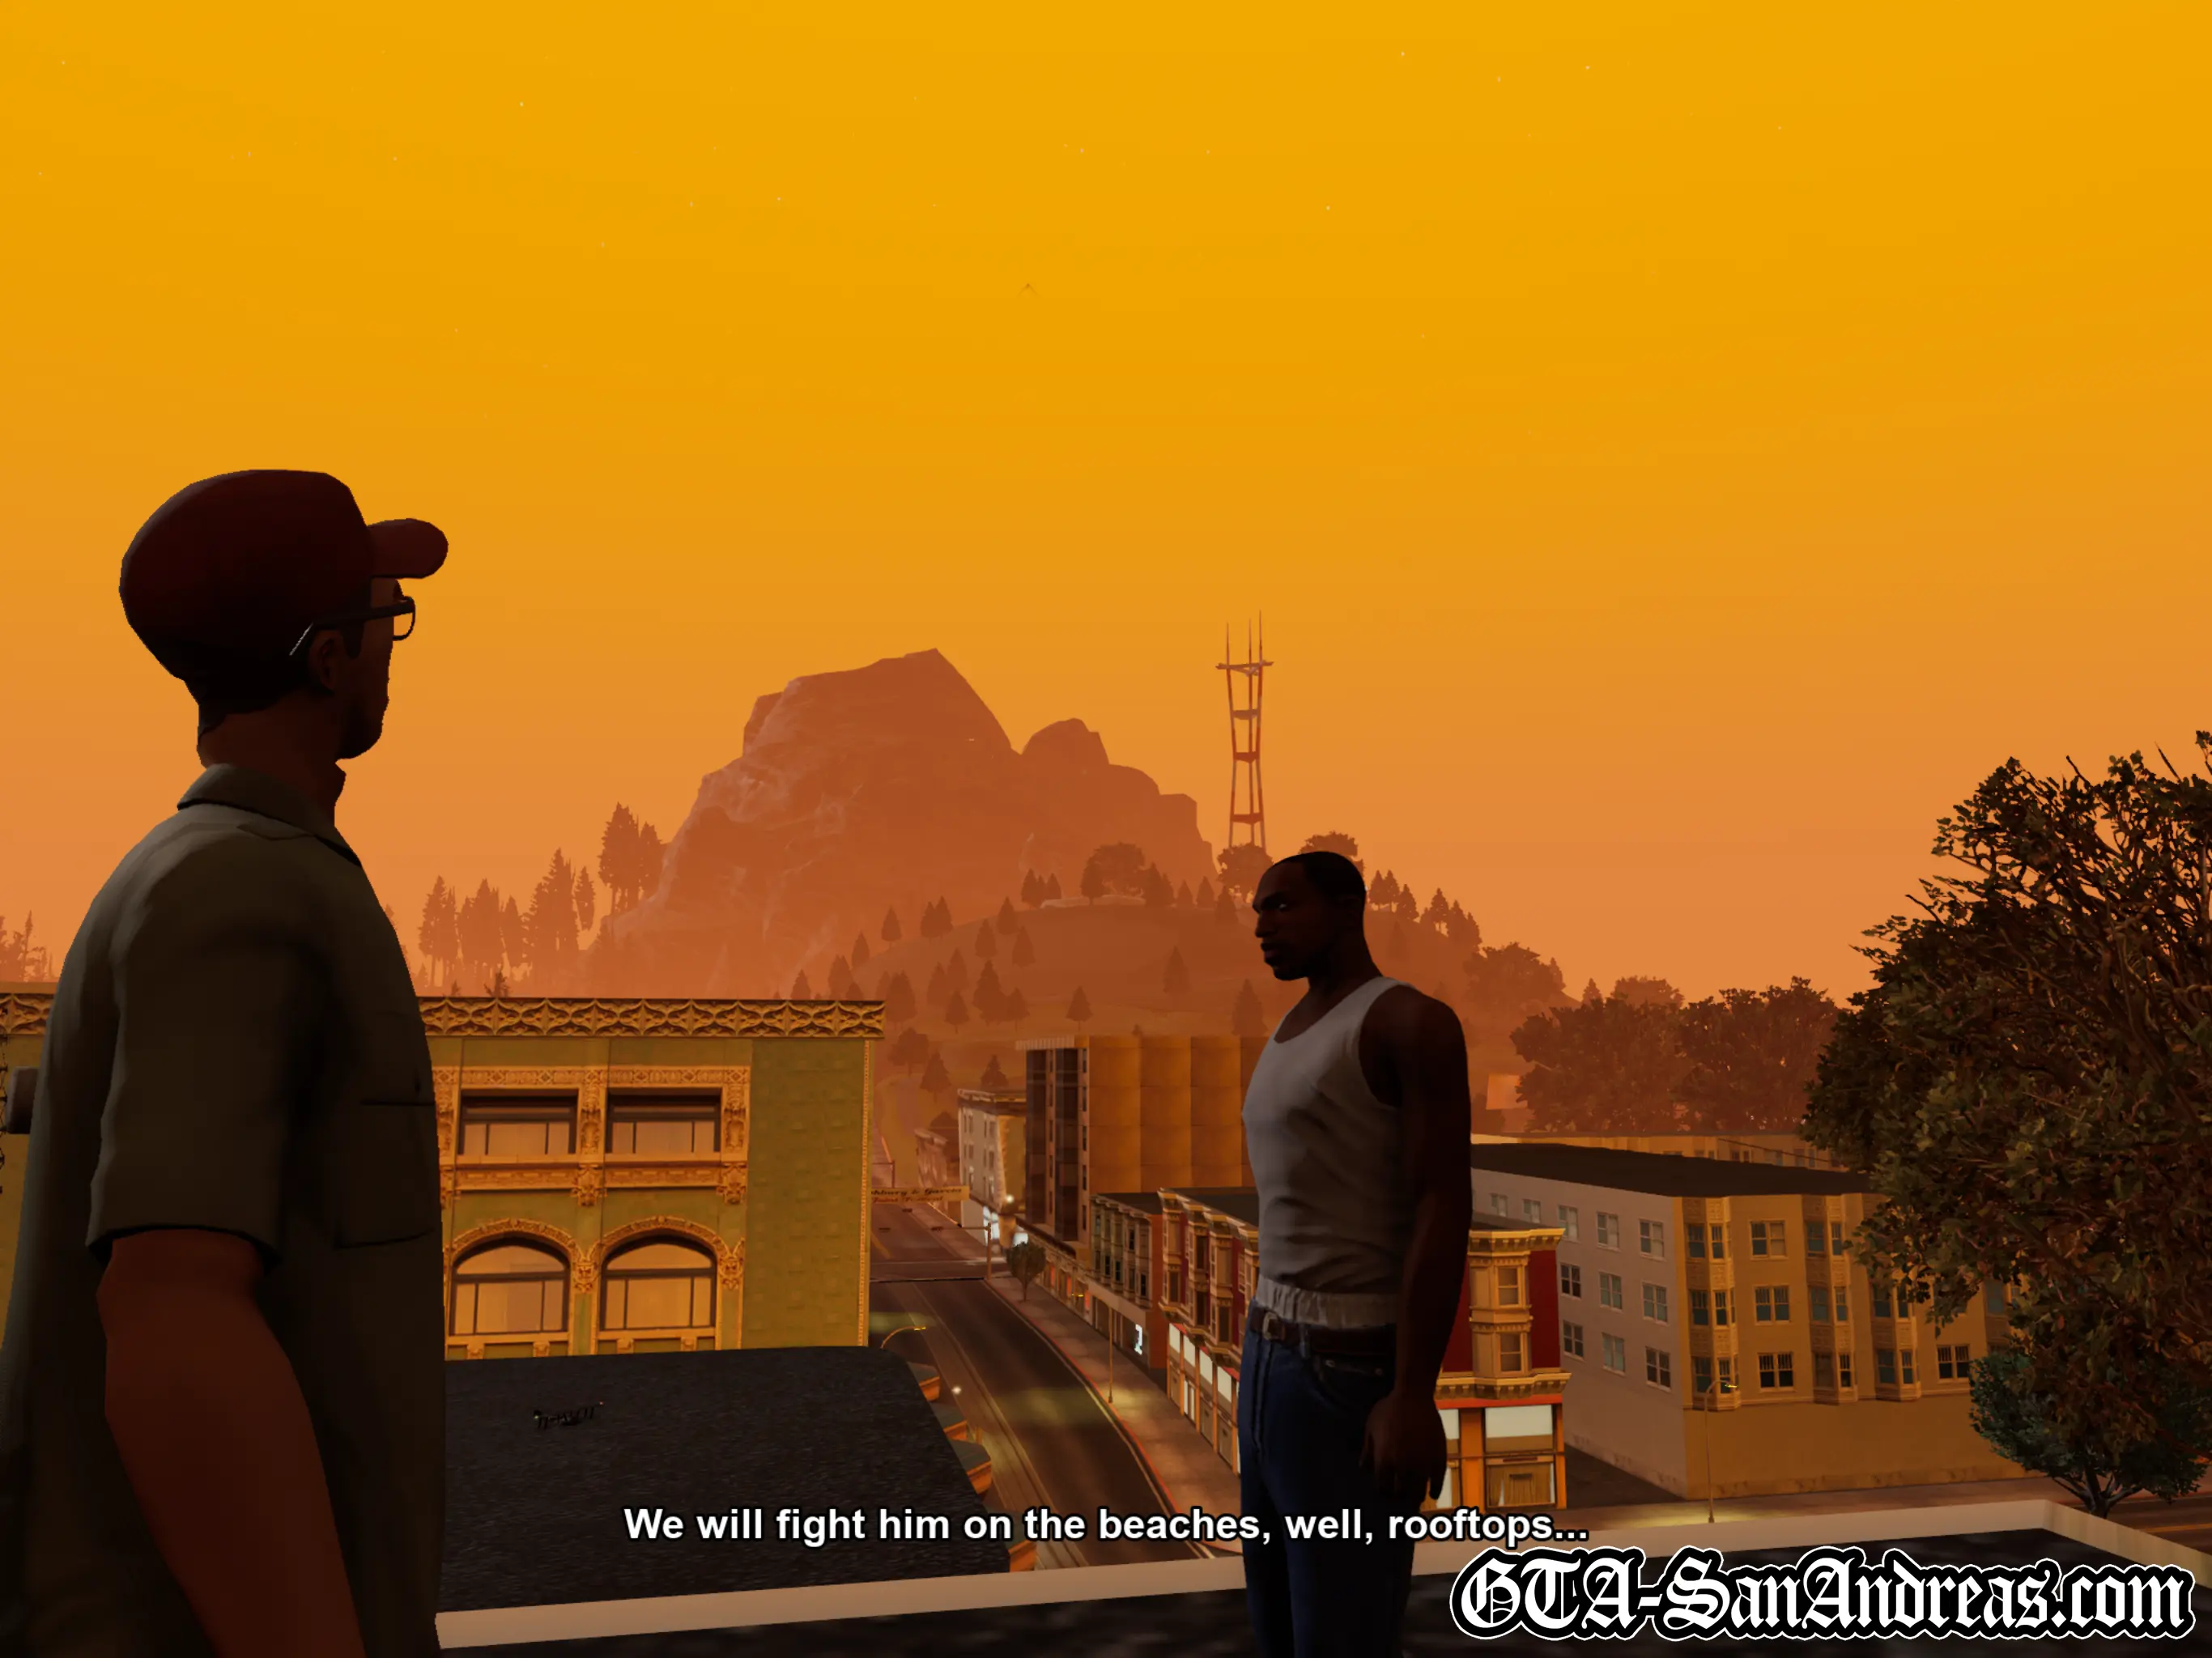
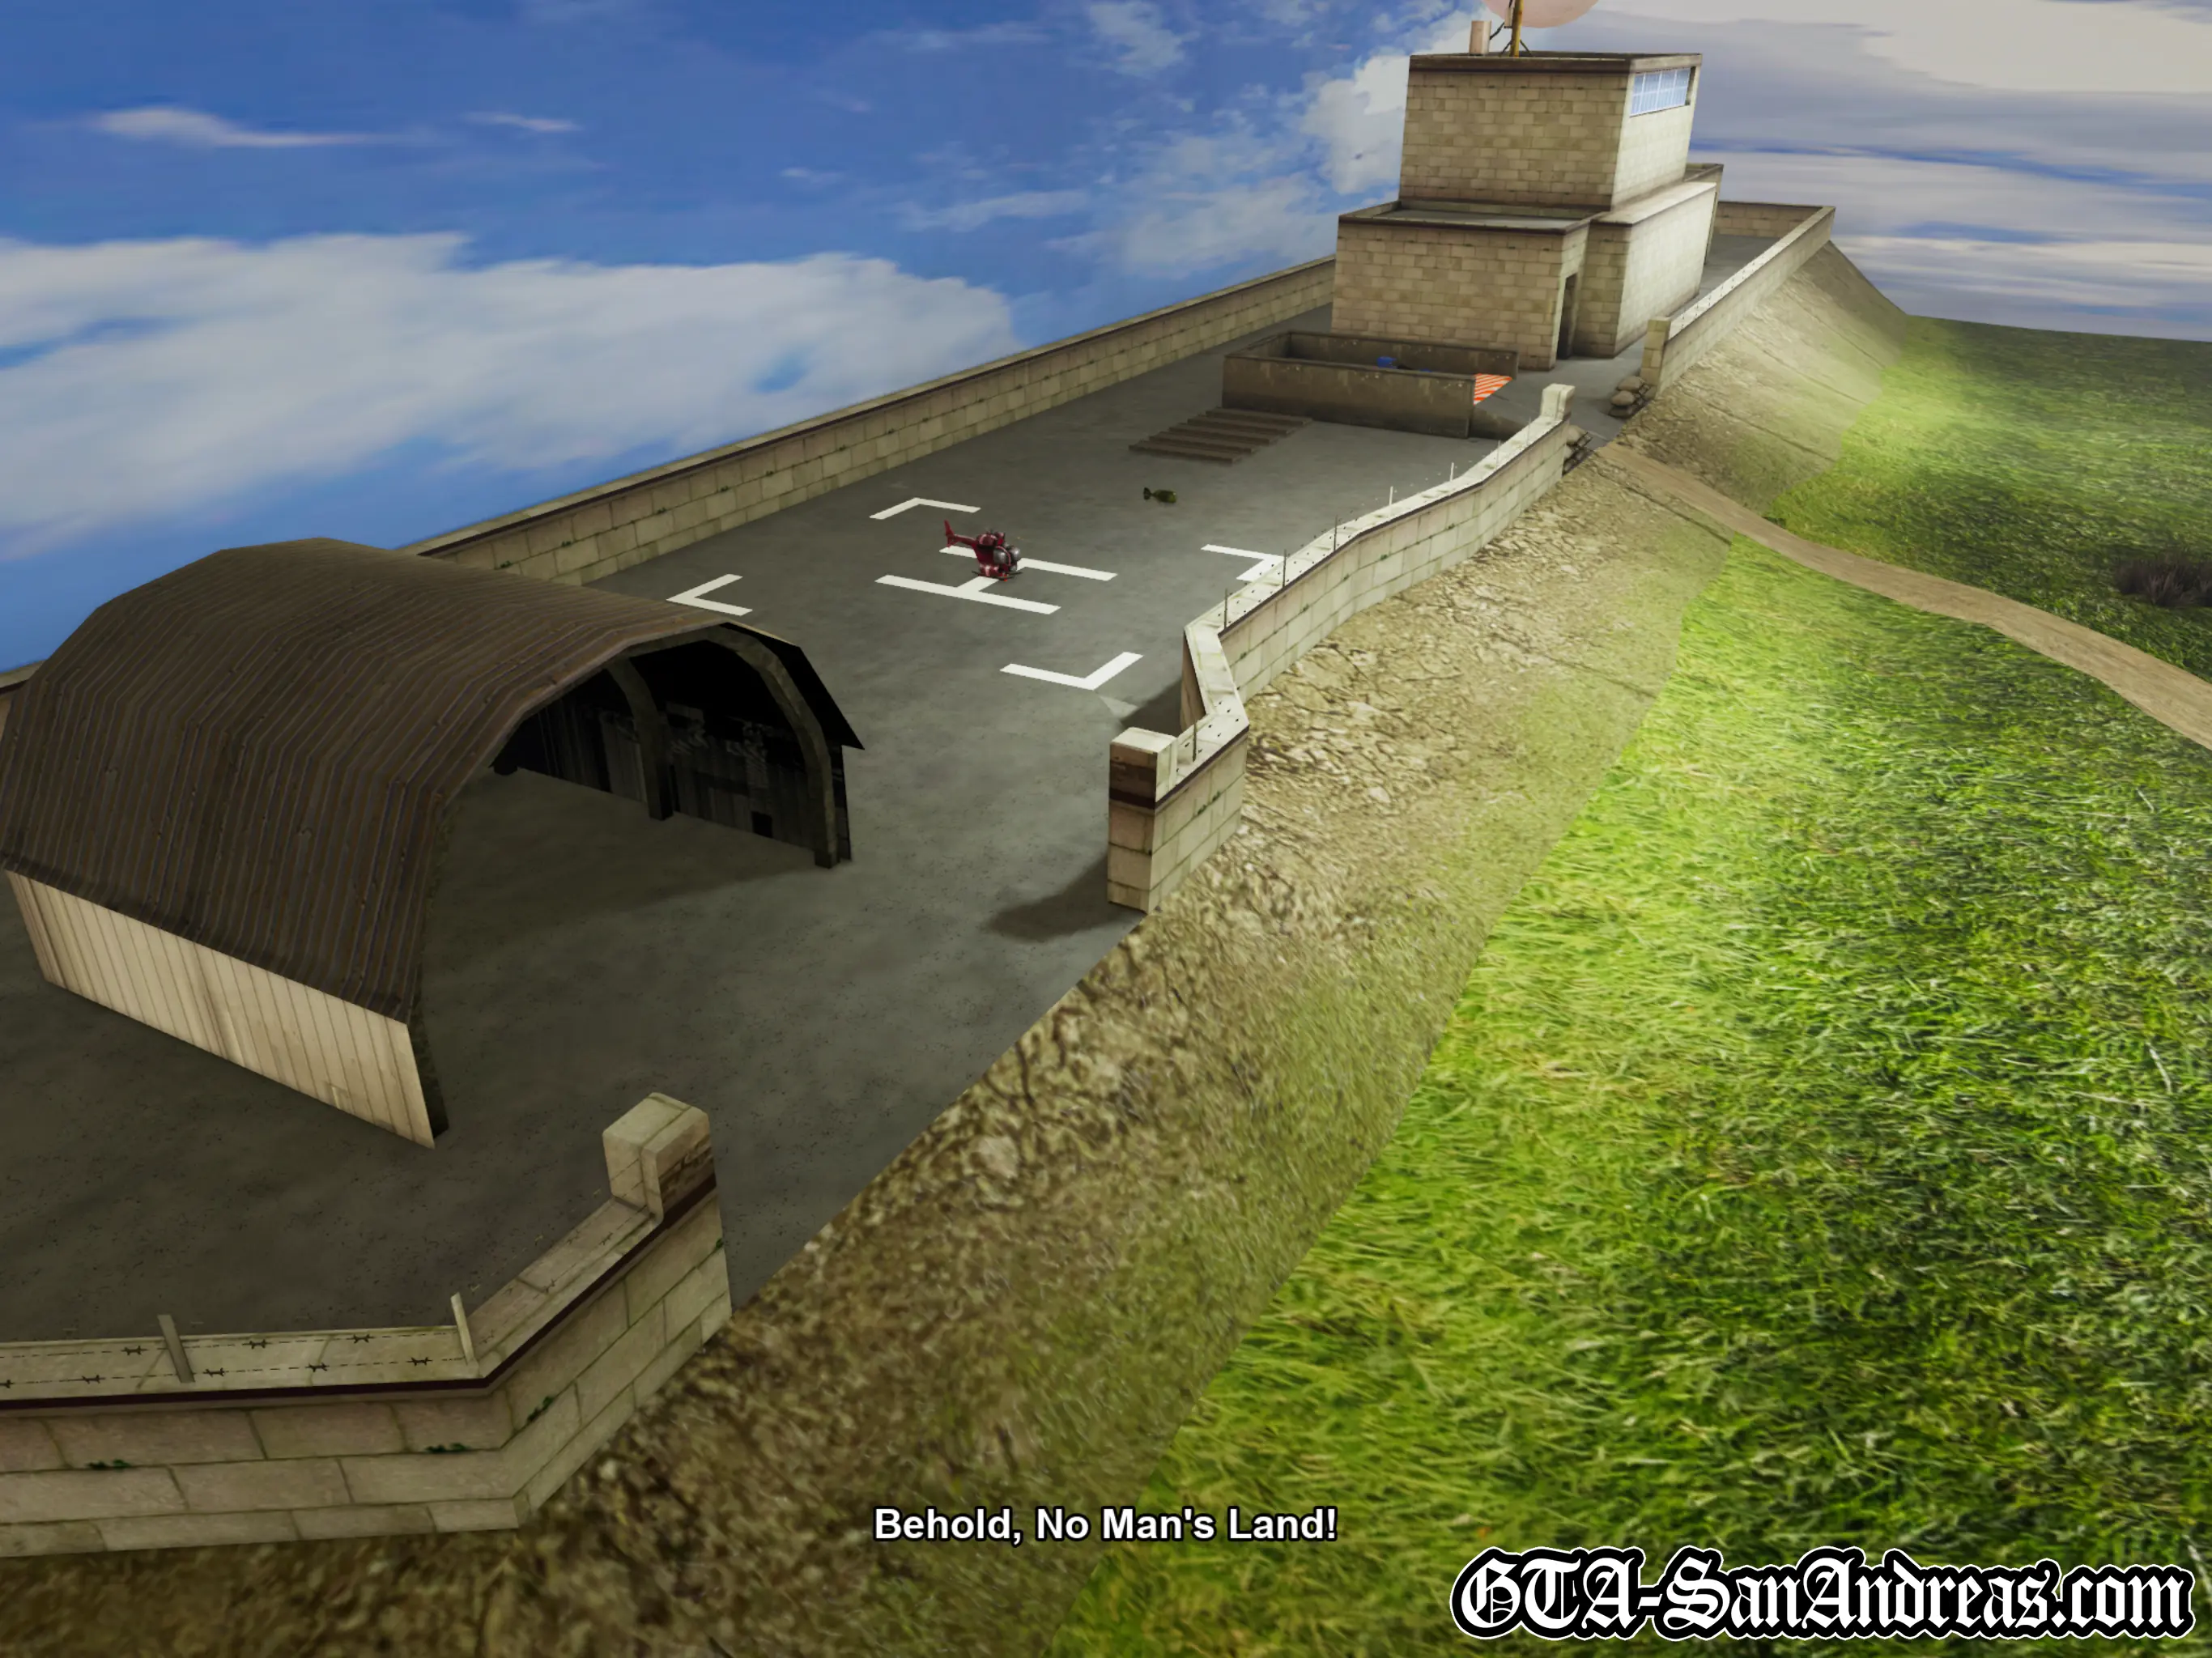
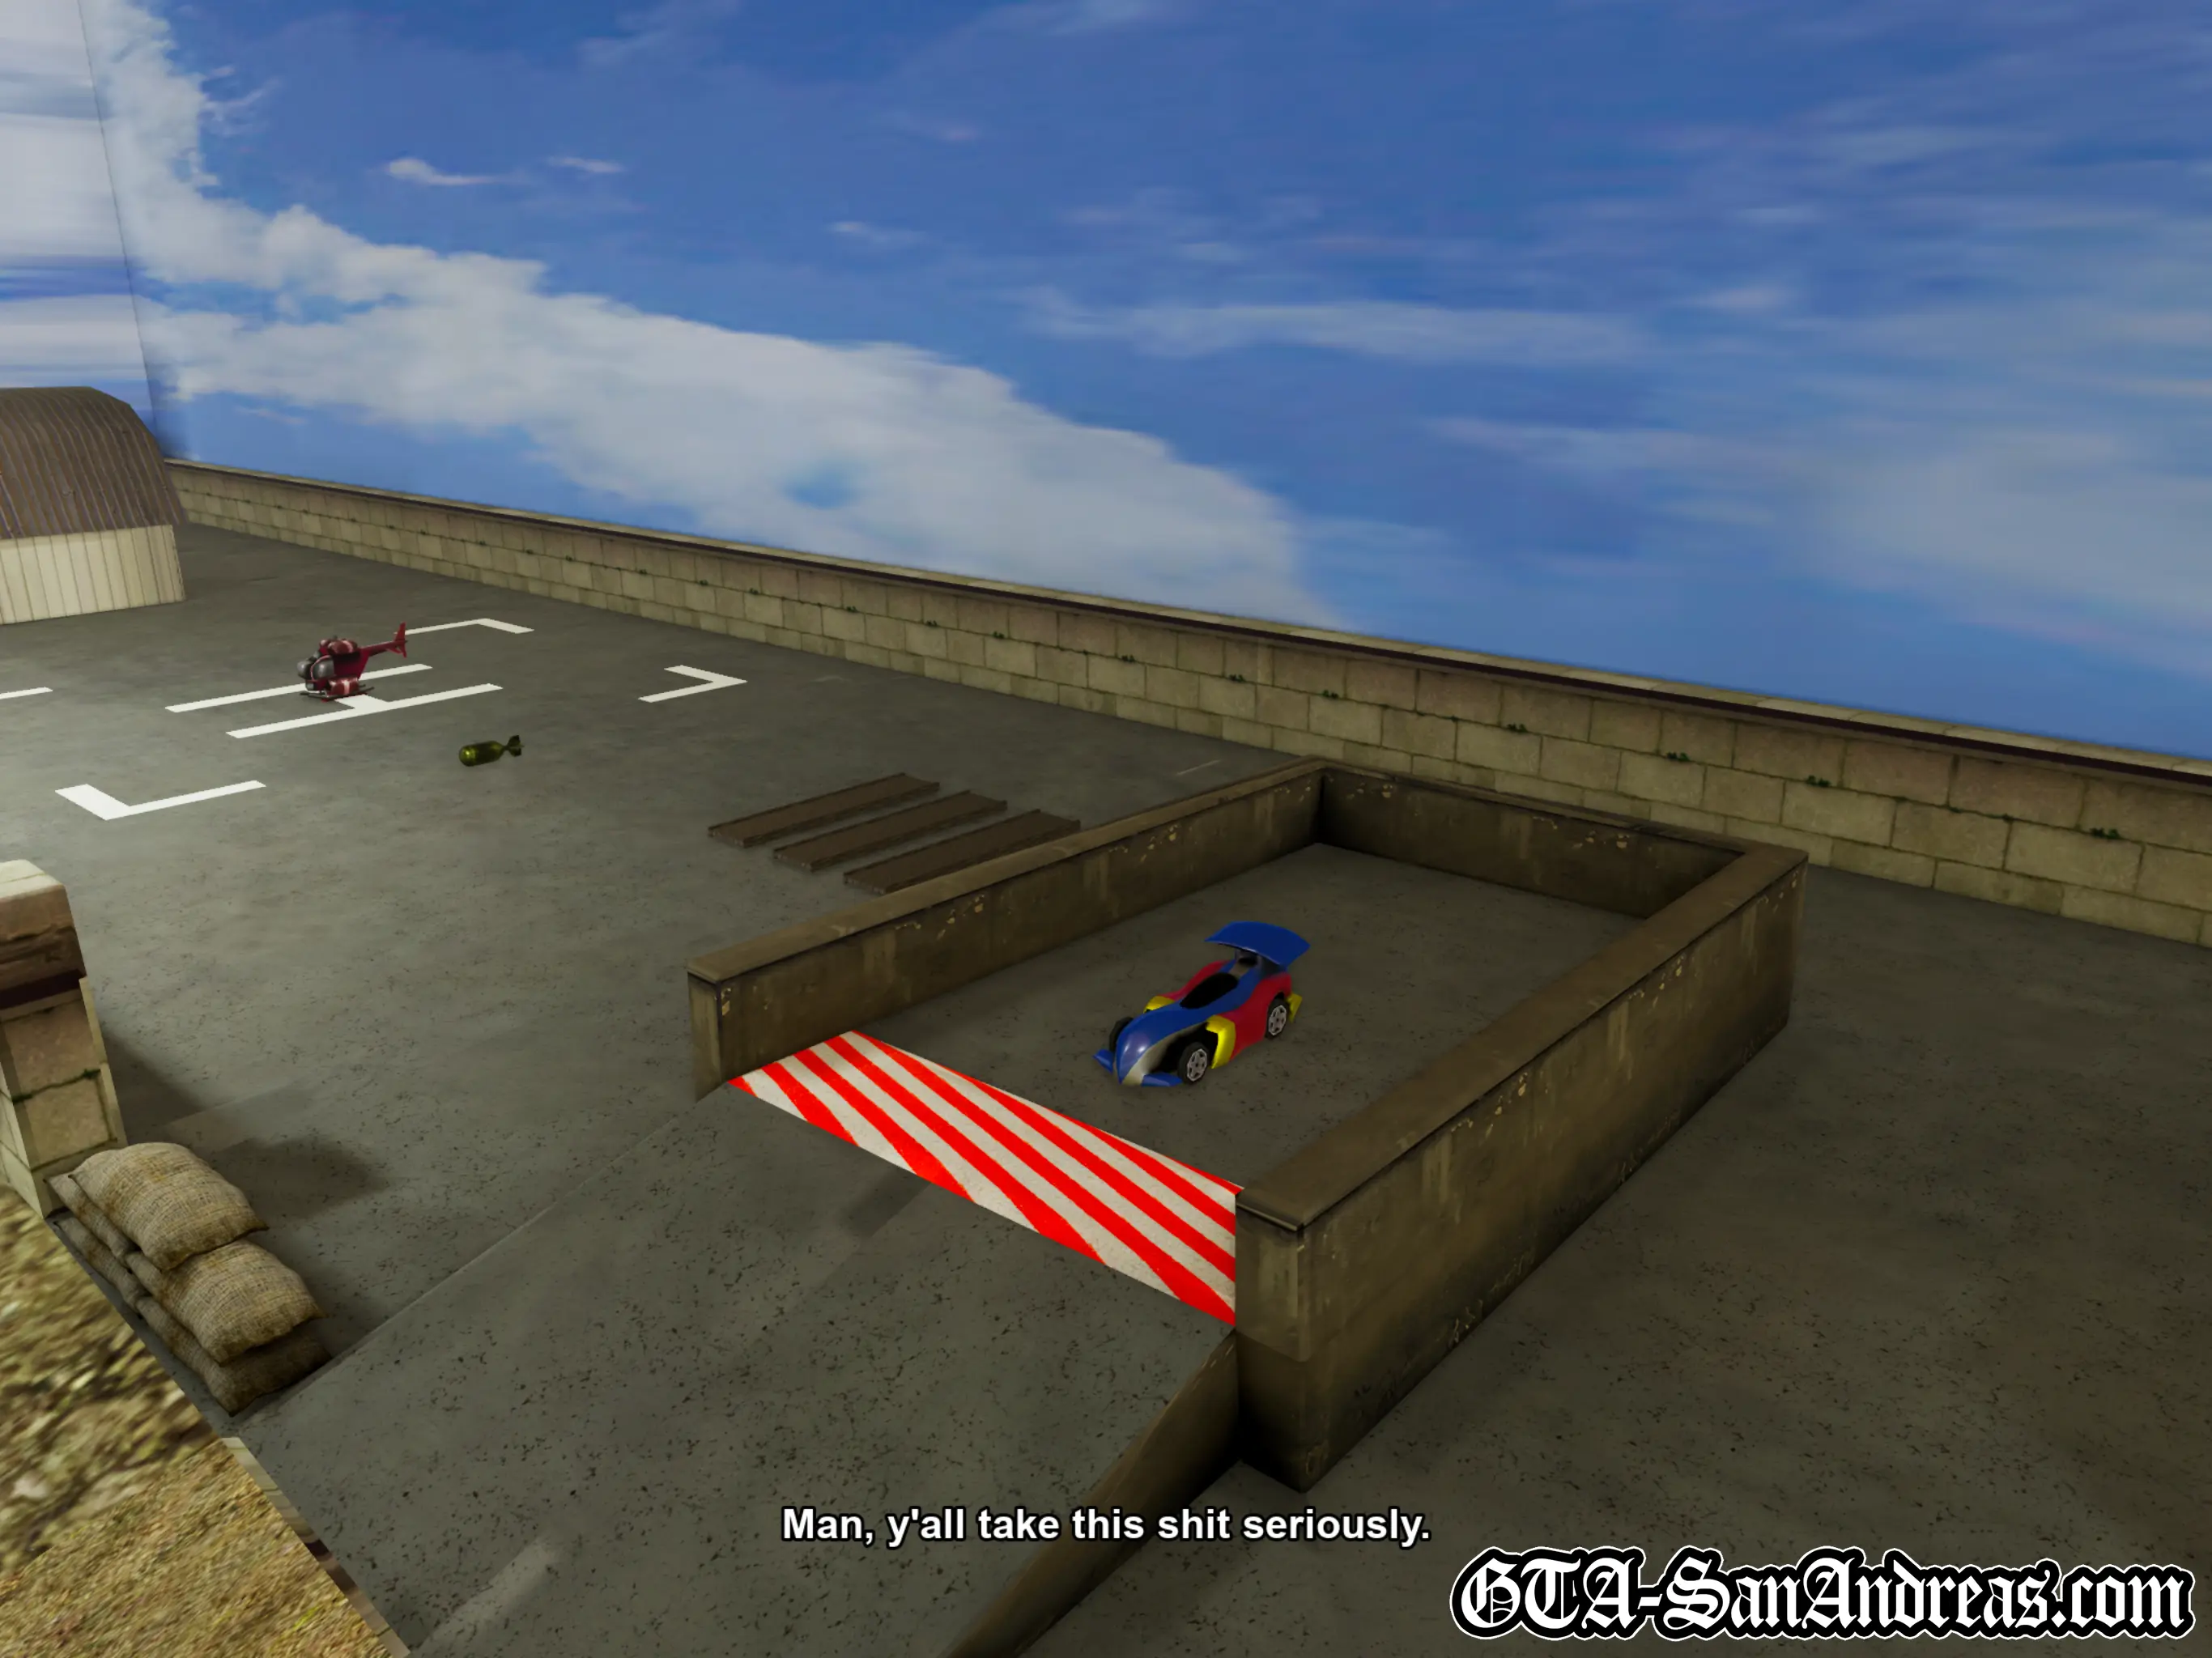
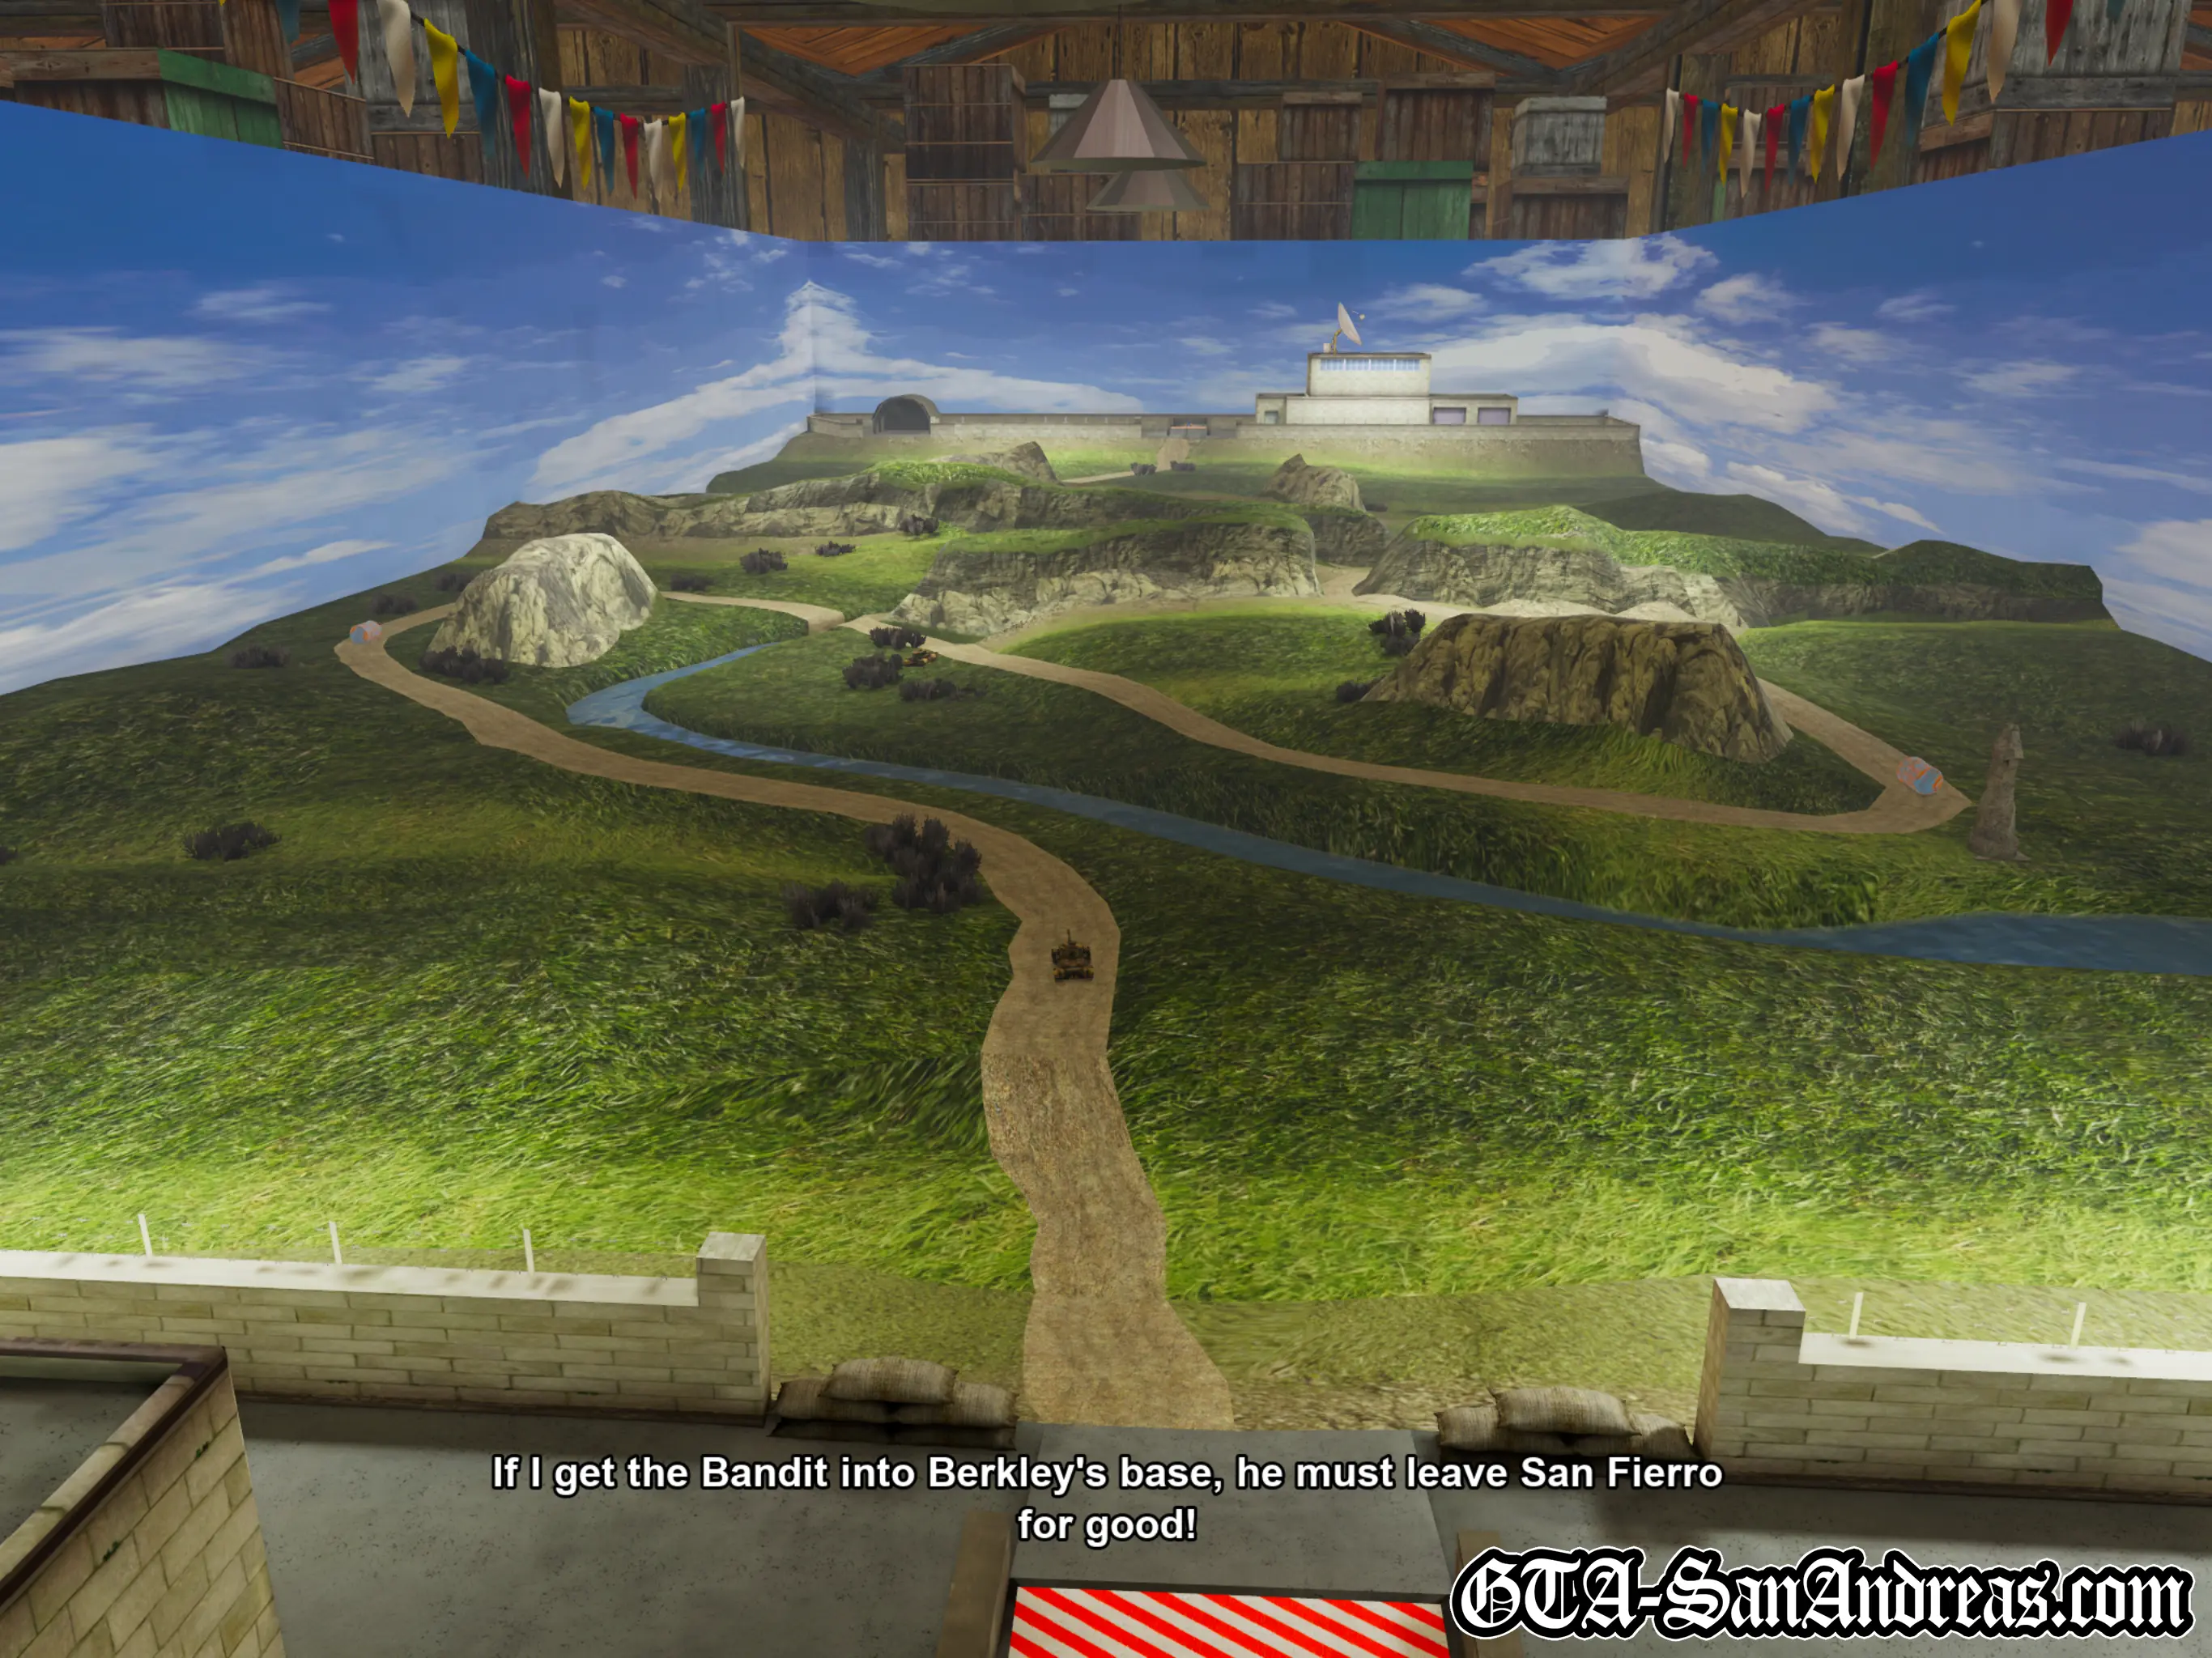
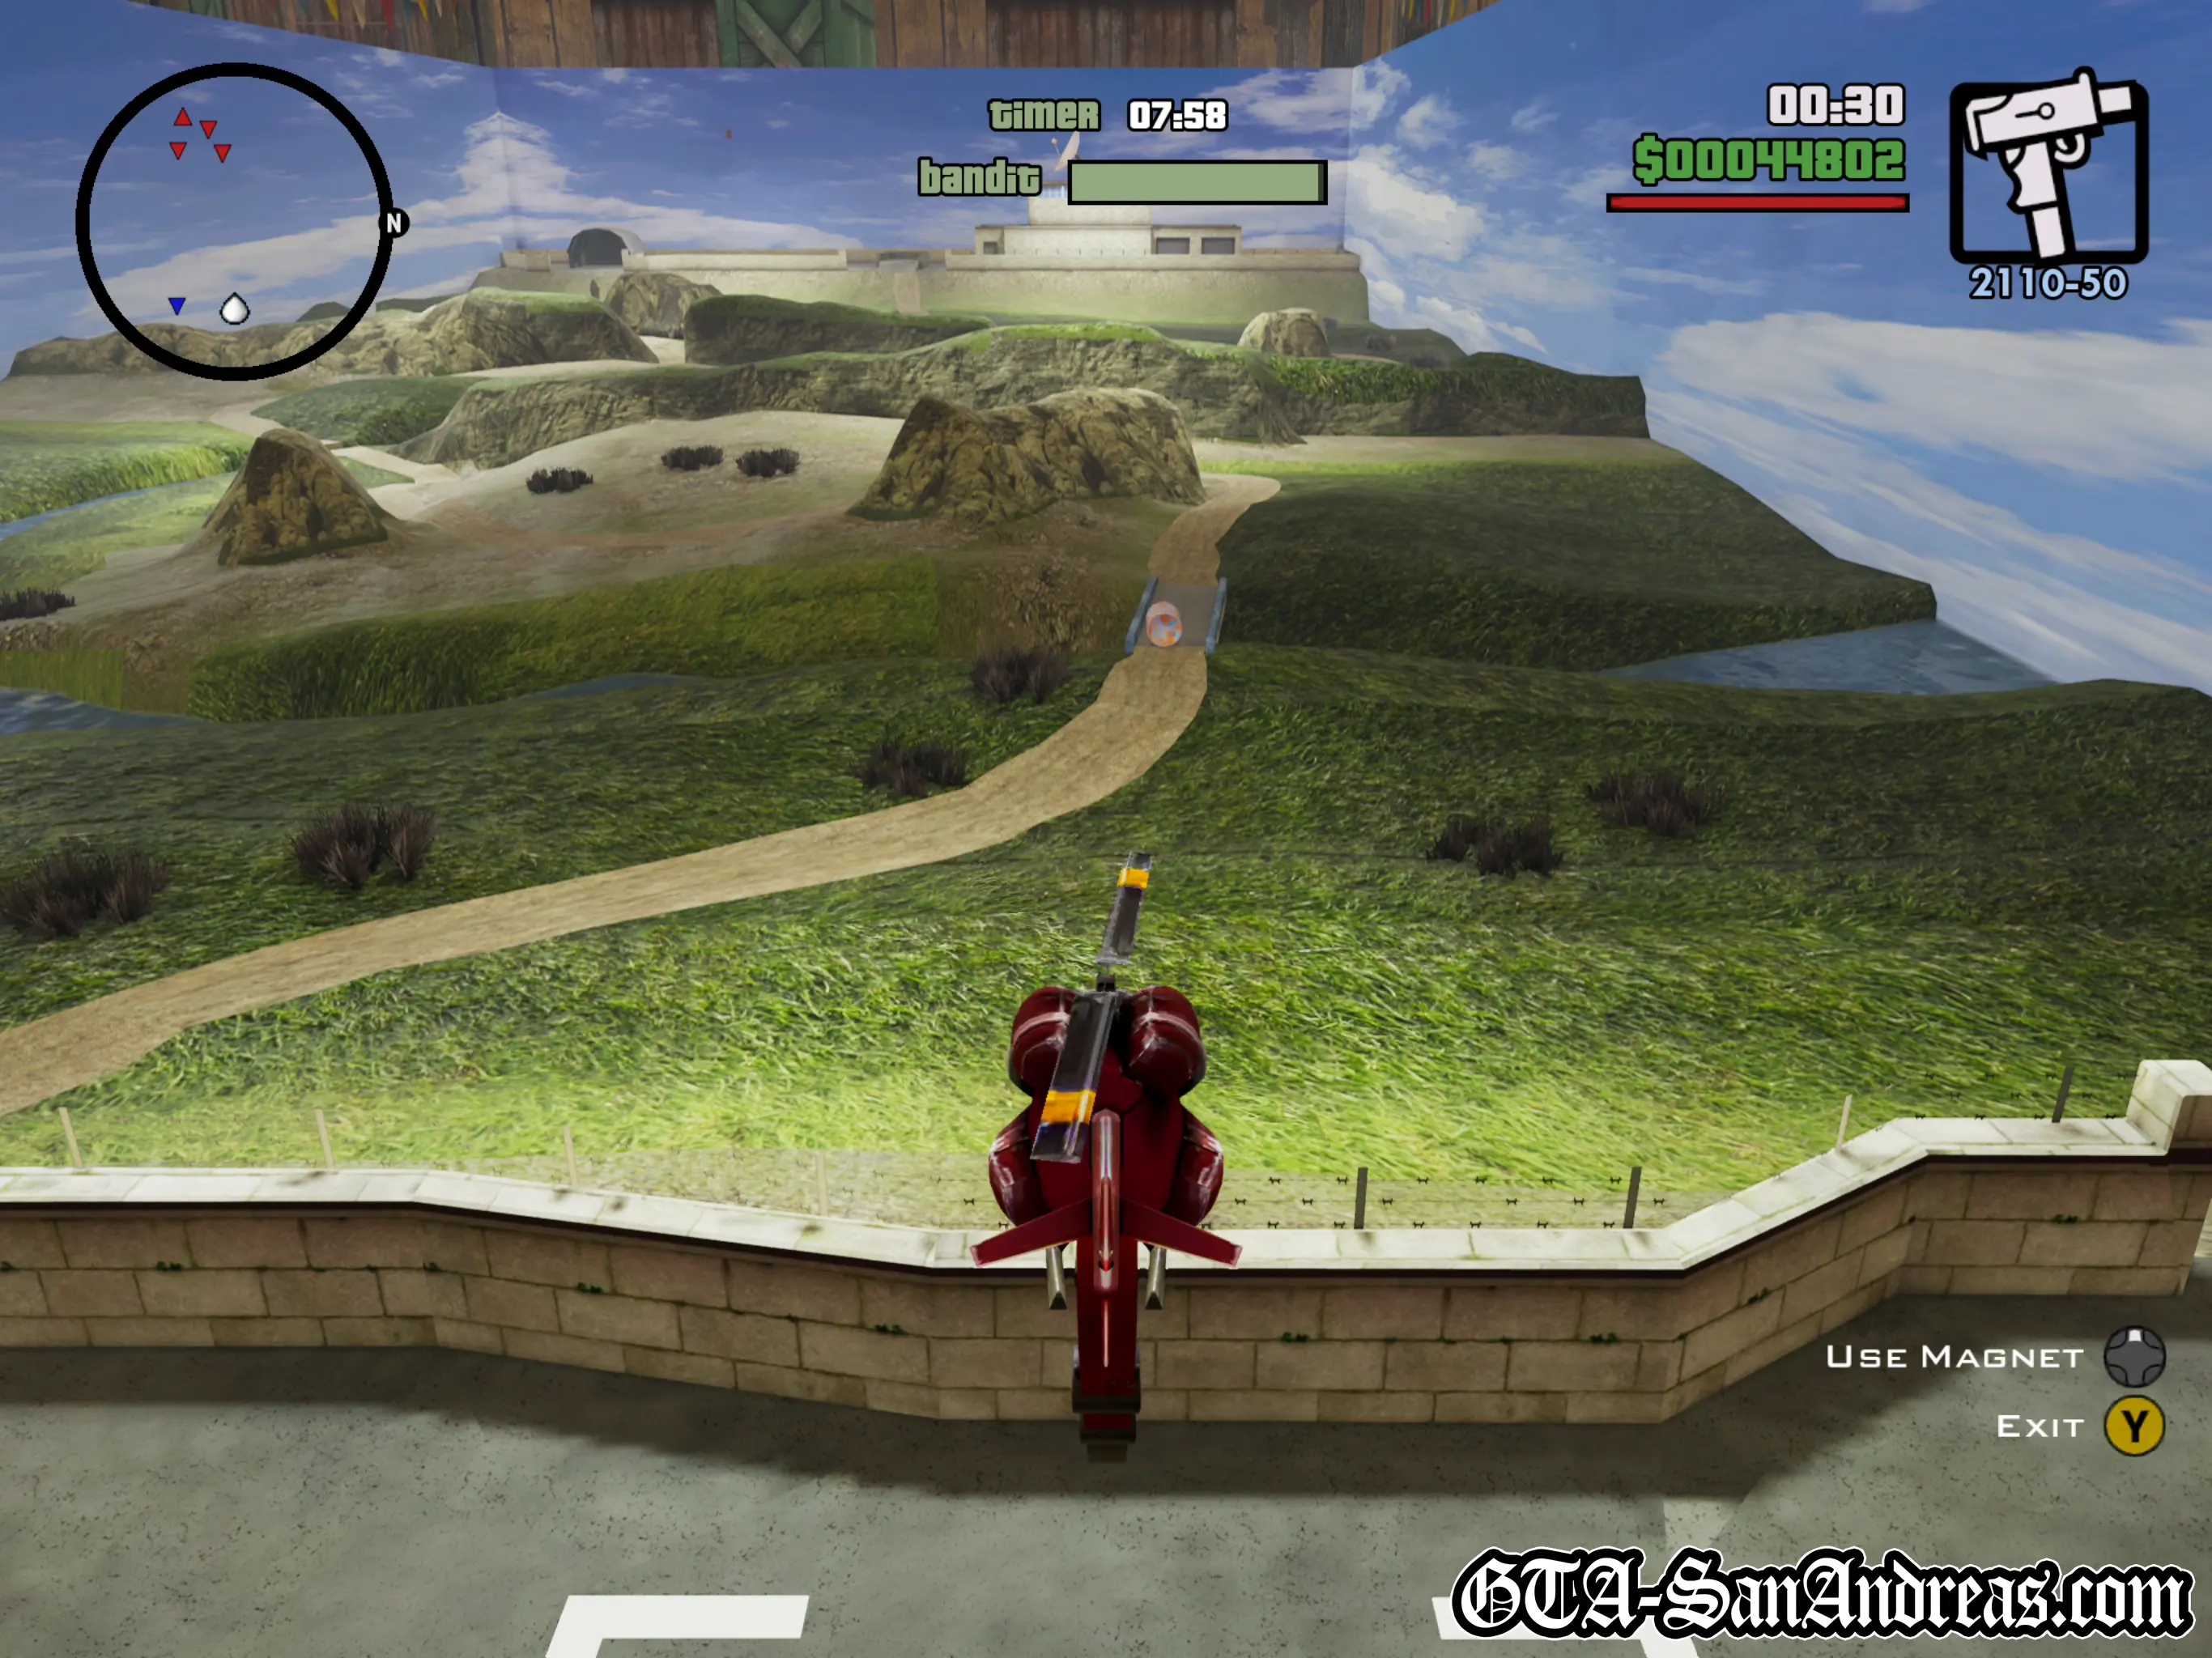
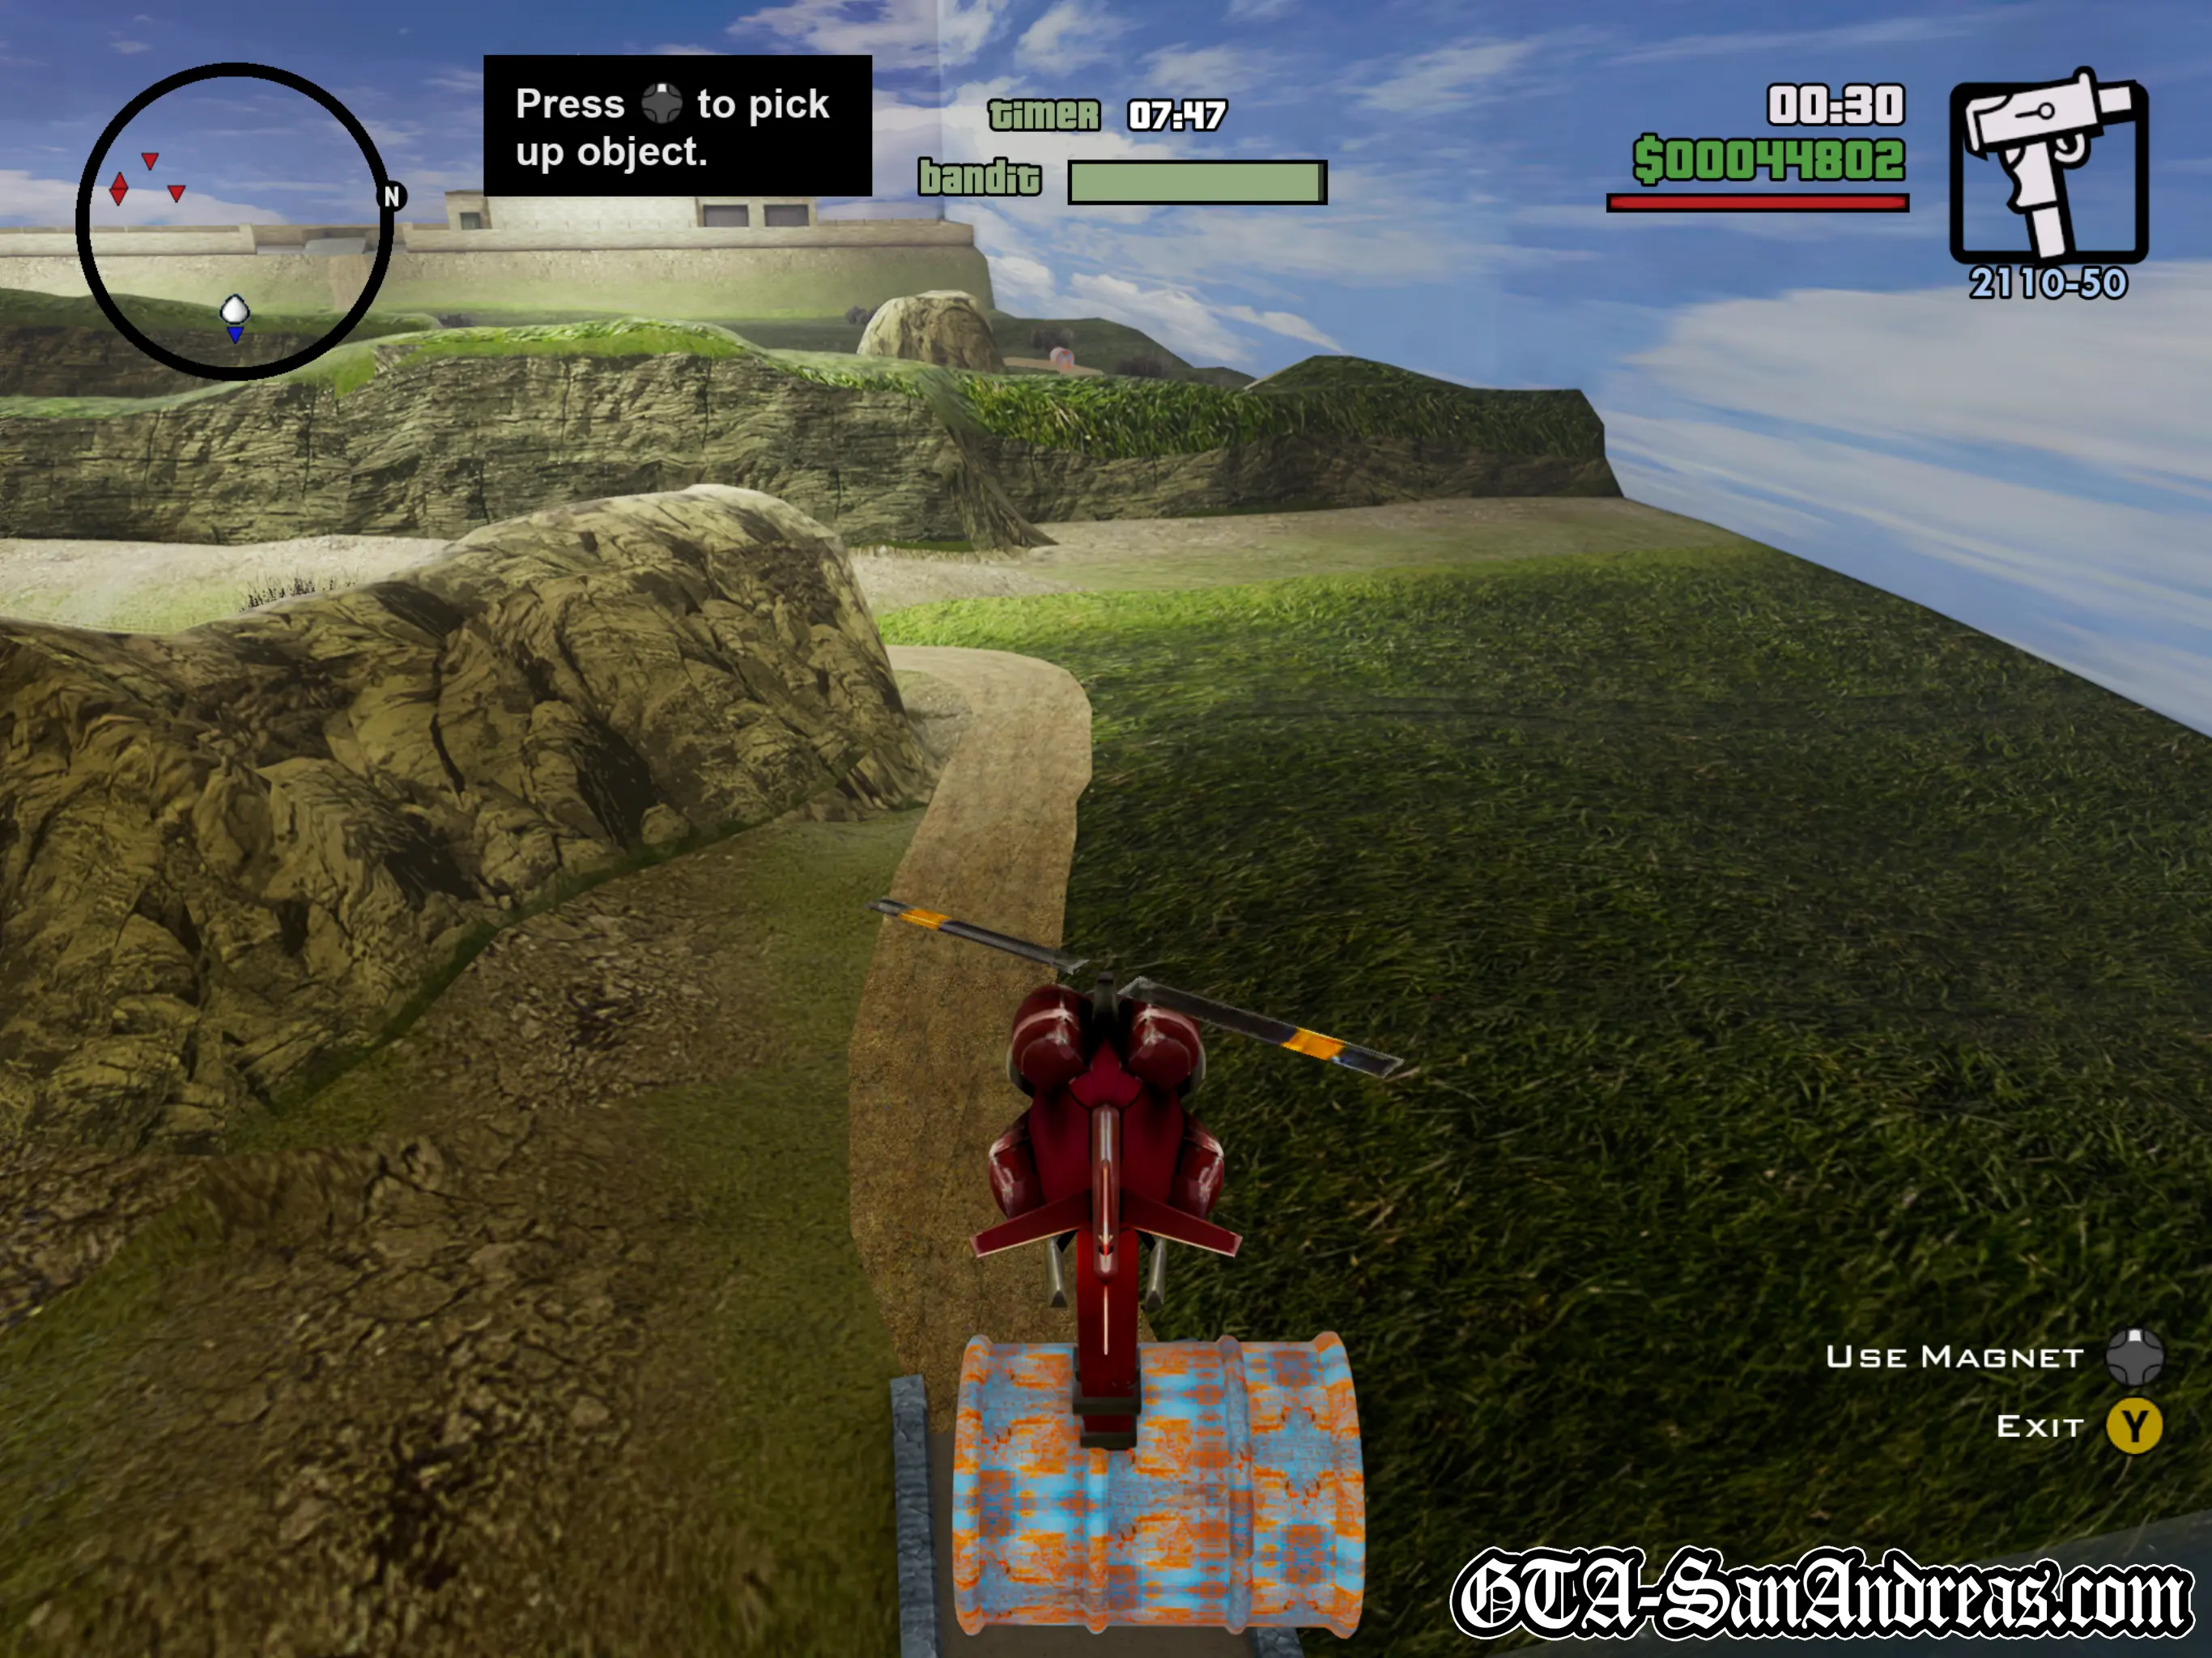
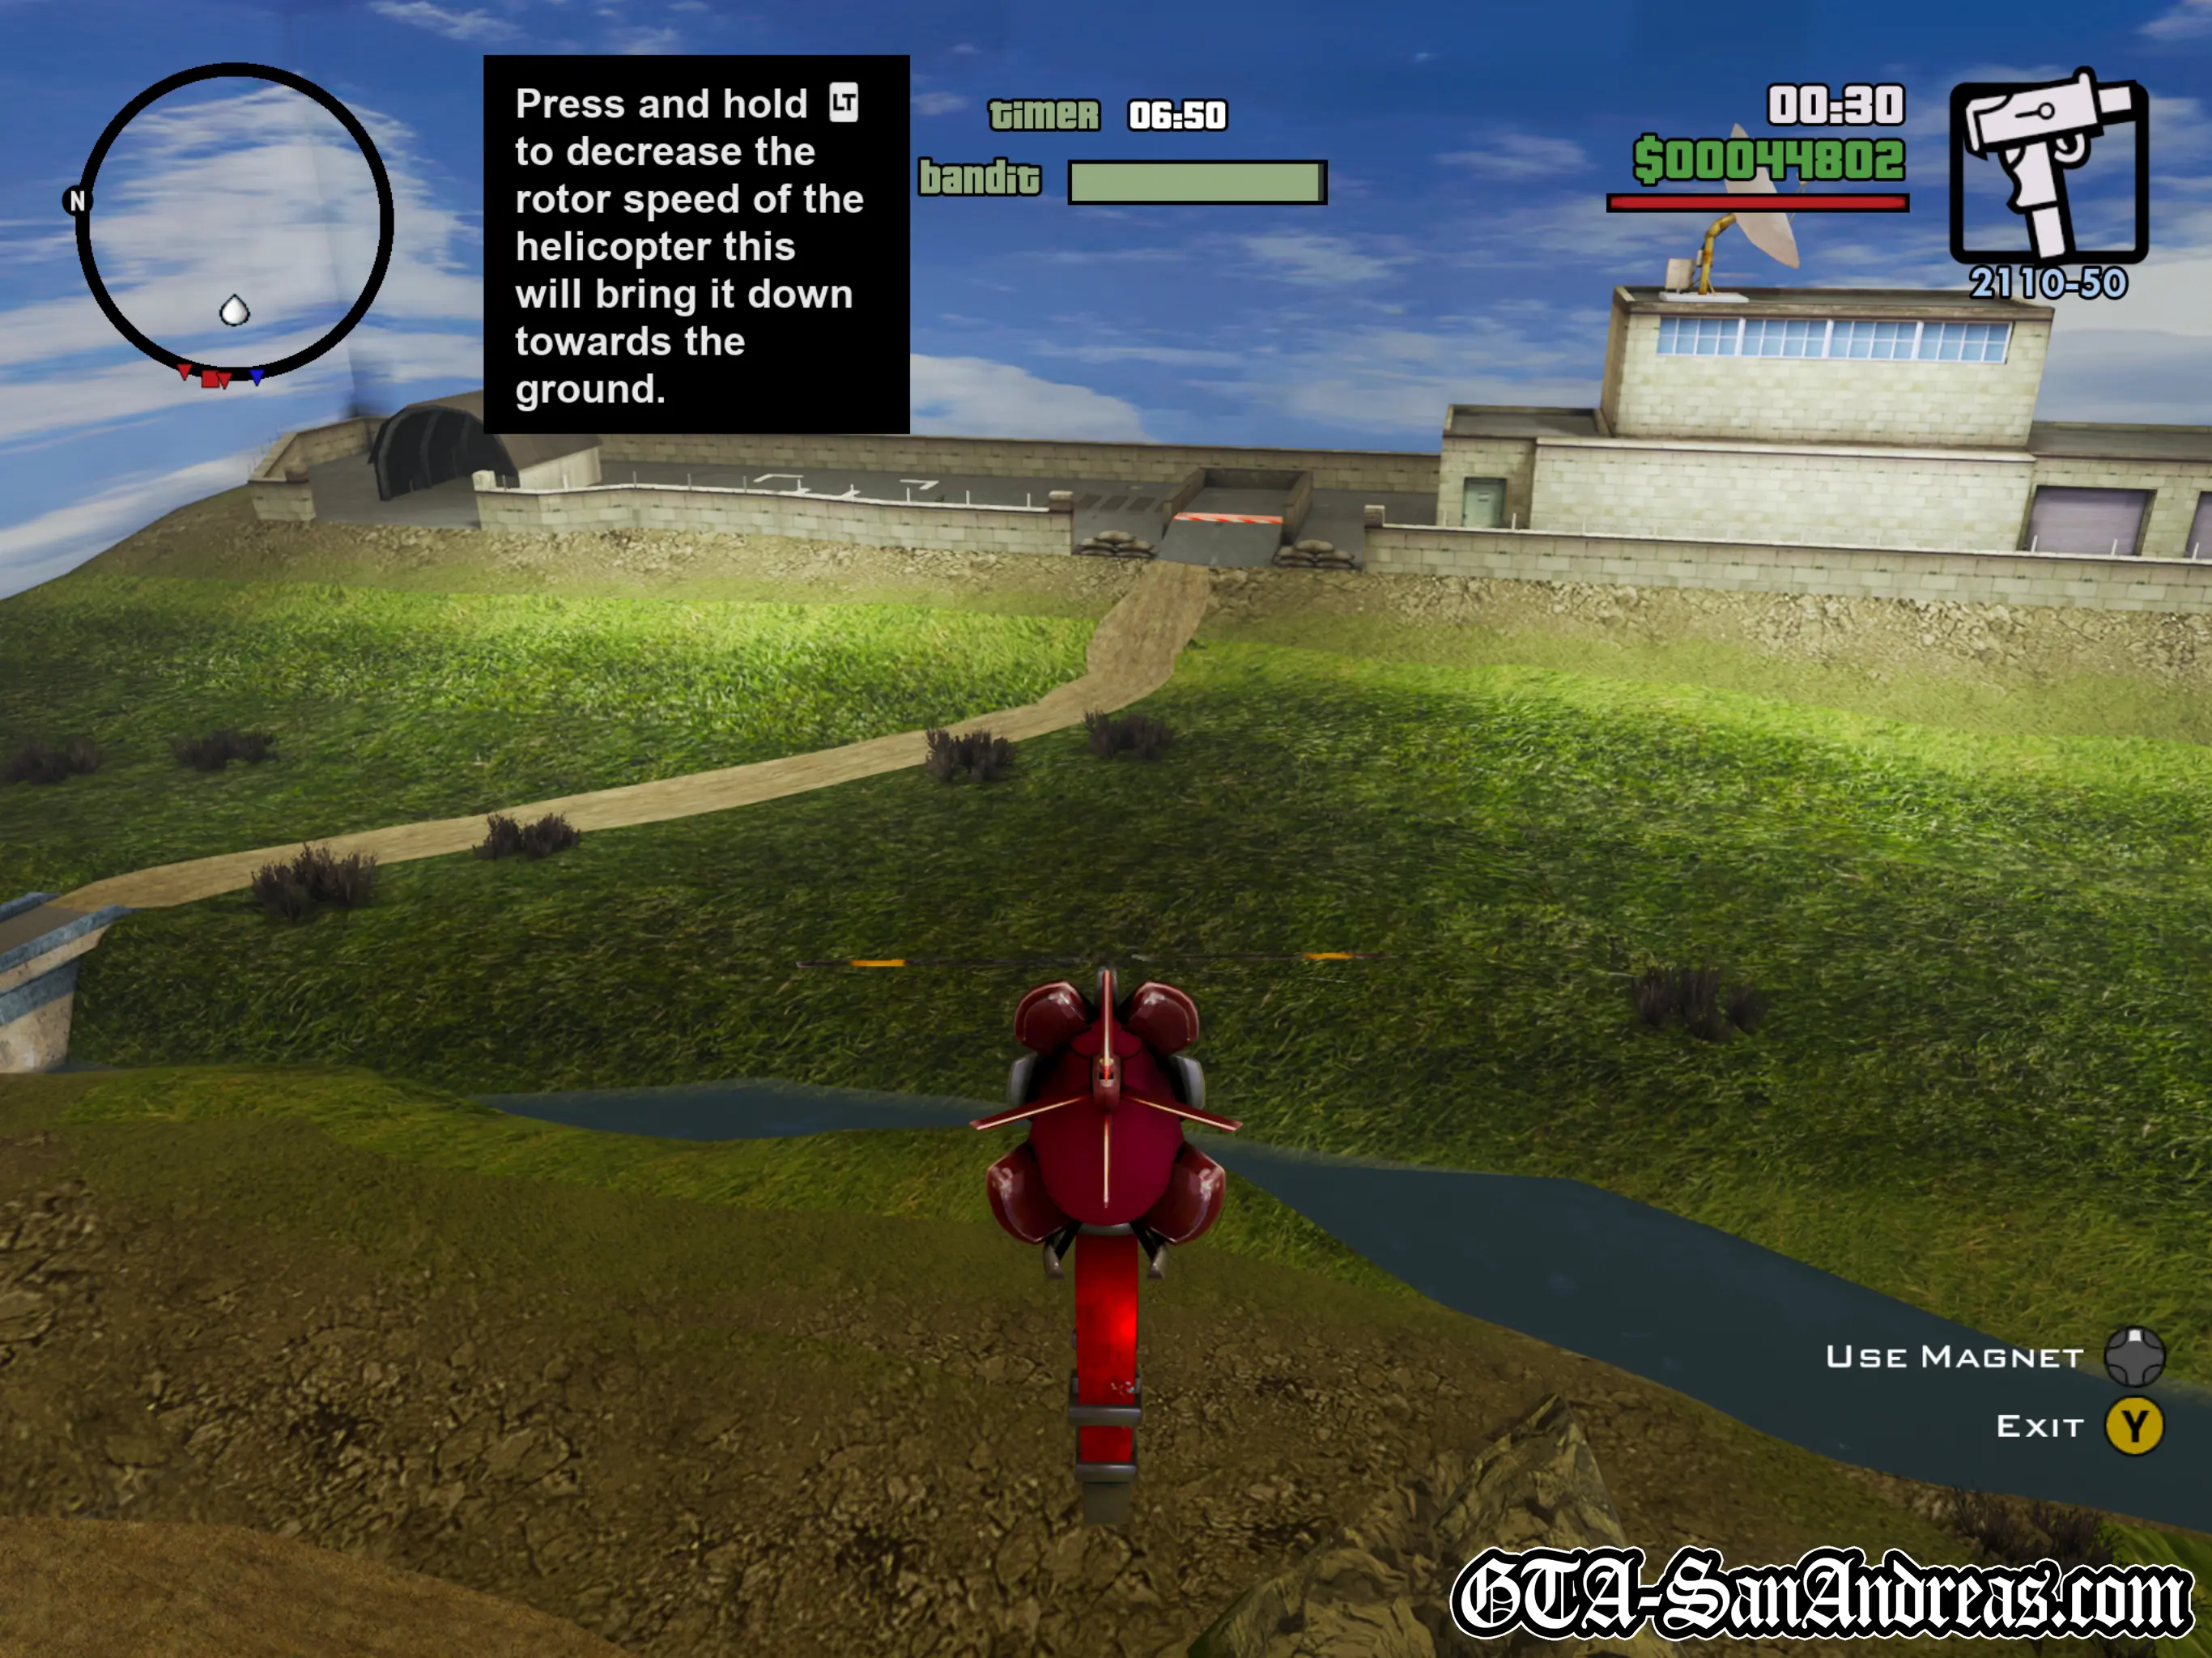
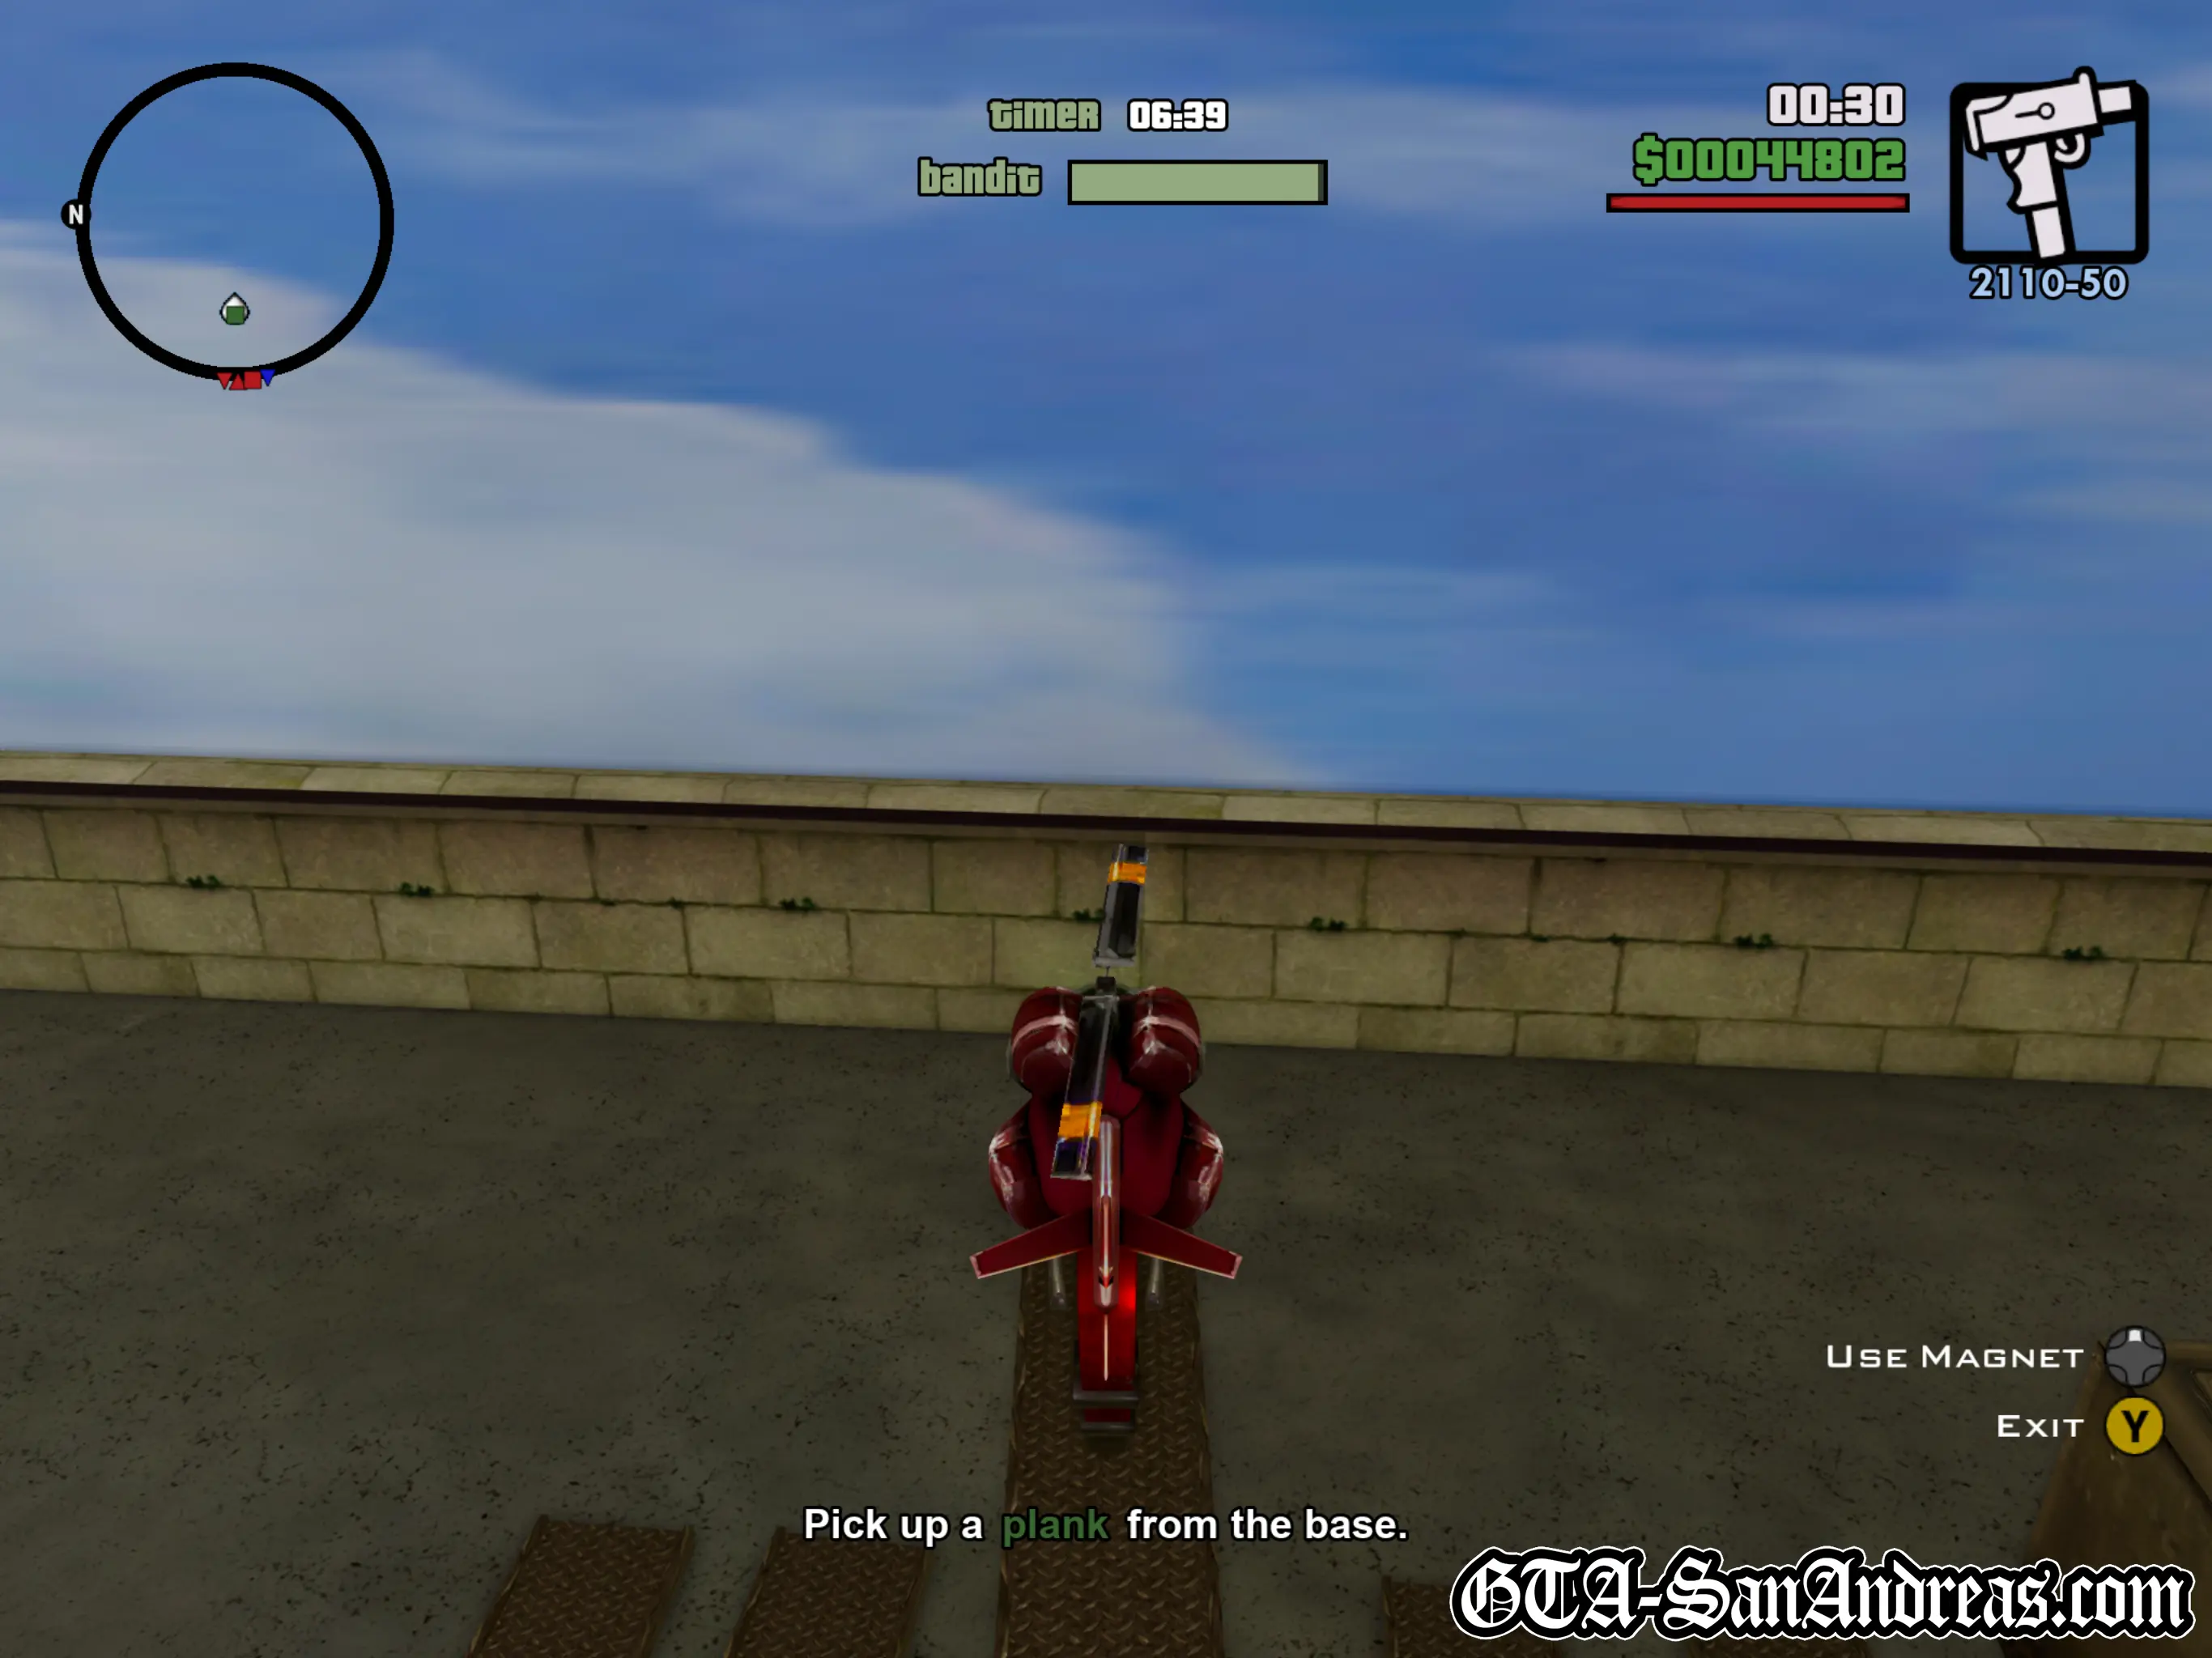
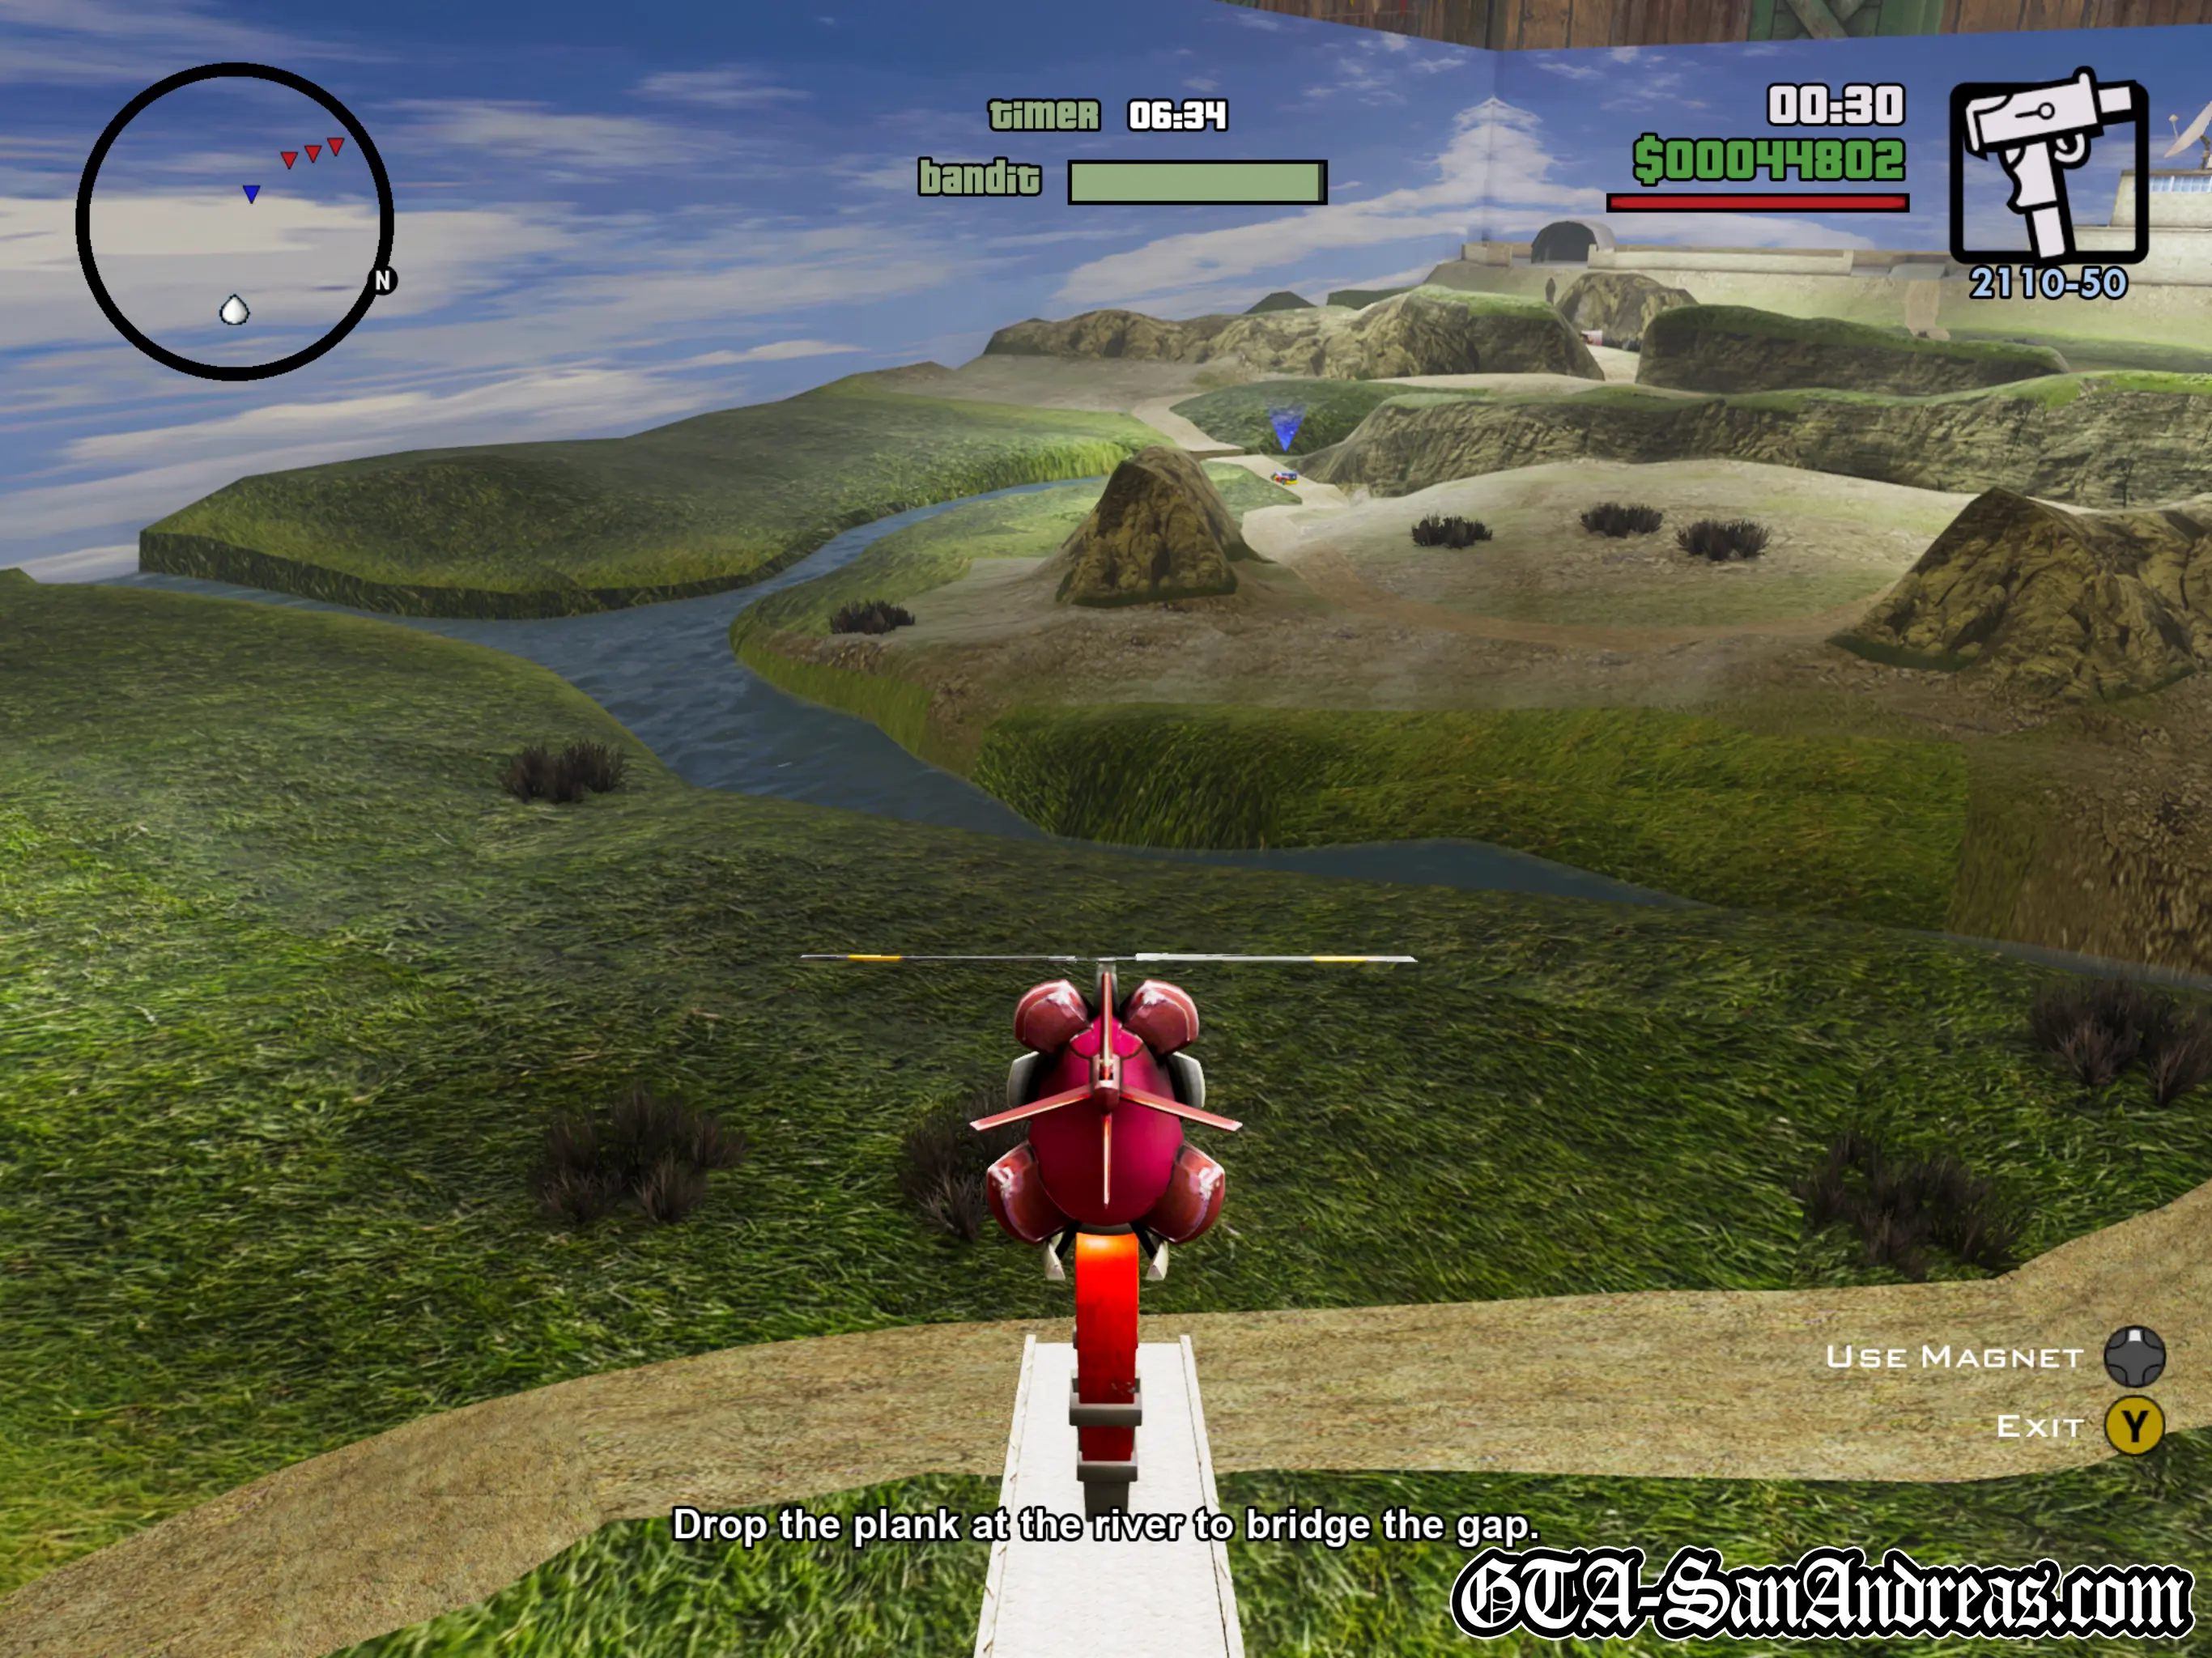
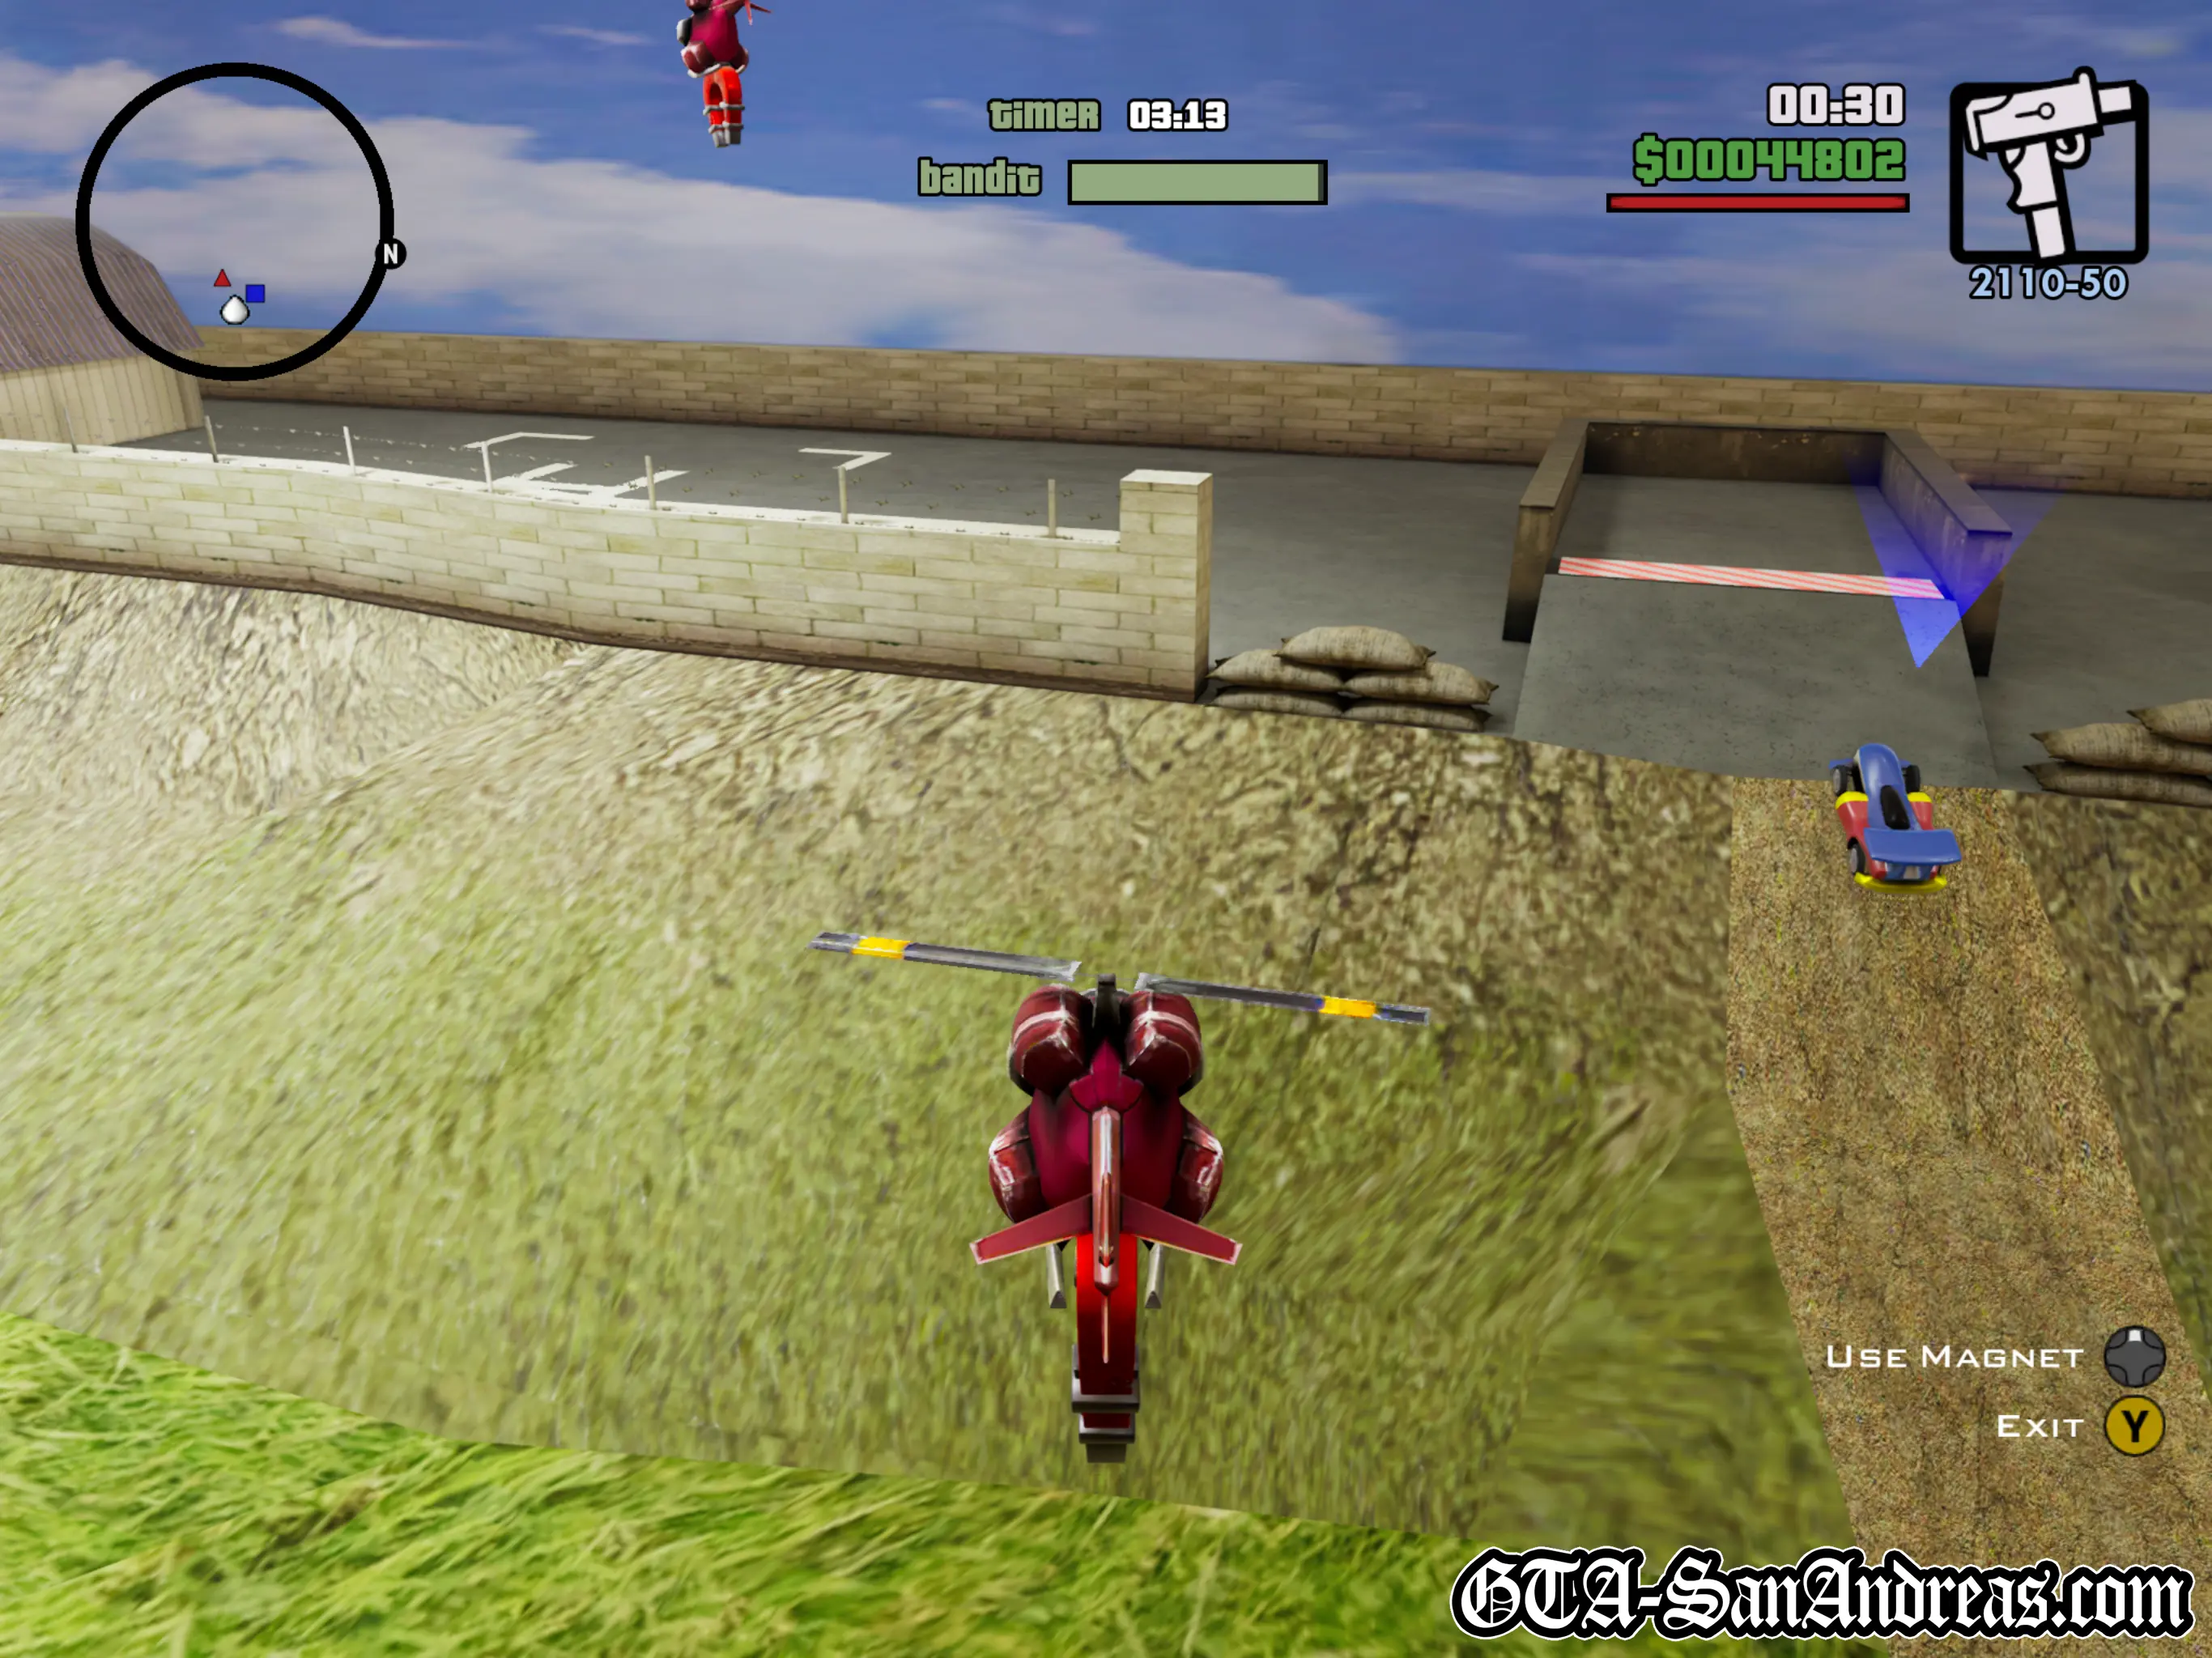
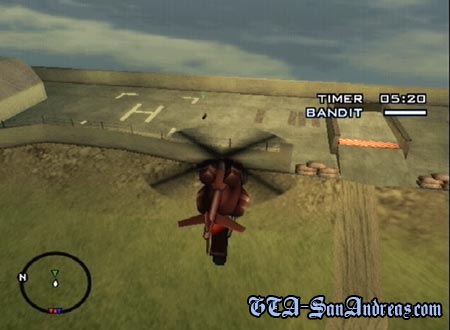
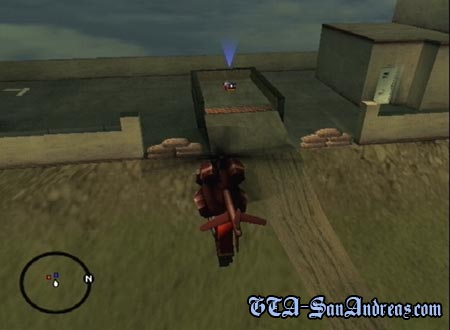
Zero is going to fight Berkley to the death... Sort of. He's playing a little game with his remote control toys where he needs to get his car into Berkley's base while Berkley uses helicopters and tanks to block his way. You need to help Zero get past the obstacles. When you first start, grab a bomb from your base and fly towards Berkley's base. You'll see an RC Tank parked slightly to the left about half way between each base, hover over it and drop the bomb to blow it up. Head back and pick up another bomb. This time the tank can be found almost right in the middle of the map. Drop the bomb on that tank and get another bomb from the base. The last tank is parked just in front of Berkley's base, so fly over it and drop the bomb. Next you'll need to fly back to your base and pick up the barrel which is stopping Zero from getting past. Pick that up and drop it somewhere, then fly back to your base and grab a plank. Fly to the part of the road where there's a gap and some water, and drop your plank there. Follow the road around and pick up, and move the two barrels out of the way, then wait for Berkley to cross the bridge you made. Once he's done that, grab the plank again from the bridge and follow the track until you come to another gap. Drop that there then follow the track back to the RC car and remove any barrels. Once he's crossed the second bridge you made, move the last few barrels, then watch as he drives into enemy territory and wins the game.
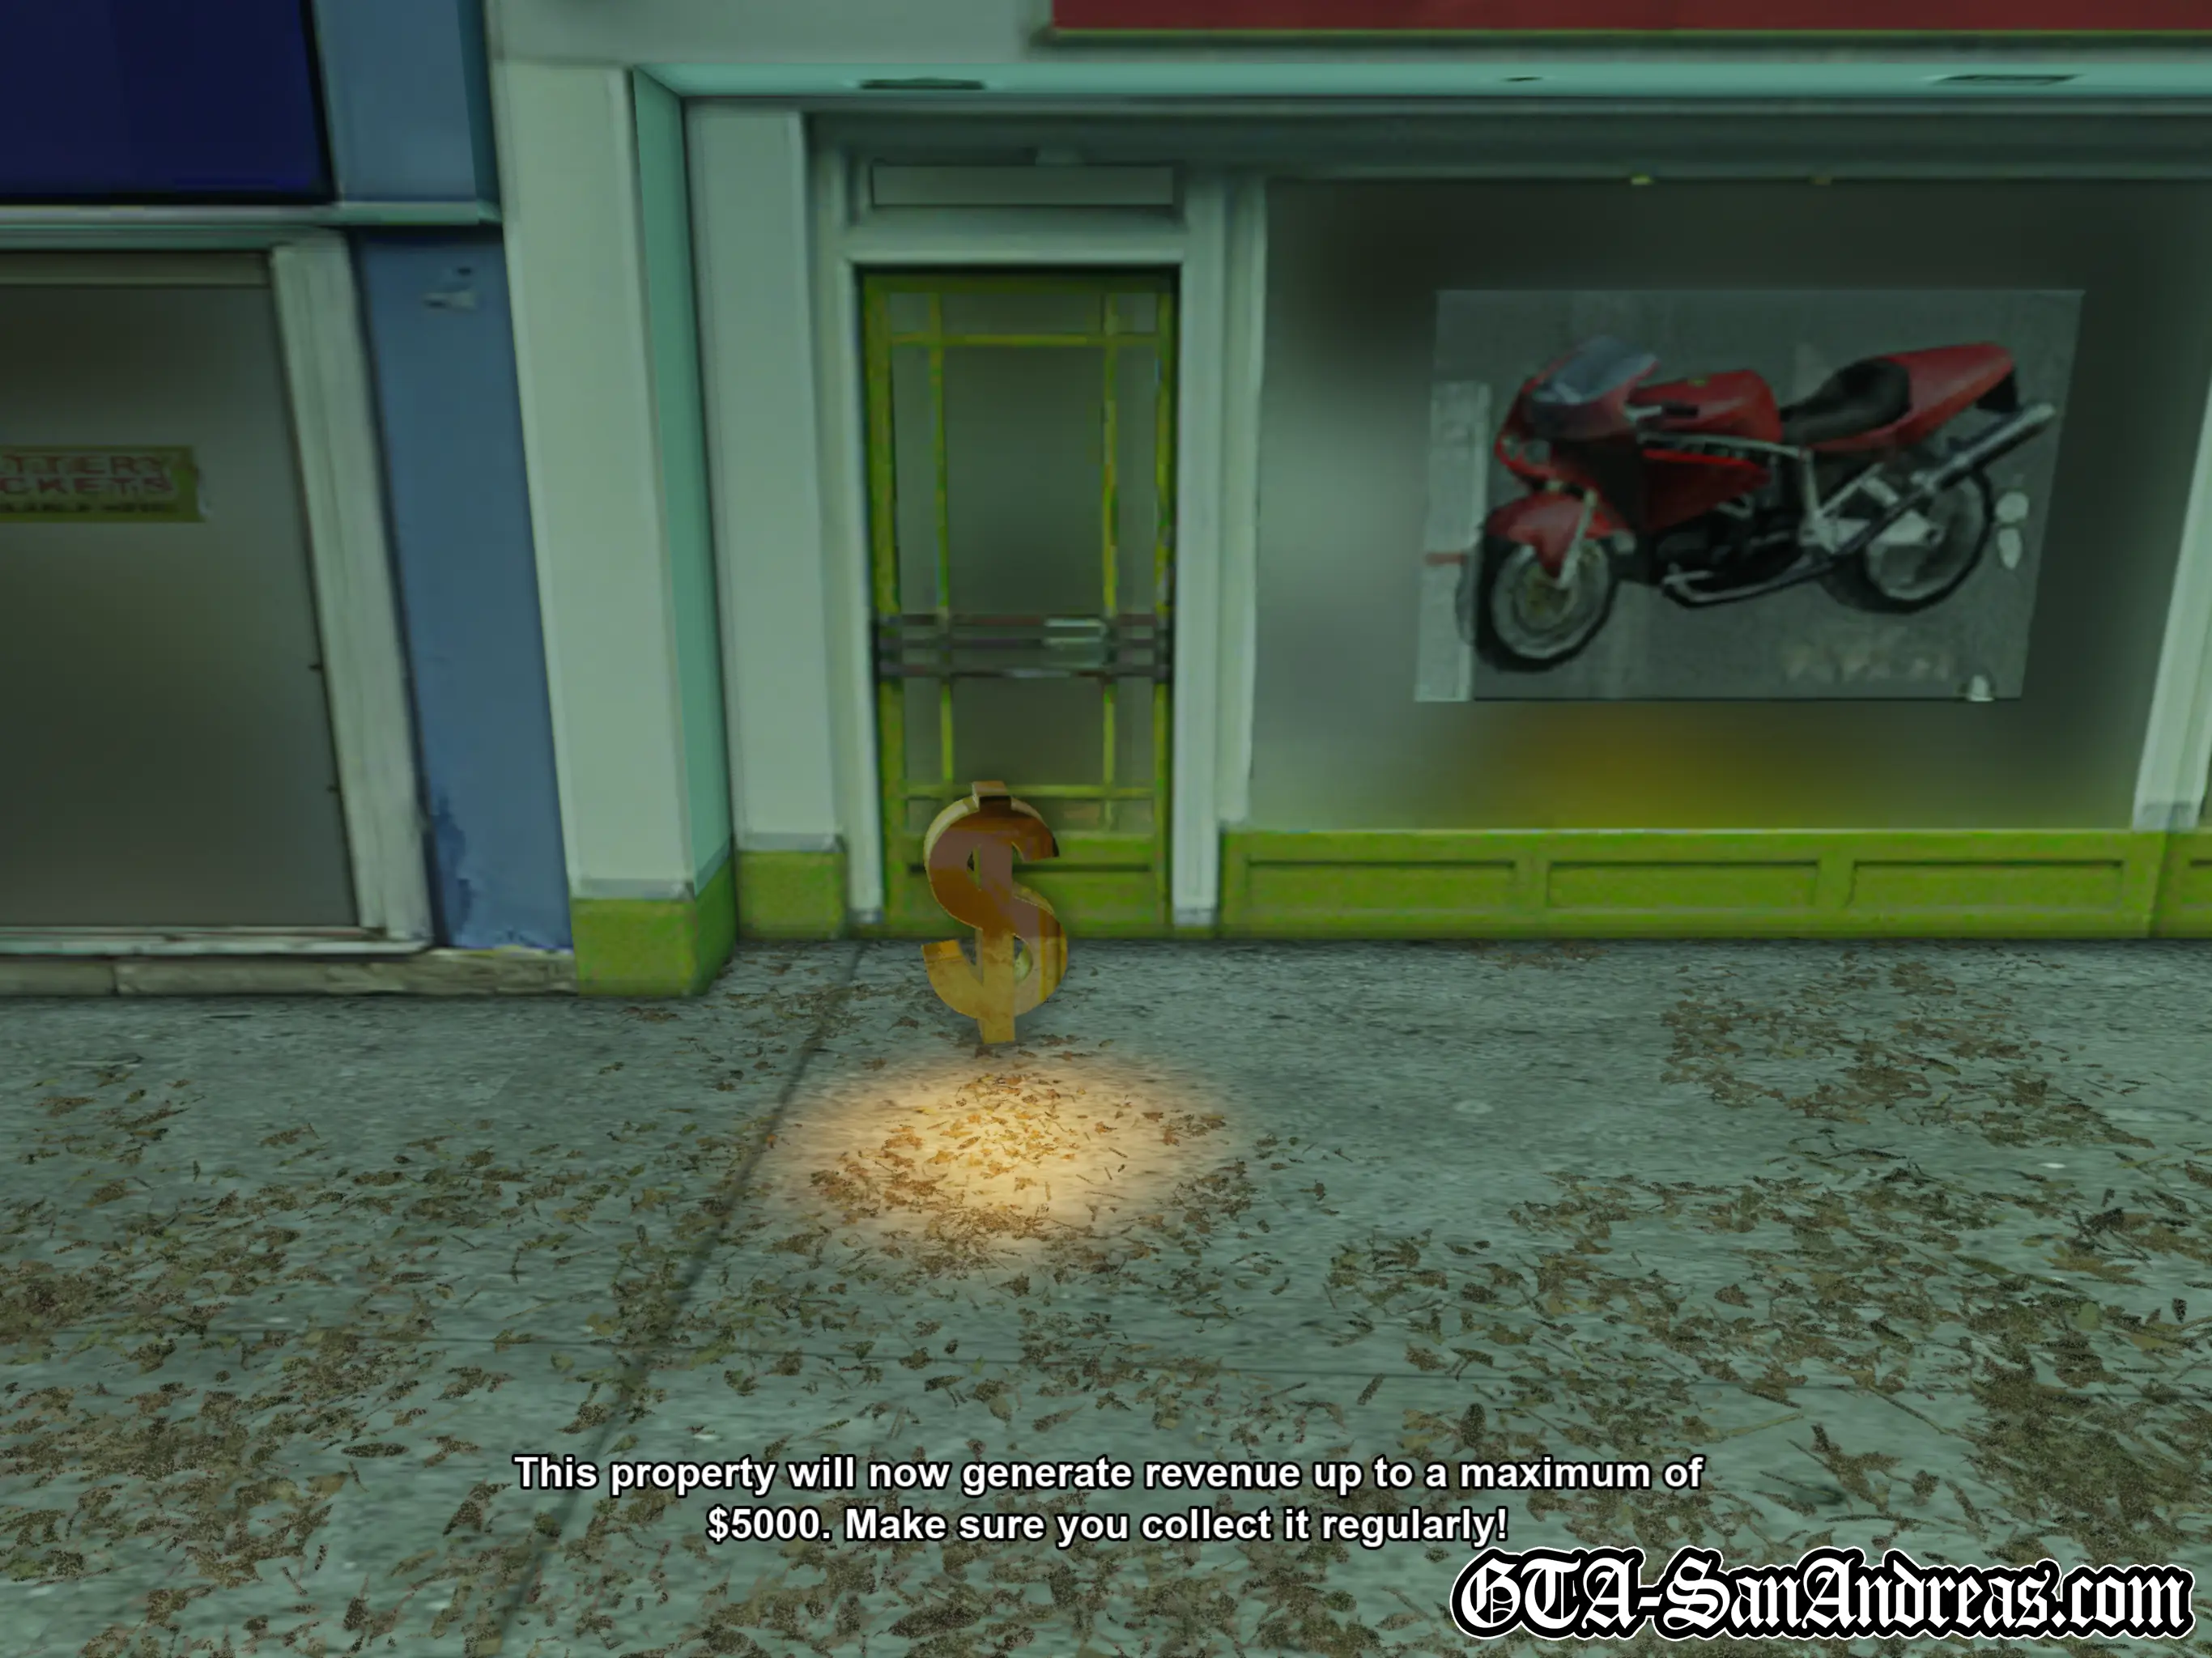
Zero's RC shop will now generate revenue up to $5,000 a day. Drop by each day and pick up the cash. Zero's missions have now been completed. They seem like a side mission, but you'll need Zero again a bit later in your travels, so it's better to get his missions out of the way now. The only missions you'll have open are The Triads at the garage, so head over there now.
Screenshots


The Triads
 Photo Opportunity
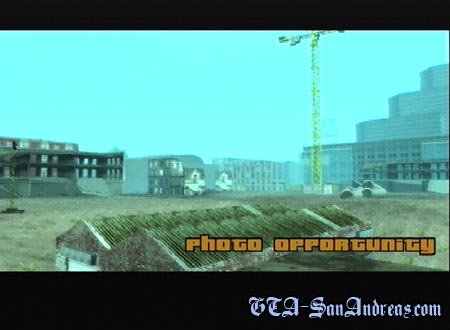
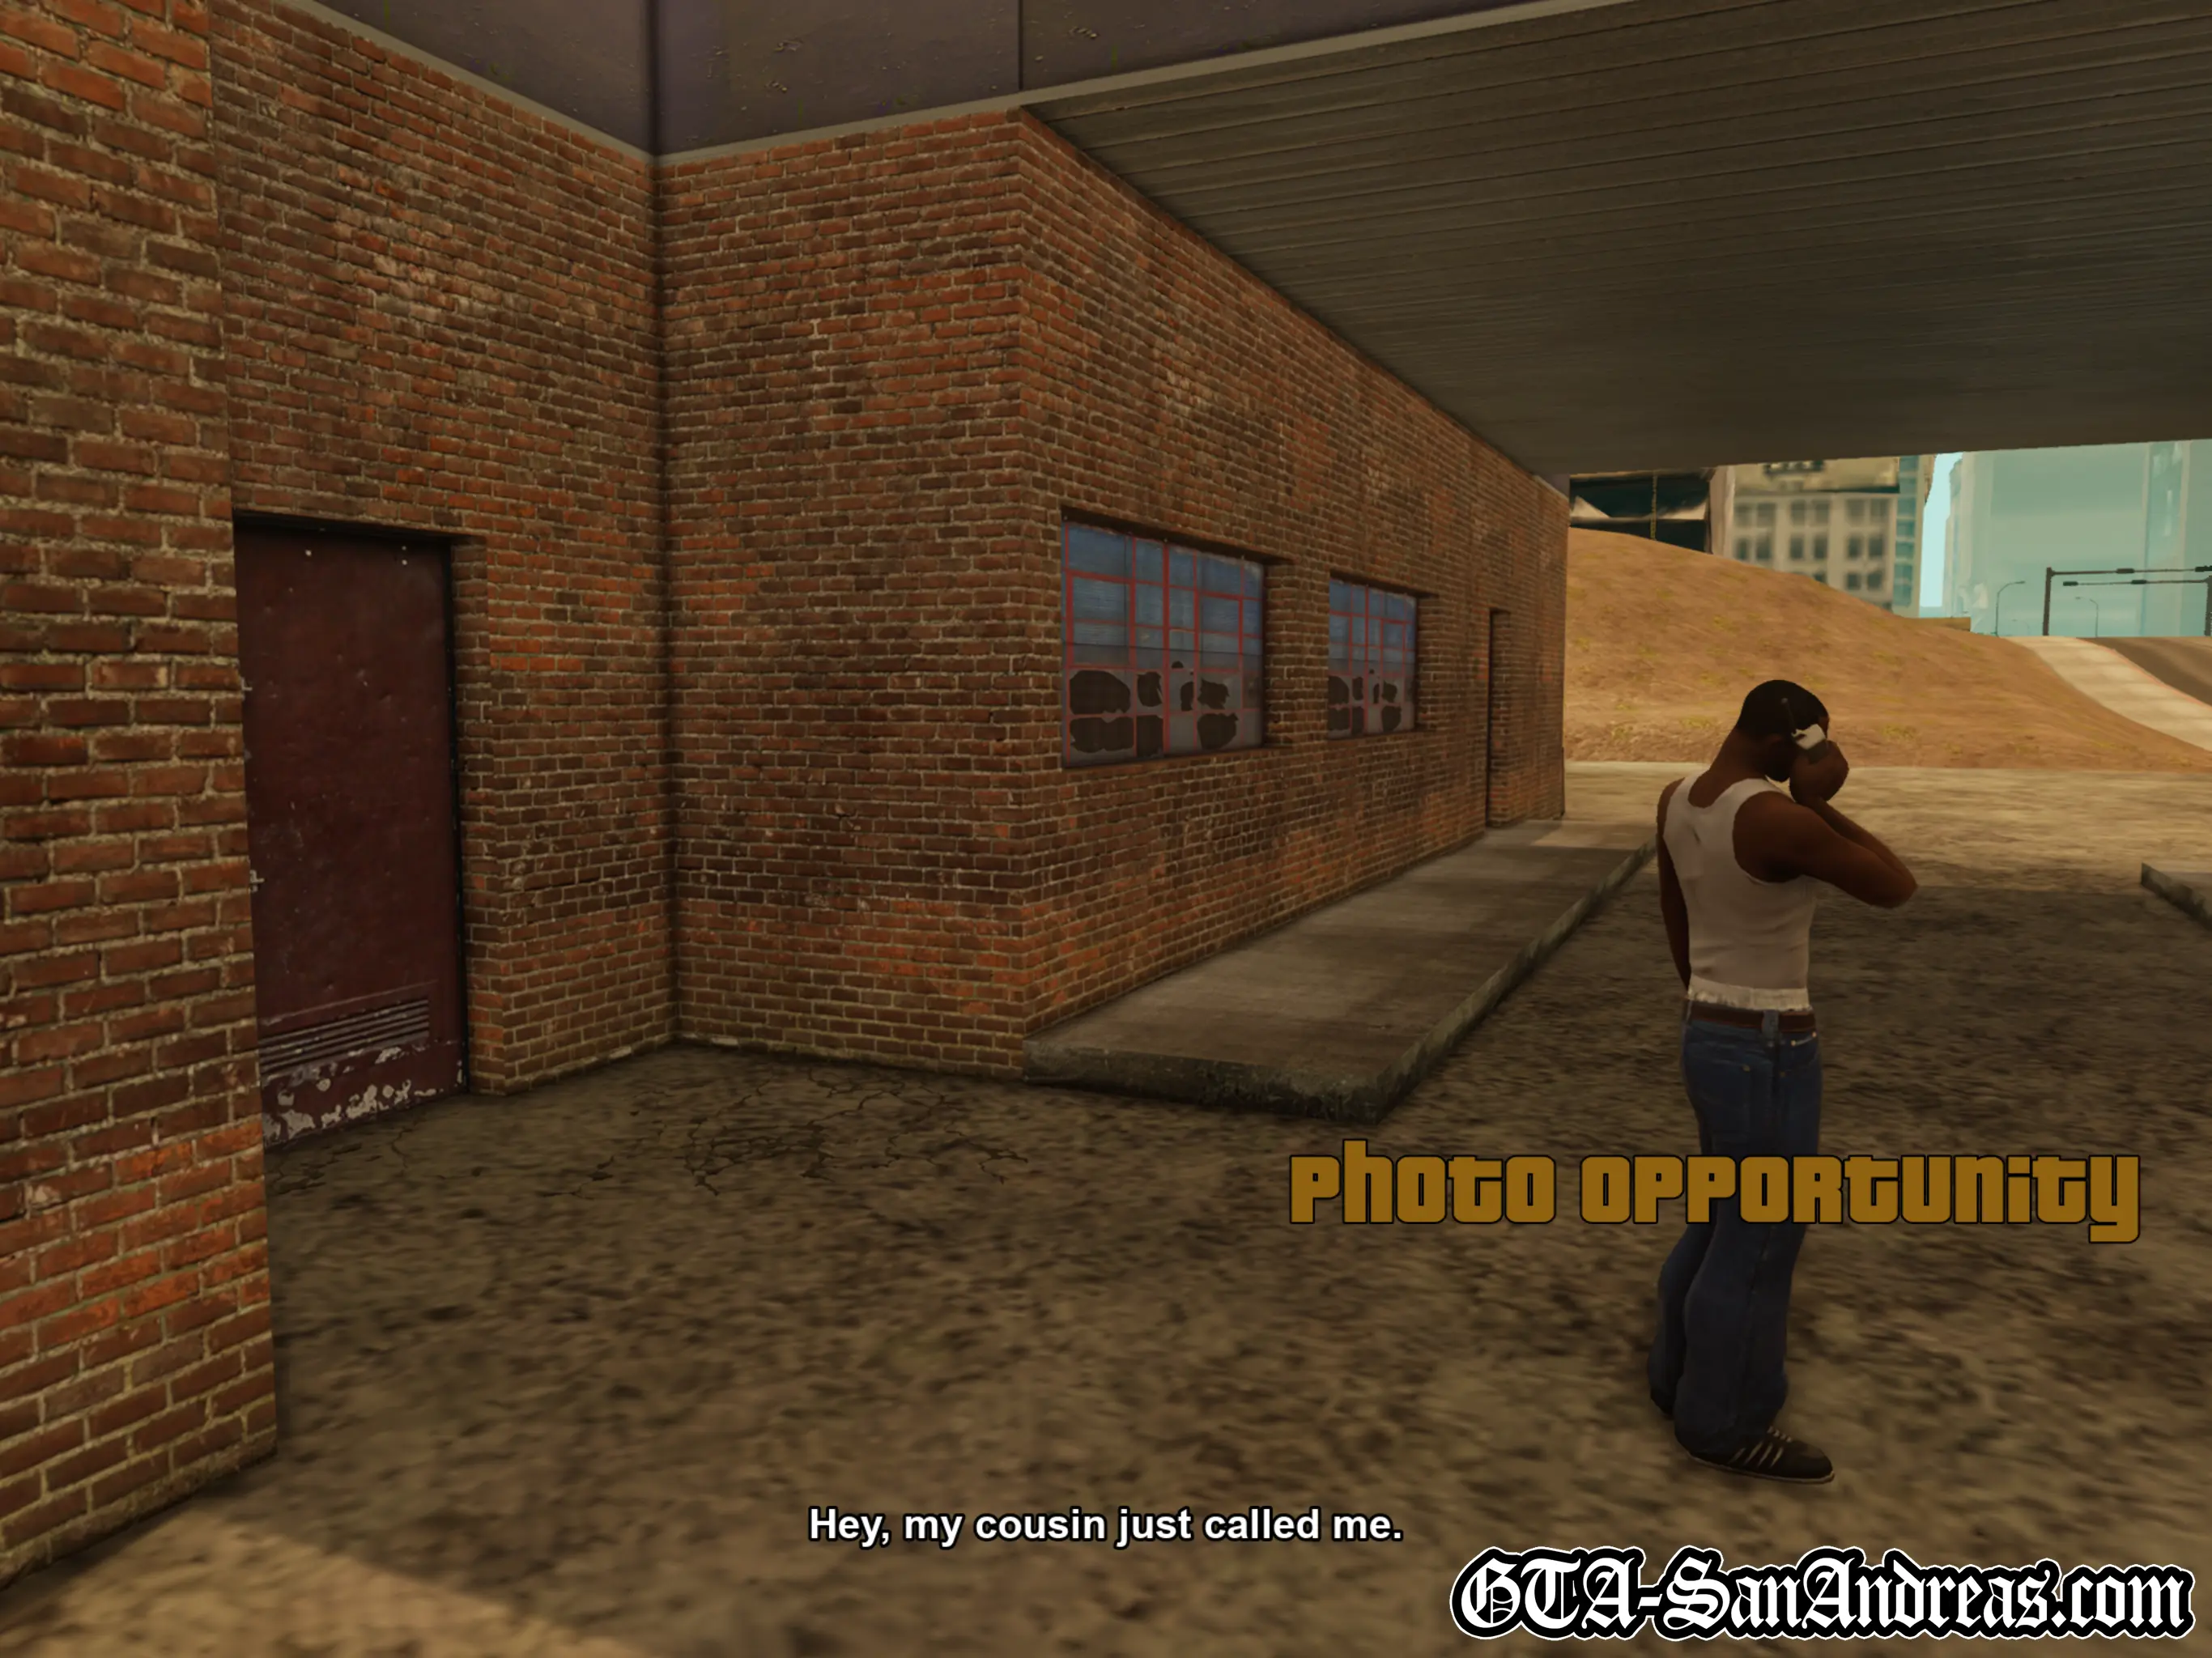
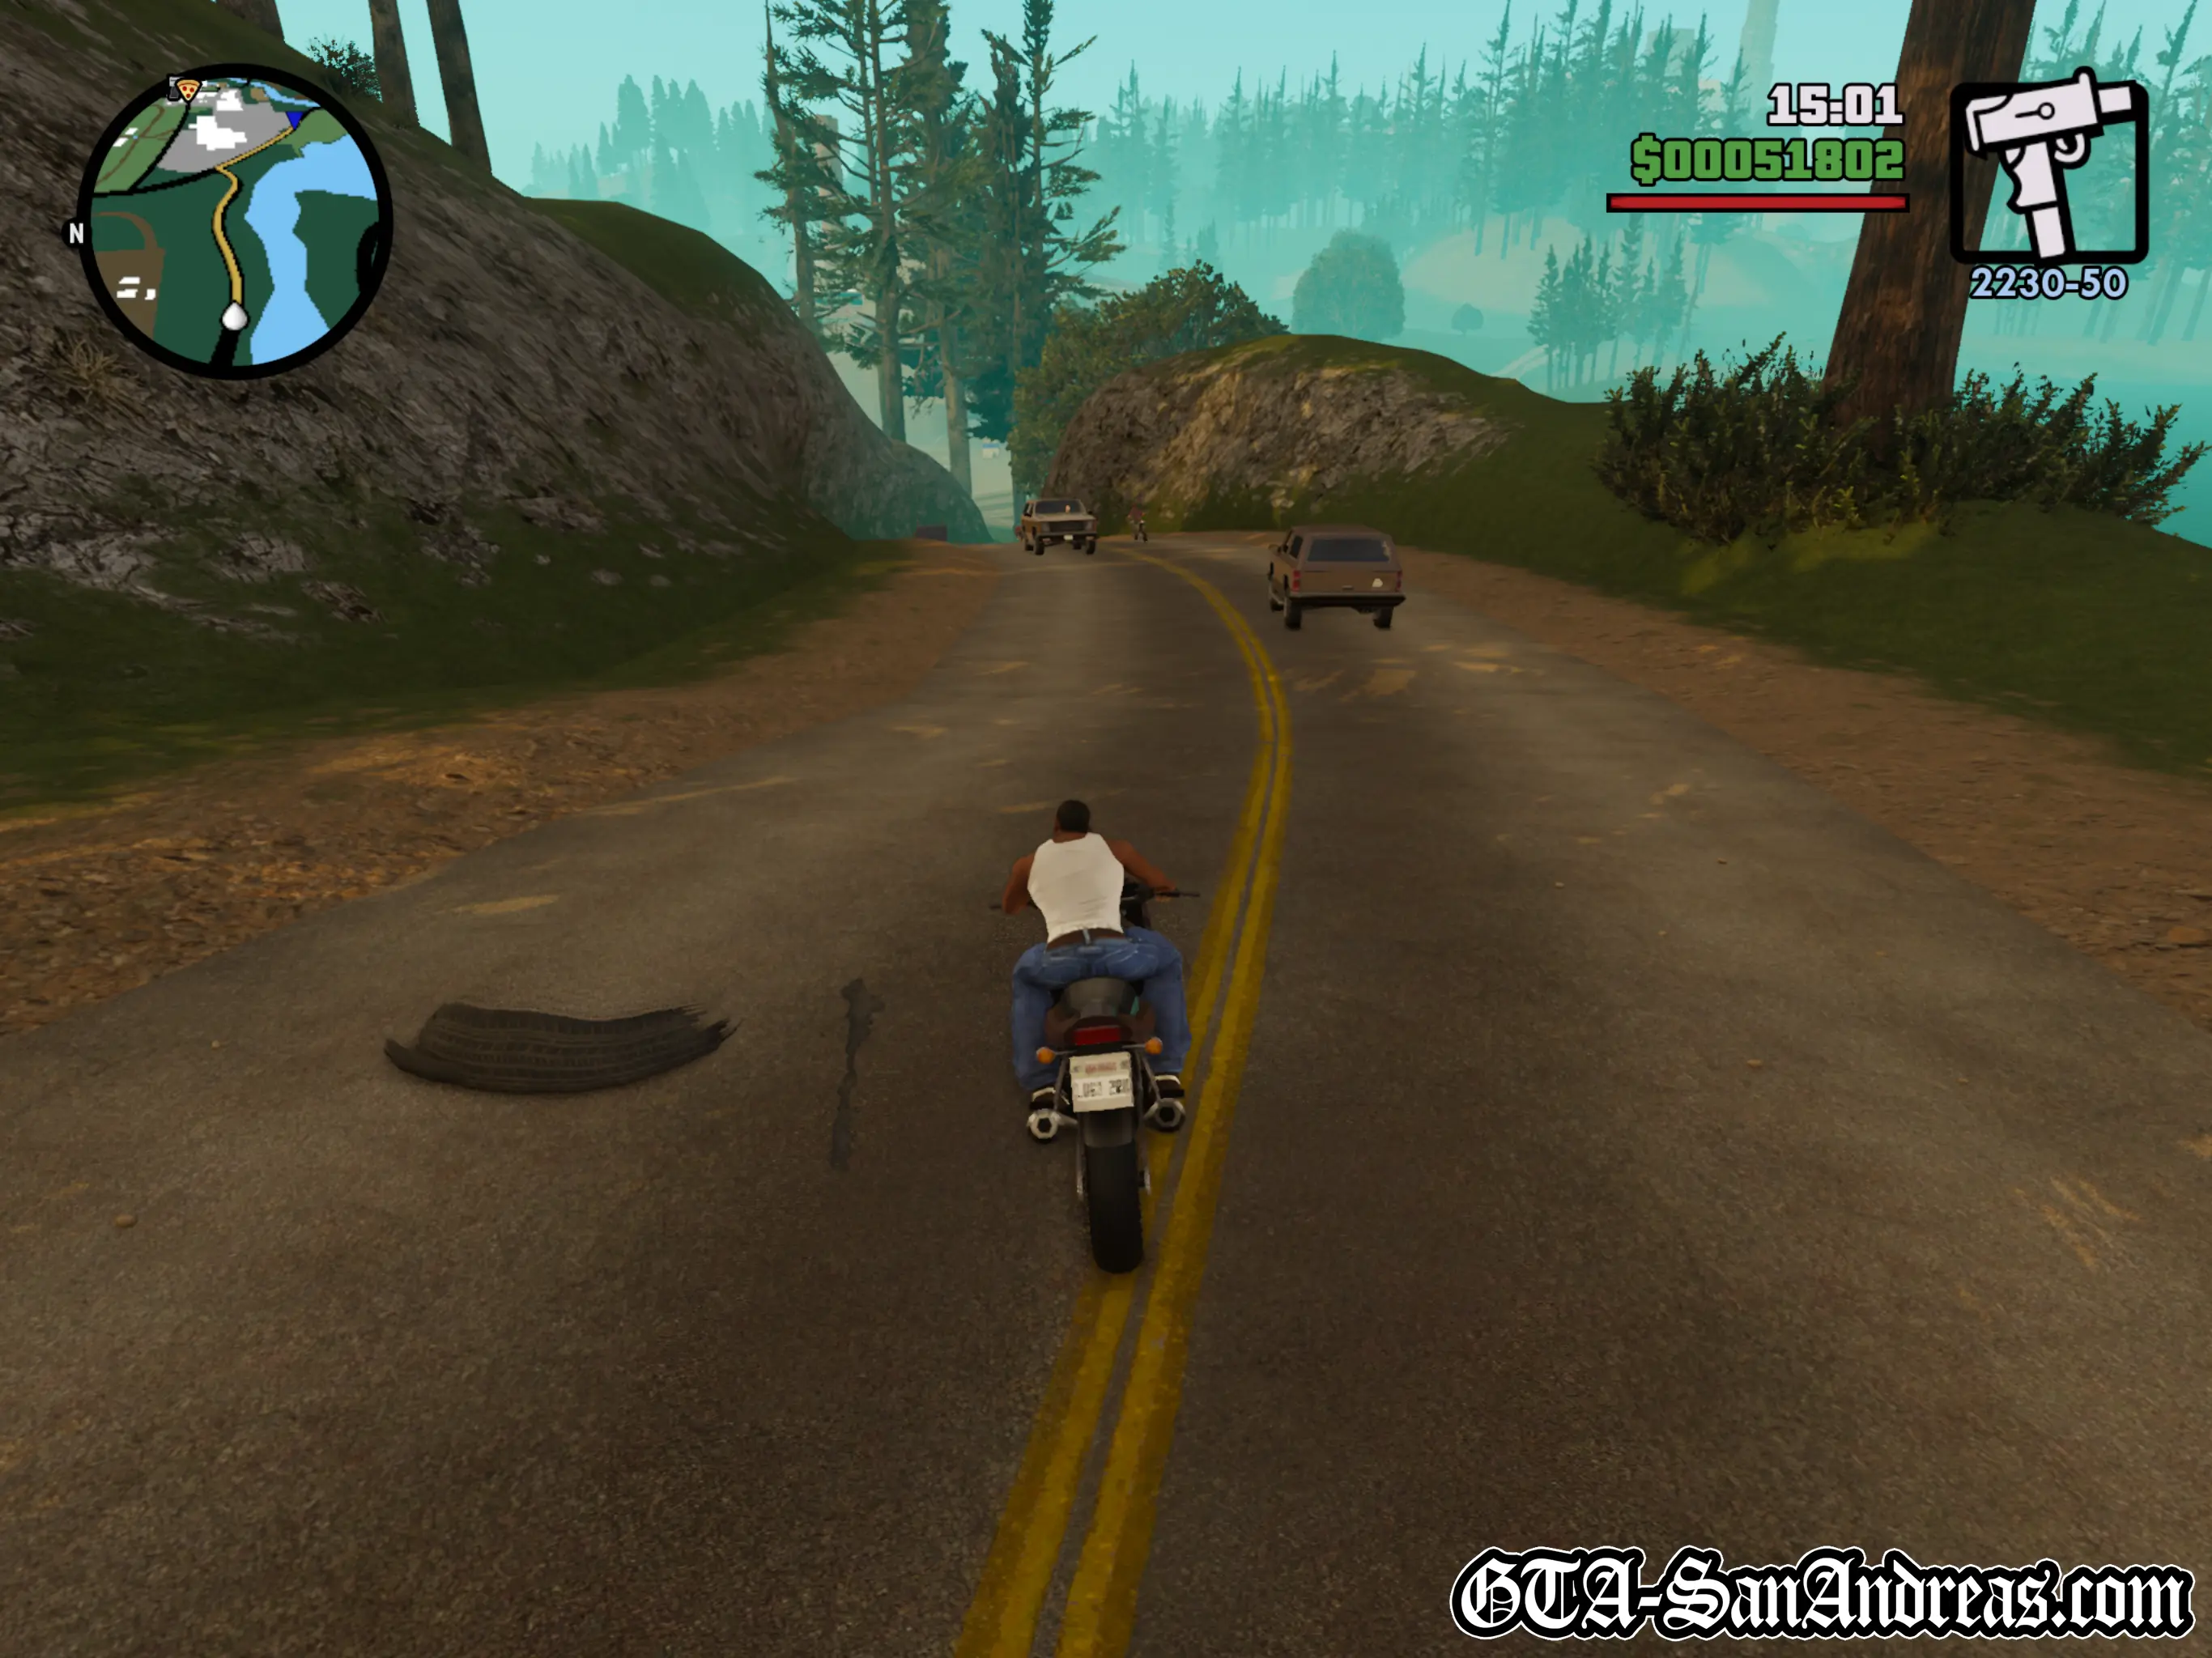
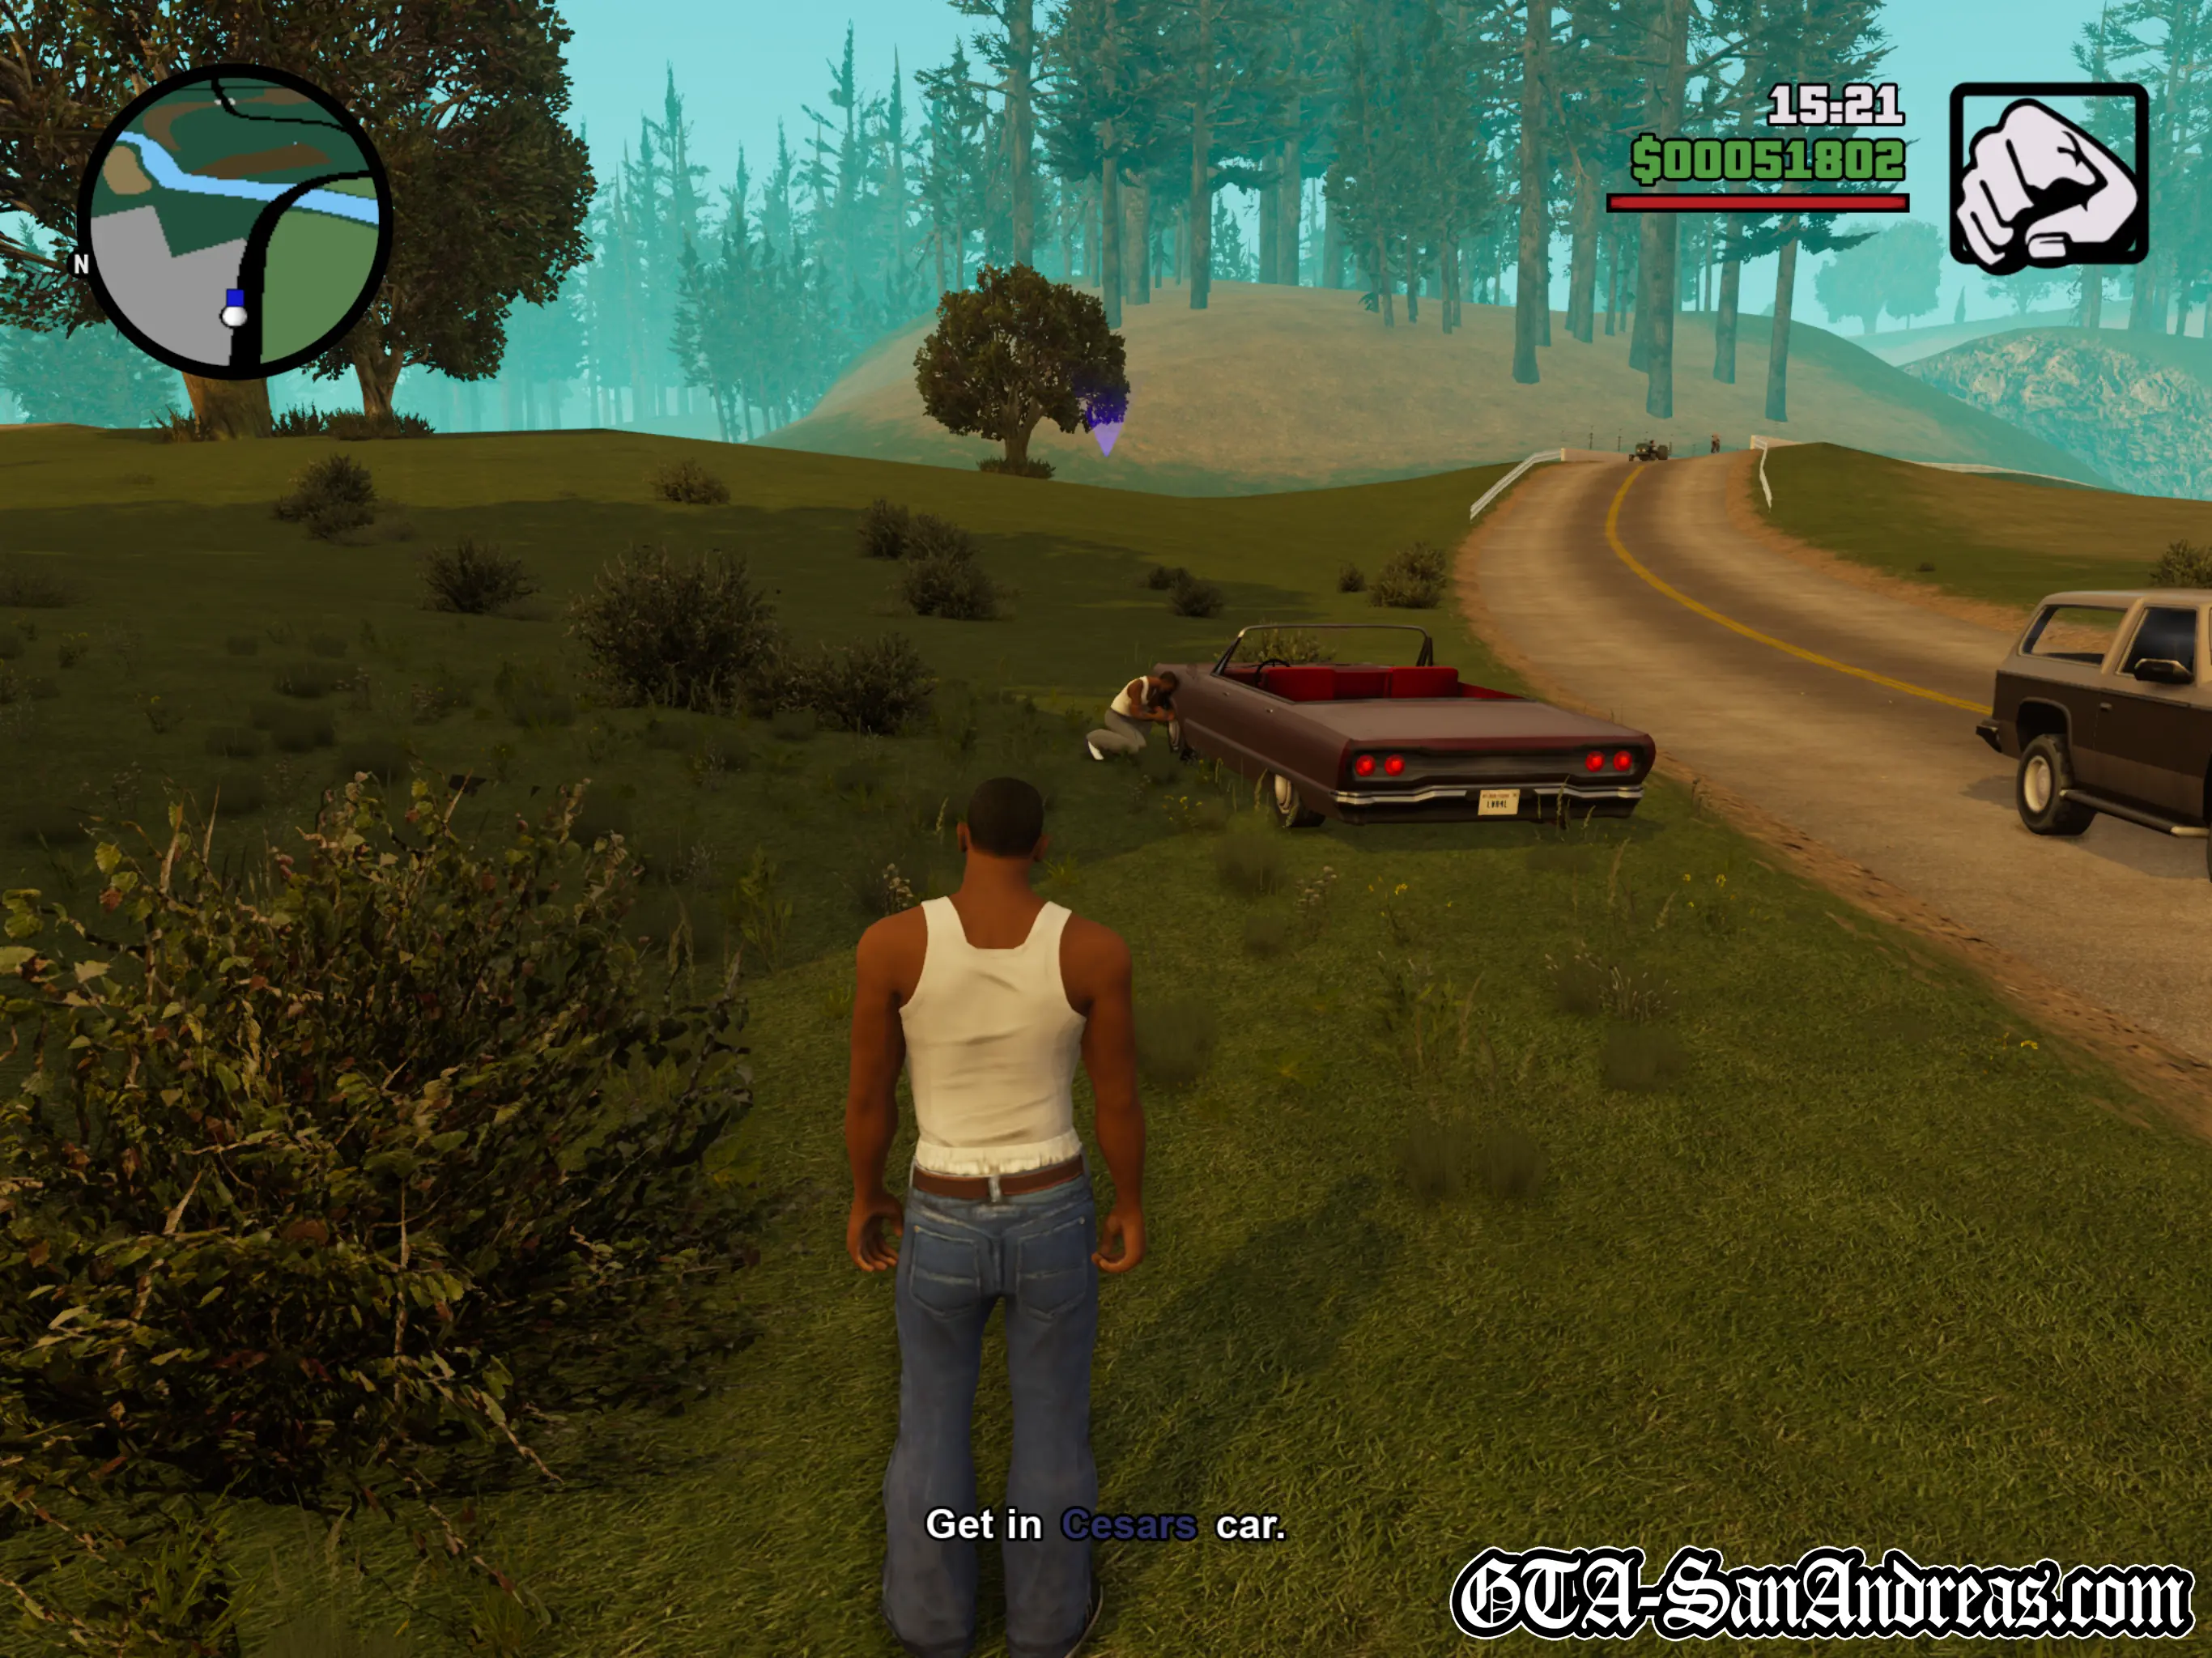
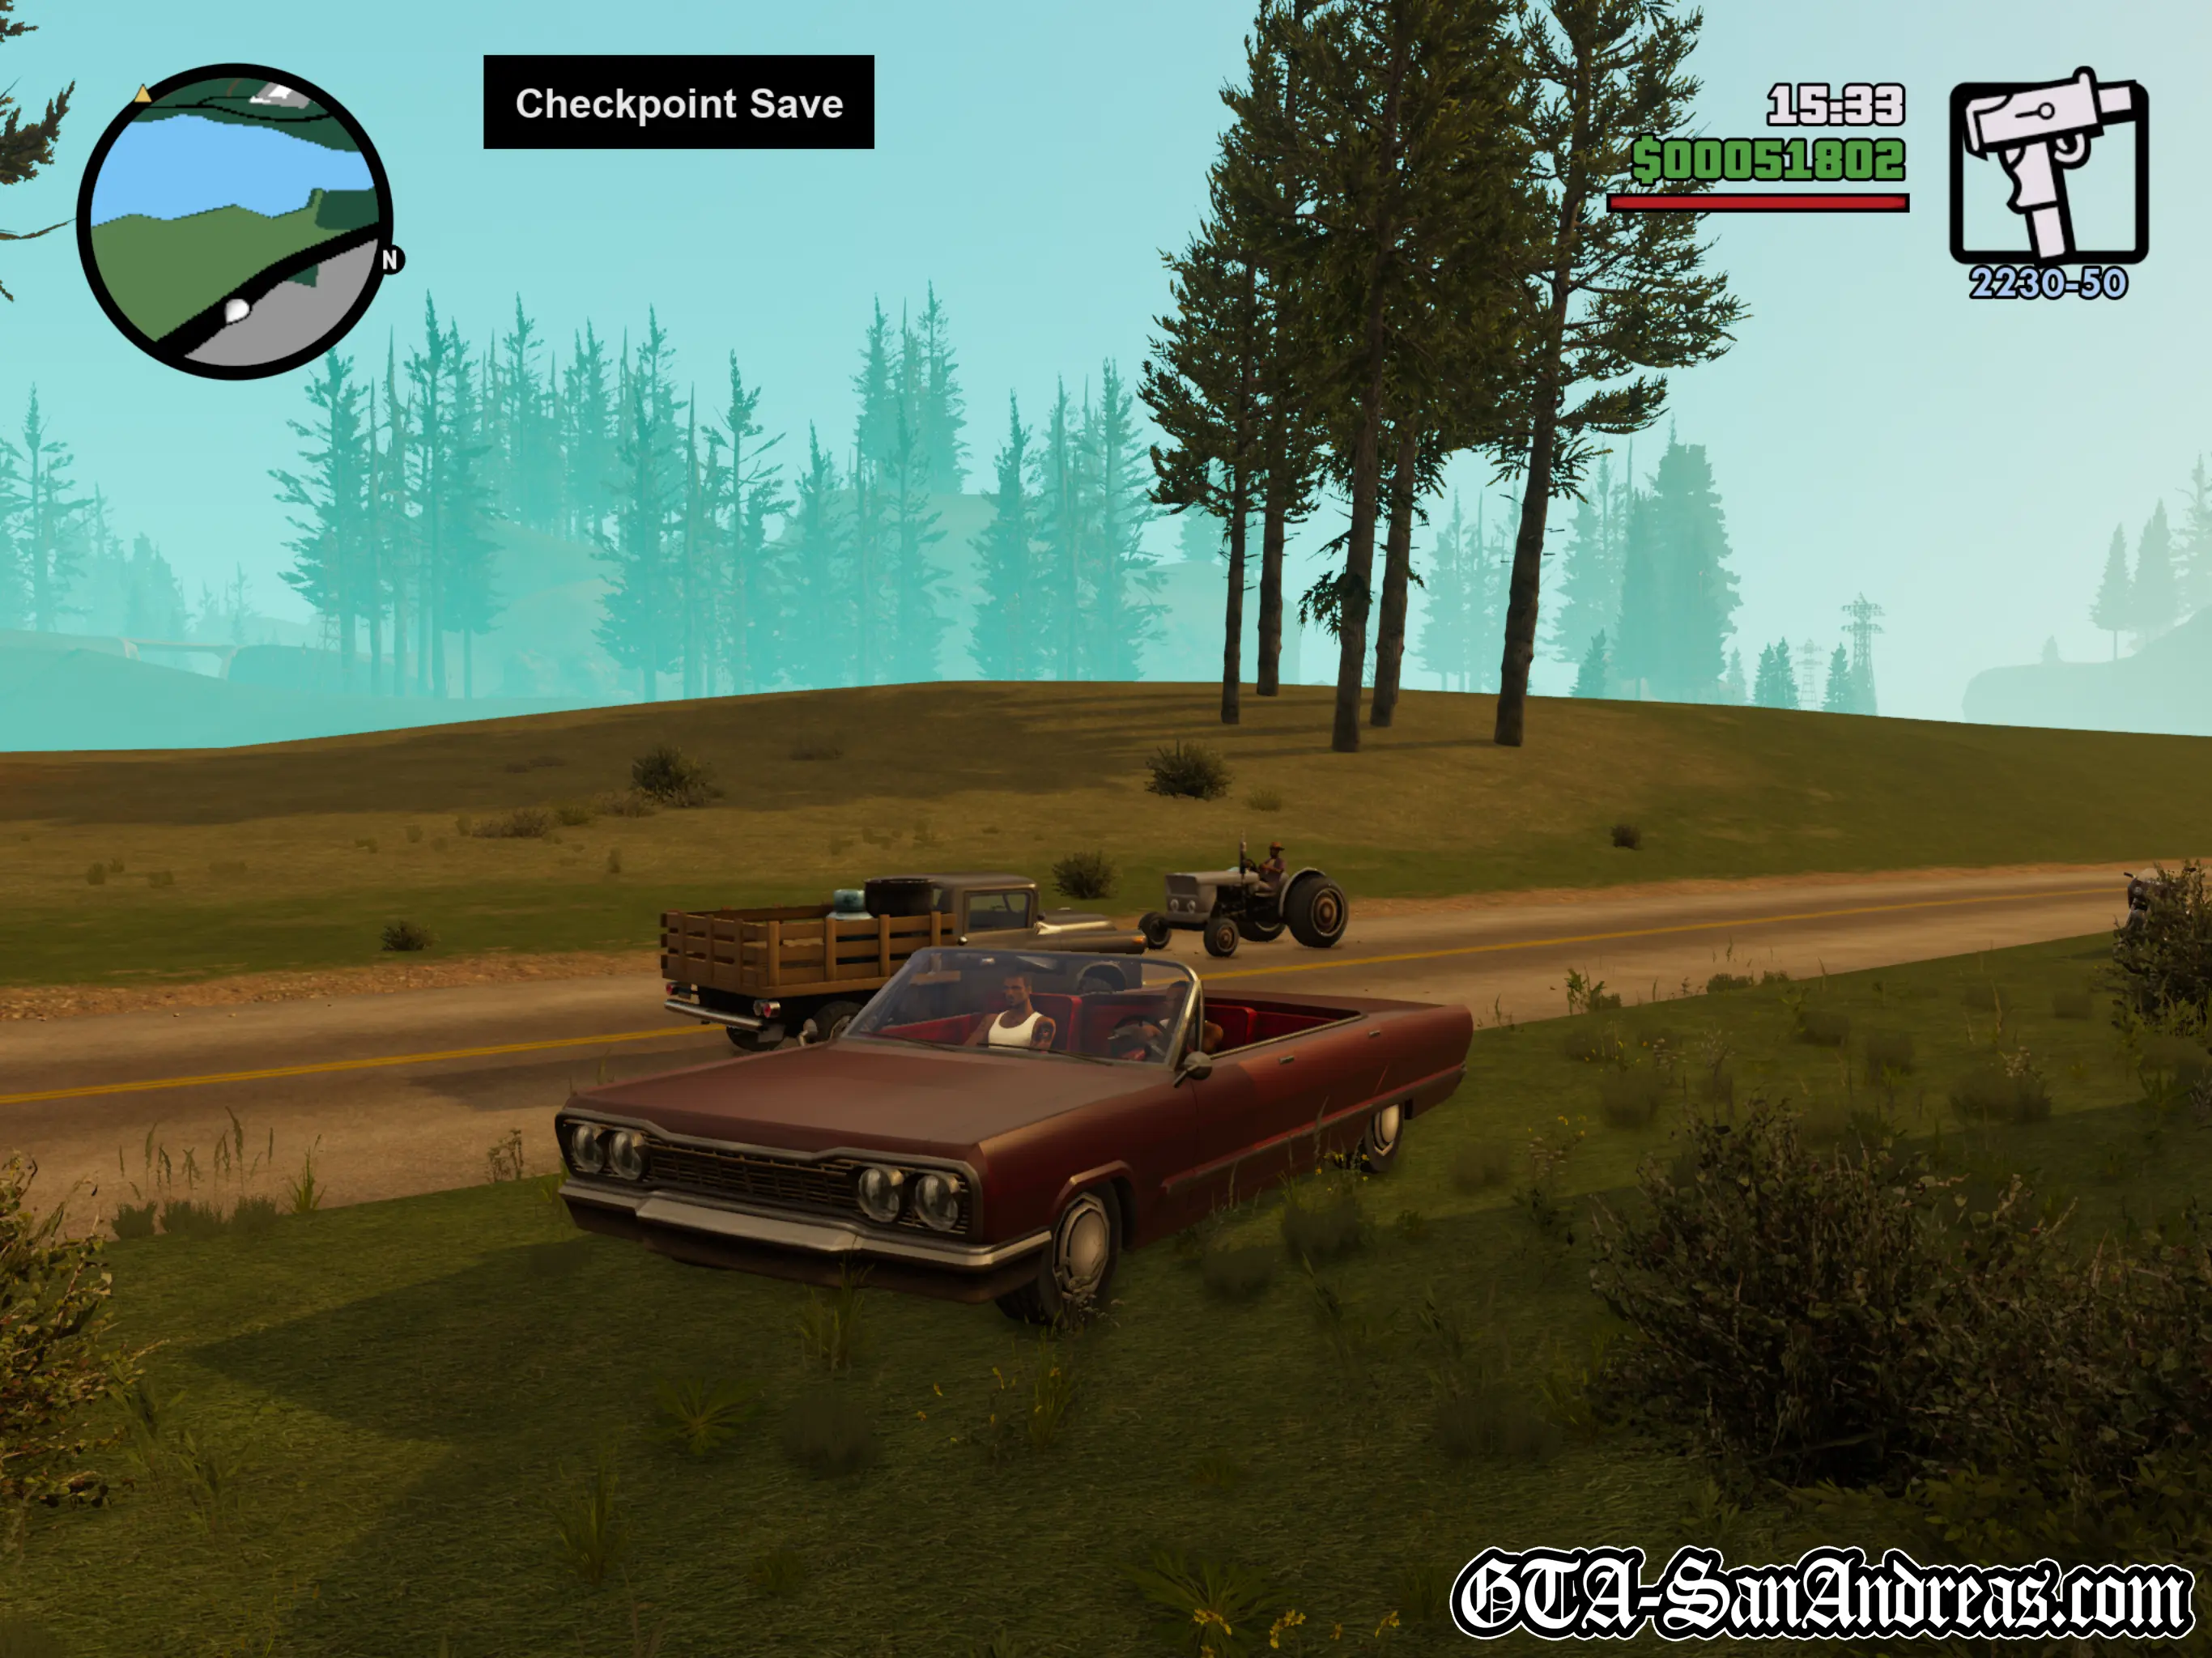
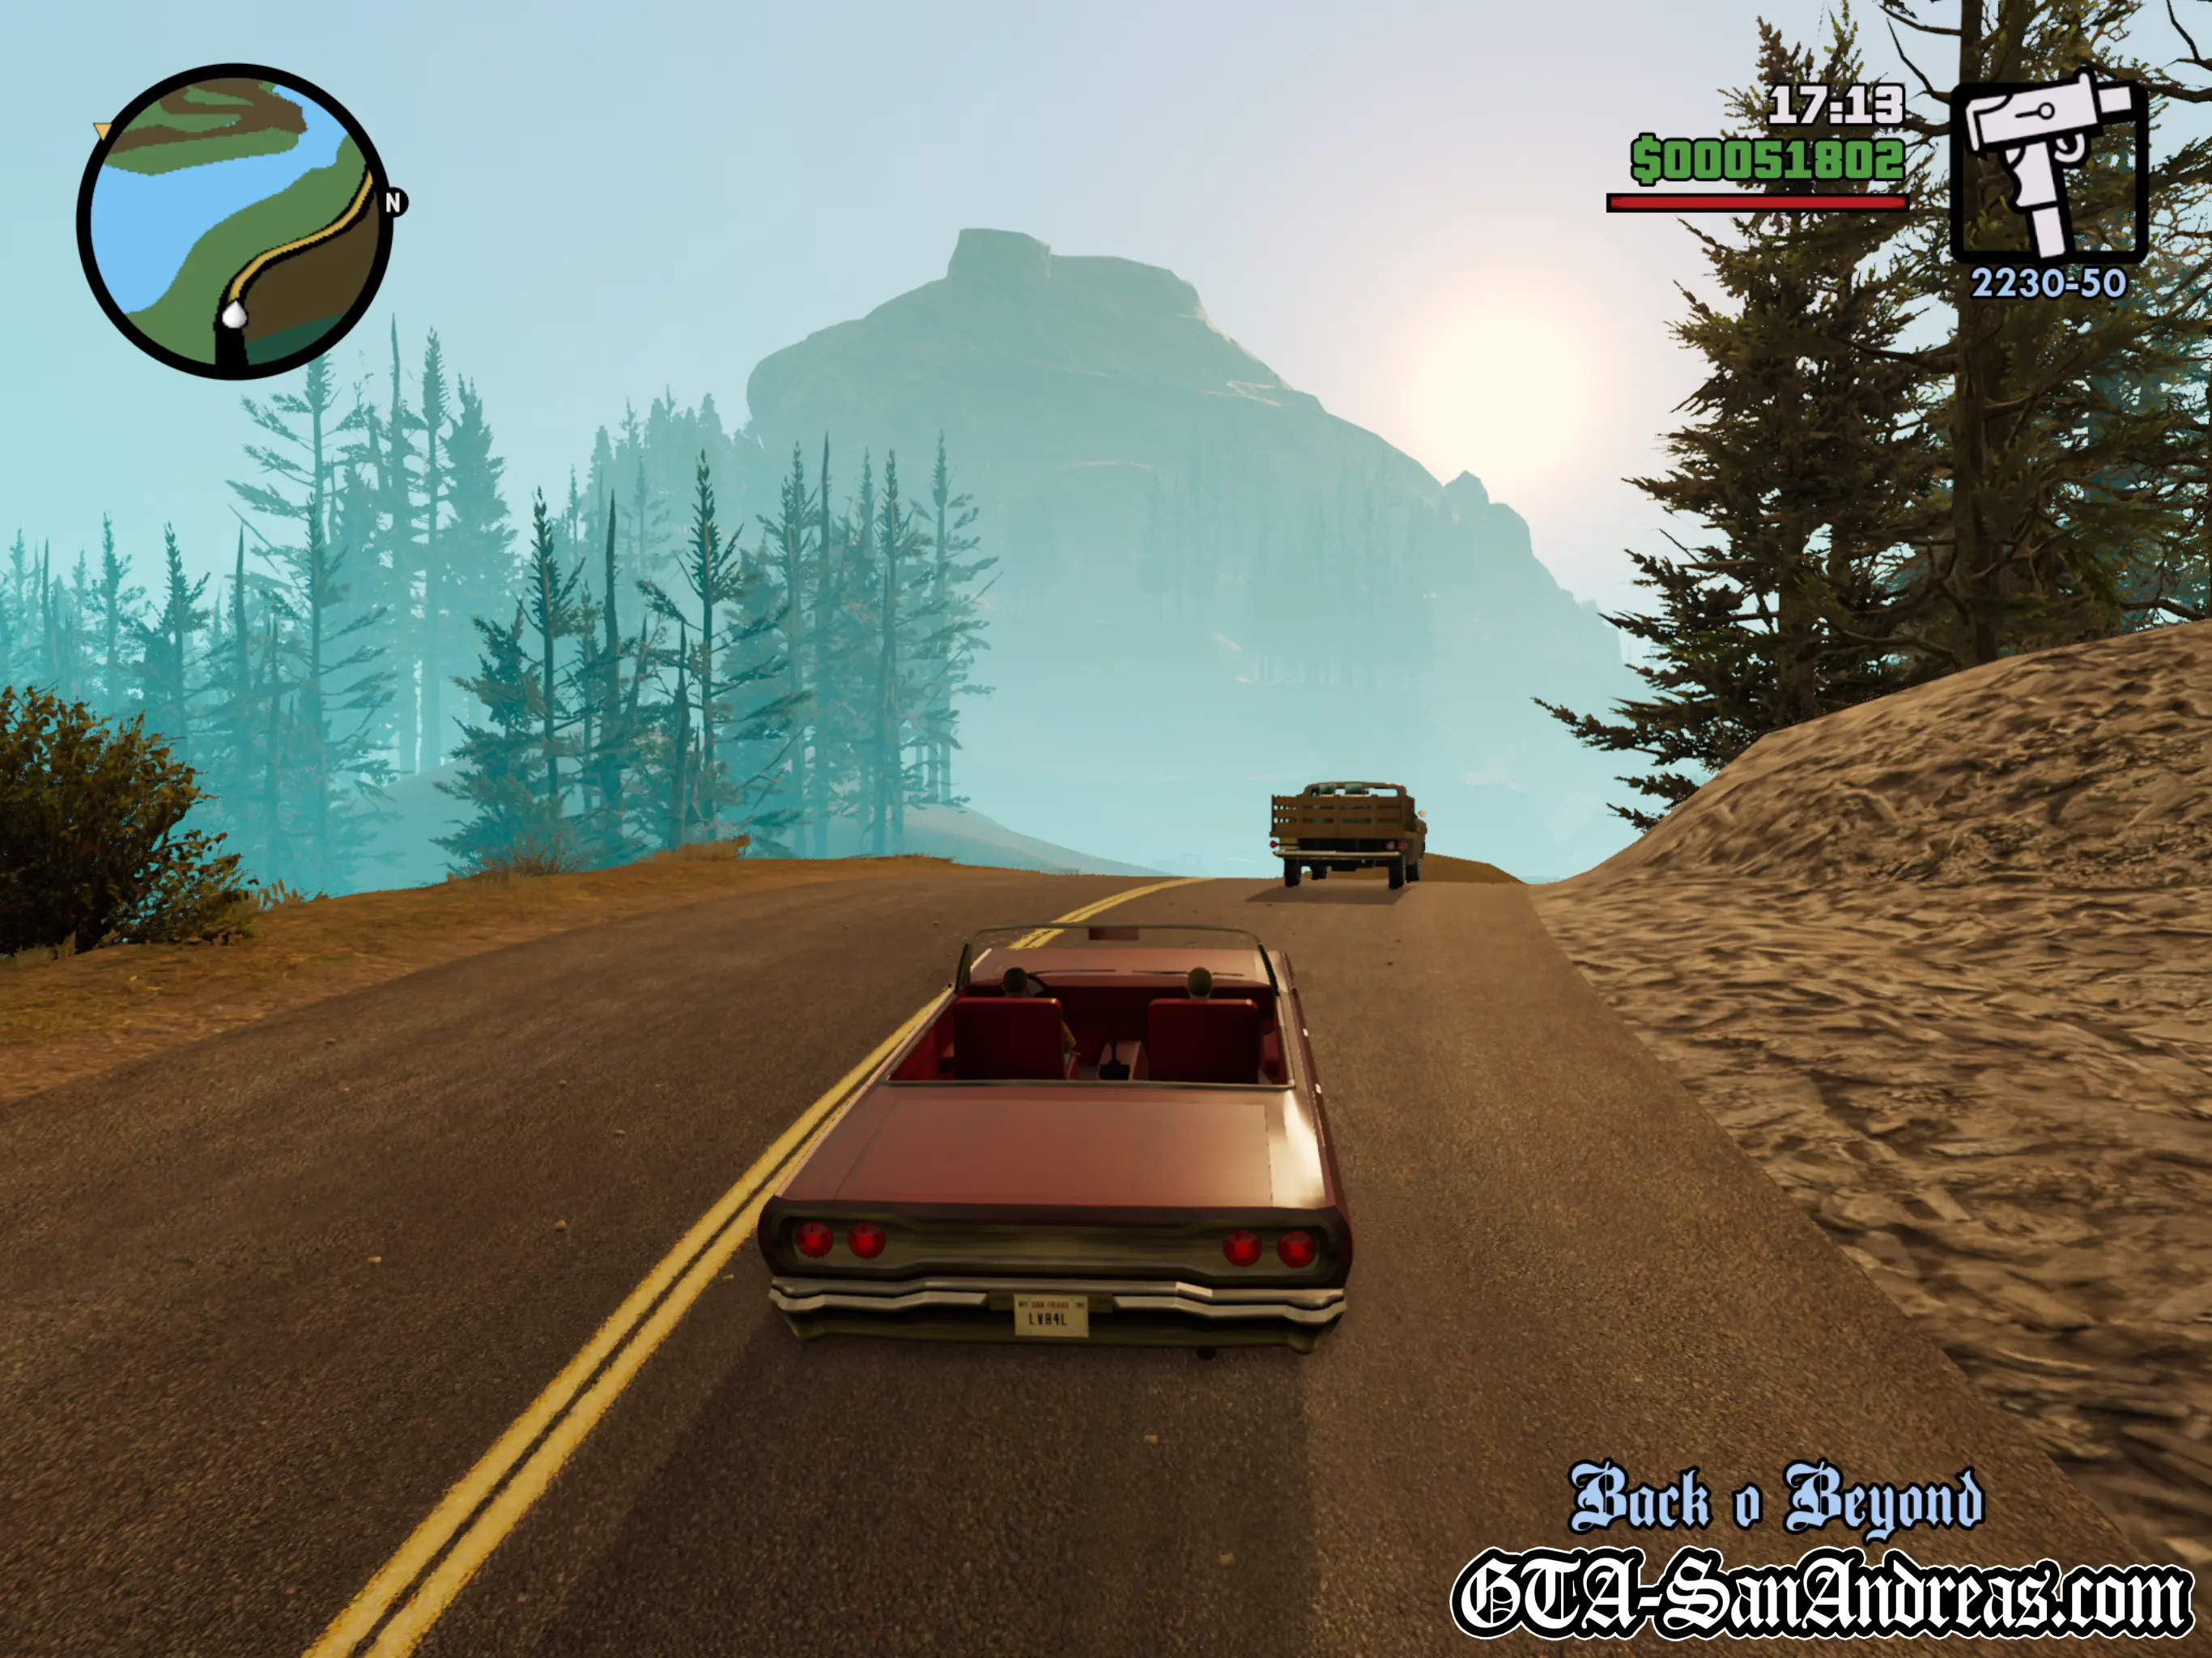
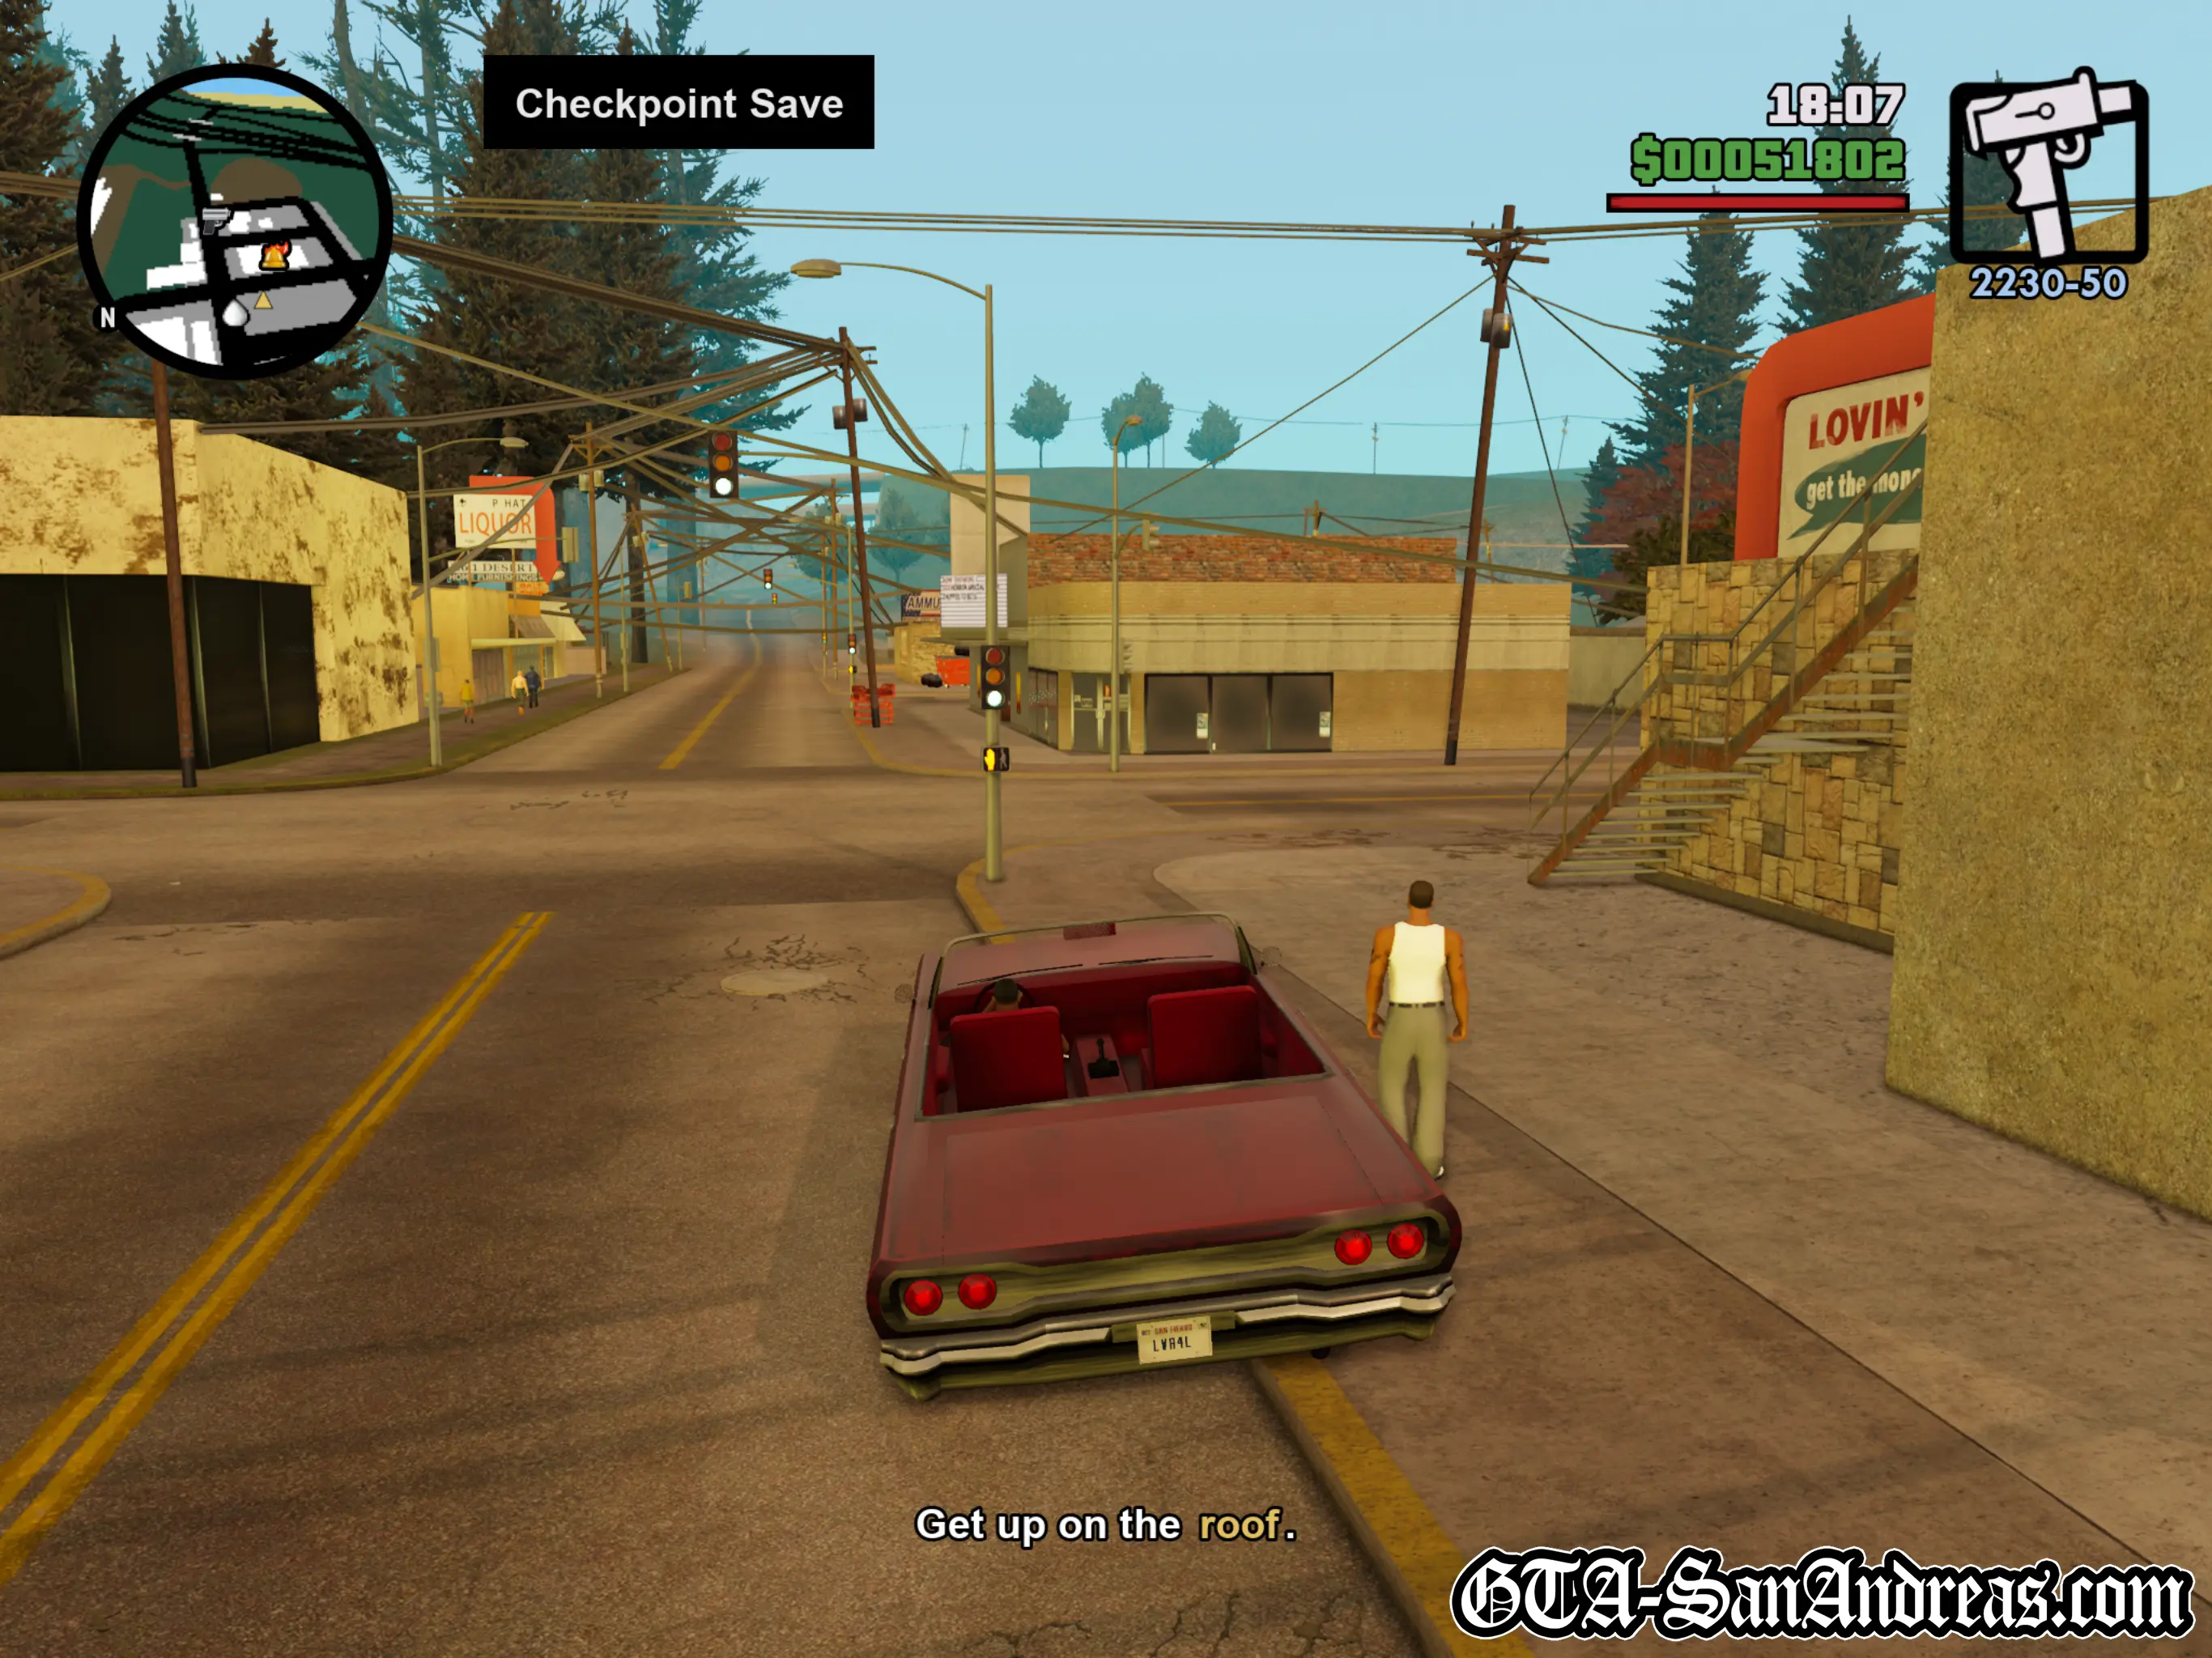
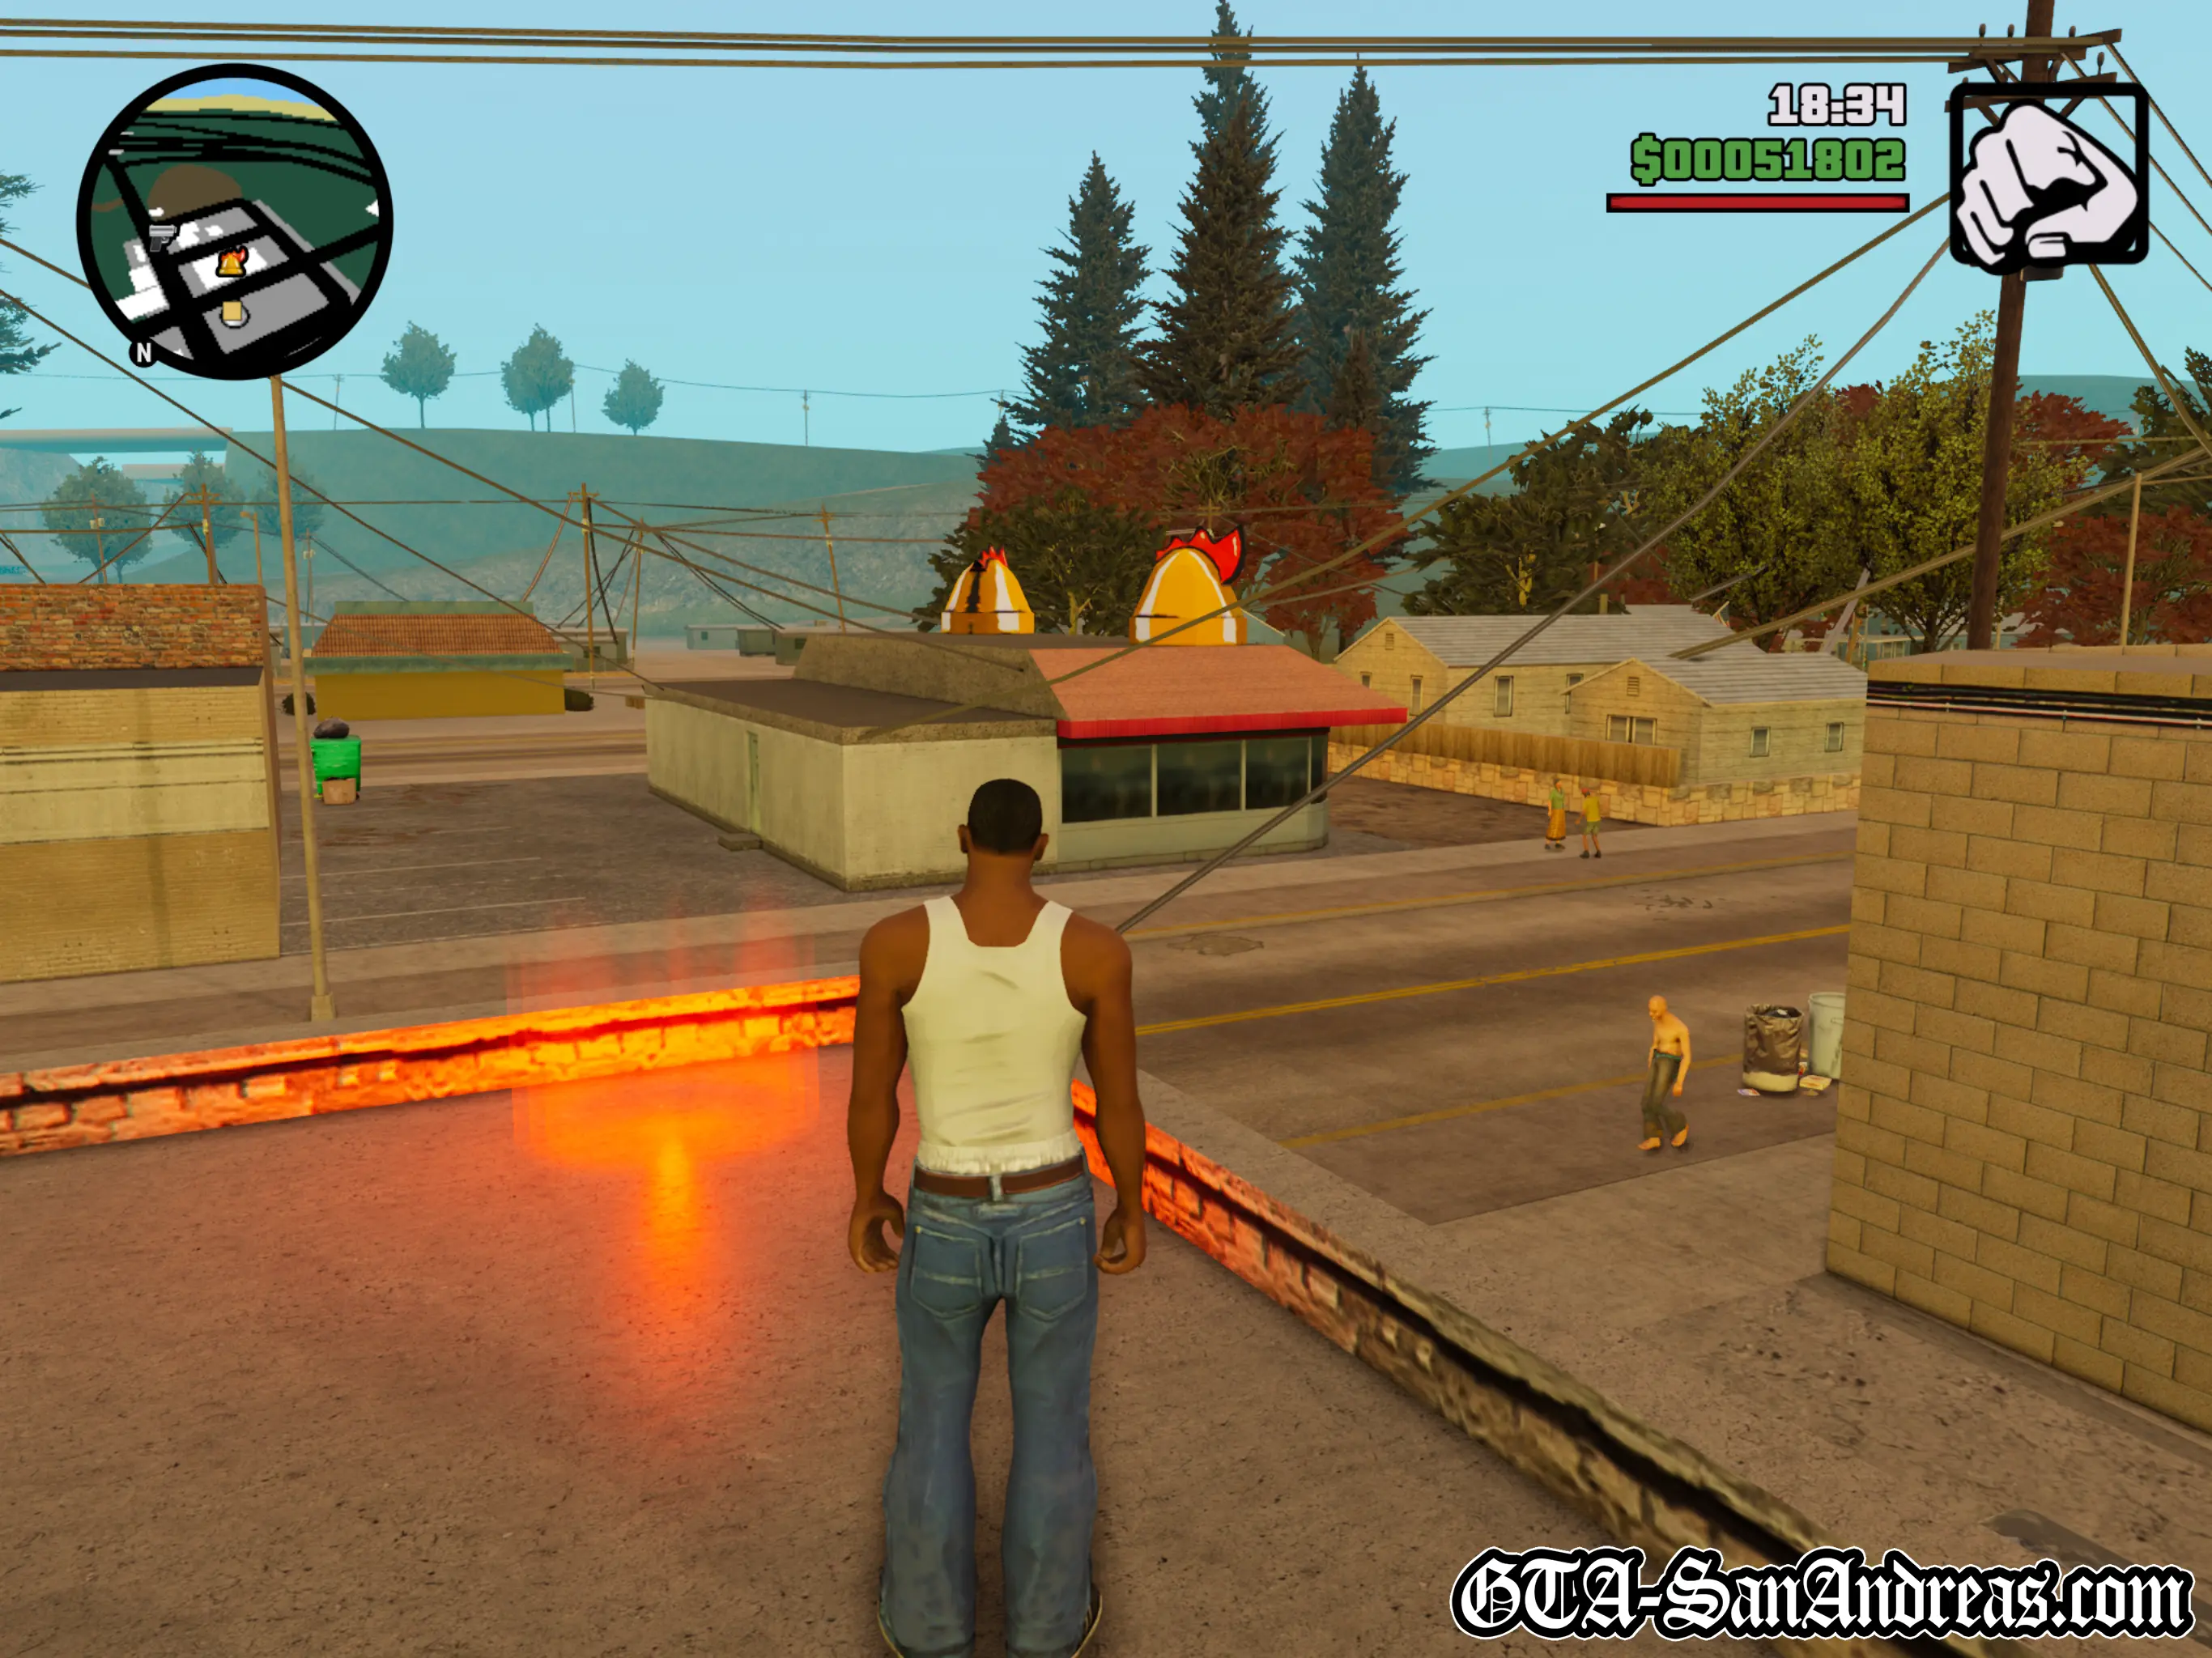
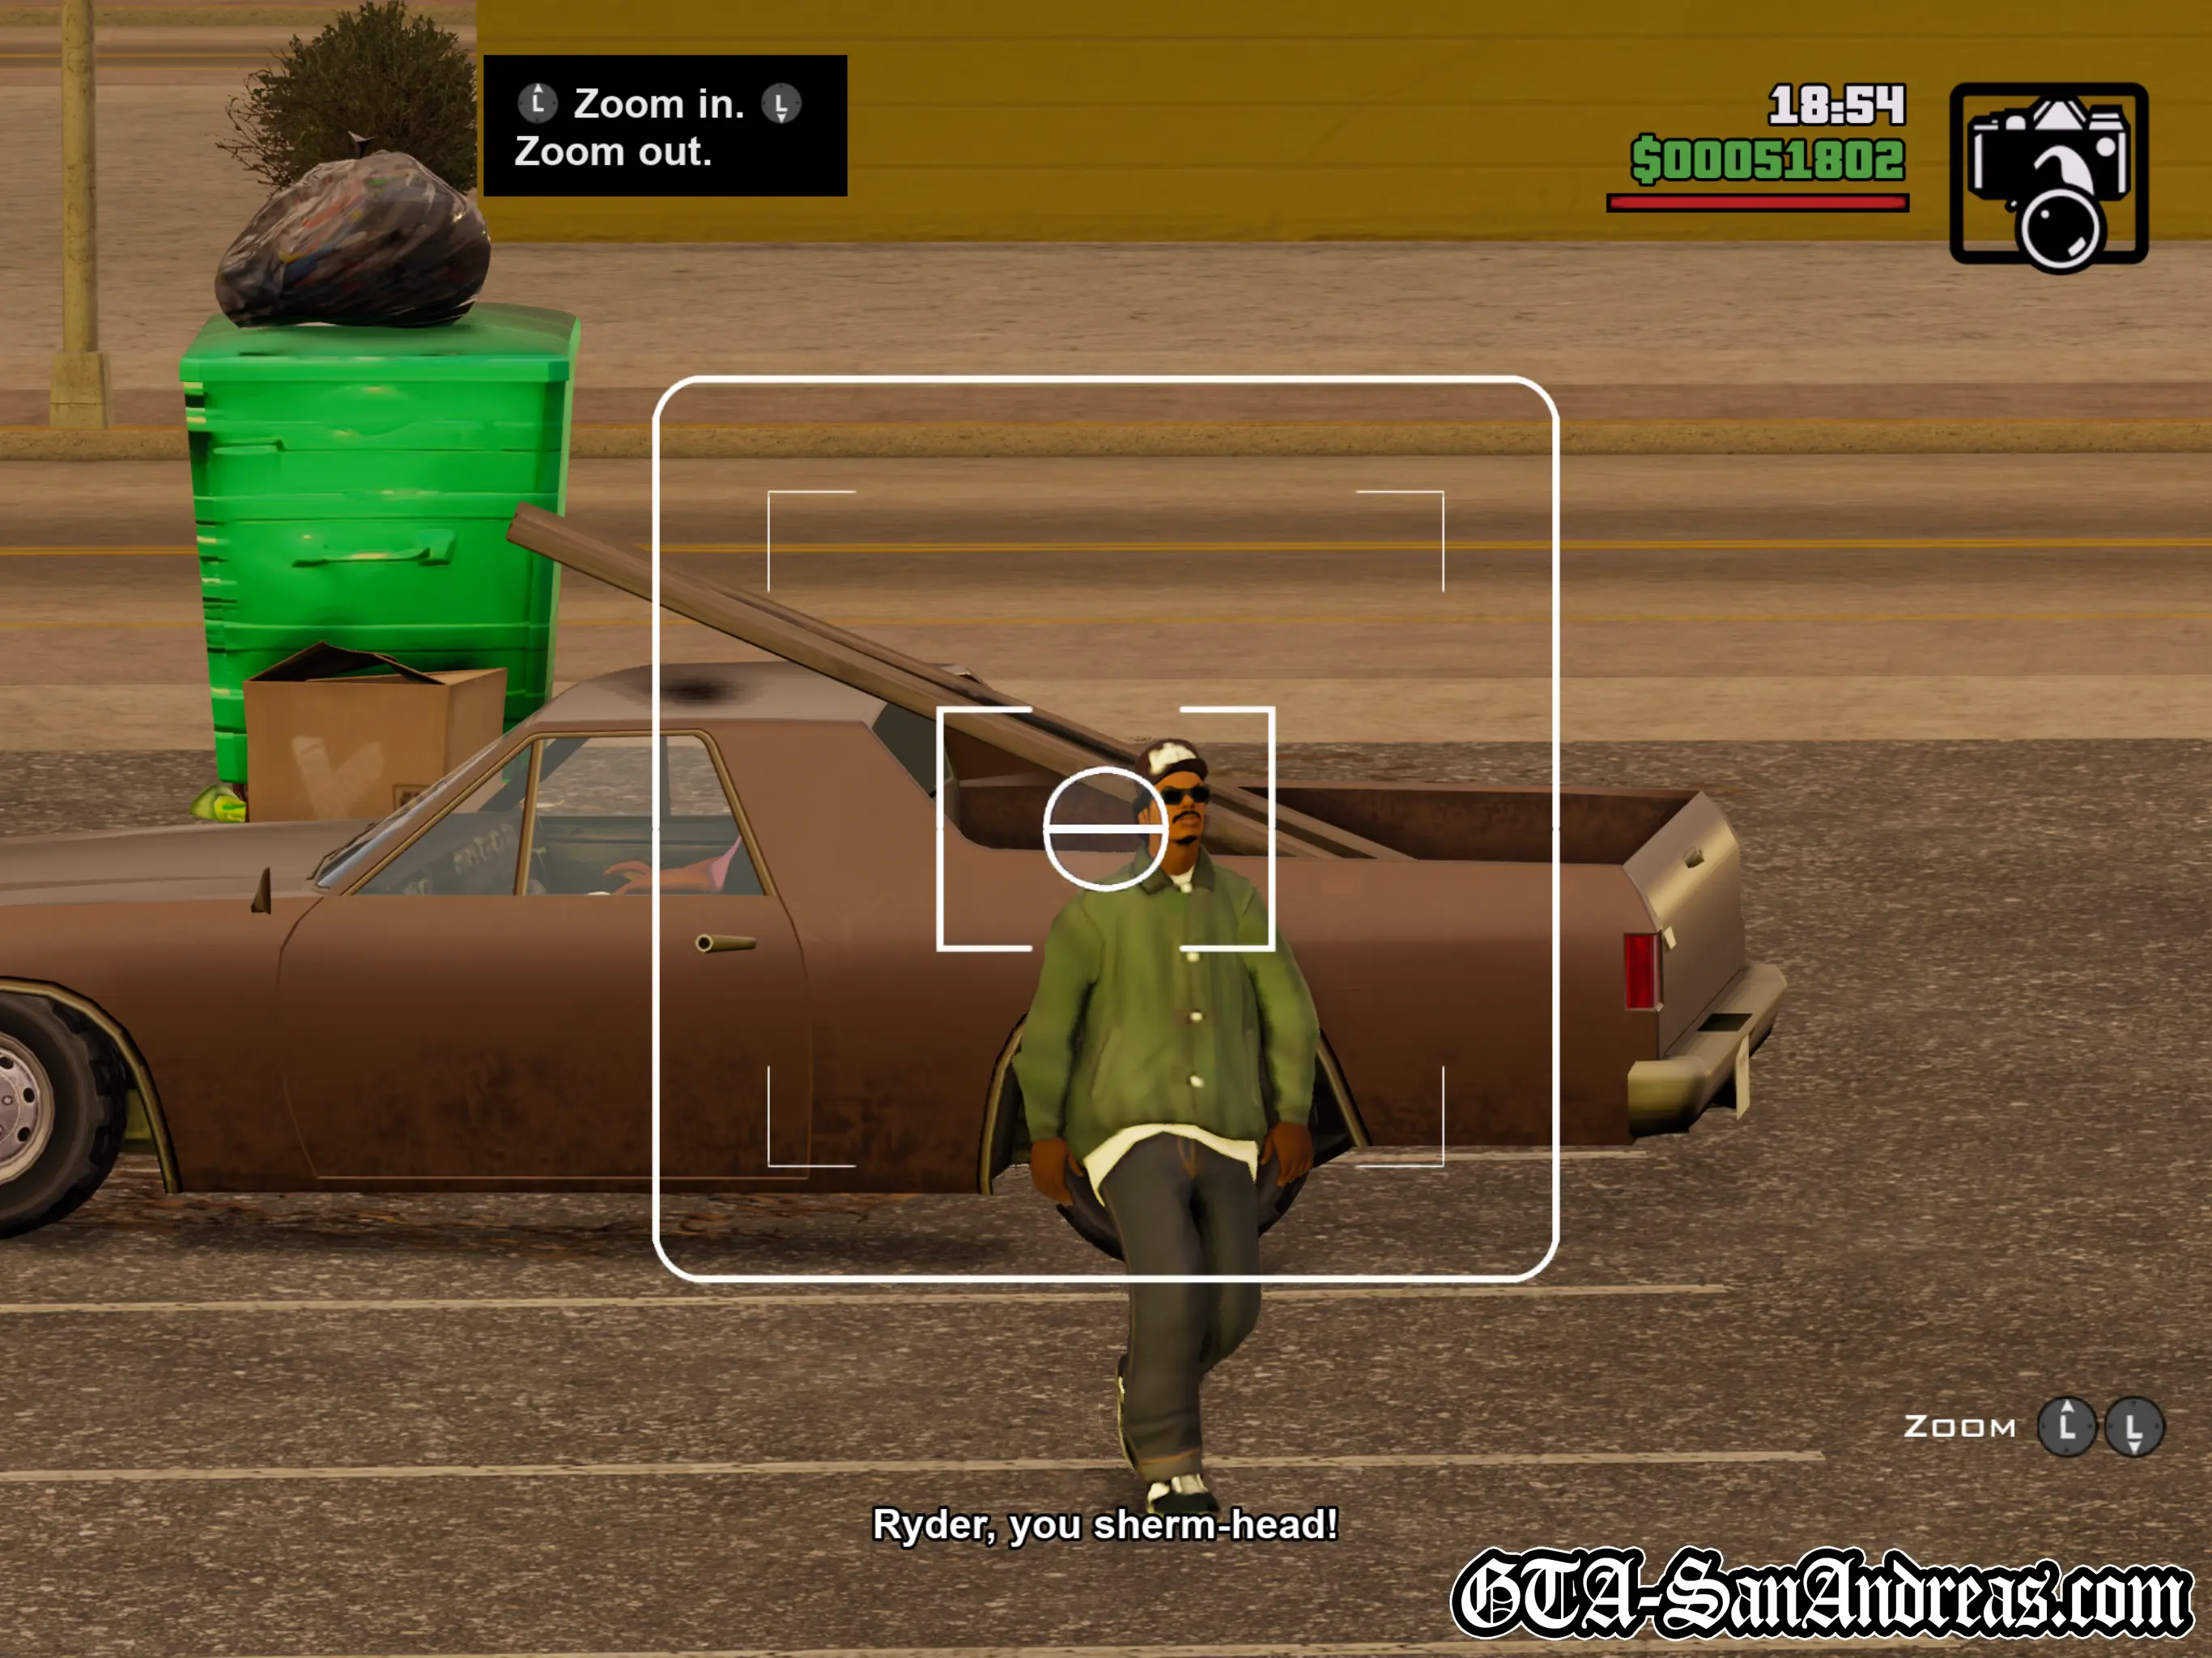
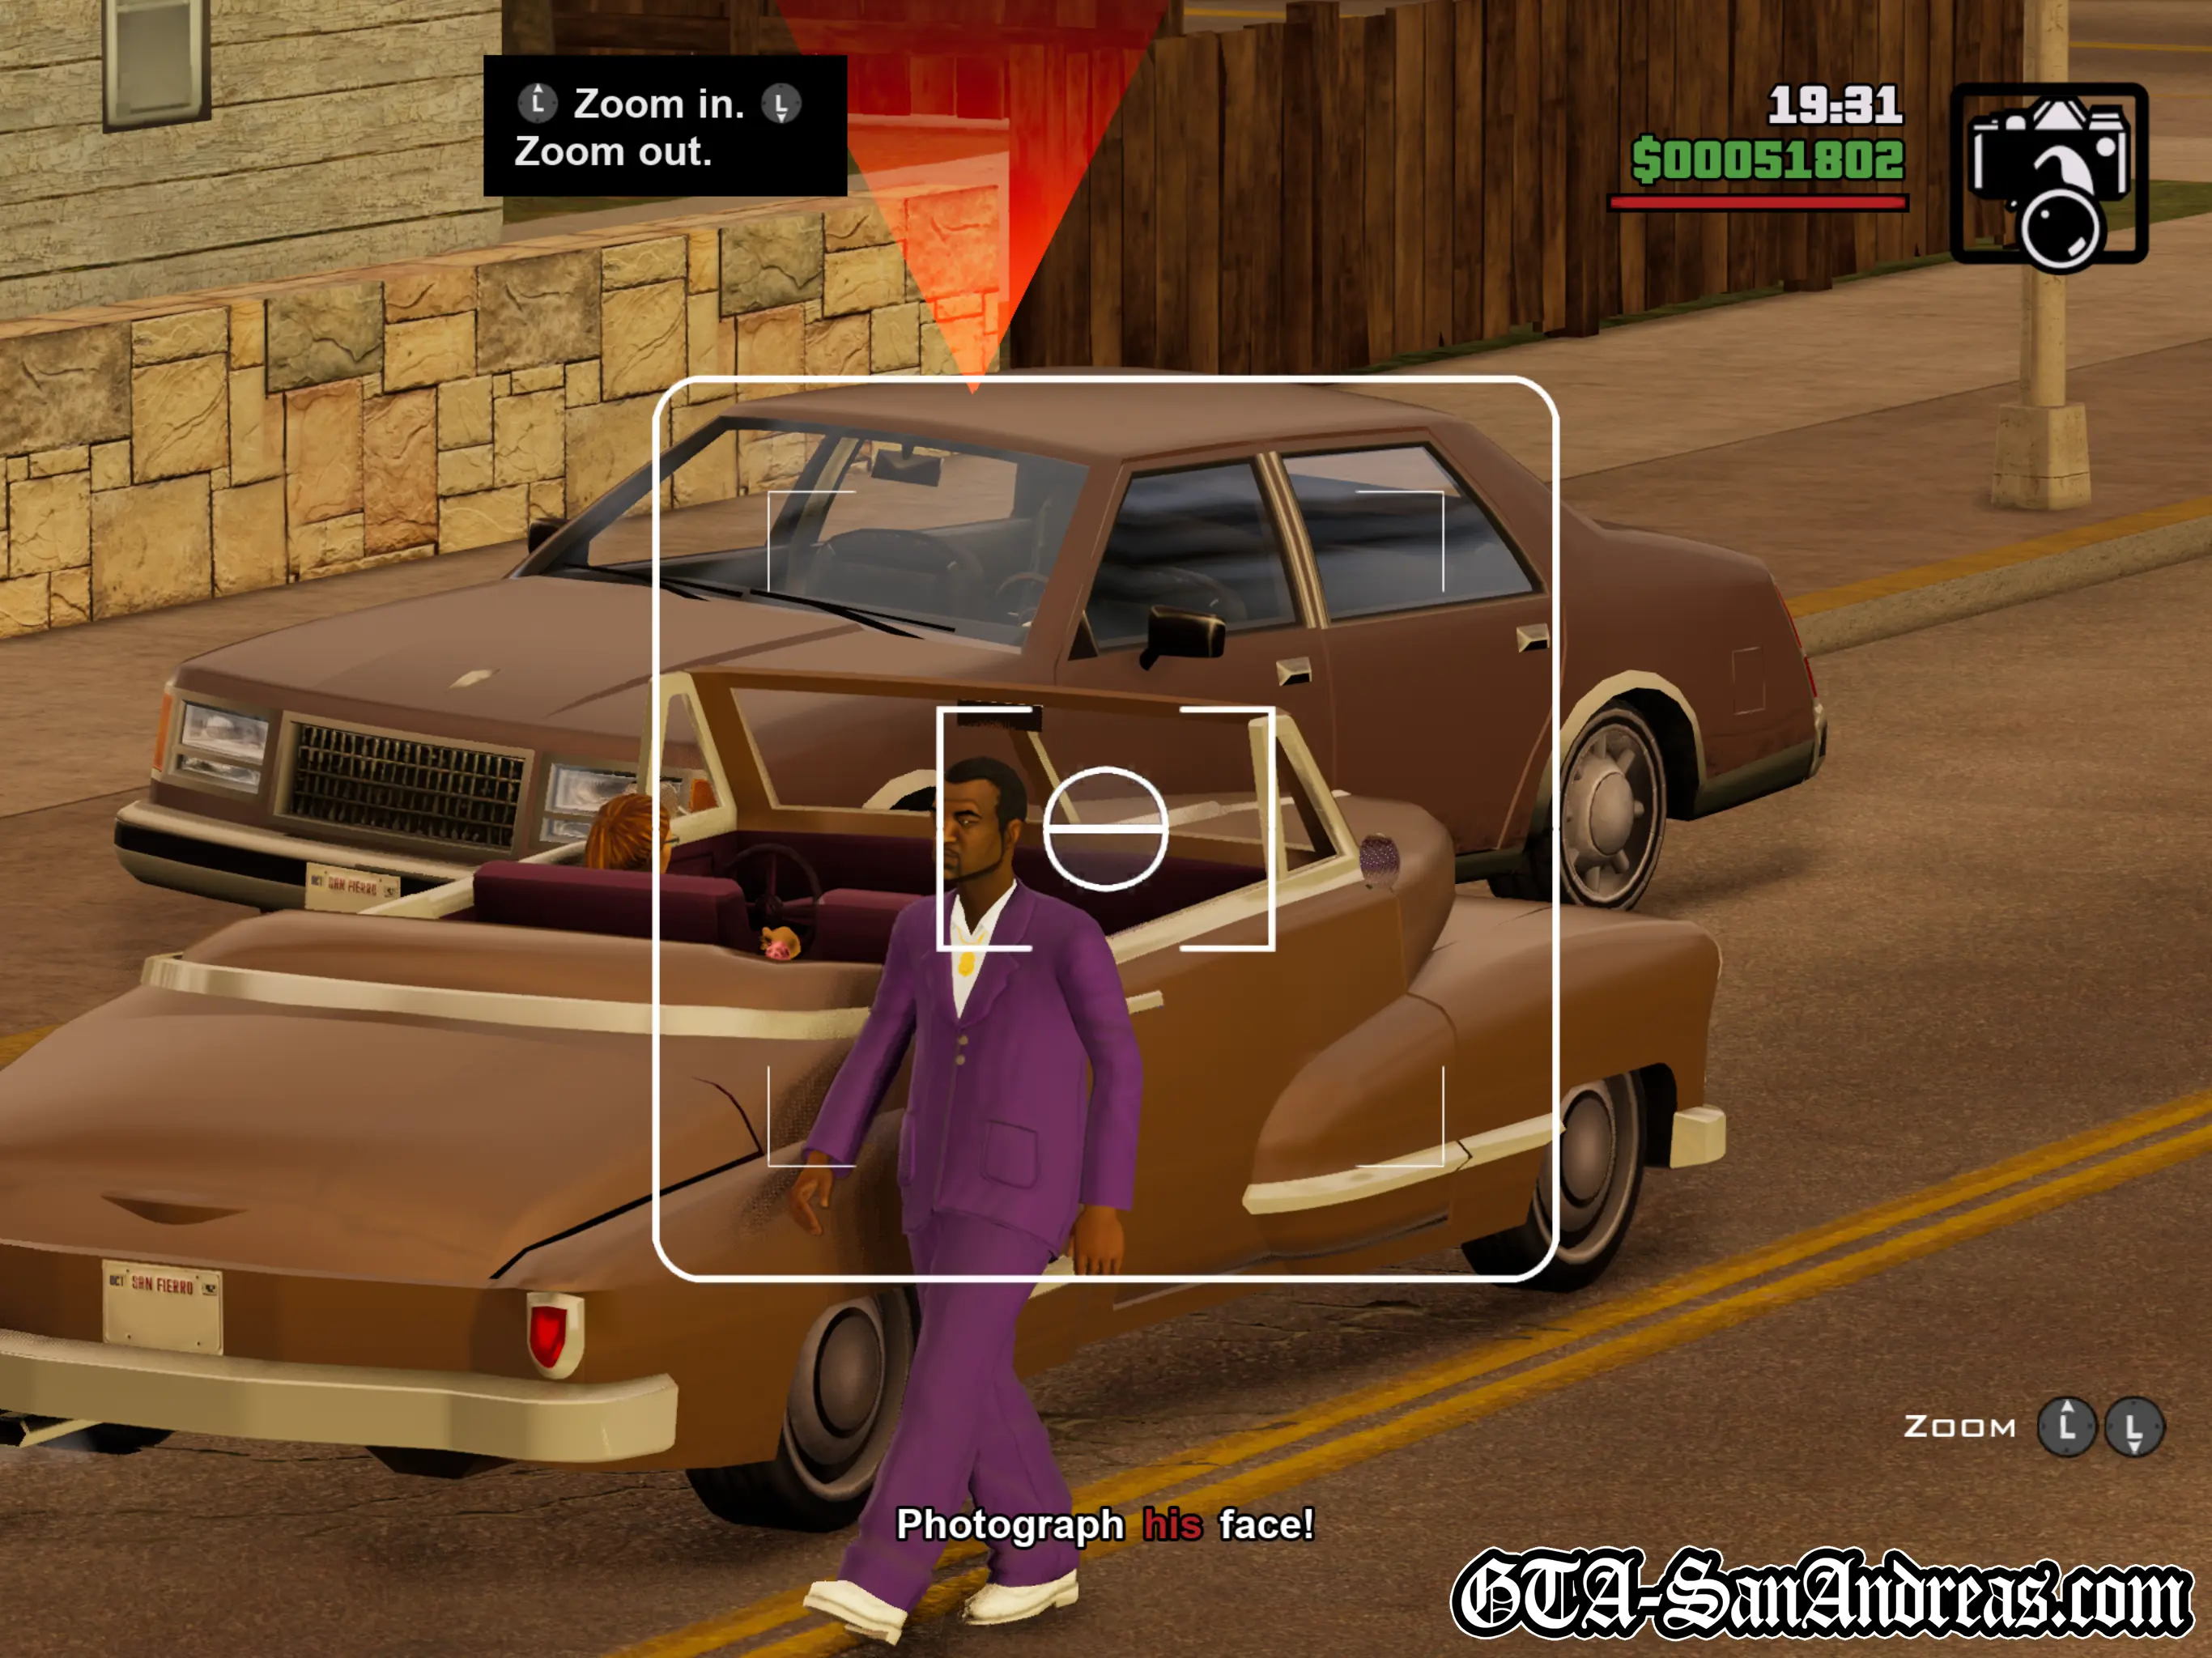
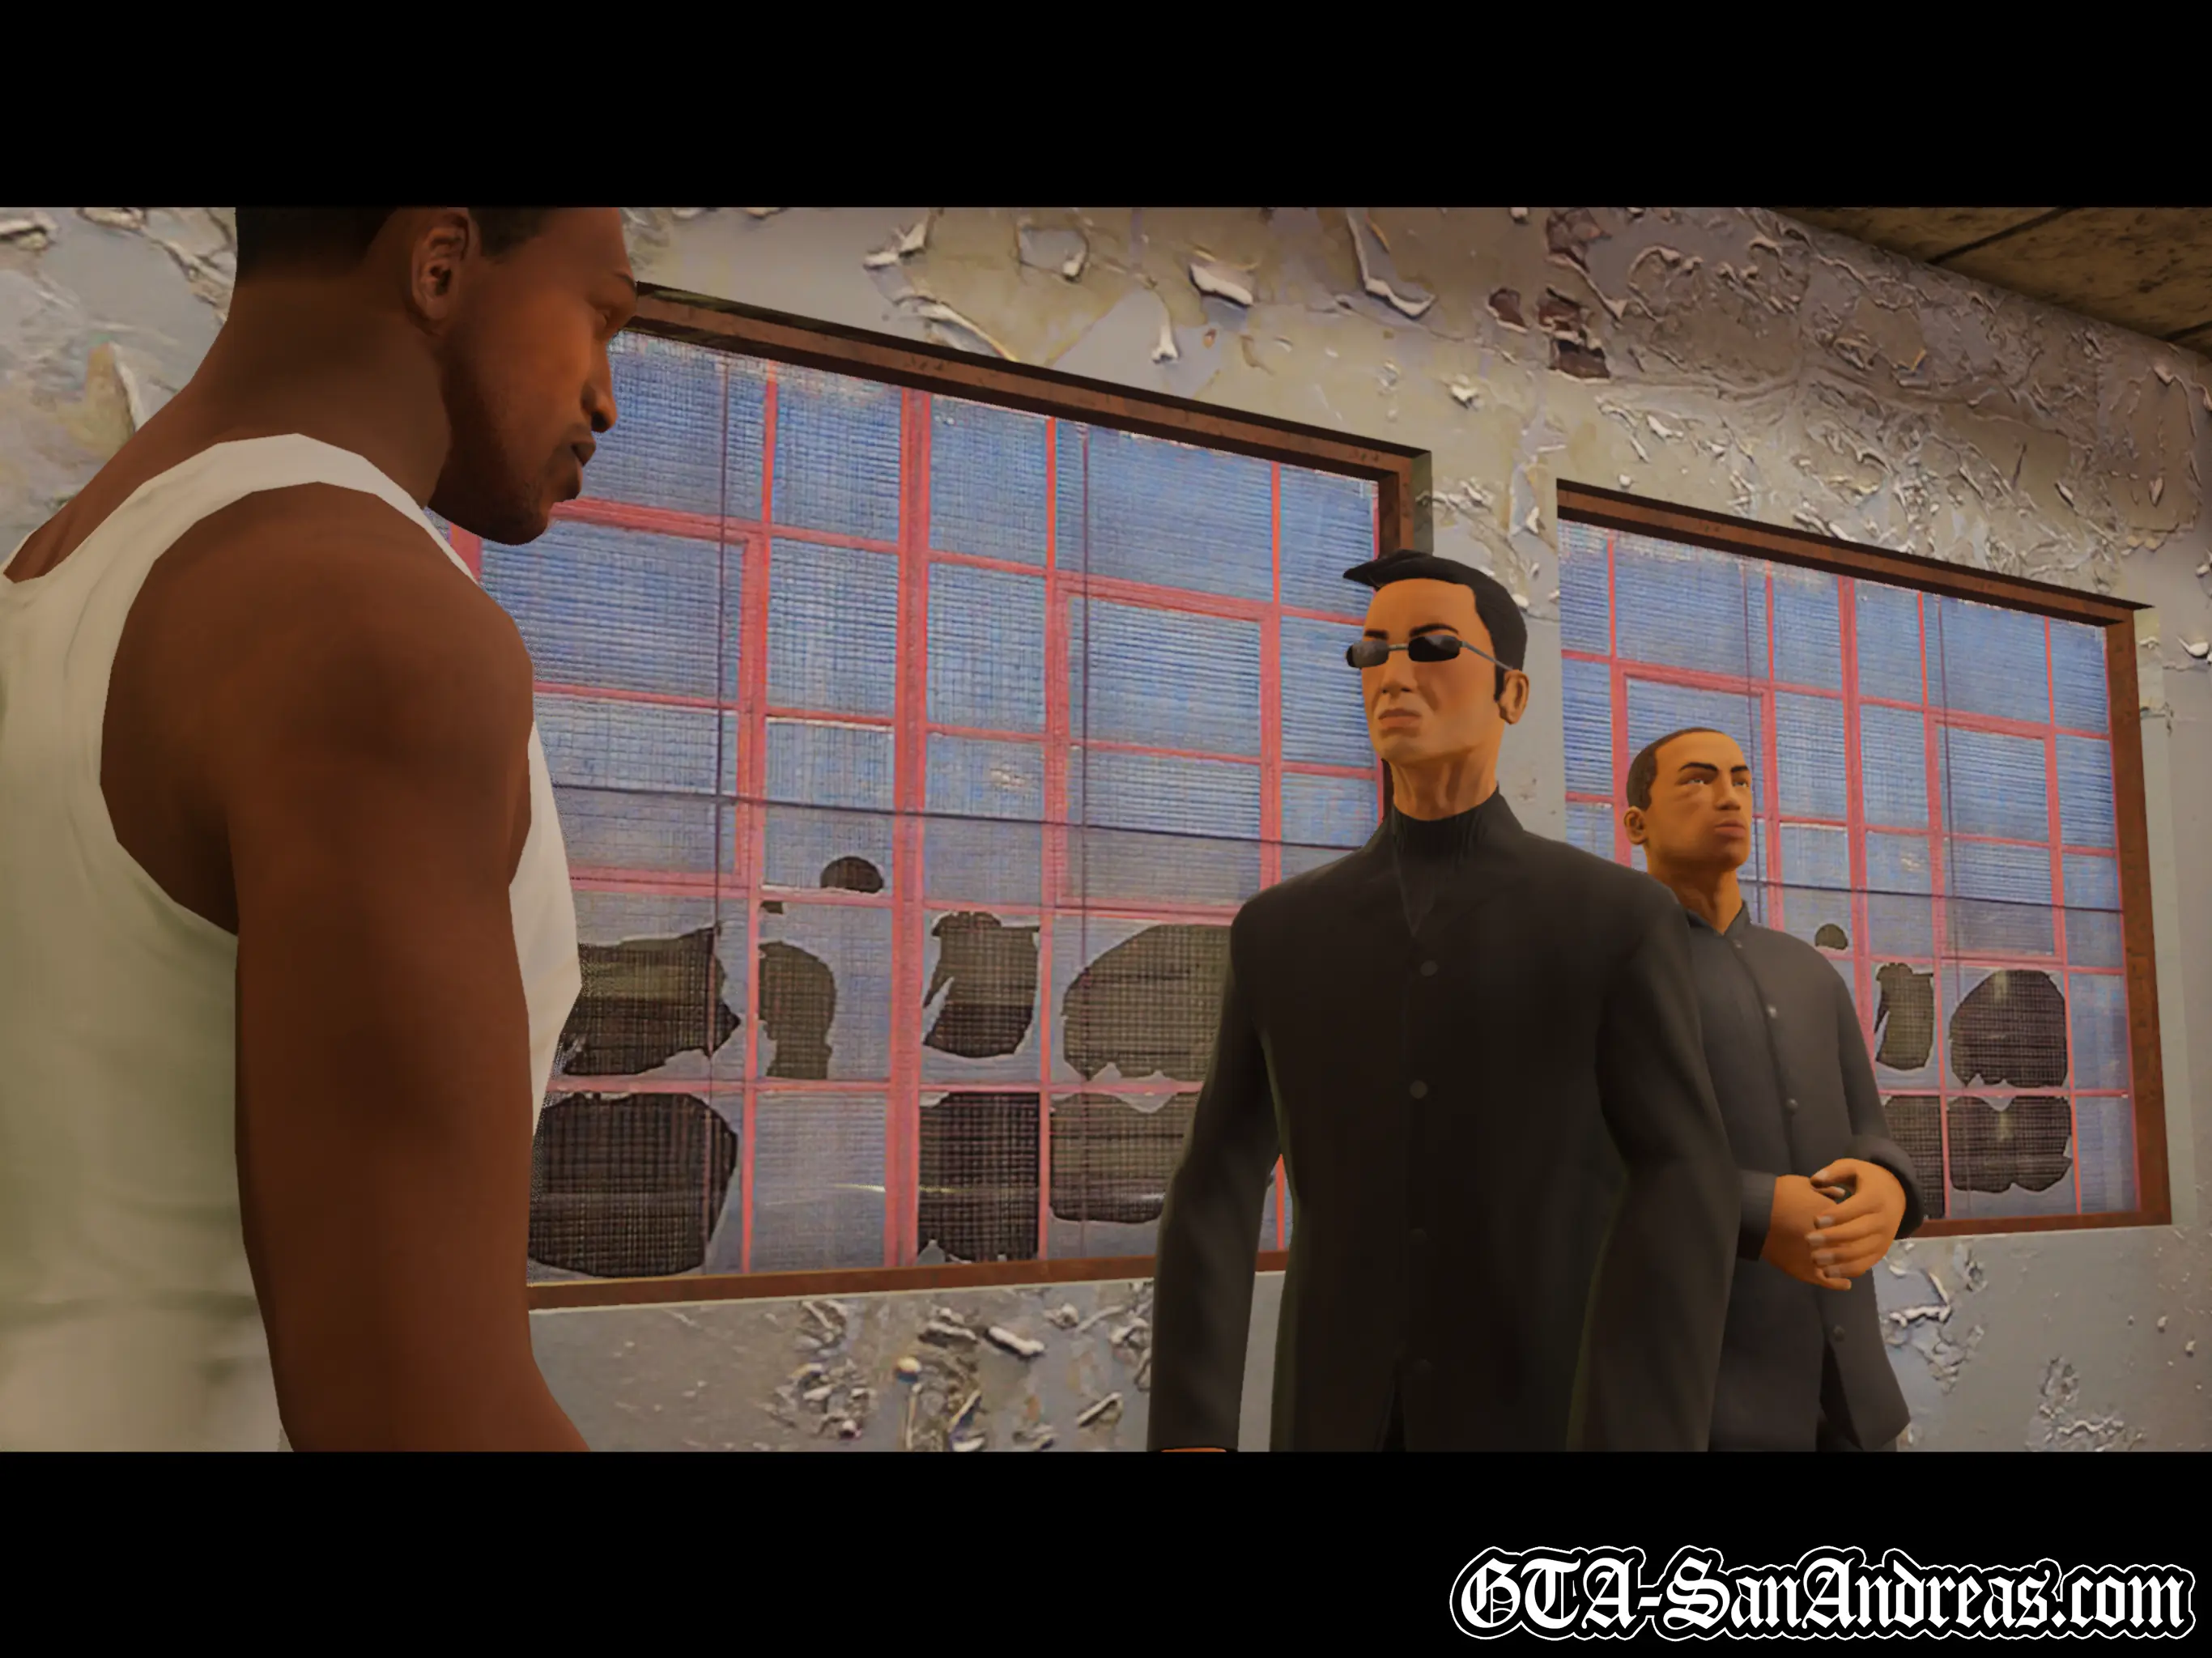
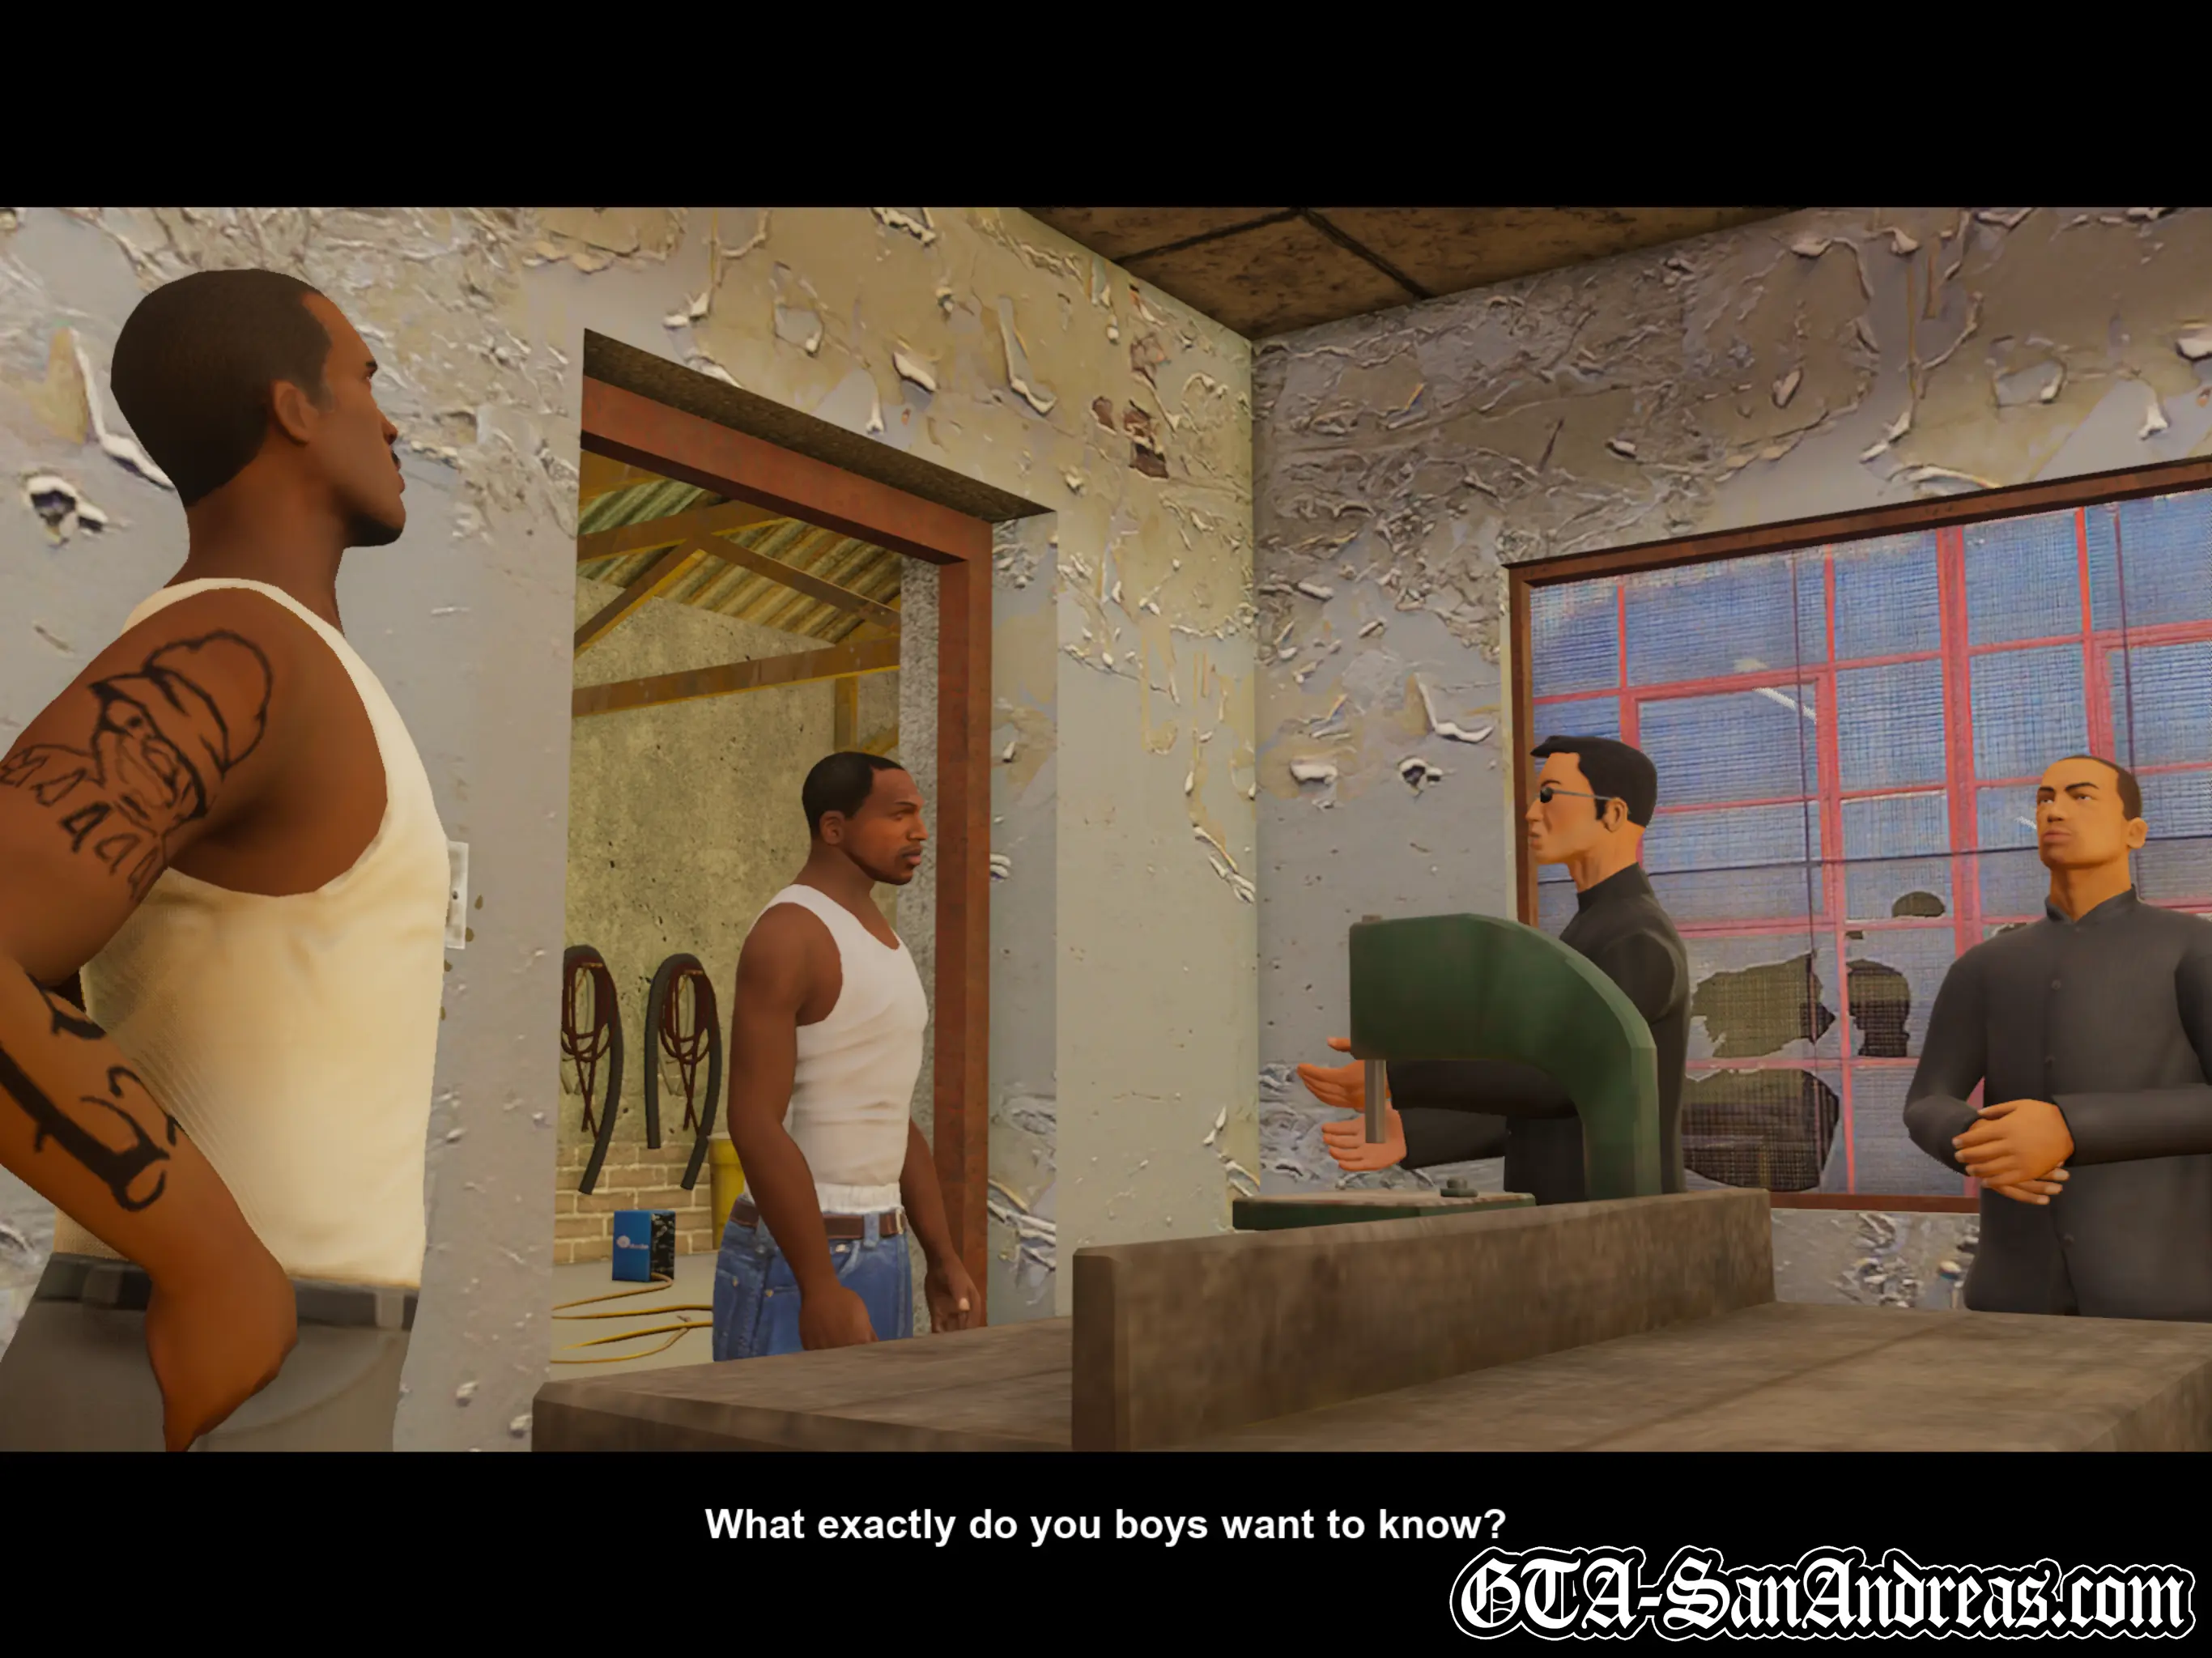
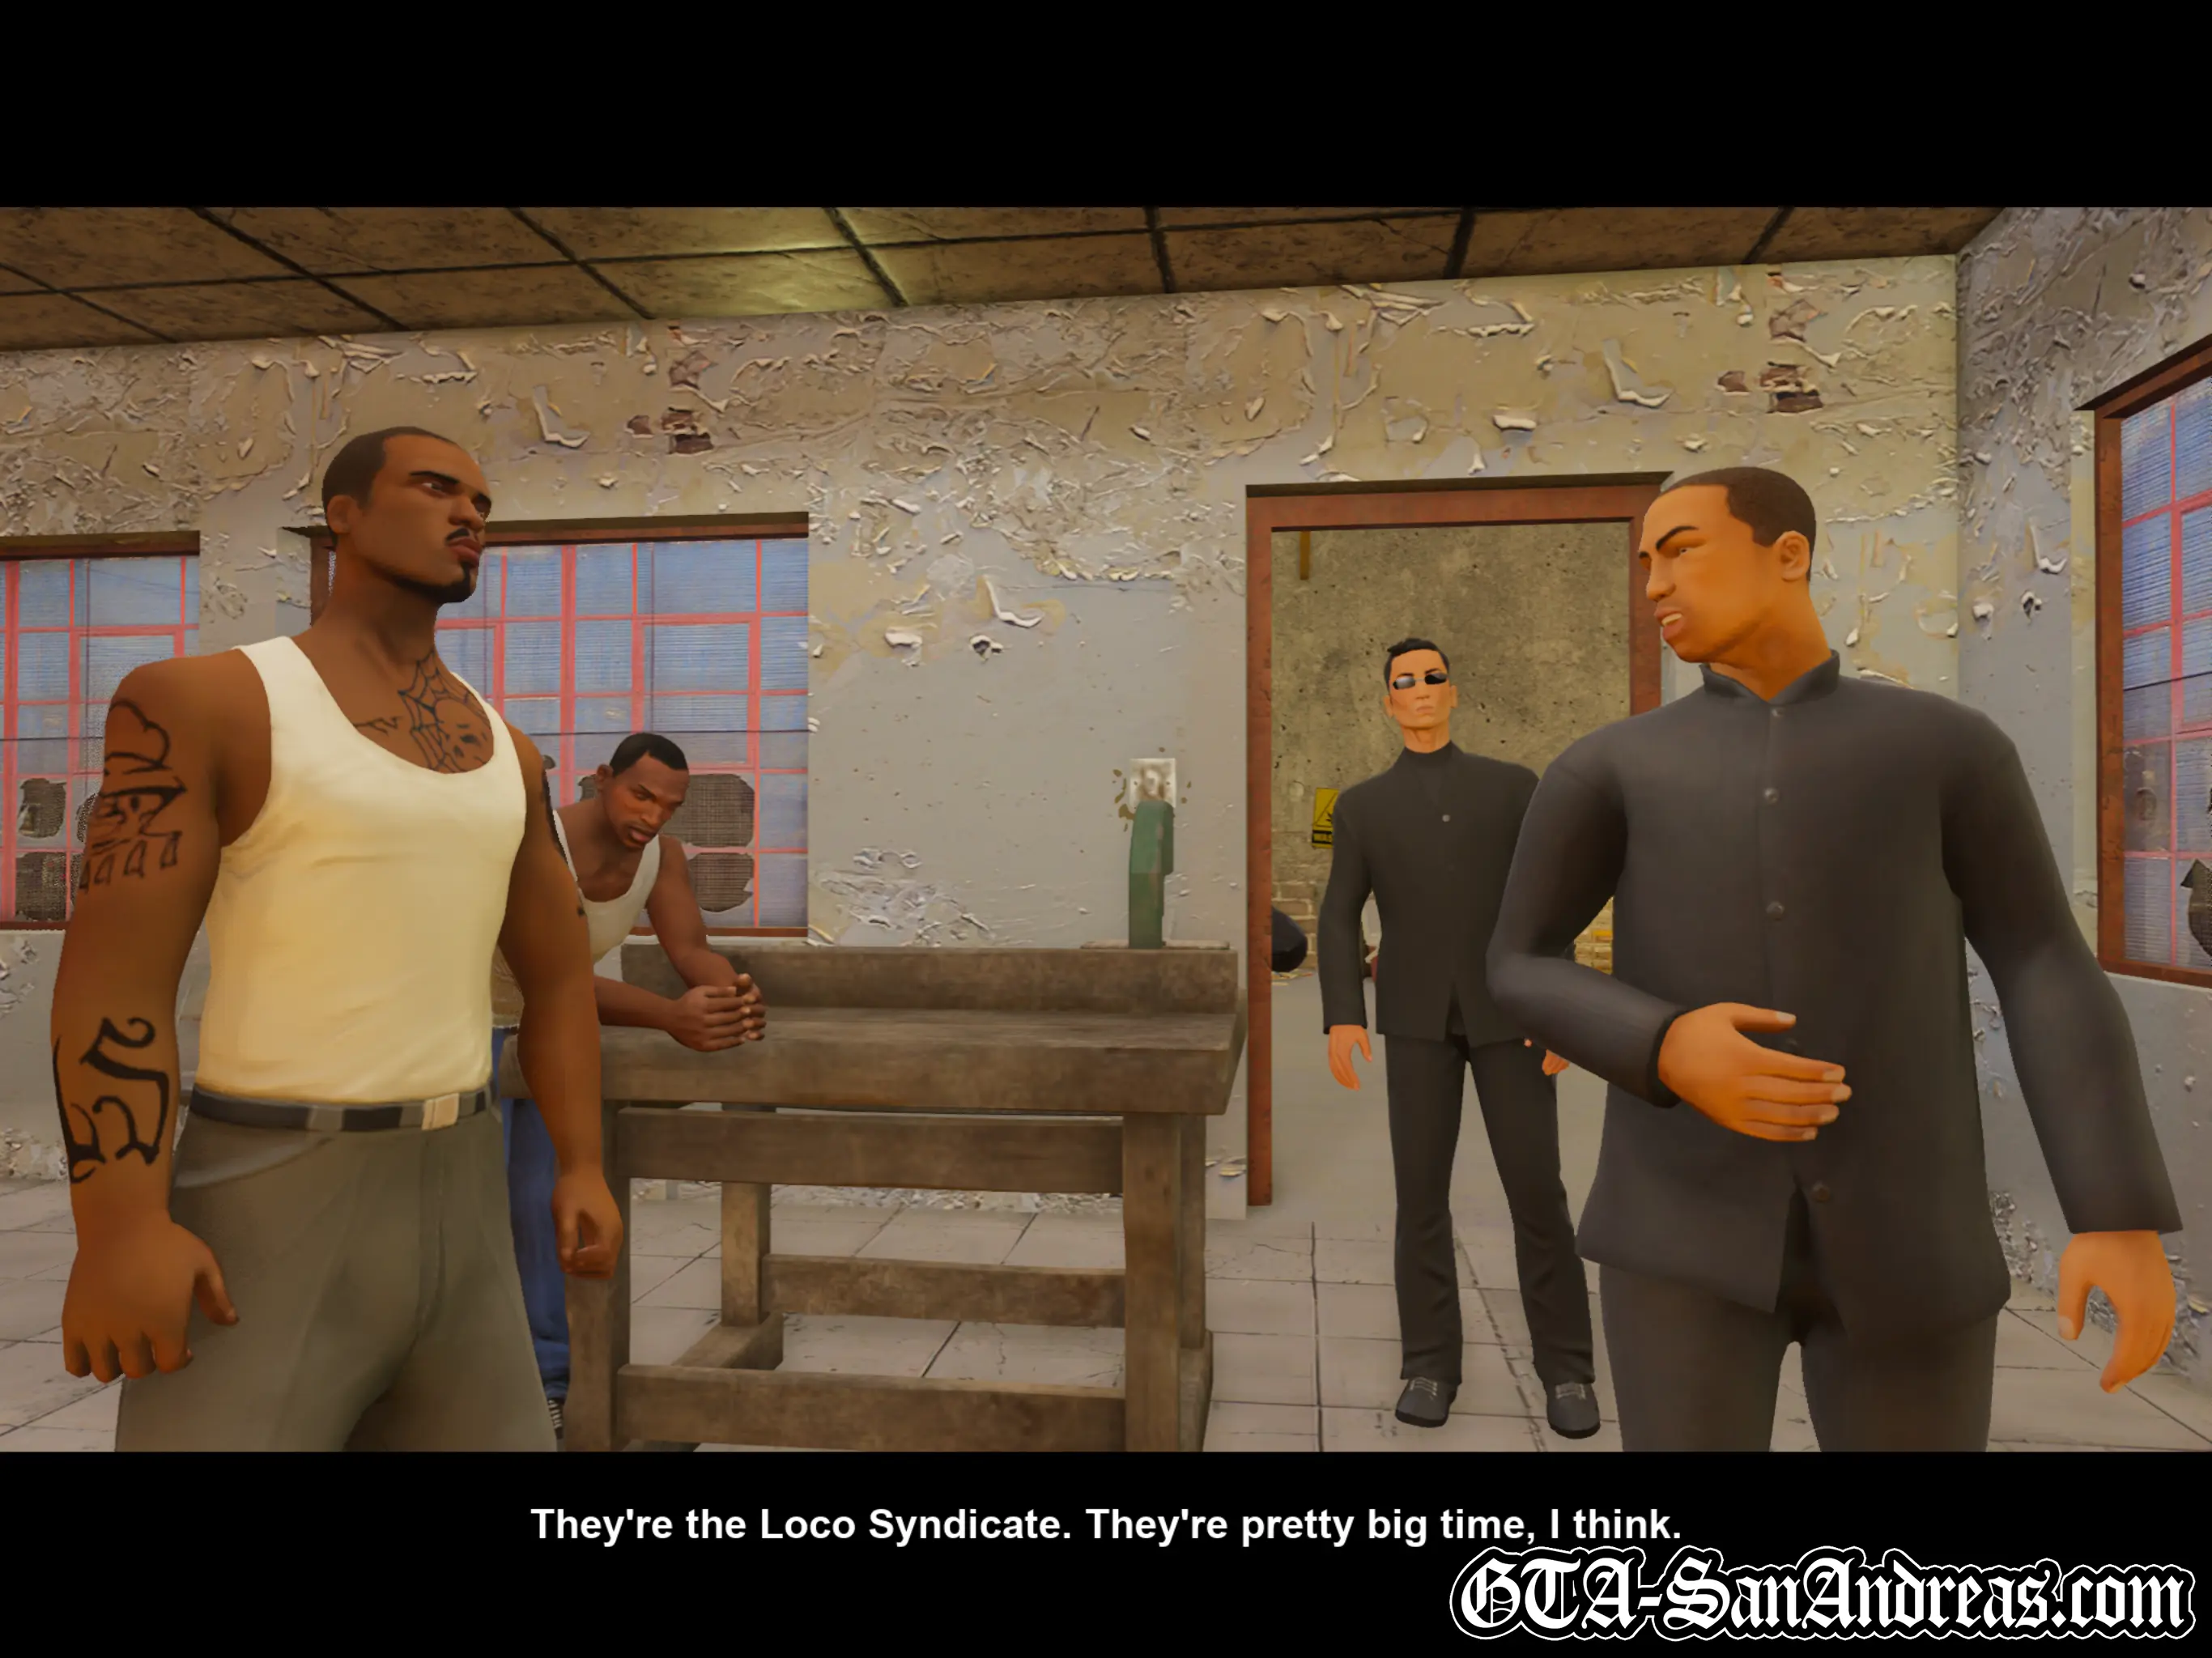
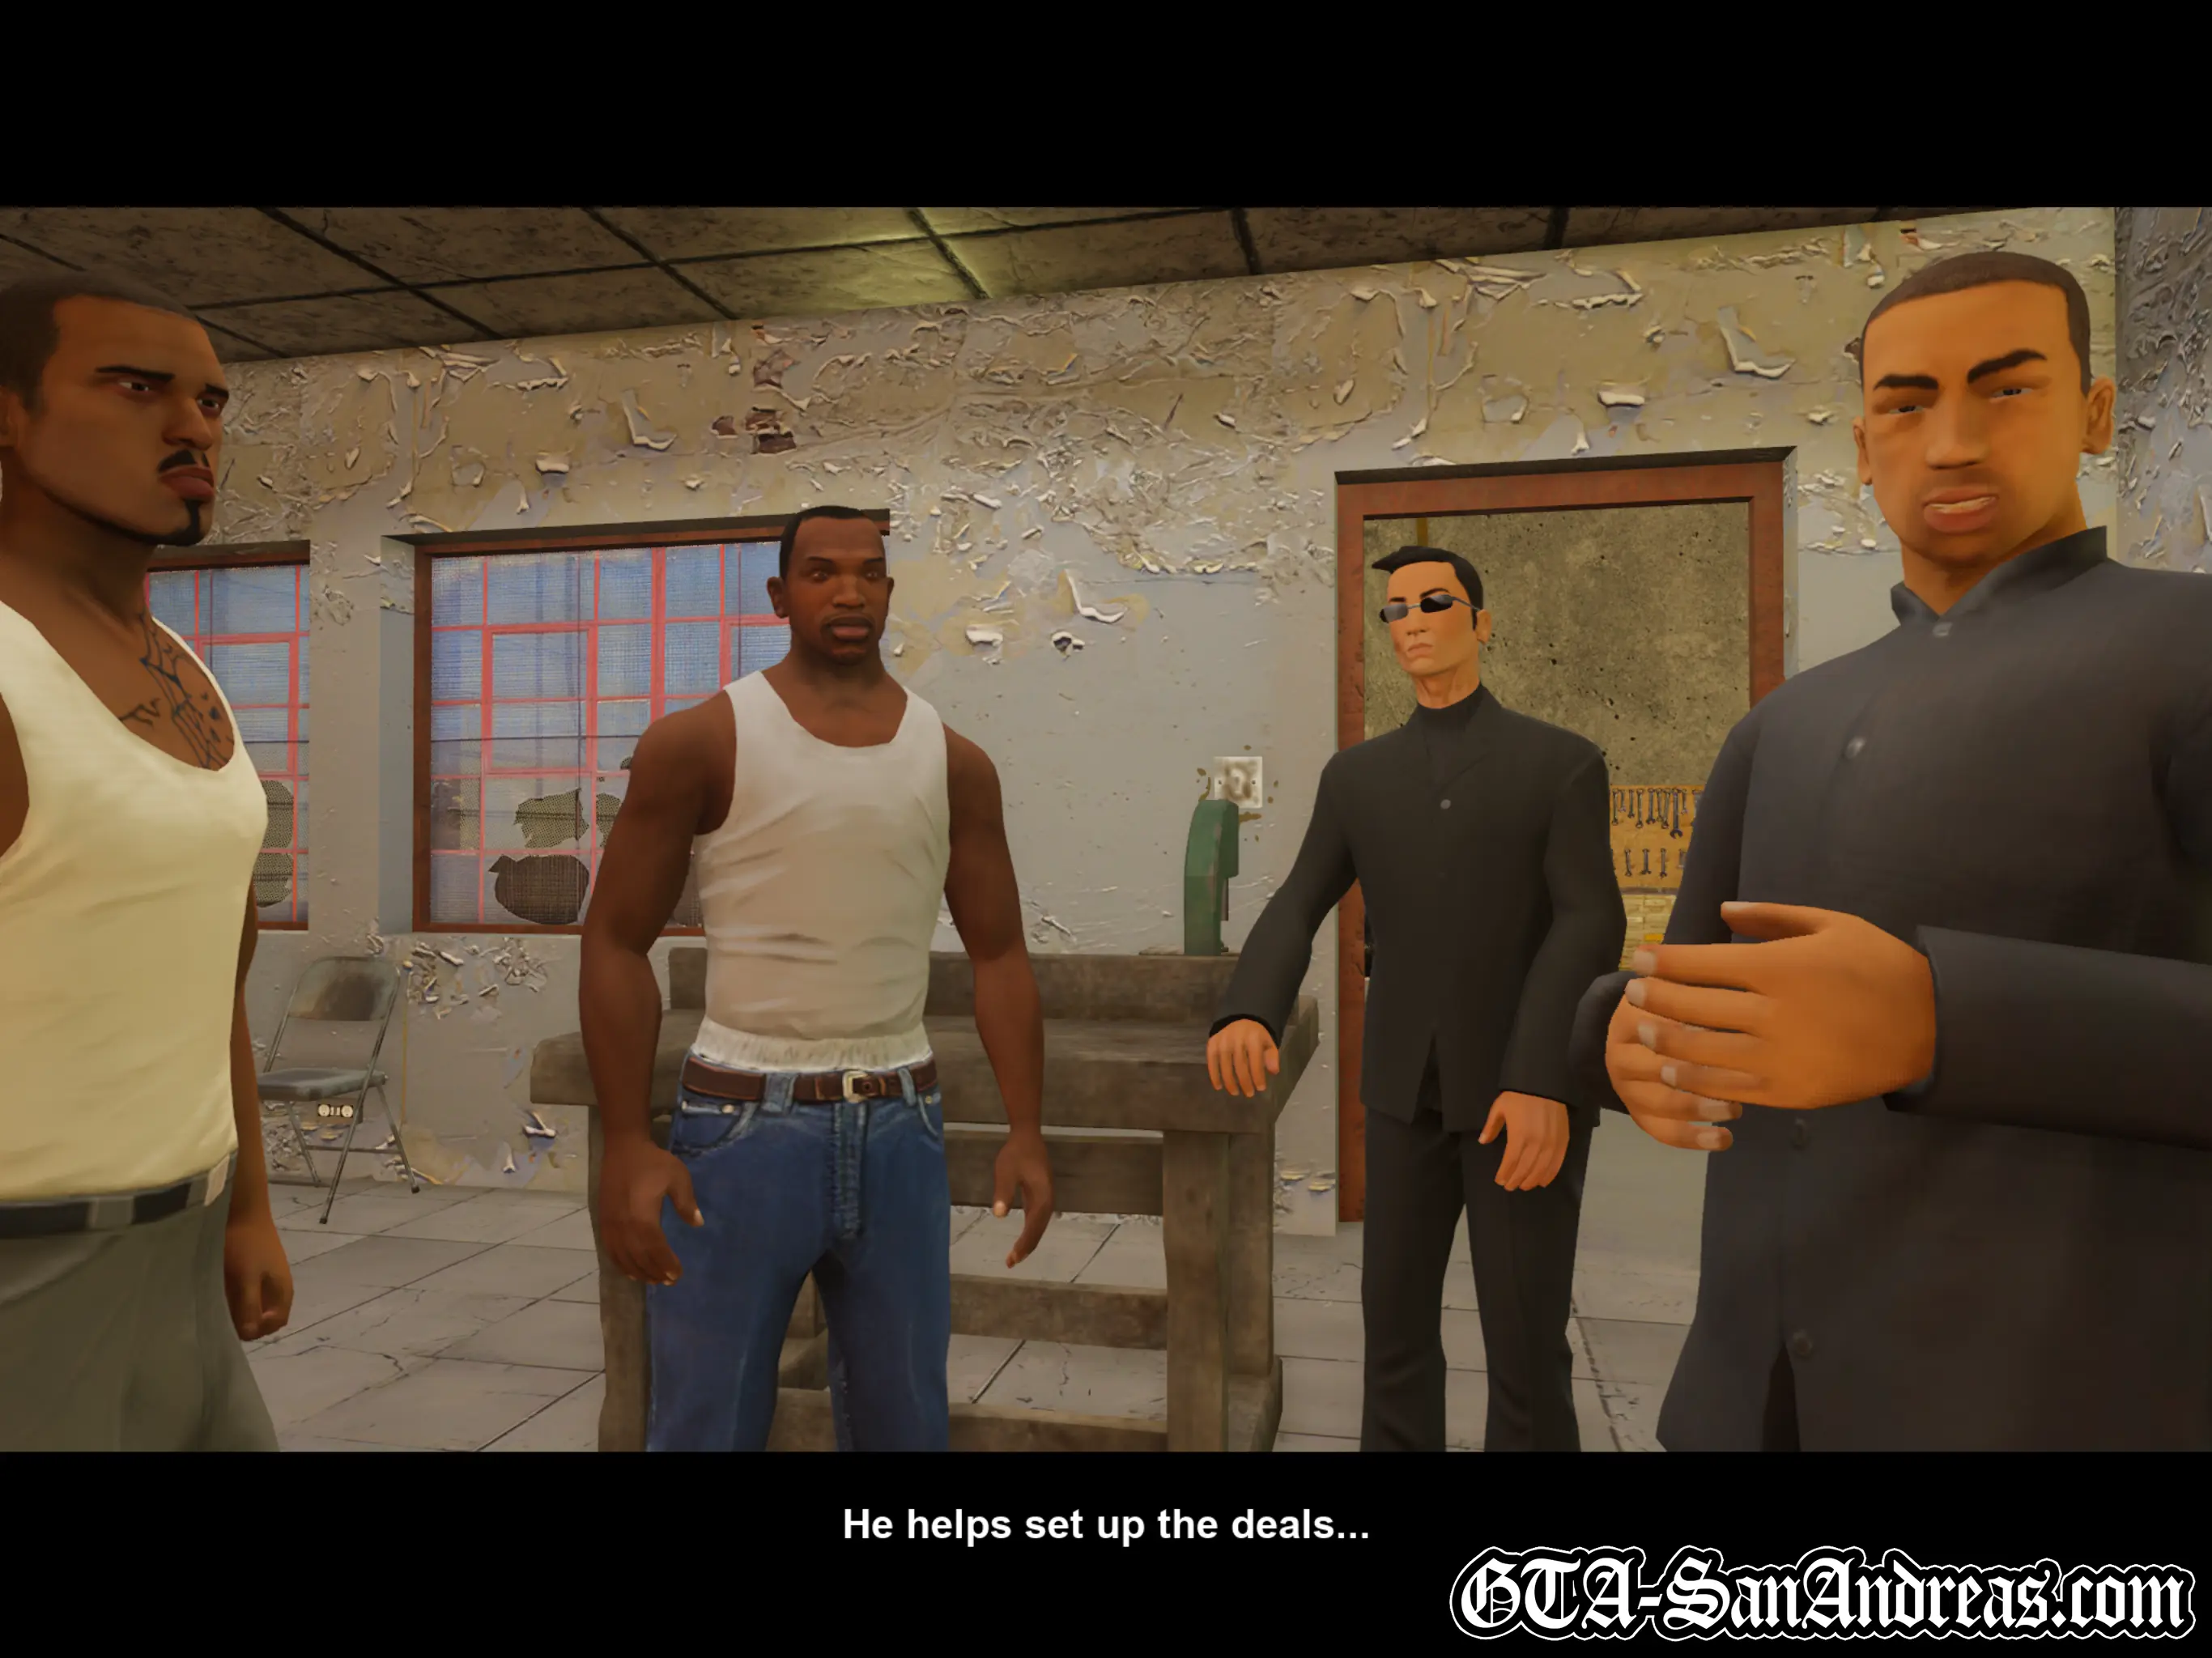
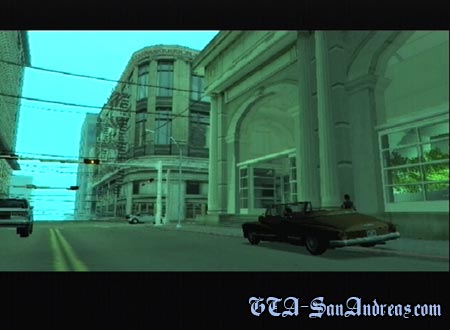
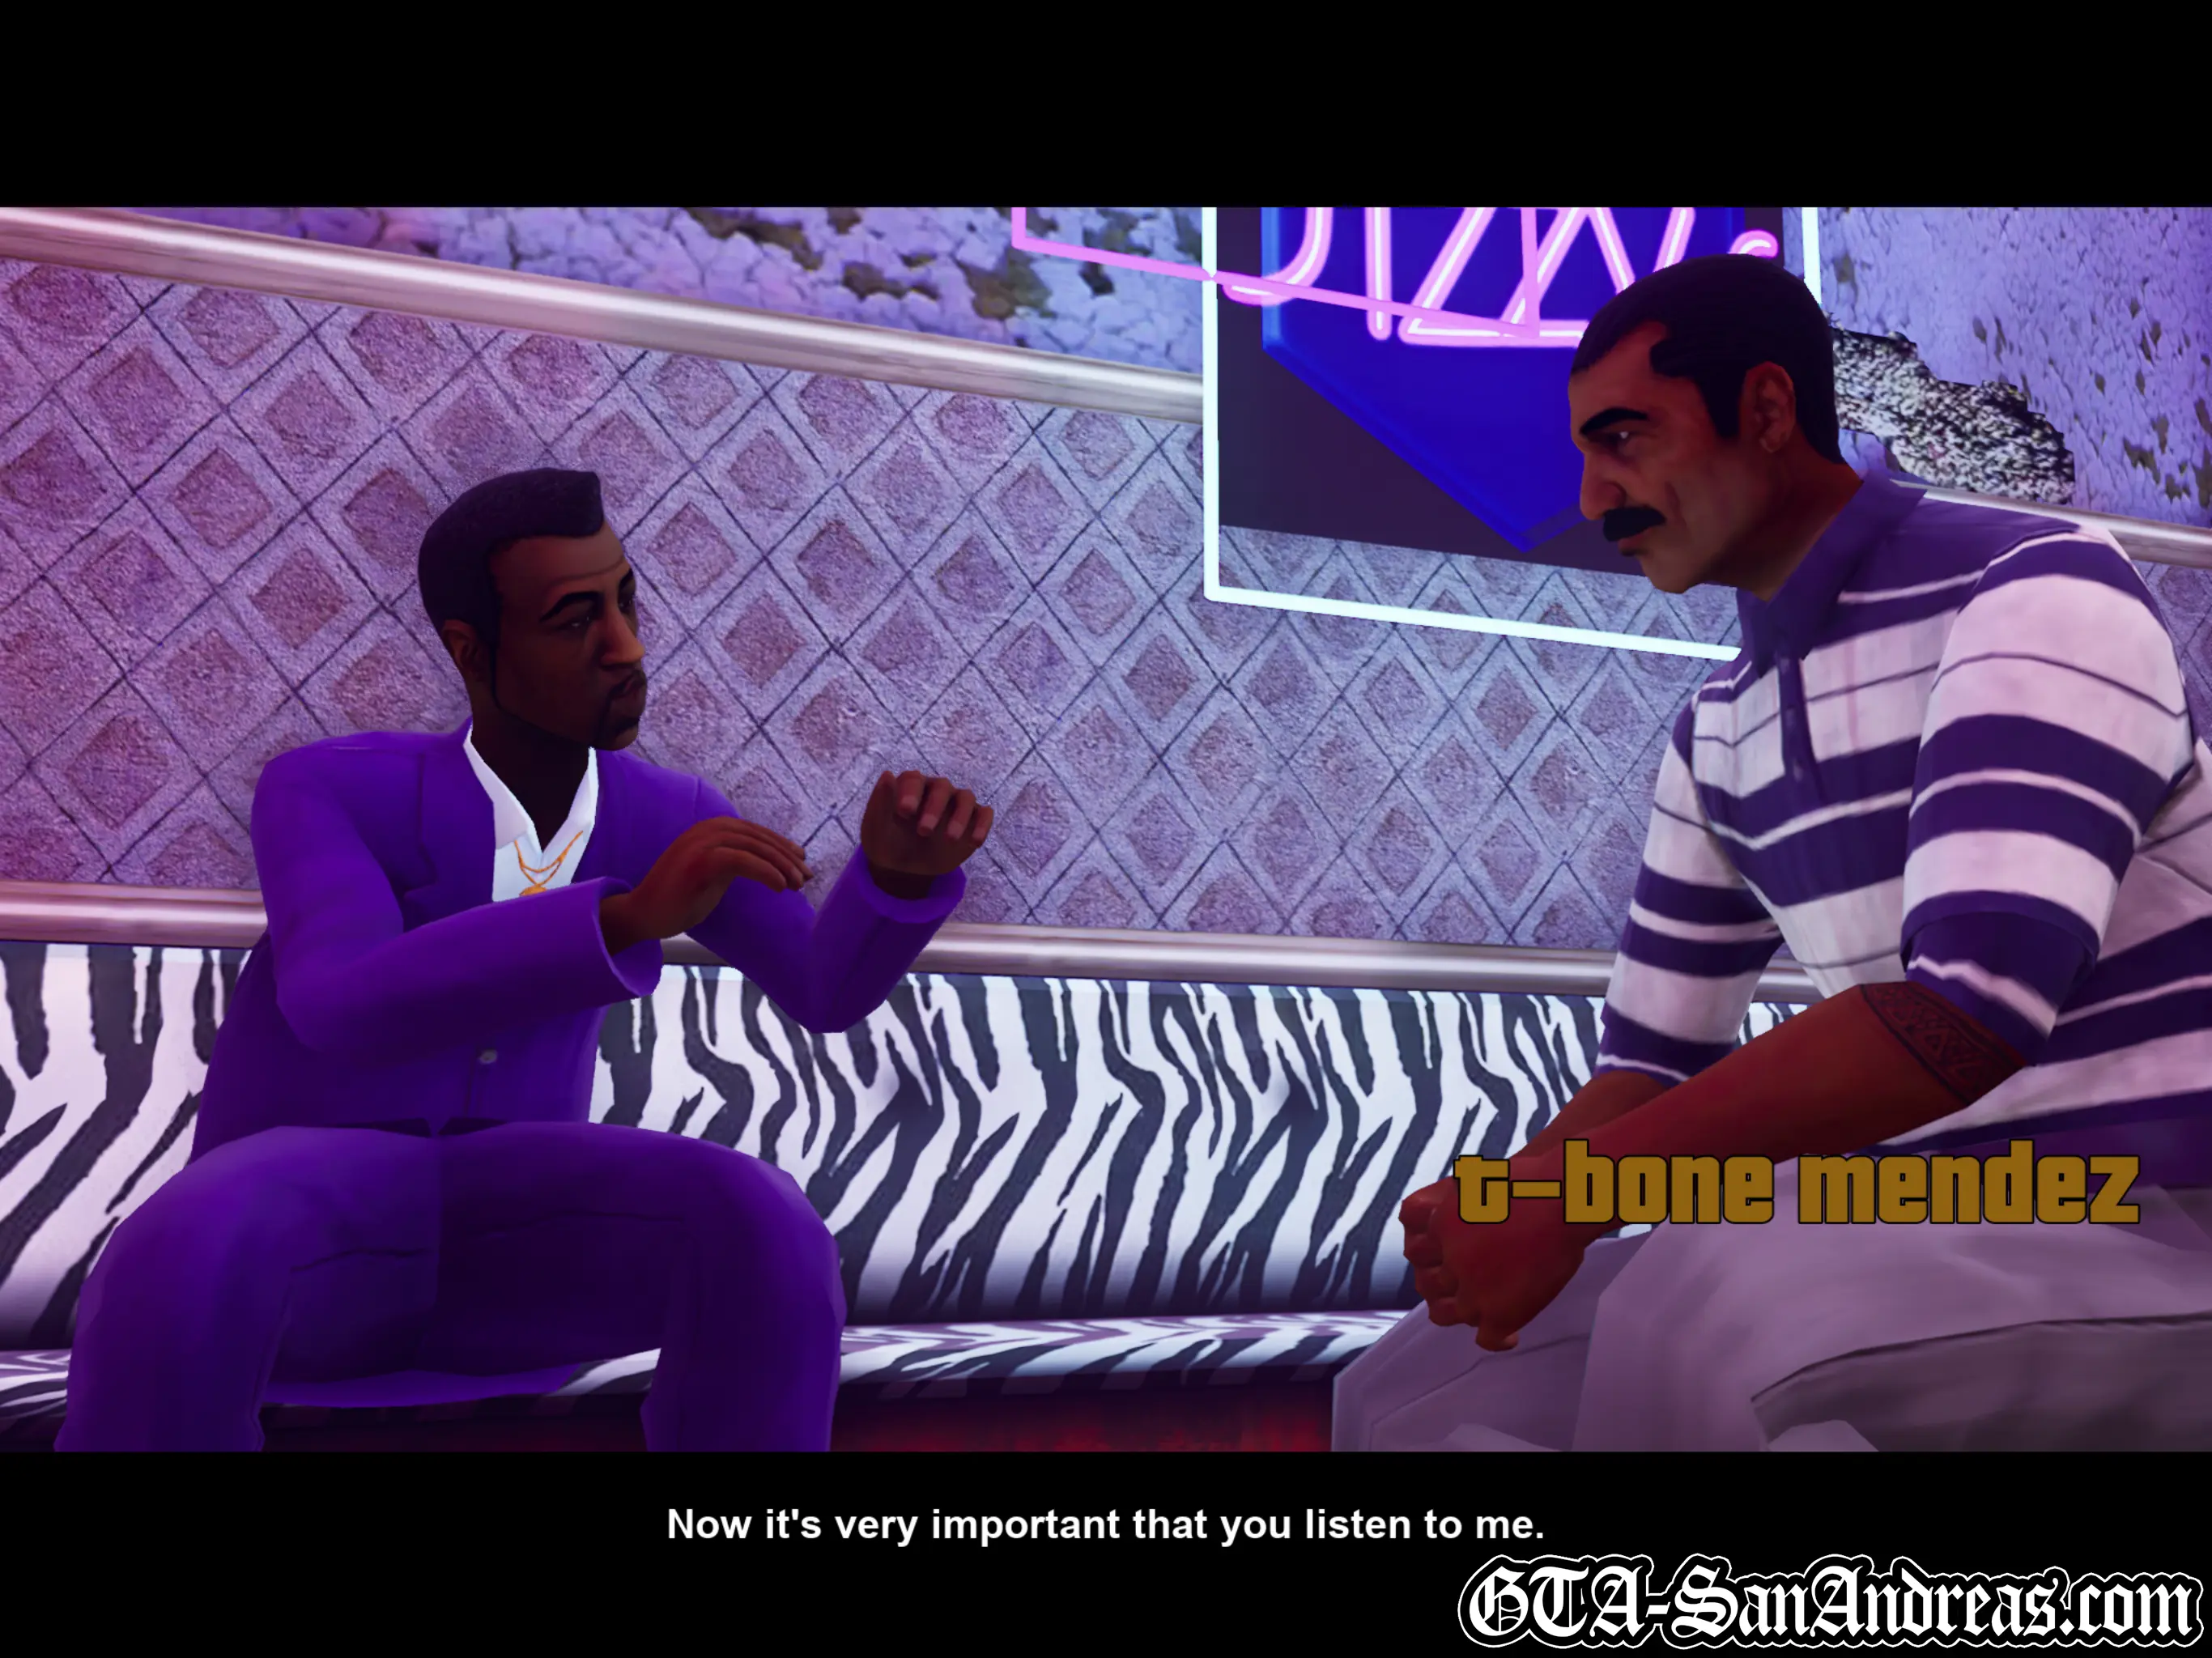
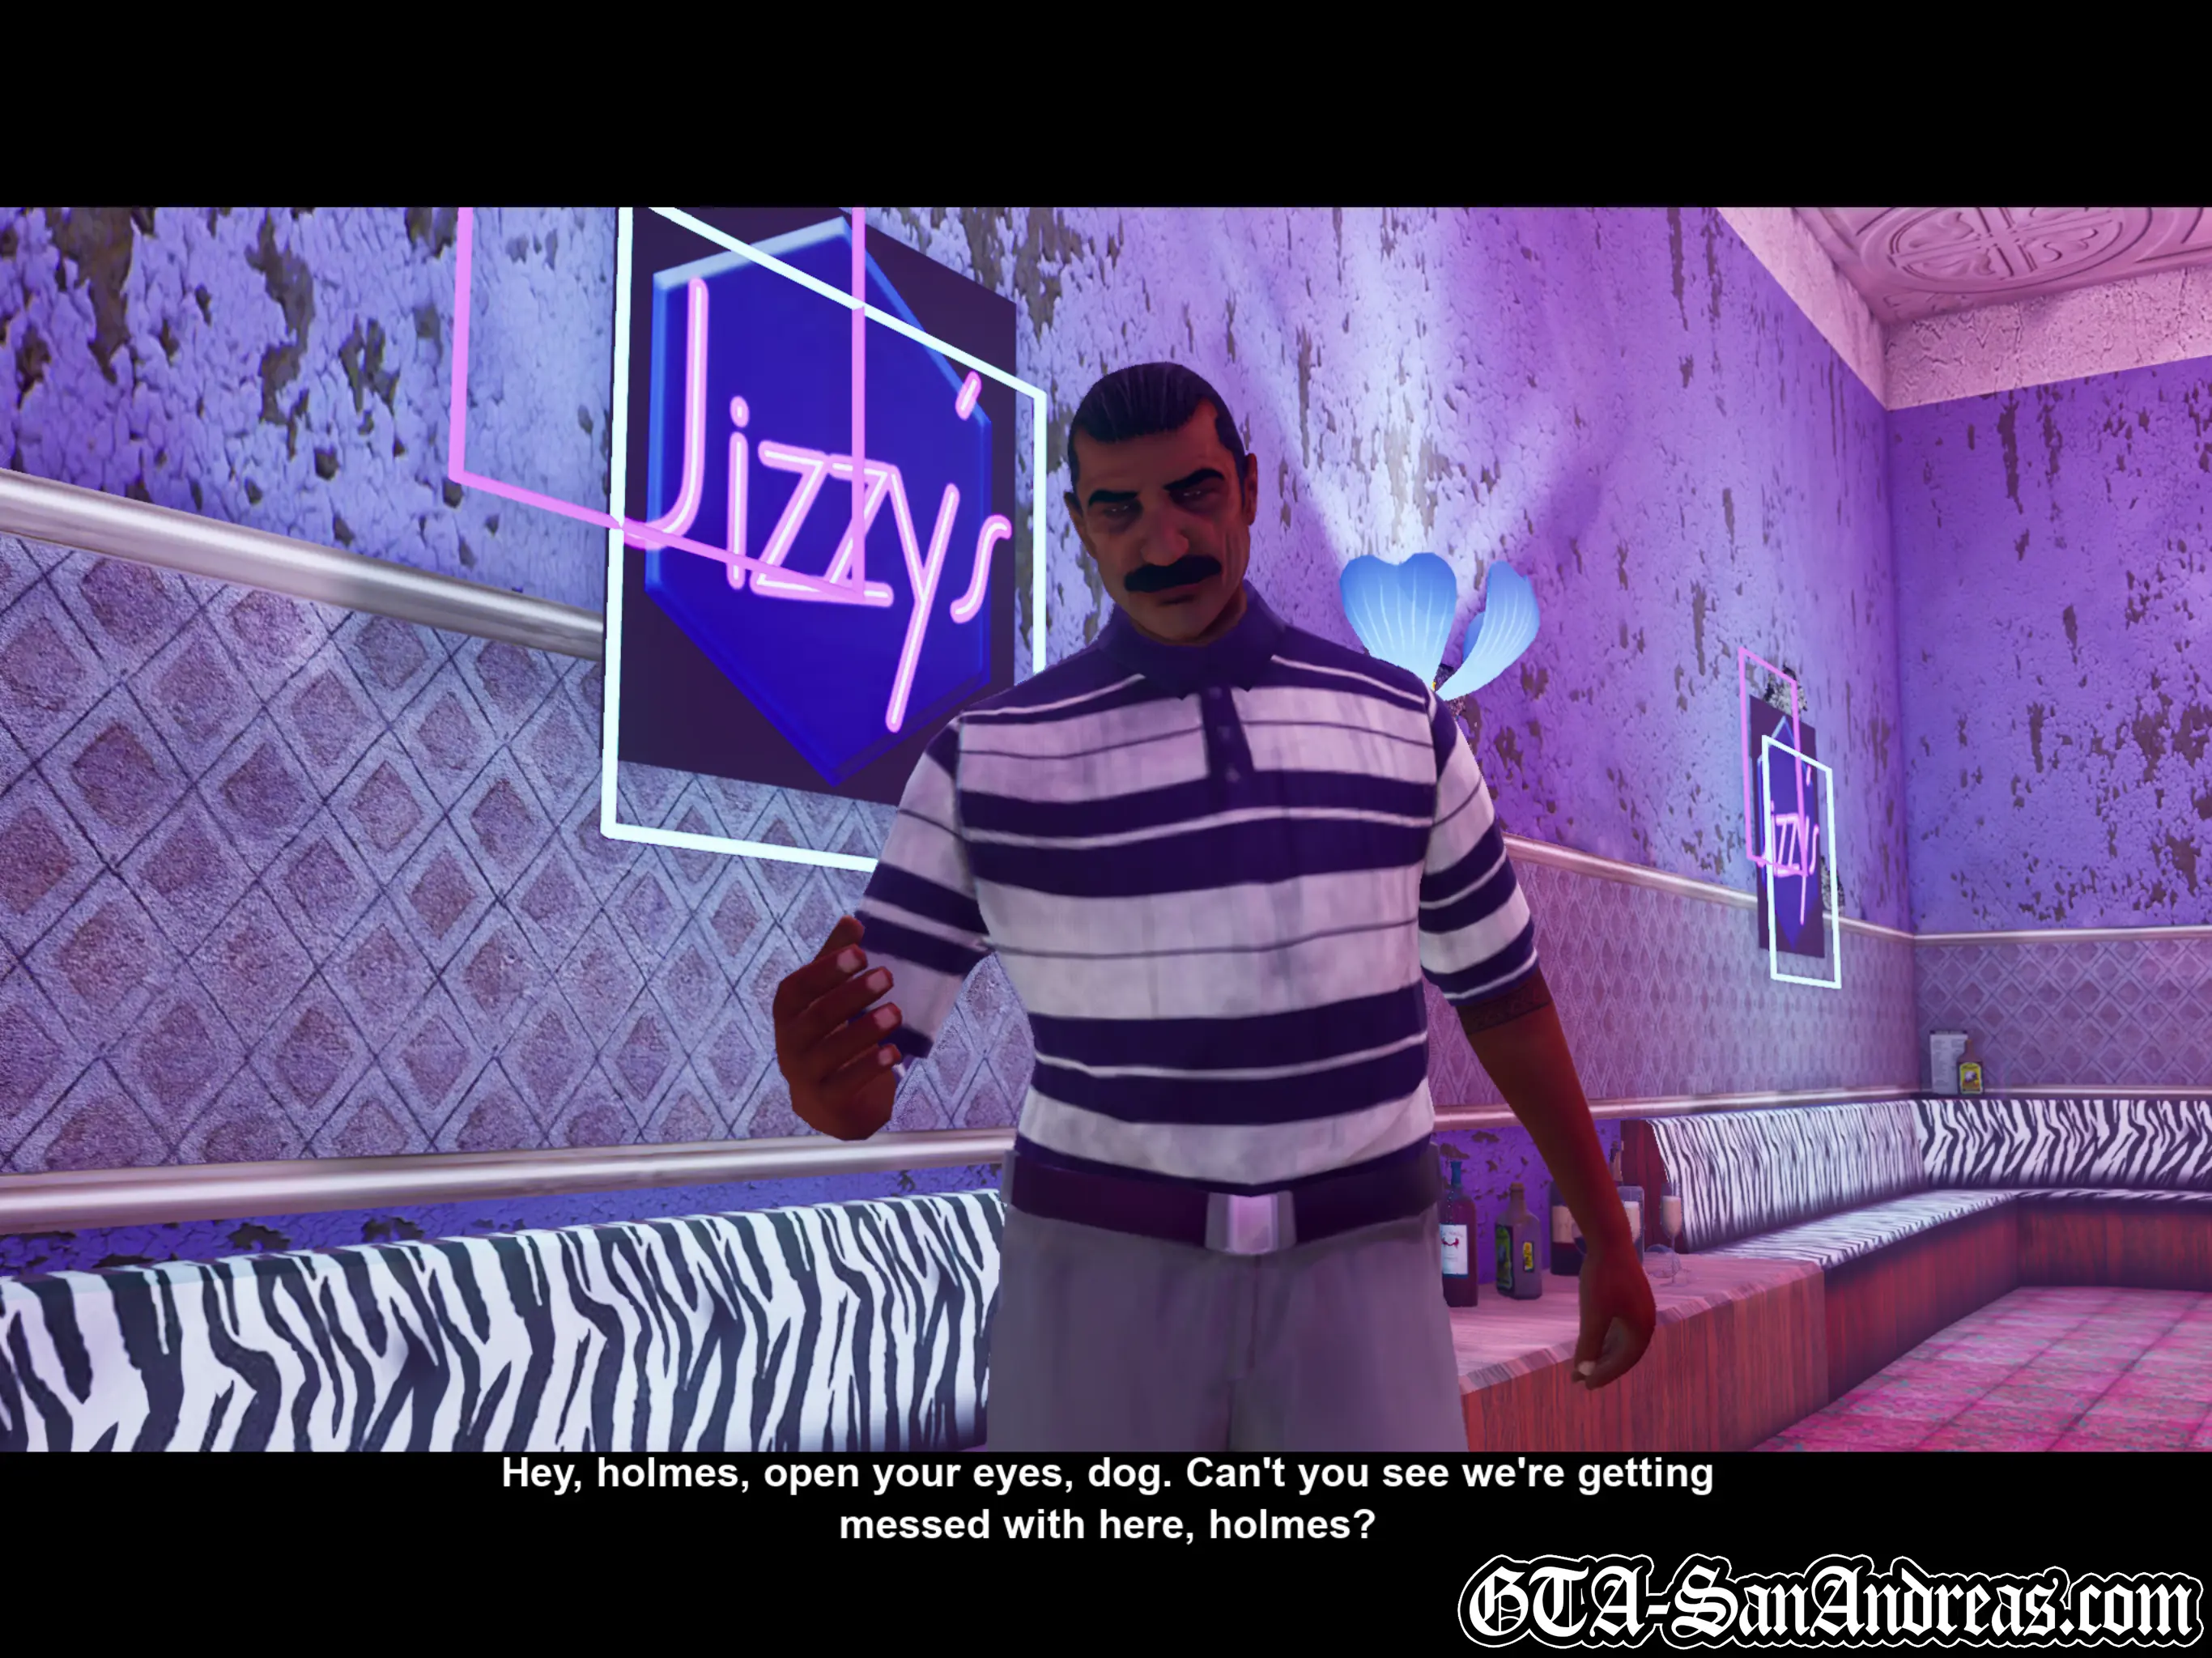
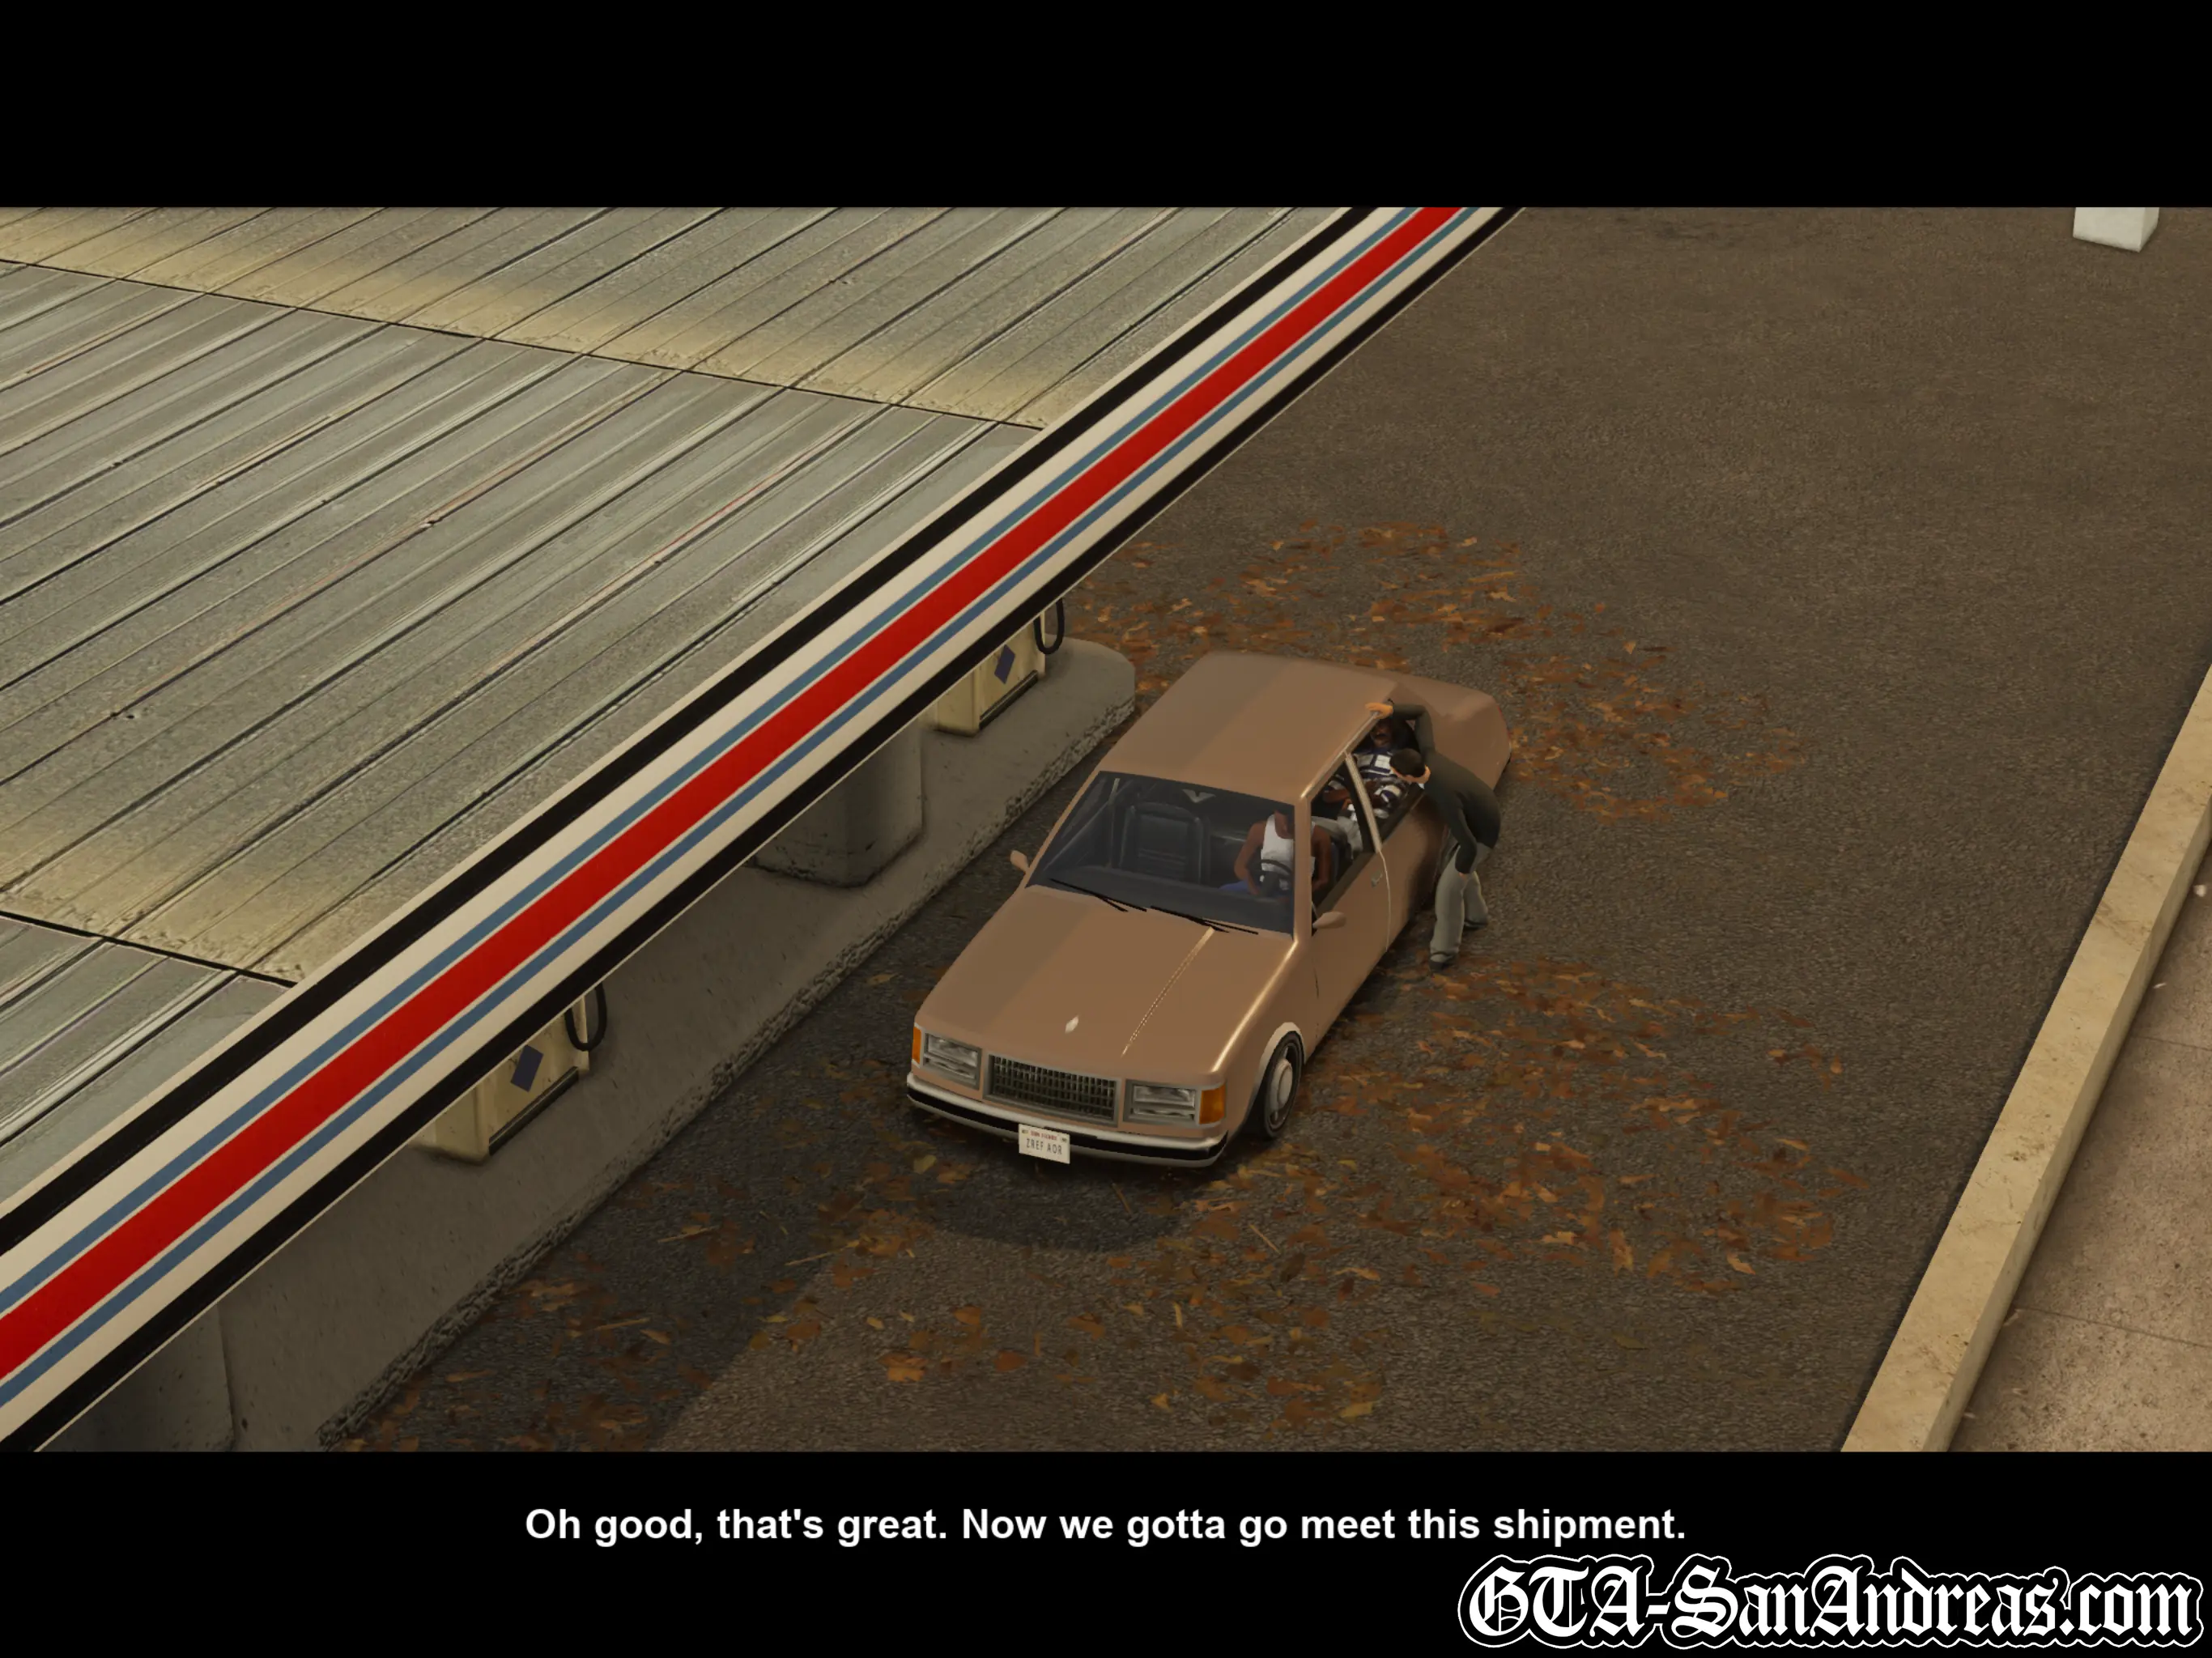
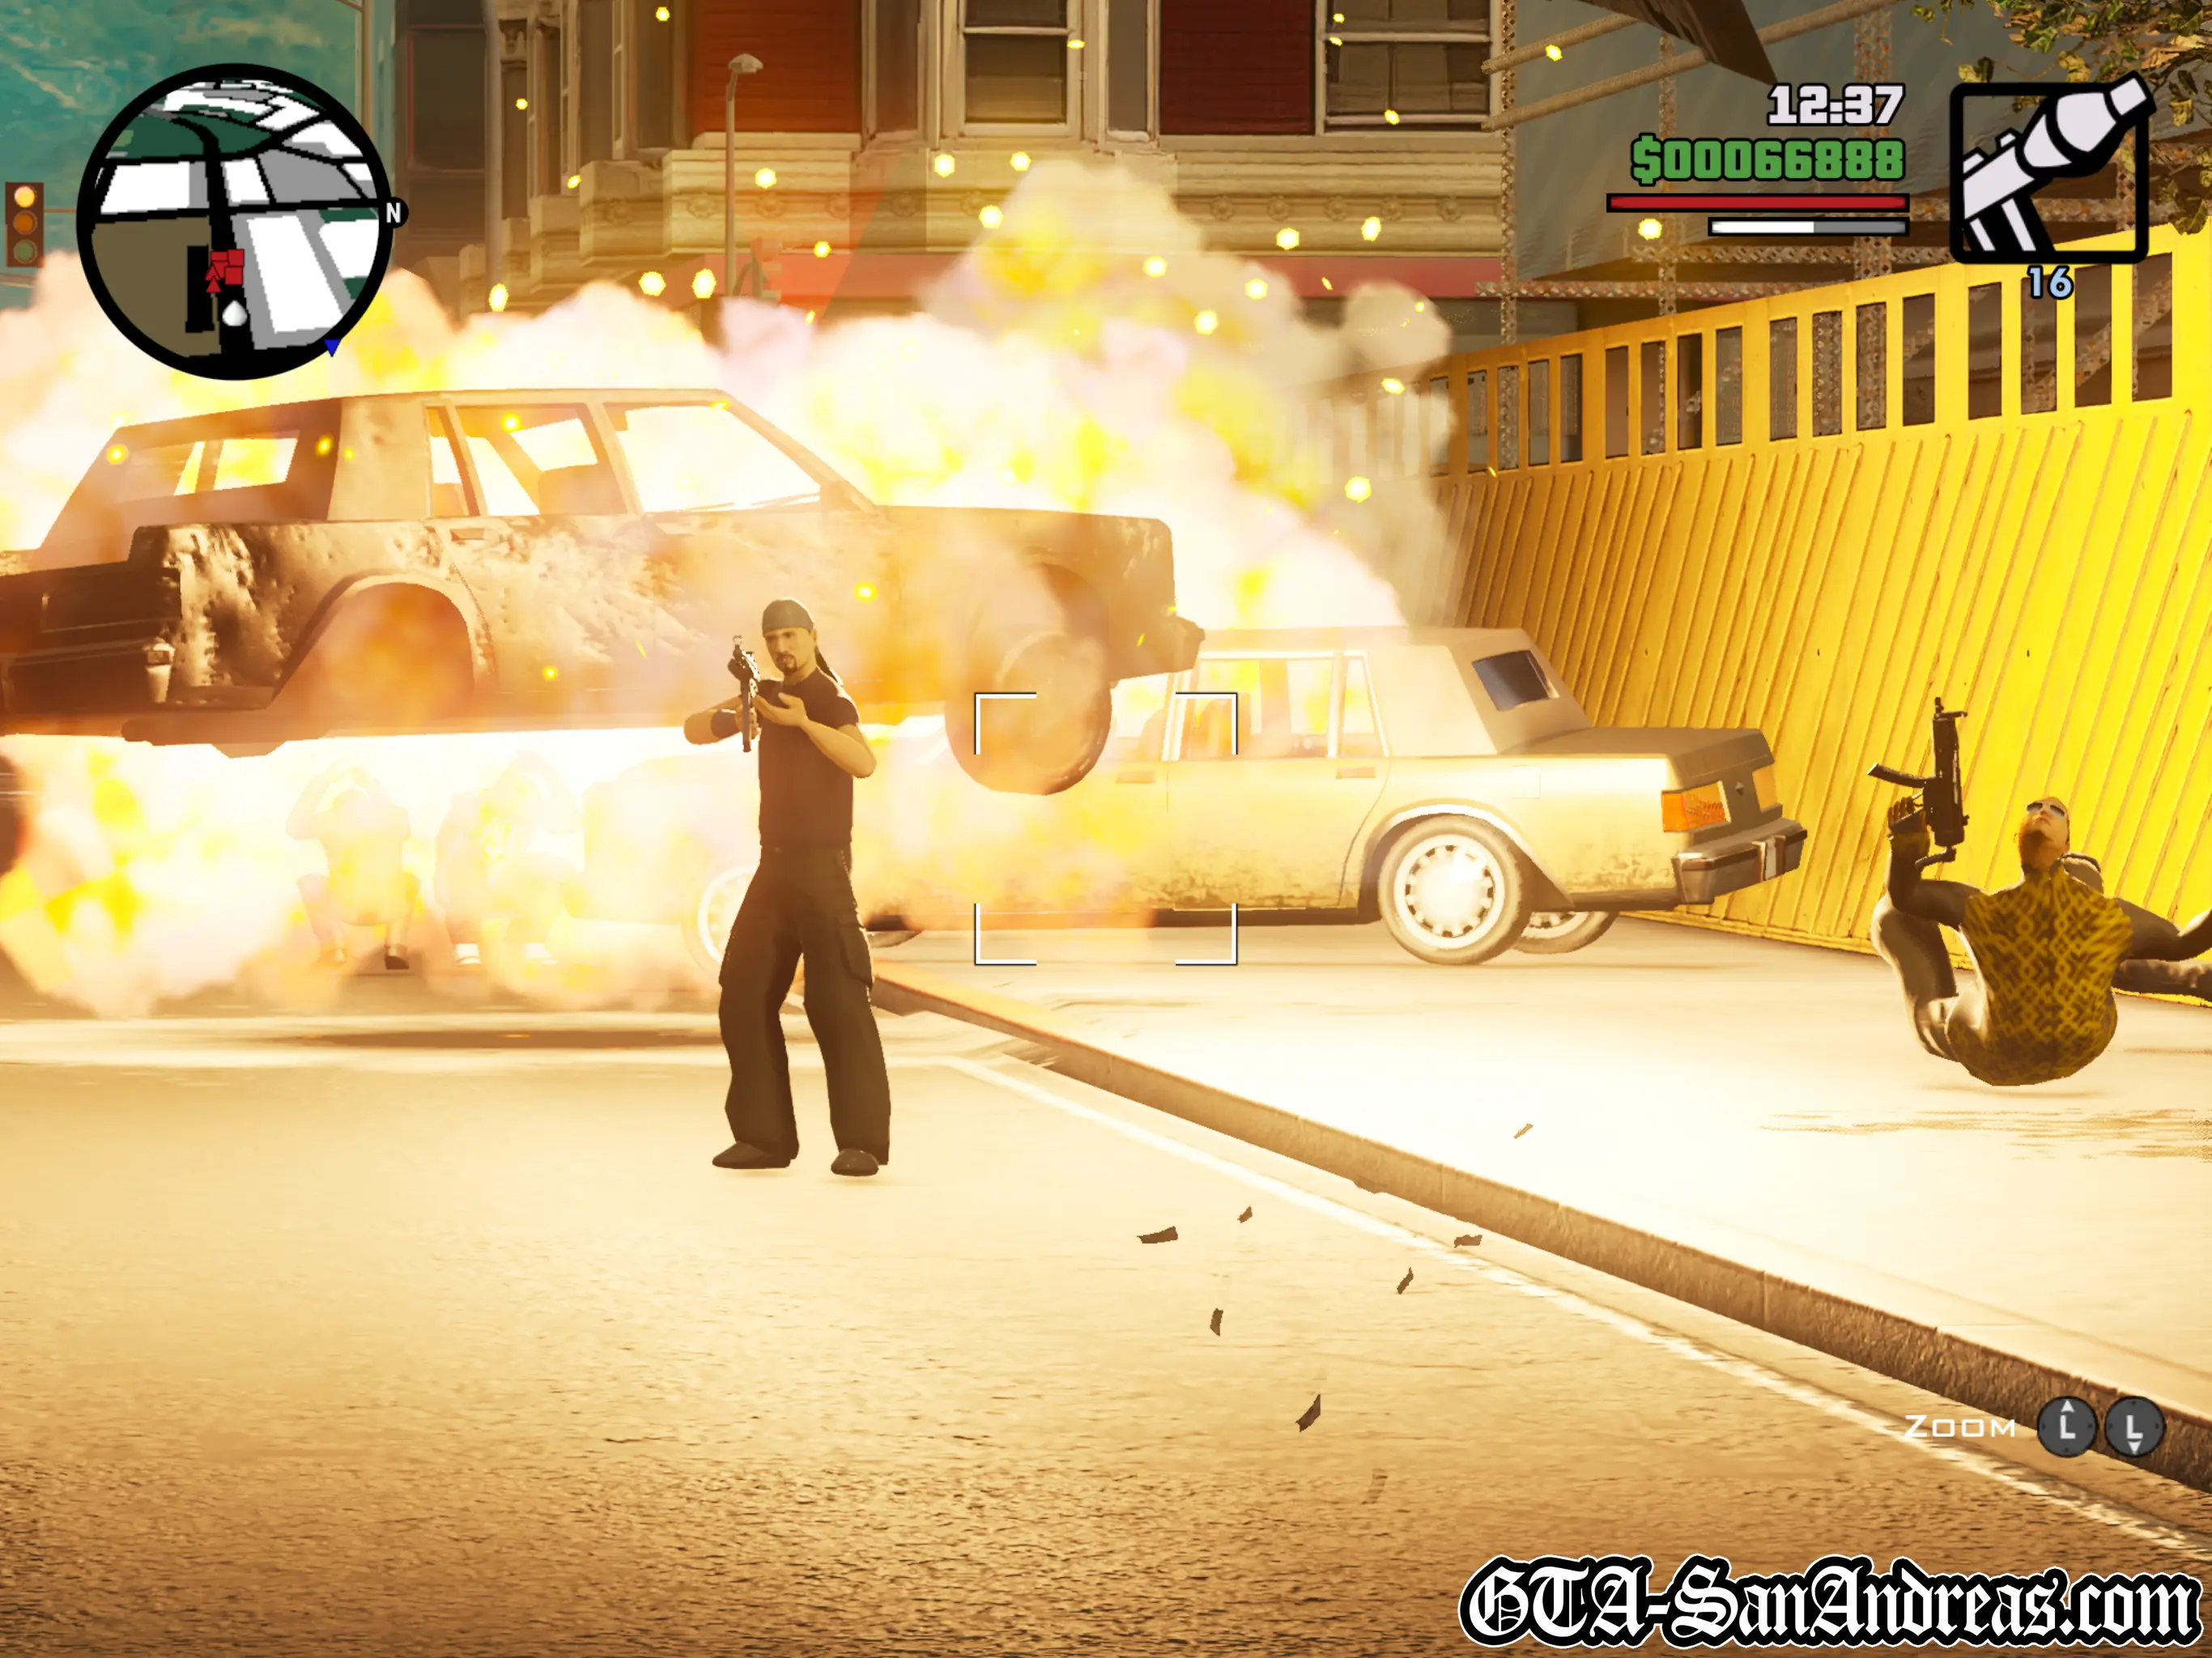
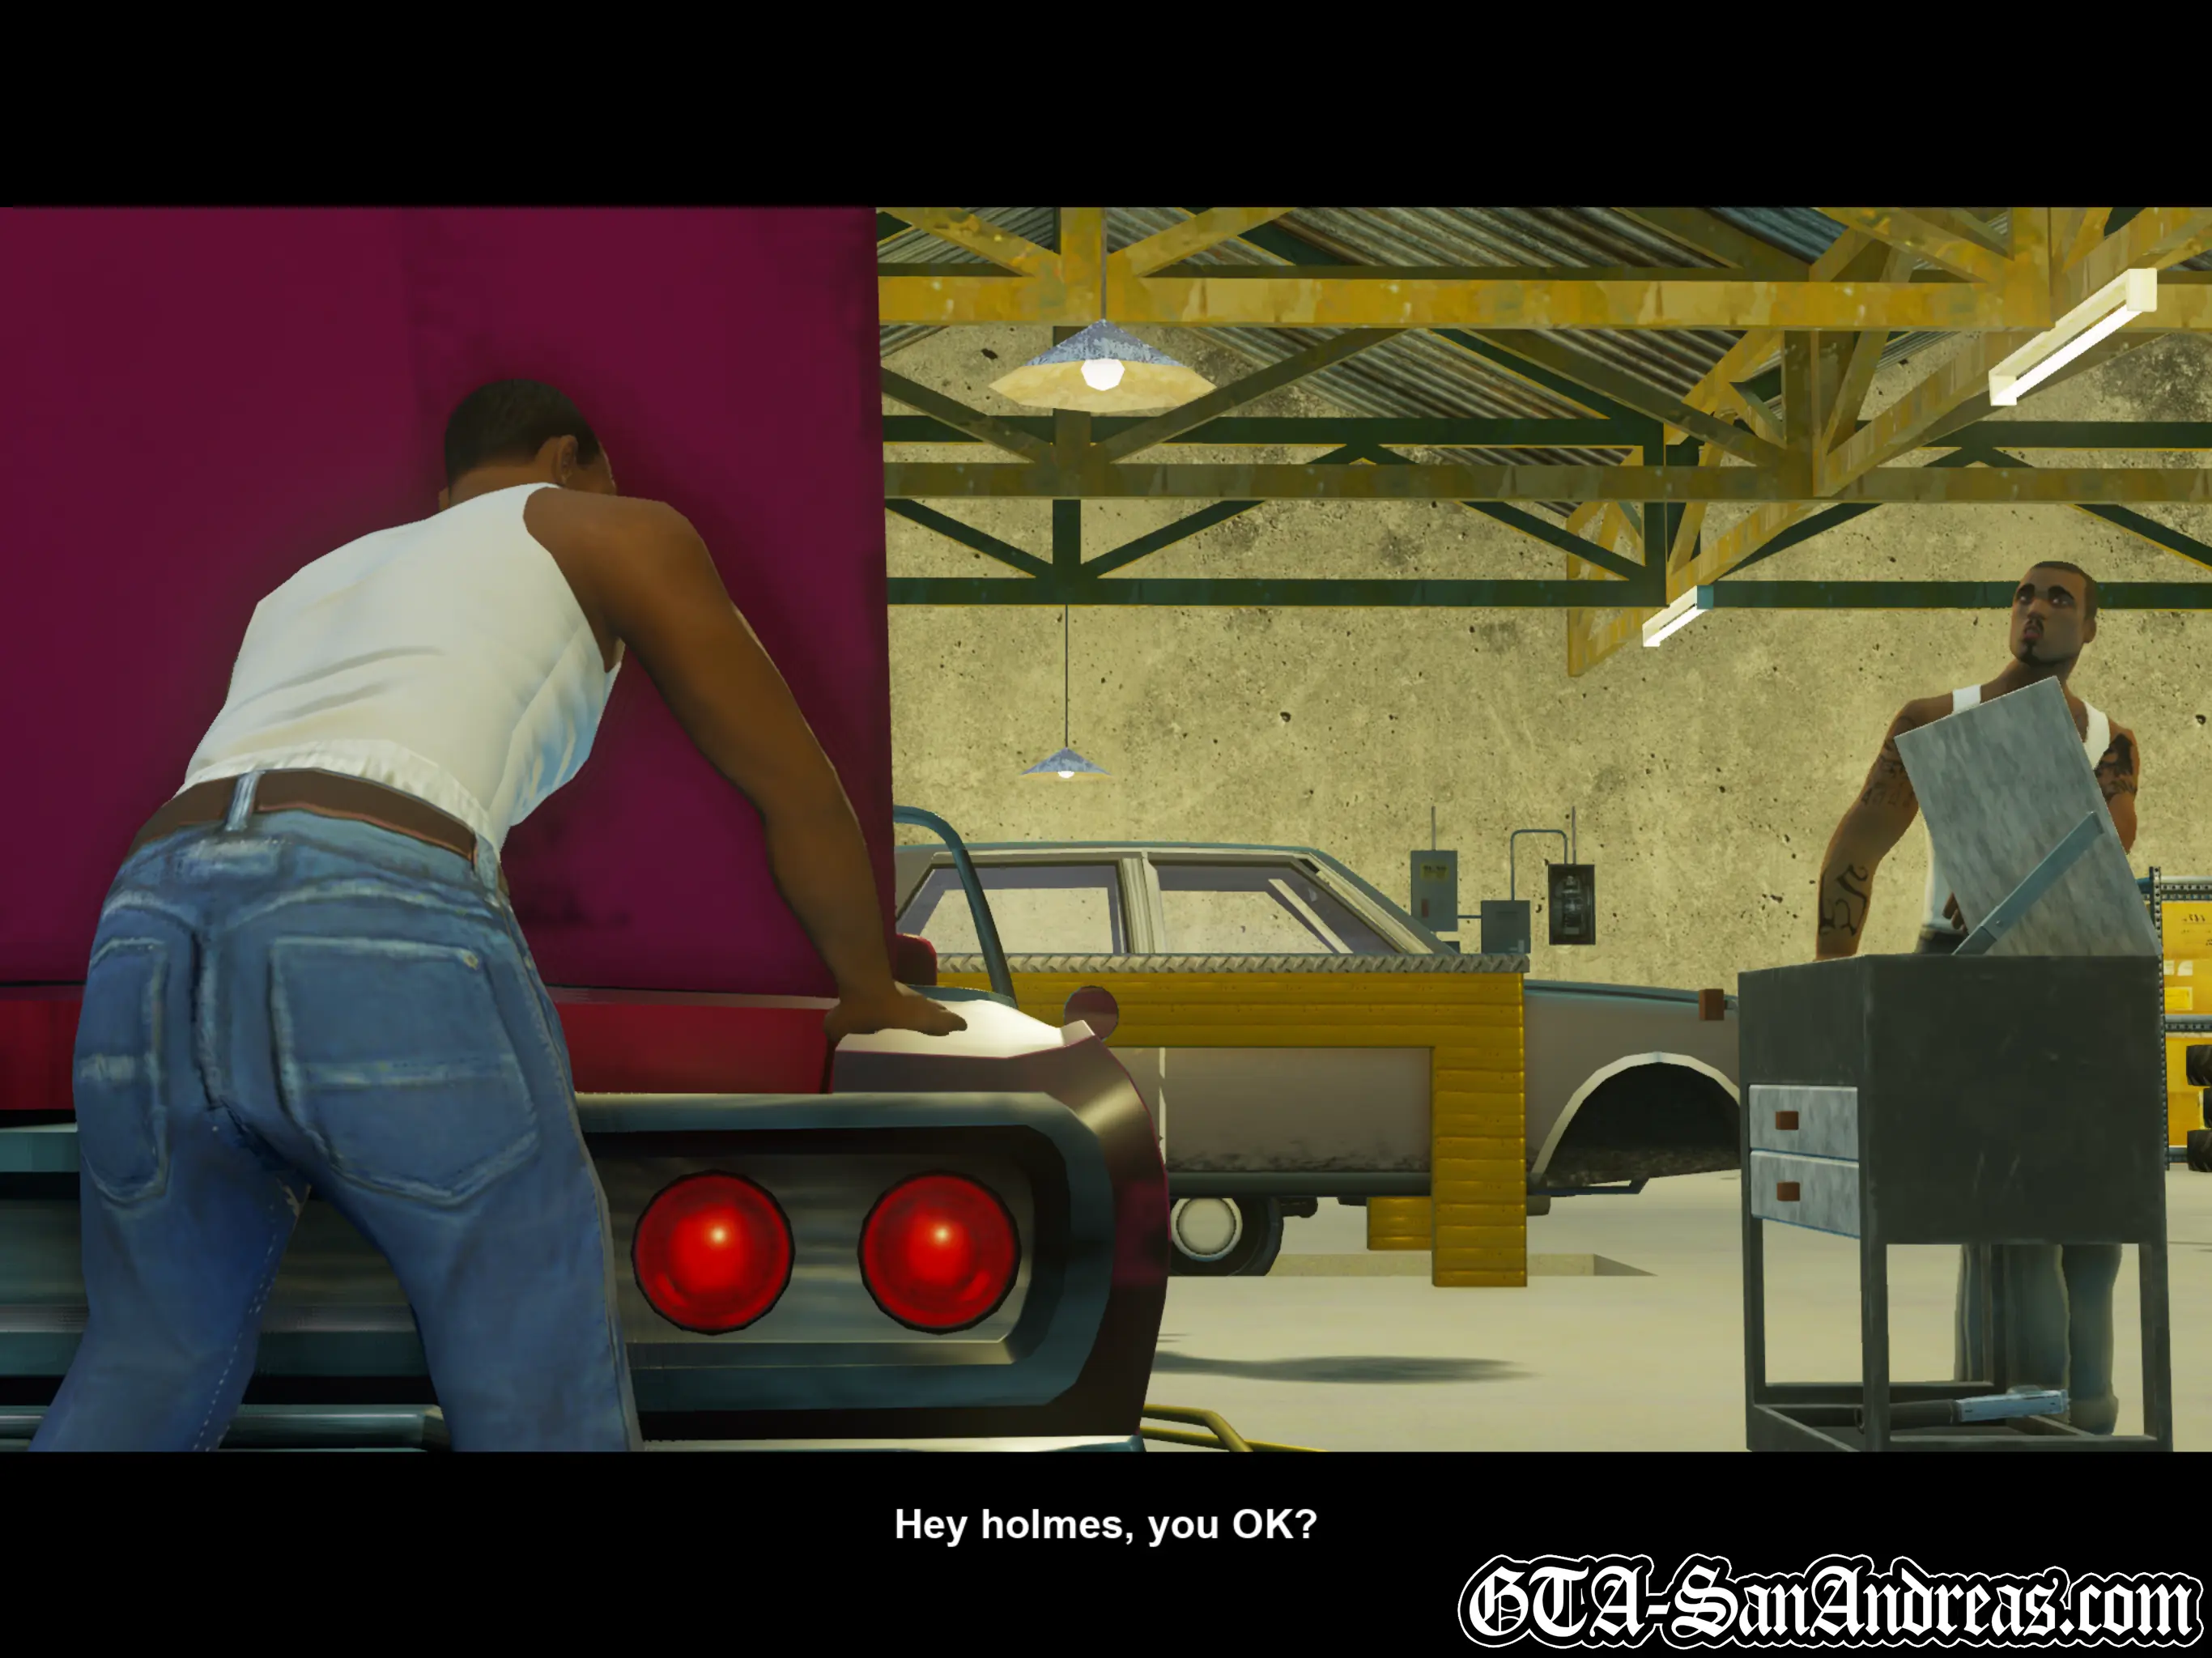
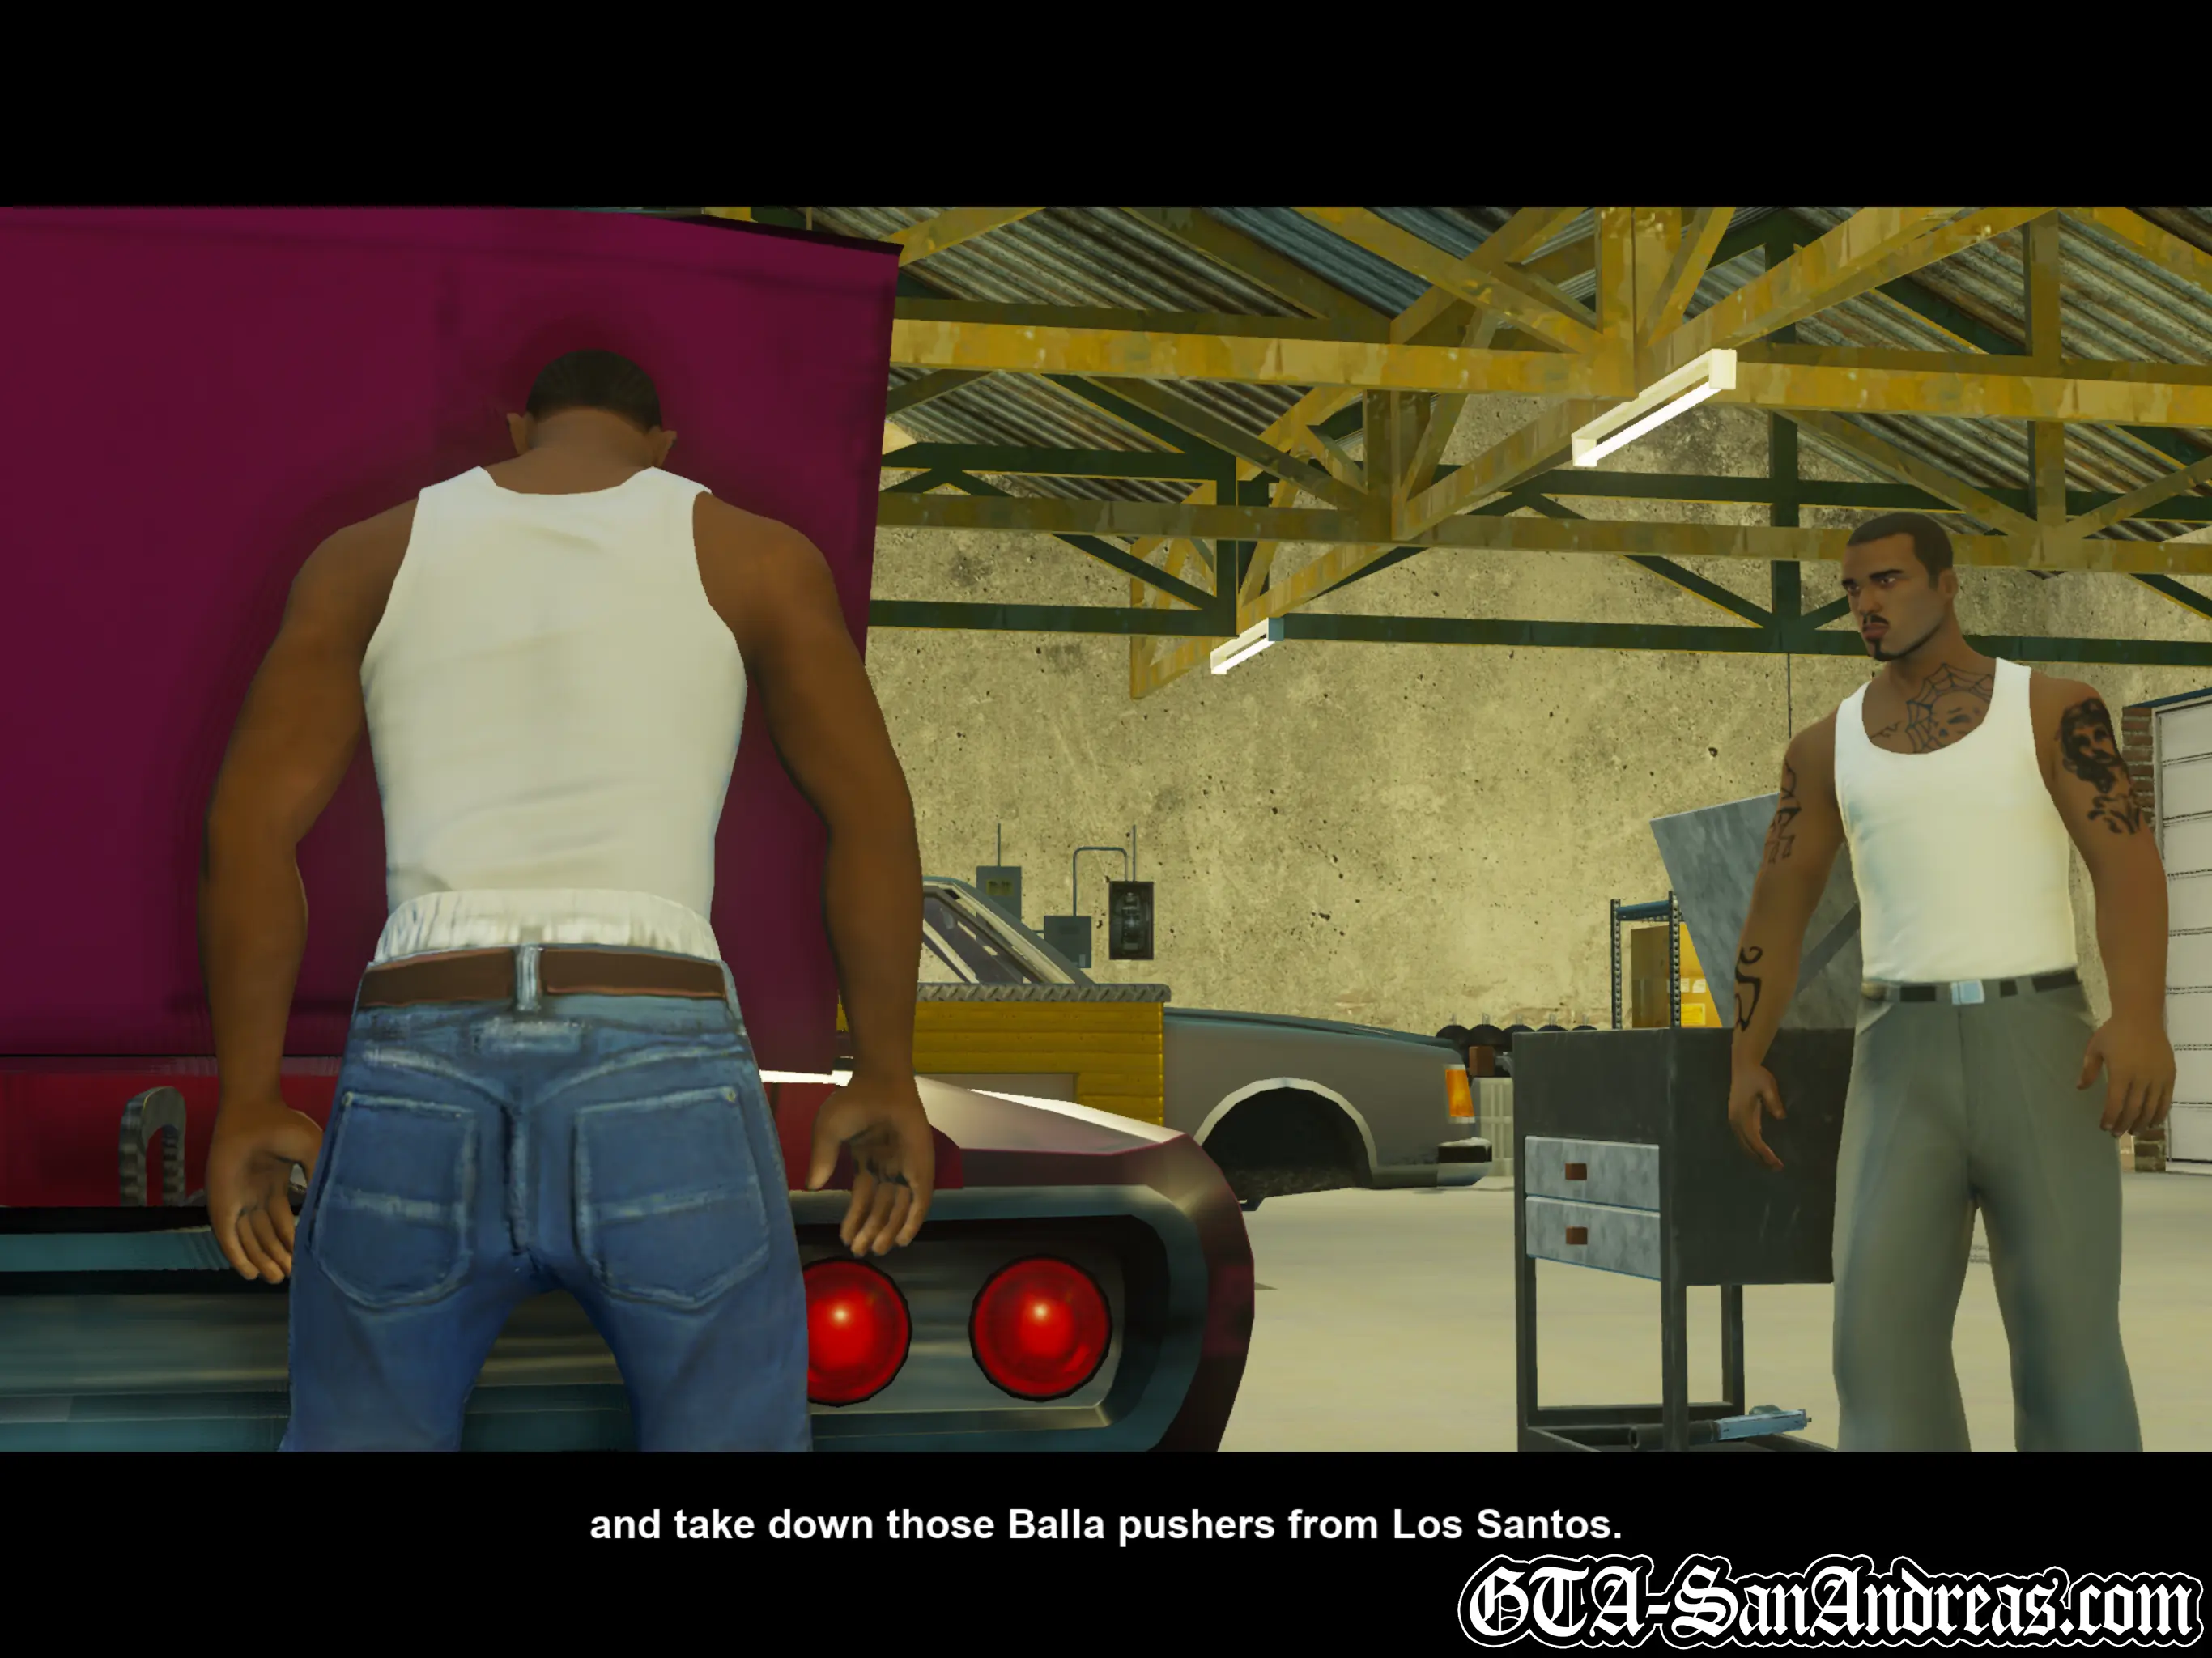
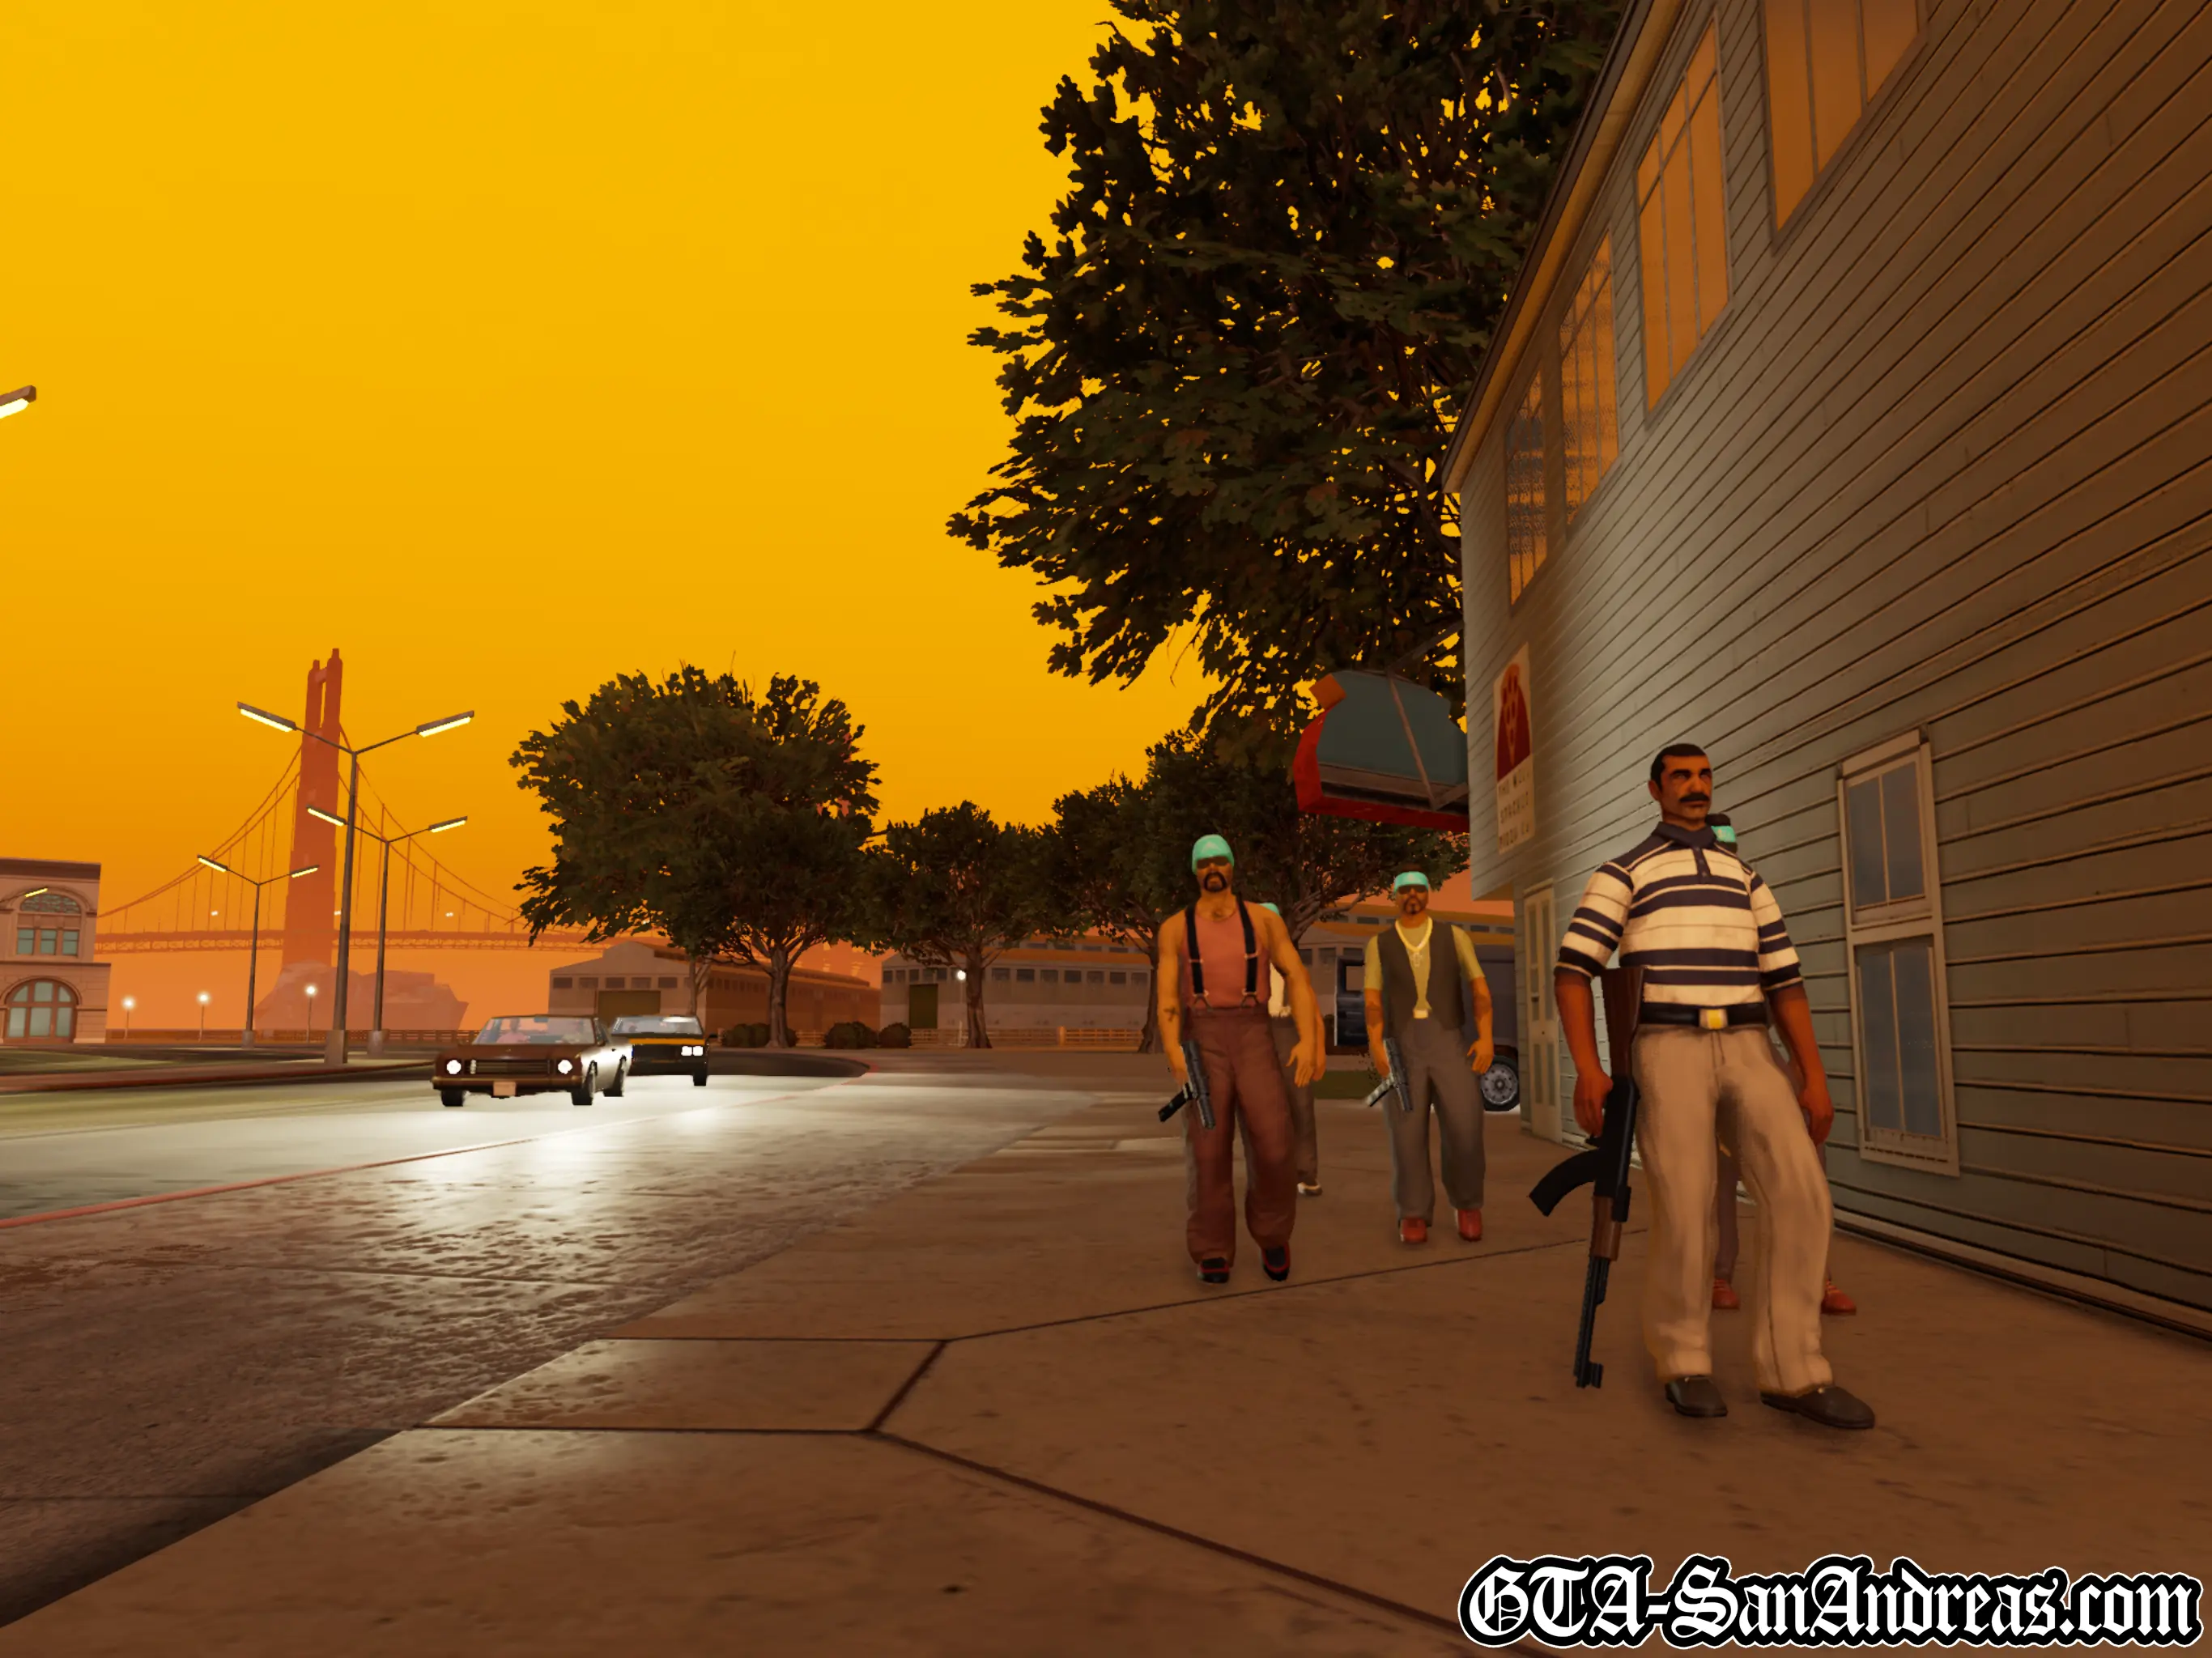
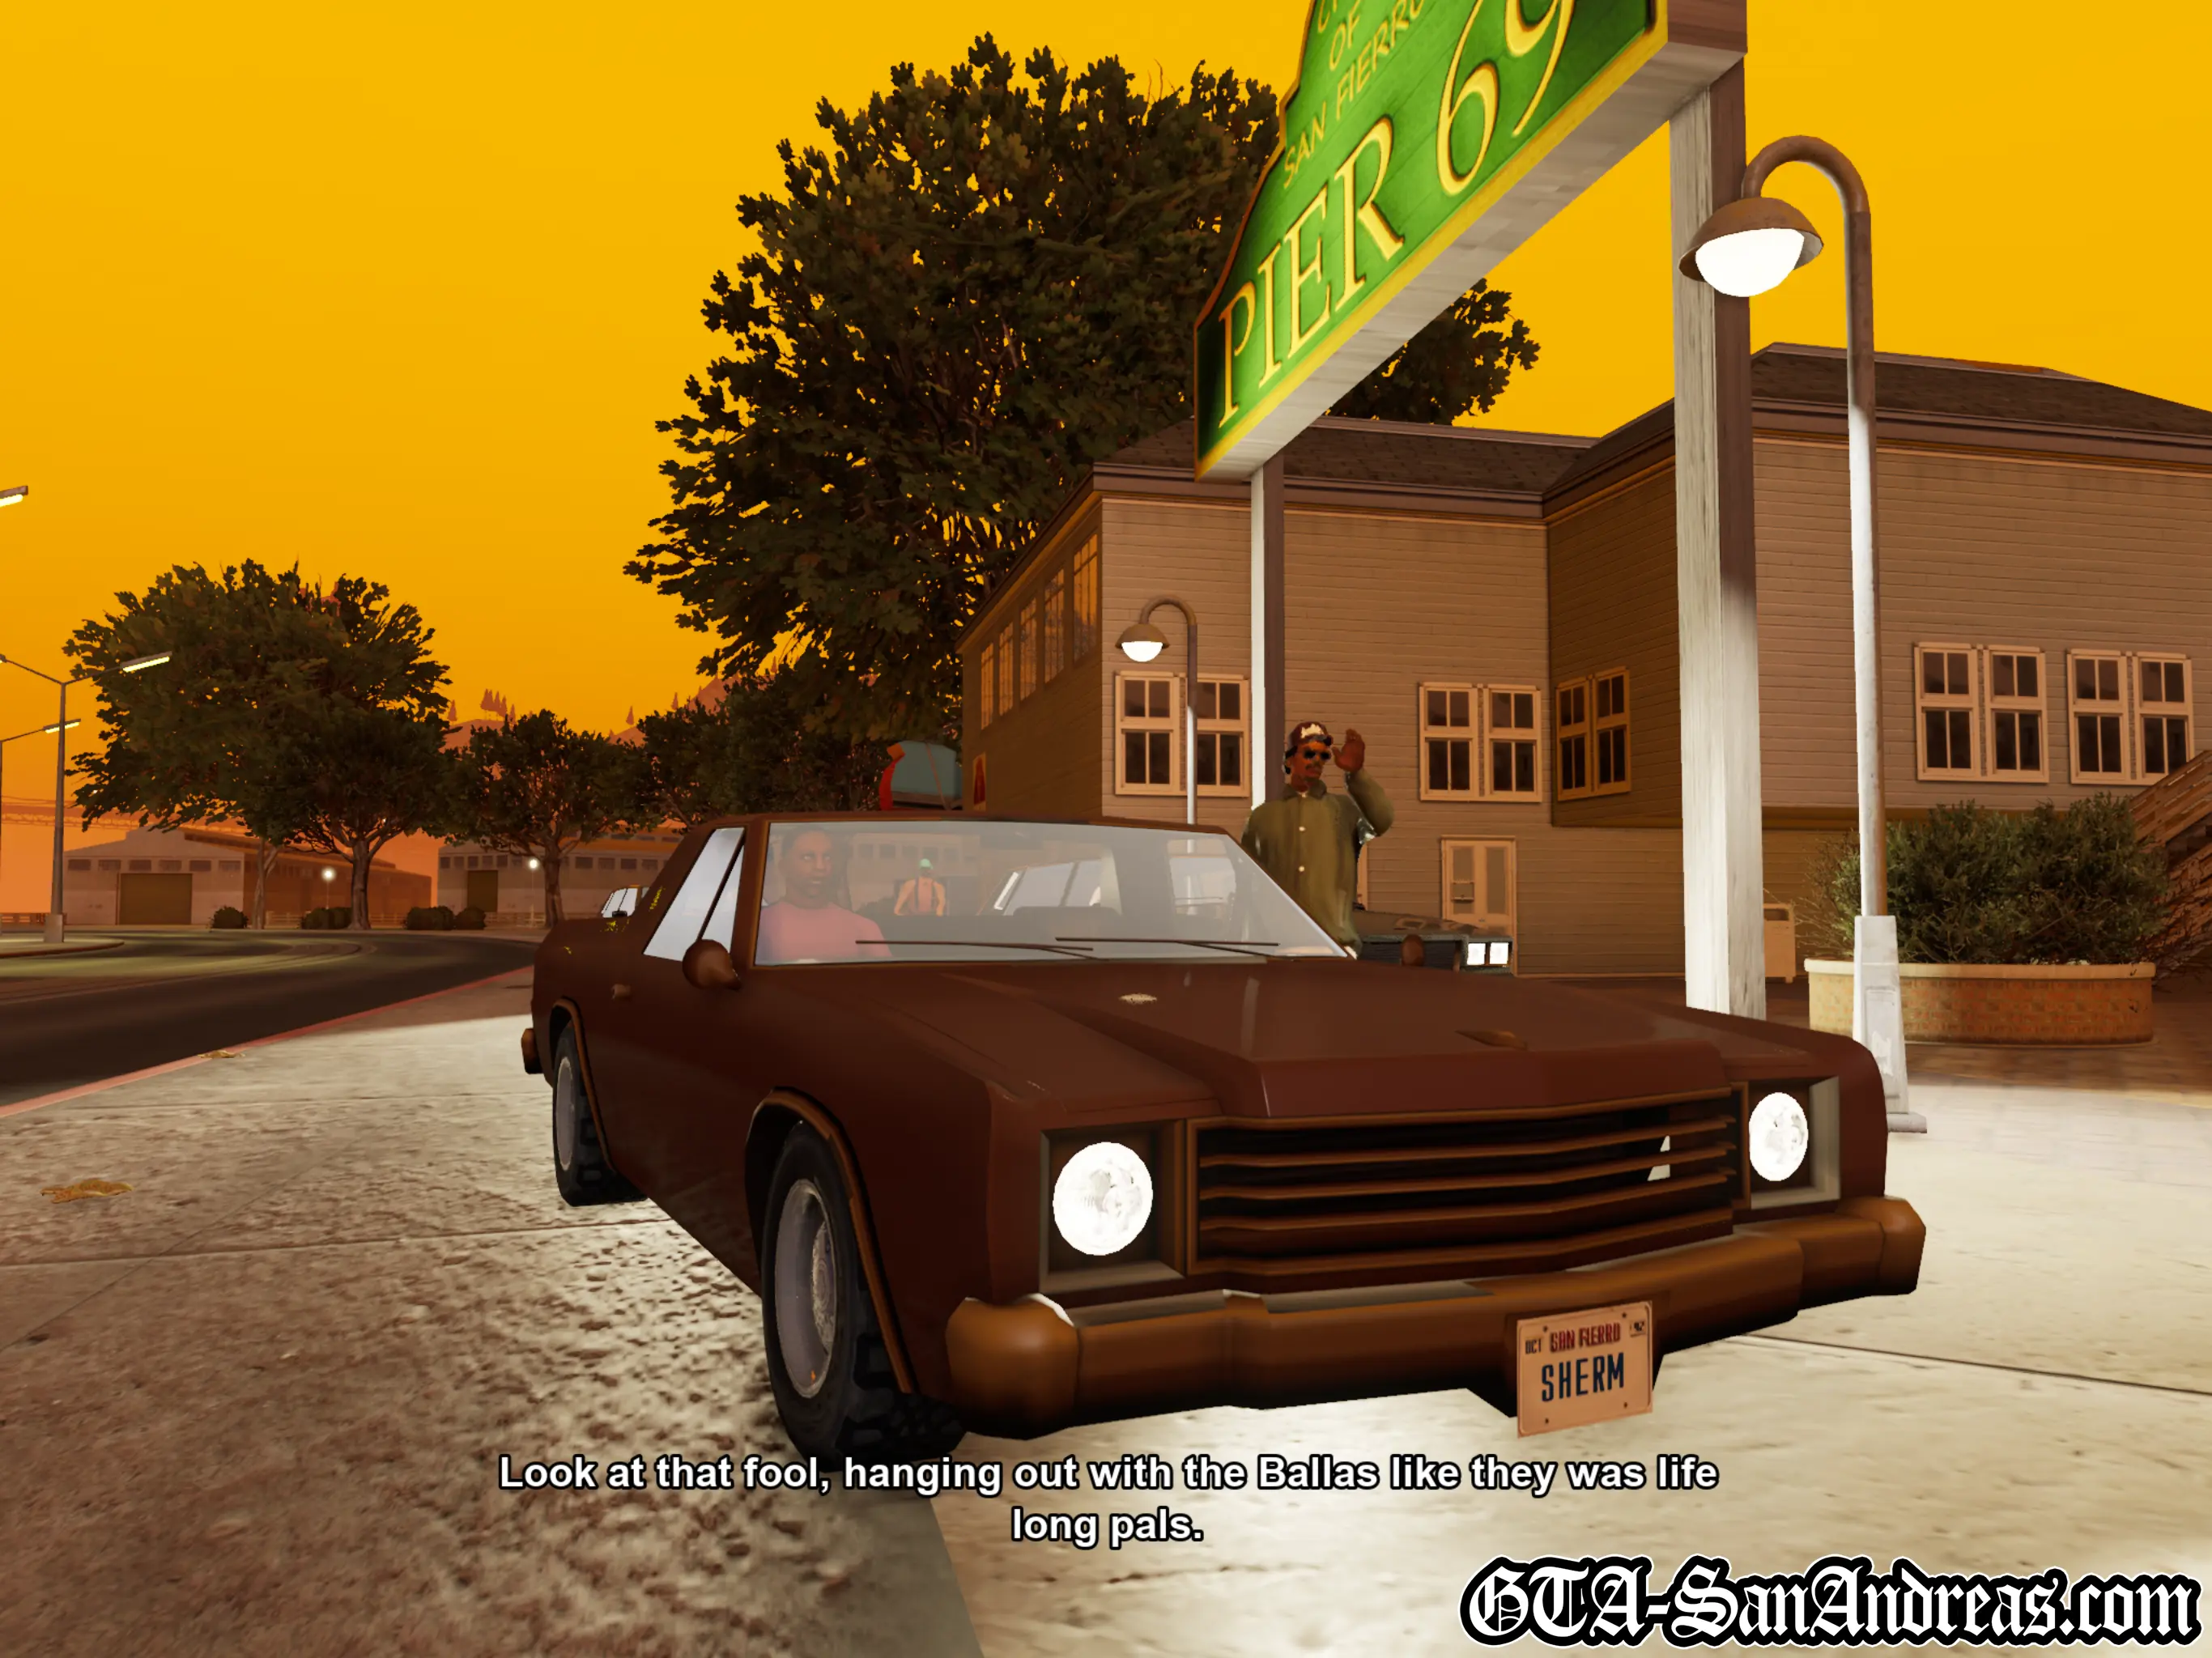
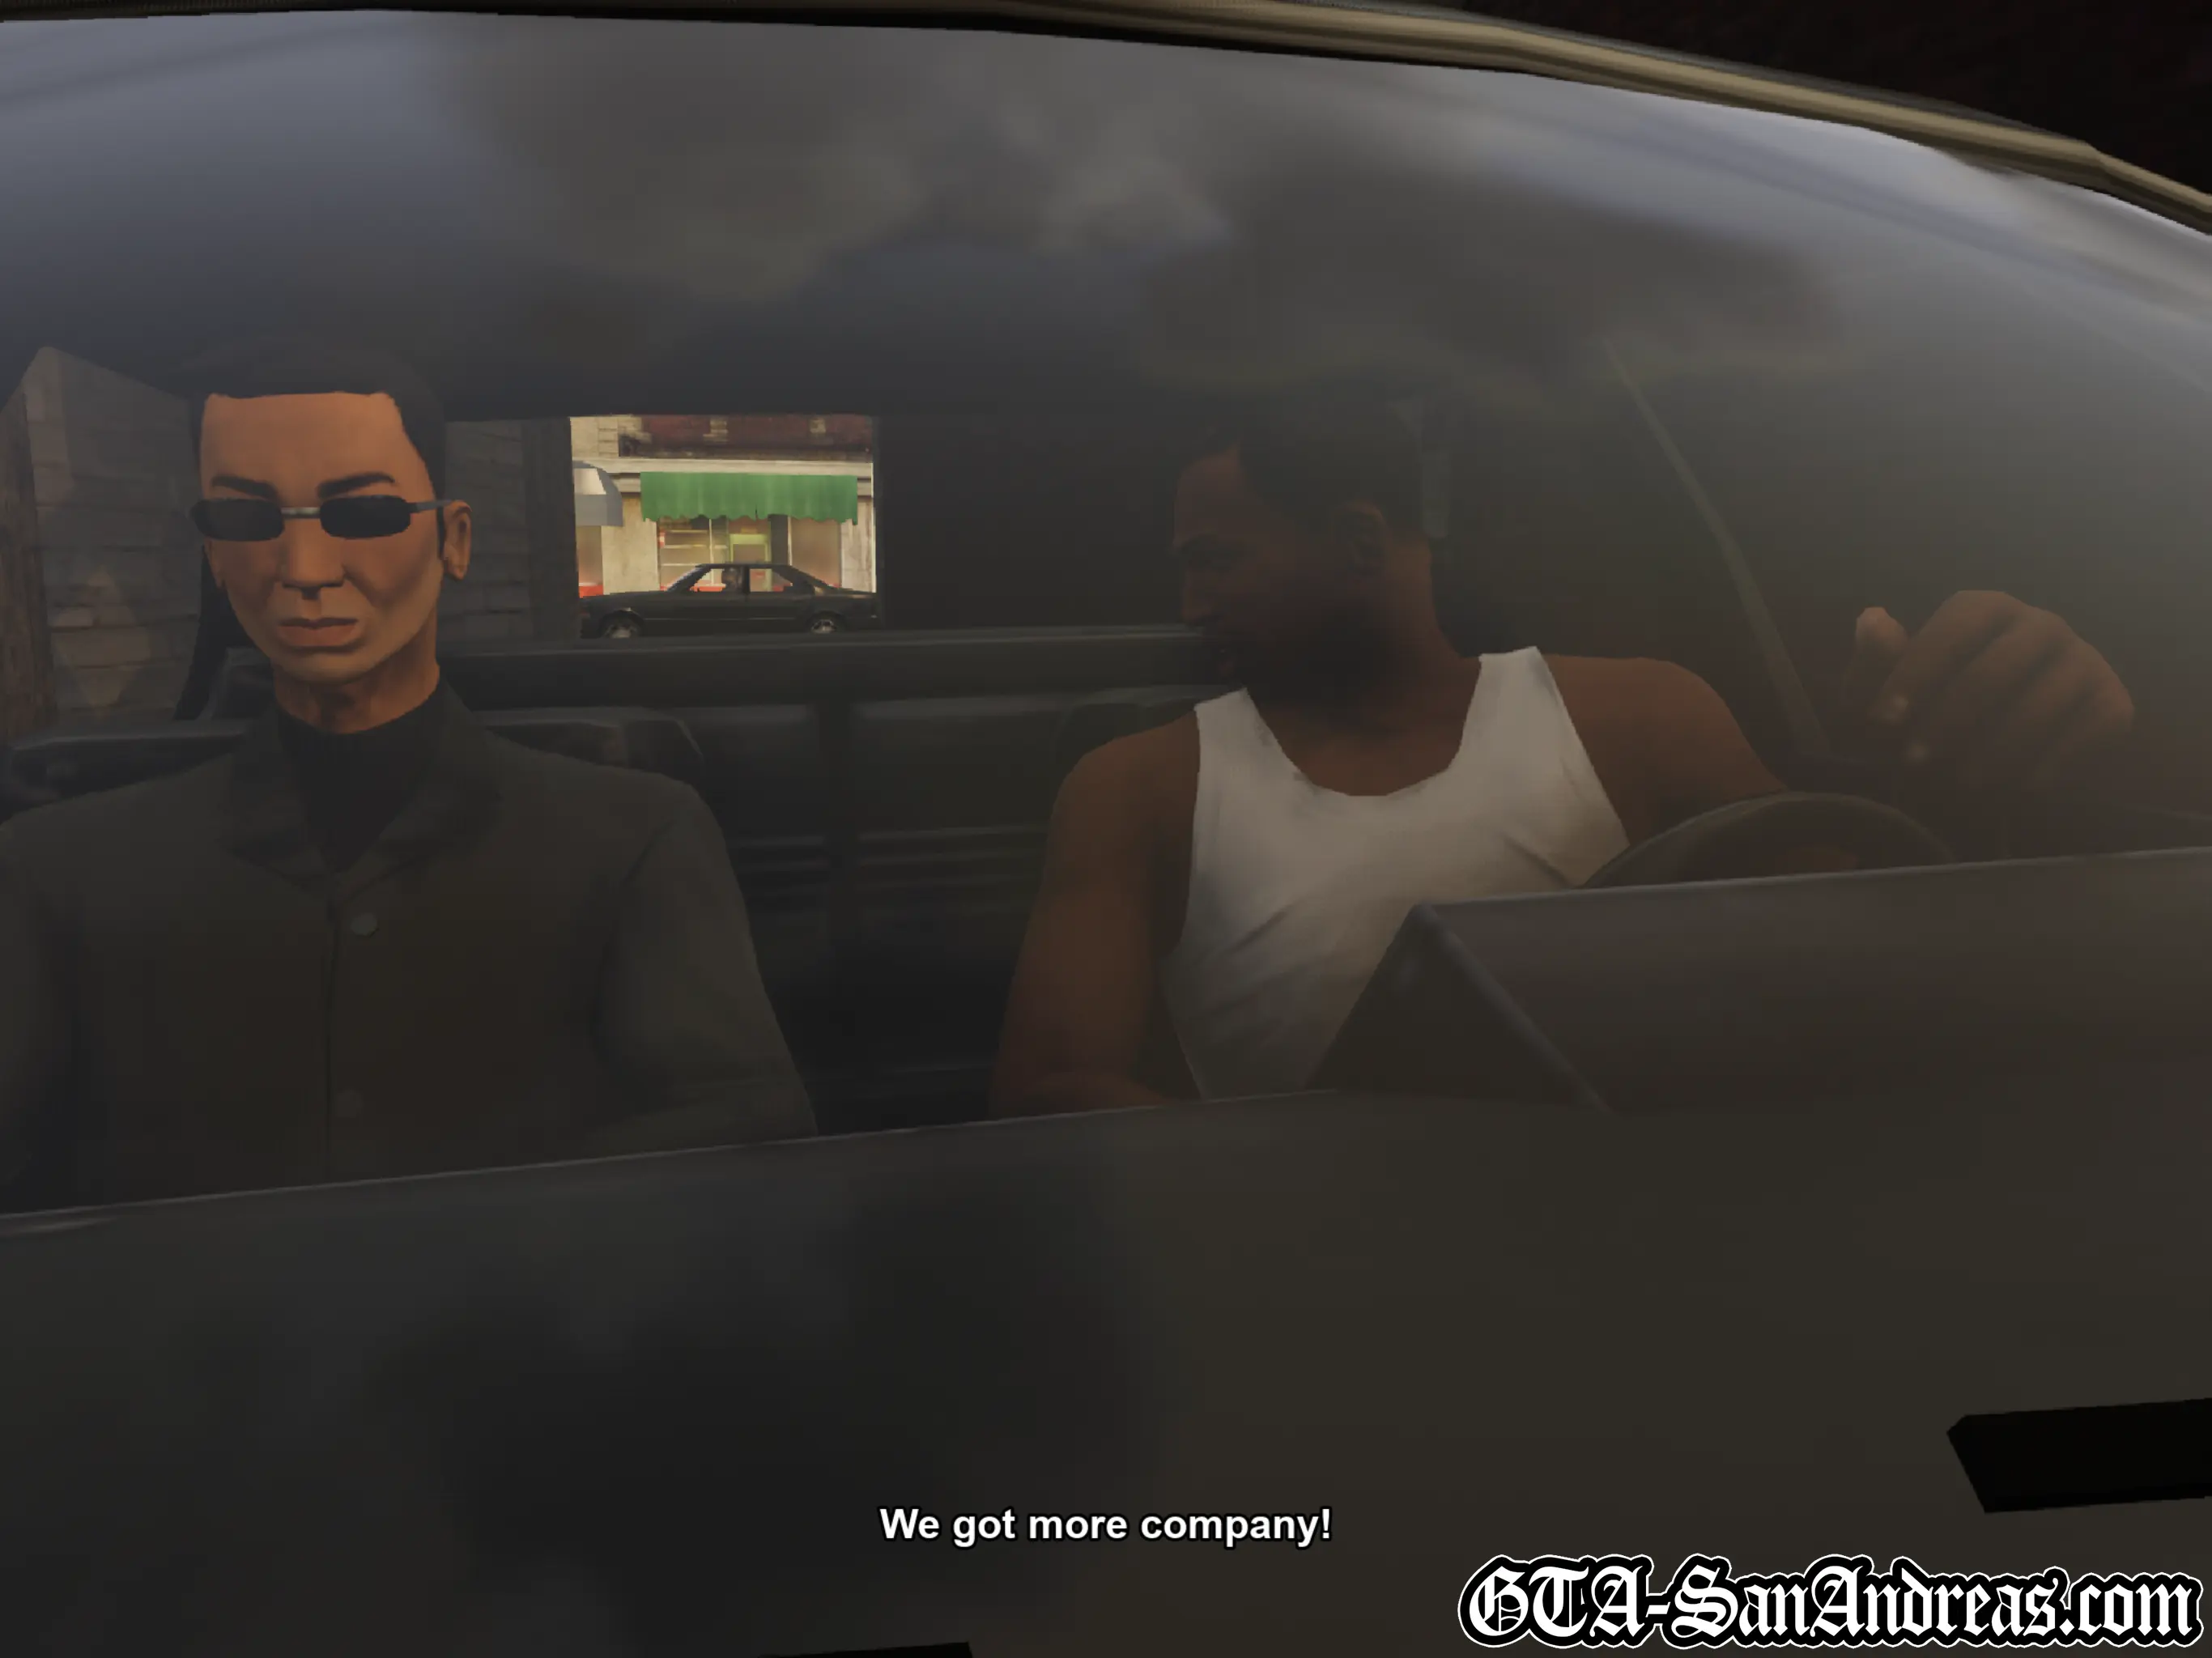
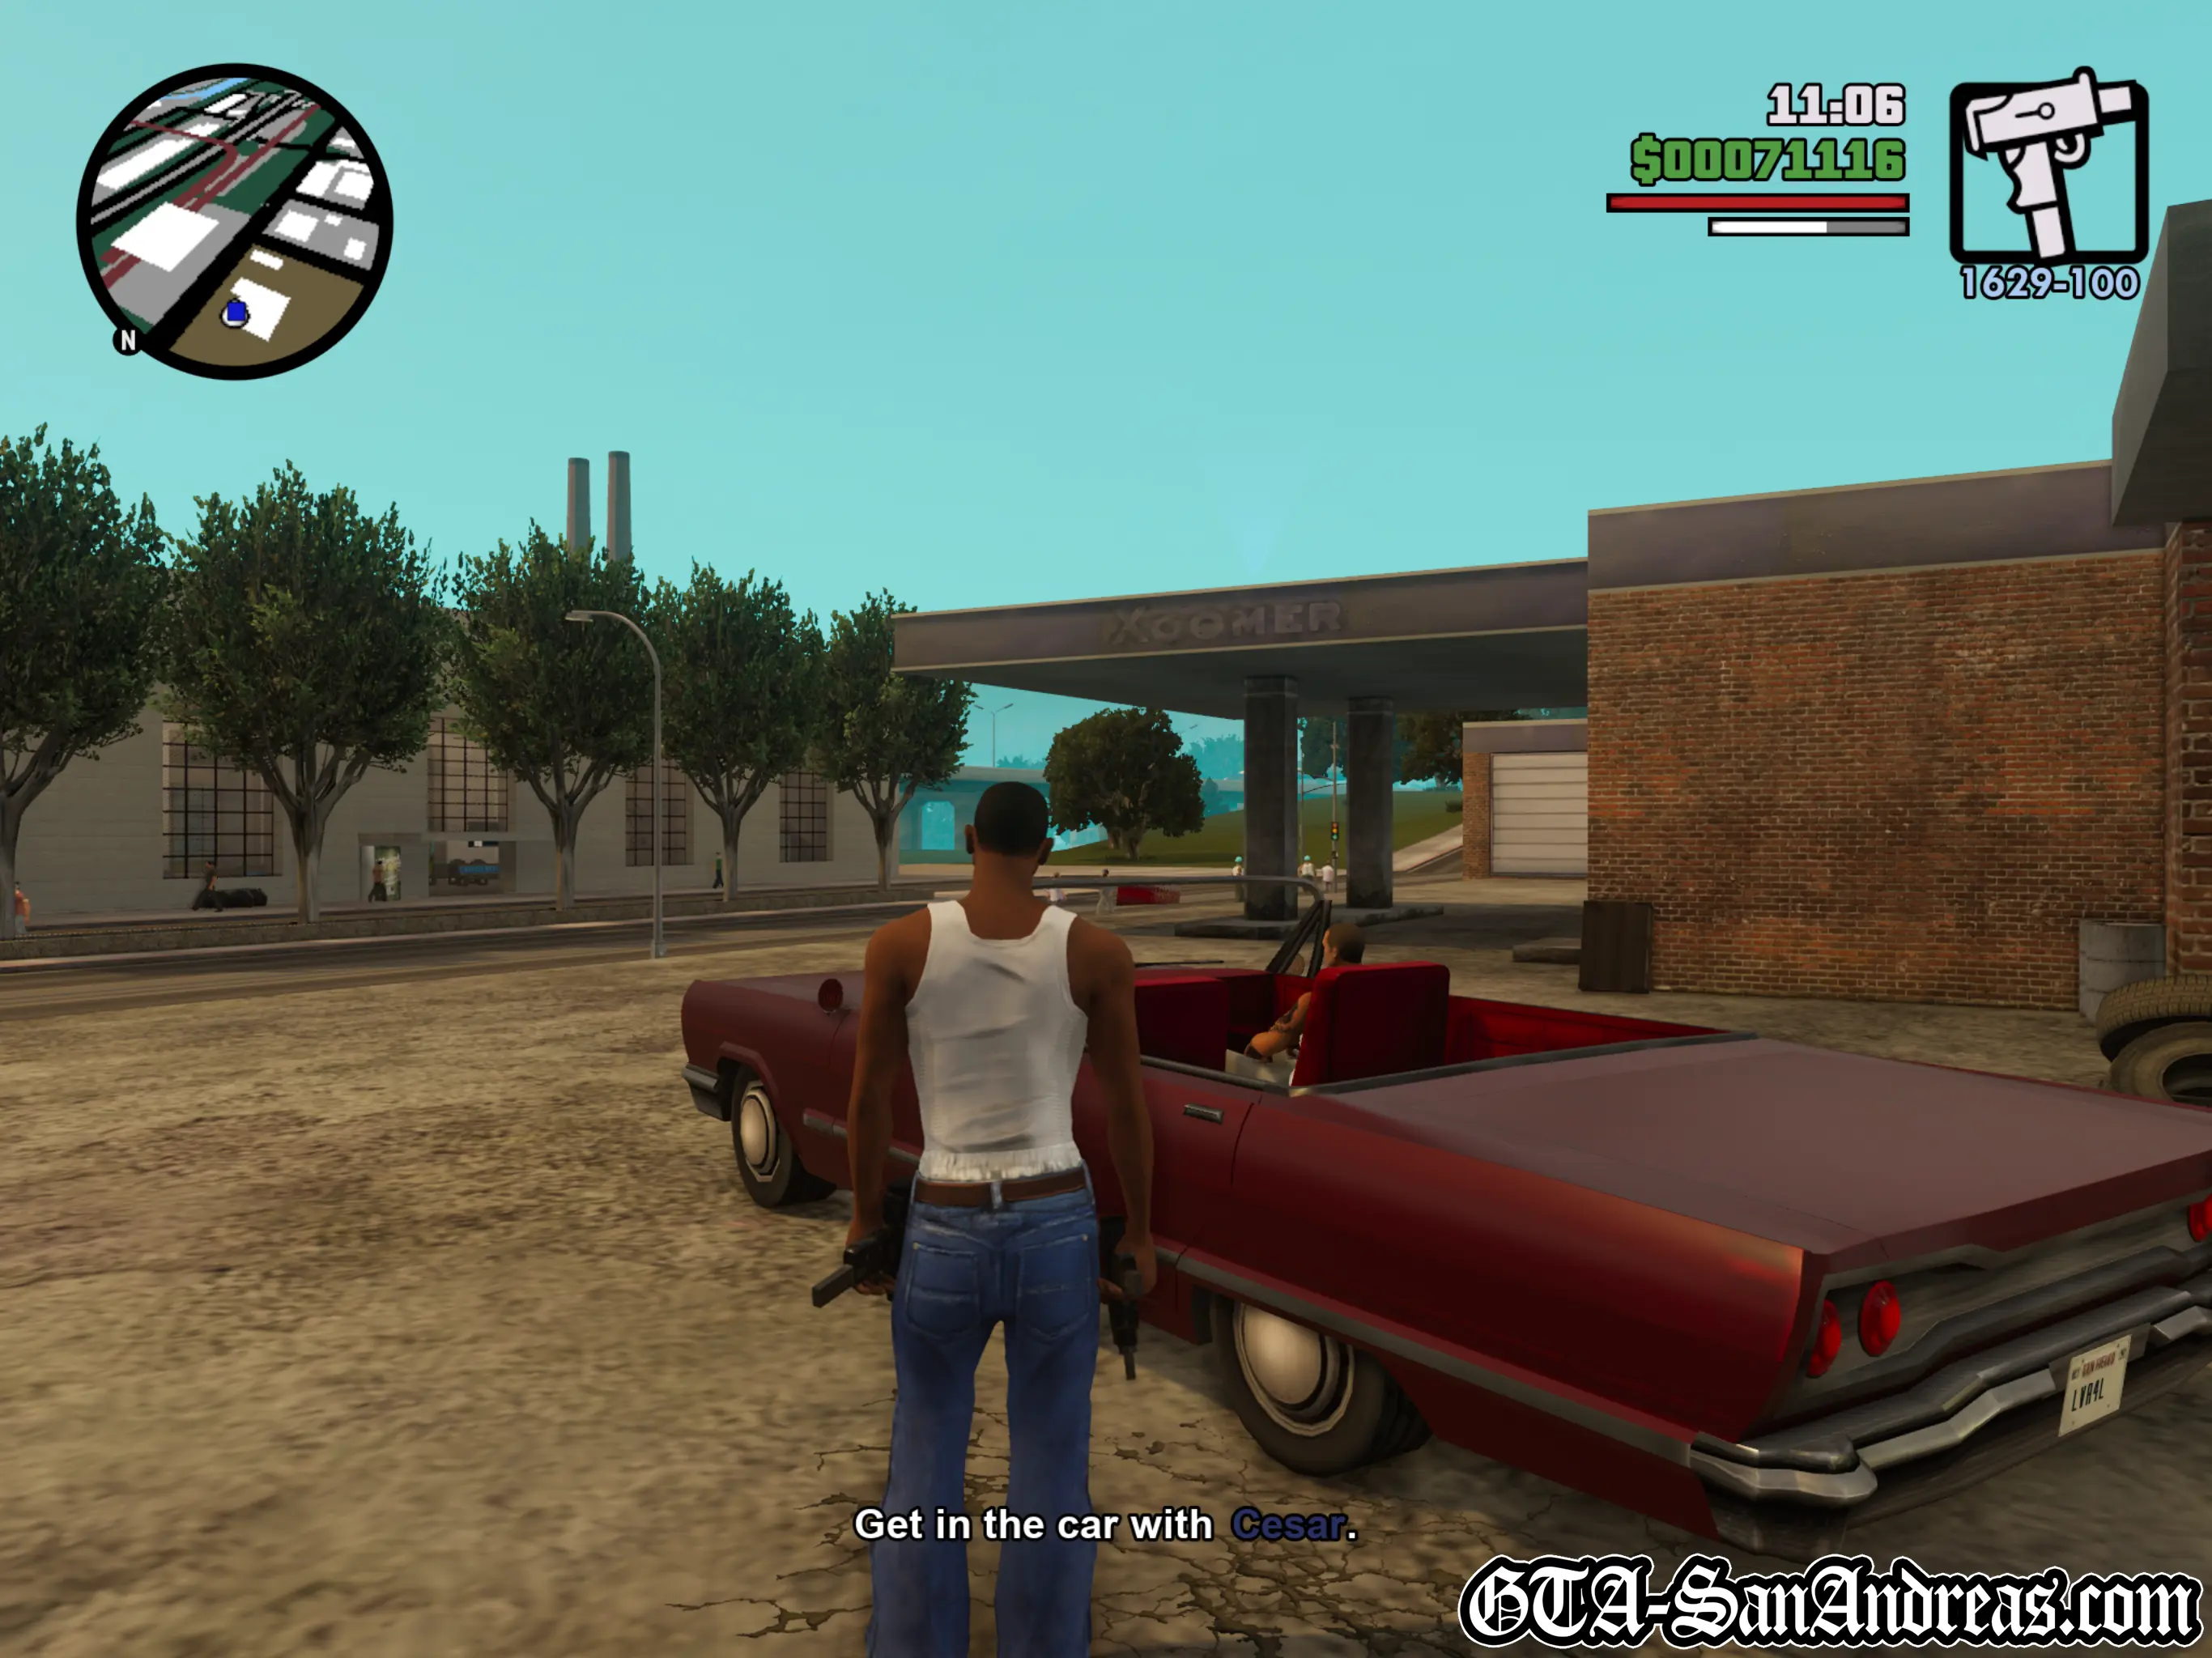
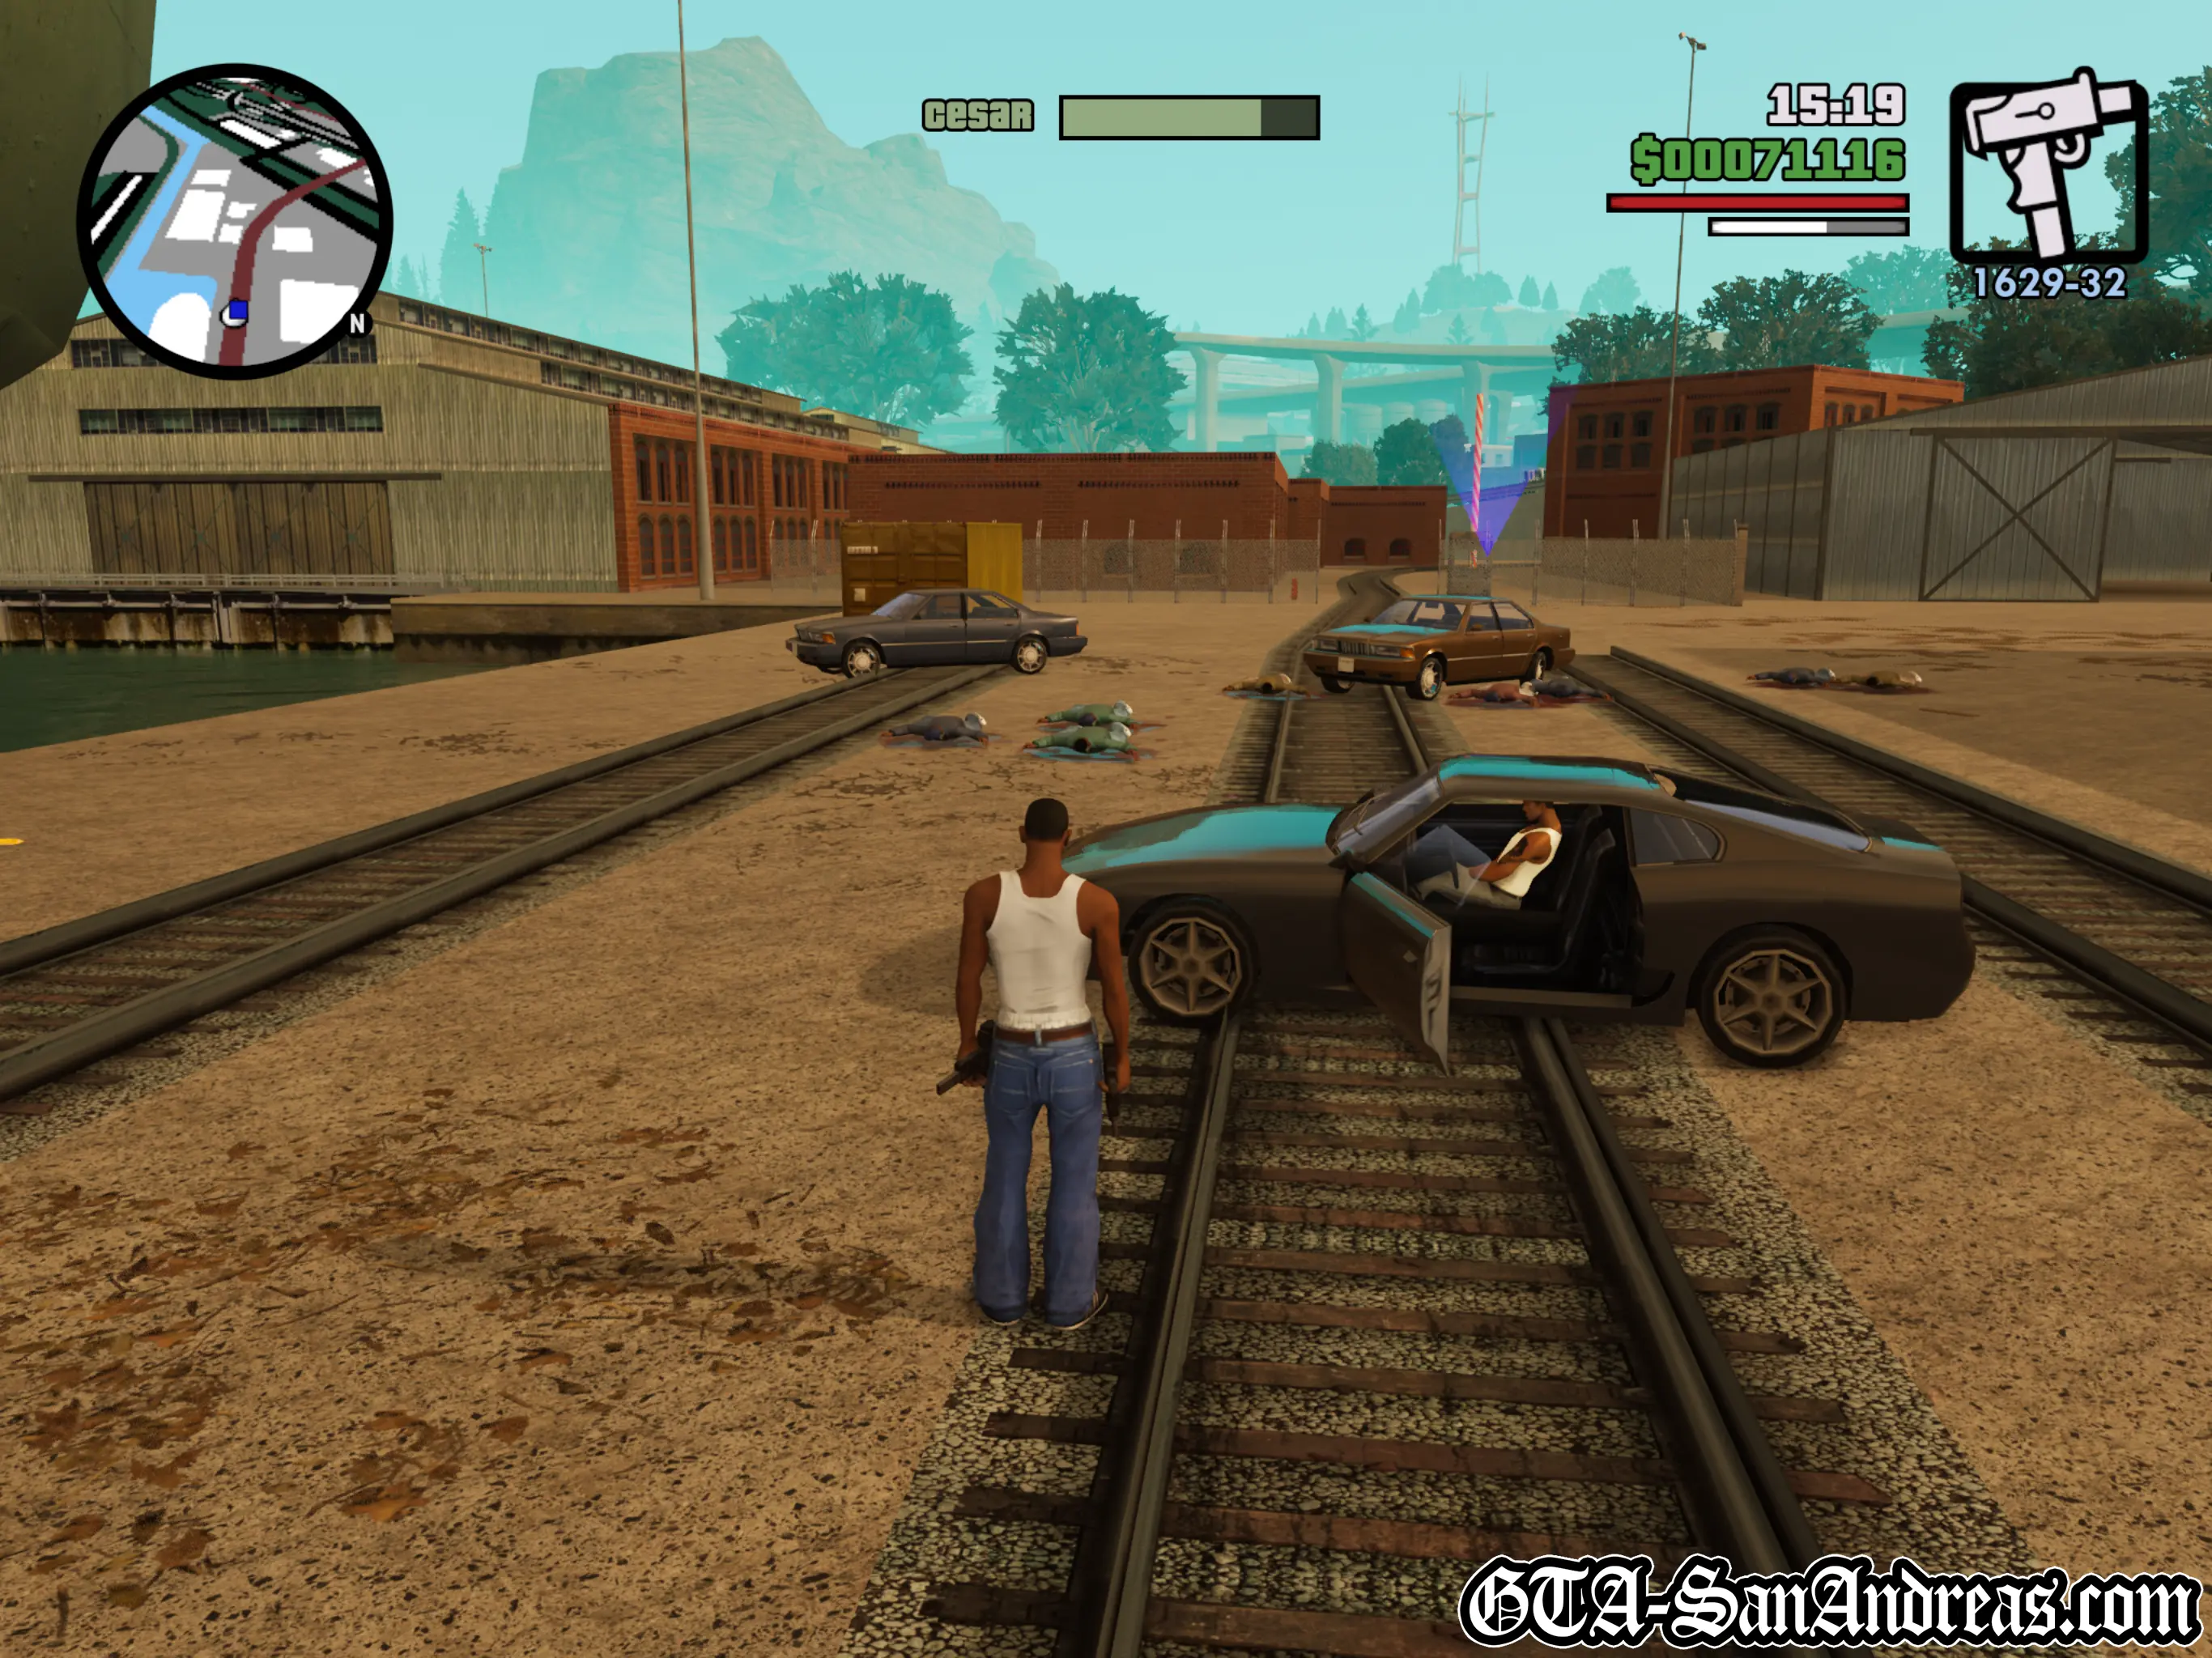
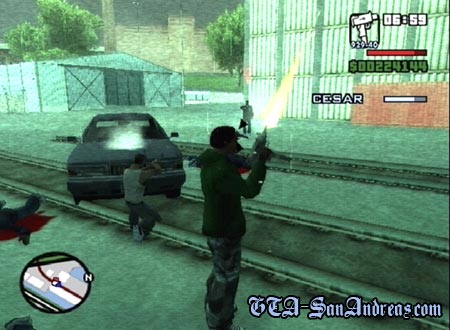
Cesar has just gotten word that the Ballas are leaving to go to a meet. Cesar has followed them, but wants you to come along with him. When the mission starts you'll need to get a vehicle and make your way to Cesar. The quickest route is probably by following the train tracks until Flint Country and then driving the rest of the way using a road. Alternatively you can grab a boat from next to the airport and drive through the rivers, almost straight to Cesar. When you get to Cesar, get in his car and you'll be instructed what to do next. Drive Cesar all the way to Angel Pine where the meet is taking place. There's no time limit, so take as long as you want to get there, however make sure you don't wreck the car. If you flip it, or lose it some how you'll fail the mission. Follow a proper road to be on the safe side and make your way to Angel Pine. When you get there park in the red circle. You will then be told to get up on the roof, so make your way up there and stand in the red circle. You're now using the camera, and you need to photograph the faces of each person who turns up to the meet. Use L2 and R2 to zoom in and out, and circle to take the photo. Snap as many as you like to make sure you get one of their face. The first dude is Ryder and will appear from the car park directly in front. Snap a pic of him and the arrow above his head will disappear. Next up is T-Bone Mendez, he'll be near Ryder, so get a pic of him too. To the right you'll see Toreno followed by Jizzy the Pimp. Snap pics of all of them and wait for the cutscene to begin.
After the mission you'll be told about taking photos in San Fierro, as well as being given a camera with infinite ammo. You may want to save the game now, because you'll never have infinite ammo for the camera again if you die. Make your way back to the garage in San Fierro for more missions.
Screenshots


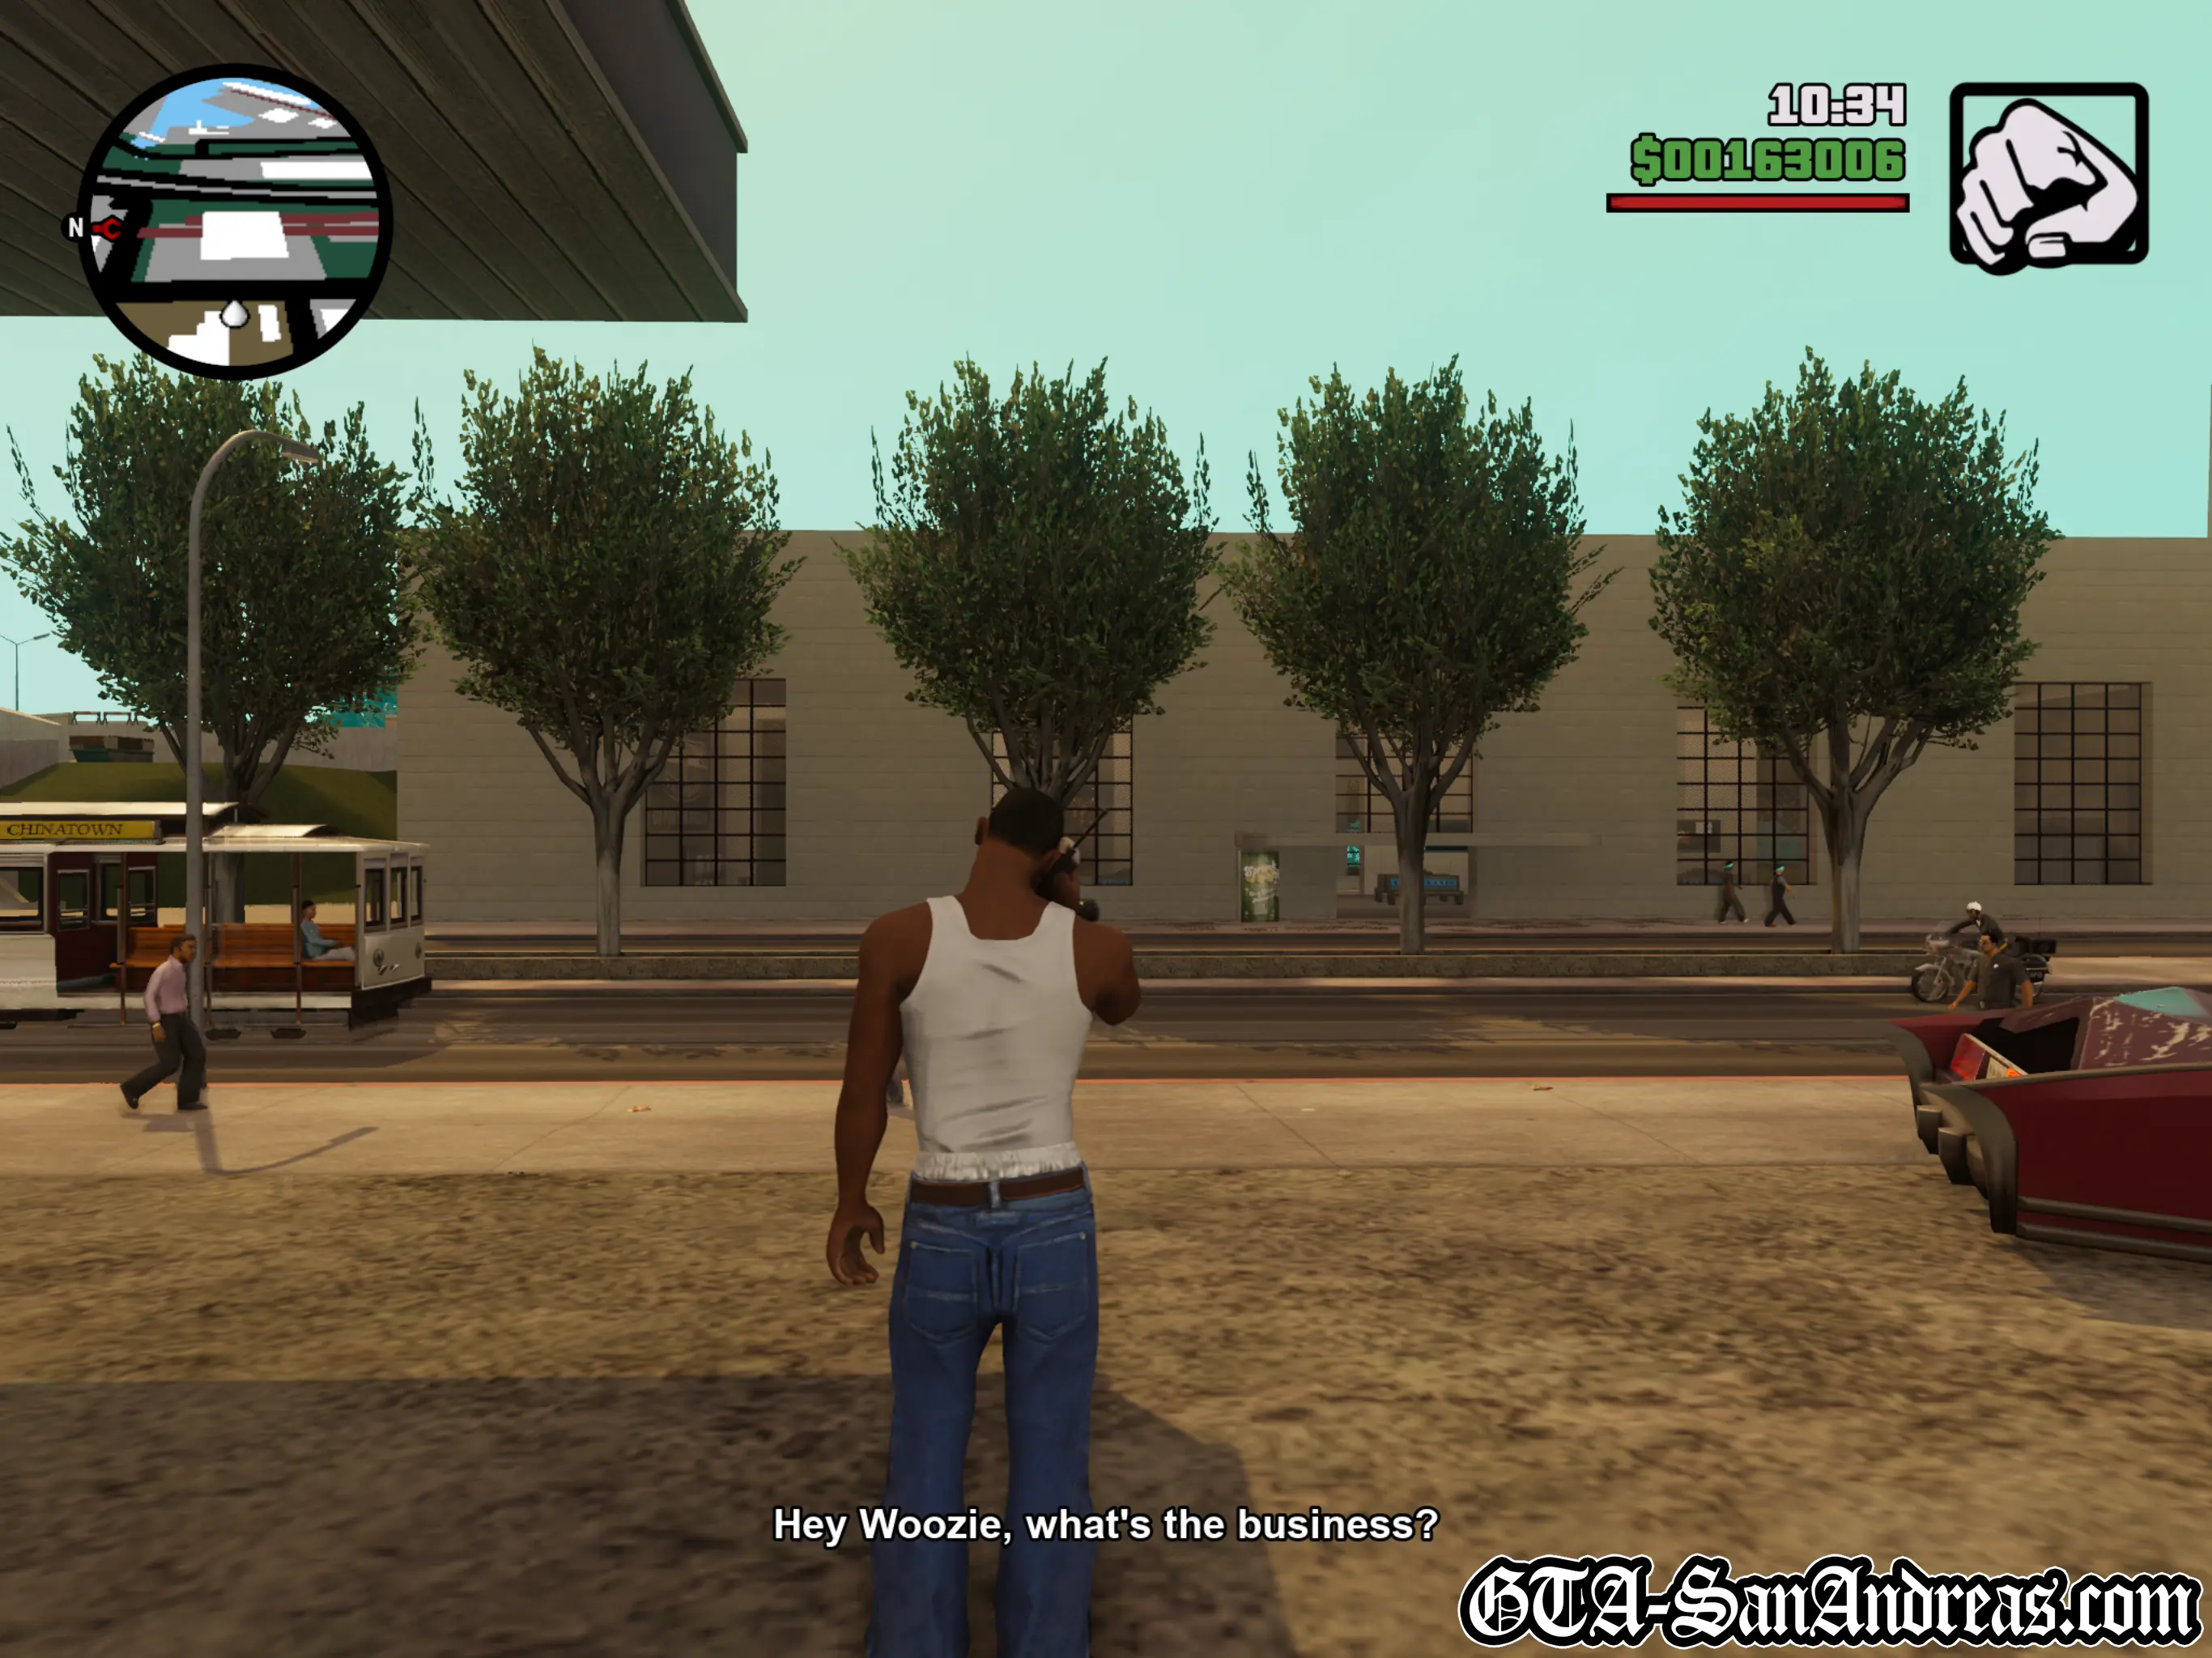
Jizzy (Intro)
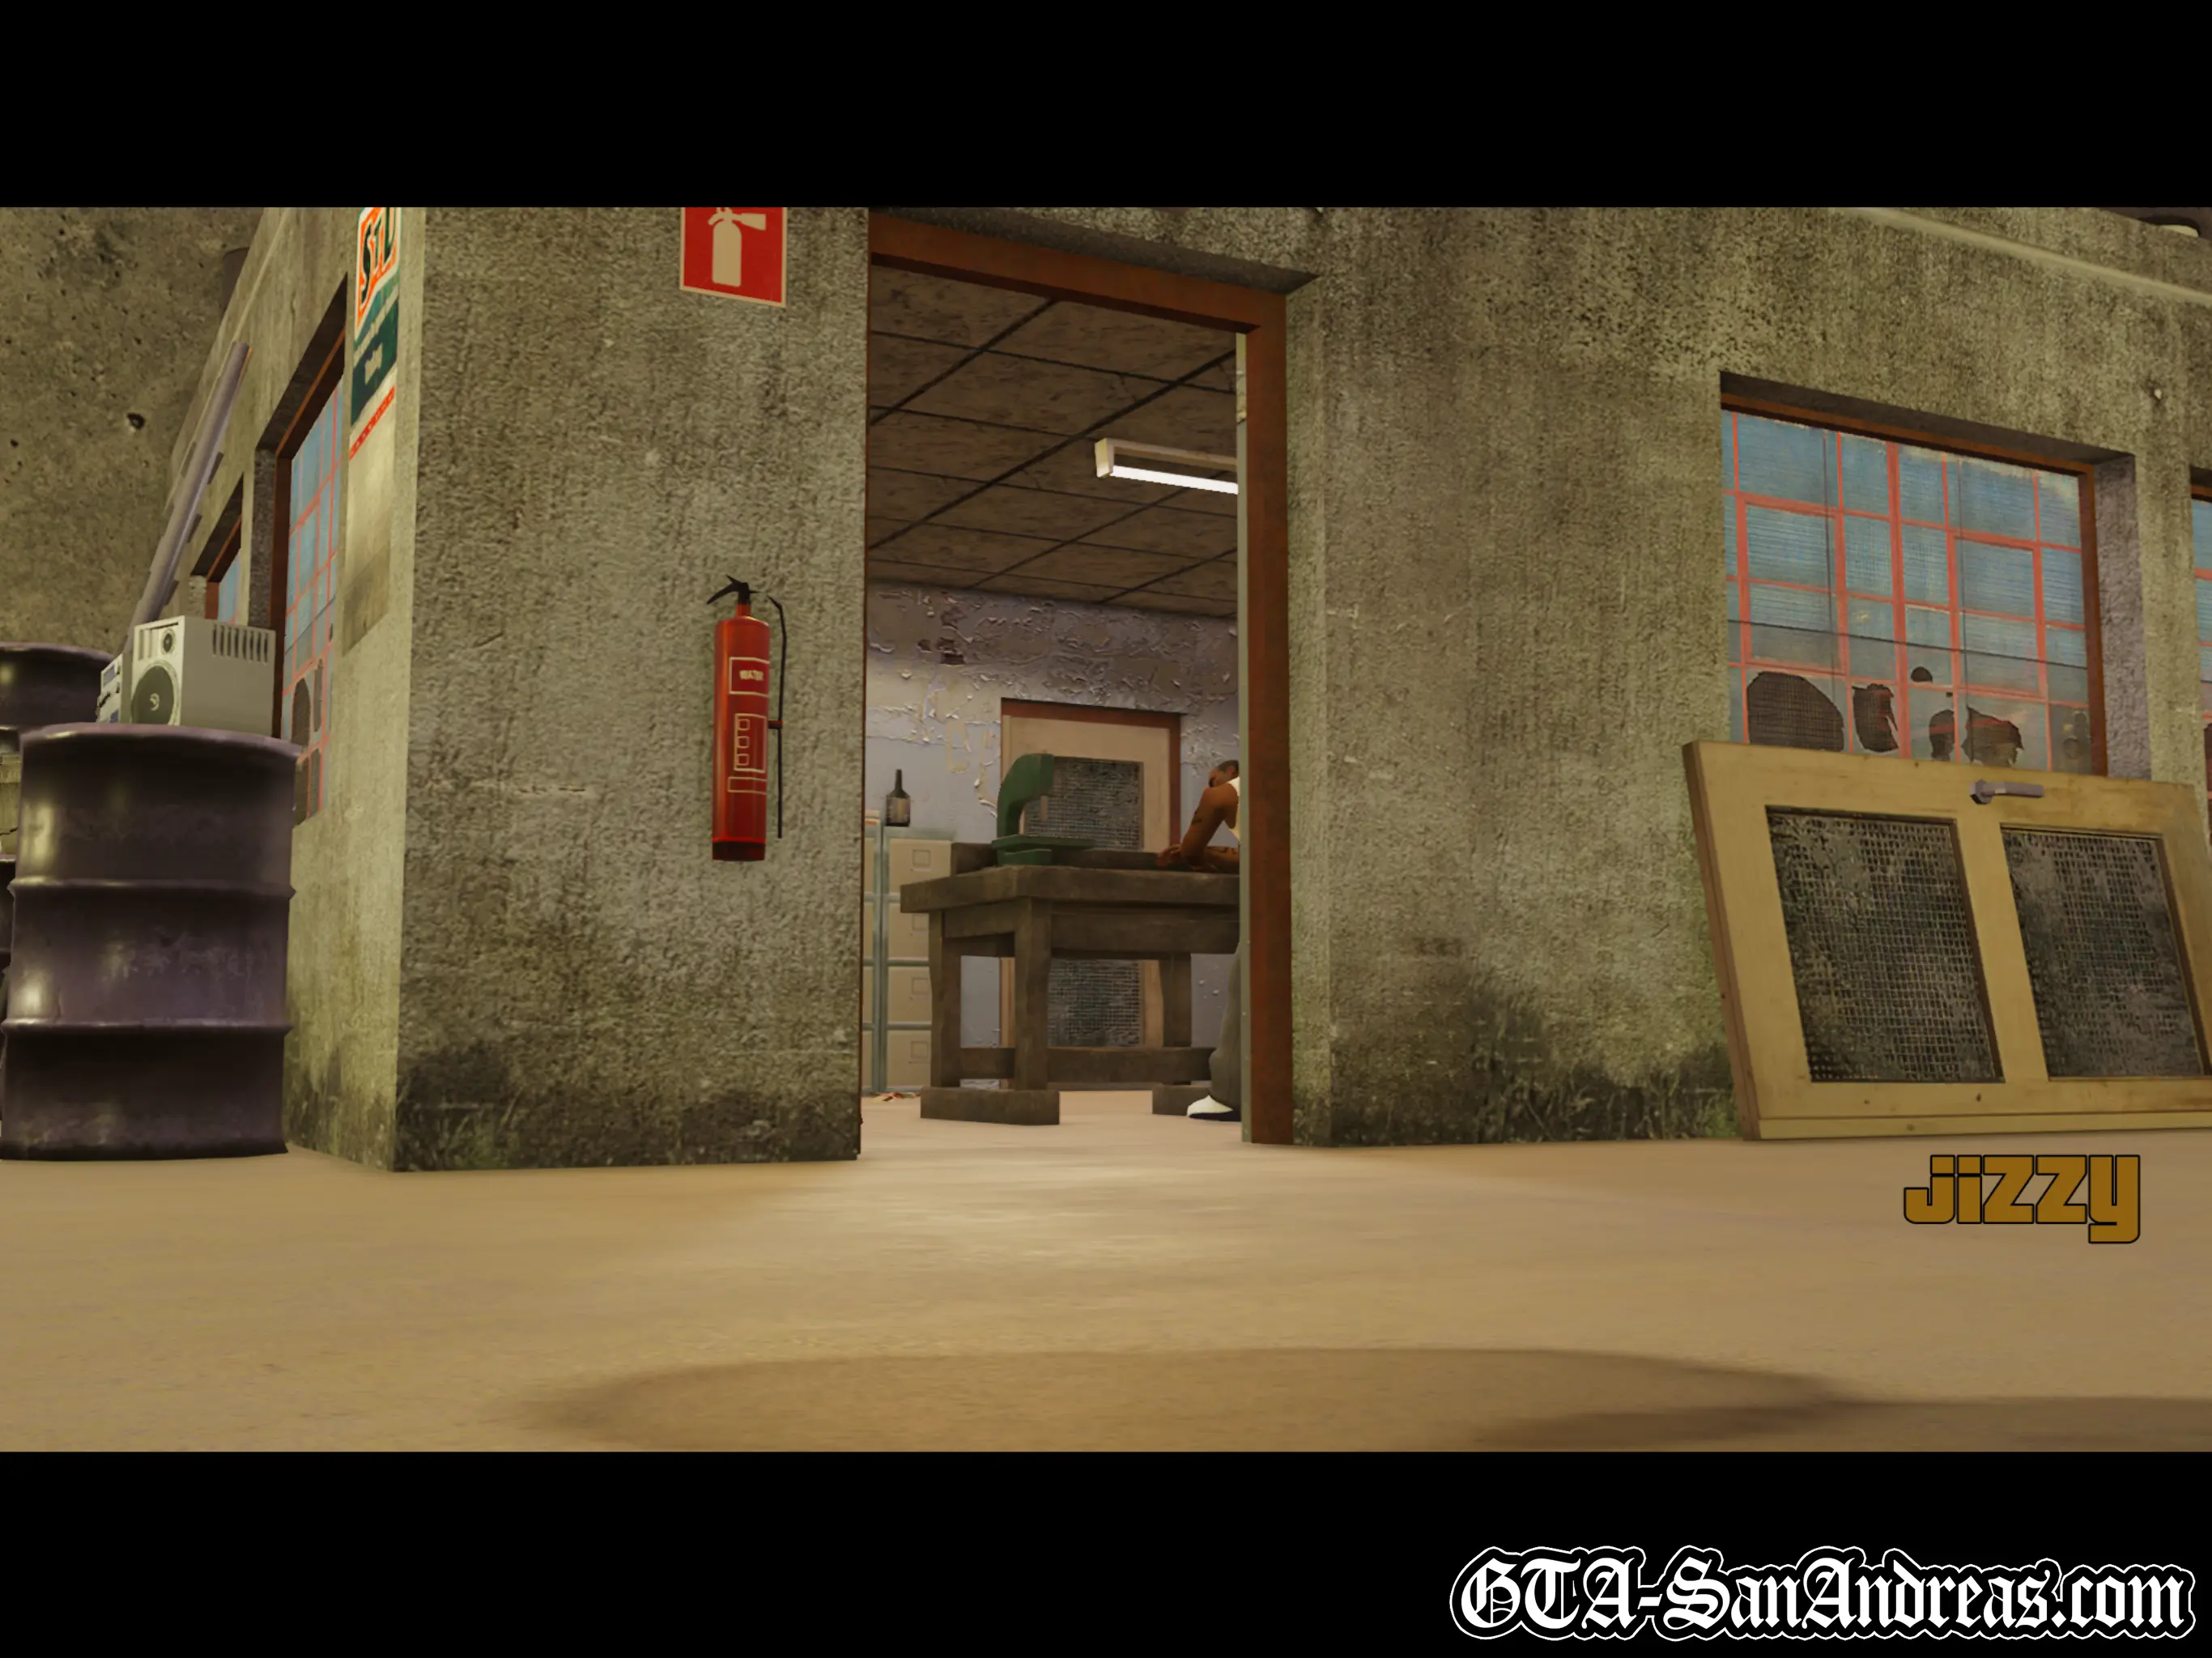
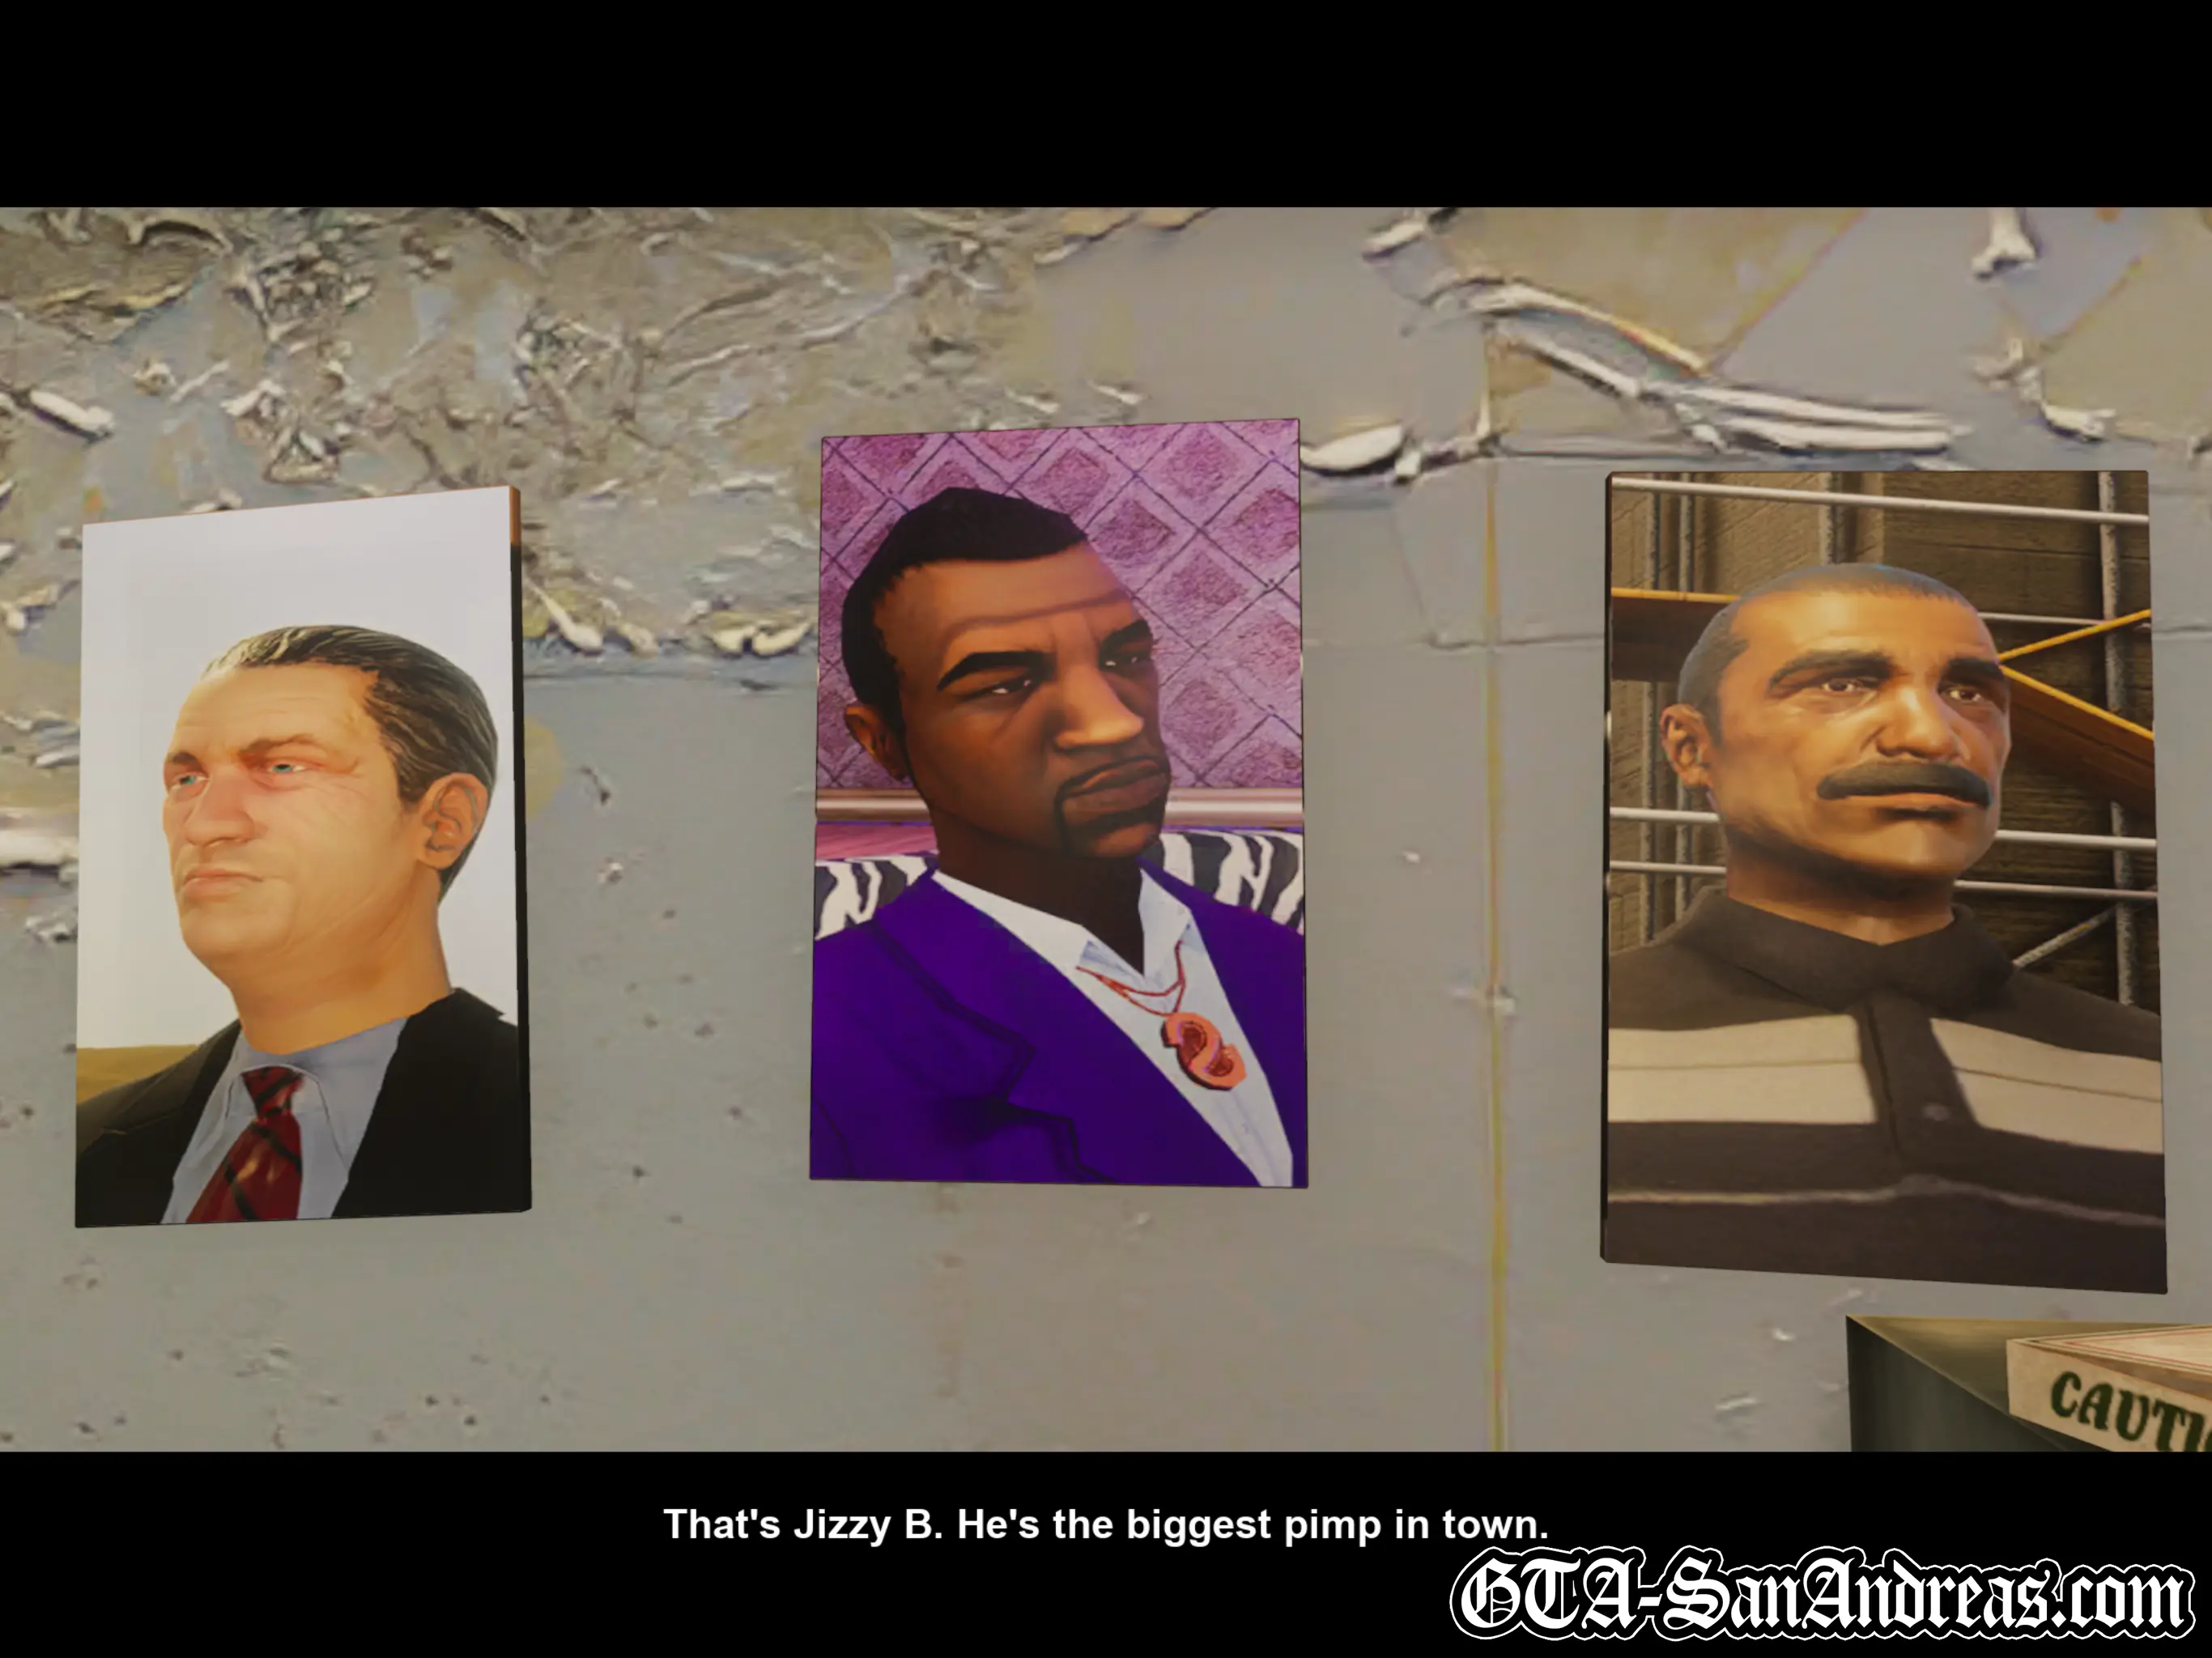
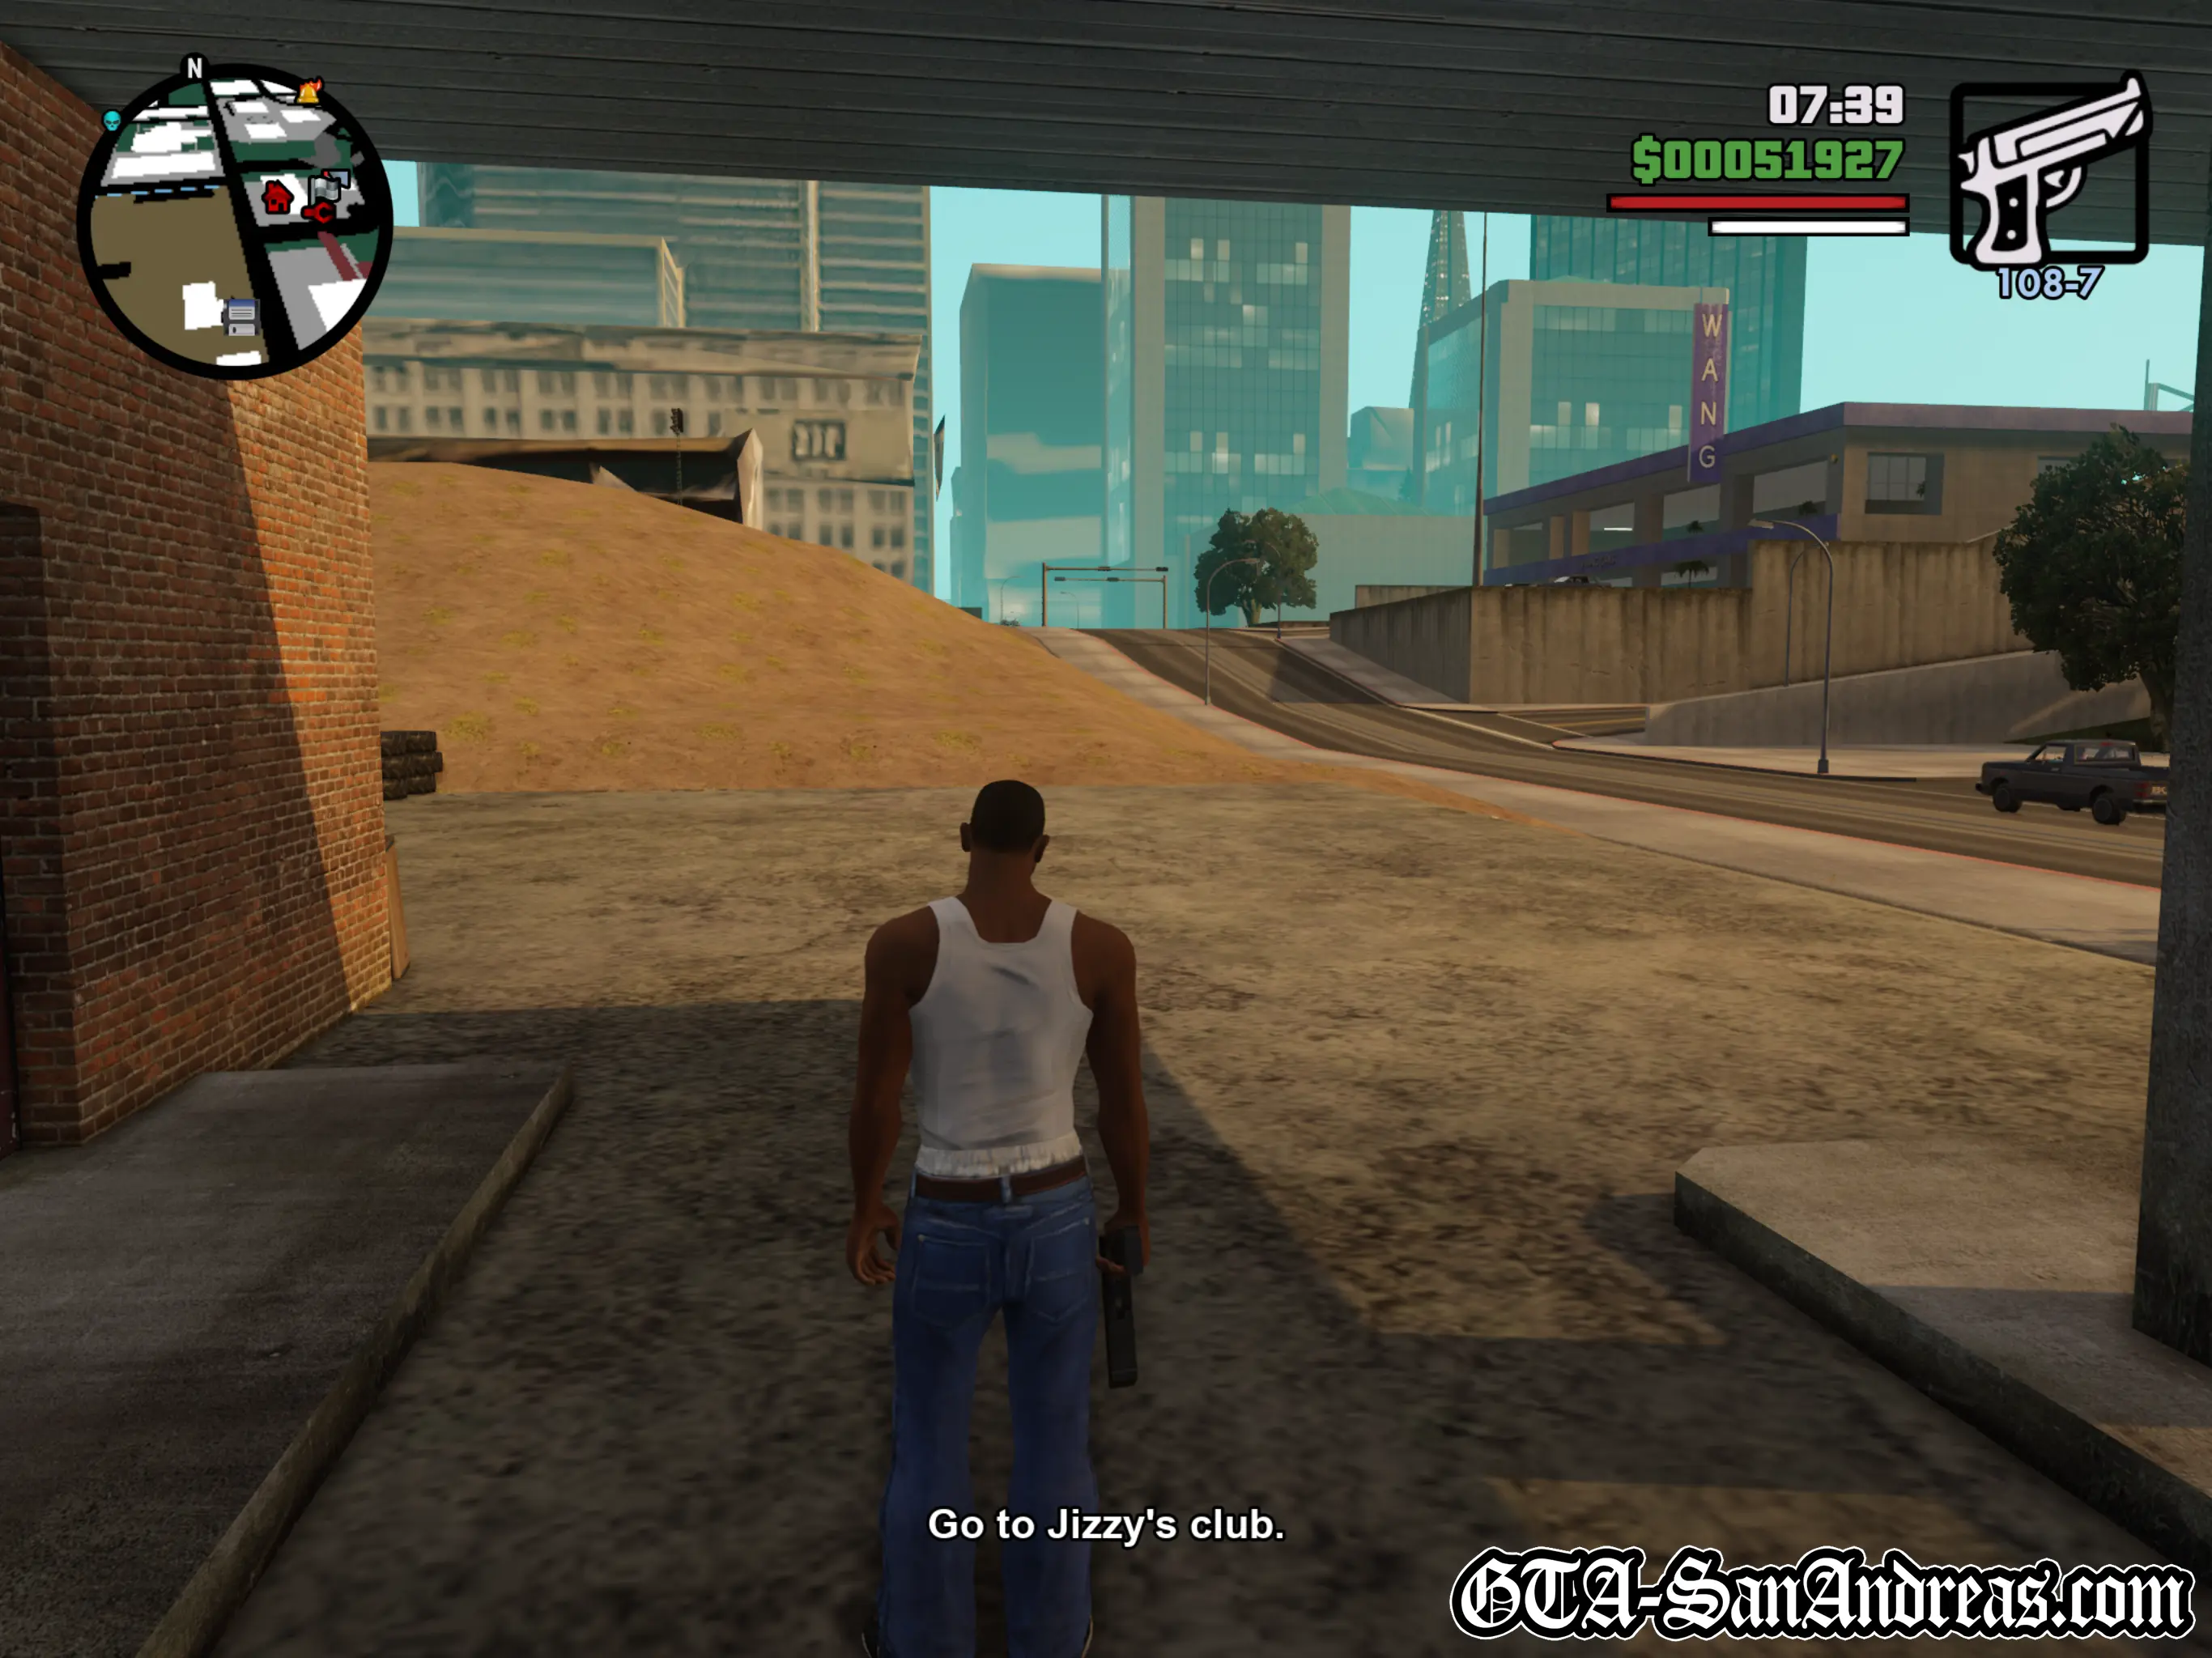
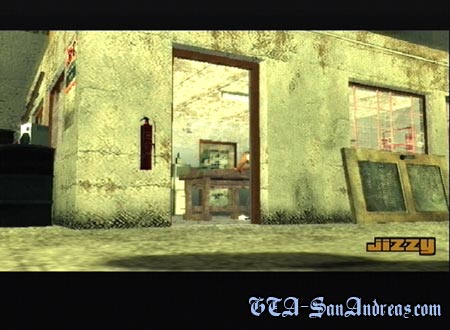
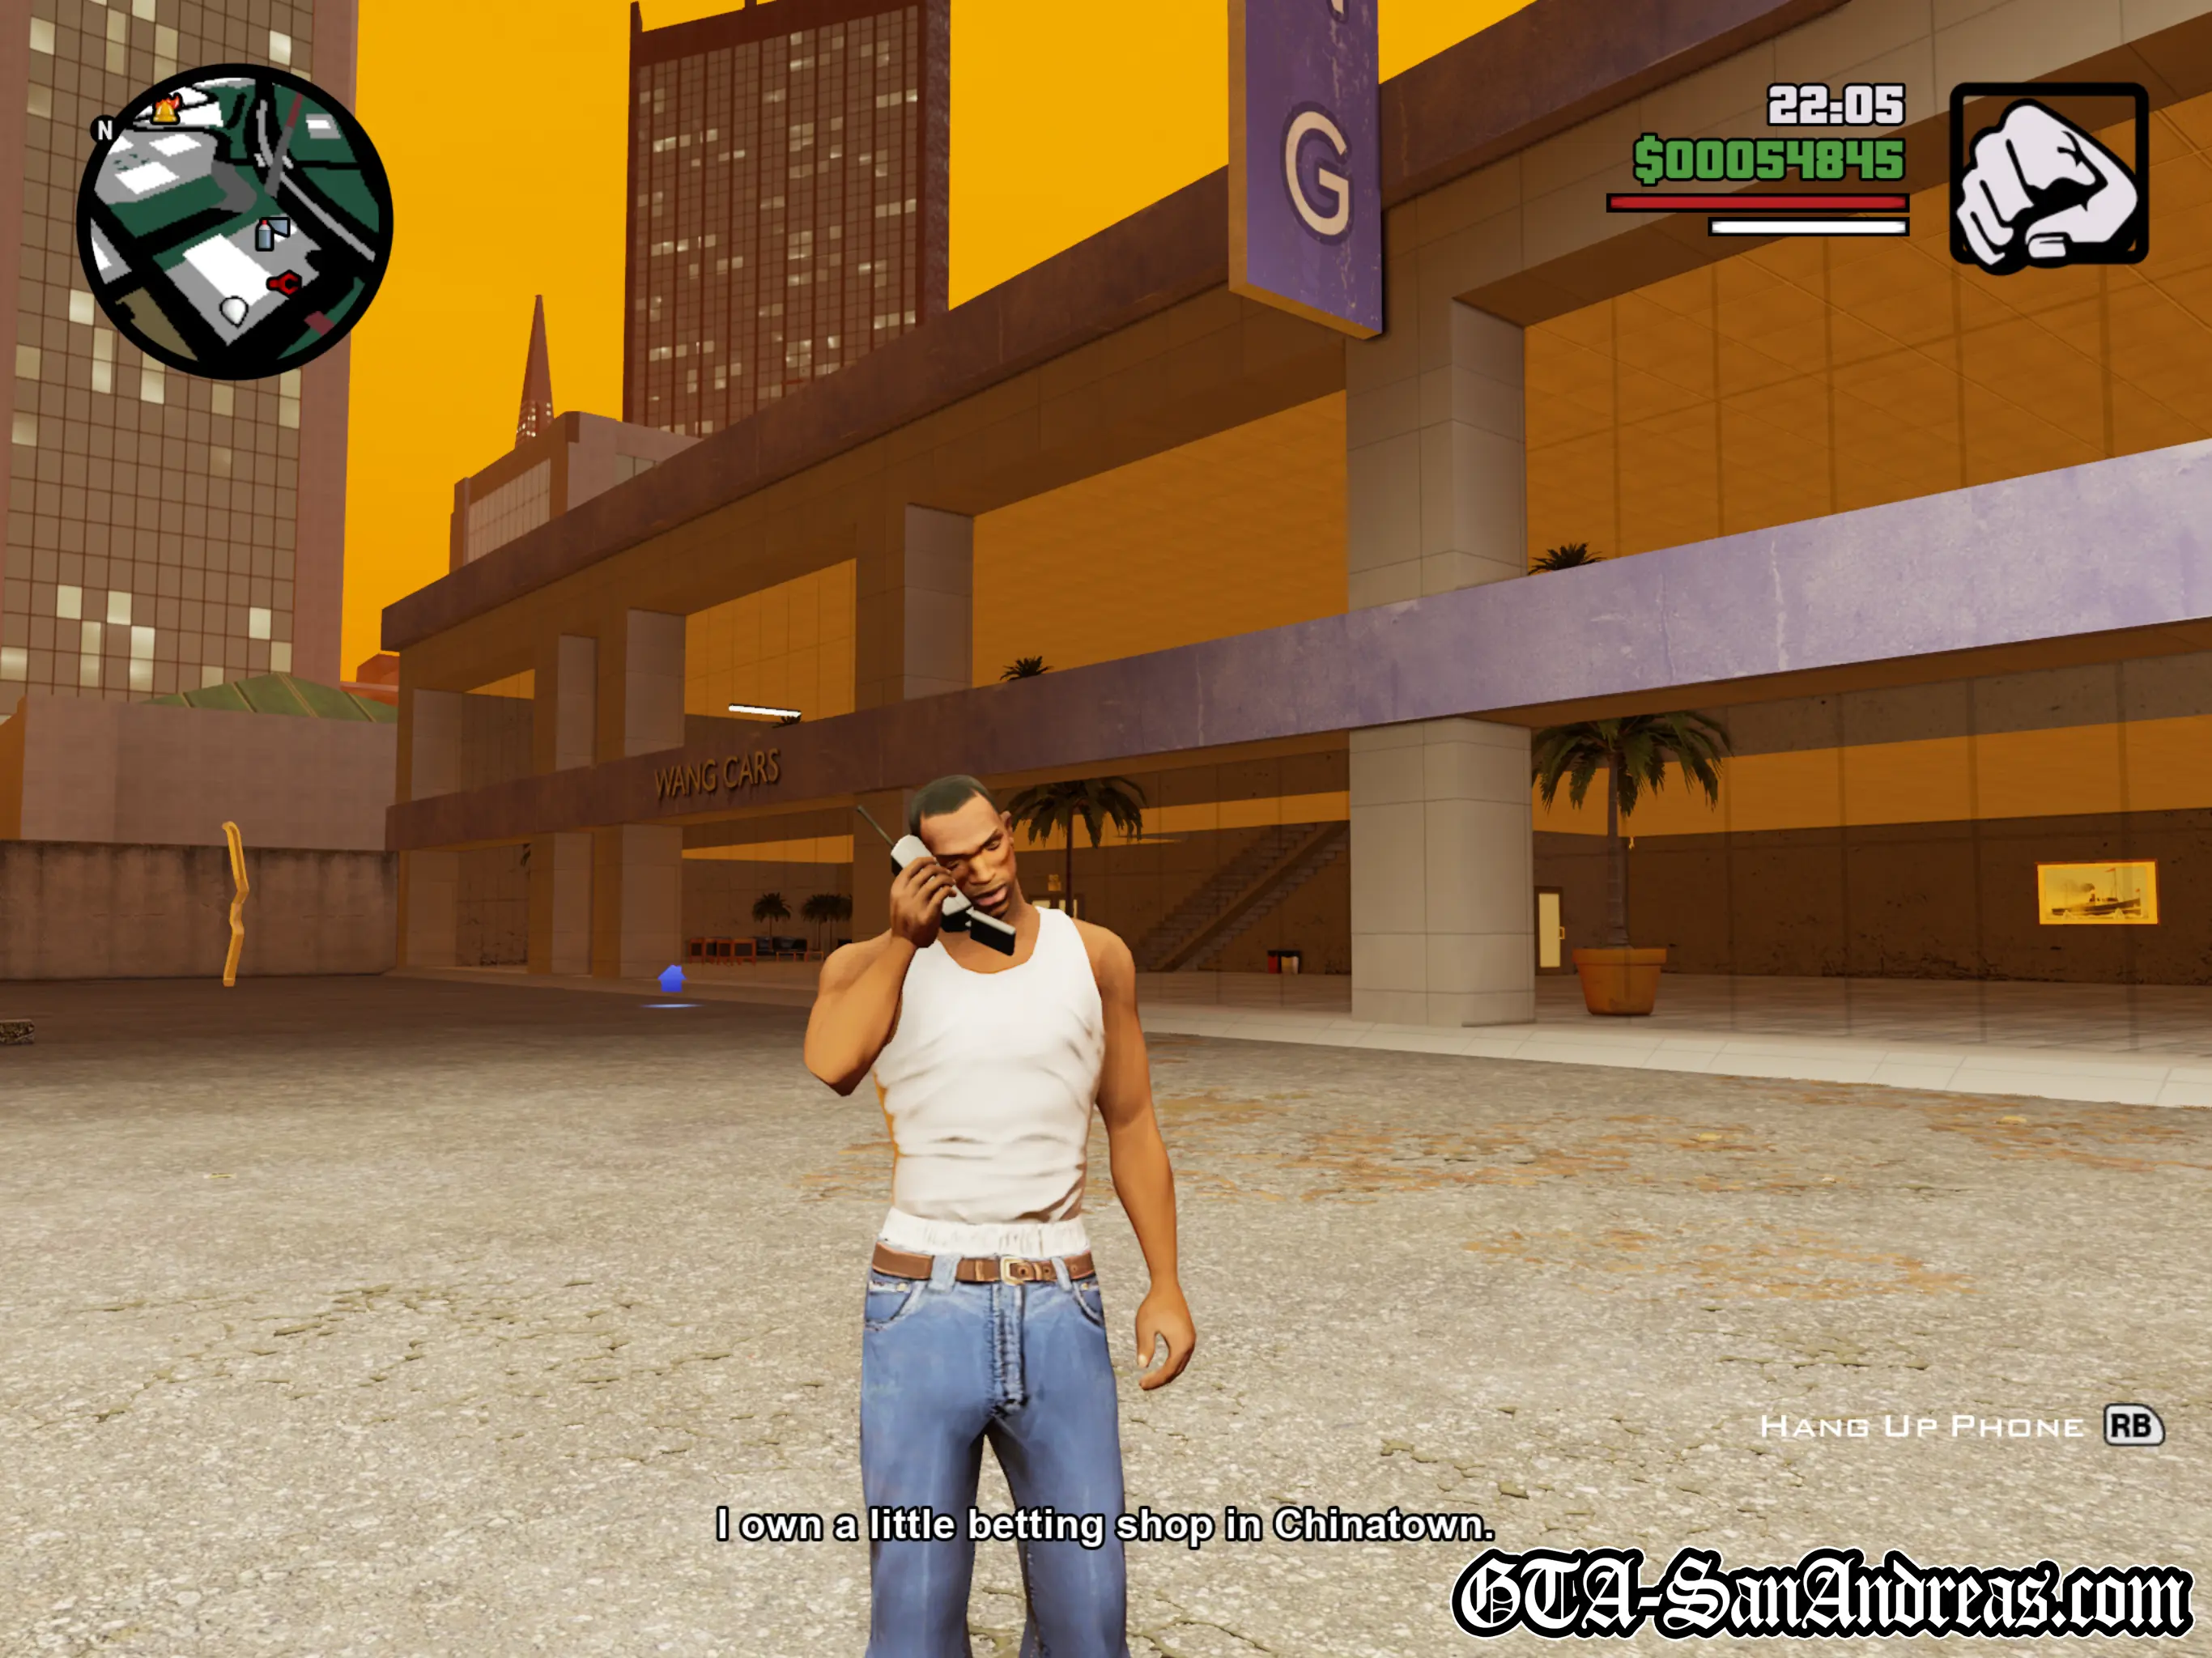
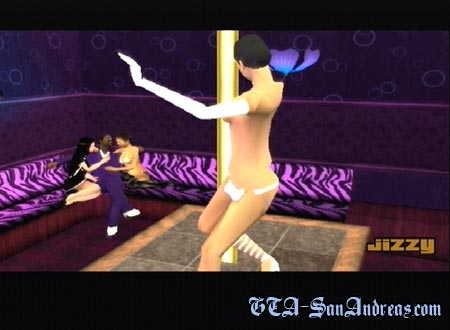
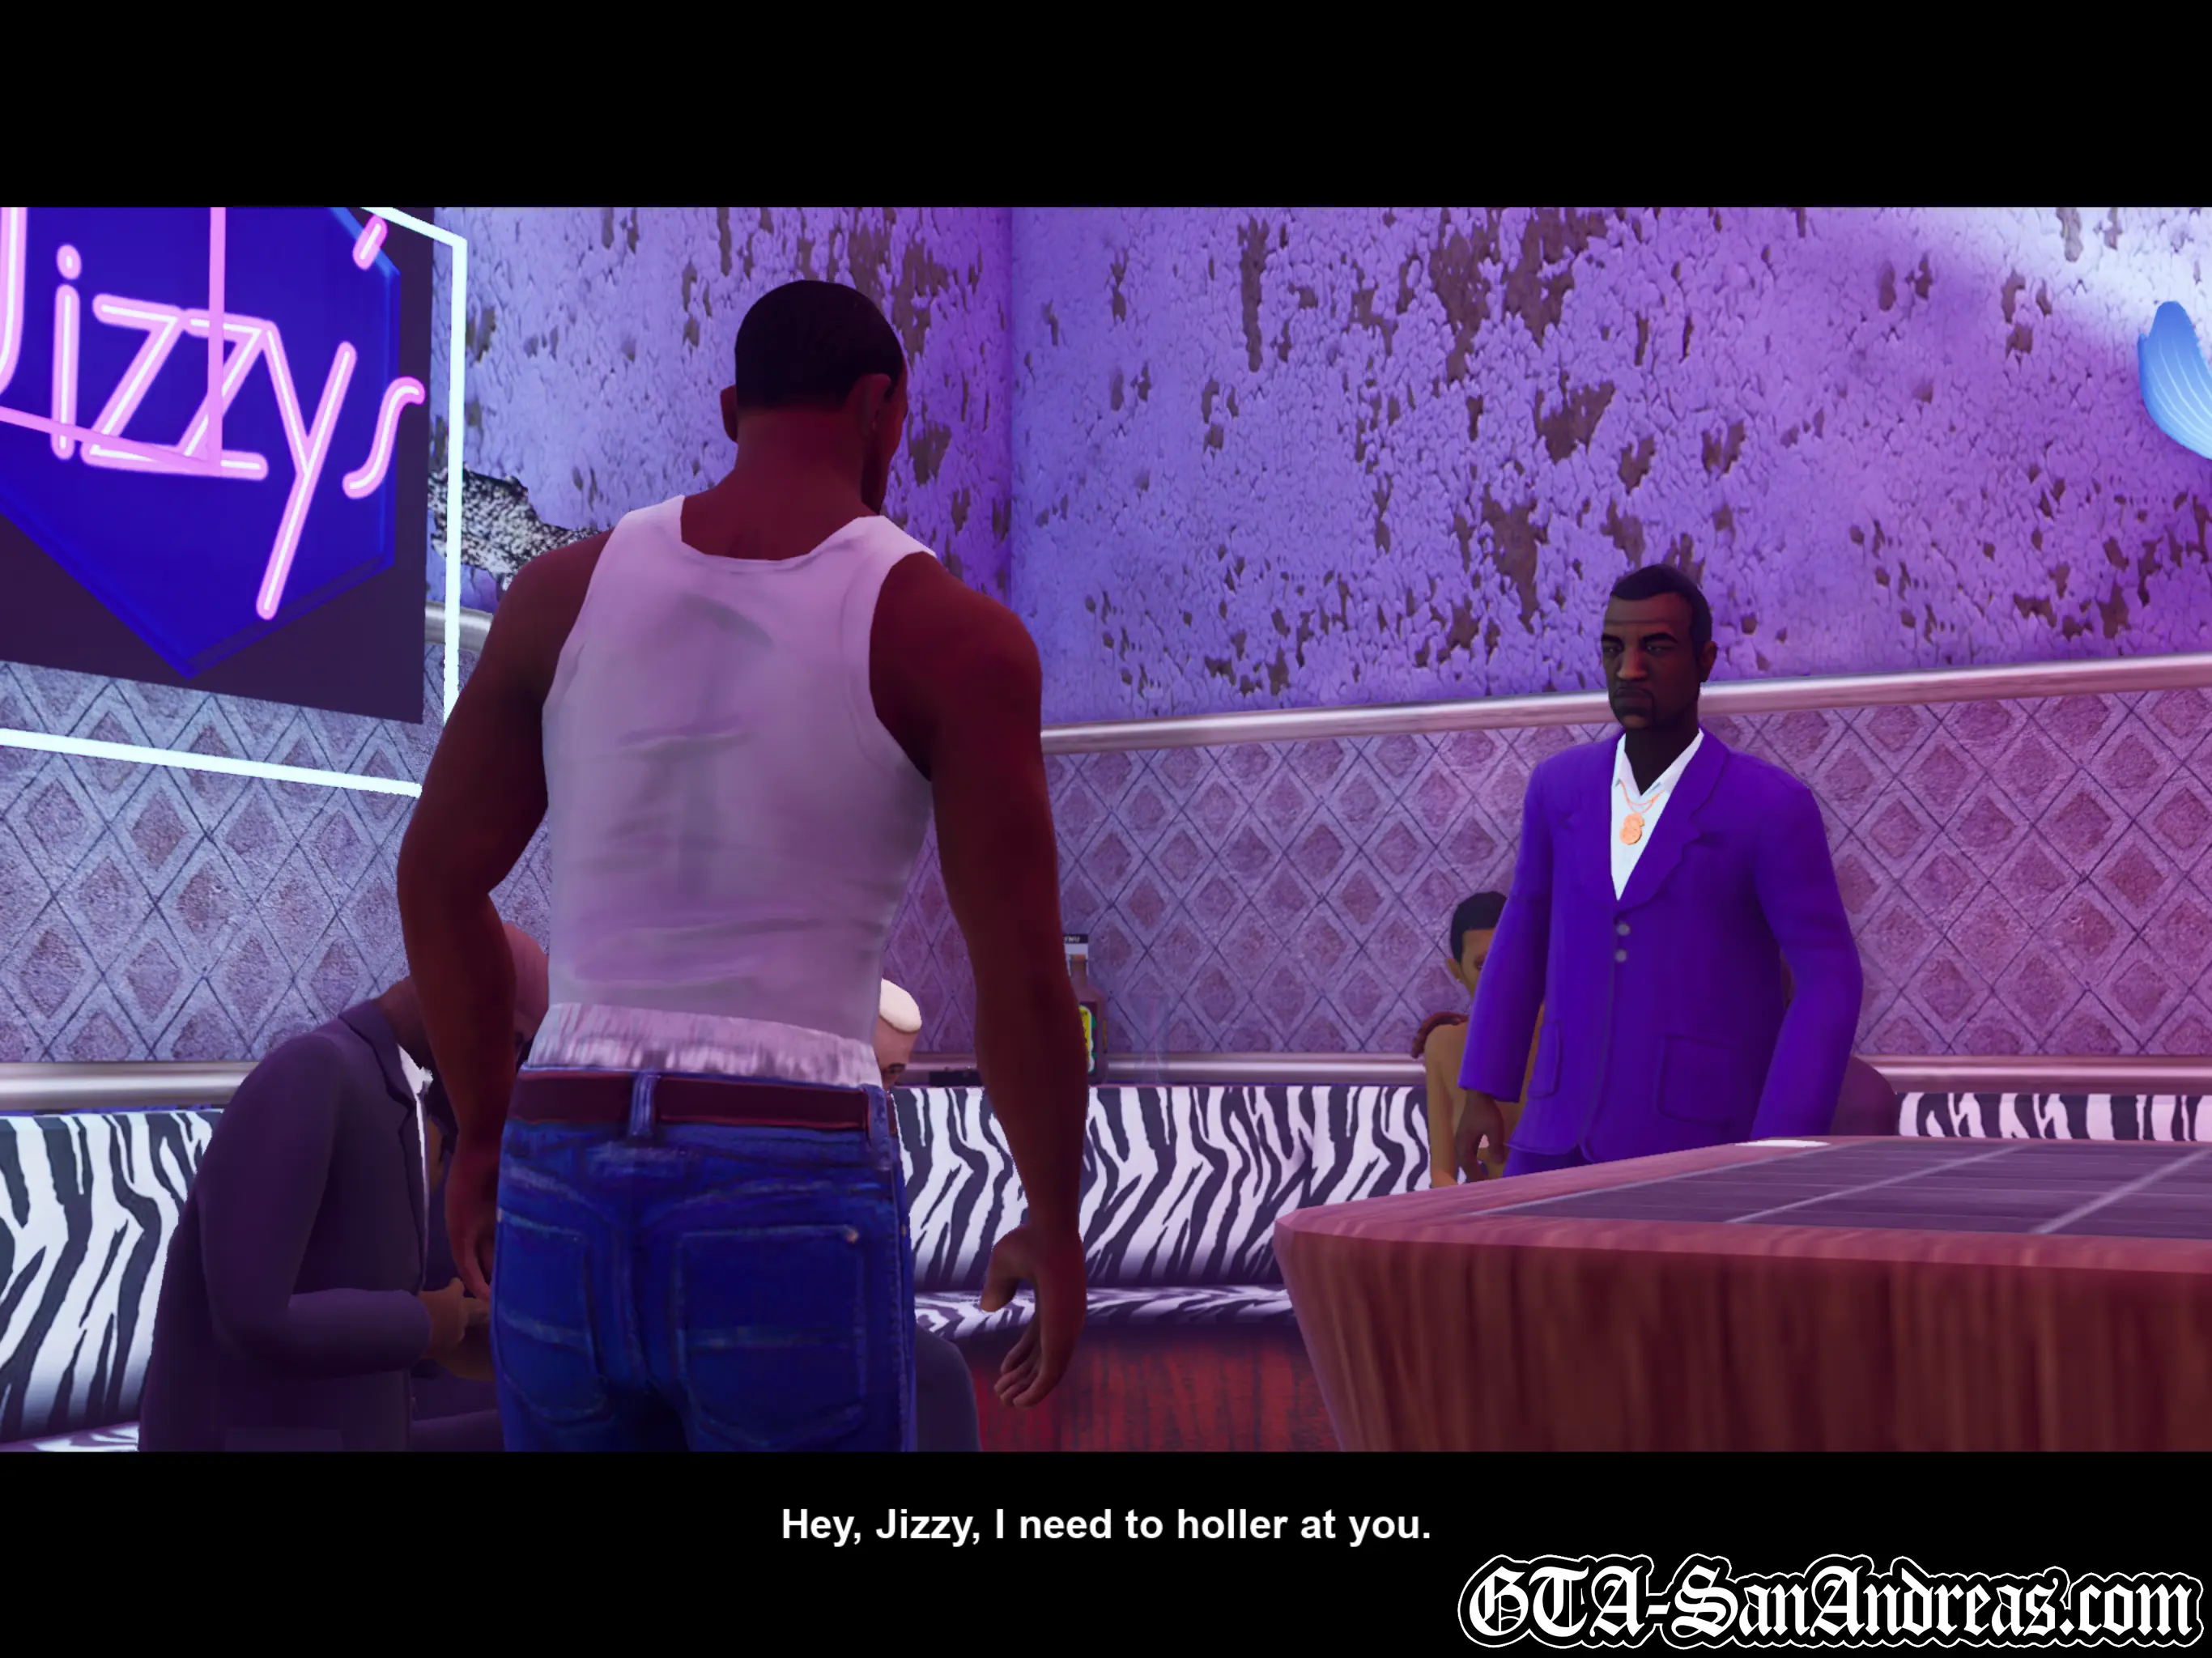
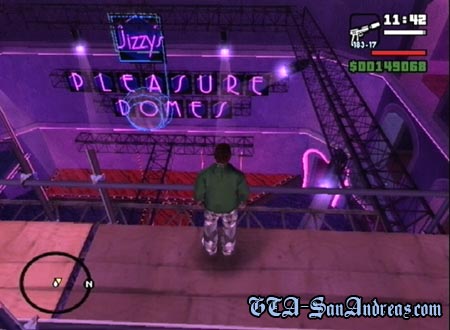
Wu Zi Mu tells you about one of the guys from the photos you took in the previous mission, he's Jizzy, a Pimp who owns a club under the Gant Bridge. He wants you to head down there and speak to Jizzy because he's one of the important people in tracking down just what Ryder is playing at.
Jizzy's Missions Have Now Been Unlocked.
Screenshots
Jizzy
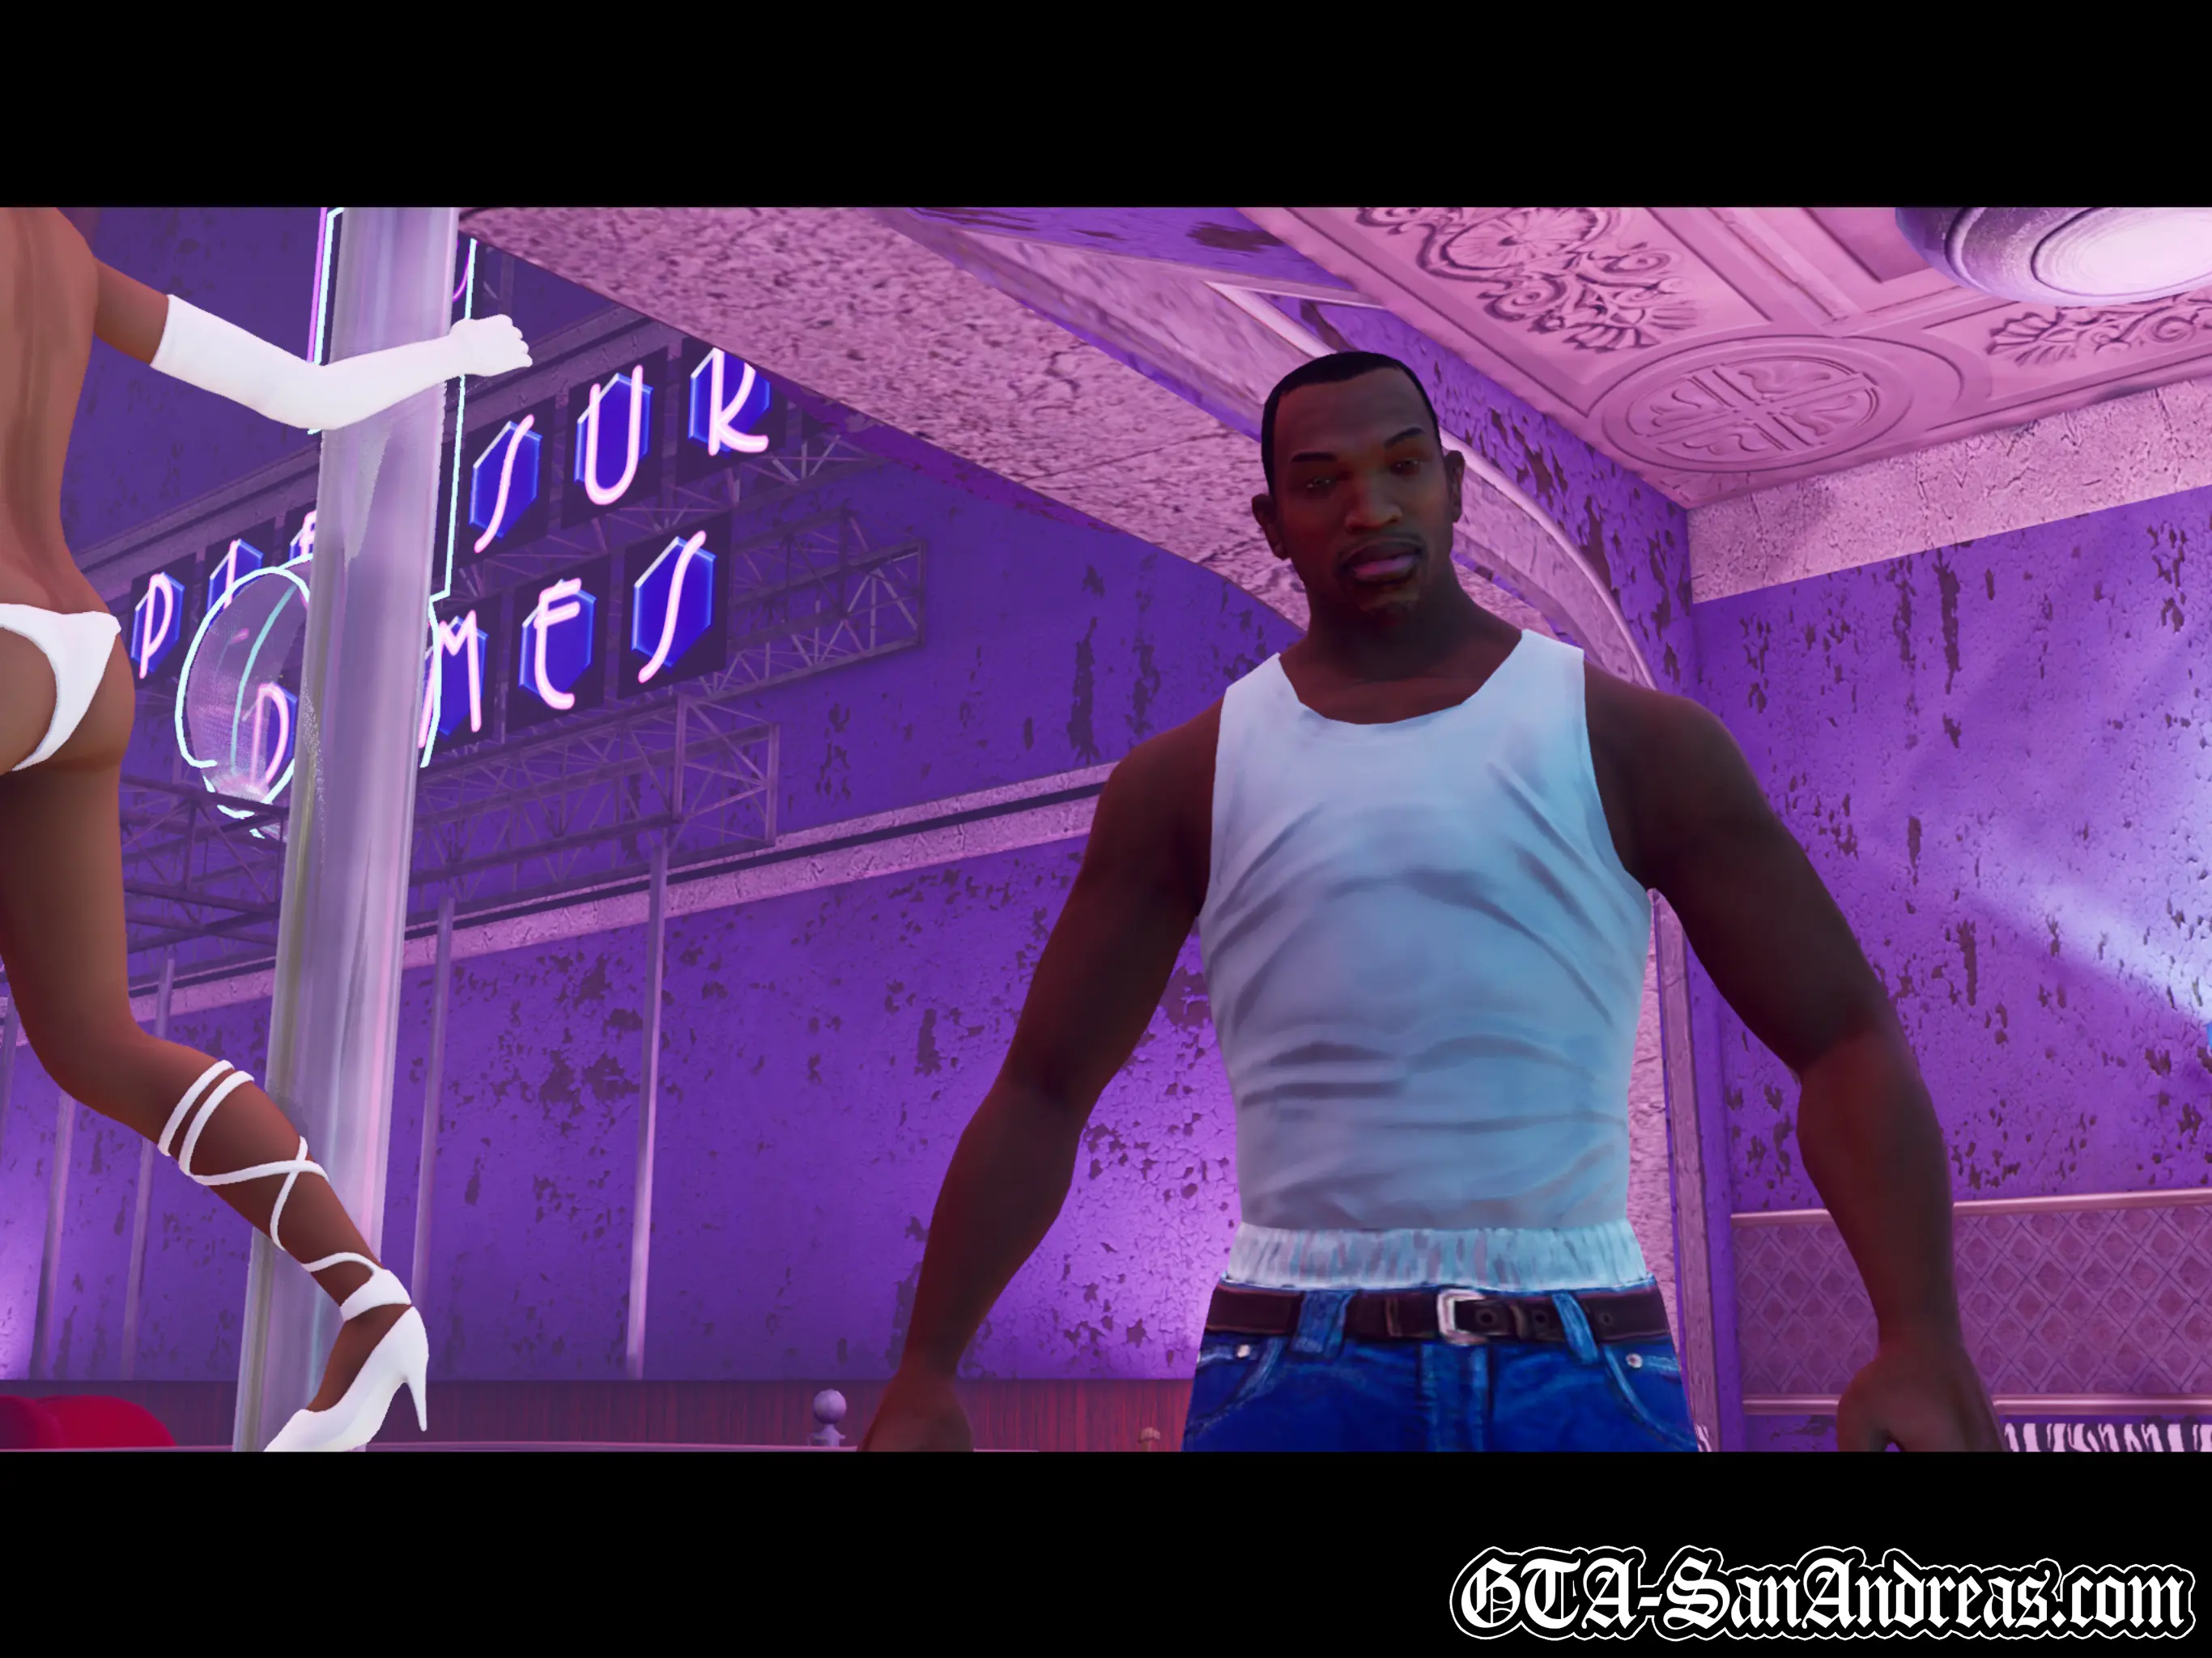
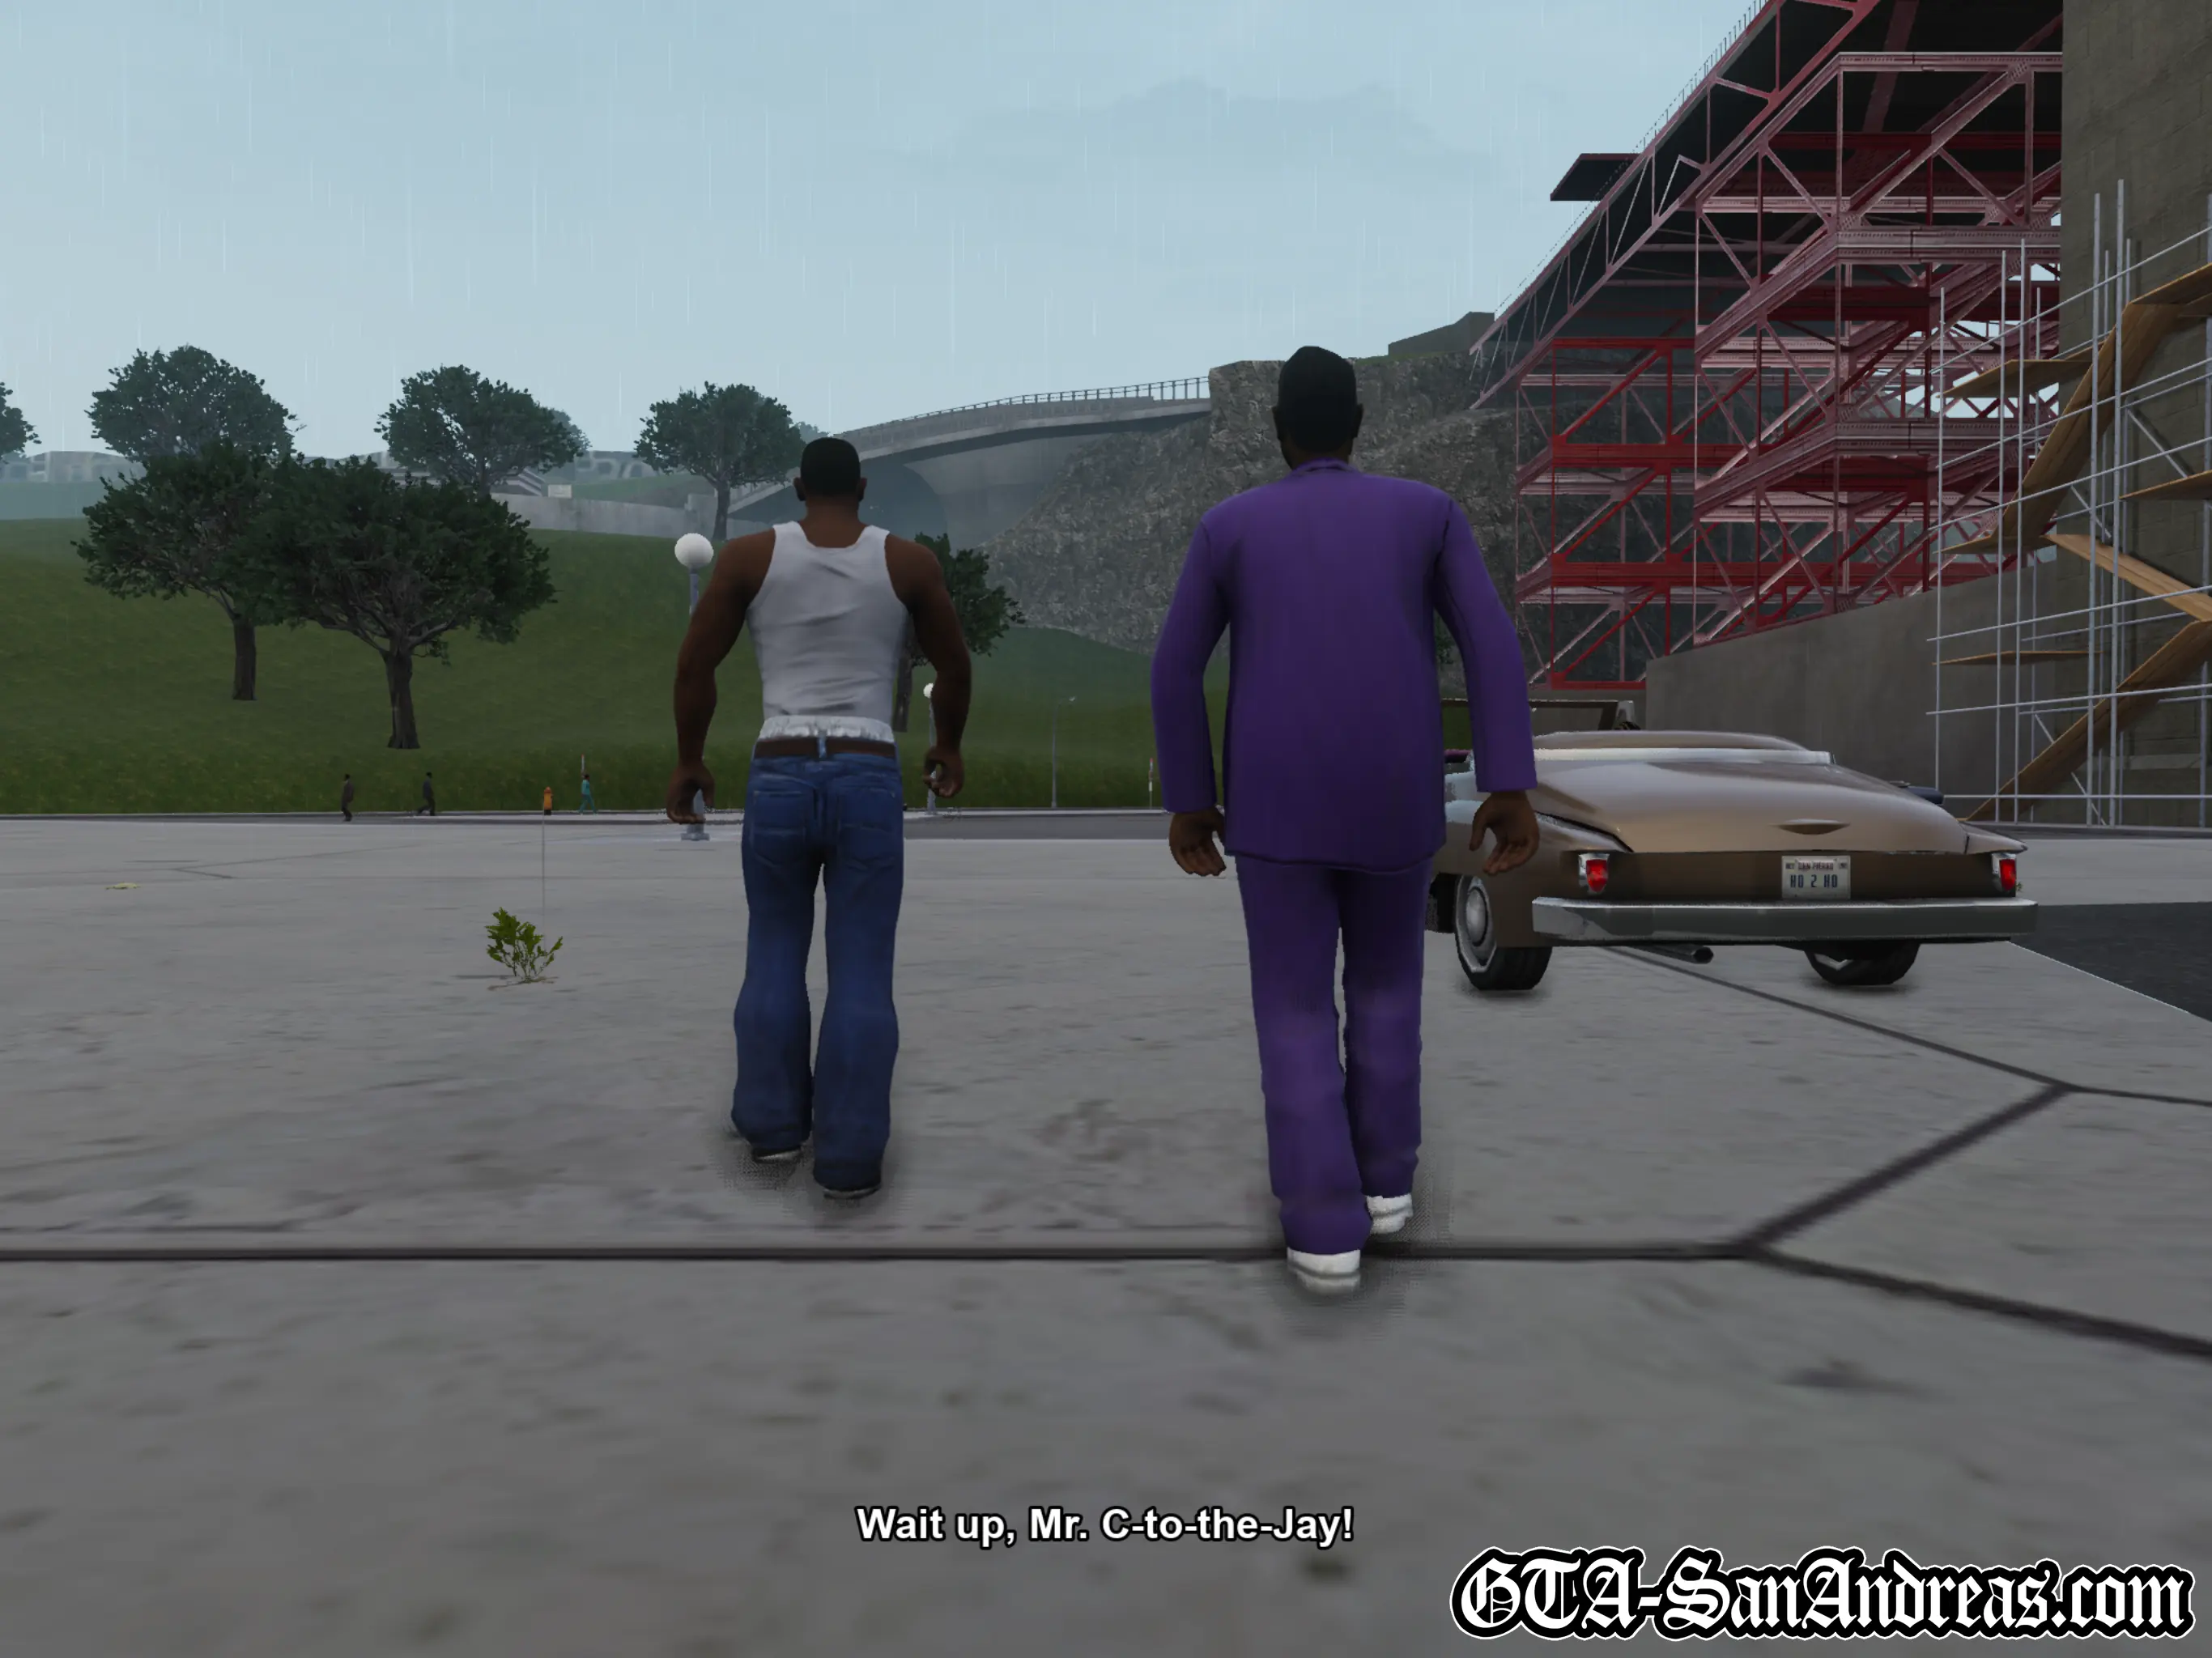
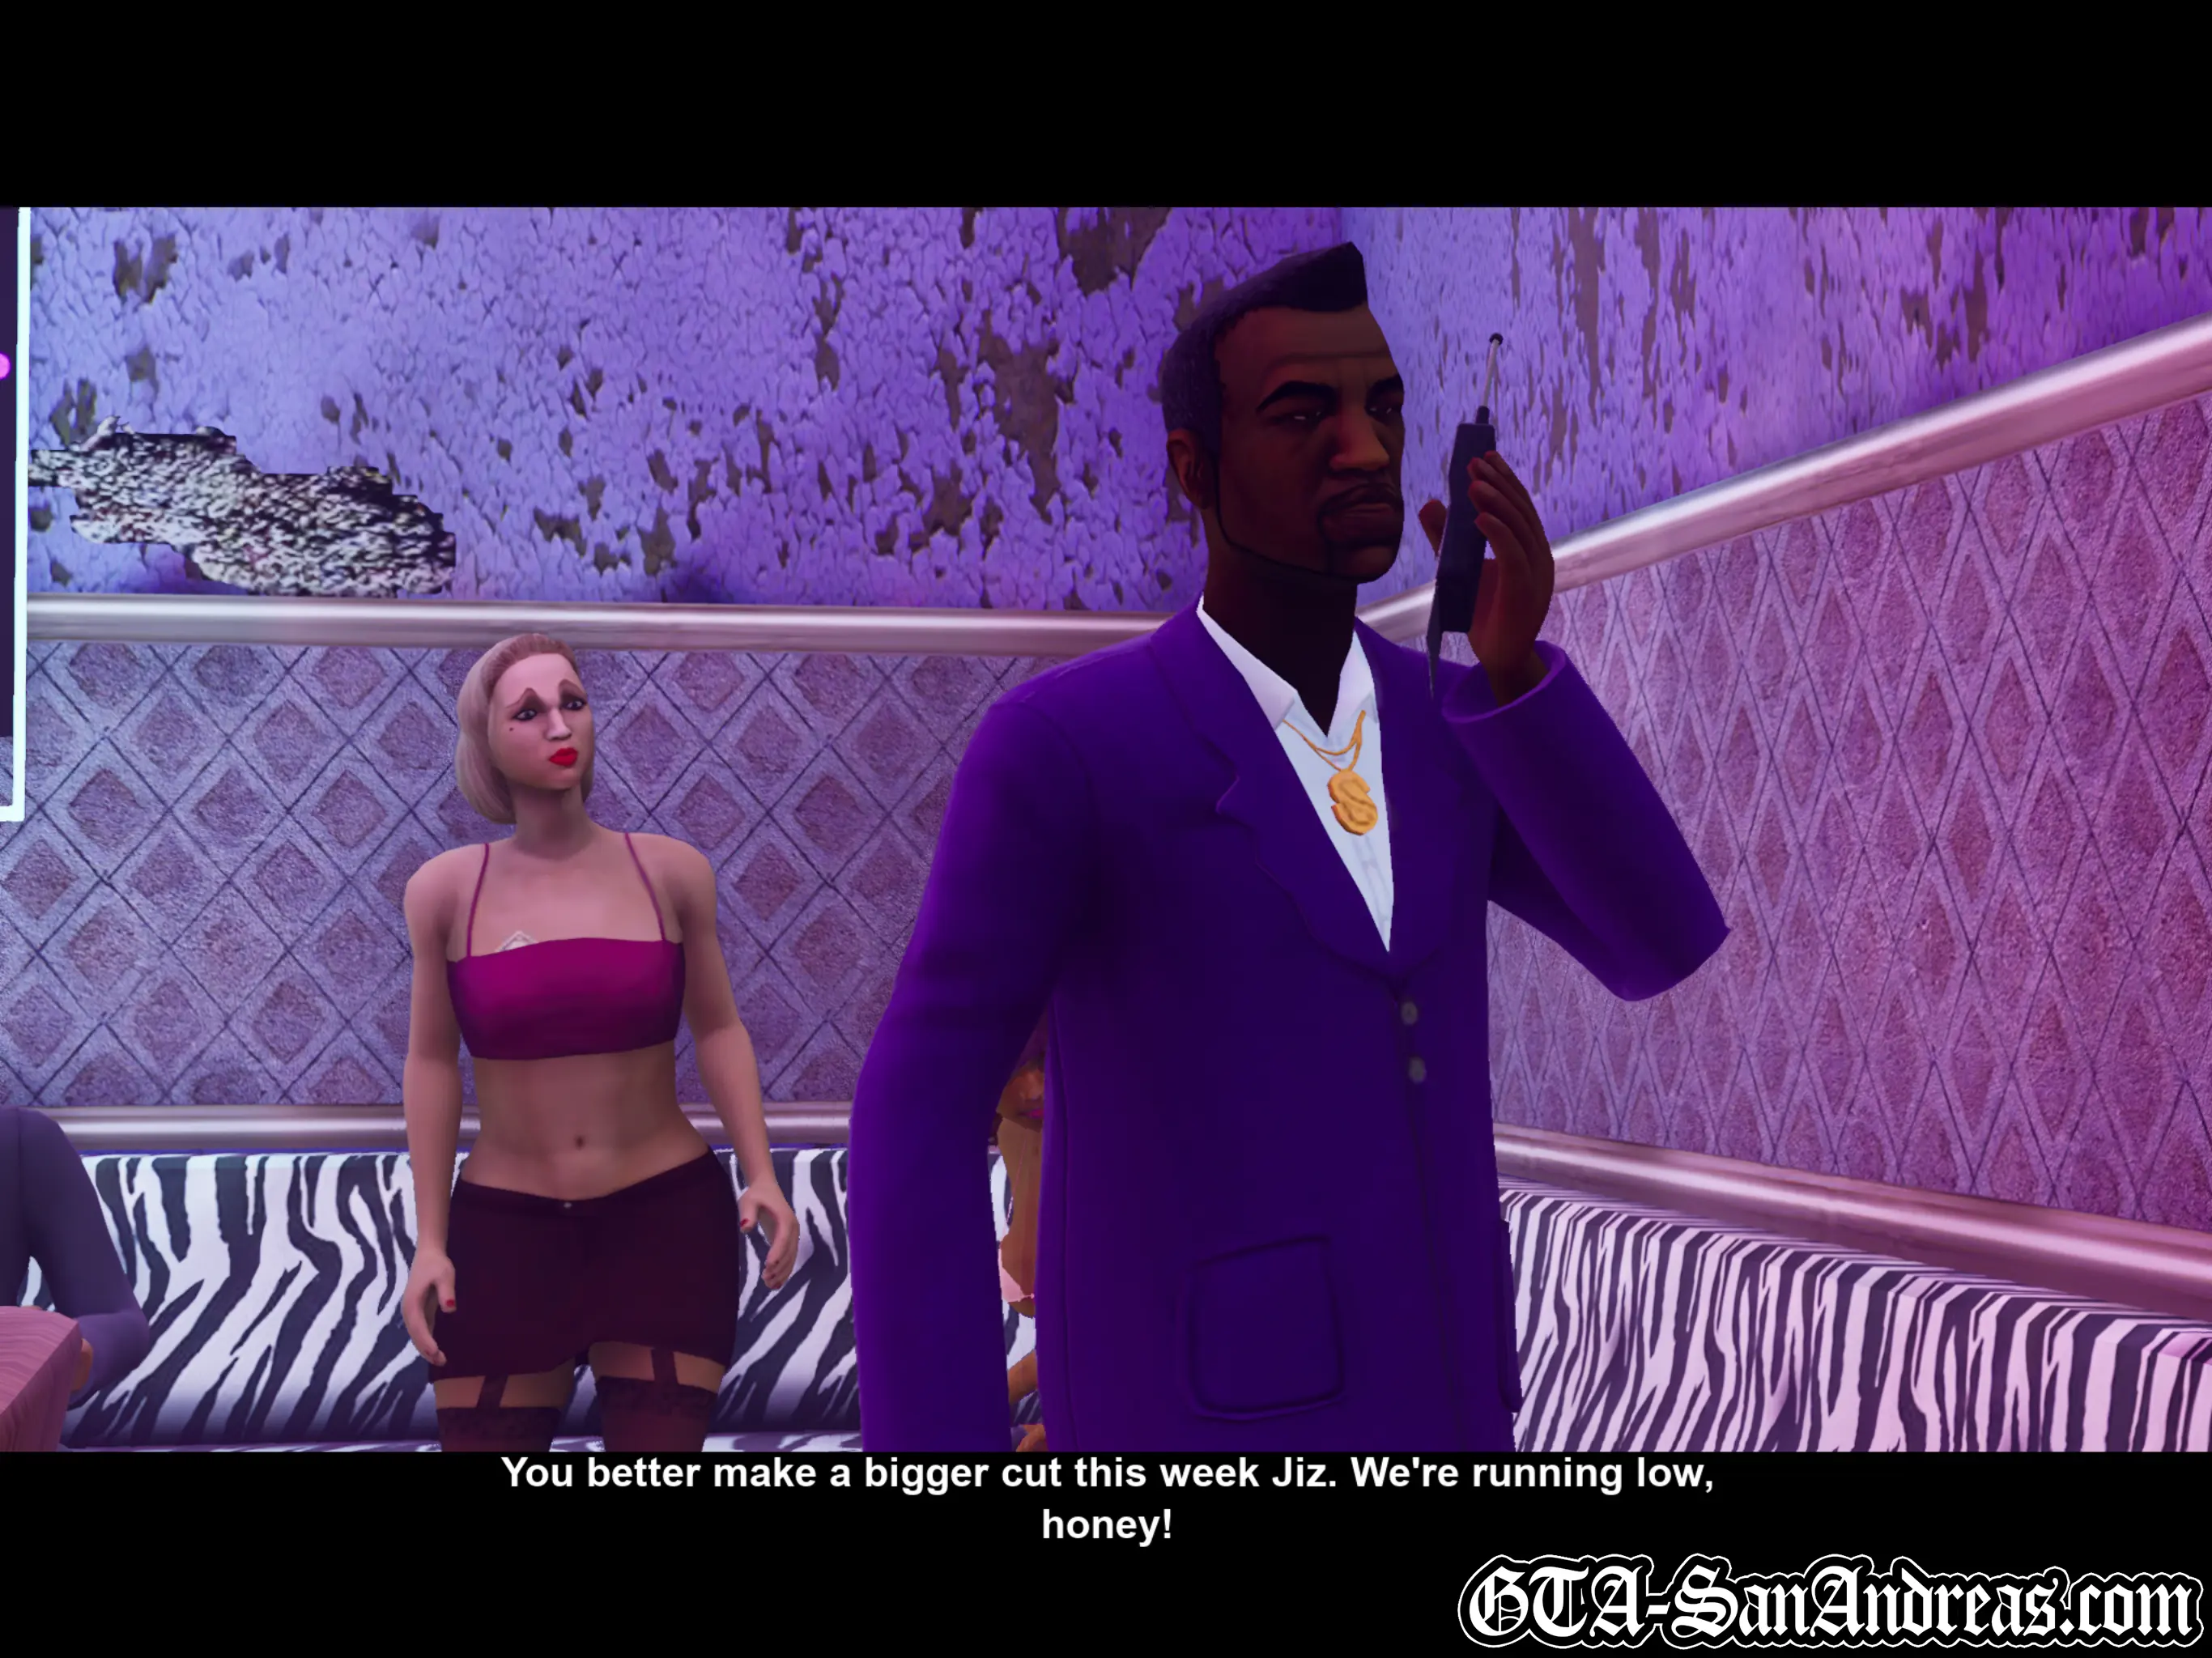
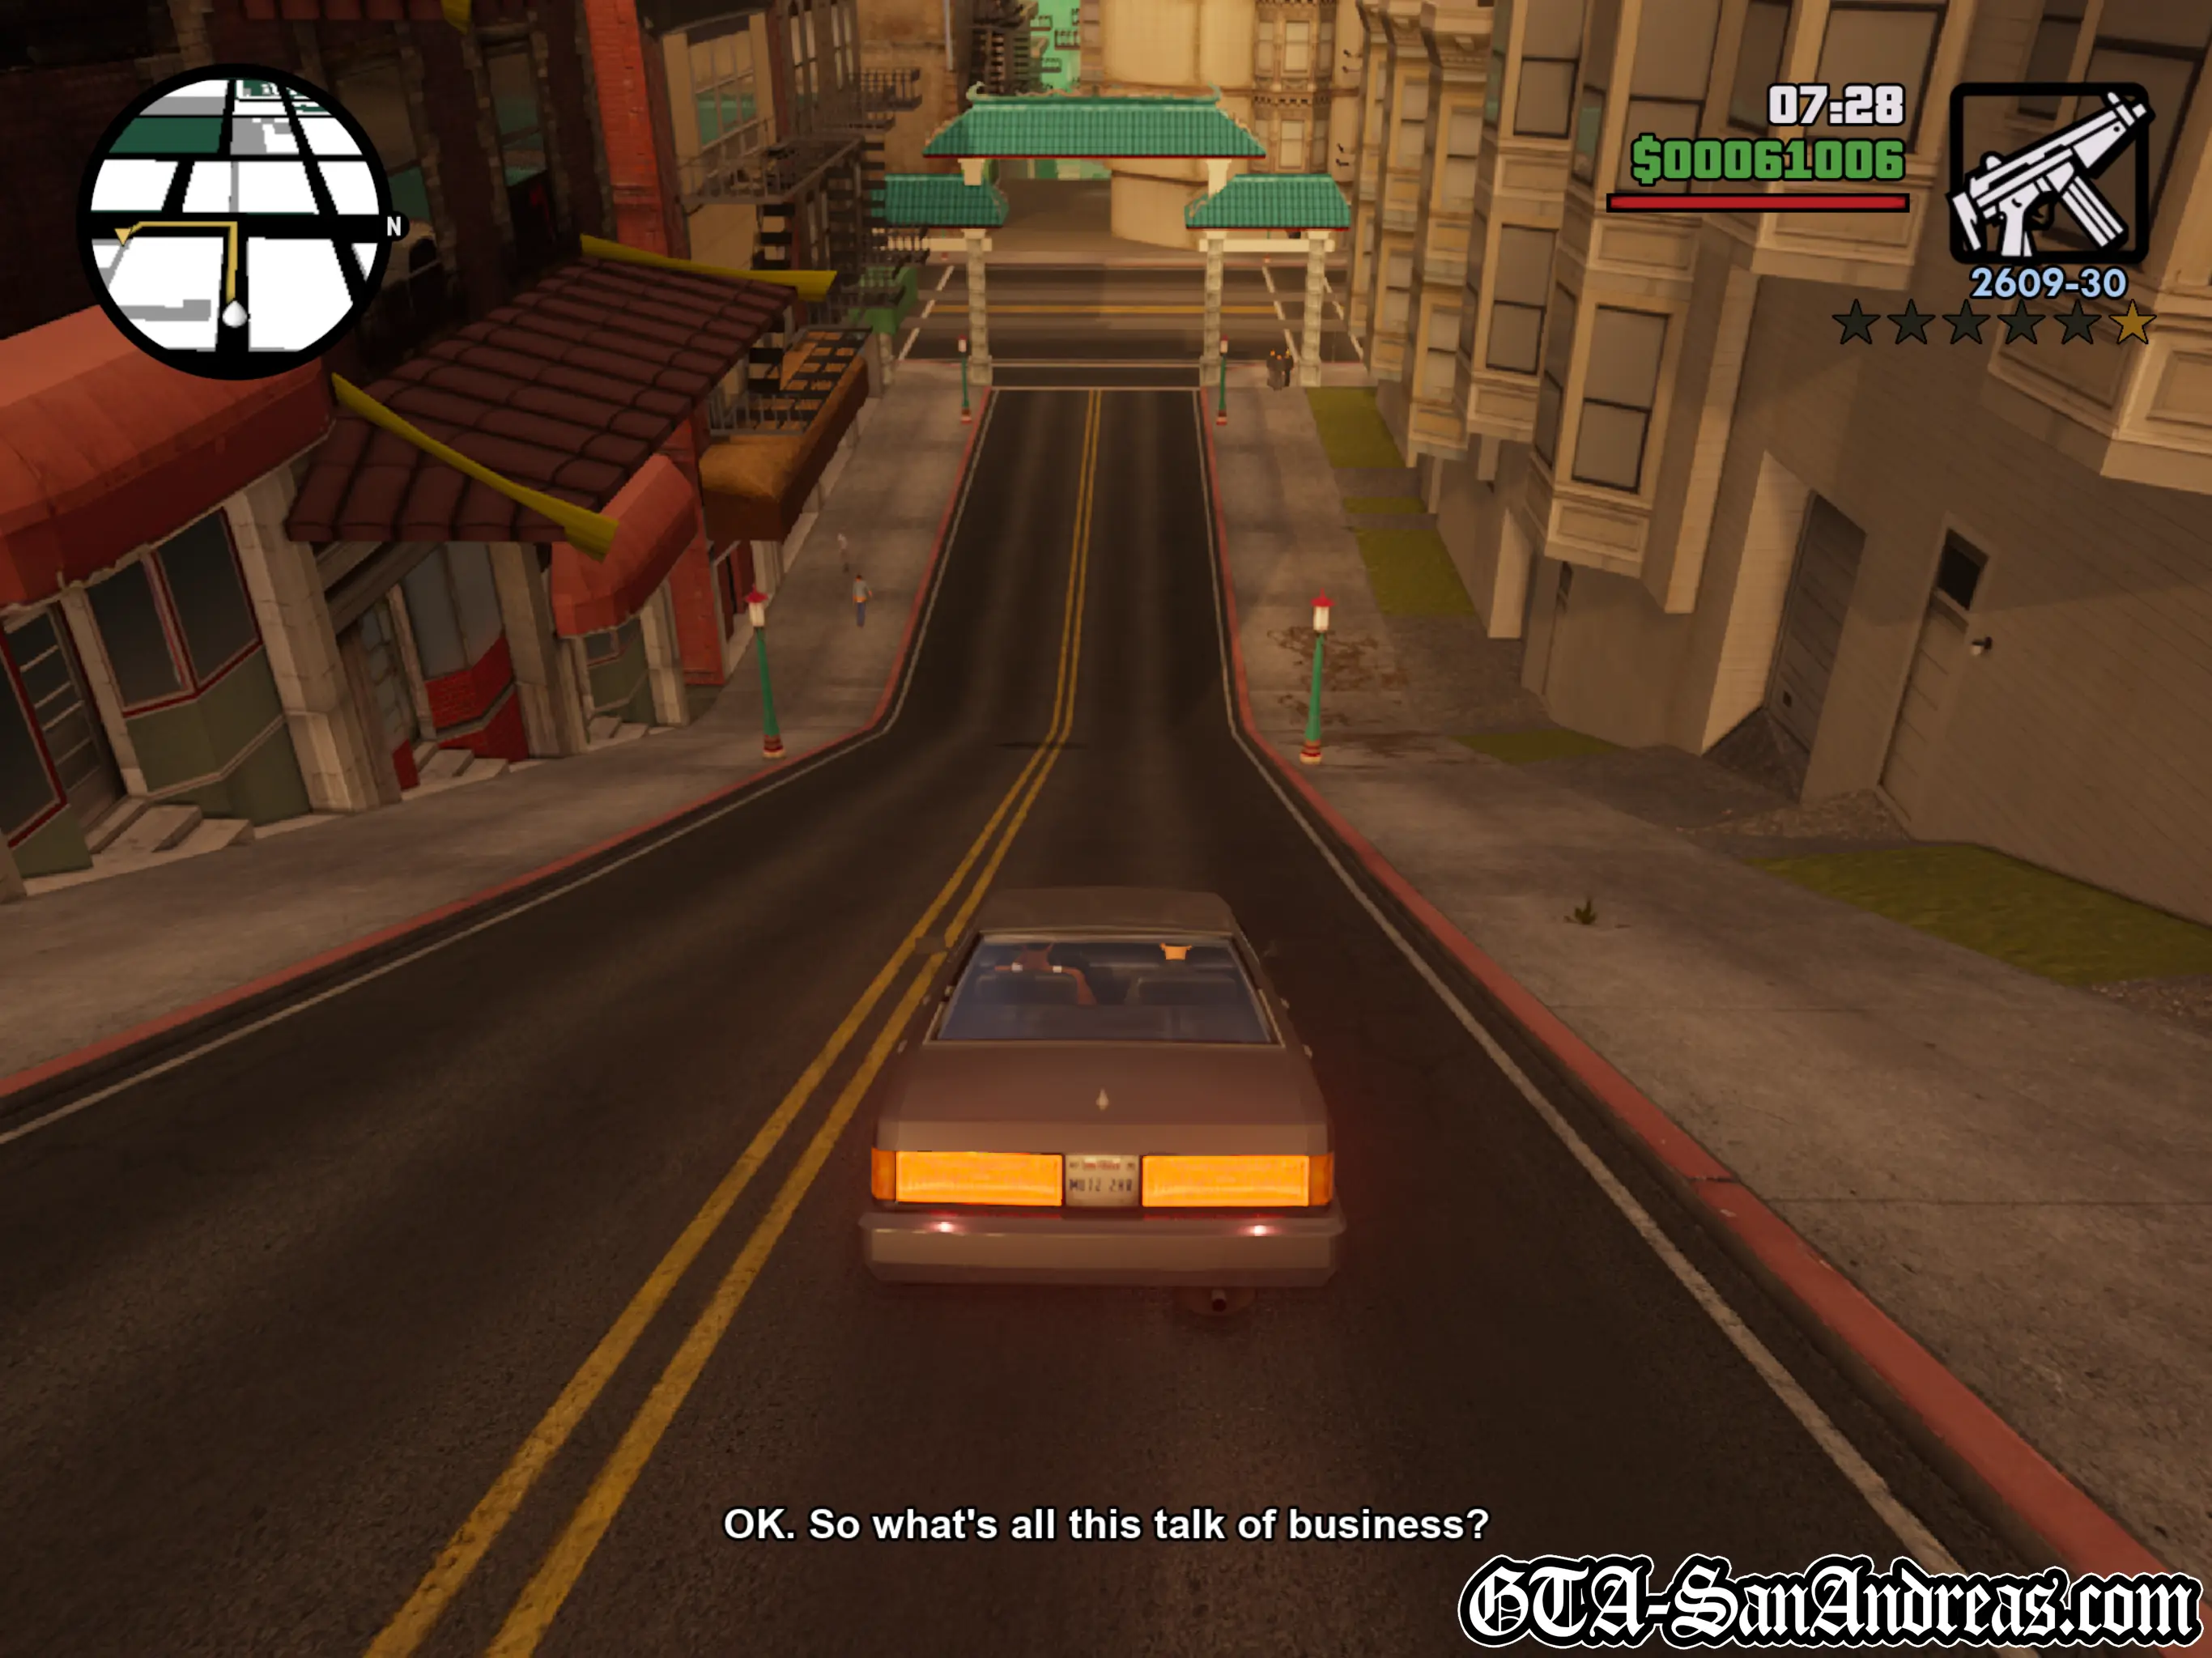
 Jizzy
Jizzy
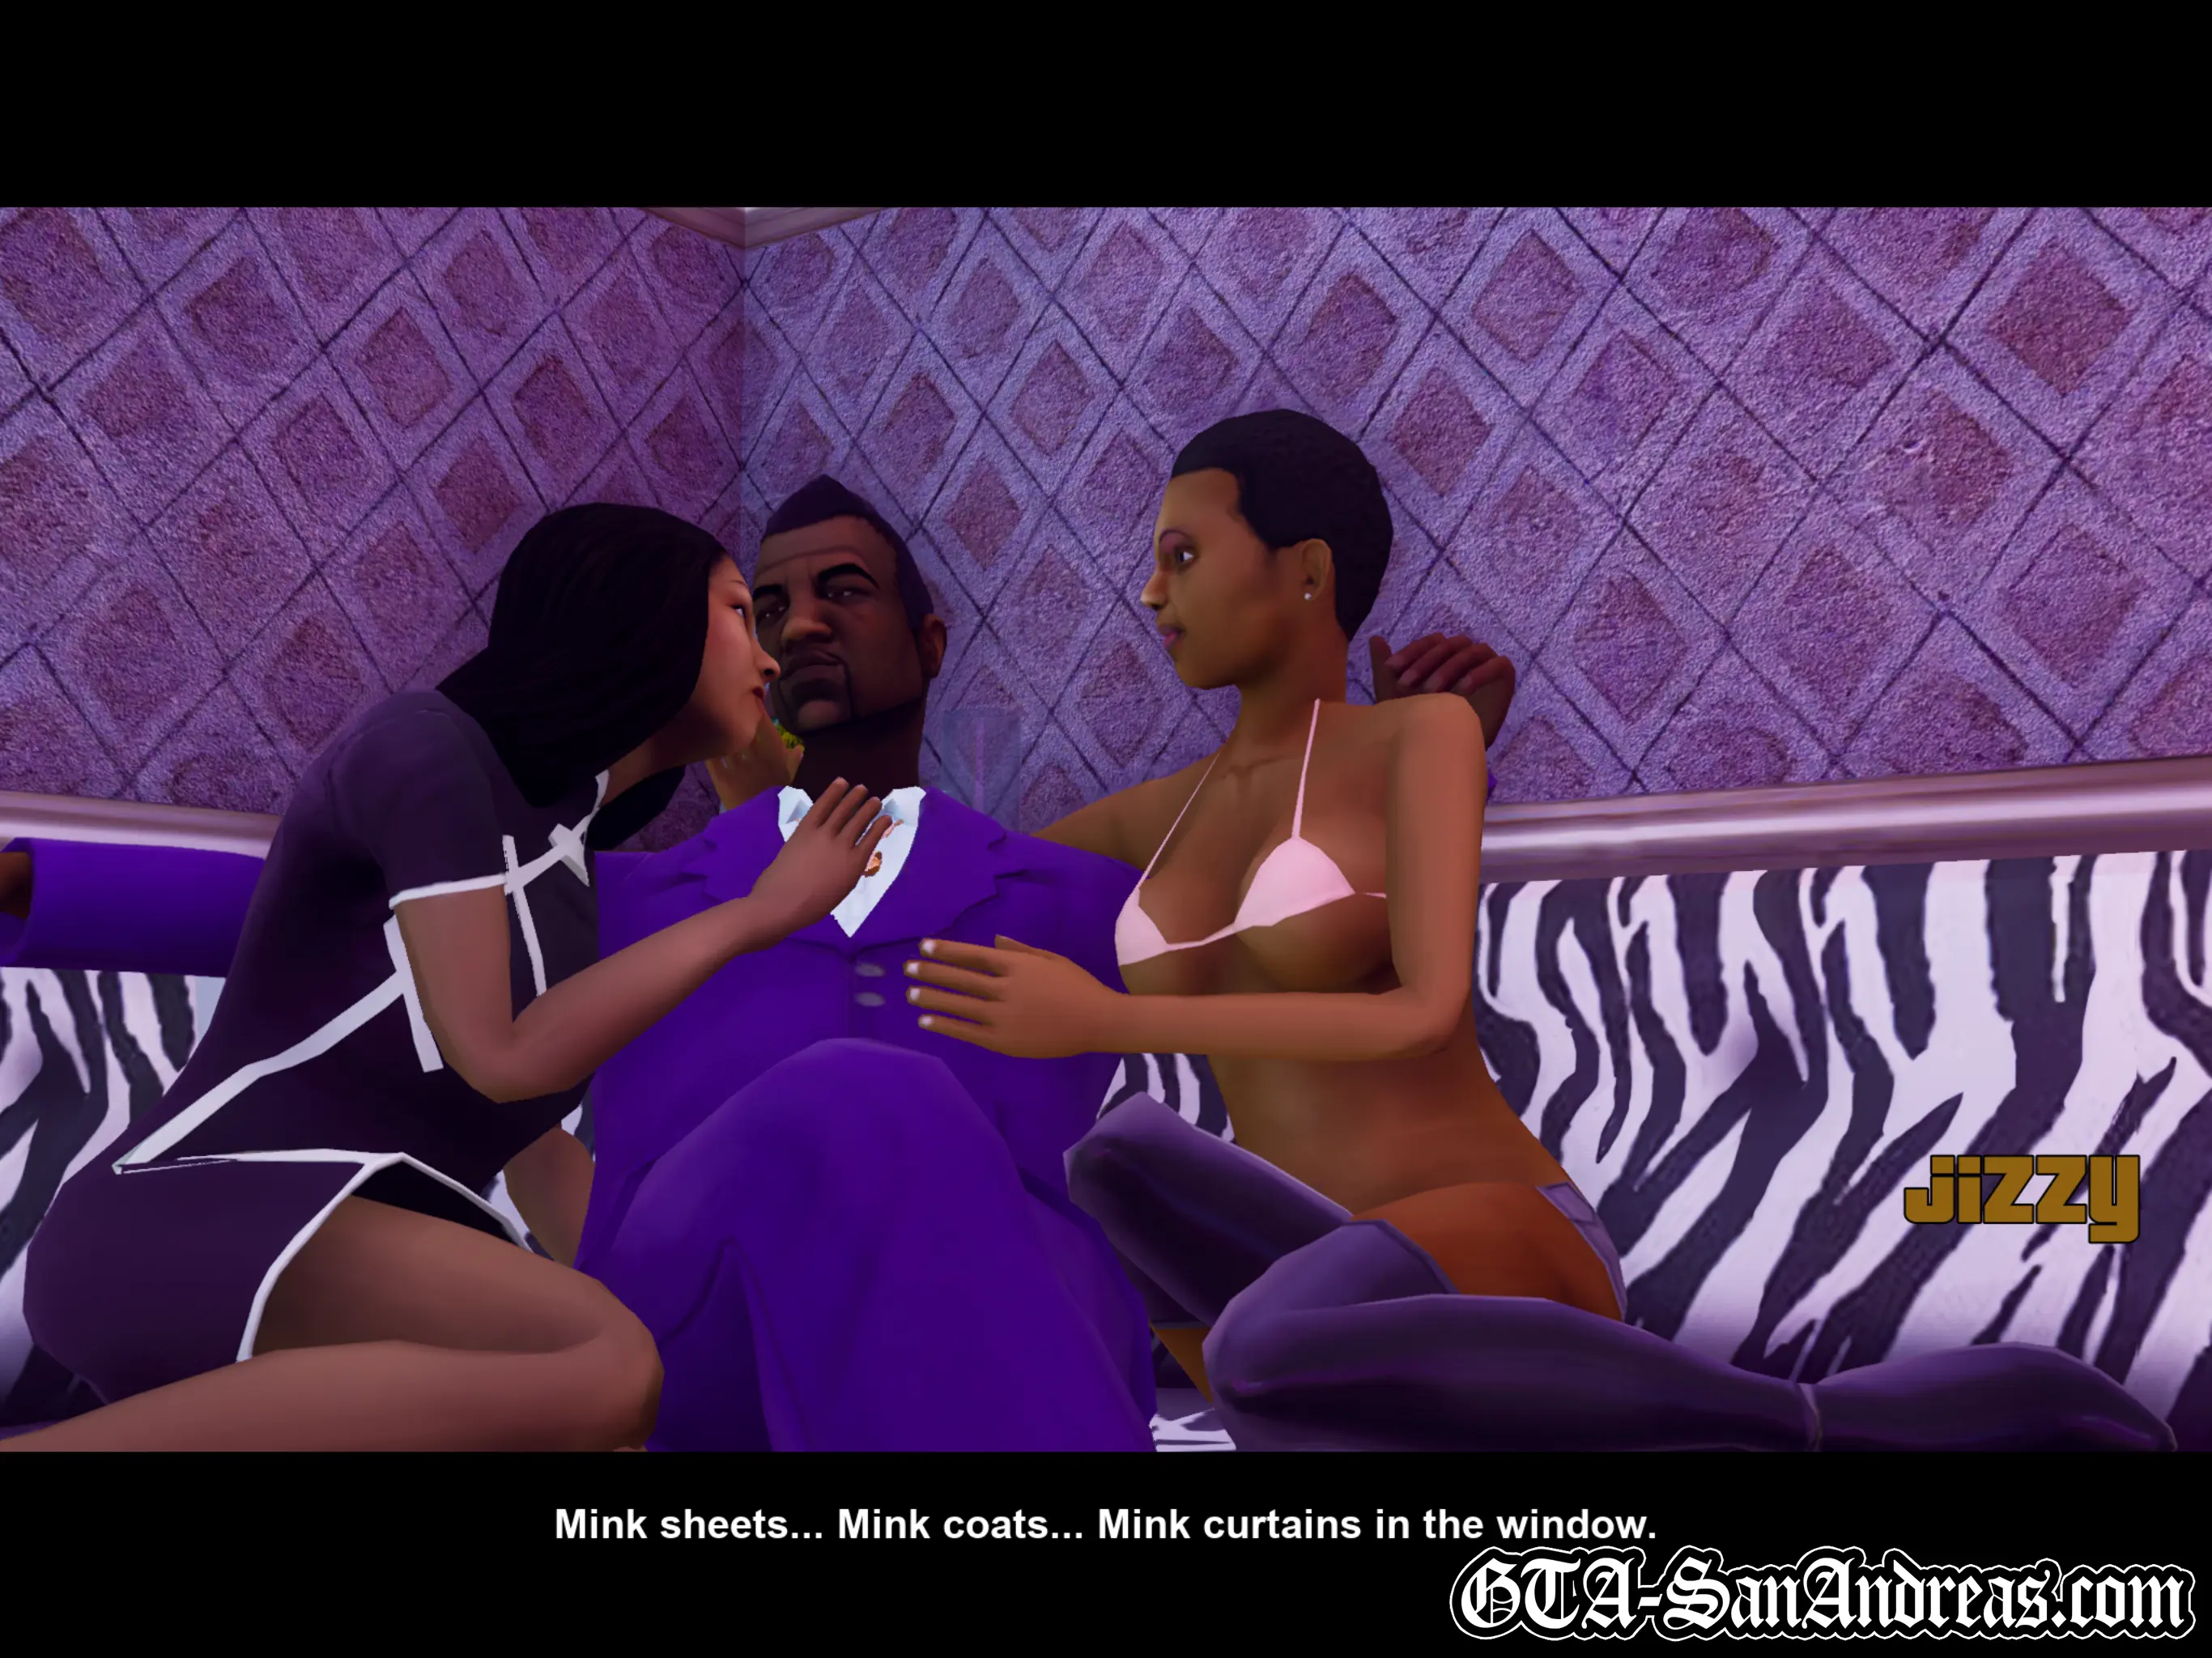
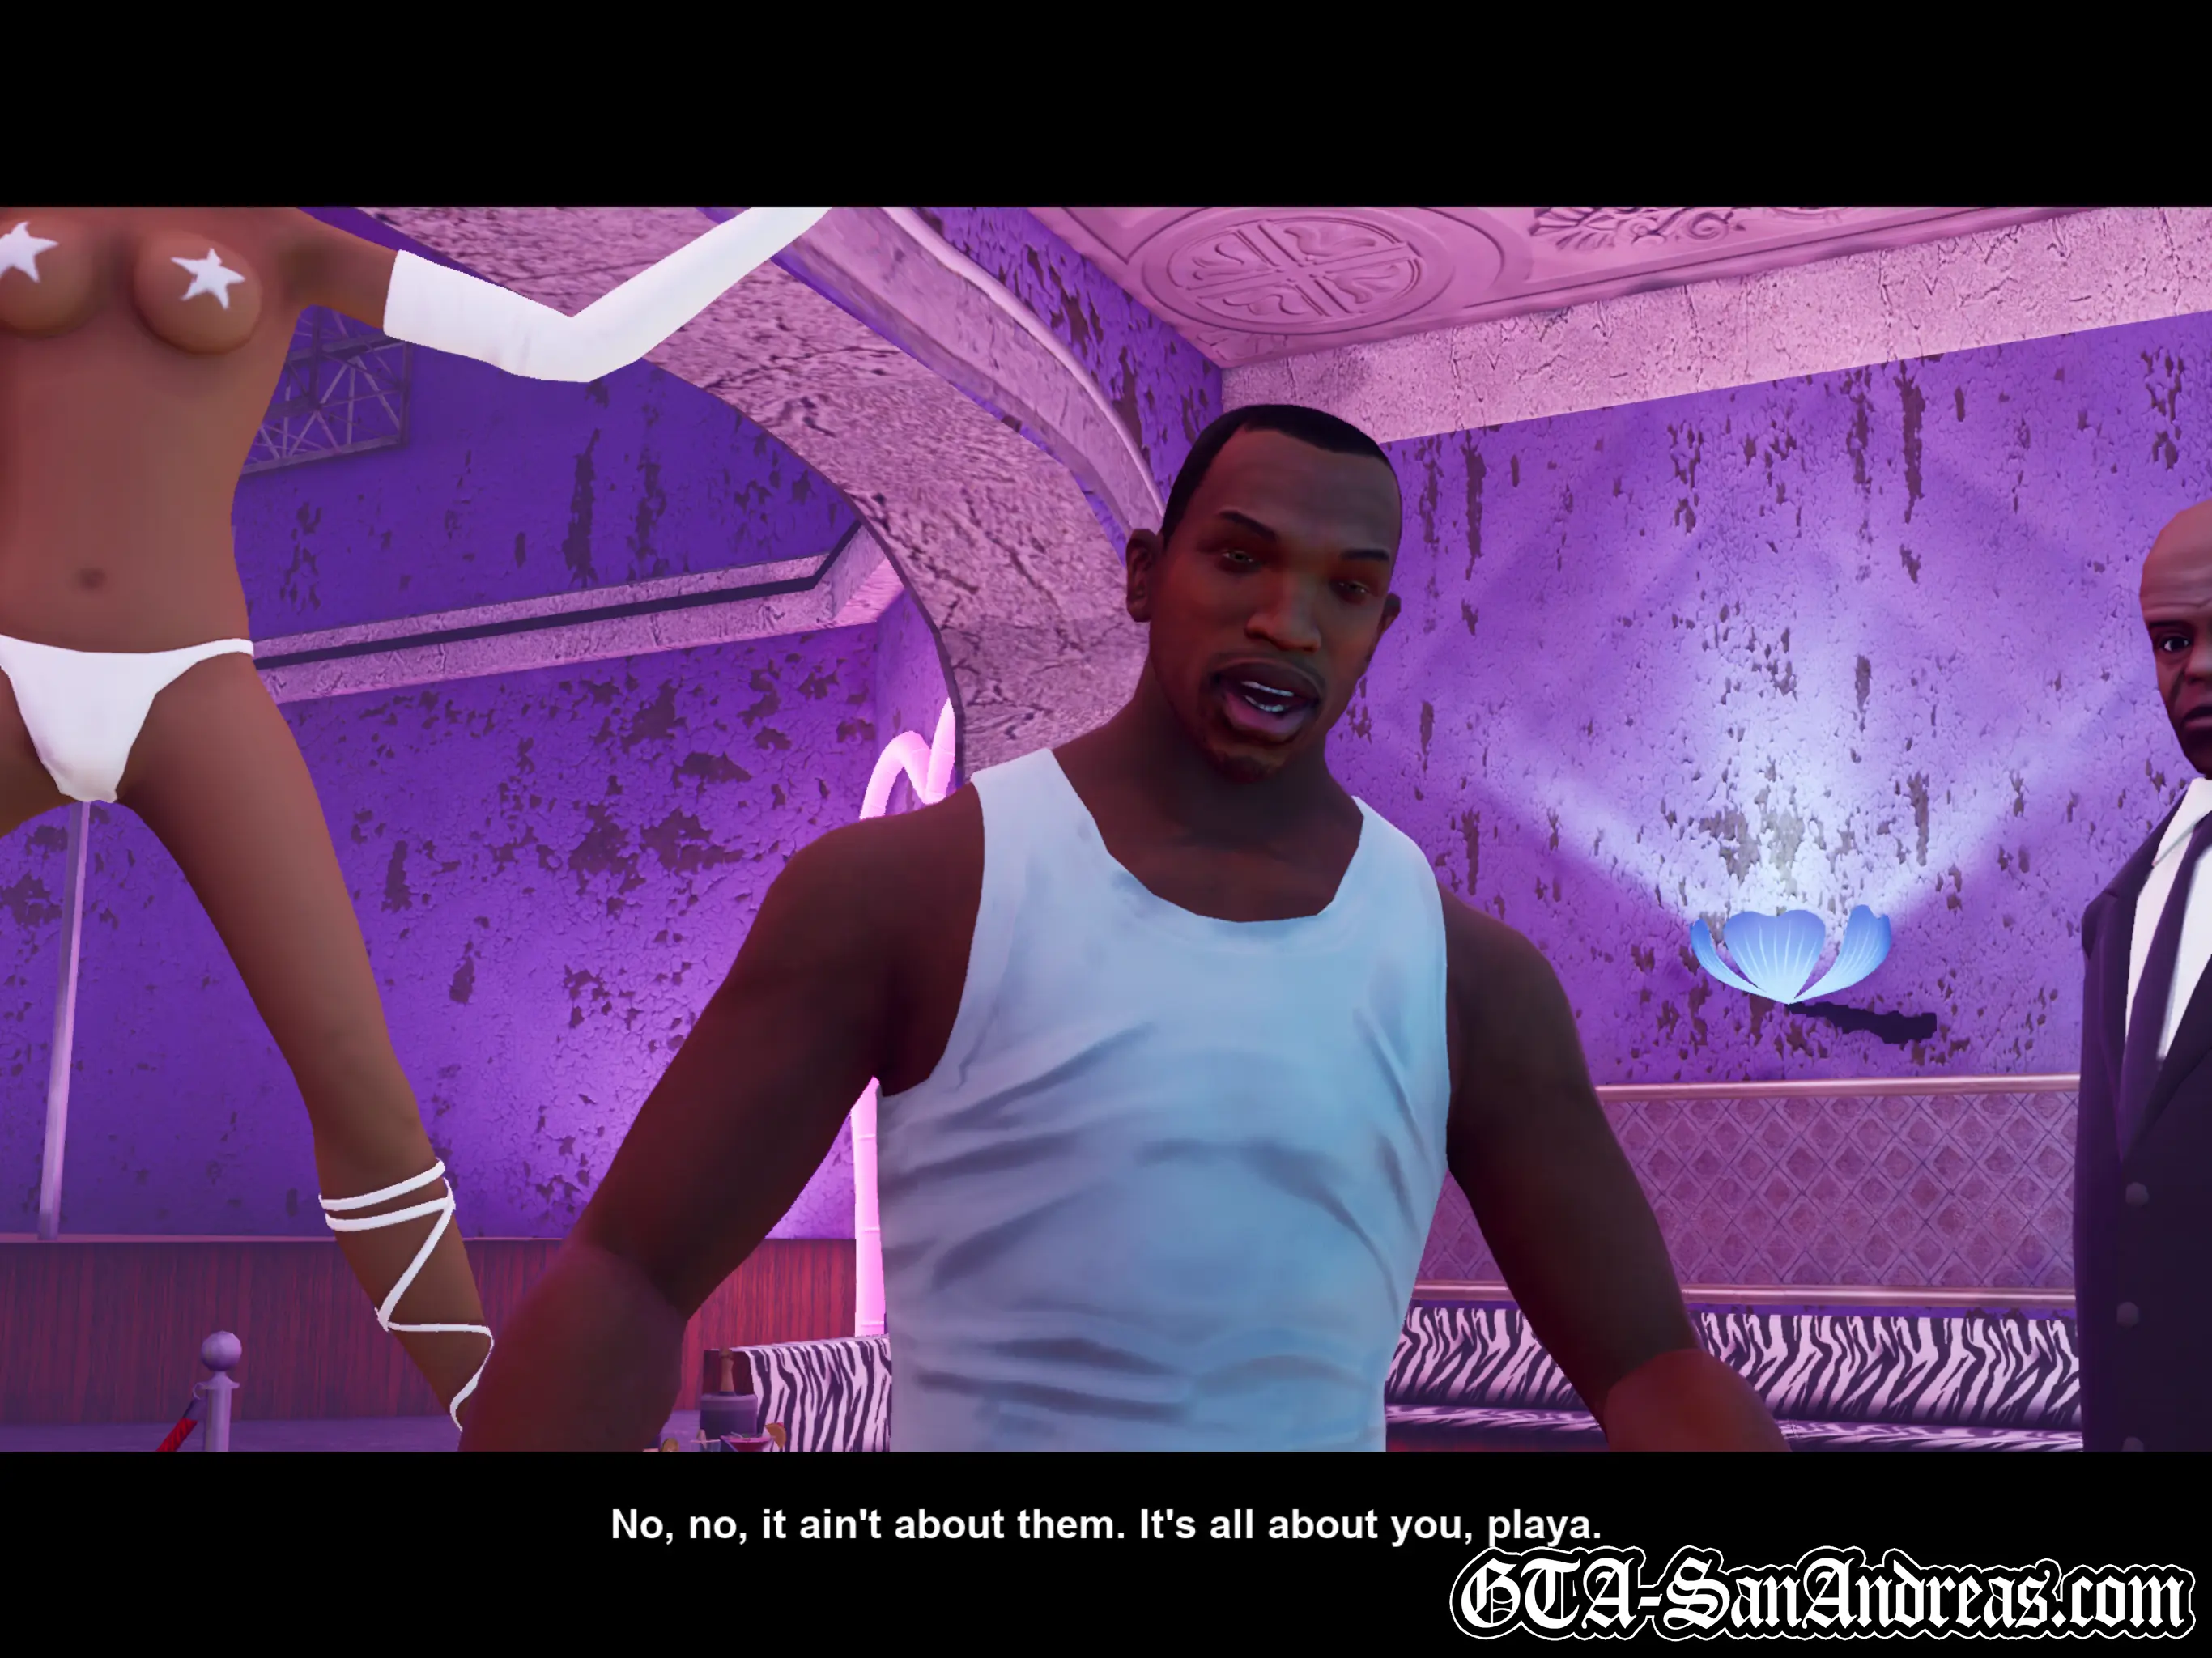
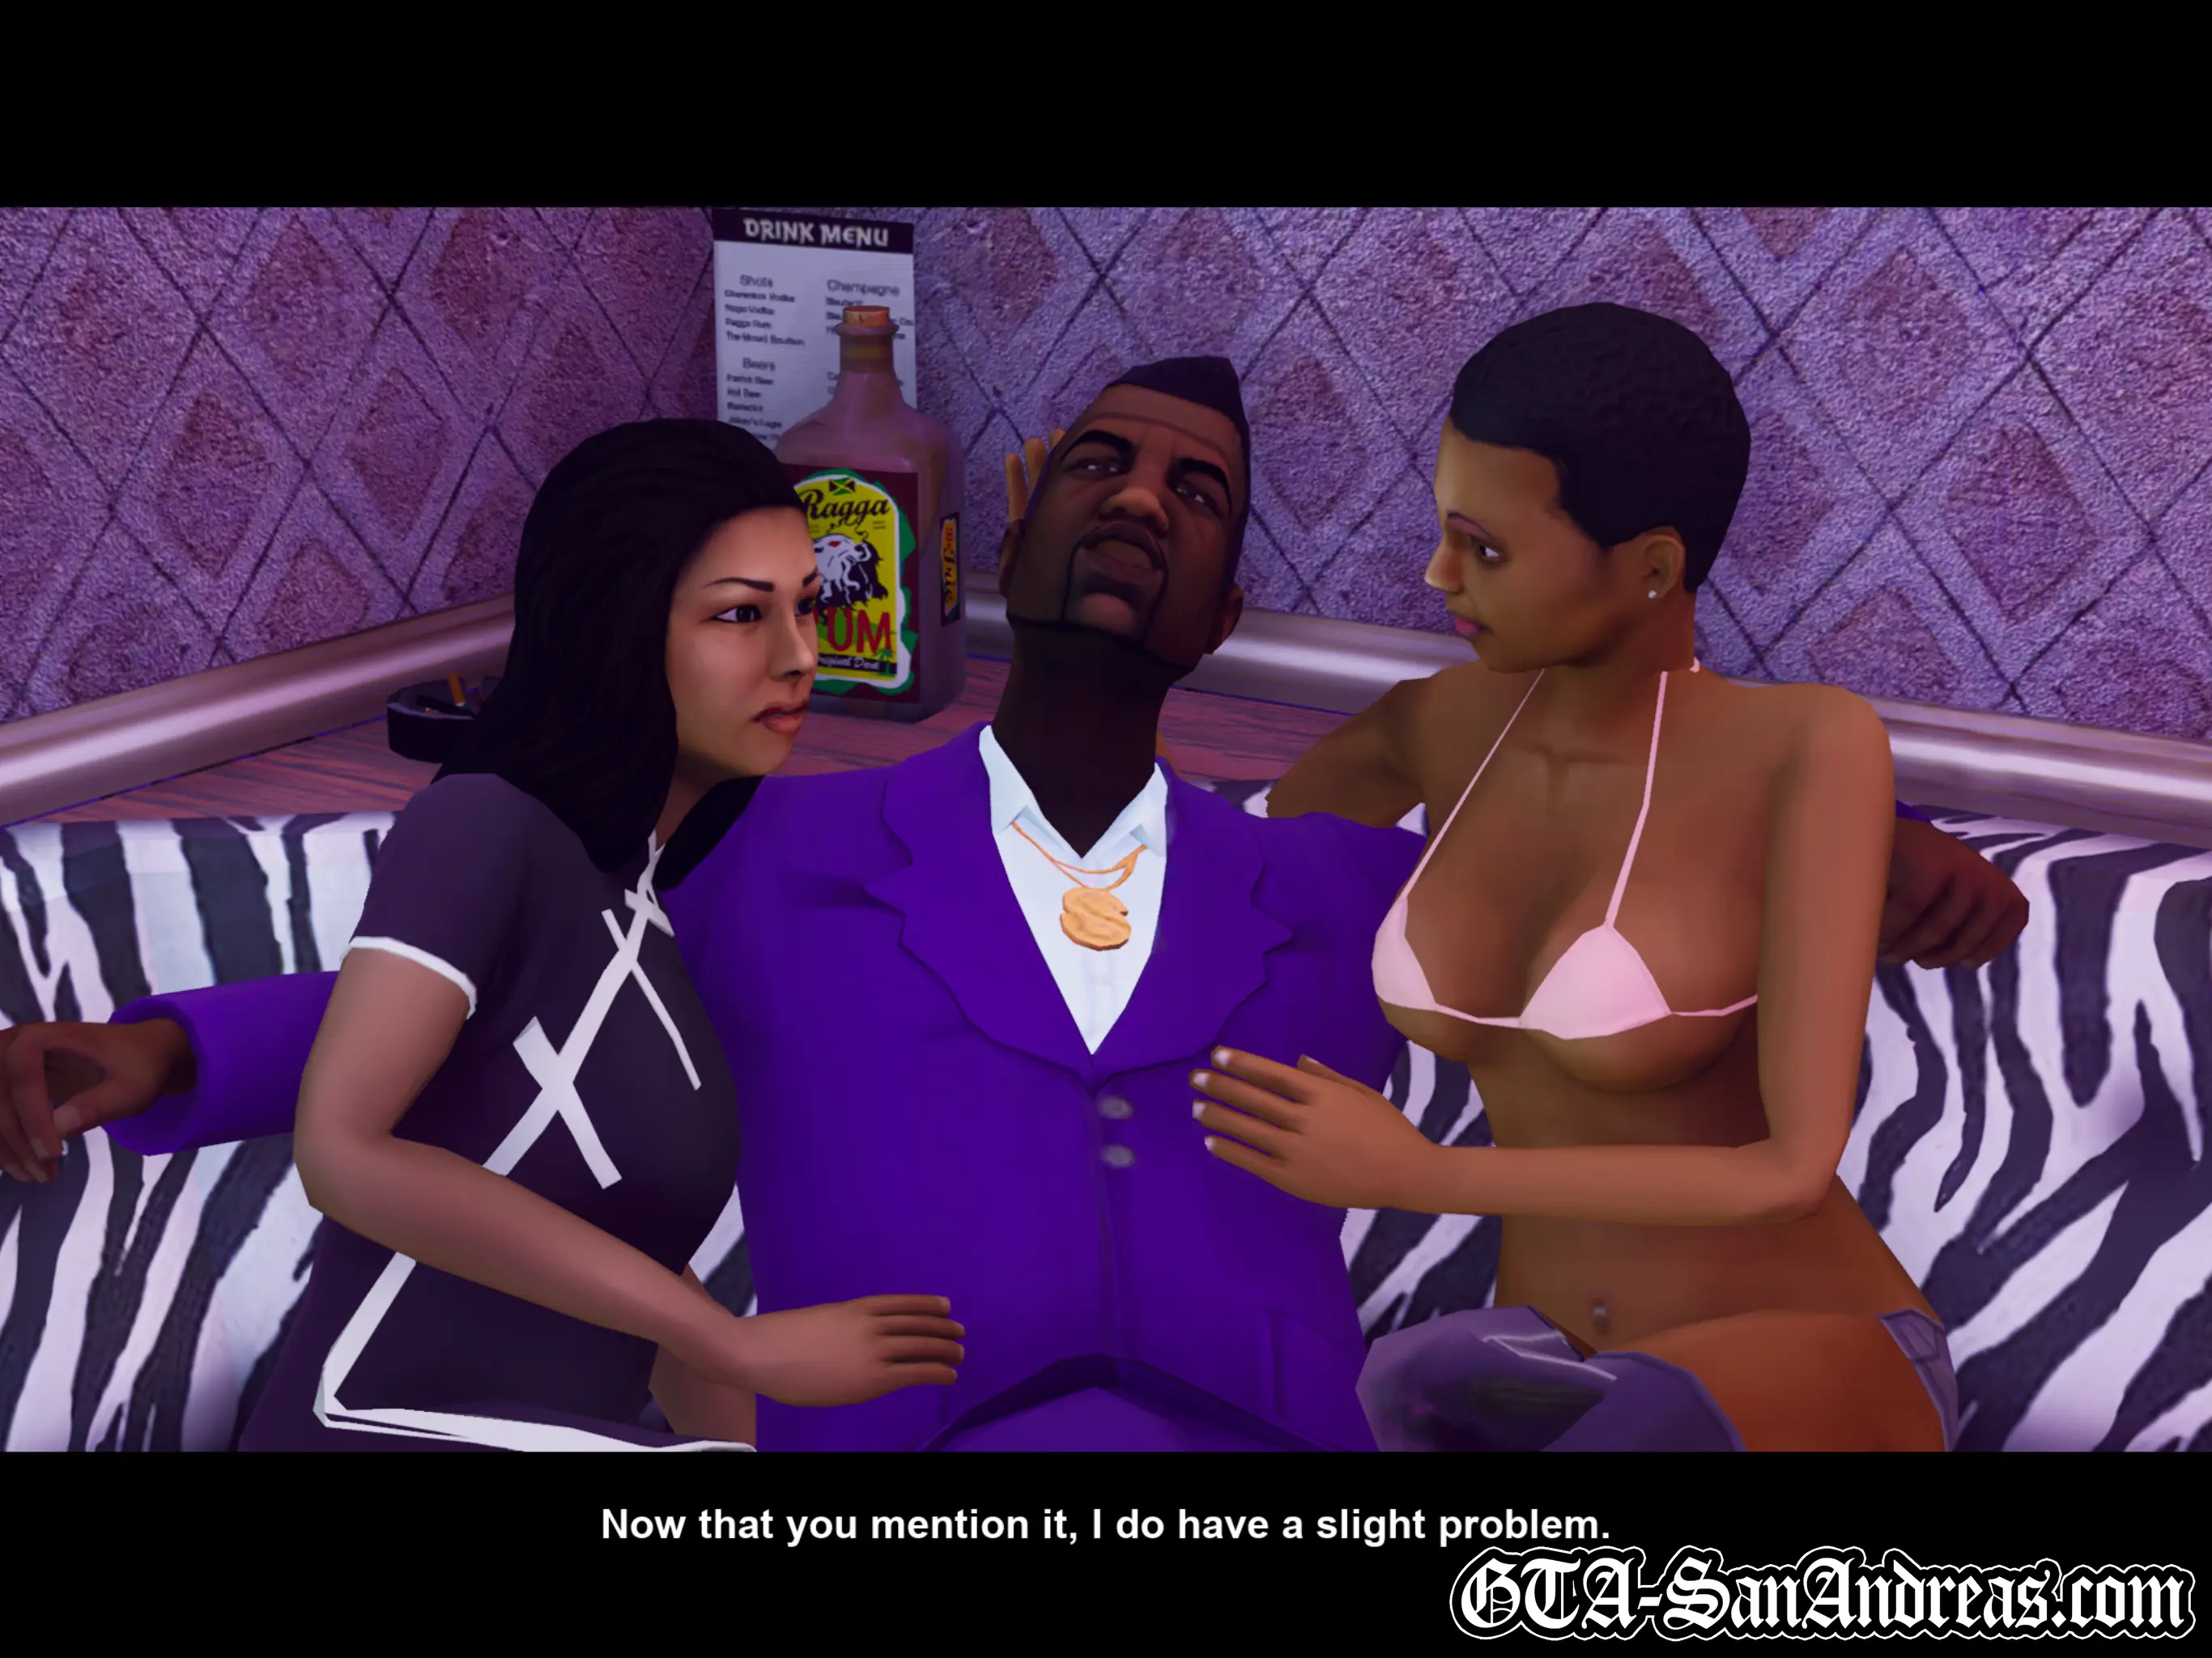
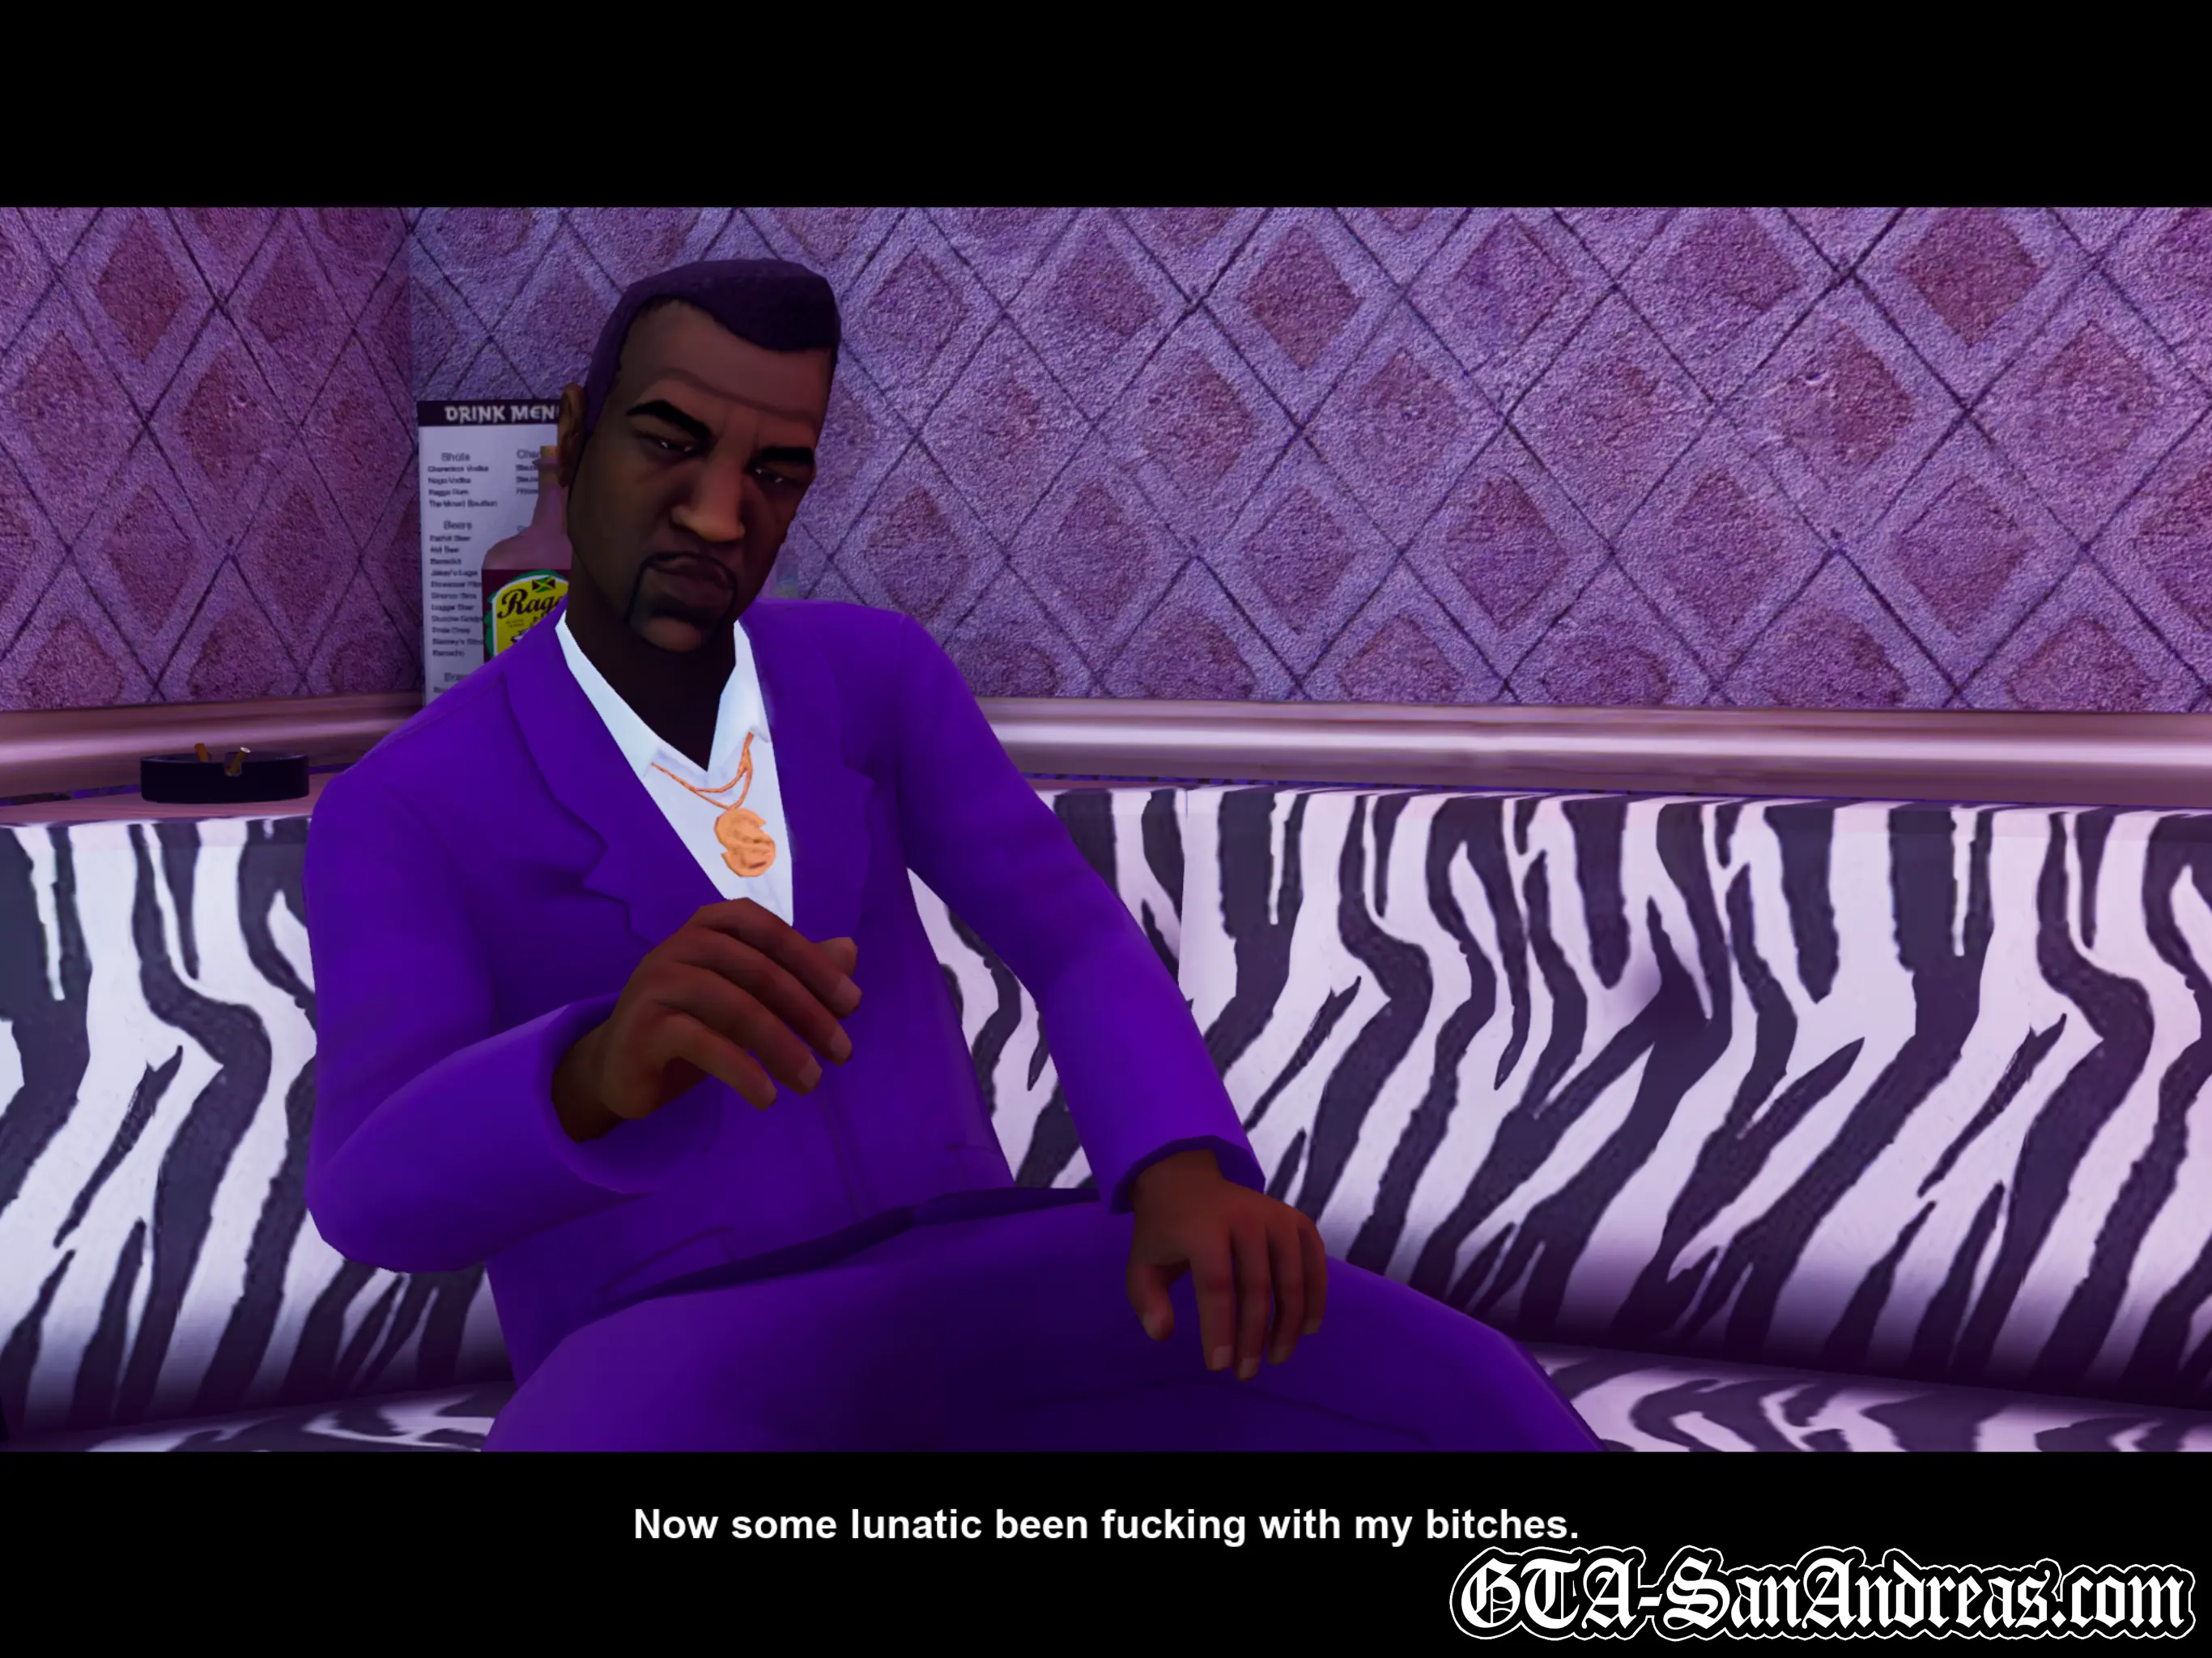
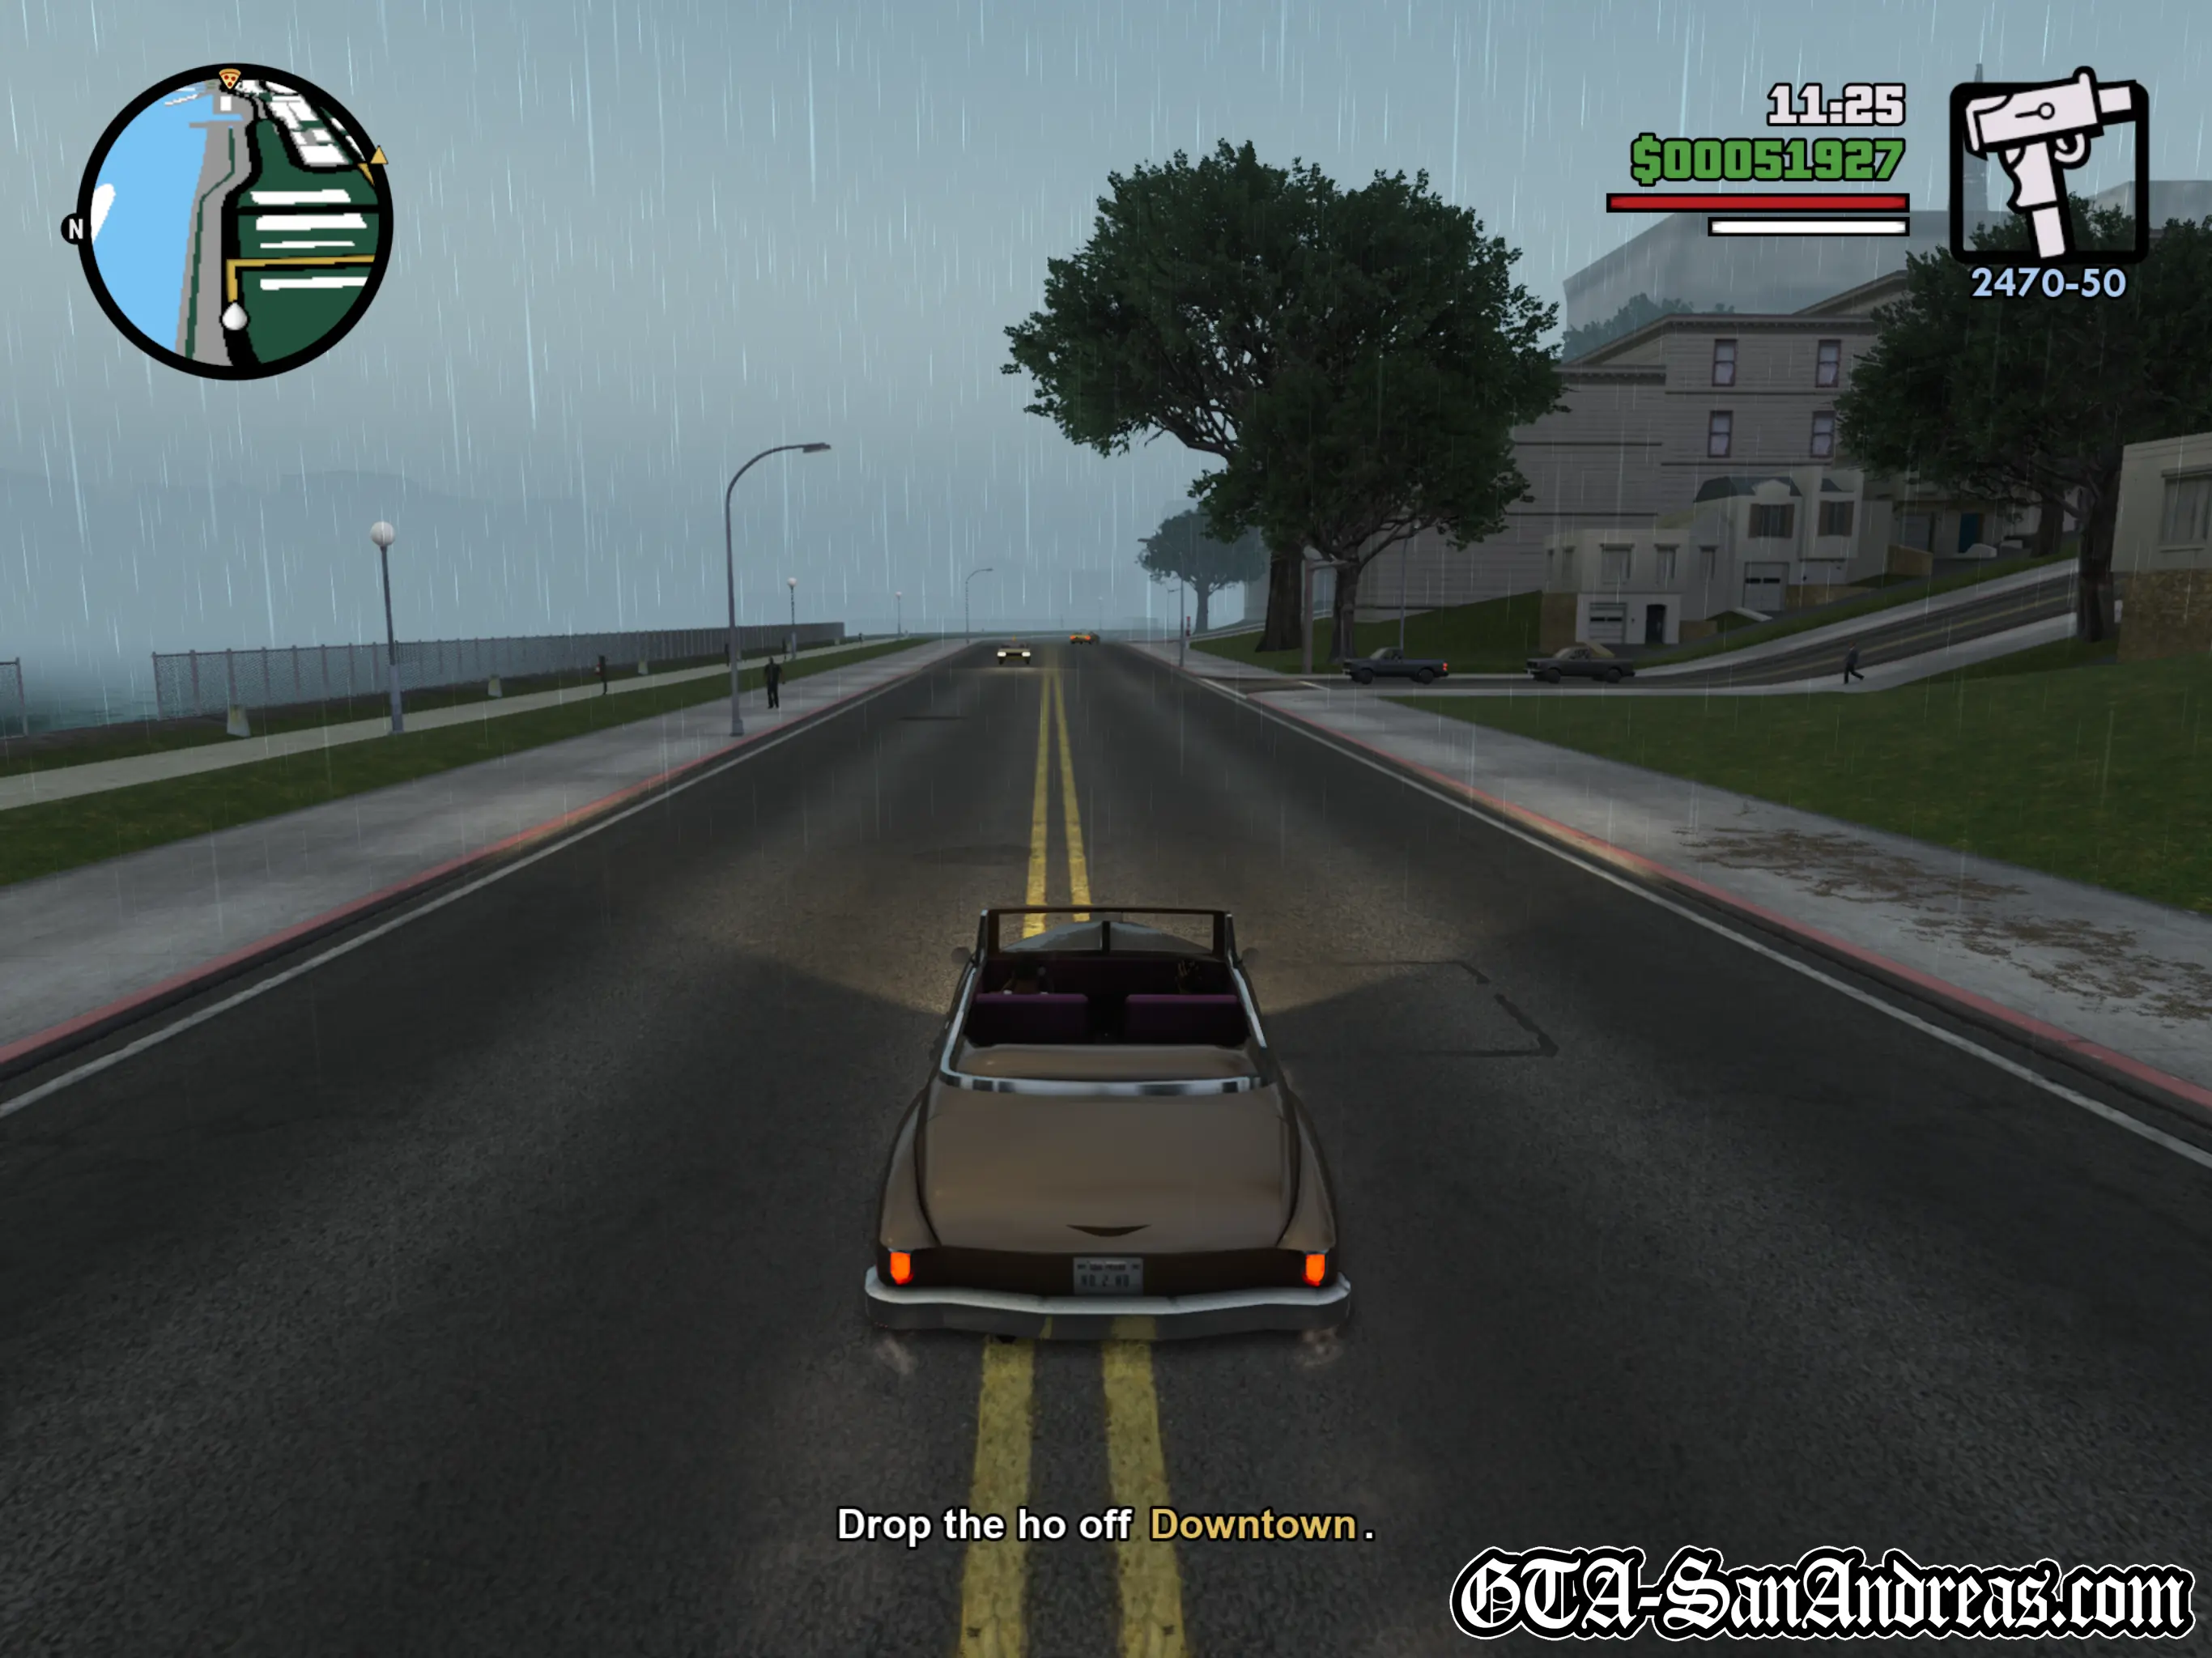
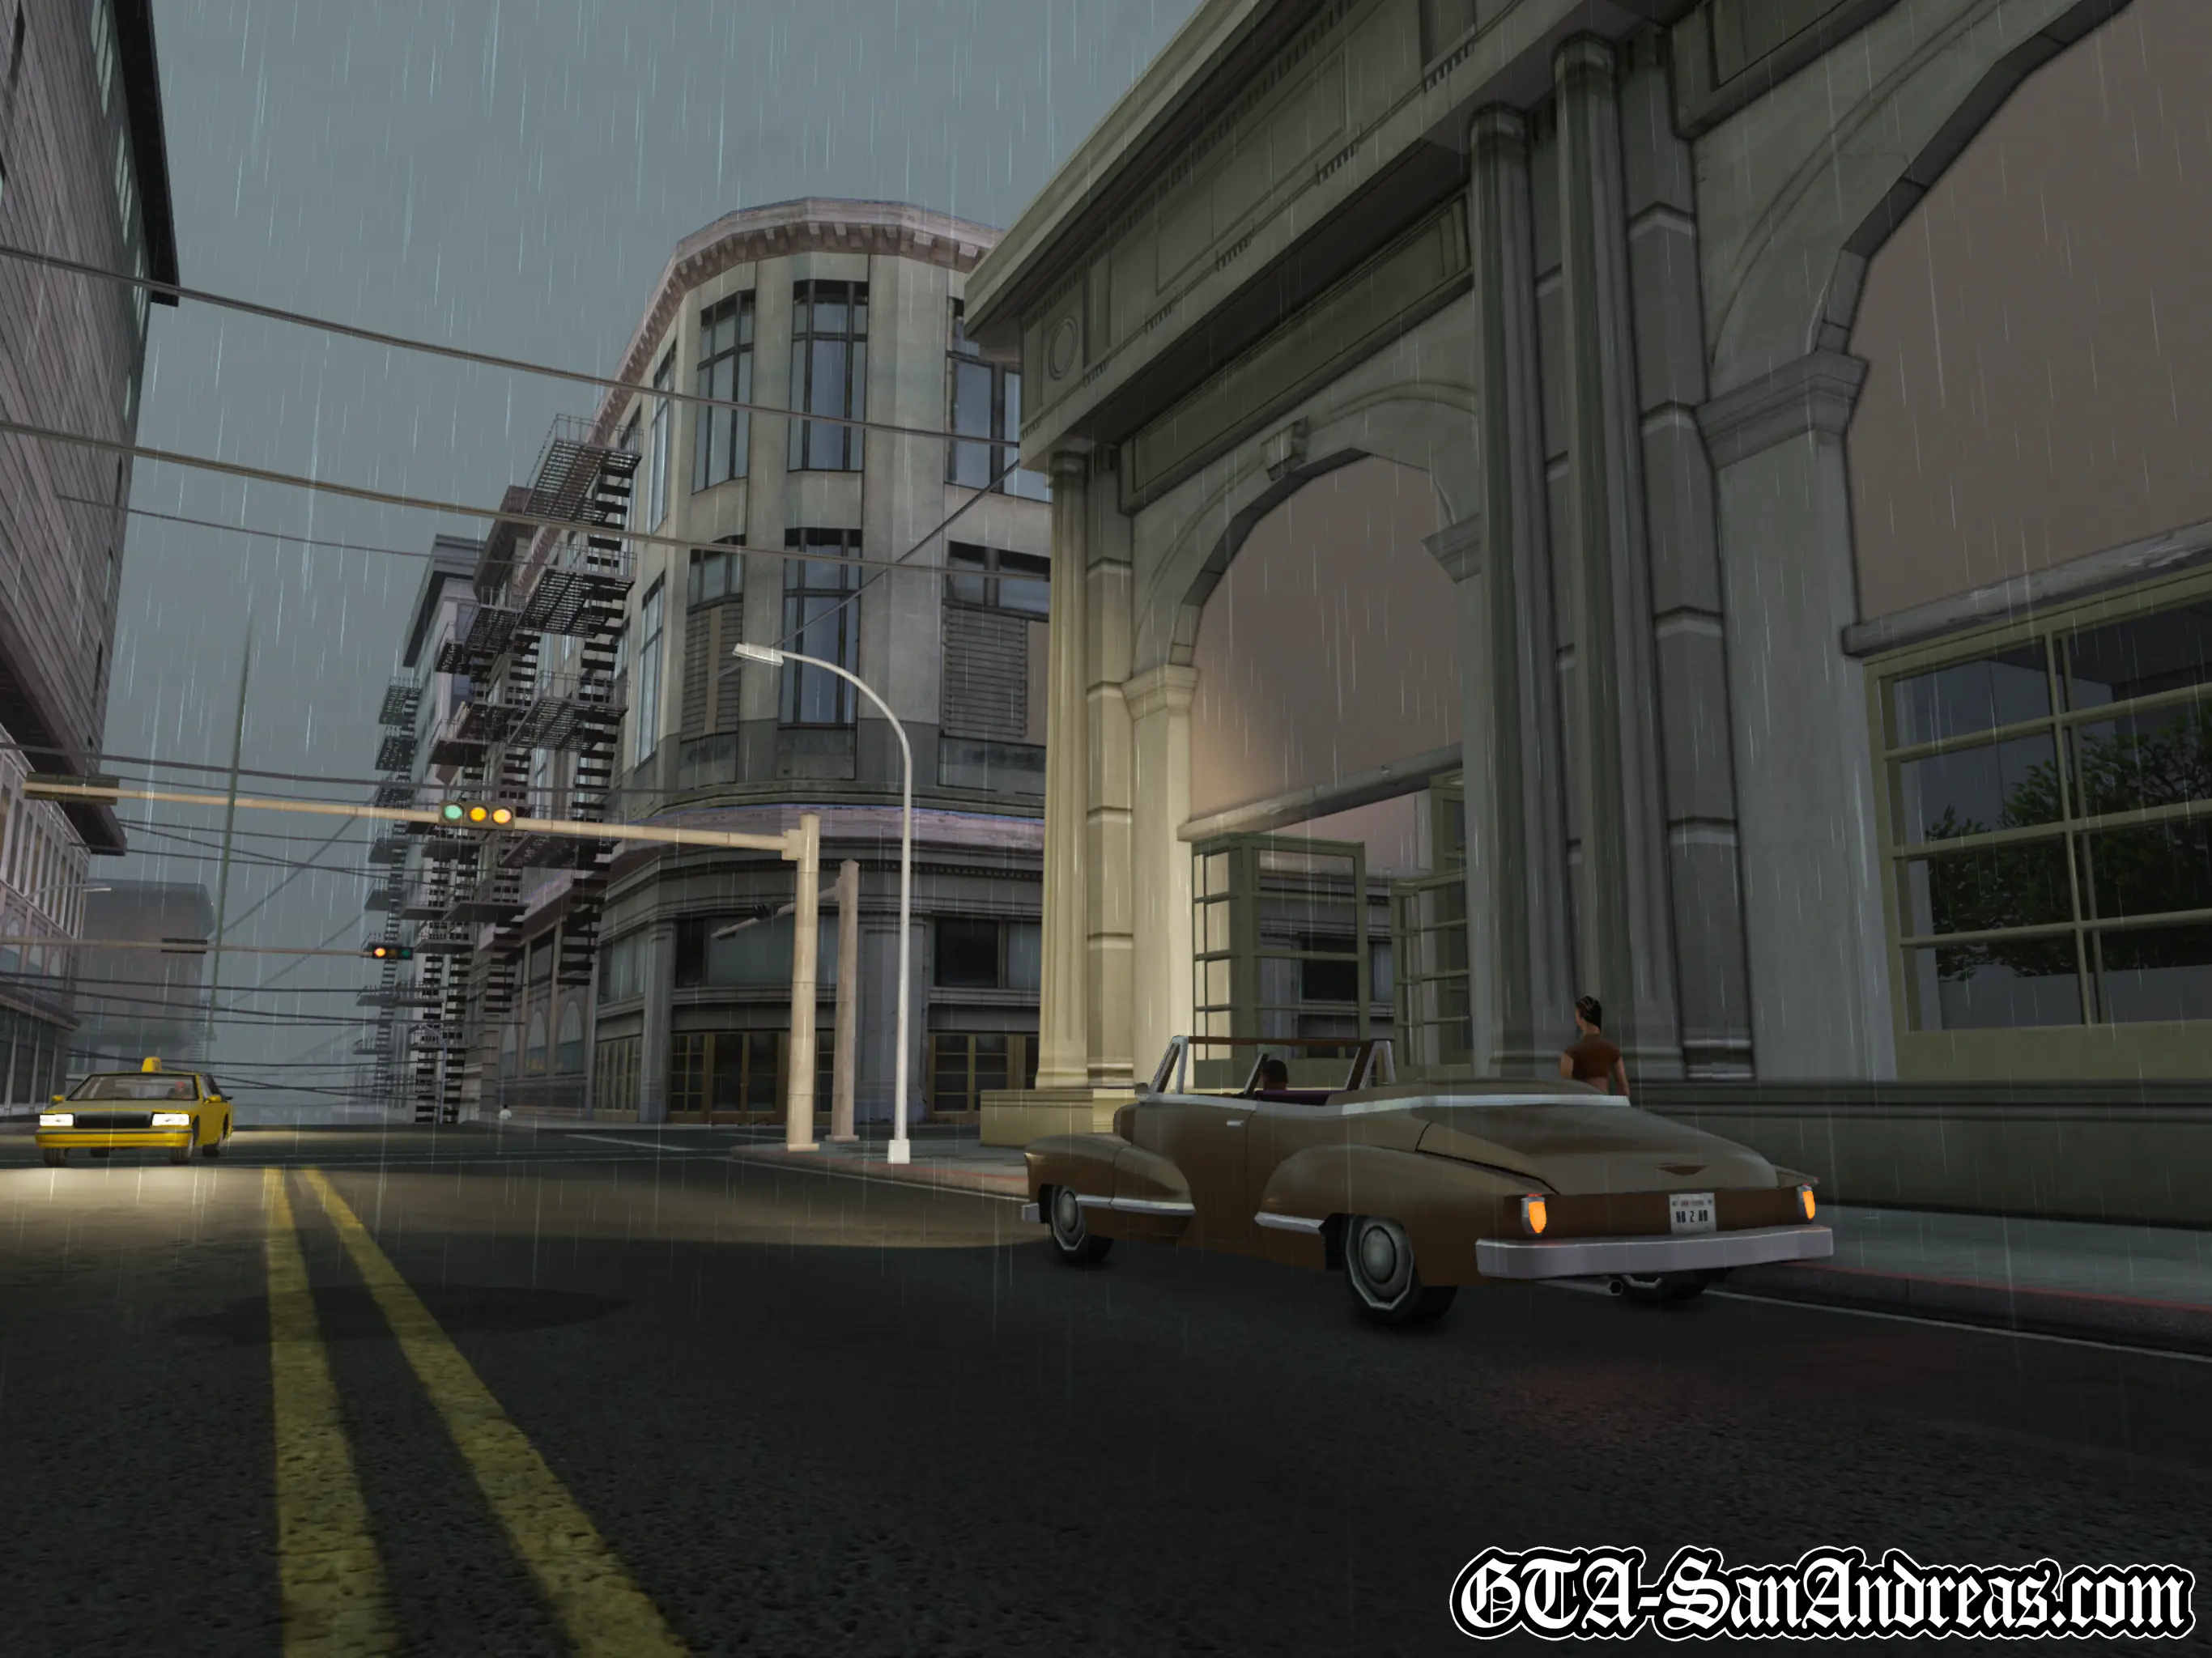
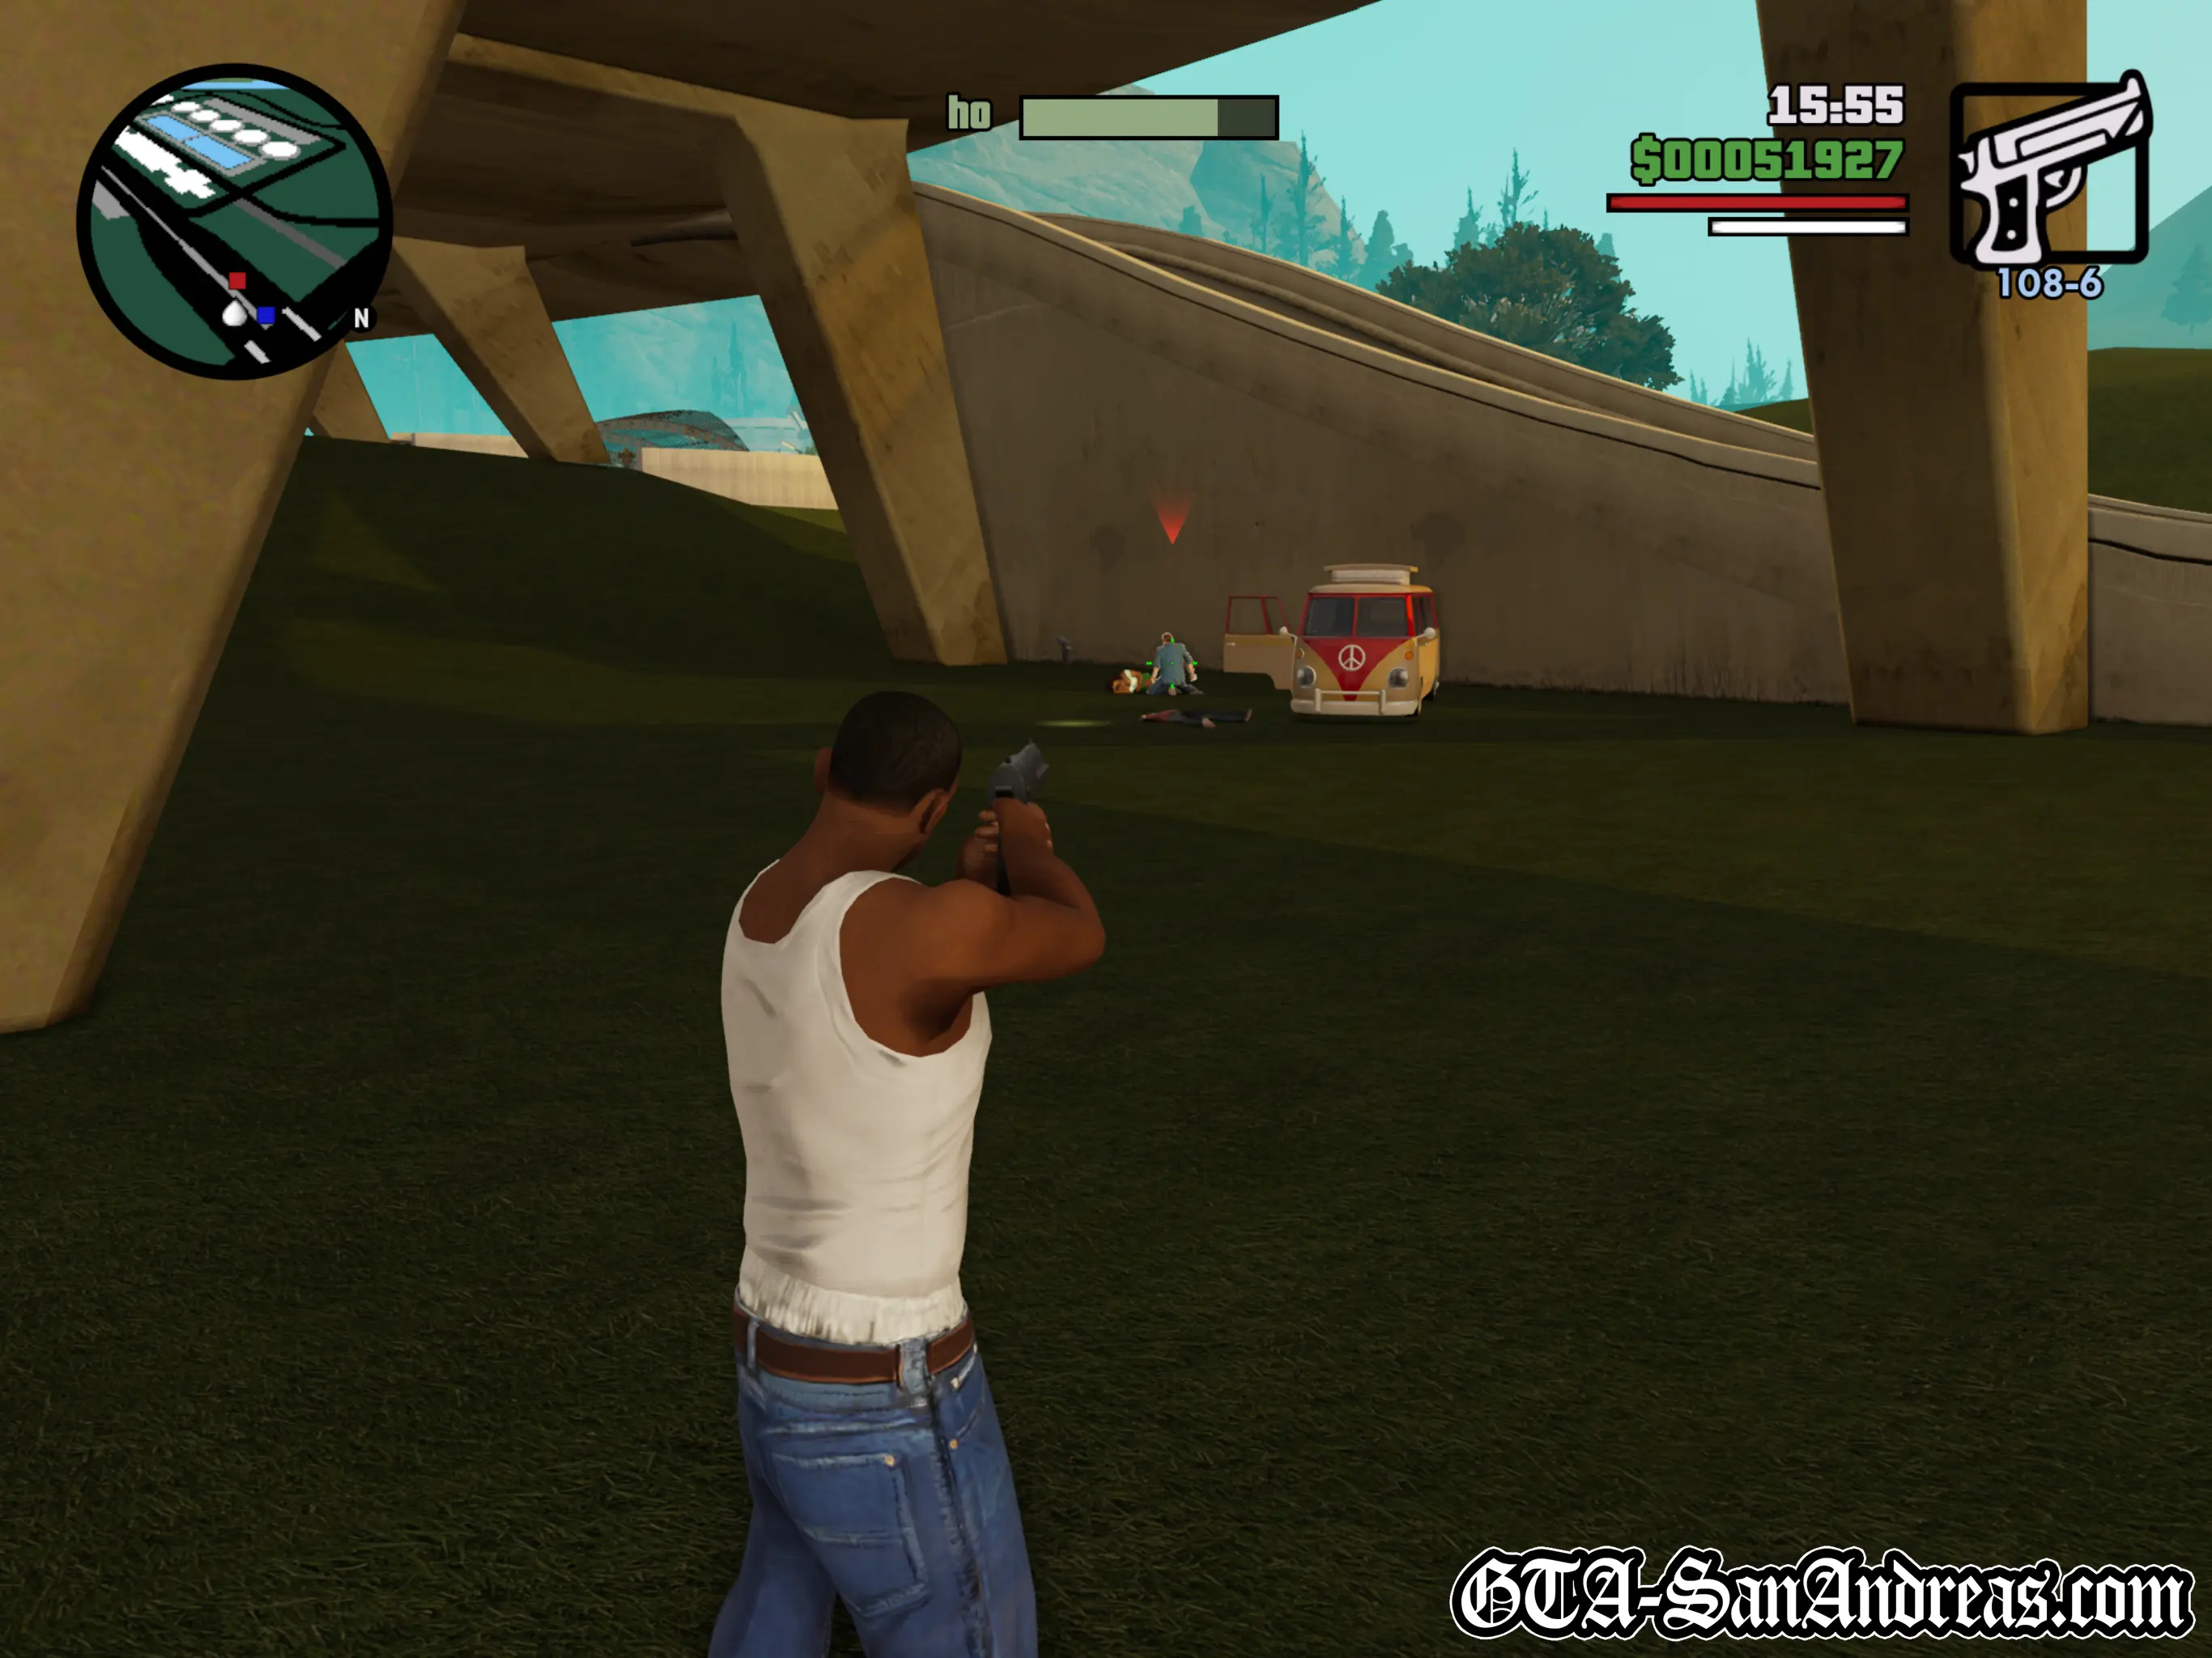
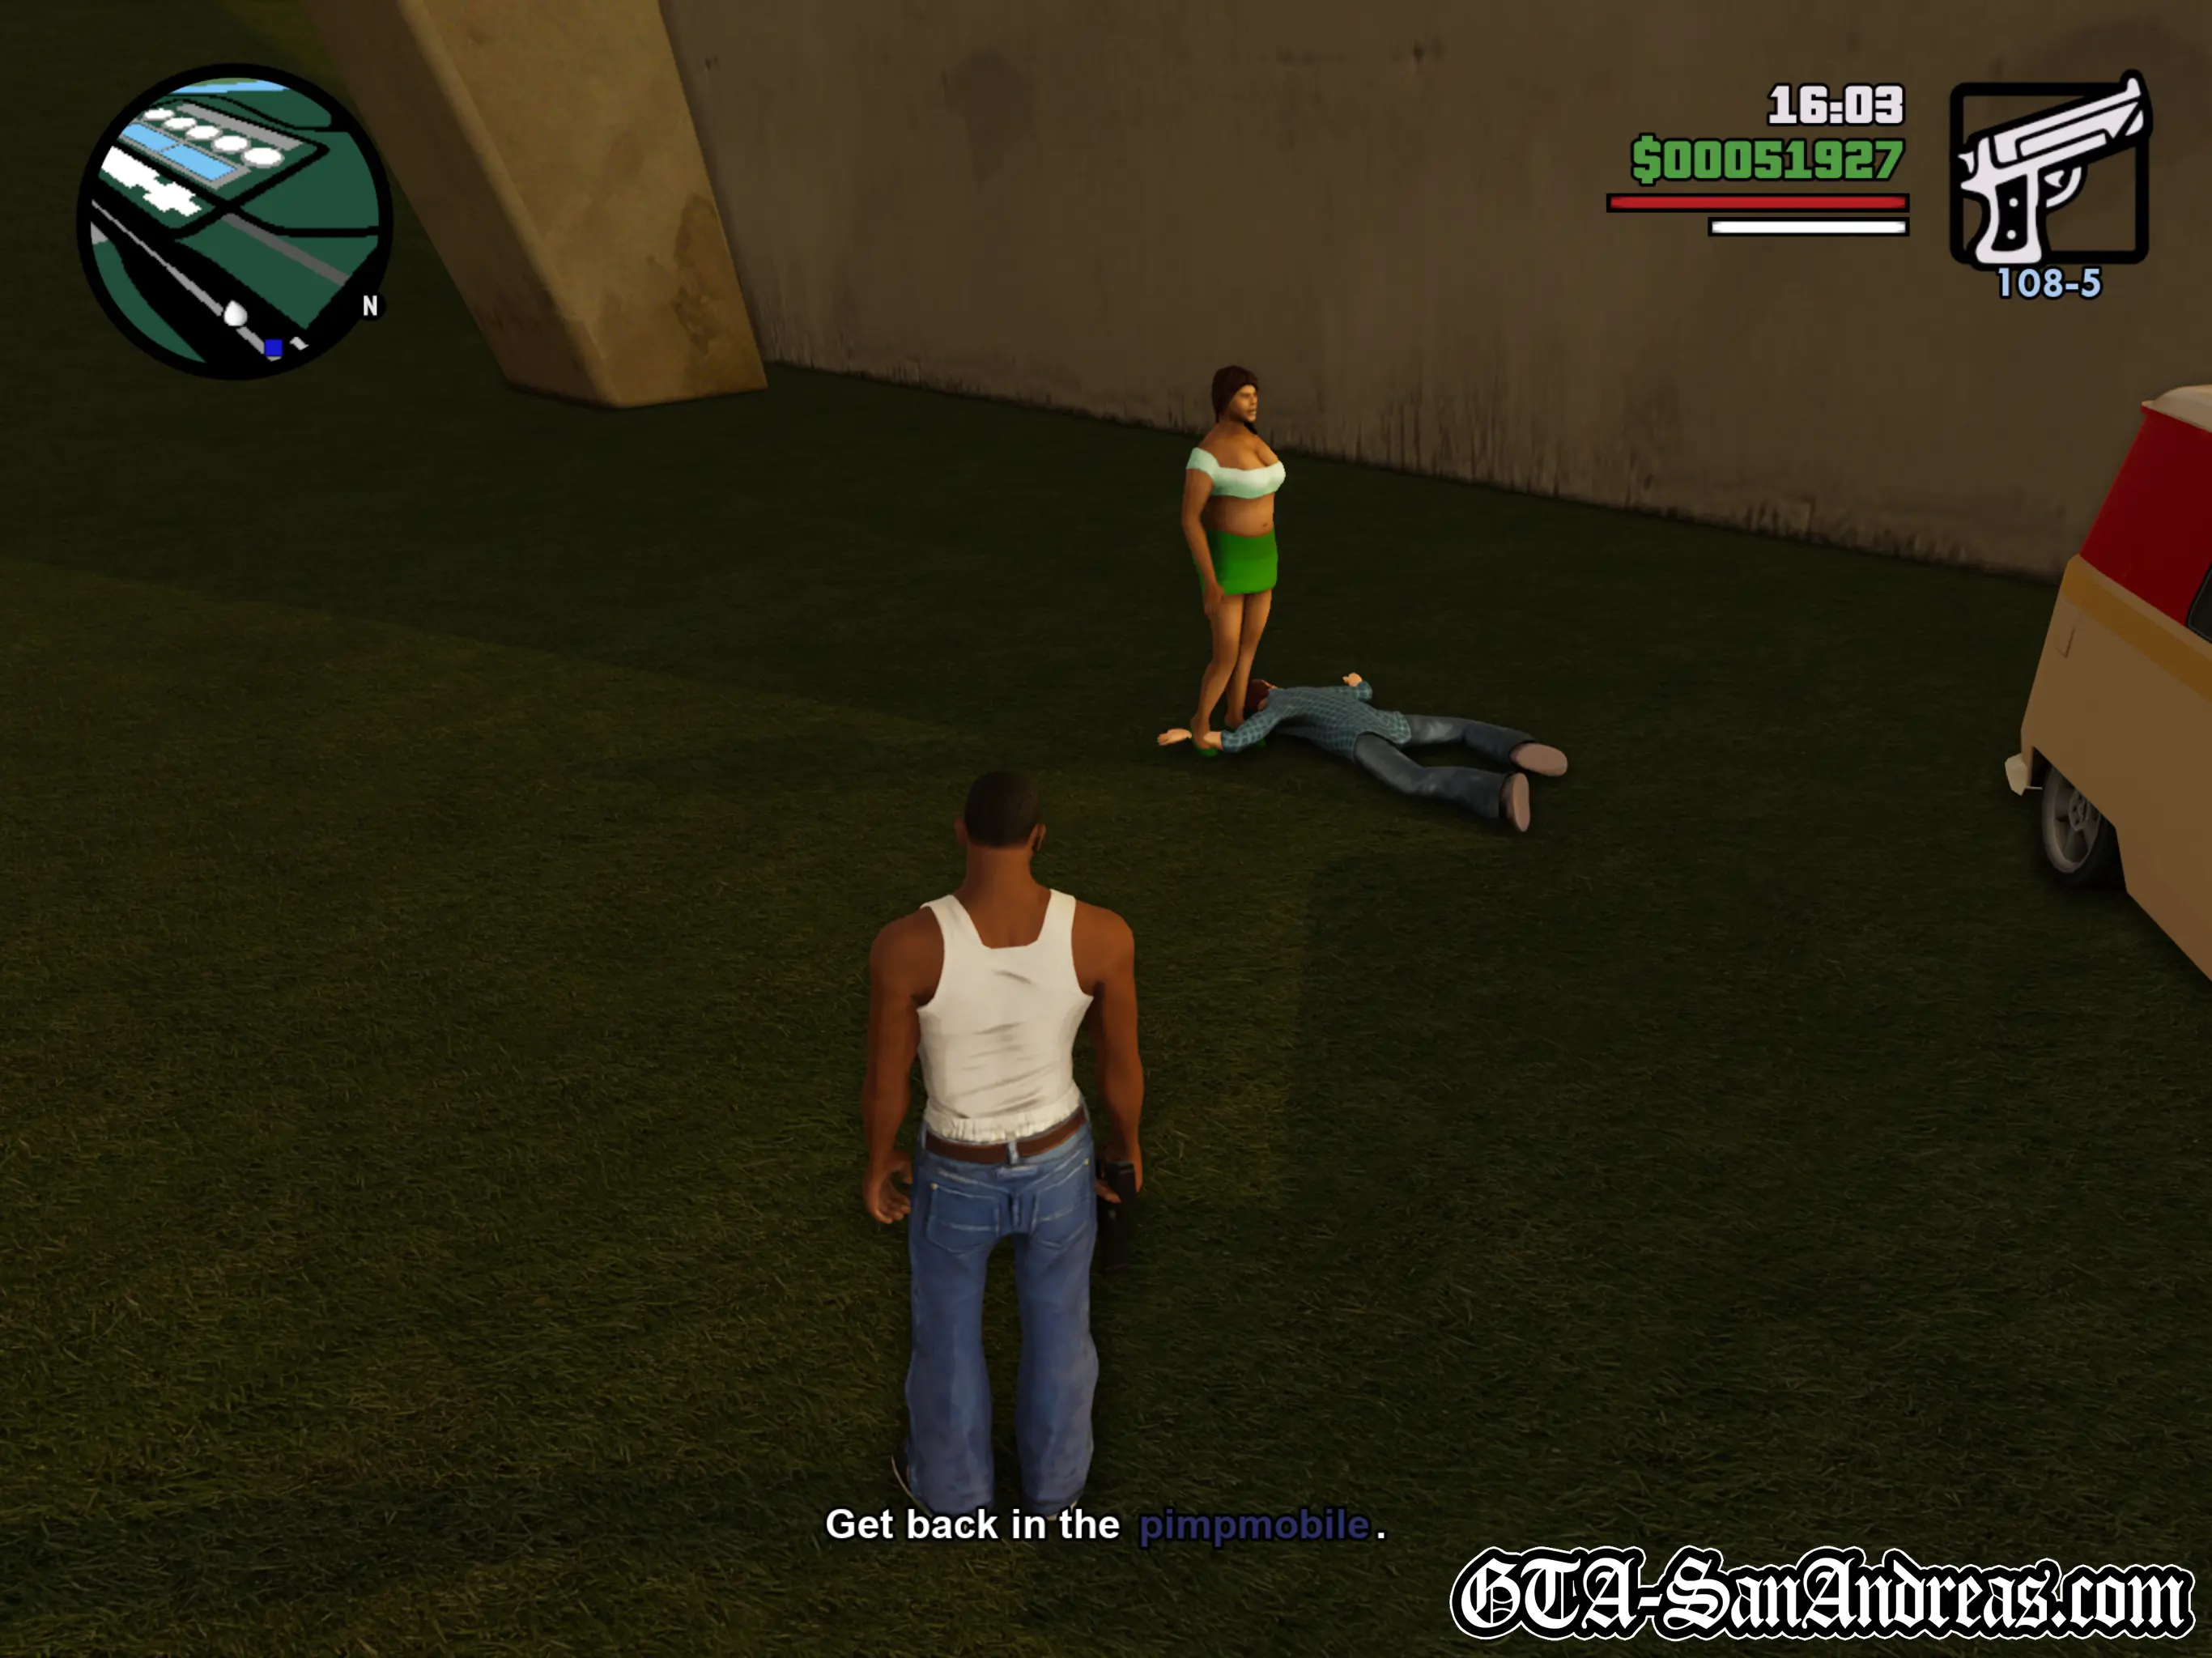
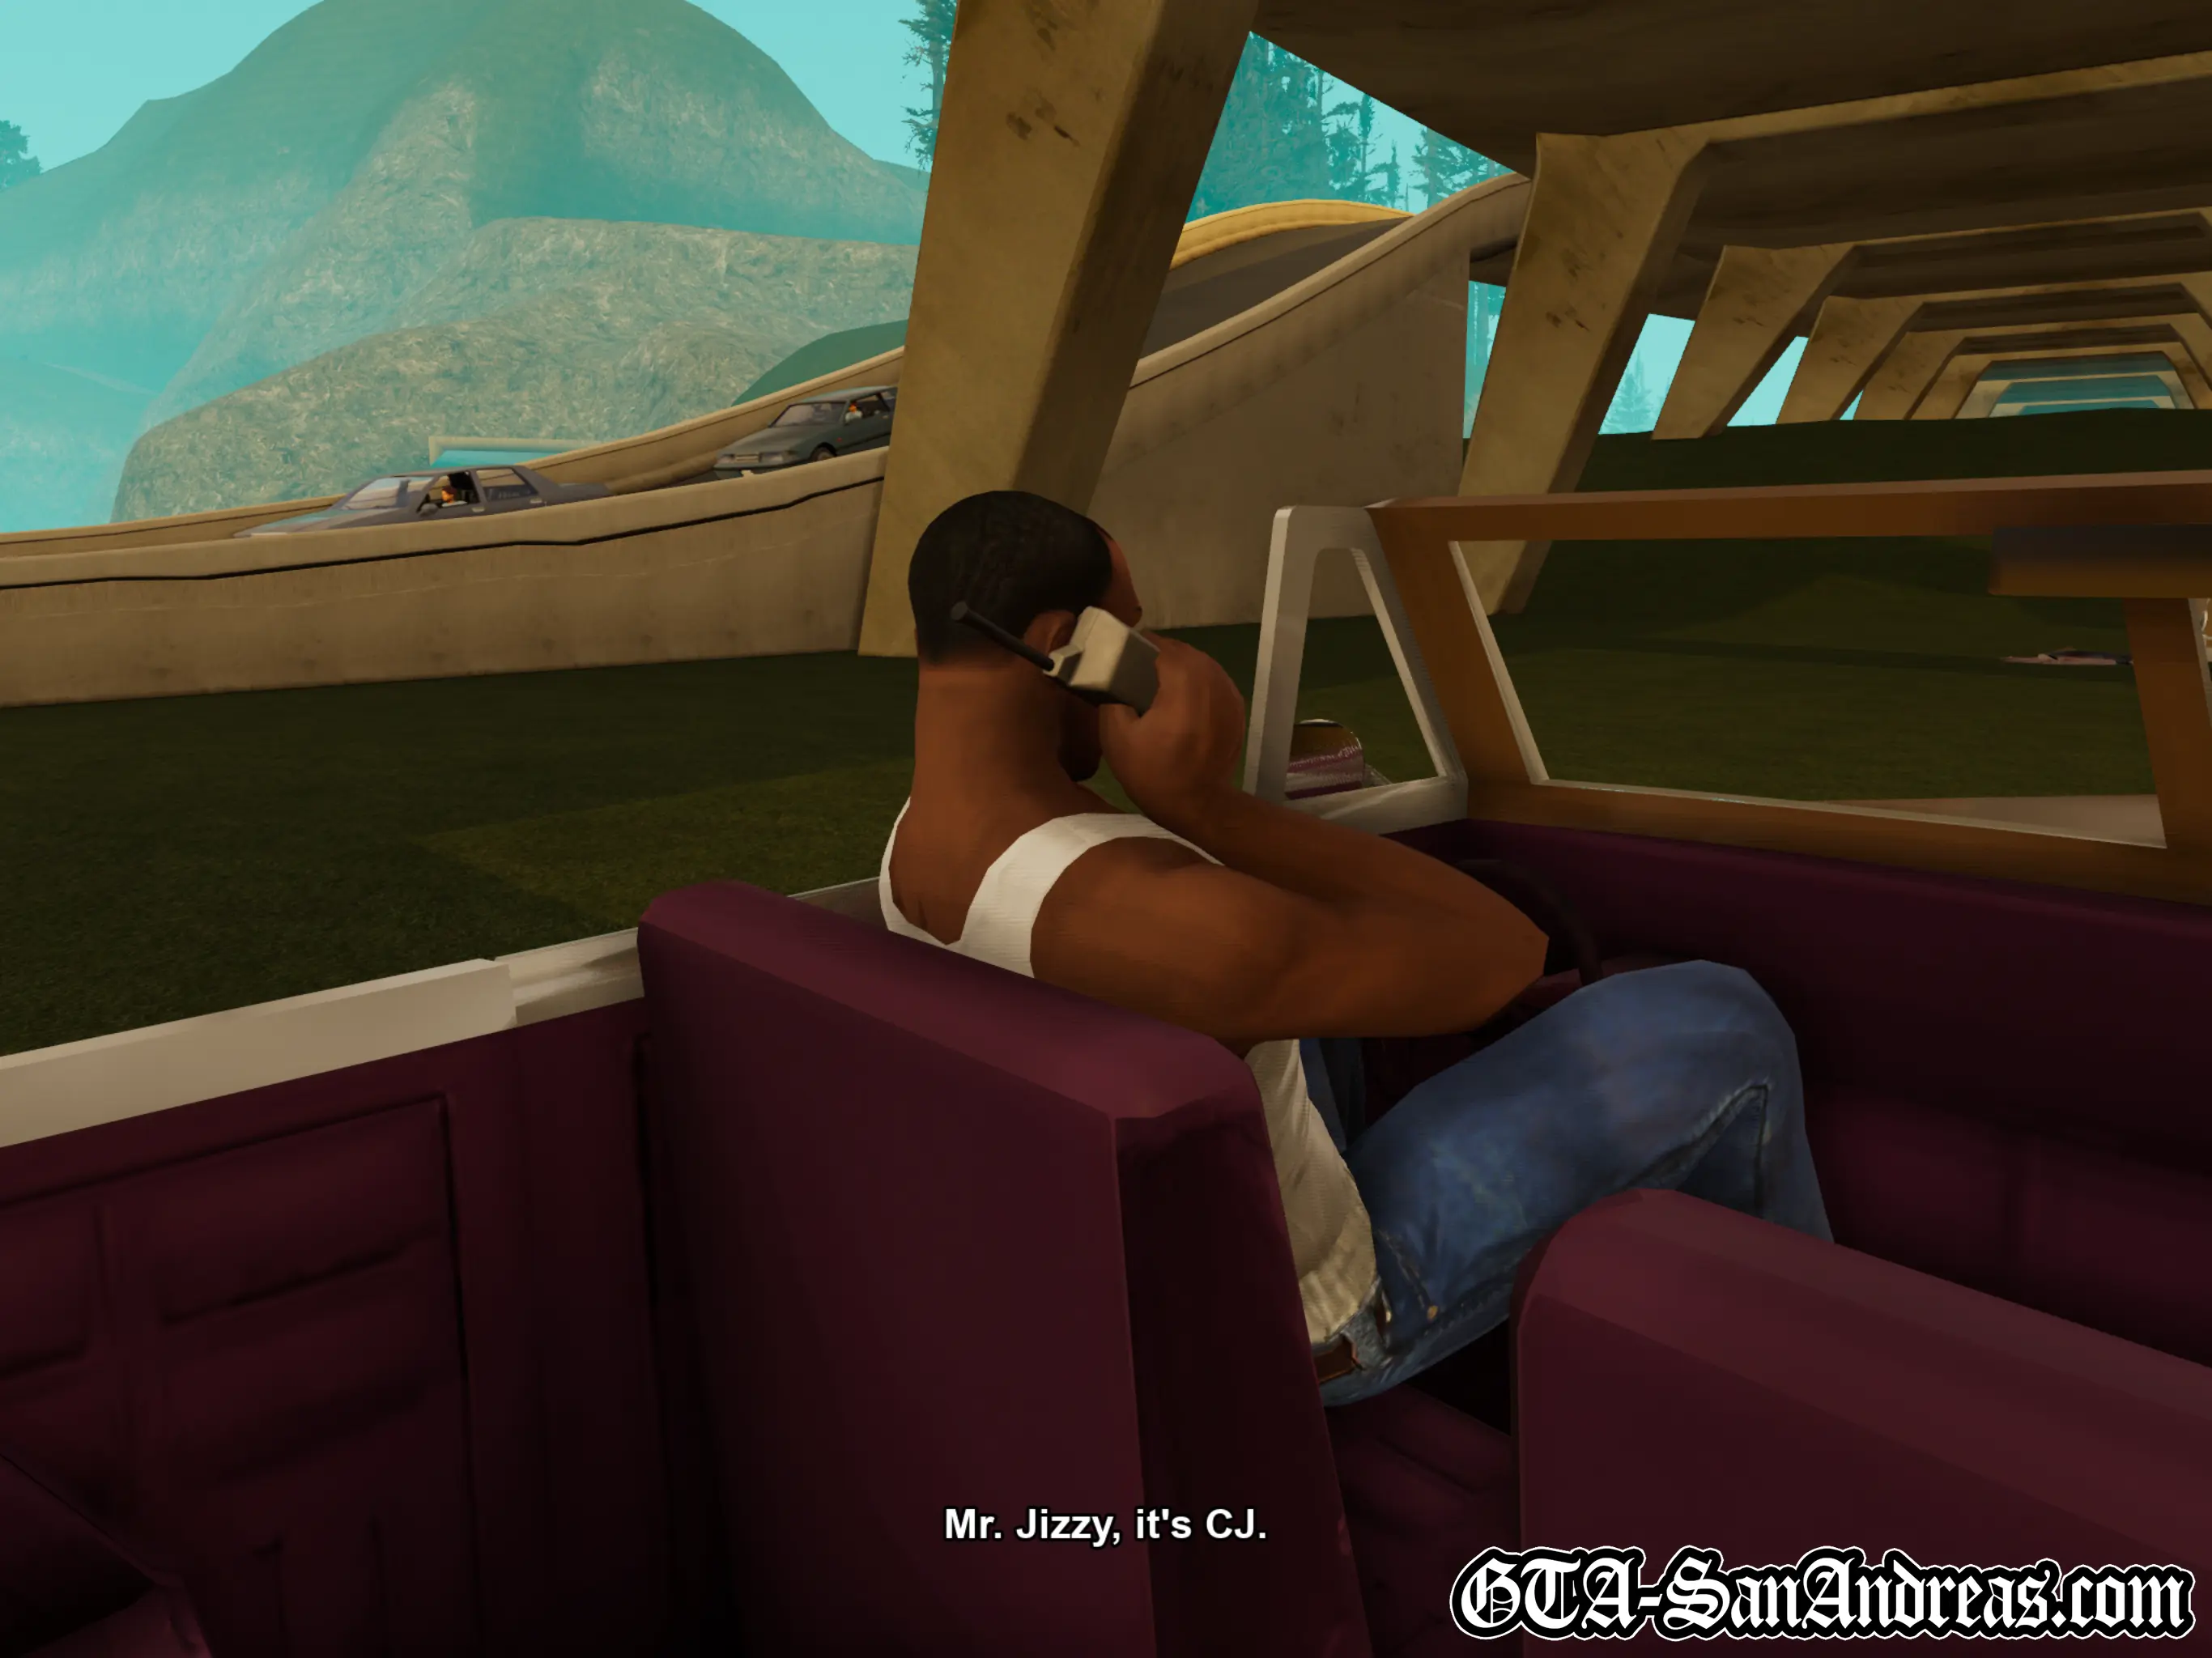
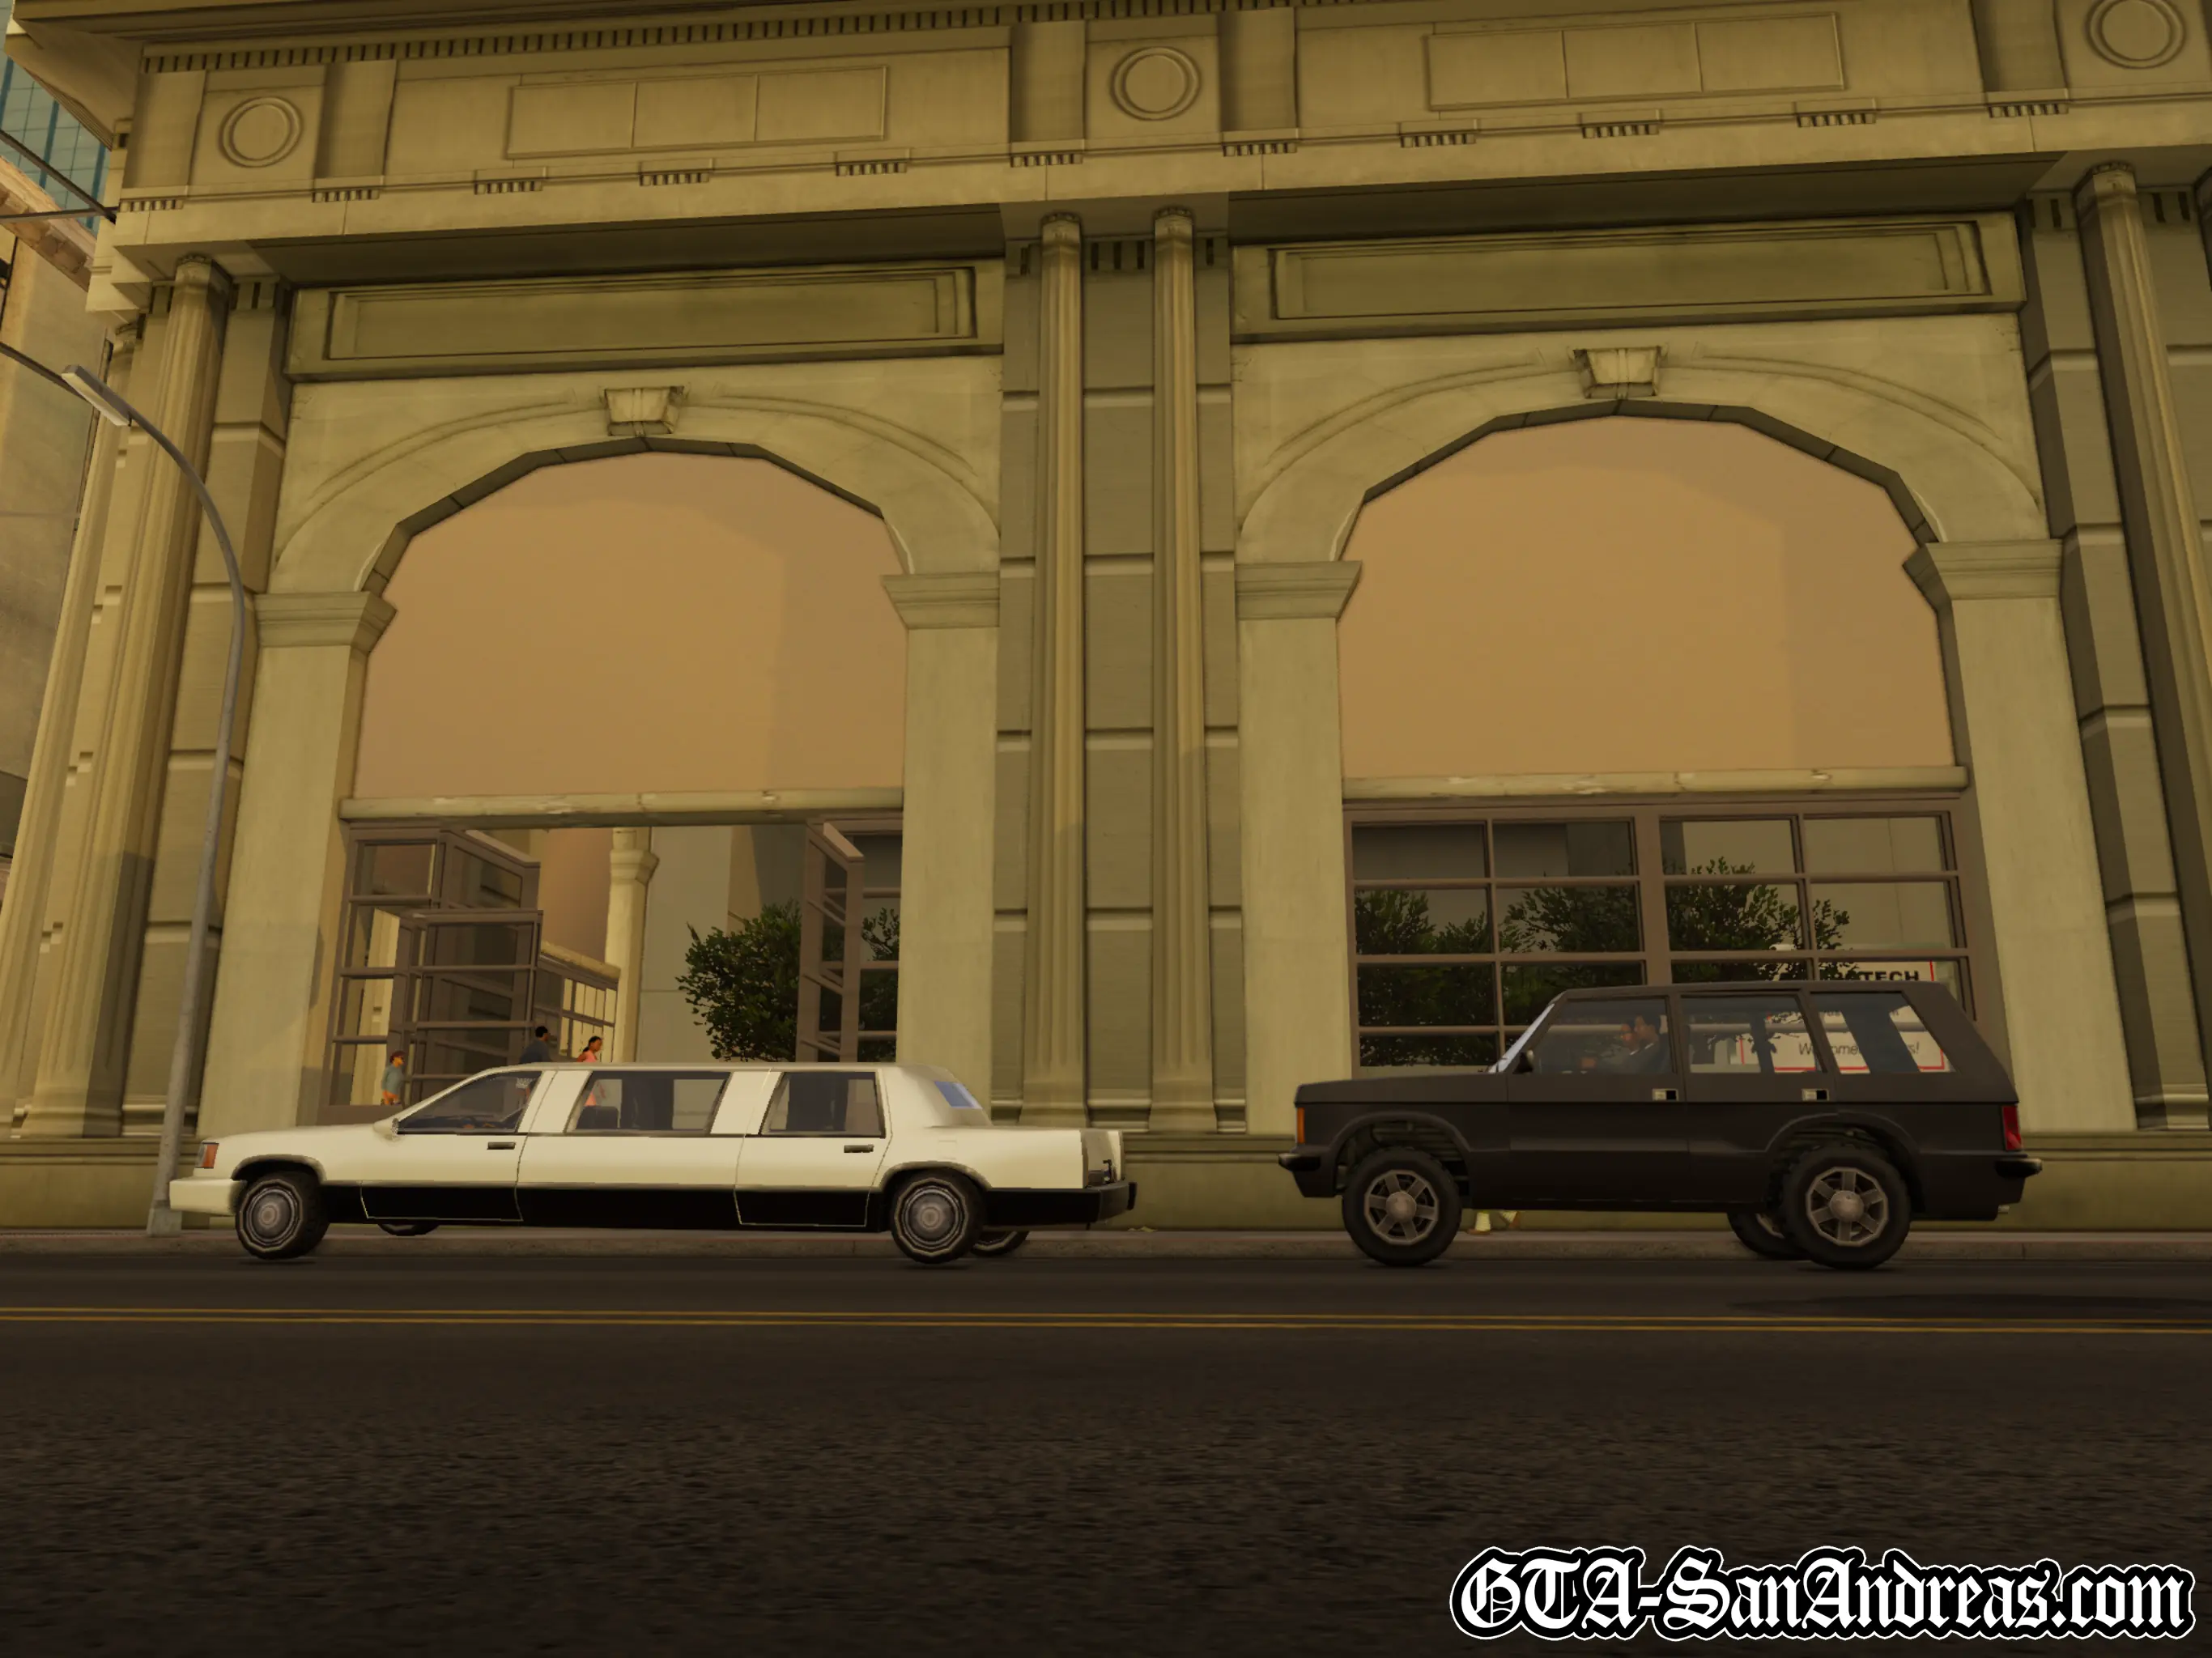
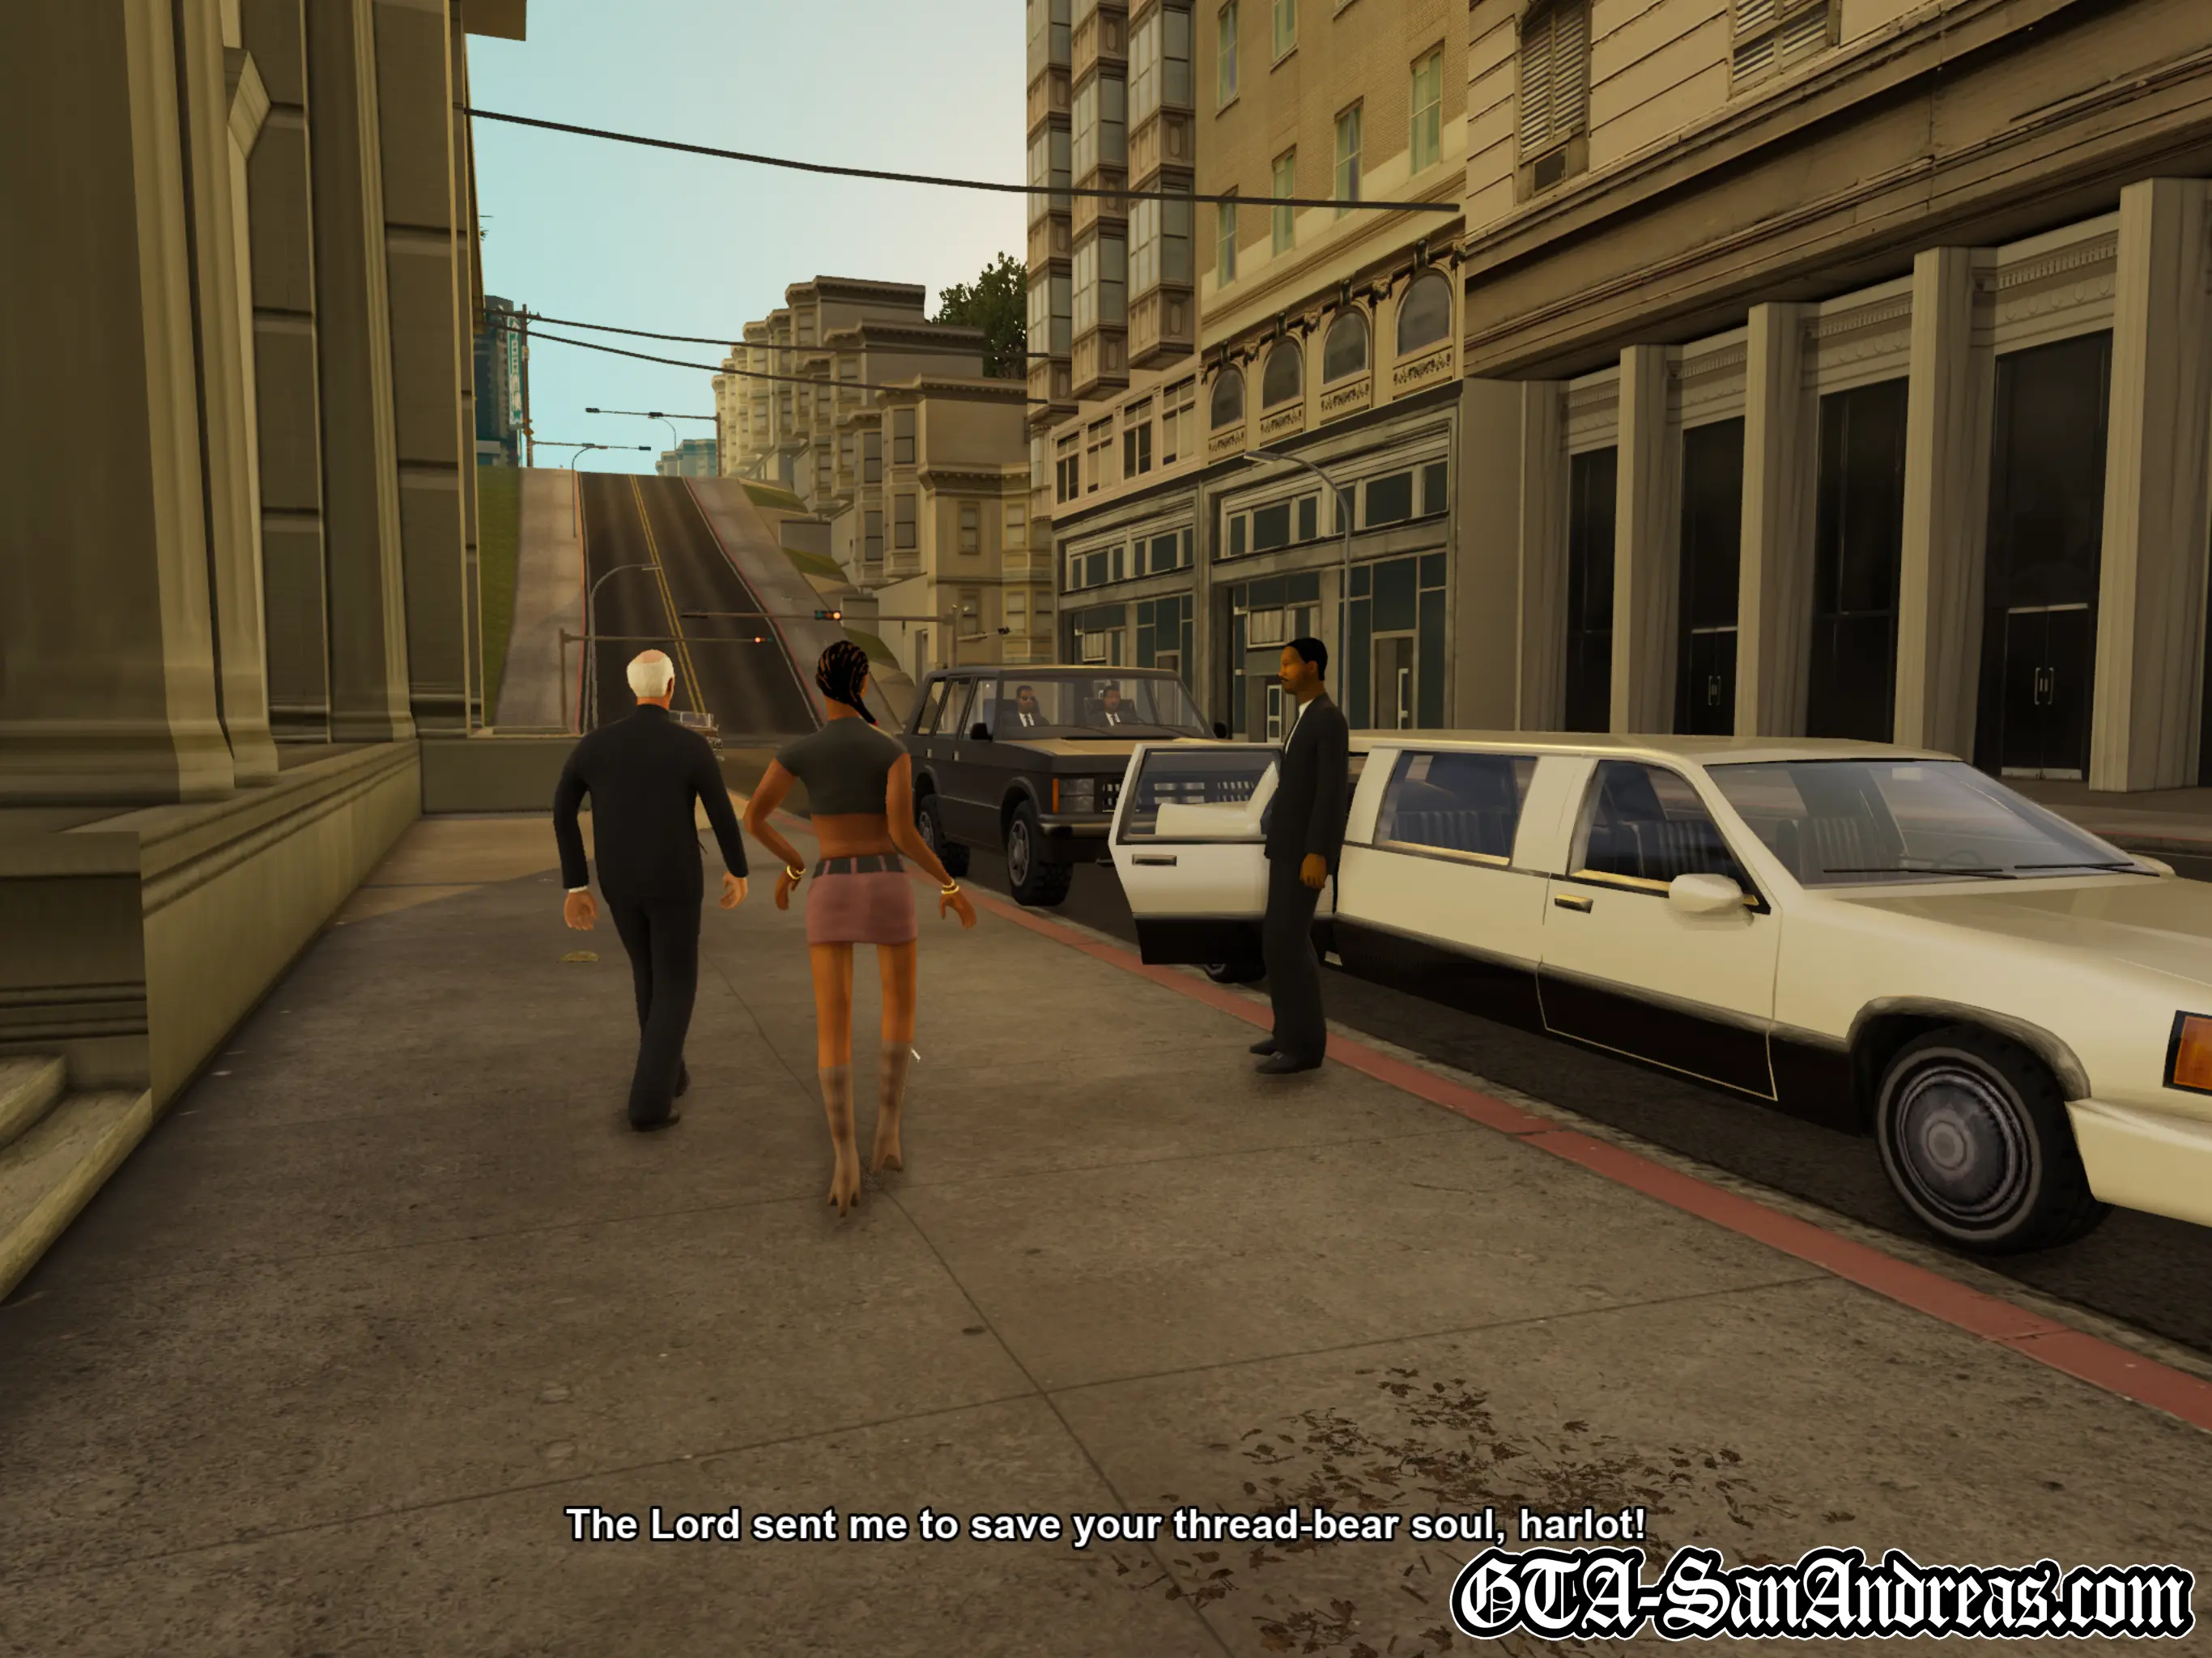
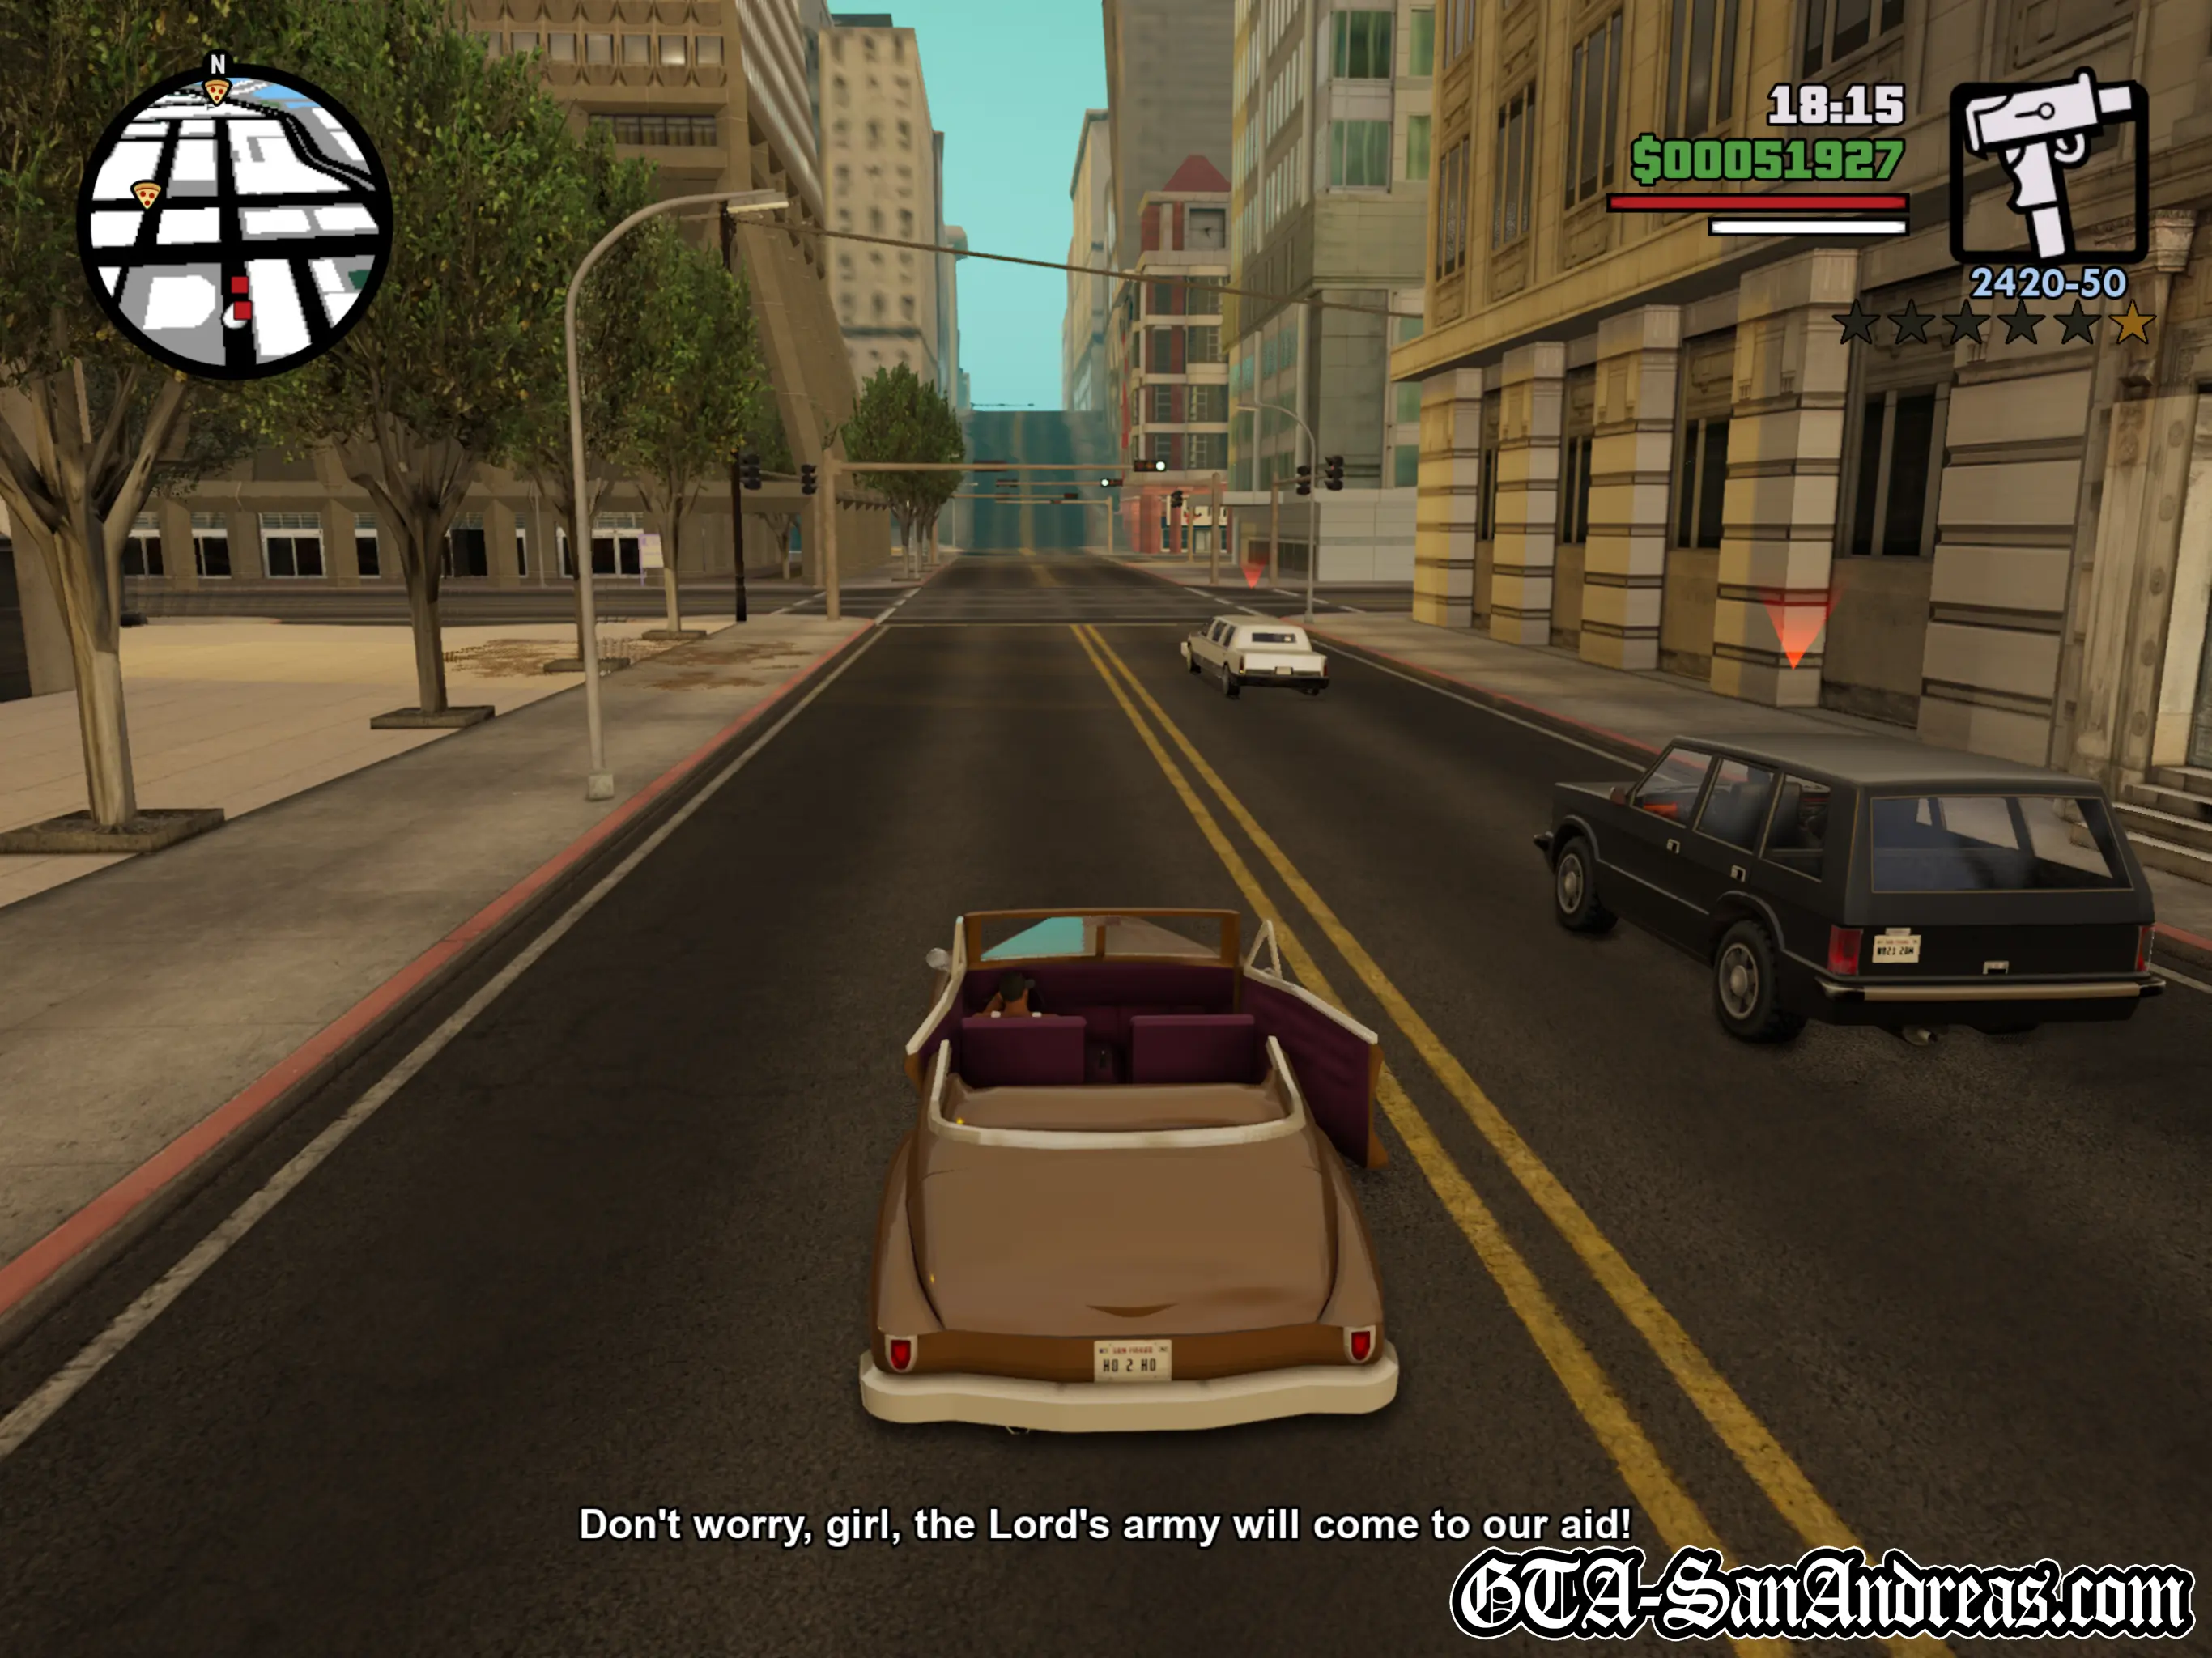
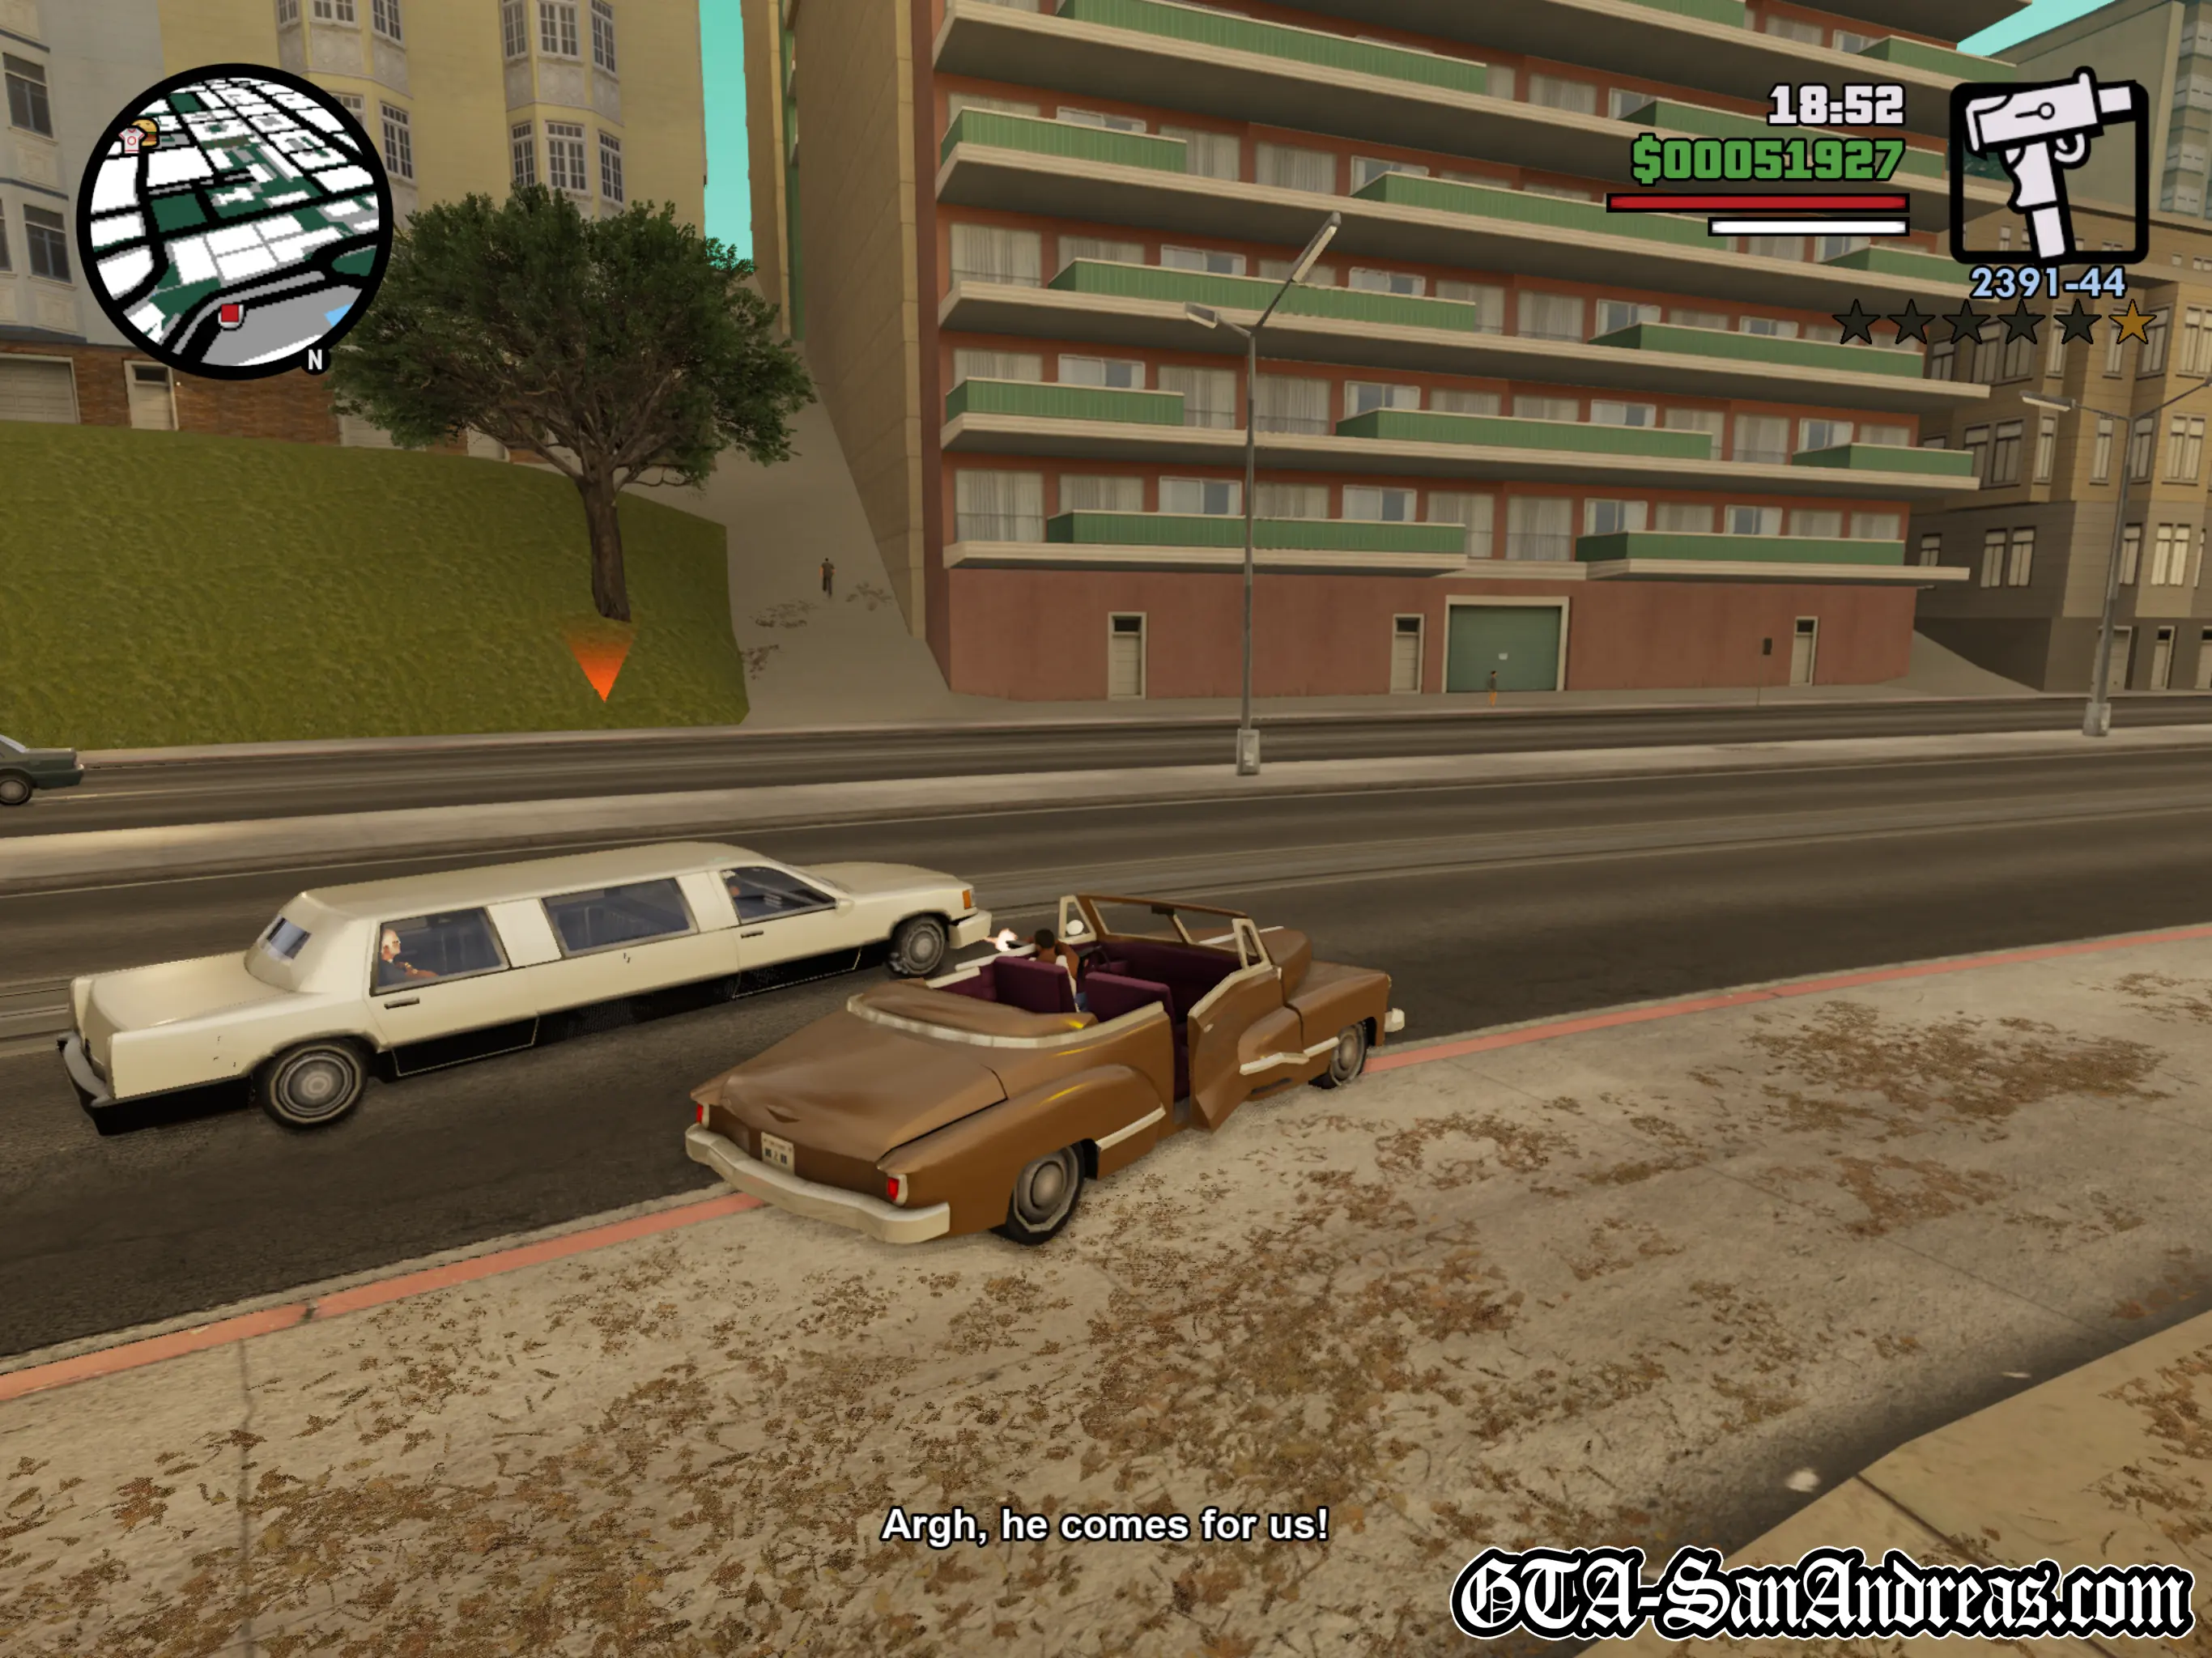
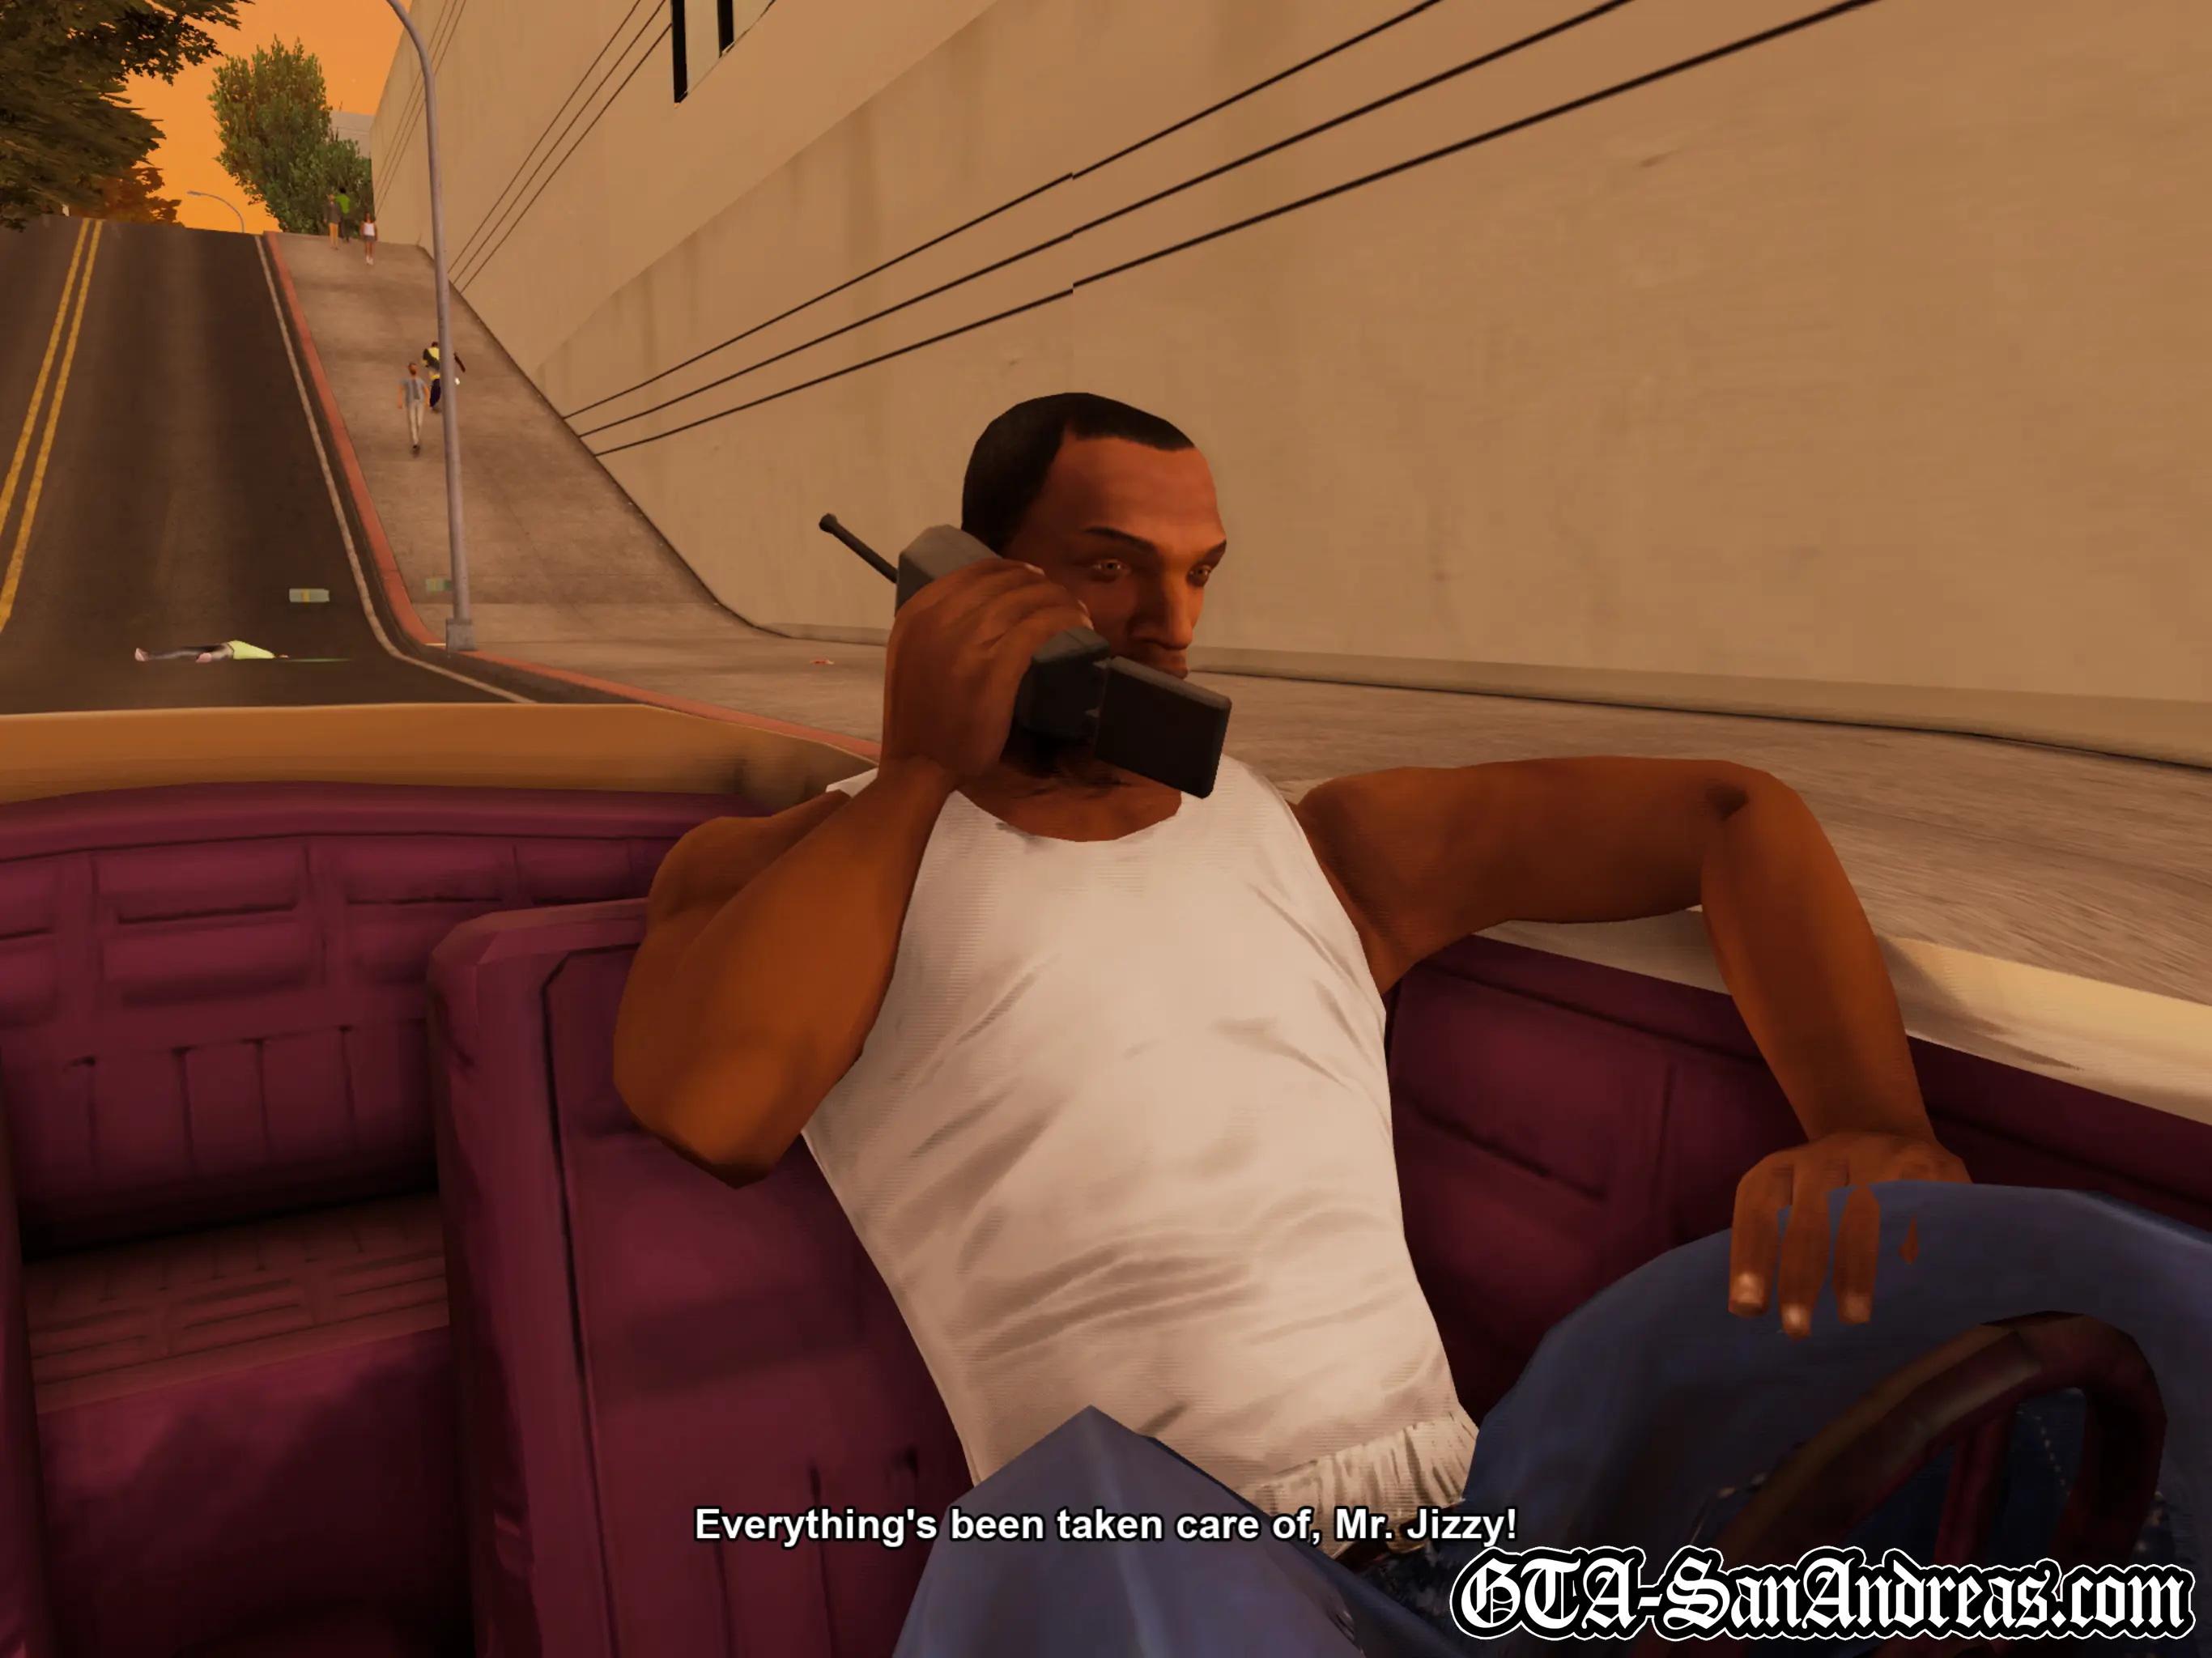
Carl kisses Jizzy's ass so that he lets him work for him. He is successful and Jizzy has a mission for you. He wants you to drive one of his girls to a hotel, then call him when she's there. Get in the car and make your way to the hotel marked with the yellow blip on the radar. Jizzy will then tell you on the phone to take out a pimp who is being too rough with one of his girls. Speed to Hashbury and kill the pimp. He'll take about three shotgun shells to take down, so chase after him until he's gone. After that get in the car and listen to the phone call. Some guys are beating up one of Jizzy's girls under a freeway, so get your ass over there and kill the two morons beating up the girl. Once they're dead the girl will escape and your car phone will start ringing again. Get in the car and Jizzy will tell you that the girl you dropped off is being taken off the street by her man. No one takes Jizzy's girls off the street, so you need to get back to the hotel and kill him. Park in the red circle and you'll see a limo and a rancher pull up. The preacher will then get in the car with Jizzy's girl, and you need to chase after it and blow up both the protection and the limo. Stay with them both, and eventually they'll crash, however a drive by works pretty well. You can try to keep up with them and make them flip their vehicles while going down the hills in San Fierro Downtown, or you can just try to drive by them until they're gone. You don't need to worry about the girl though, doesn't matter if she dies in the blast. After the mission Jizzy will call you and tell you to get rid of the car. Keep it, blow it up, ditch it somewhere, doesn't matter to him, just keep it away from his club. You'll also have a 2 star wanted level, so you might want to find a Pay N' Spray to lose it.
After the mission Woozie will call you and ask if you'd like to go around to his place. He can be found at the W on the map.
Wu Zi Mu's Missions Have Now Been Unlocked.
Head back to Jizzy for another mission.
Screenshots

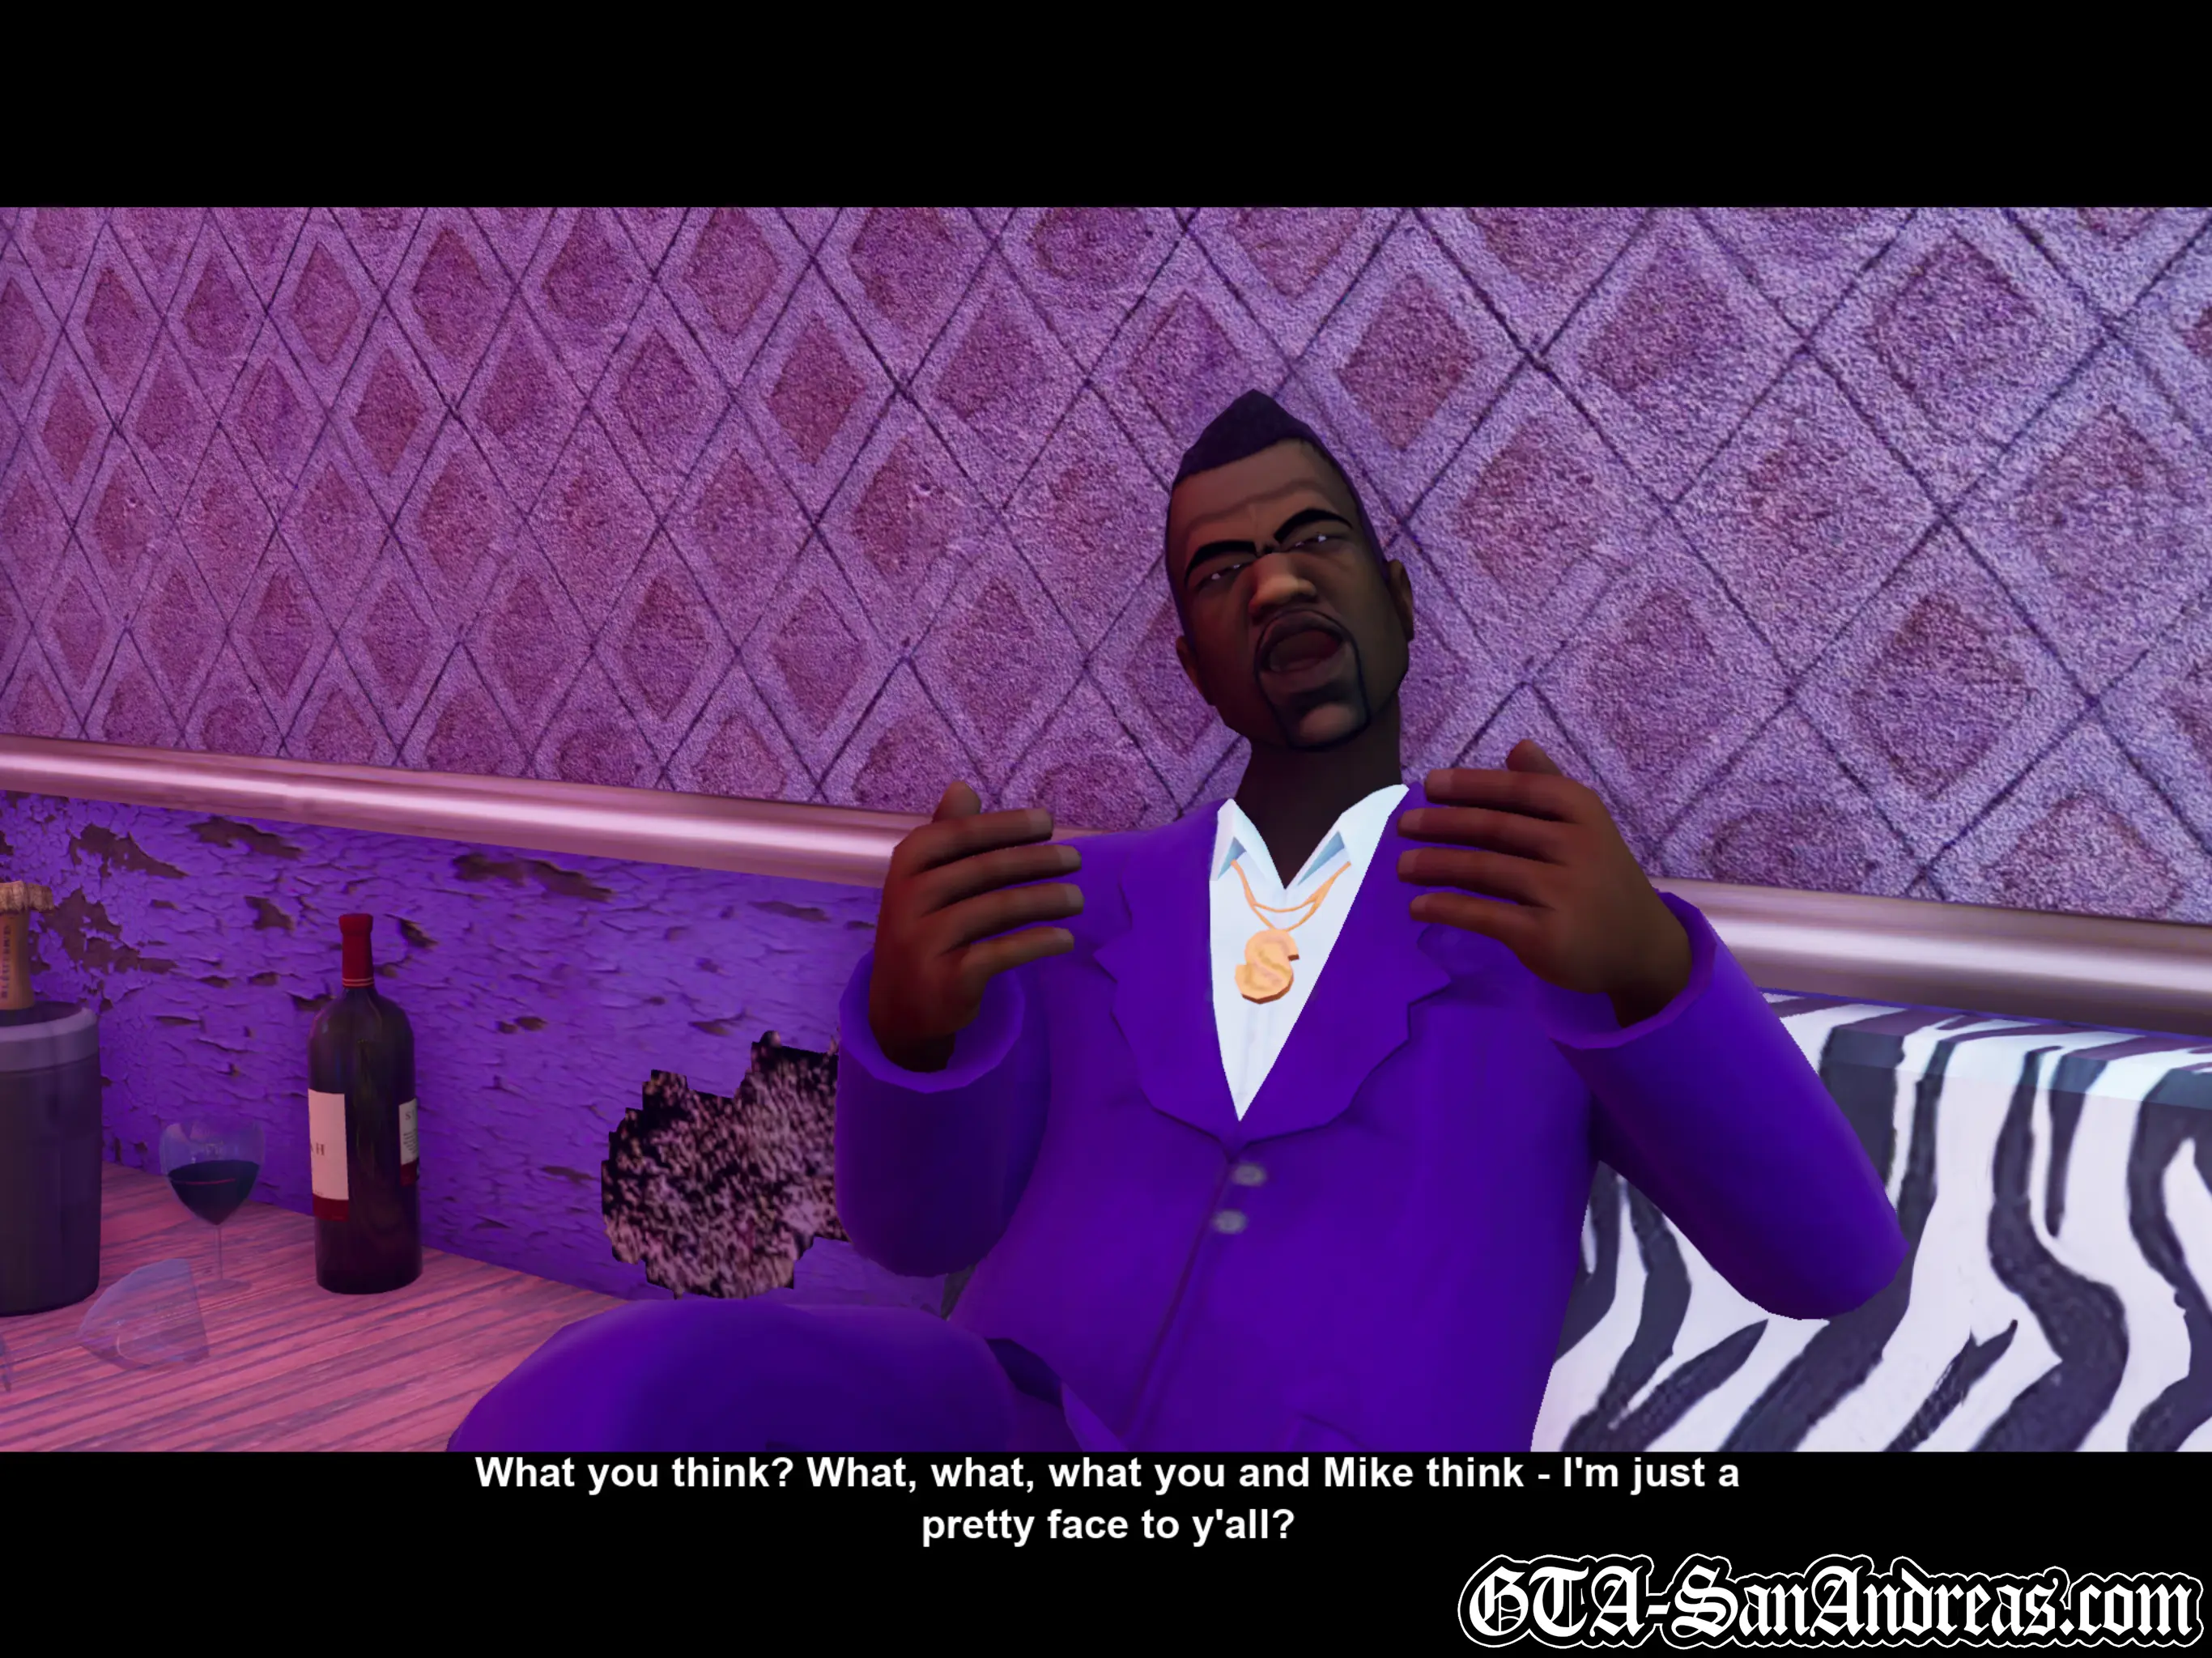
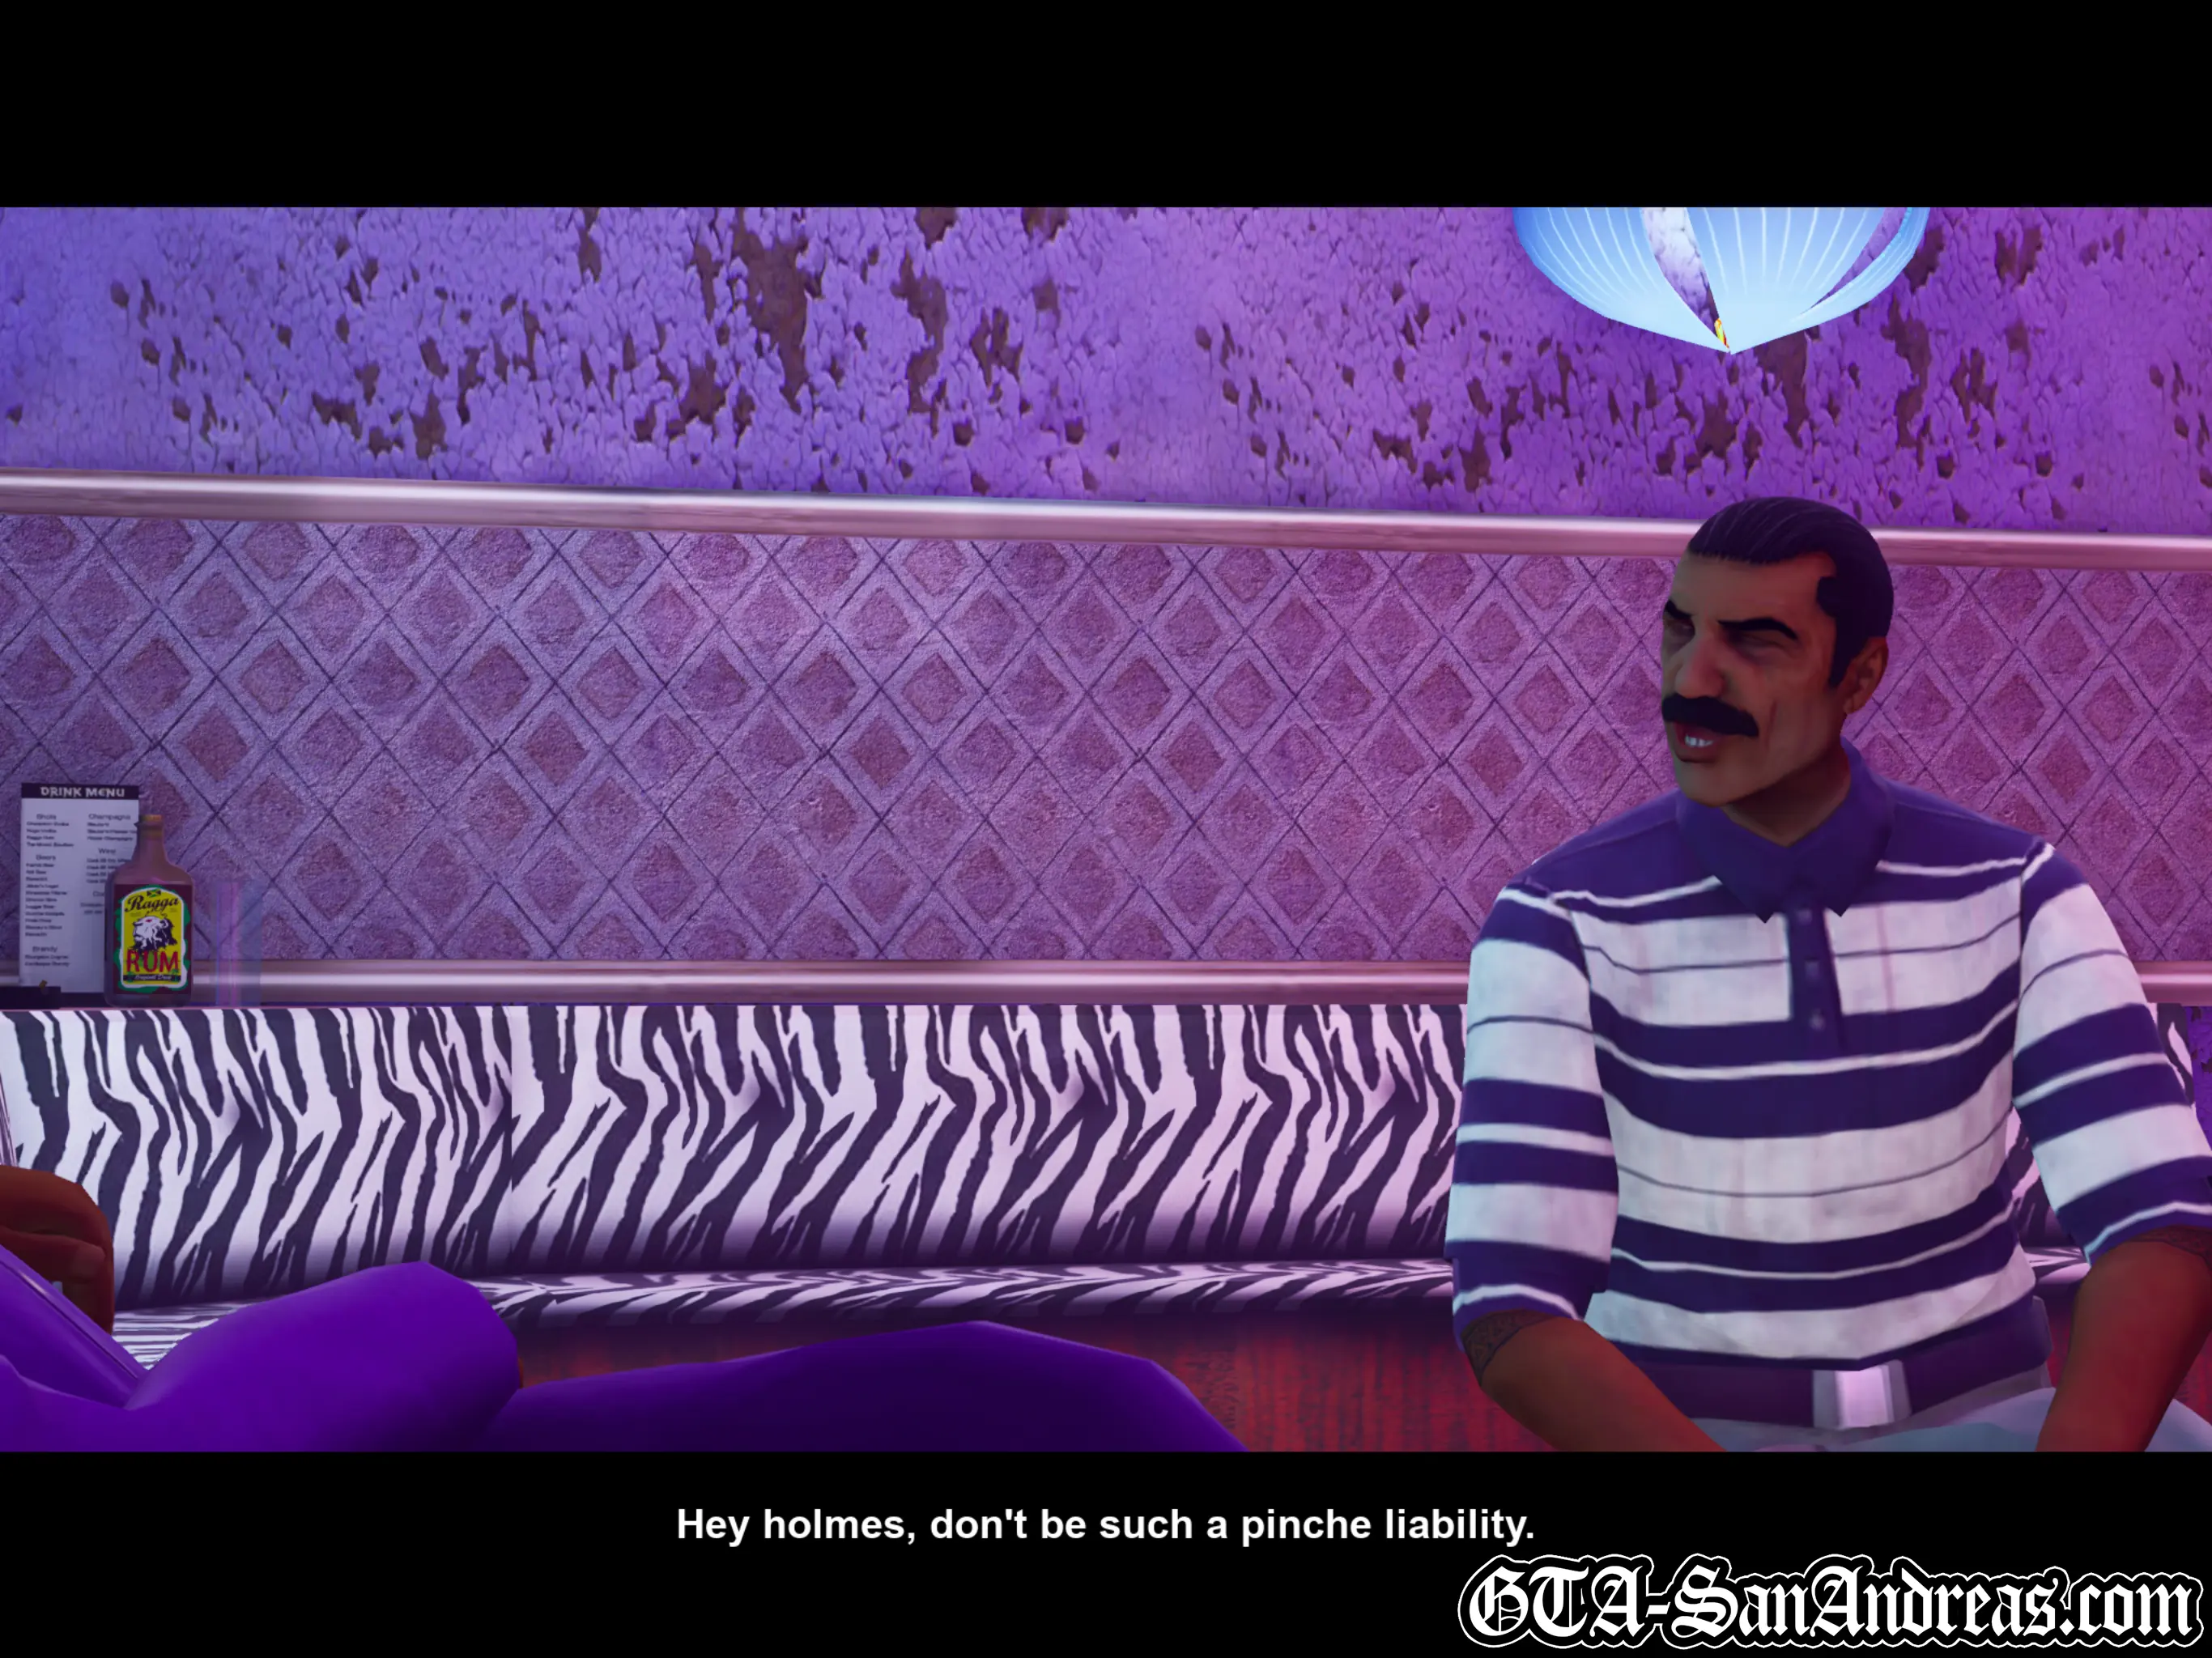
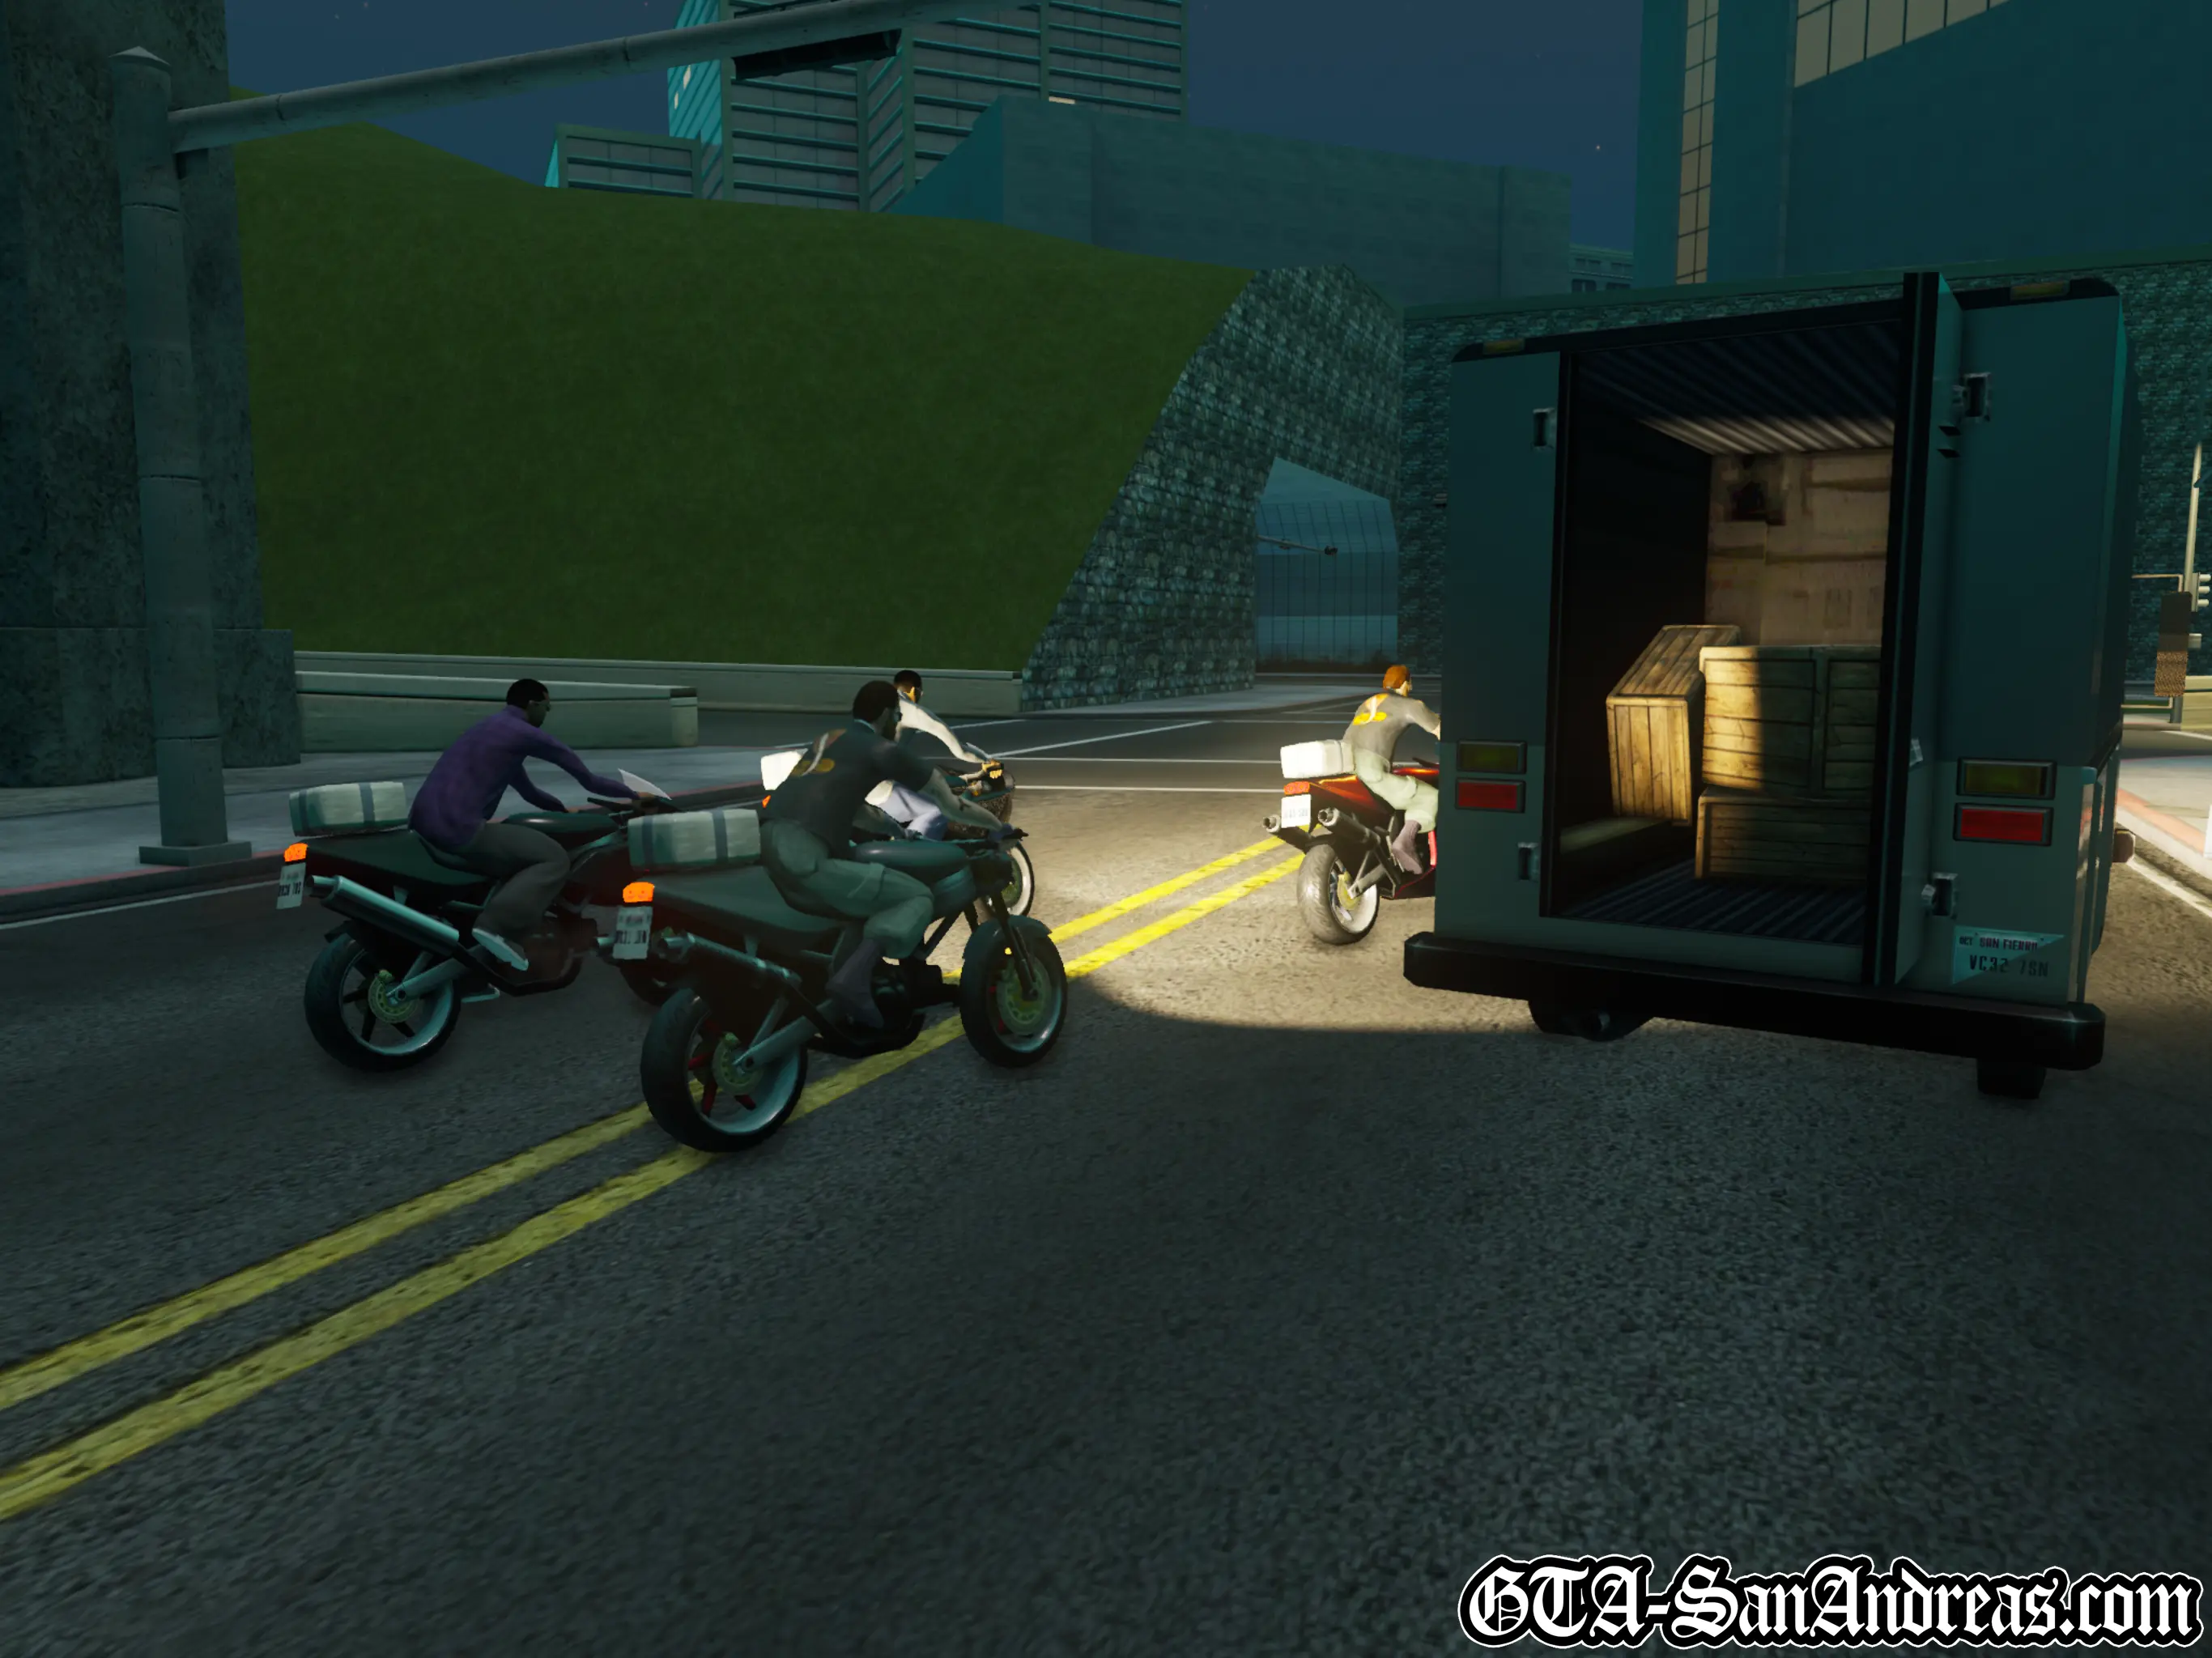
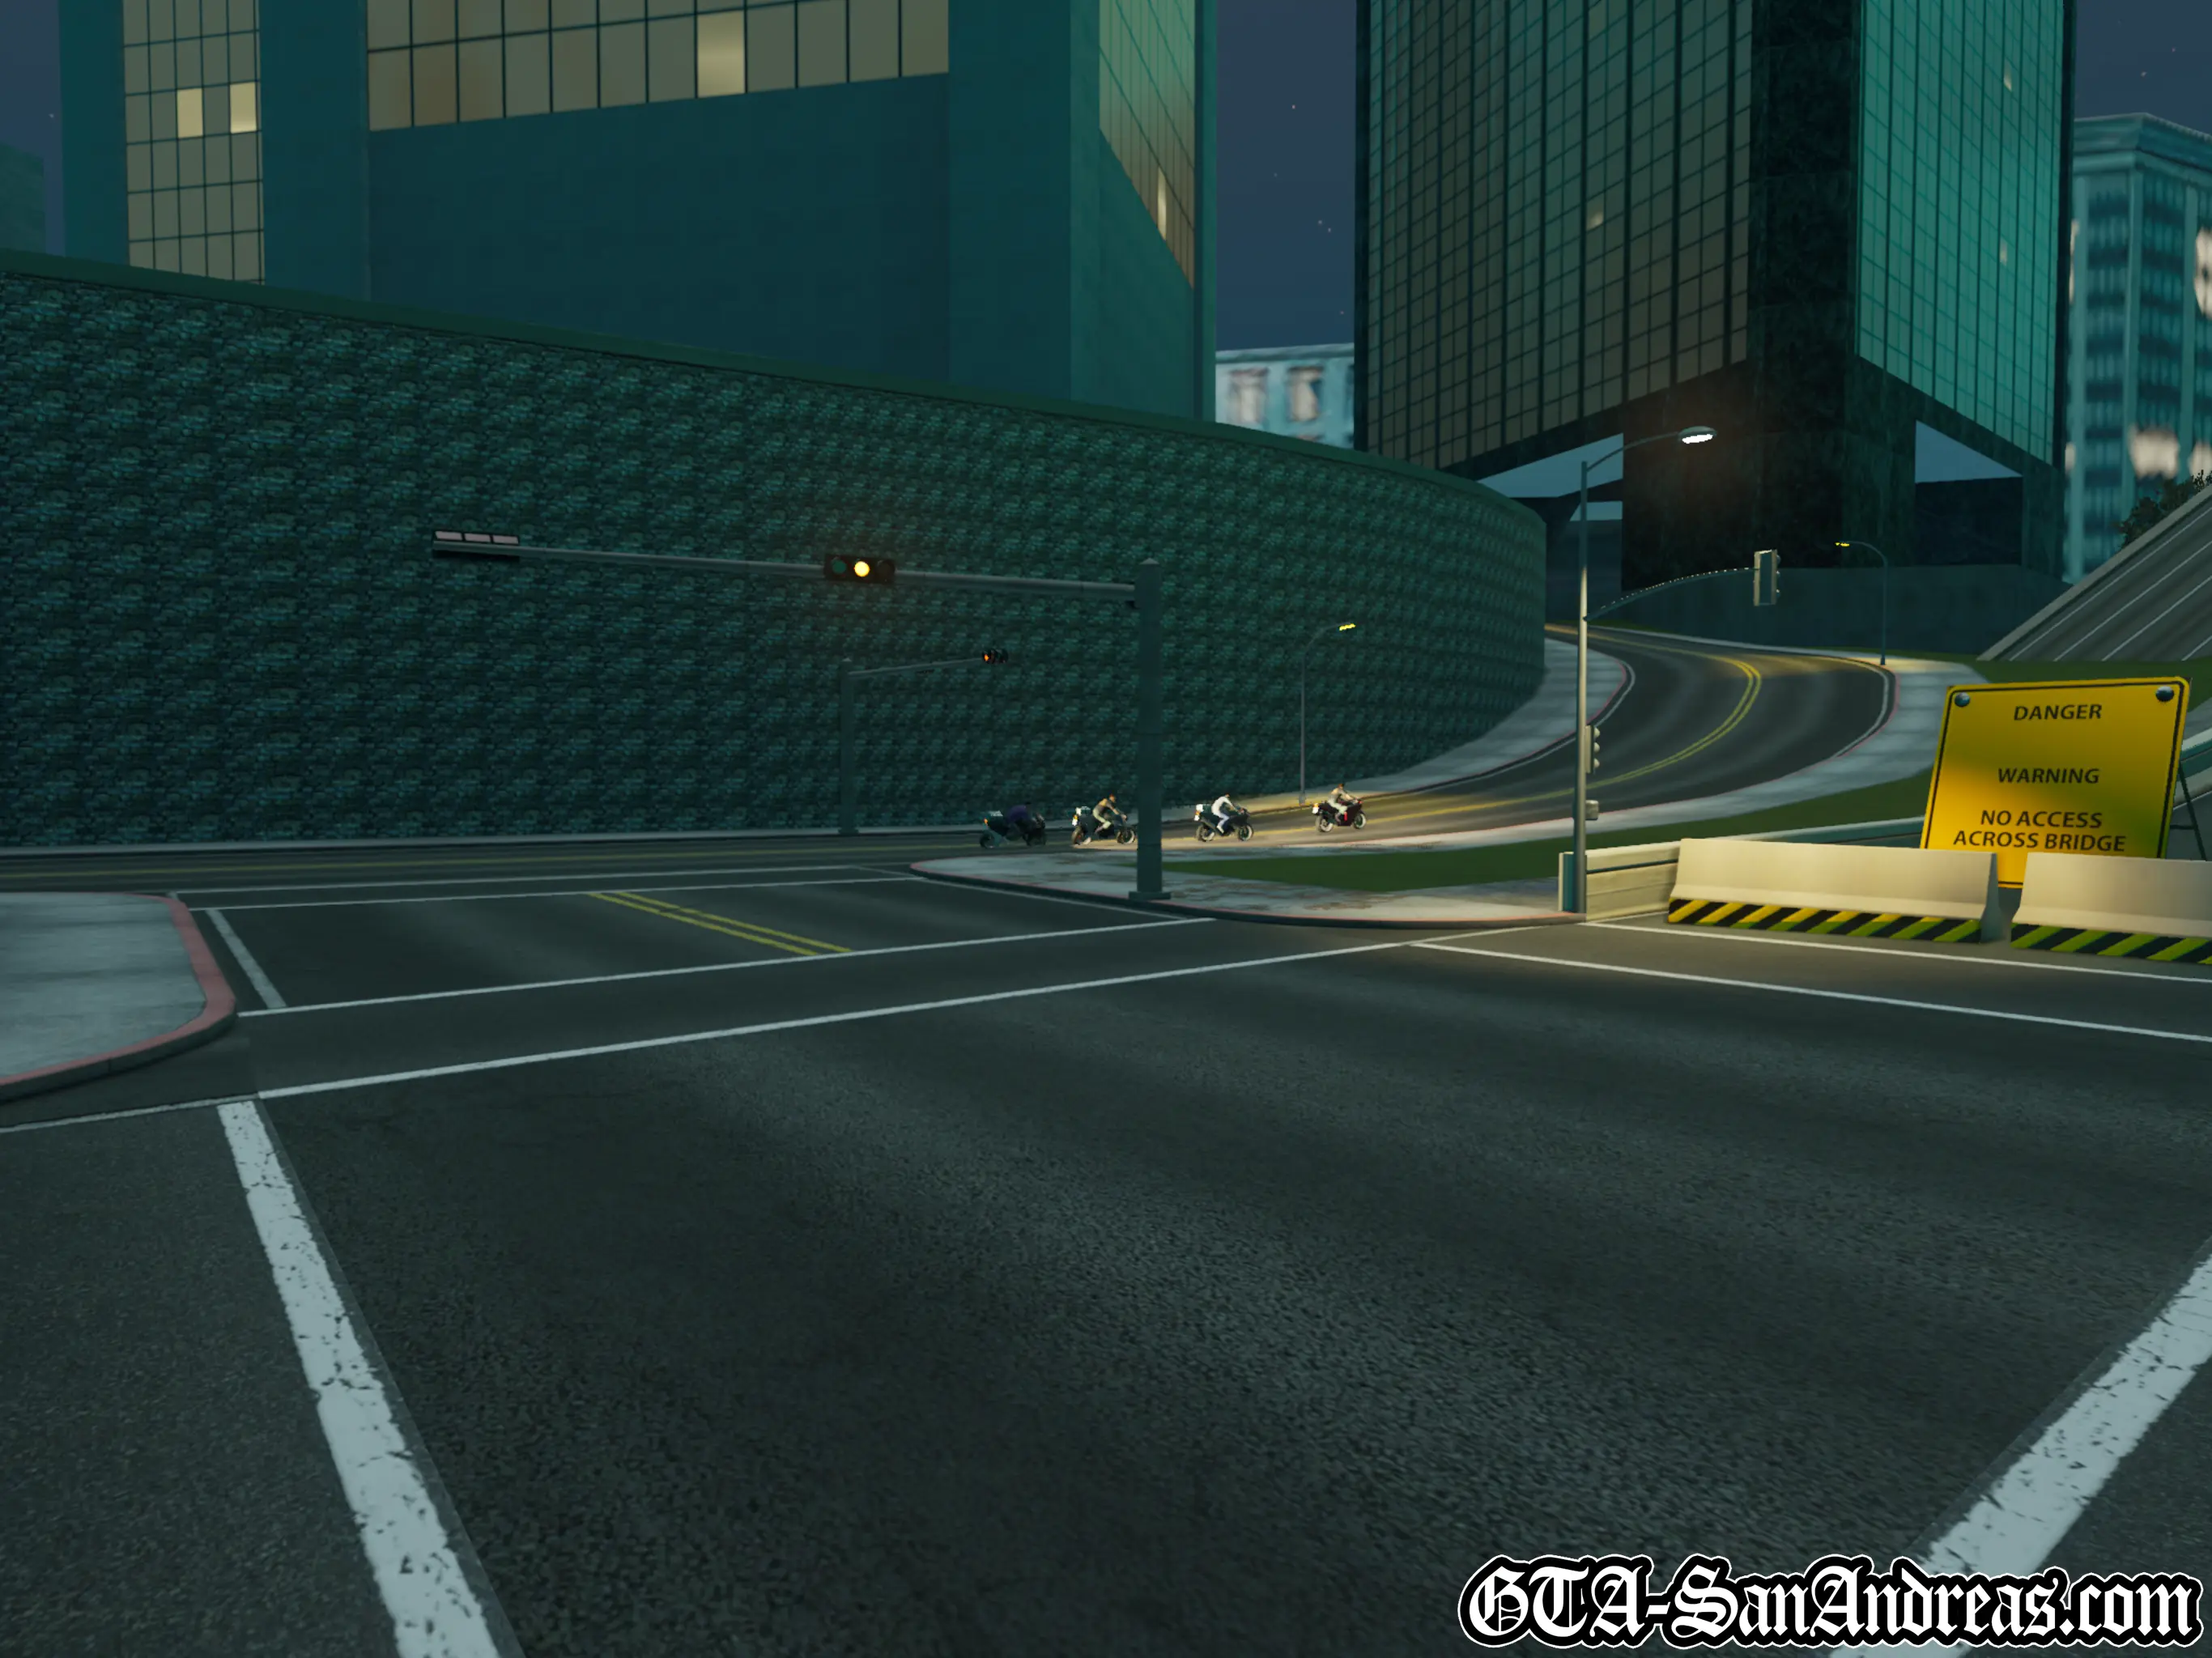
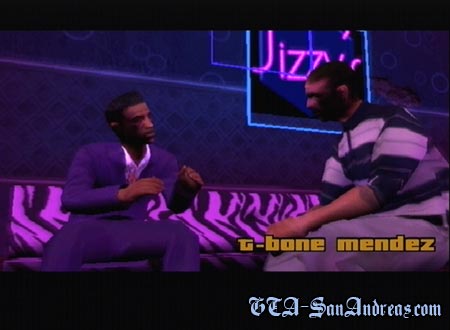
T-Bone Mendez
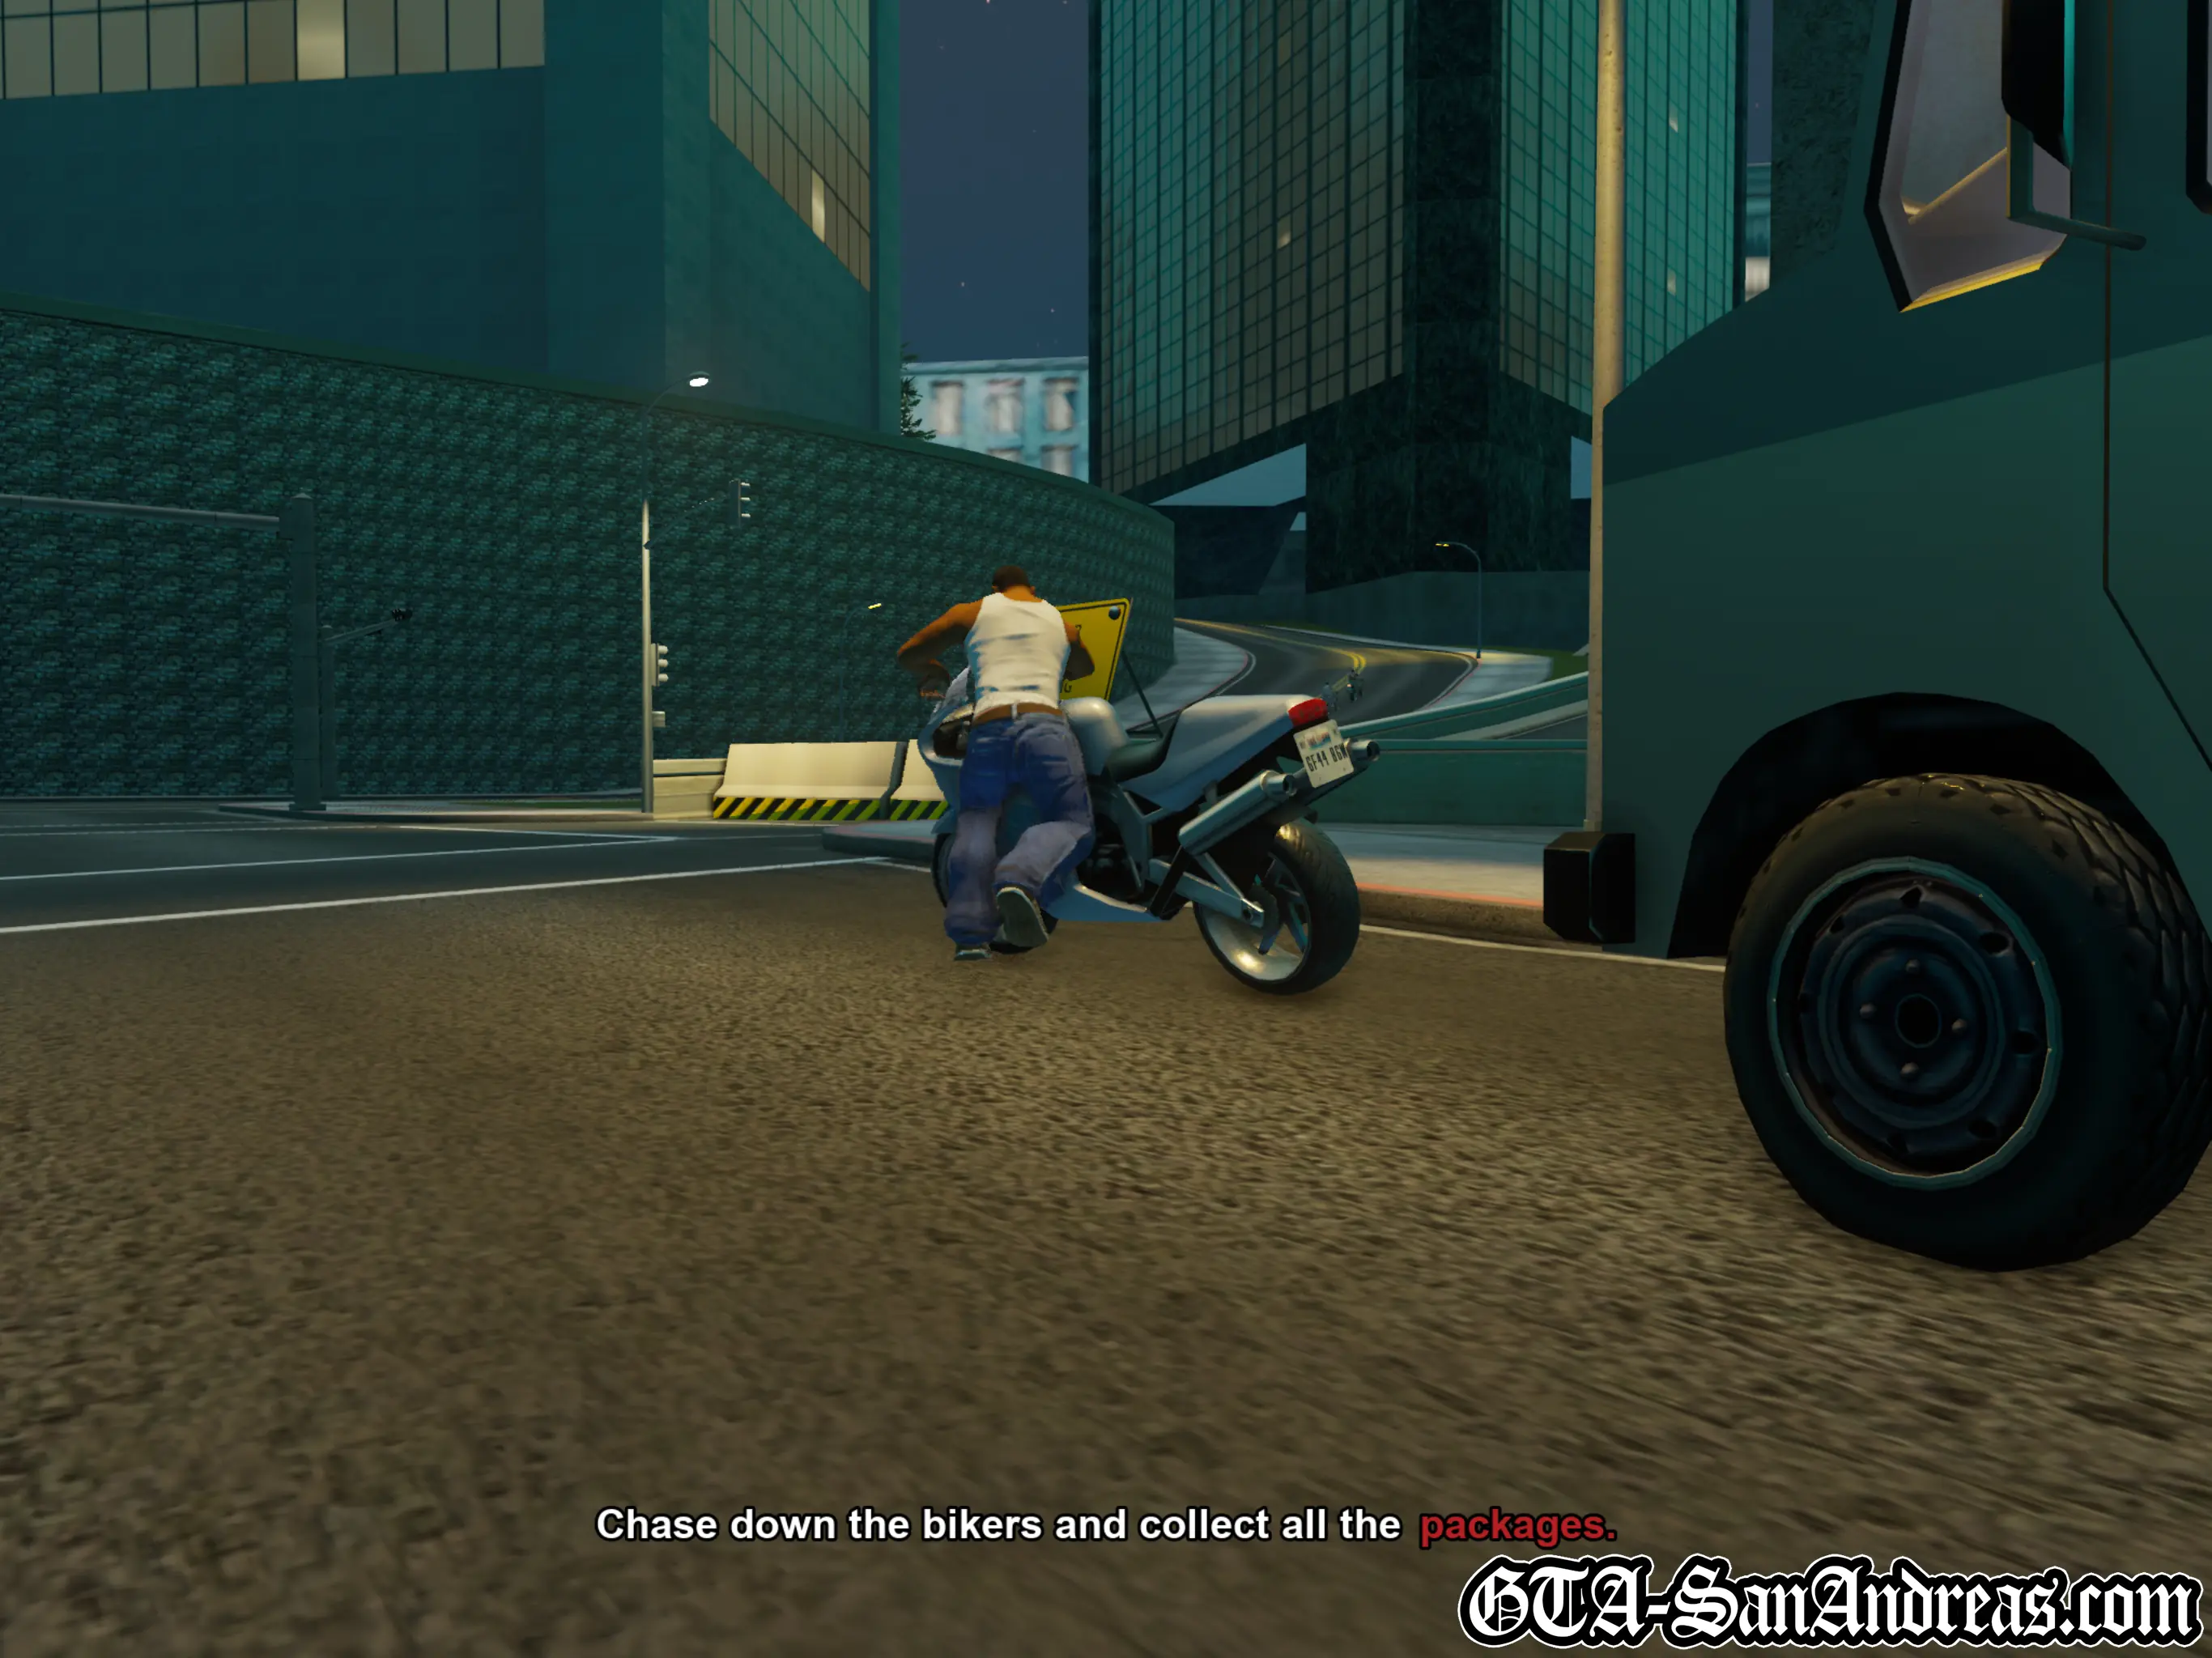
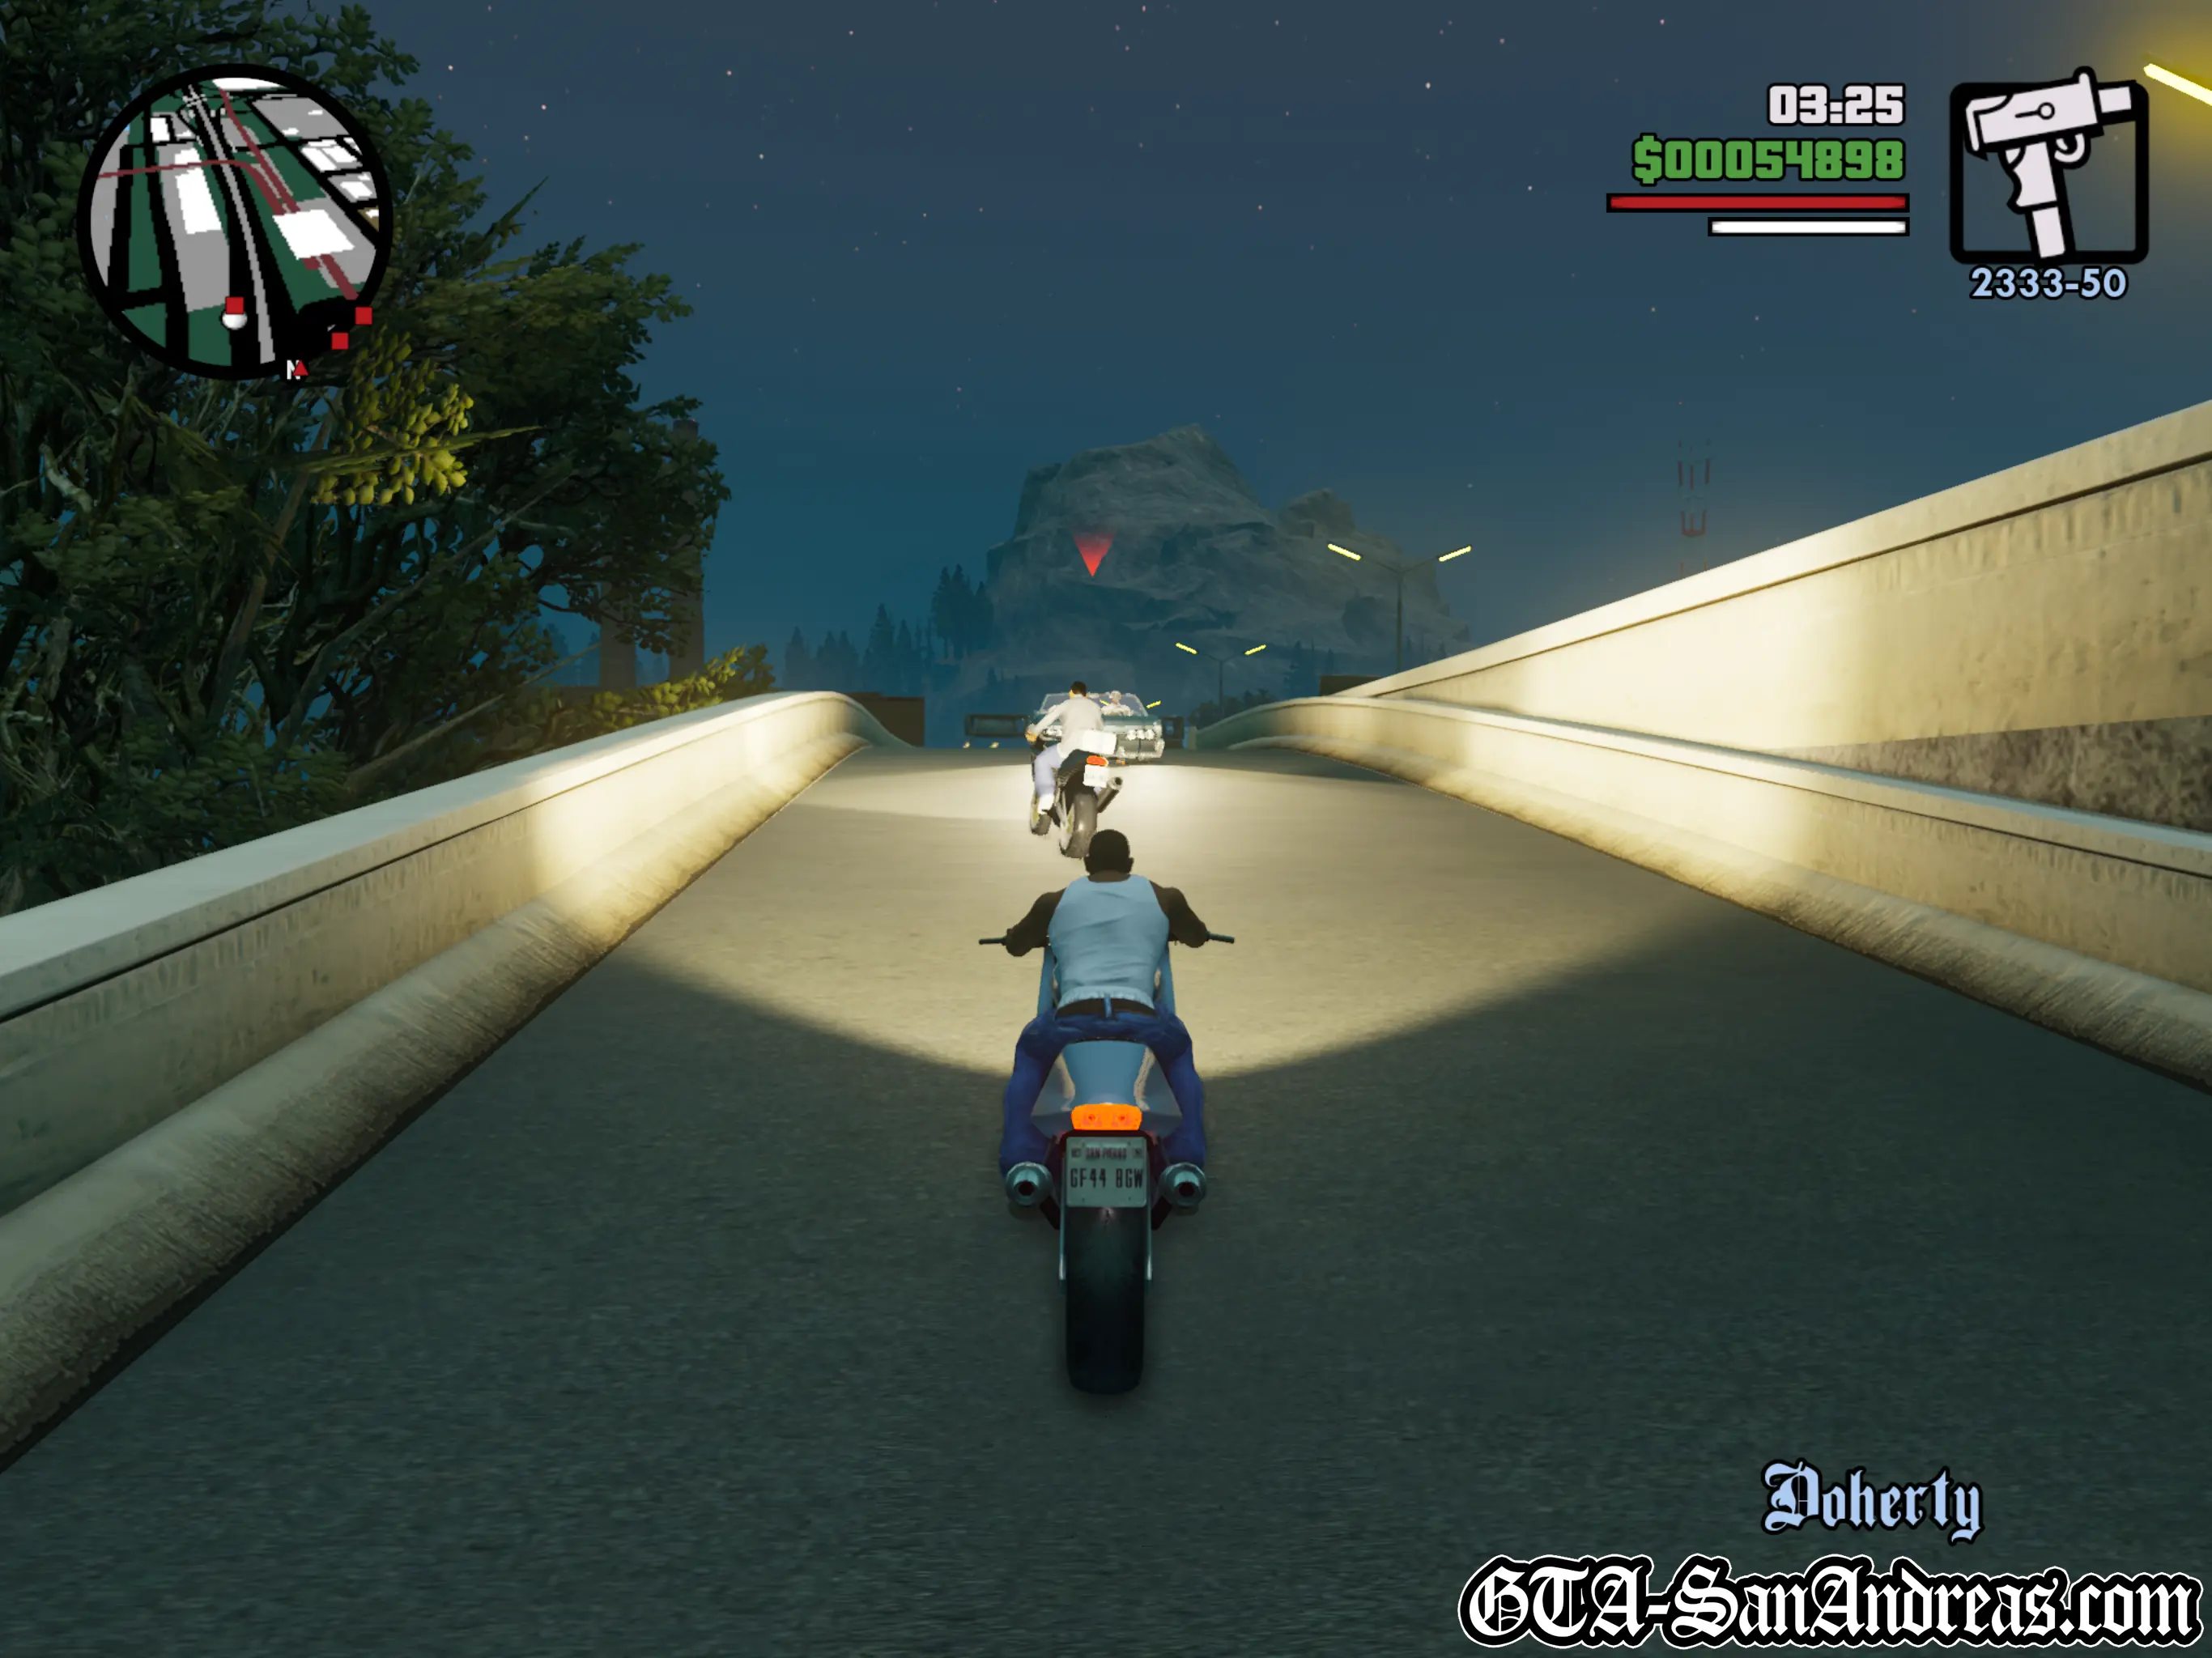
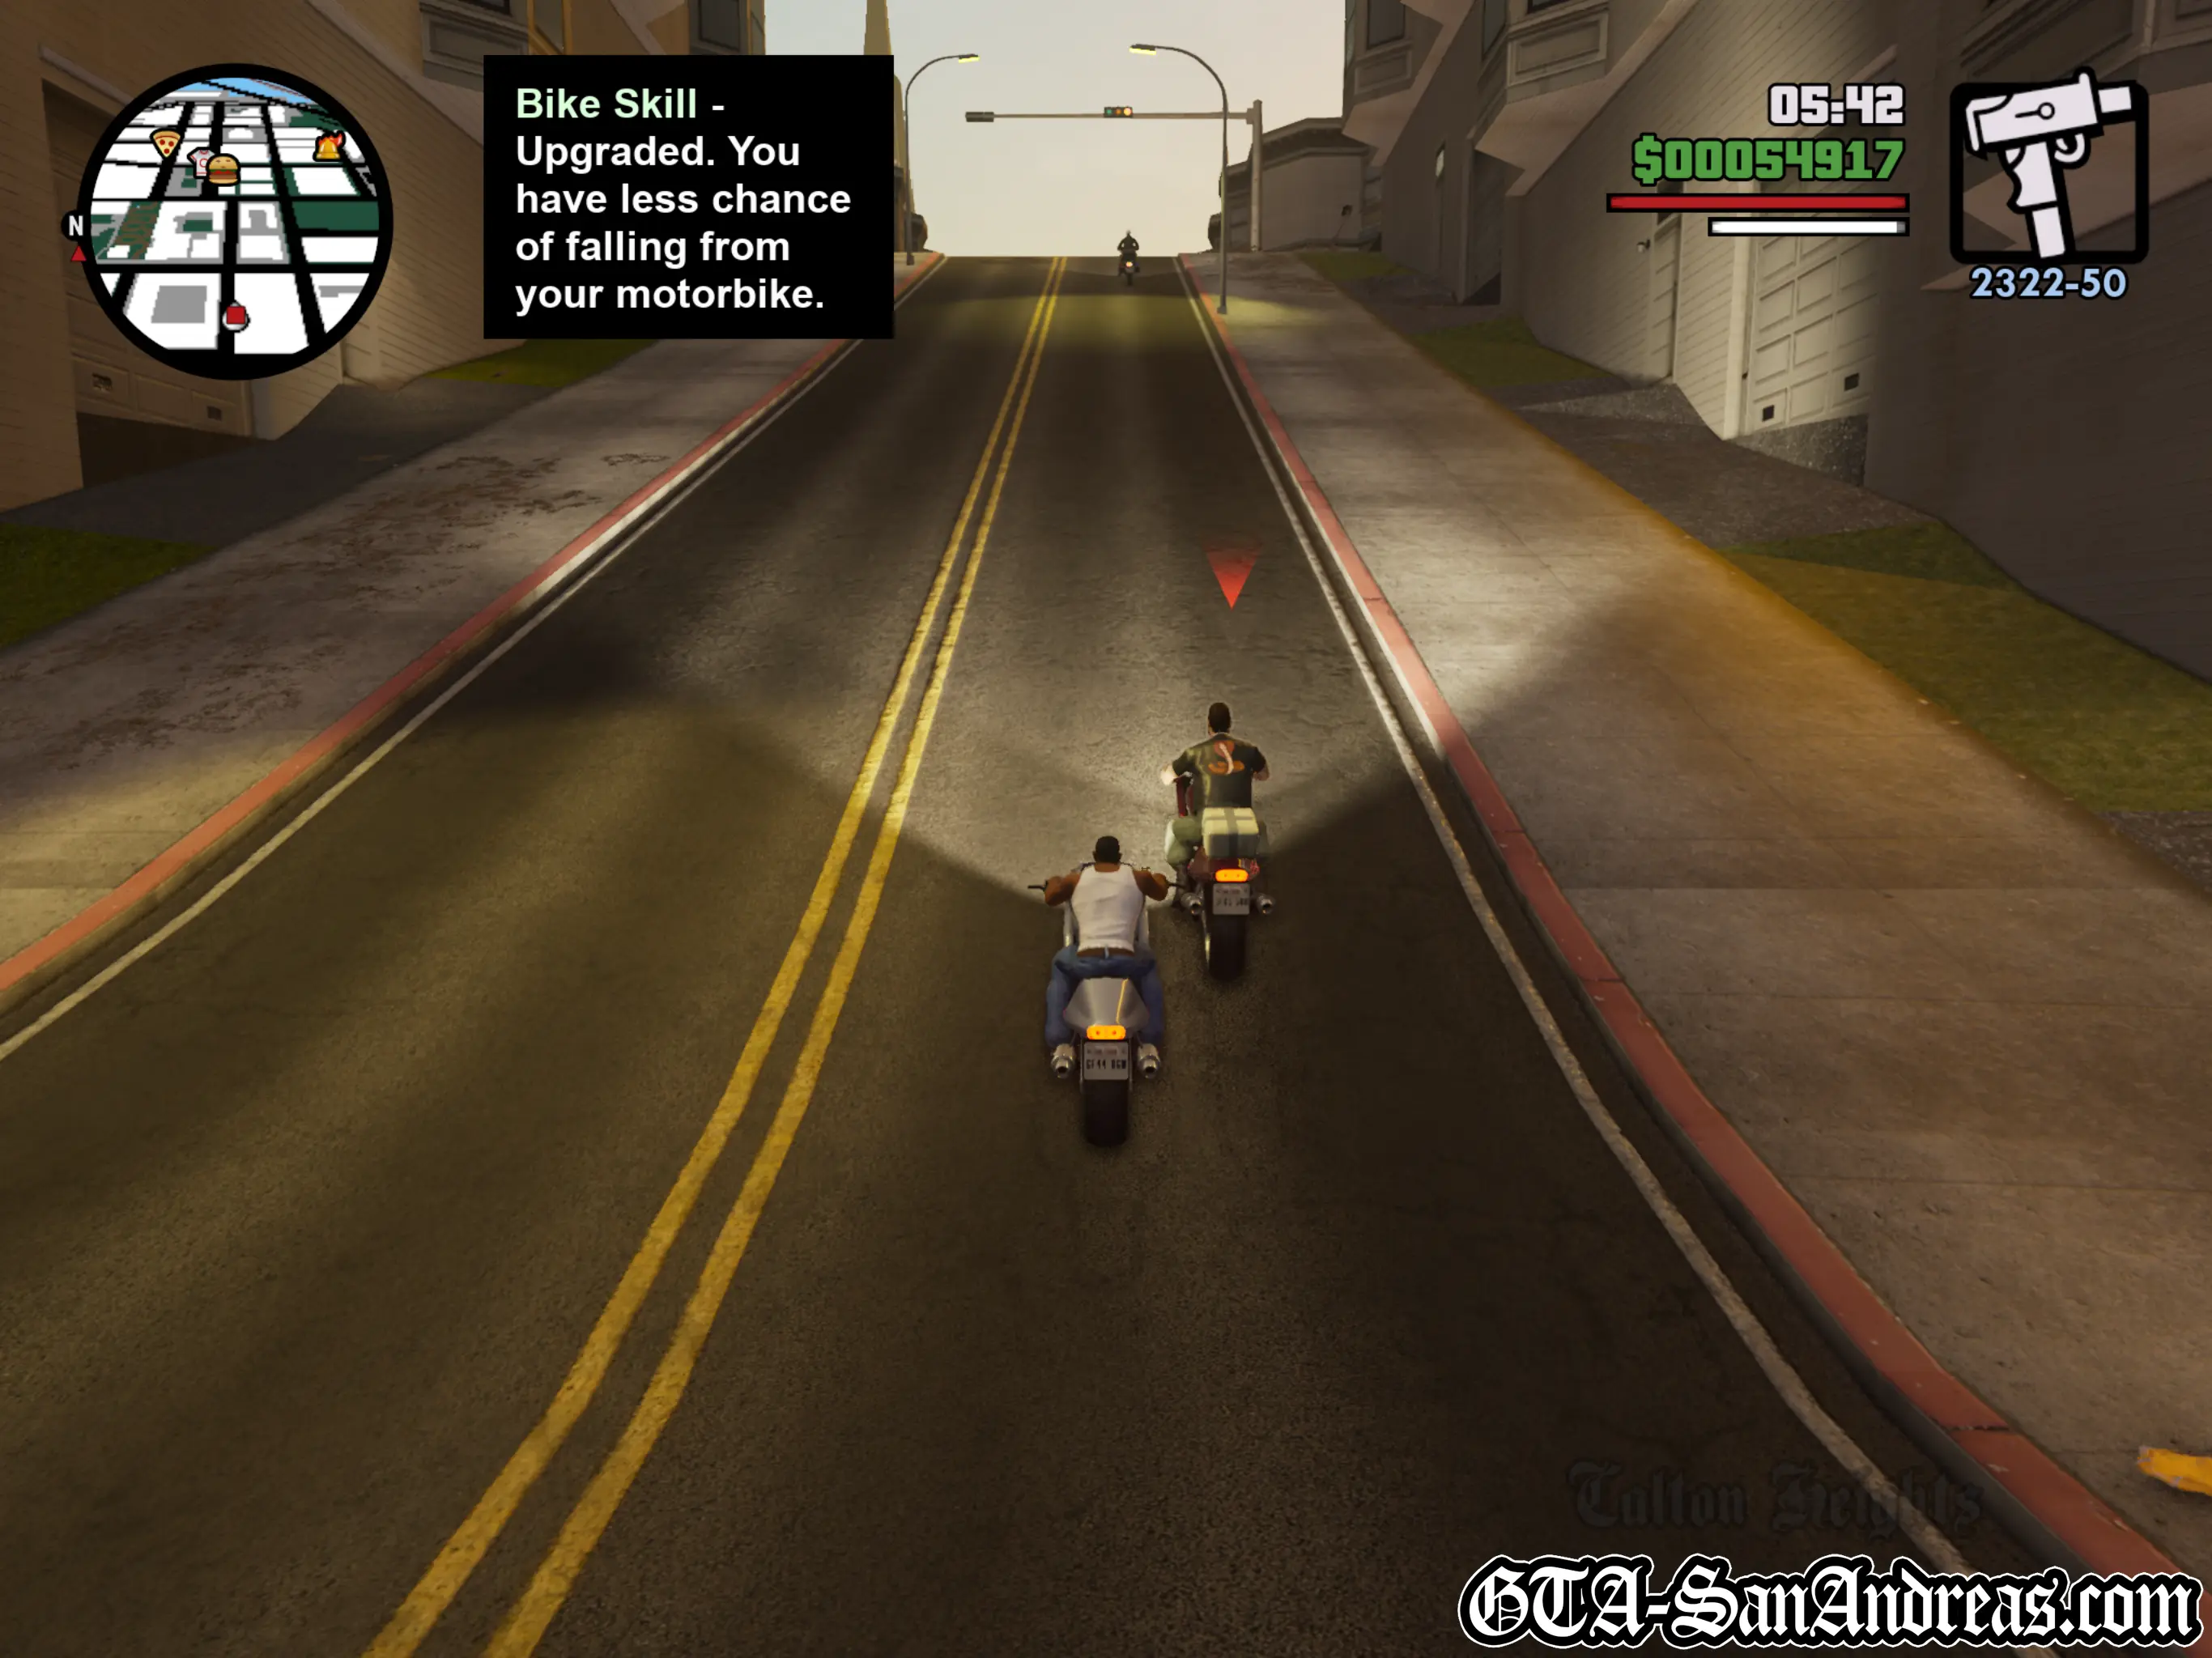
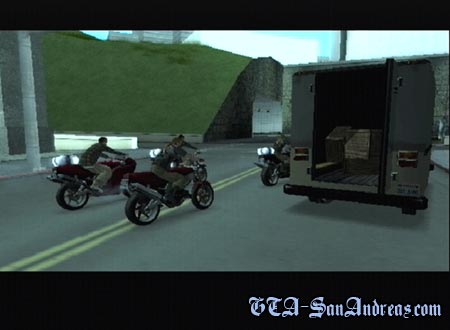
Jizzy is talking to T-Bone and asking why he's only getting 20% when the stuff is being split three ways. Afterwards T-Bone gets a call saying their shipment has been ambushed and they're going to check it out. You'll be outside and you need to grab a vehicle and make your way to the ambush. When you get there you'll see a cutscene where a bunch of bikers drive away with packages on the back of their bikes. You need to speed after them on a bike, and get close enough to snatch the package from them. Speed after a bike on your radar, then when you get pretty close, tap L1 until you grab the package. Once you get it head to another bike and grab that one. Do the same until you have all of the packages head back to Jizzy and drop them off.
Screenshots

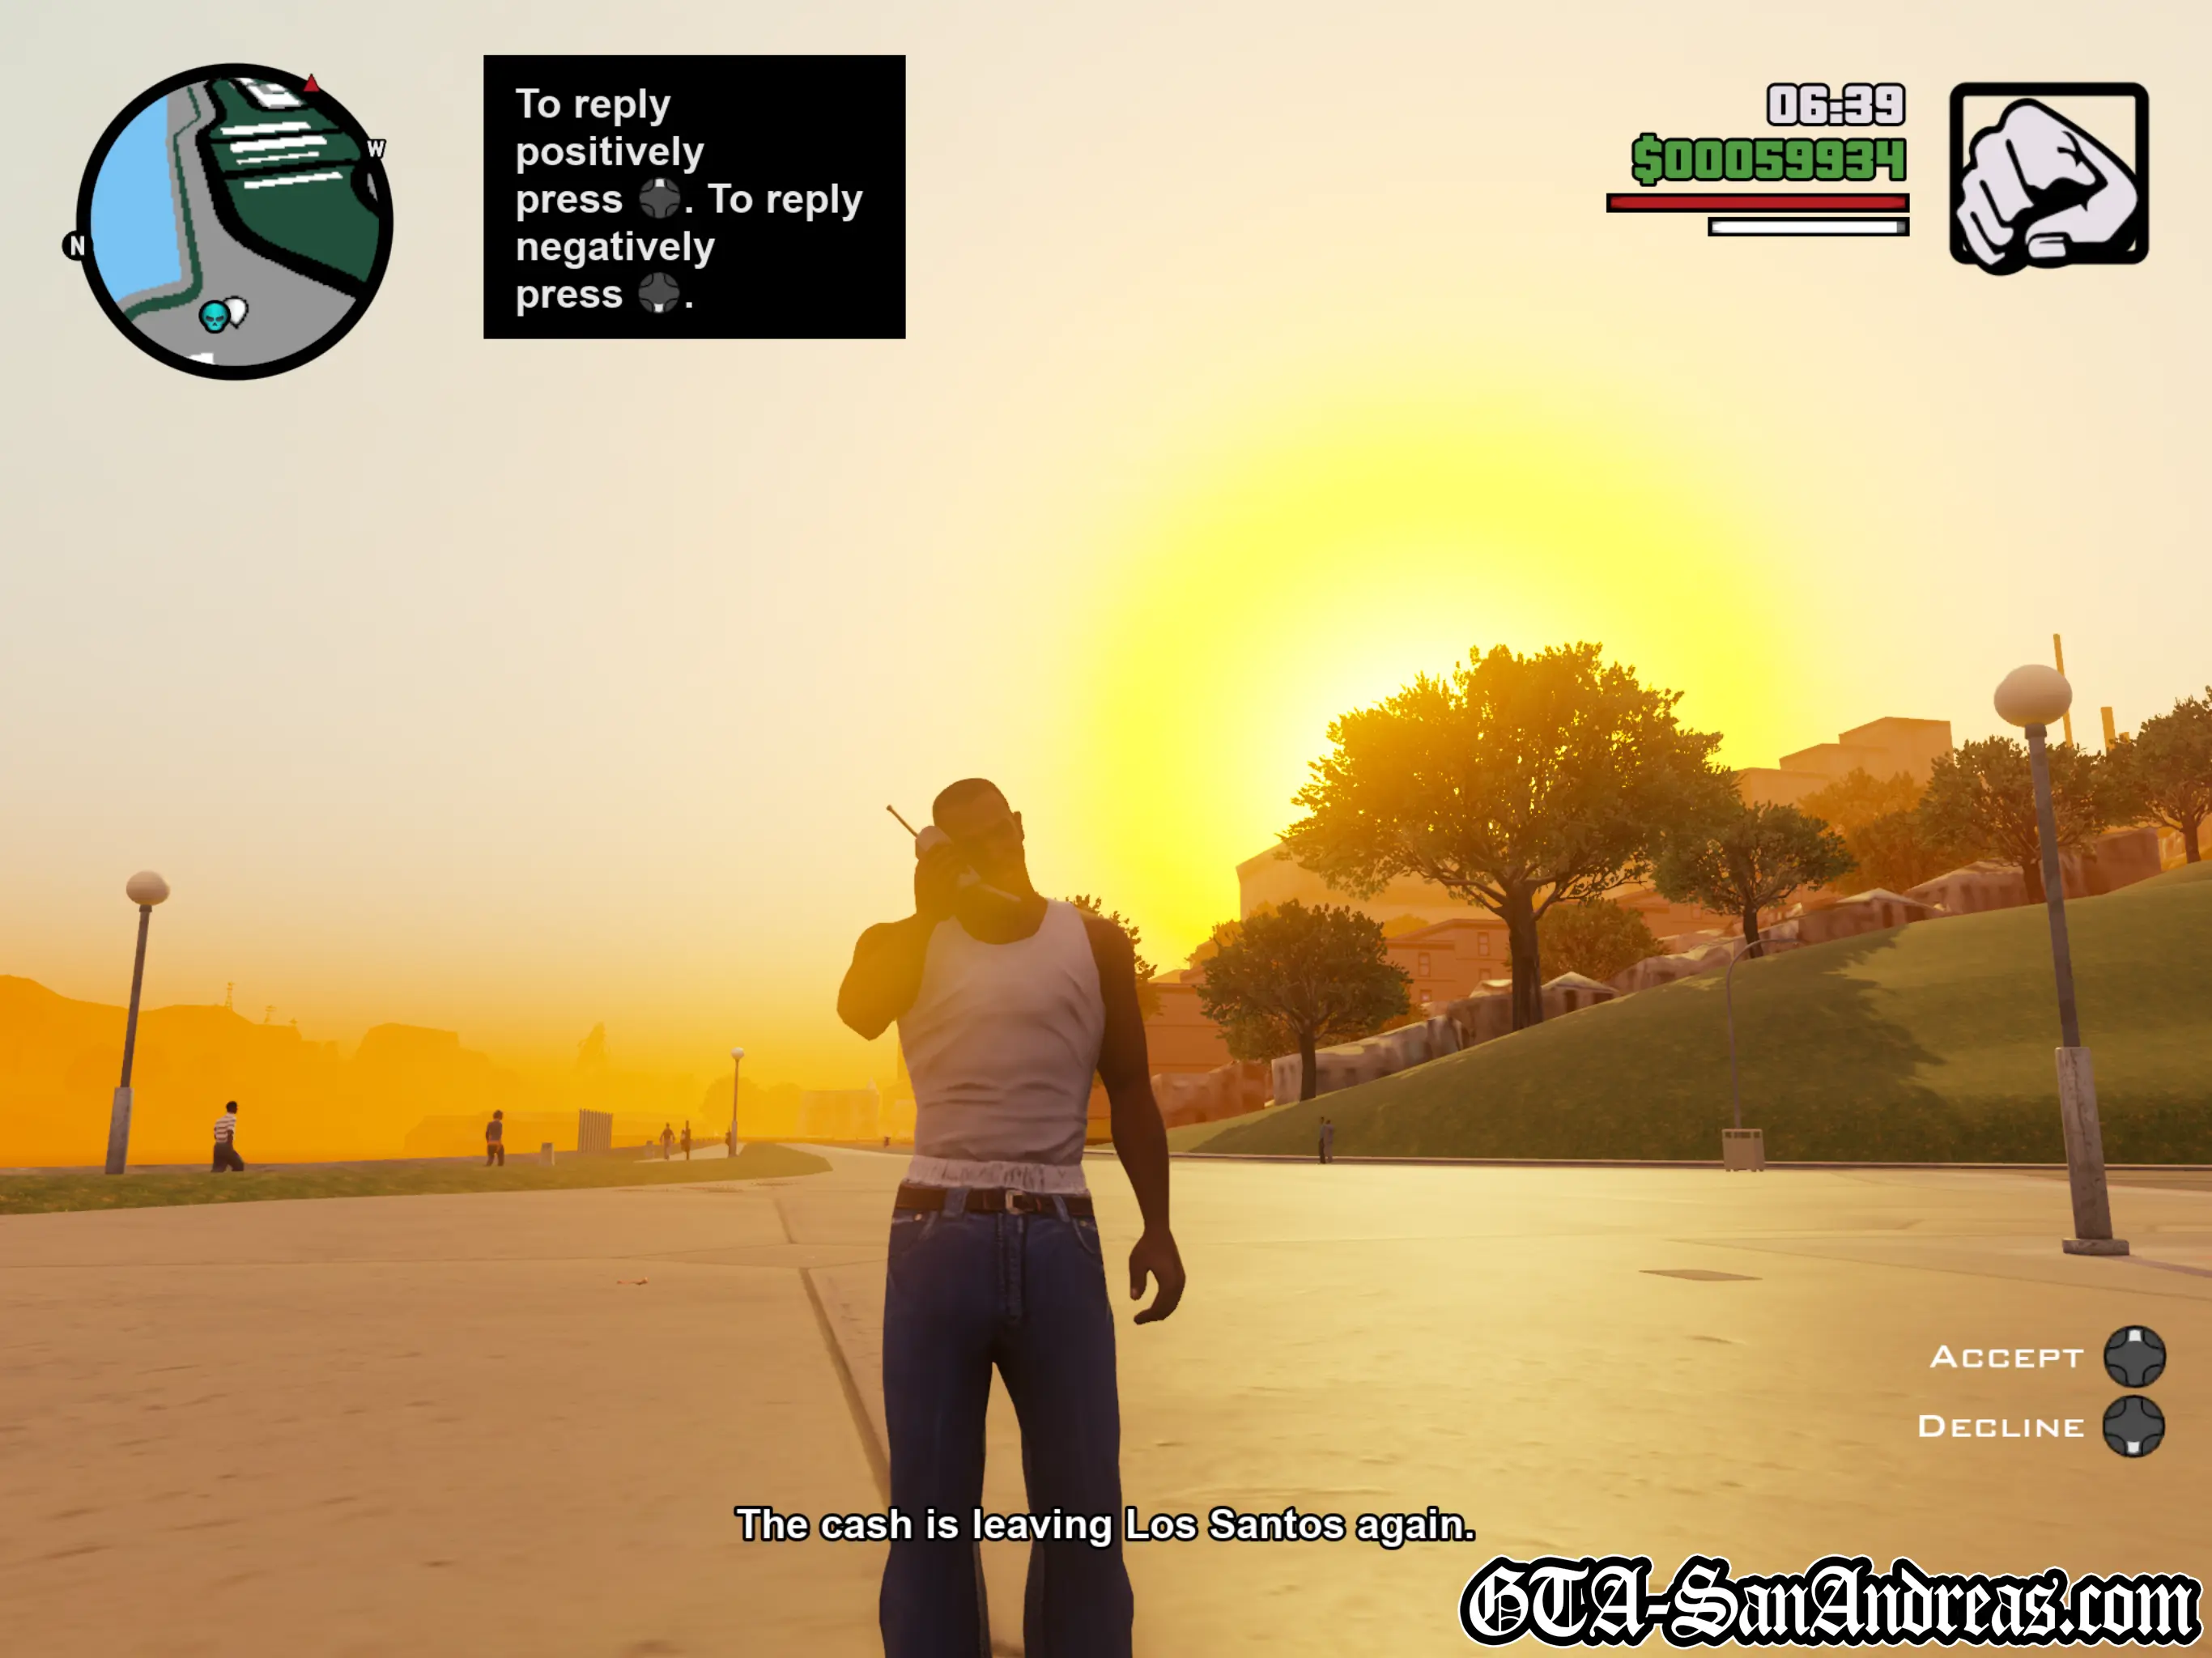

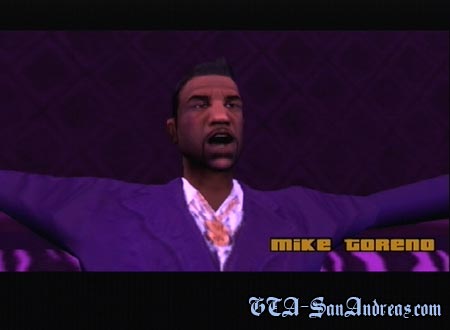
Mike Toreno
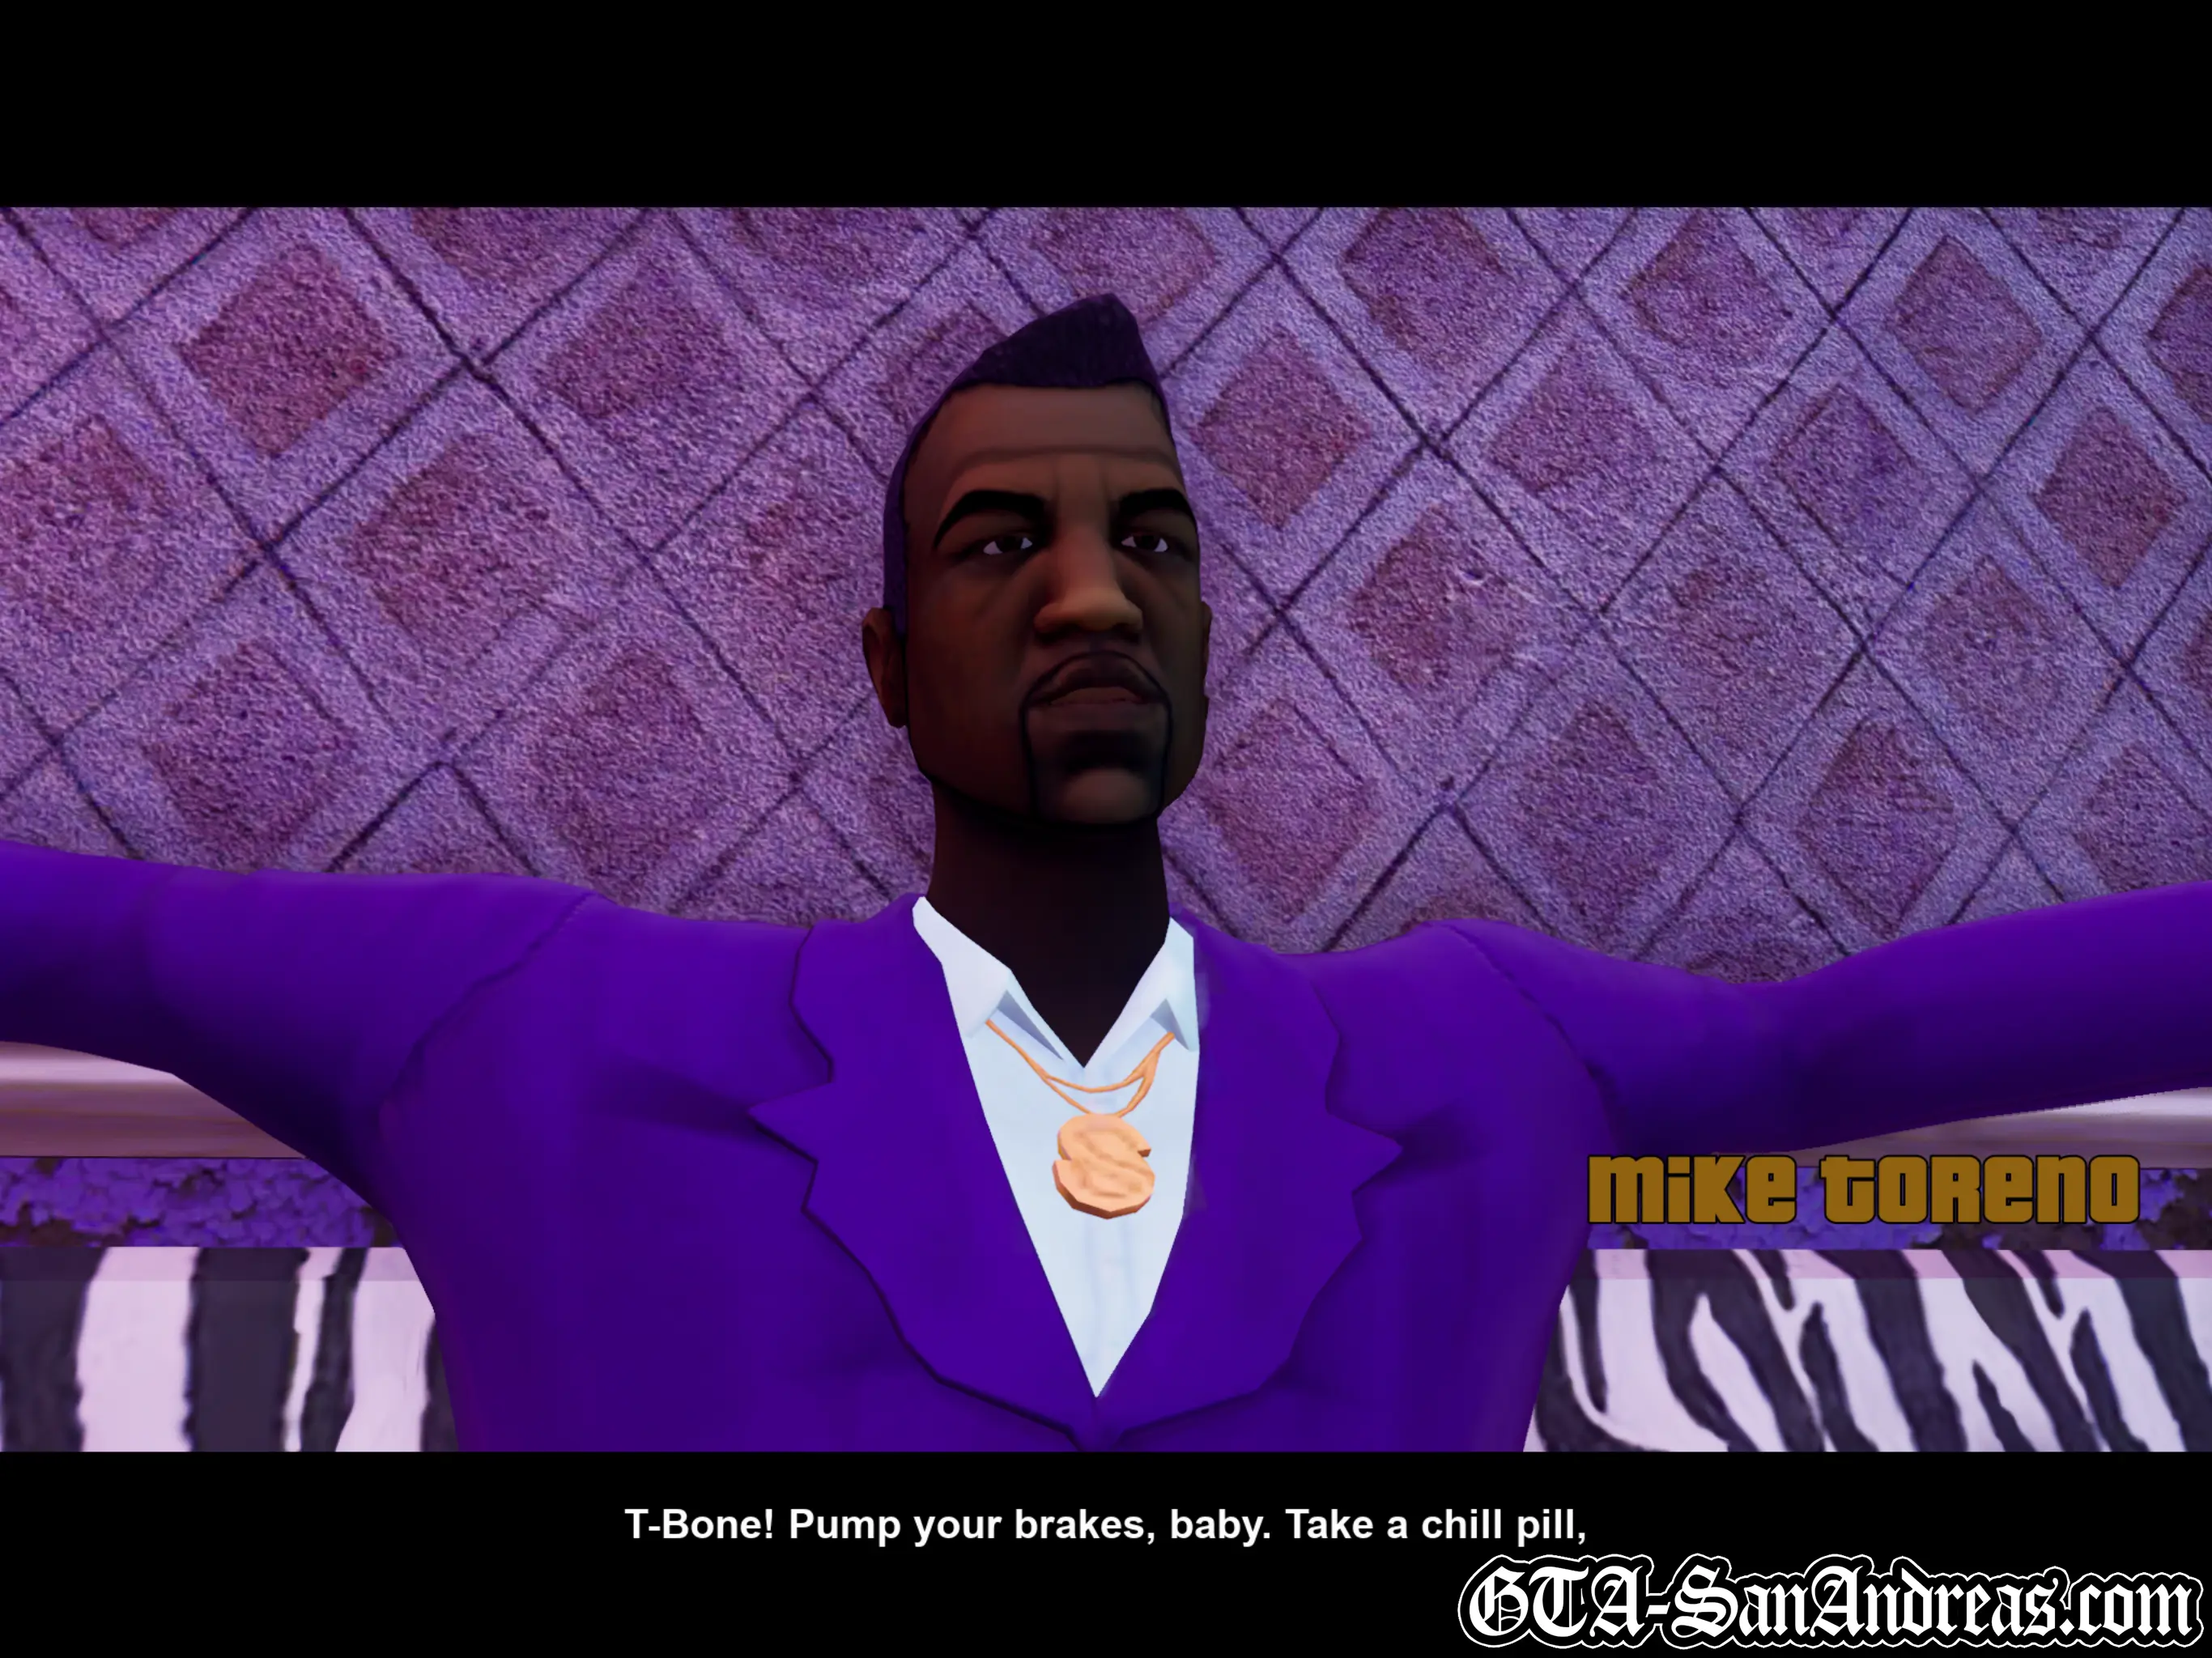
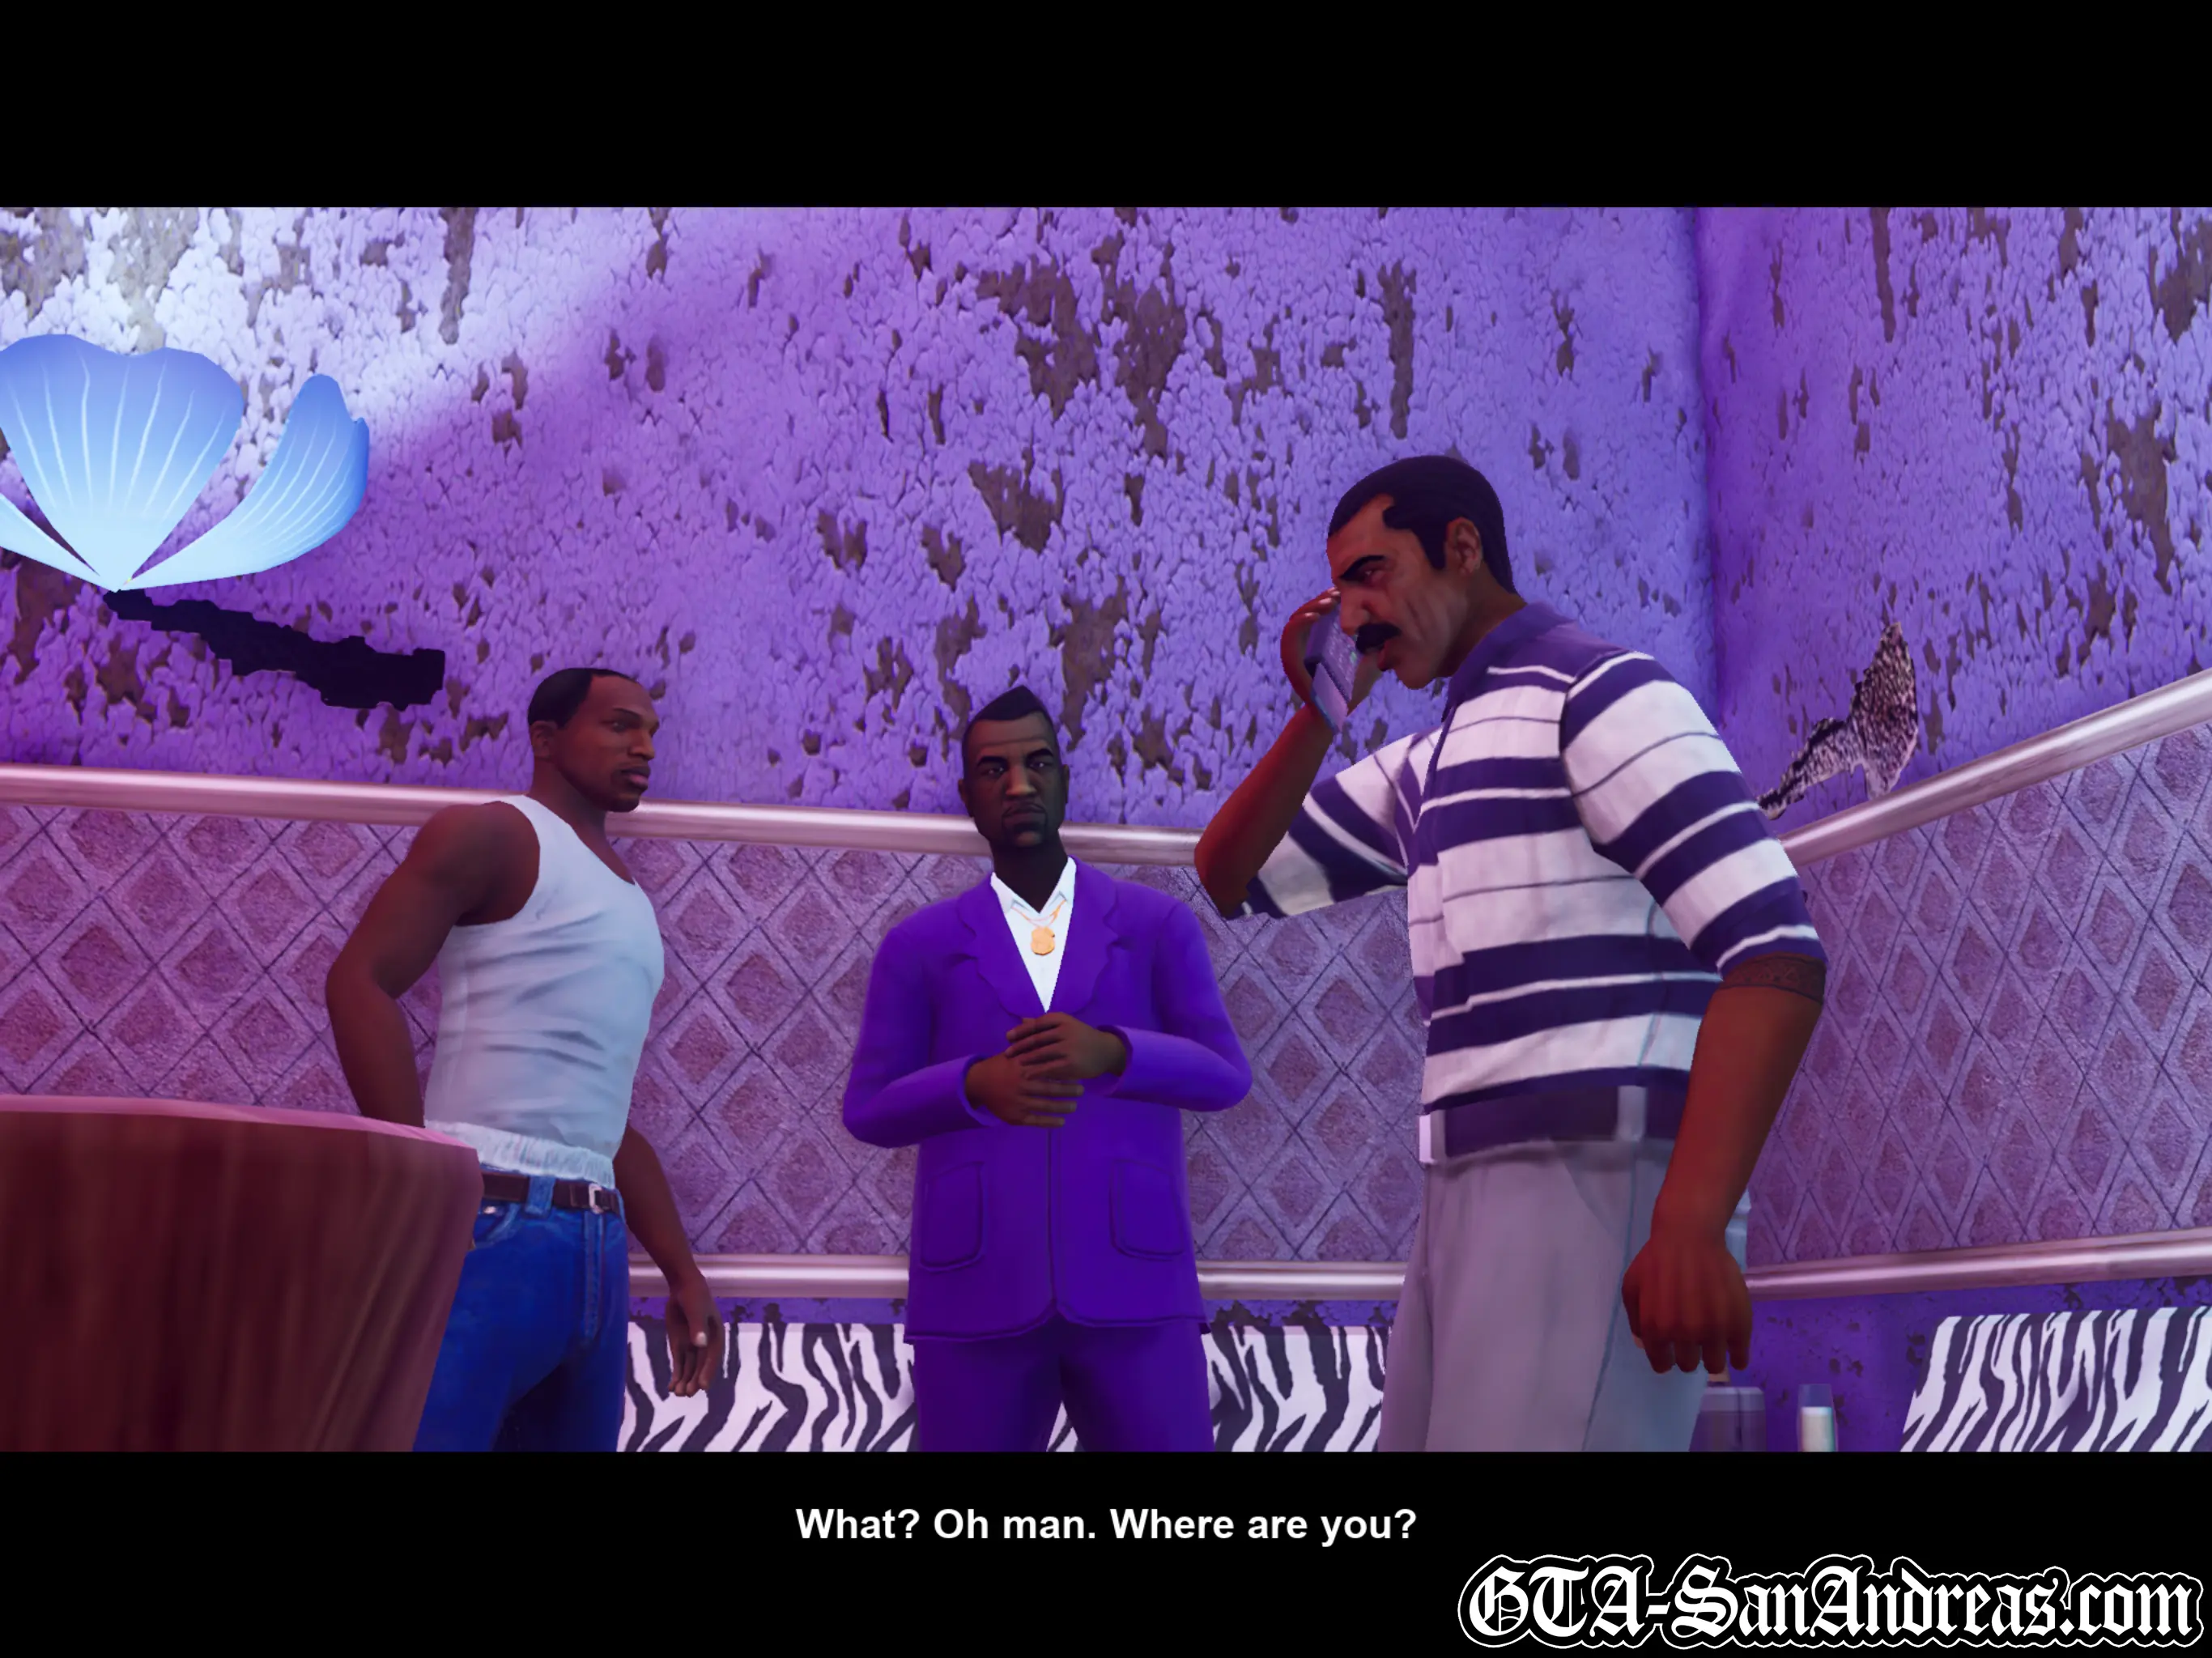
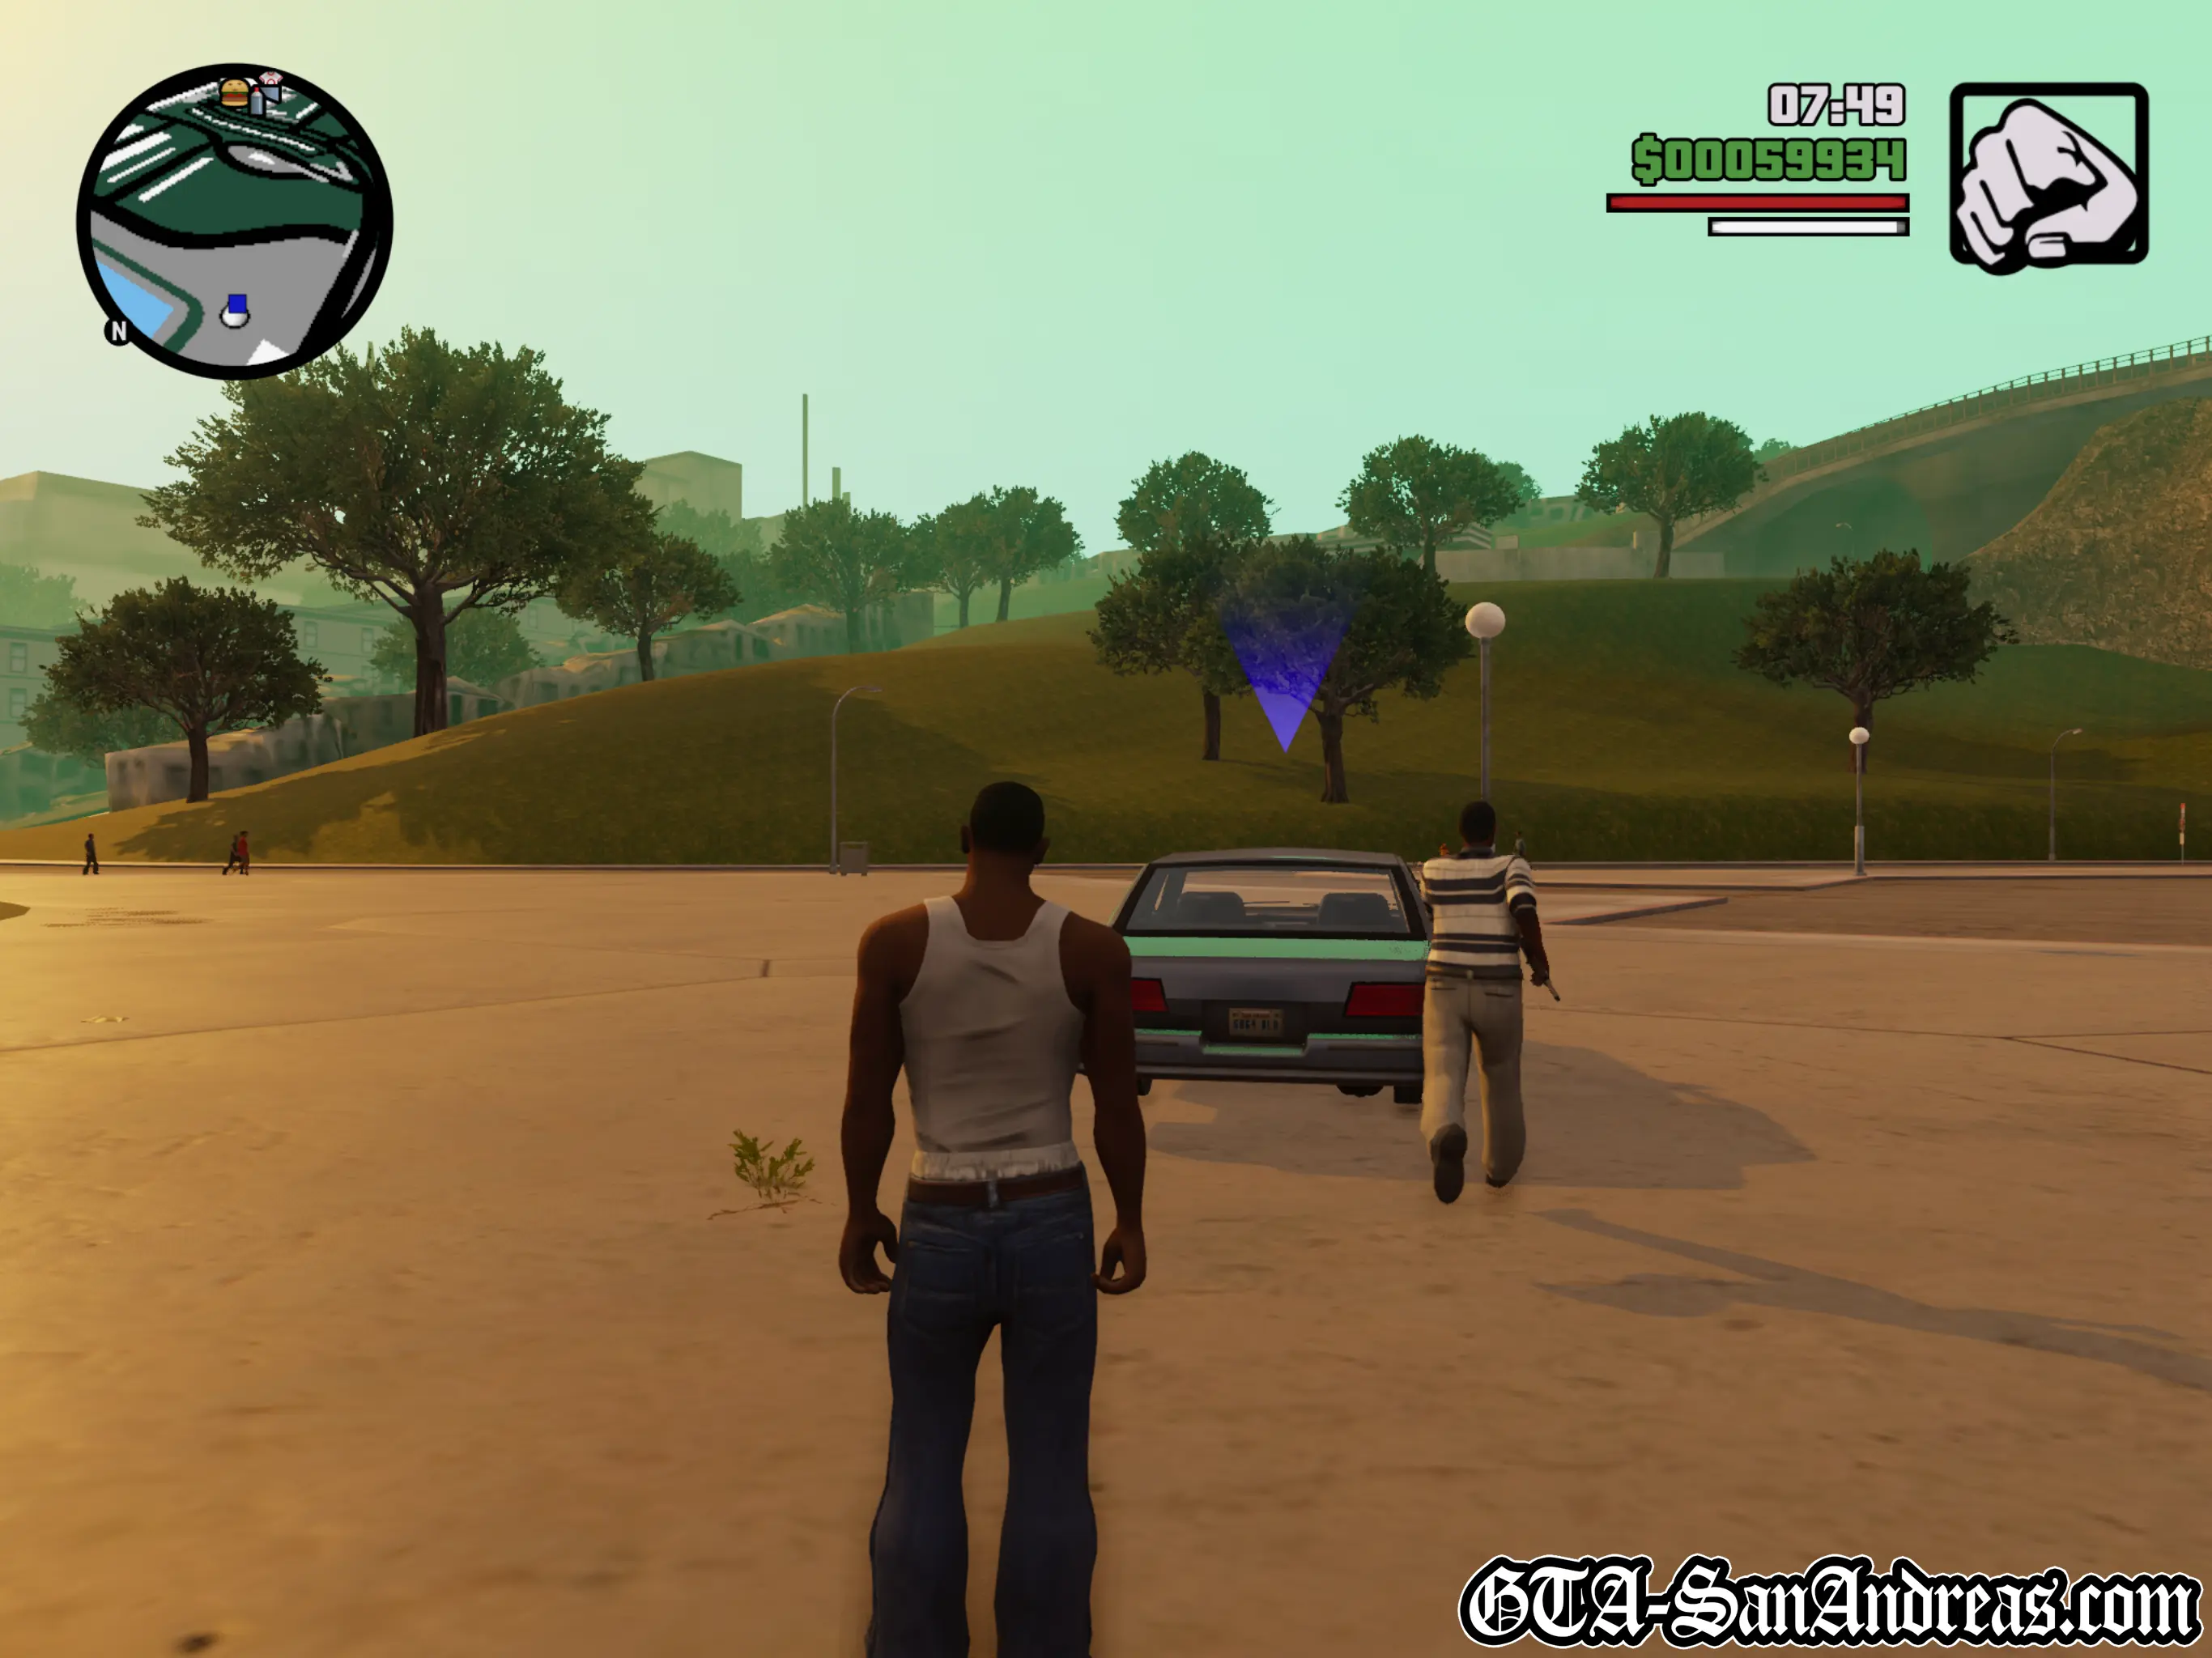
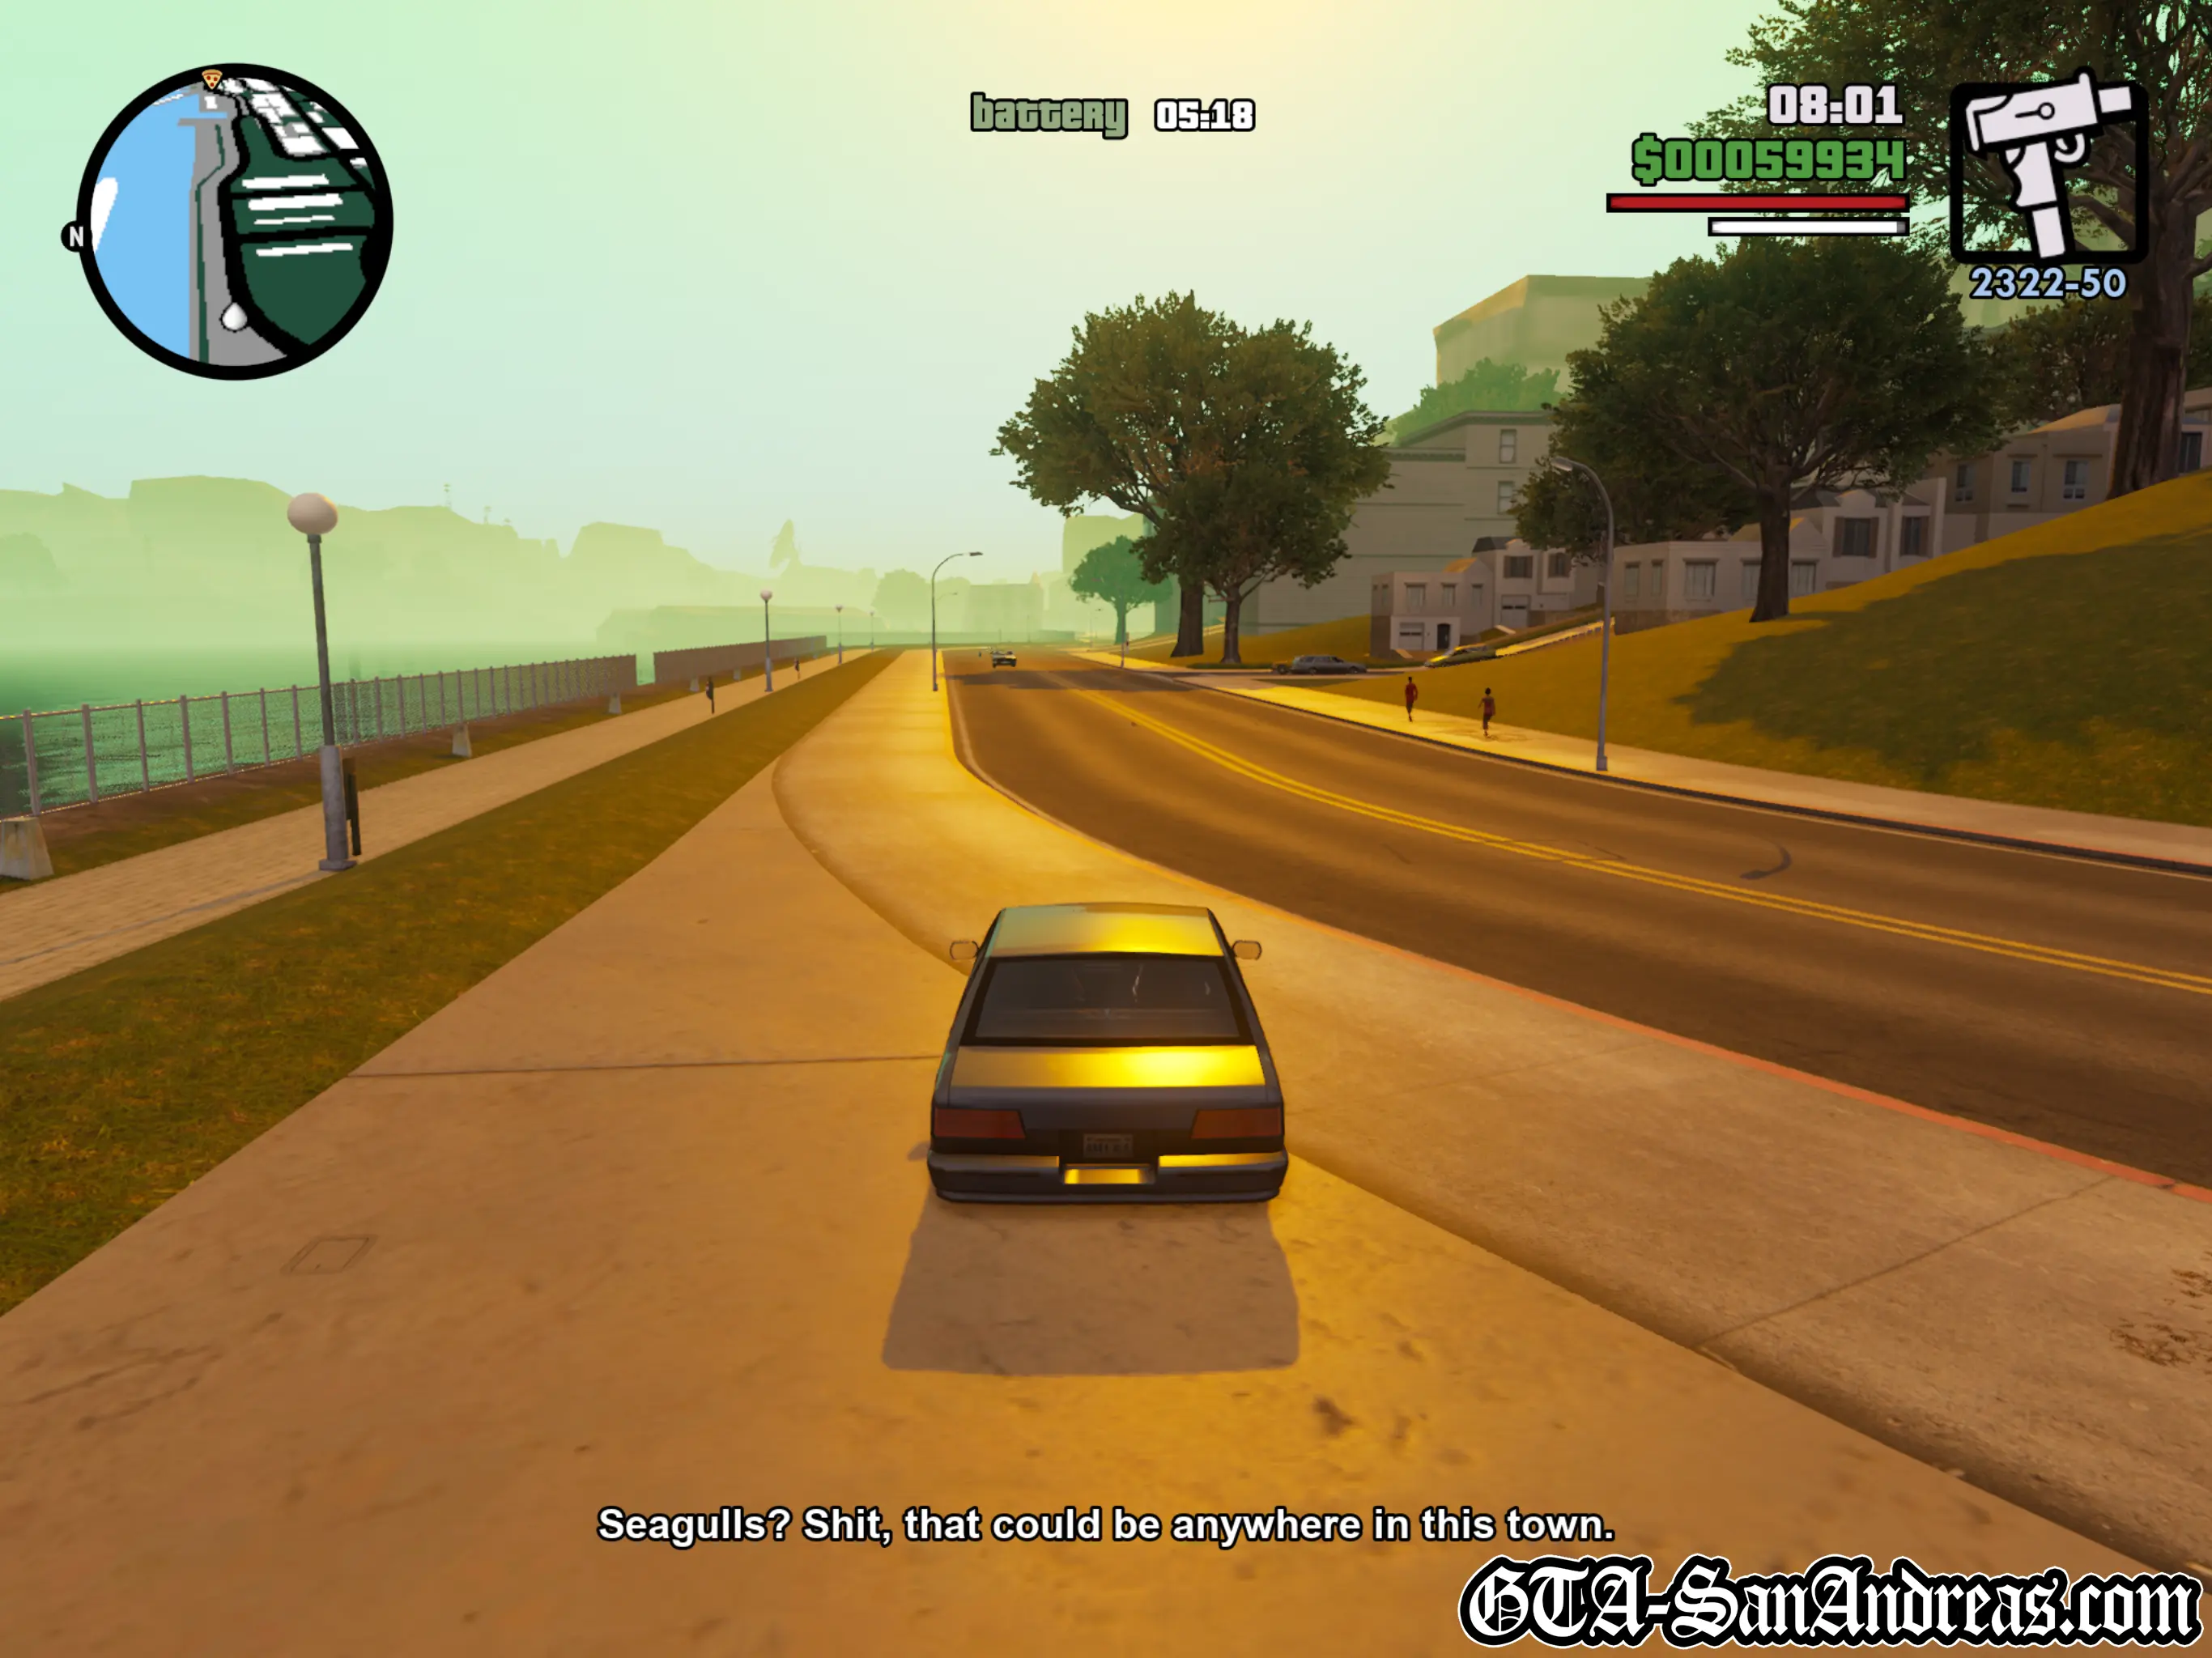
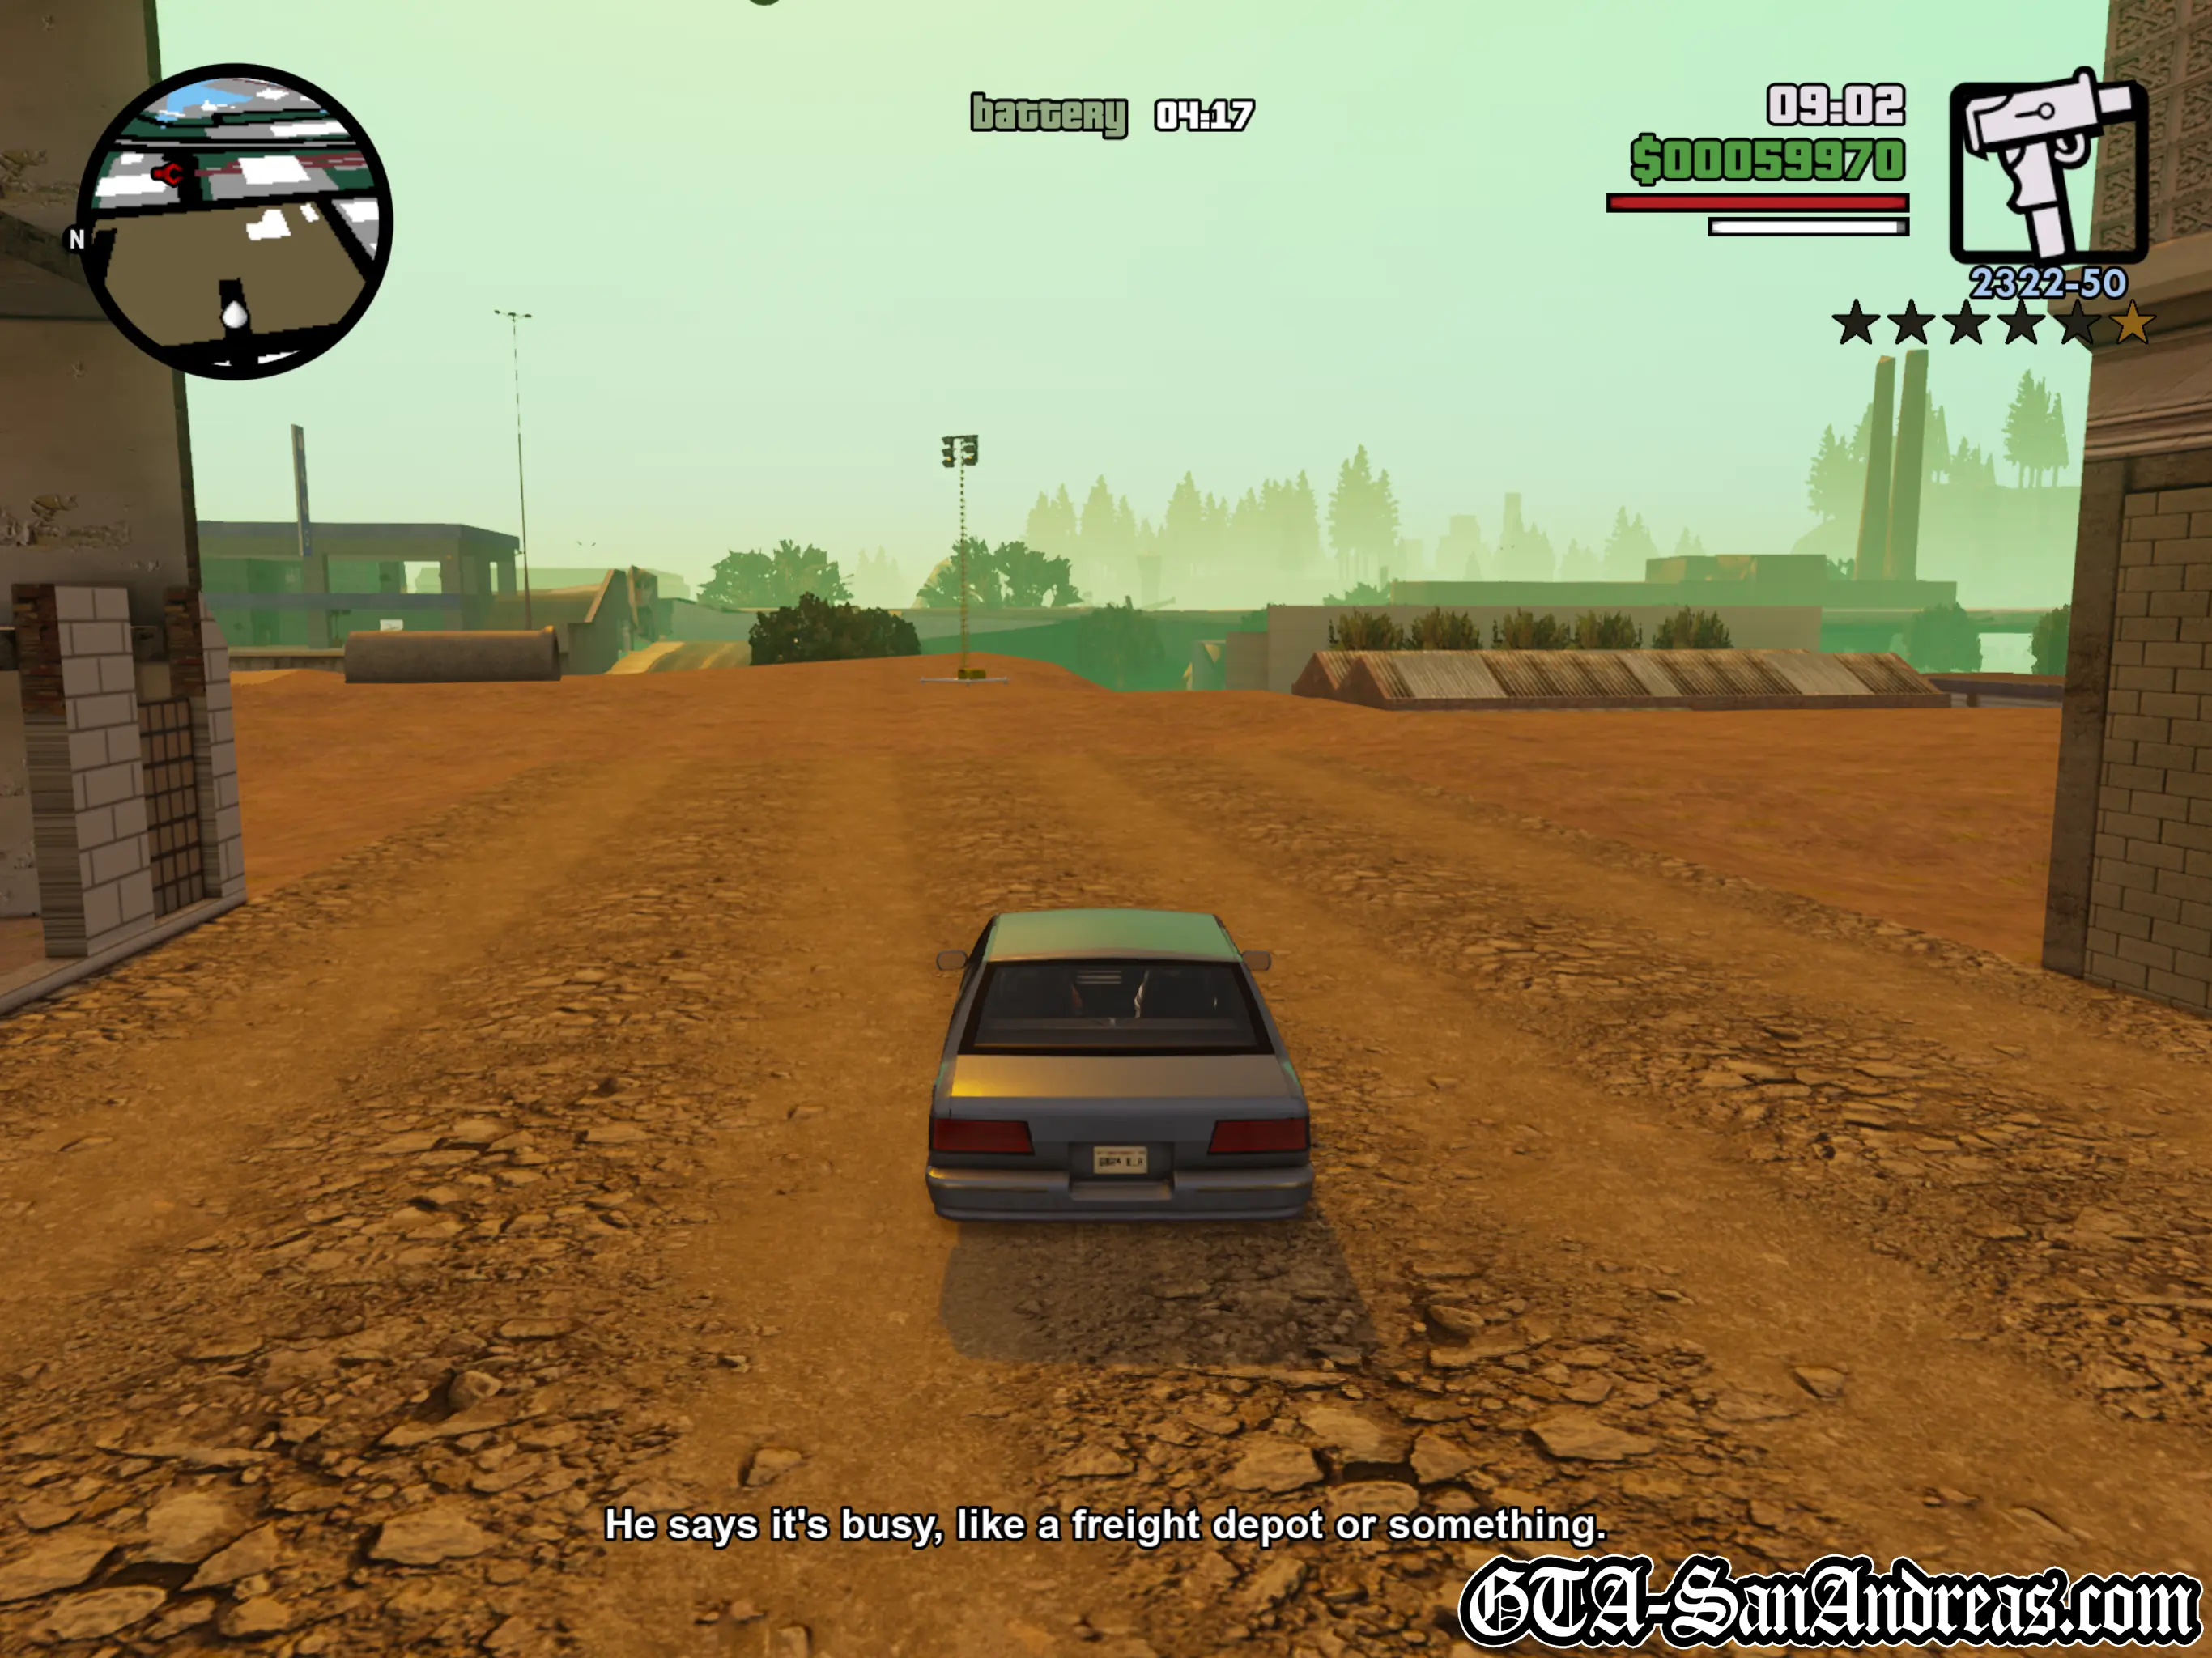
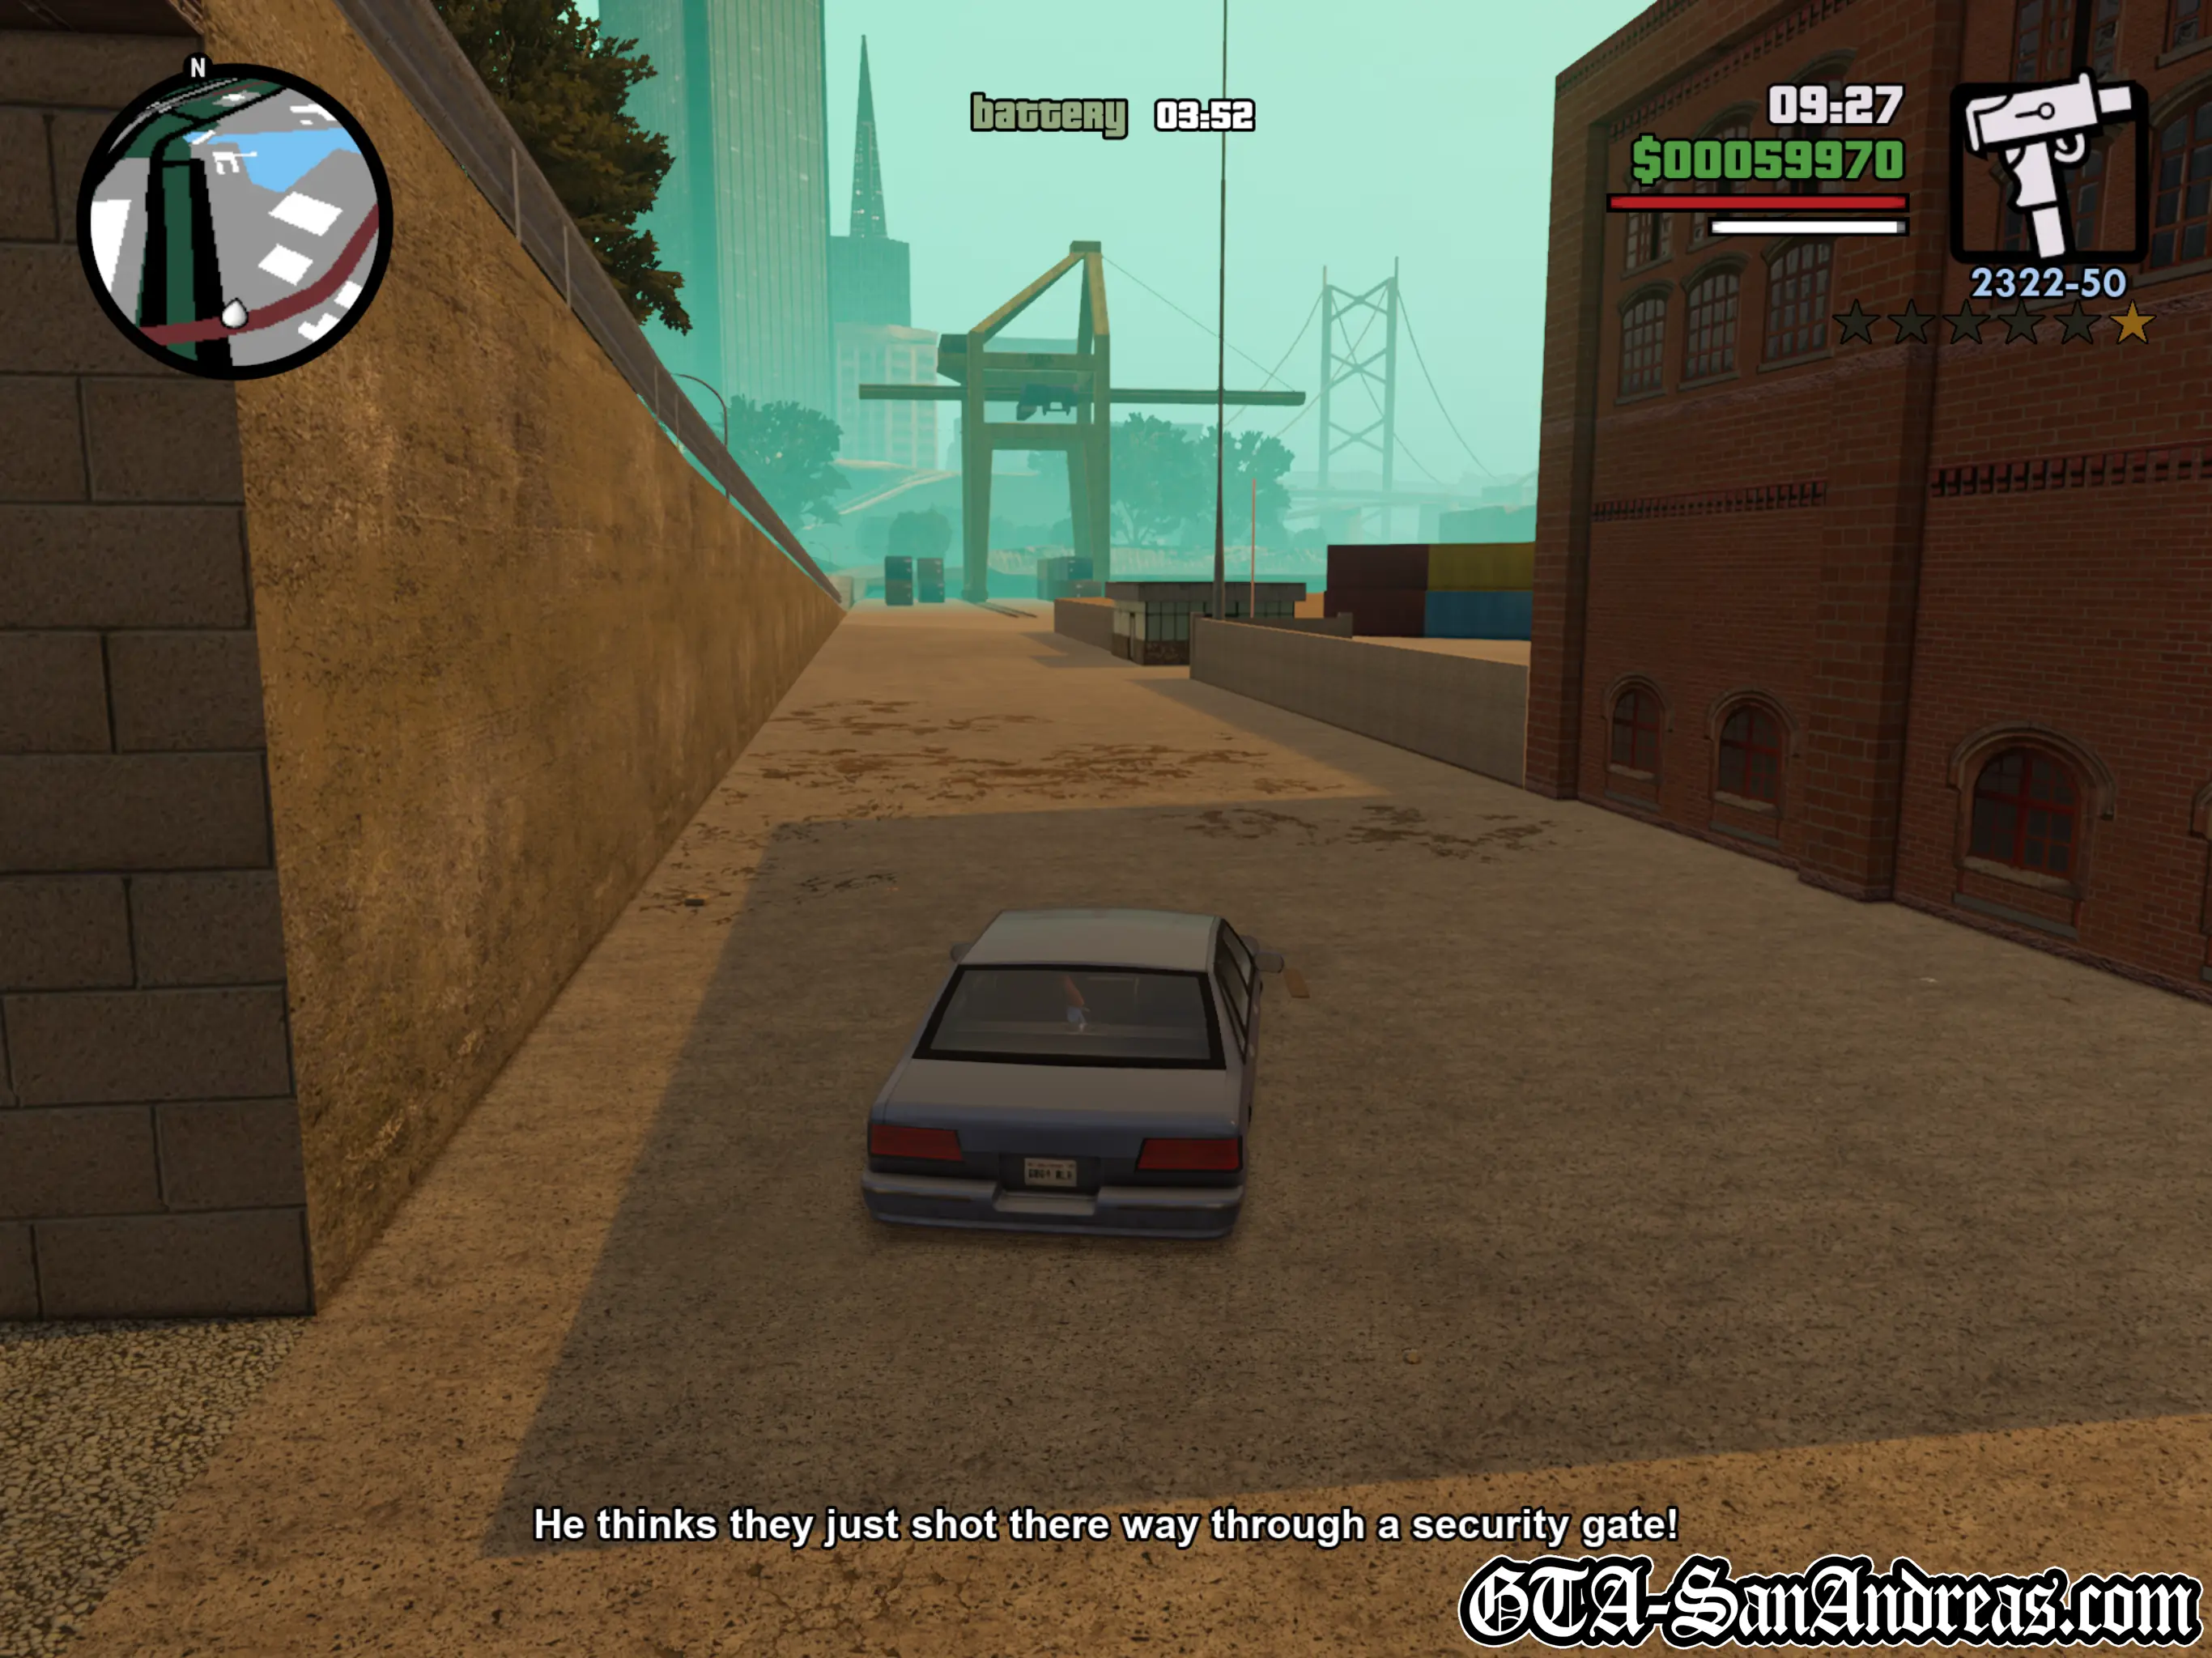
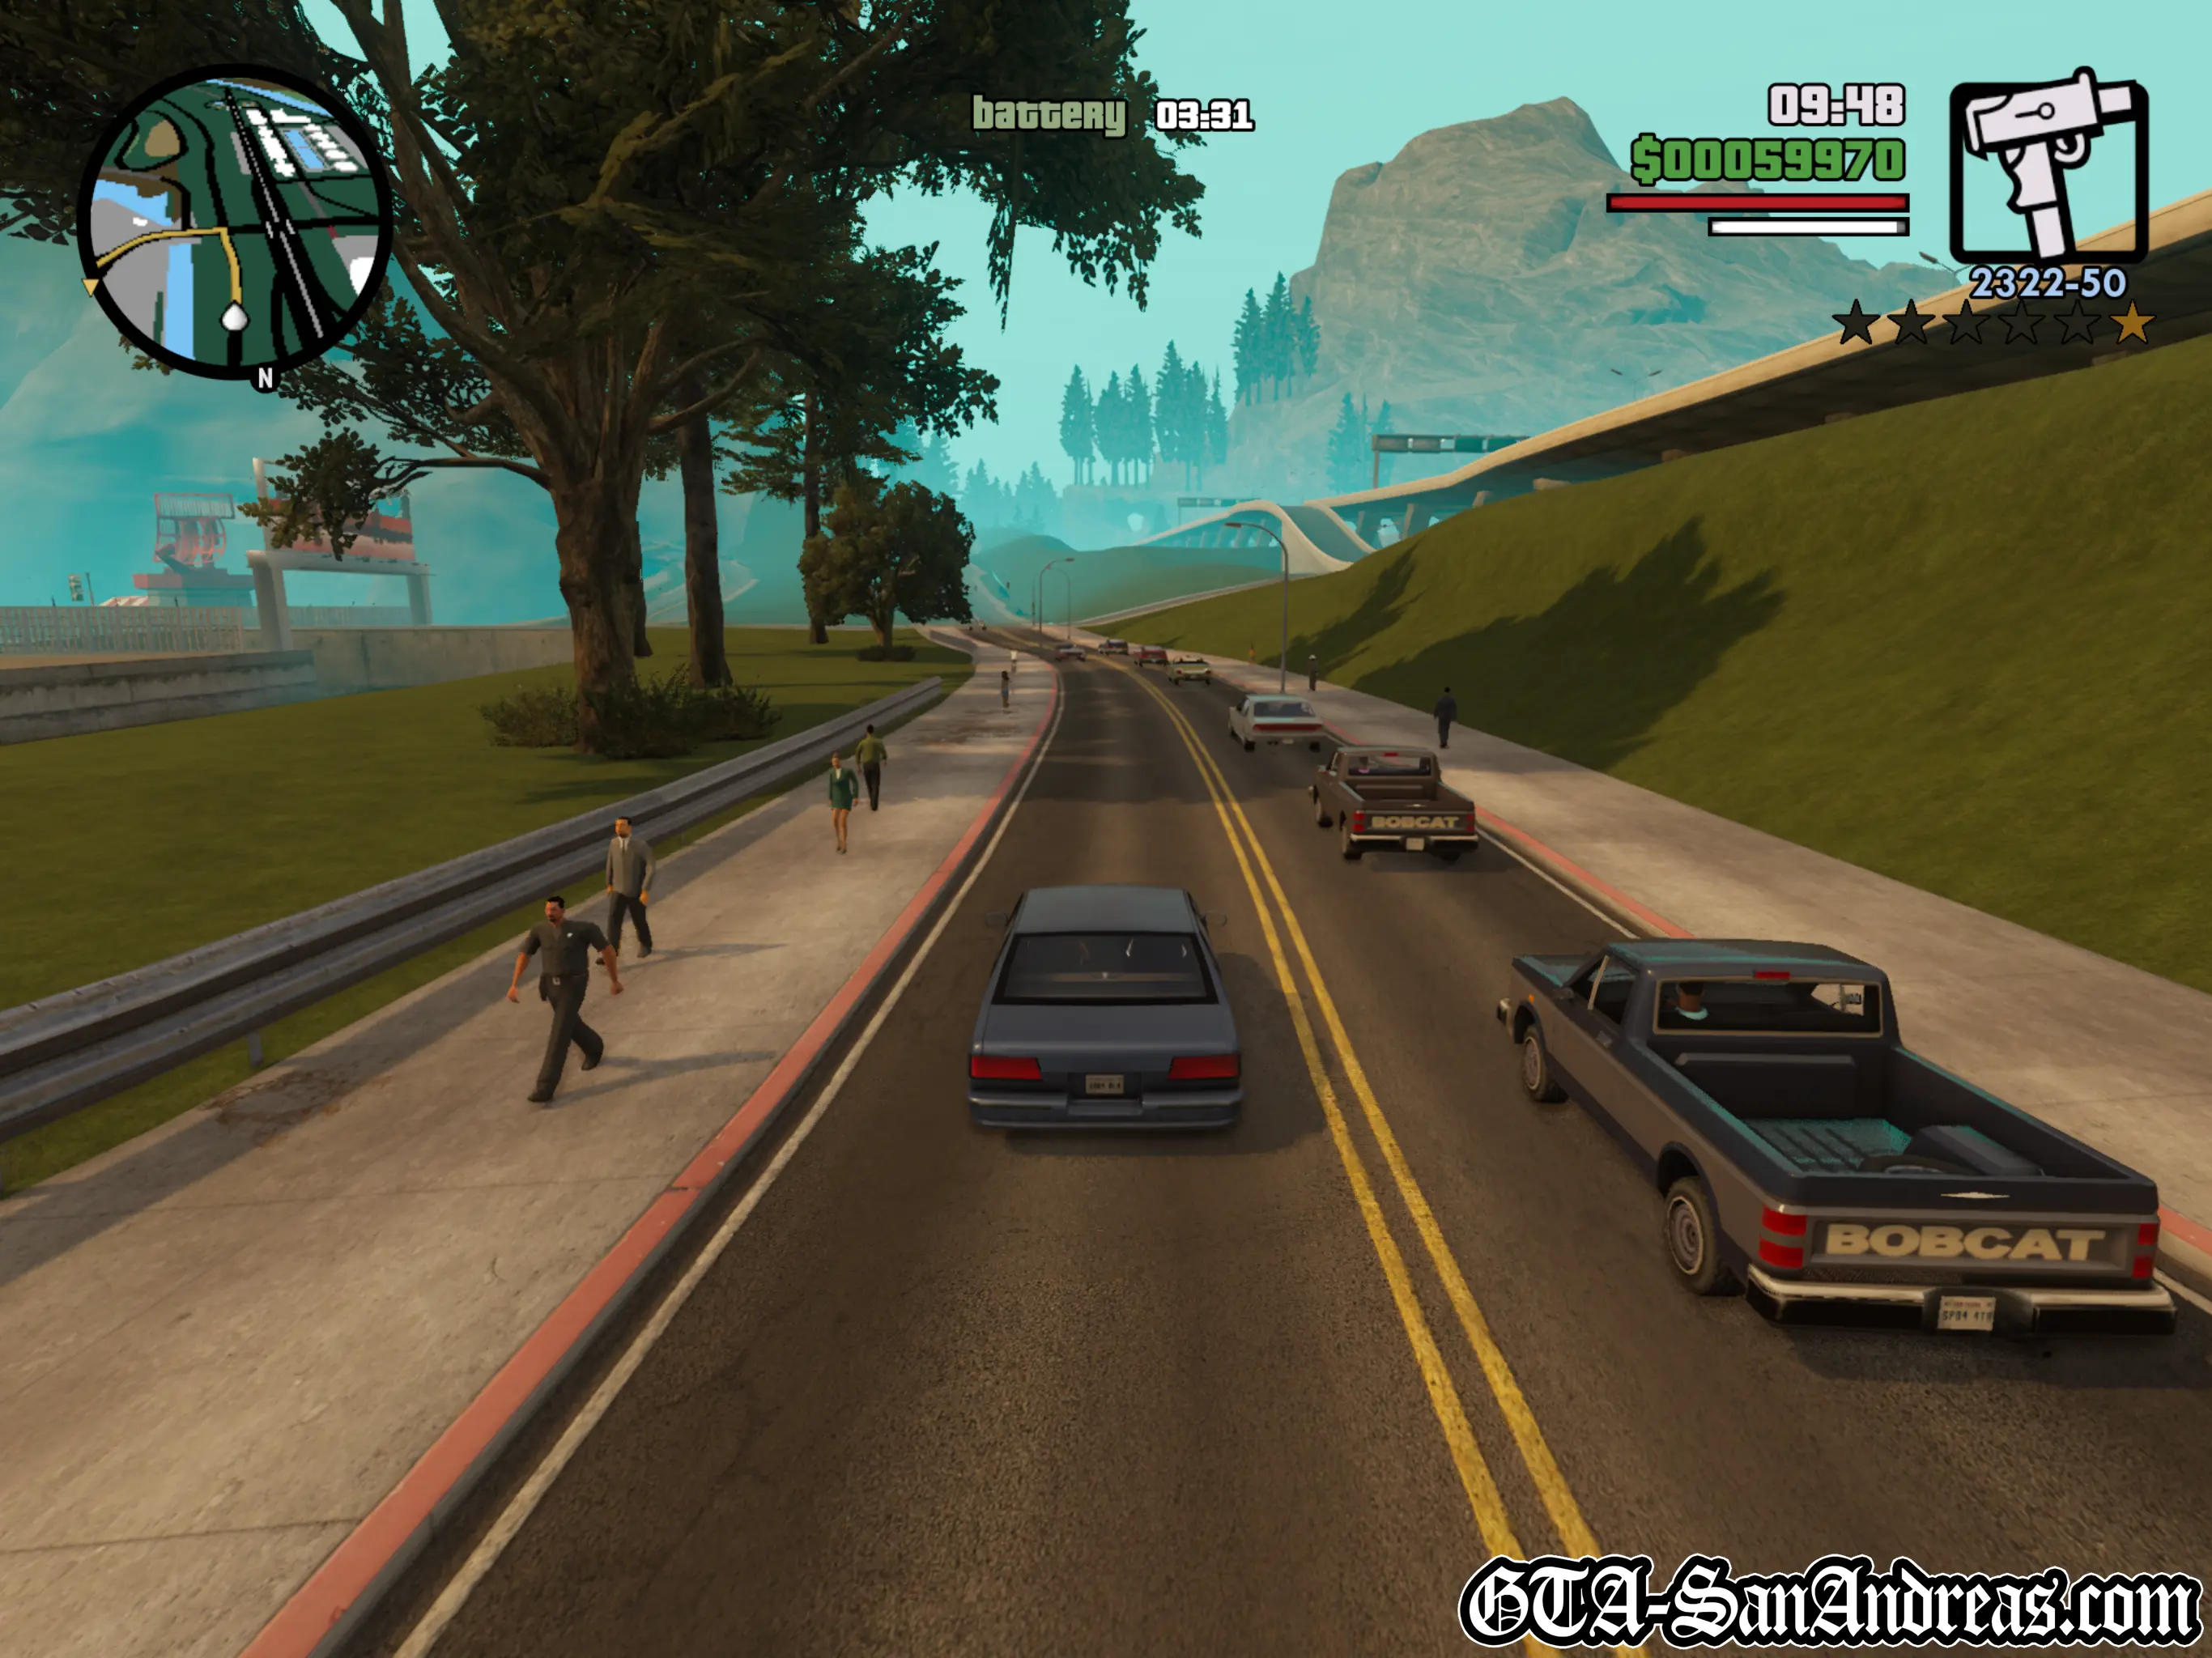
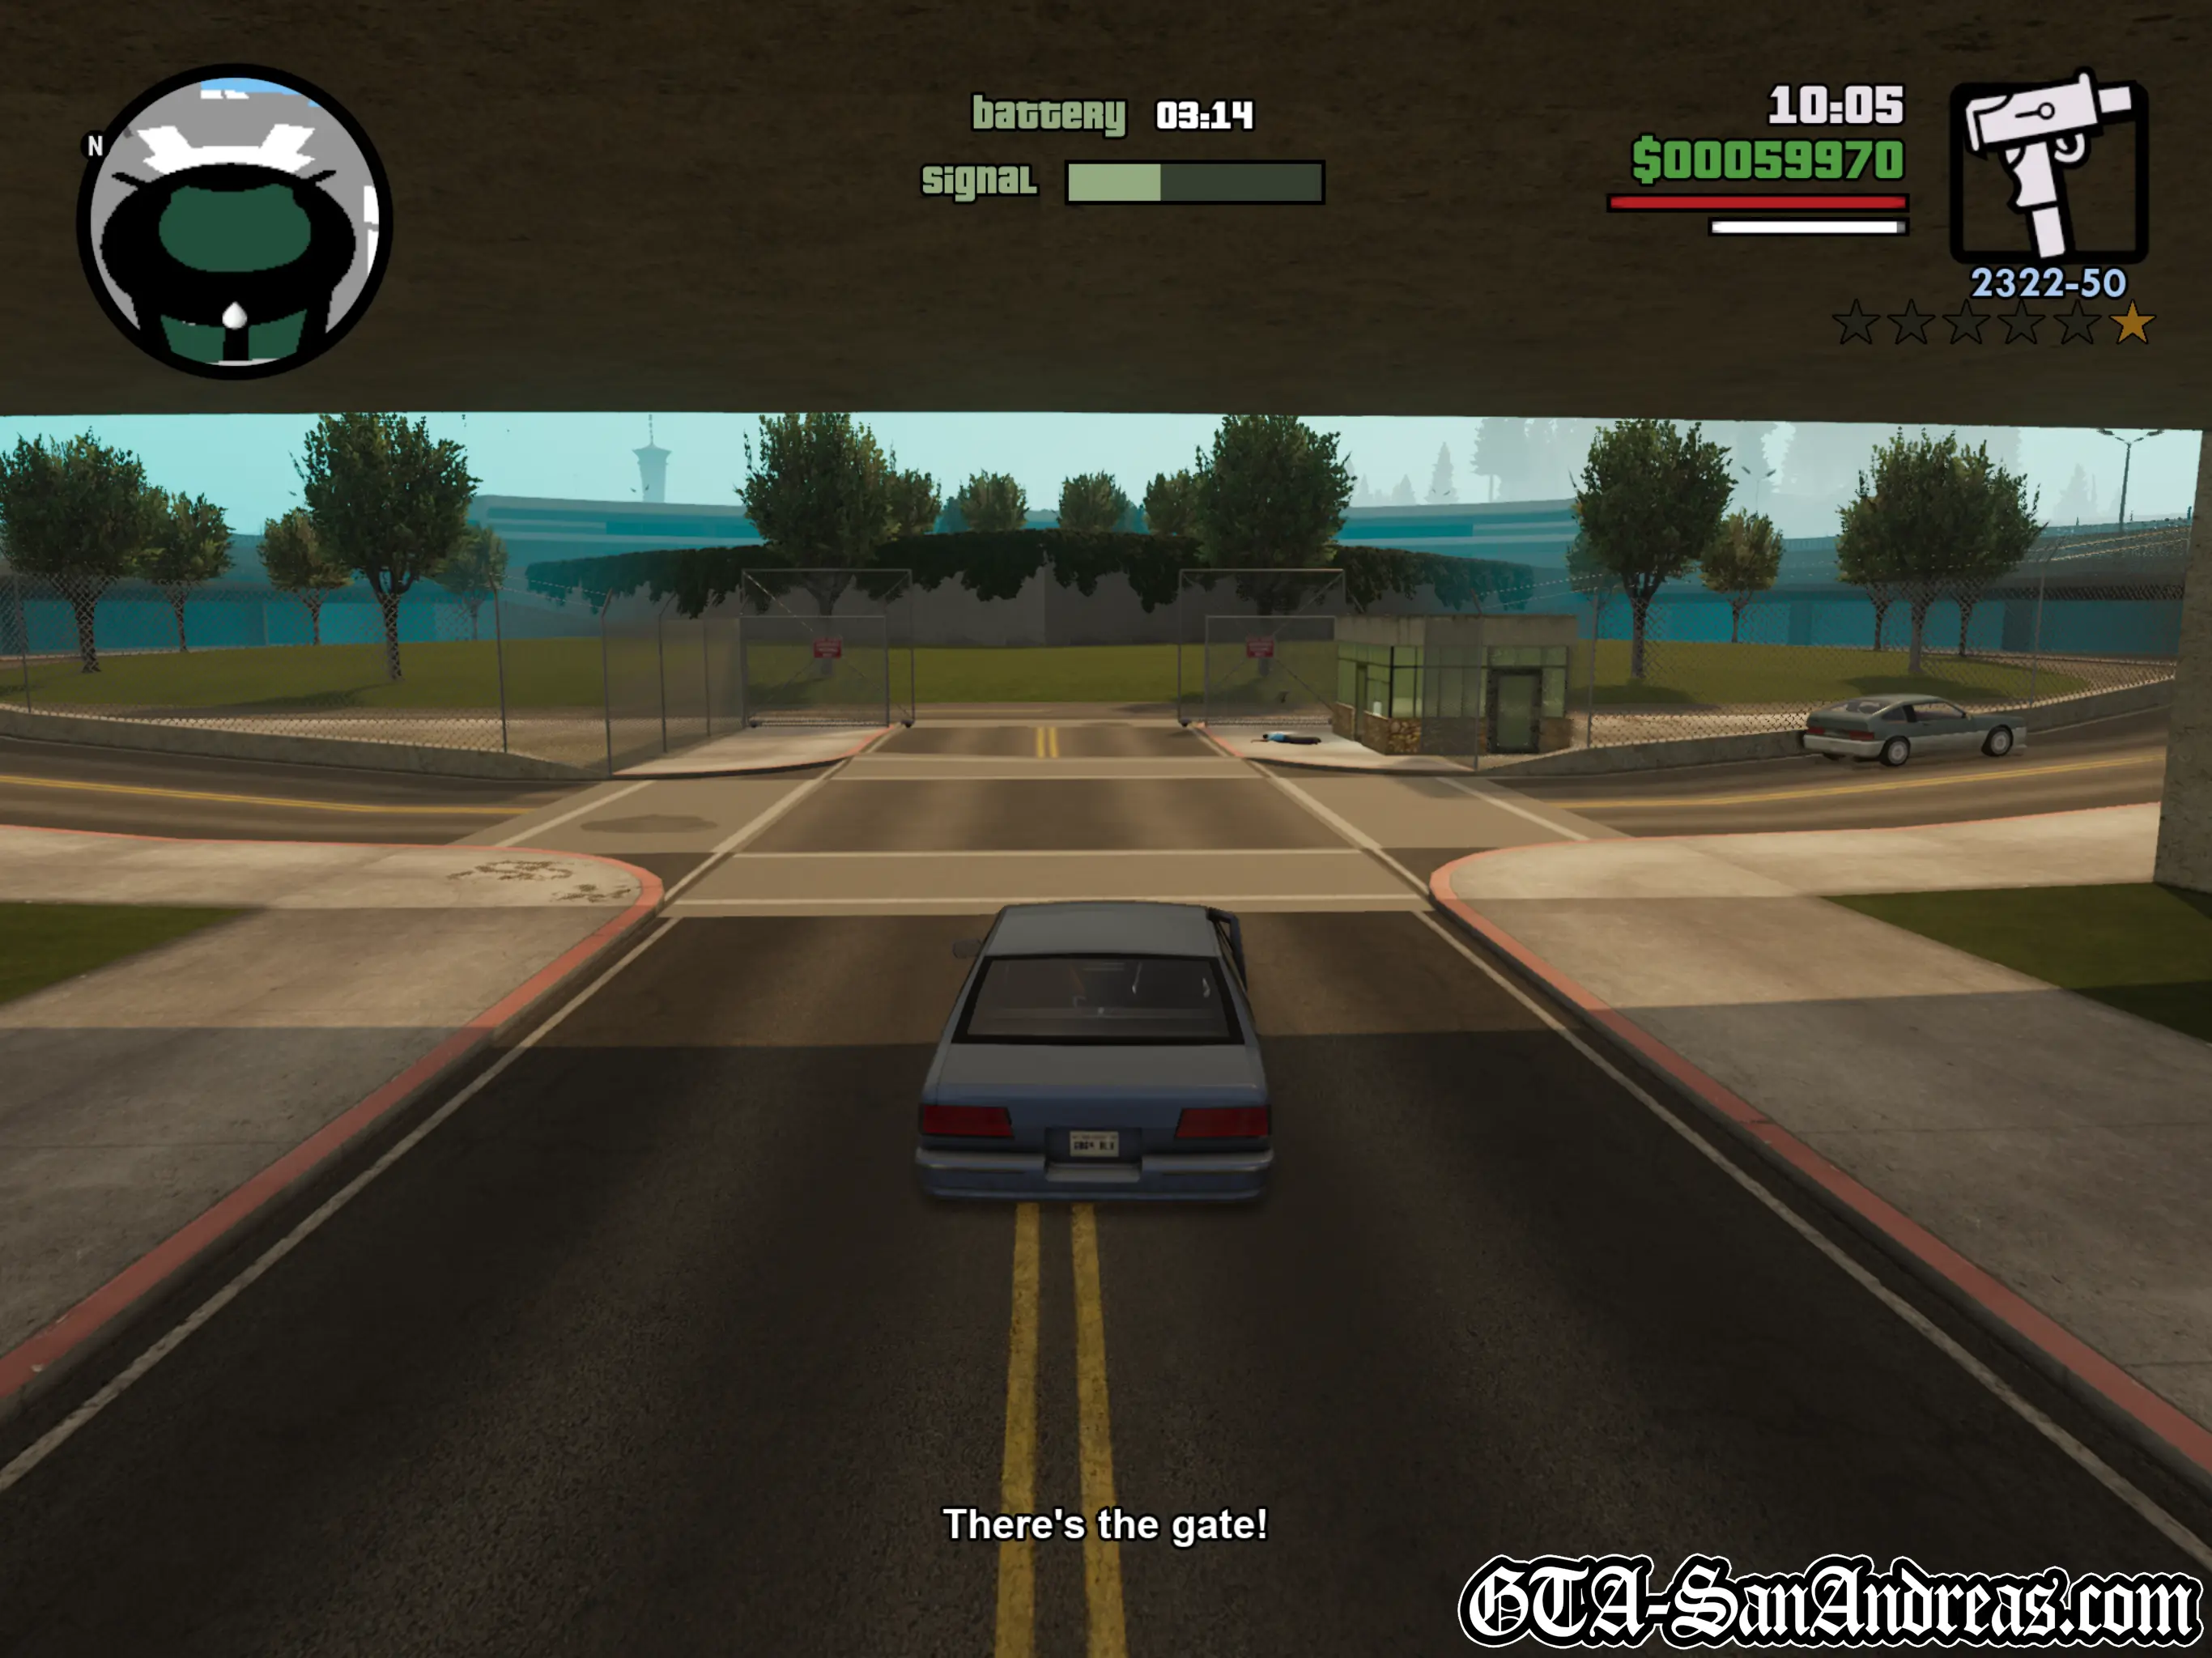
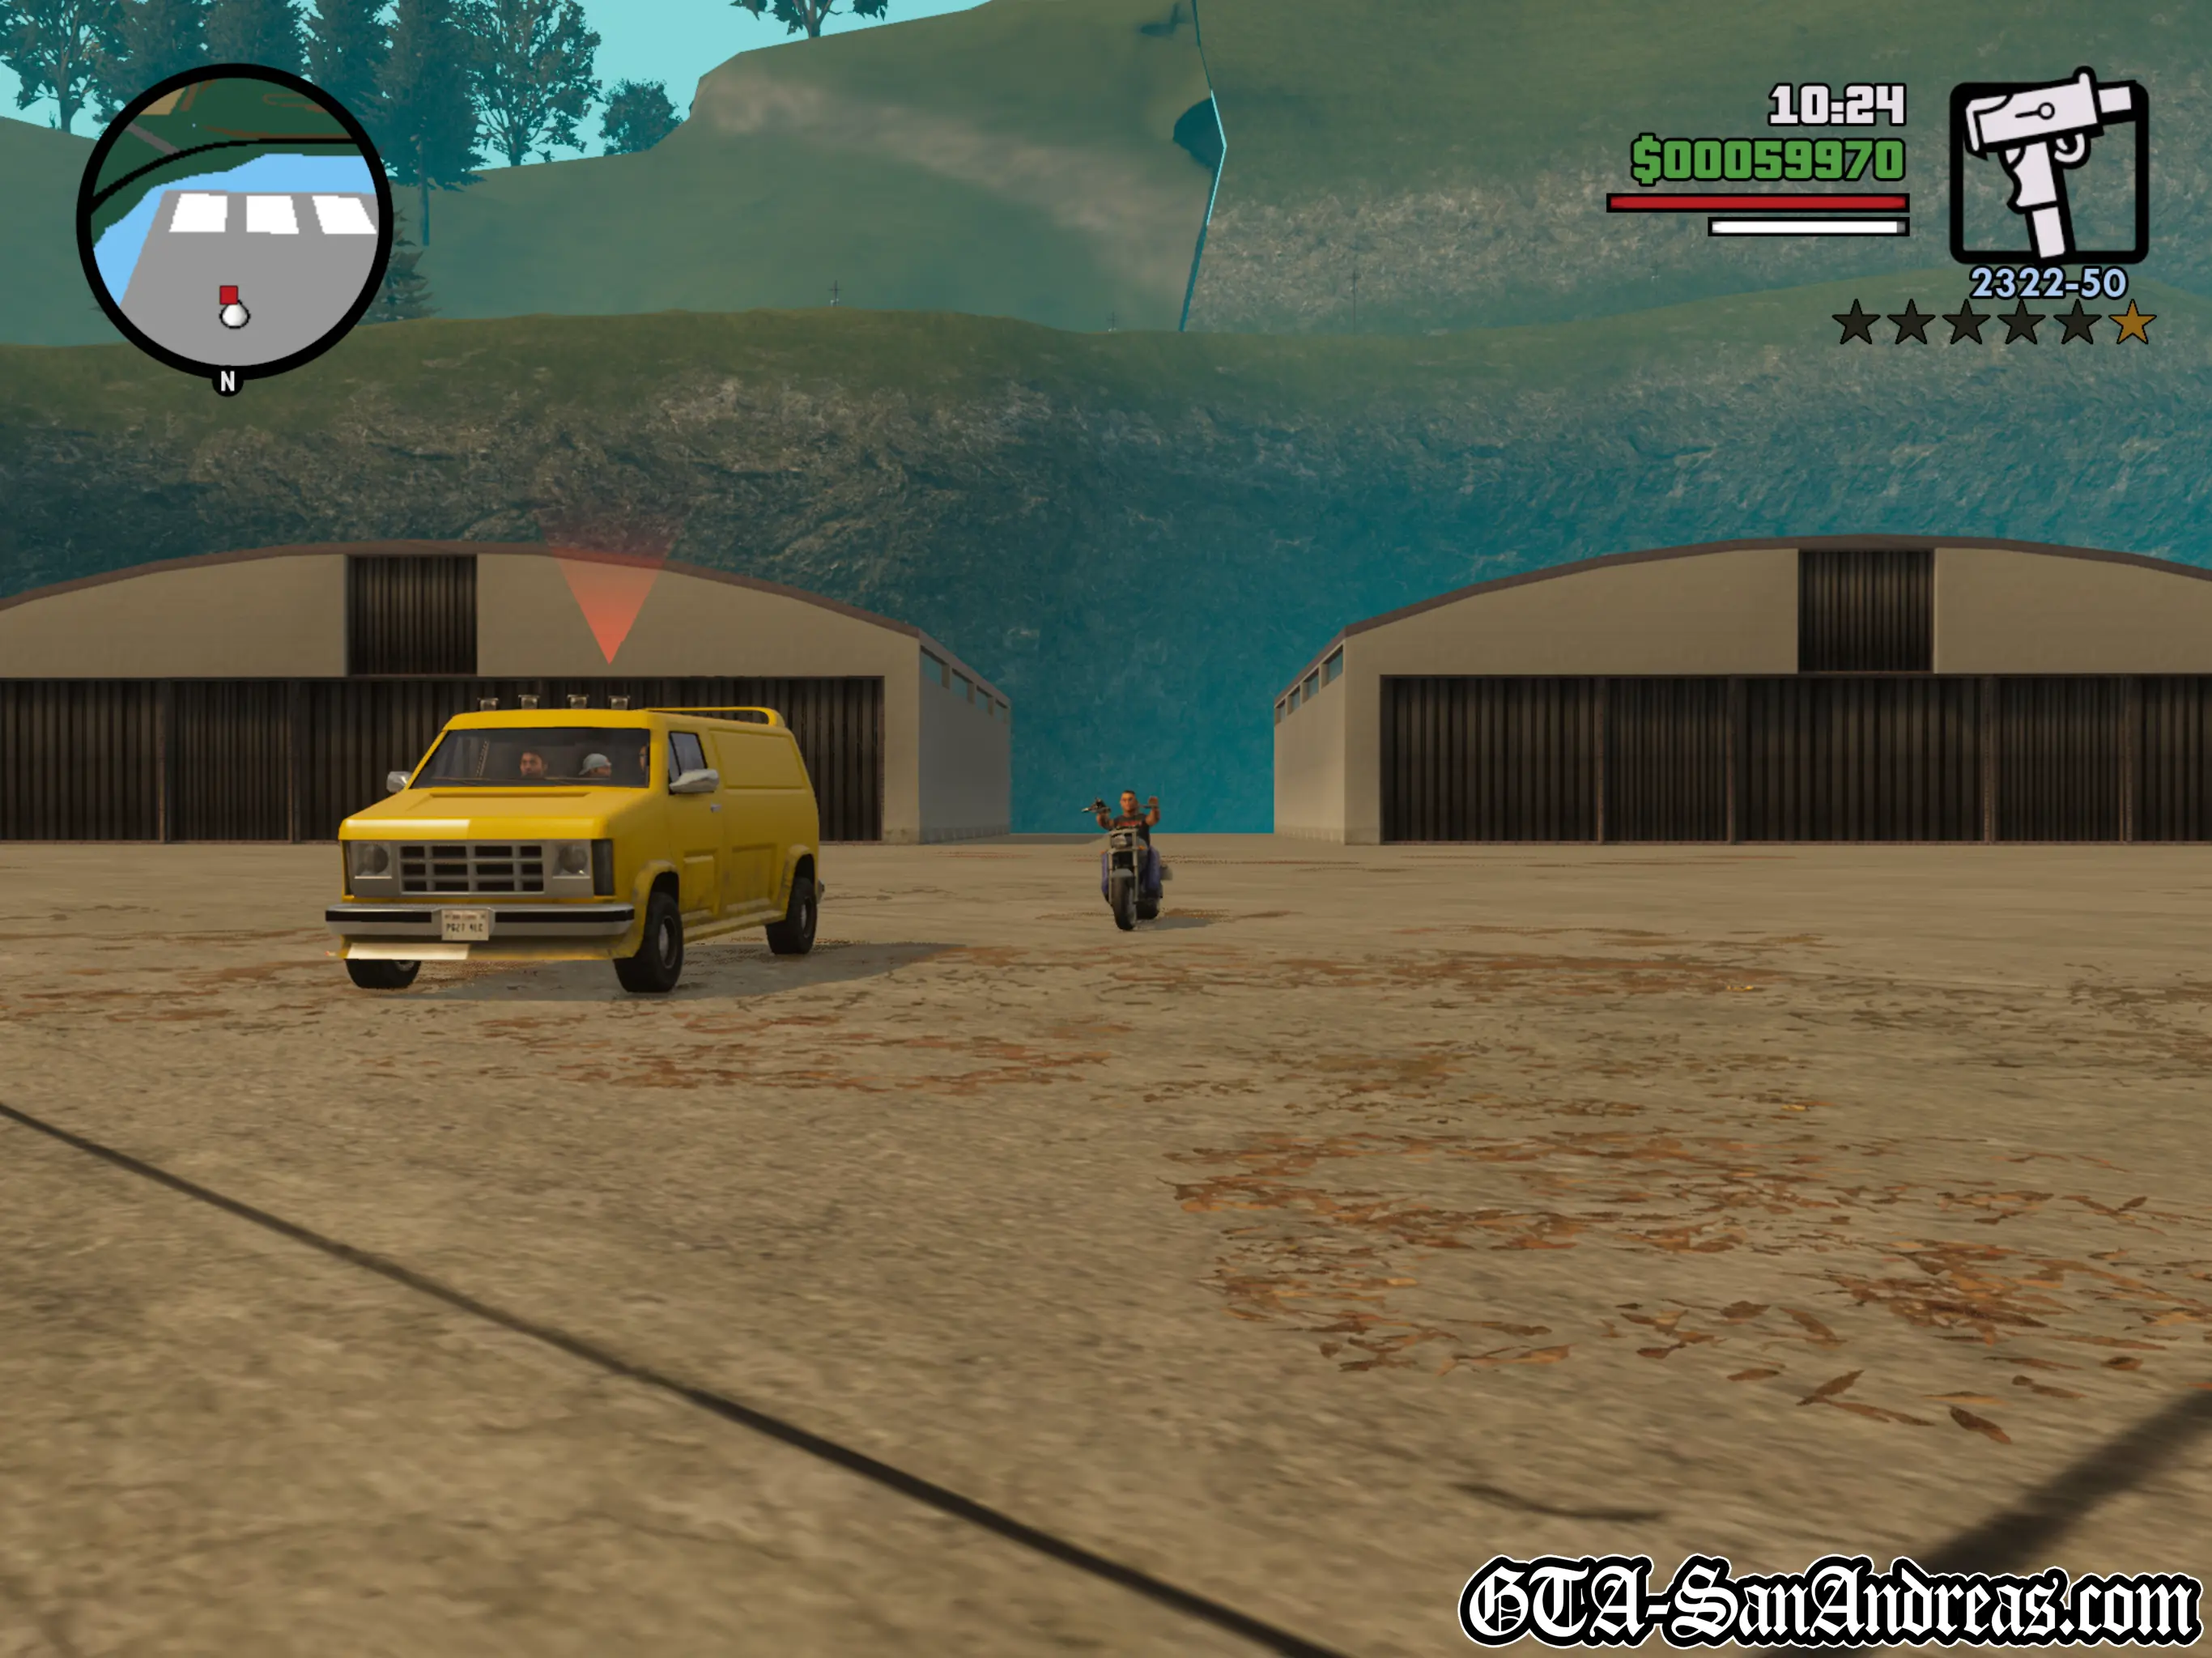
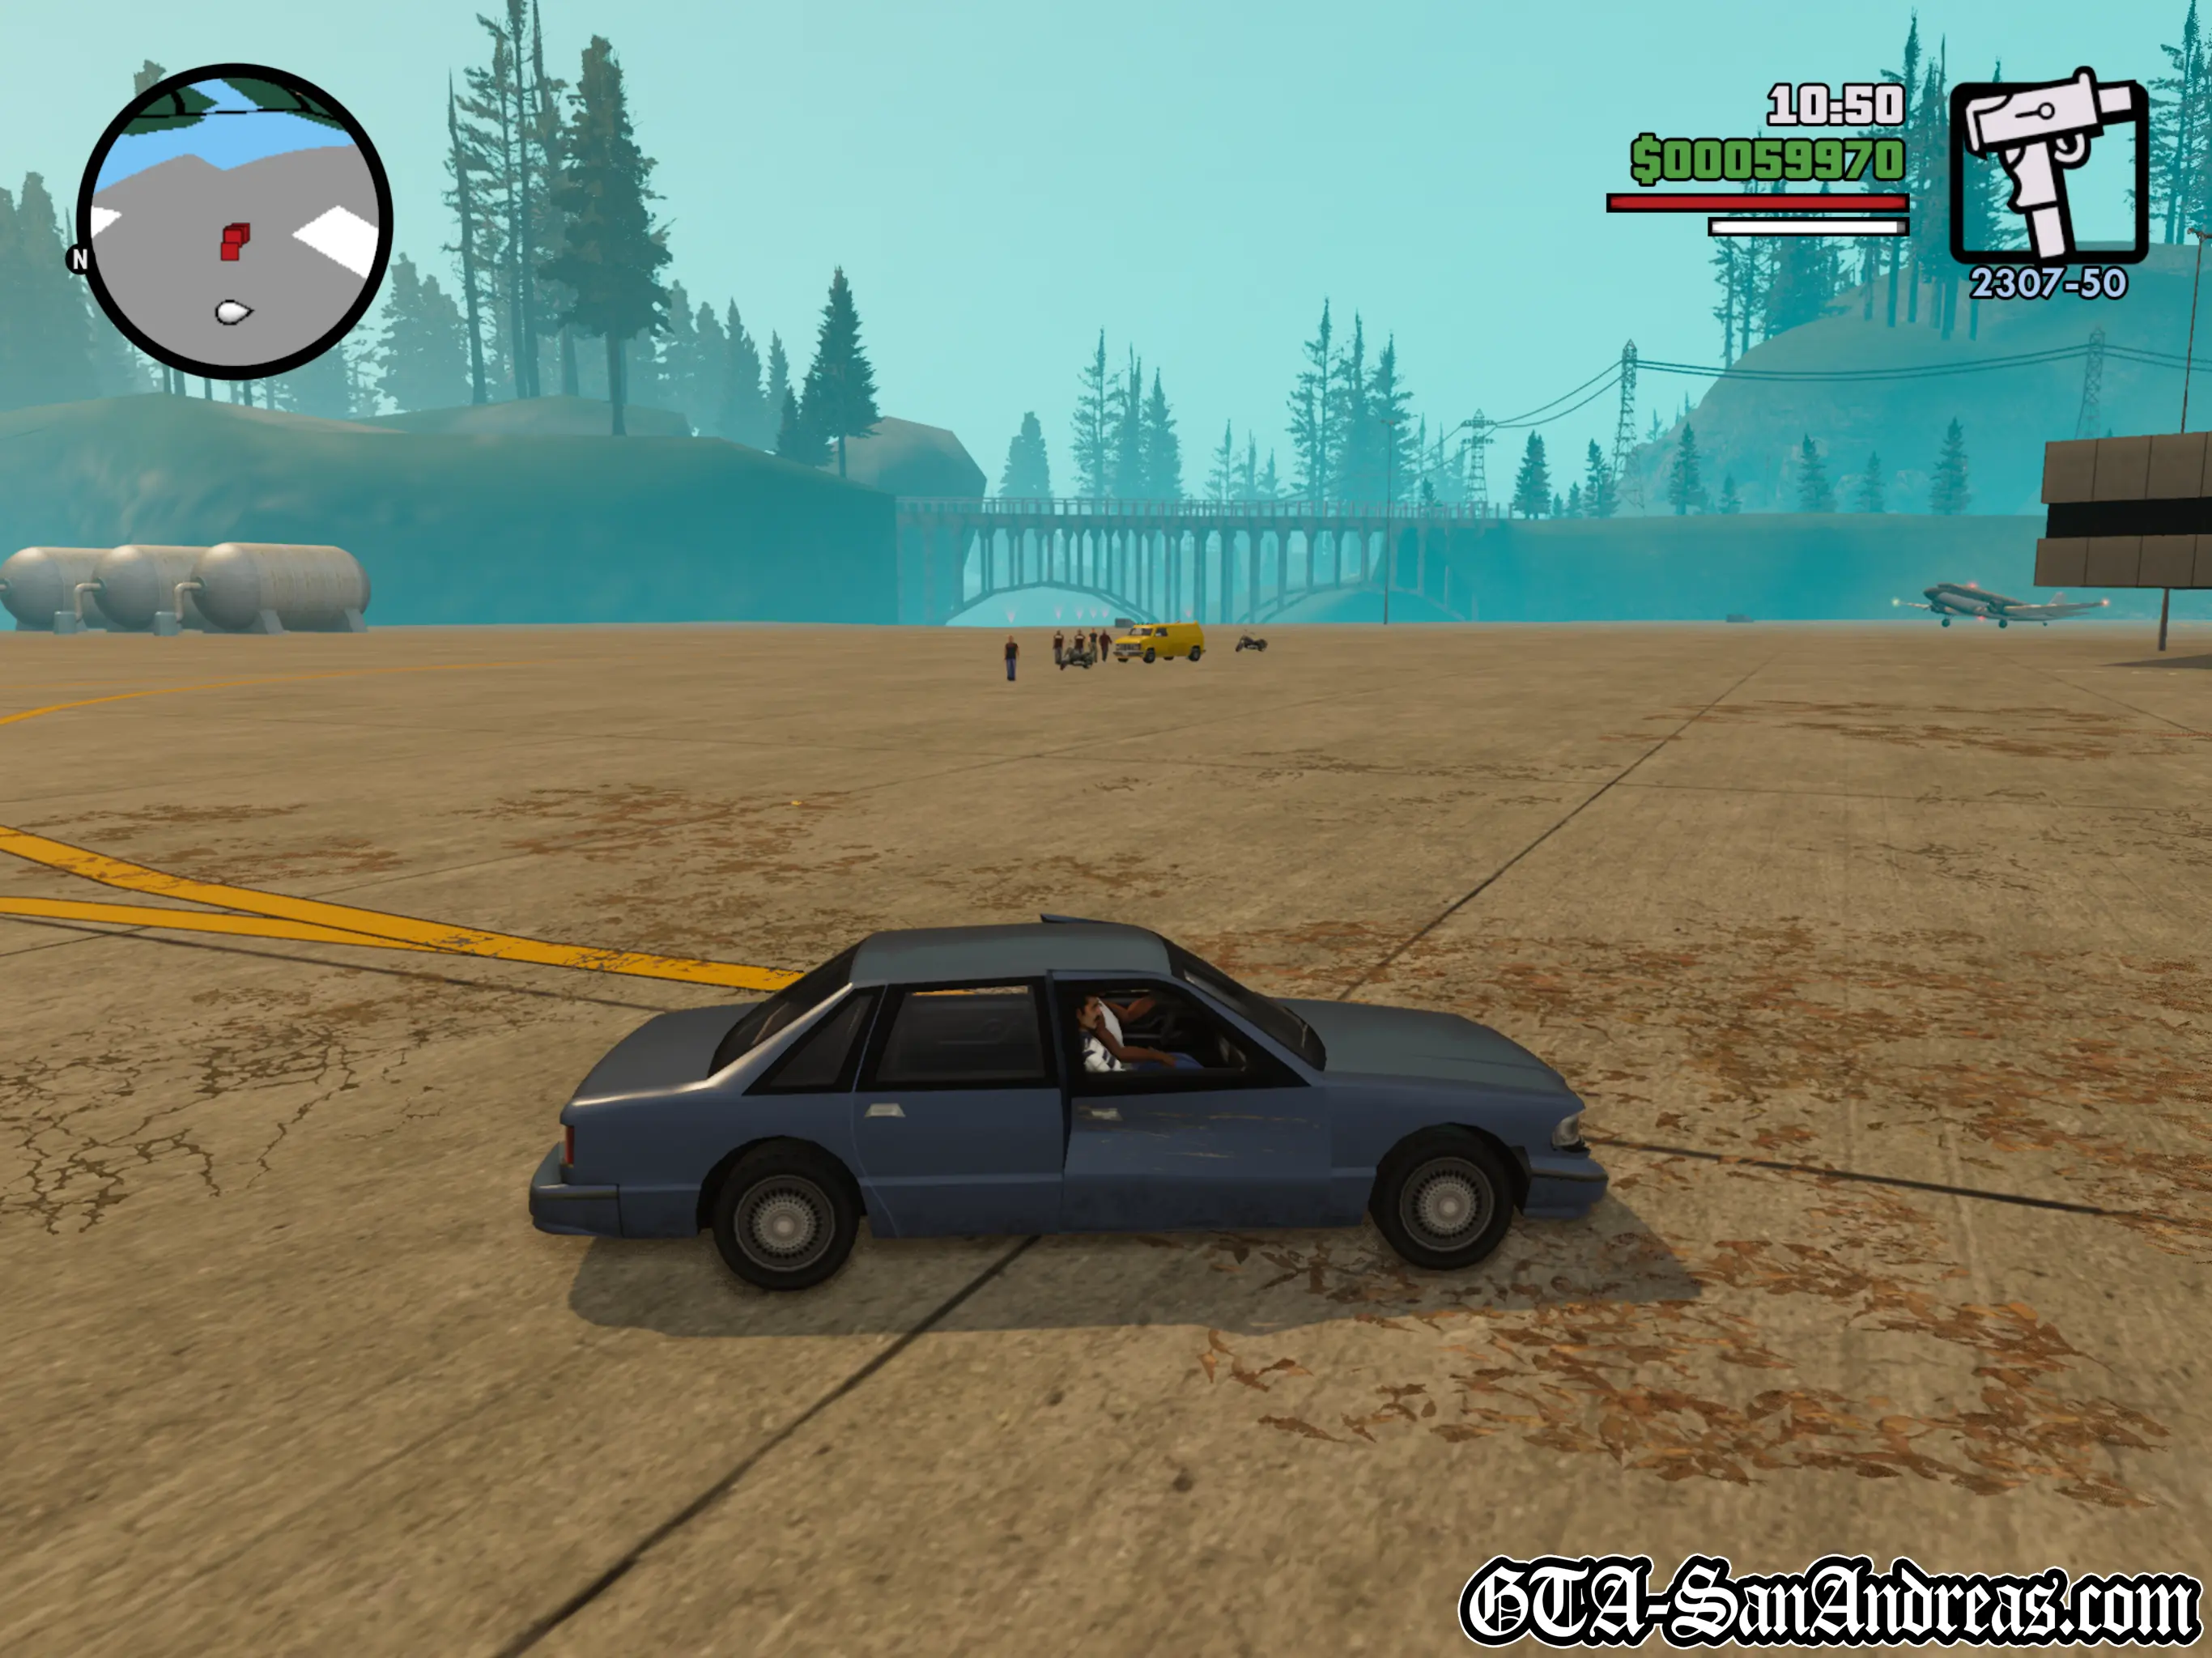
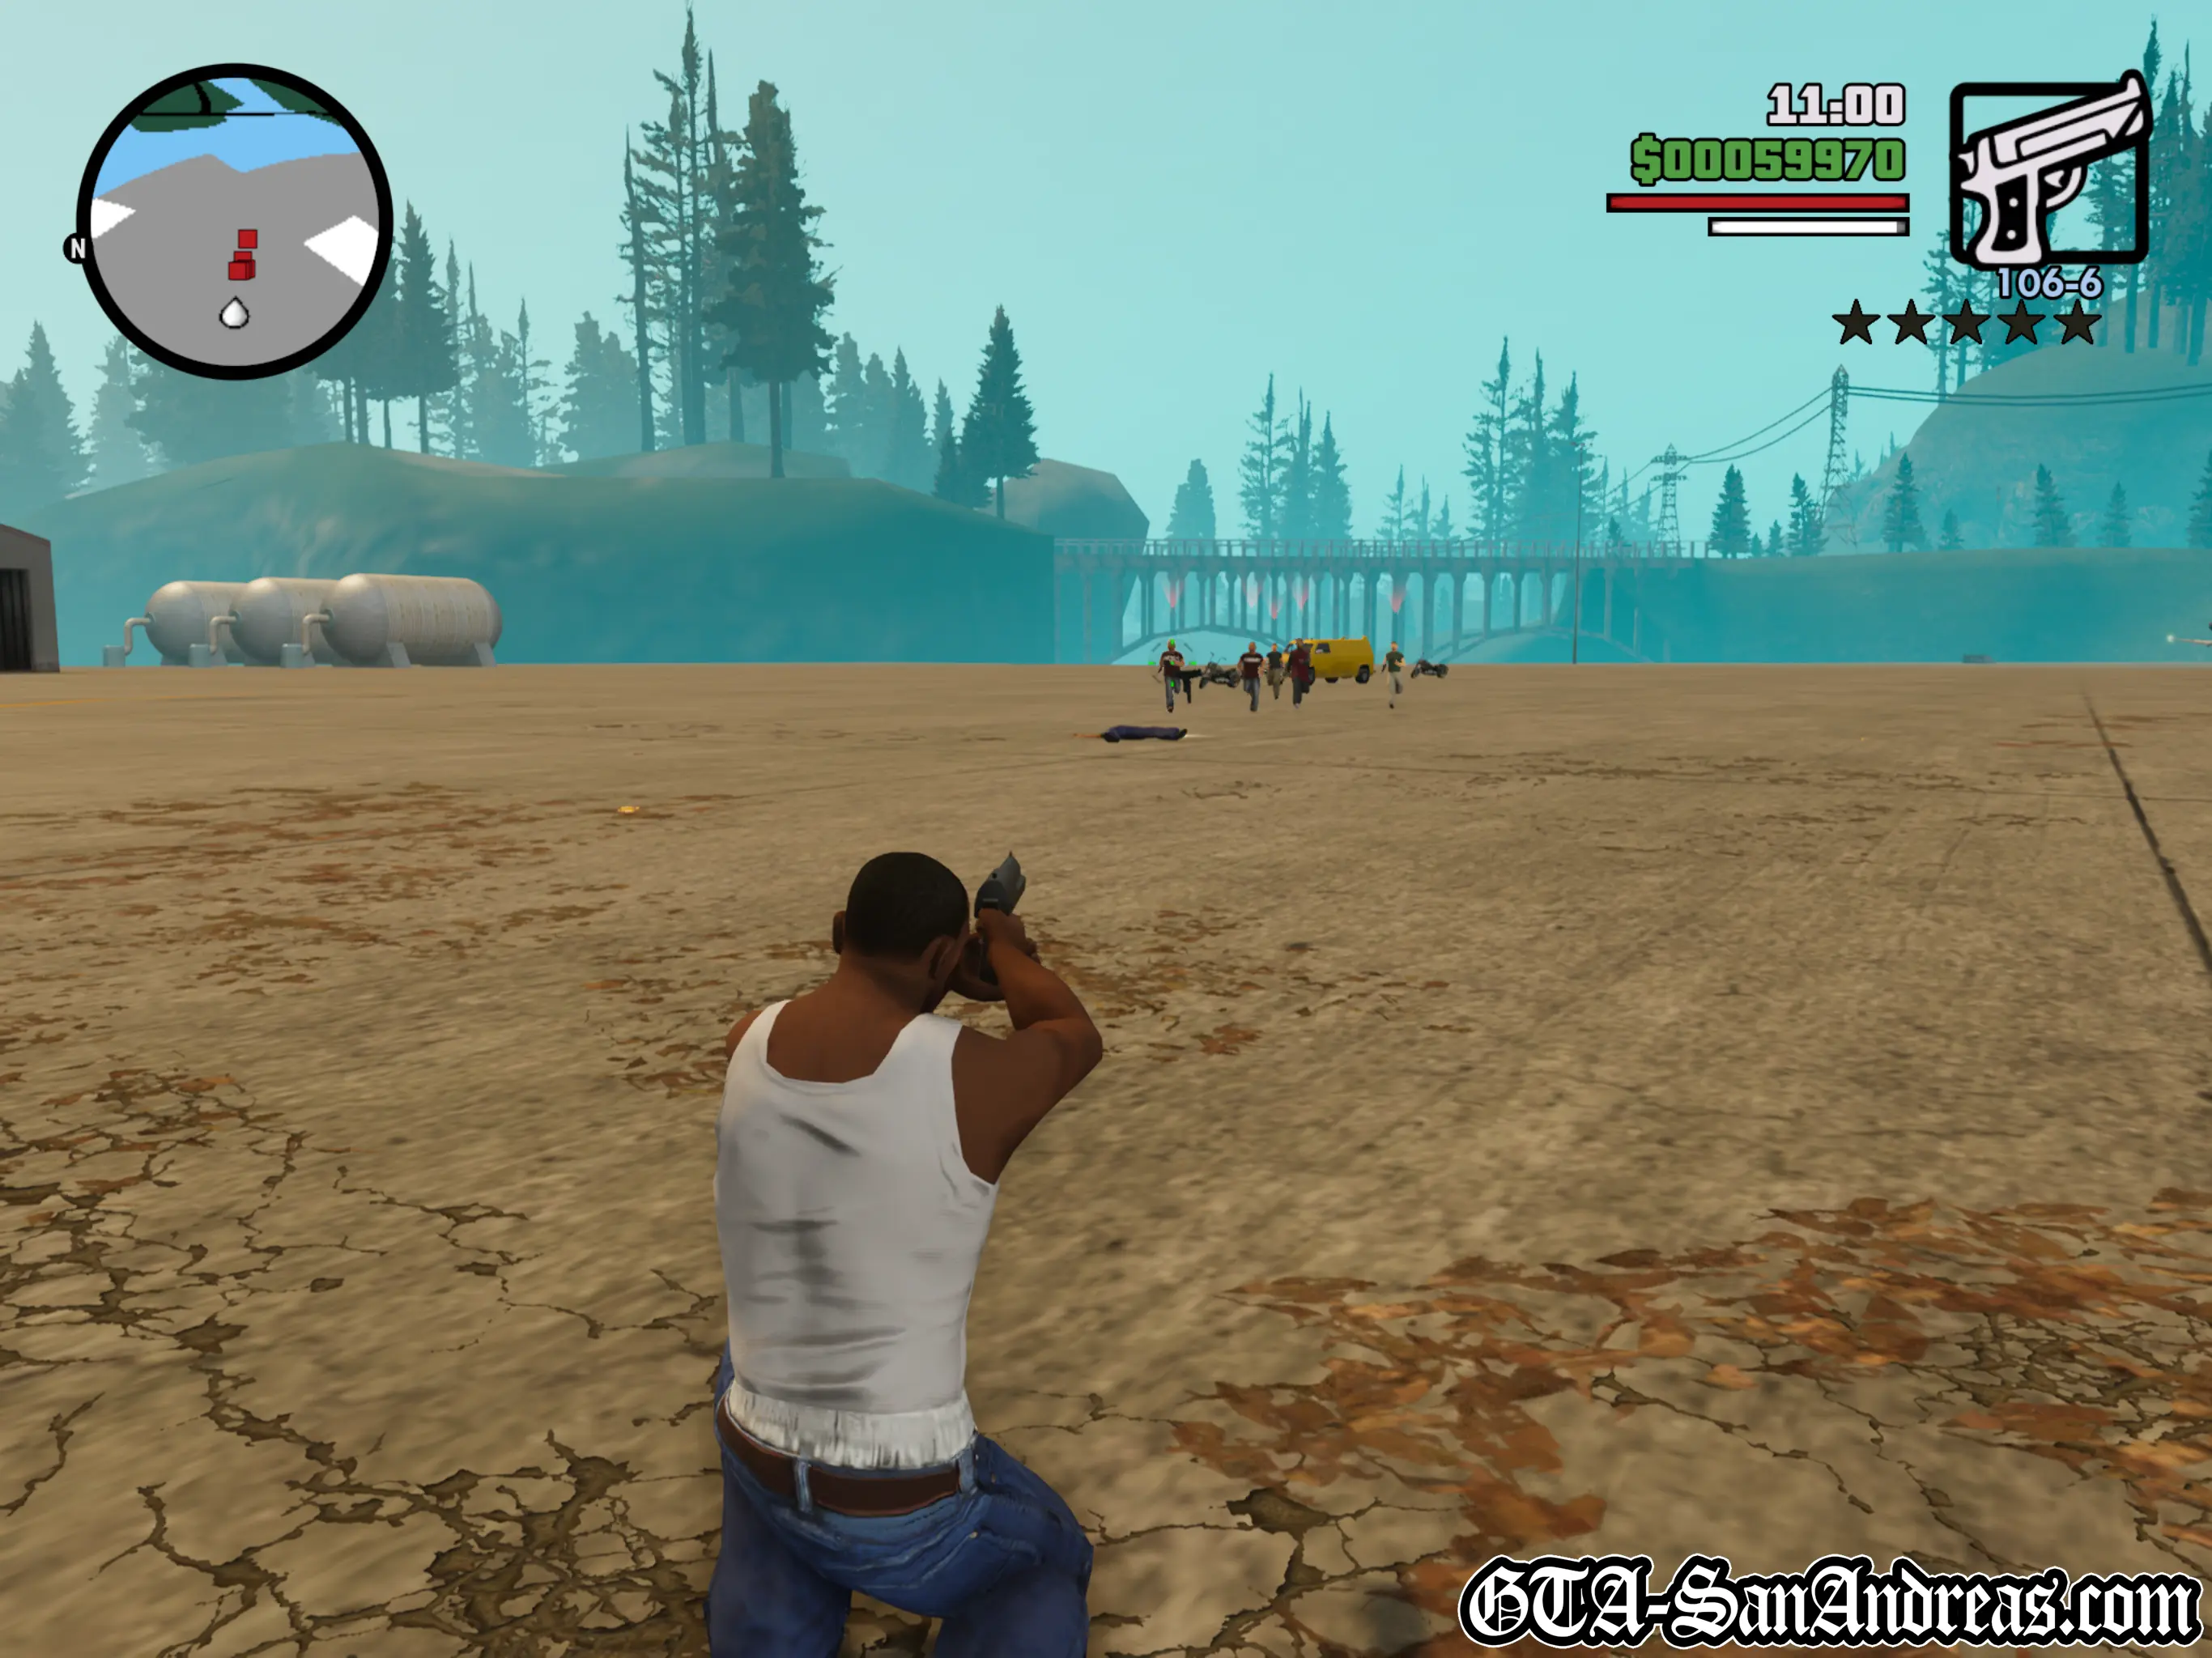
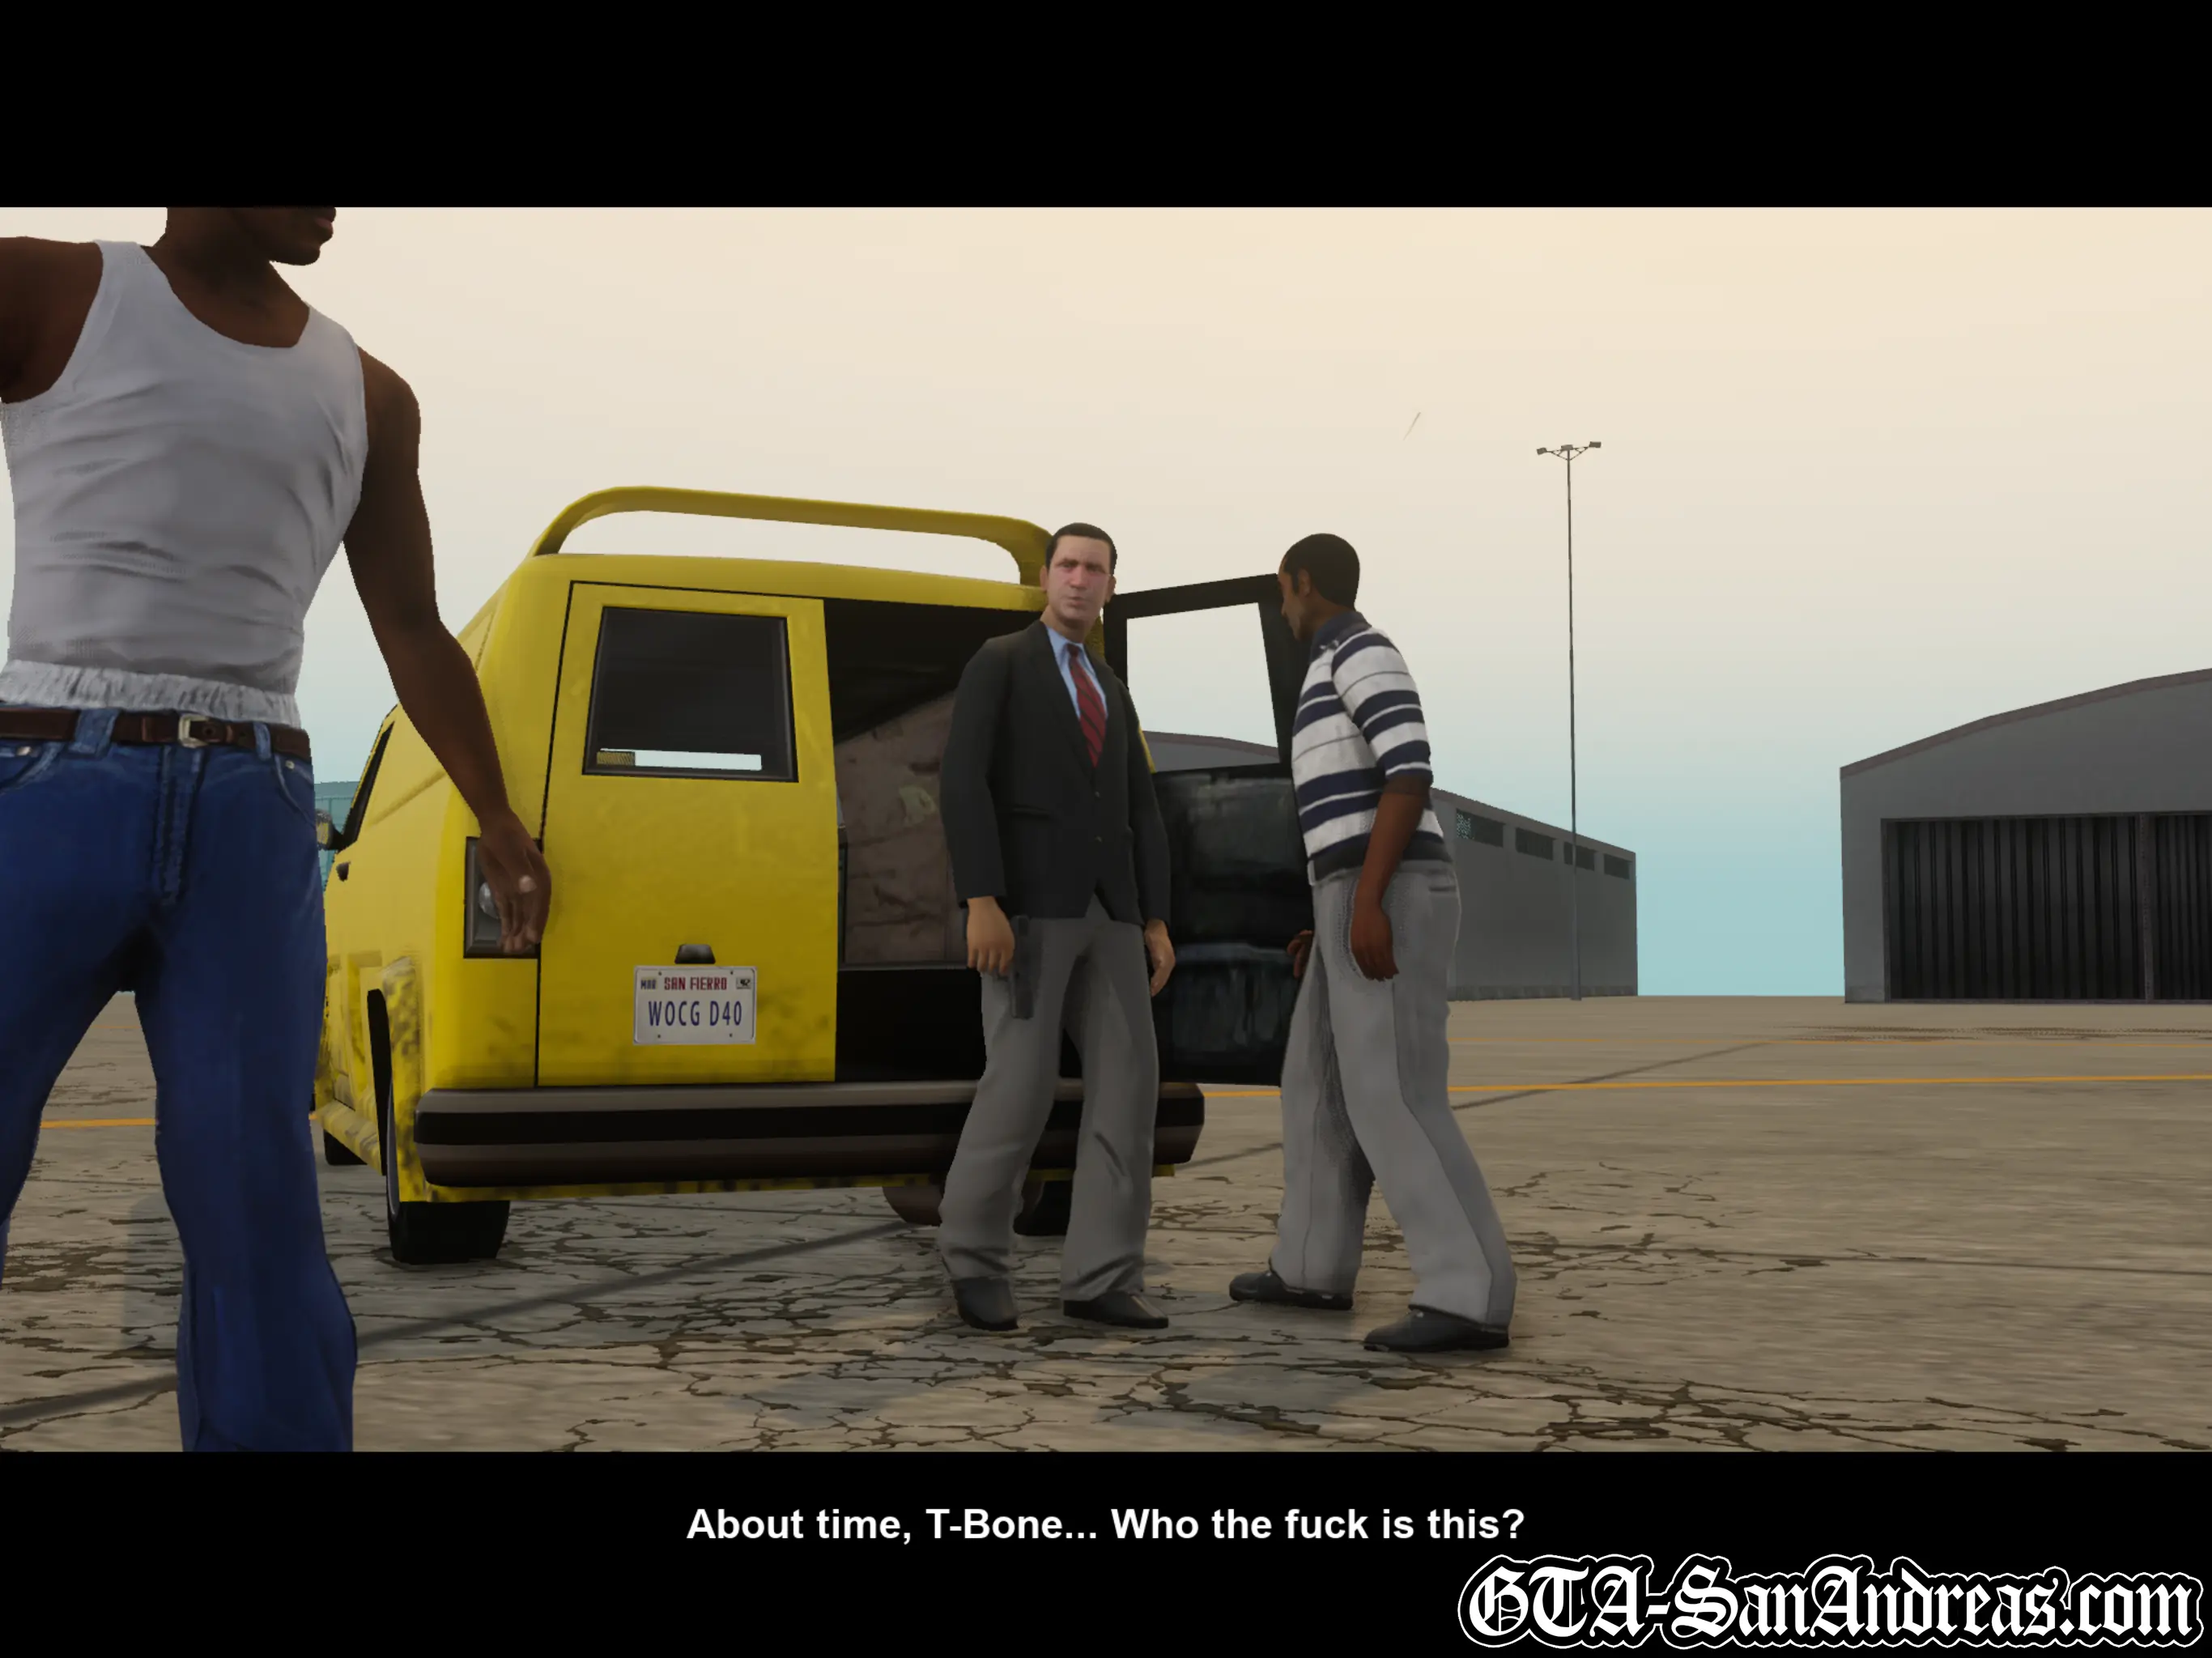
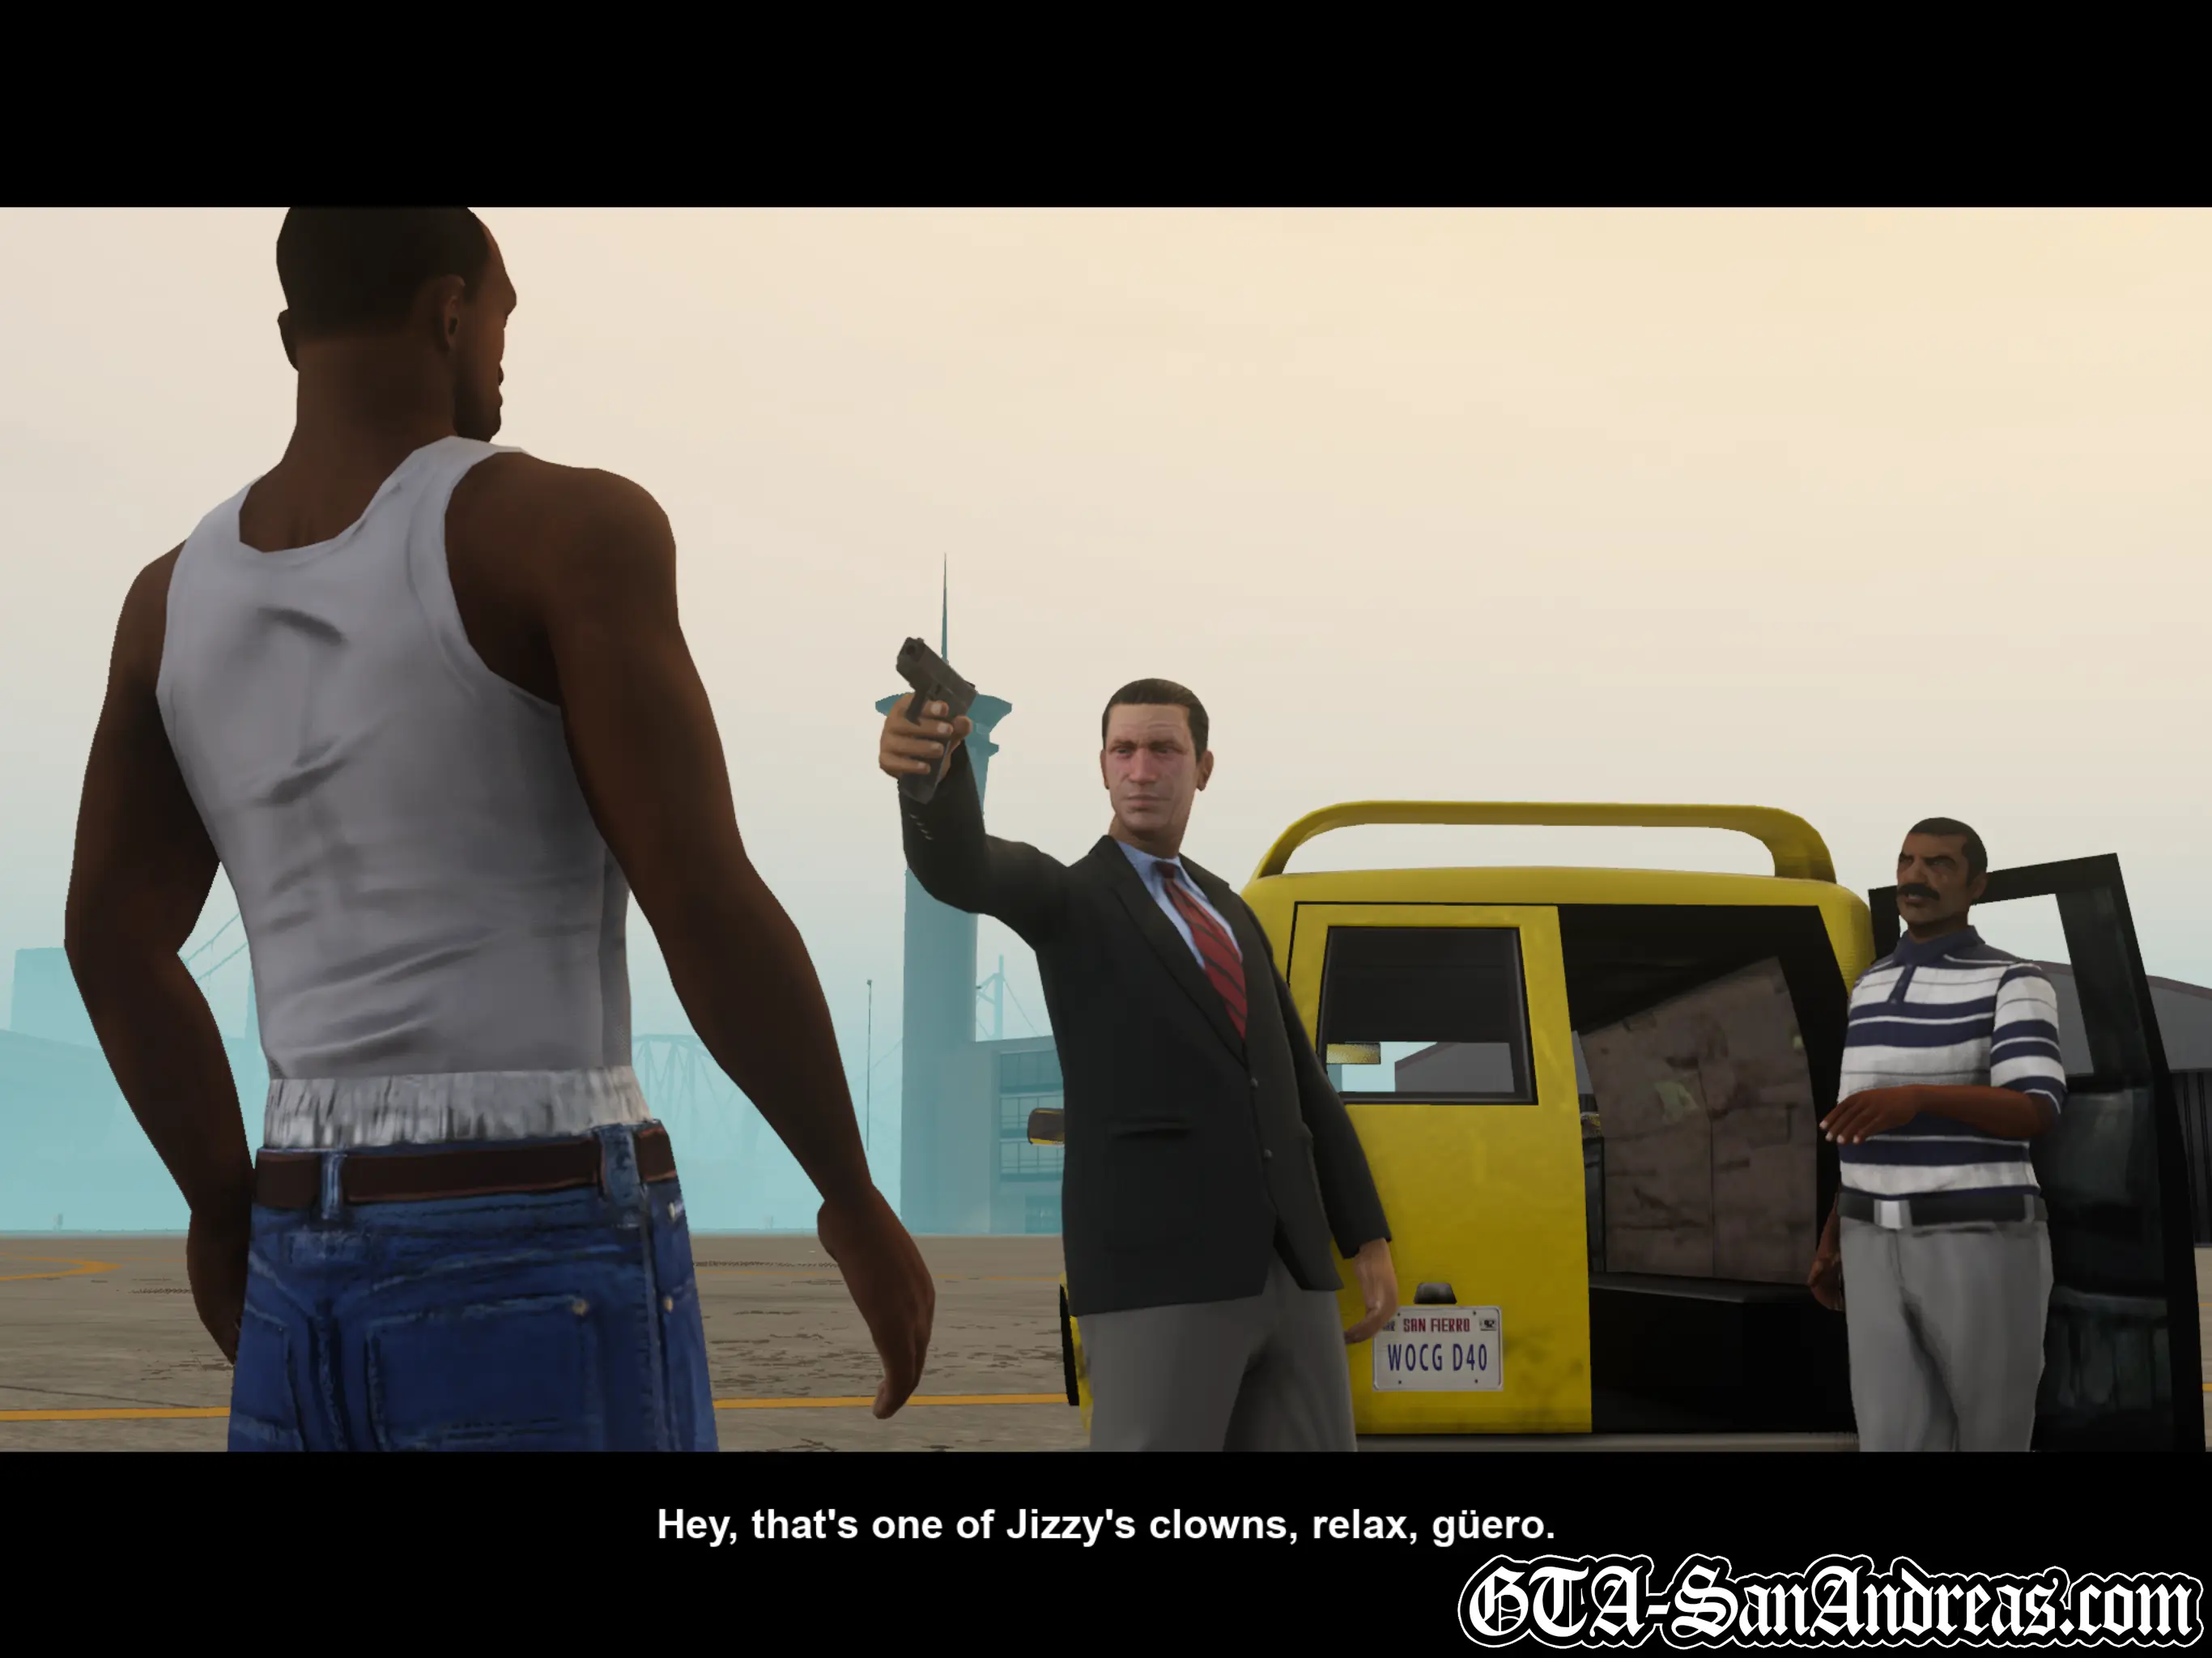
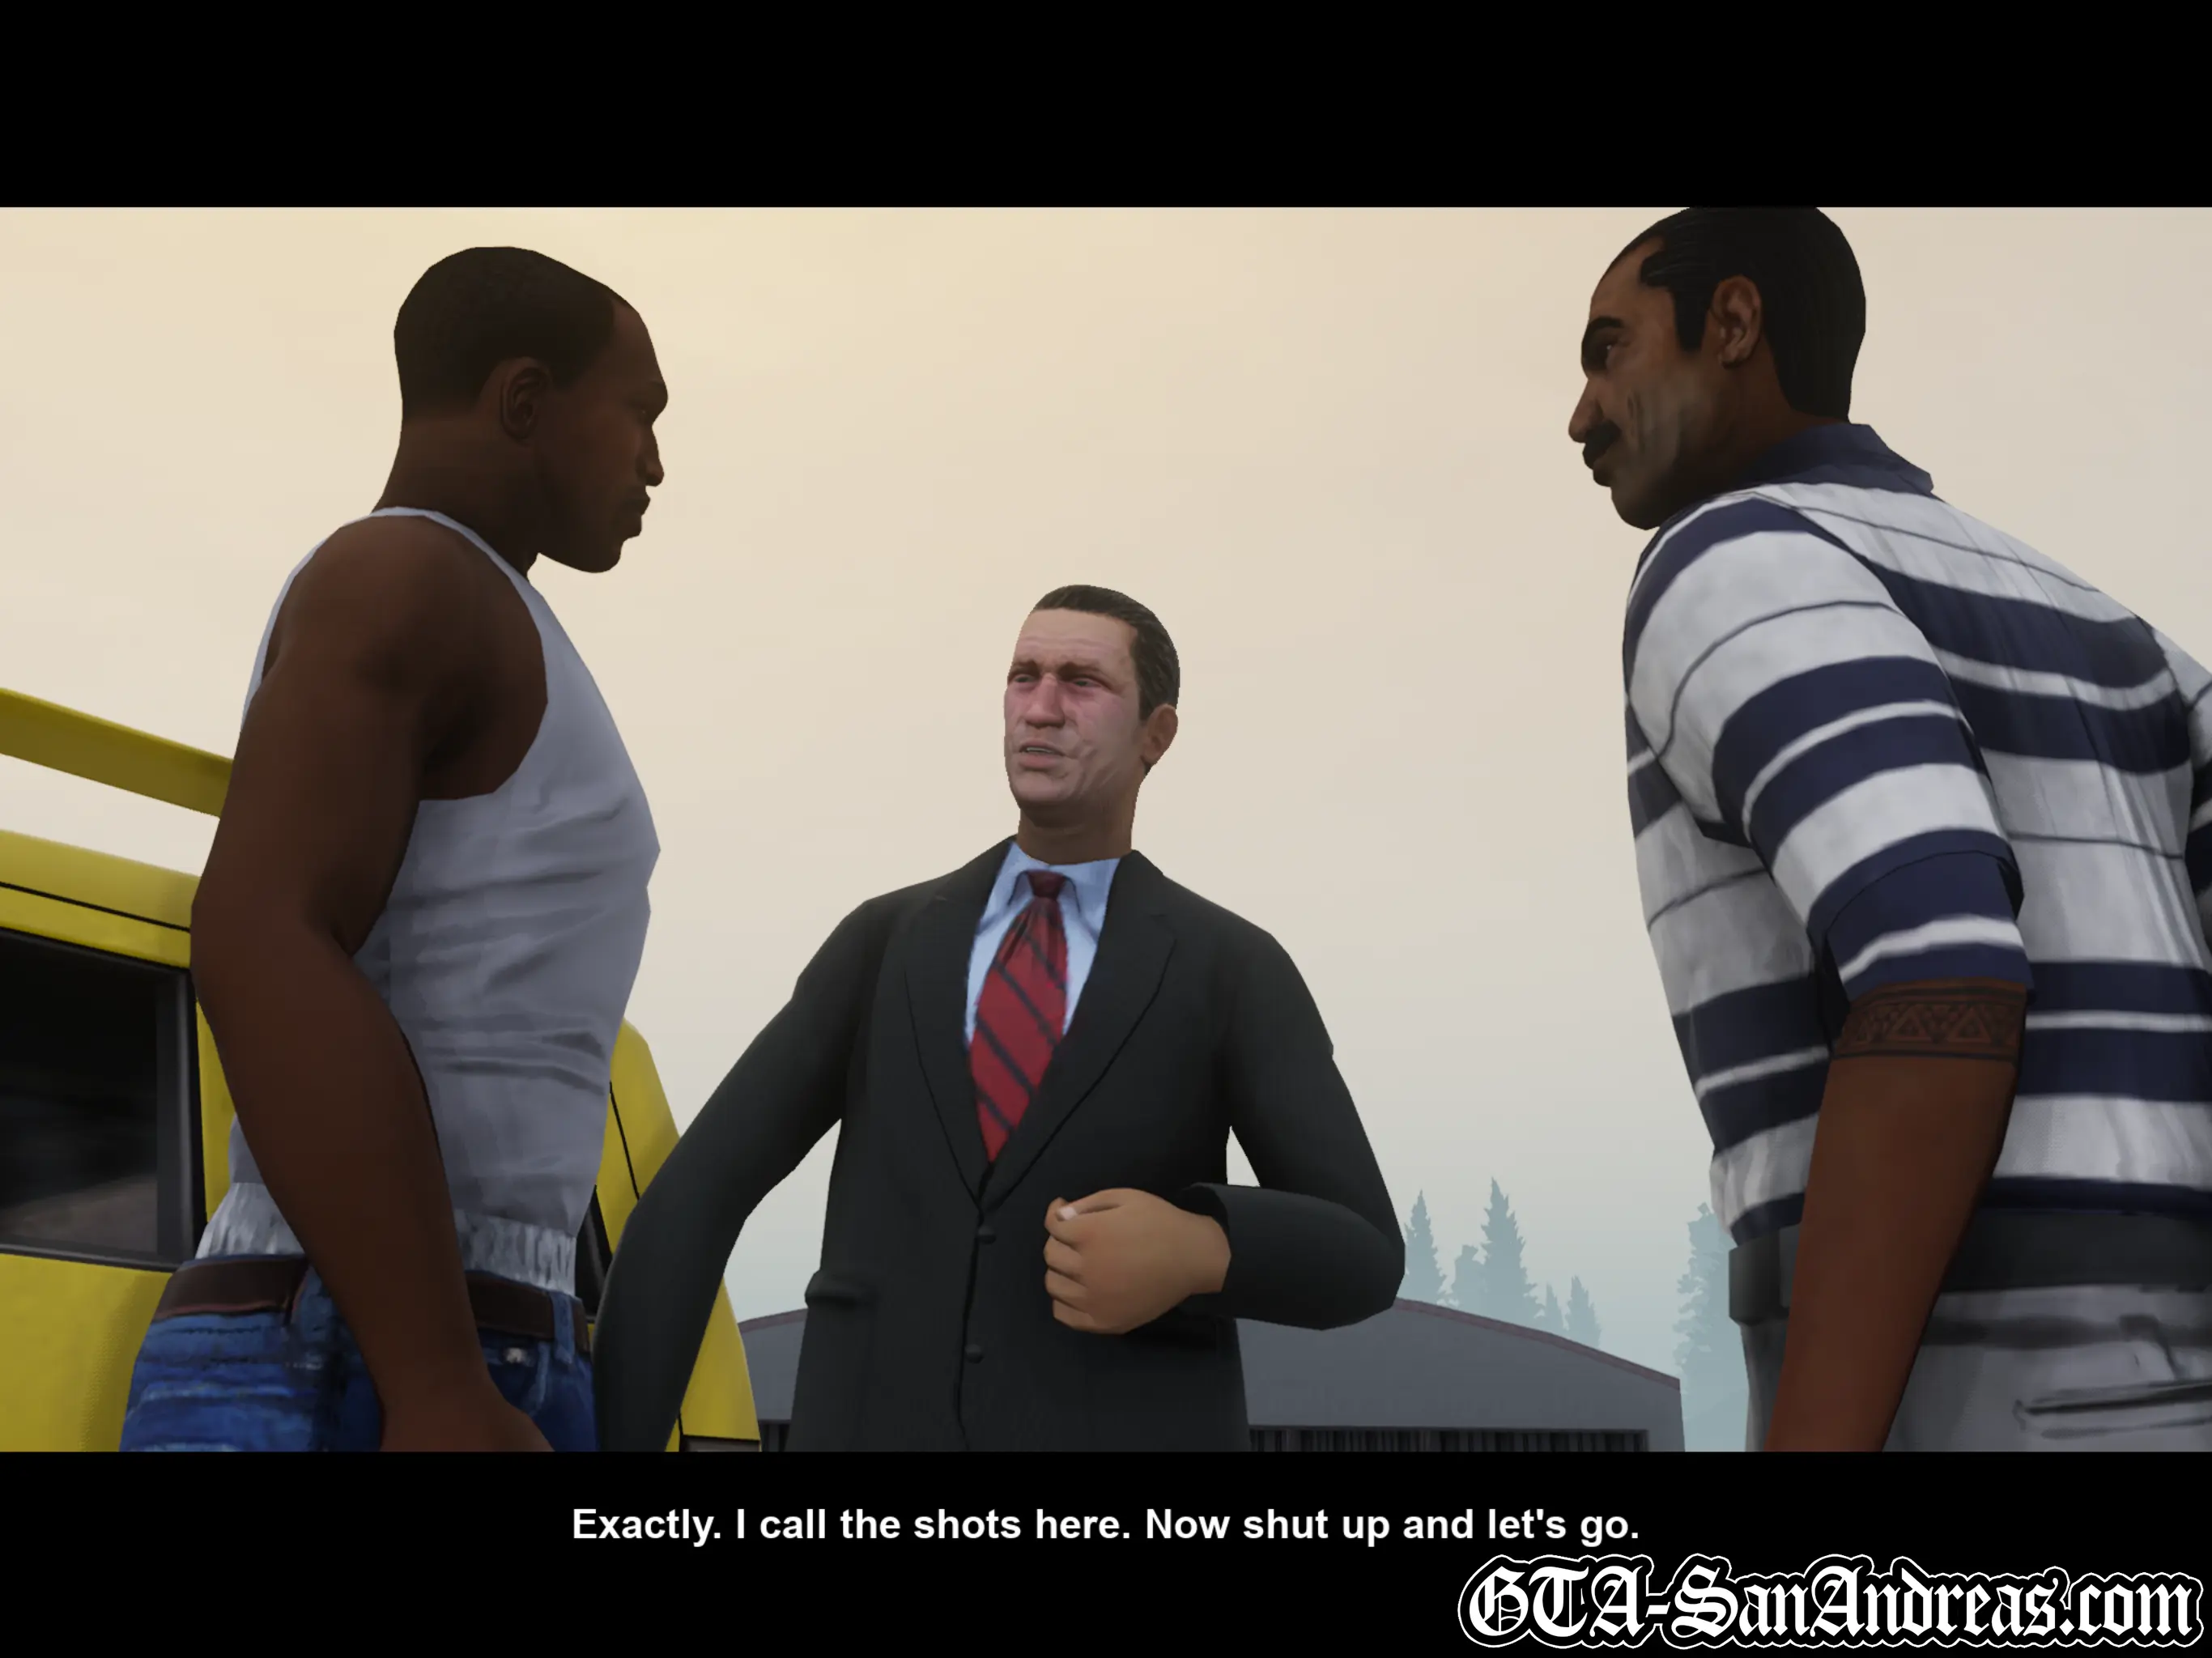
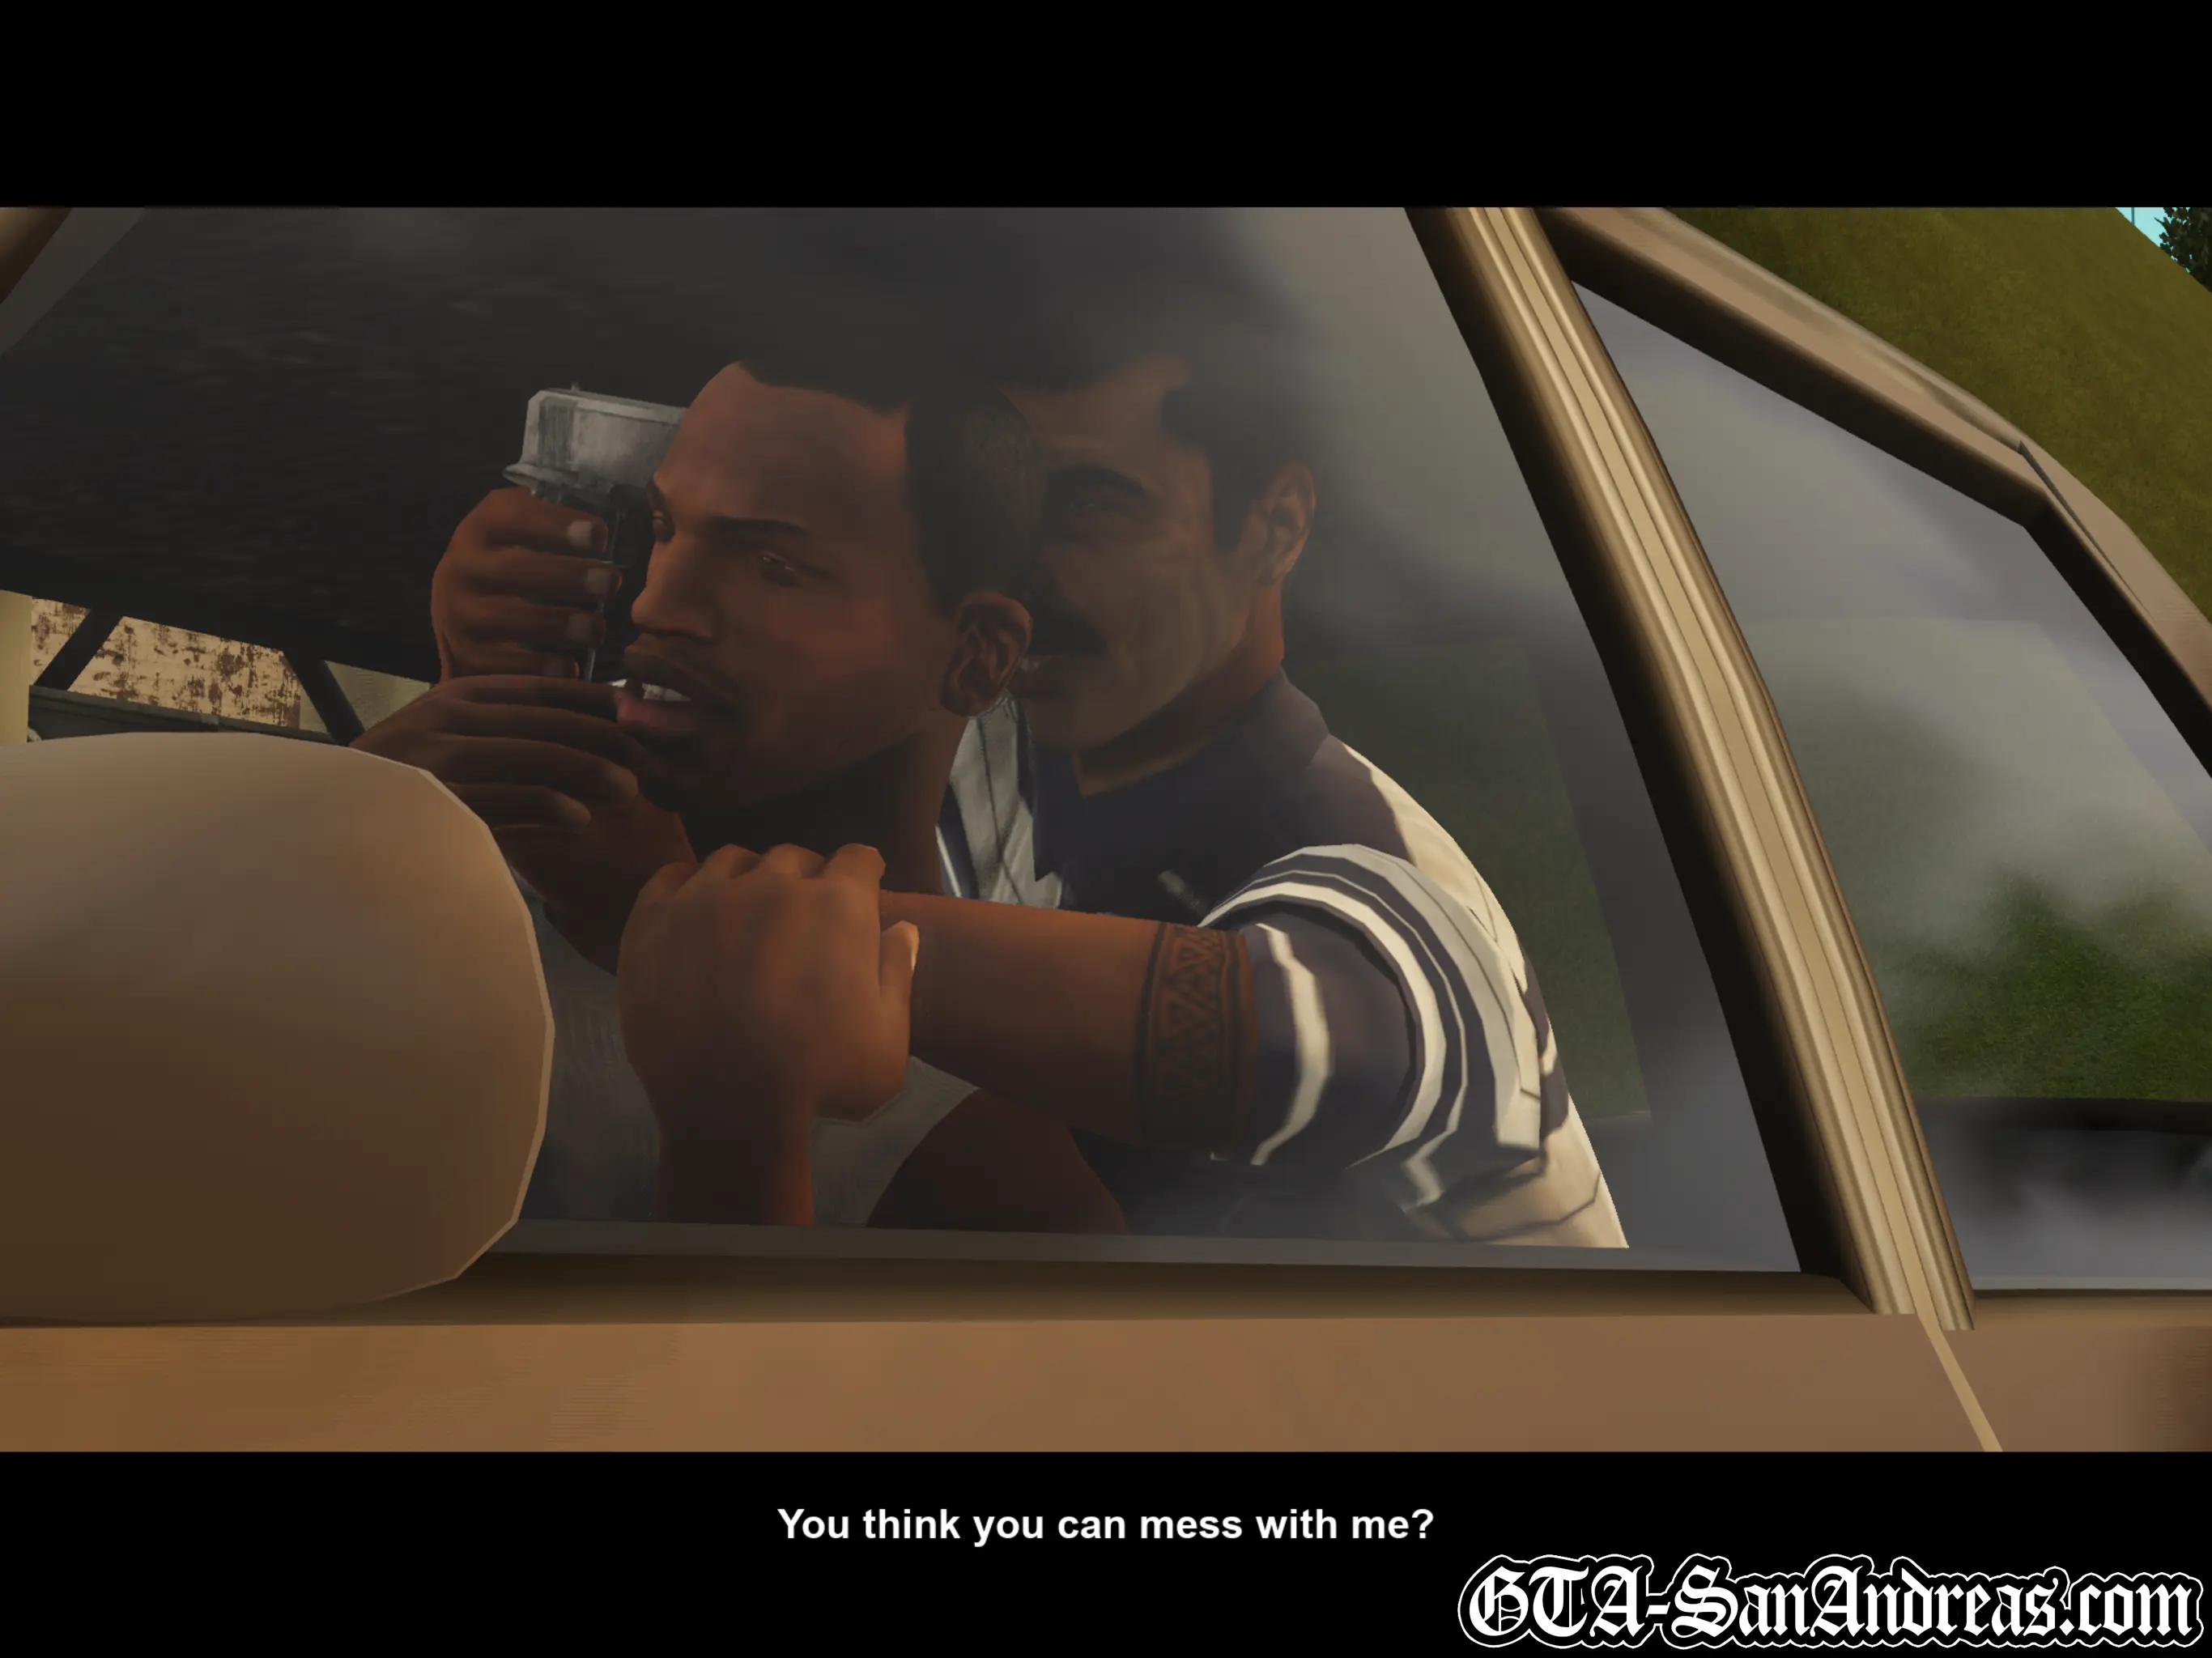
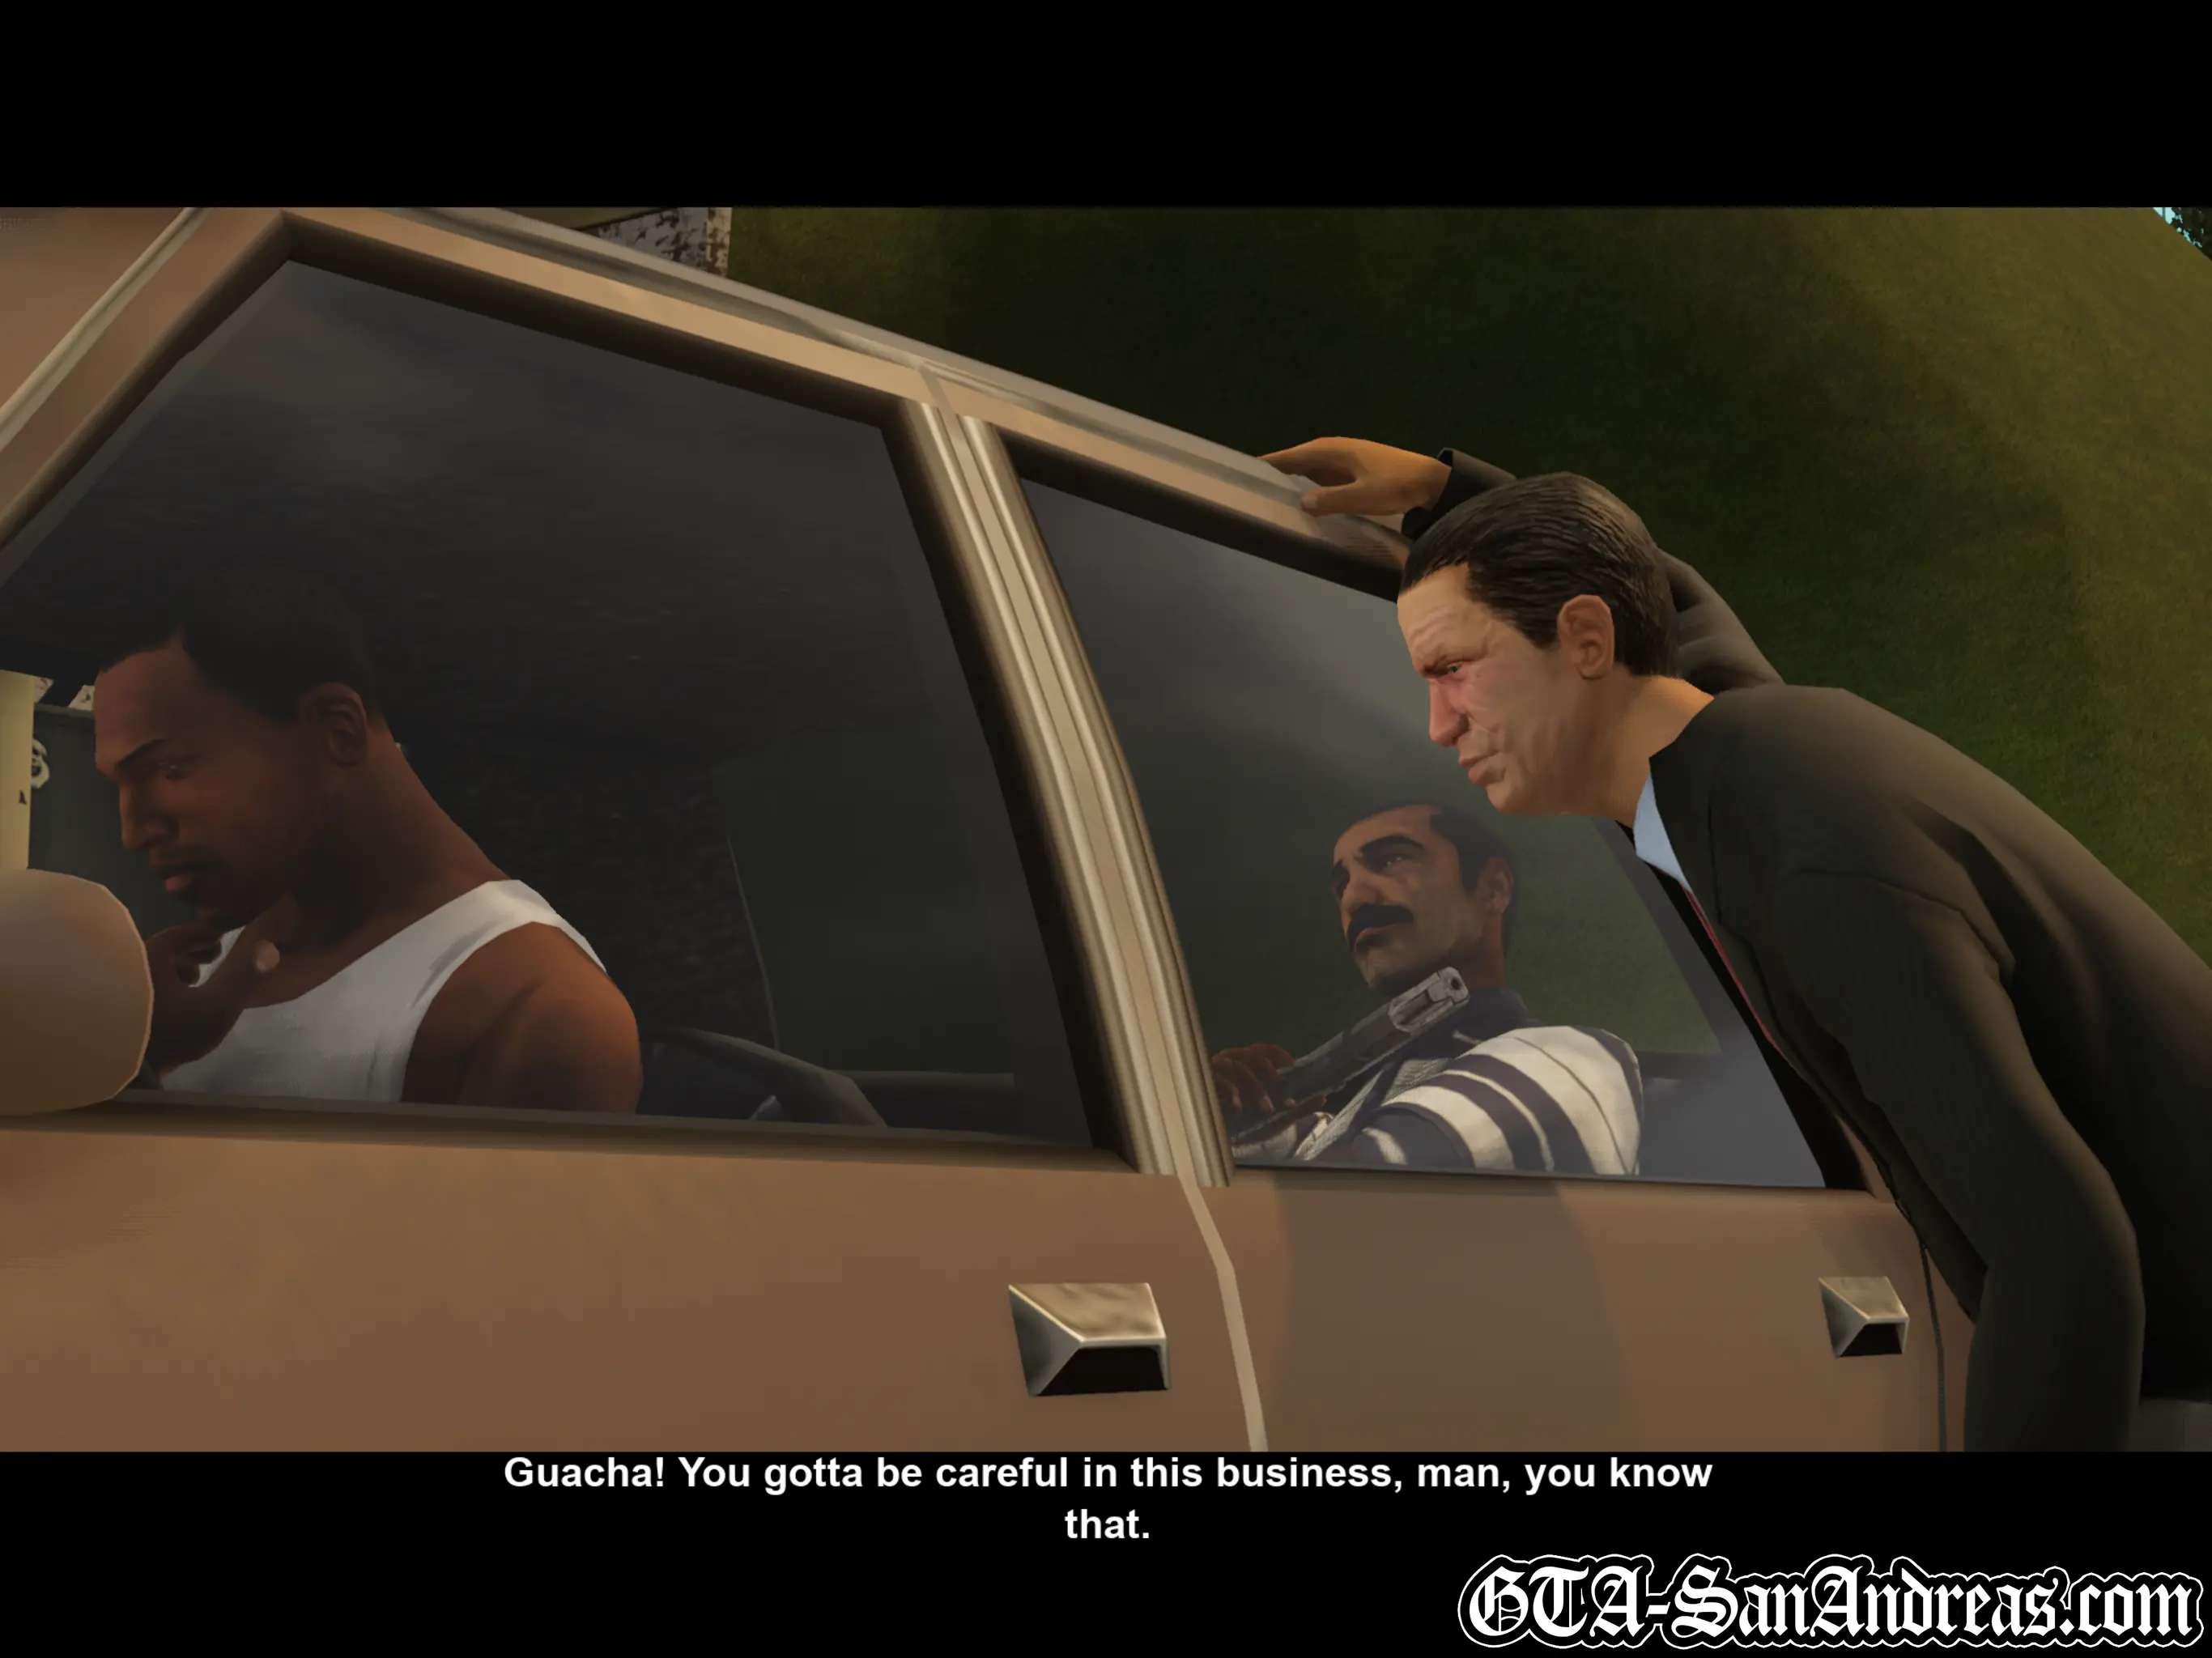
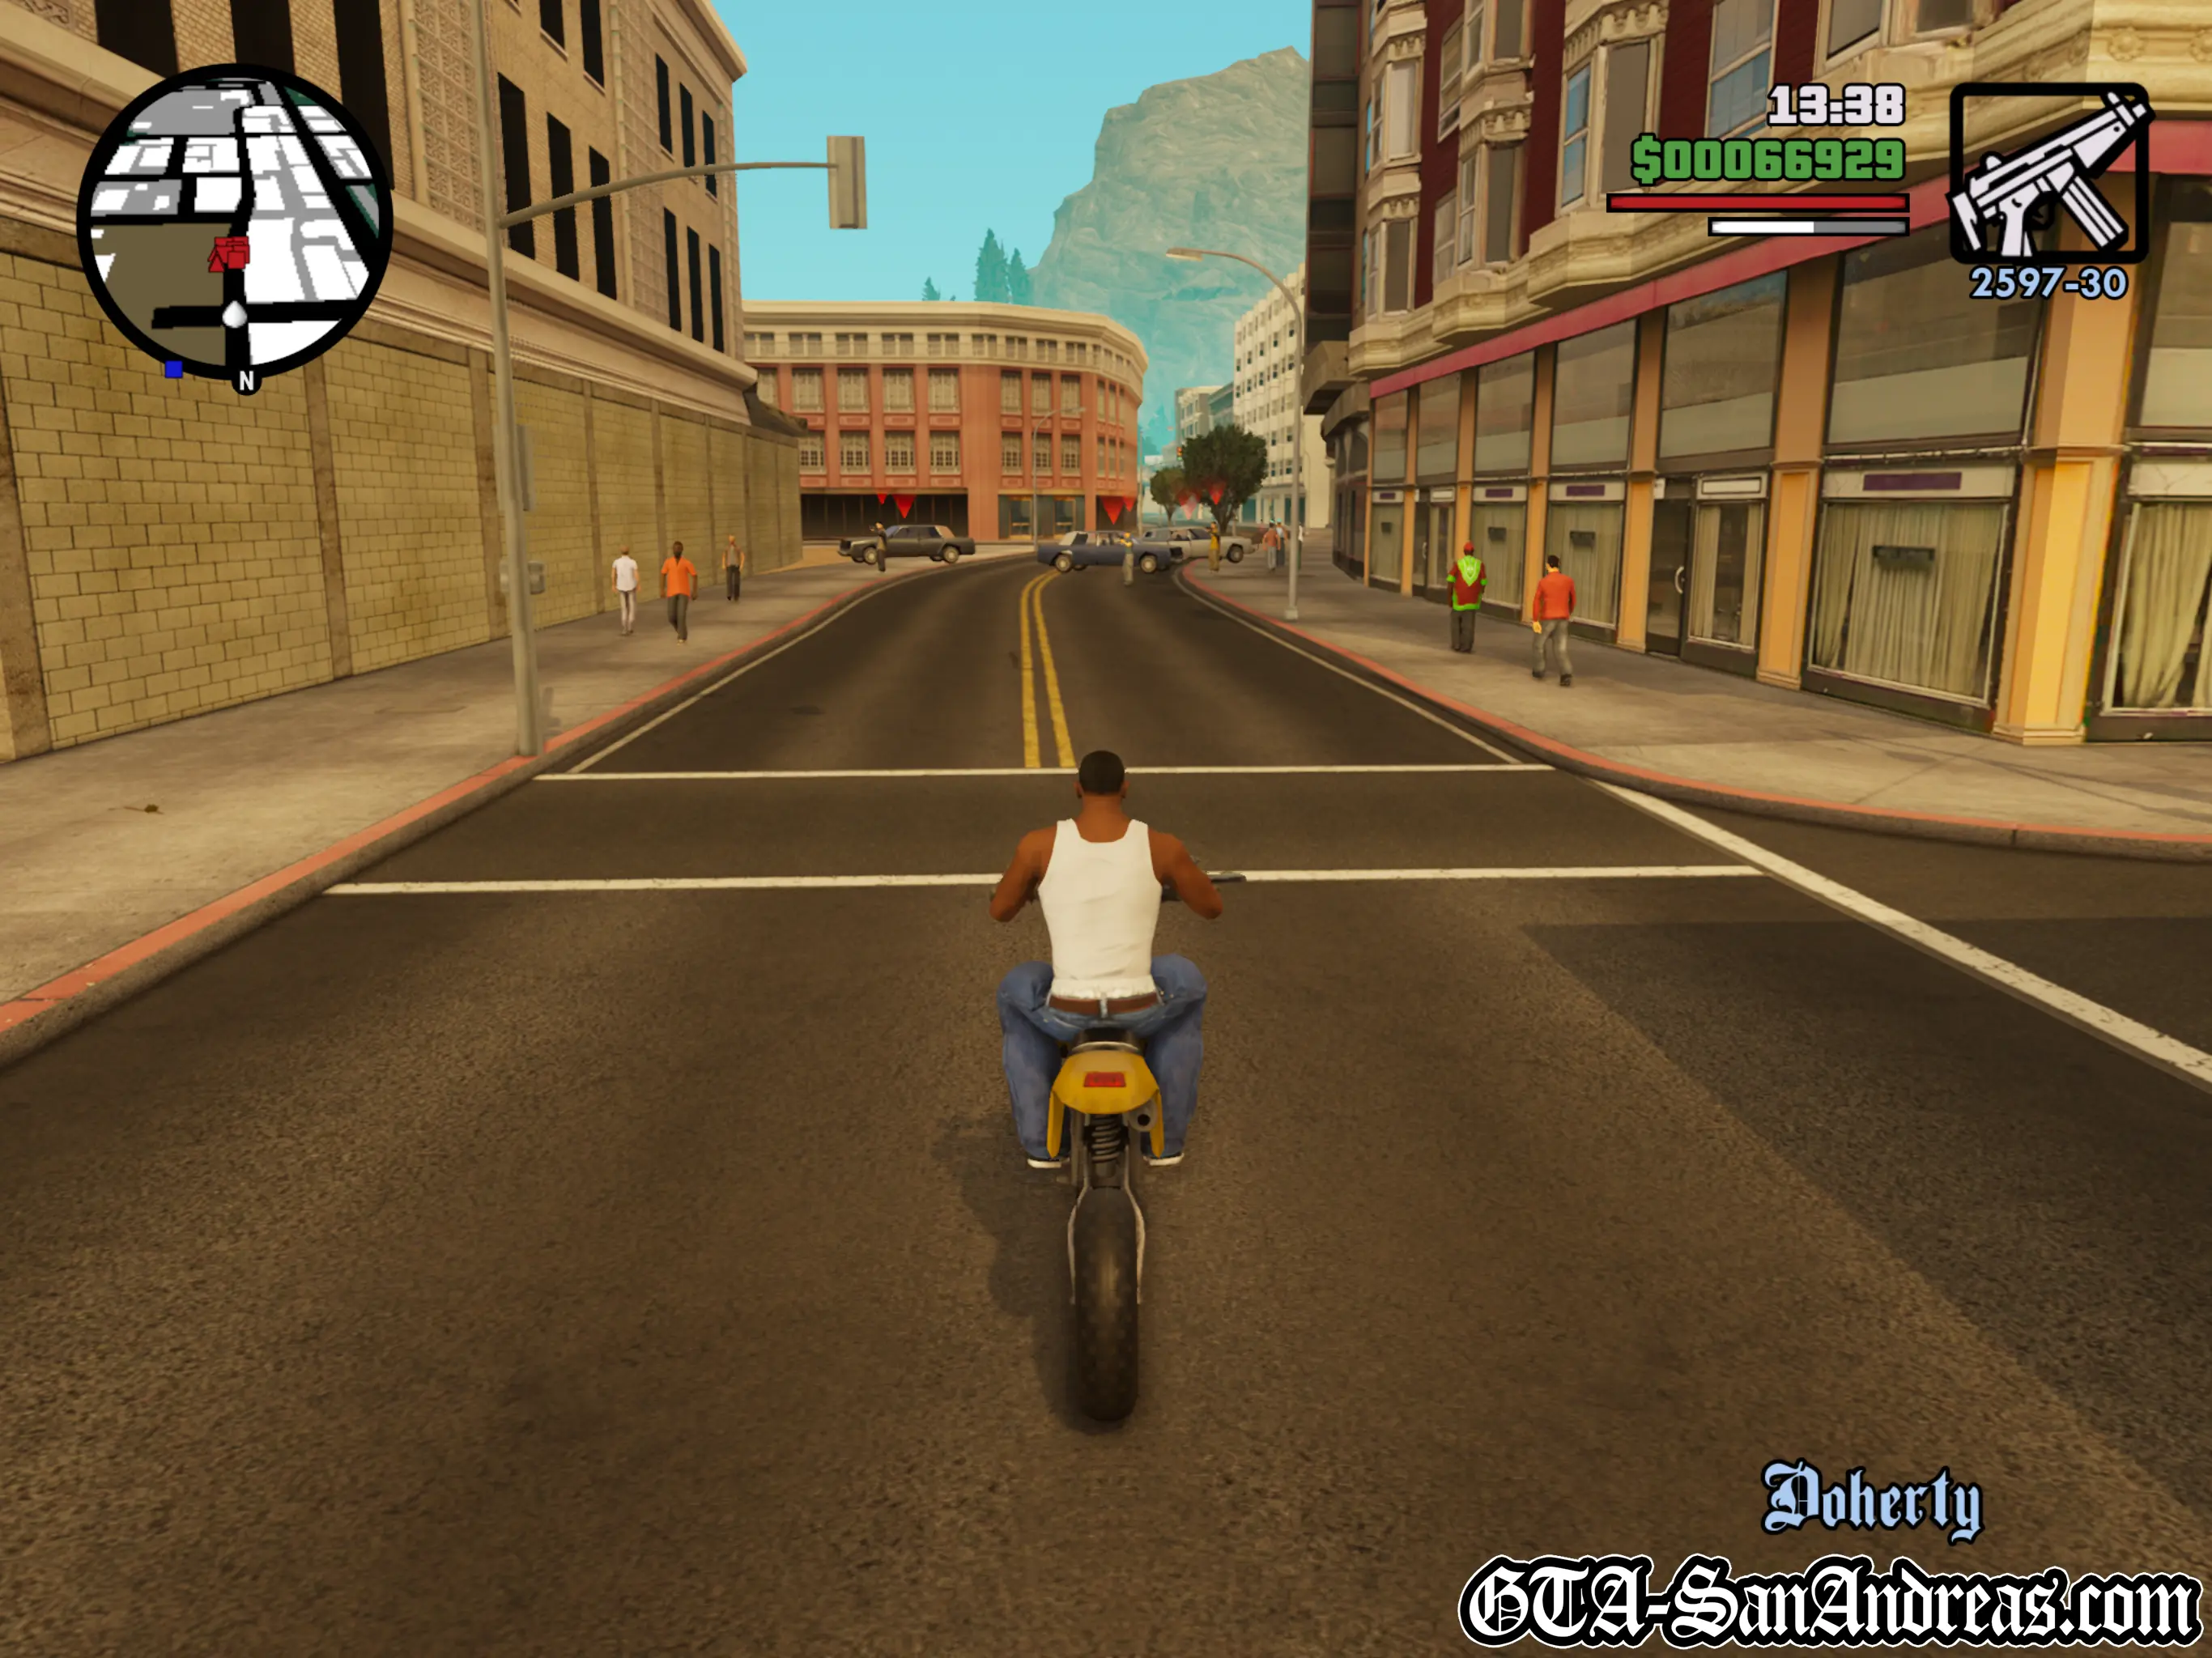
Mike Toreno is stuck in the back of the yay van and the only way for Carl and T-Bone to find him is by his cell phone. He'll tell T-Bone what he can hear, and then you'll need to drive to a place where you'd expect to hear that and check it out. Firstly he'll say he can hear seagulls and heavy machinery, so your first location to check out is the construction site in Doherty. Make your way to the yellow blip as quickly as you can. He's not there, but he can hear something which resembles a freight depot. There's one at the docks, so that's where you're heading next. A few seconds into your journey there he'll say that he heard people shoot their way through a security gate. There's none at the docks, but there is at the airport, so that's where you're heading next. Get to the yellow blip at the airport ASAP. Head through the open gates and go to the left. Follow the runway all of the way to the end and you'll see a van and two bikes. If they're not right at the end of the runway, they'll be near the building up there. Chase after them and when they stop, kill everyone there. Once they're all dead head towards the van and a cutscene will kick in. Afterwards, help the guys blow up the coke van then get in the Stretch and make your way out the front gates. As you pass through the red circle where you'll be presented with a three star wanted level, so get to the Pay N' Spray and lose the heat. After that make your way carefully back to Jizzy's and drop off Toreno and T-Bone.
A useful tip. If you lose Toreno at the airport and fail the mission, head to the South side of the airport and you'll find an open helicopter. Get in that and fly to Jizzy's. Park it outside and accept the mission again, then get out of the car and into the Maverick. T-Bone will follow you, and you can get to places a lot faster.
Jizzy's missions have now been completed.
The Triad missions at the garage have been opened up again, while this could be considered a new set of missions, I'm going to head back there anyway before doing Woozie's separate missions.
Screenshots


The Triads
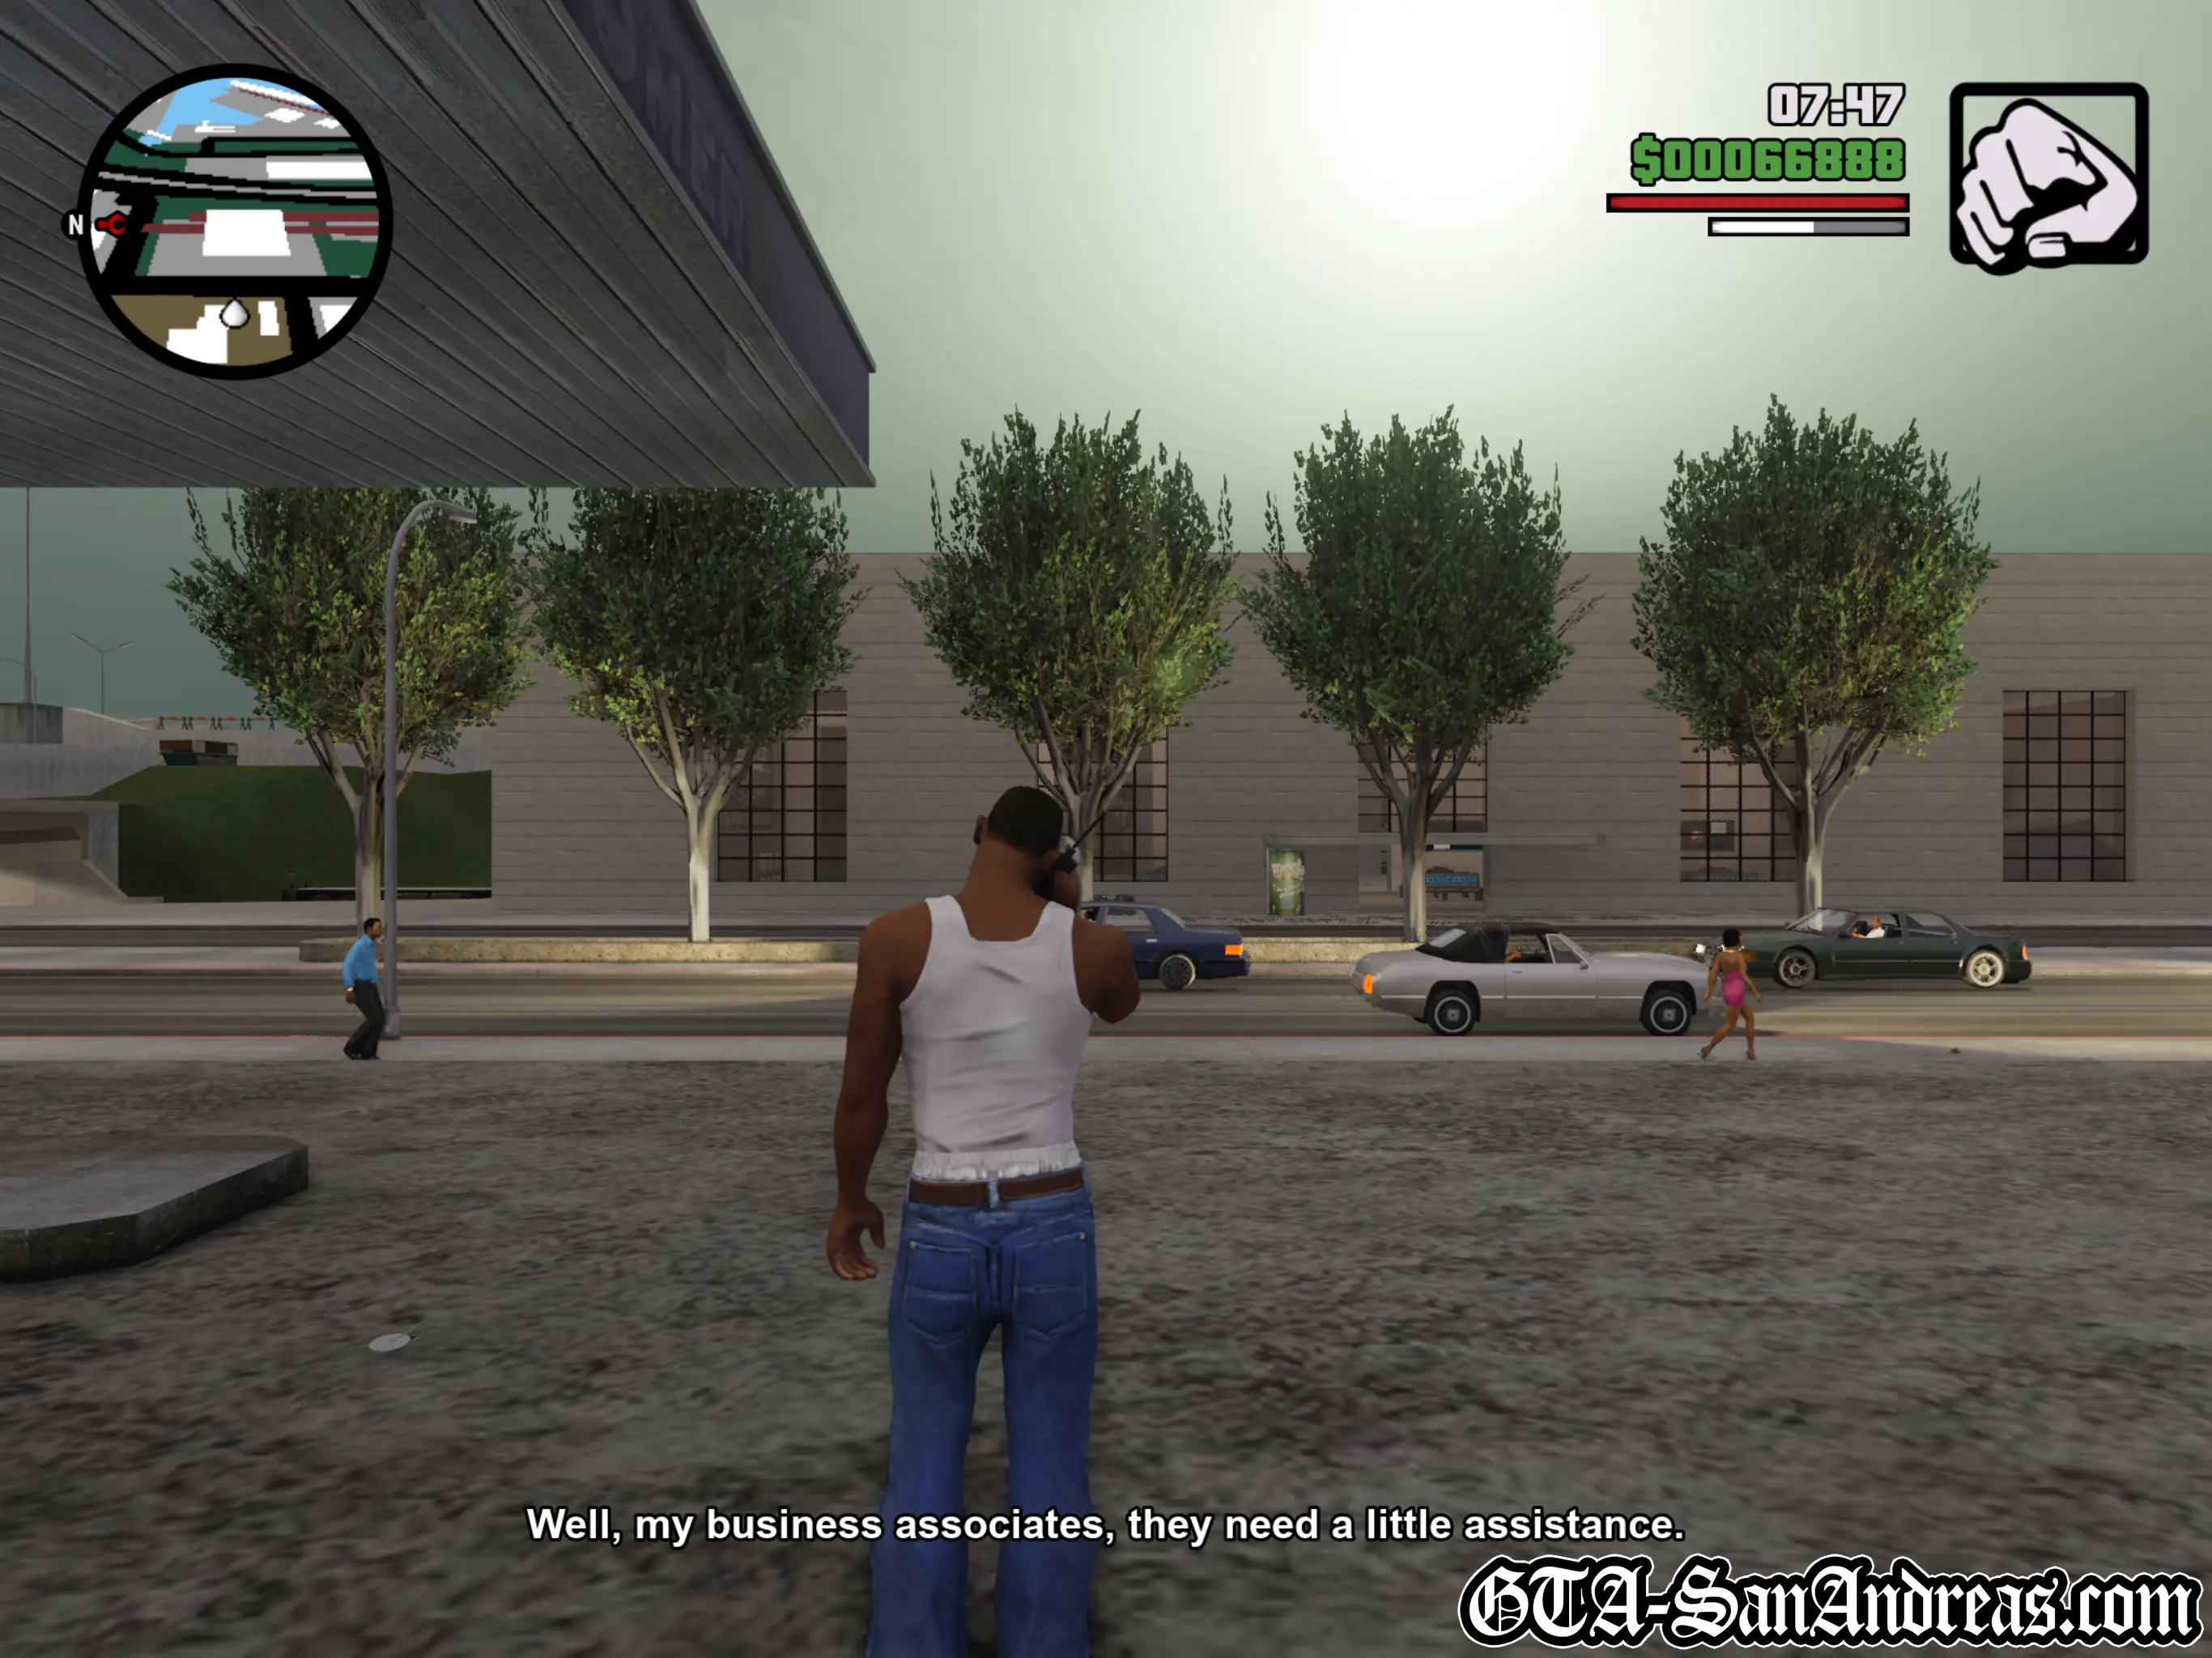
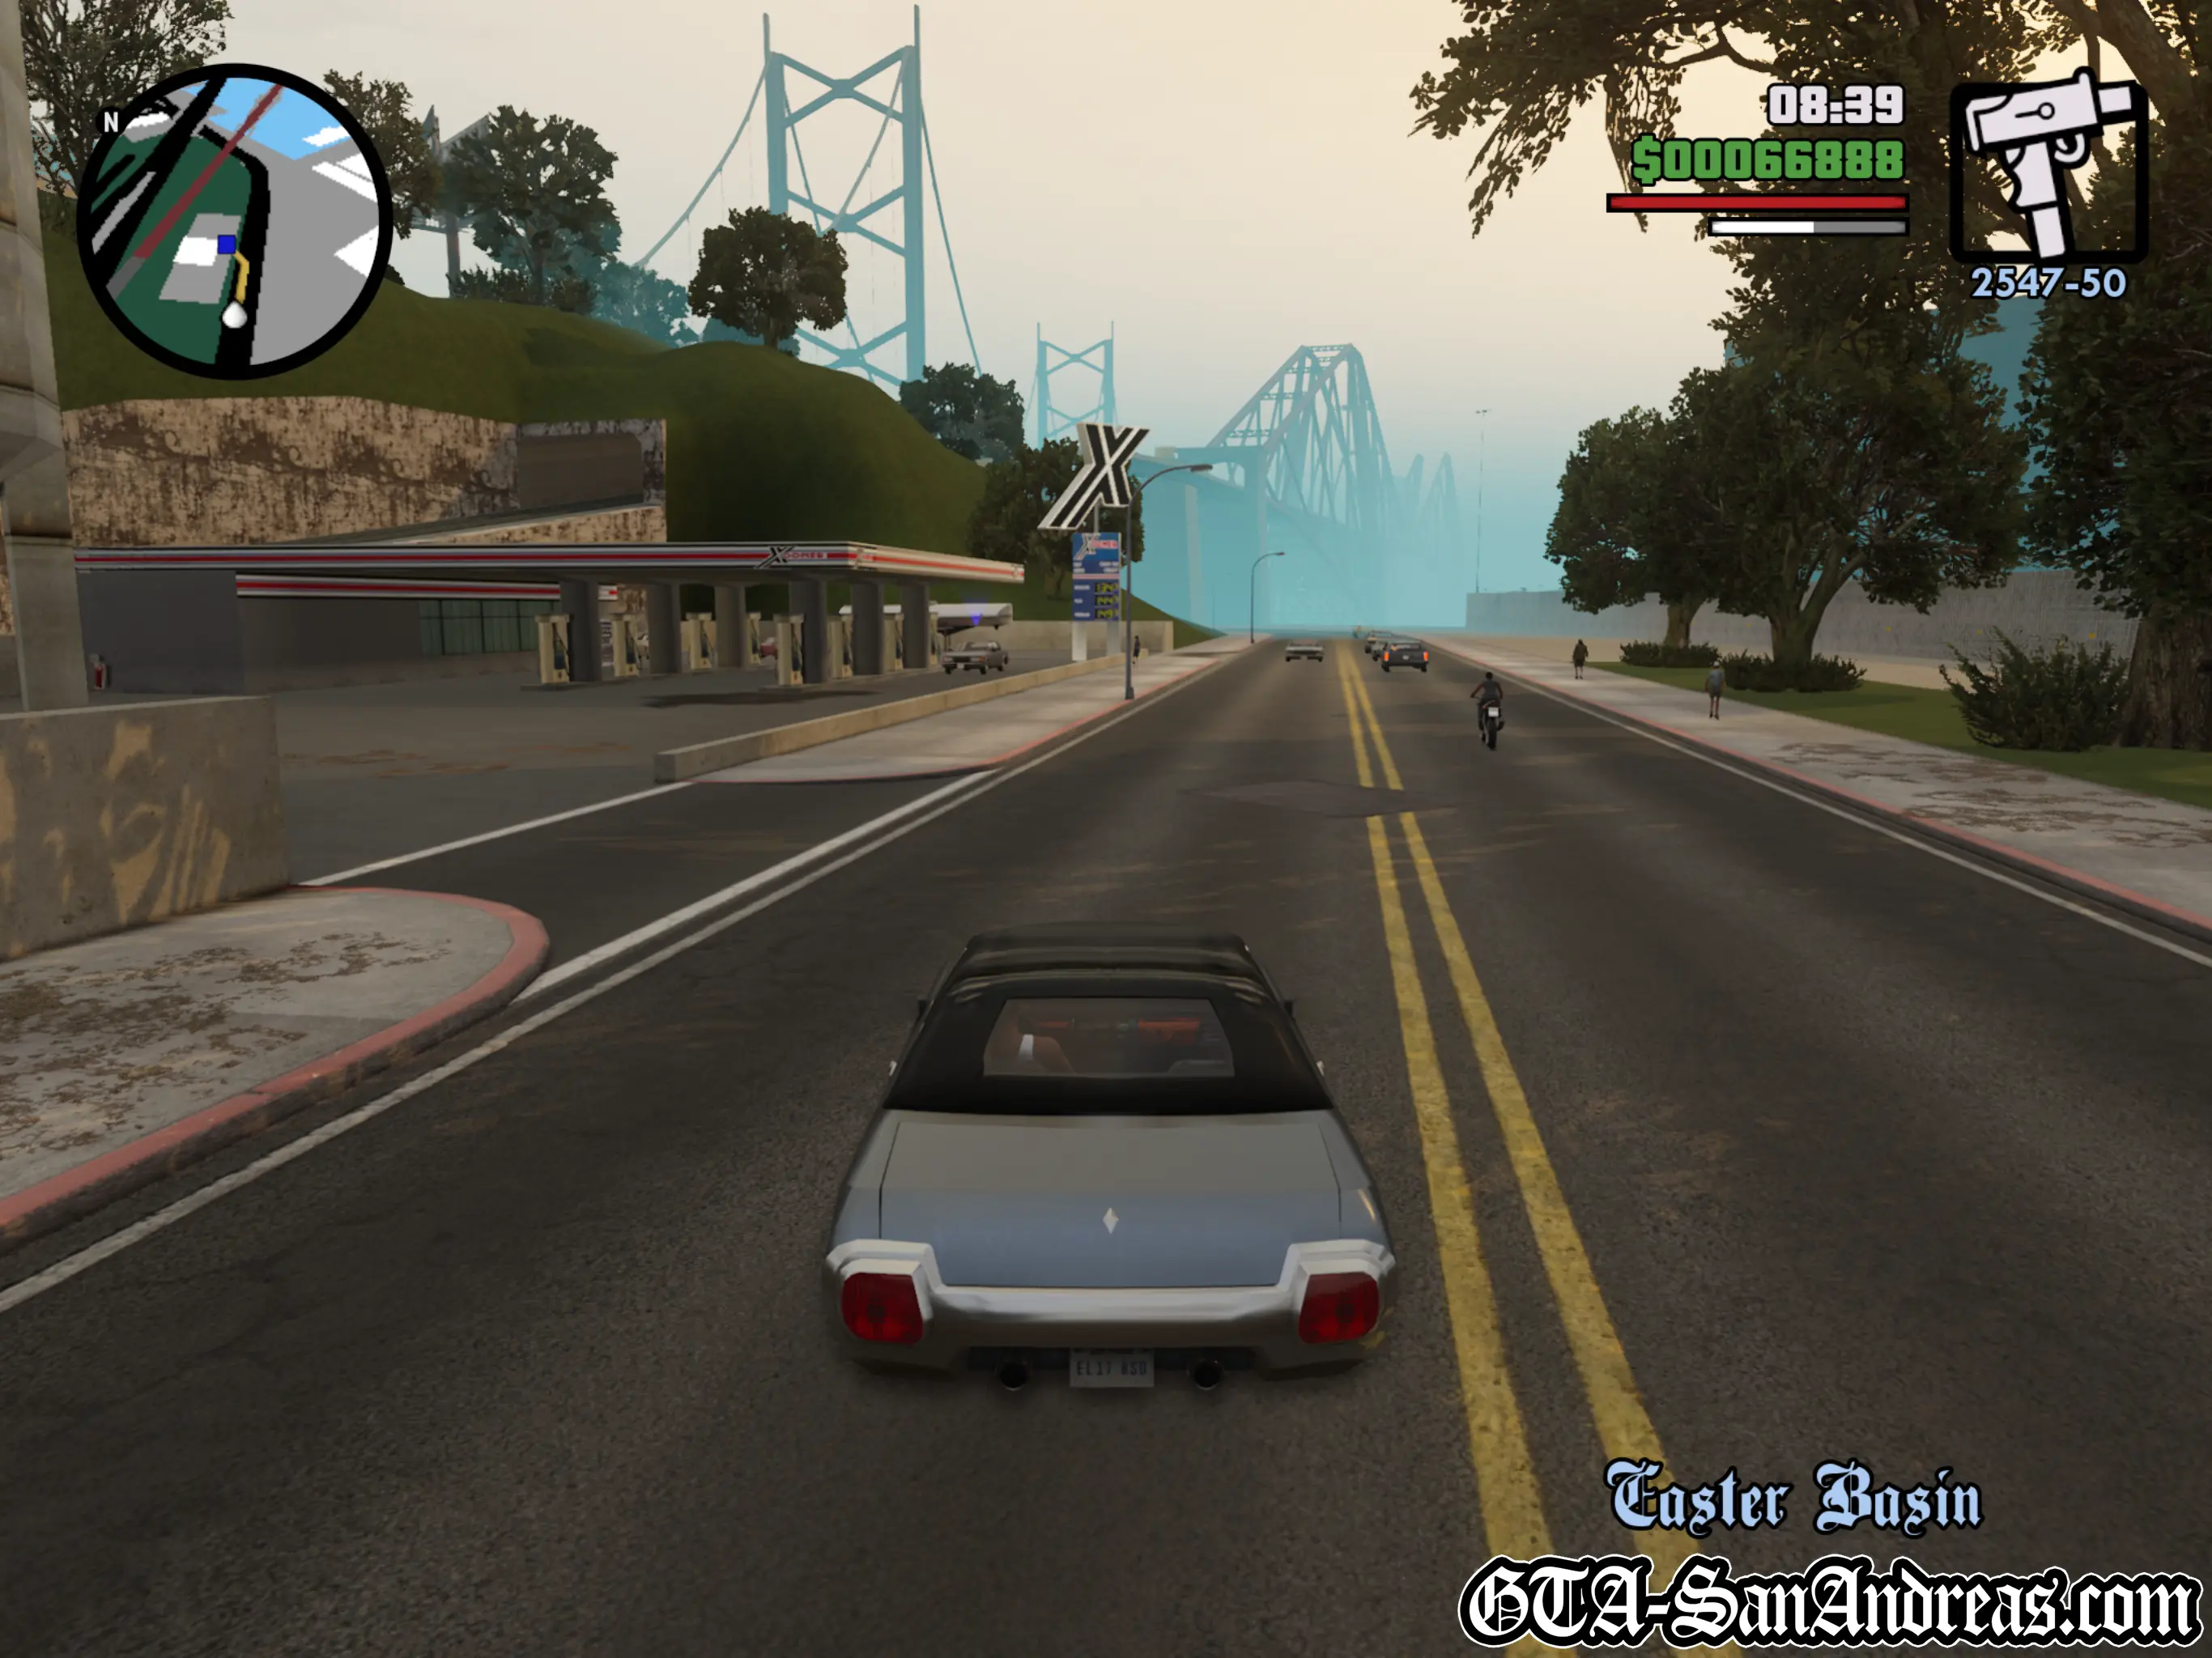
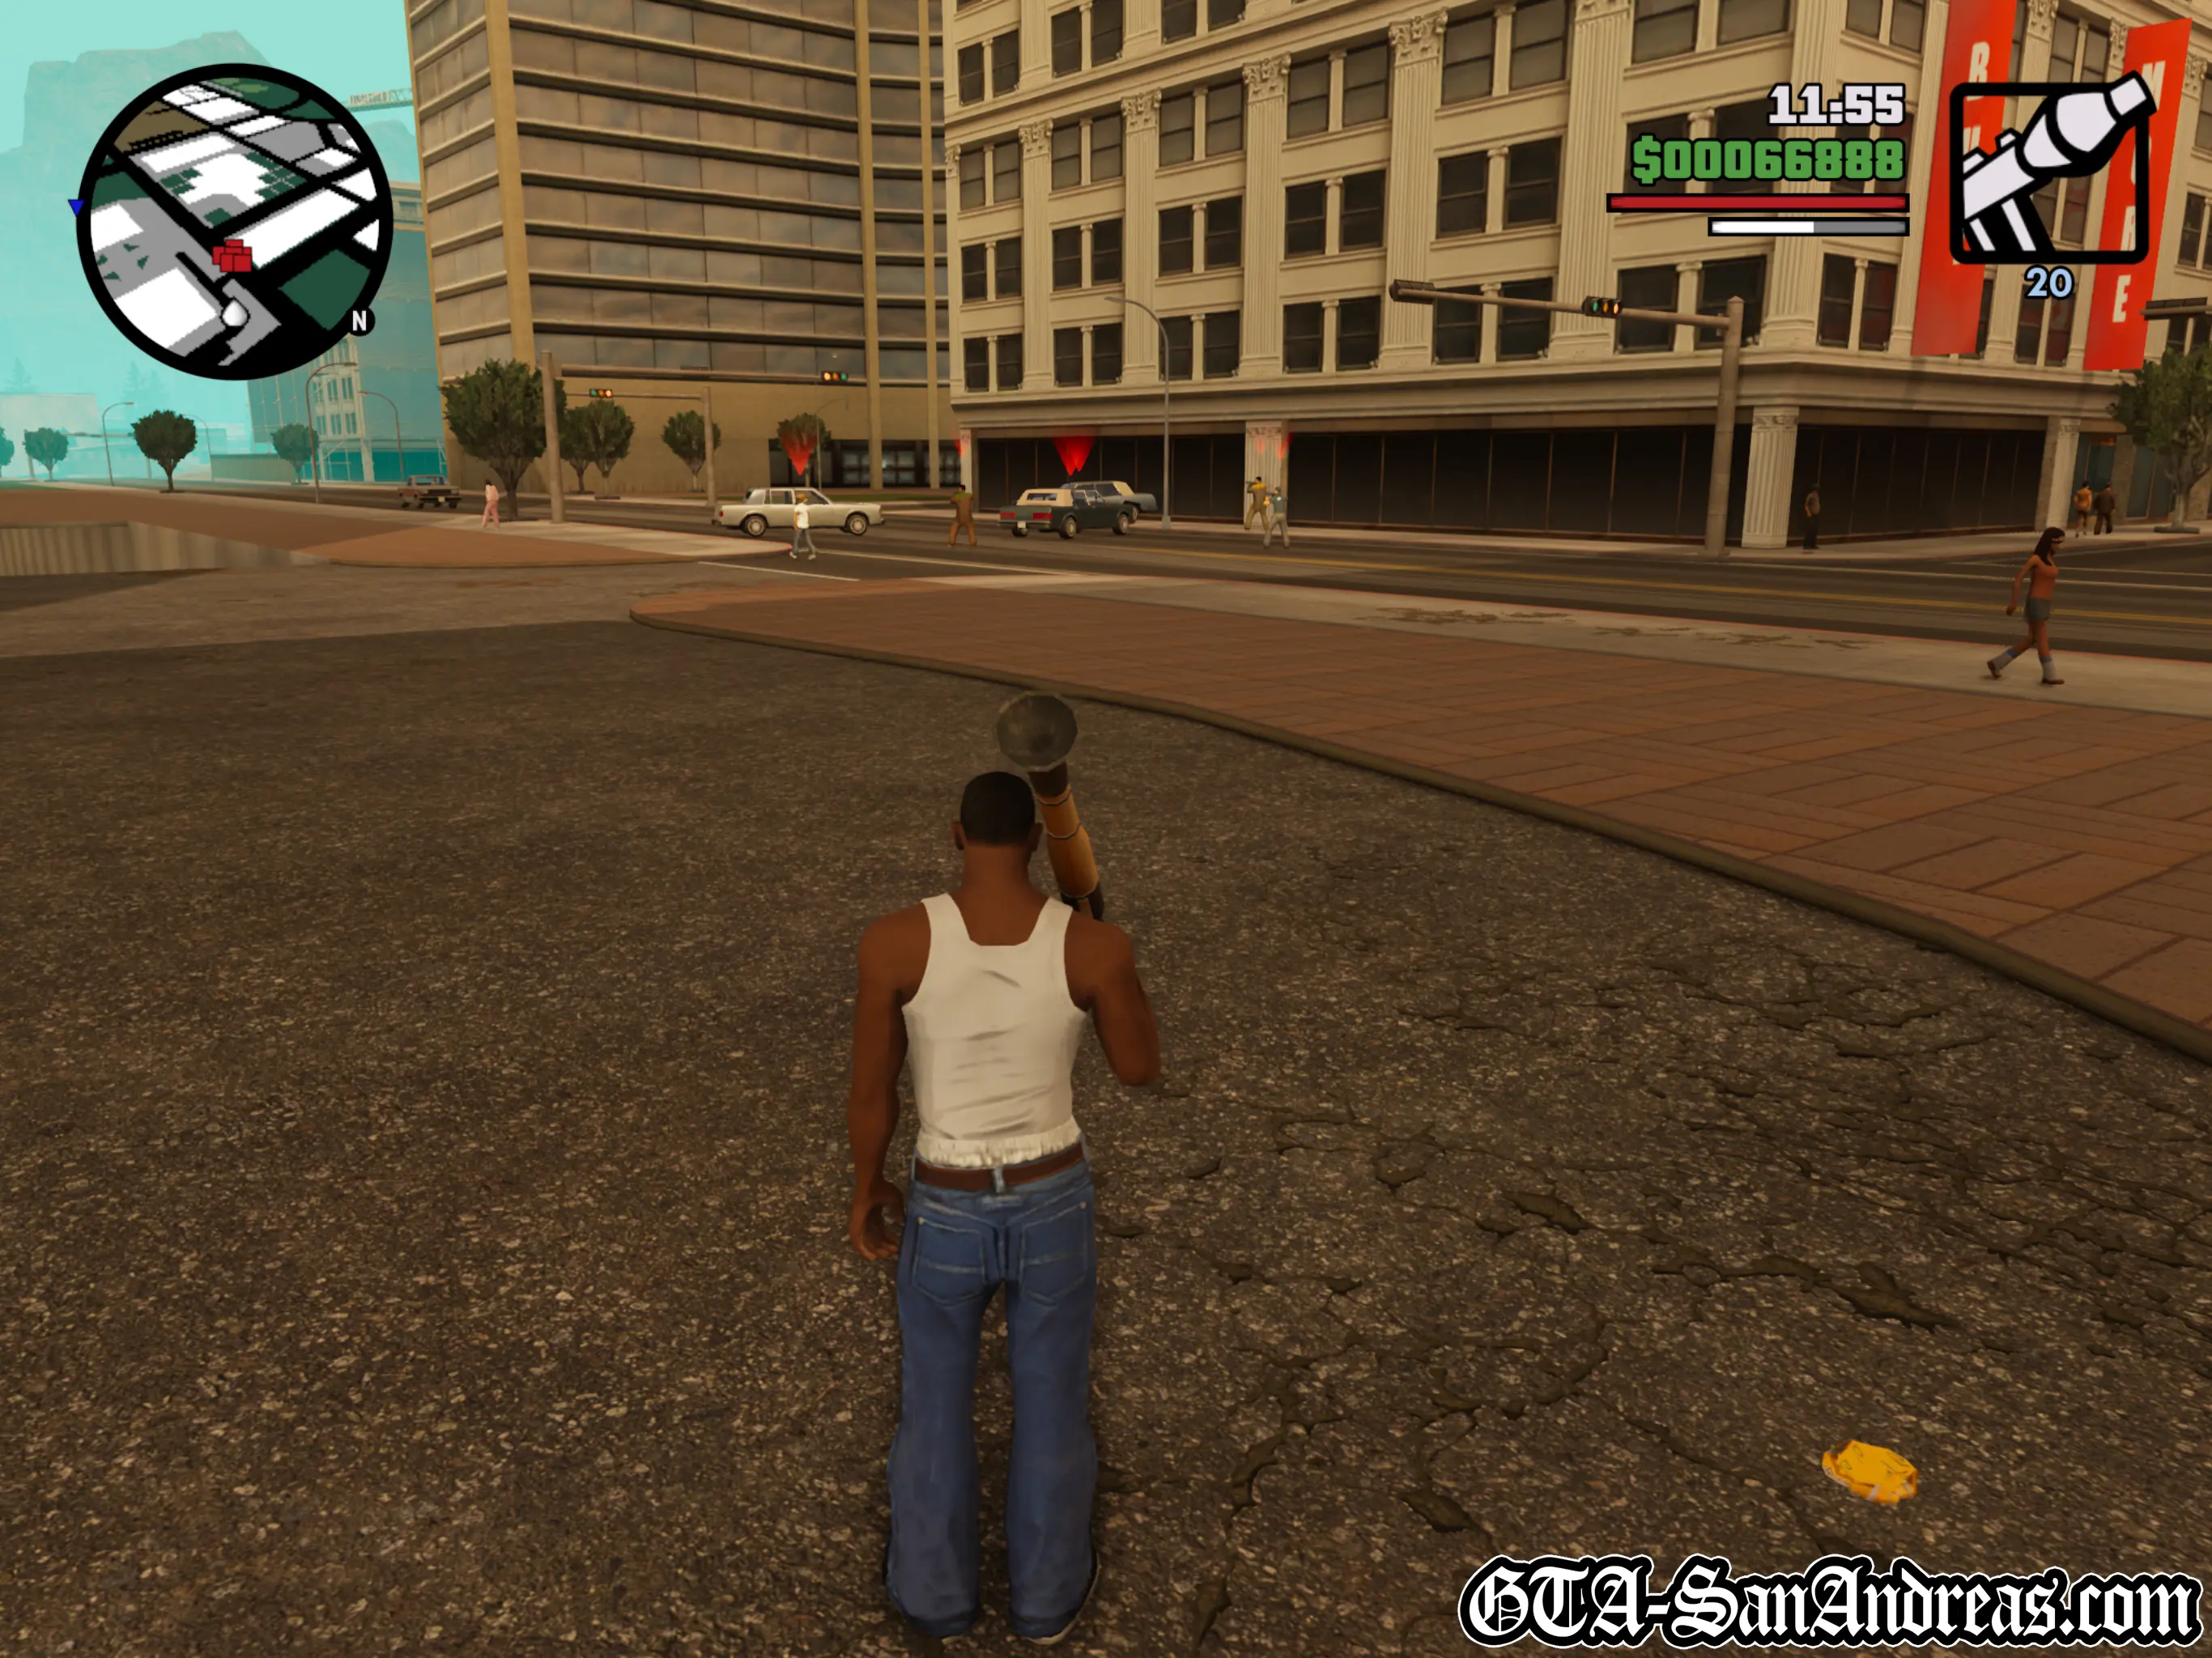
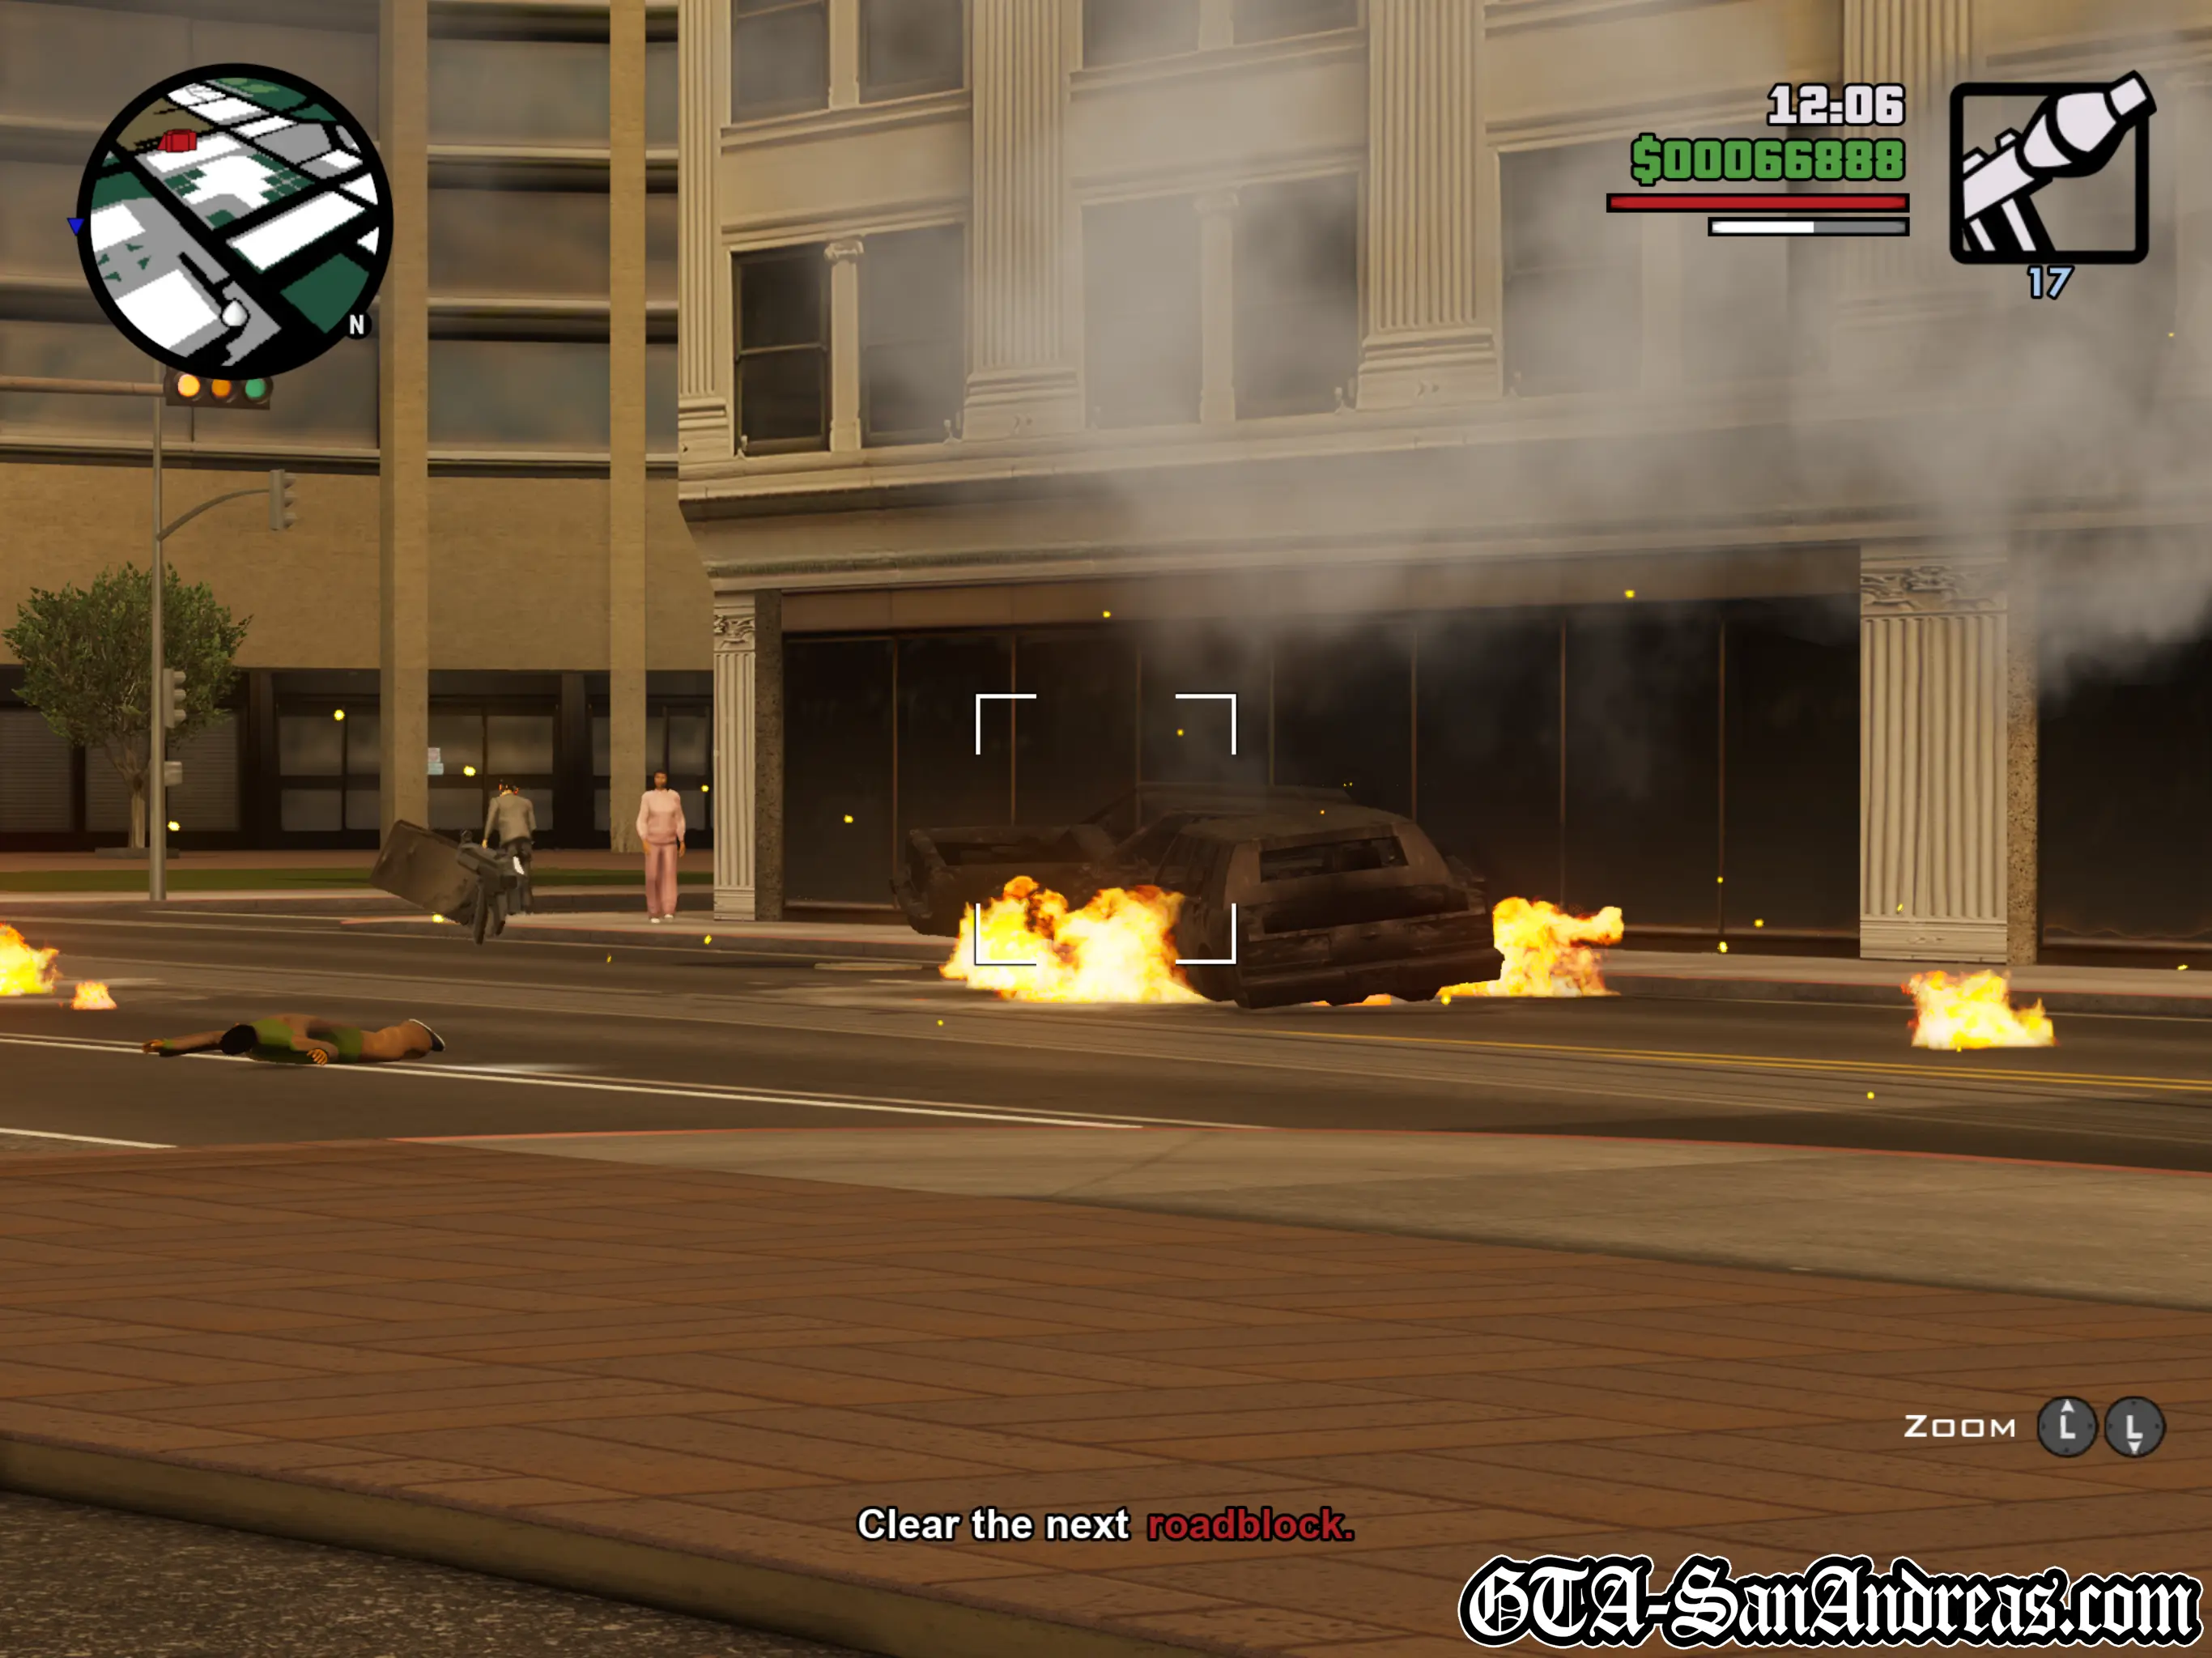
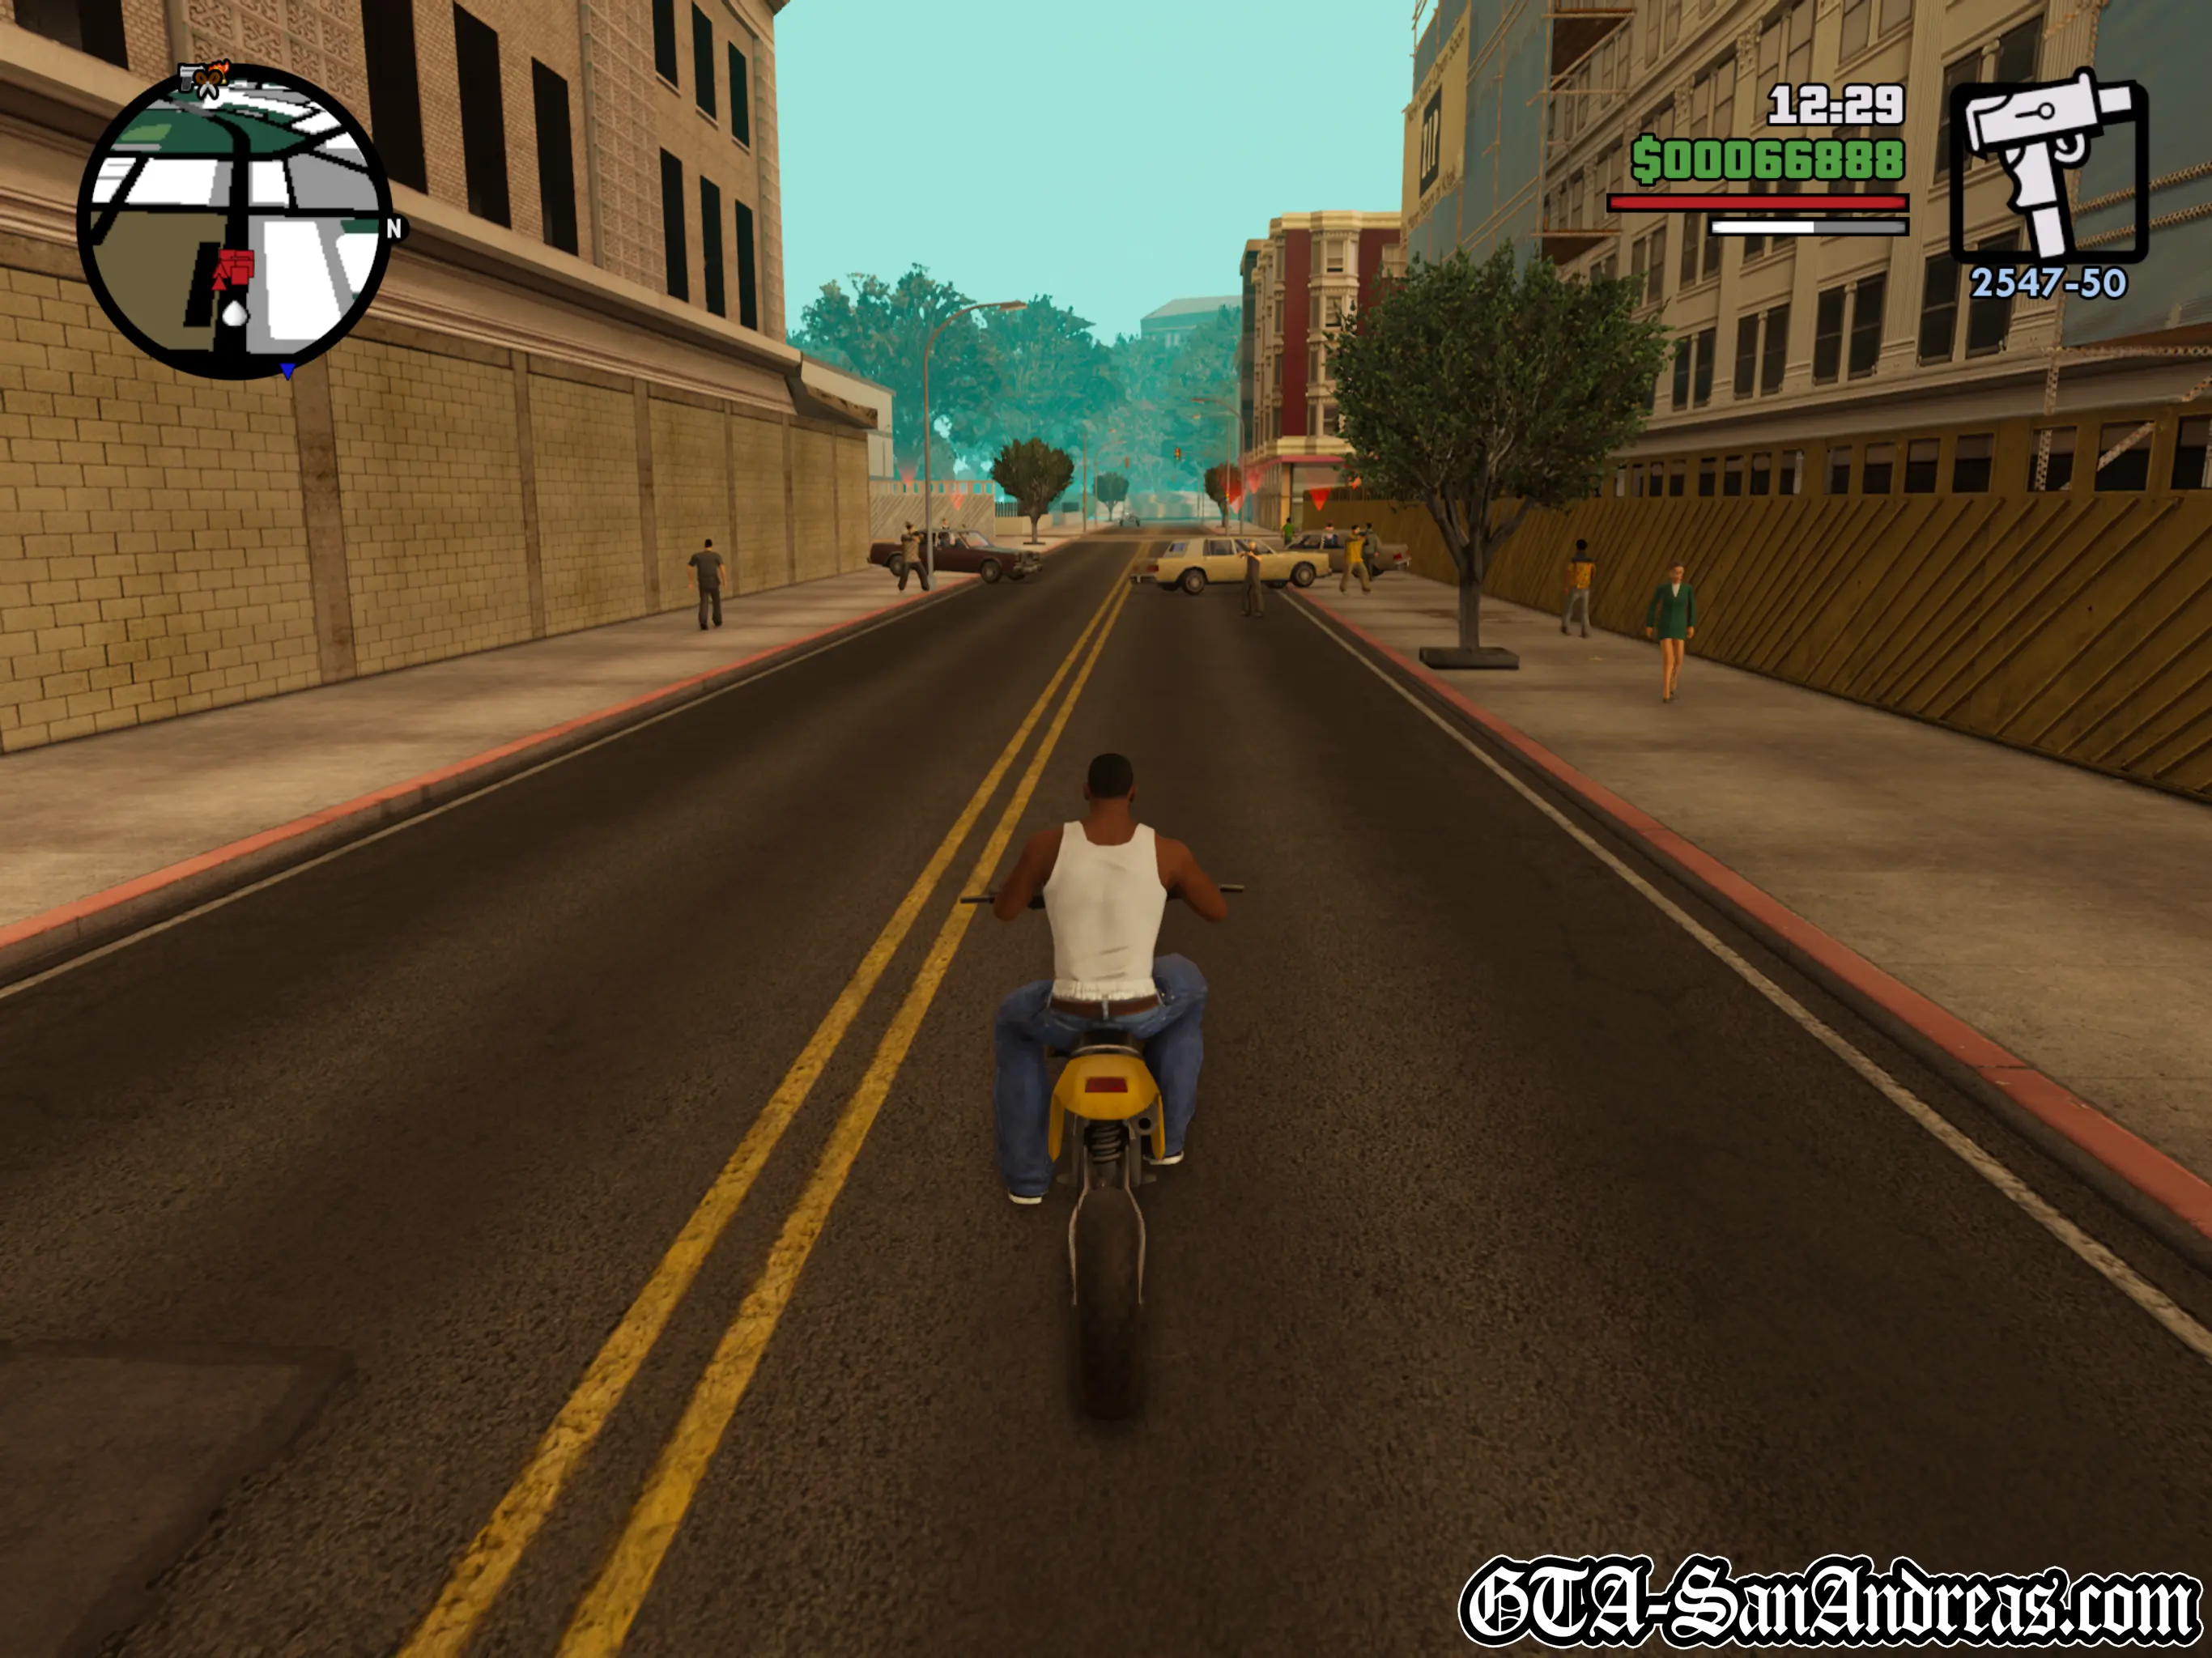
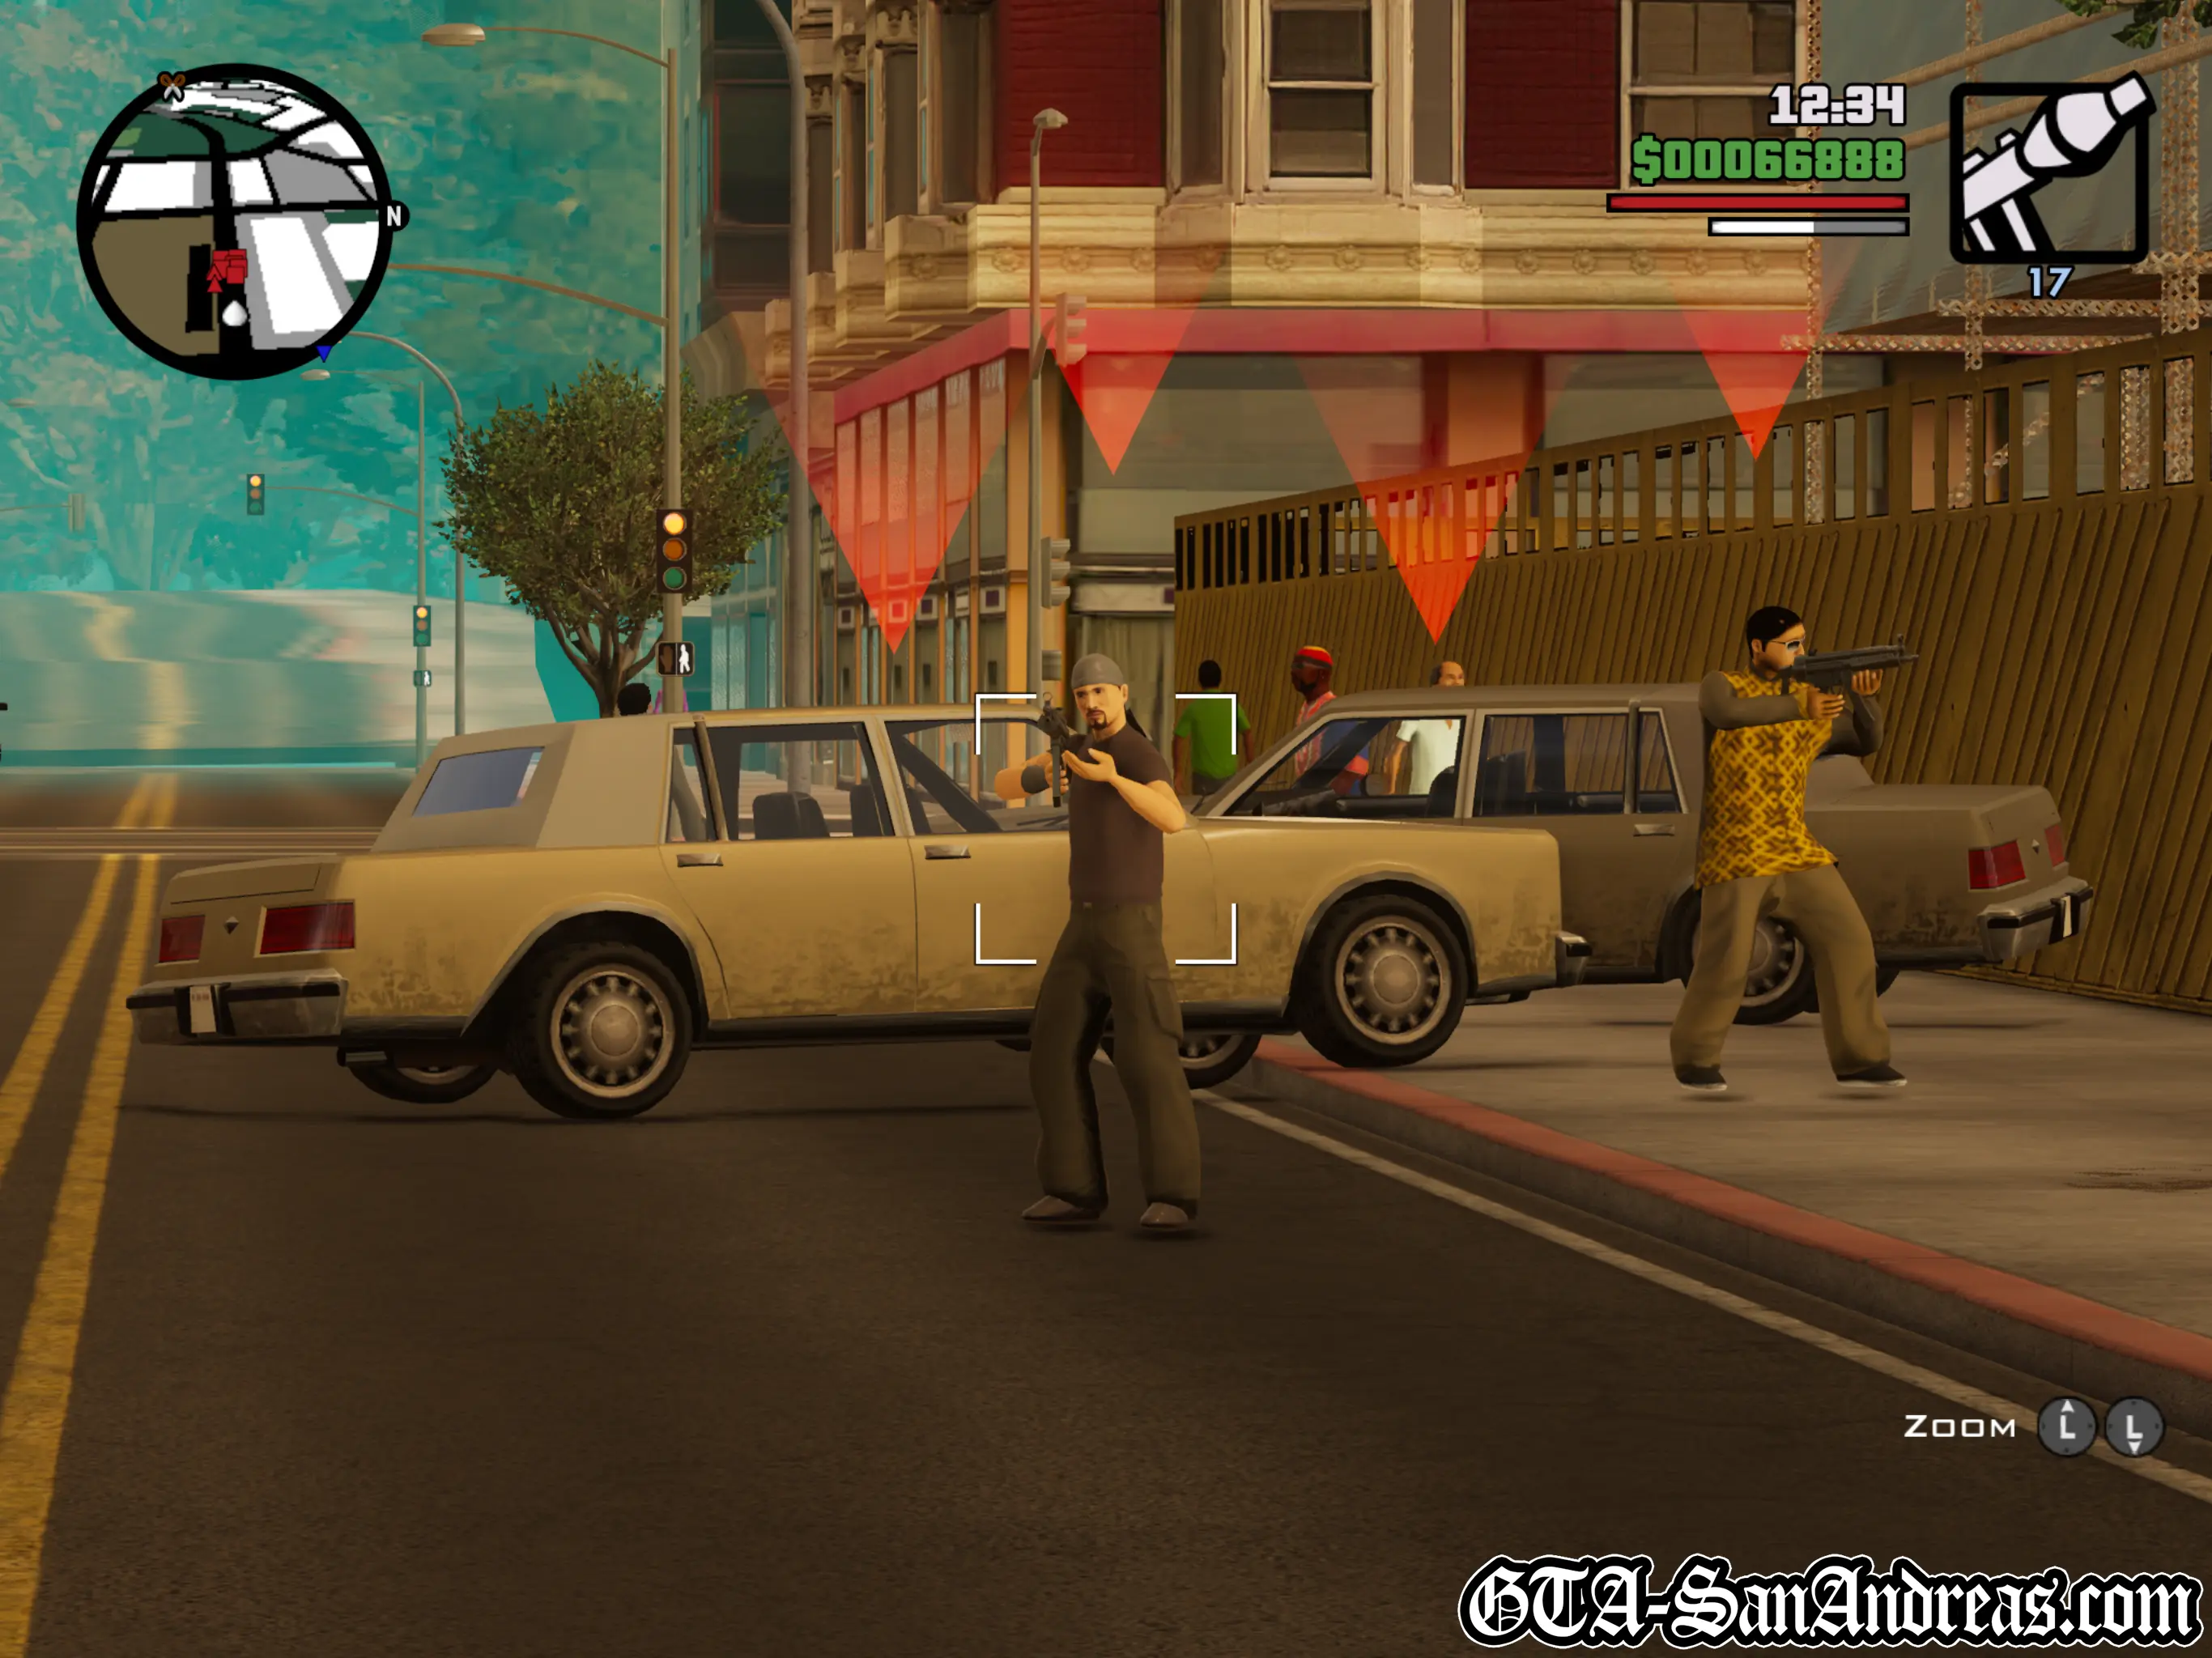
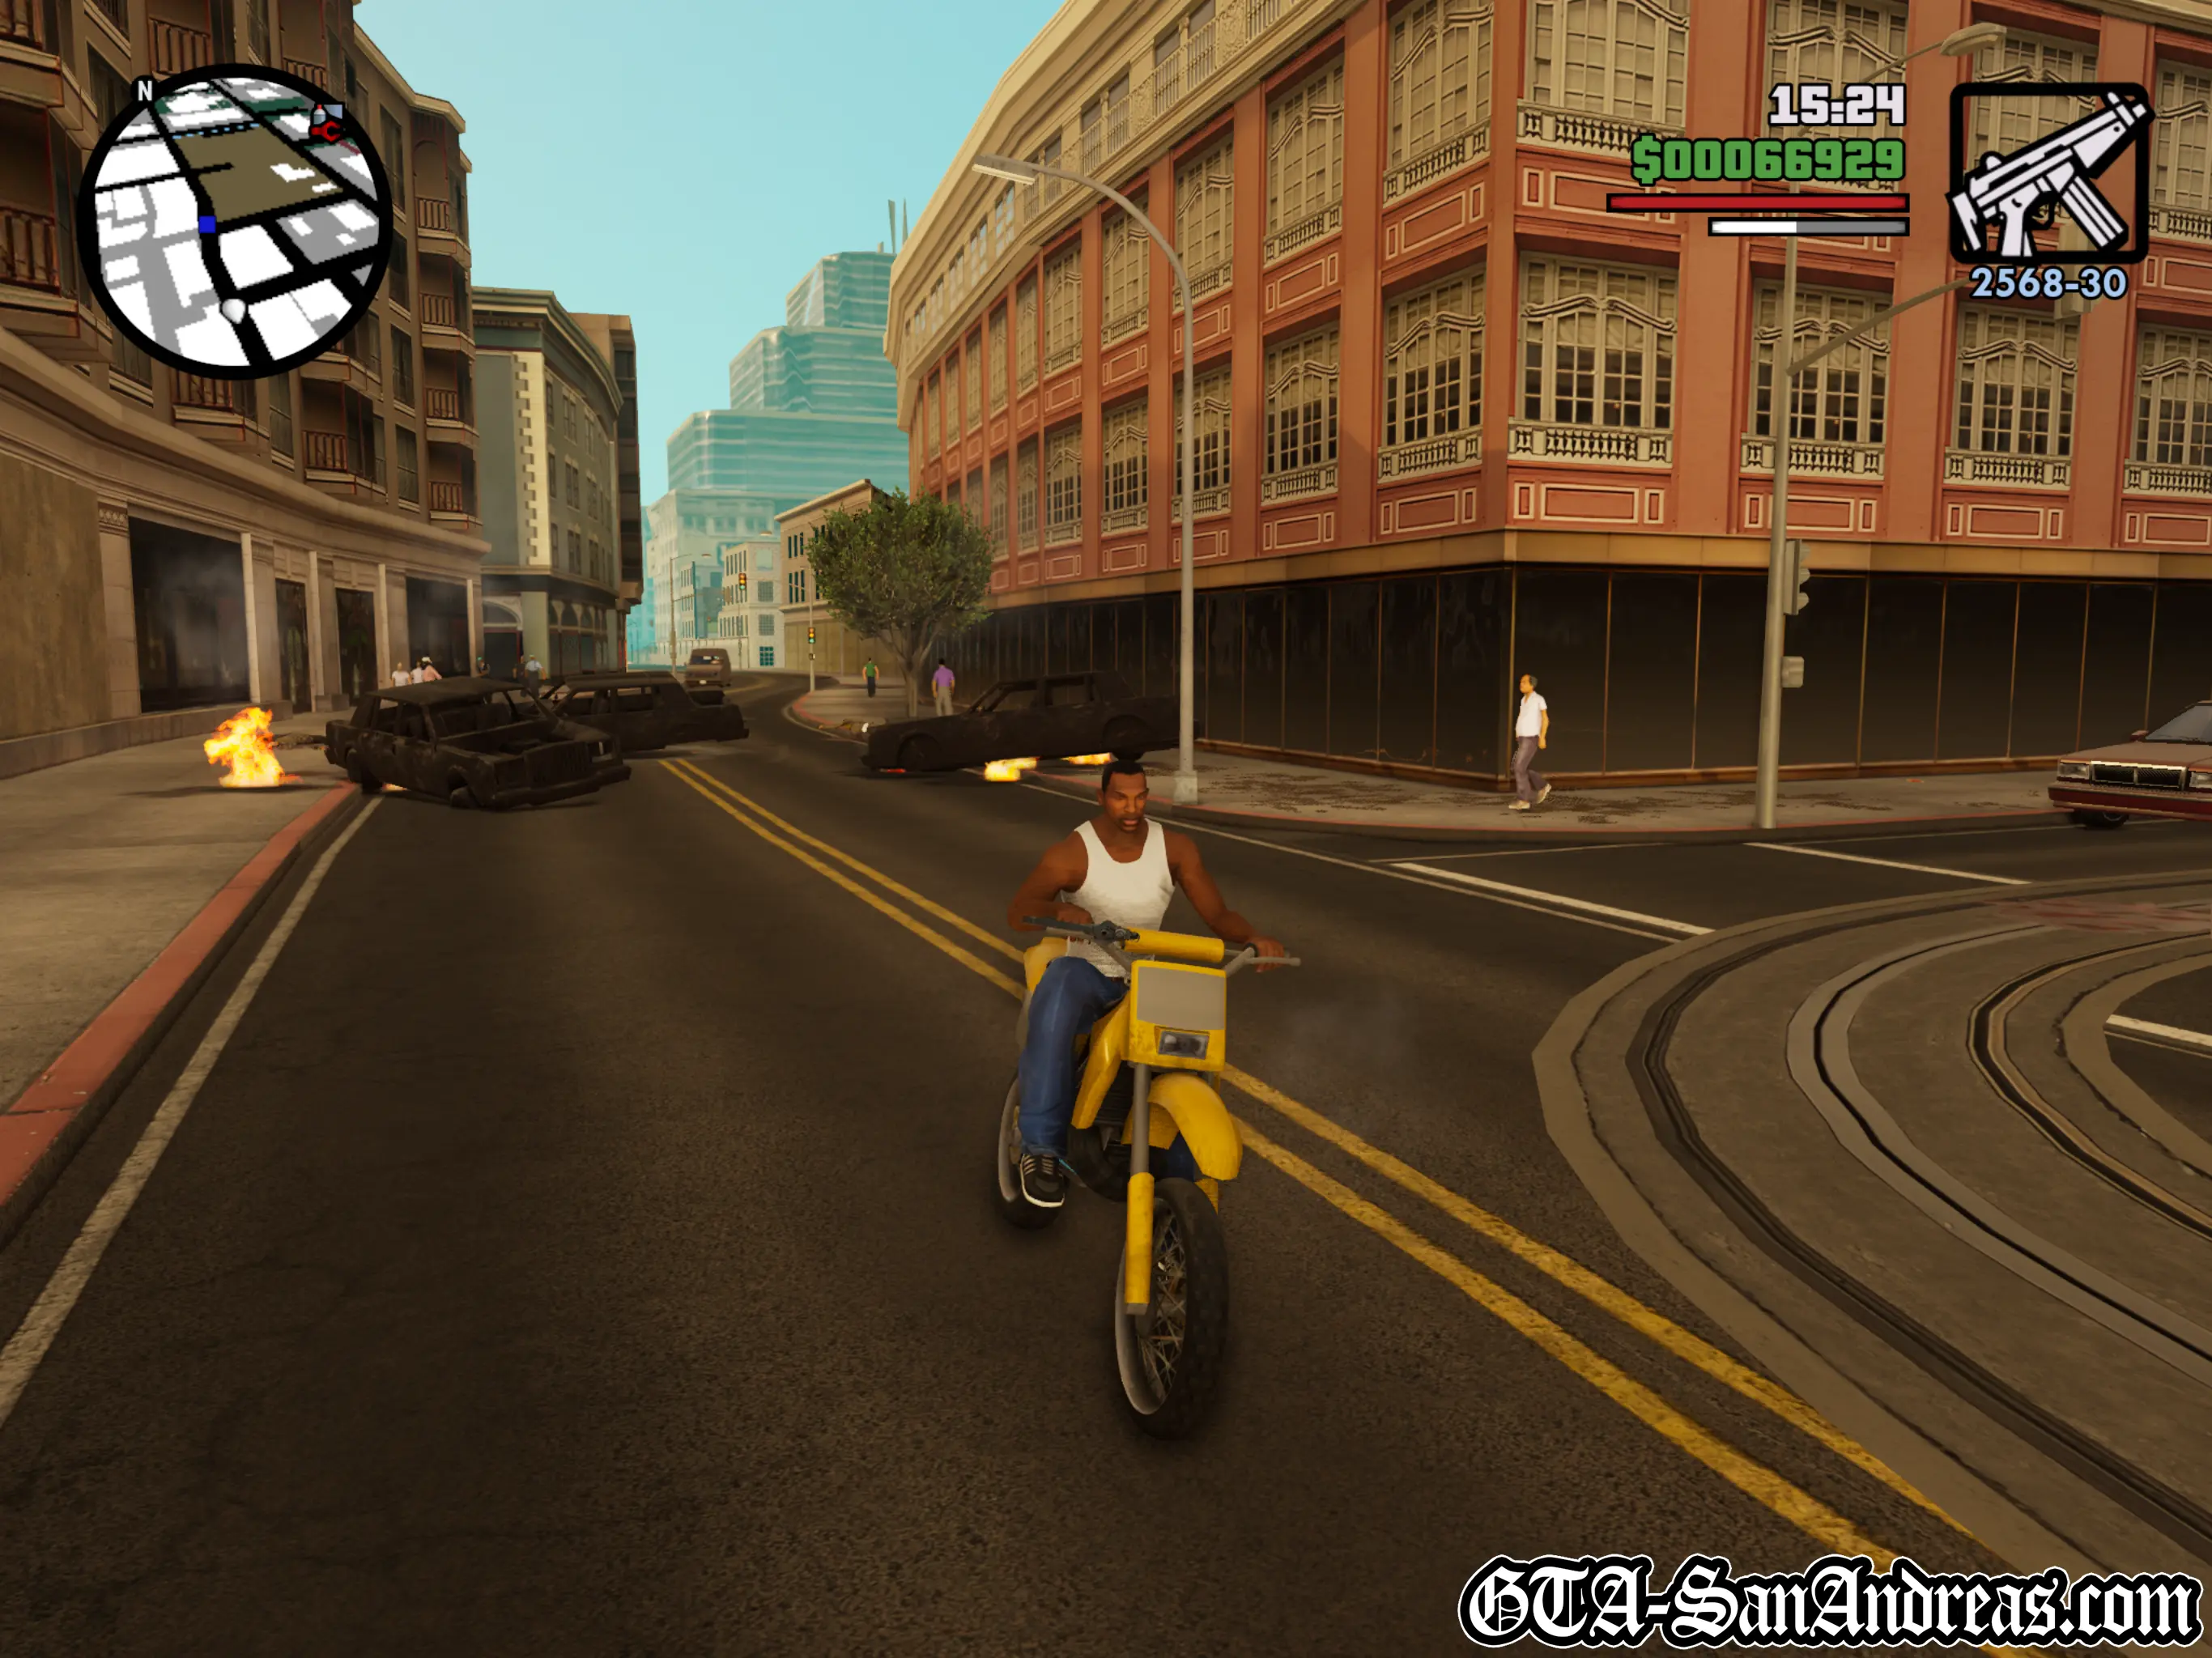
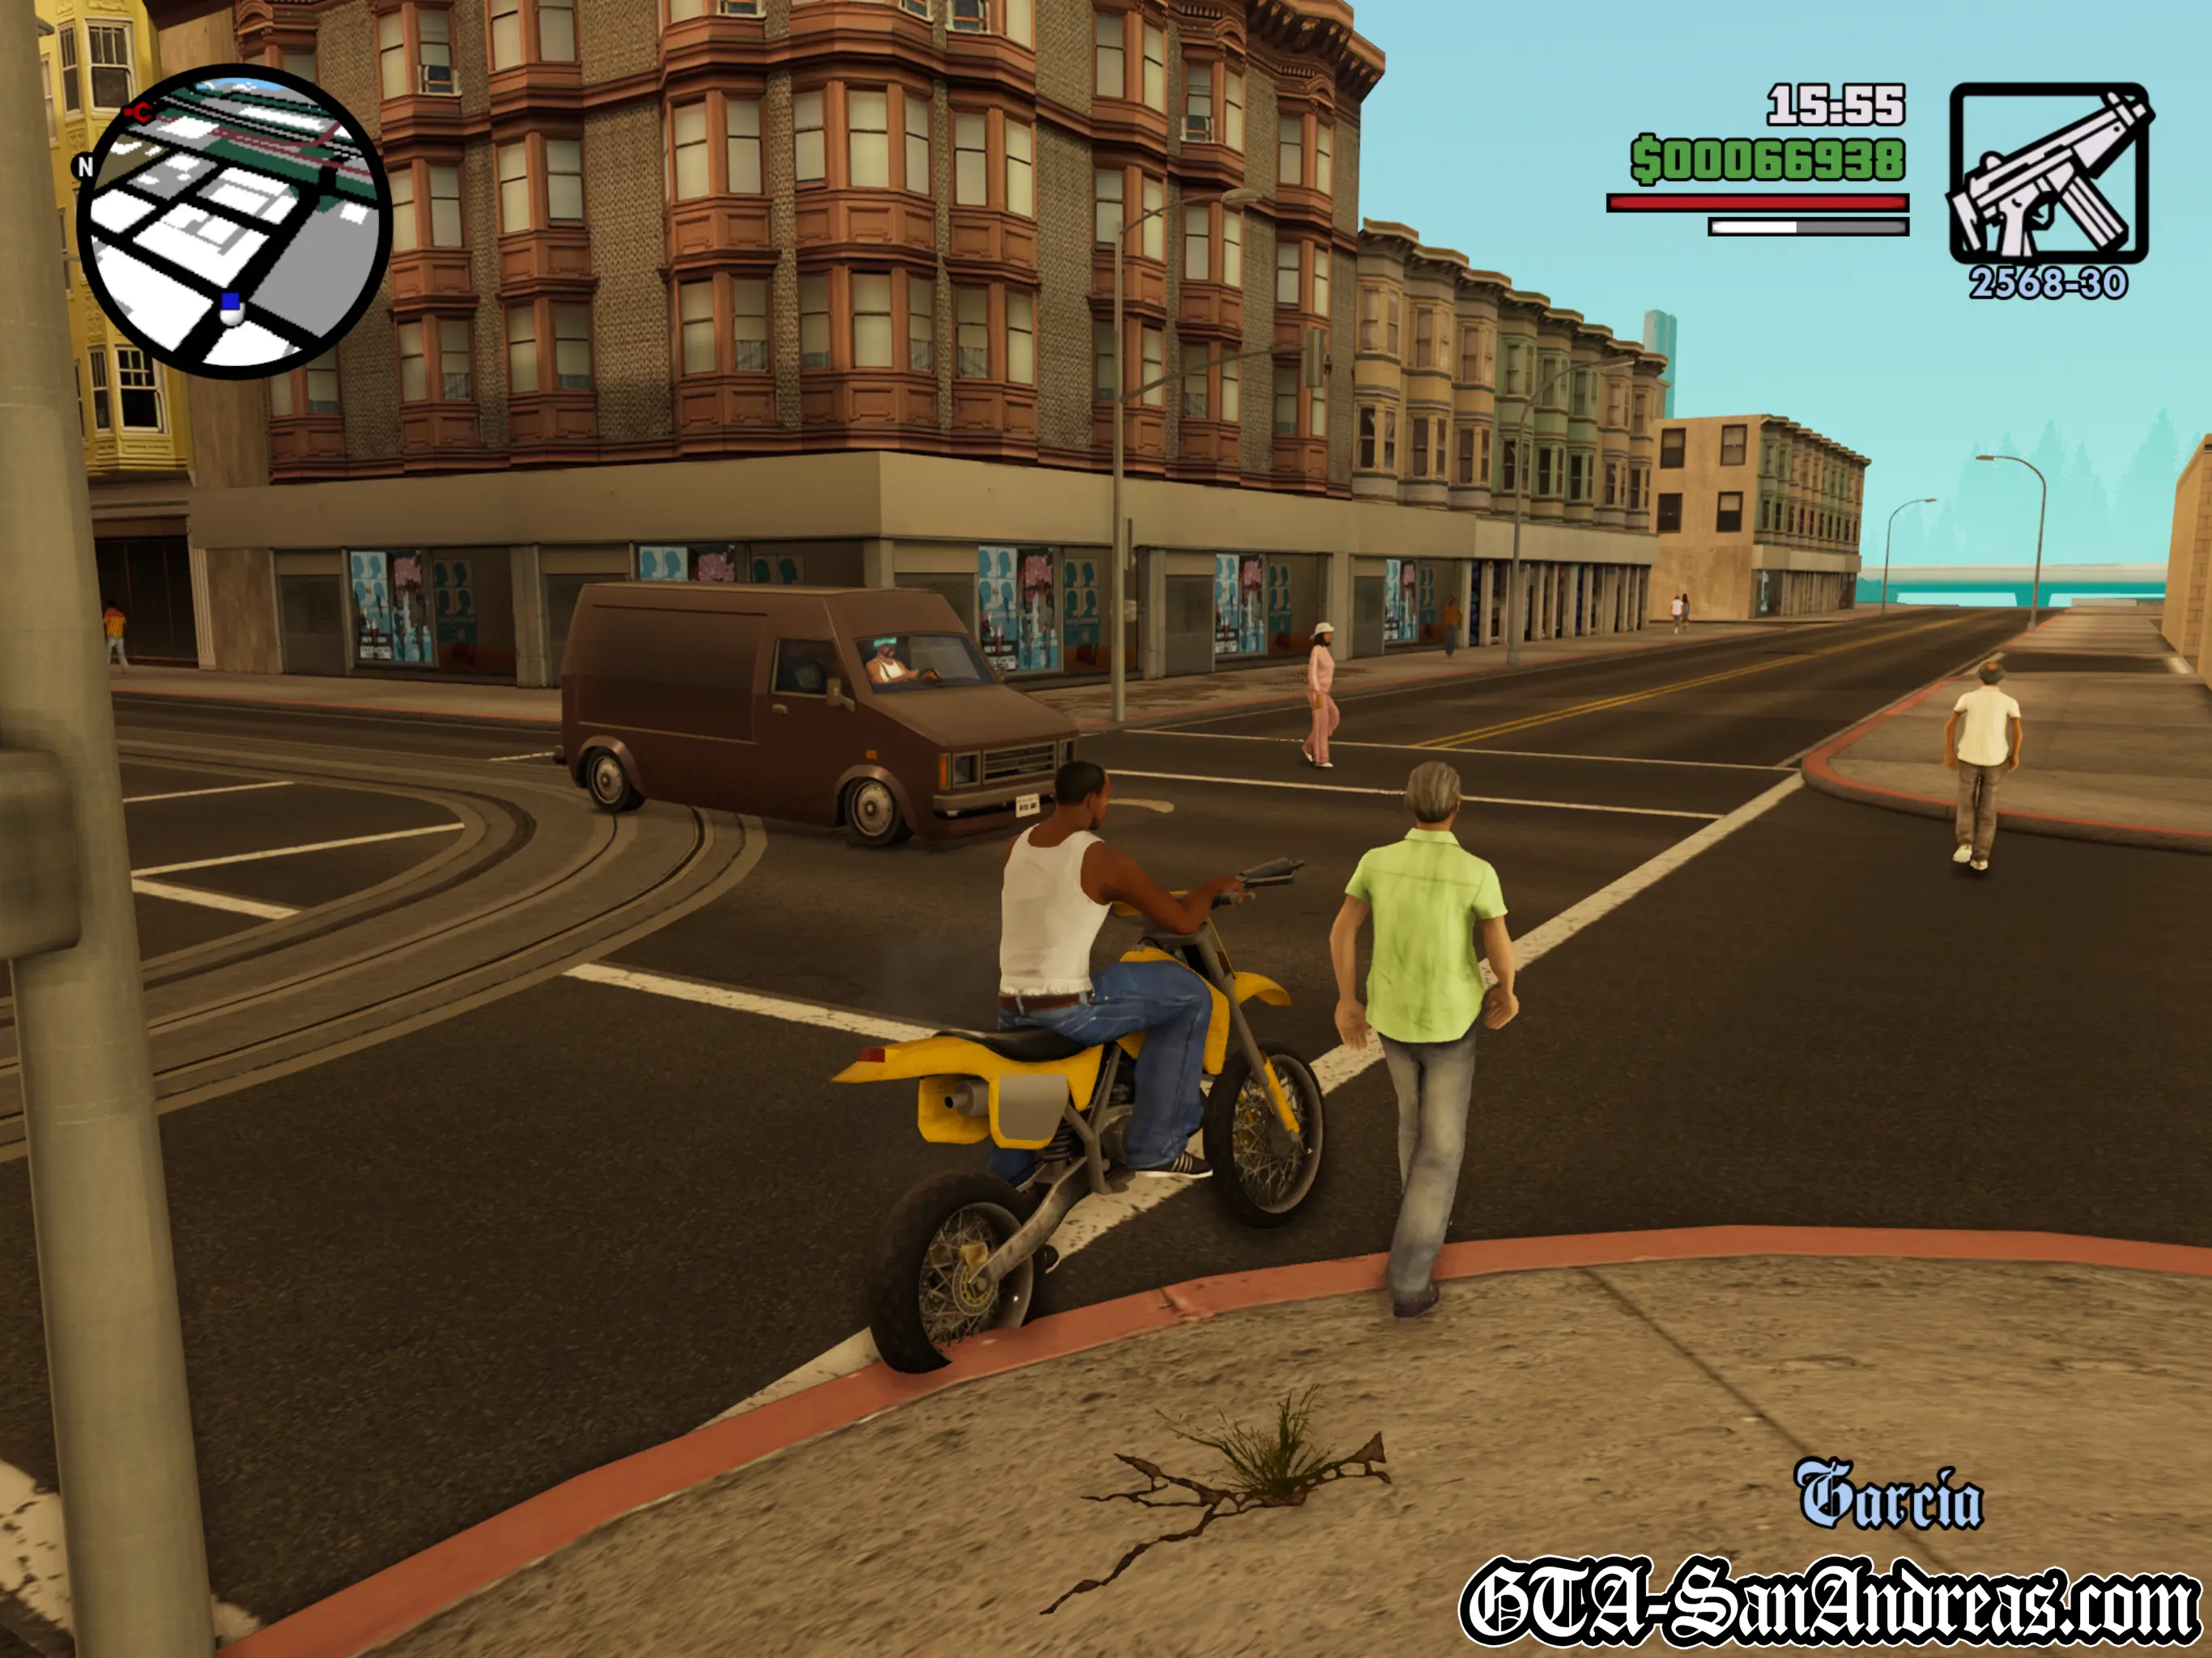
Outrider
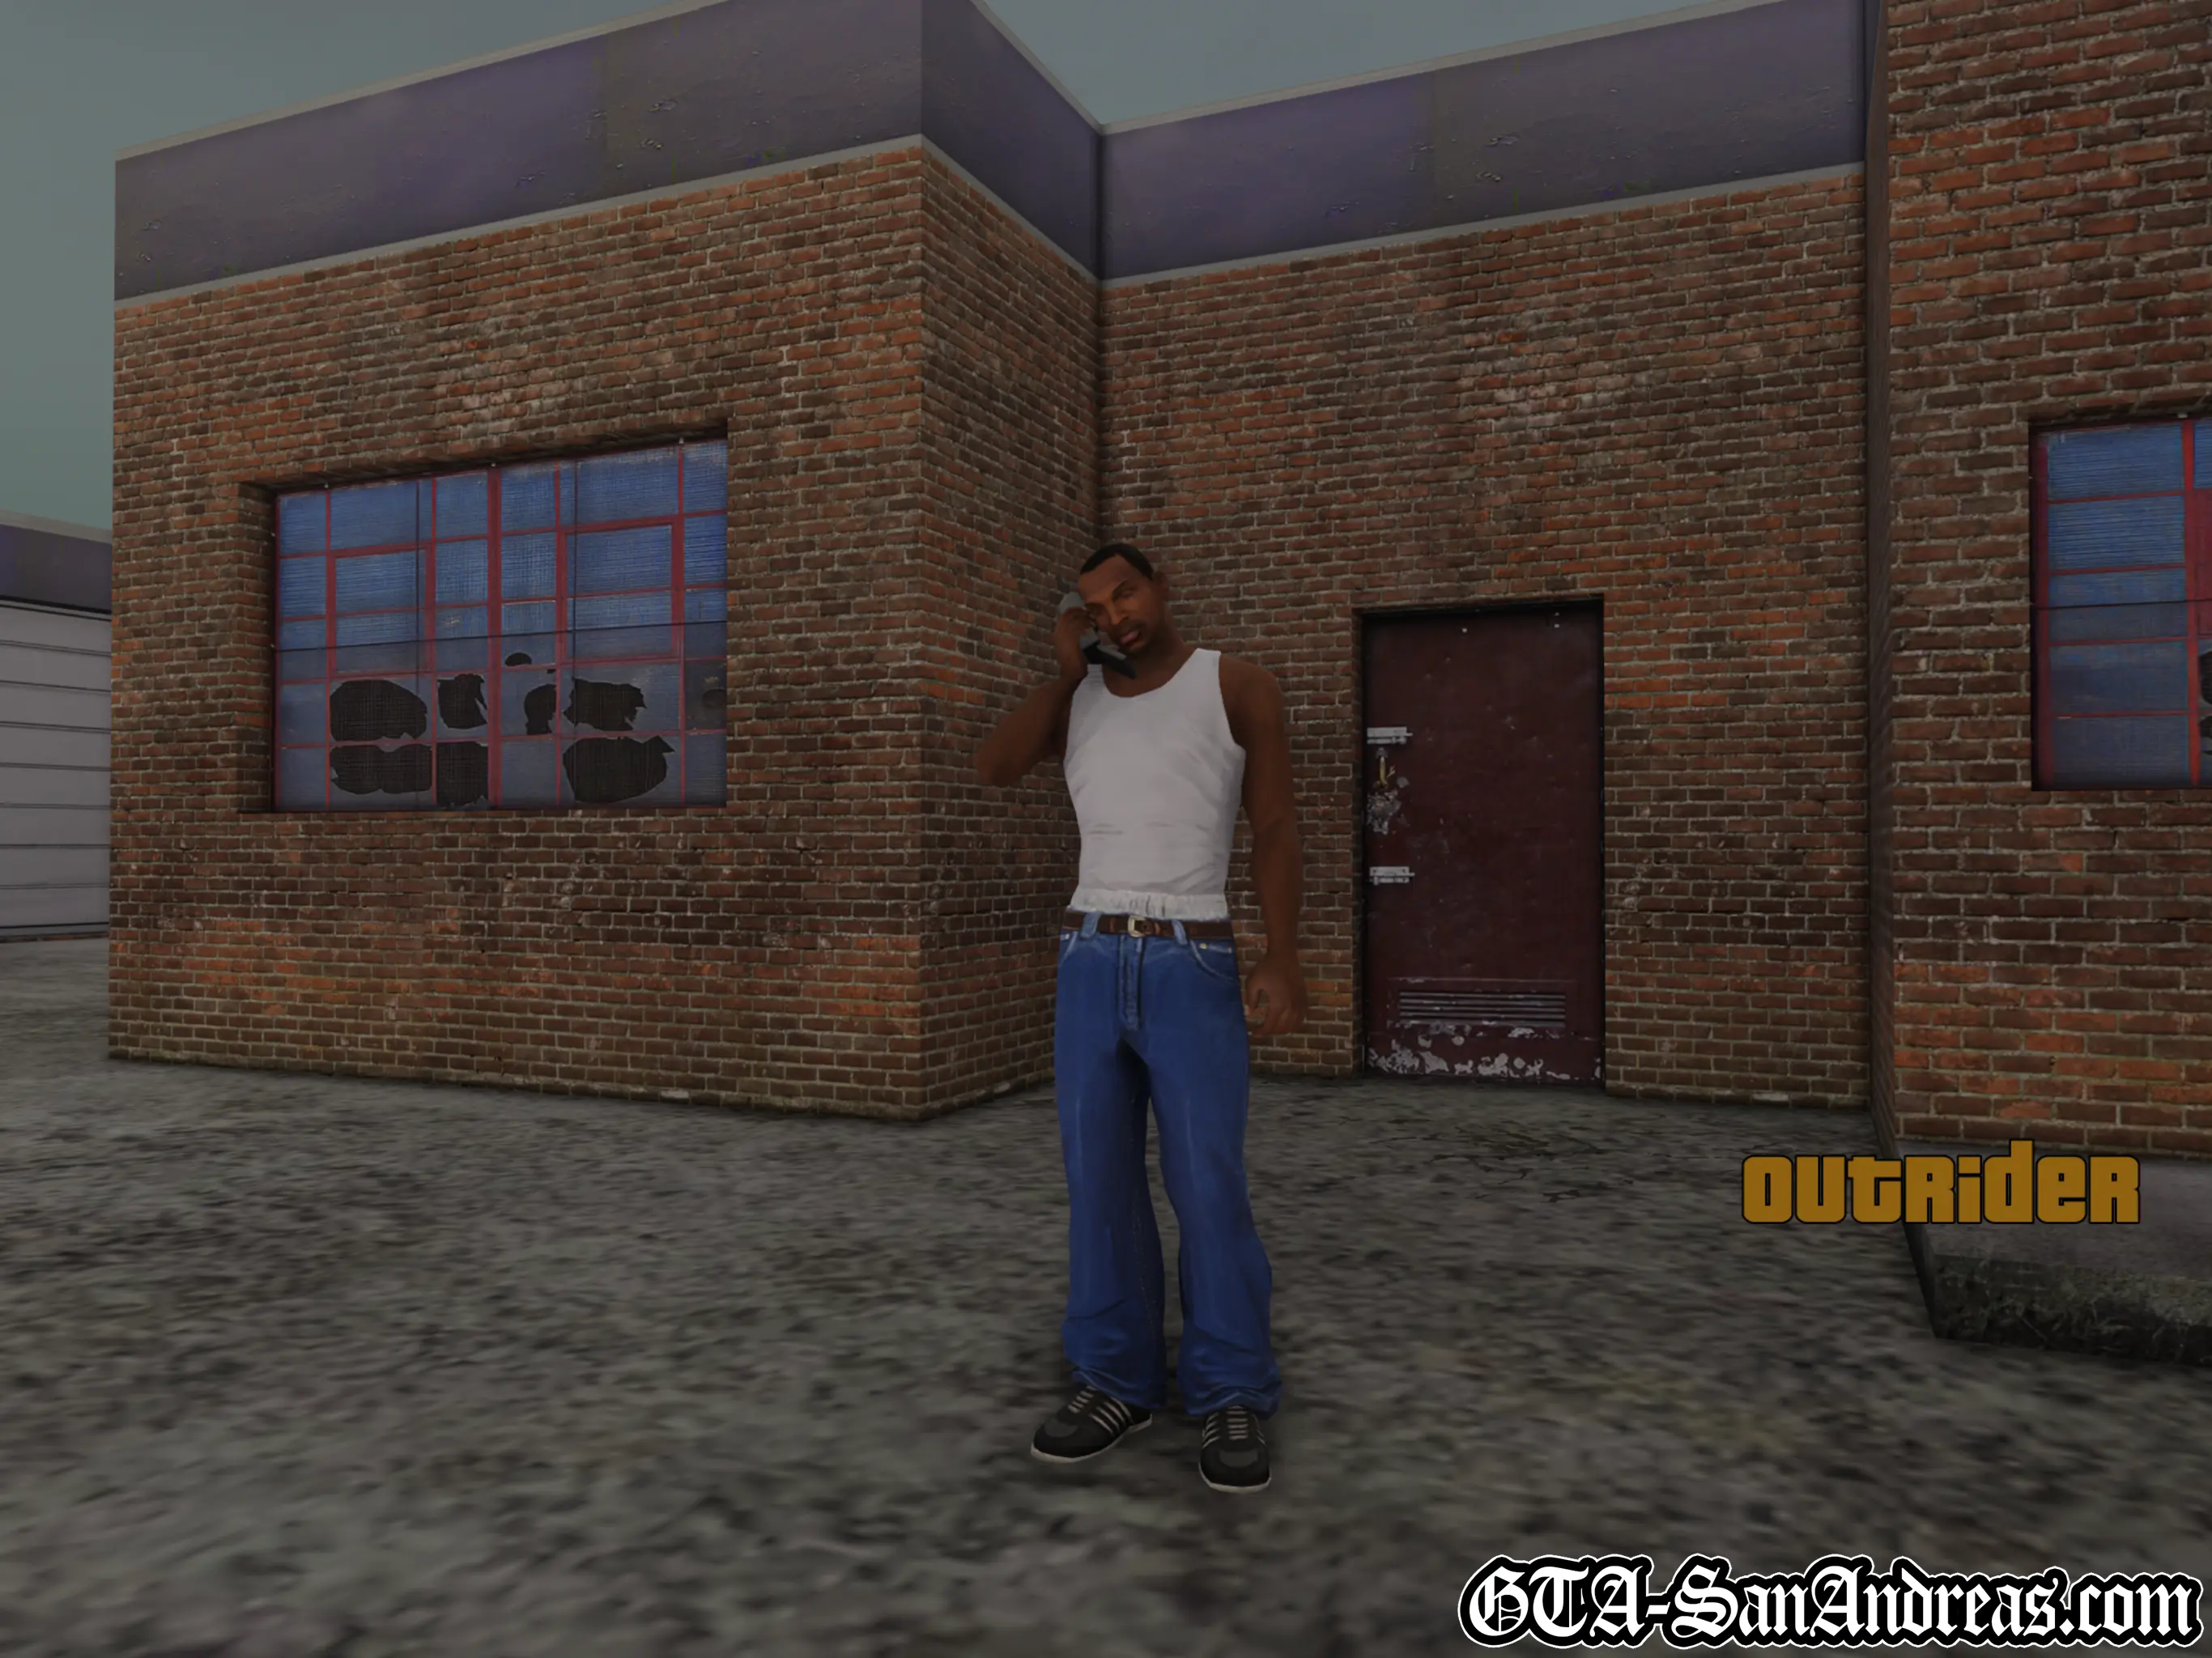
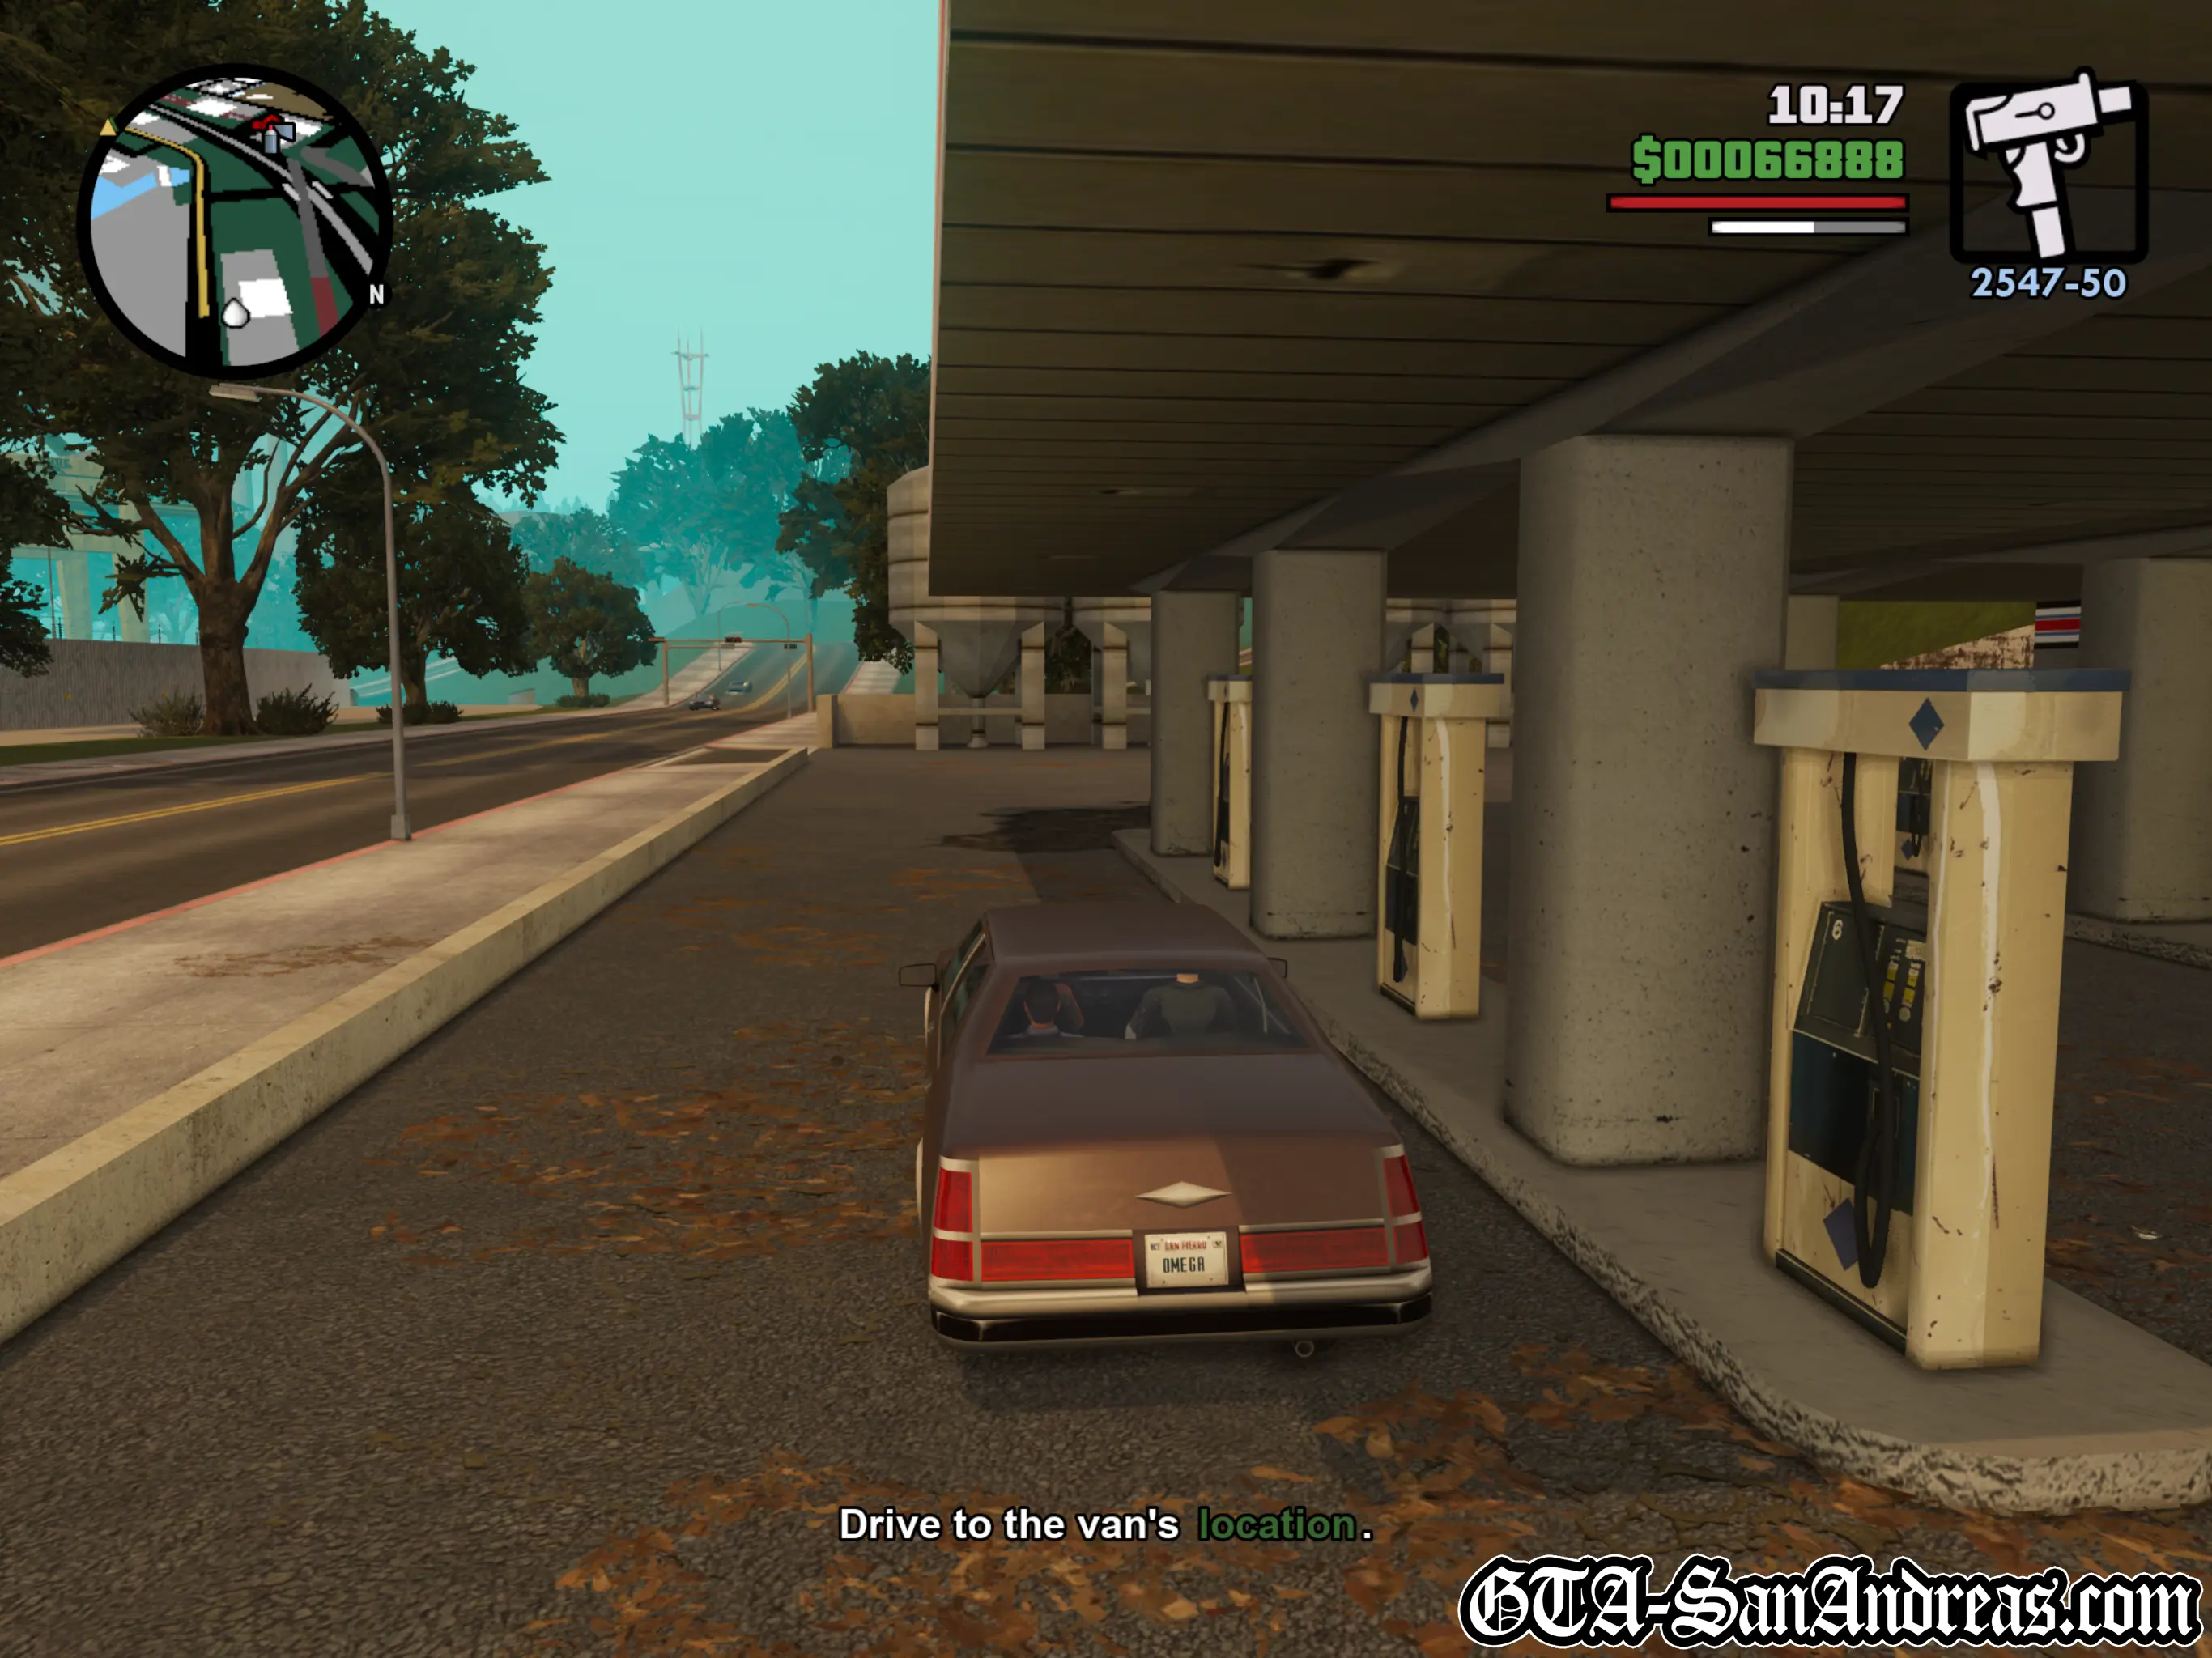
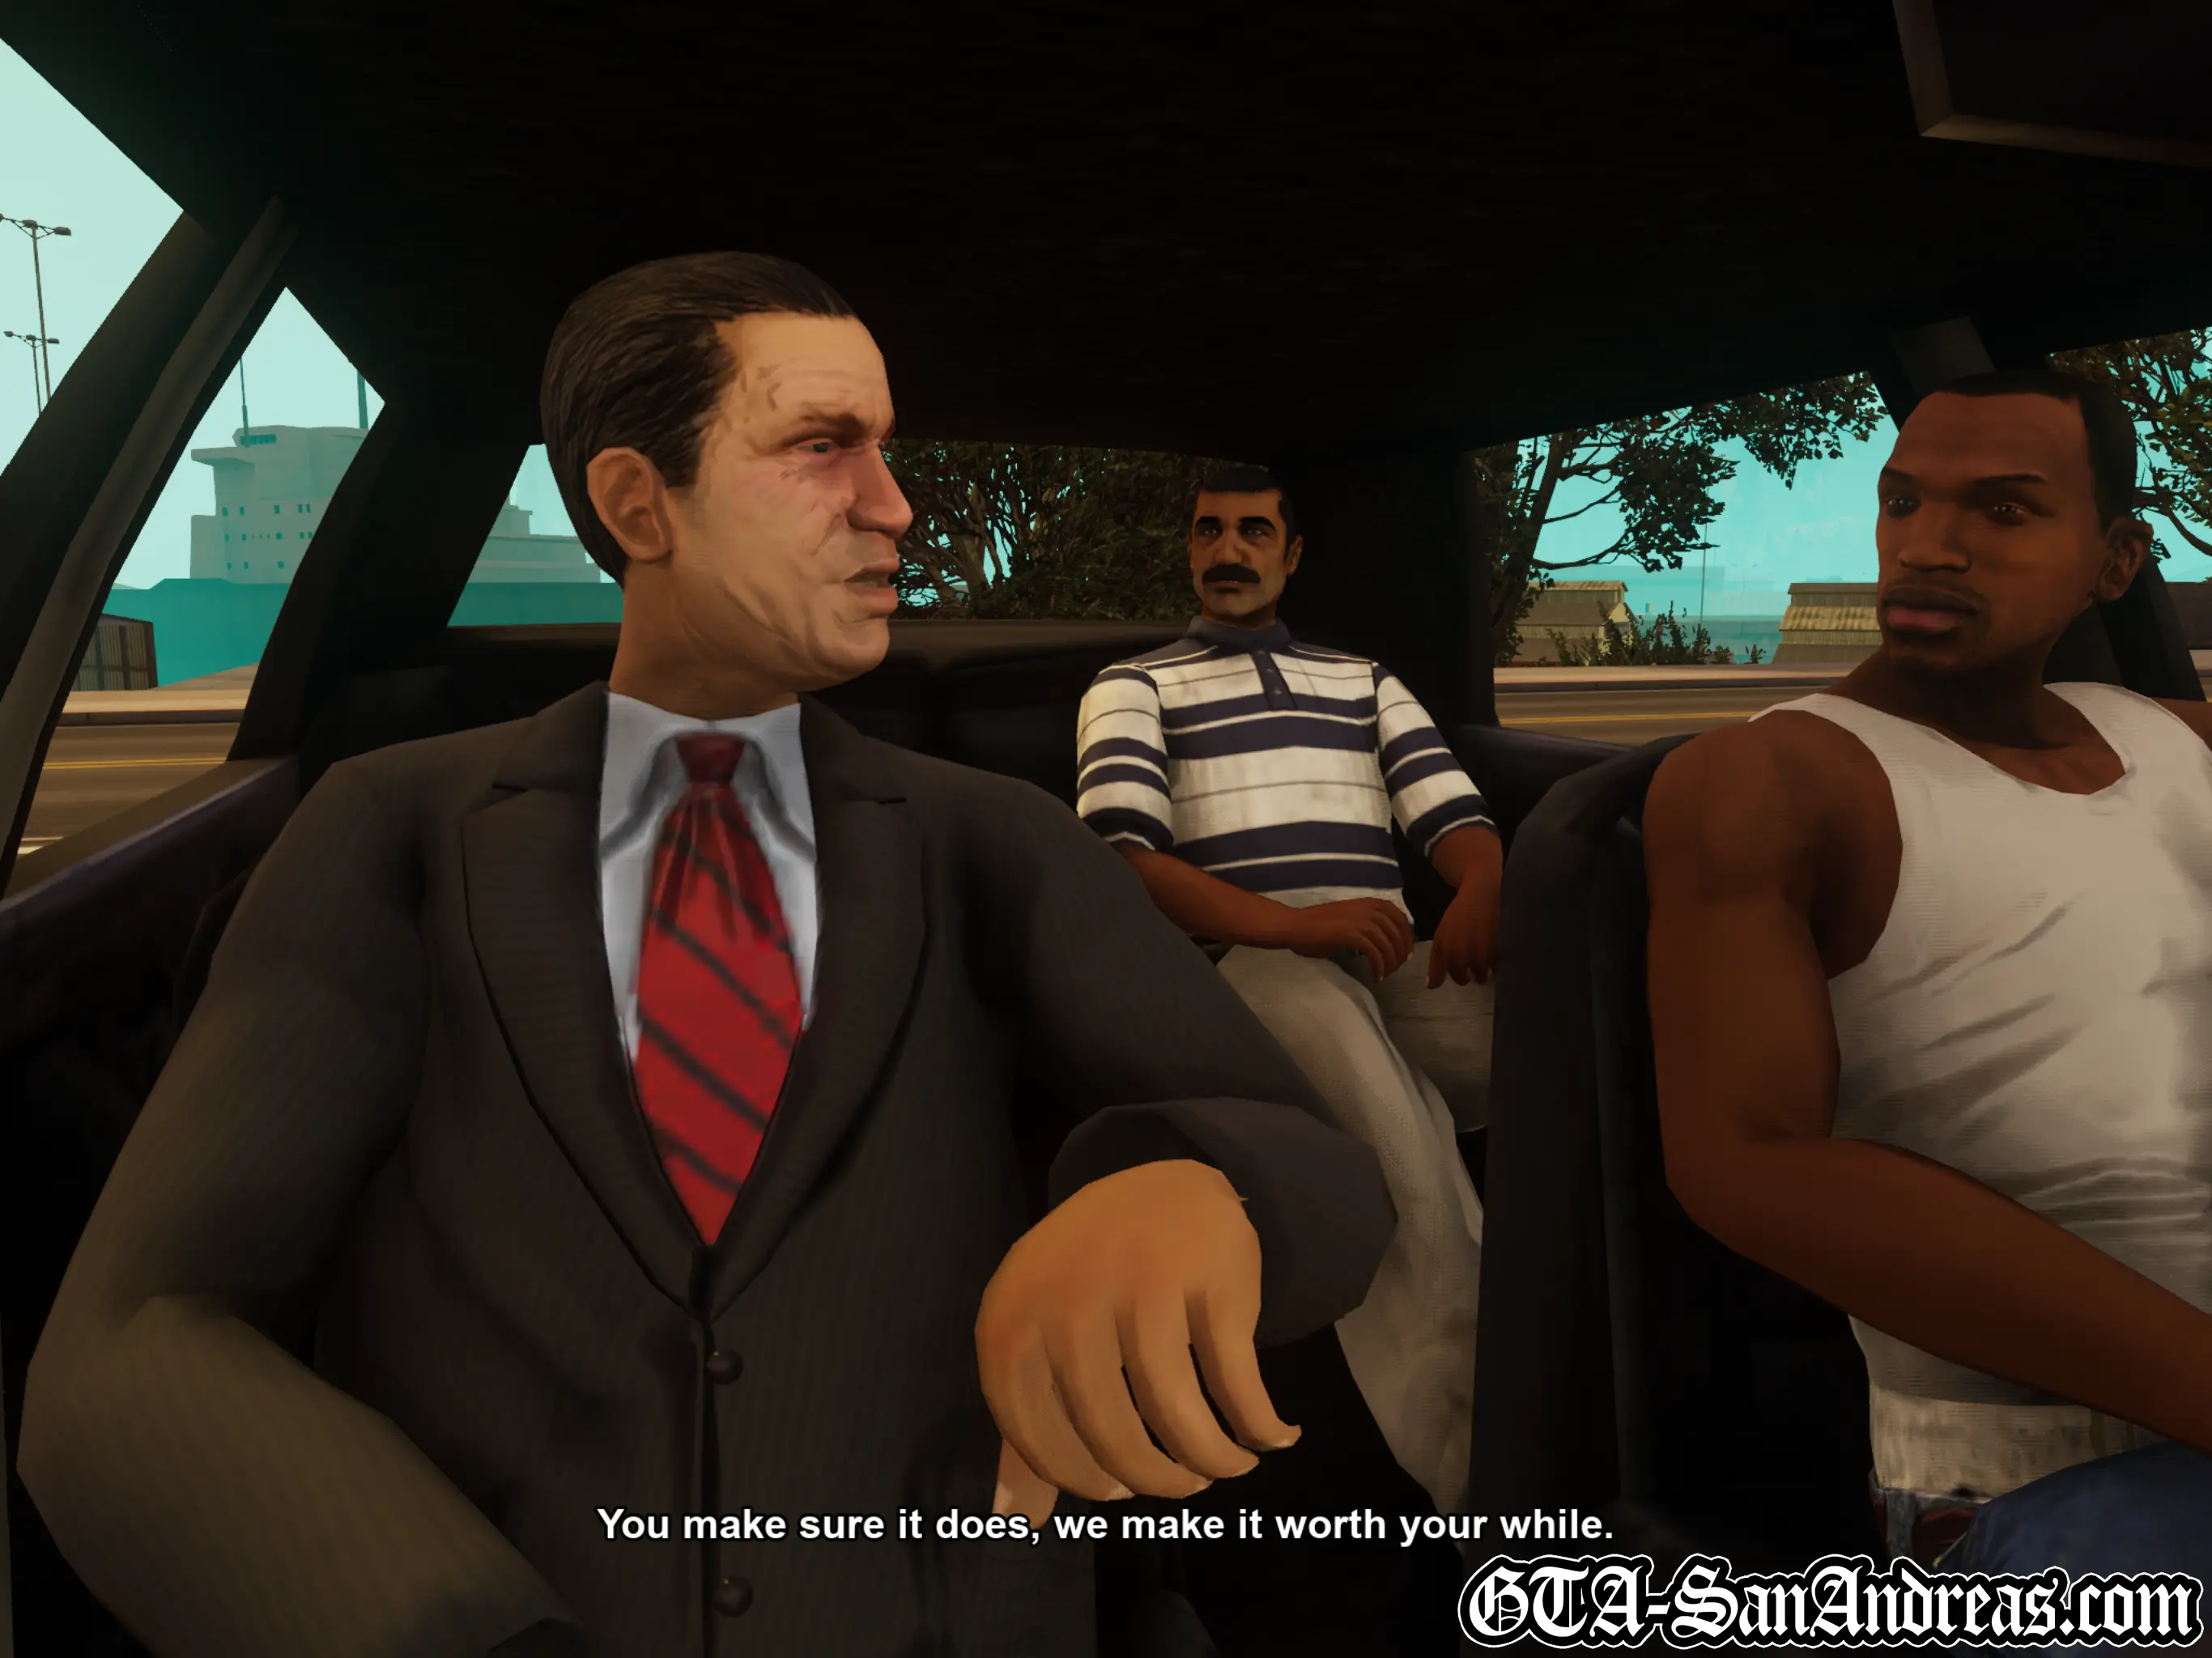
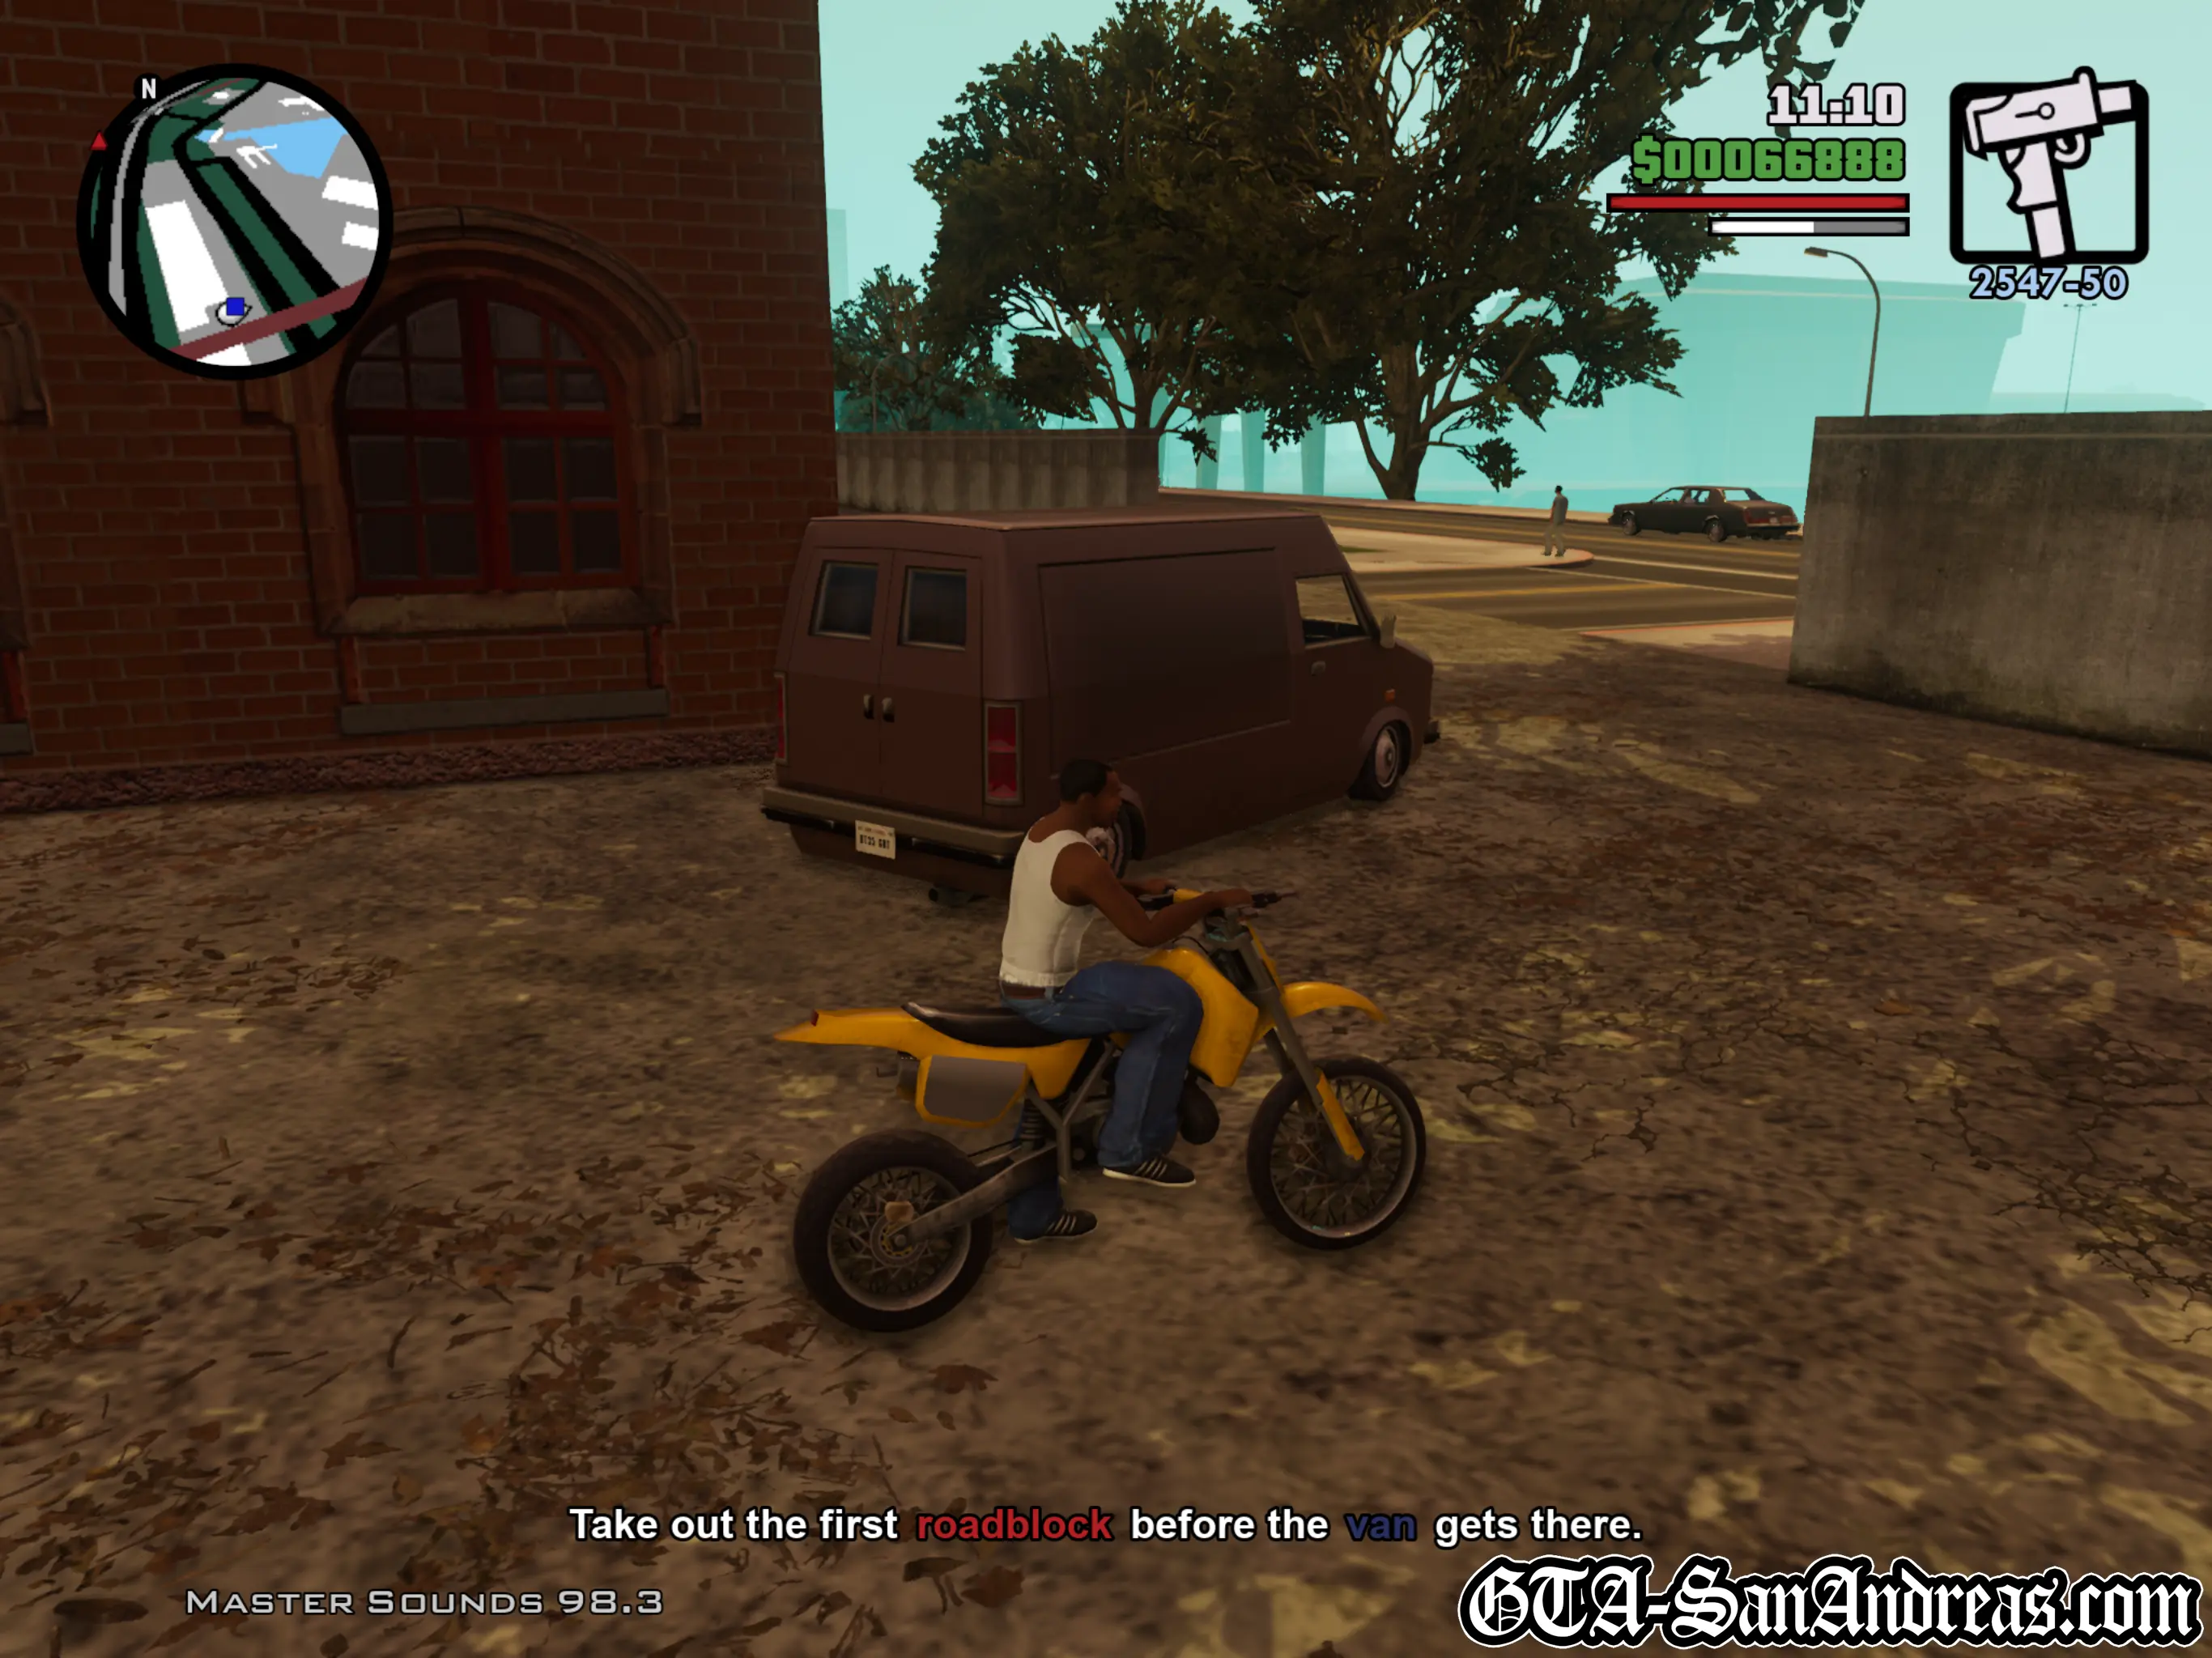
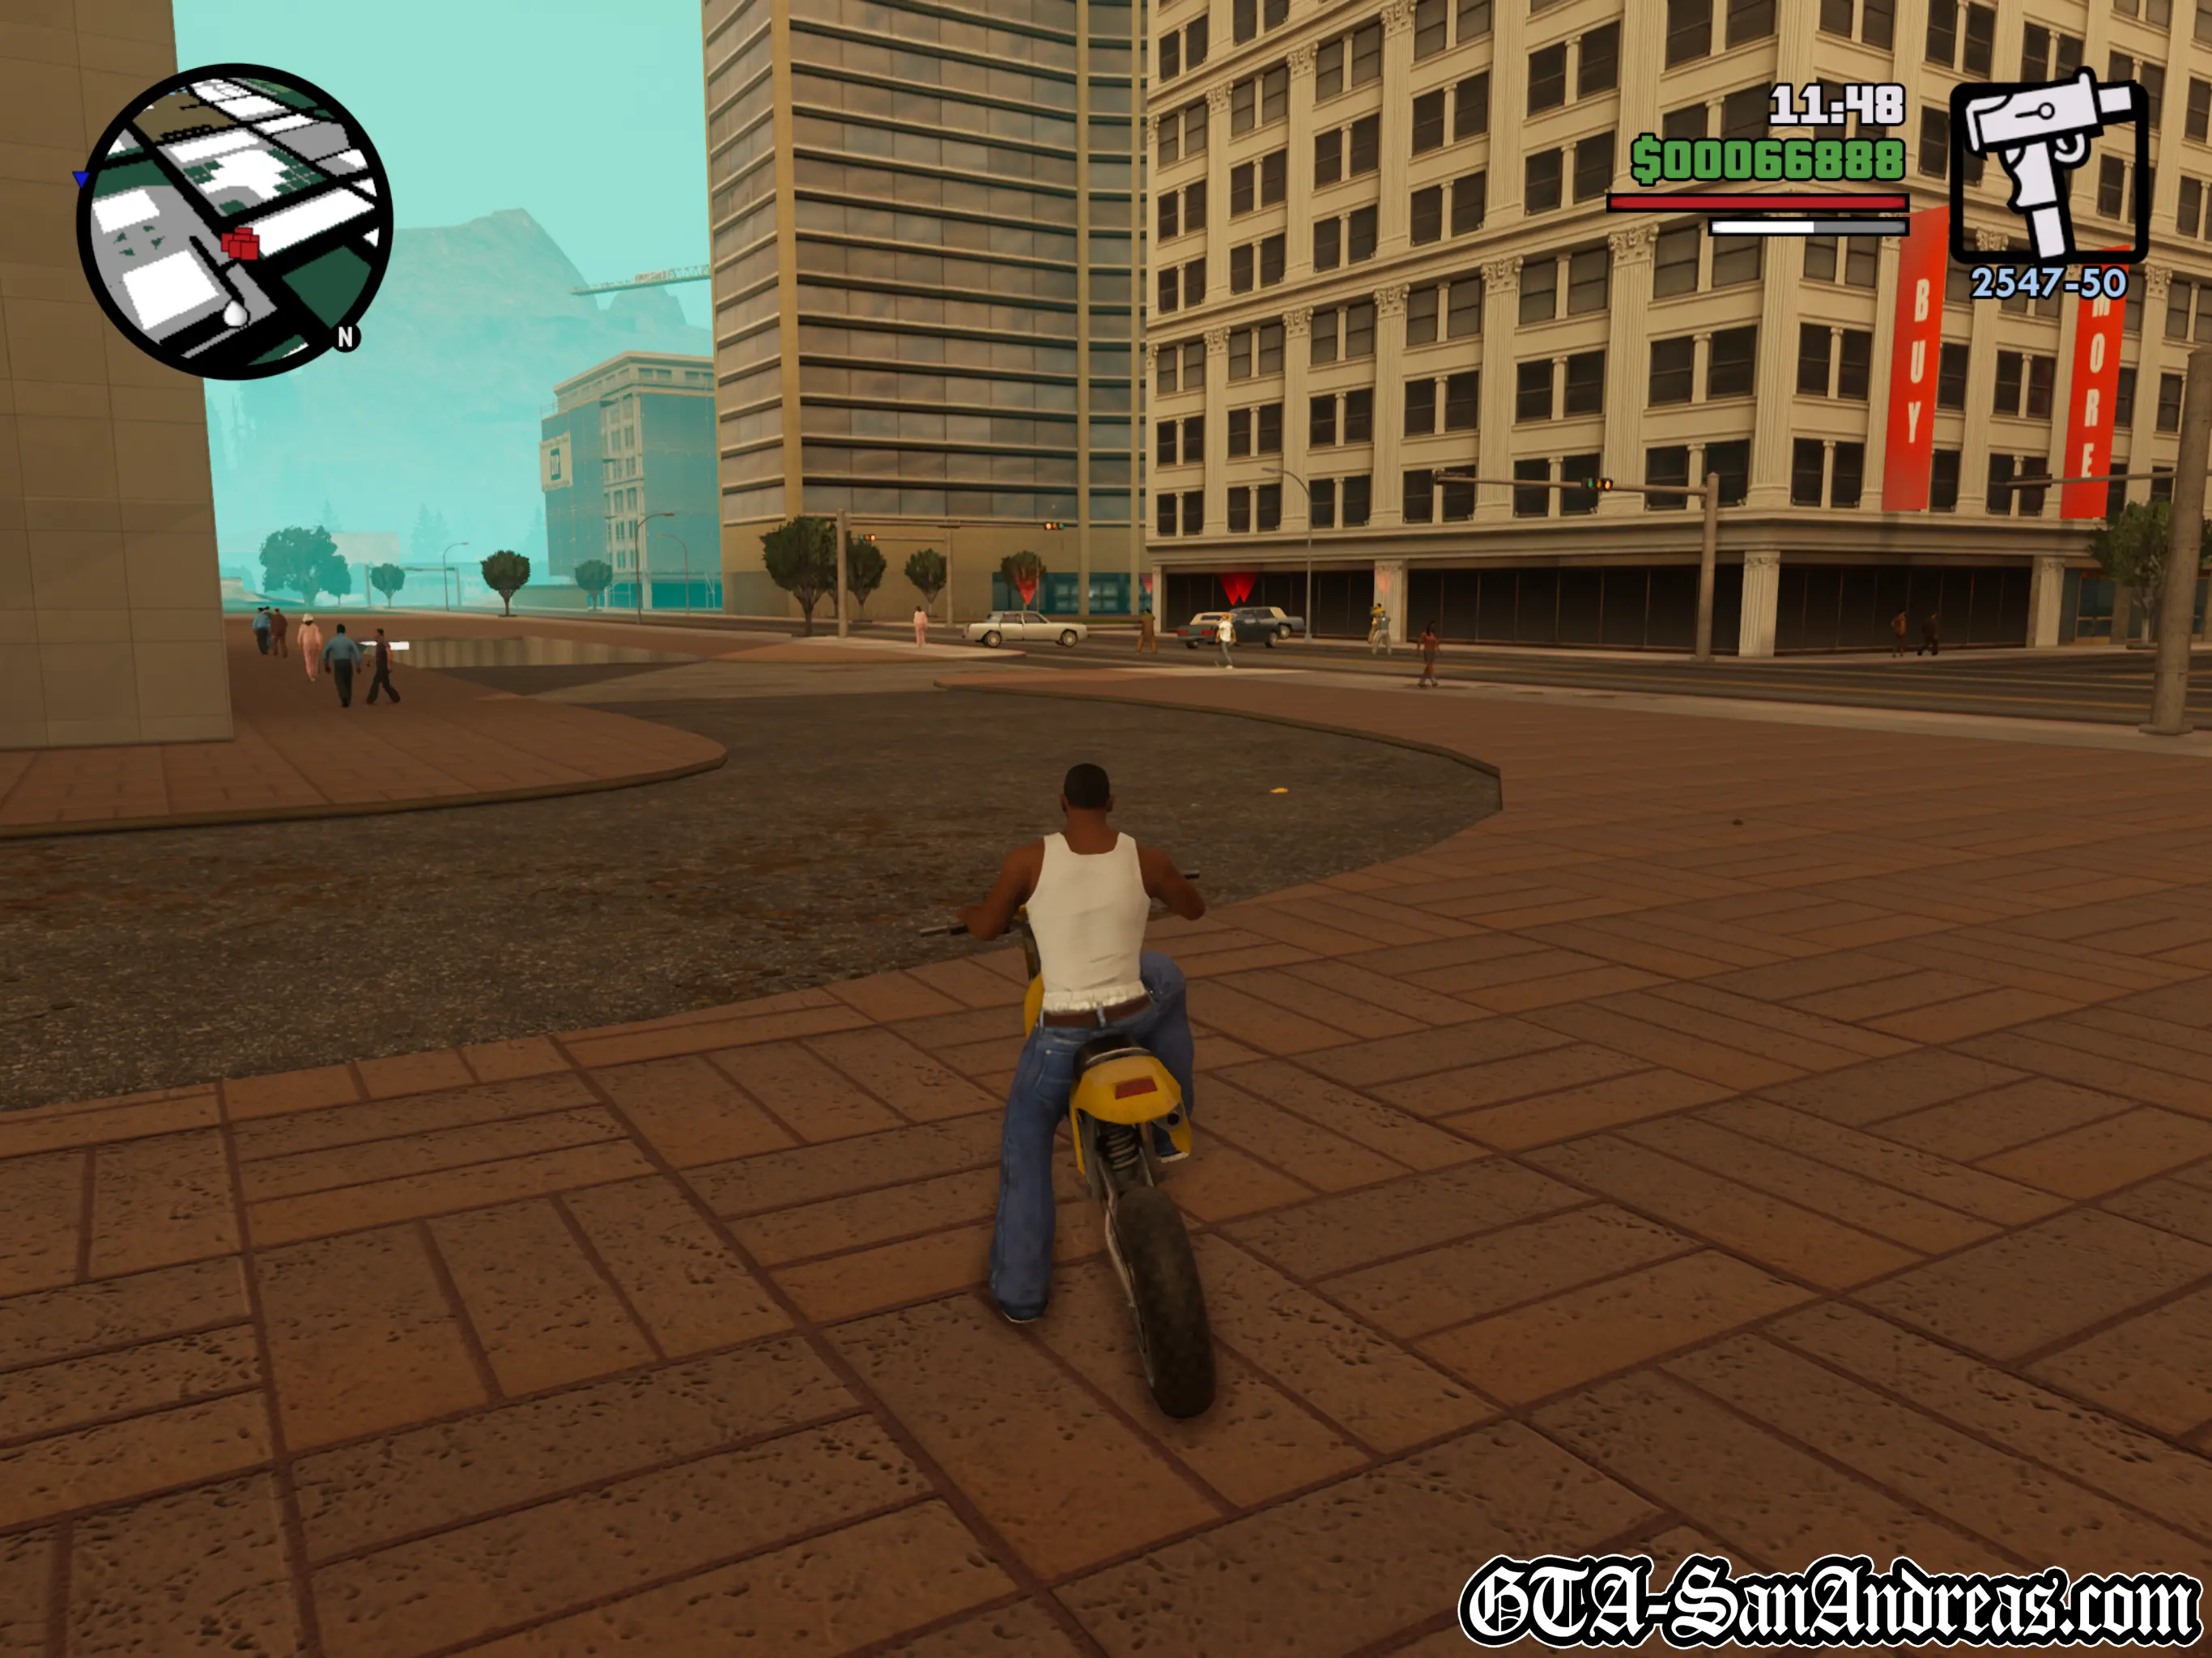
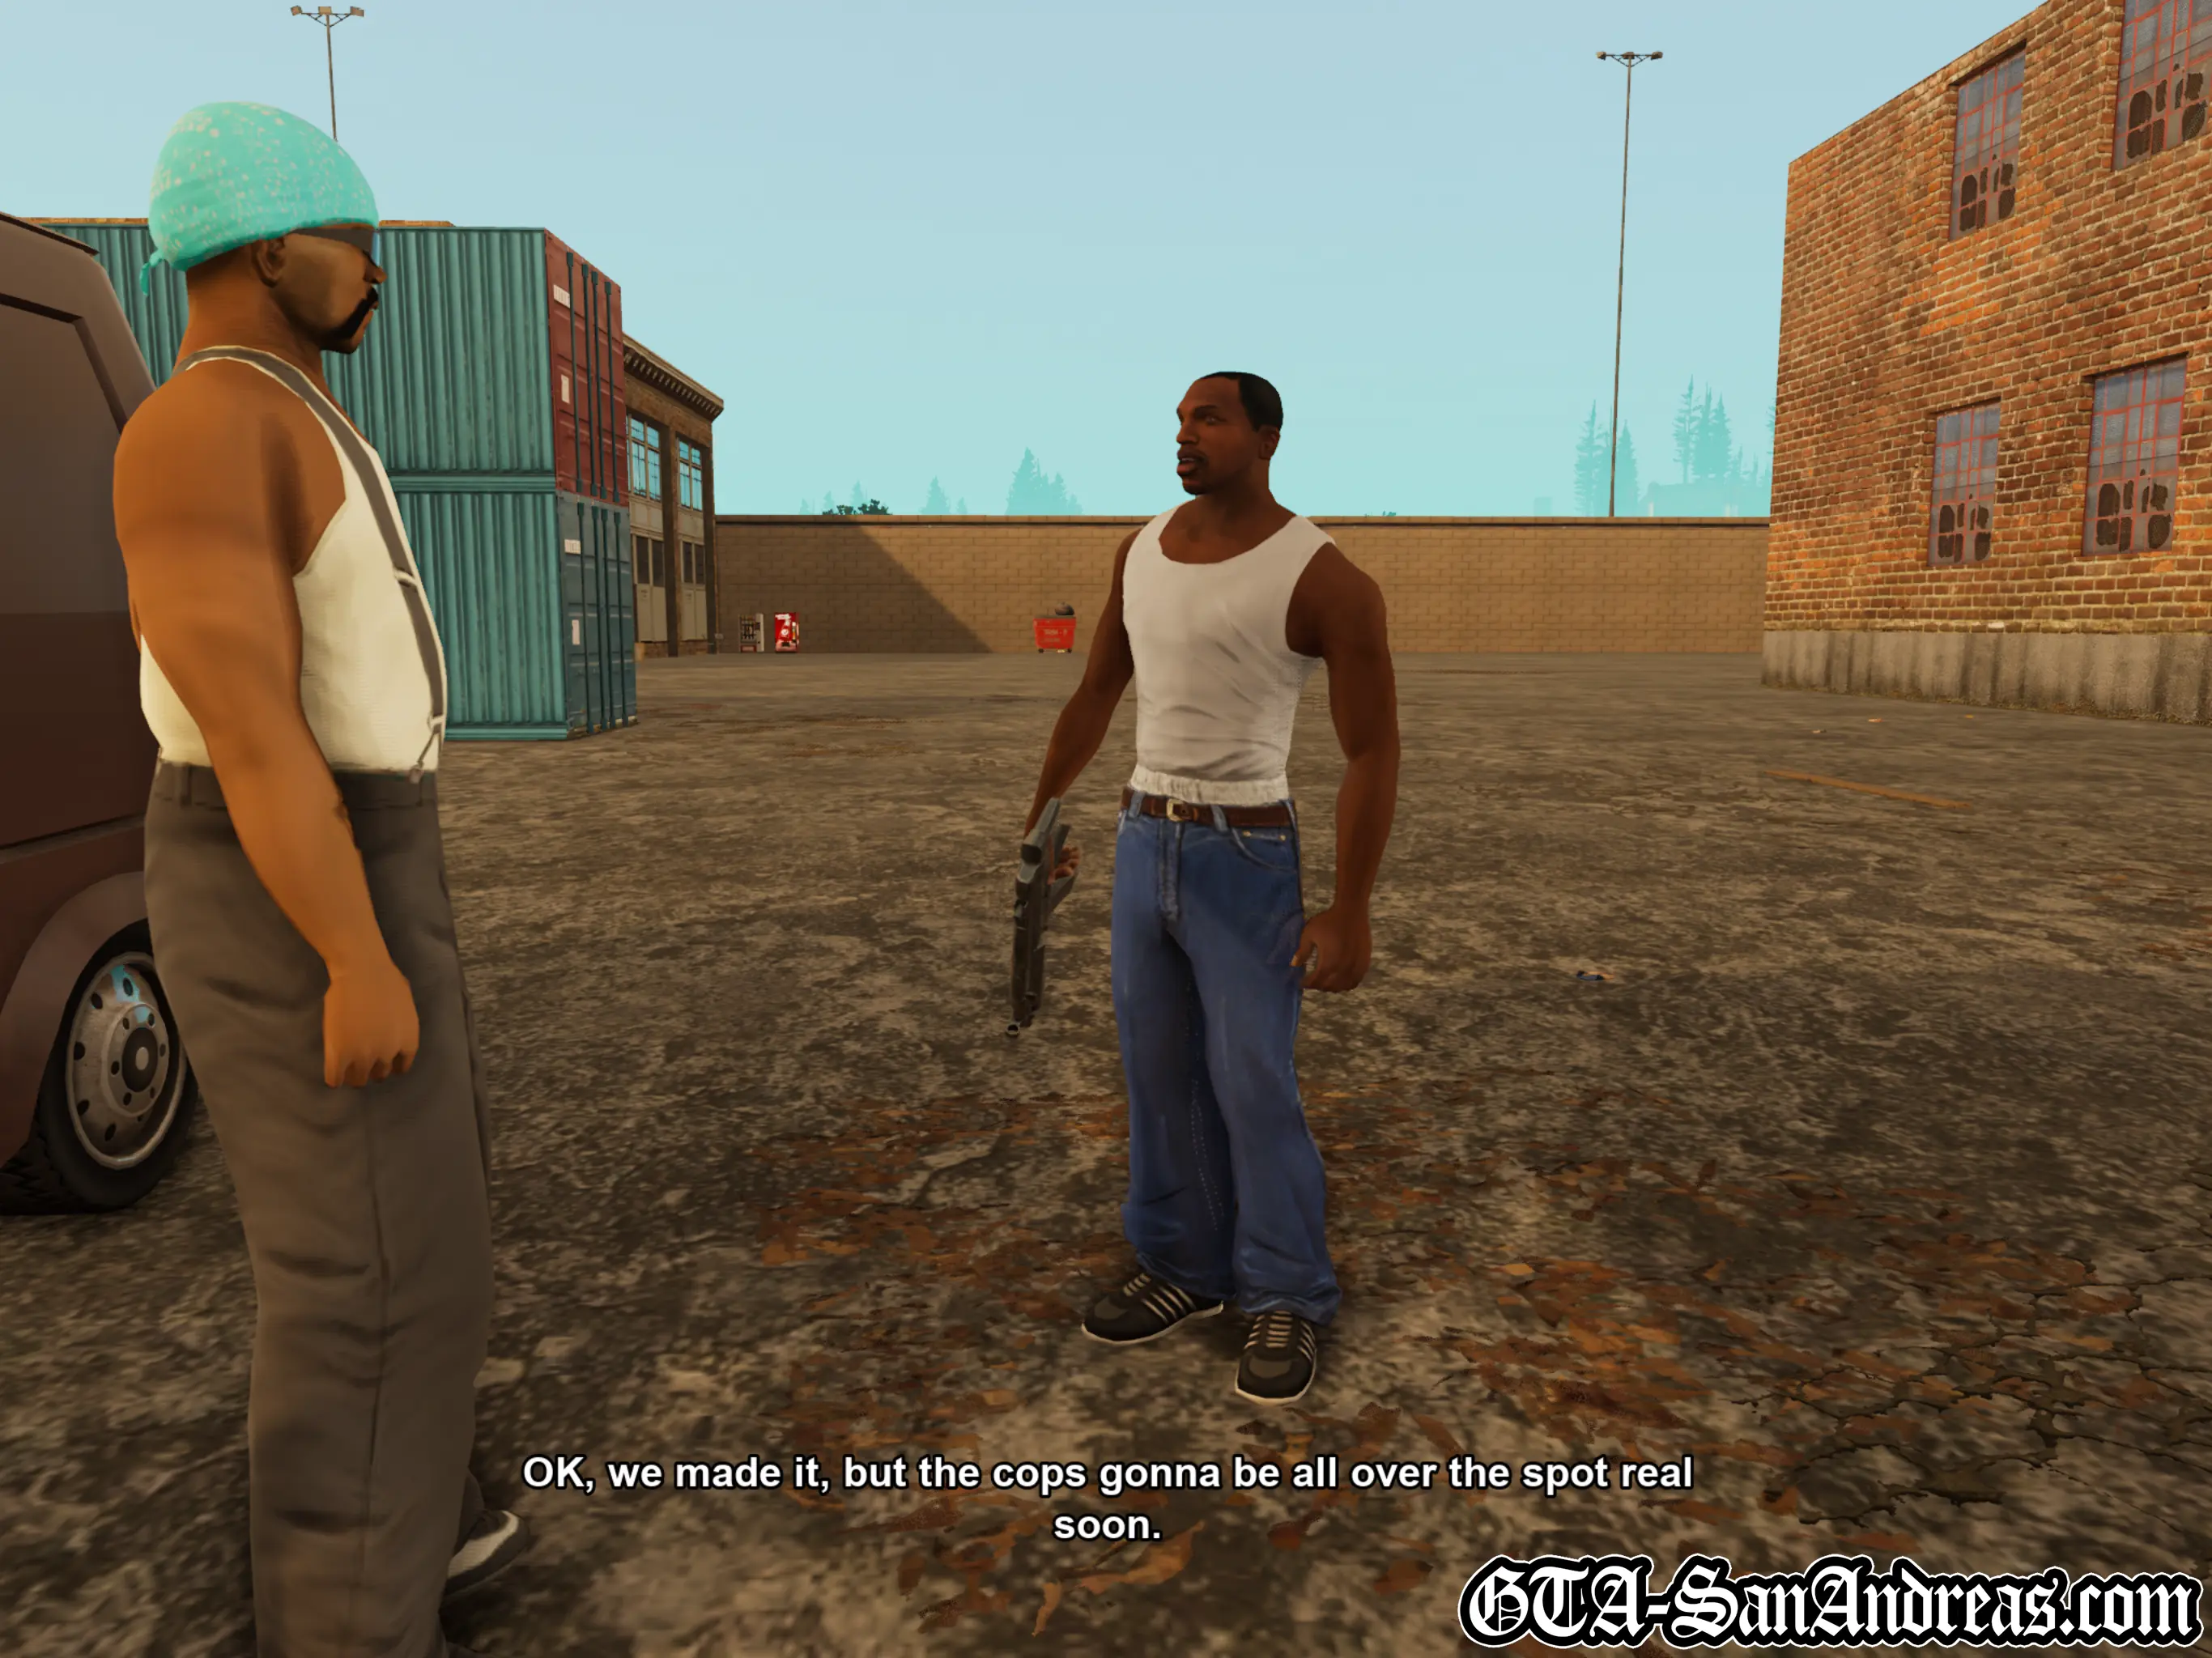
Jizzy calls you and tells you his people want to speak with you. They're in a car at the Xoomer gas station in Easter Basin. Make your way to the blue blip on the radar and meet them. As you get close a cutscene will take place. After the strange cutscene you need to drive the guys to the vans location near the docks. Make your way to the yellow blip. When you get there a cutscene will tell you to take the bike and the Rocket Launcher and drive ahead of the van. You need to drive to the red blip on the map and take out a road block. You don't need to wait for the van though, so just speed there ASAP. If you have a sniper rifle, take out the foot soldiers from a distance, then move in closer and use the rockets to clear the cars. If not, just try to take out the cars and use a gun to kill the remaining men. After the first road block is cleared move onto the next one. Same again, however this time there'll be three people in the windows up and to the left. Make sure you take them and the cars out before your van gets there. Once it's gone move onto the next road block. This one is almost exactly the same as the previous, a few cars with foot soldiers, and a few people in the building to the left. Wipe them all out and head to the final road block. Once the last road block is cleared, guide the van into the walled off area to the left and you'll see a cutscene where CJ says the cops will be all over soon. He's right, because you now have a three star wanted level. Head to the garage and save your game, or go to the Pay N' Spray to lose your stars.
The garage missions are now labelled by Tenpenny, or rather the C.R.A.S.H. icon, but we're going to continue working here for now.
Screenshots


Frank Tenpenny (C.R.A.S.H.)
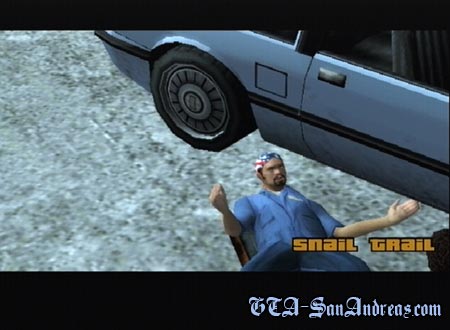
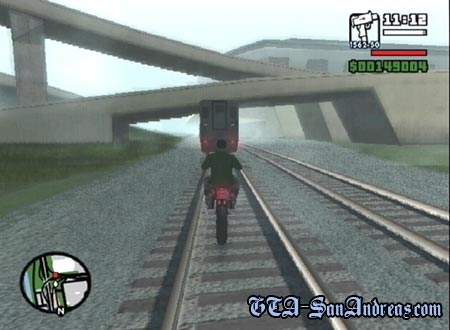
 Snail Trail
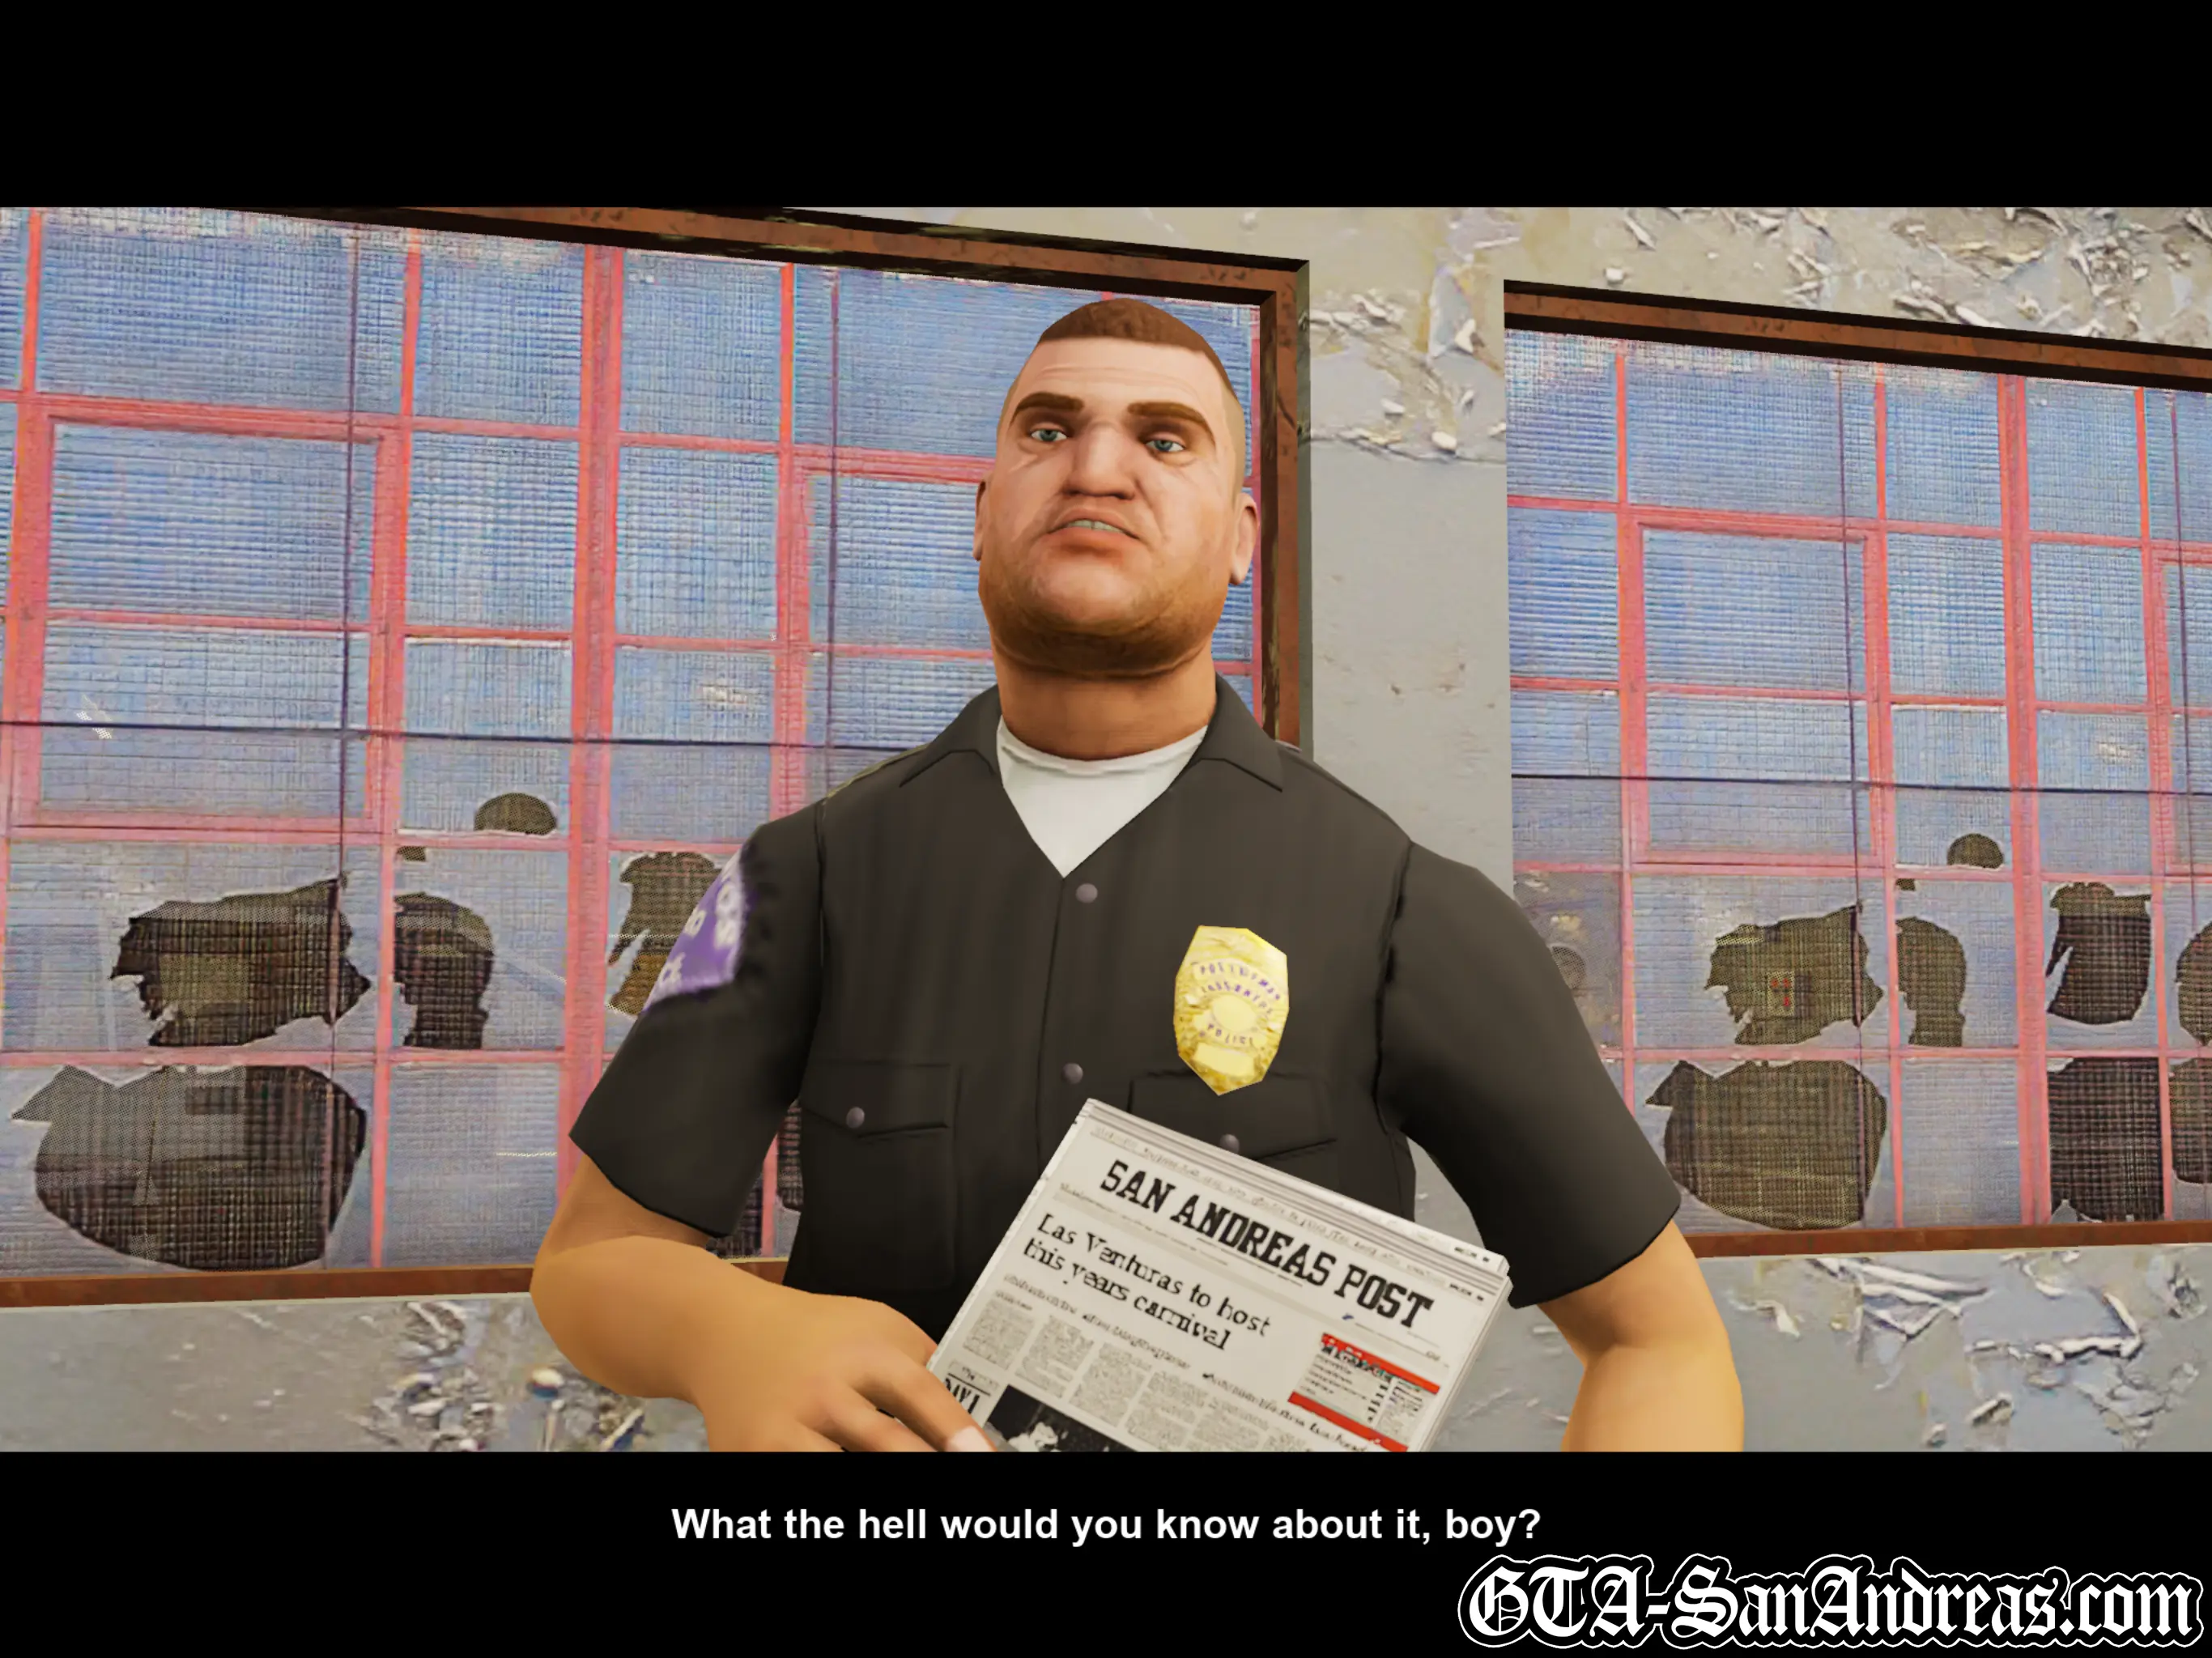
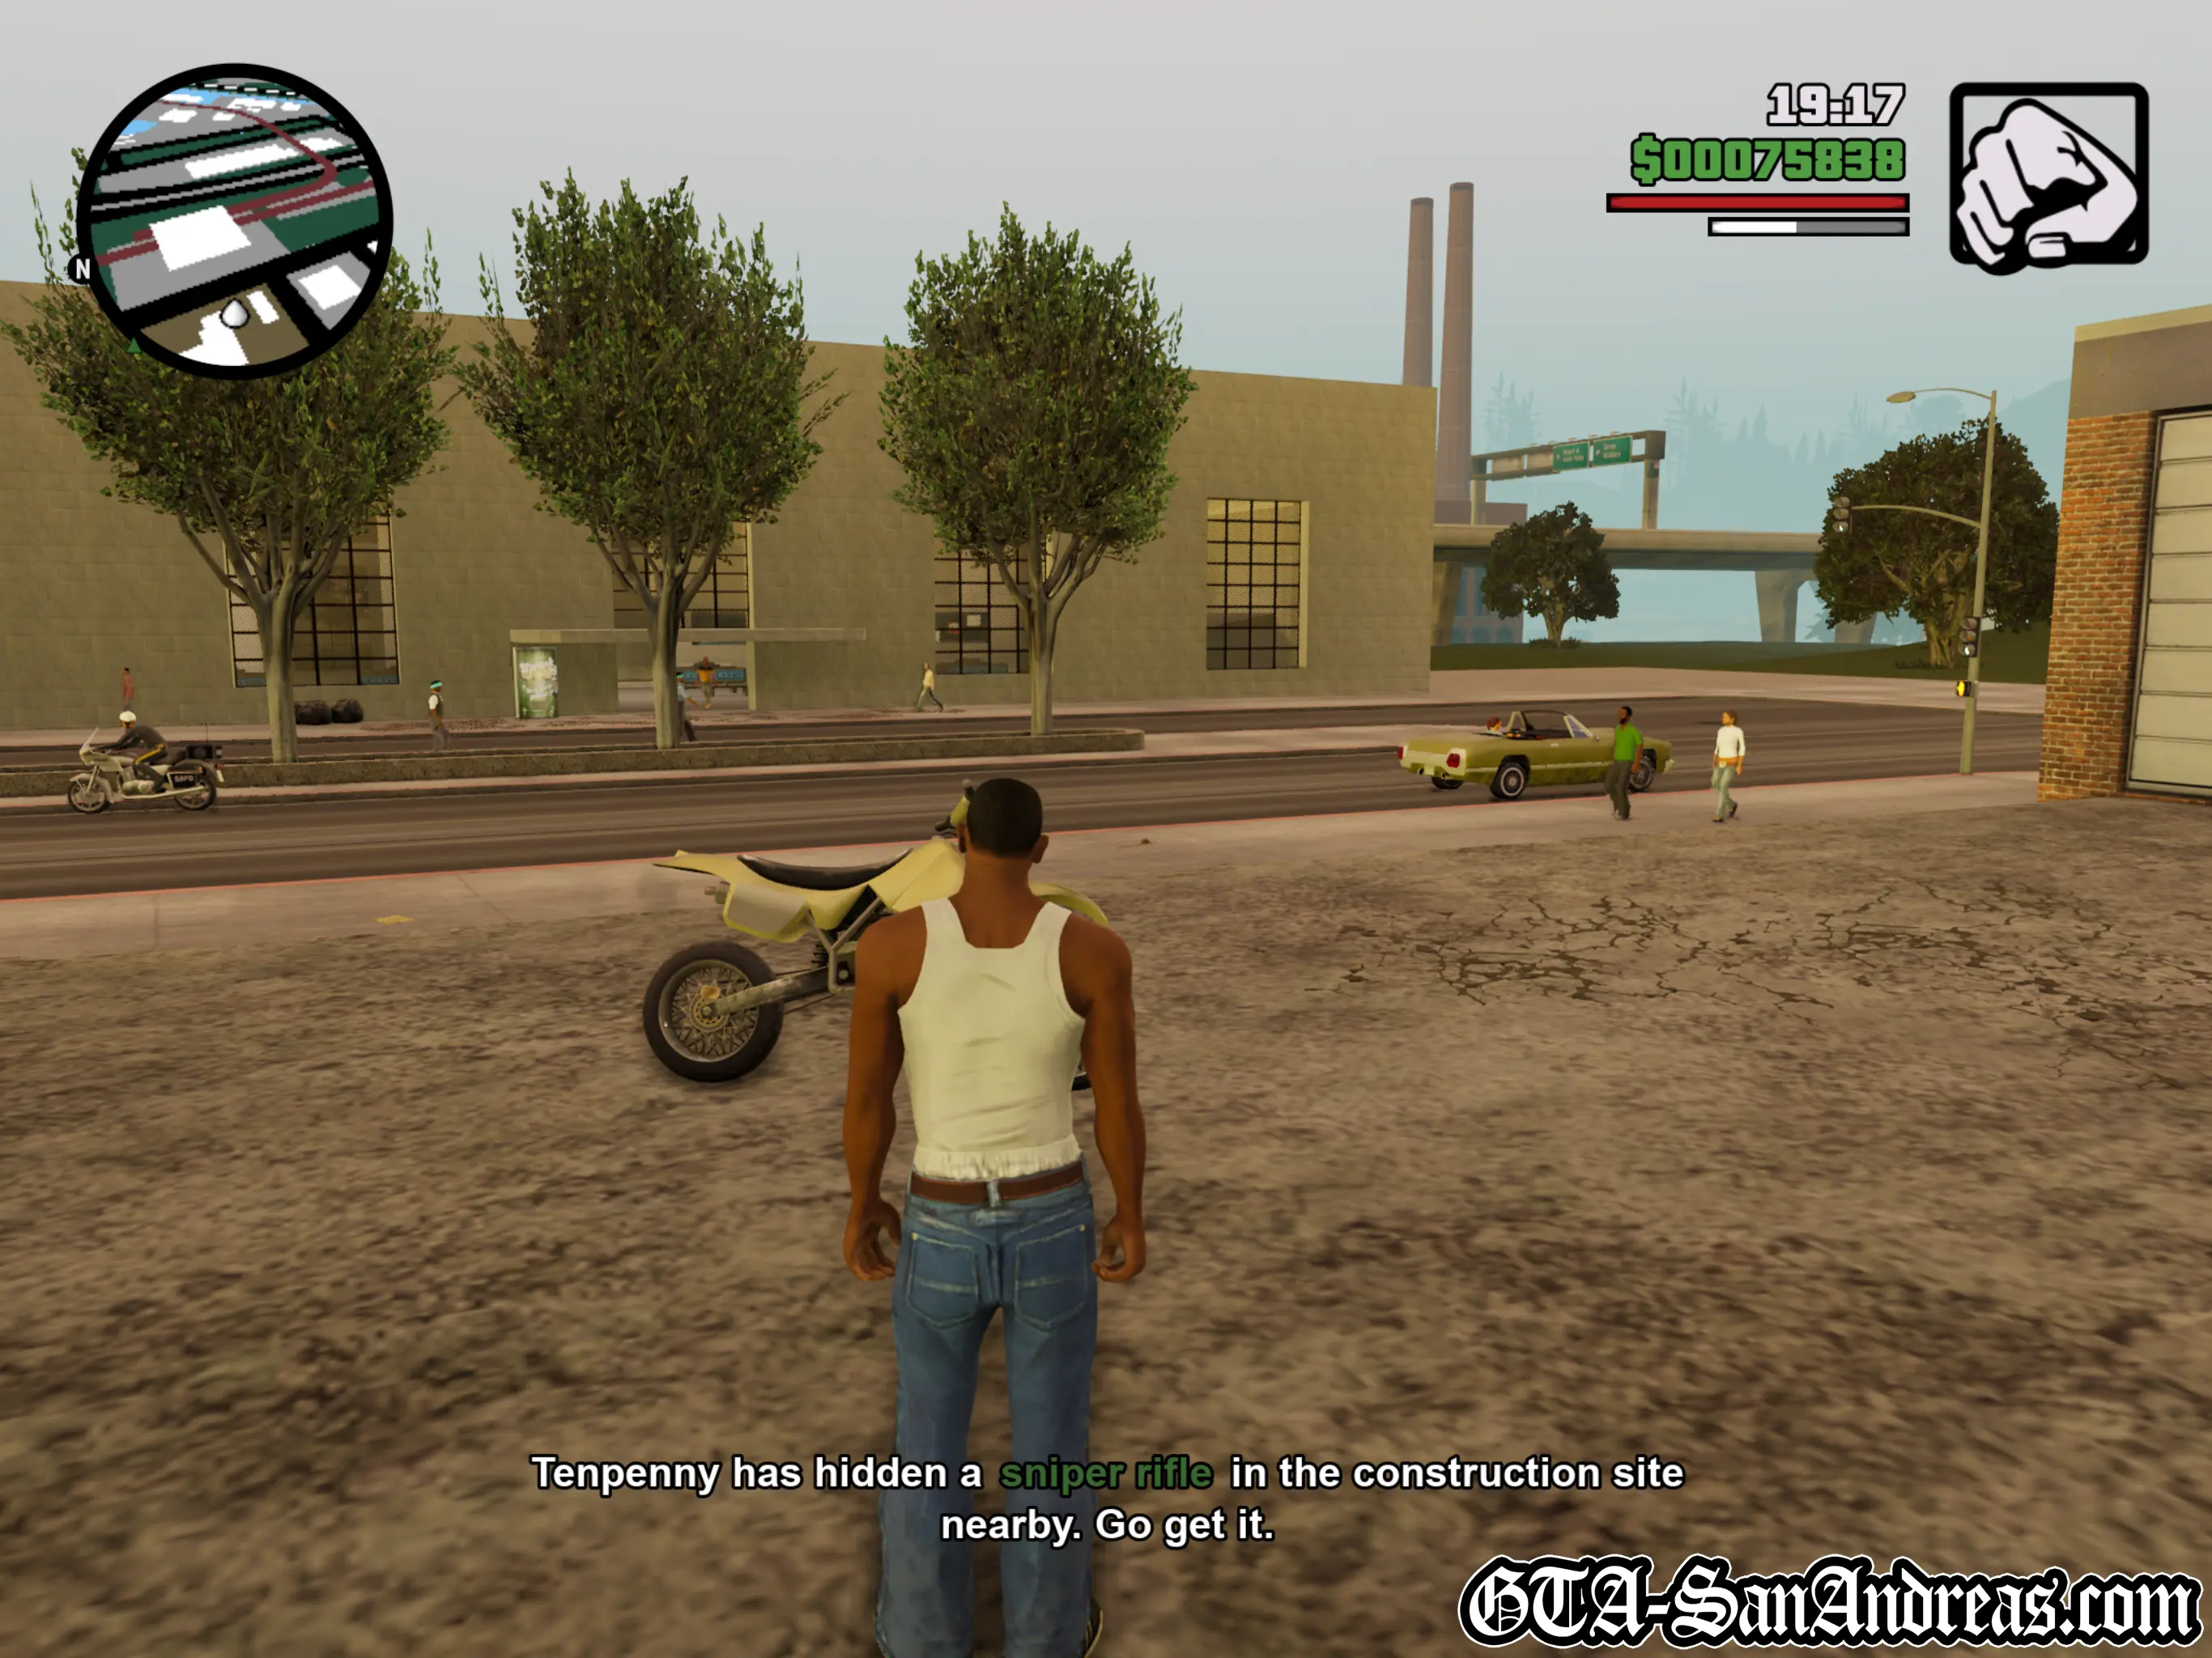
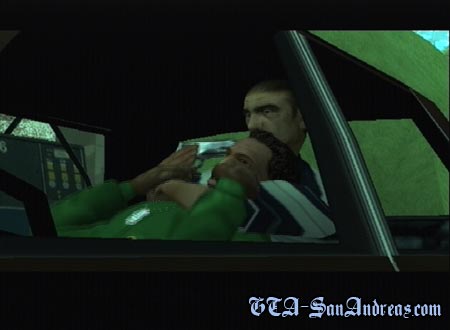
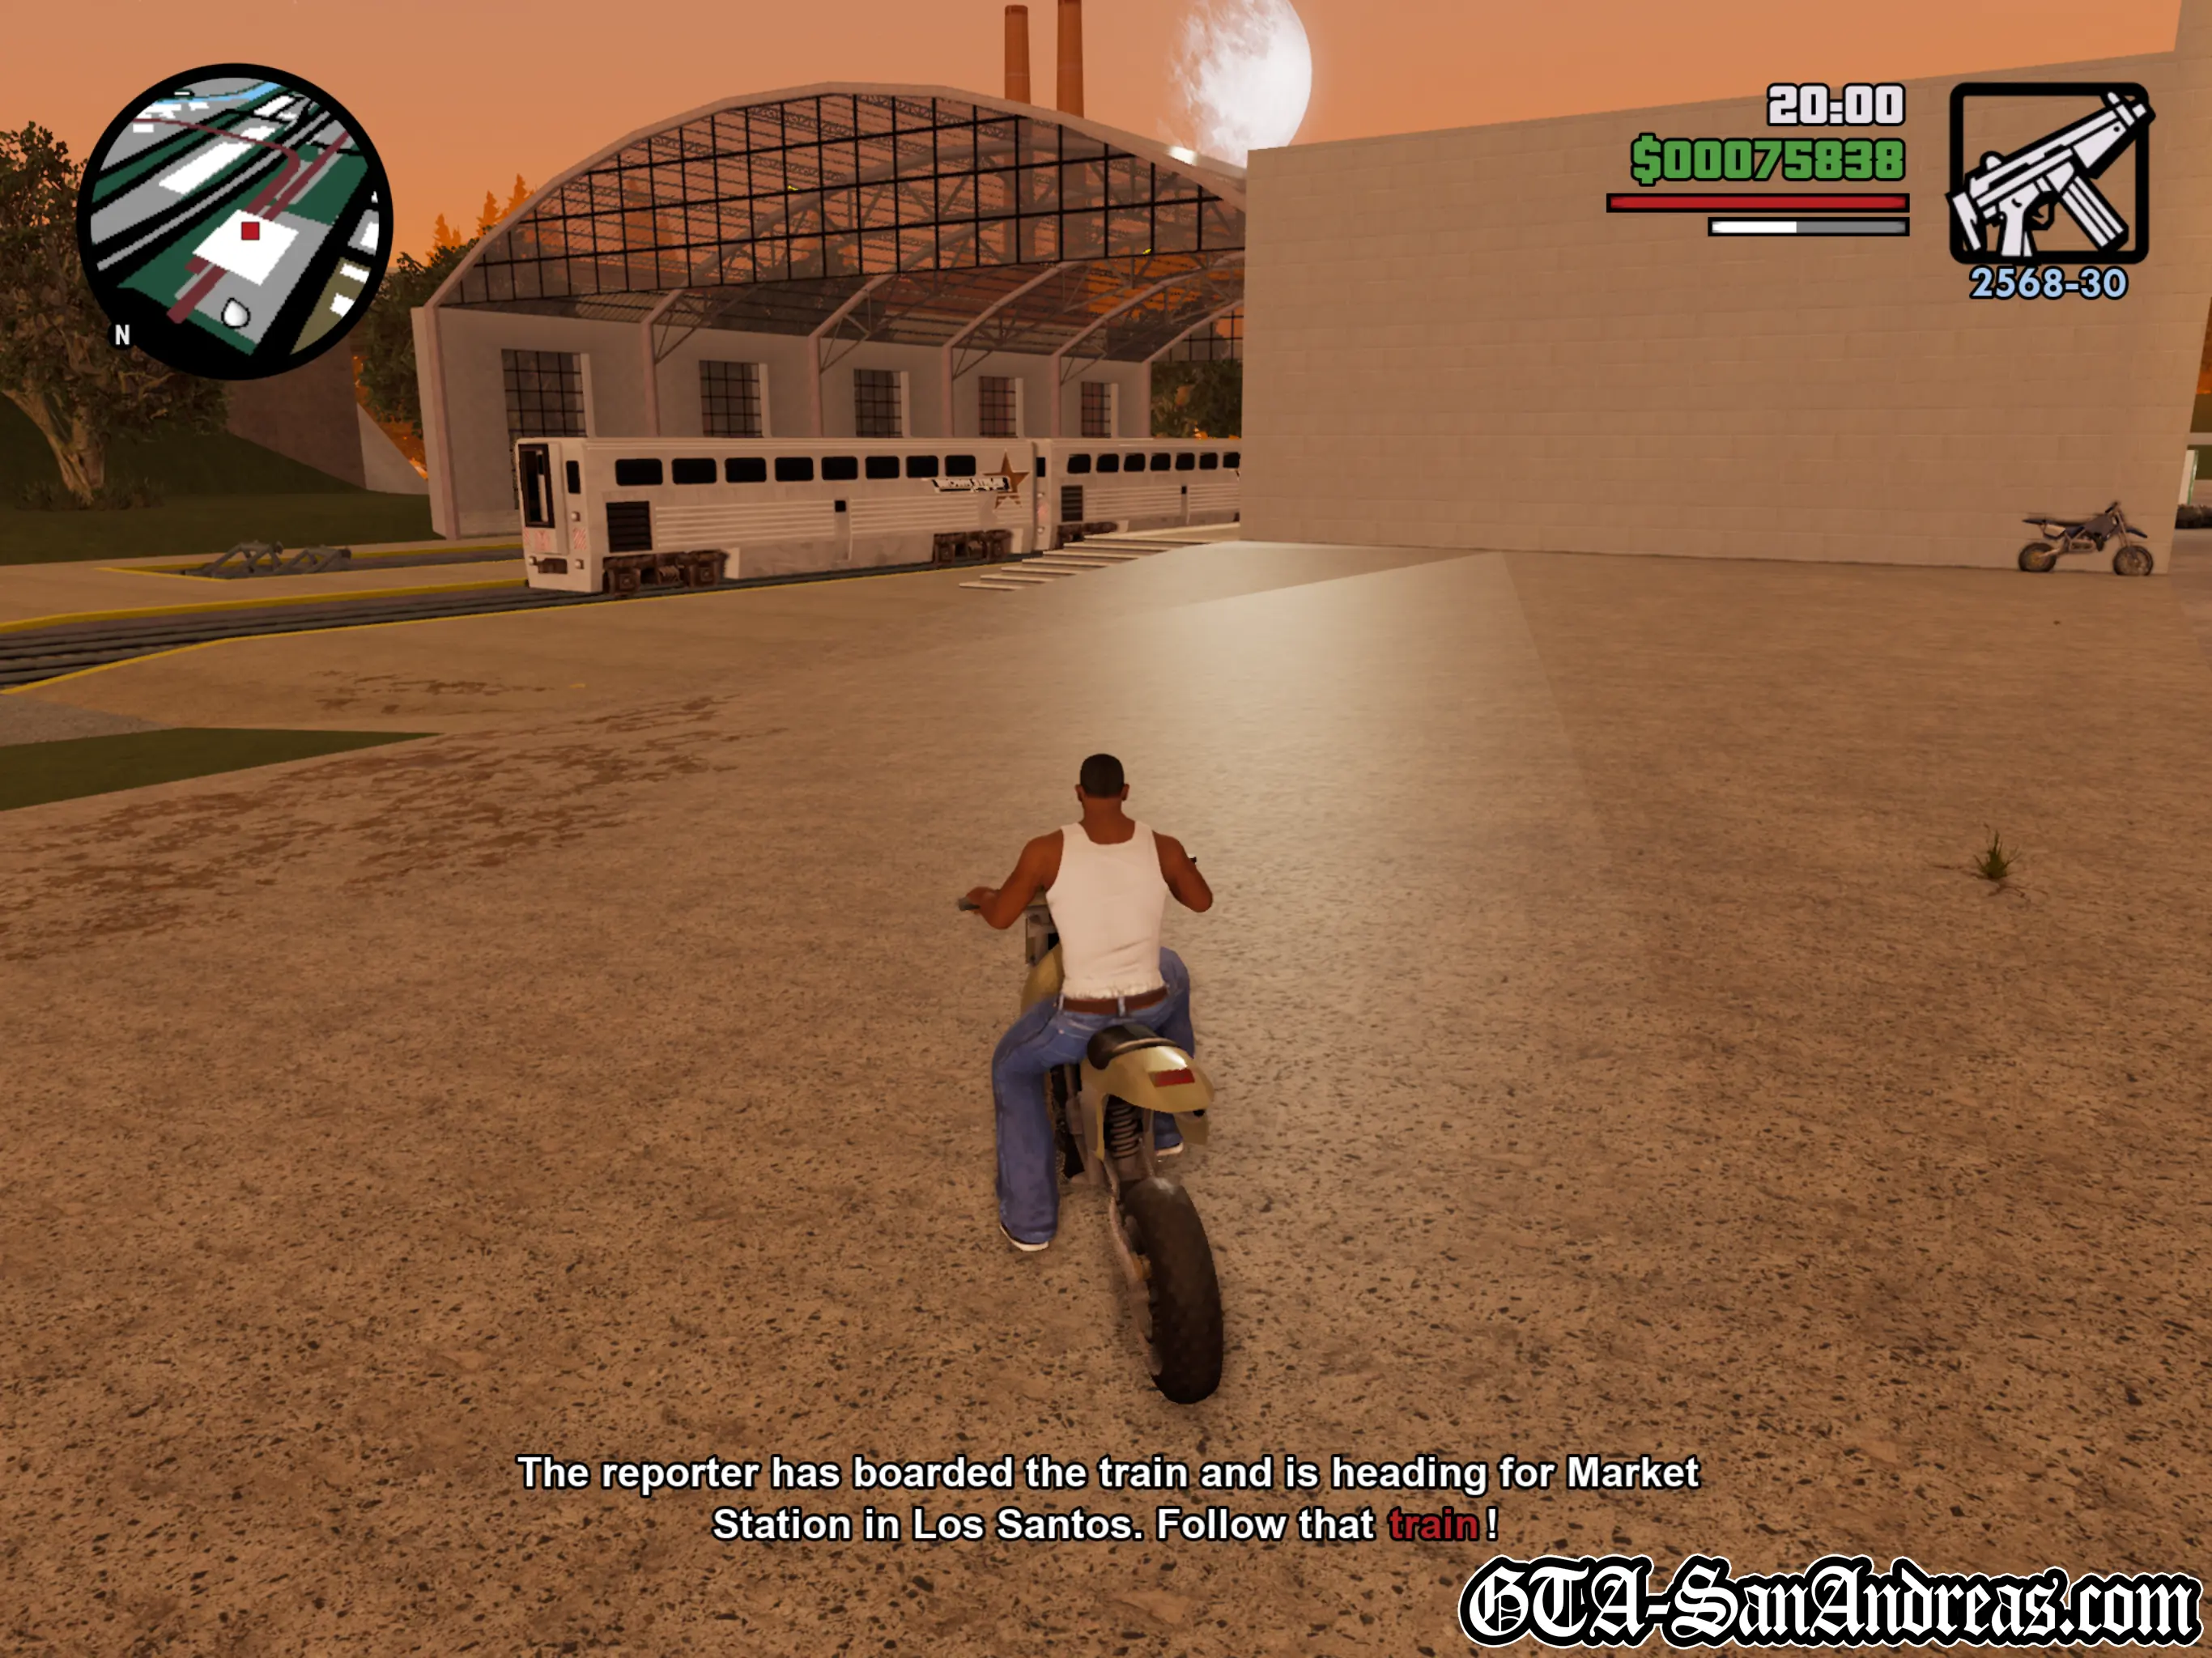
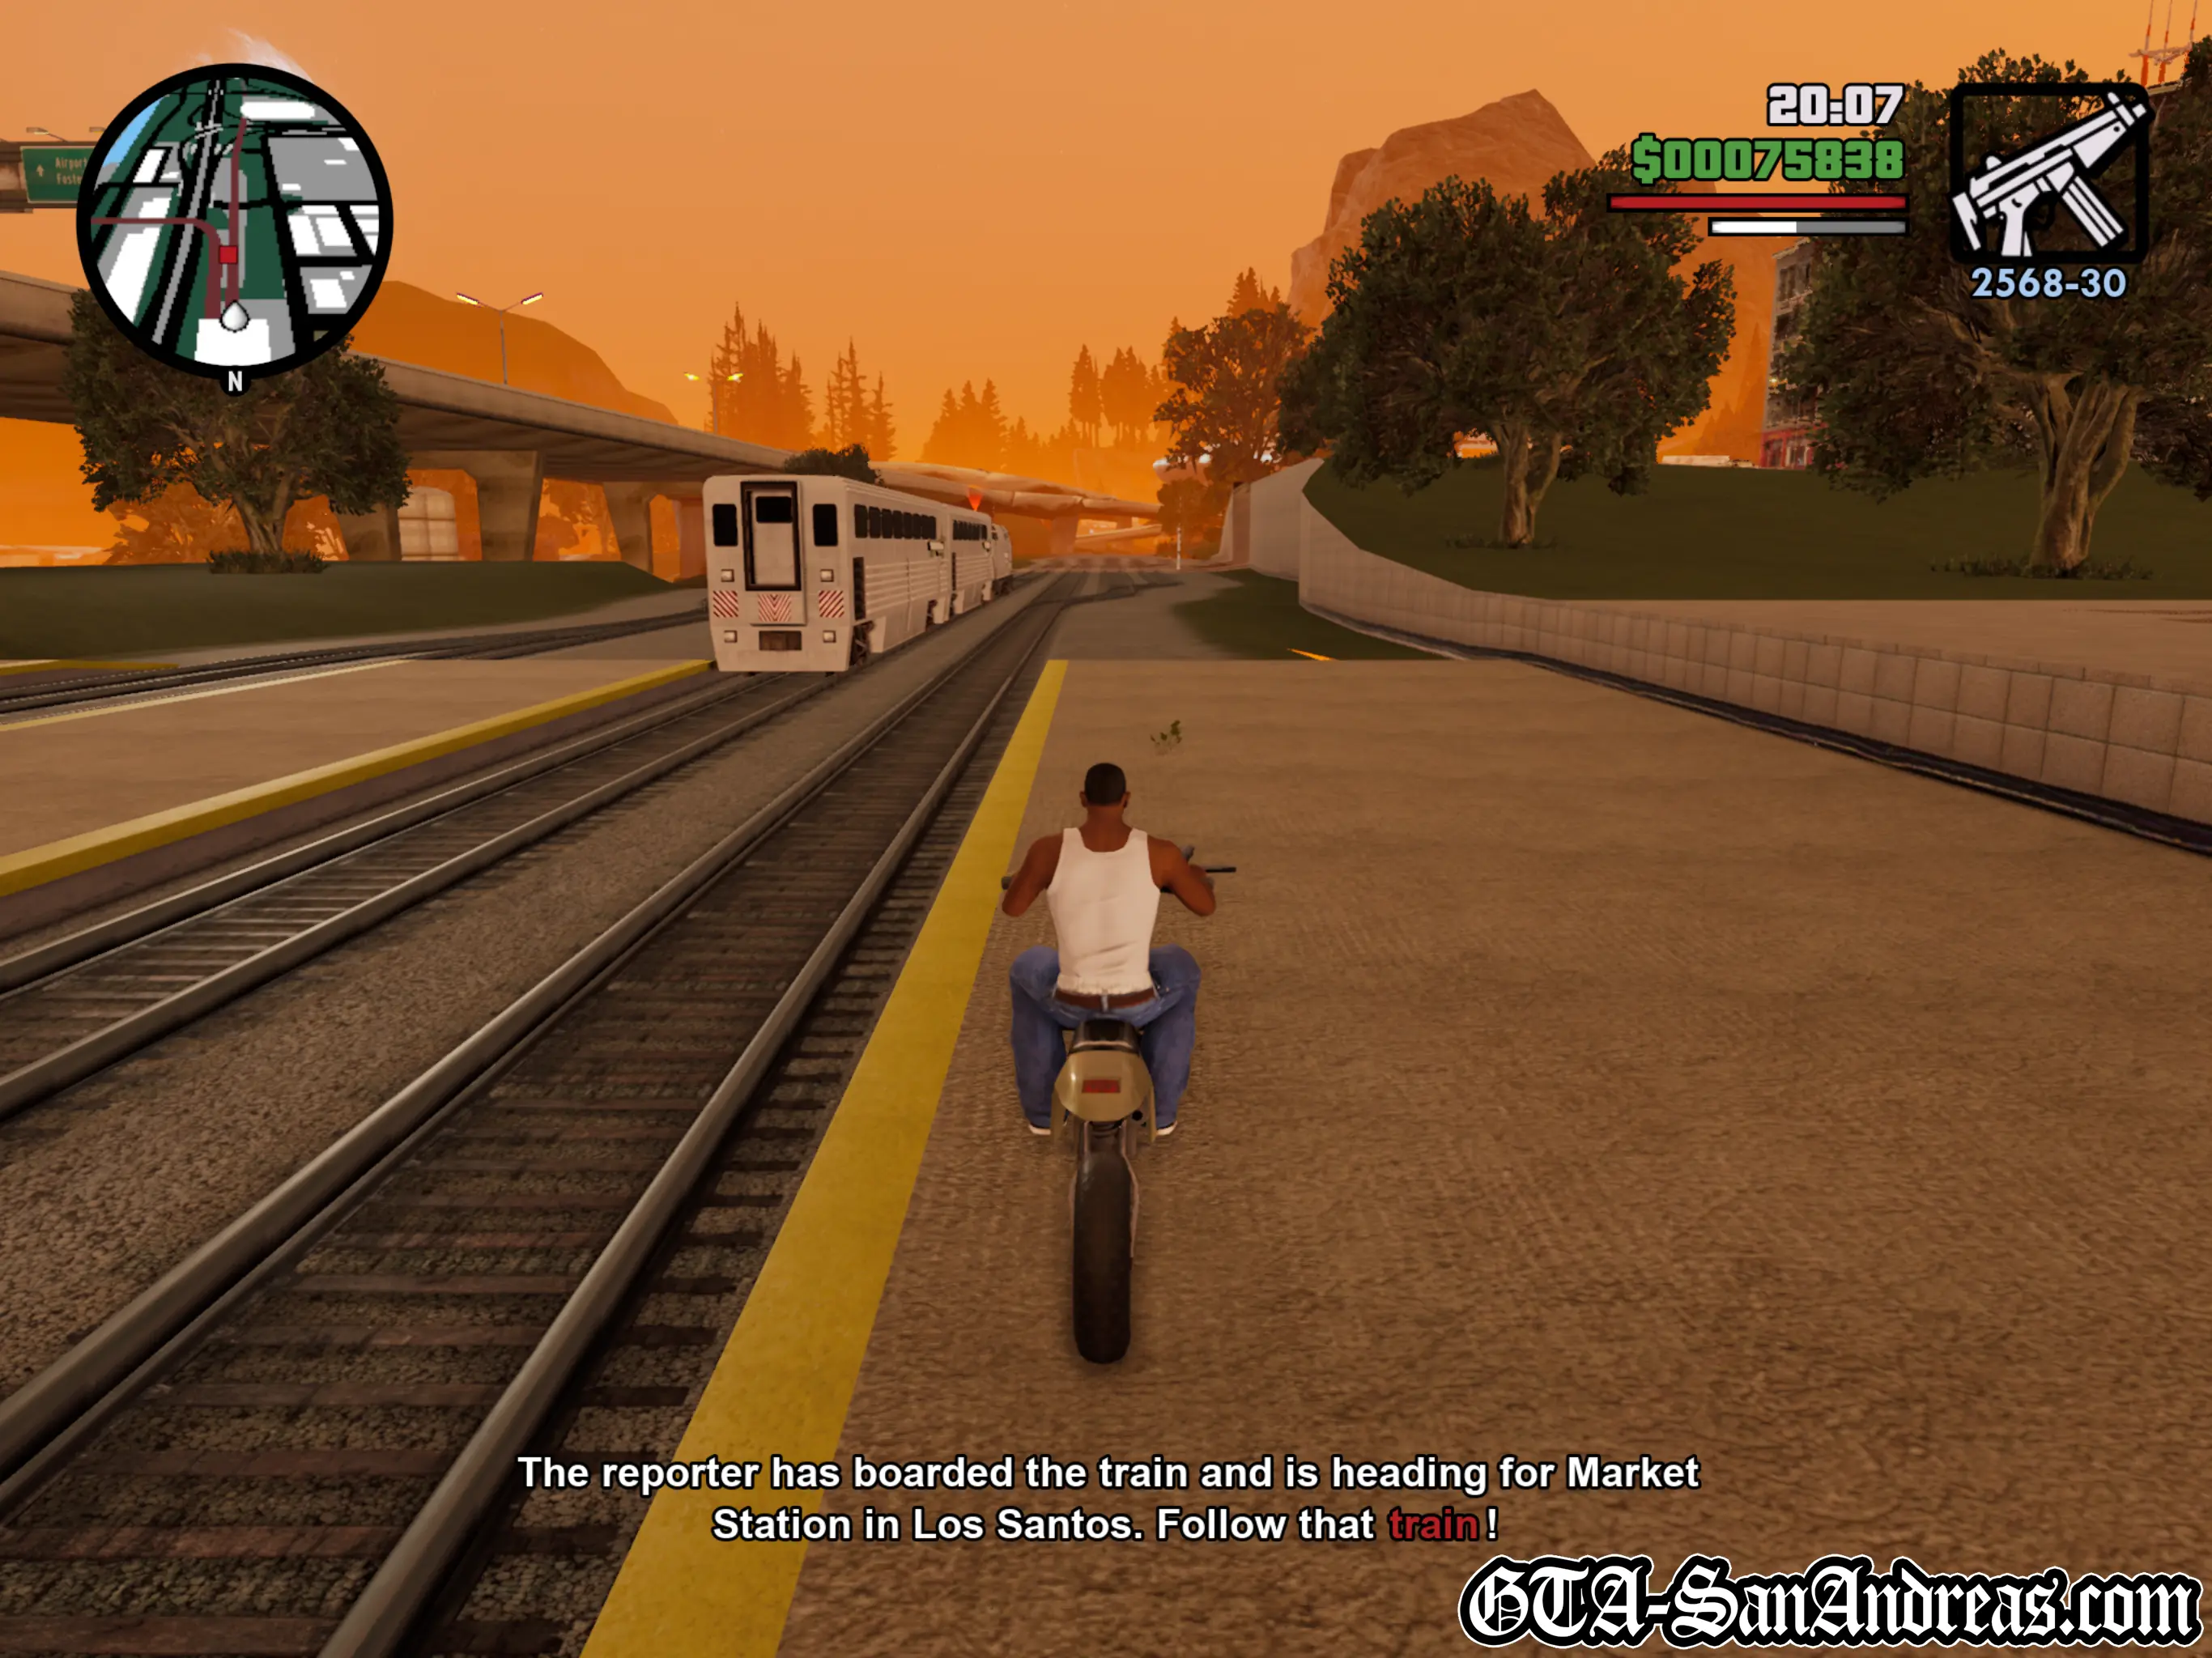
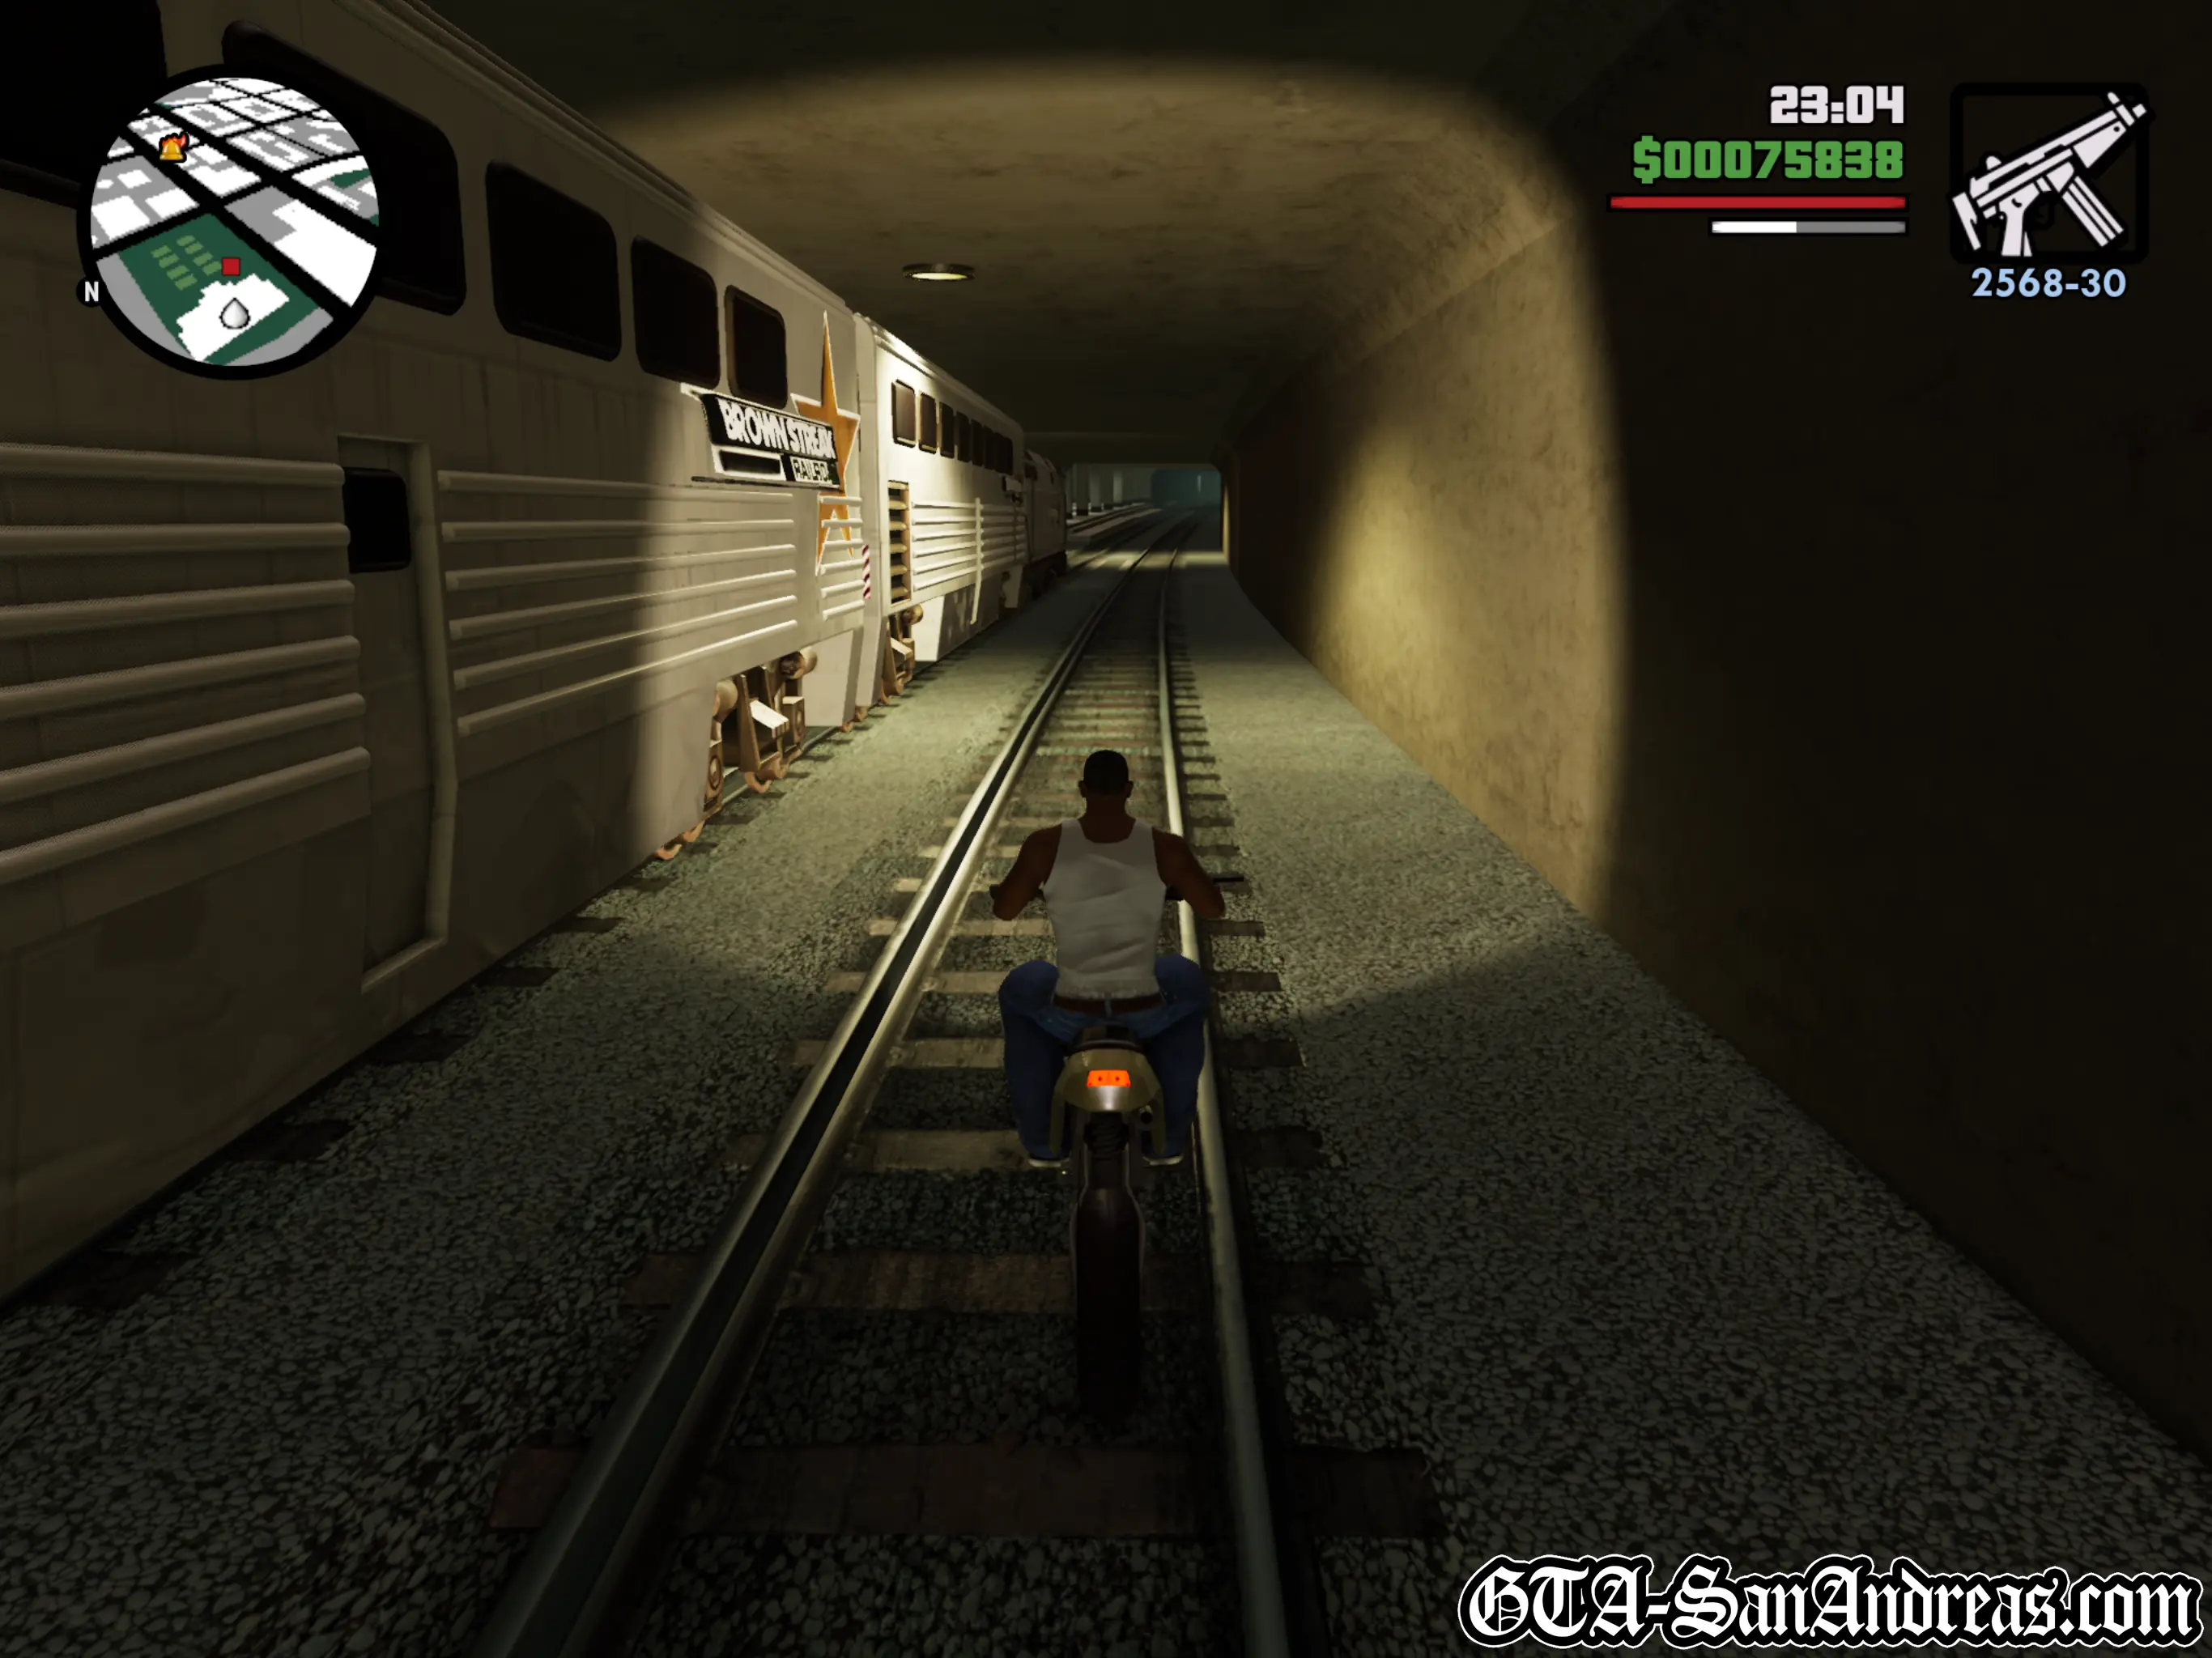
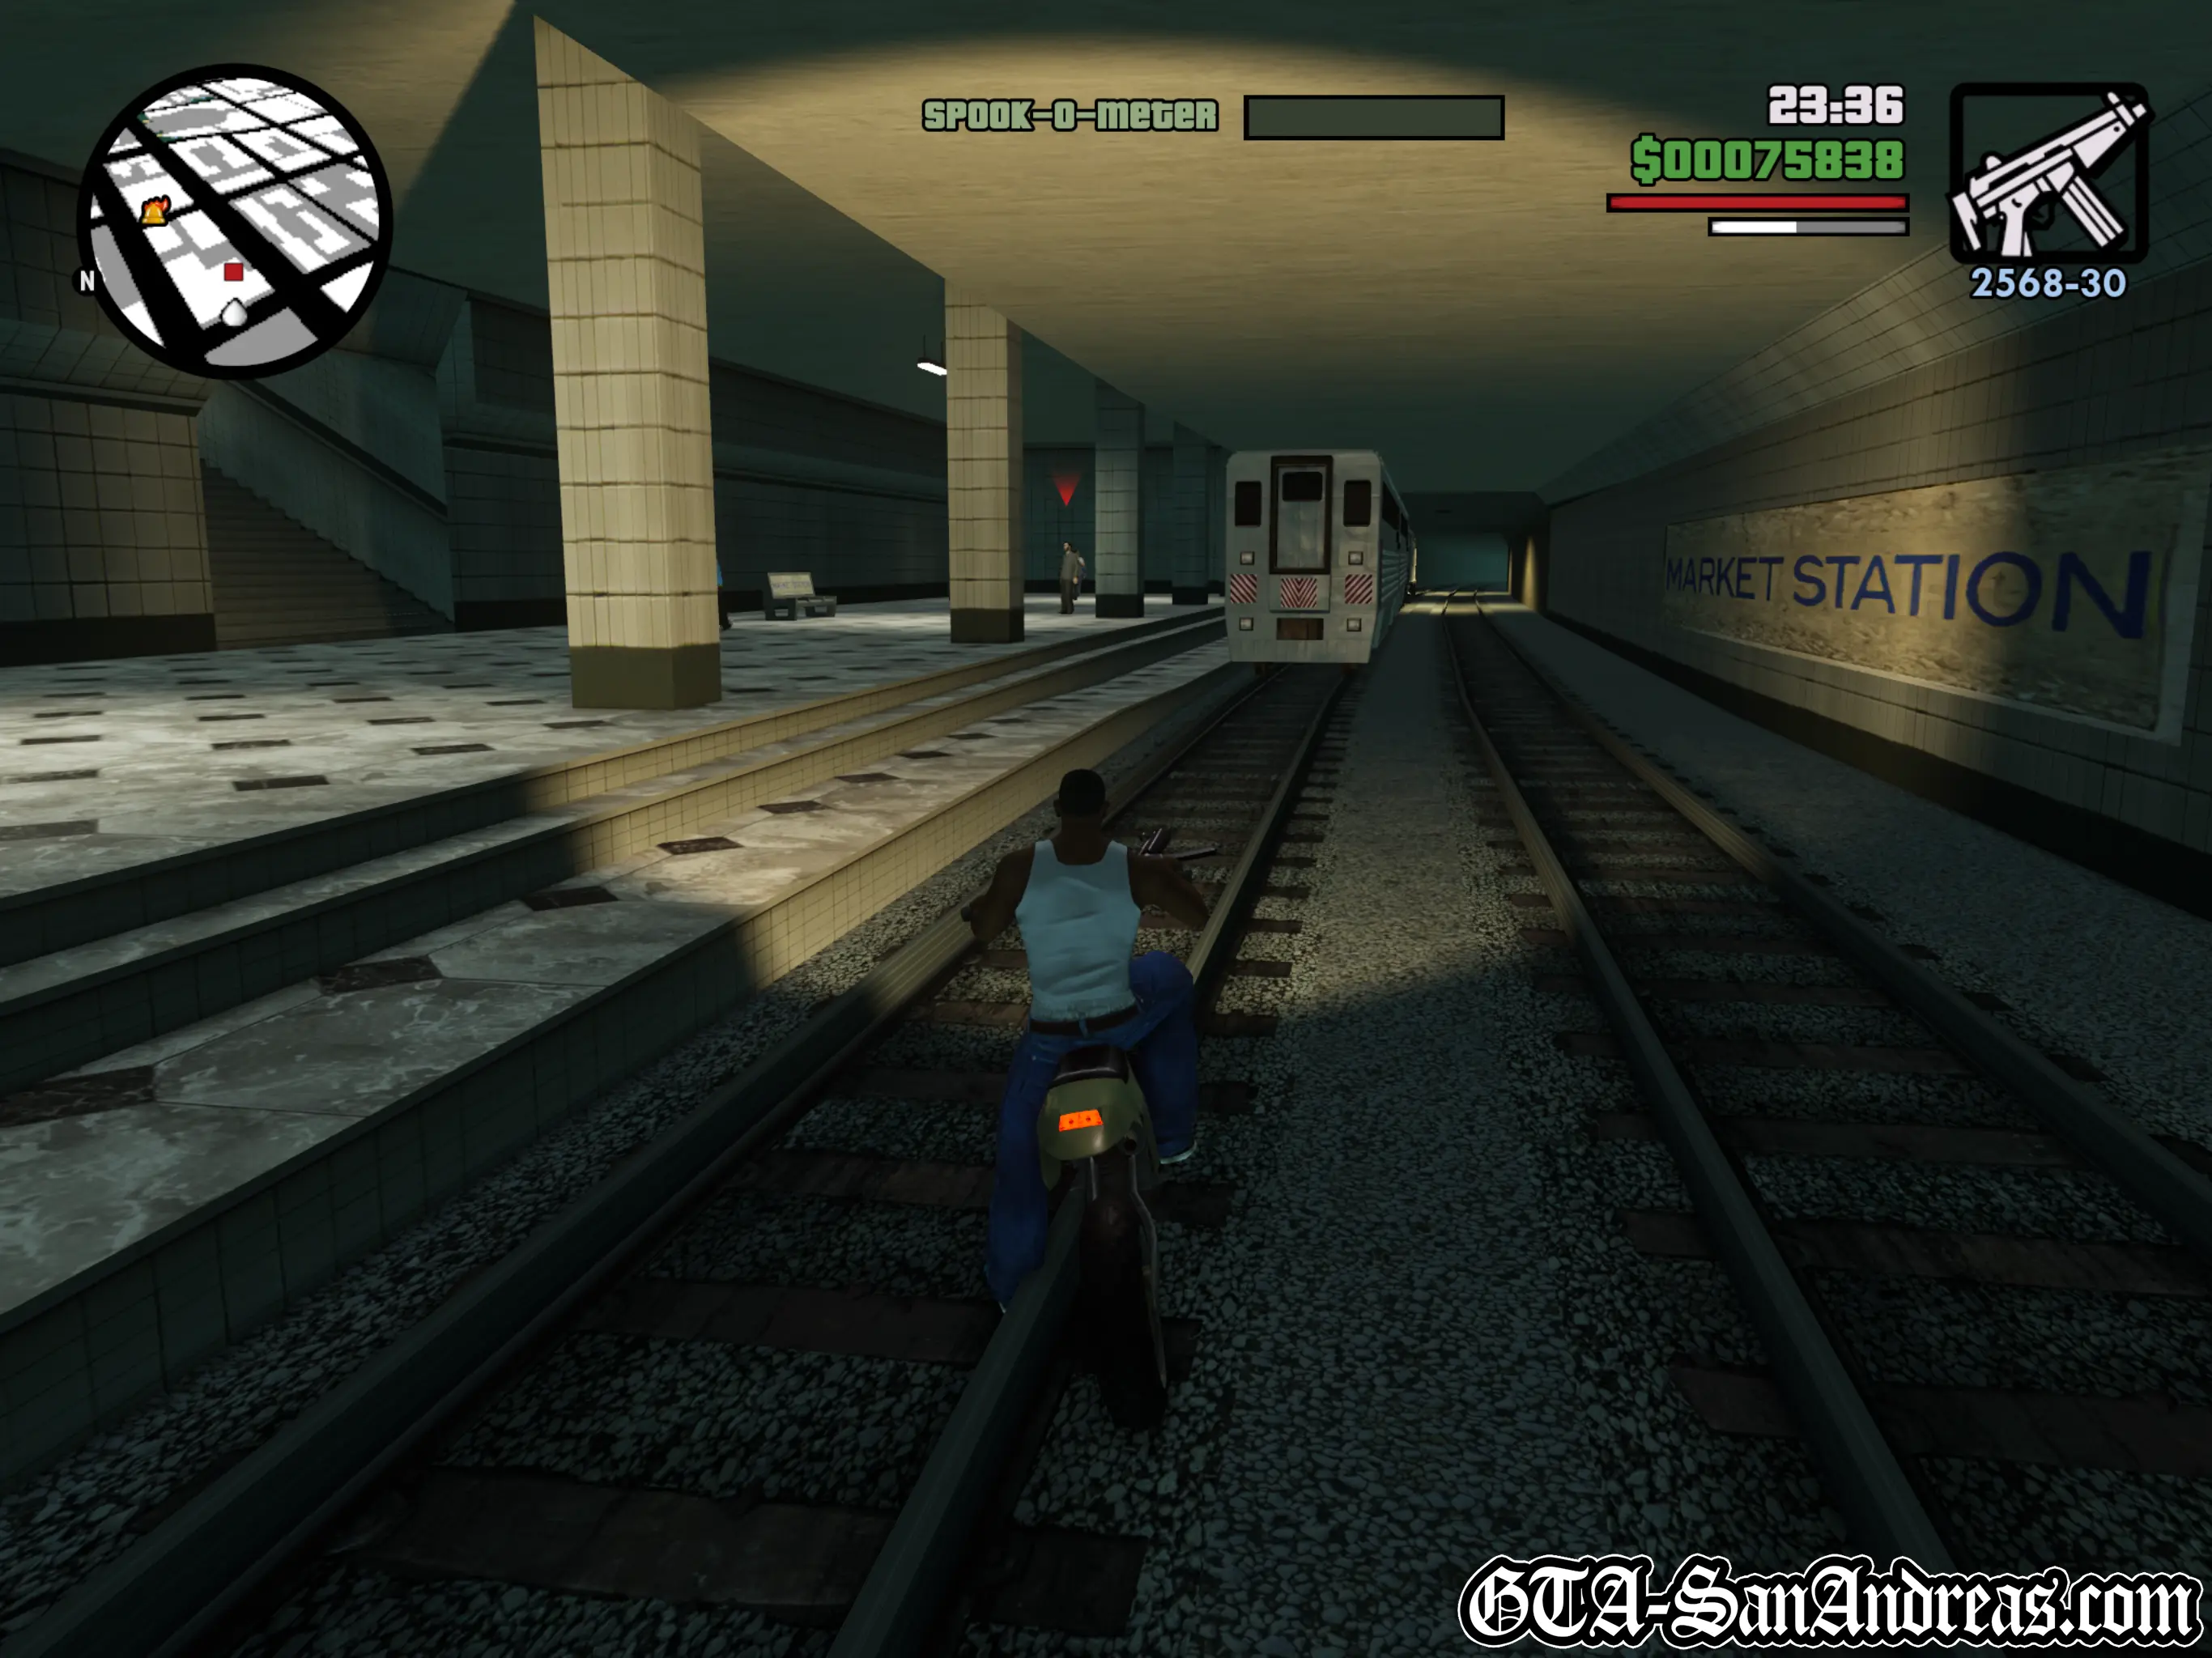
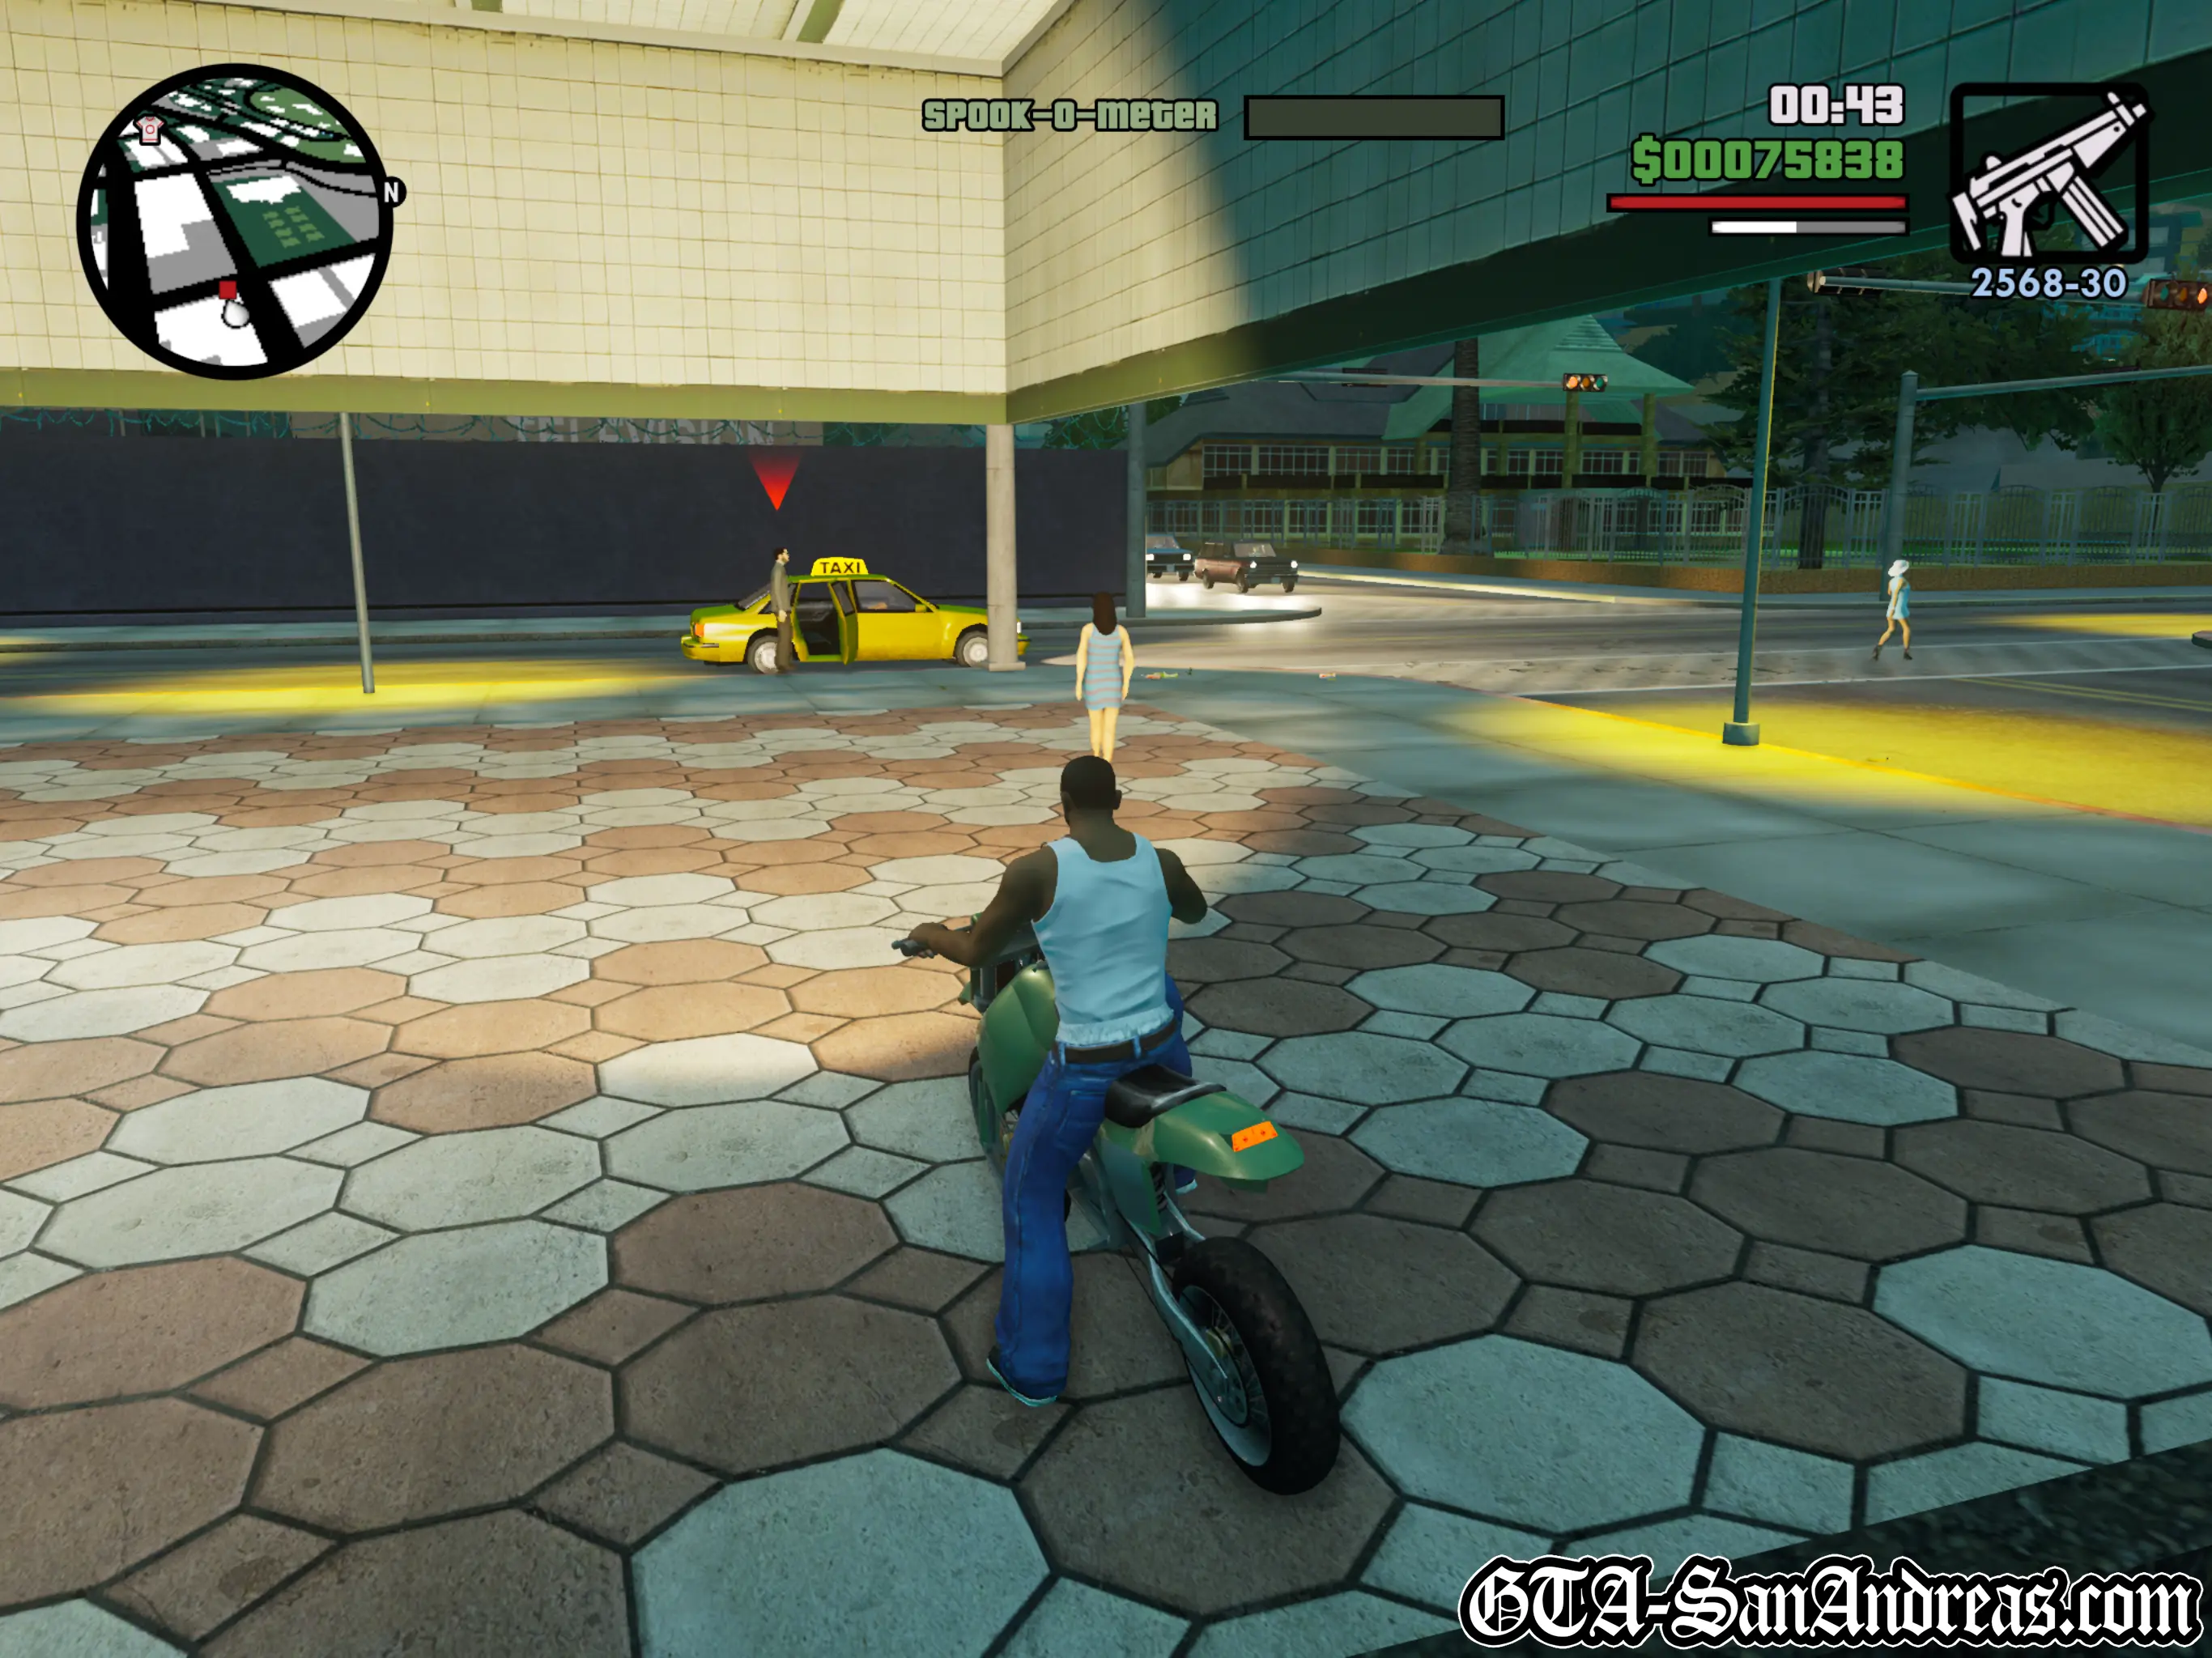
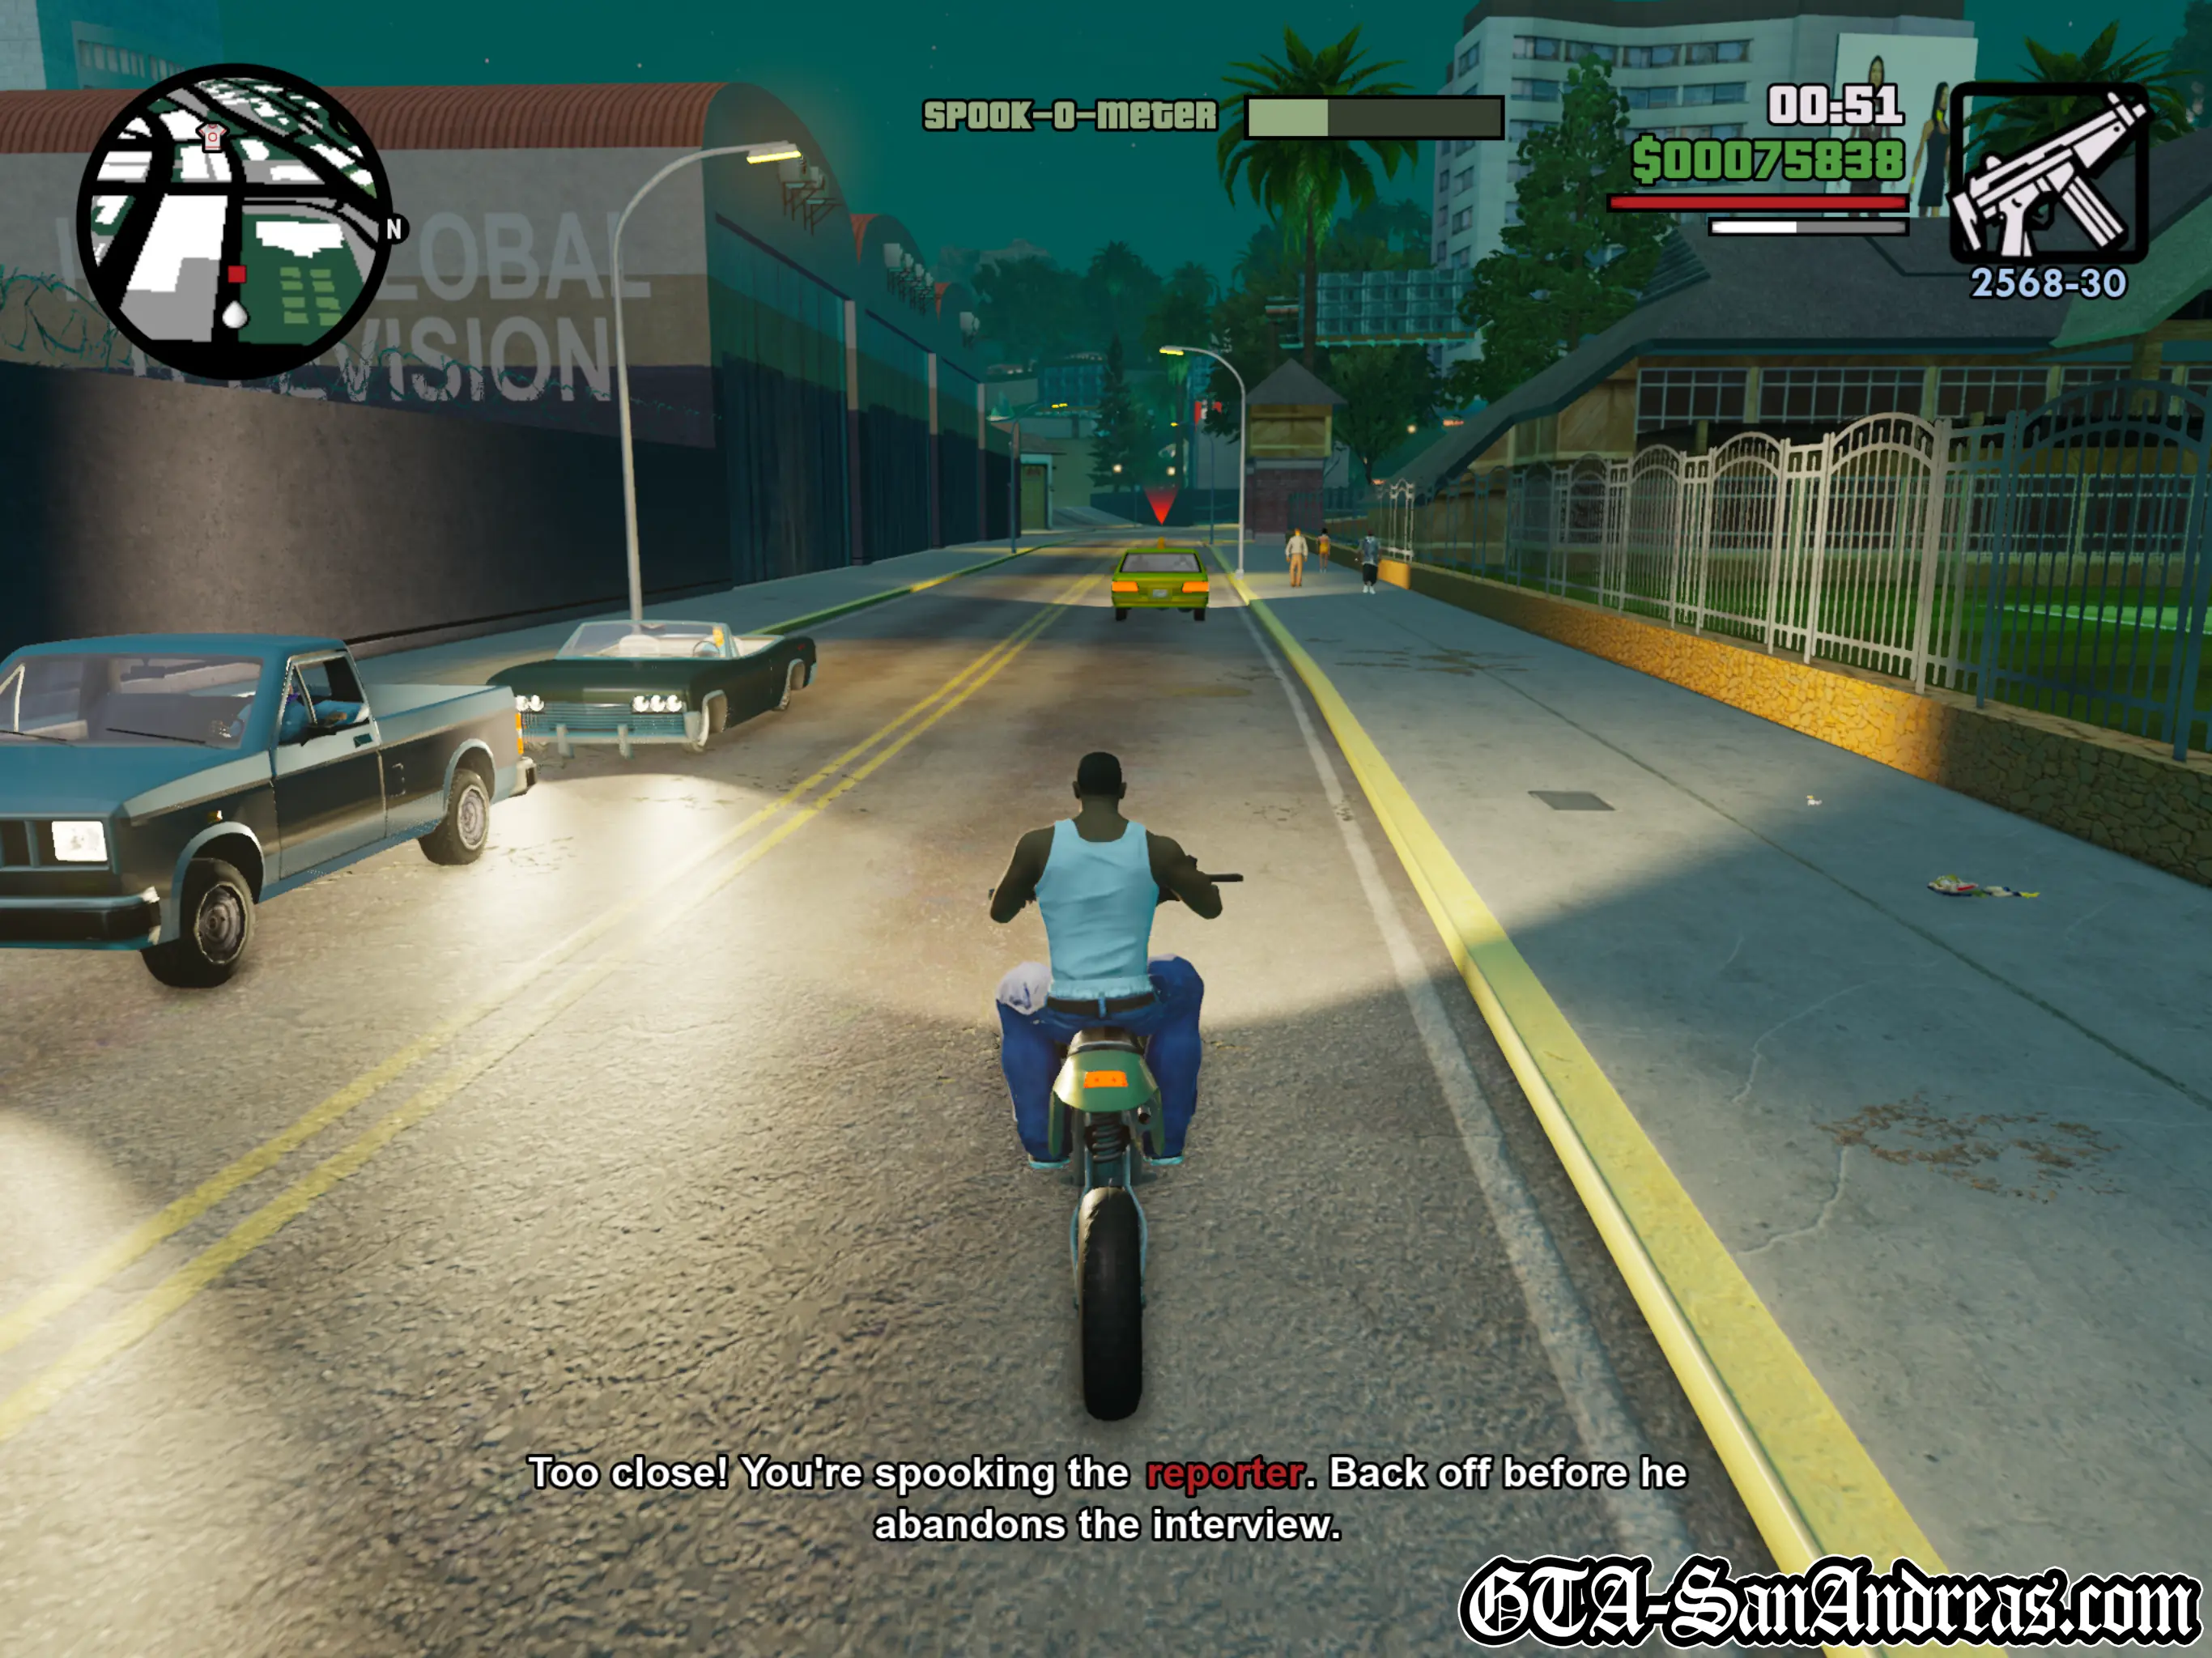
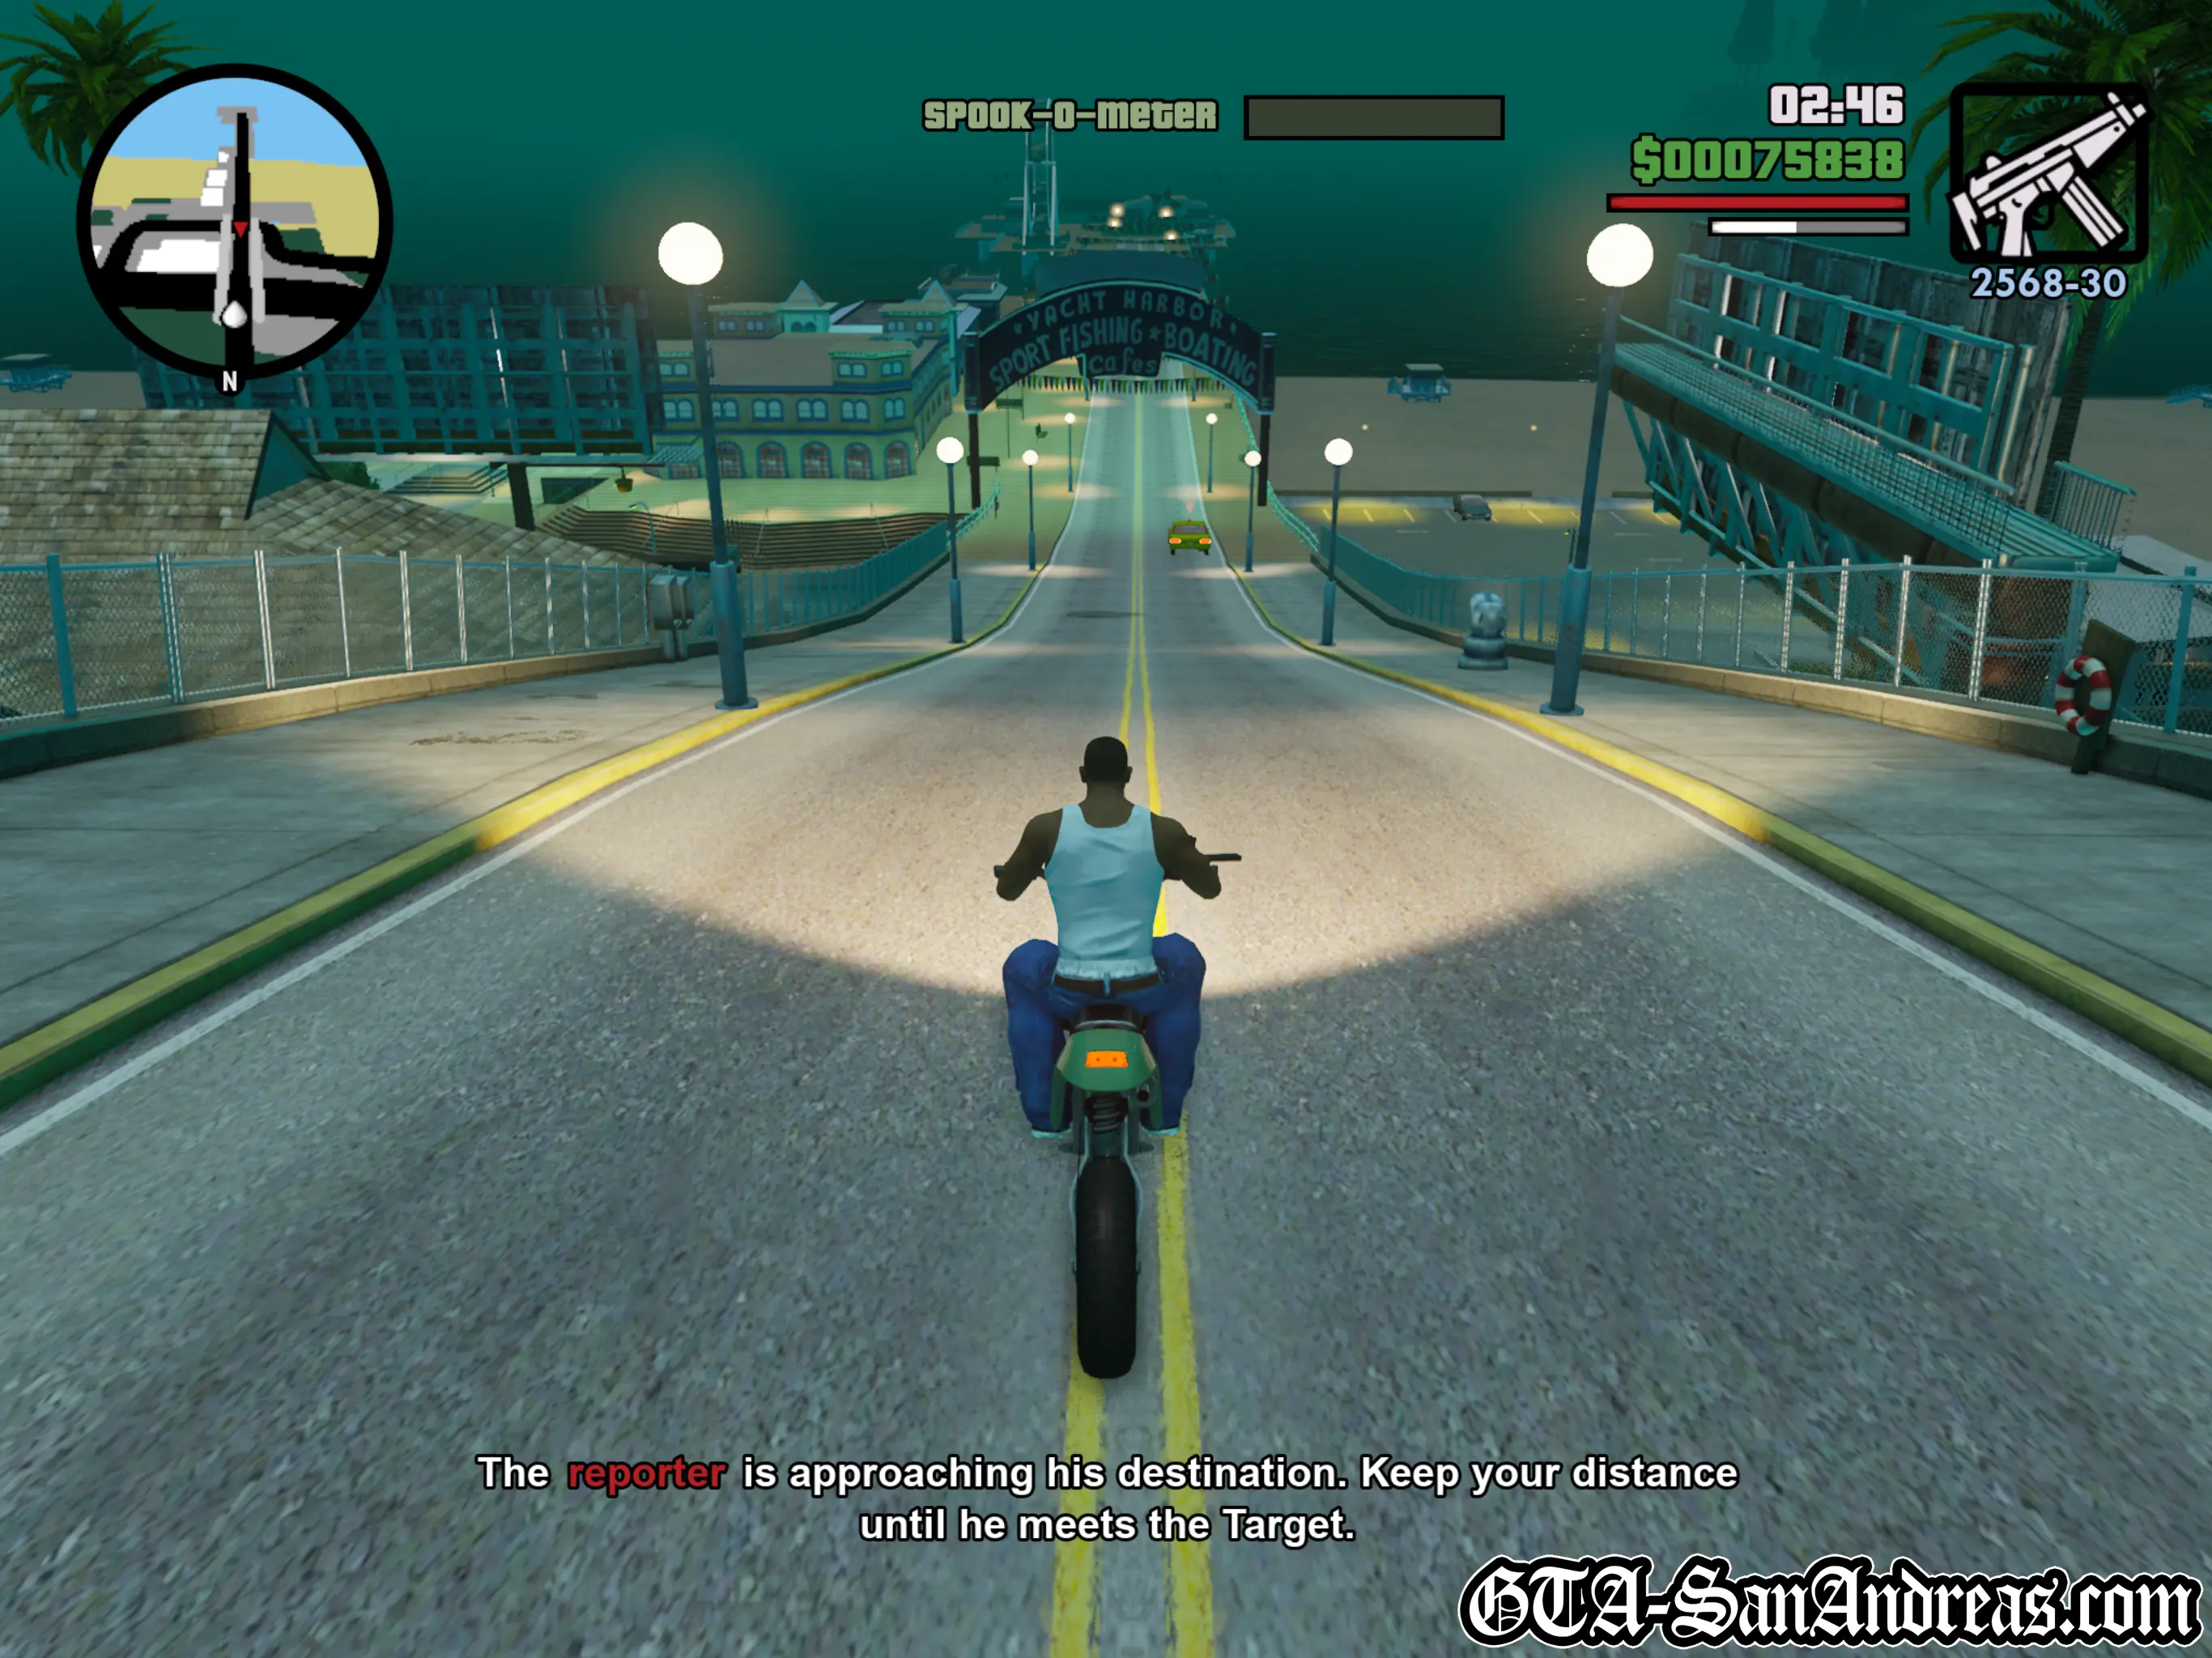
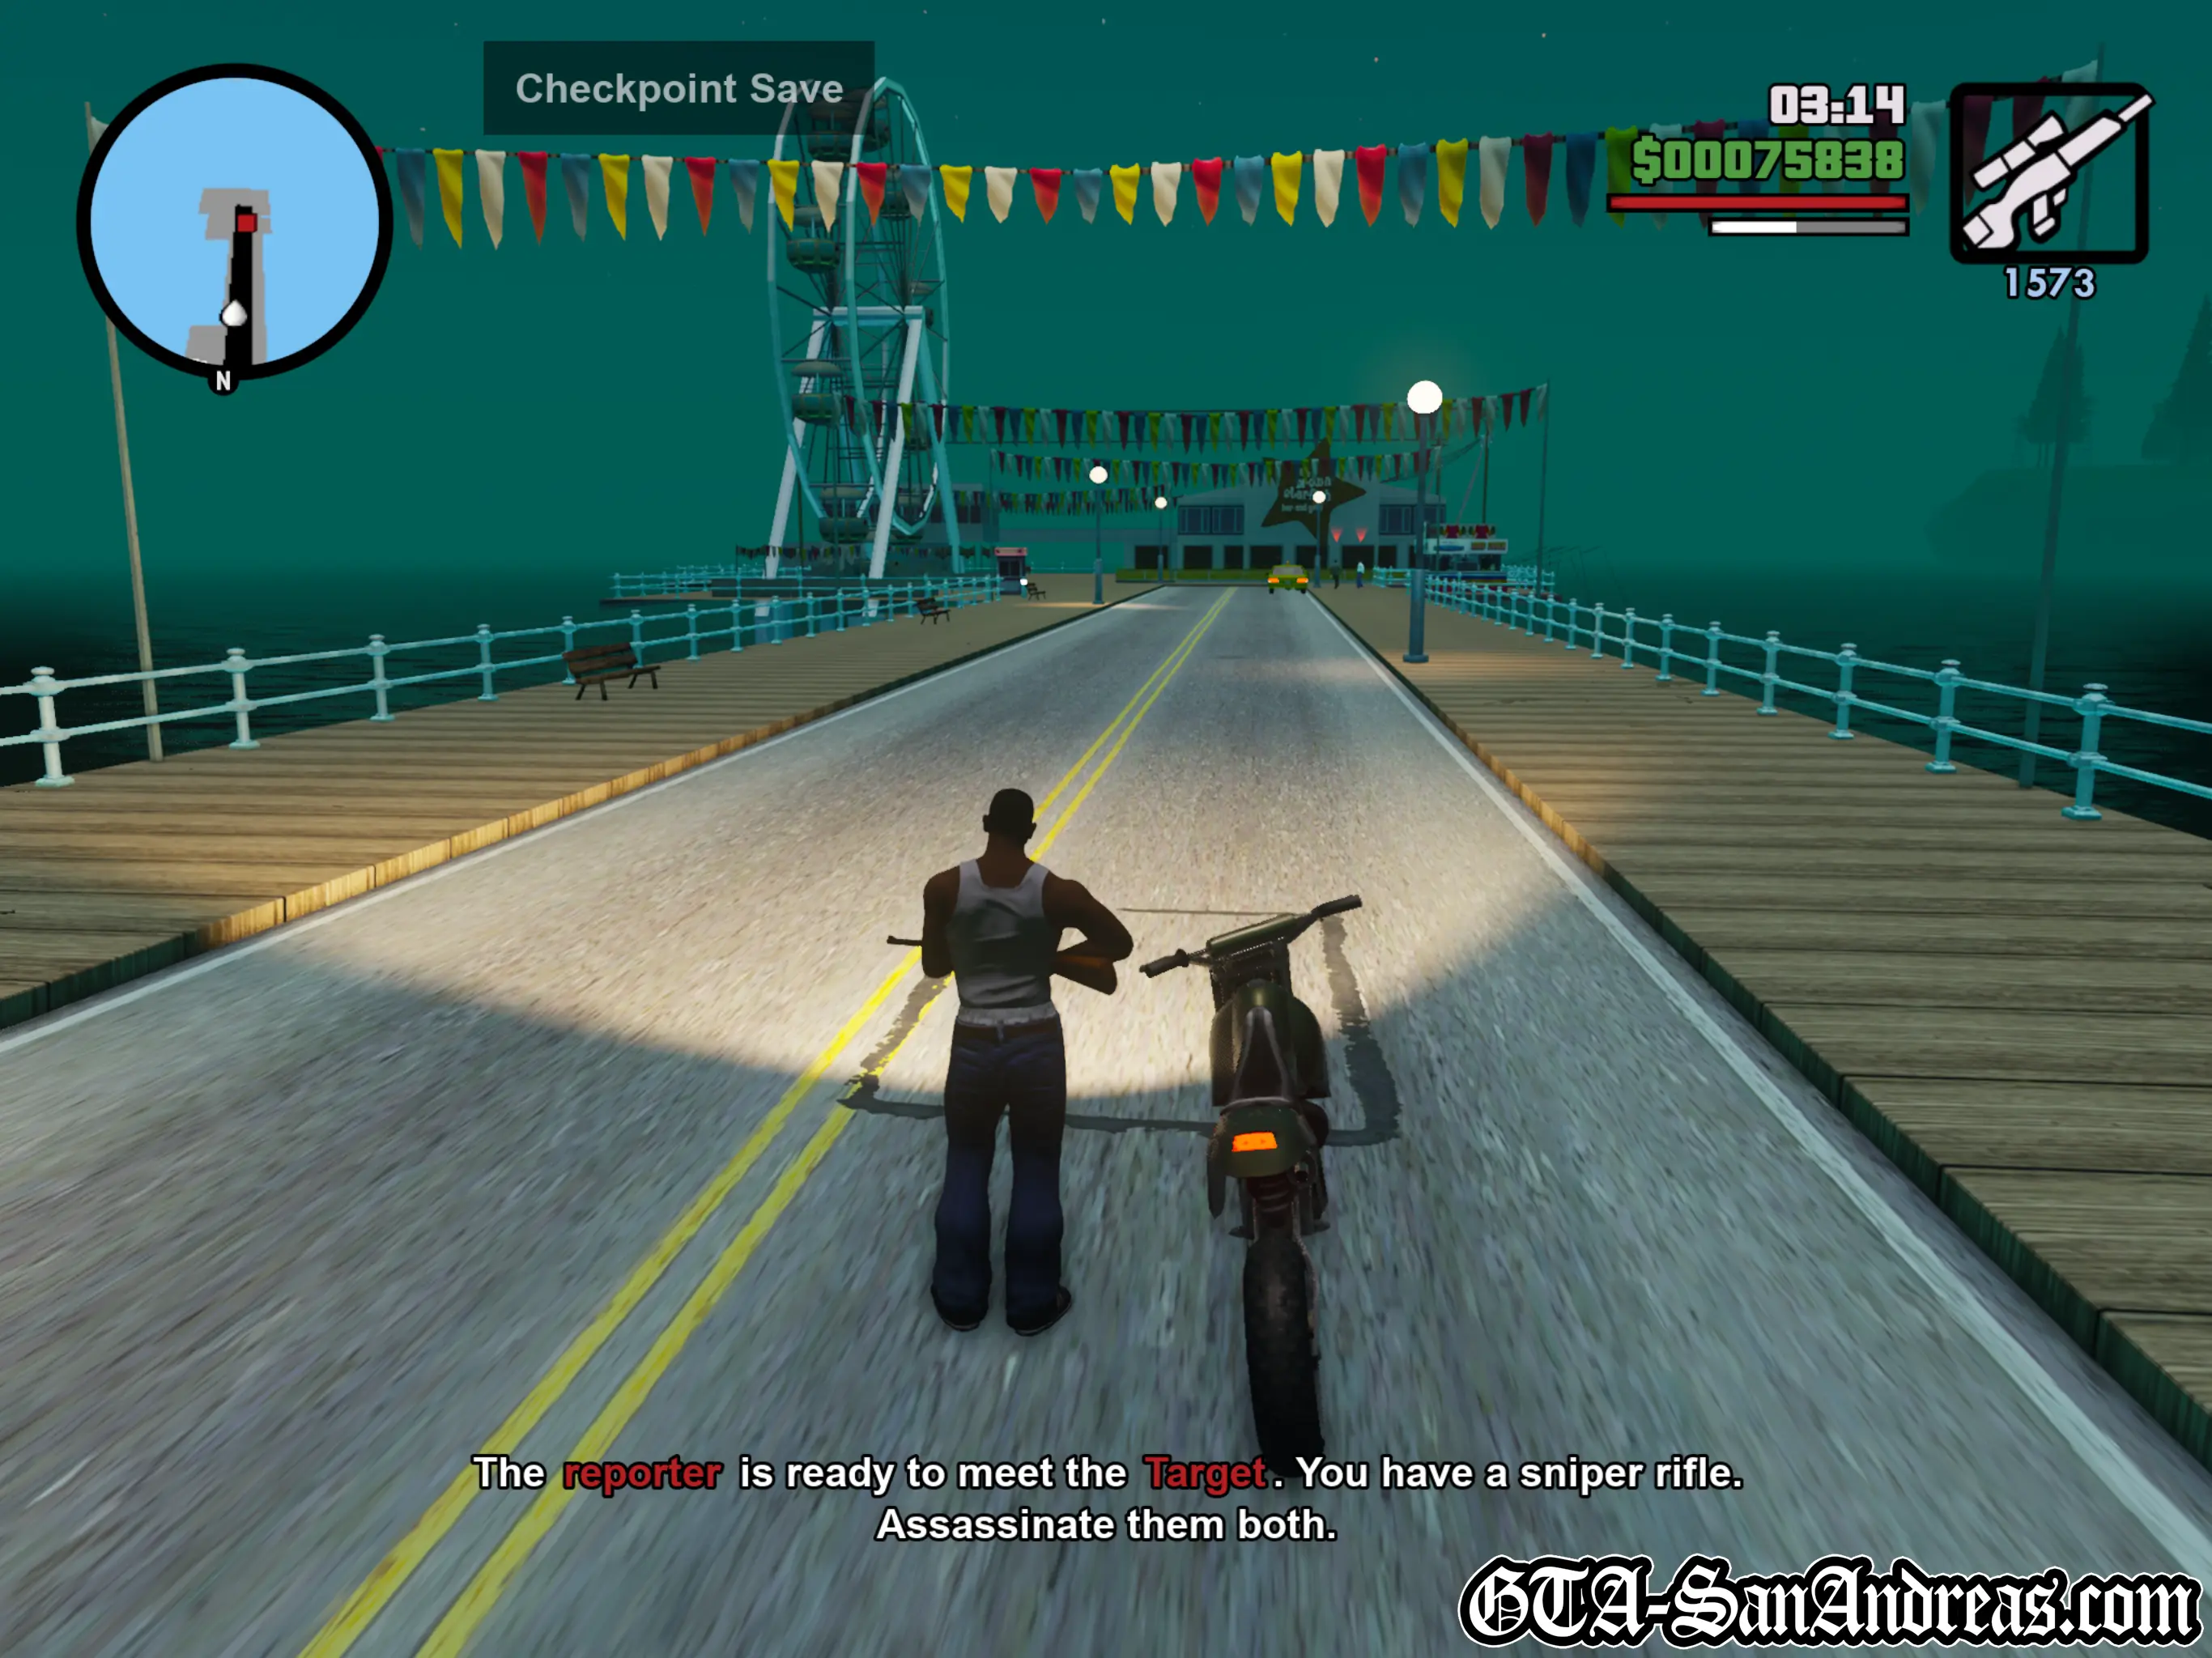
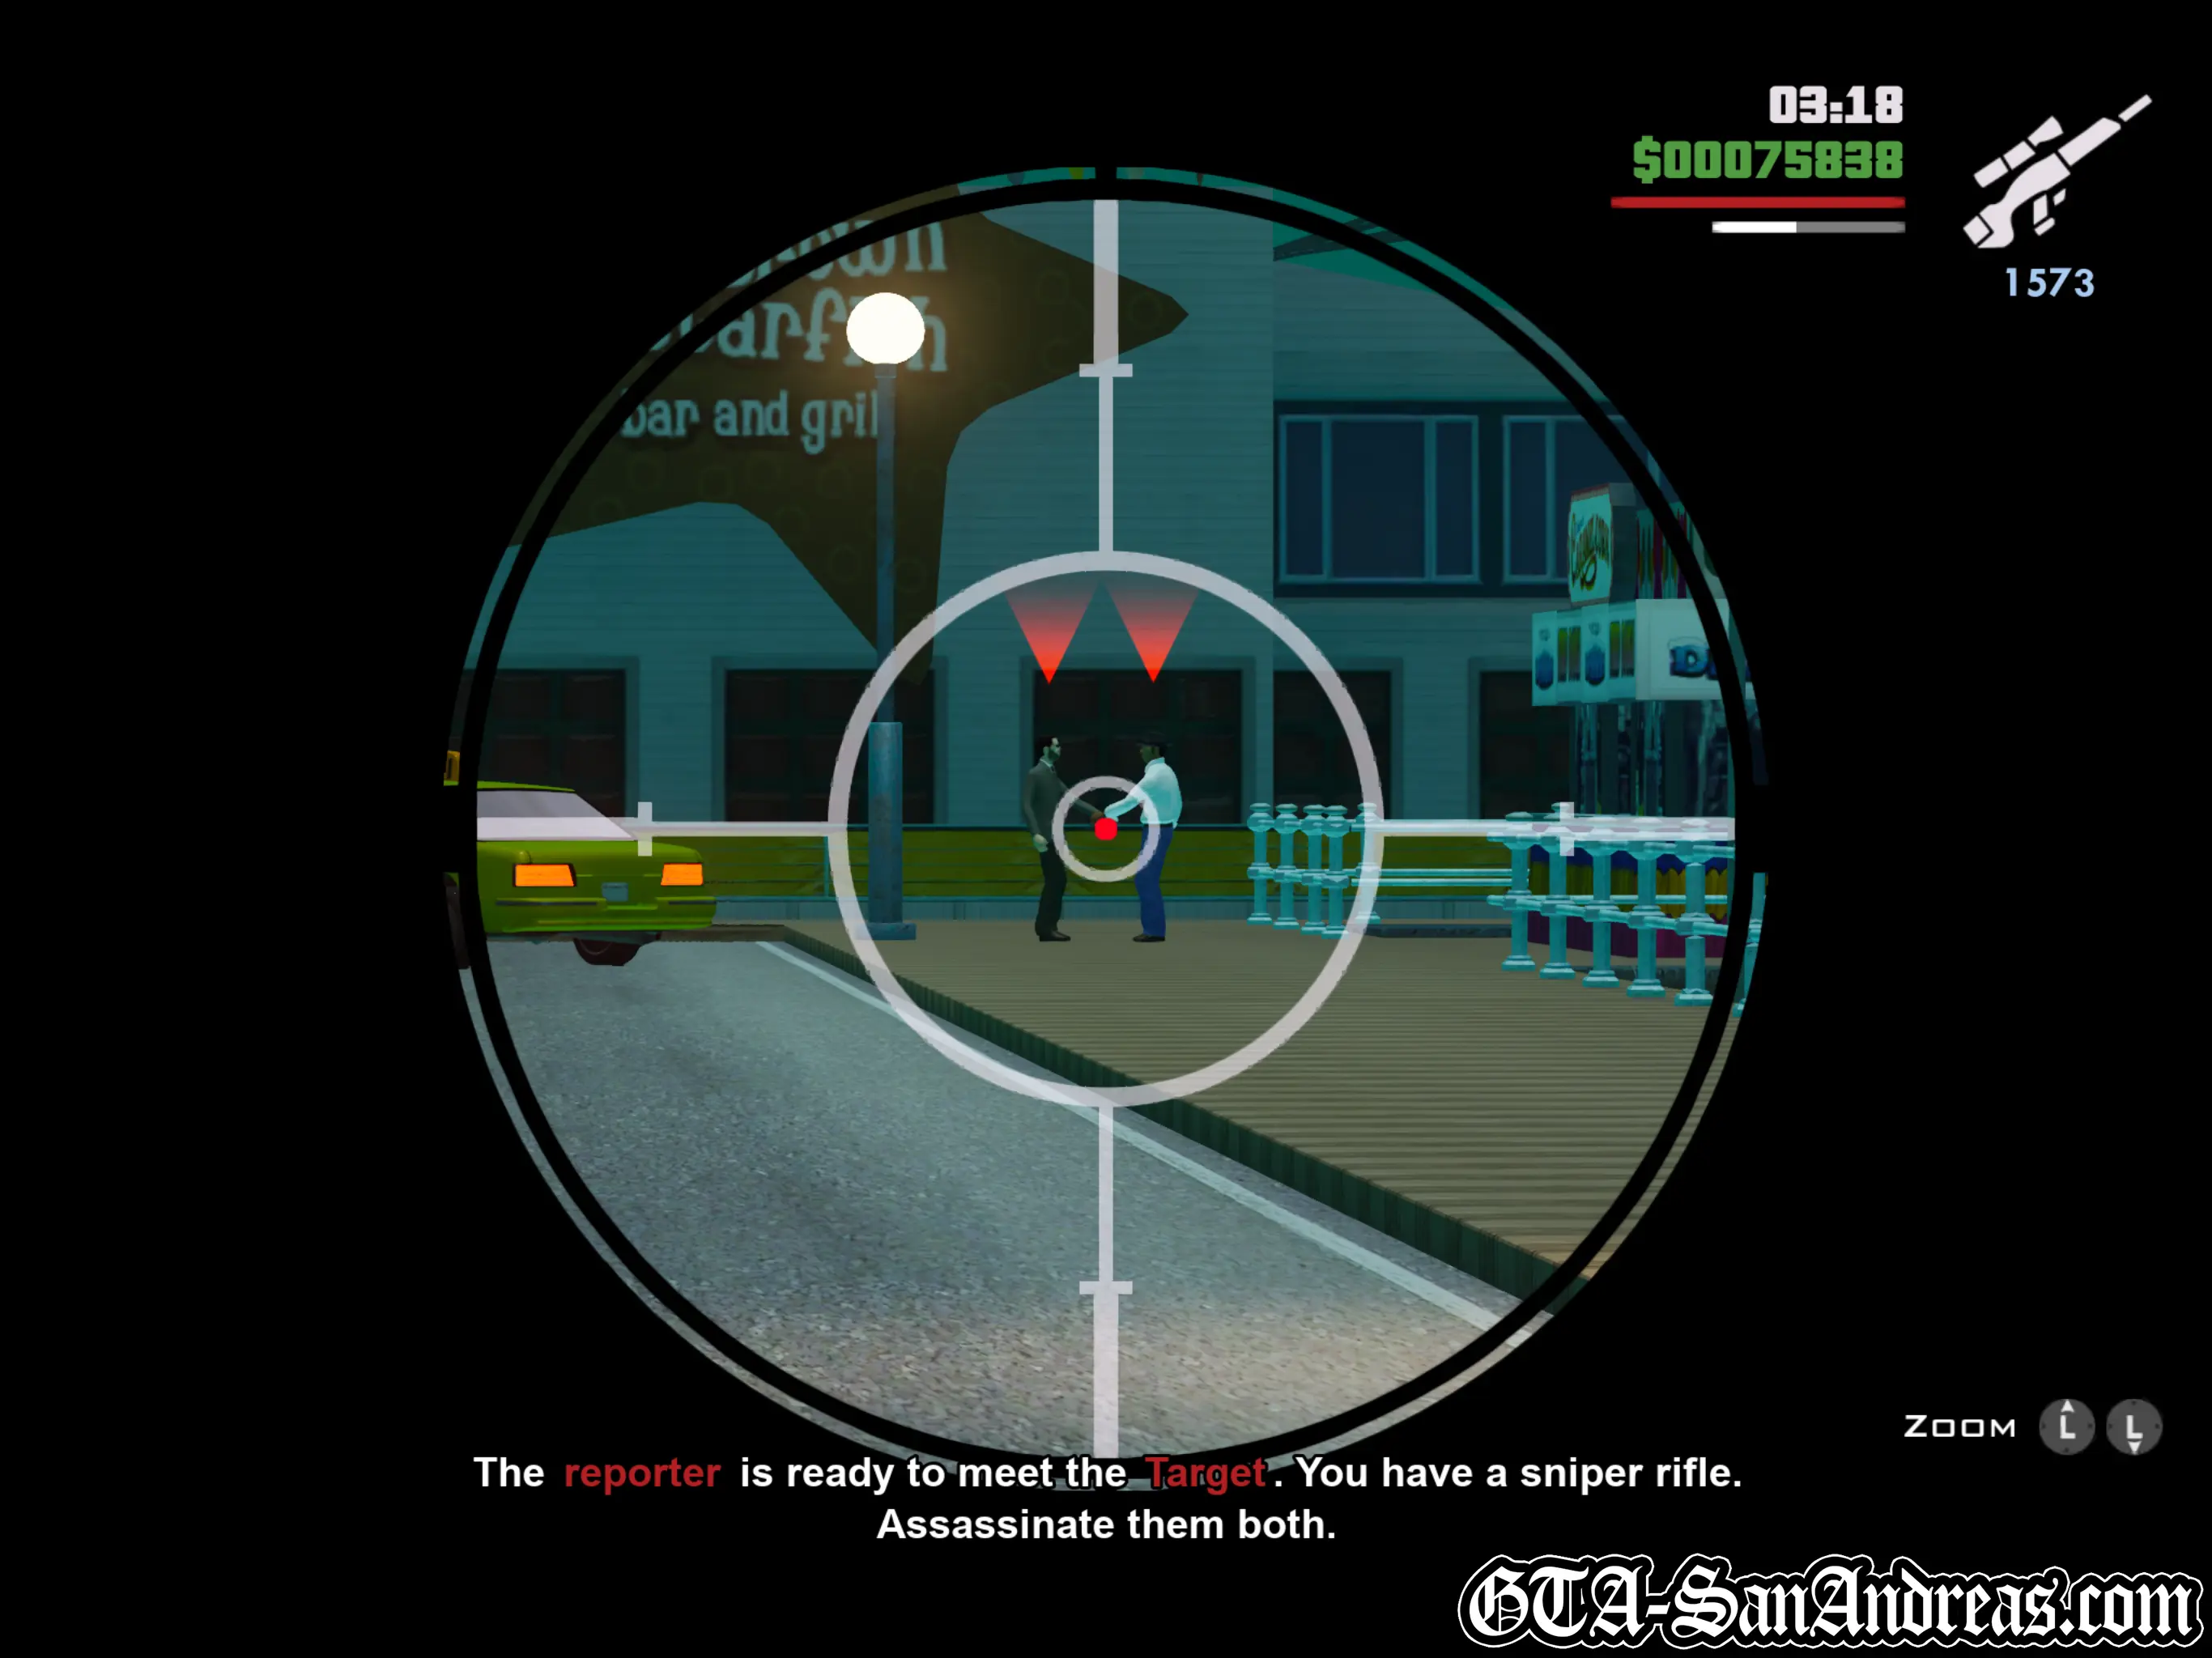
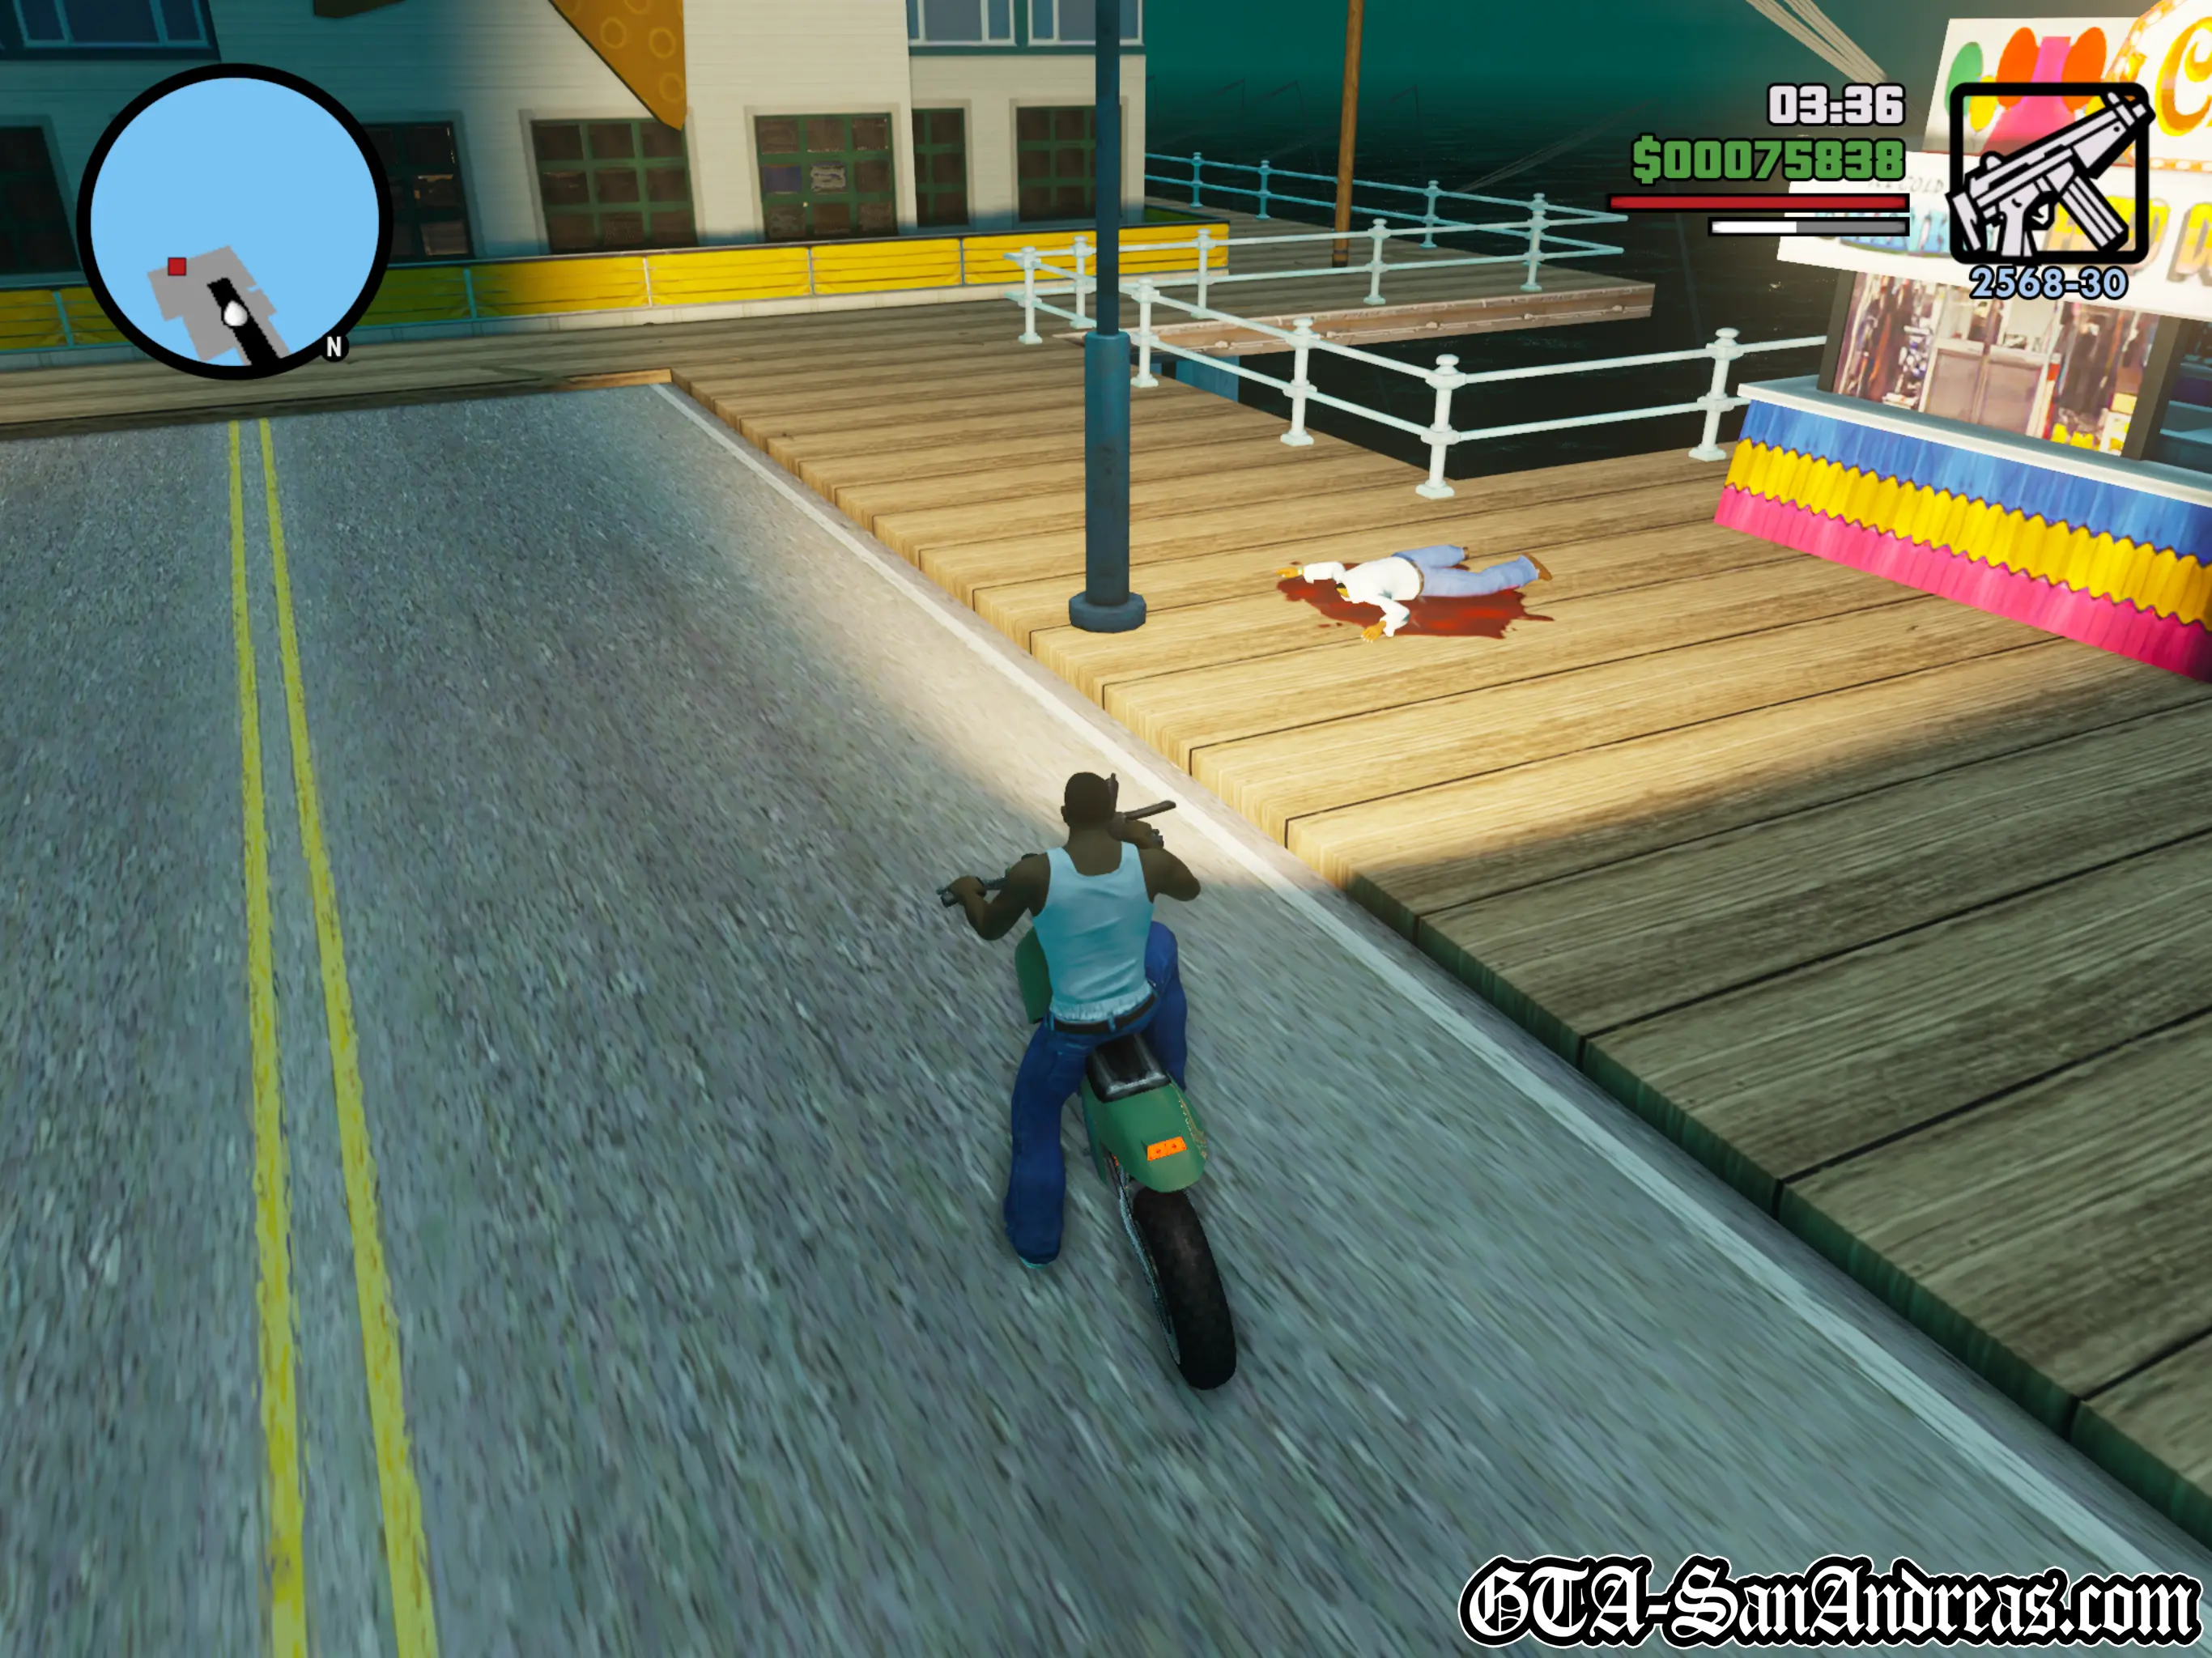
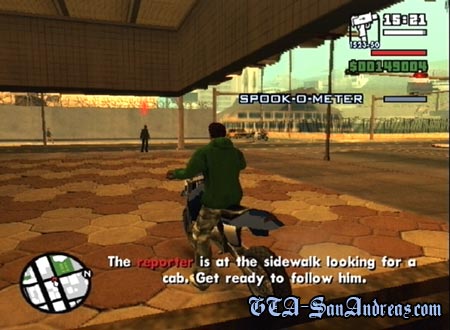
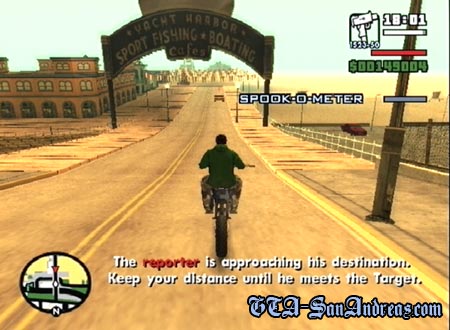
Tenpenny and Pulaski want you to take care of a journalist who is writing stories about Pulaski. When you're outside you'll see that a sniper rifle has been hidden at the construction site, so get over there and pick it up. As you pick it up you'll be told the reporter is at Cranberry Station. He's about to get on a train, so head to the station from where you are. As you get there you'll see a Sanchez parked up next to the wall. Get on it and wait for the train. Once it leaves you need to chase after it. Just stay on the tracks and stay behind the train at all times. Don't go on the other side of the tracks or you'll risk getting hit by a train. Follow him all the way to Market Station in Los Santos, then wait for him to get off the train. He'll head upstairs and get a taxi. You need to follow him carefully and see where he goes. If you get too close he'll get spooked, if you stay too far away you'll lose him. It's tricky, but just try to keep the Spook-O-Meter around the middle. When his taxi stops at traffic lights, stop a long way down the street and wait for him to get moving before you go closer. Follow him all of the way around town and eventually he'll stop at the end of the pier. He's meeting someone there and you need to get close, then use your Sniper Rifle to take them both out. Once they're dead you'll pass the mission.
Now you need to drive back to San Fierro where you'll find The Triad's Garage missions have been unlocked once again.
Screenshots


The Triads
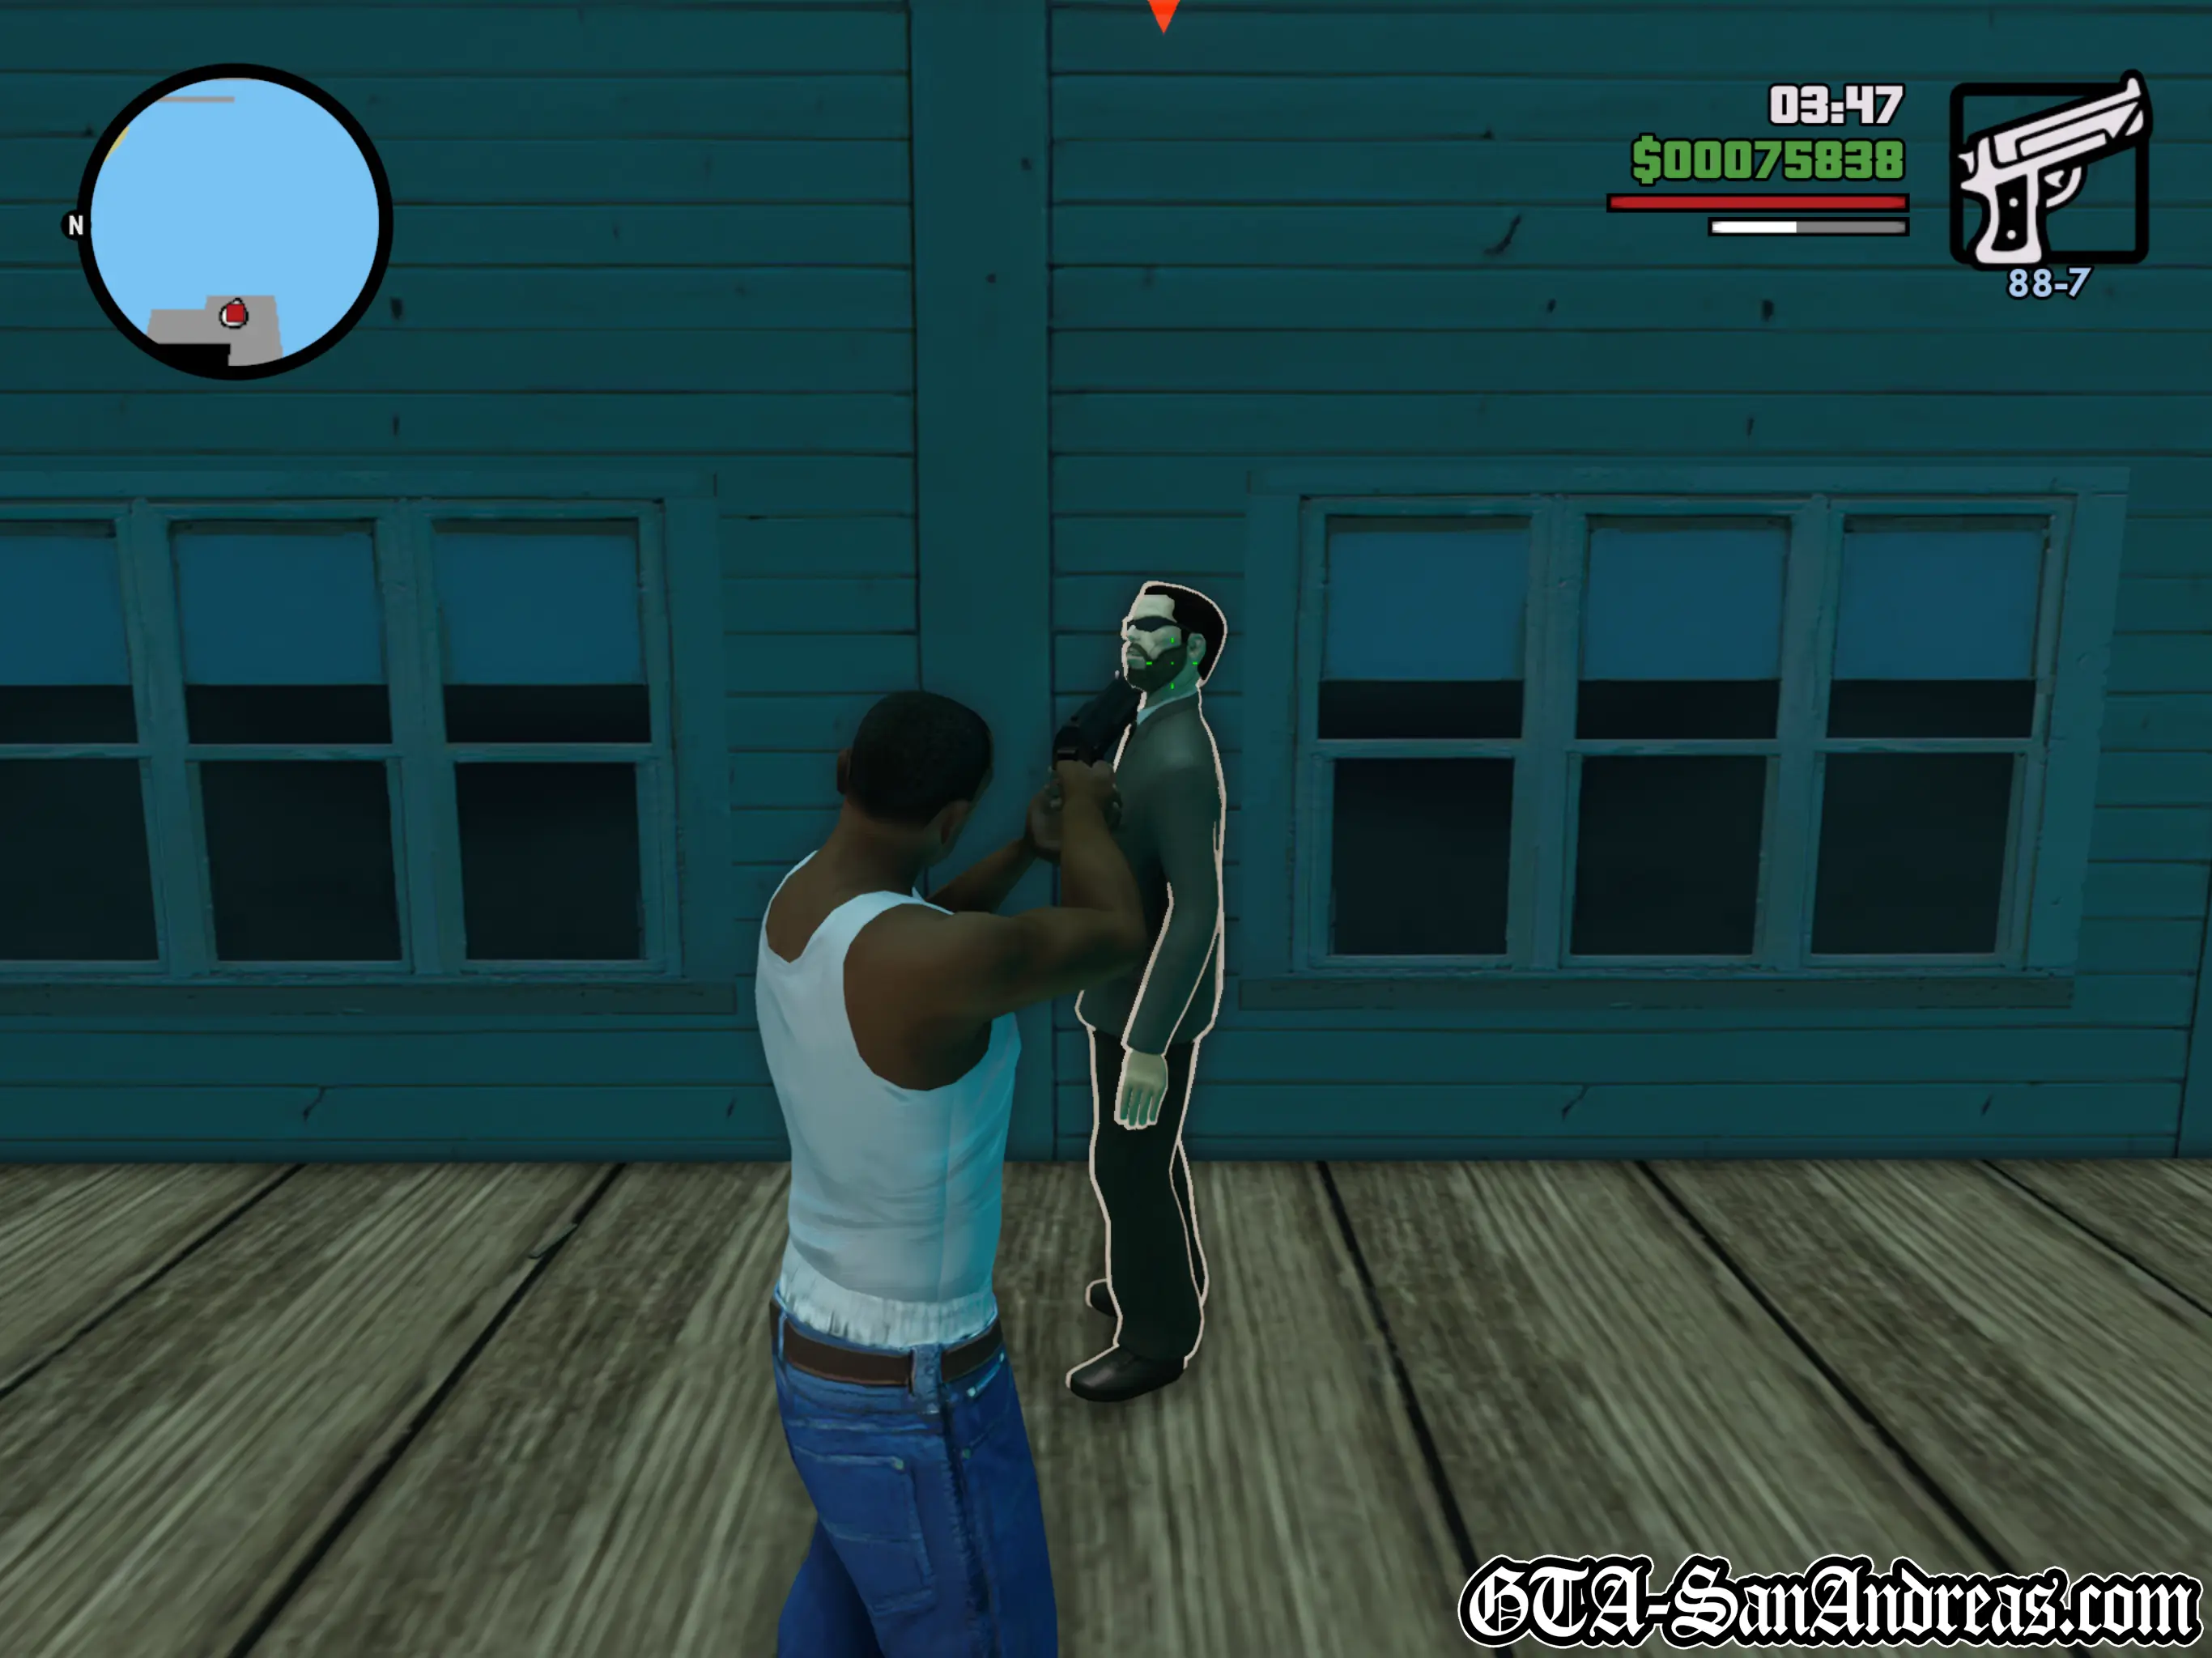
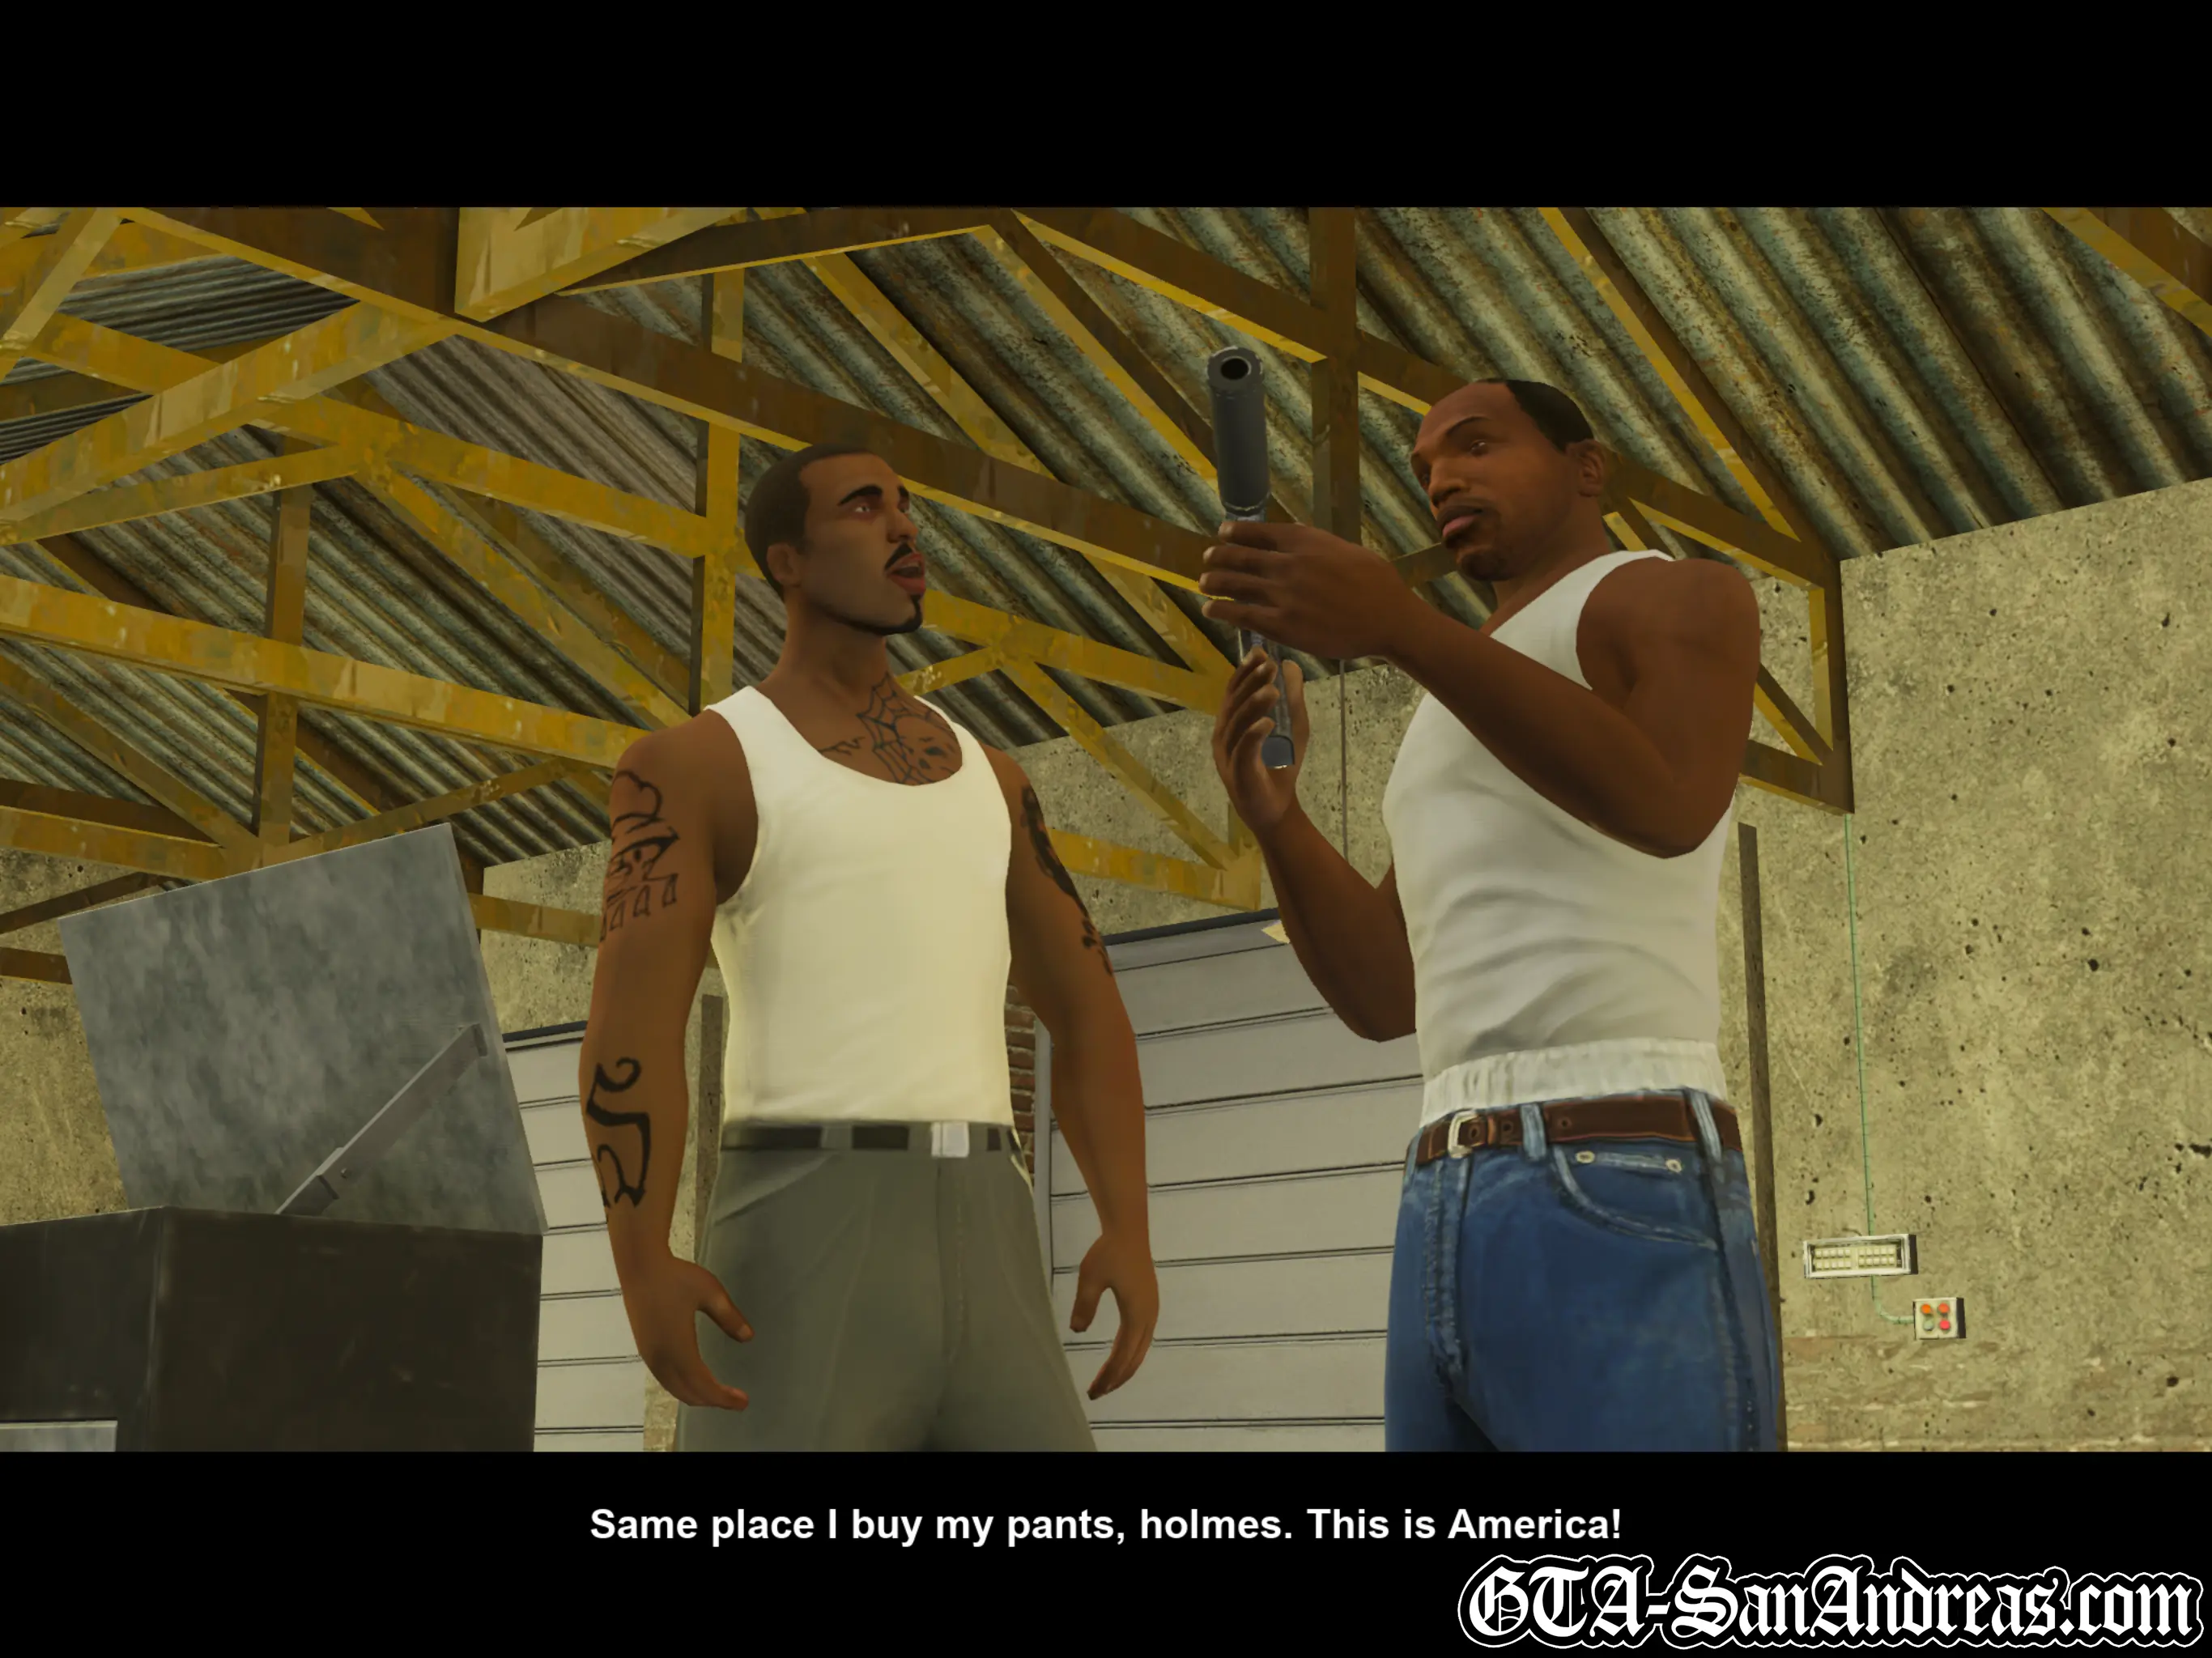
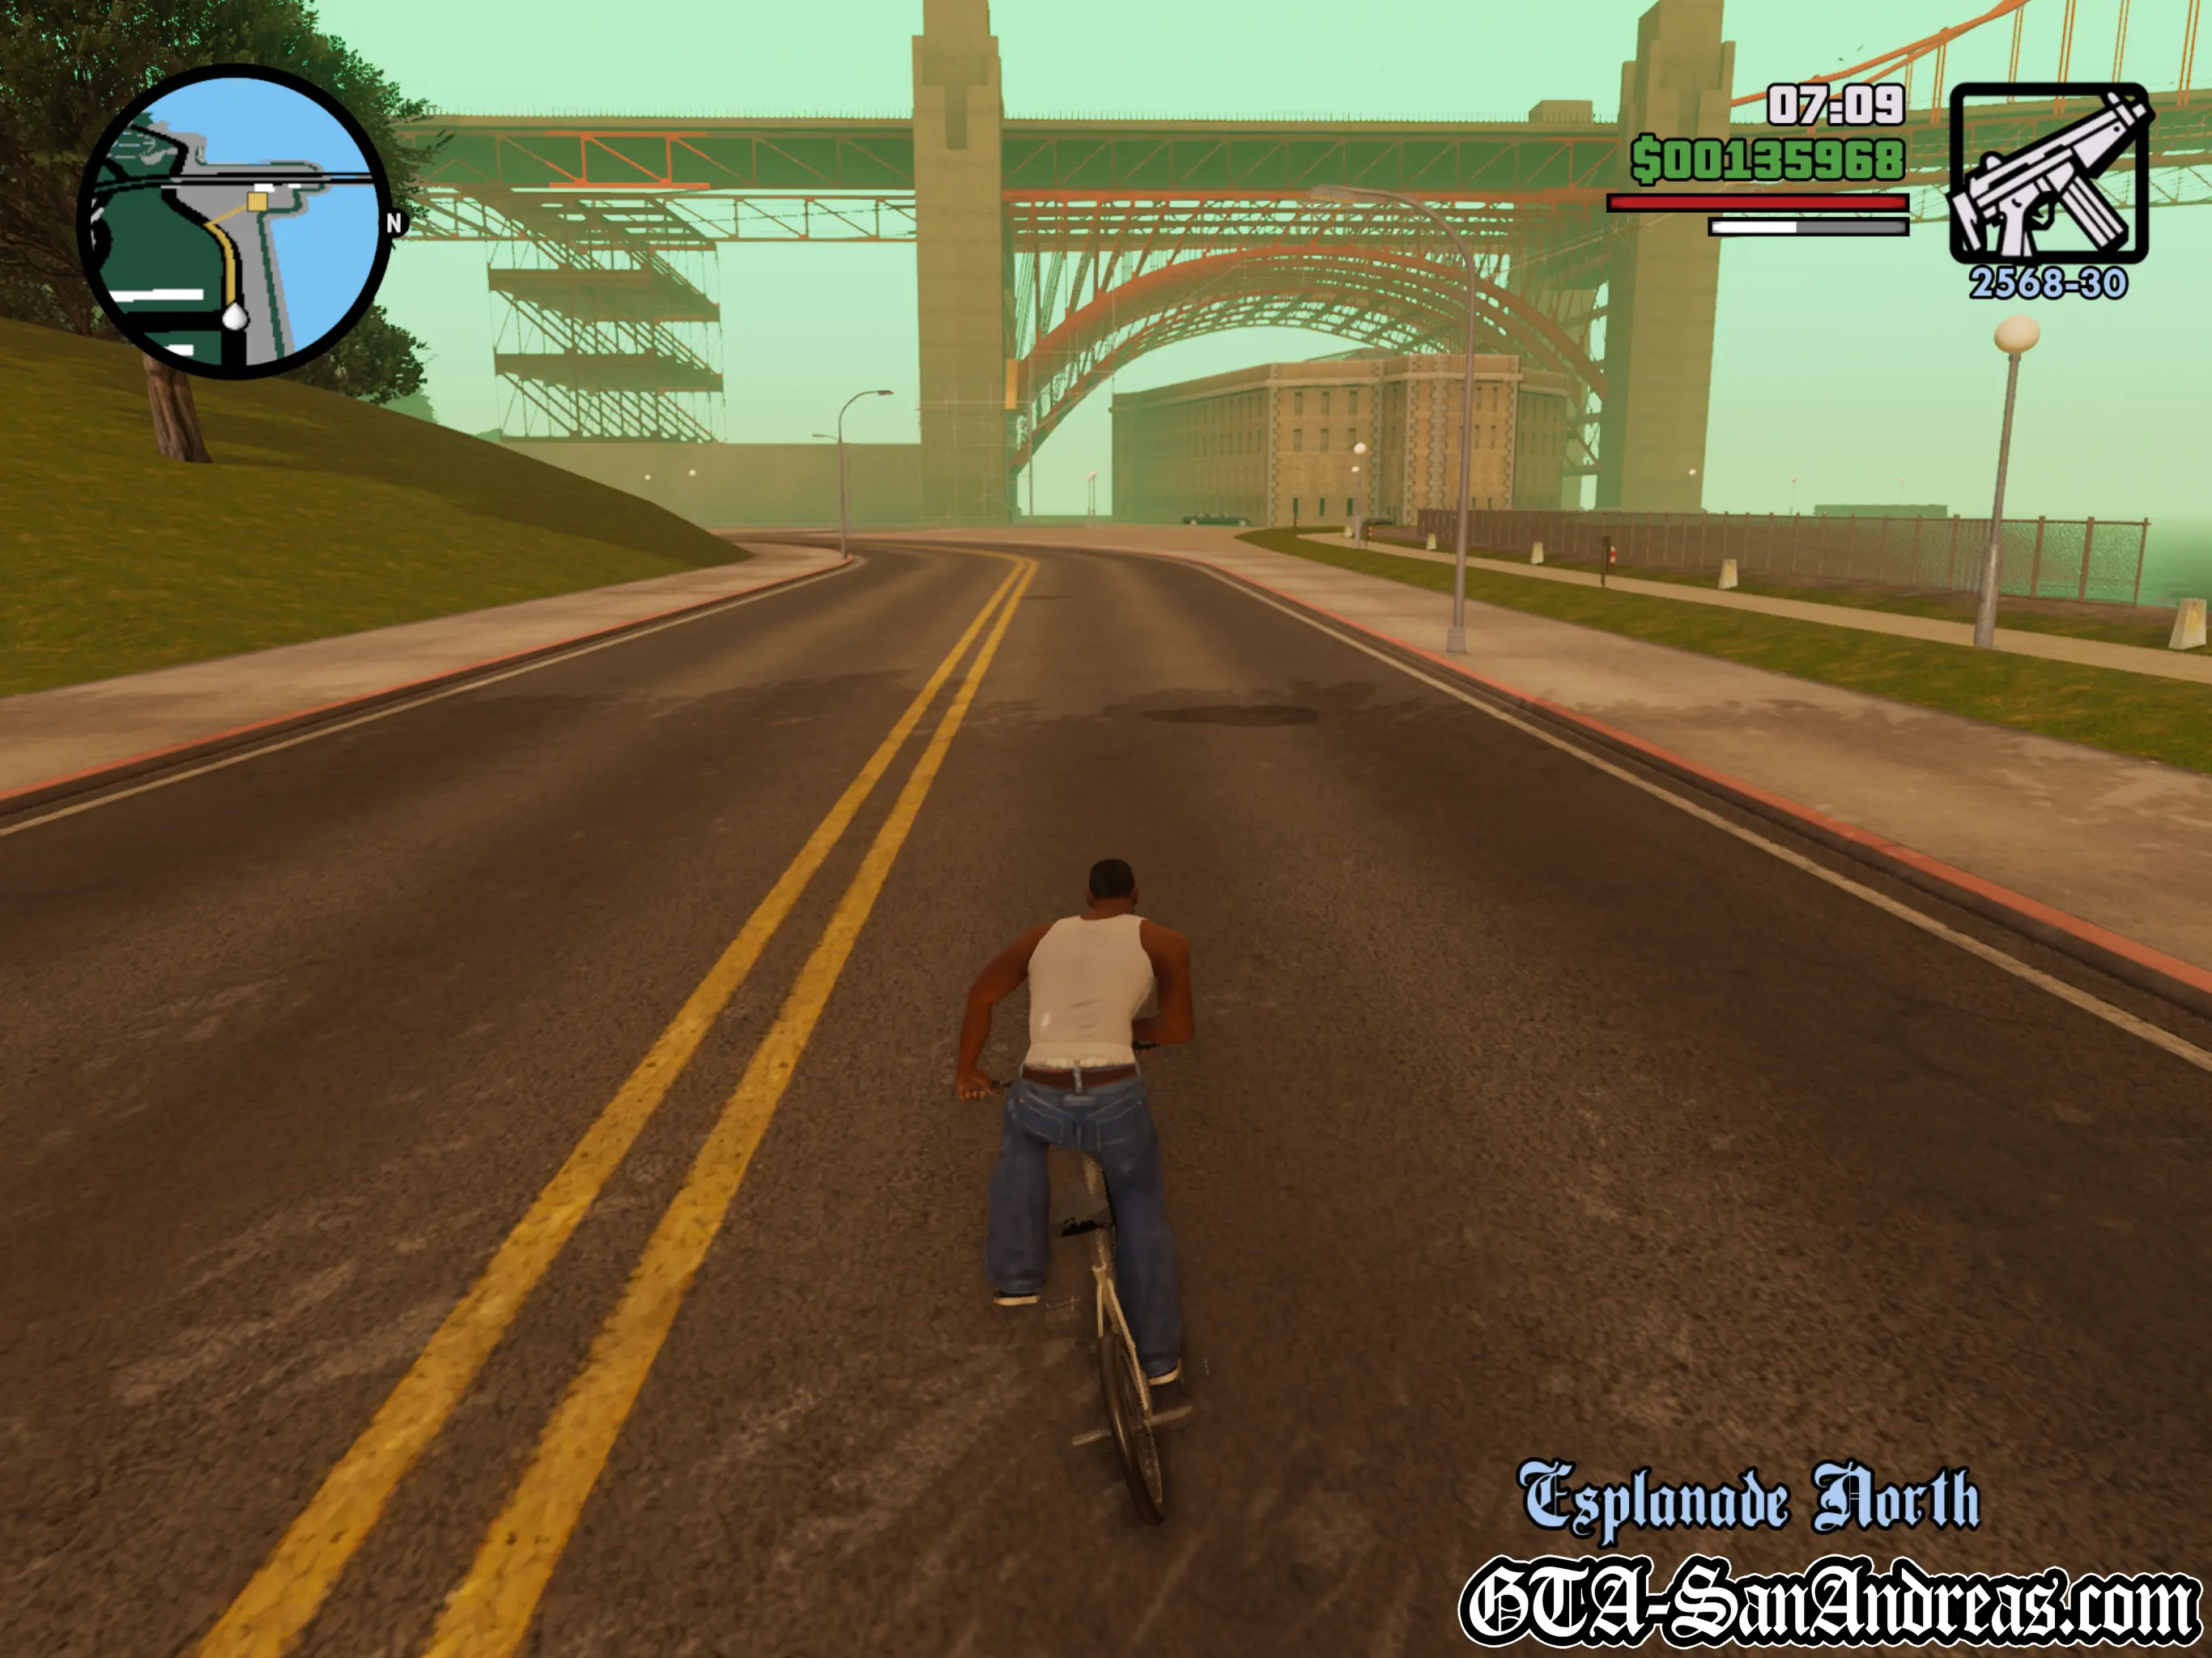
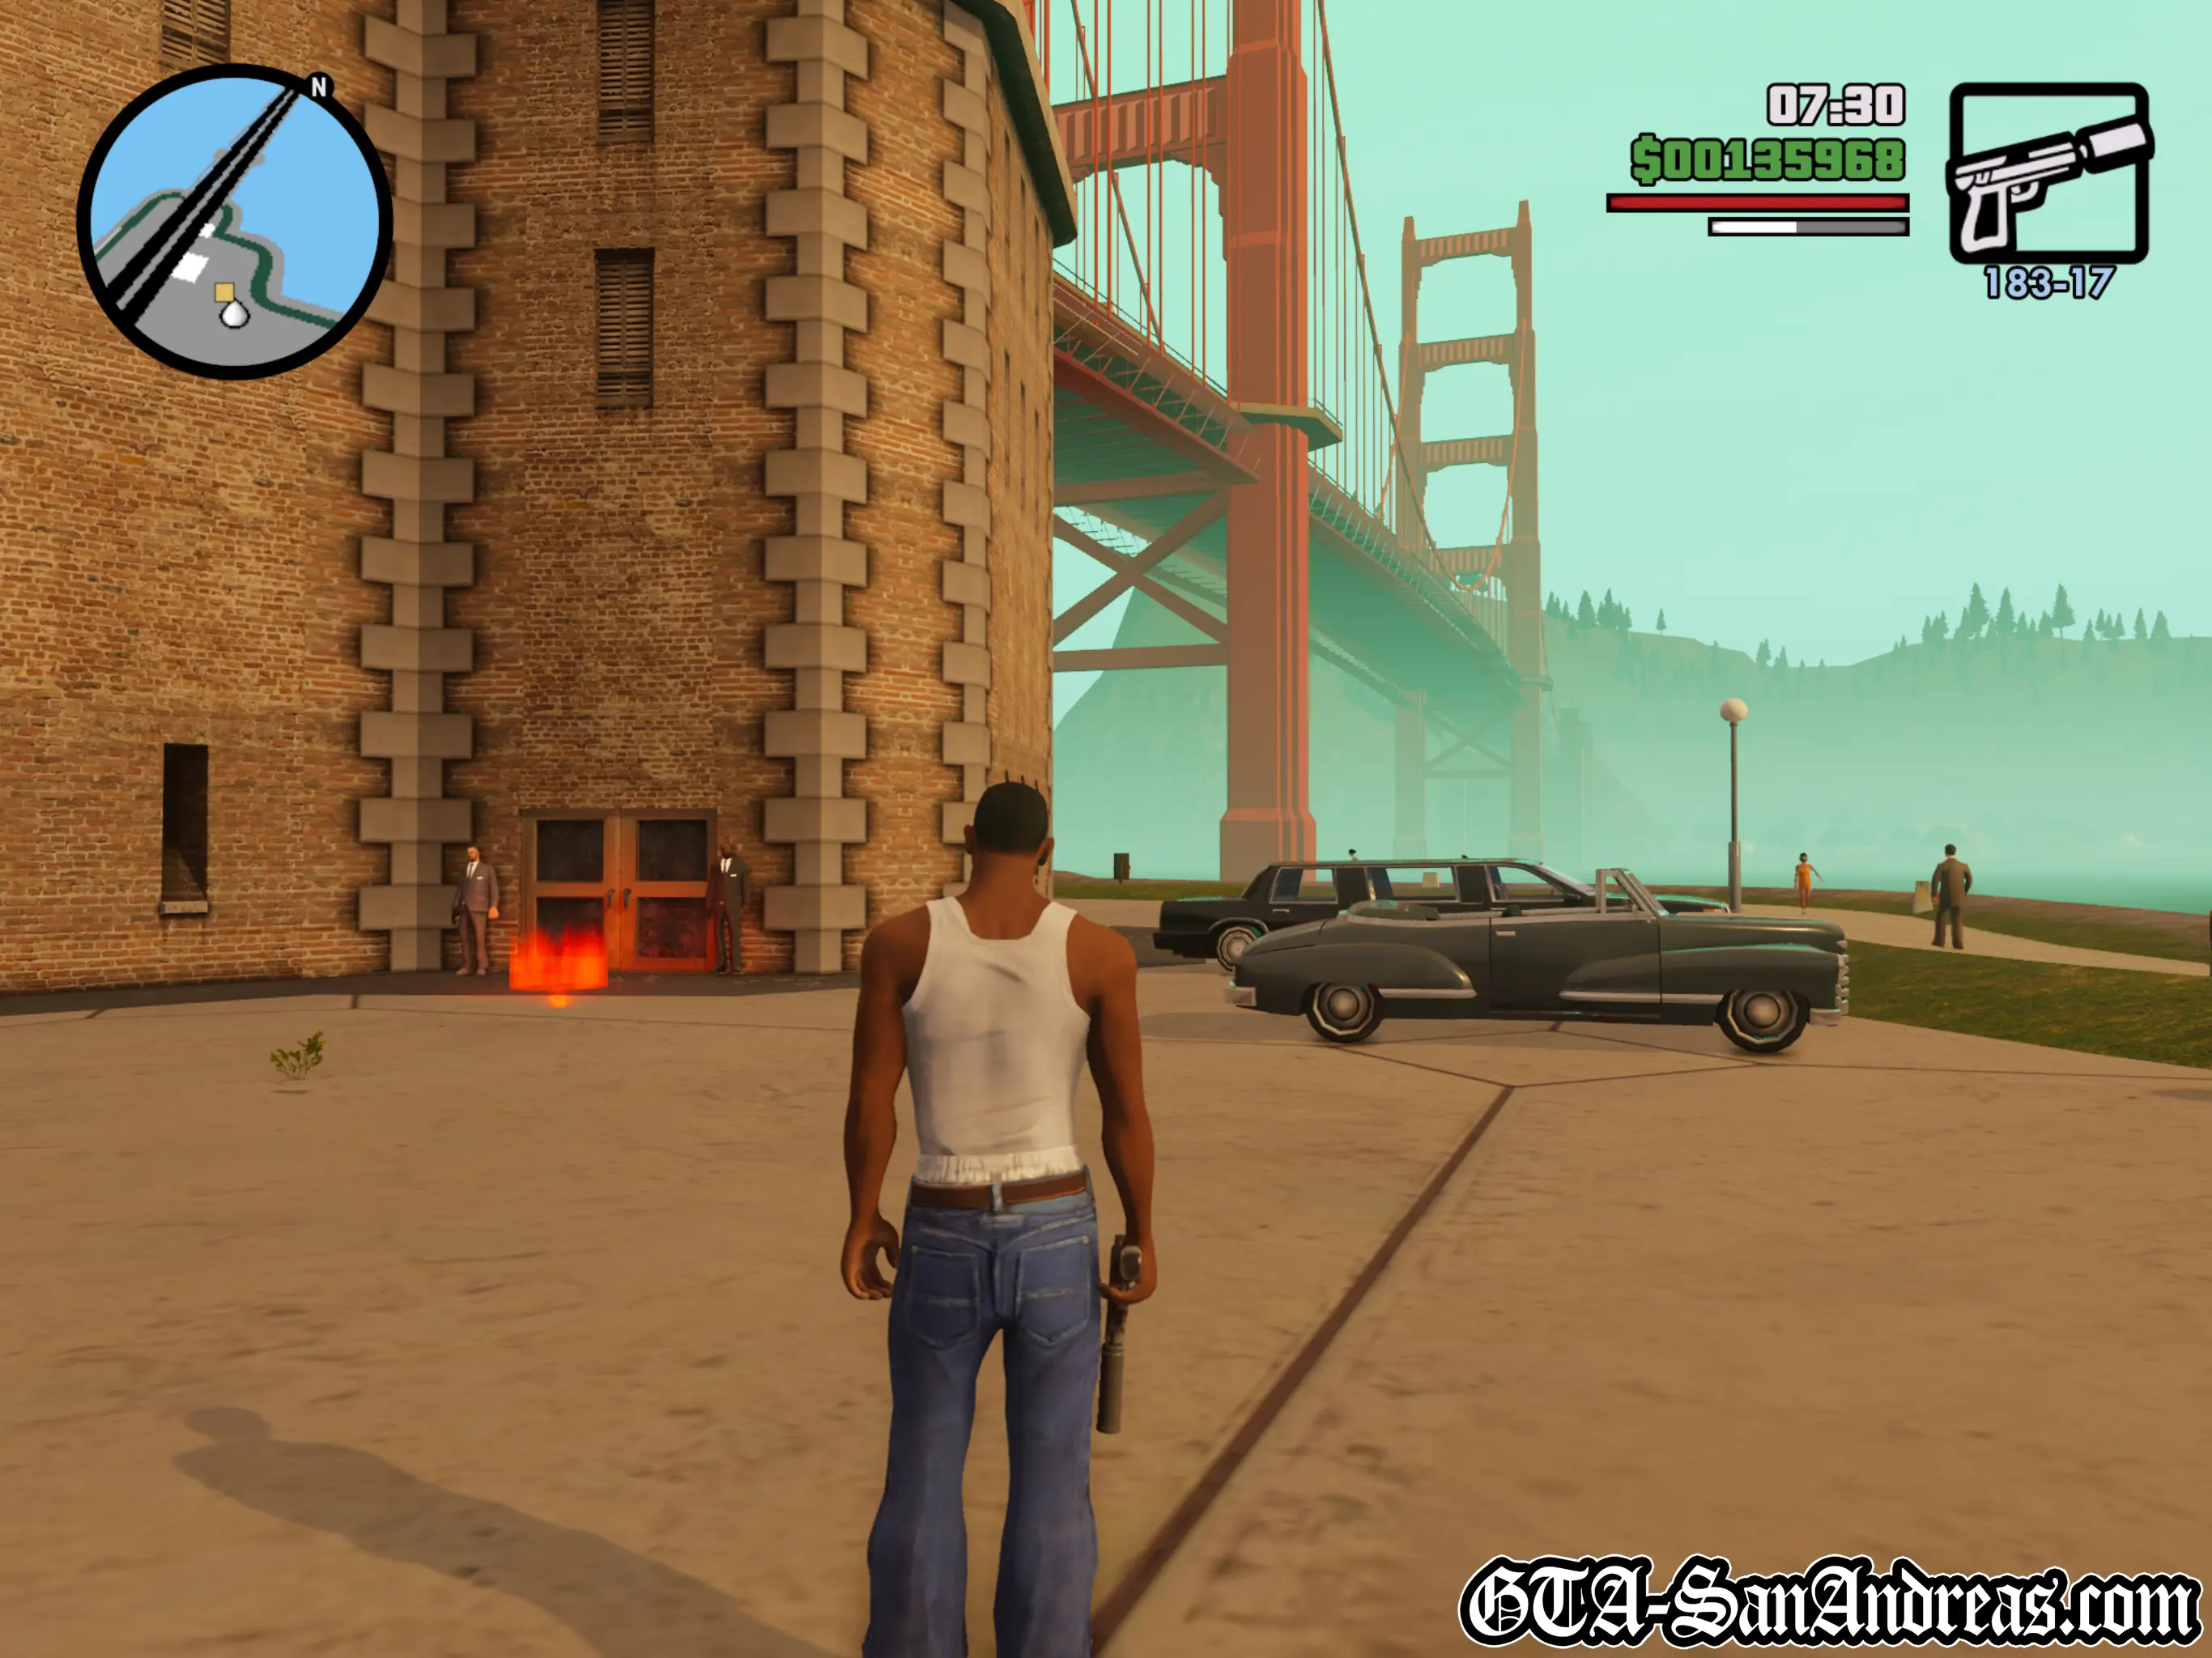
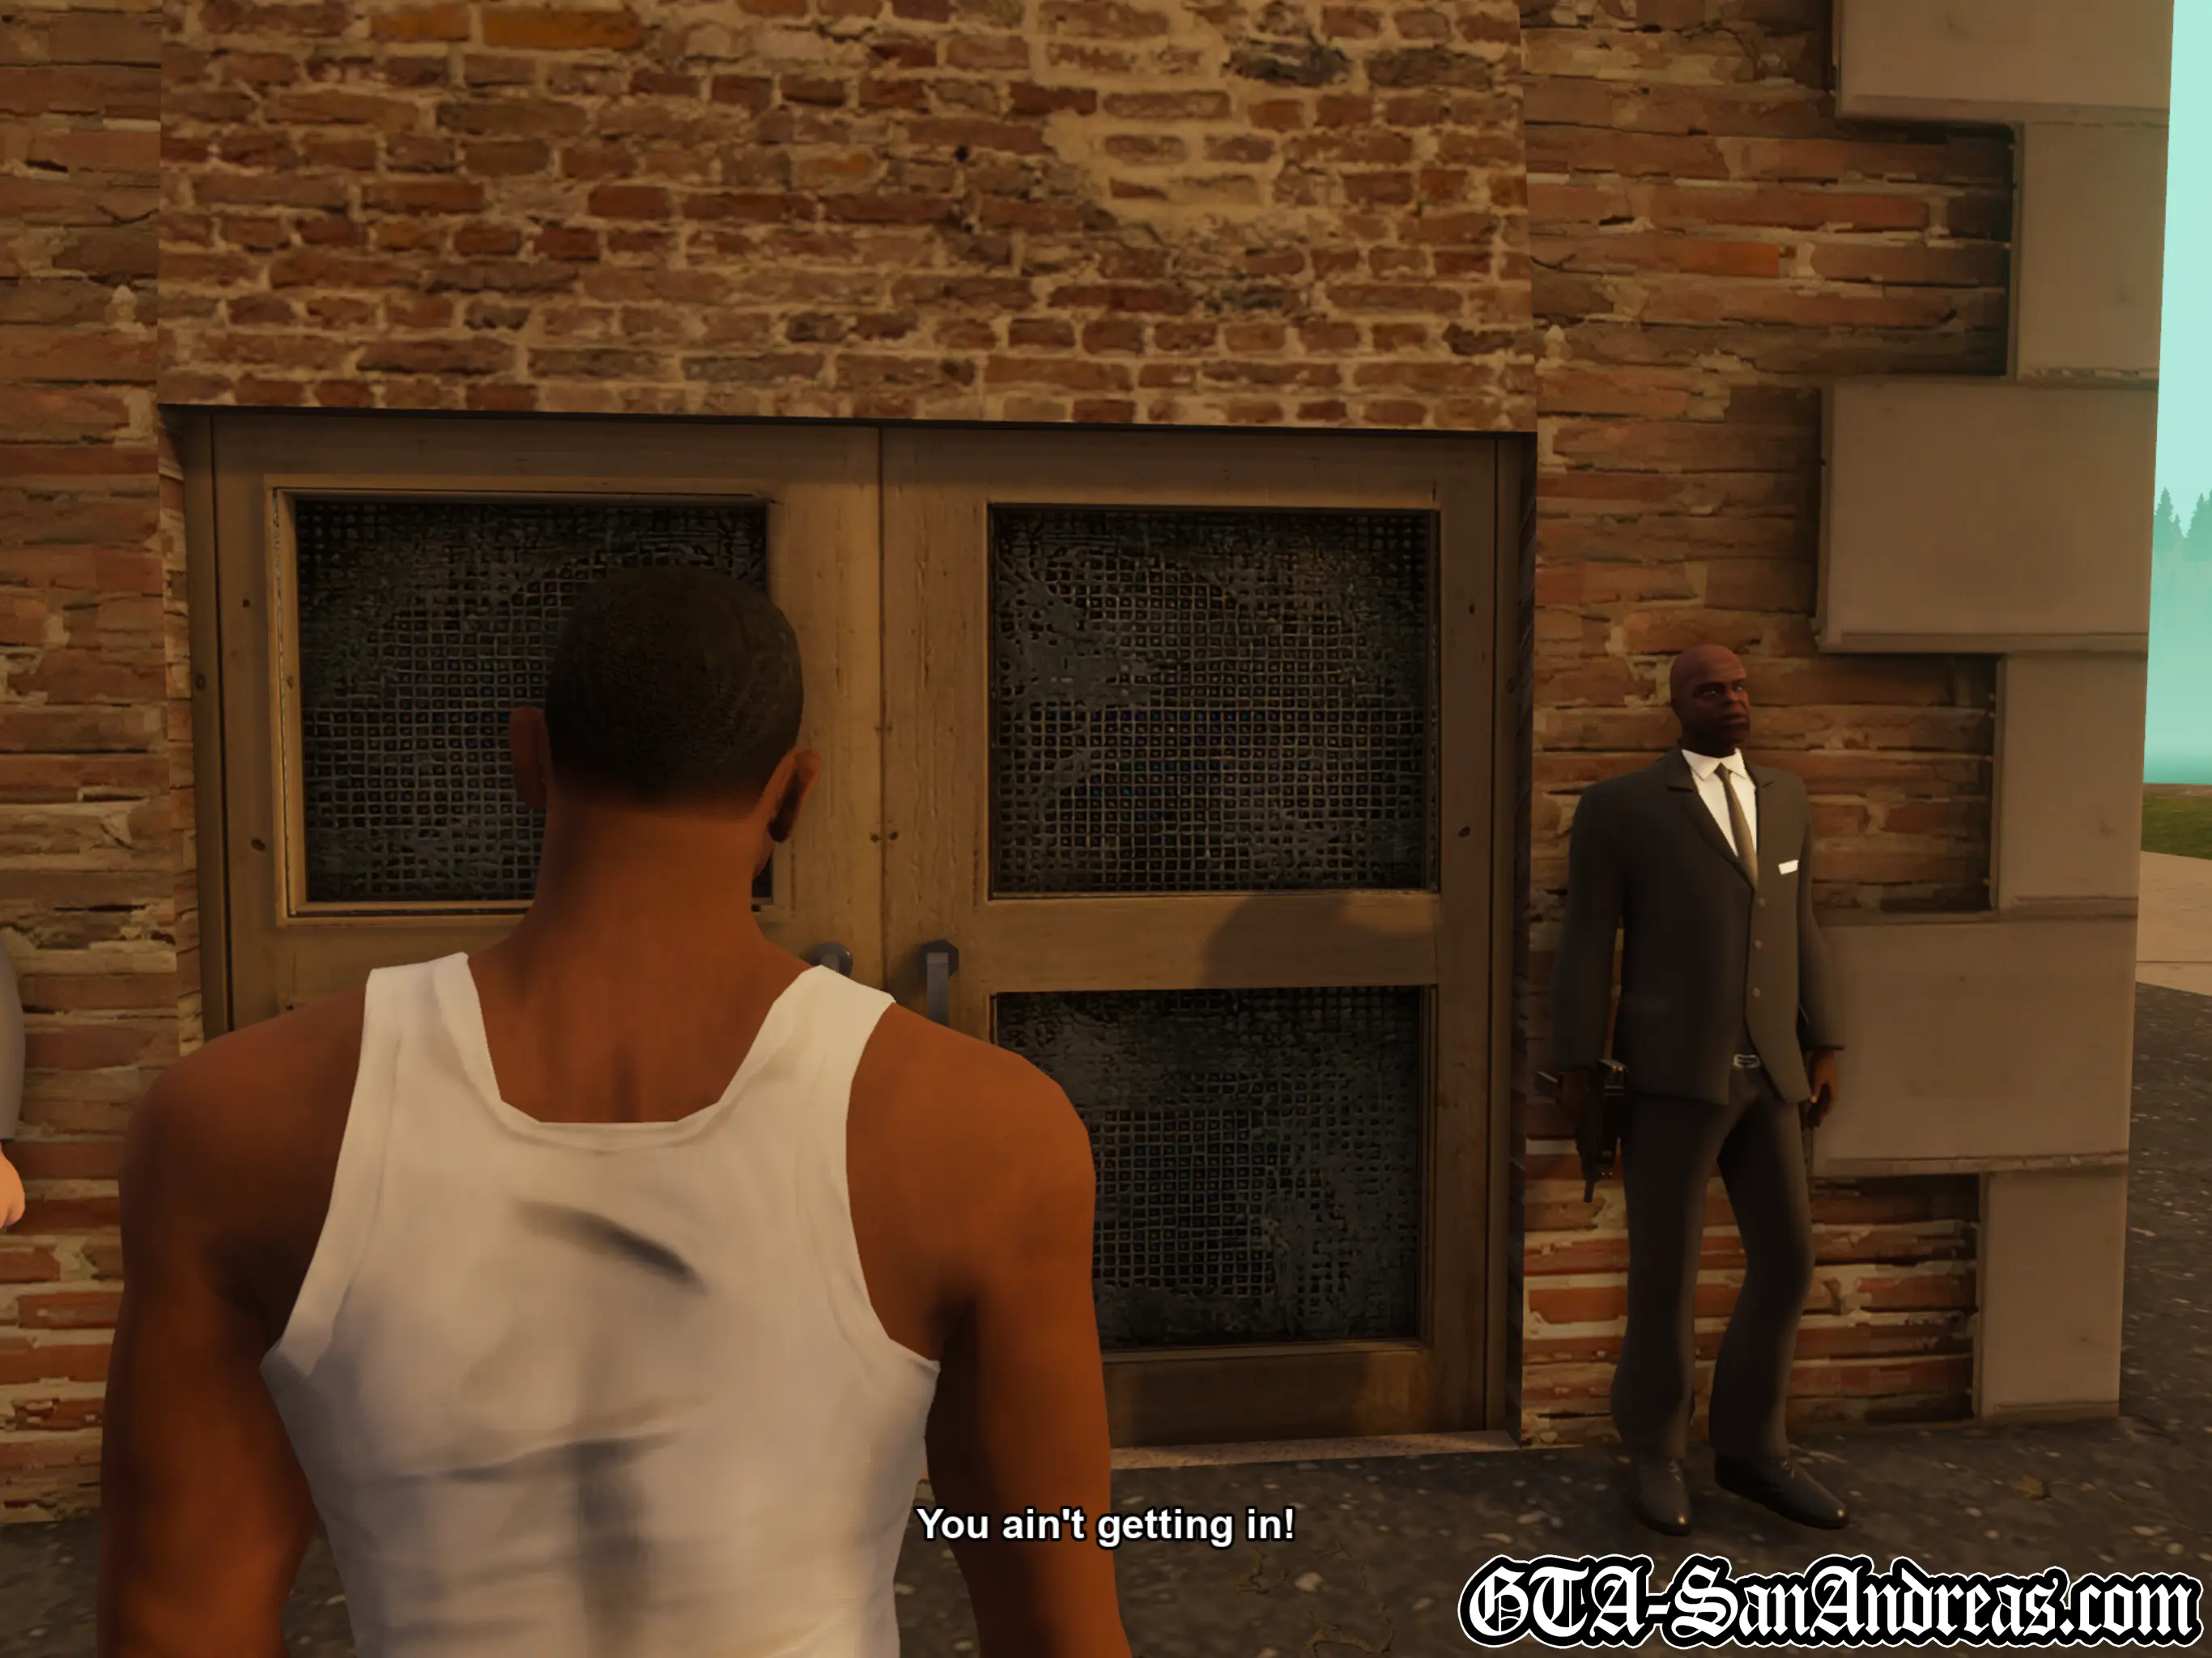
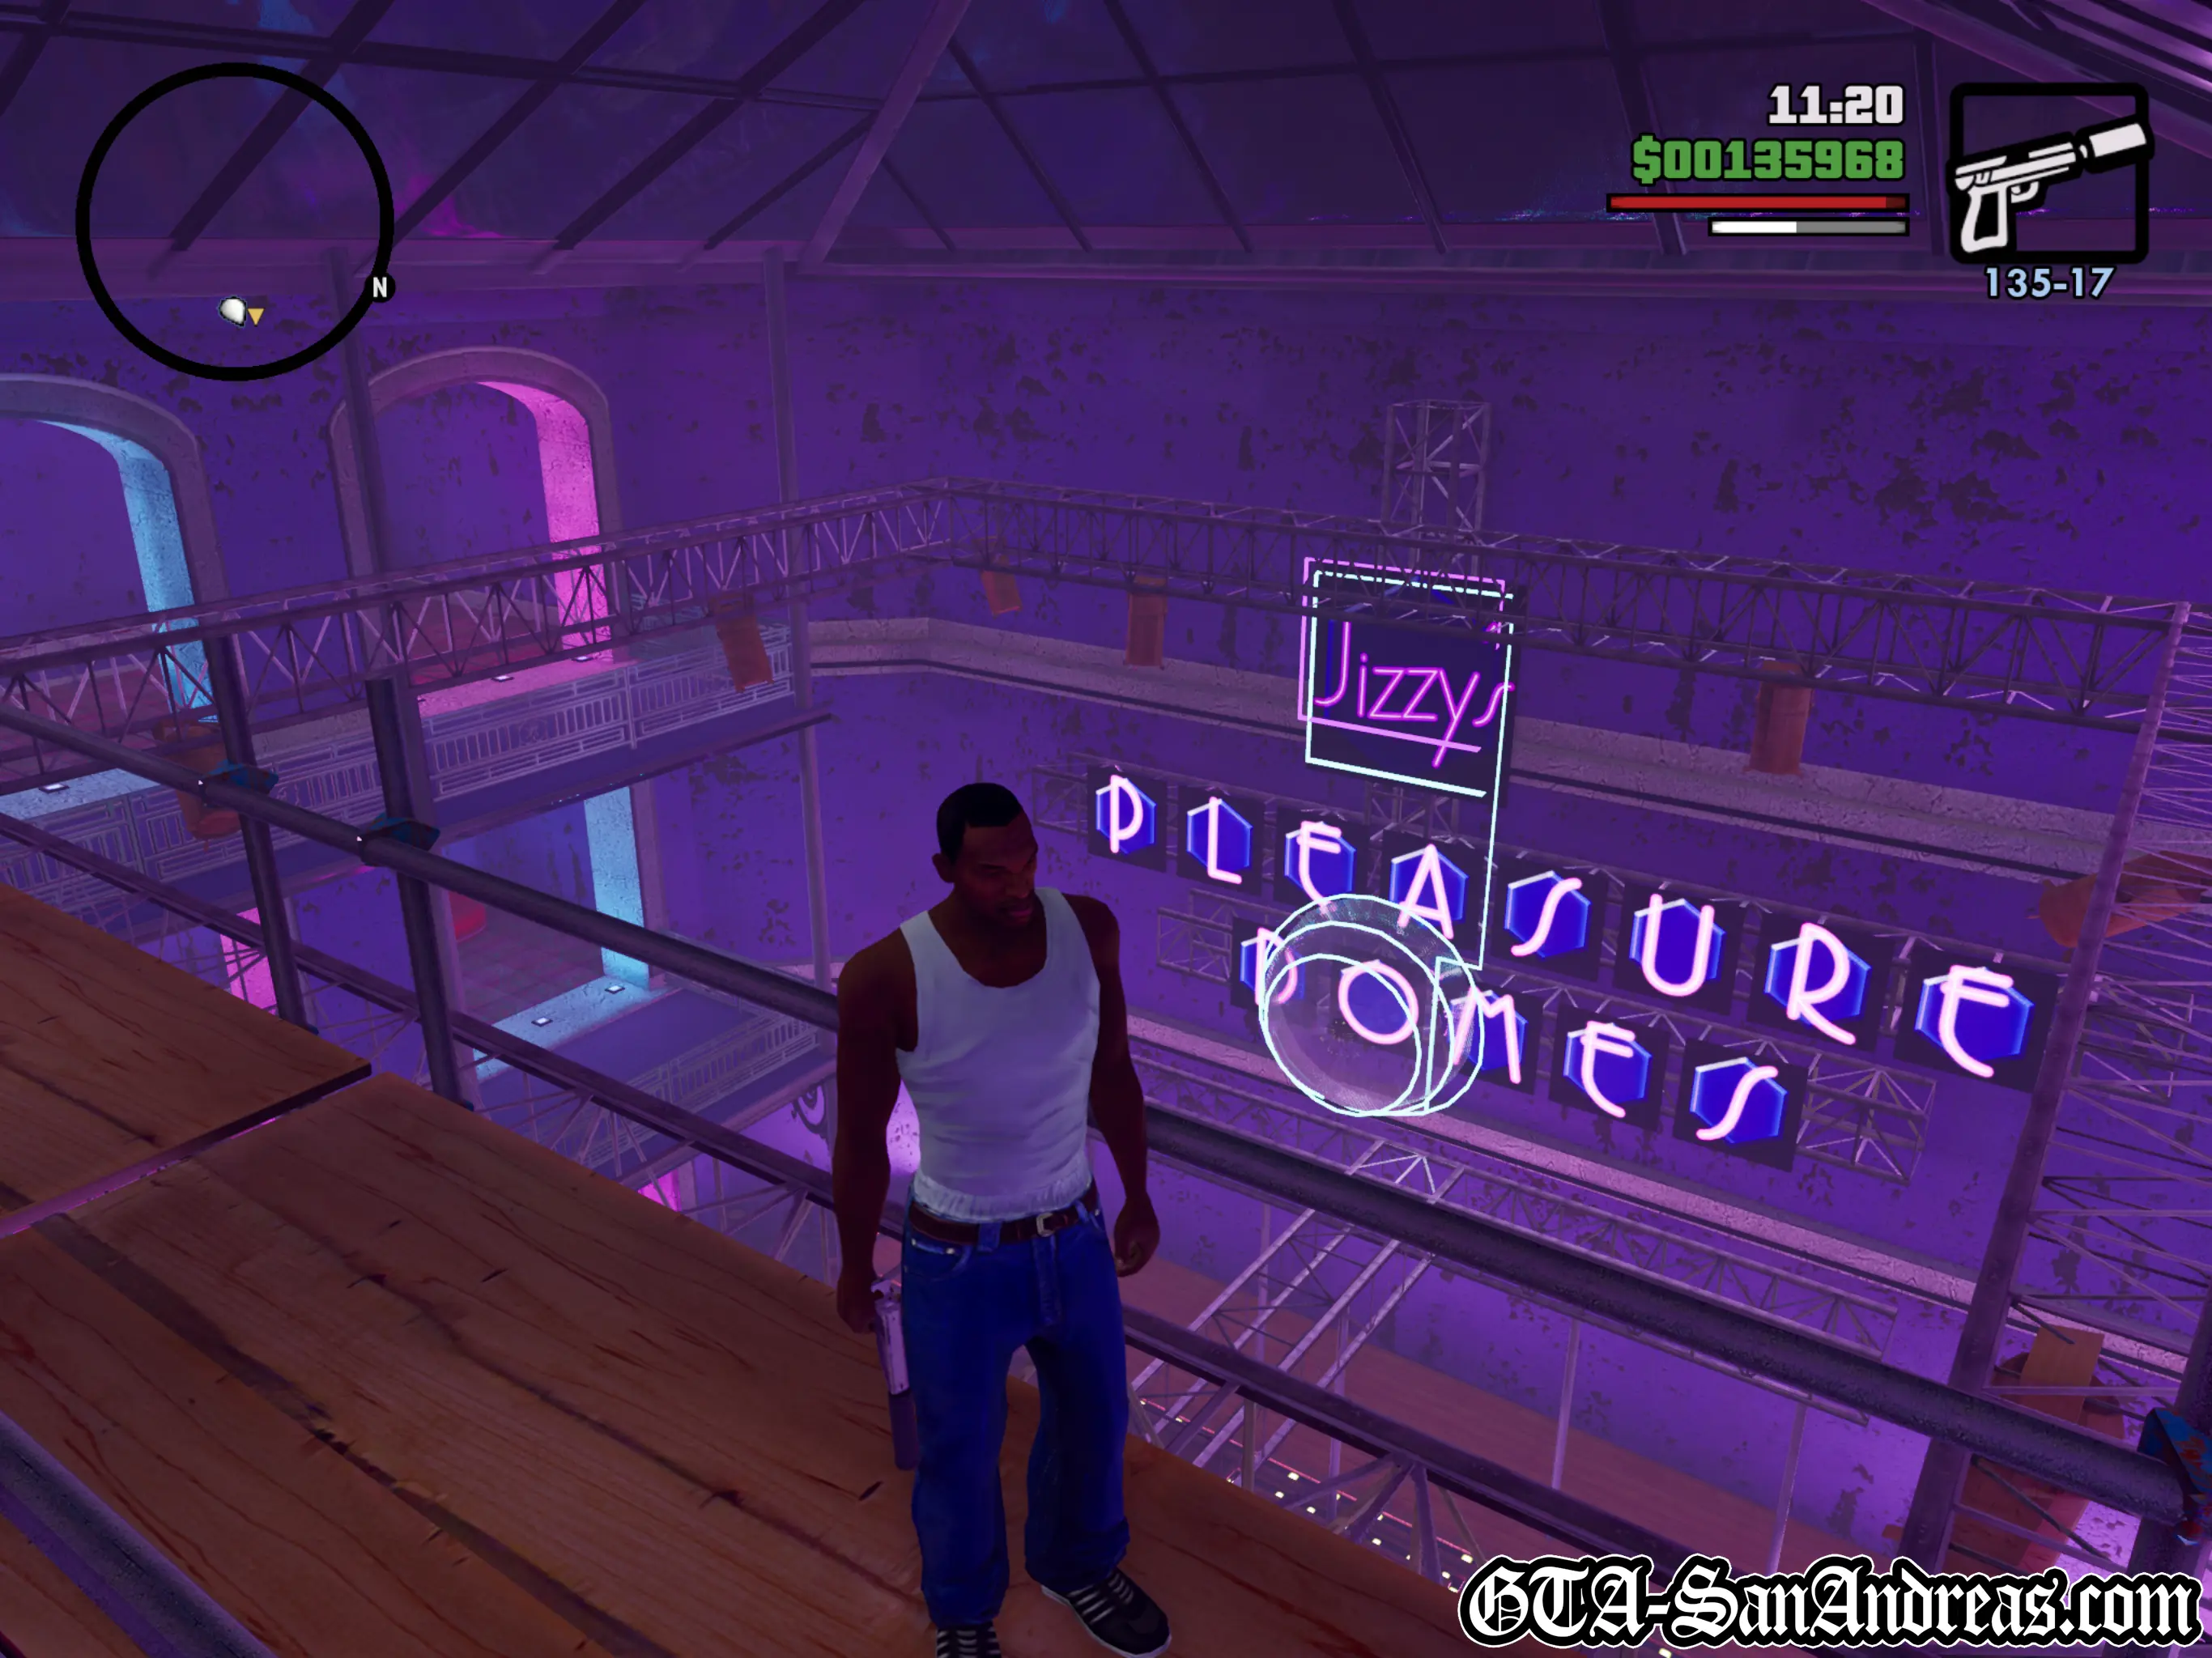
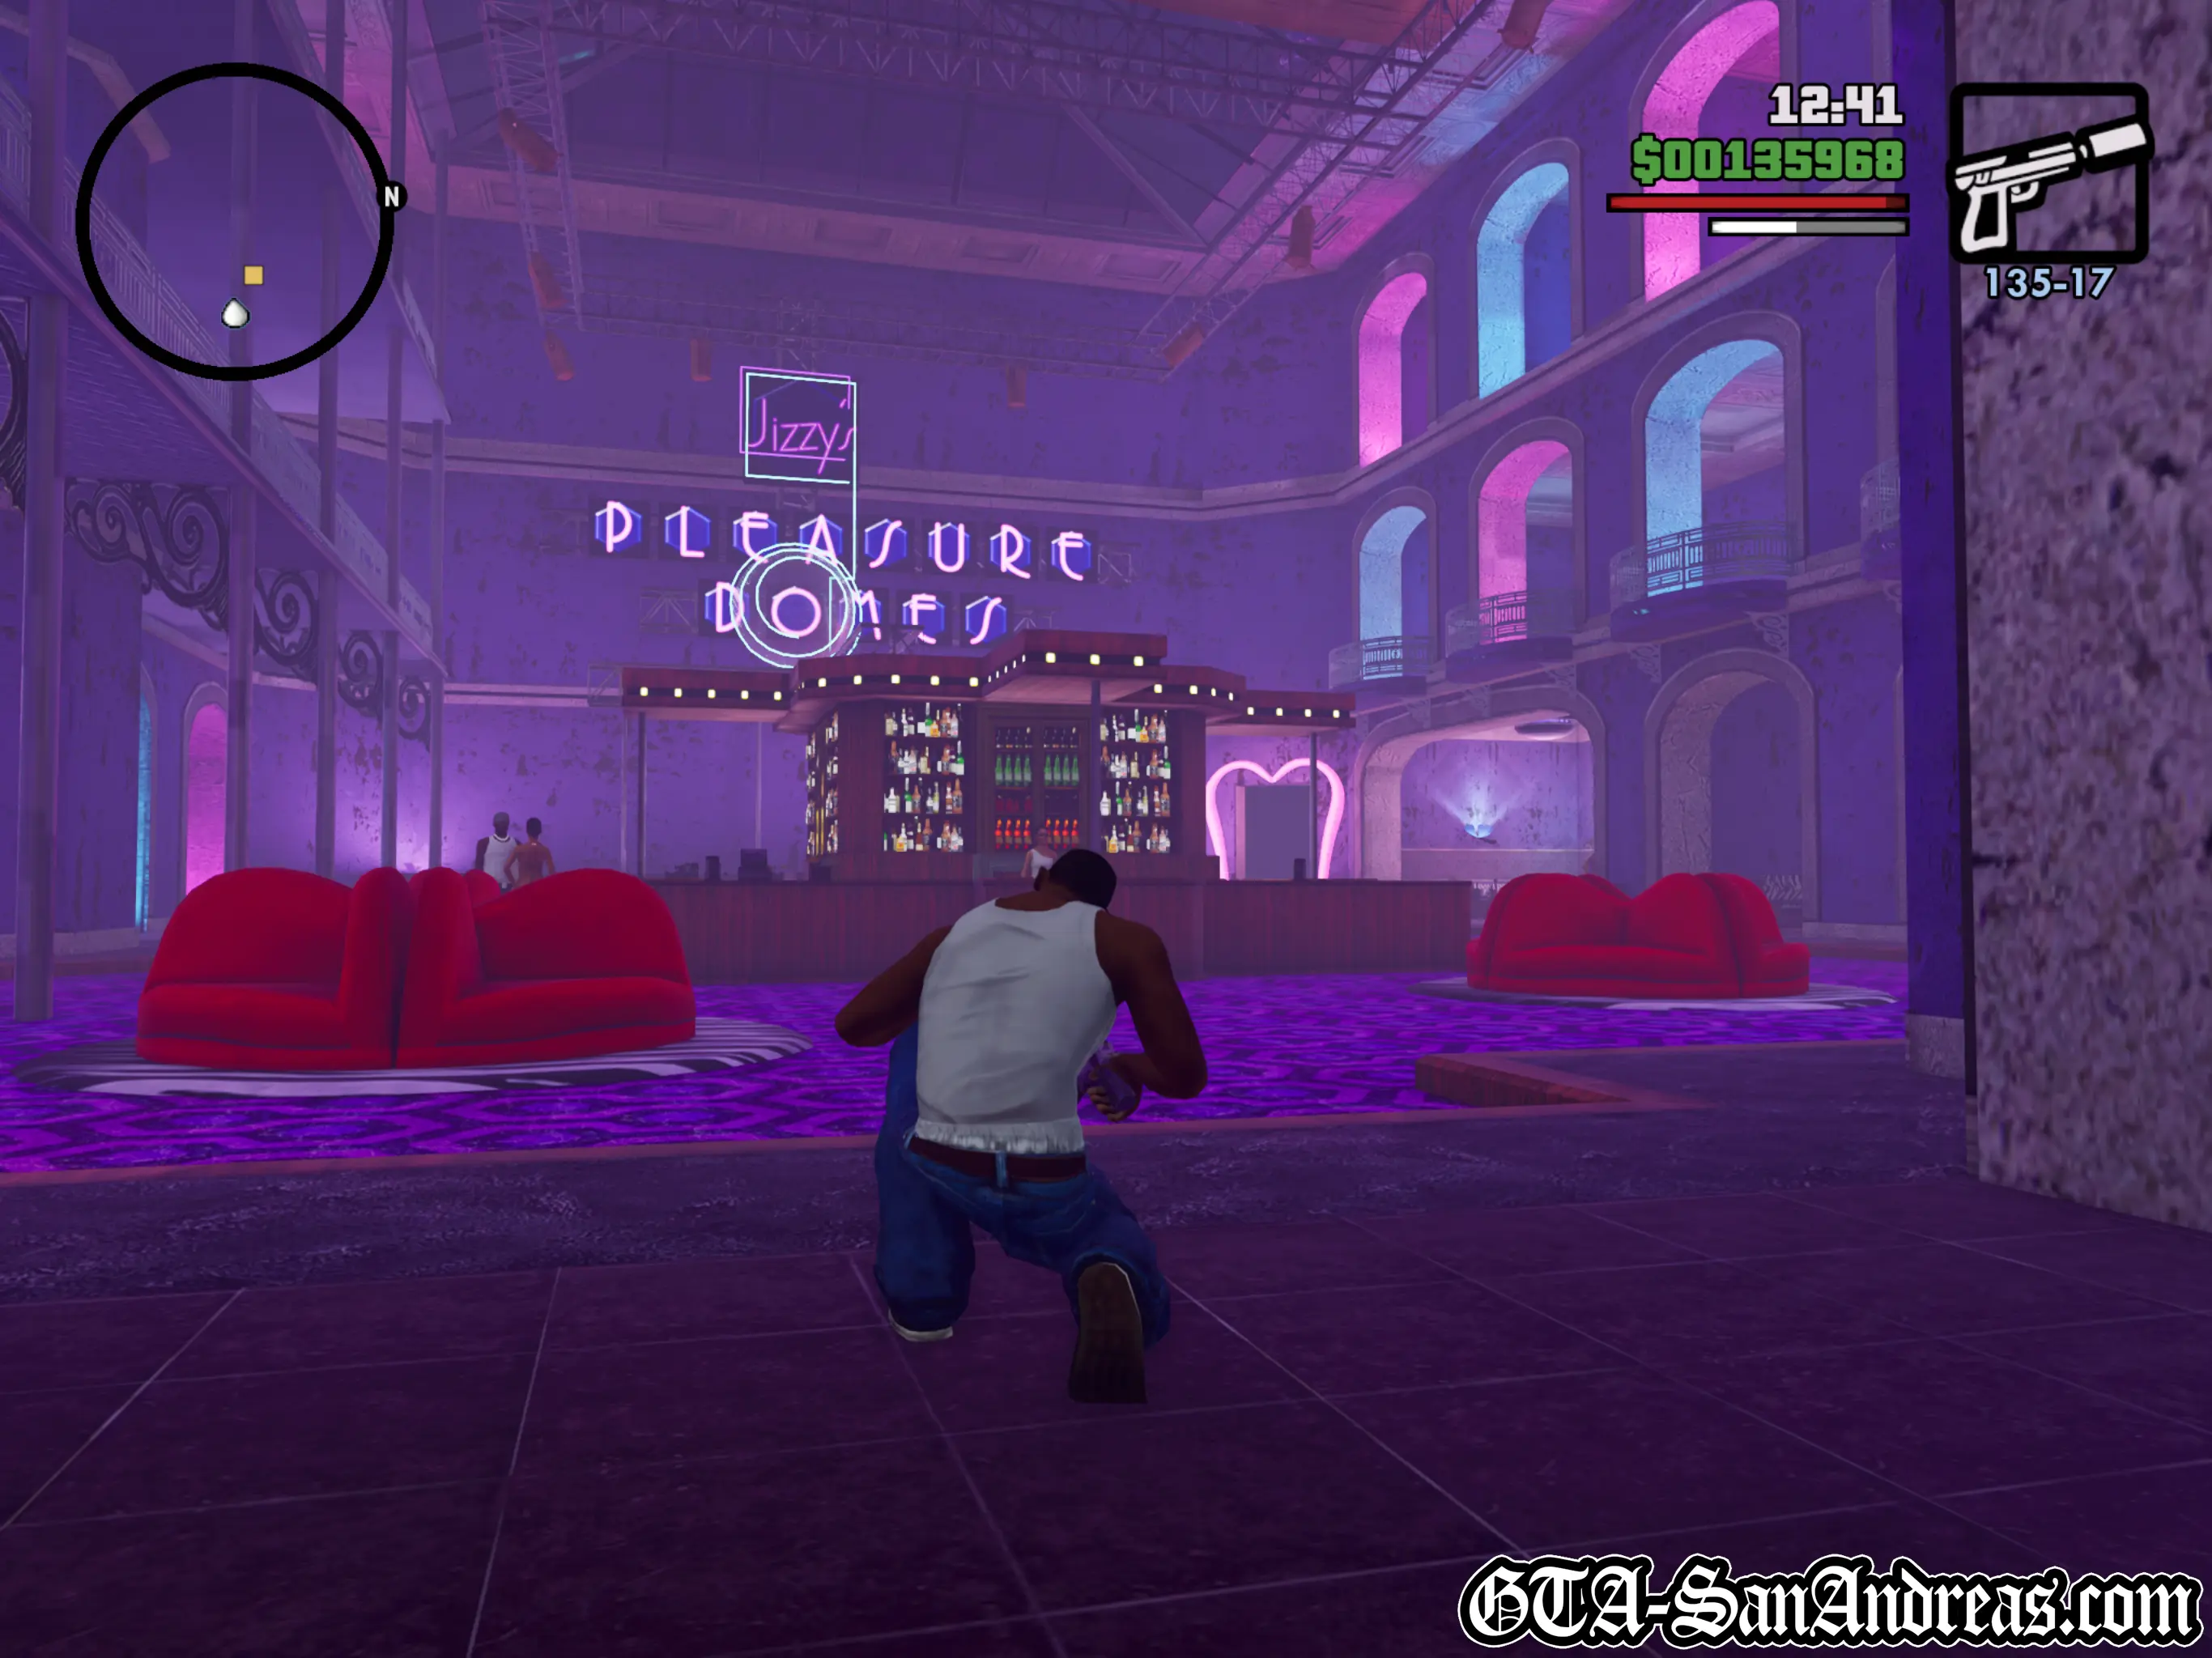
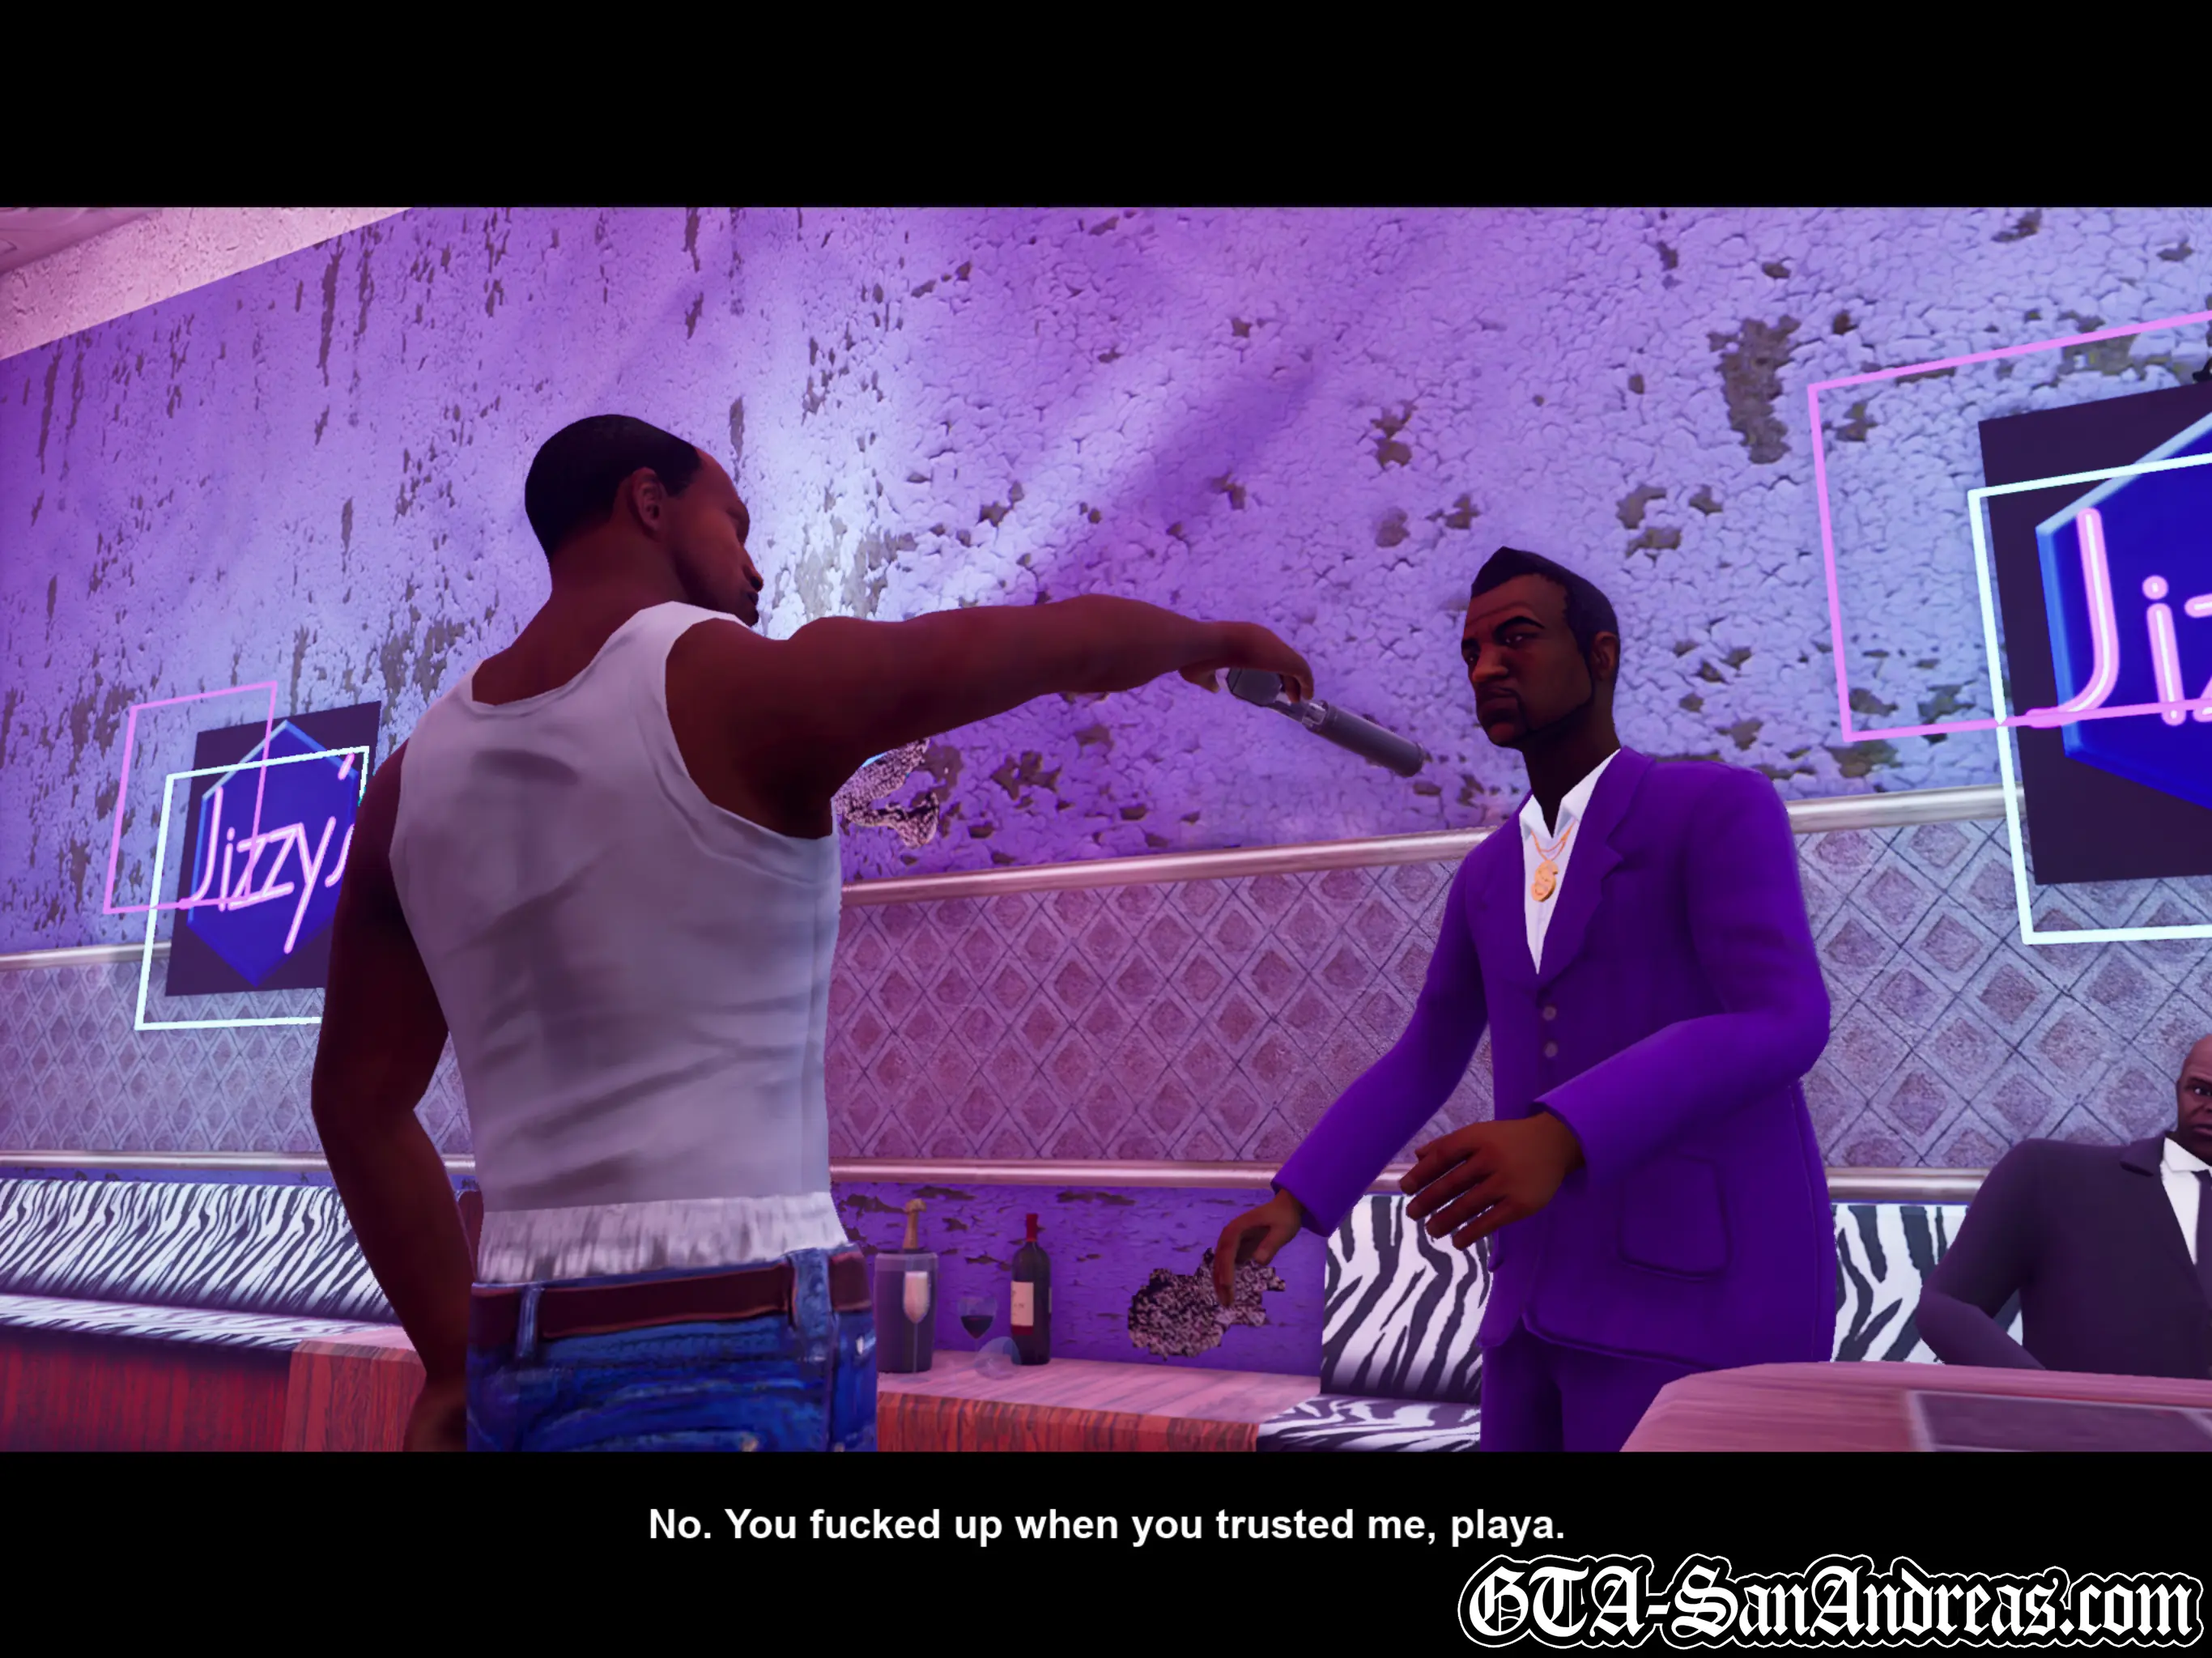
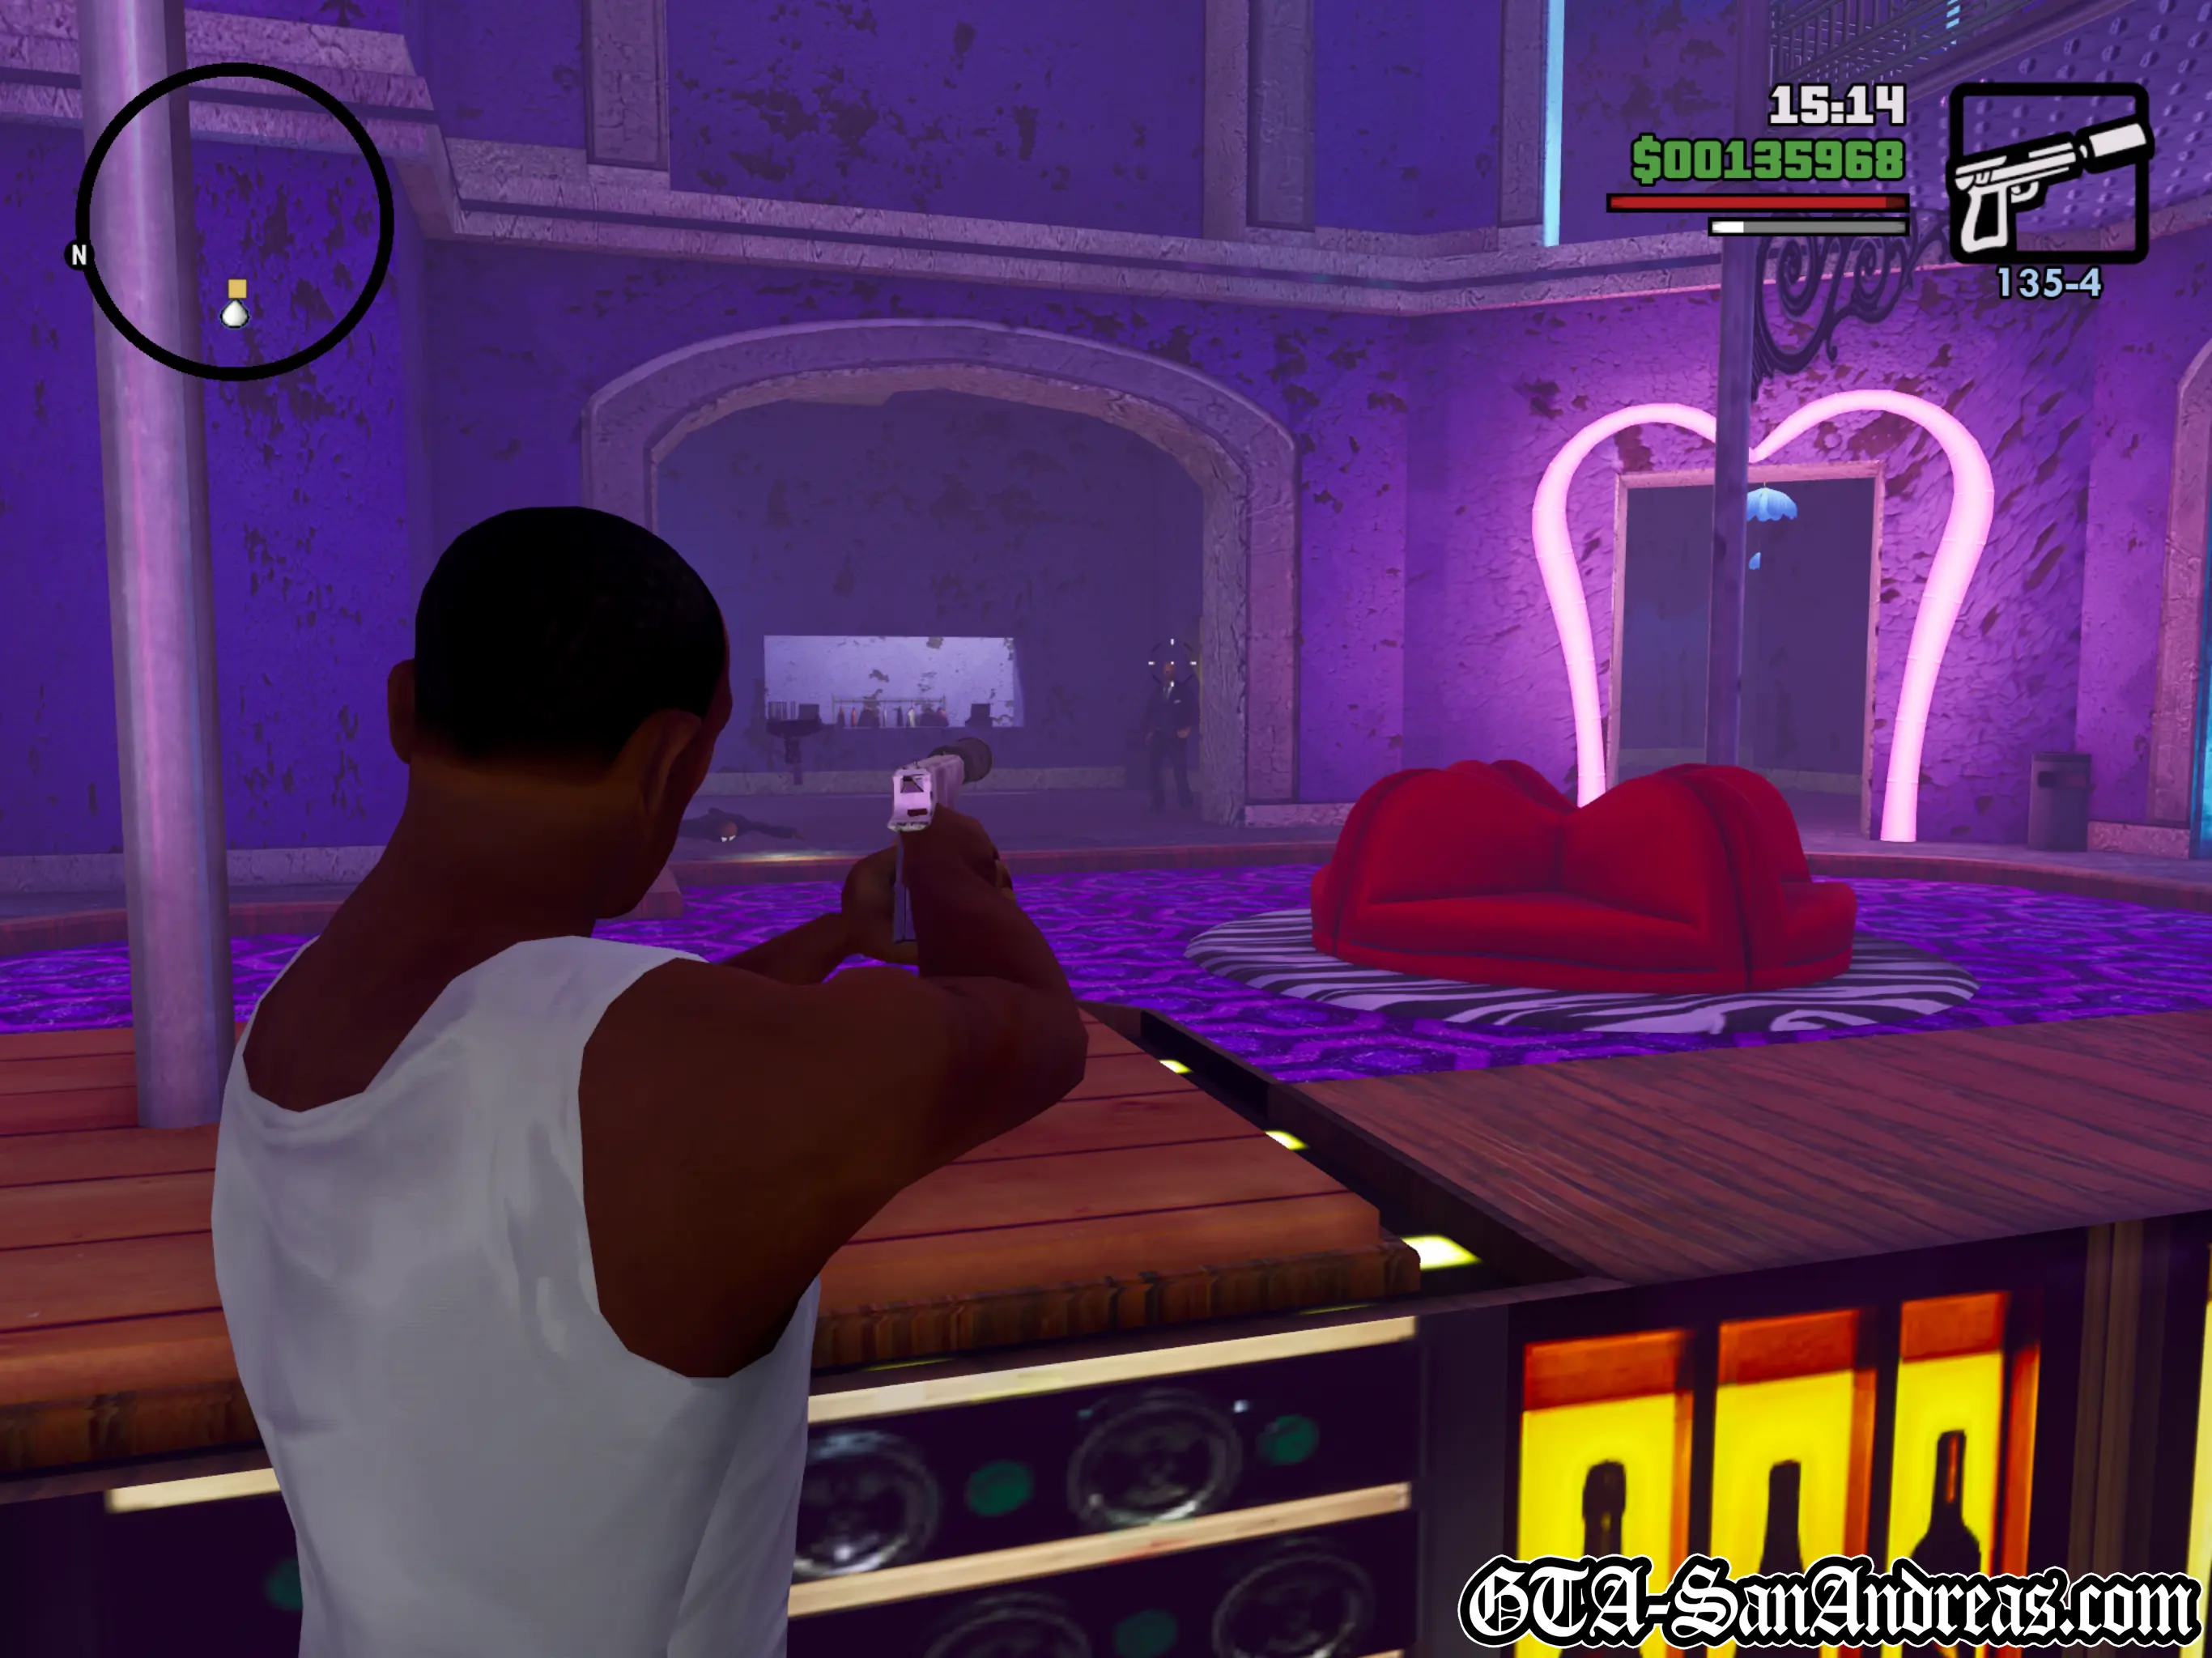
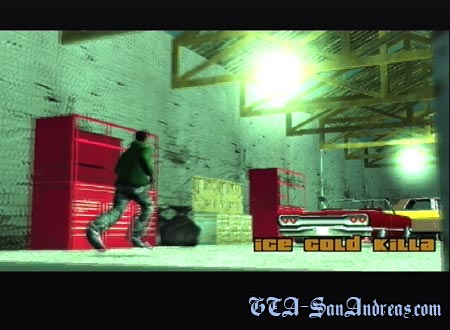
Ice Cold Killa
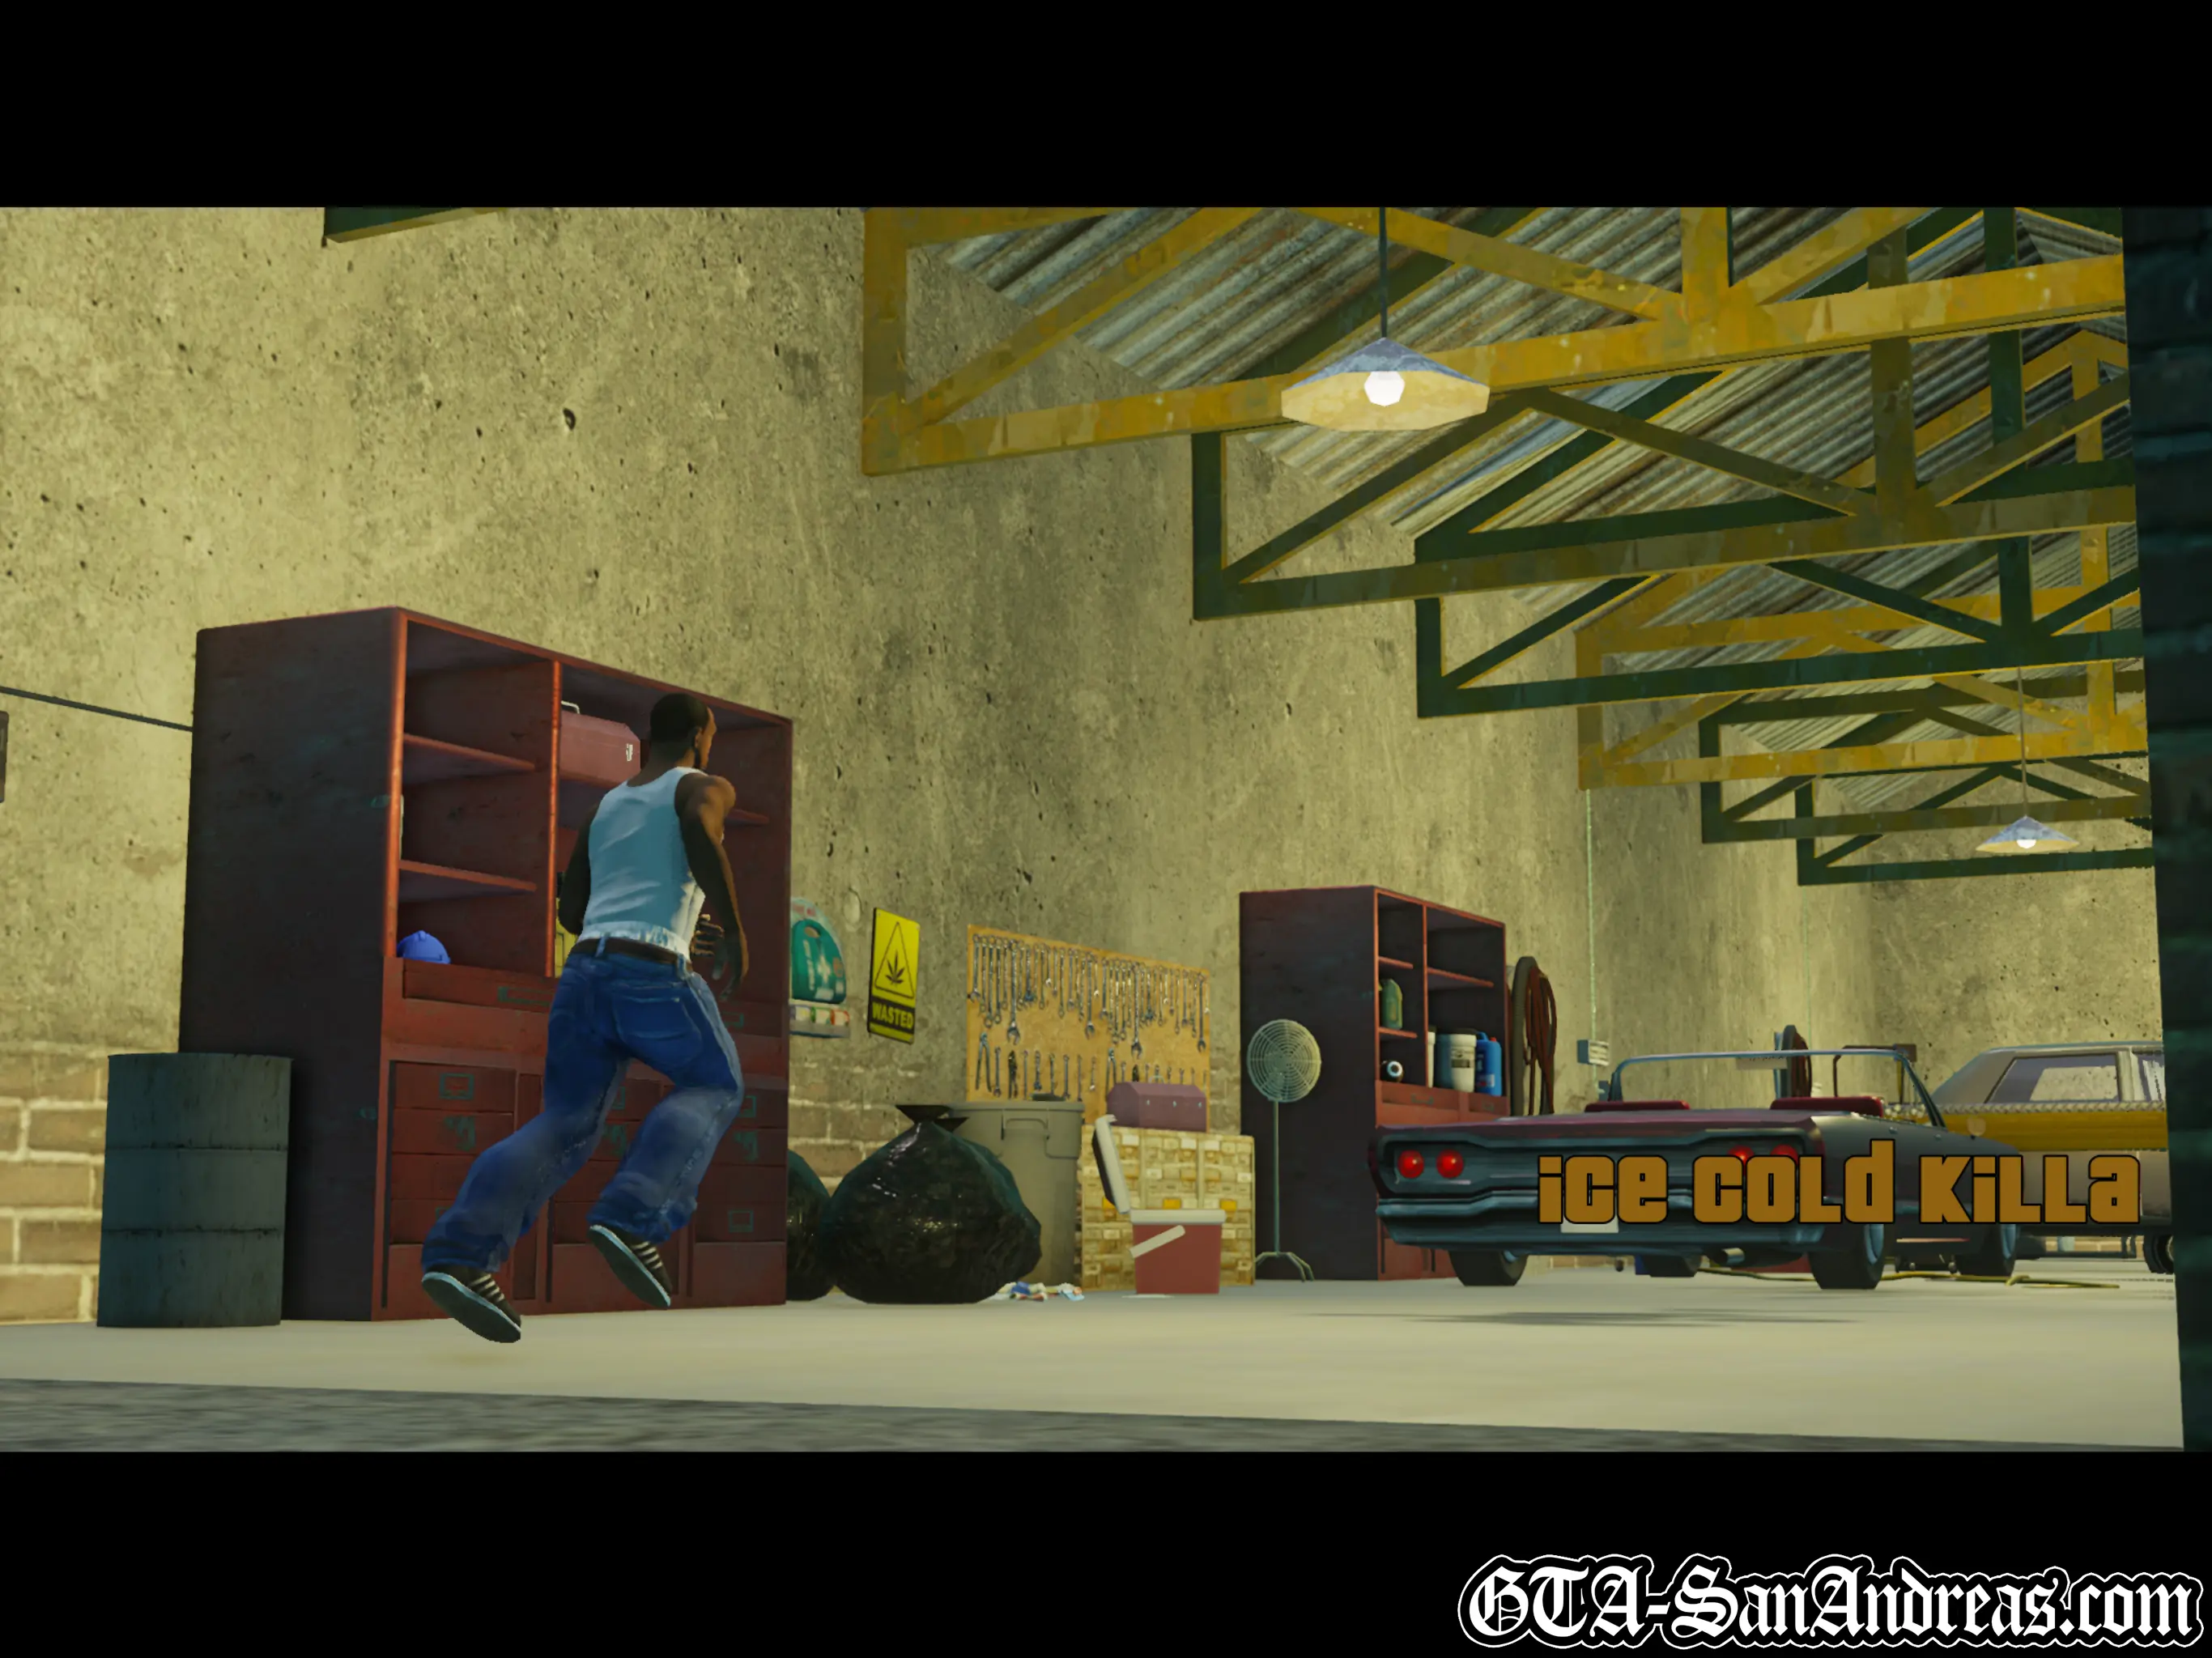
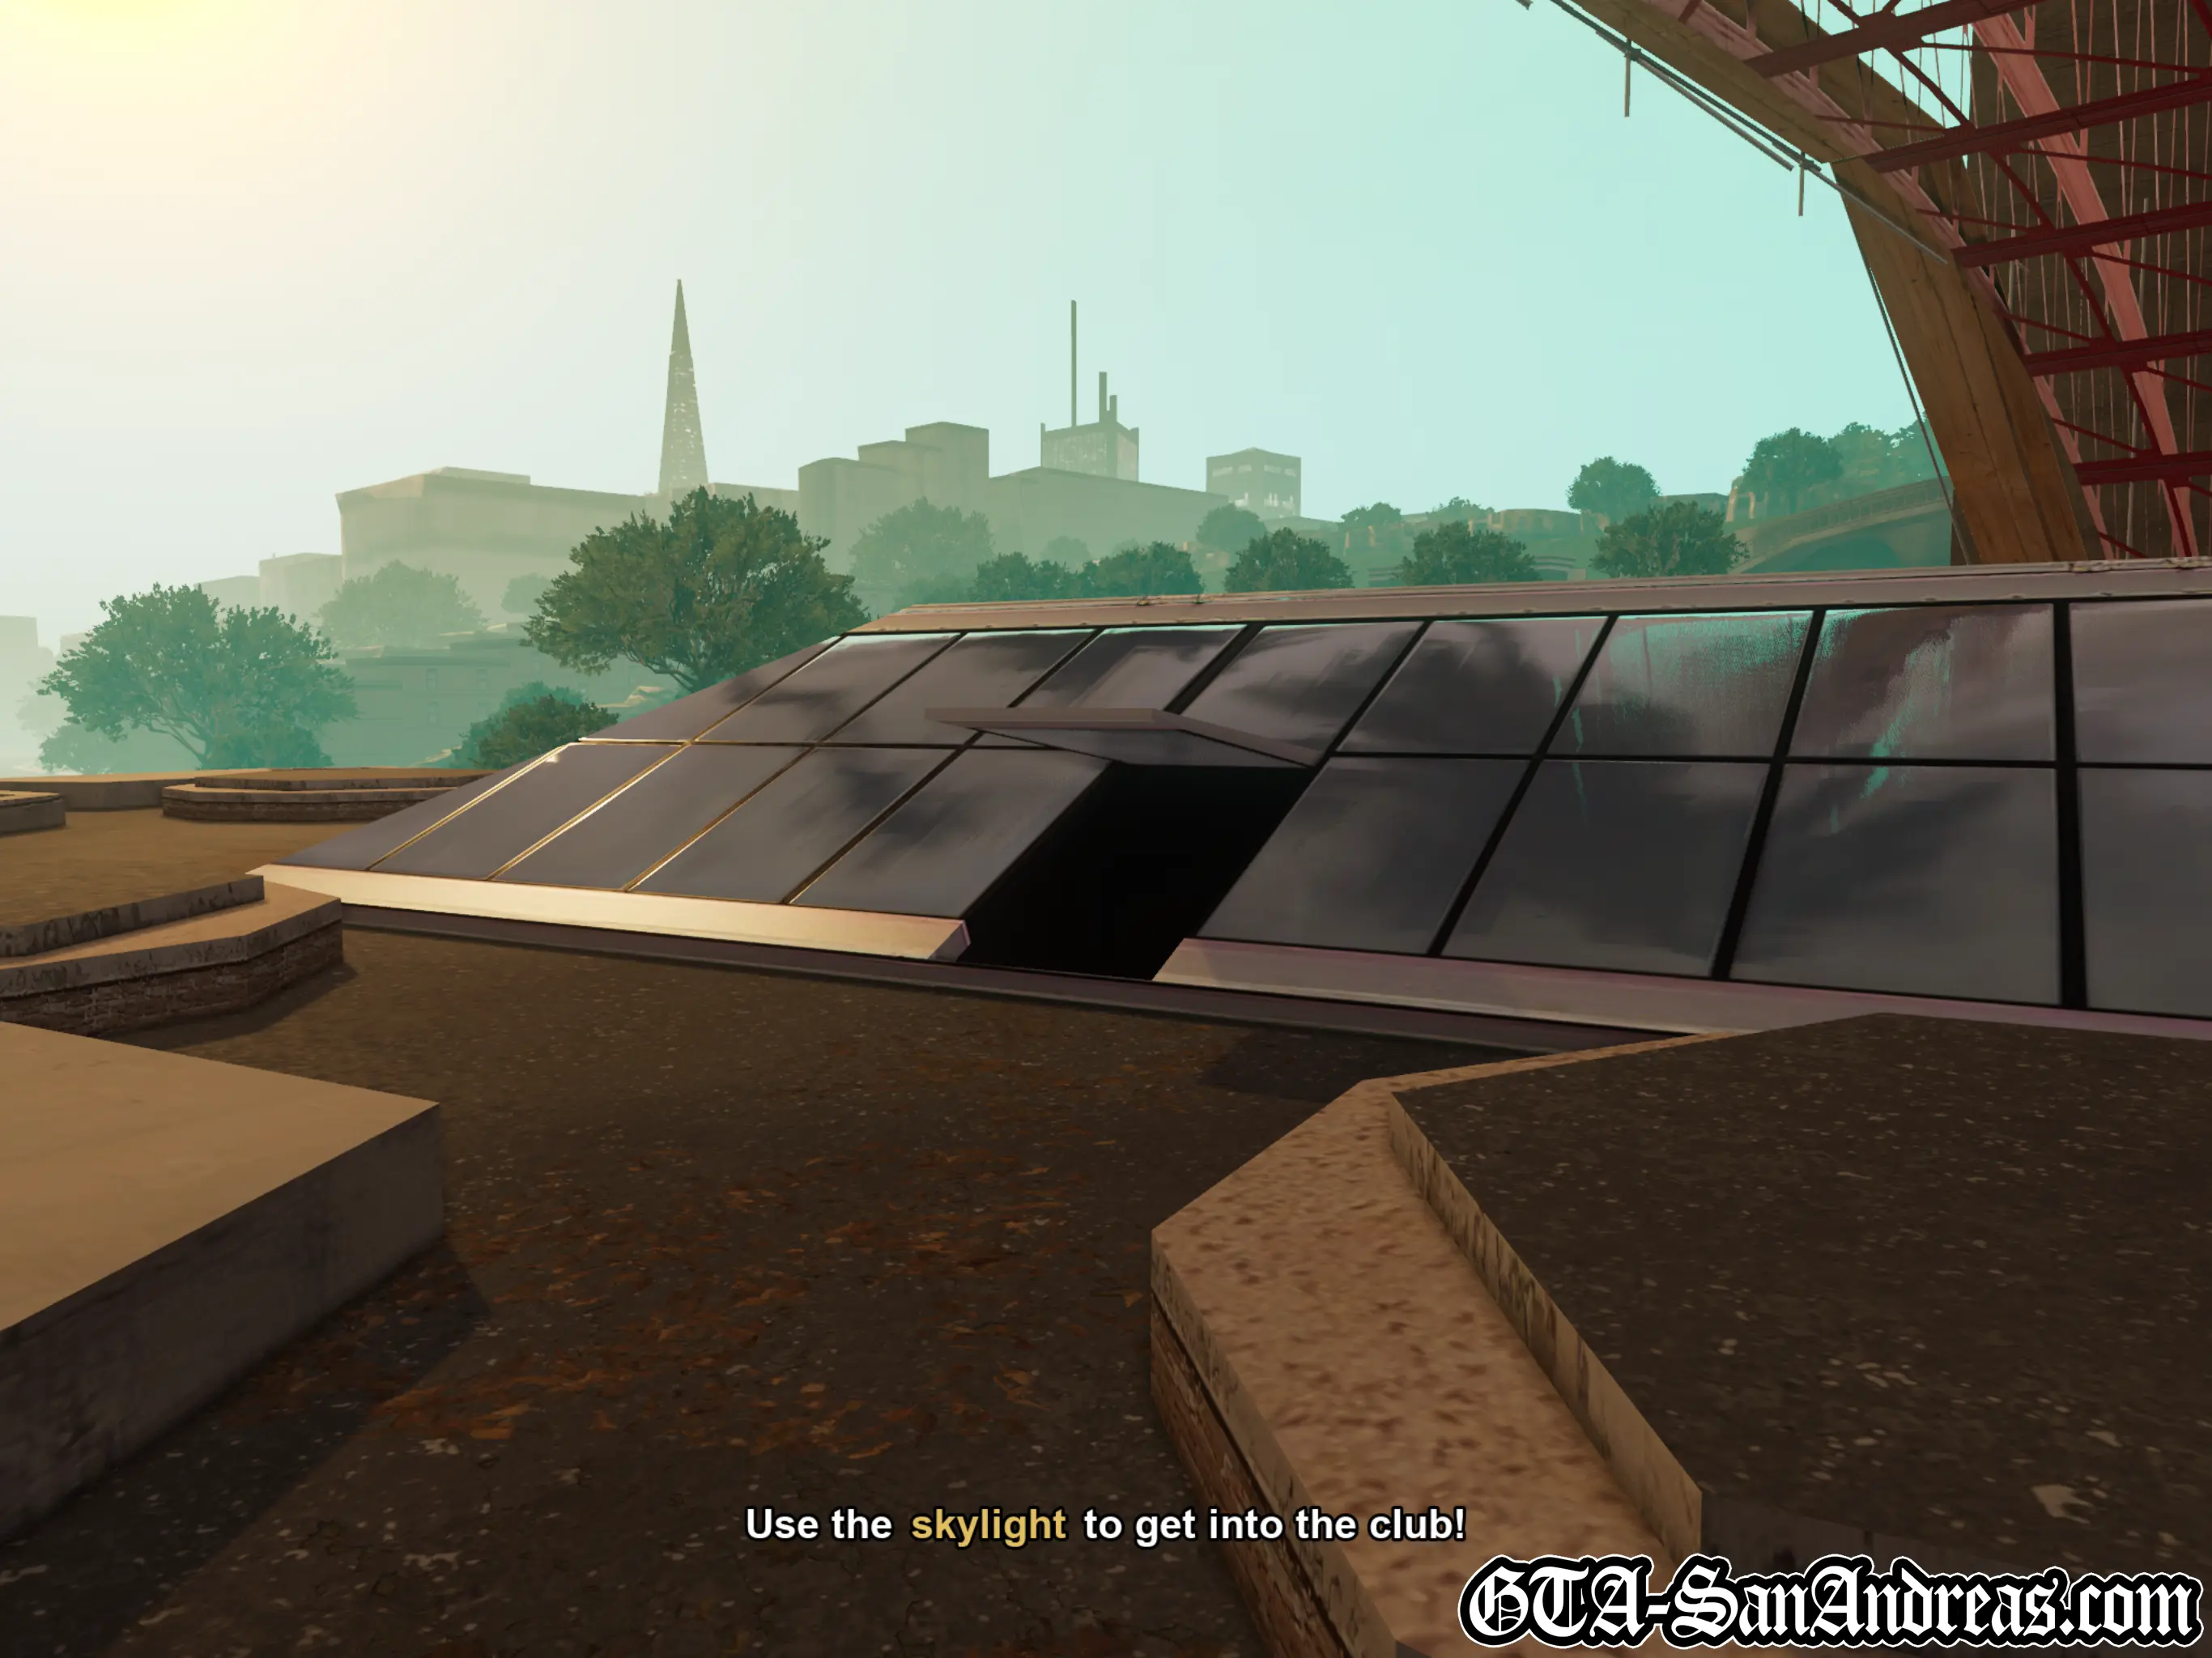
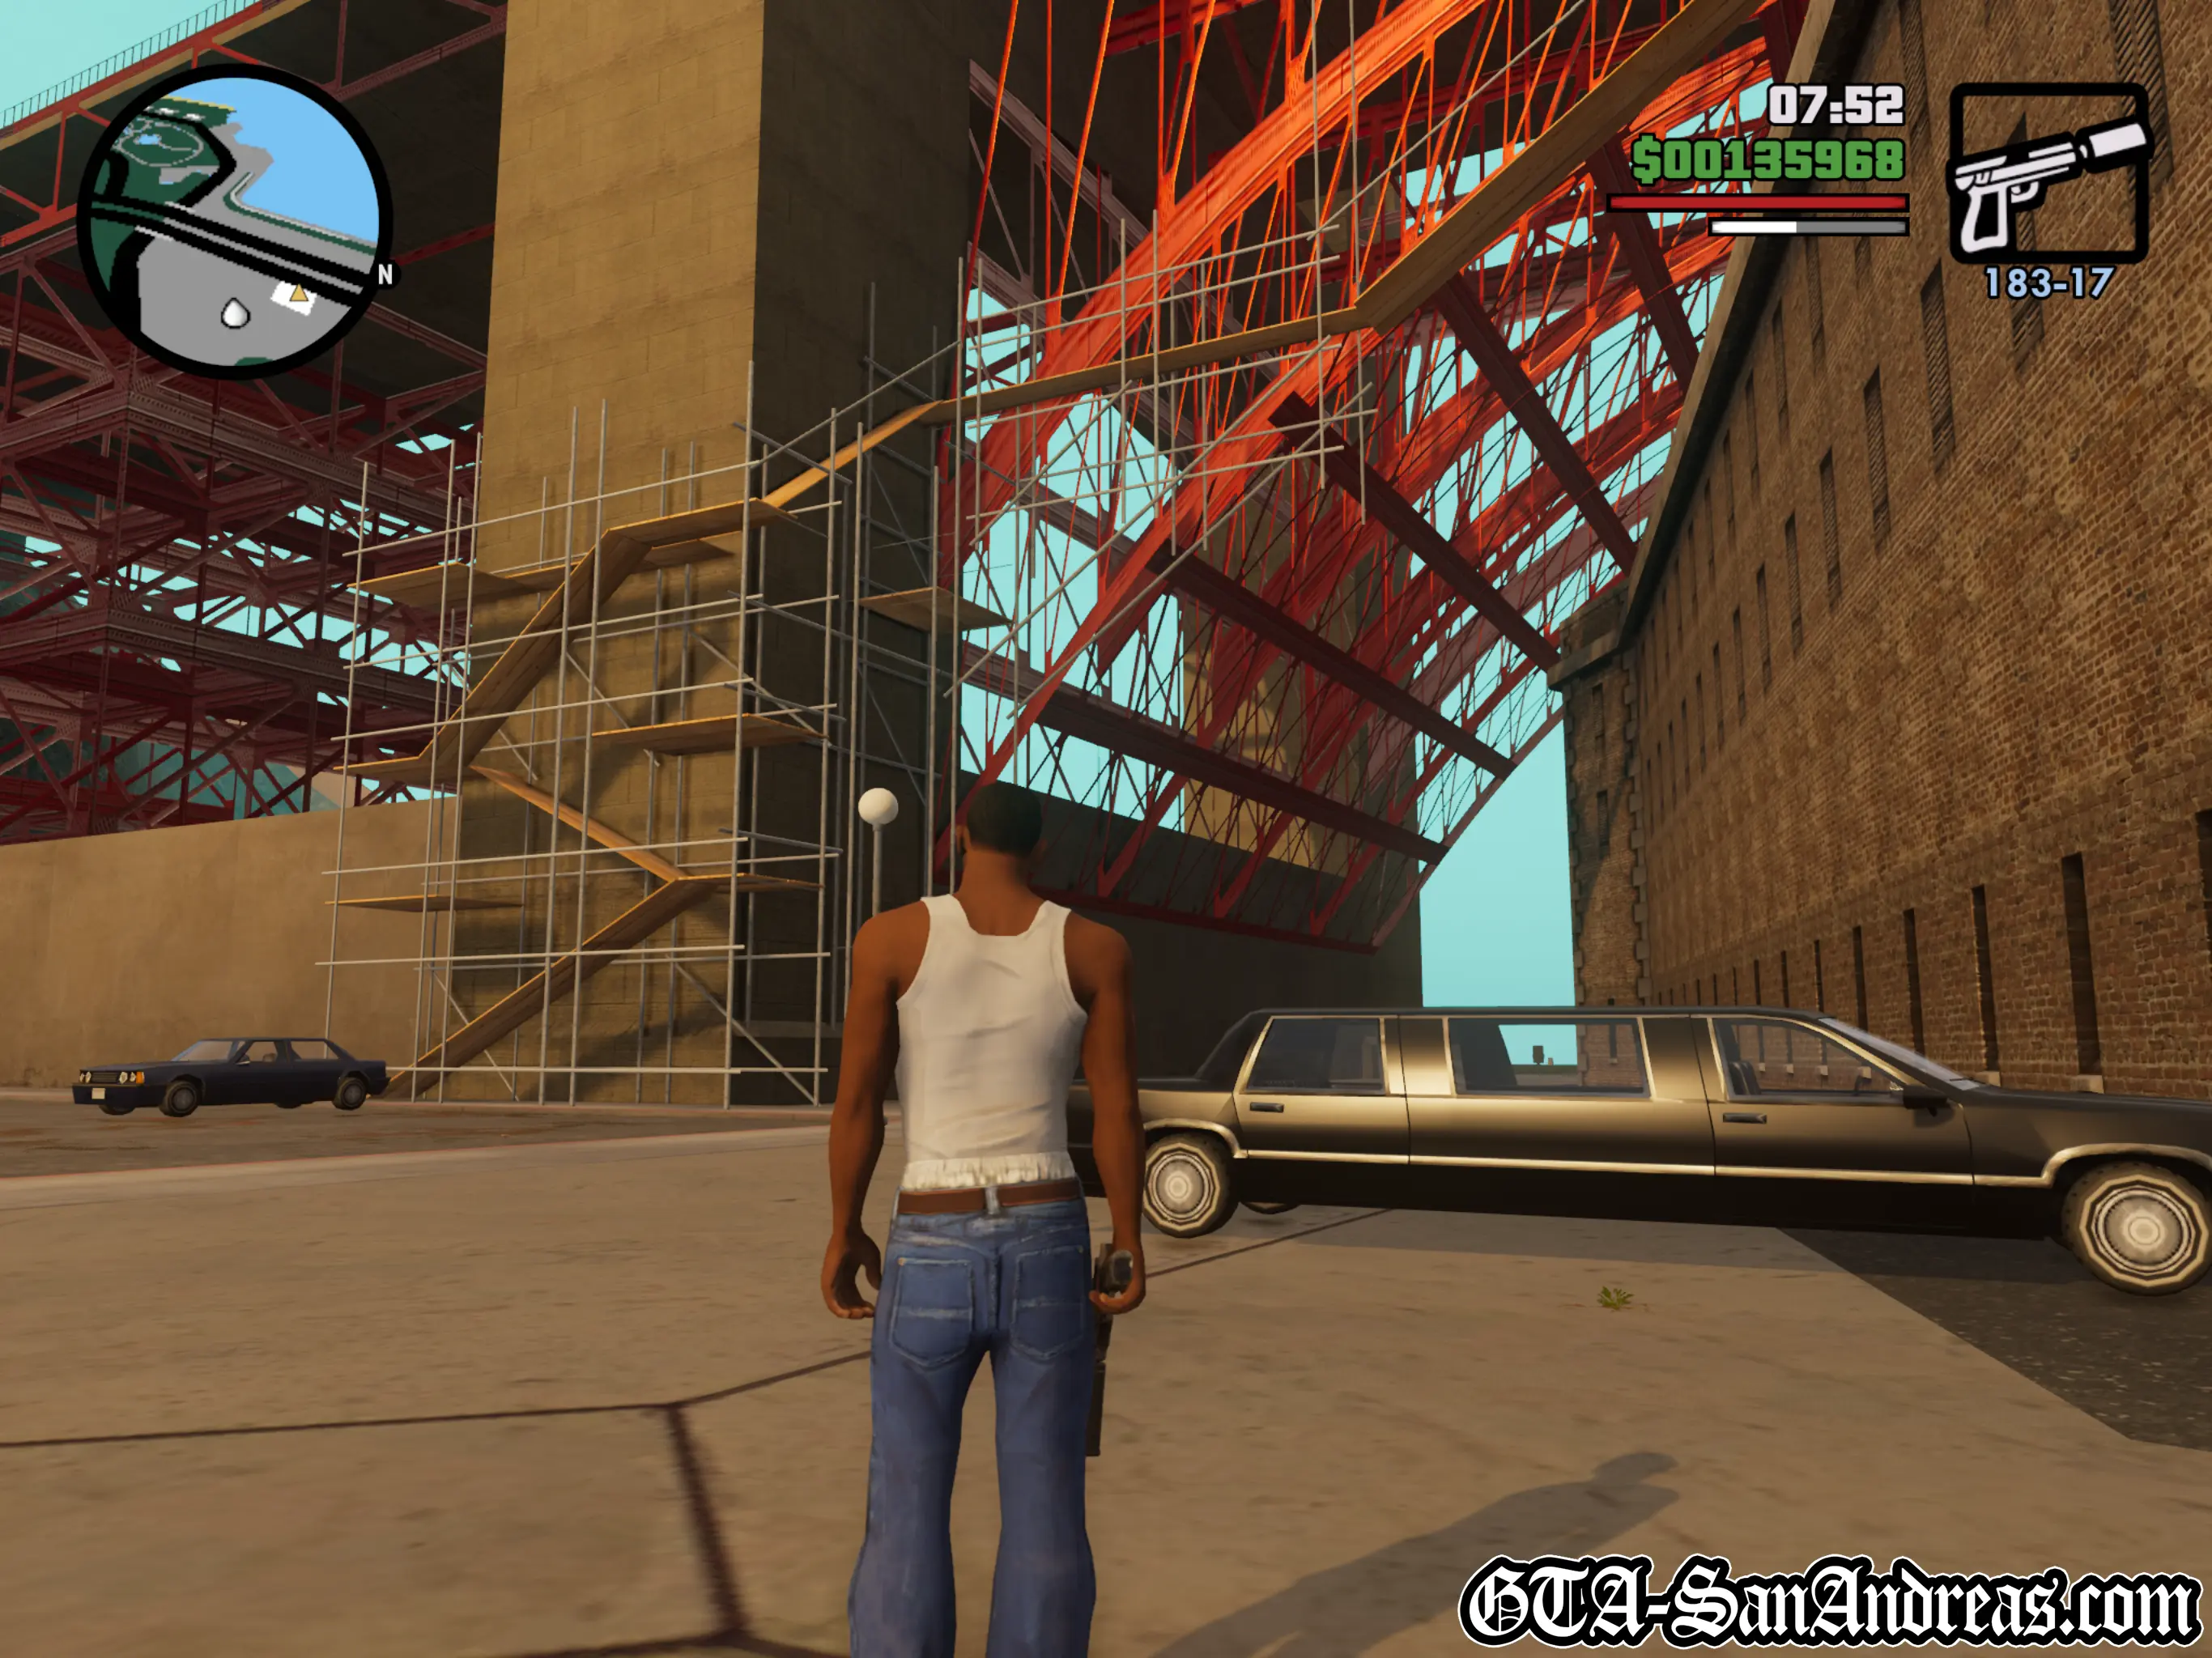
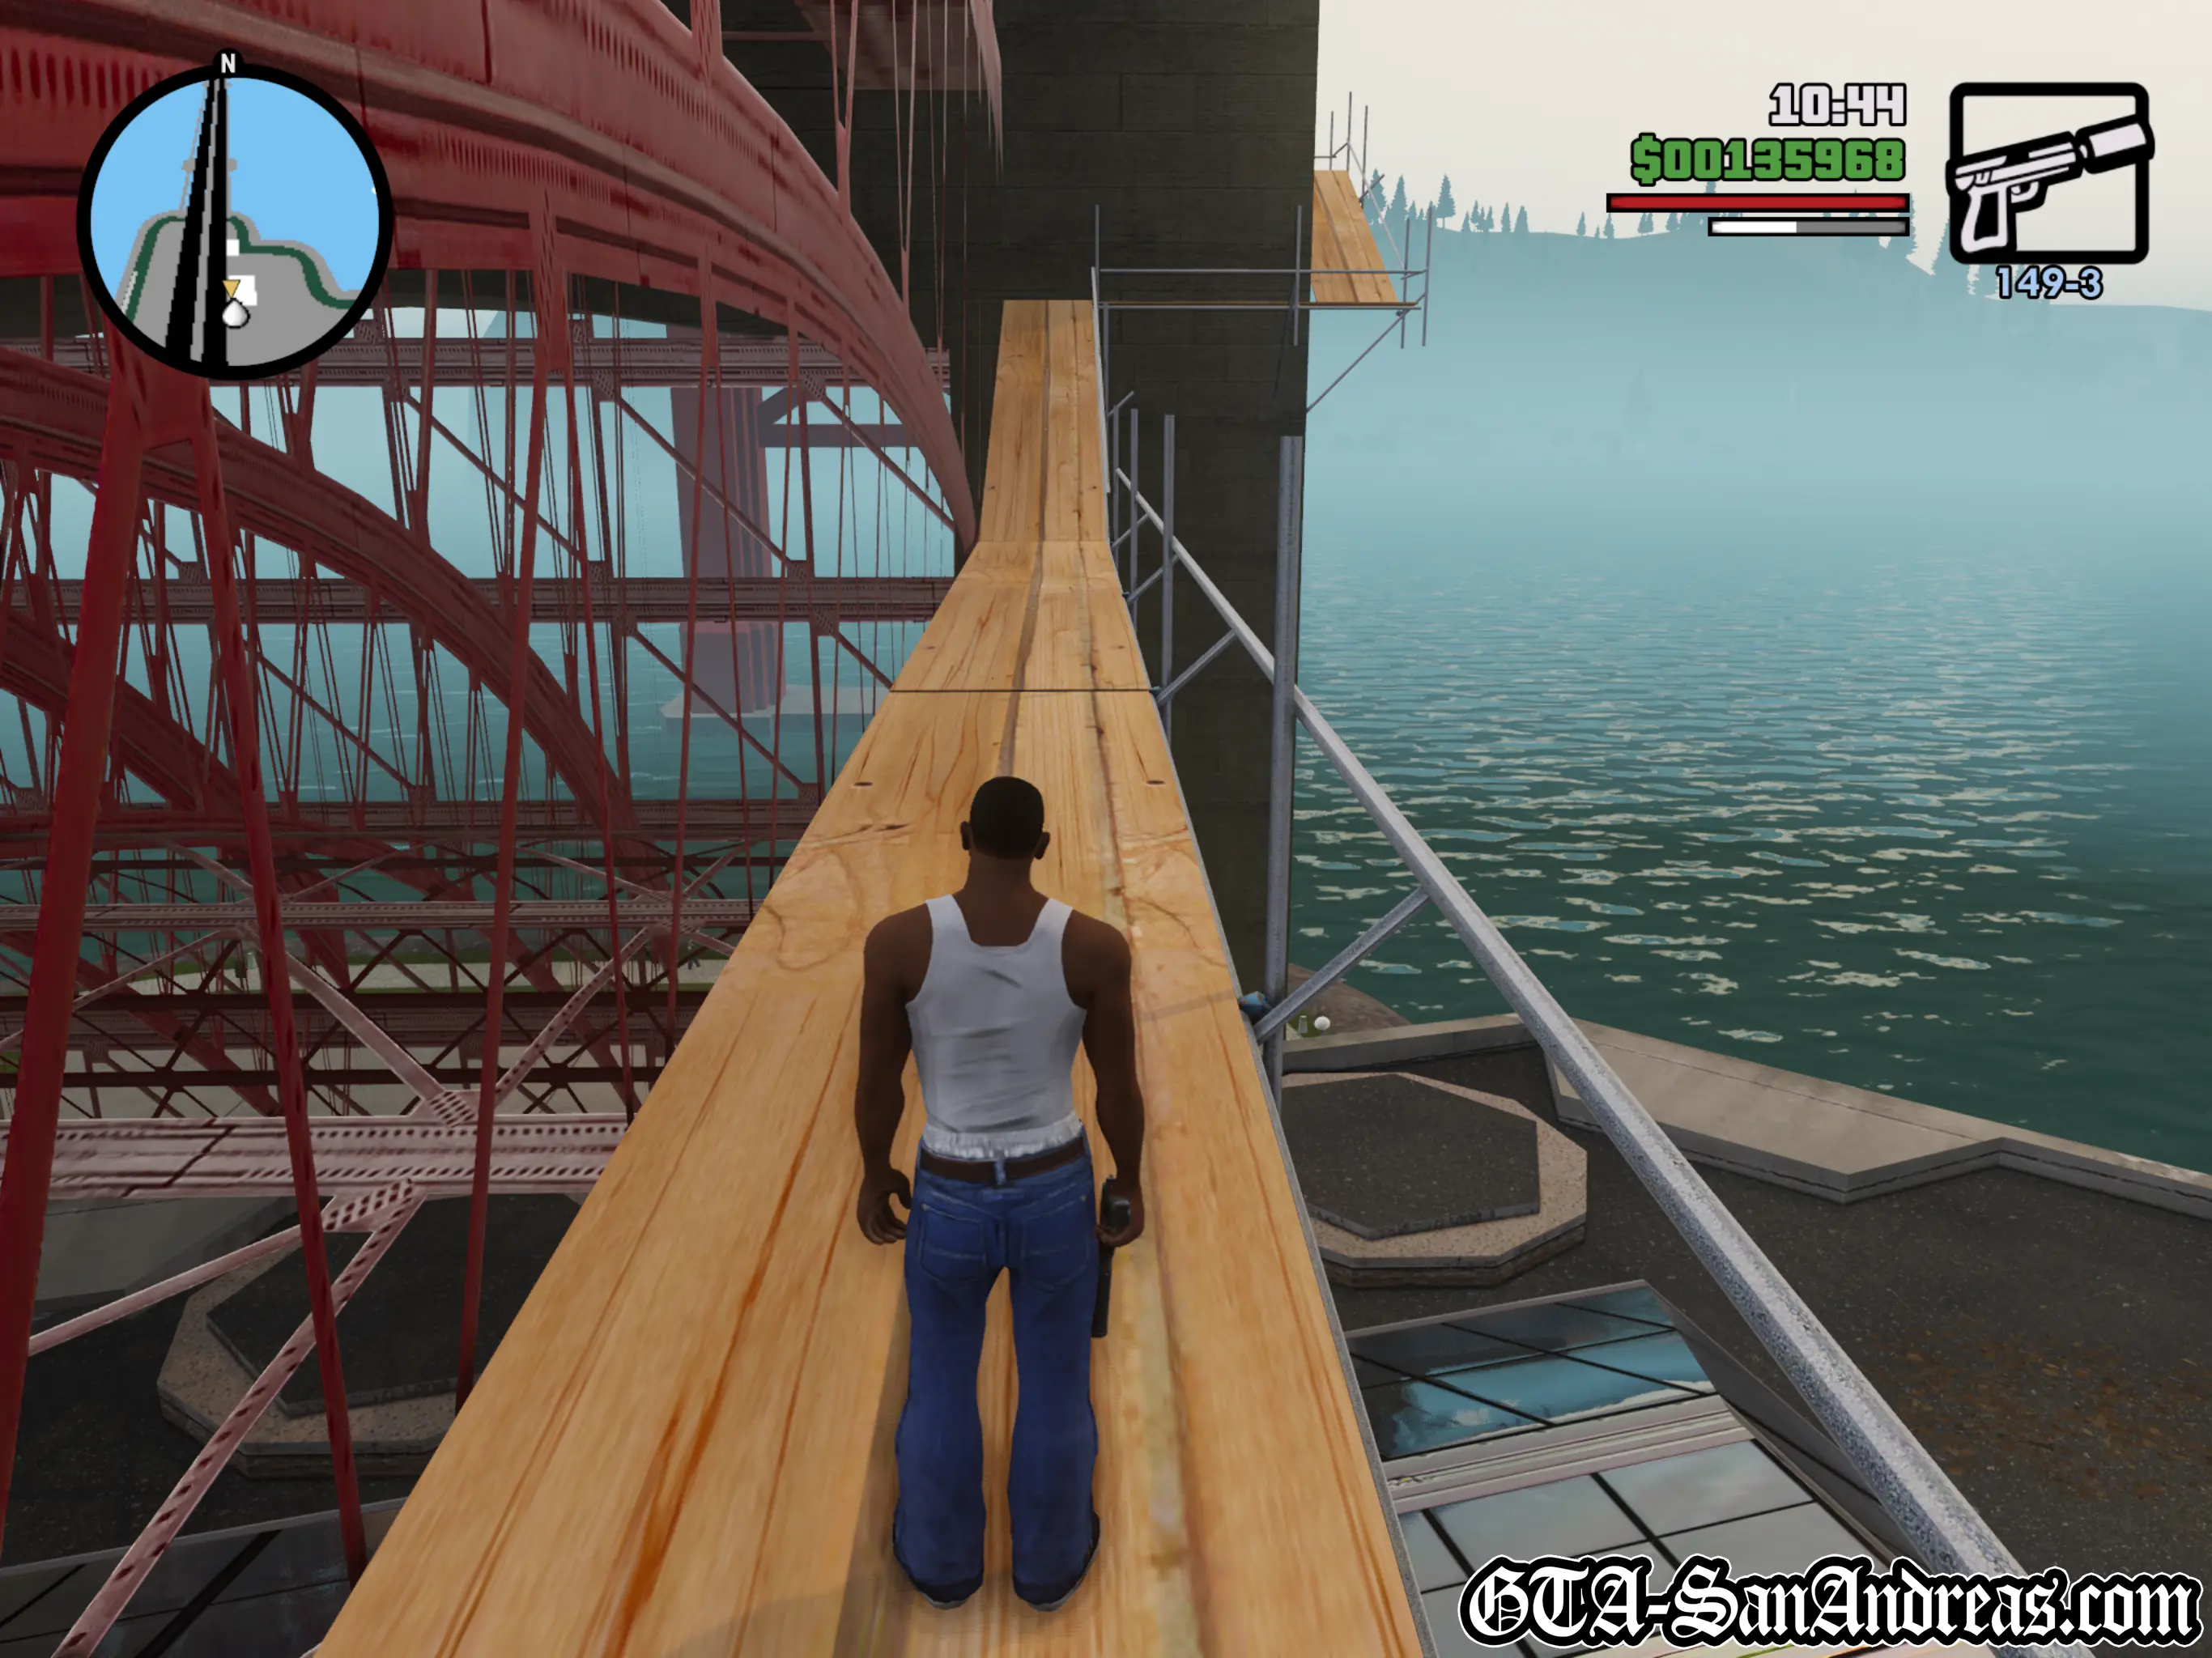
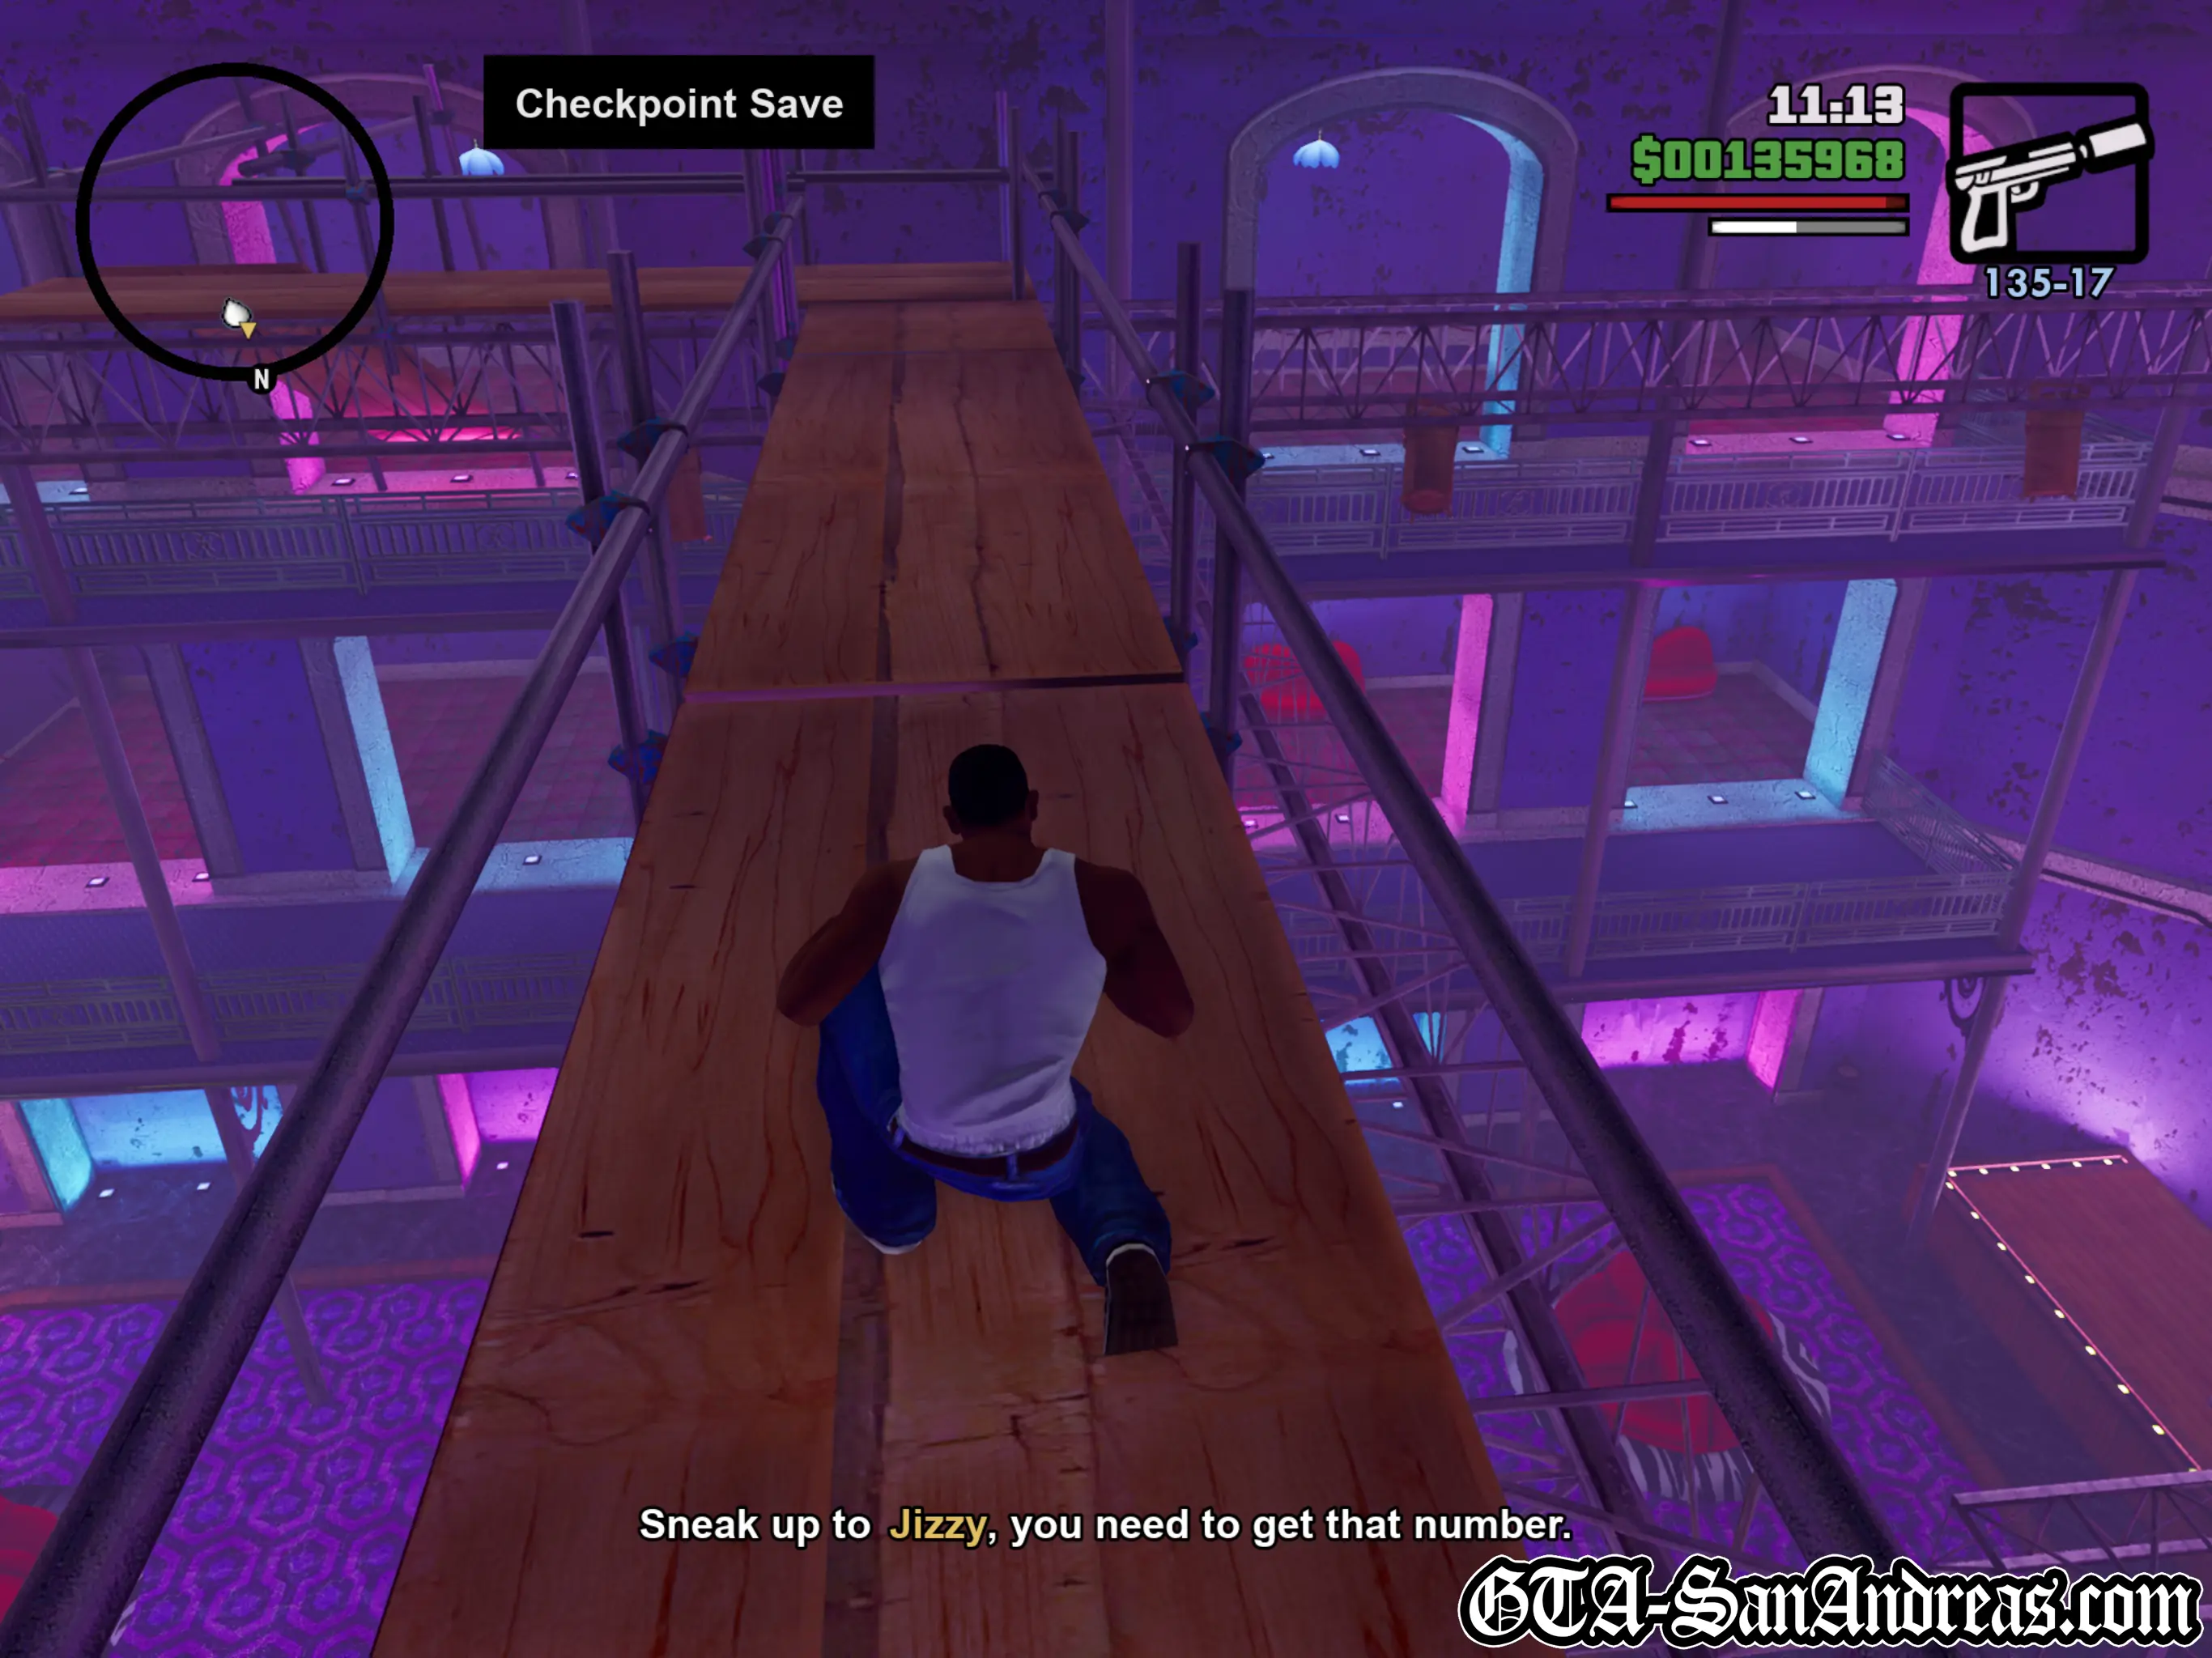
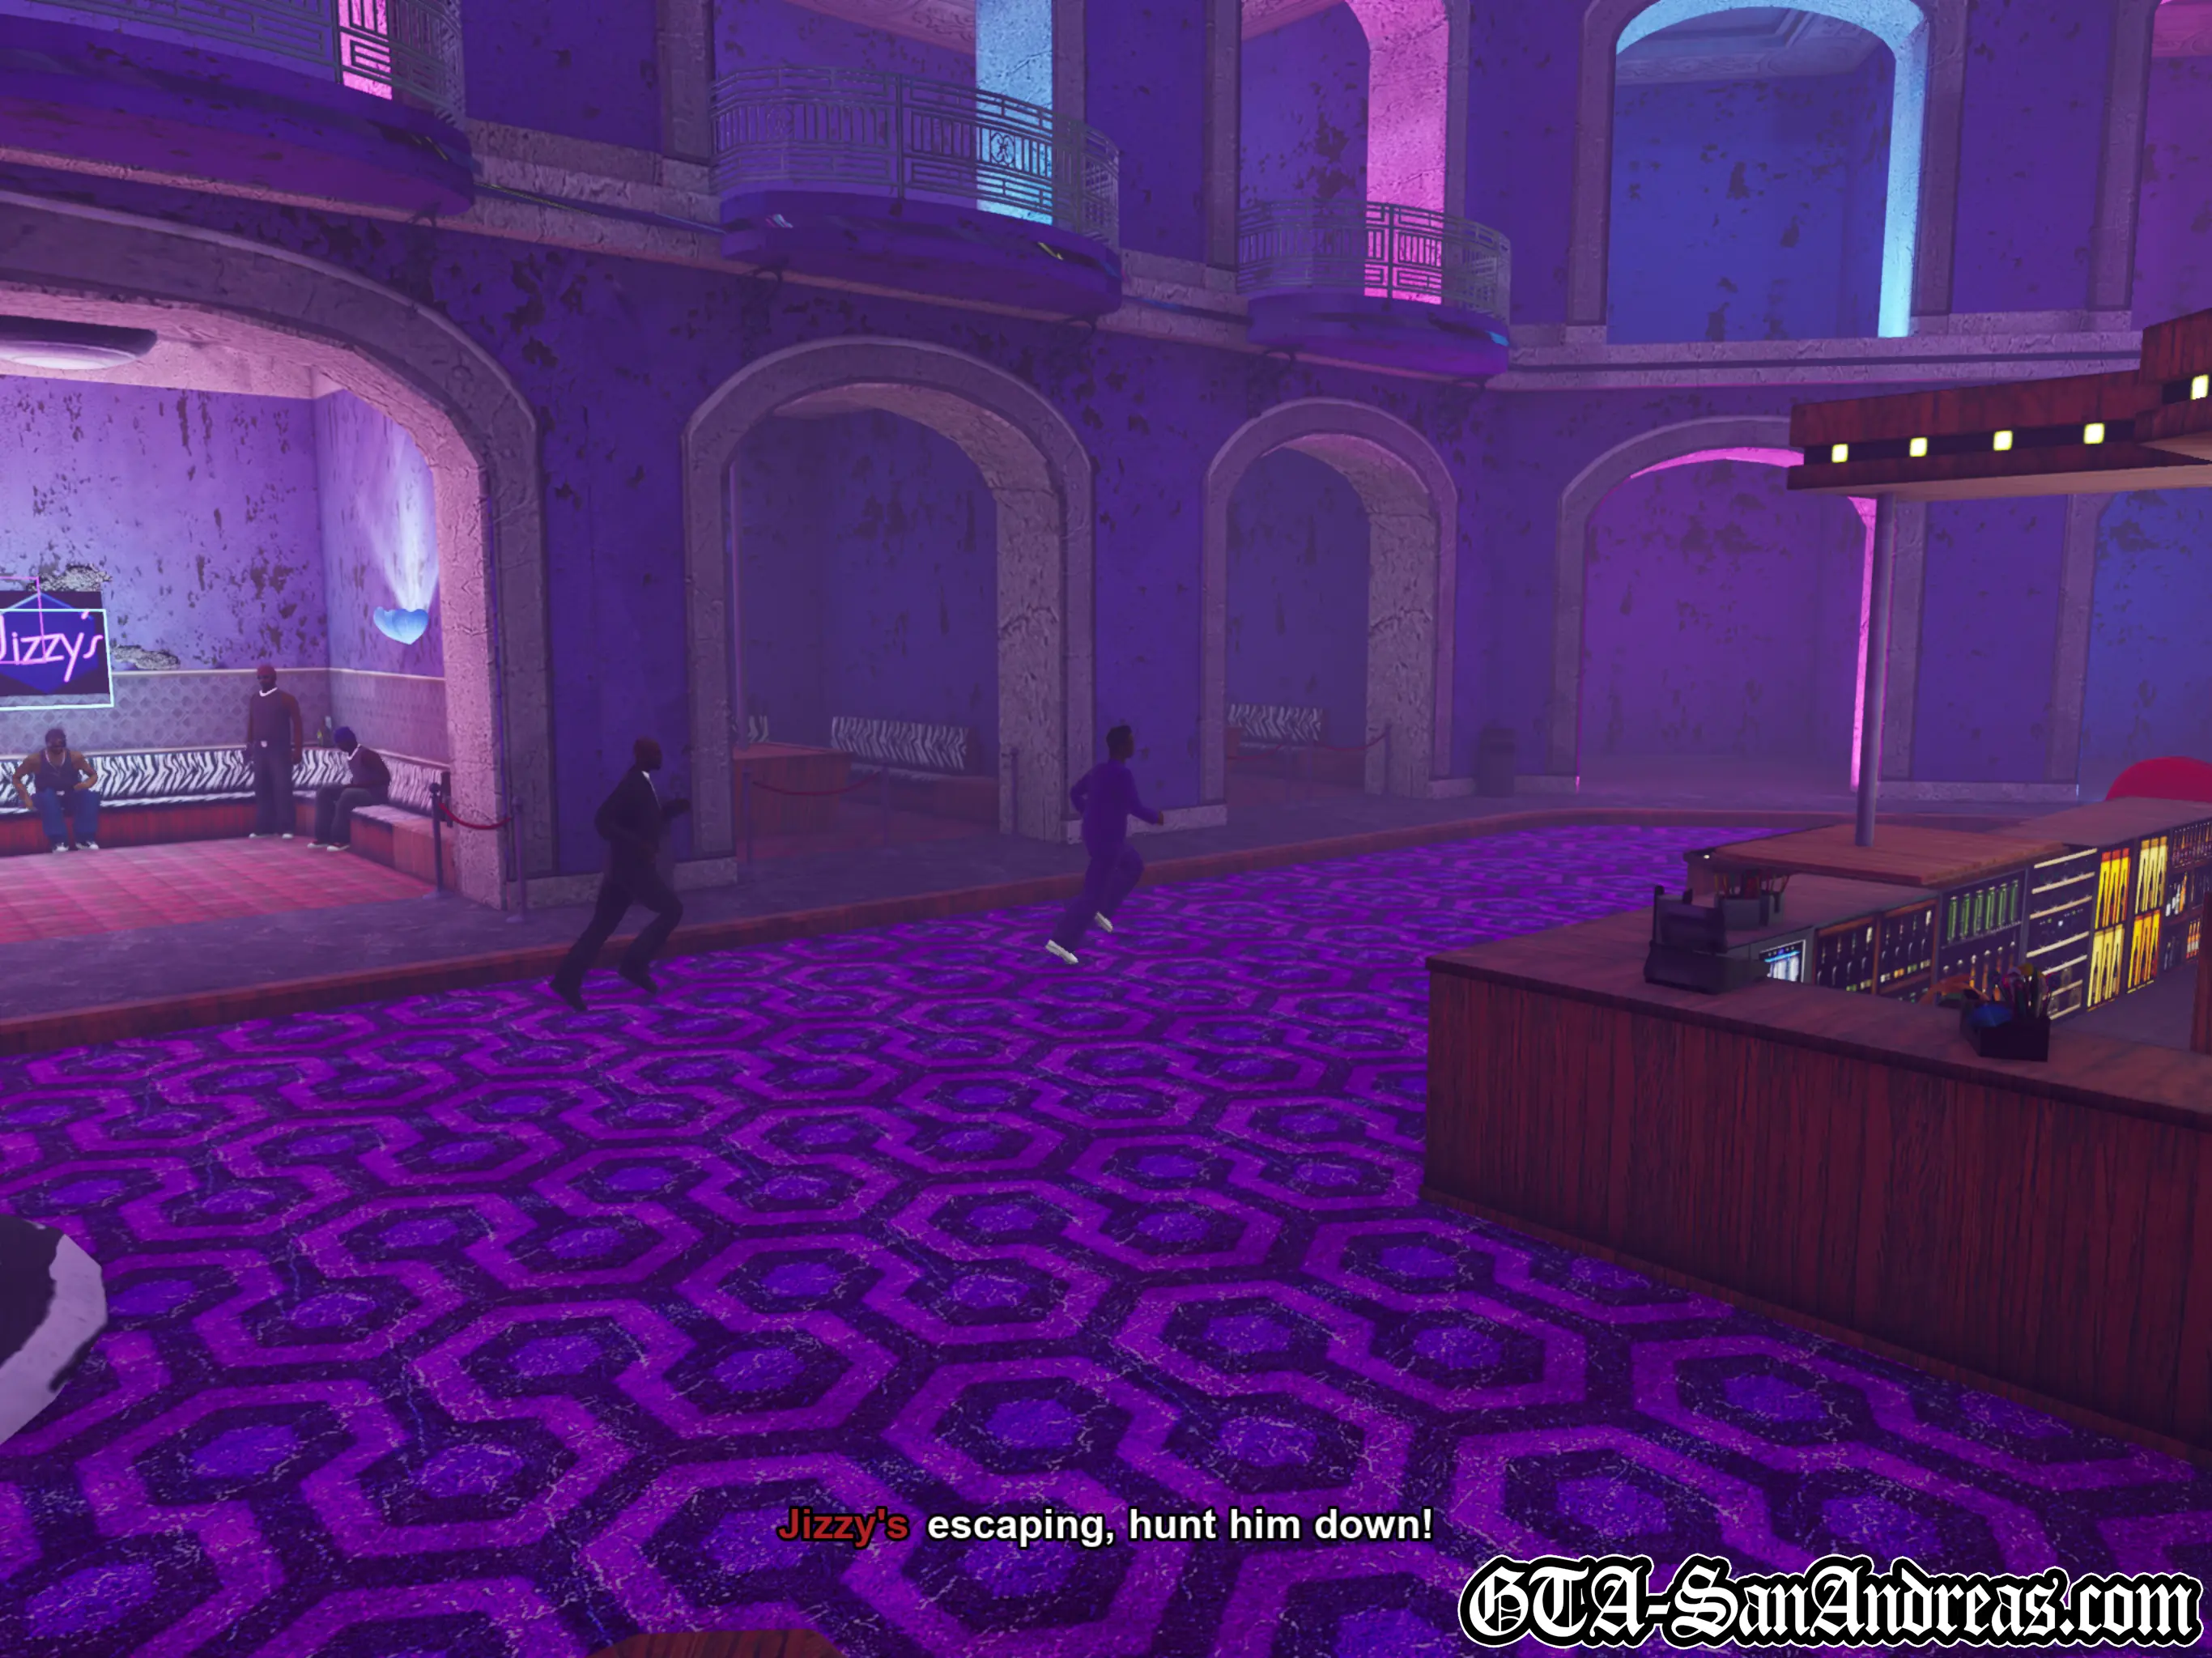
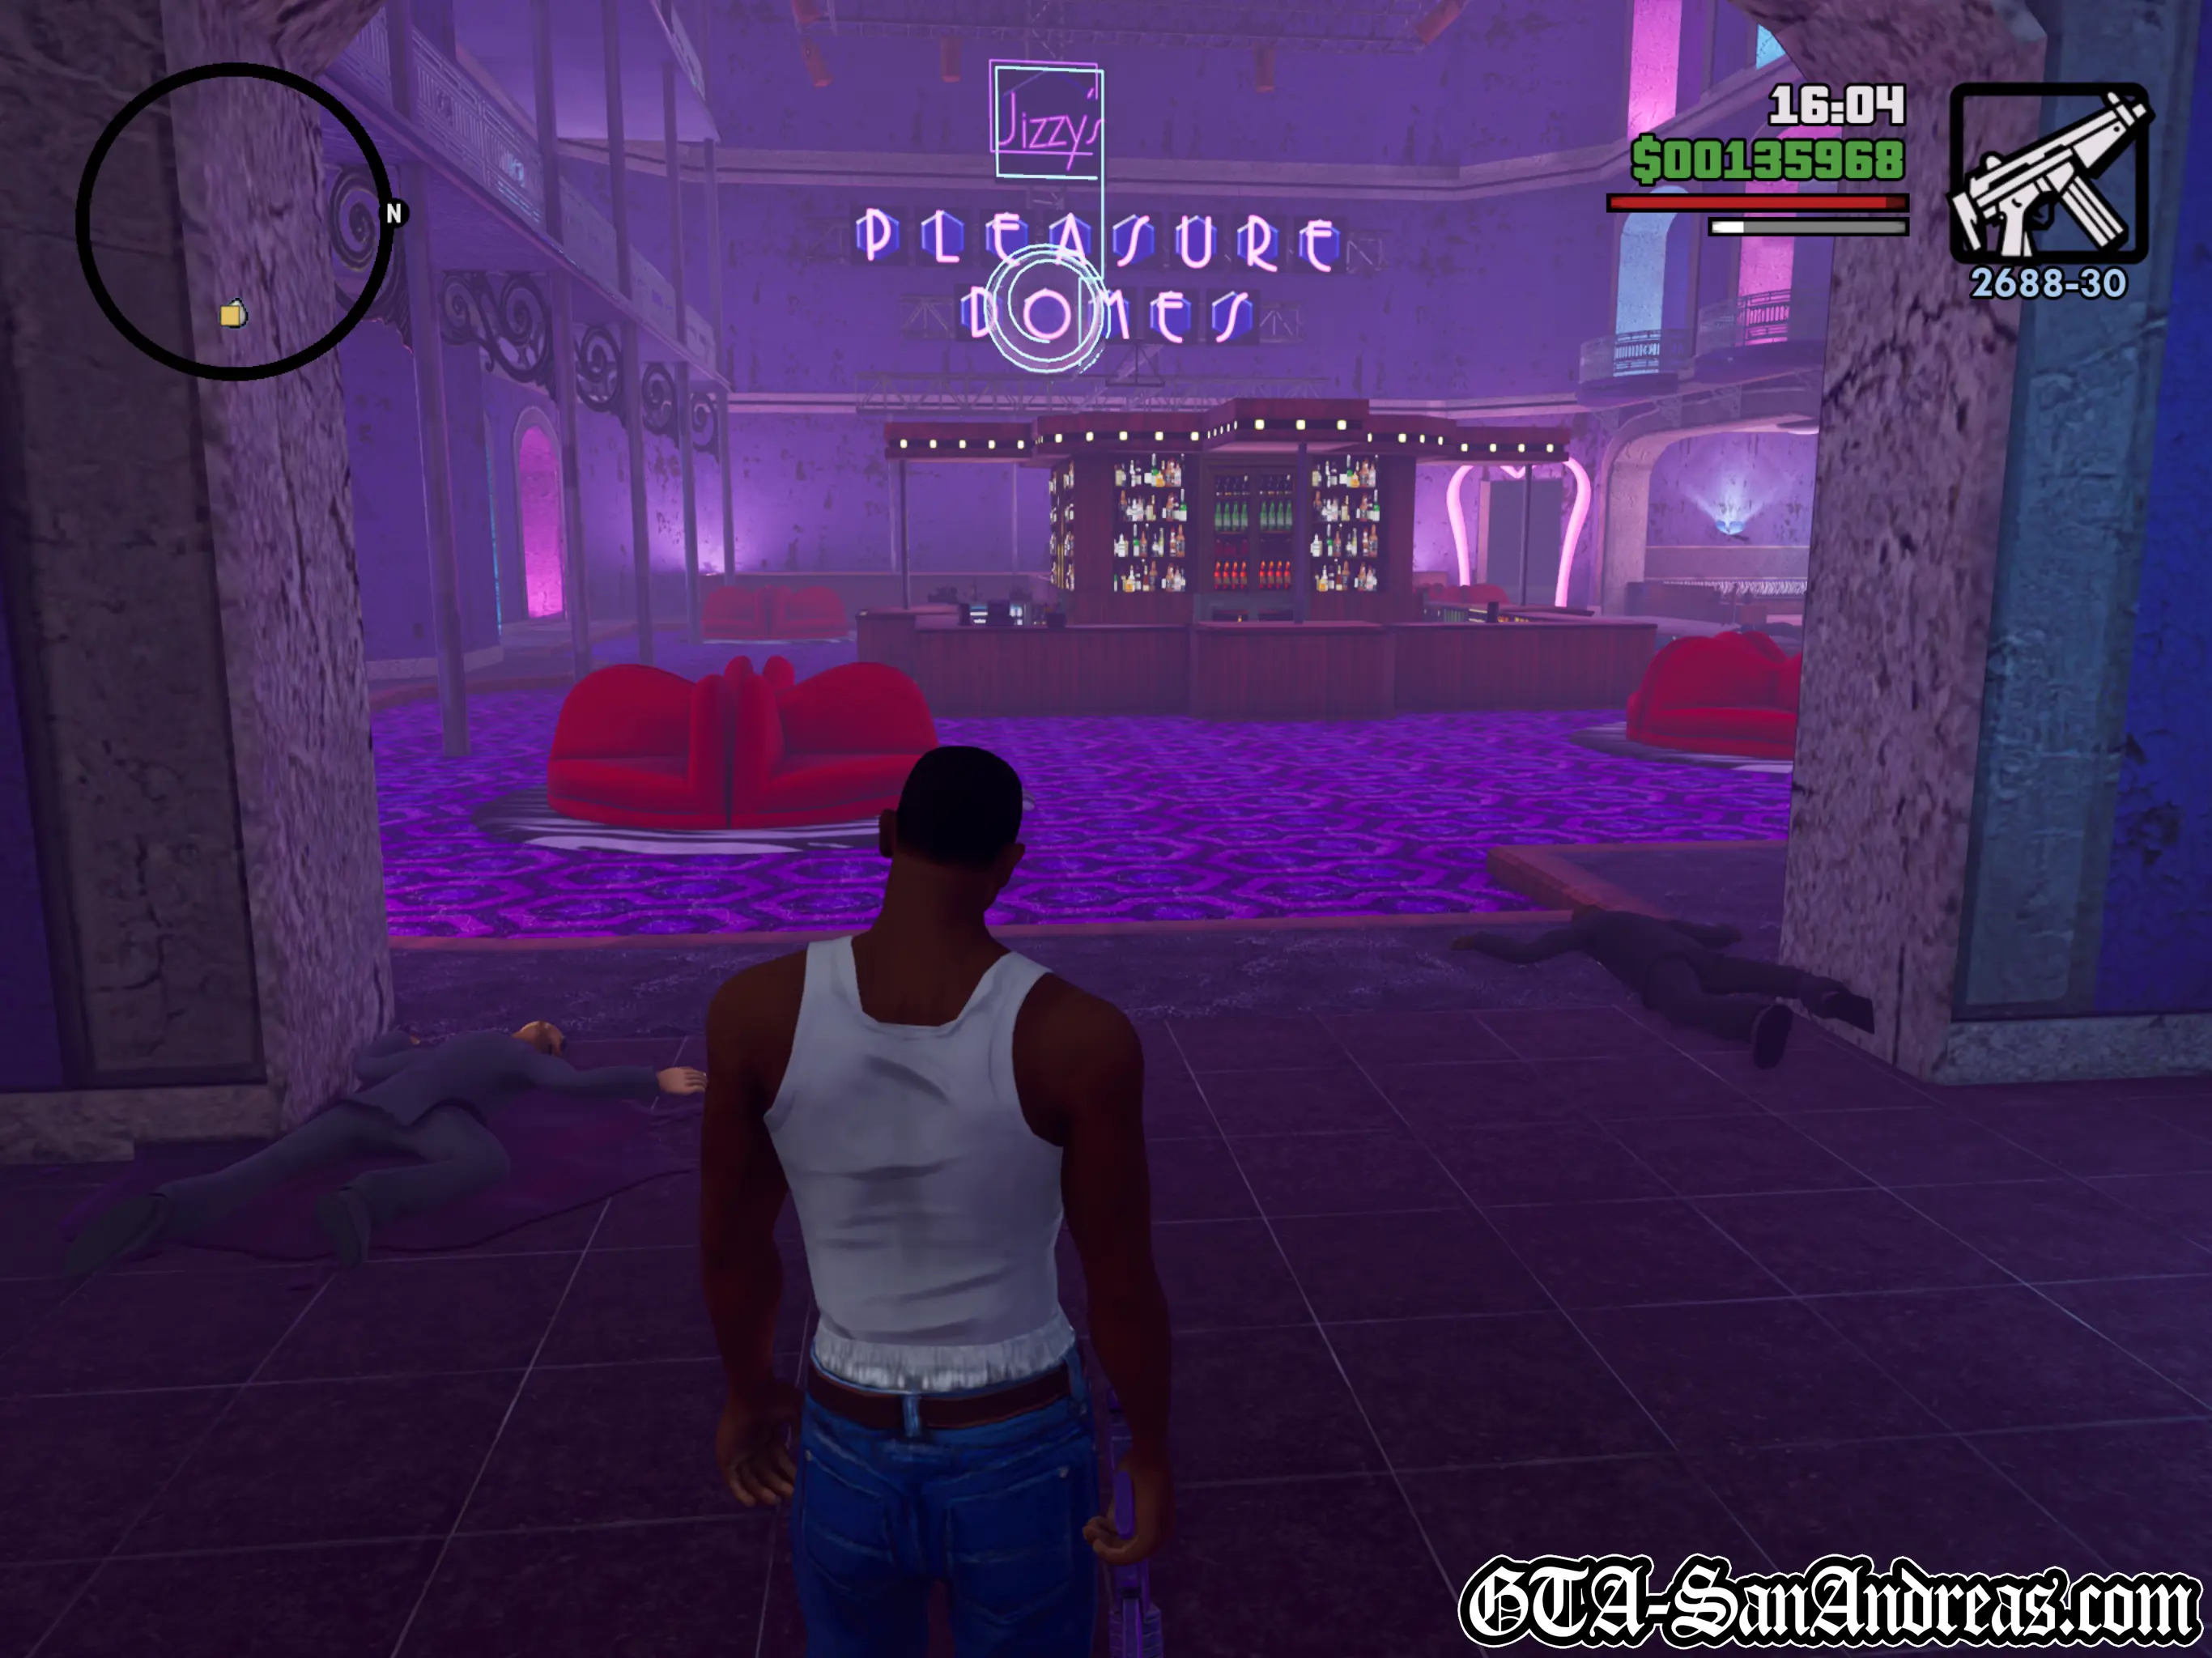
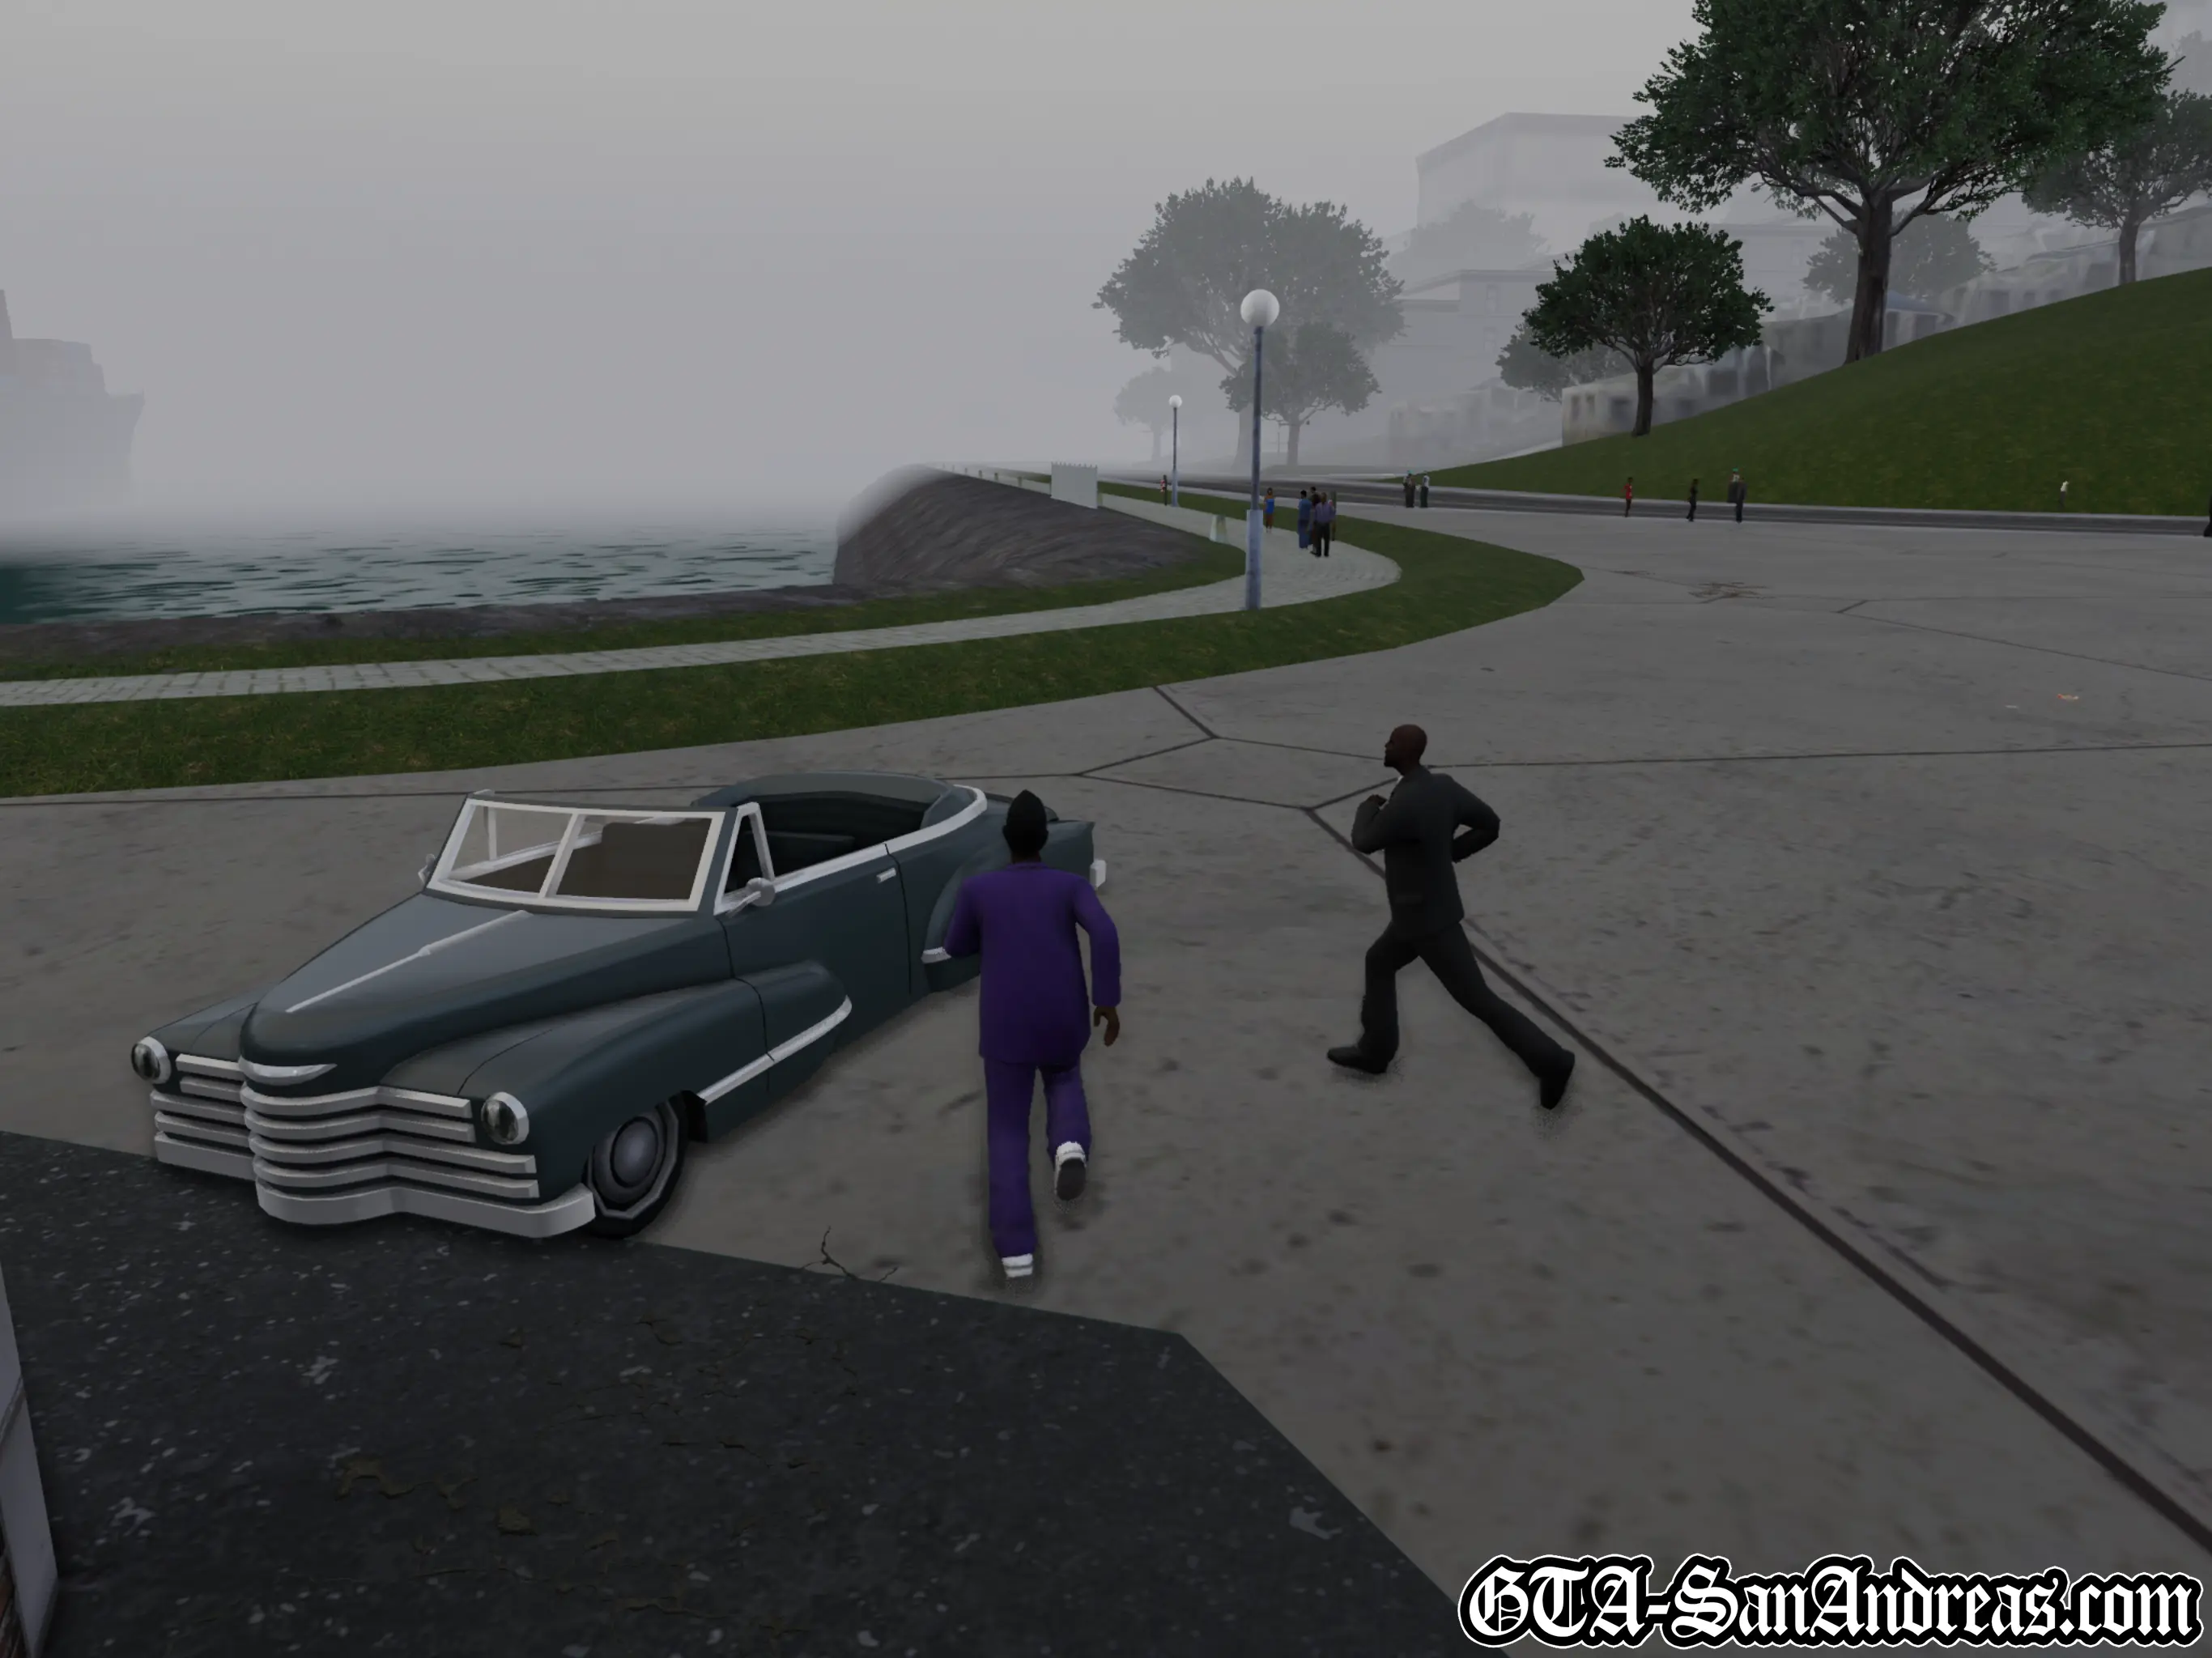
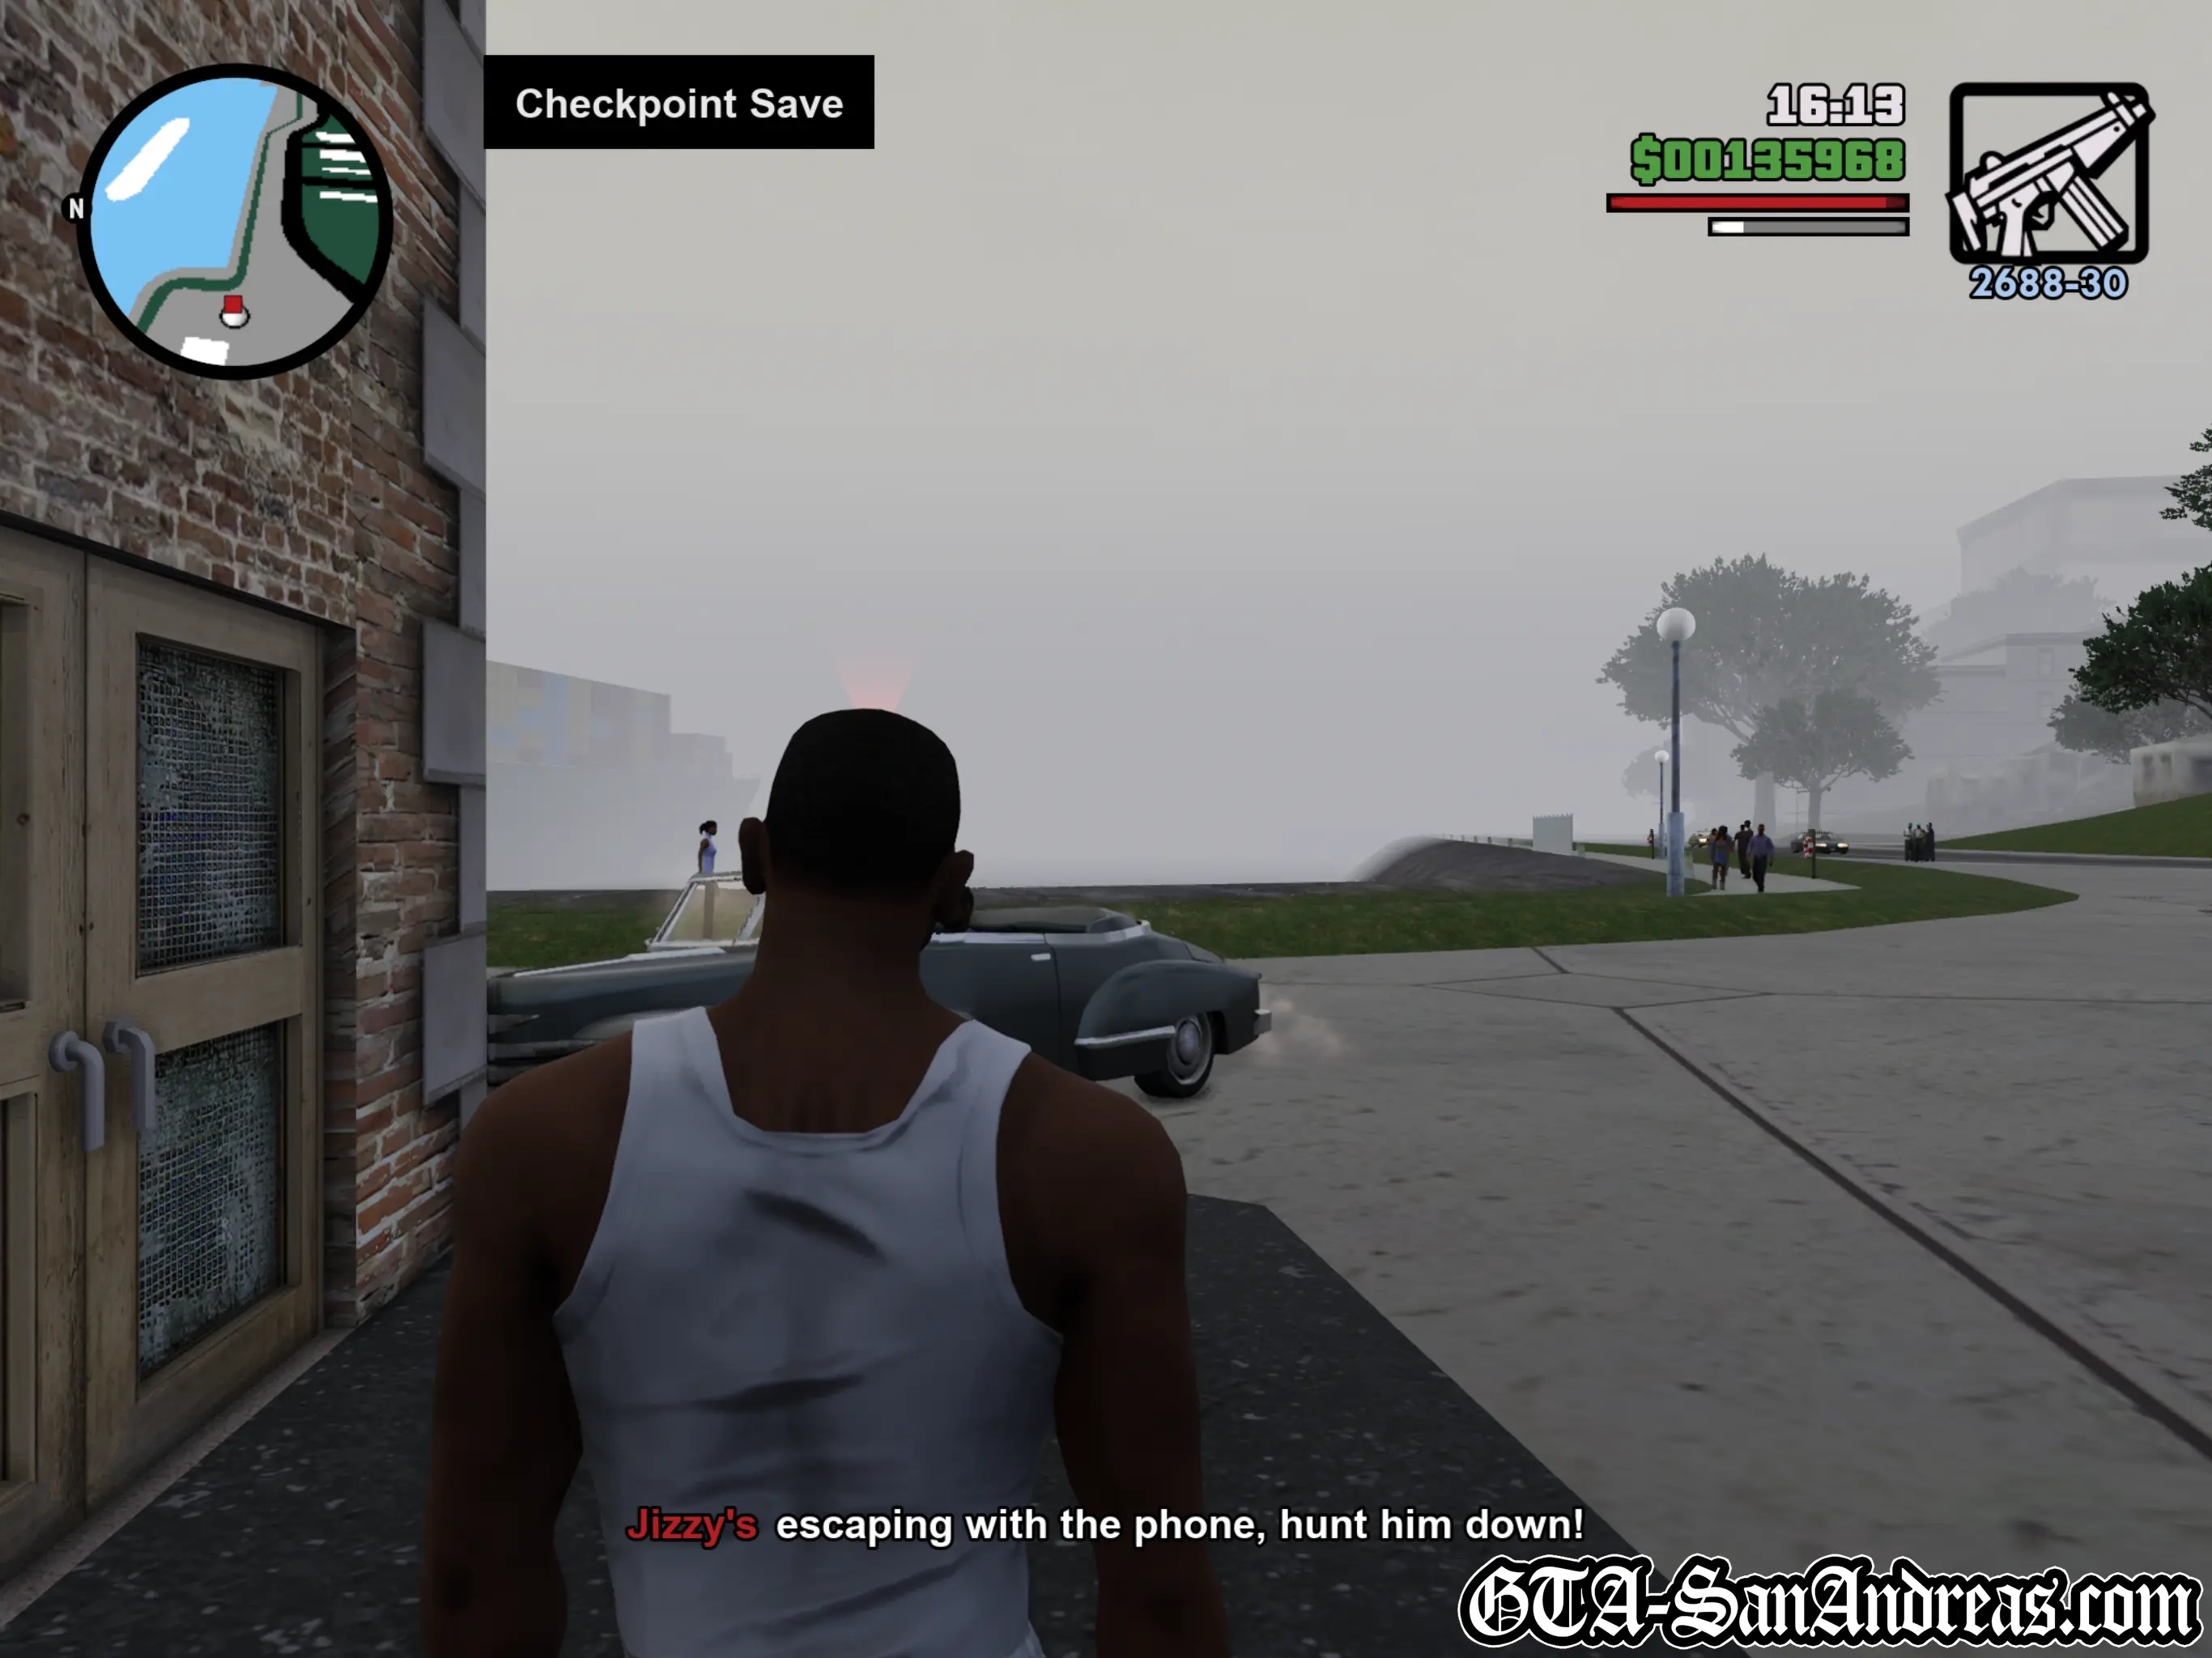
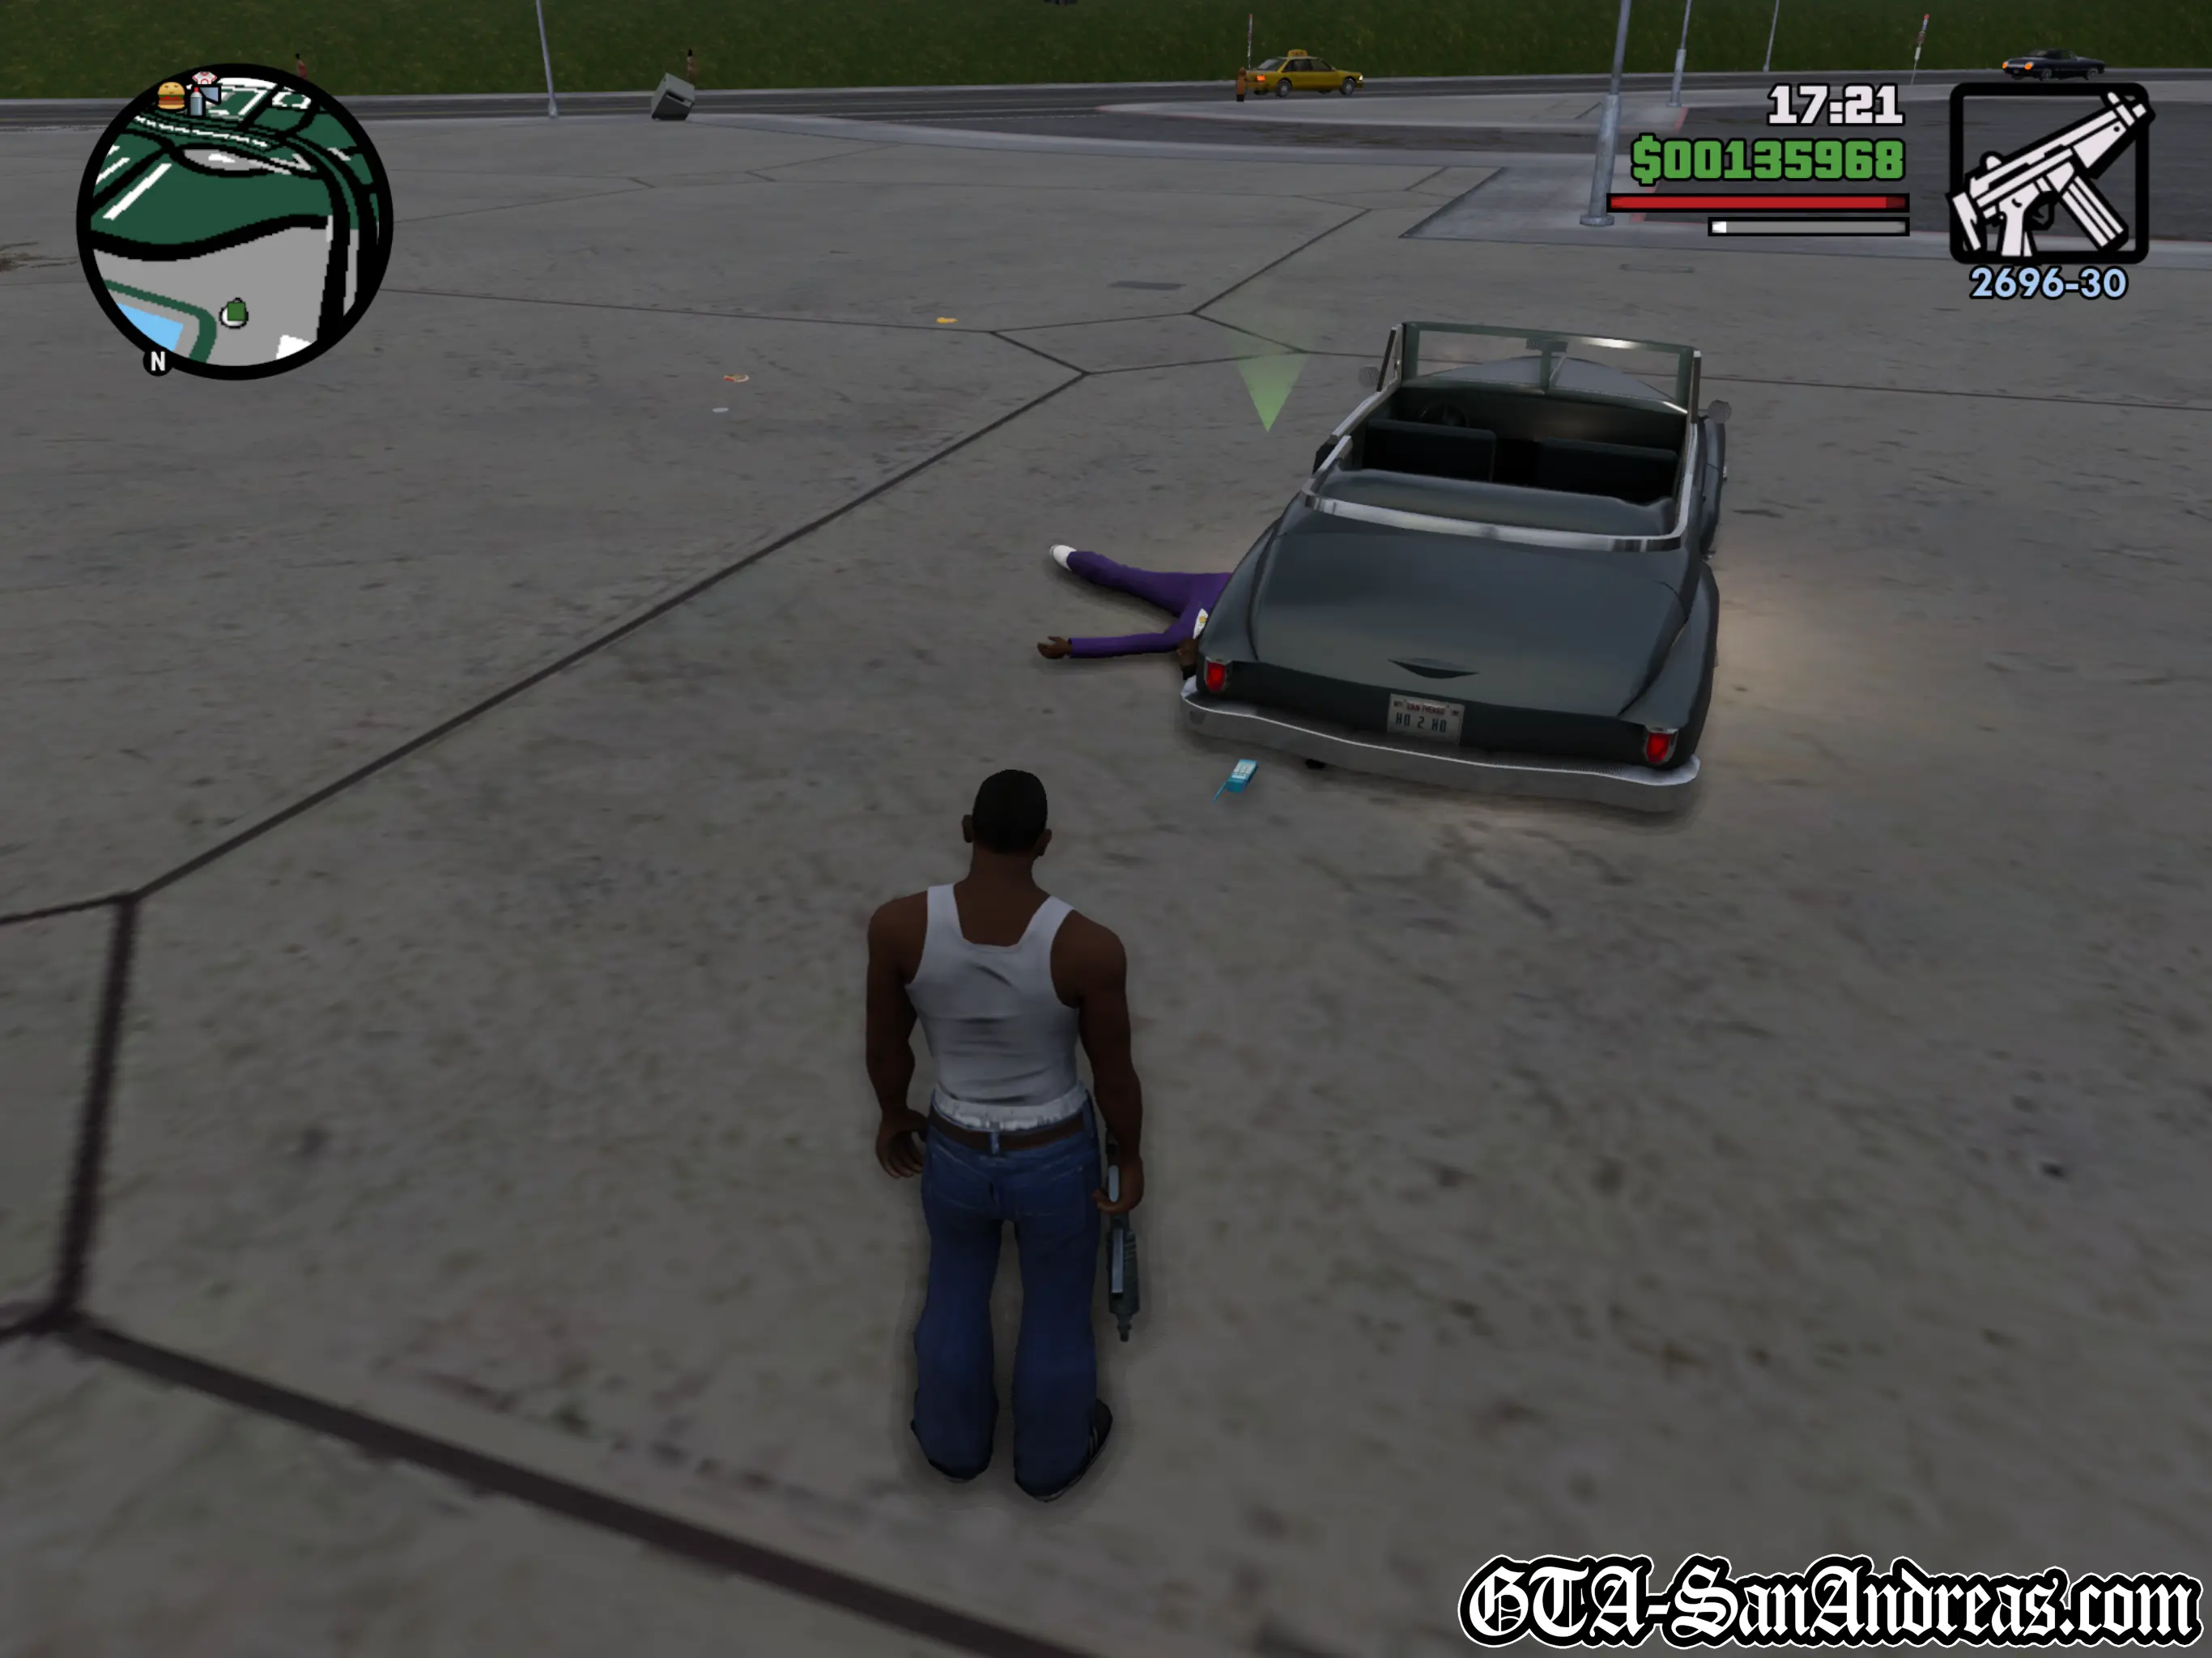
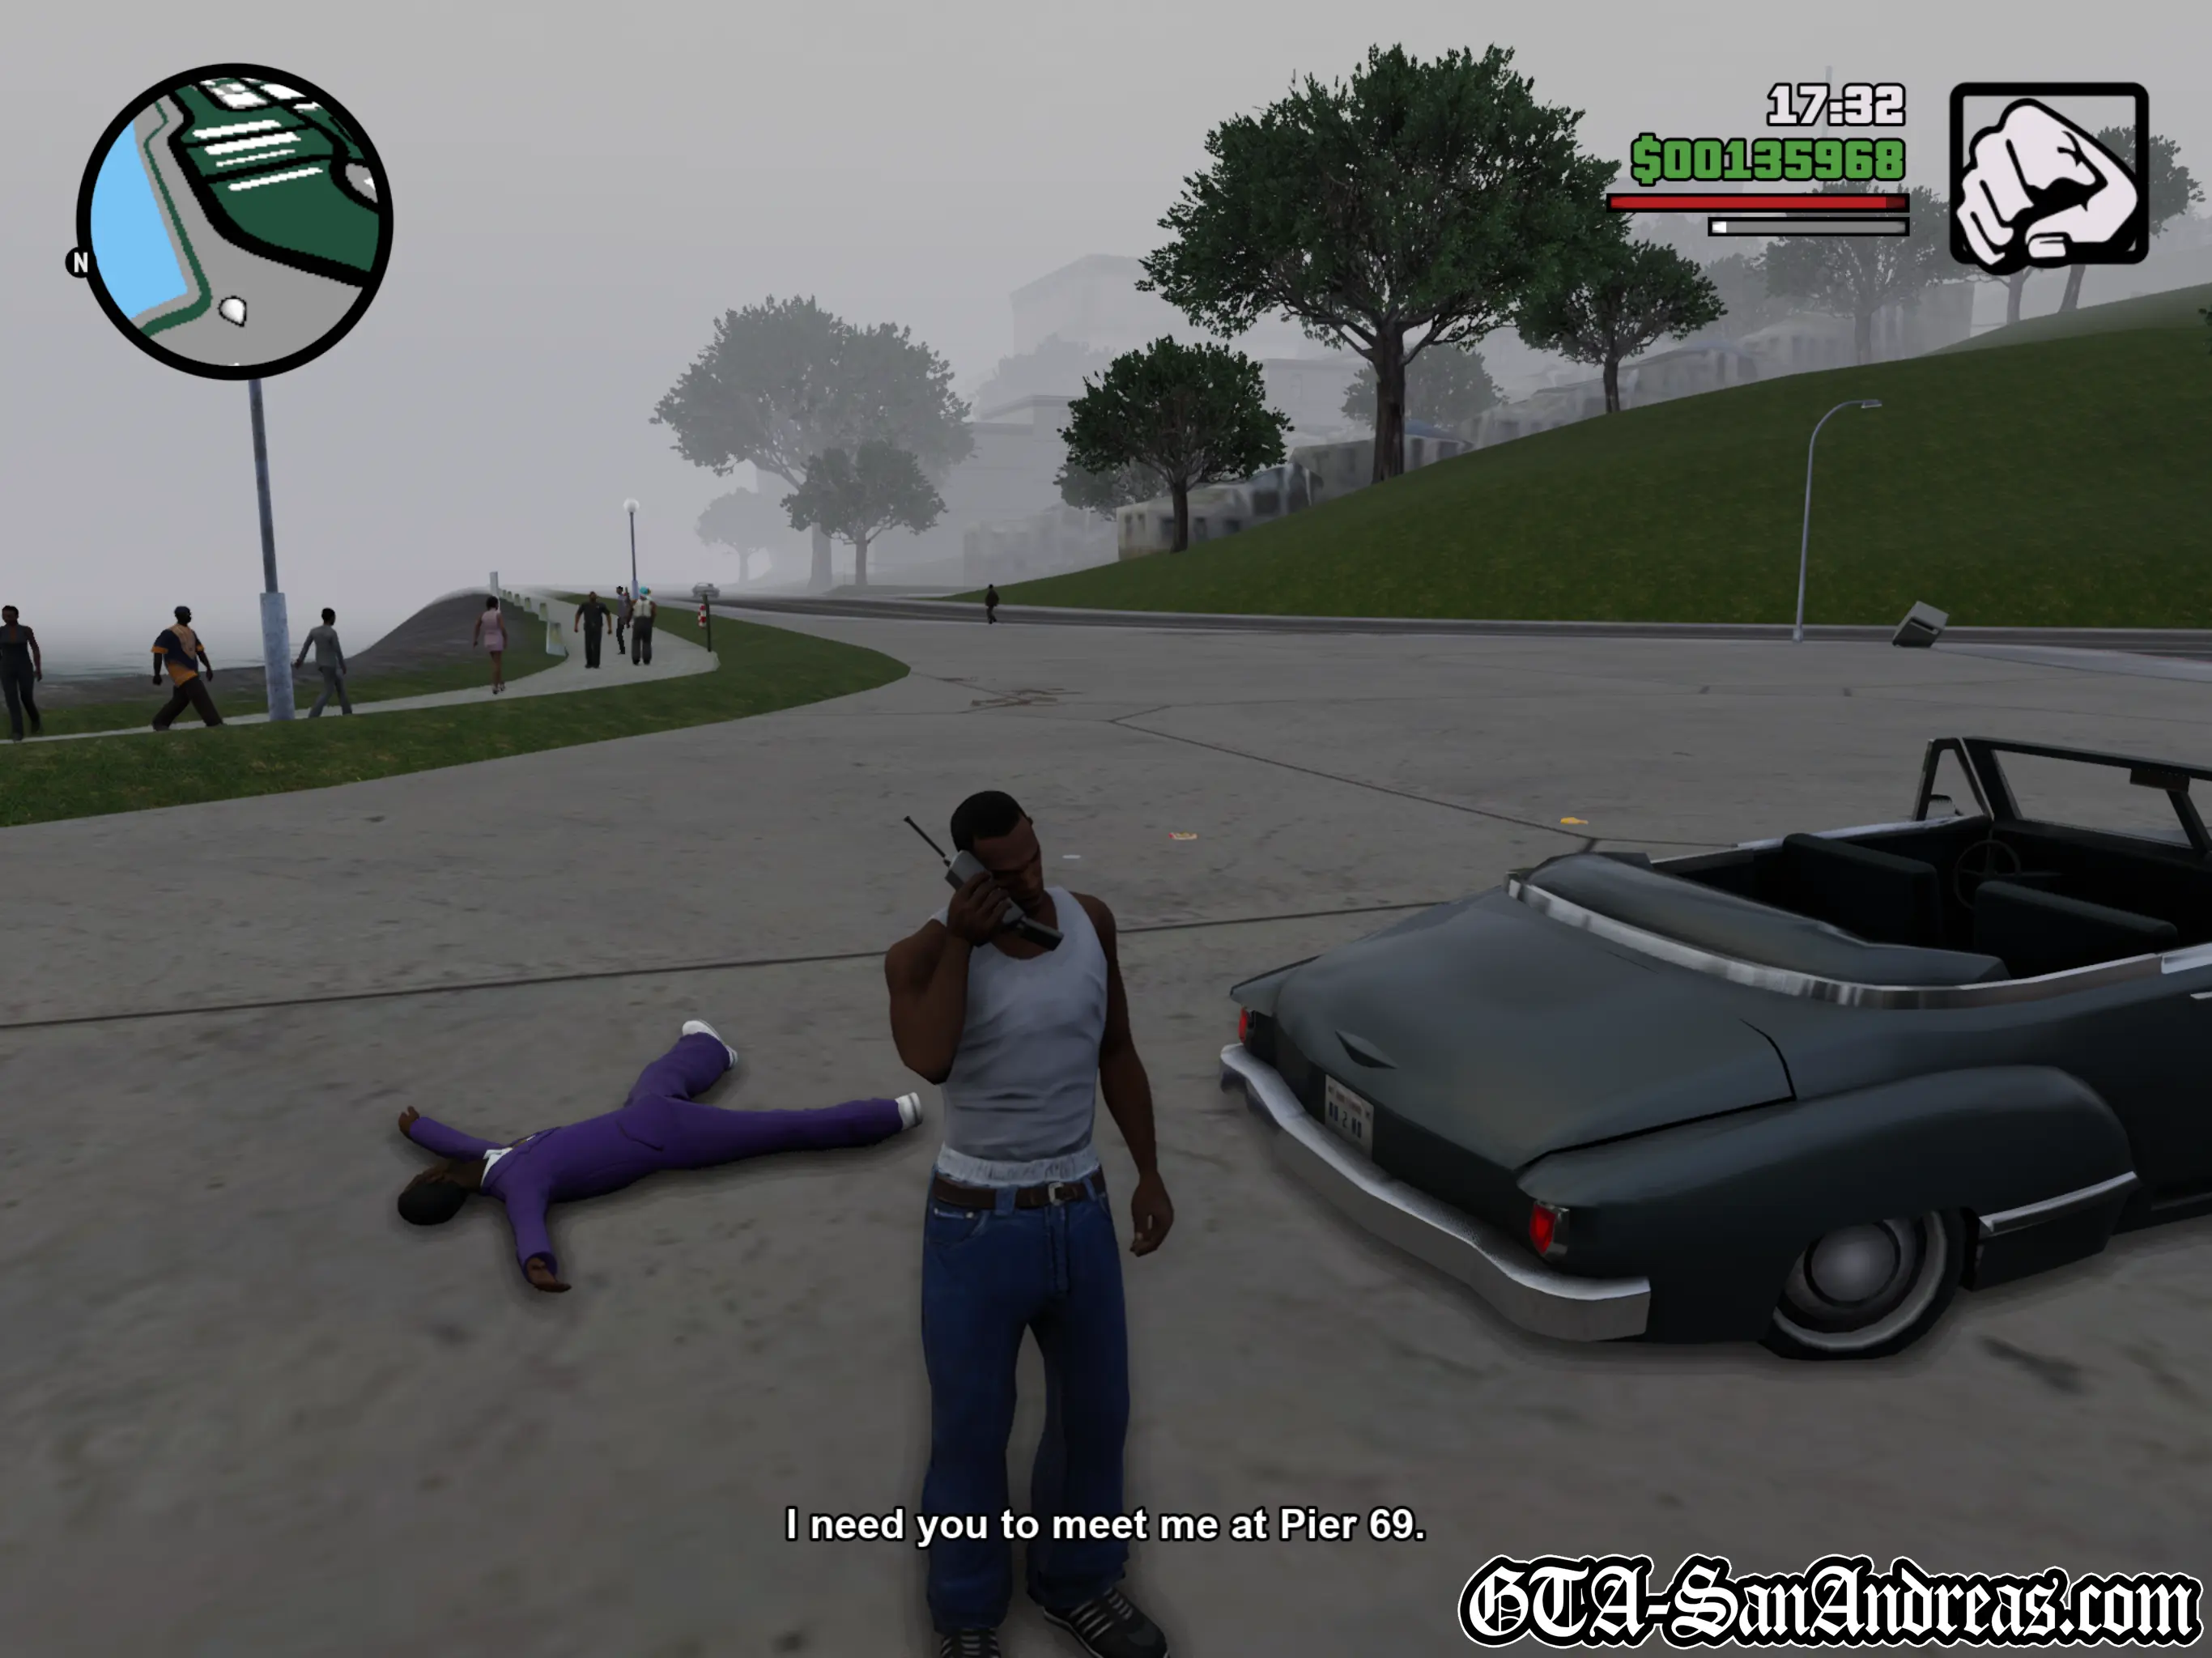
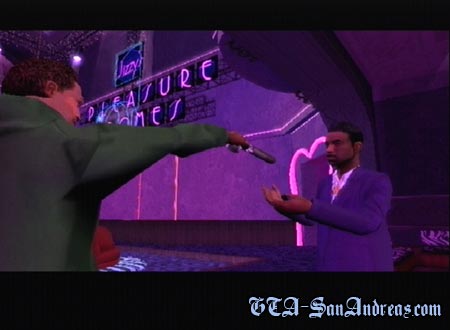
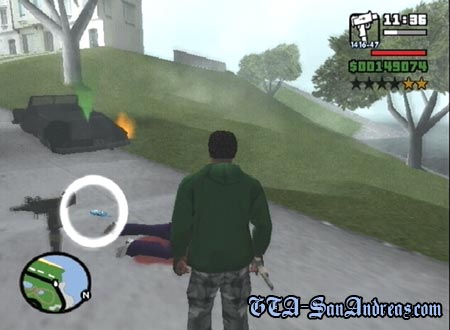
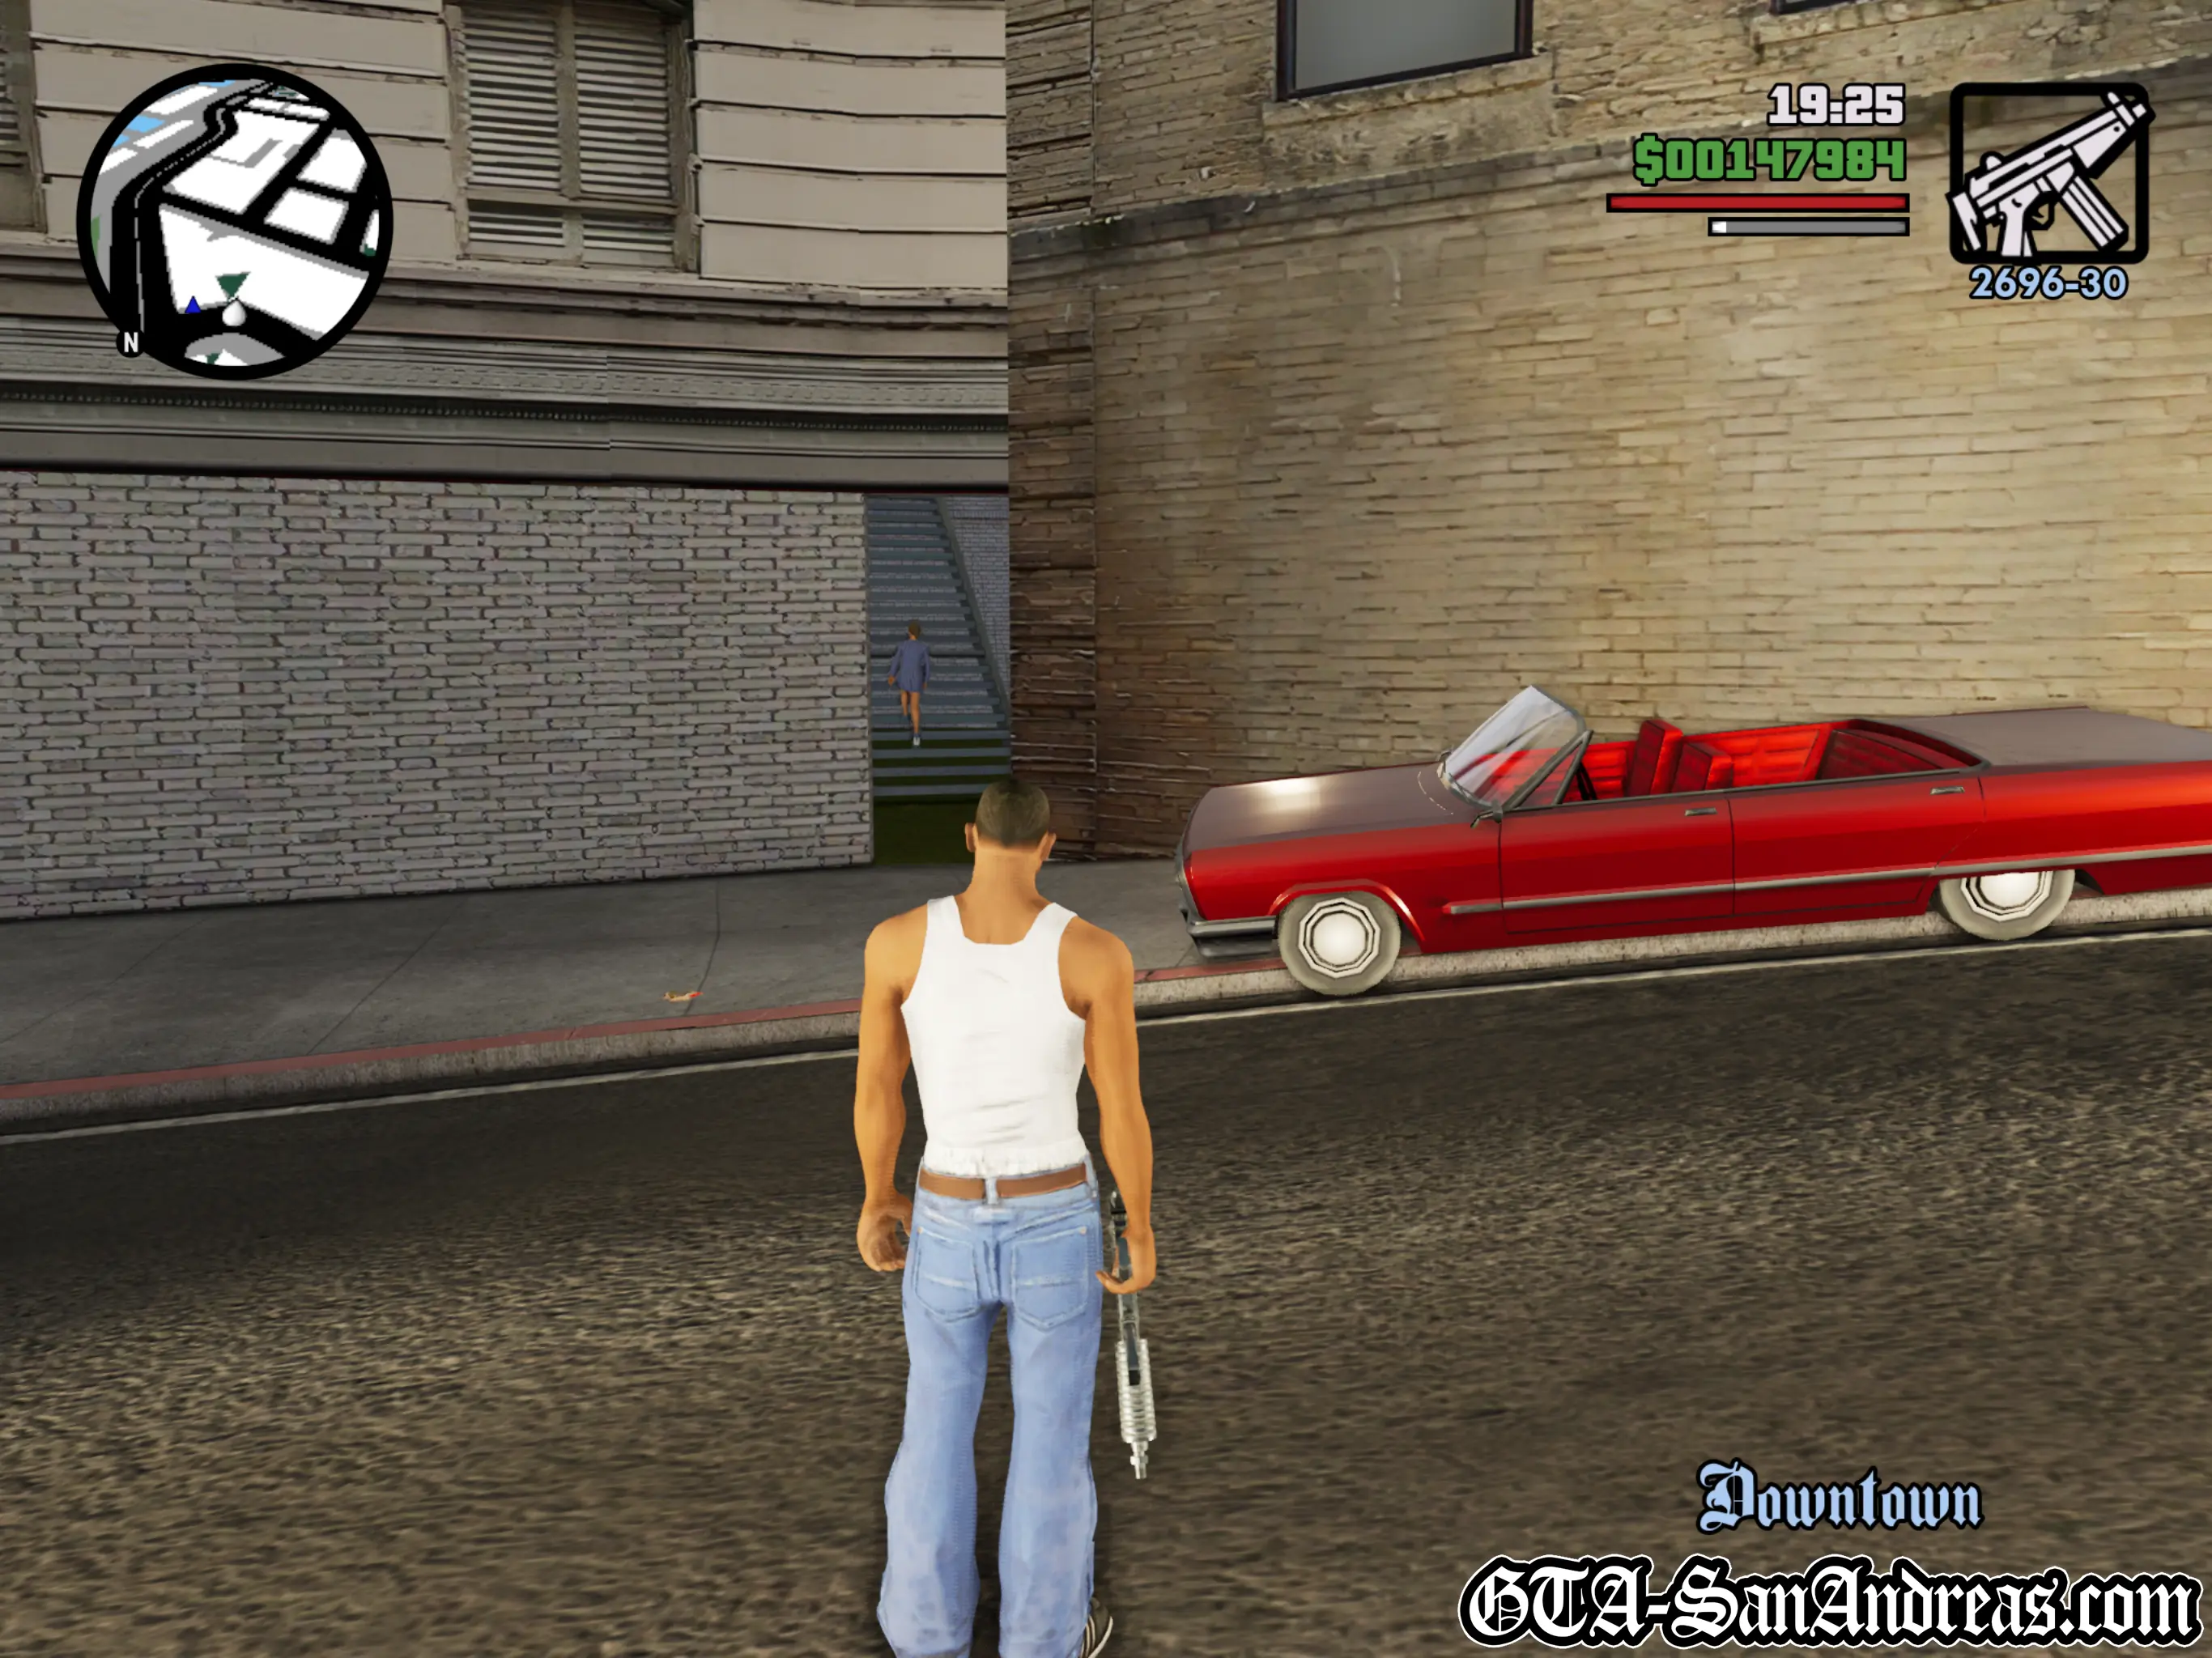
CJ is trying to find something to make a silencer out of for a hand gun, but Cesar gives you his. CJ needed the silencer because he's going to pay Jizzy a little visit. Make your way to the yellow blip on the radar. As you enter the red circle you'll be told it's a private function, however there is a window on the roof open which you can use to get inside. Climb up the wooden boards alongside the bridge and make your way above the roof. As you're over the highest part of the roof, walk off the wood and land on the rooftop. Don't worry, the metal railings aren't solid. Once on the roof, make your way into the building by using the skylight. Once you're inside crouch and make your way down to the floor level. Stay in the shadows and go a section at a time until you trigger the cutscene. After the talking Jizzy will try to escape while his guards try to kill you. Blast them all away, then run out the front door. Another cutscene will show Jizzy trying to escape, so jump in a vehicle and chase after him. The black Stretch to your left will do. Chase after him and drive-by his car until it blows. If you've got no drive by ammo just keep ramming into it. The explosion alone might not kill him, so run him over or shoot him if he bails. Once he's dead grab the cell phone to lose your wanted level. CJ will then call Cesar and tell him to meet him at Pier 69 where they're going to take out T-Bone.
Screenshots


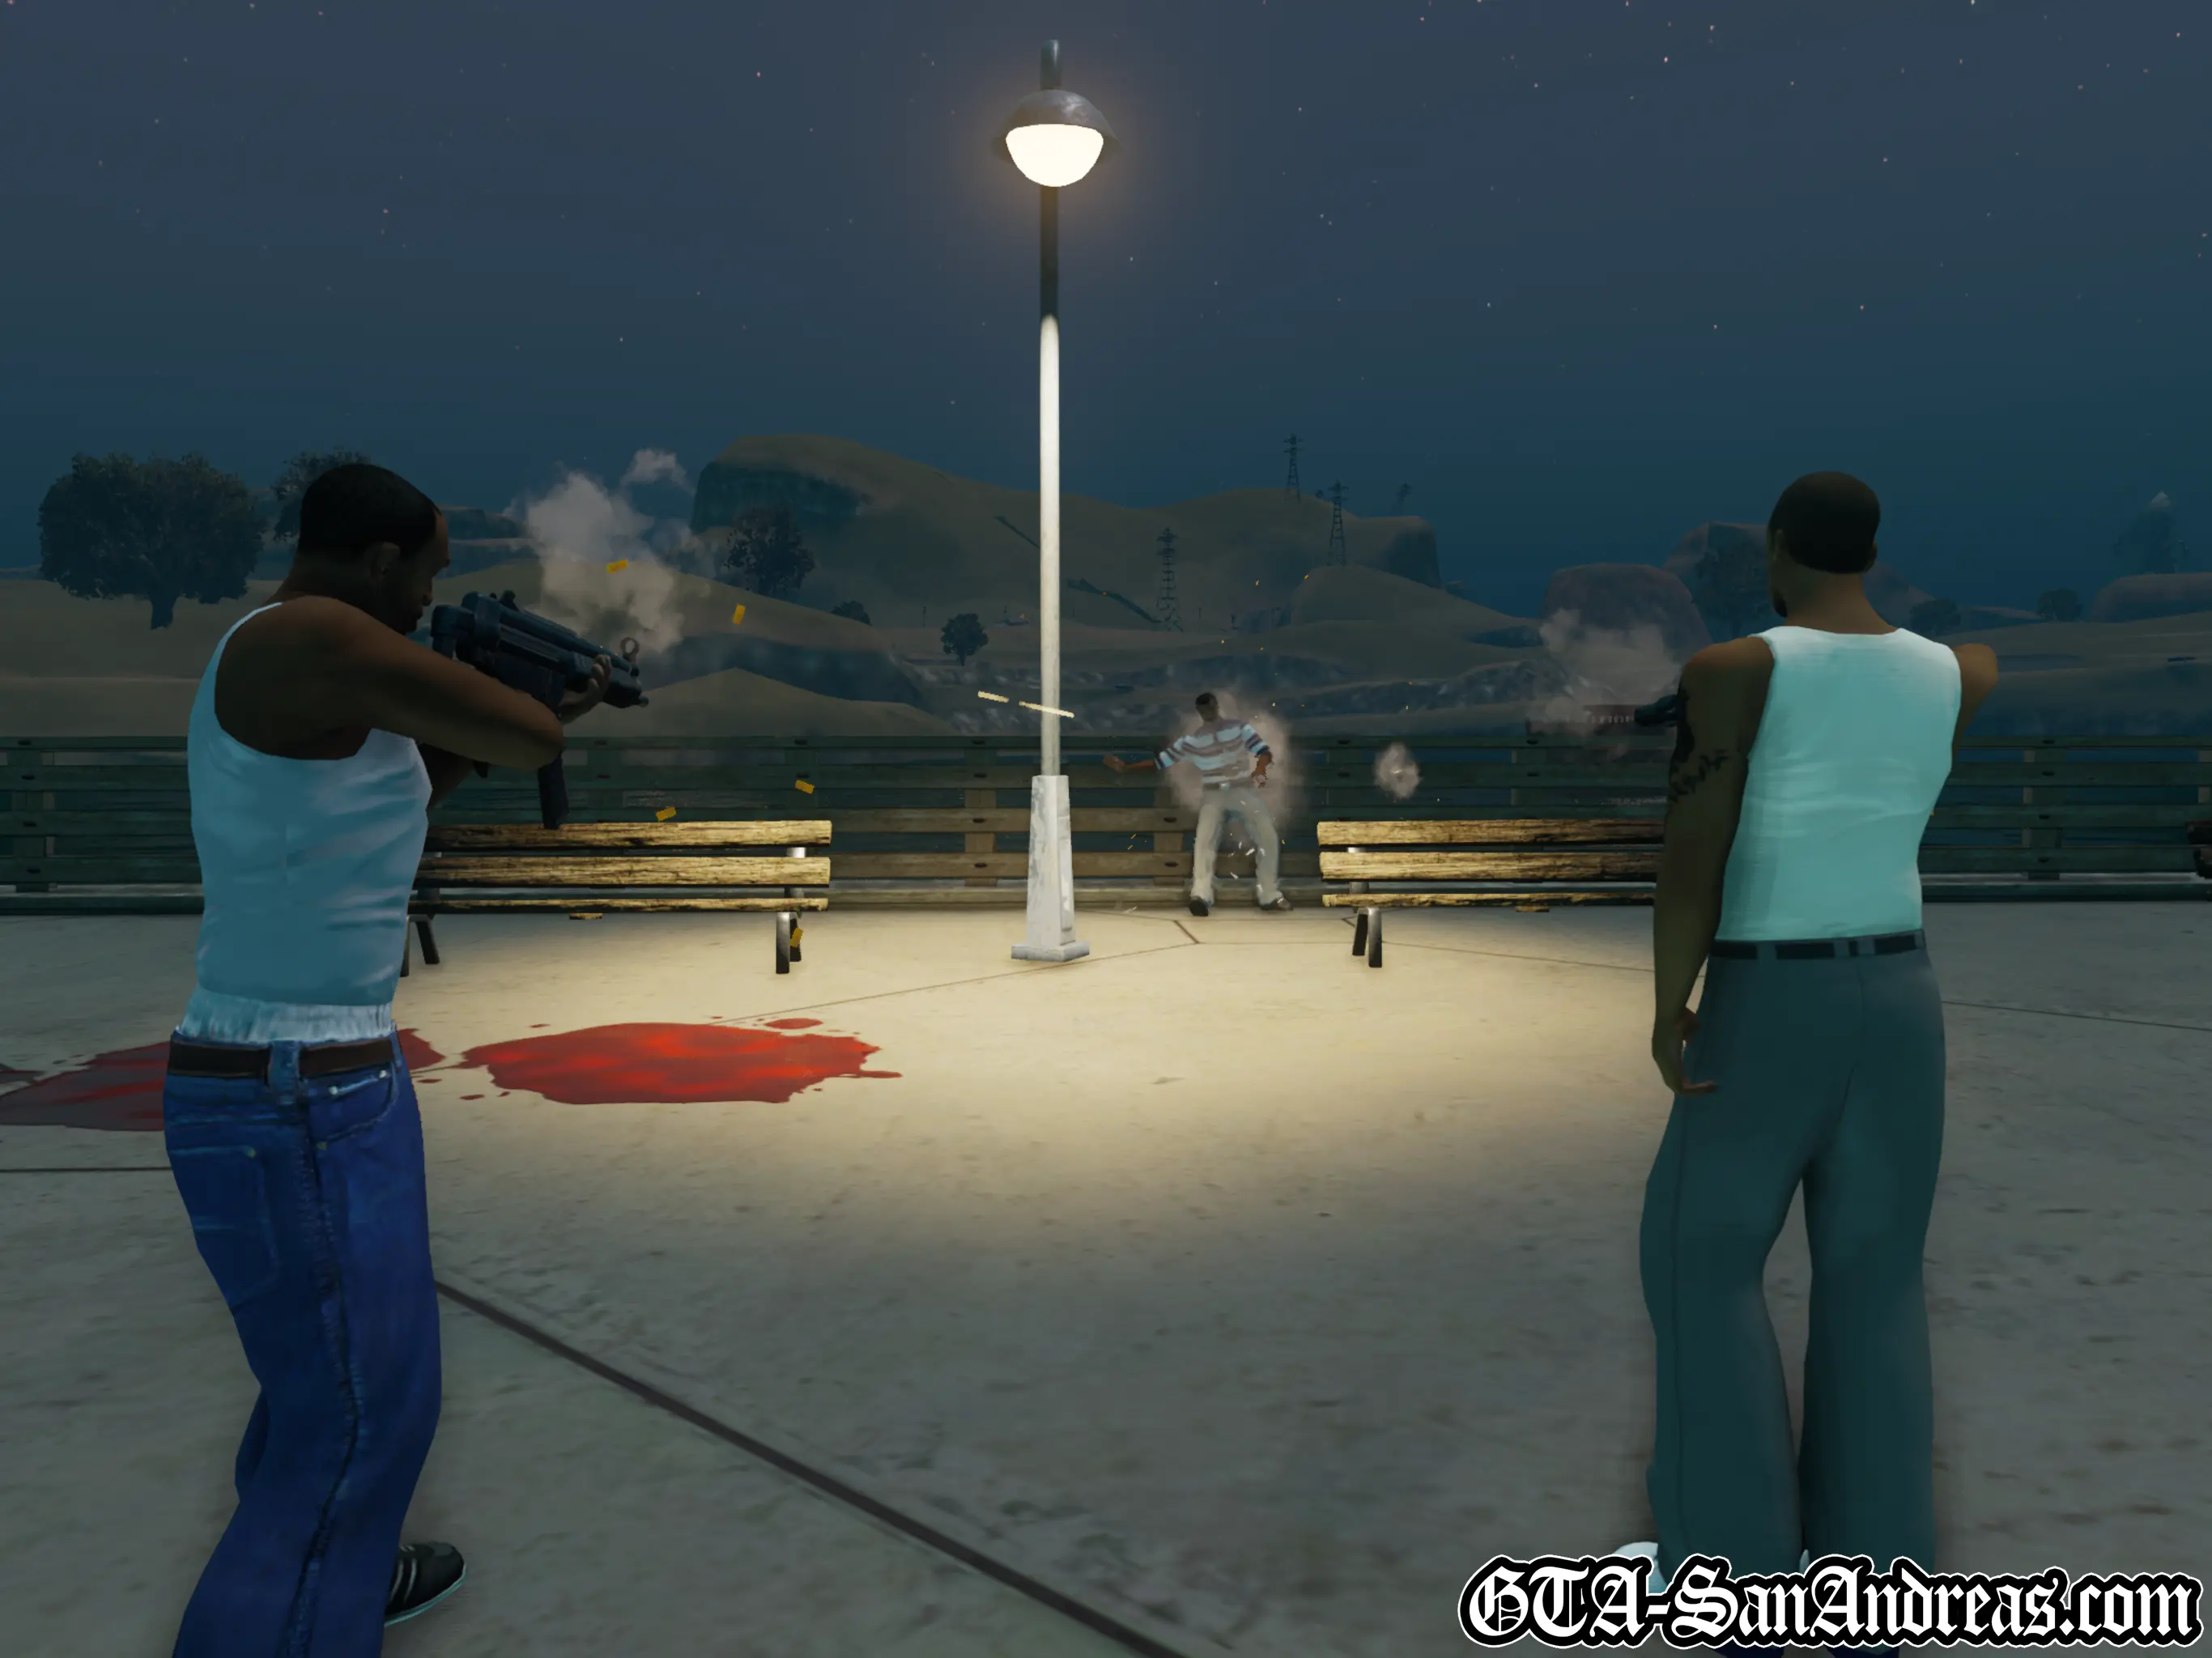
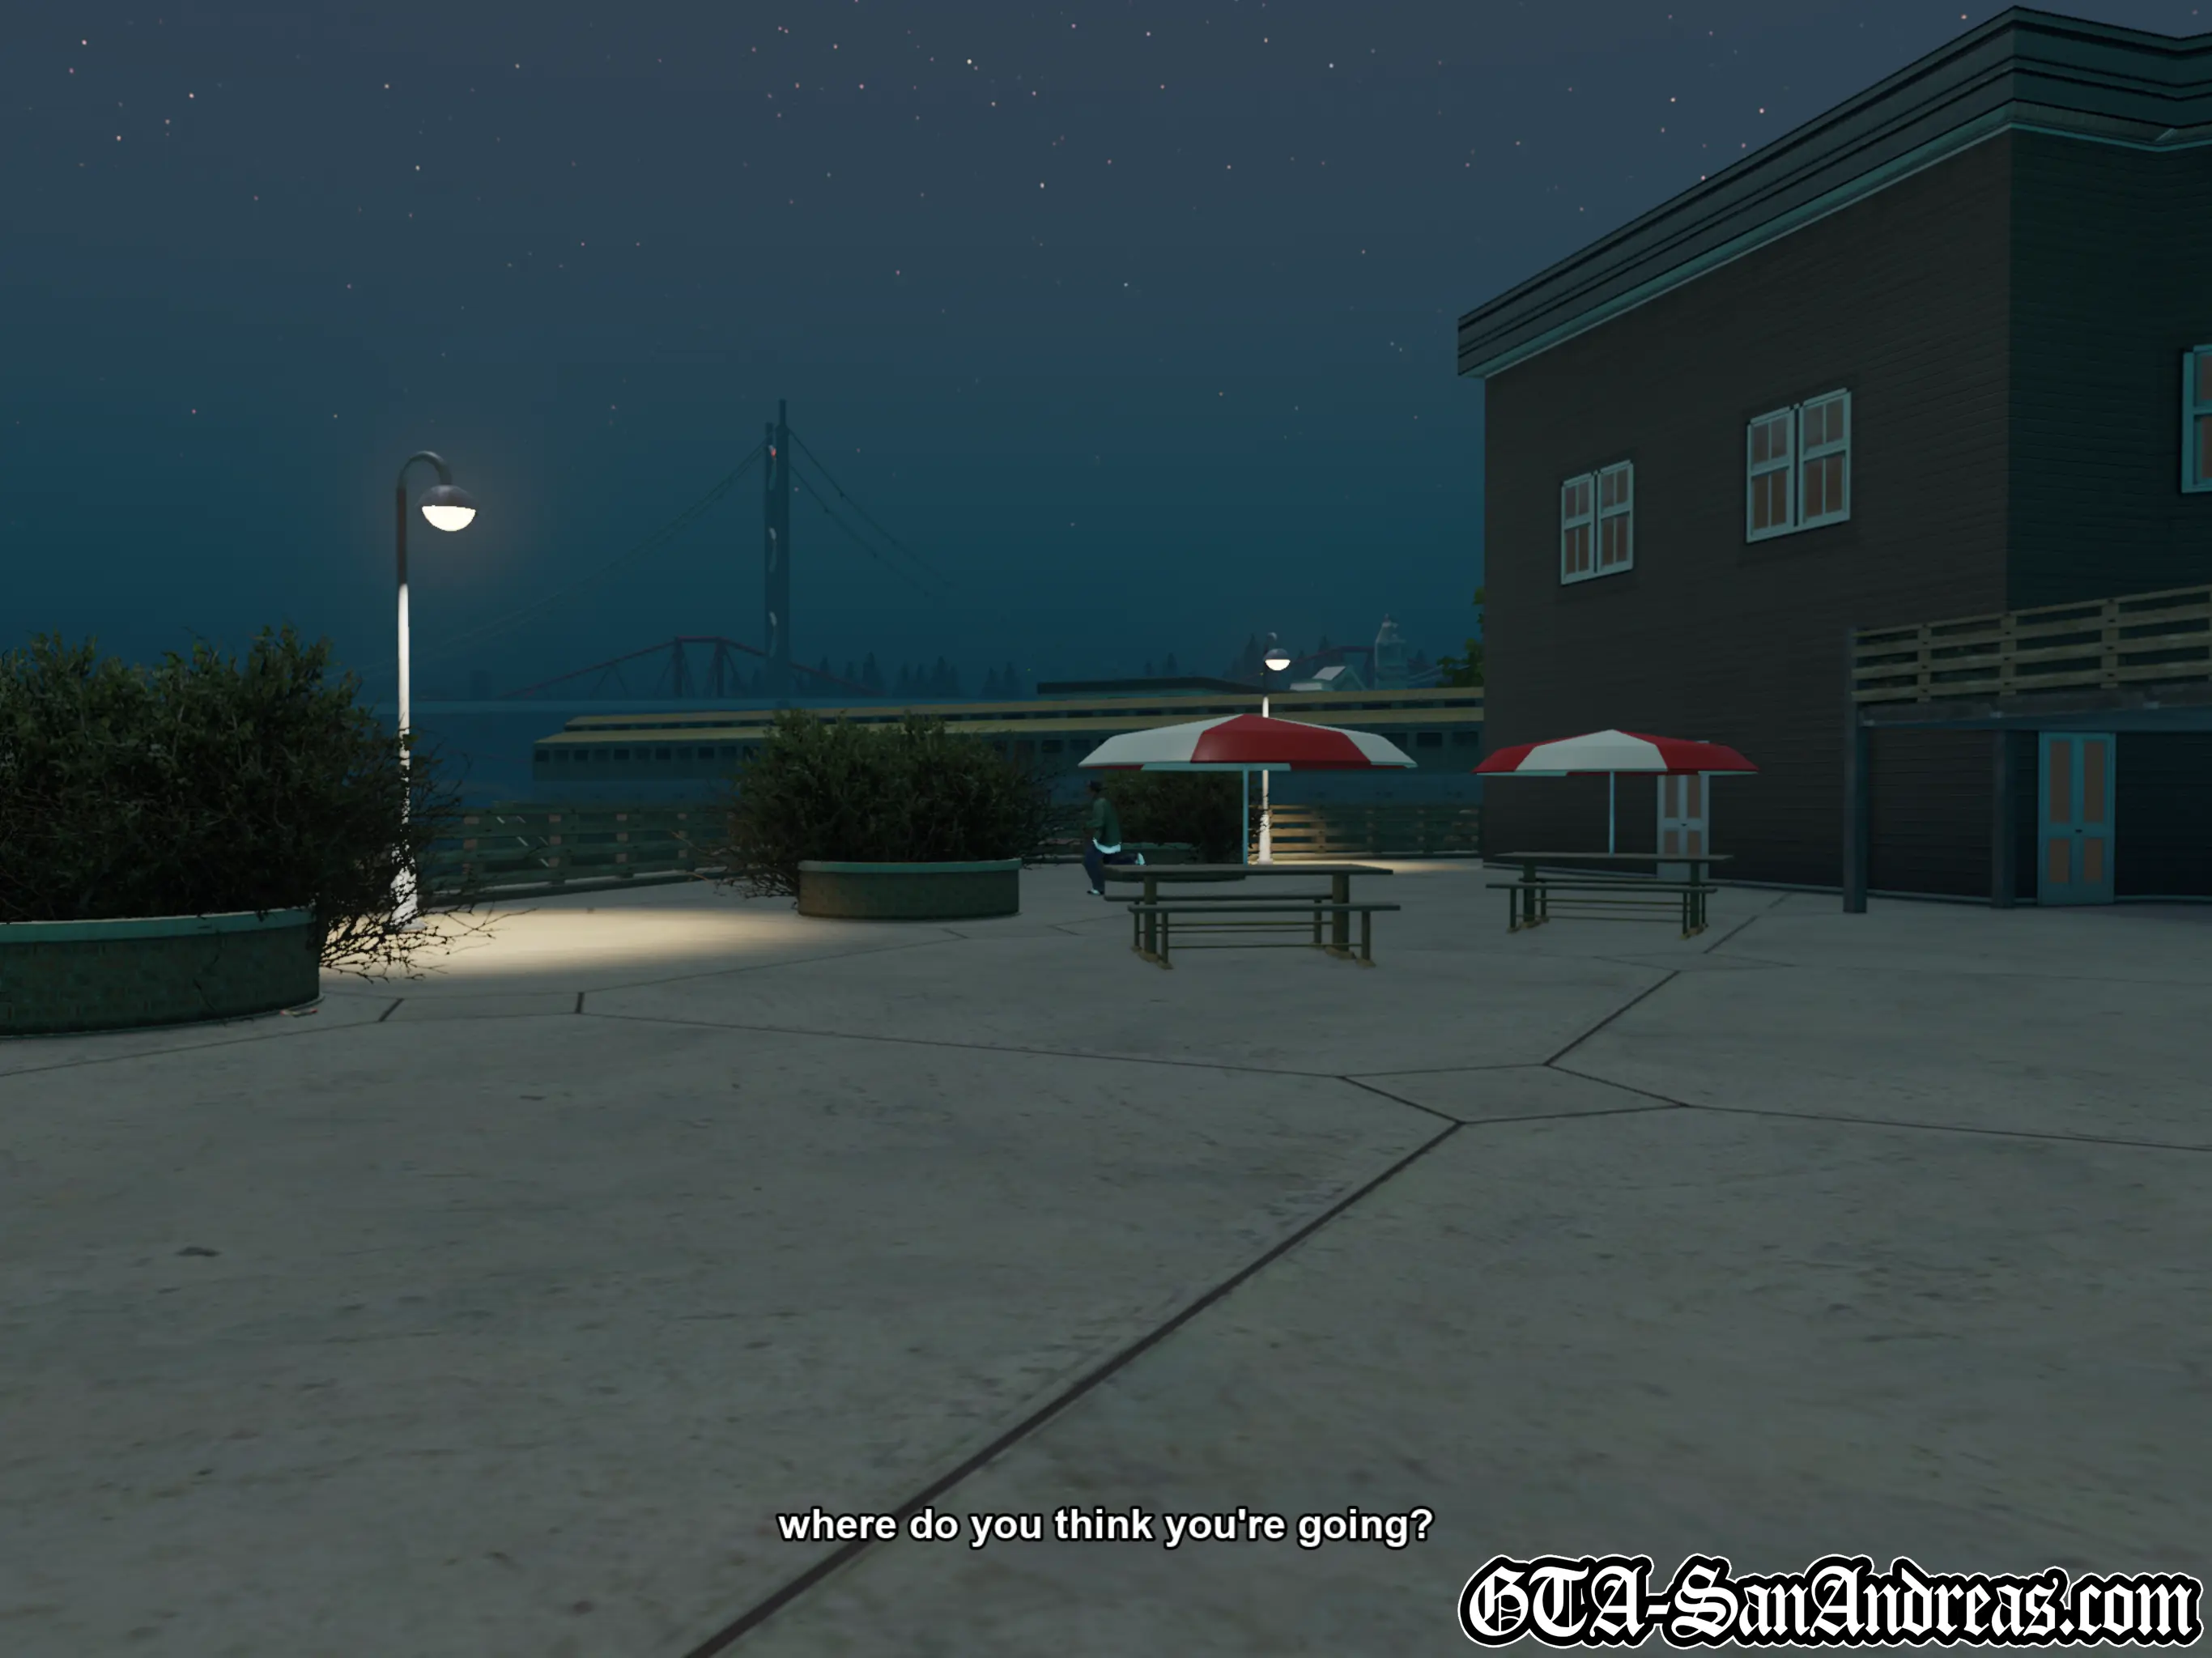
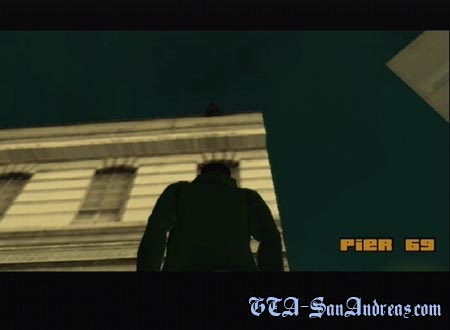
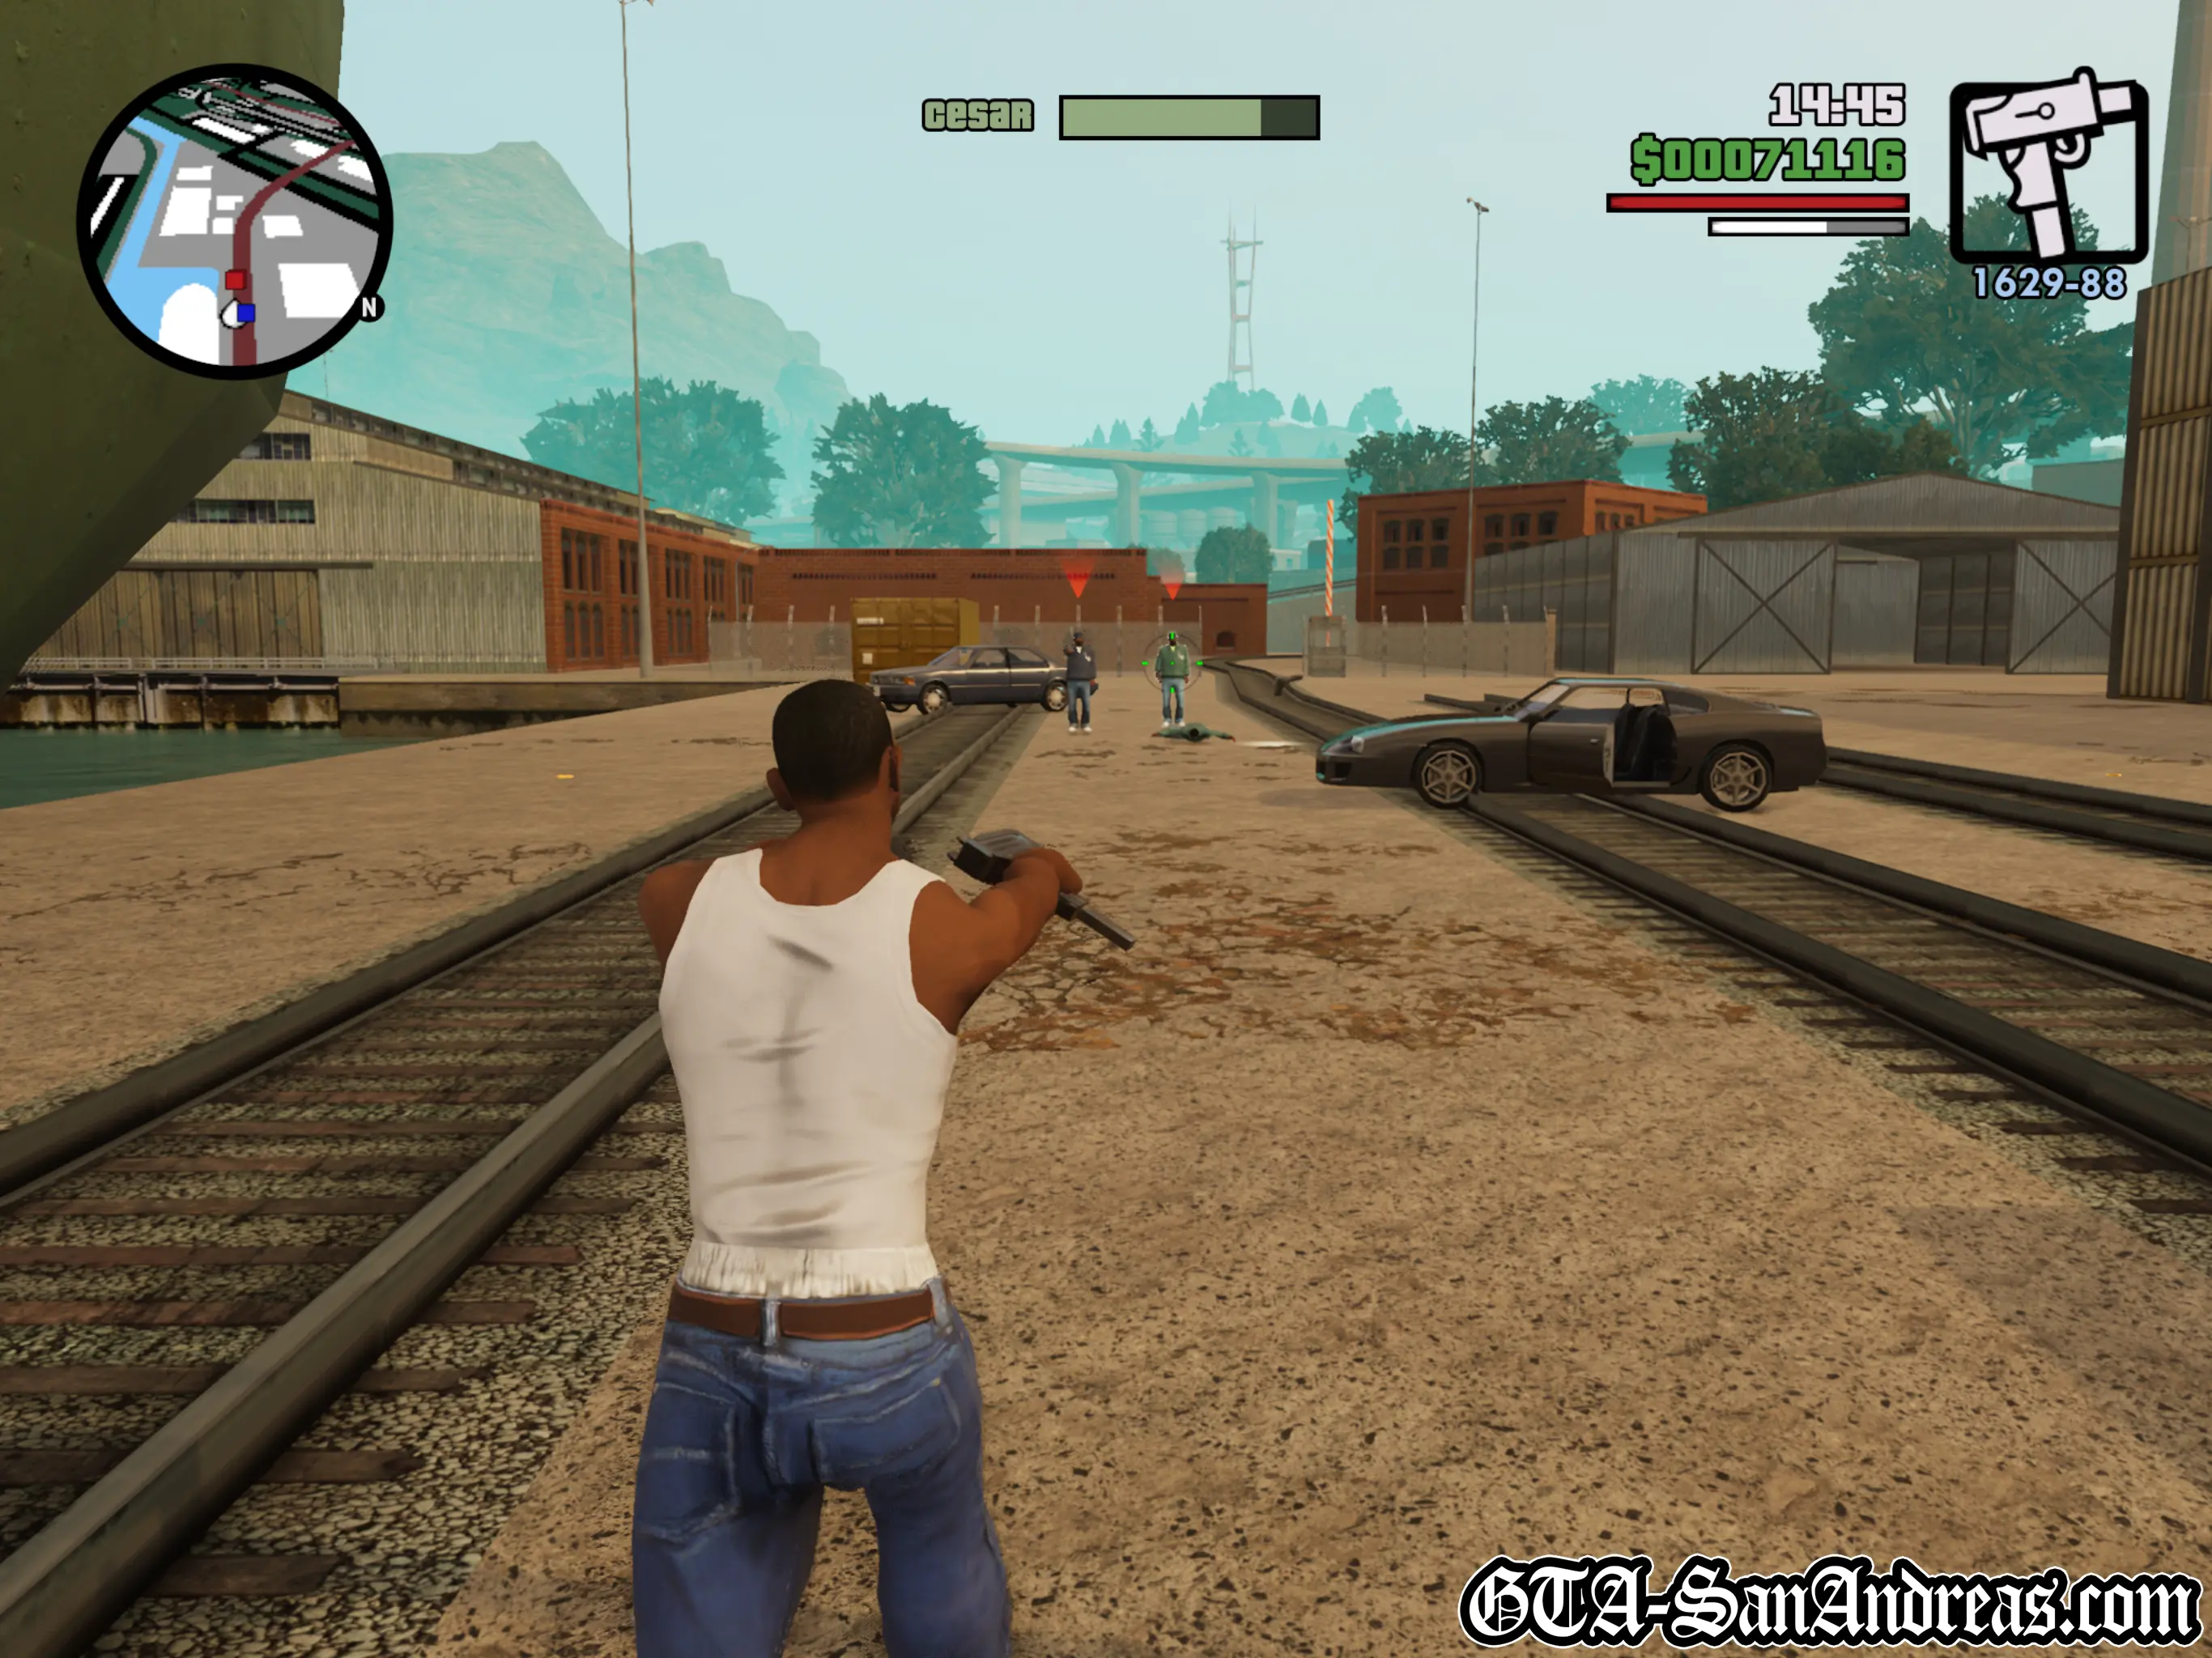
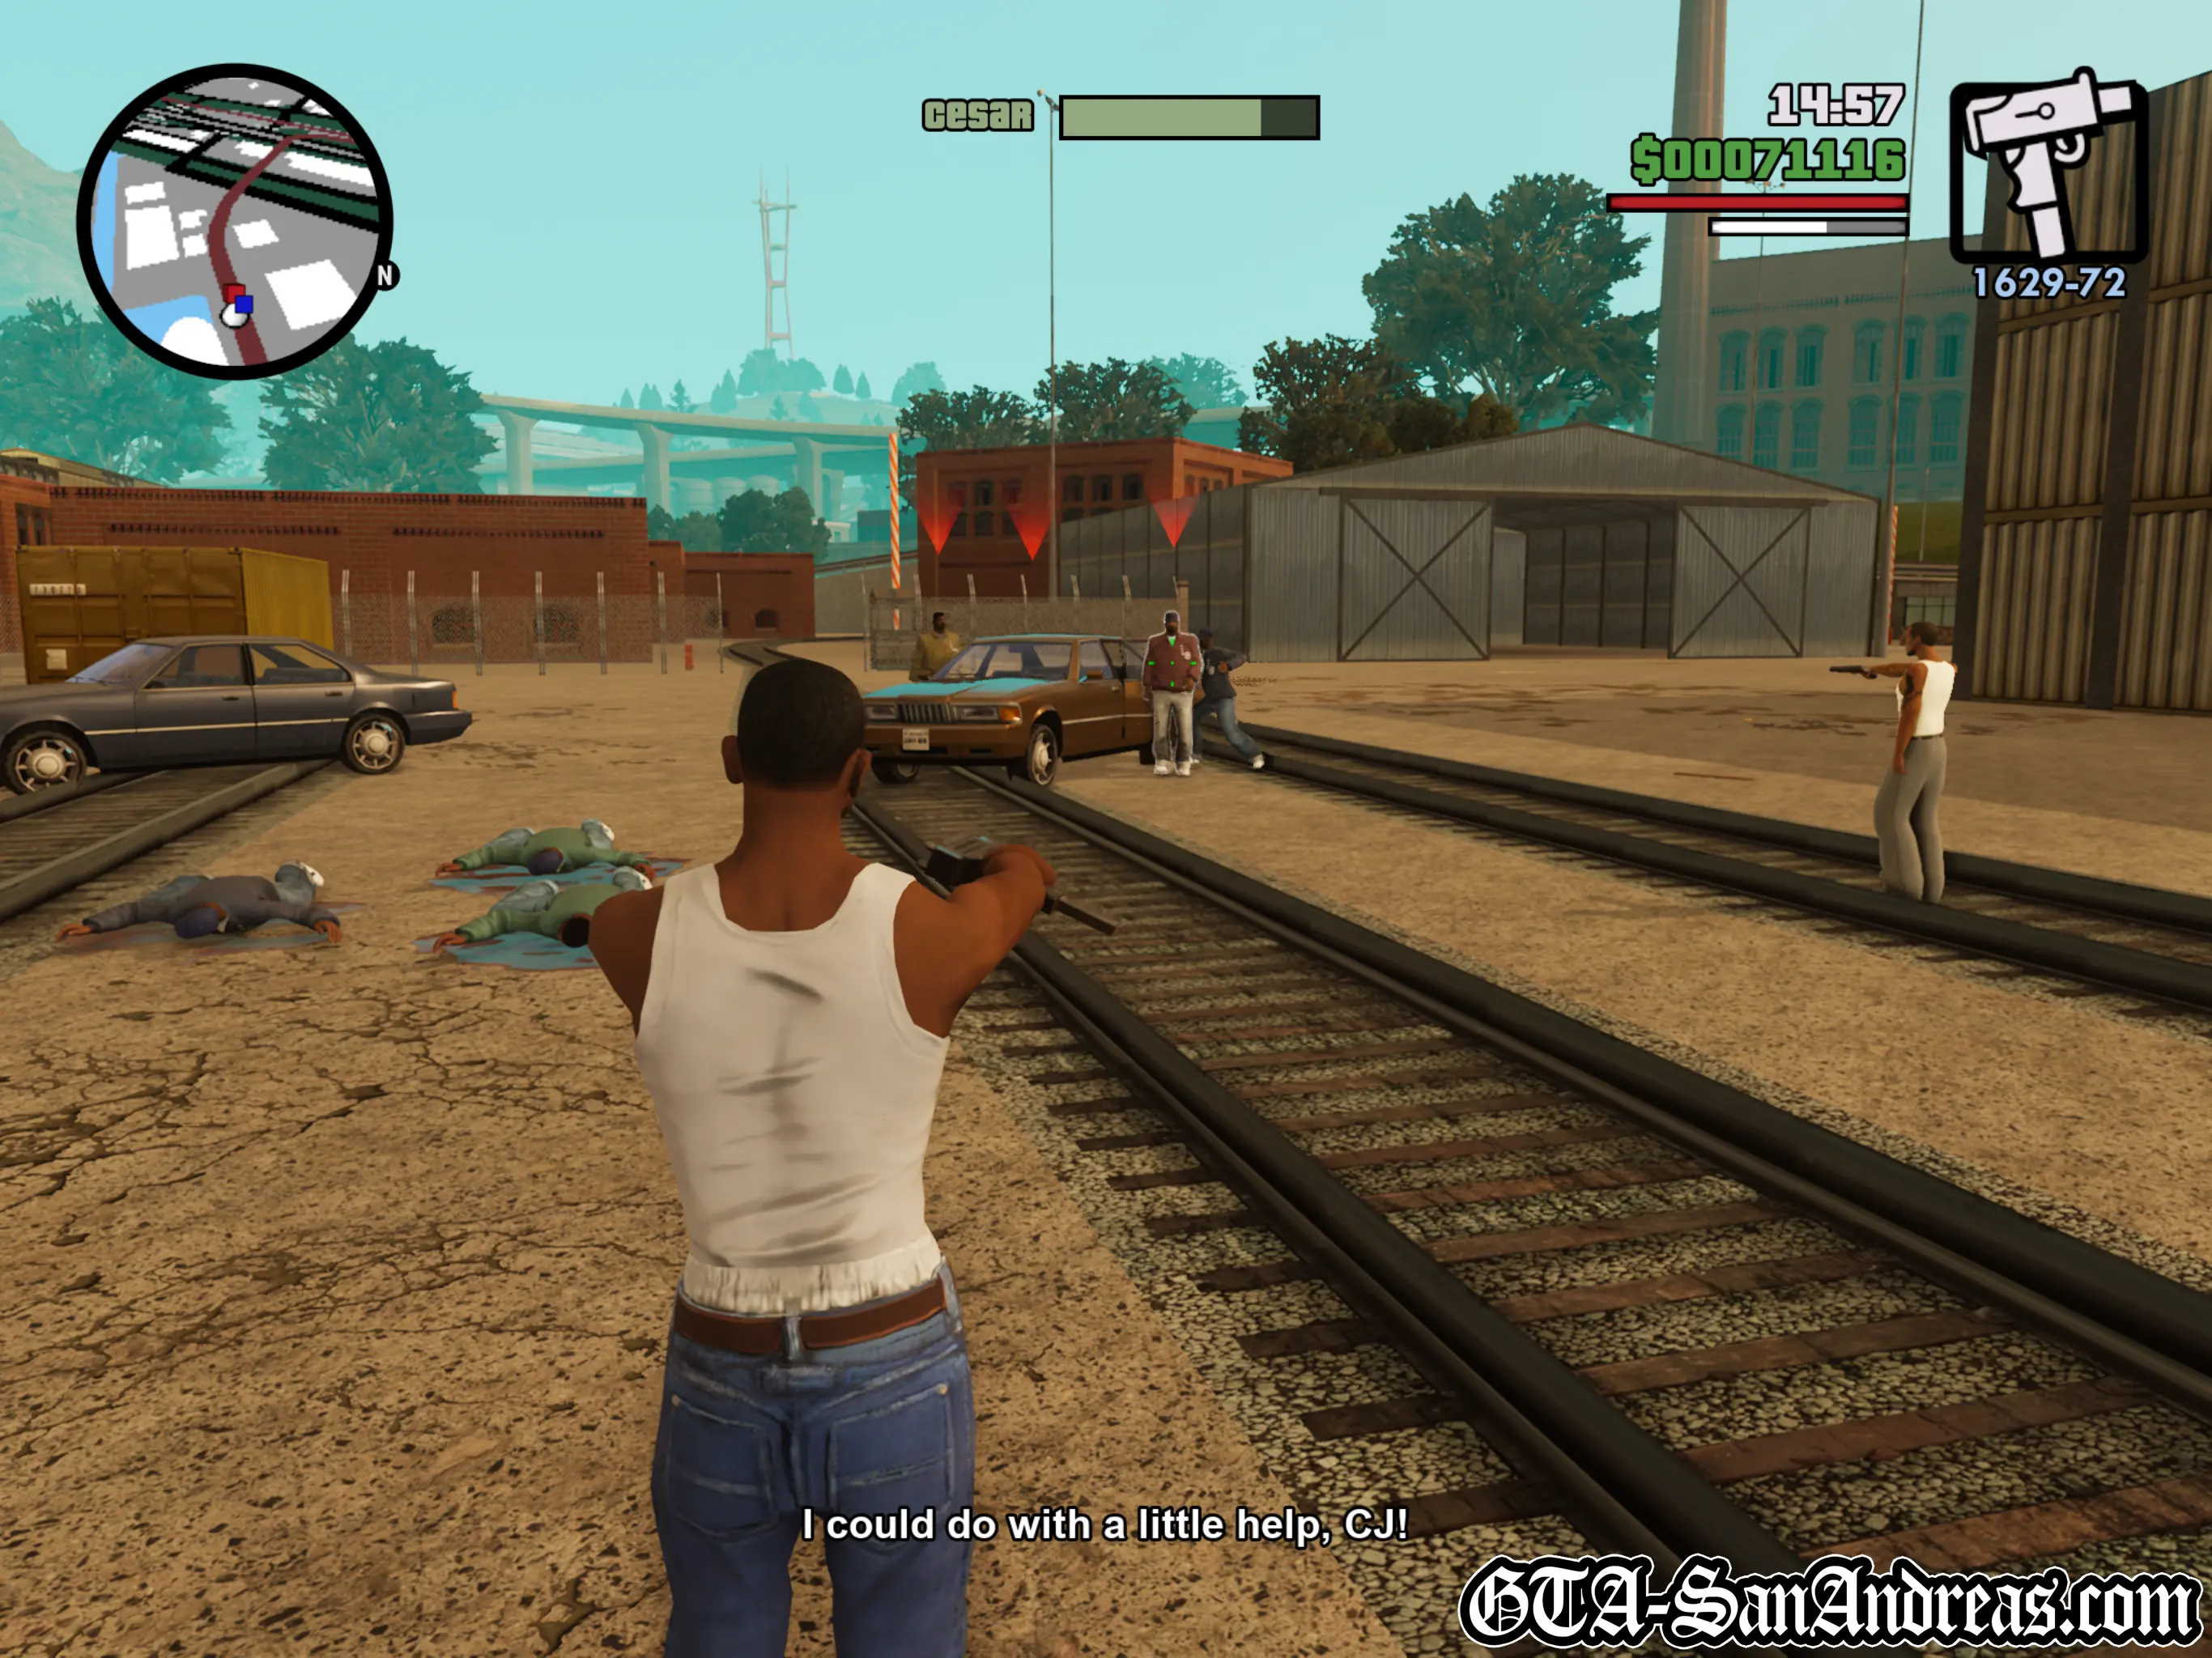
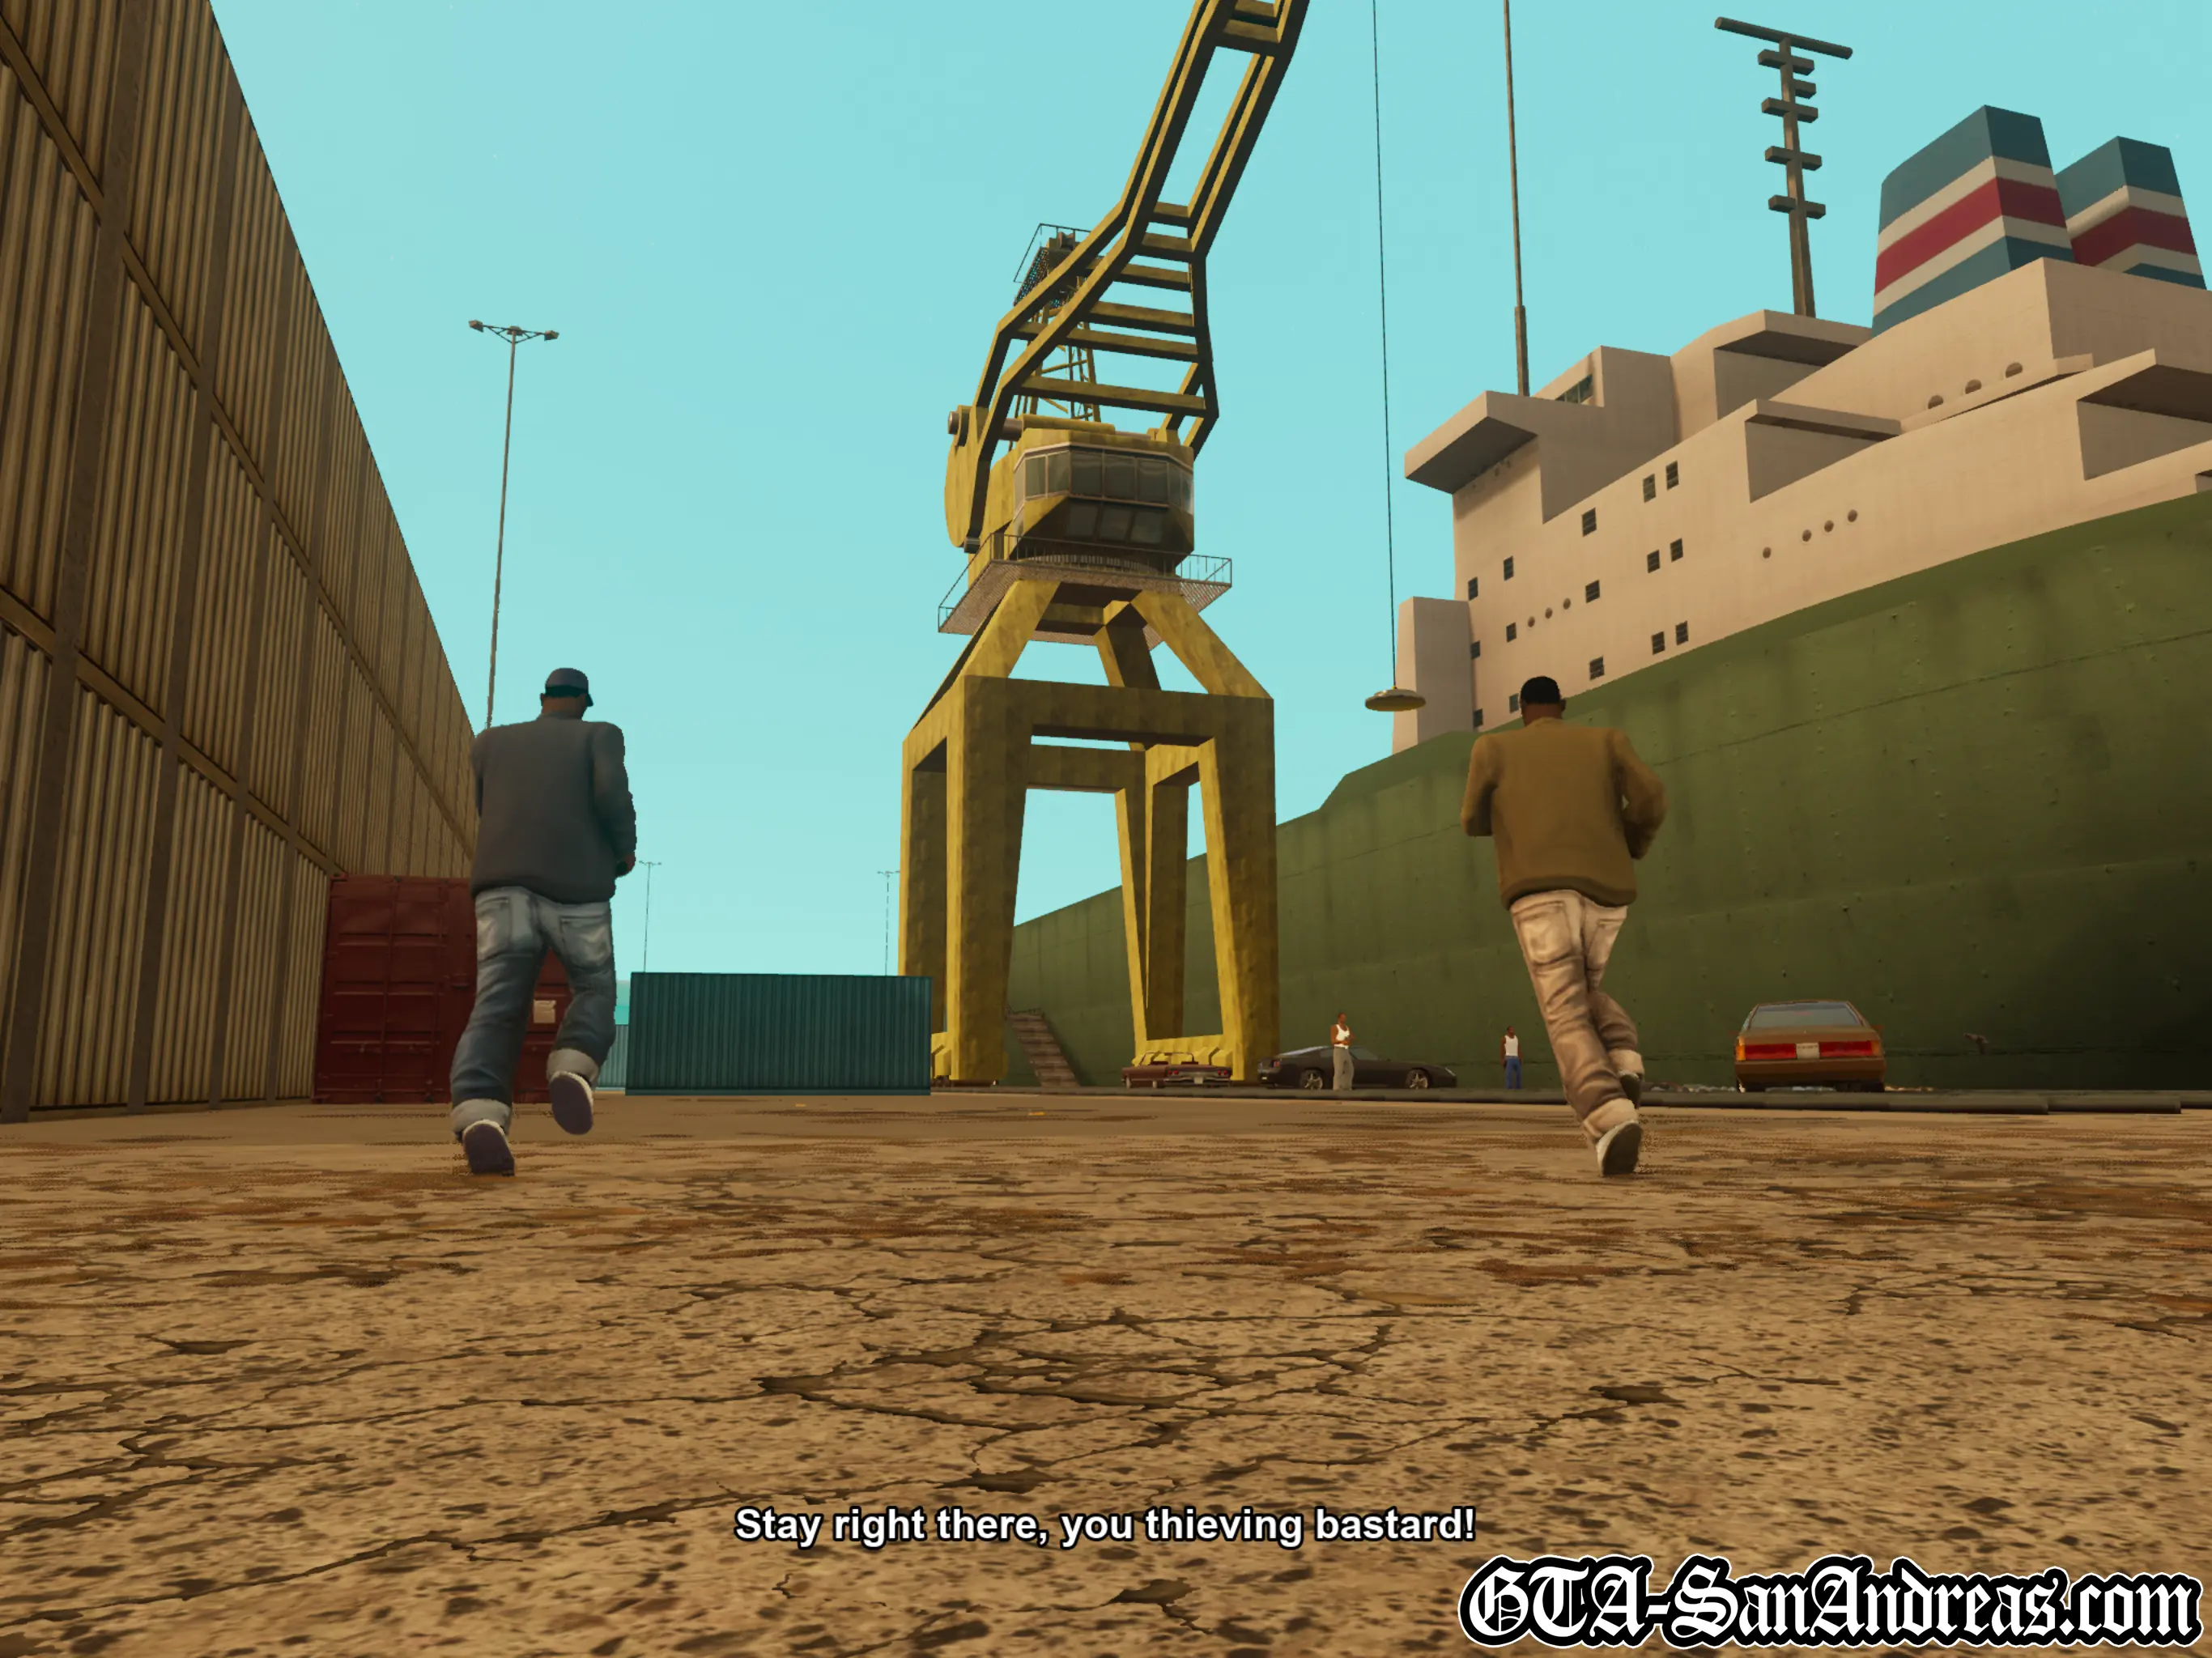
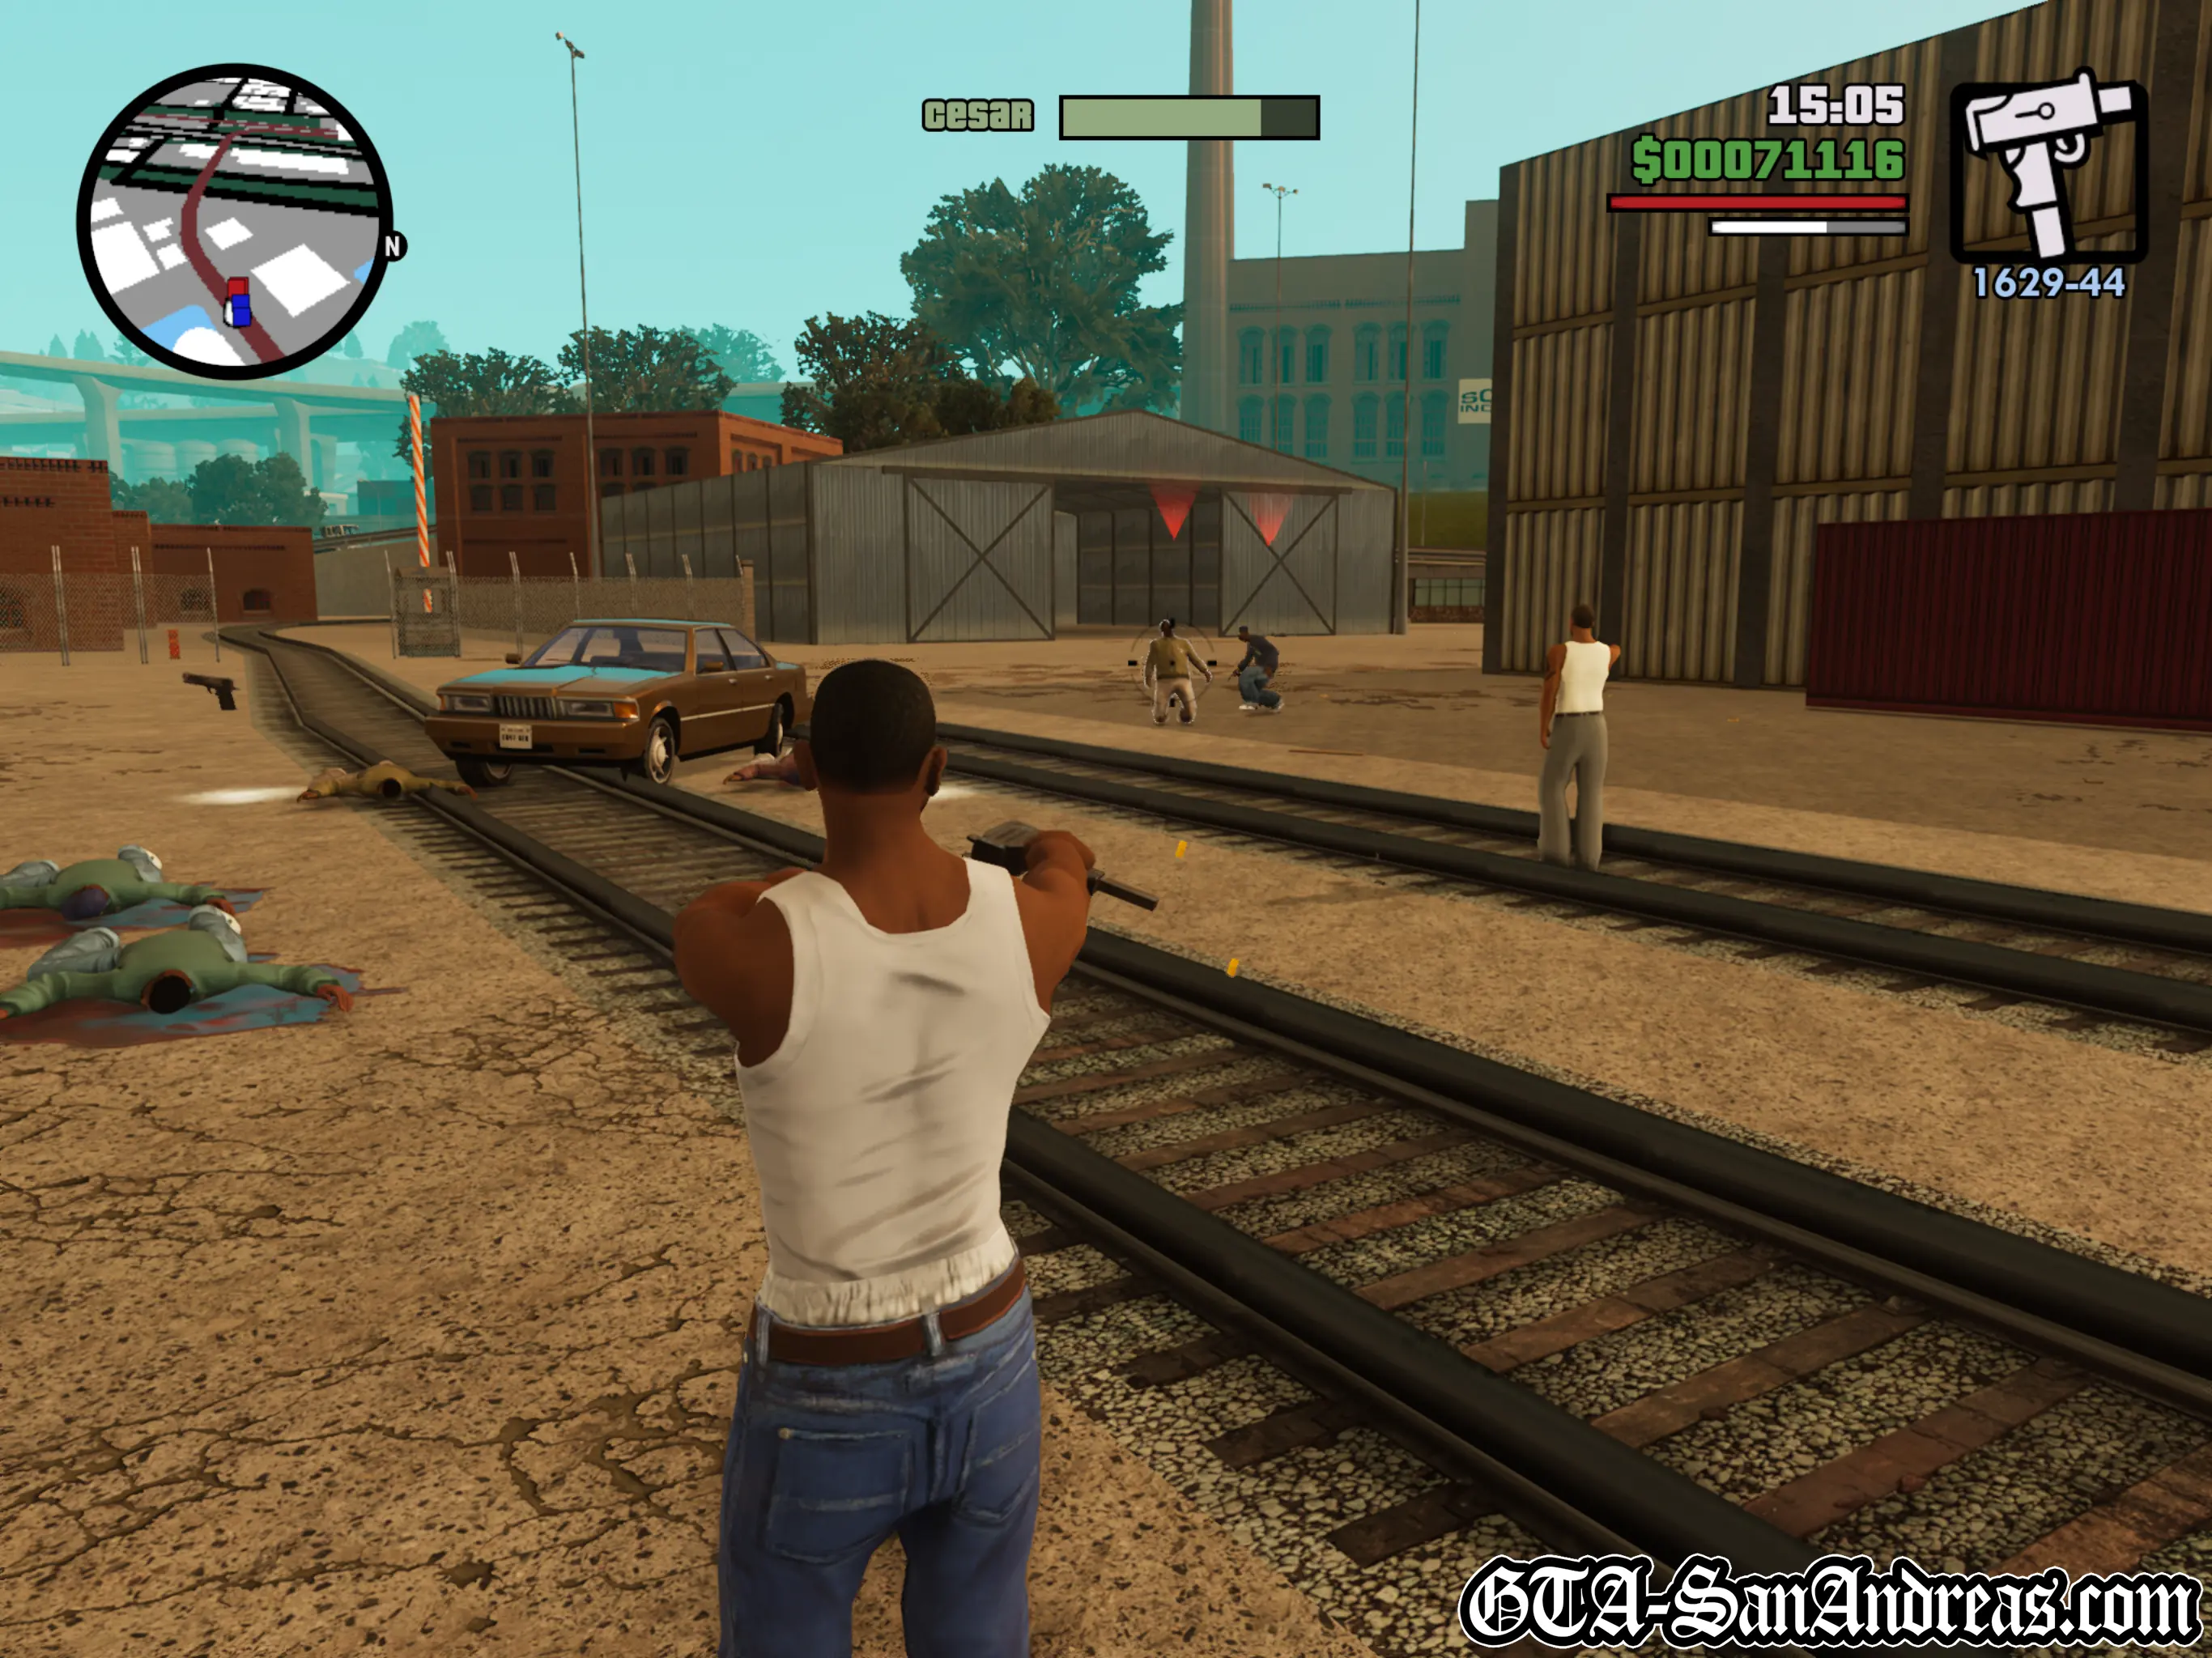
Pier 69

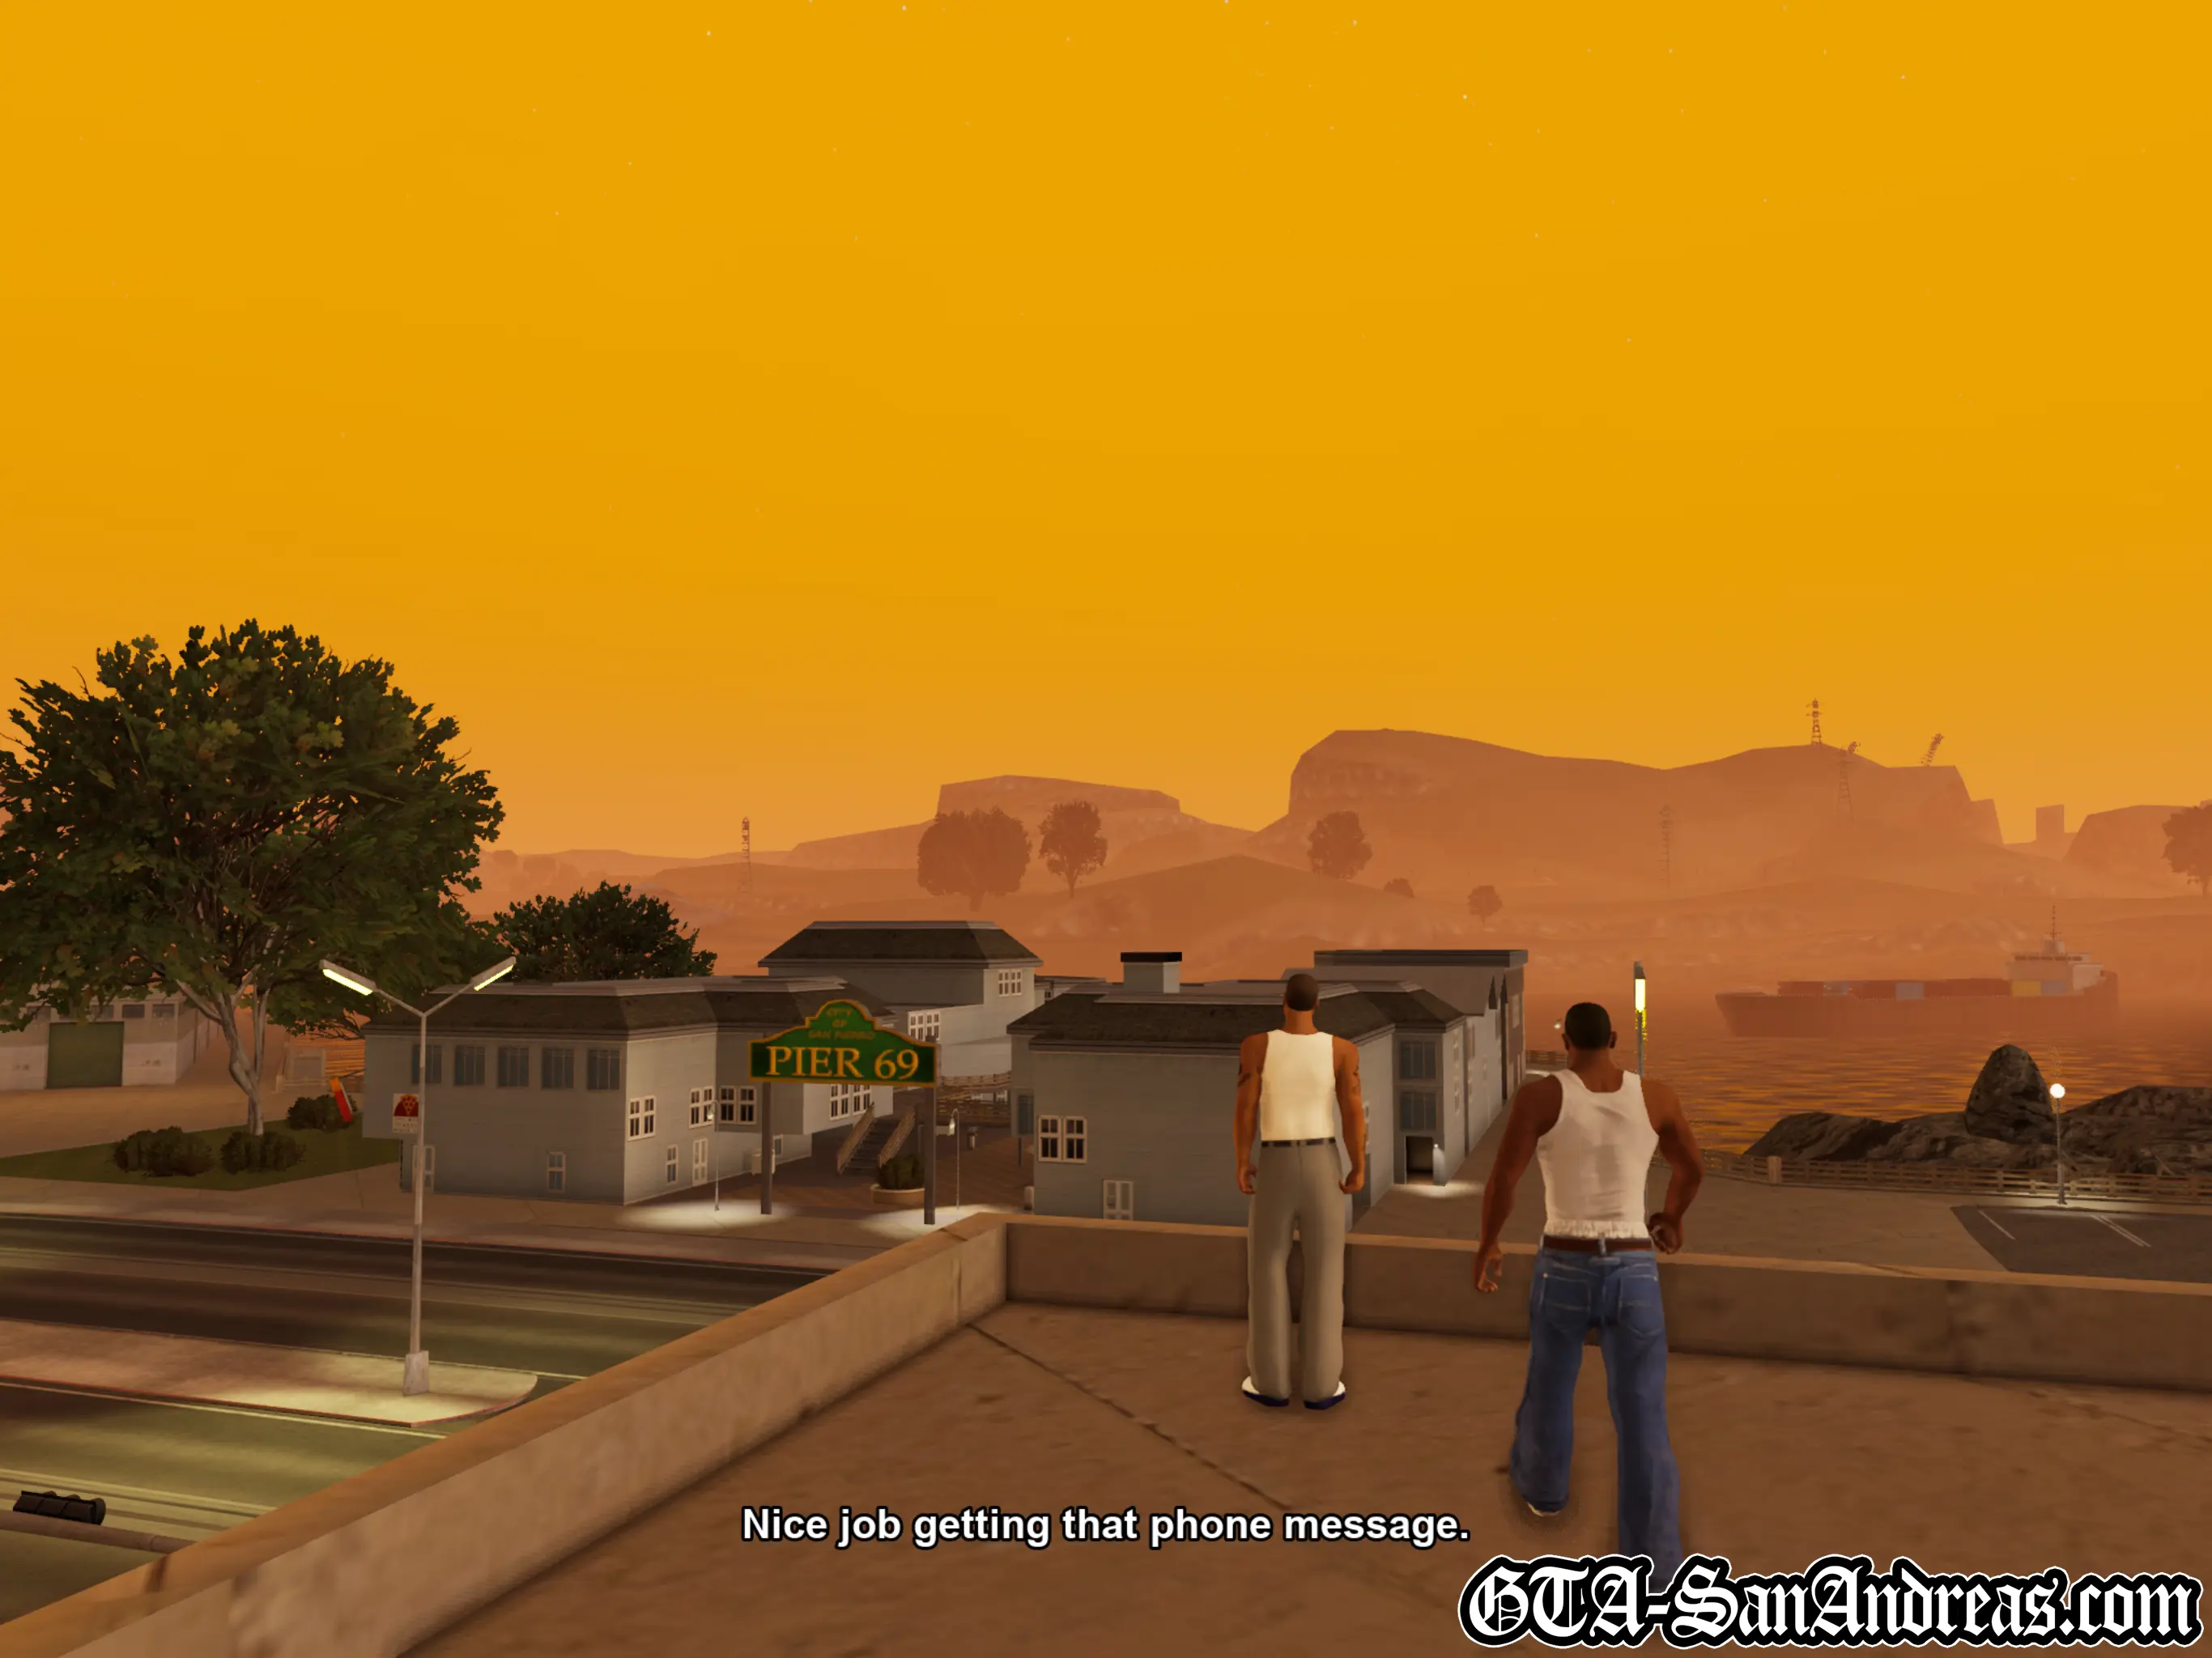
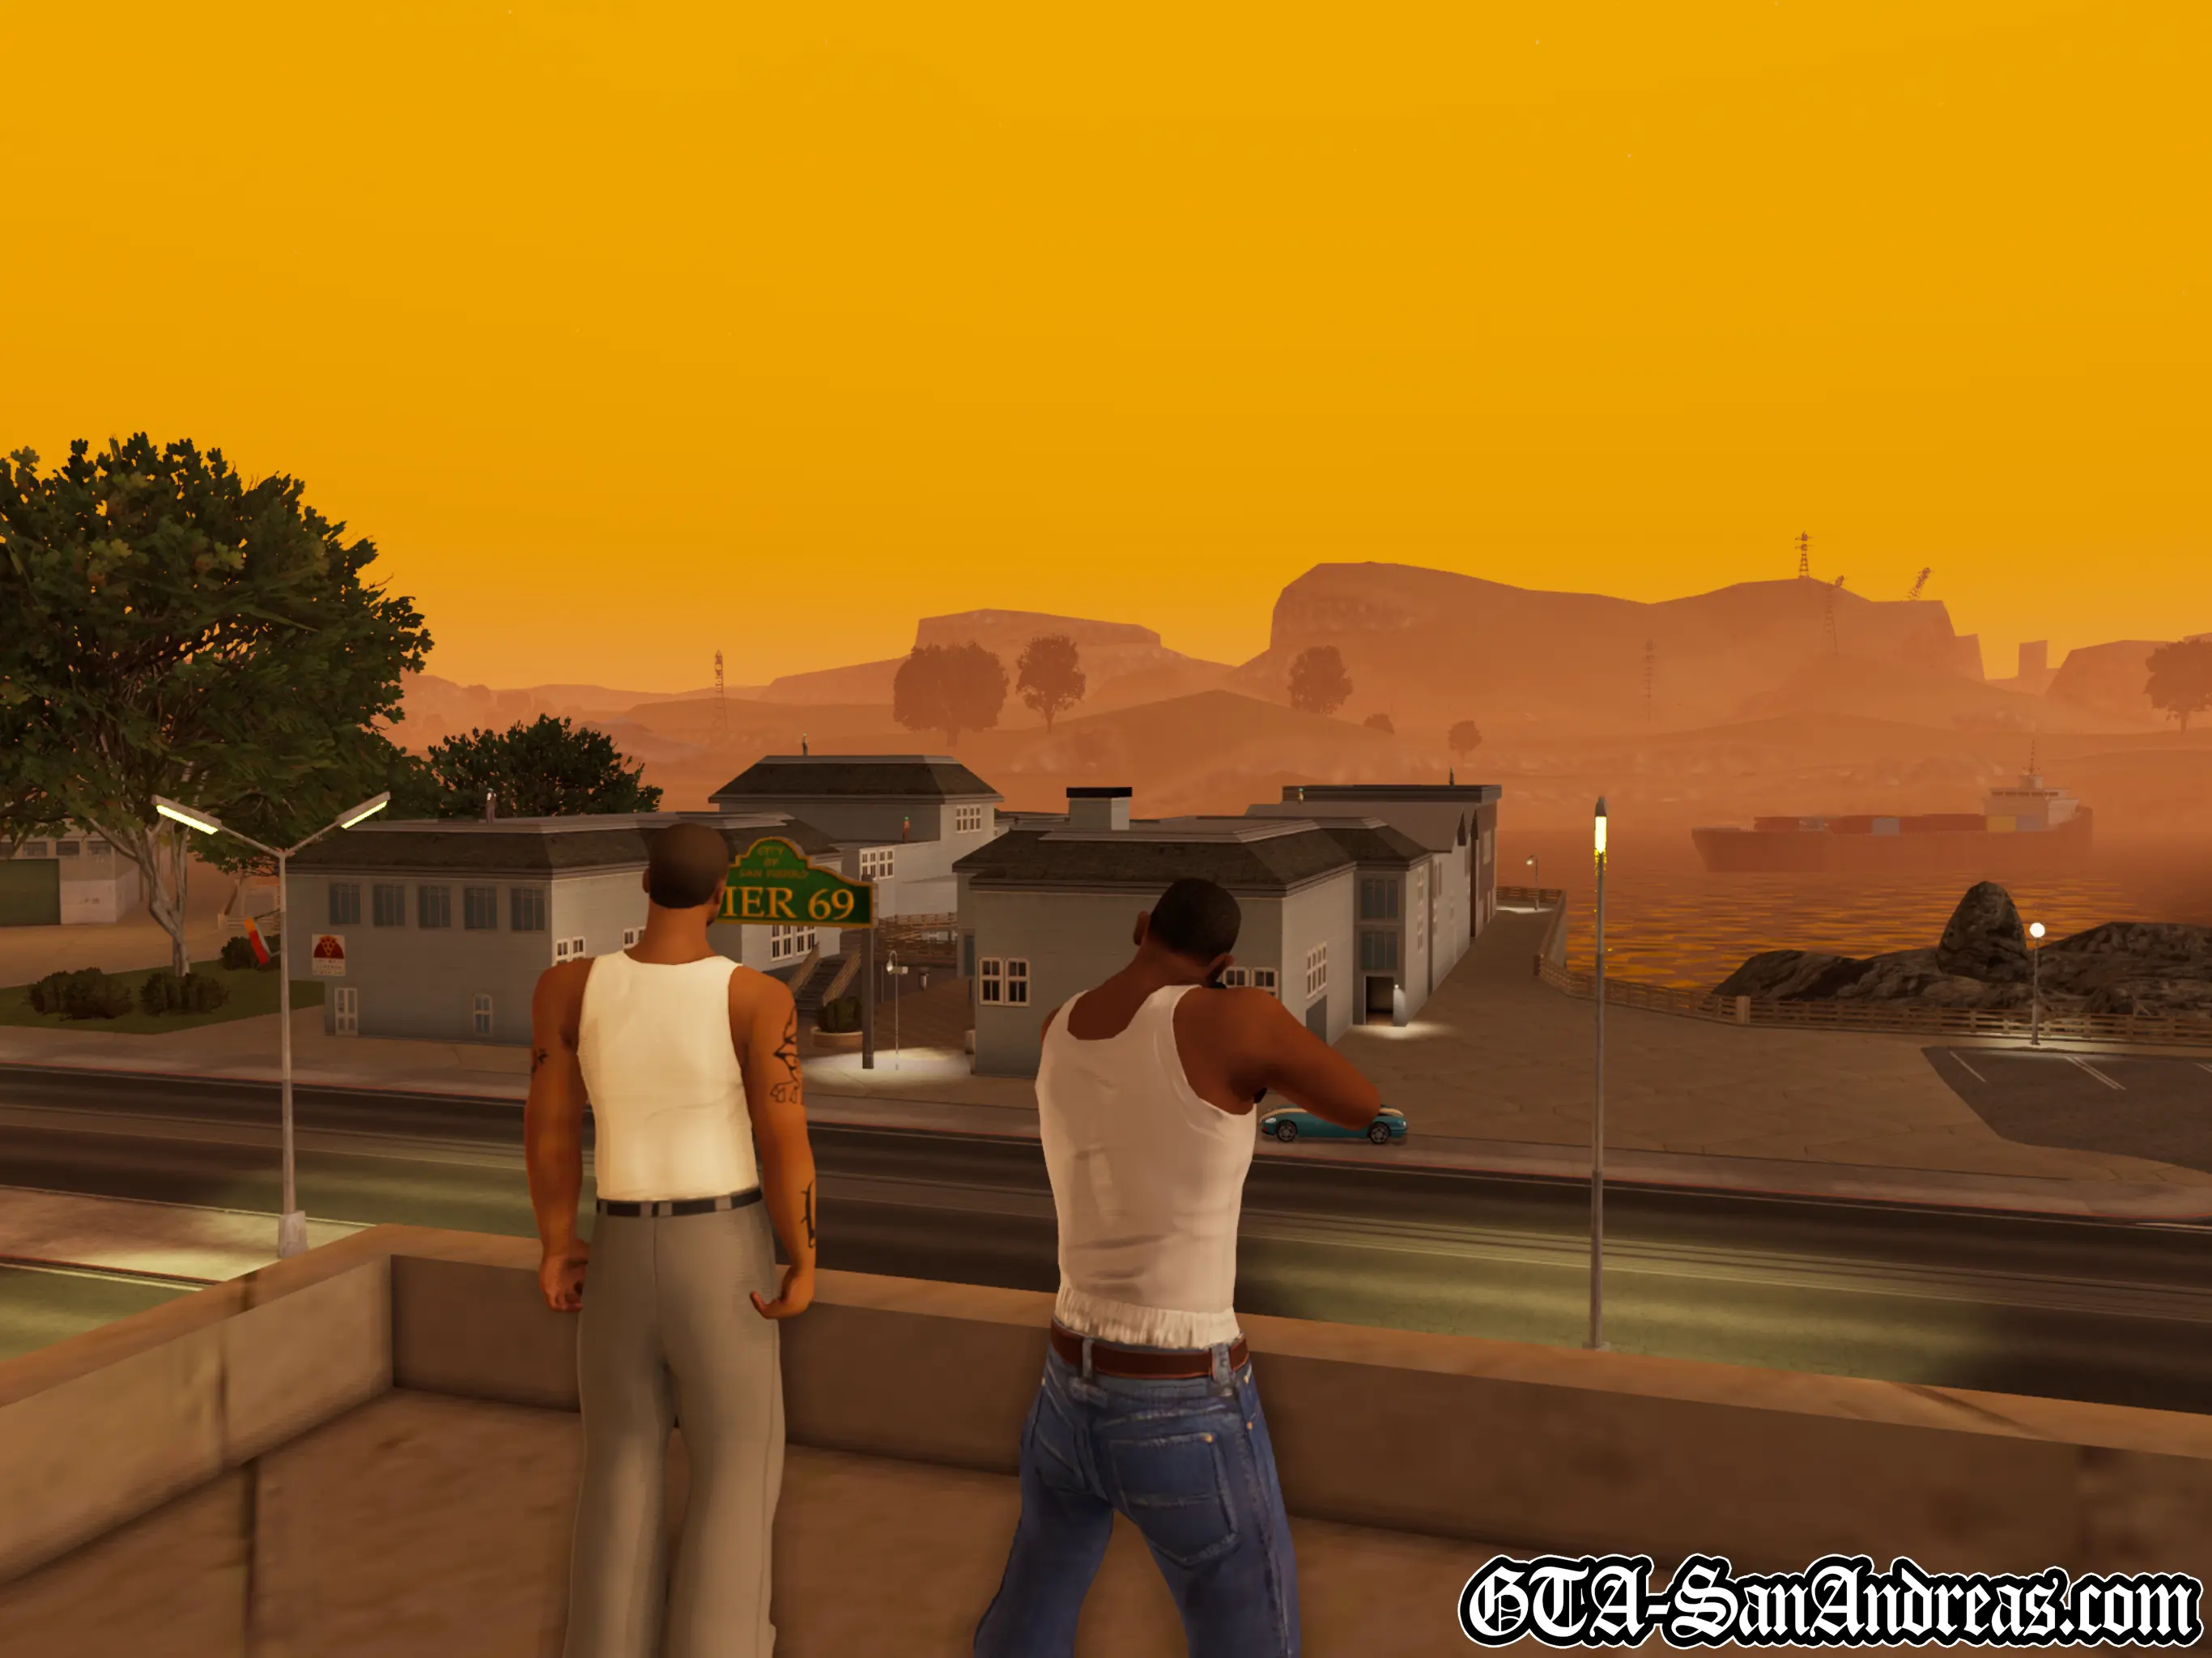
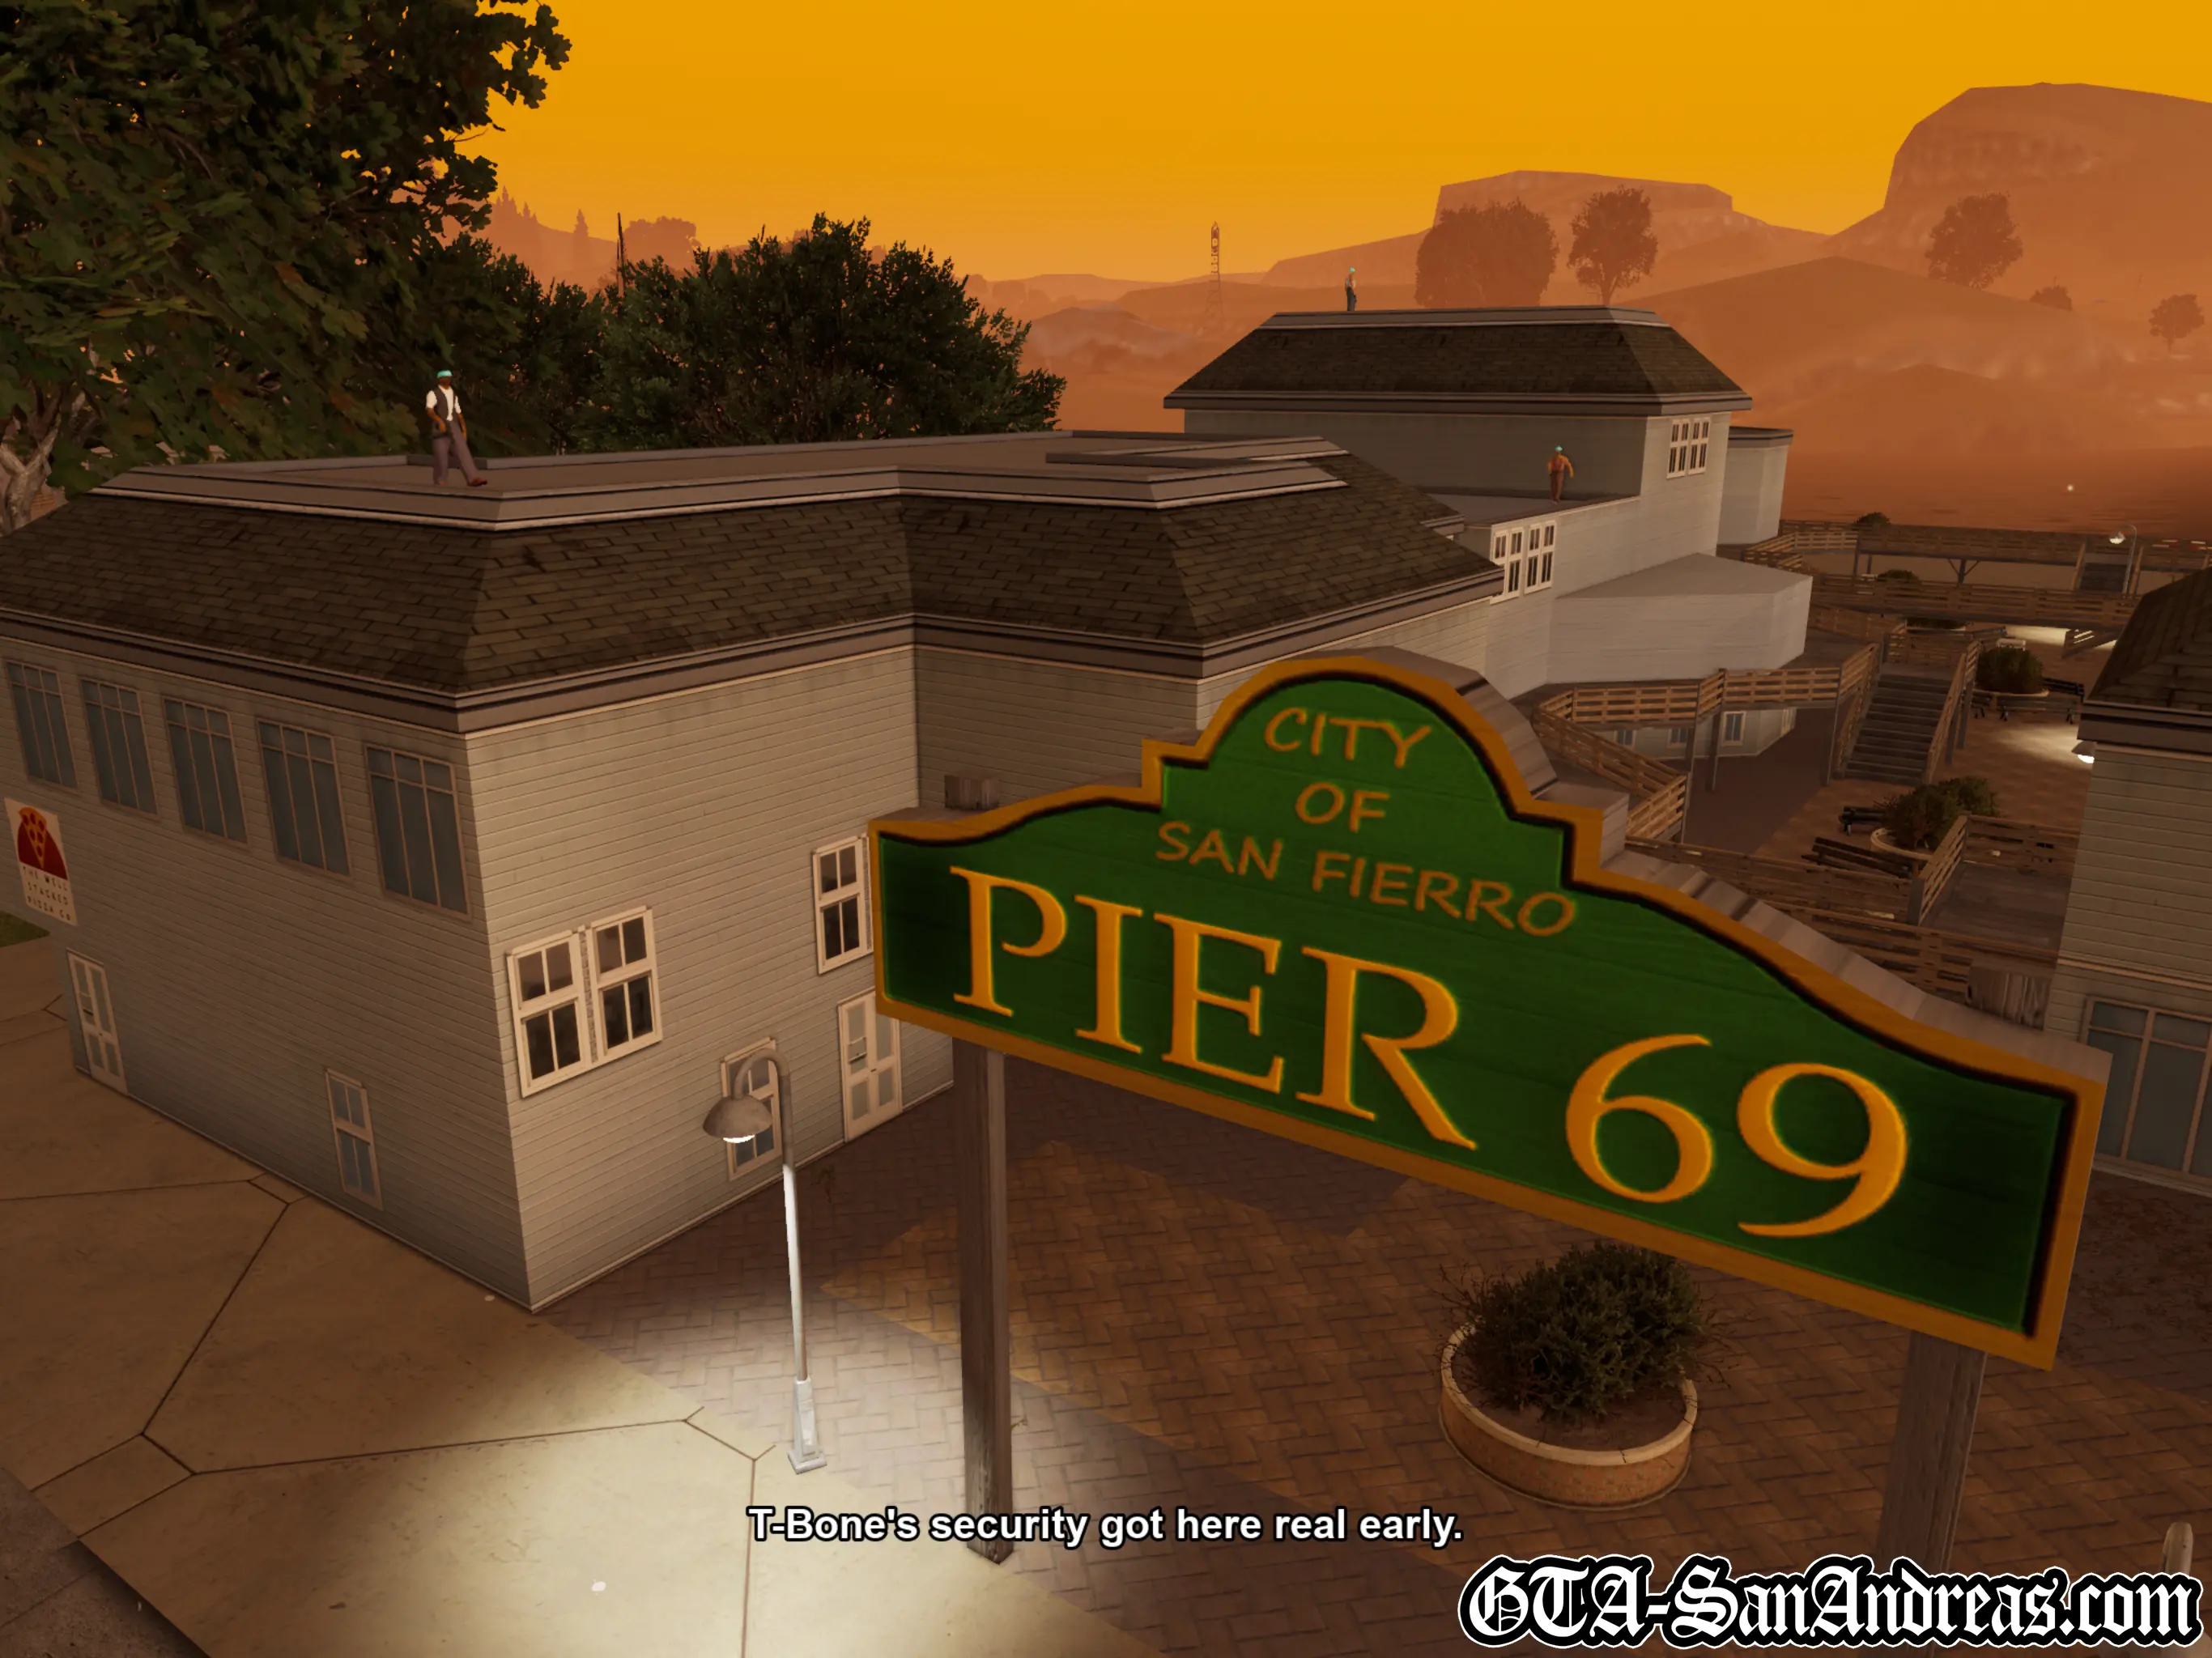
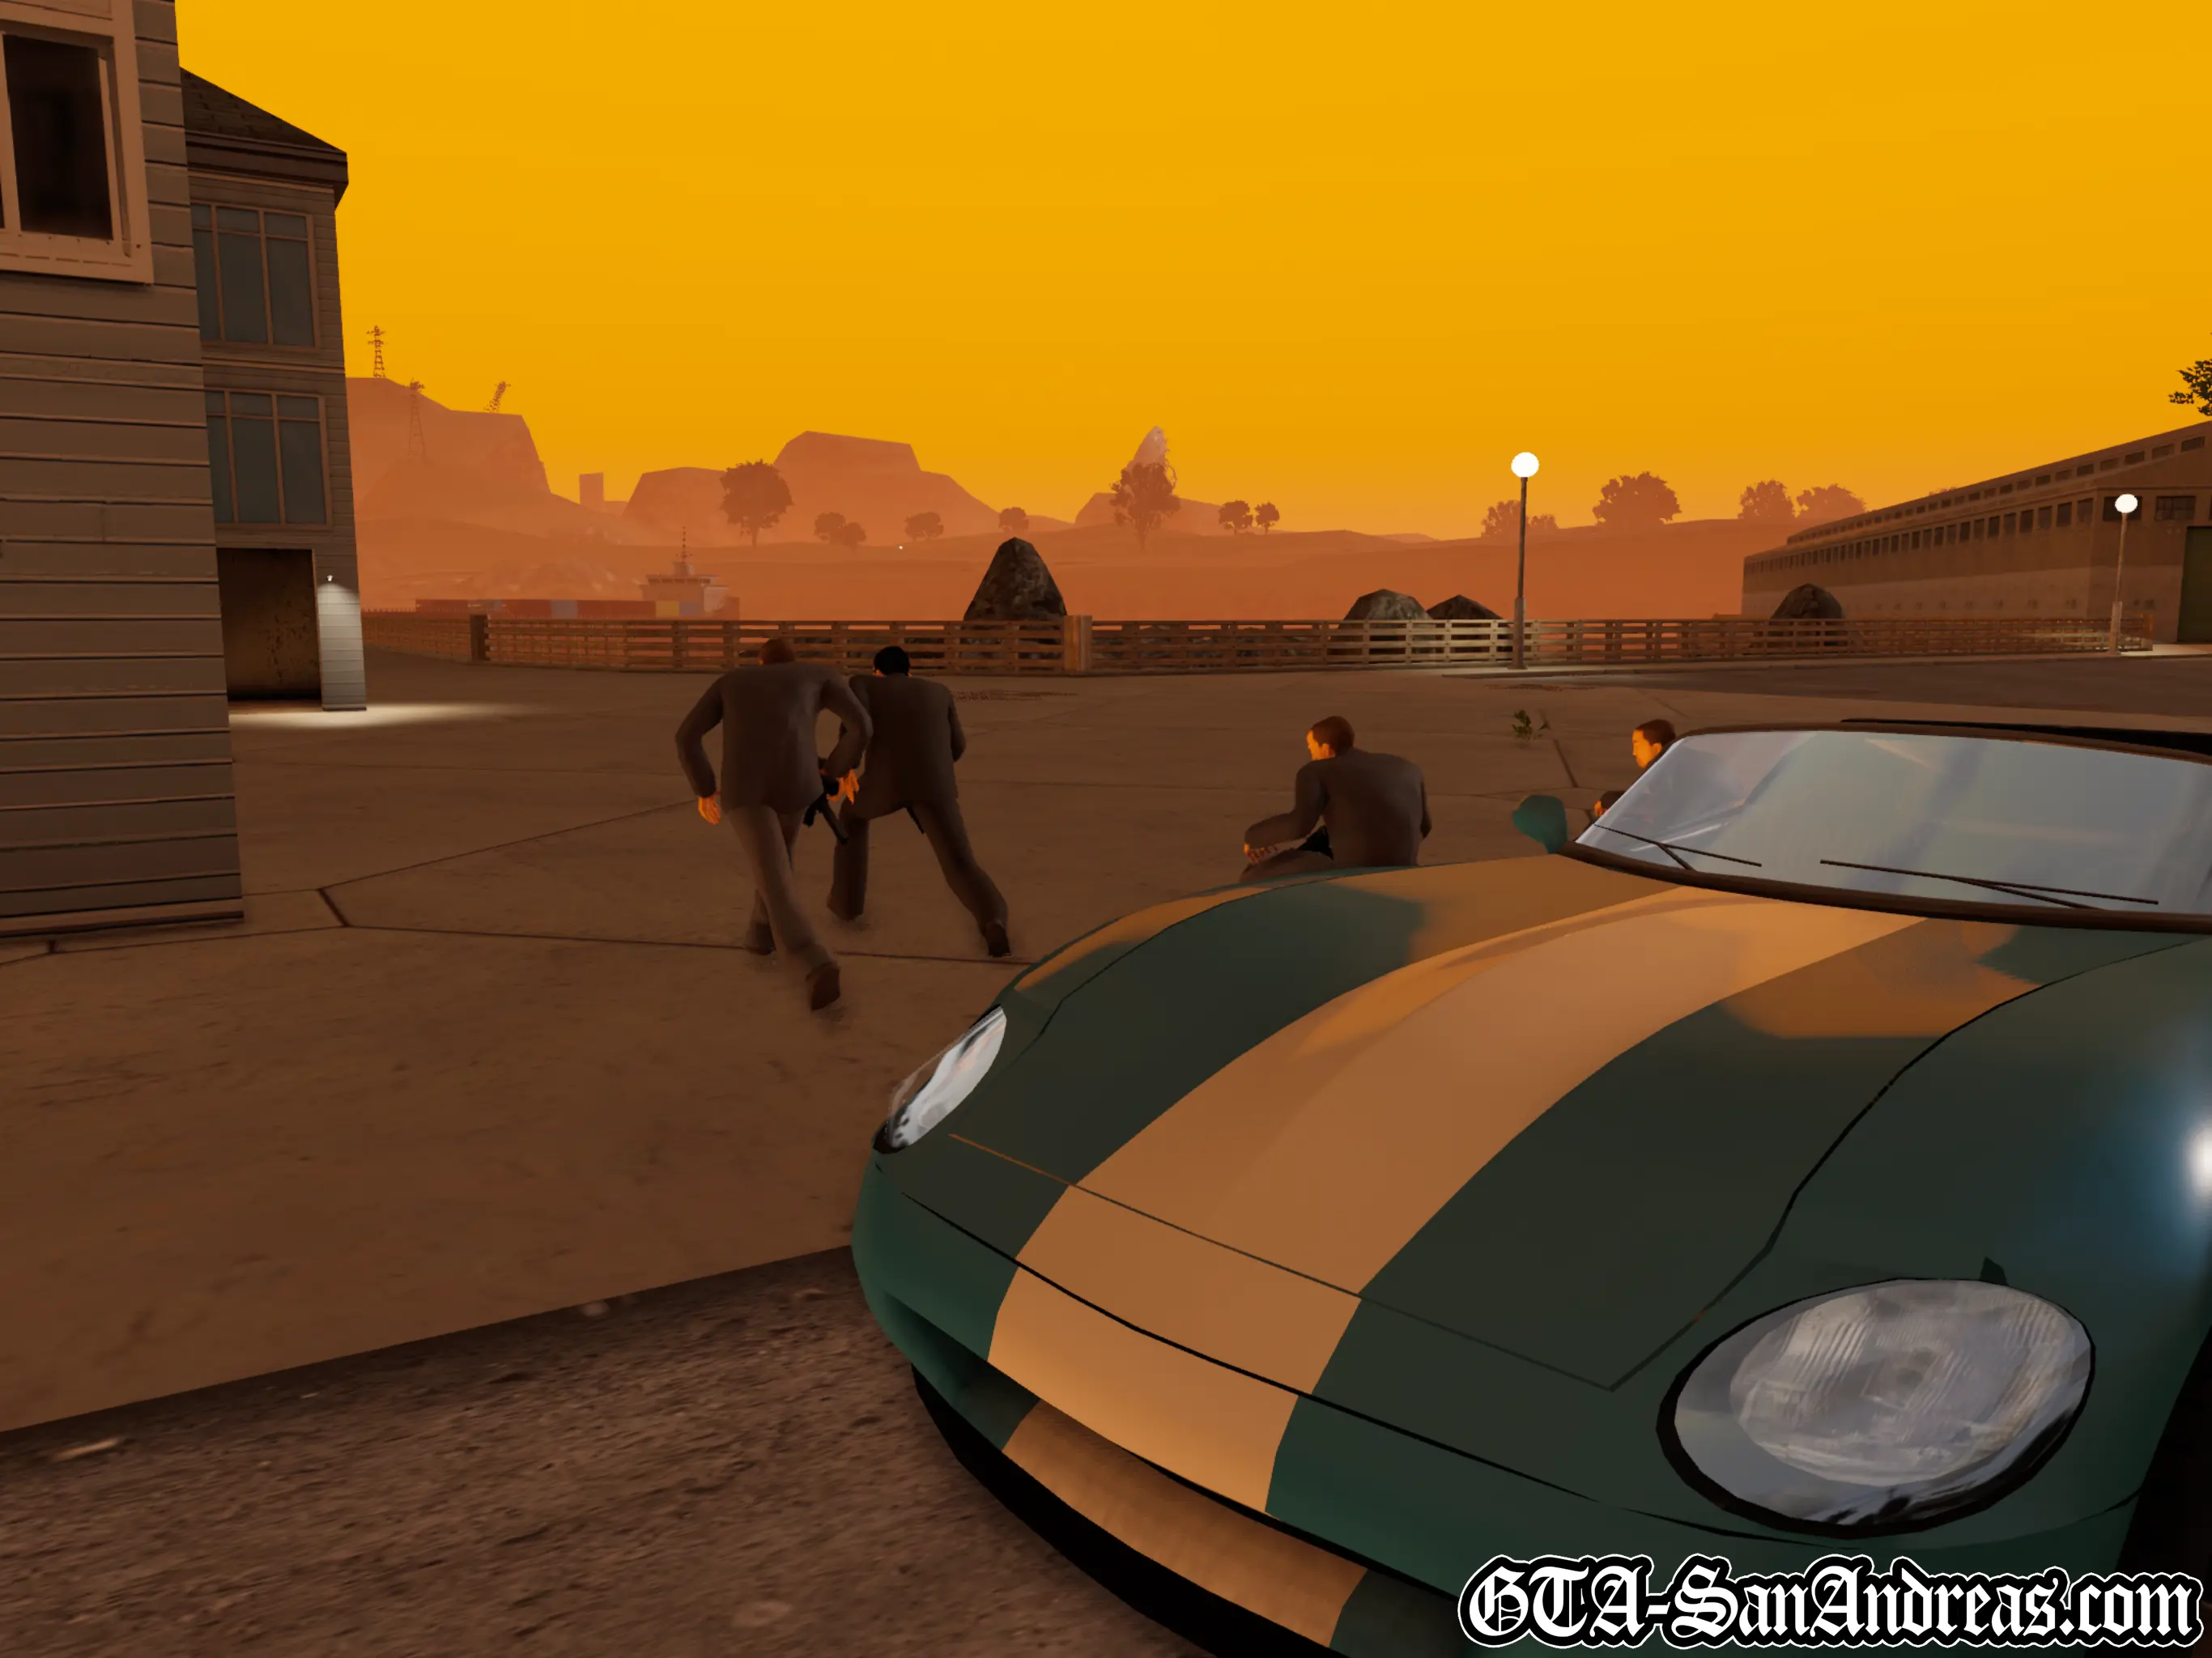
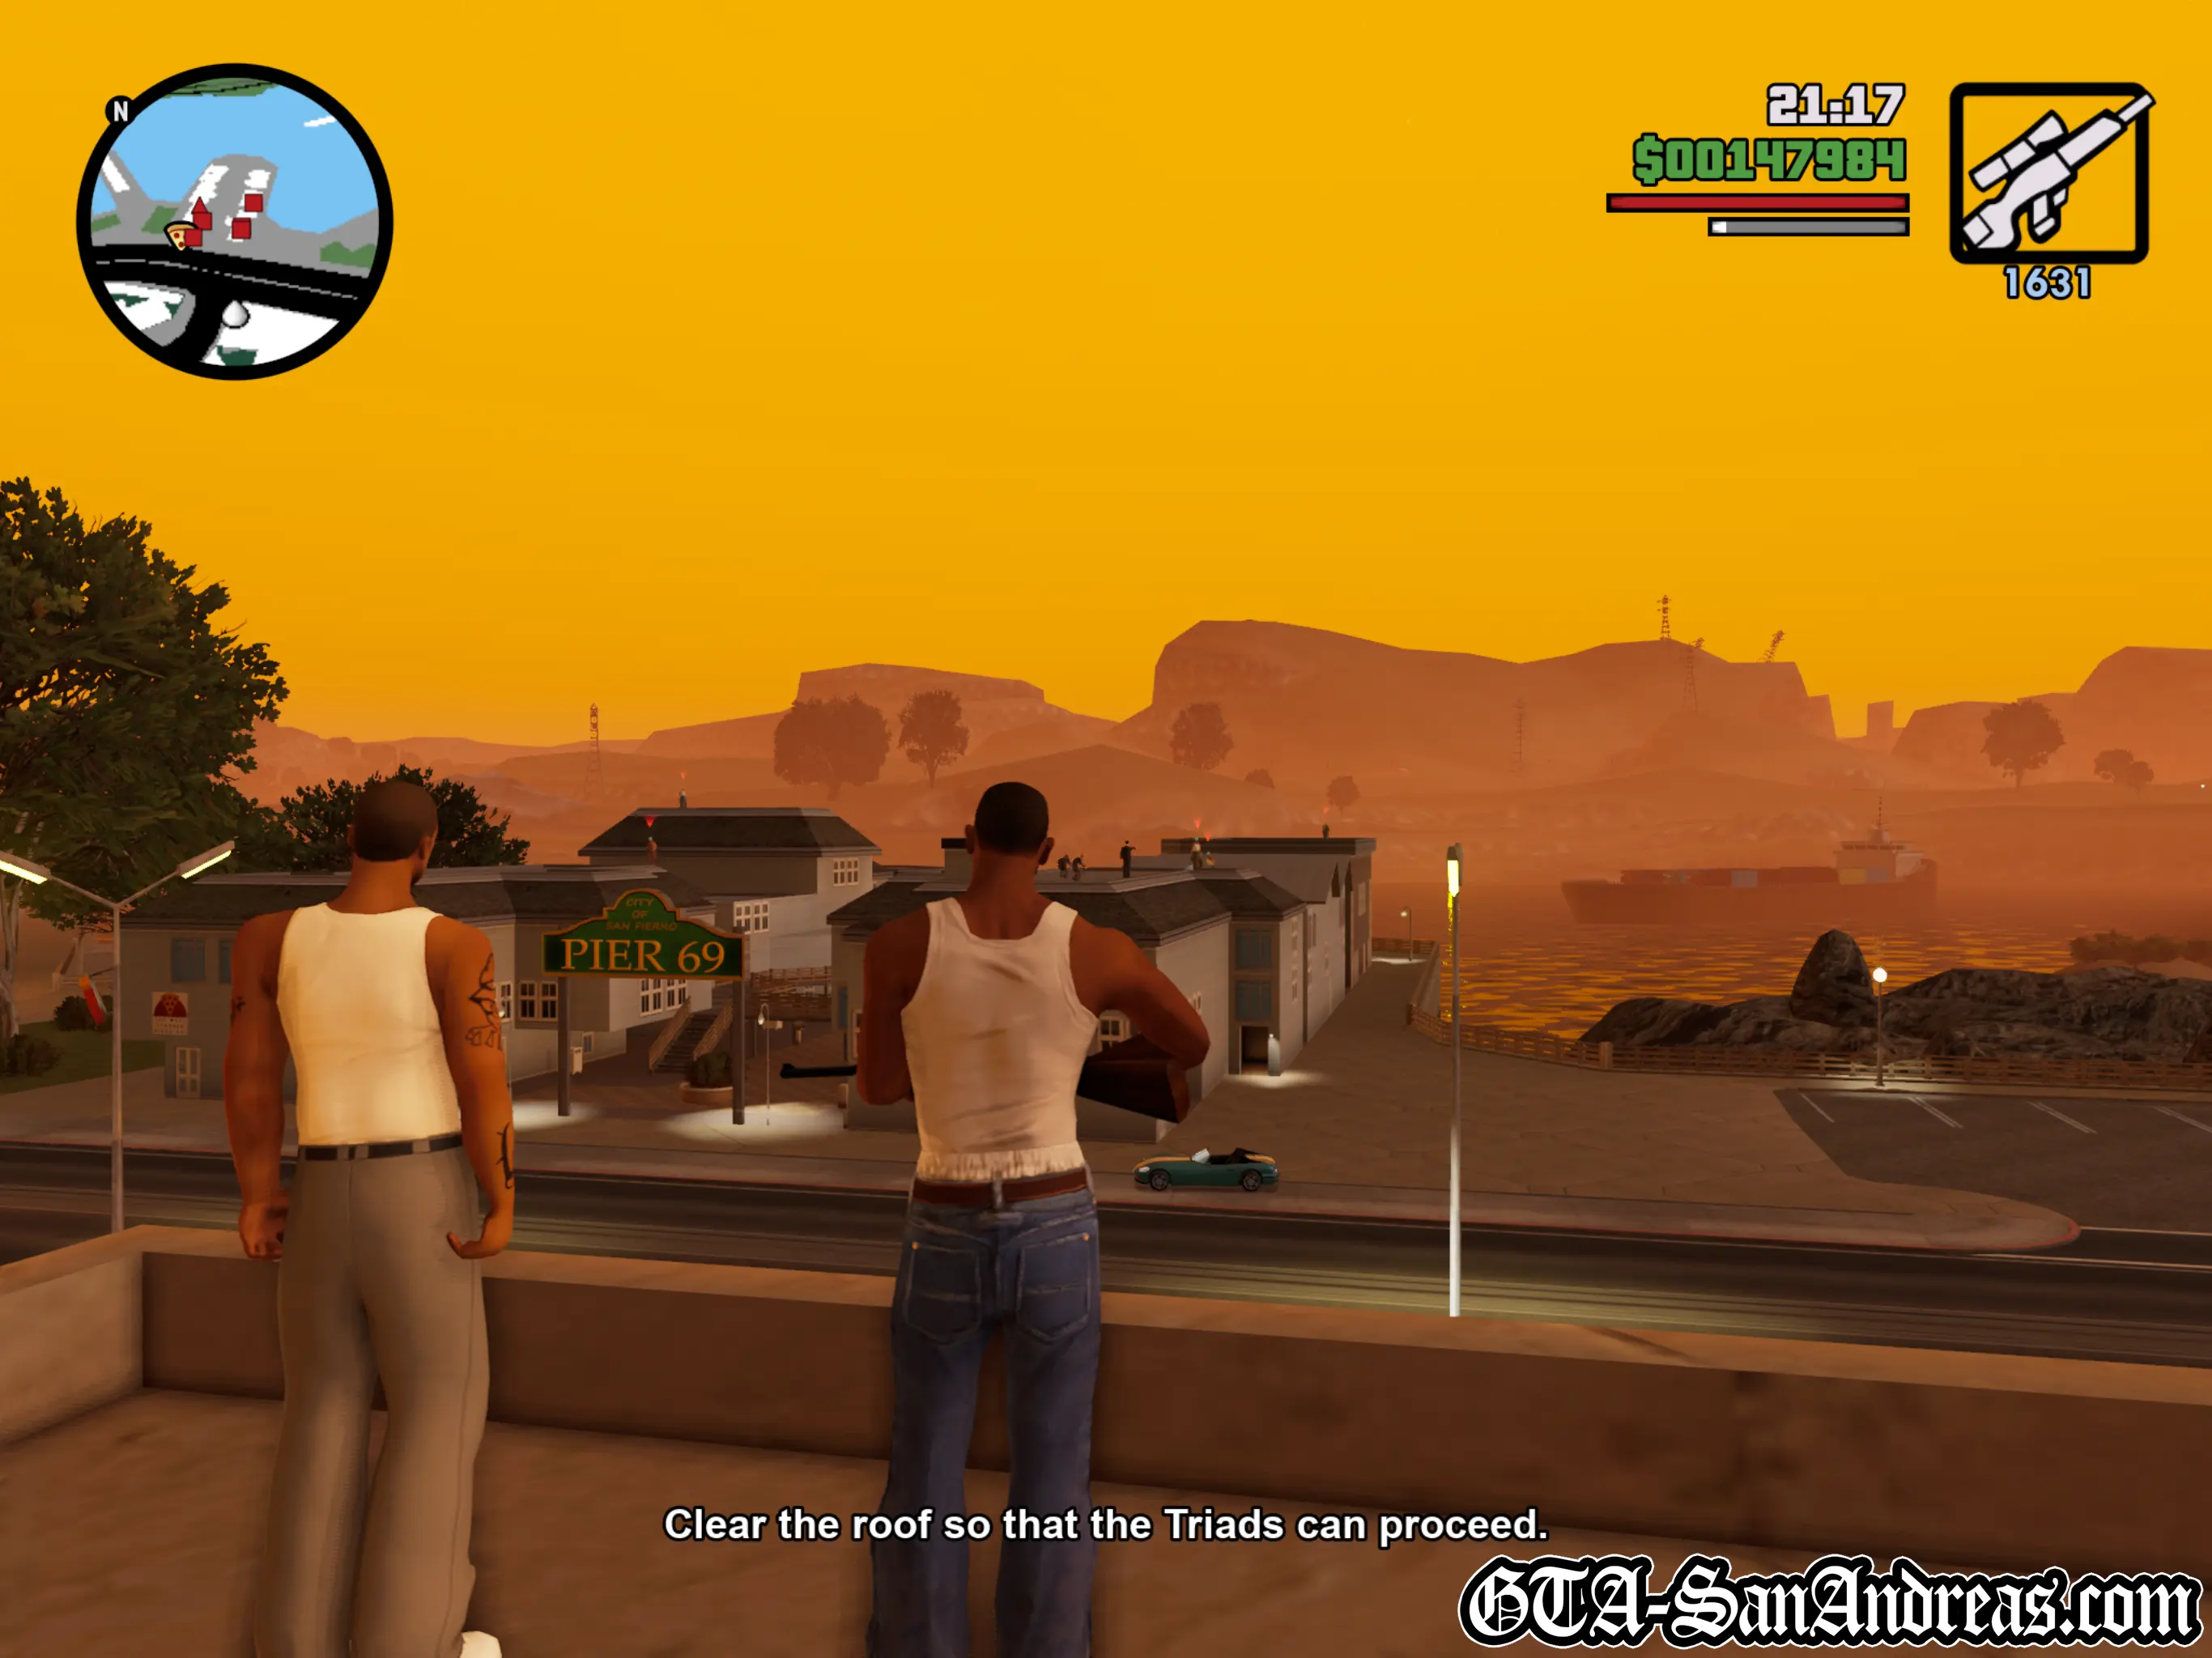
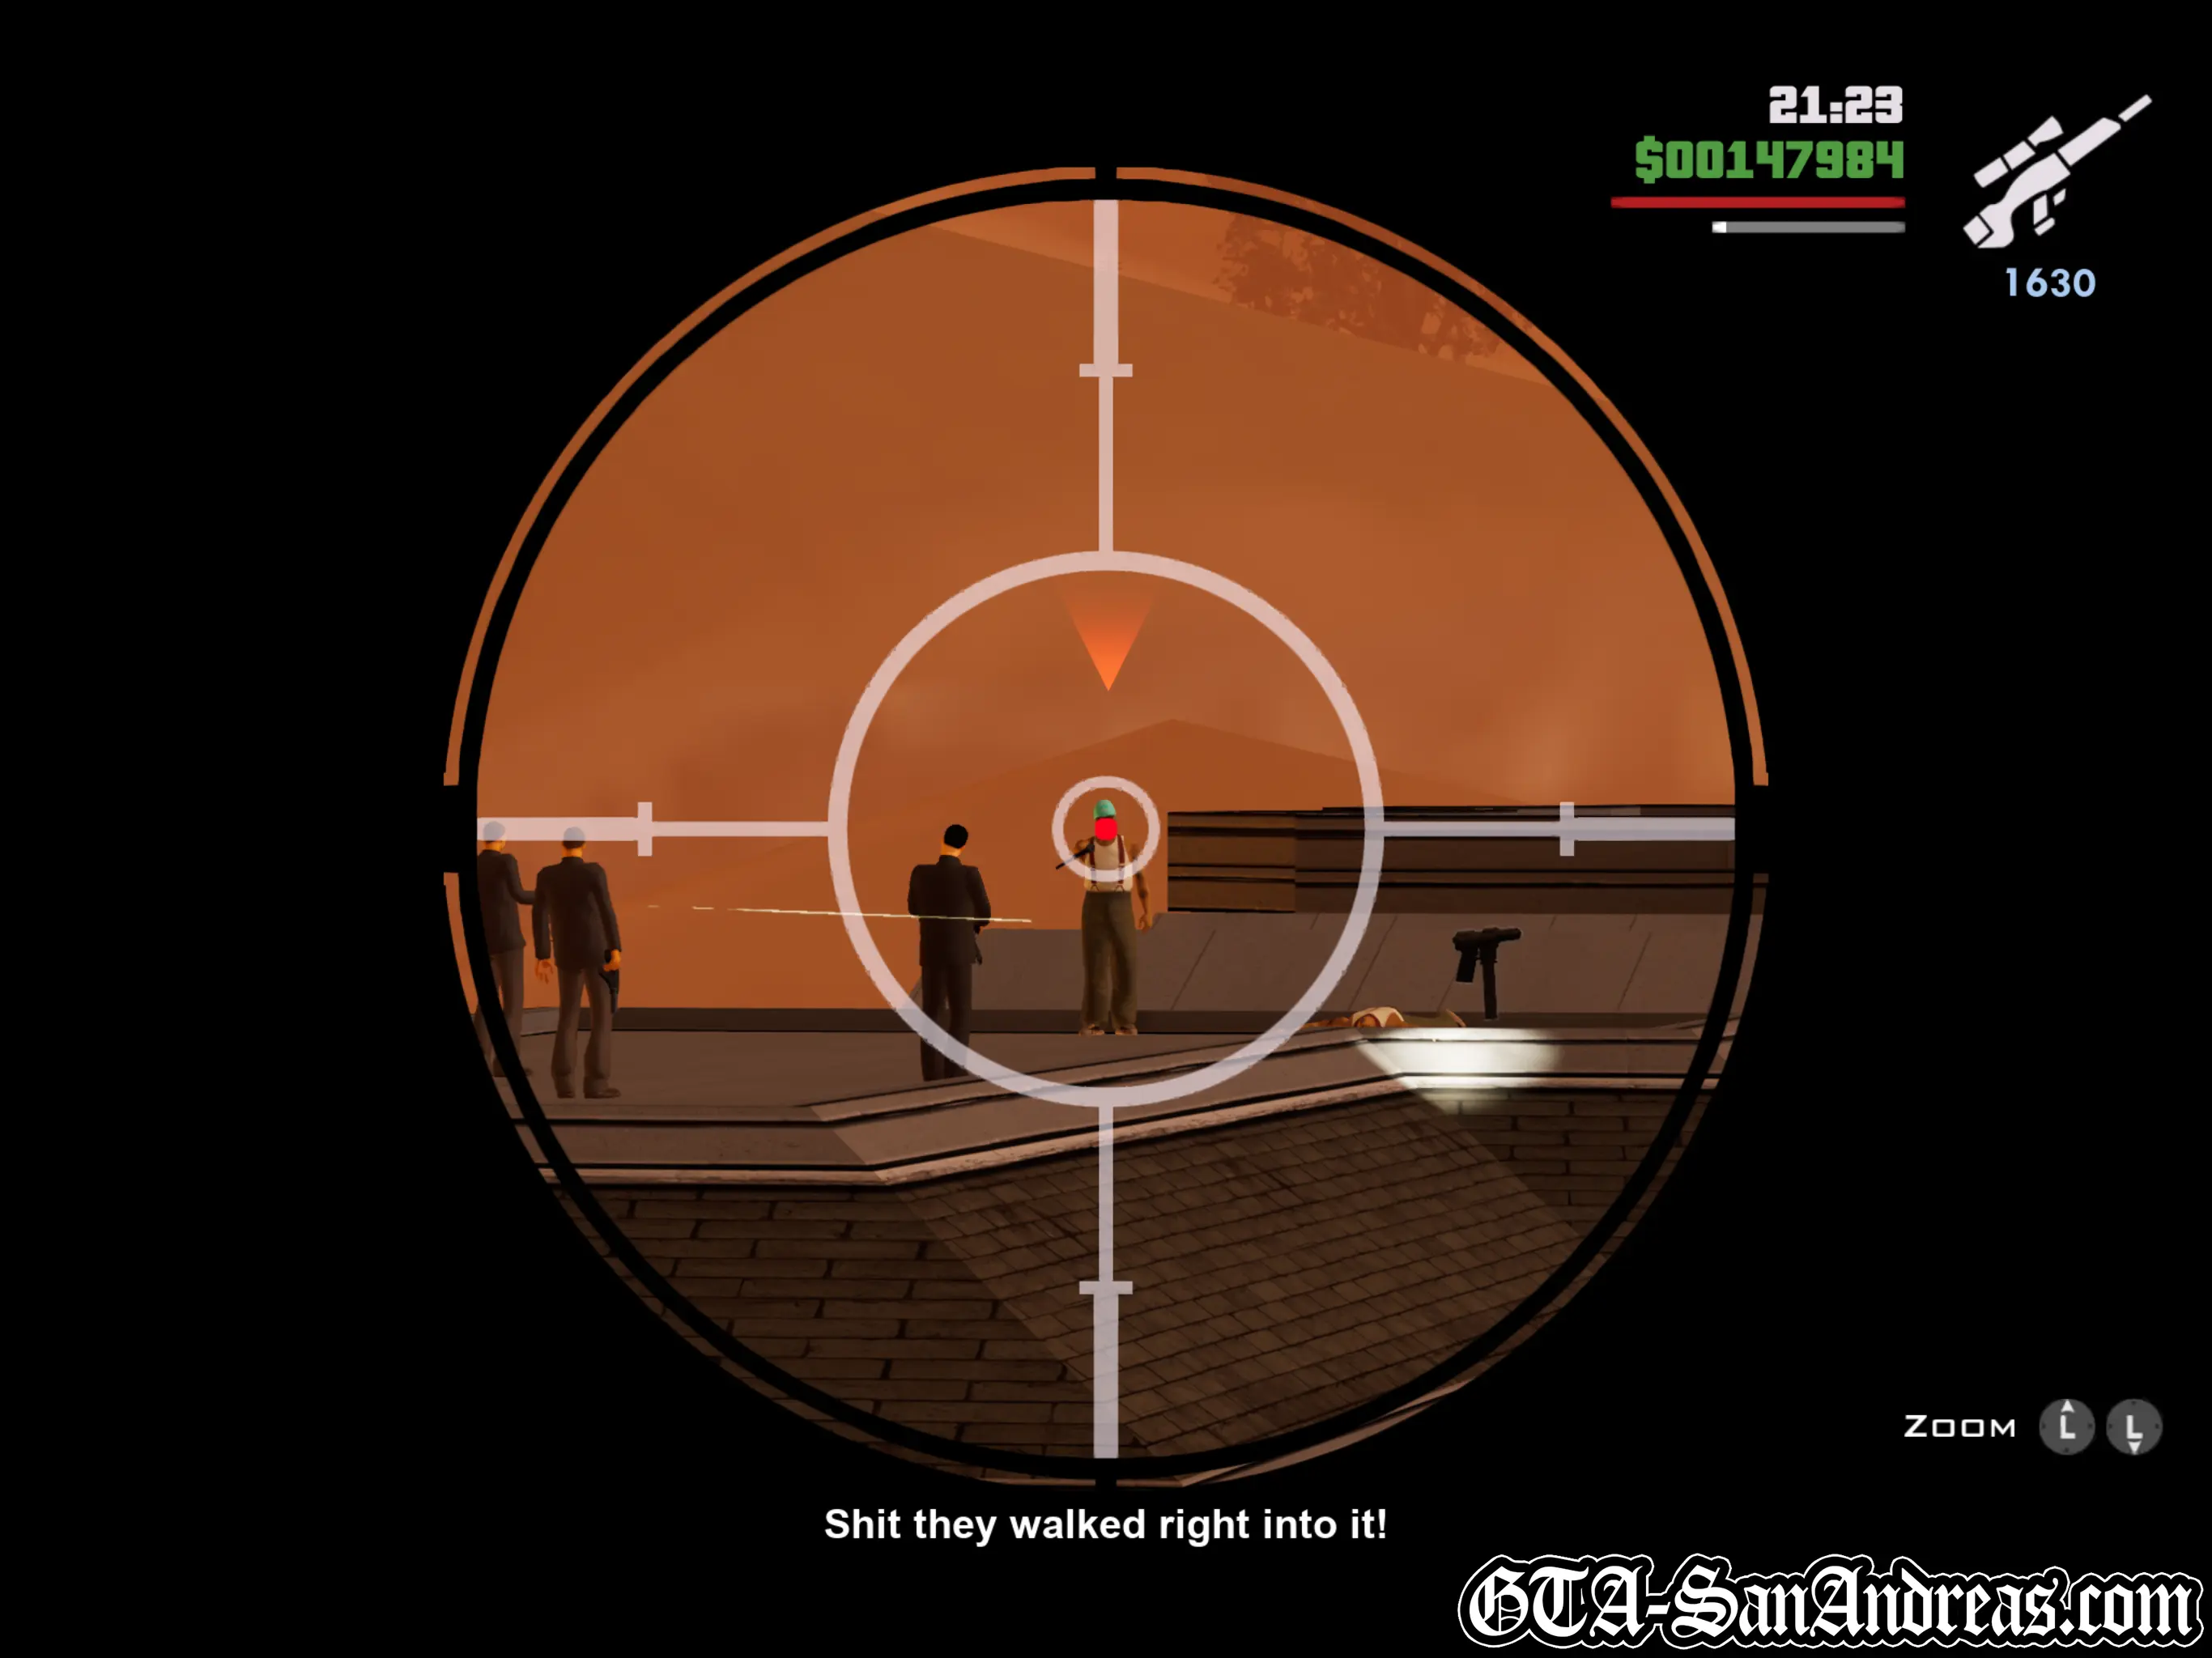
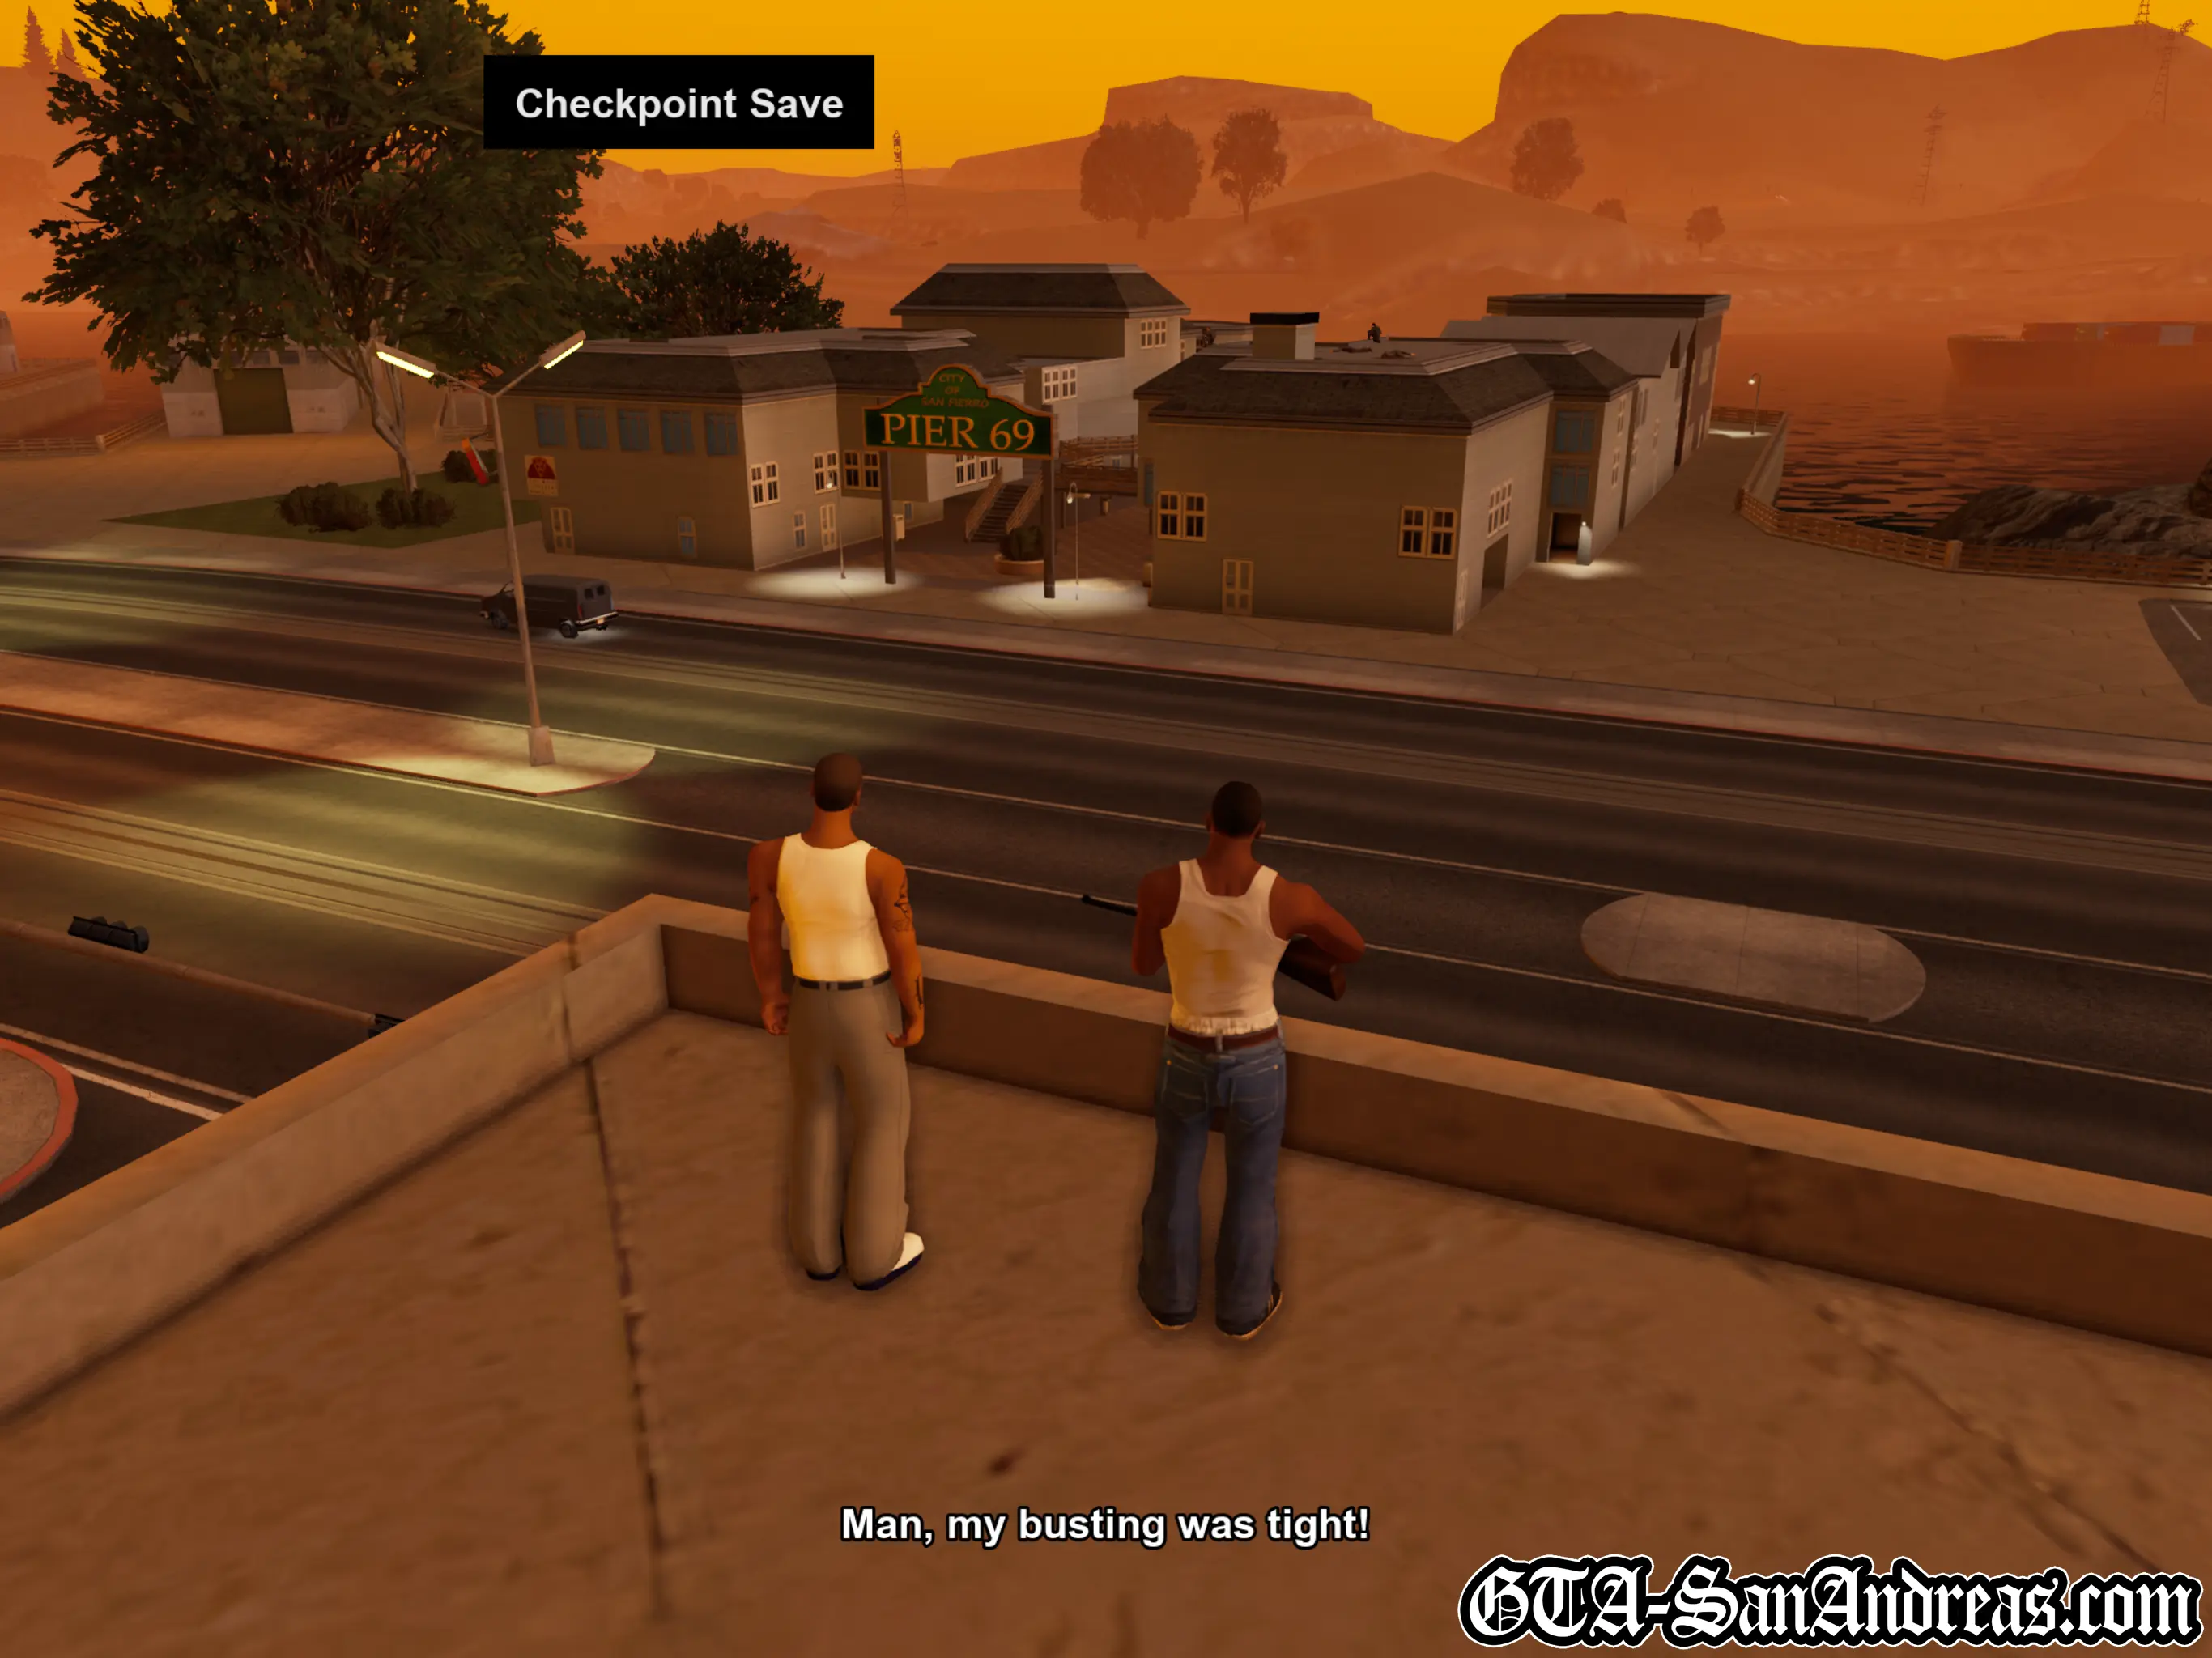
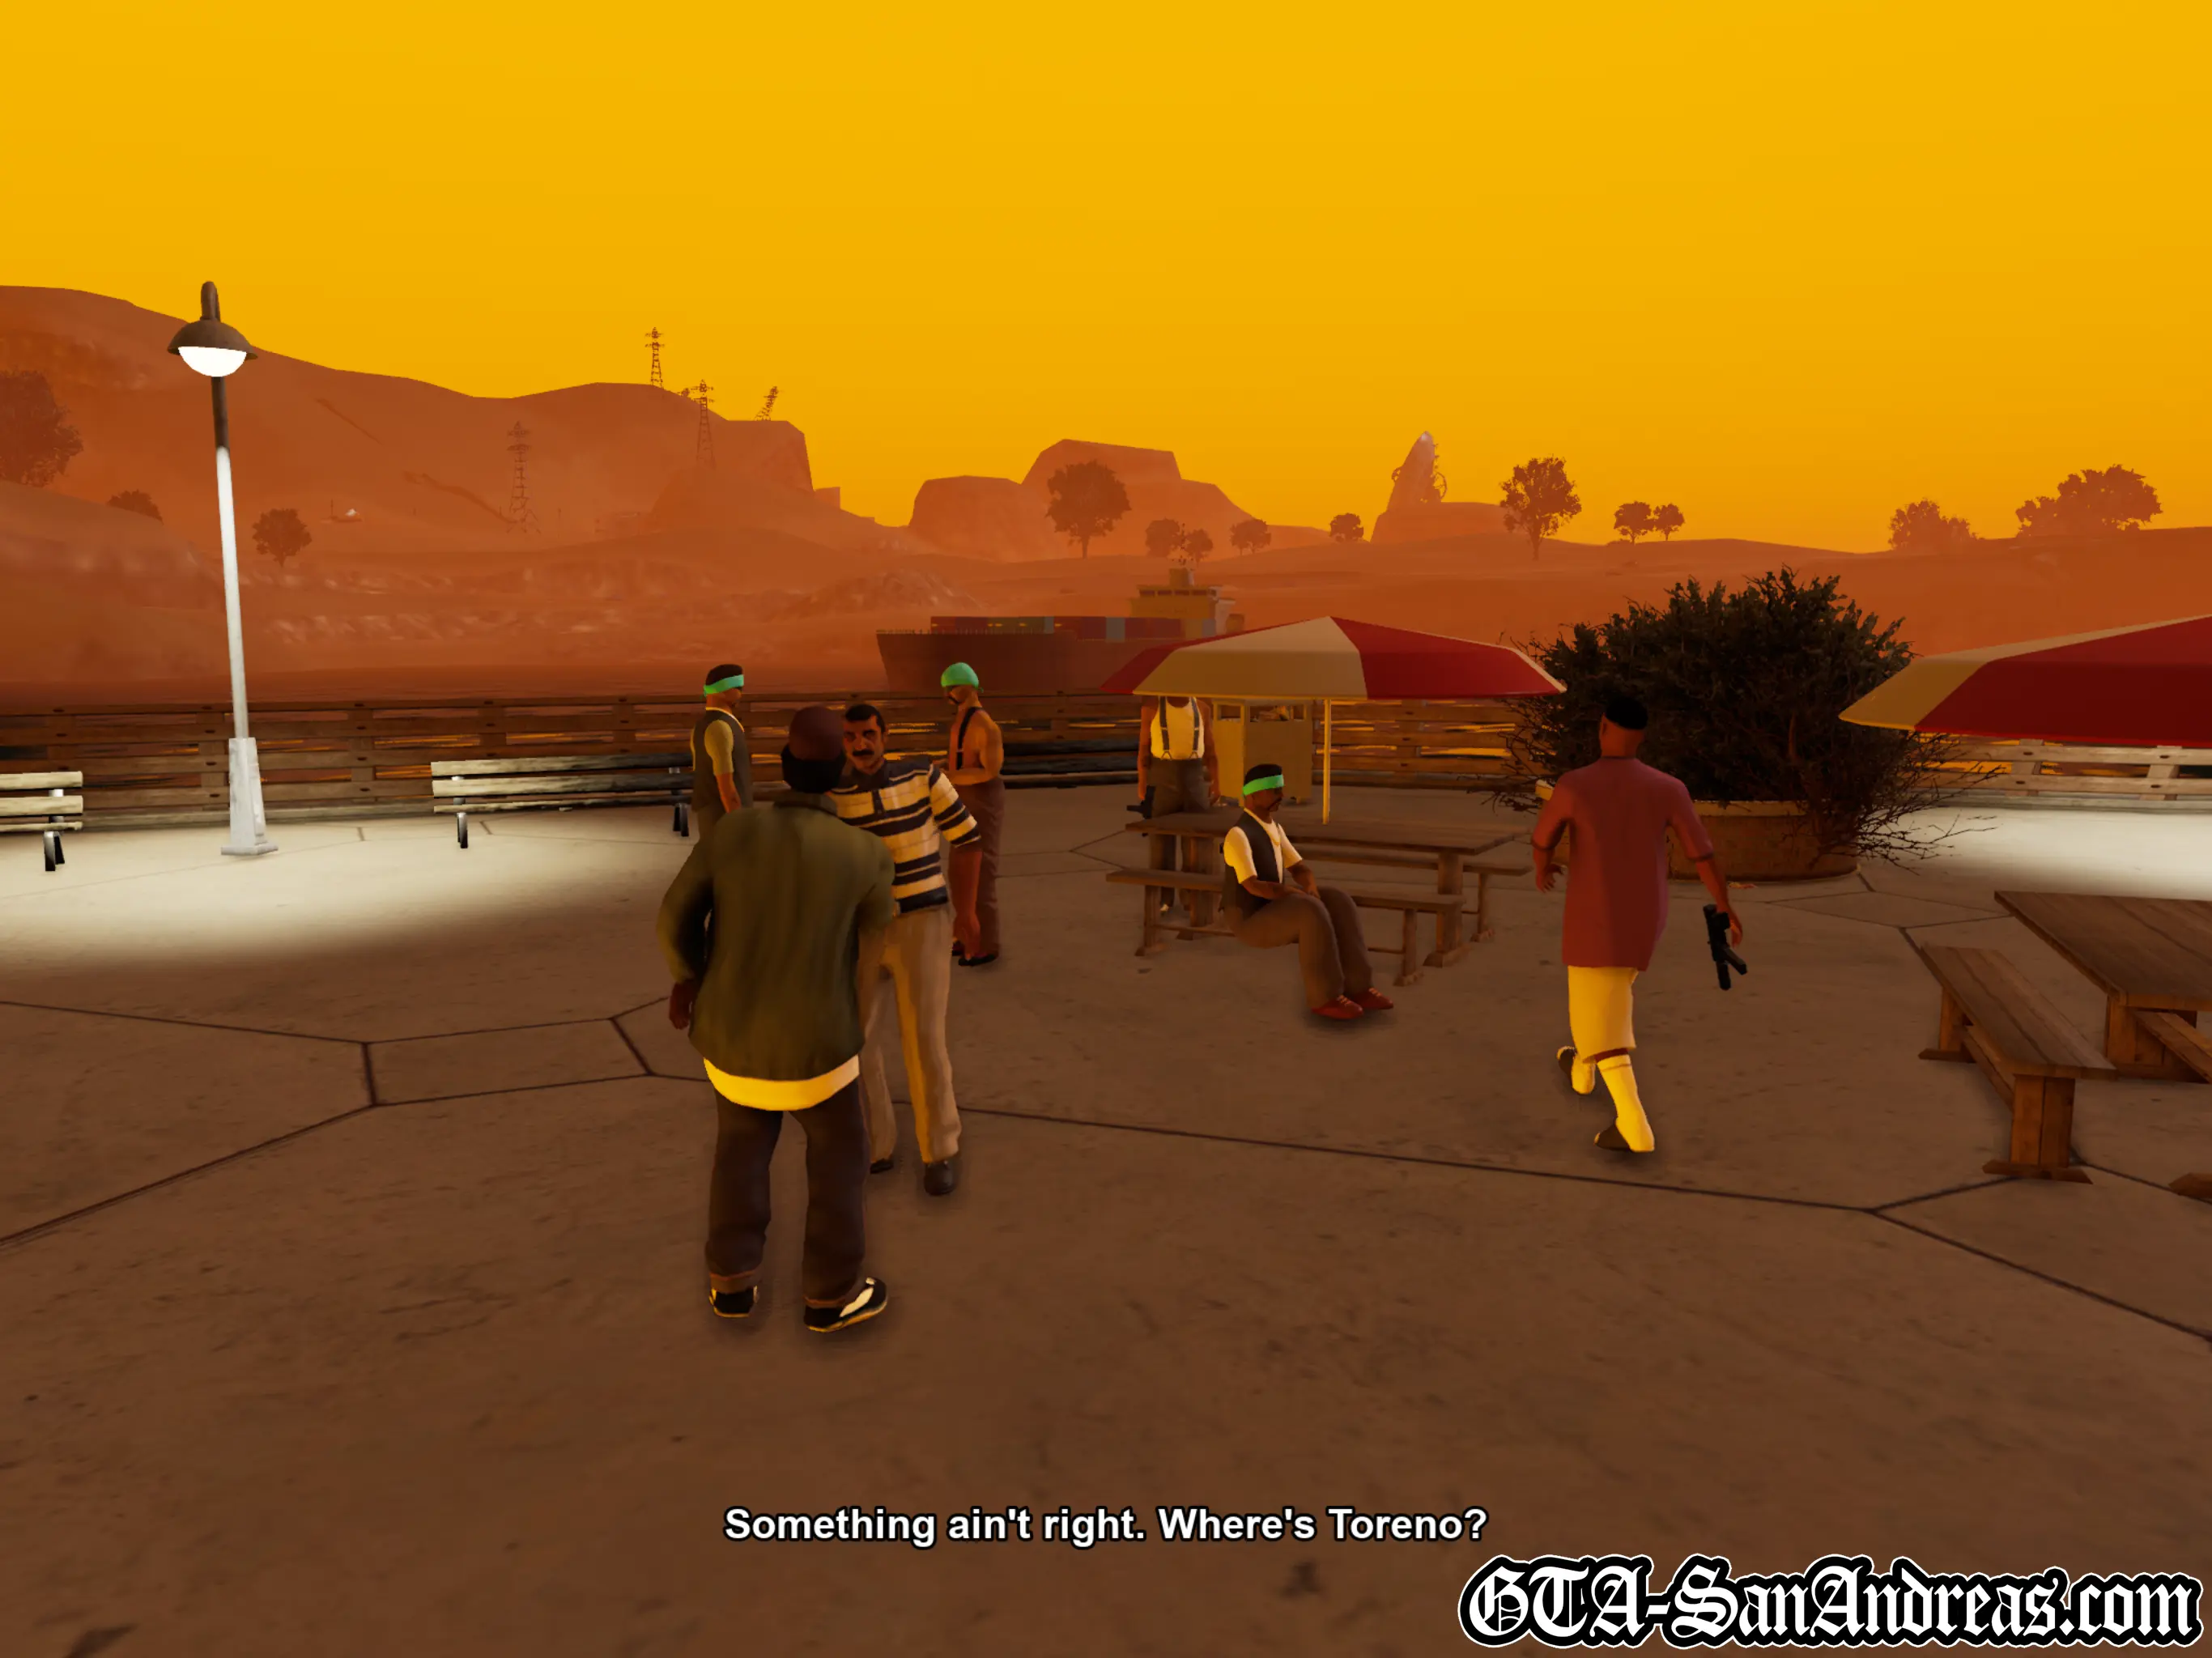
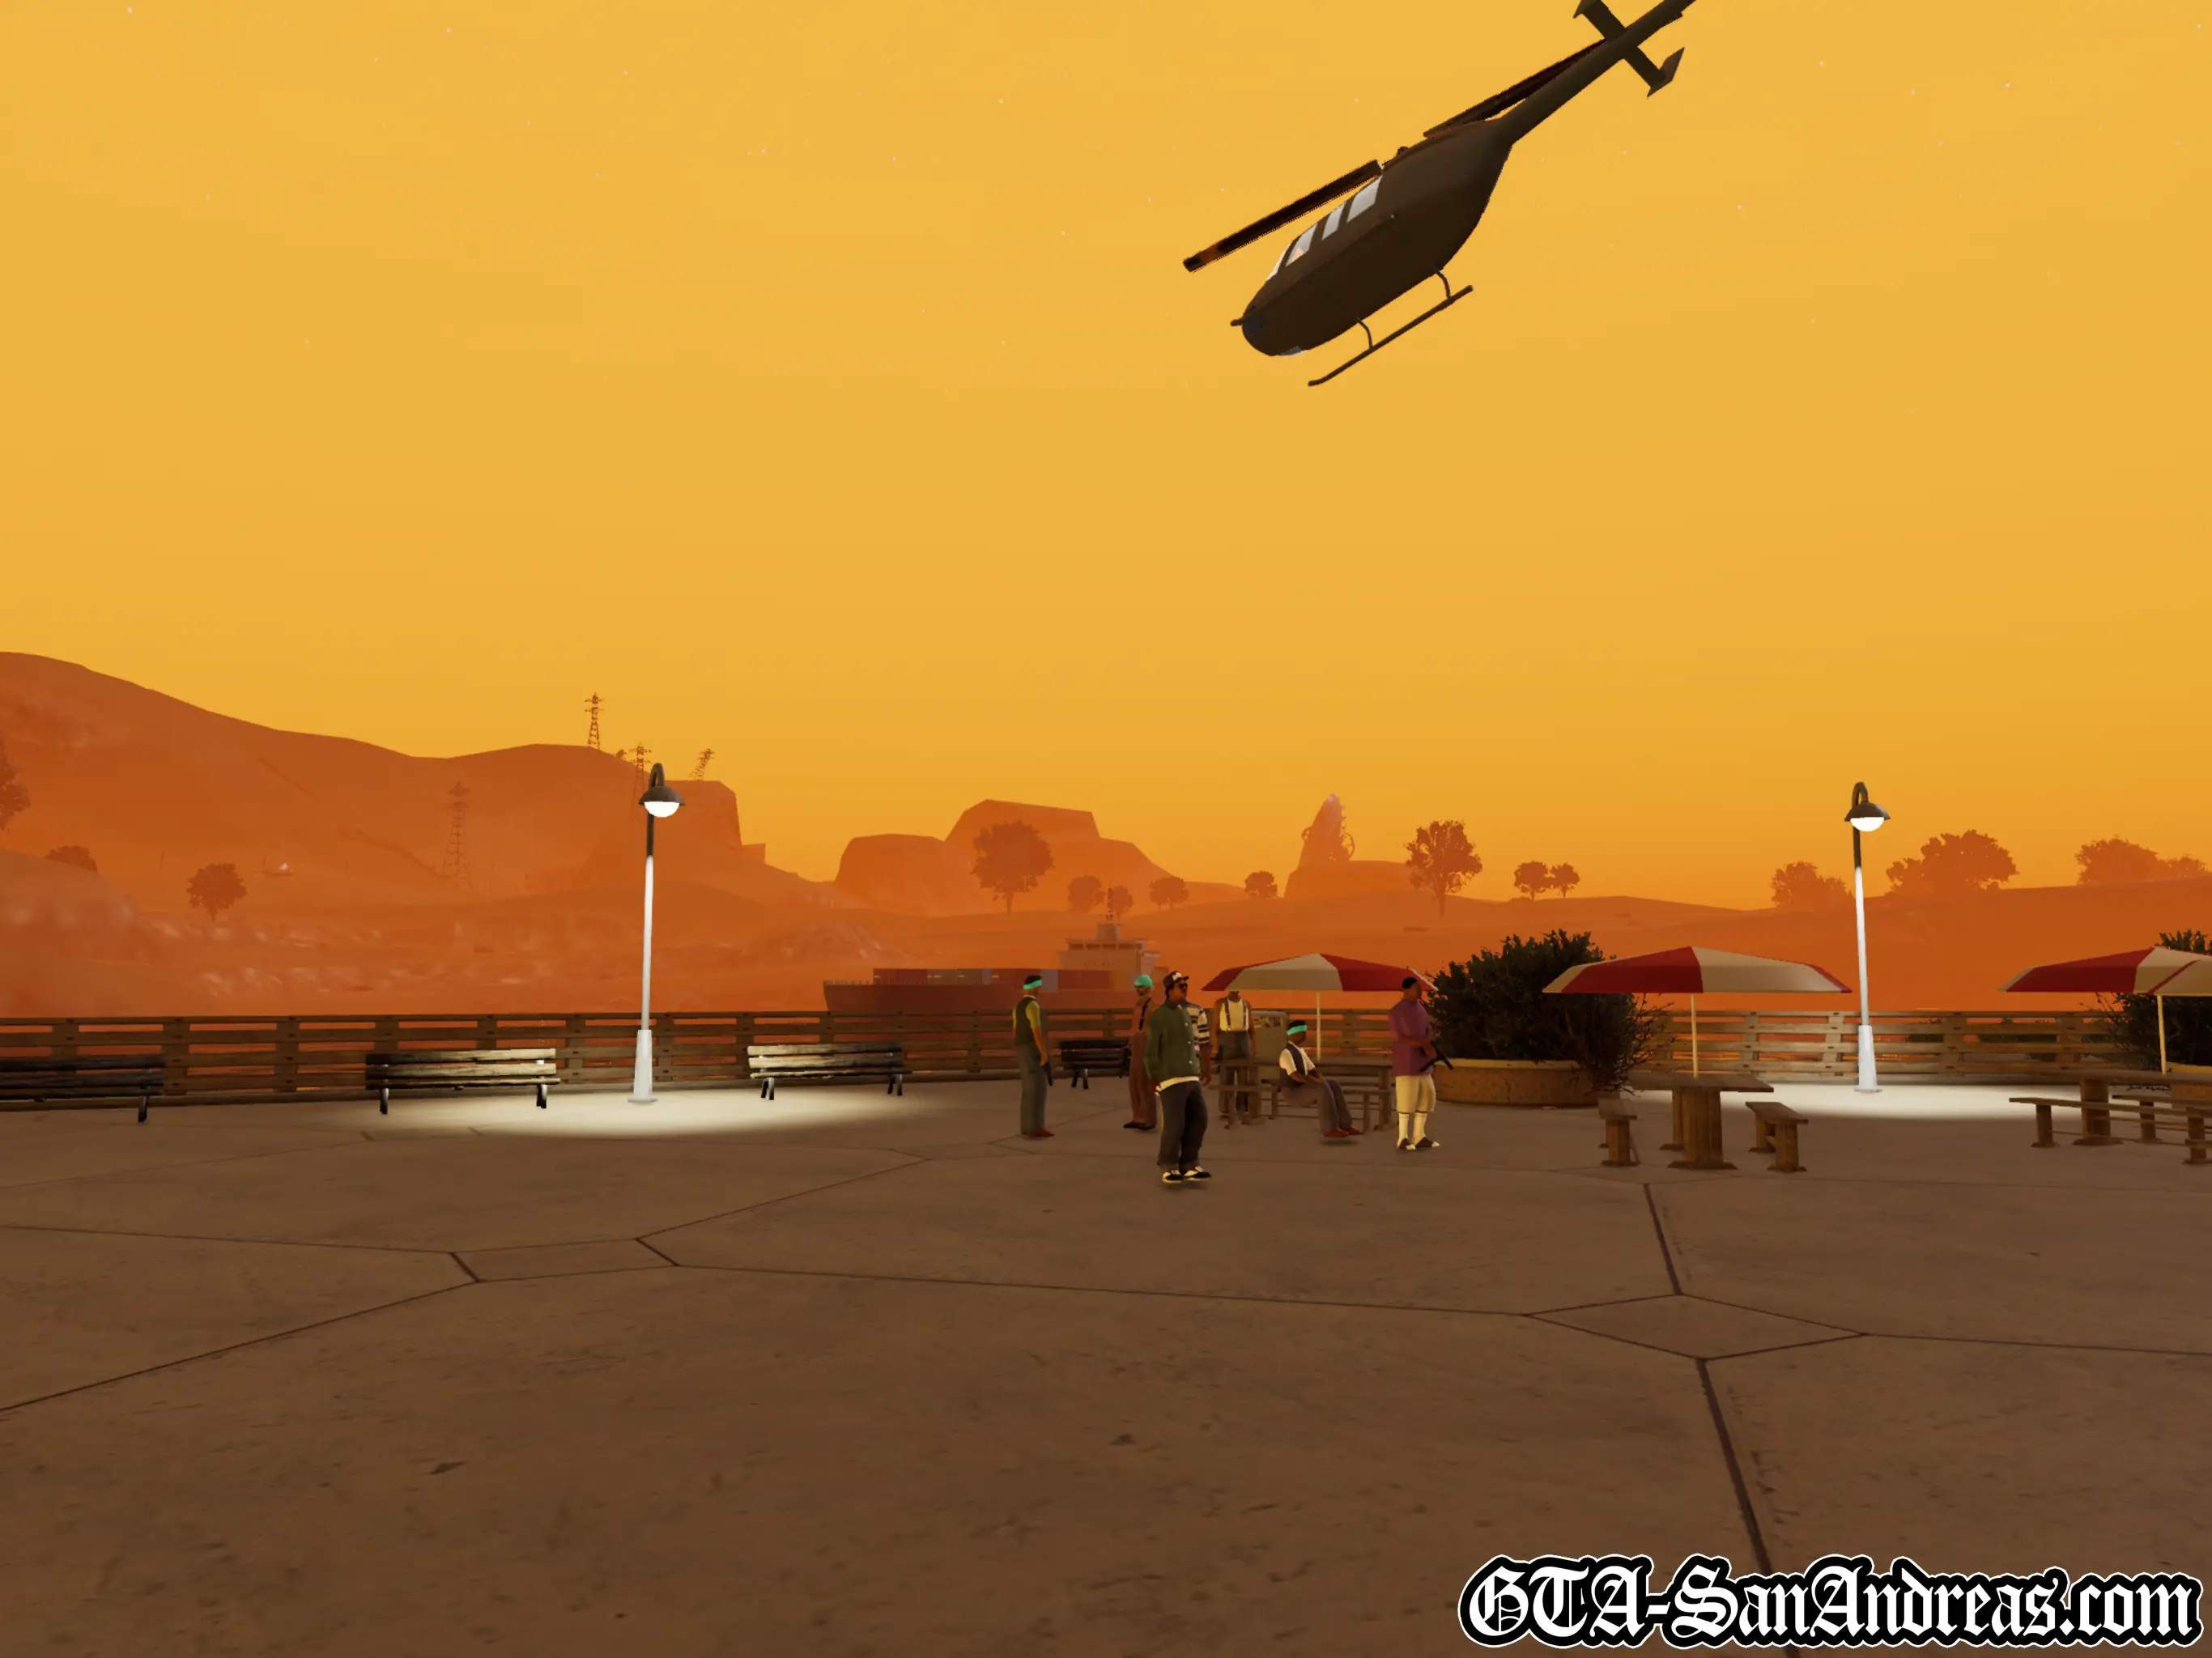
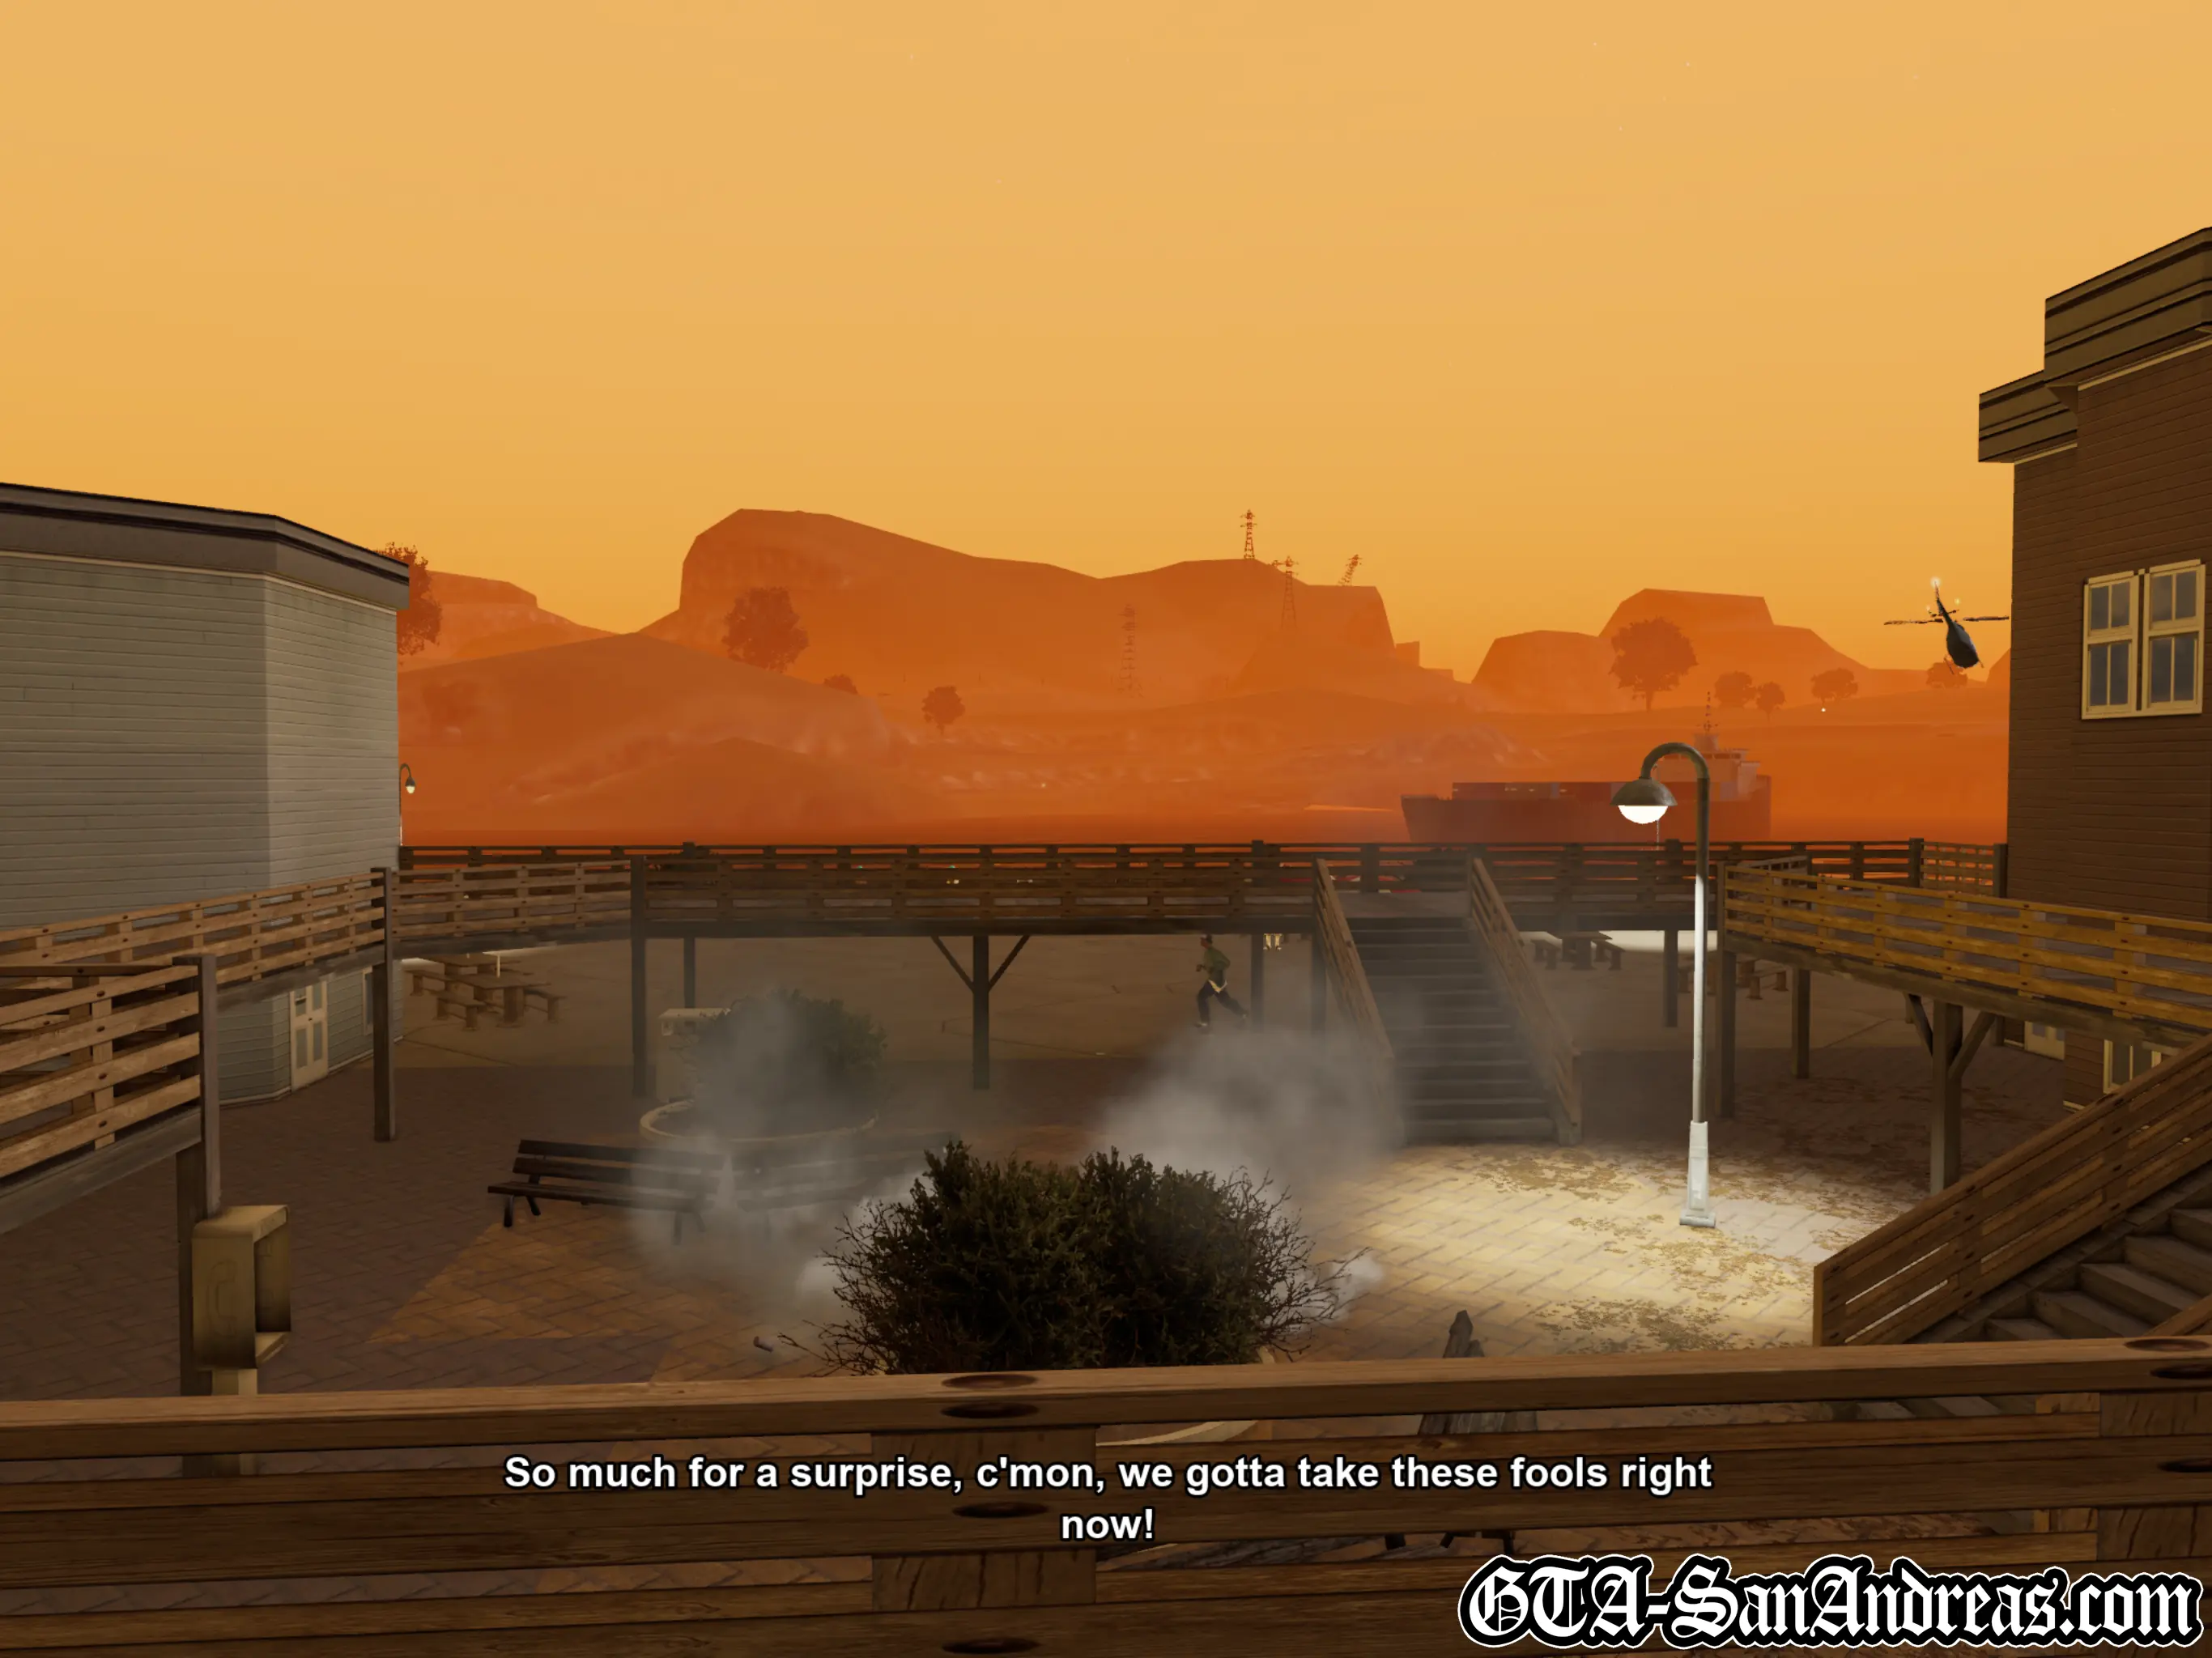
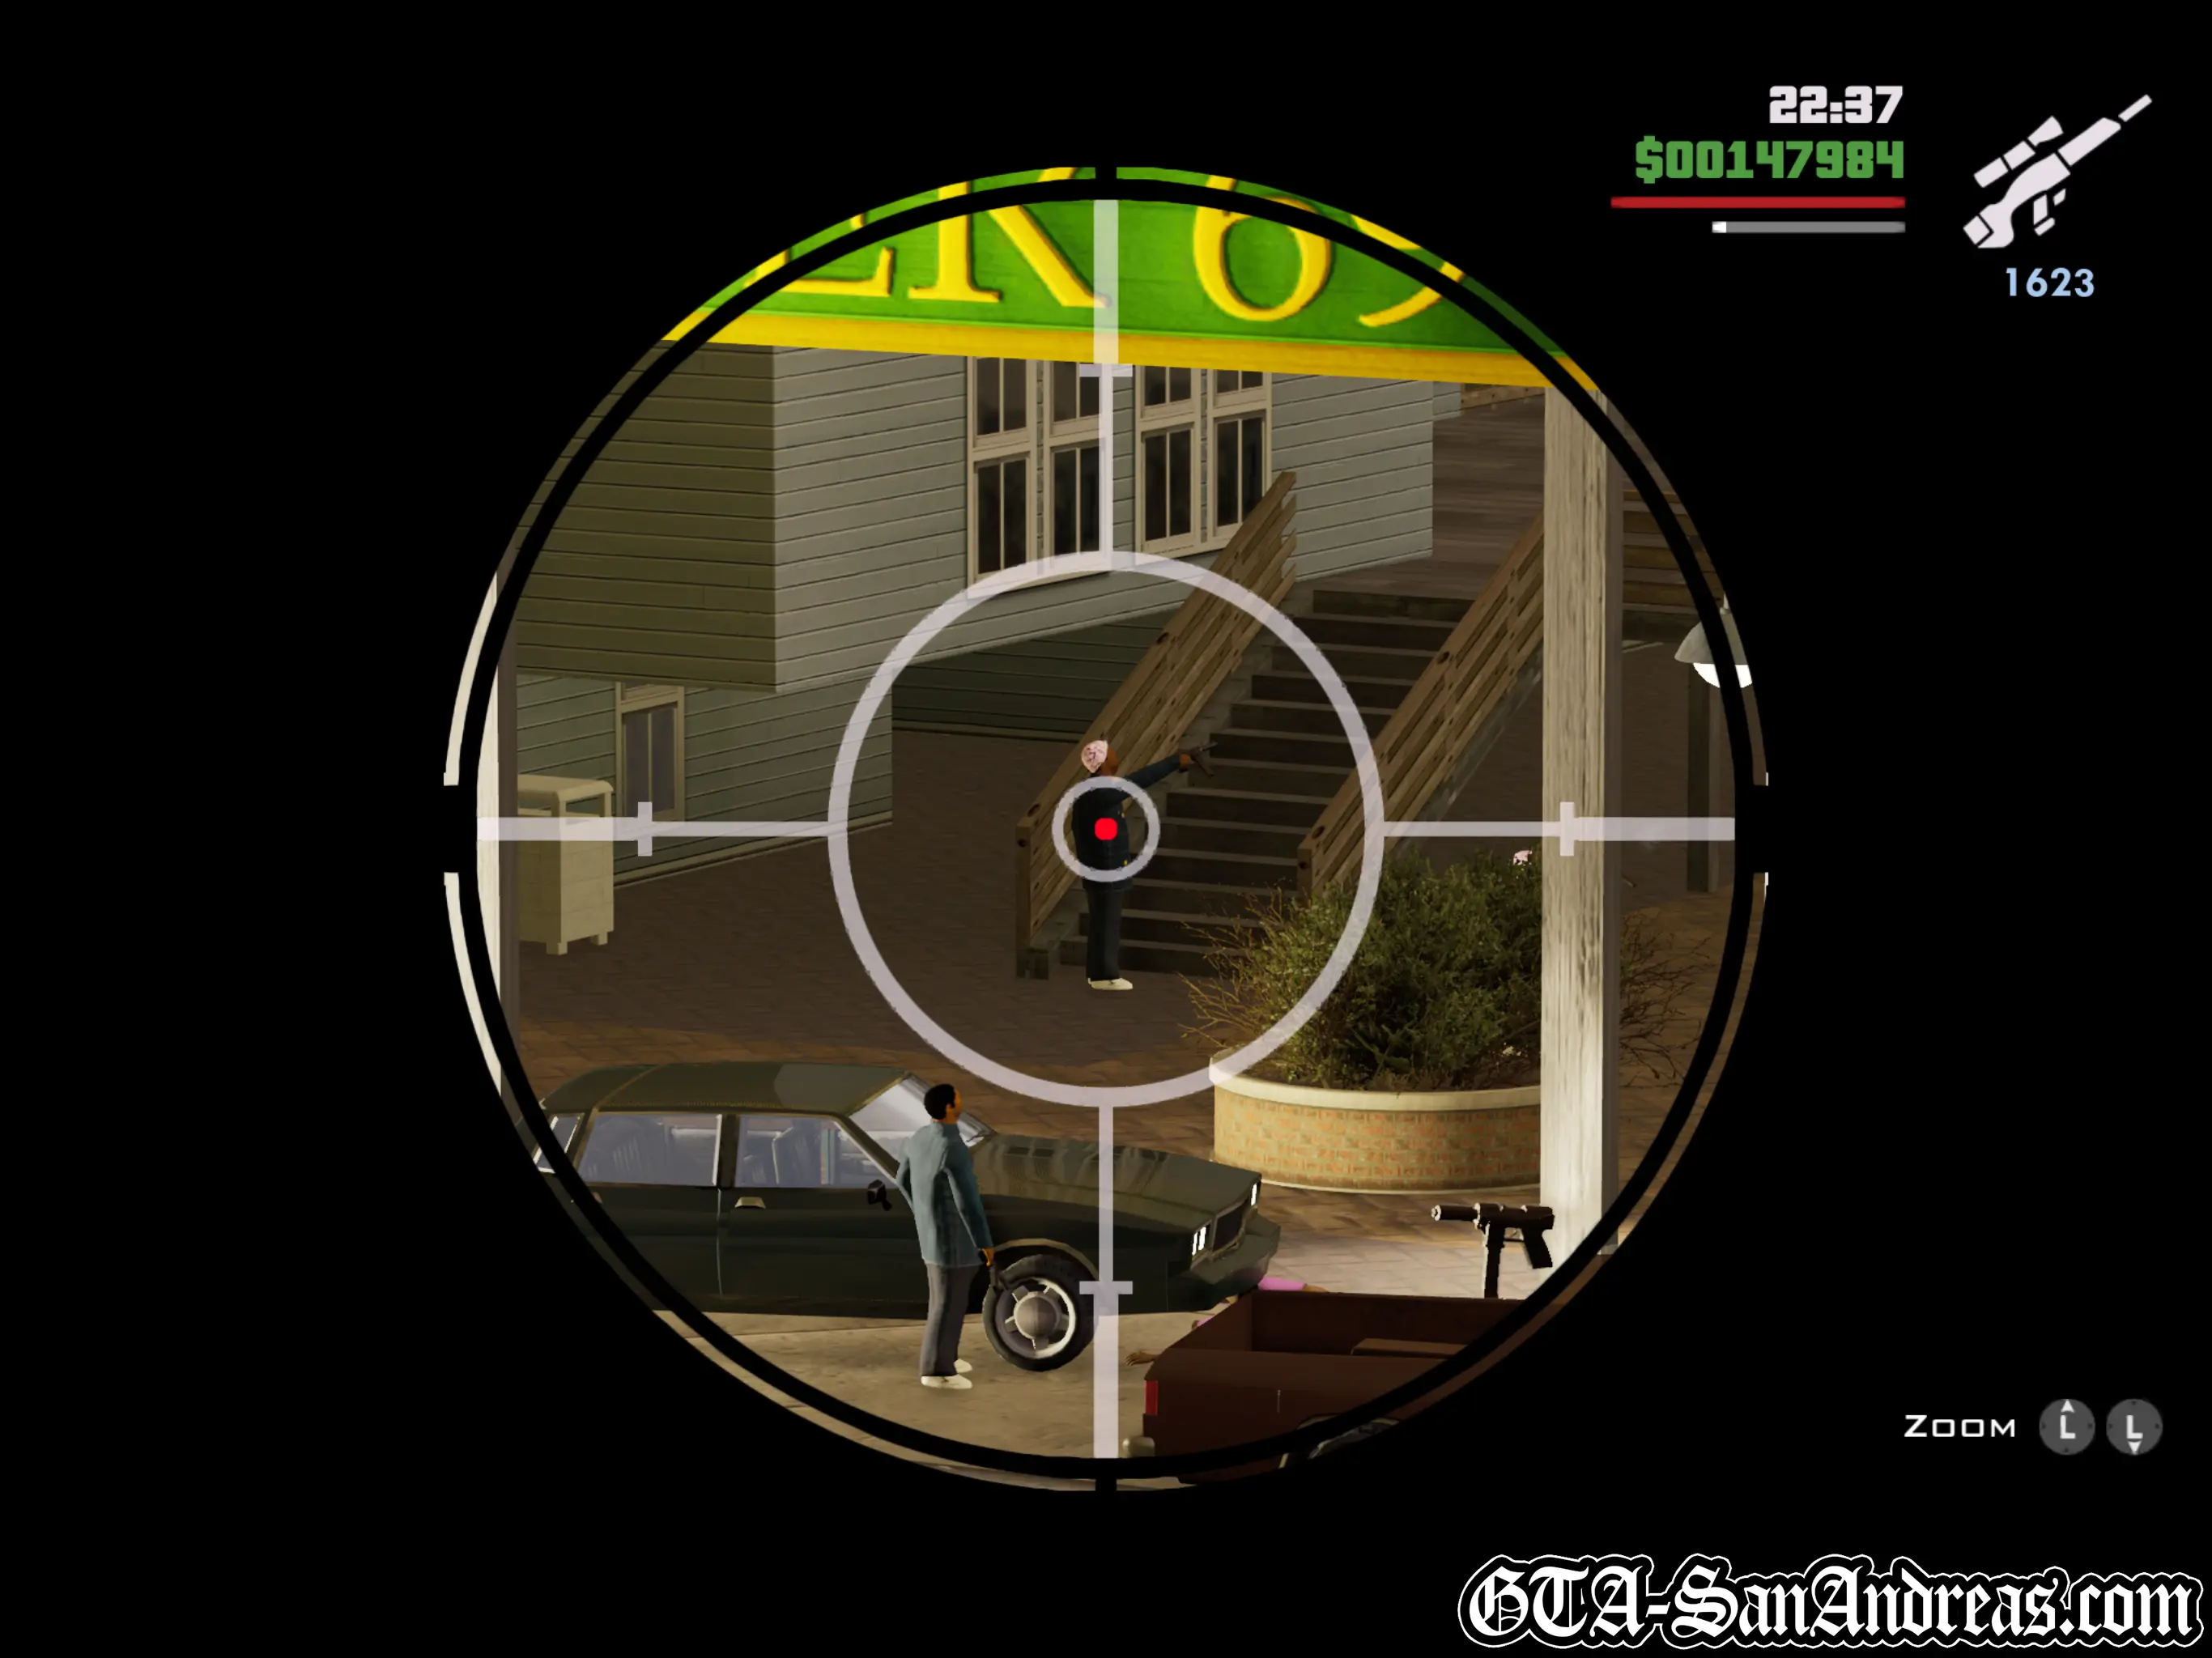
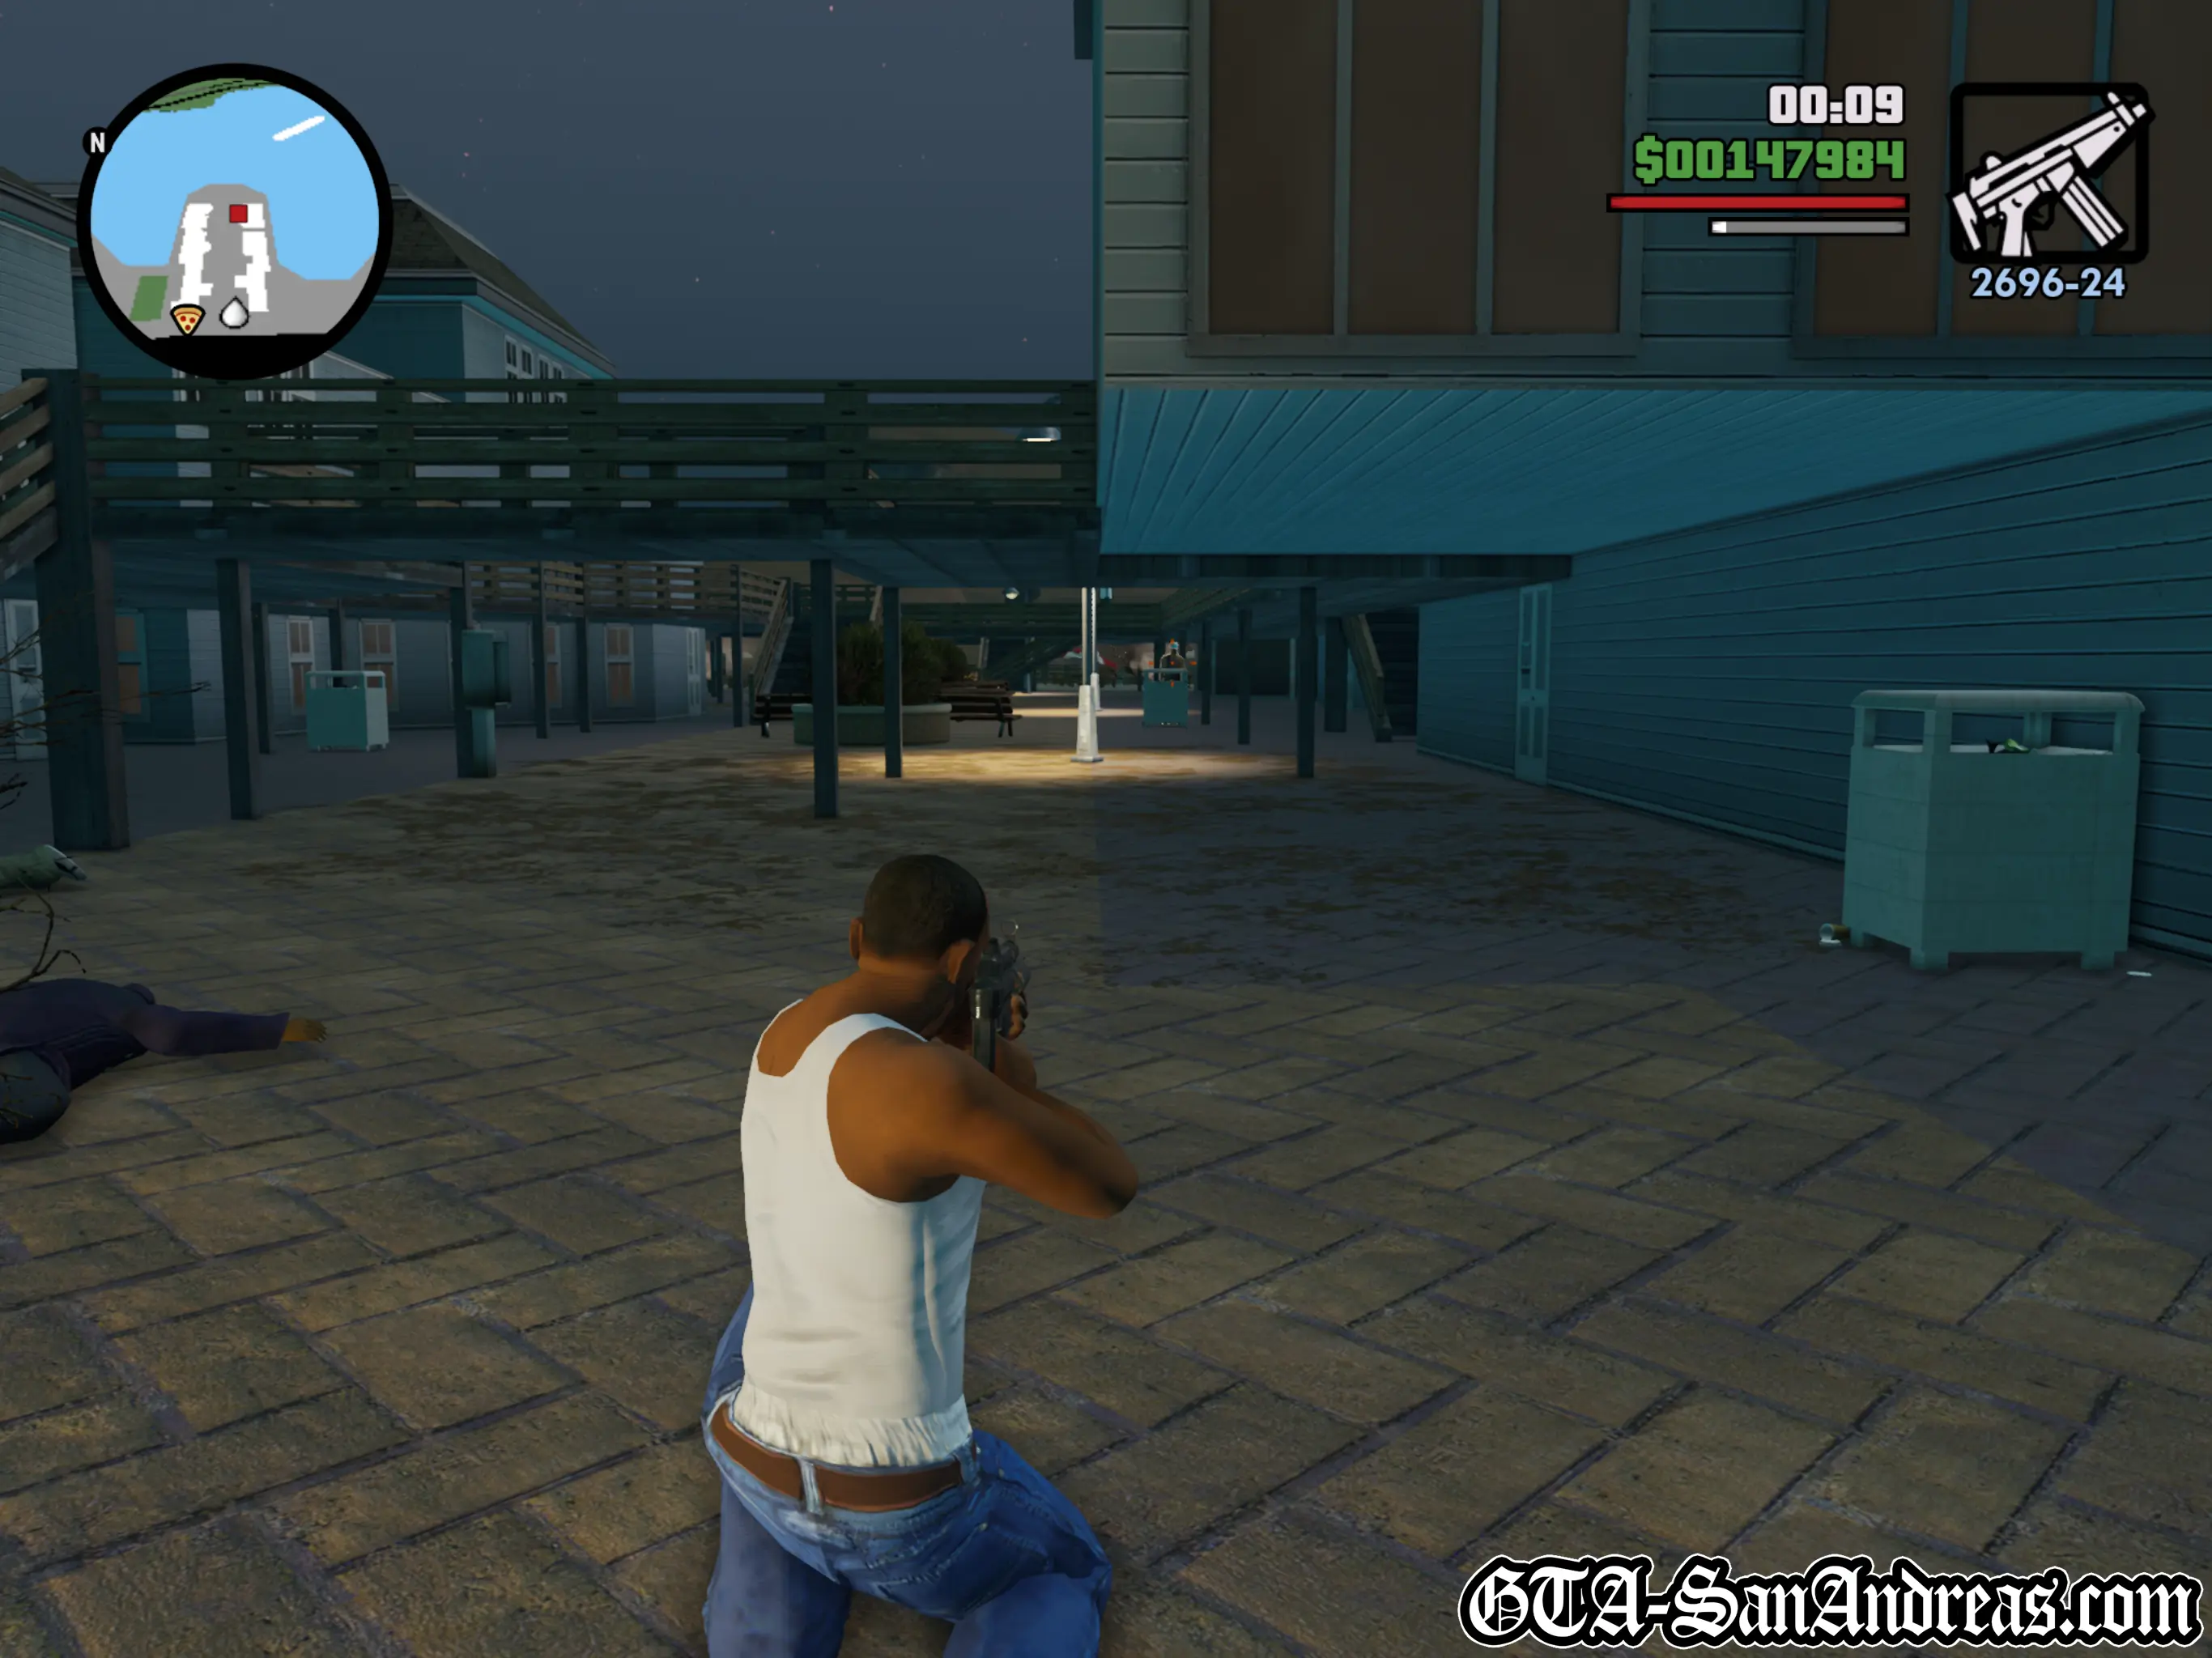
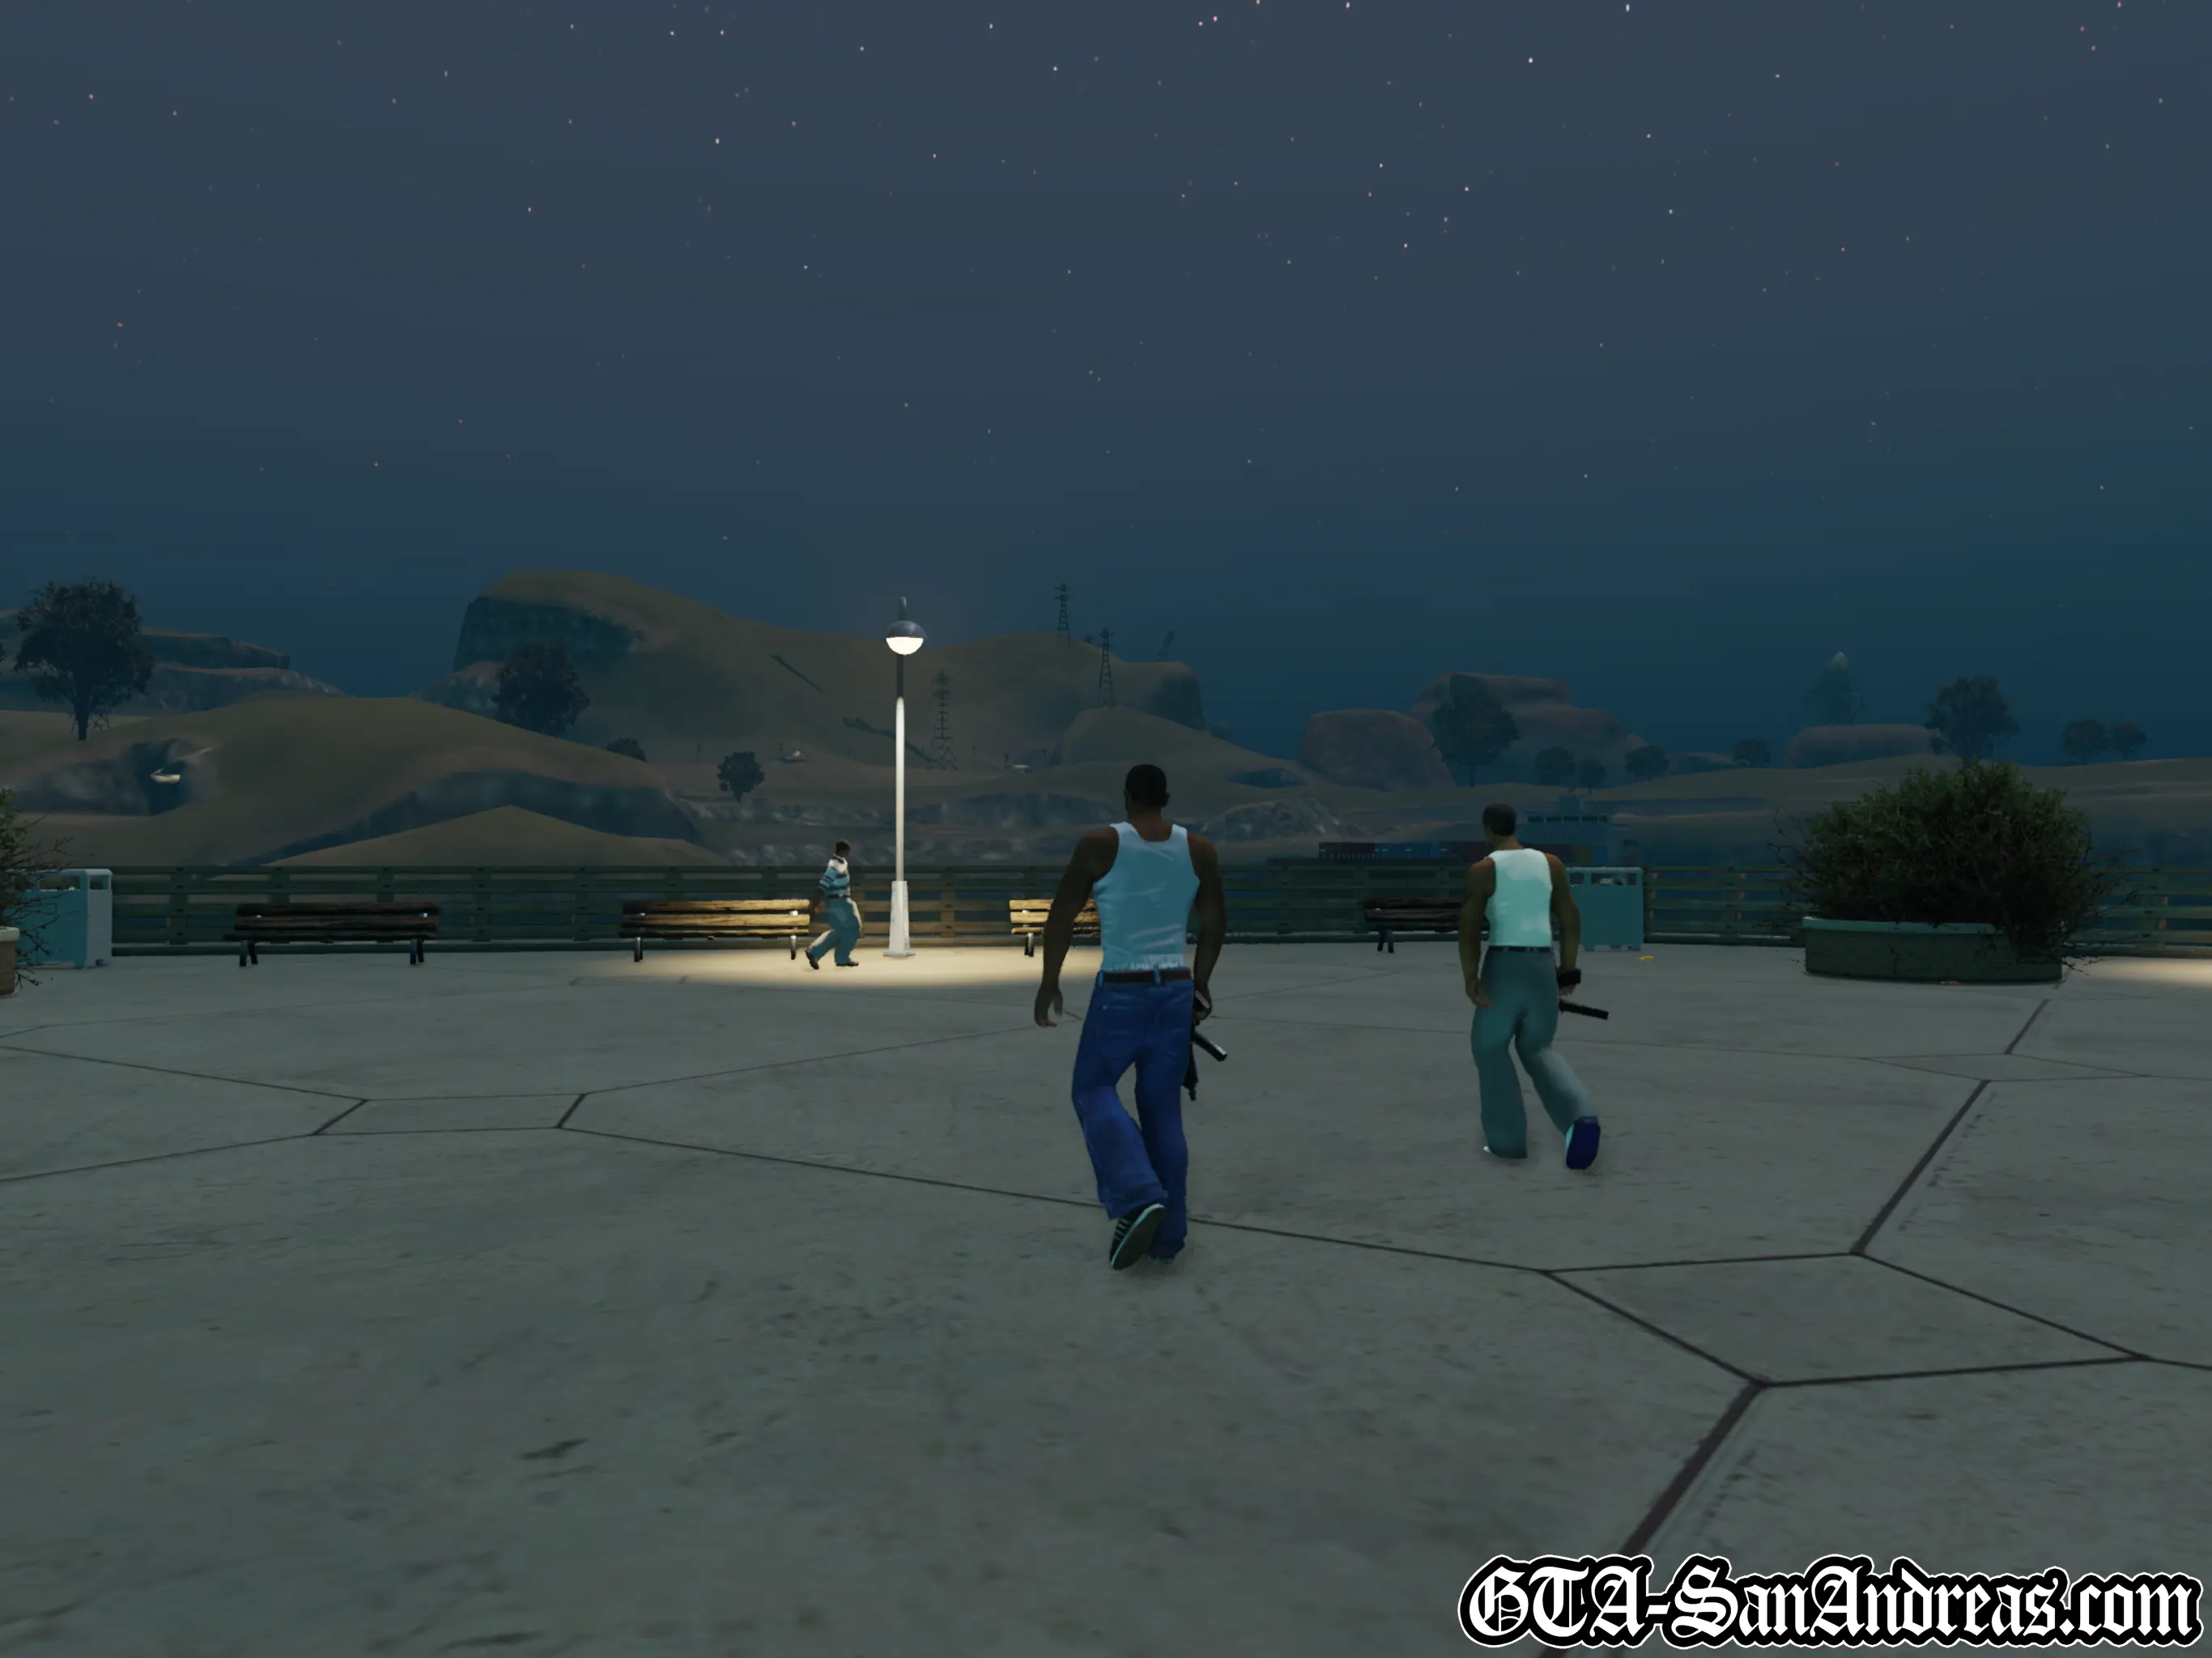
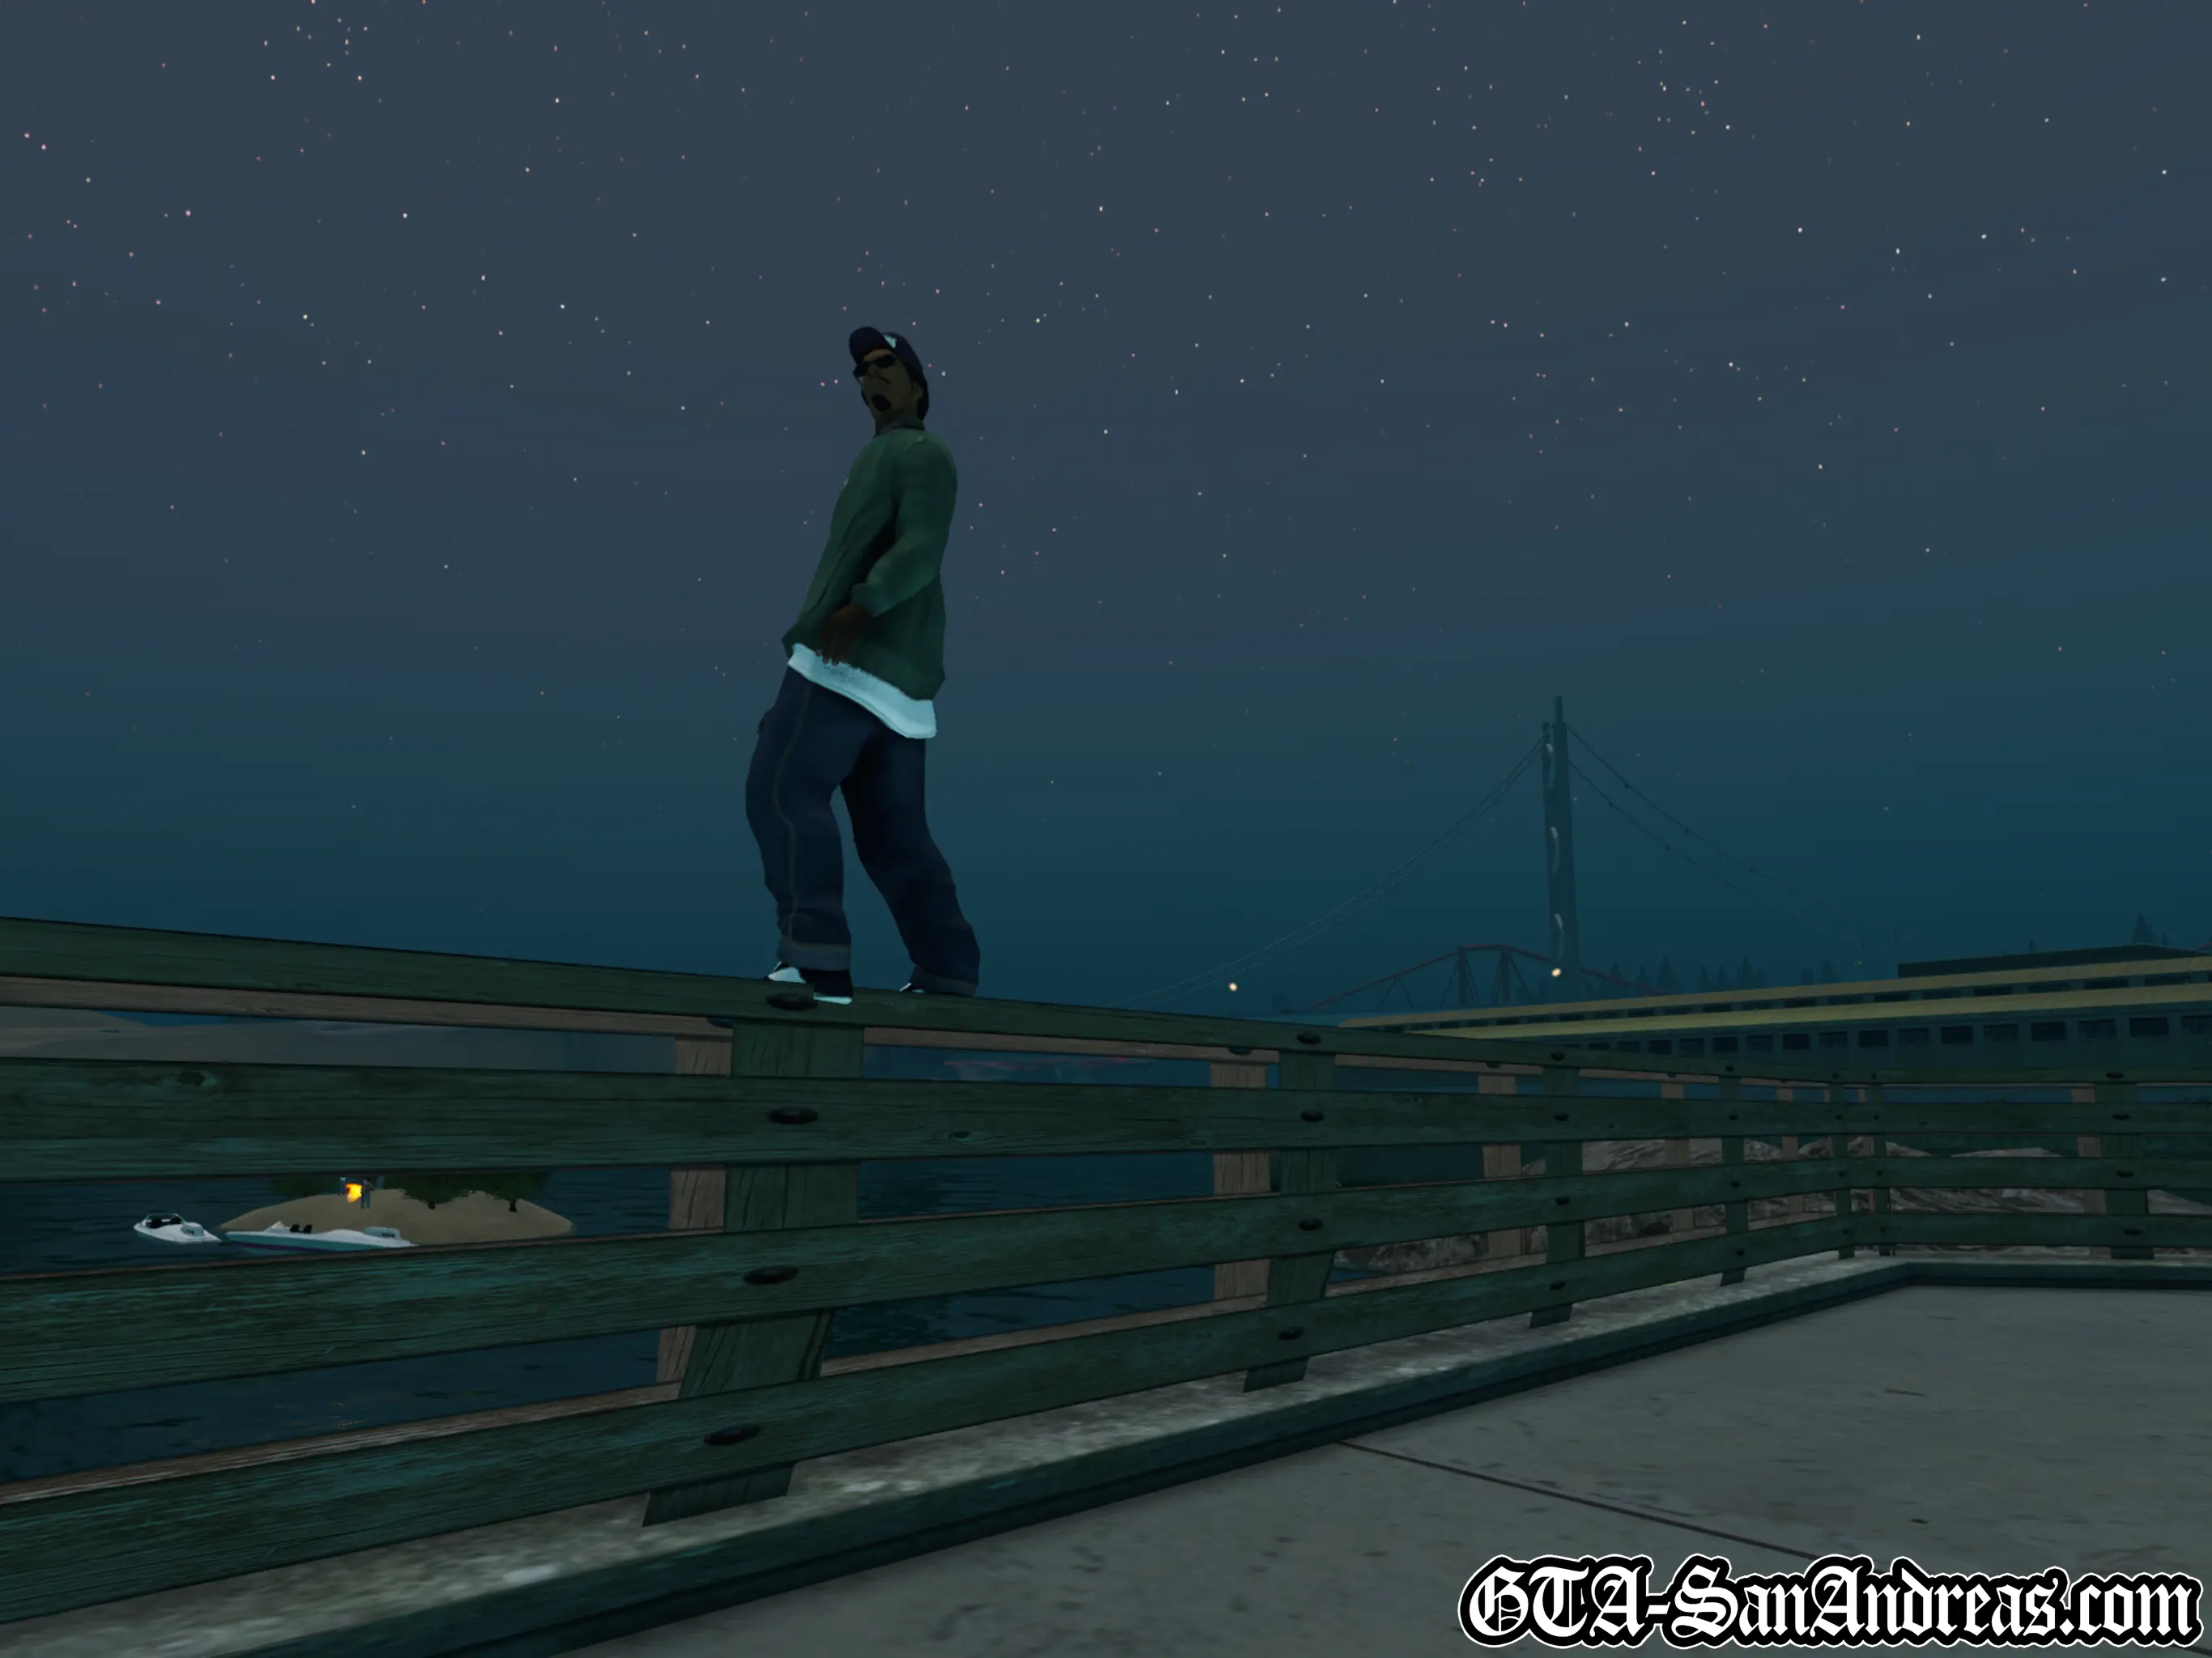
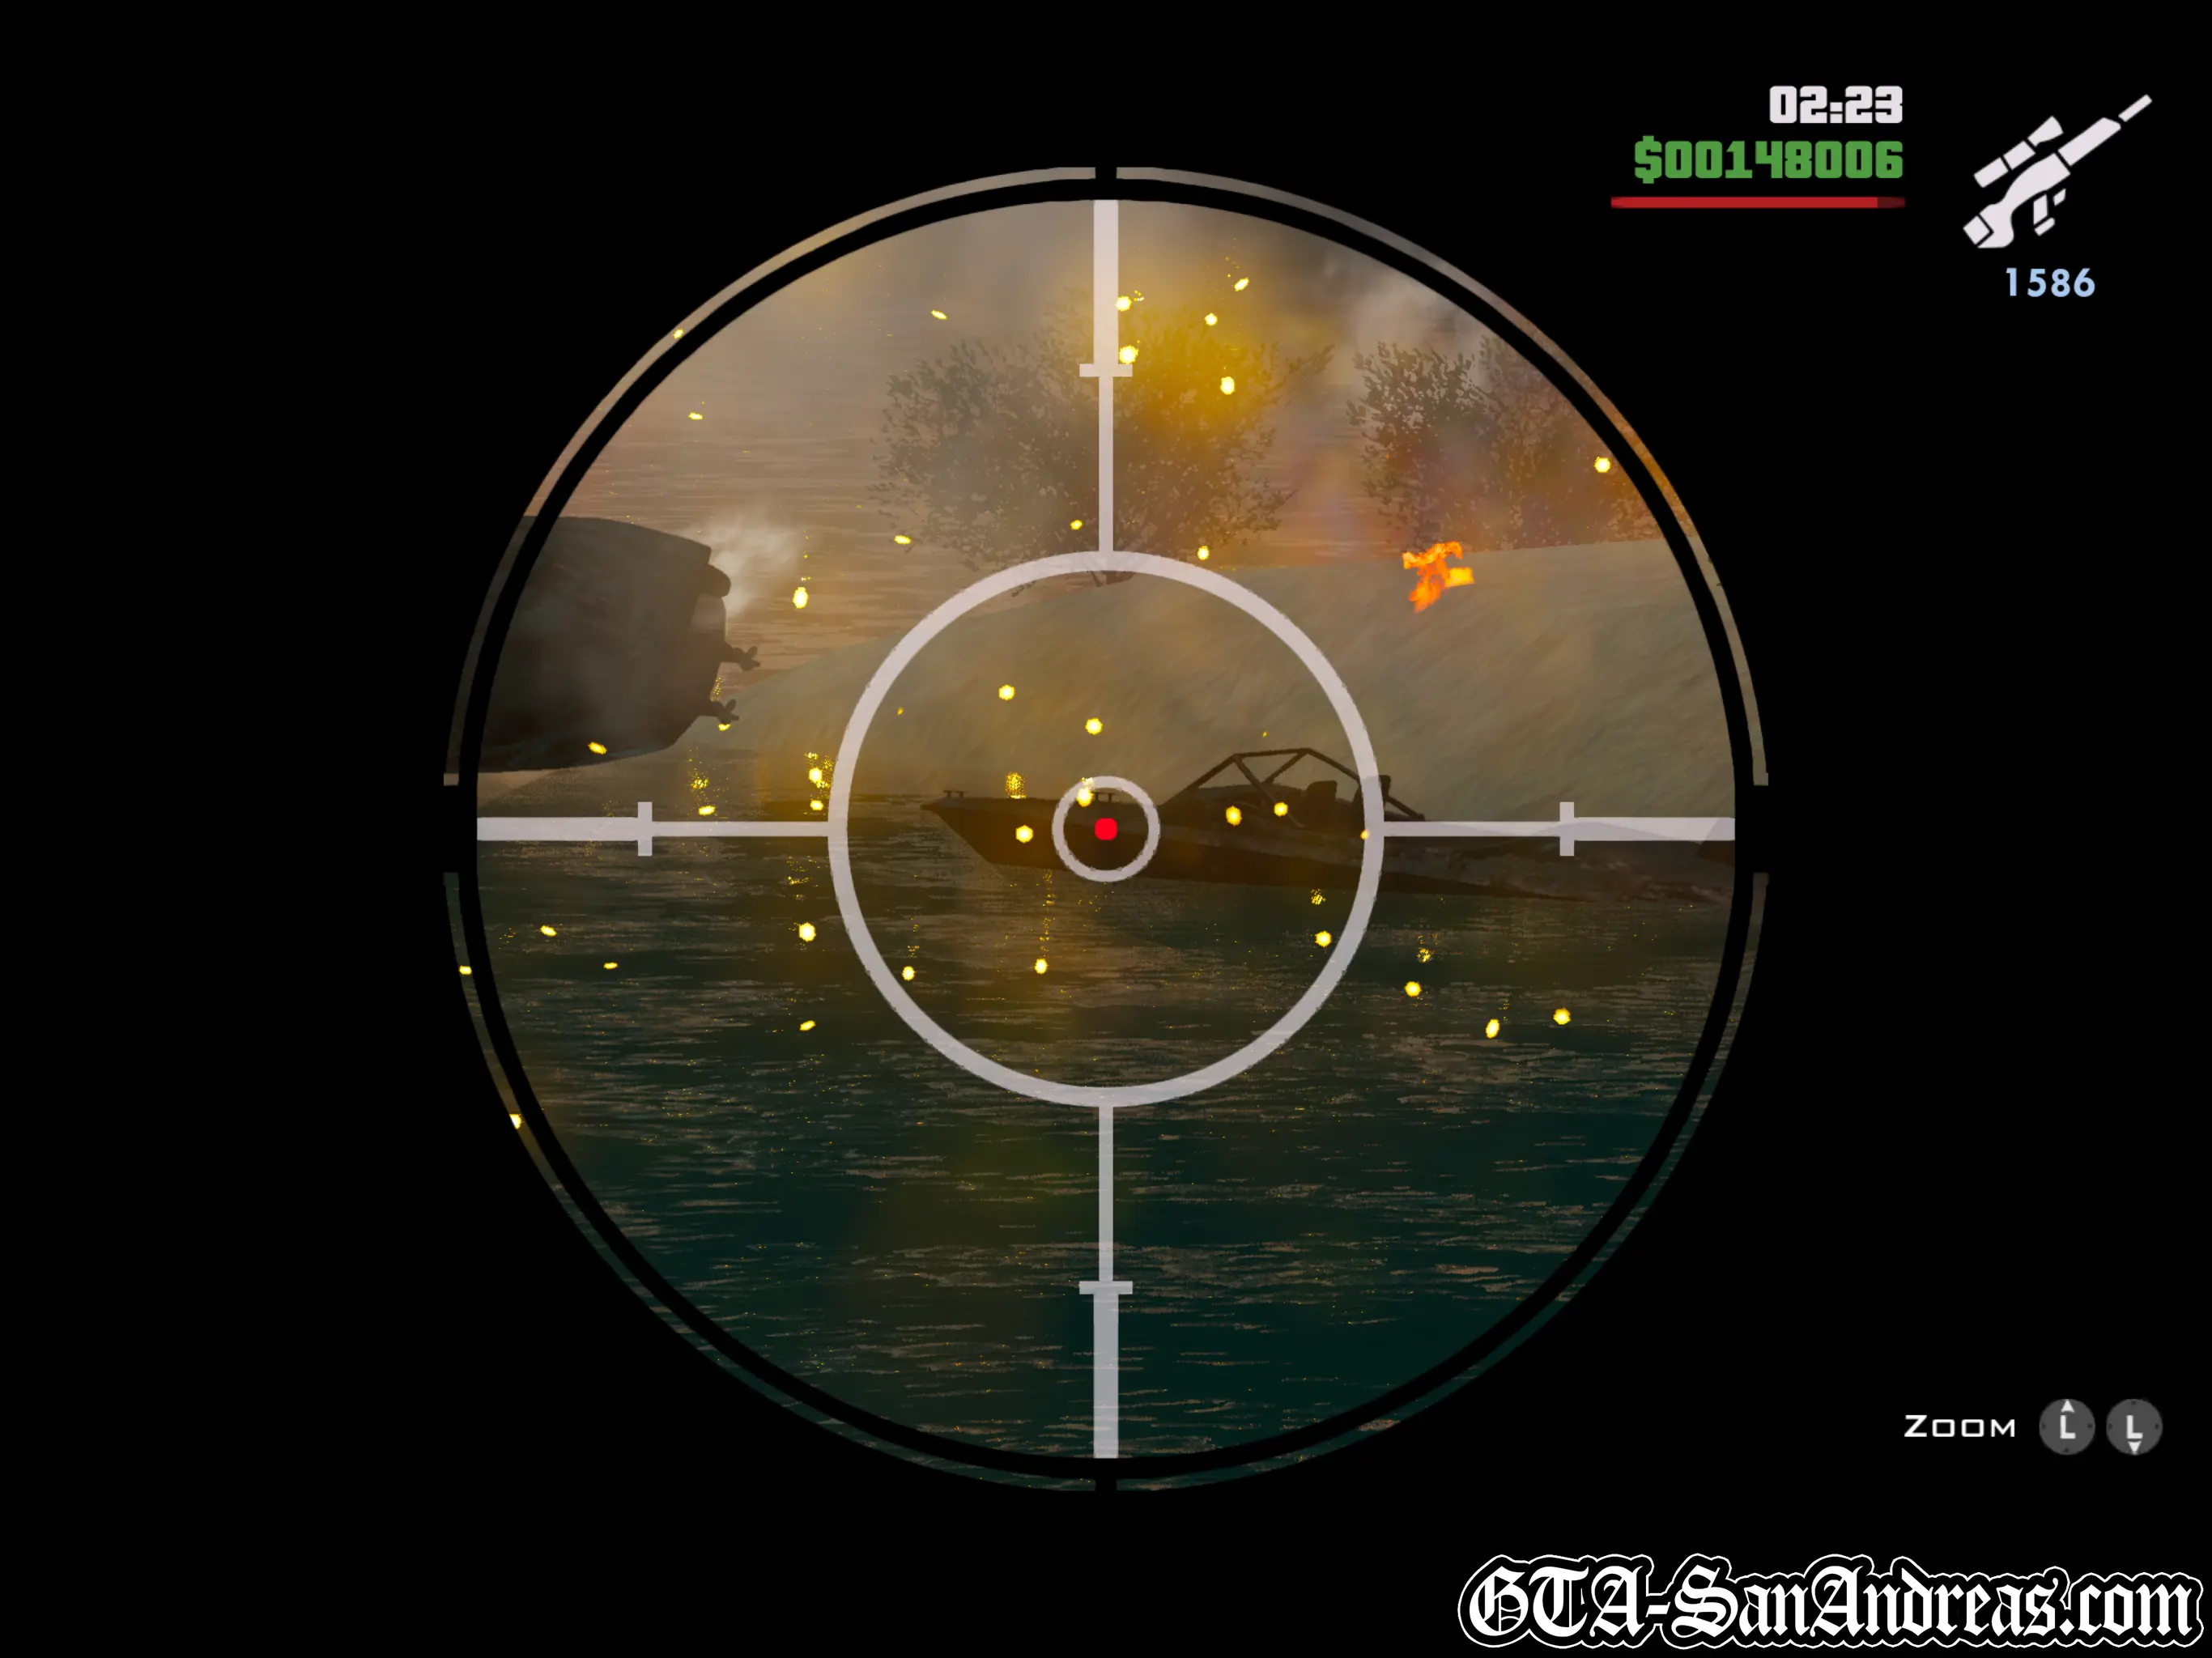
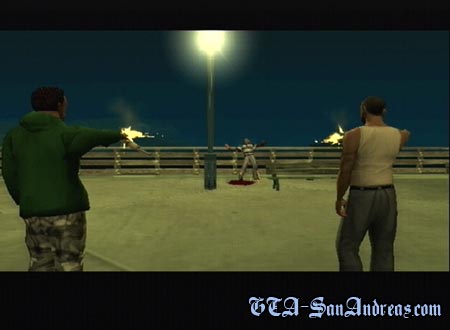
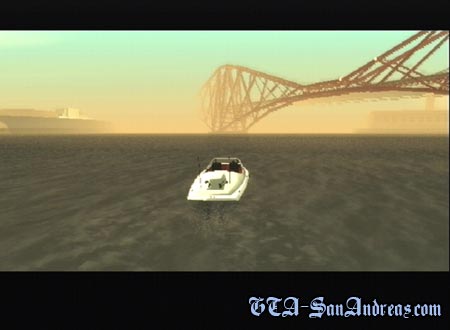
When you walk in the red circle you'll see the shortest cutscene in the game, probably. Cesar will tell you he's on the roof, and he wants you to go around the back and up the stairs to see him. Head to the right and go through the doorway to your left then up the stairs and walk over to Cesar. After the cutscene you'll need to help The Triads clear the rooftop of T-Bone's guys. Use the sniper rifle and zoom into the rooftop where you'll see about seven guys who need to be taken out as quickly as possible. Every second you waste results in more triads dead. After they're all dead another cutscene will kick in when Ryder and T-Bone arrive. Toreno is making his way in a helicopter, but he sees the bodies on the roof and flies away. You now need to make your way down the stairs and across the street and kill T-Bone Mendez. First head through the road block and kill a few people on foot there, then make your way to the left of the pier and go around the side of the building. When you get to the top, keep tapping R1 until you aim at T-Bone. He most likely won't know you're there so blast him a few times and a cutscene will kick in. Cesar and CJ kill T-Bone, then Ryder jumps in the water and tries to swim away. You need to jump in the water and swim after him. Sprint swim to the boat parked by the small island, and get in. Chase after Ryder who will drive to the right in another boat, and pull alongside him. You need to drive by him to death. The boat is pretty strong though and will take somewhere in the region of 100 bullets to blow up. Chase him all across the water and eventually you'll blow him up. Once you do you'll get a phone call from Cesar.
Screenshots


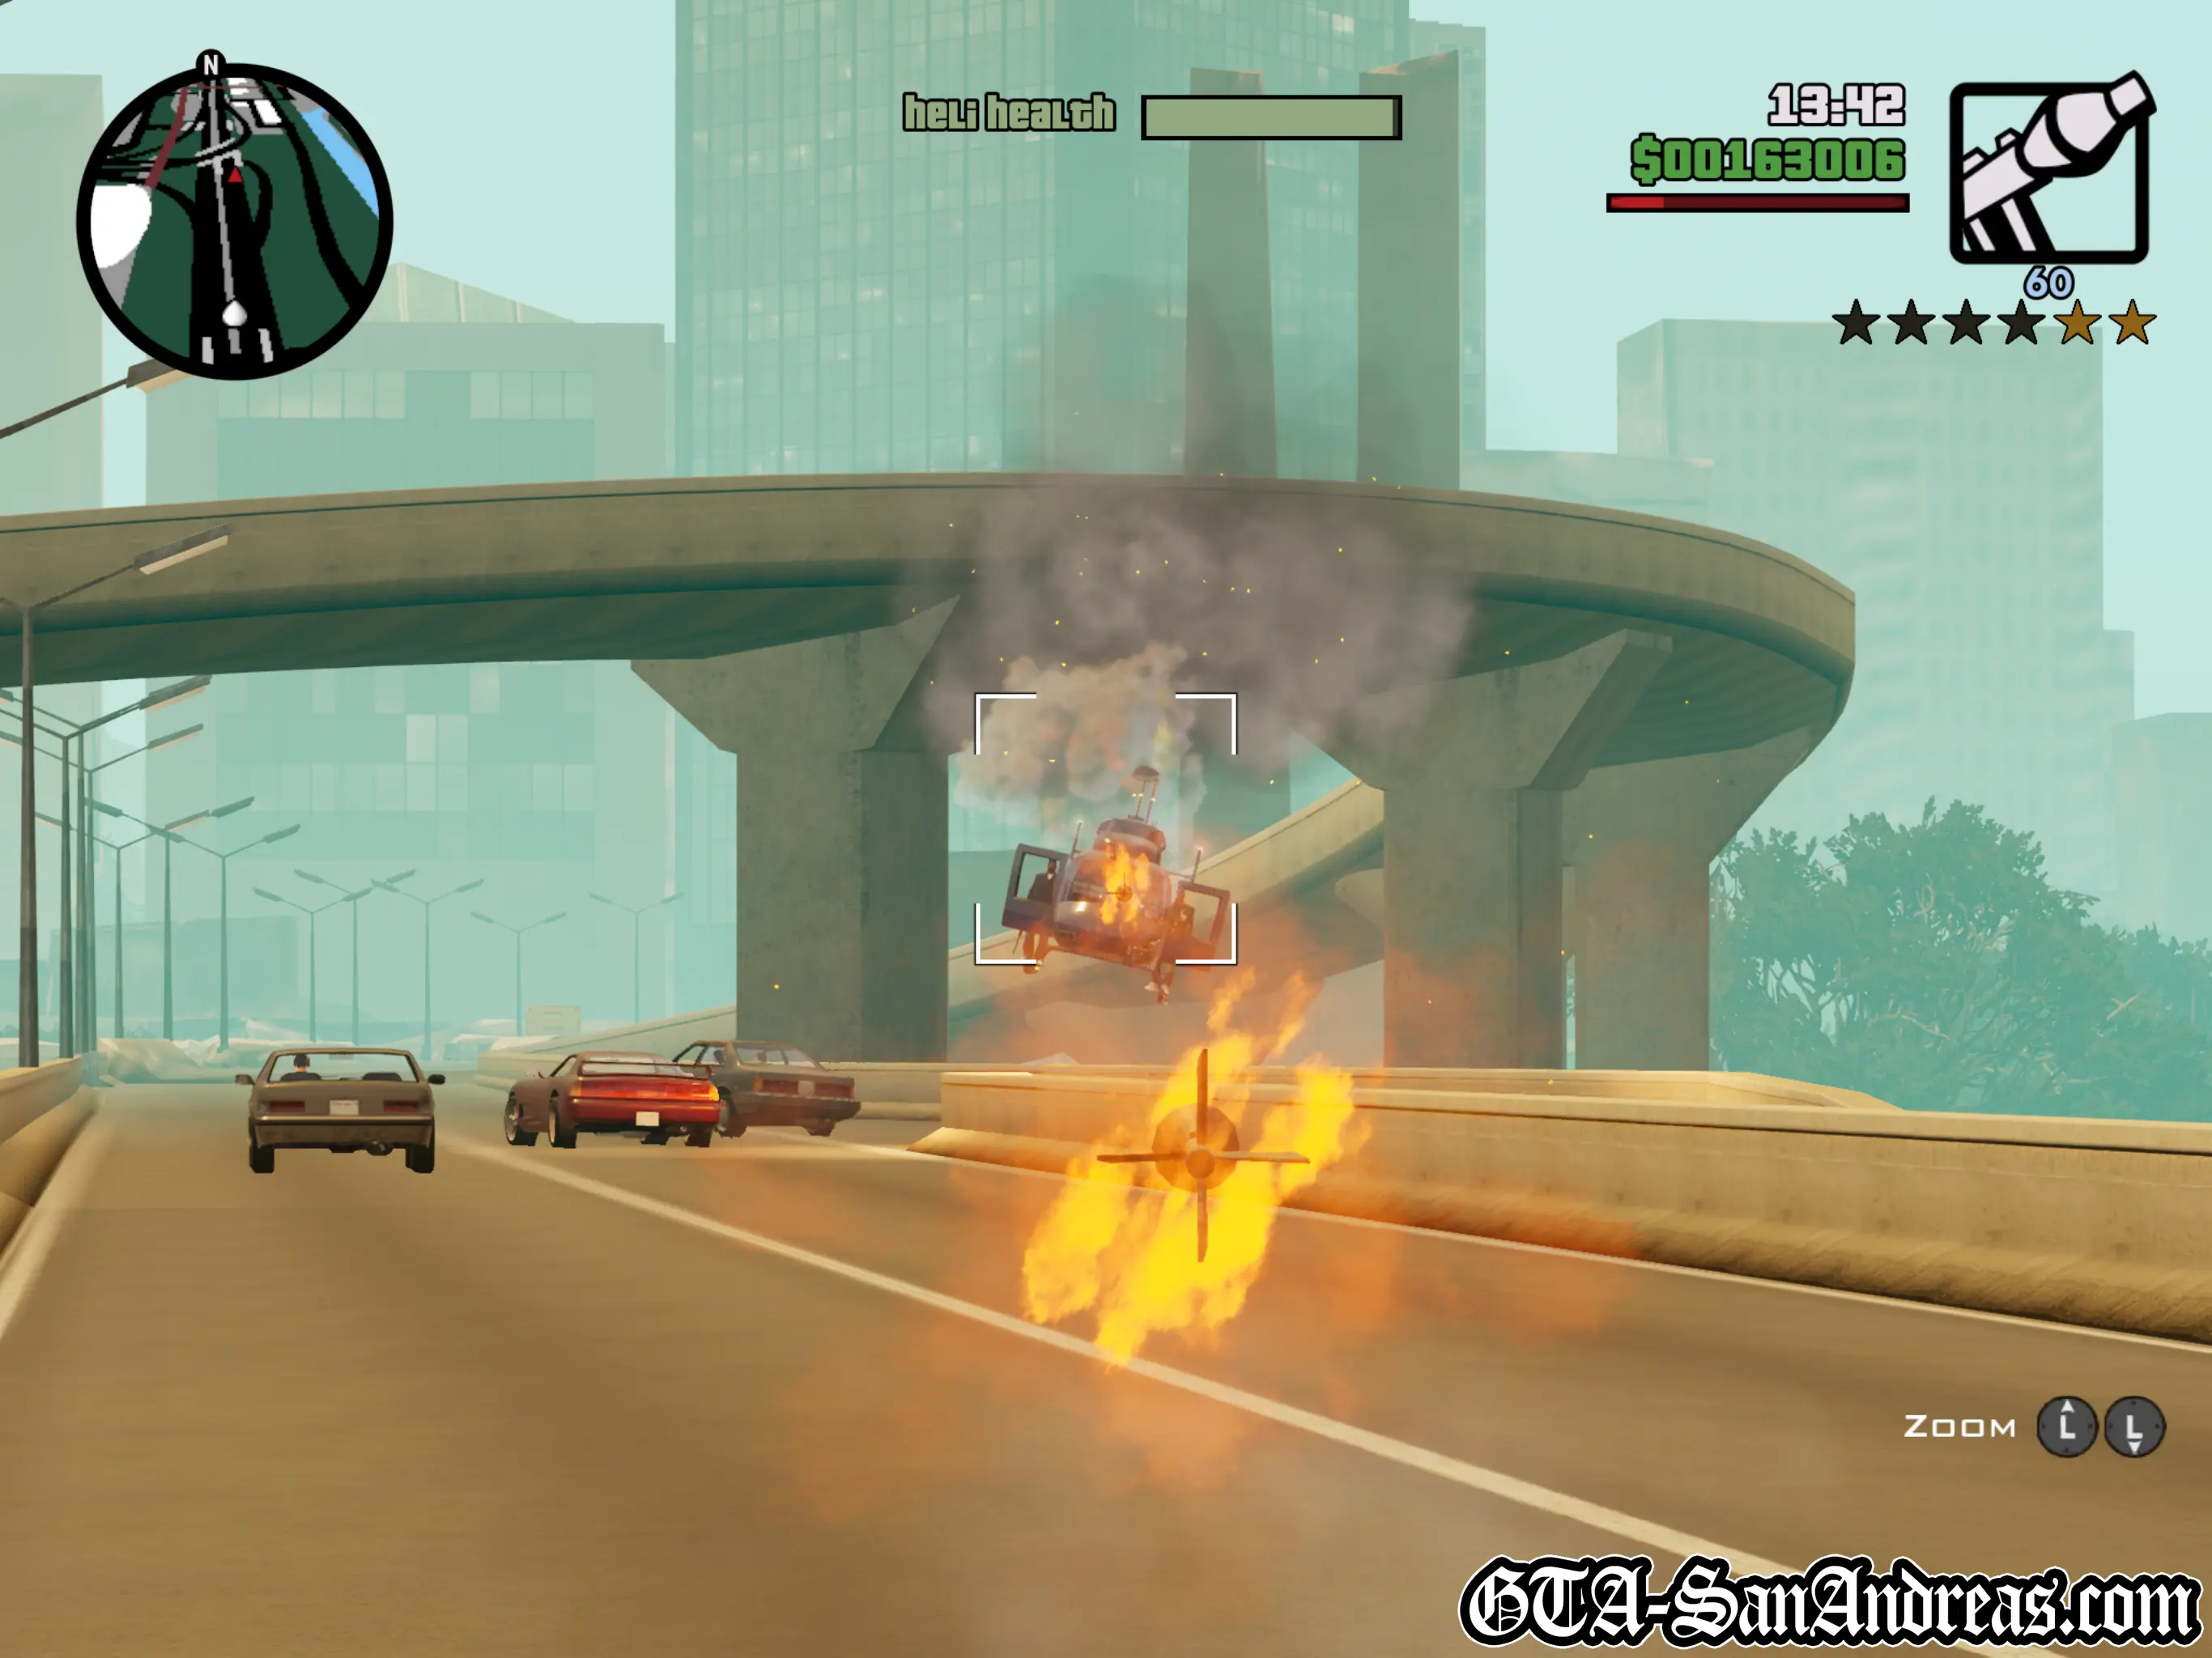
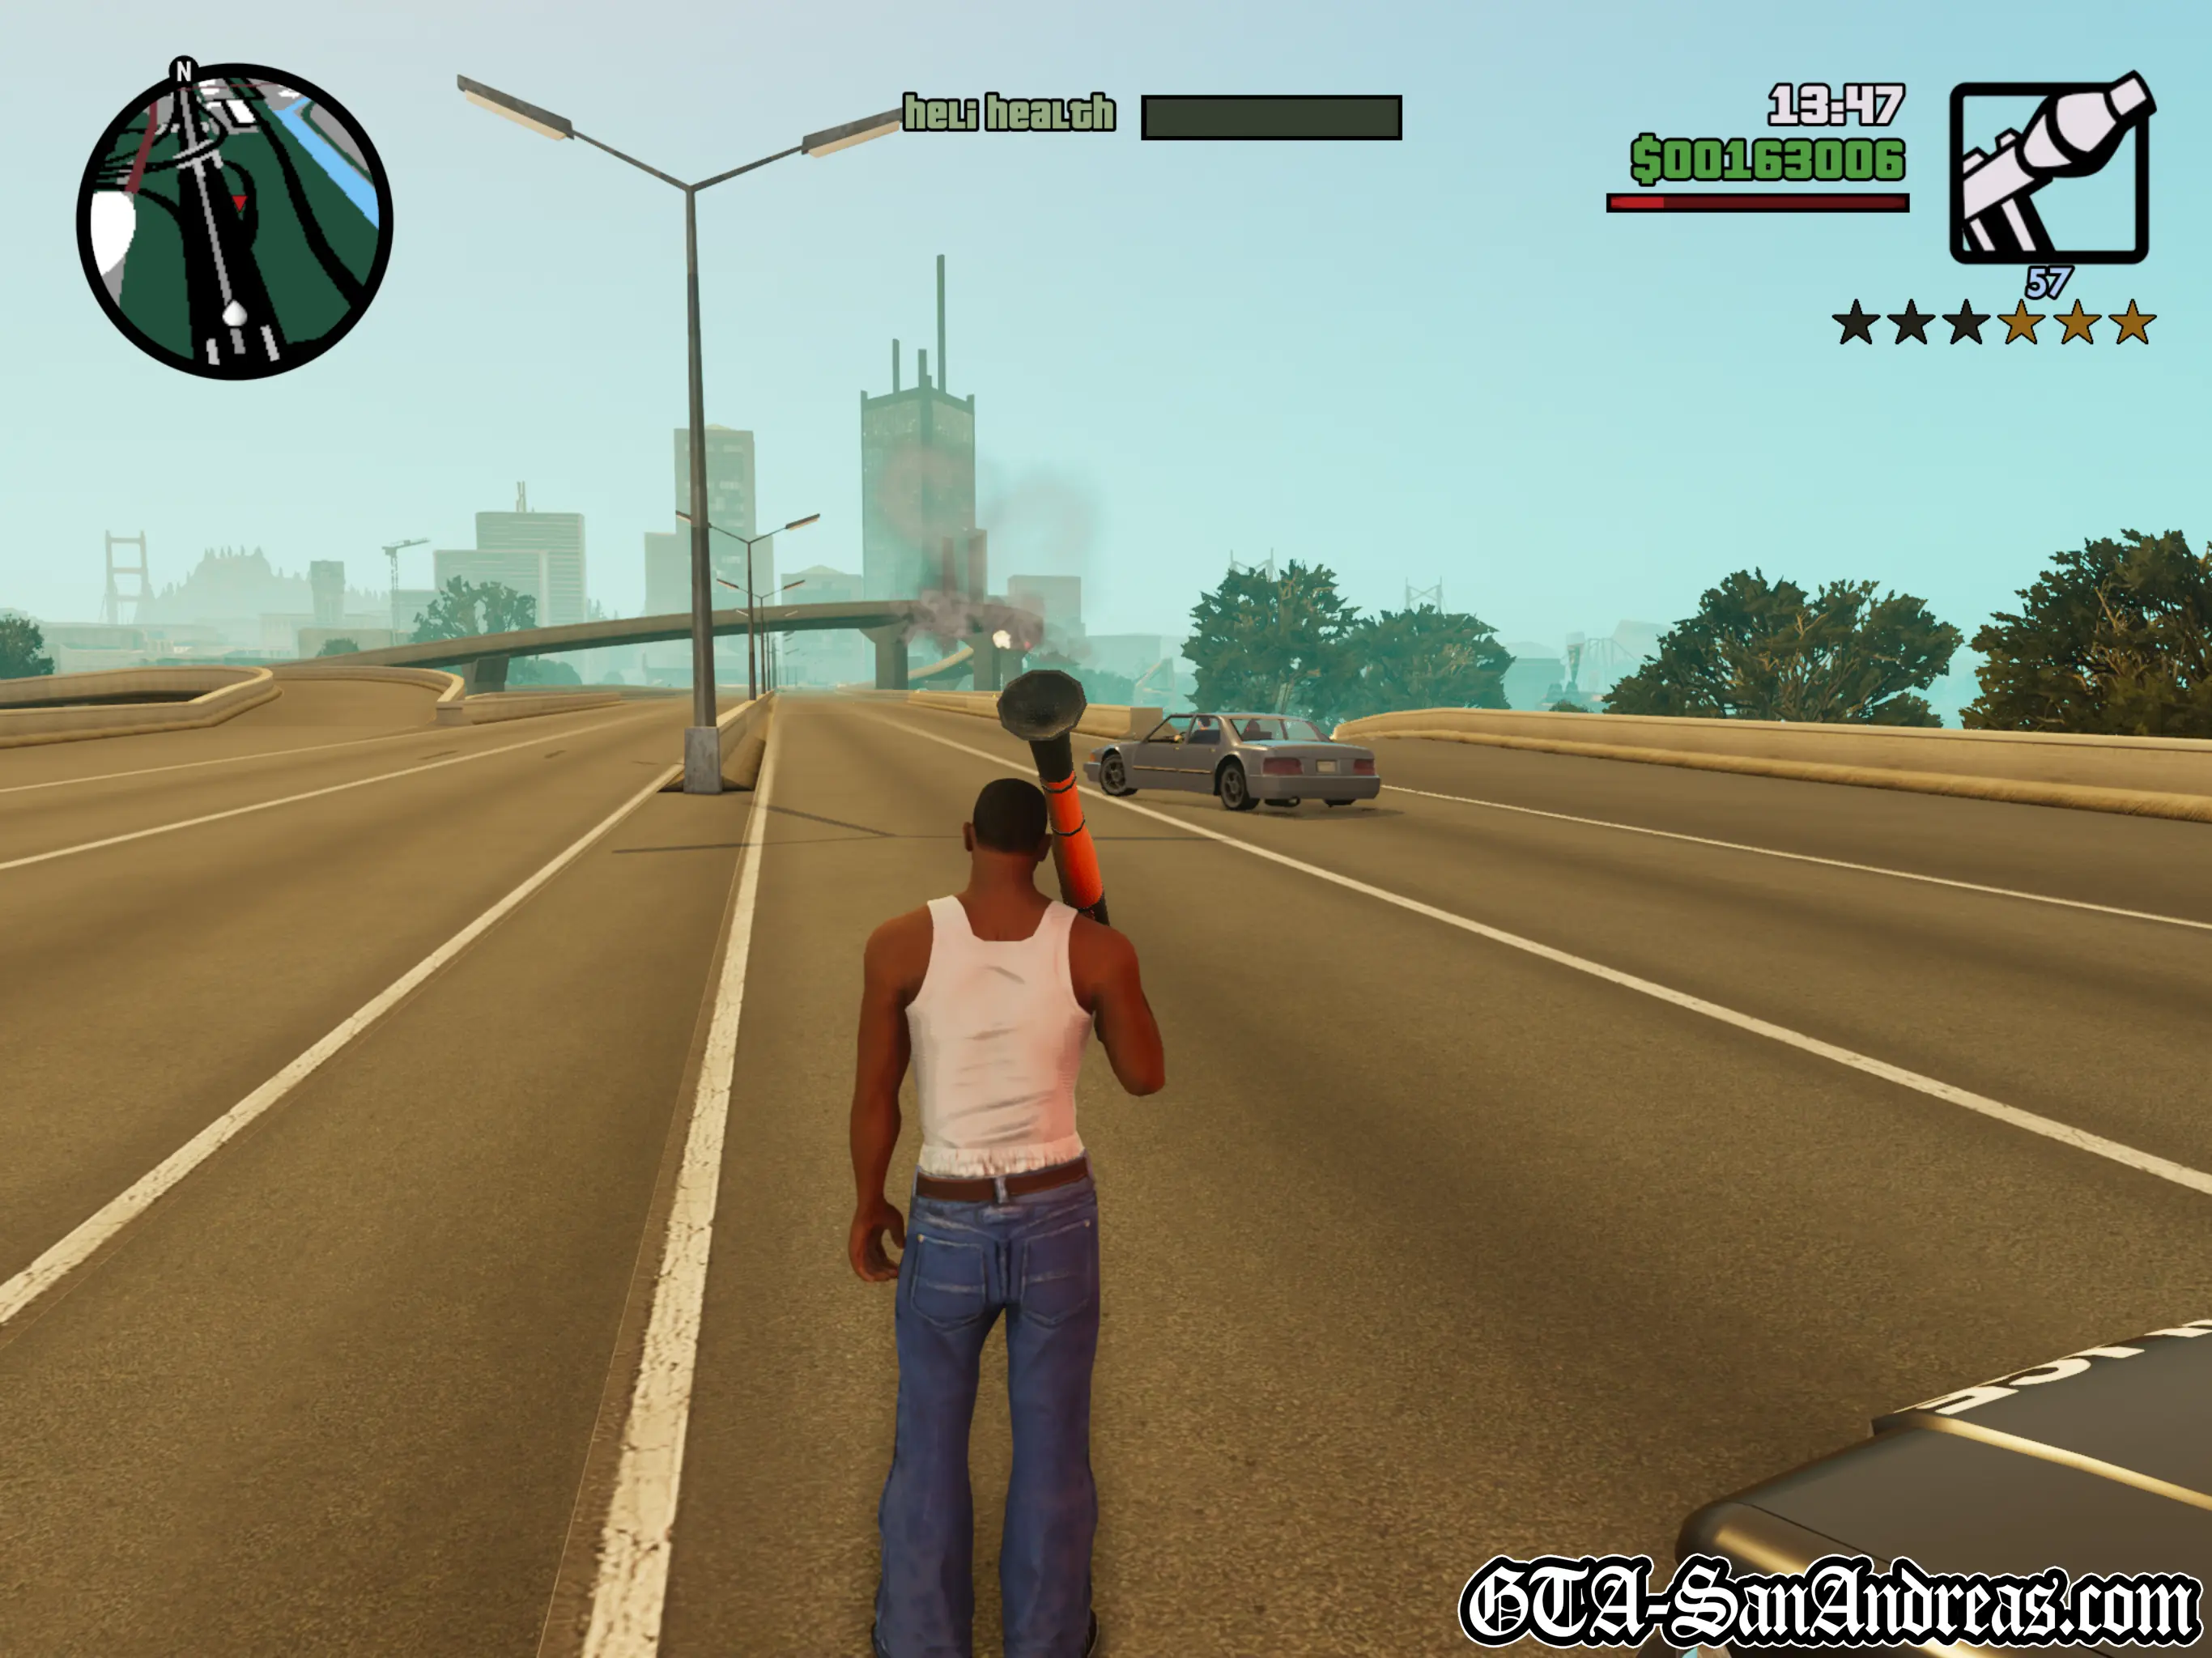
Toreno's Last Flight

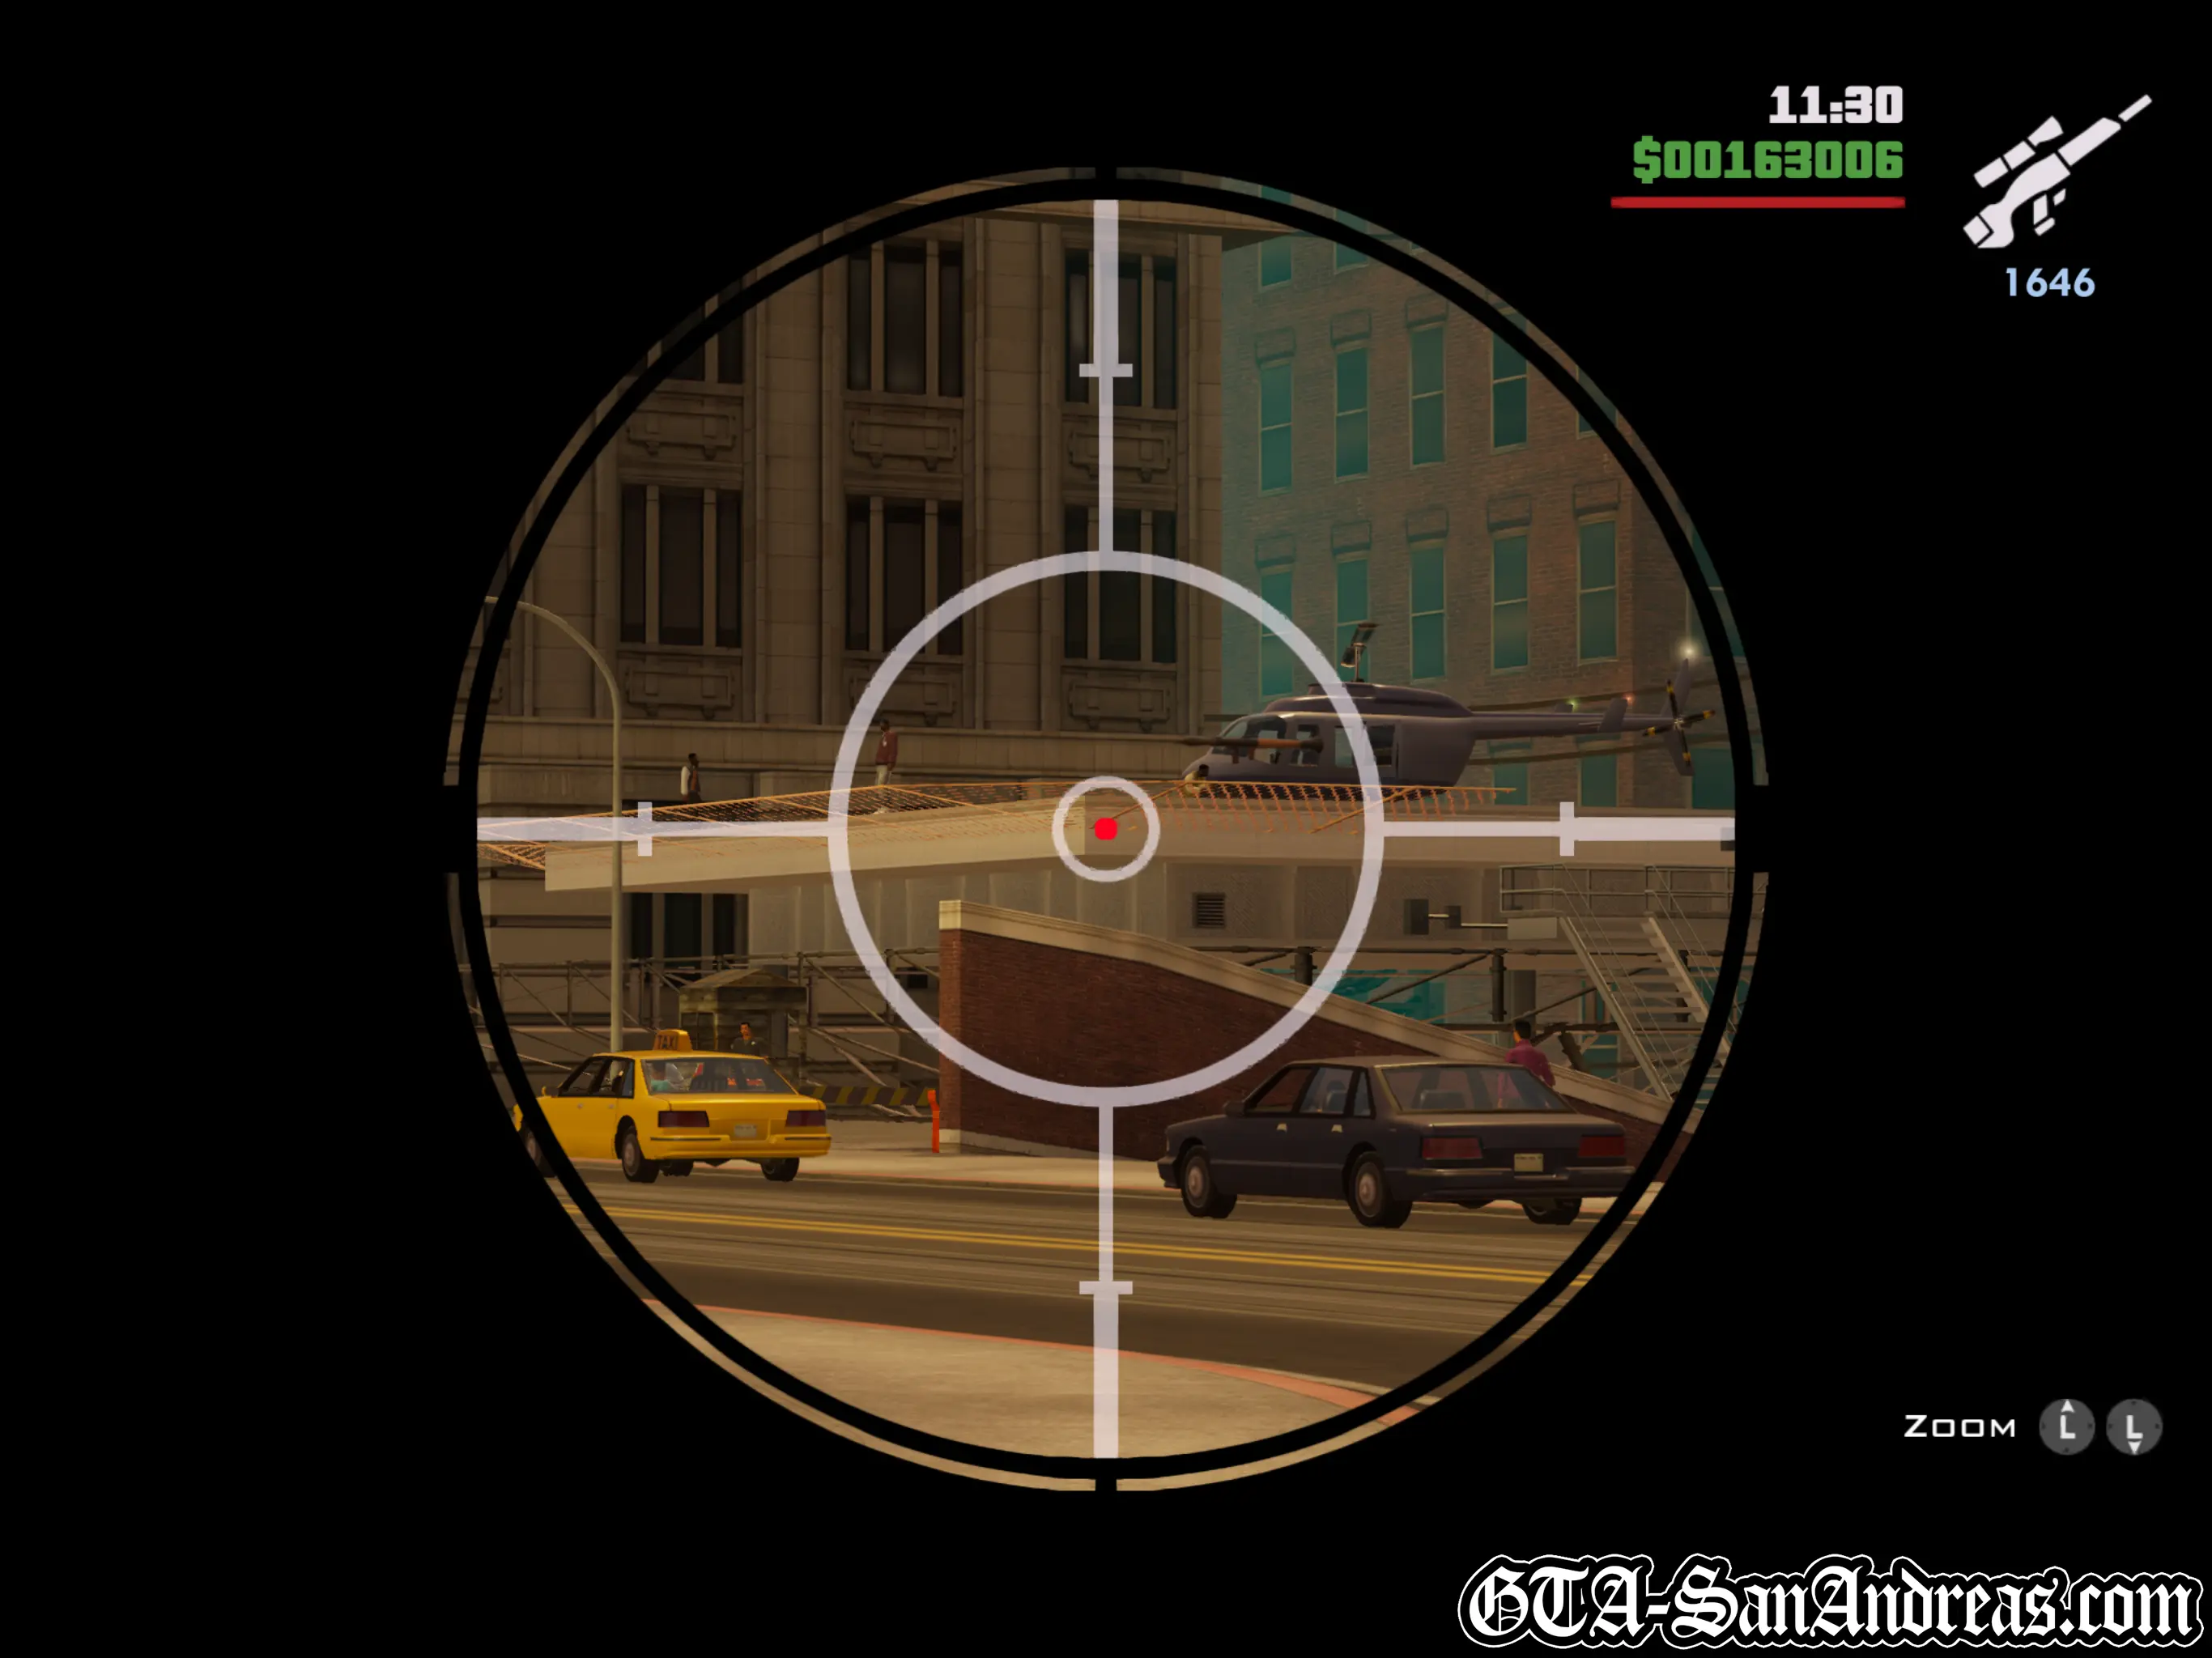
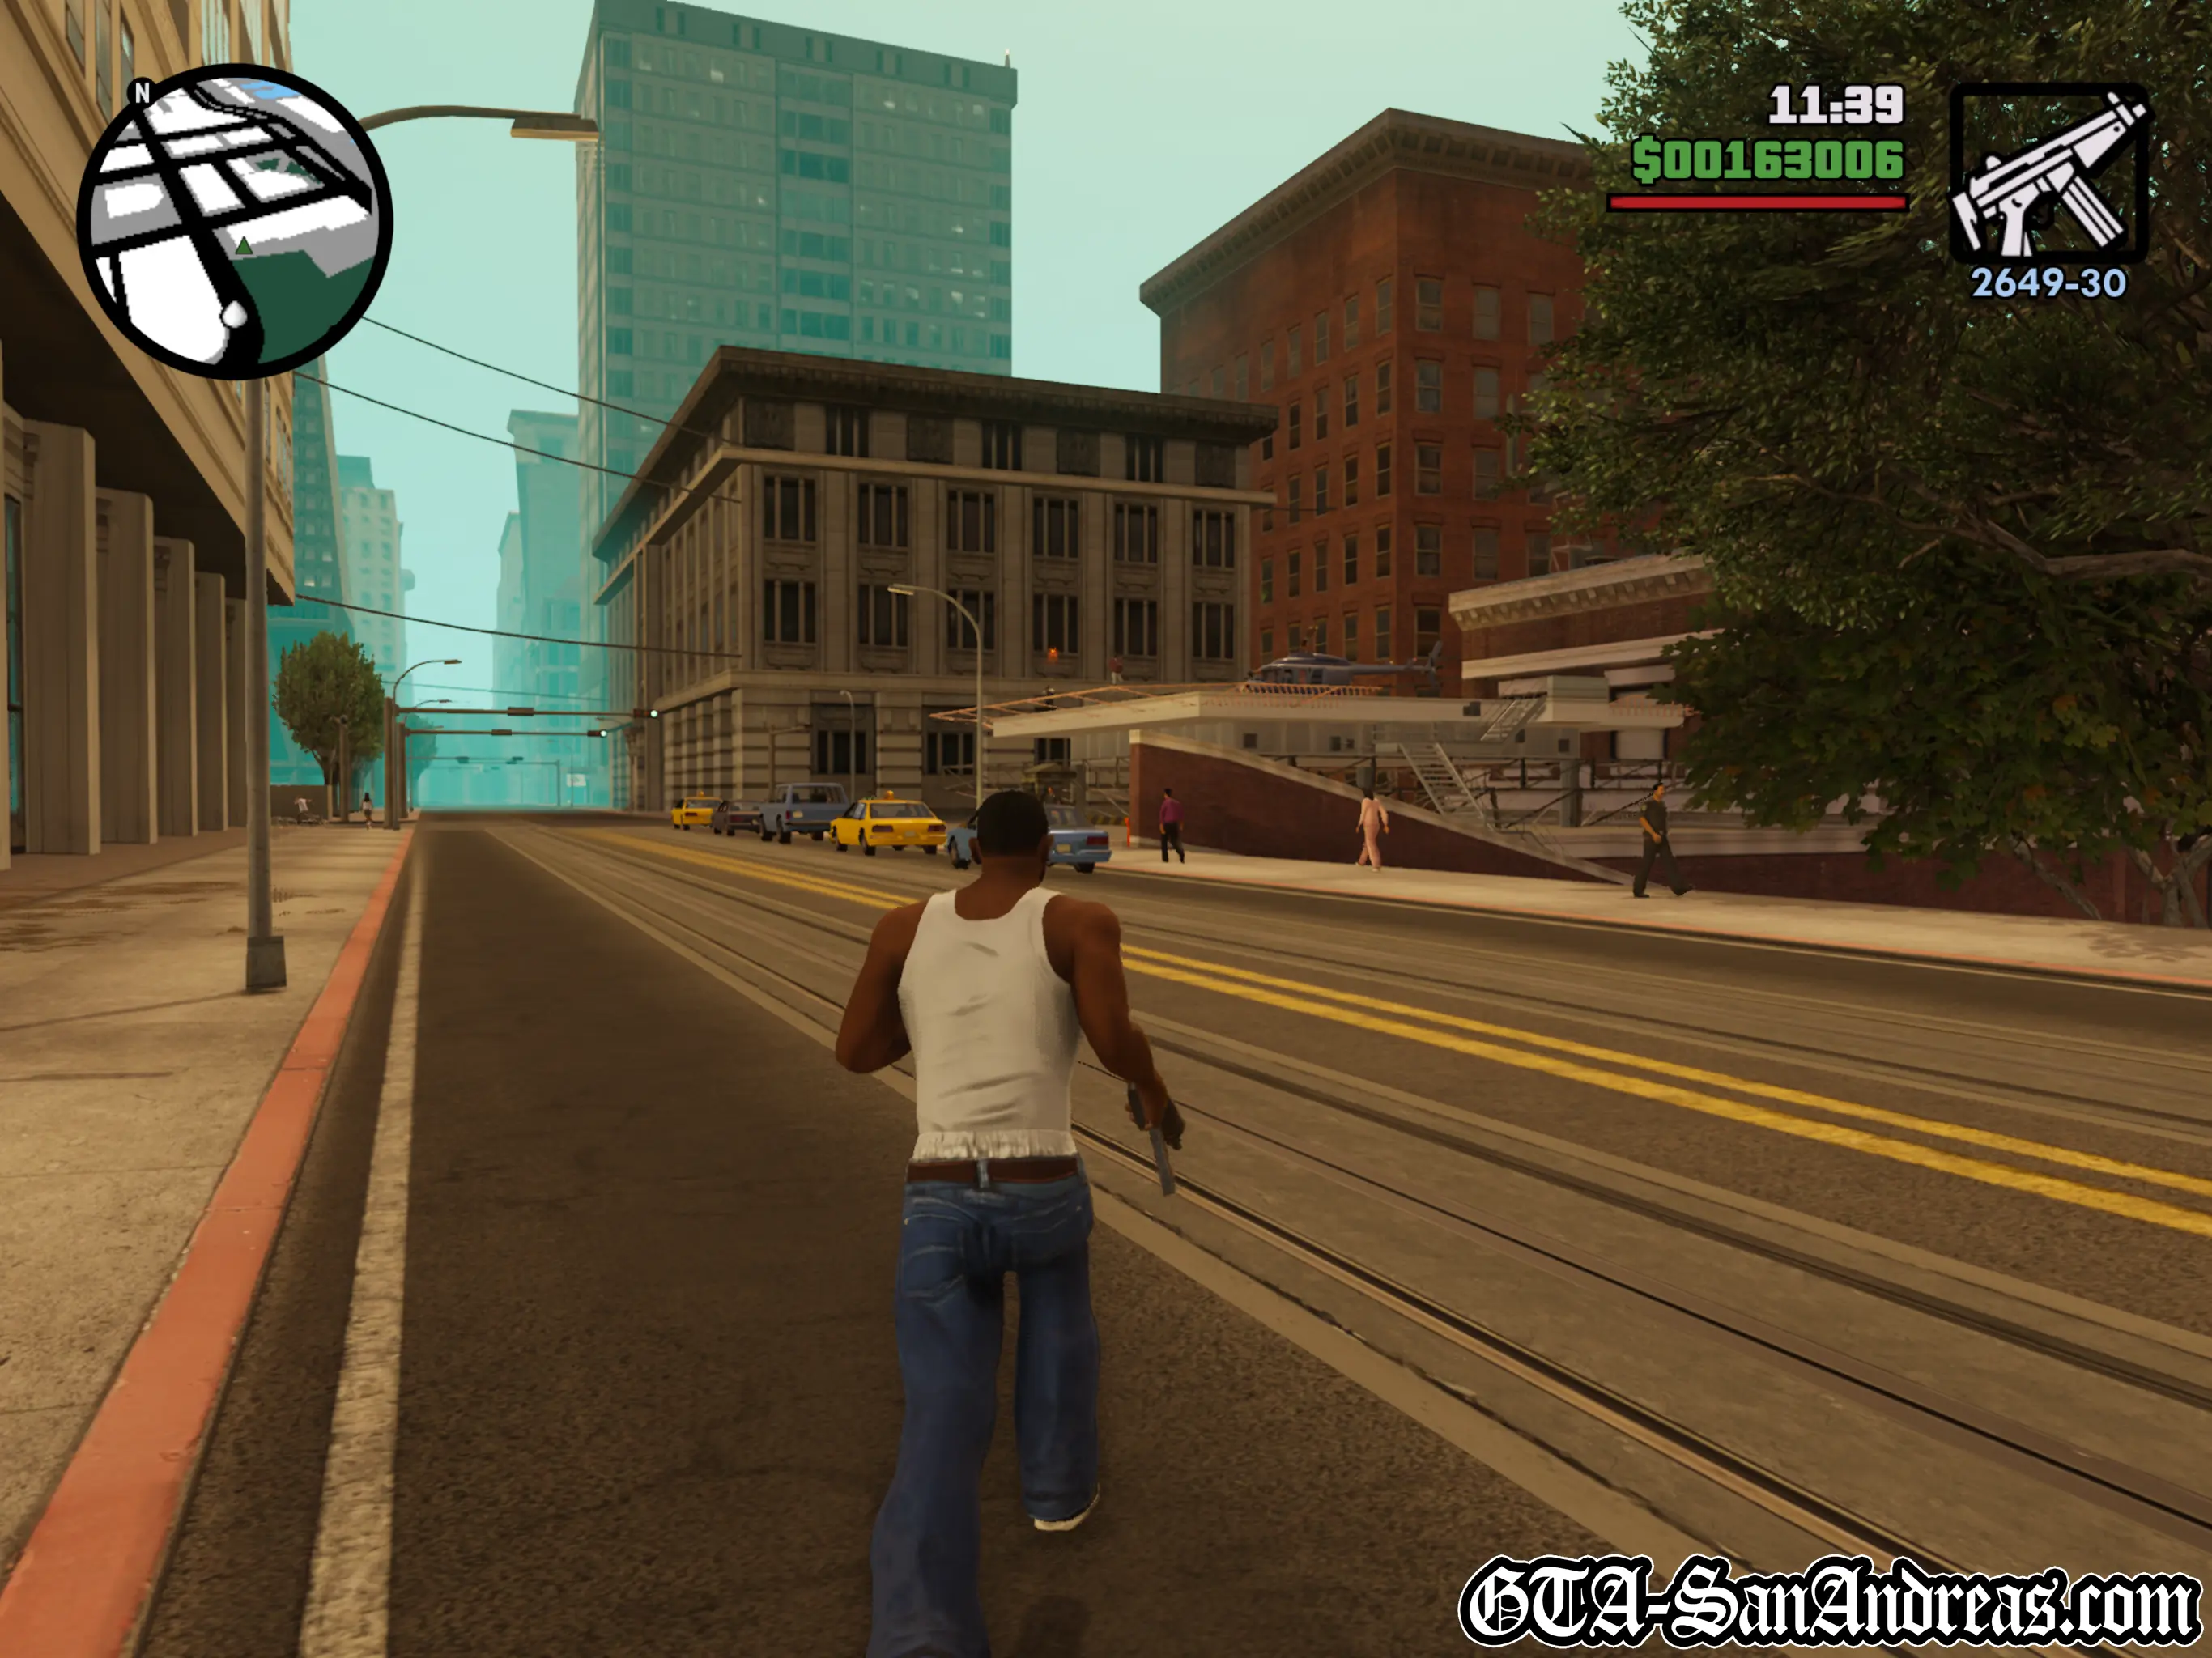
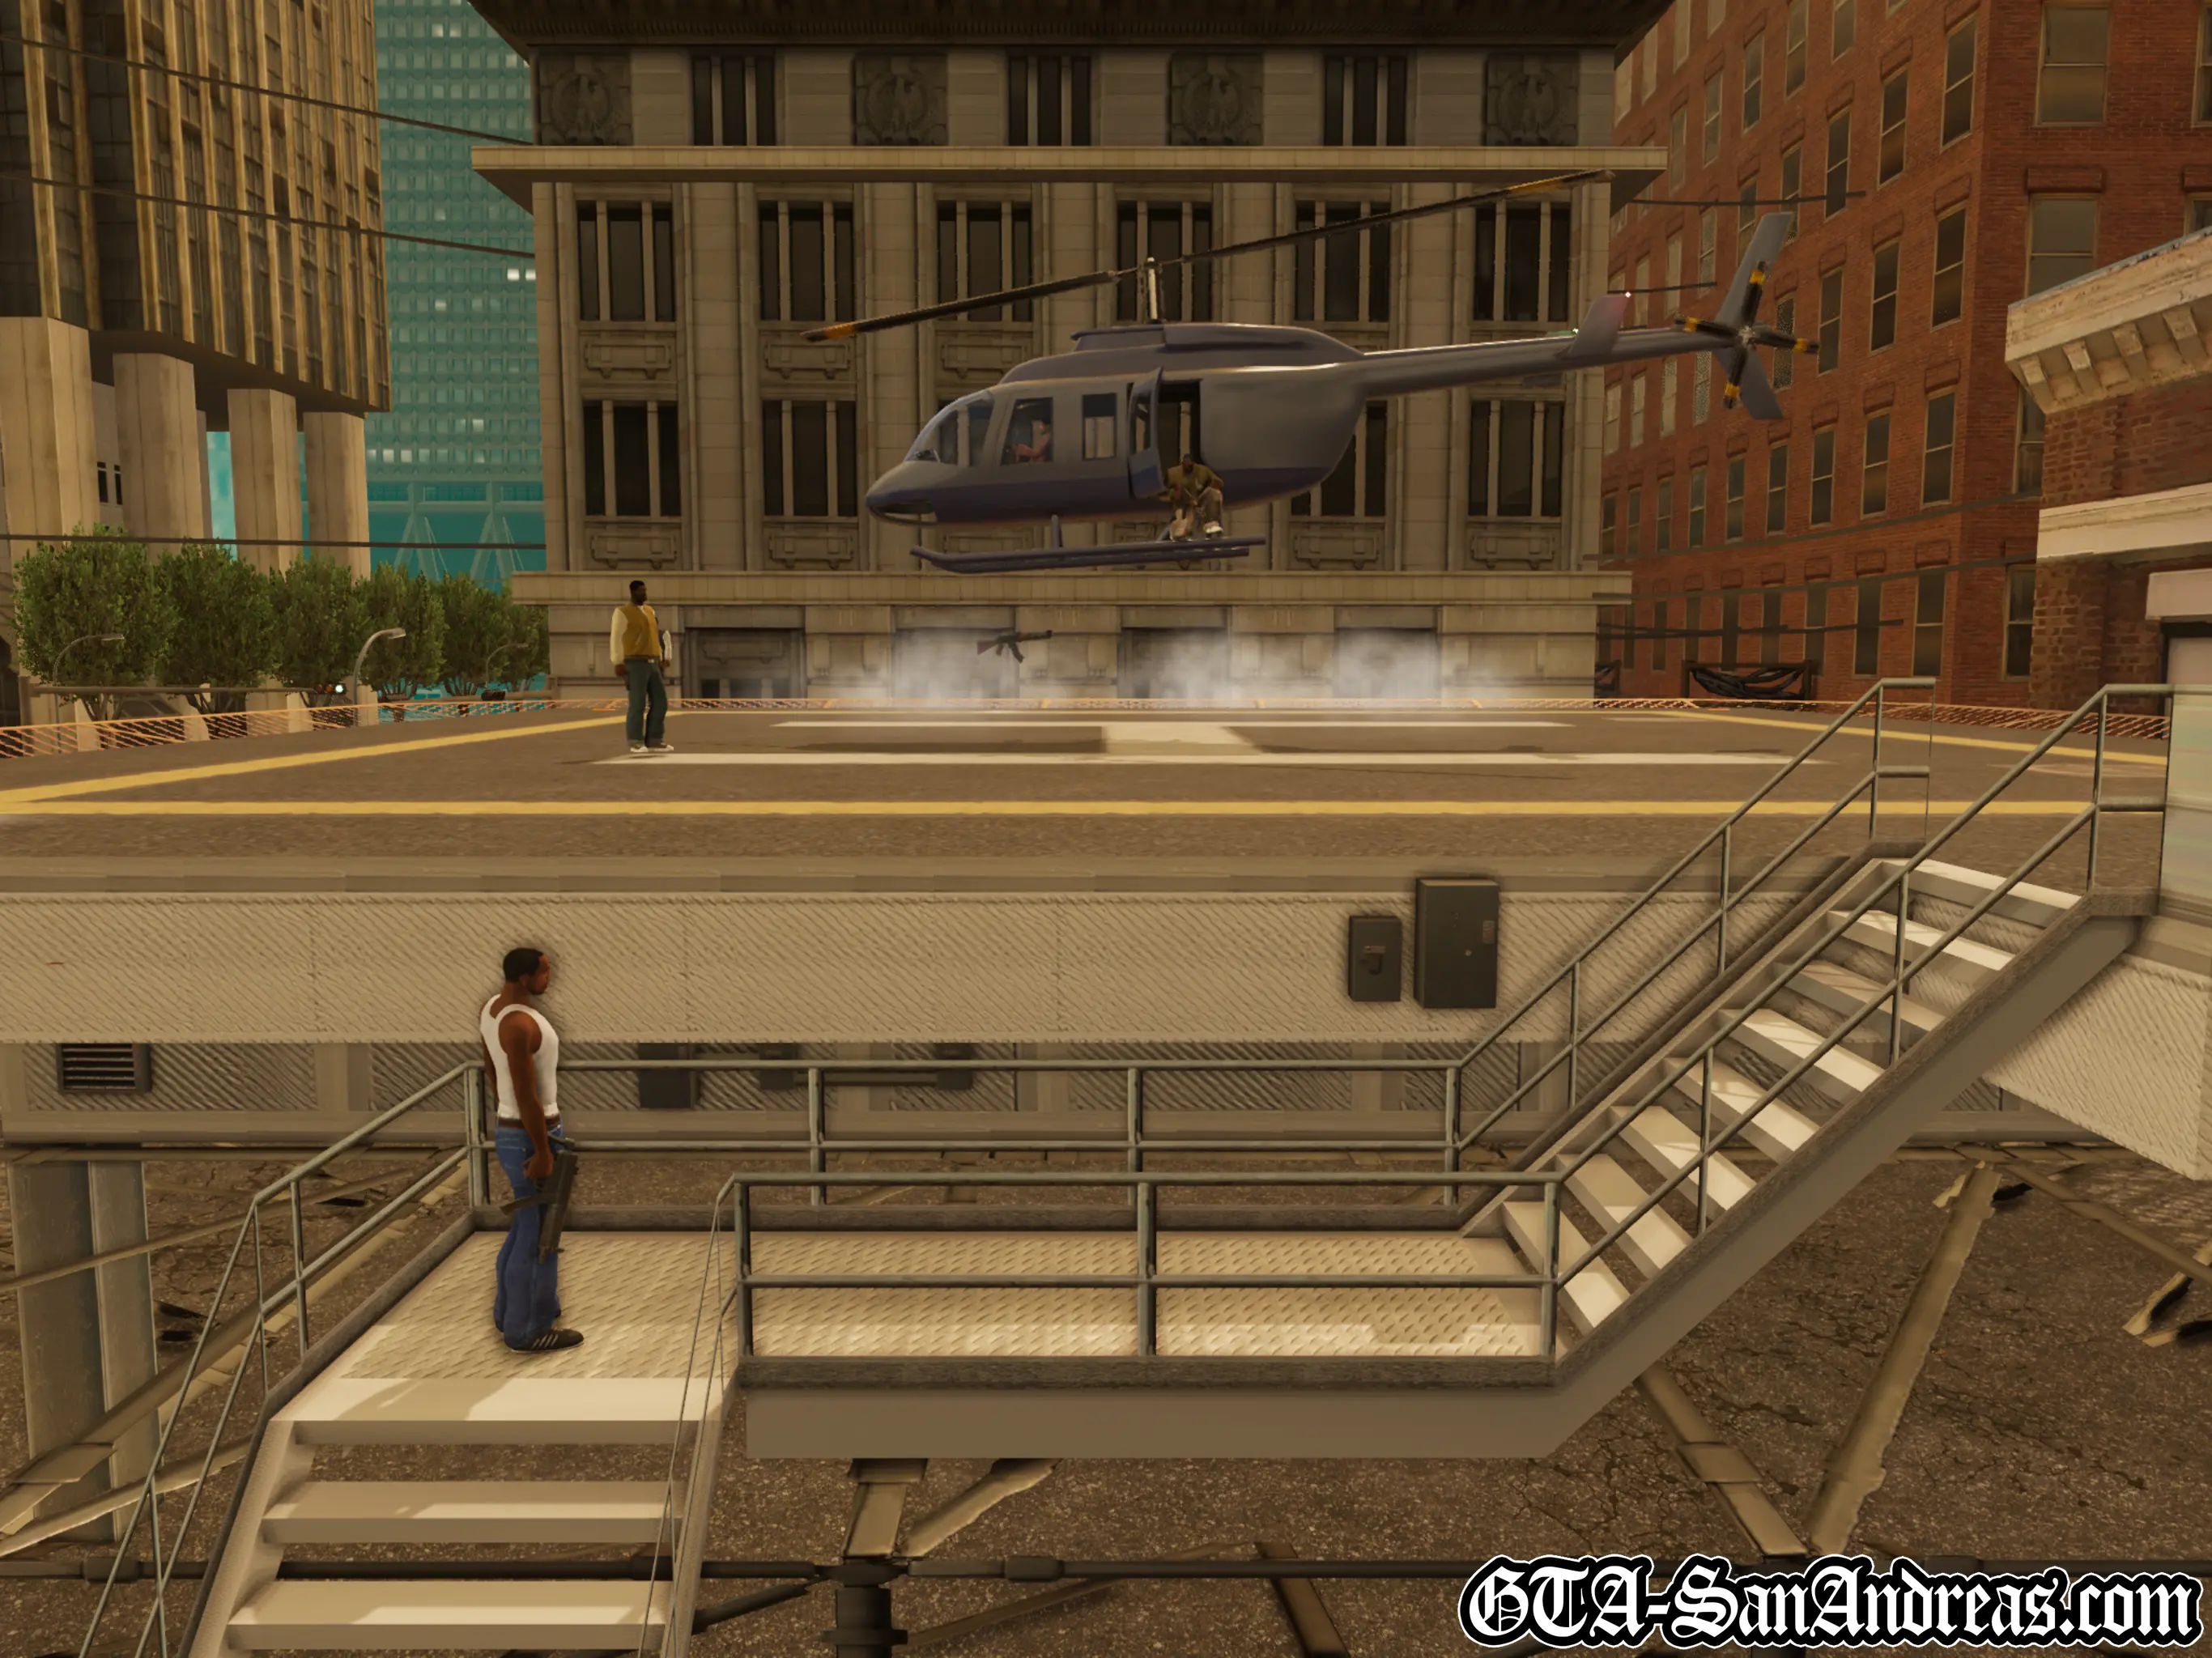
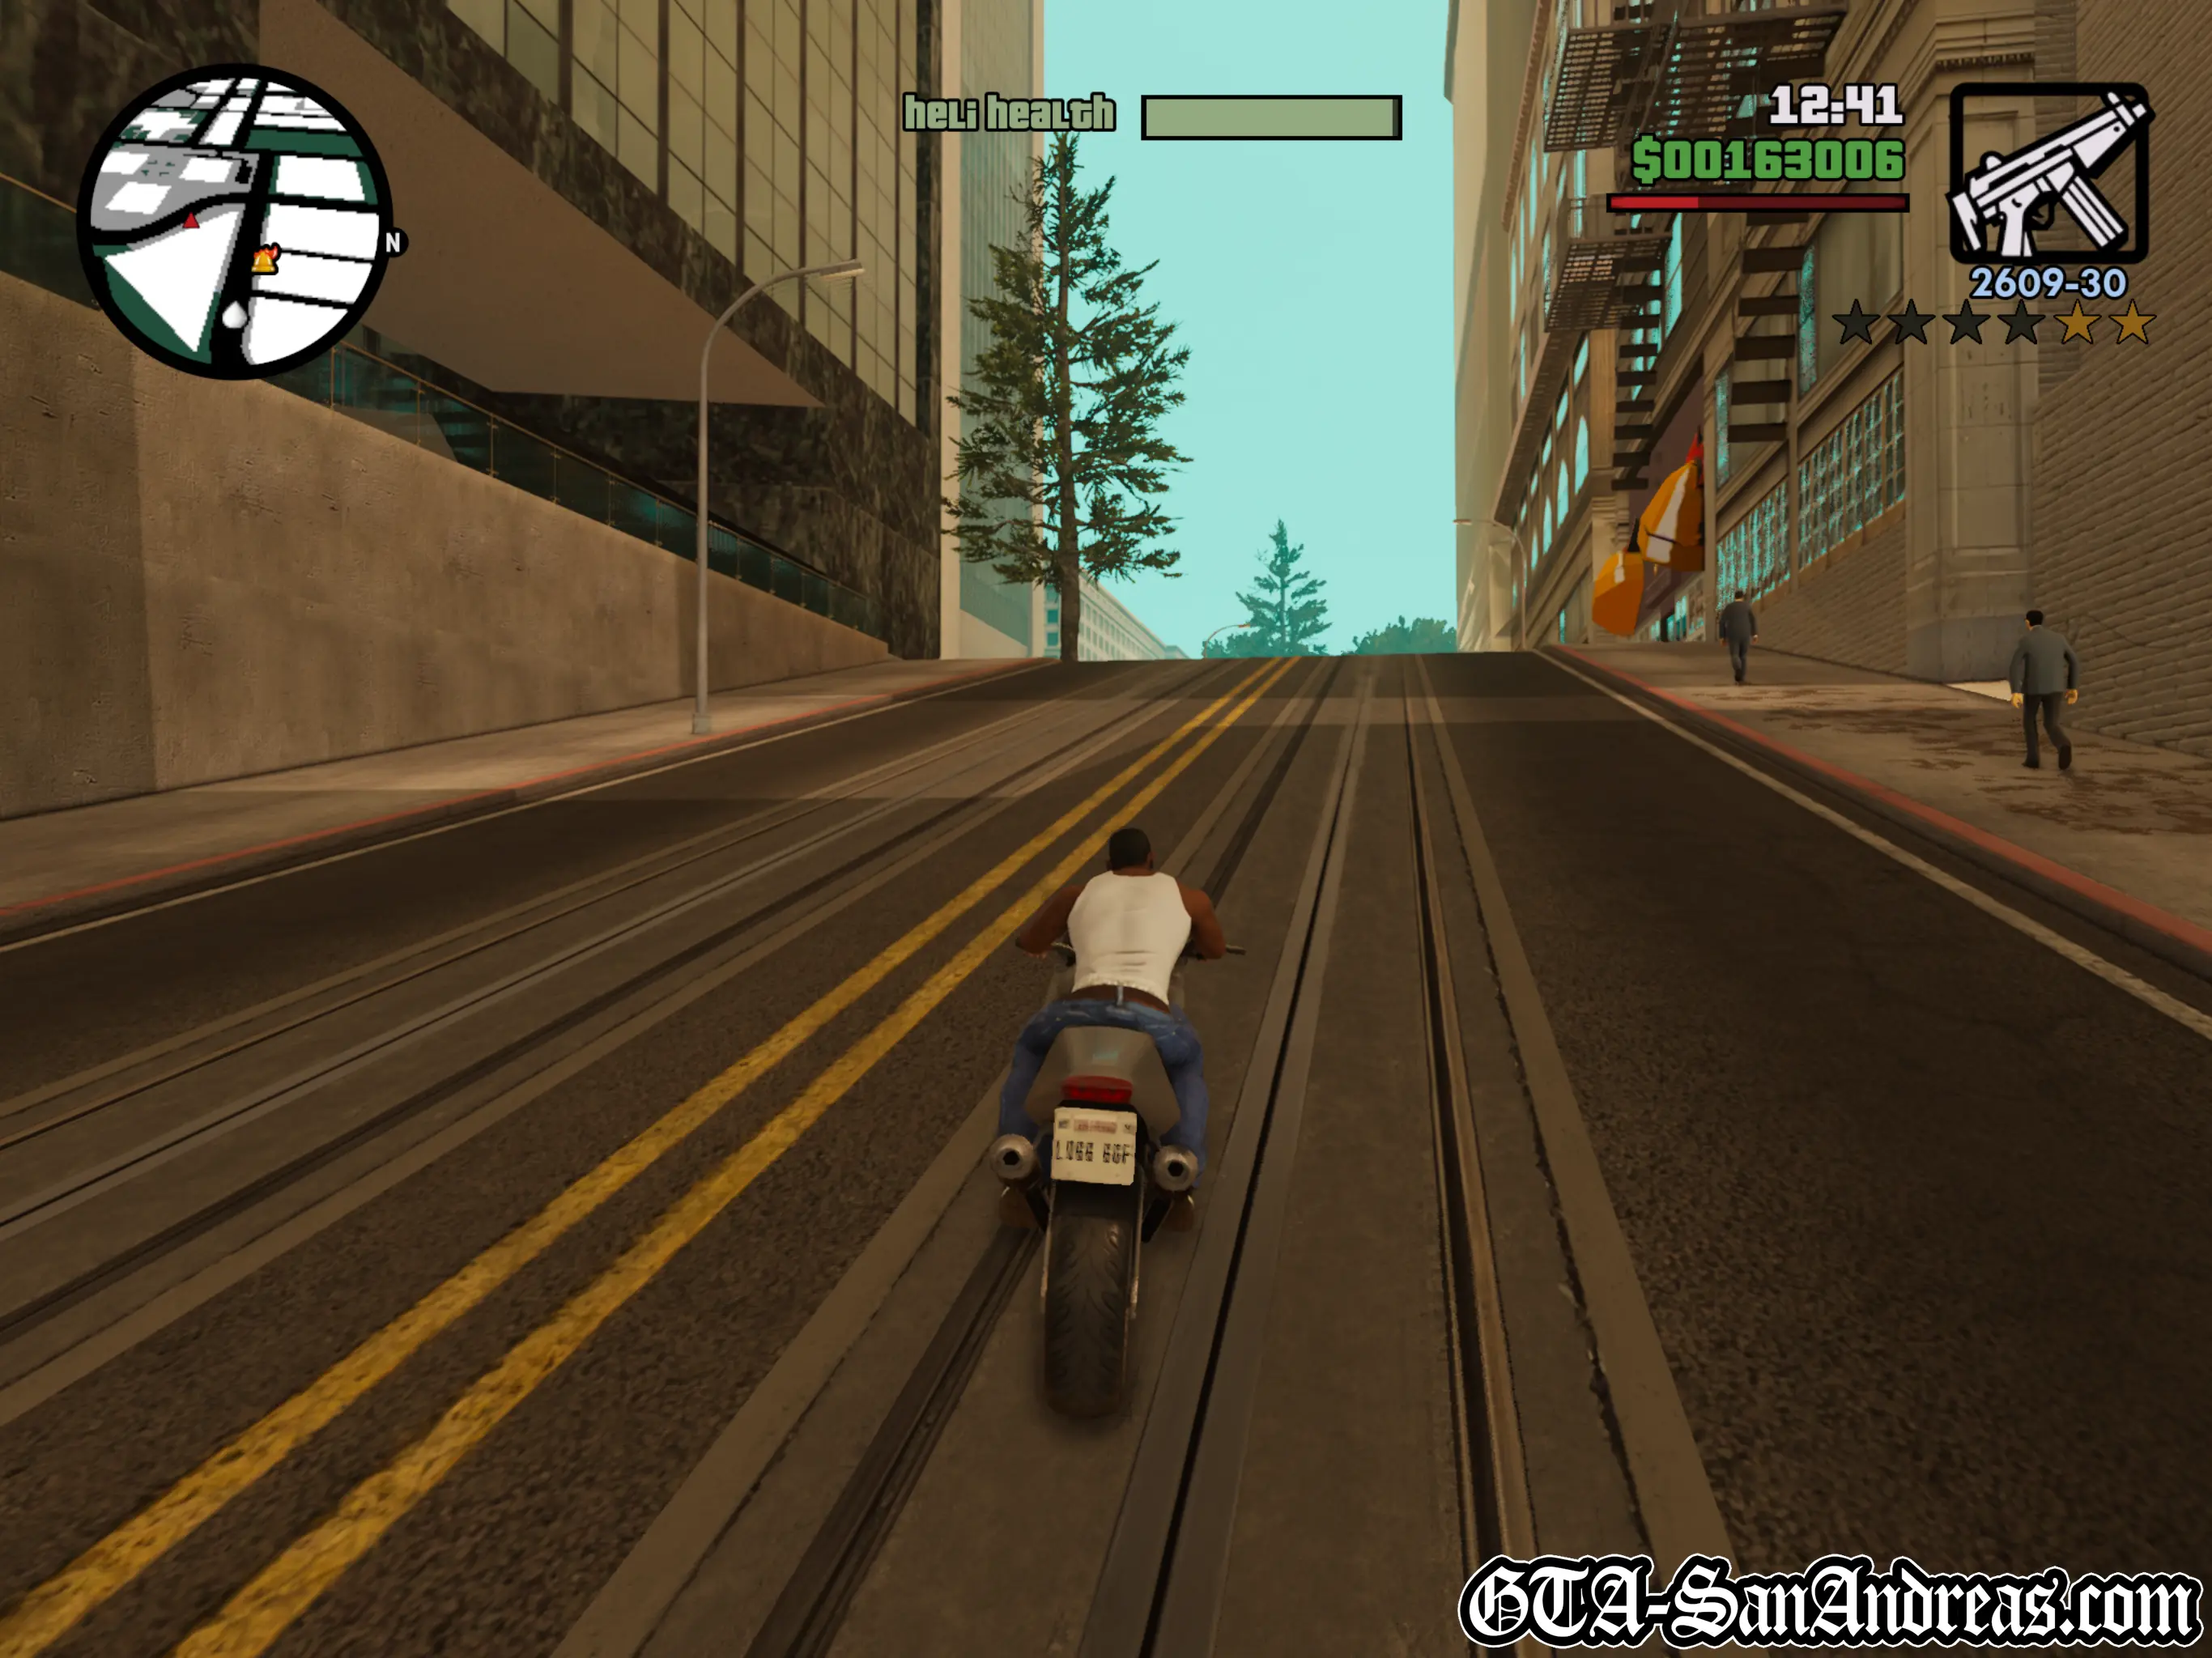
Woozie calls you up and tells you that Toreno is loading some boxes into helicopter on a helipad near by. He thinks you should check it out. Make your way to the yellow blip on the radar. As you get there you'll be greeted by a bunch of guys with guns. Kill them and make your way over the railing and down the slope. Head up the stairs and a cutscene will start where Toreno's helicopter takes off. There's two more guys on the helipad to kill, then drop down to the left and get on the bike. Chase after the helicopter and when you get close, get off the bike and use the rocket launcher to blast it. Keep doing this and staying with it until you get a clear shot, and the helicopter should go down at the end of the freeway. An easy way to kill him is just to get on the freeway and follow it south all of the way, then turn around on foot and wait for him. You'll need probably three direct hits to take down his helicopter. Once it has no health left it'll fall to the ground and blow up.
That's all of The Triad missions completed for the garage, so next up is Woozie. Make your way to the W on the map.
Screenshots


Wu Zi Mu
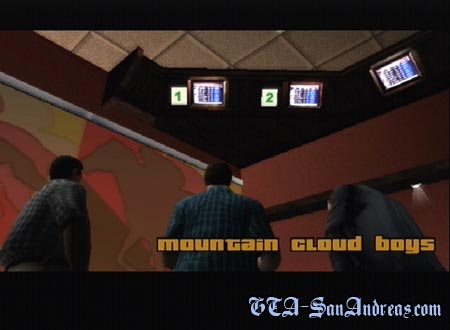
 Mountain Cloud Boys
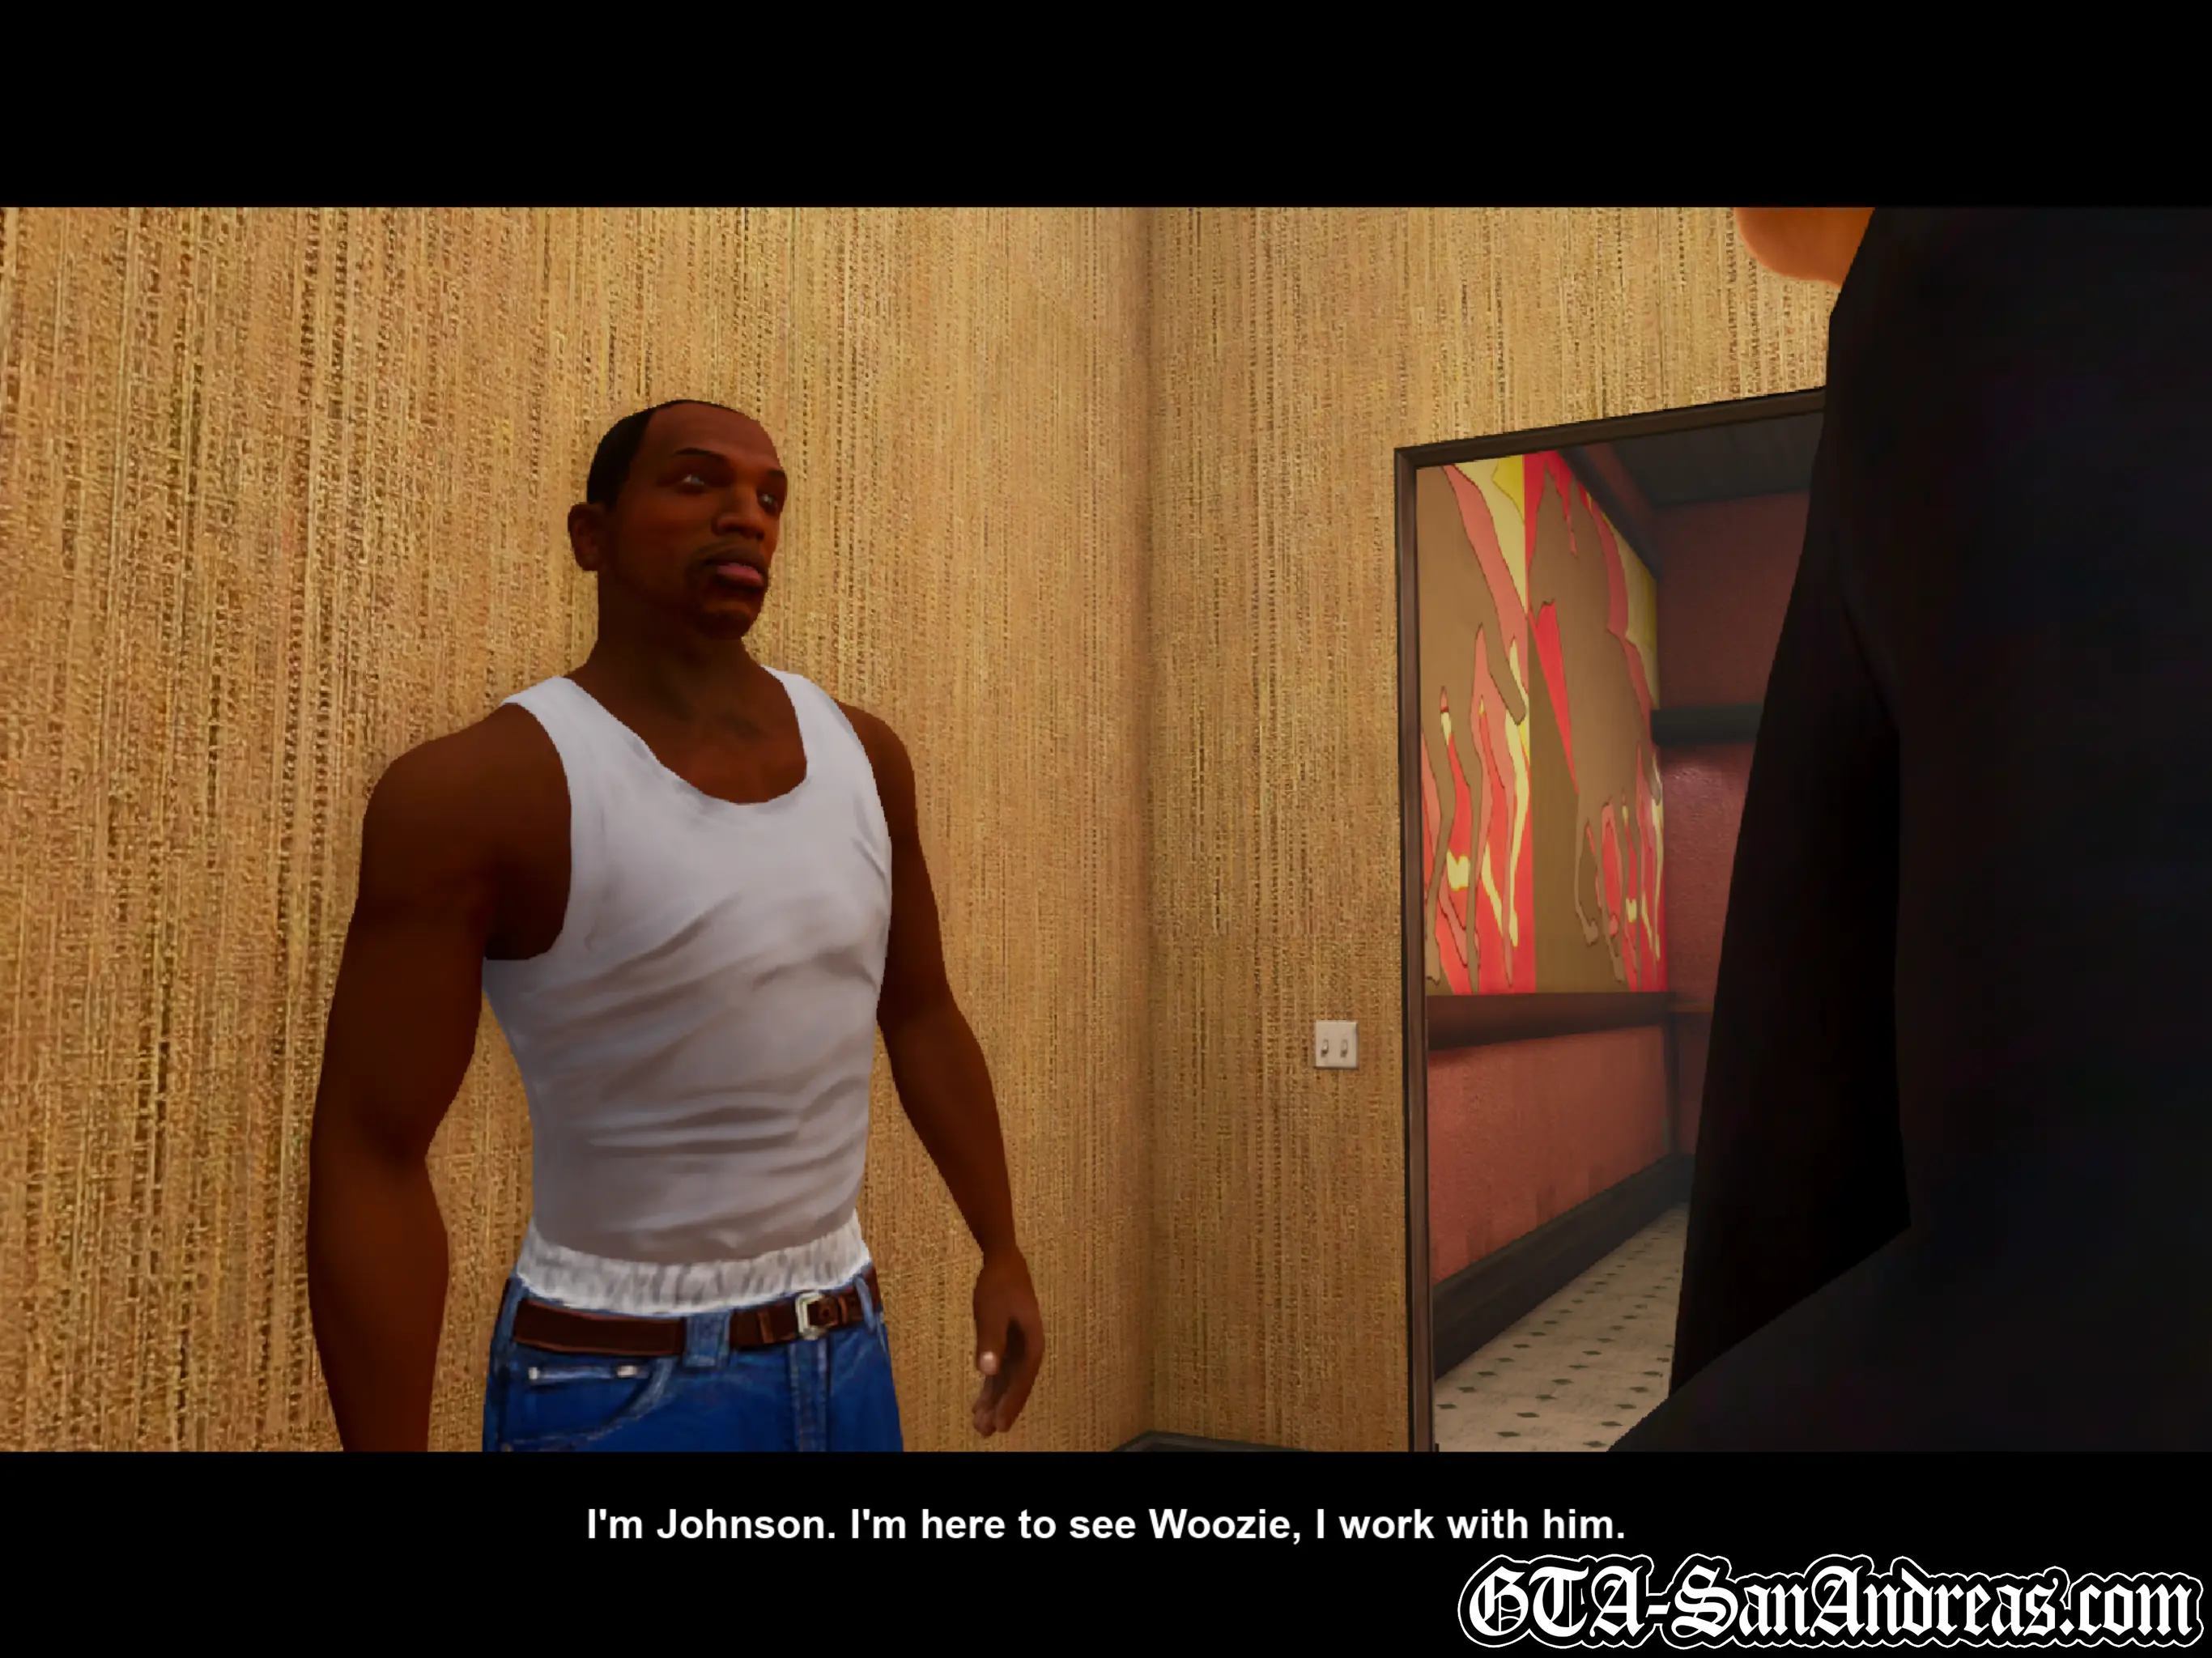
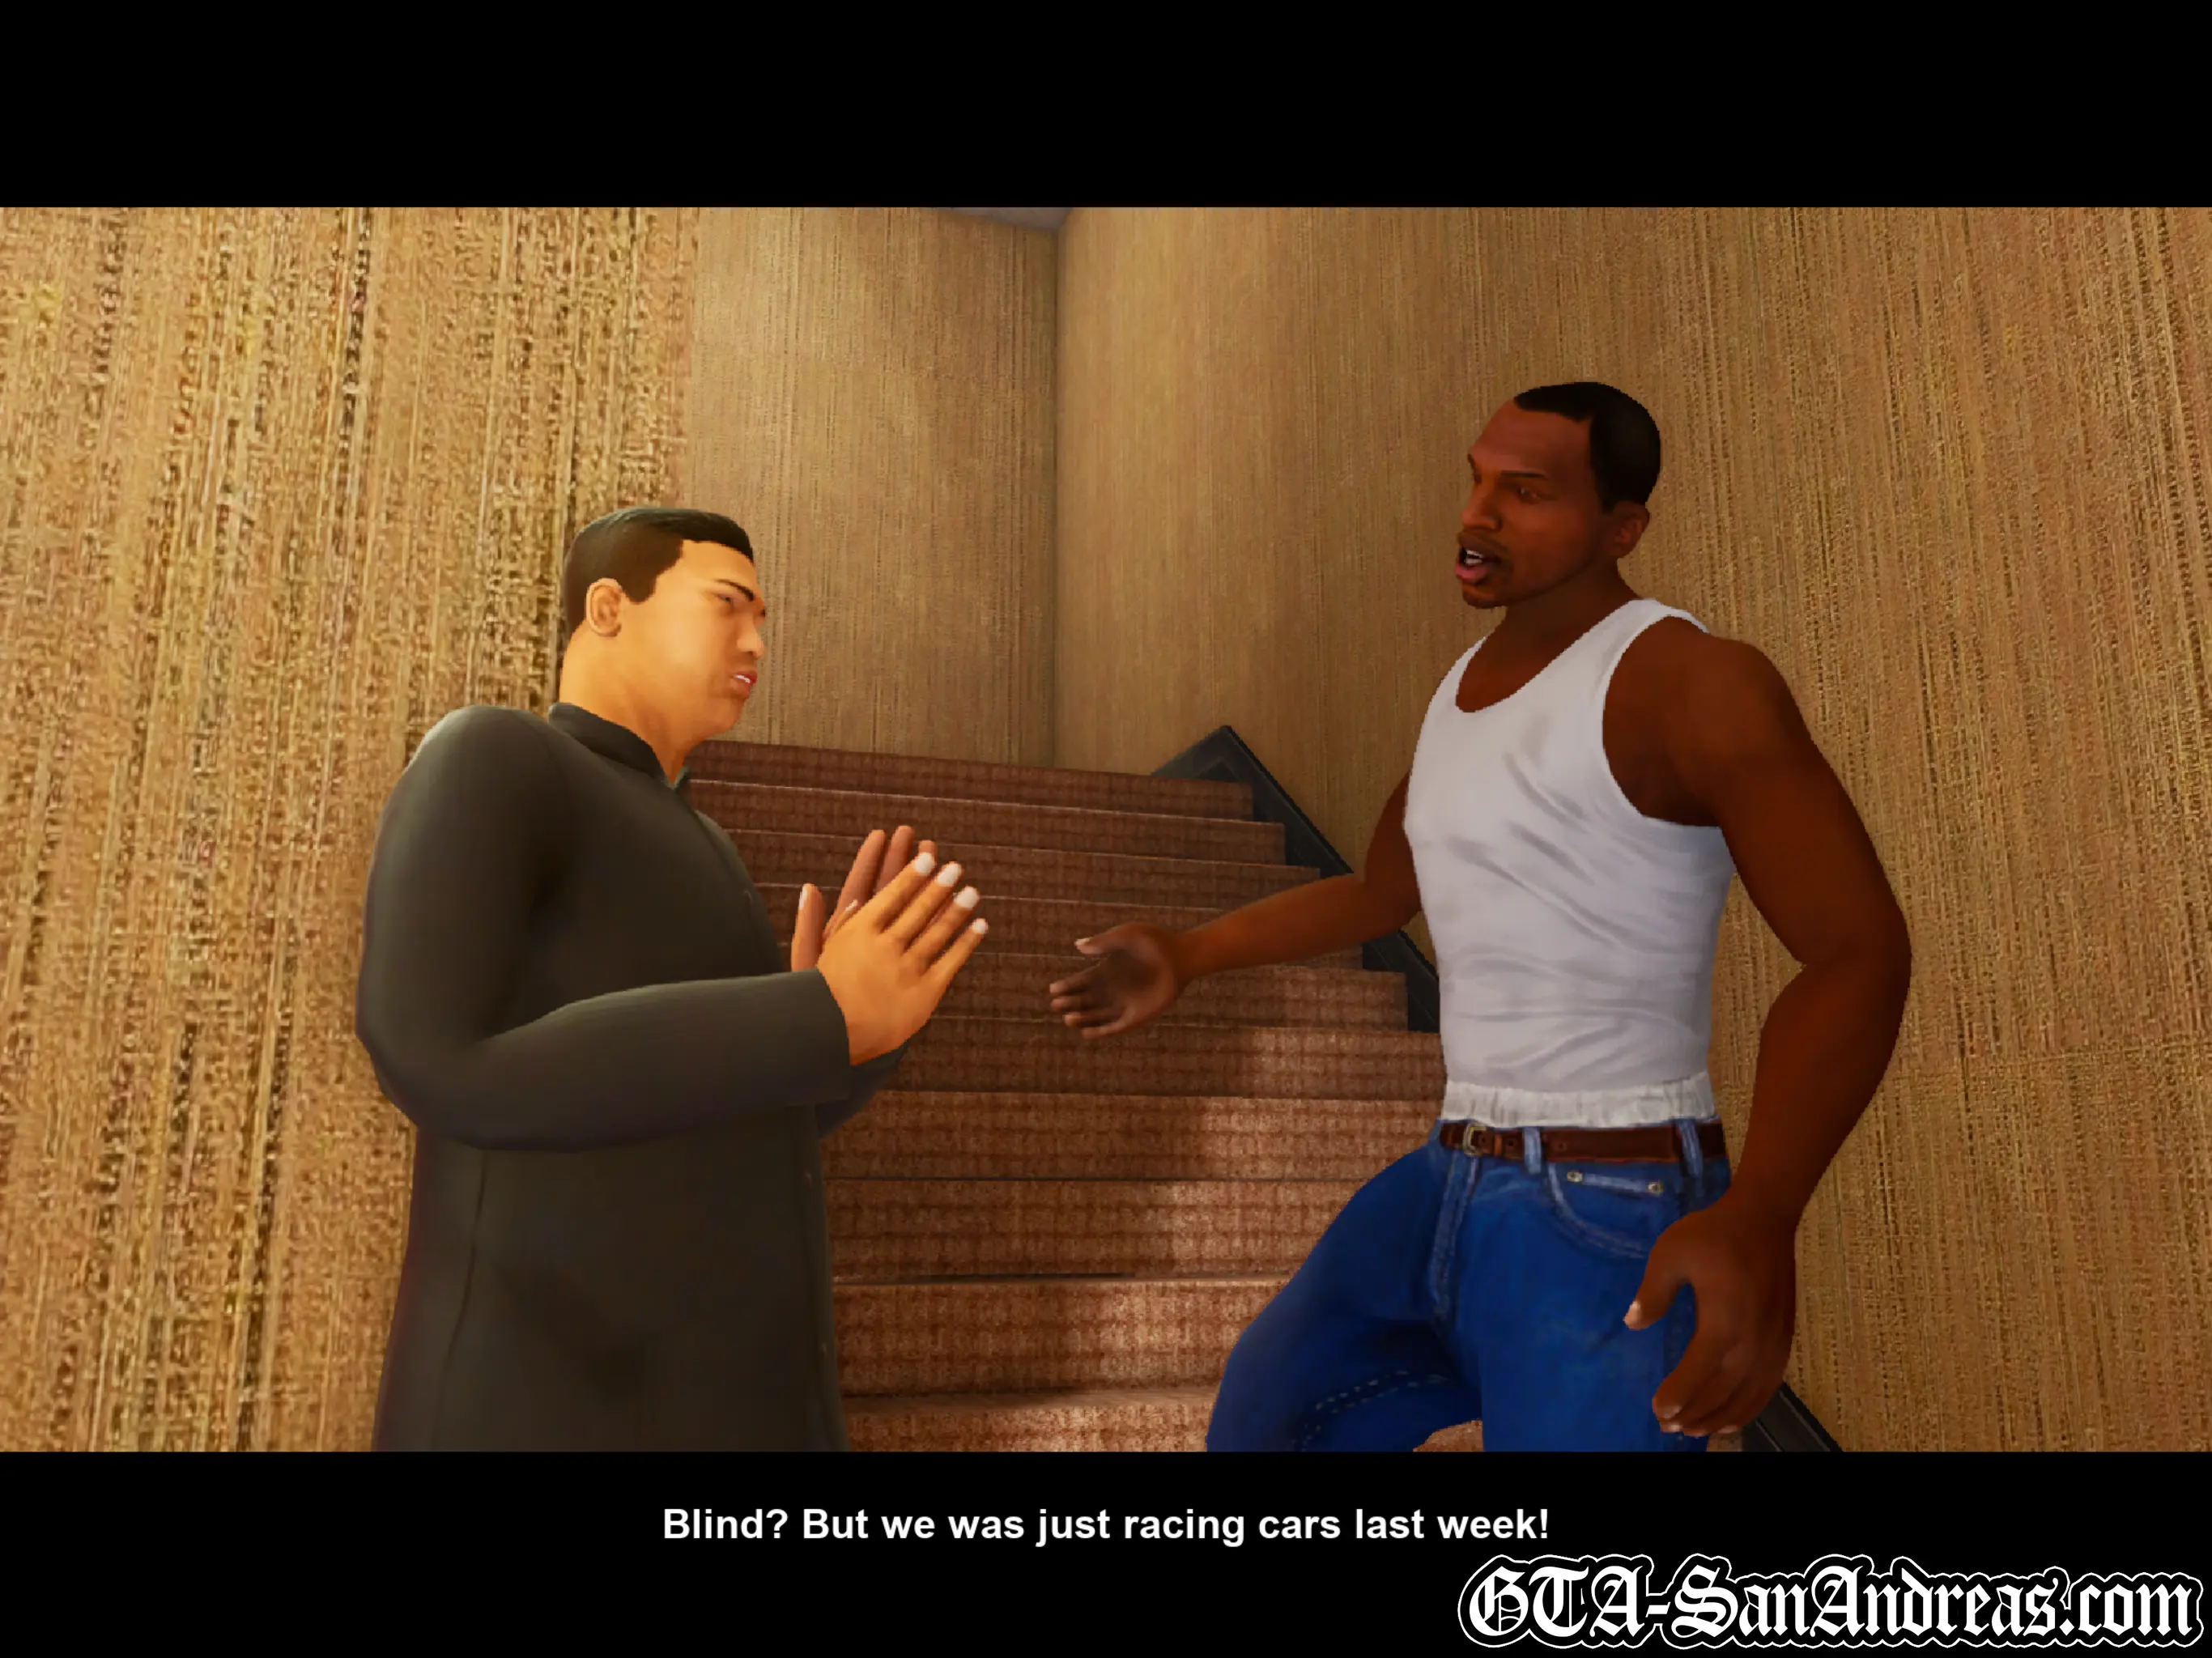
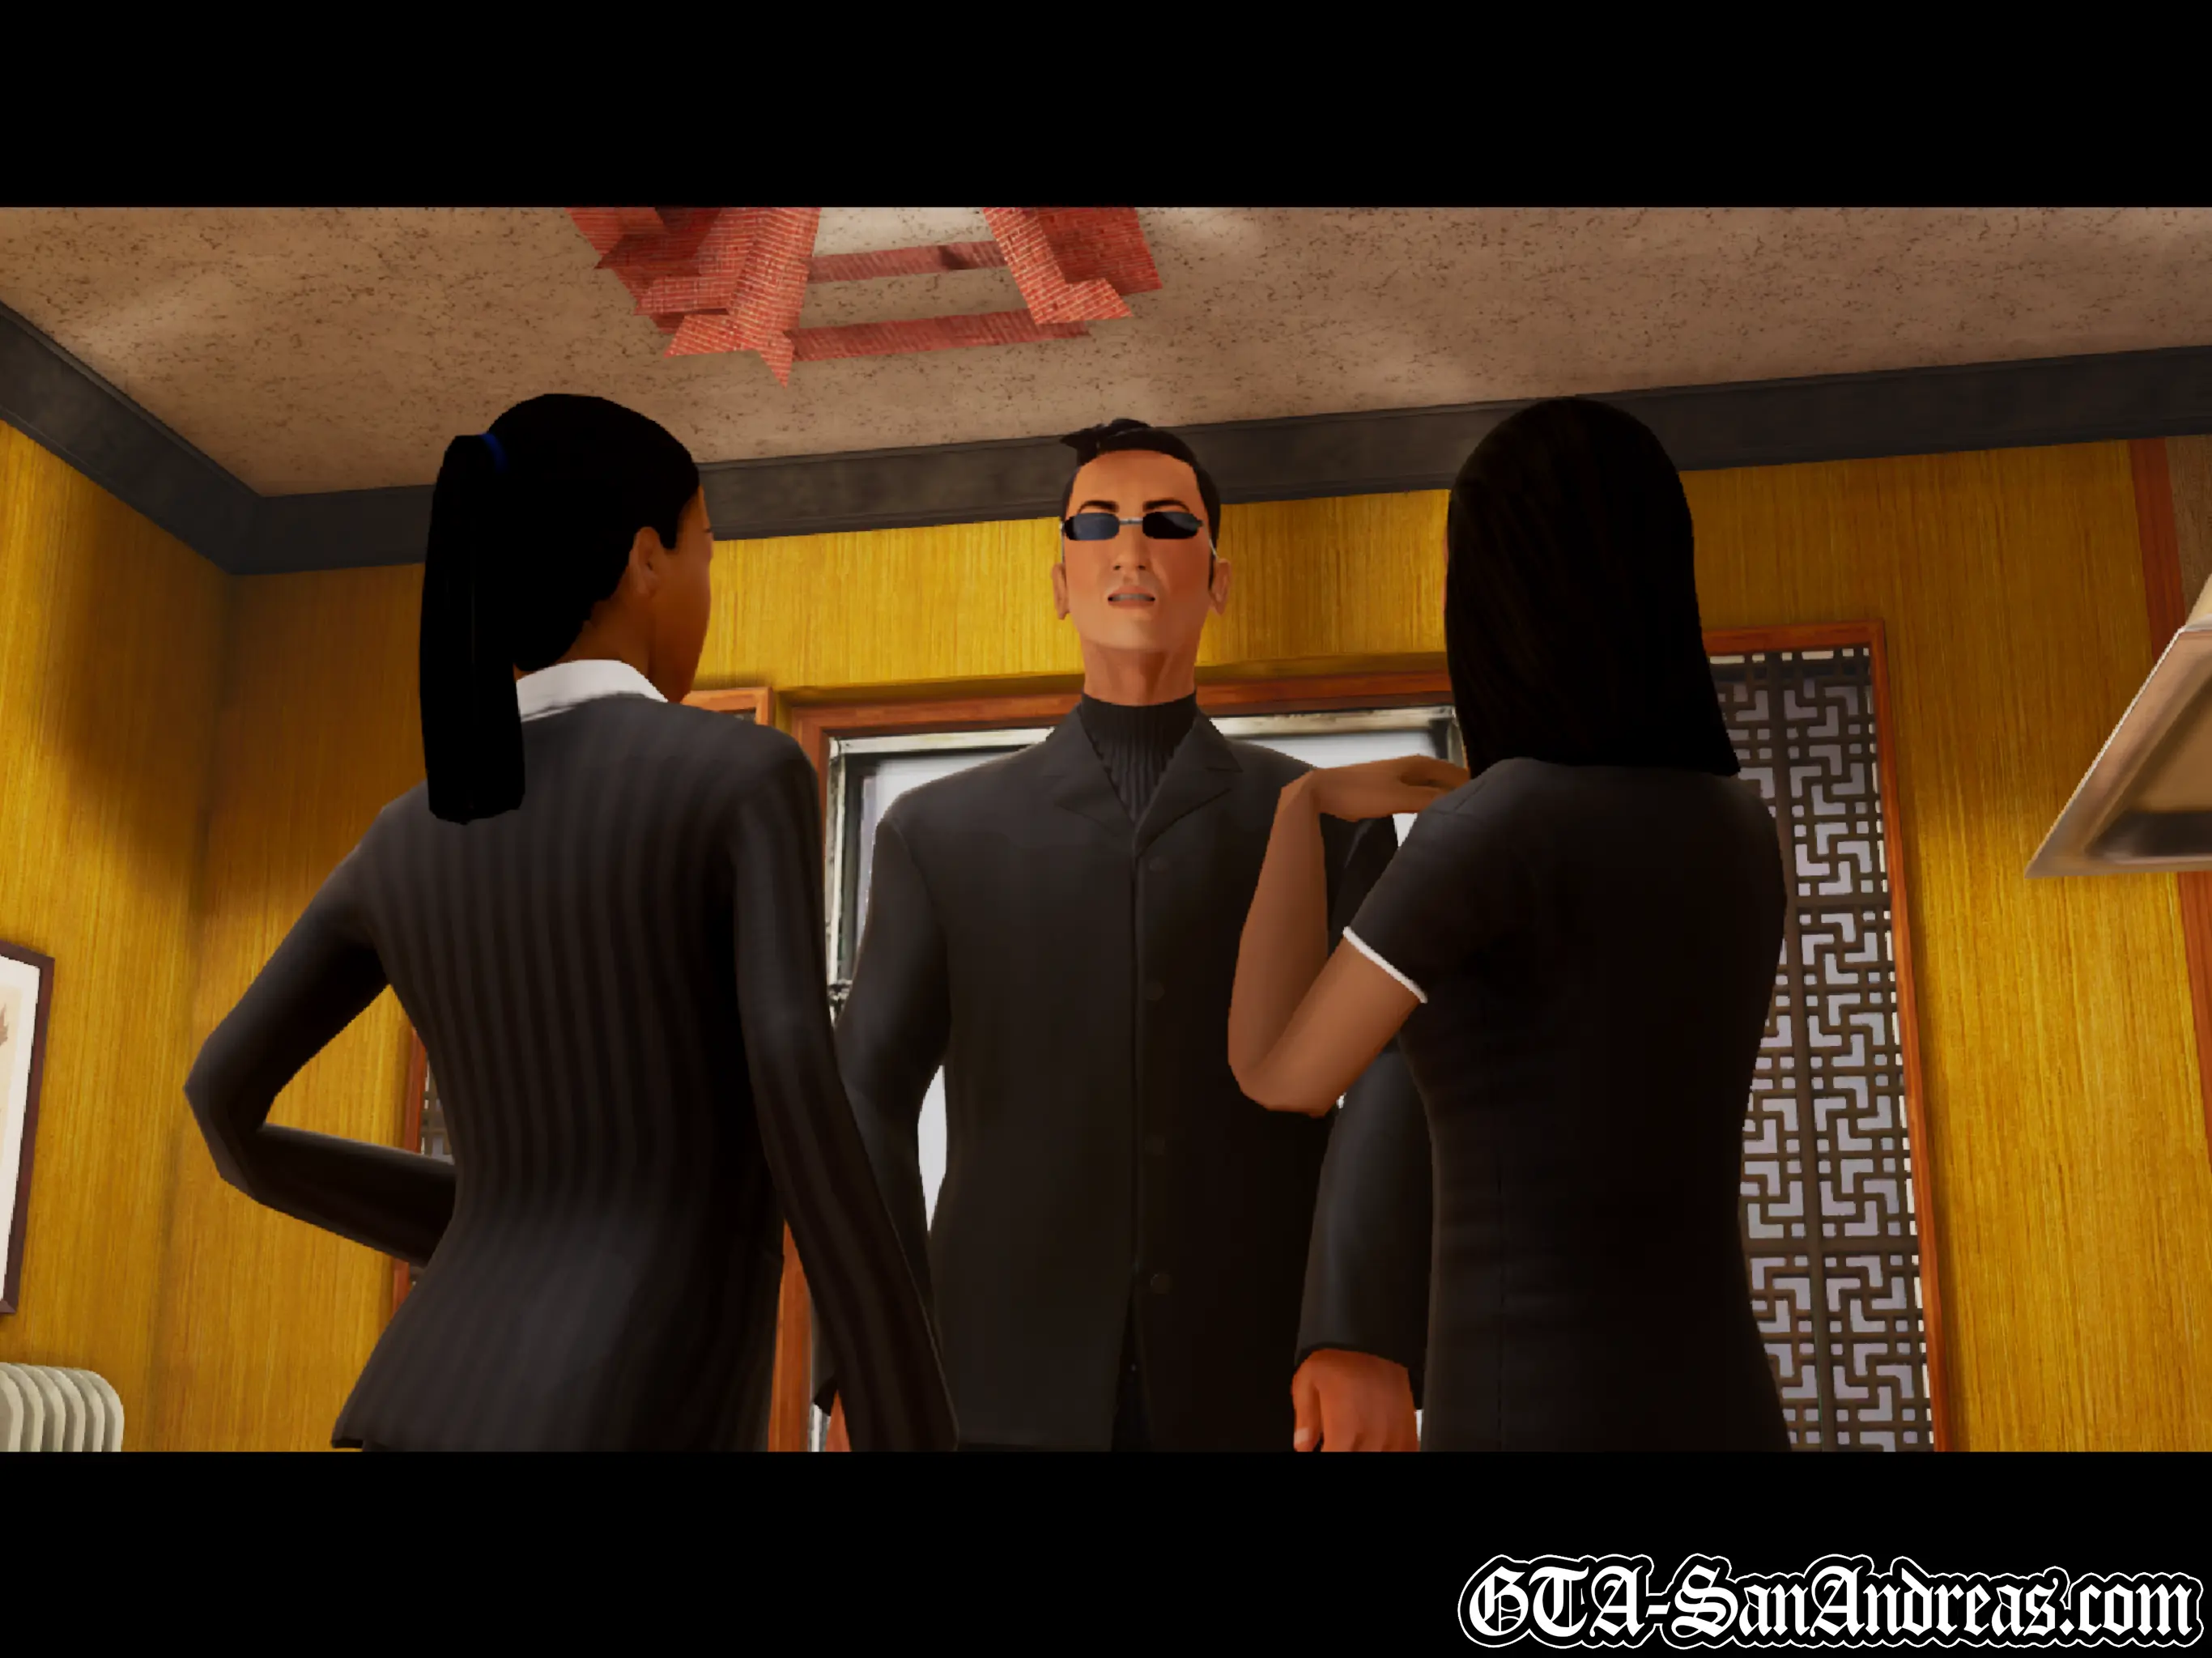
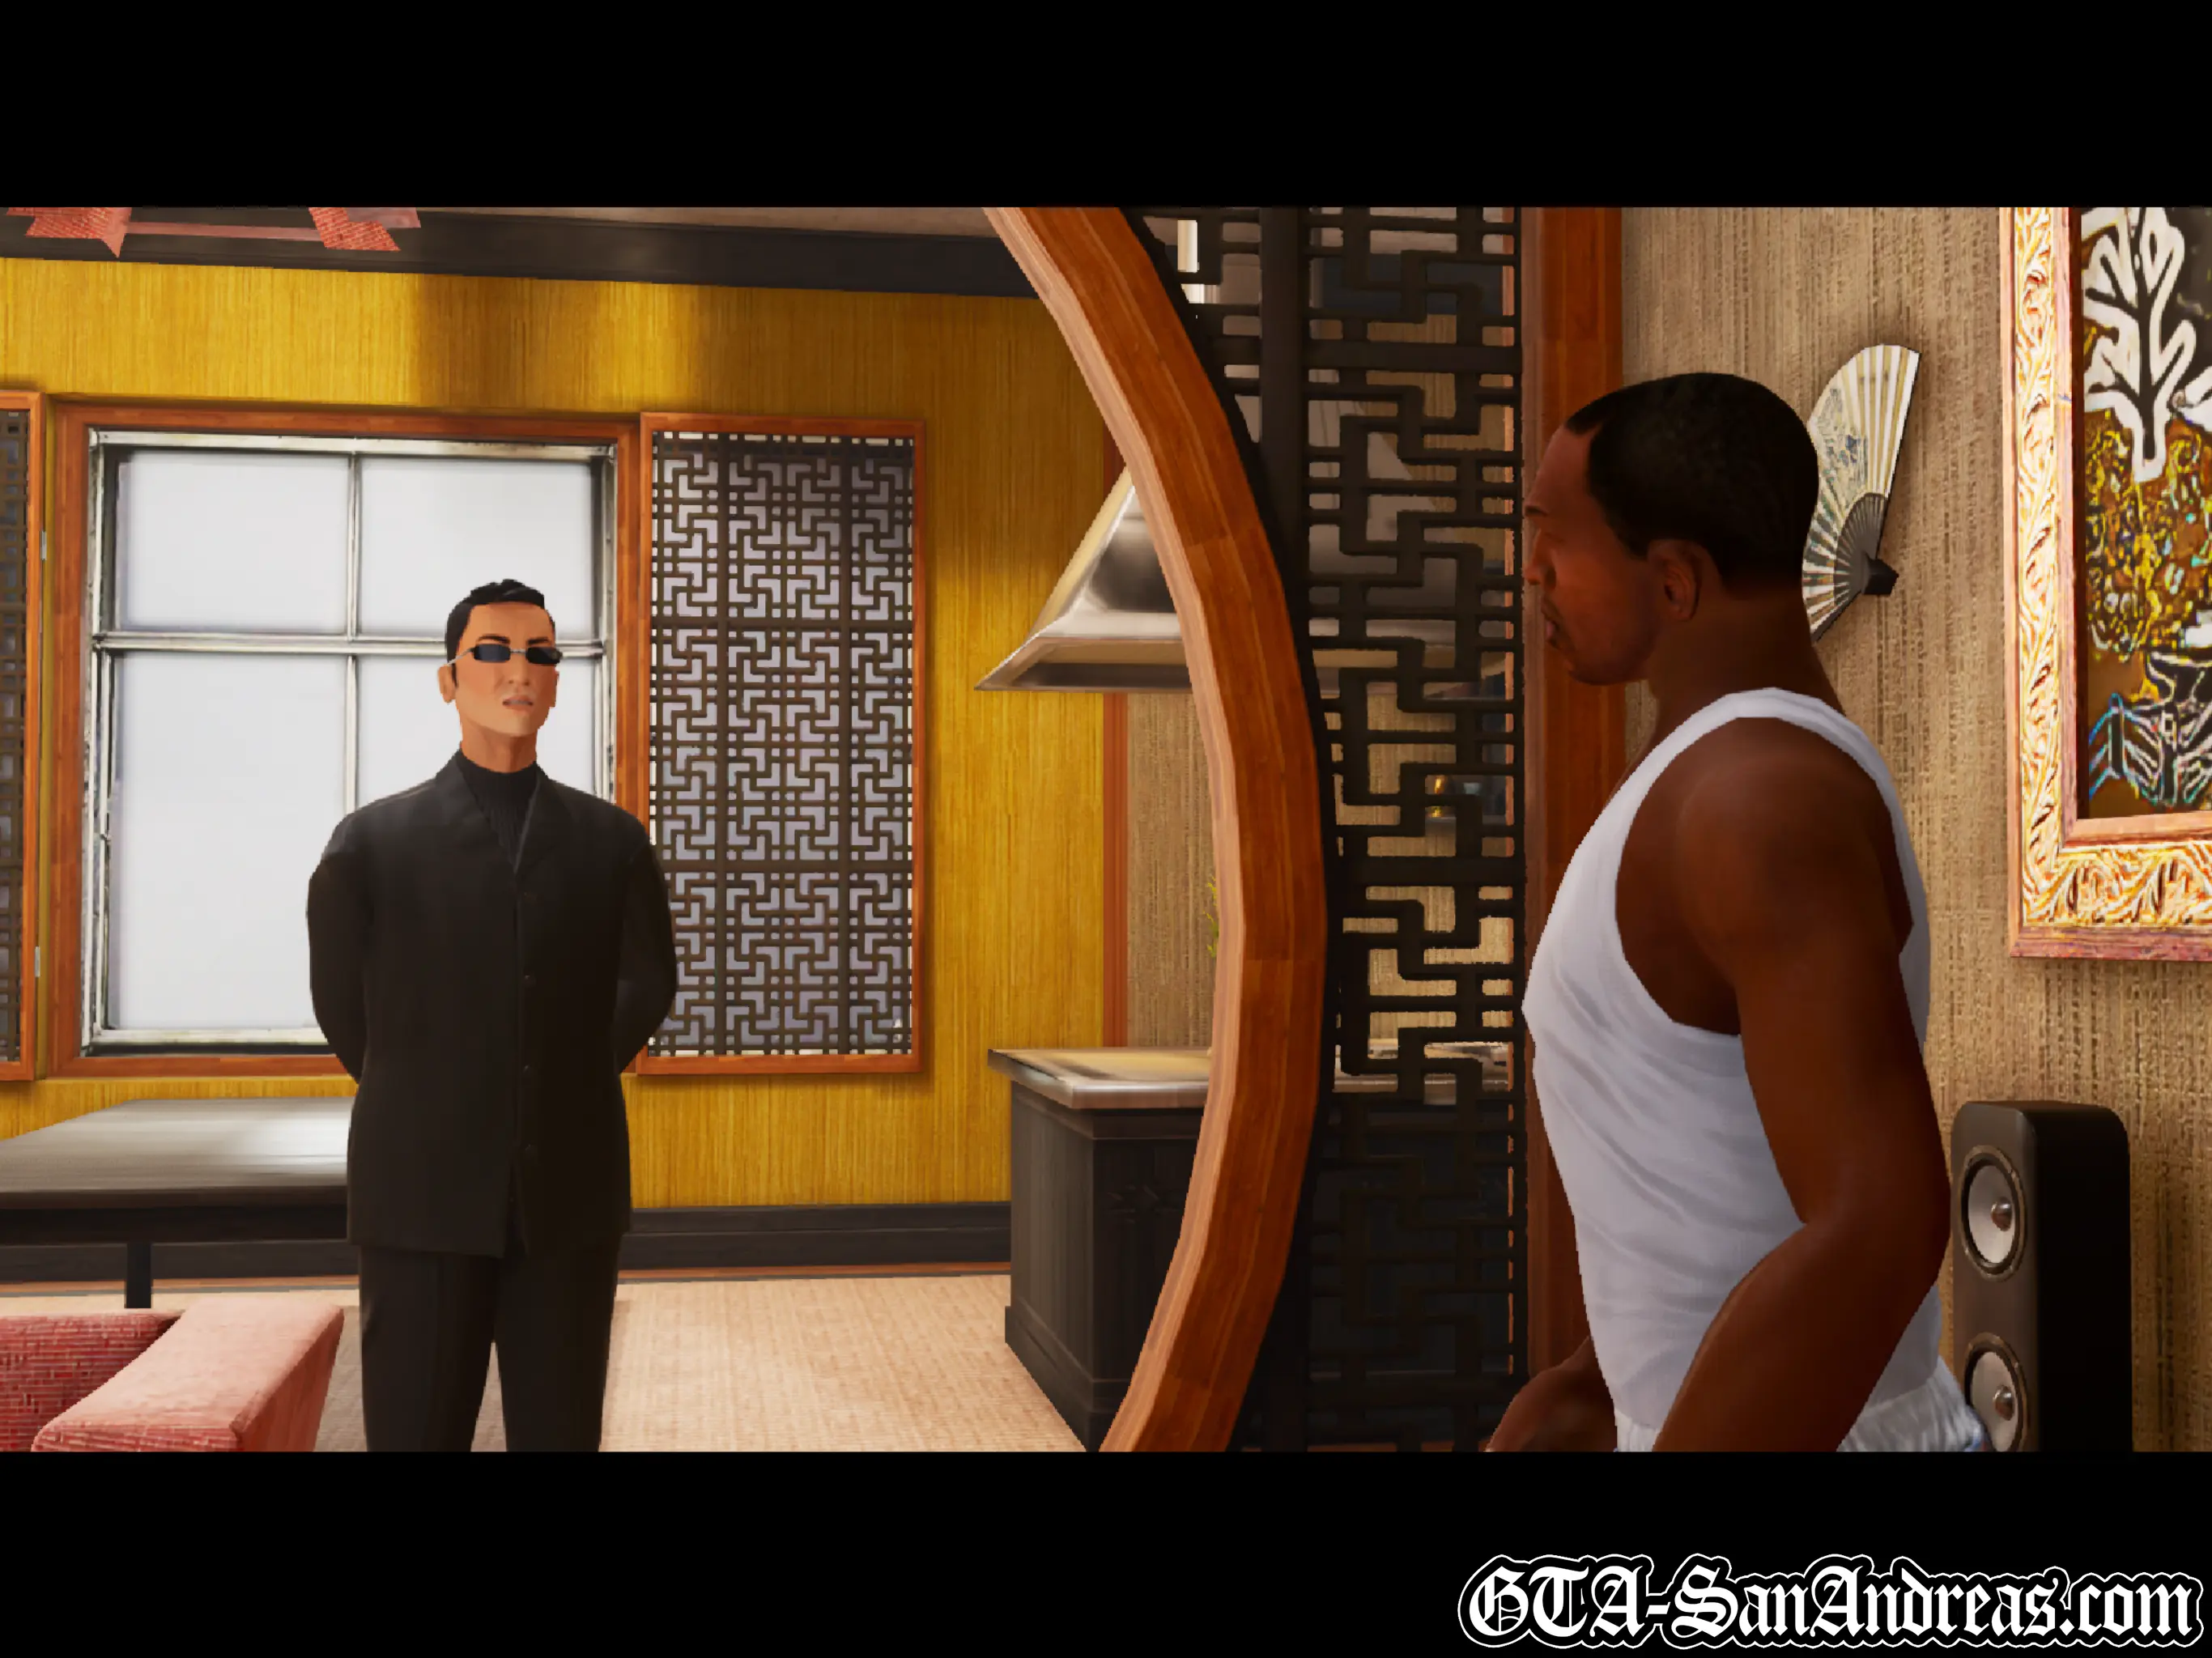
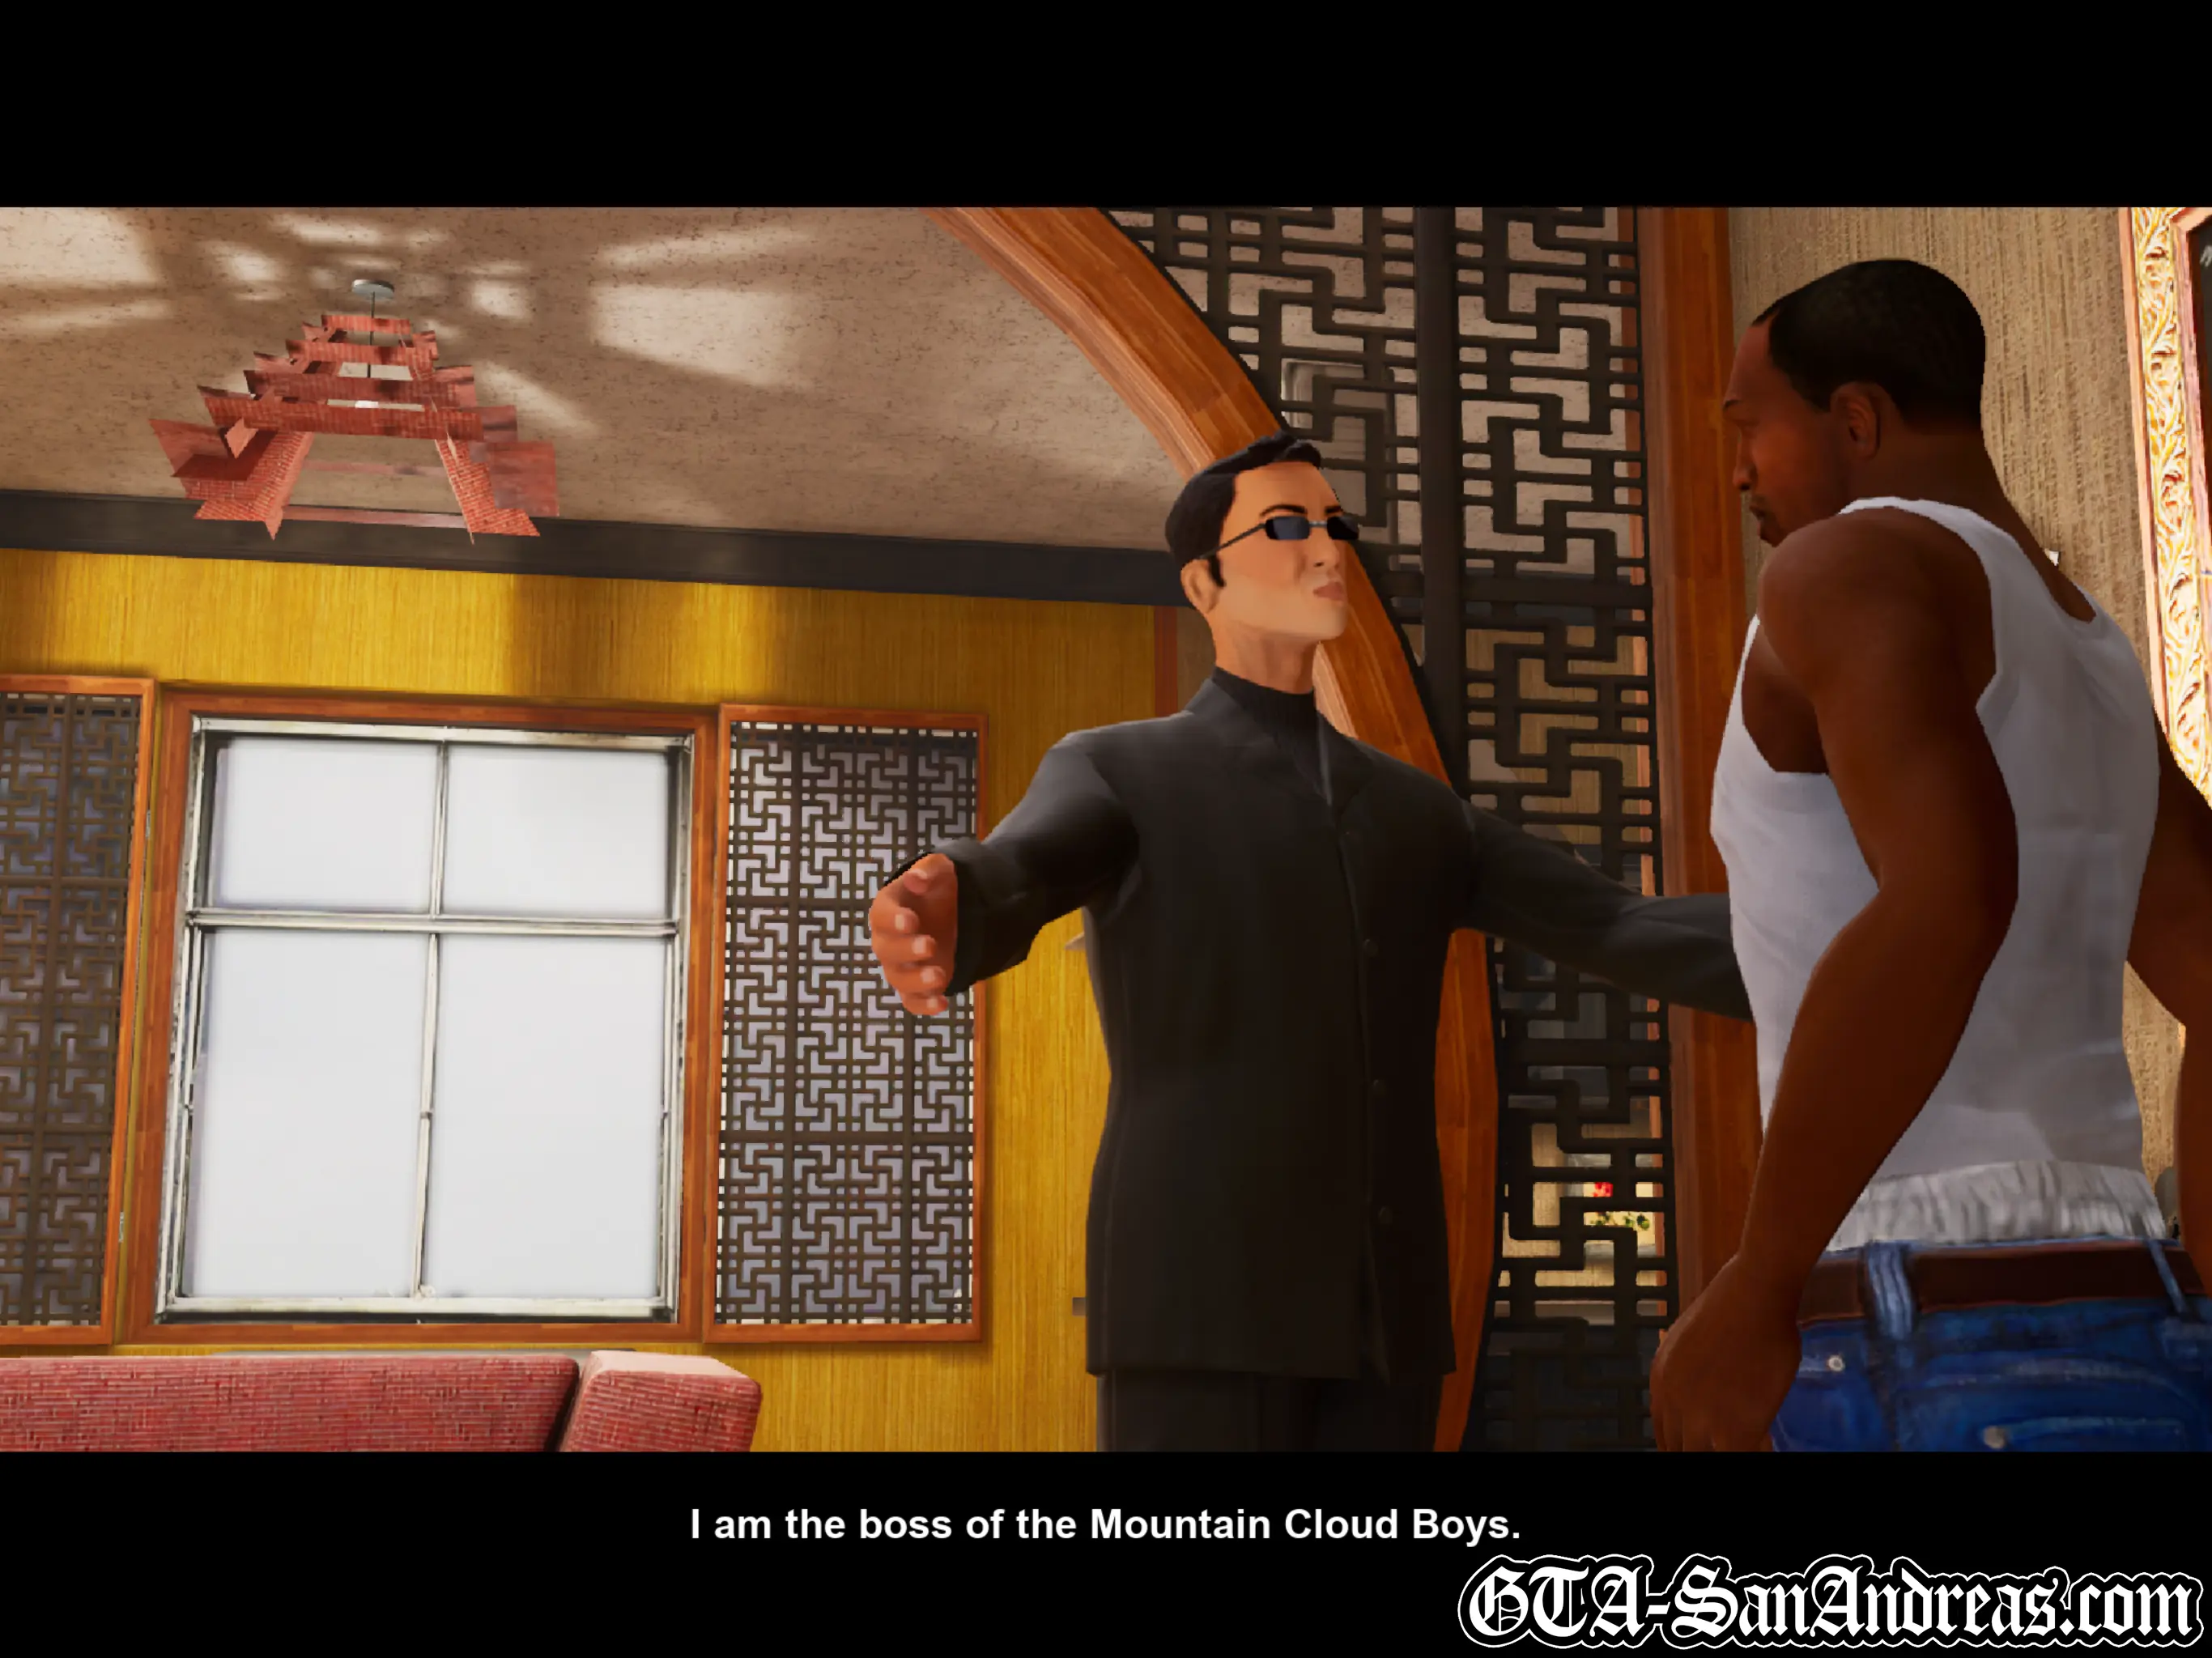
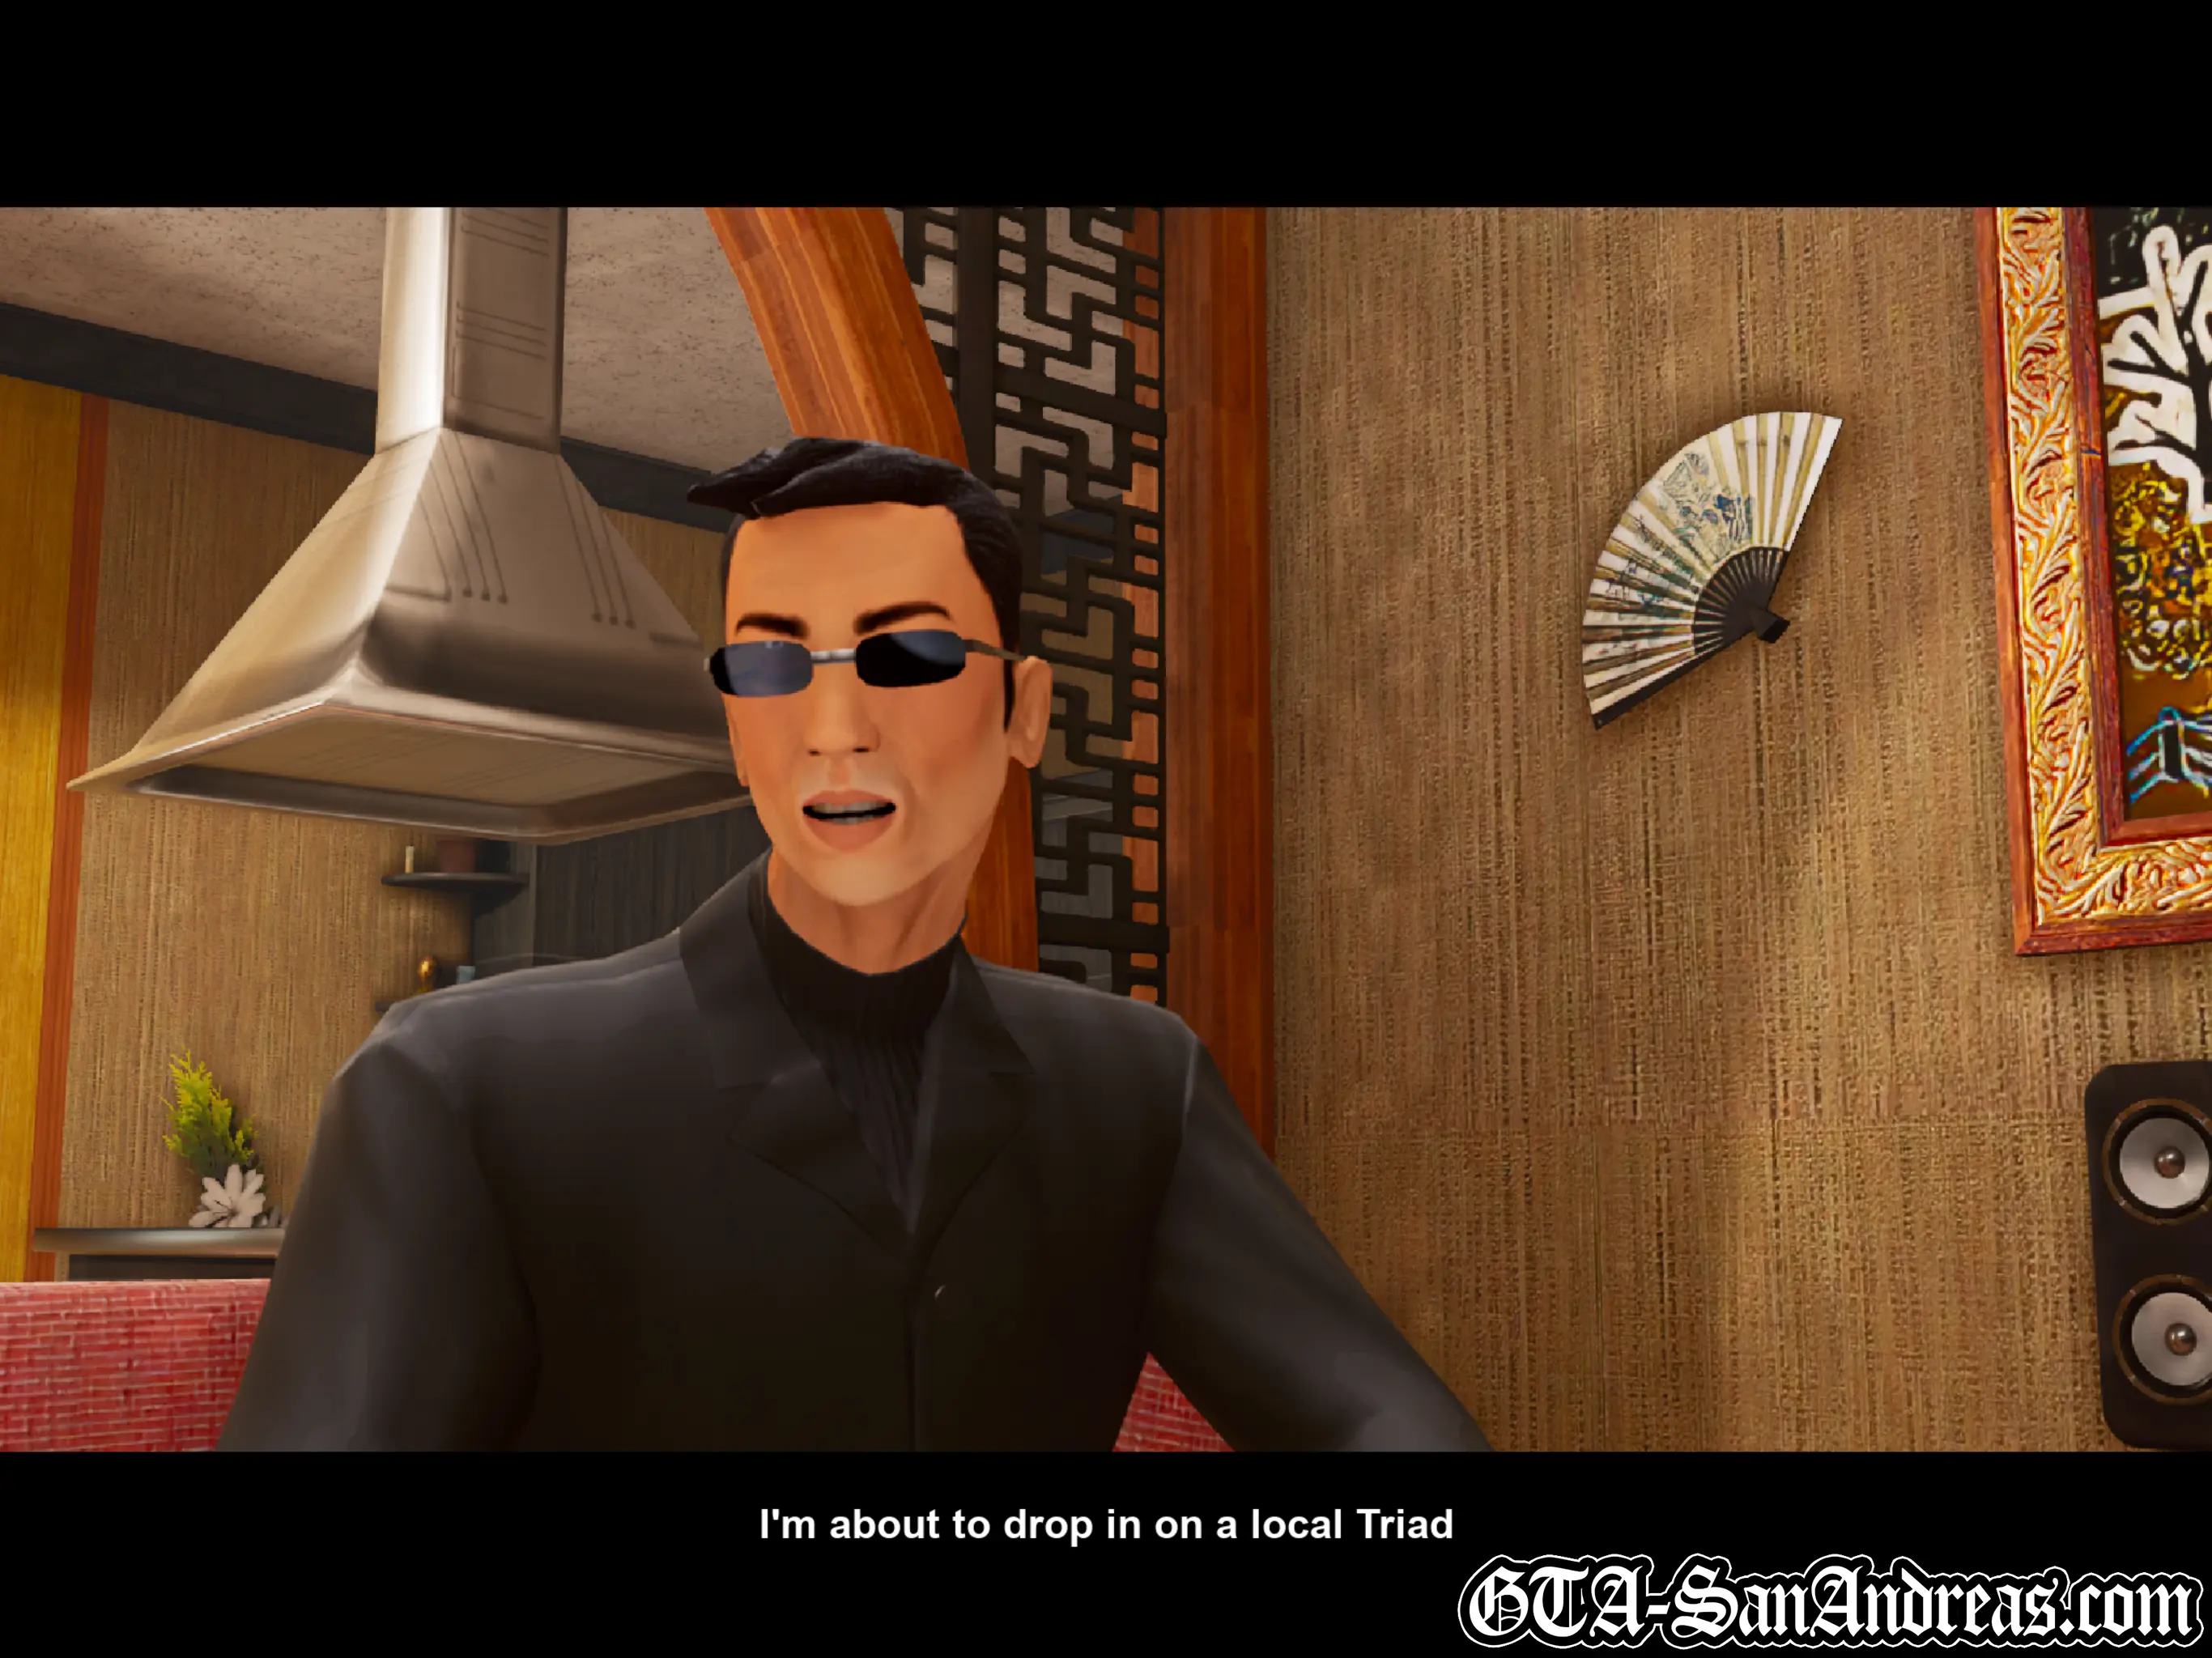
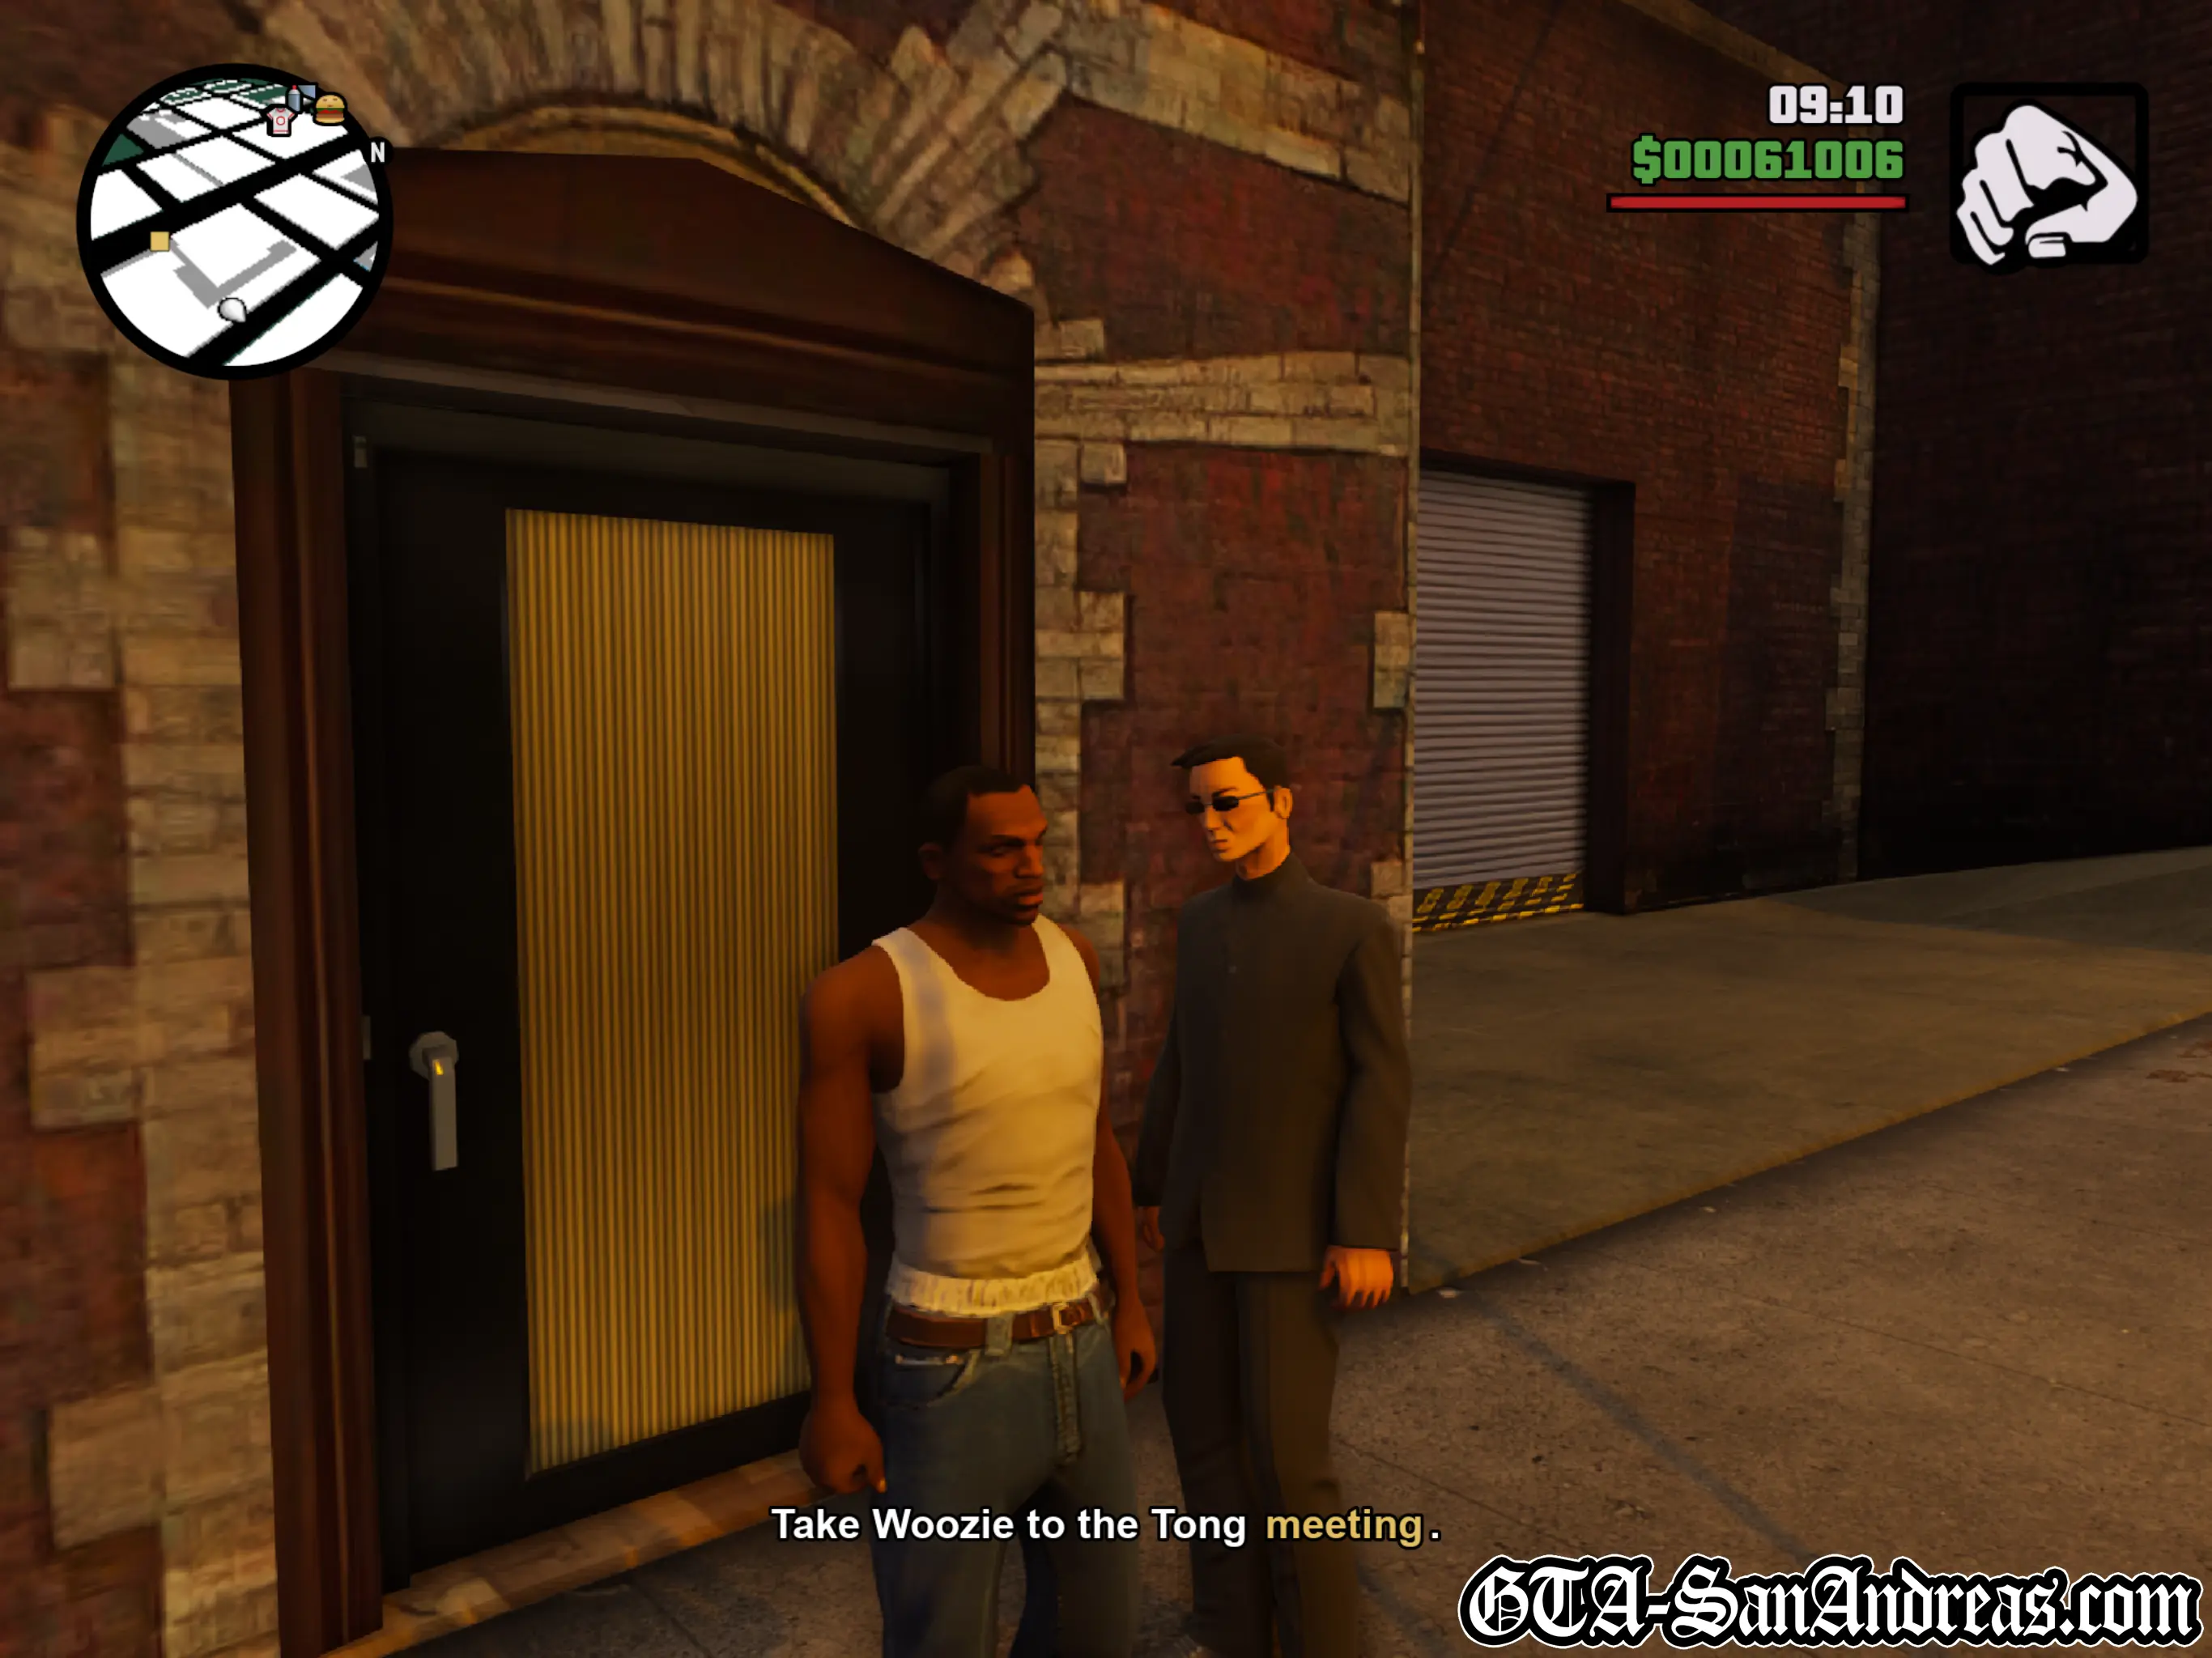
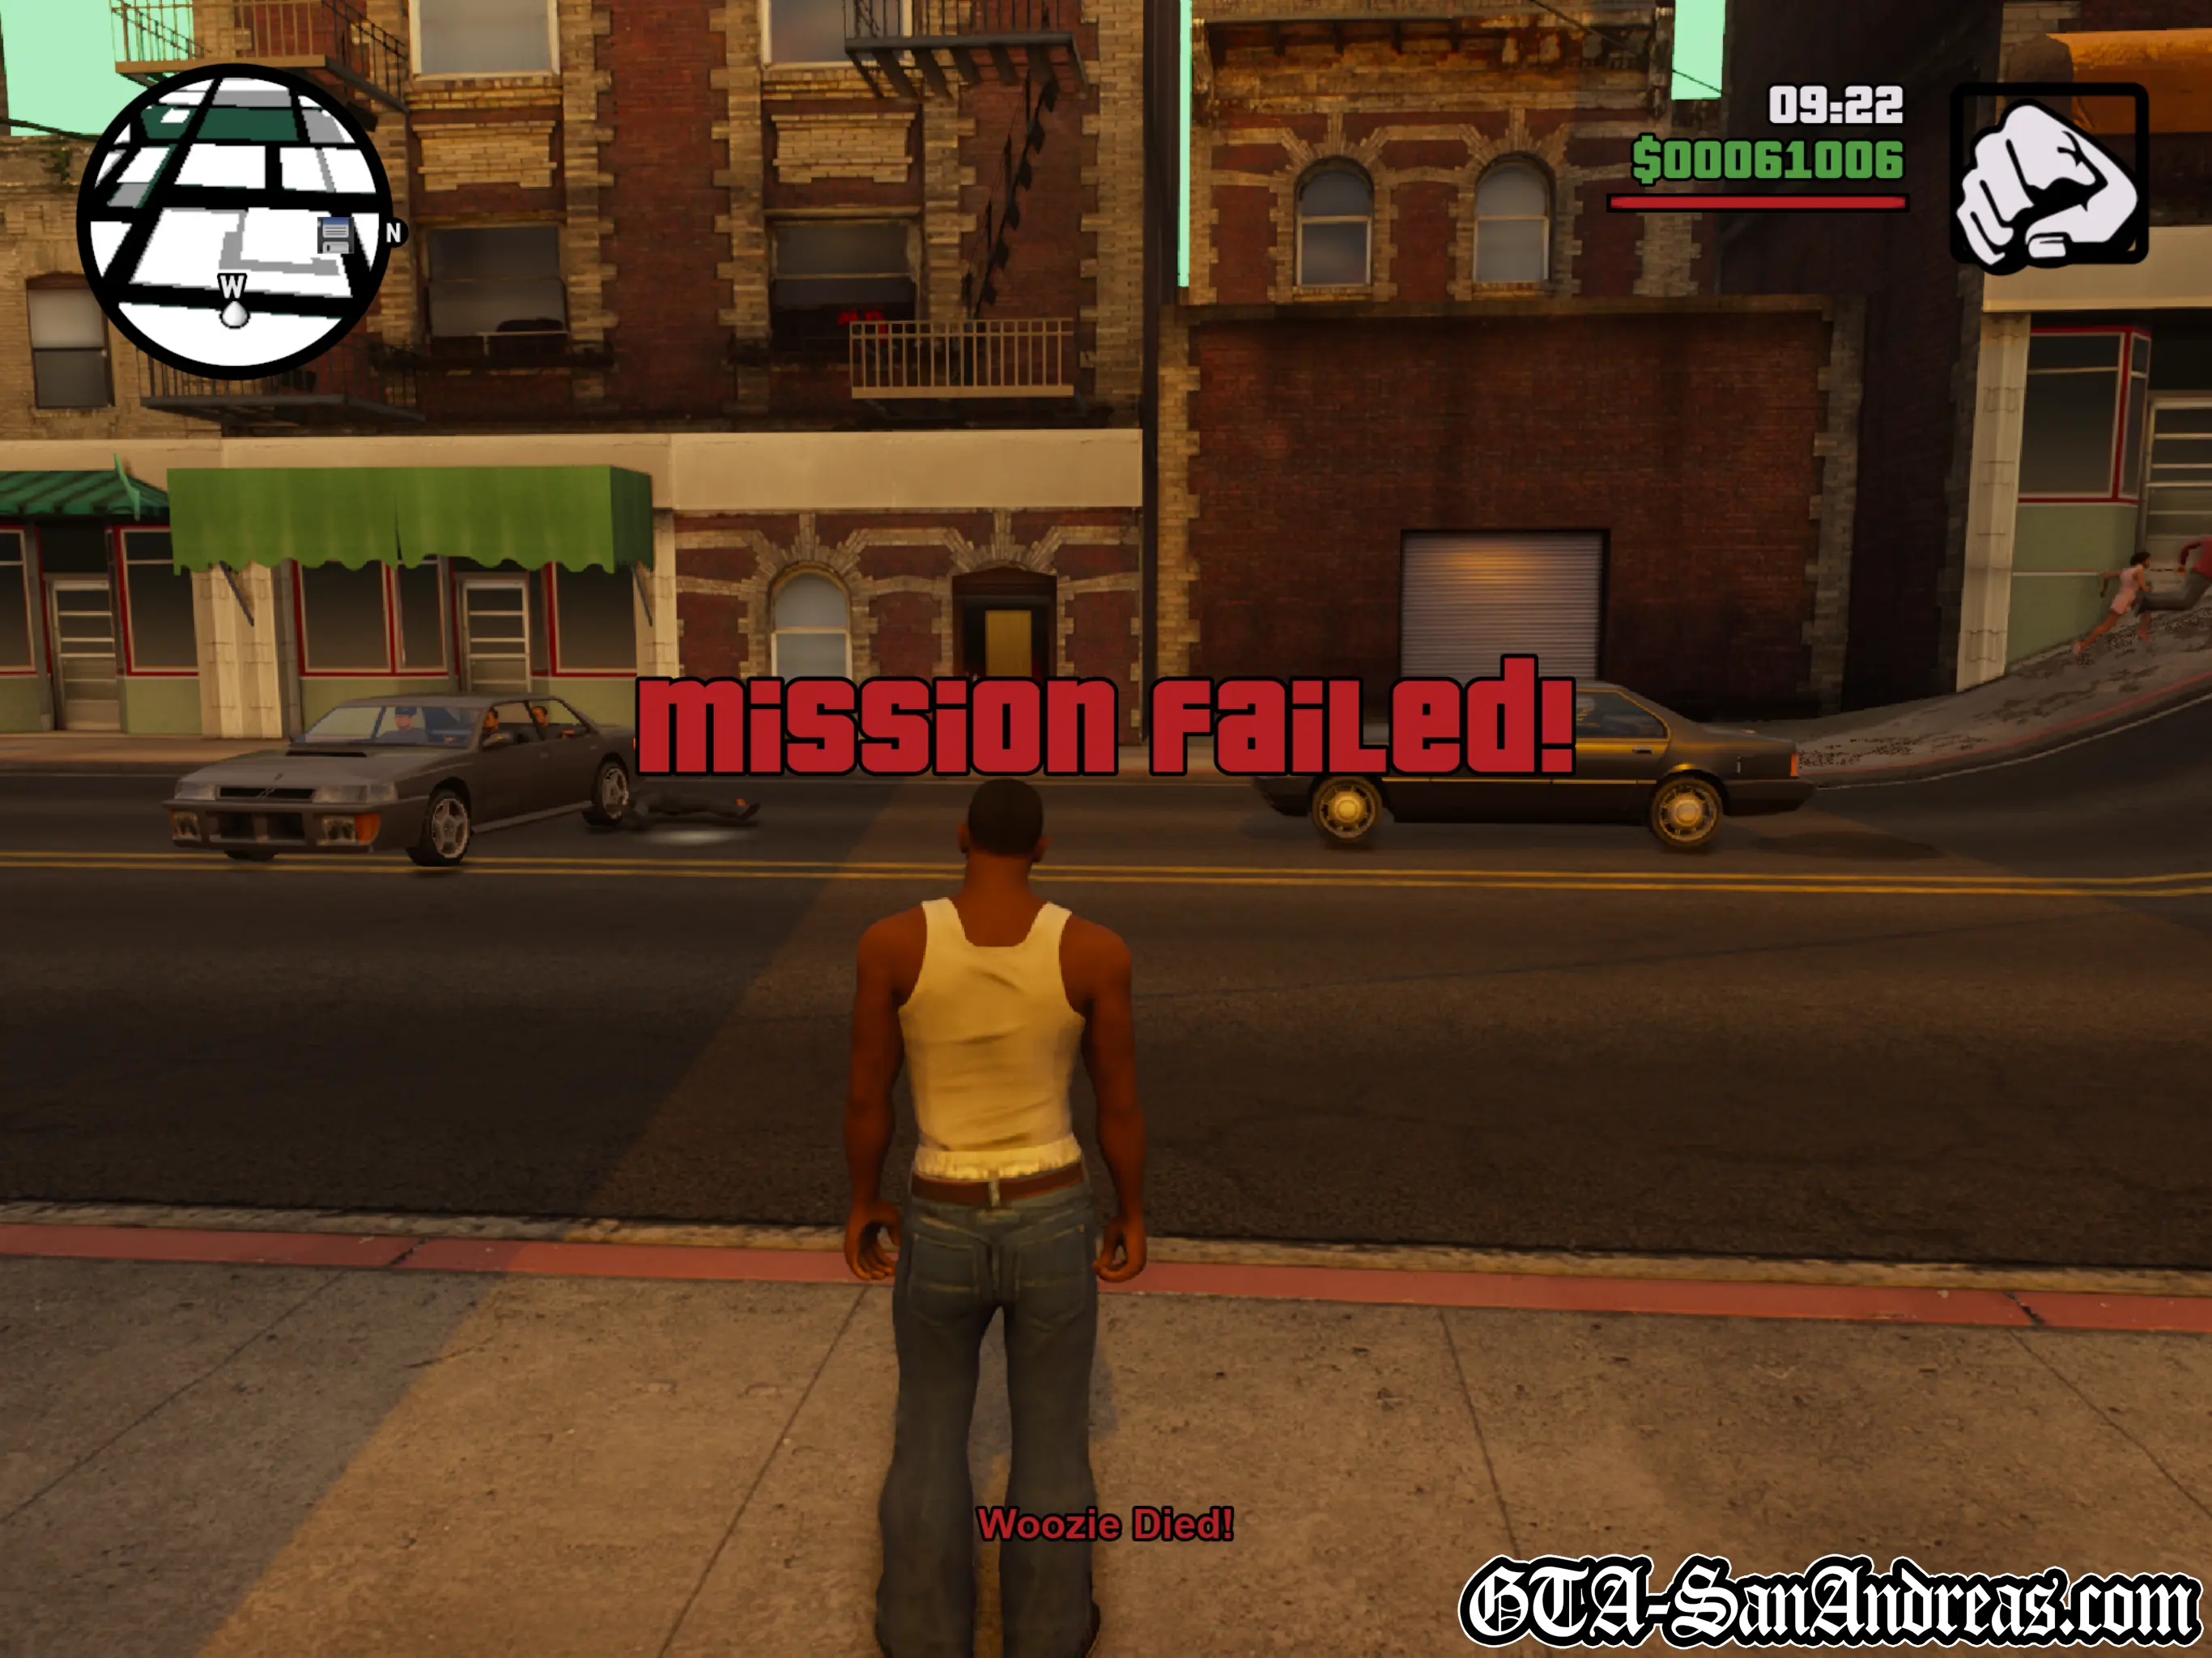
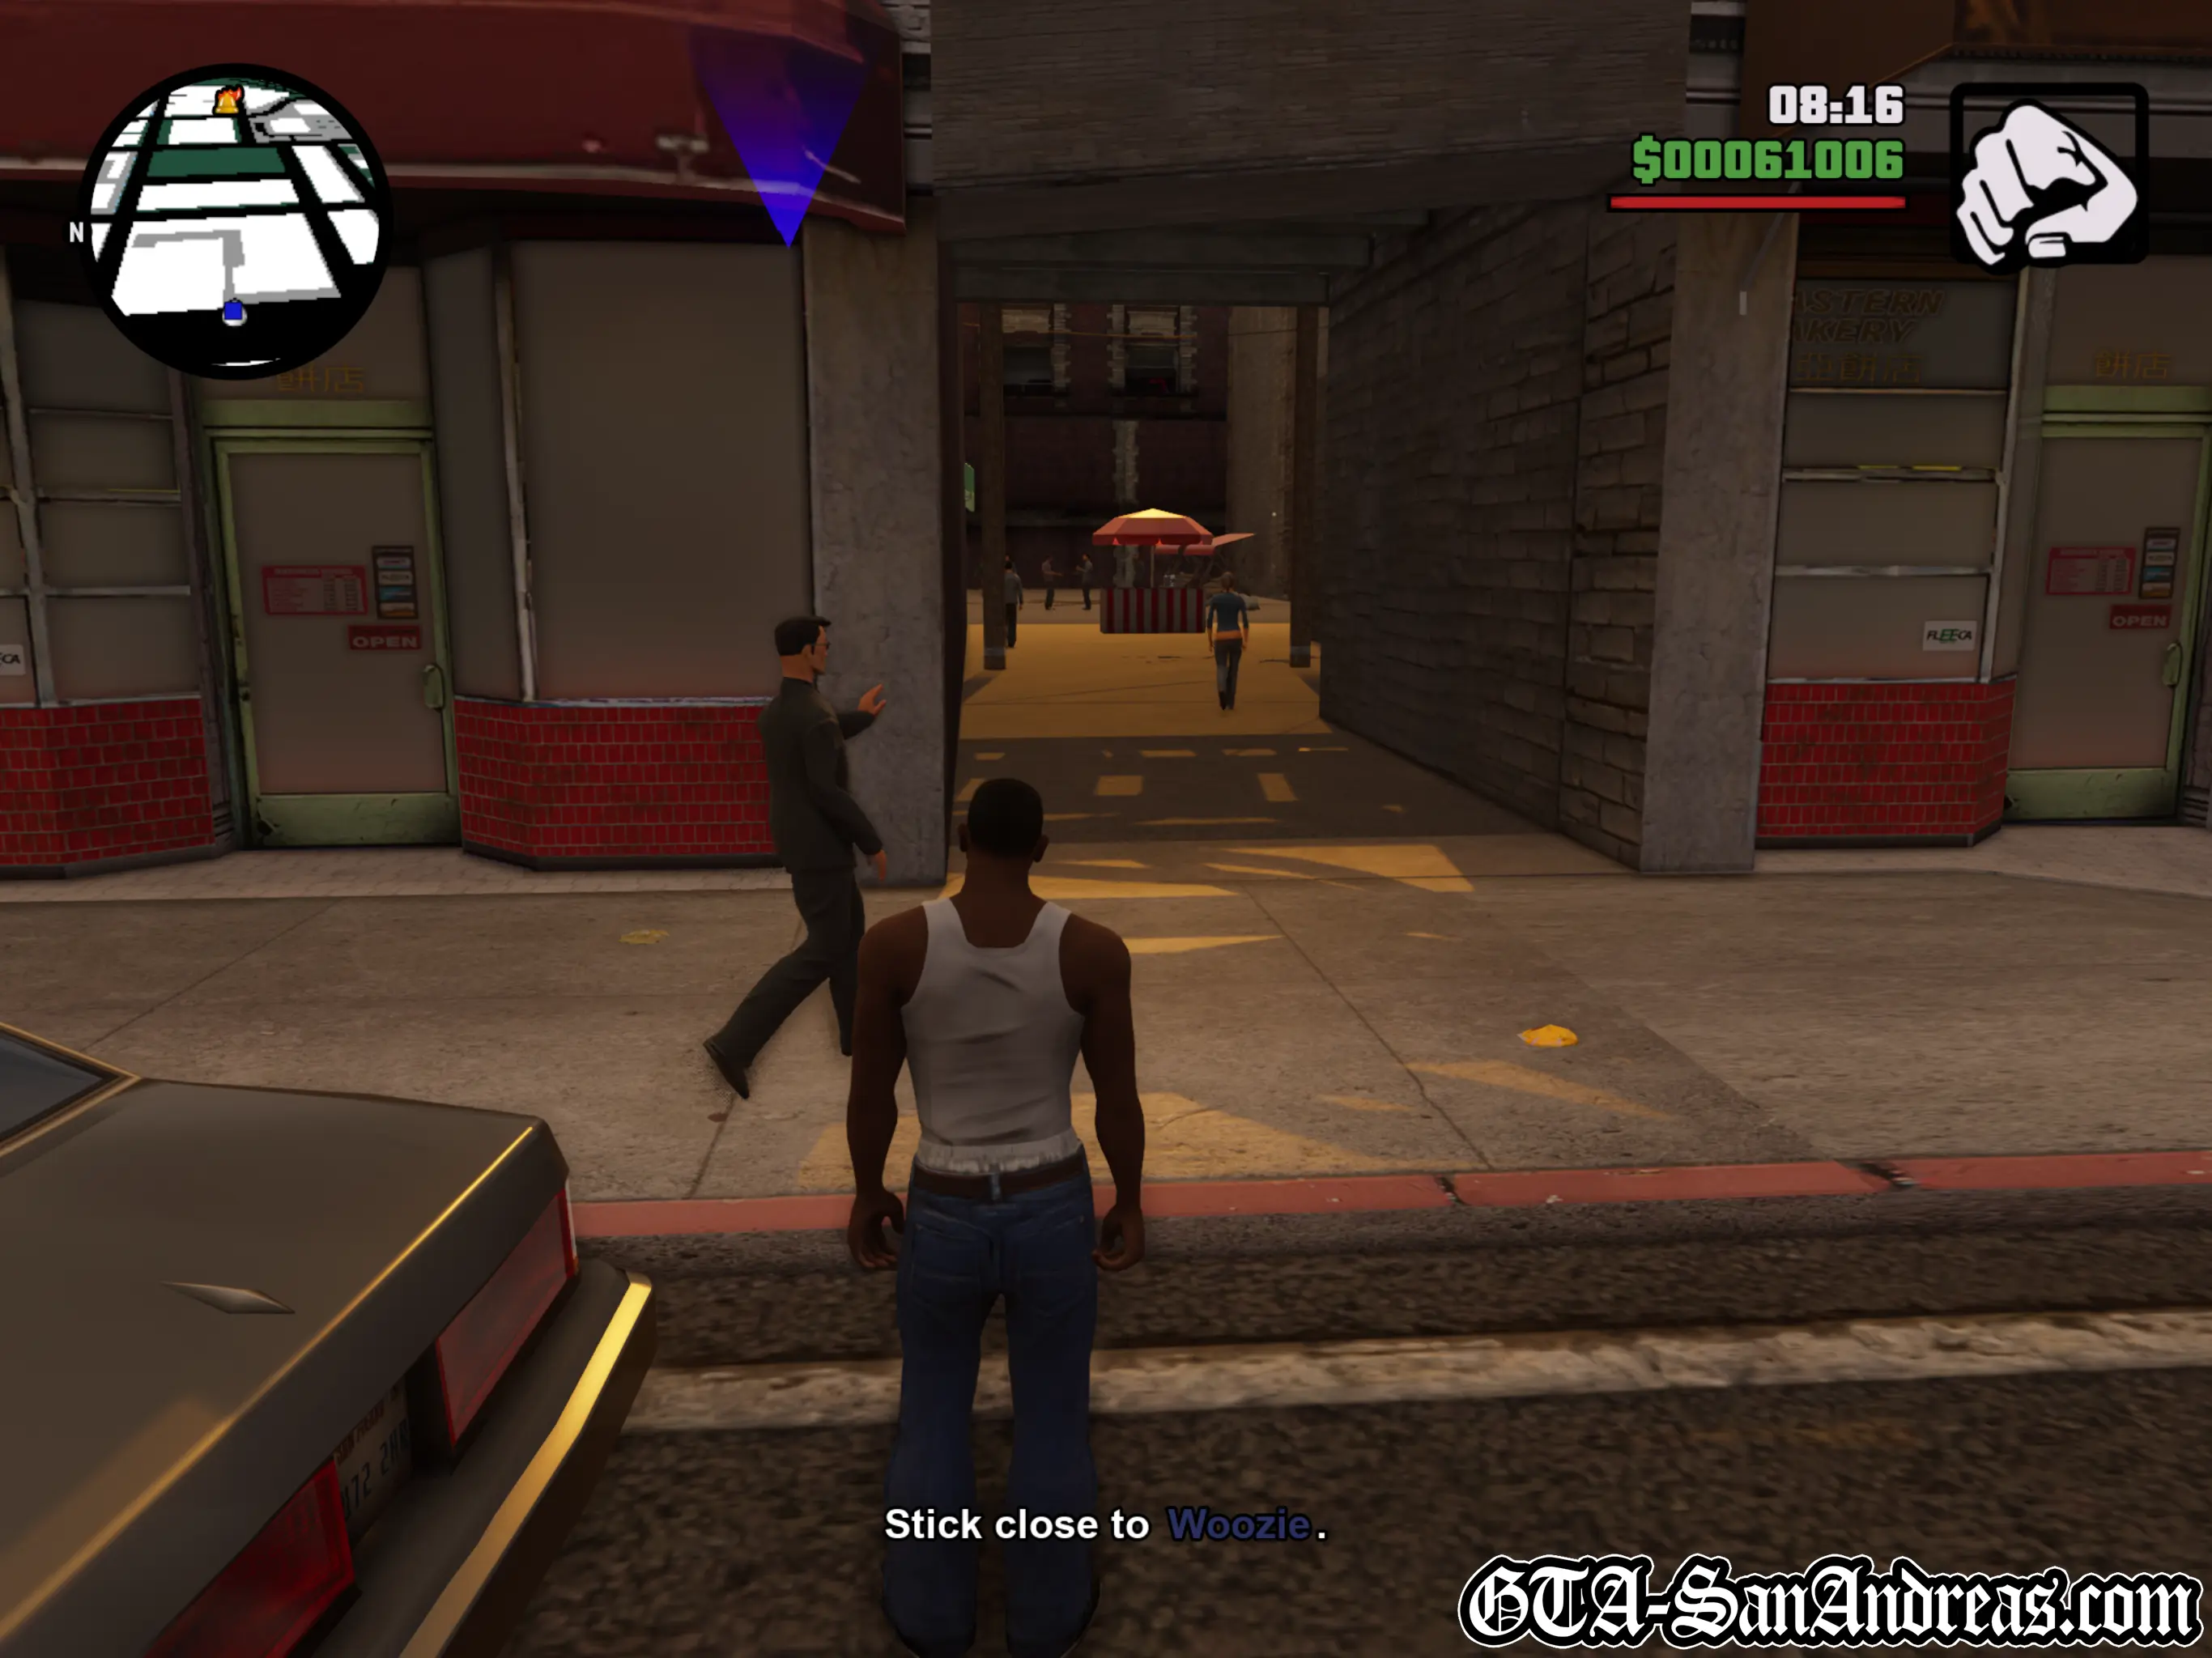
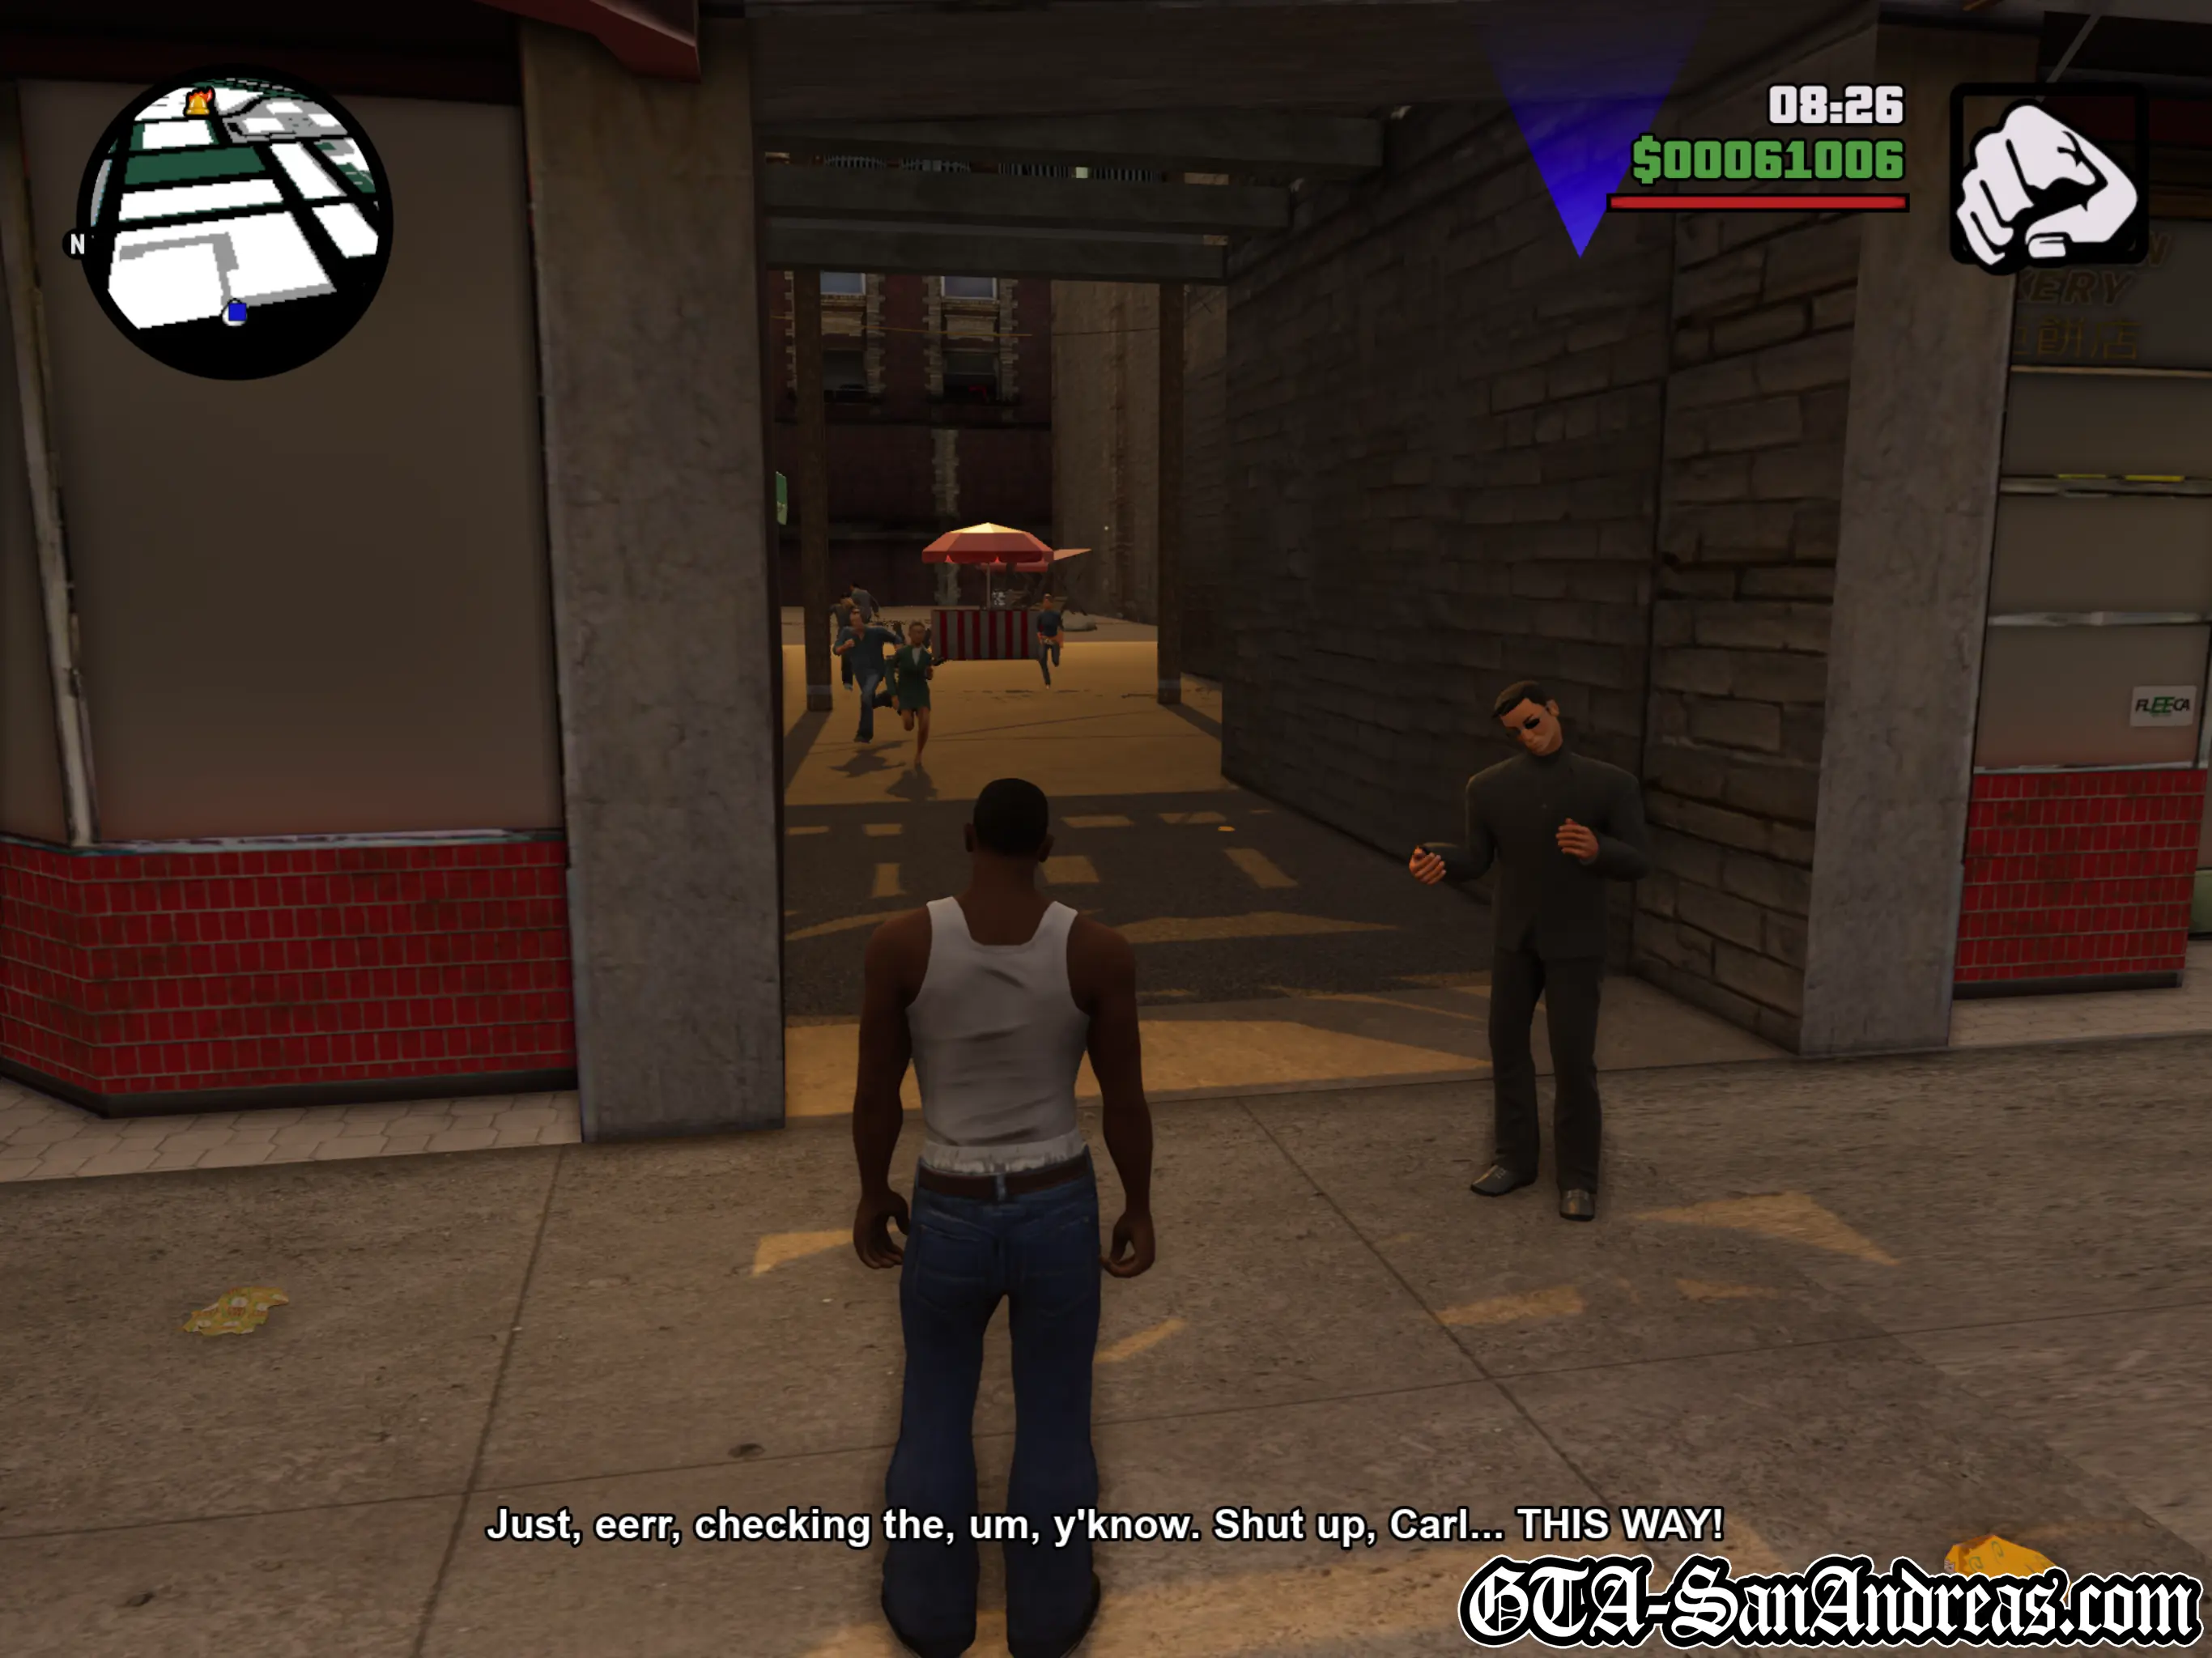
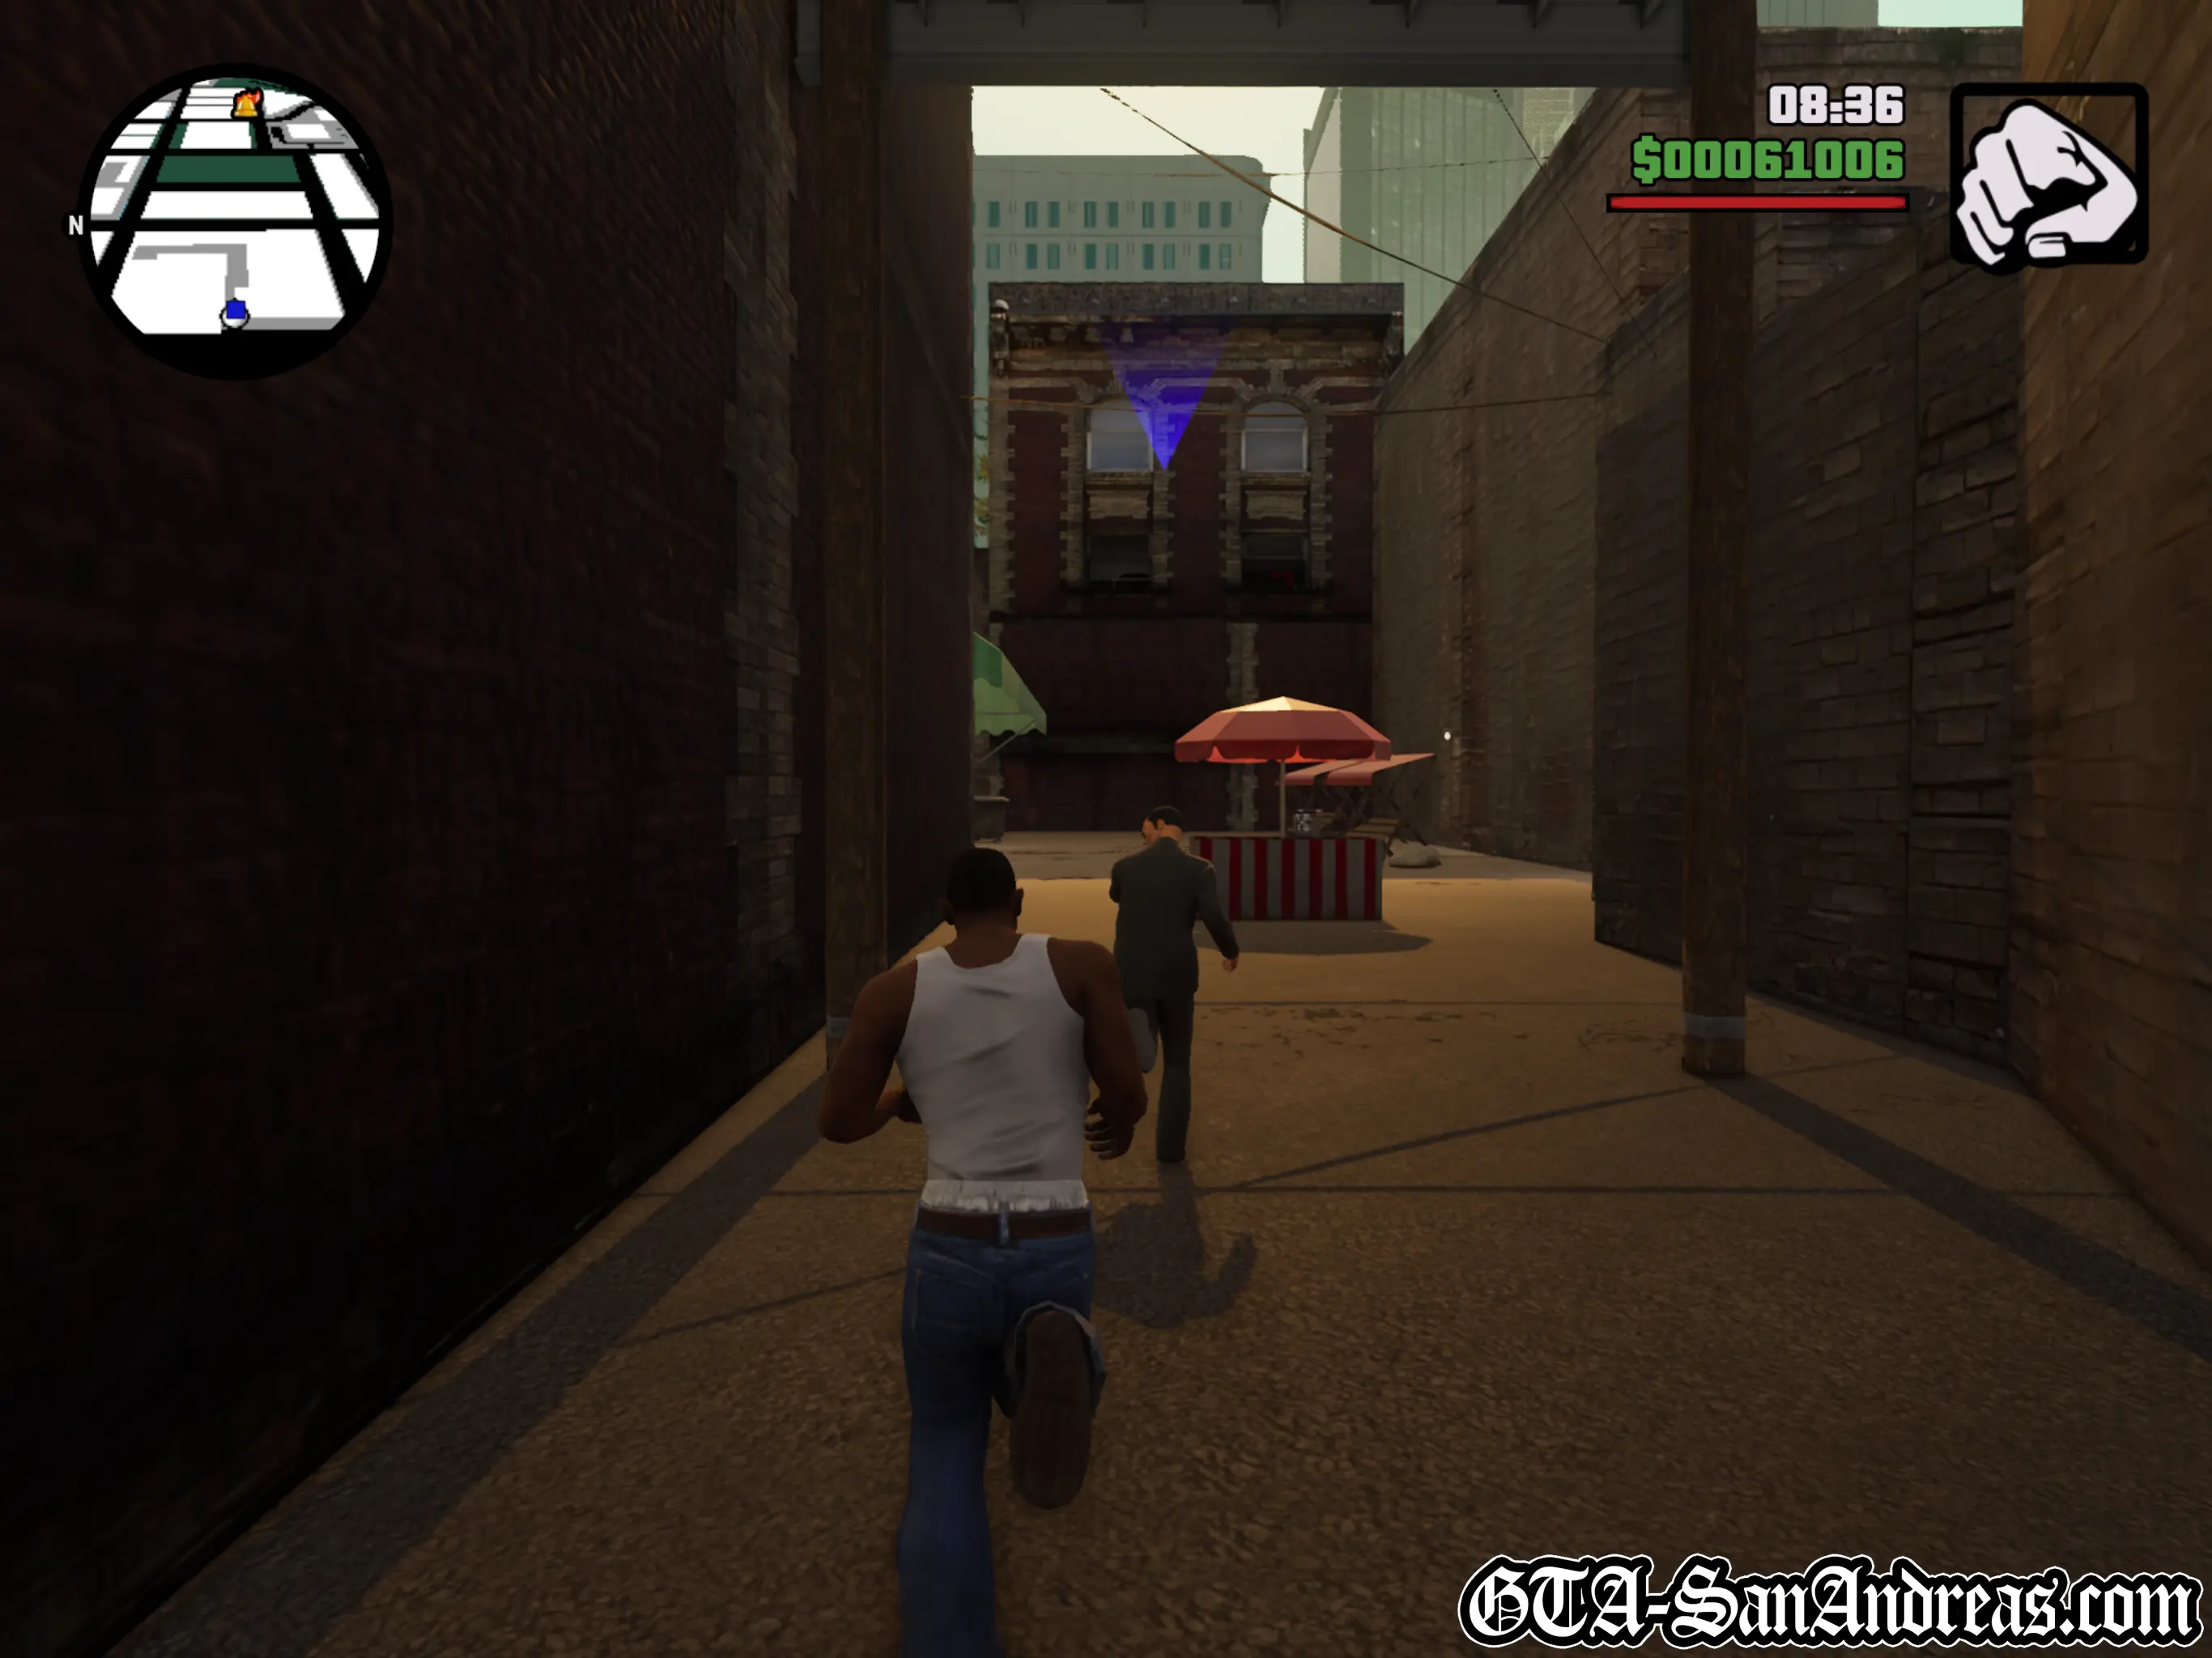
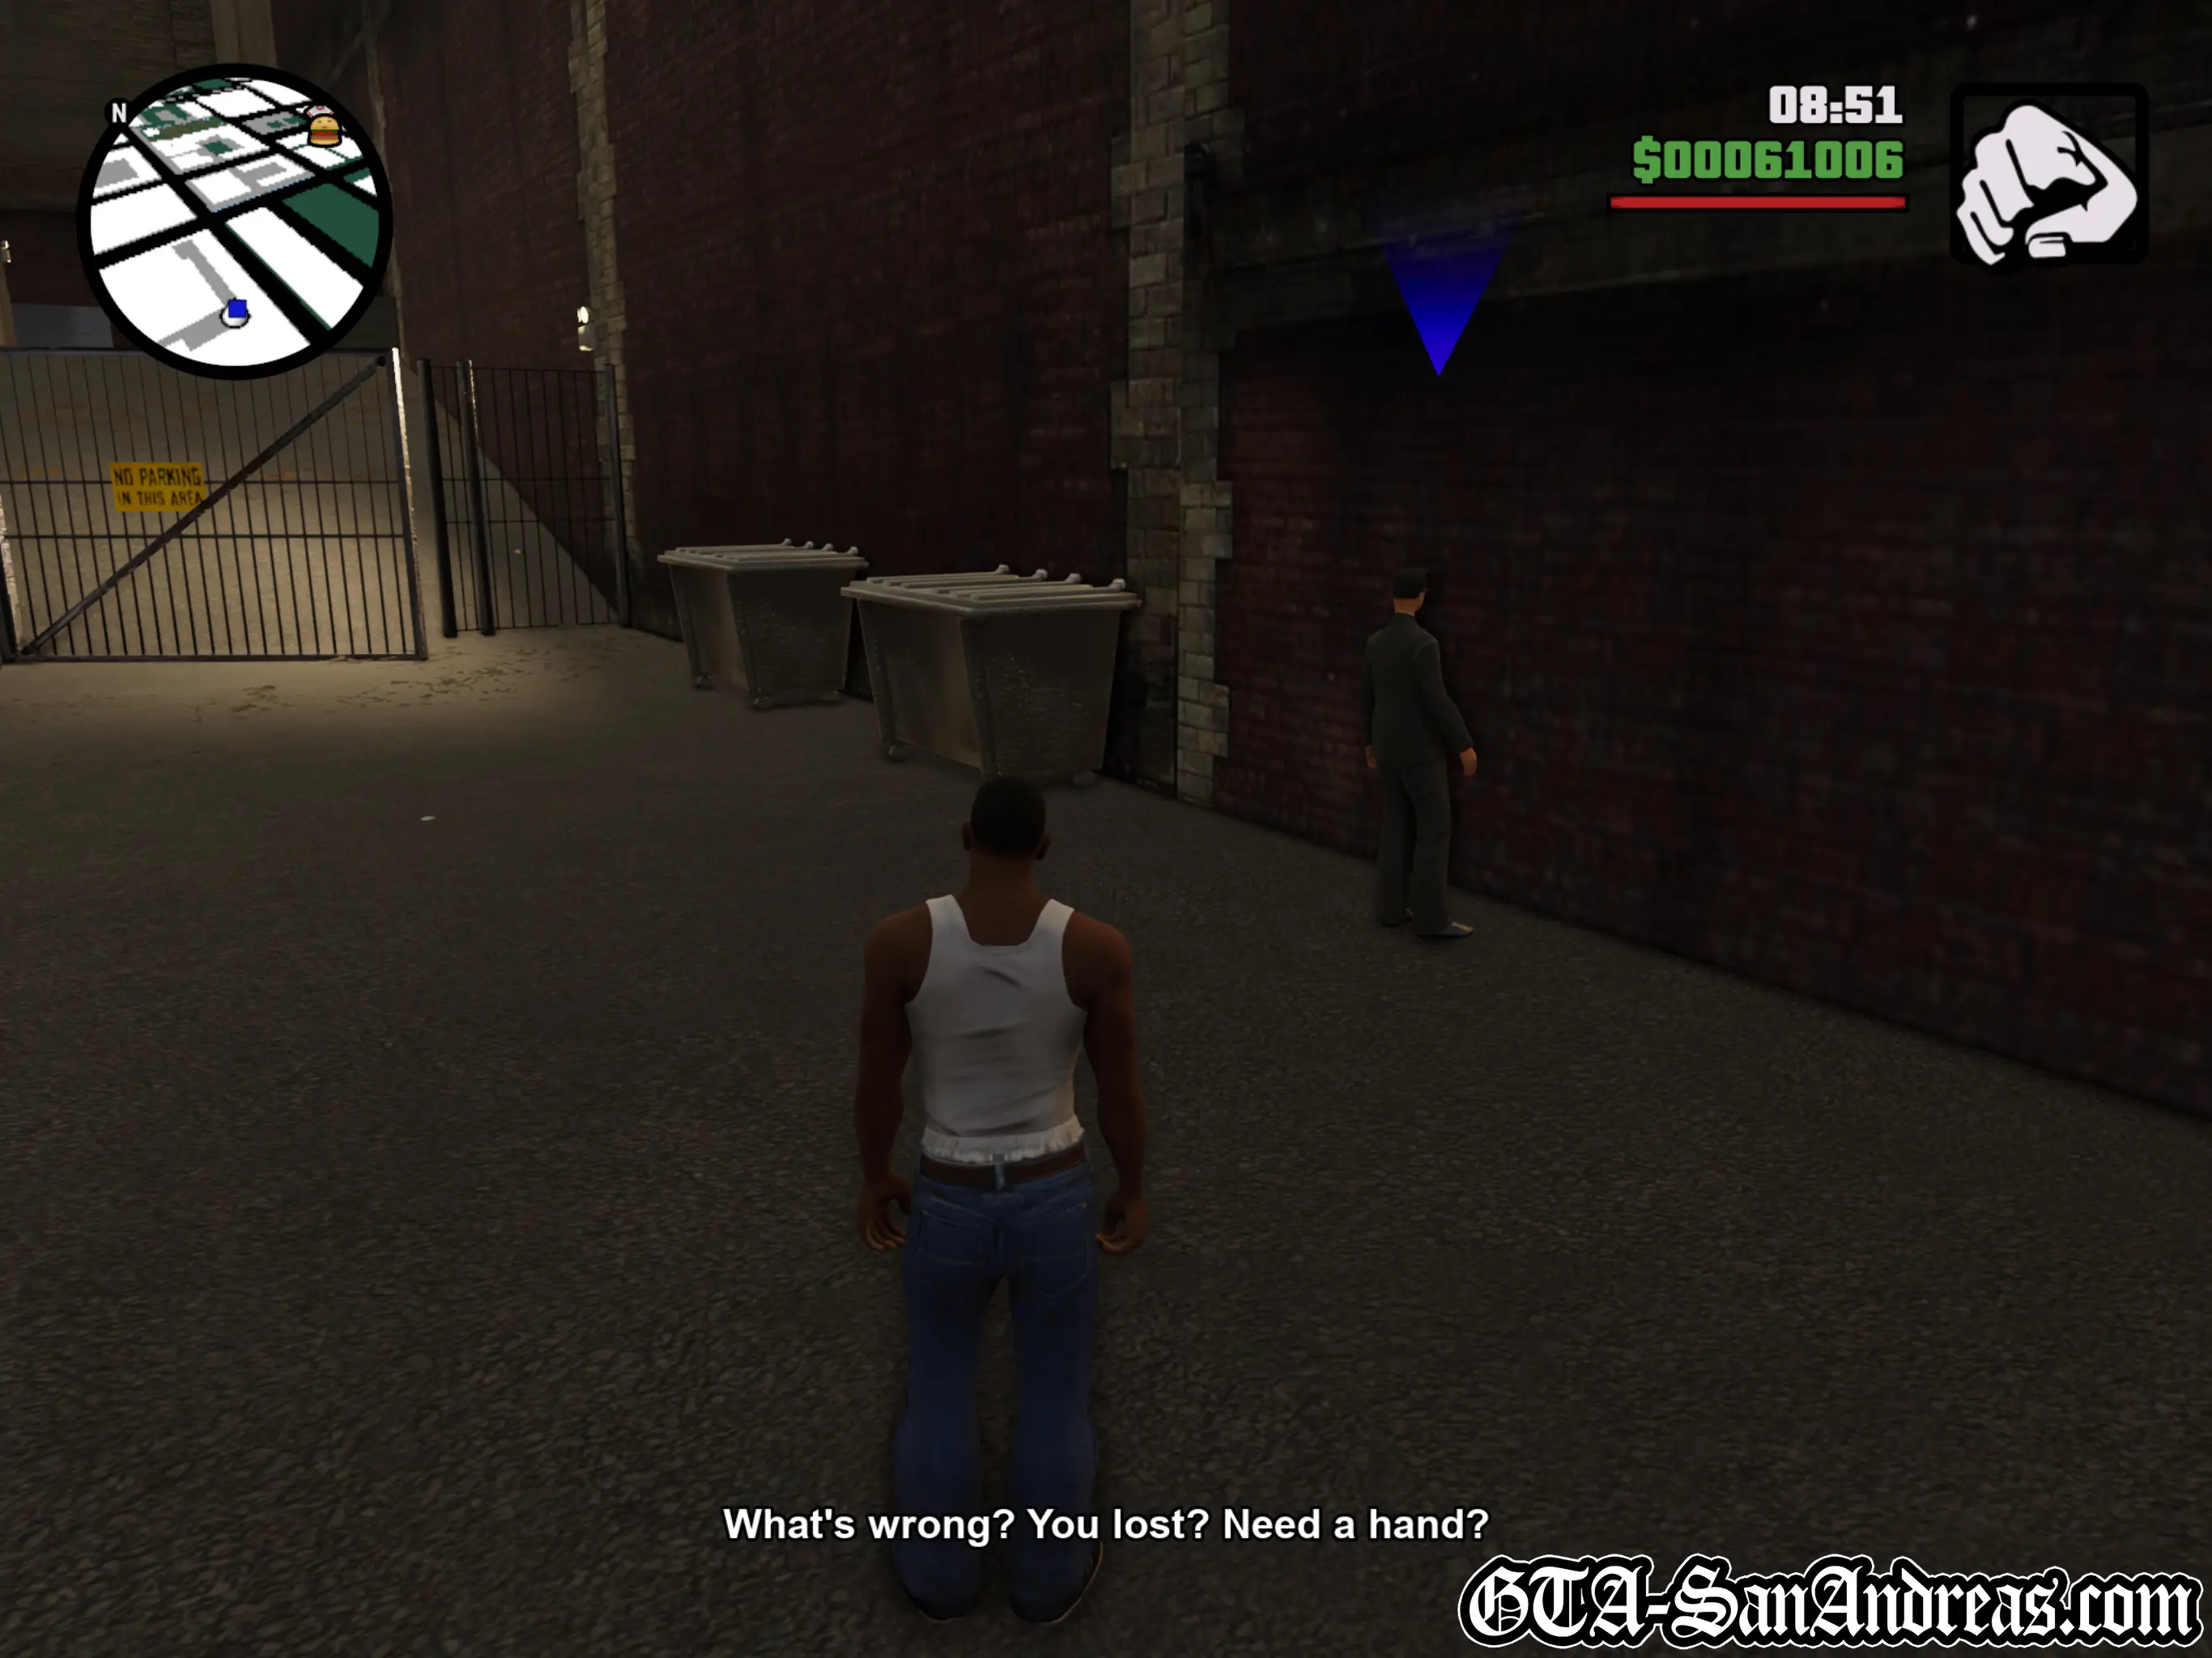
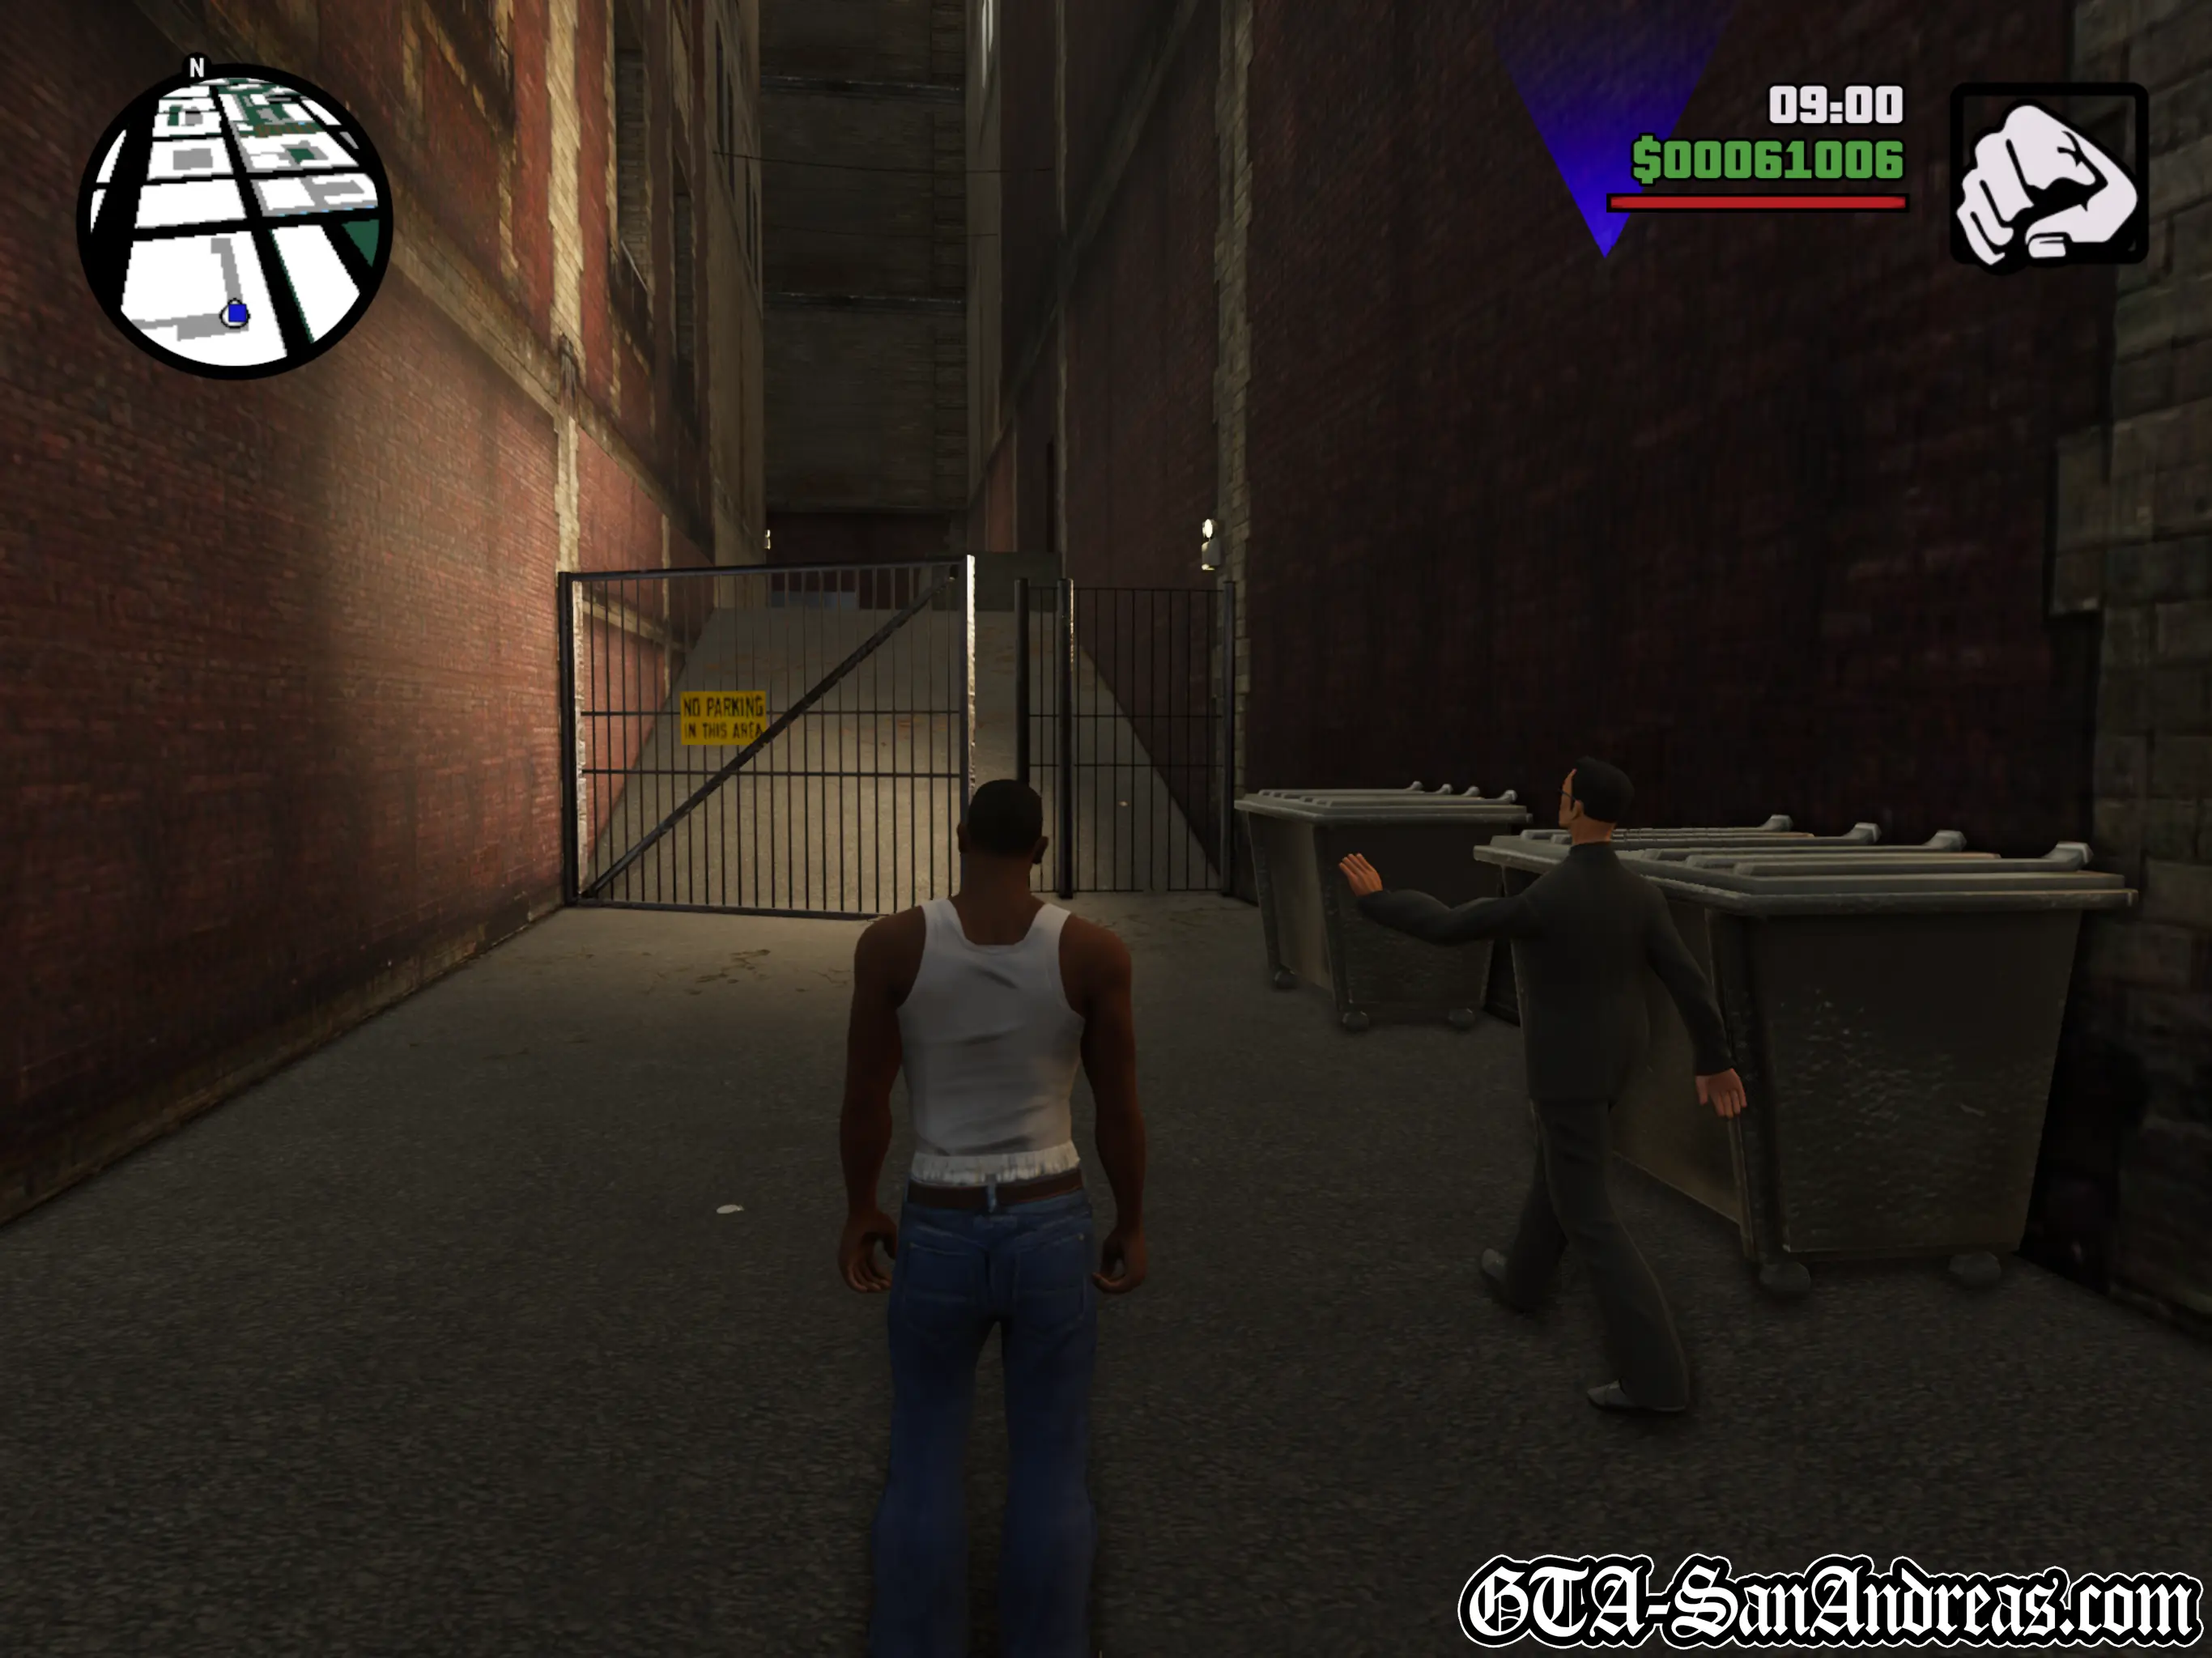
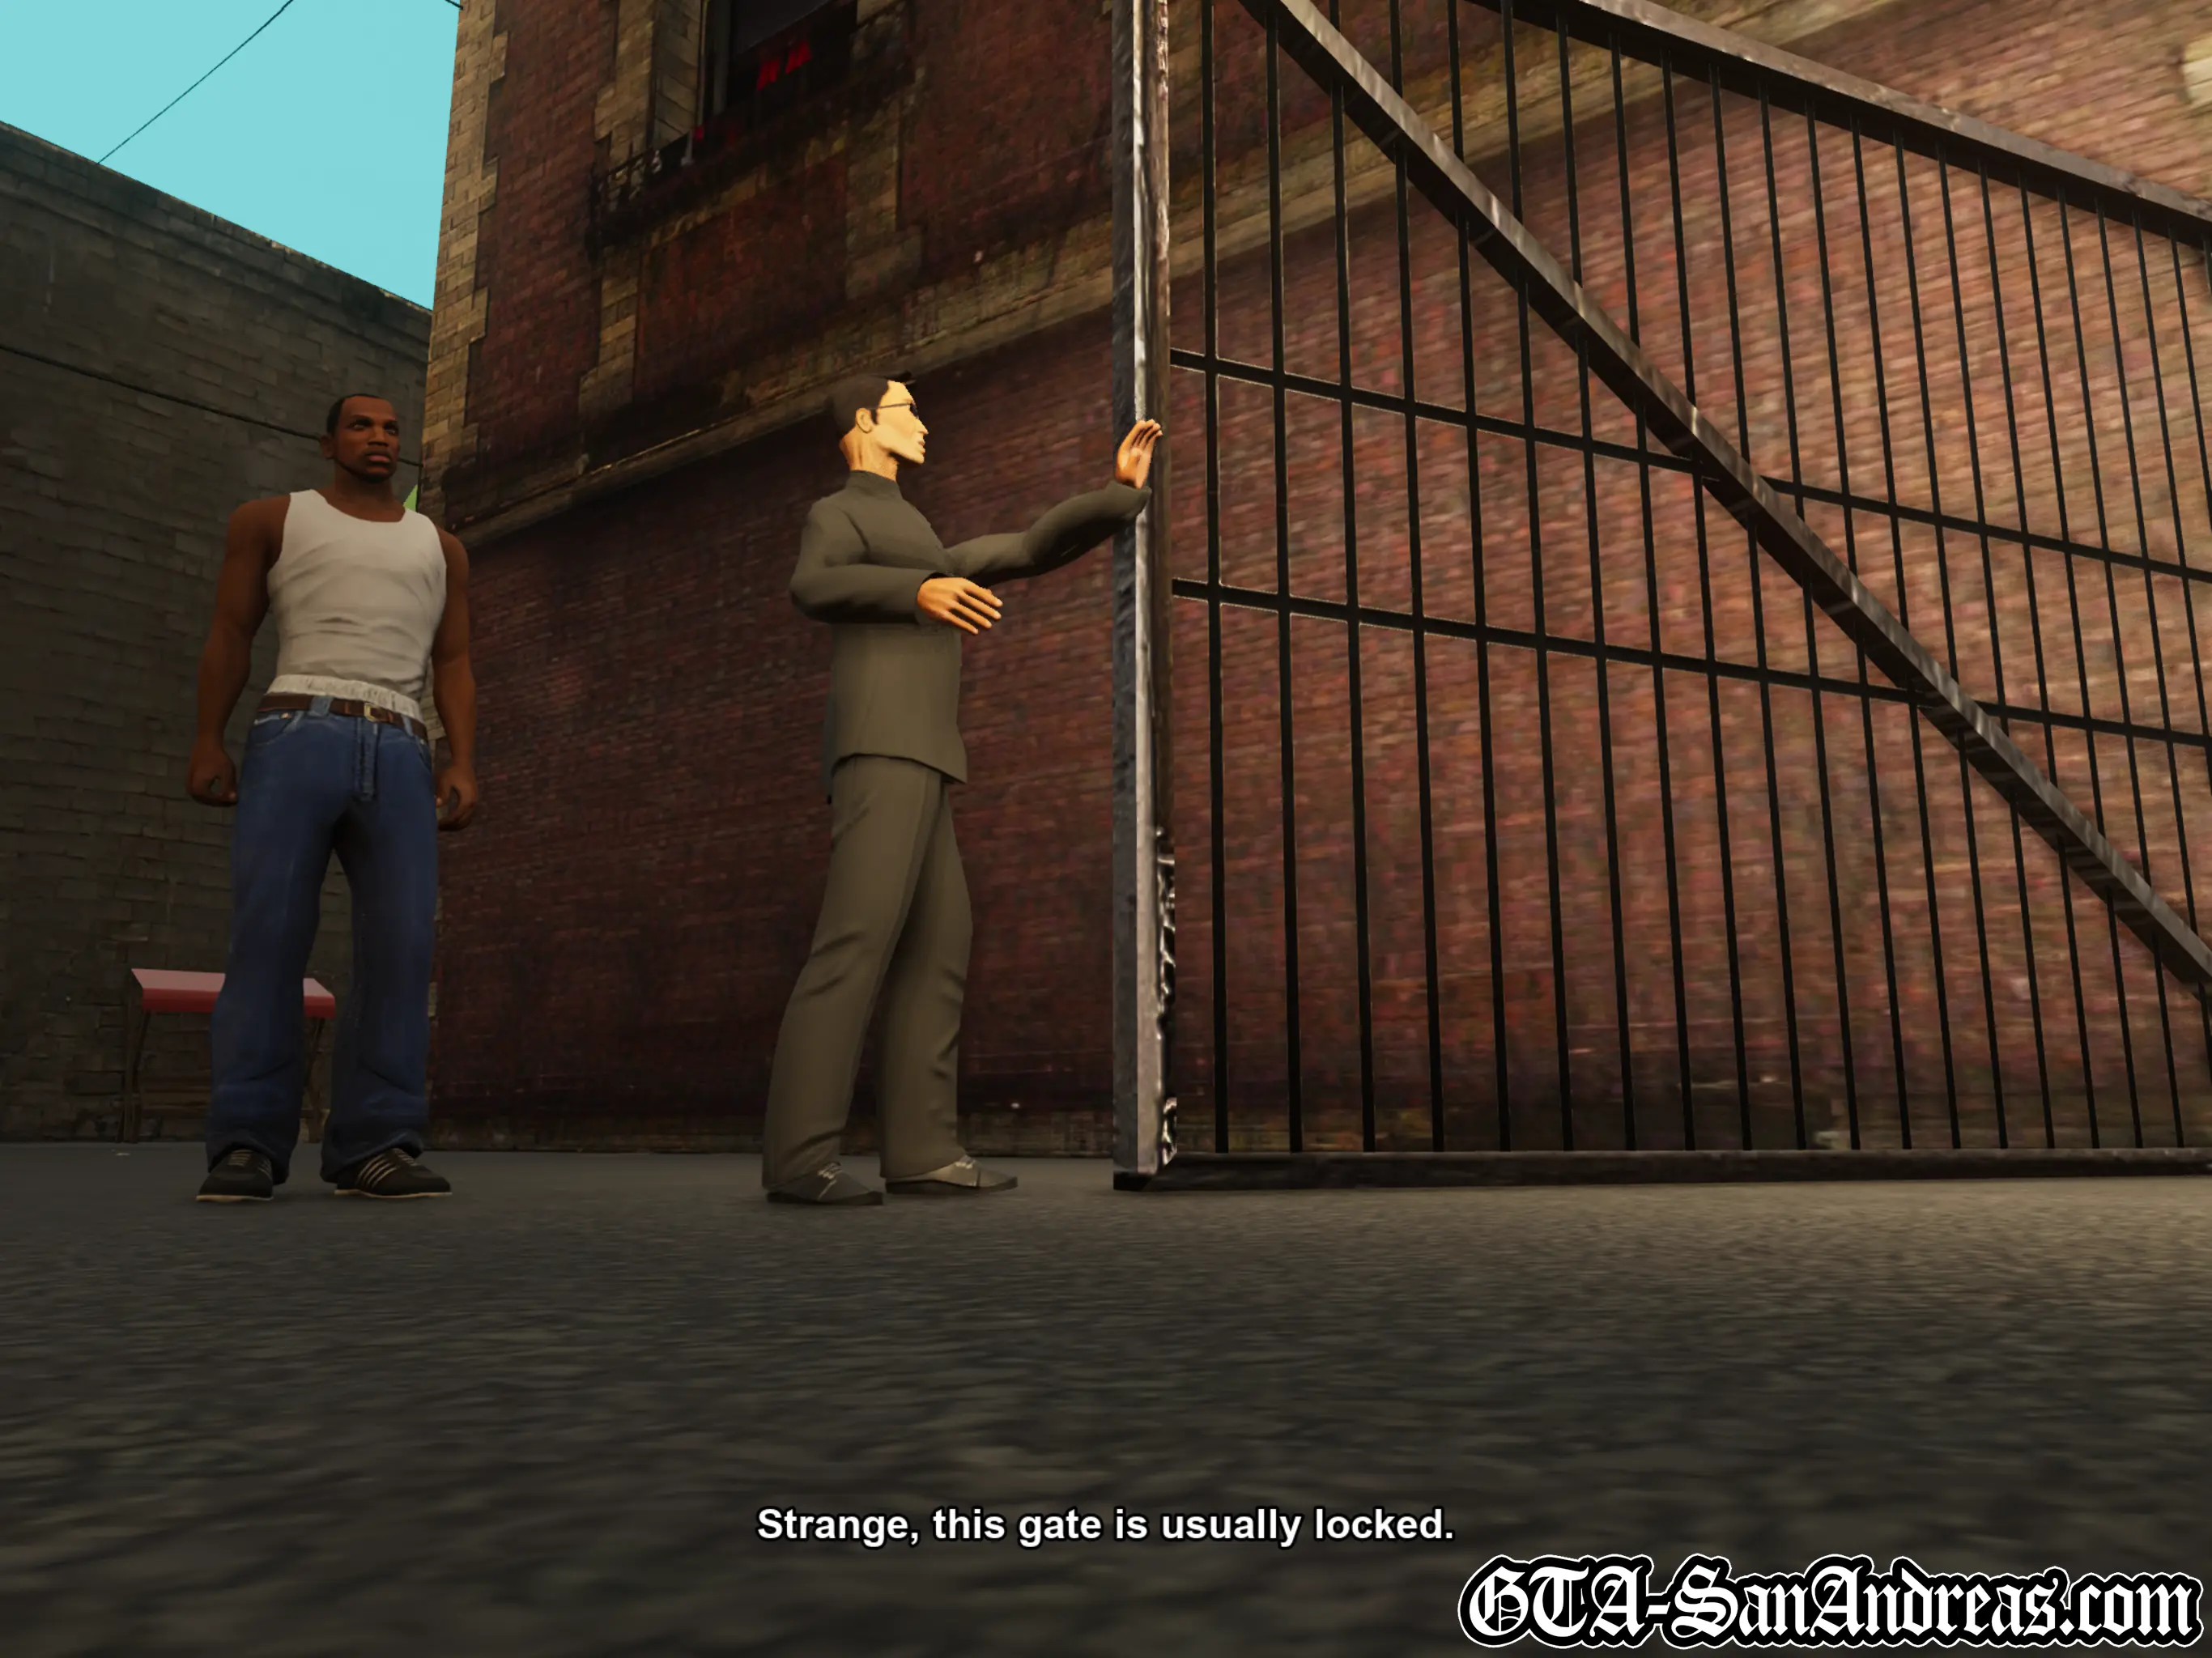
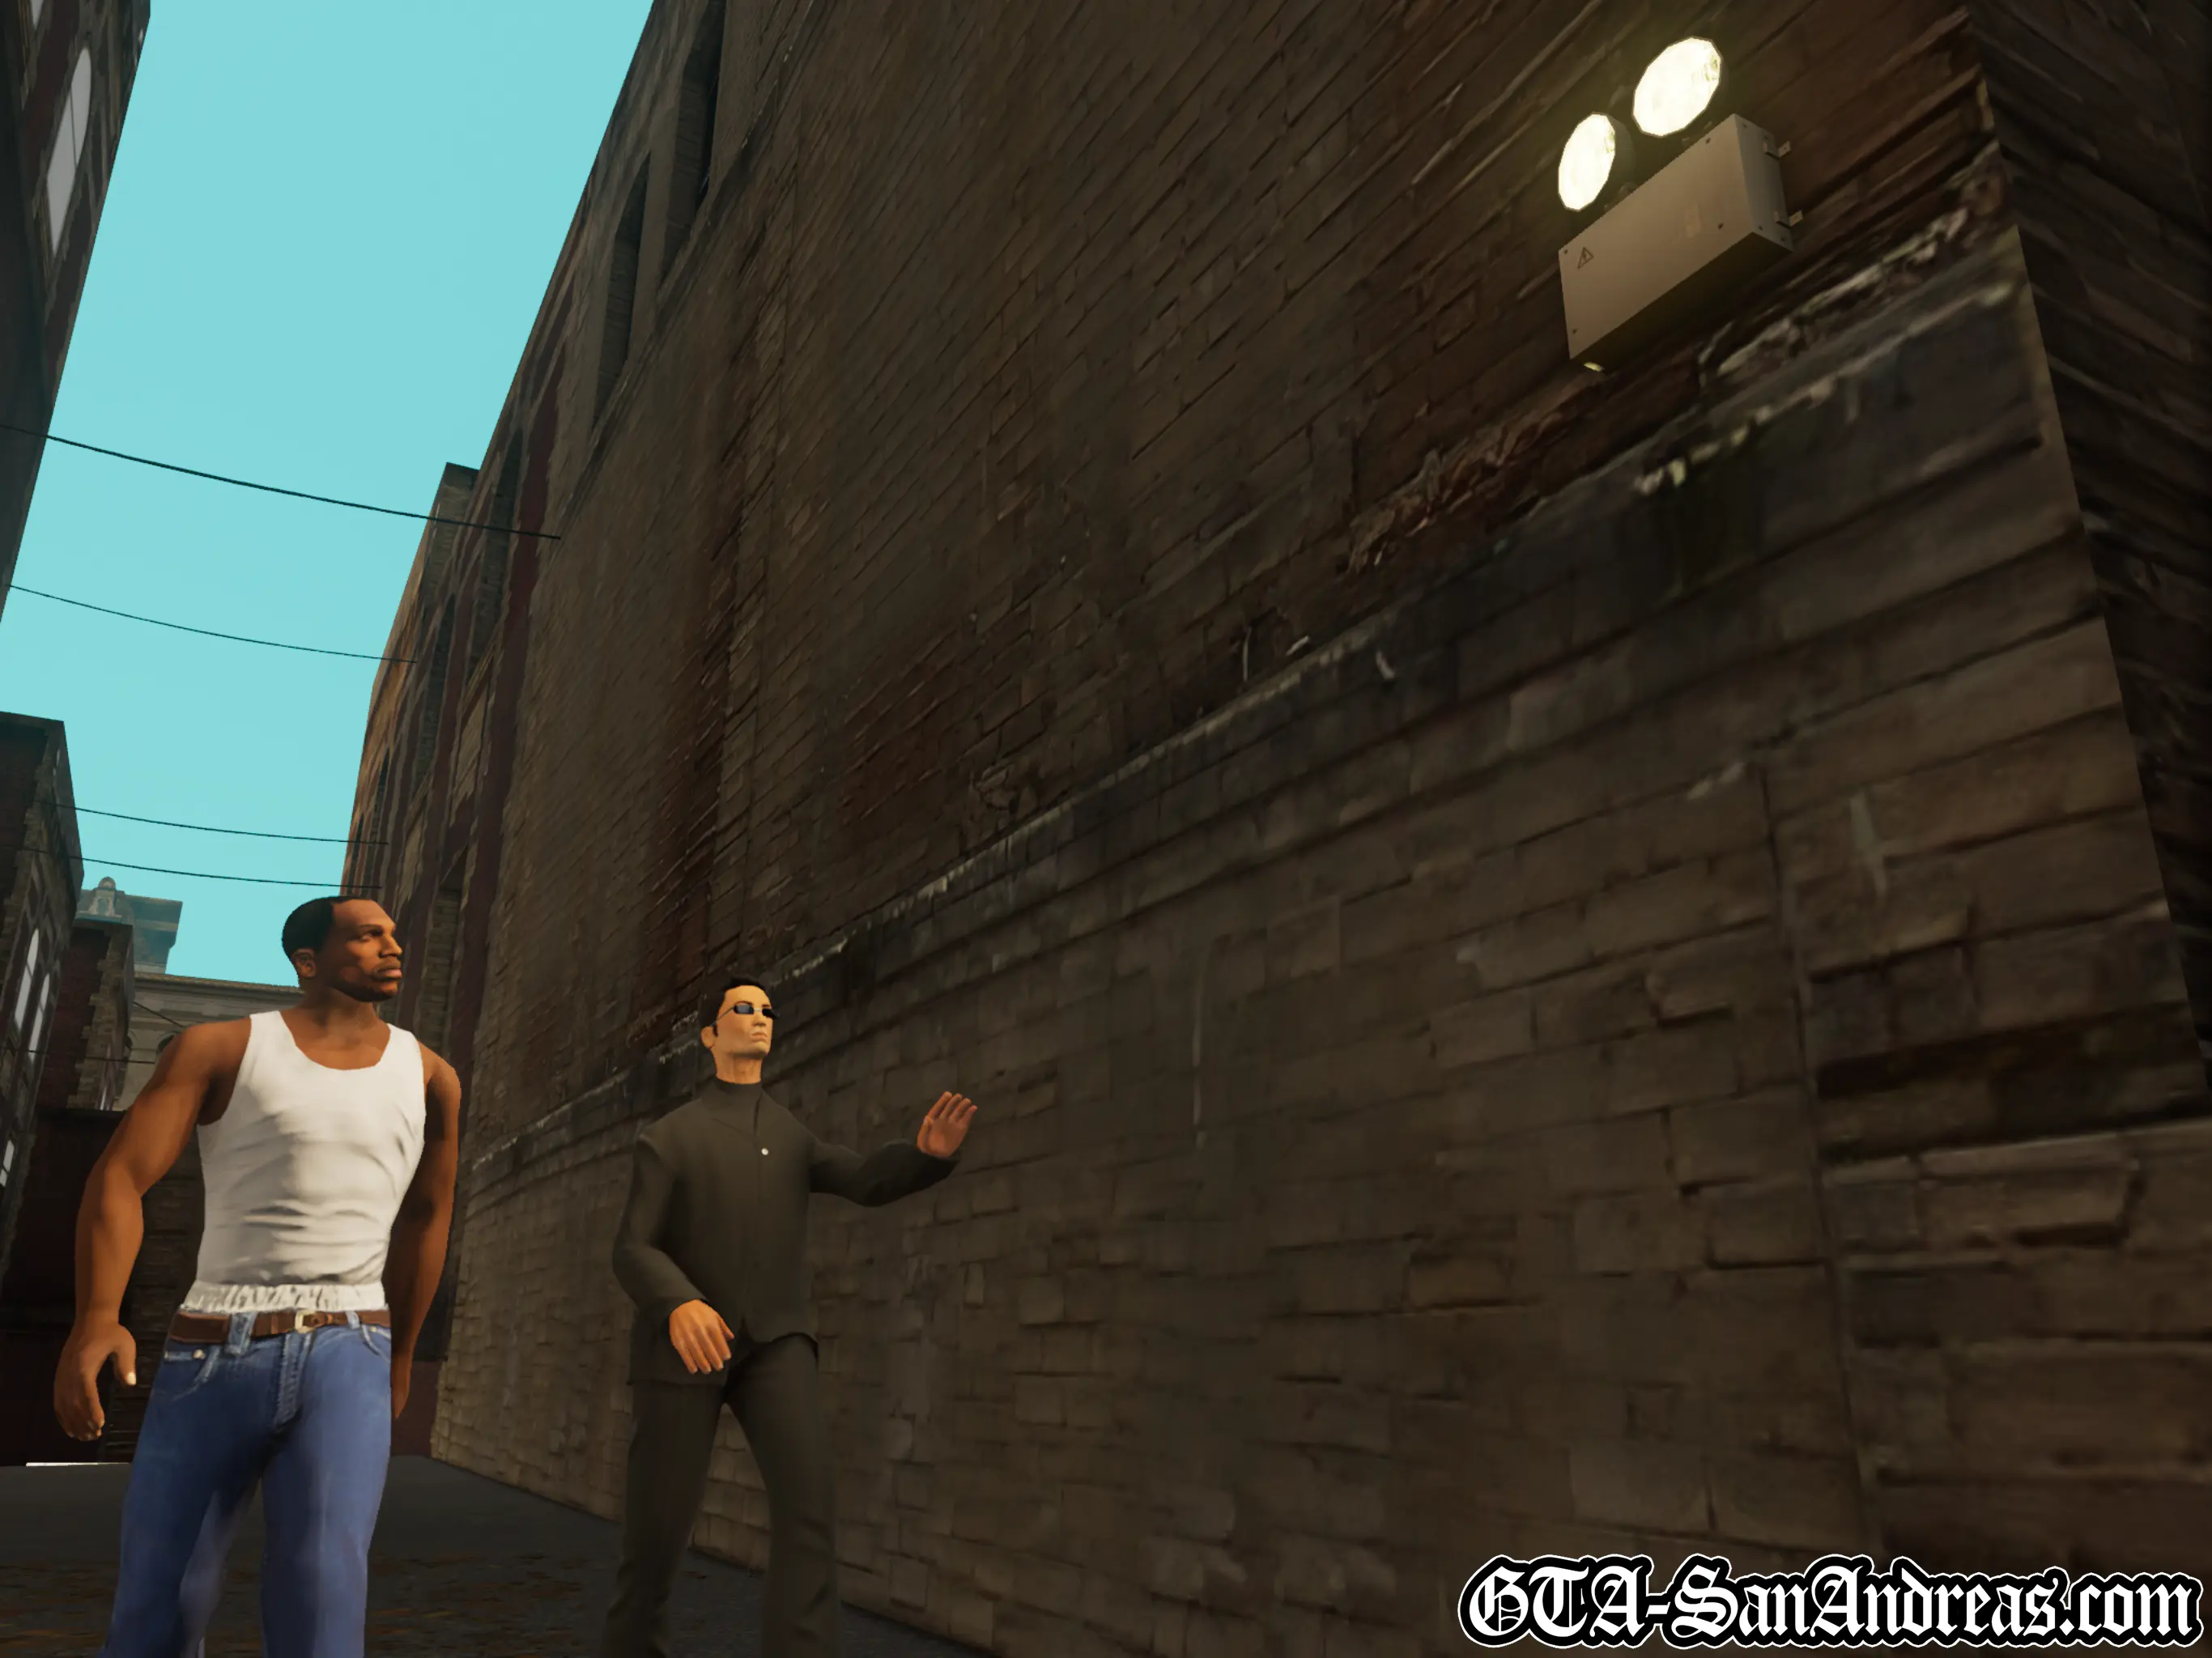
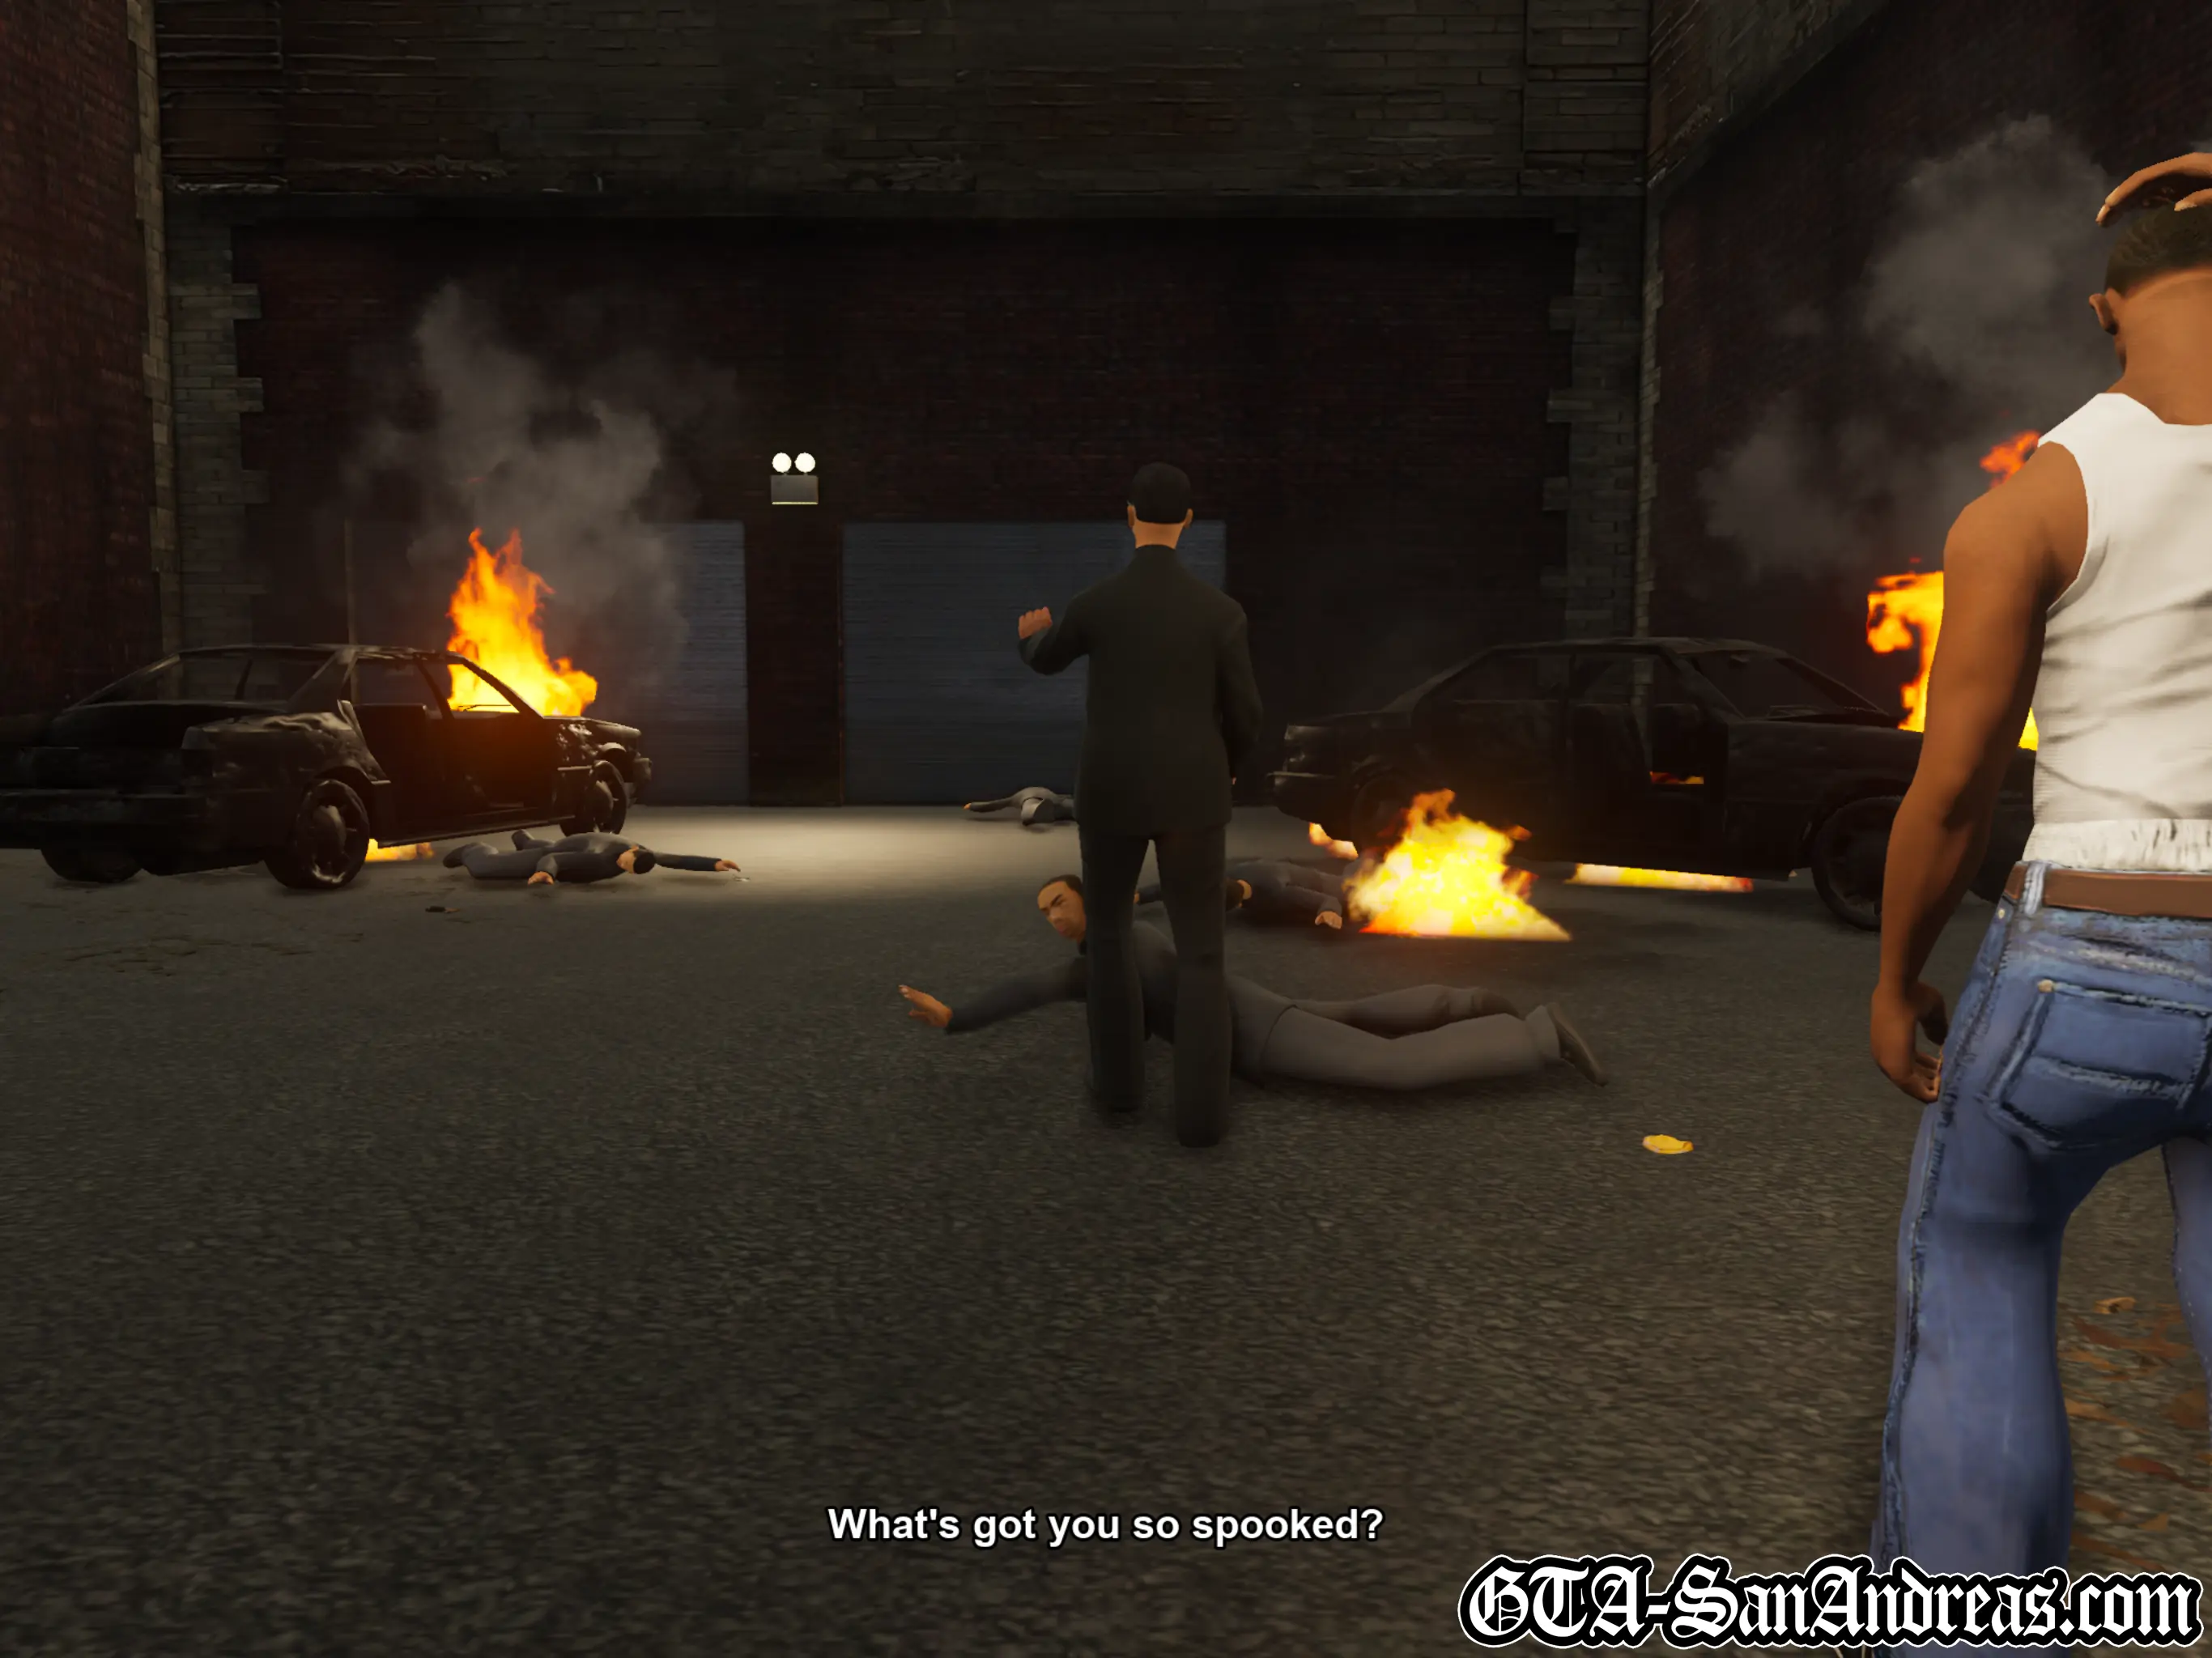
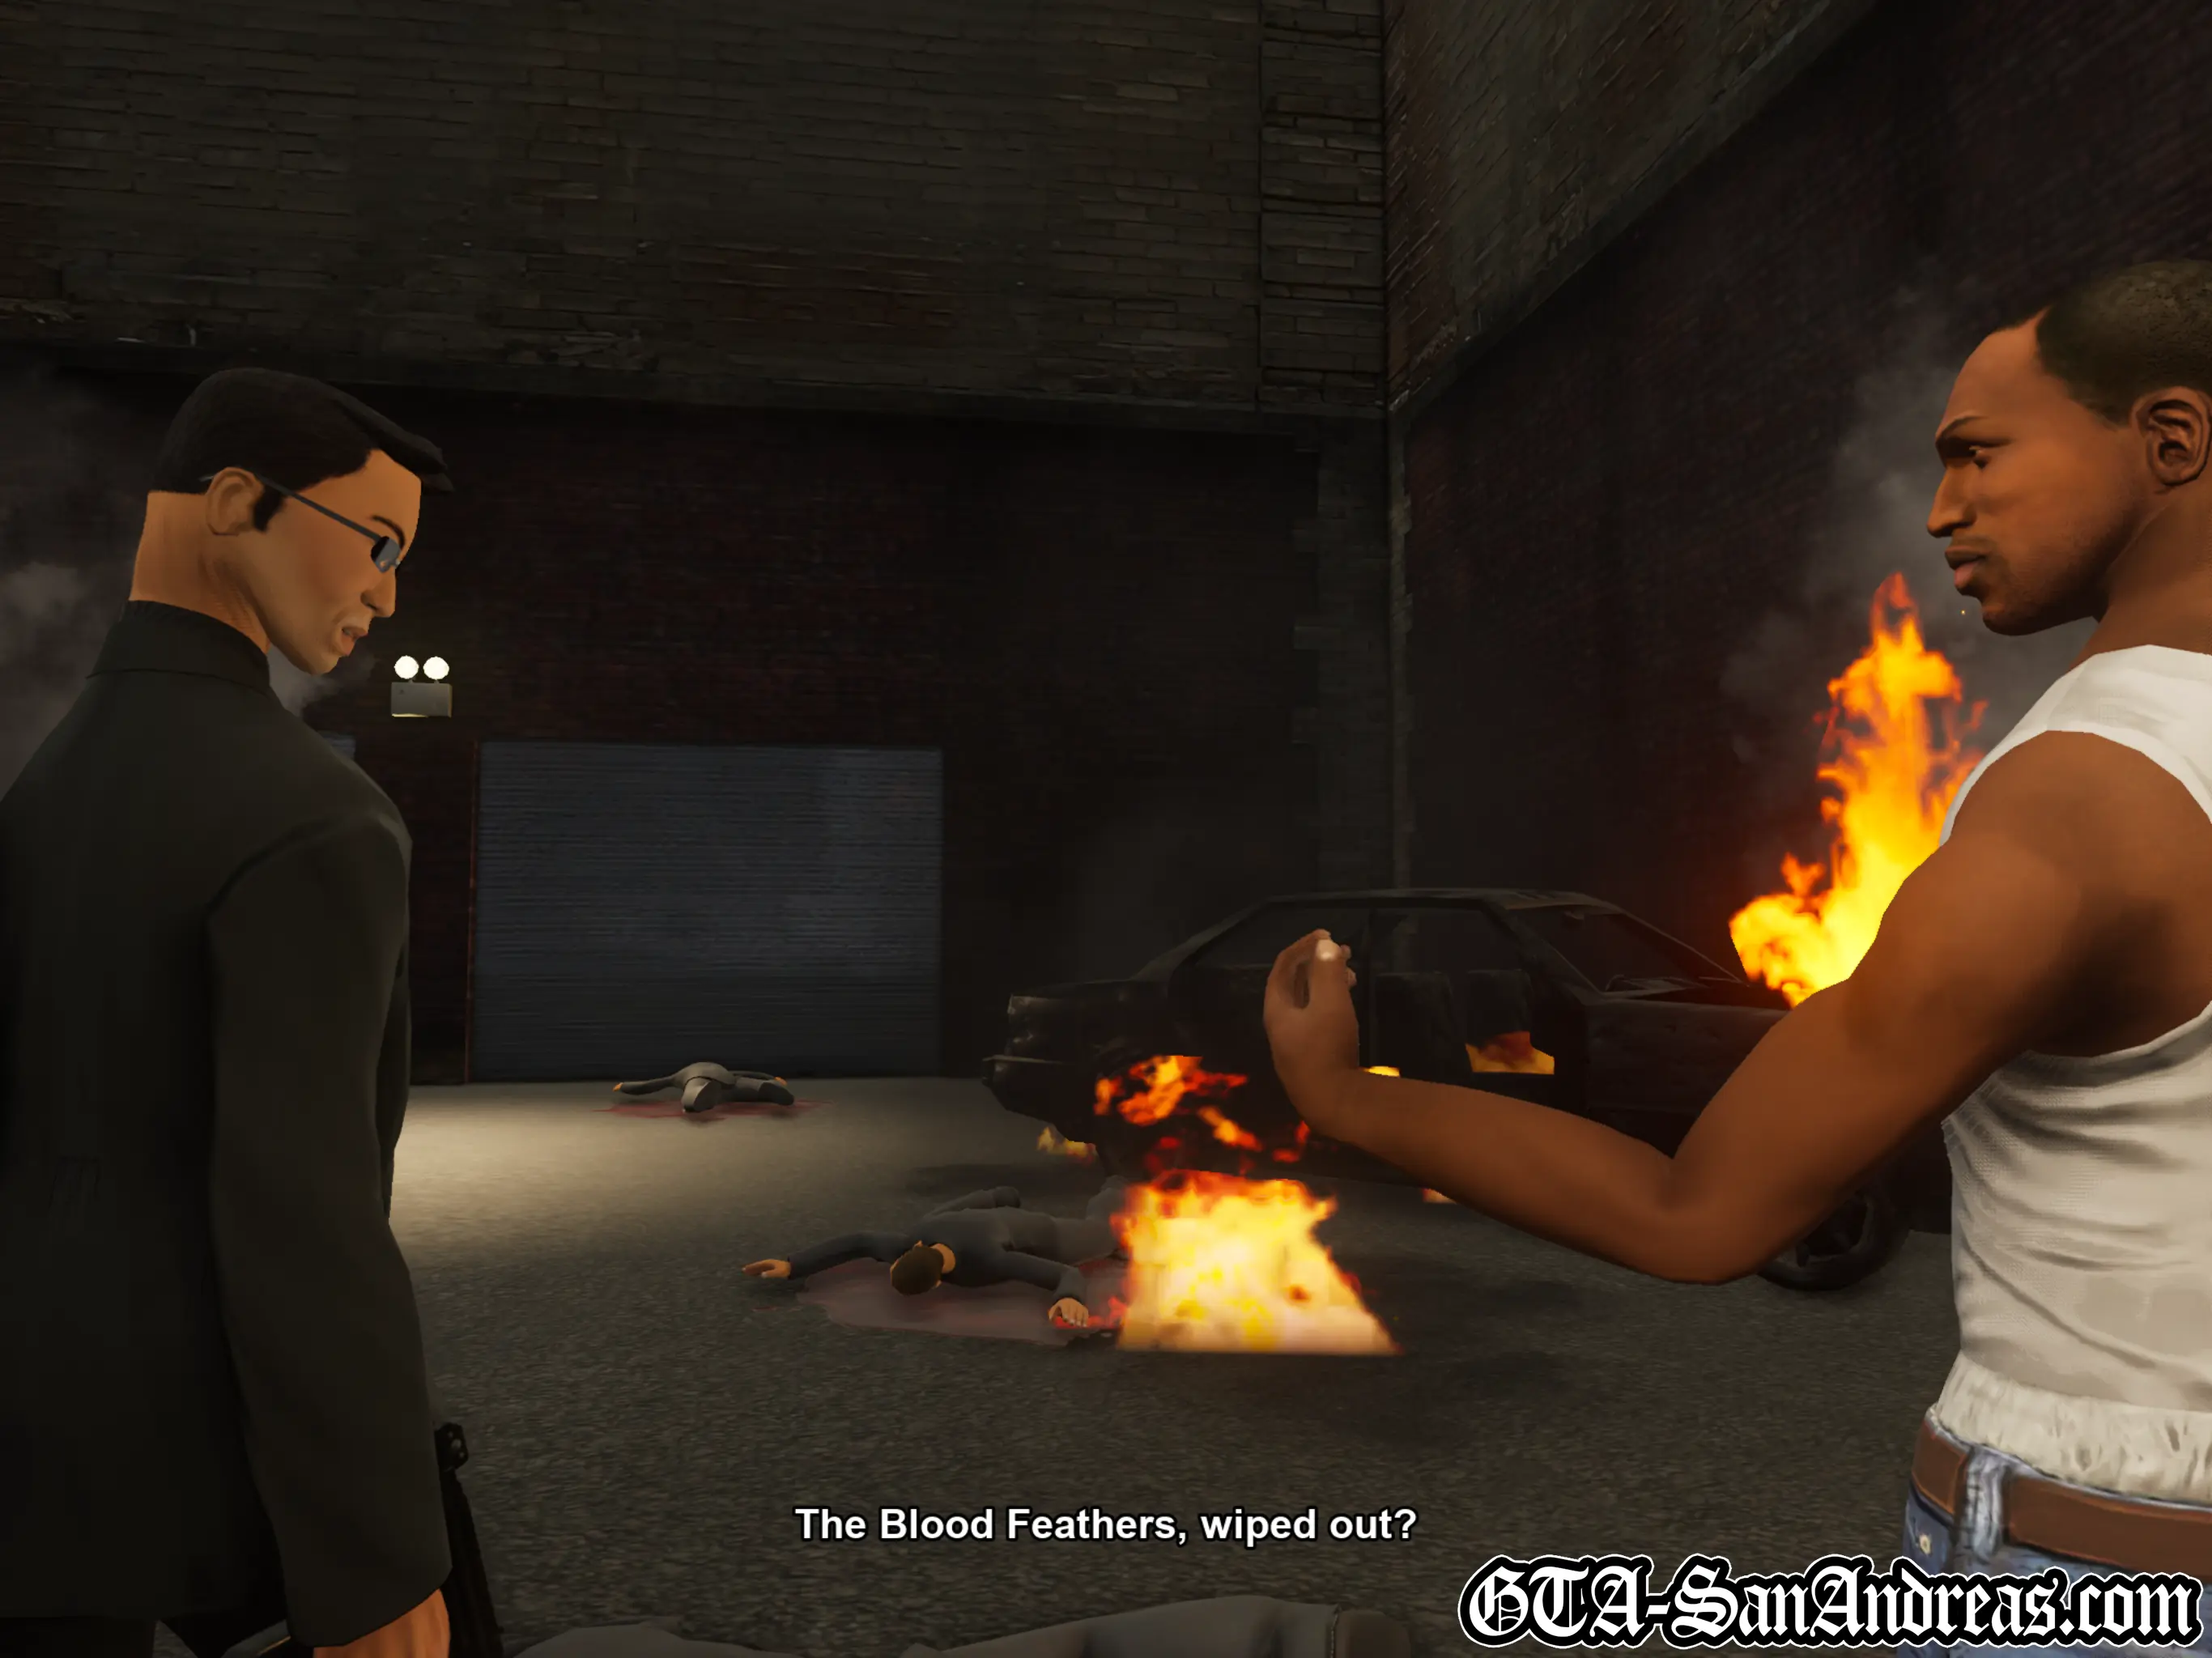
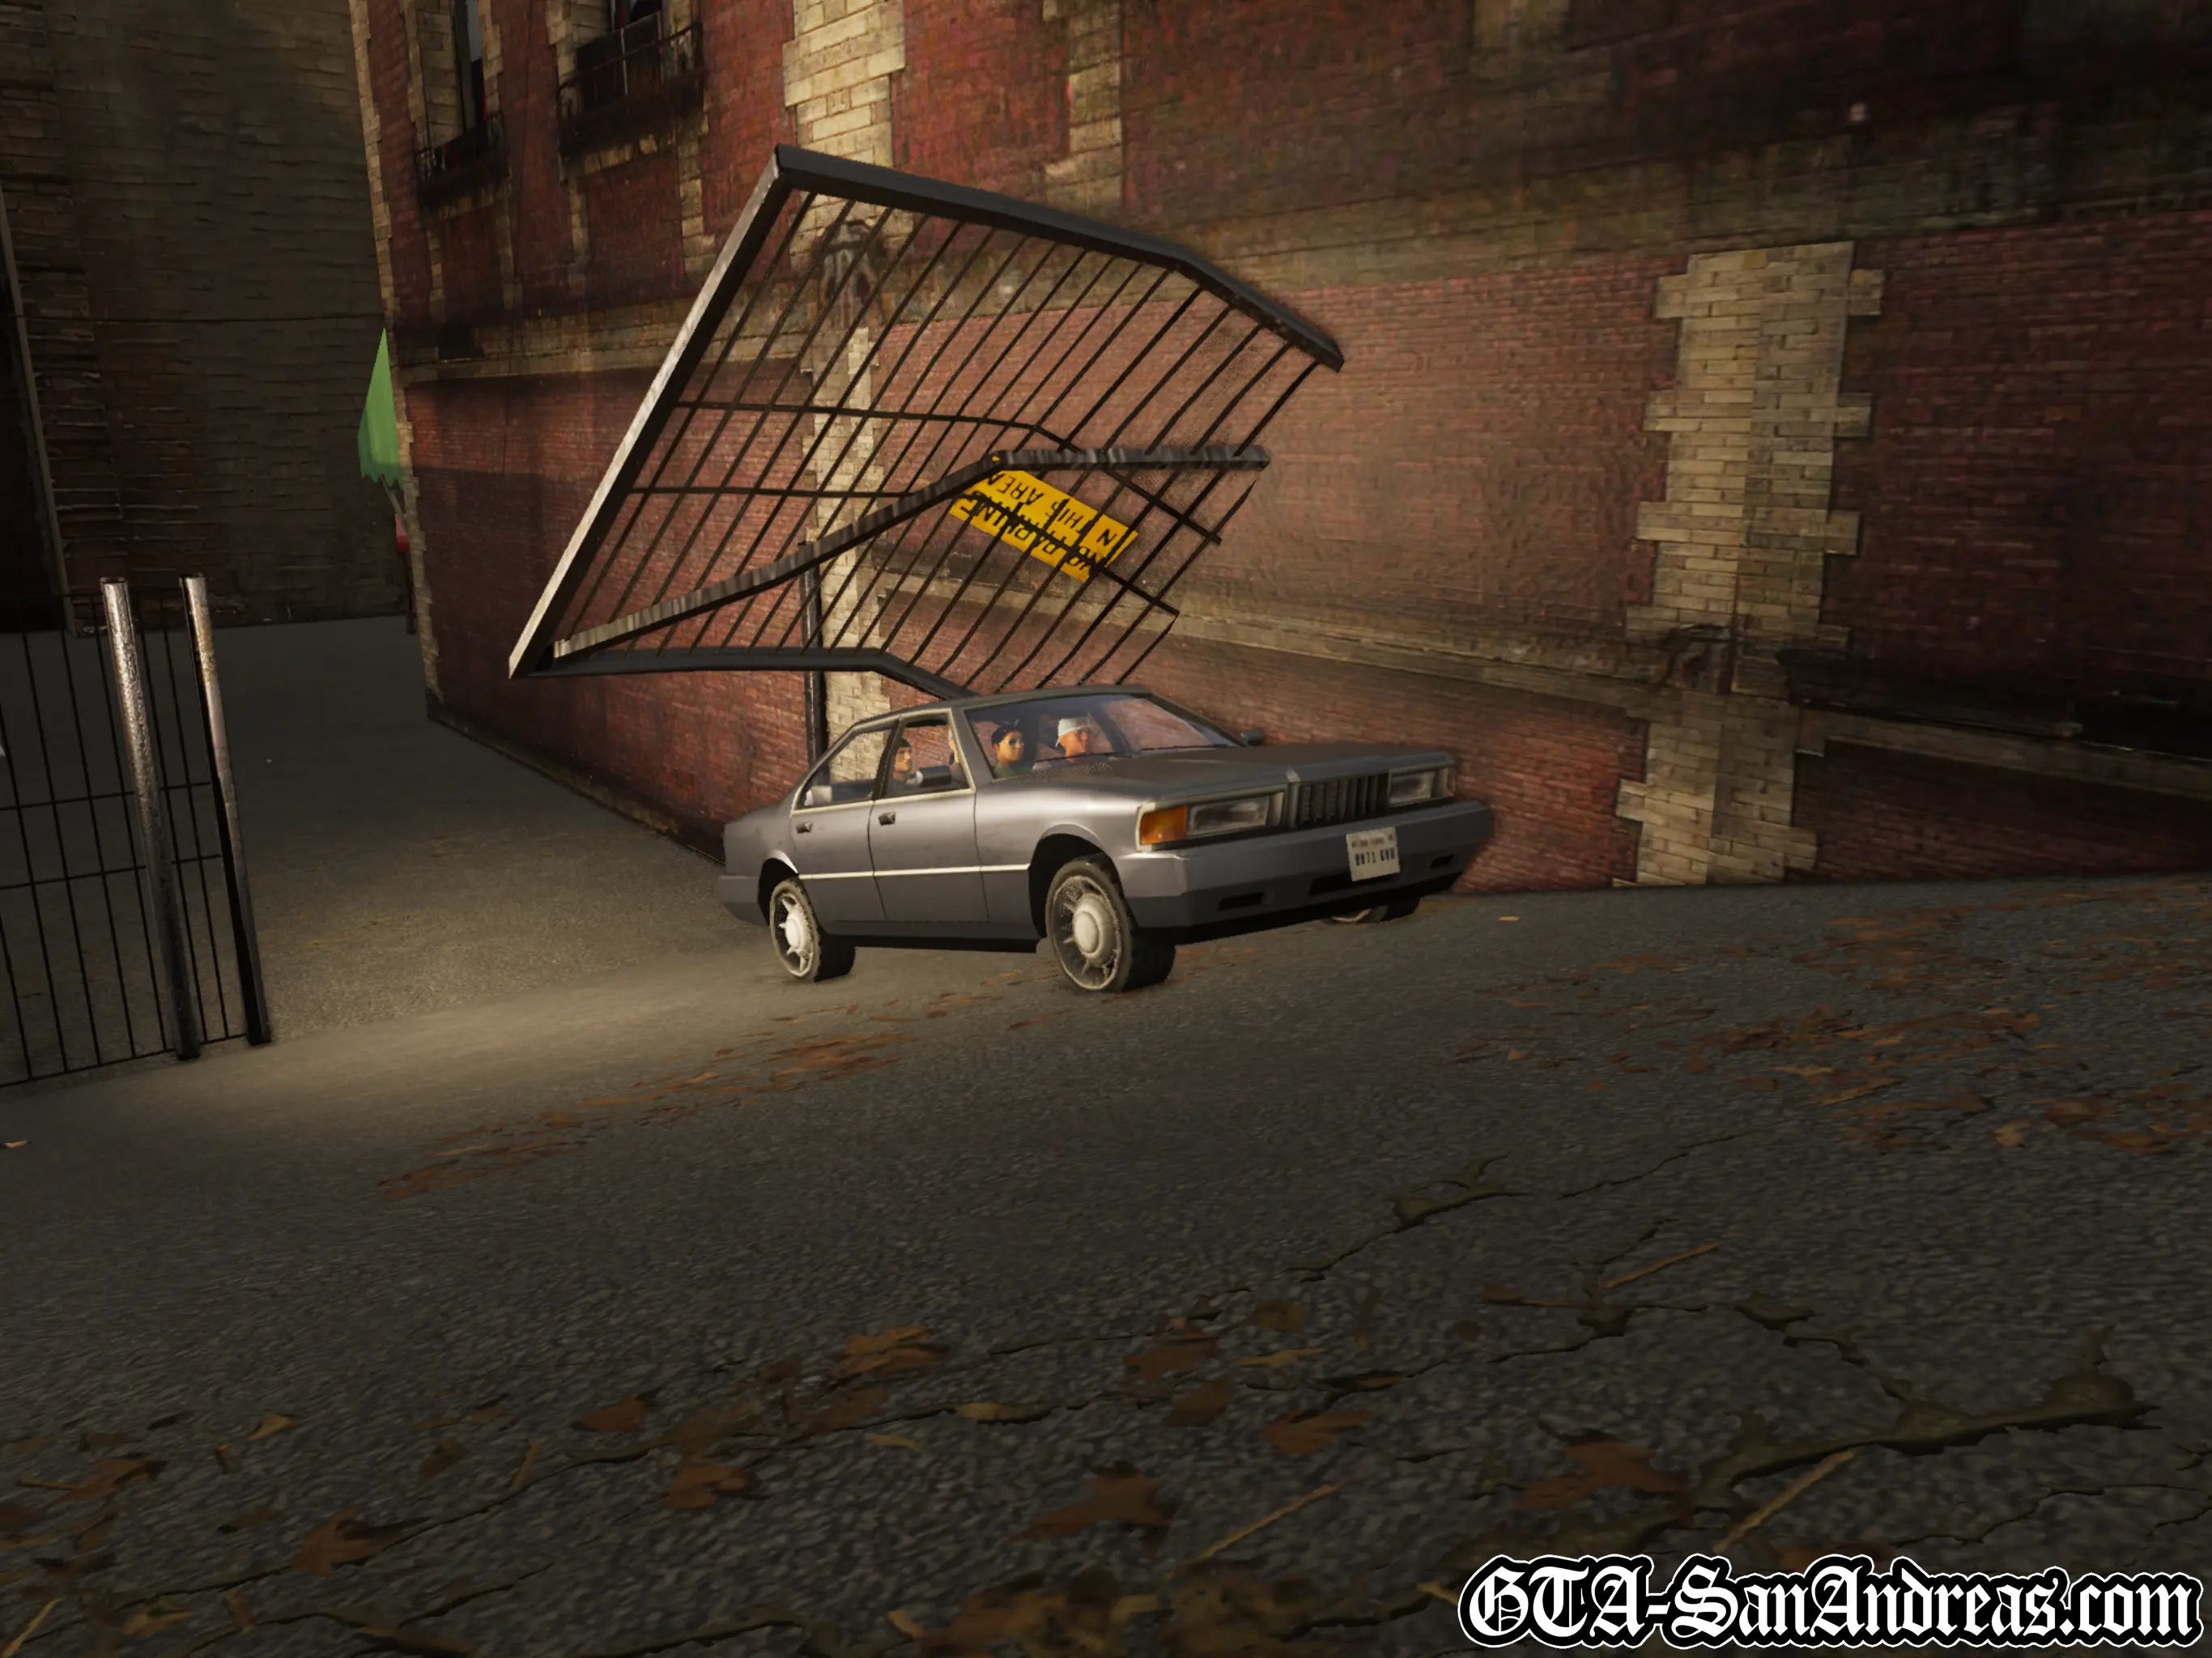
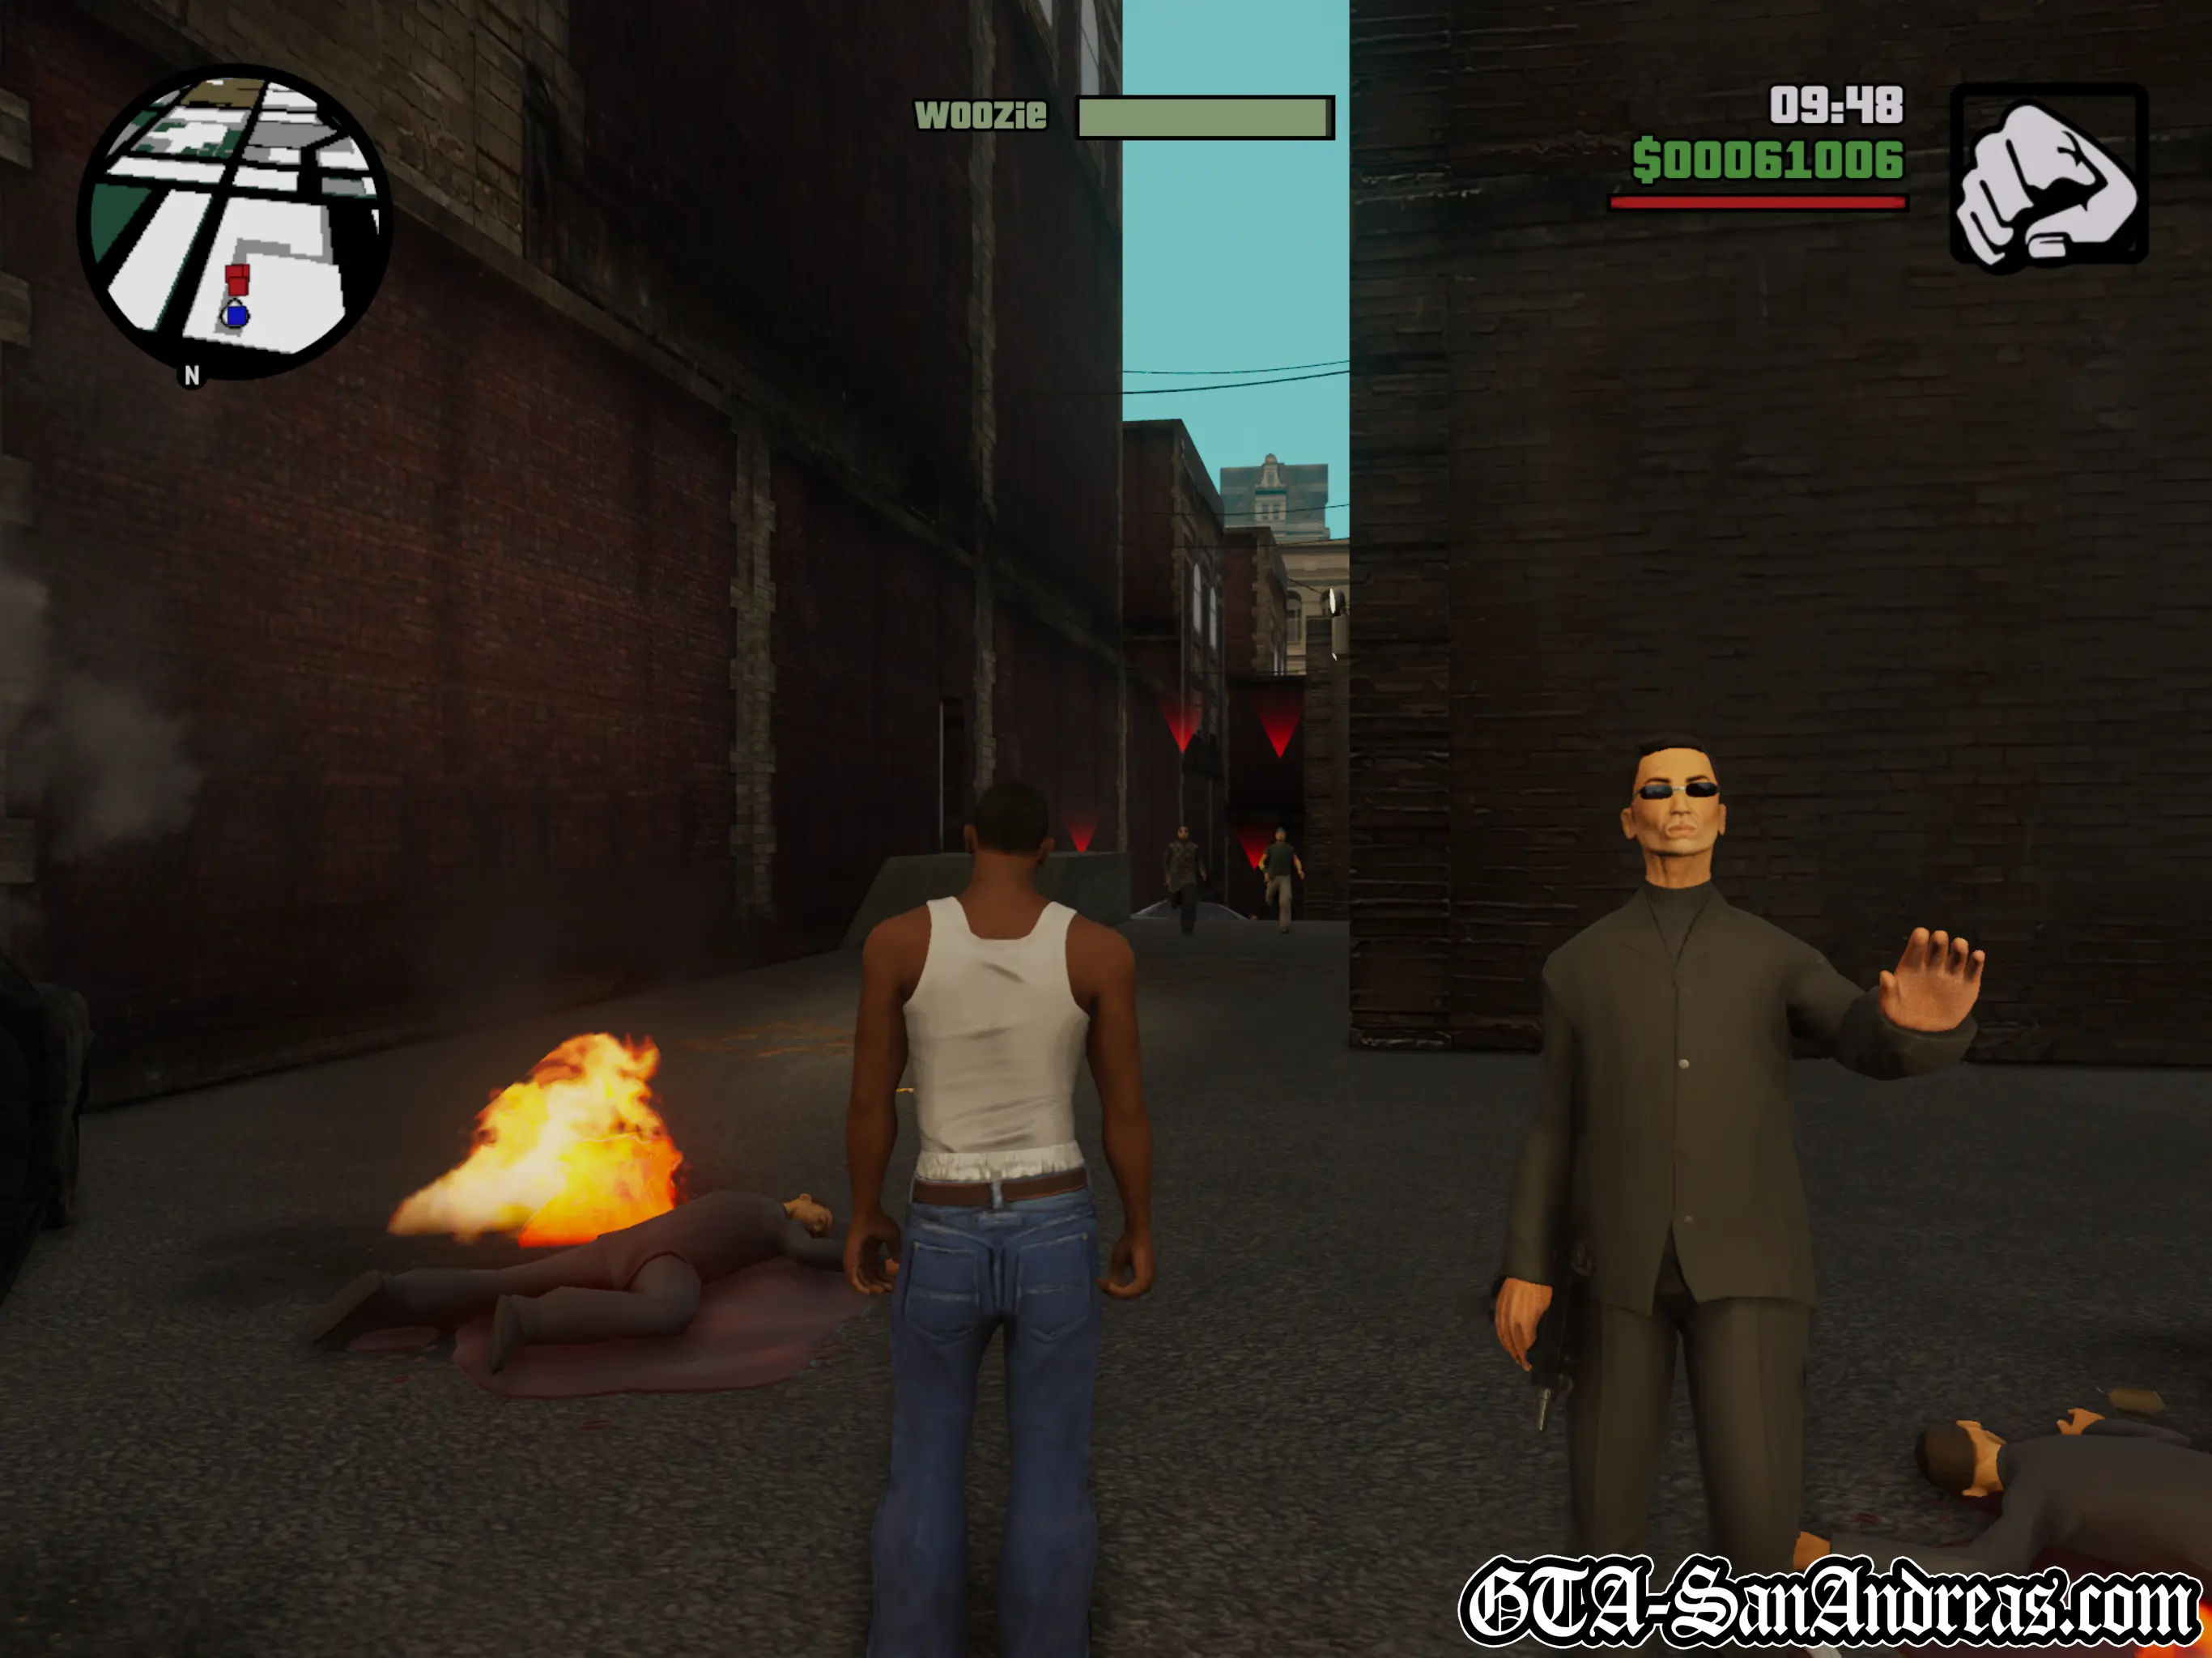
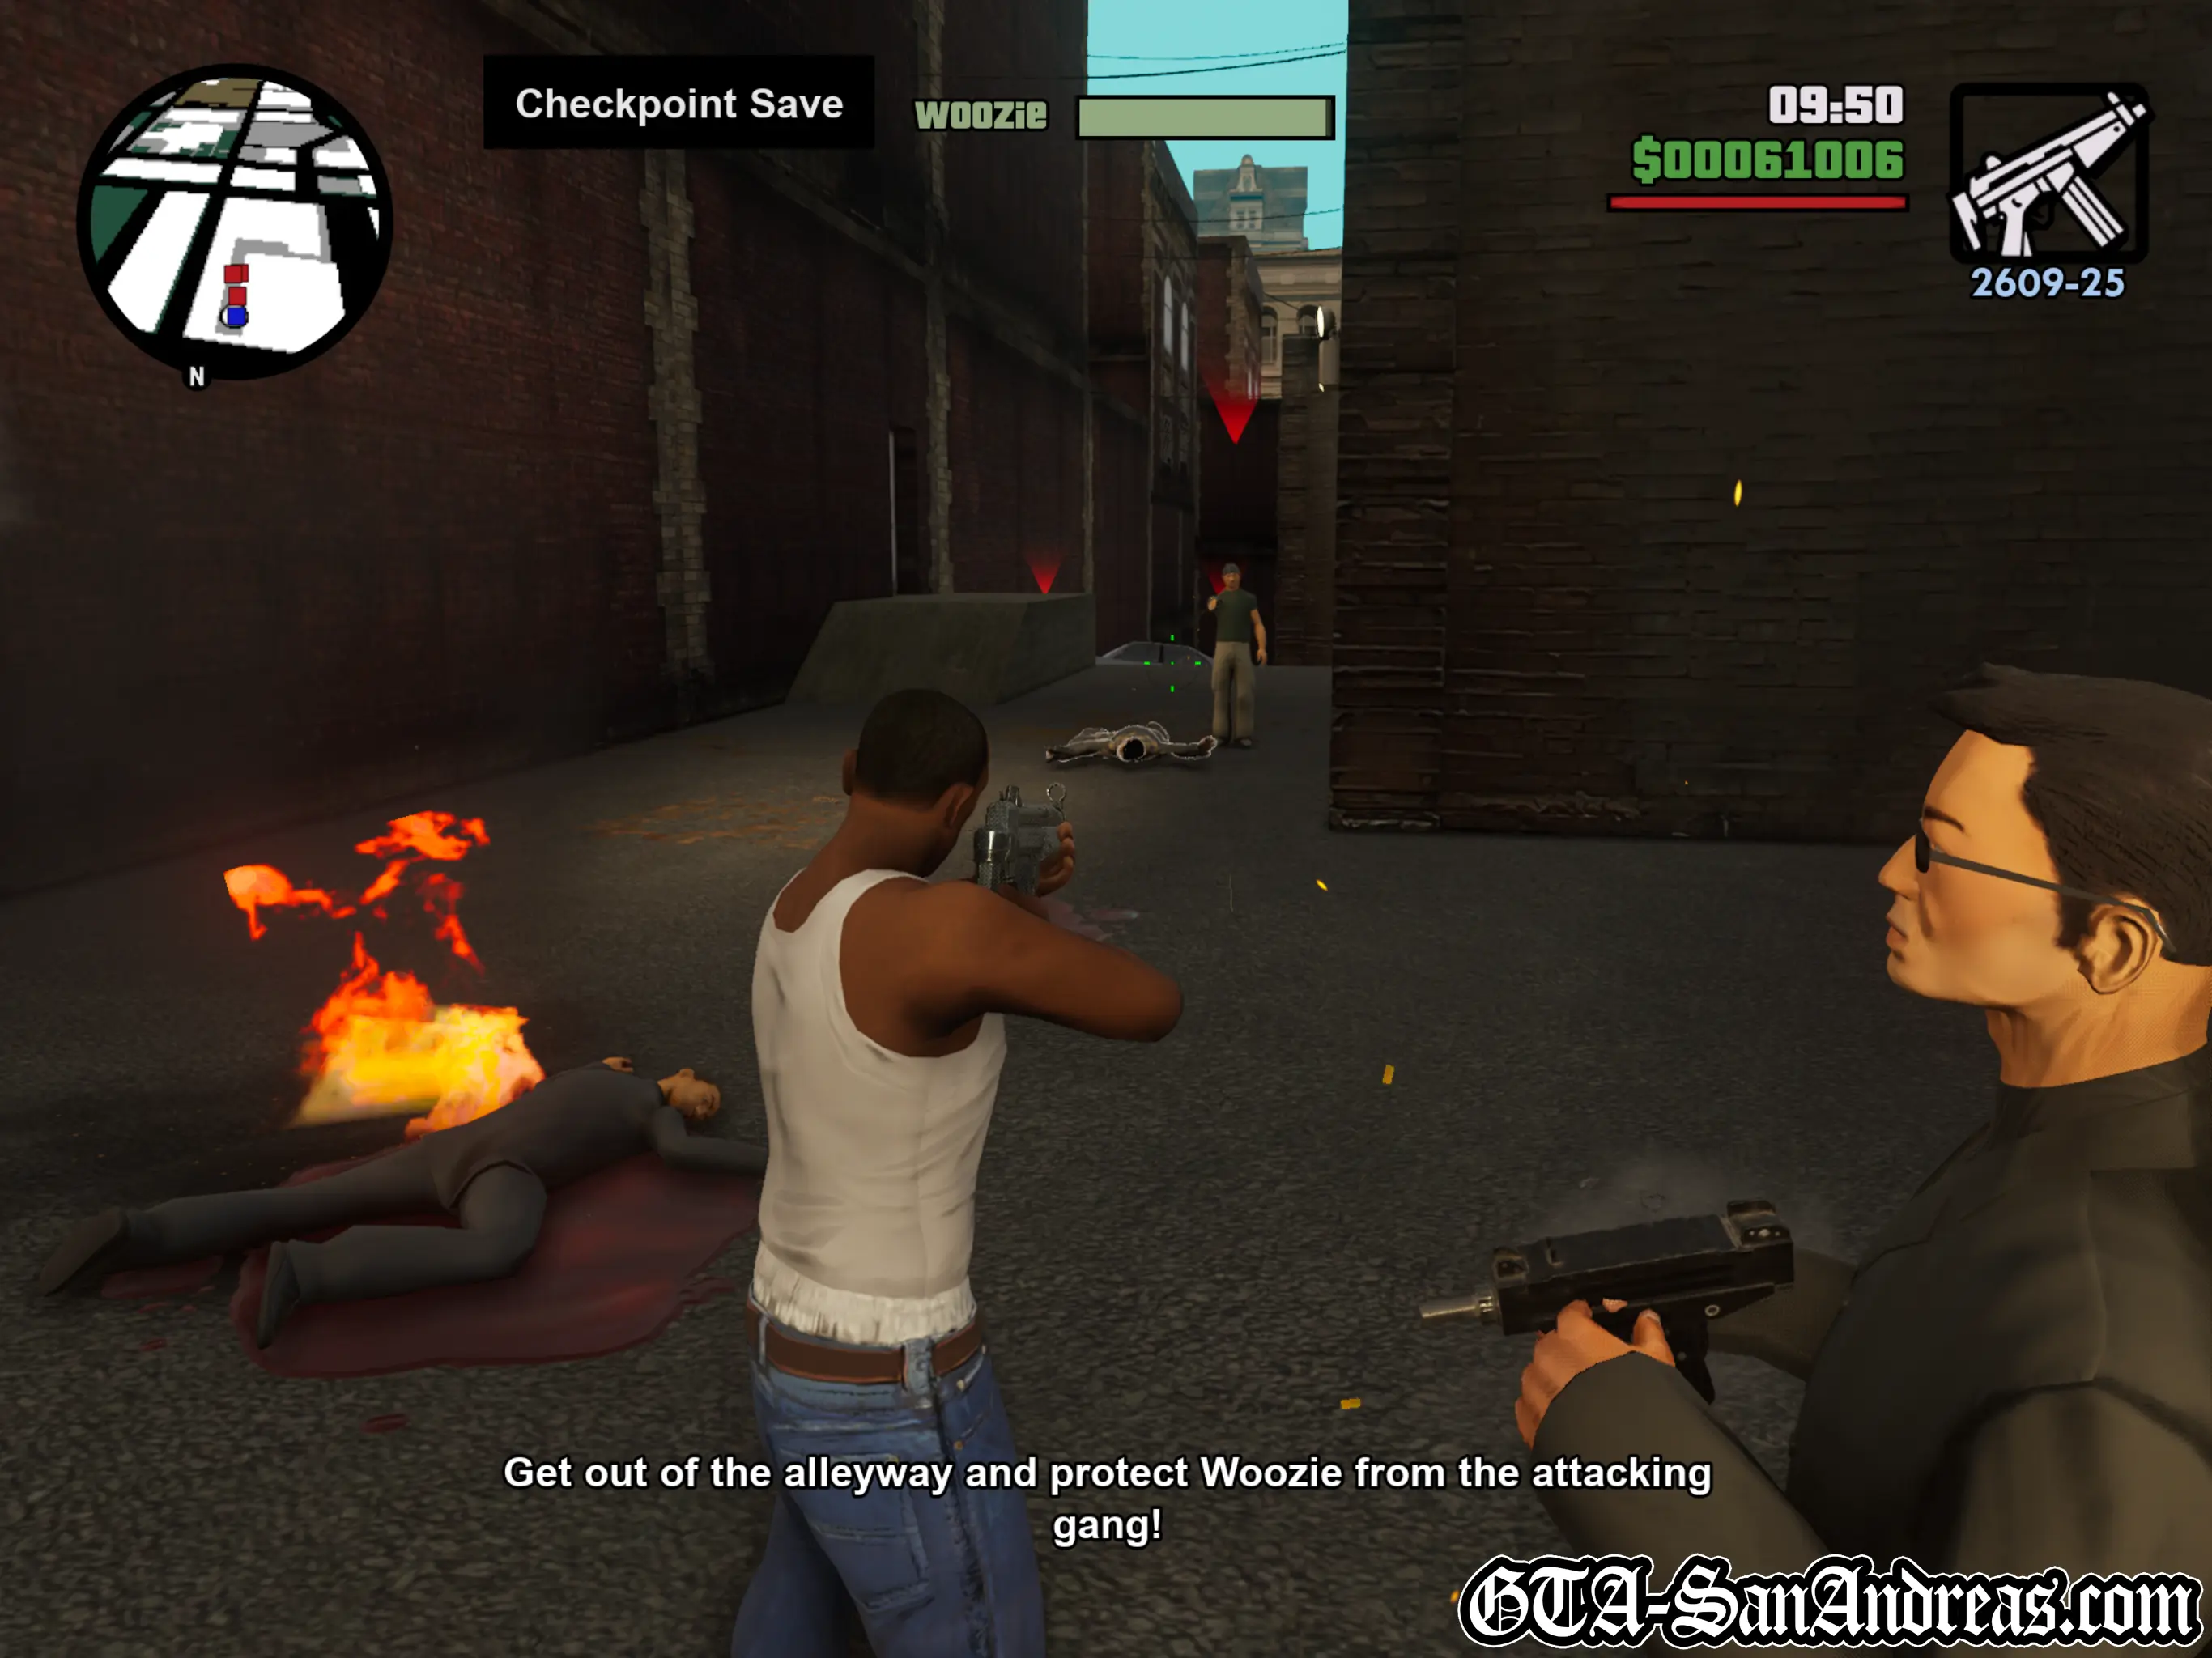
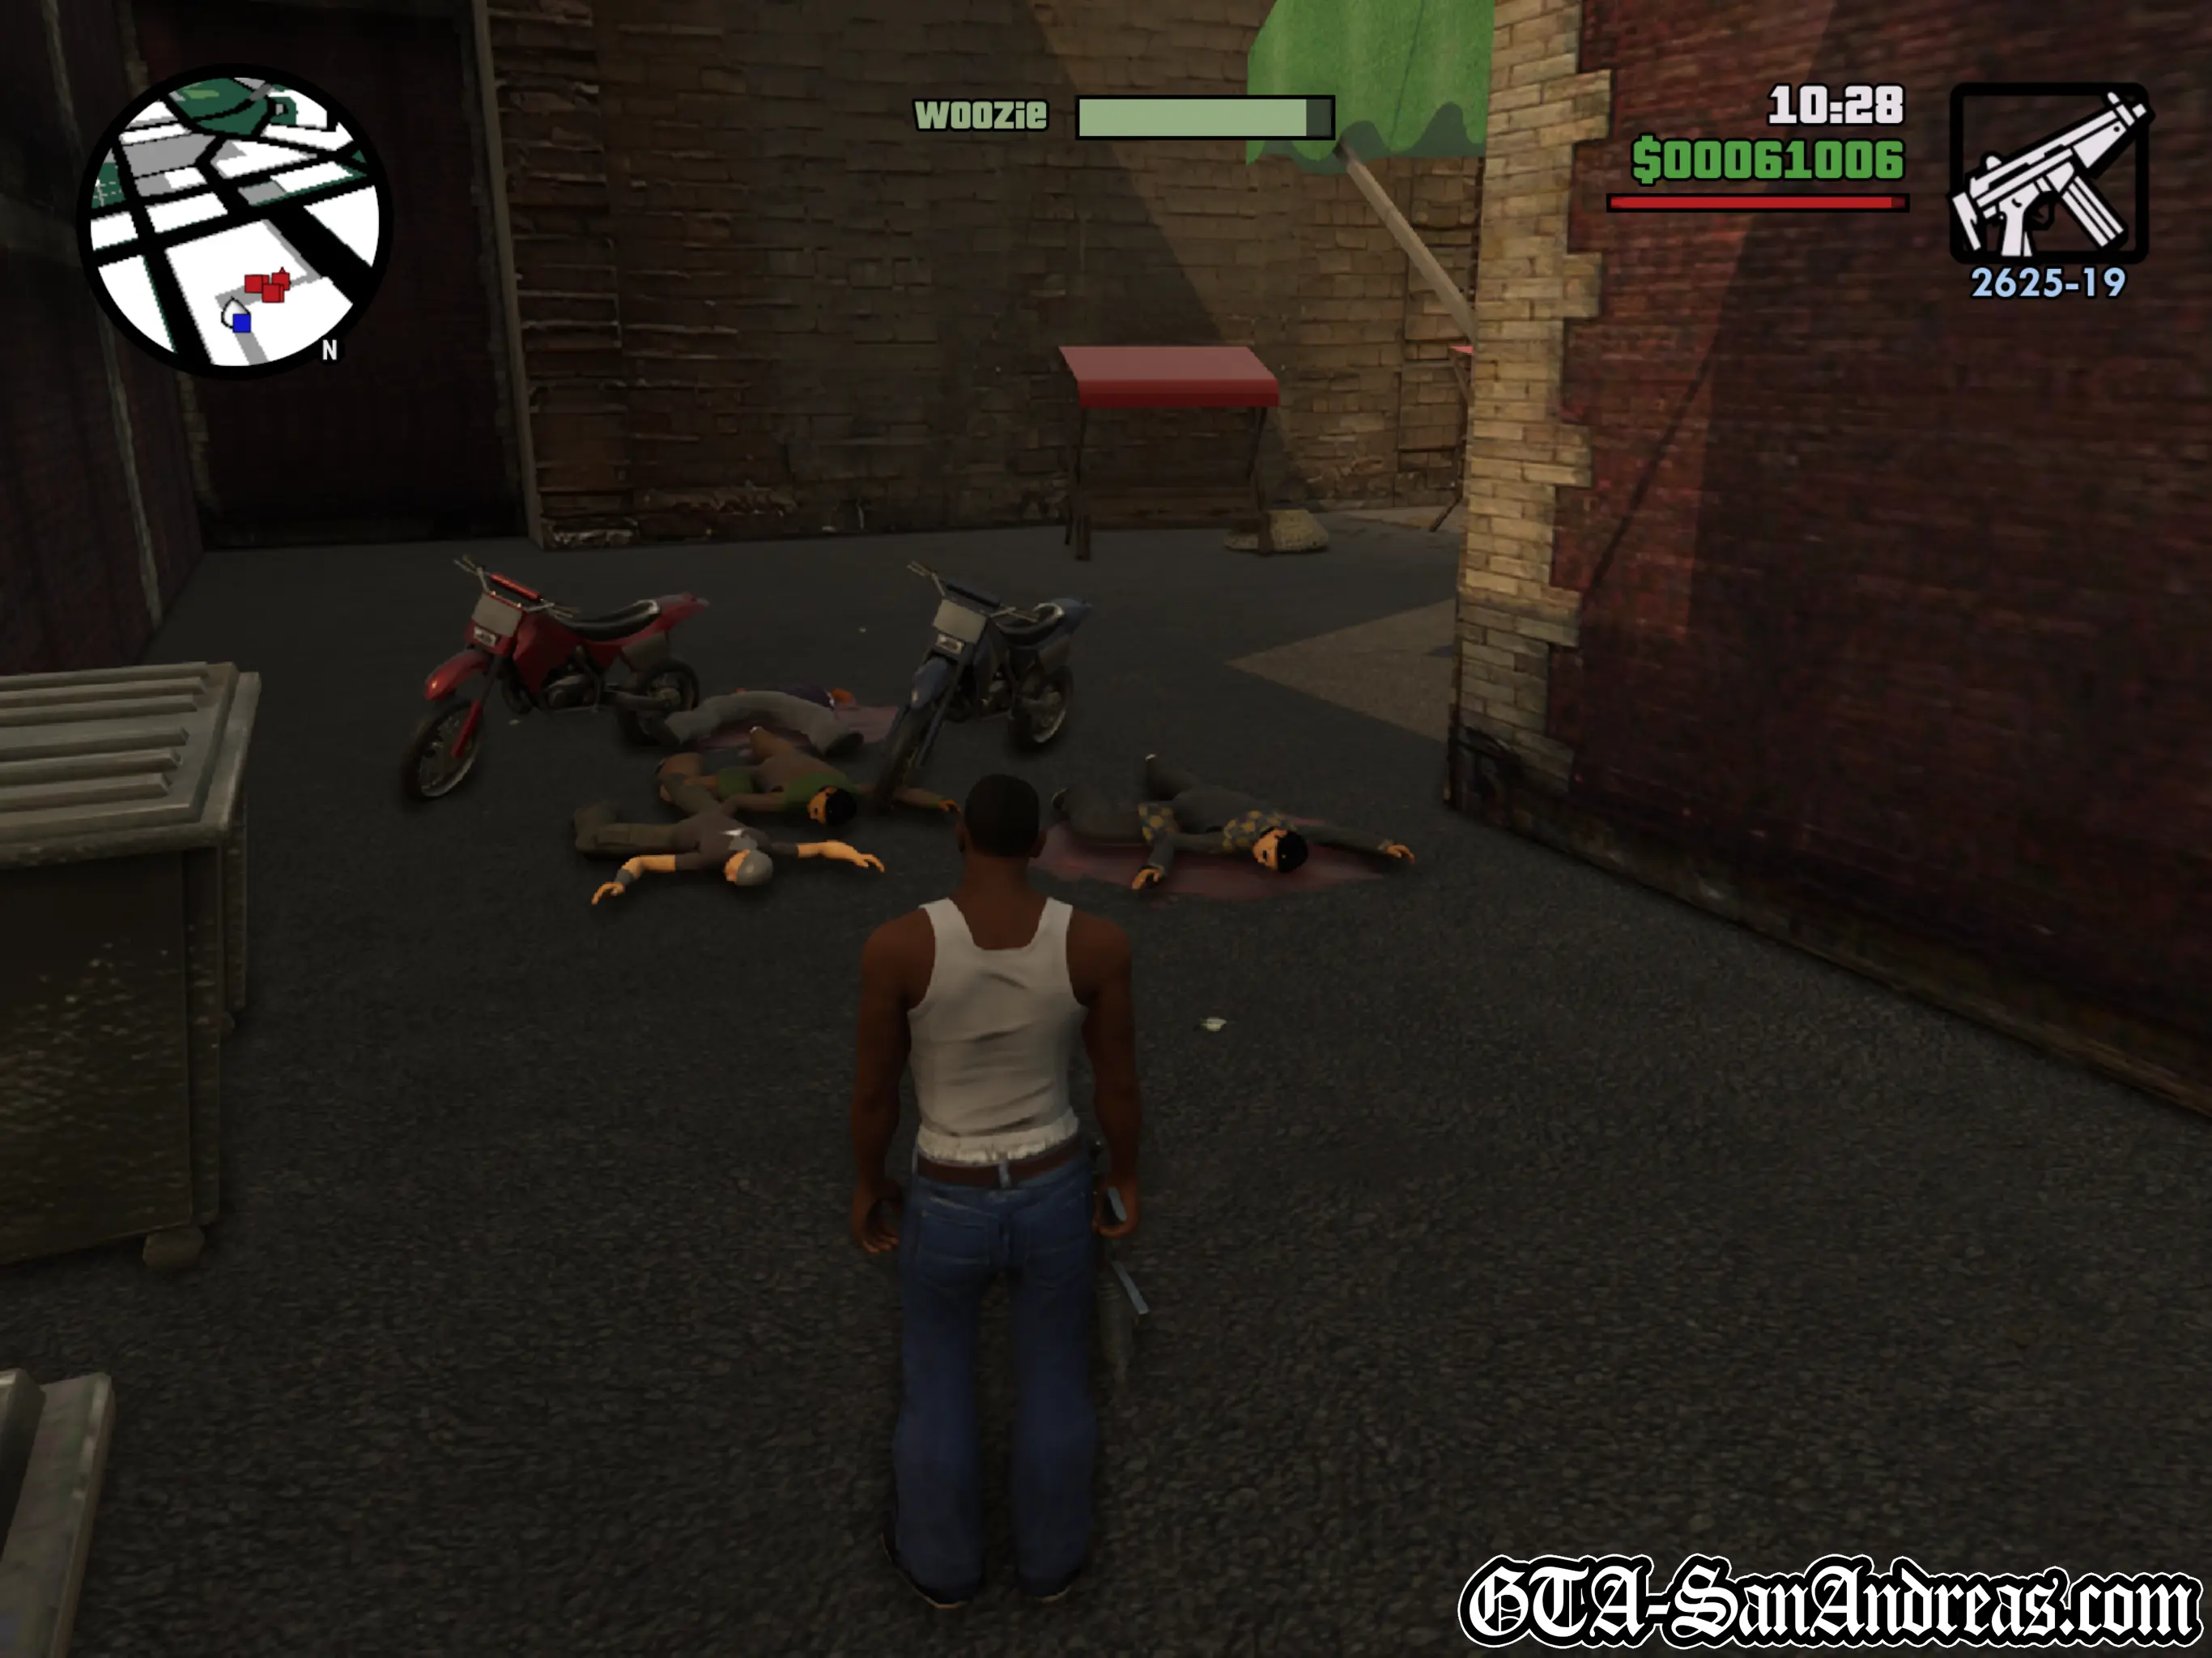
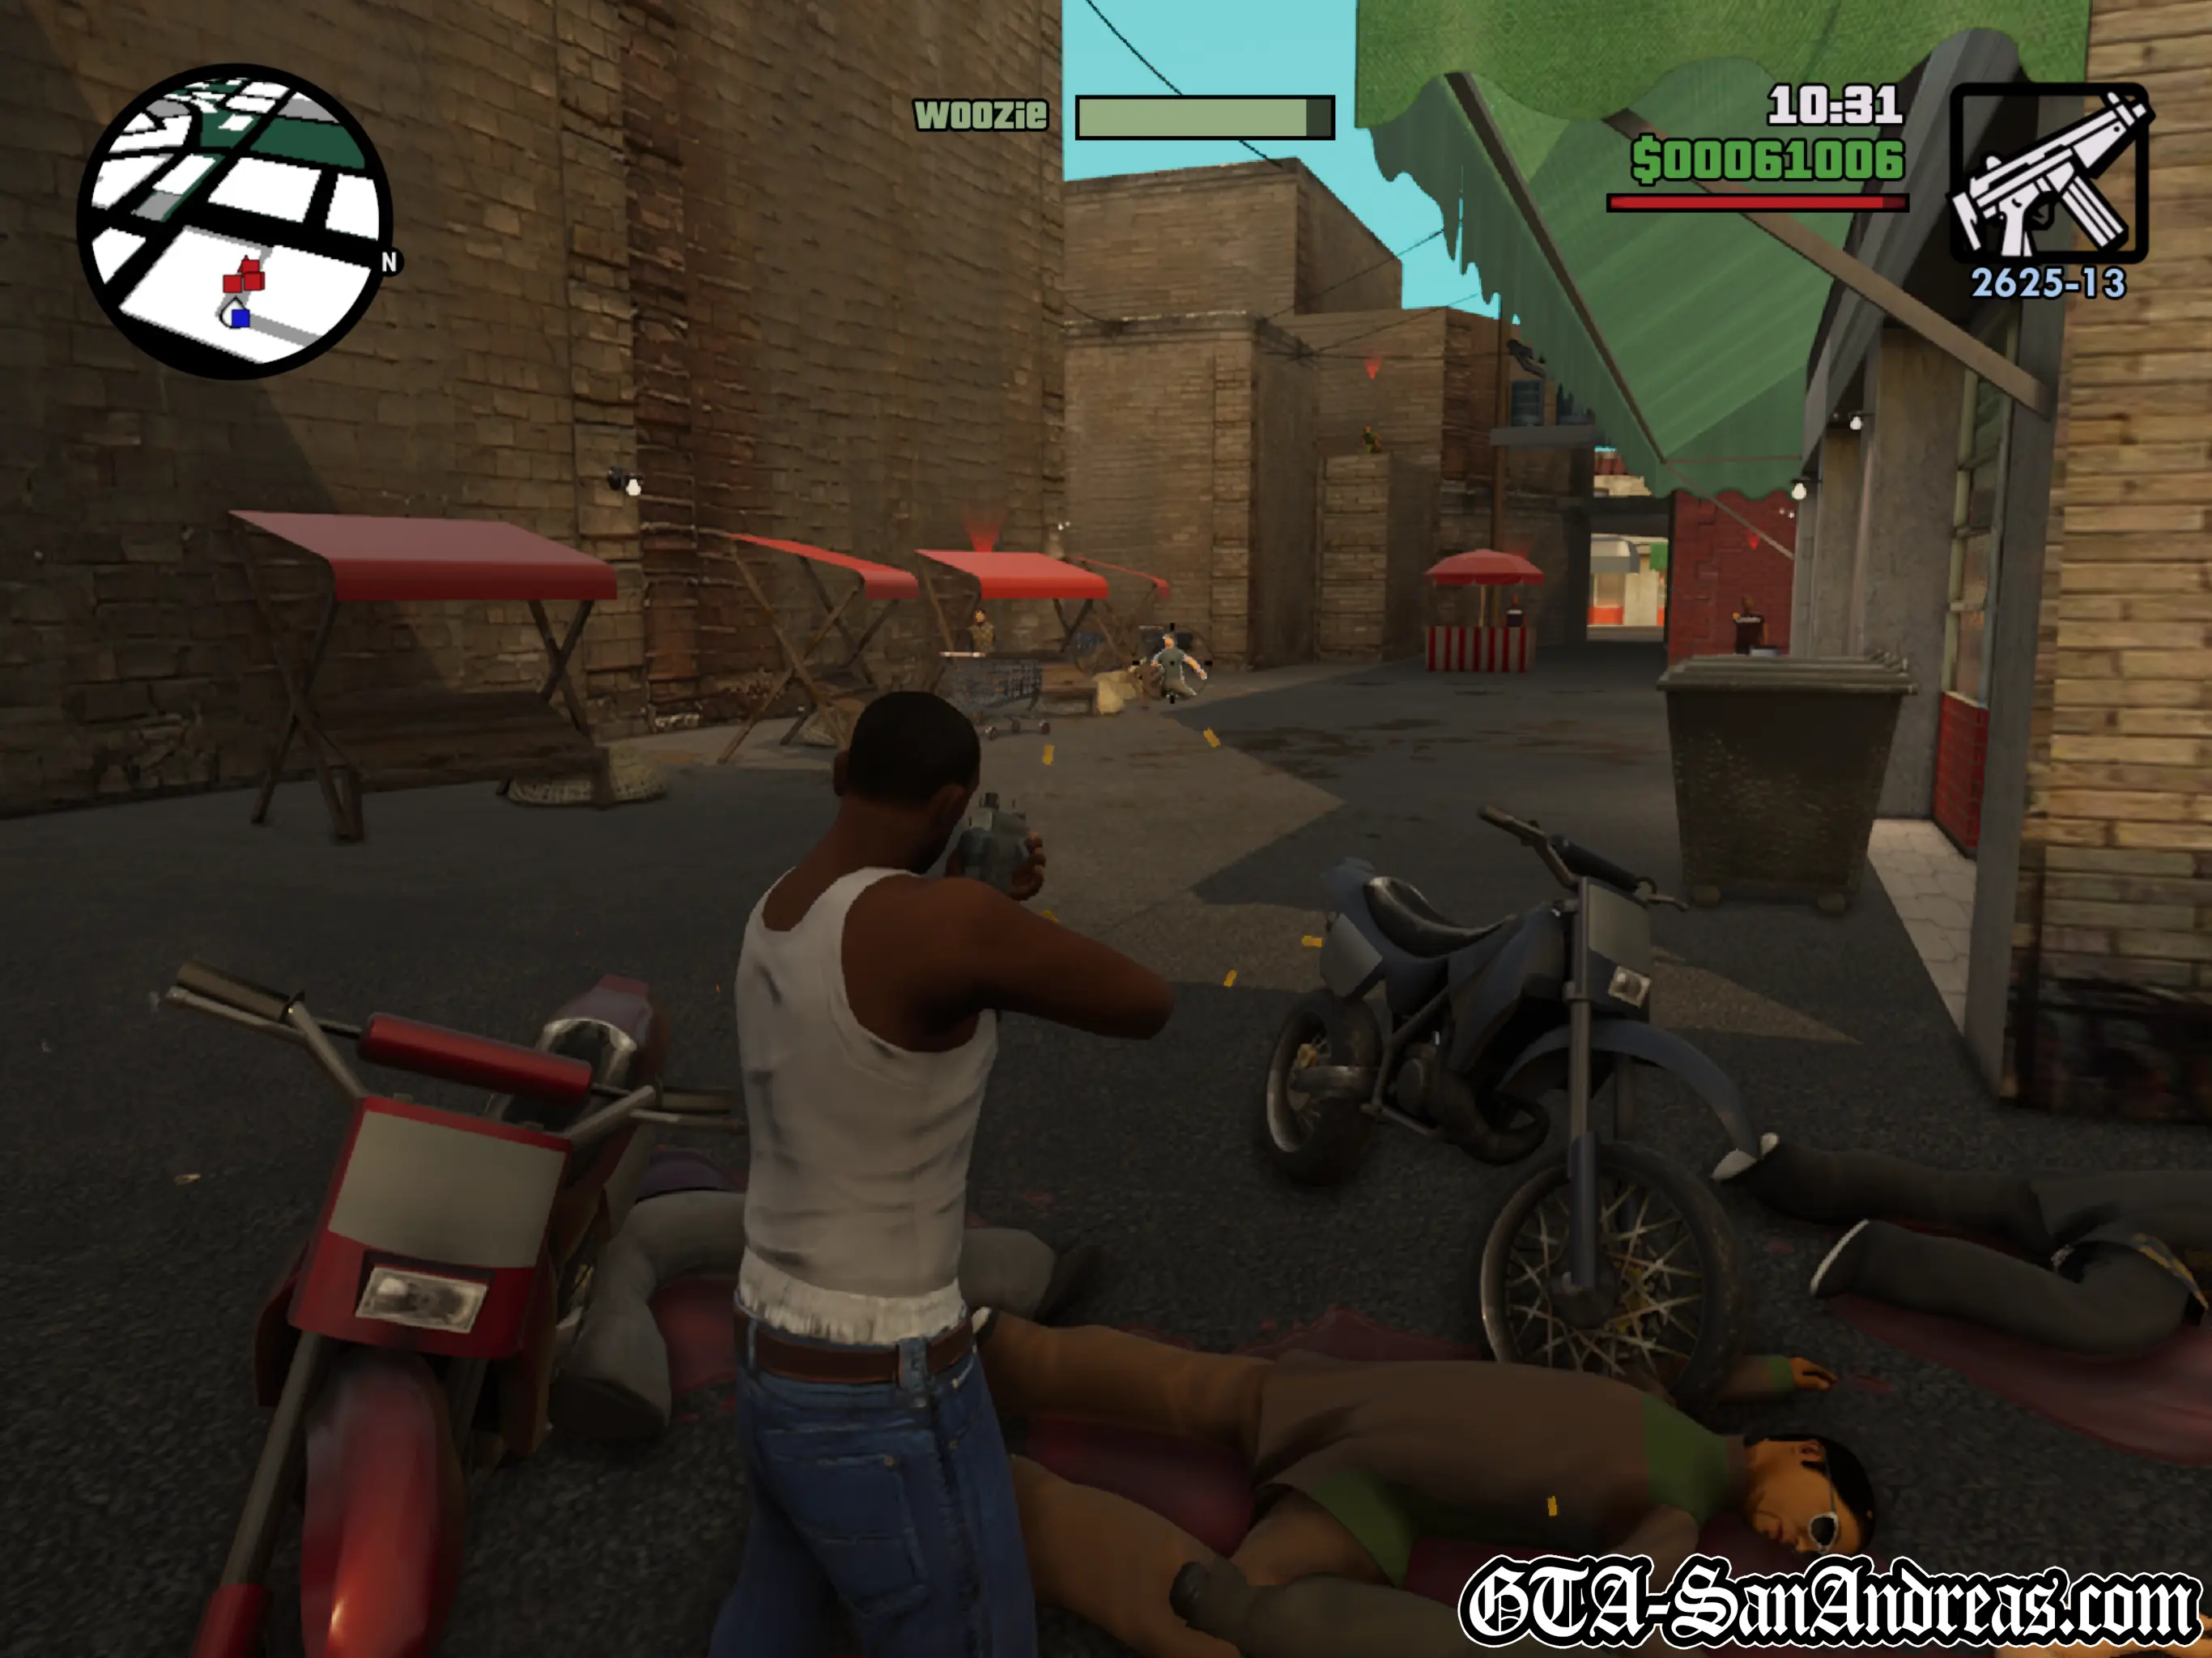

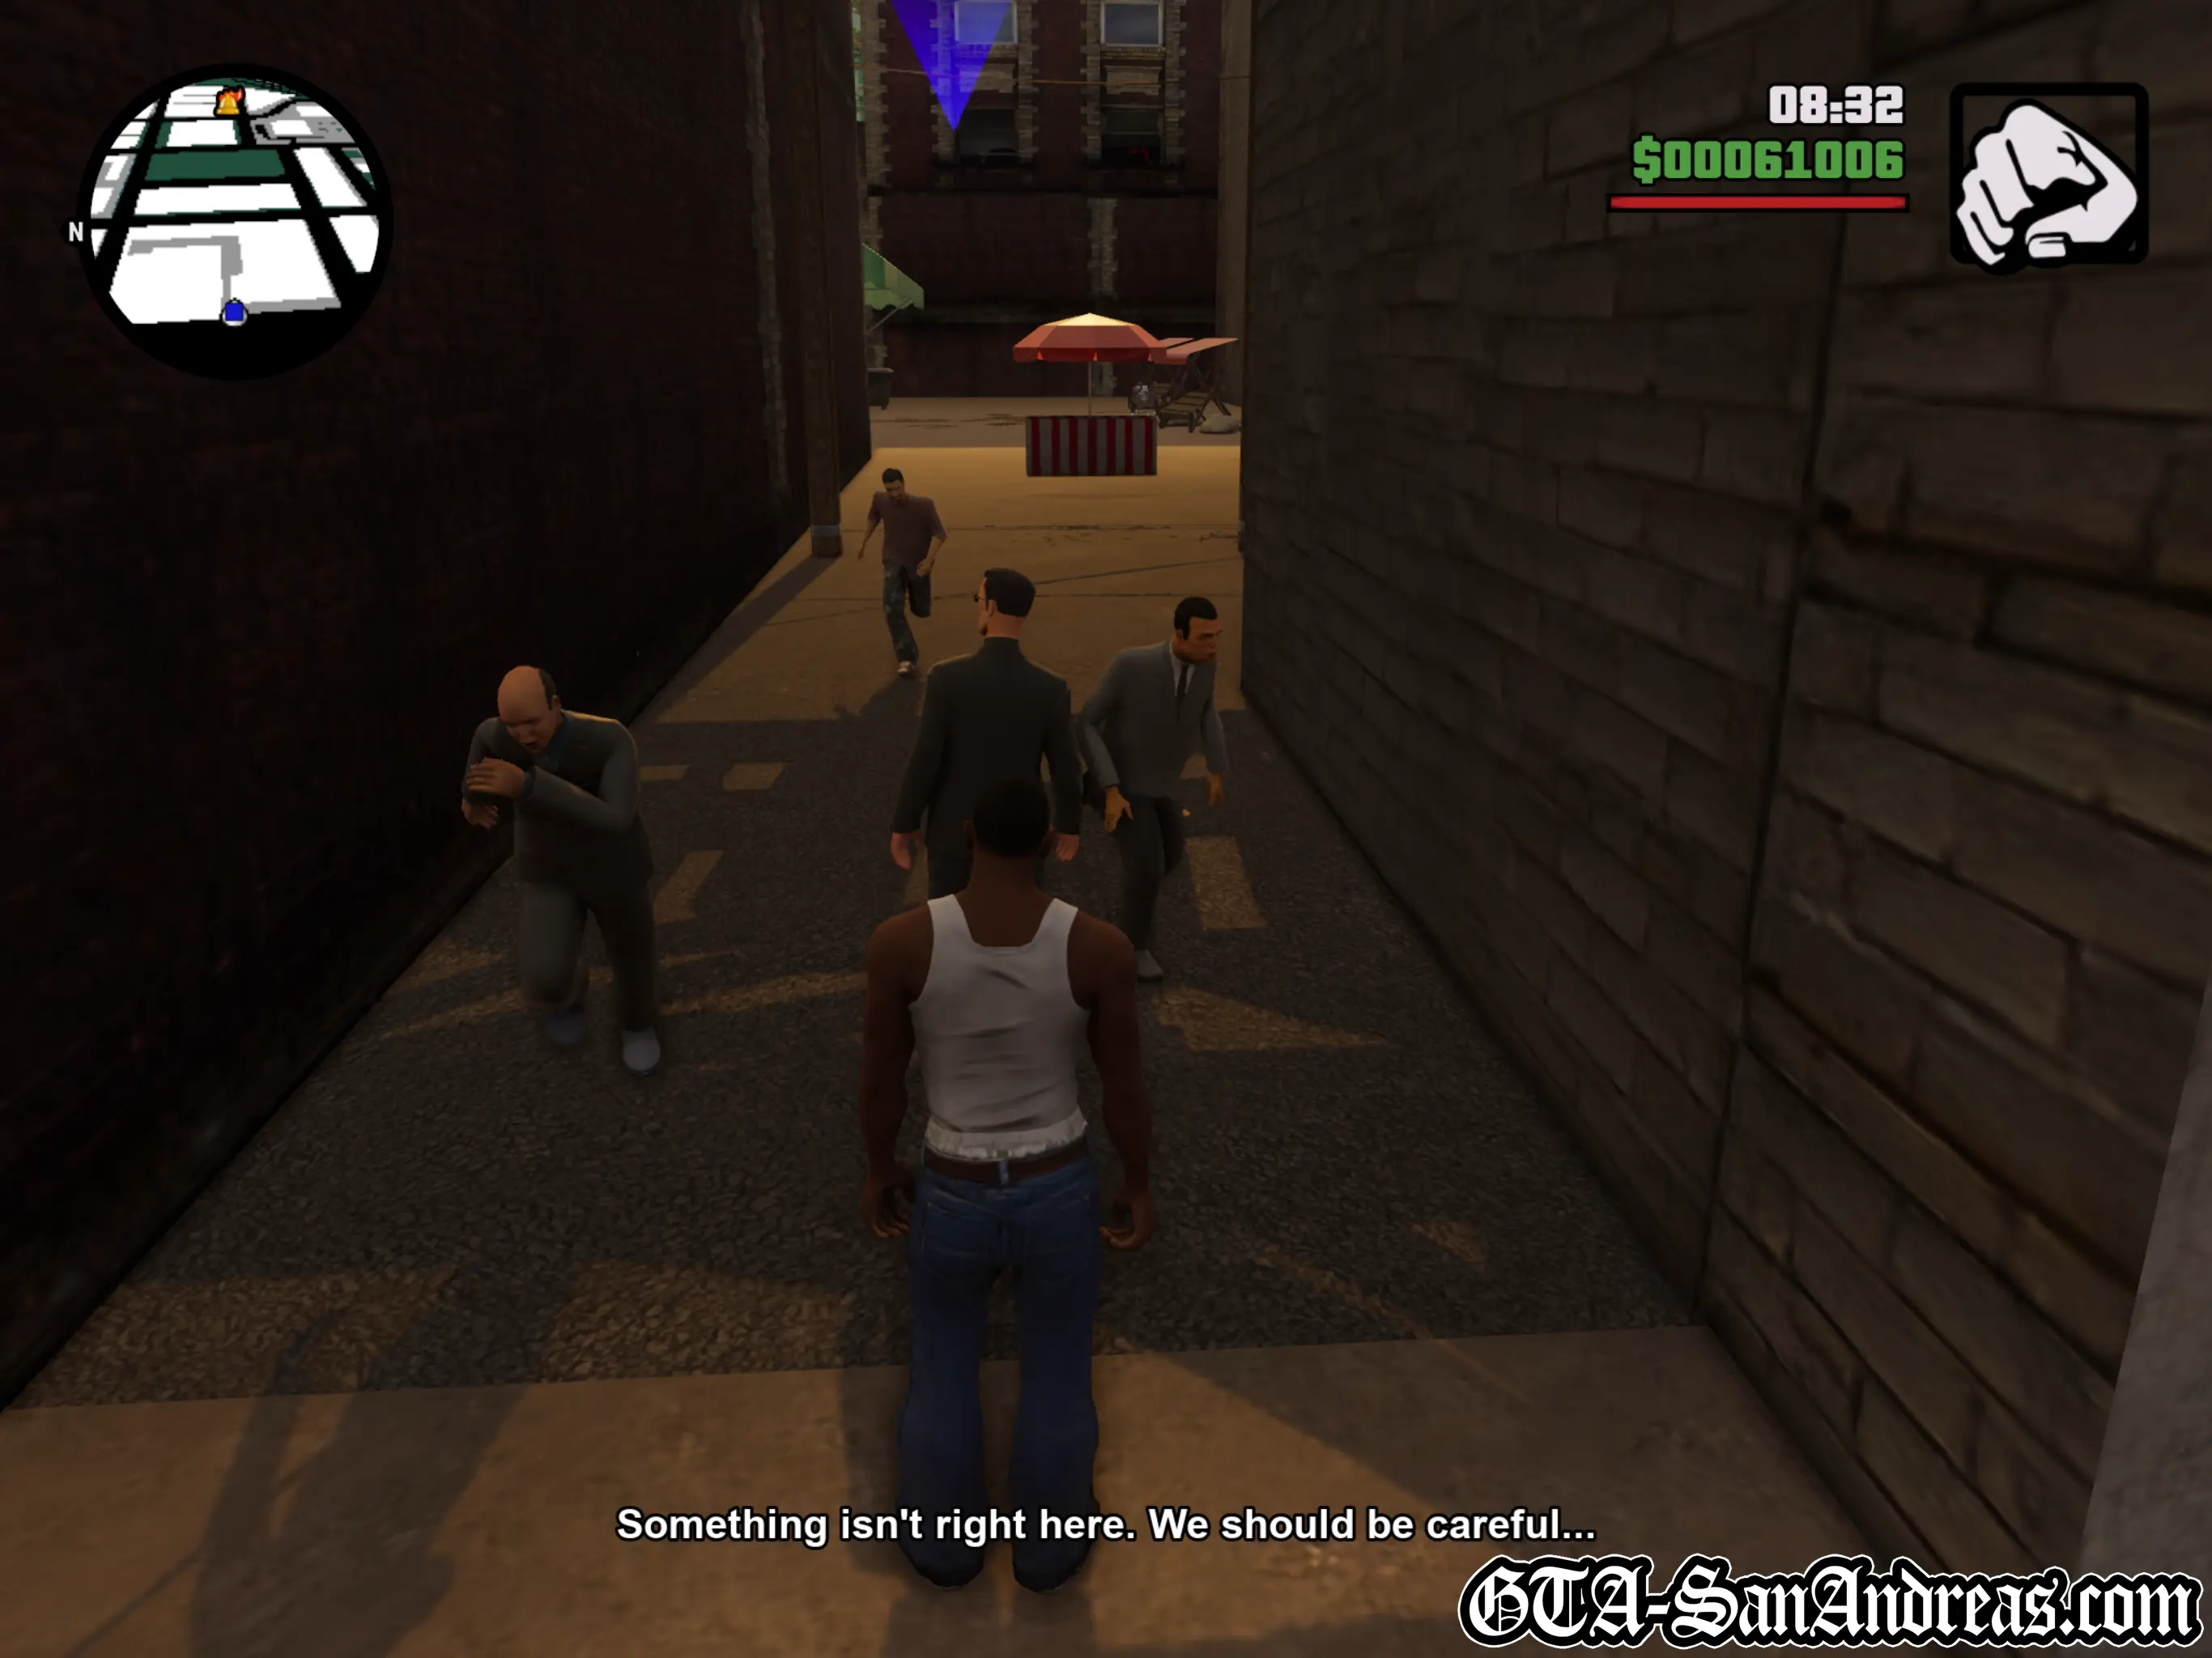
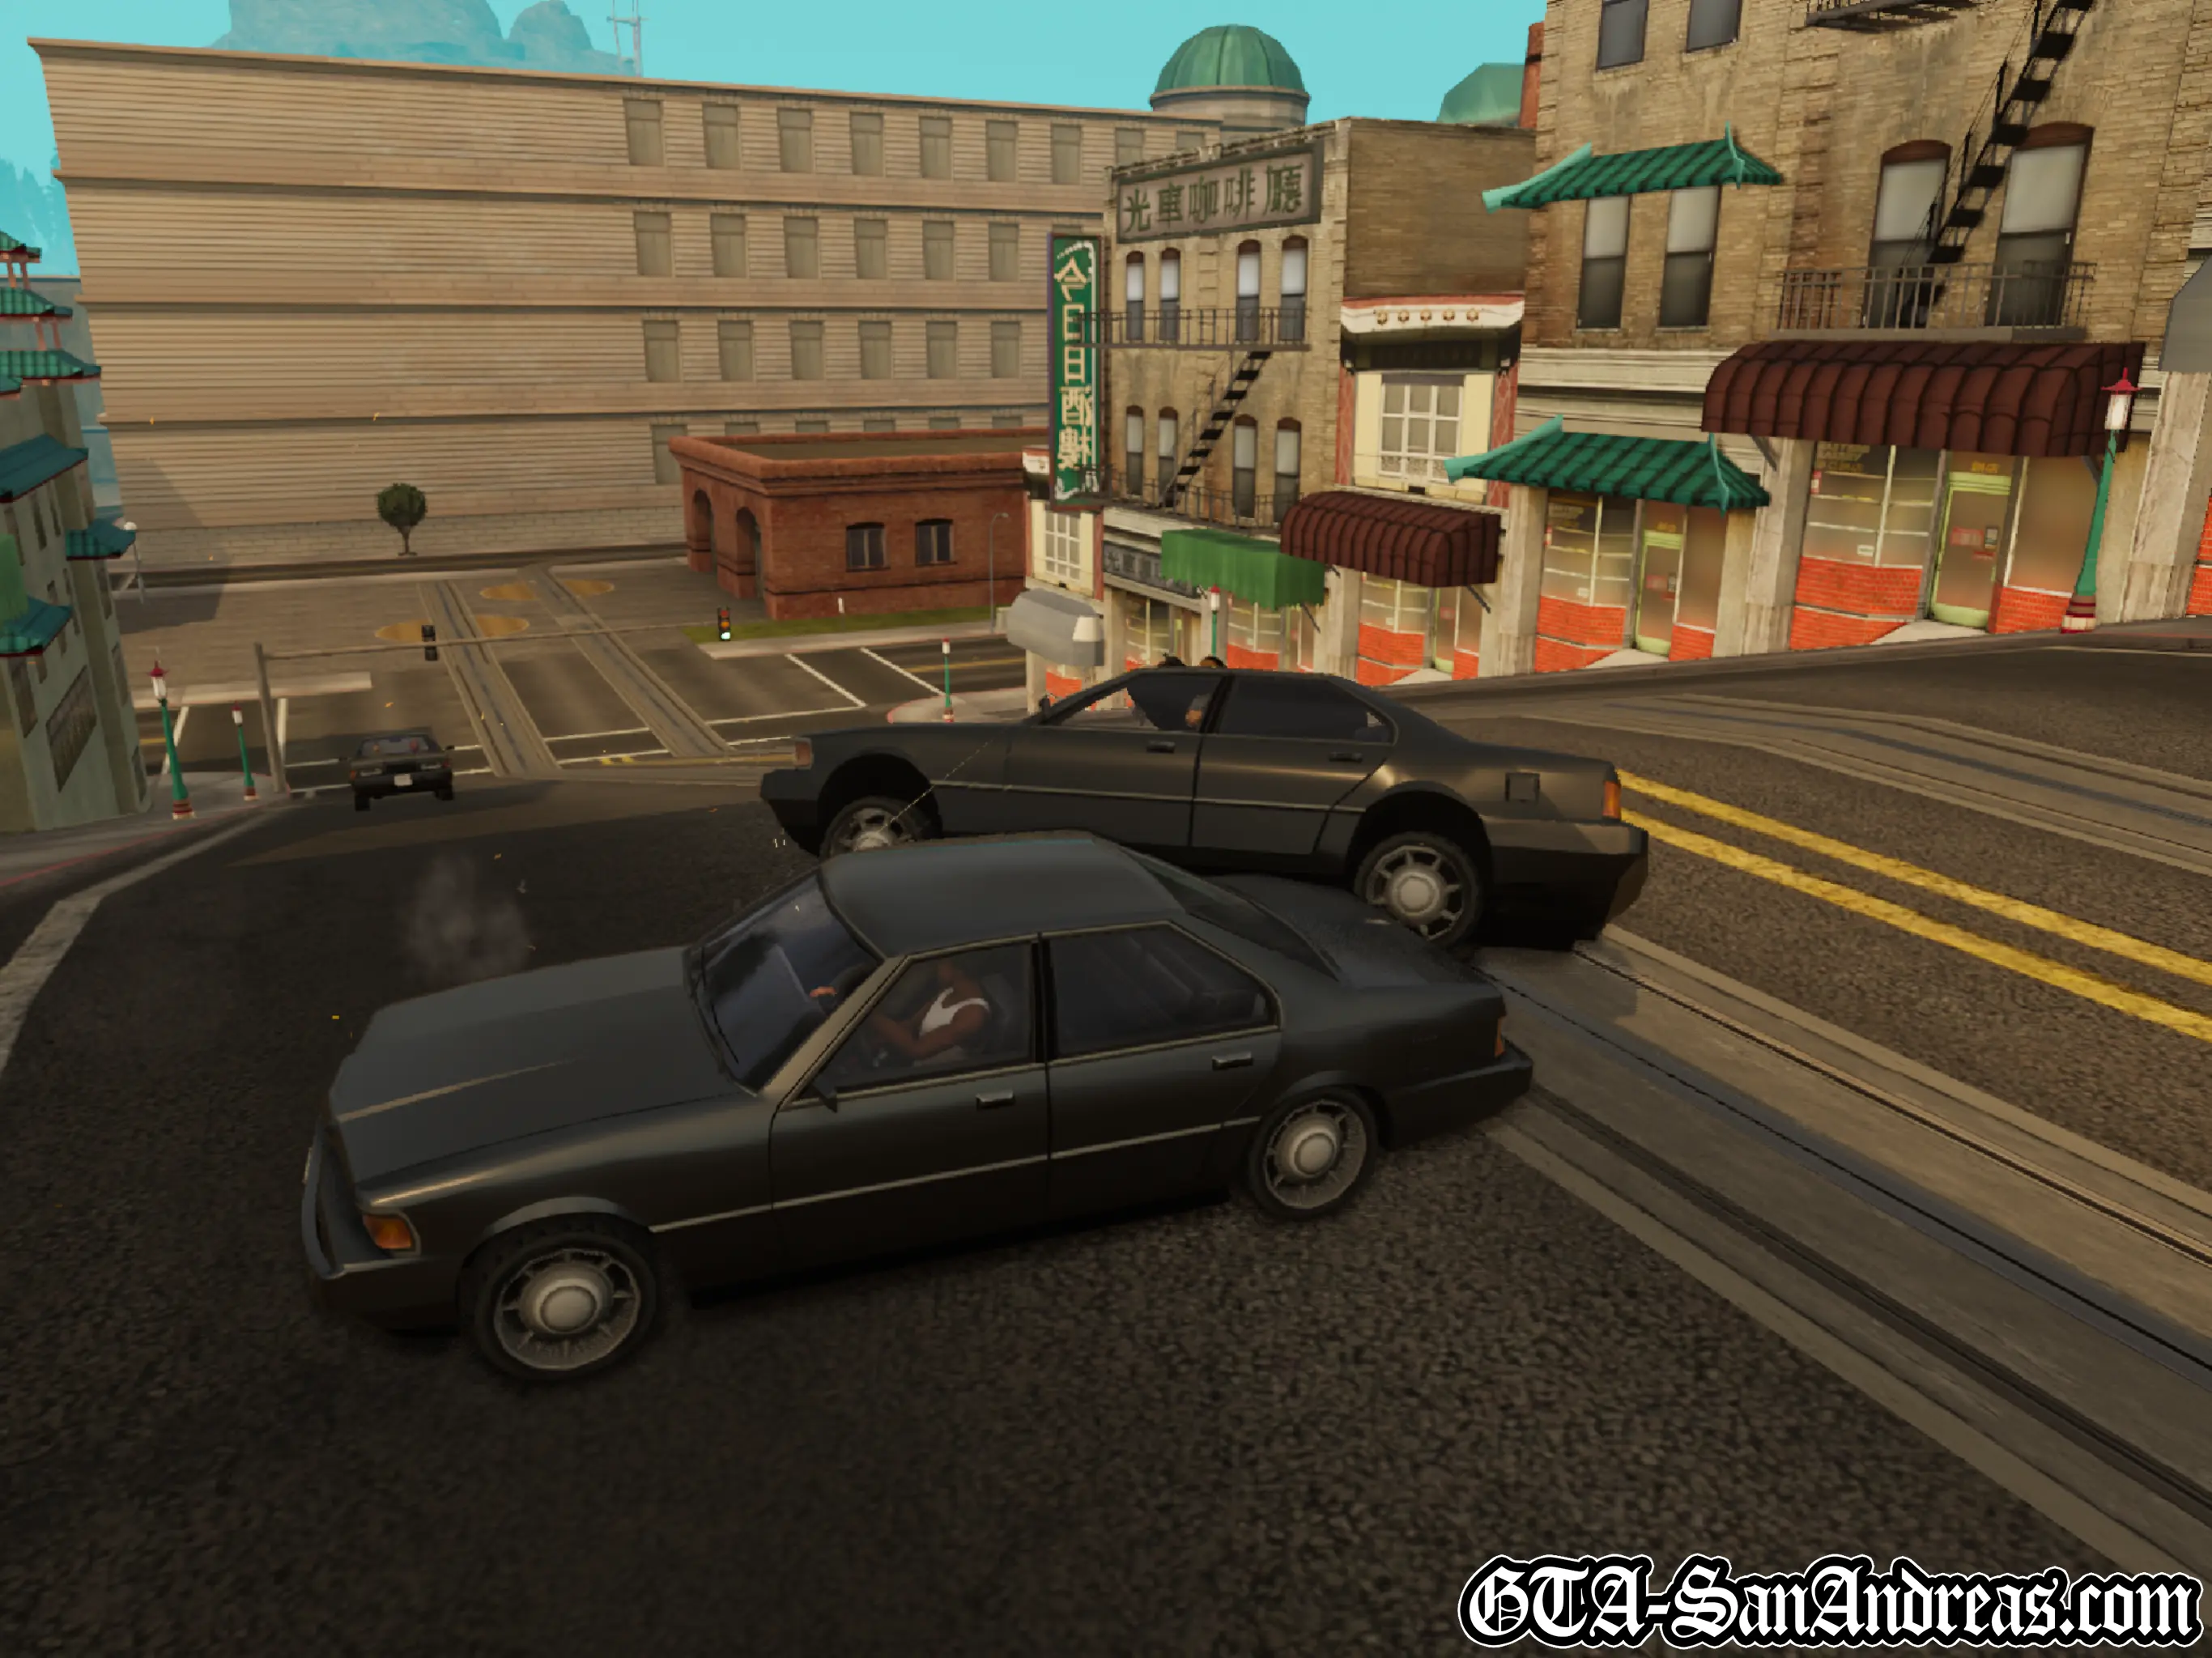
Woozie introduces himself and explains he is the boss of the Mountain Cloud Boys. He says a local Chinese gang has been starting trouble and he wants to go and talk with them. You'll be outside and you need to find a vehicle. Once you've got one, drive Woozie around the block to the place he wants to visit, the Blood Feather Triads. Park in the red circle and guide Woozie to the back of the alley. After the cutscene you'll need to take care of four Vietnamese gang members who have interrupted your discussion. Kill them, and make your way down the alley. As you get halfway down, four more Vietnamese gang people will arrive on bikes. Take them out as quickly as possible, then continue going around the alley. There's about ten more Vietnamese around here for you to kill, including a sniper on the rooftop. Once they're all dead head towards the car. Now you're driving while Woozie takes out the two chasing vehicles. You can just drive by them yourself if you want. Either way once the cars are blown up, drive back around the block and take Woozie back to his place.
Screenshots
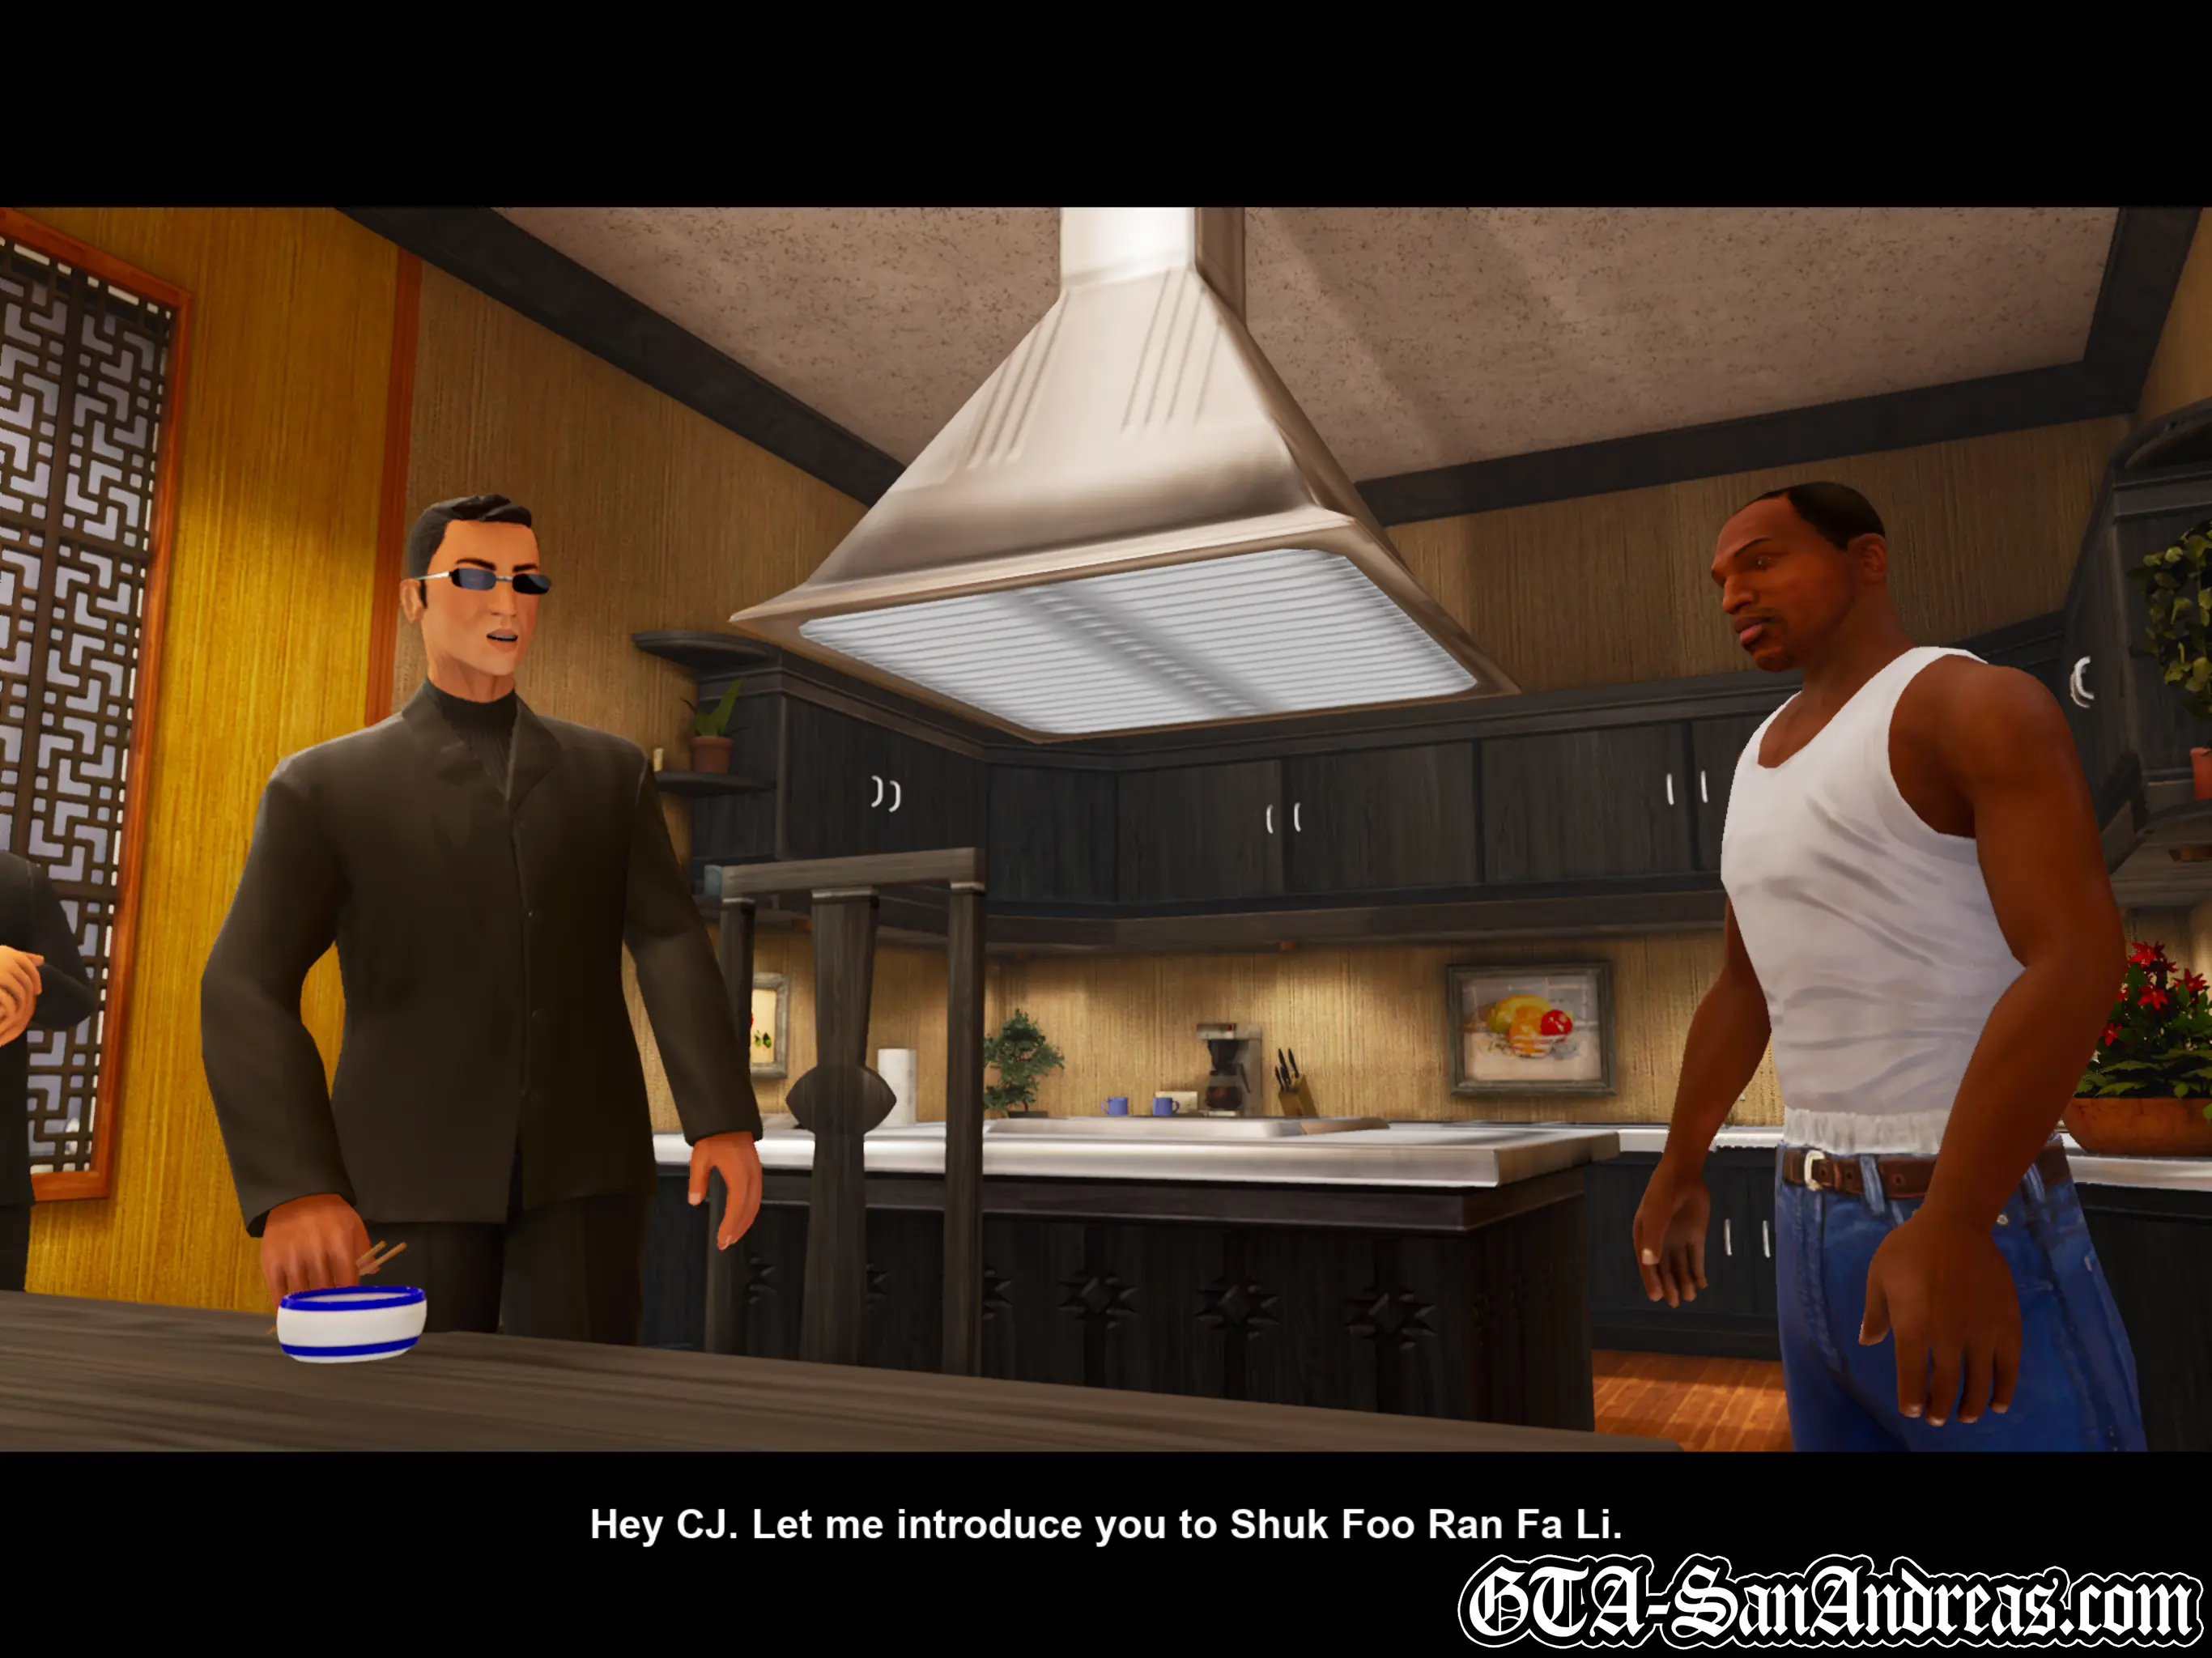
Ran Fa Li
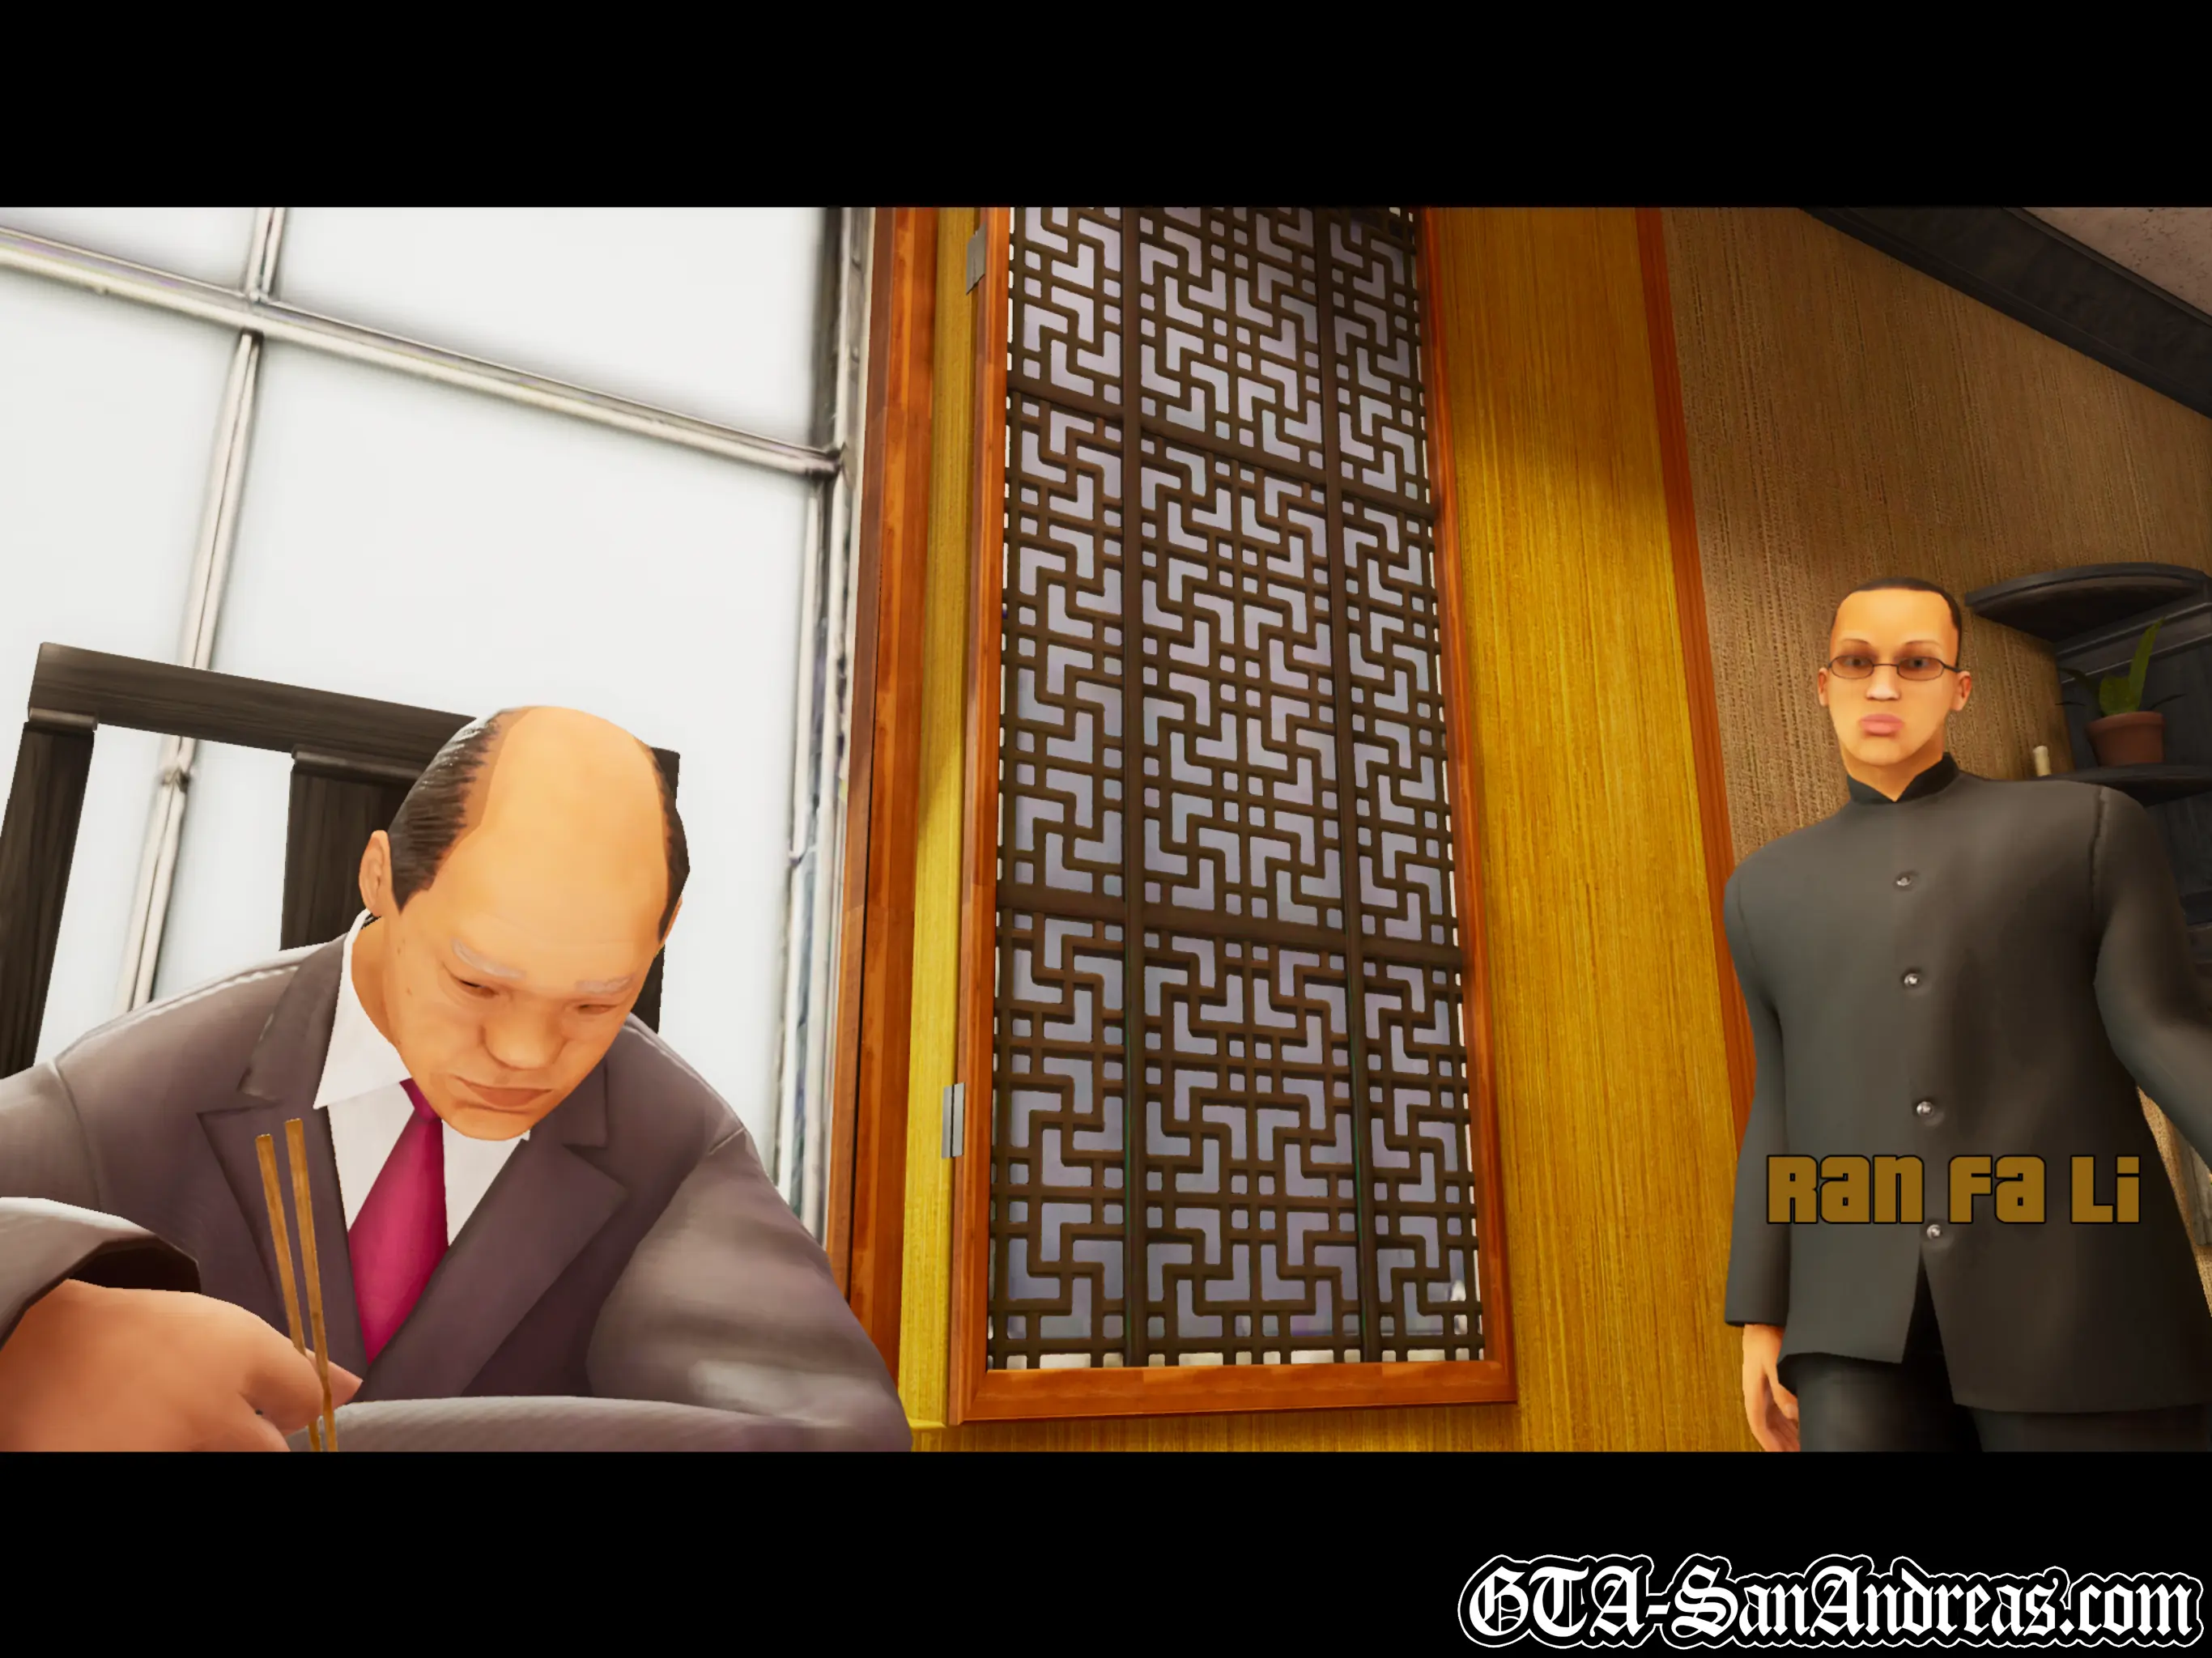
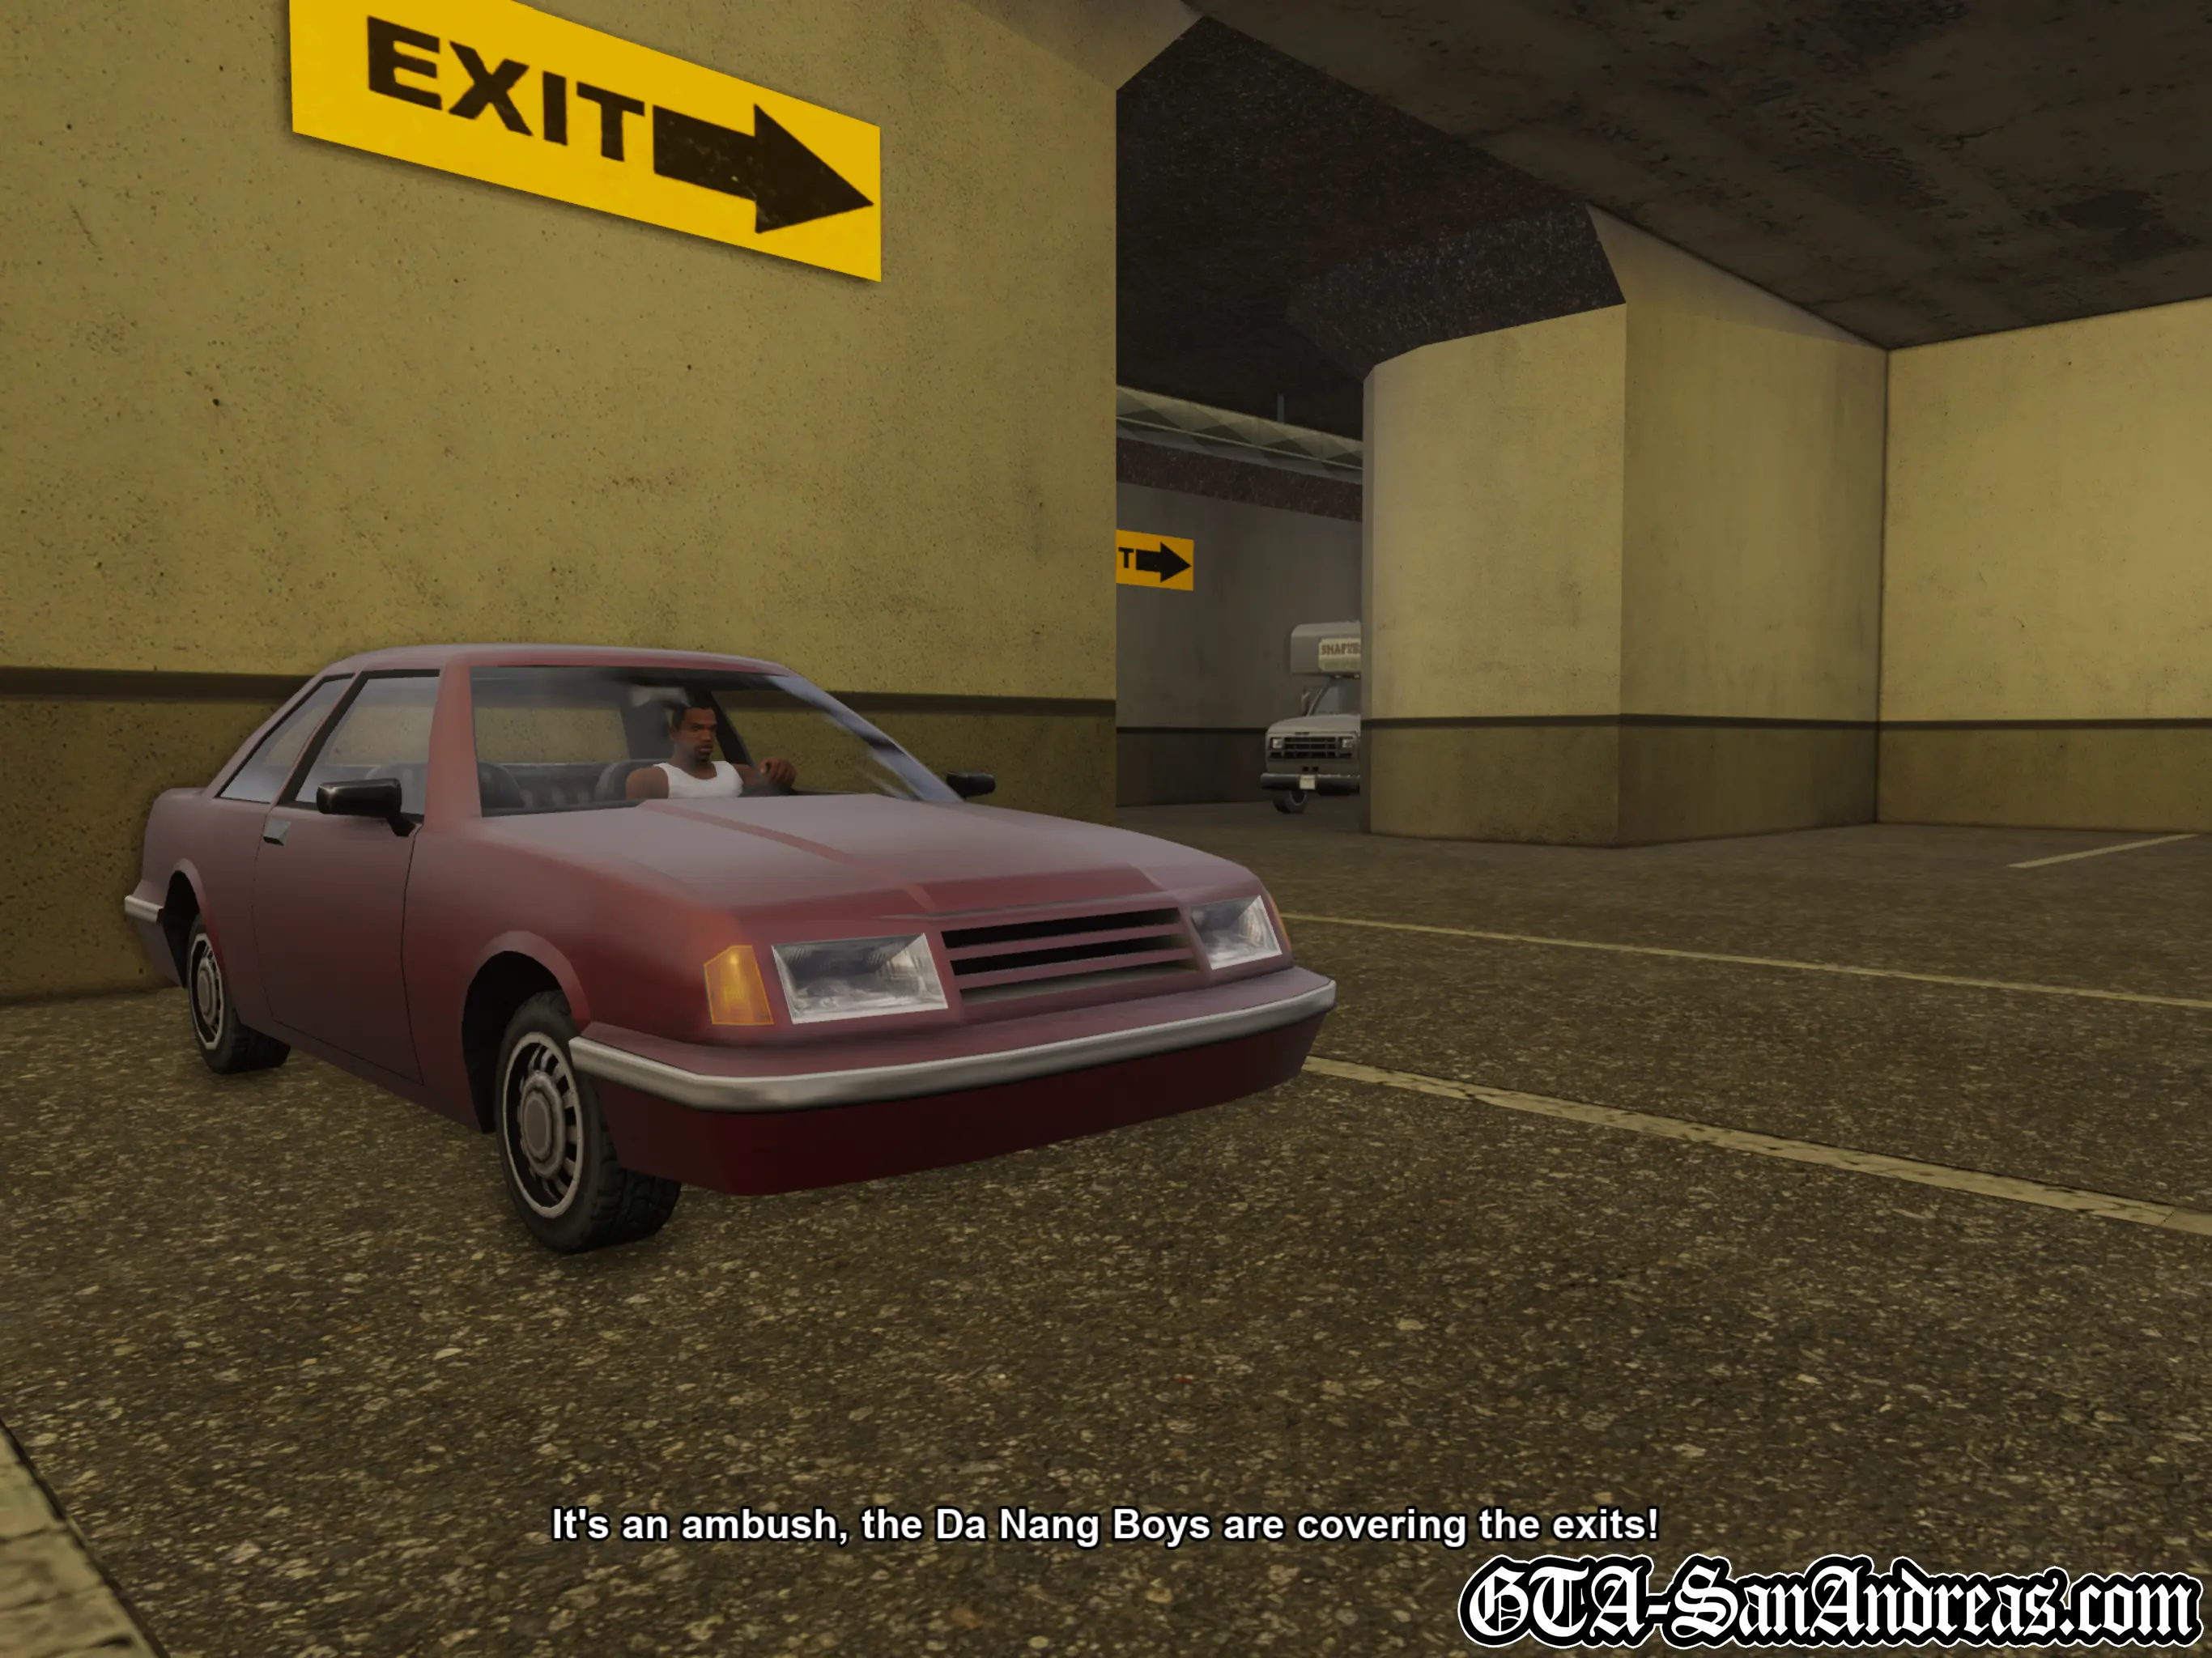
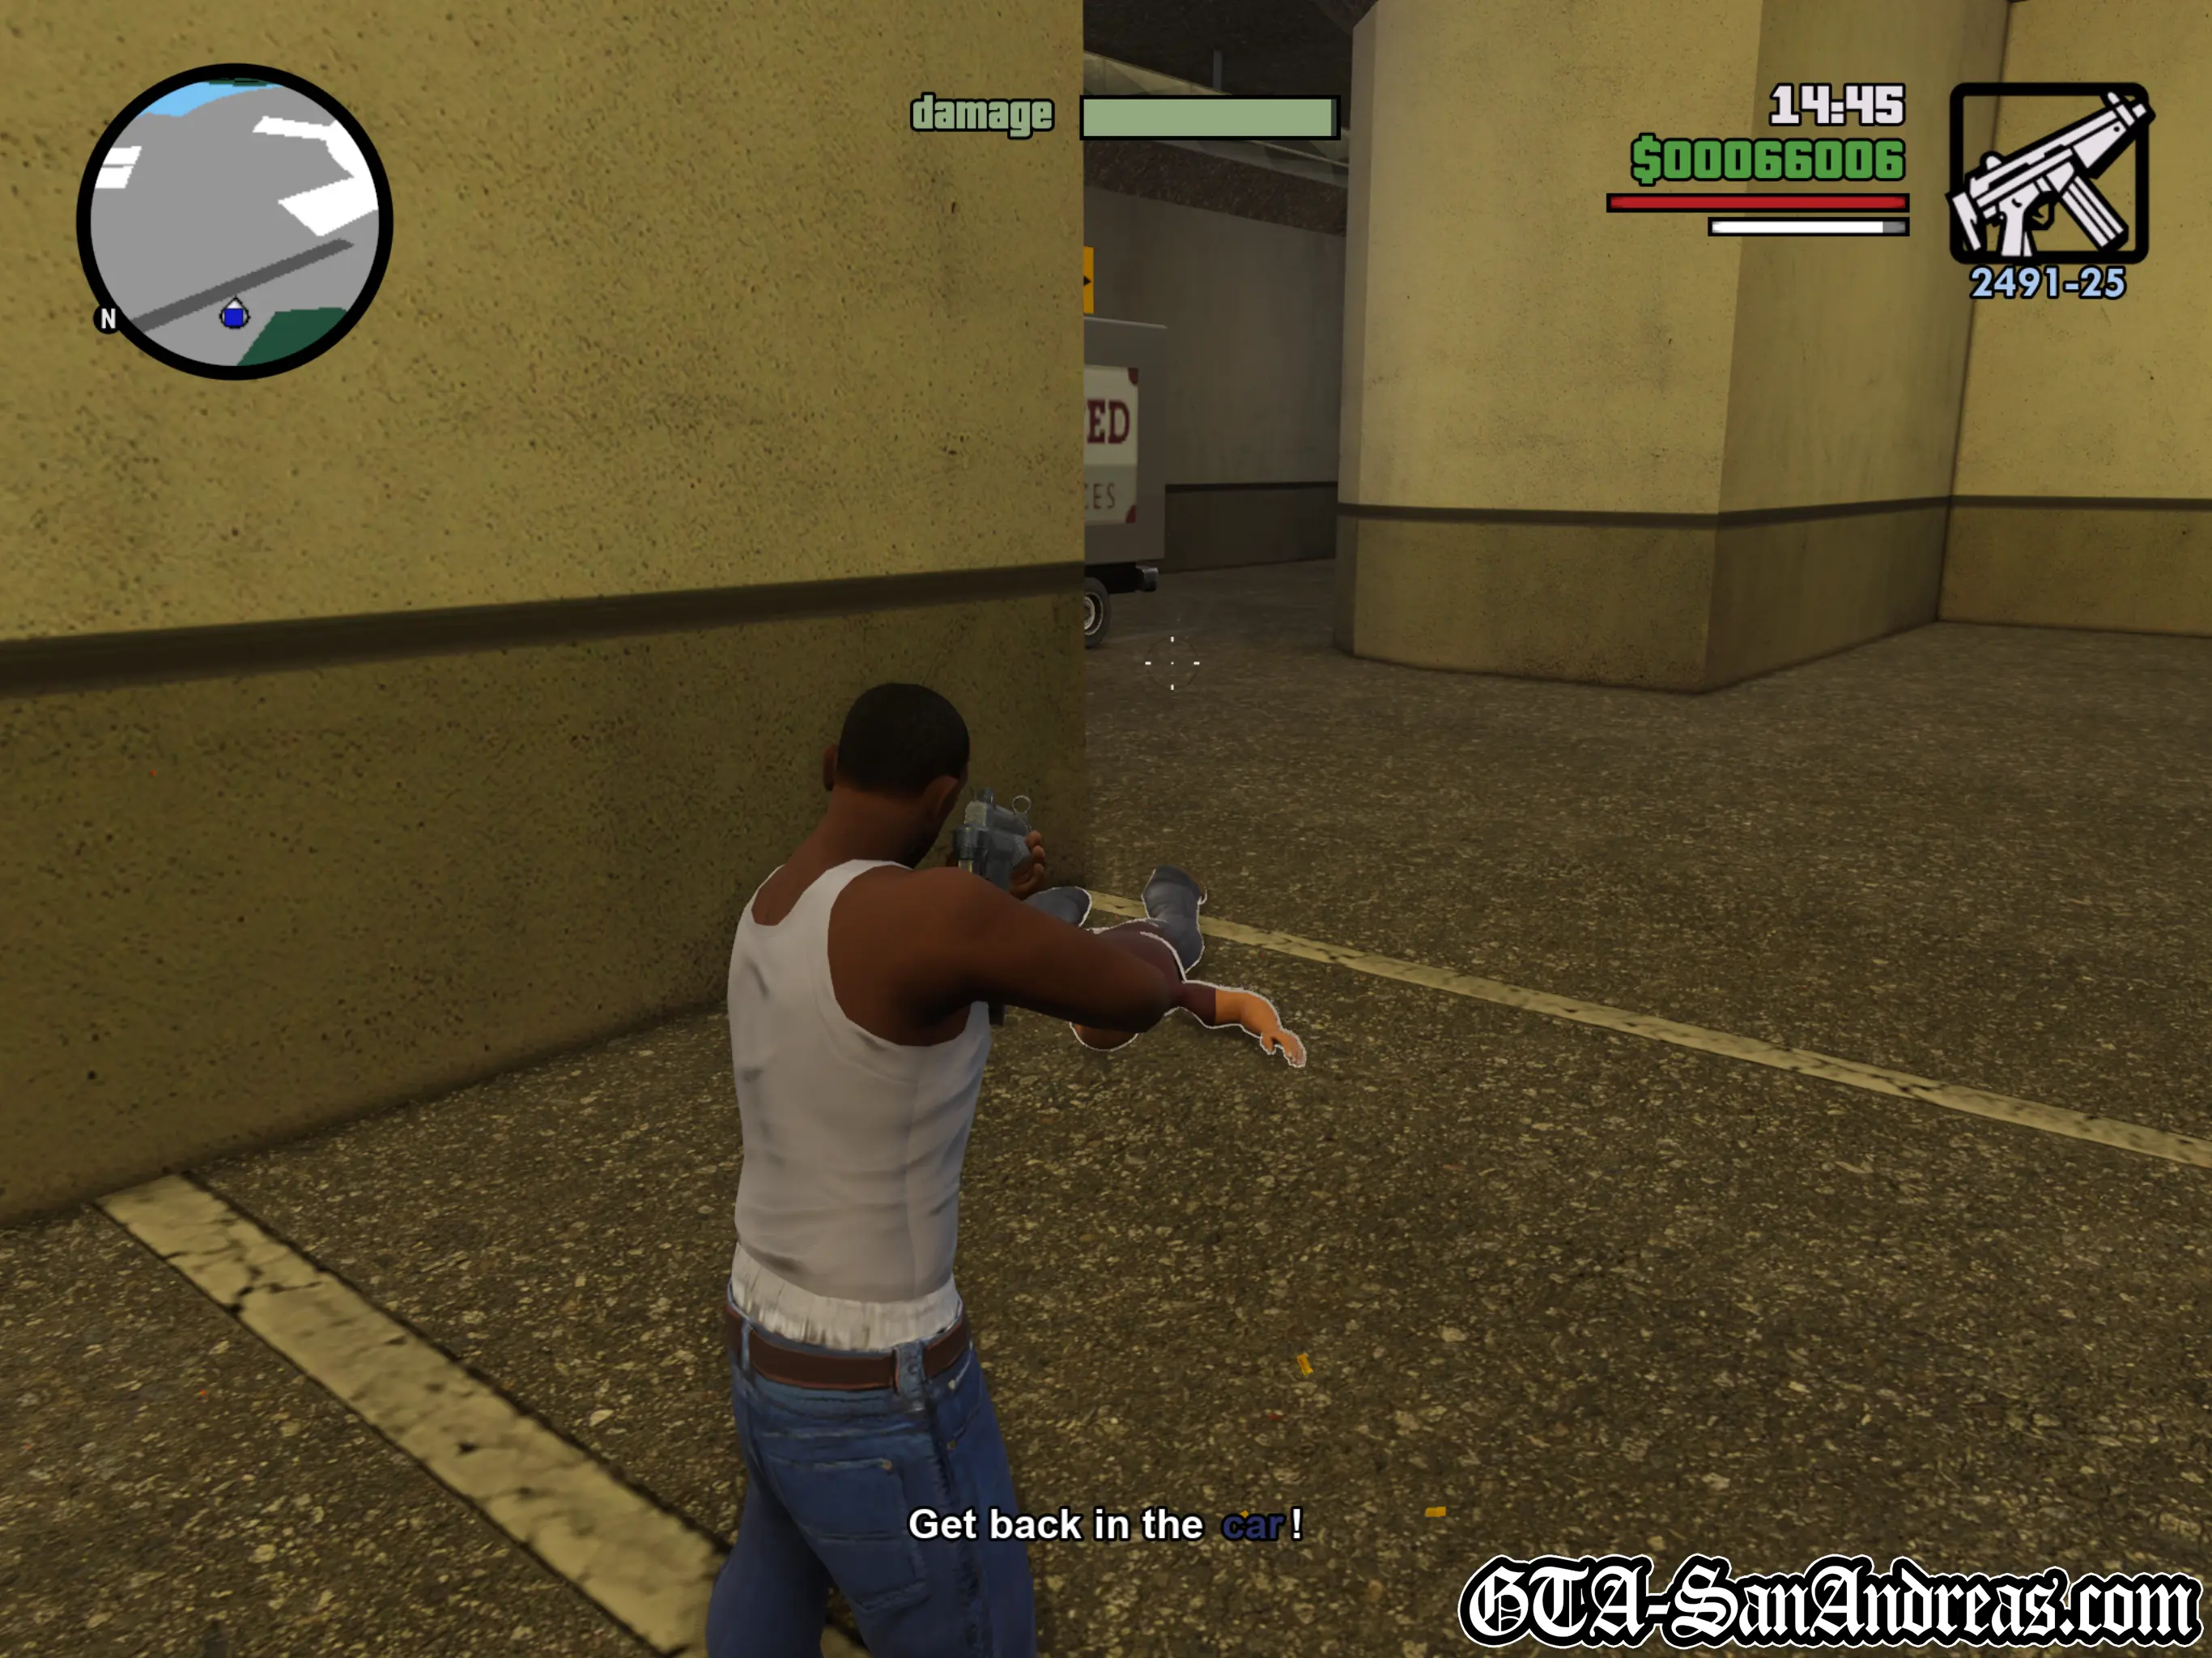
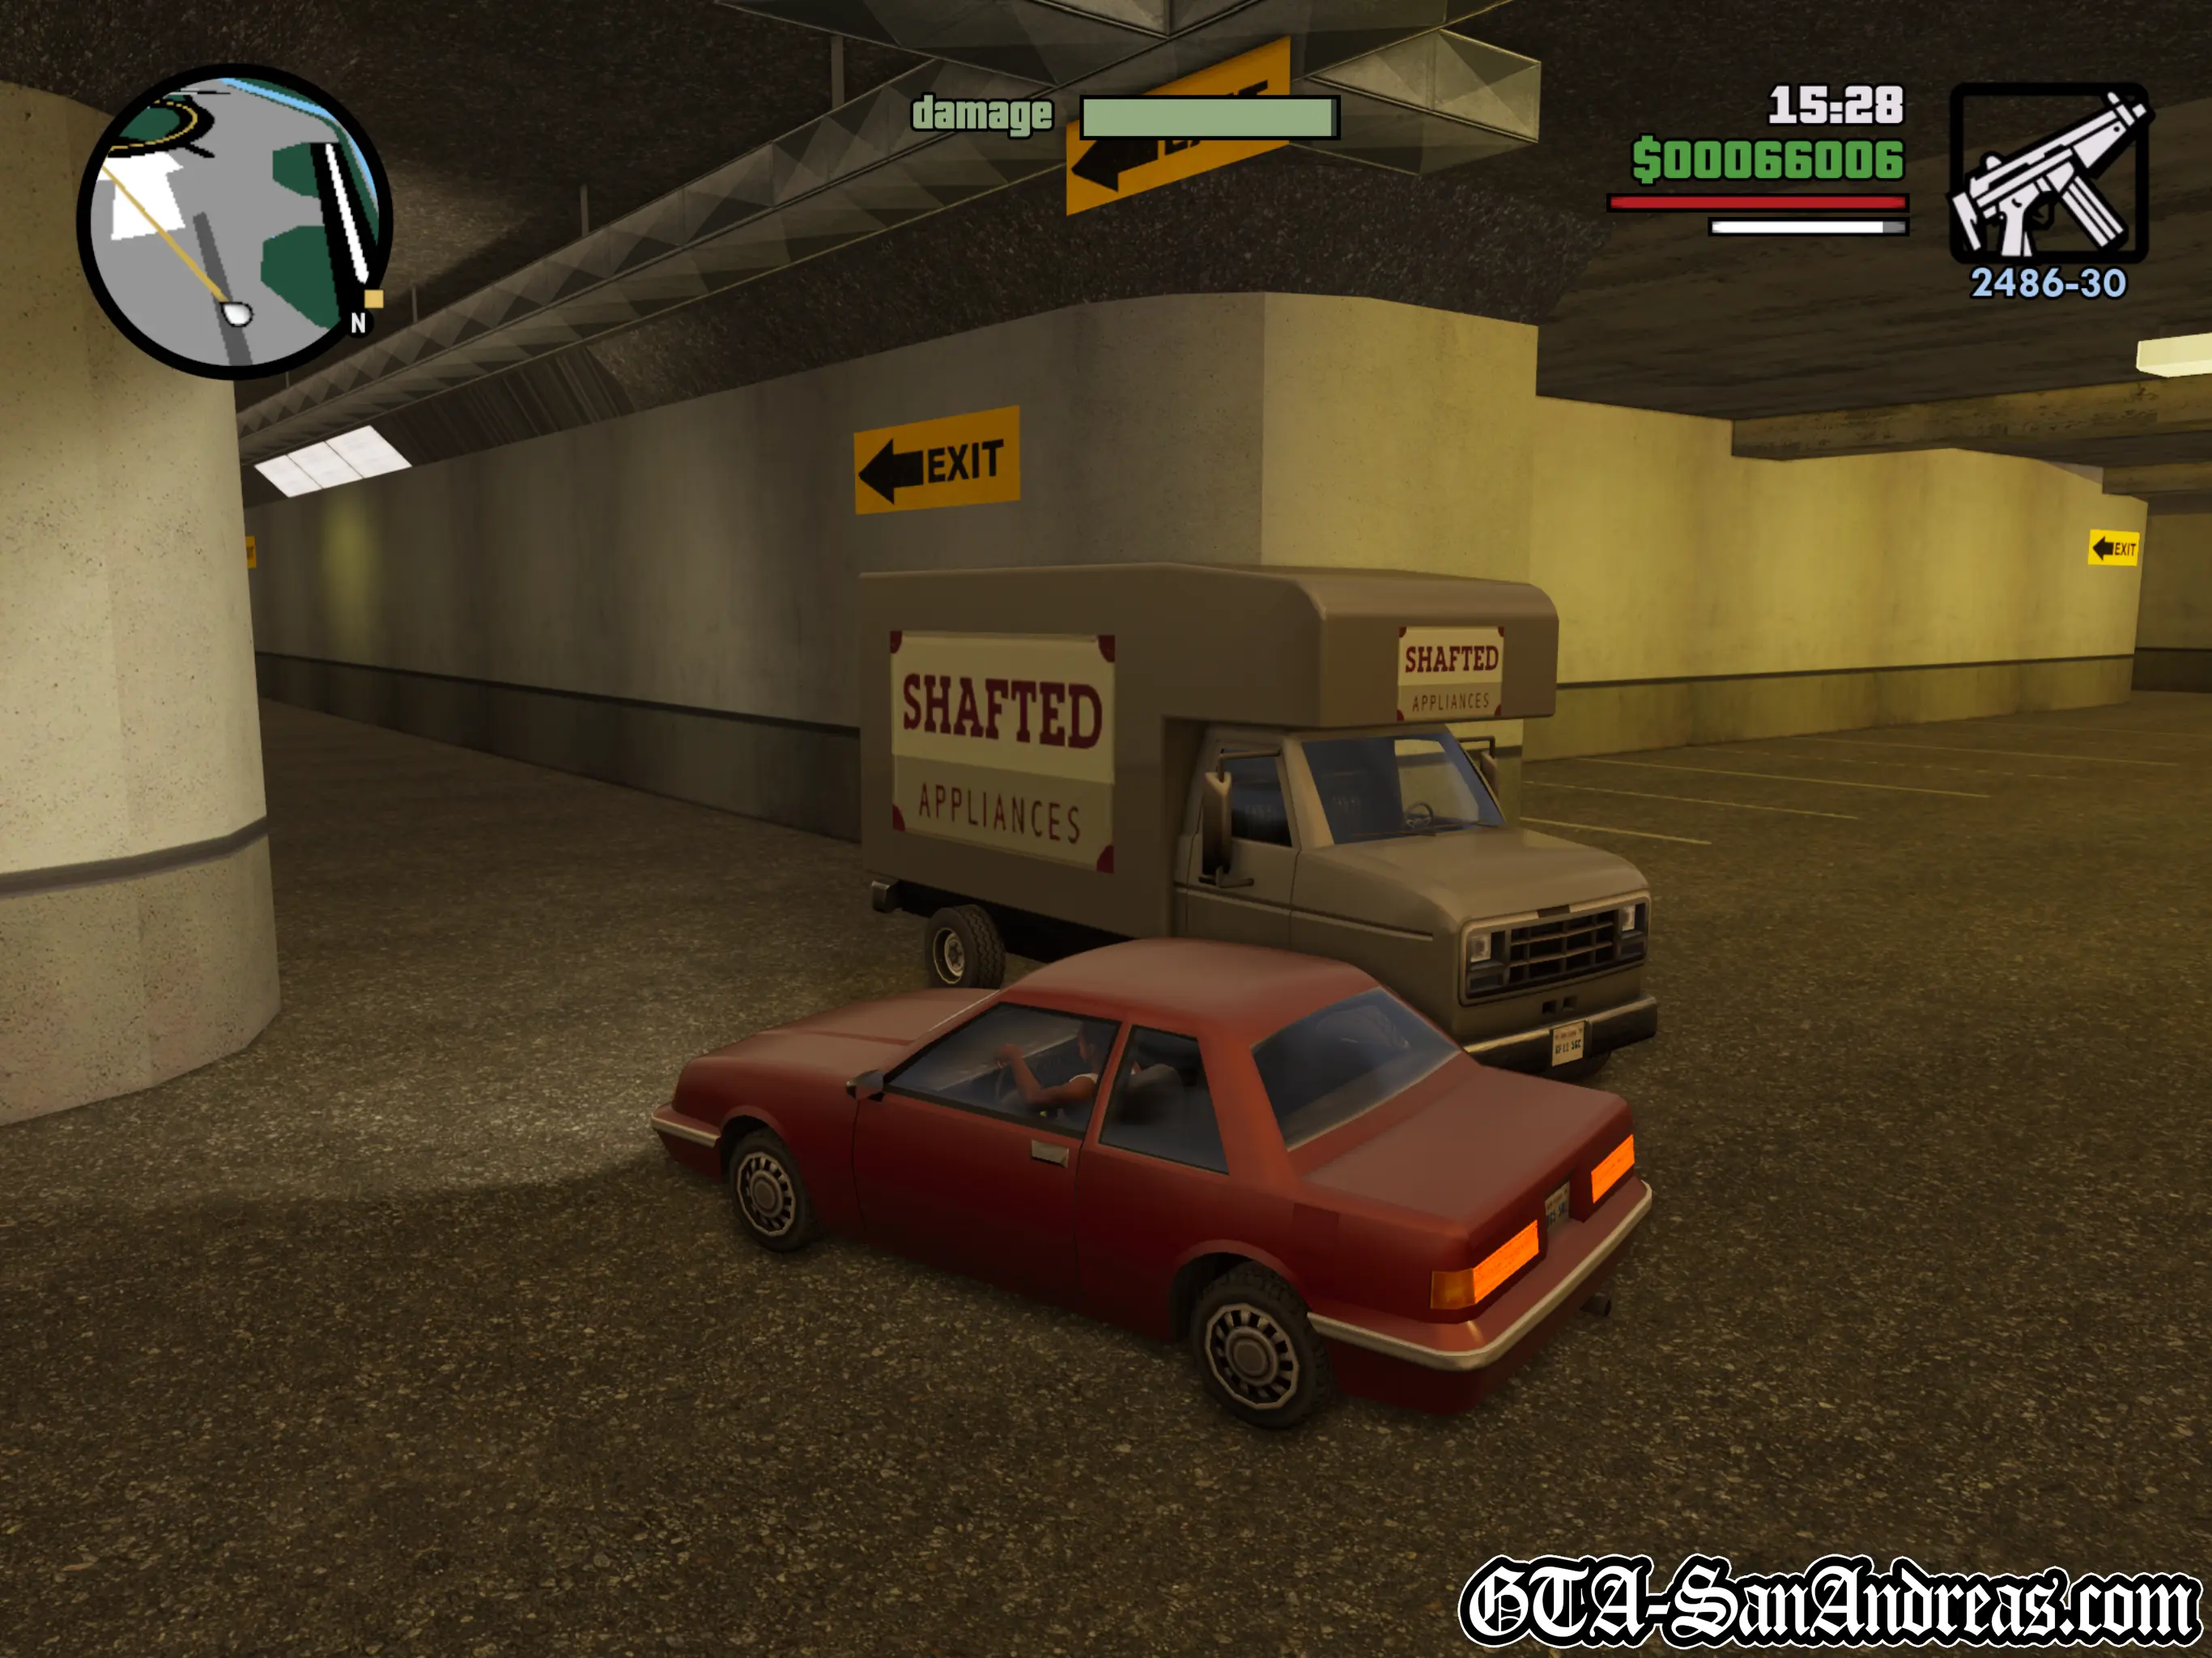
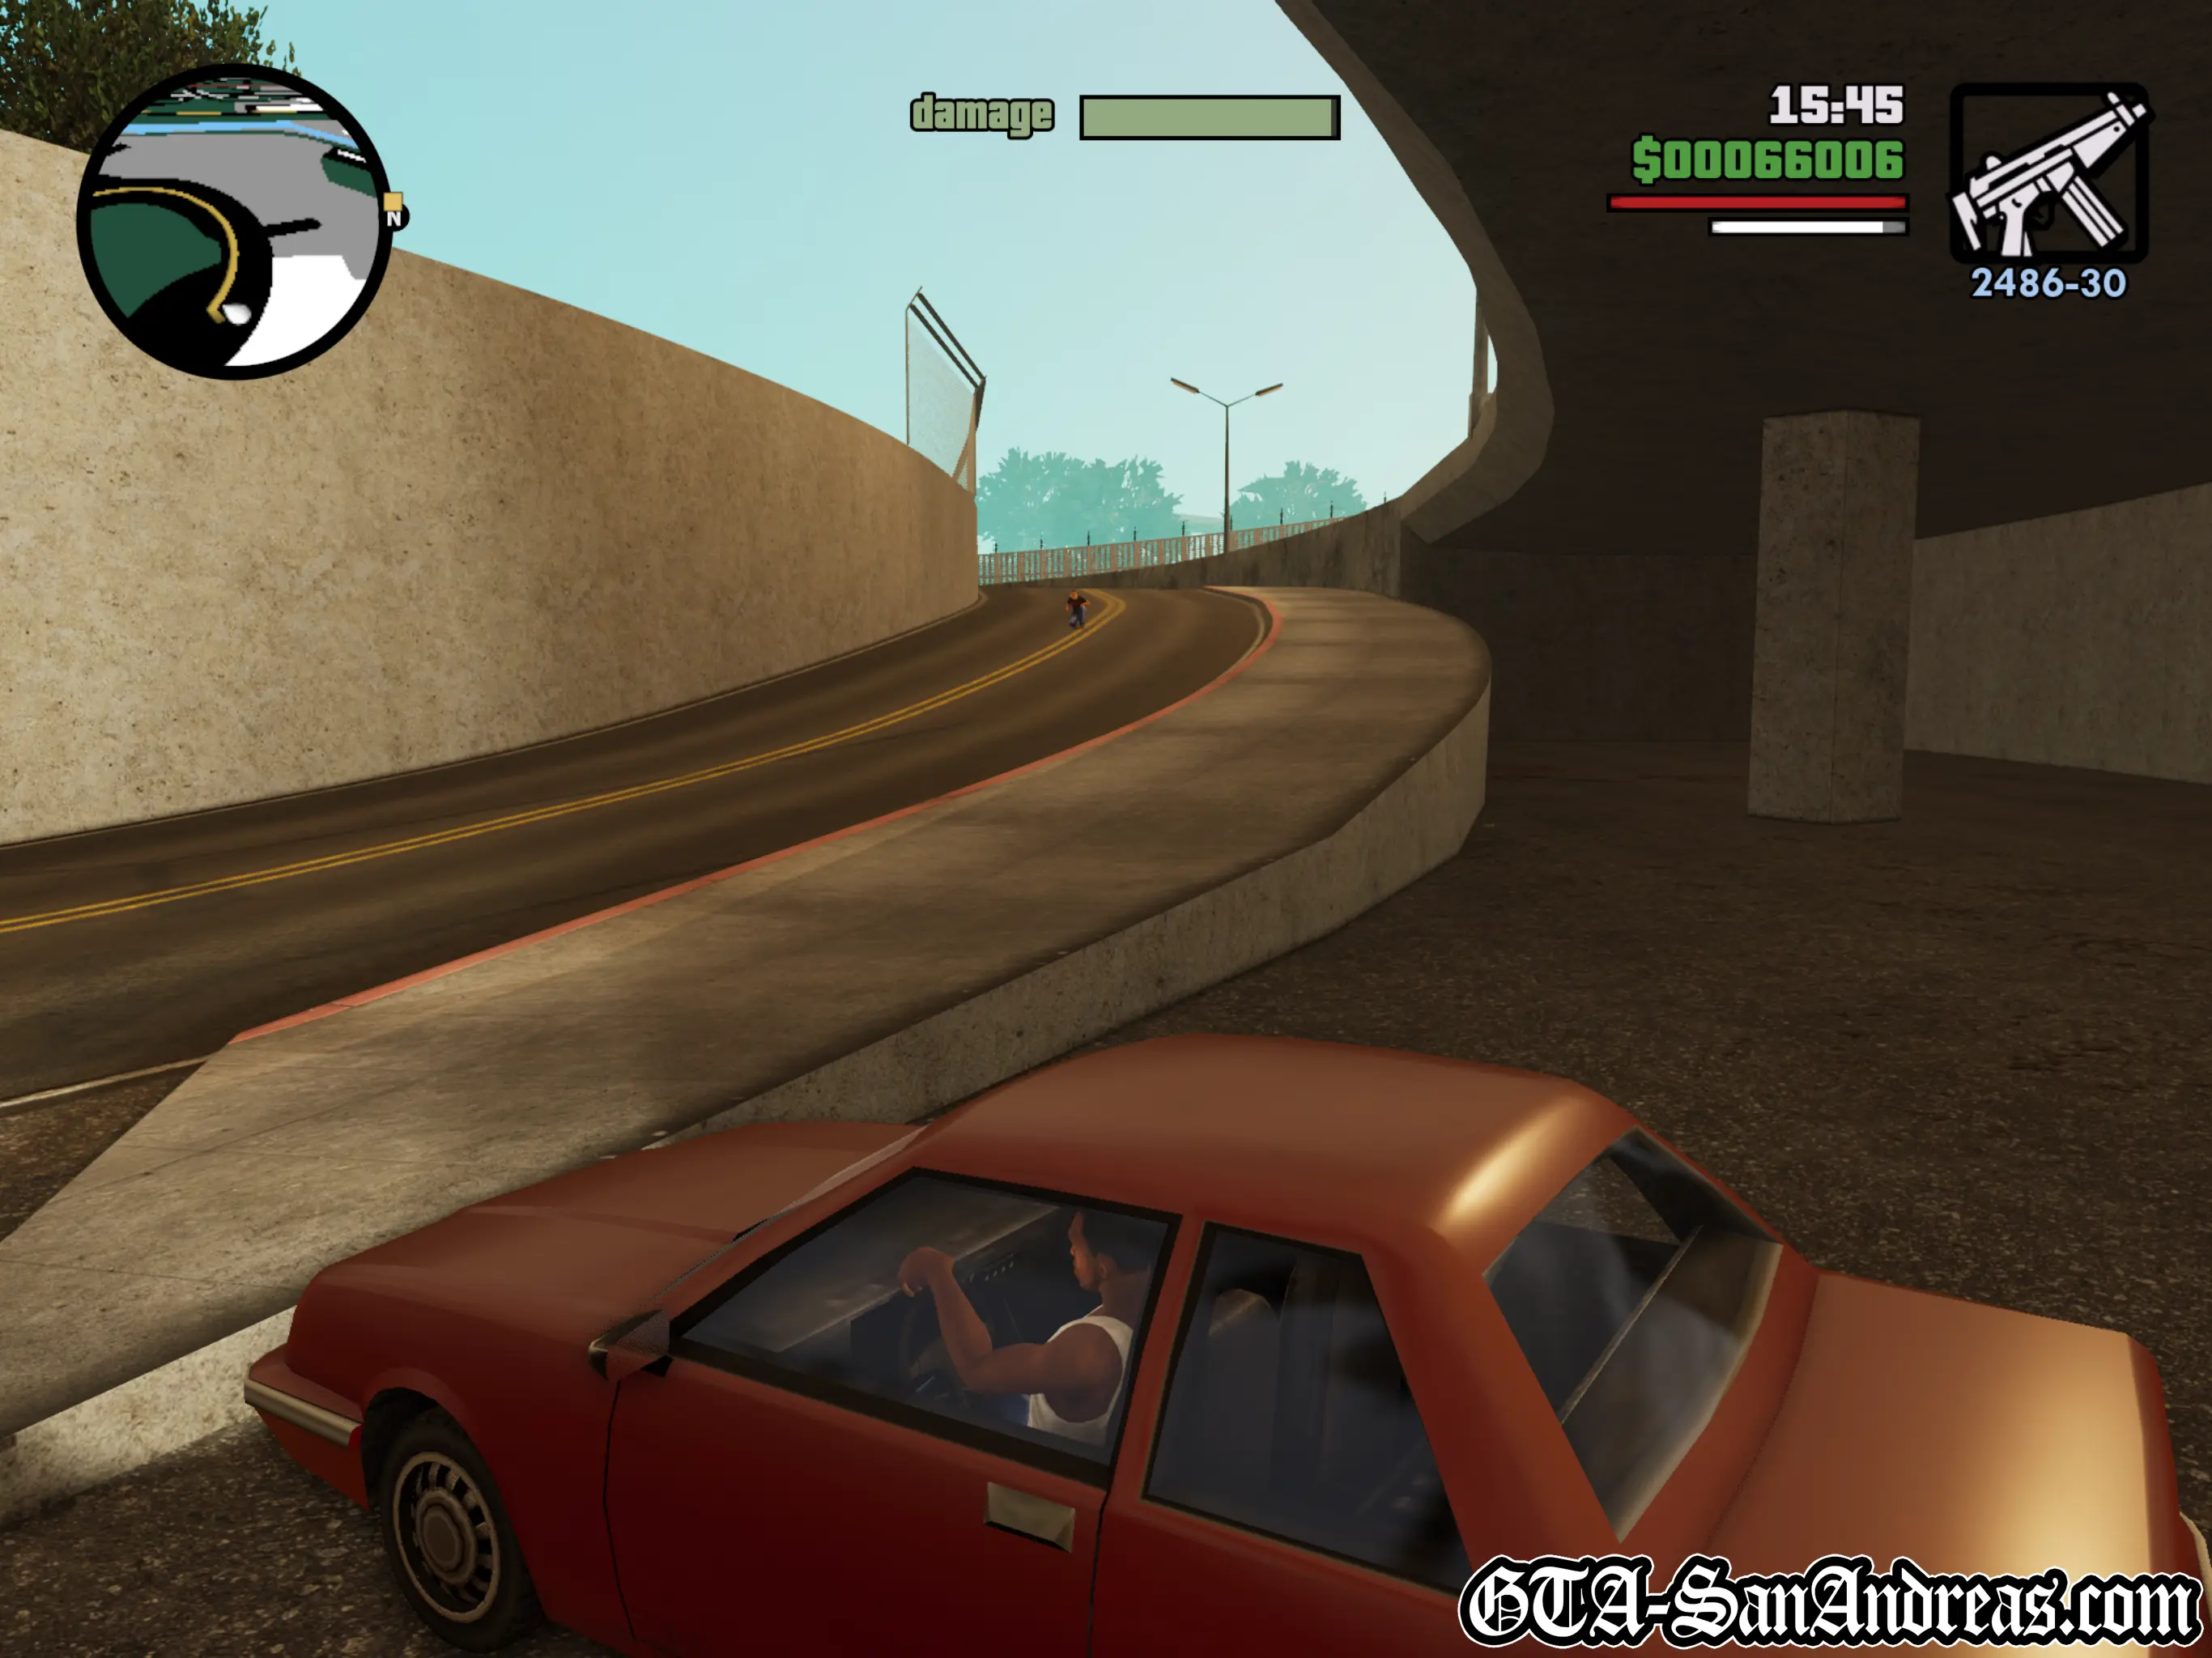
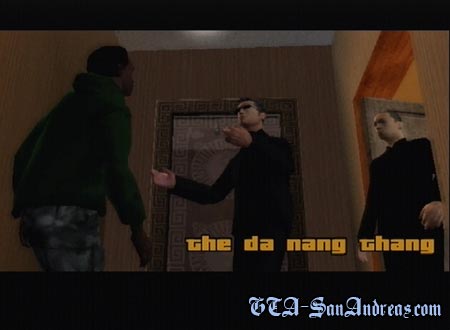
Woozie introduces you to Ran Fa Li who explains that he needs a package retrieved from the airport. When on foot, grab a vehicle and make your way to the yellow blip at the airport. This mission requires you to go into the underground carp park, as opposed to the main airstrip, so follow the ring road around to the right until you come to a red circle. You'll then be instructed to get the car which is located at the blue blip. Make your way down the tunnel until you reach the left turn which will take you into the car park where you'll find the Manana. Get in the car and you'll see an ambush by the Da Nang Boys. Head through the exit to the bottom of the car park, then make a left and go through that exit, followed by a quick right, and you'll be in the tunnel again. Head out through the barricade things and go to the right. You'll drive past a single Da Nang Boy as well as a parked truck with two people next to it. You don't need to kill them, but you could ditch the car a bit further back and kill them on foot in order to keep the car safe. Get past them and head out through the main gate of the airport. You'll then be approached by two bikes, each with two people on. They're relatively easy to drive by off their bikes. Once that's done, head along the road to the North. As you approach the yellow blip, a small truck will chase after you, but a well placed drive by to the gas tank will remove it from your problems. Park in the red circle near the pier.
Screenshots


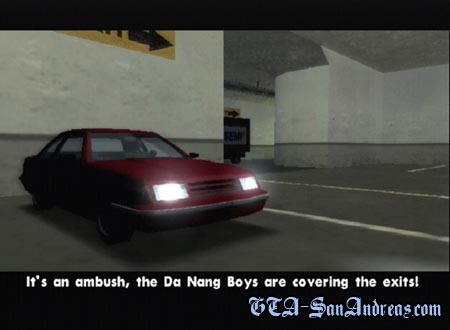
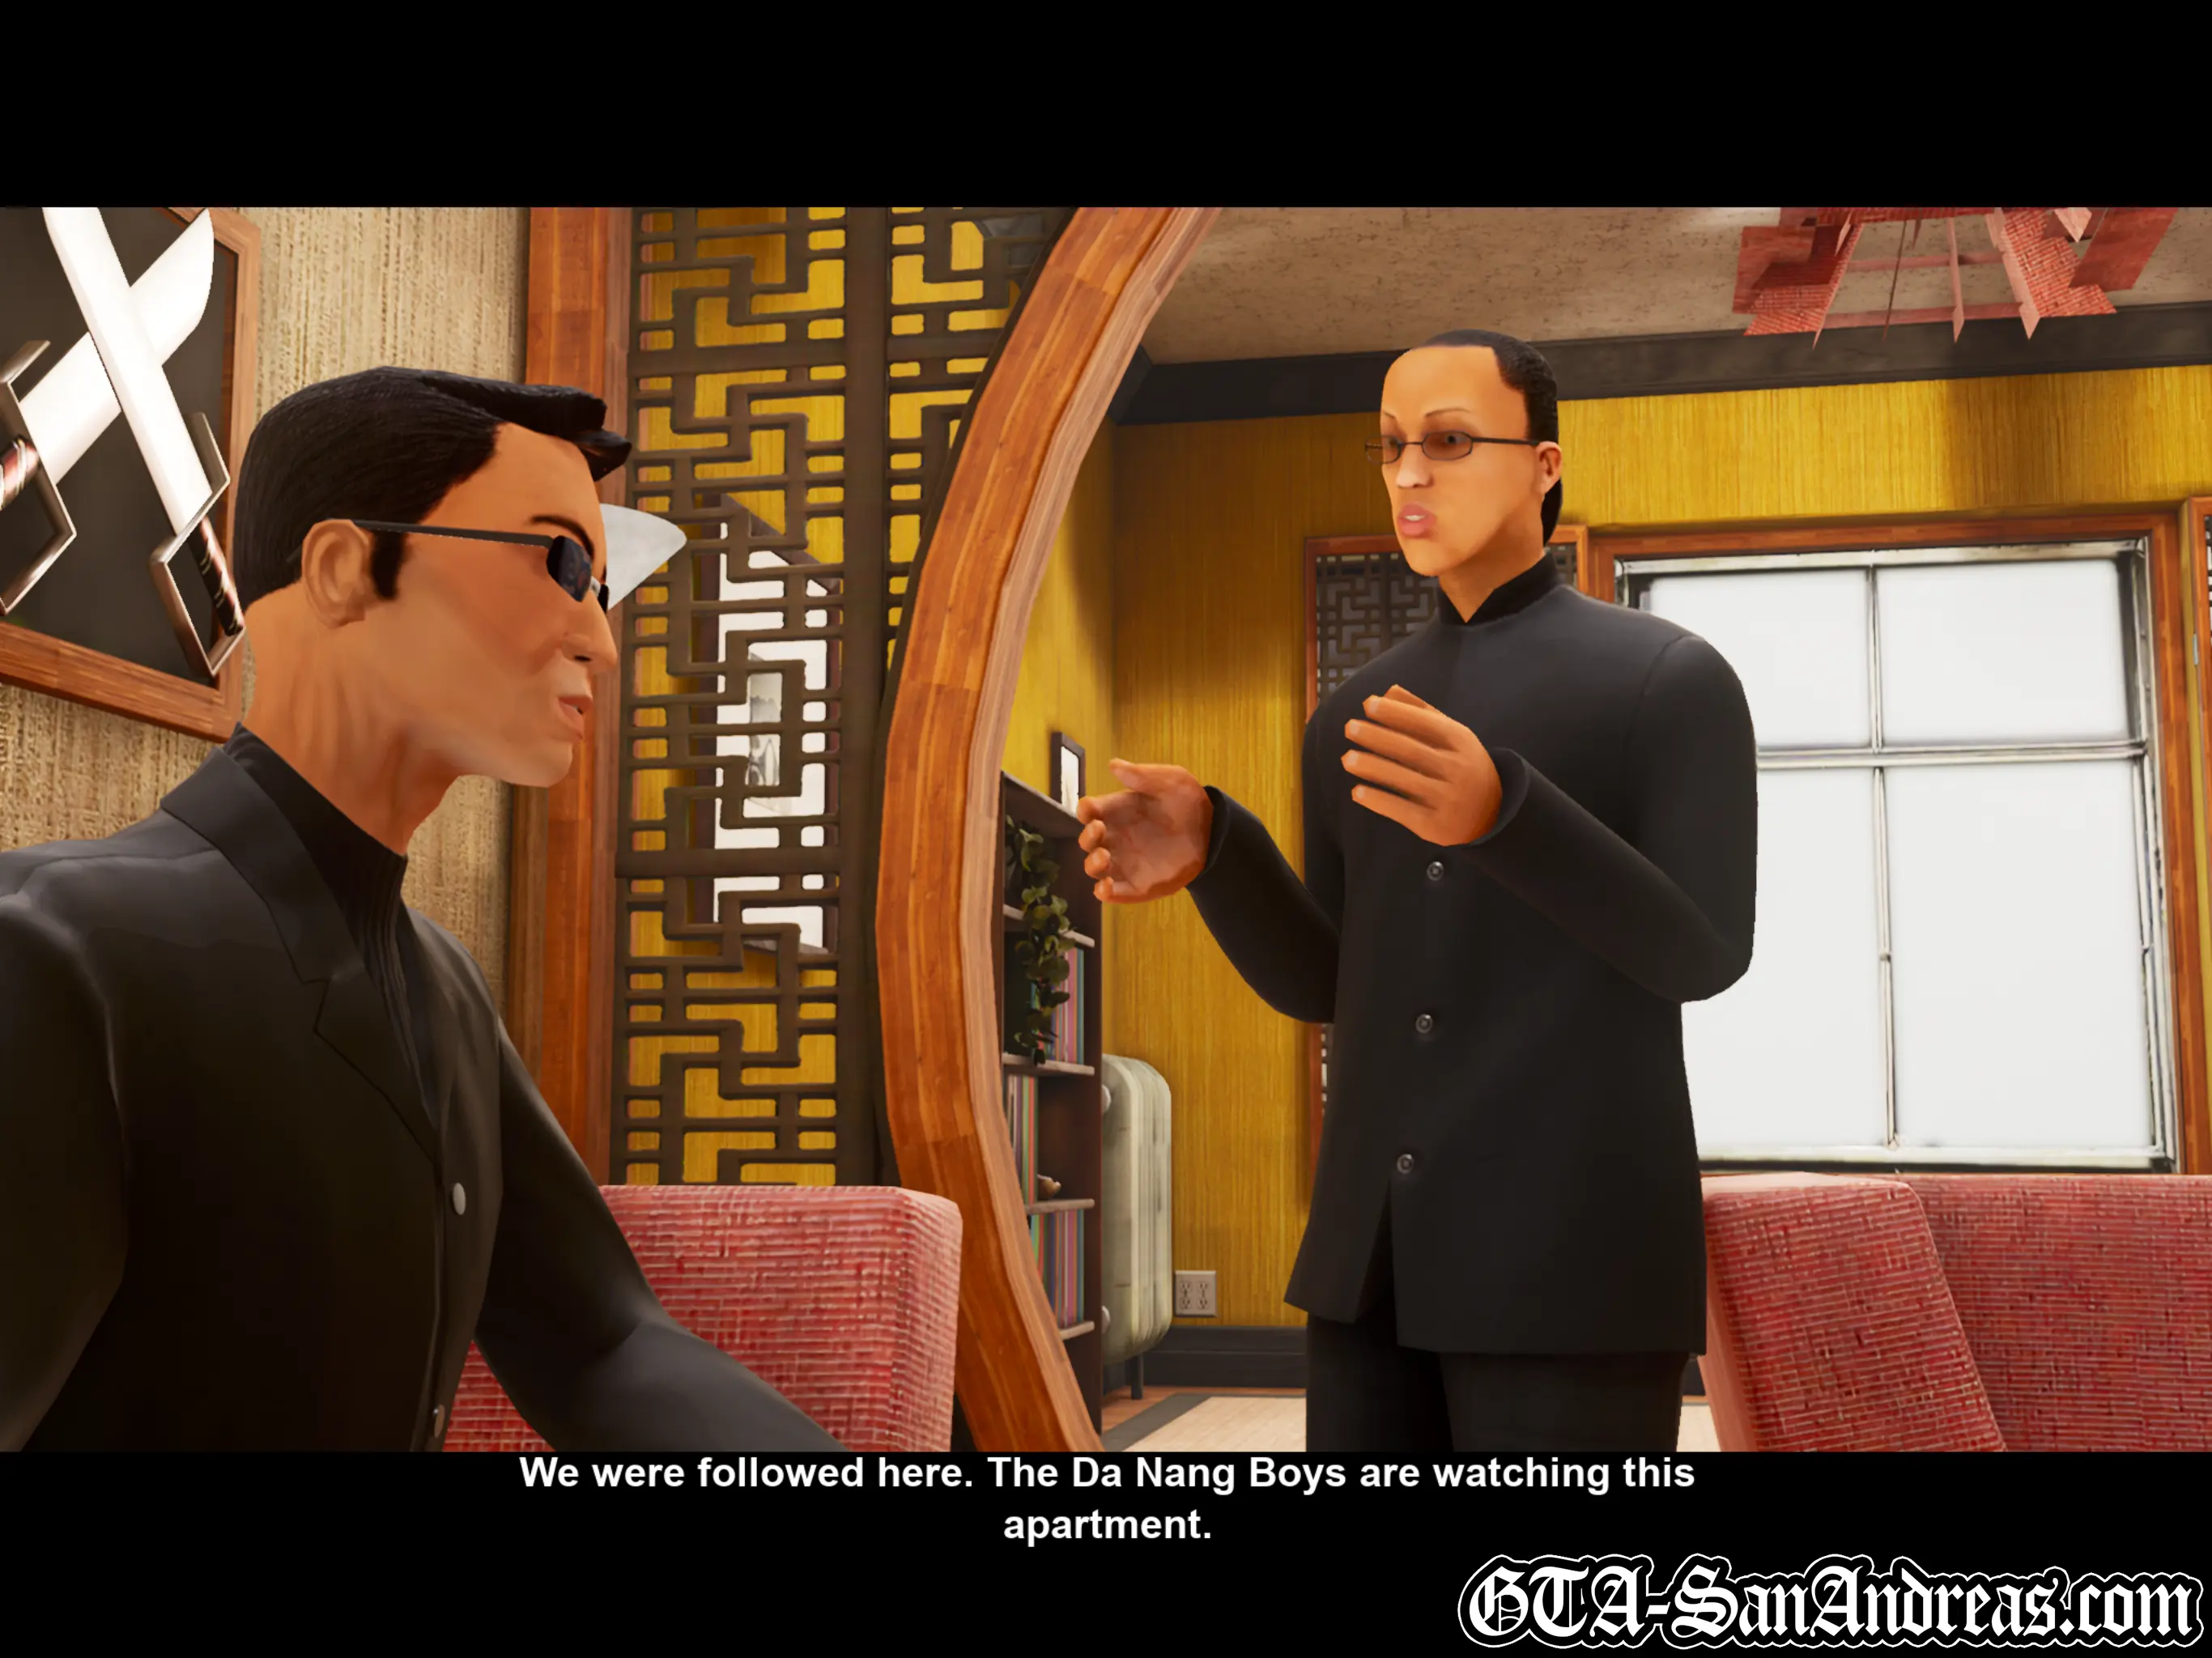
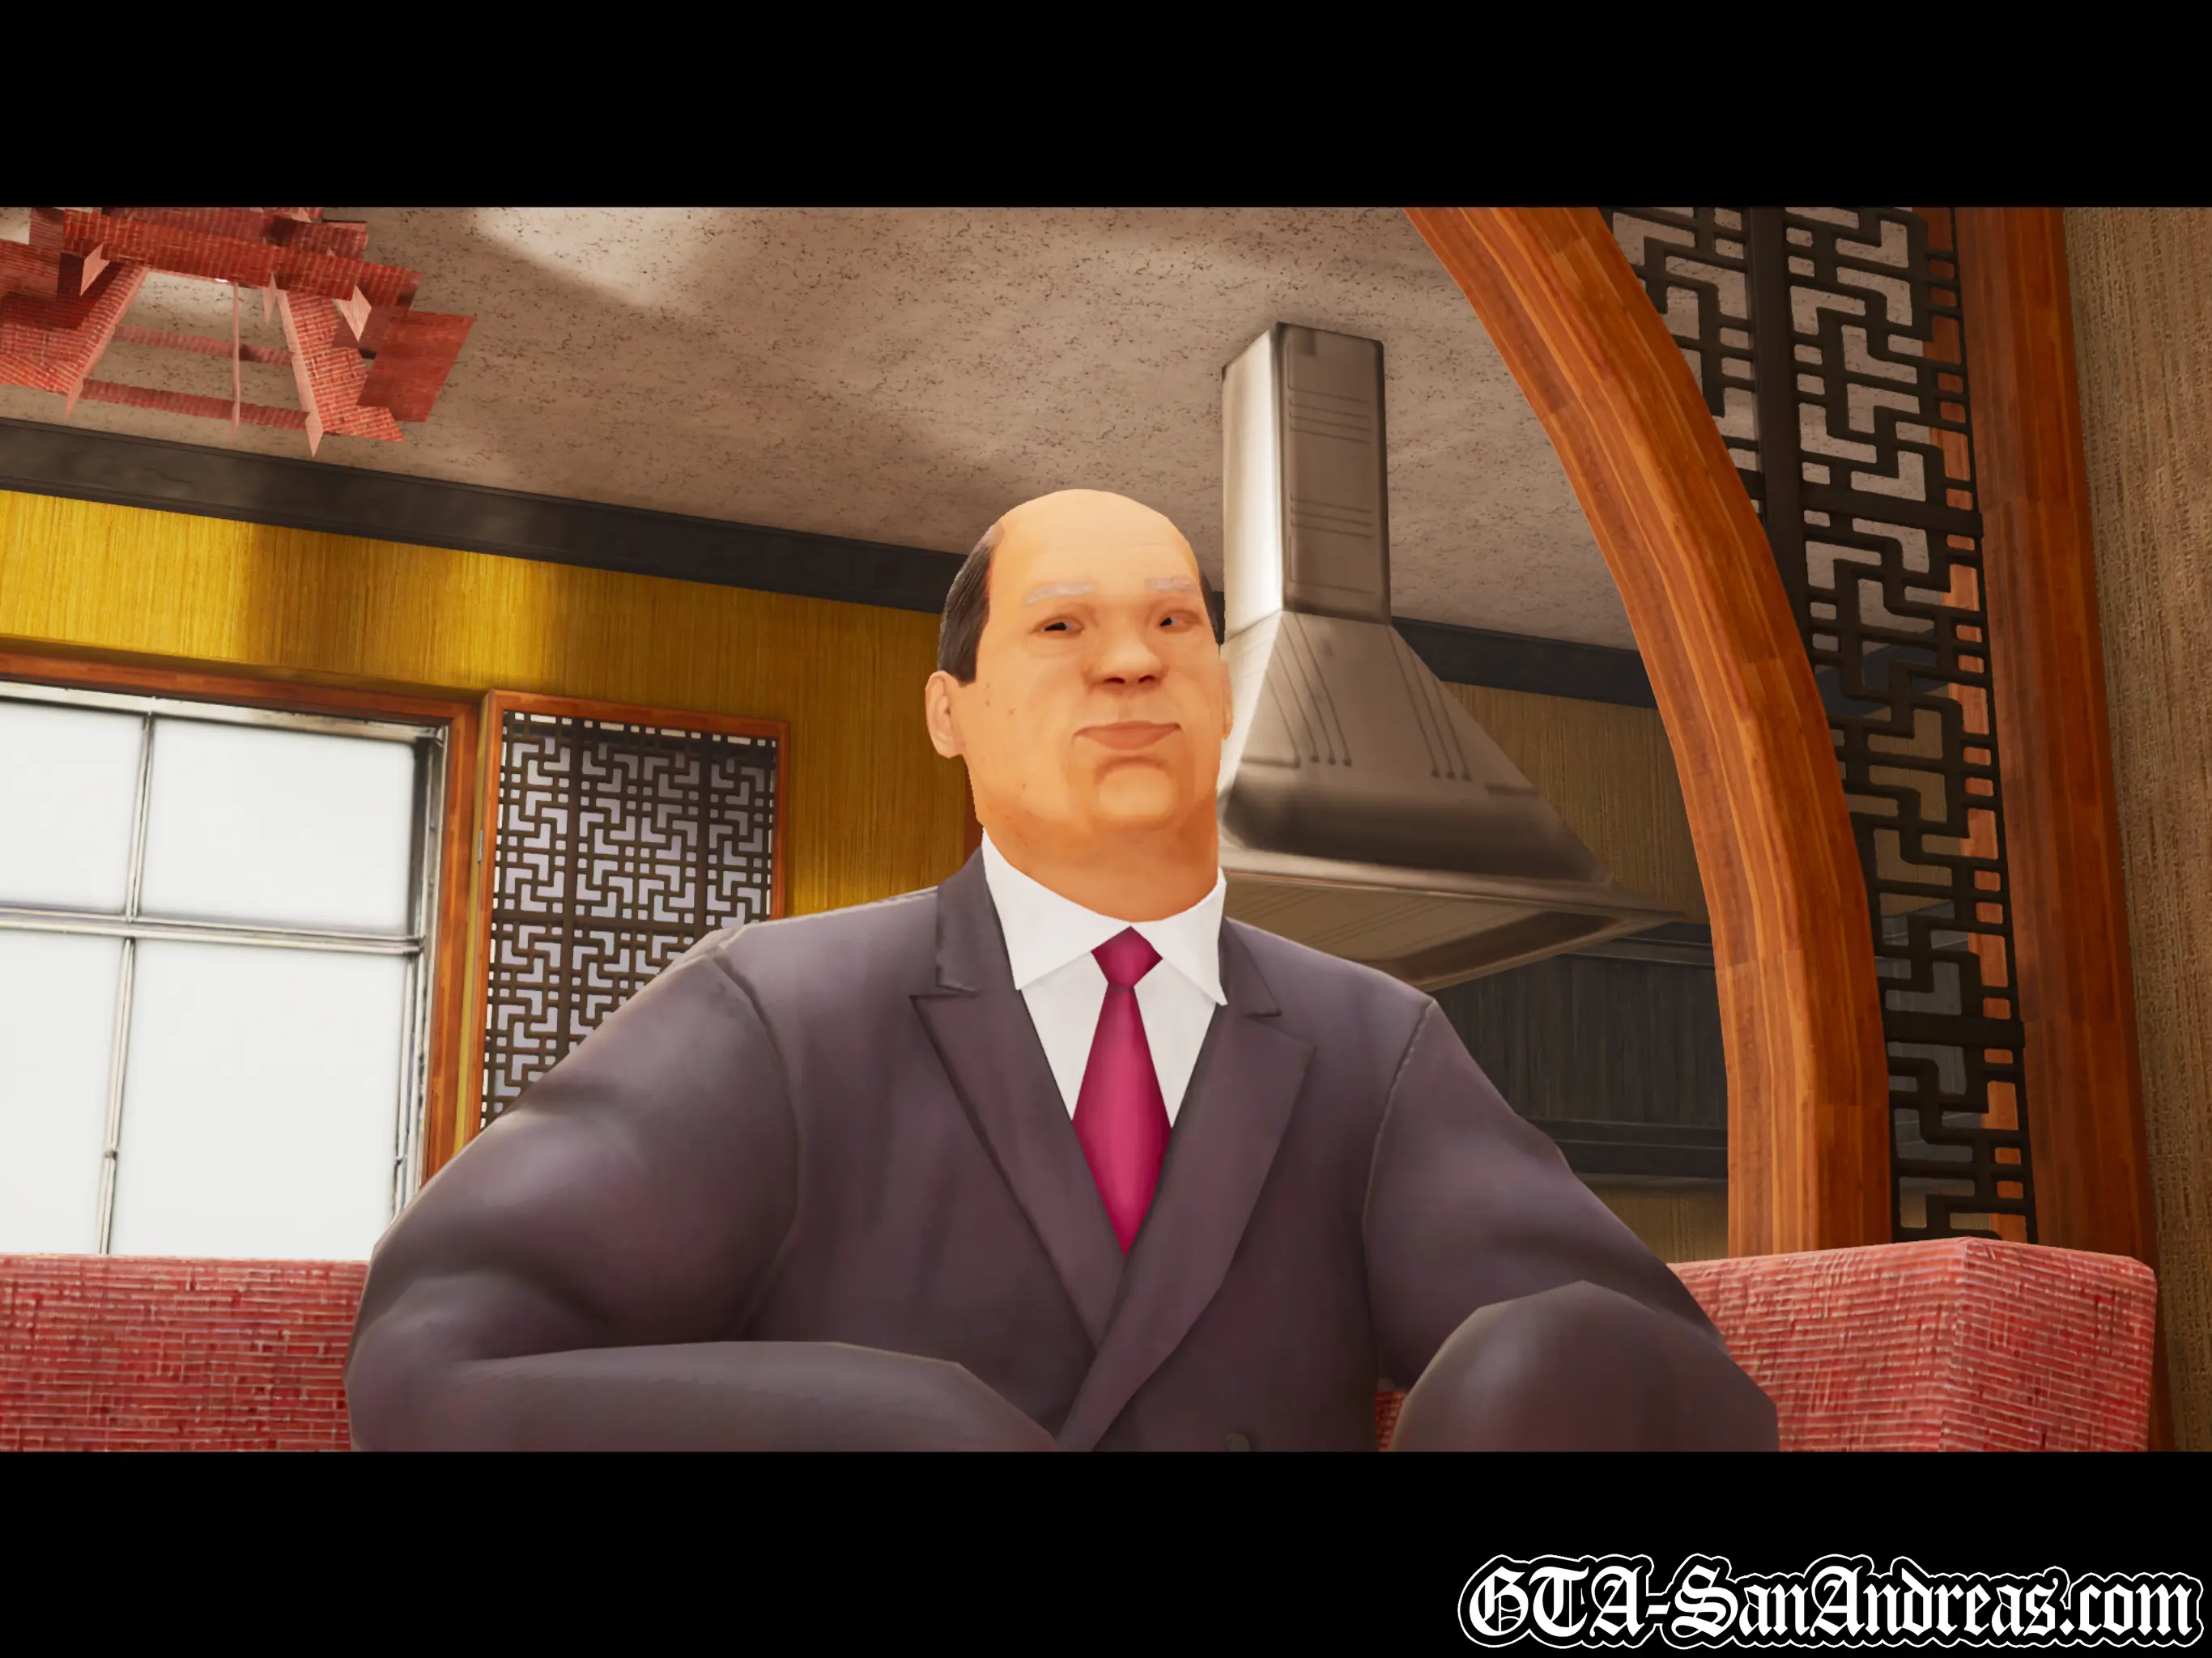
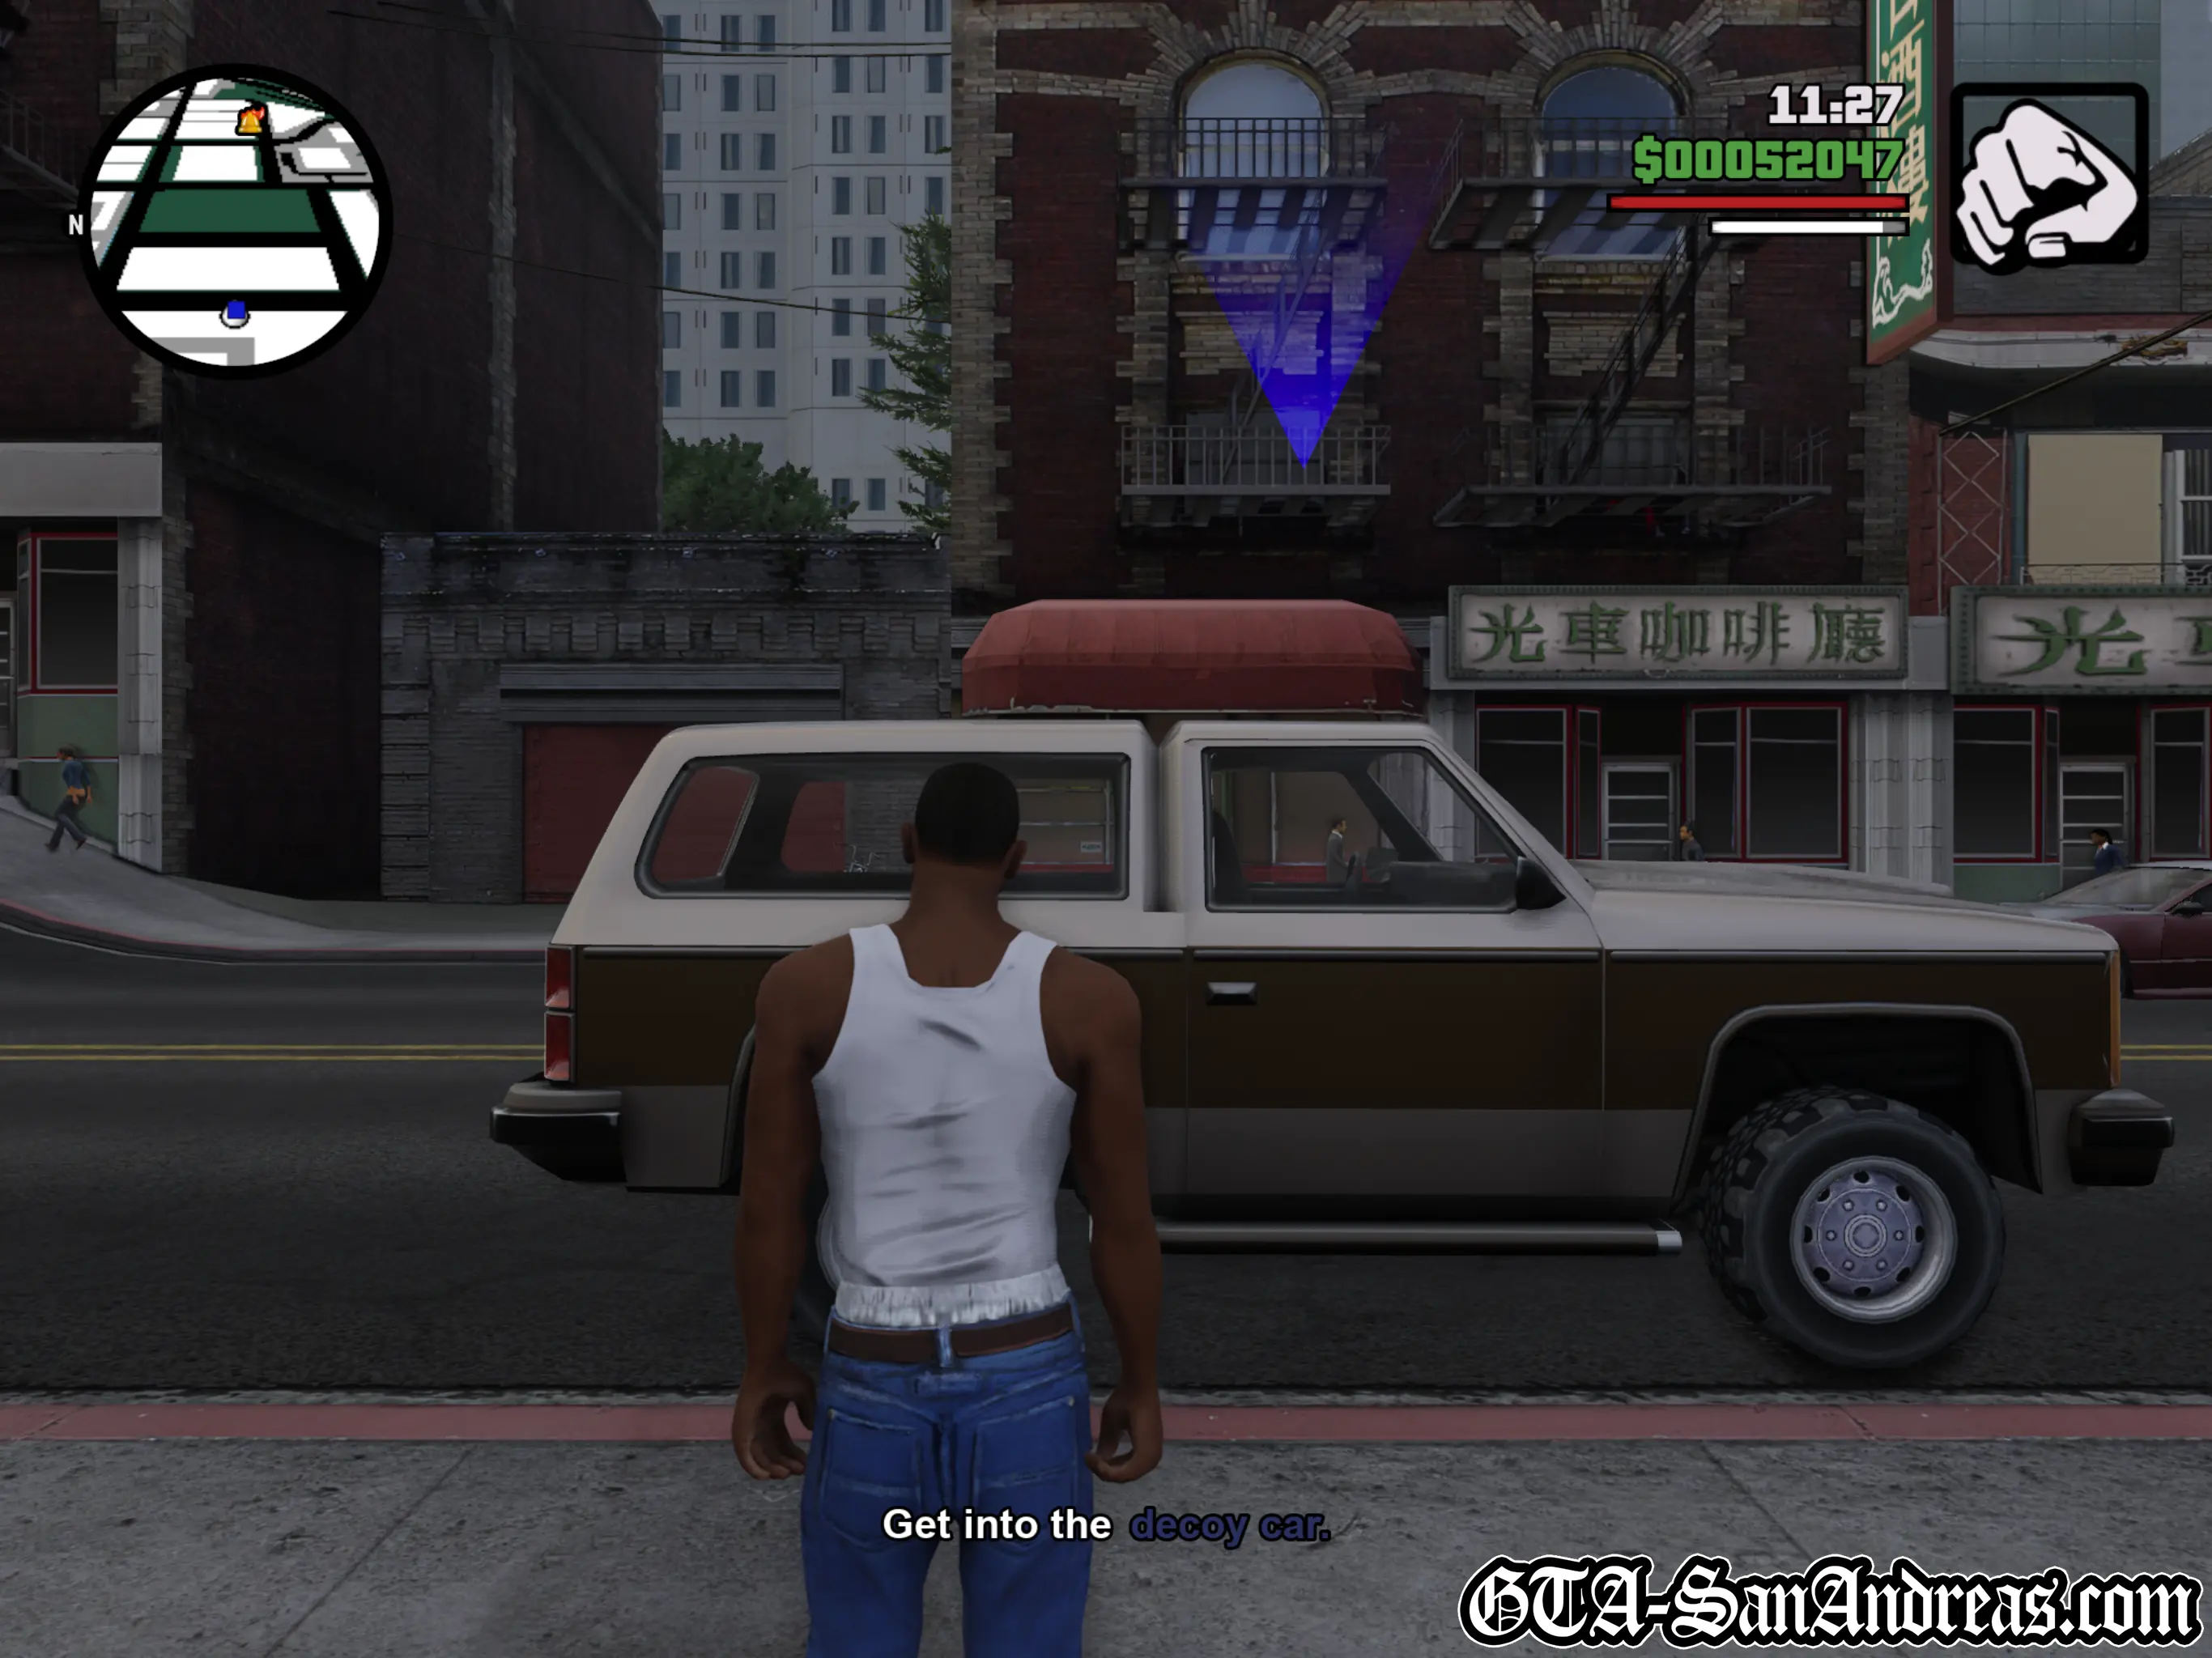
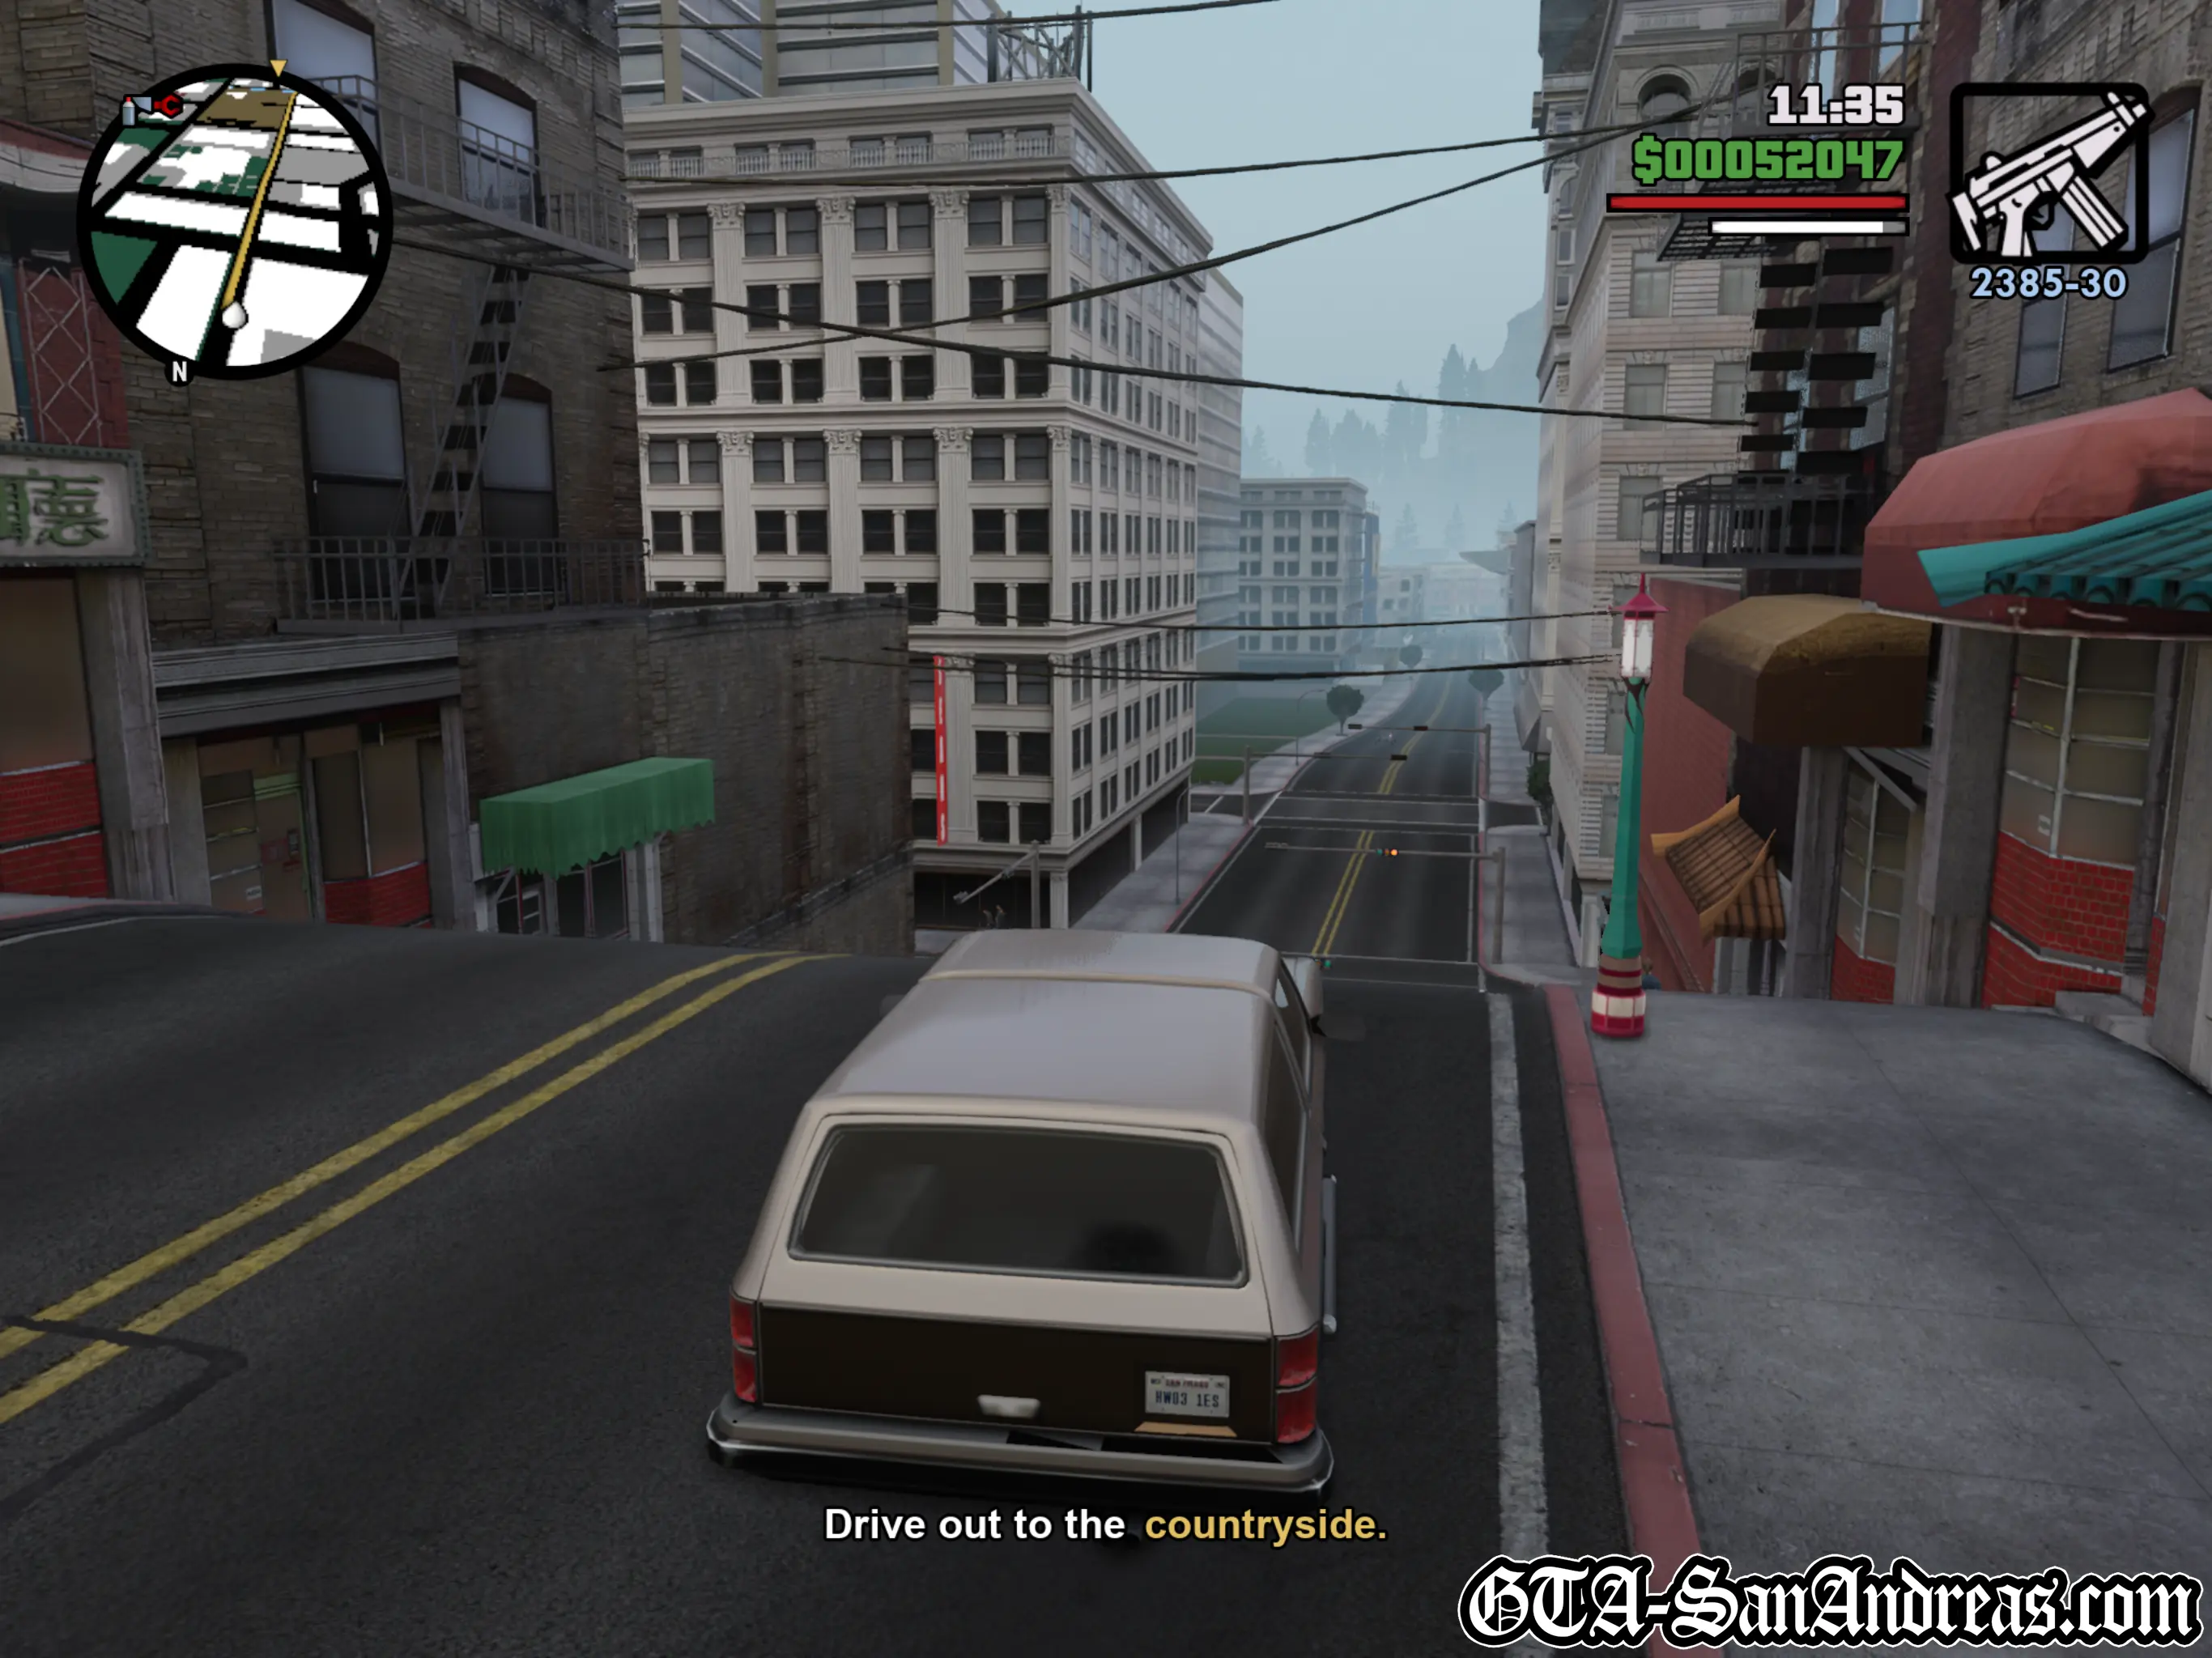
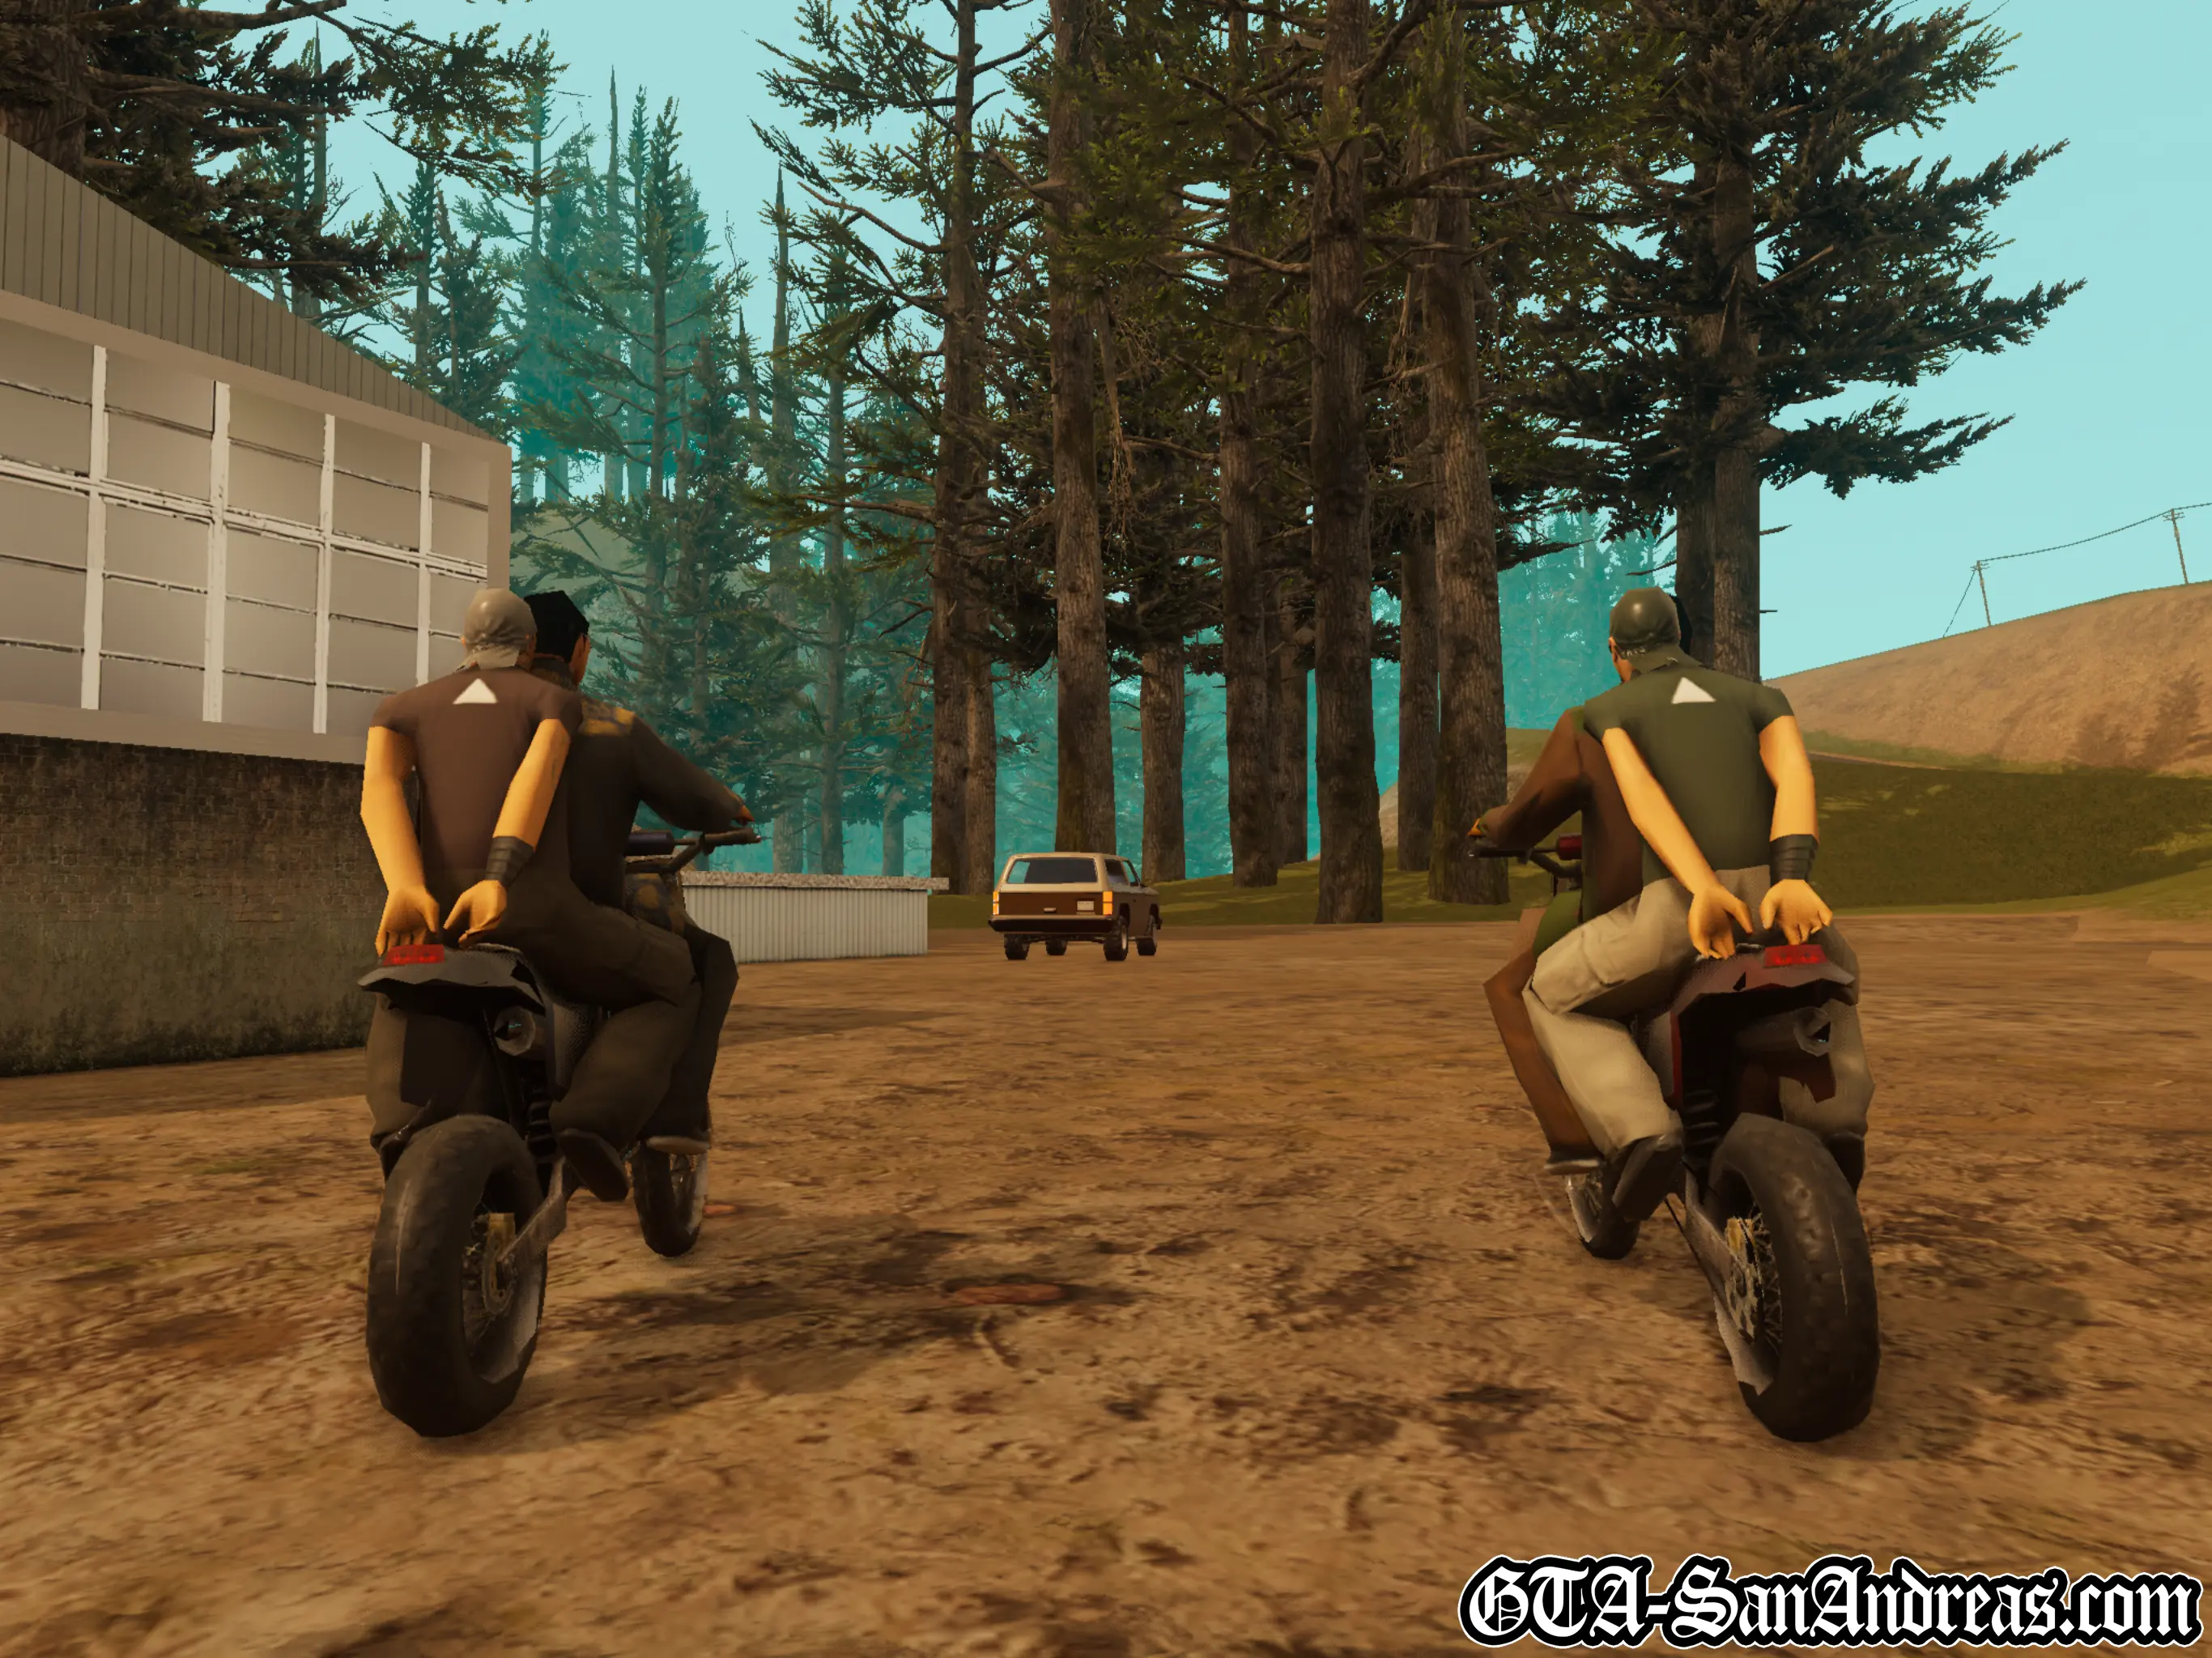
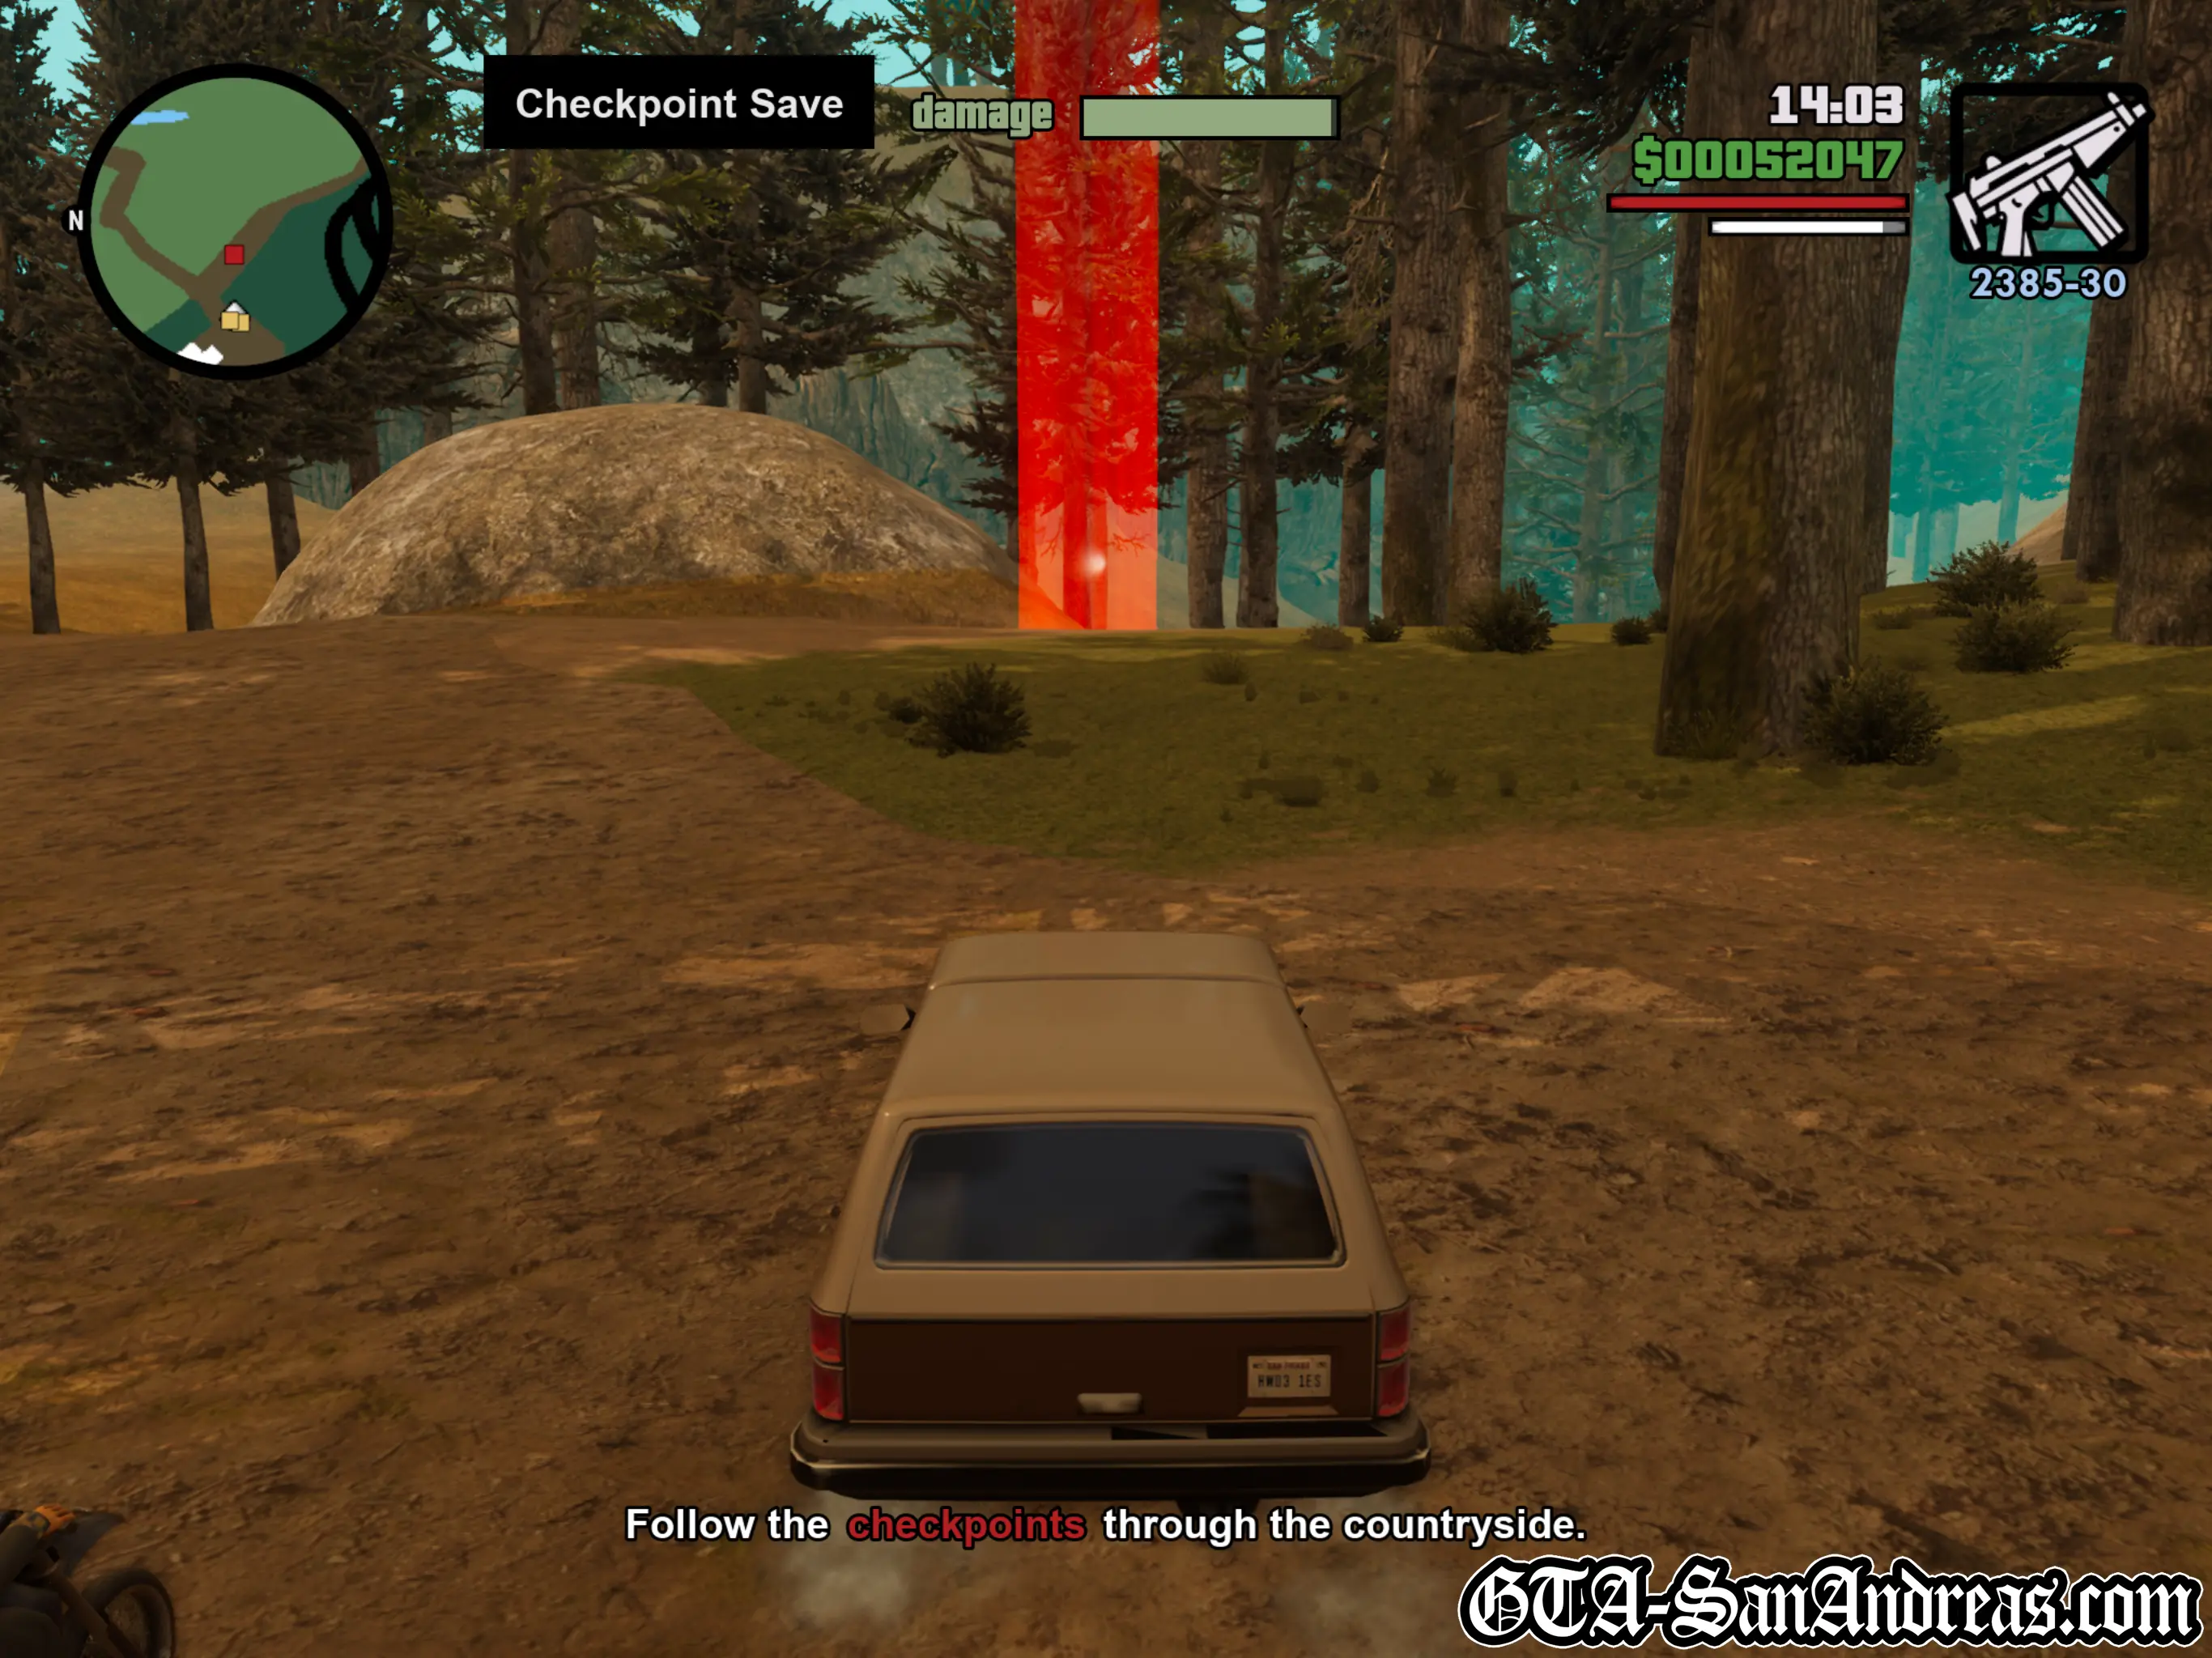
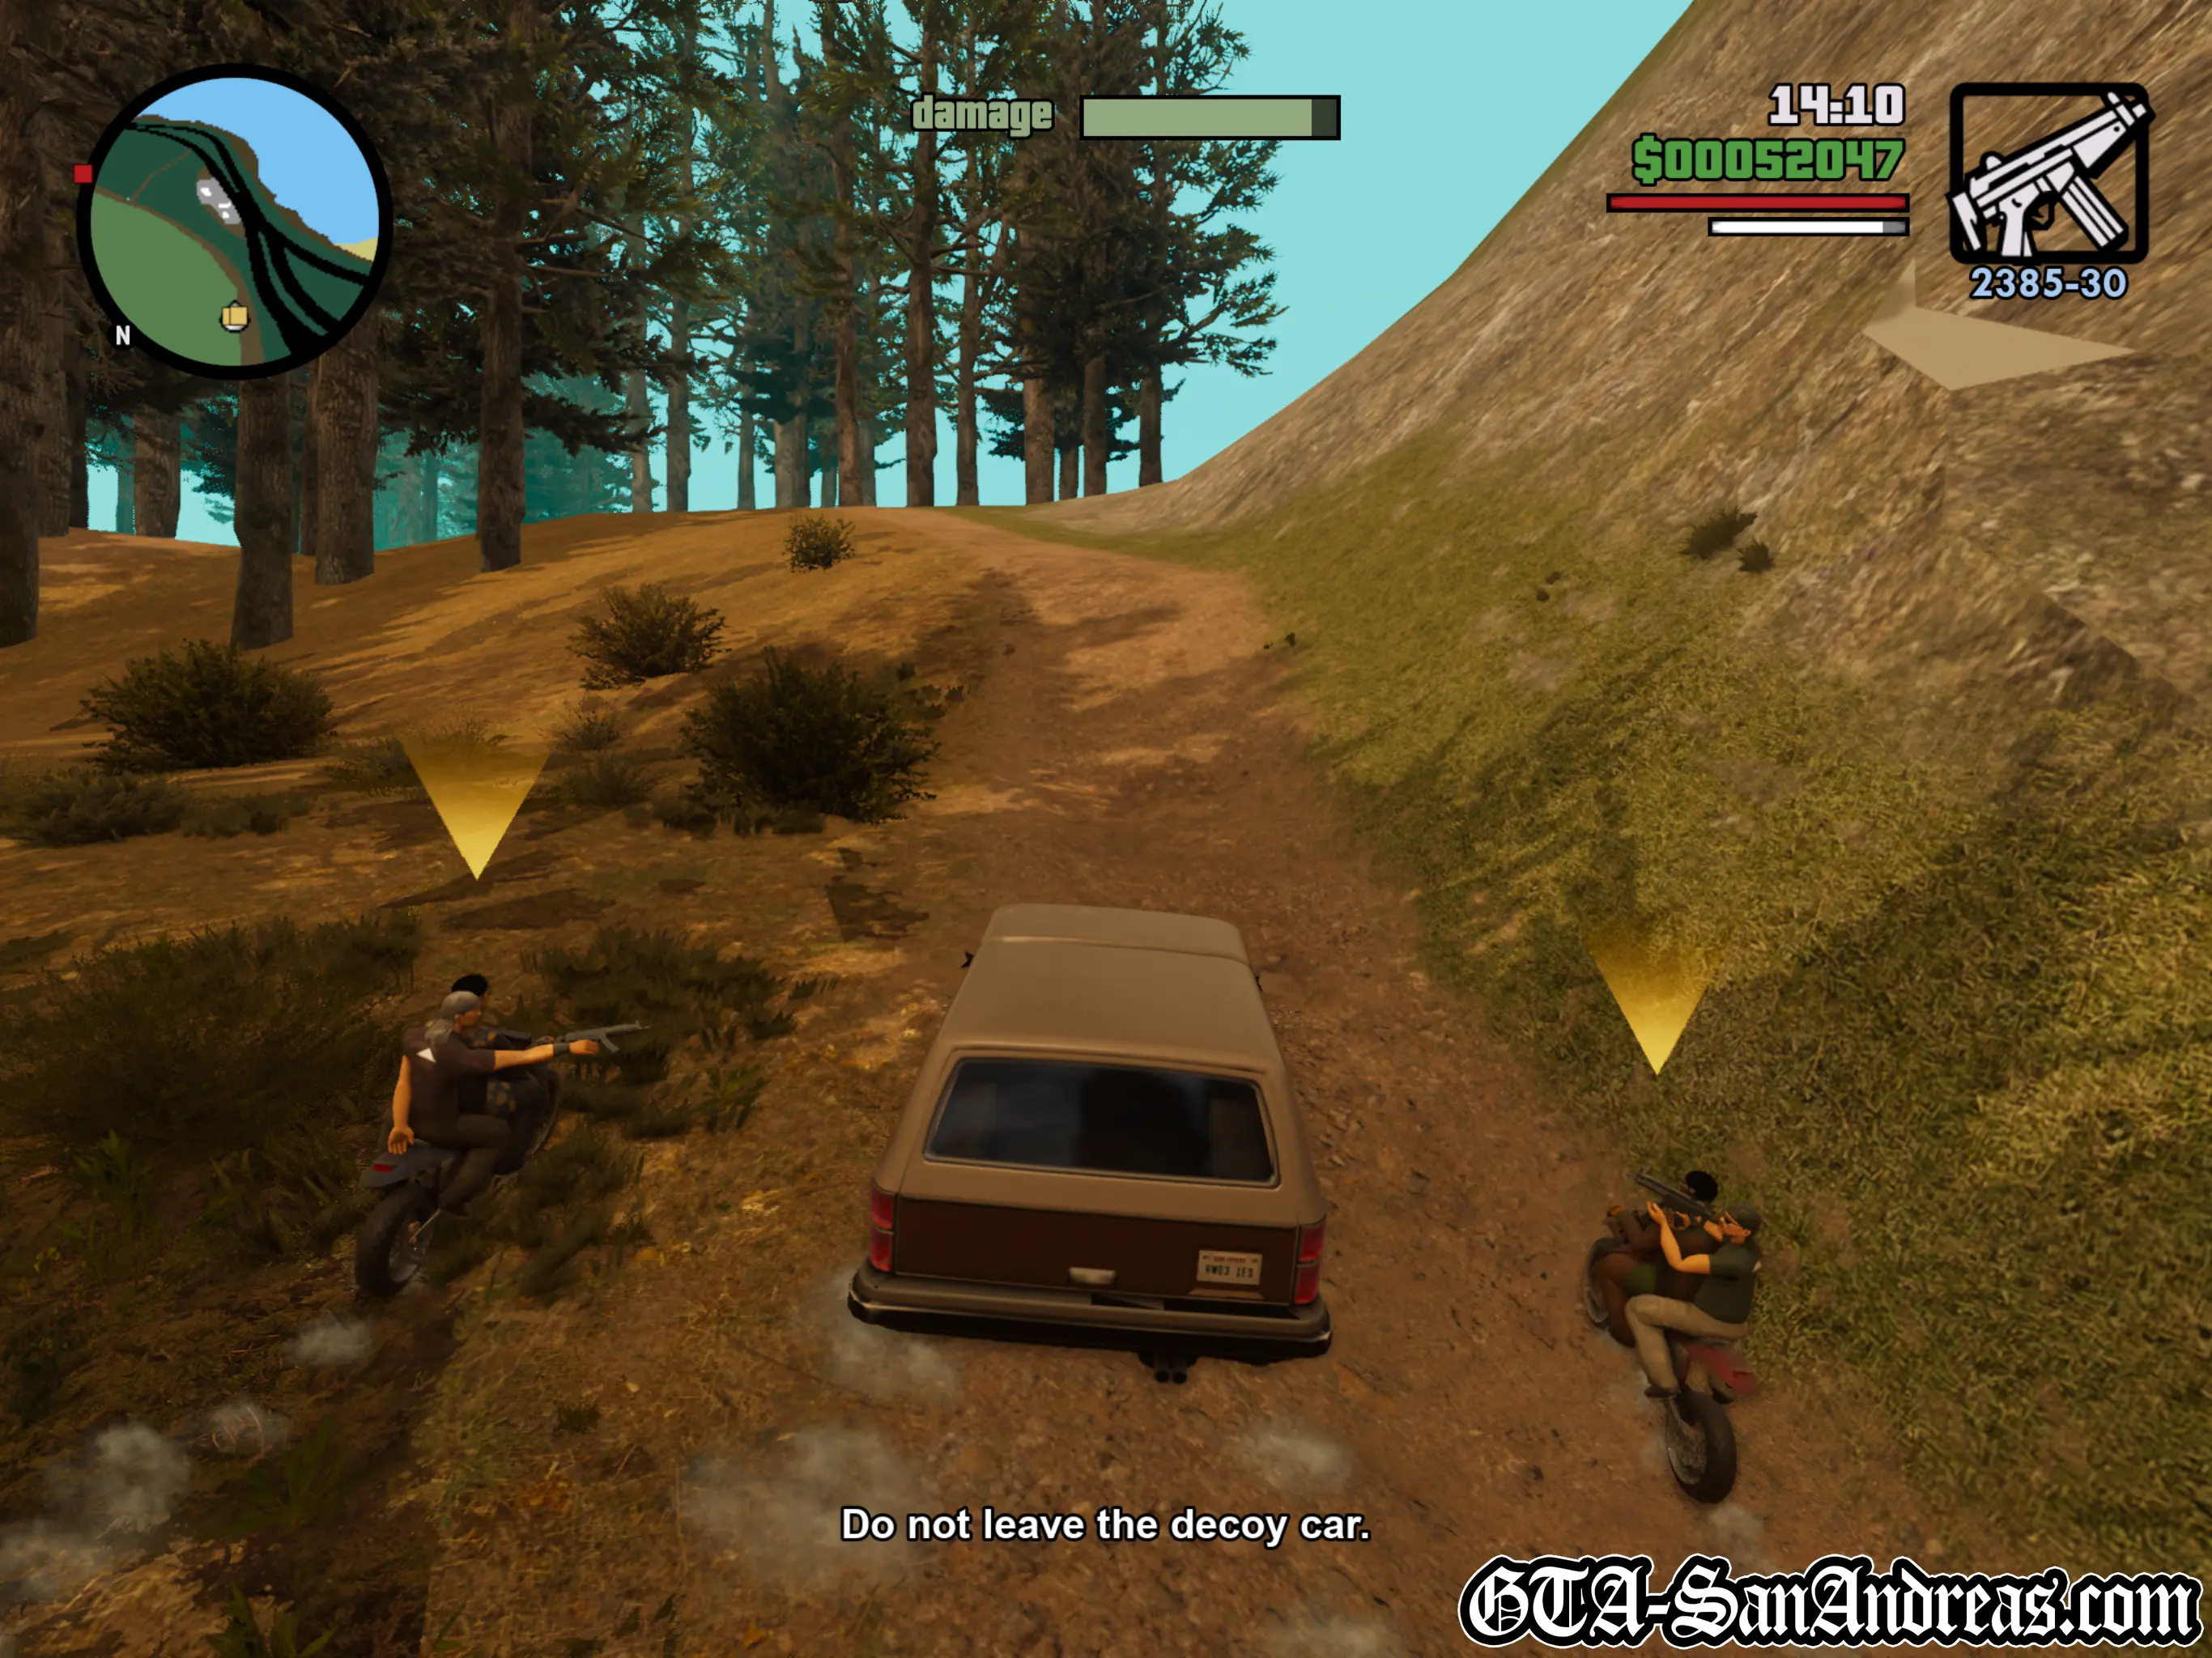
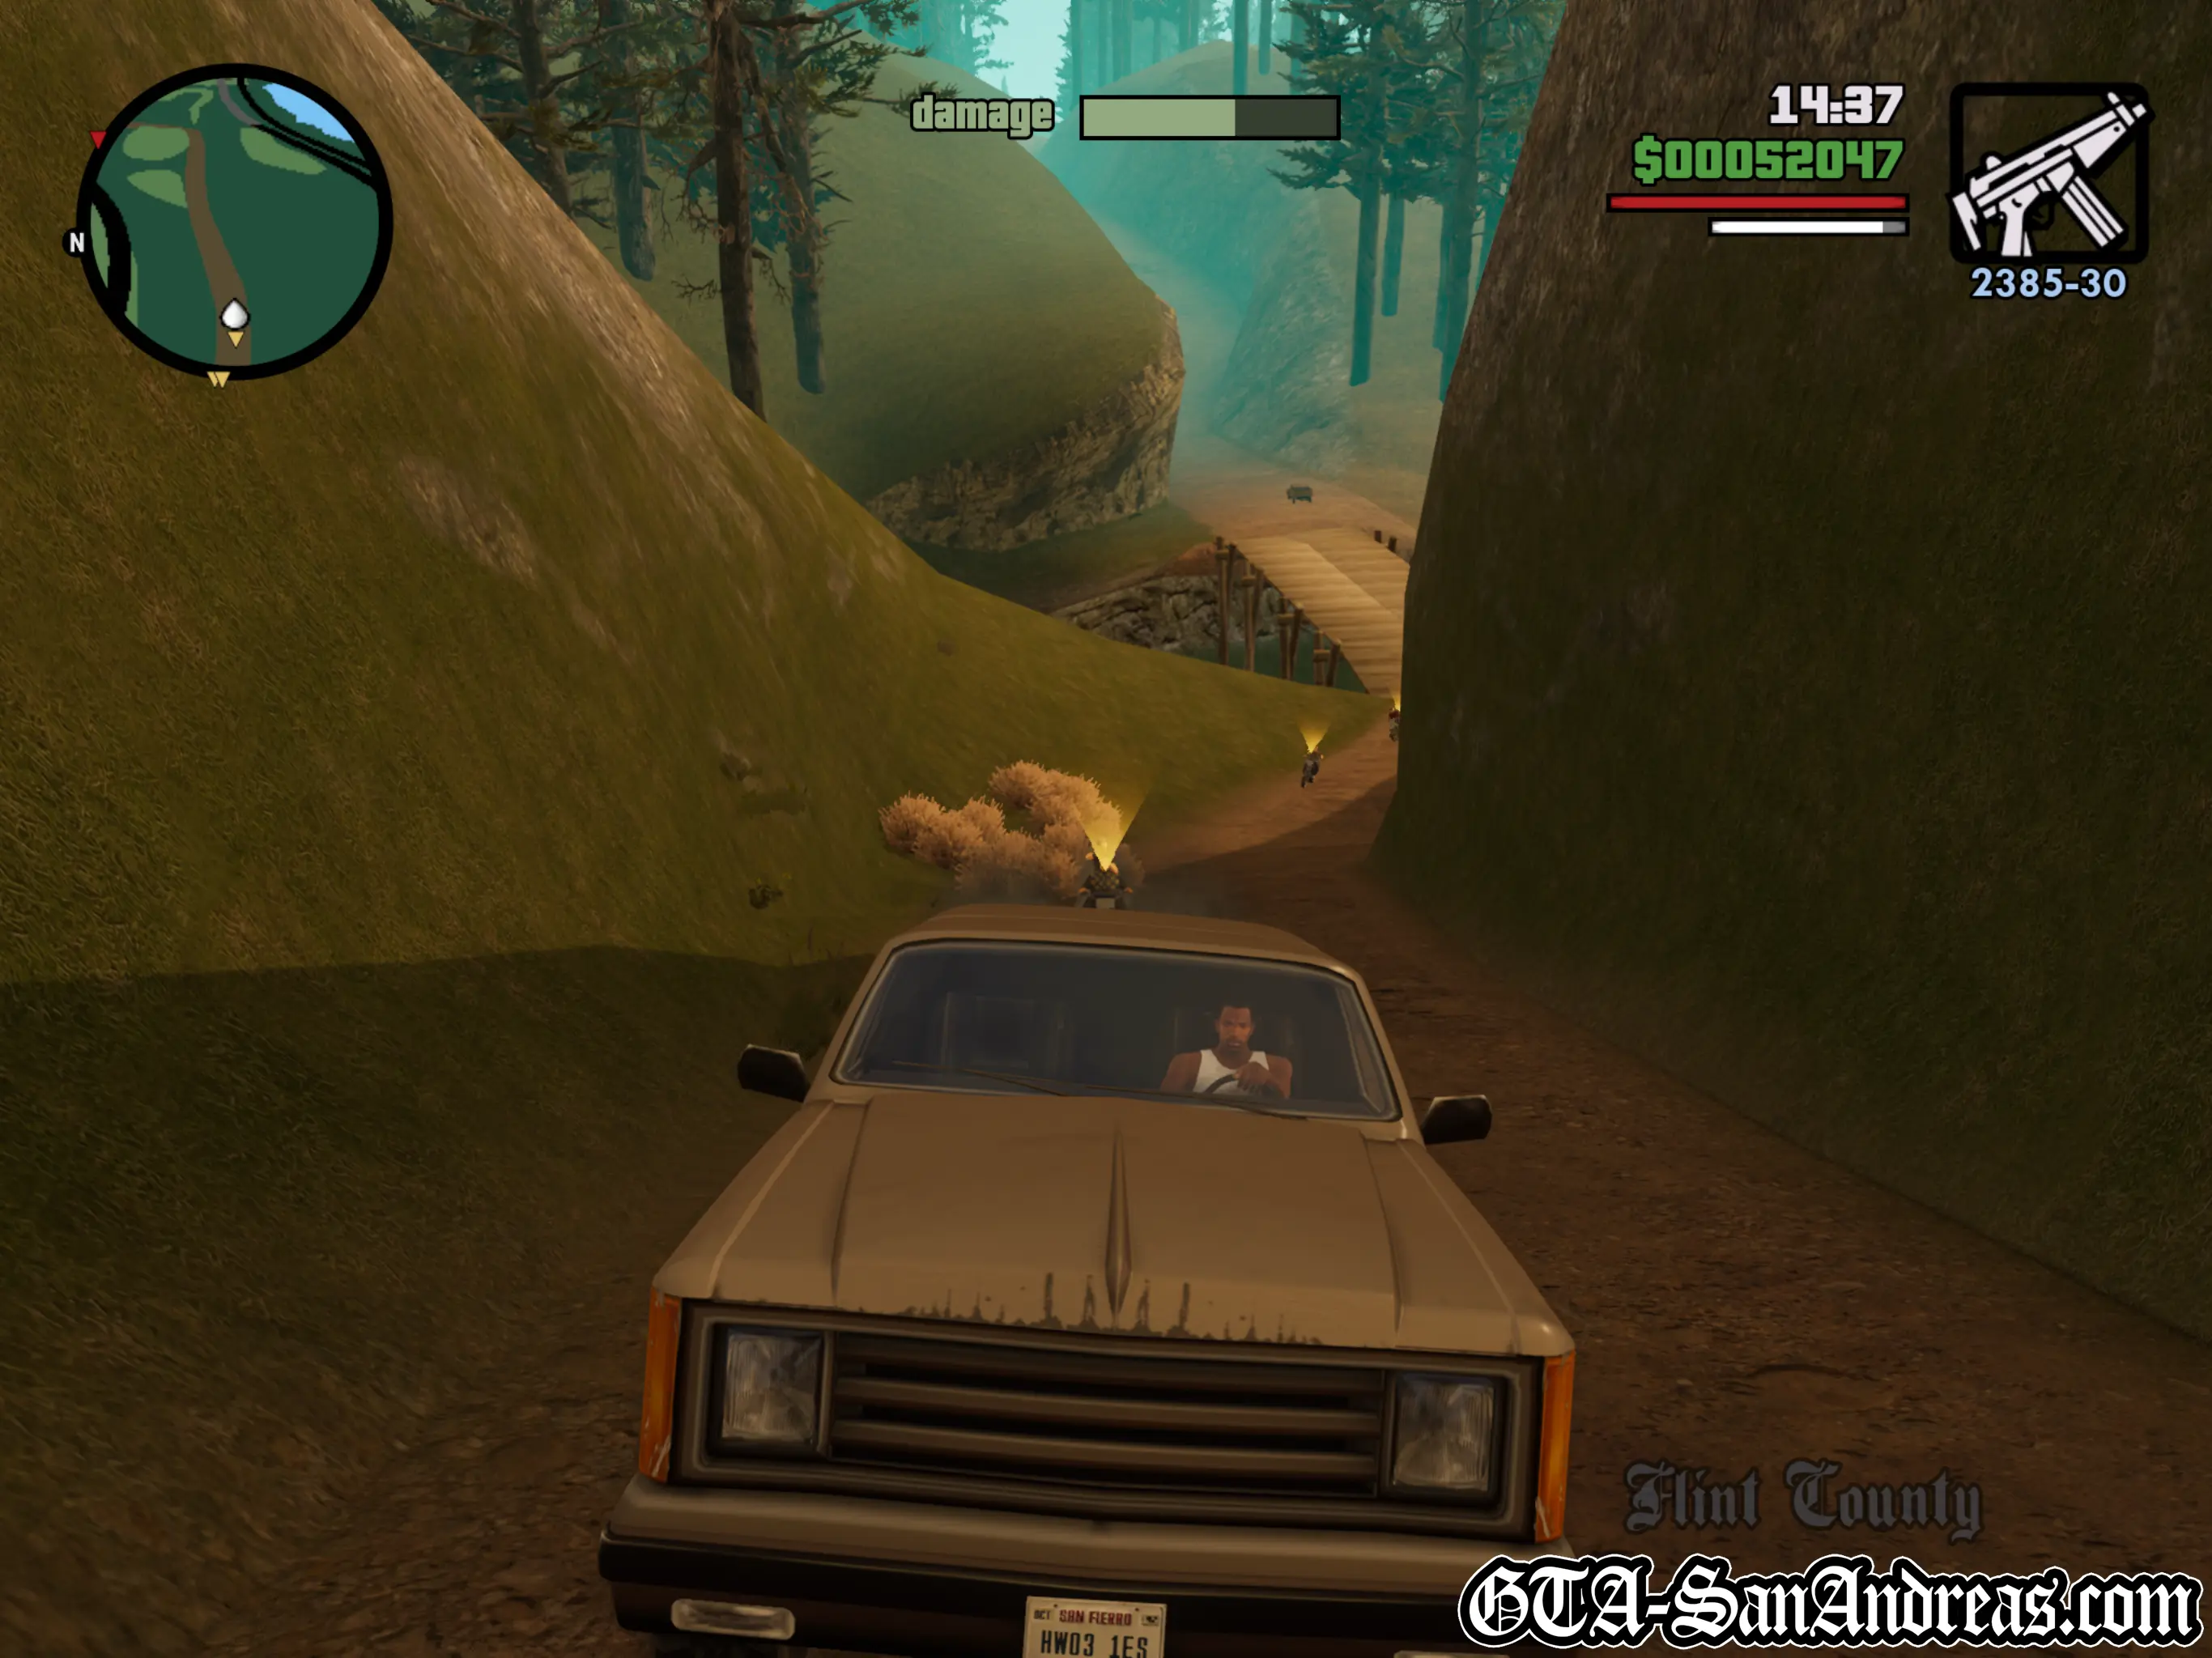
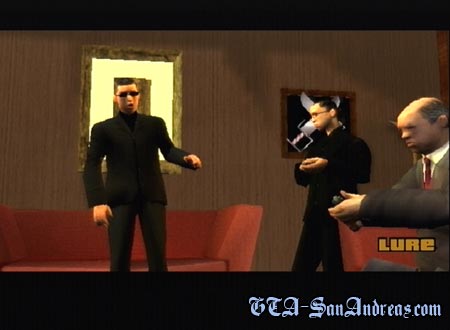
Lure
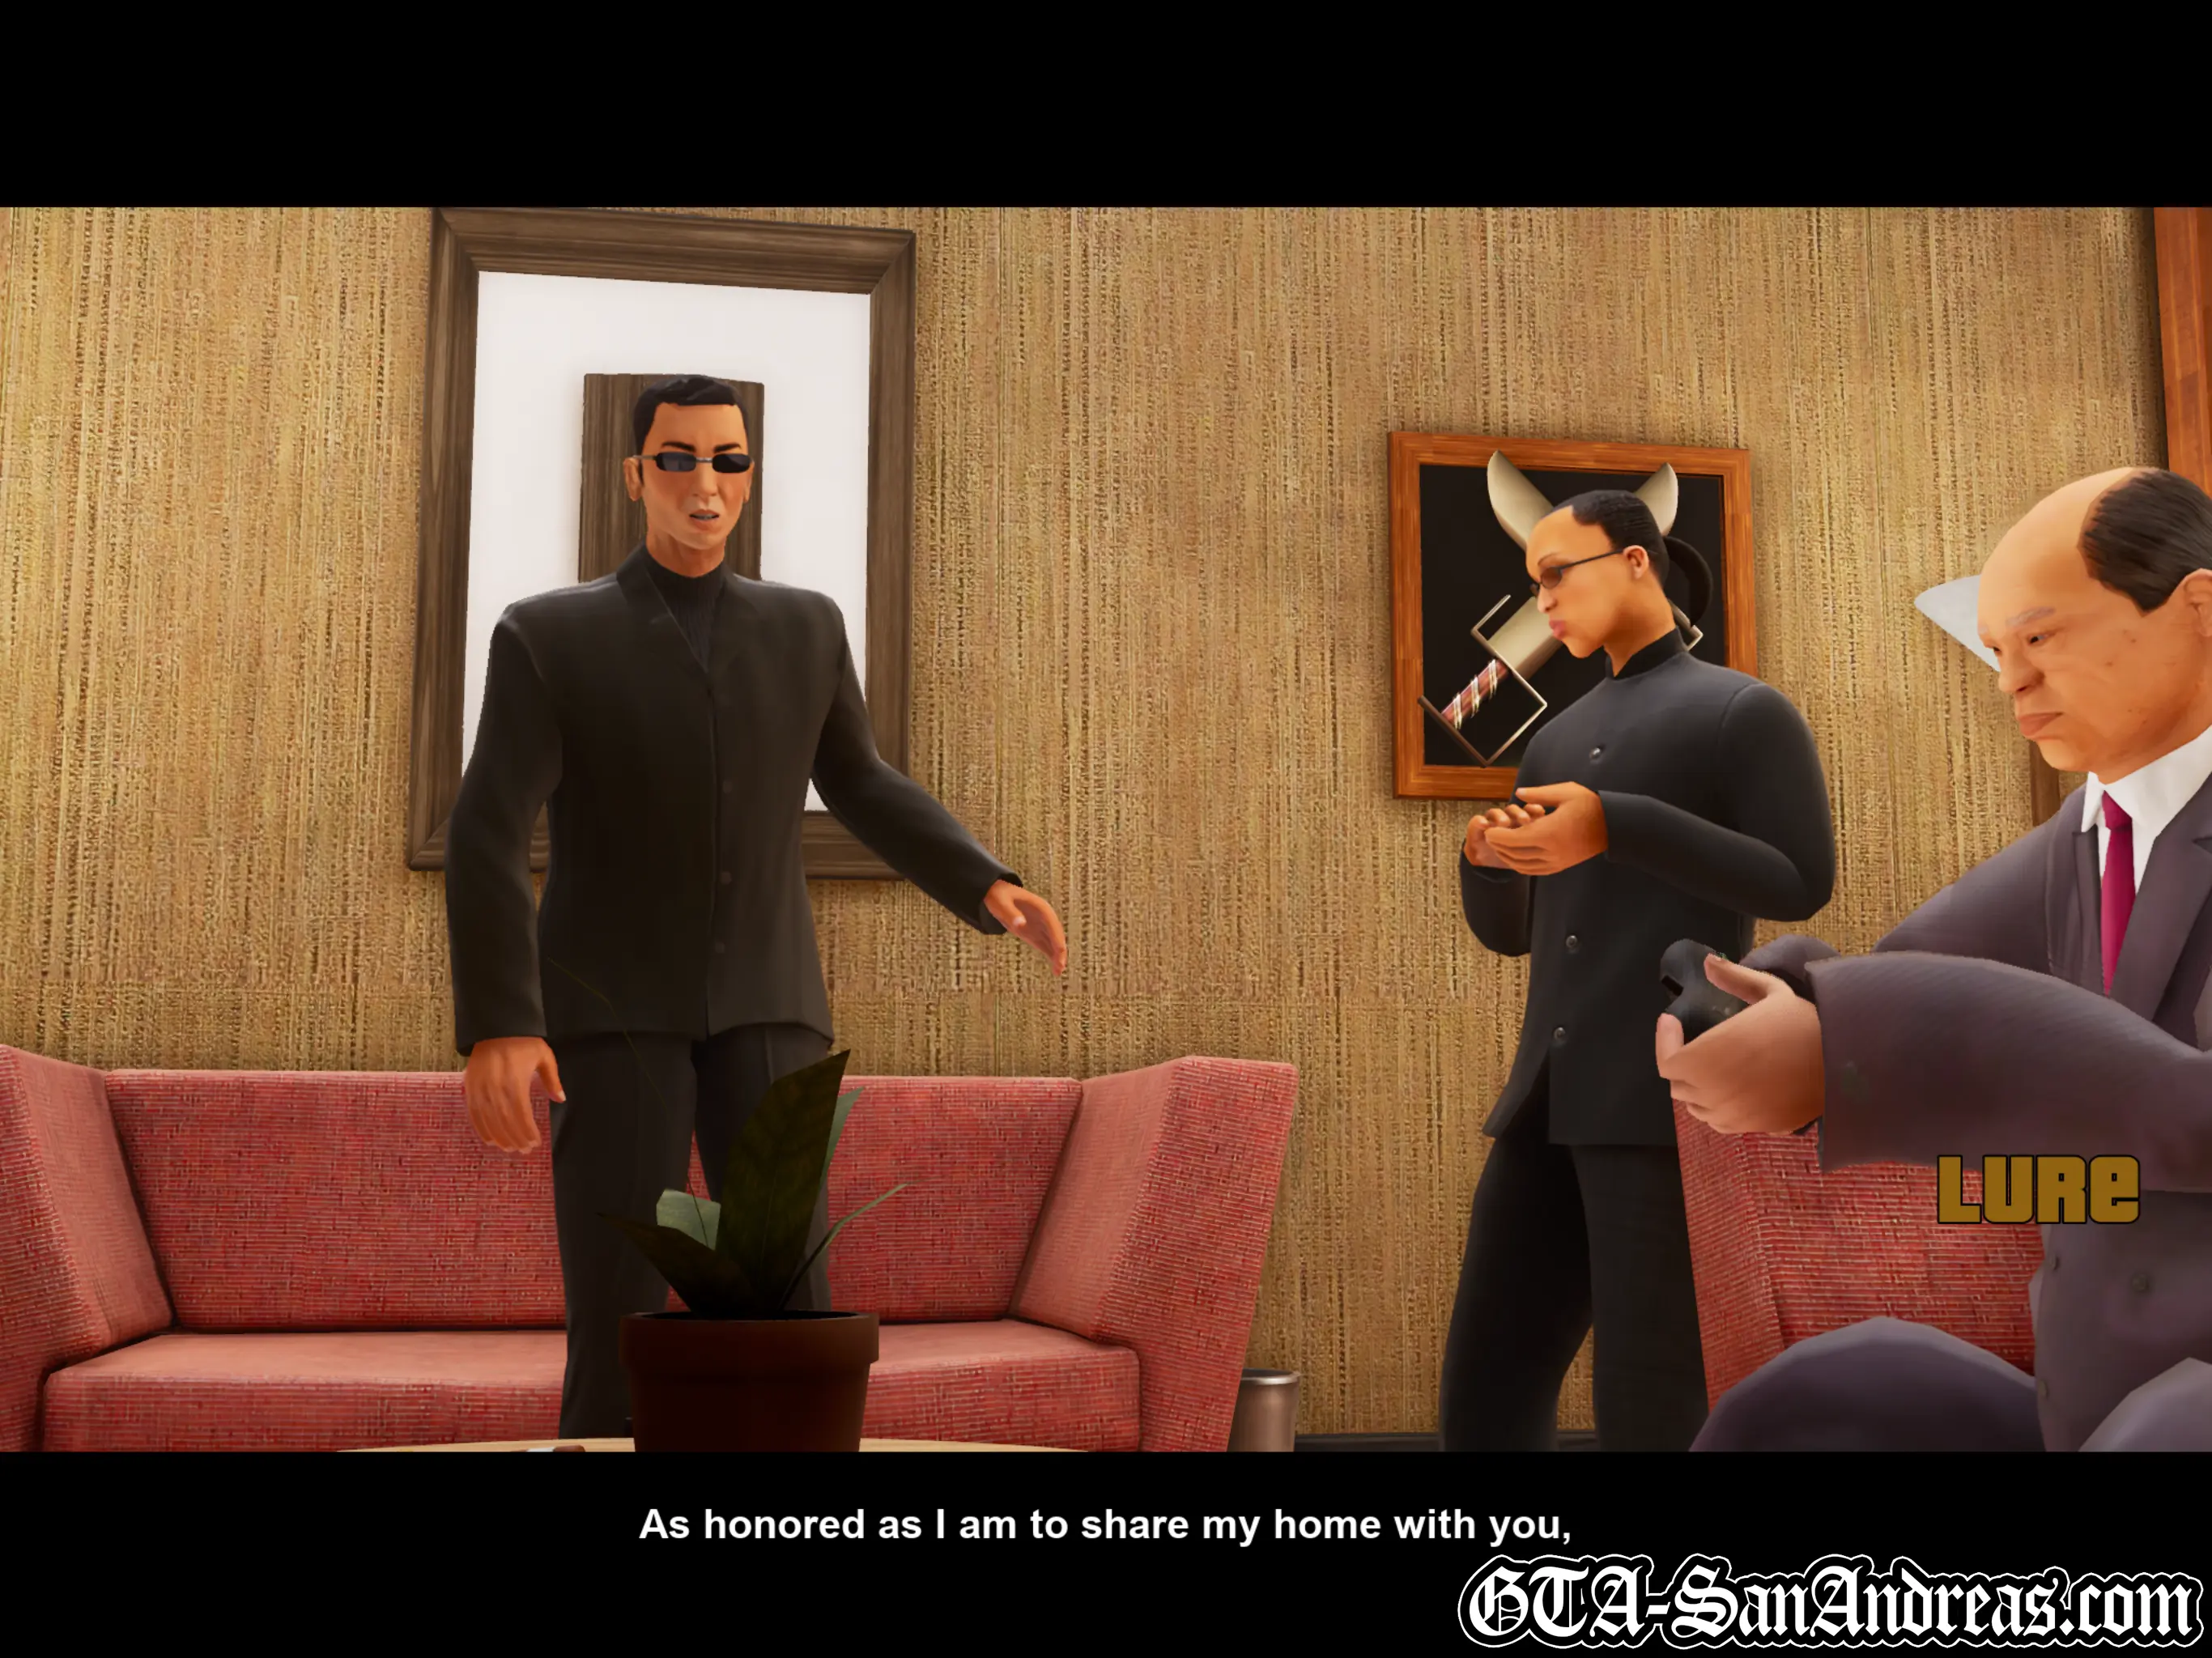
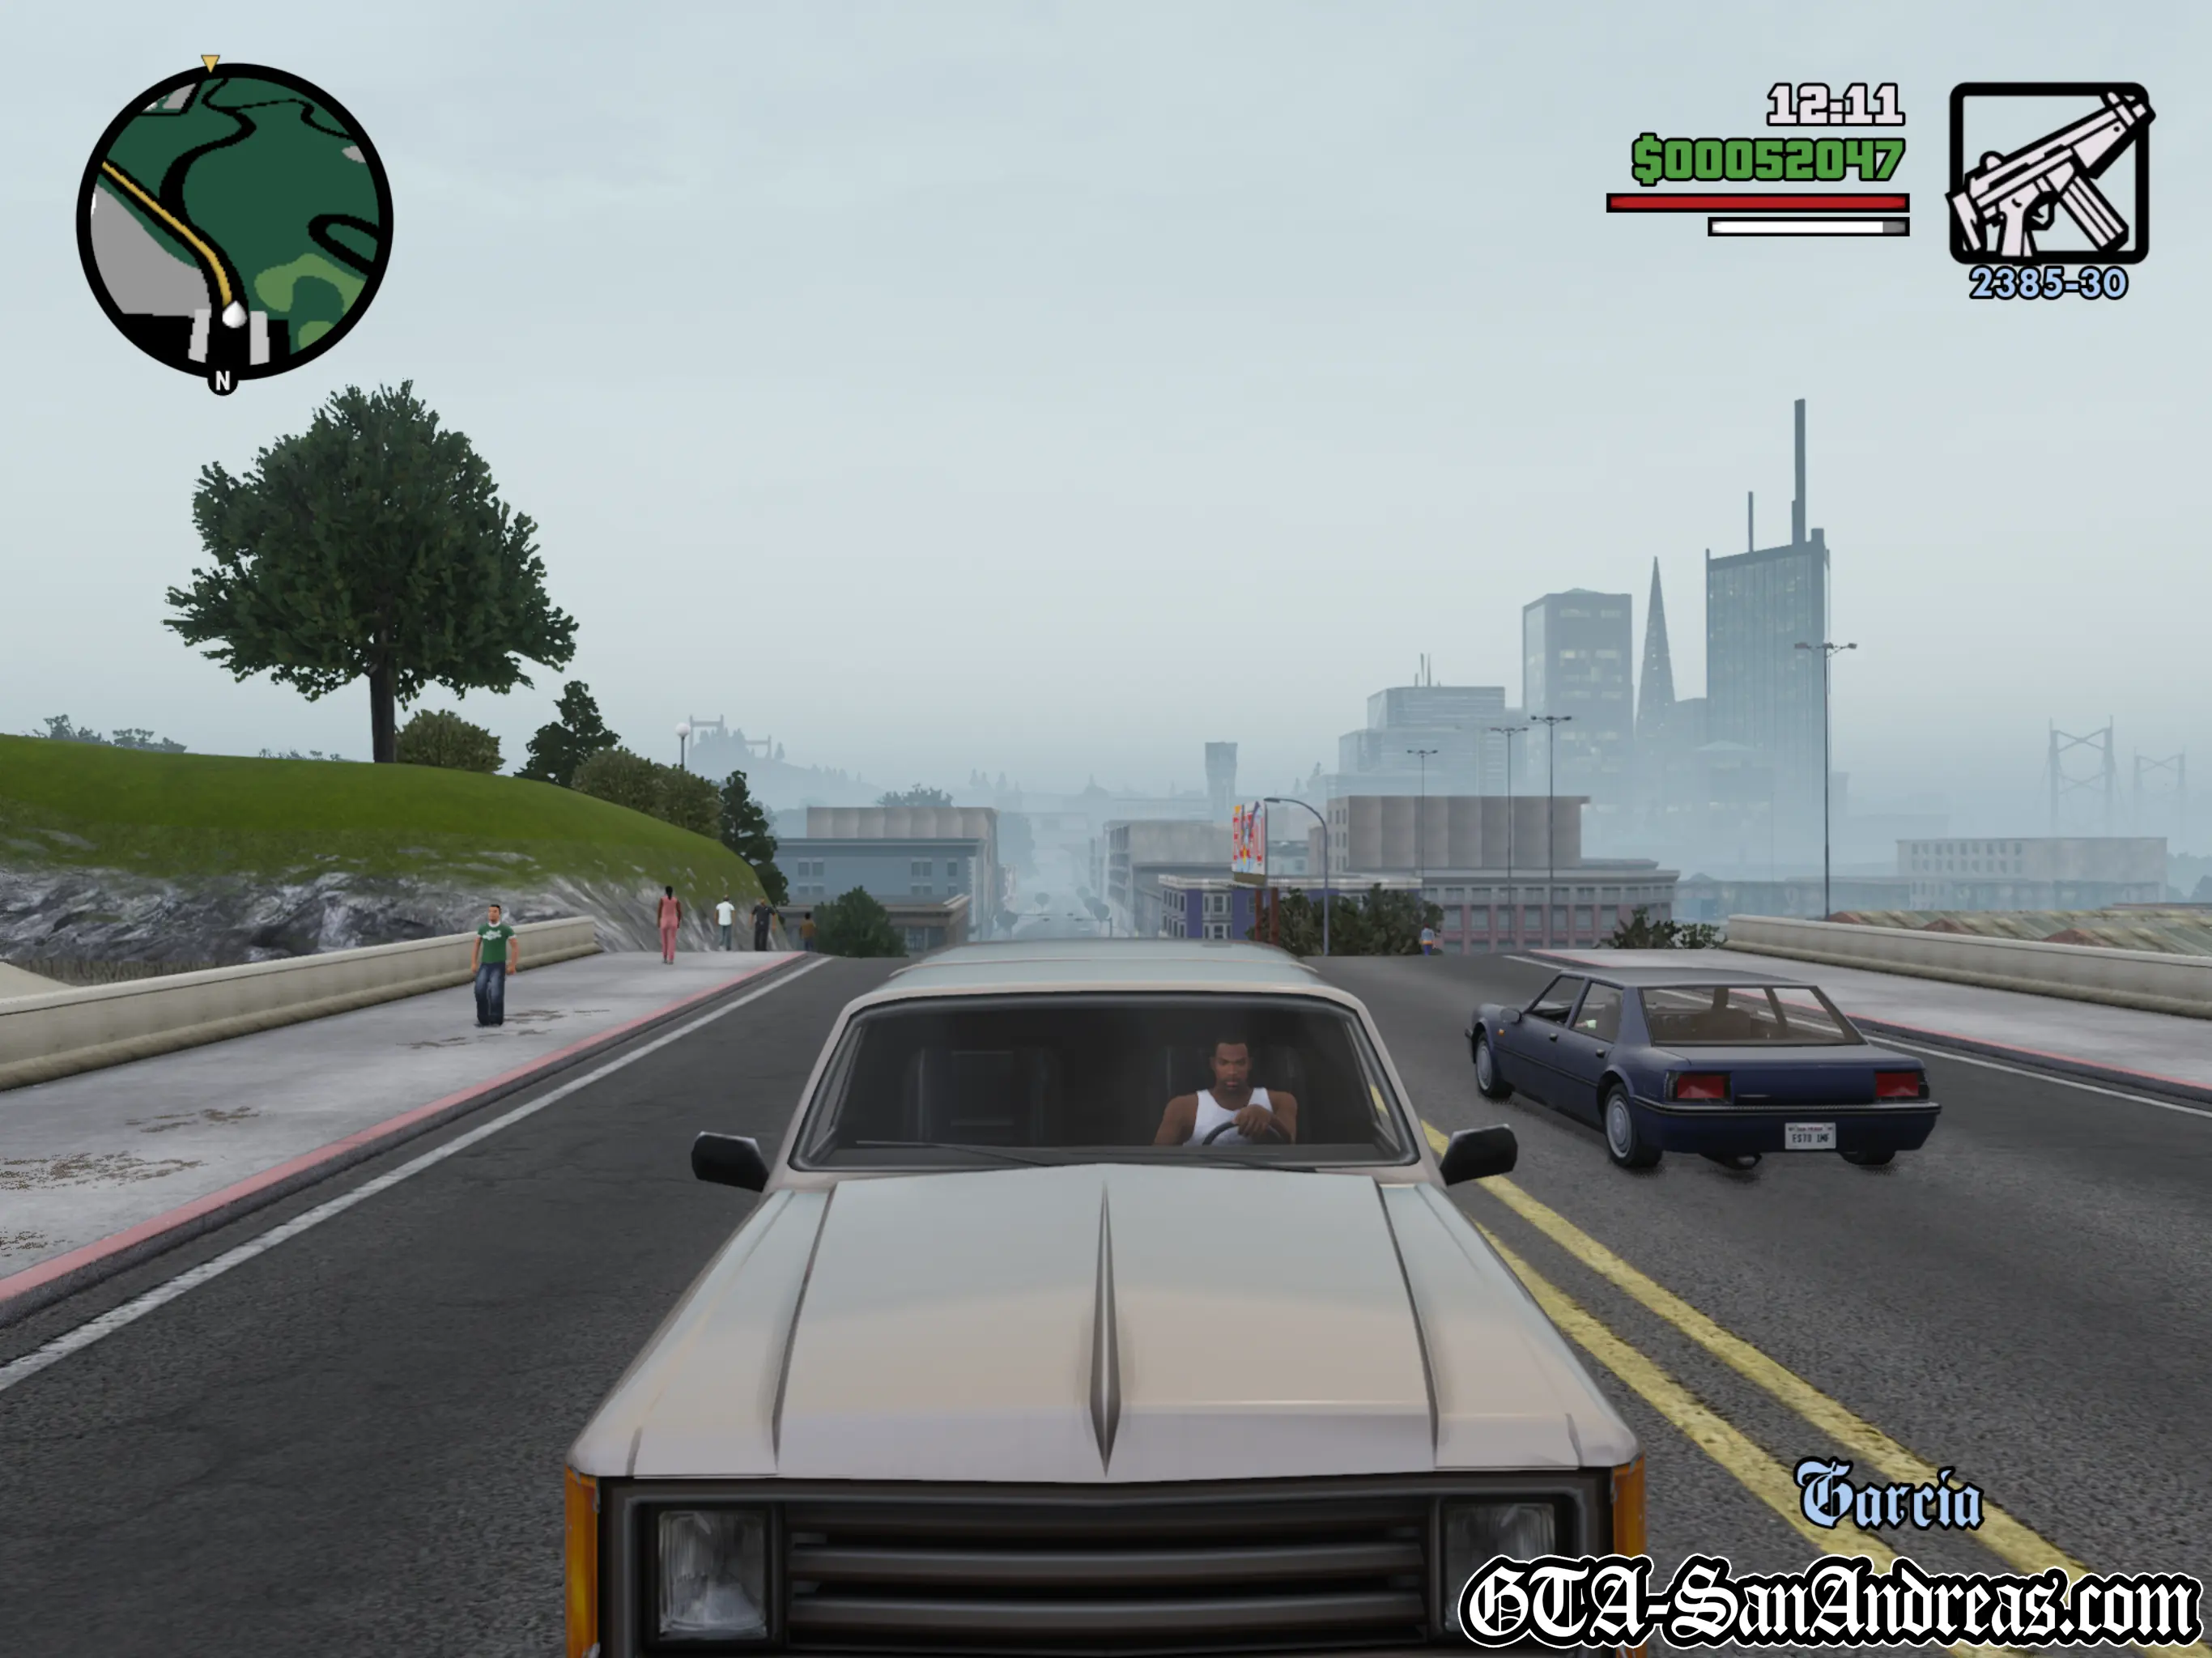
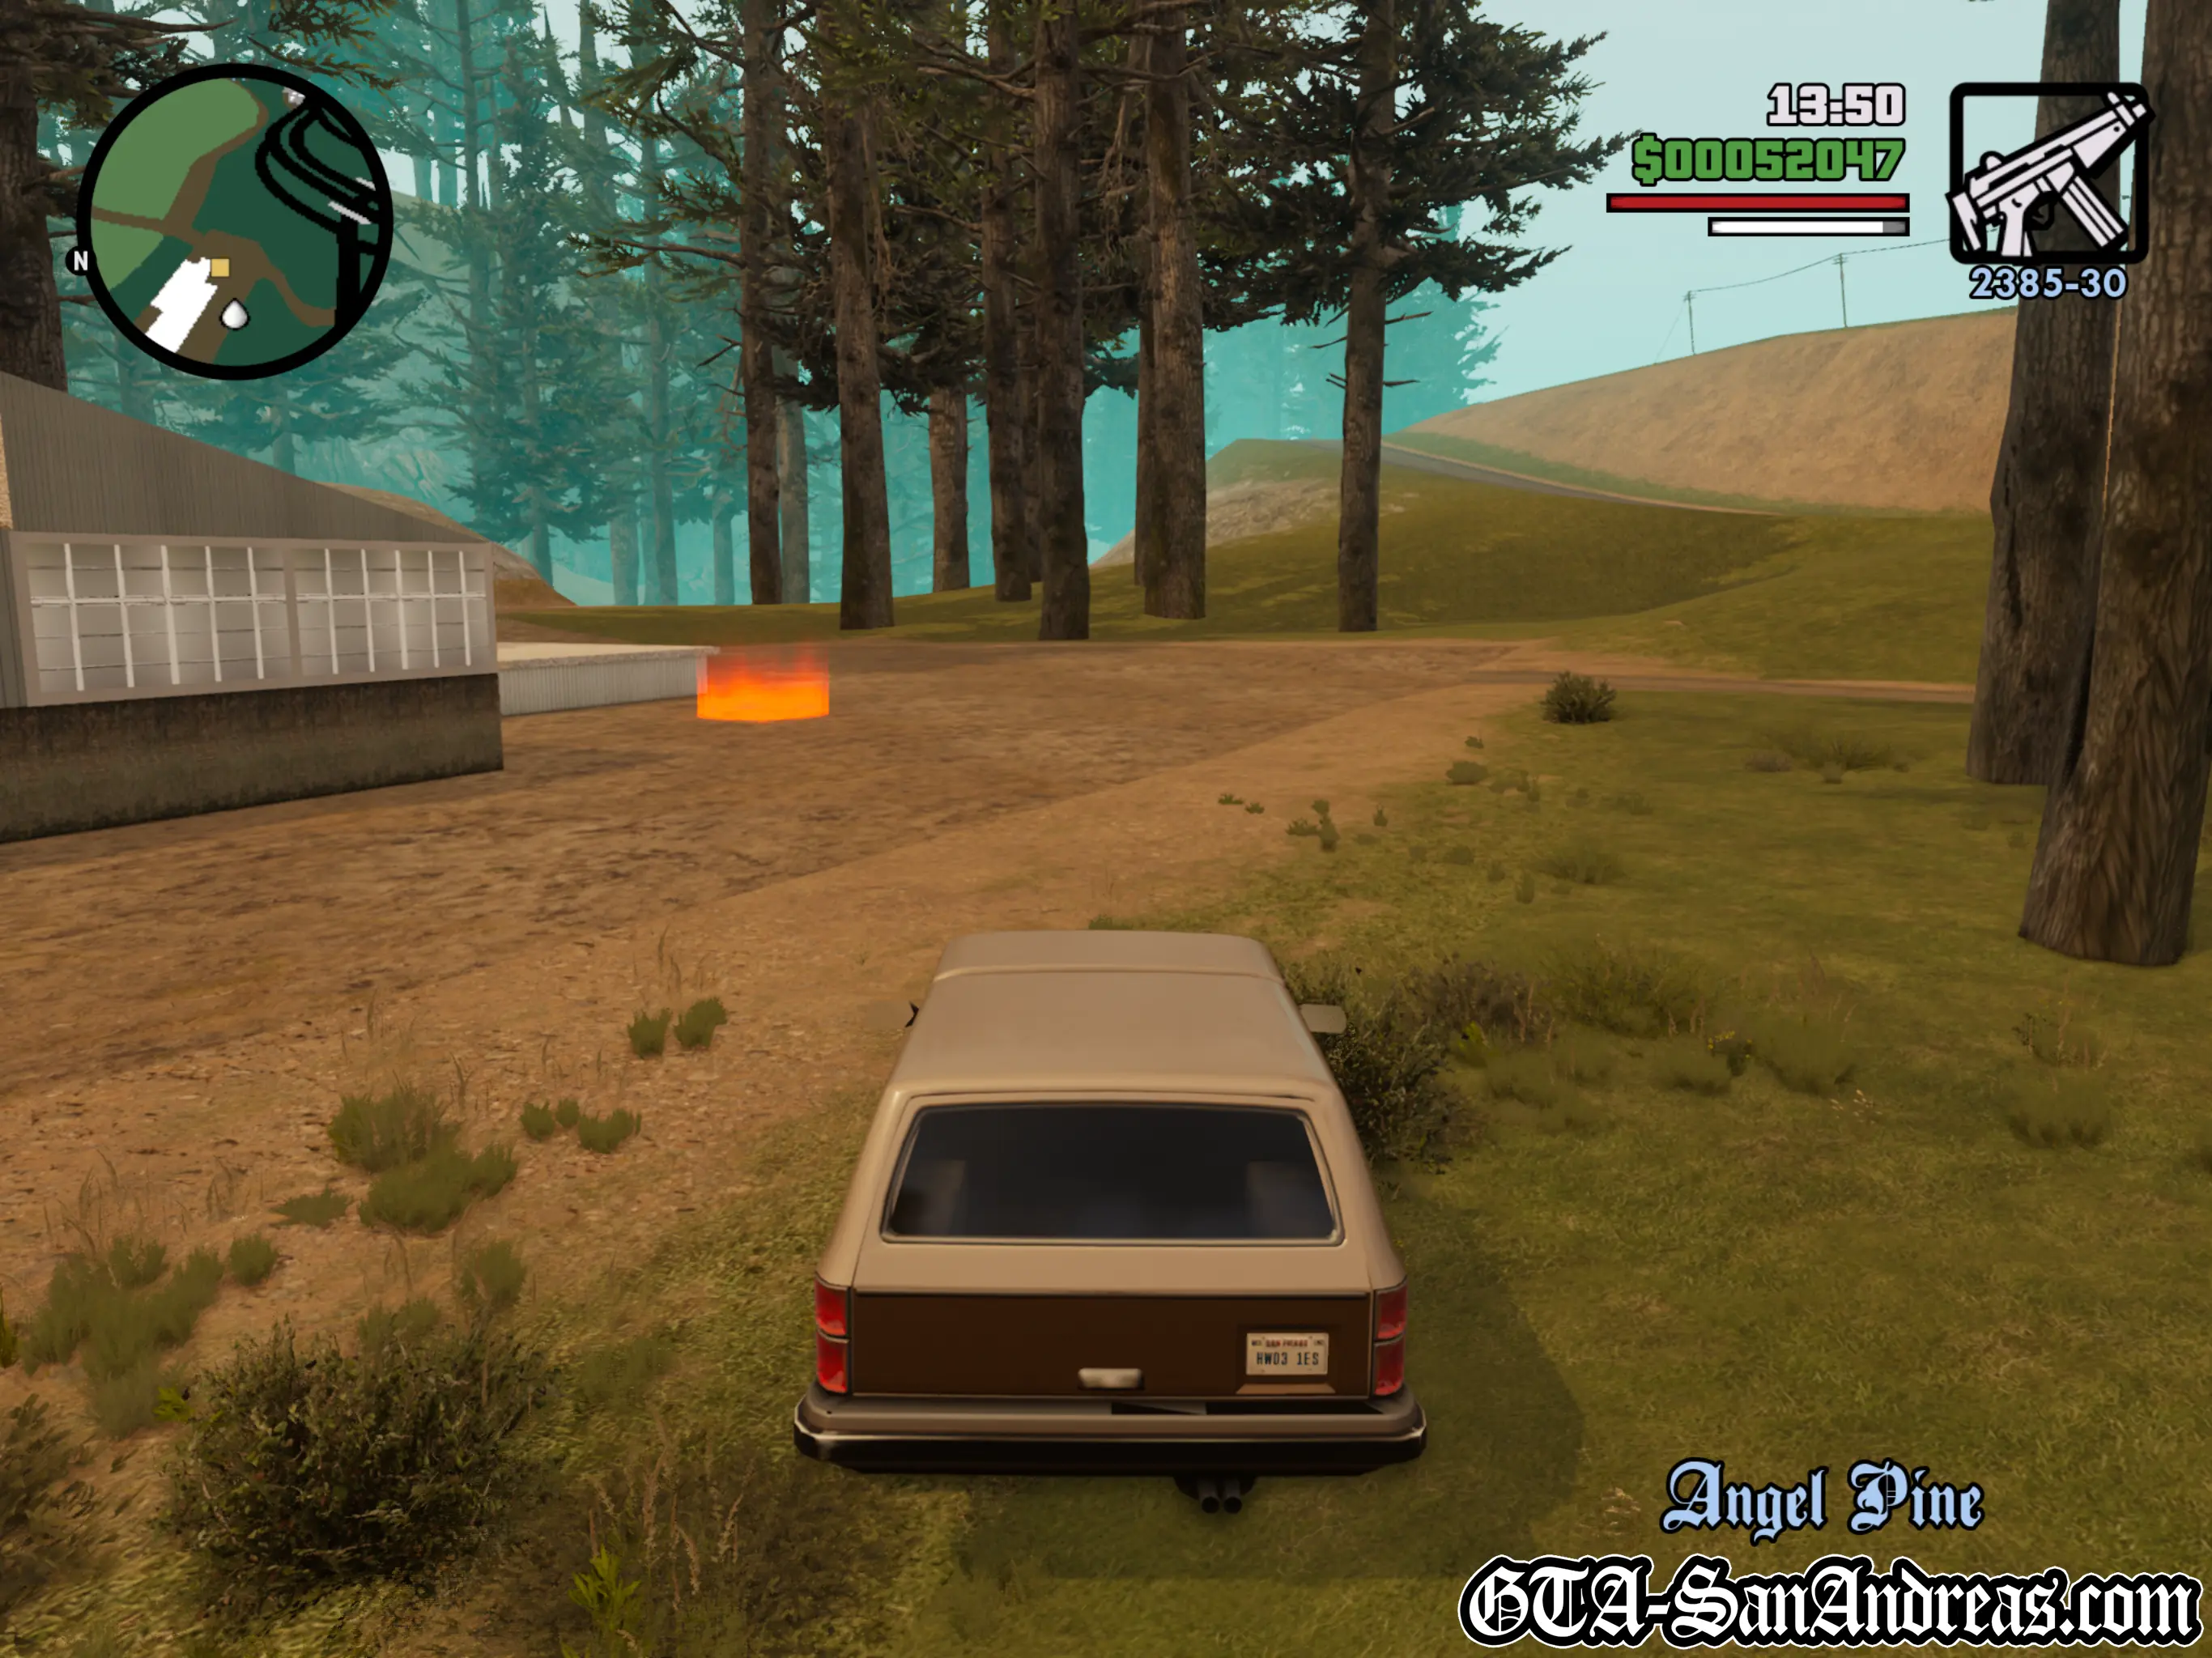
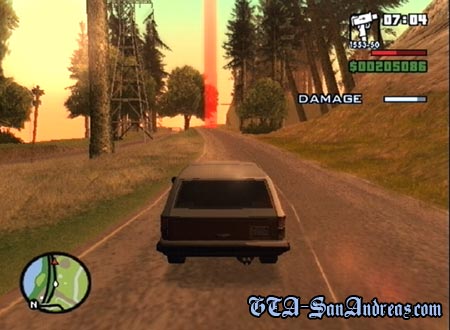
The Da Nang Boys have followed Ran Fa Li and will attempt an assassination if he goes back outside. Carl has an ingenious idea to drive his car and make it seem like he's in the back so the Da Nang Boys keep out of the way while Ran Fa Li escapes. Get in the Rancher parked outside. You'll then be instructed to drive into the countryside, so make your way to the yellow blip. As you get there, park in the red circle and you'll be told what to do next. You have Da Nang Boys on your tail, and you need to speed through the countryside without letting them get too close to your vehicle. It's almost like a race in the way that you need to follow the checkpoints, however the only other thing like a race is the fact that you need to get through the checkpoints first. The guys on bikes will try to shoot your car doors off so they can see inside. You need to make sure they don't get close enough to do that. Speed through the checkpoints which will take you on a relatively tame ride through the countryside, and keep up your speed. You won't have to brake too much at all, although handbrake turns may be useful for the 90° turns you'll come to. Eventually you'll end up at the Whetstone Truck Stop and hear that Ran Fa Li safely escaped.
Screenshots

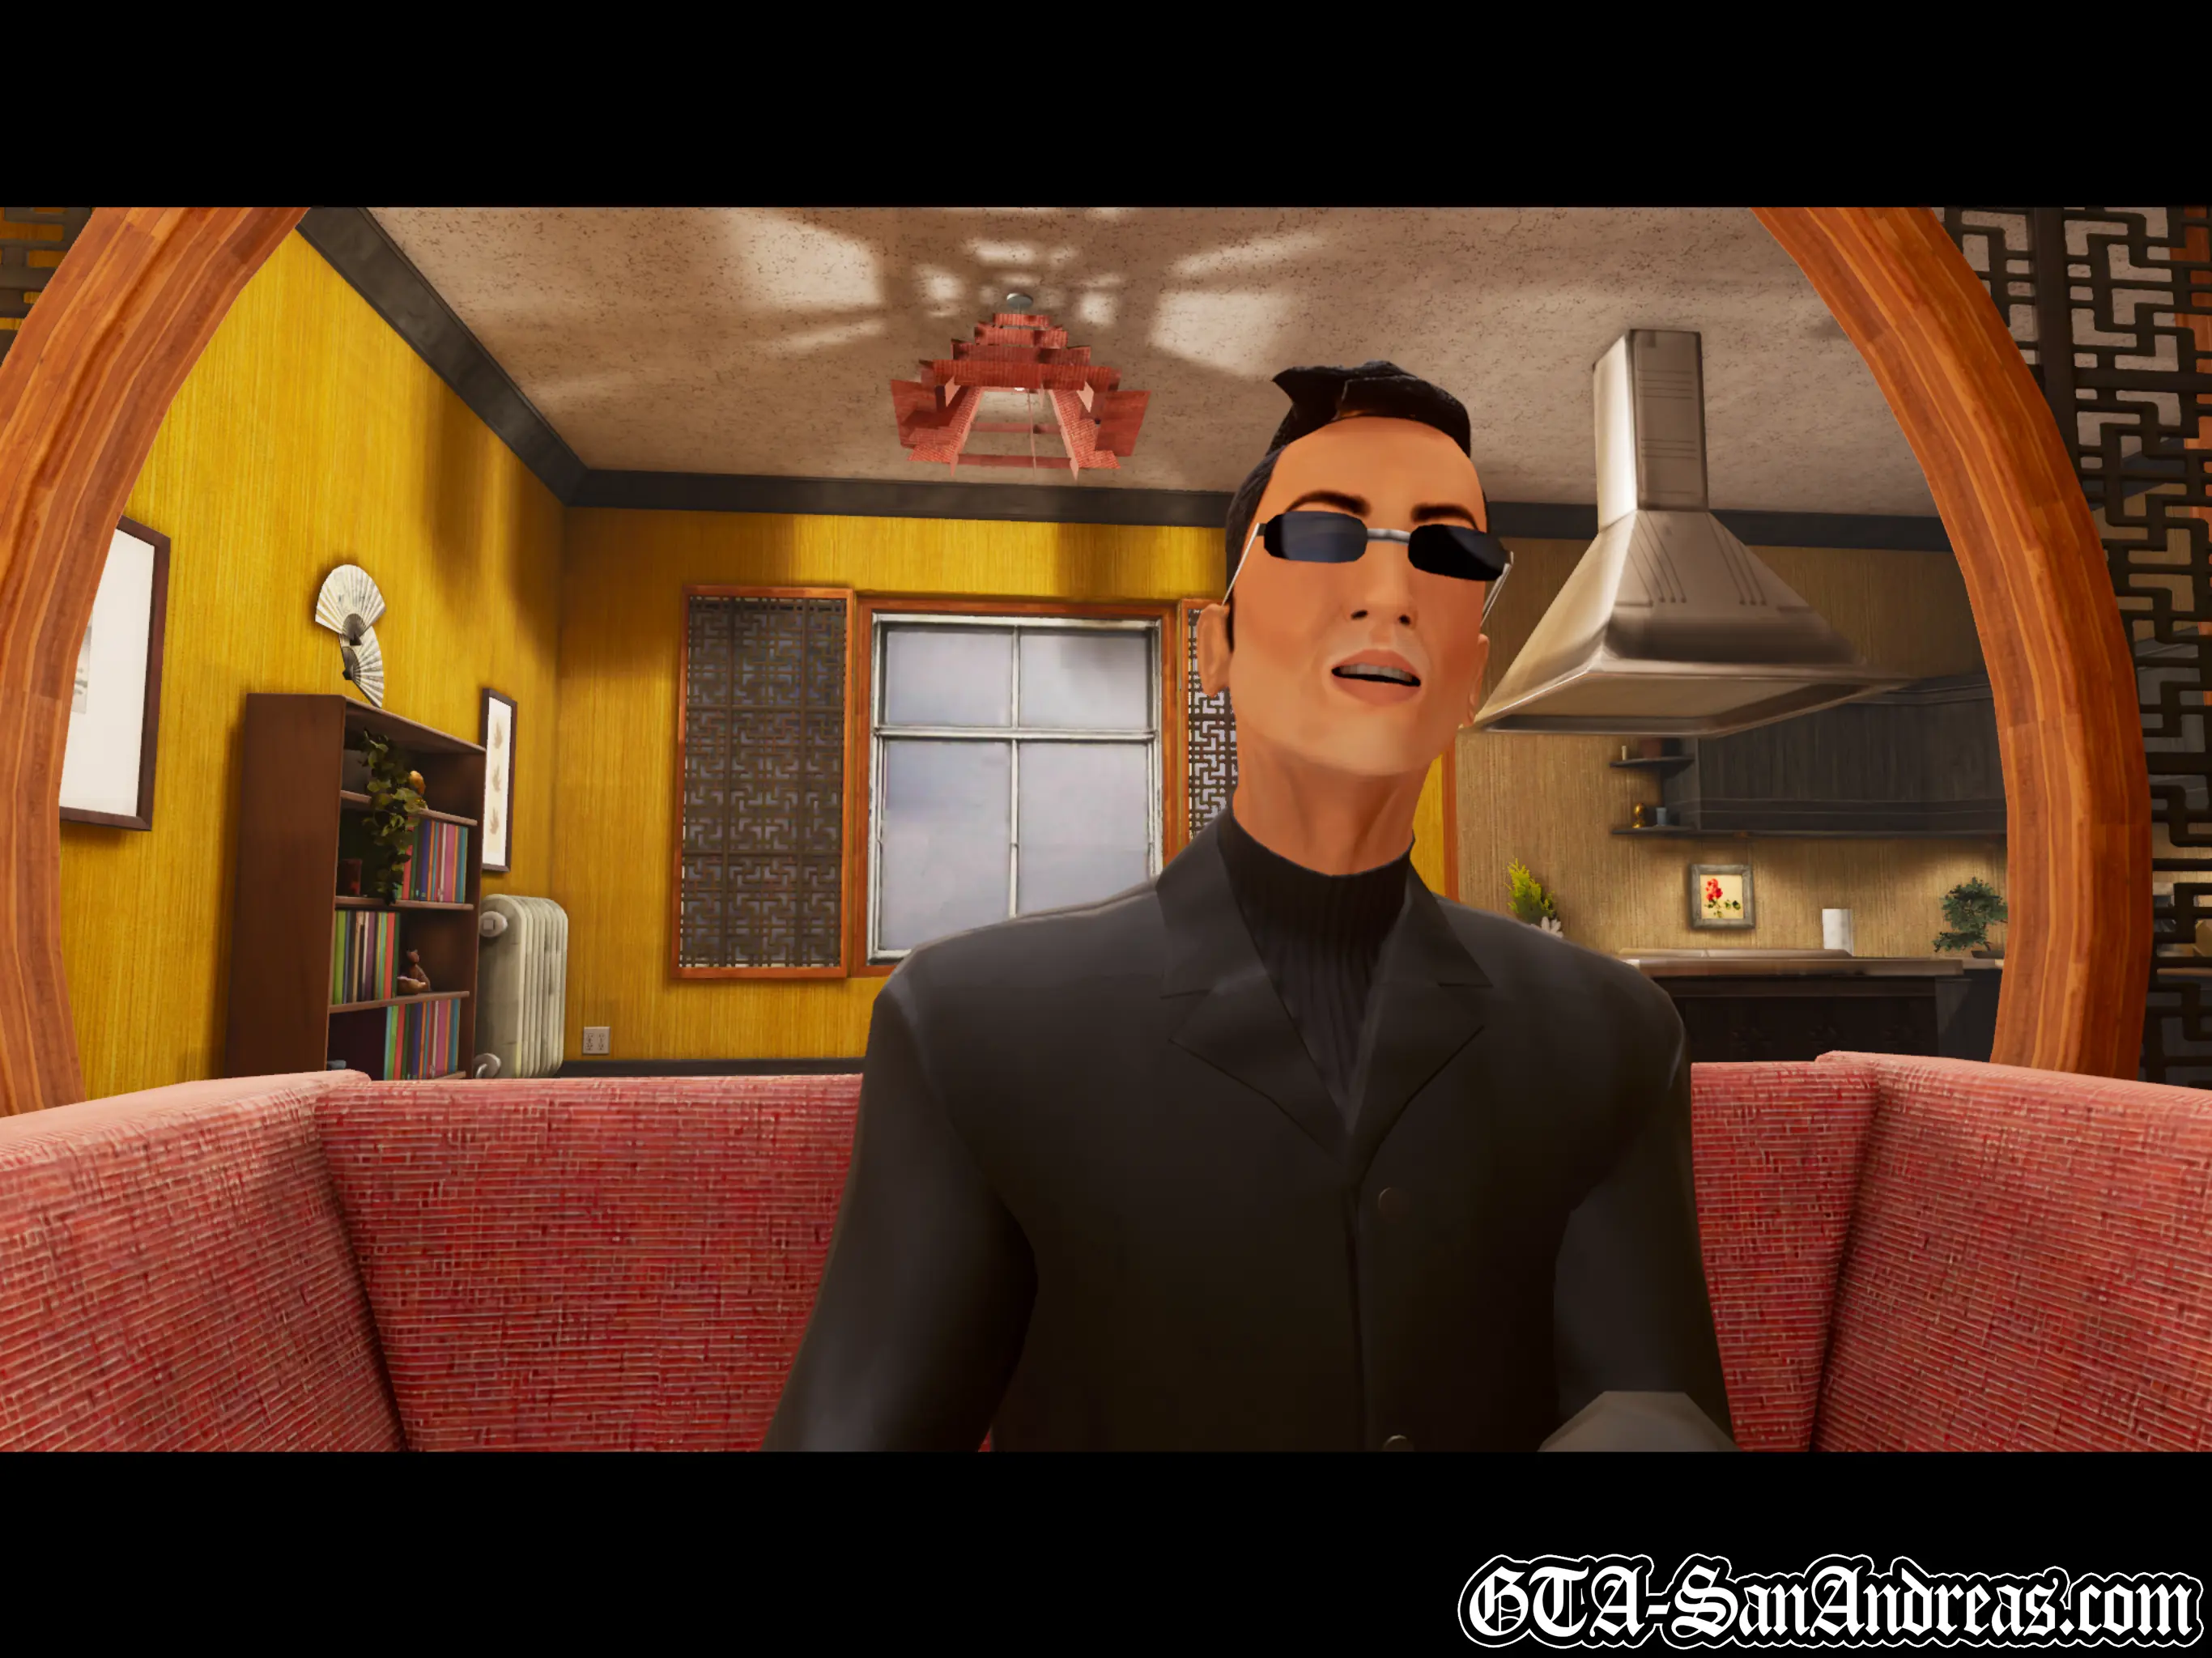
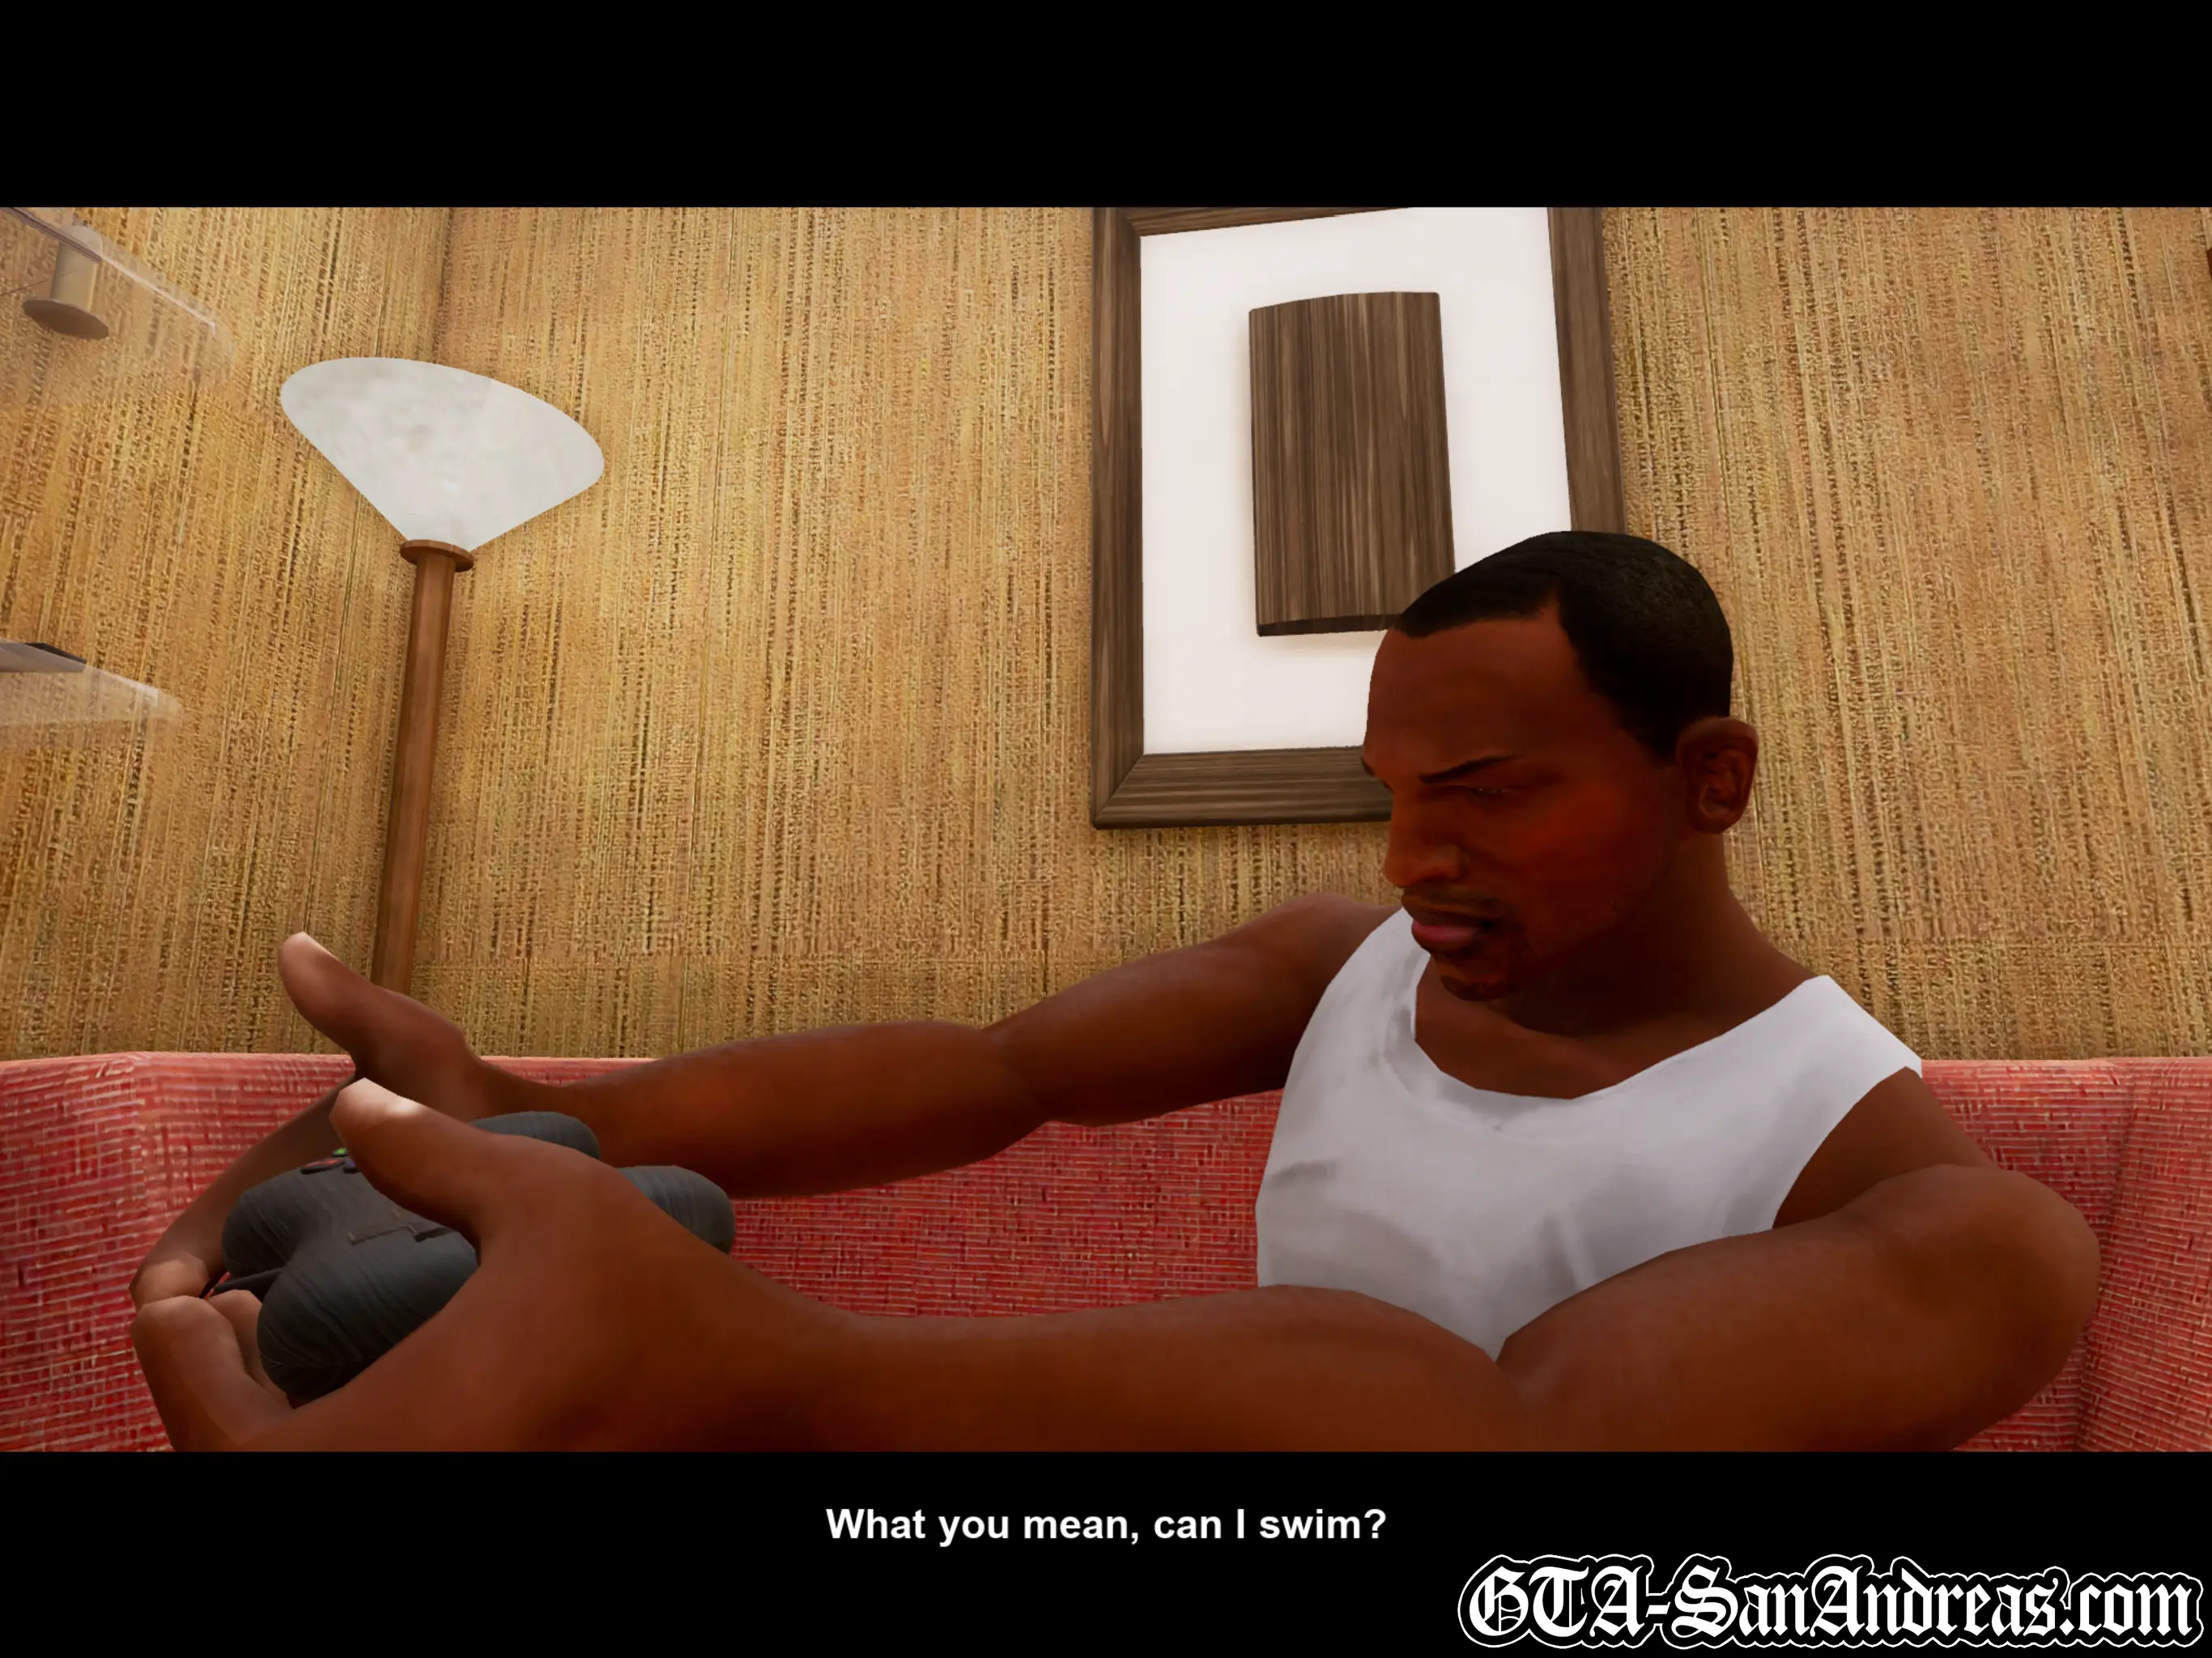
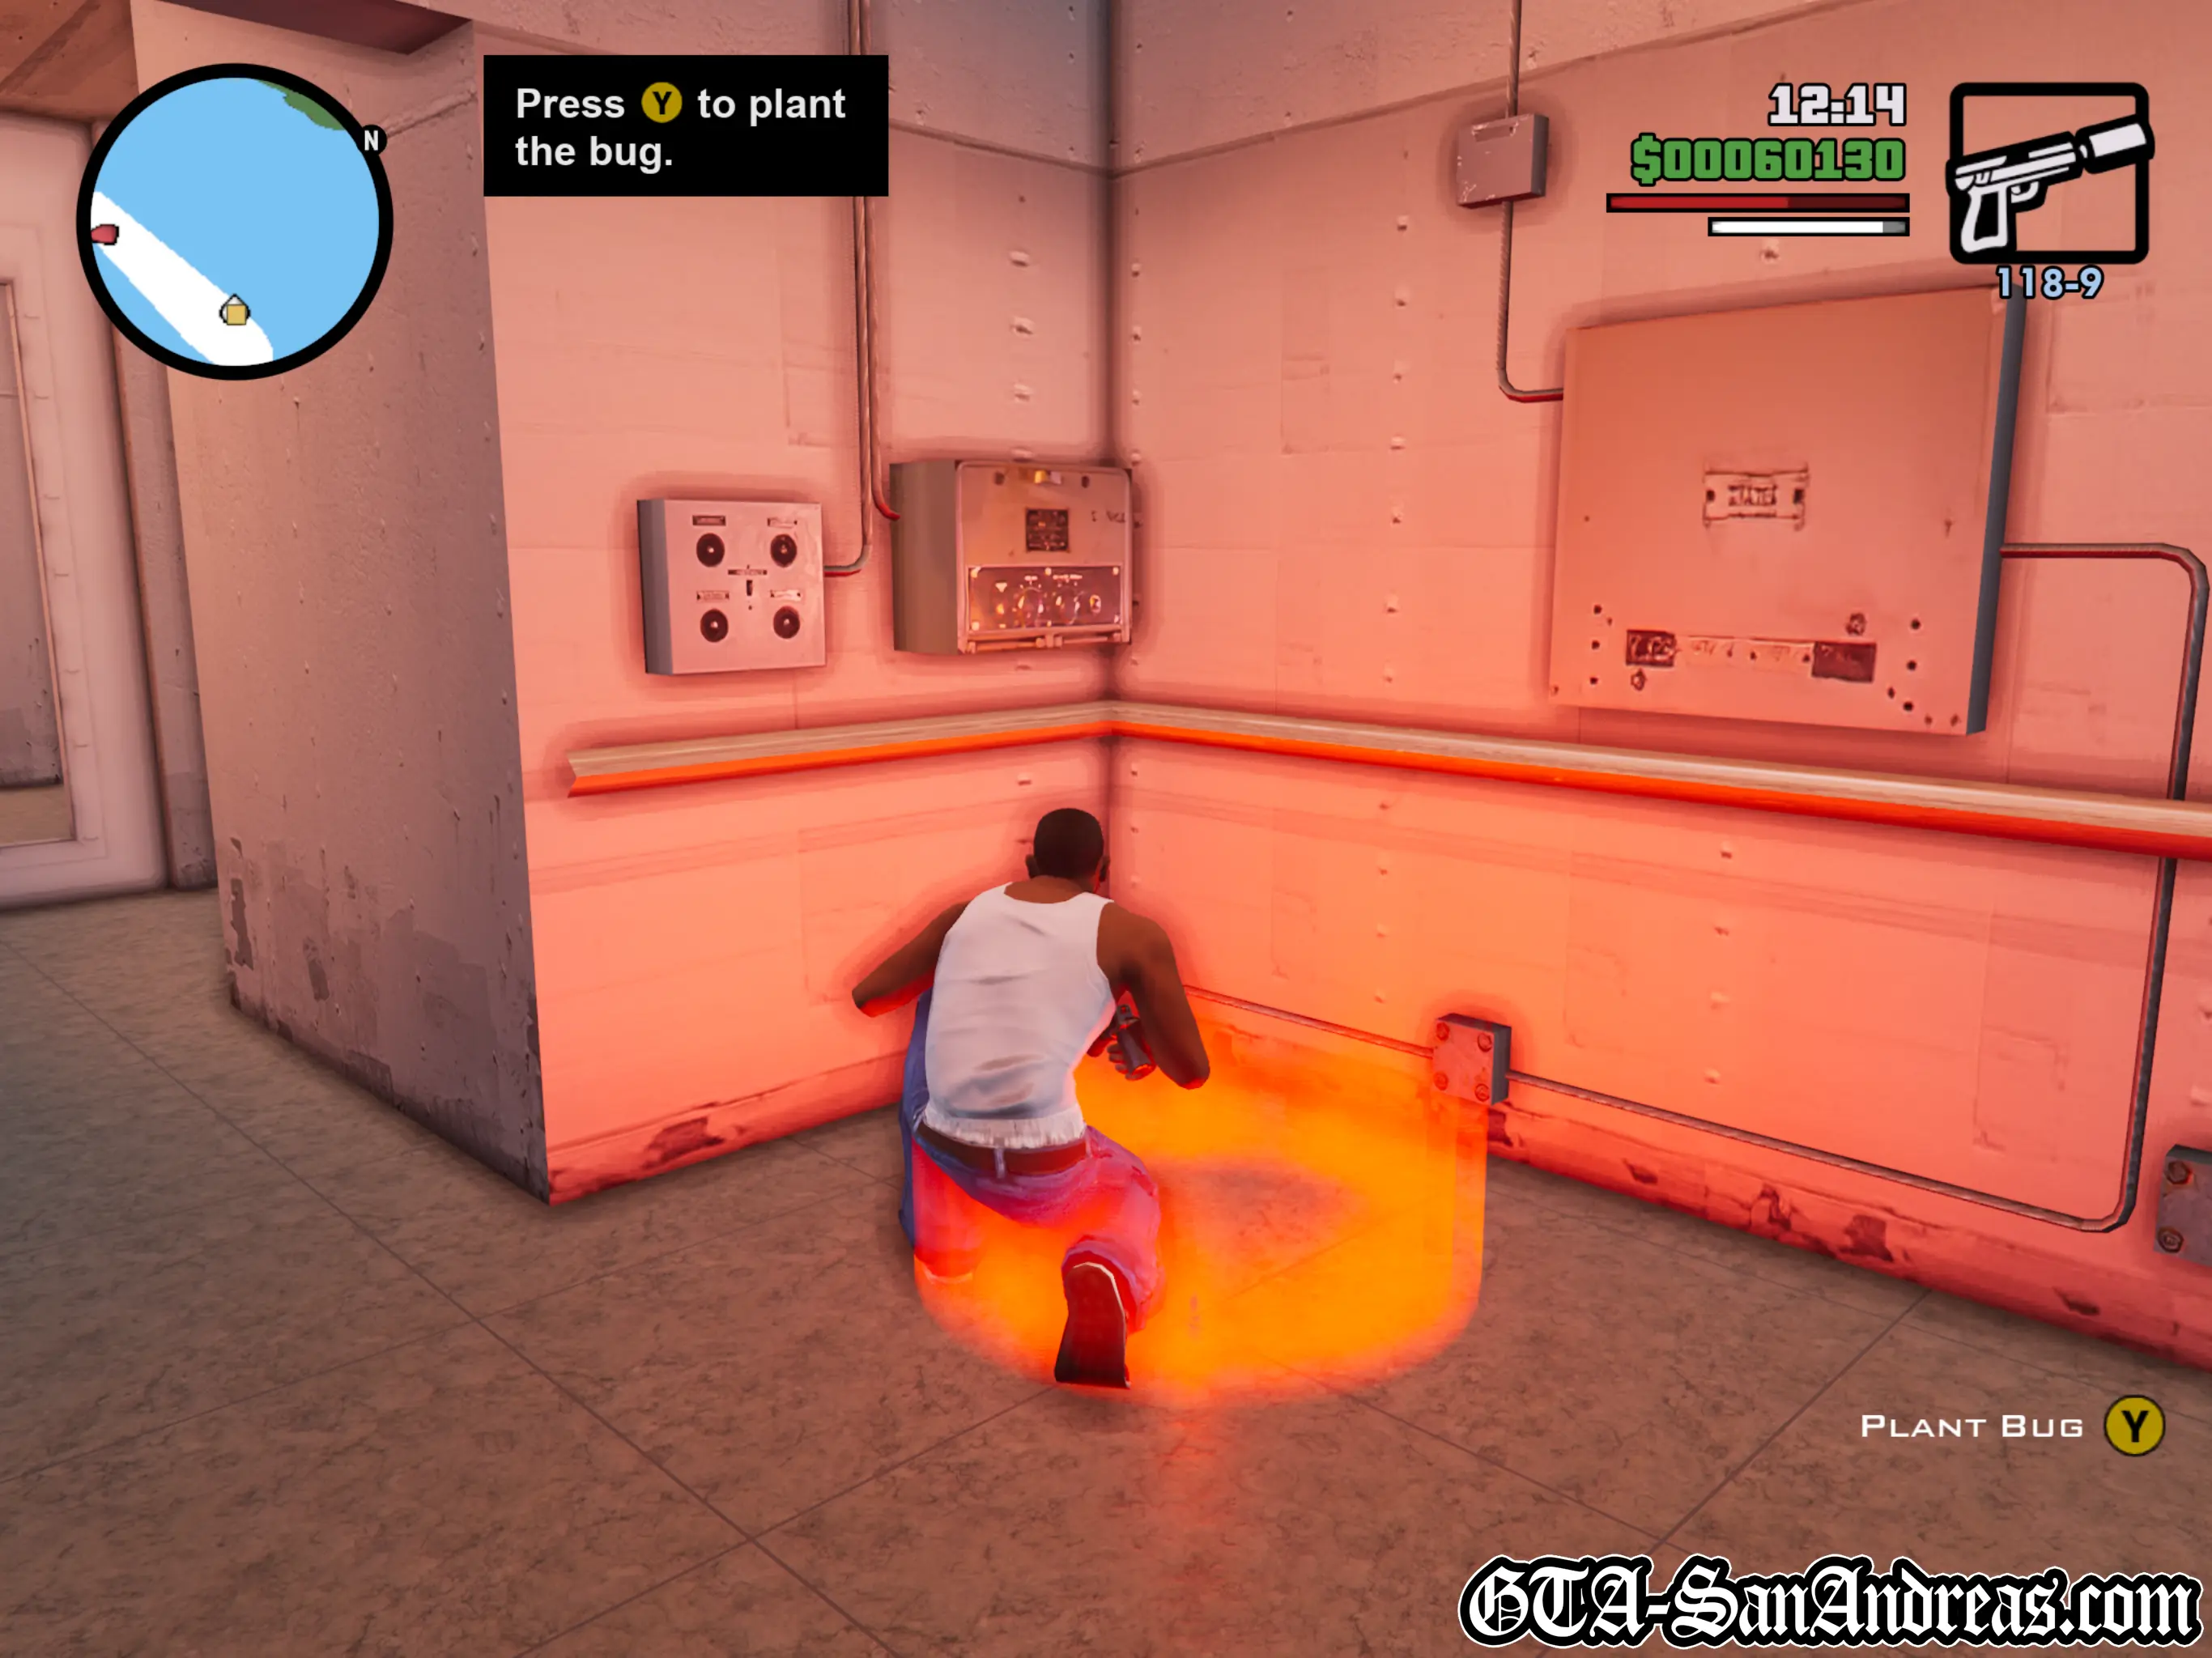
Amphibious Assault
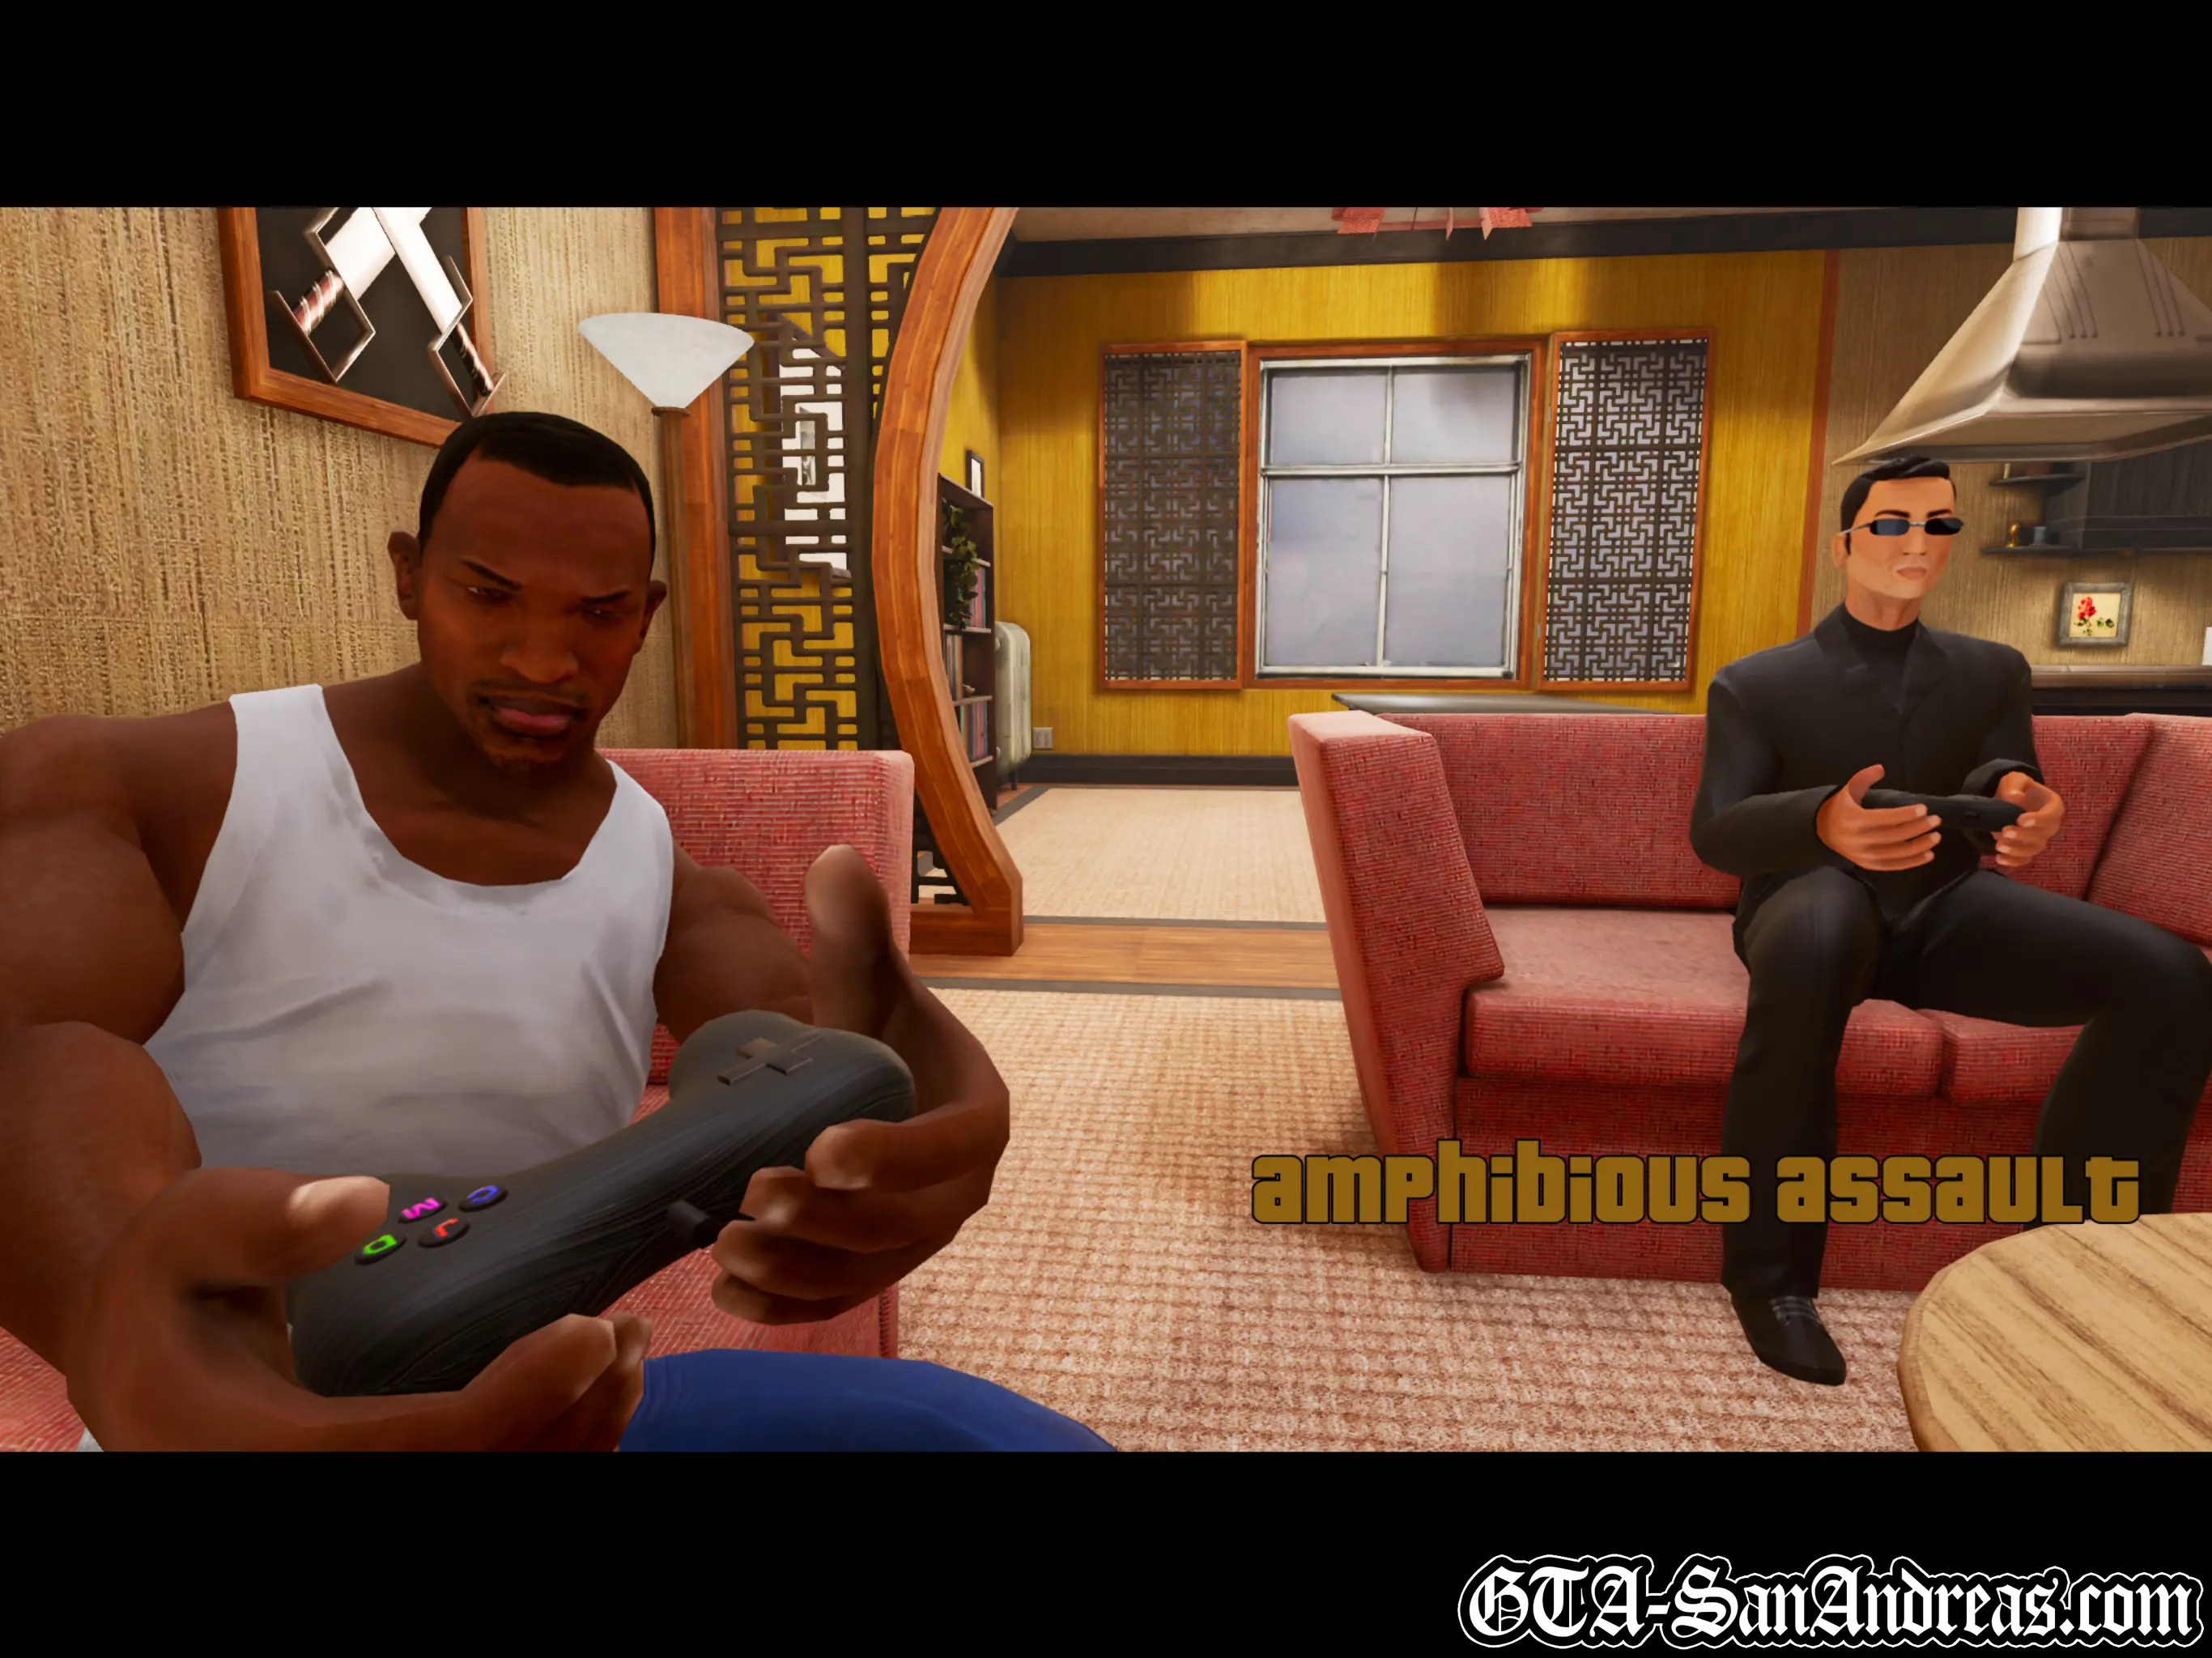
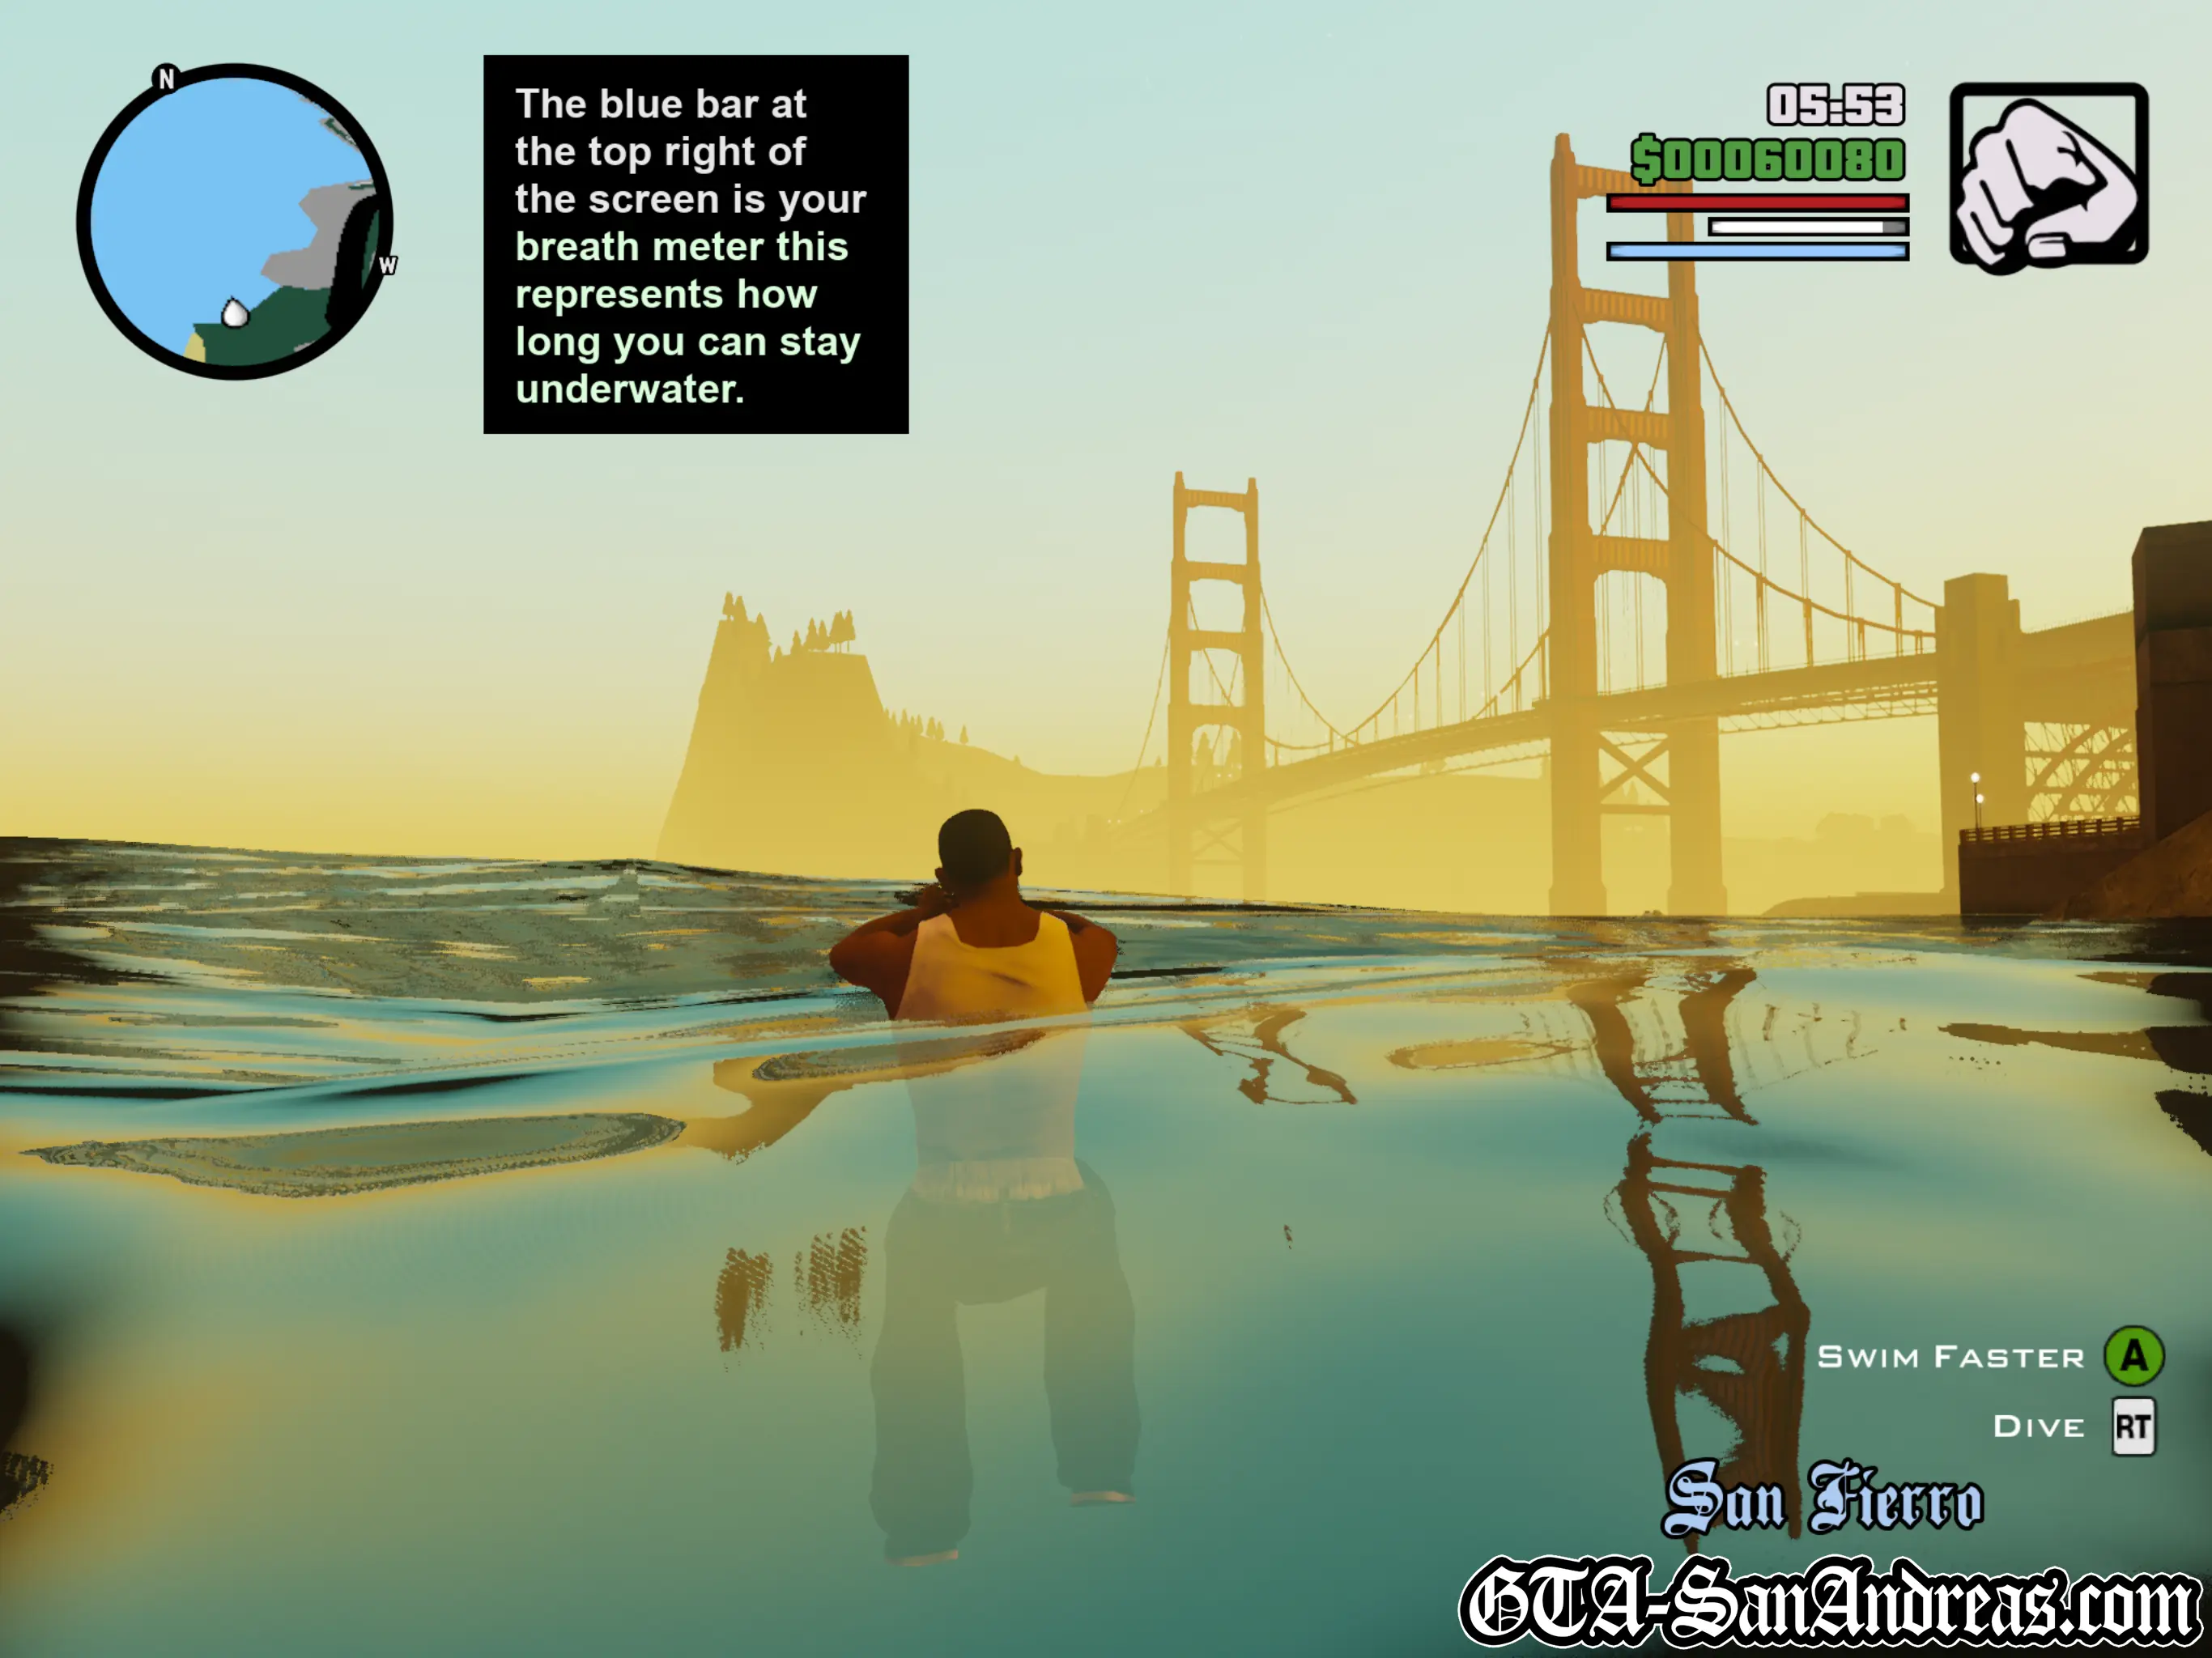
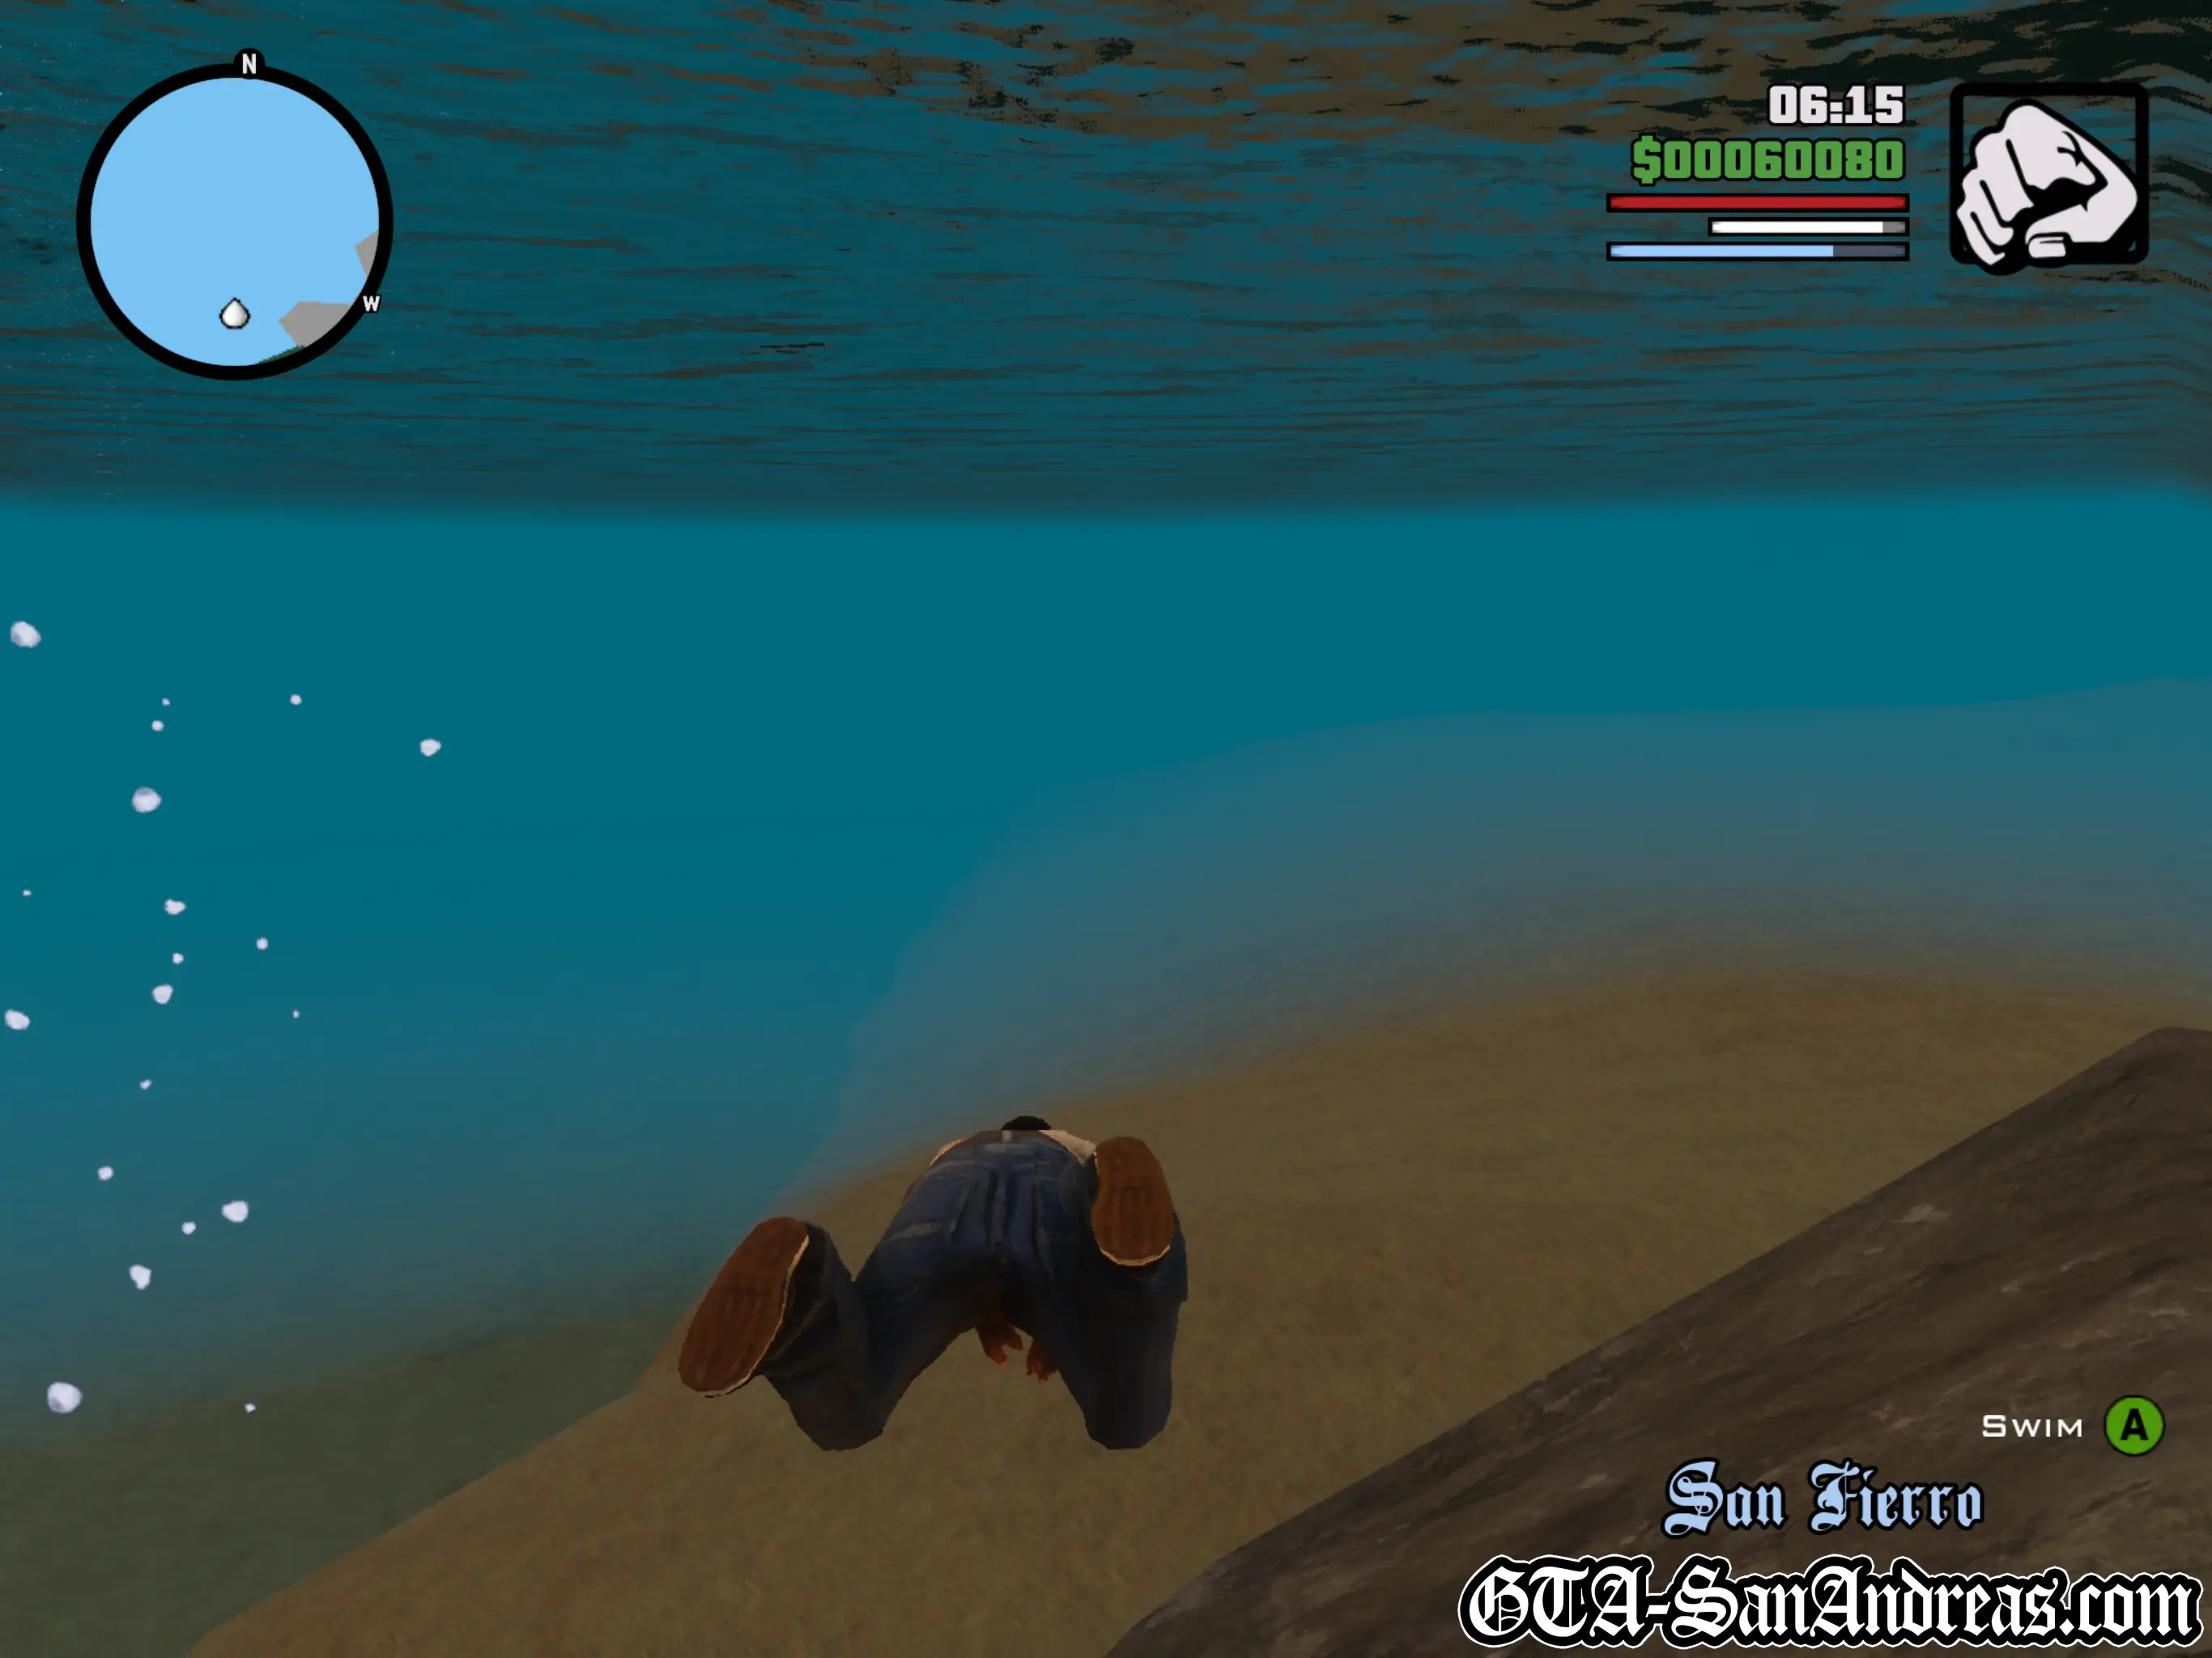
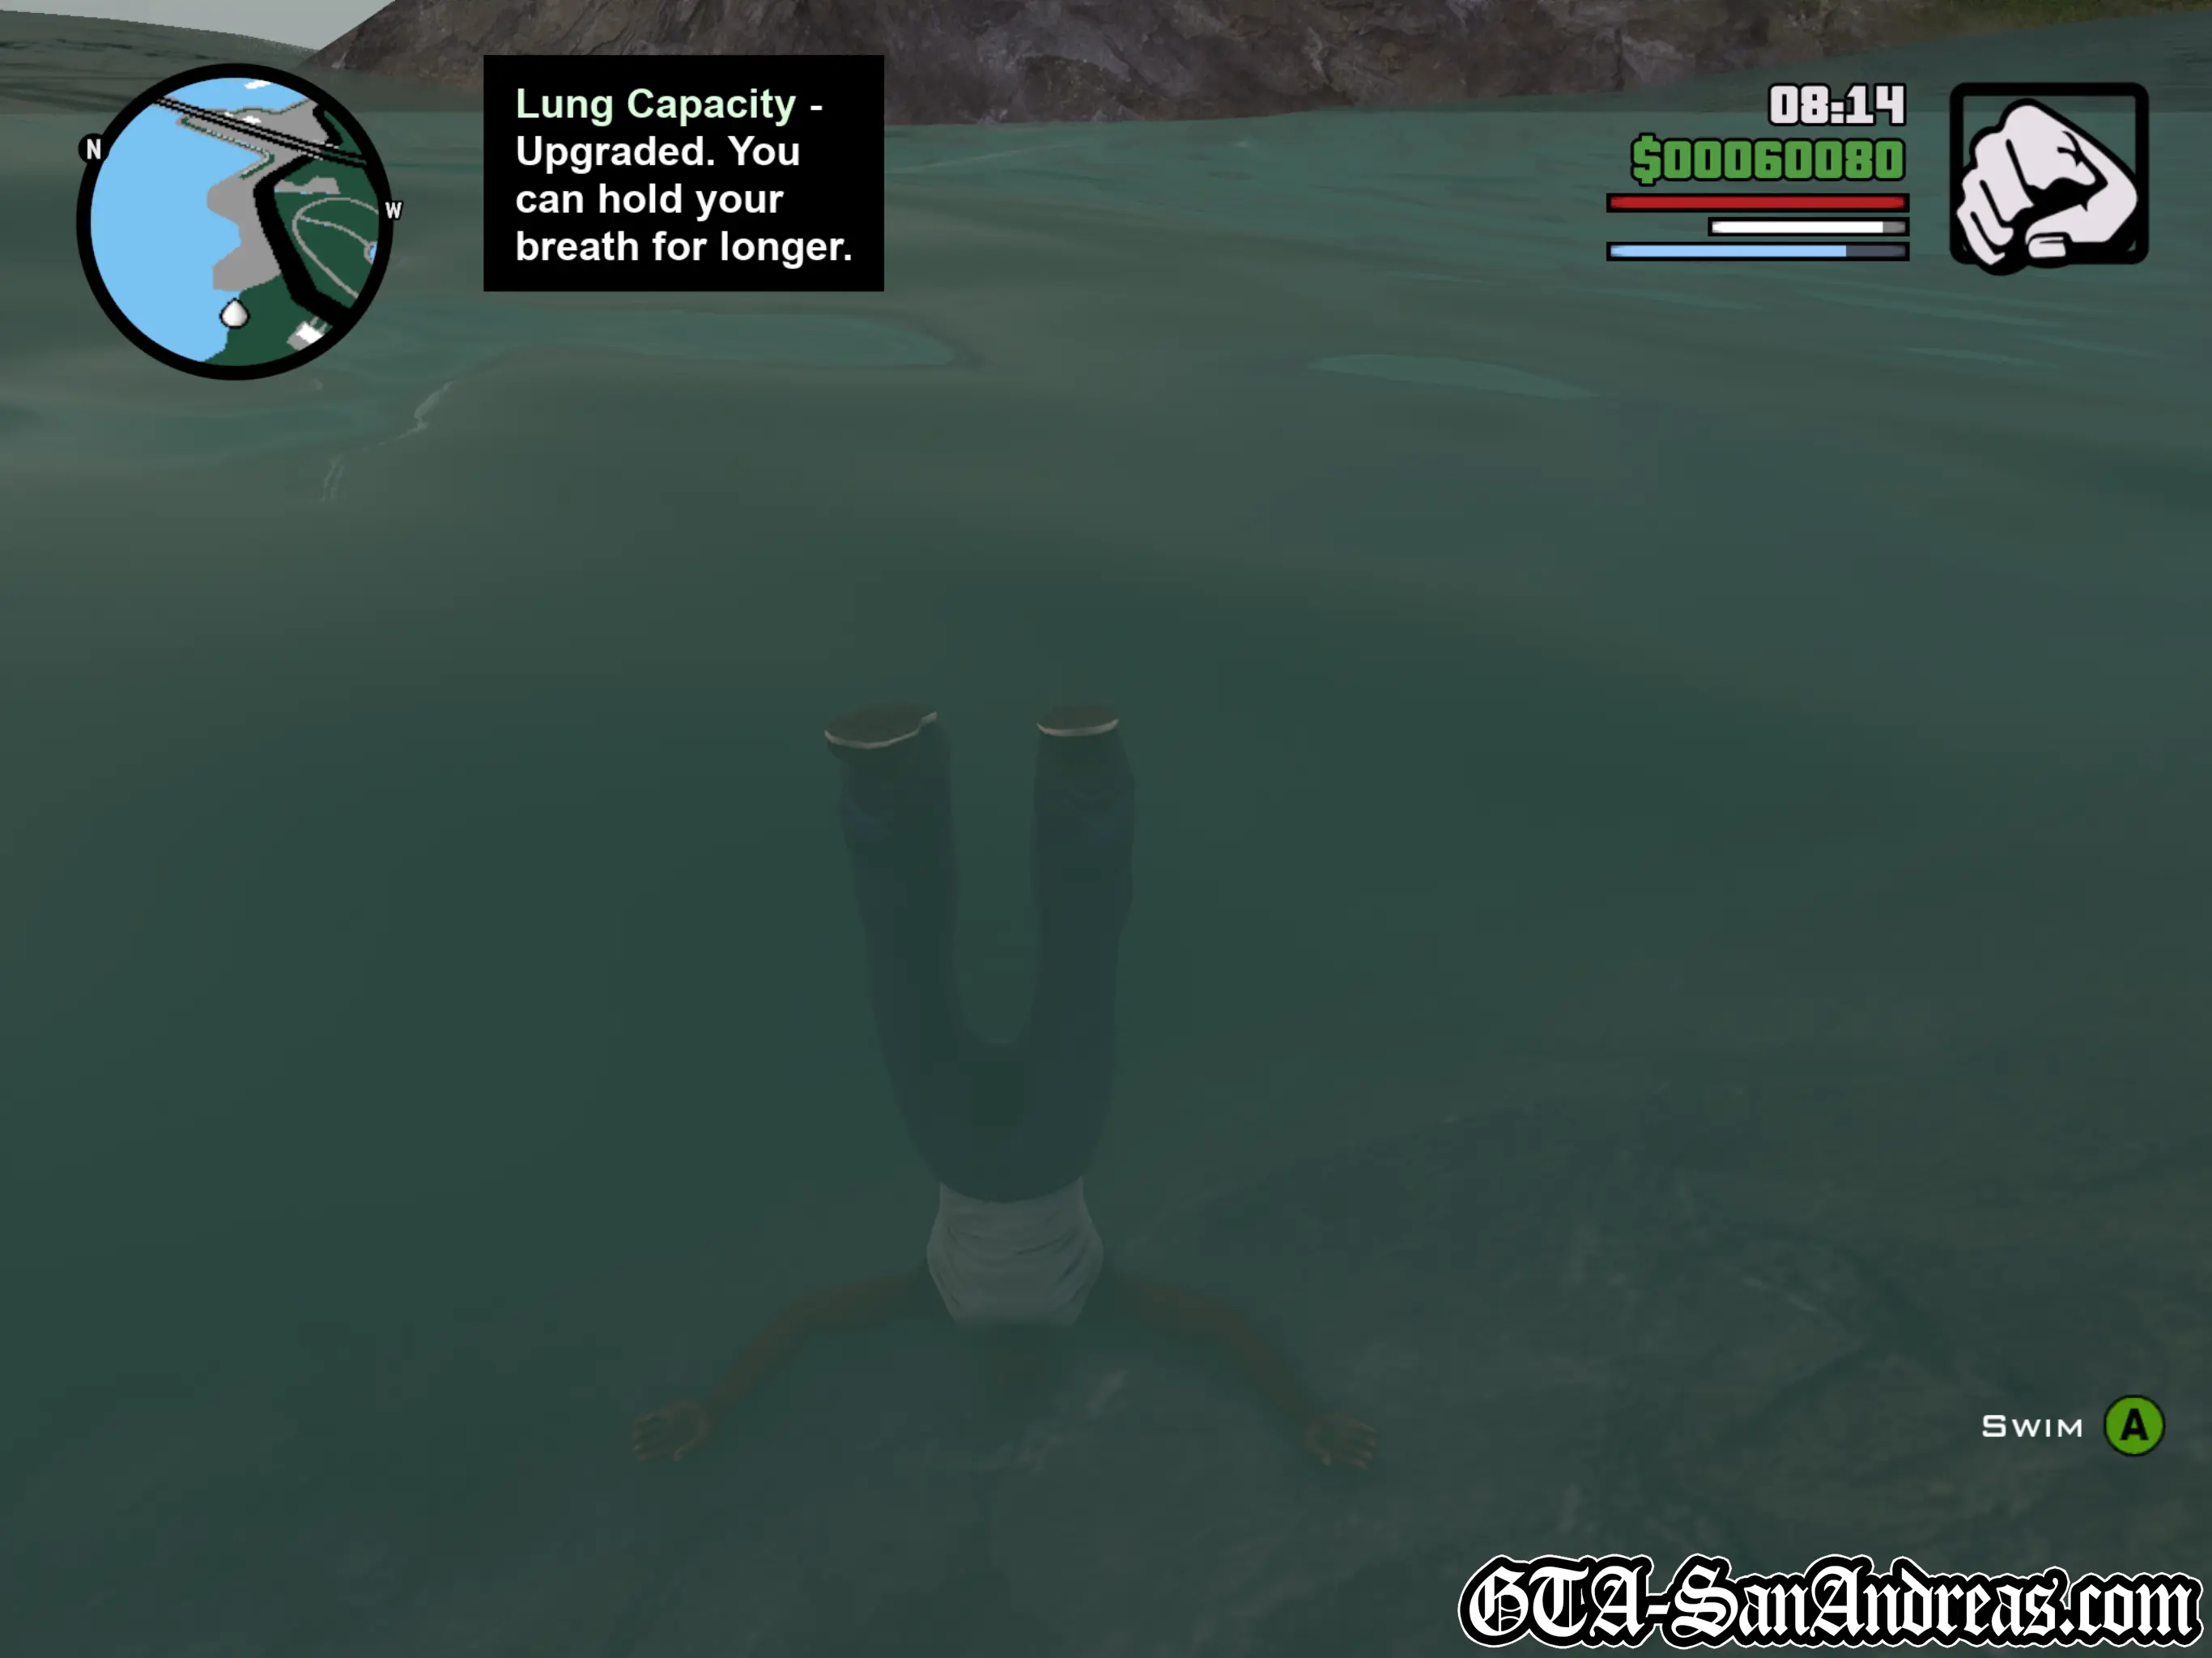
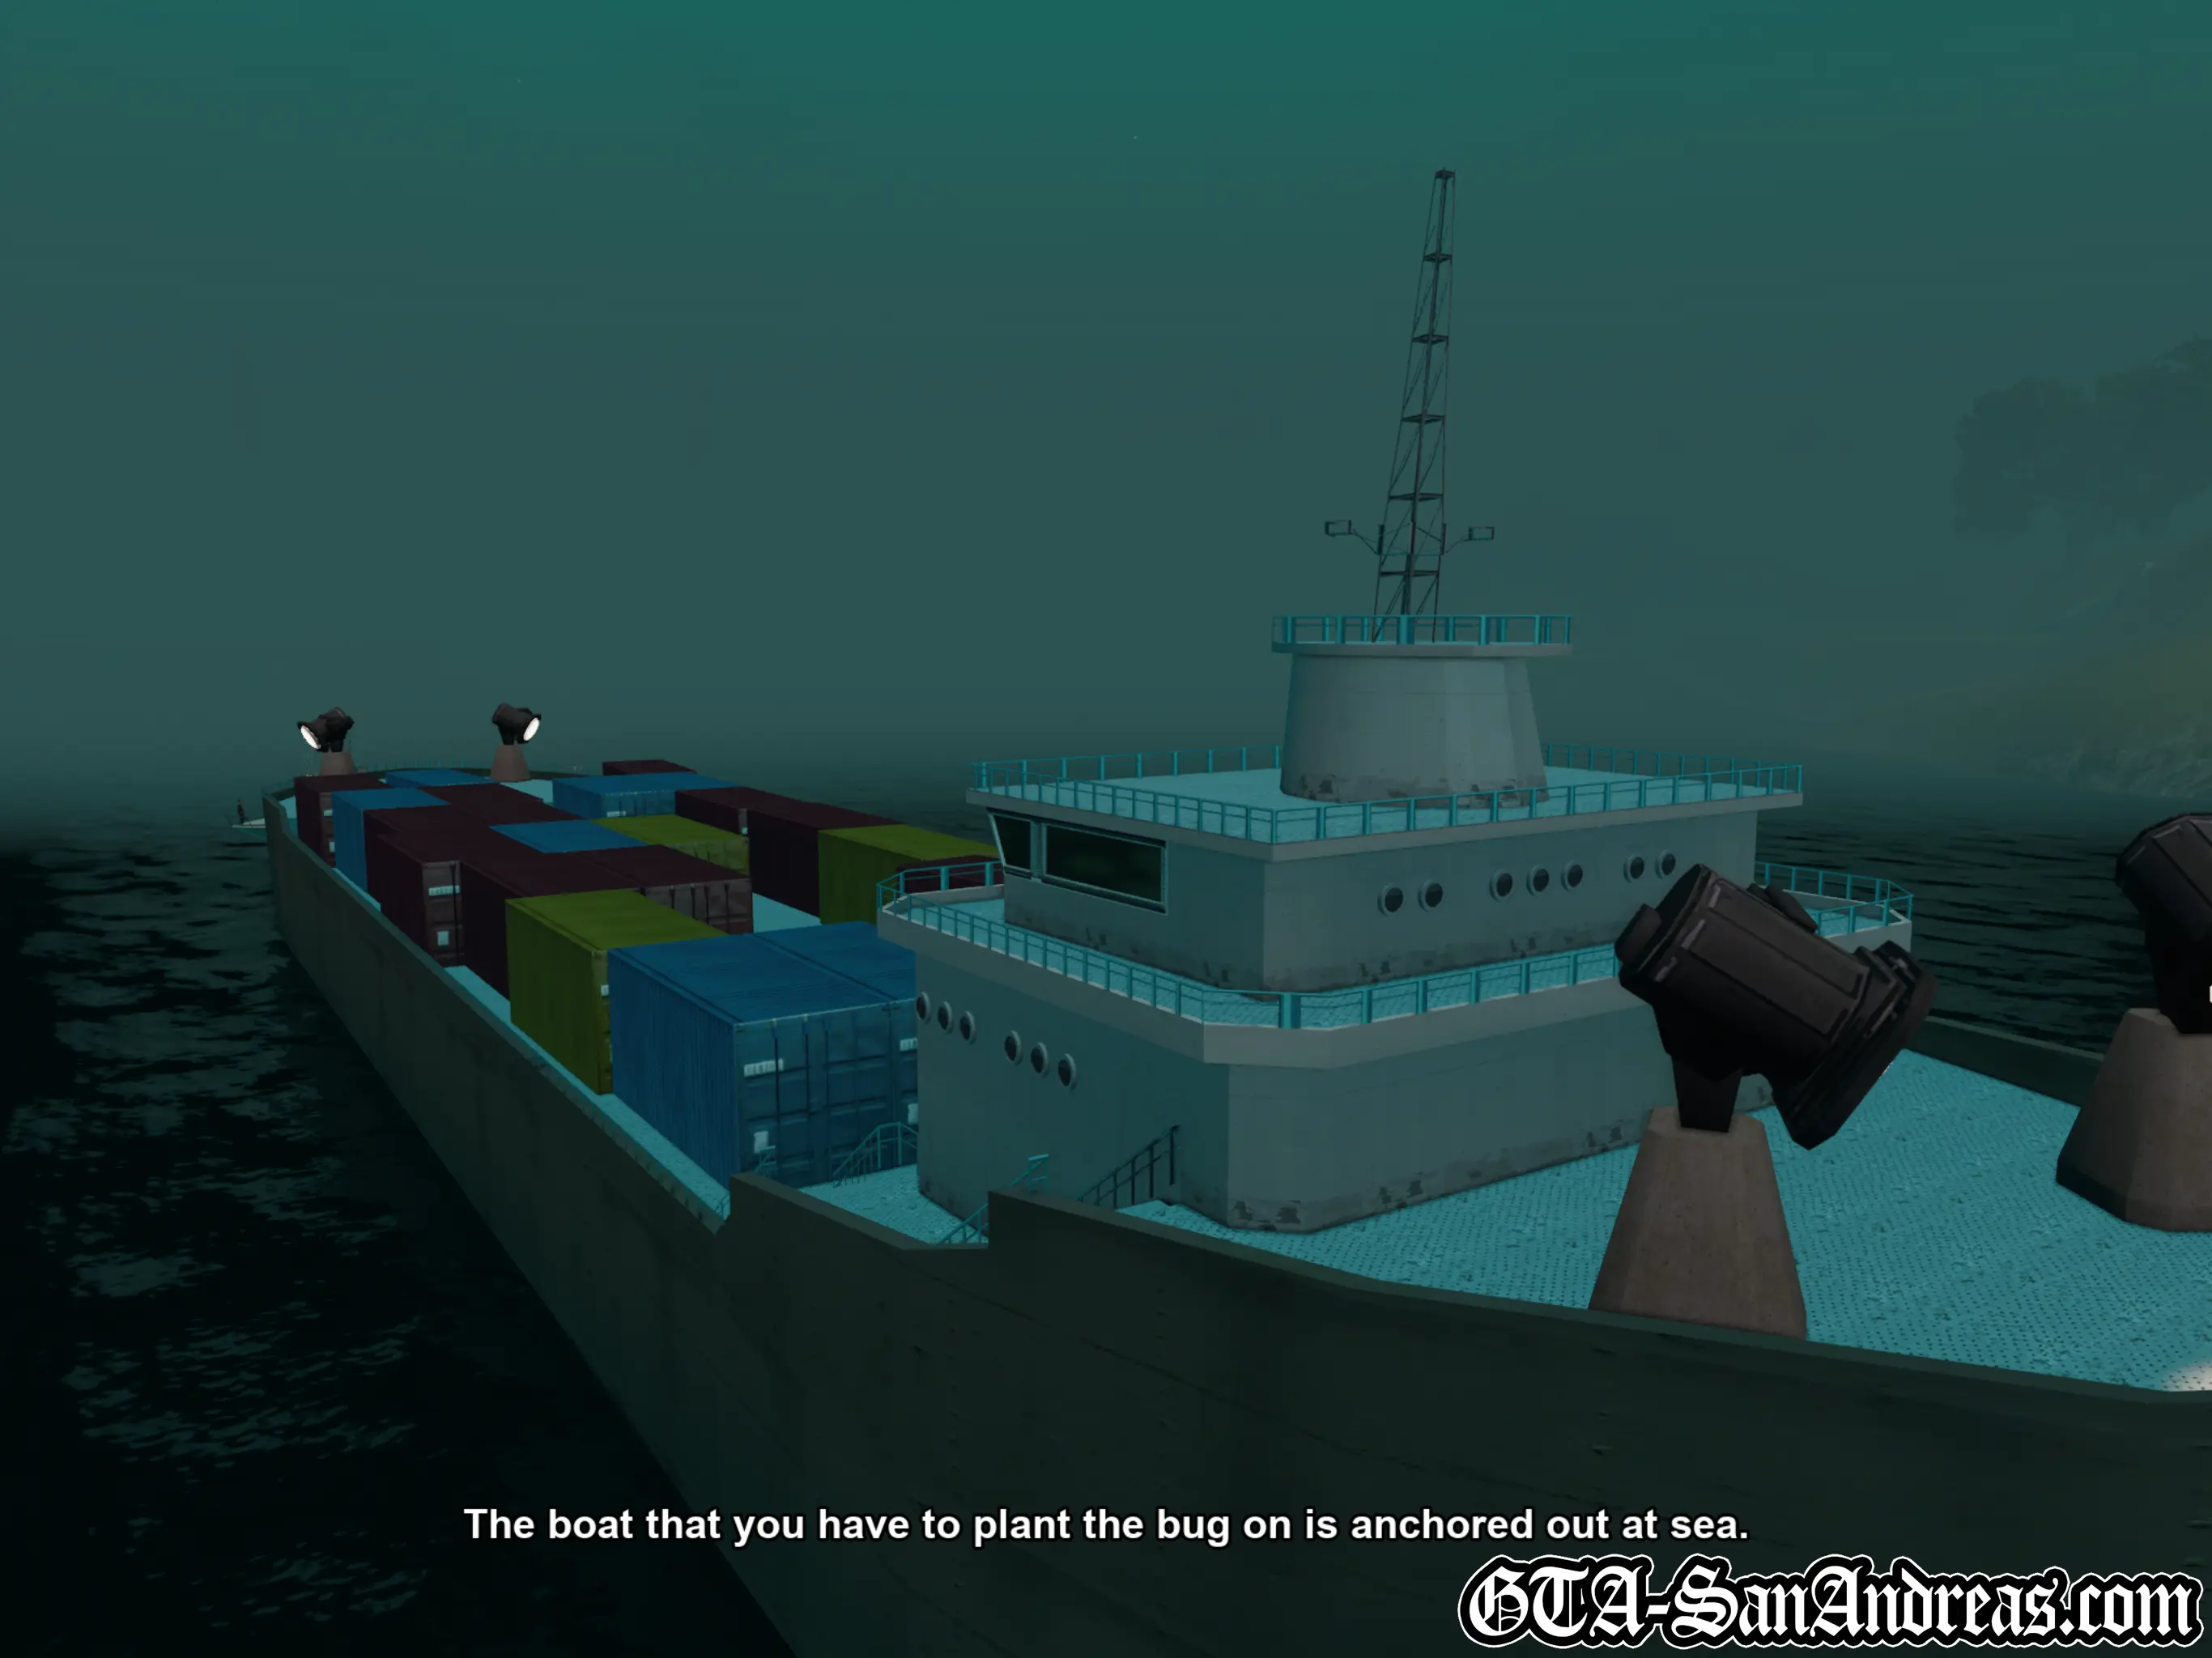
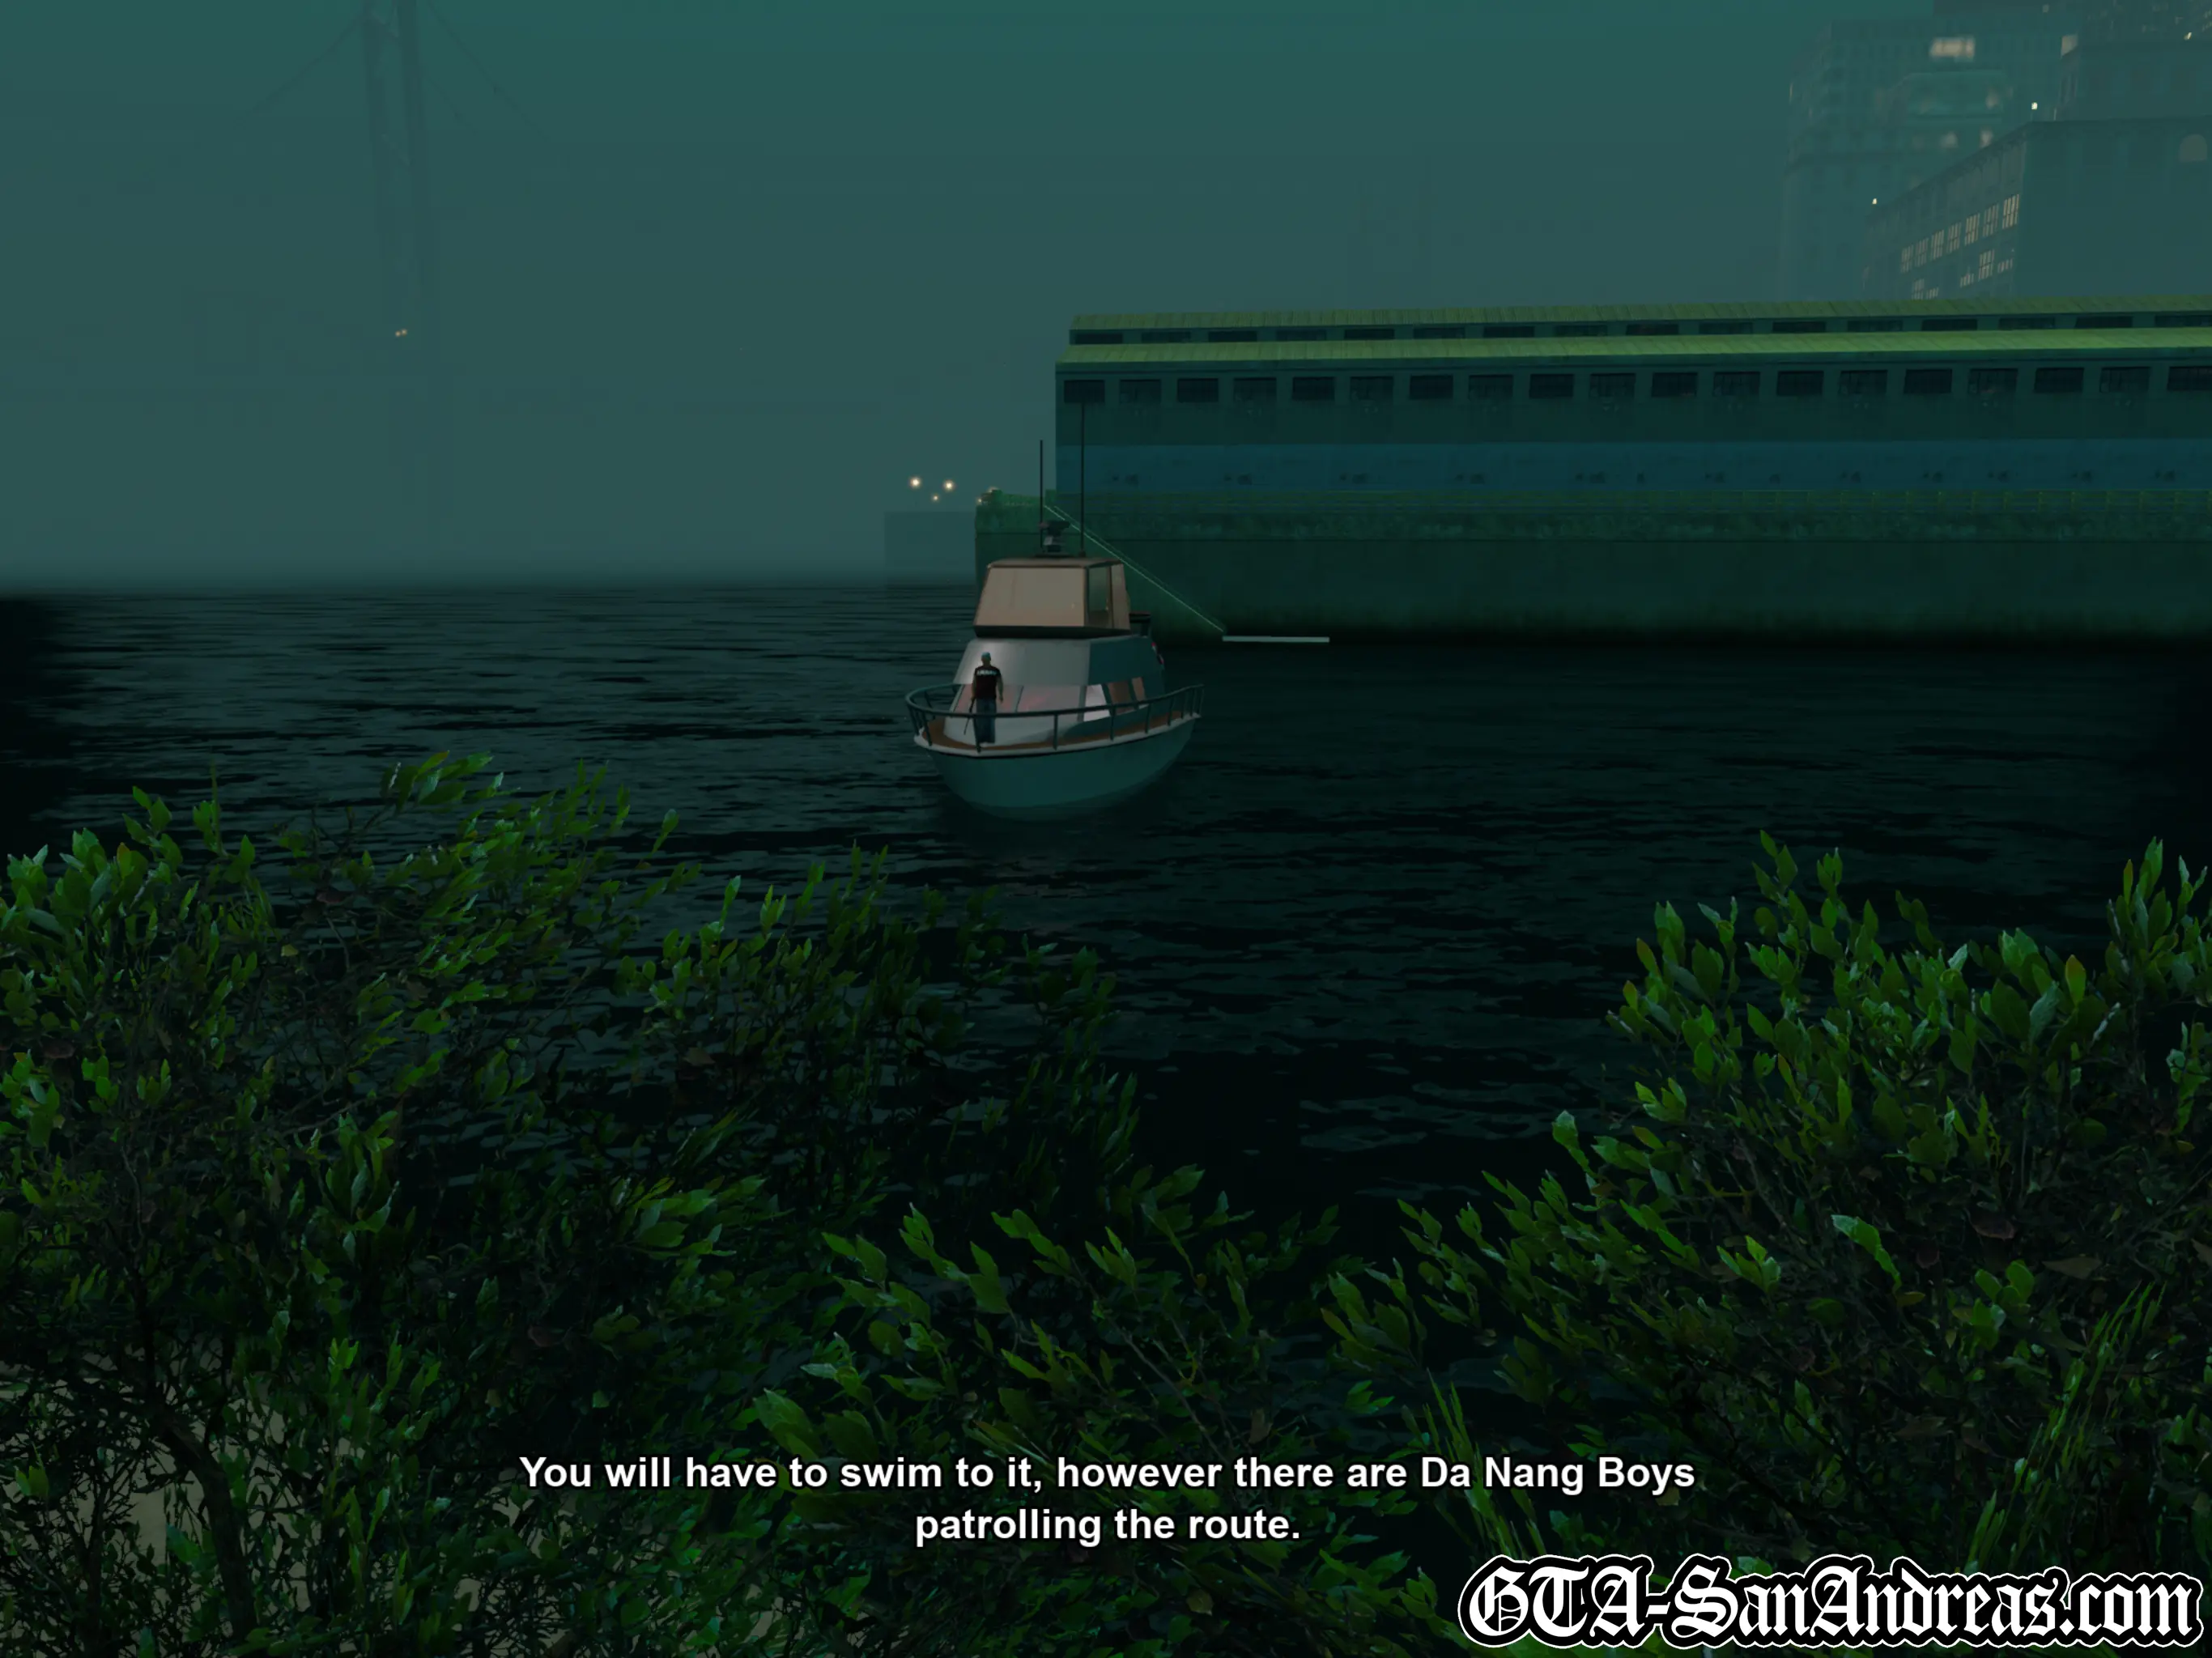
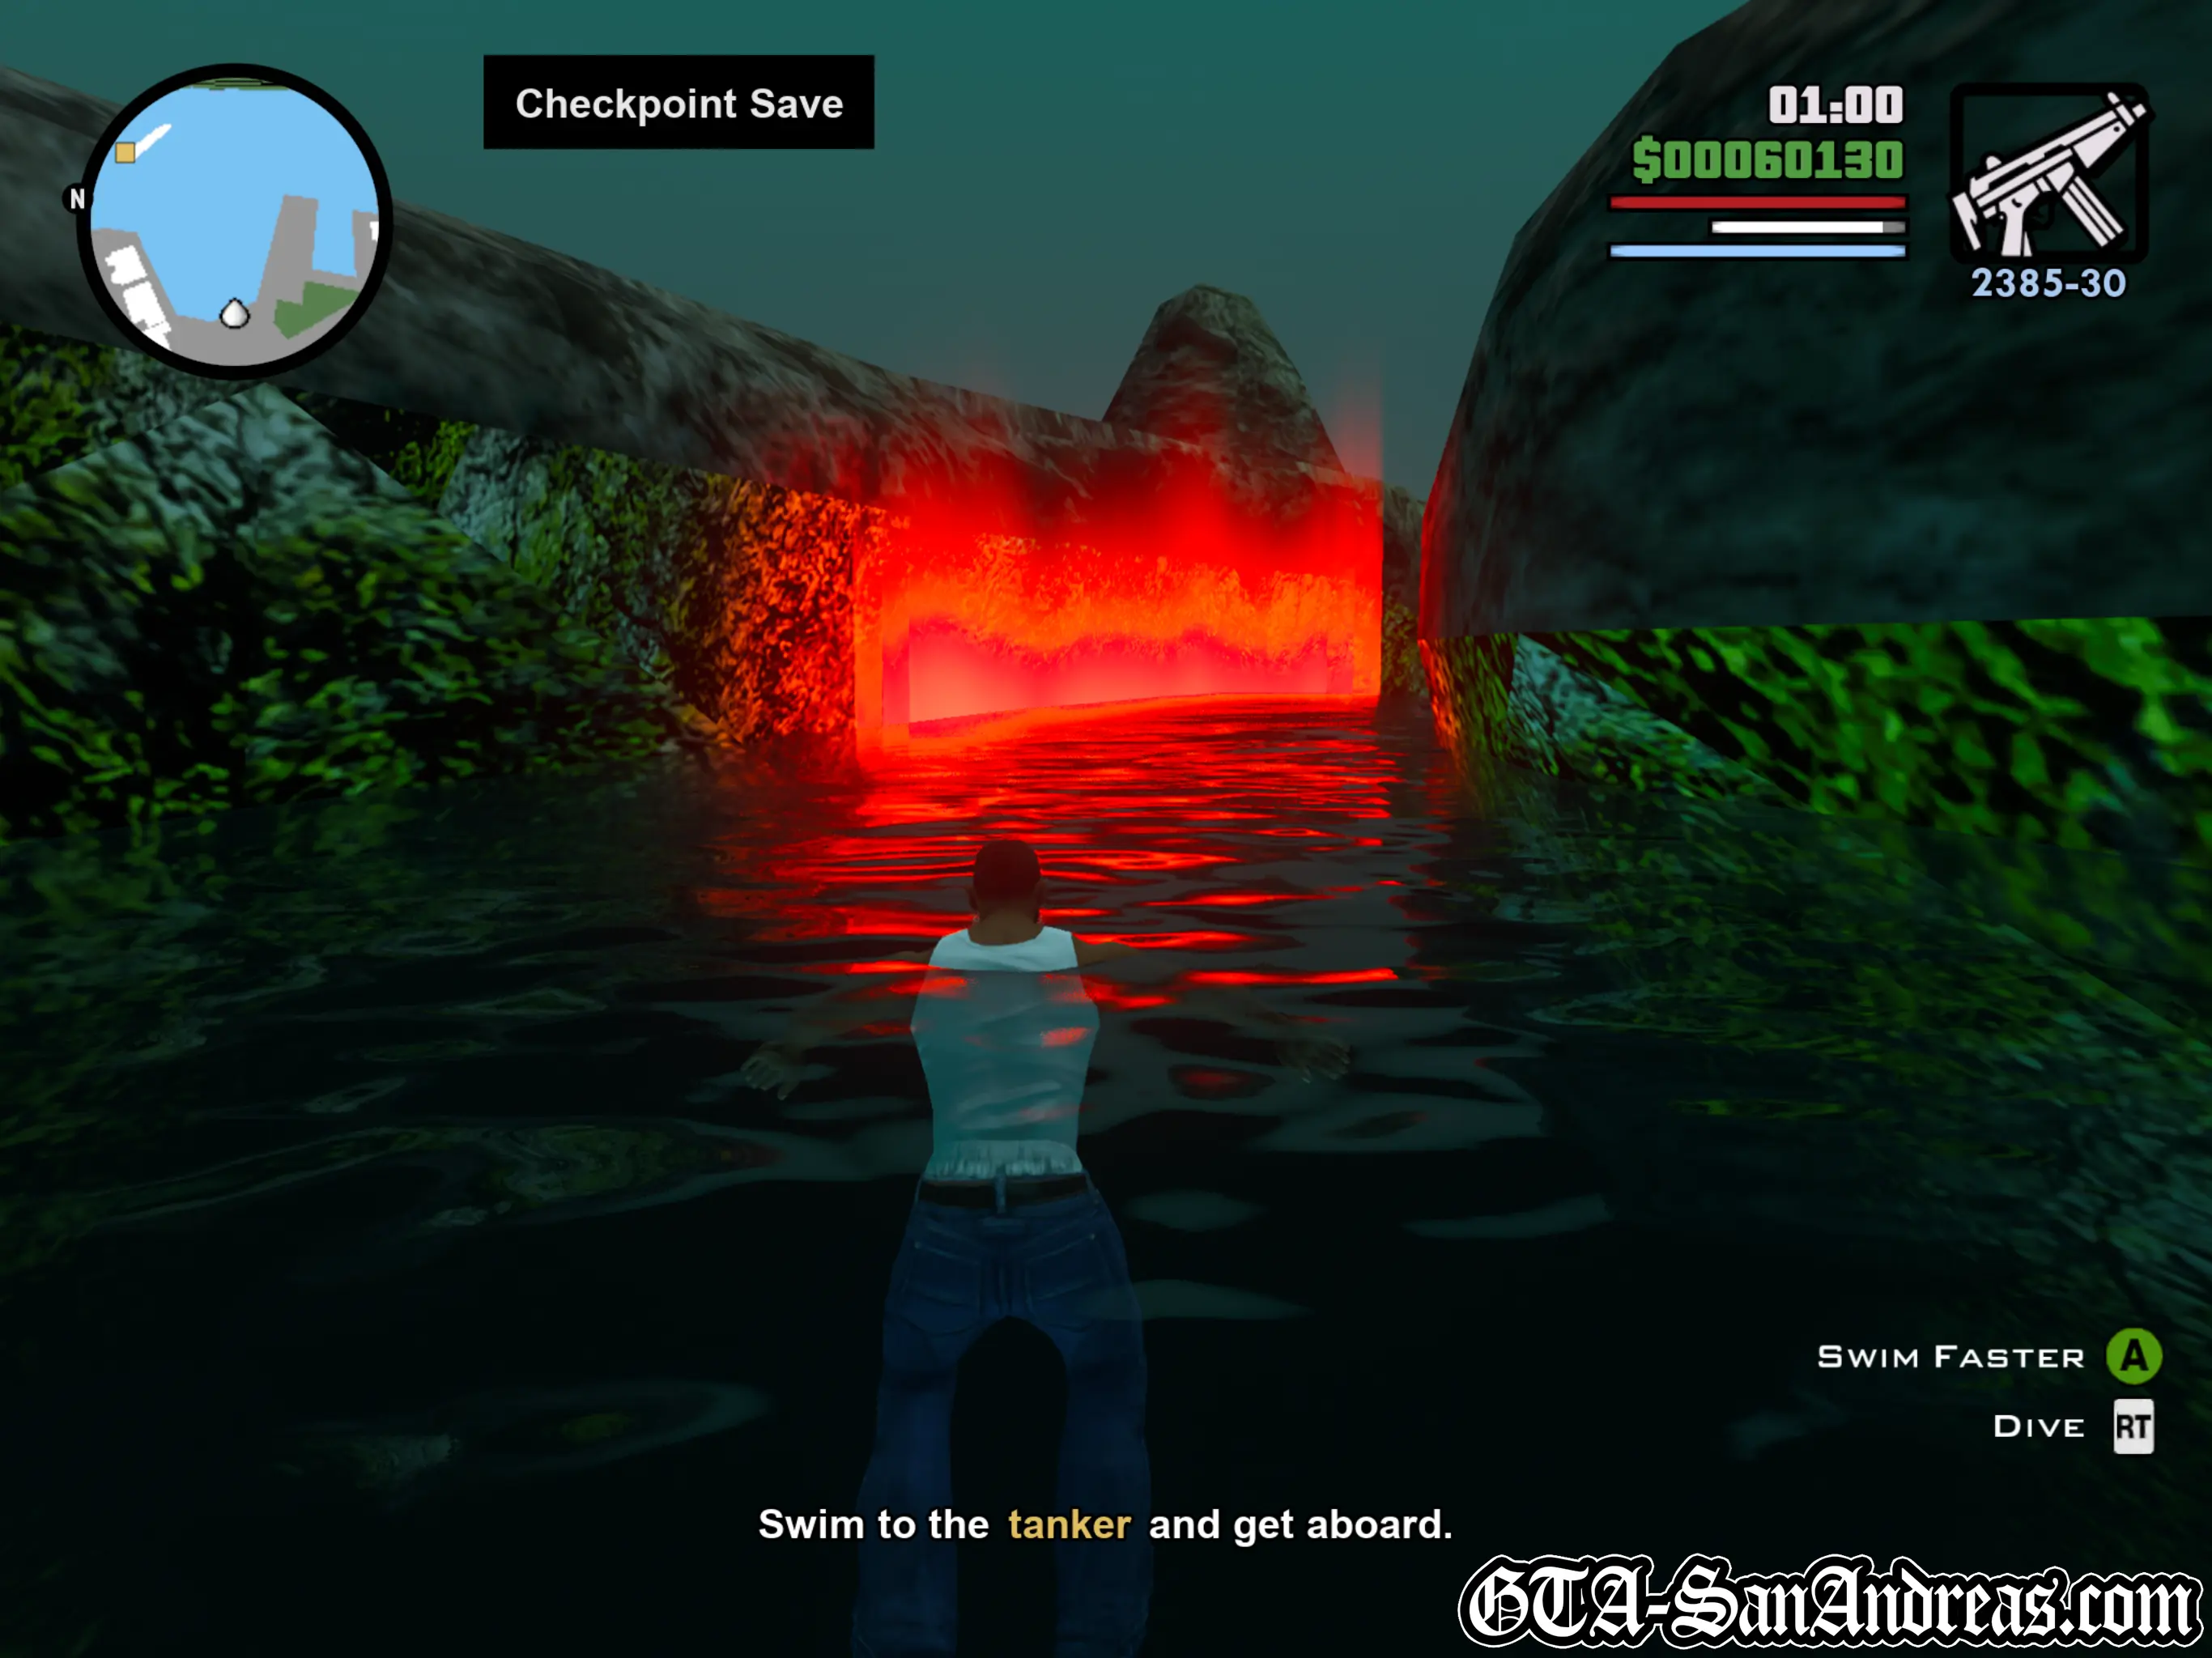
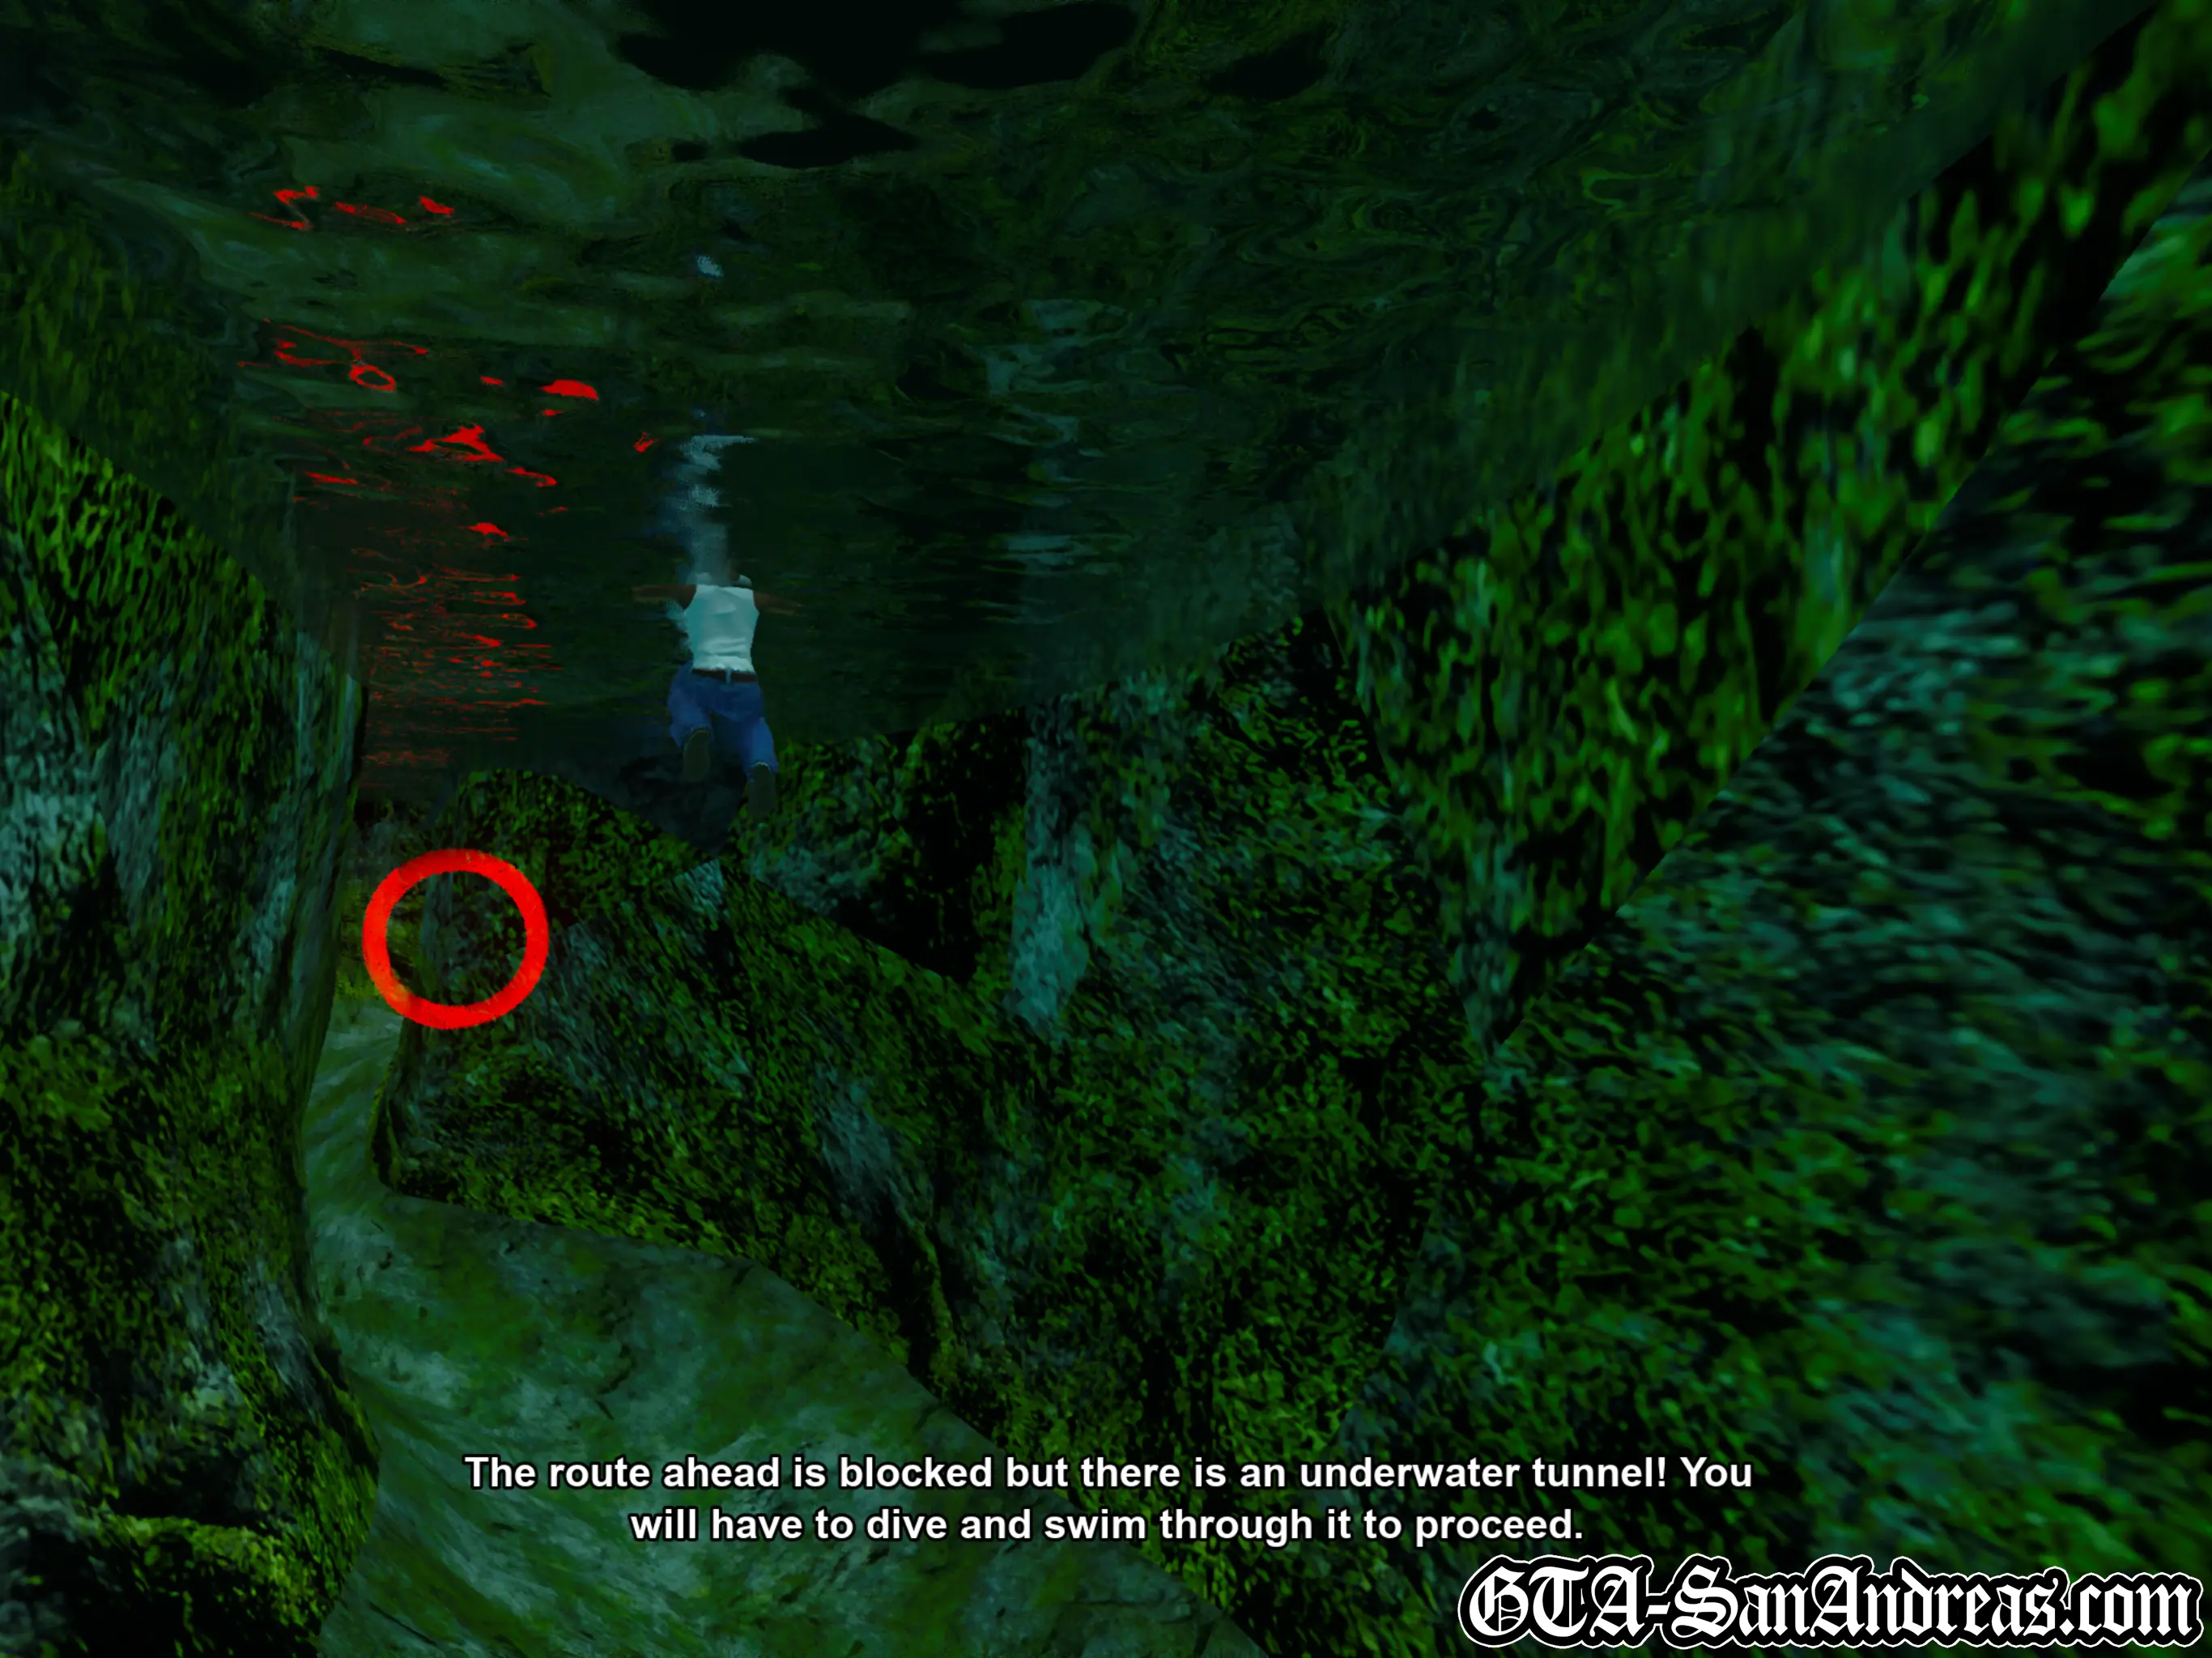
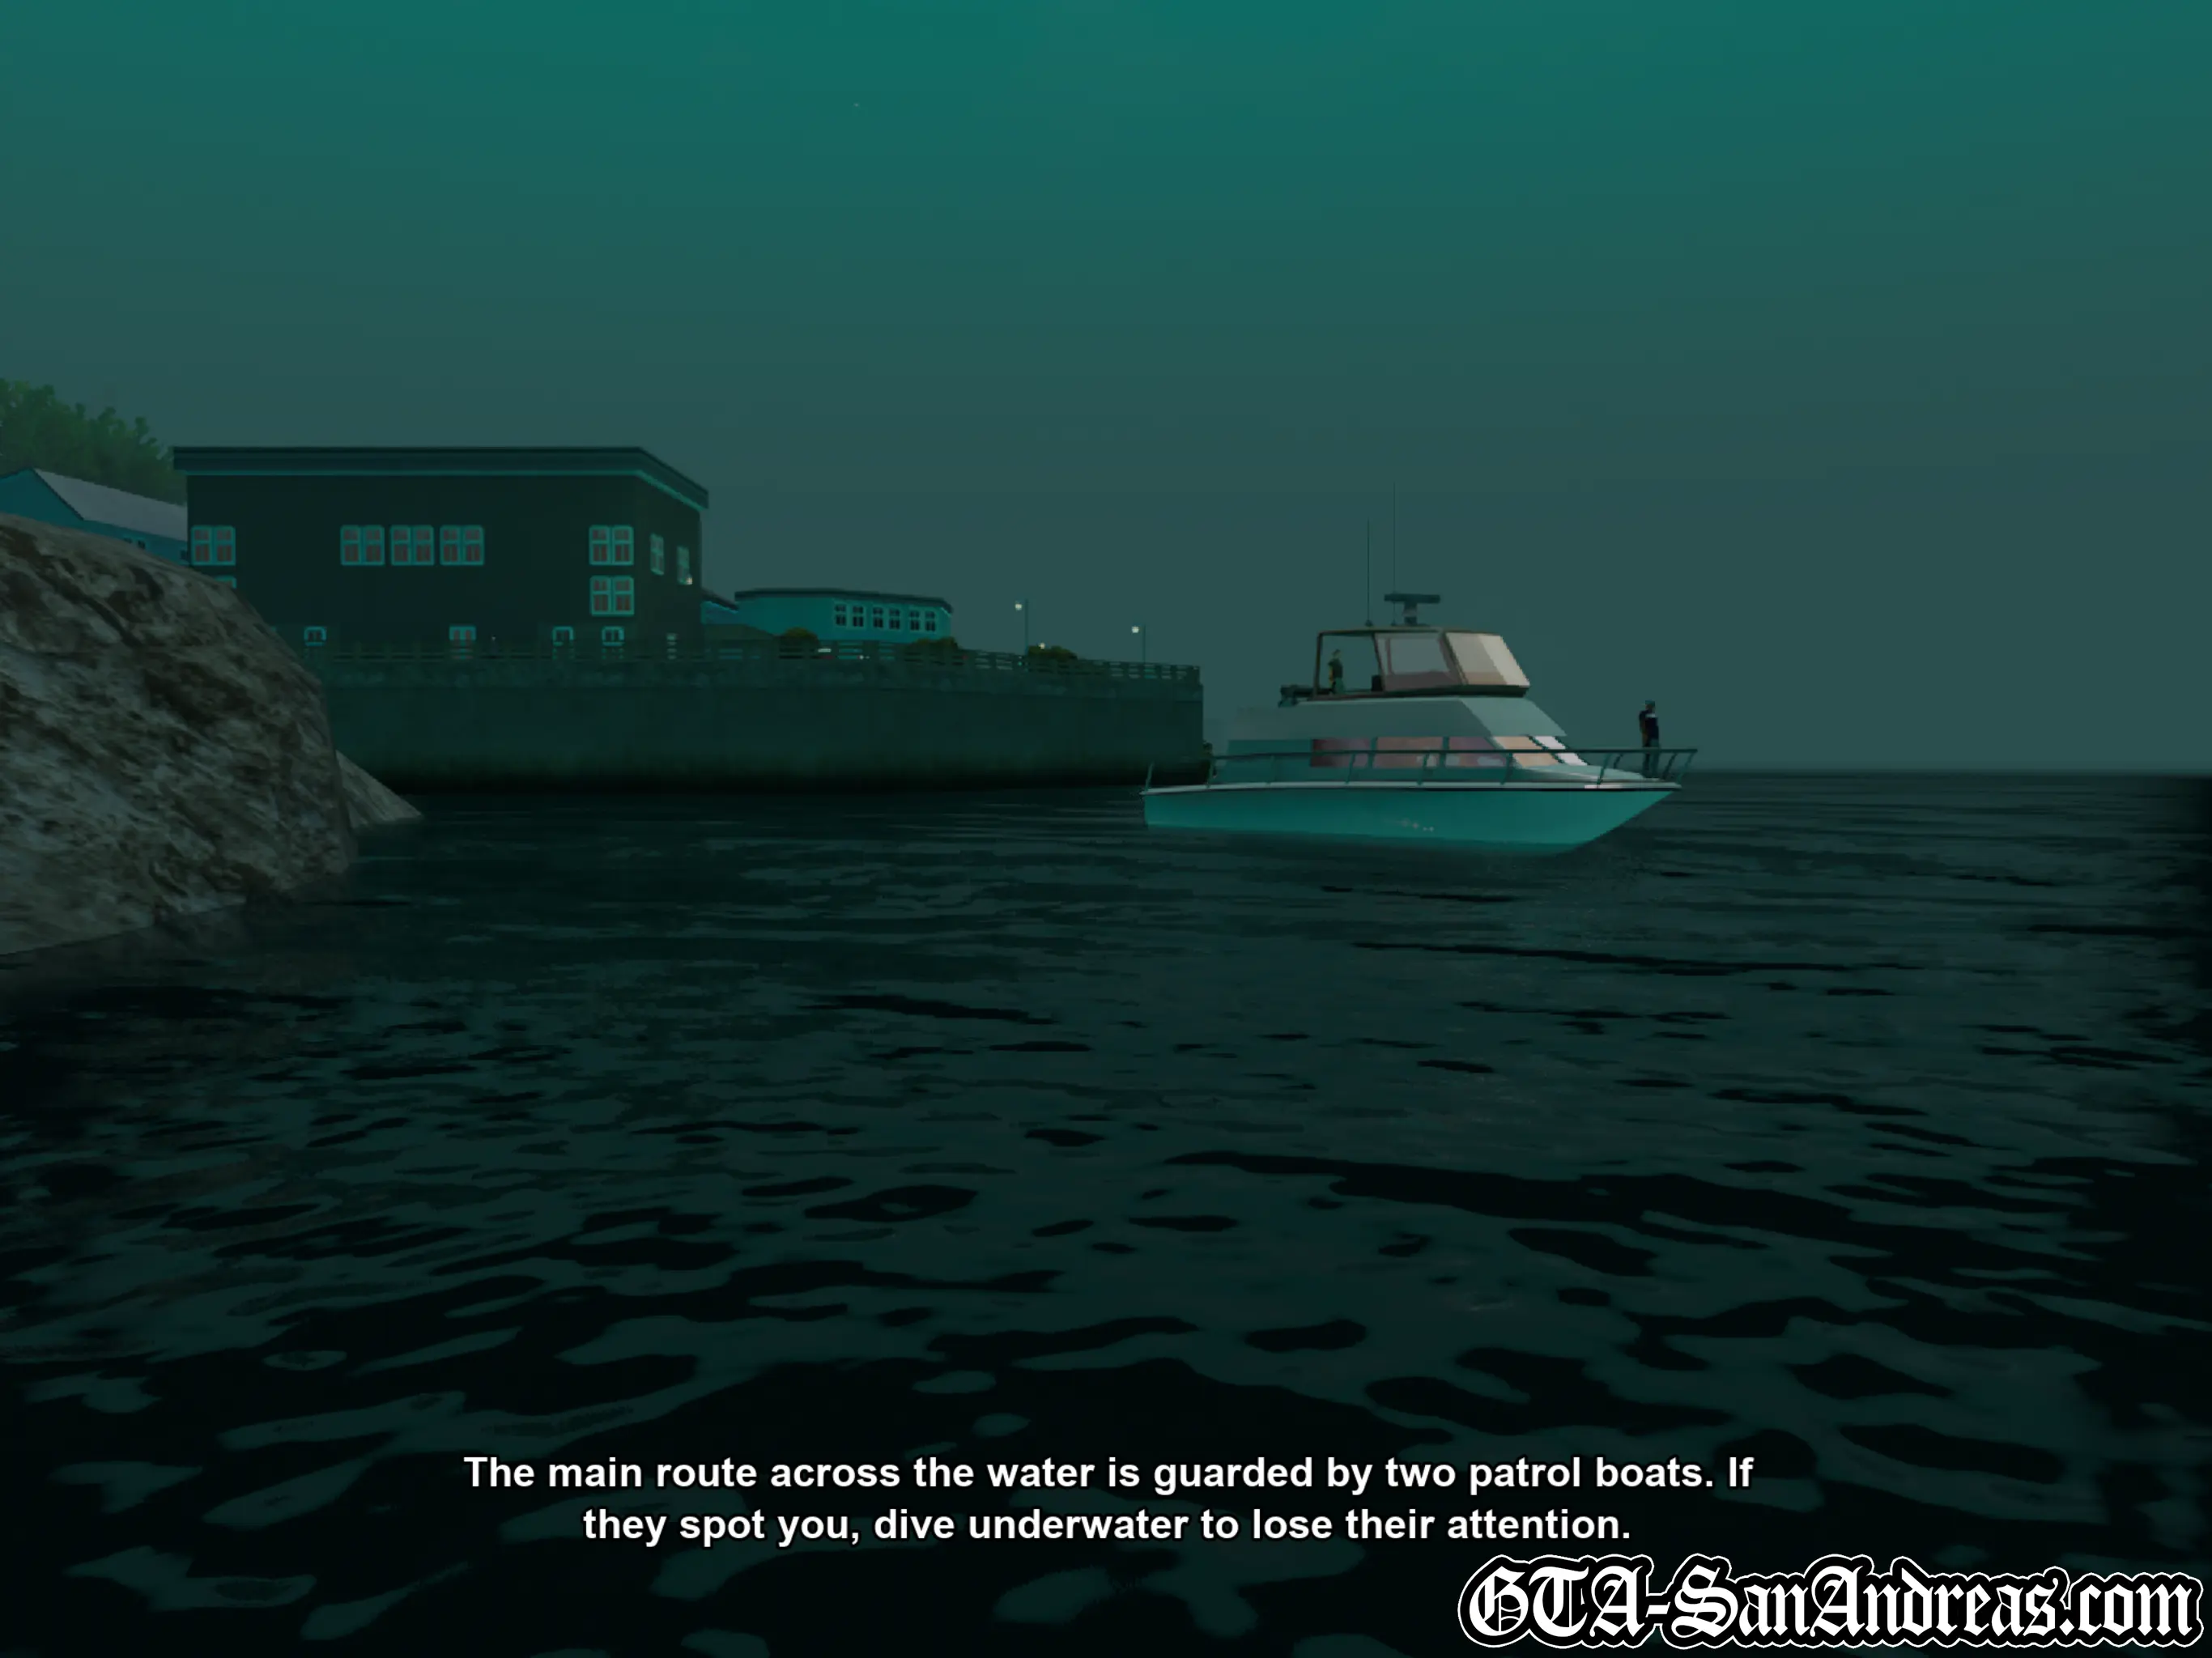
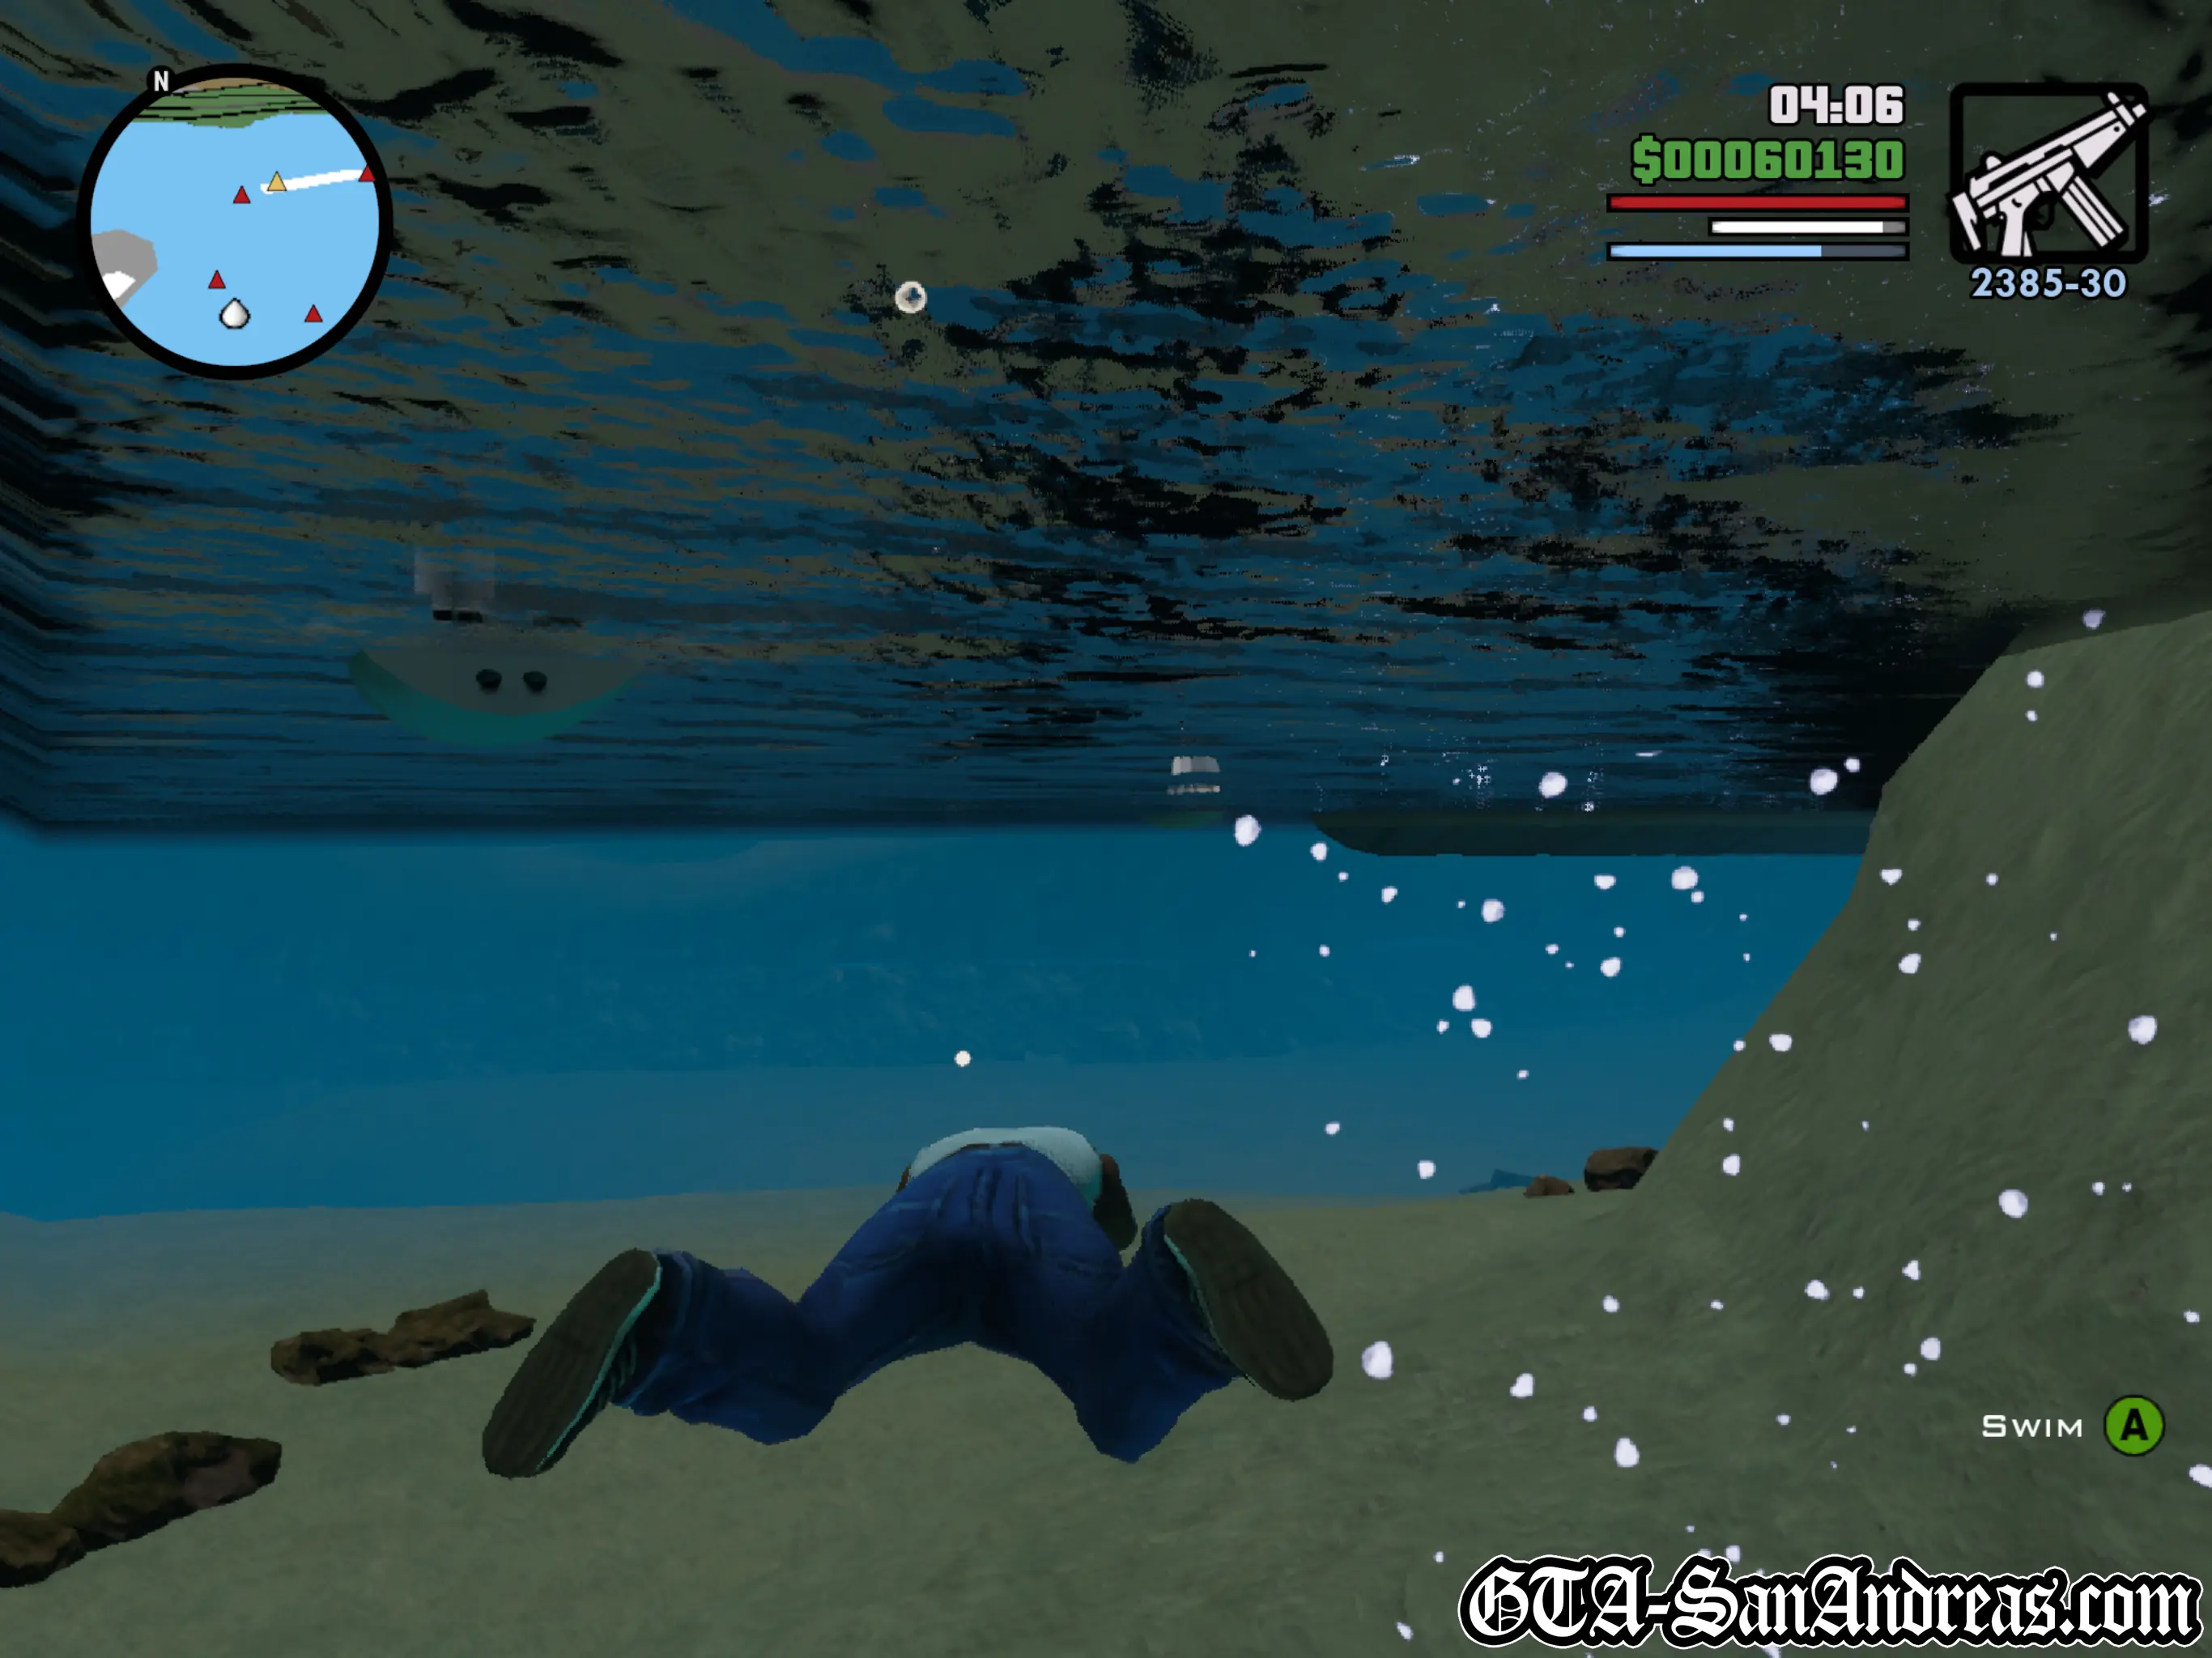
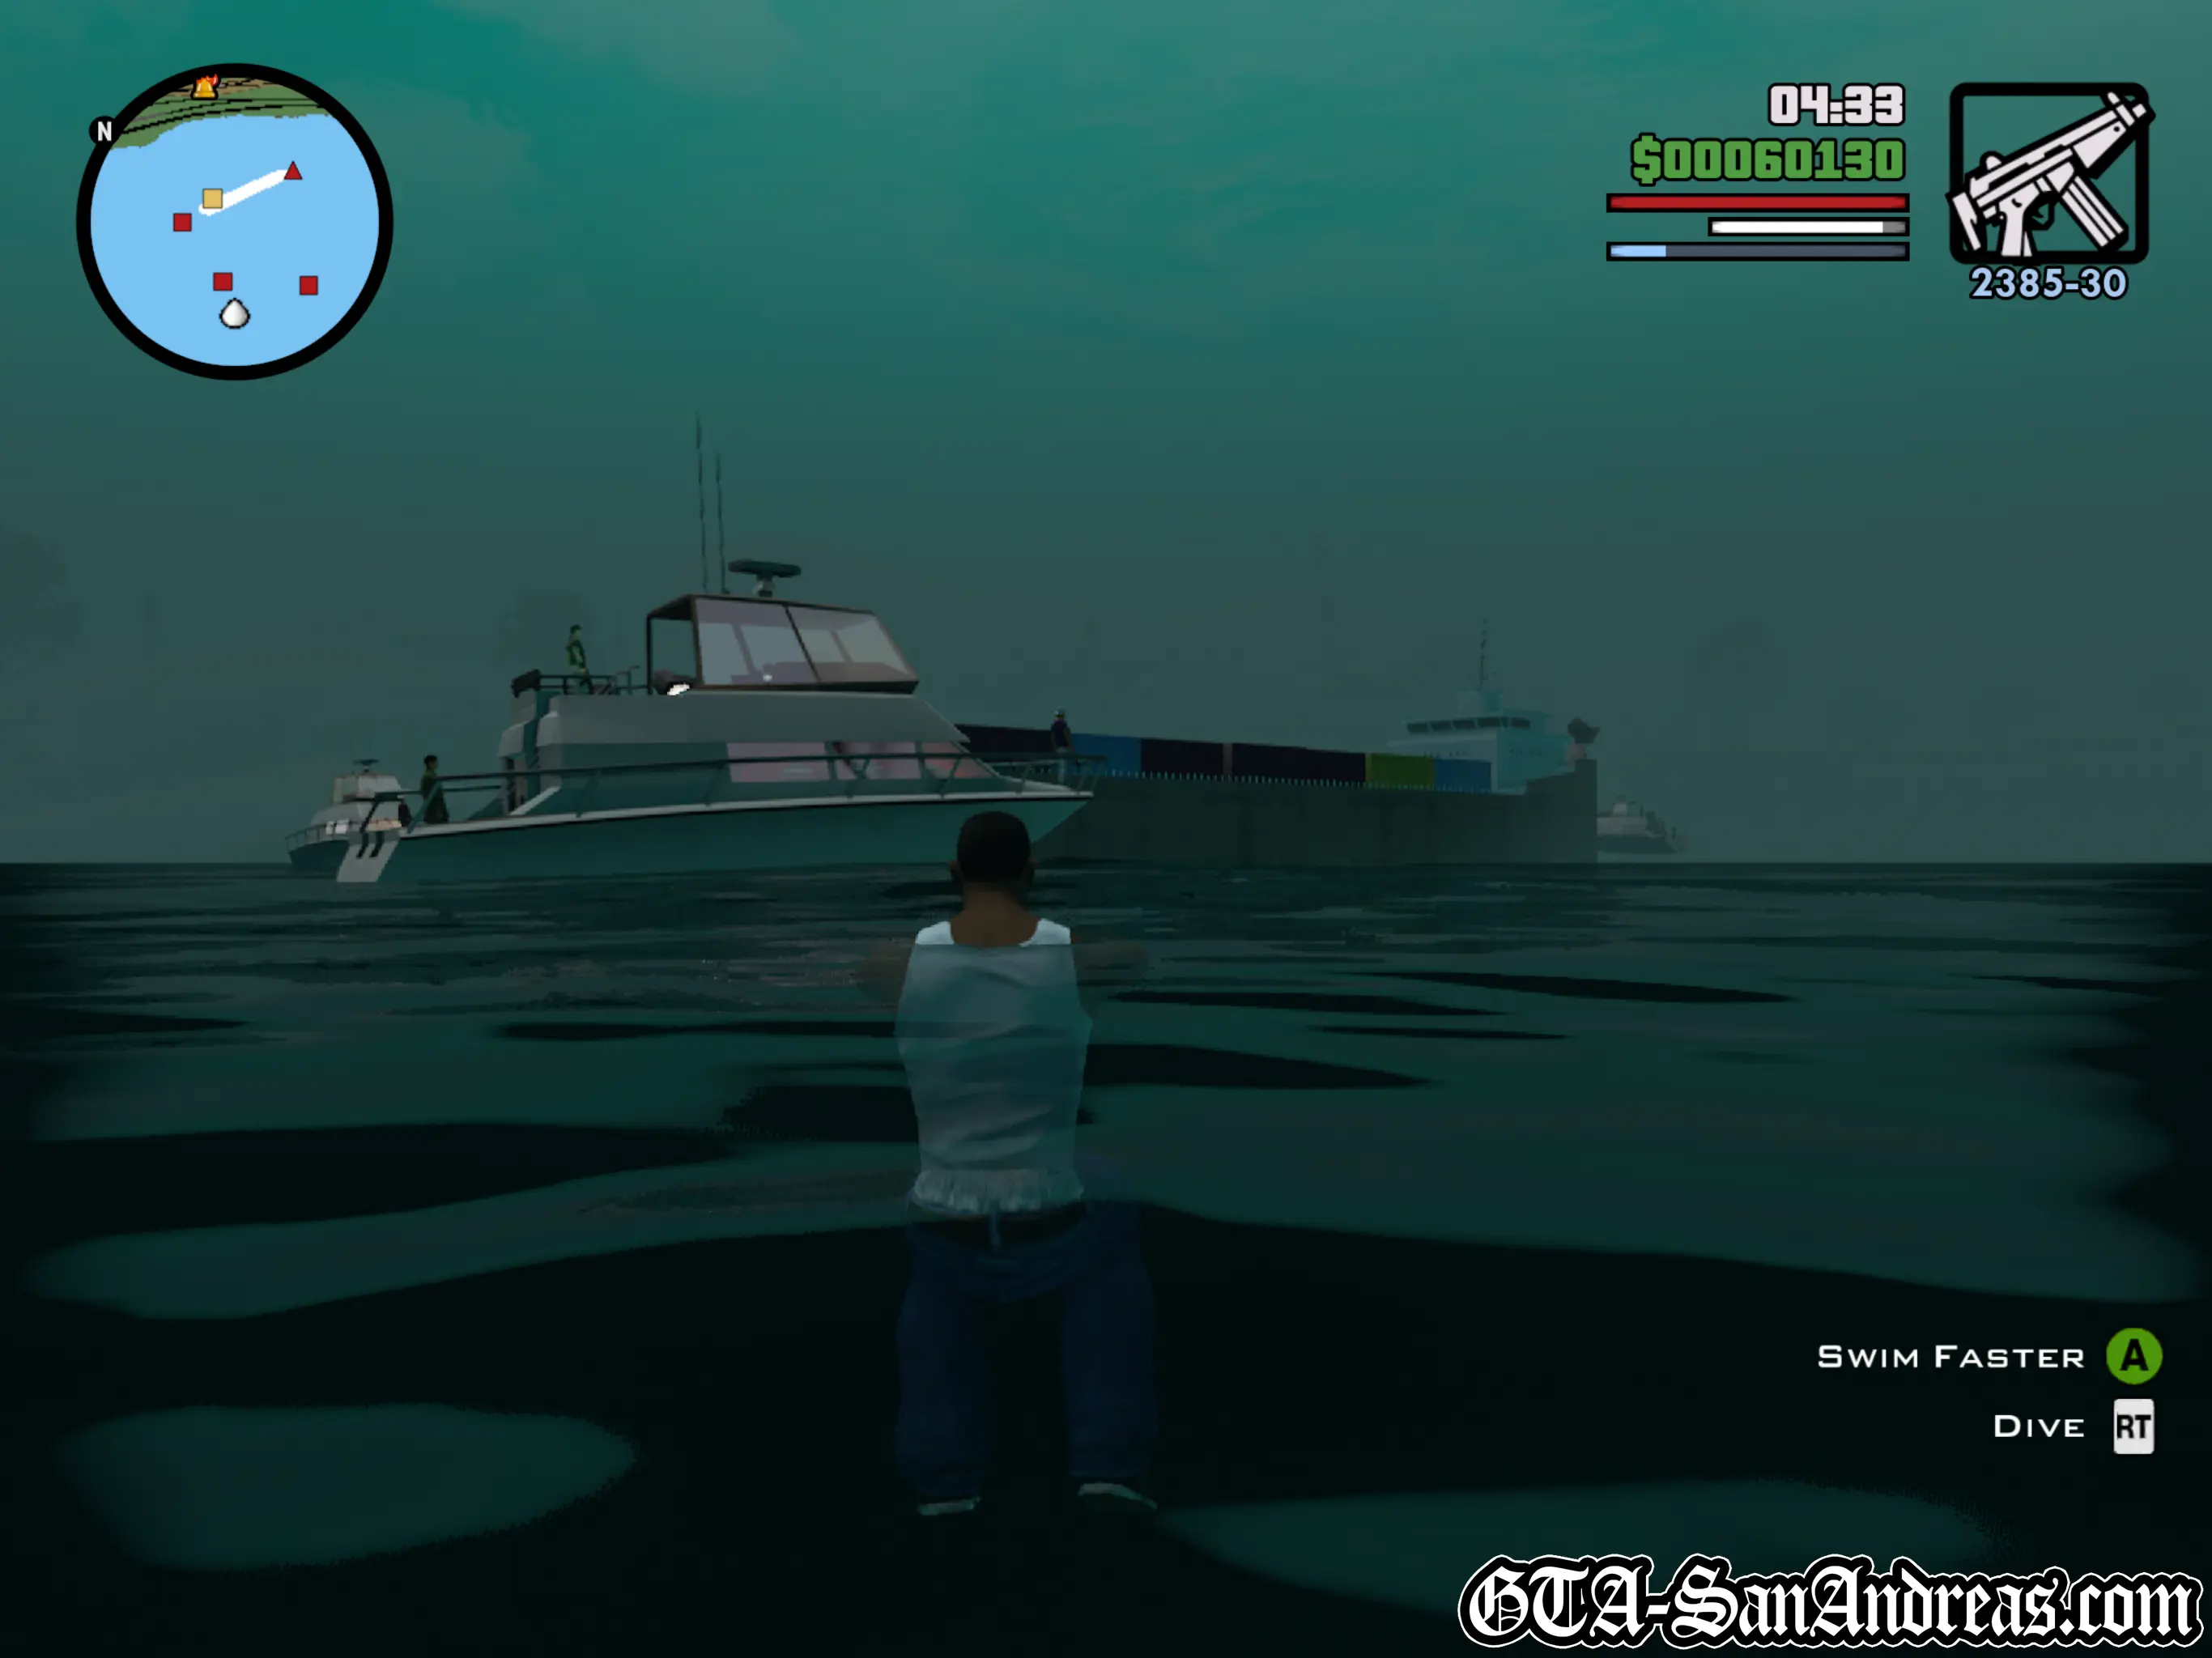
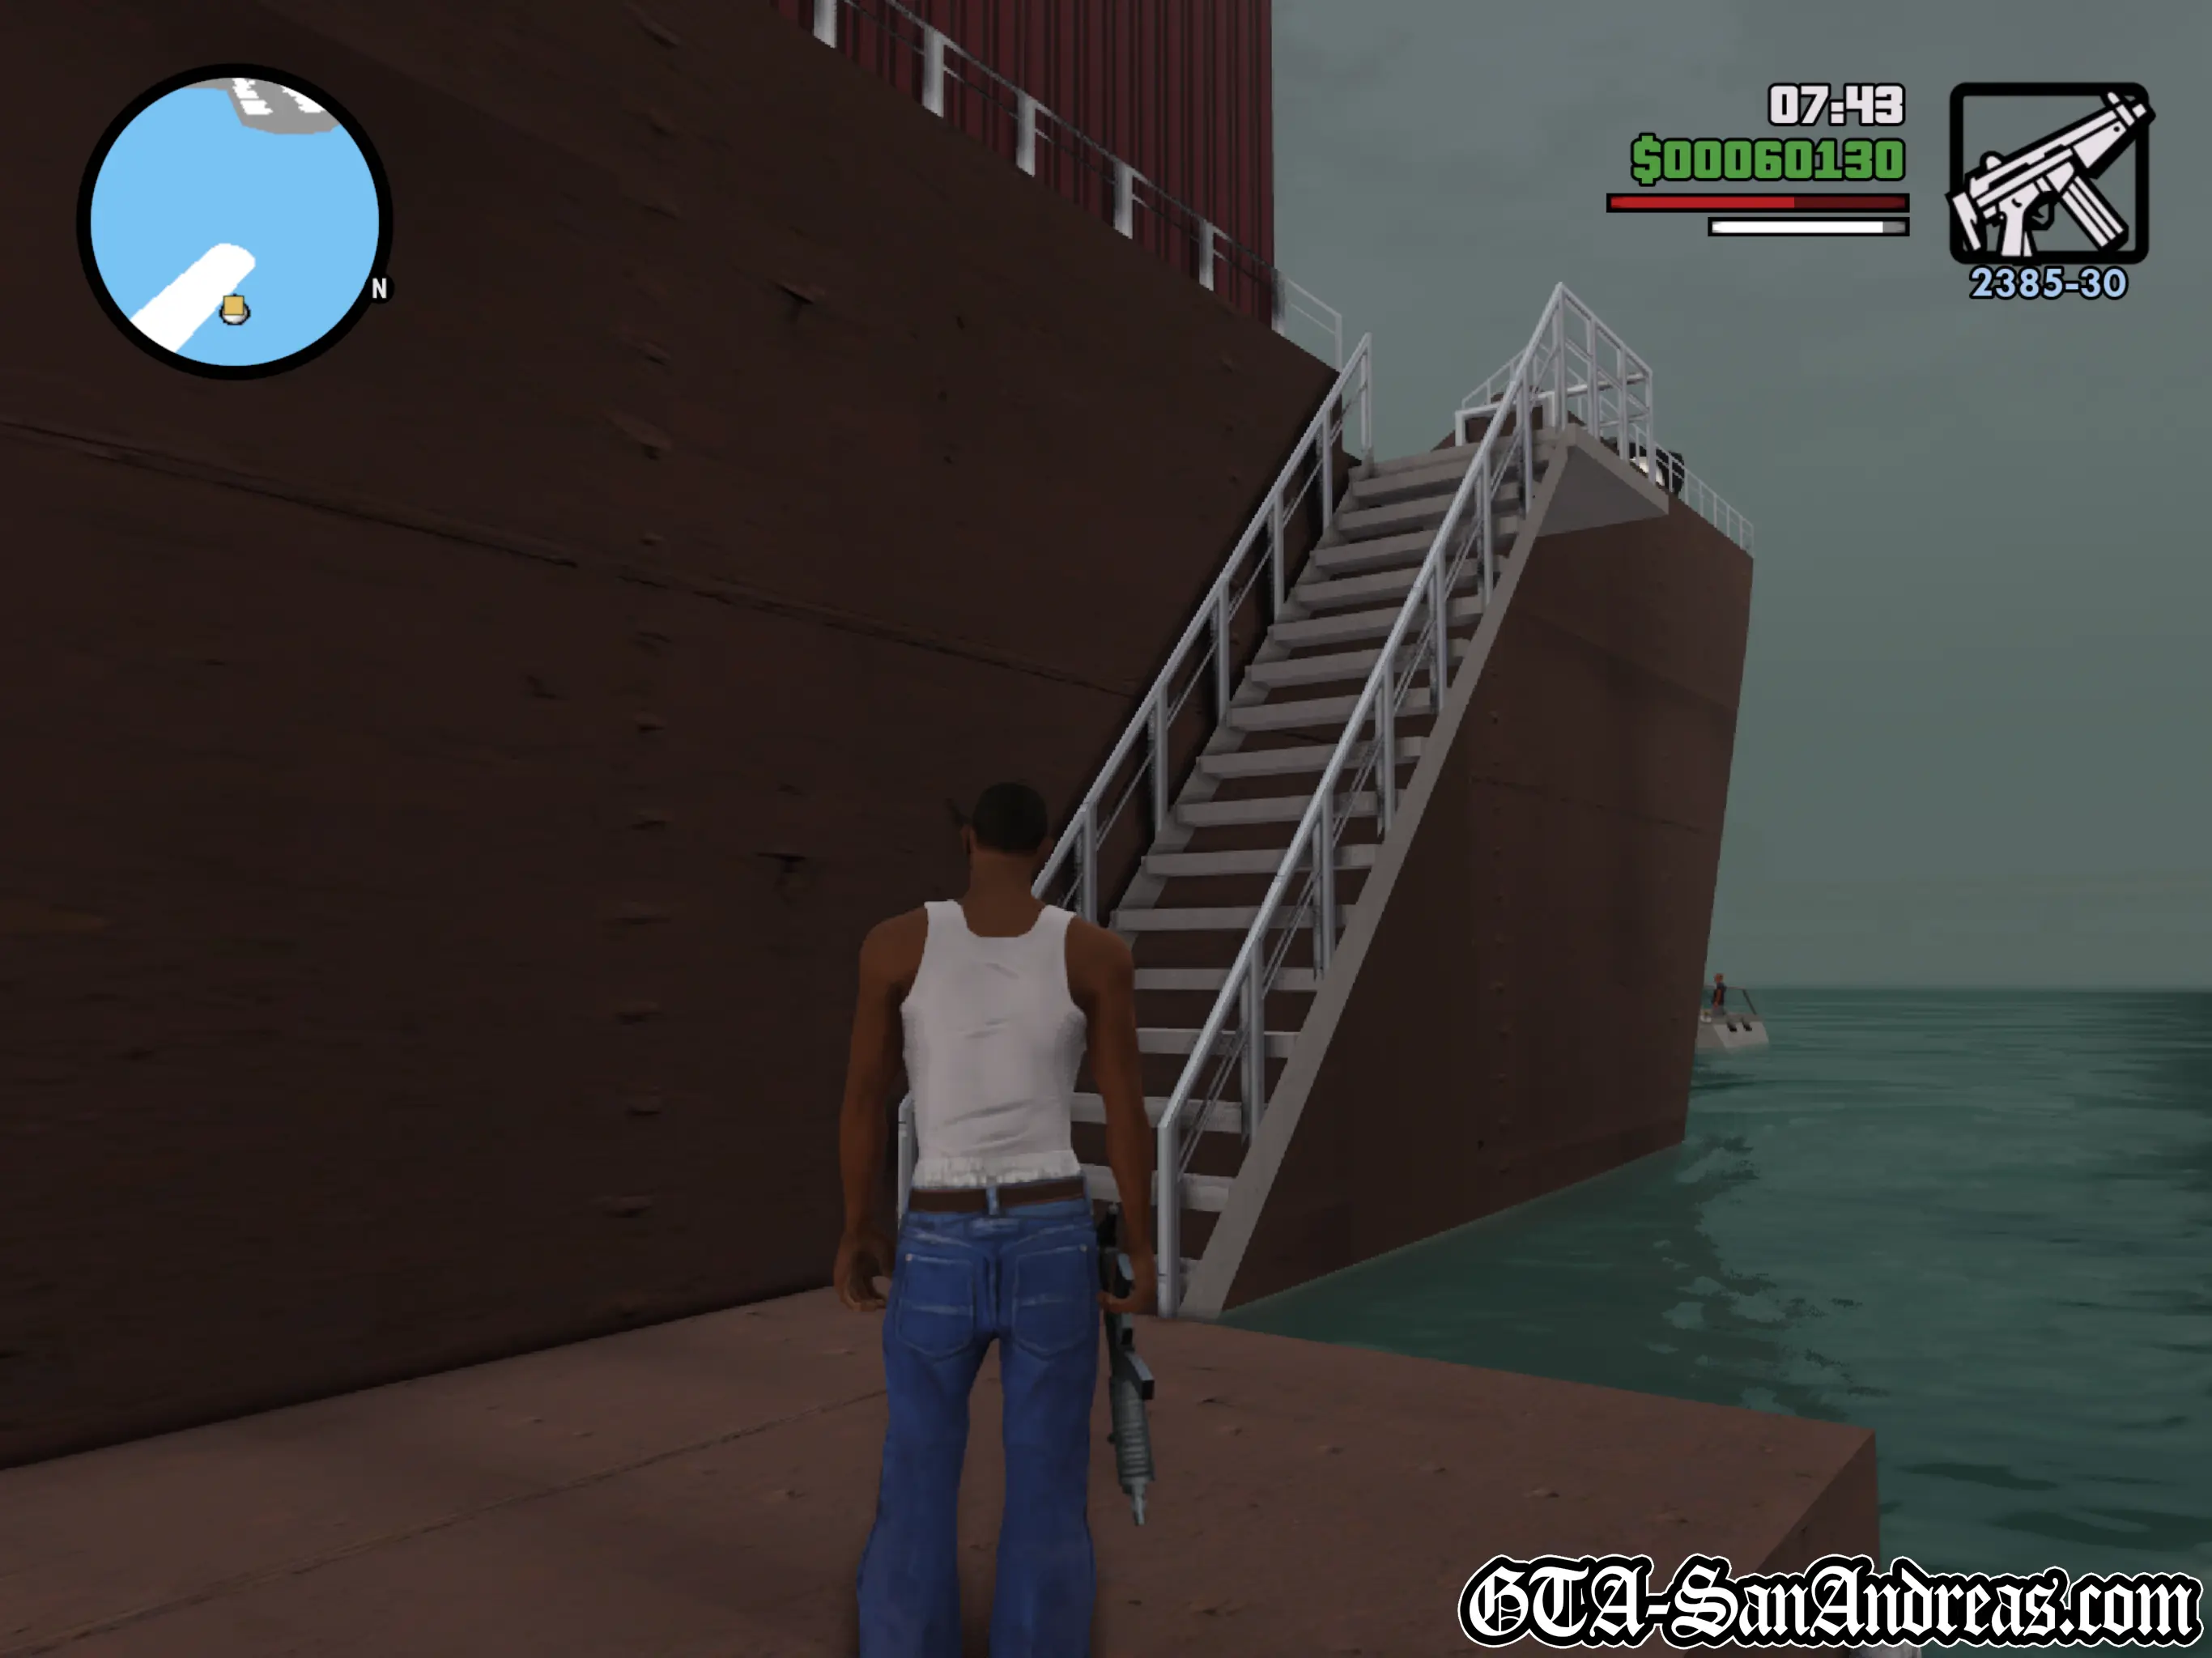
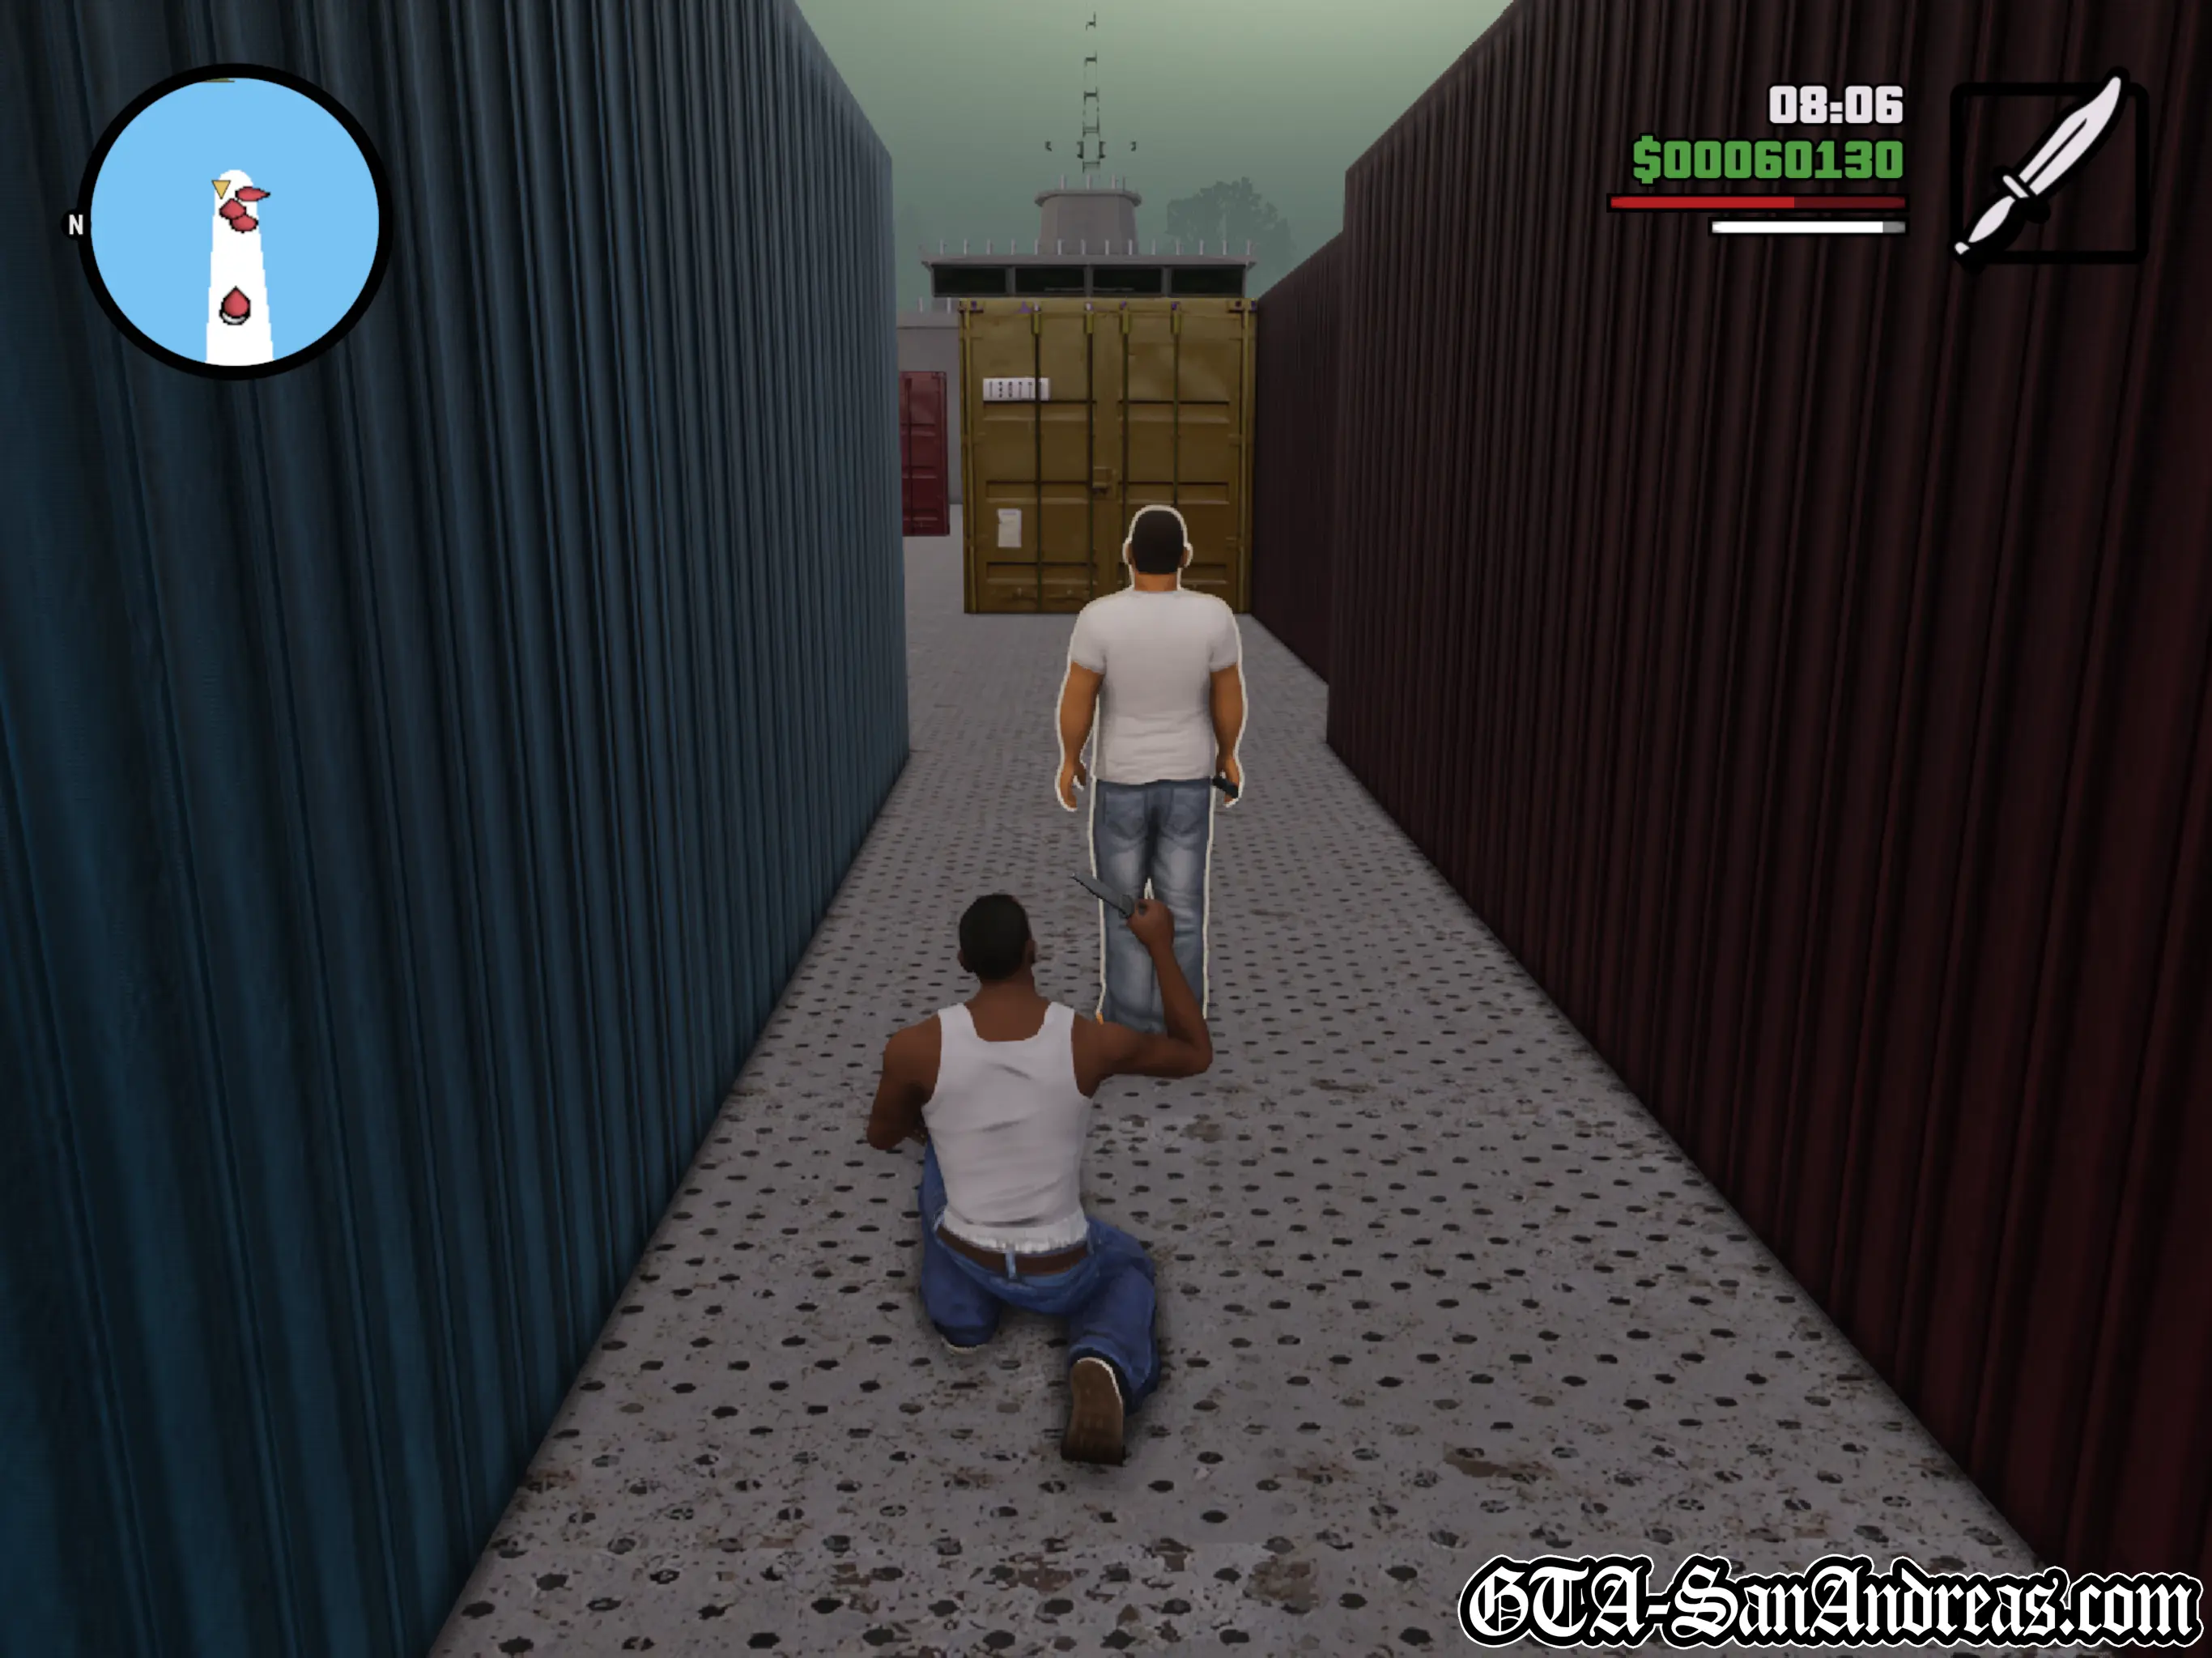
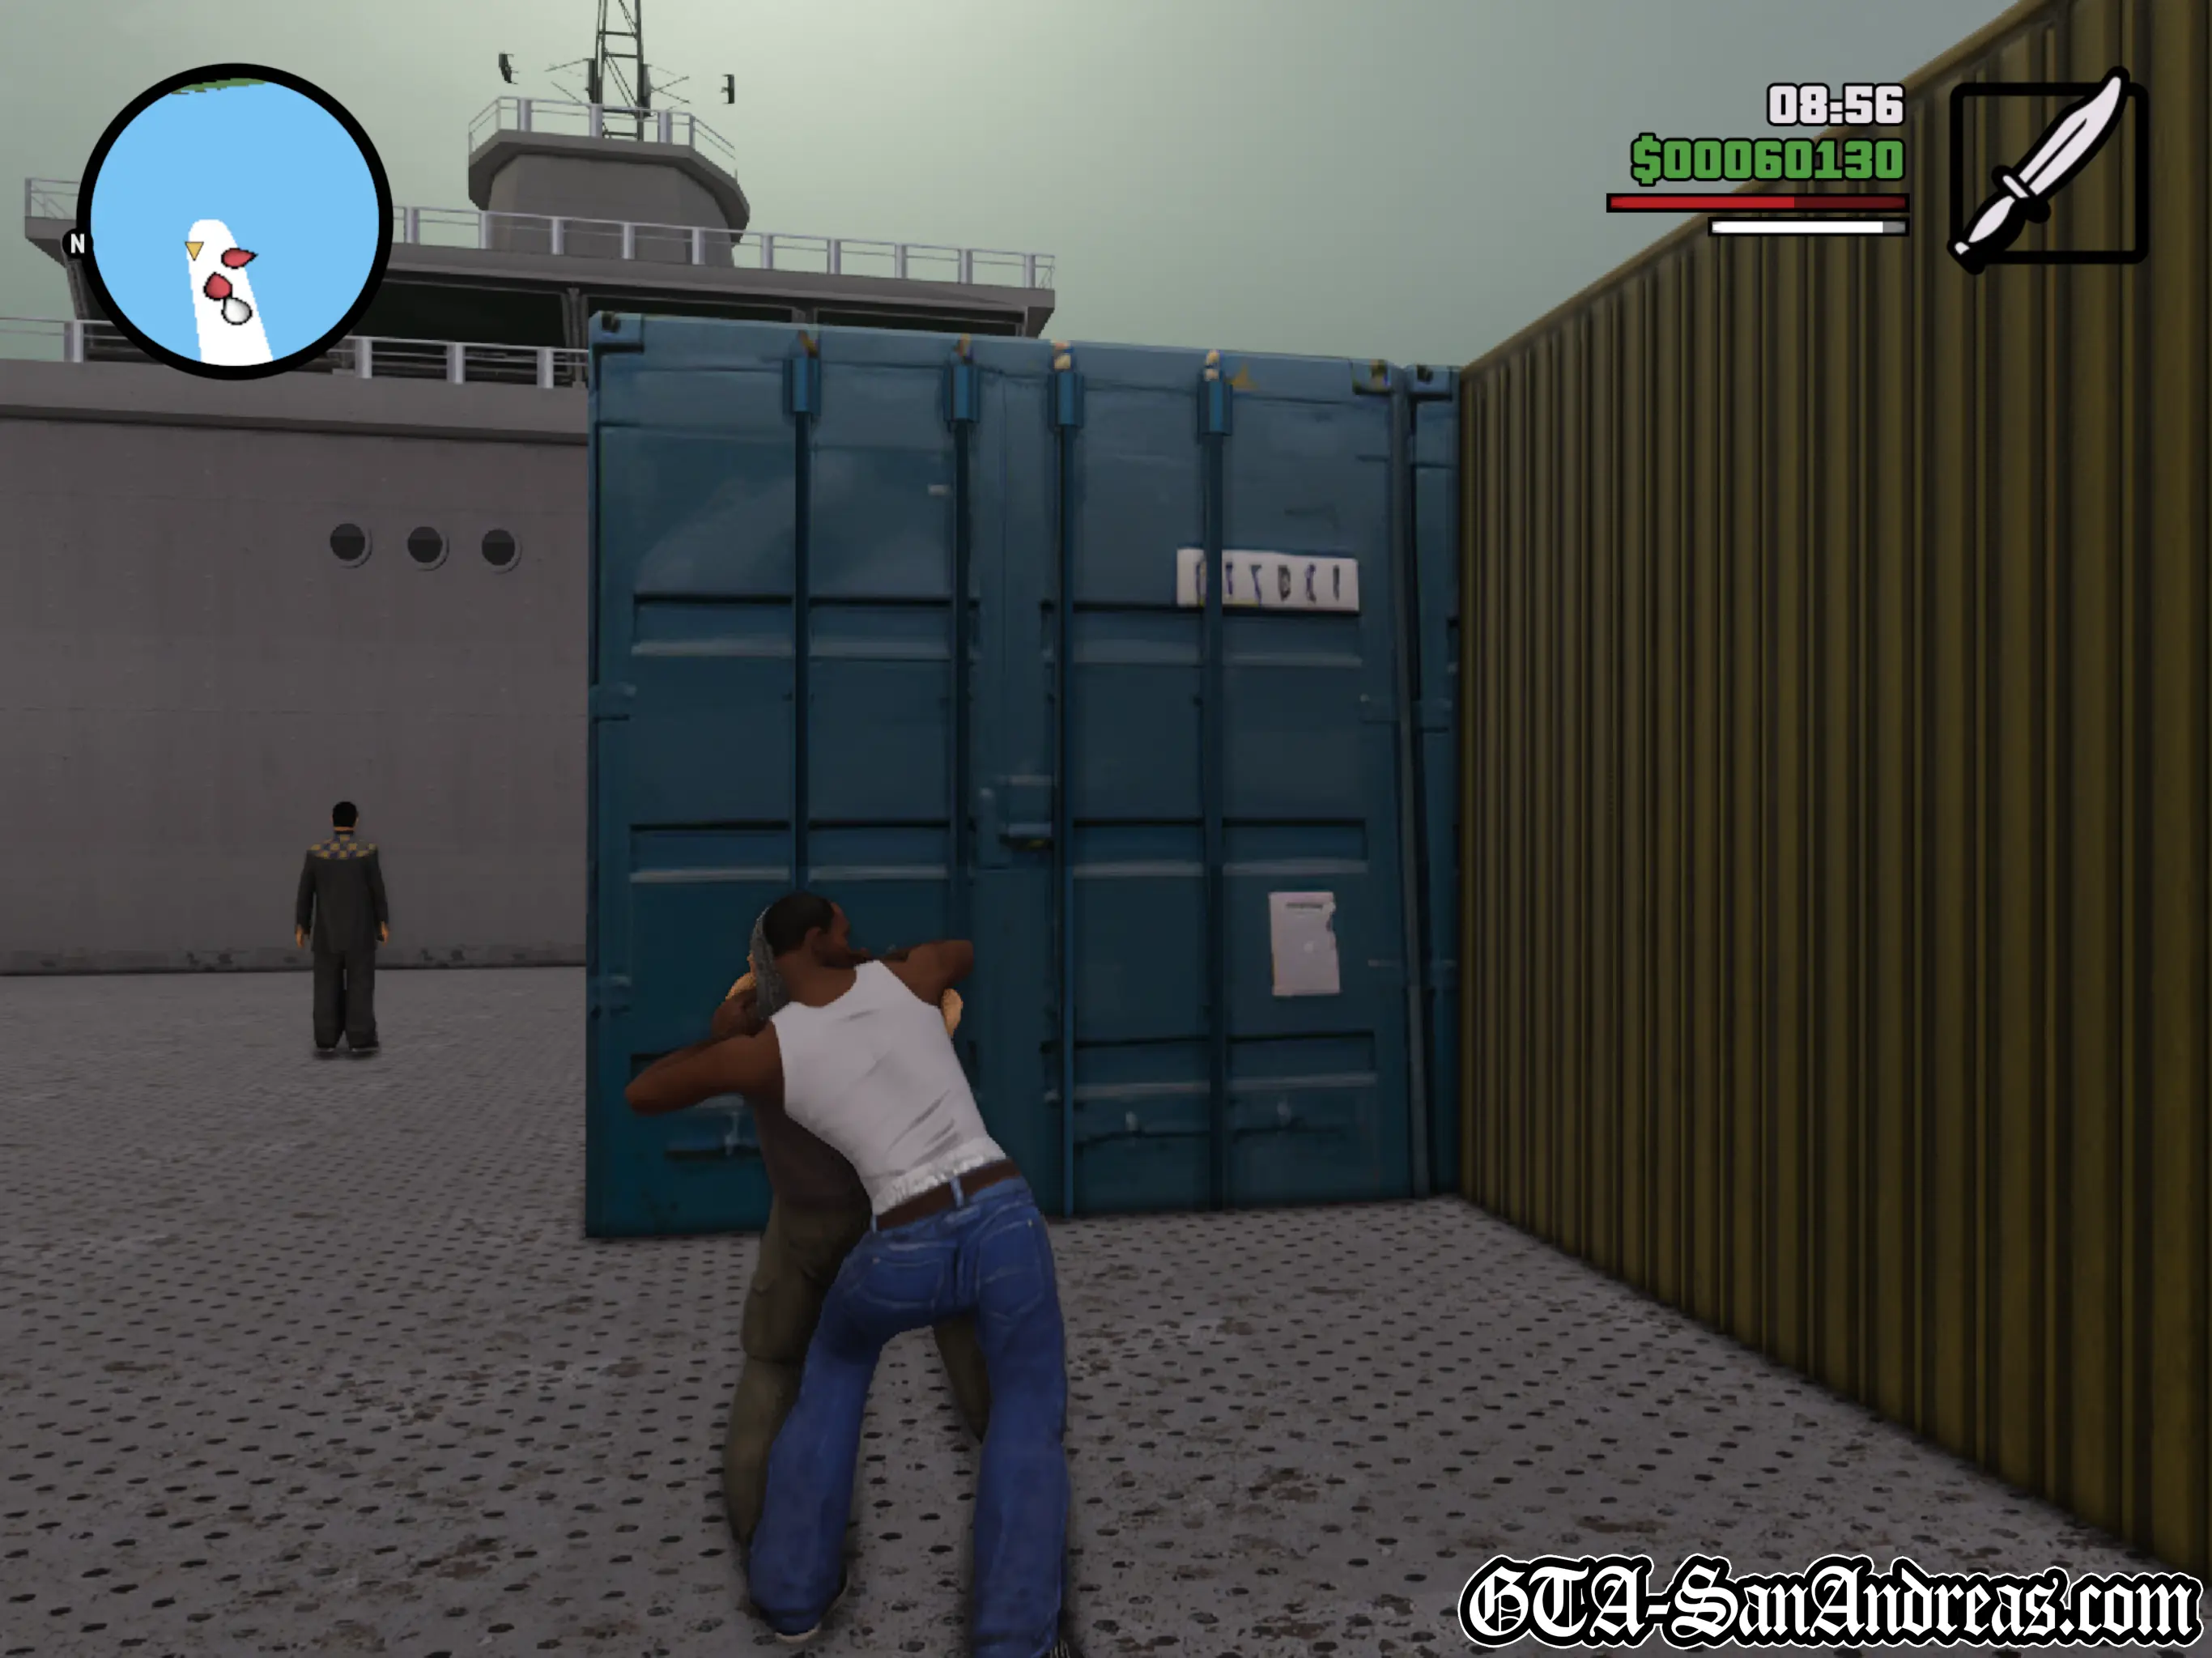
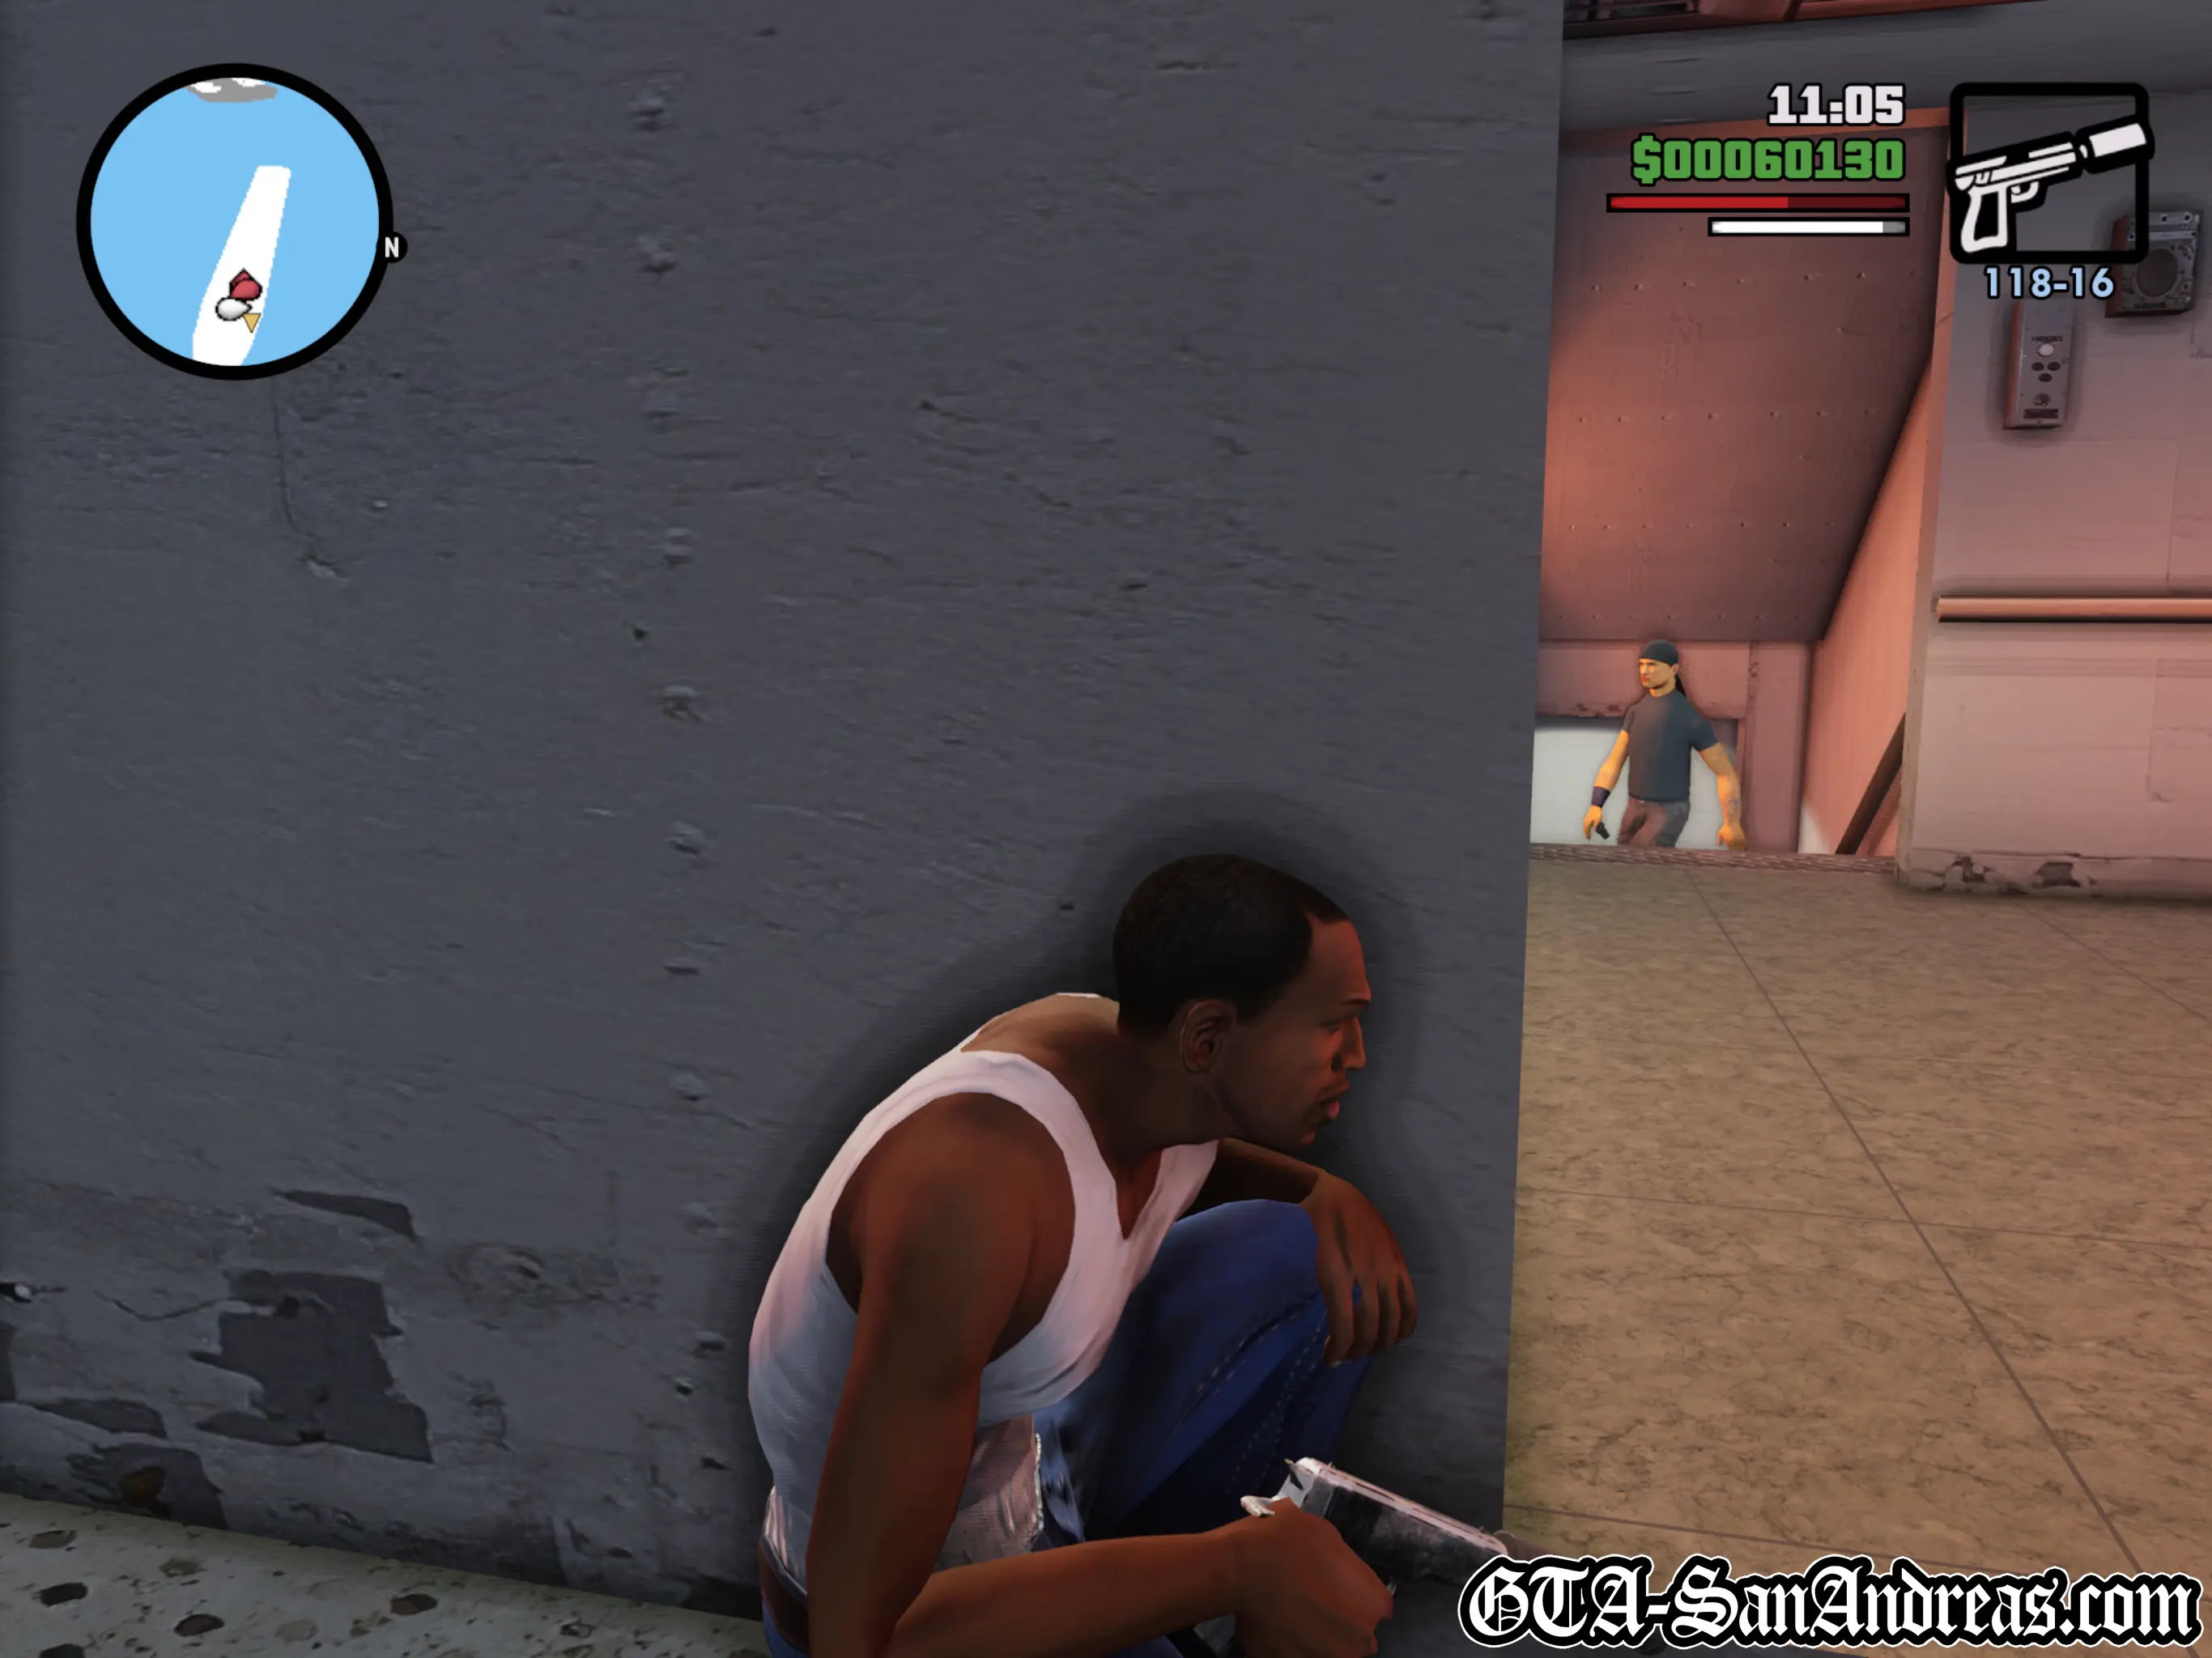
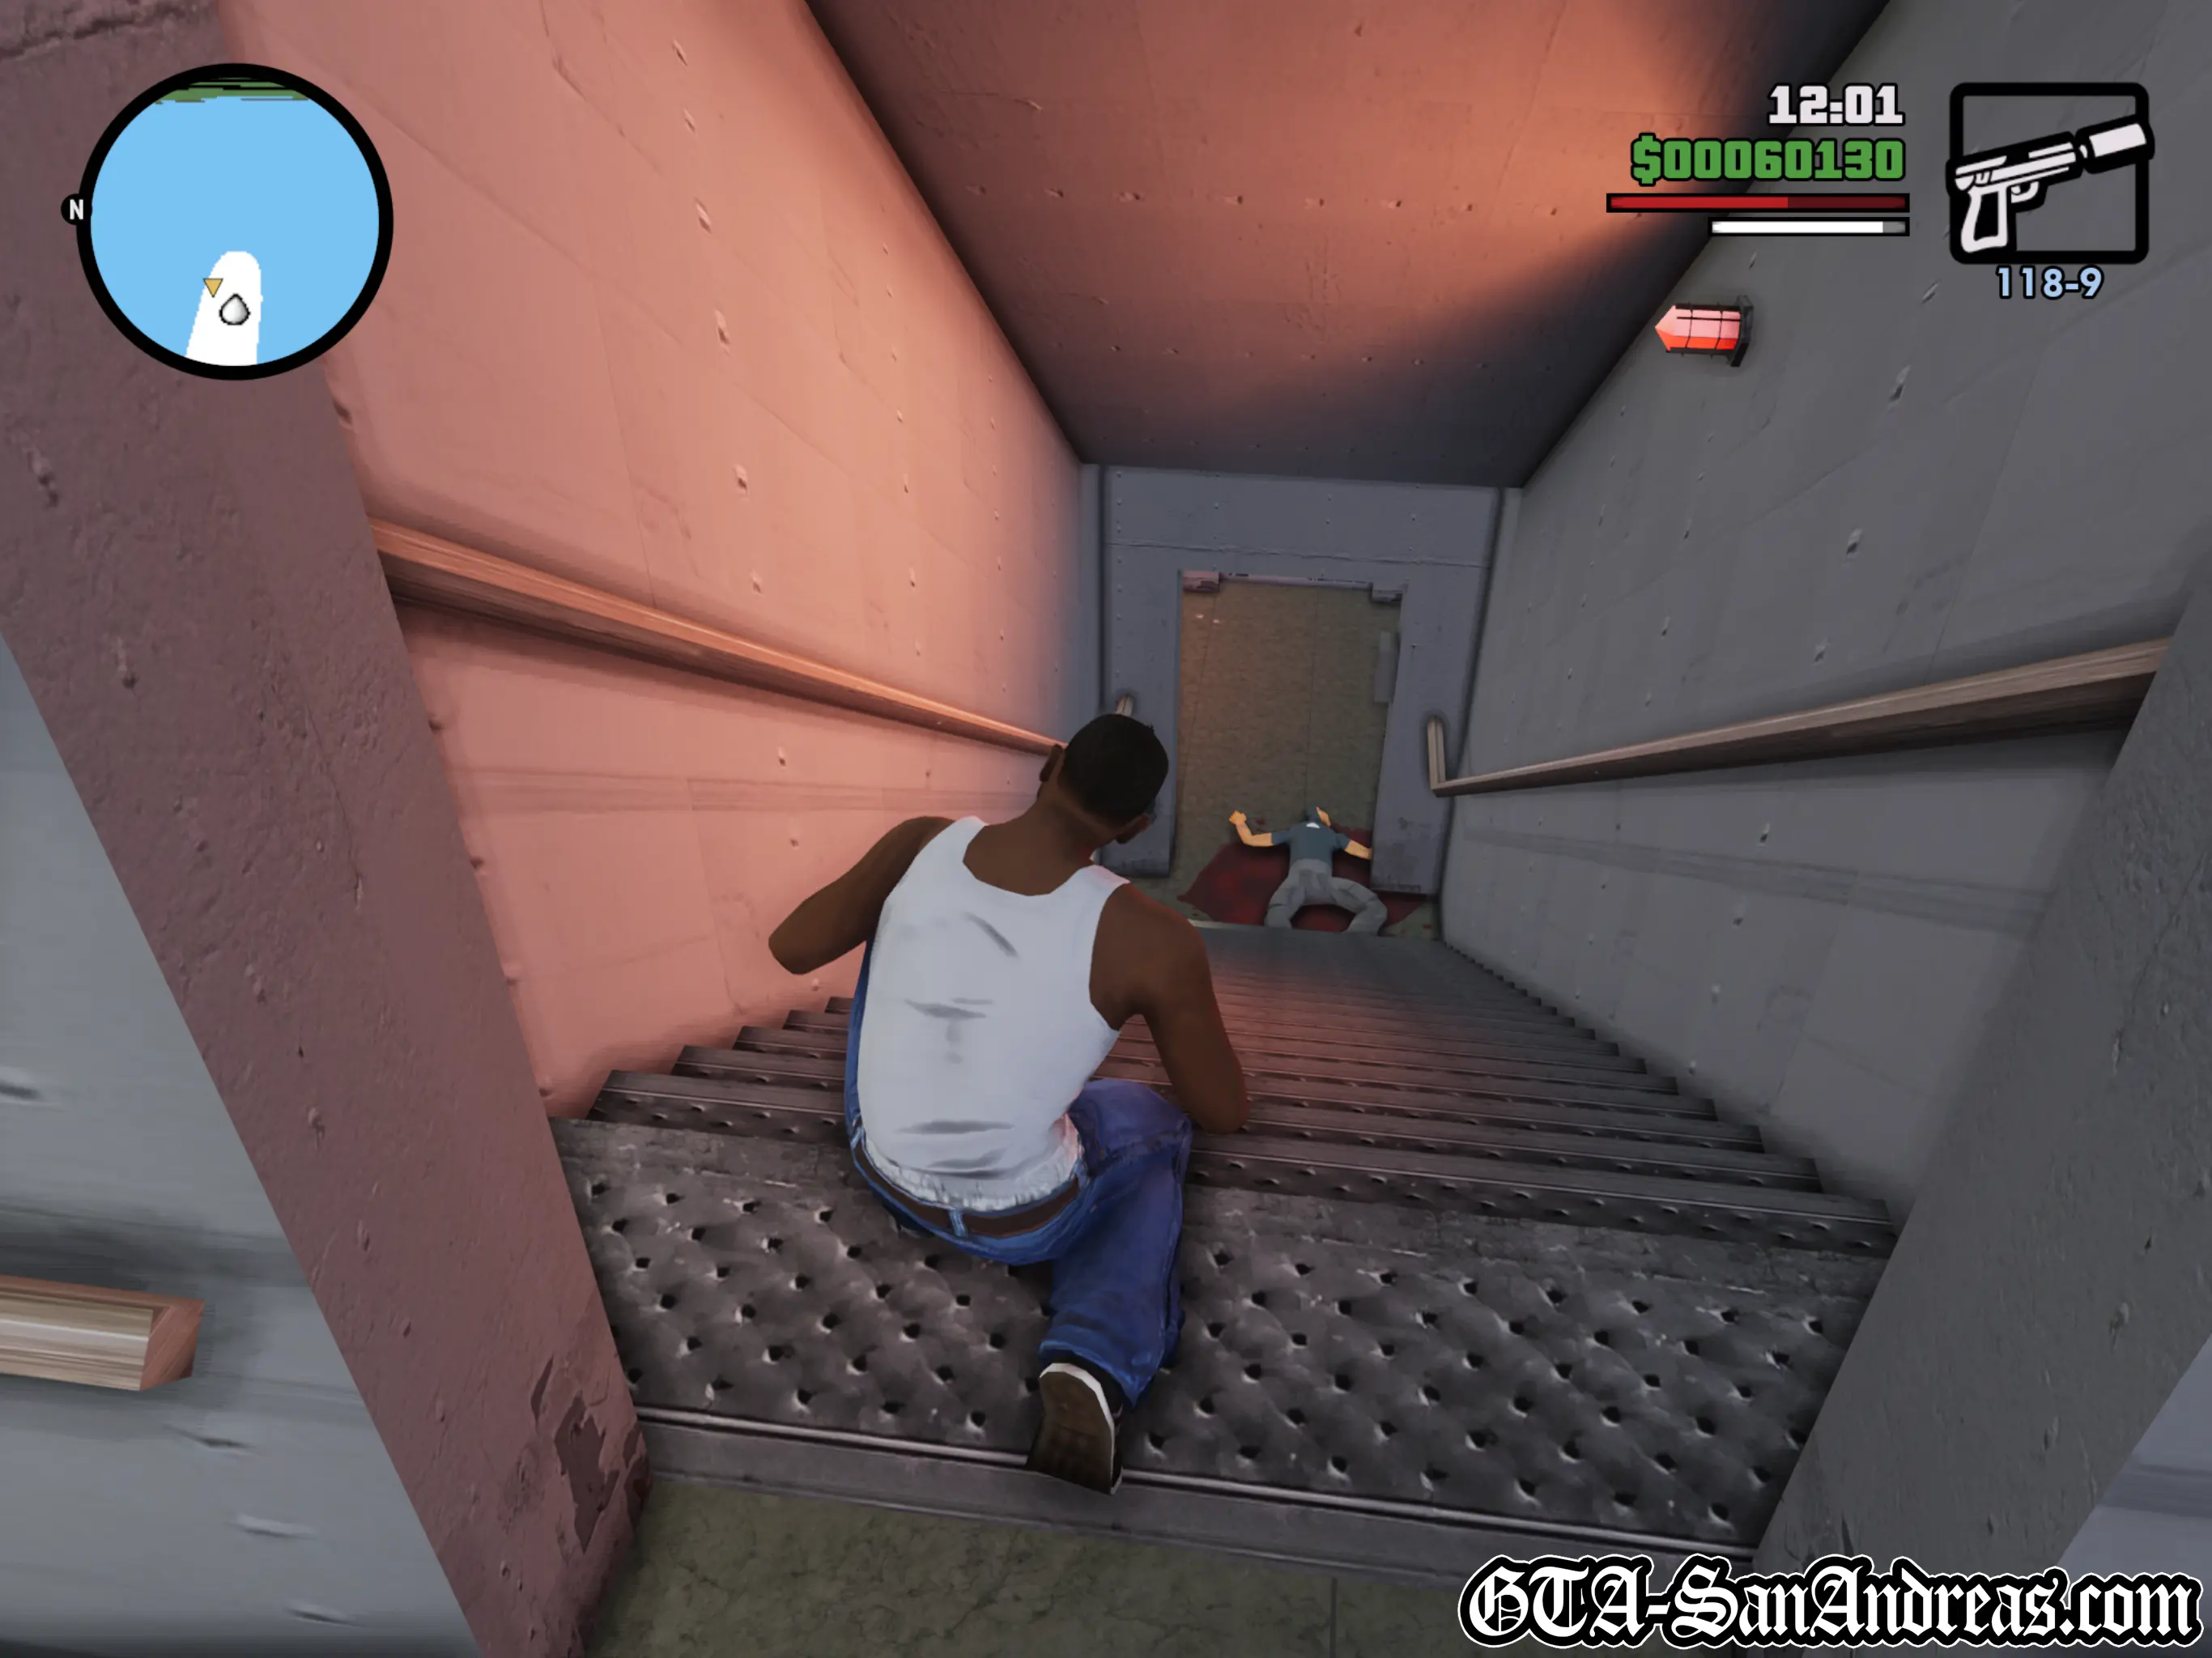
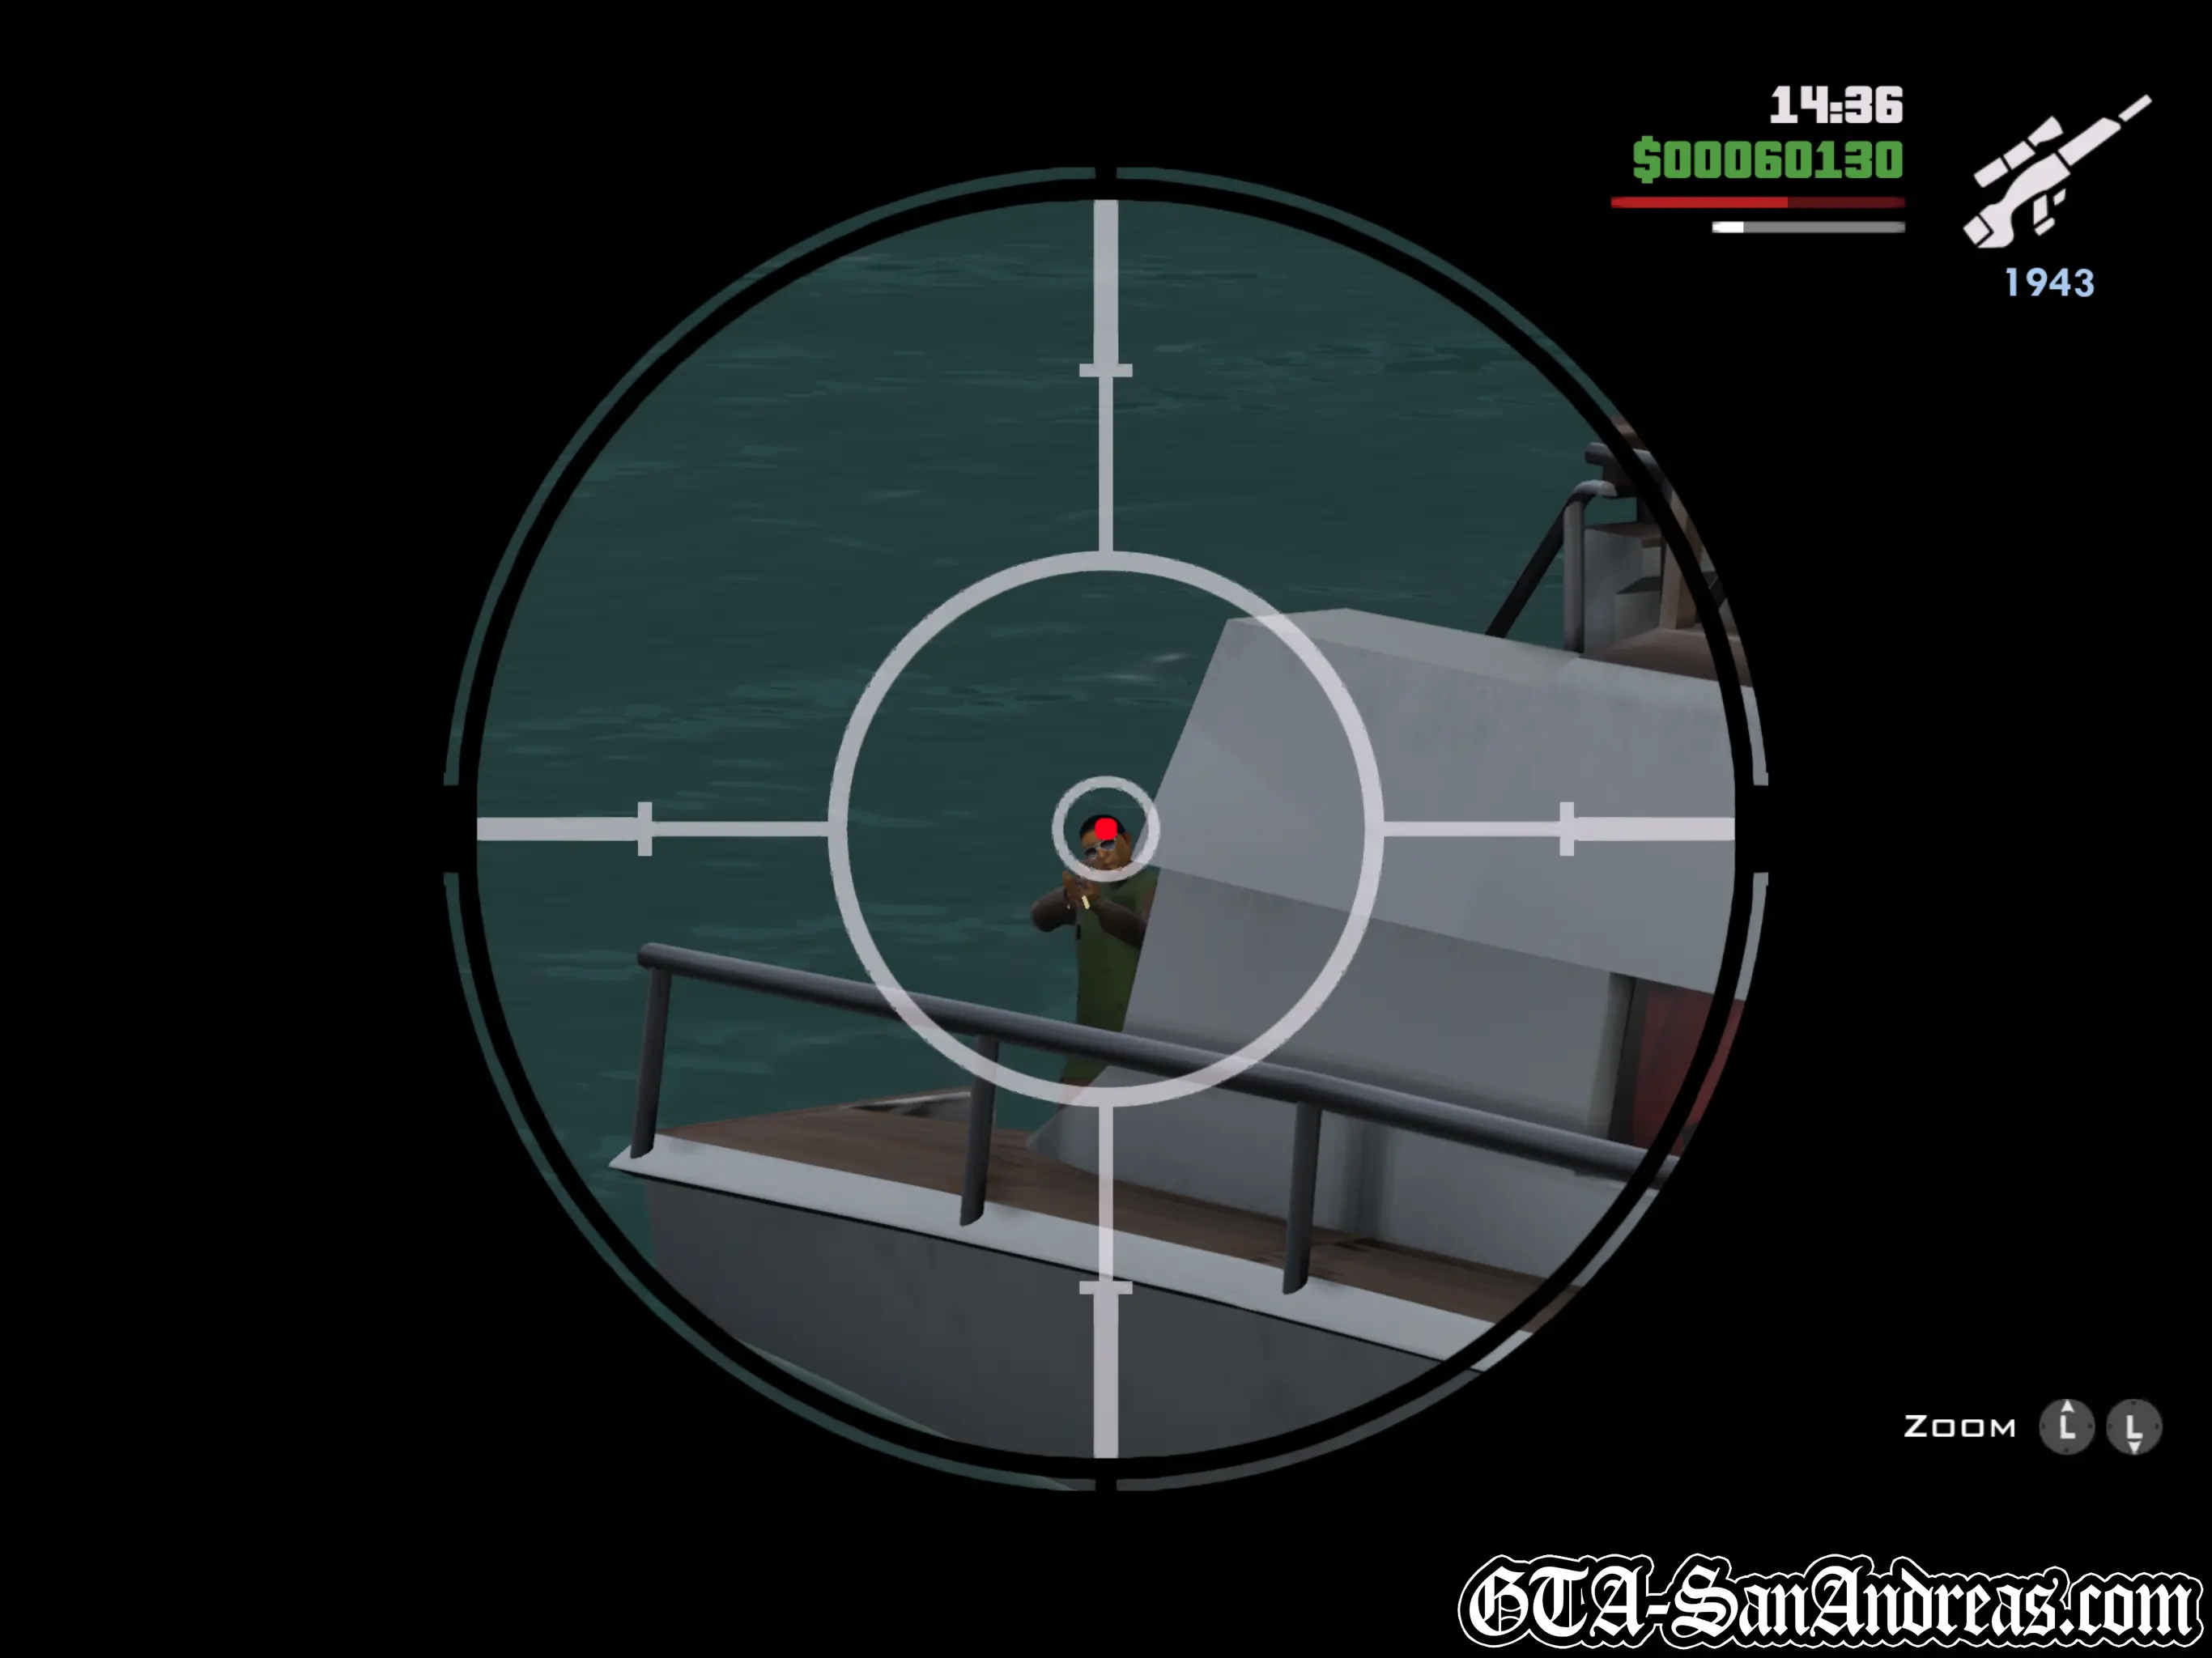
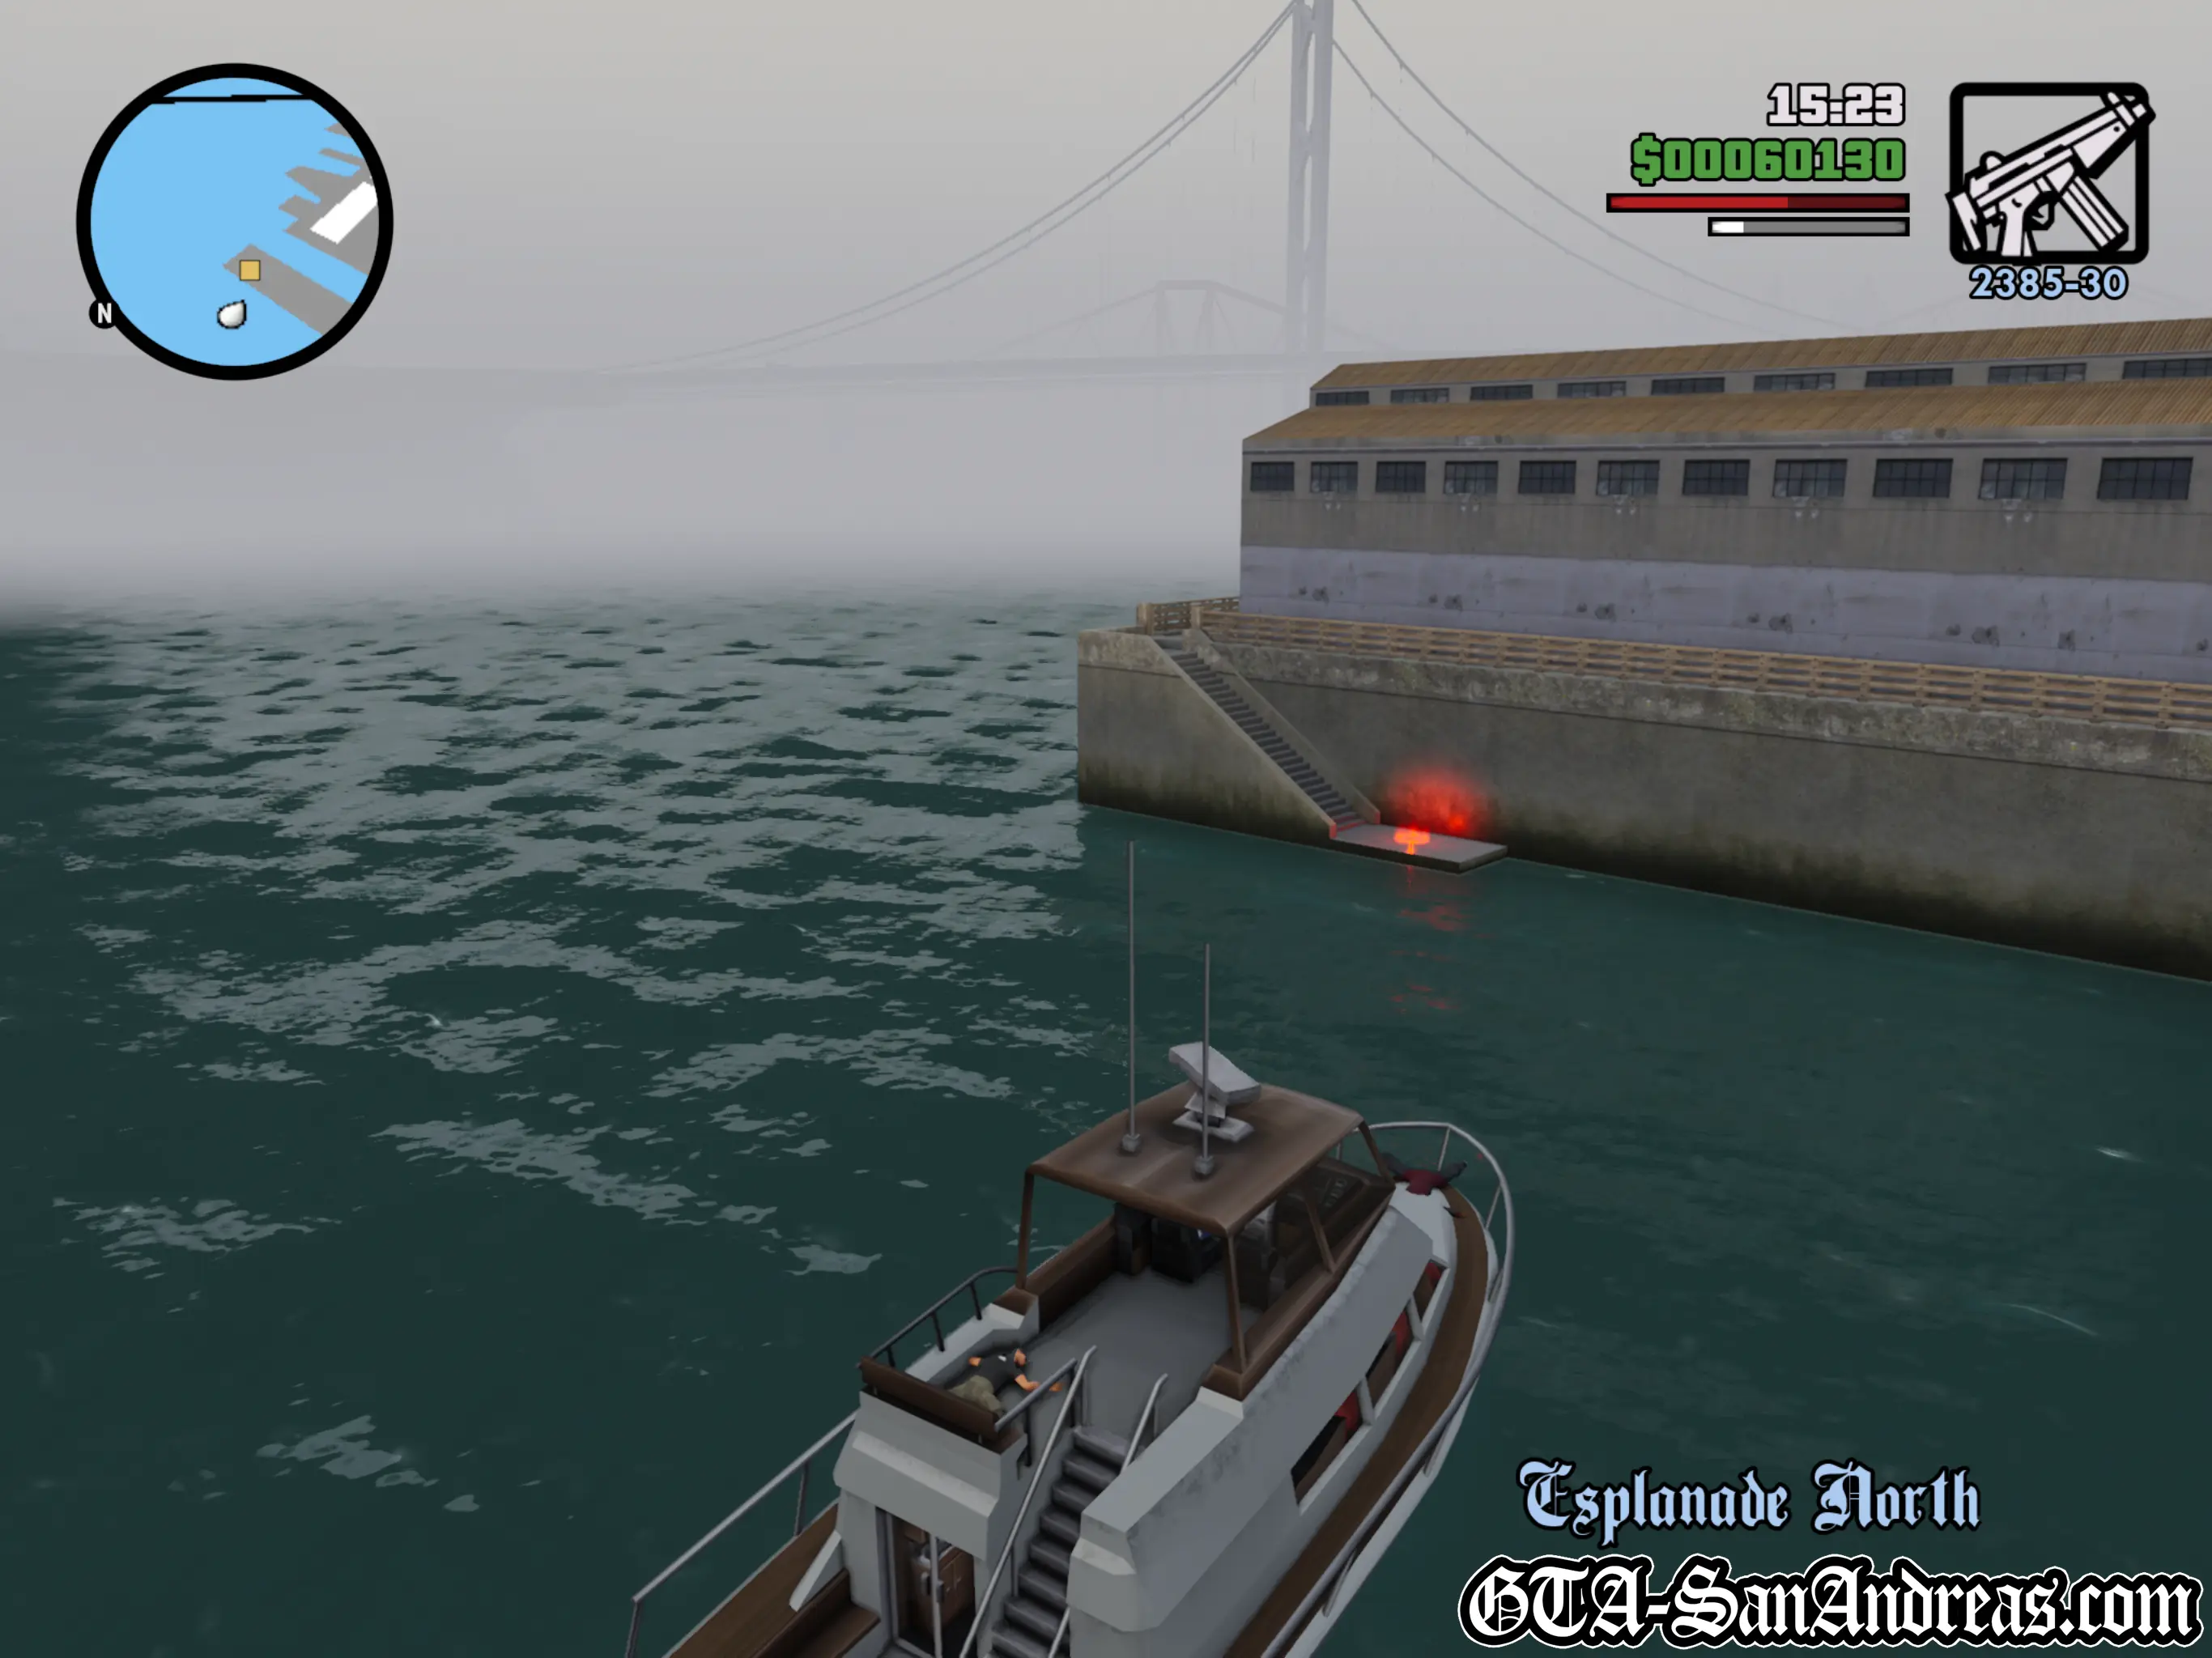
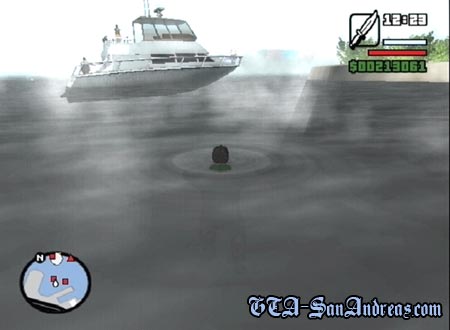
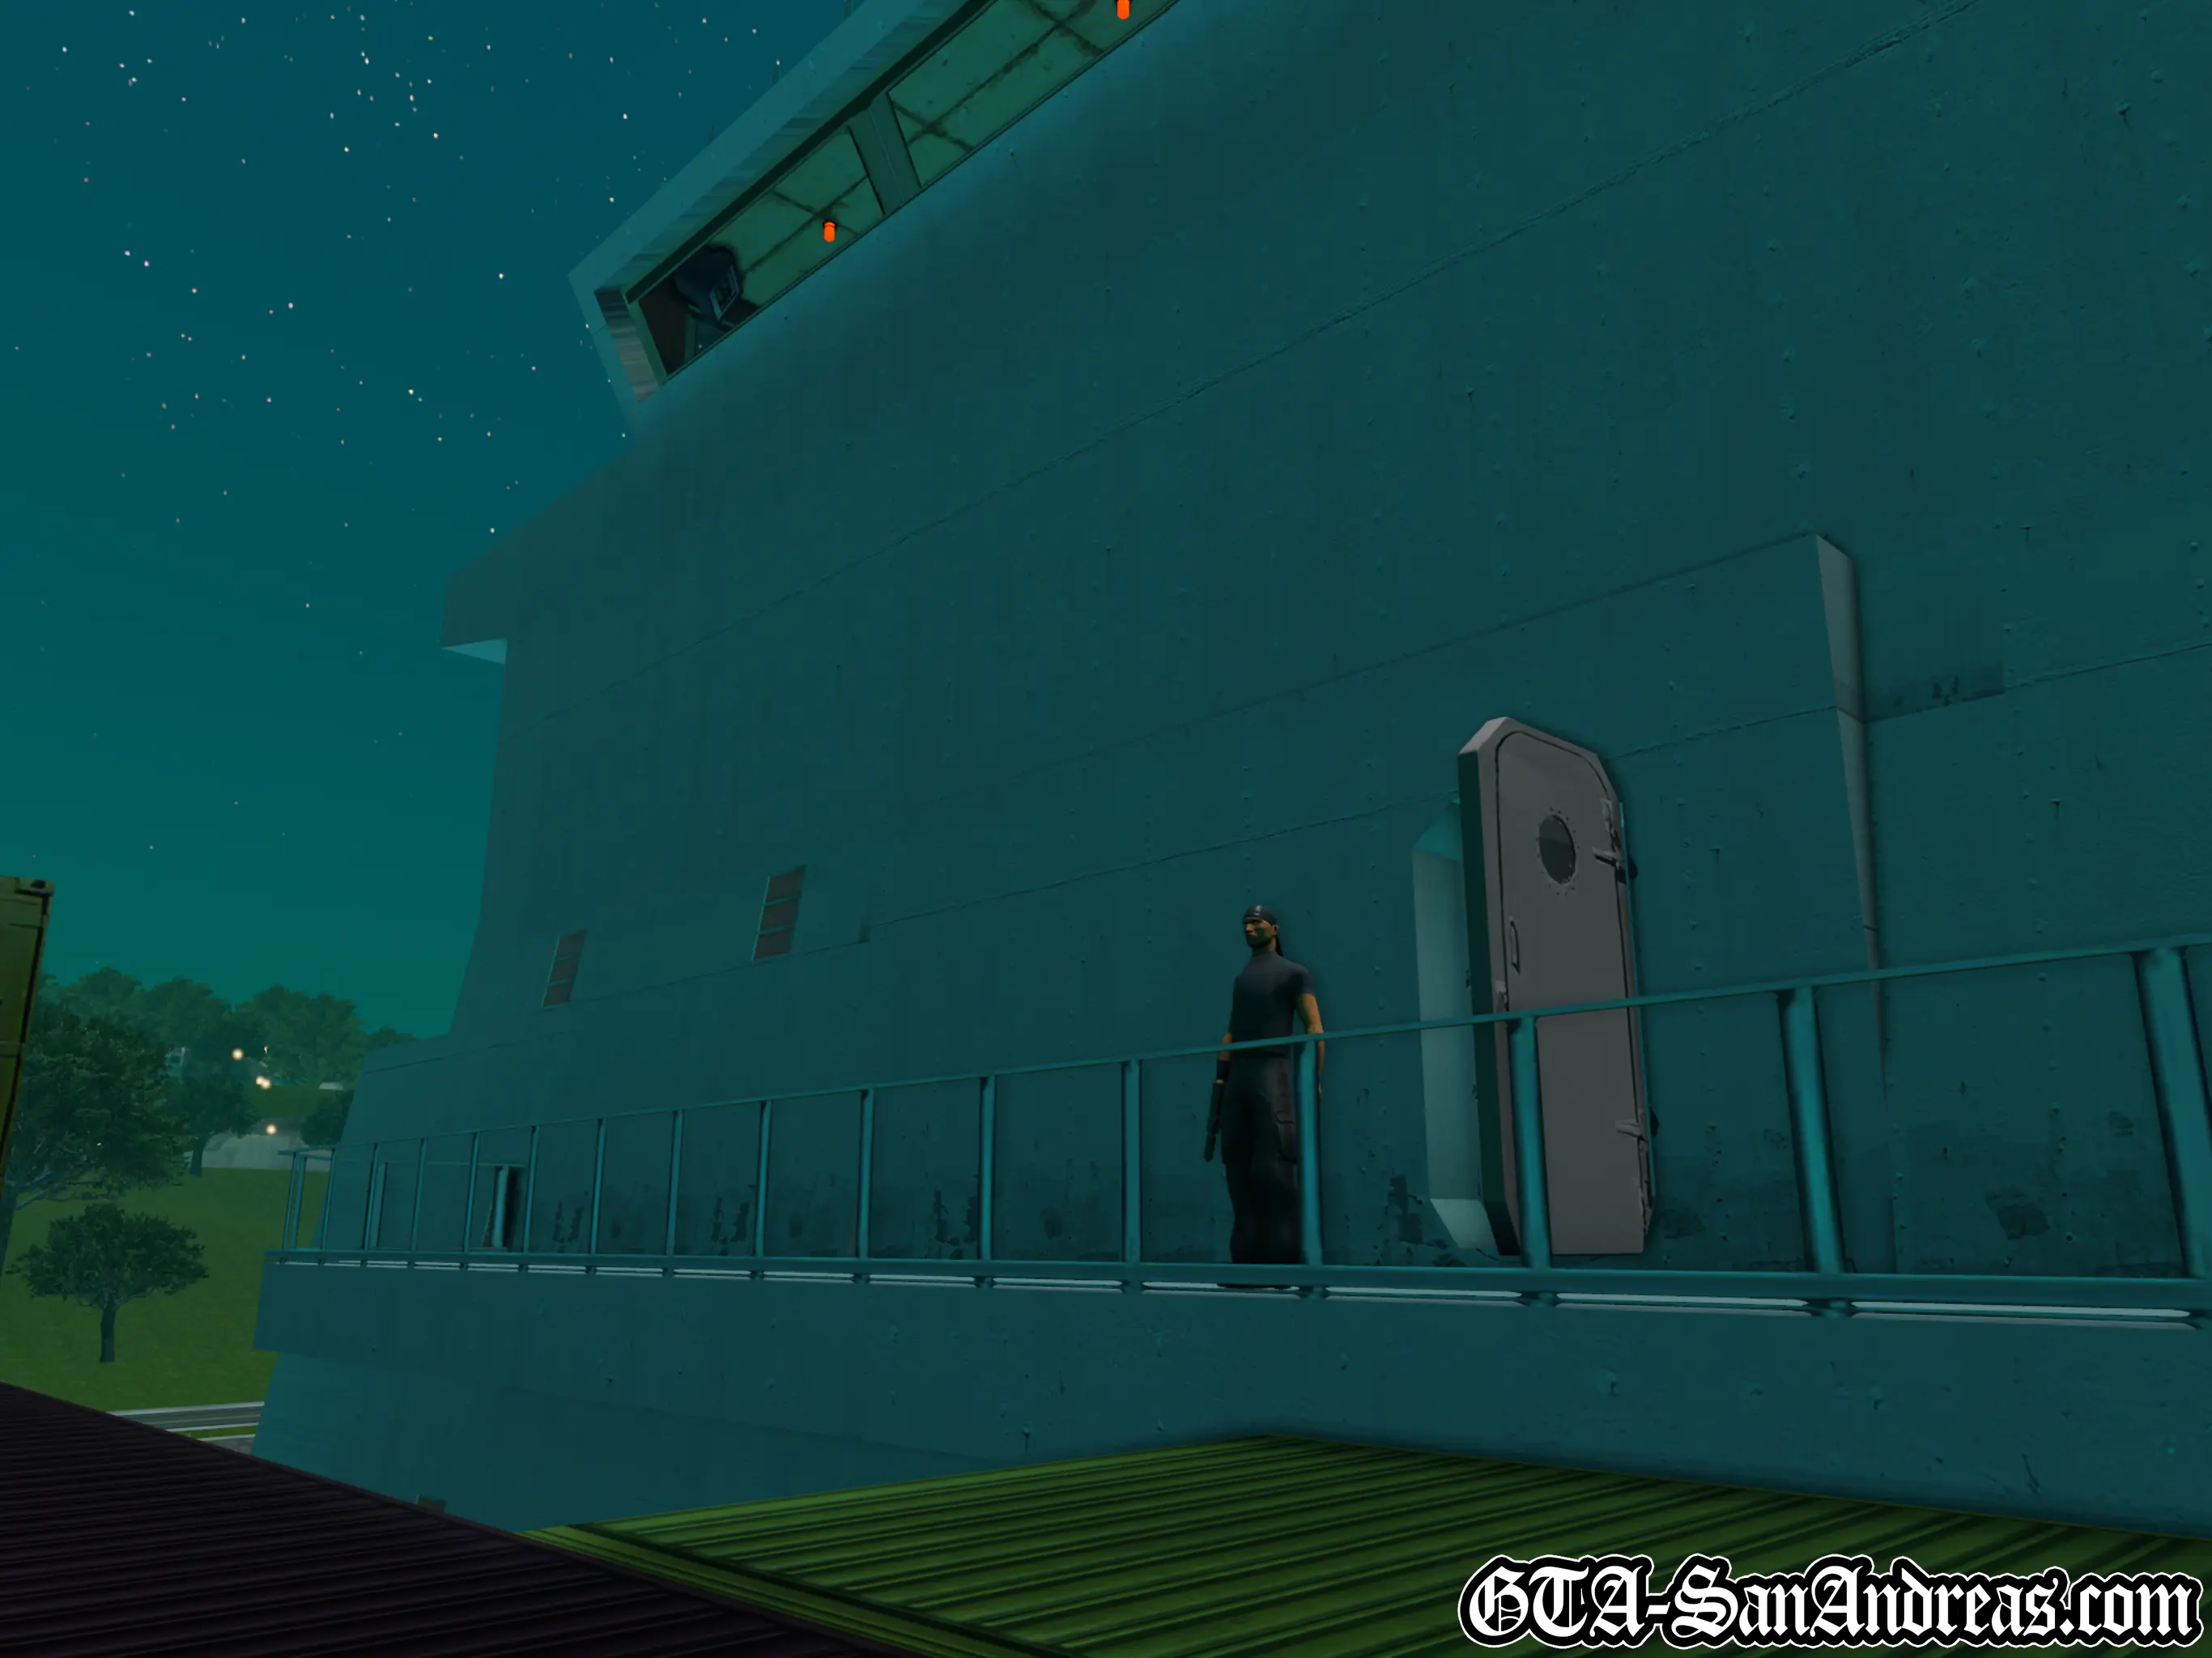
This mission requires you to have reasonably good underwater (Lung Capacity) stats before it will let you do it. Enter the red circle, and you'll get a different cutscene depending on if your stats are good enough or not. If they're not, you'll need to head down to the nearest water and swim under the water until your lung capacity bar is almost out. Swim to the surface and let it regenerate, then swim under again. You'll need to keep doing this until you receive messages about your Lung Capacity increasing. This mission requires you to be underwater a lot though, so you may wish to build up the stat pretty high. Once it's starting to look good, head back to Woozie and accept the mission. During the cutscene he'll tell you that he wants you to swim out to a ship anchored off the docks and plant a bug on it. Woozie also tells you that he's blind just so you know. Once on foot, grab a vehicle and drive to the docks. Stand in the red circle and you'll be instructed on what to do. After the cutscene you'll be in the water and you need to make your way through the rocks and through the corona's both above and below the surface. Once through the final underwater tunnel resurface and watch the short cutscene. You now need to know that you can't swim on the water surface or you'll be spotted, so you can only move when underwater. Treading water is fine though, so you can just hover in one spot while you regenerate your lung capacity. Make your way past the patrol boats and towards the large ship. Remember to only swim while underwater or you'll get shot at. Unfortunately the treading water technique does not work for the searchlights, so you'll need to use your radar and look out for where the large circles are. If you're directly under one of those, don't resurface, or if you do, swim away fast. When you reach the boat you'll need to head around to the other side and use the wooden stairs to climb aboard. Once you're up top, switch to your knife and hit L3 to crouch. Sneak to the red dots on the radar, and providing they're facing the other way to you, sneak up behind them and stealth kill them. This is done by walking up behind them close enough so that Carl raises the knife above his right shoulder. You'll need to hold R1 to target them, then use either L1 or Circle to perform the kill. Follow the crates around towards the front of the ship and stealth kill all three of the other guards on deck. Once they're dead, sneakily make your way to the front of the ship where you'll find one more guard, then enter through the door. Follow the stairs down while remaining silent at all times, and you'll come to the red circle on the floor. Ignore this and watch the two red blips on the radar. When the closest one turns around and faces the other way, sneak behind him and kill him. Follow the other guy around and kill him when he's not looking, then plant the bug in the red circle. Once it's planted you need to get off the ship and back to the docks. You can make the task a bit easier by shooting the search lights with a silenced pistol, providing you have one. Then just follow your actions from before in reverse and swim back to the docks. If you get spotted just swim like hell, however this mission is a lot more fun if you do it all stealthily.
Screenshots


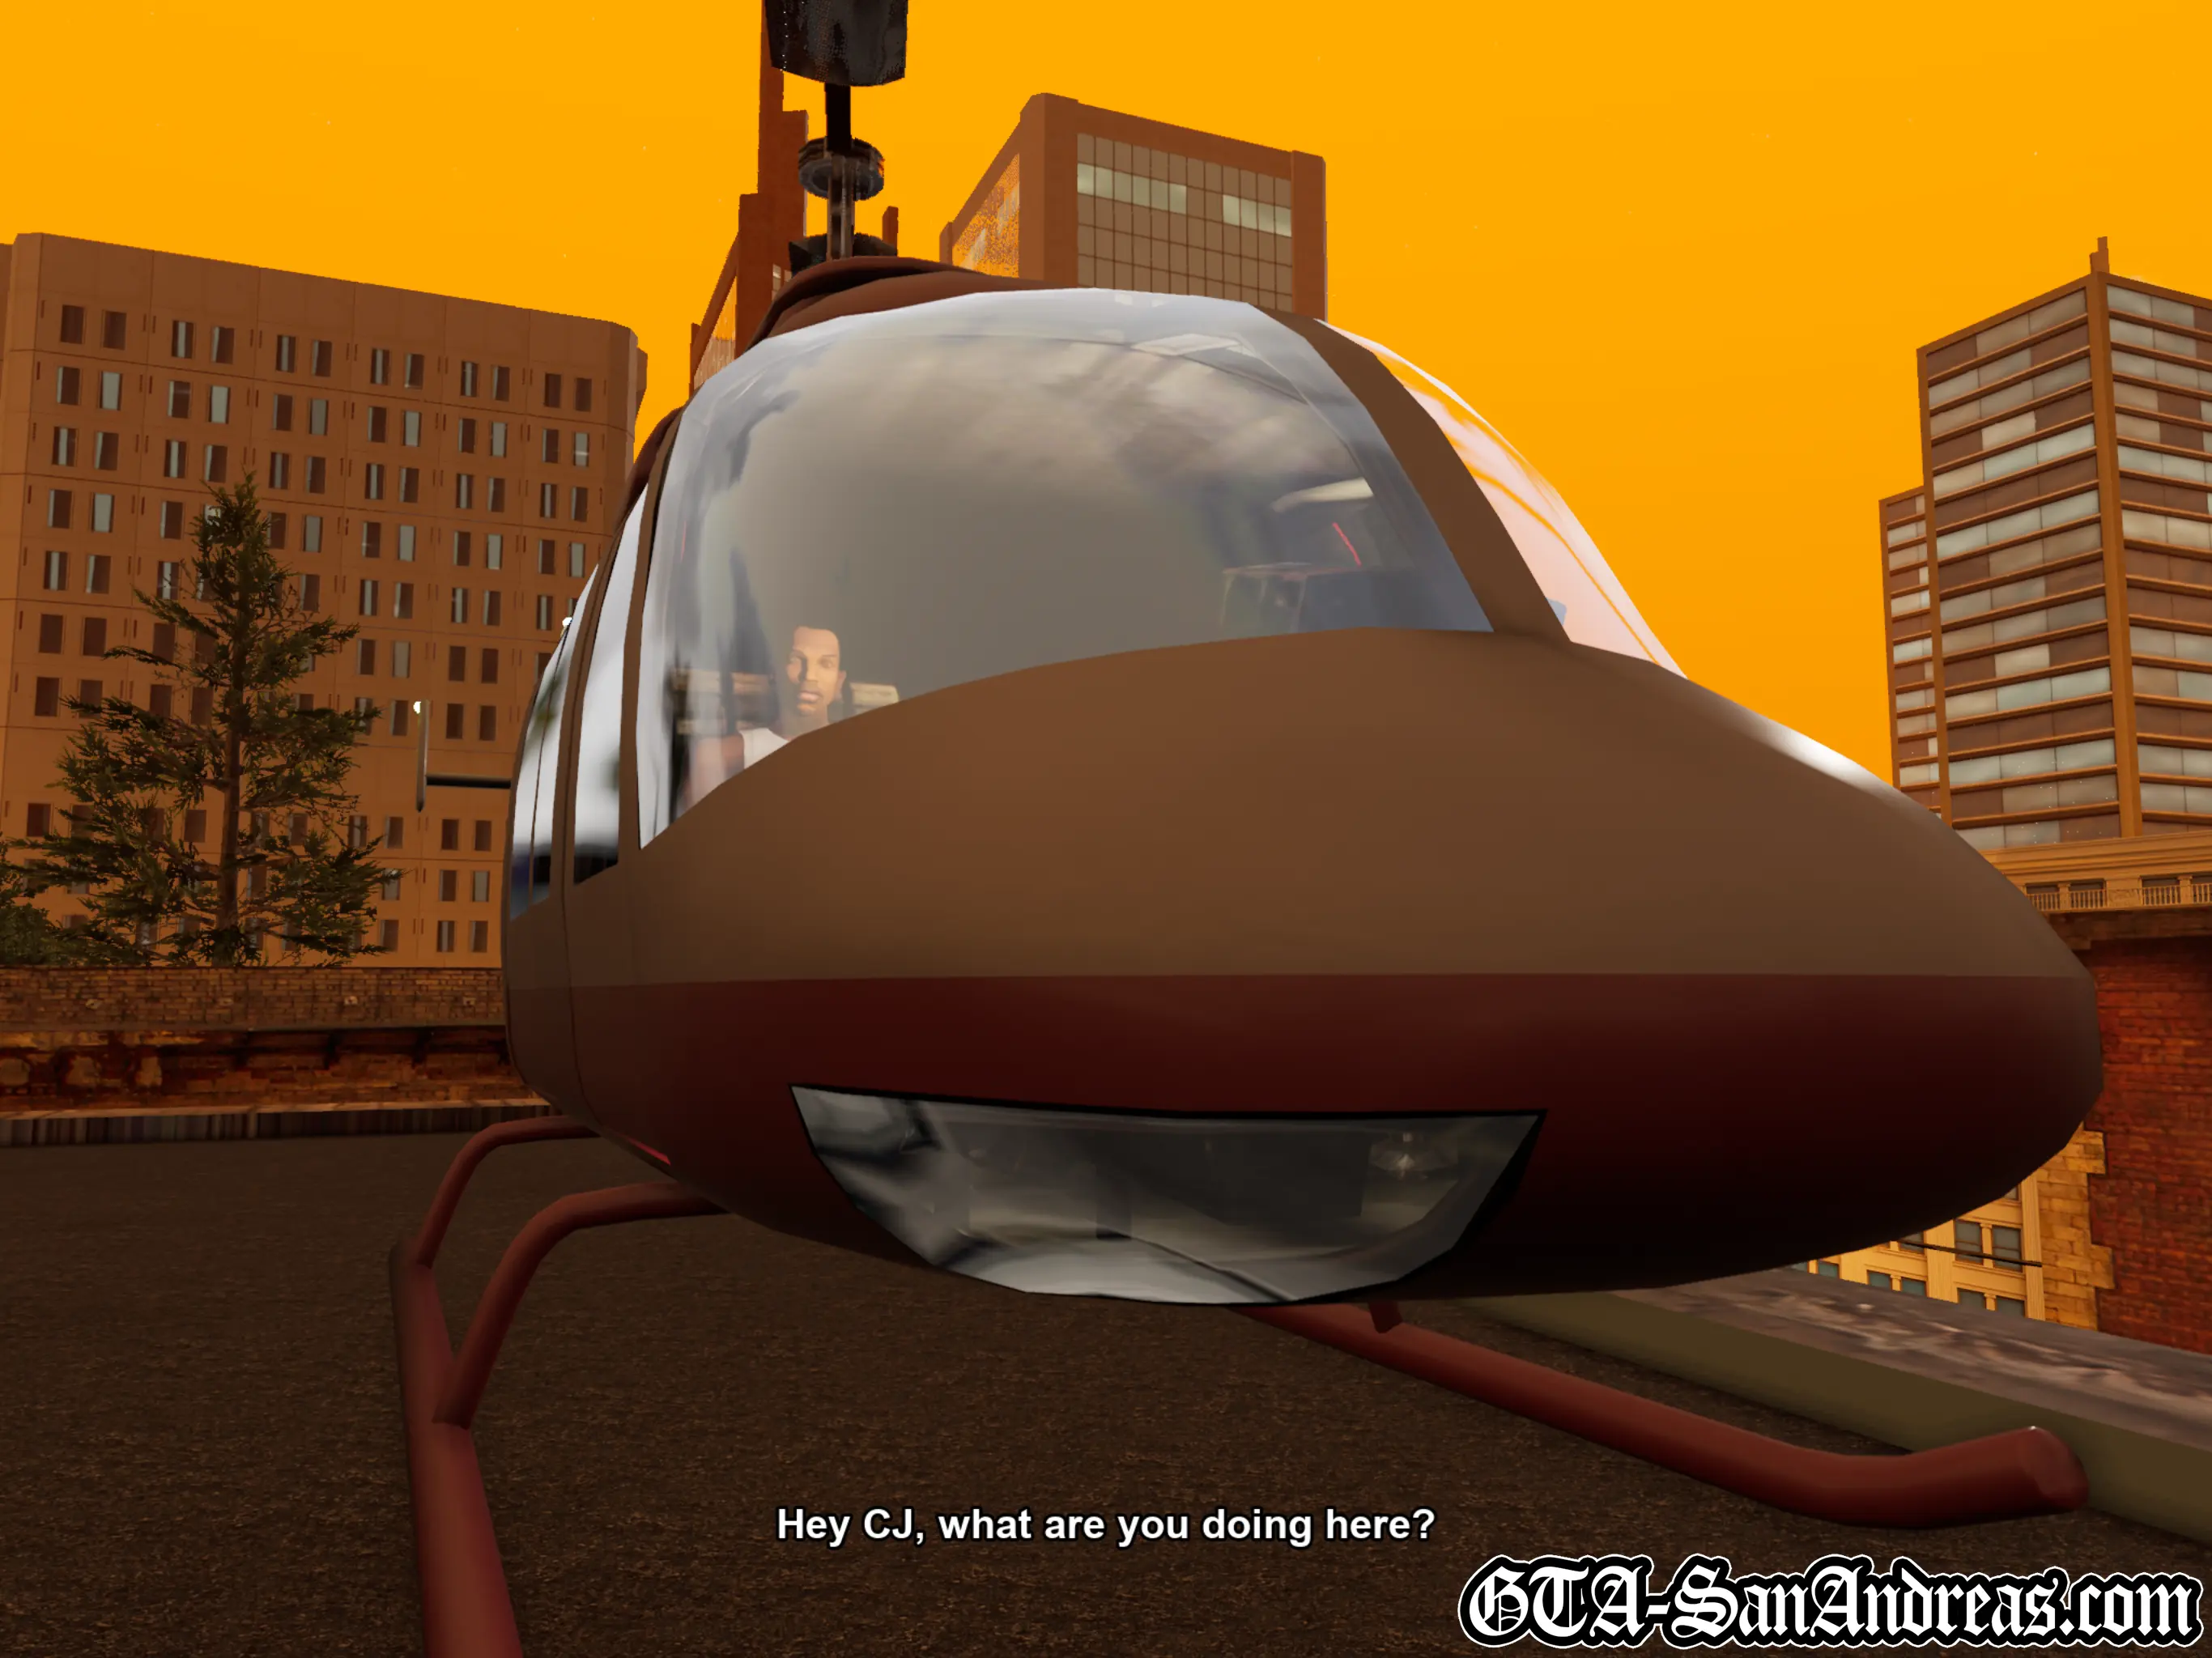
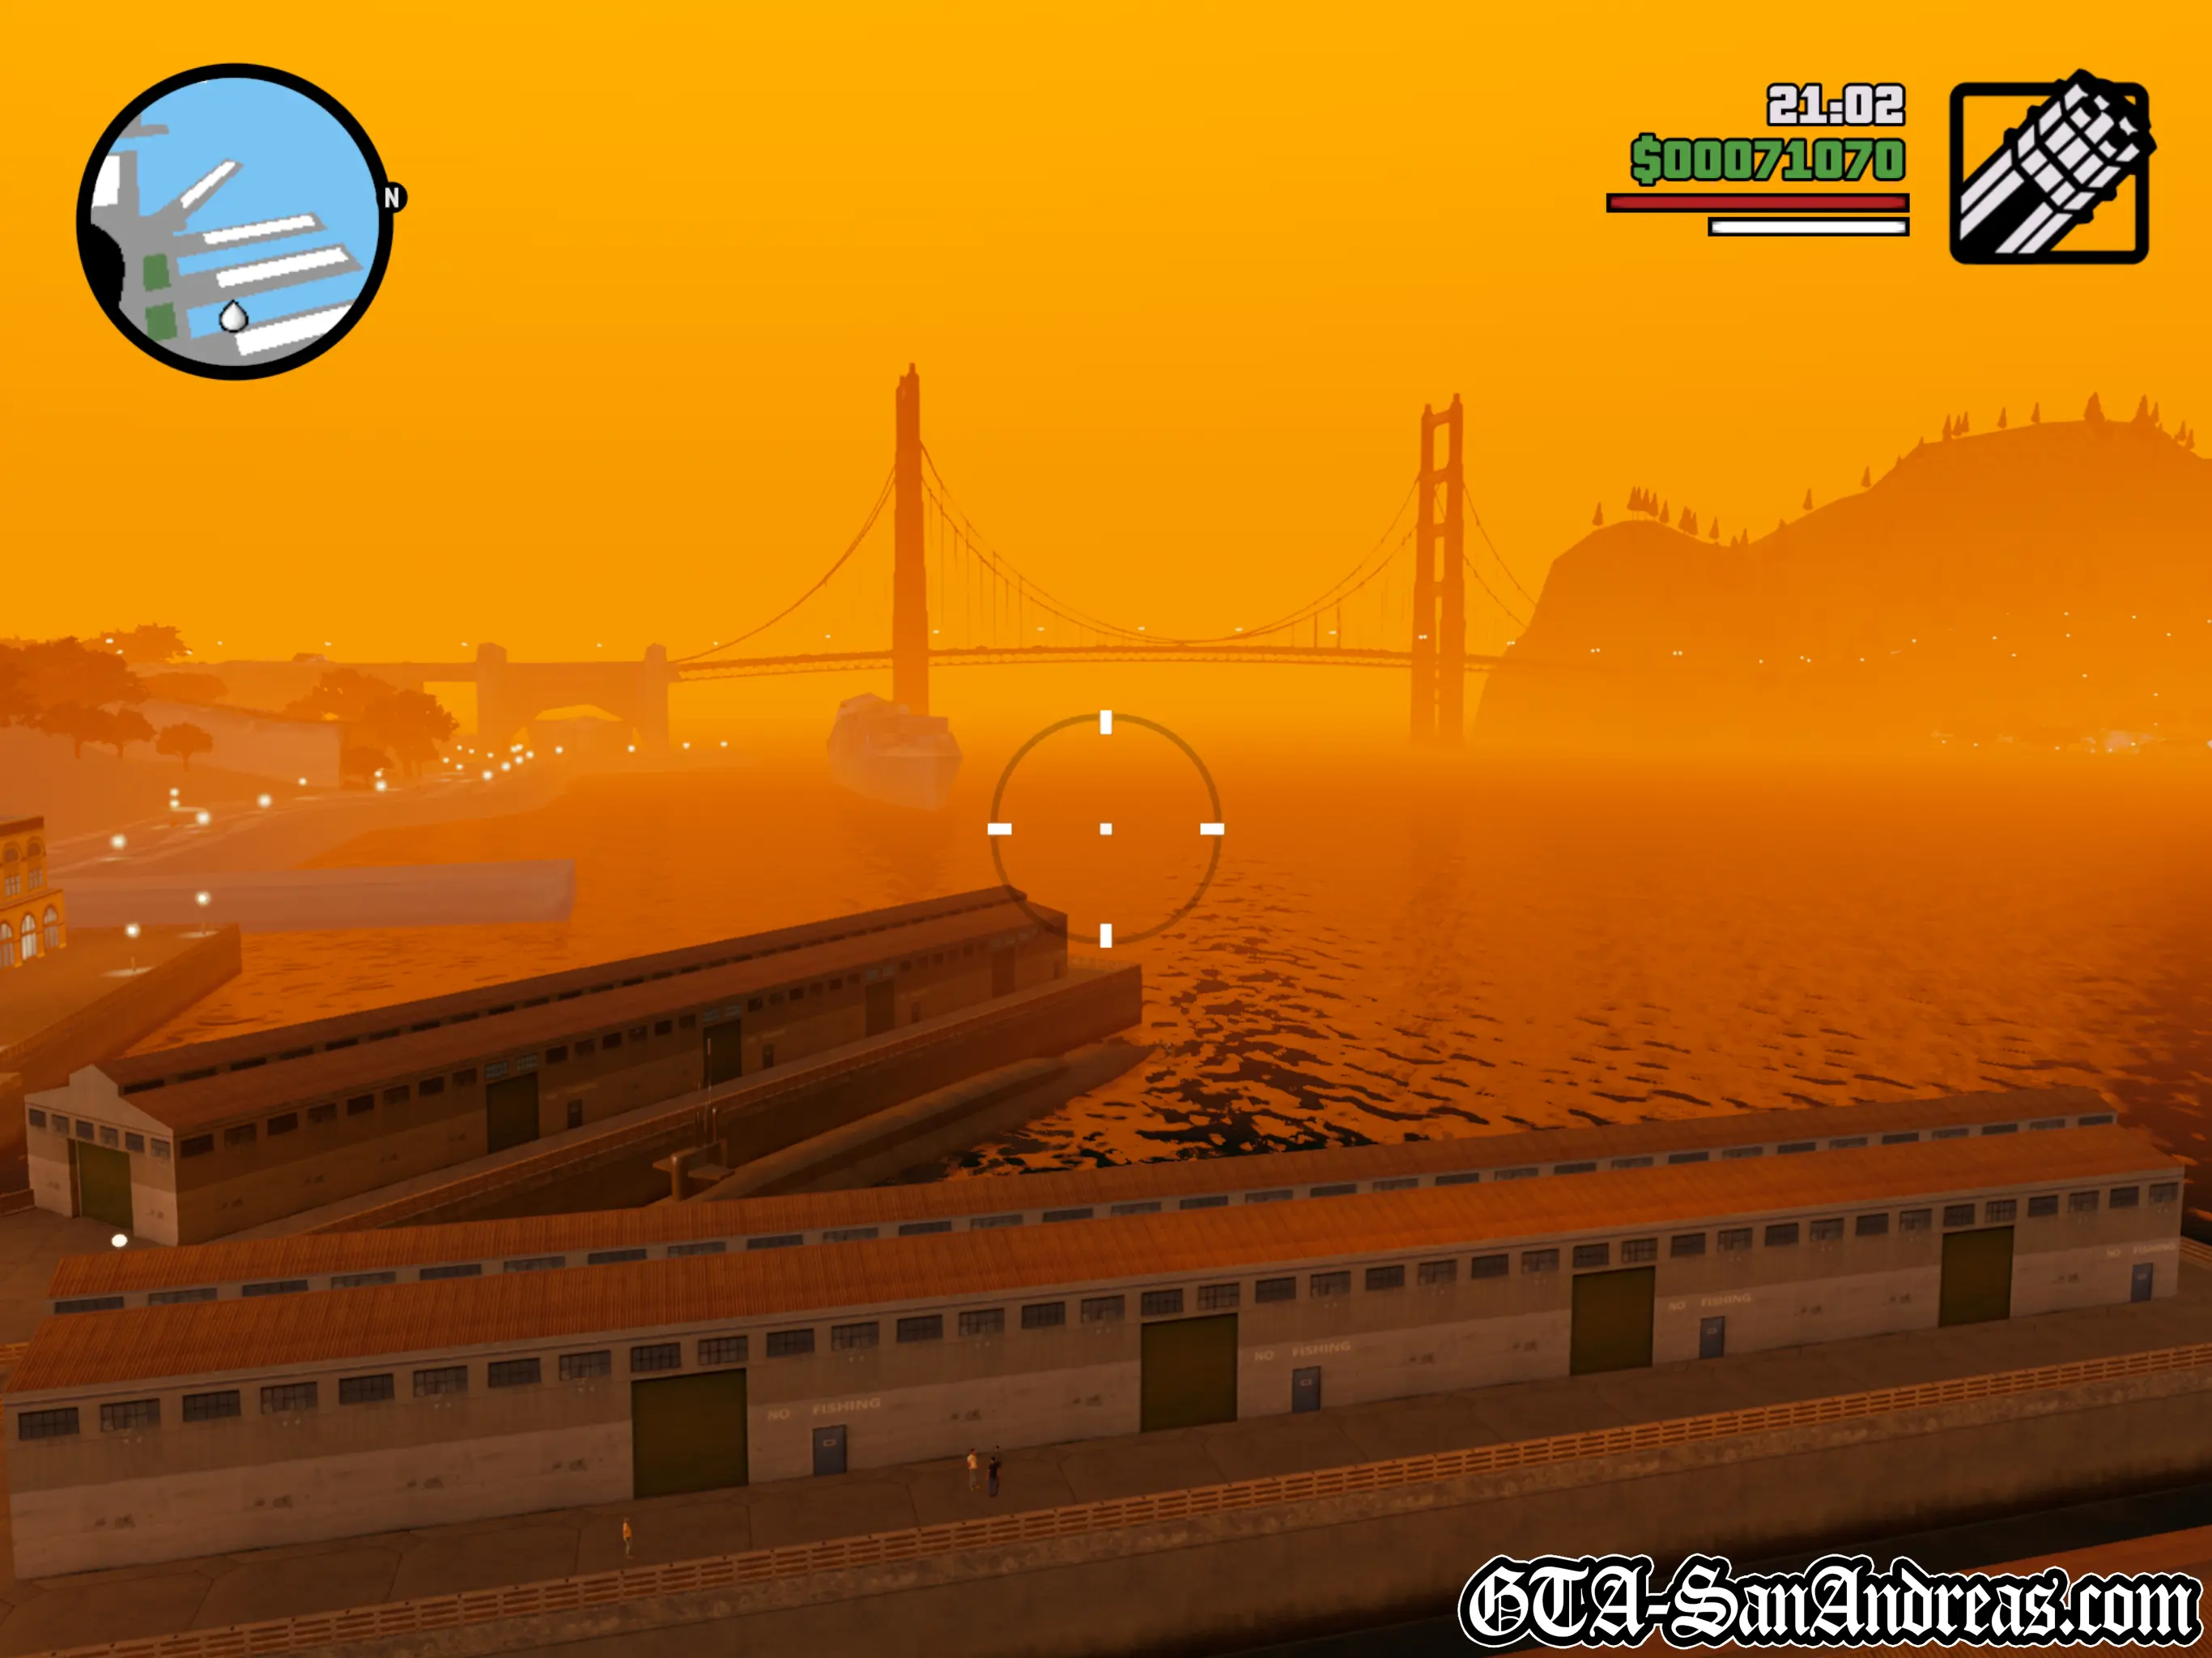
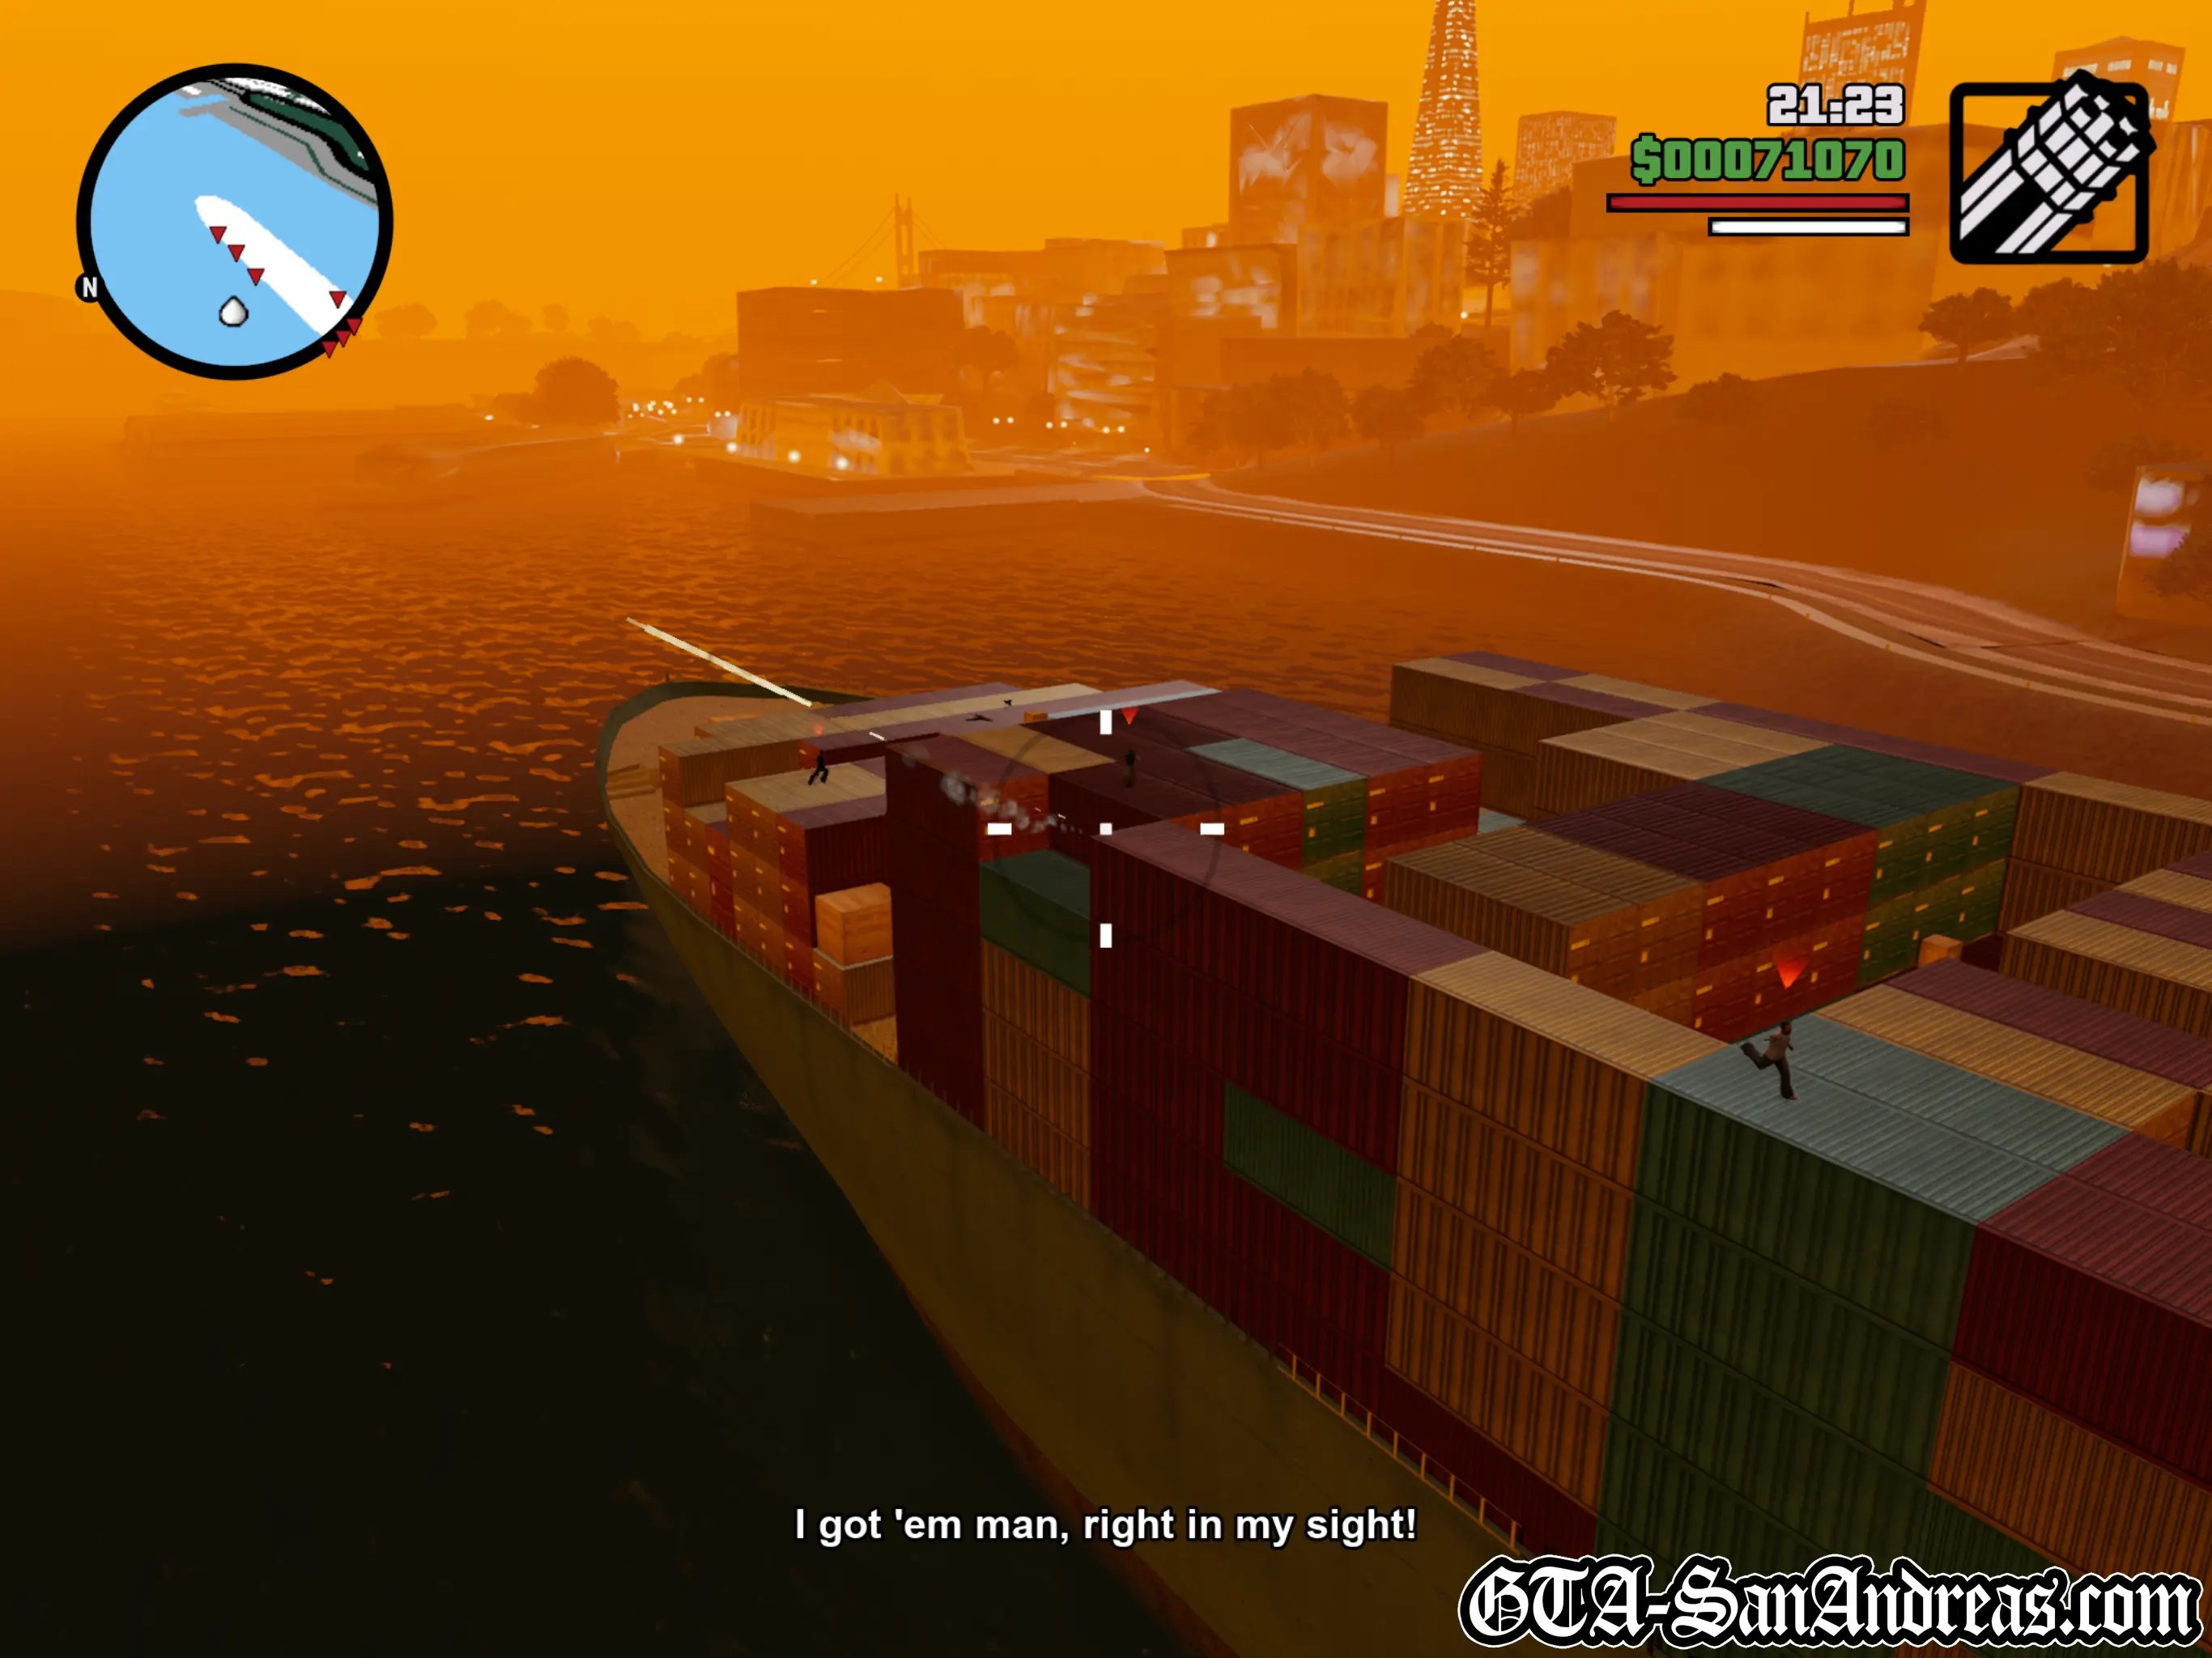
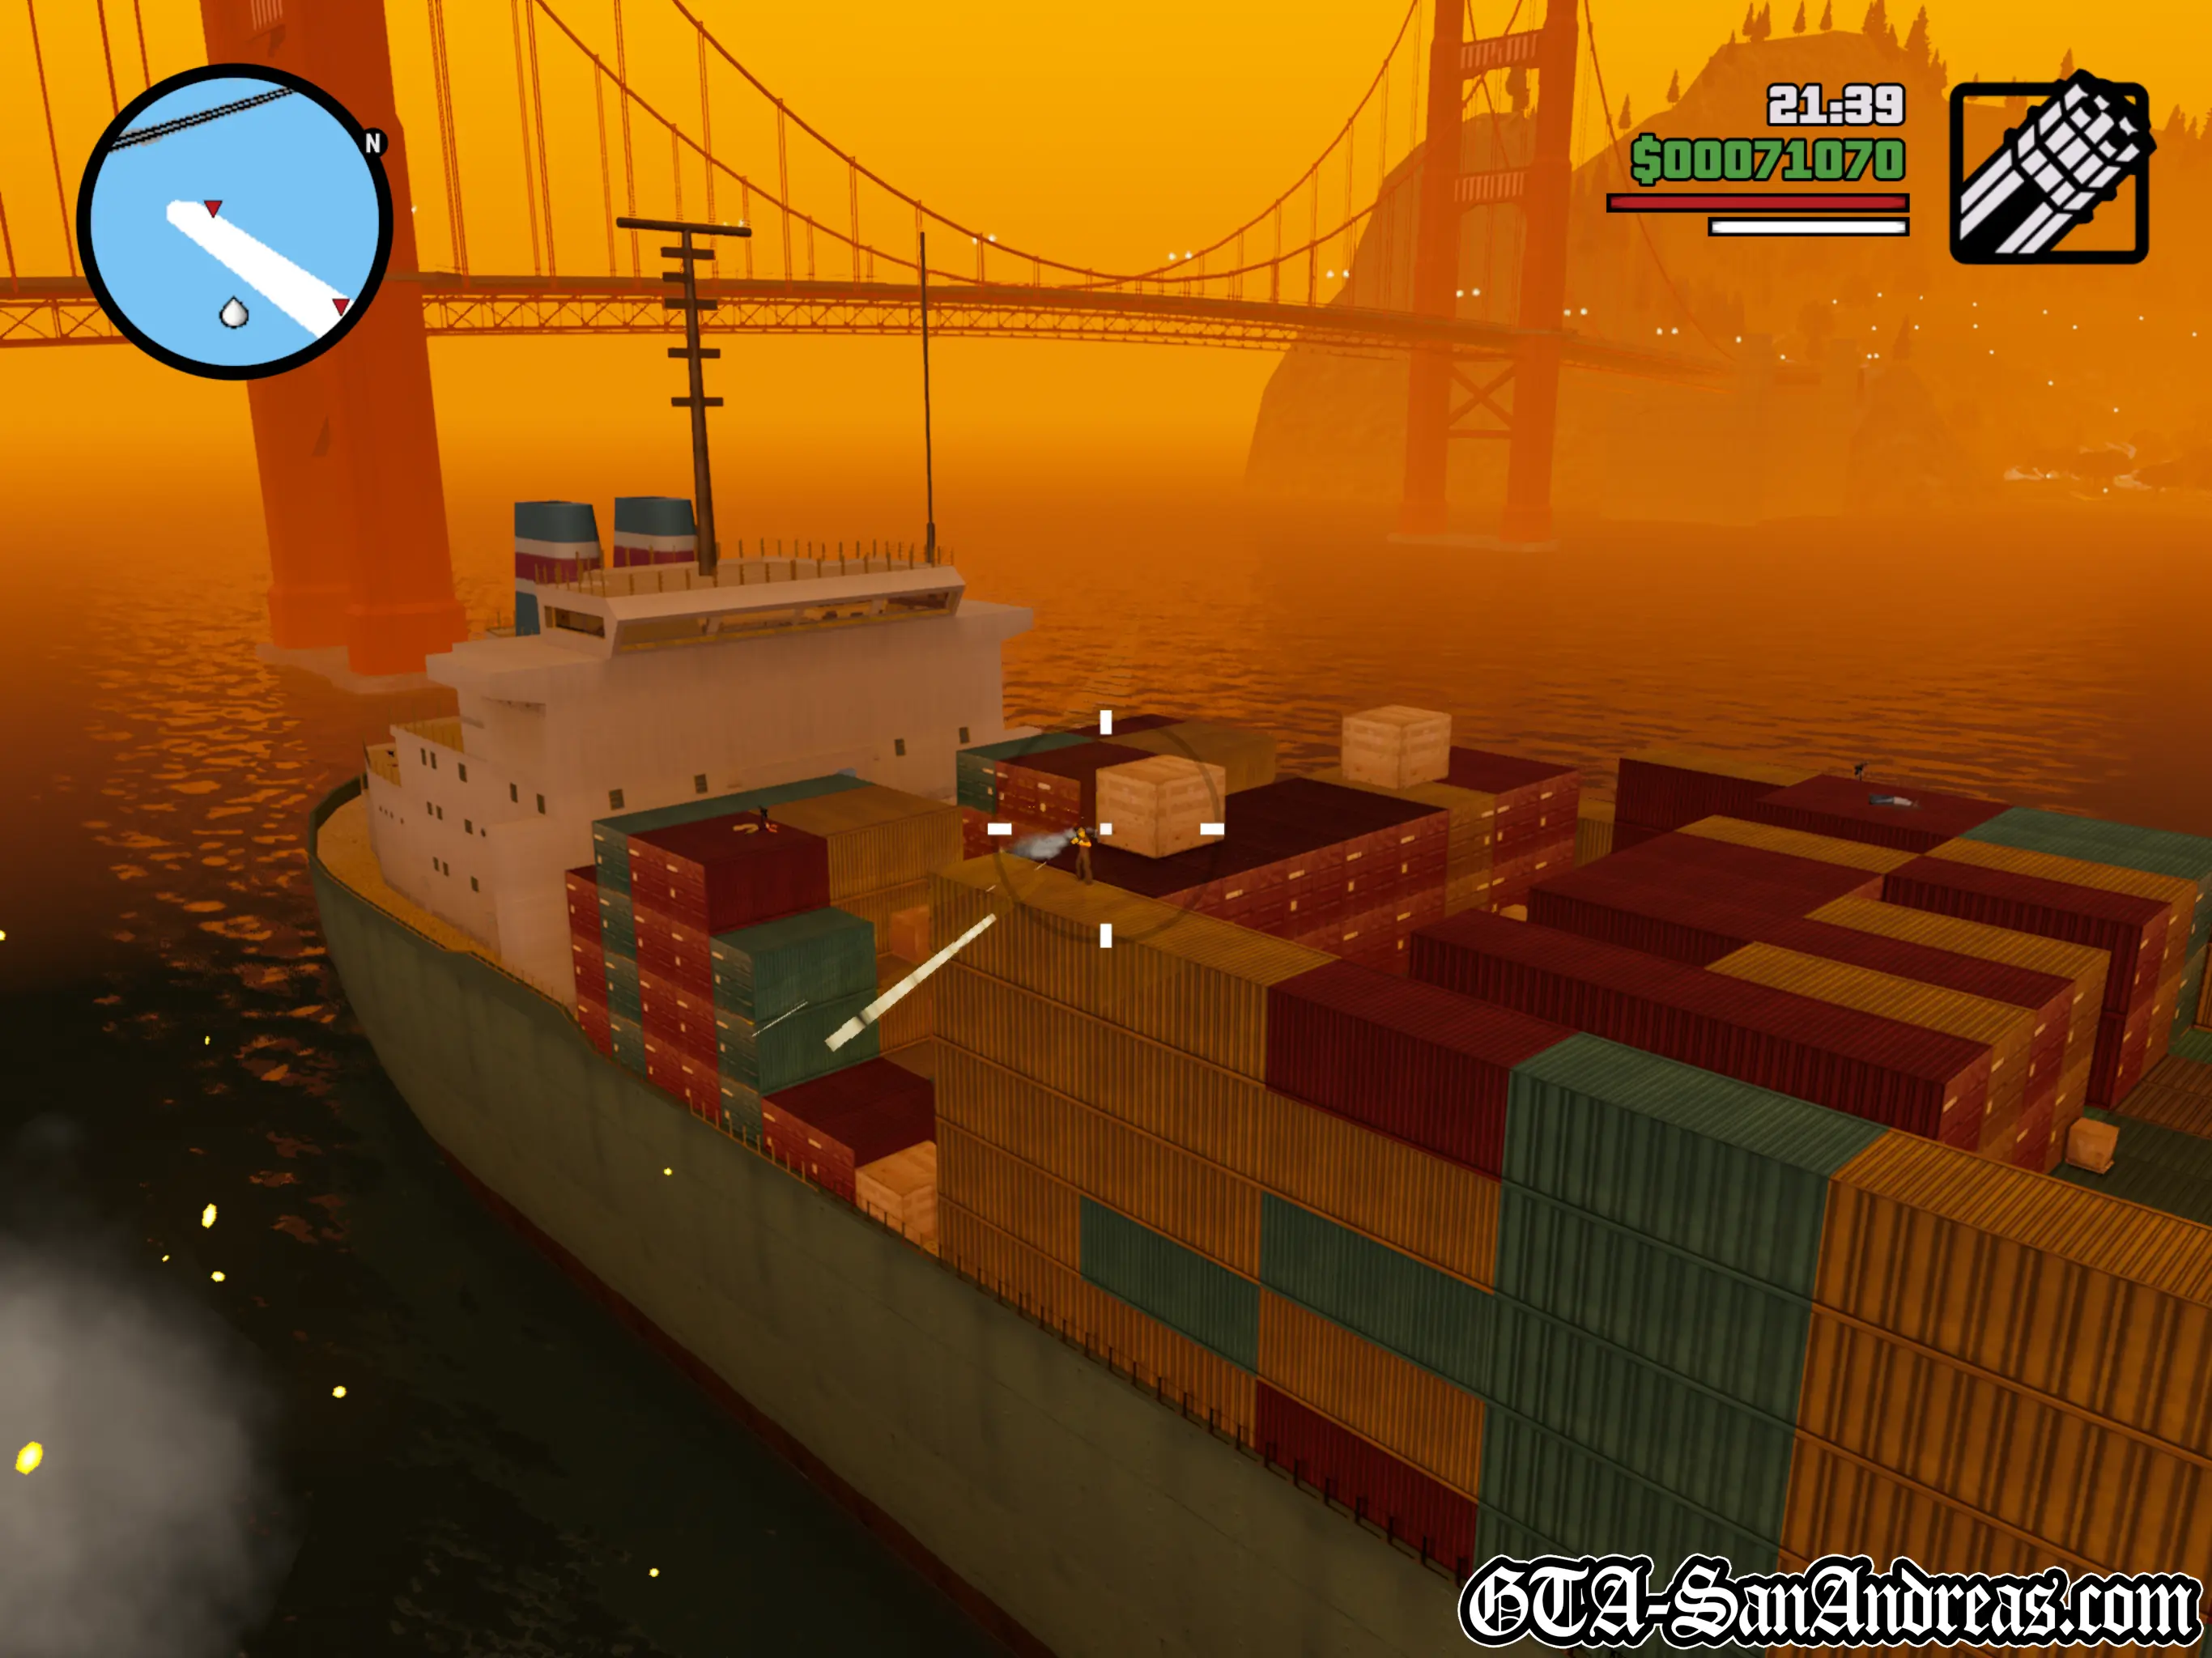
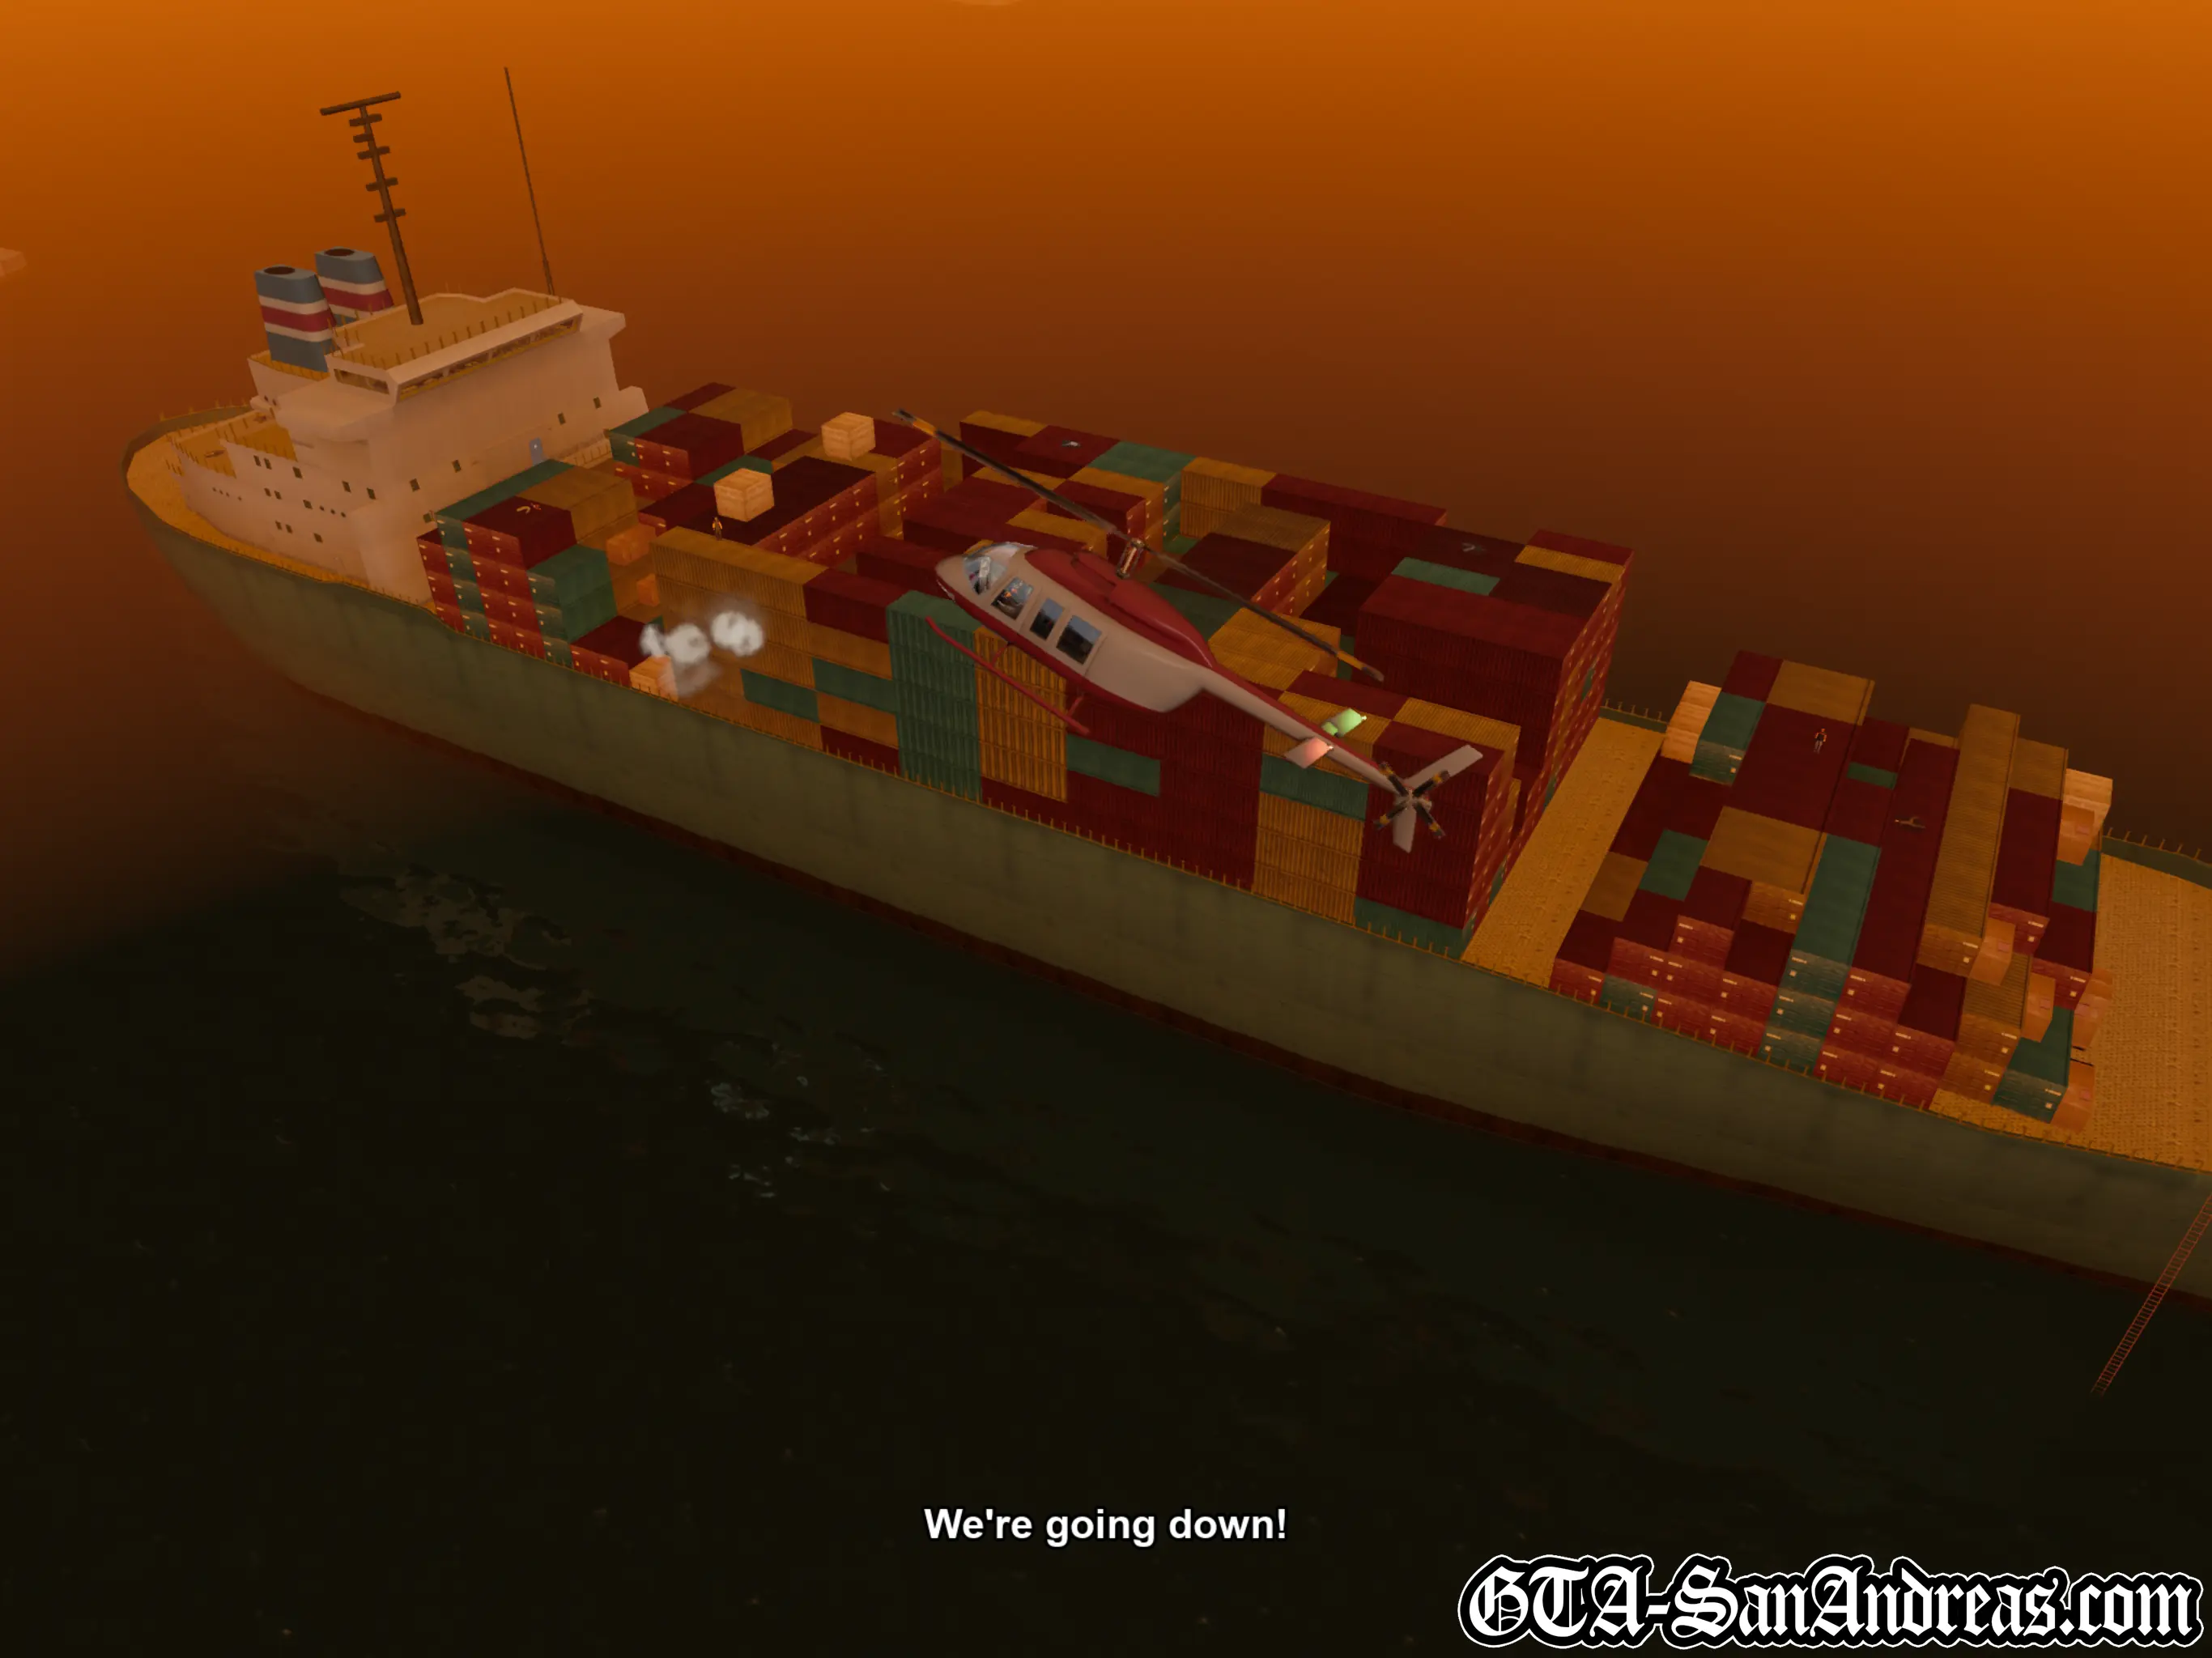
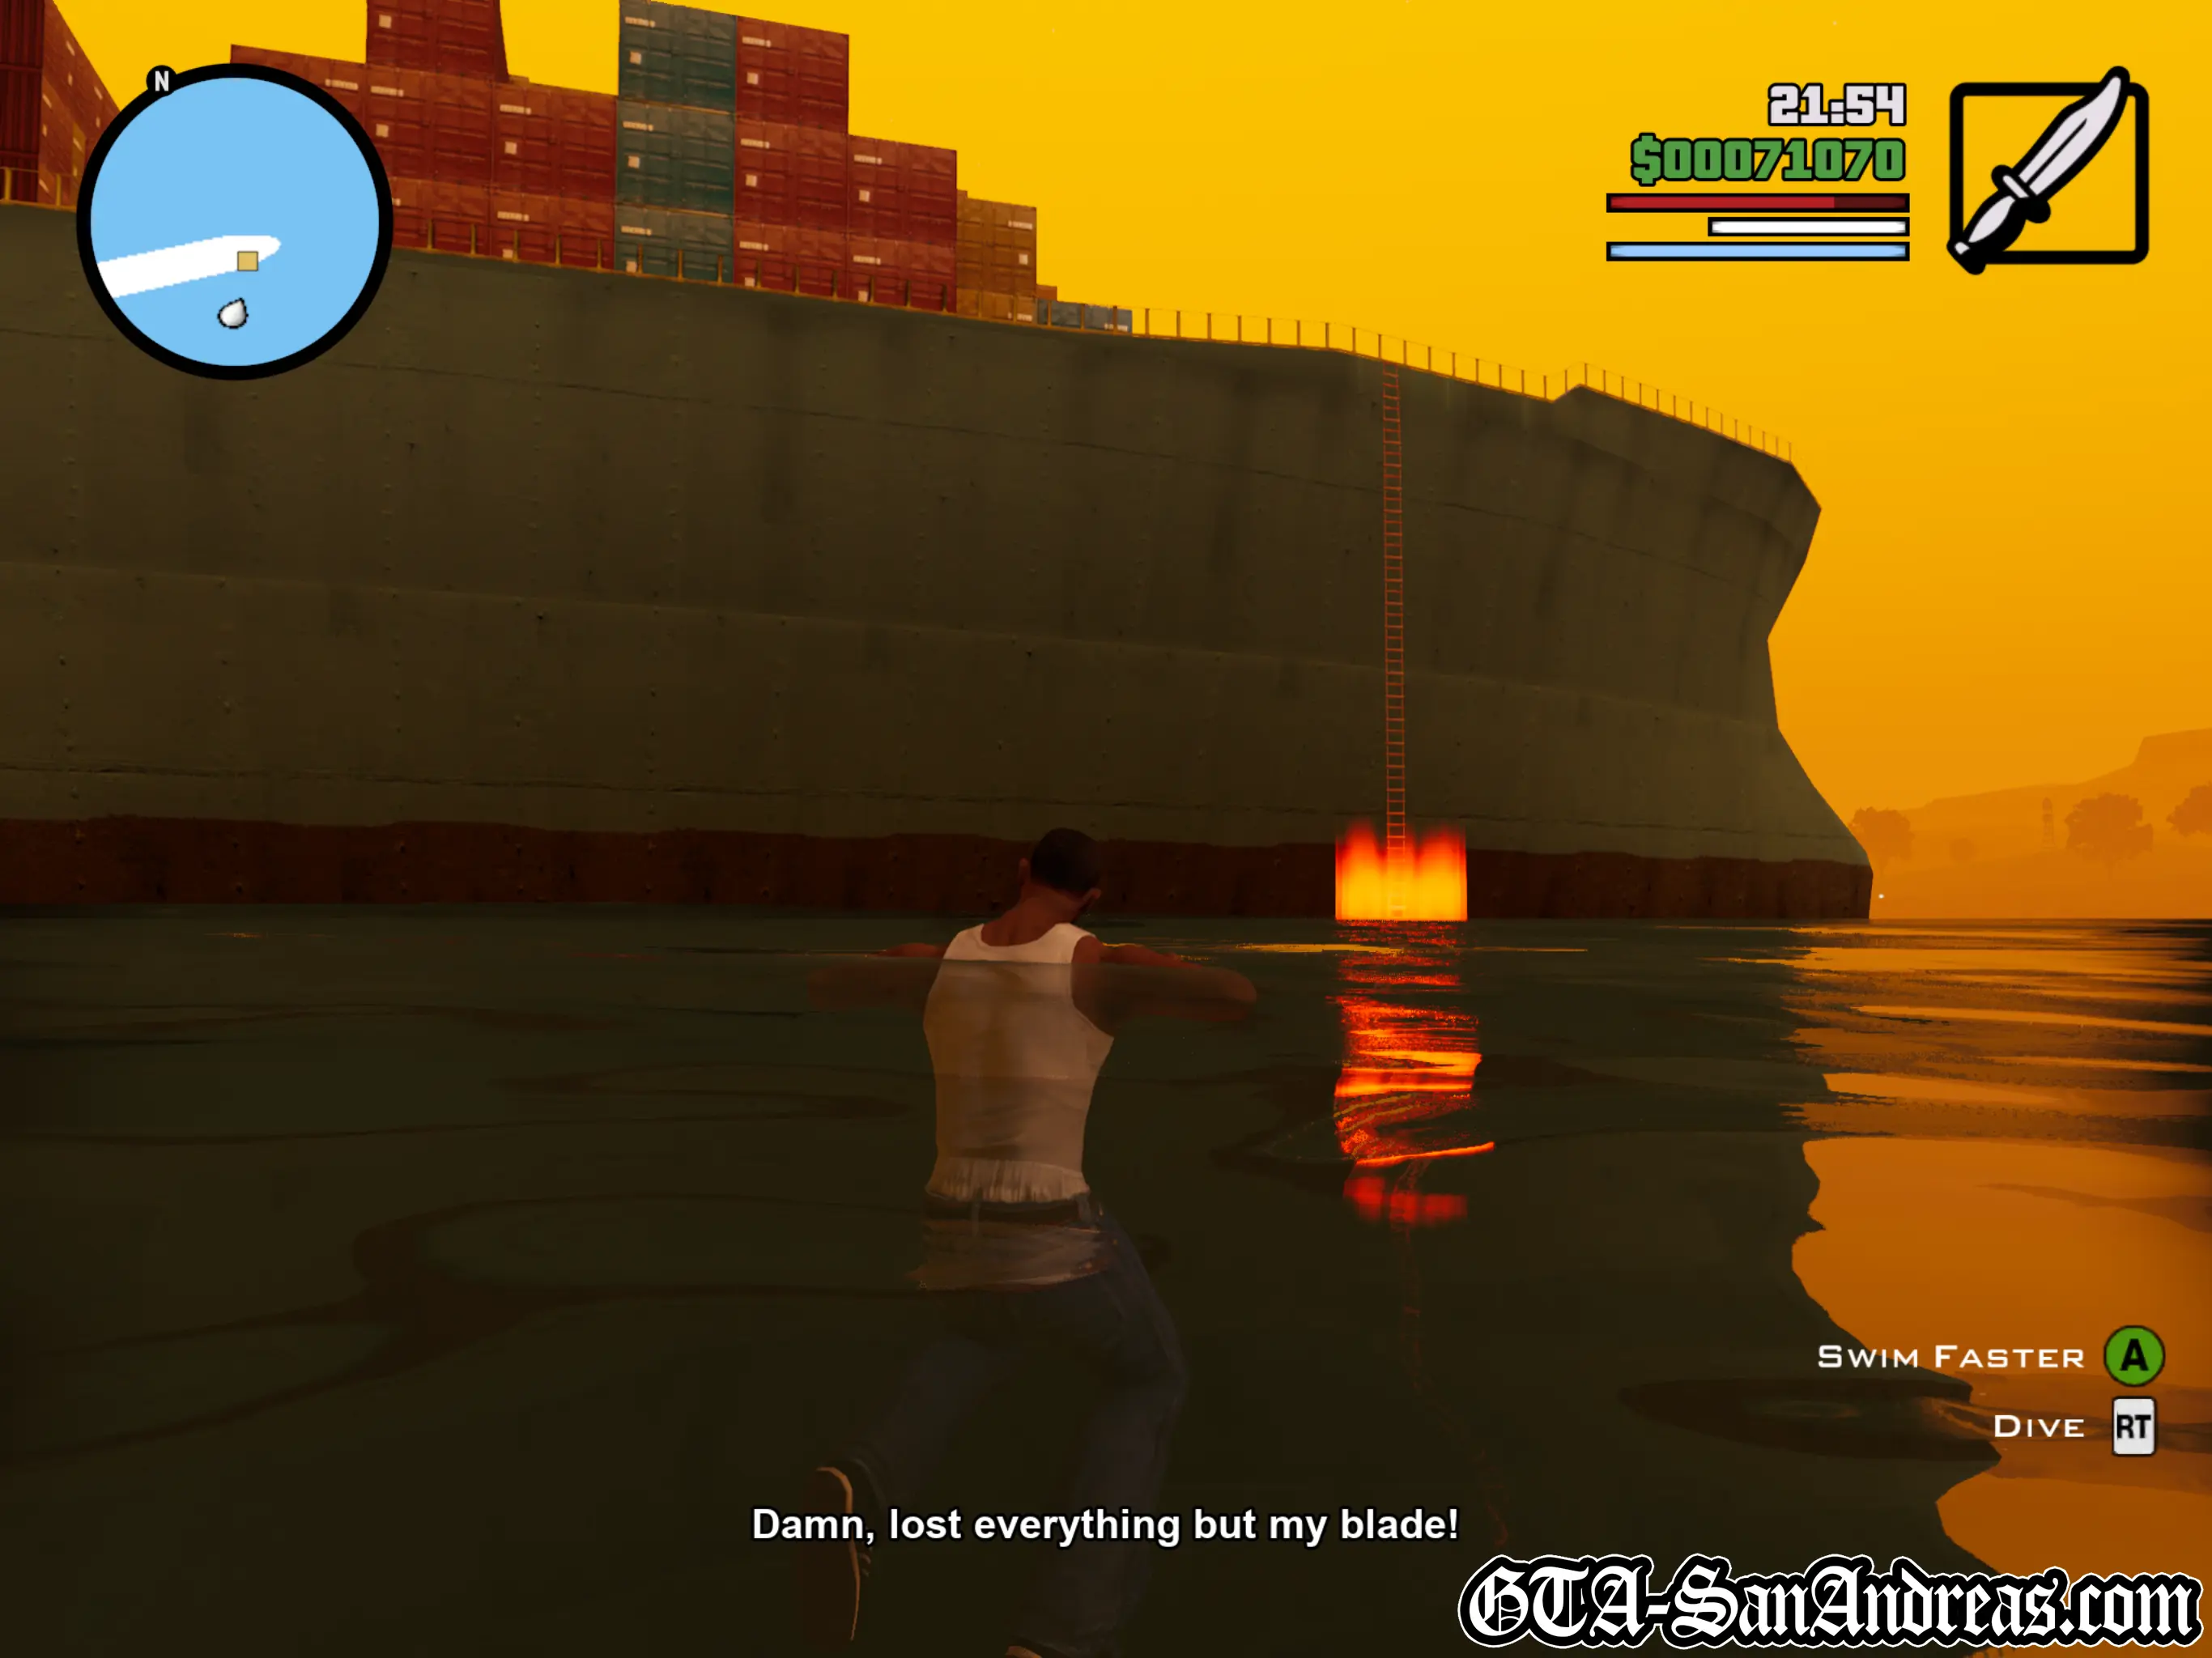
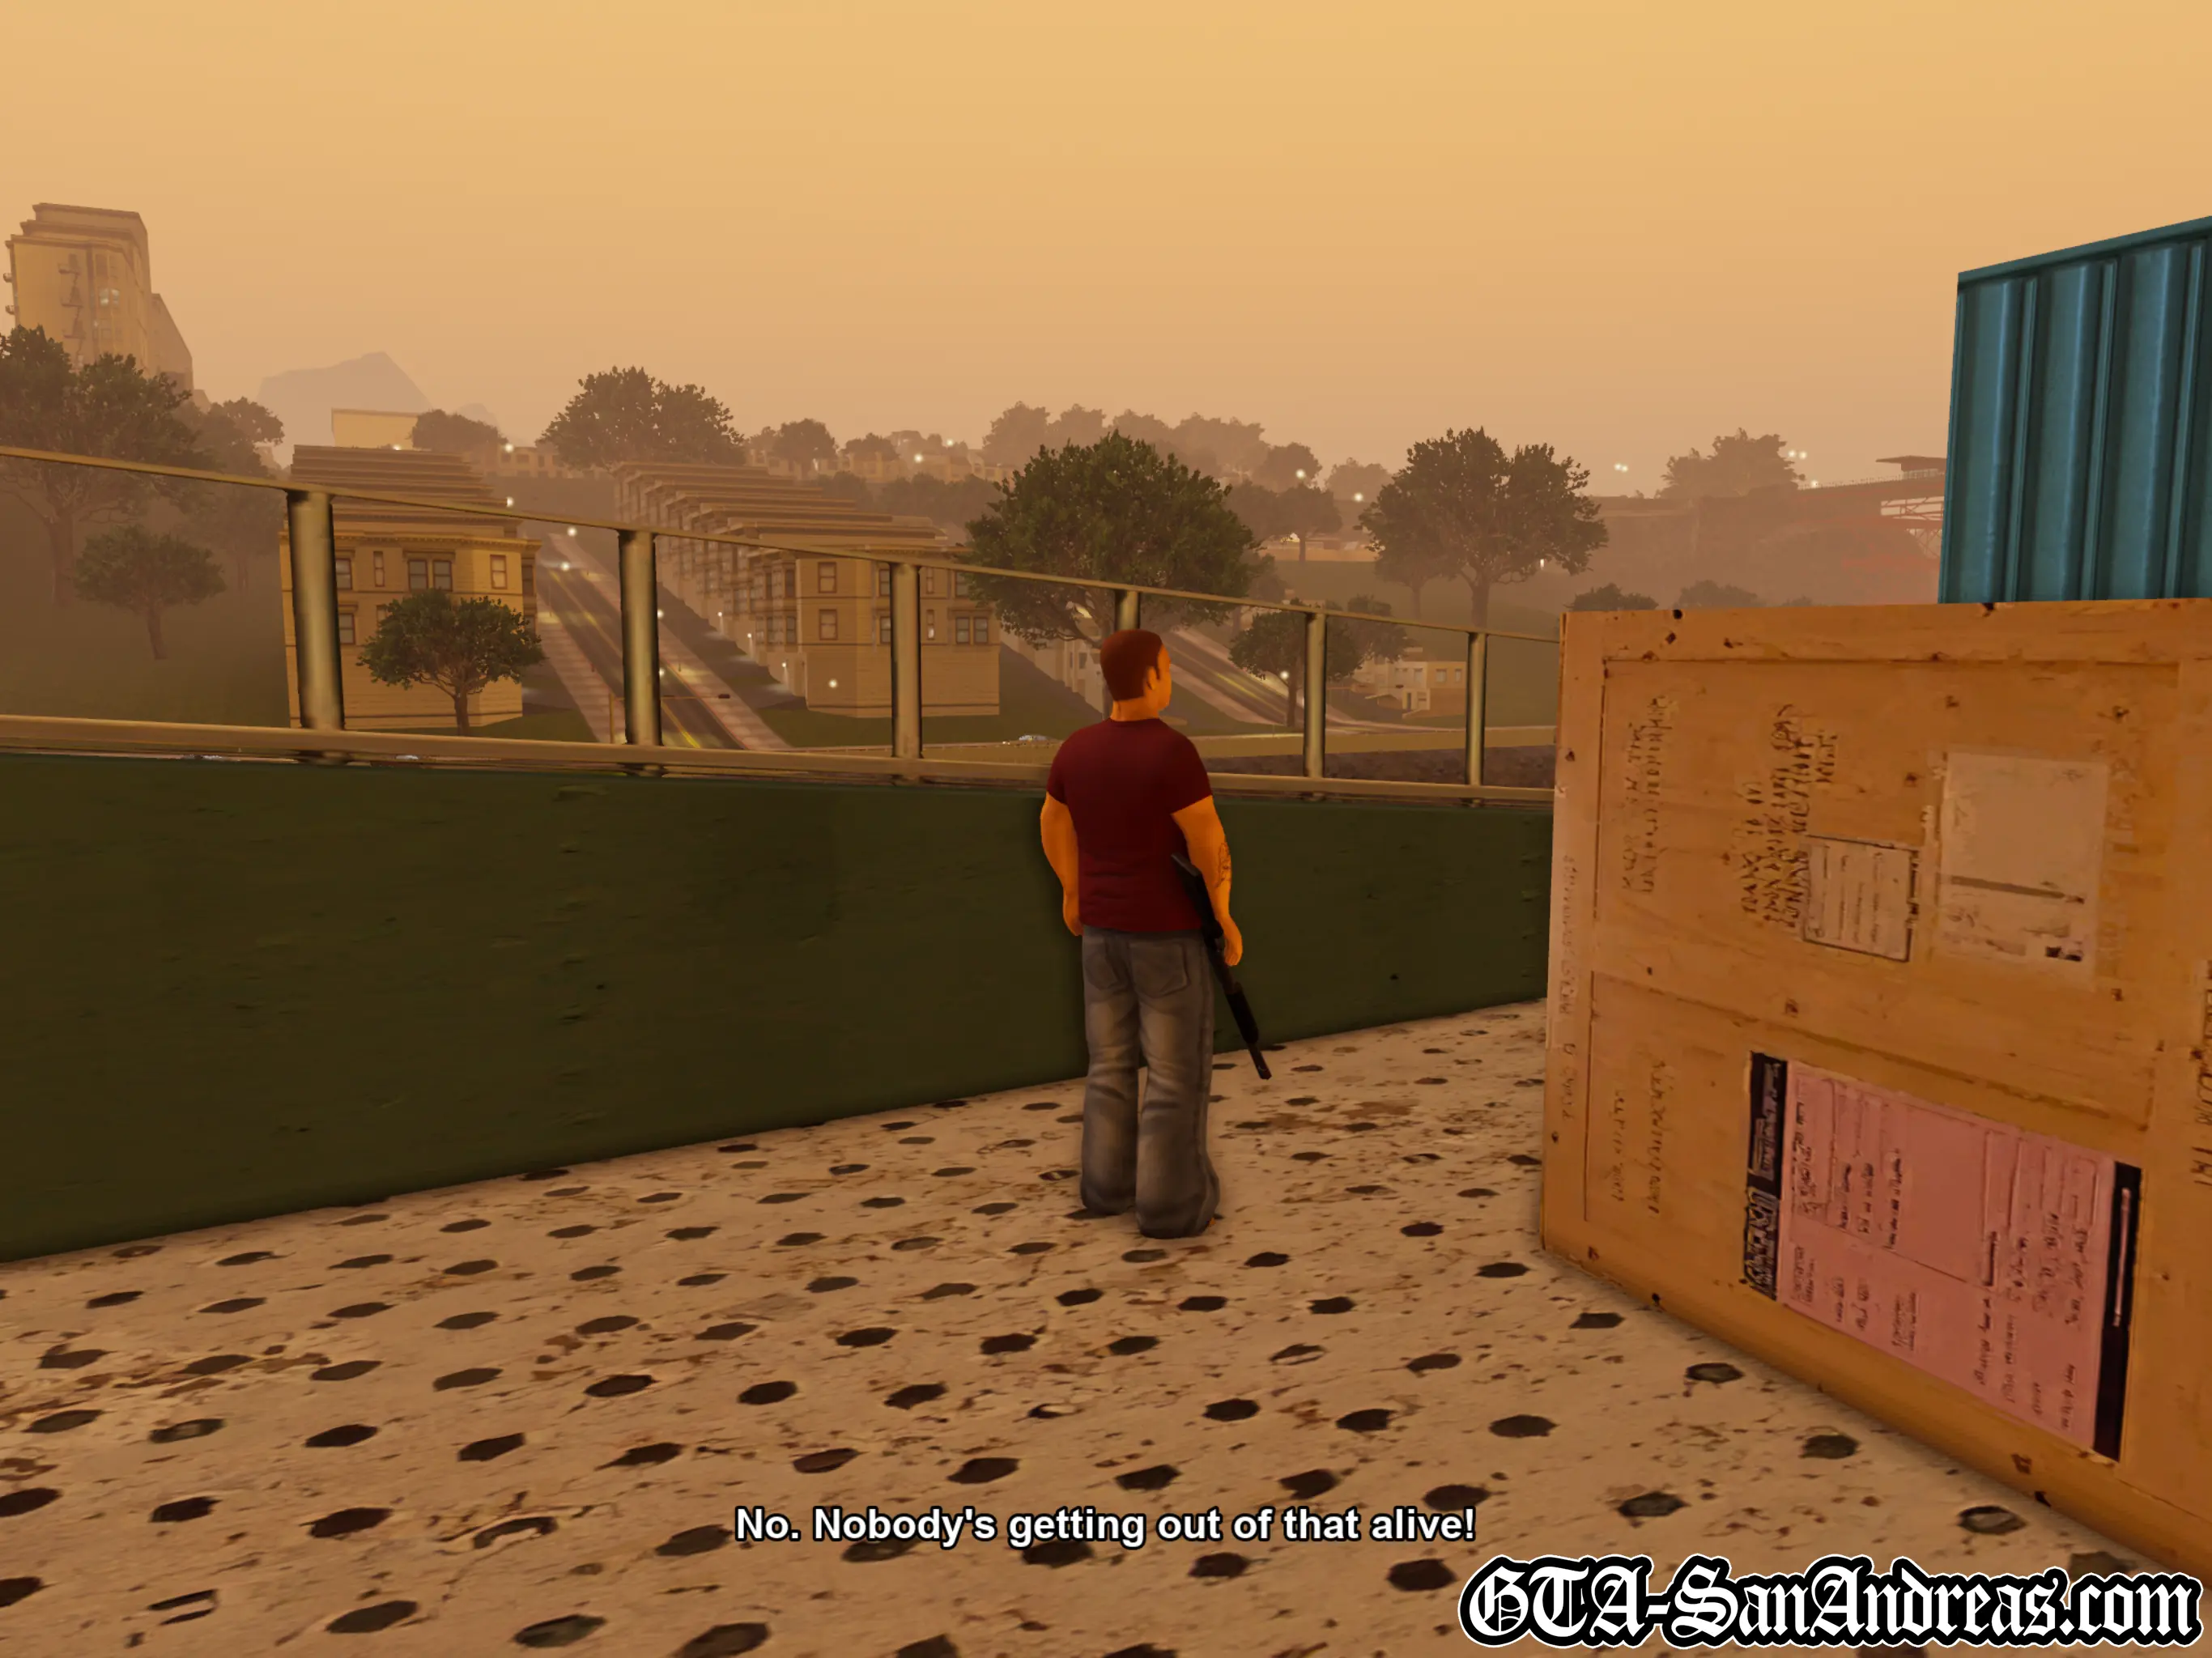
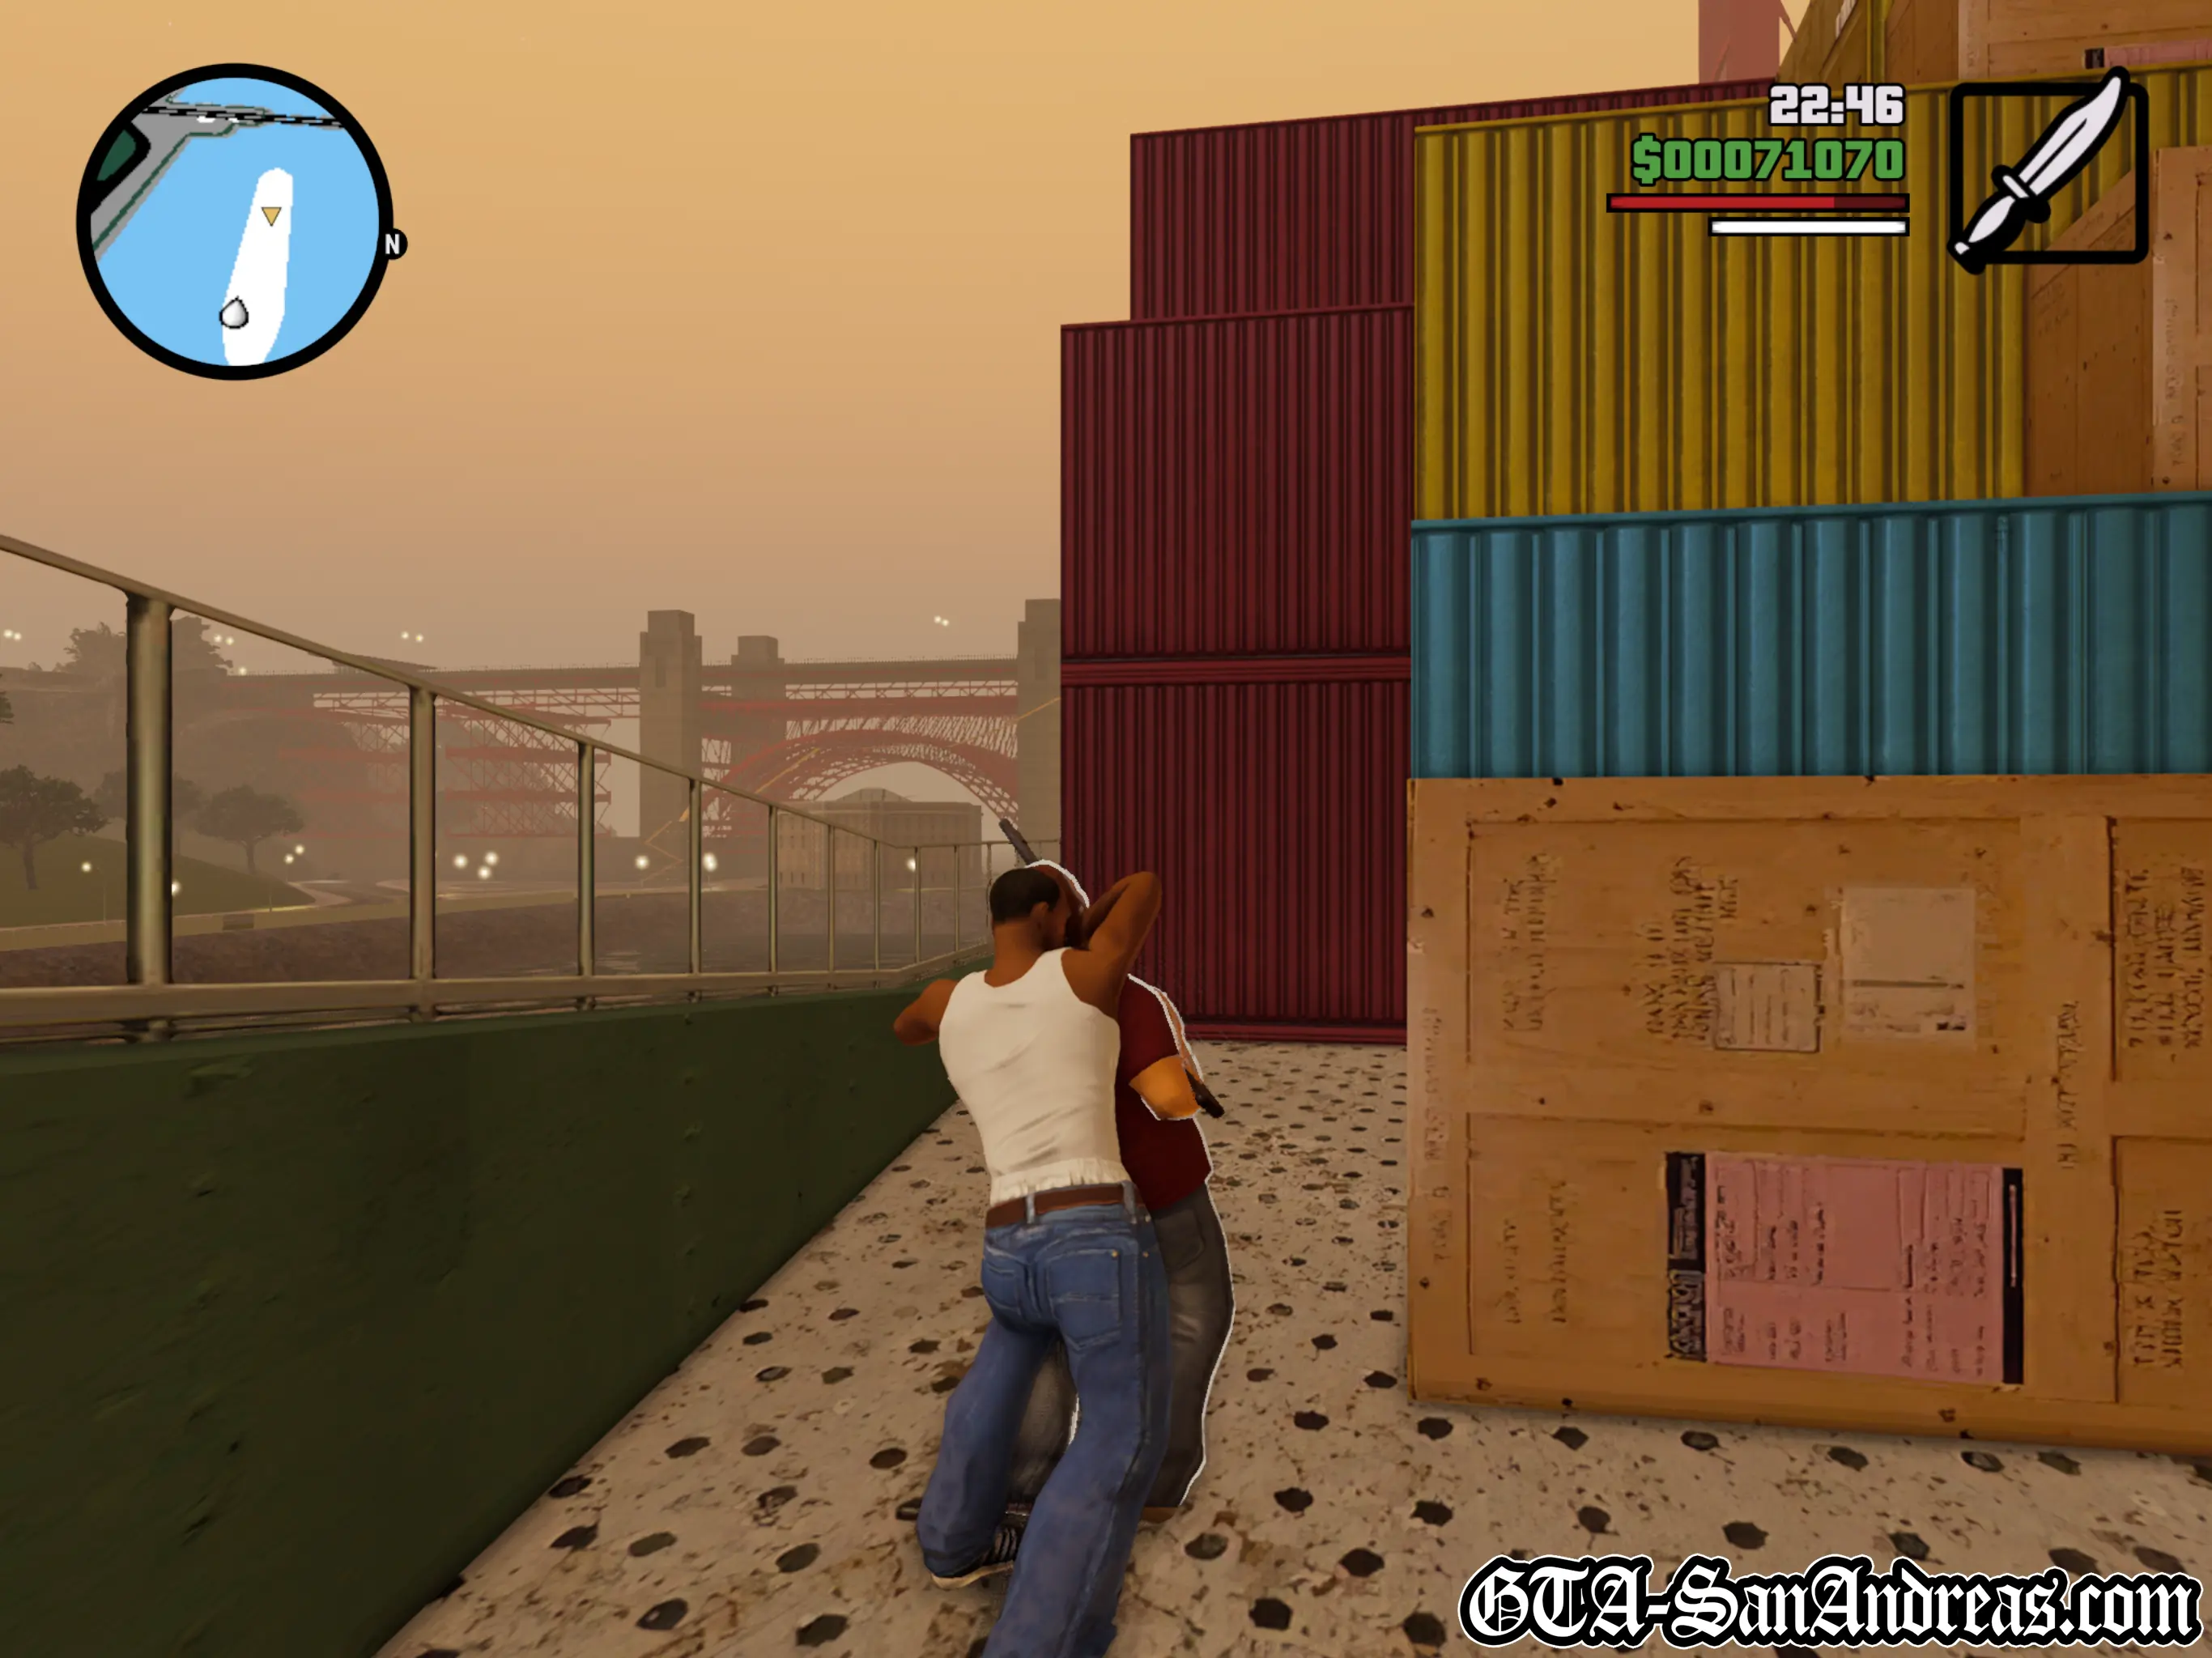
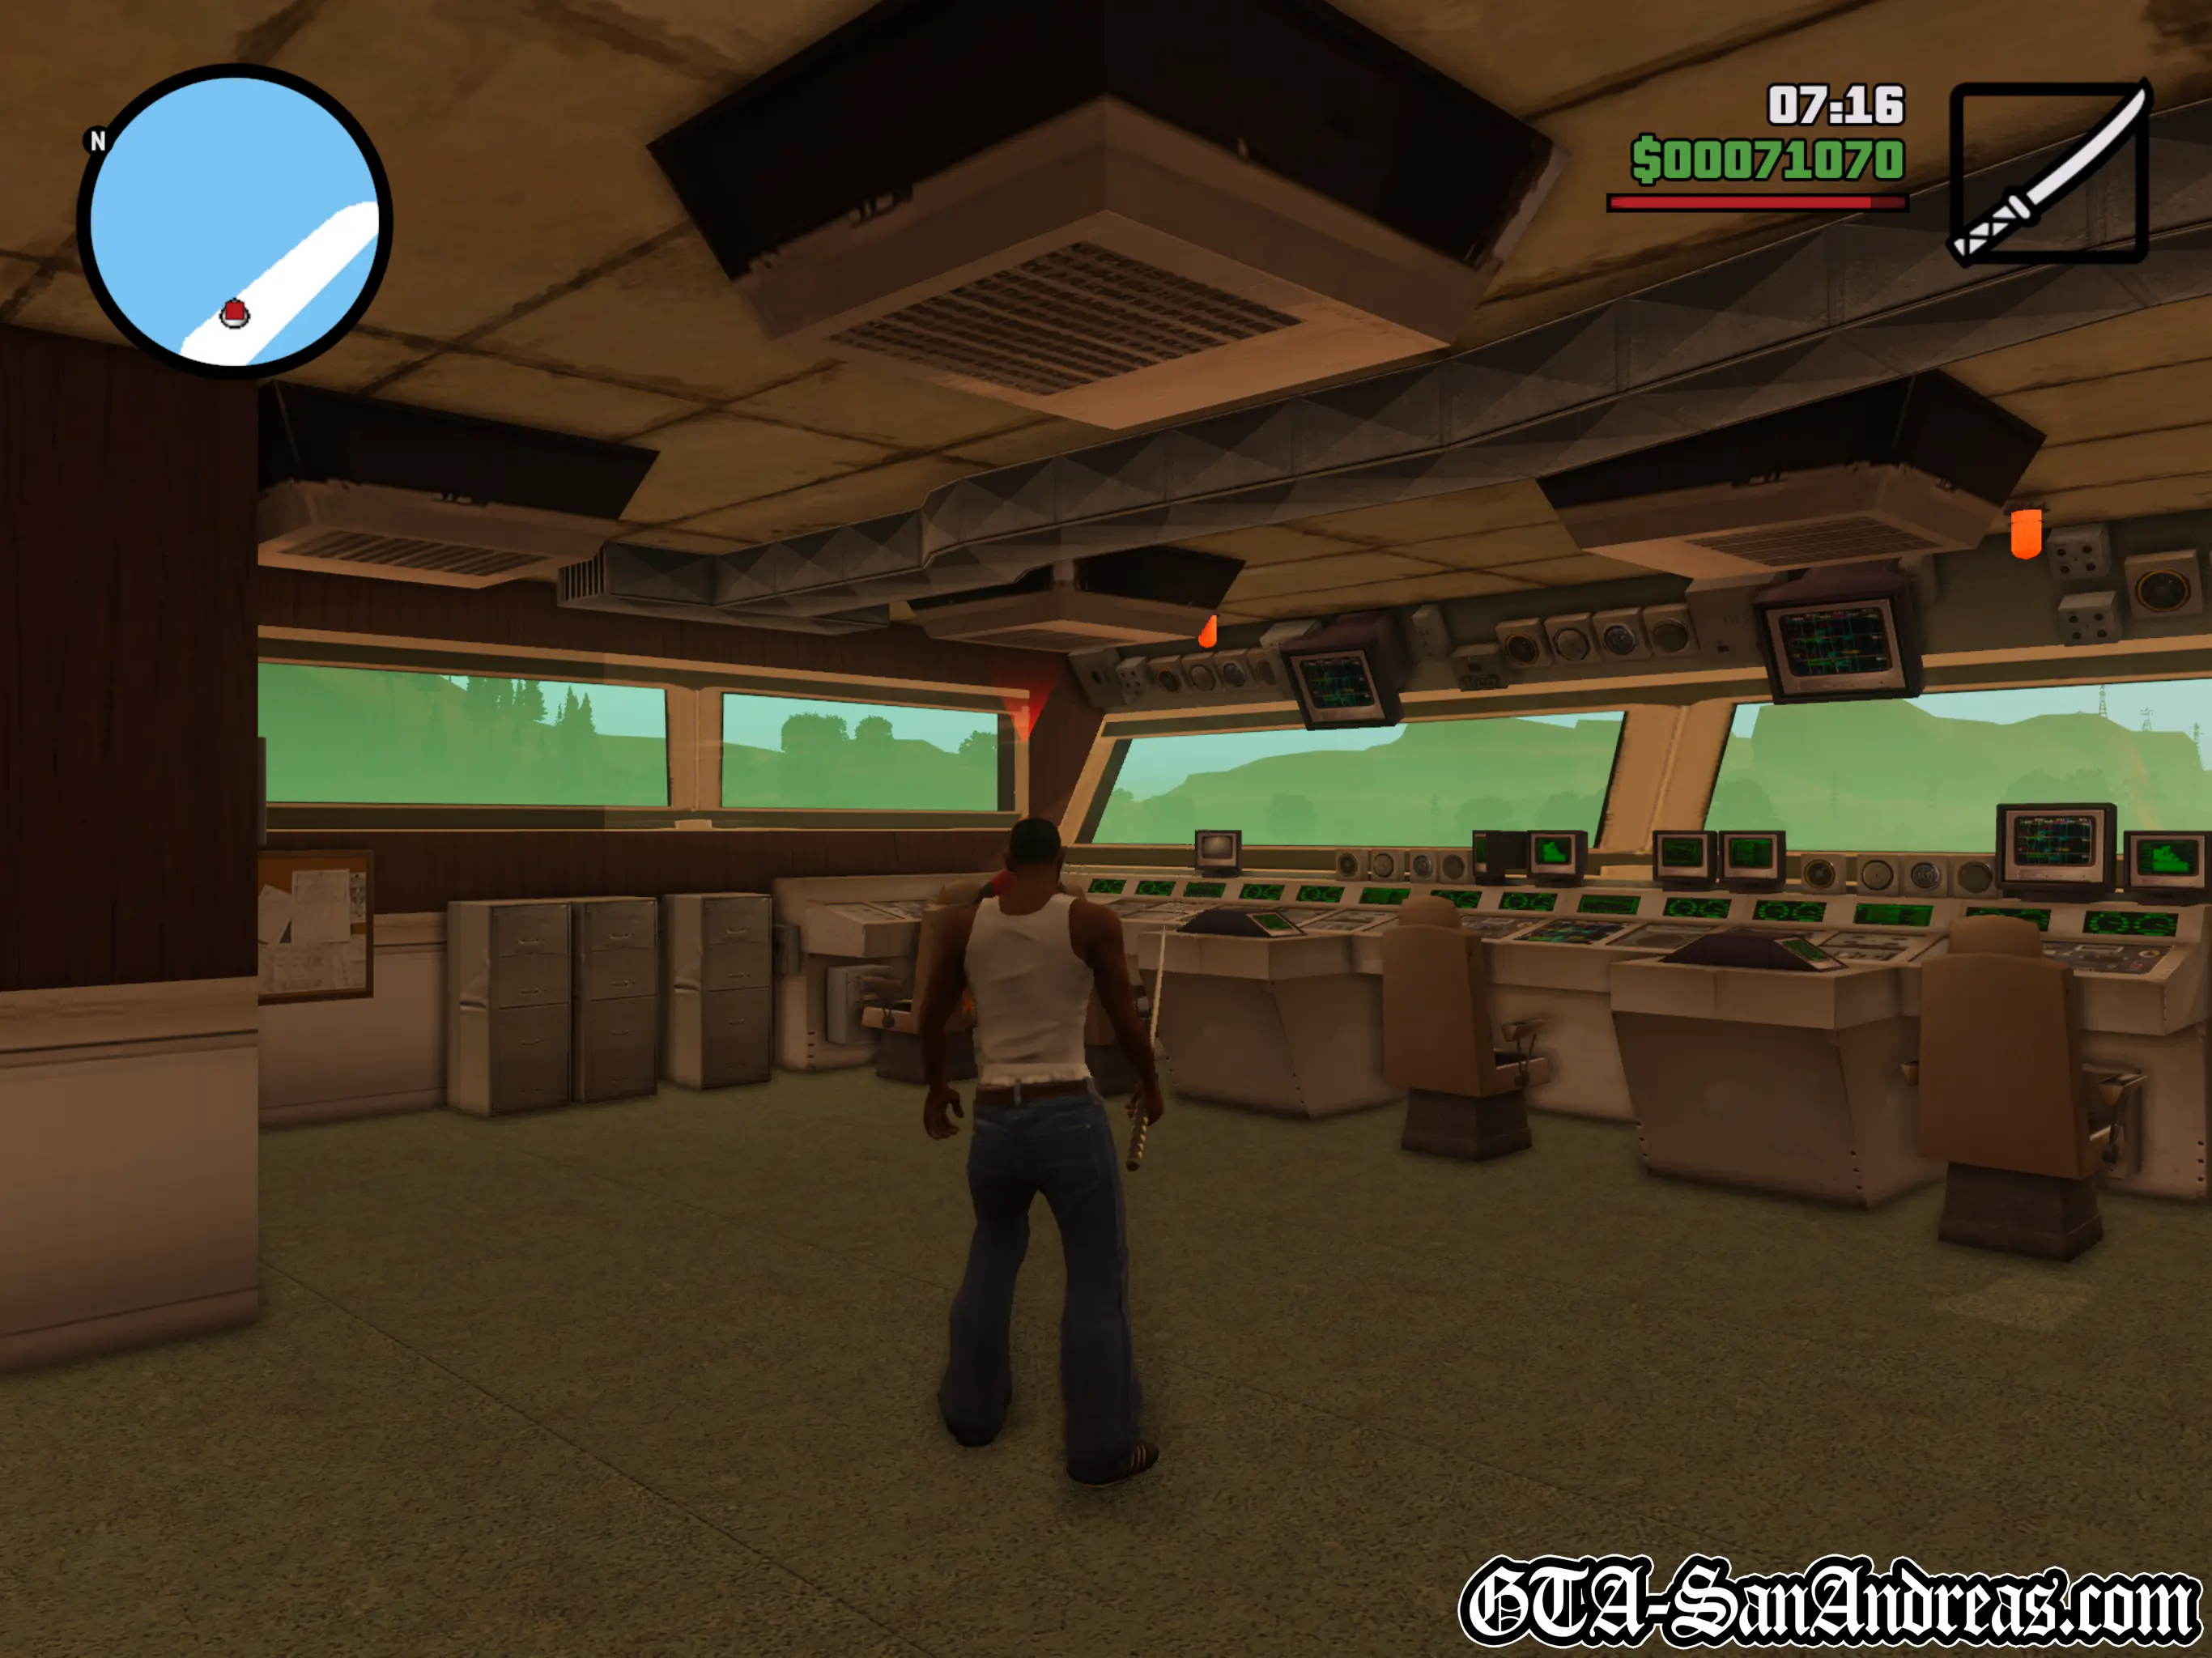
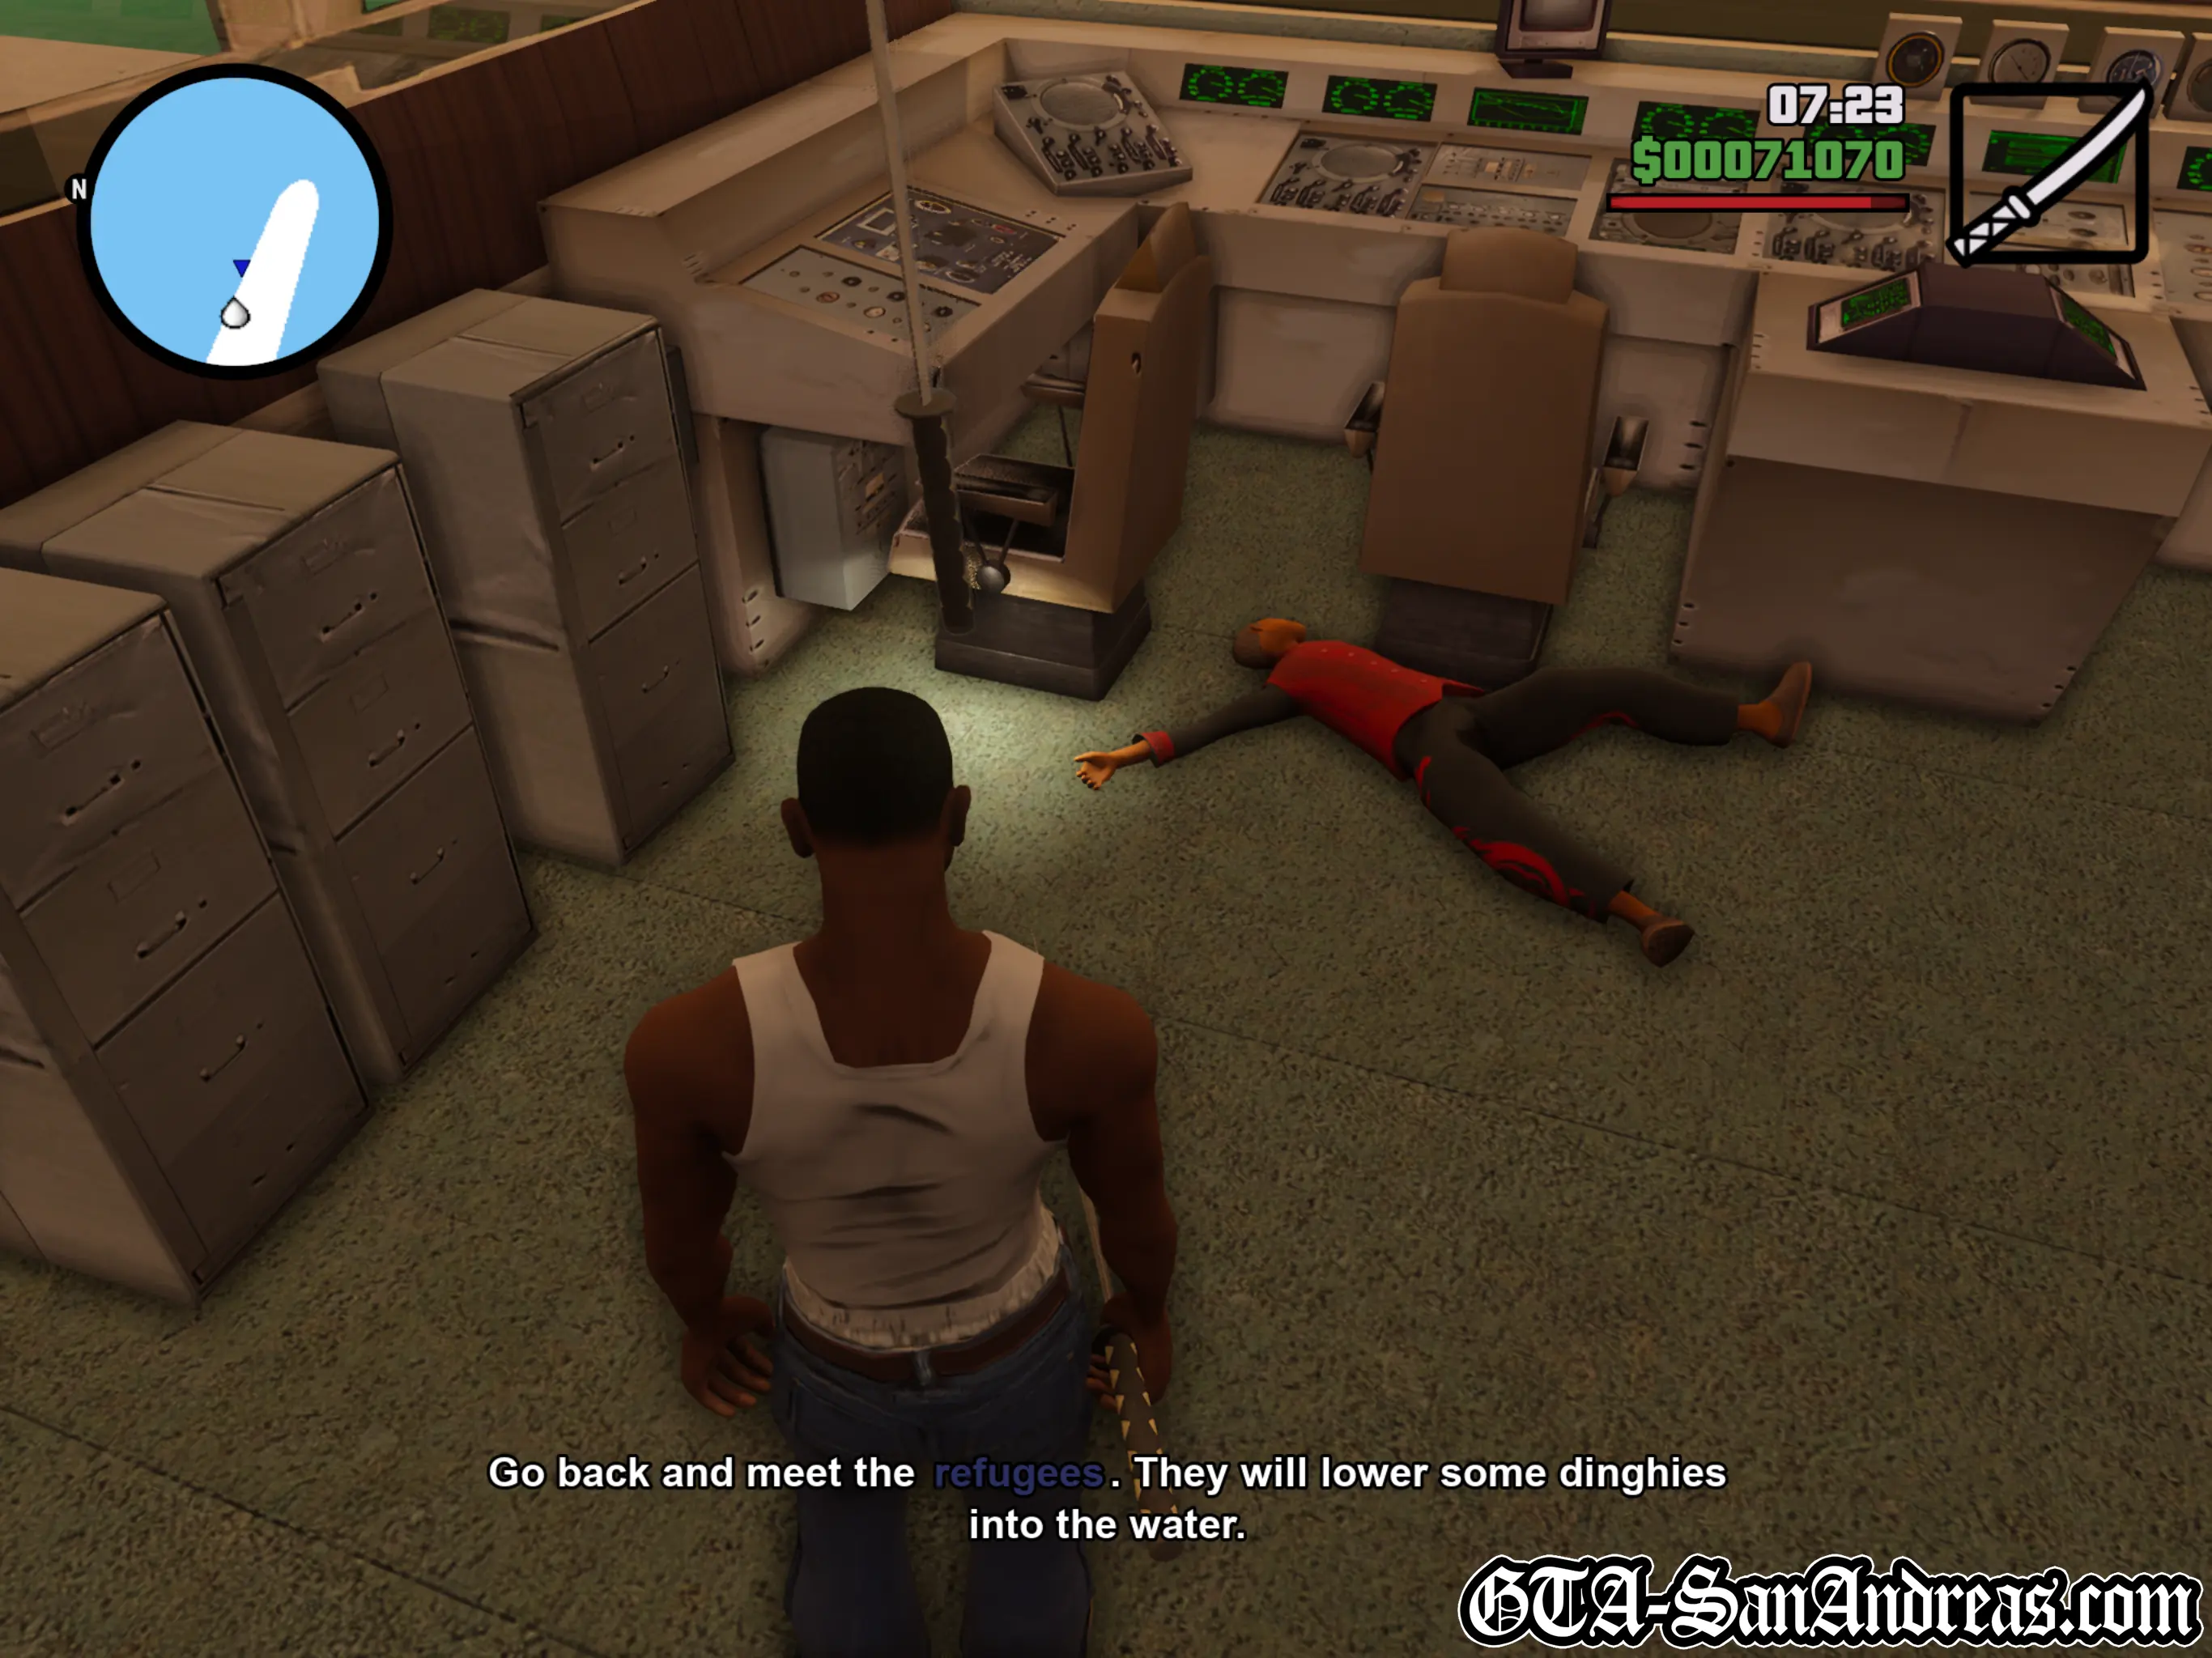
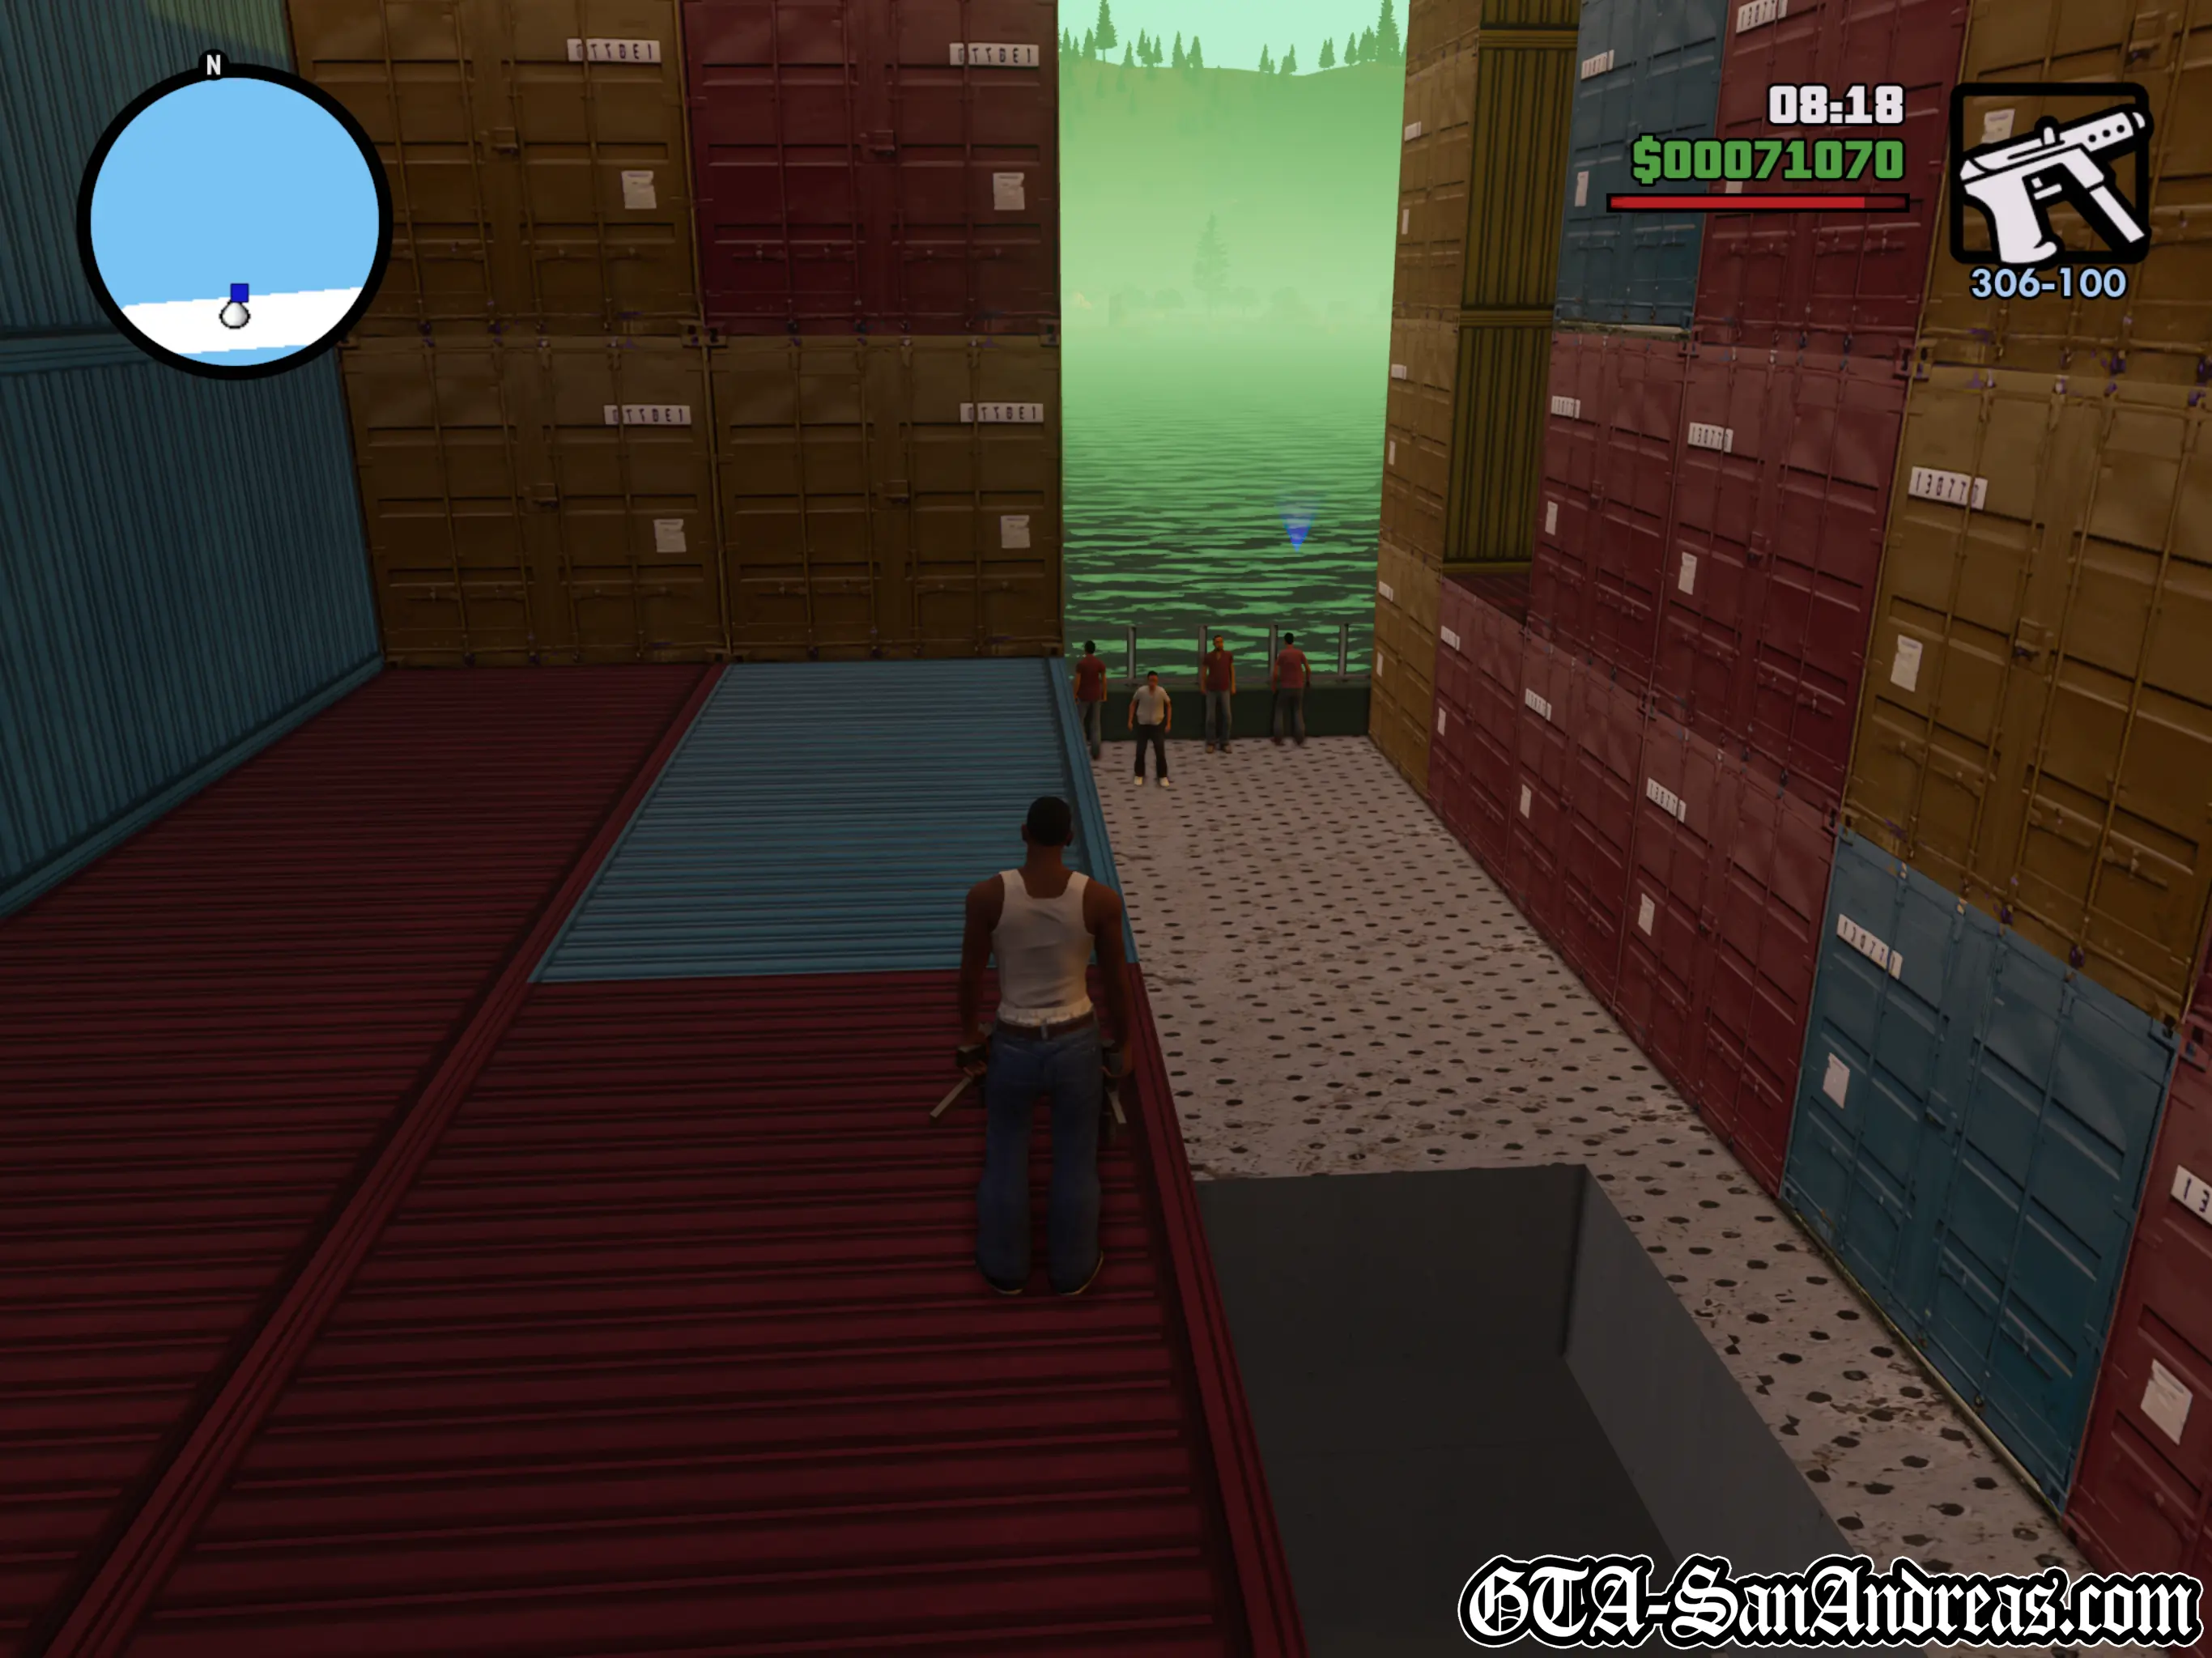
The Da Nang Thang
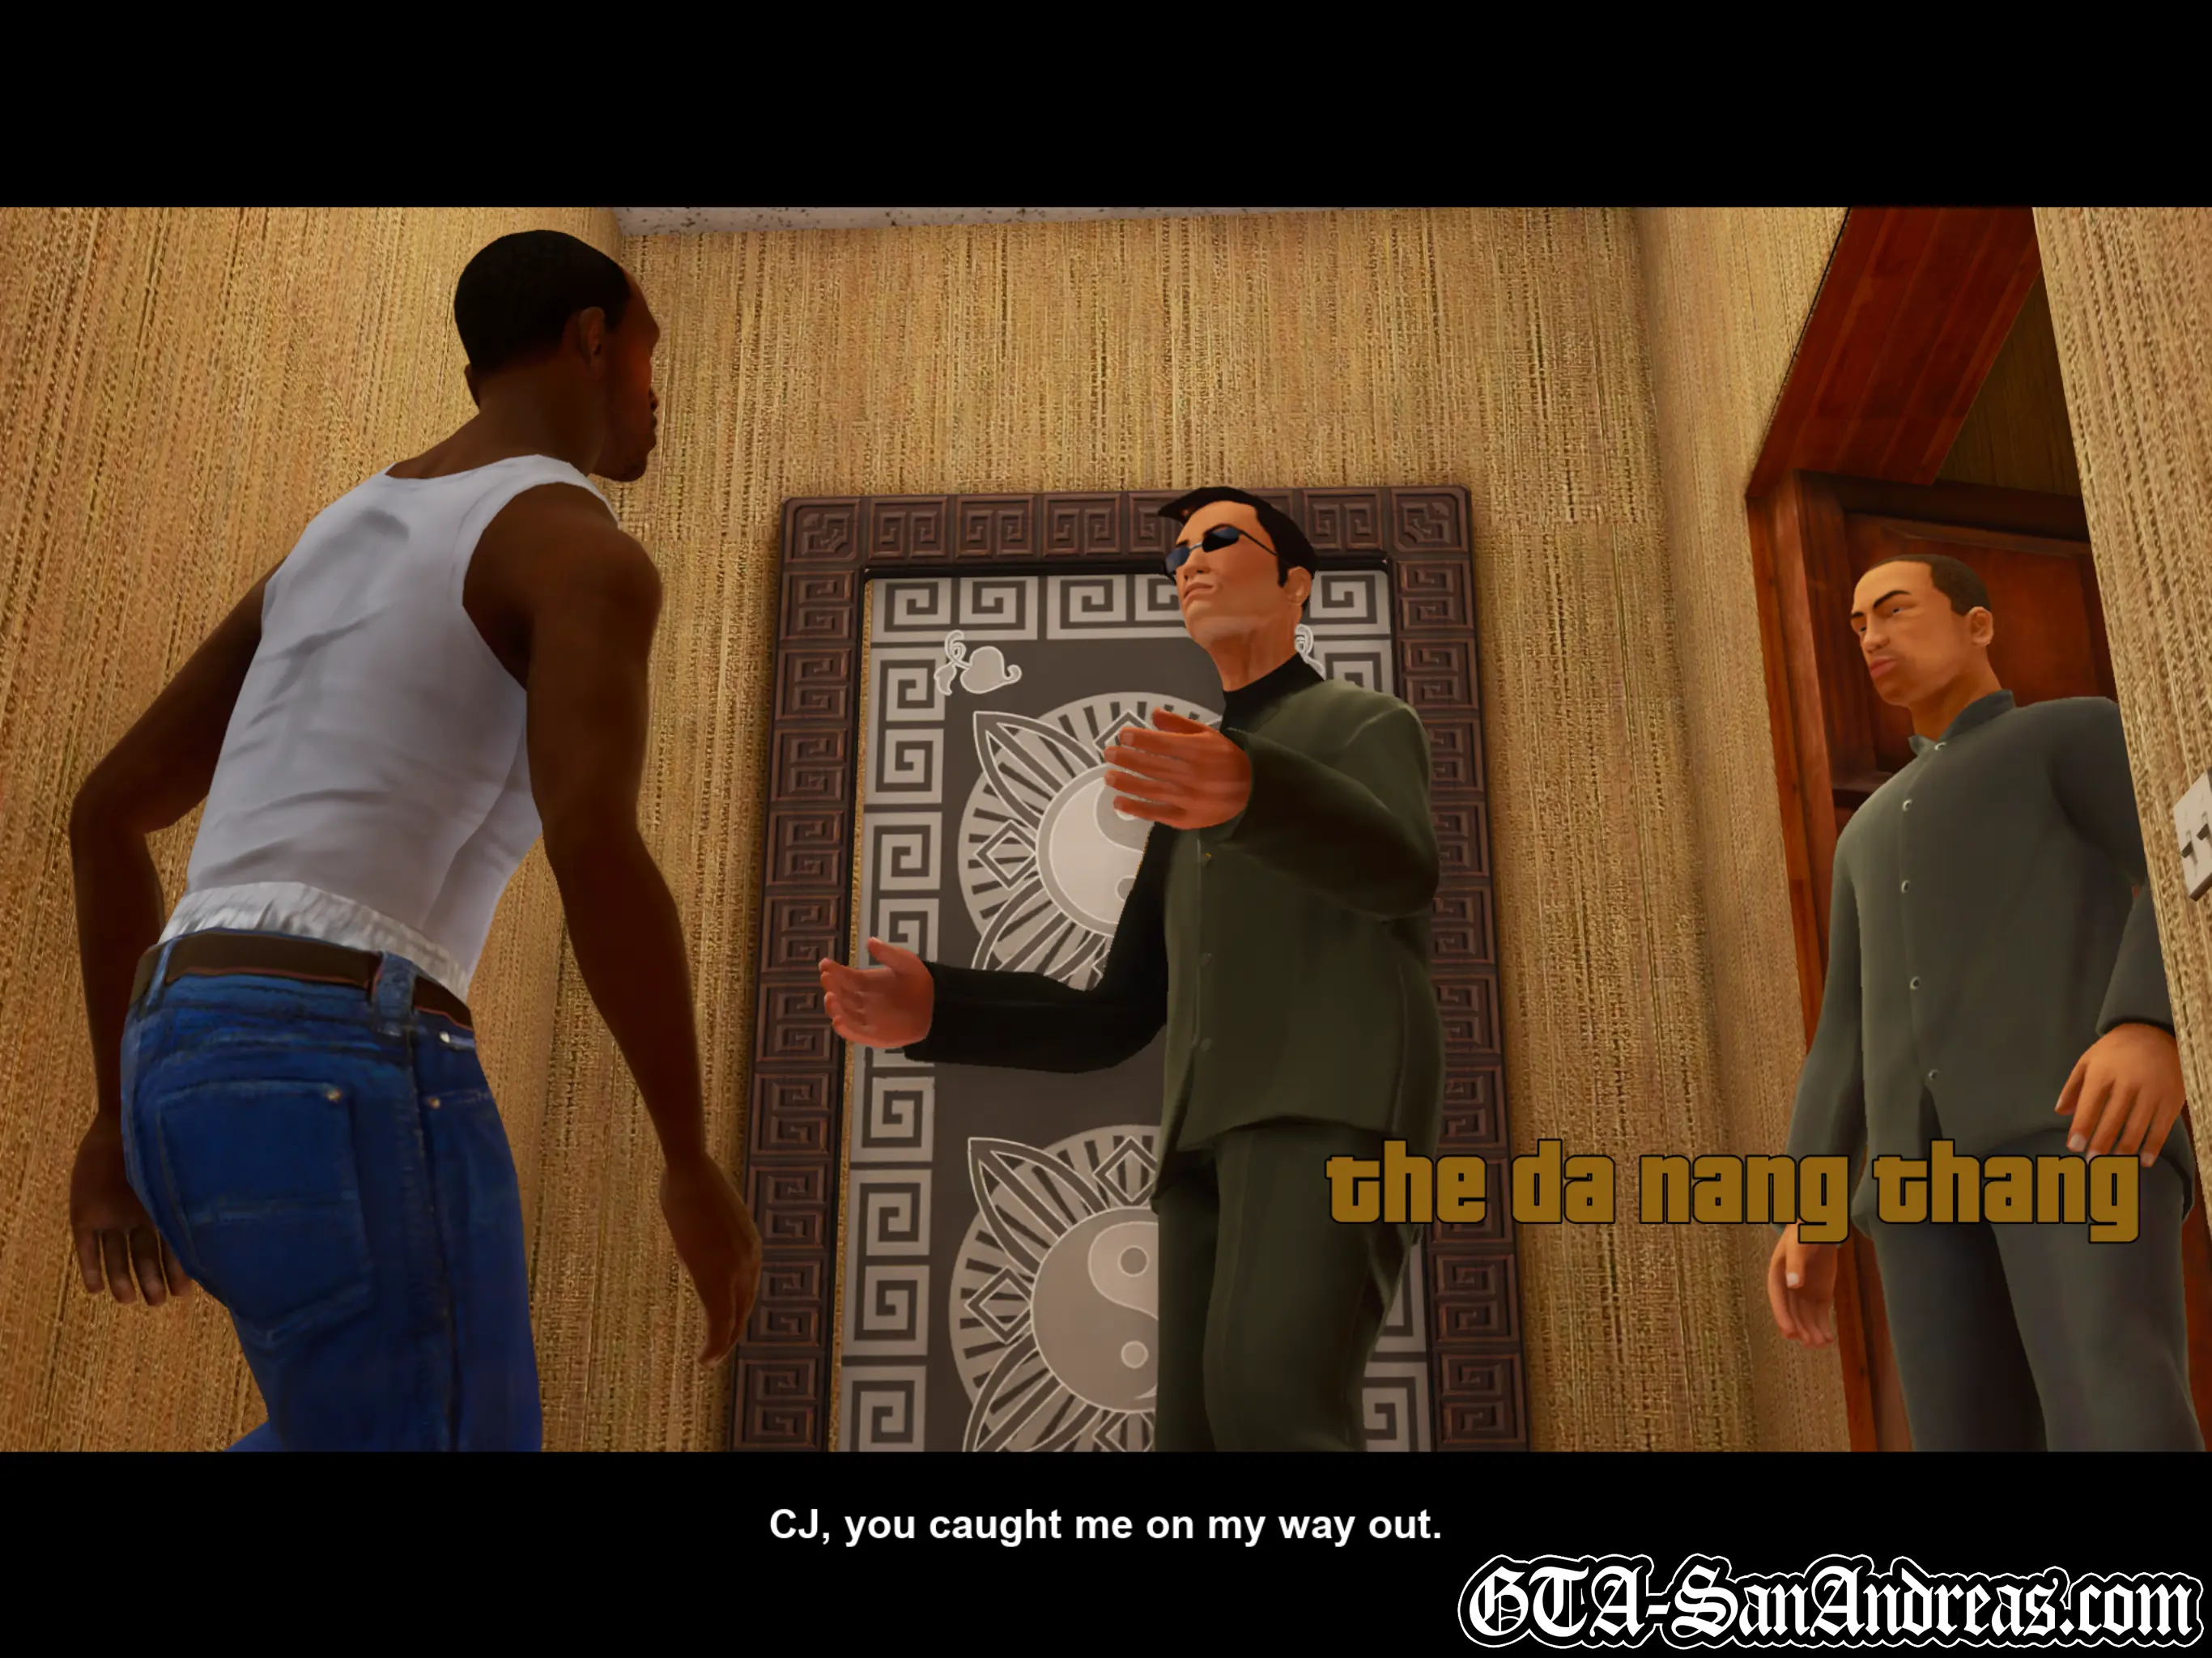
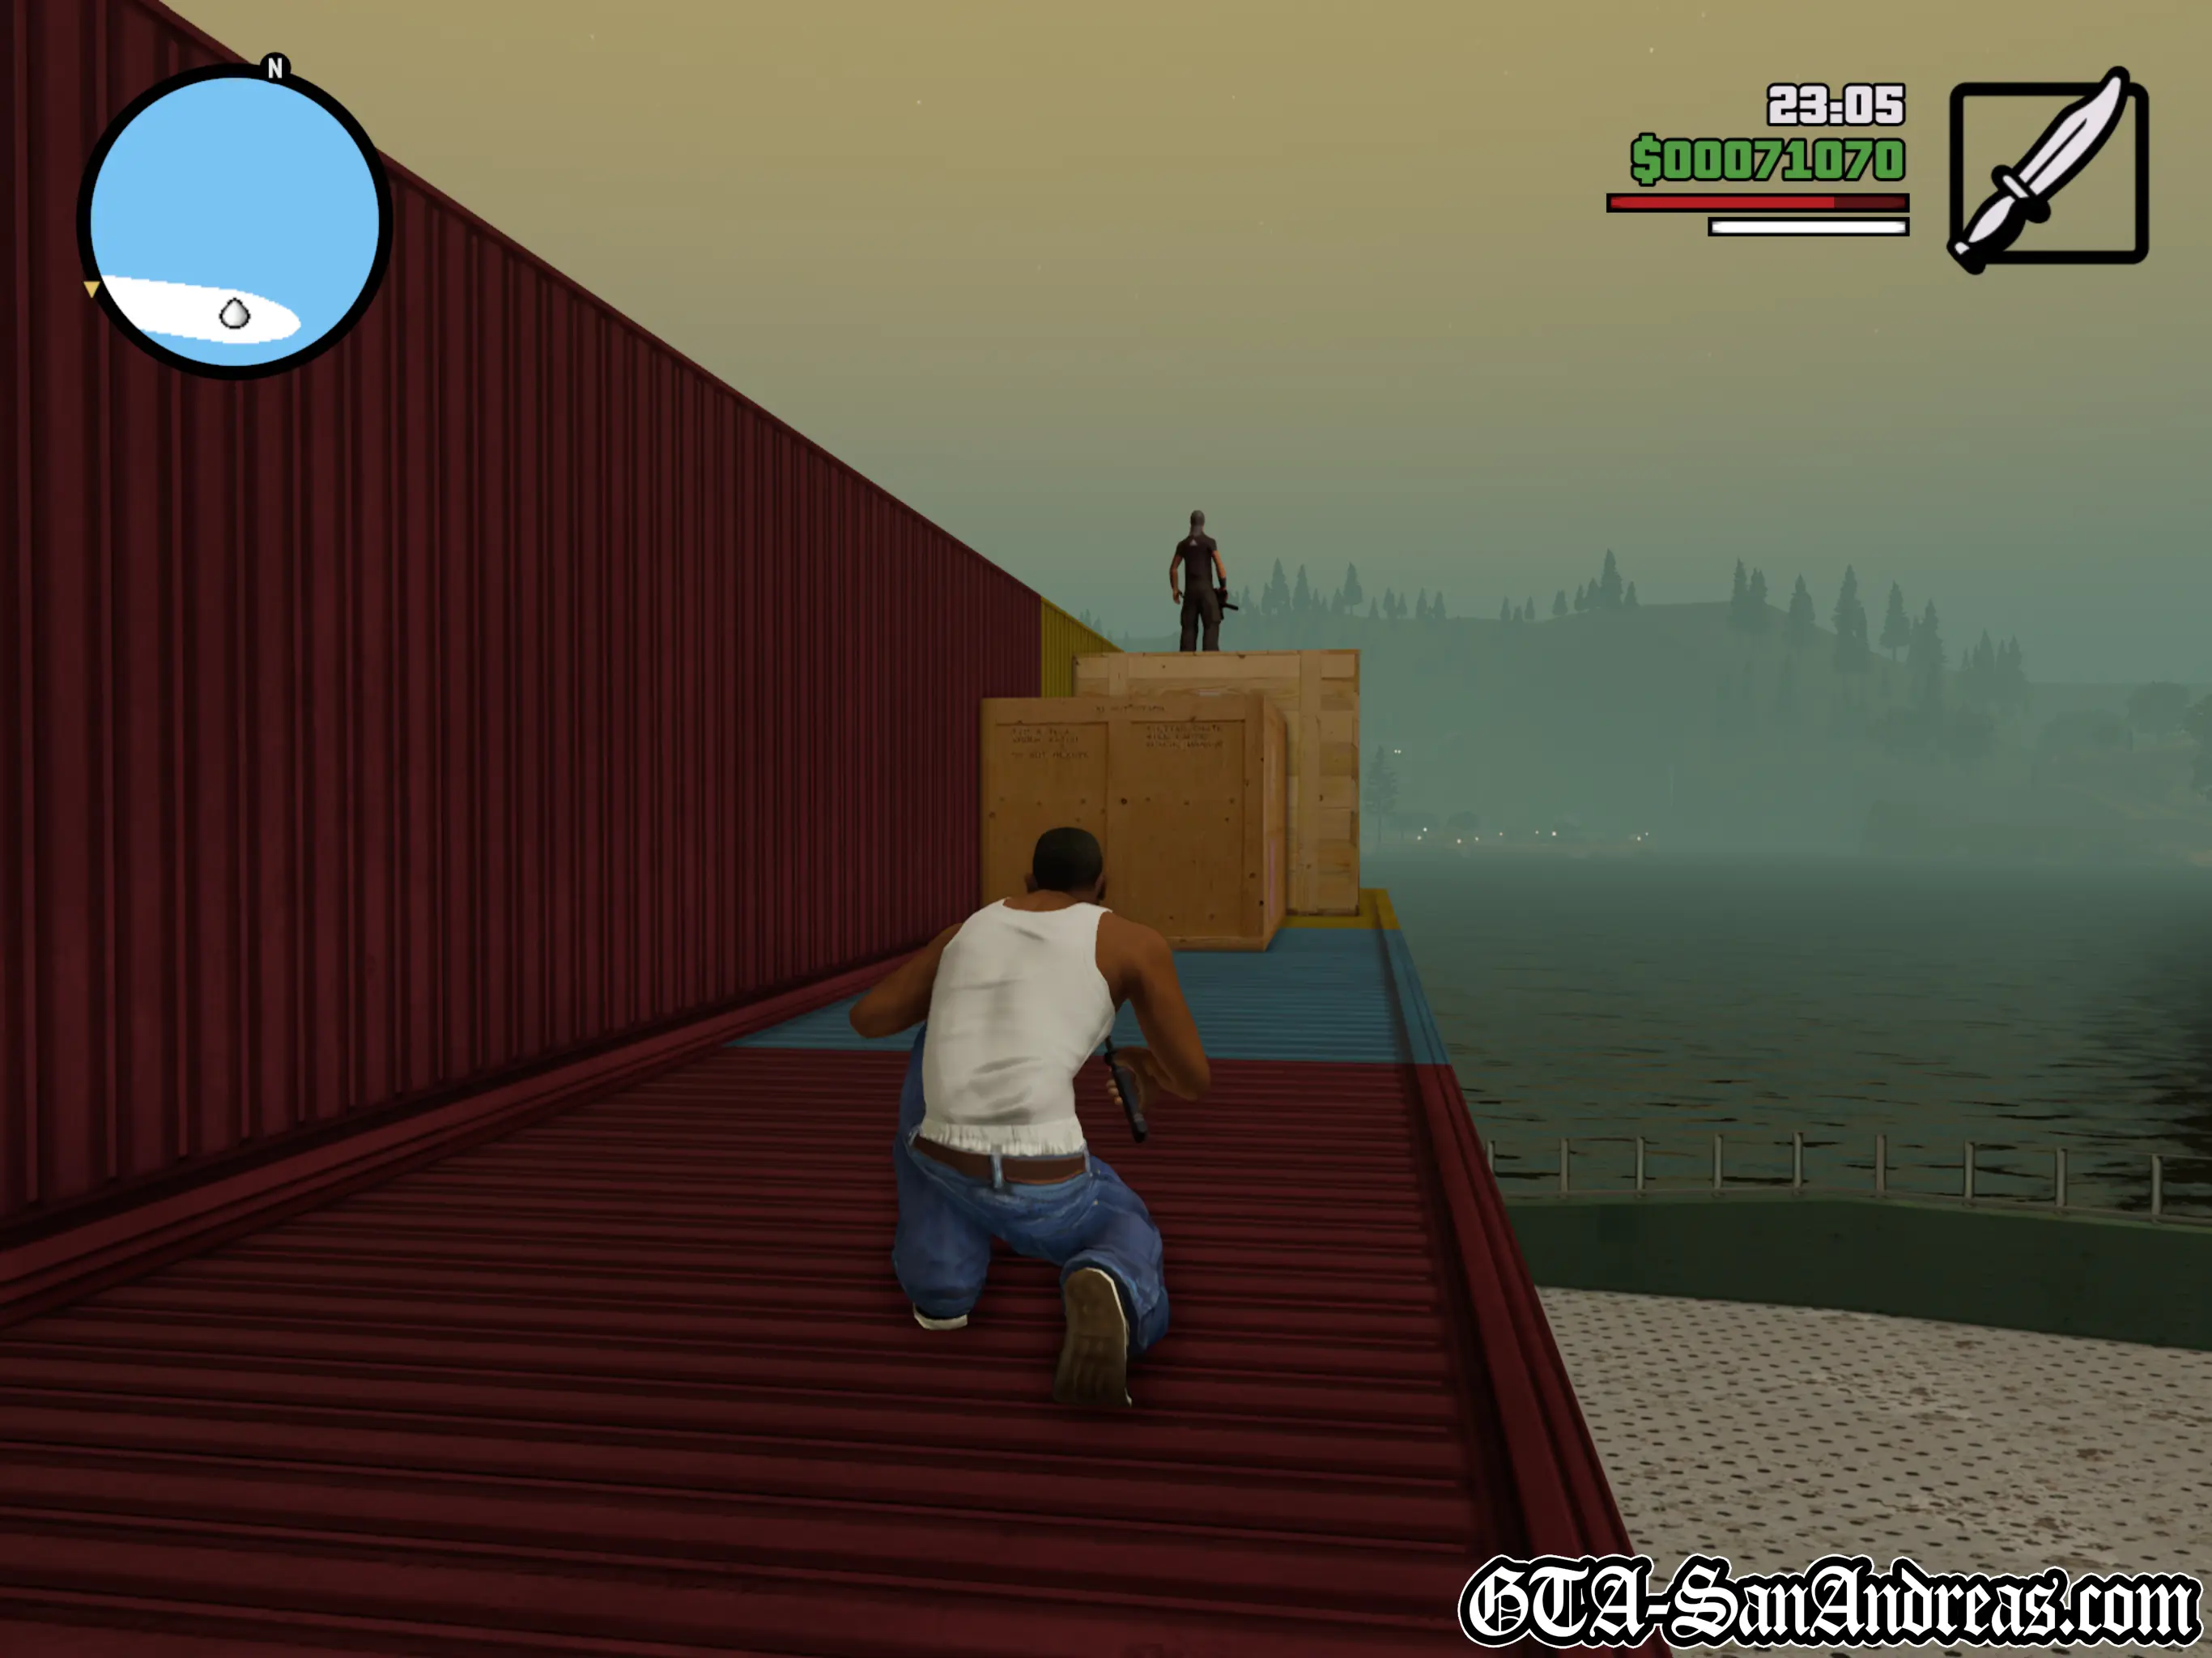
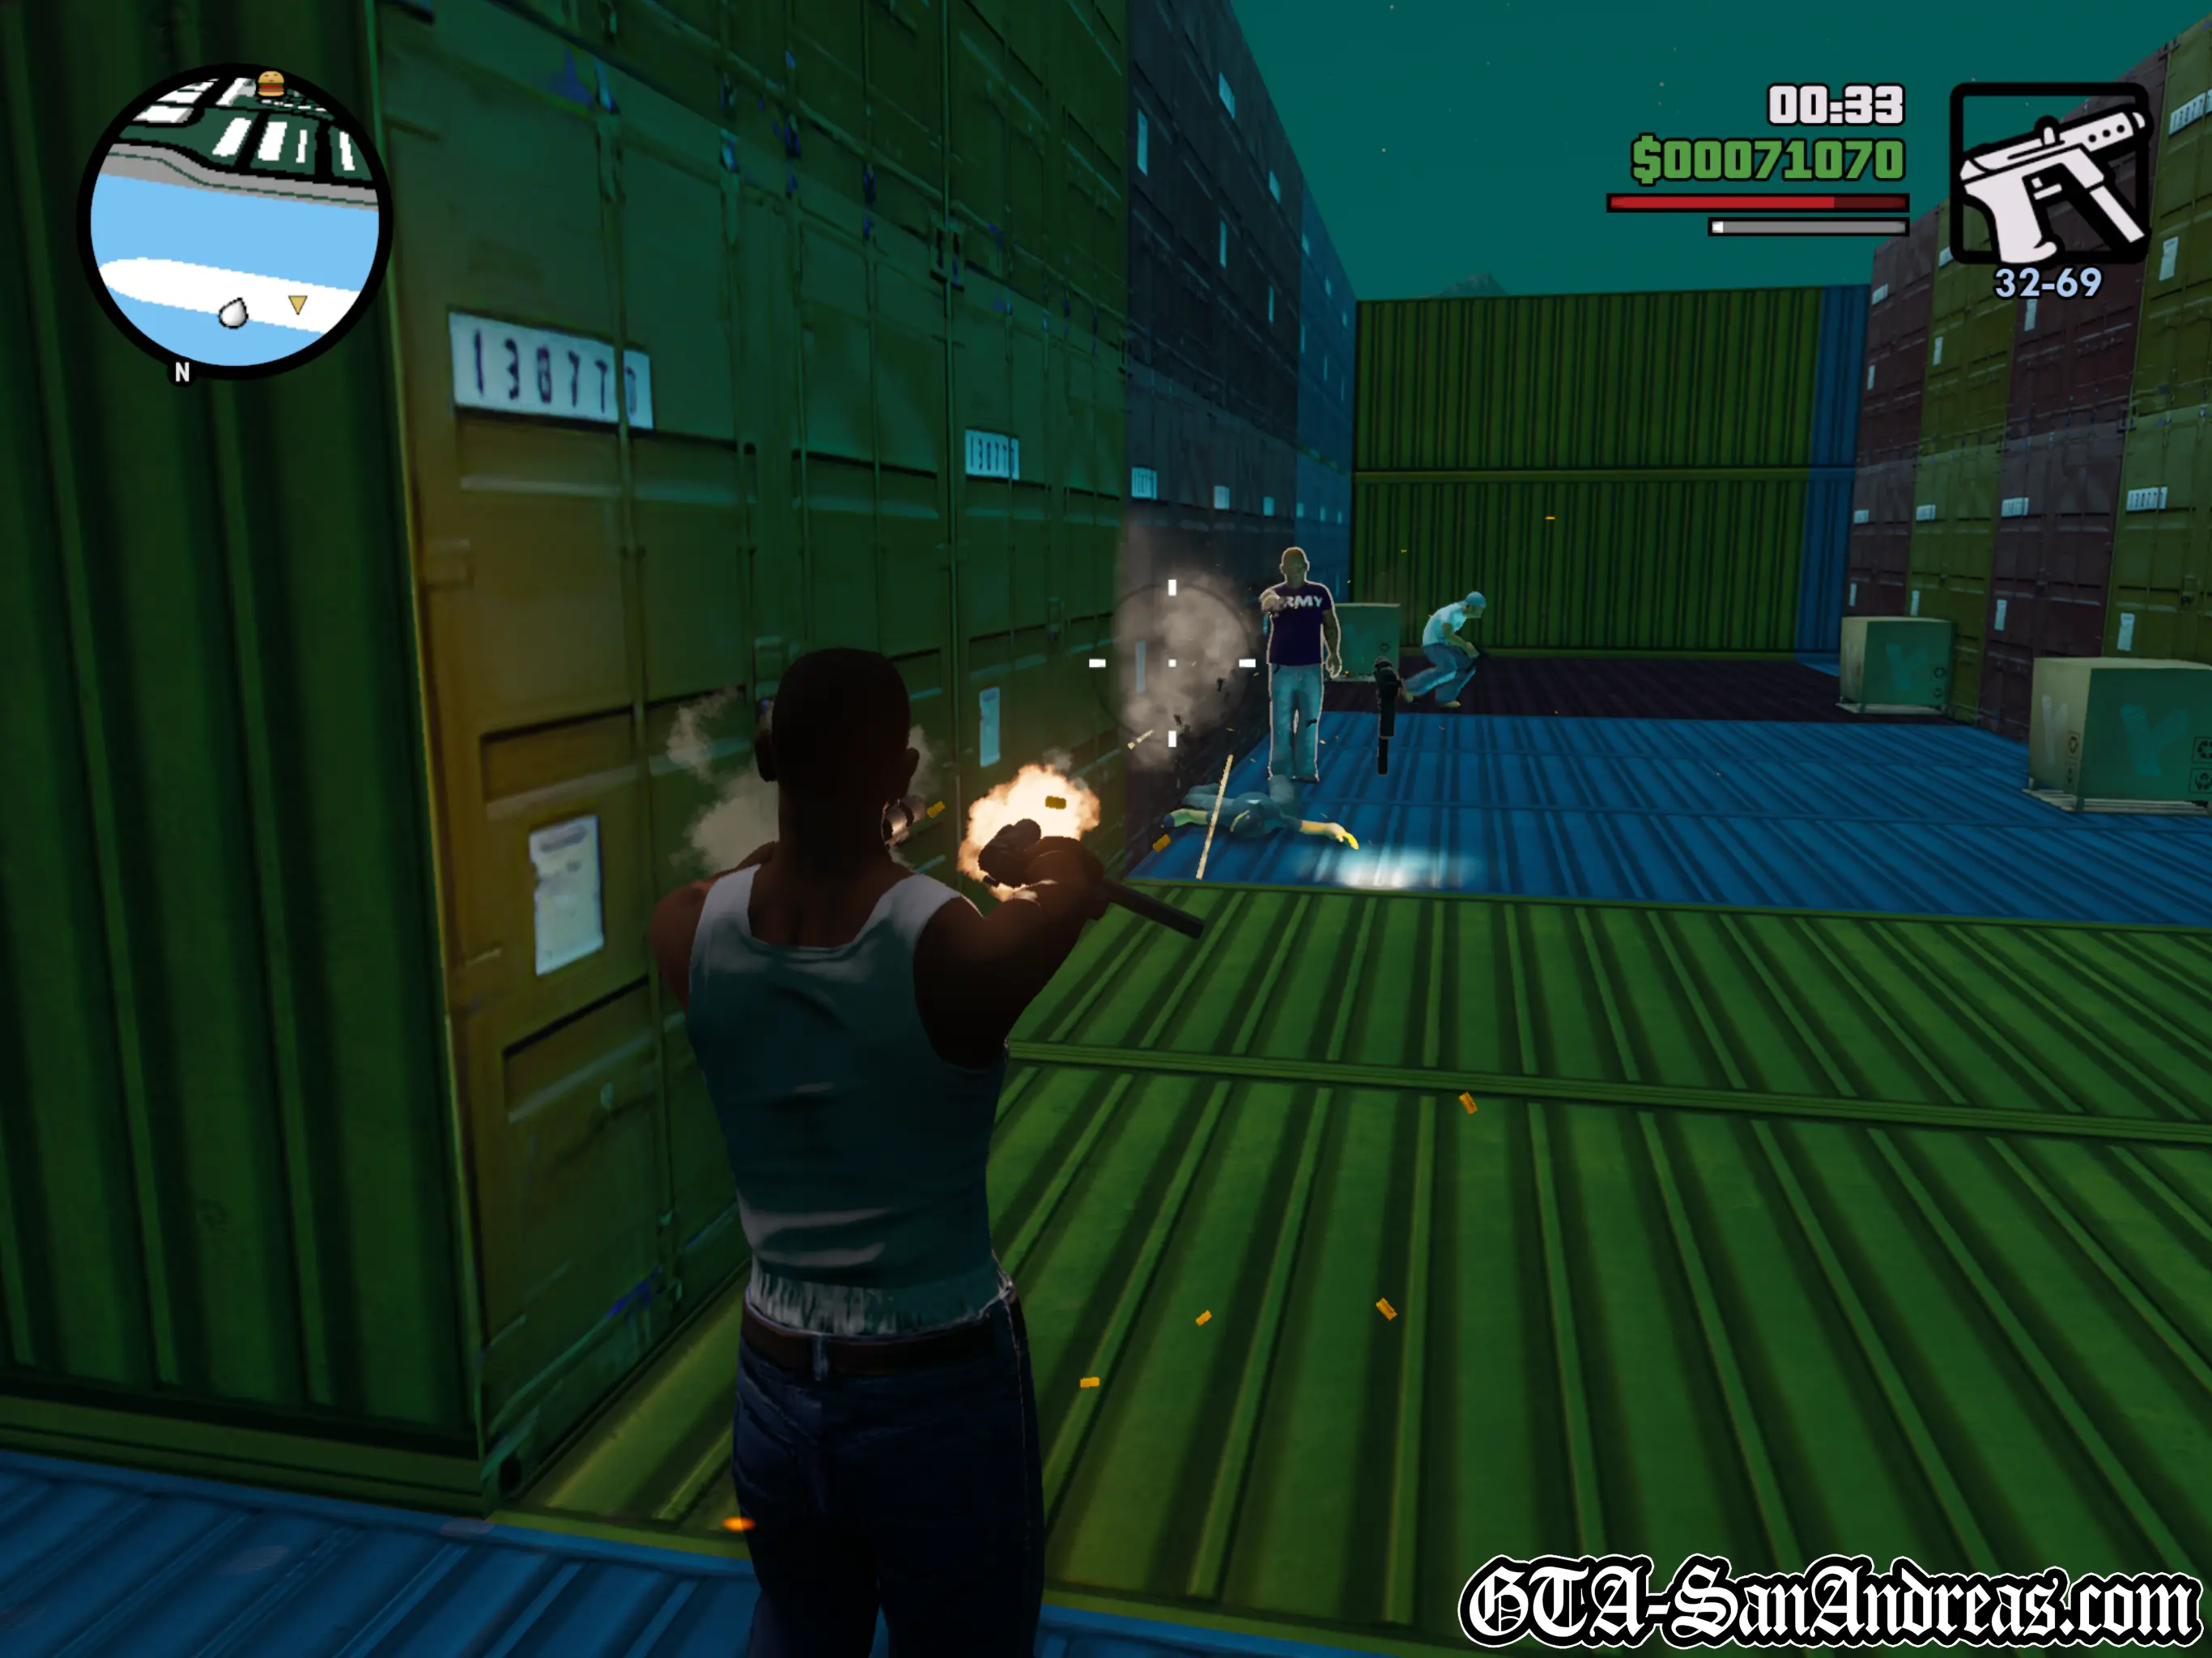
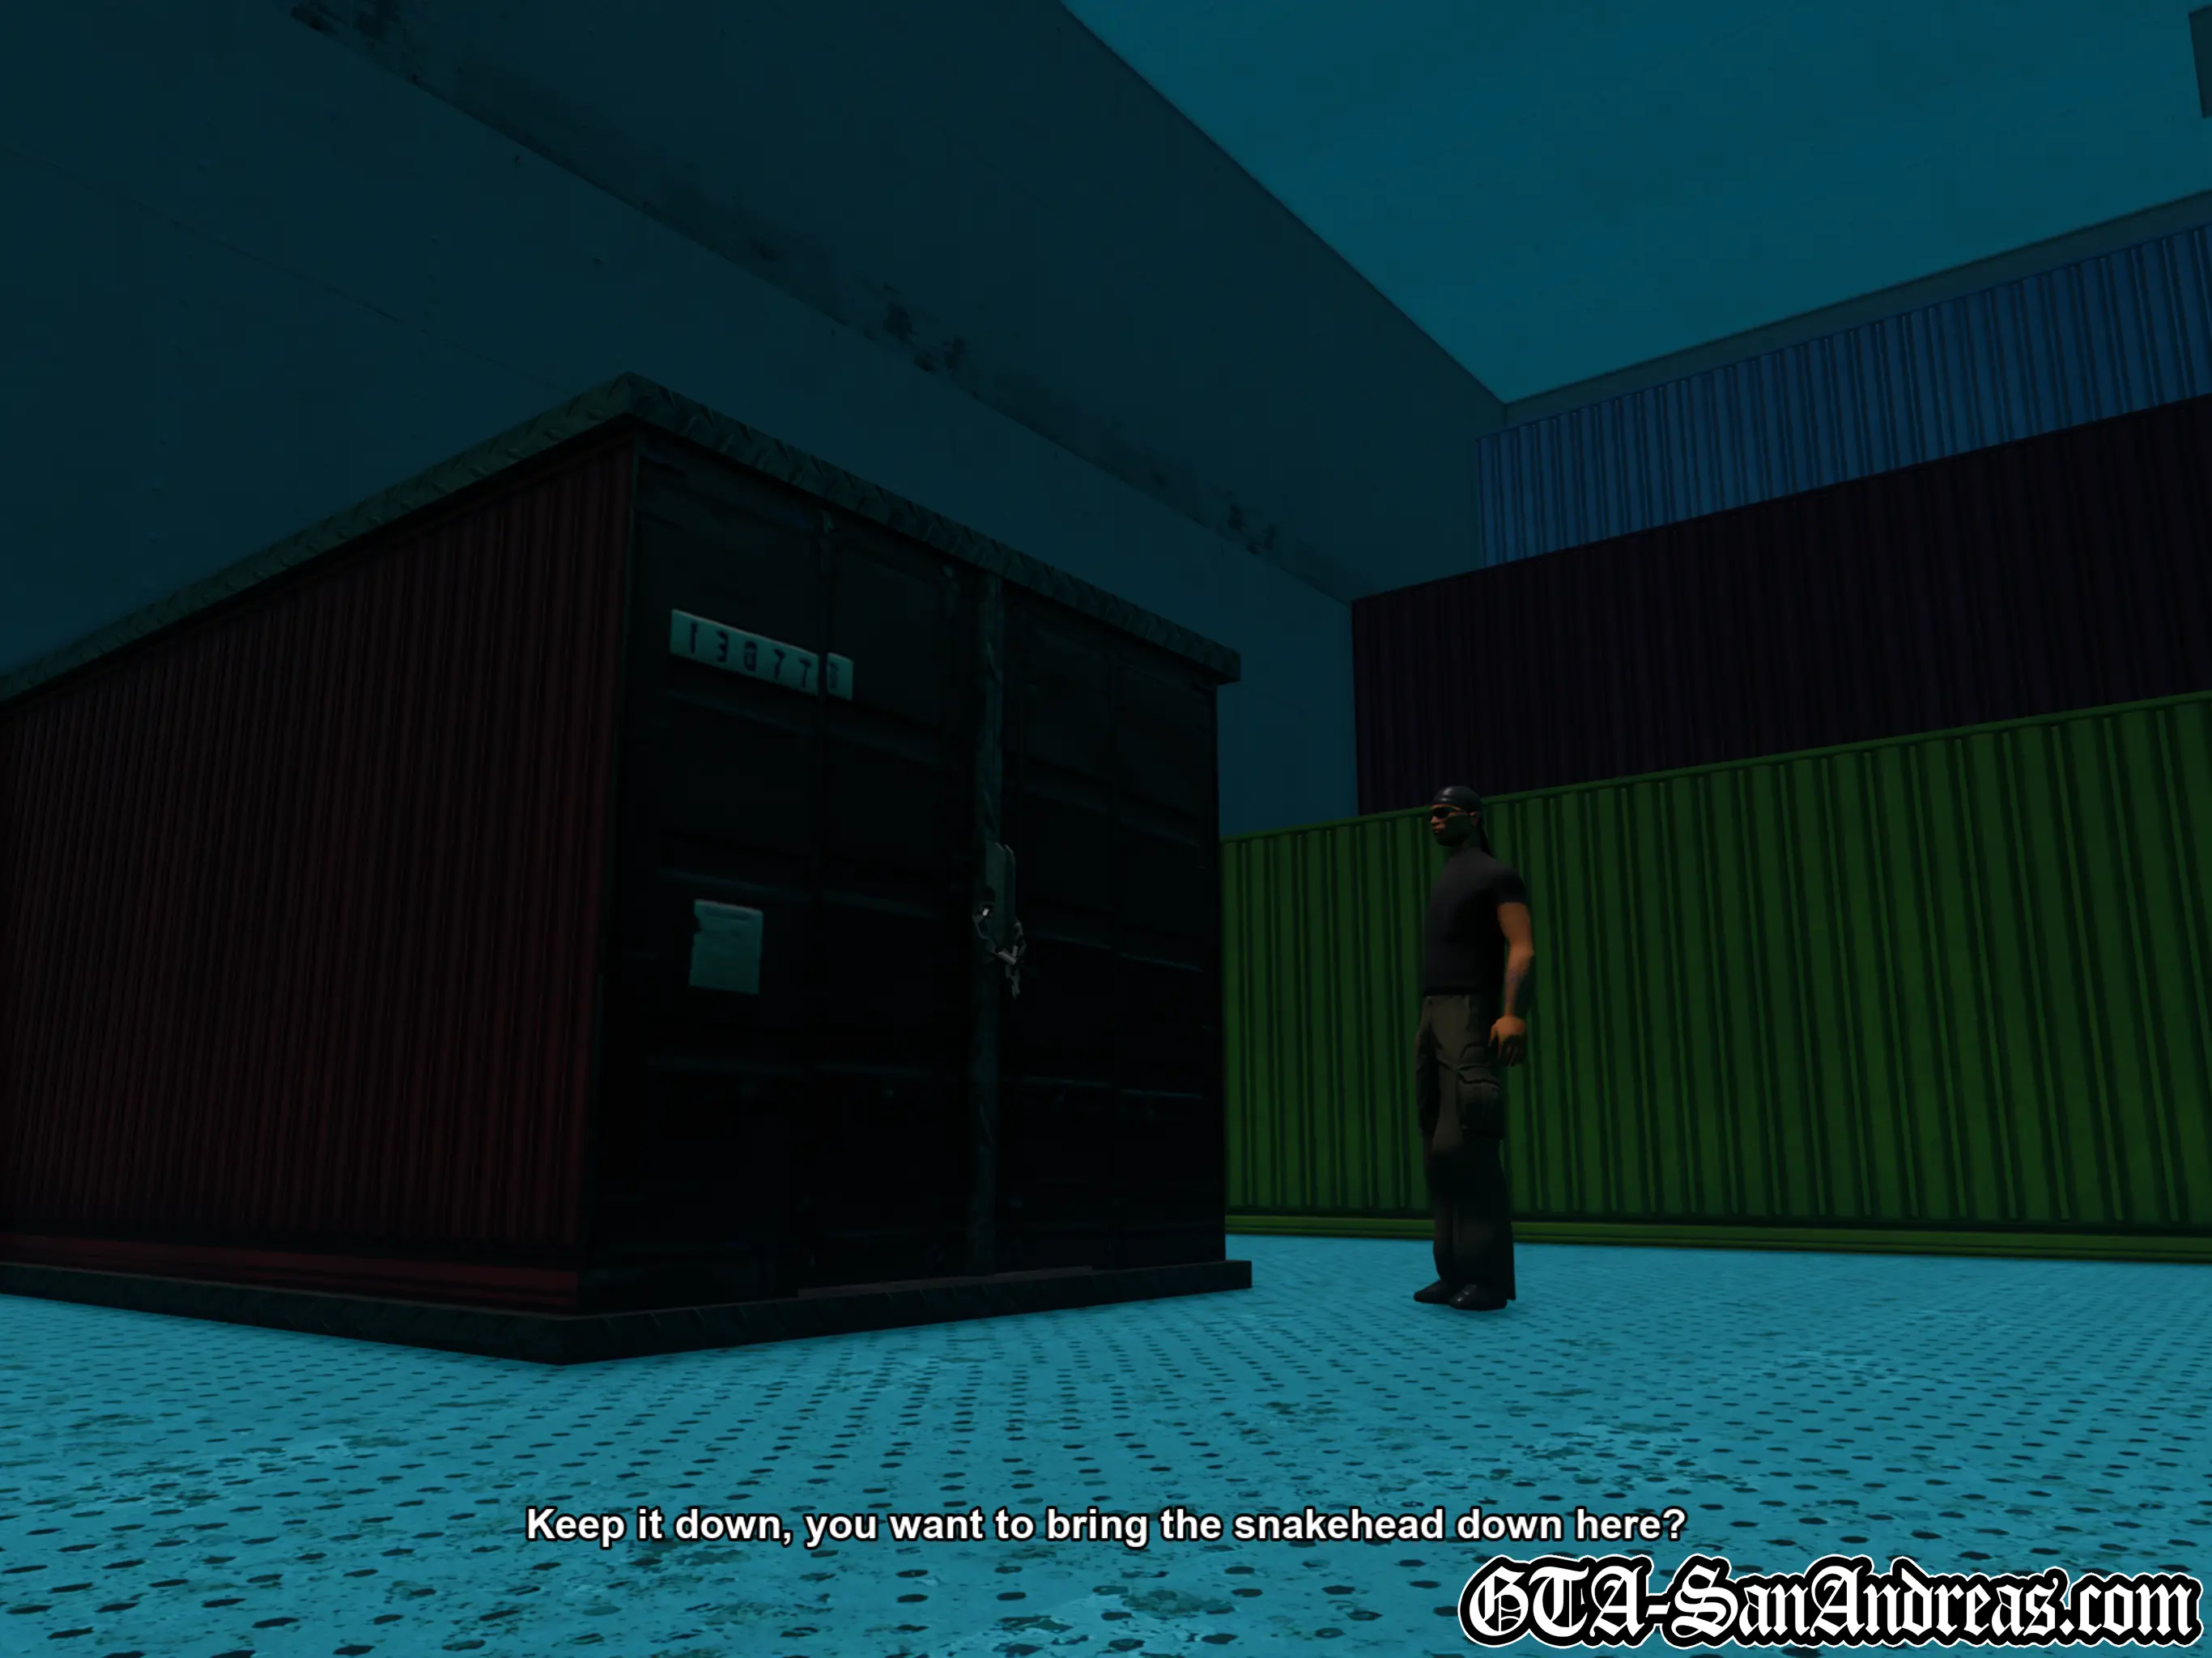
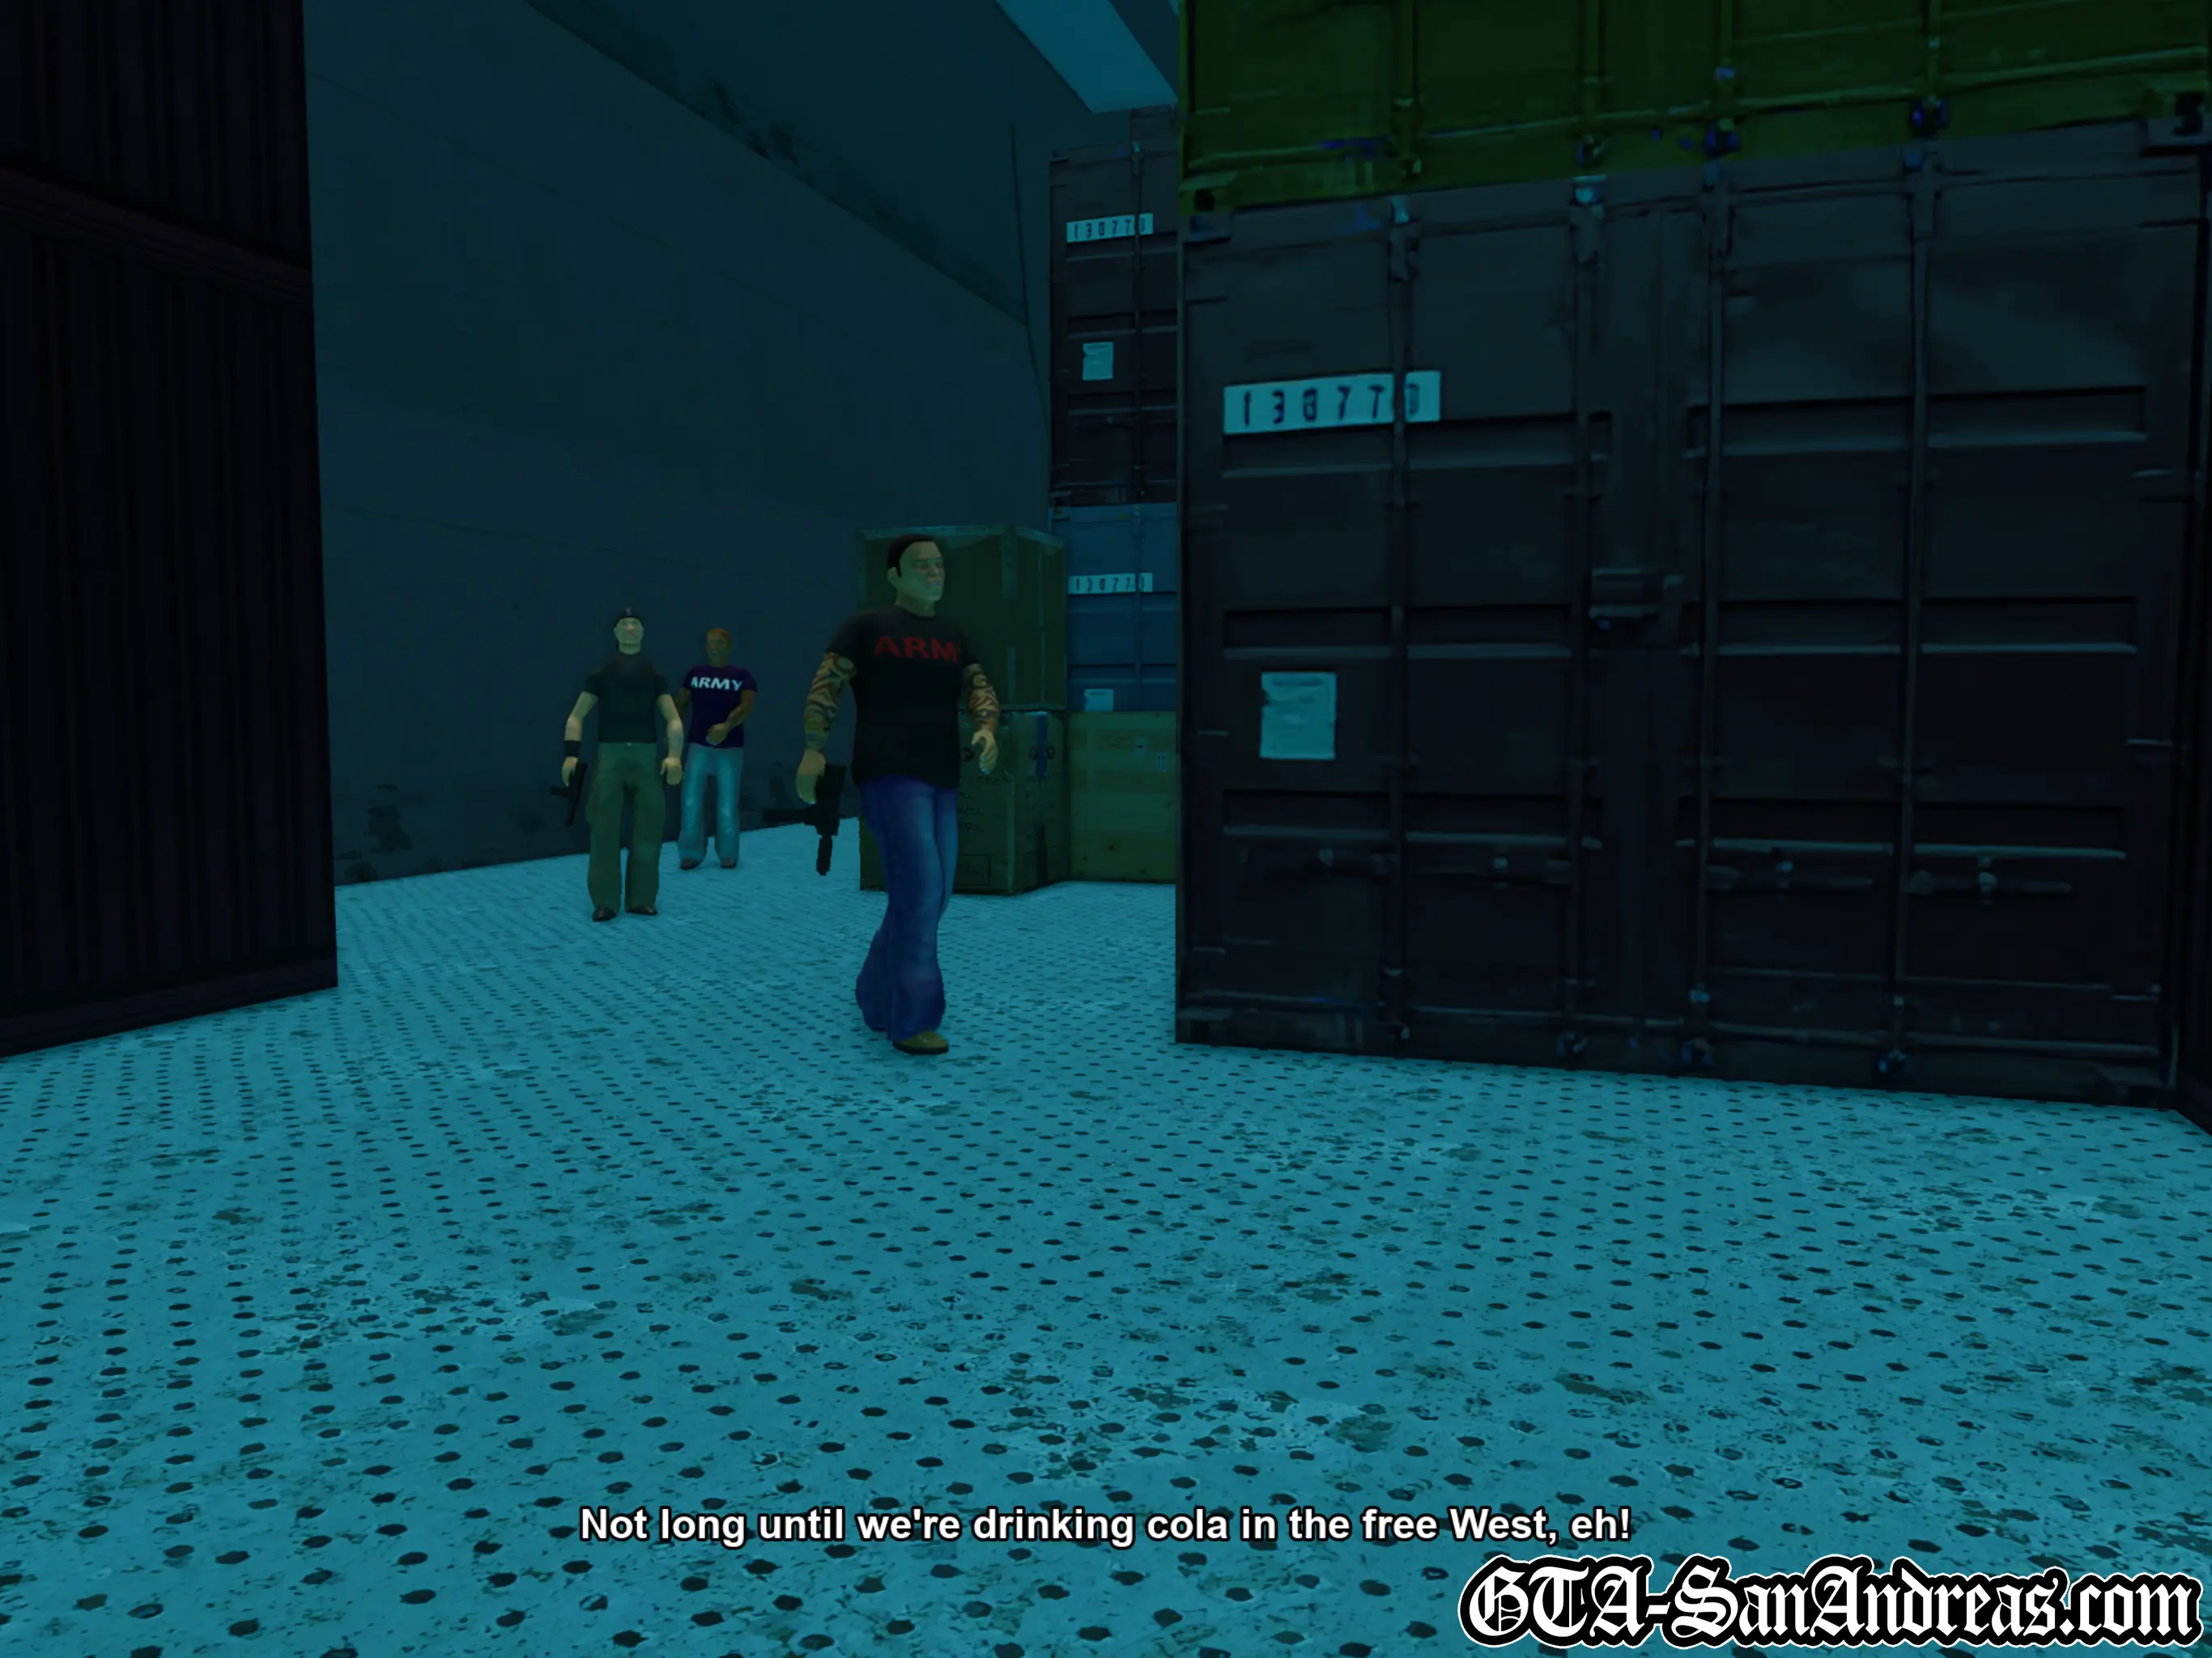
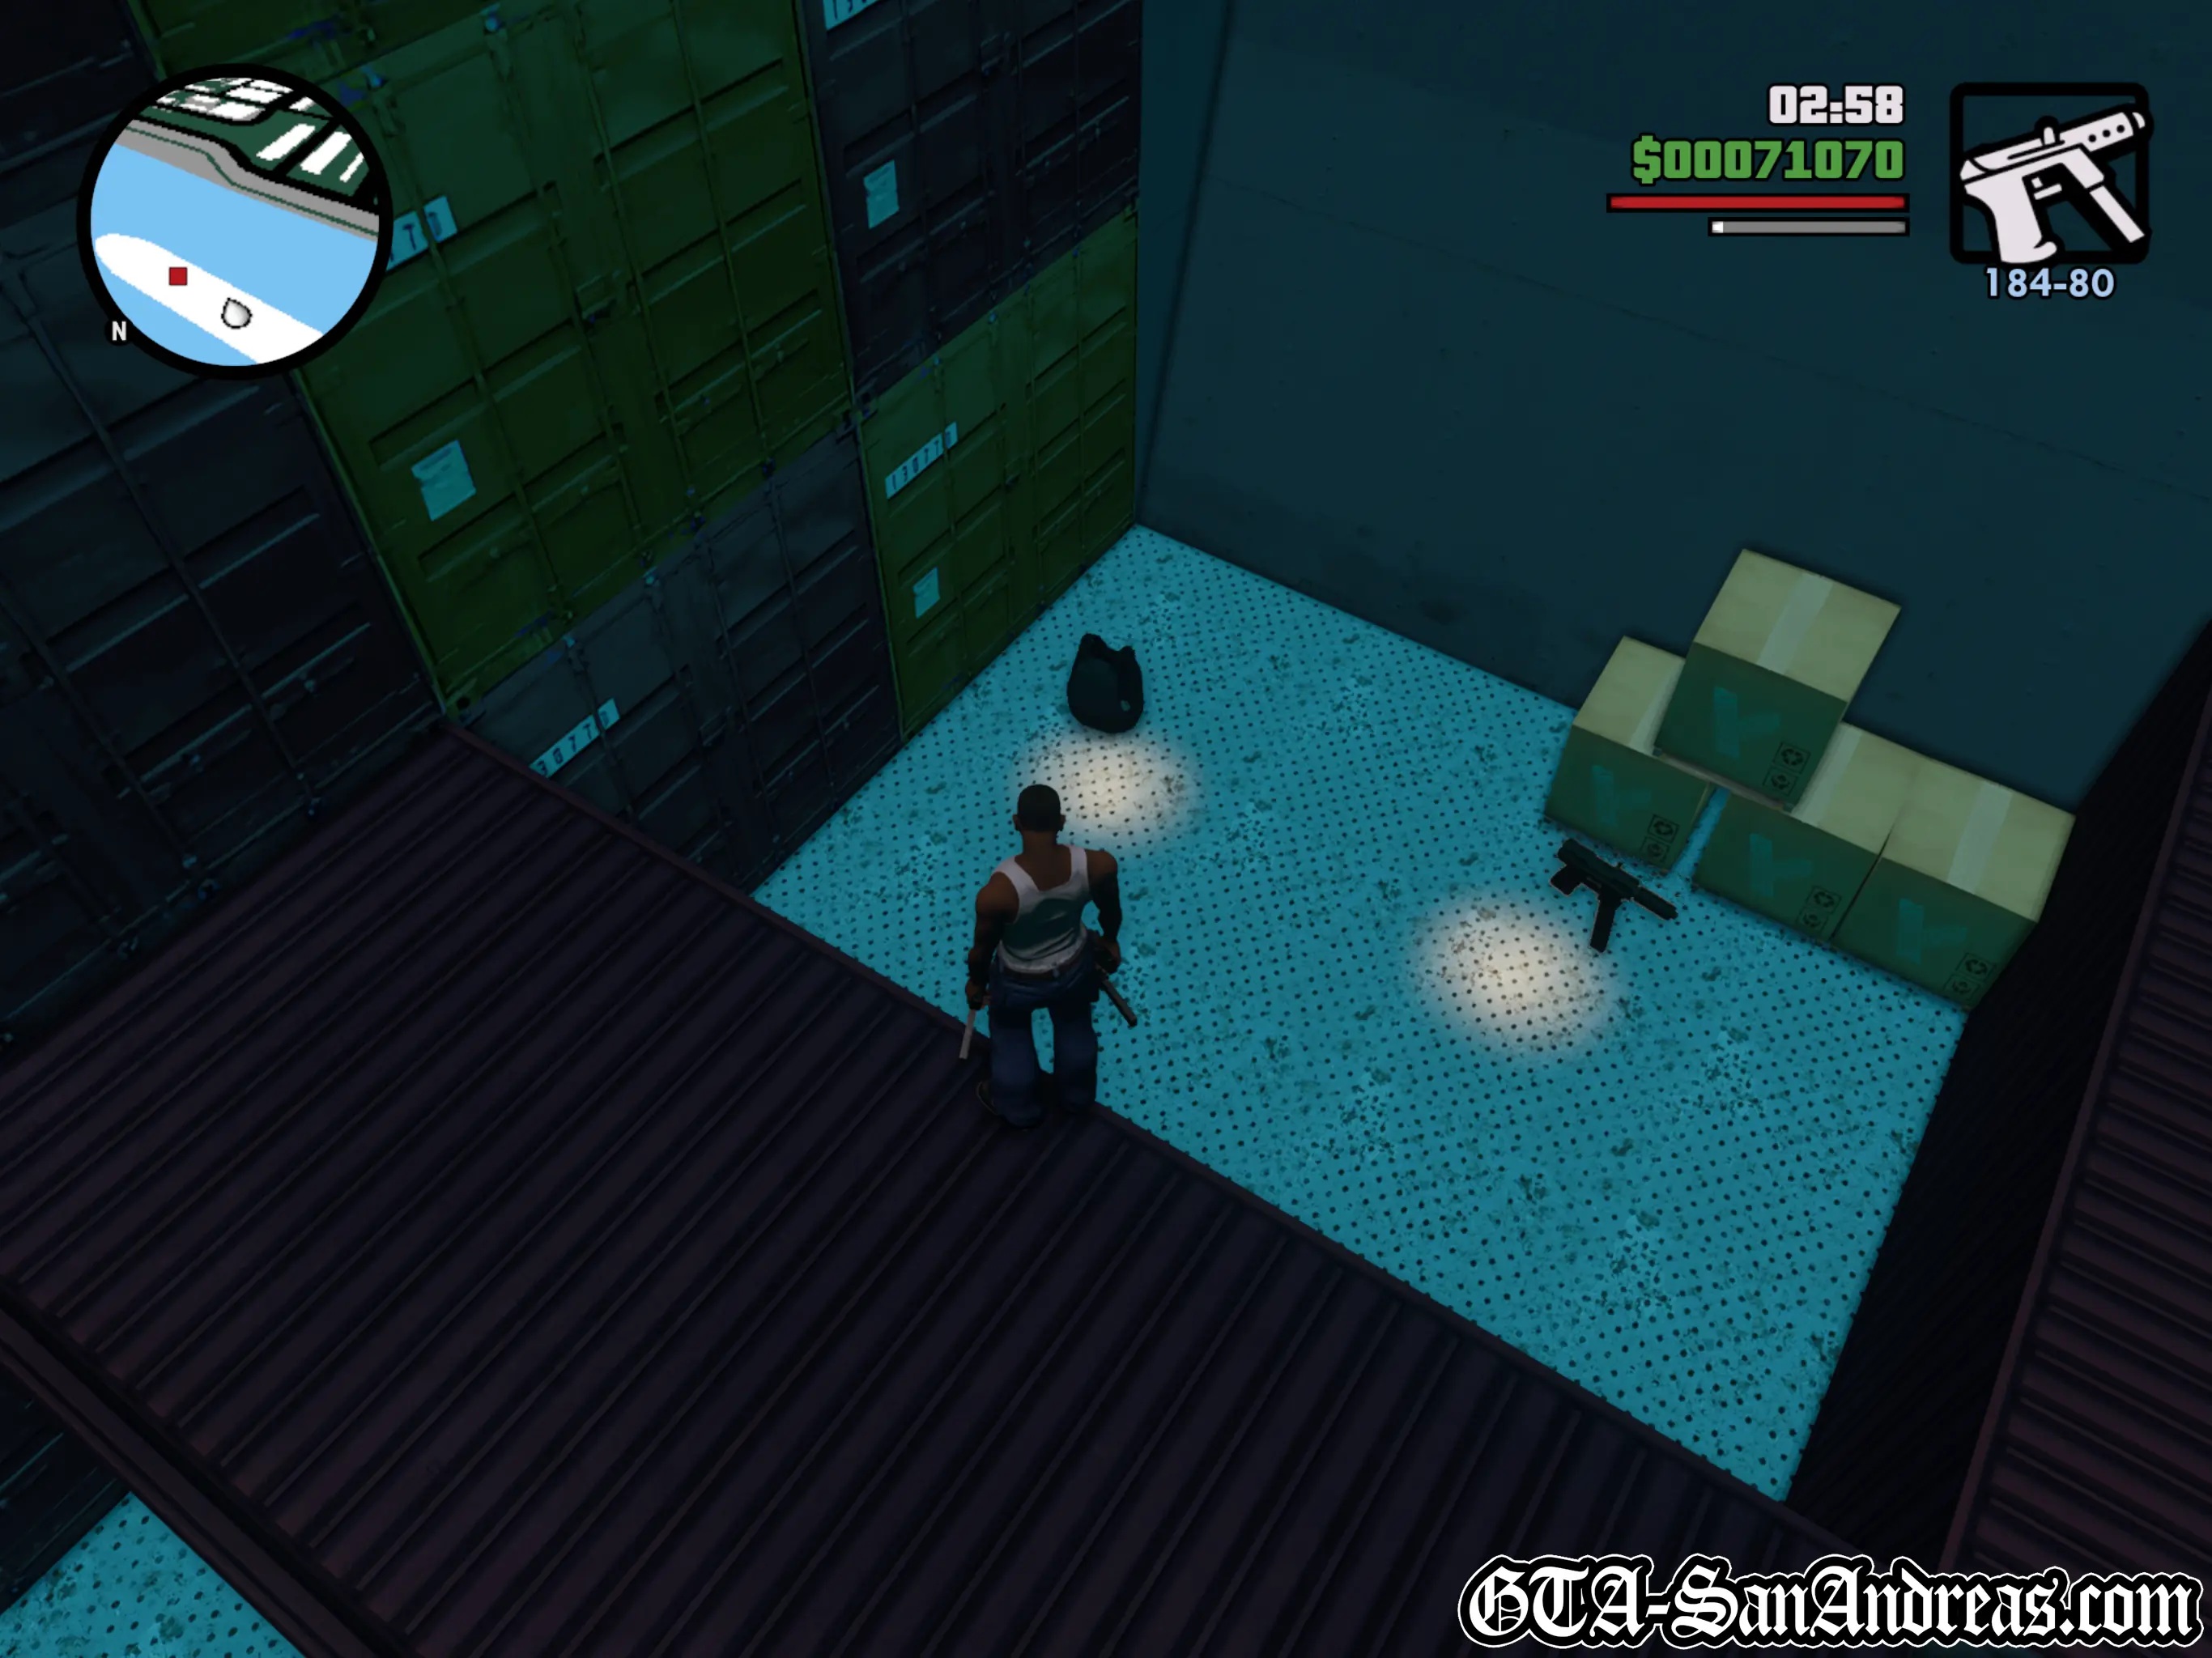
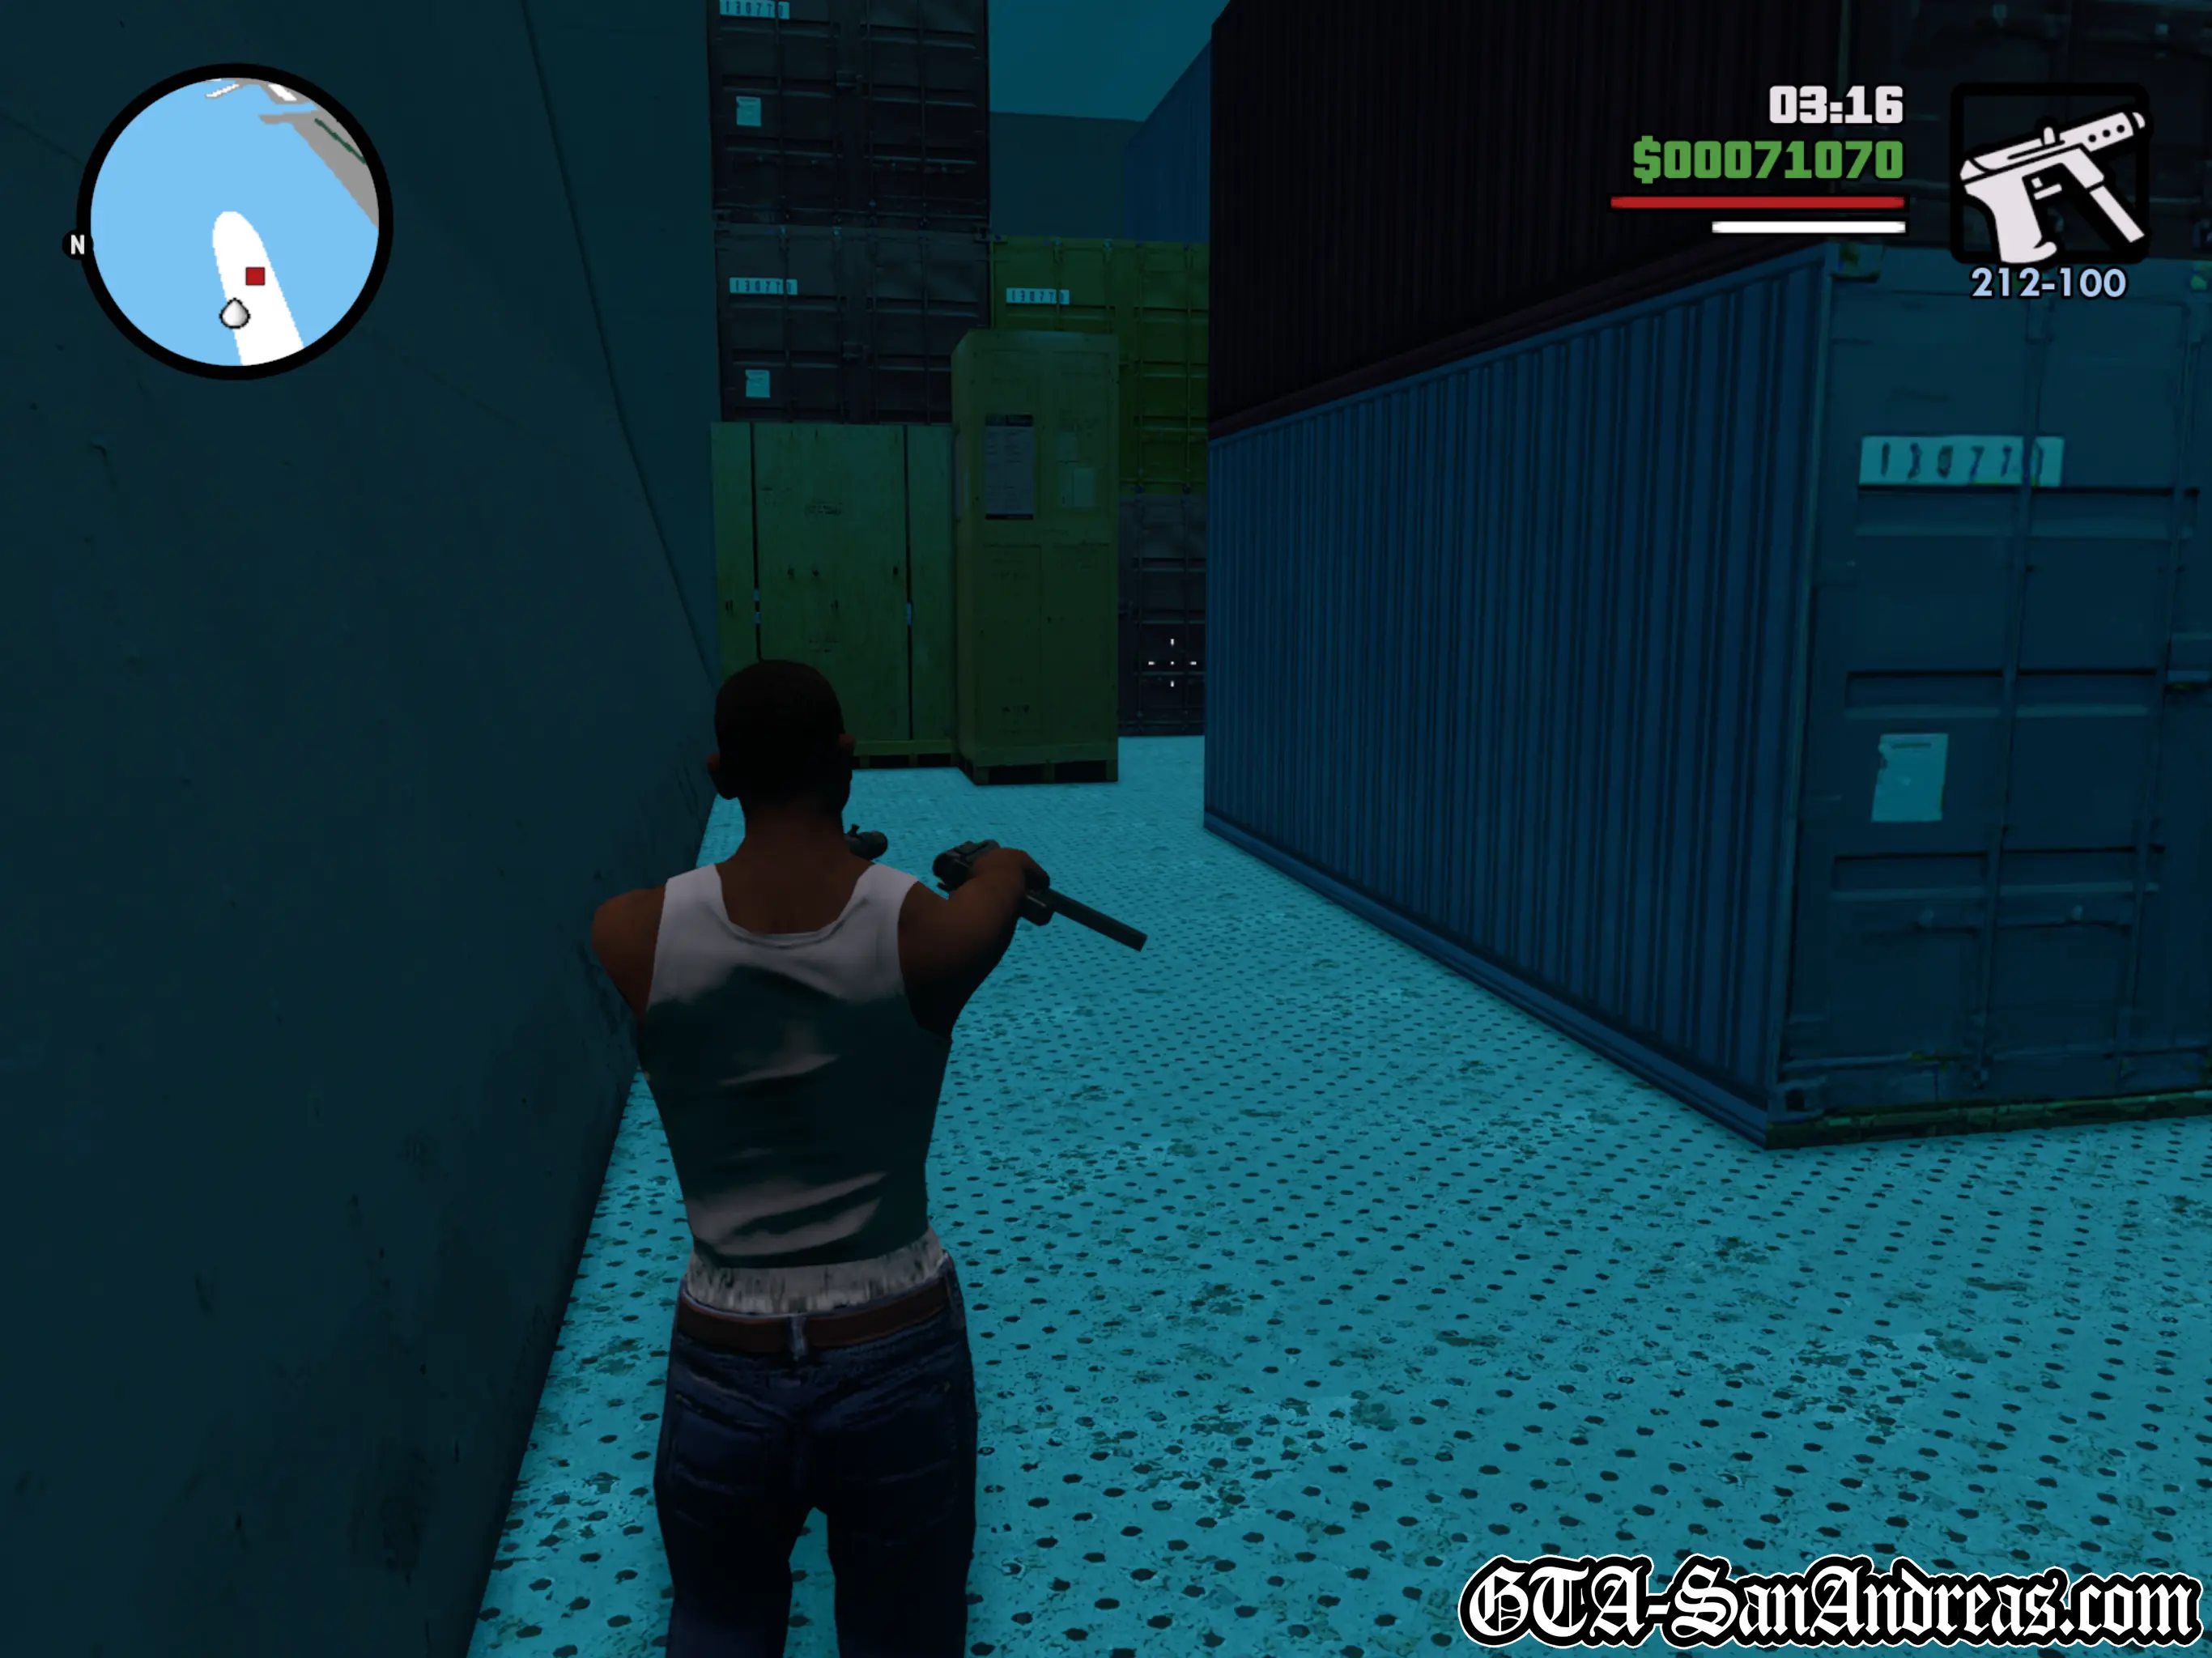
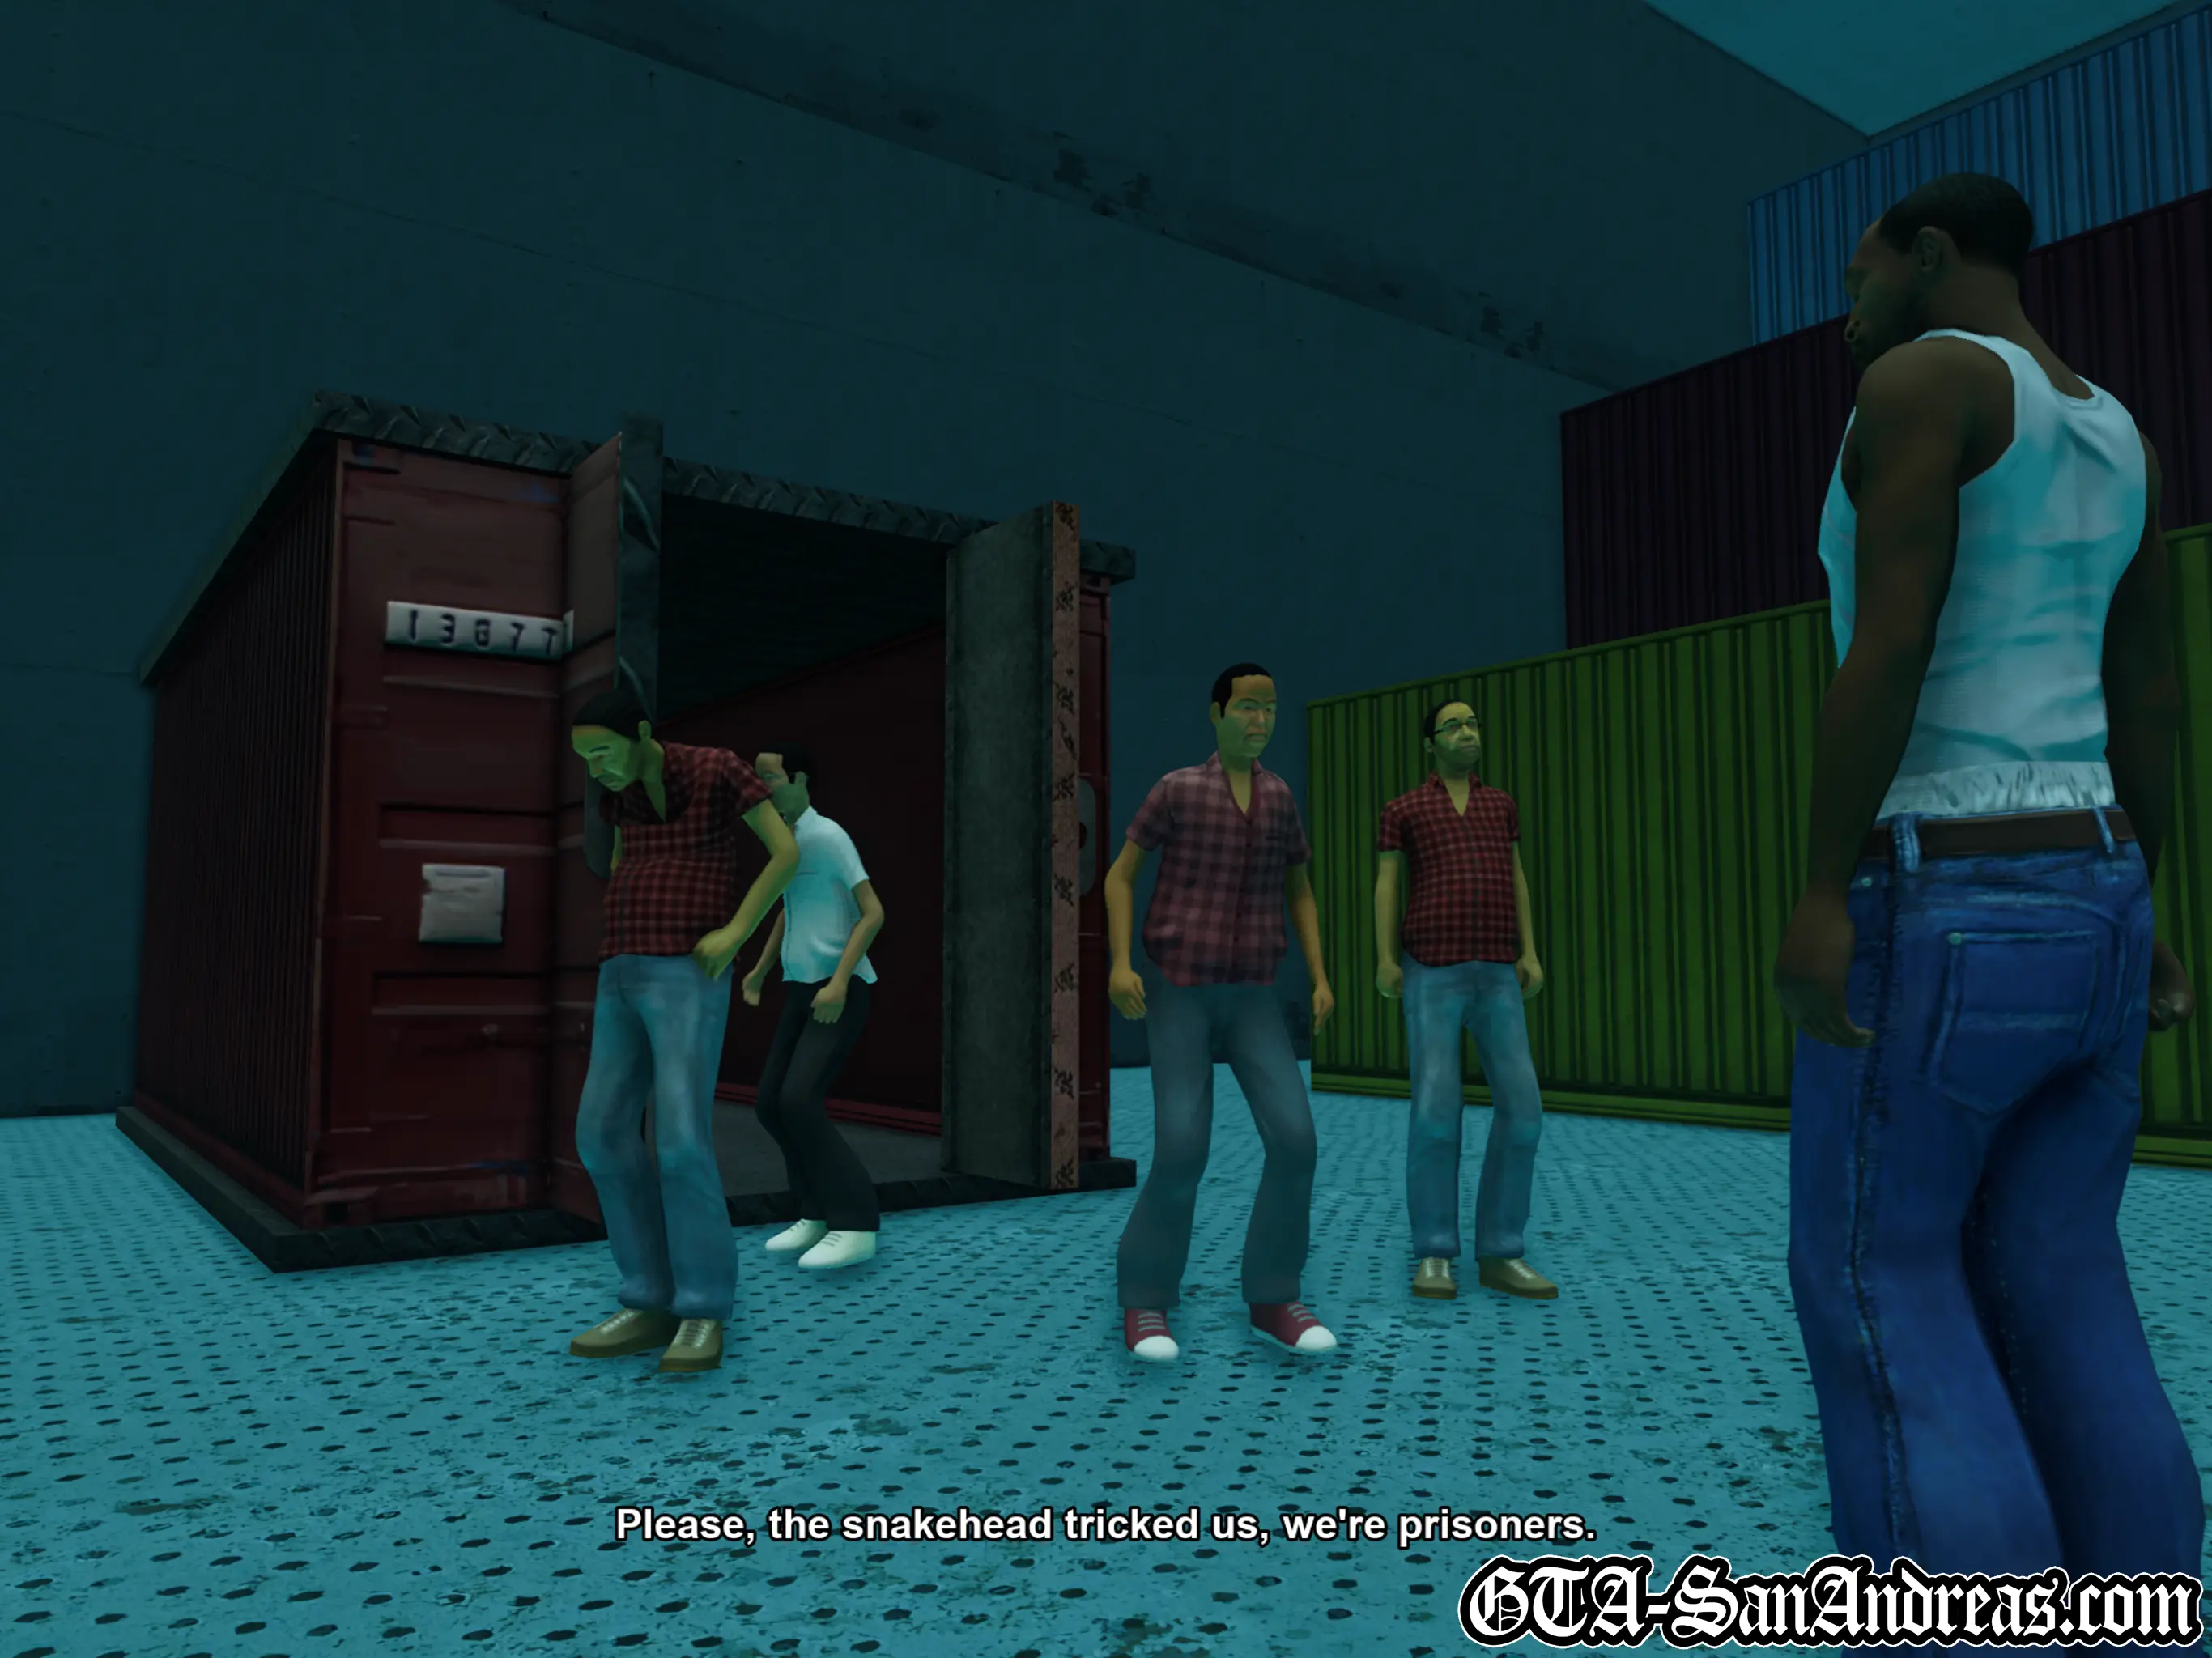
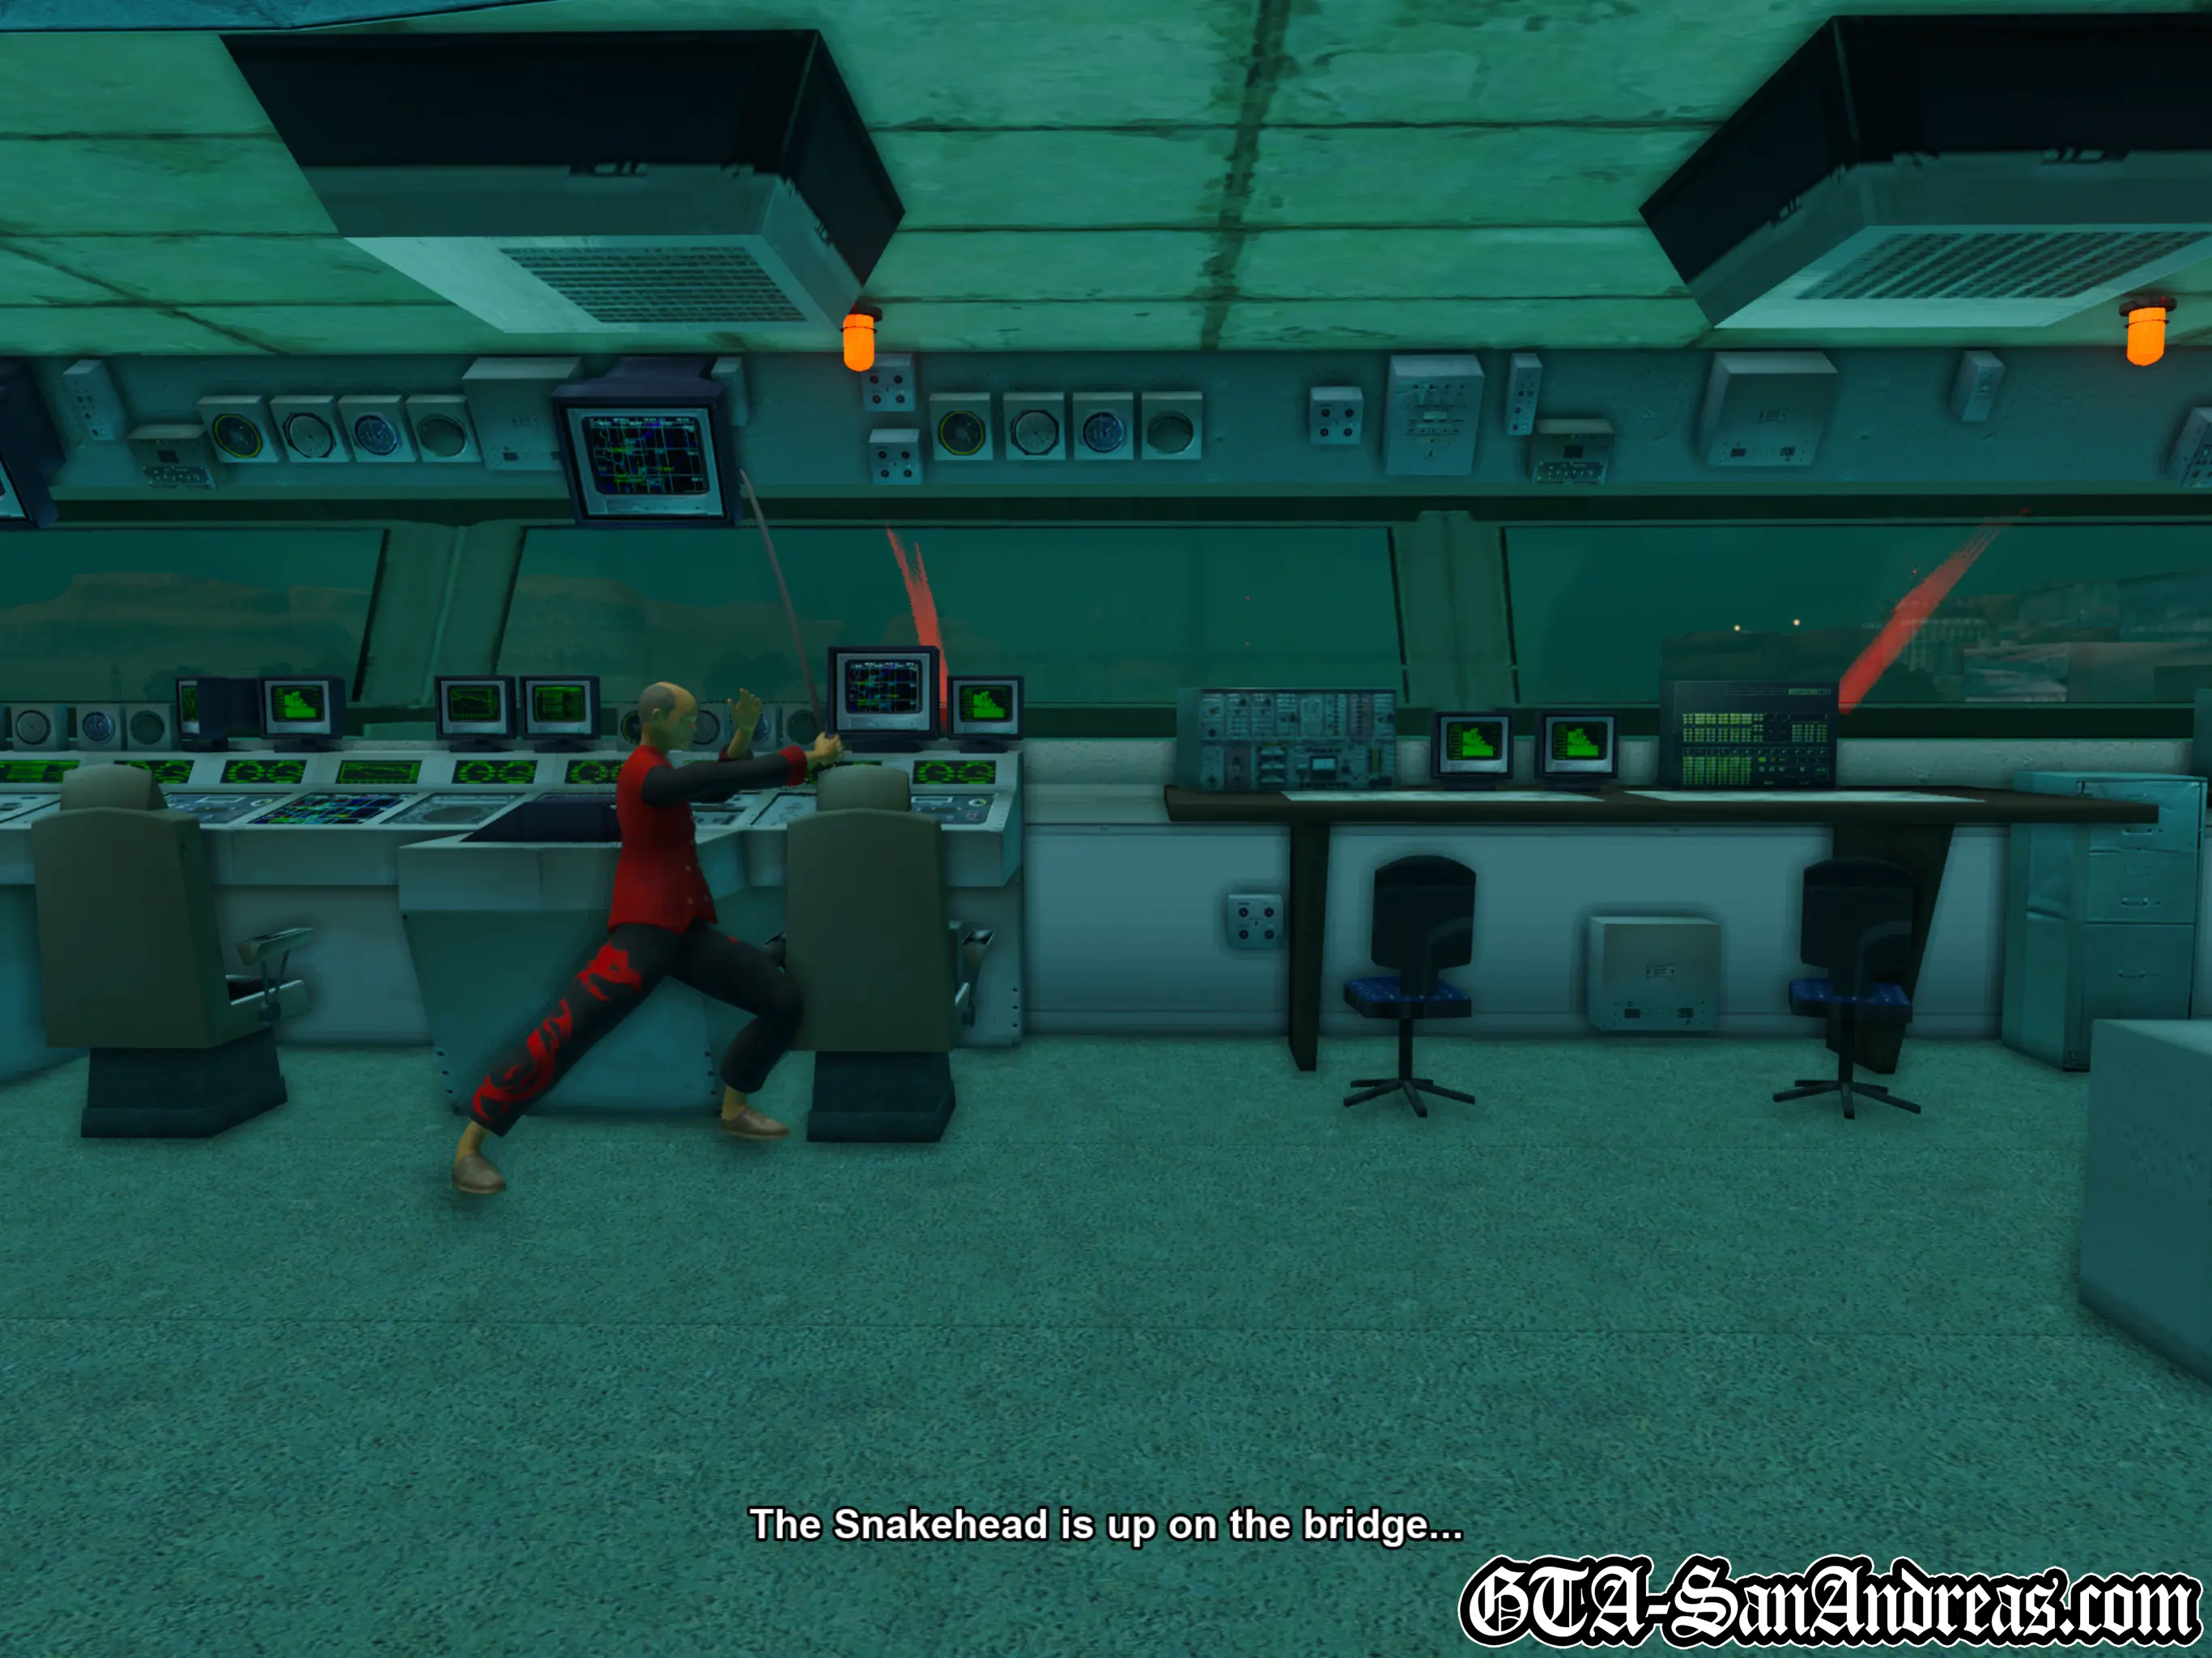
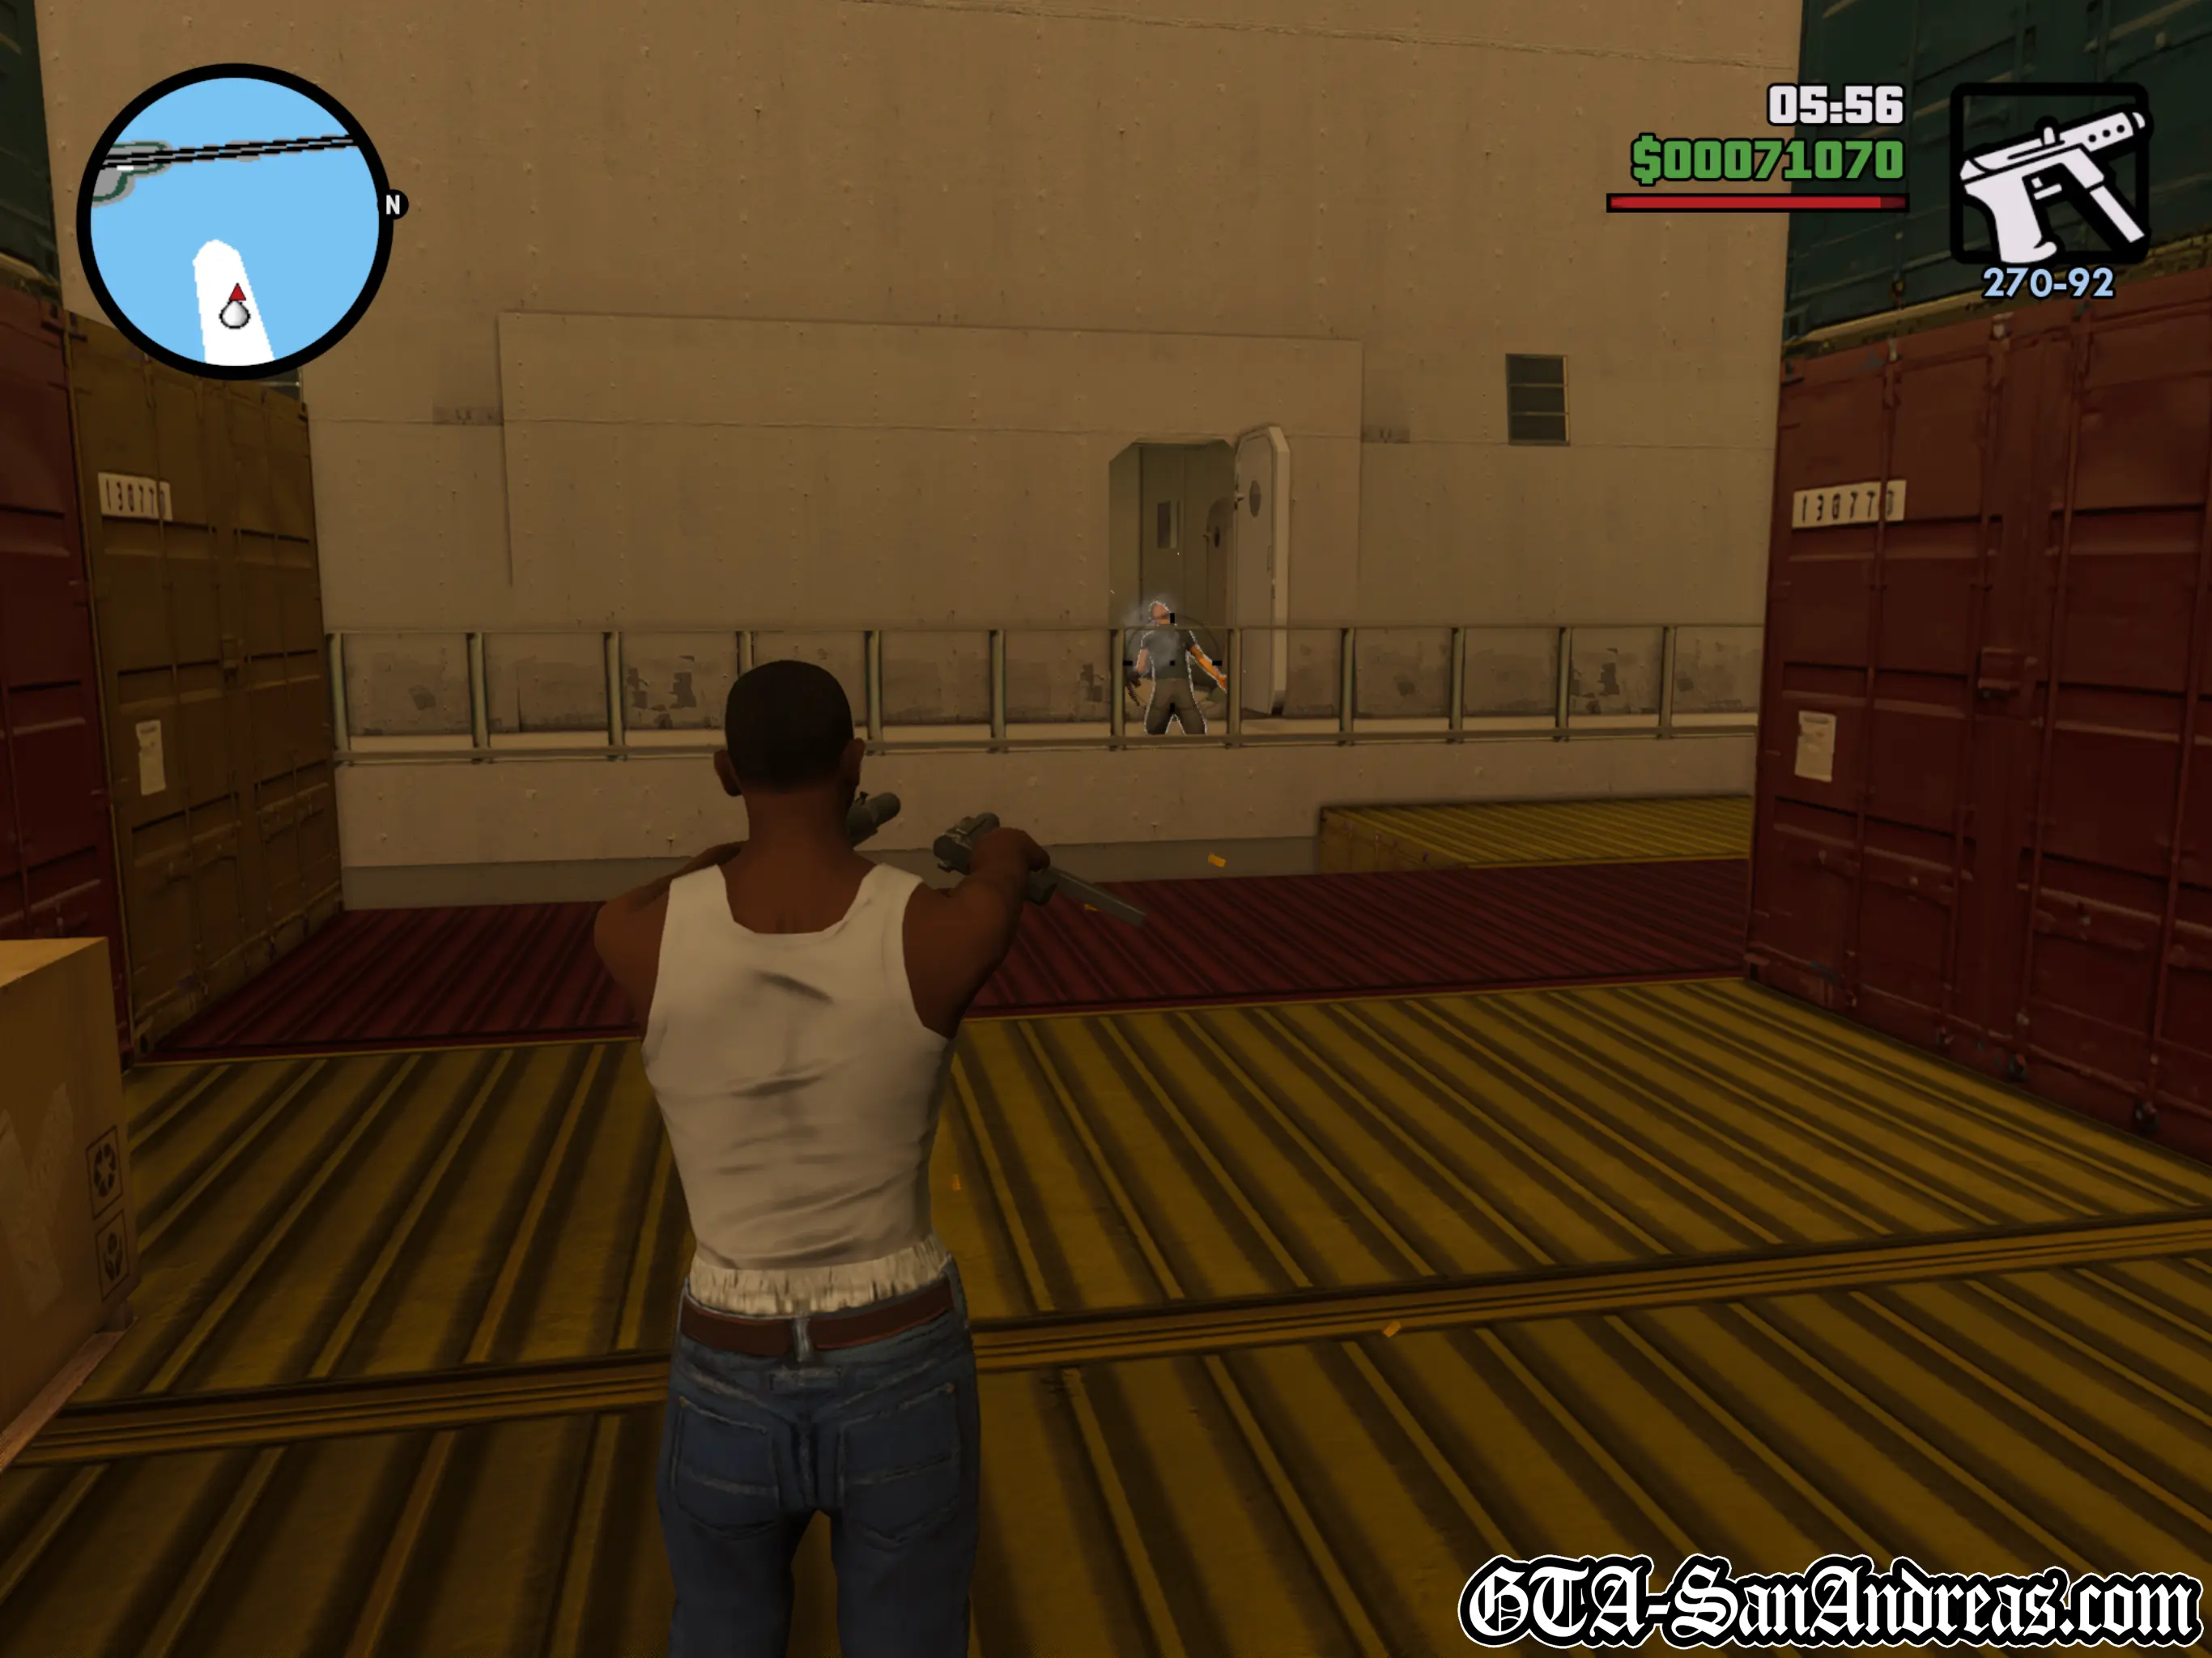
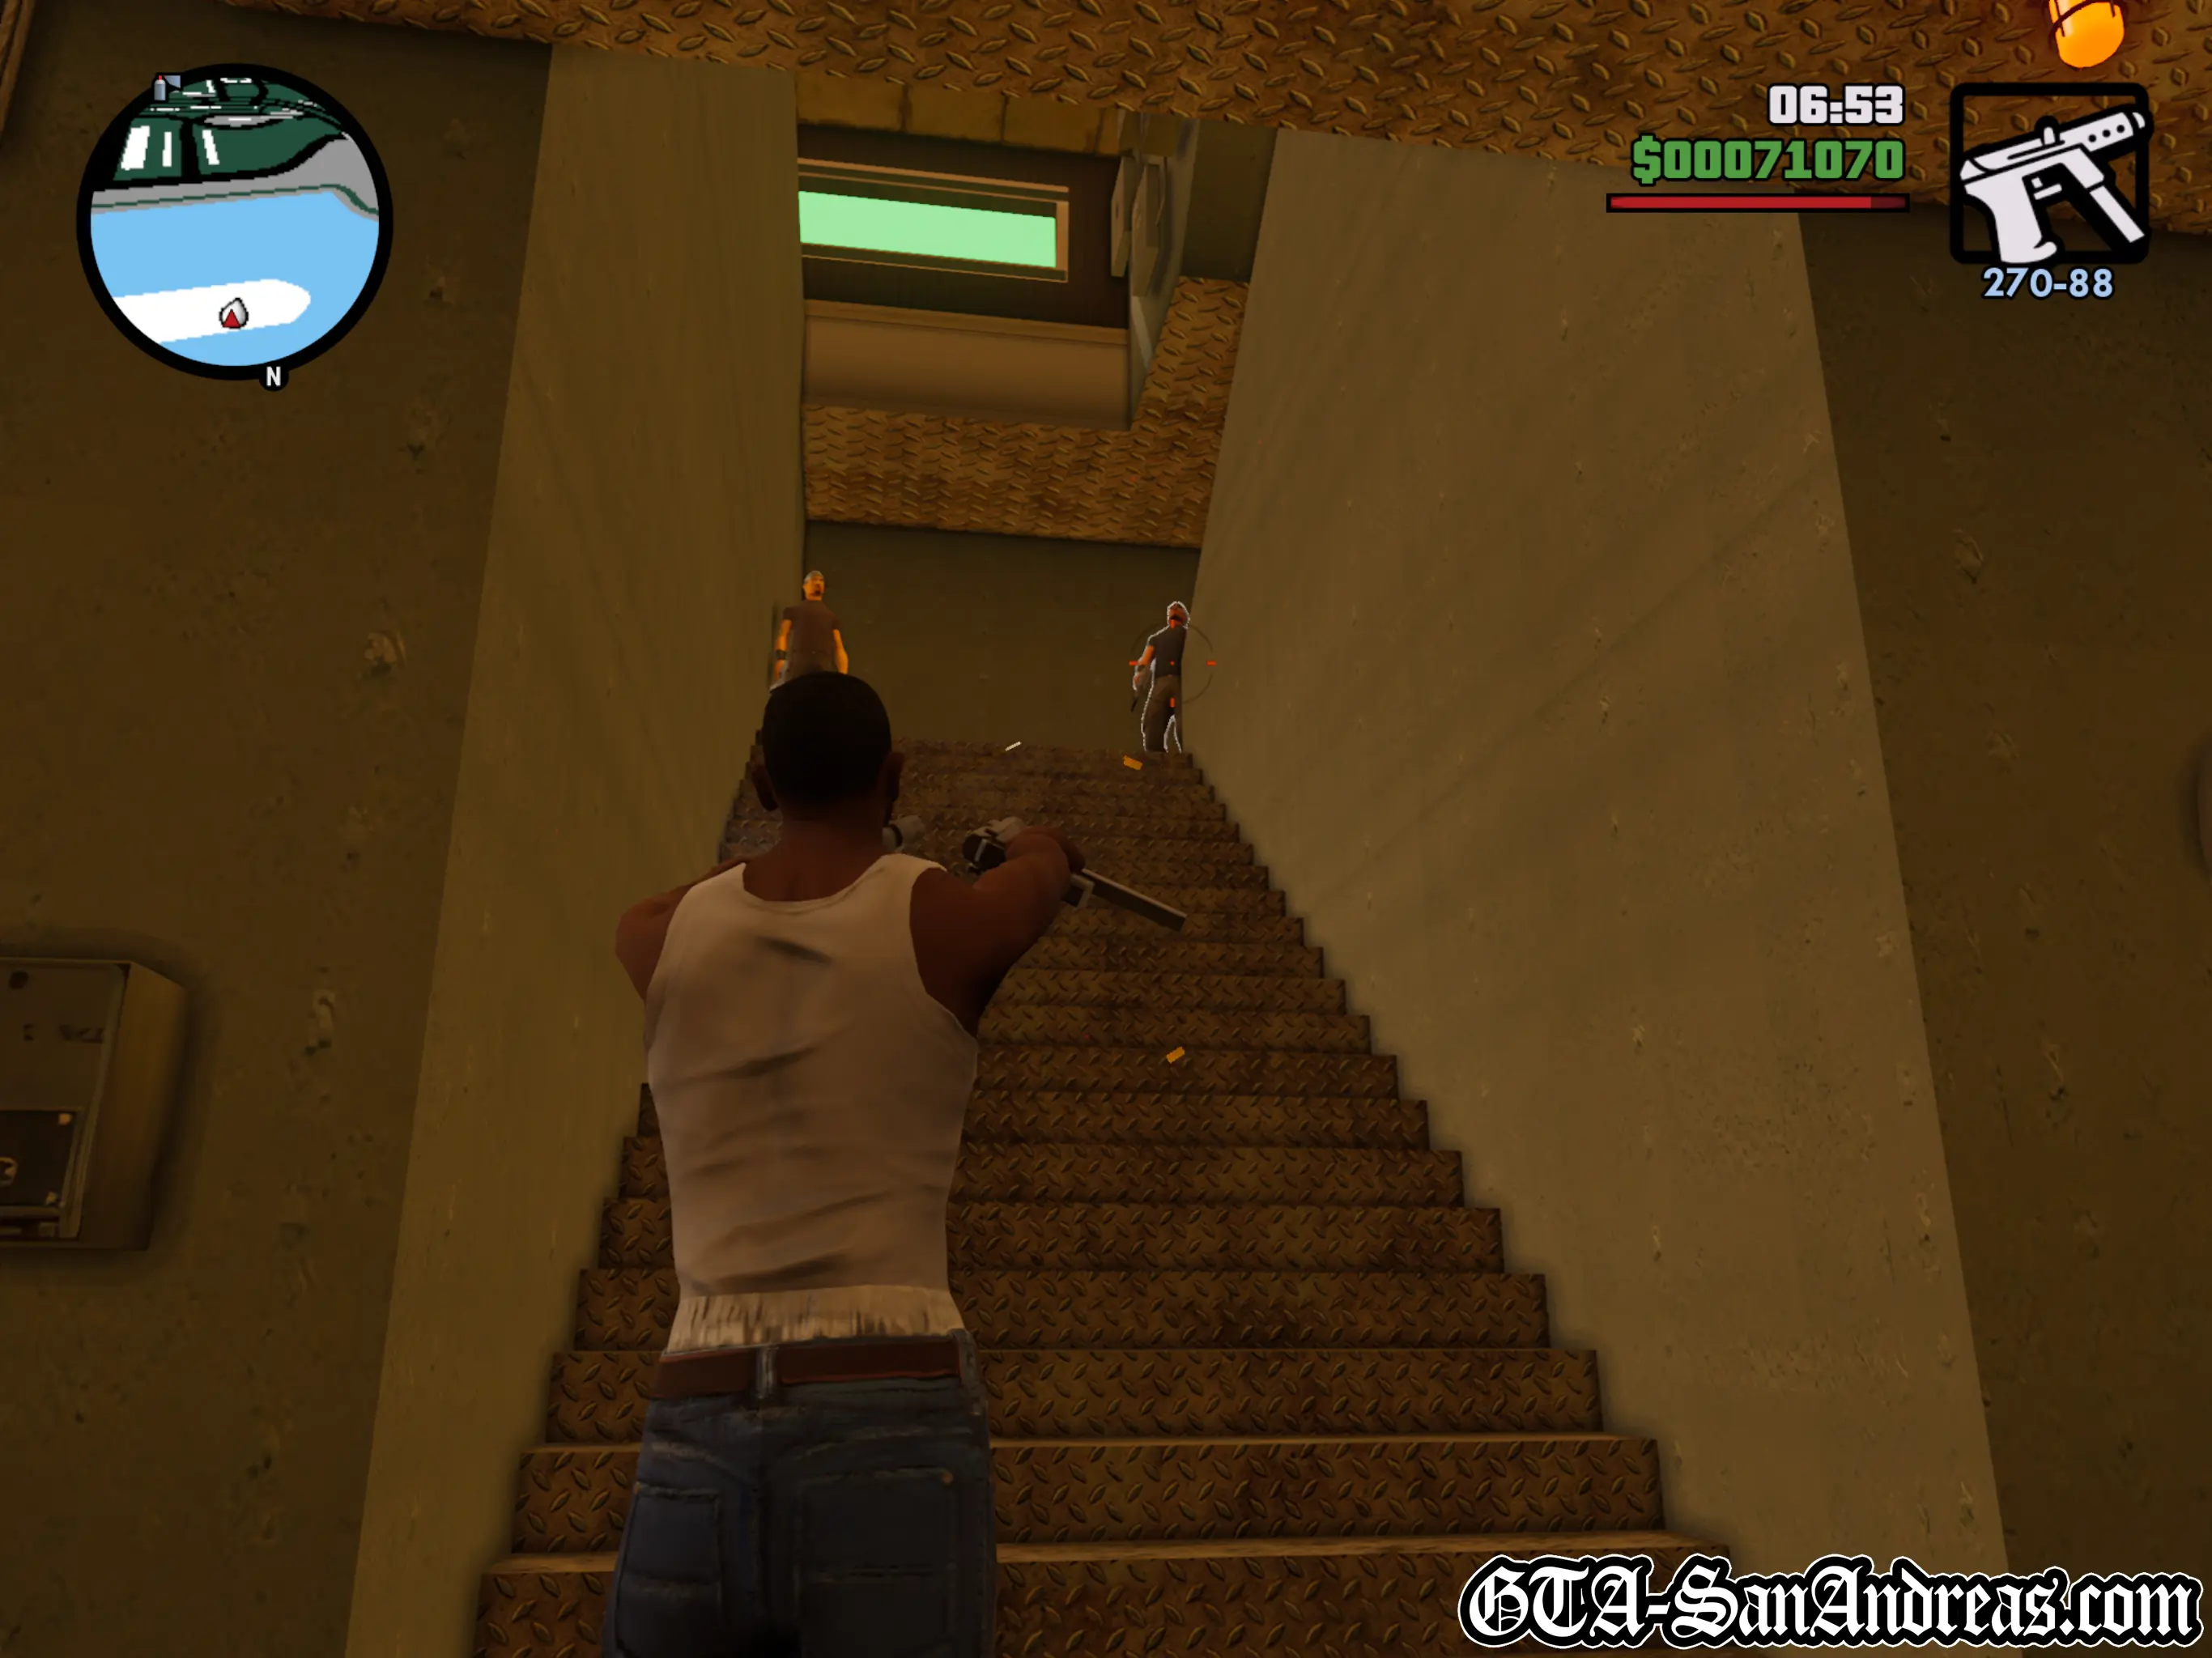
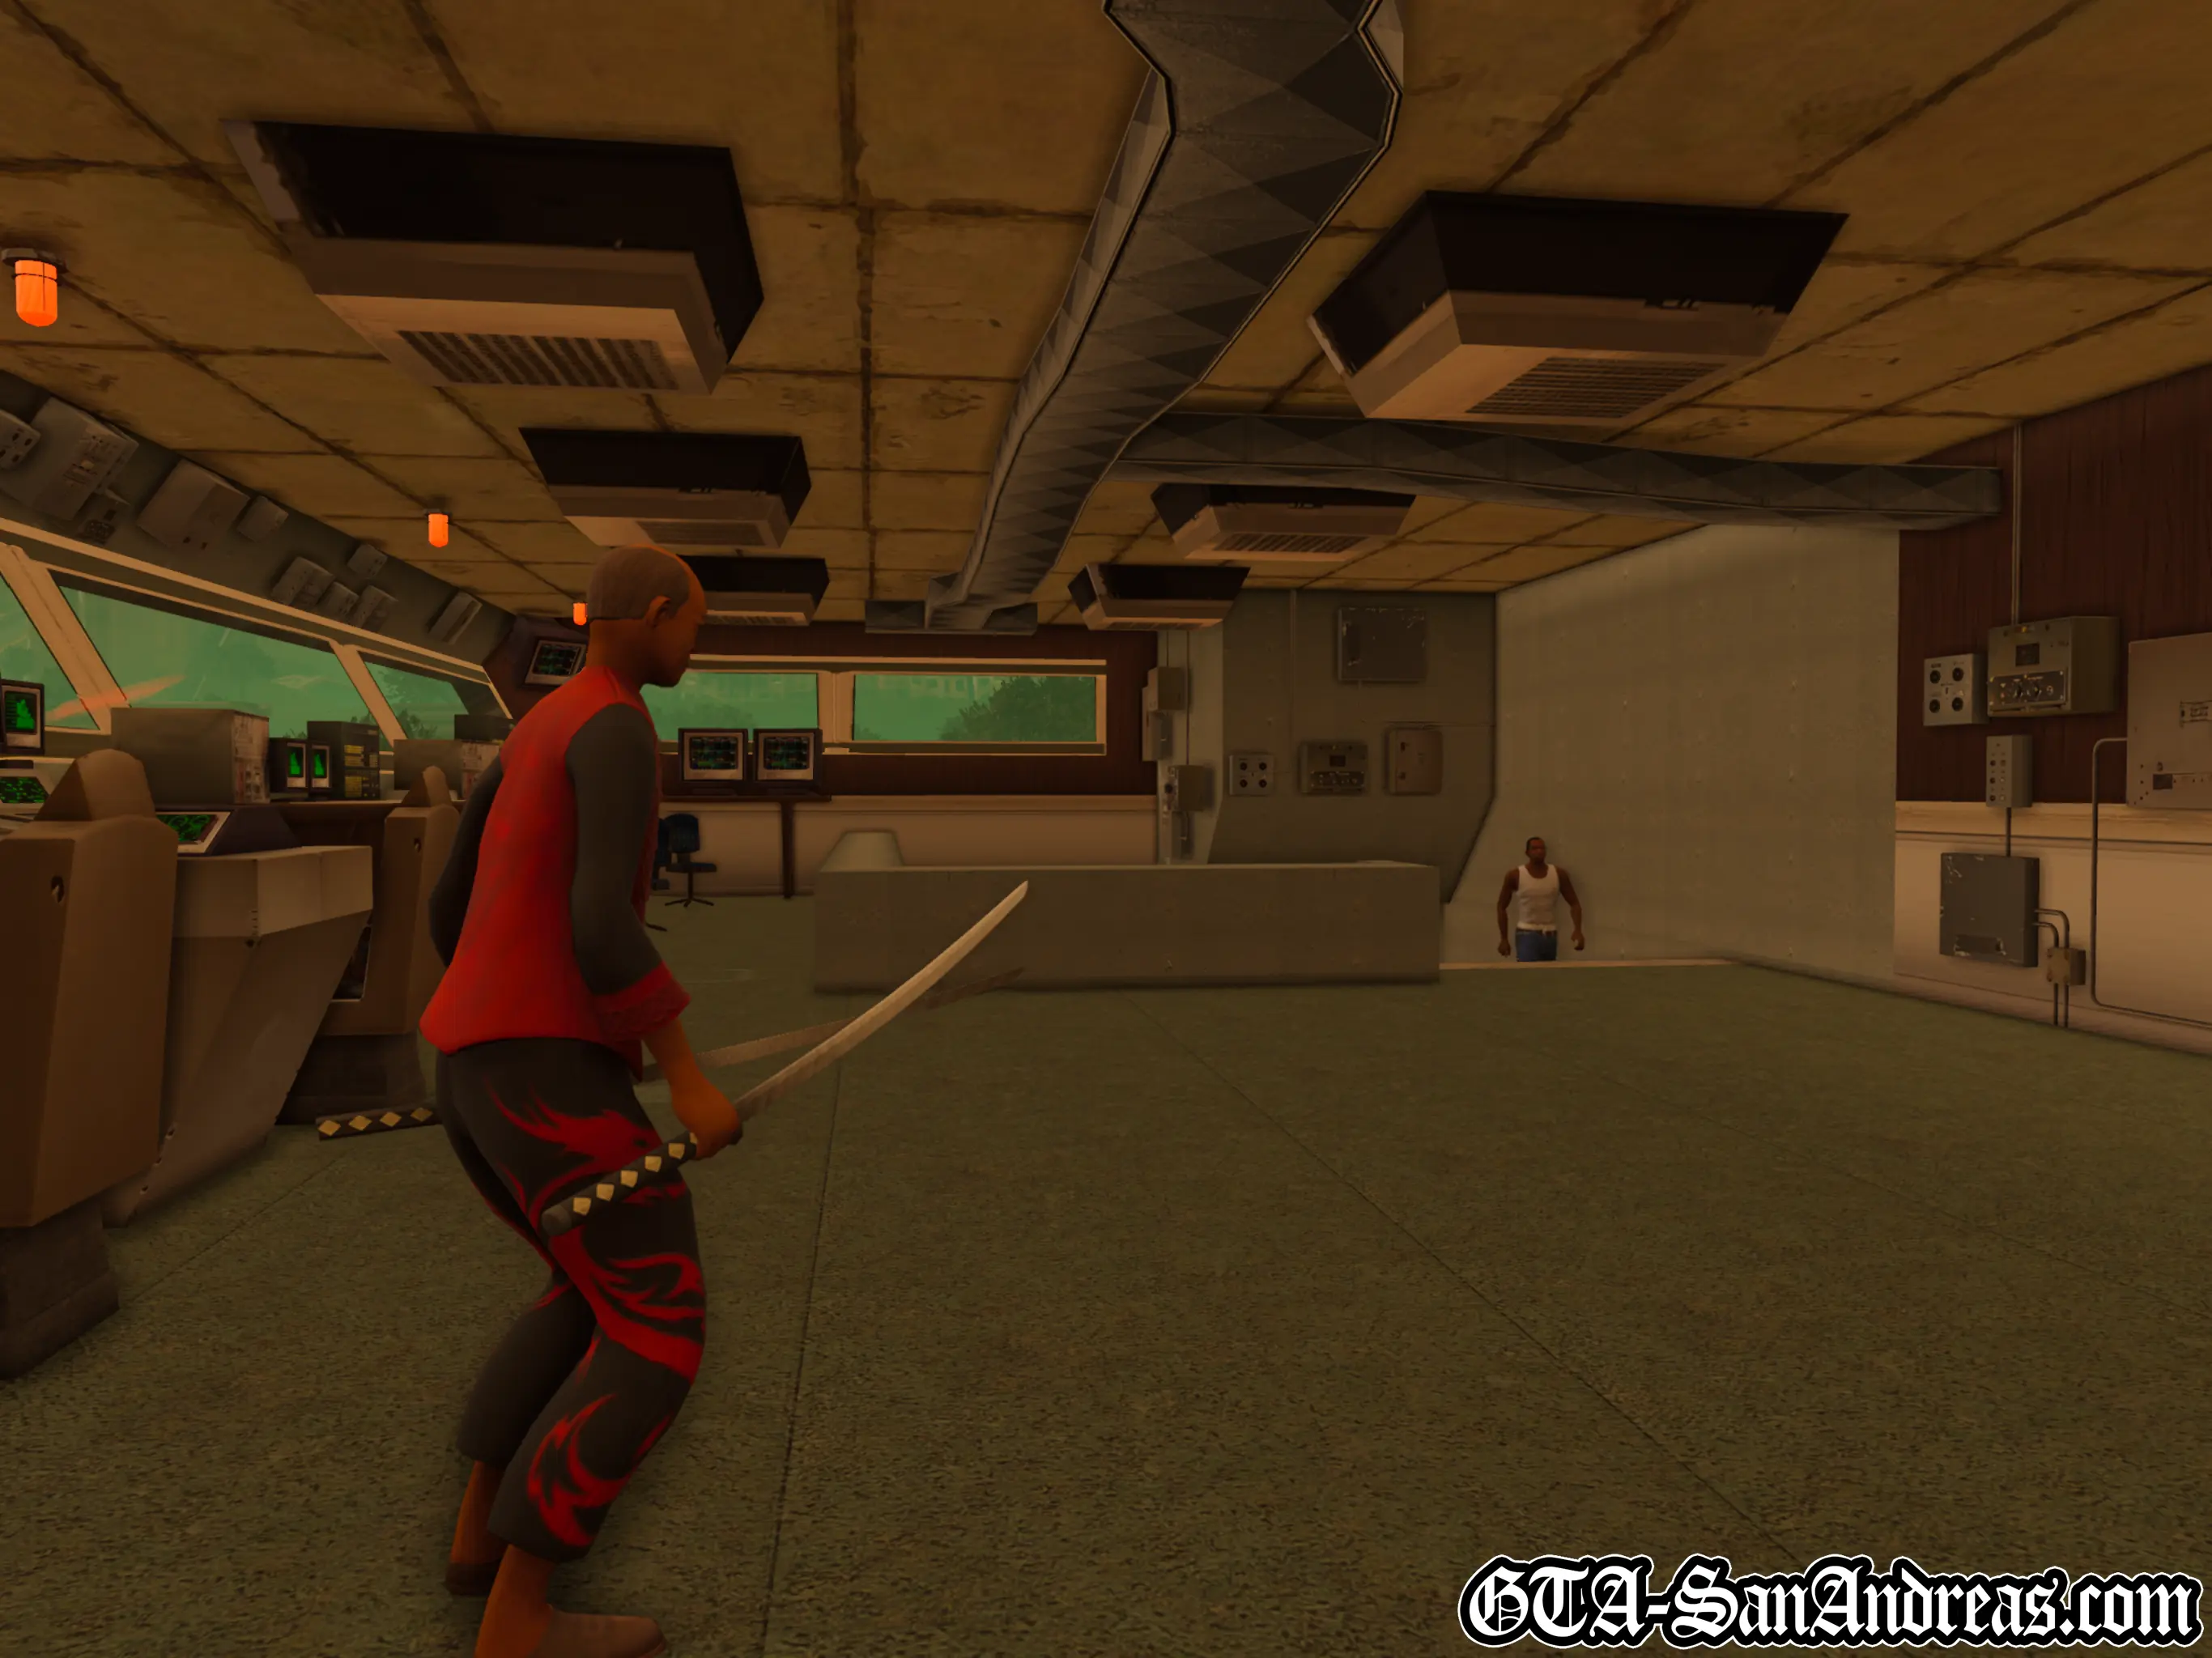
Woozie is busy trying to sort something out for his new place, but he hears of some trouble on a tanker ship parked off San Fierro. Carl offers to check it out. You'll start off riding shotgun in a helicopter. You're on a mini-gun and you need to shoot the Da Nang guys on the ship. Most likely the helicopter will make it almost all of the way around the ship once before getting shot down by an RPG. When it does you'll lose all of your weapons except your knife and lose 20% of your health. You now need to swim to the red circle where you'll climb the ladder and appear next on the ship. One of the Nang Boys will say no one survived the helicopter crash, but you're right there, so sneak up on him and kill him. Be careful though, because getting too close will alert him, and you'll end up having about 5 Nang Boys after you with only a knife until you kill one of them. It depends on how many people you killed with the Raven mini-gun as to how many will be on the top of the ship, but either way, sooner or later you'll be seen, so you might as well just run and gun. Make your way to the center of the ship where you'll be able to drop down. After a short clip you'll need to work your way through some crates and take out about six Nang Boys. Immediately after getting back into the gameplay, kill the few Nang Boys who will come towards you, then head to the crates to the right. You'll find some armor and some Tec9 ammunition. Head through the crates and kill everyone, then you'll come to the container with the refugees. Shoot the padlock and they'll be set free. You'll get three quarters of your health back now, and the refugees will tell you the snakehead is on the bridge. You need to head up there and kill him. Work your way out of the lower part of the ship the same way you came in, then jump across the railing and make your way up the stairs of the ship. You'll need to kill three of four Nang Boys before getting to the top. The Snakehead will throw you a Katana and wants to do battle. Unfortunately Rockstar must have 'forgotten' to fix the thing which many magazines pointed out in their pre-game previews in the fact that the Snakehead has about 10 health. Literally two slashes with the sword will kill him. Not much of a boss. One of the times I tried this mission I was 'lucky' enough to not have to fight him at all. A plane flew into the bridge of the ship and literally killed everyone up there! Once he's dead you'll need to head back down to the refugees and they will get in a boat and drive off.
Woozie's missions have now been completed and The Triads missions have been unlocked once more at the garage.
Screenshots


The Triads
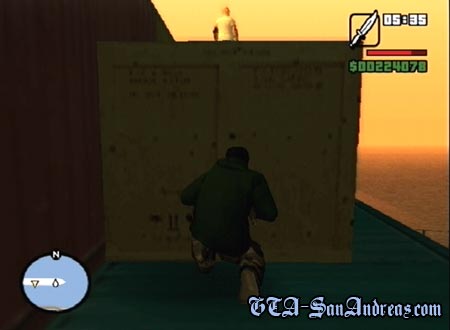
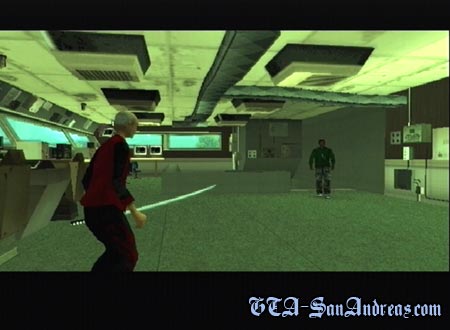
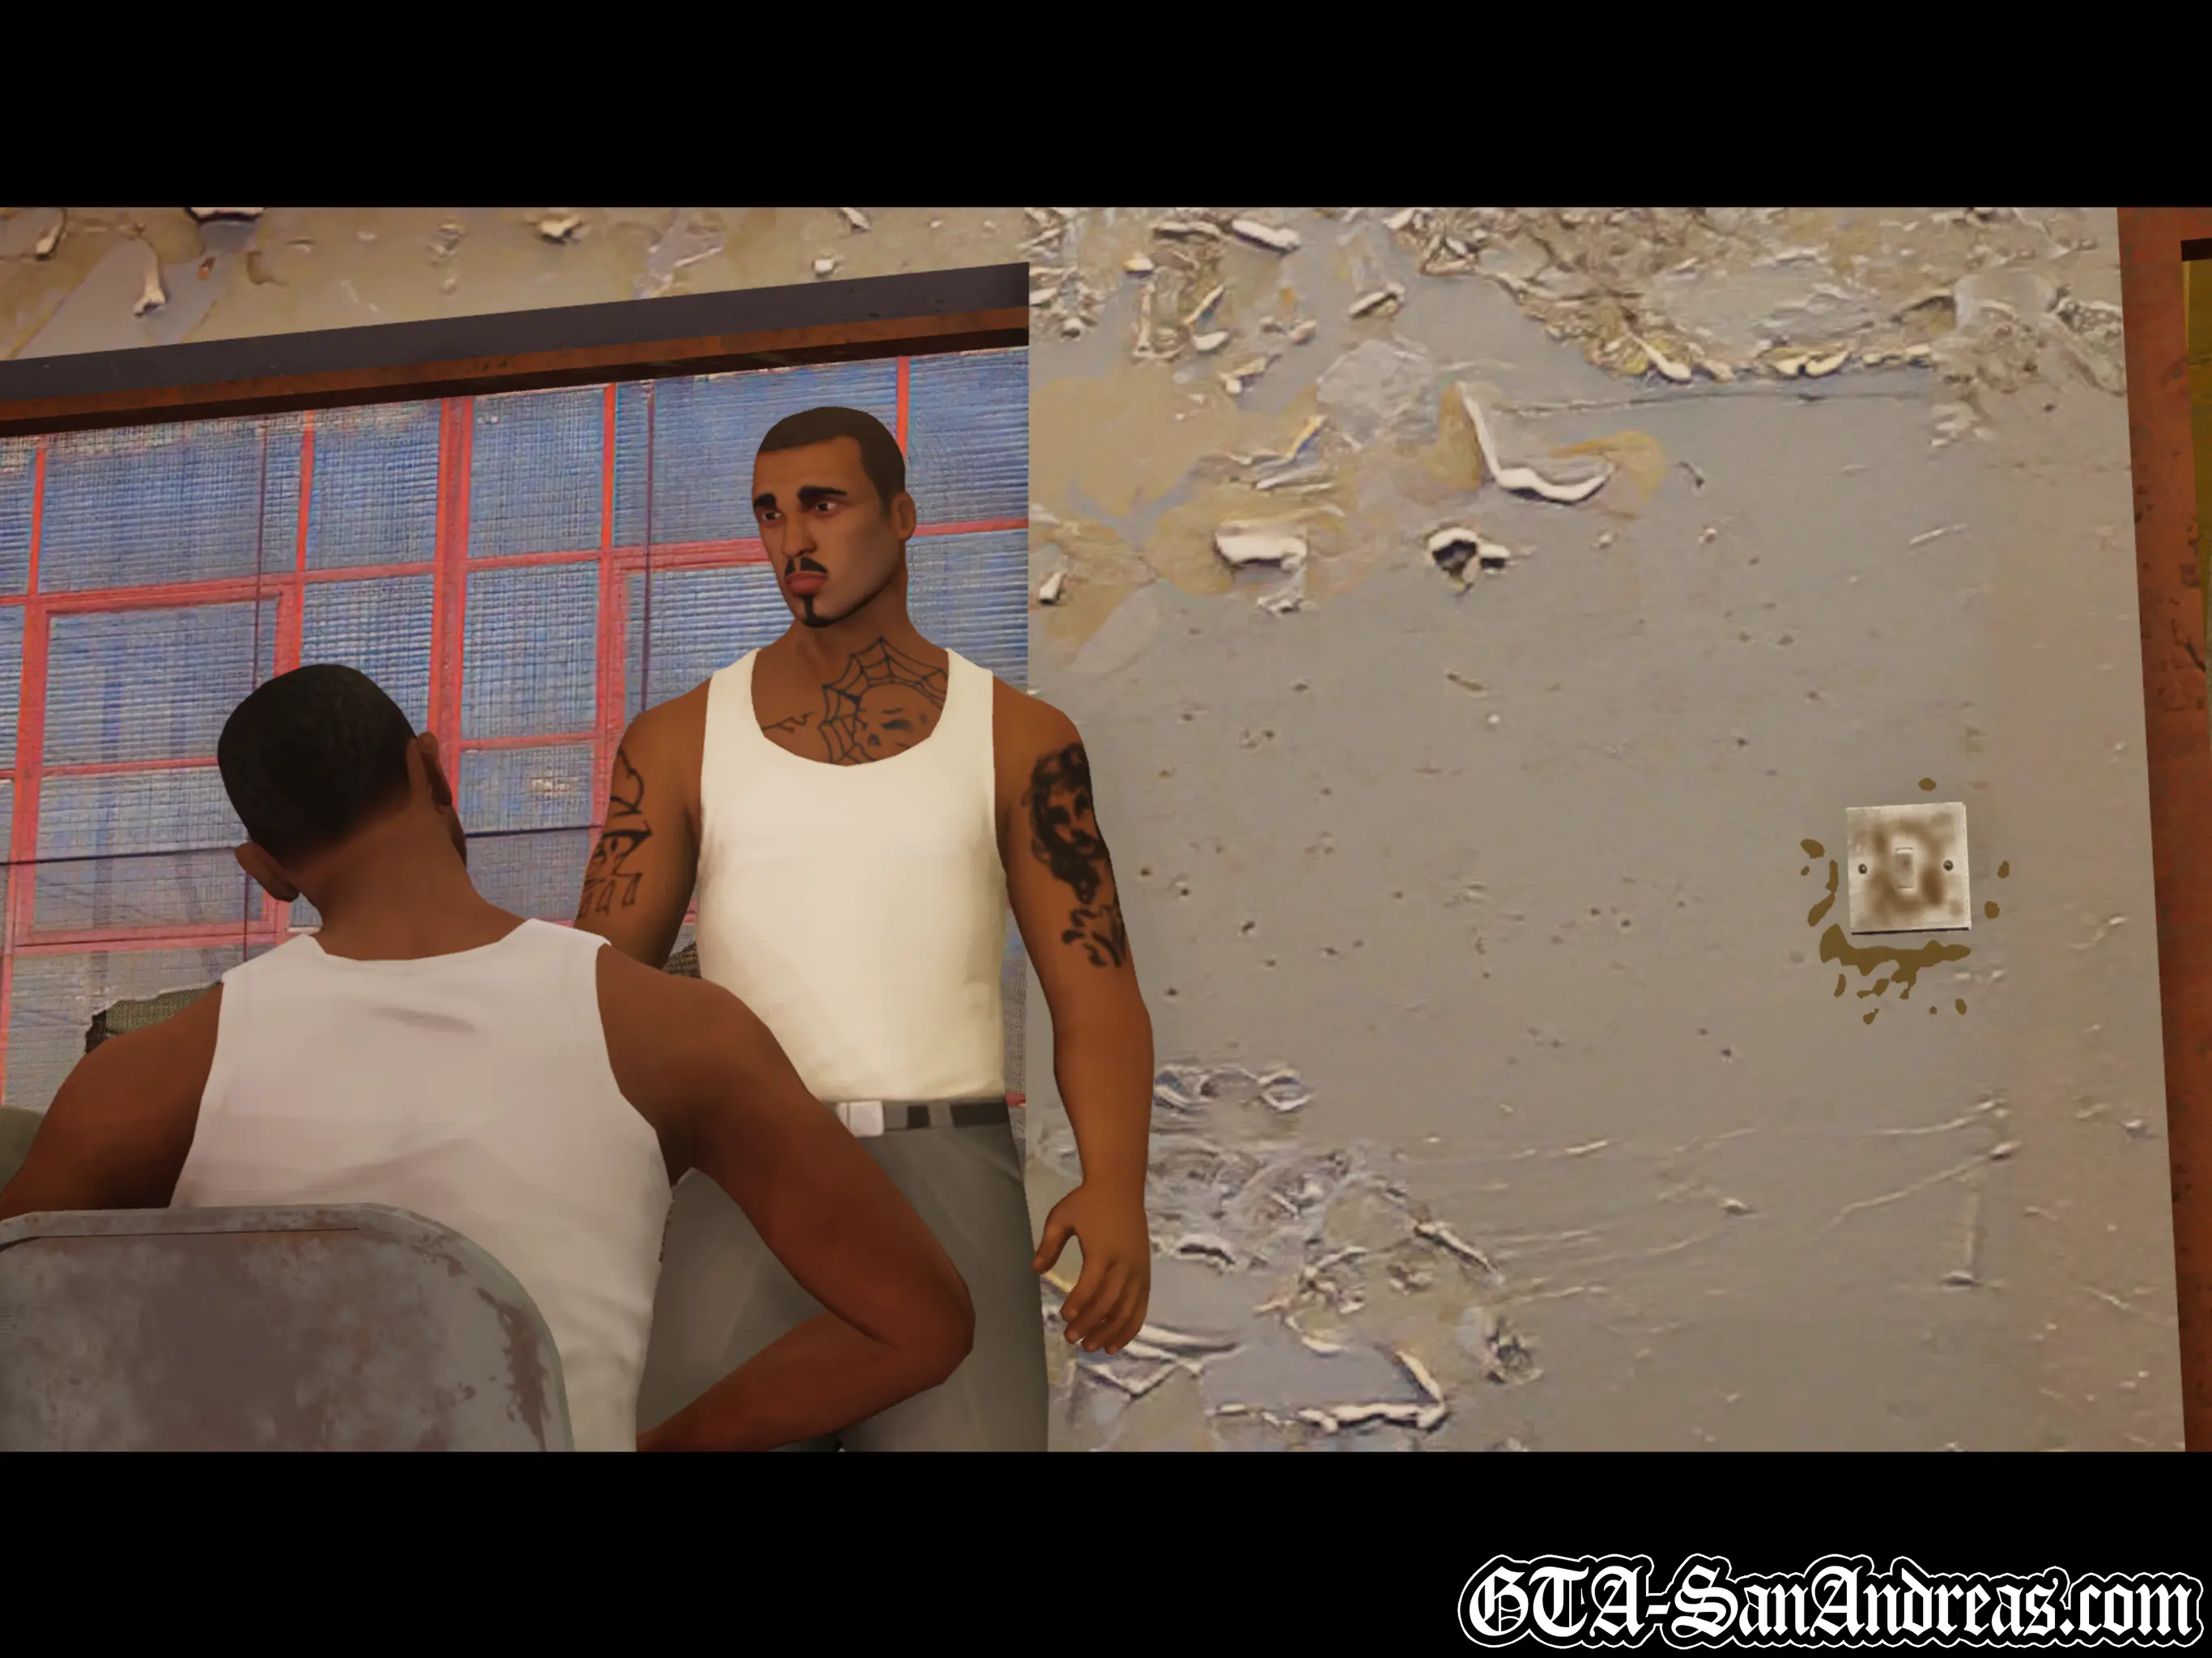
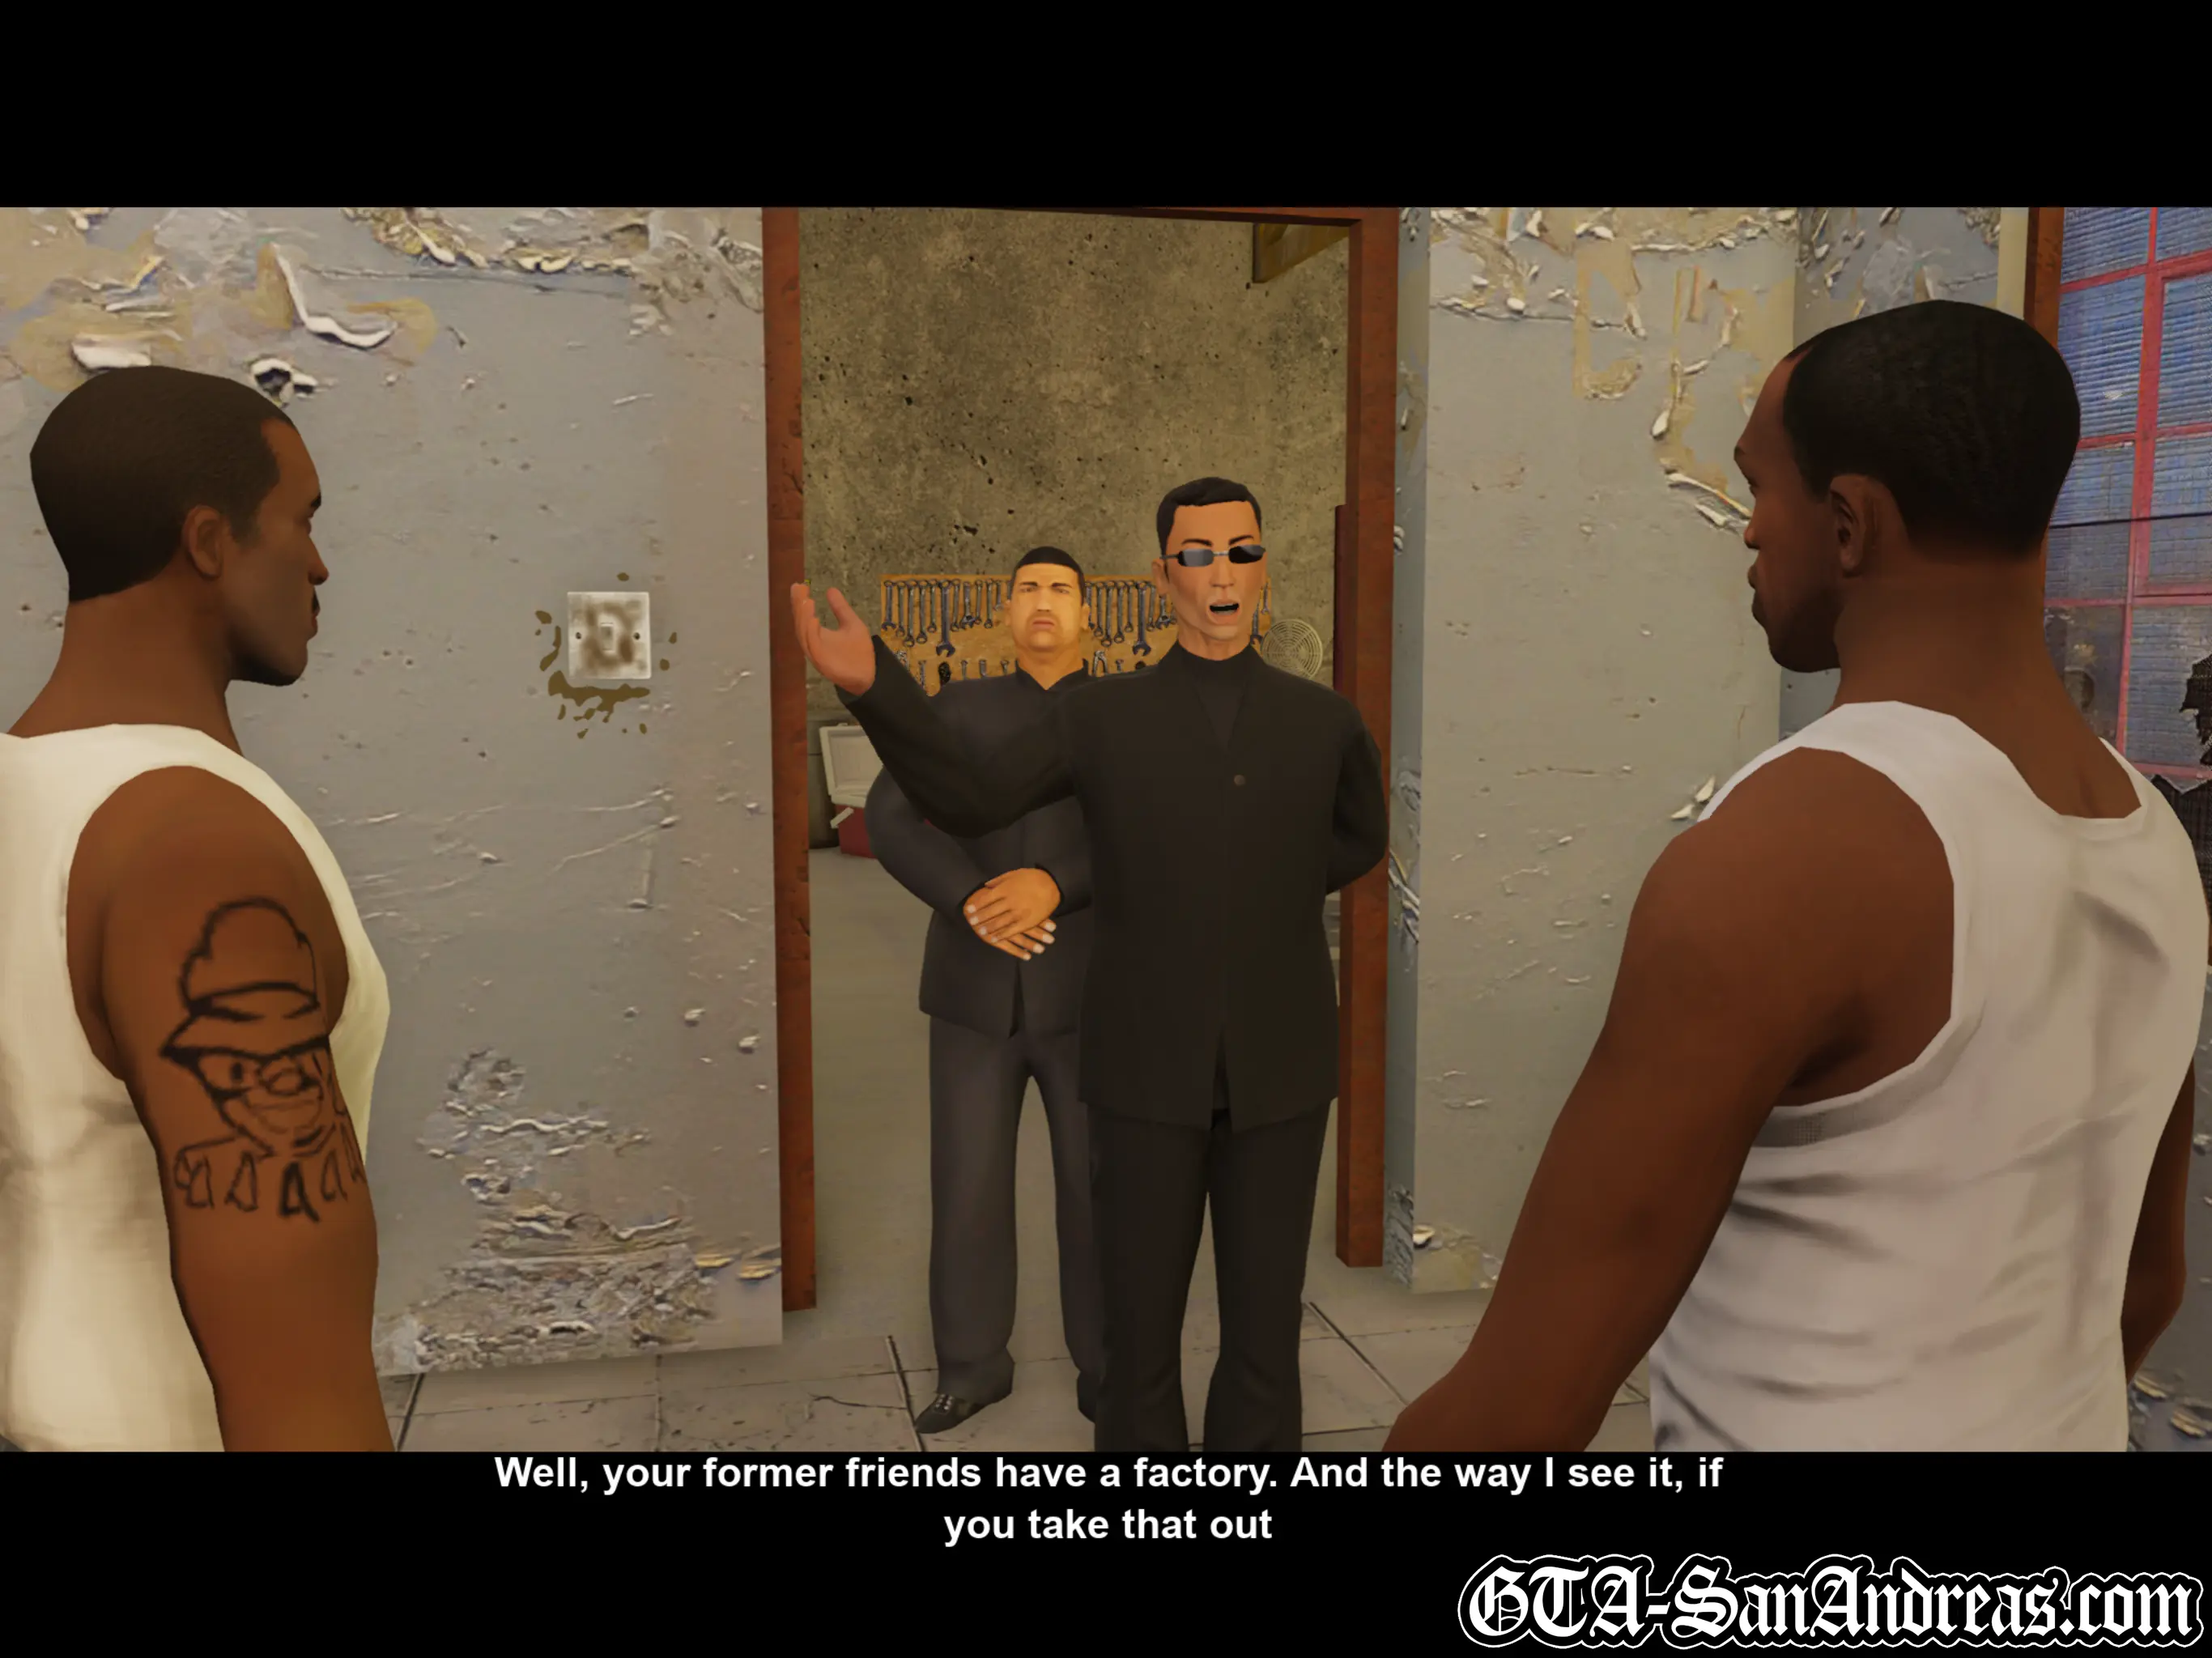
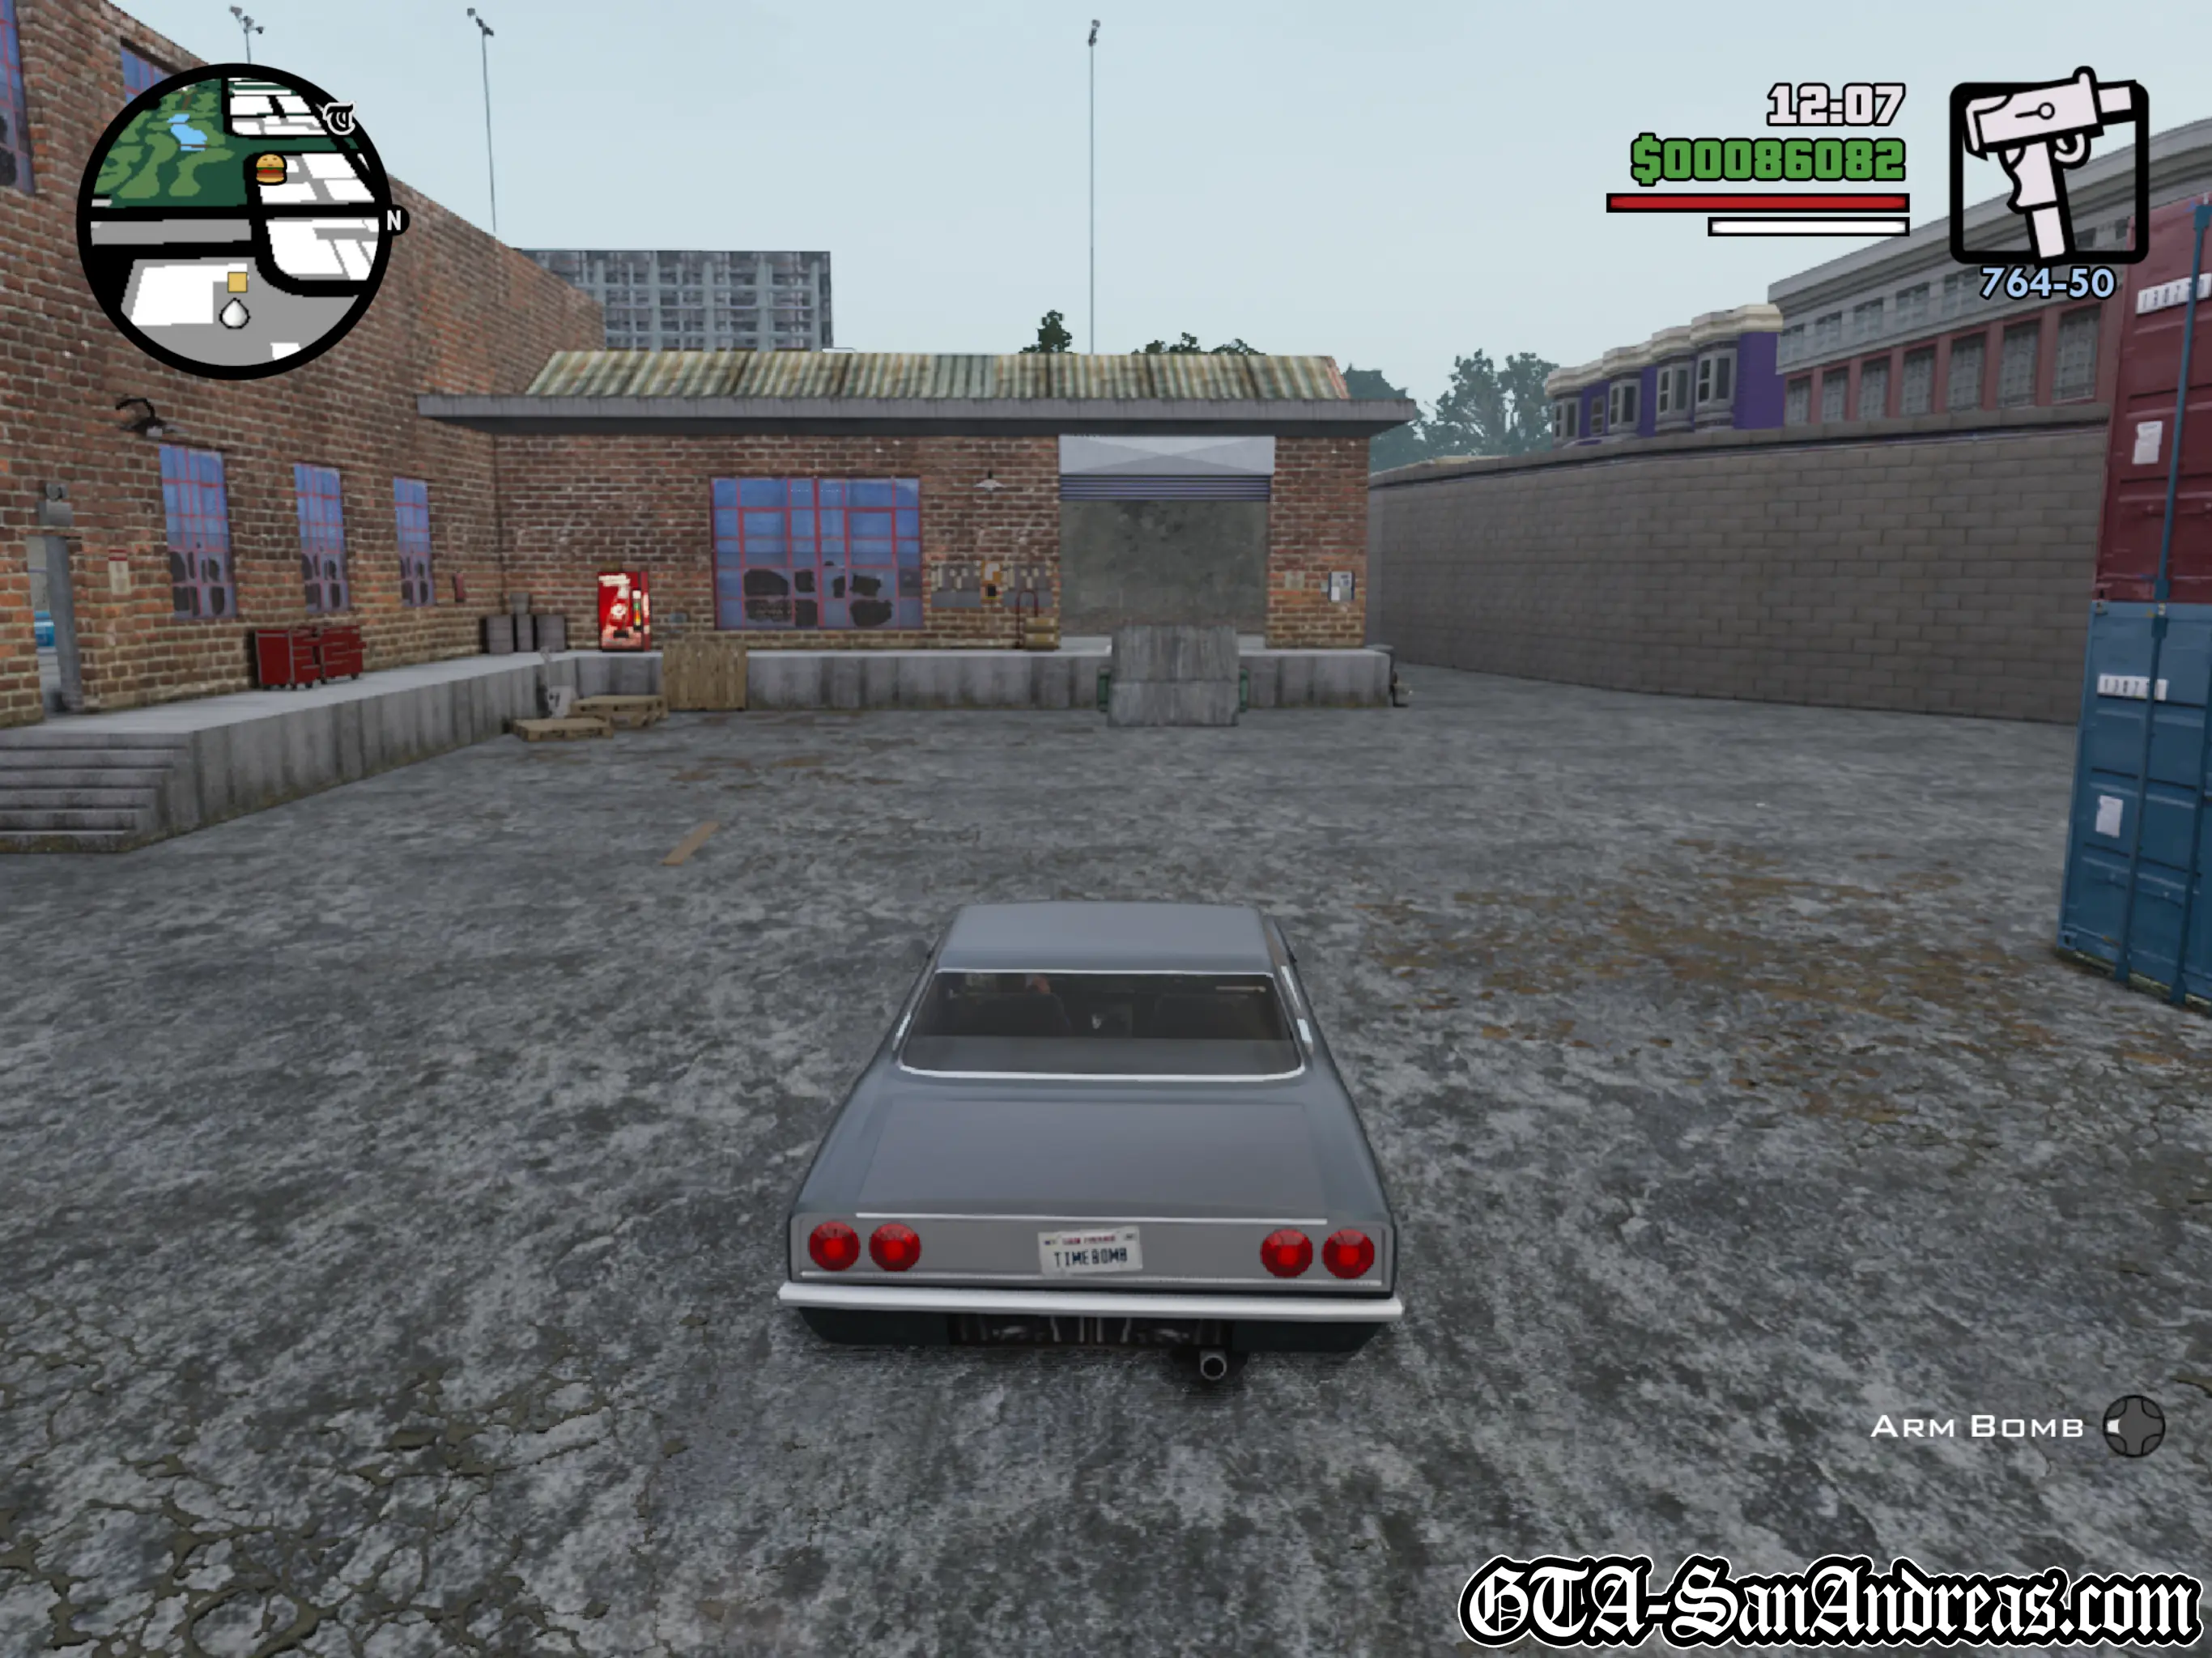
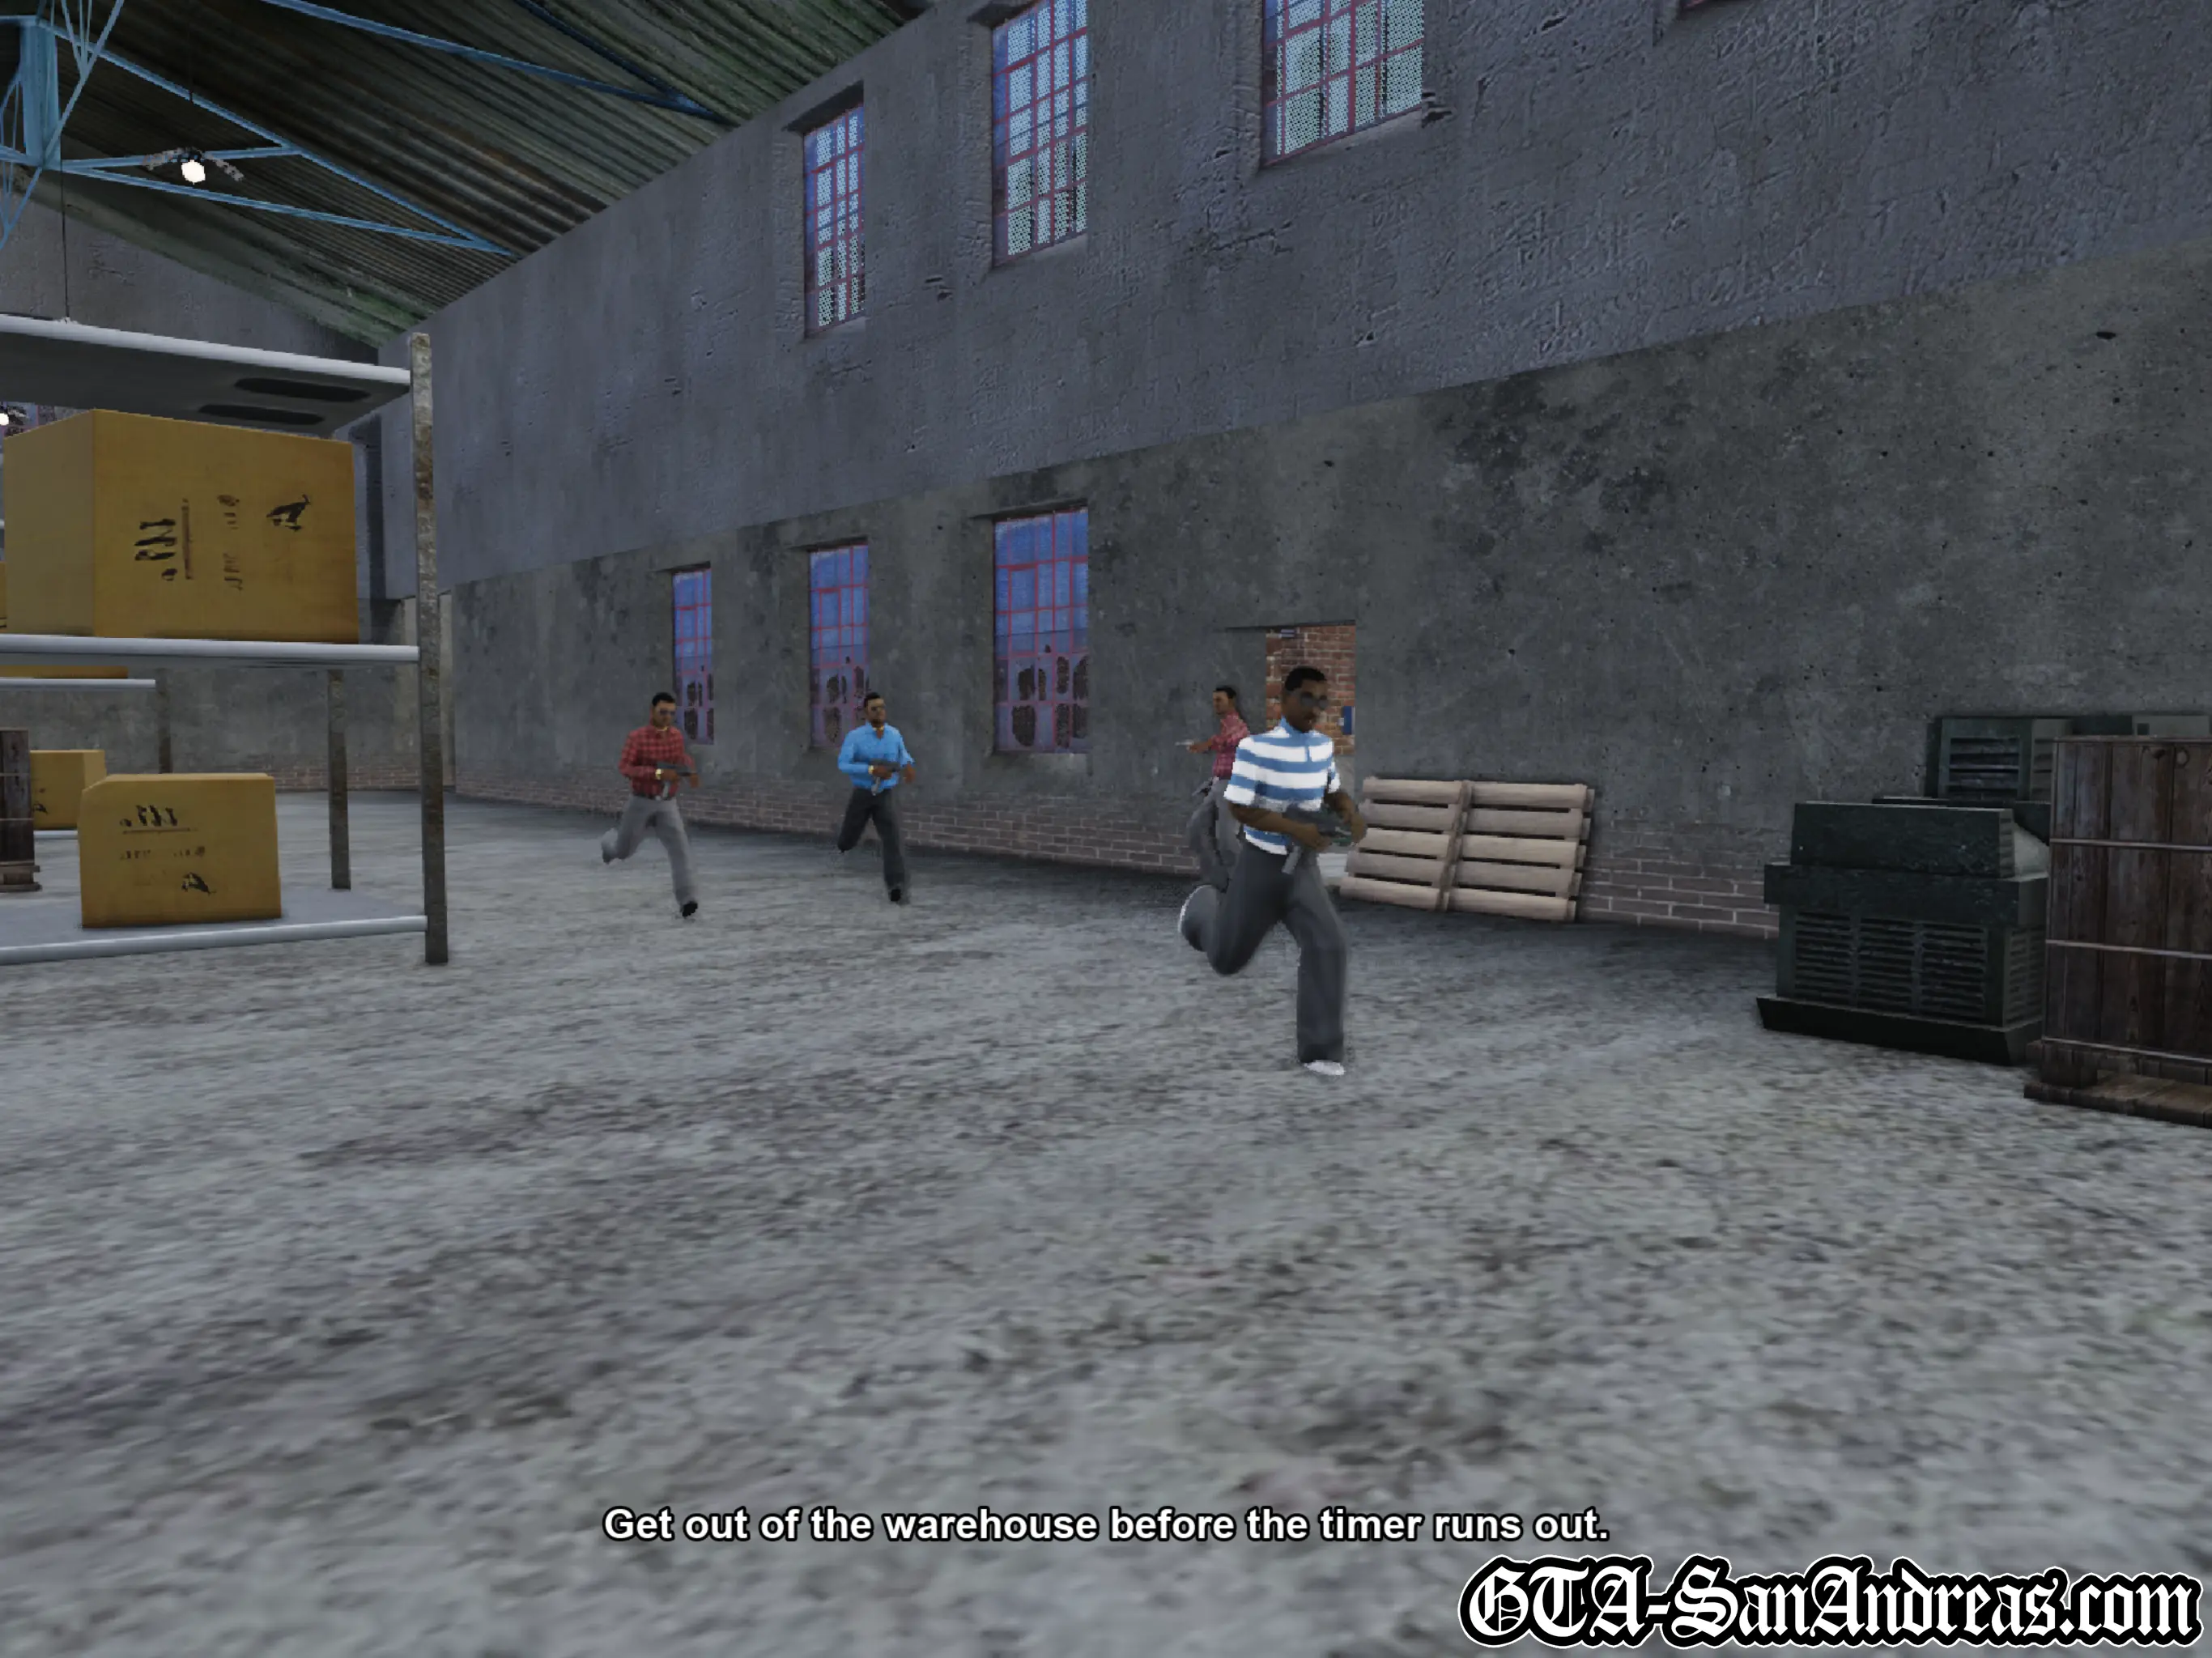
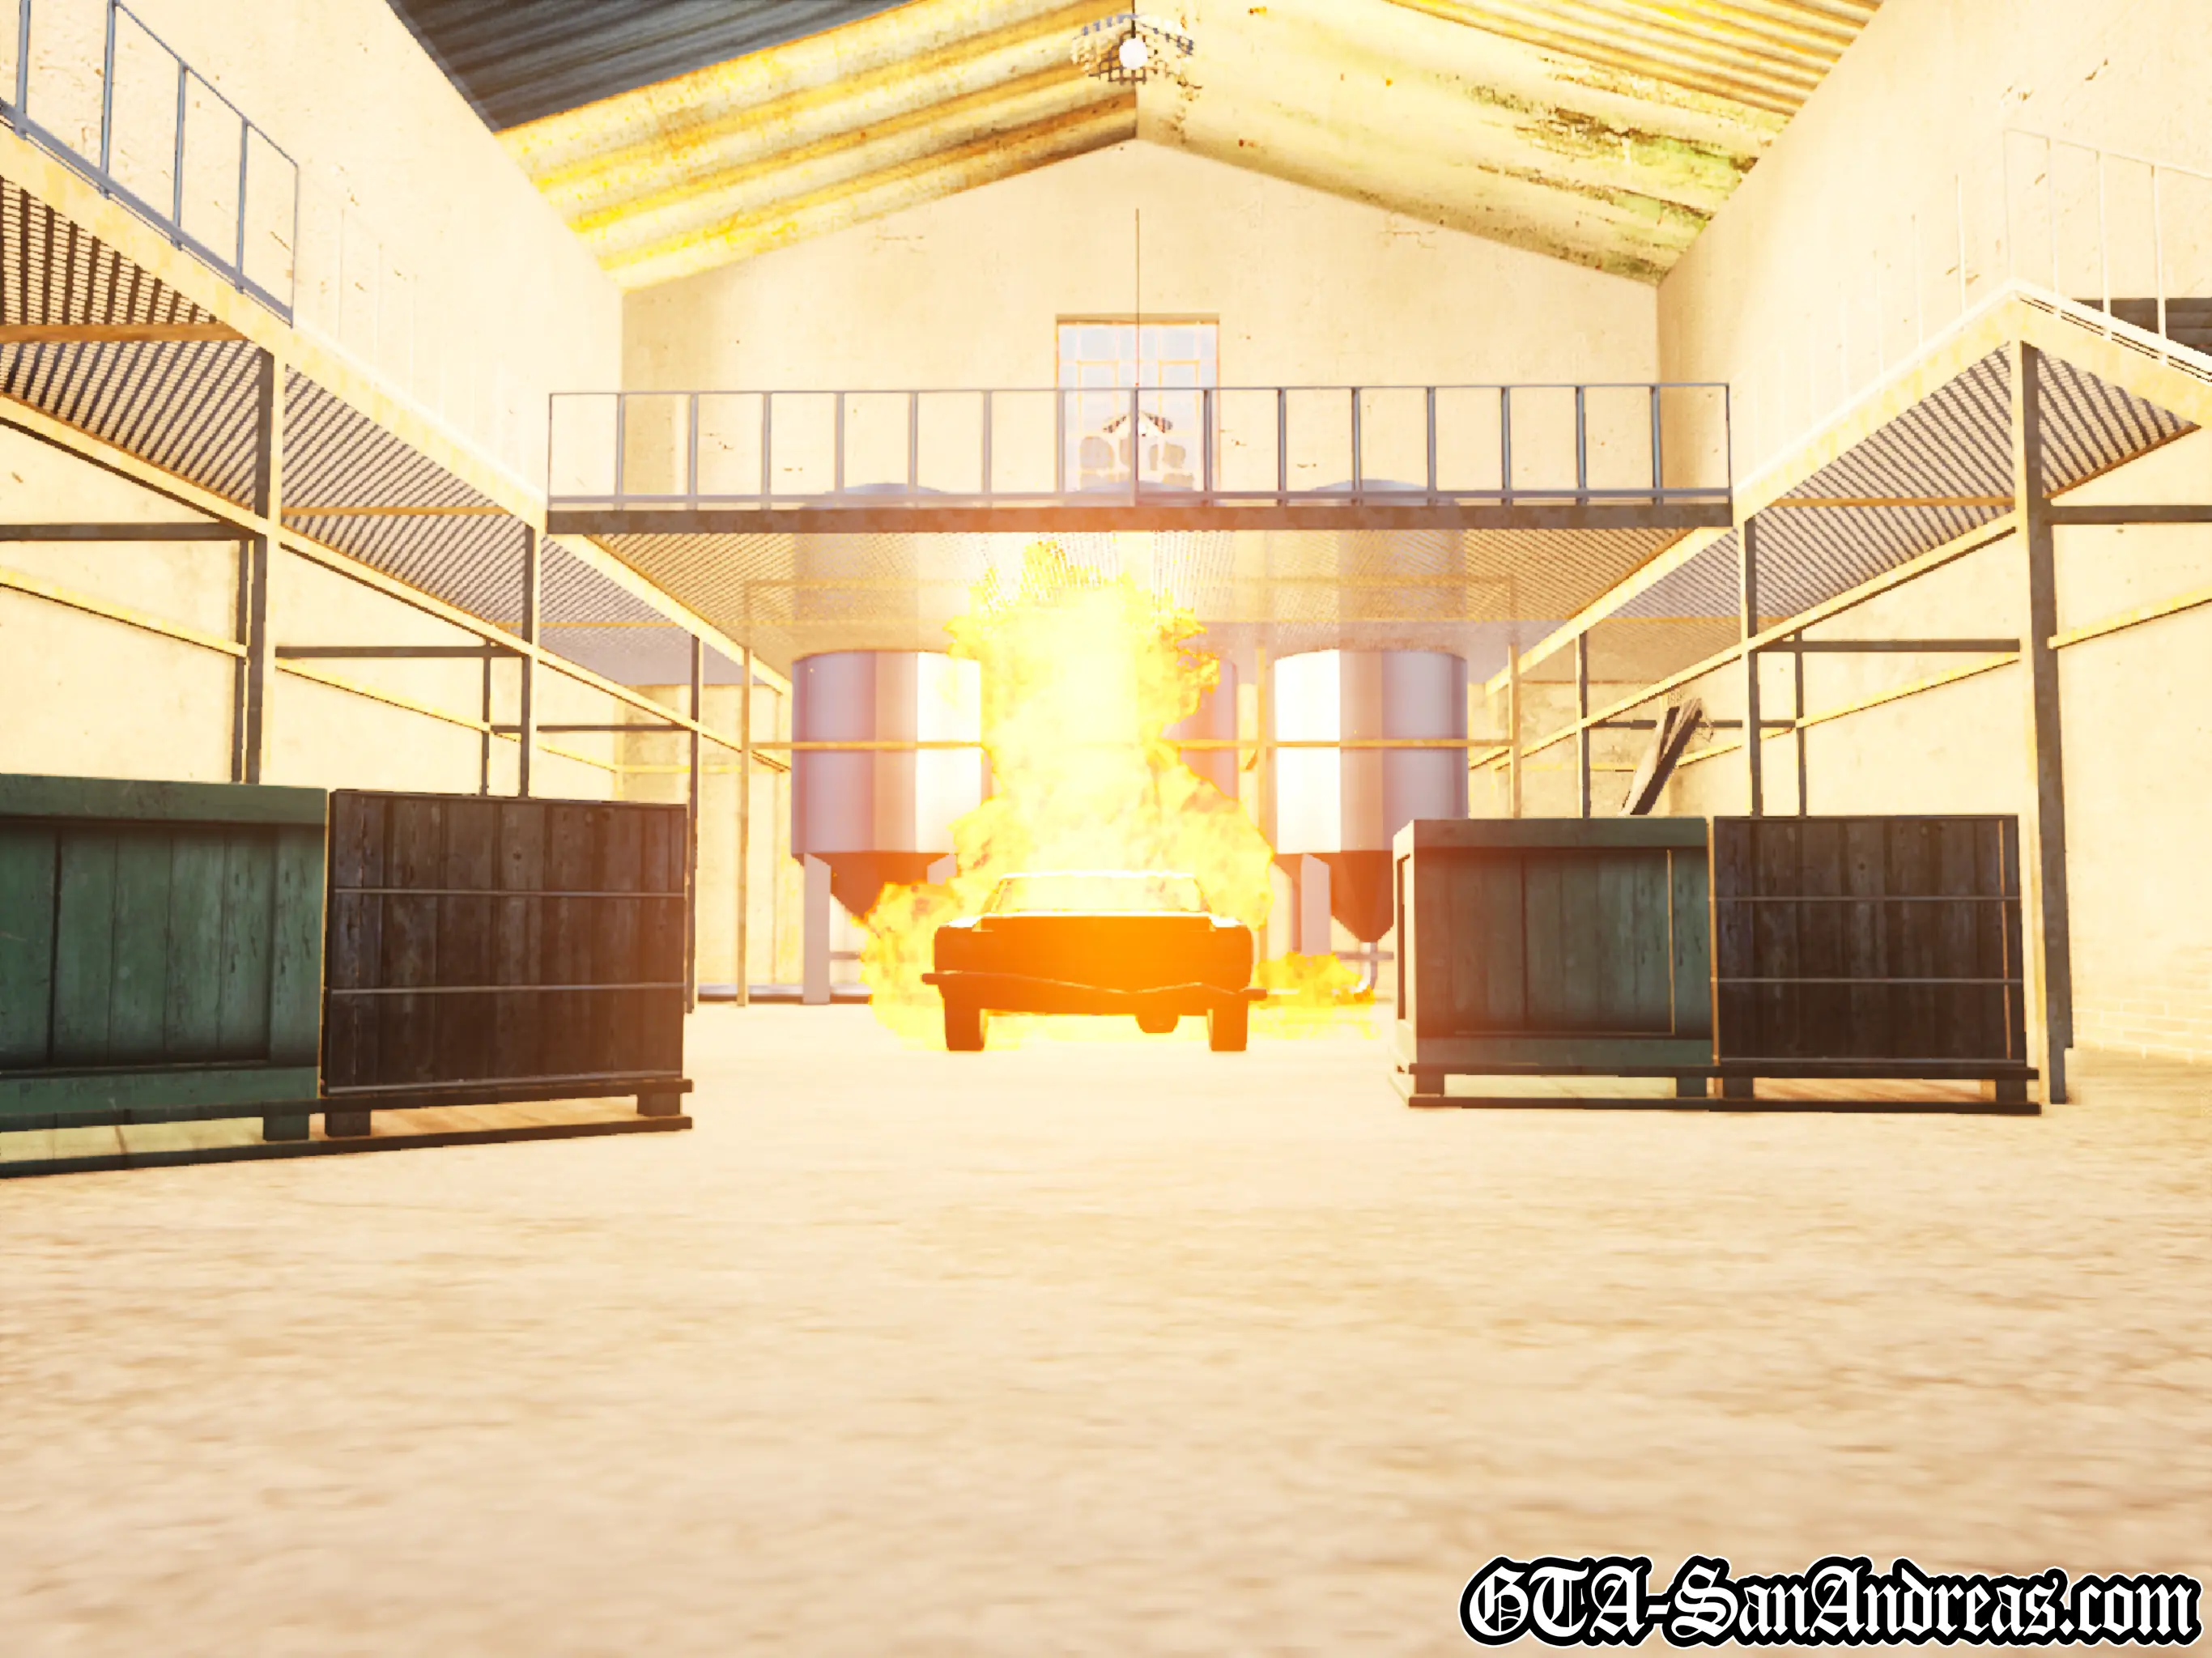
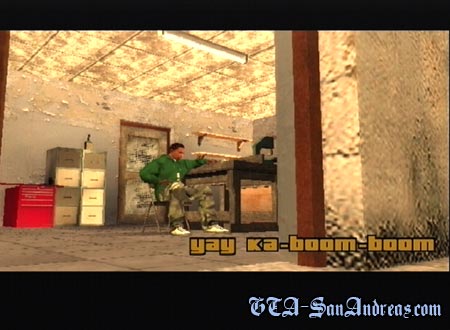
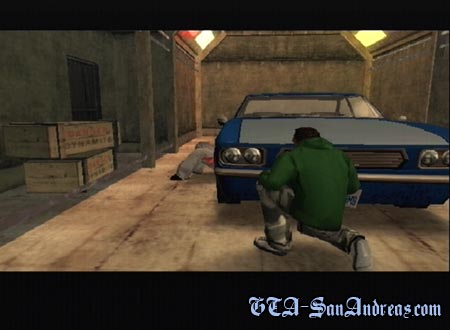
Yay Ka-Boom-Boom
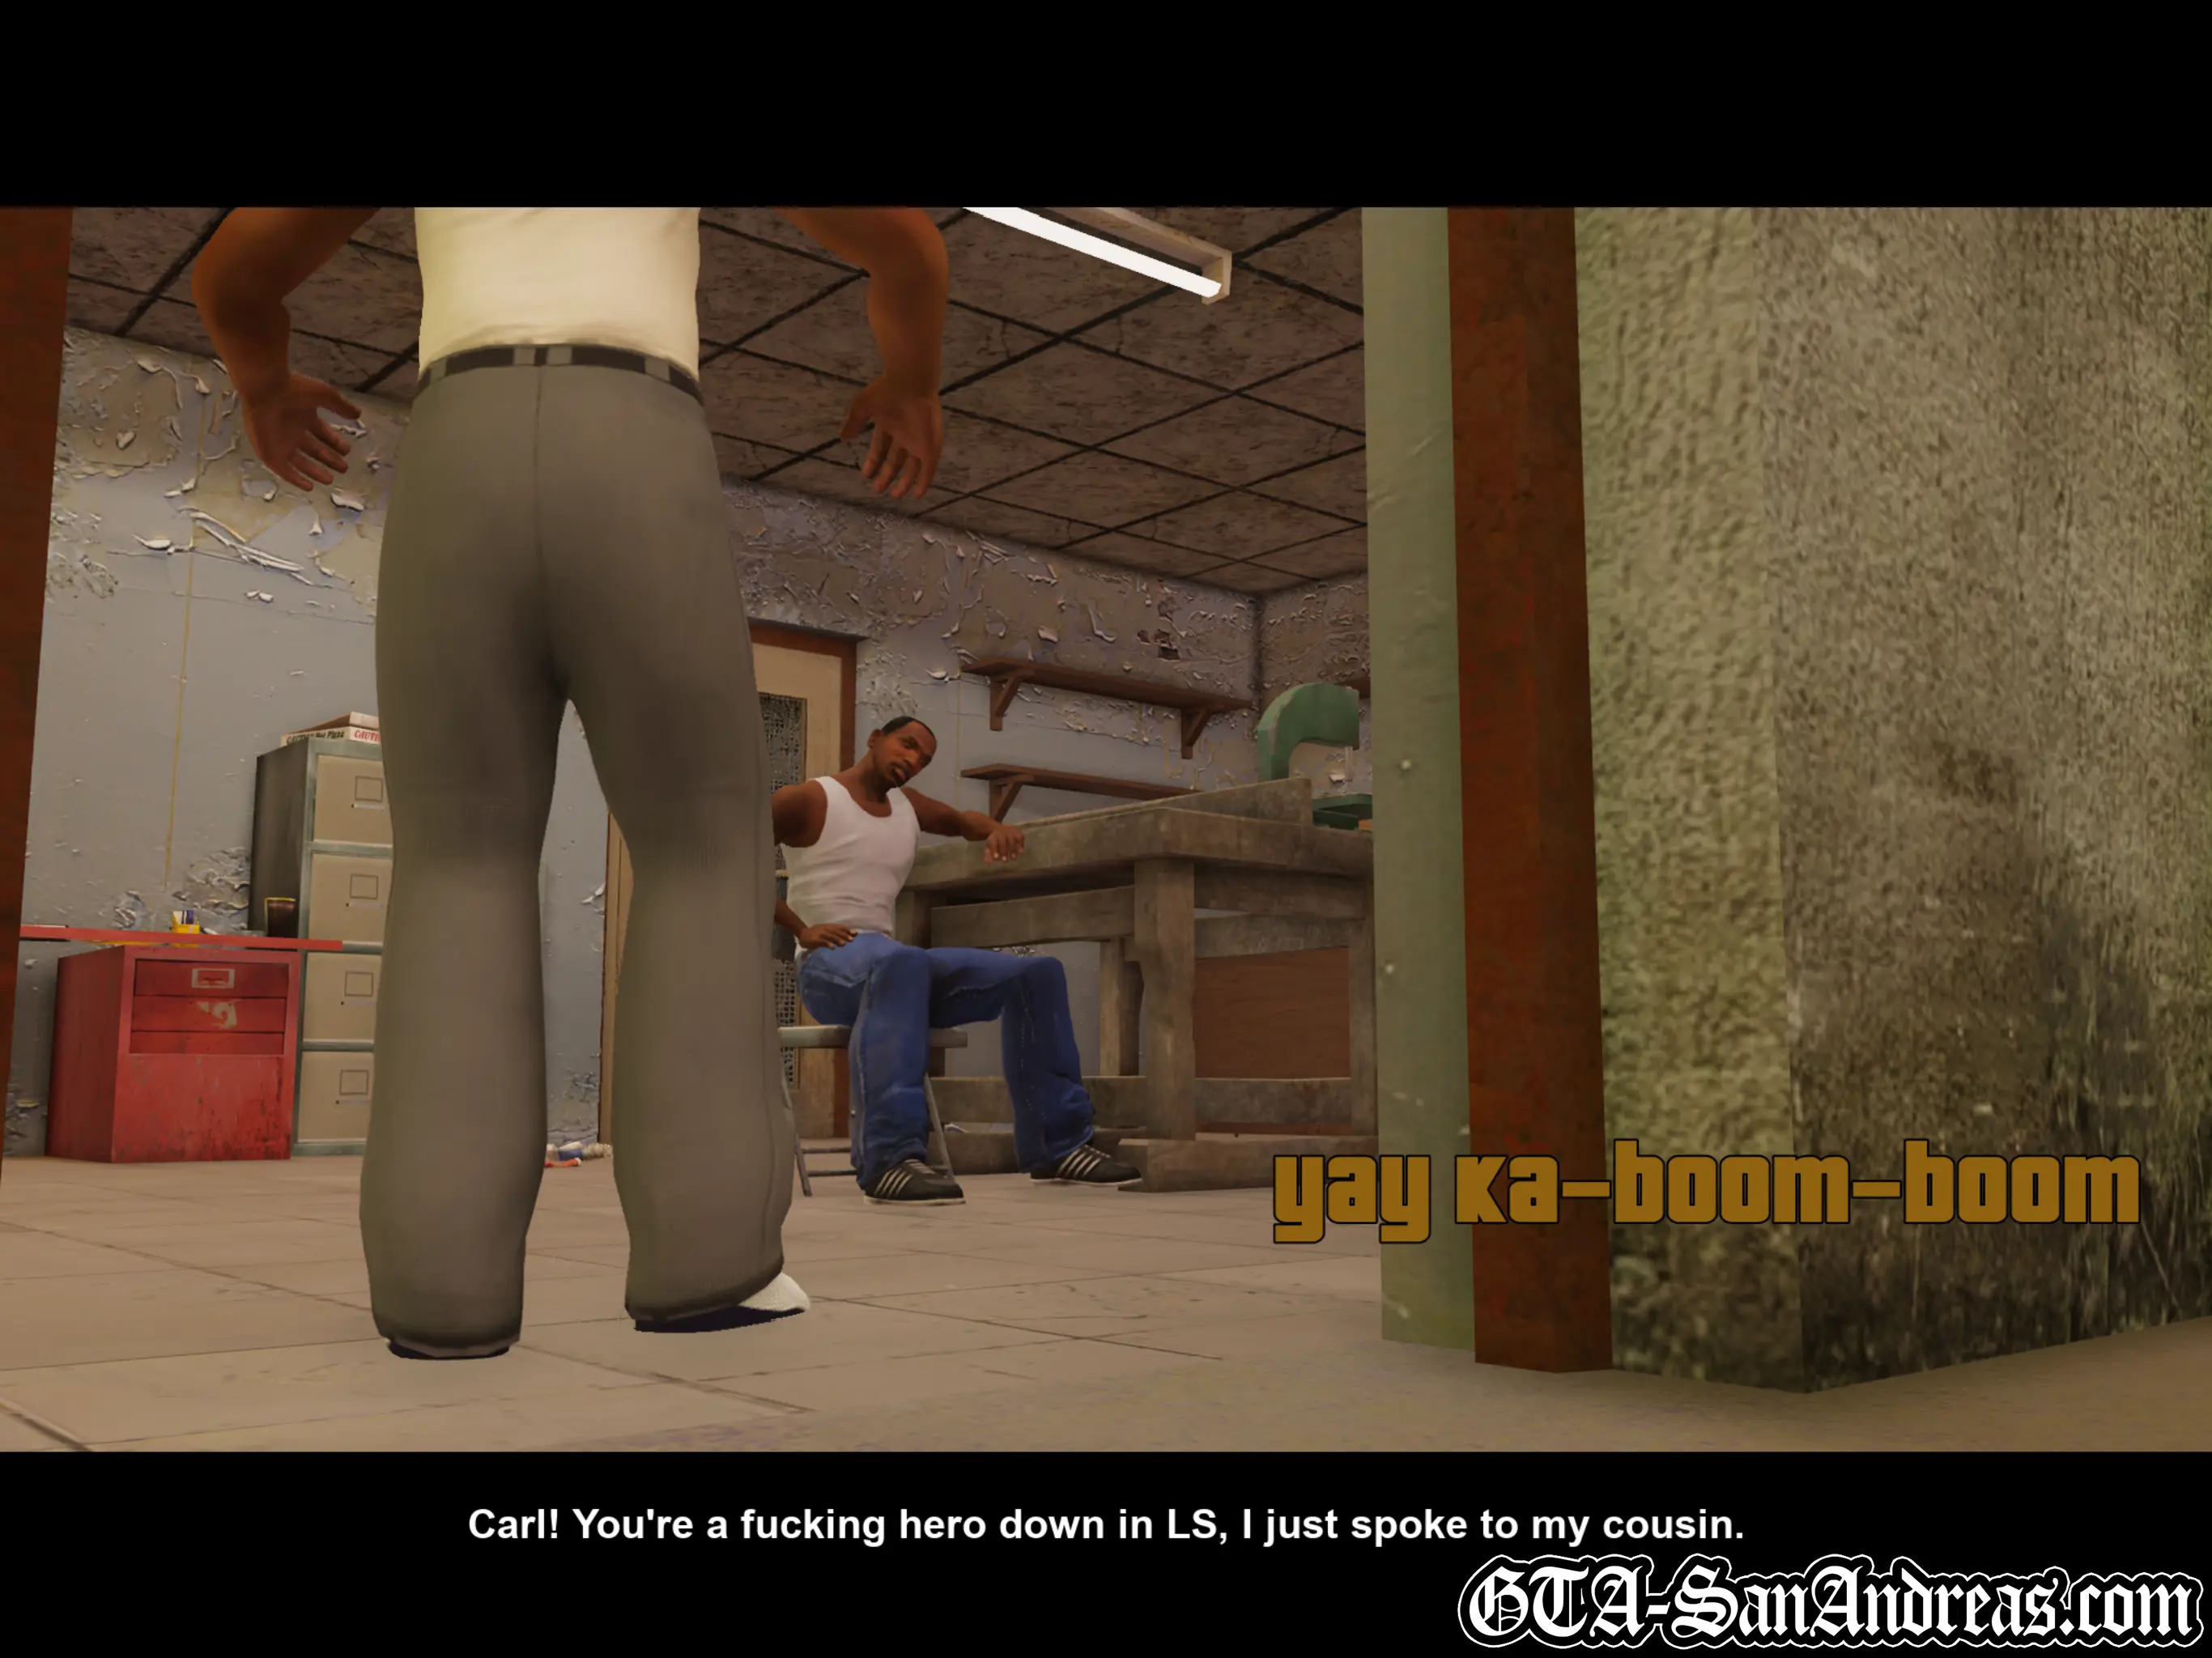
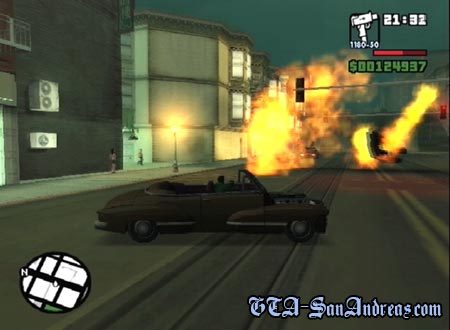
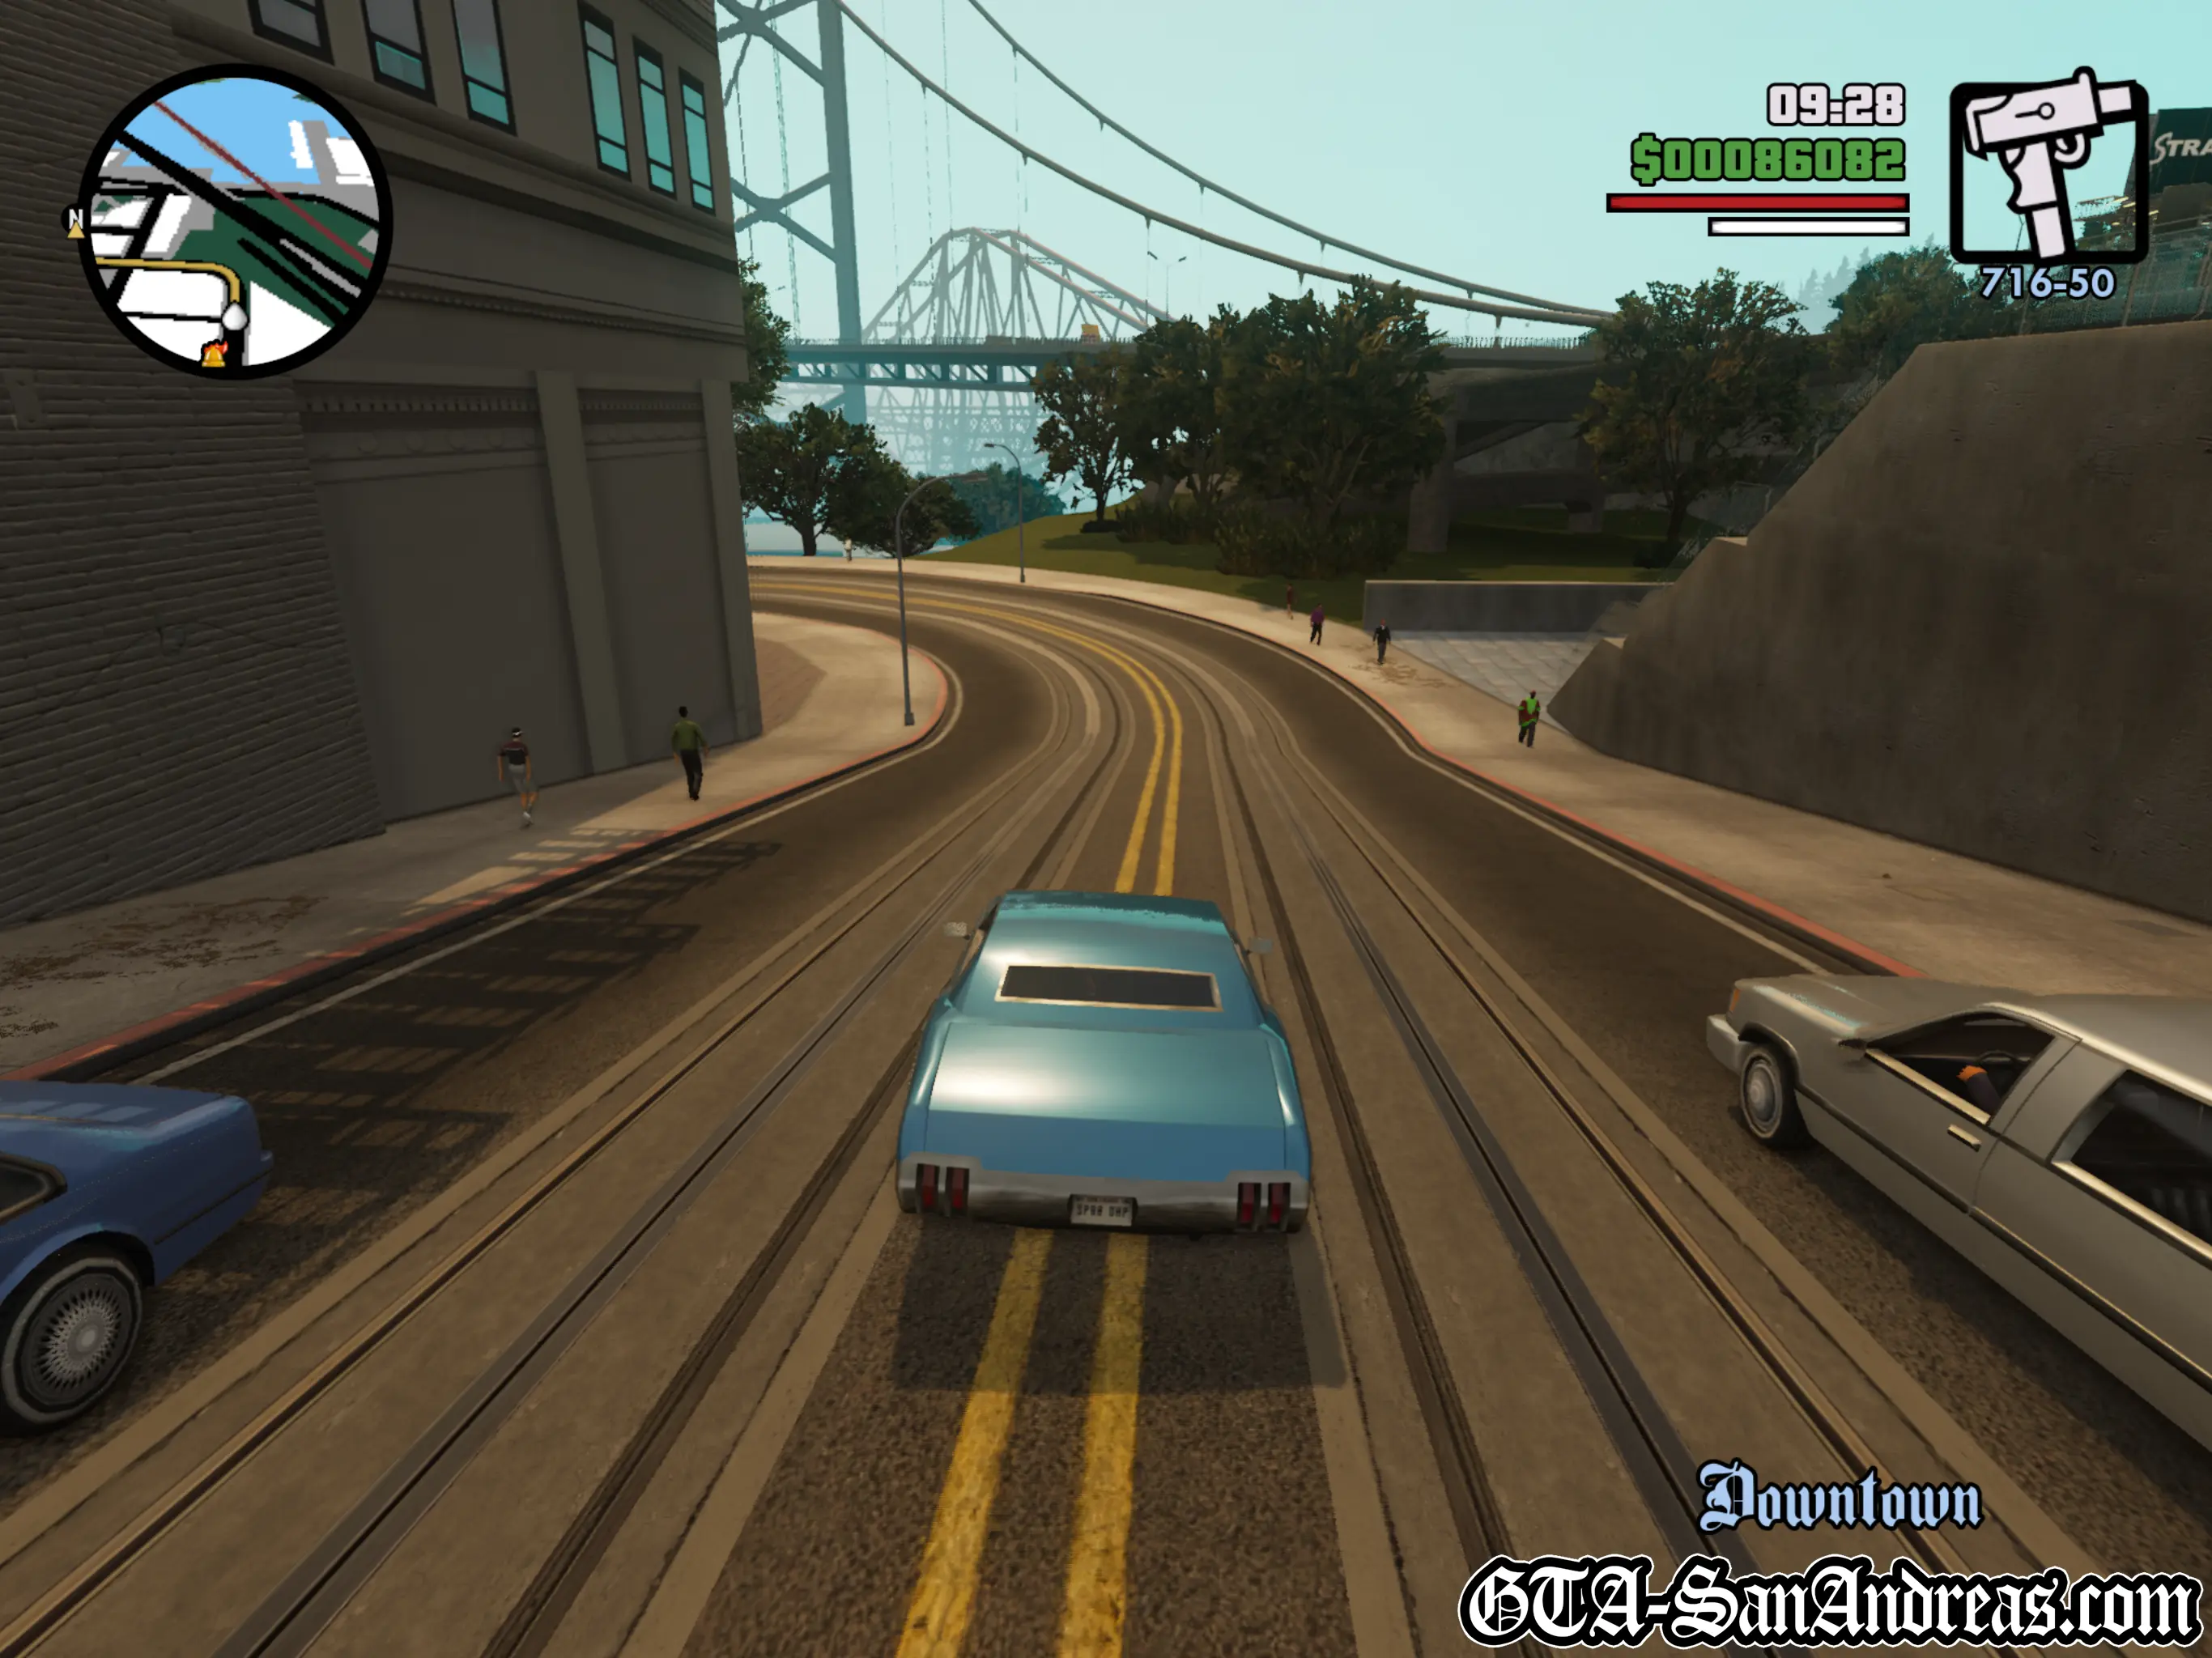
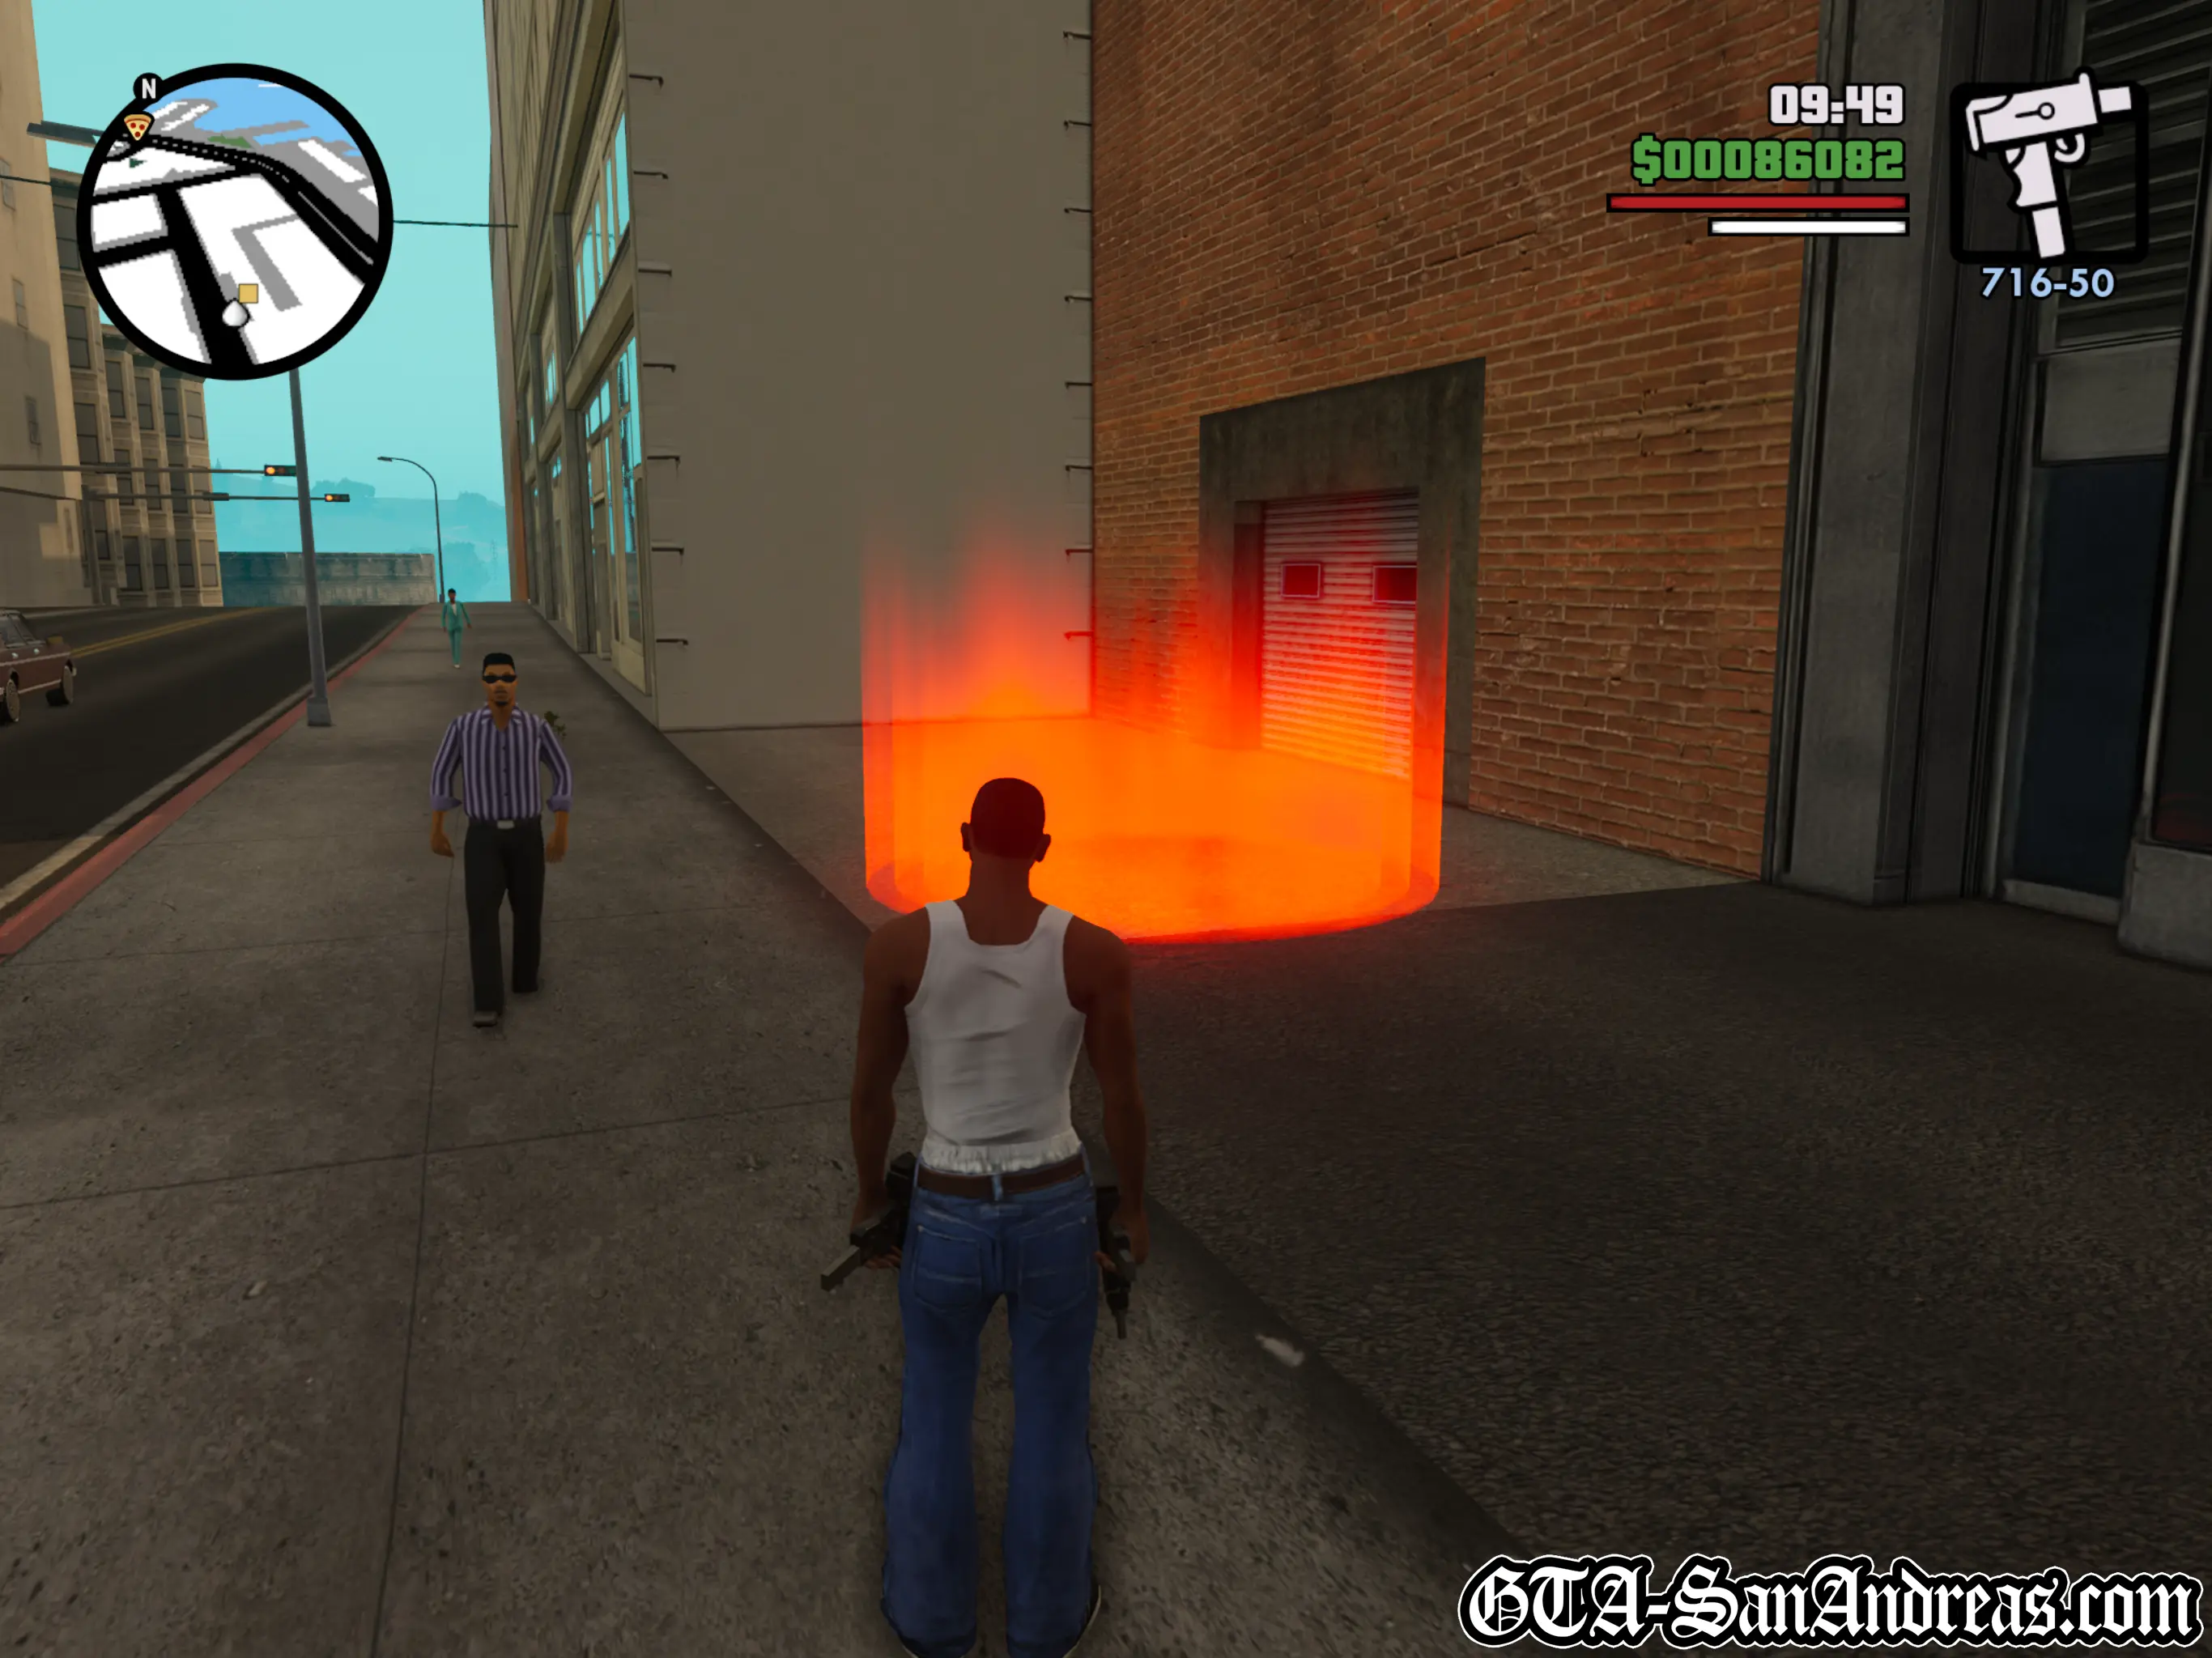
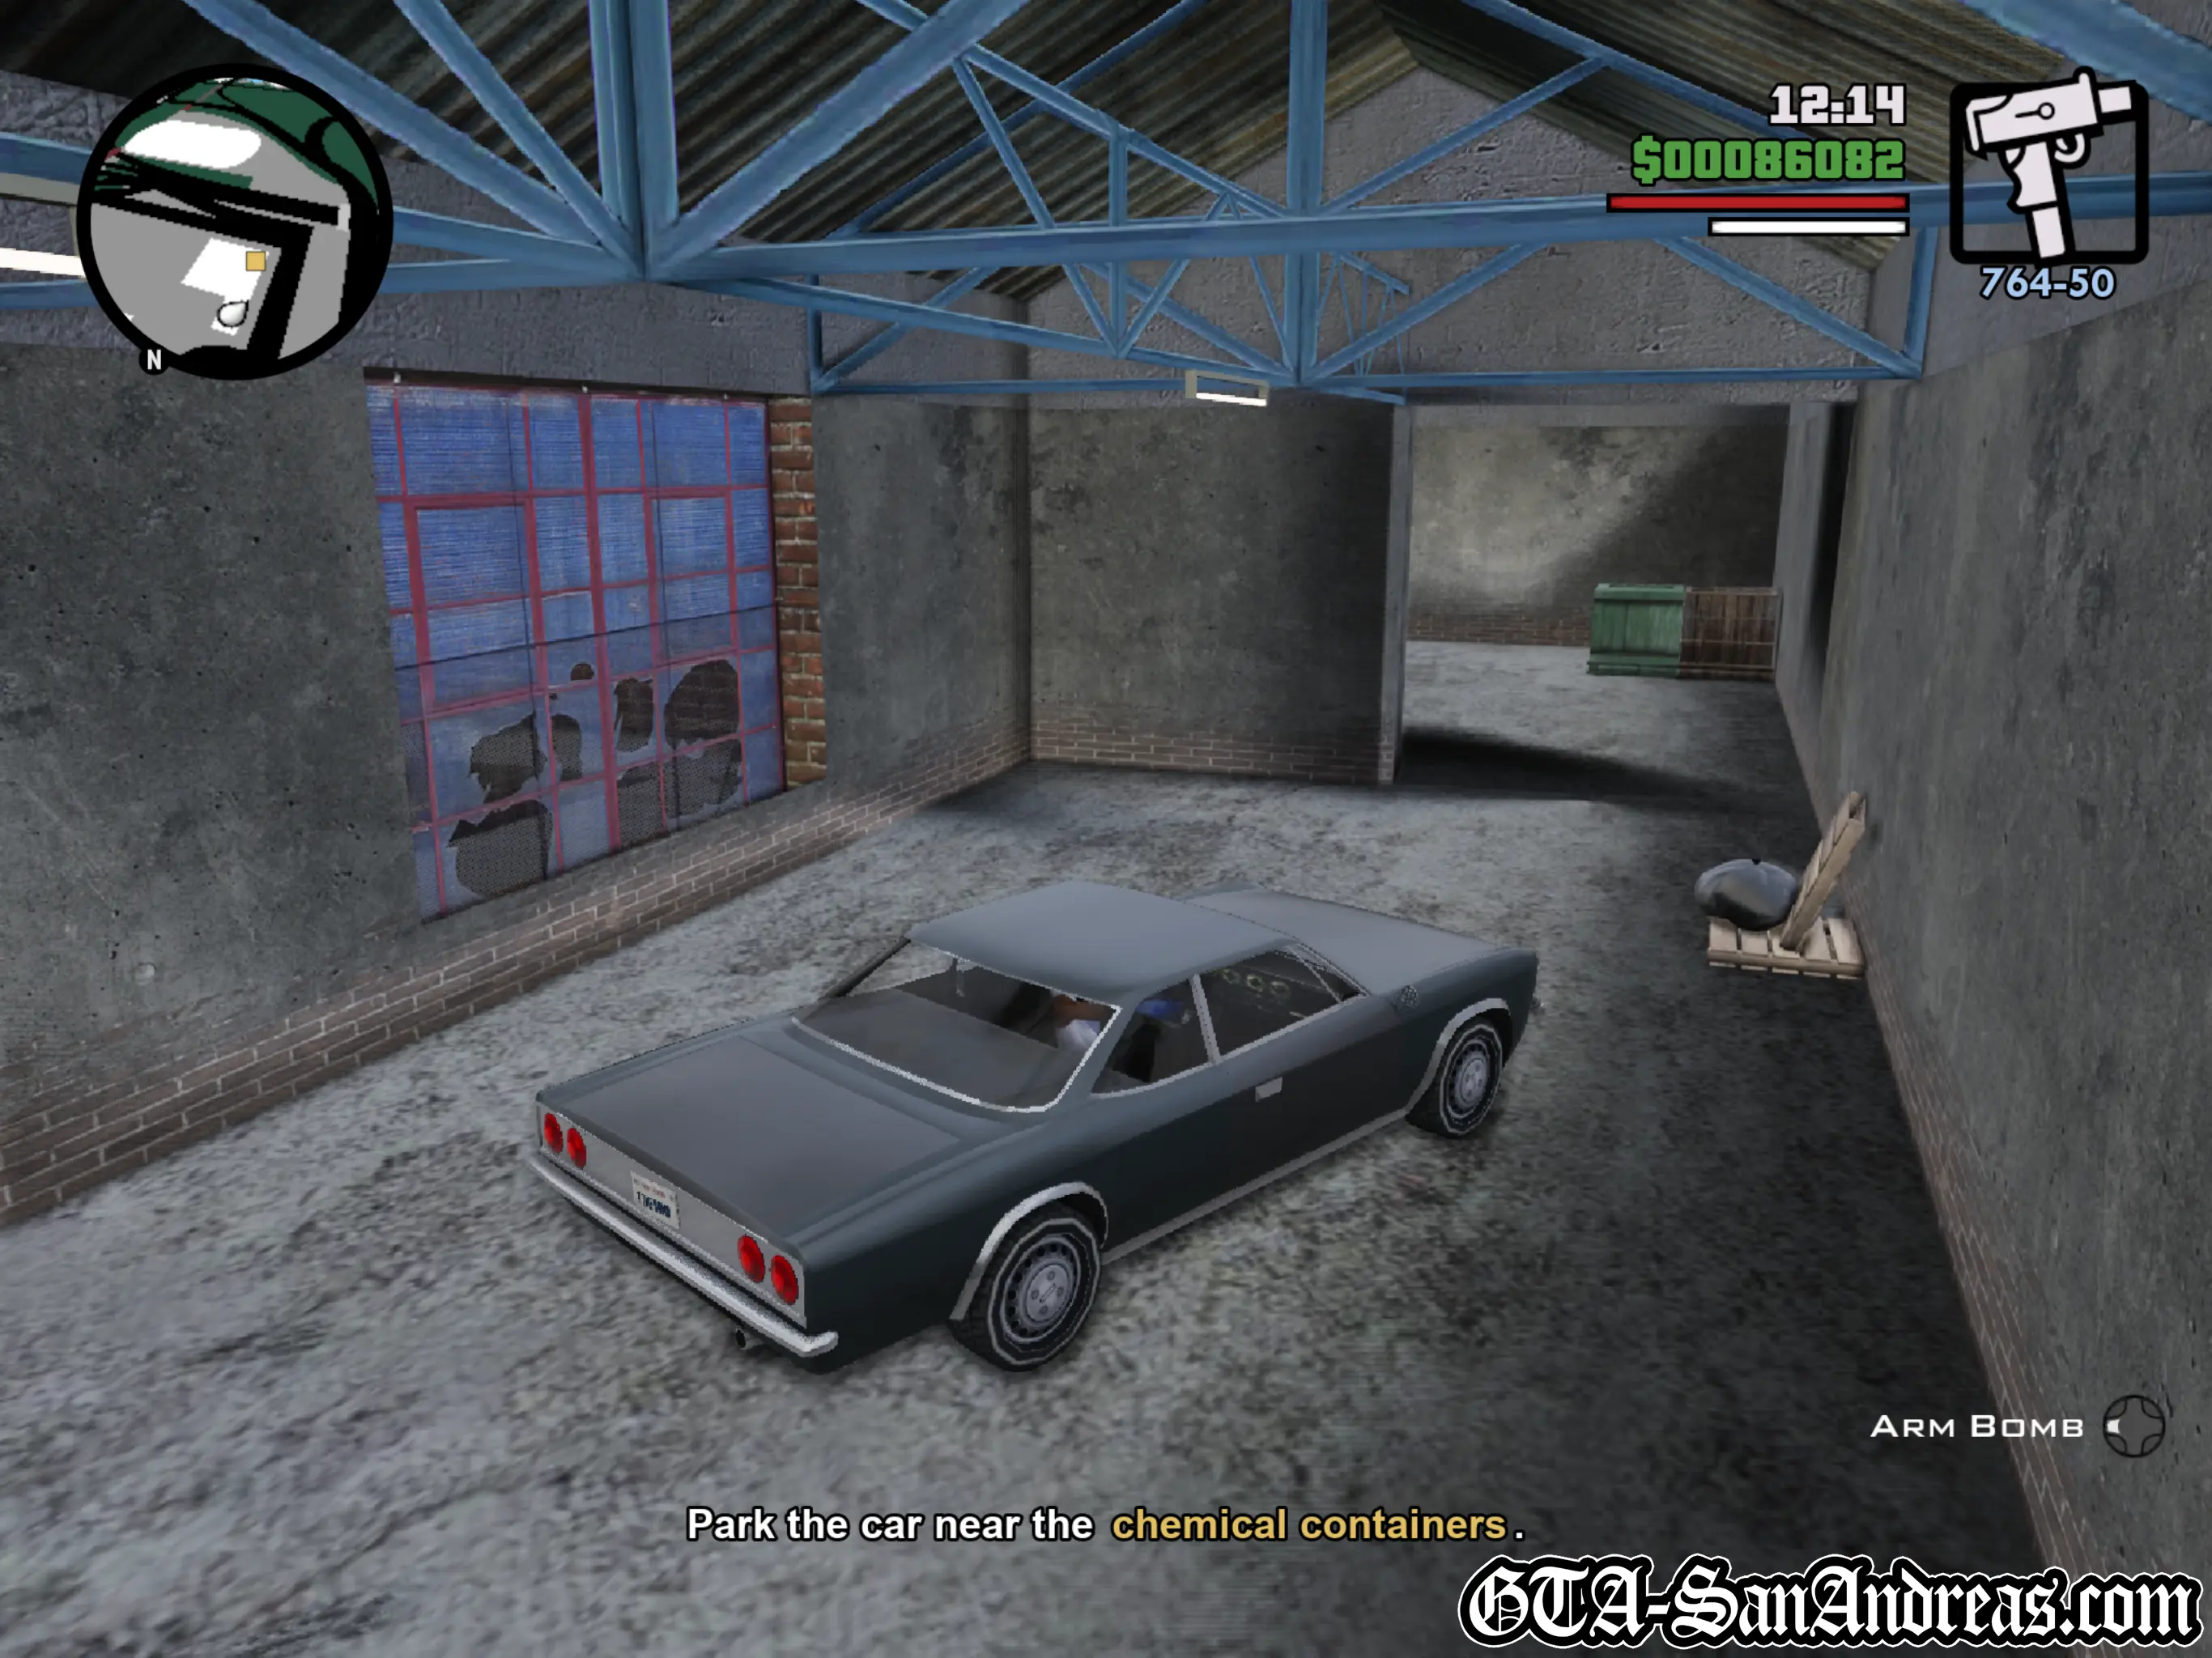
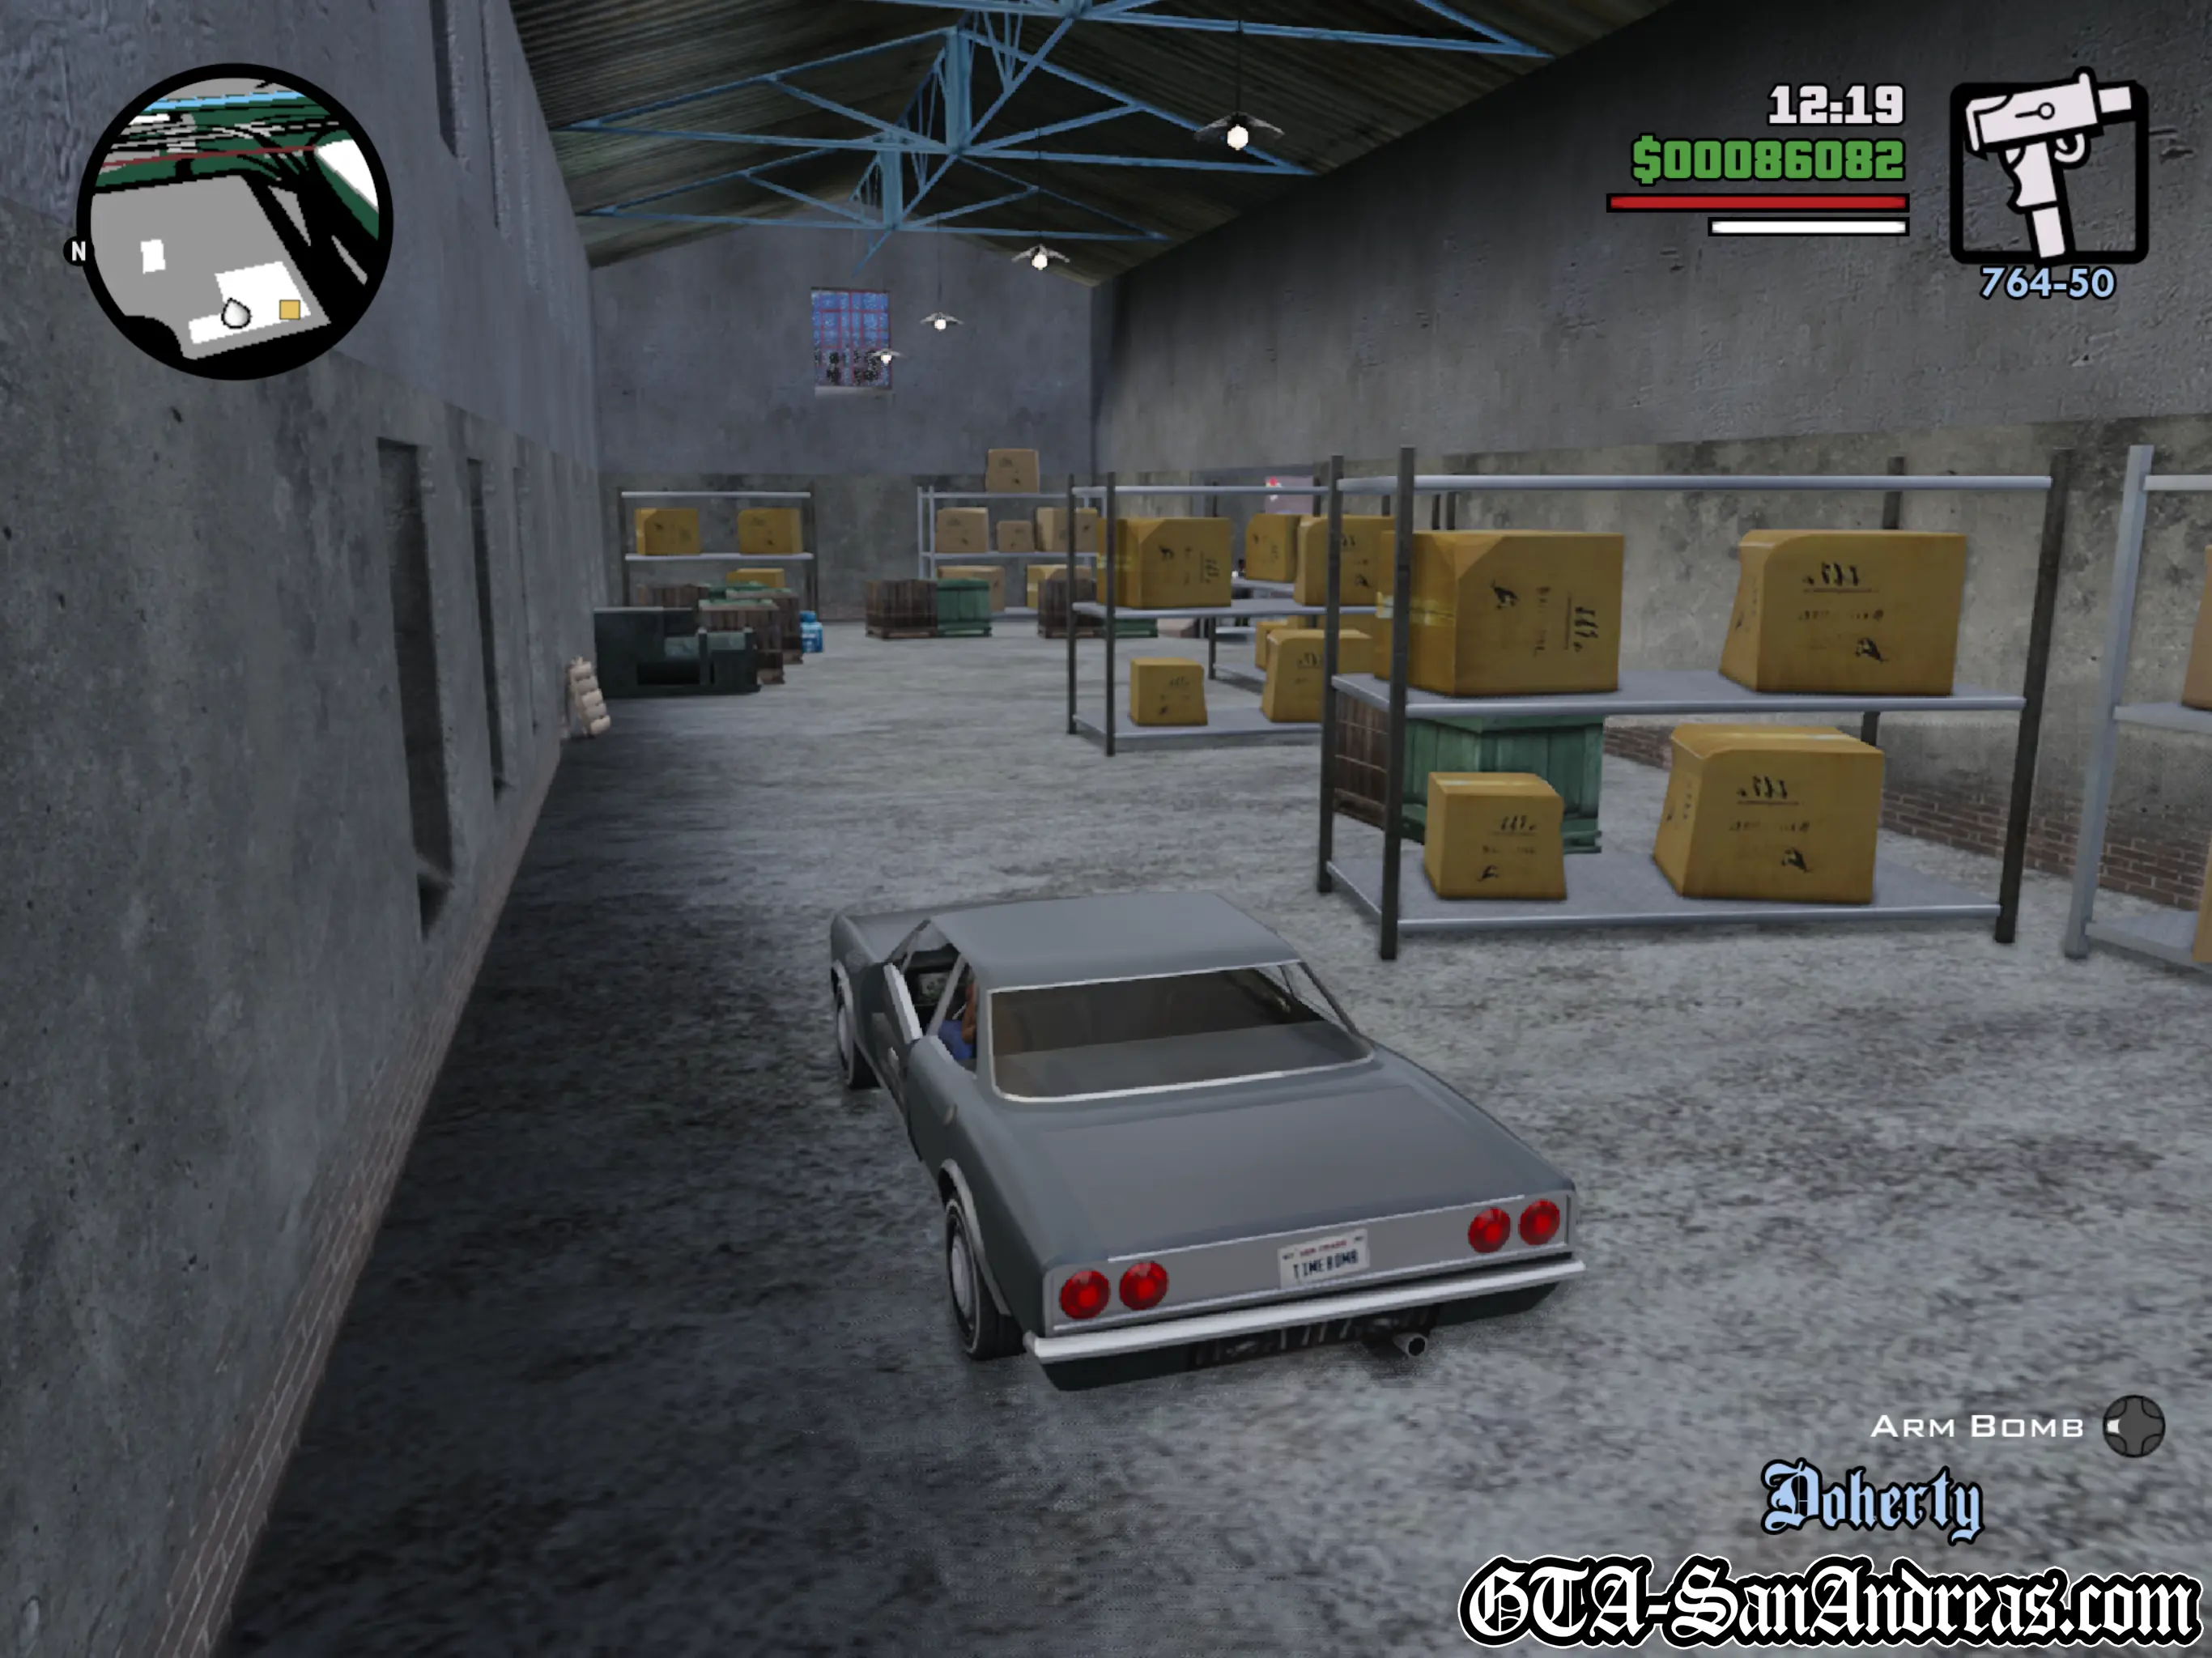
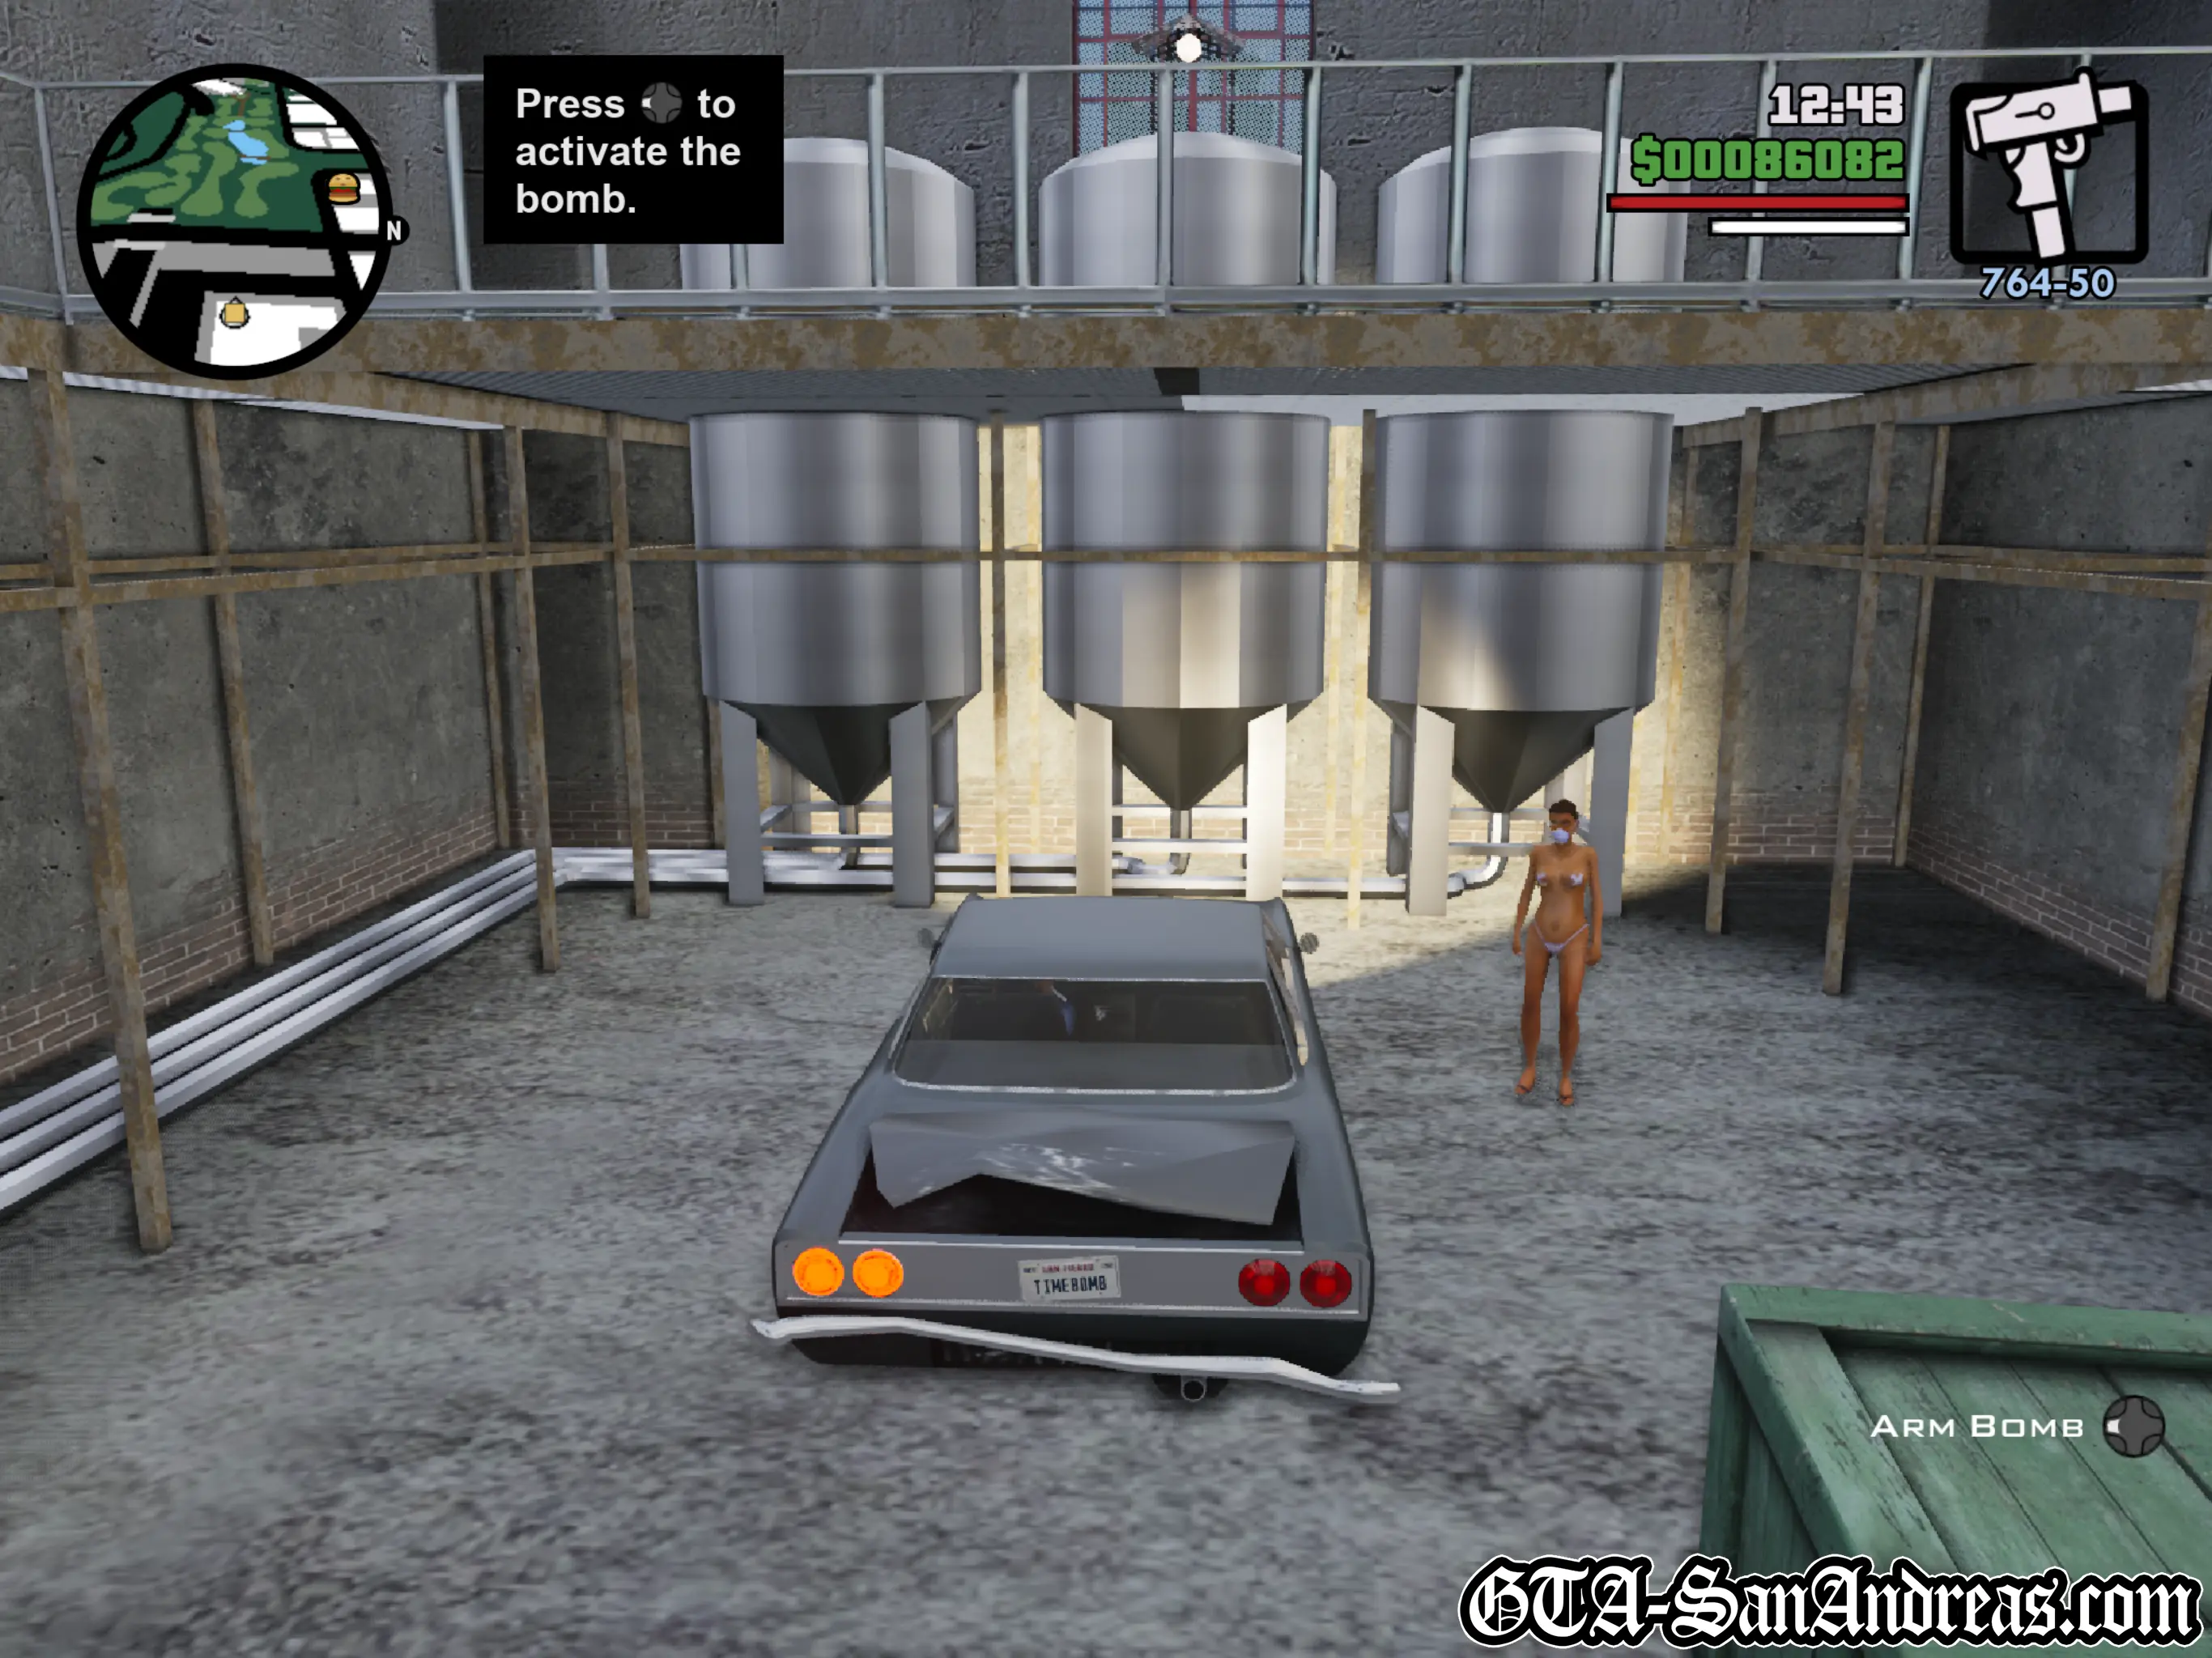
Woozie tells Carl that the yay isn't finished in San Fierro, they have a factory which needs to be taken out first. After the cutscene you'll receive a phone call from one of Woozie's dudes who will tell you he has rigged a car with a bomb and he wants you to use it to blow up the factory. Make your way downtown to pick up the vehicle. Once you've got it, head to the factory, which is right next to the Driving School. As you approach you'll see two guards, so get out of your vehicle and kill them on foot. Afterwards about four more guards will come for you. Dispose of them, then get back in the car and drive into the factory compound. Drive up the wooden ramp, then make your way through the factory to the chemical containers. Park the vehicle next to them, then hit Circle to arm the bomb. Get out of the car and run to the exit. You'll need to kill three foot soldiers on the way, but they can easily be disposed of while running and gunning. When you get outside the factory will blow and you'll be told to escape out the front gate. You'll see a number of gang members waiting for you, so grab a weapon and kill the first lot just to the left after you pass the crates. There'll be a few more to the right. Make your way to the gate and a car will pull in and the gates will shut. Kill the two passengers, then get in the car. If you can't walk out of the gates normally, you'll fly over the wall in style. Head to the South end of the factory, then speed towards the blown up building to the North West and hit the ramp which should send you sailing over the wall. You'll collect a Unique Stunt Bonus for the jump if you hit it right, if not you'll most likely just drive across some containers. Once out of the factory just head back to the garage to pass the mission.
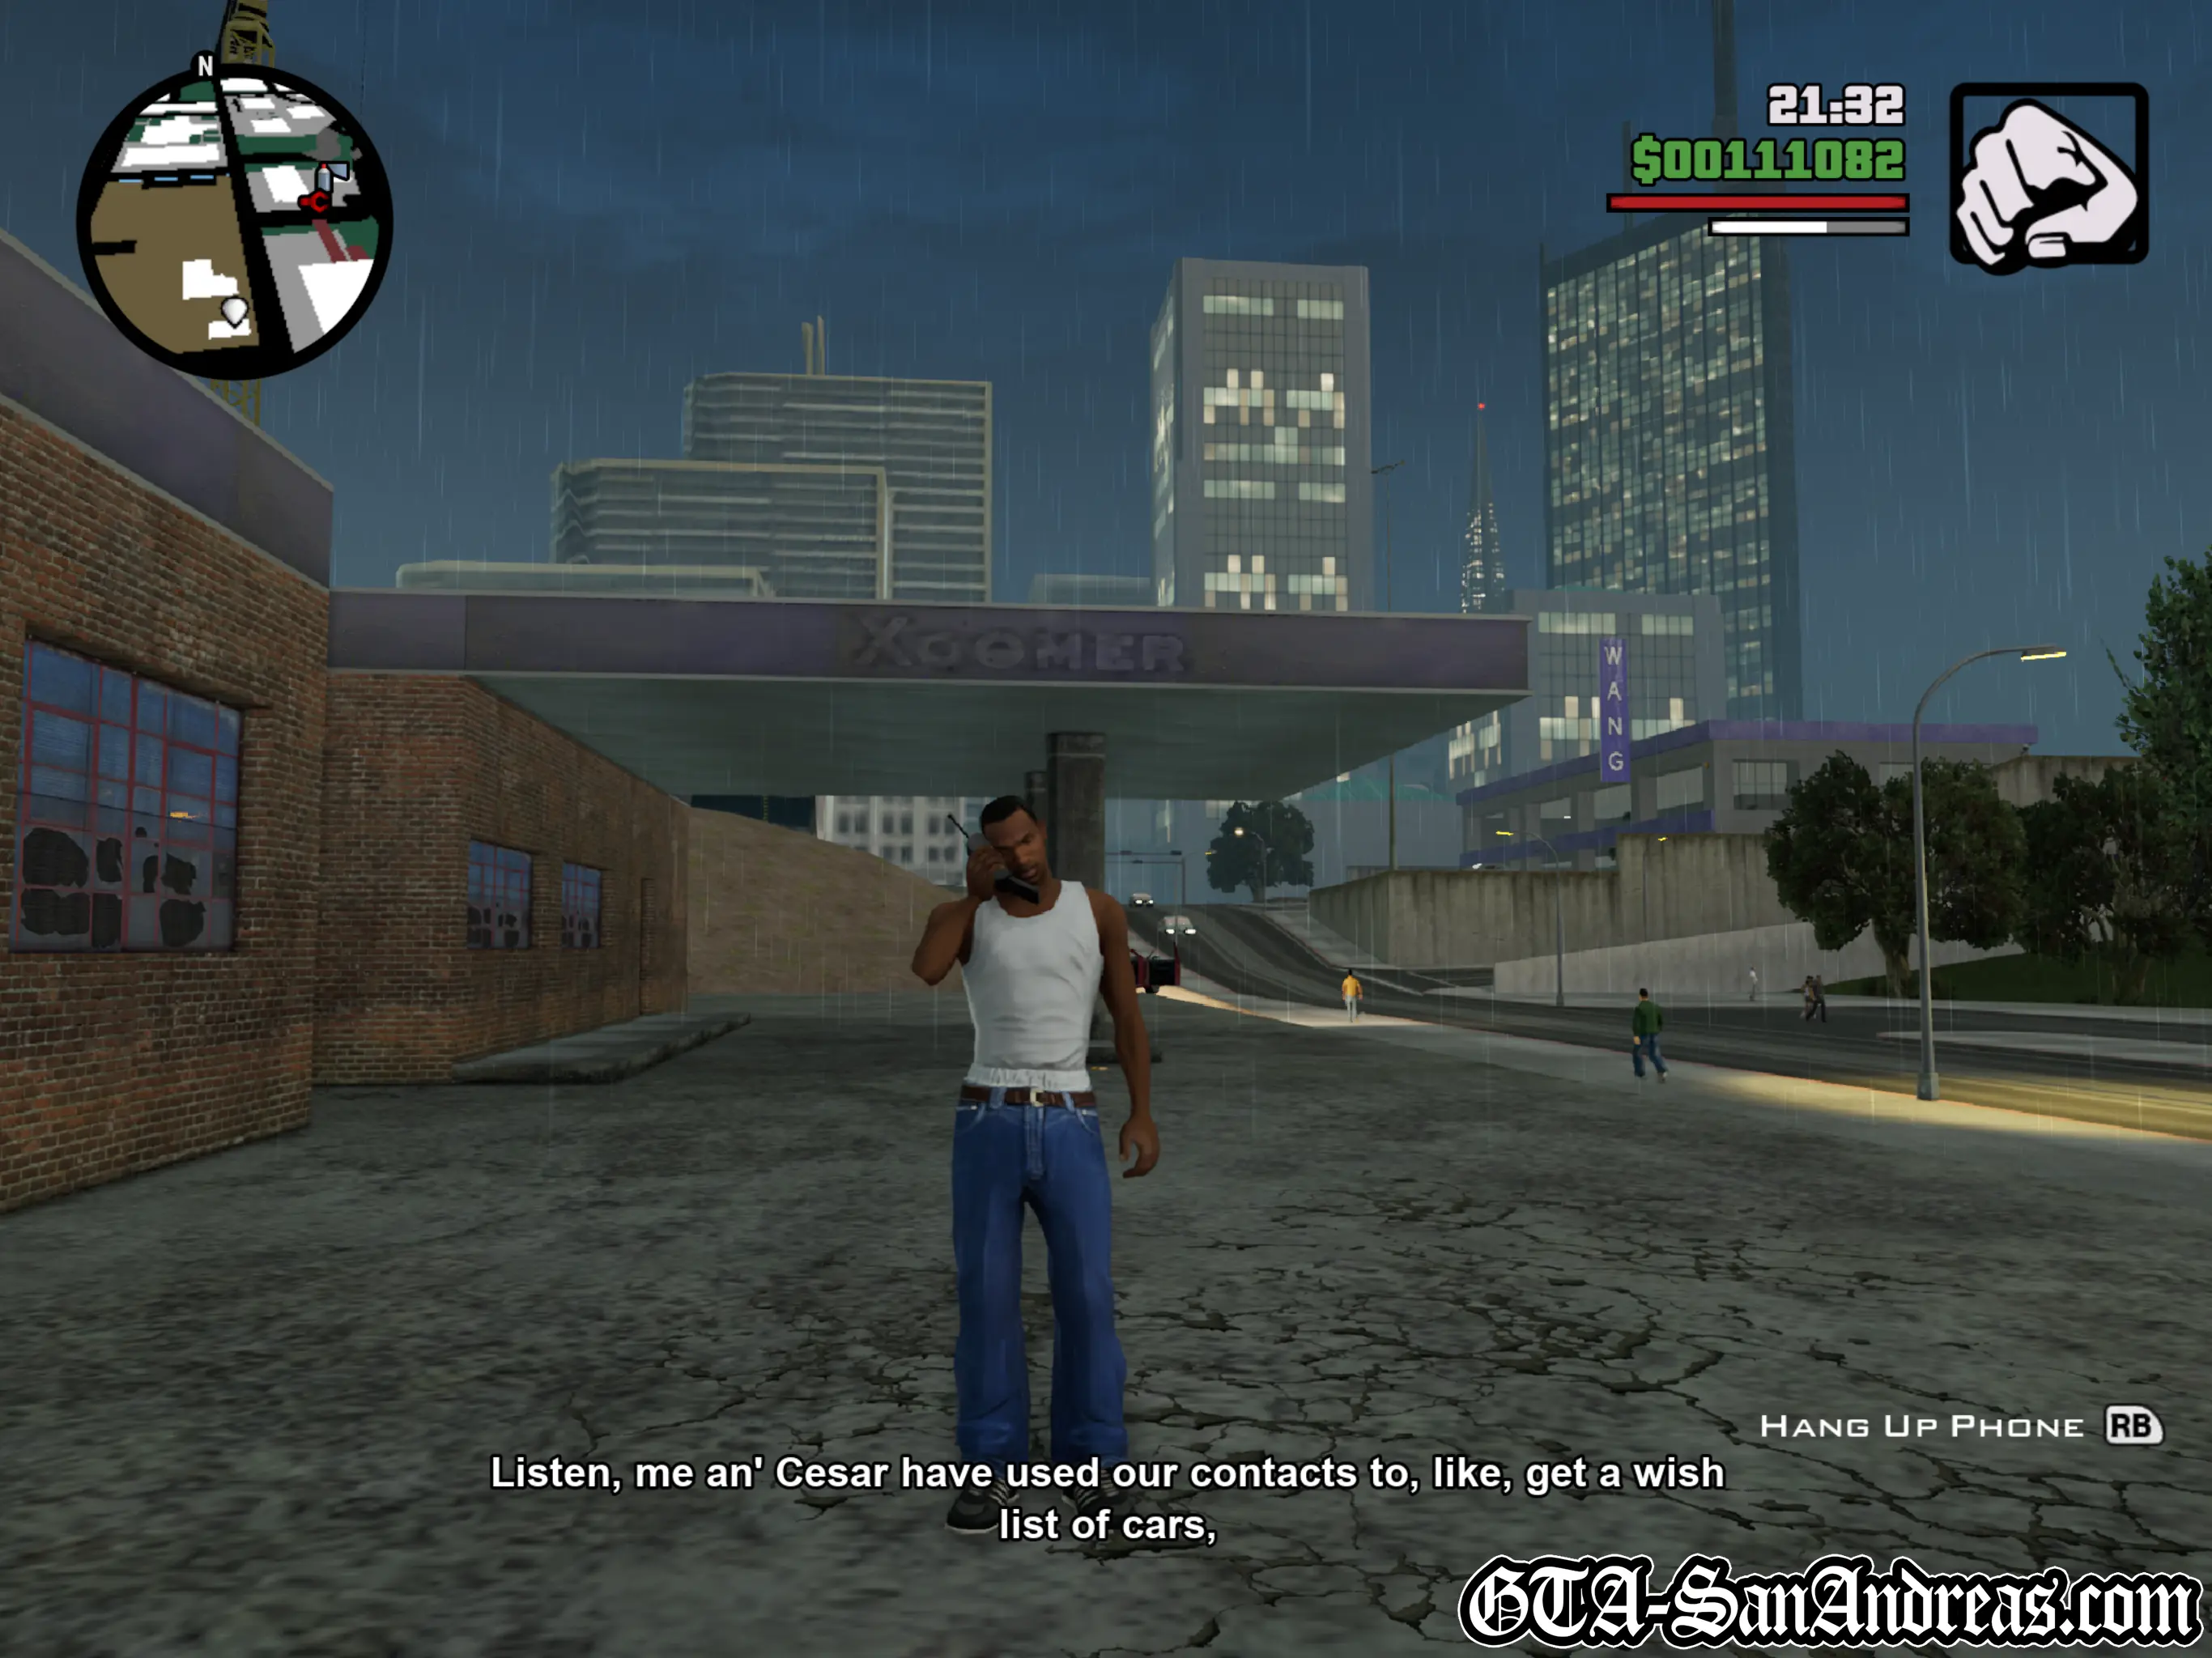
After the mission save game, or get in a vehicle. After exiting either you'll receive a phone call from a mystery person *cough*Toreno*cough* telling you to get to his ranch. His ranch happens to be in Tierra Robada in Las Venturas though, so you've unlocked the Desert. You'll also receive another phone call from Jethro telling you that Cesar is starting up a wishlist for a collection of cars he needs. While the prospect of a new island may be exciting, it's definitely better to finish off San Fierro's missions before moving on. I'm going to CV before the question mark.
You have now unlocked The Desert.
Wang Cars is now available for purchase.
Cesar Vialpando's Missions Are Now Unlocked.
Mike Toreno's Missions Are Now Unlocked.
Beat The Cock is now available as a side-mission.
Screenshots


Cesar Vialpando
Before being able to do a mission for Cesar, you'll need to buy Wang Cars for $50,000. If you don't have enough then I'd suggest doing some odd jobs until you can afford it. After buying the property Cesar's missions will now be at the garage, so head over there.
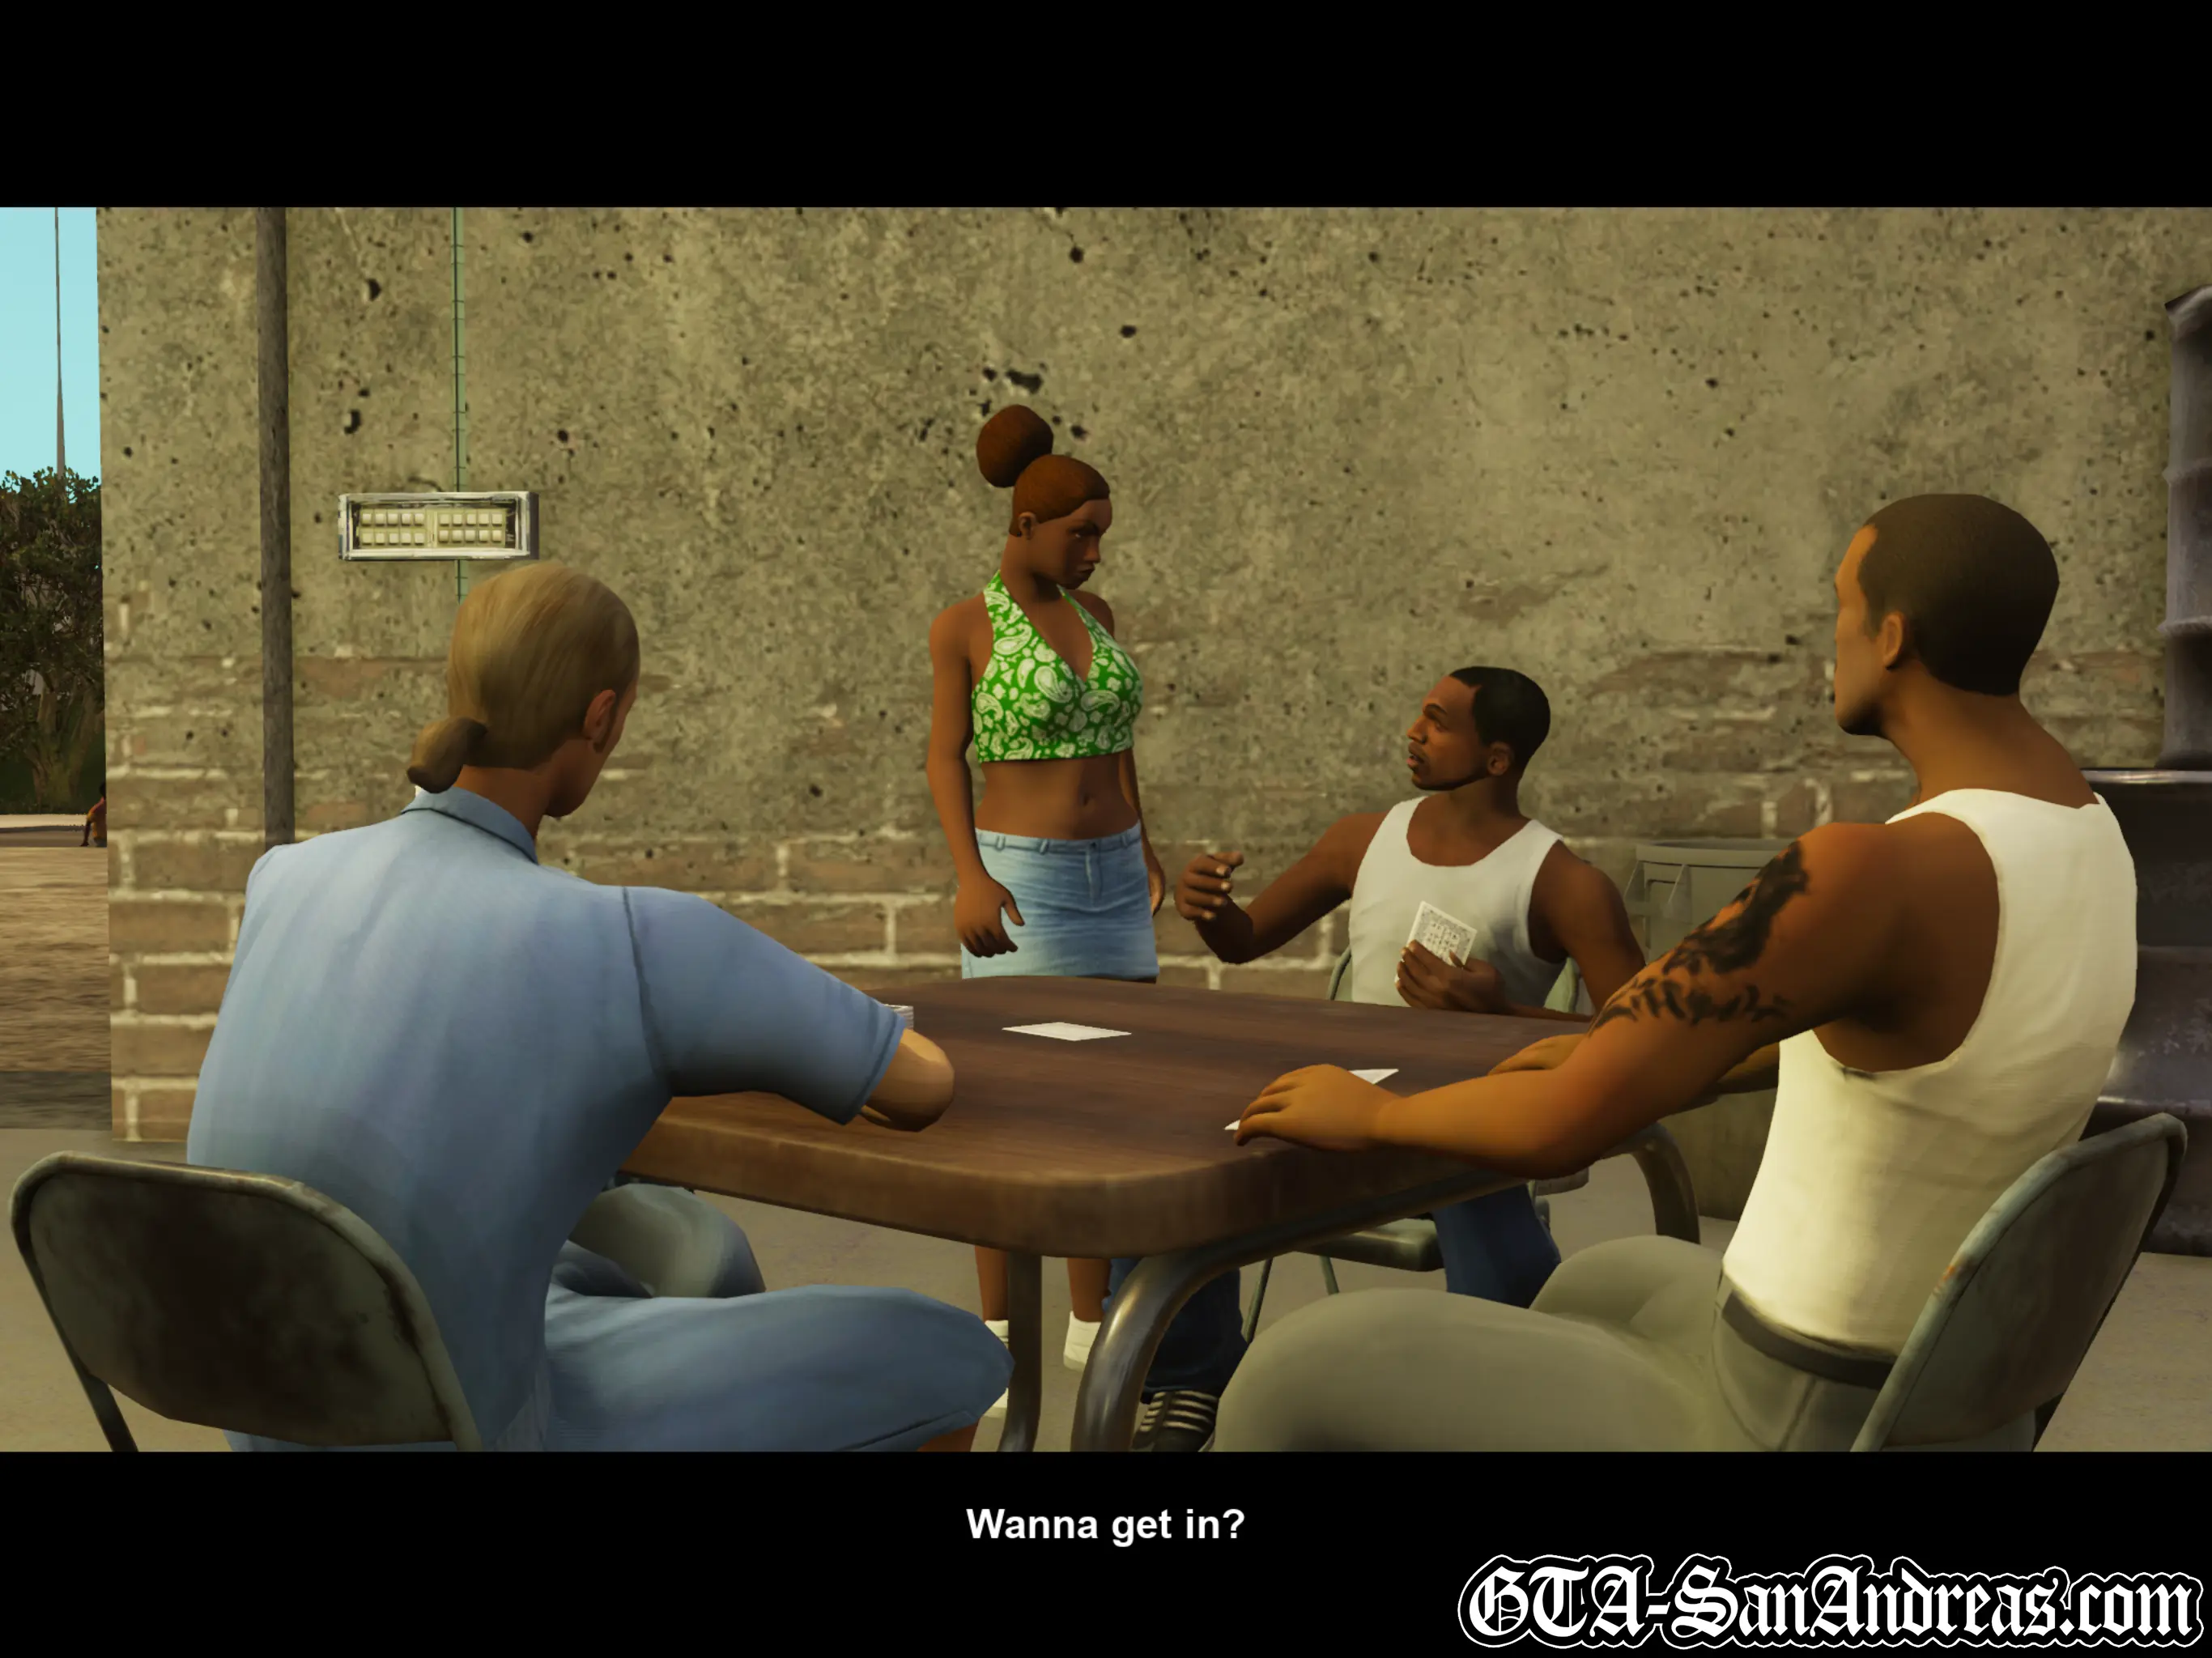
 Zeroing In
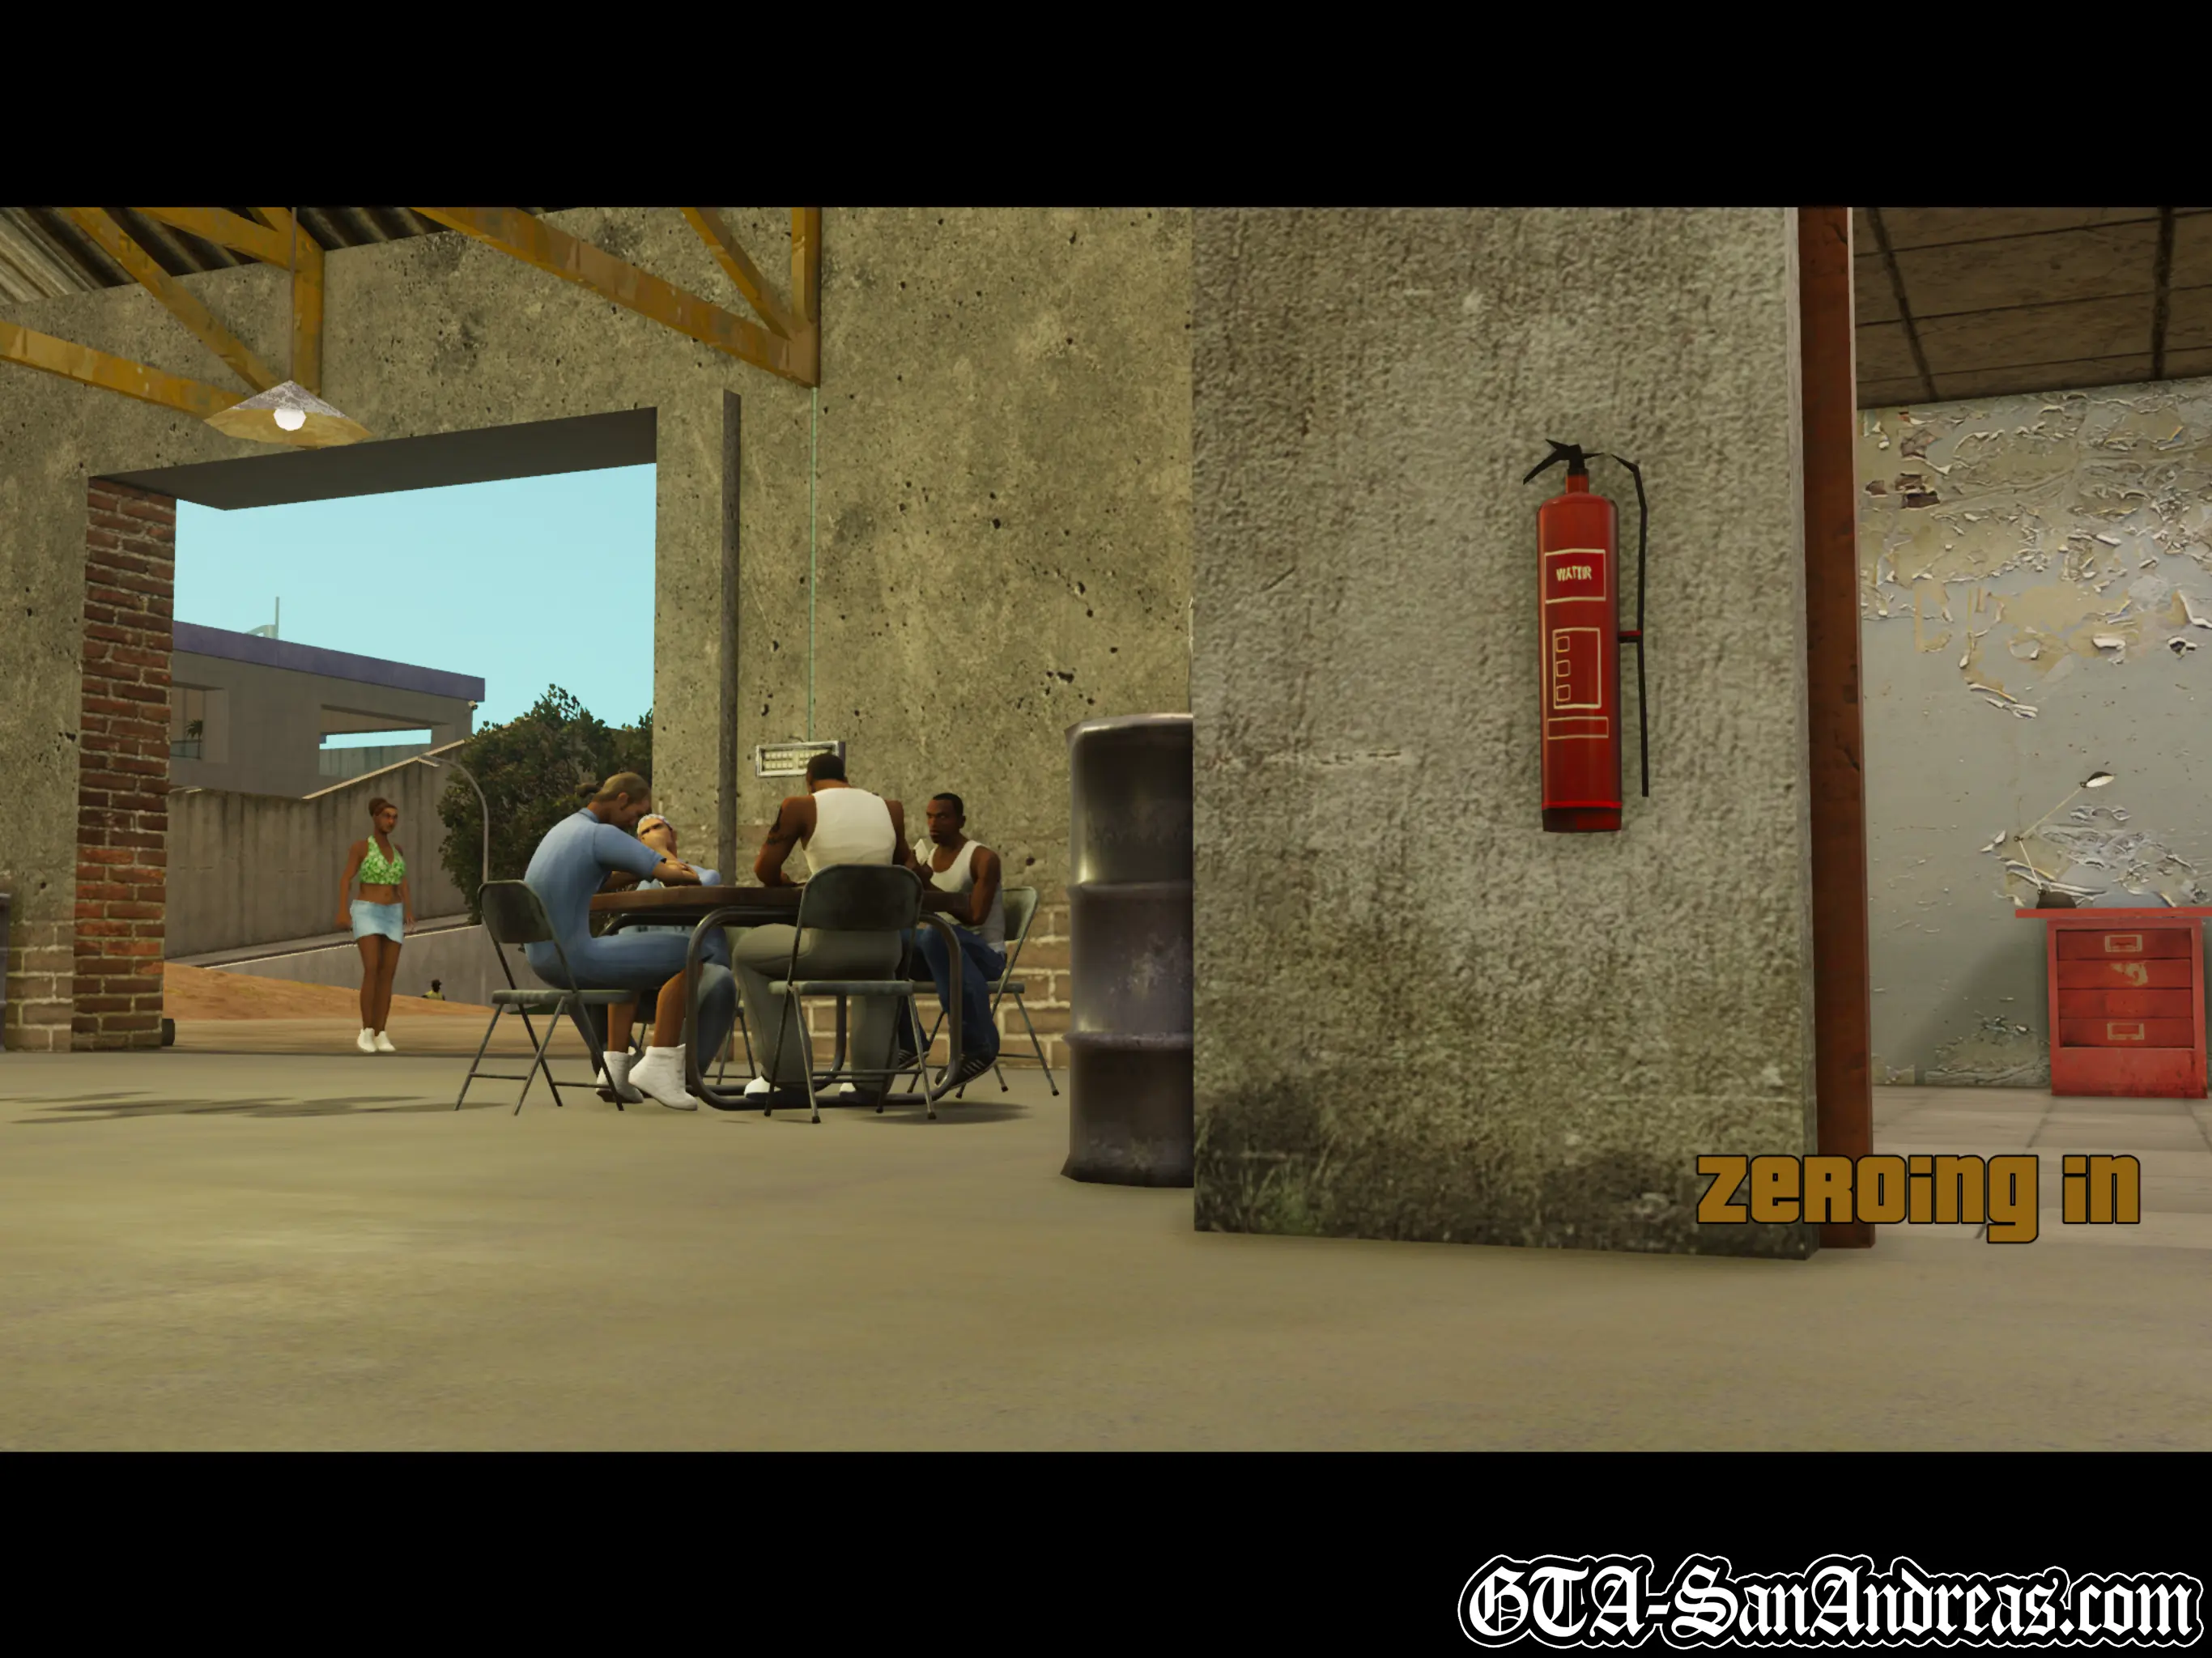
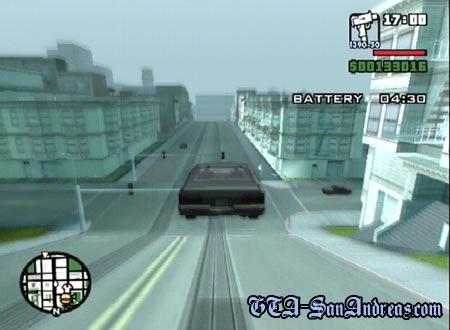
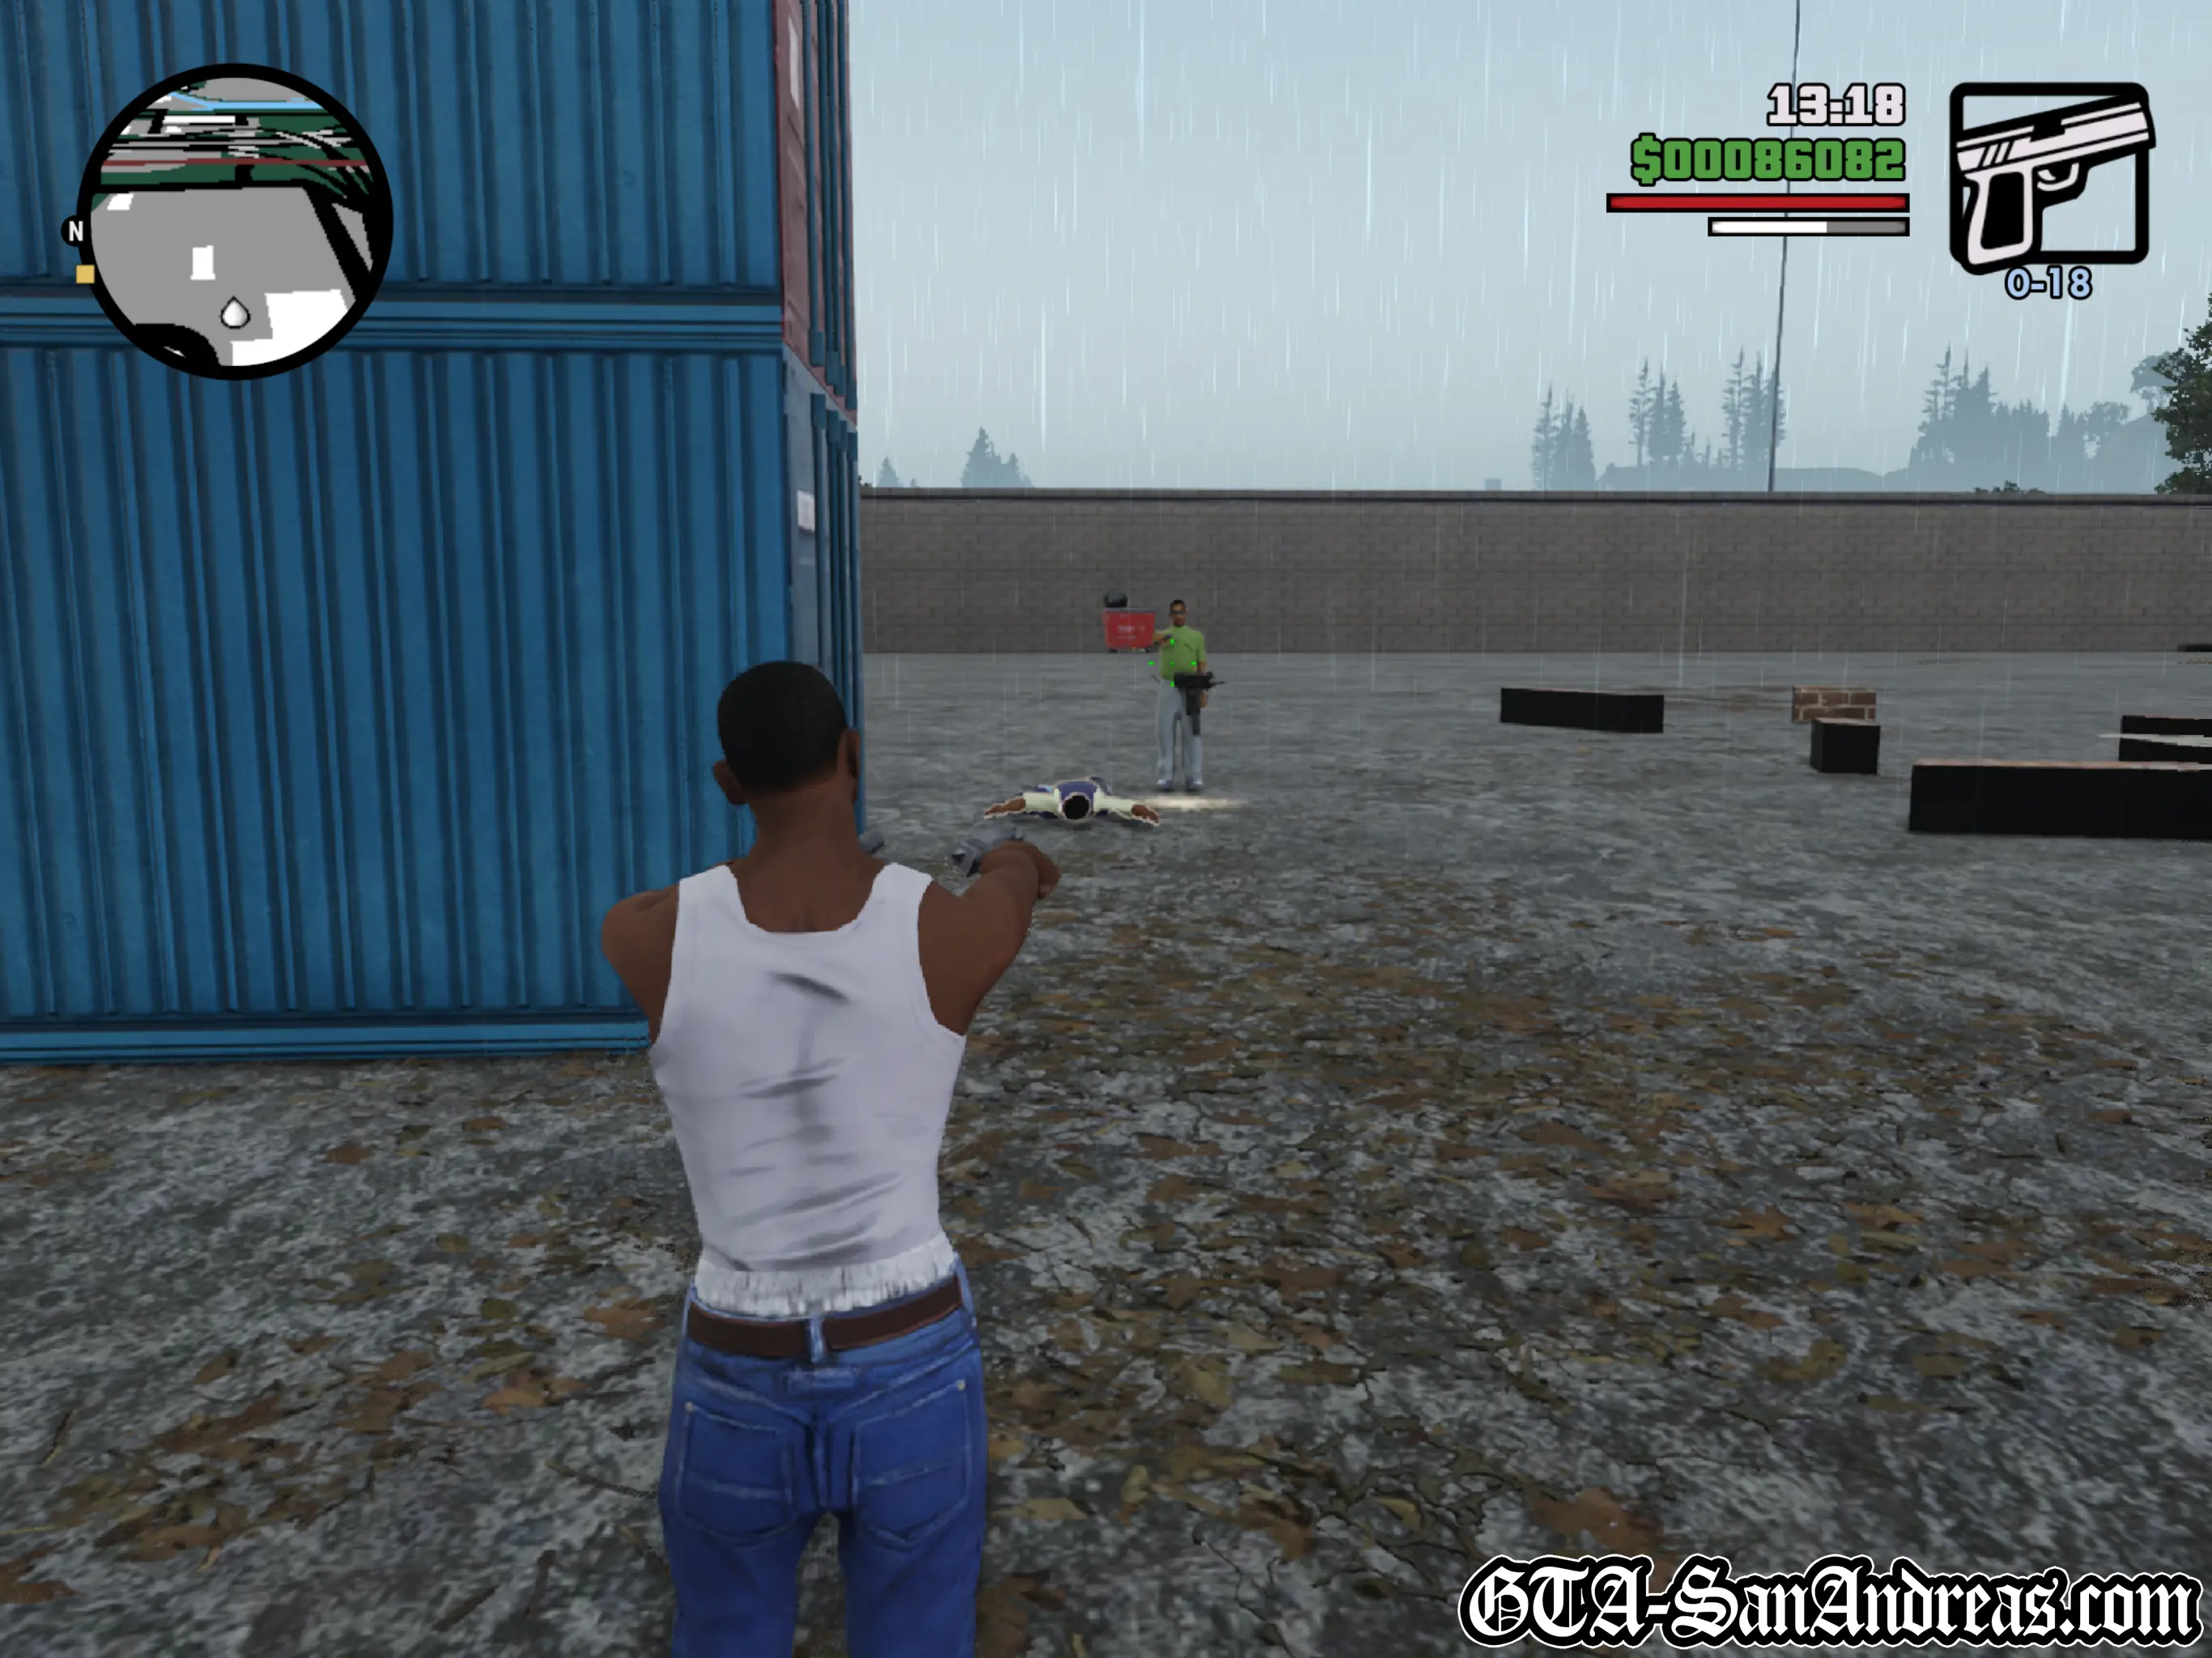
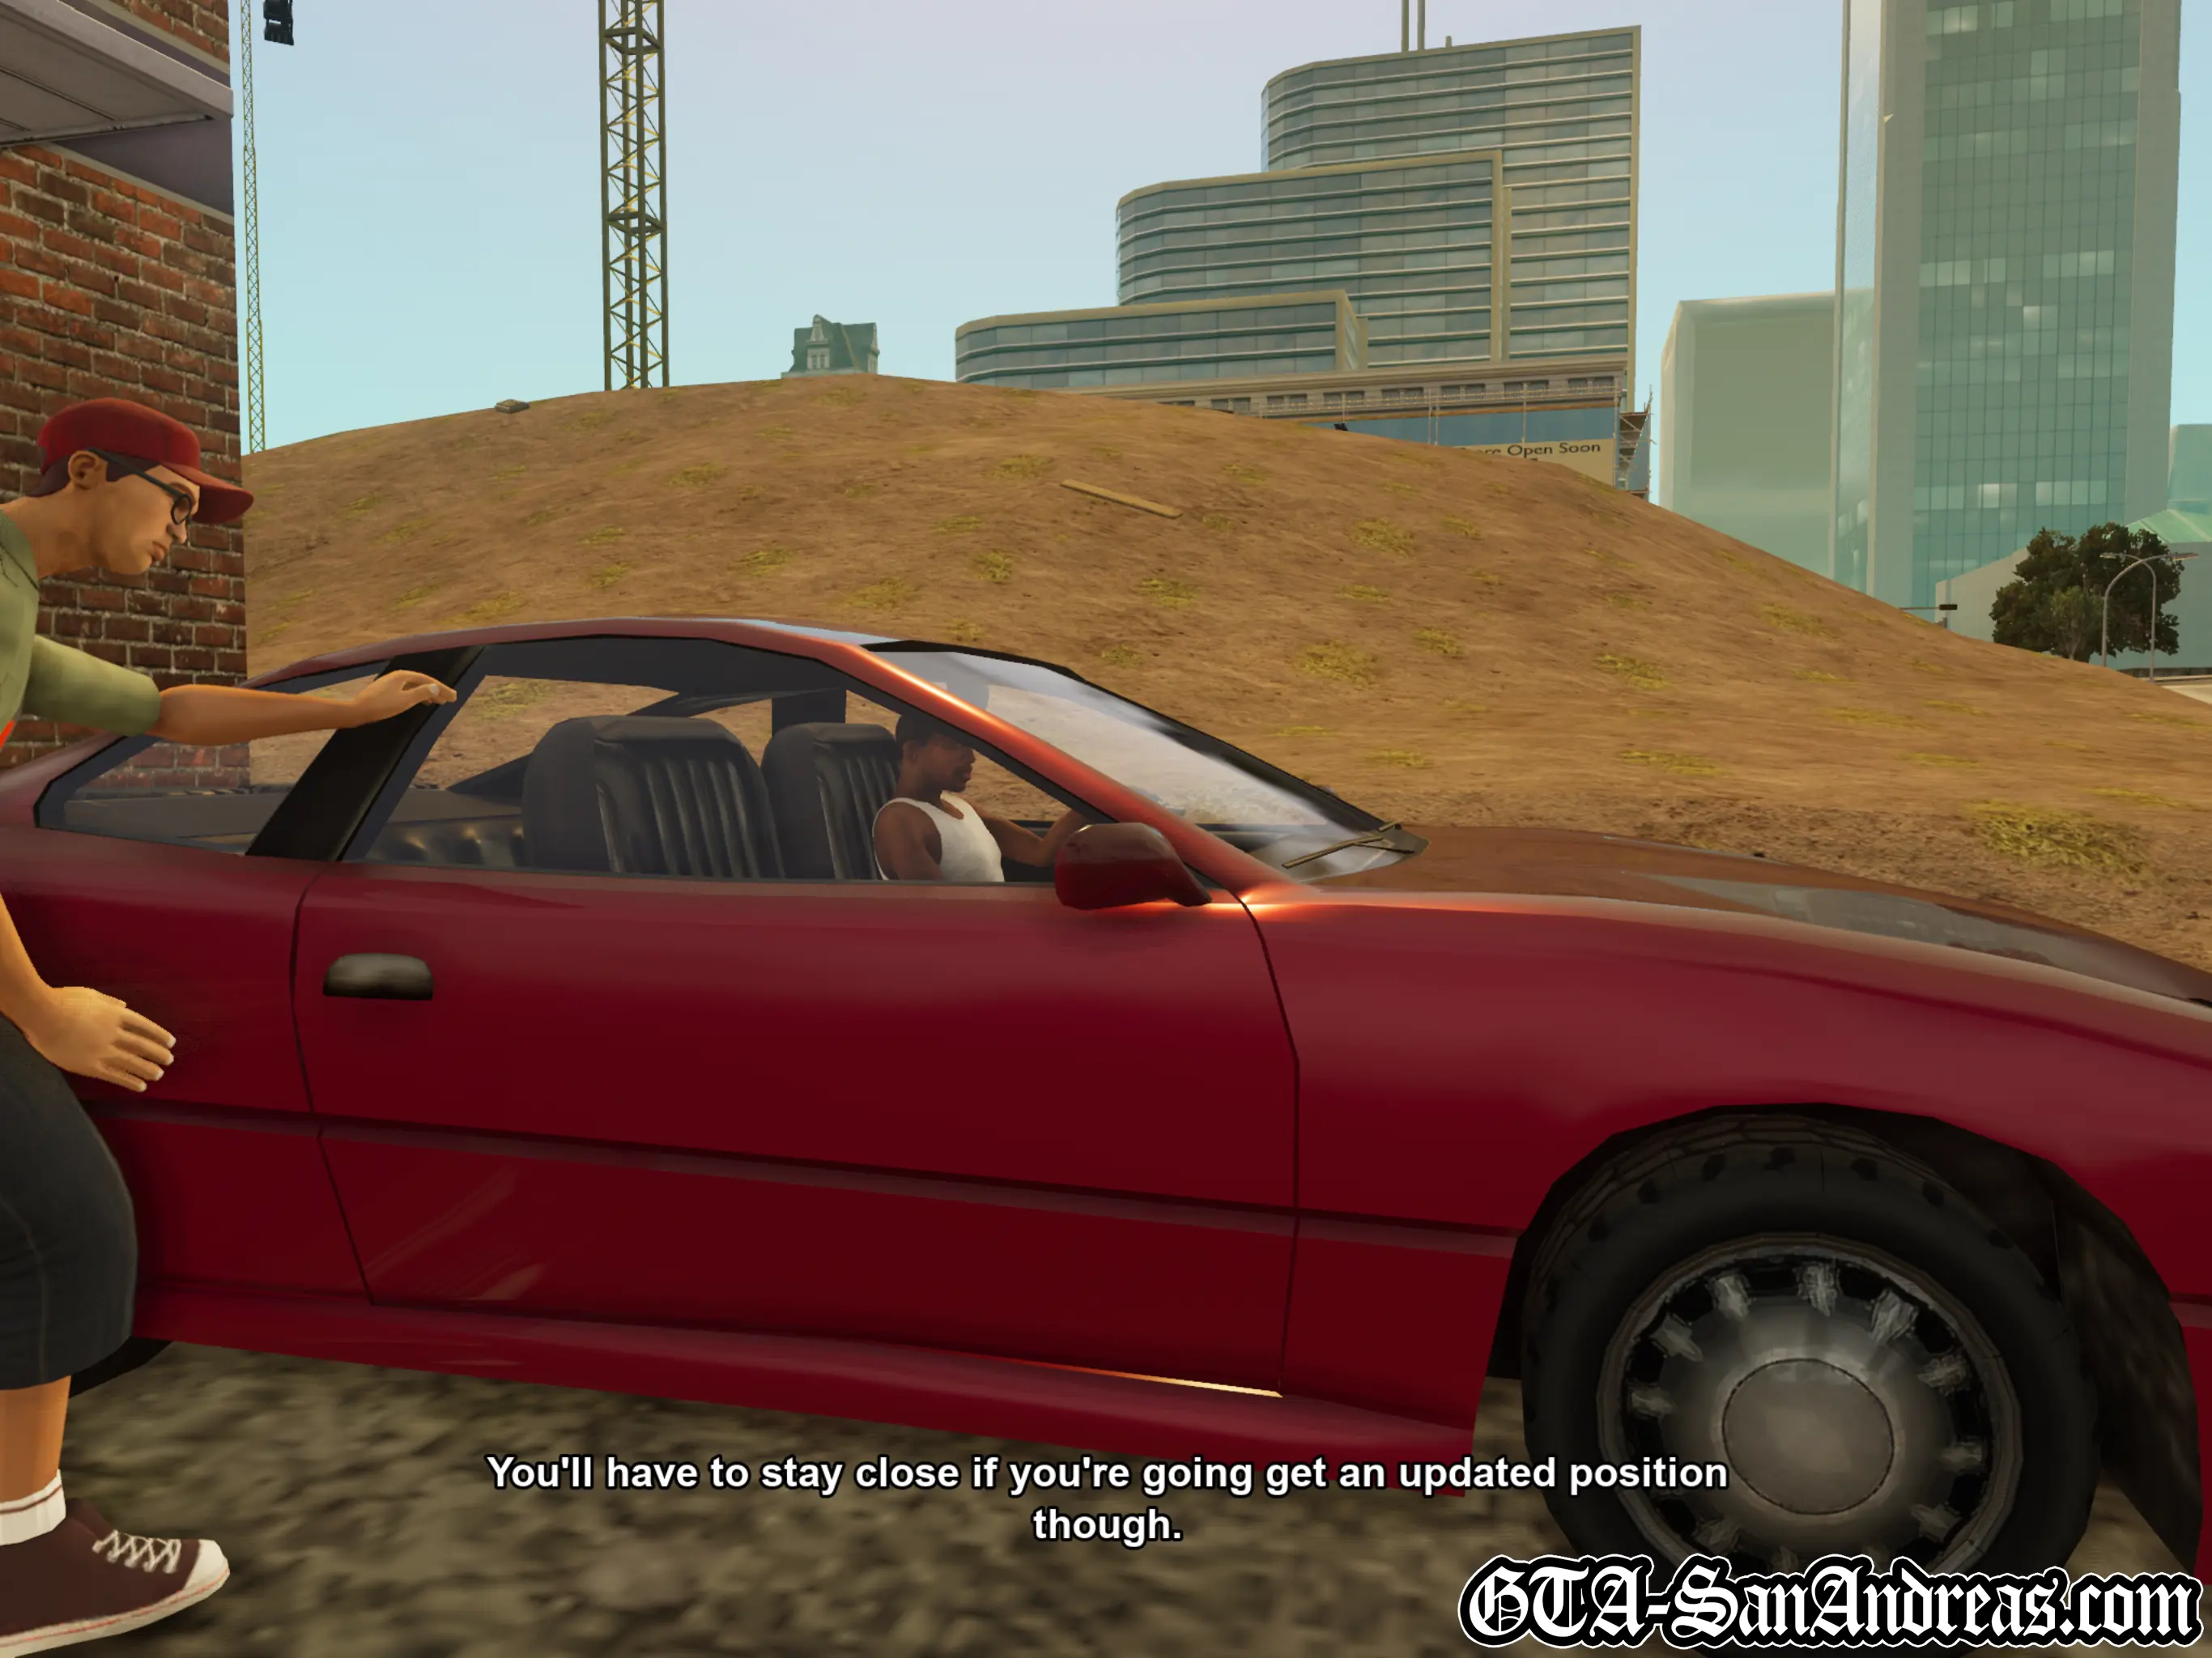
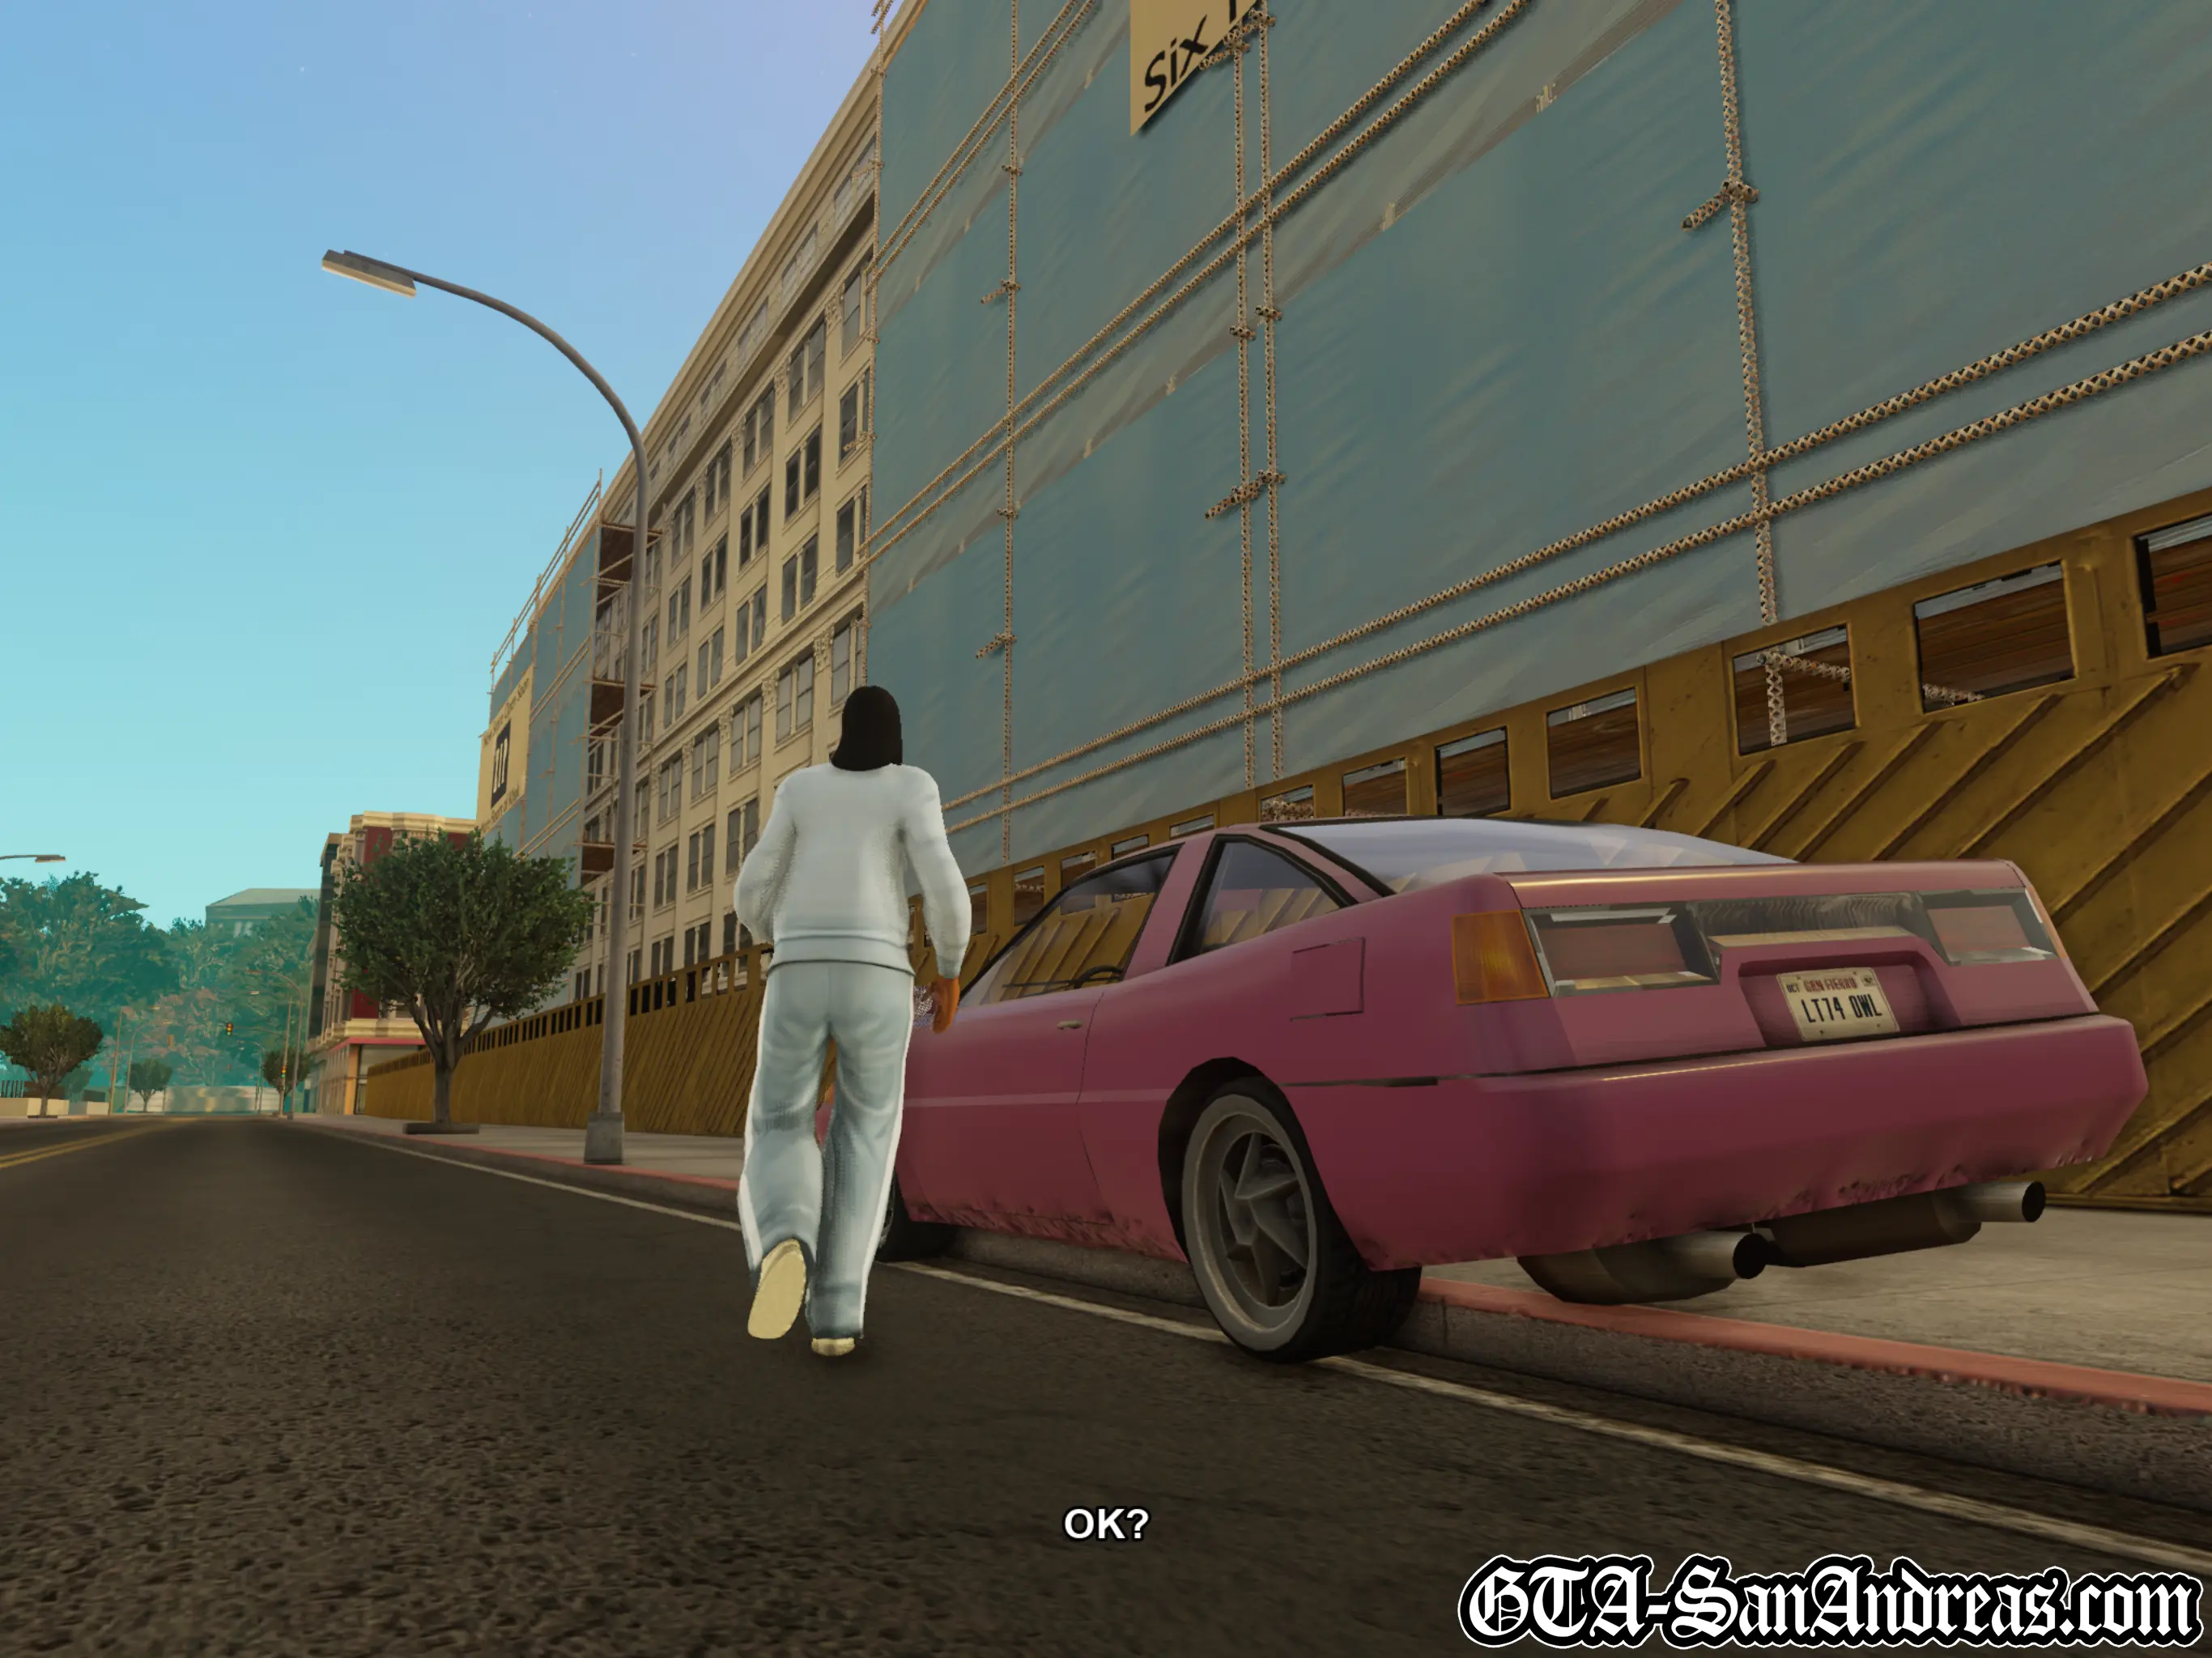
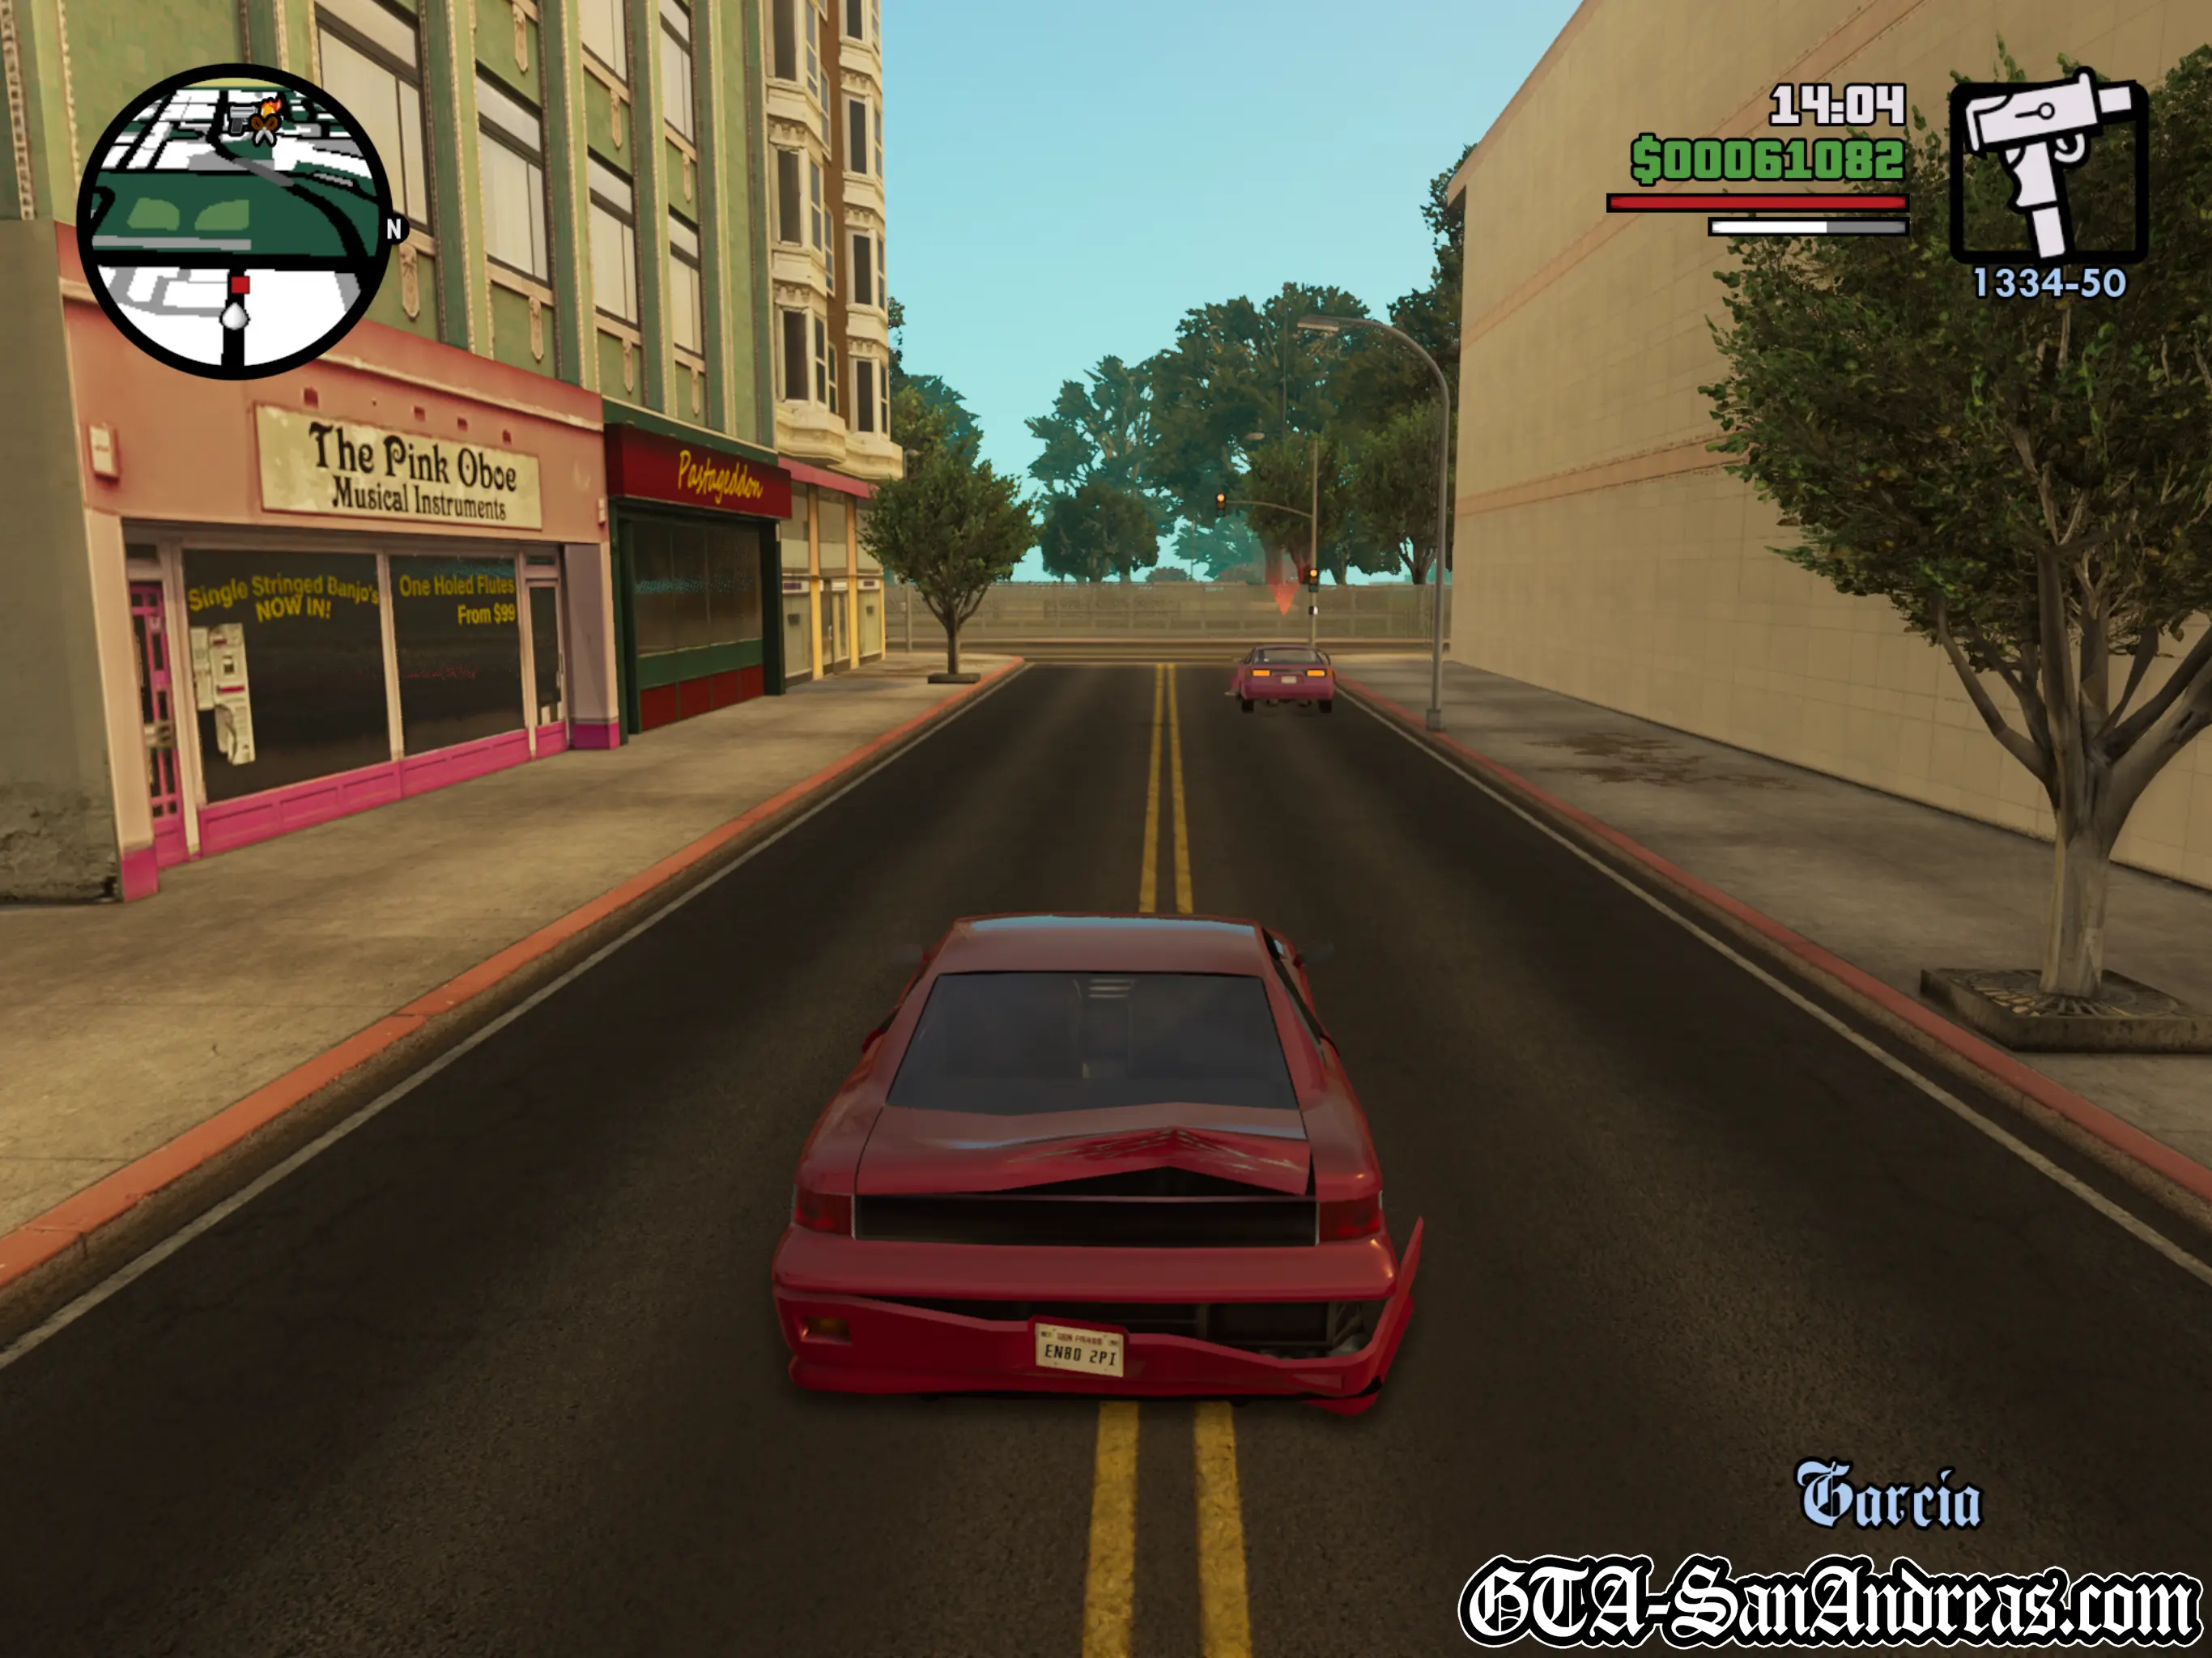
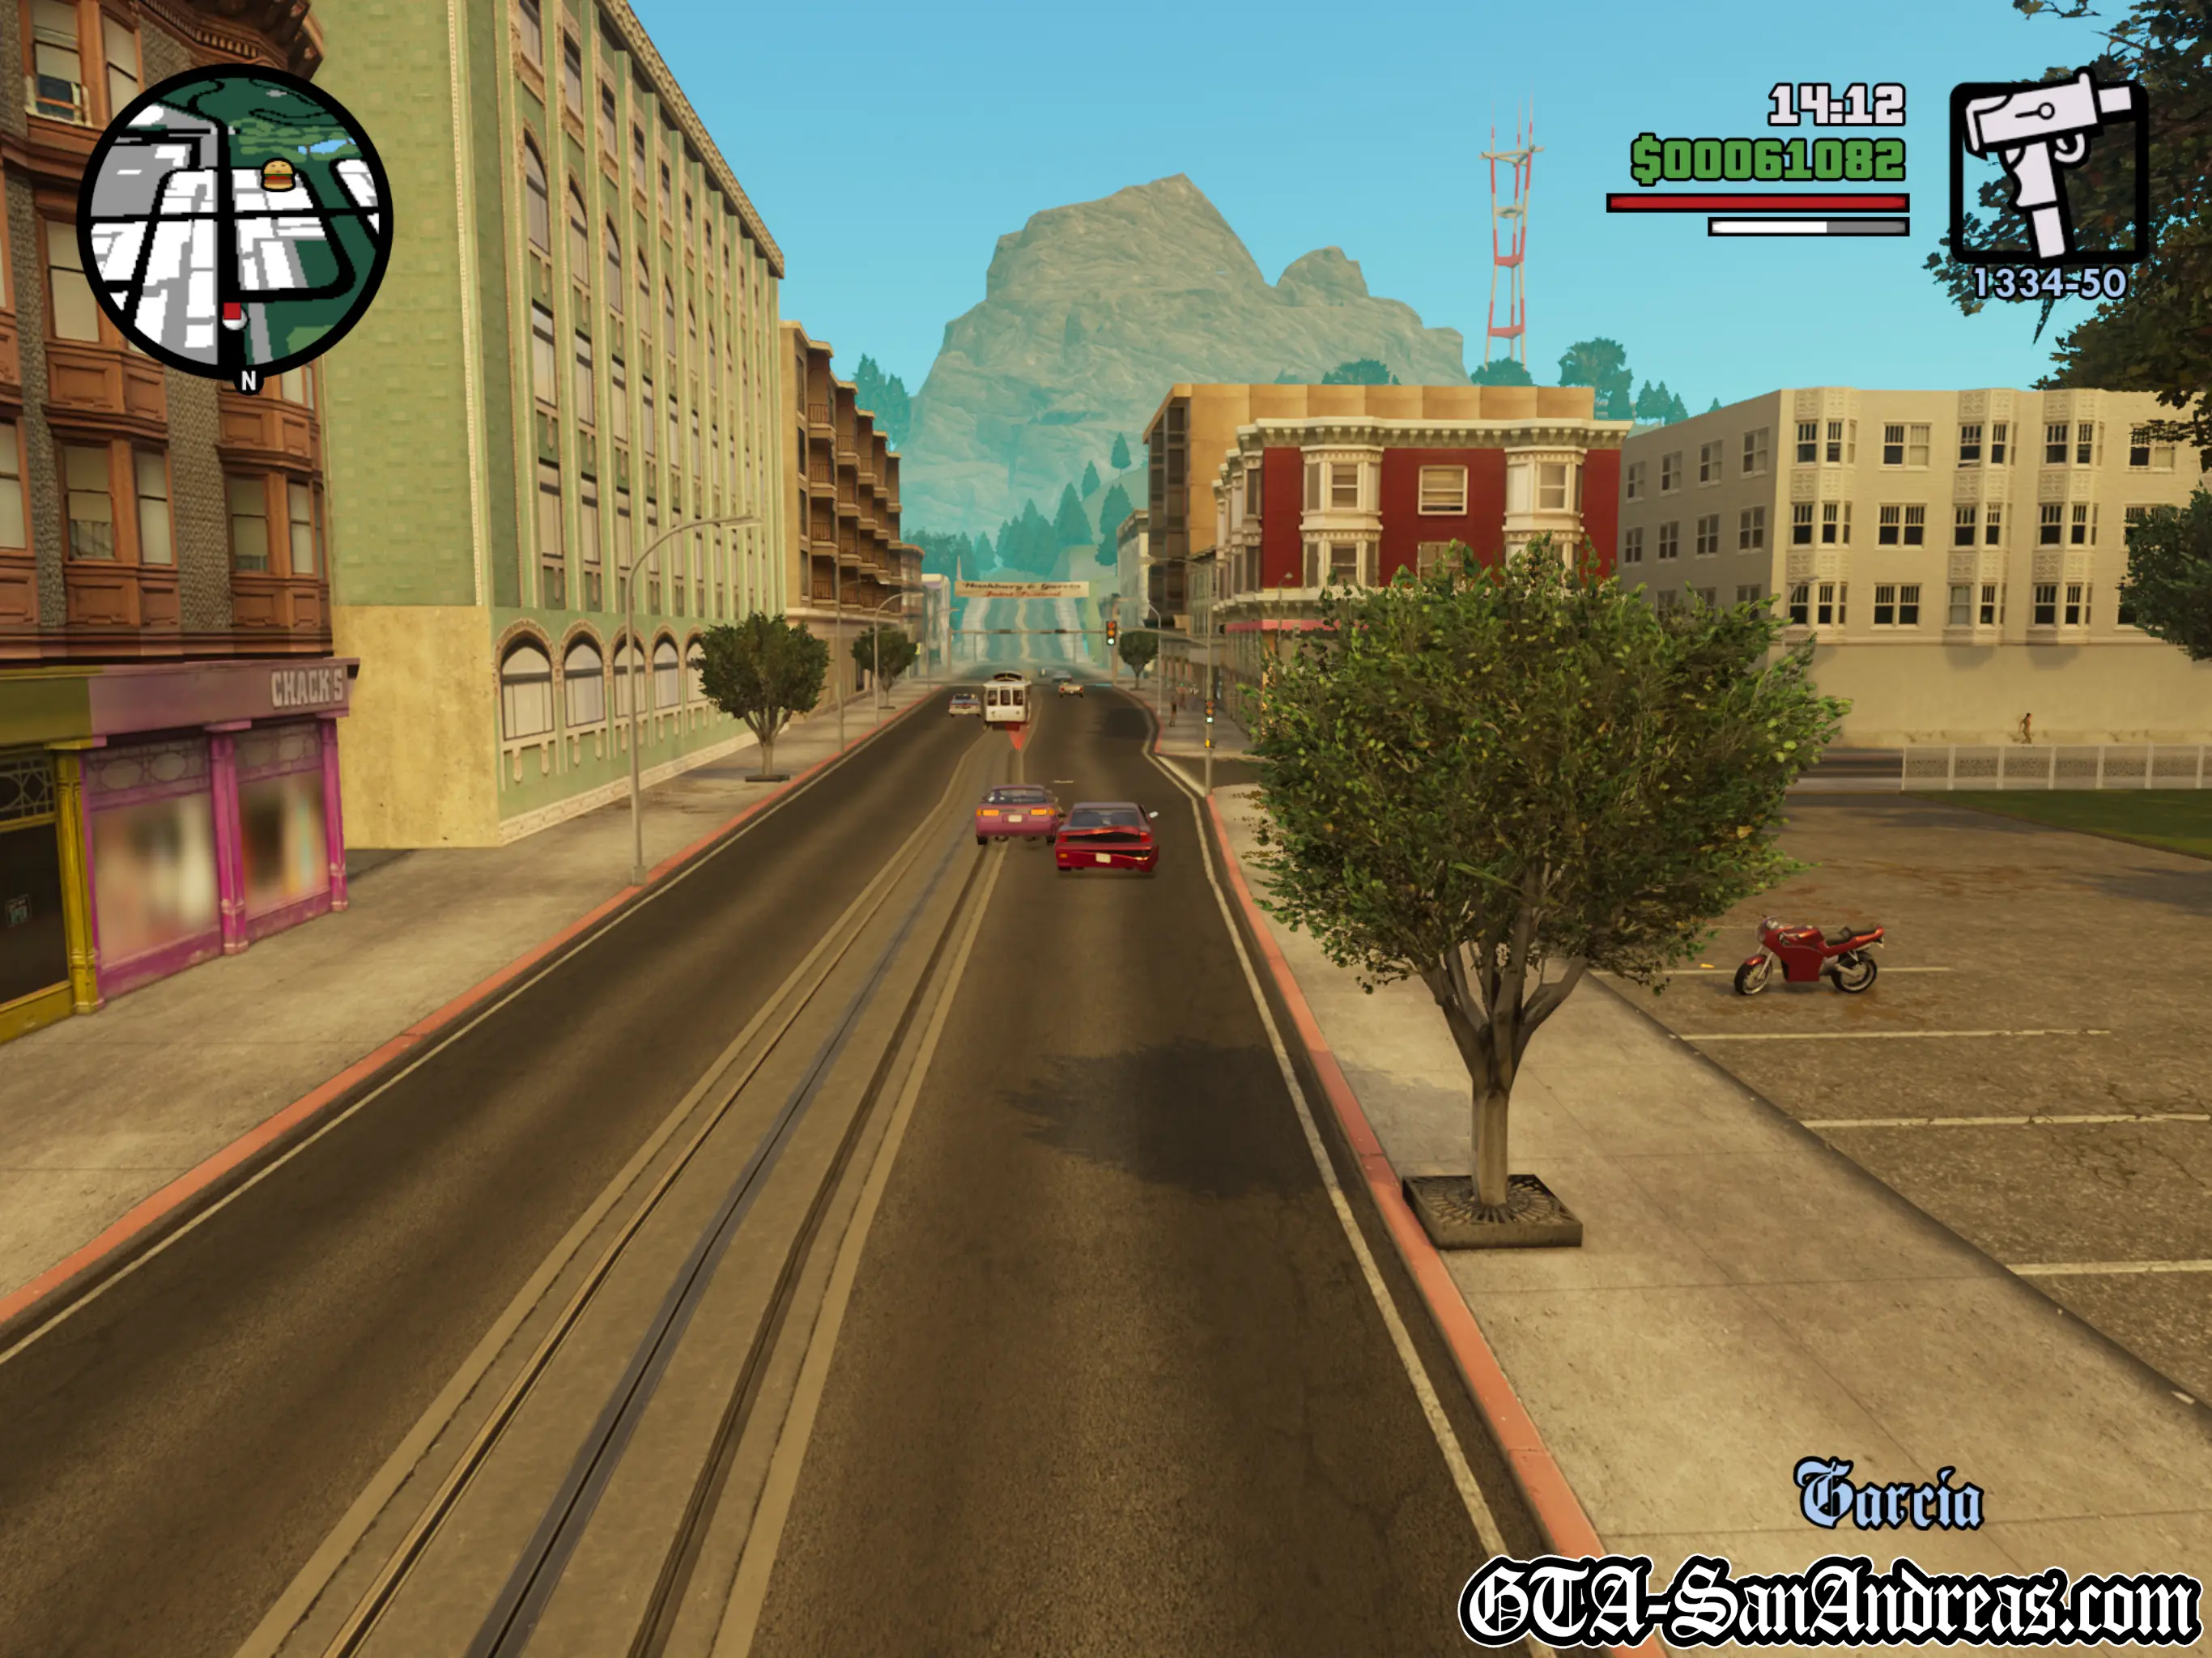
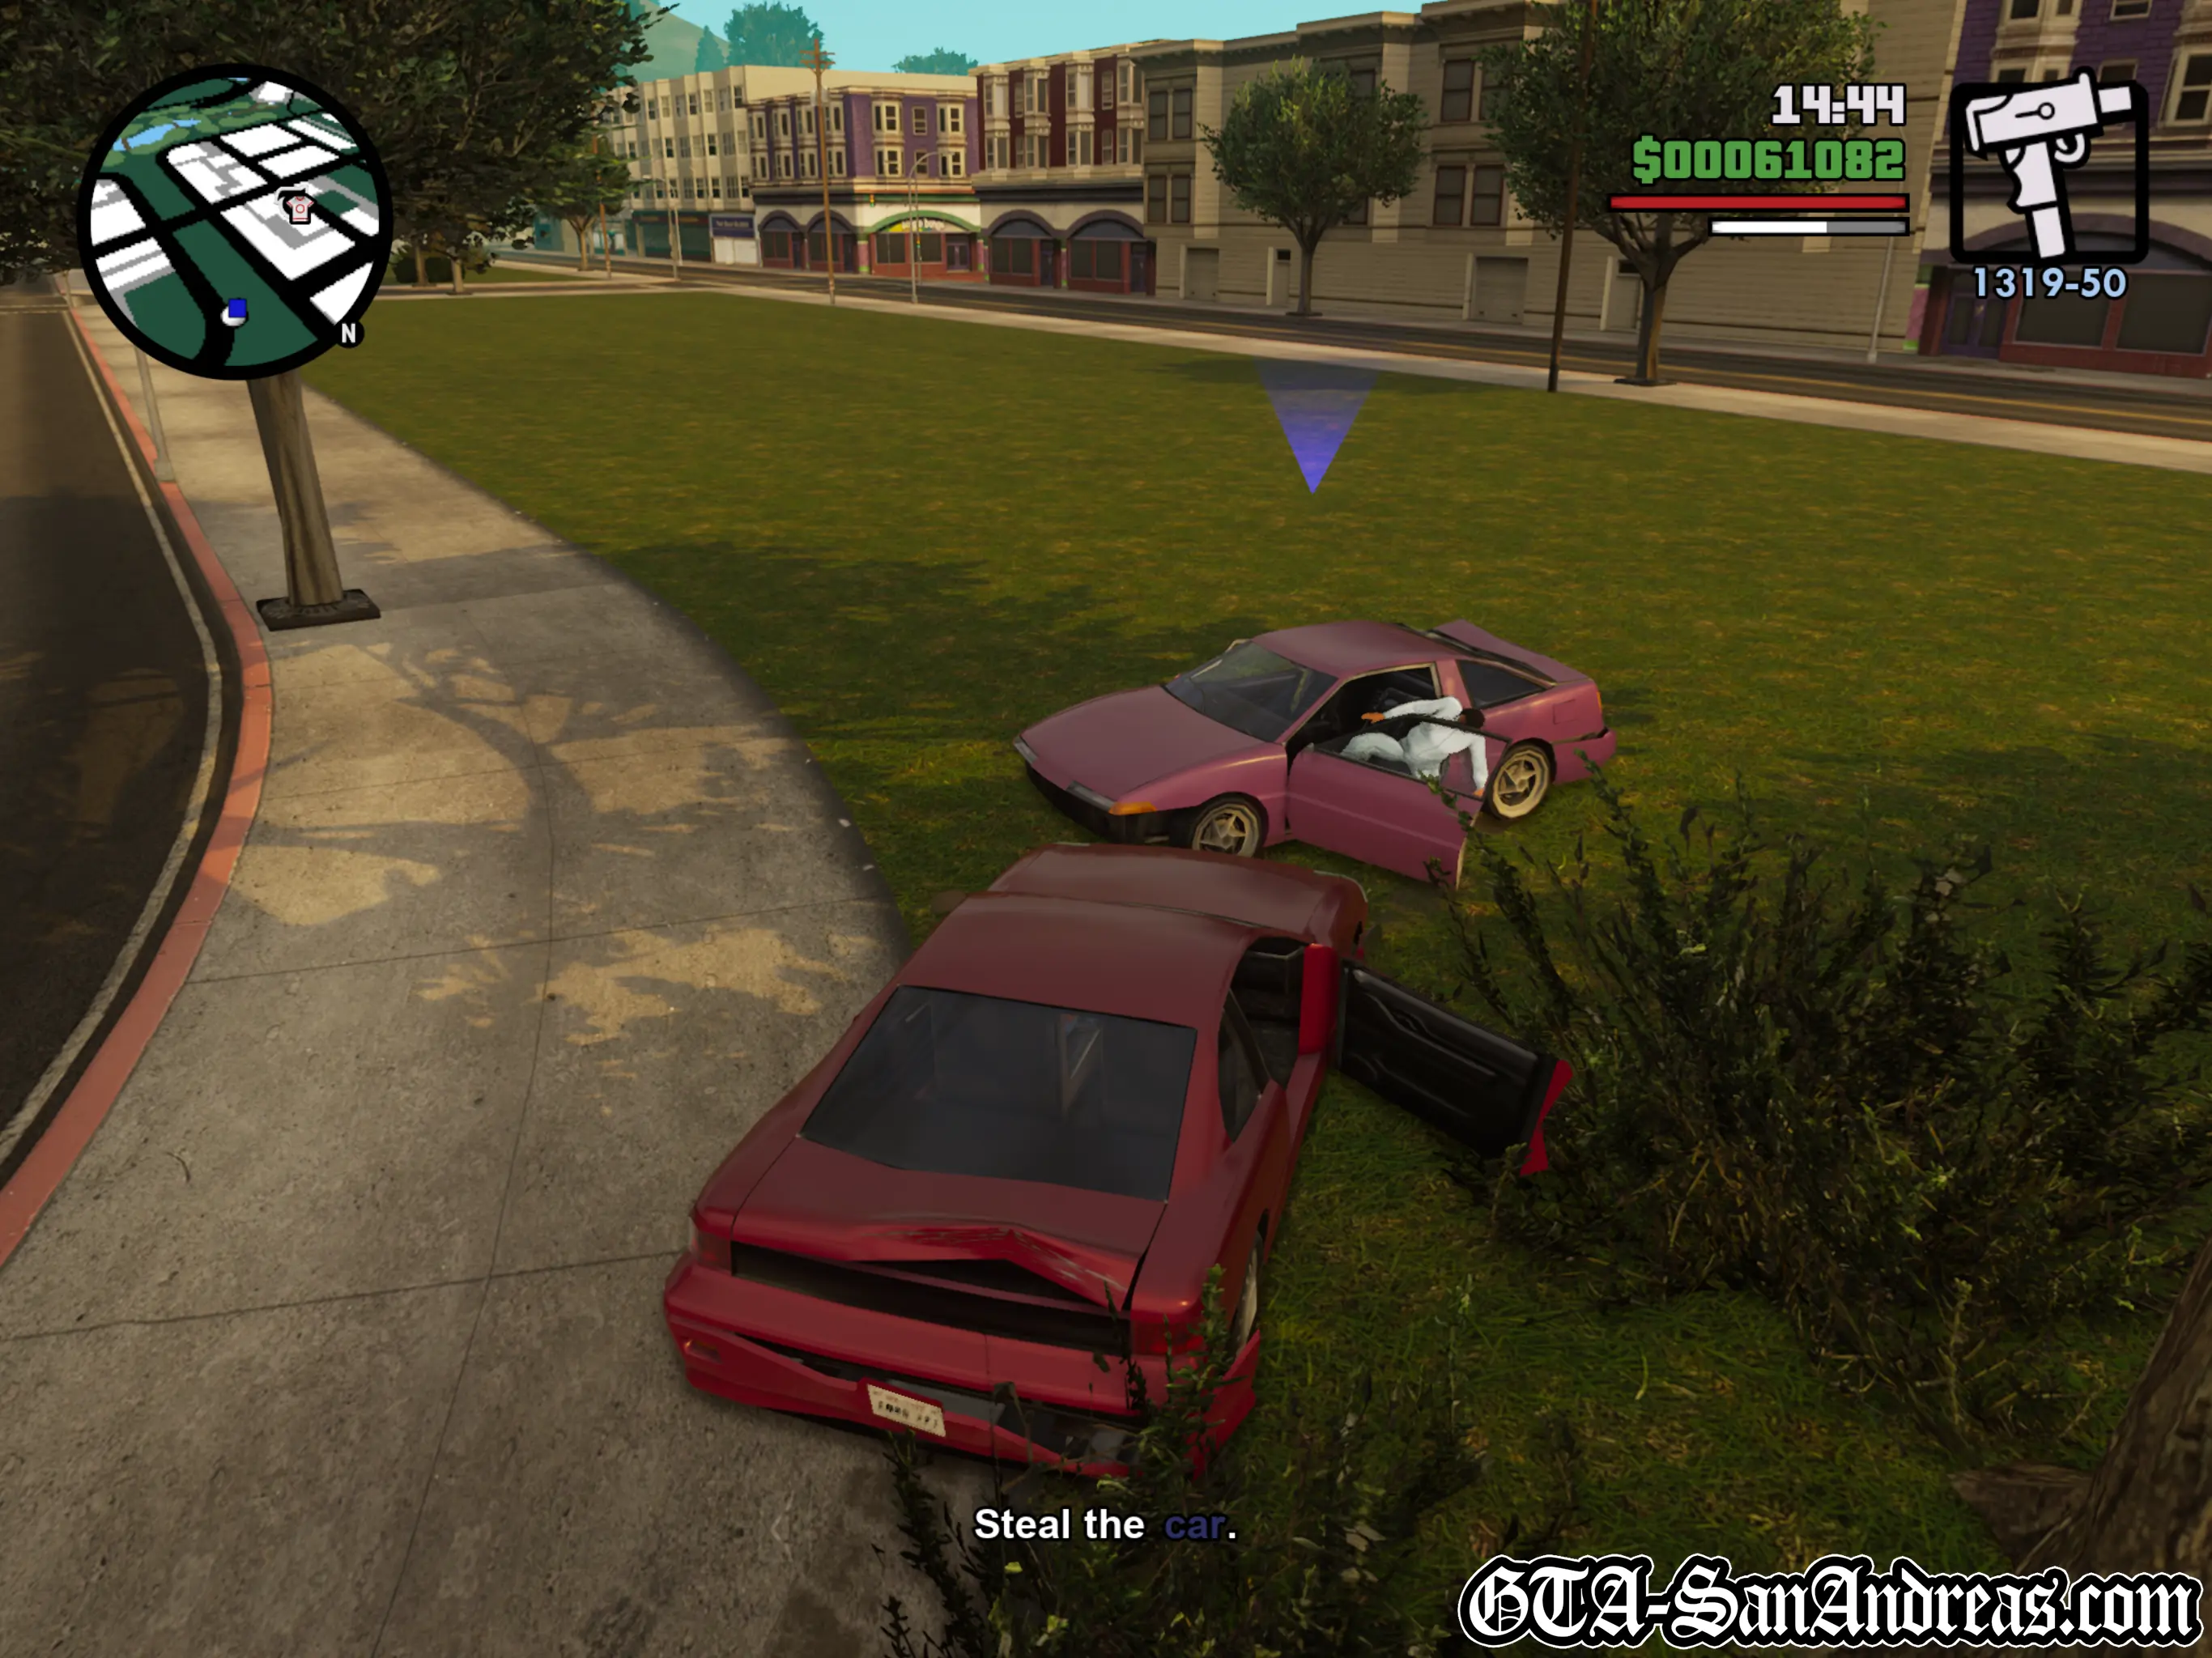
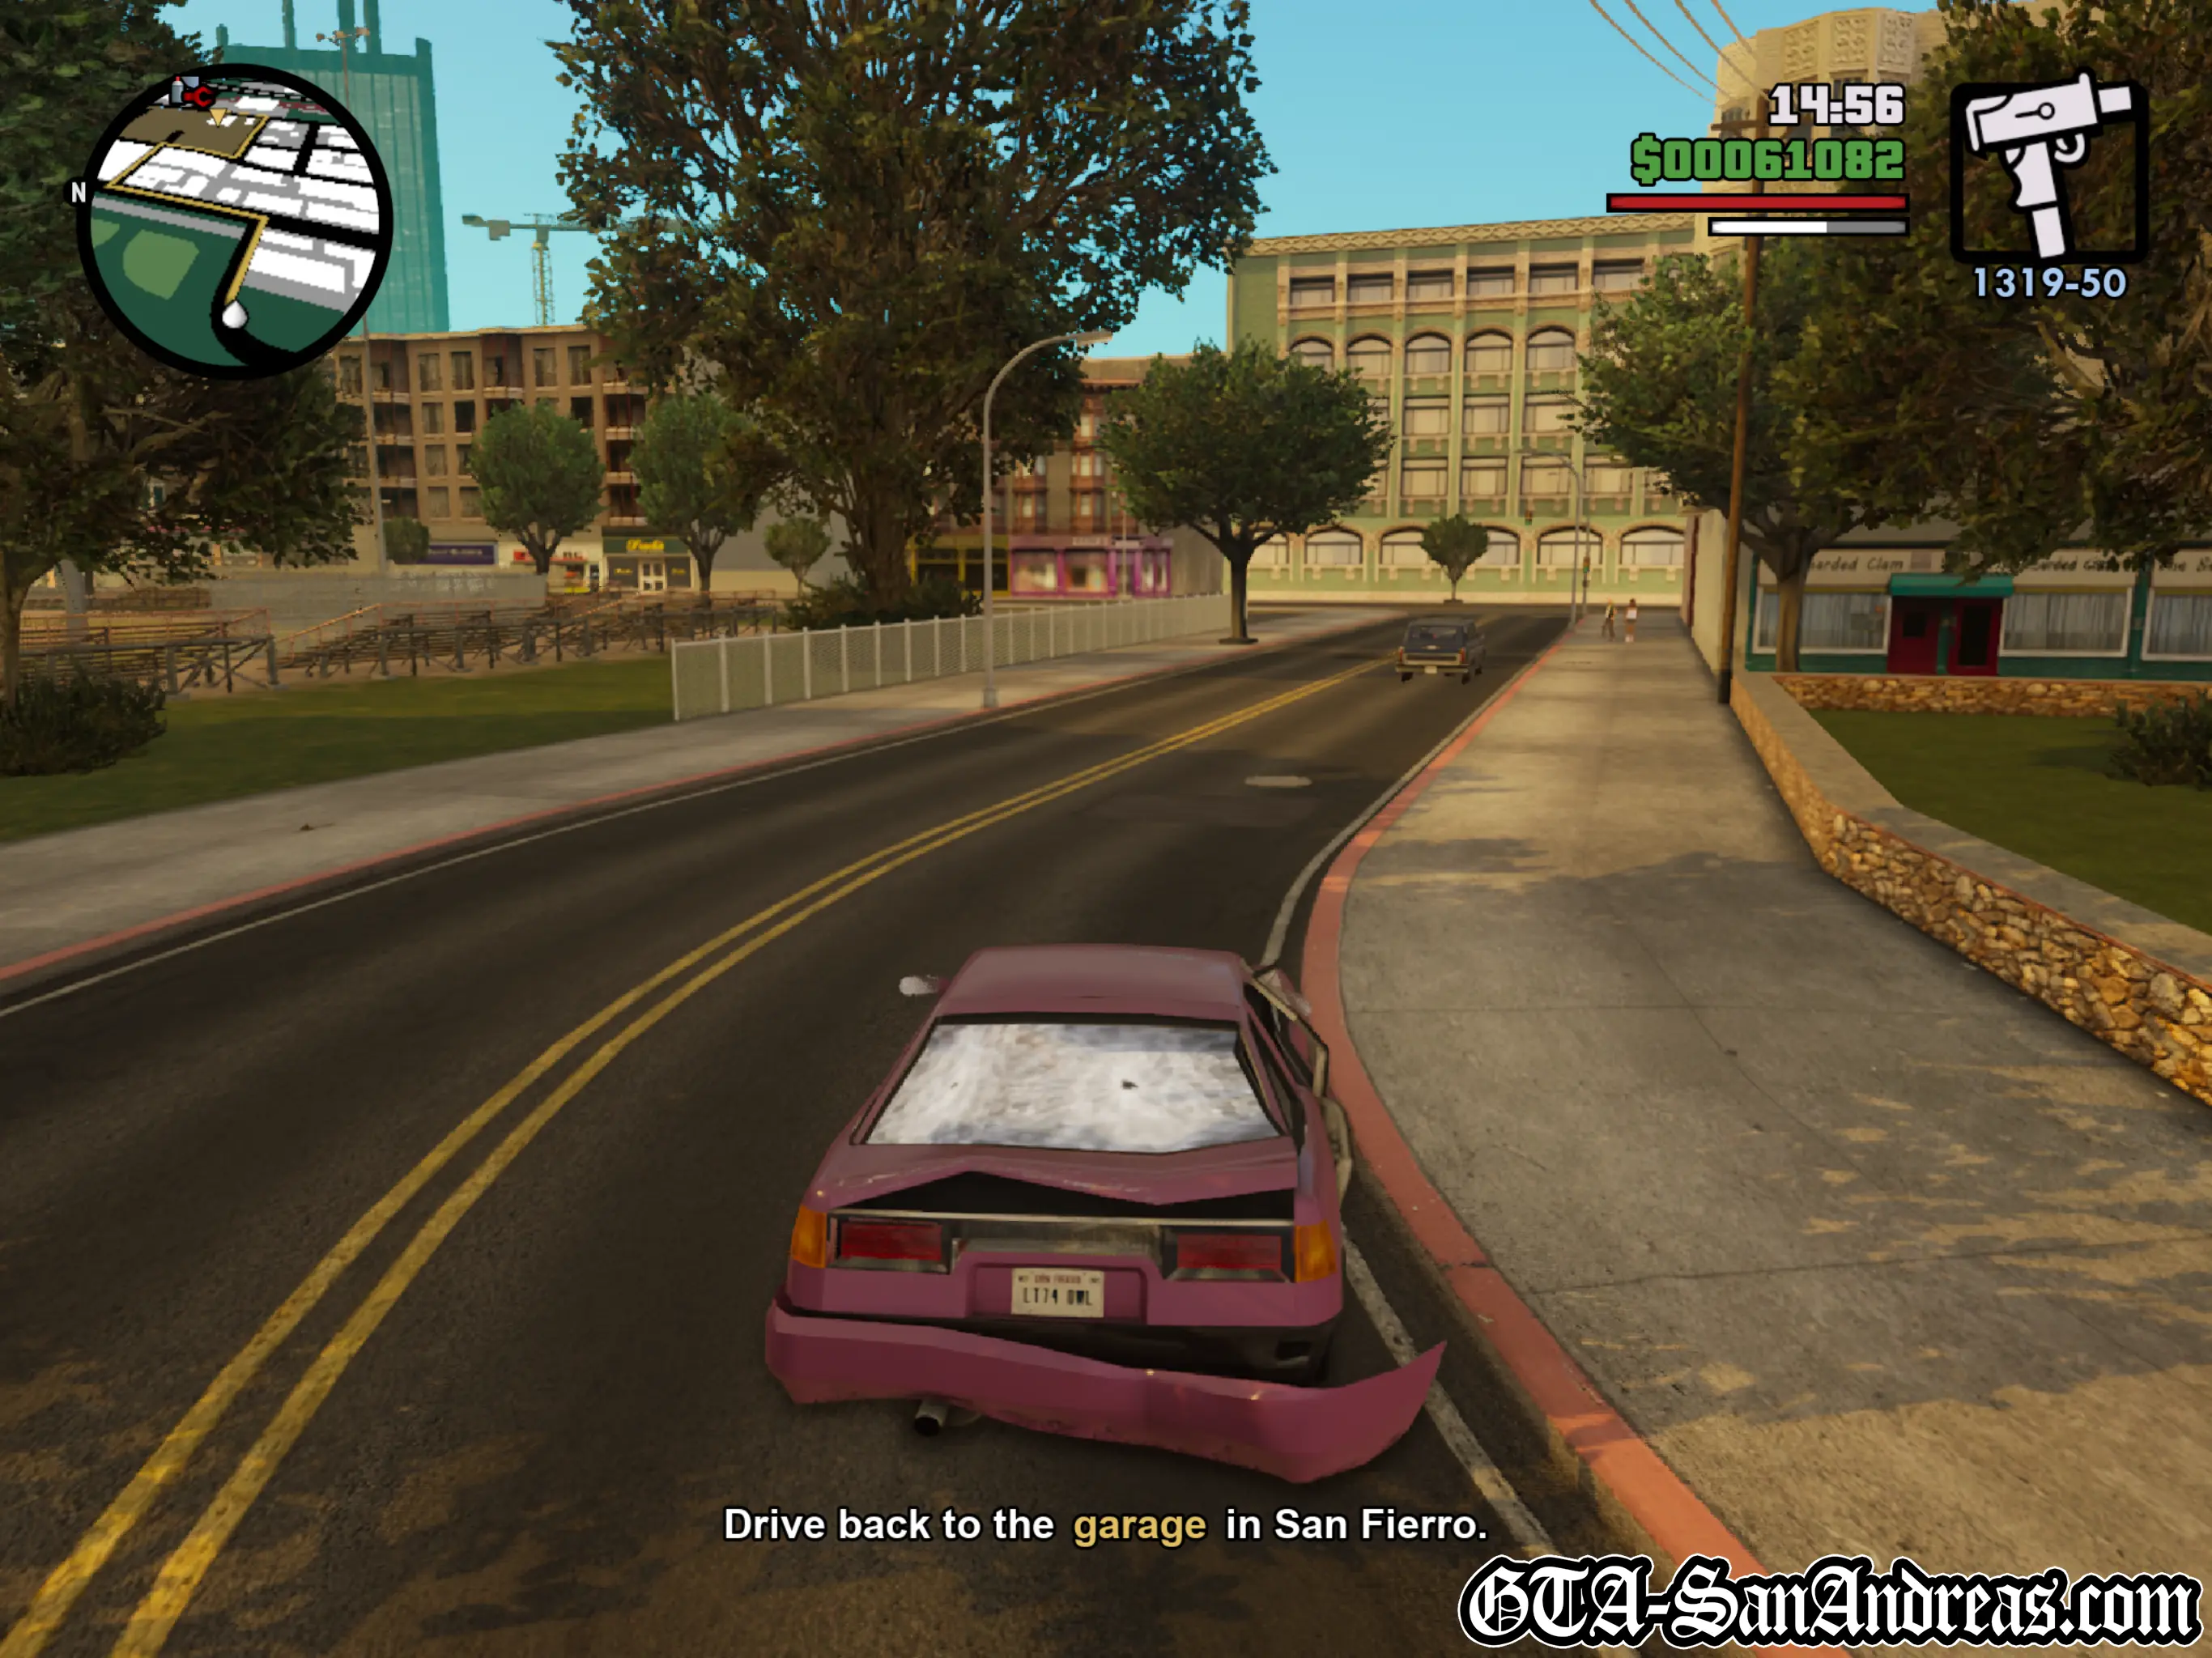
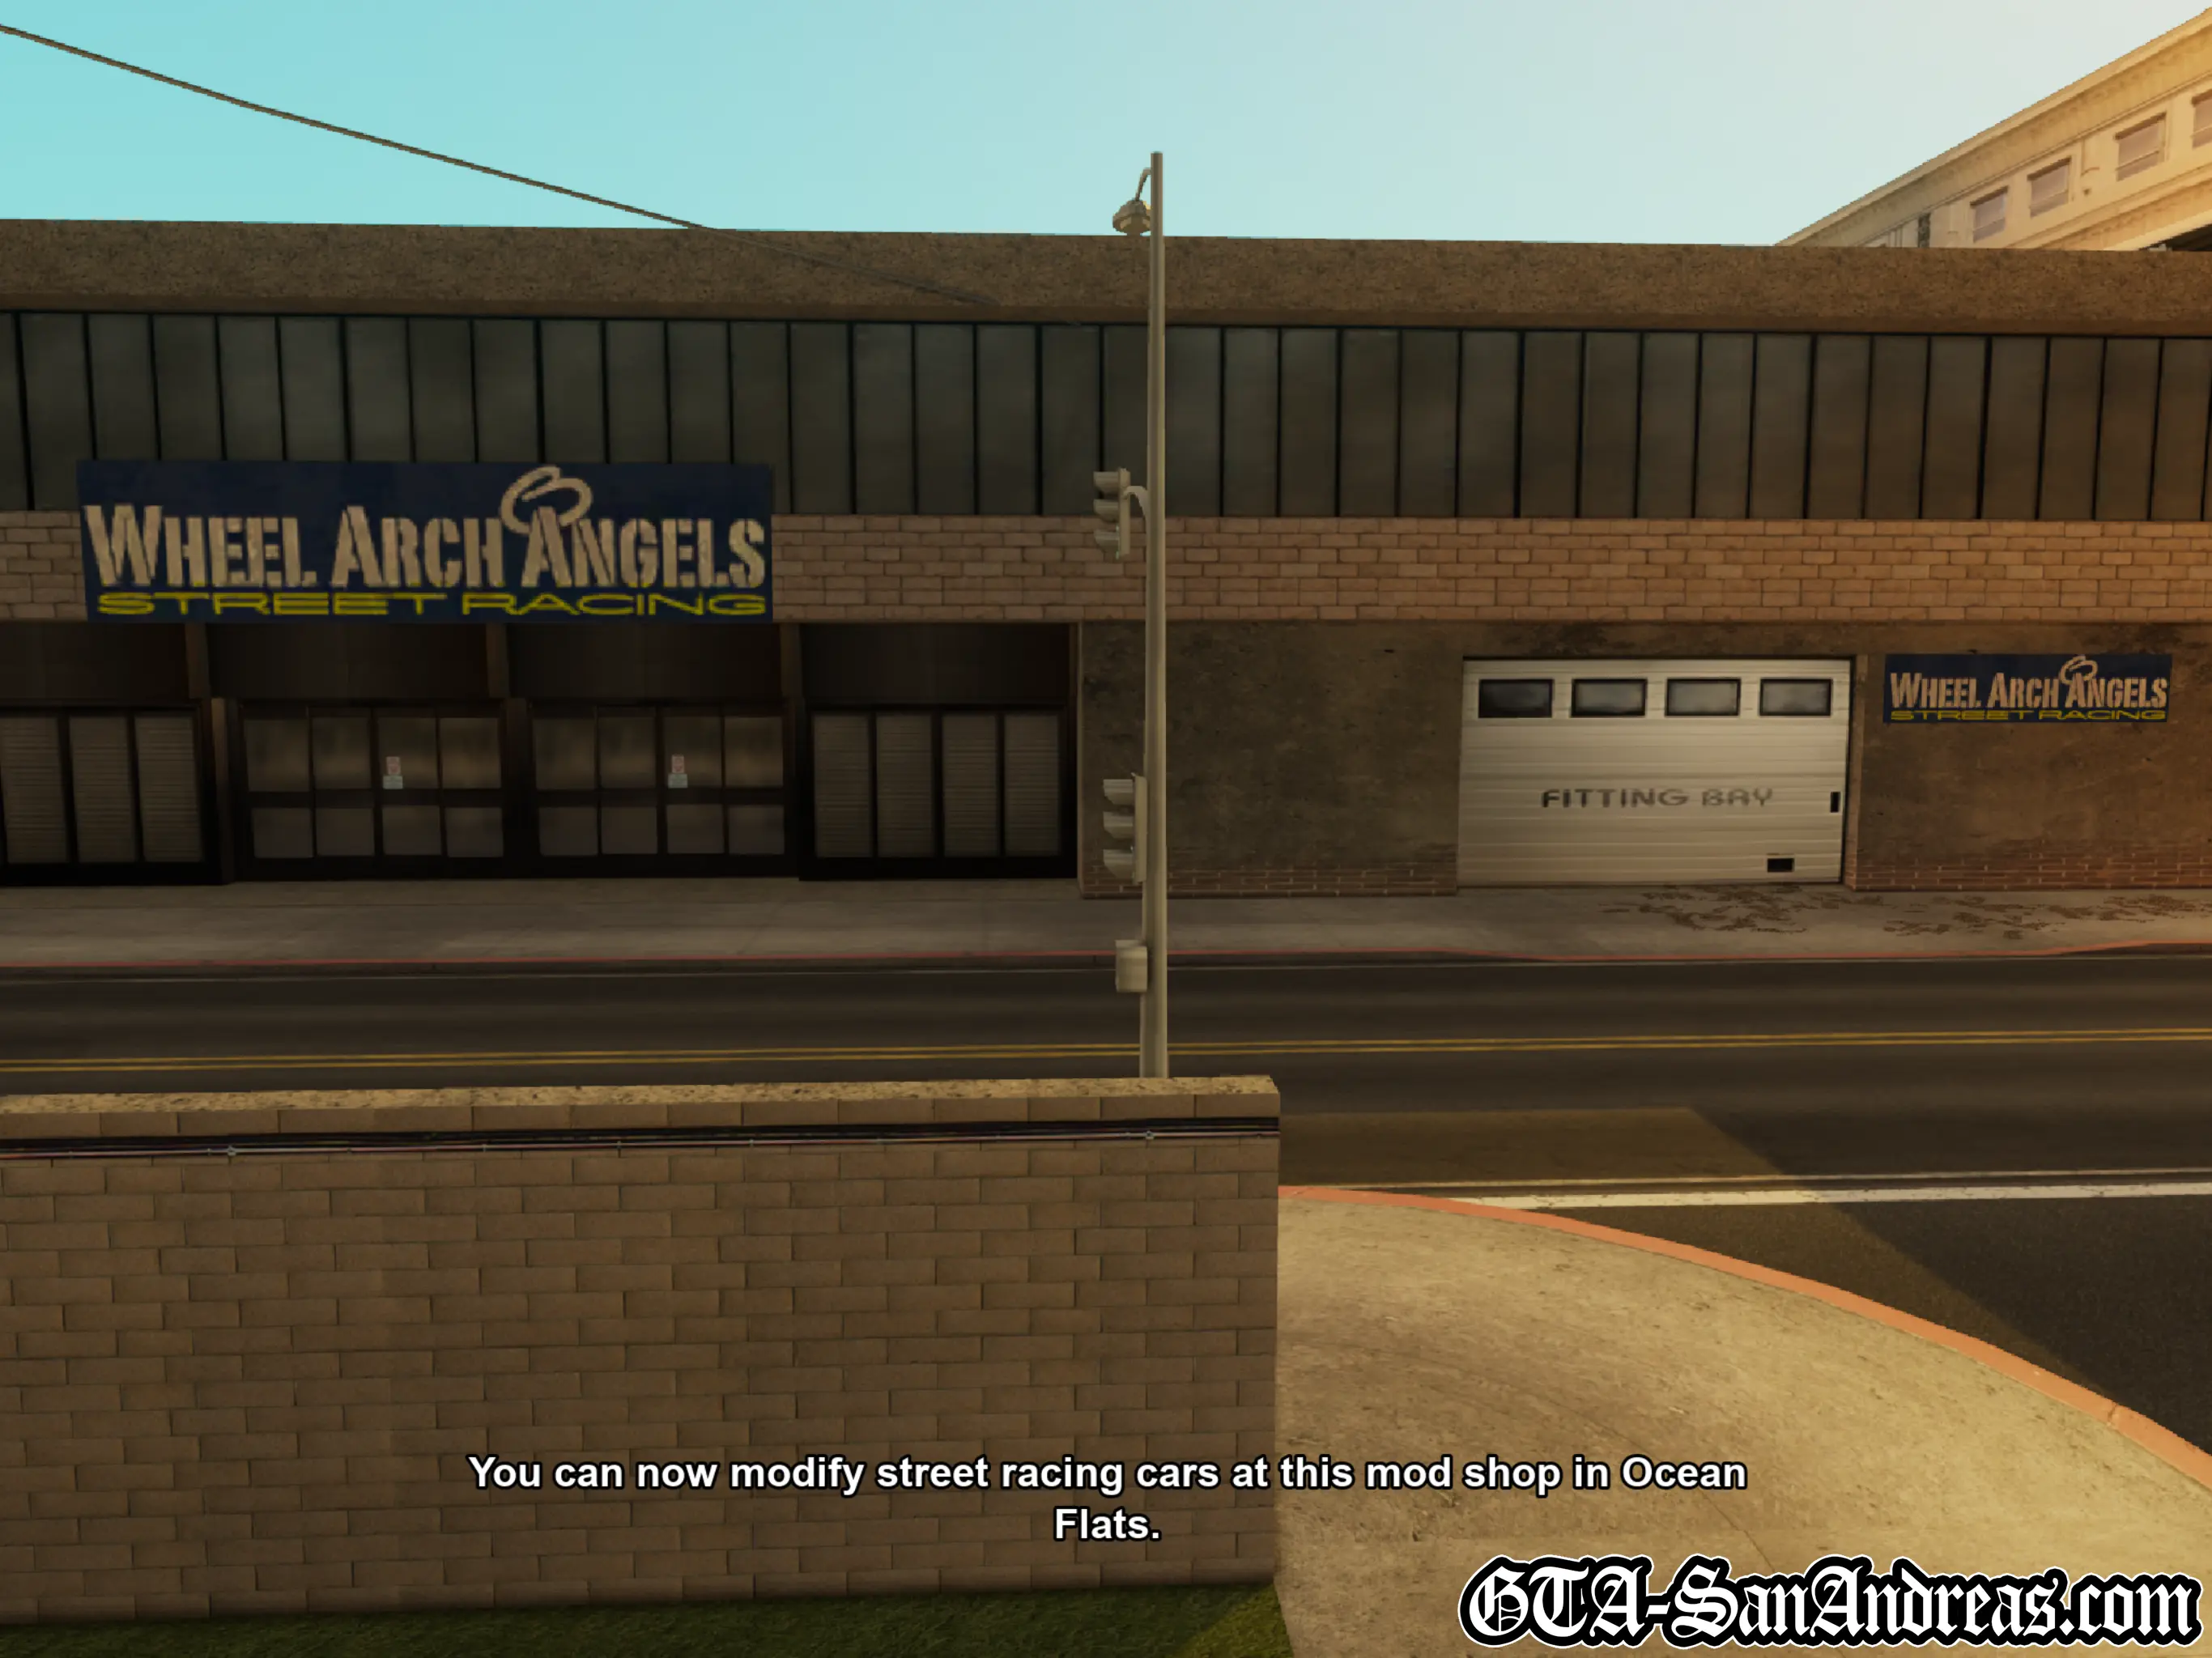
The guys need you to steal a car from a woman. Zero has hacked some satellite which will update you with her position every time she makes a phone call, so you need to speed to the yellow blips on the radar as quickly as possible. The quicker you get there, the closer she is. Keep following the blips until it starts to get pink and red, then you should be able to see her. You'll need to use the P.I.T. Manoeuvre from driving school to spin her our of control. Well, you don't really need to. Smash into the side of her car and she'll bail, then get in it and drive back to the garage. It doesn't matter how much damage you do, providing it's not on fire, so don't worry about being careful with the P.I.T. She'll head through Hashbury and Garcia, then onto the Gant Bridge. Chase after her until you've got the car, then drive to the yellow blip on the radar and deliver it.
You can now modify street racing cars at a garage in Ocean Flats.
The cars you steal for the garage can be found inside Wang Cars.
Screenshots
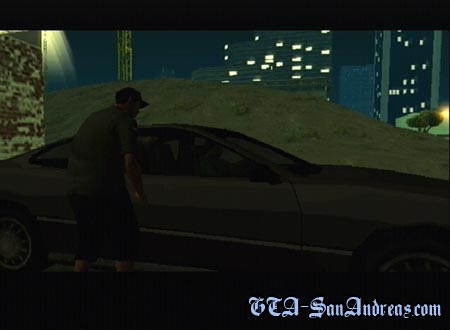
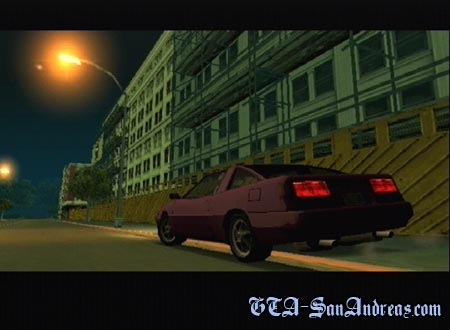
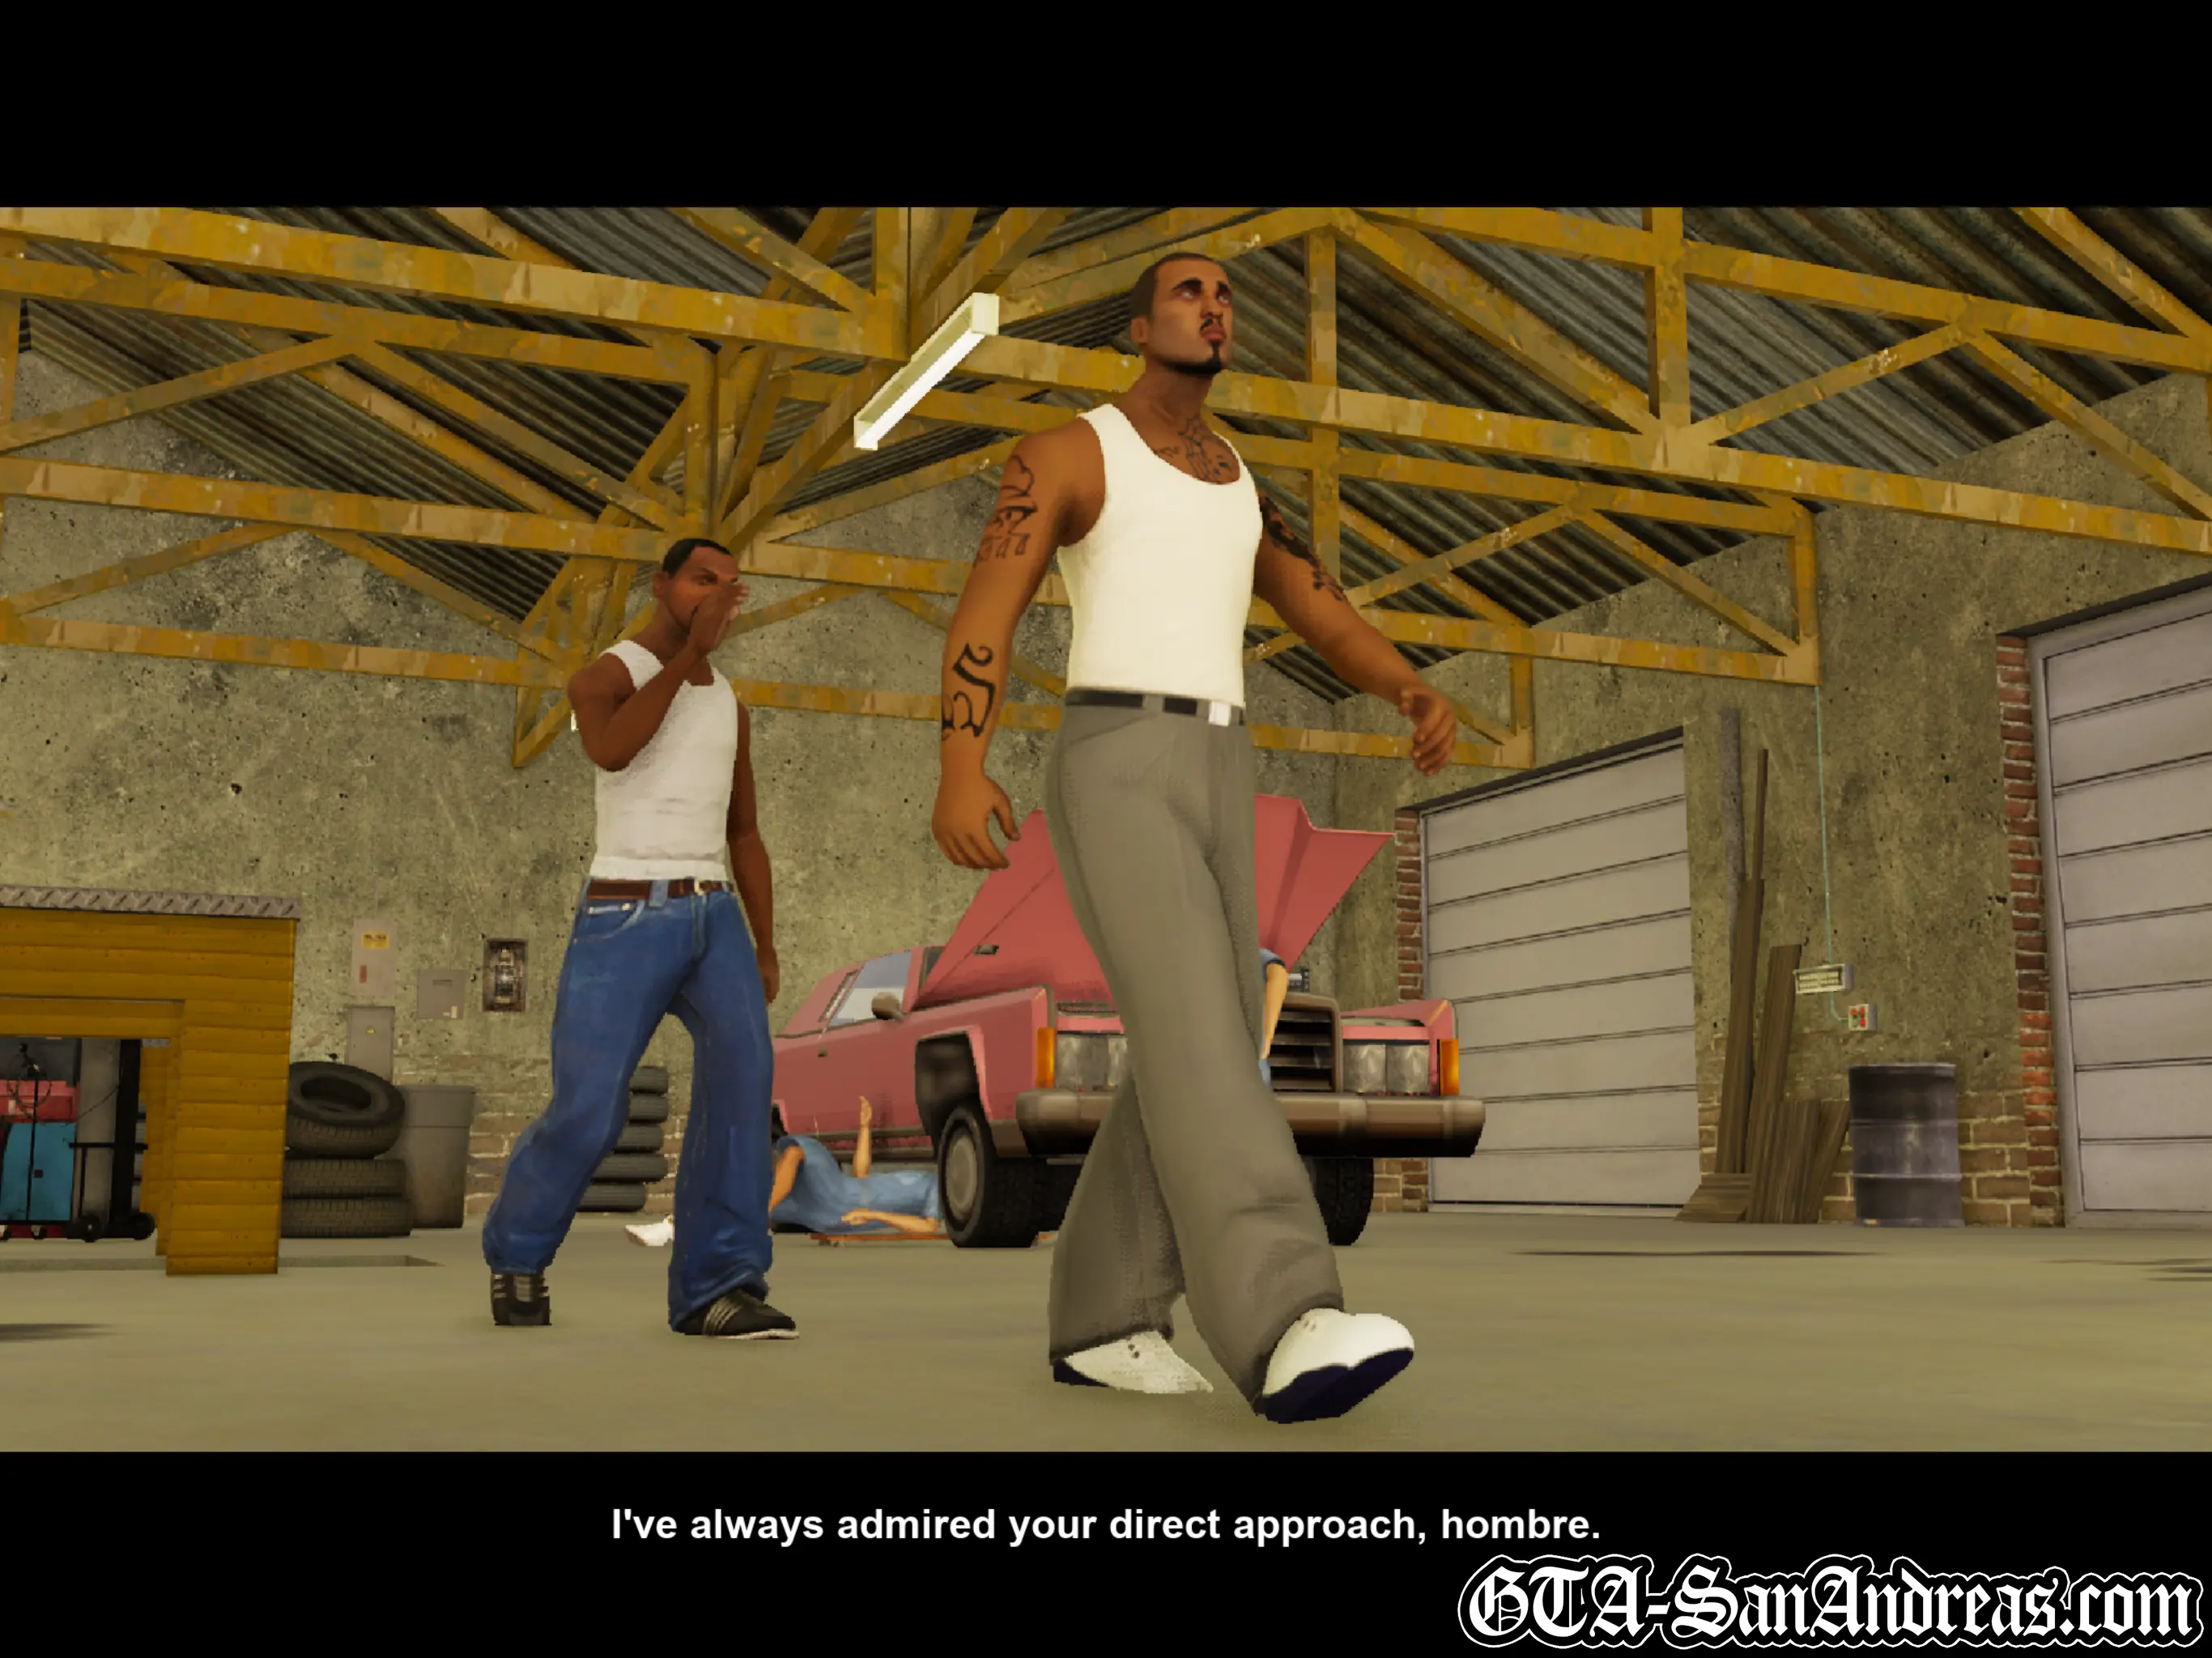
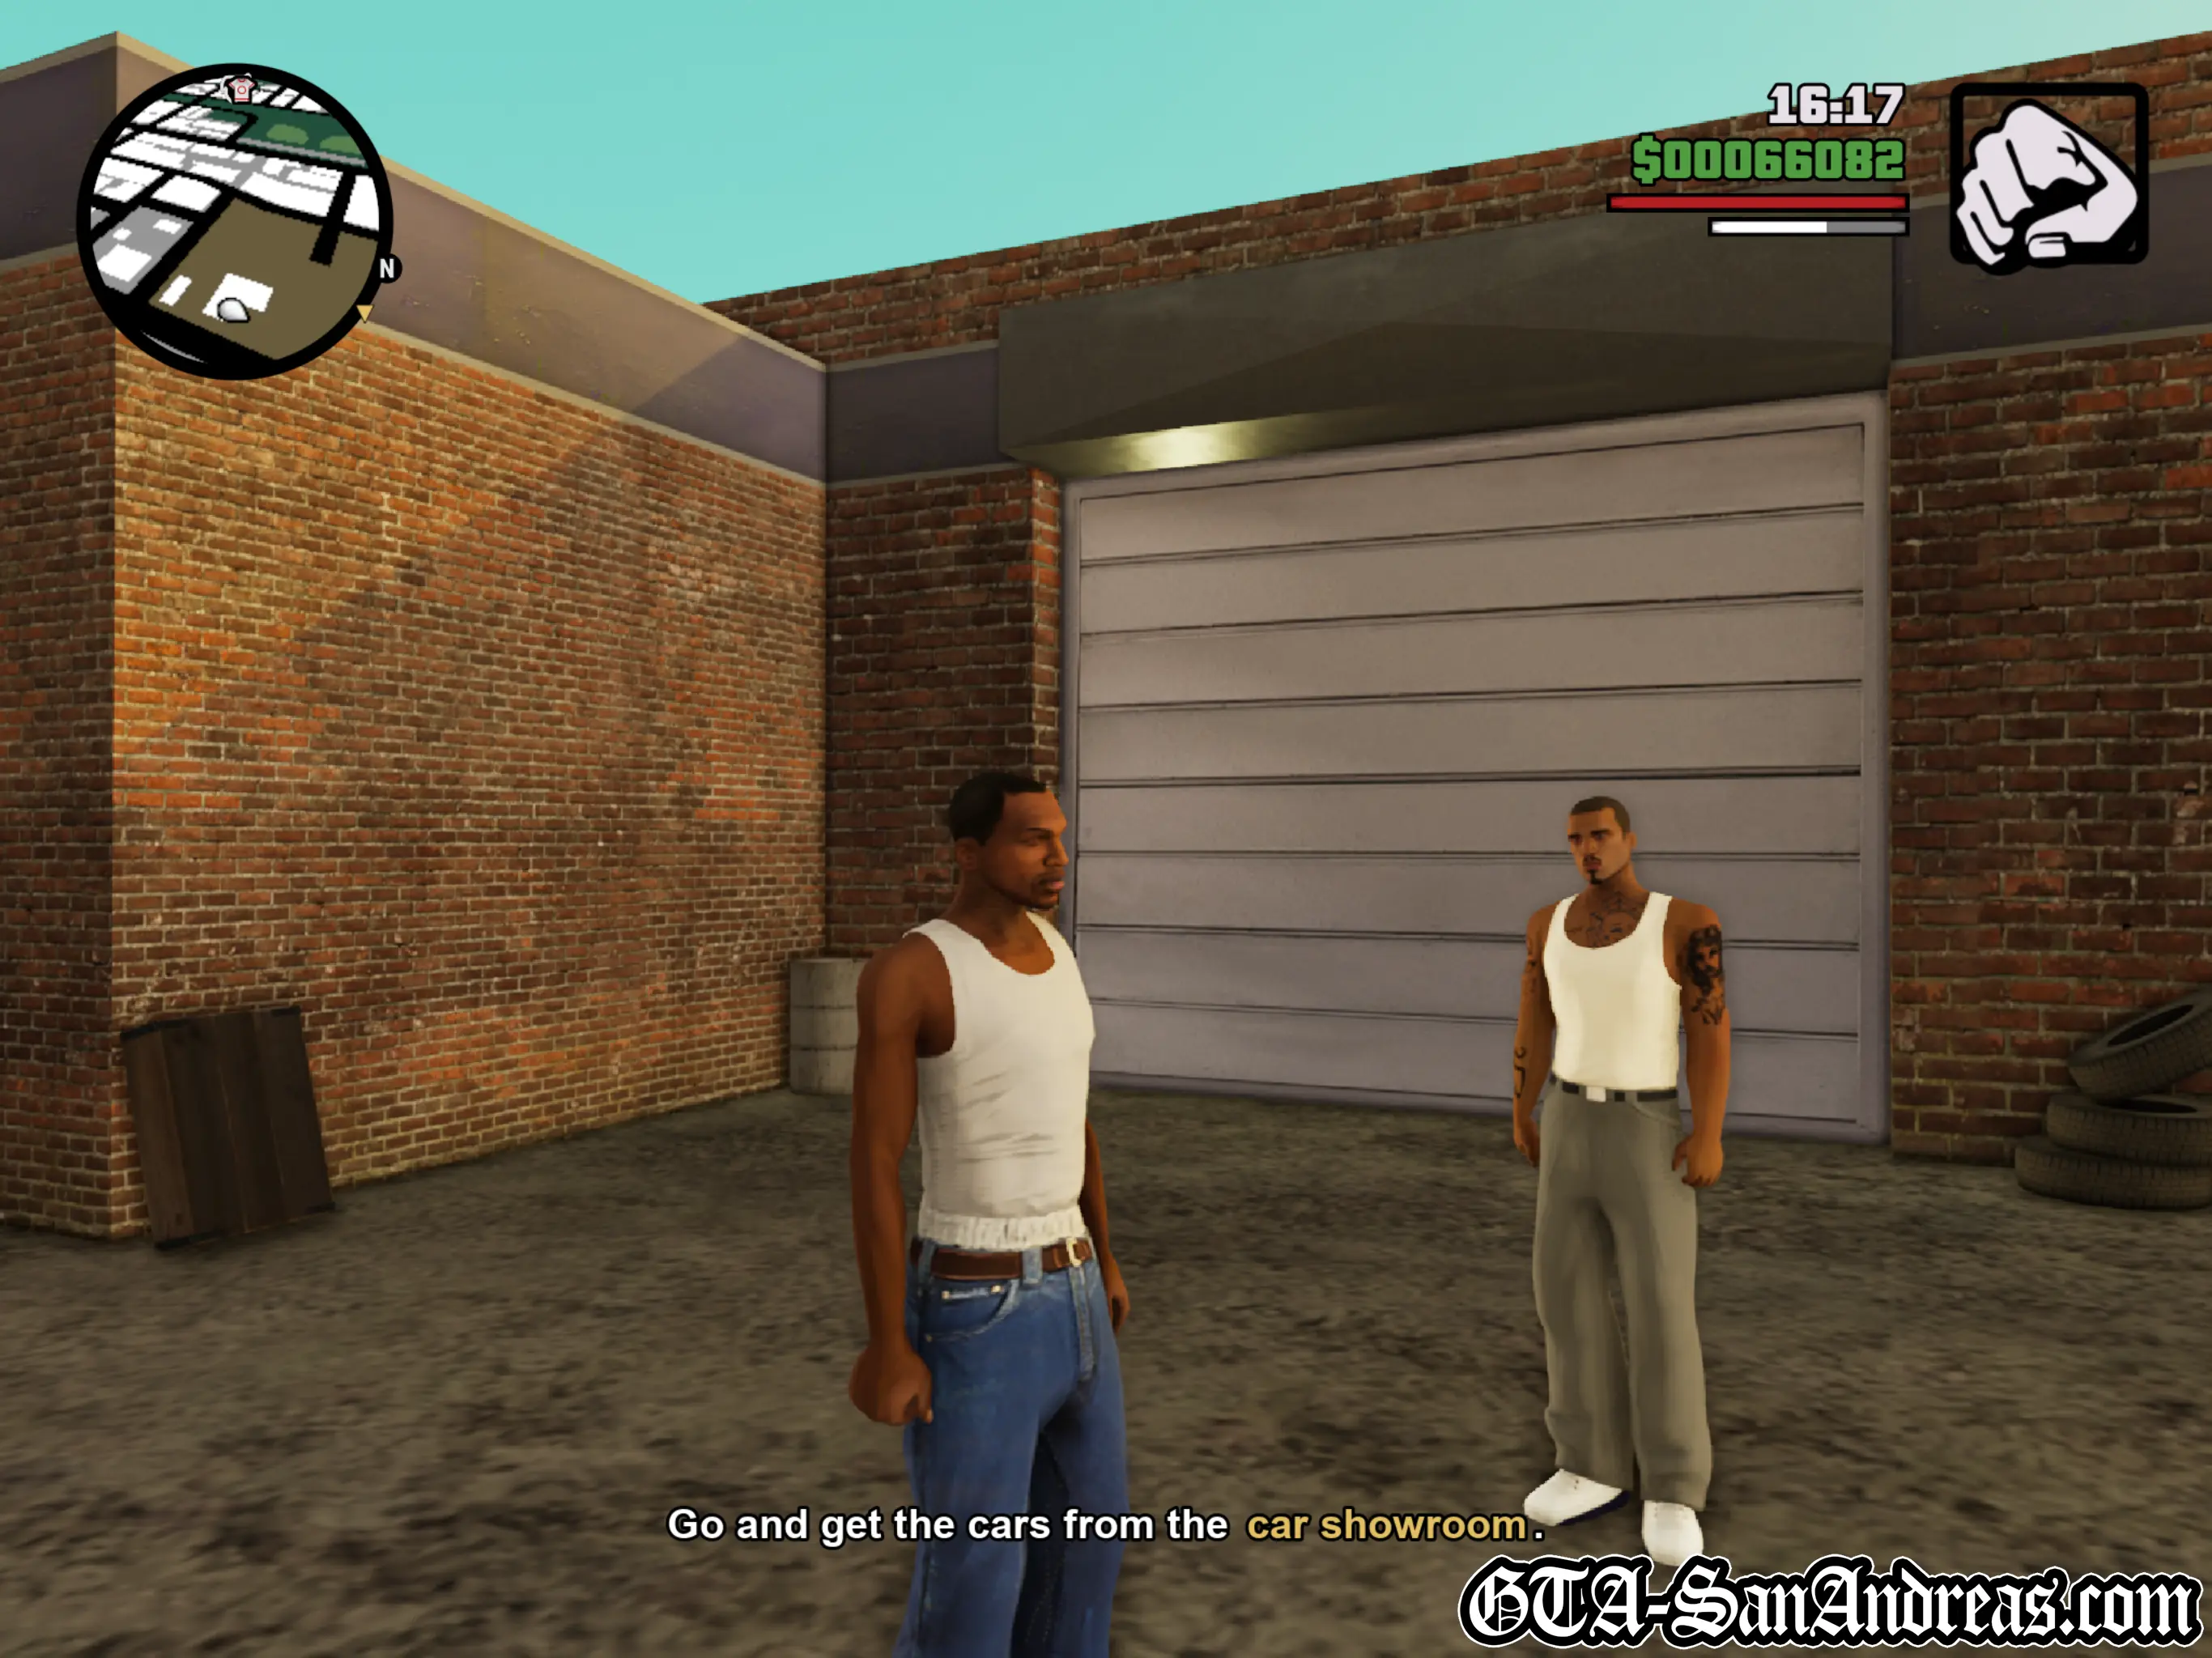
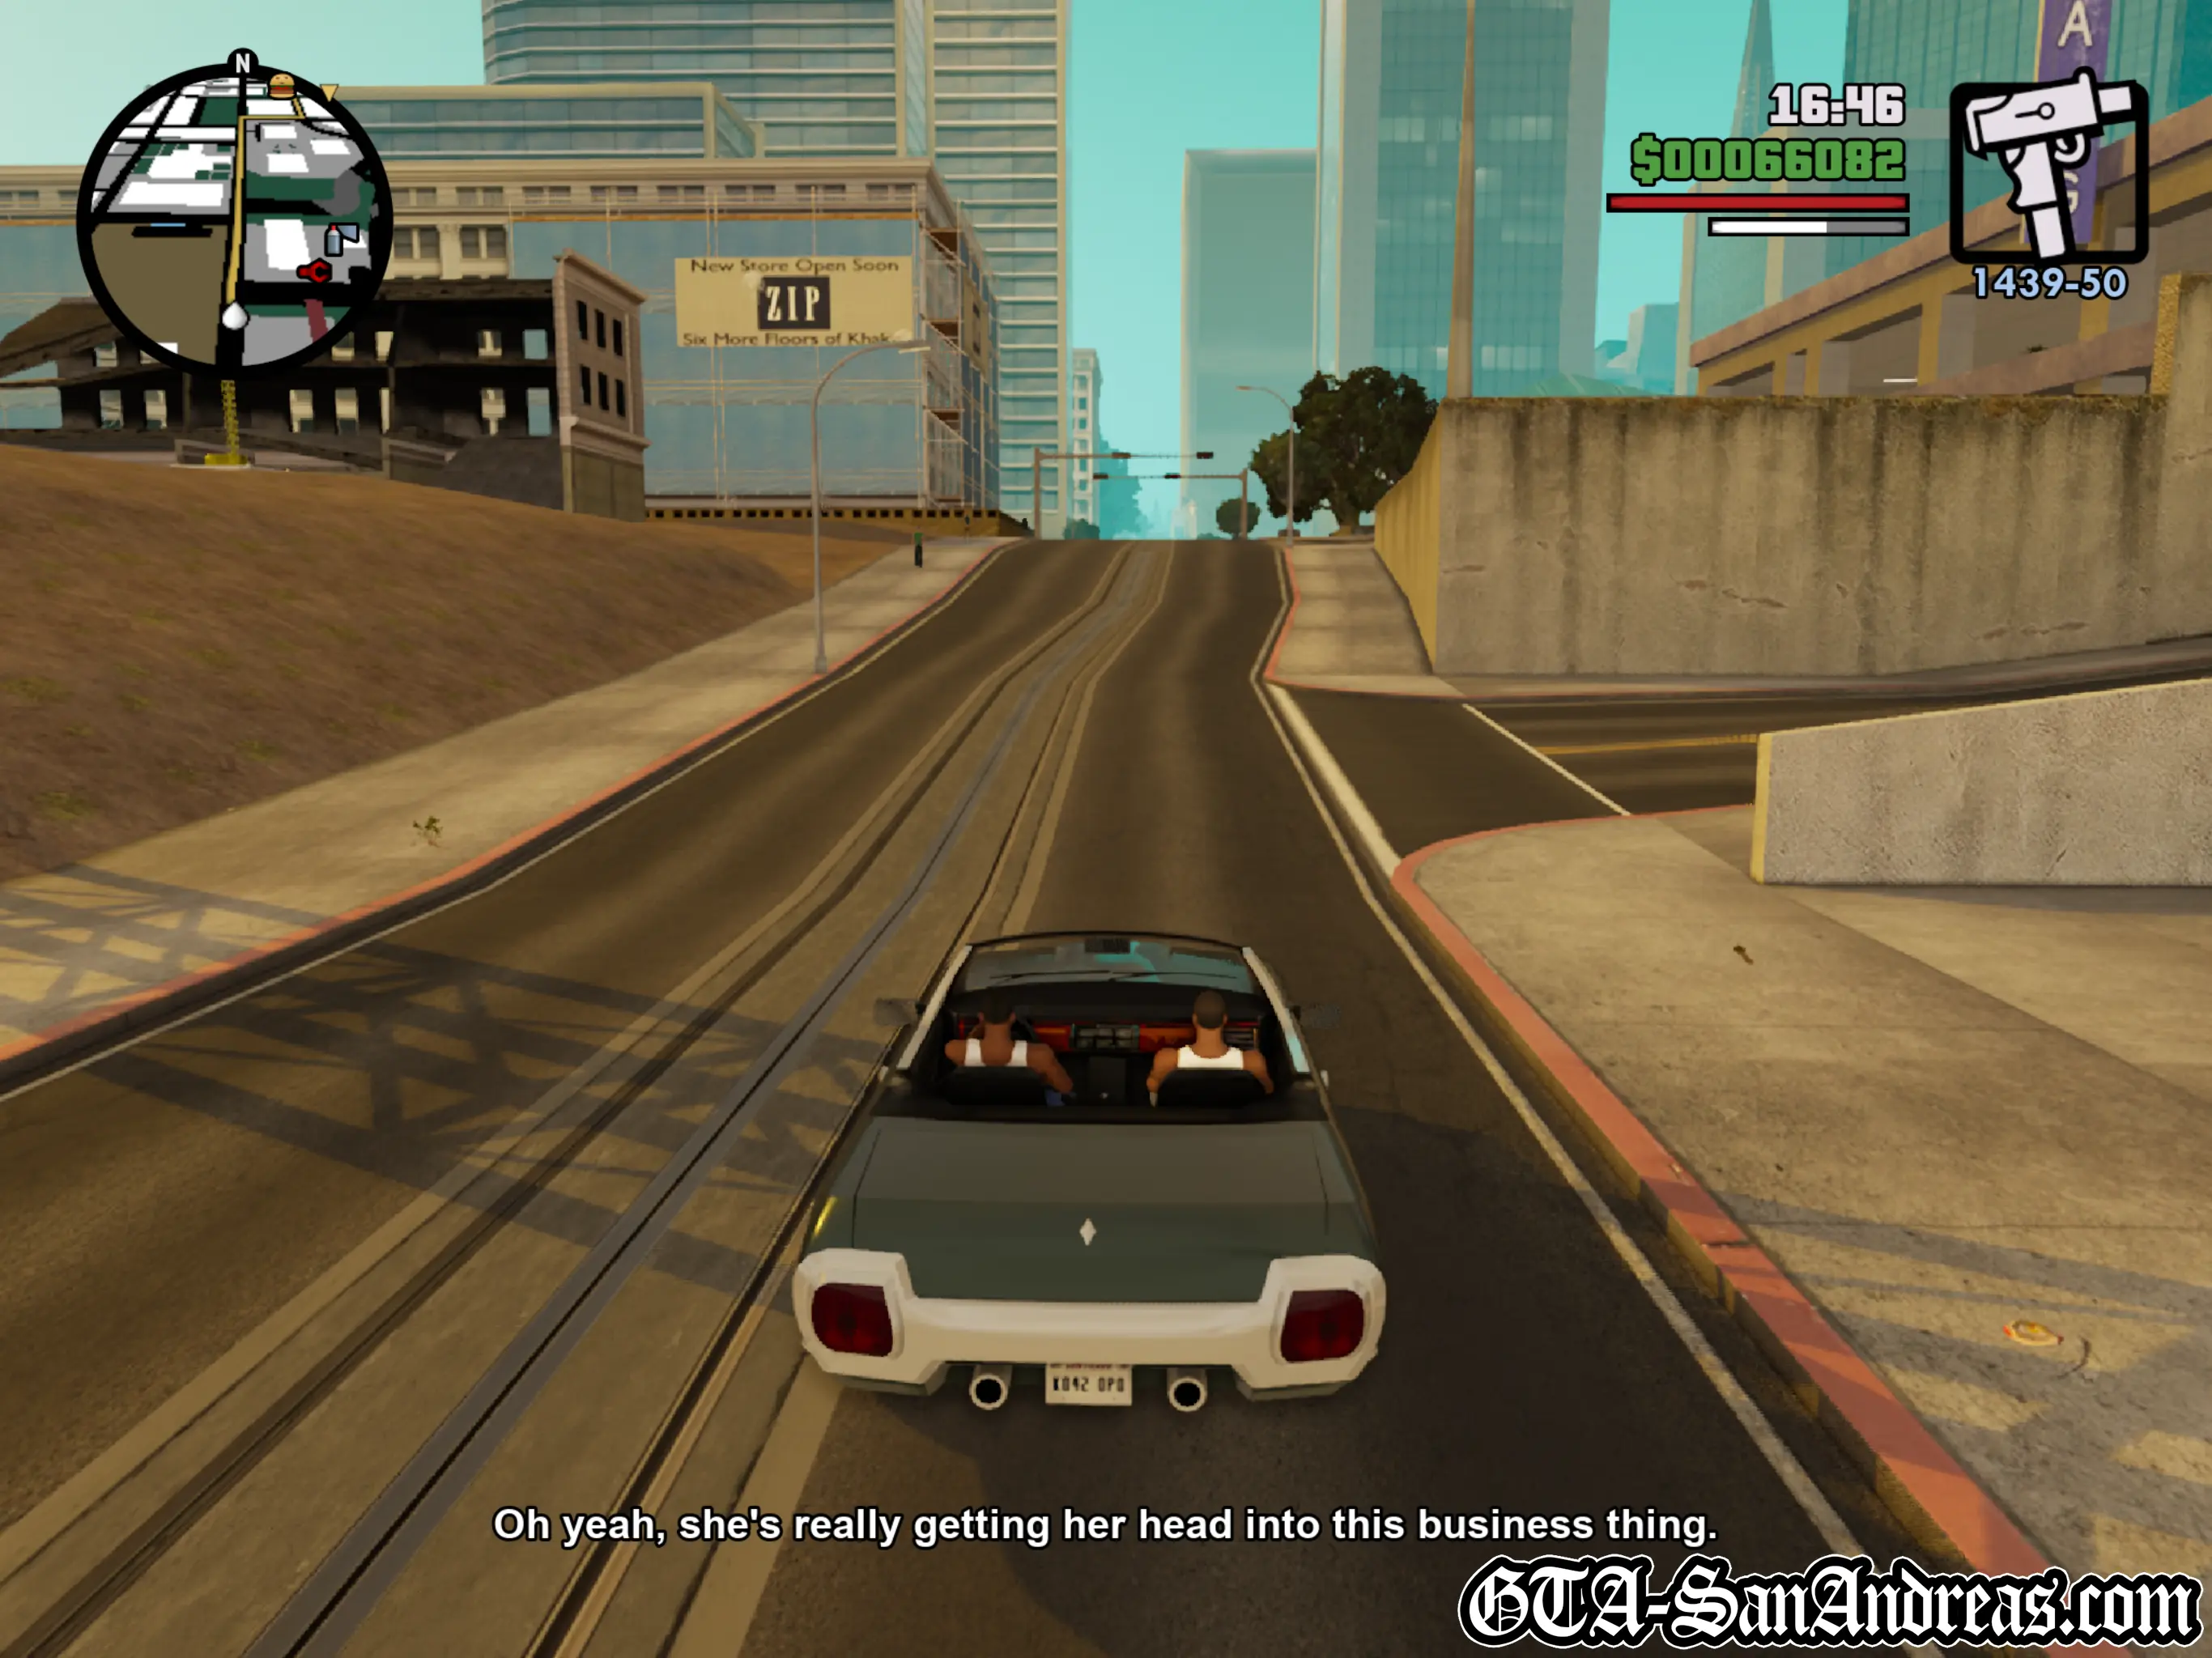
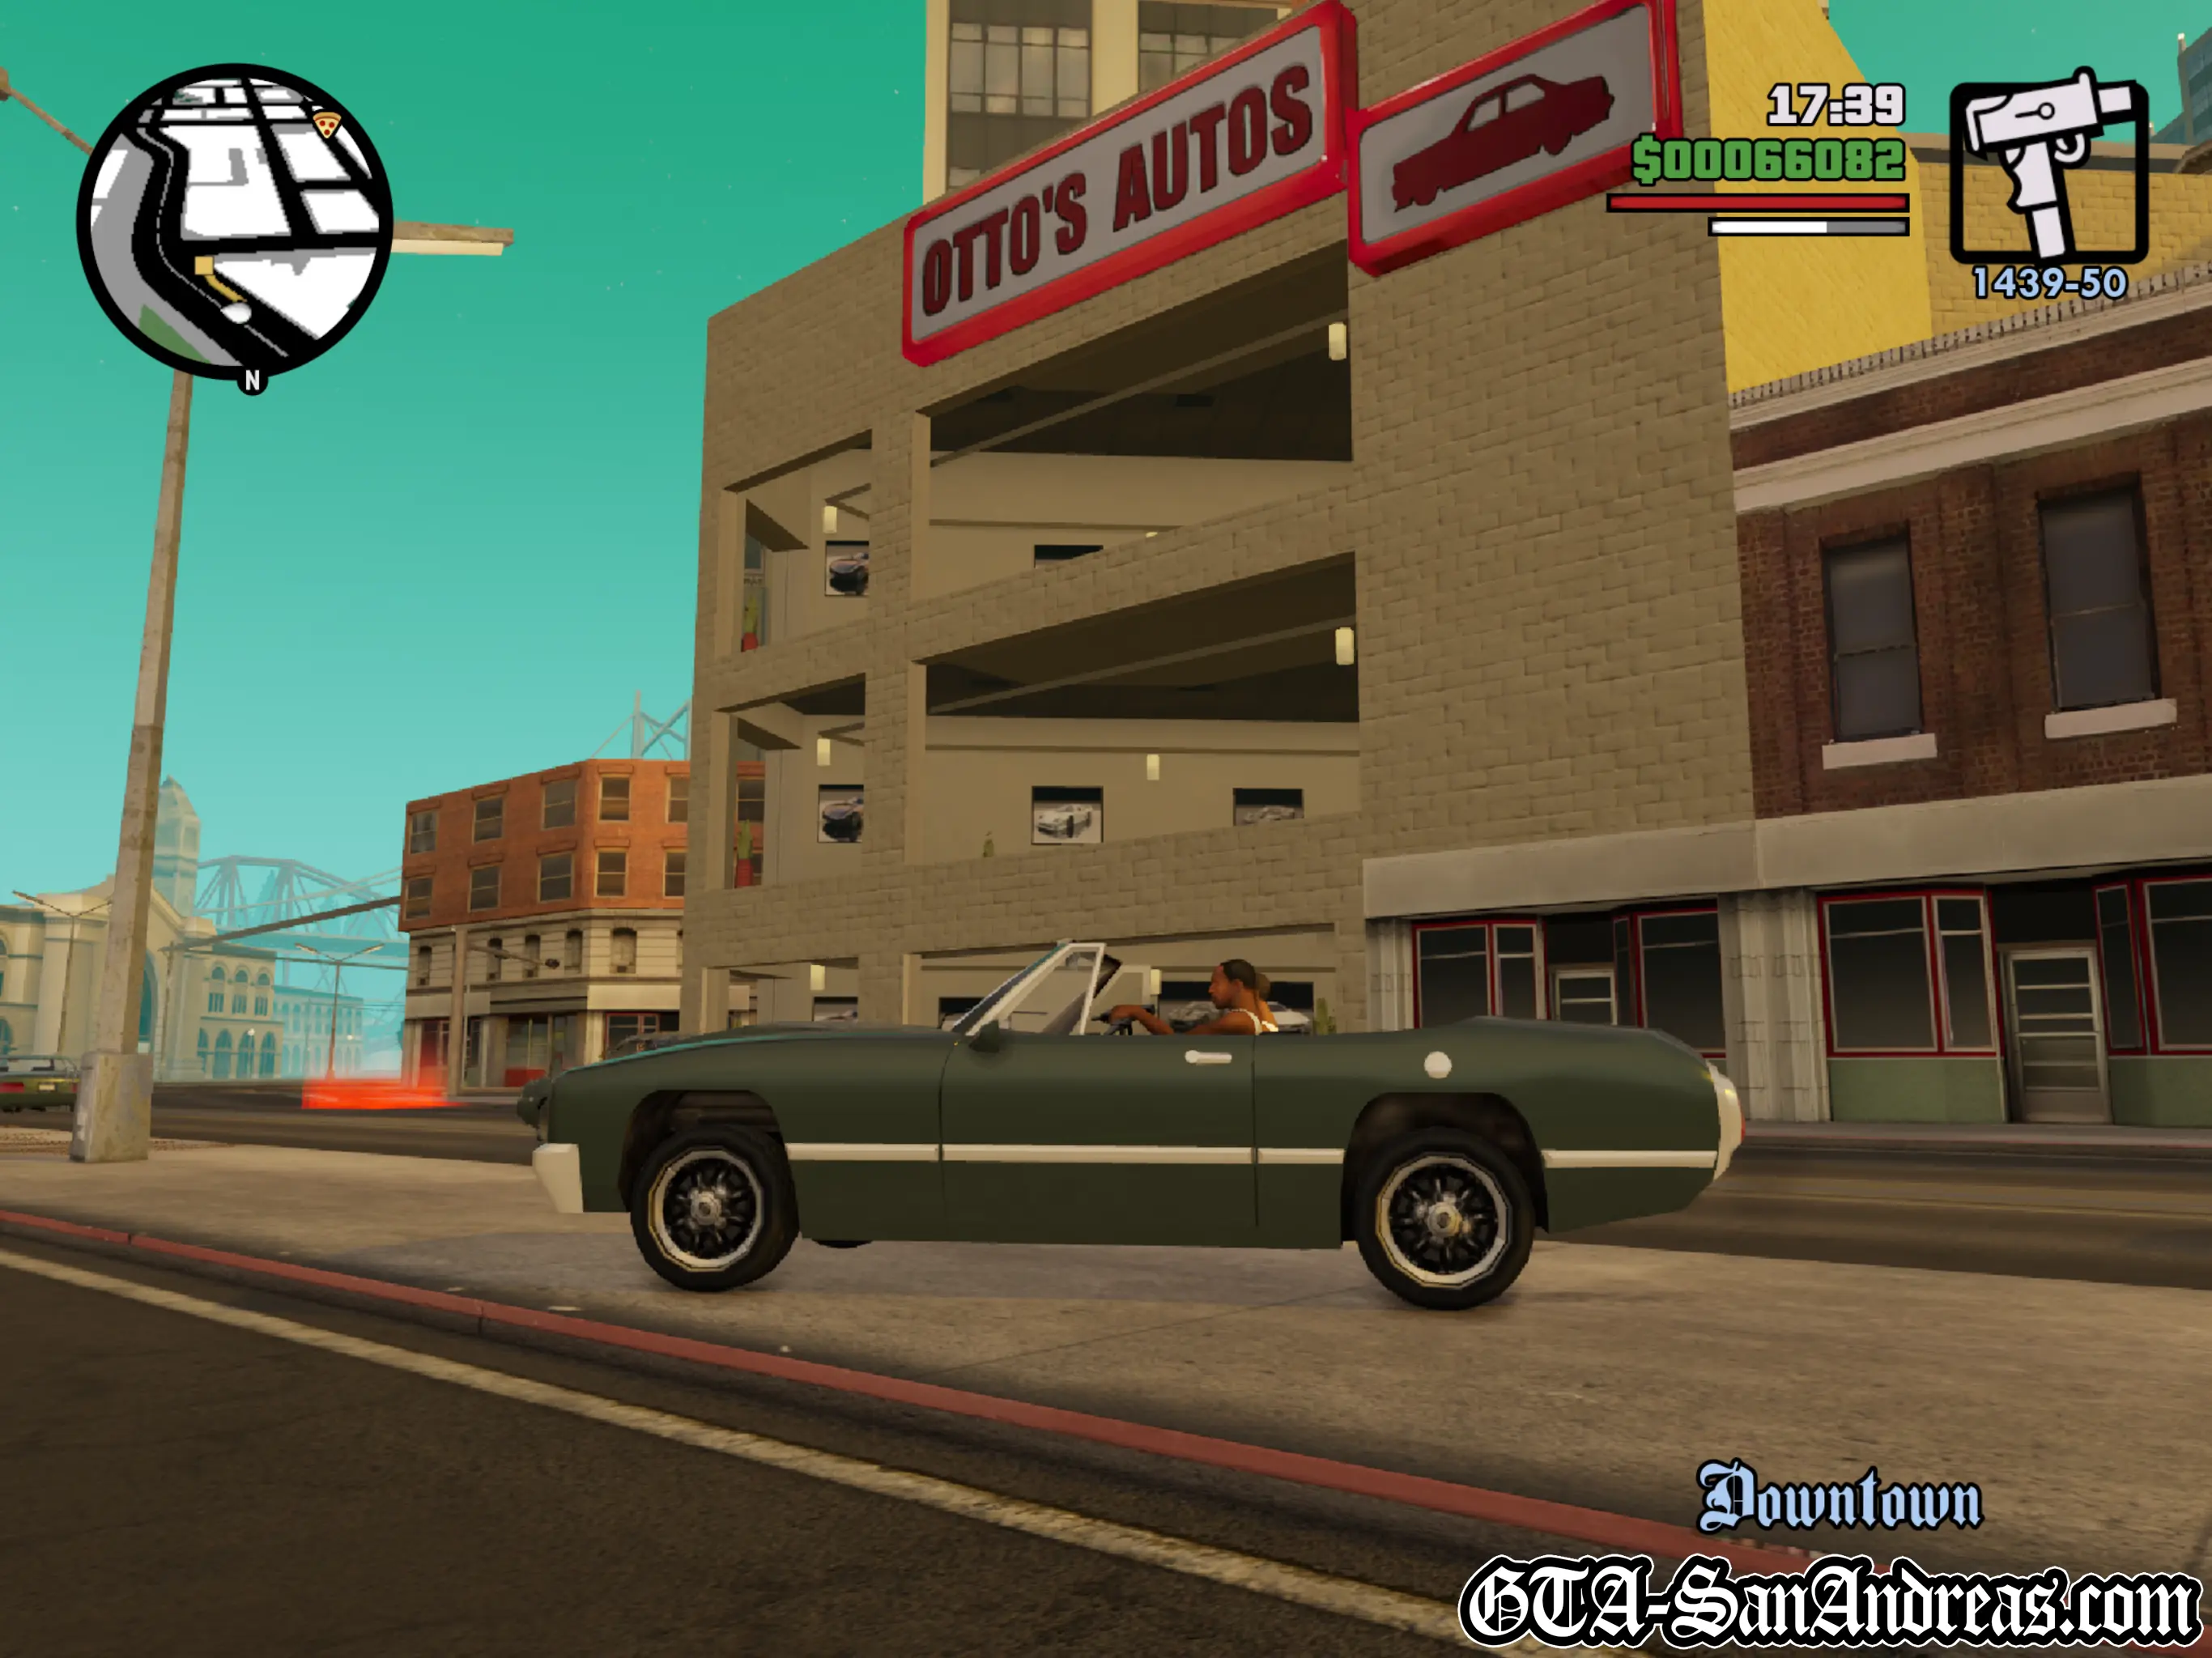
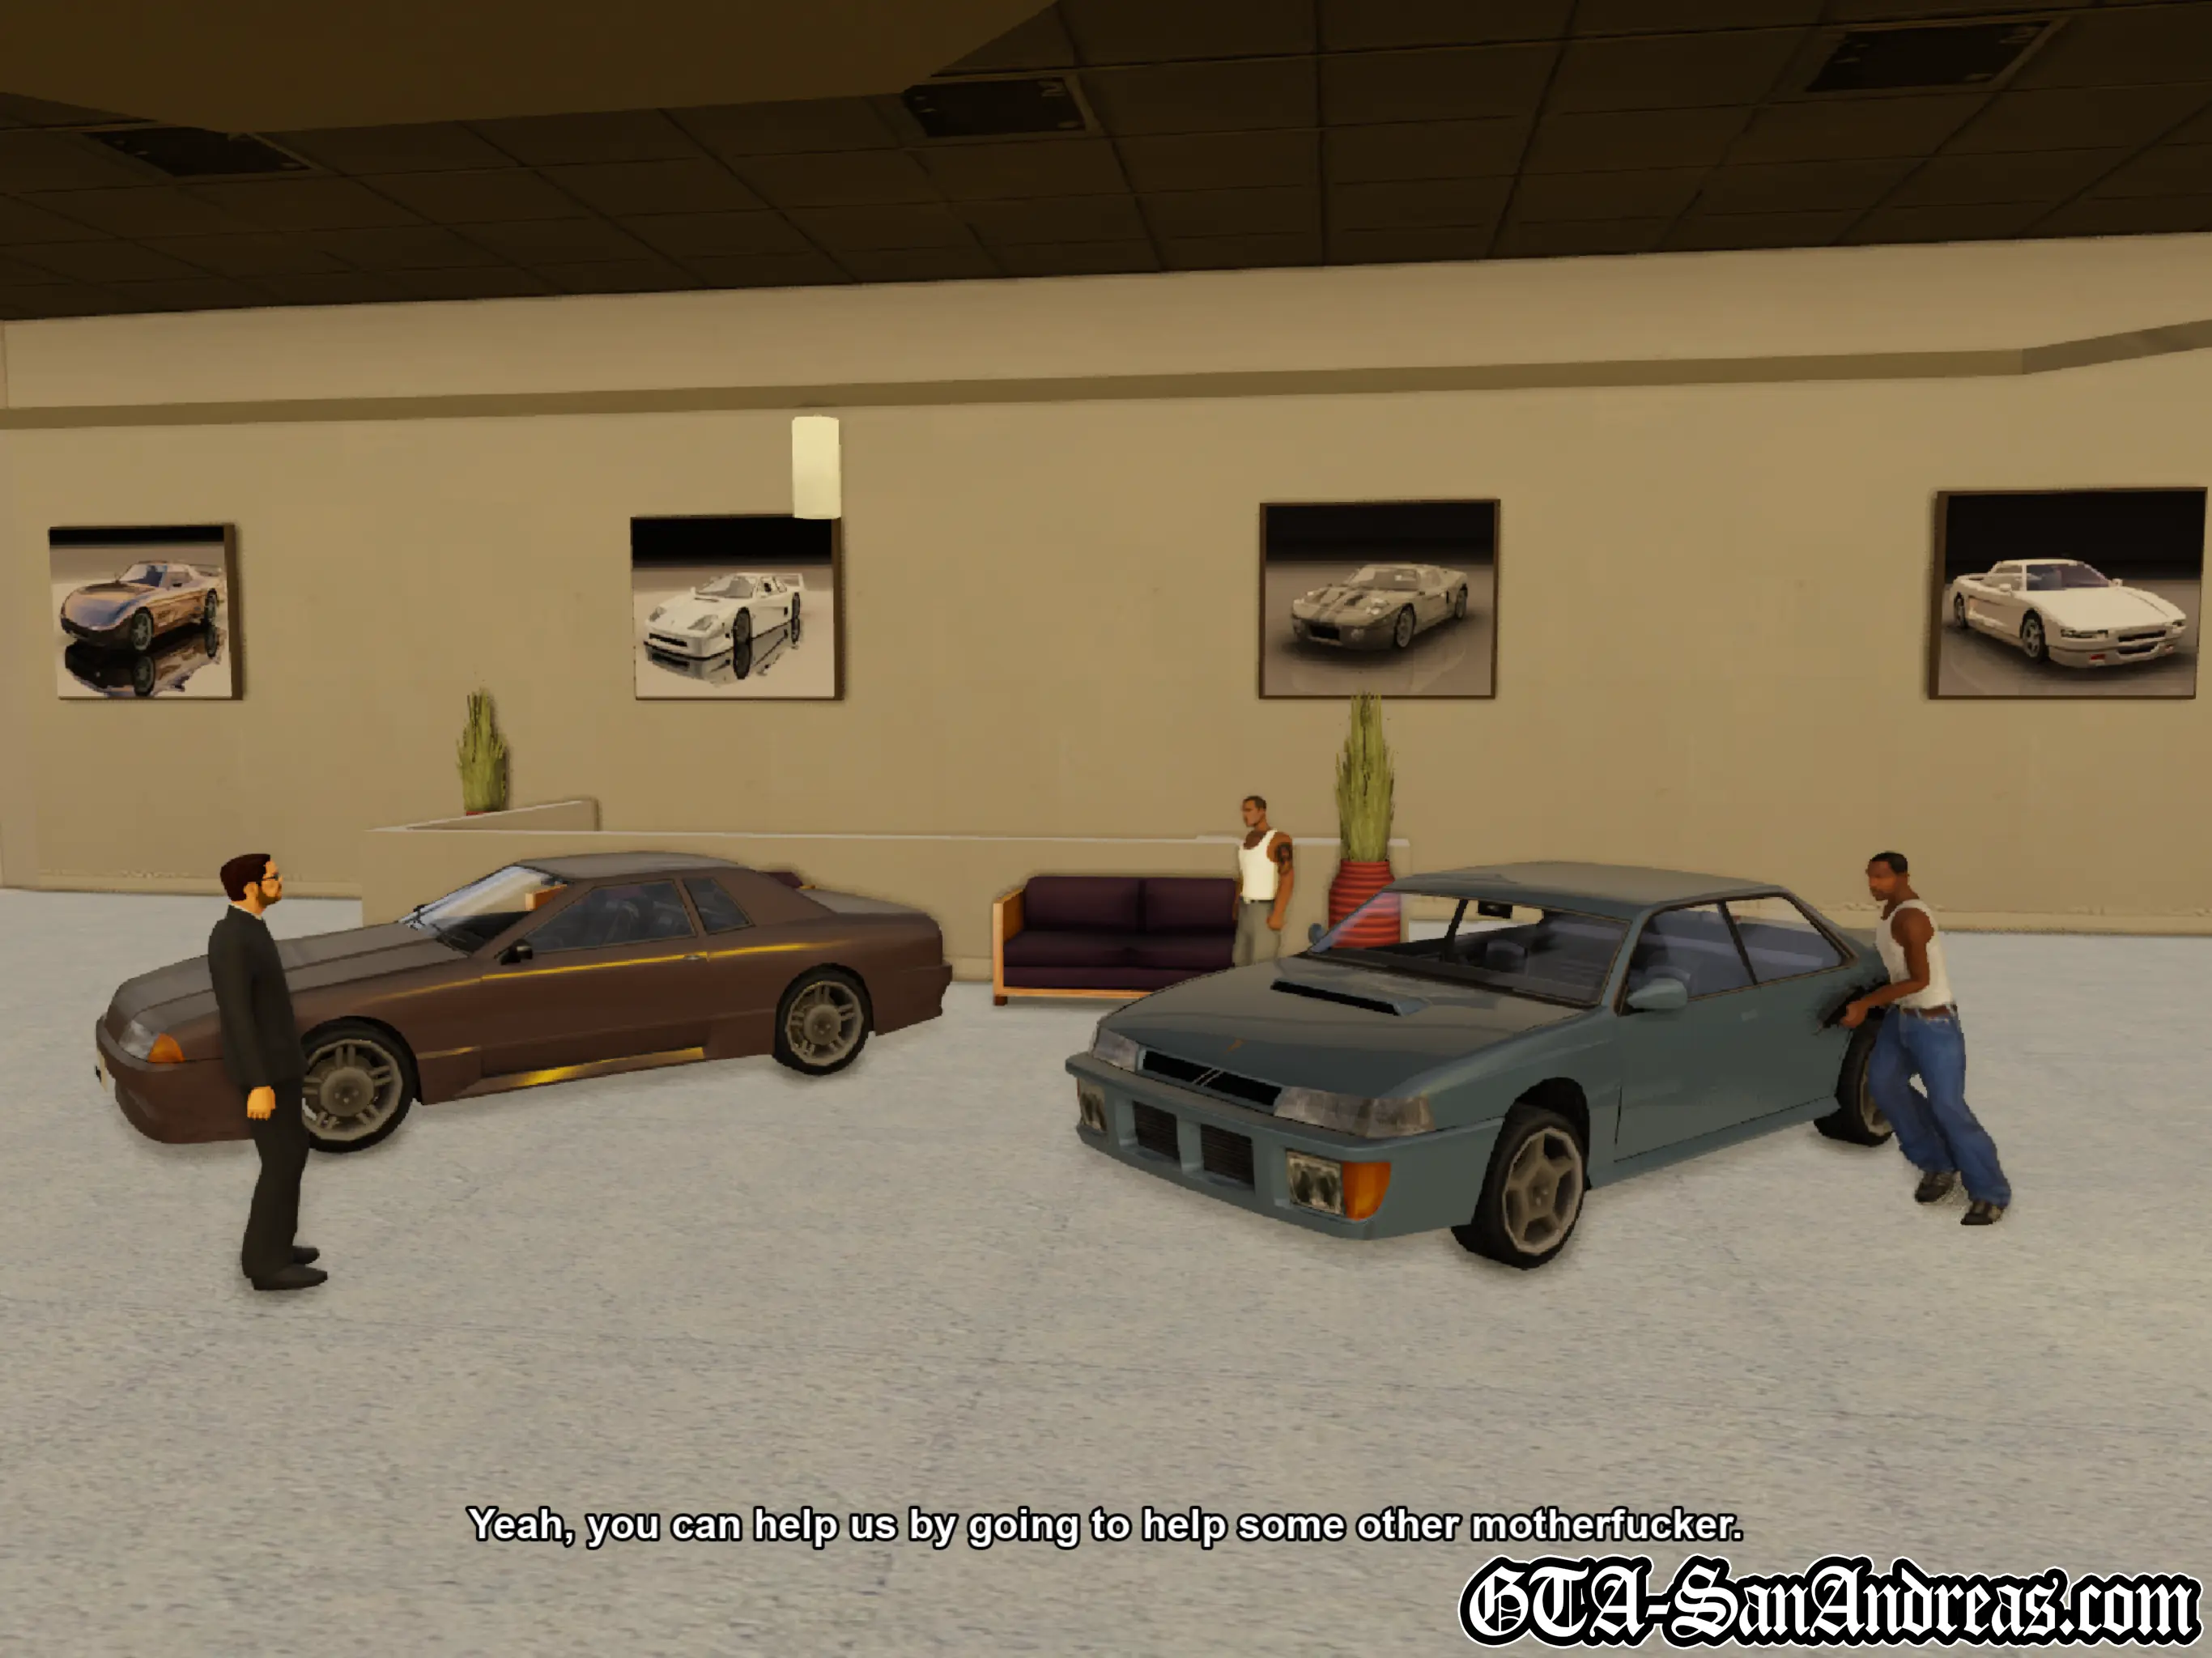
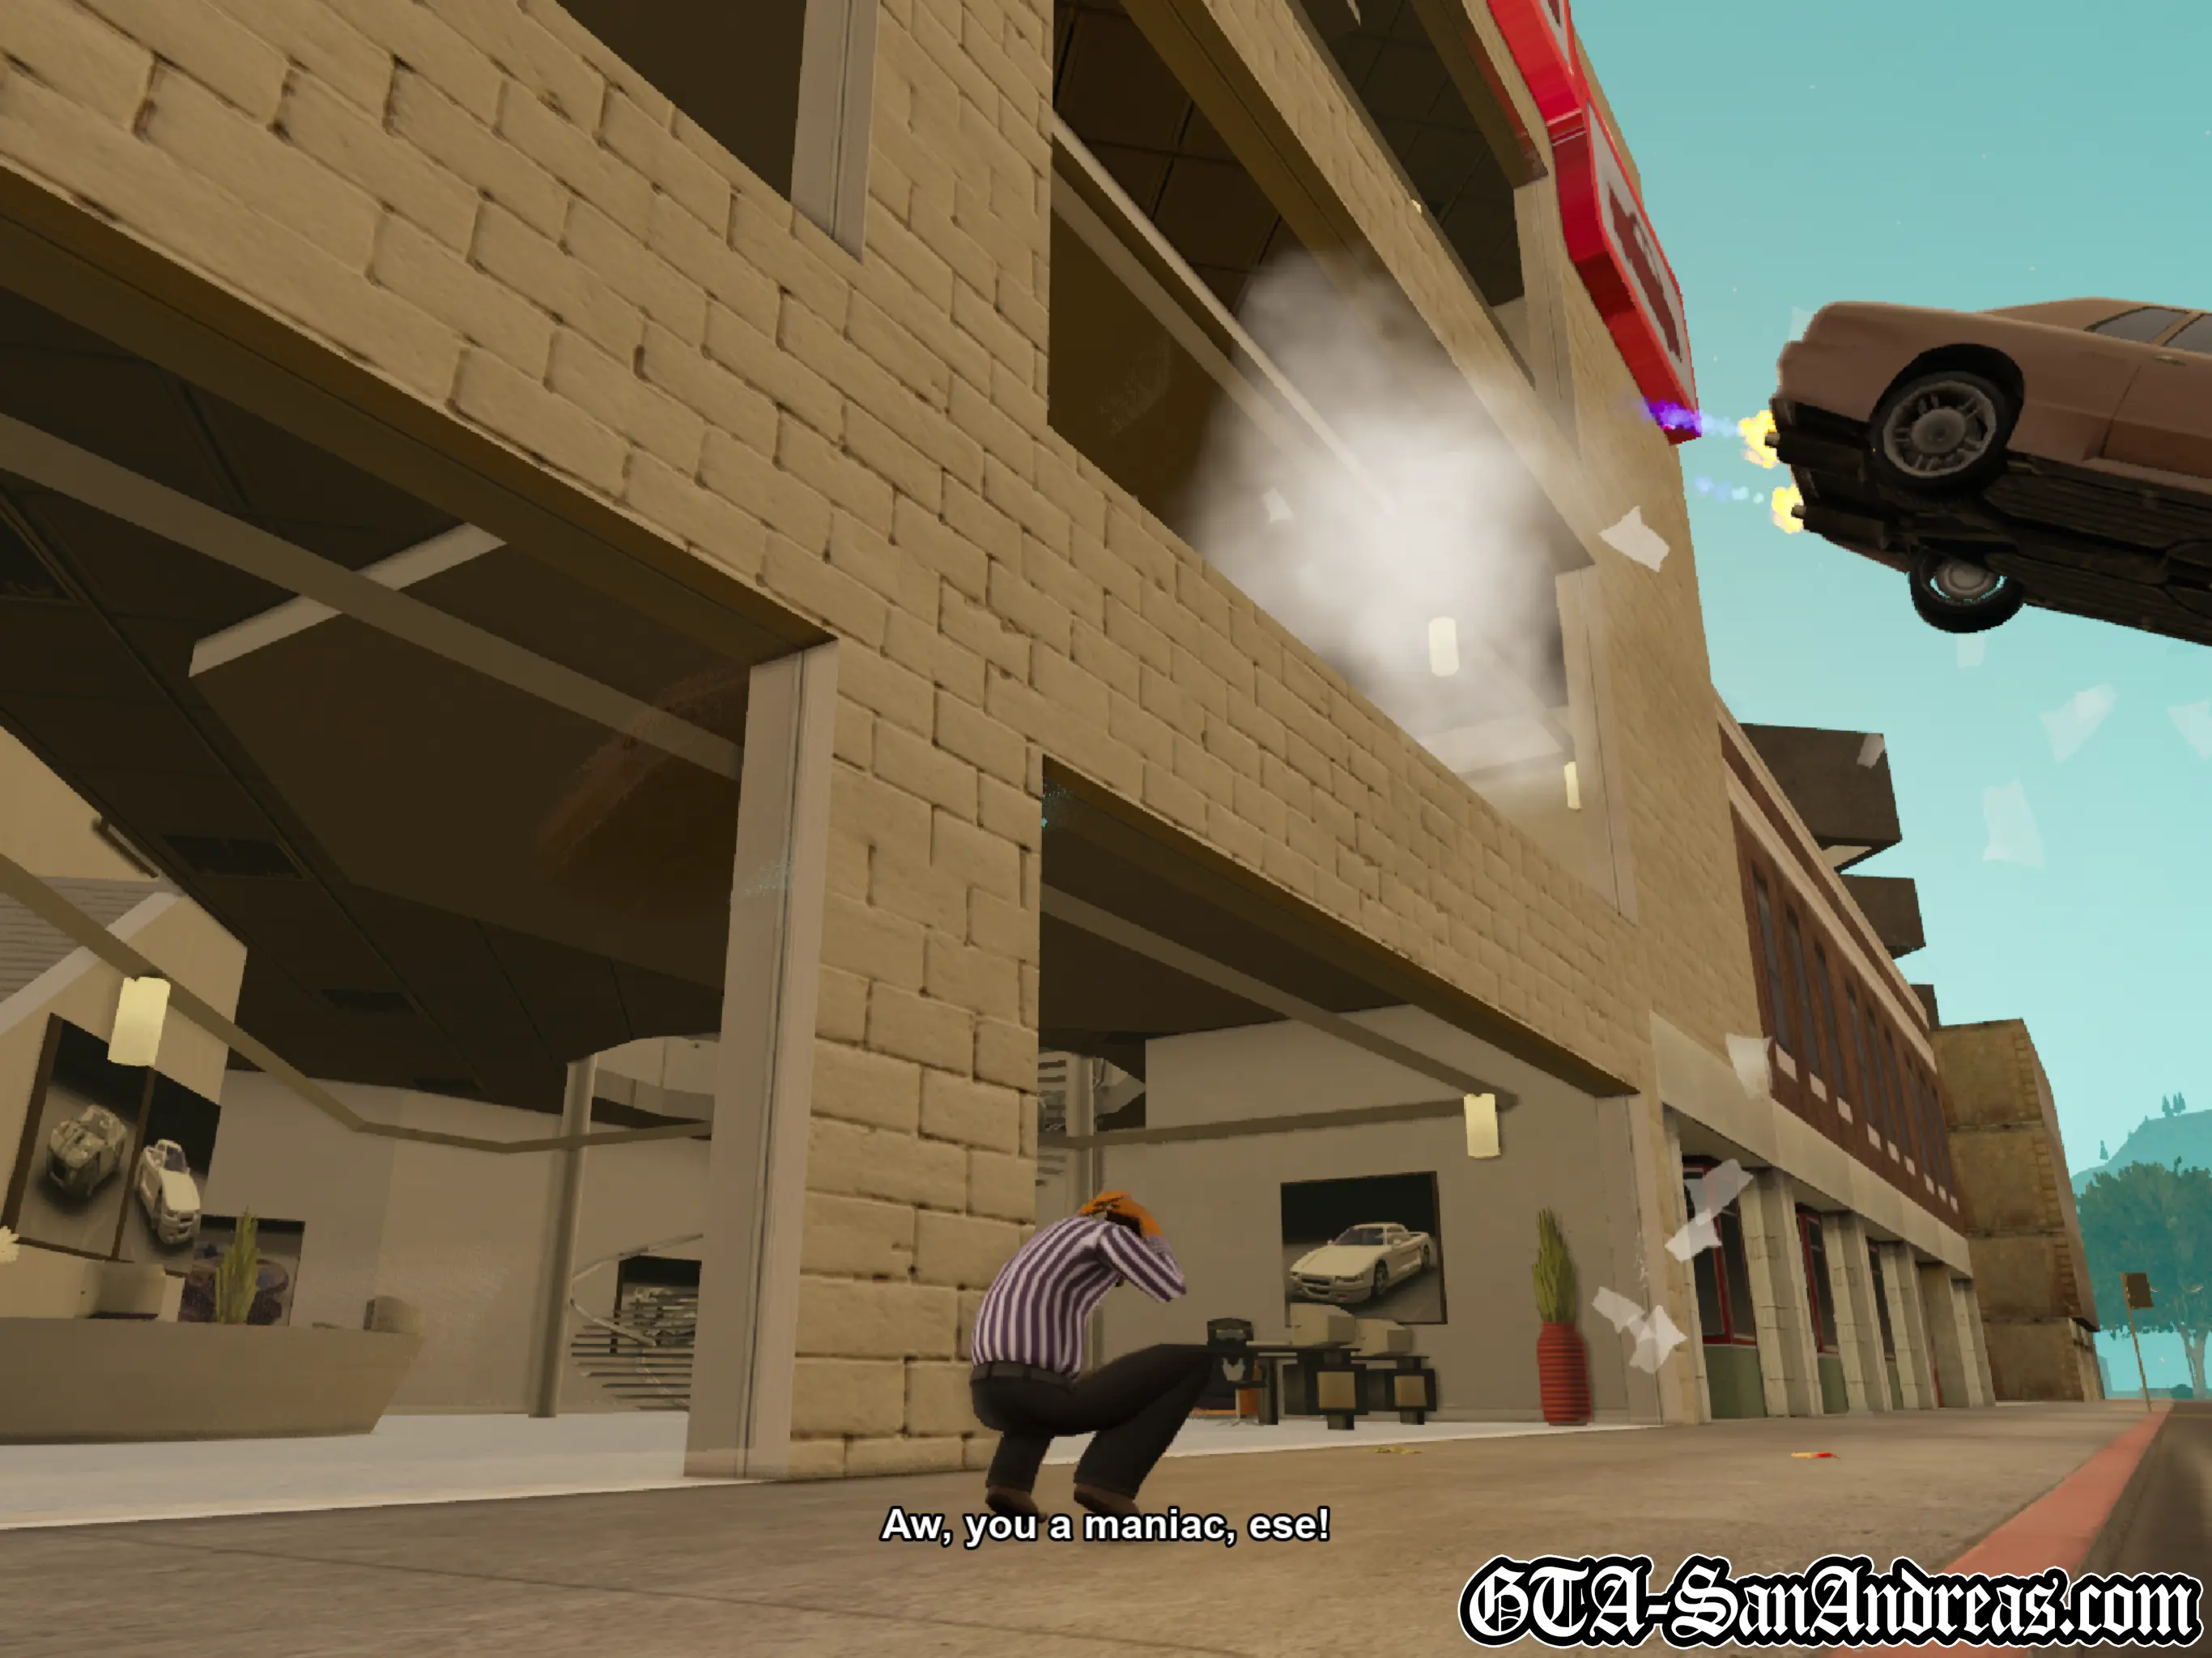
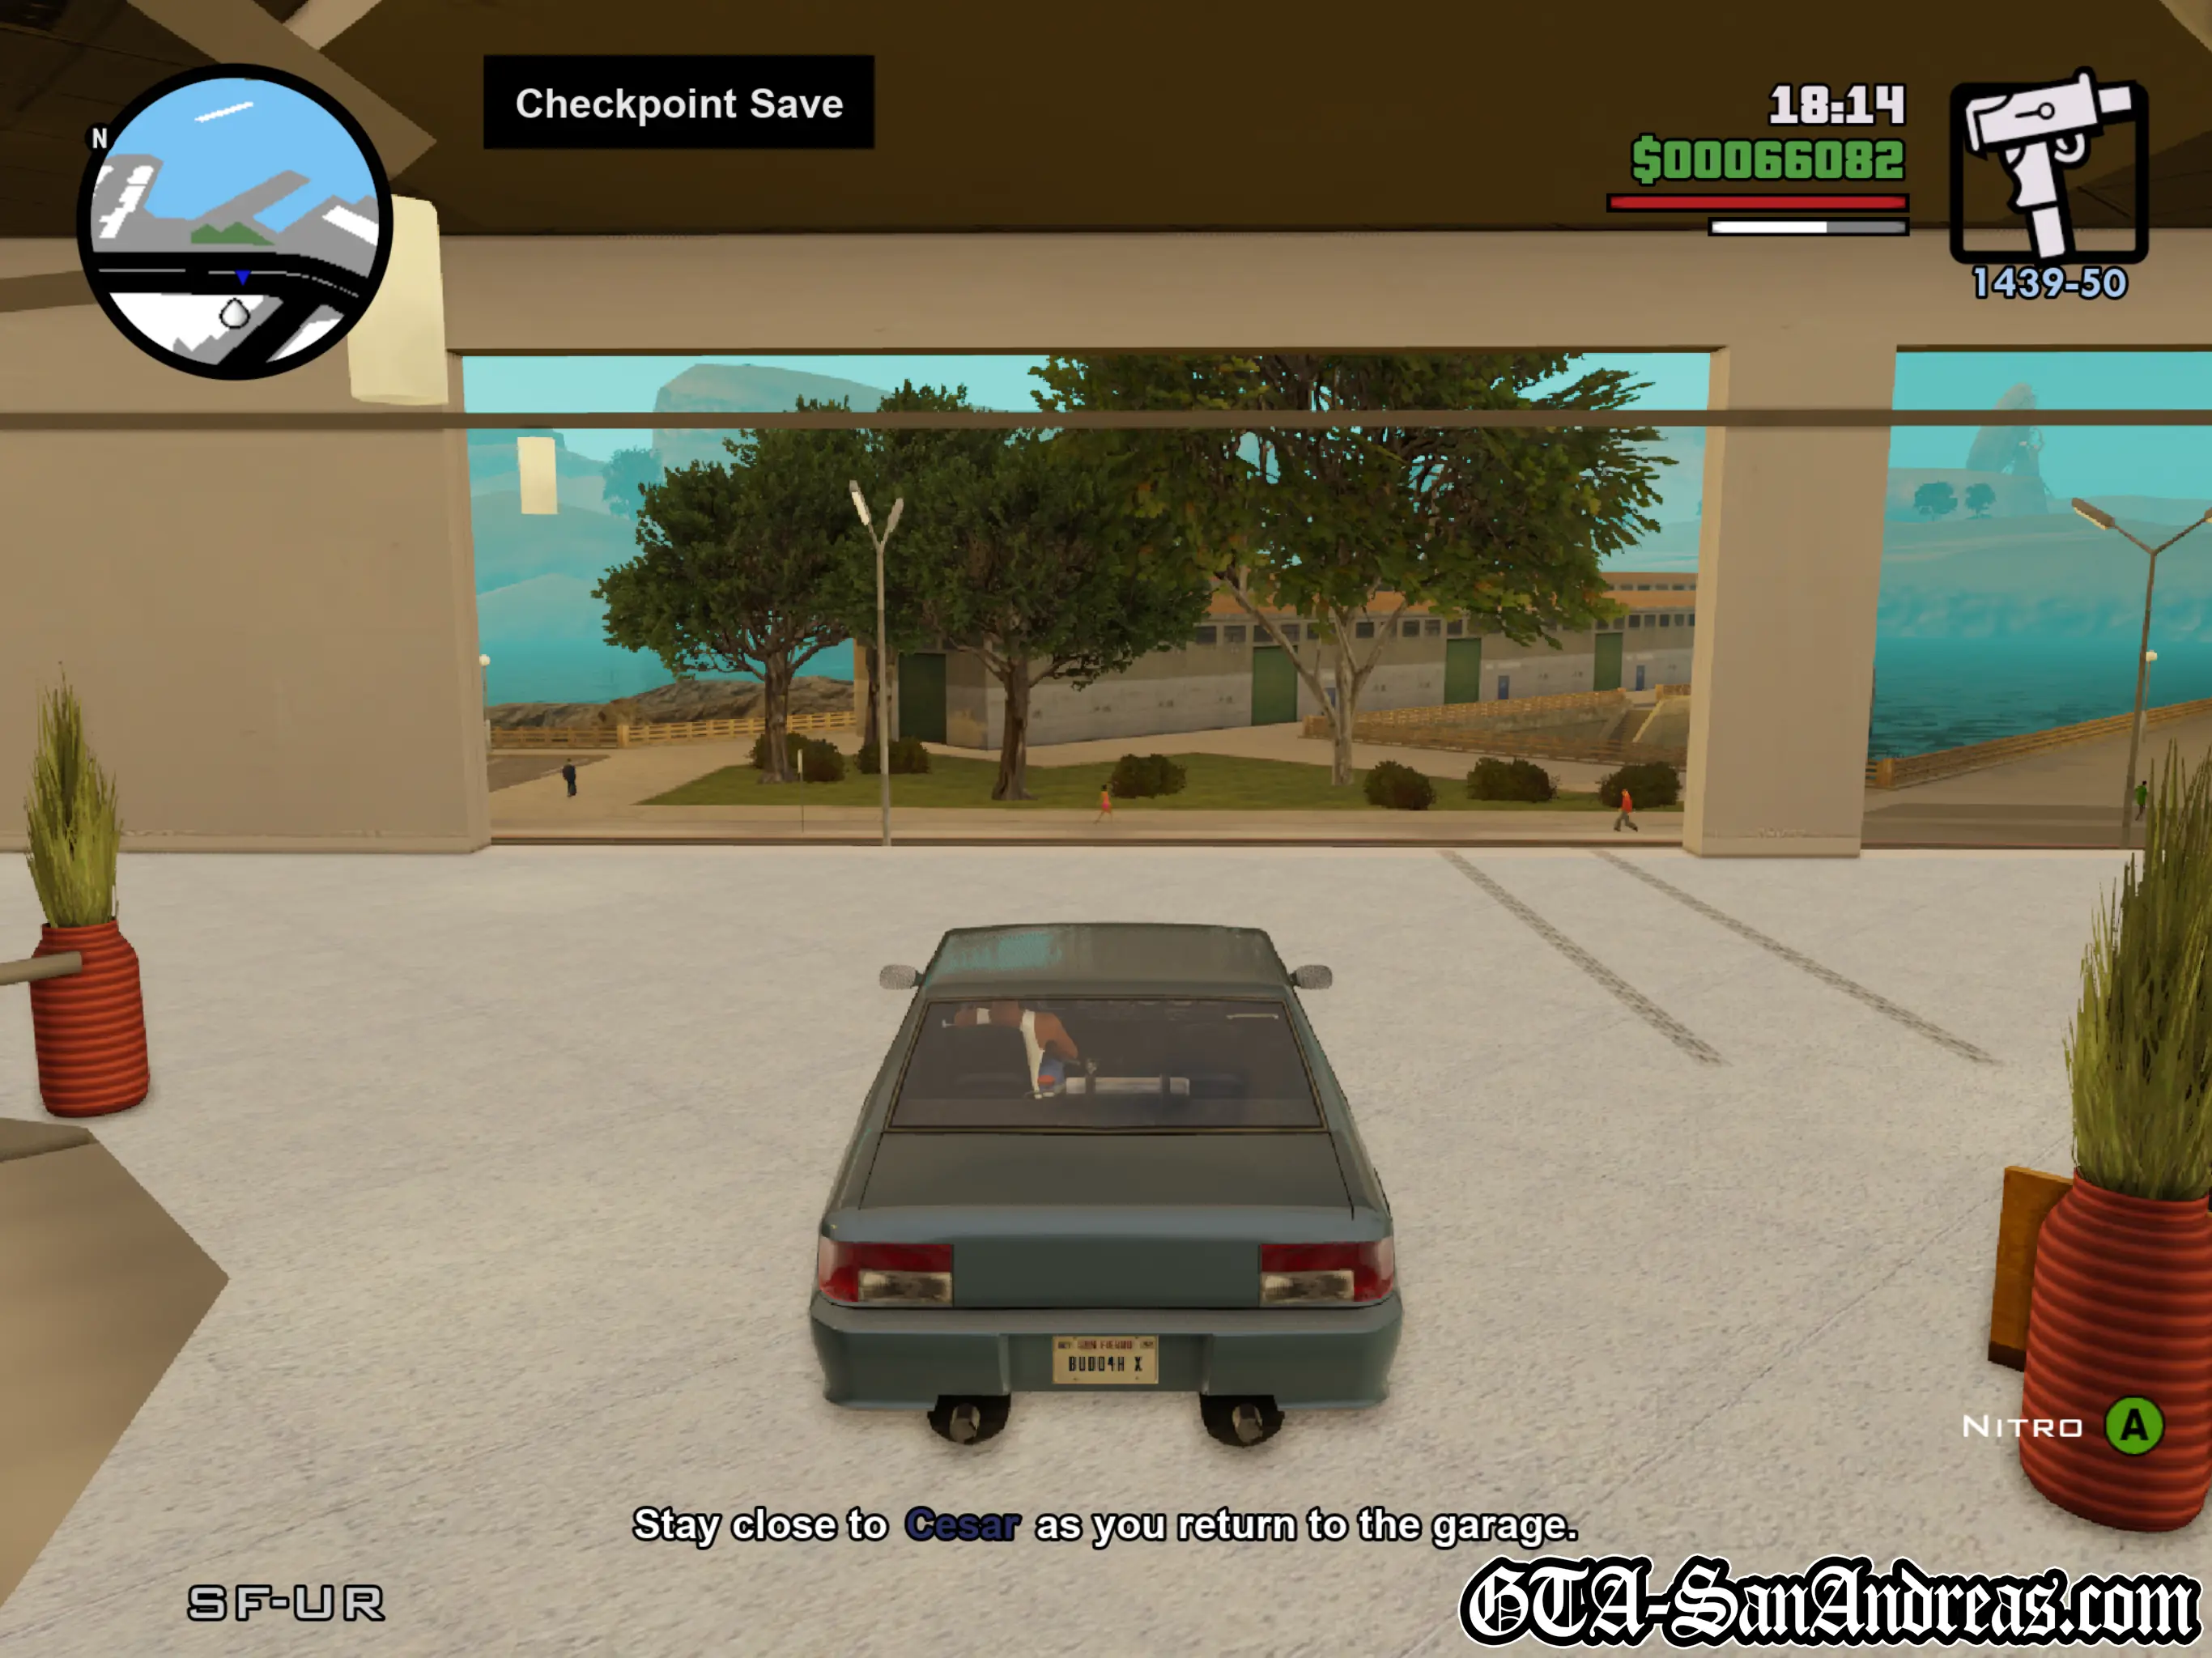
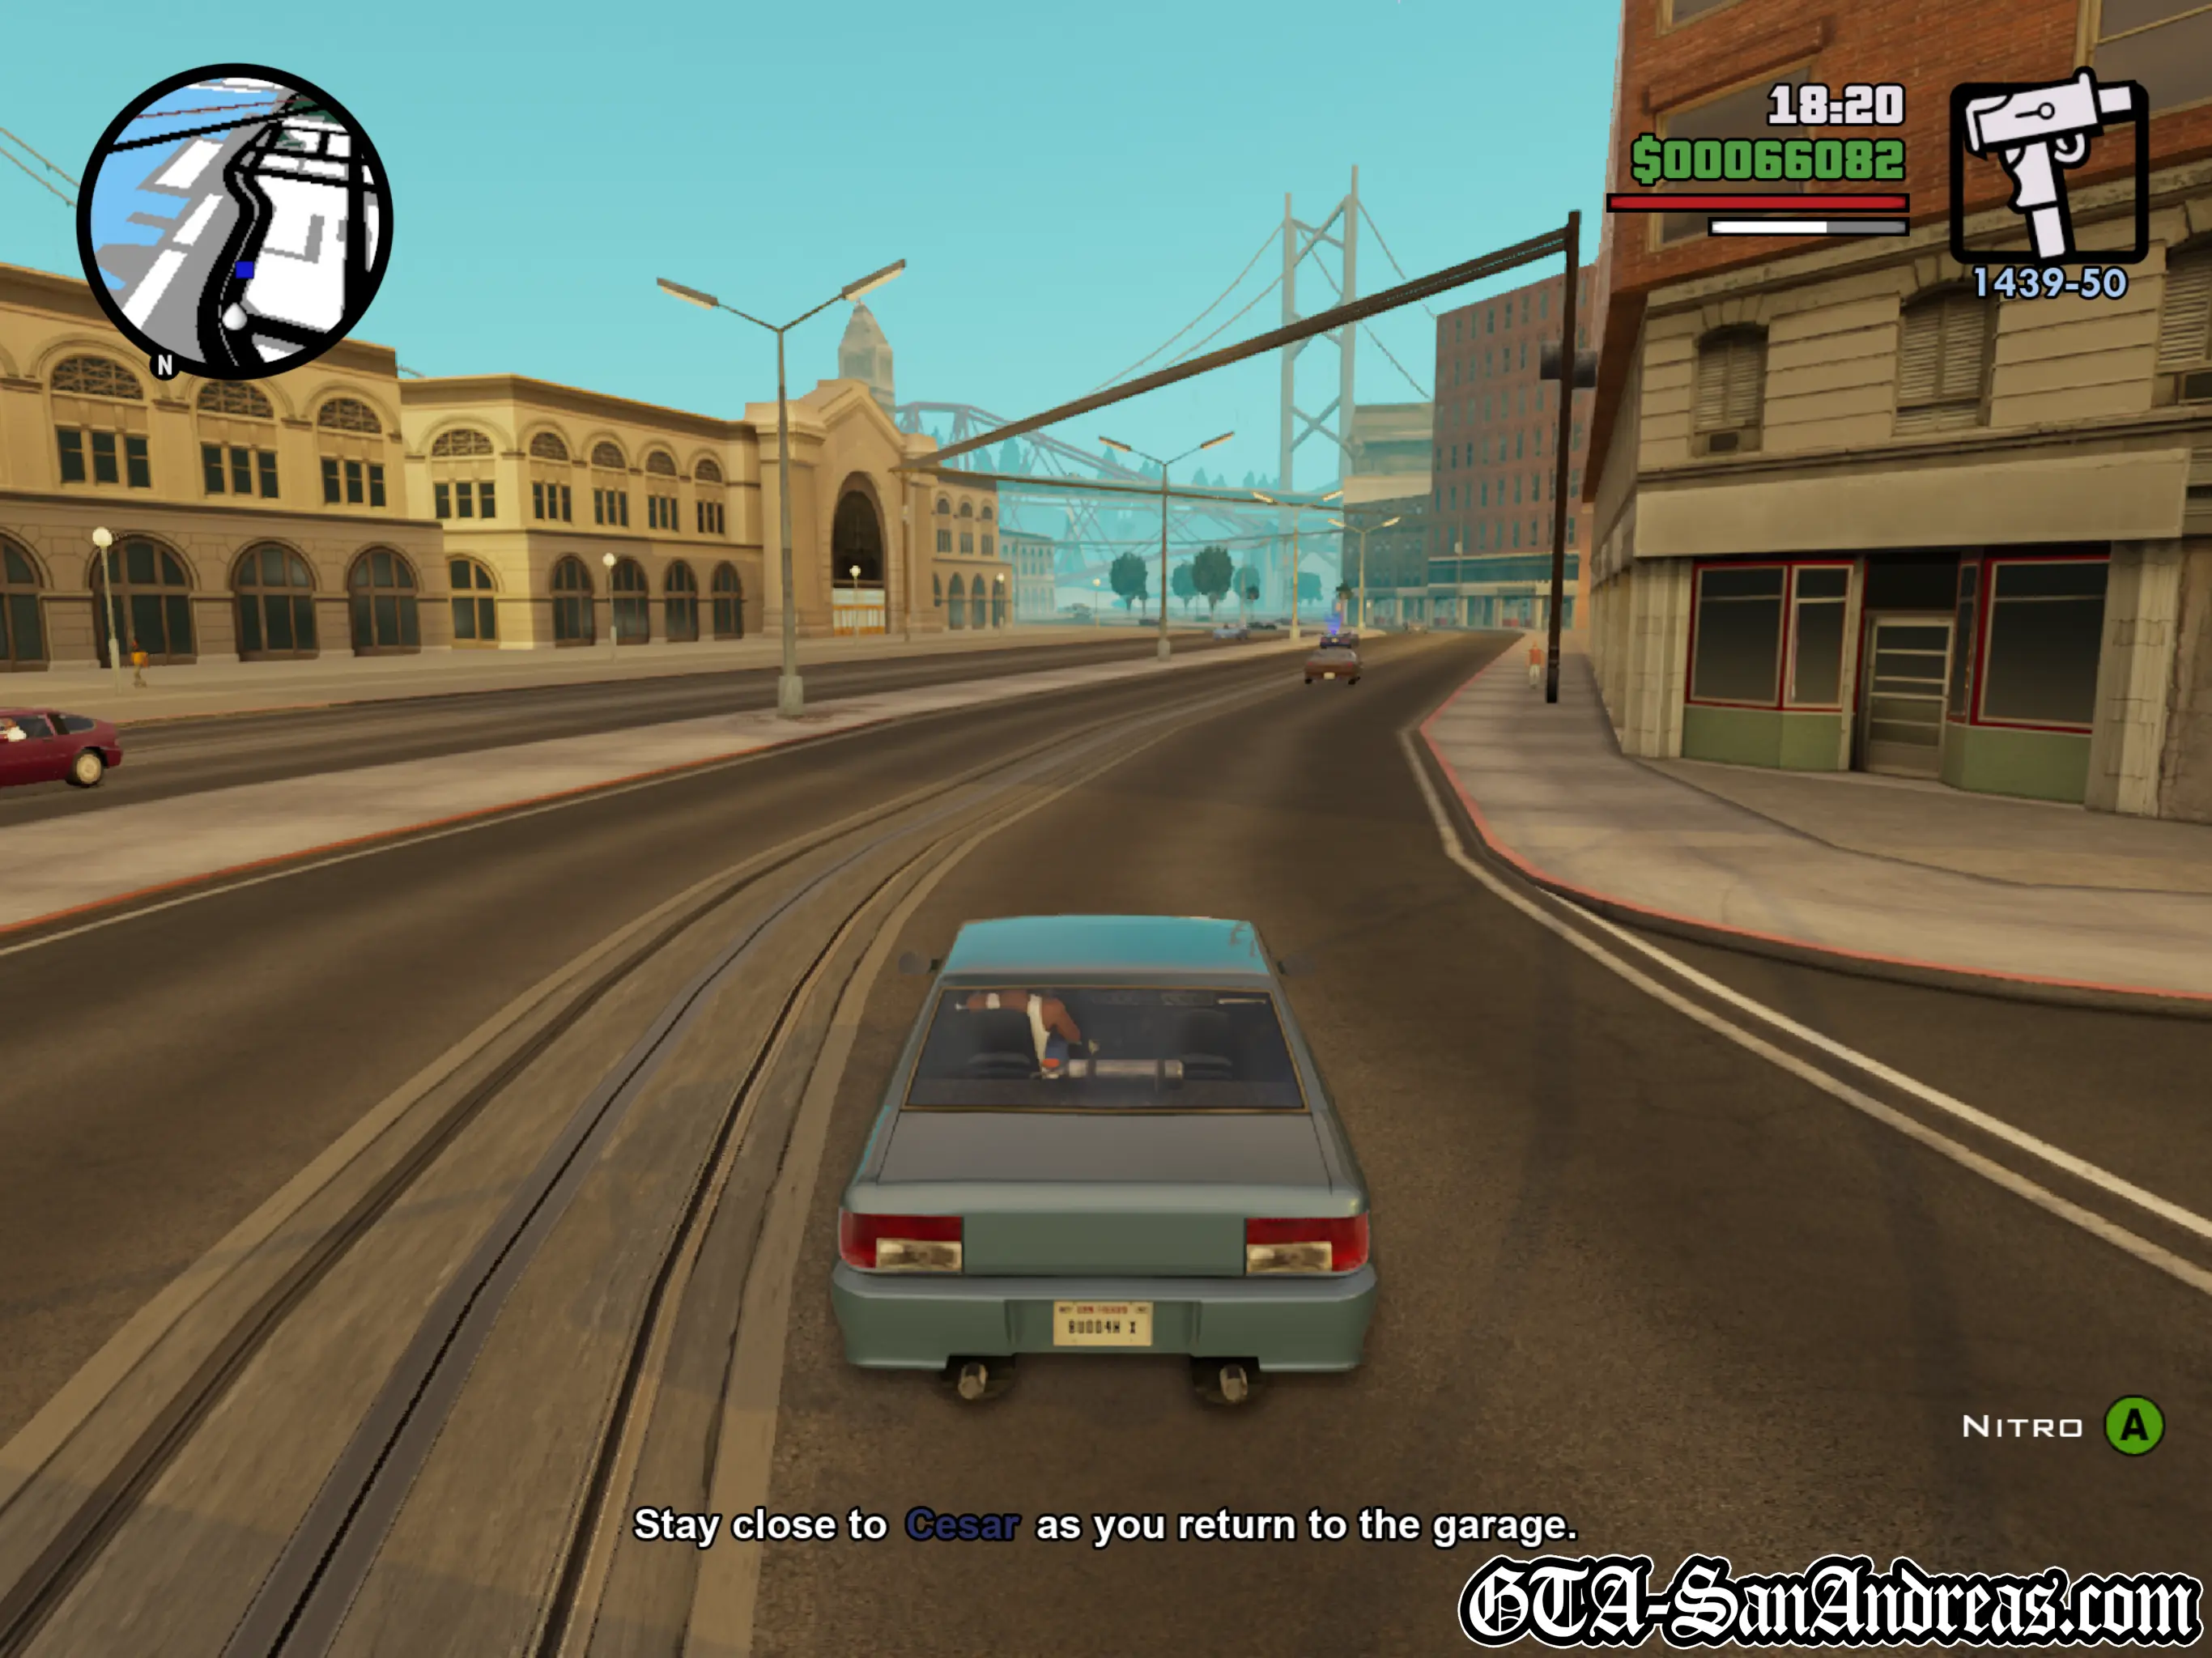
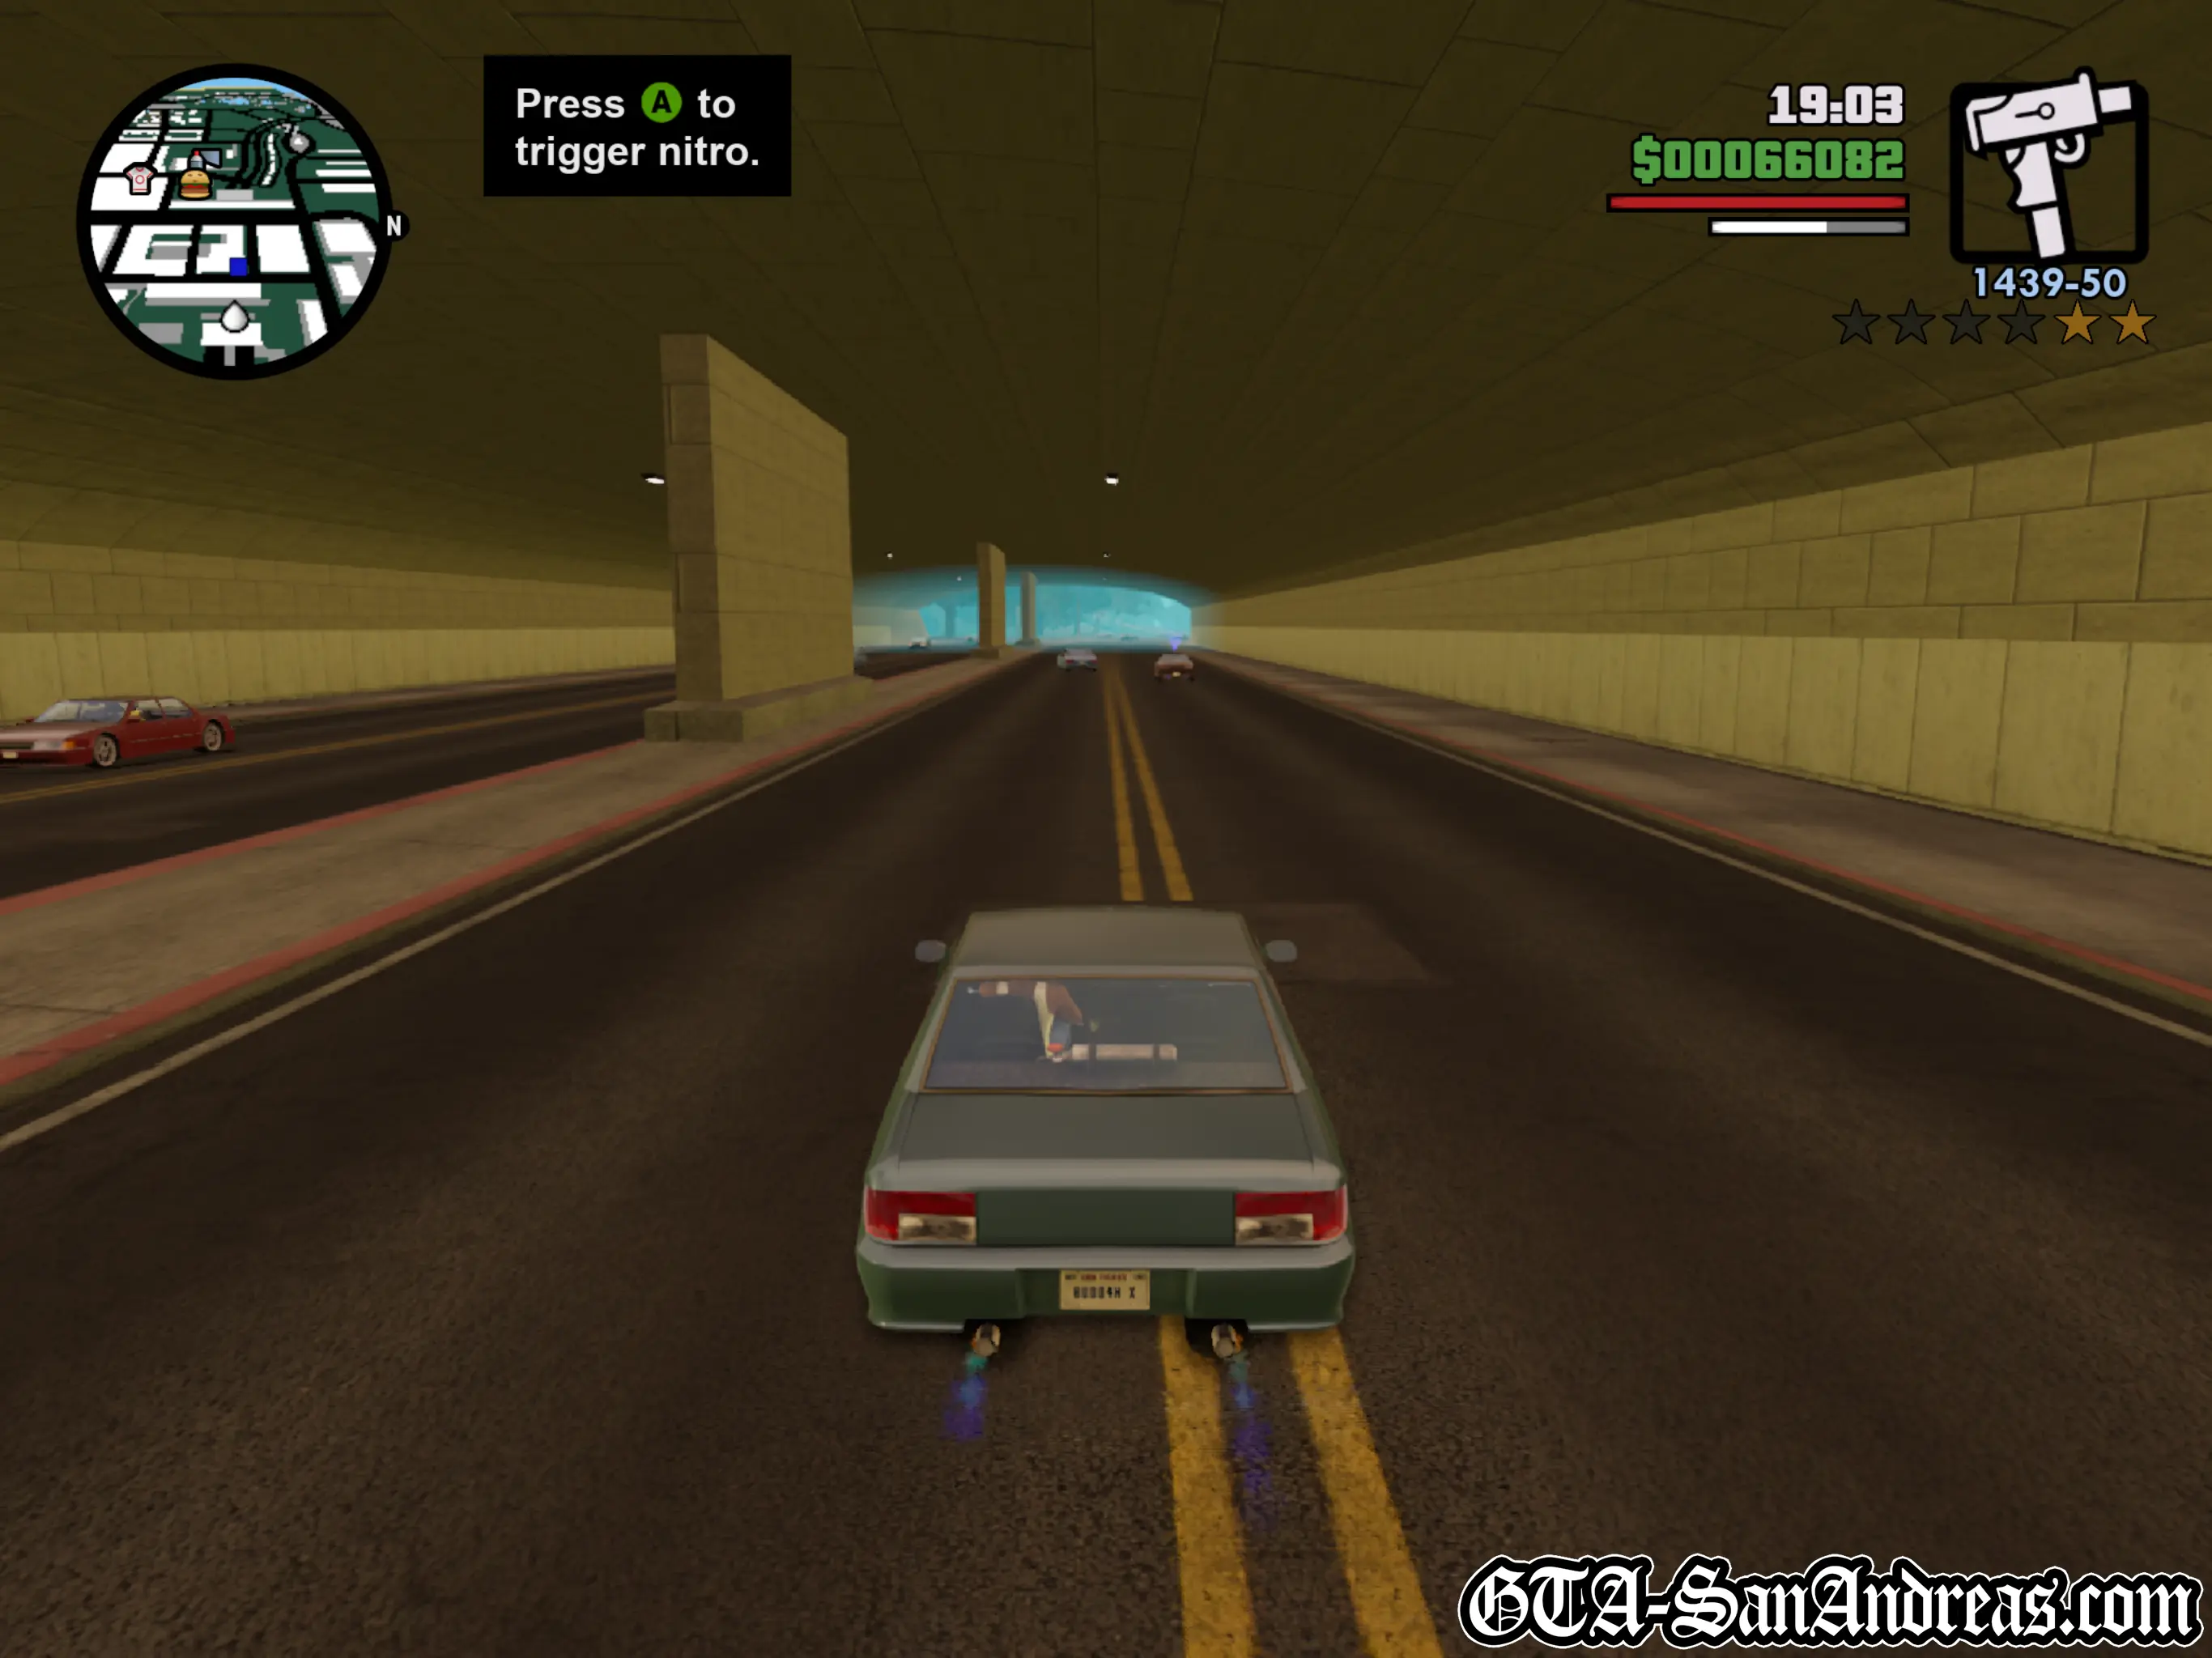
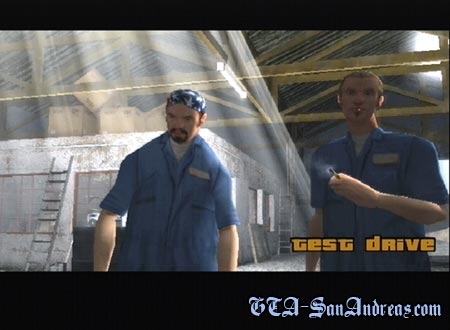
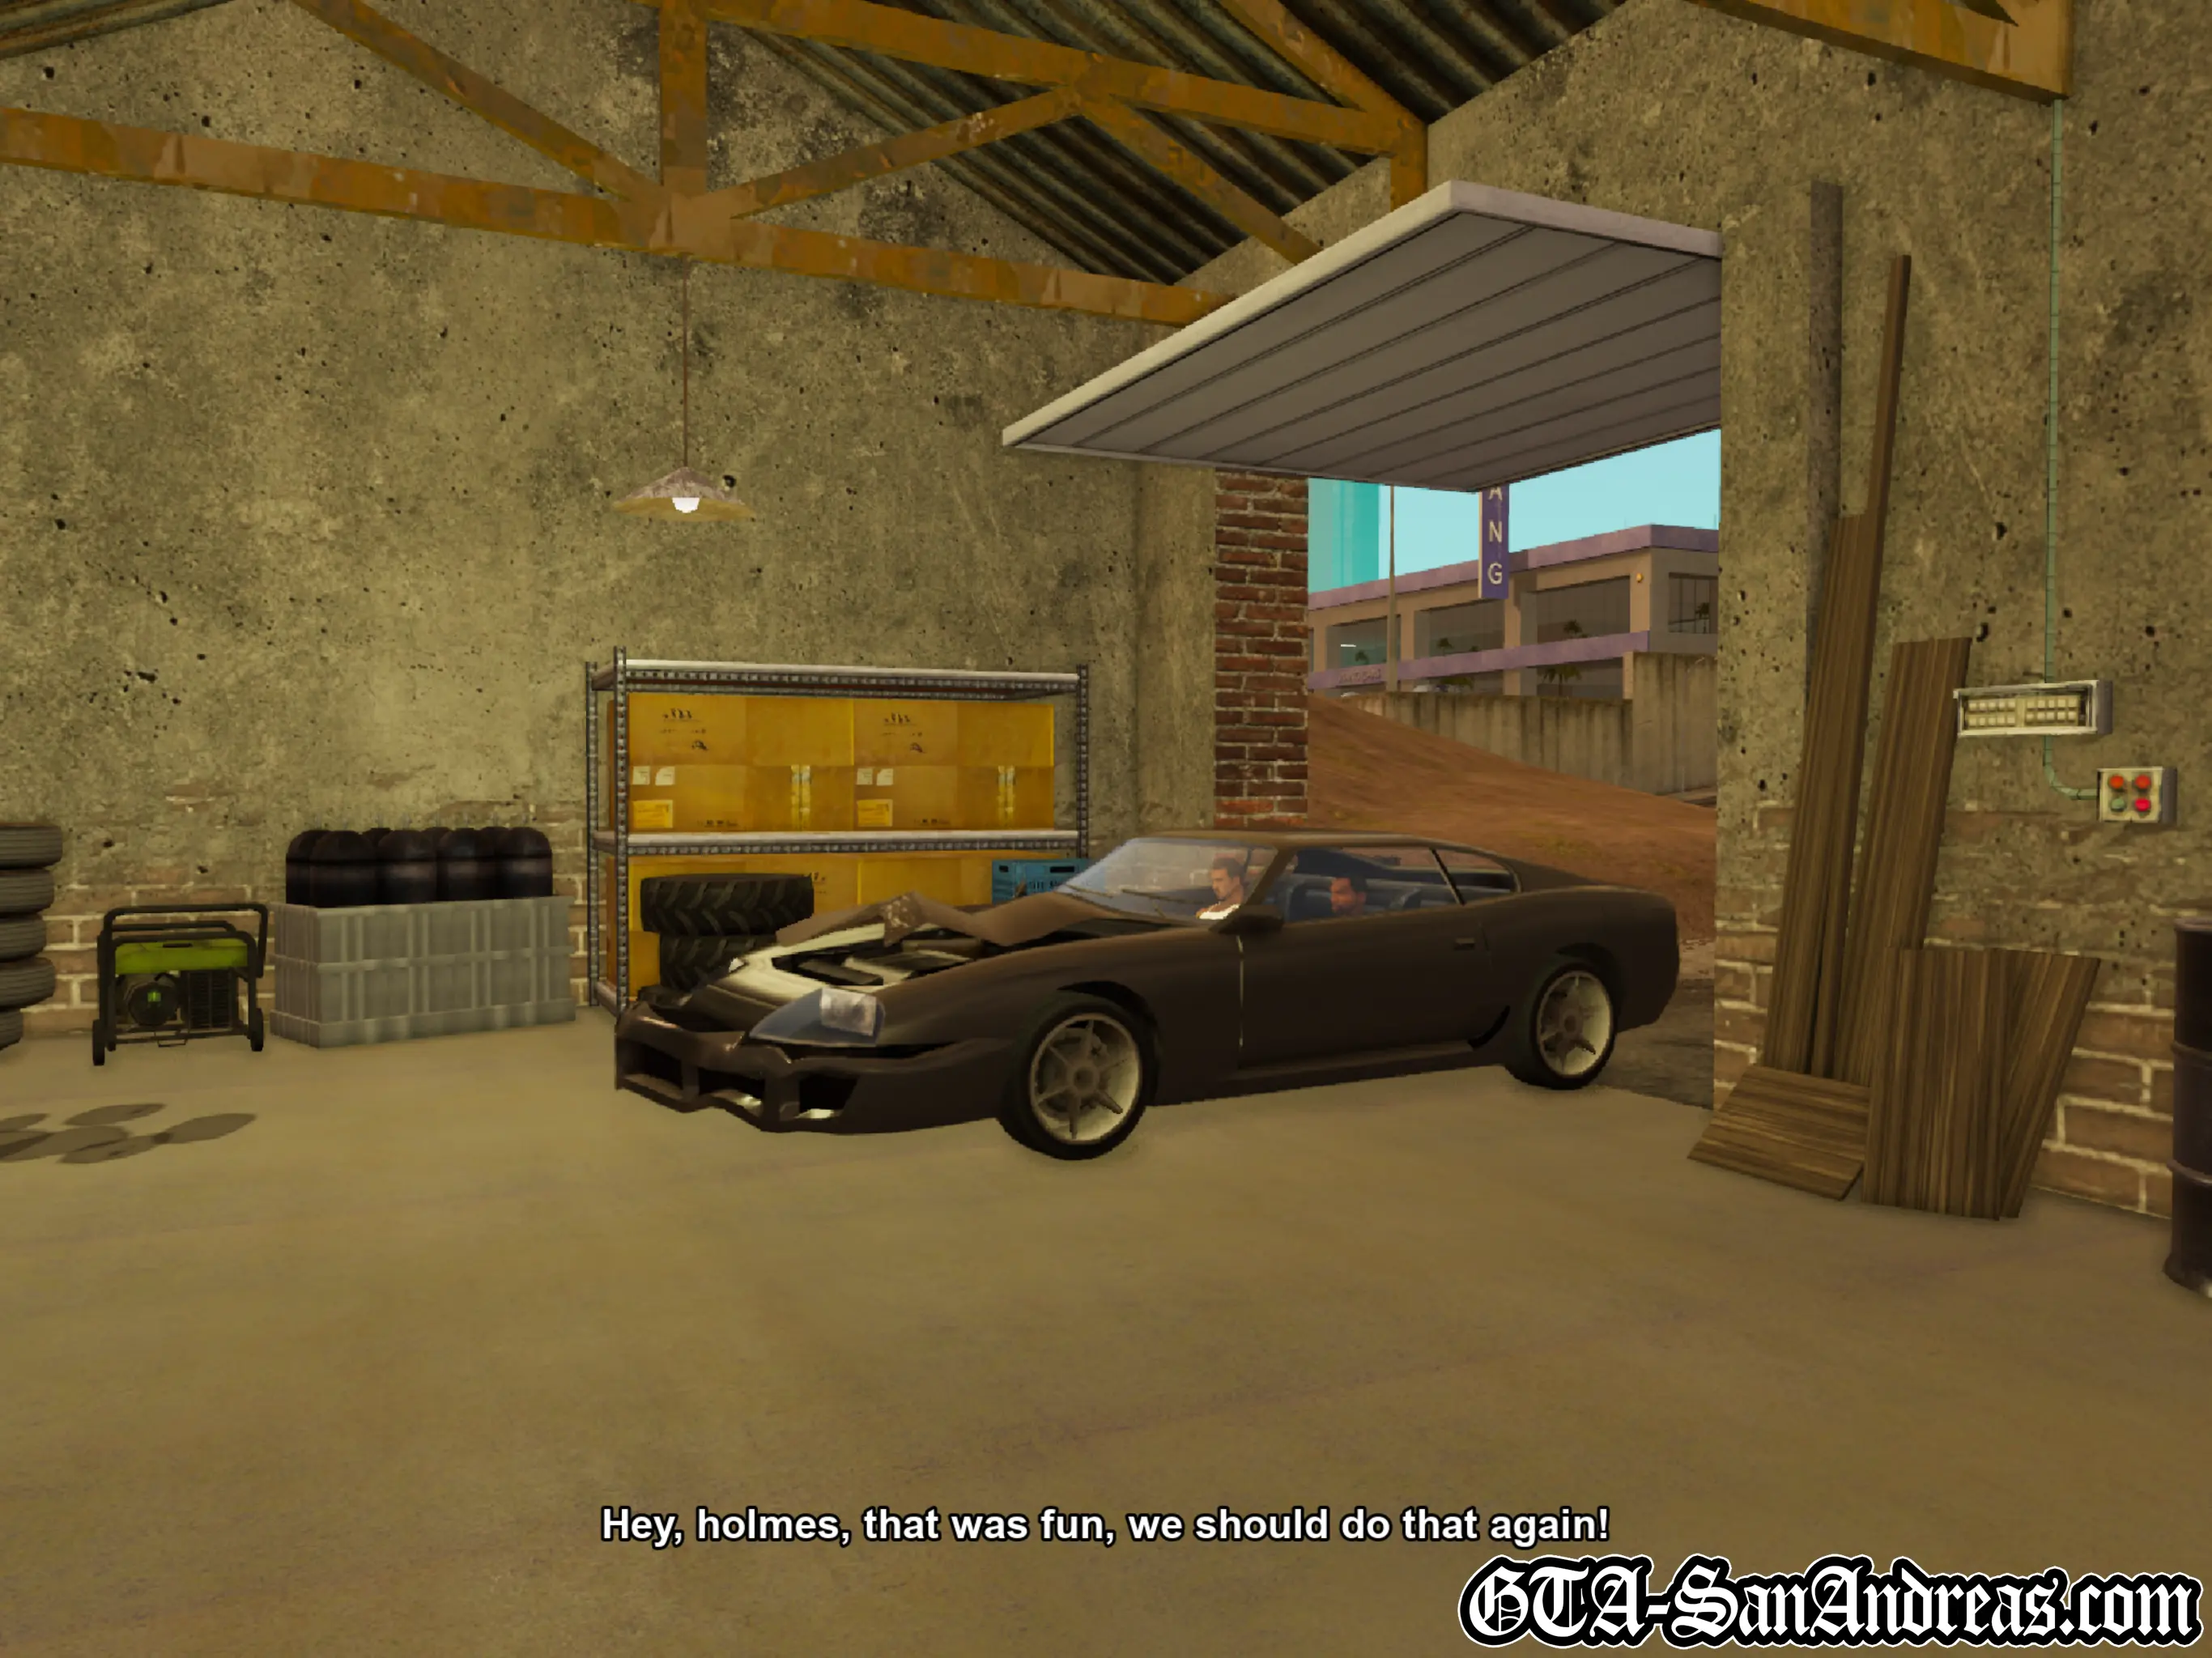
Test Drive
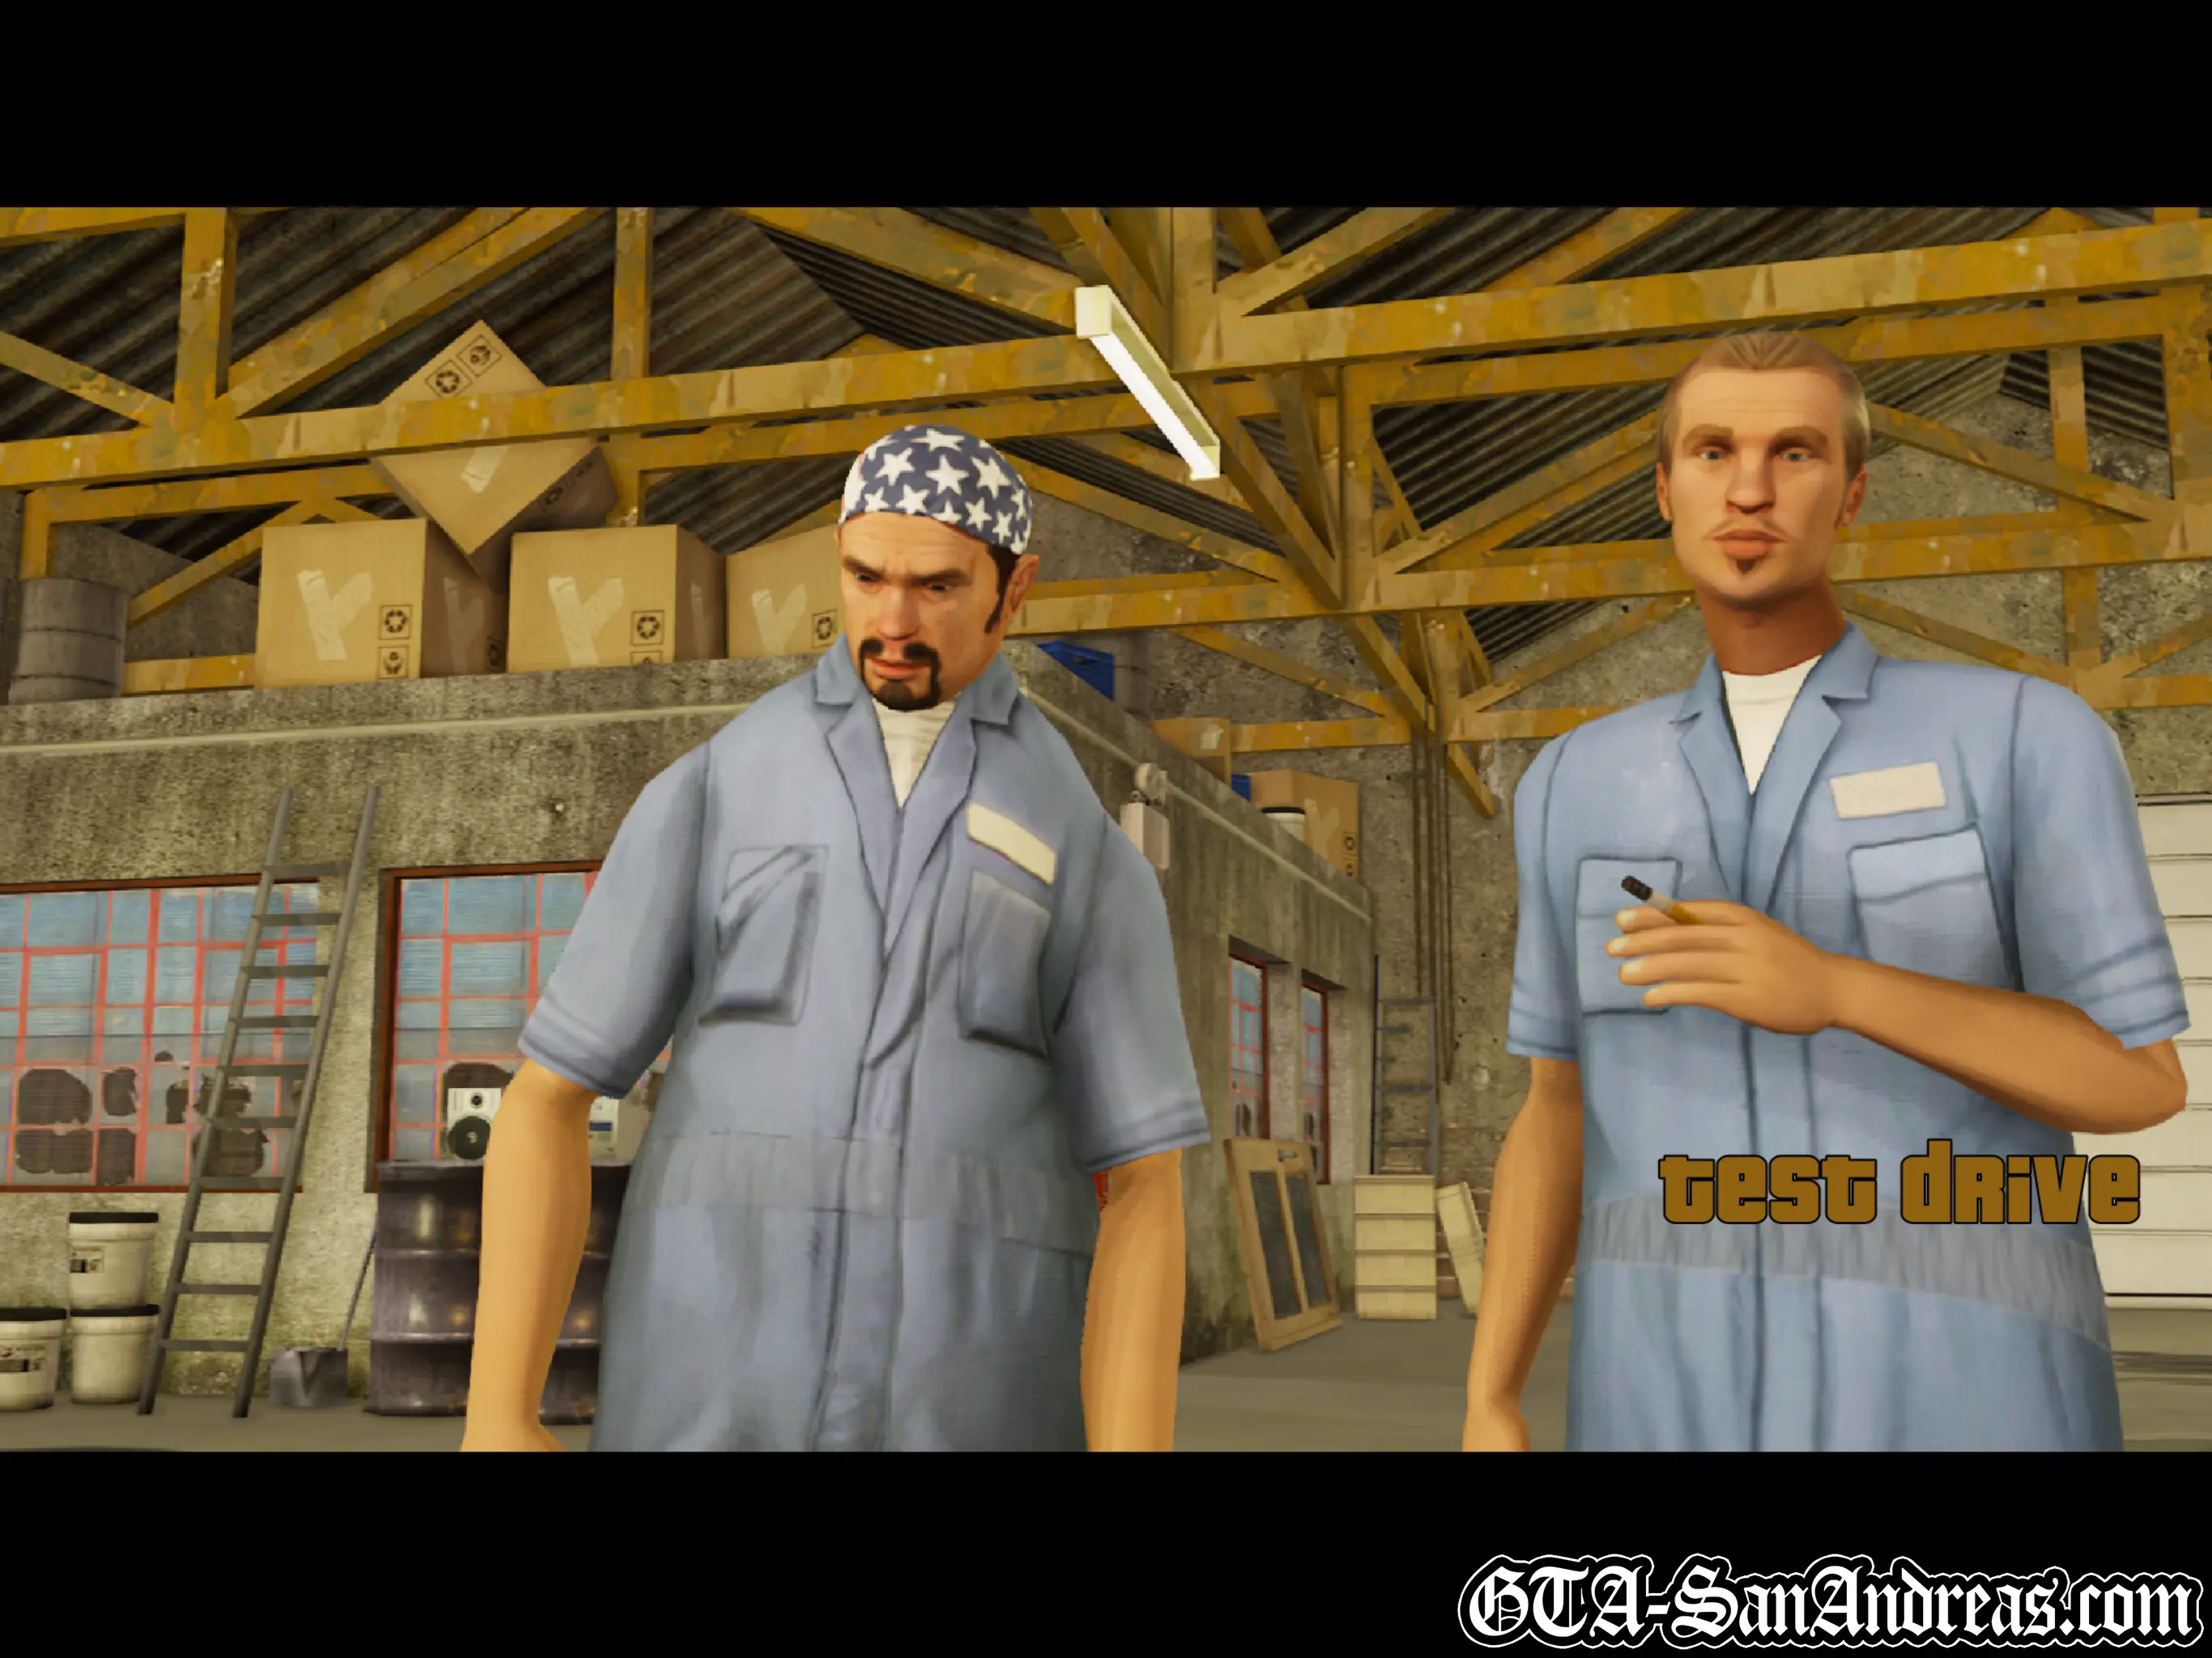
Cesar needs two cars for the list, and he knows they're in a place across town. You and him are going to get them. Grab a vehicle and drive yourself and Cesar to the car place near the docks. Park in the red circle and a cutscene will kick in where CJ and Cesar steal the cars. Afterwards, drive out of the window and follow Cesar. He'll take you across town, mainly following the tram tracks and after about a minute he'll have the cops on him. He'll then show you that the cars have Nitro attached. Follow him on his wacky adventure across San Fierro, then he'll lose the cops. He'll lead you into an alley where the cops are waiting, so back up and then follow him back to the garage. Park in the red circle.
Screenshots


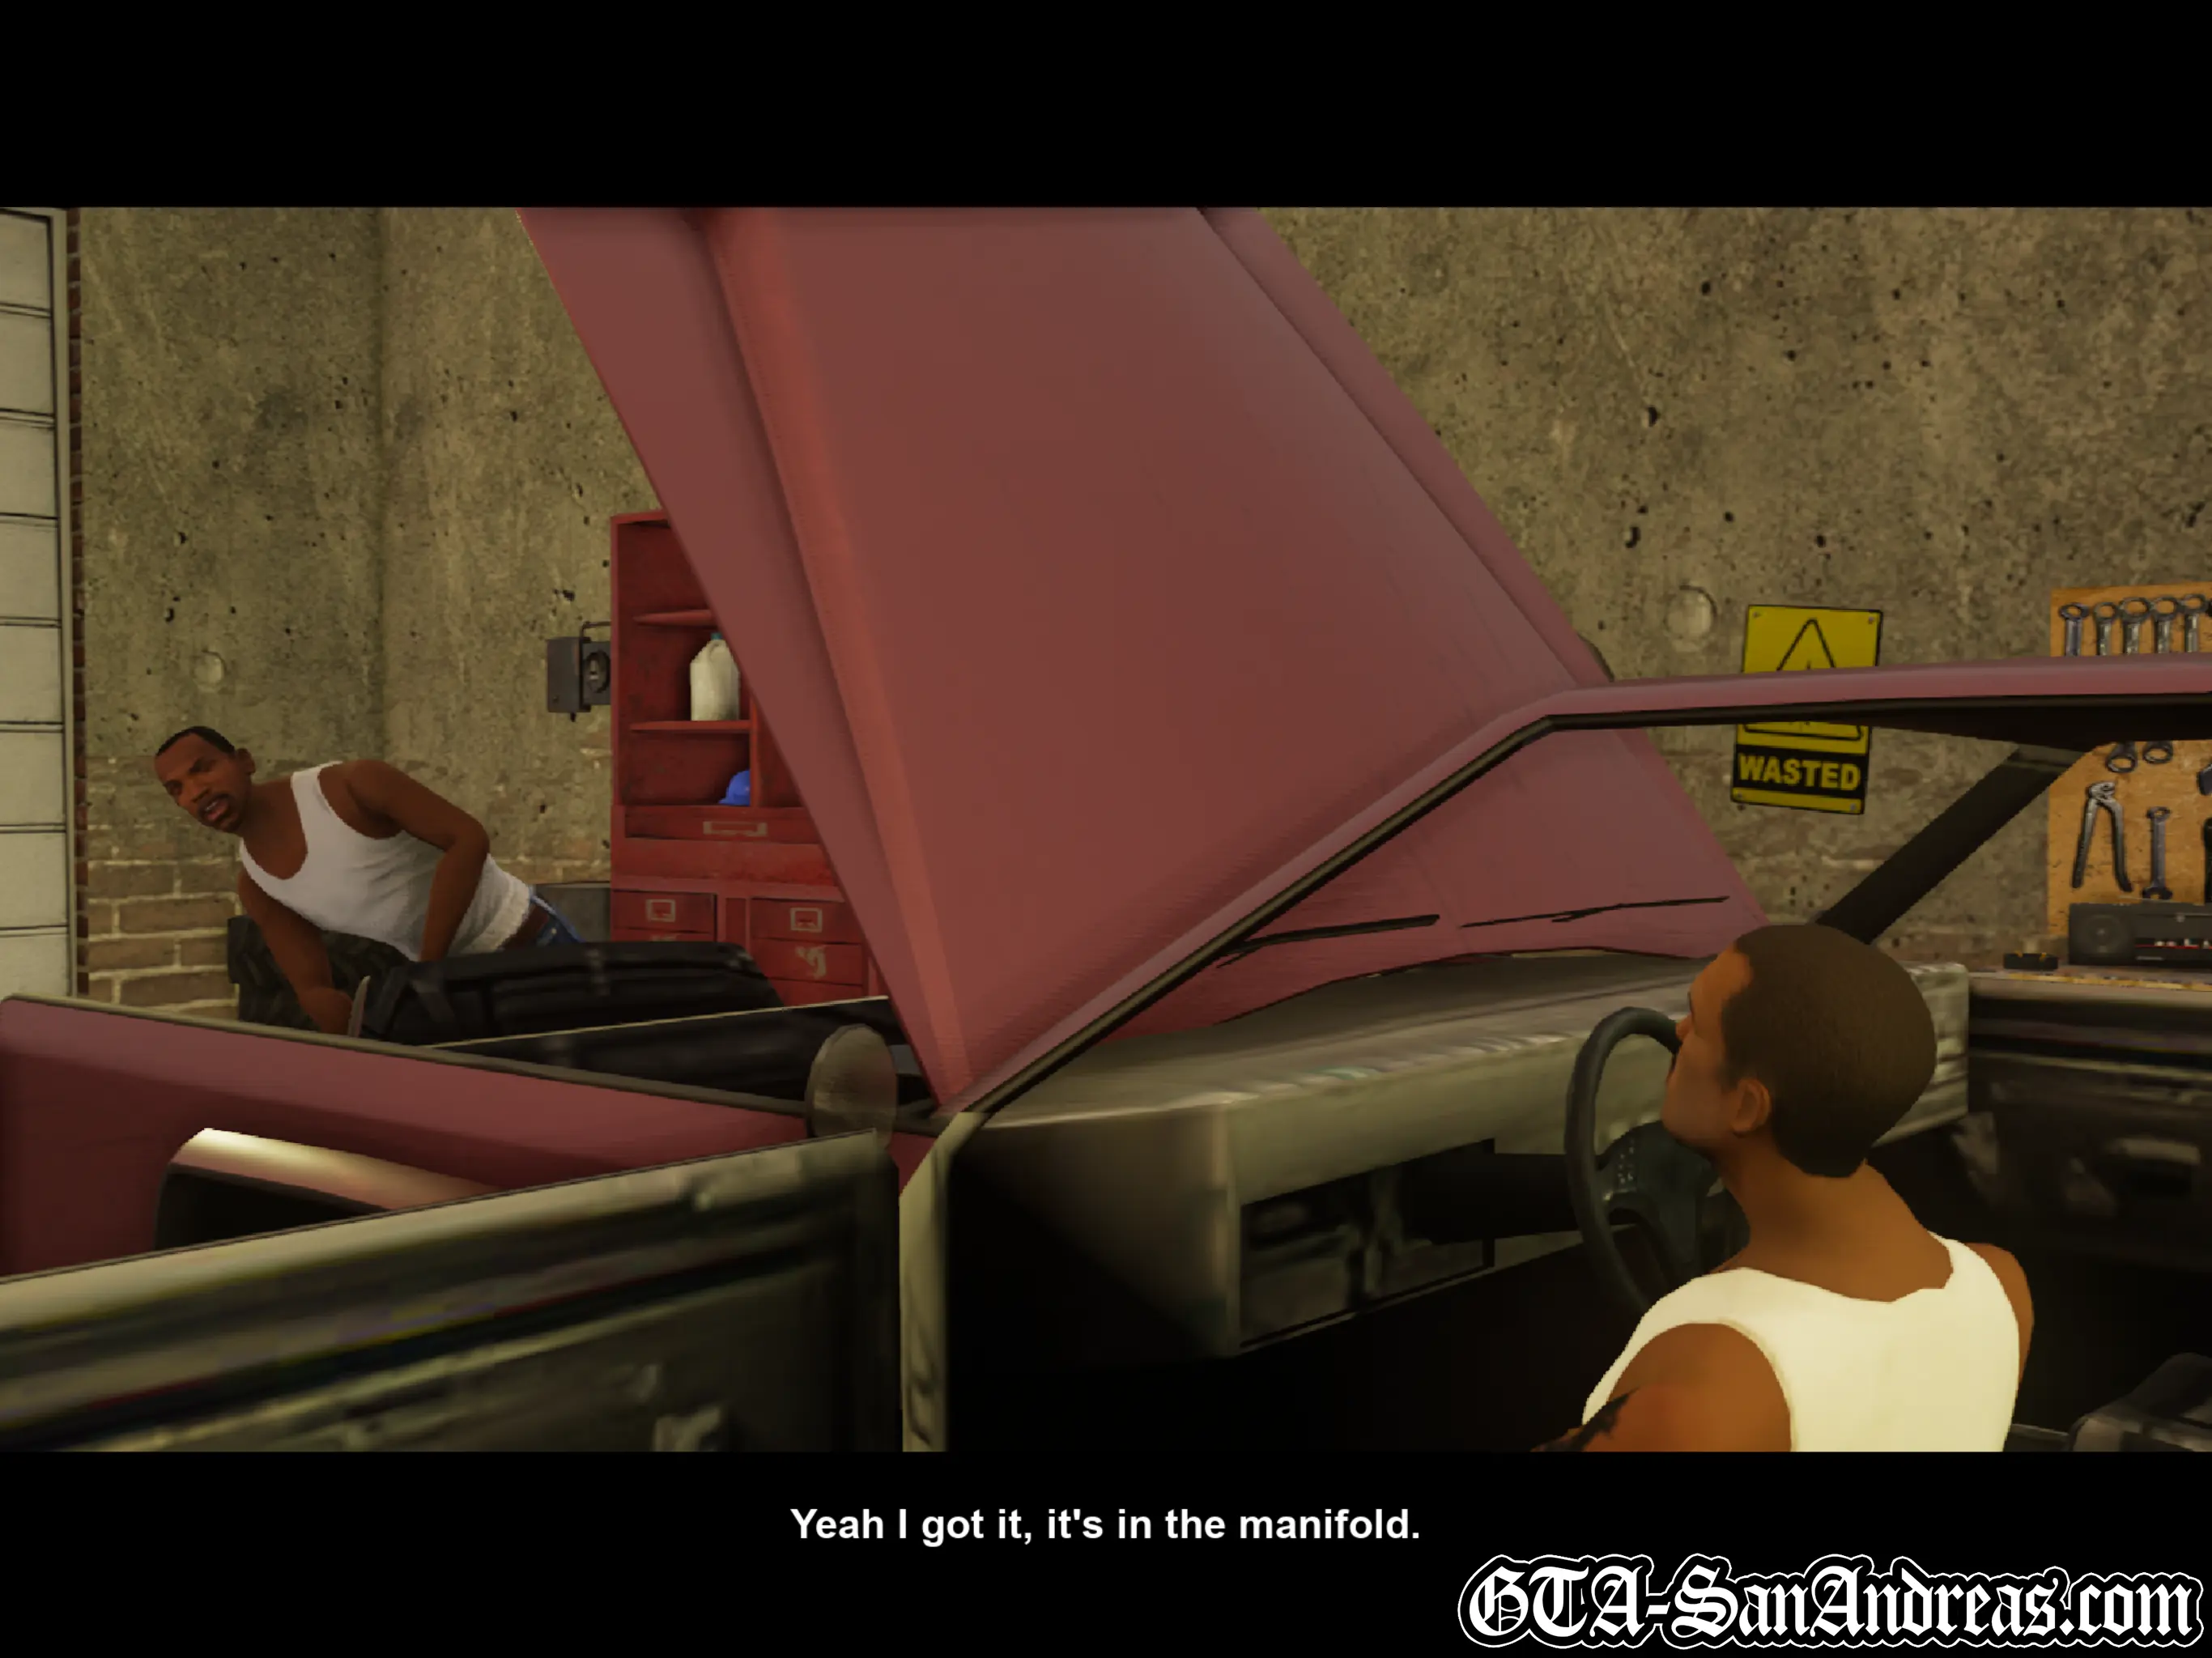
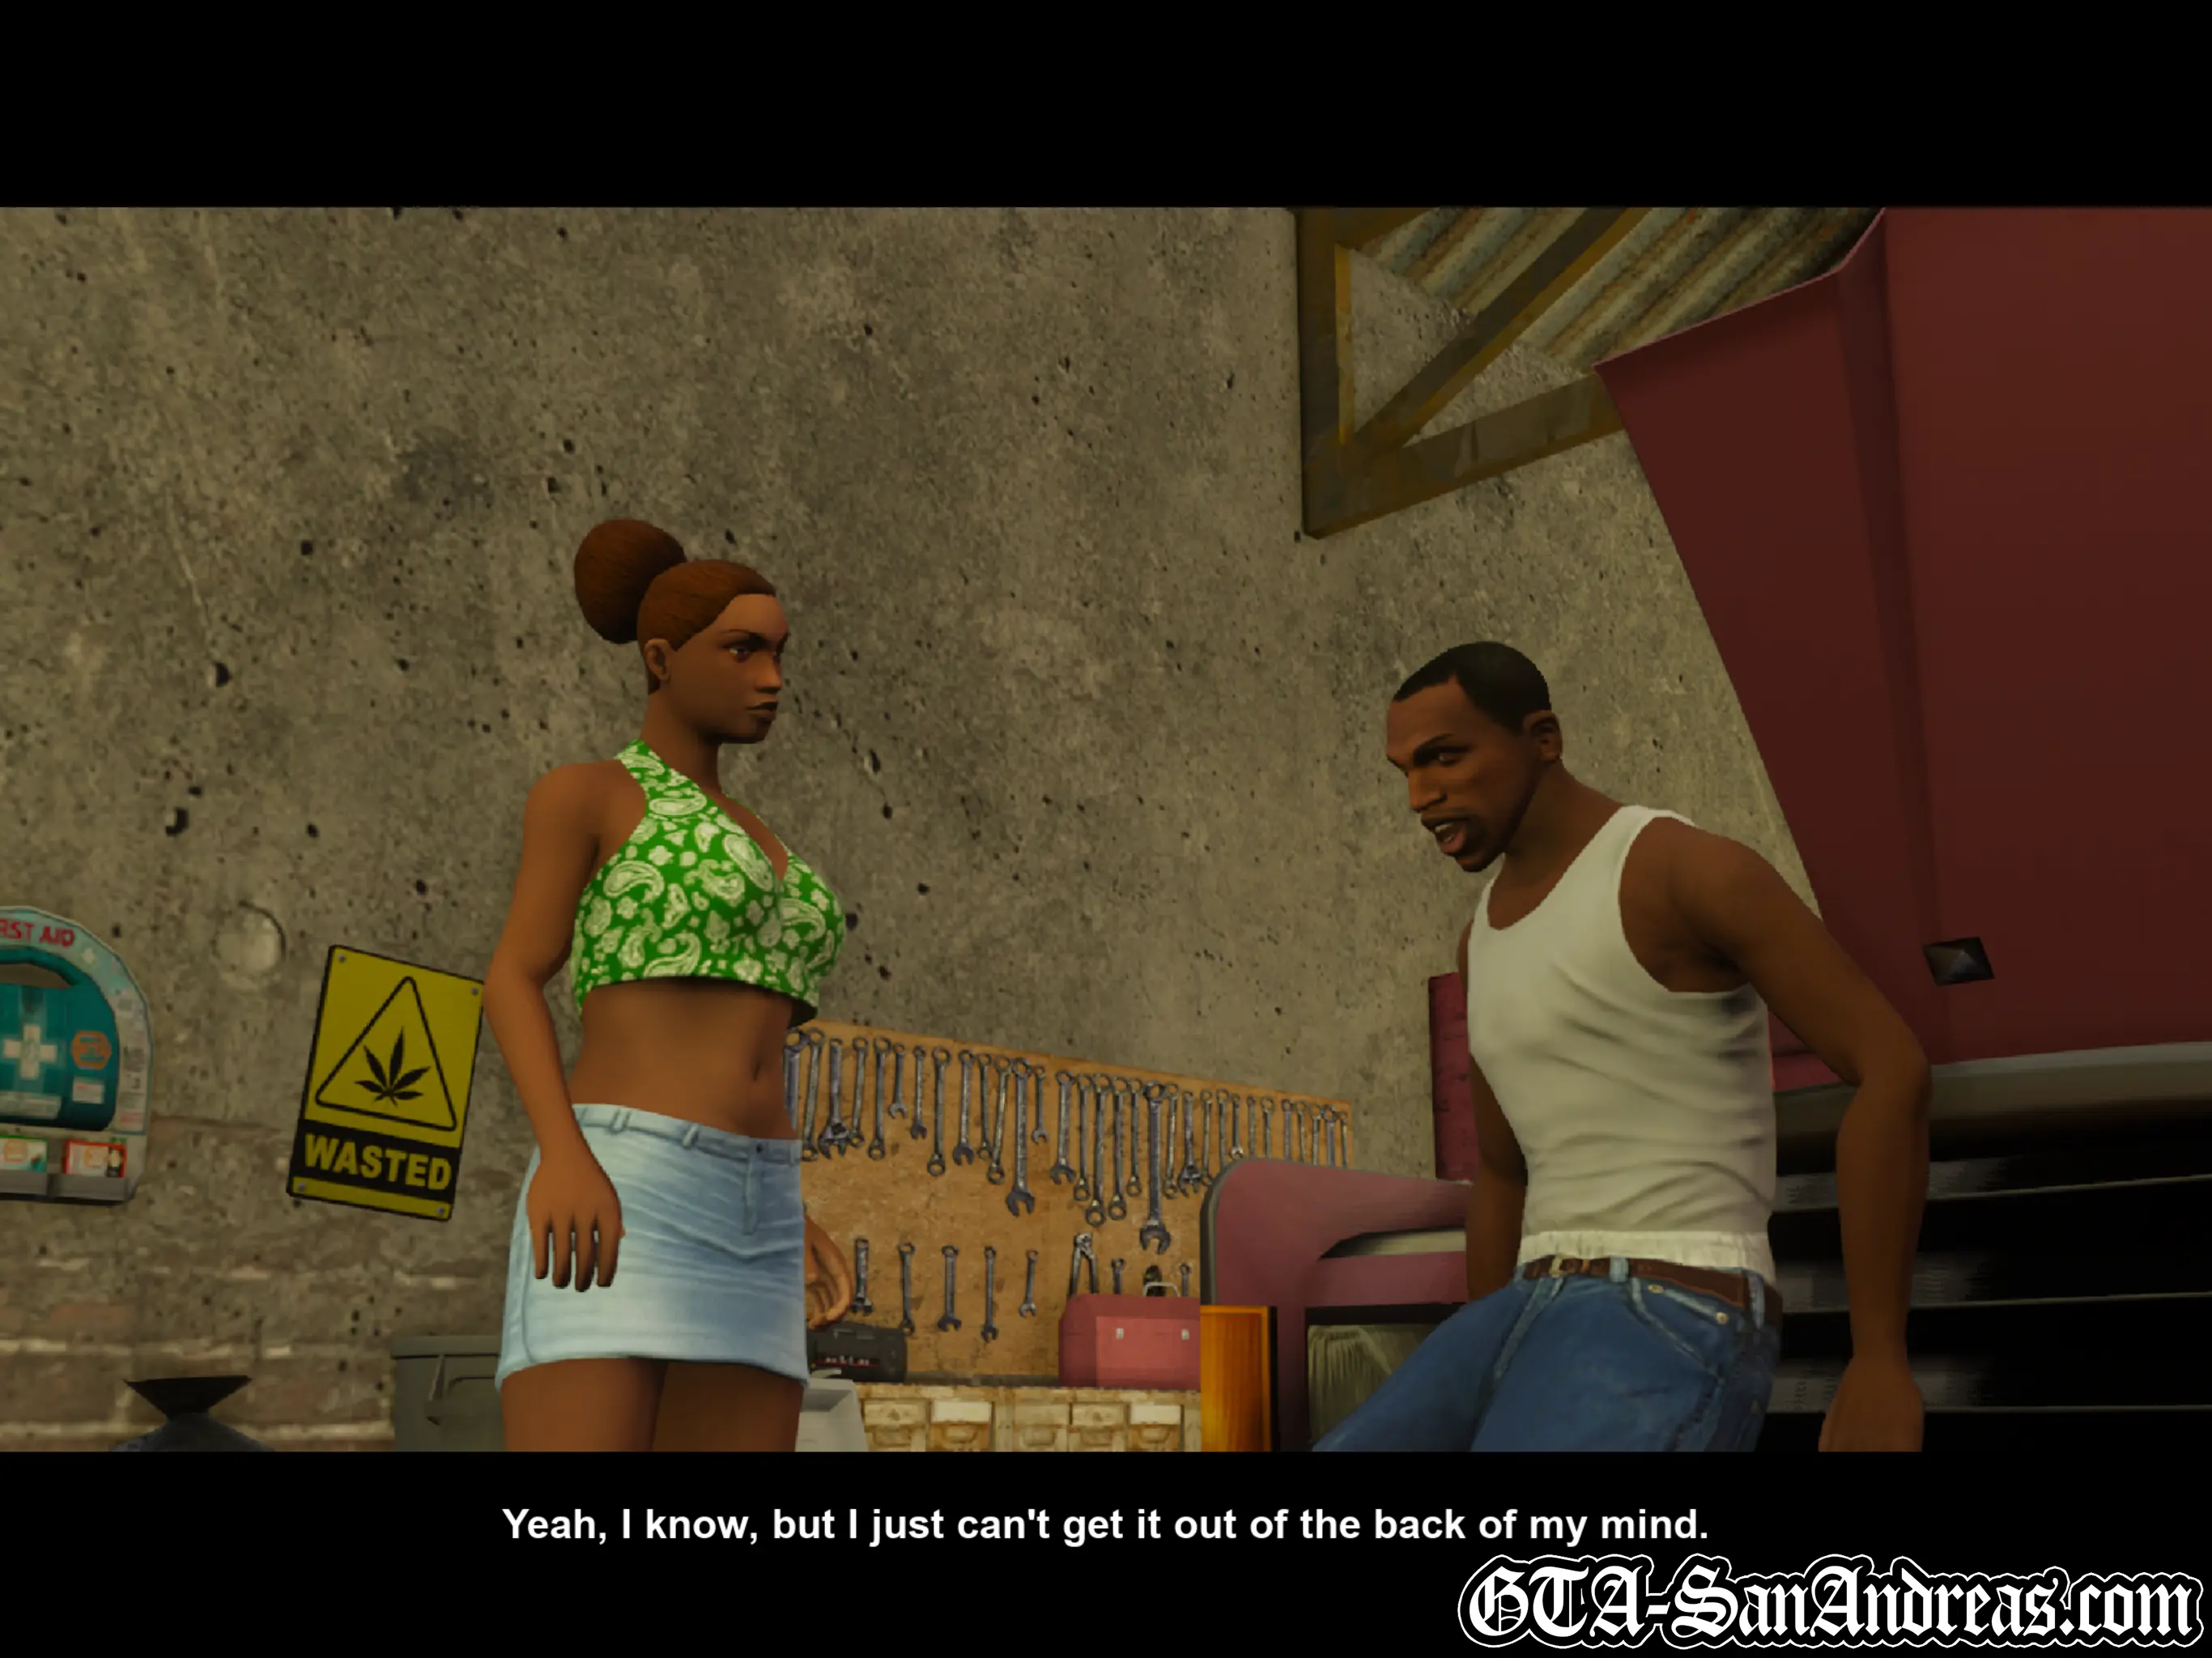
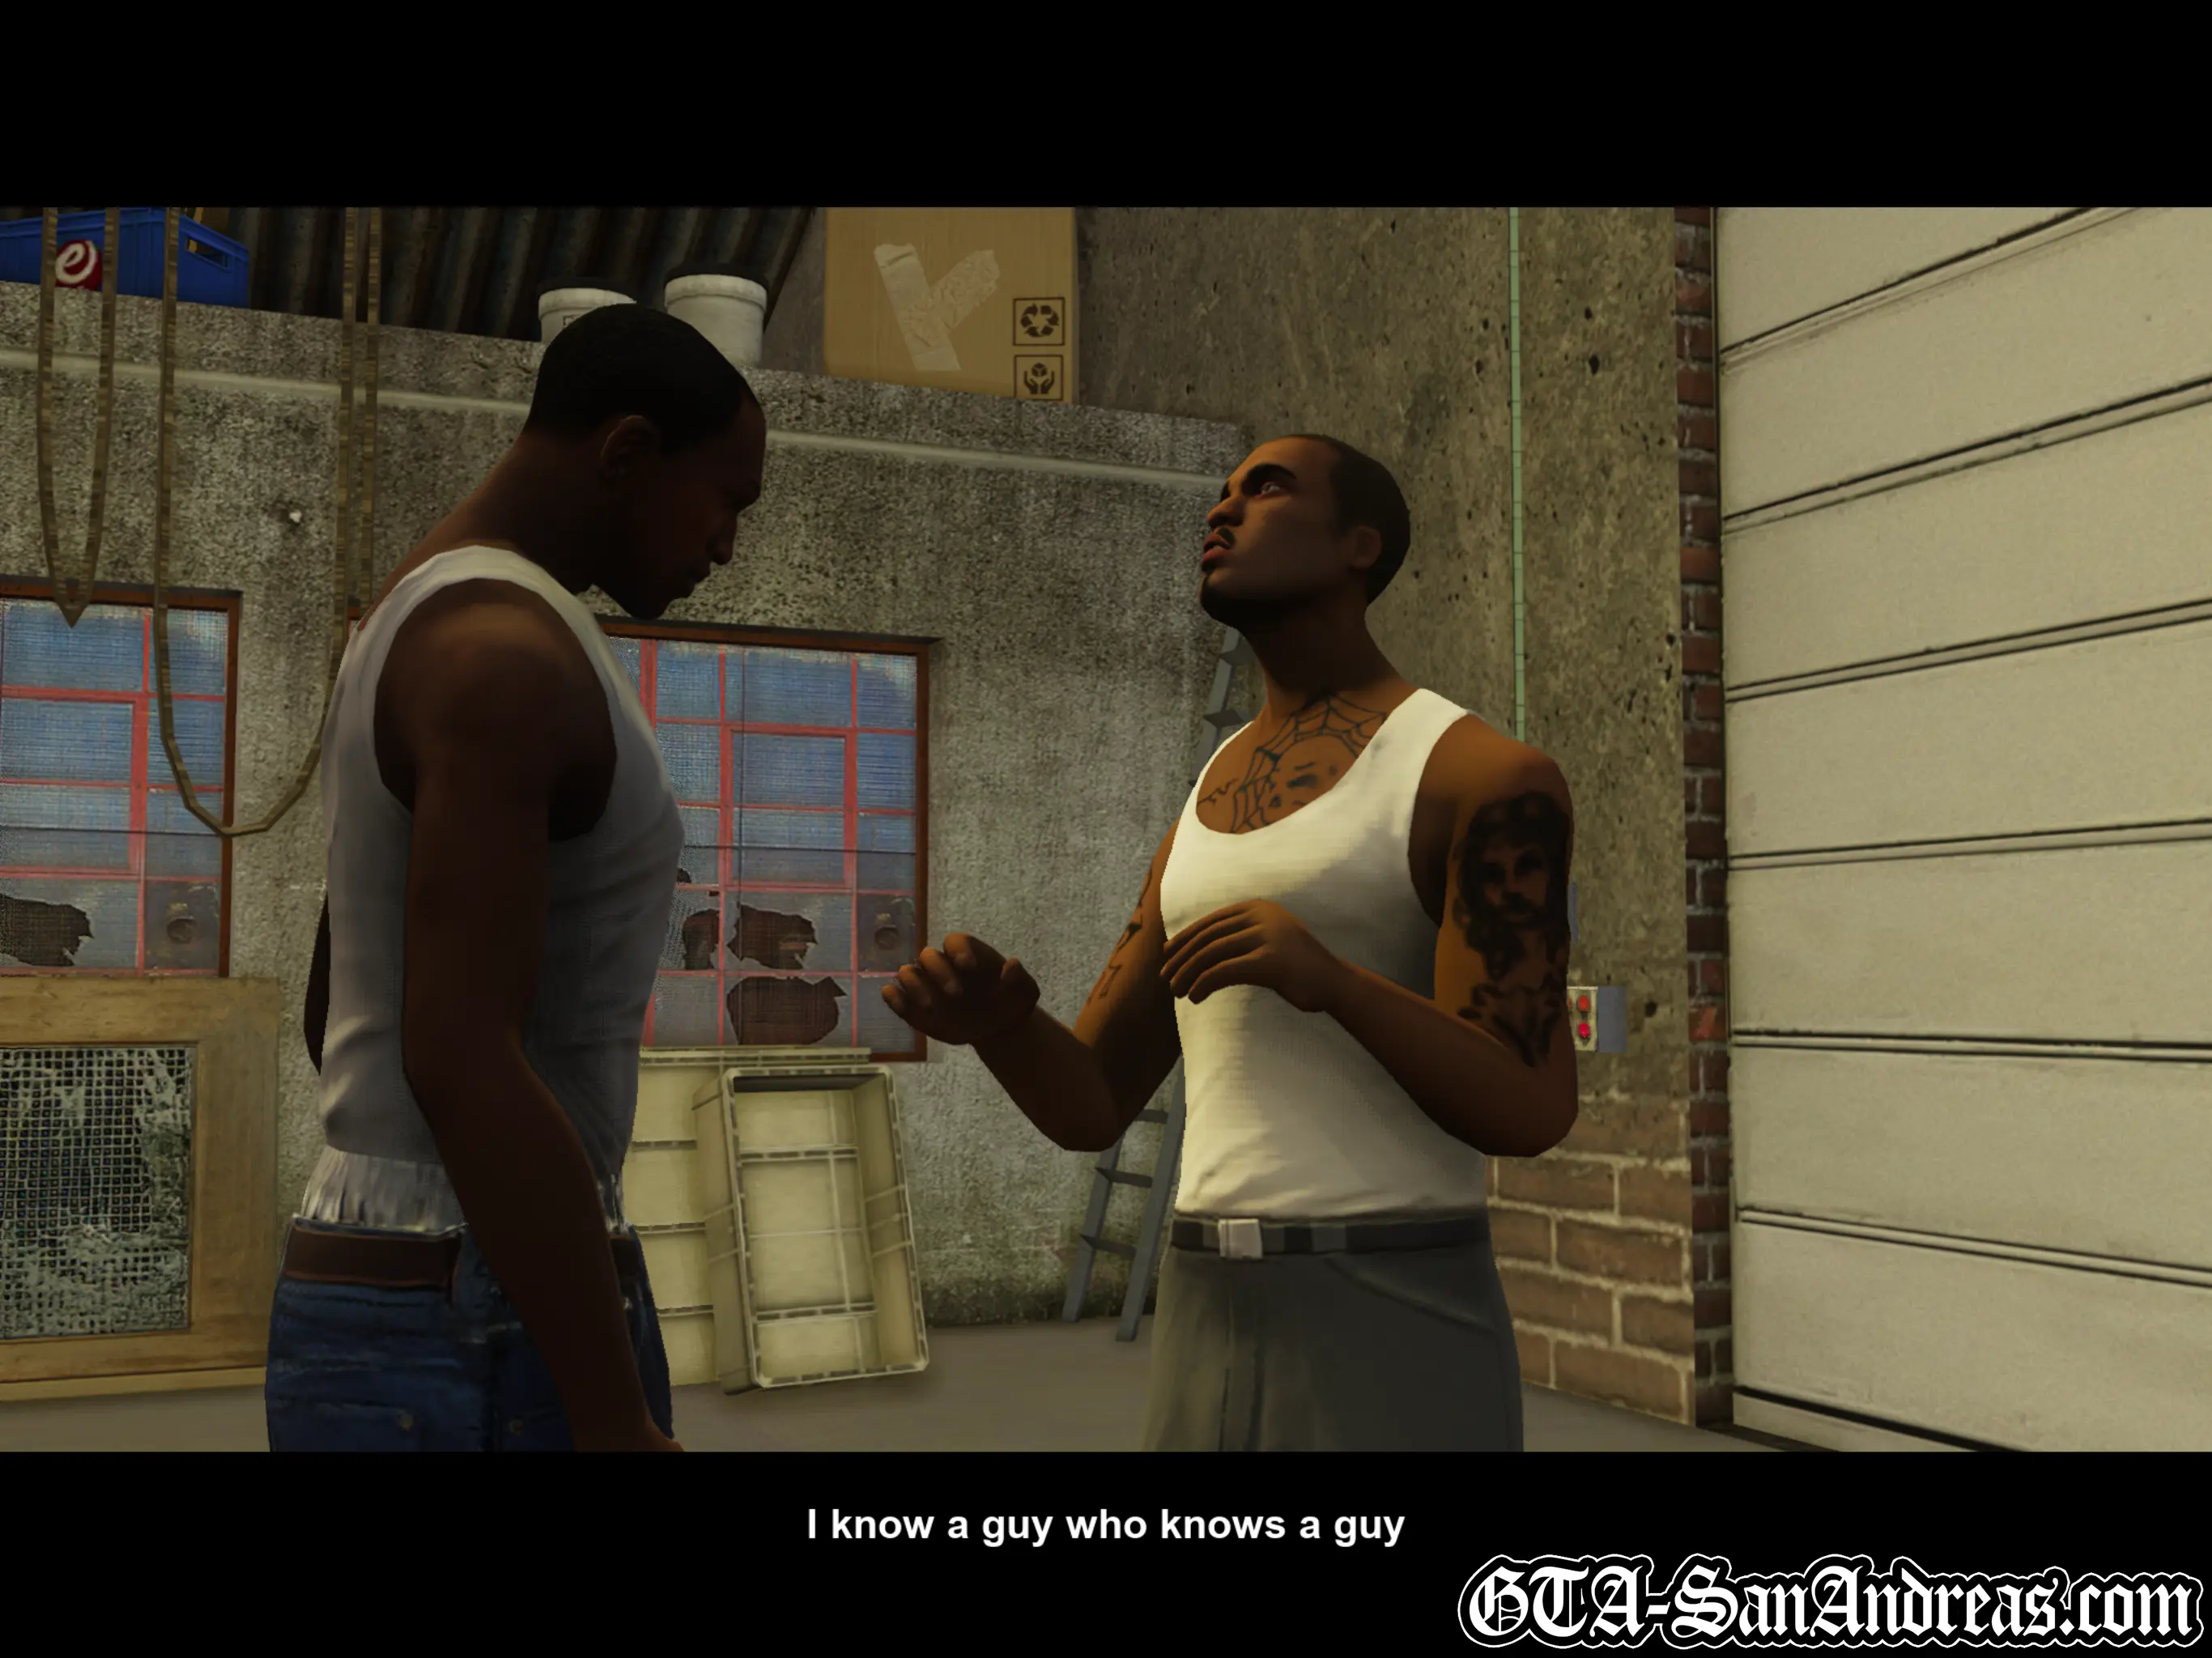
Customs Fast Track
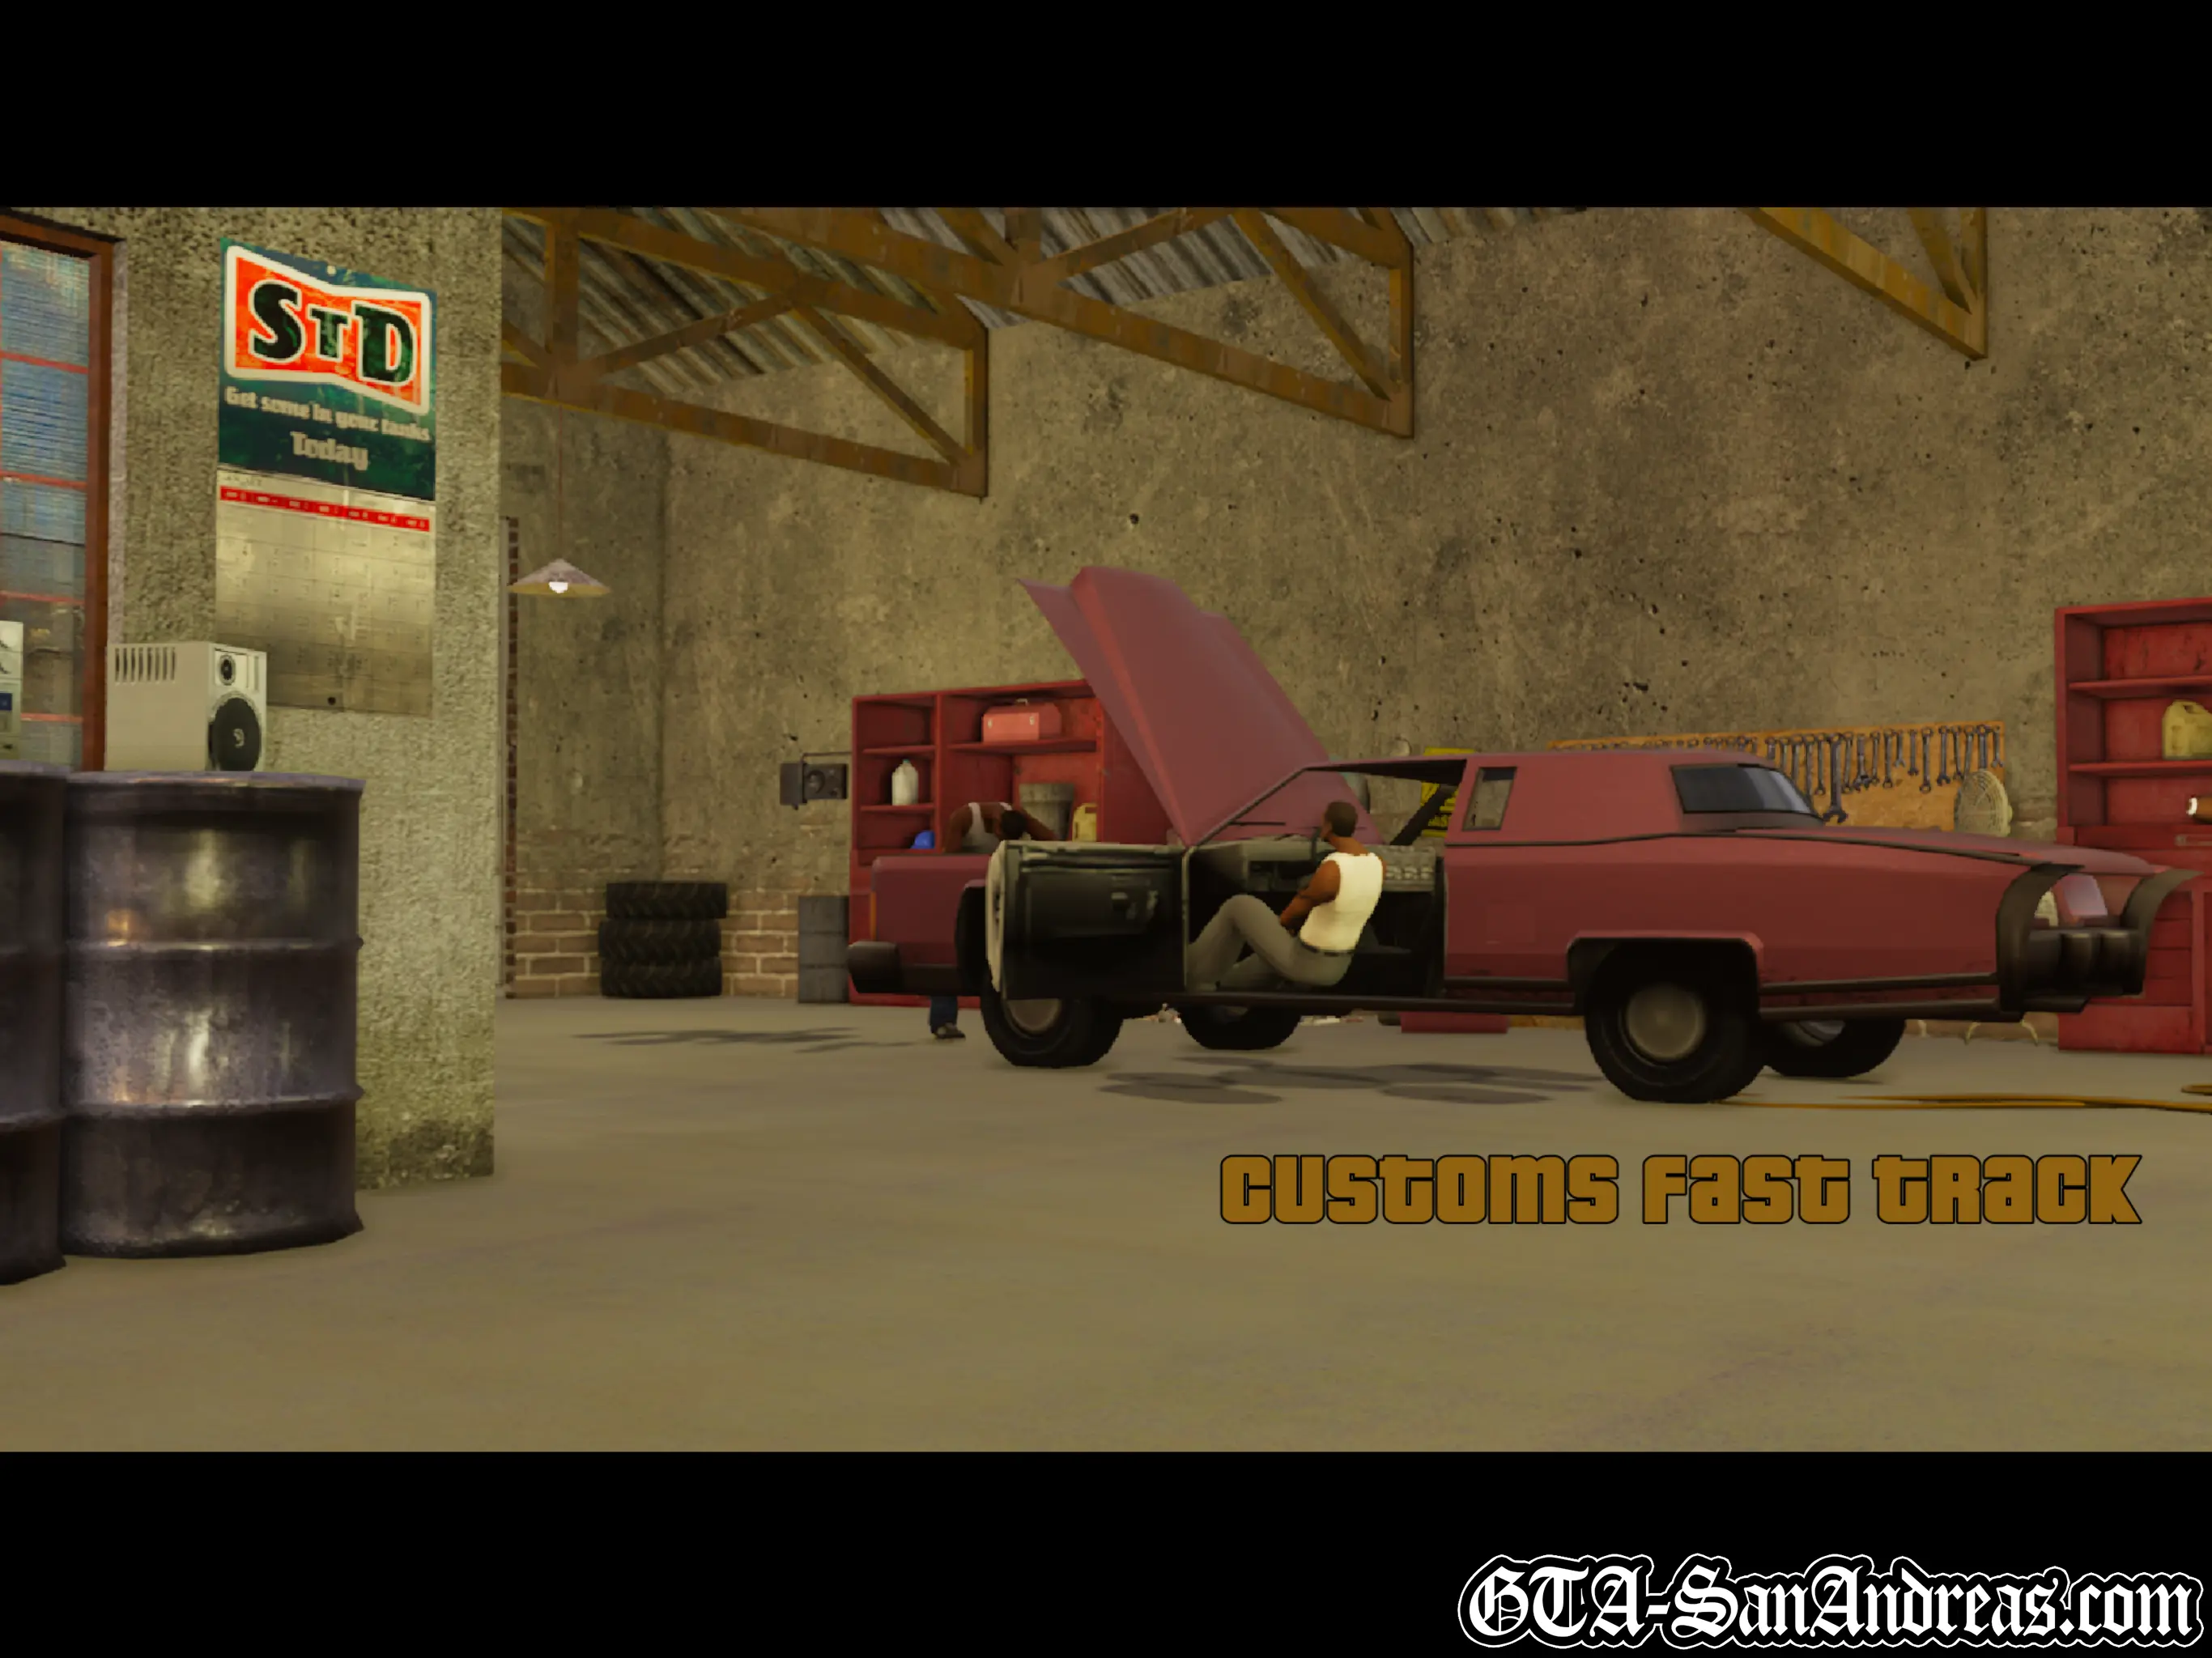
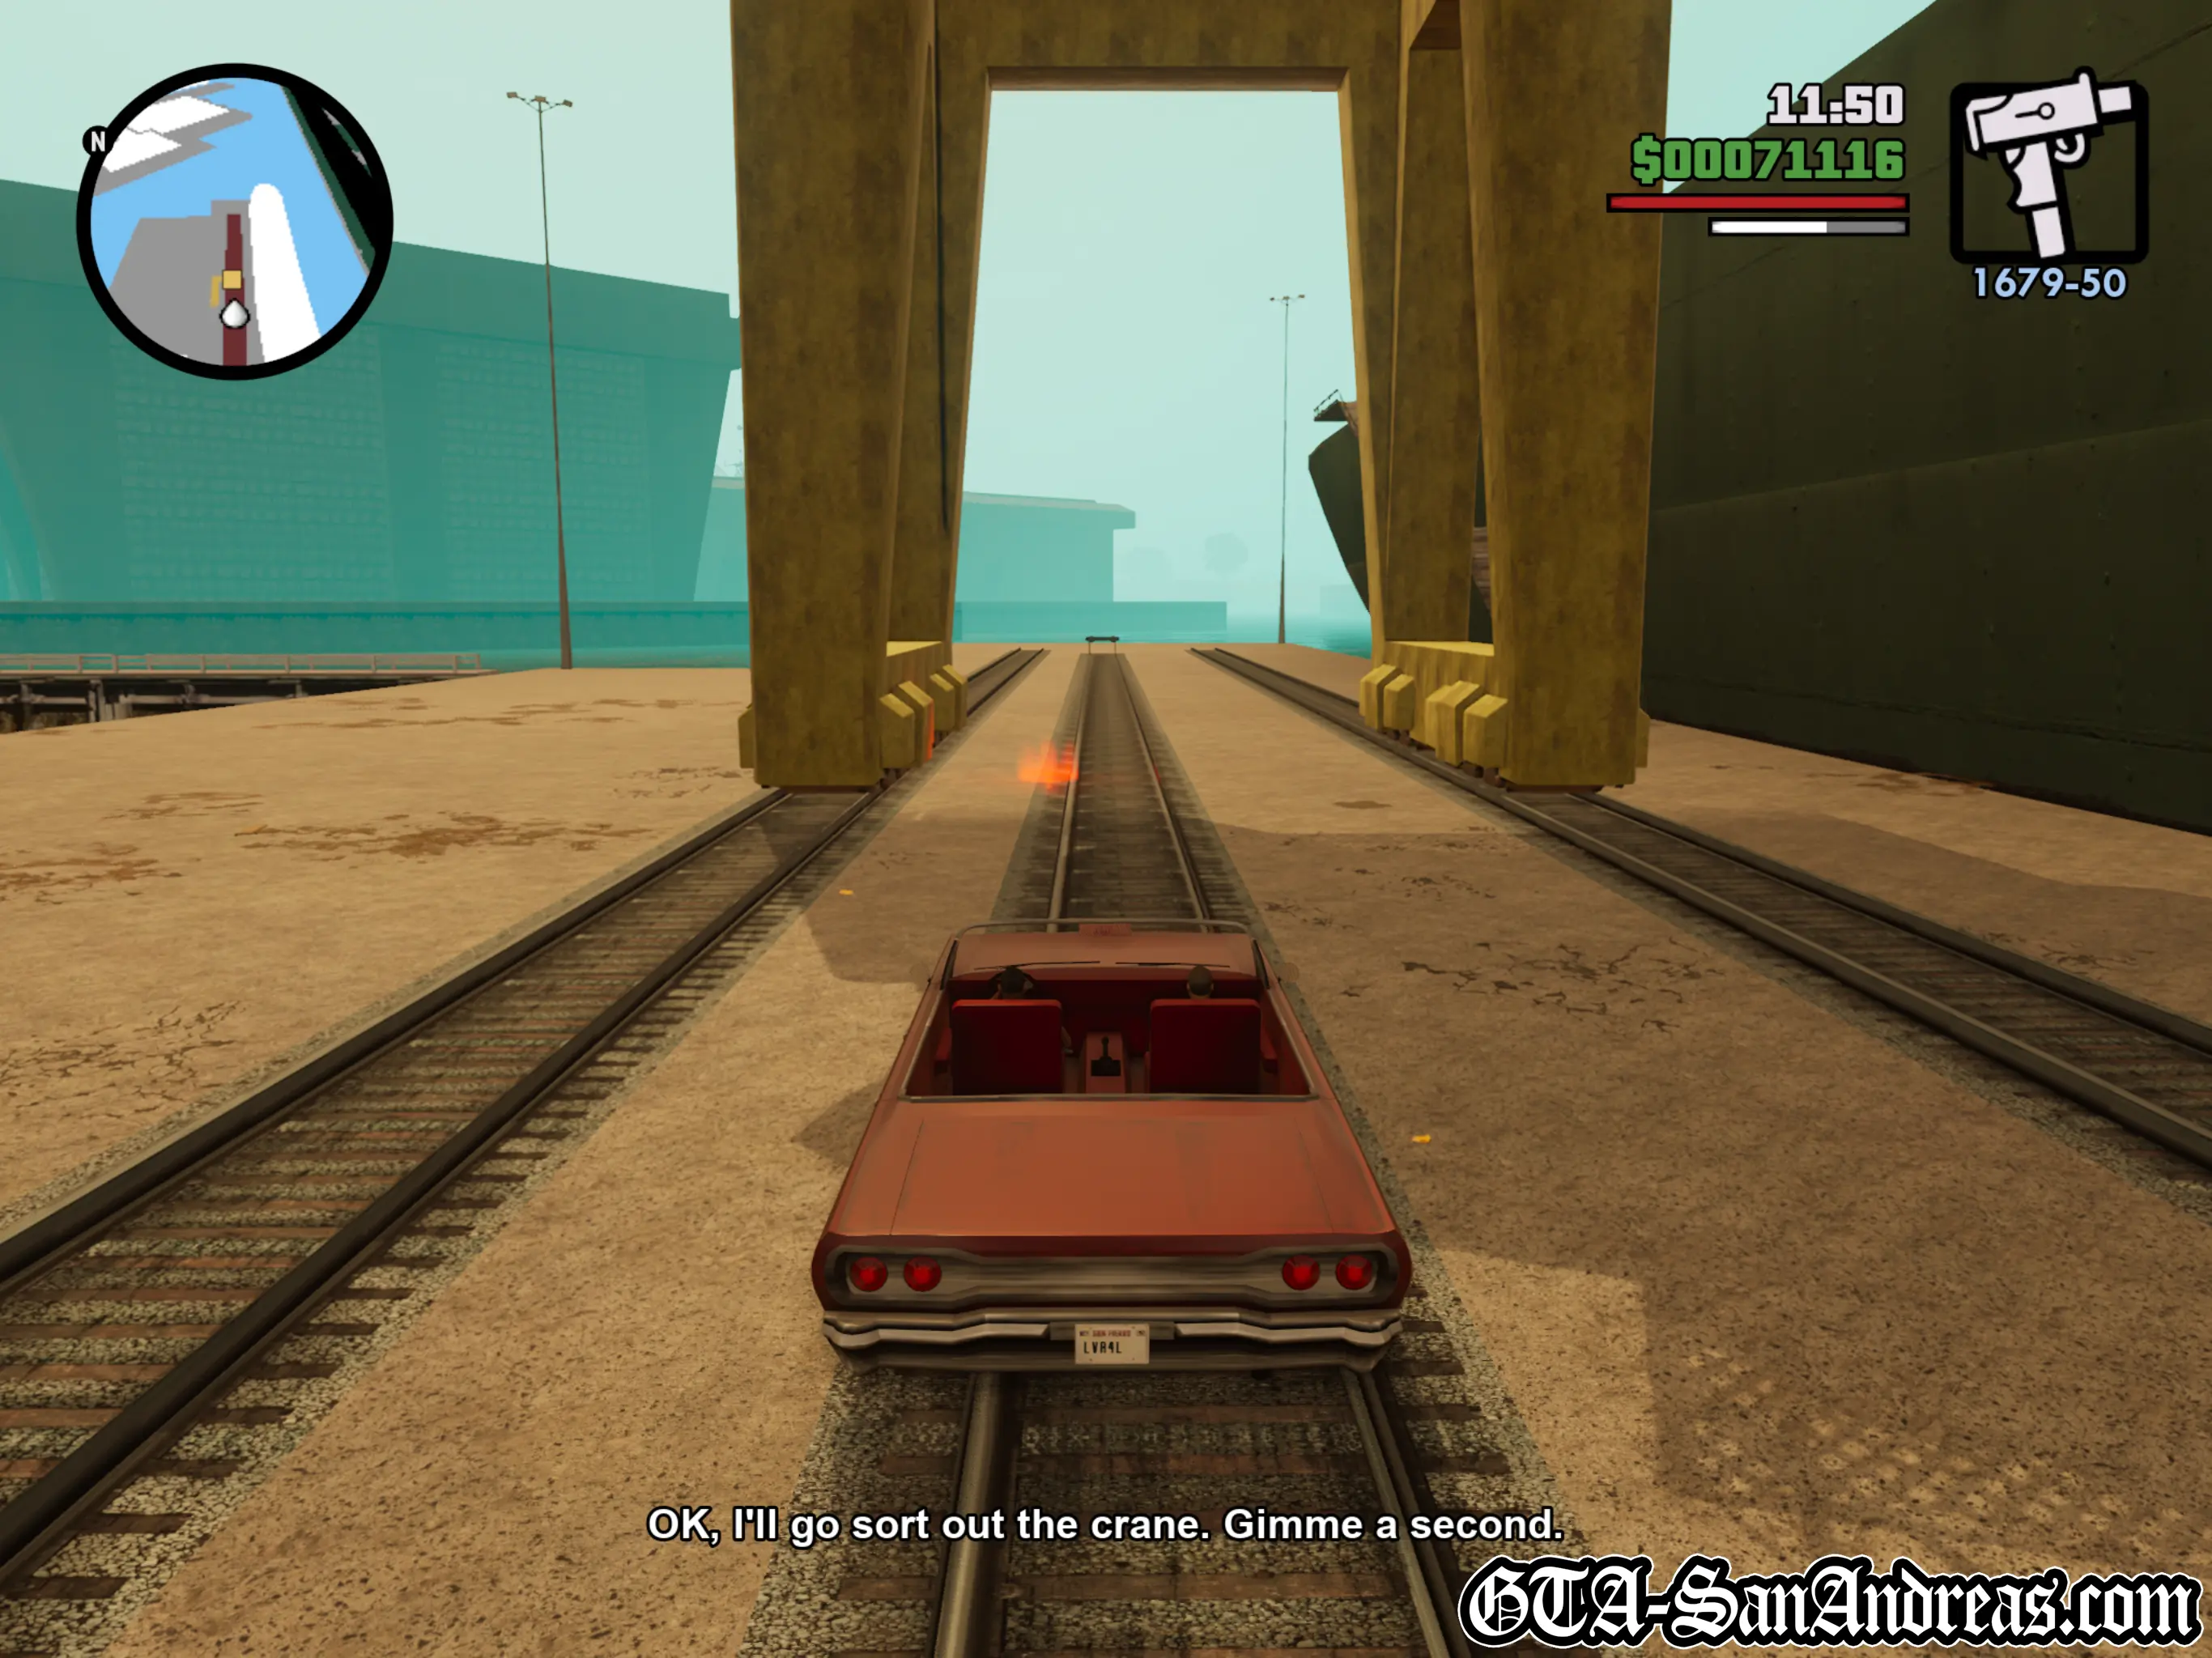
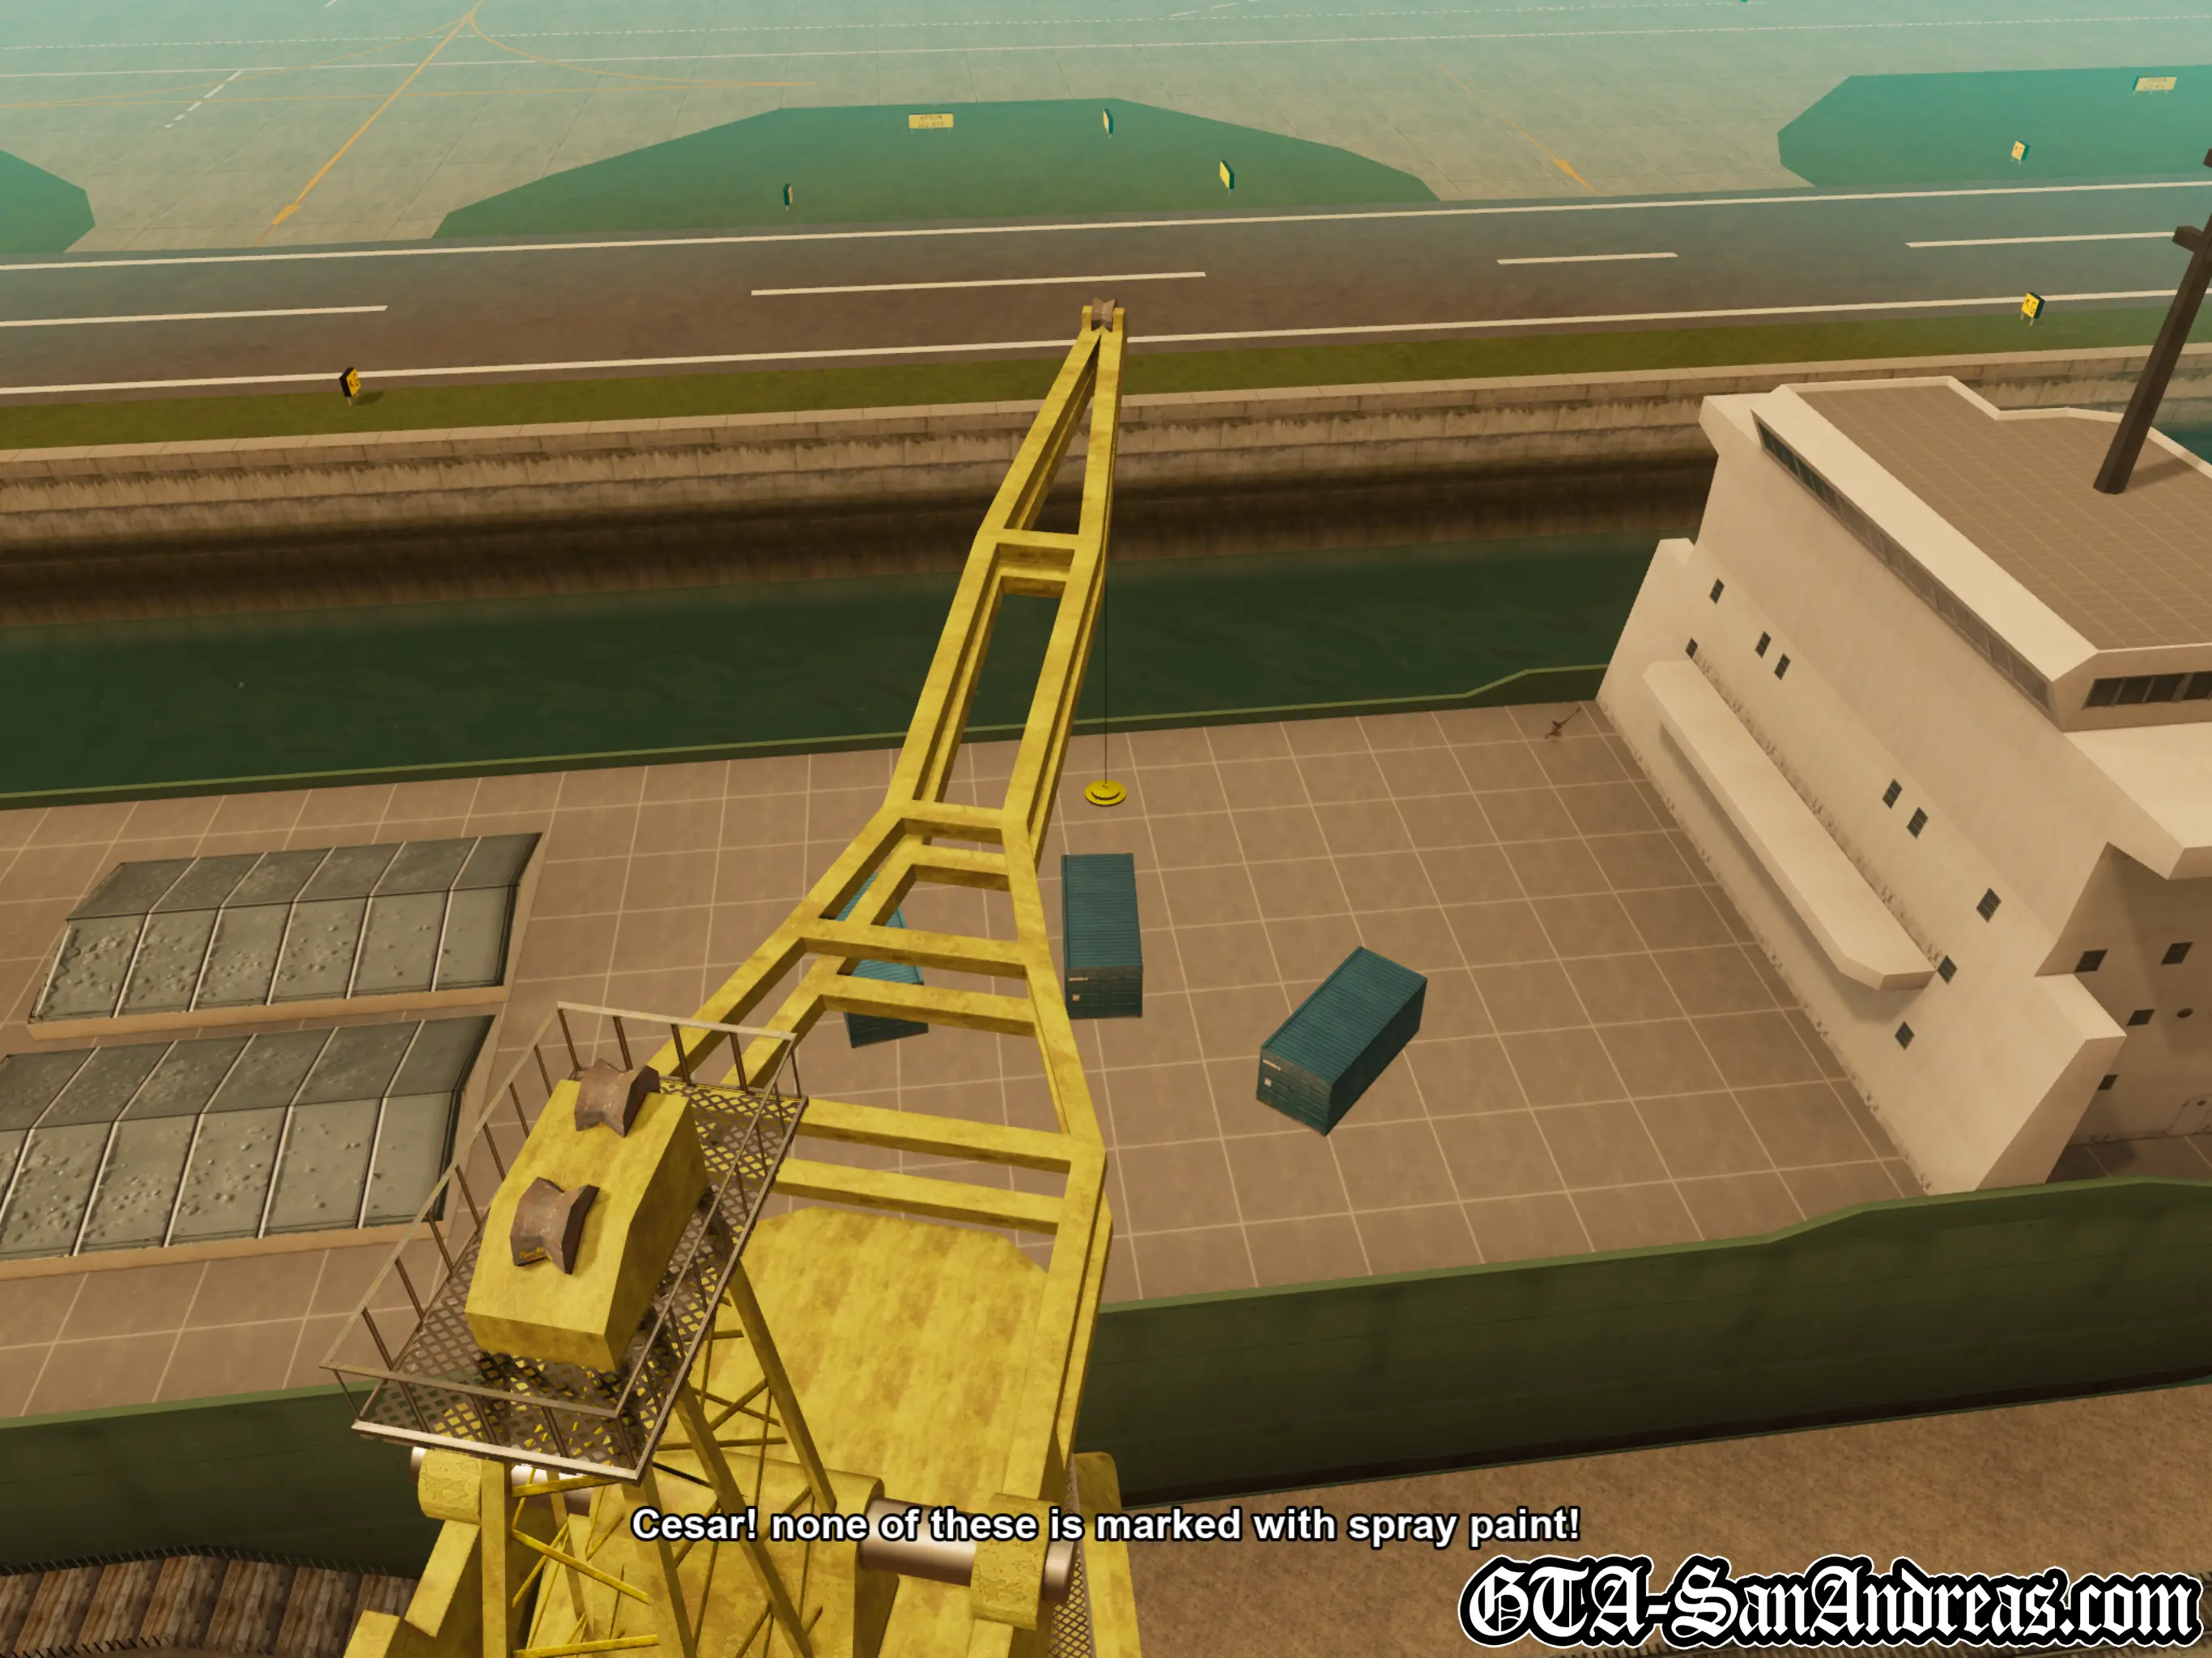
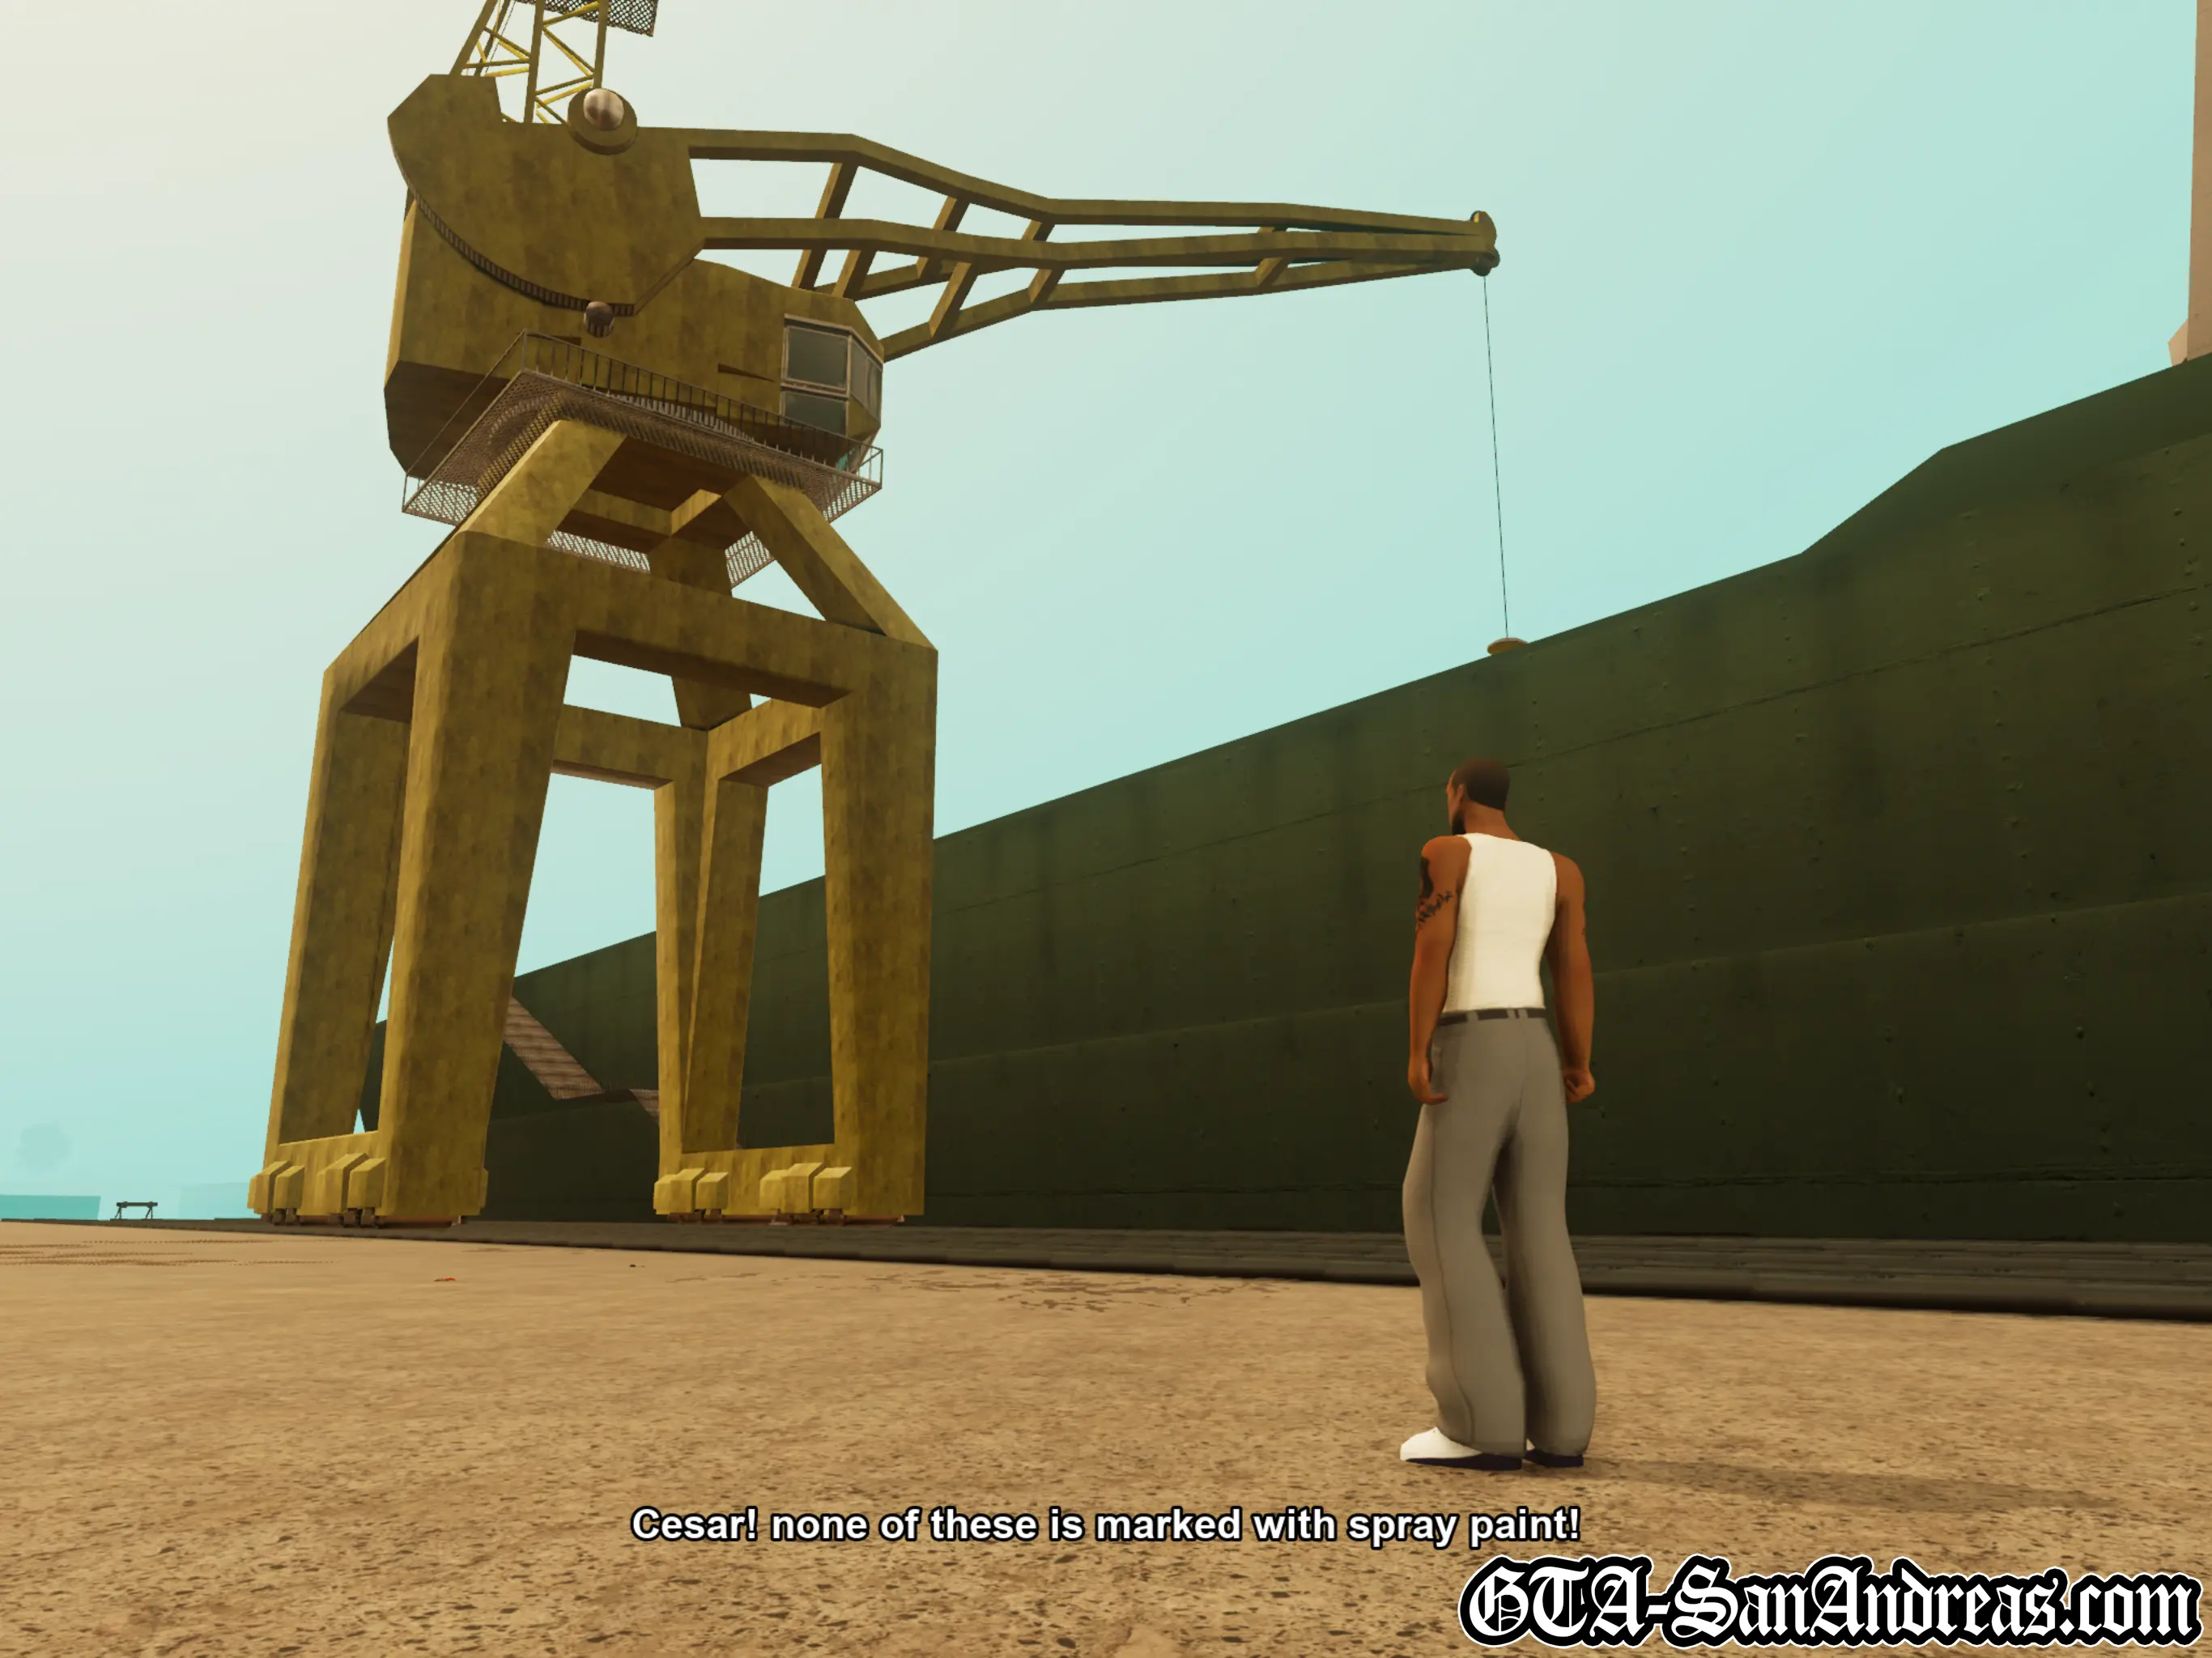
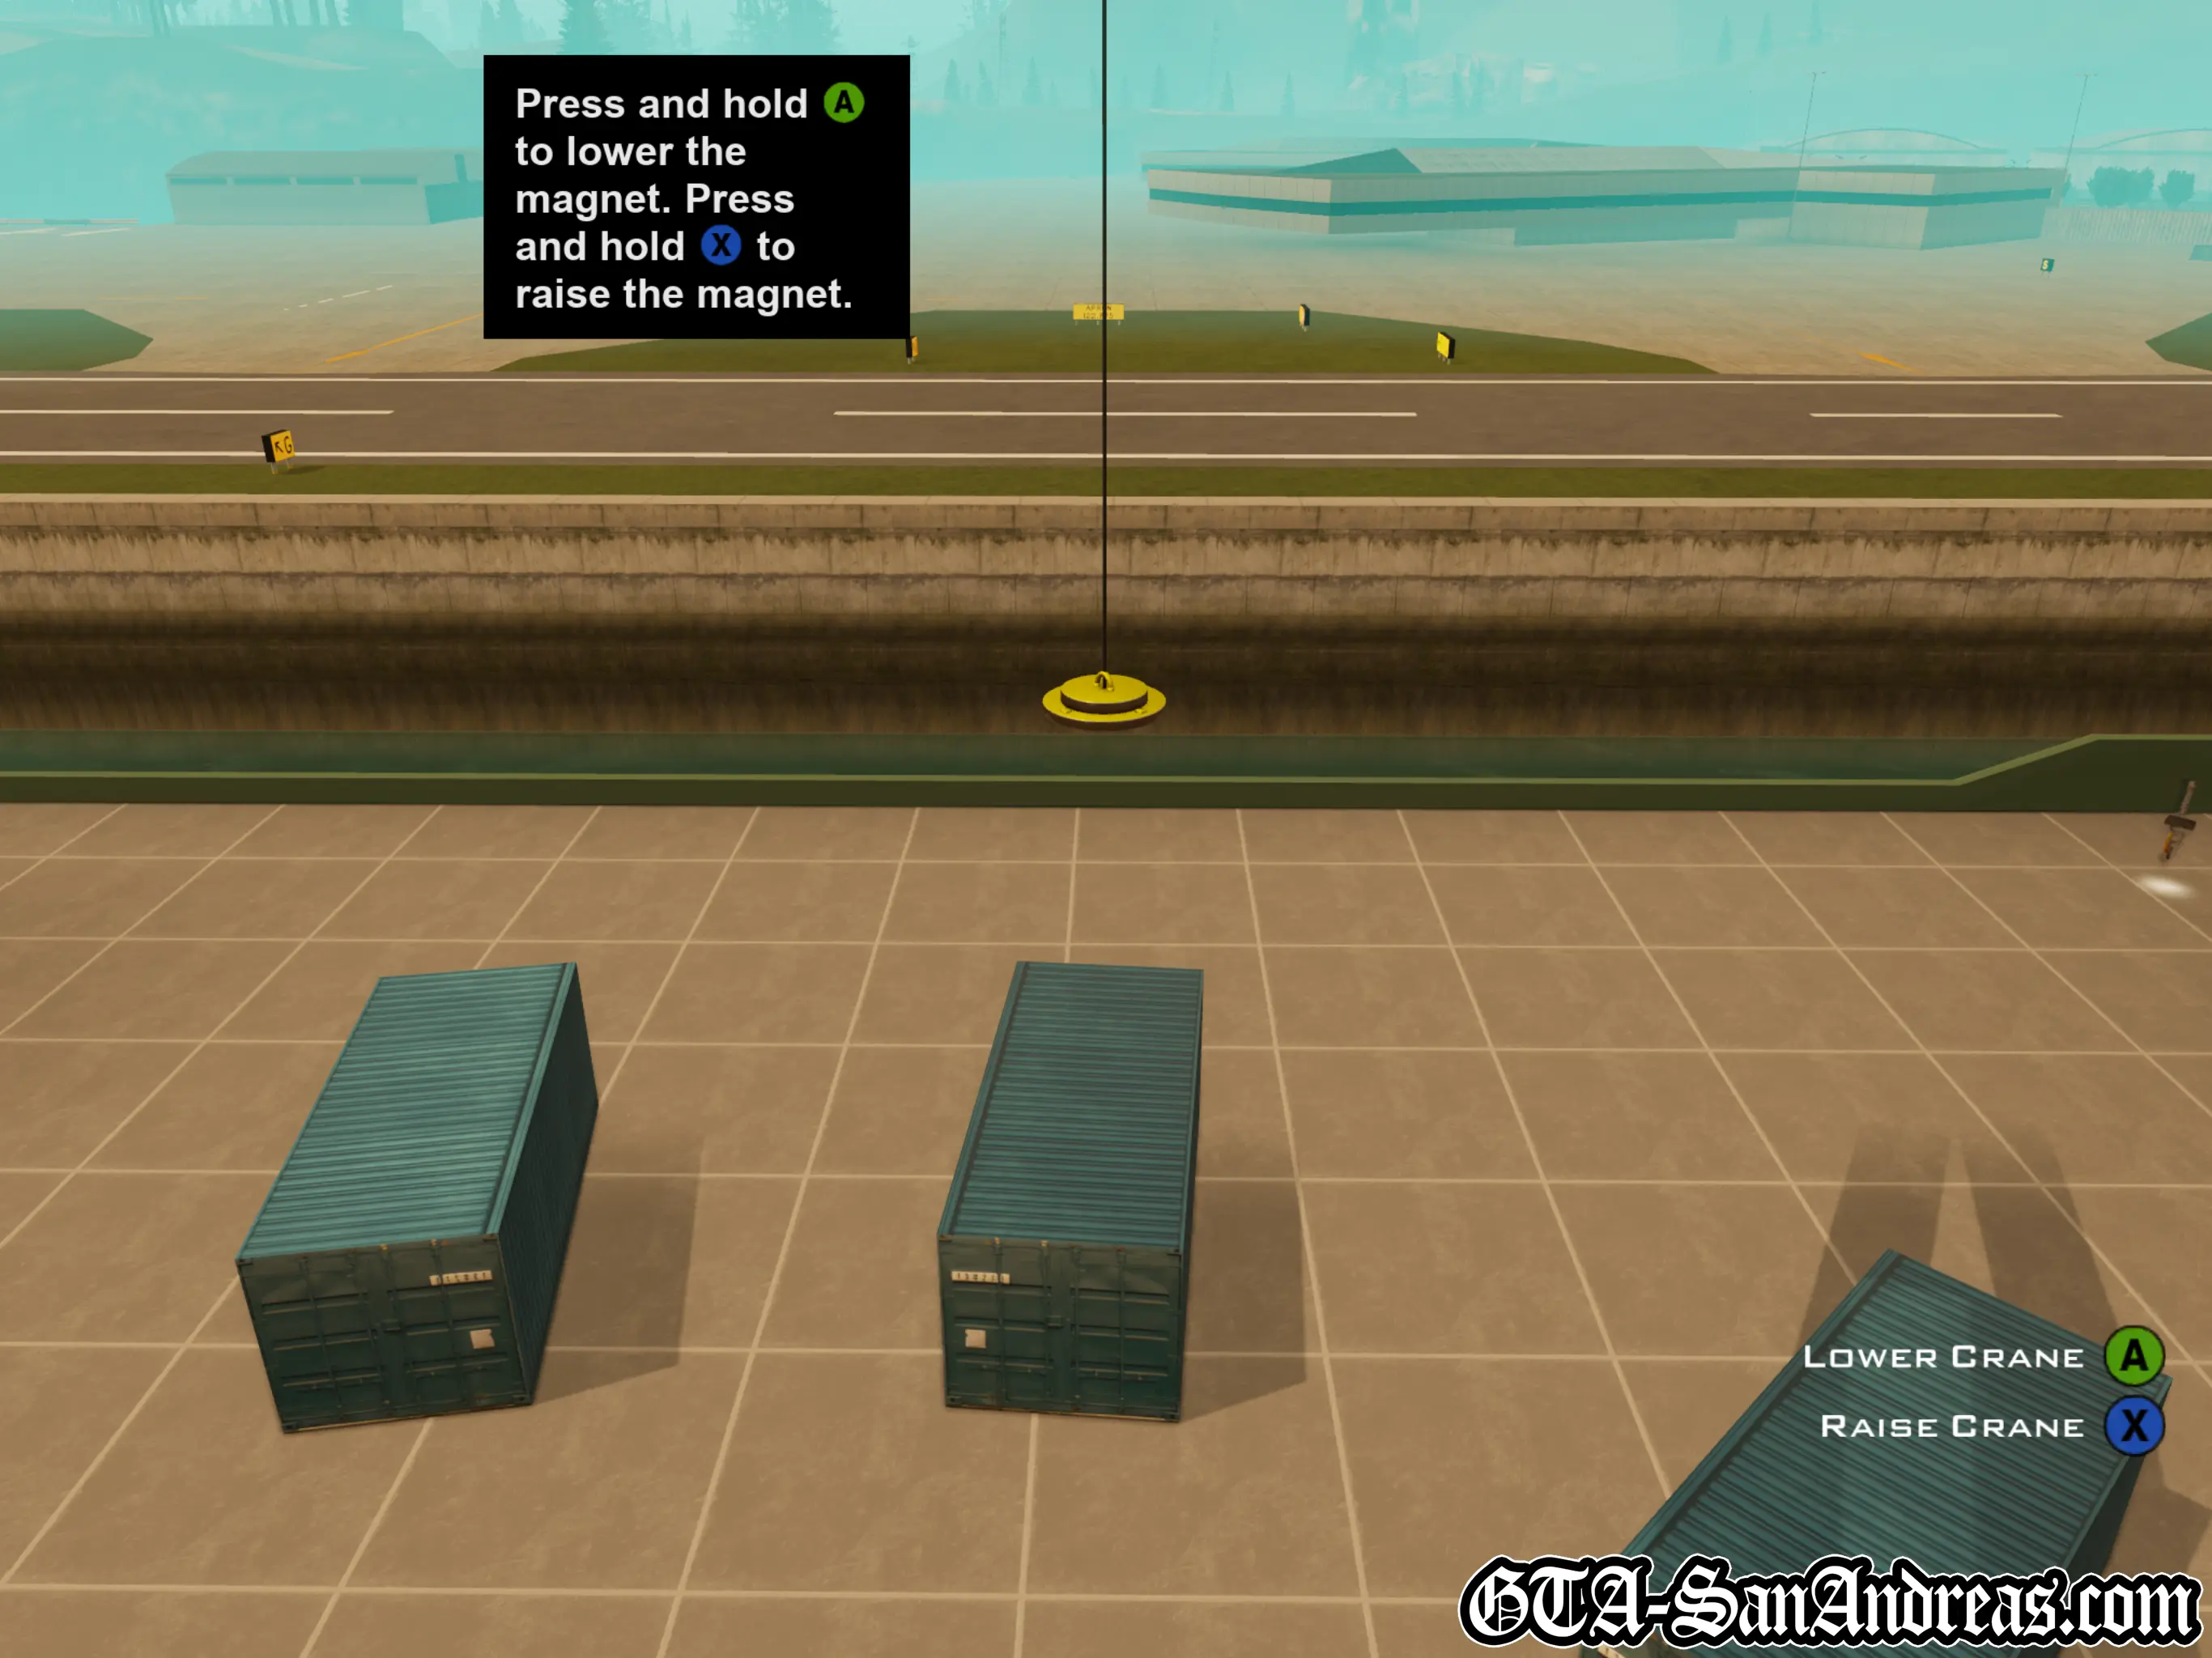
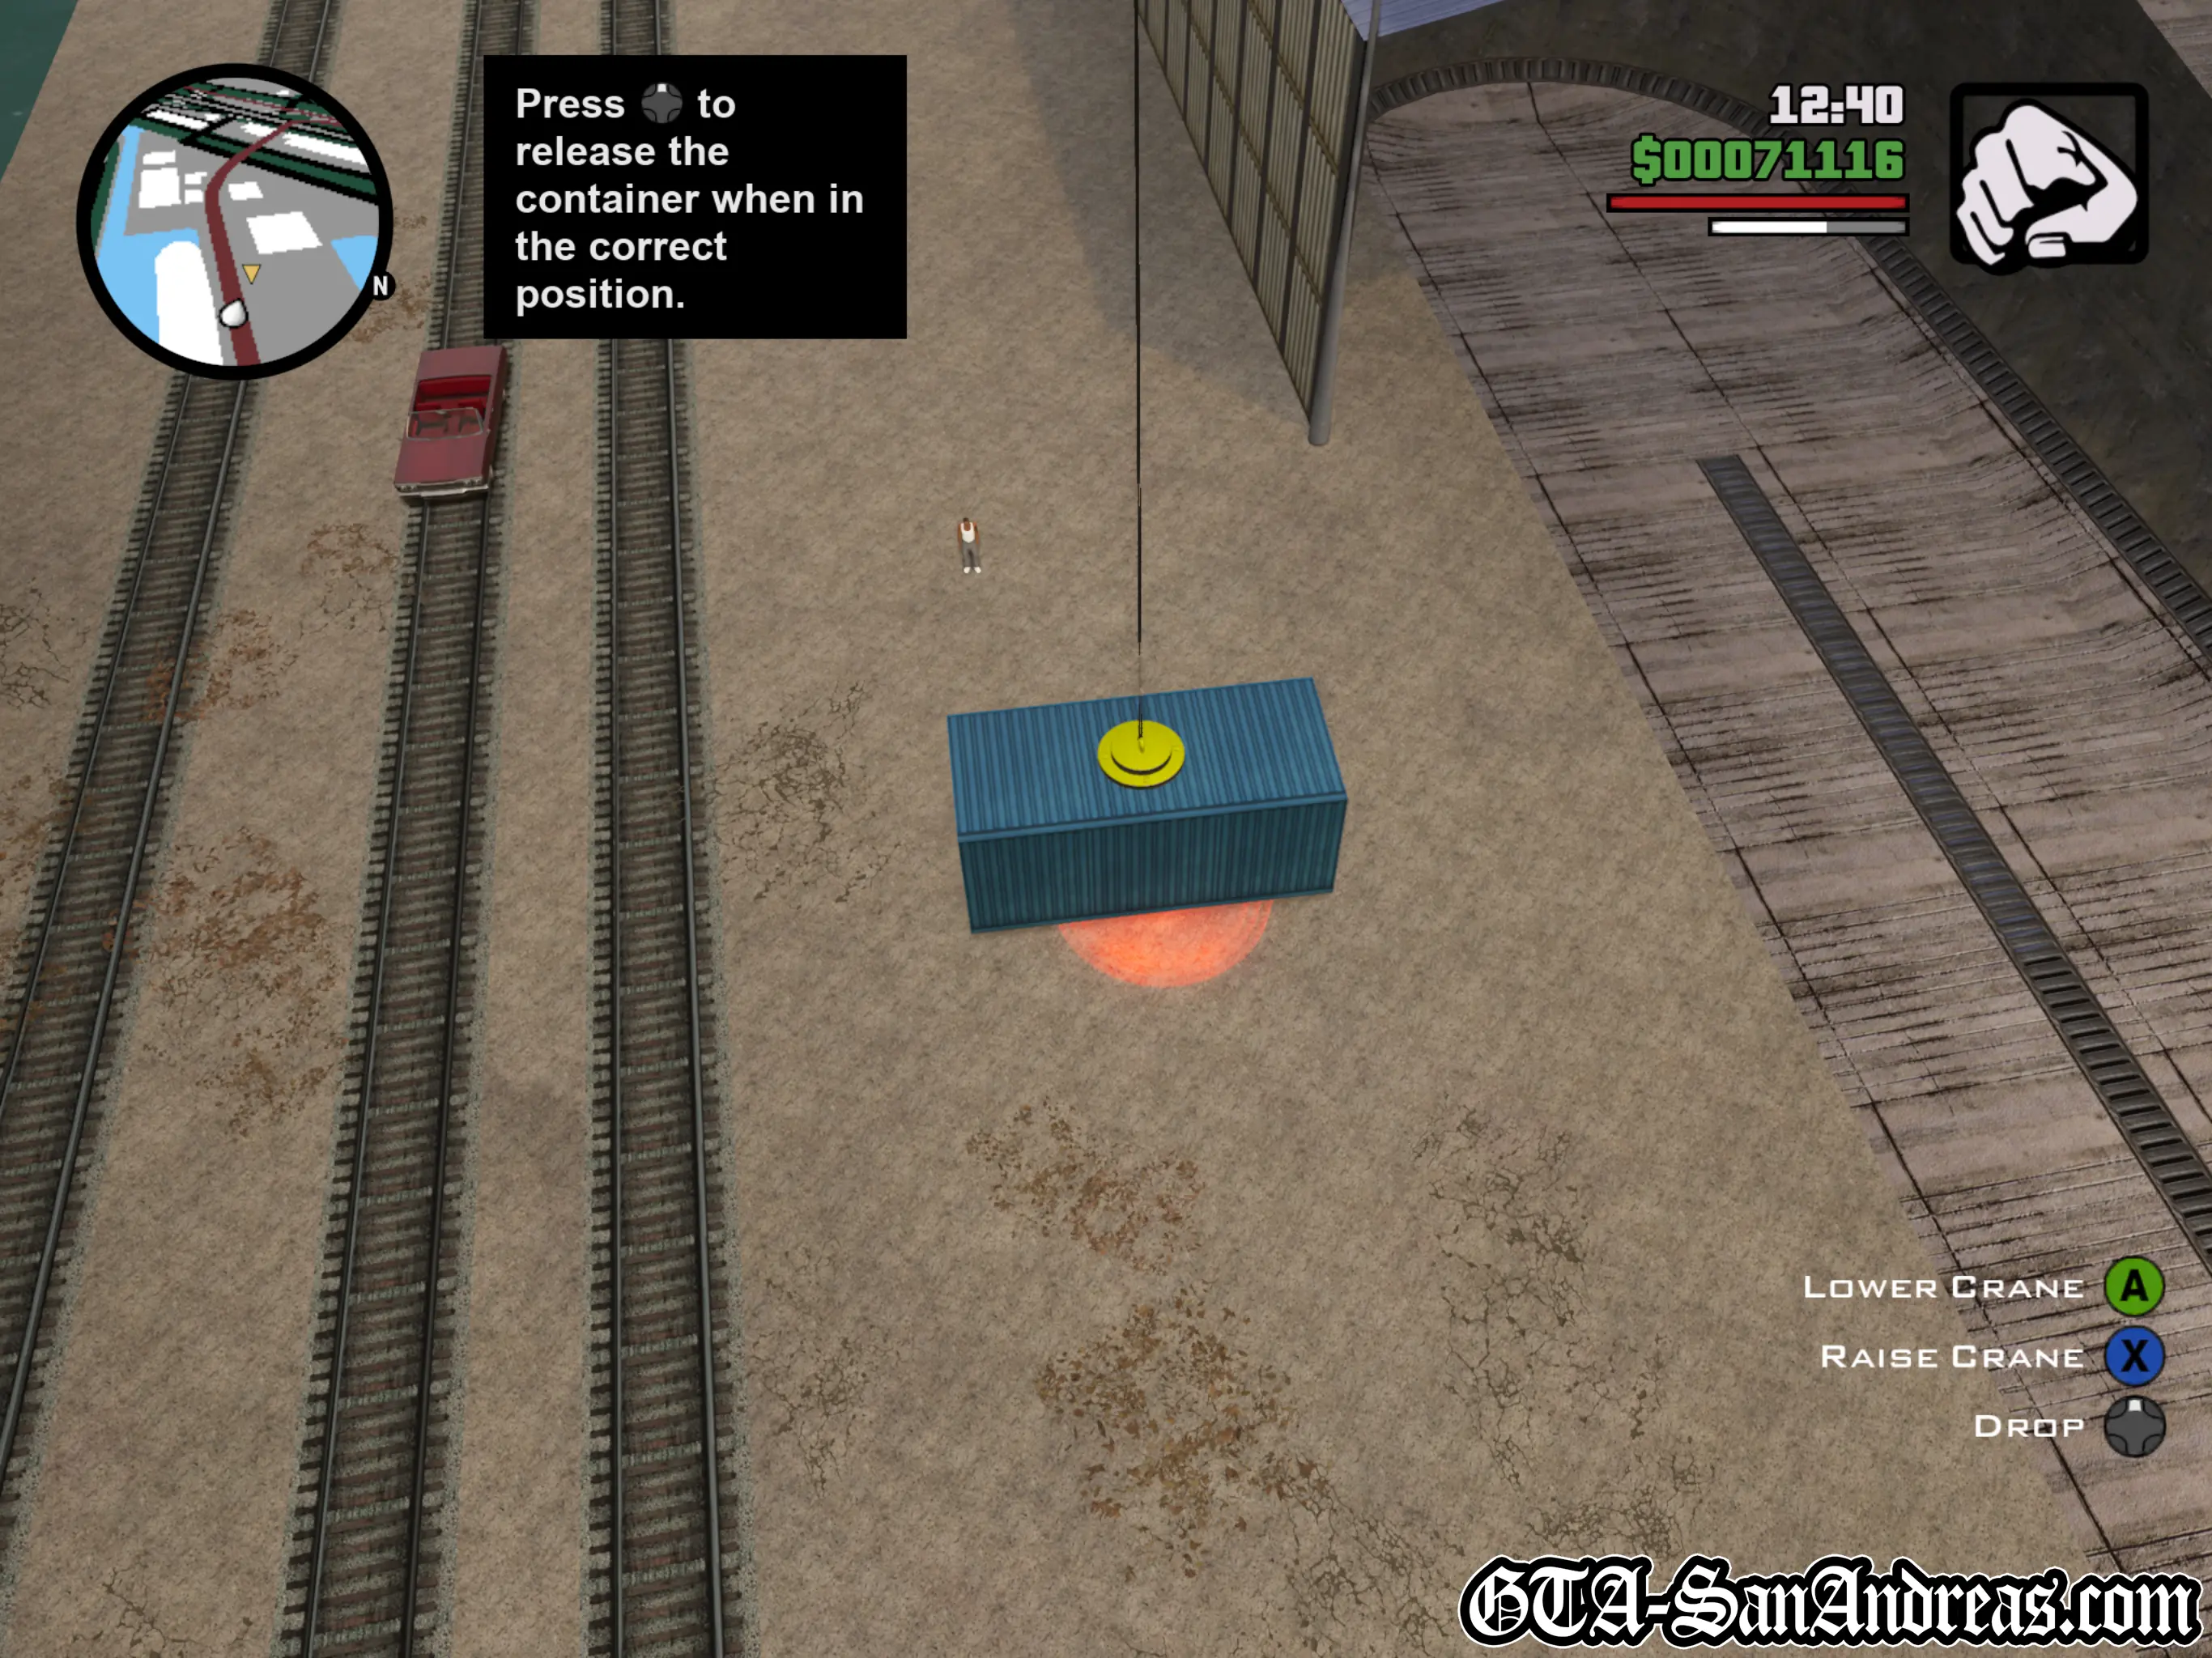
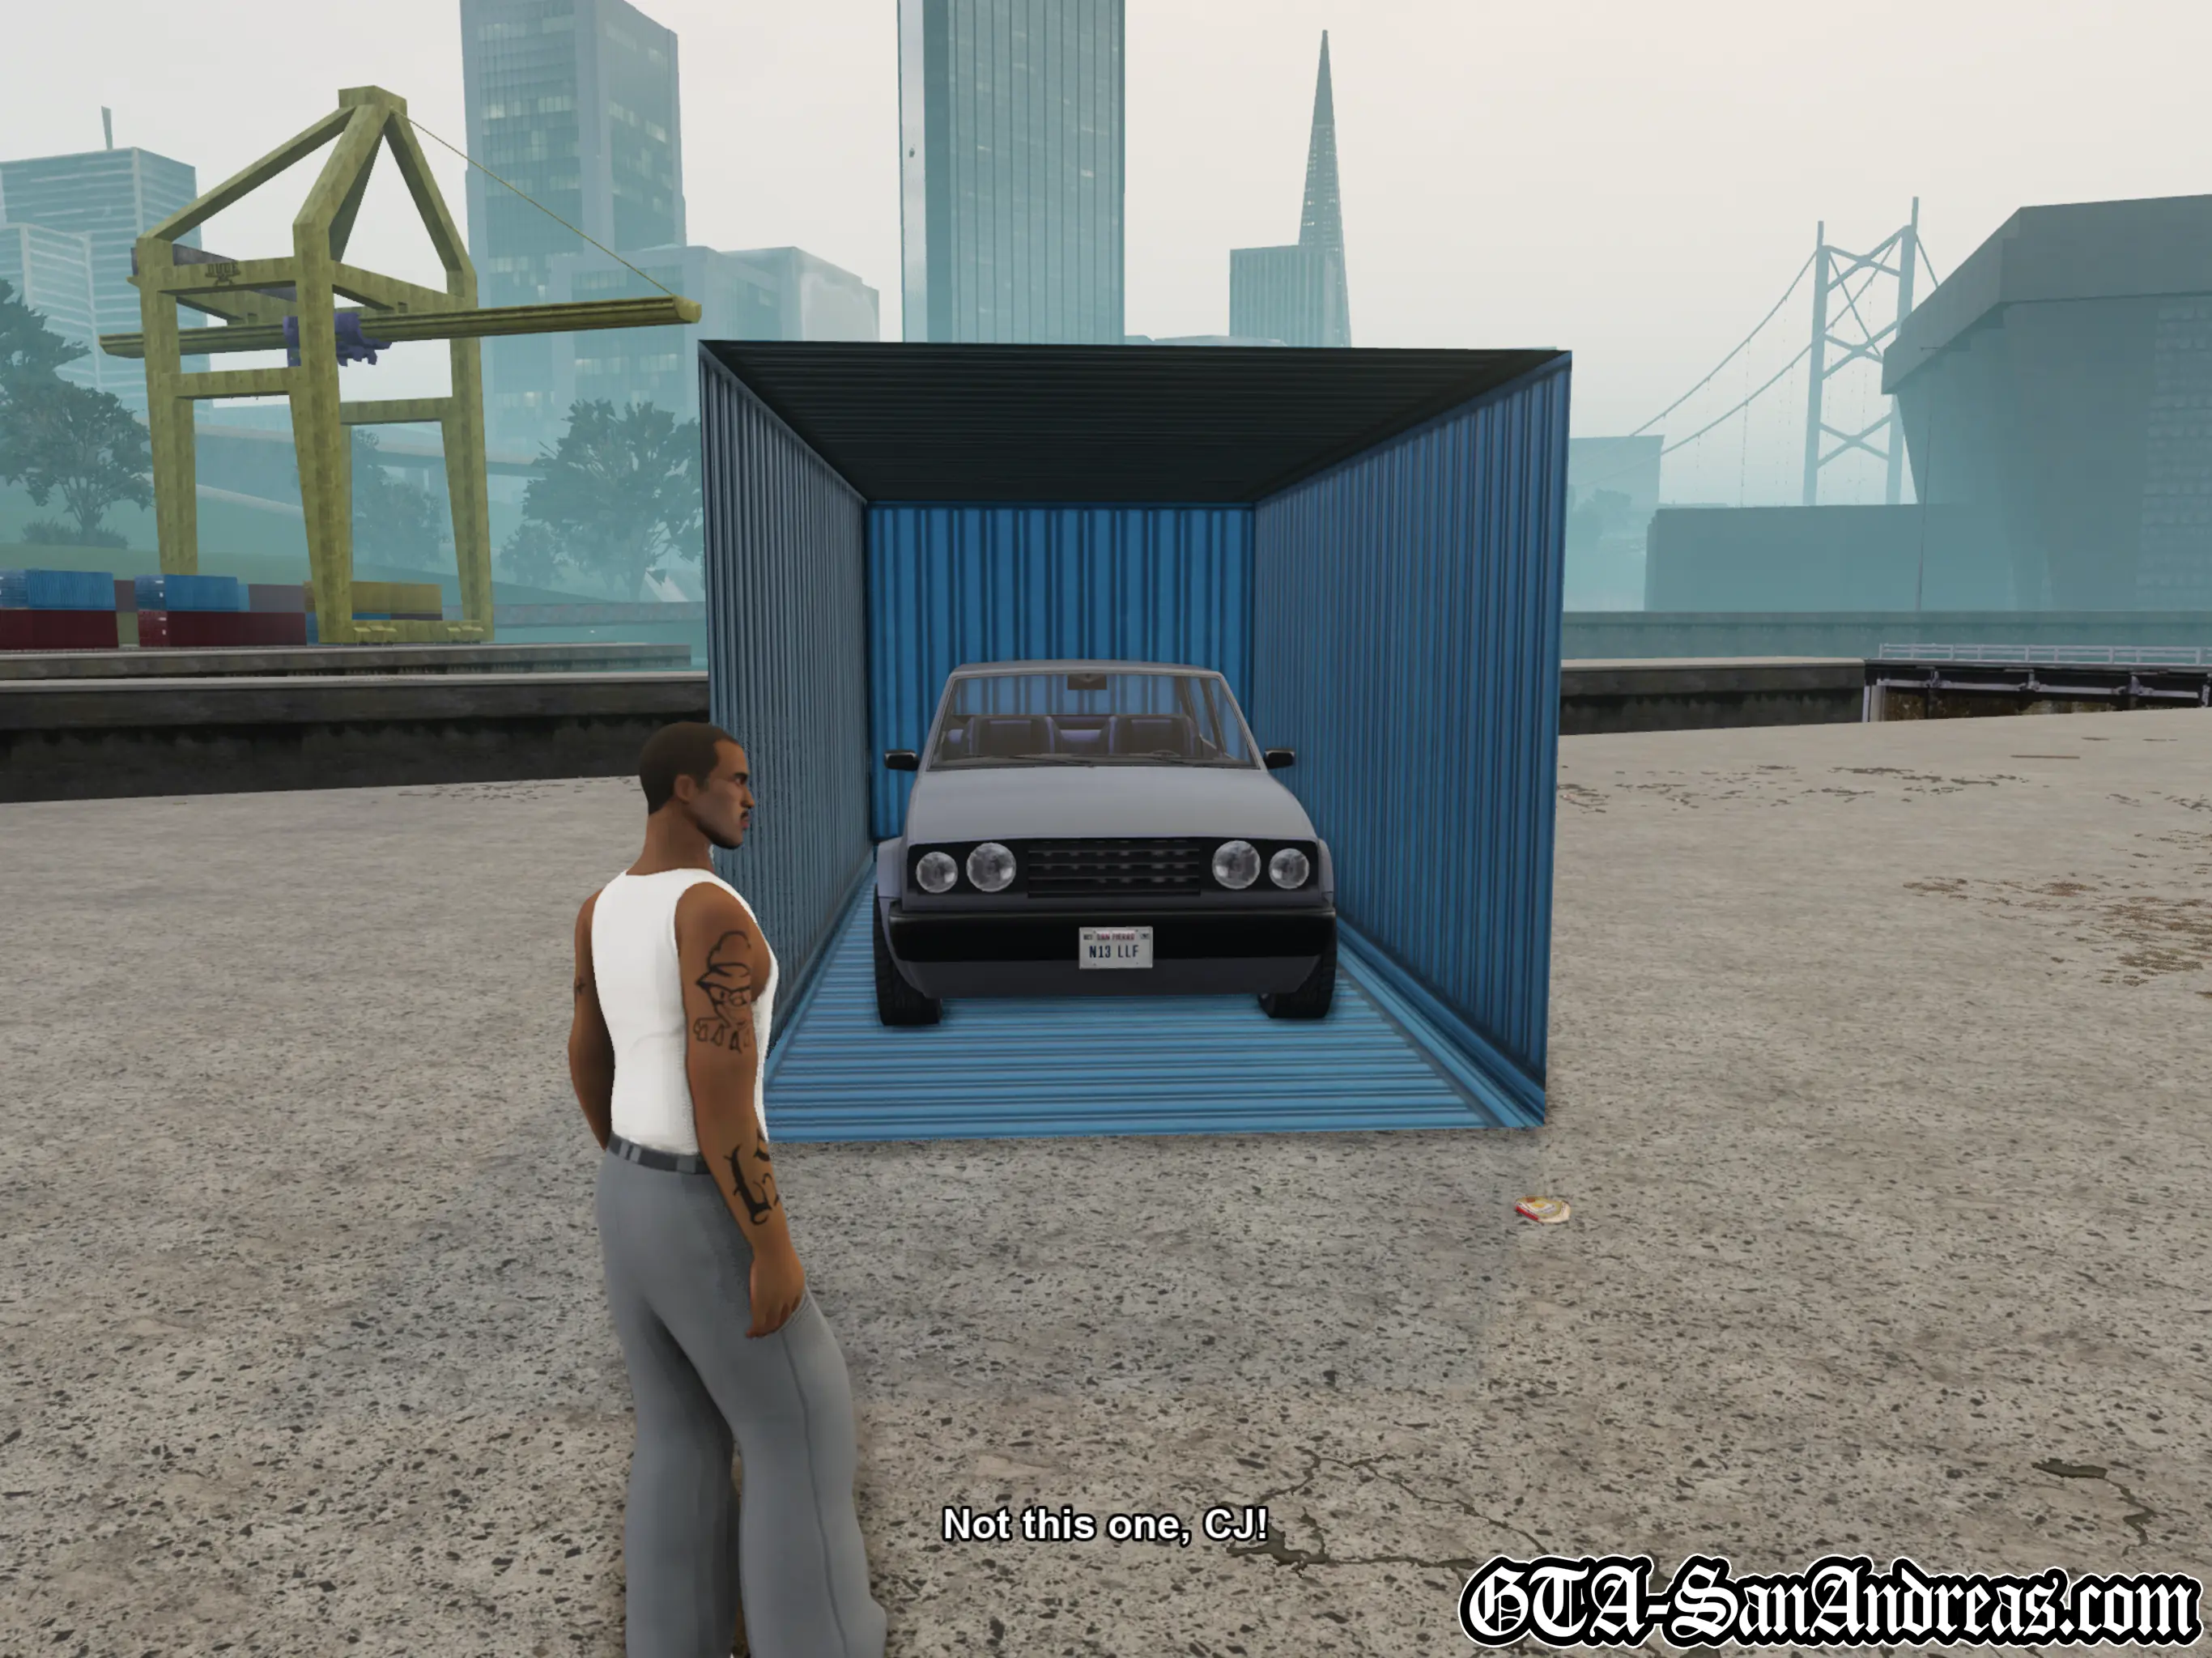
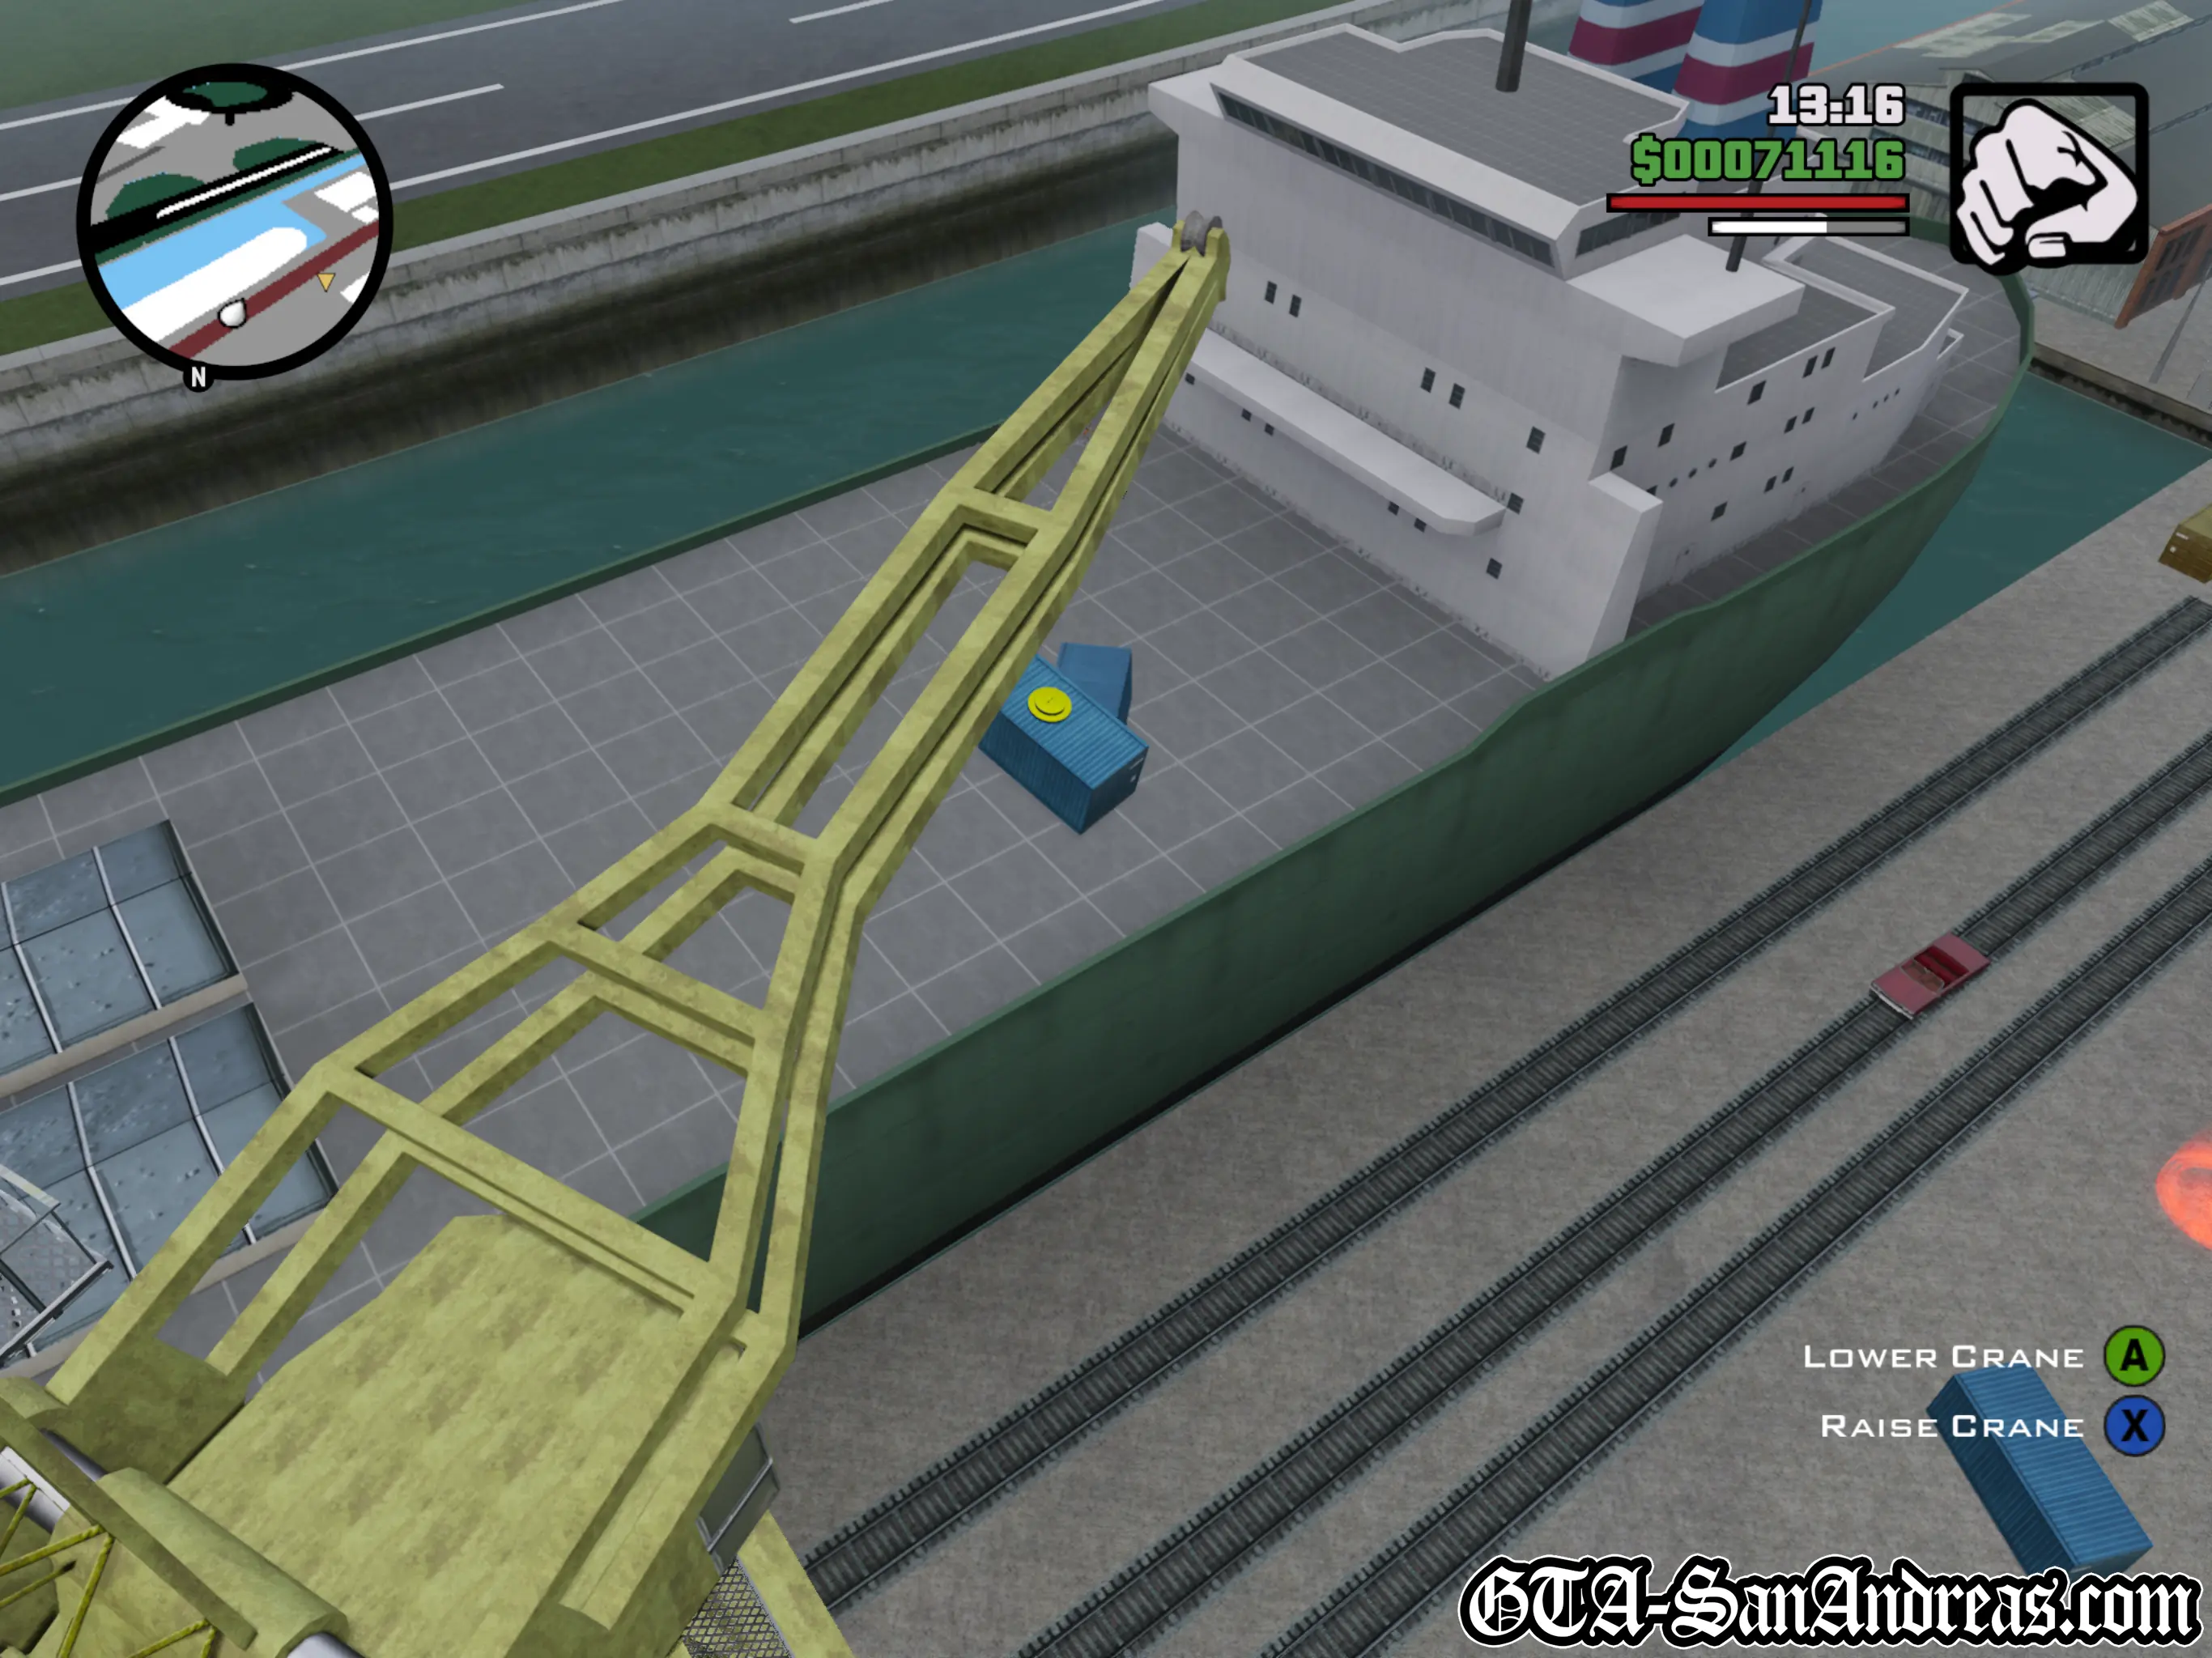
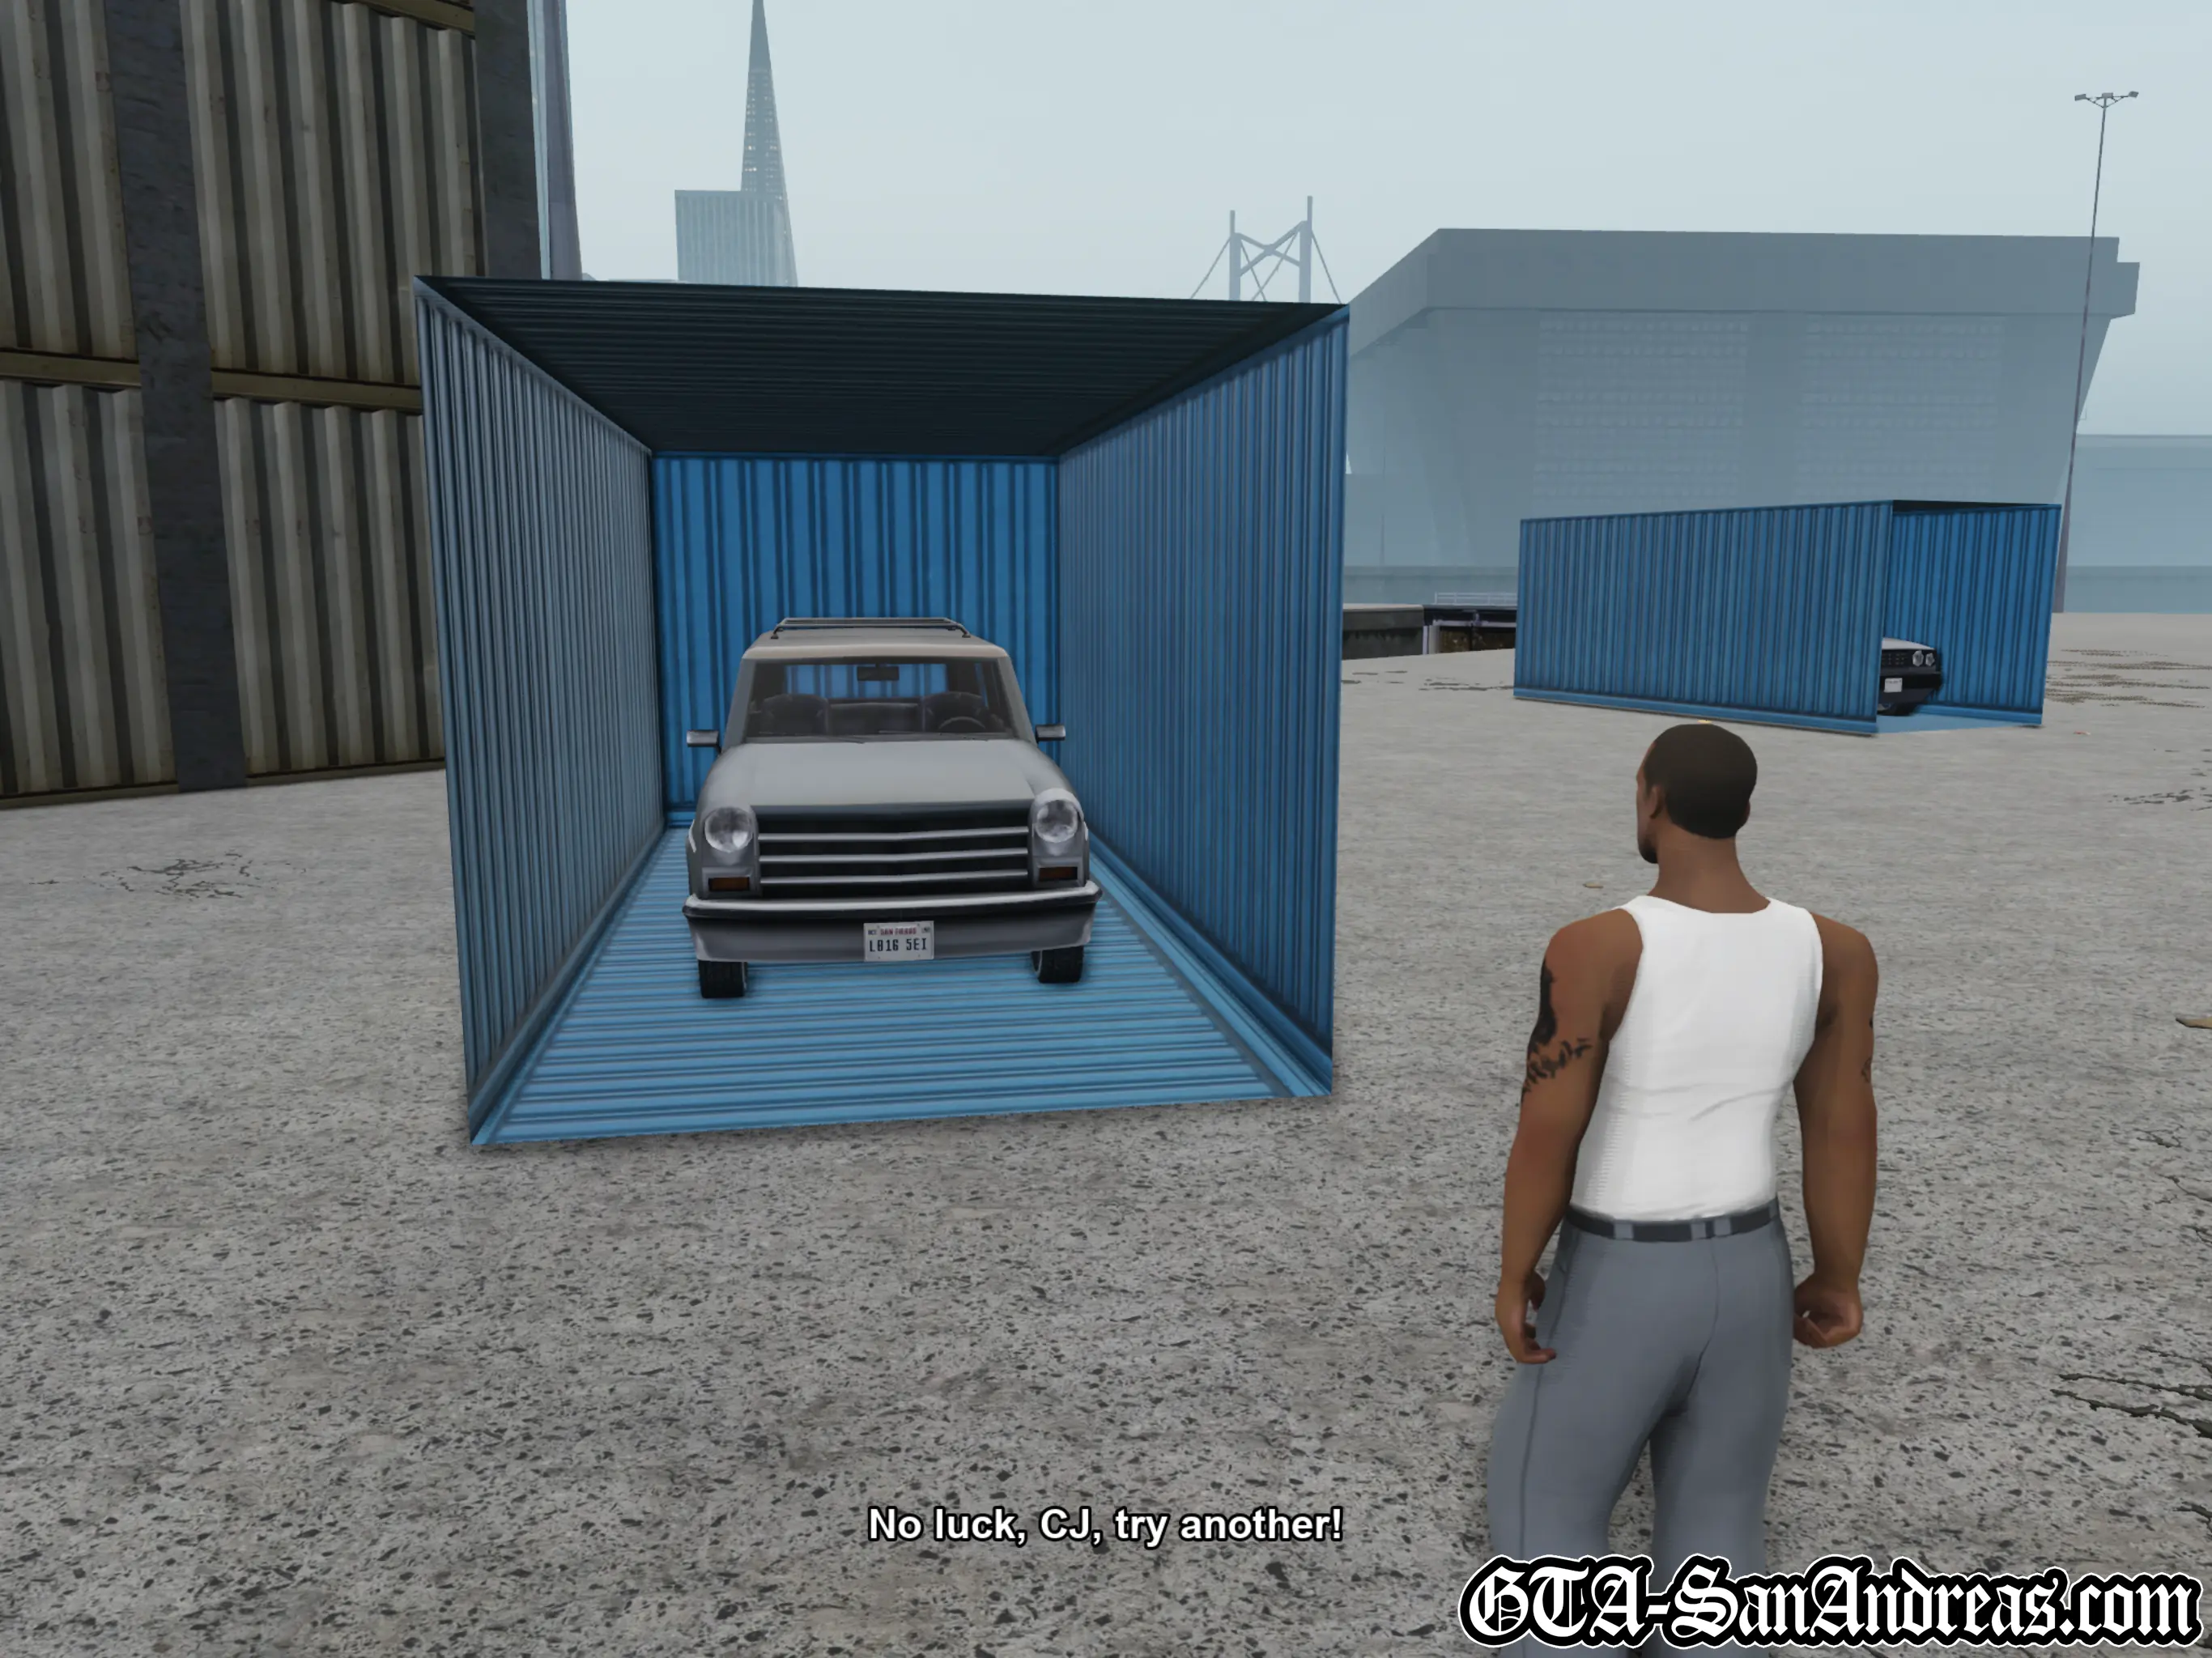
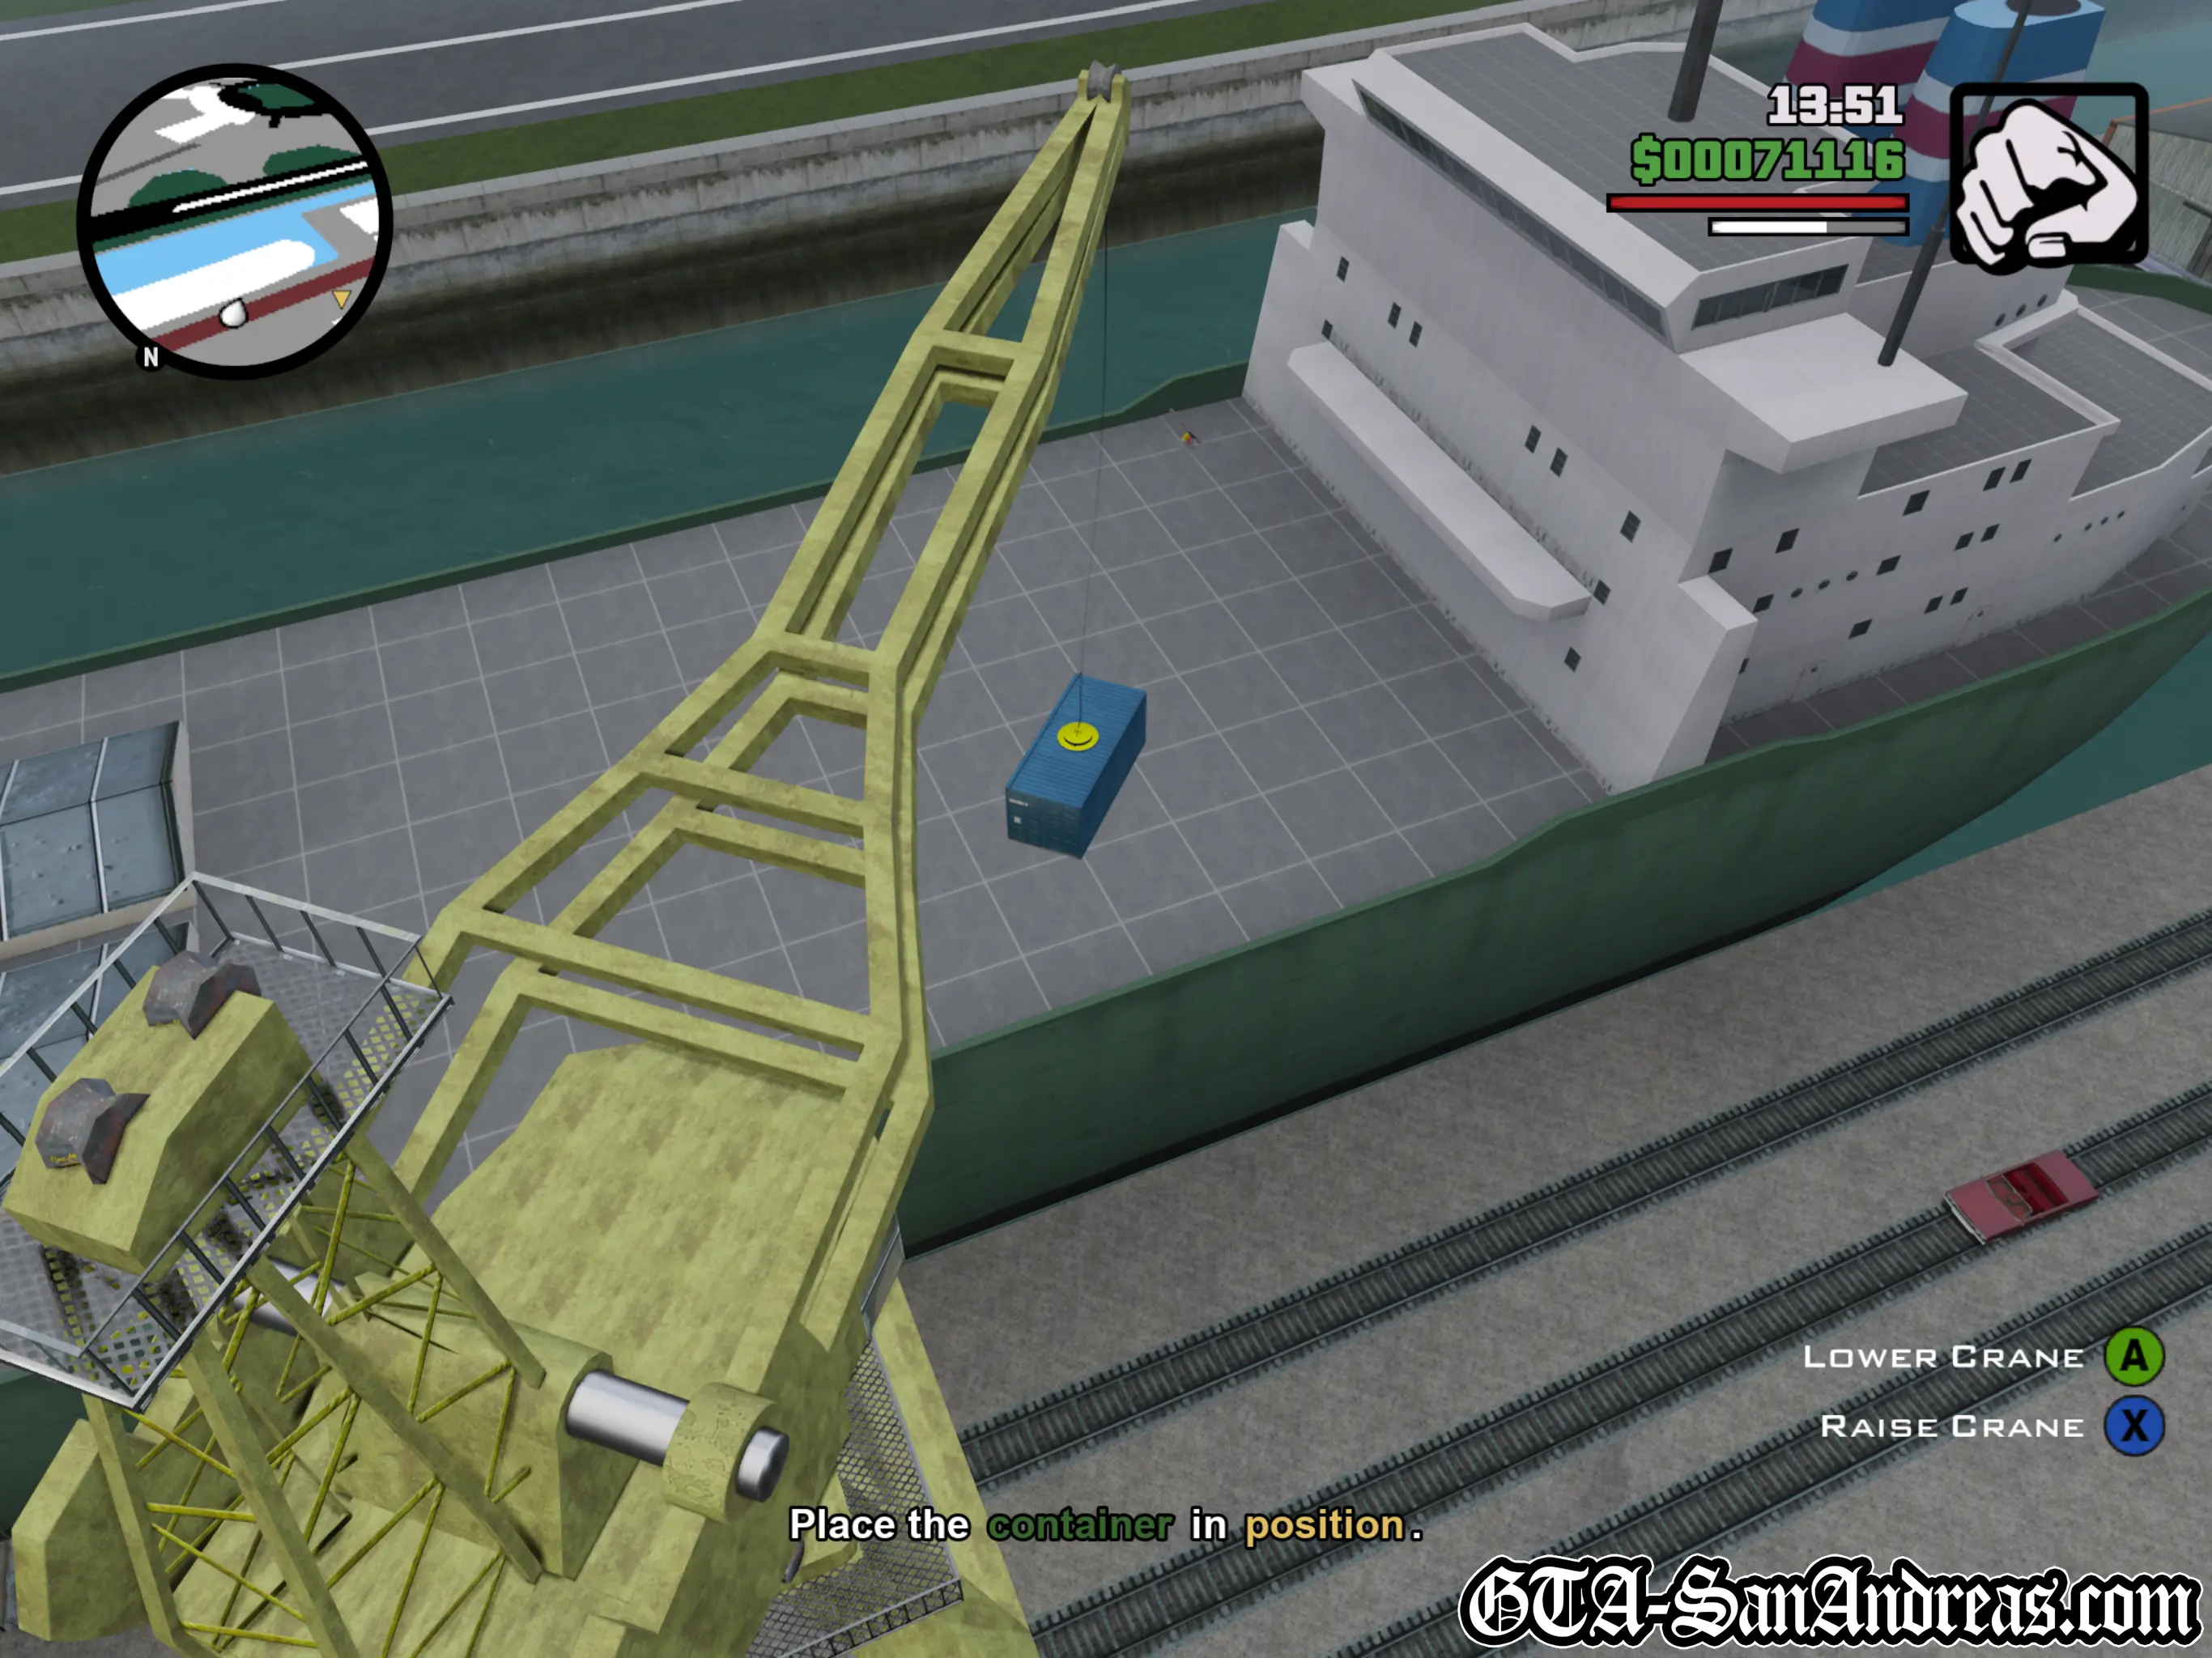
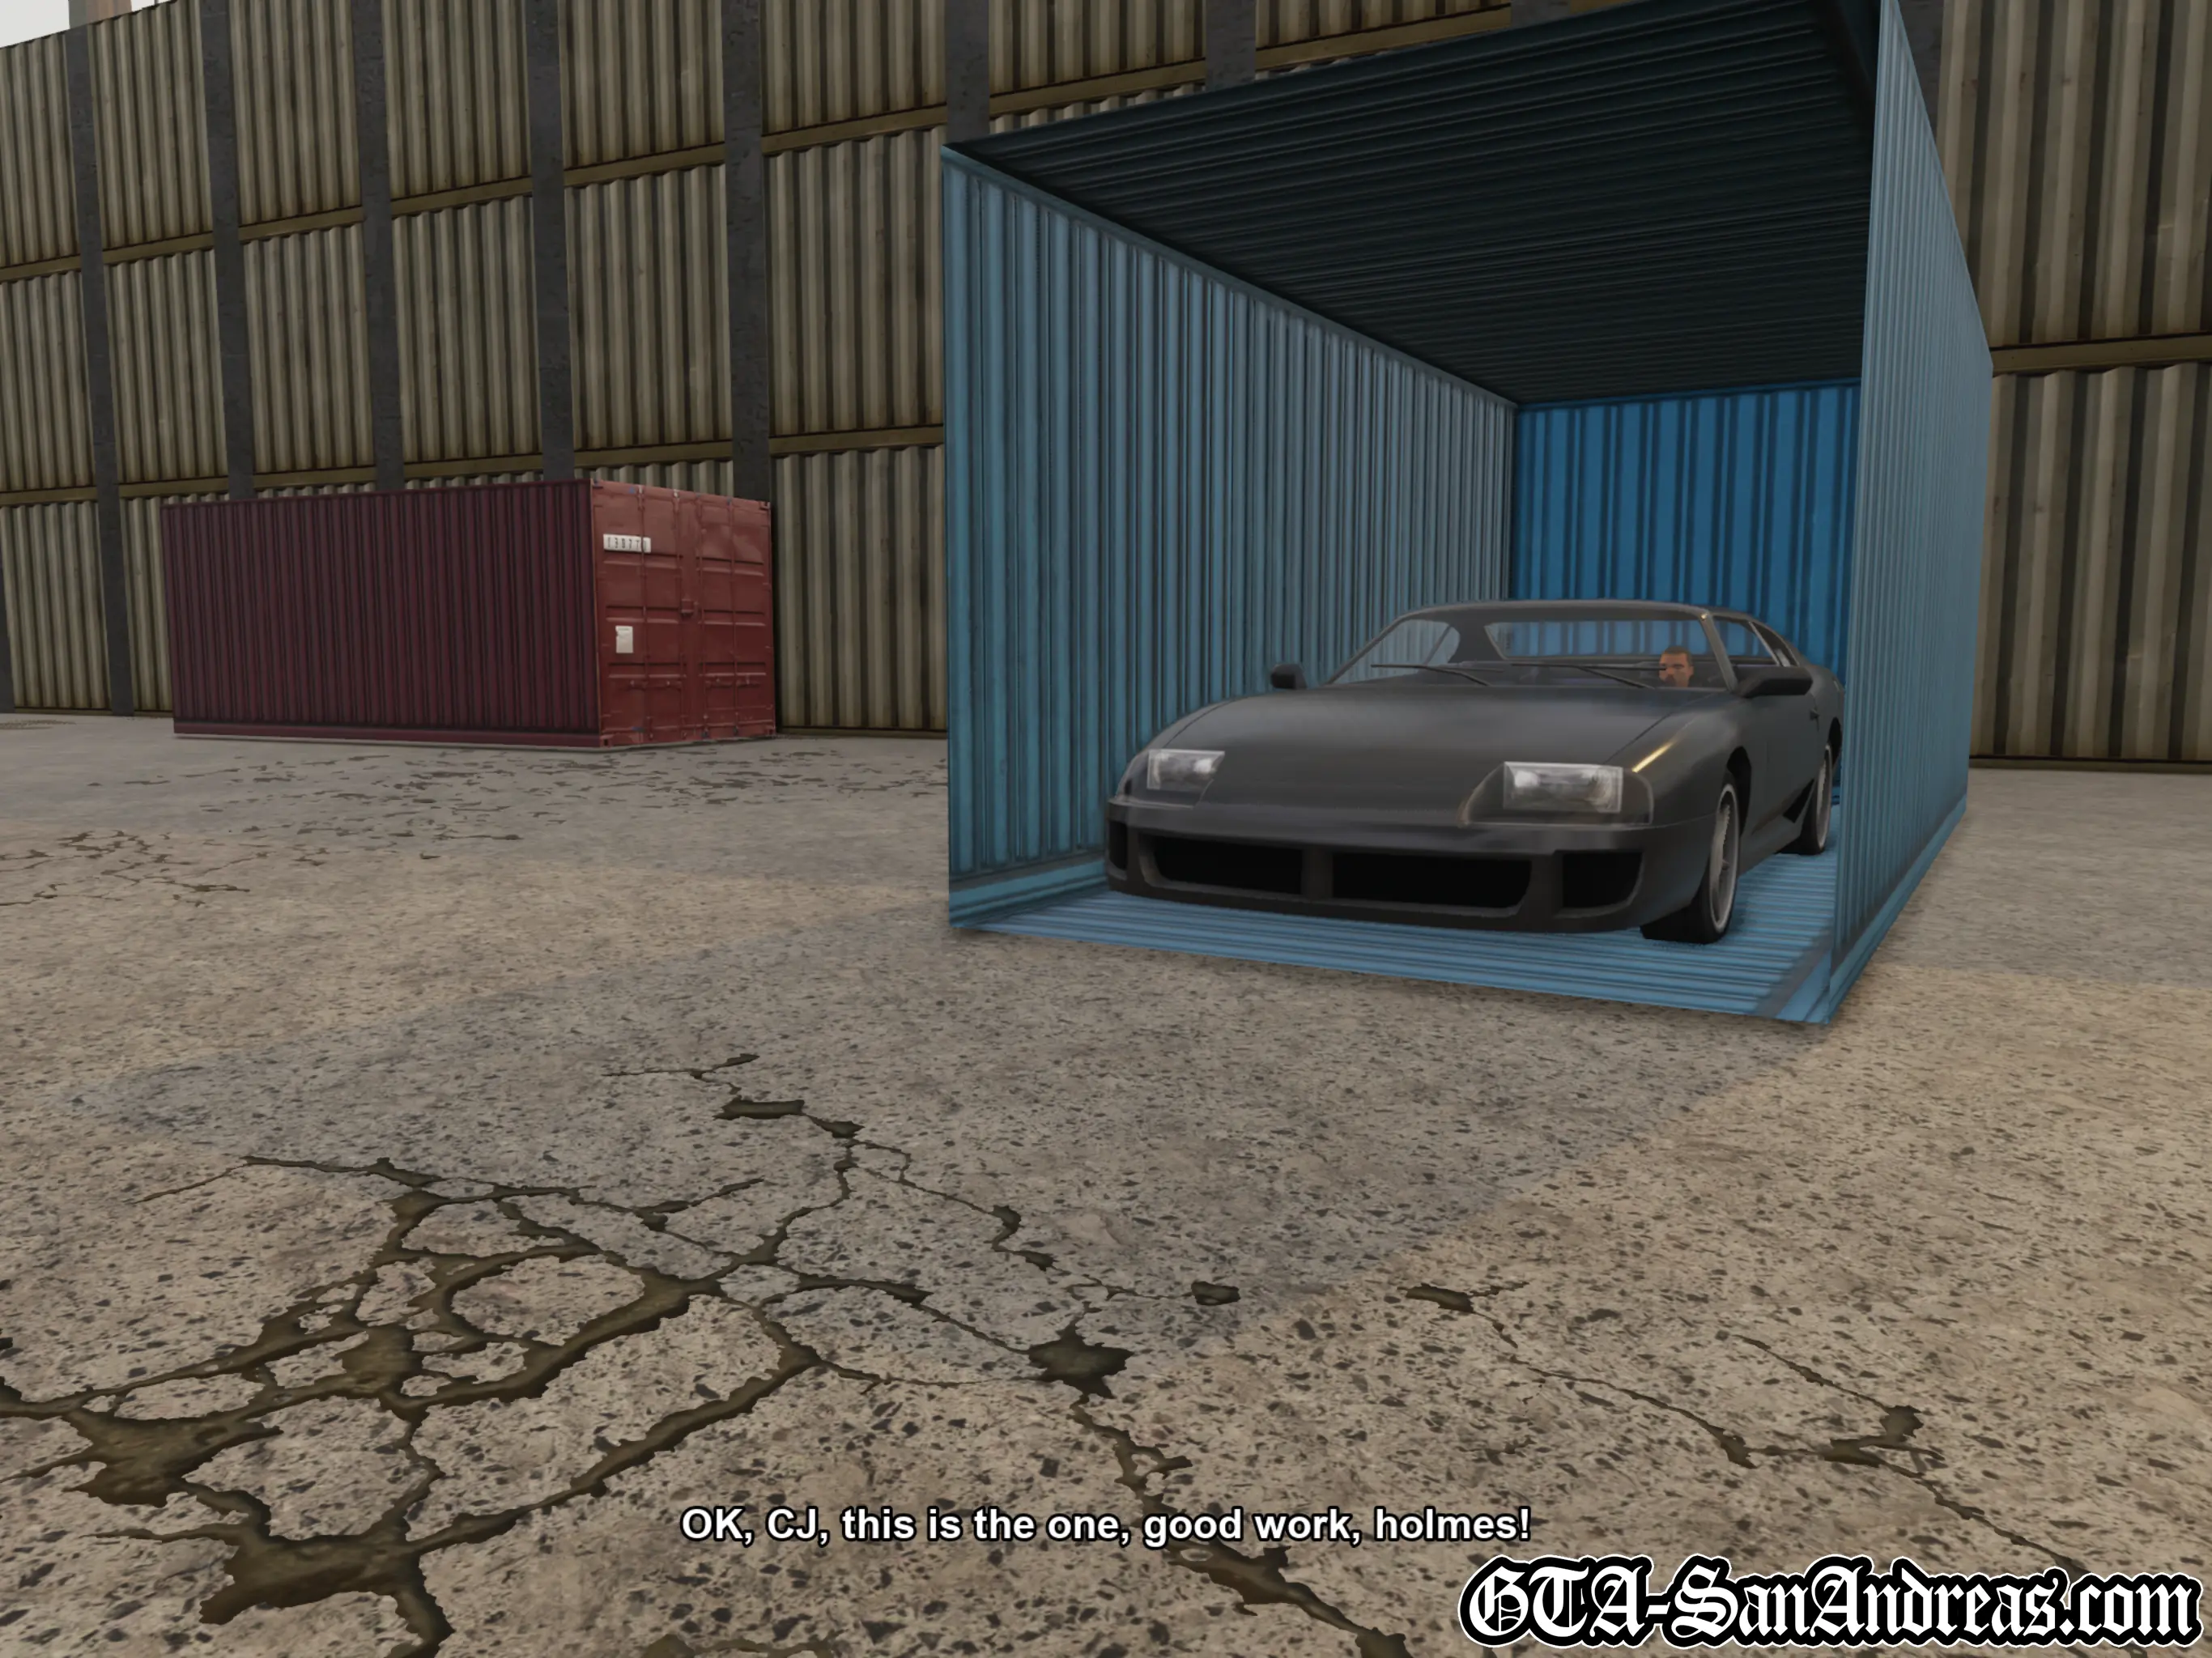
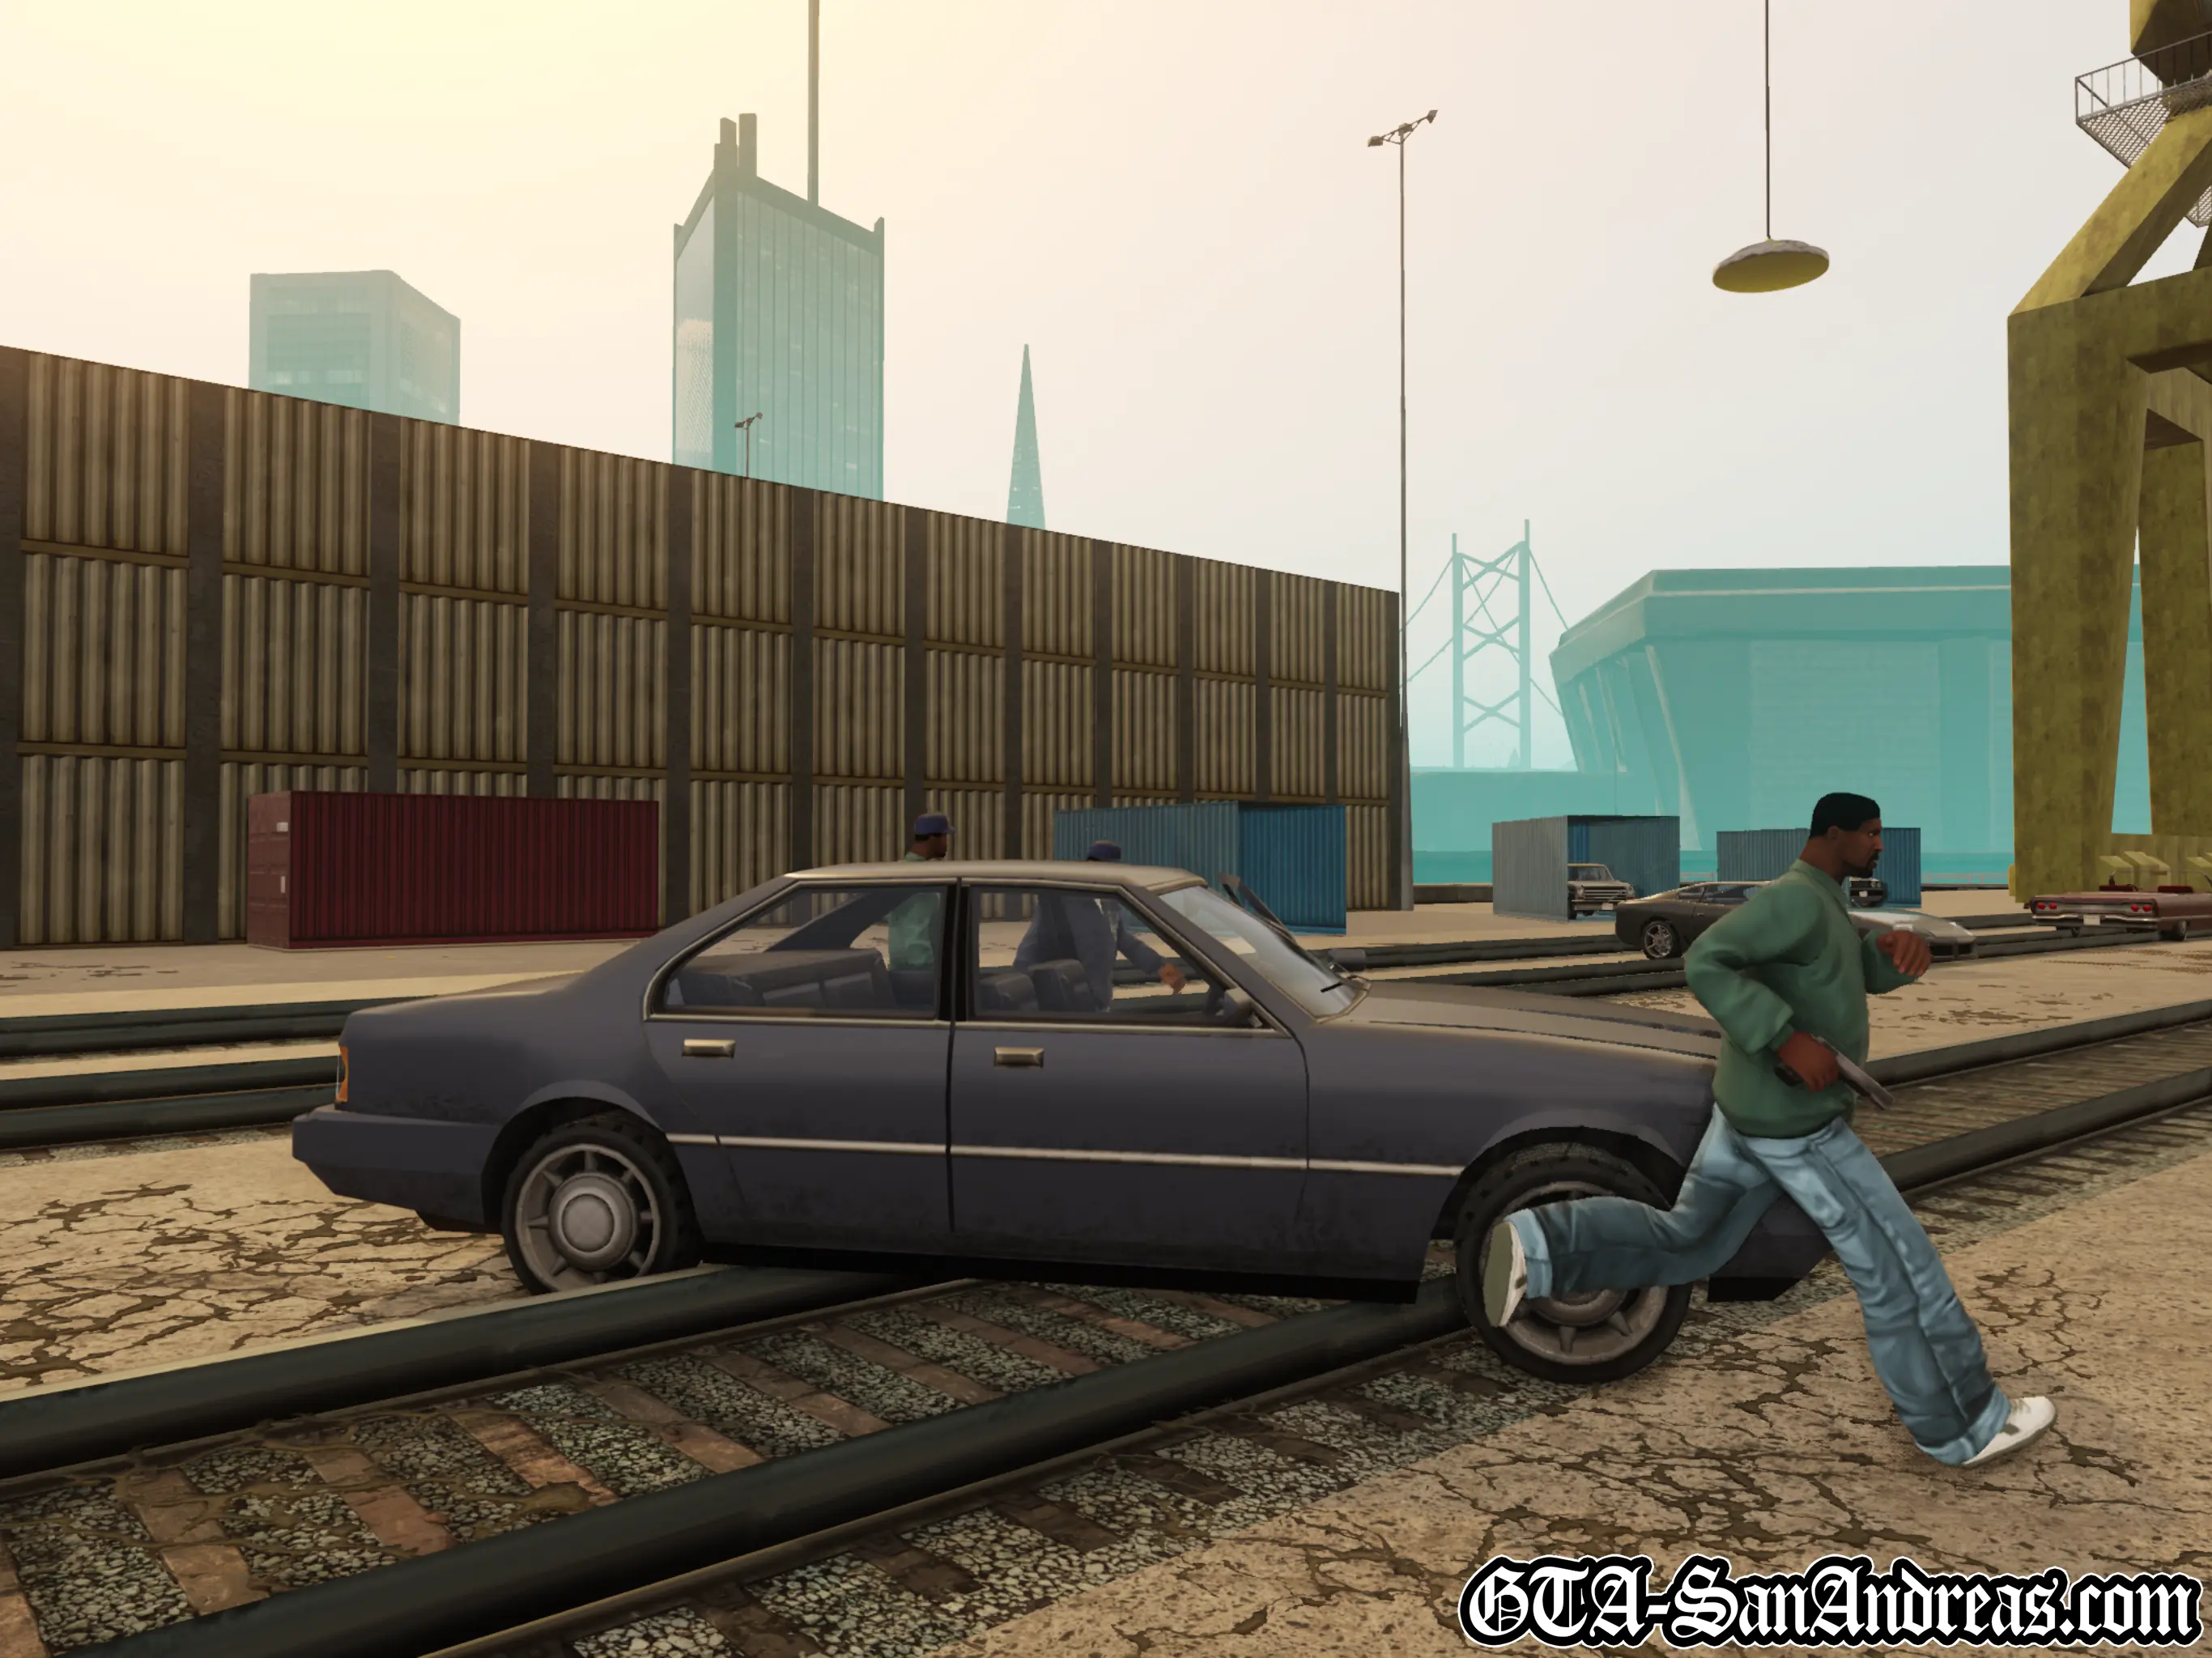
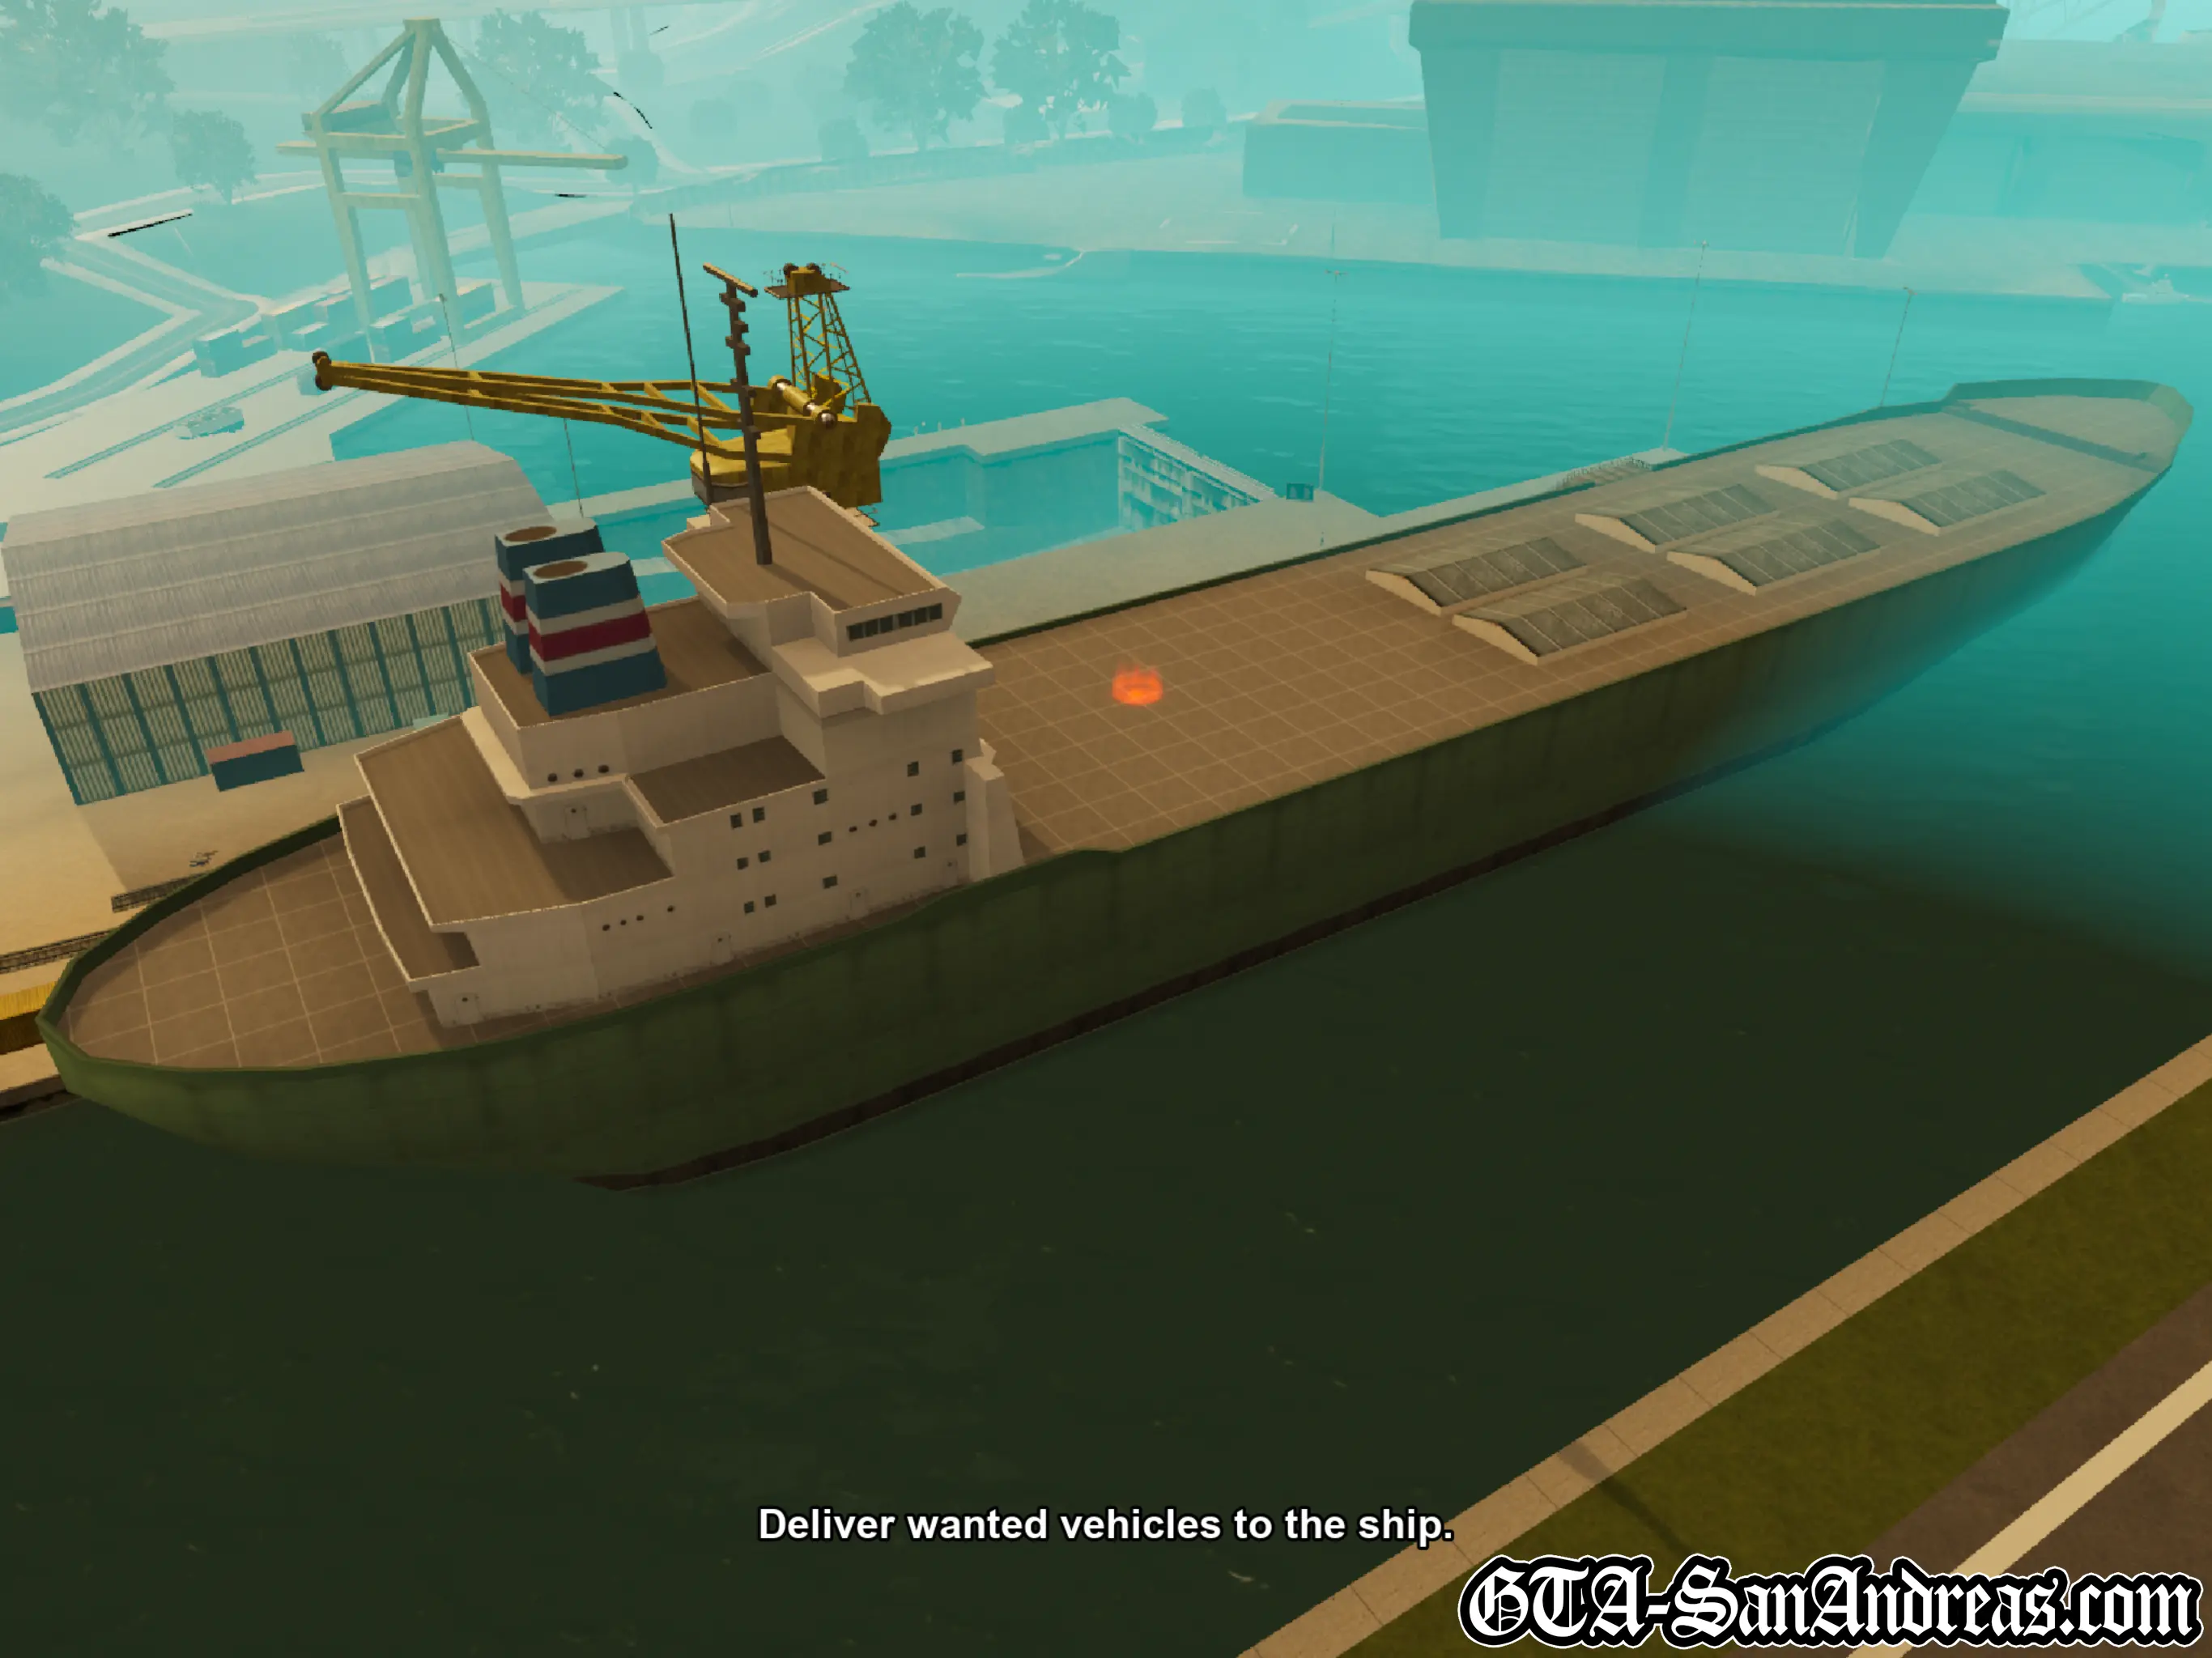
Cesar knows a guy who knows a guy who knows a guy who... Knows there's a car from the wishlist in a container on the ship at Easter Basin. He marked the container with spray paint, so Cesar and CJ are going down to check it out. Make your way to the Yellow Blip at Easter Basin. When you get there you'll be told to get in the crane. Stand in the red circle and push triangle to enter the crane. Now you'll need to move the crane over a container, then hold X to lower the magnet until it catches the container. Push square to lift up the container, then move the left analog stick to the right and line up the container with the red circle. Next hold X to lower the container close to the ground, then push circle to drop it. Dropping it from too high will result in the car blowing up, so be careful. Try the first container which can be any one you want. Regardless of your choice, the car will always be in the last container, so move that into position. As soon as Cesar opens the container, a Sentinel will appear with three people inside. They seem rather pissed at the fact you're stealing their cars and they try to kill Cesar. Get out of the crane and help Cesar kill the people. Immediately after their deaths another Sentinel will appear and you've got three more people to kill. Once they're dead two more will appear on foot. Kill them, then Cesar will tell you to get in the car. Drive the car back to the garage which is marked with a yellow blip on the radar.
Car Imports And Exports Have Now Been Unlocked. You can check the list near the ship for vehicles which need to be delivered. You can also import cars on certain days. Car importing is required for 100% completion, however it's not a mission as such, so it will be included in a separate guide.
Screenshots

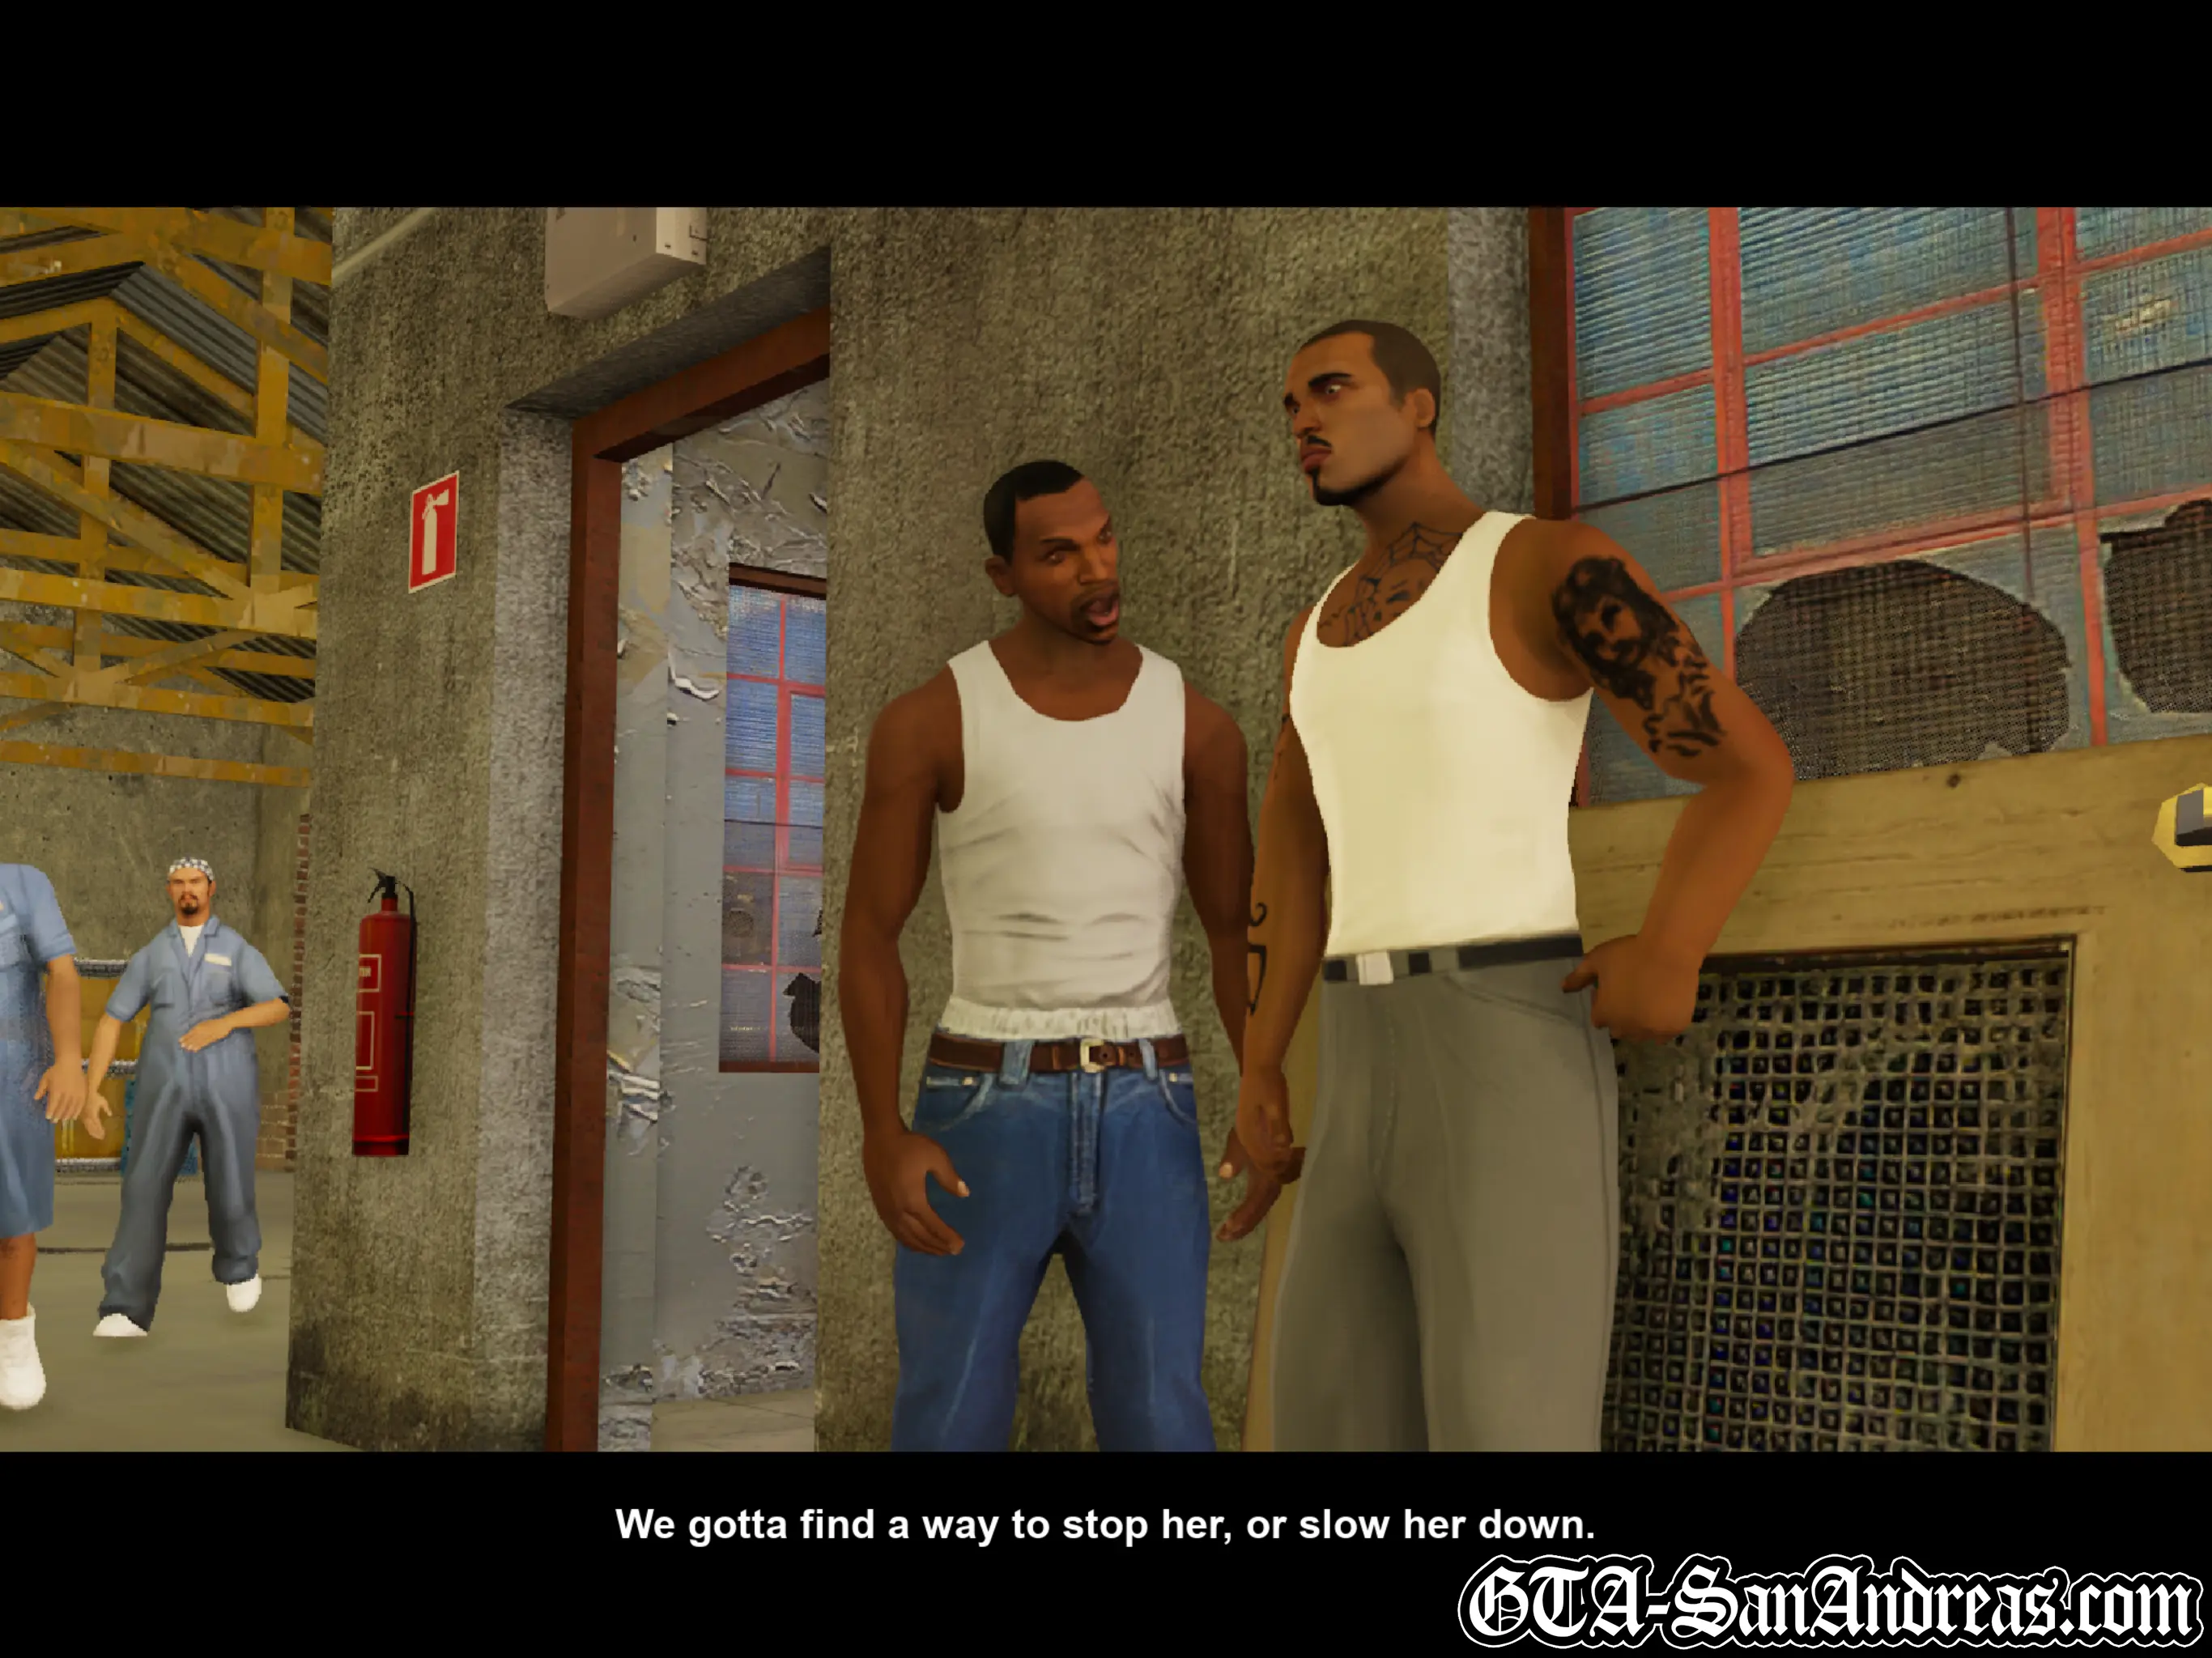
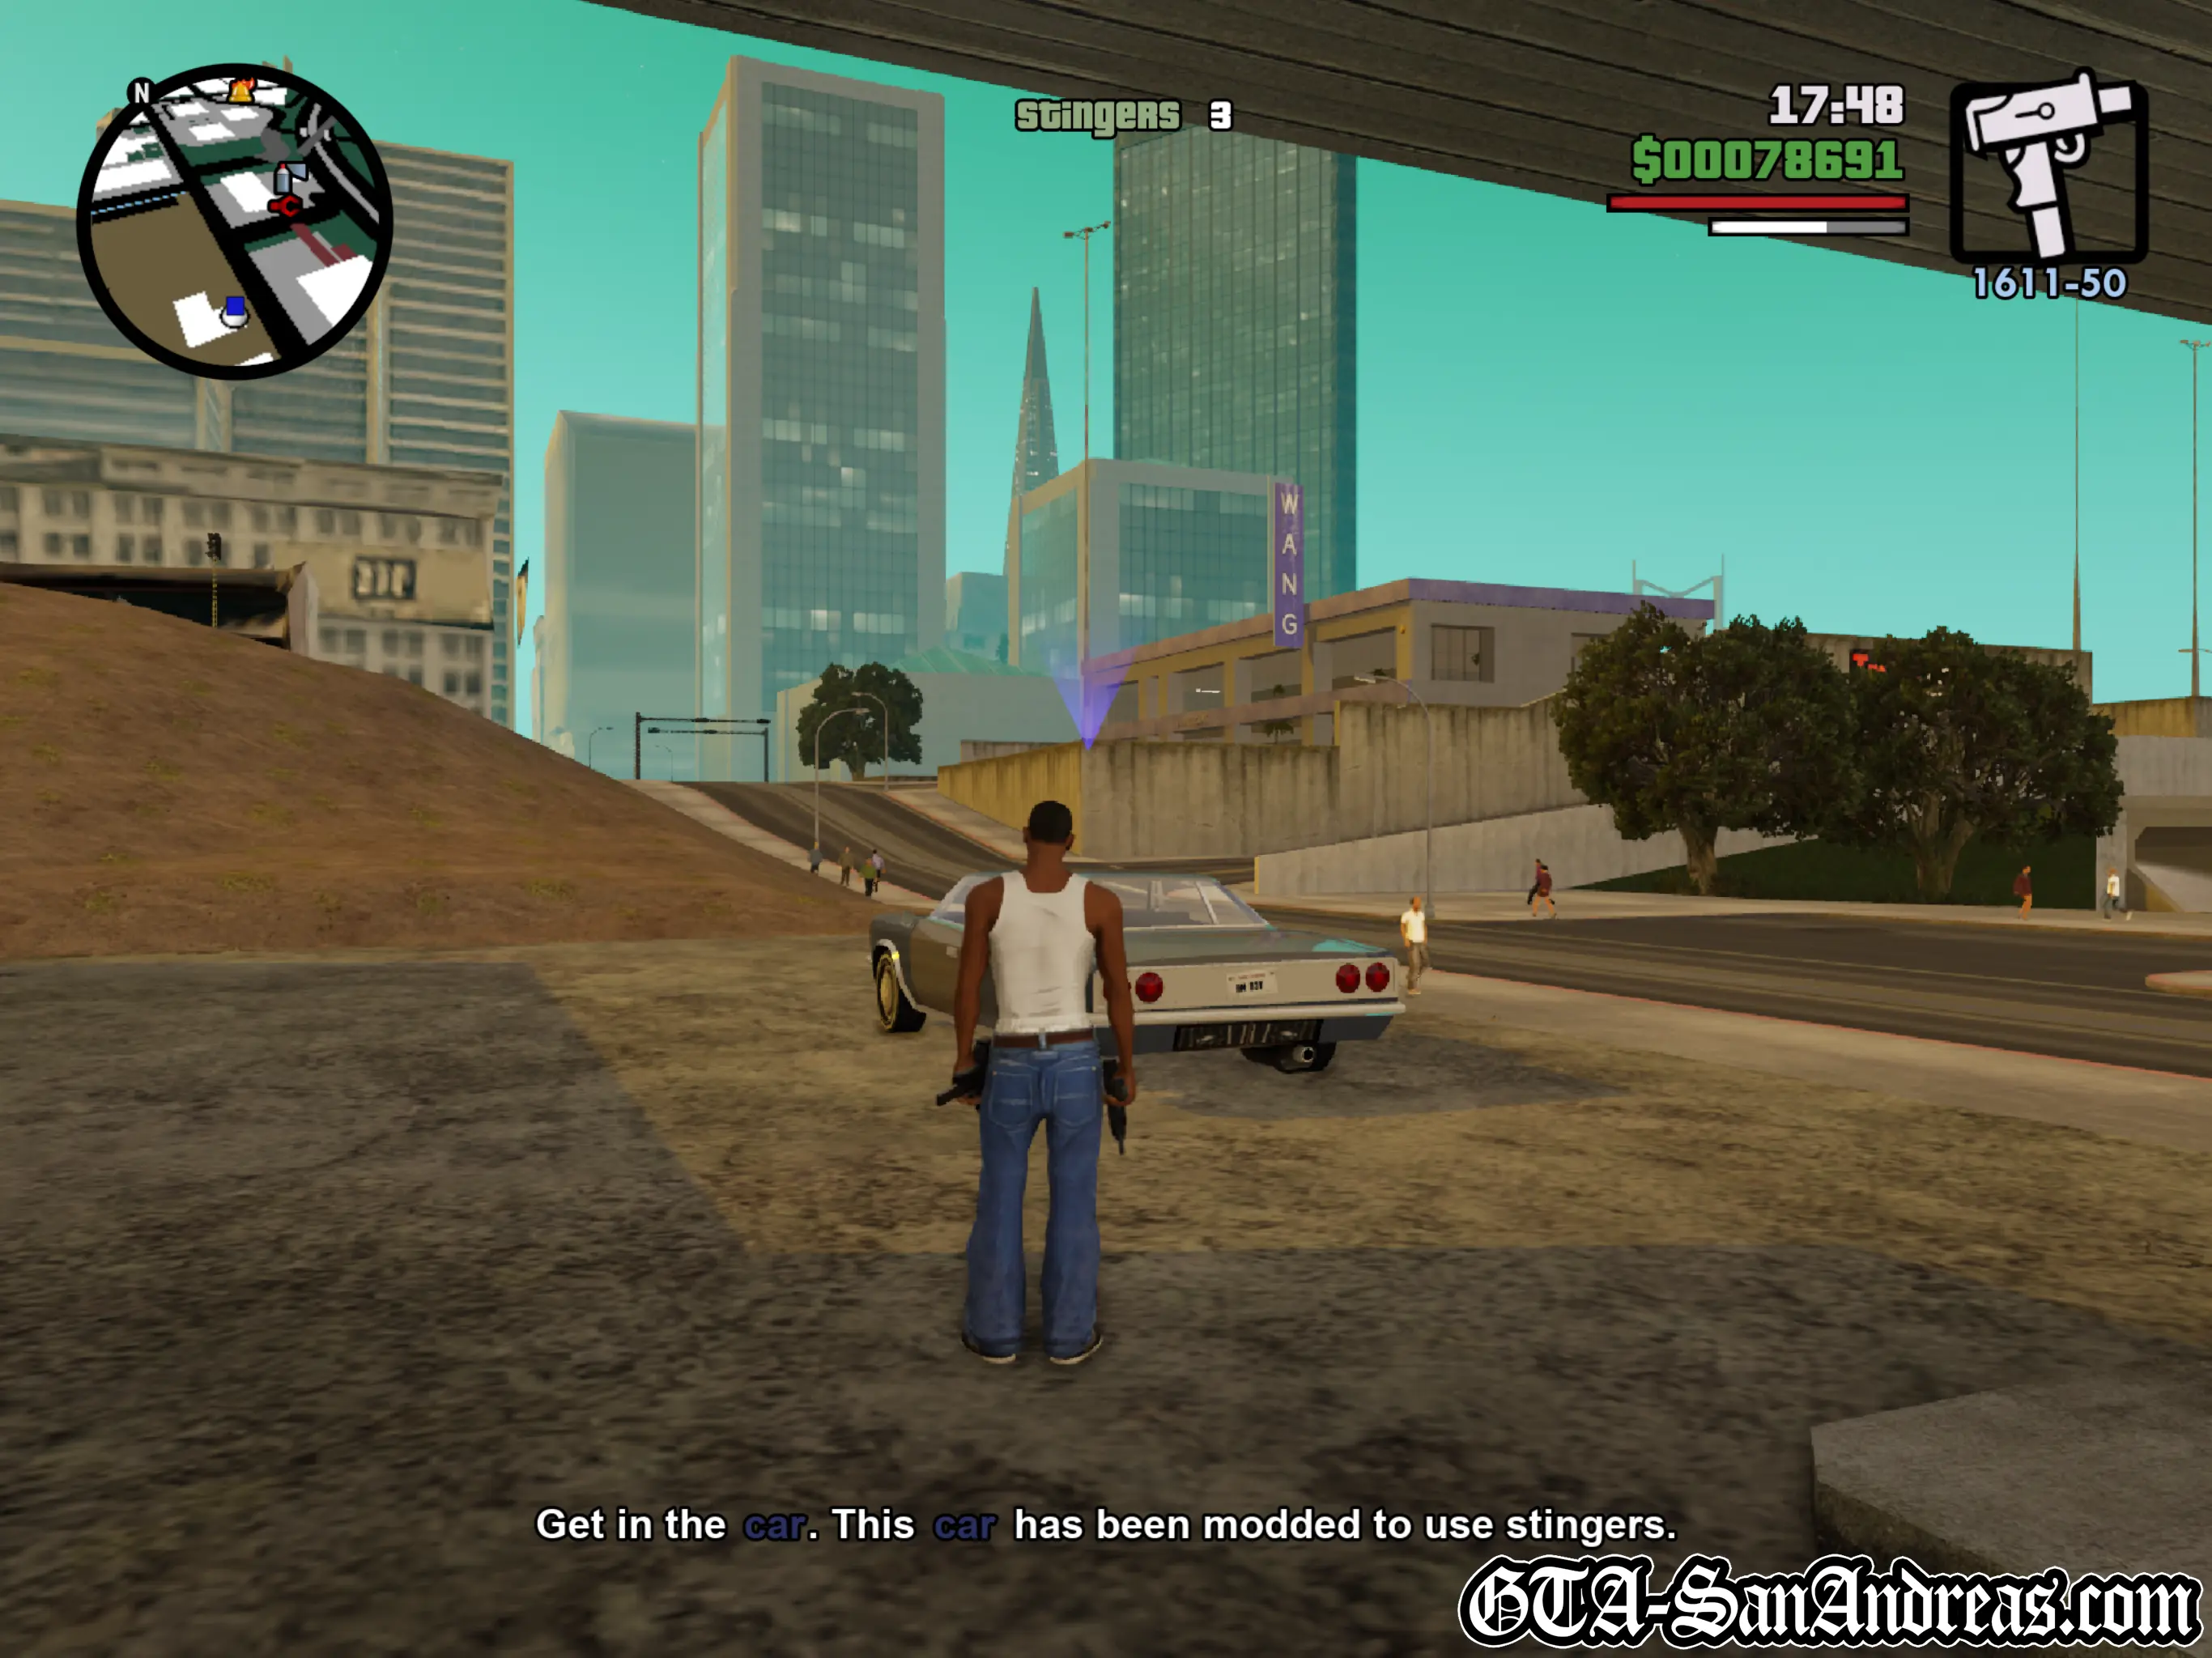
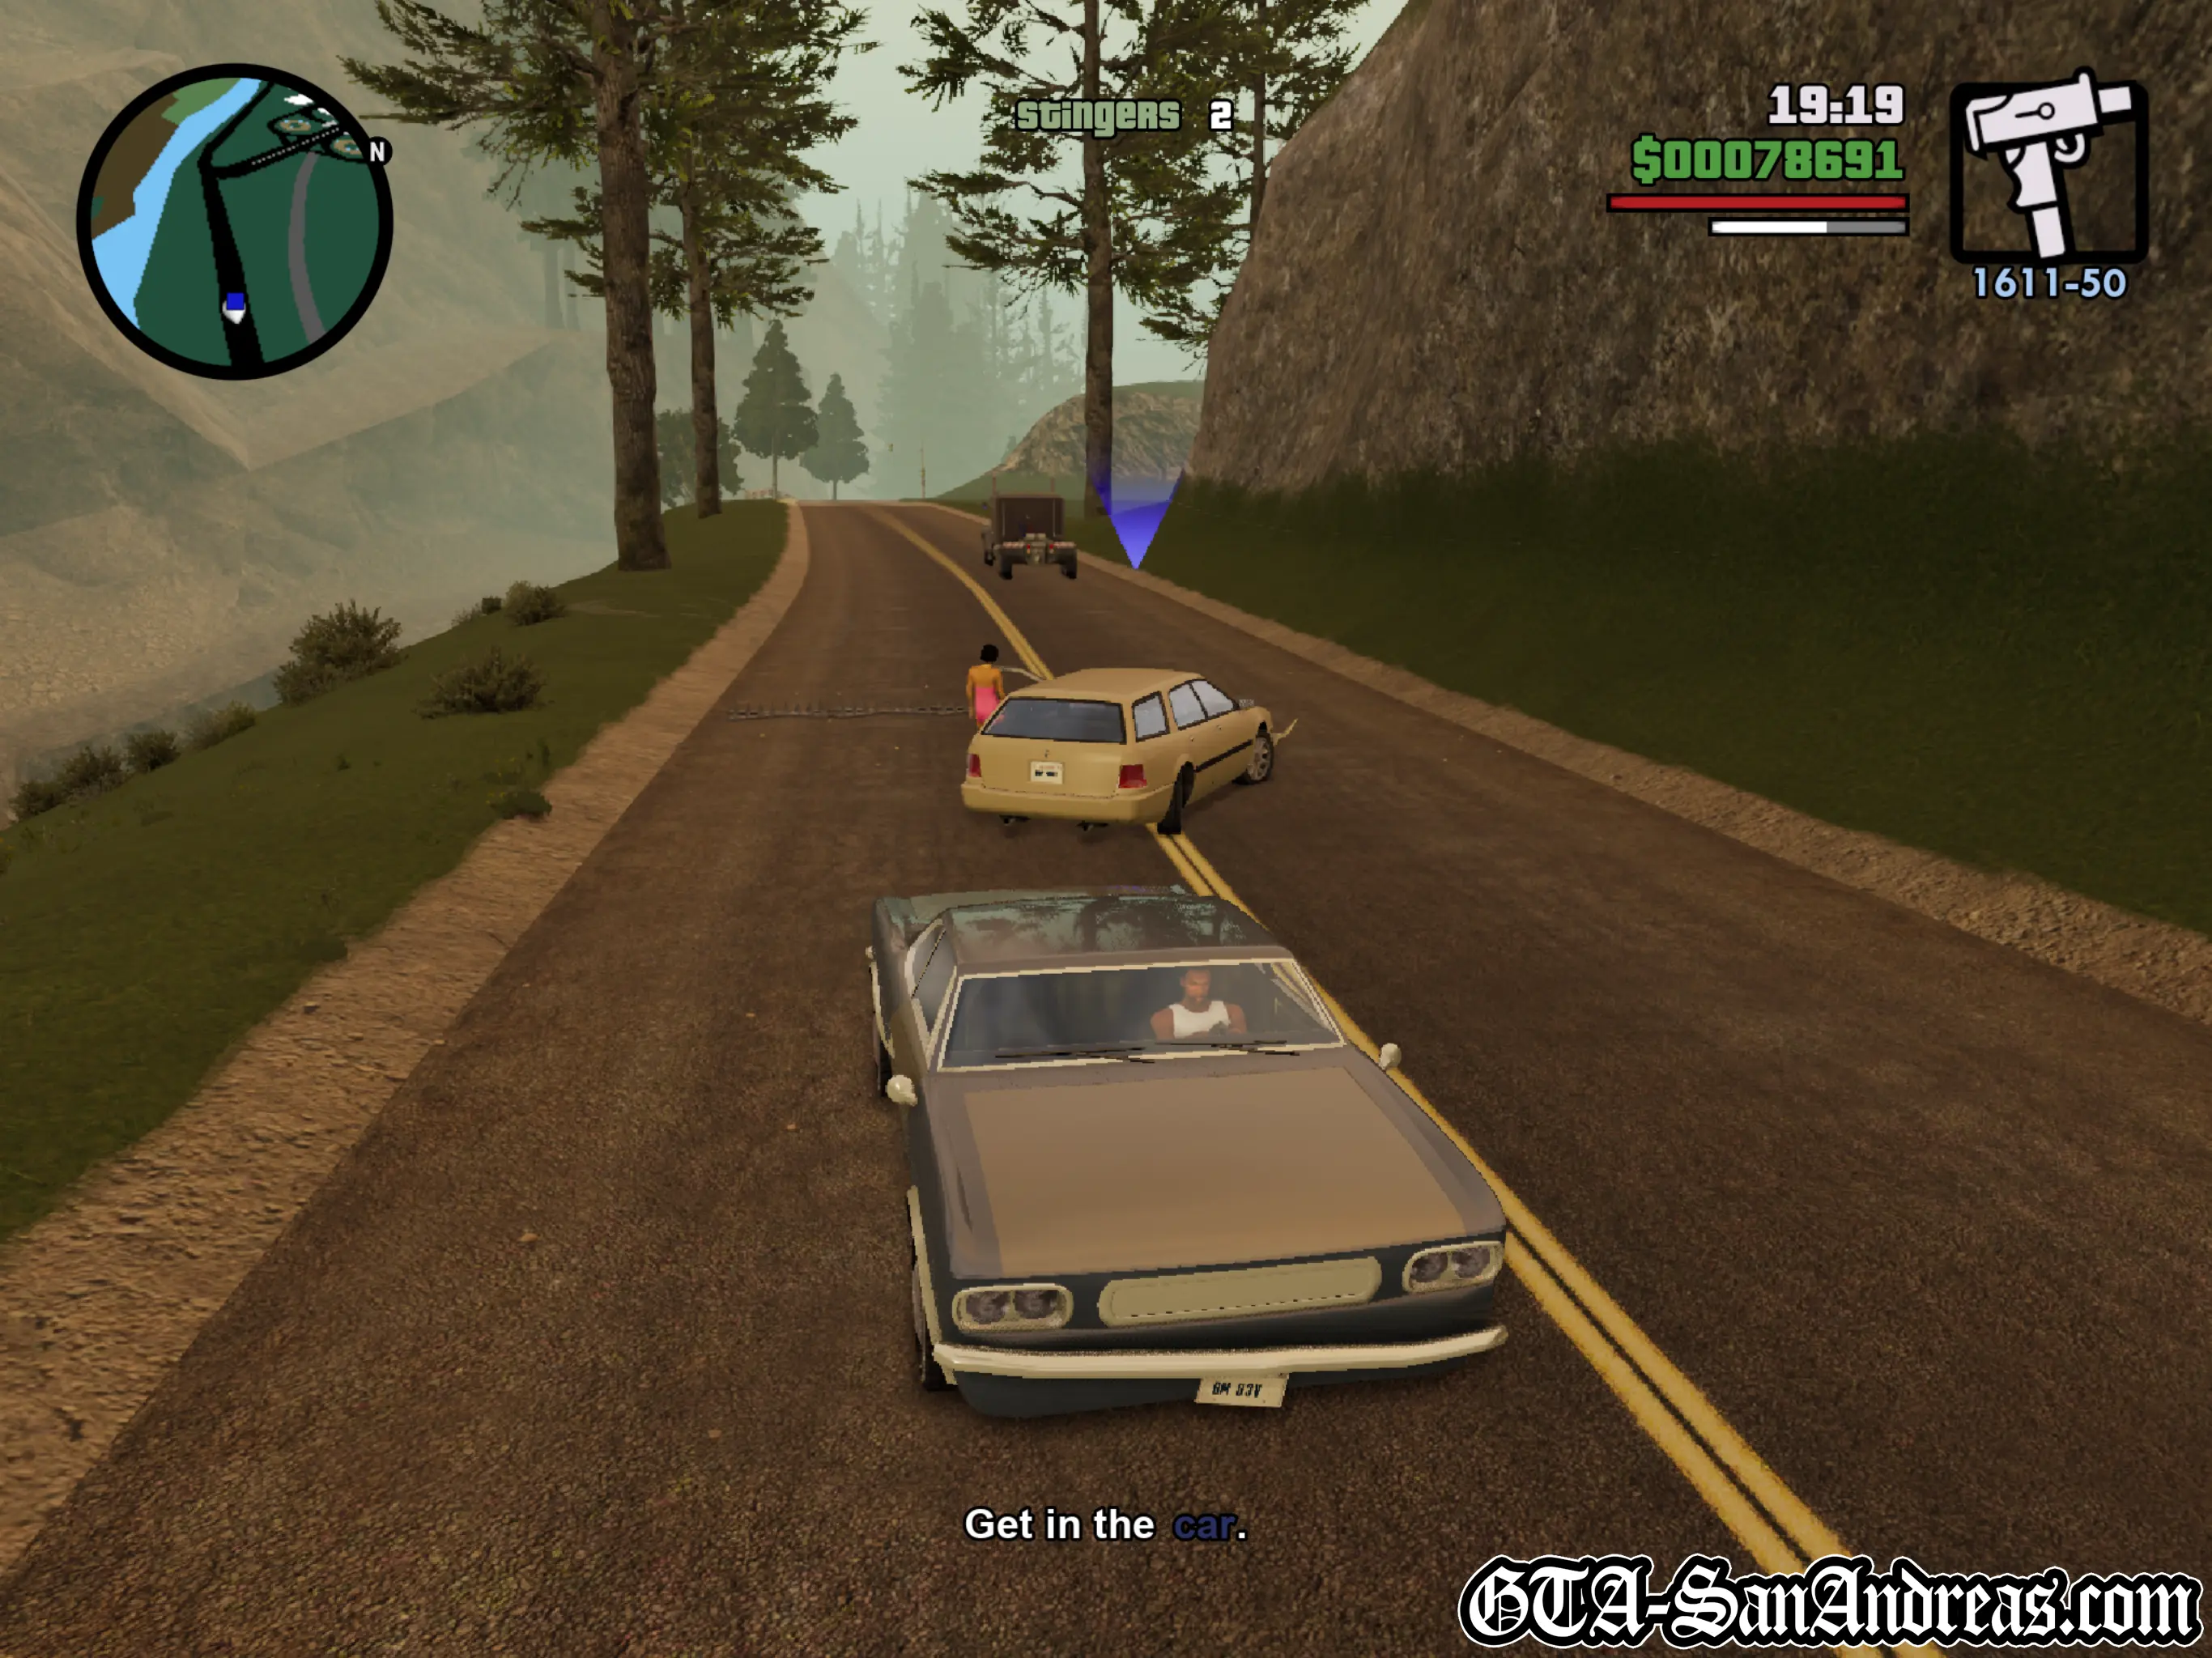
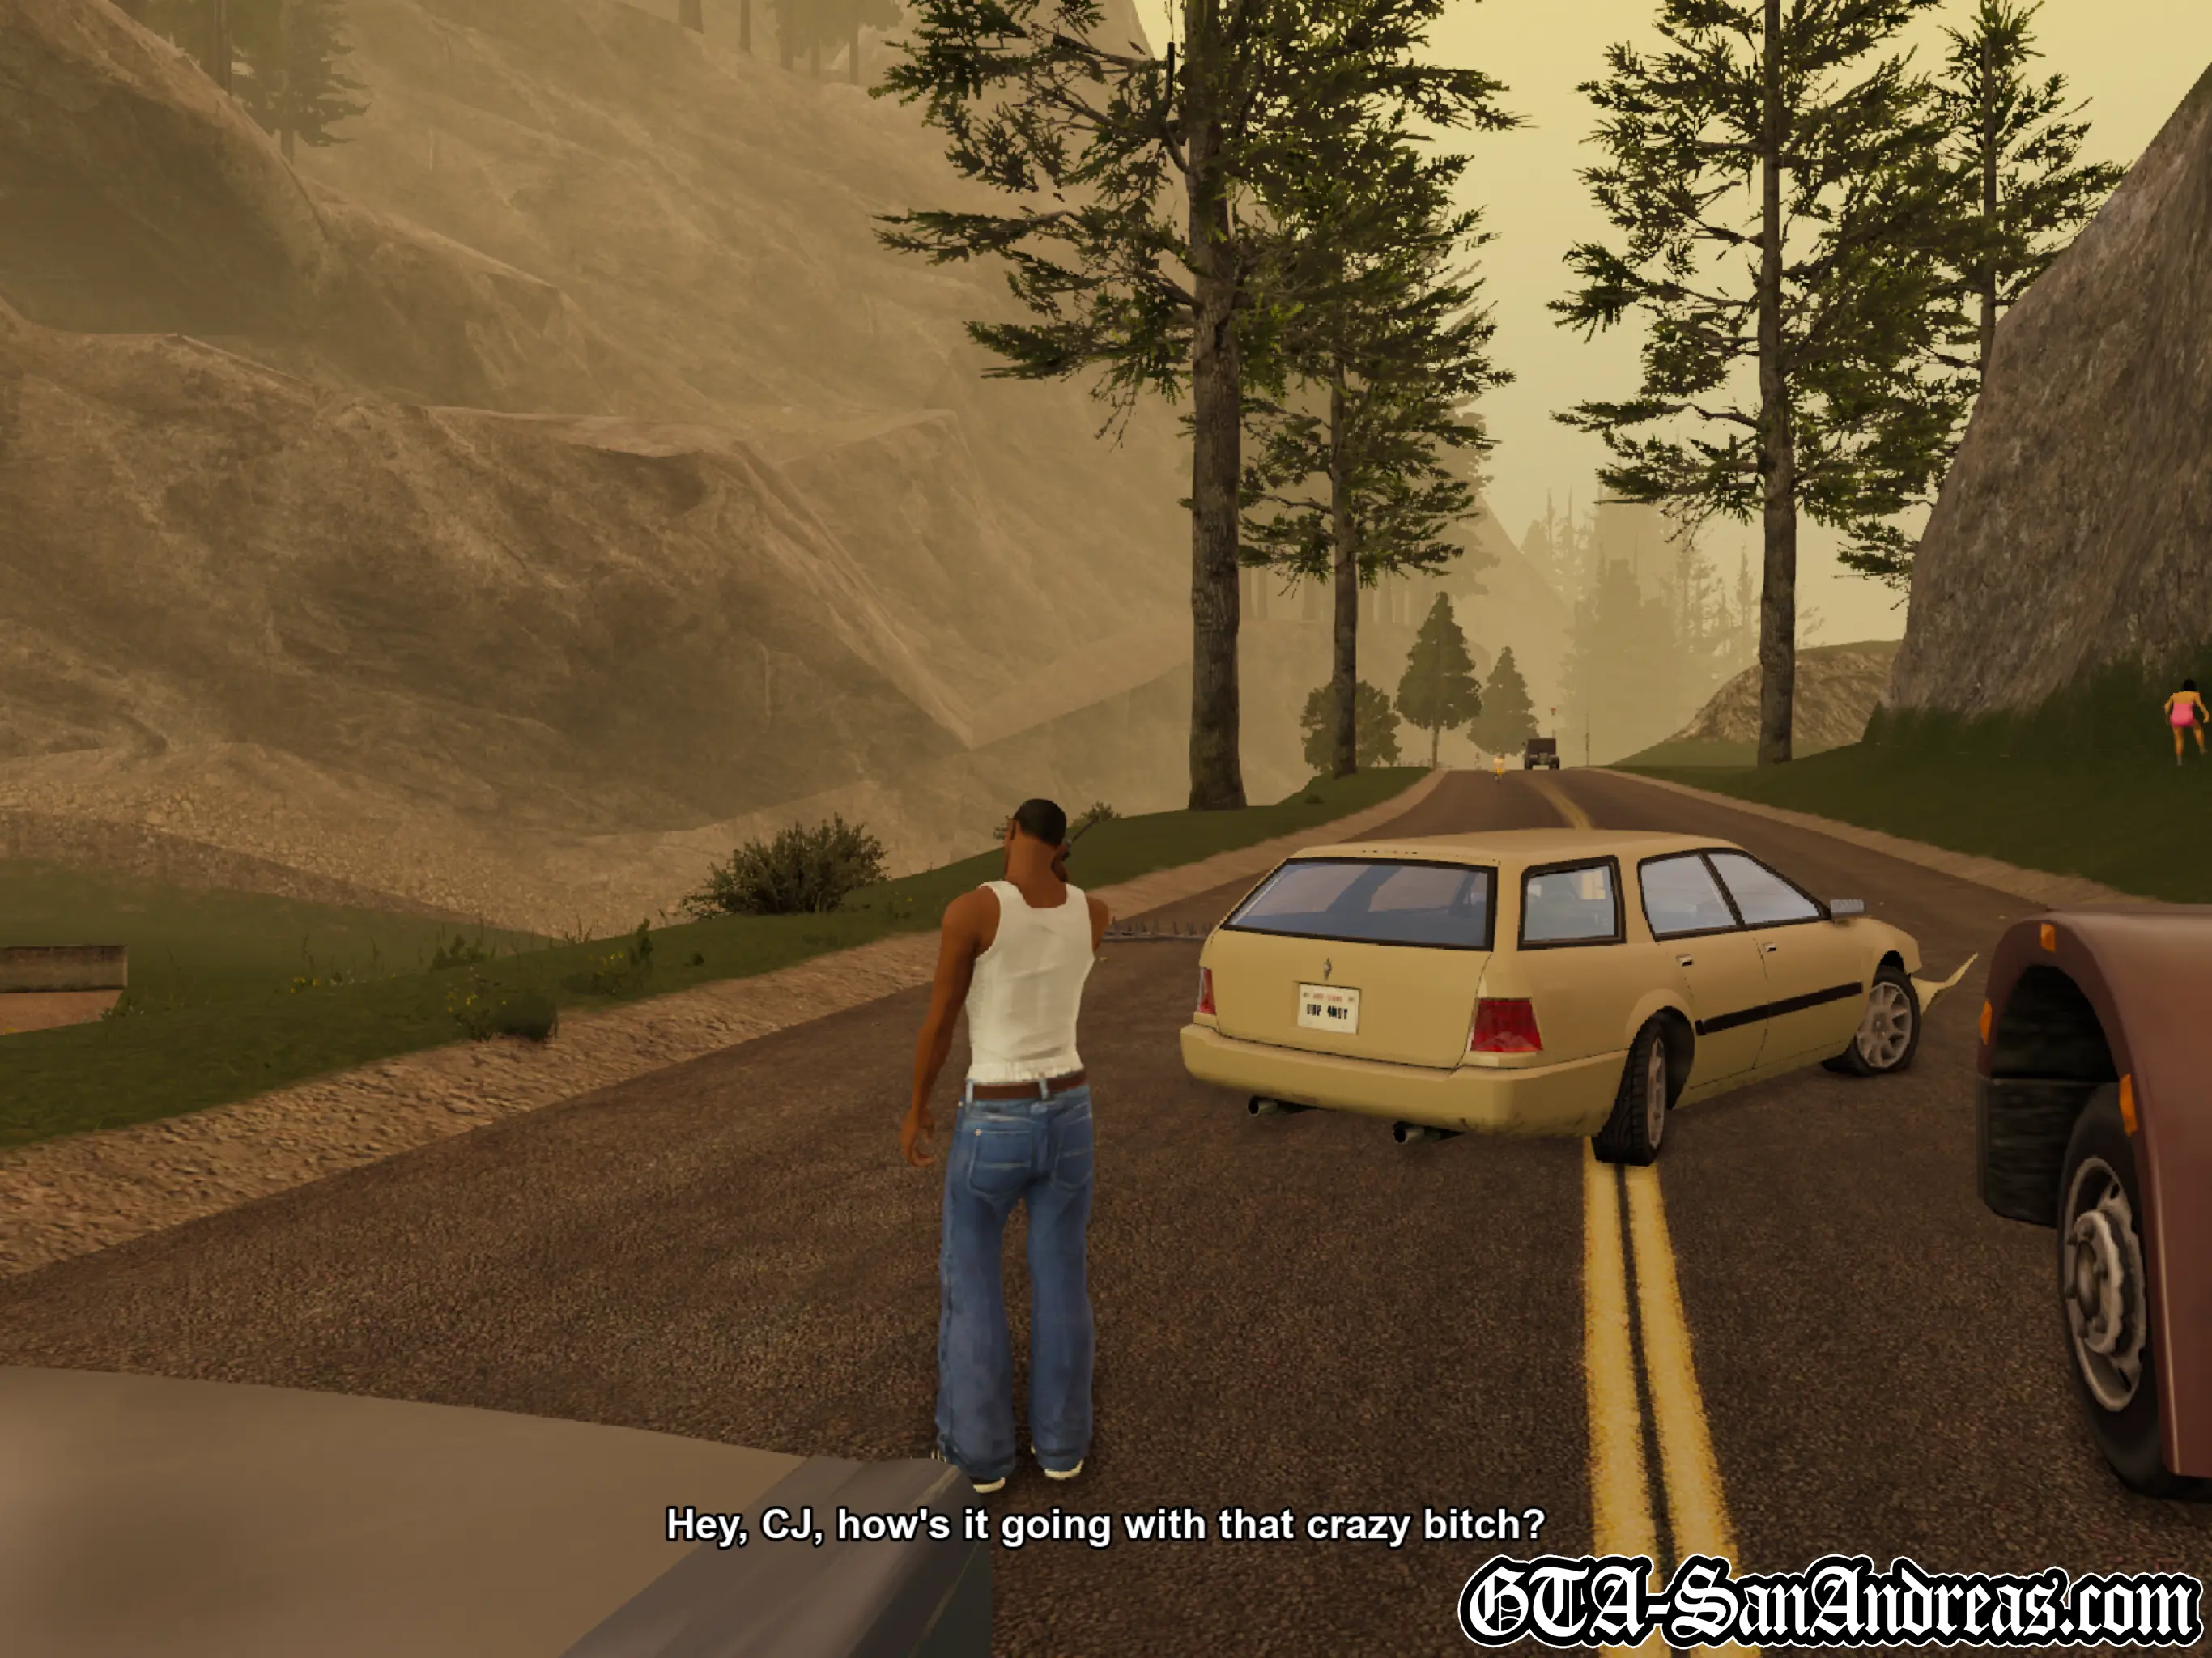
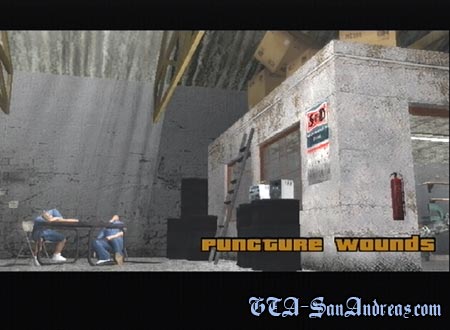
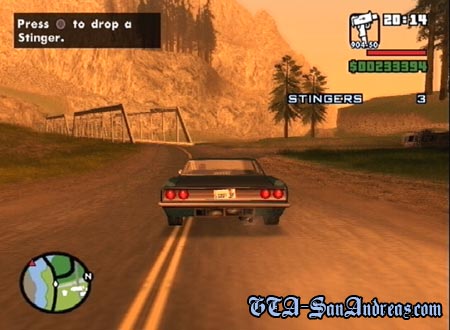
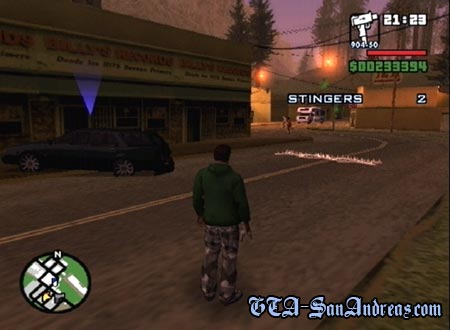
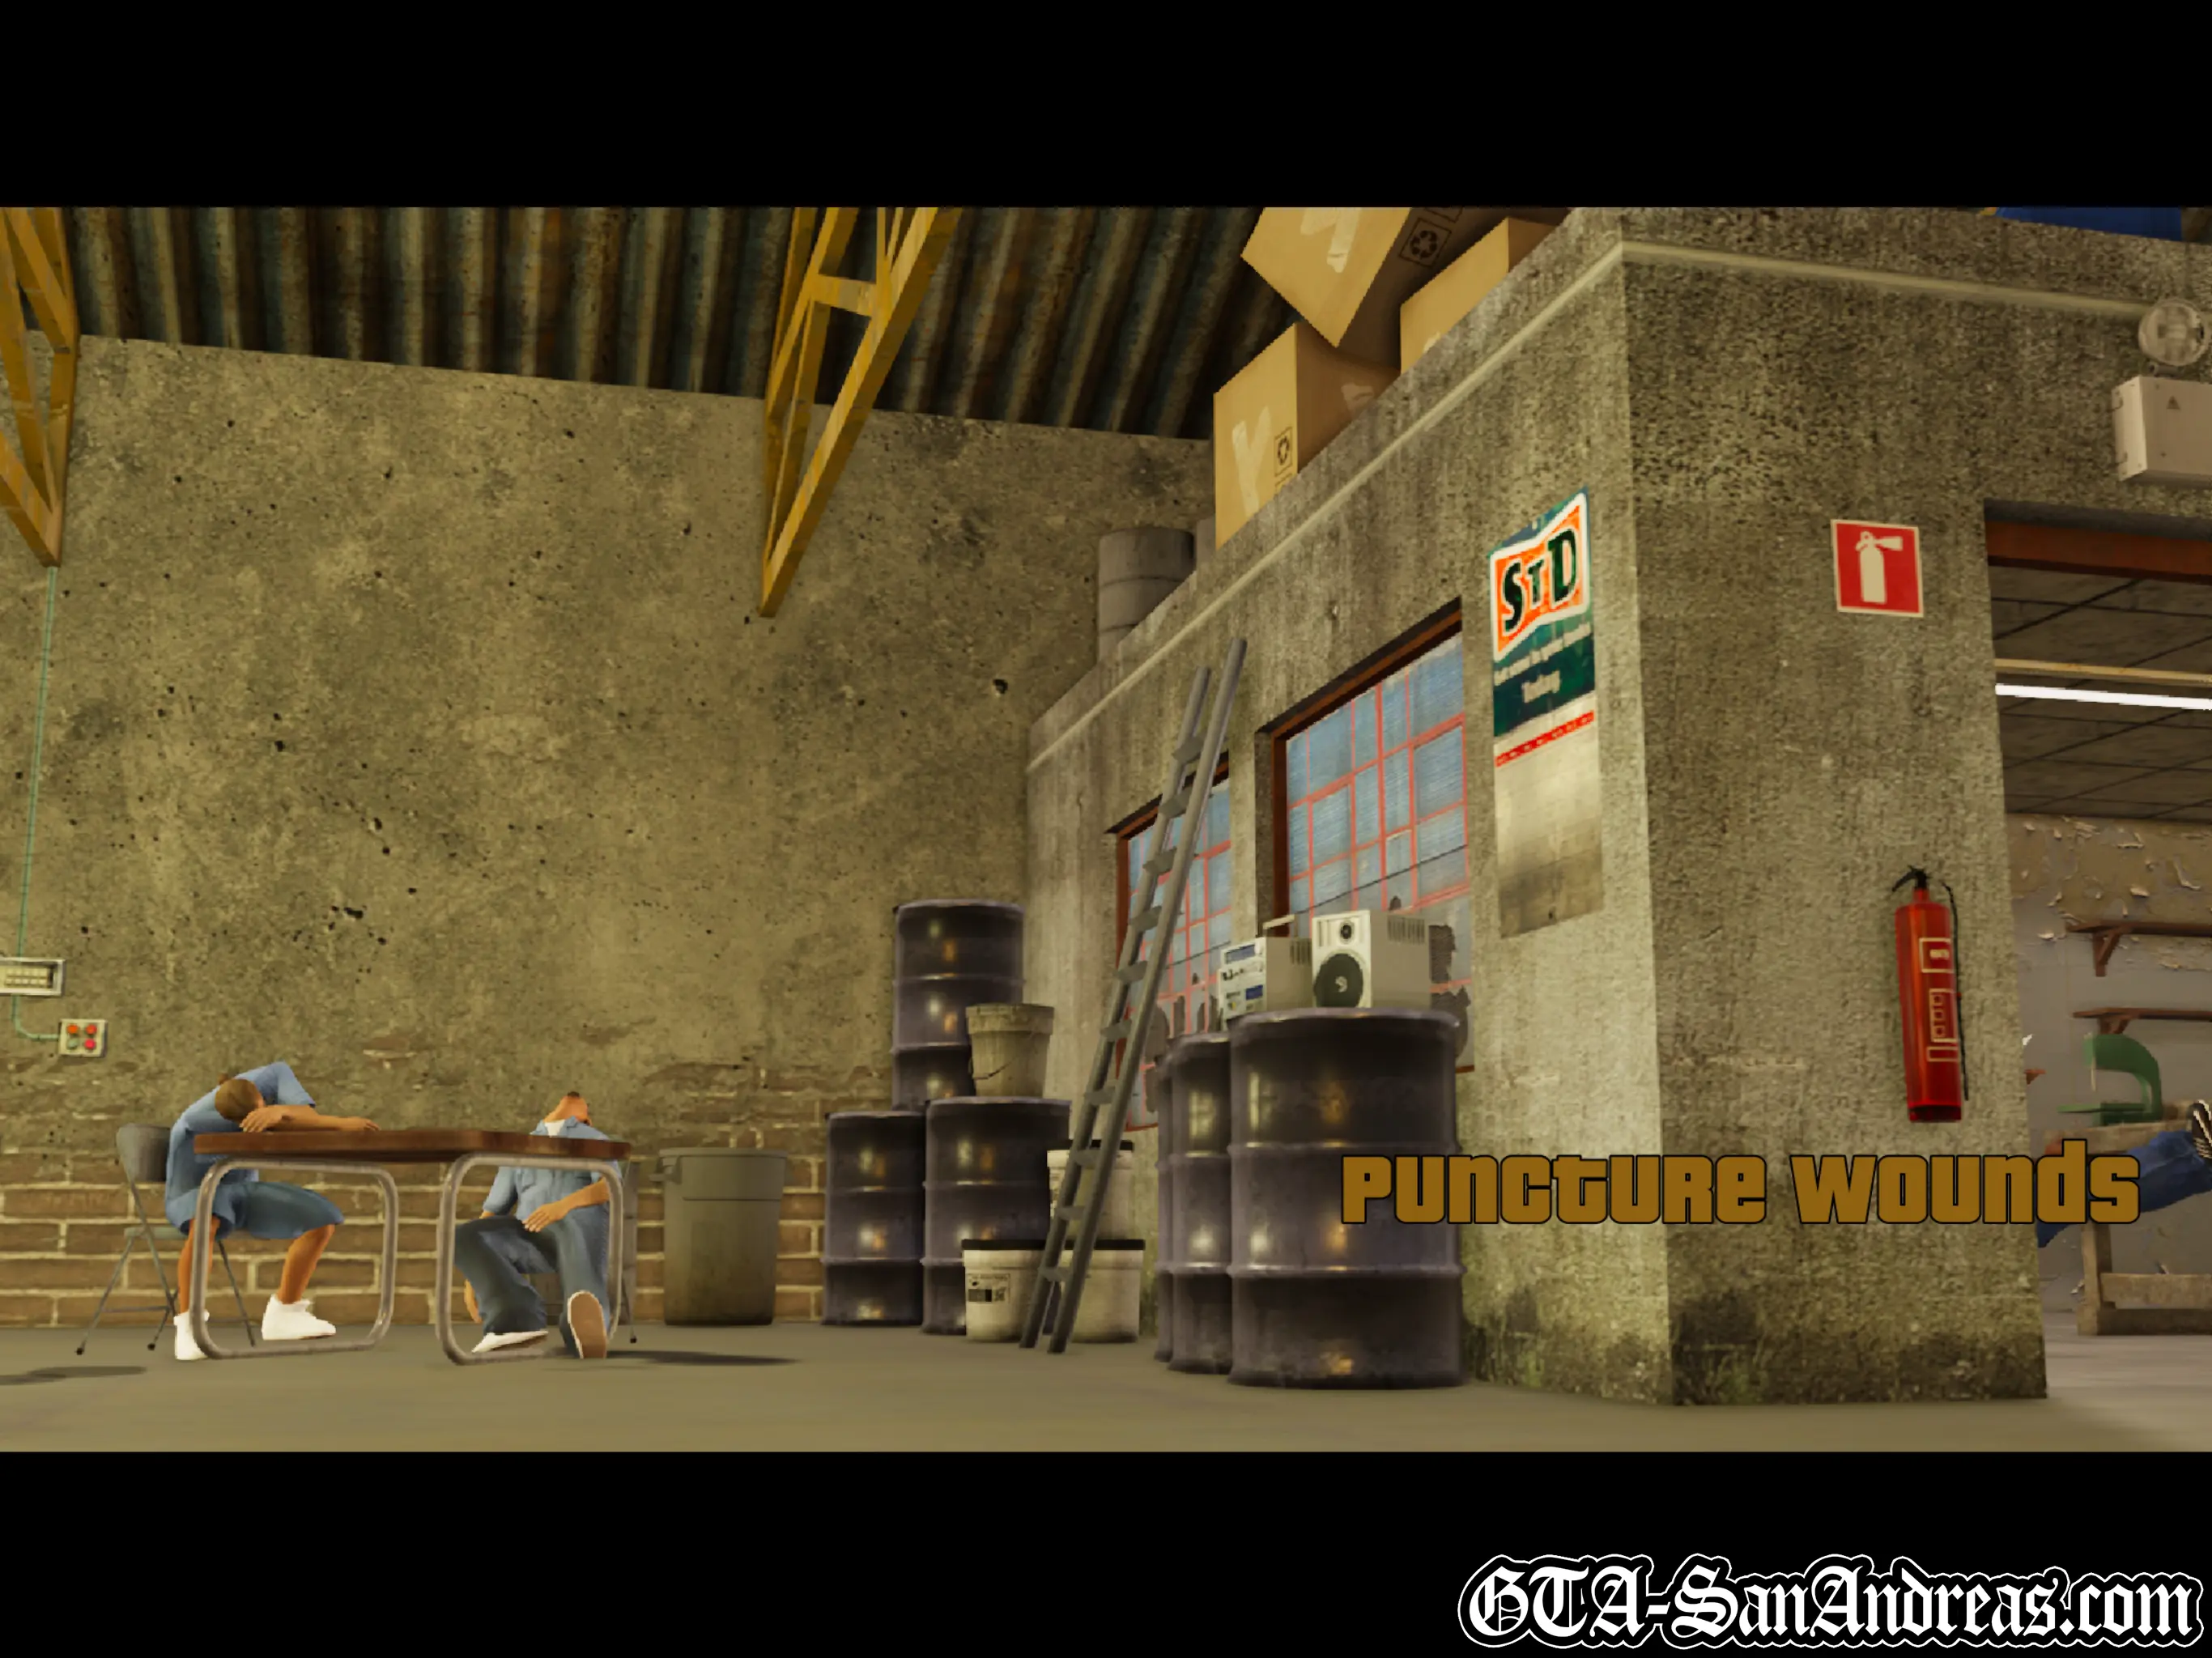
Puncture Wounds
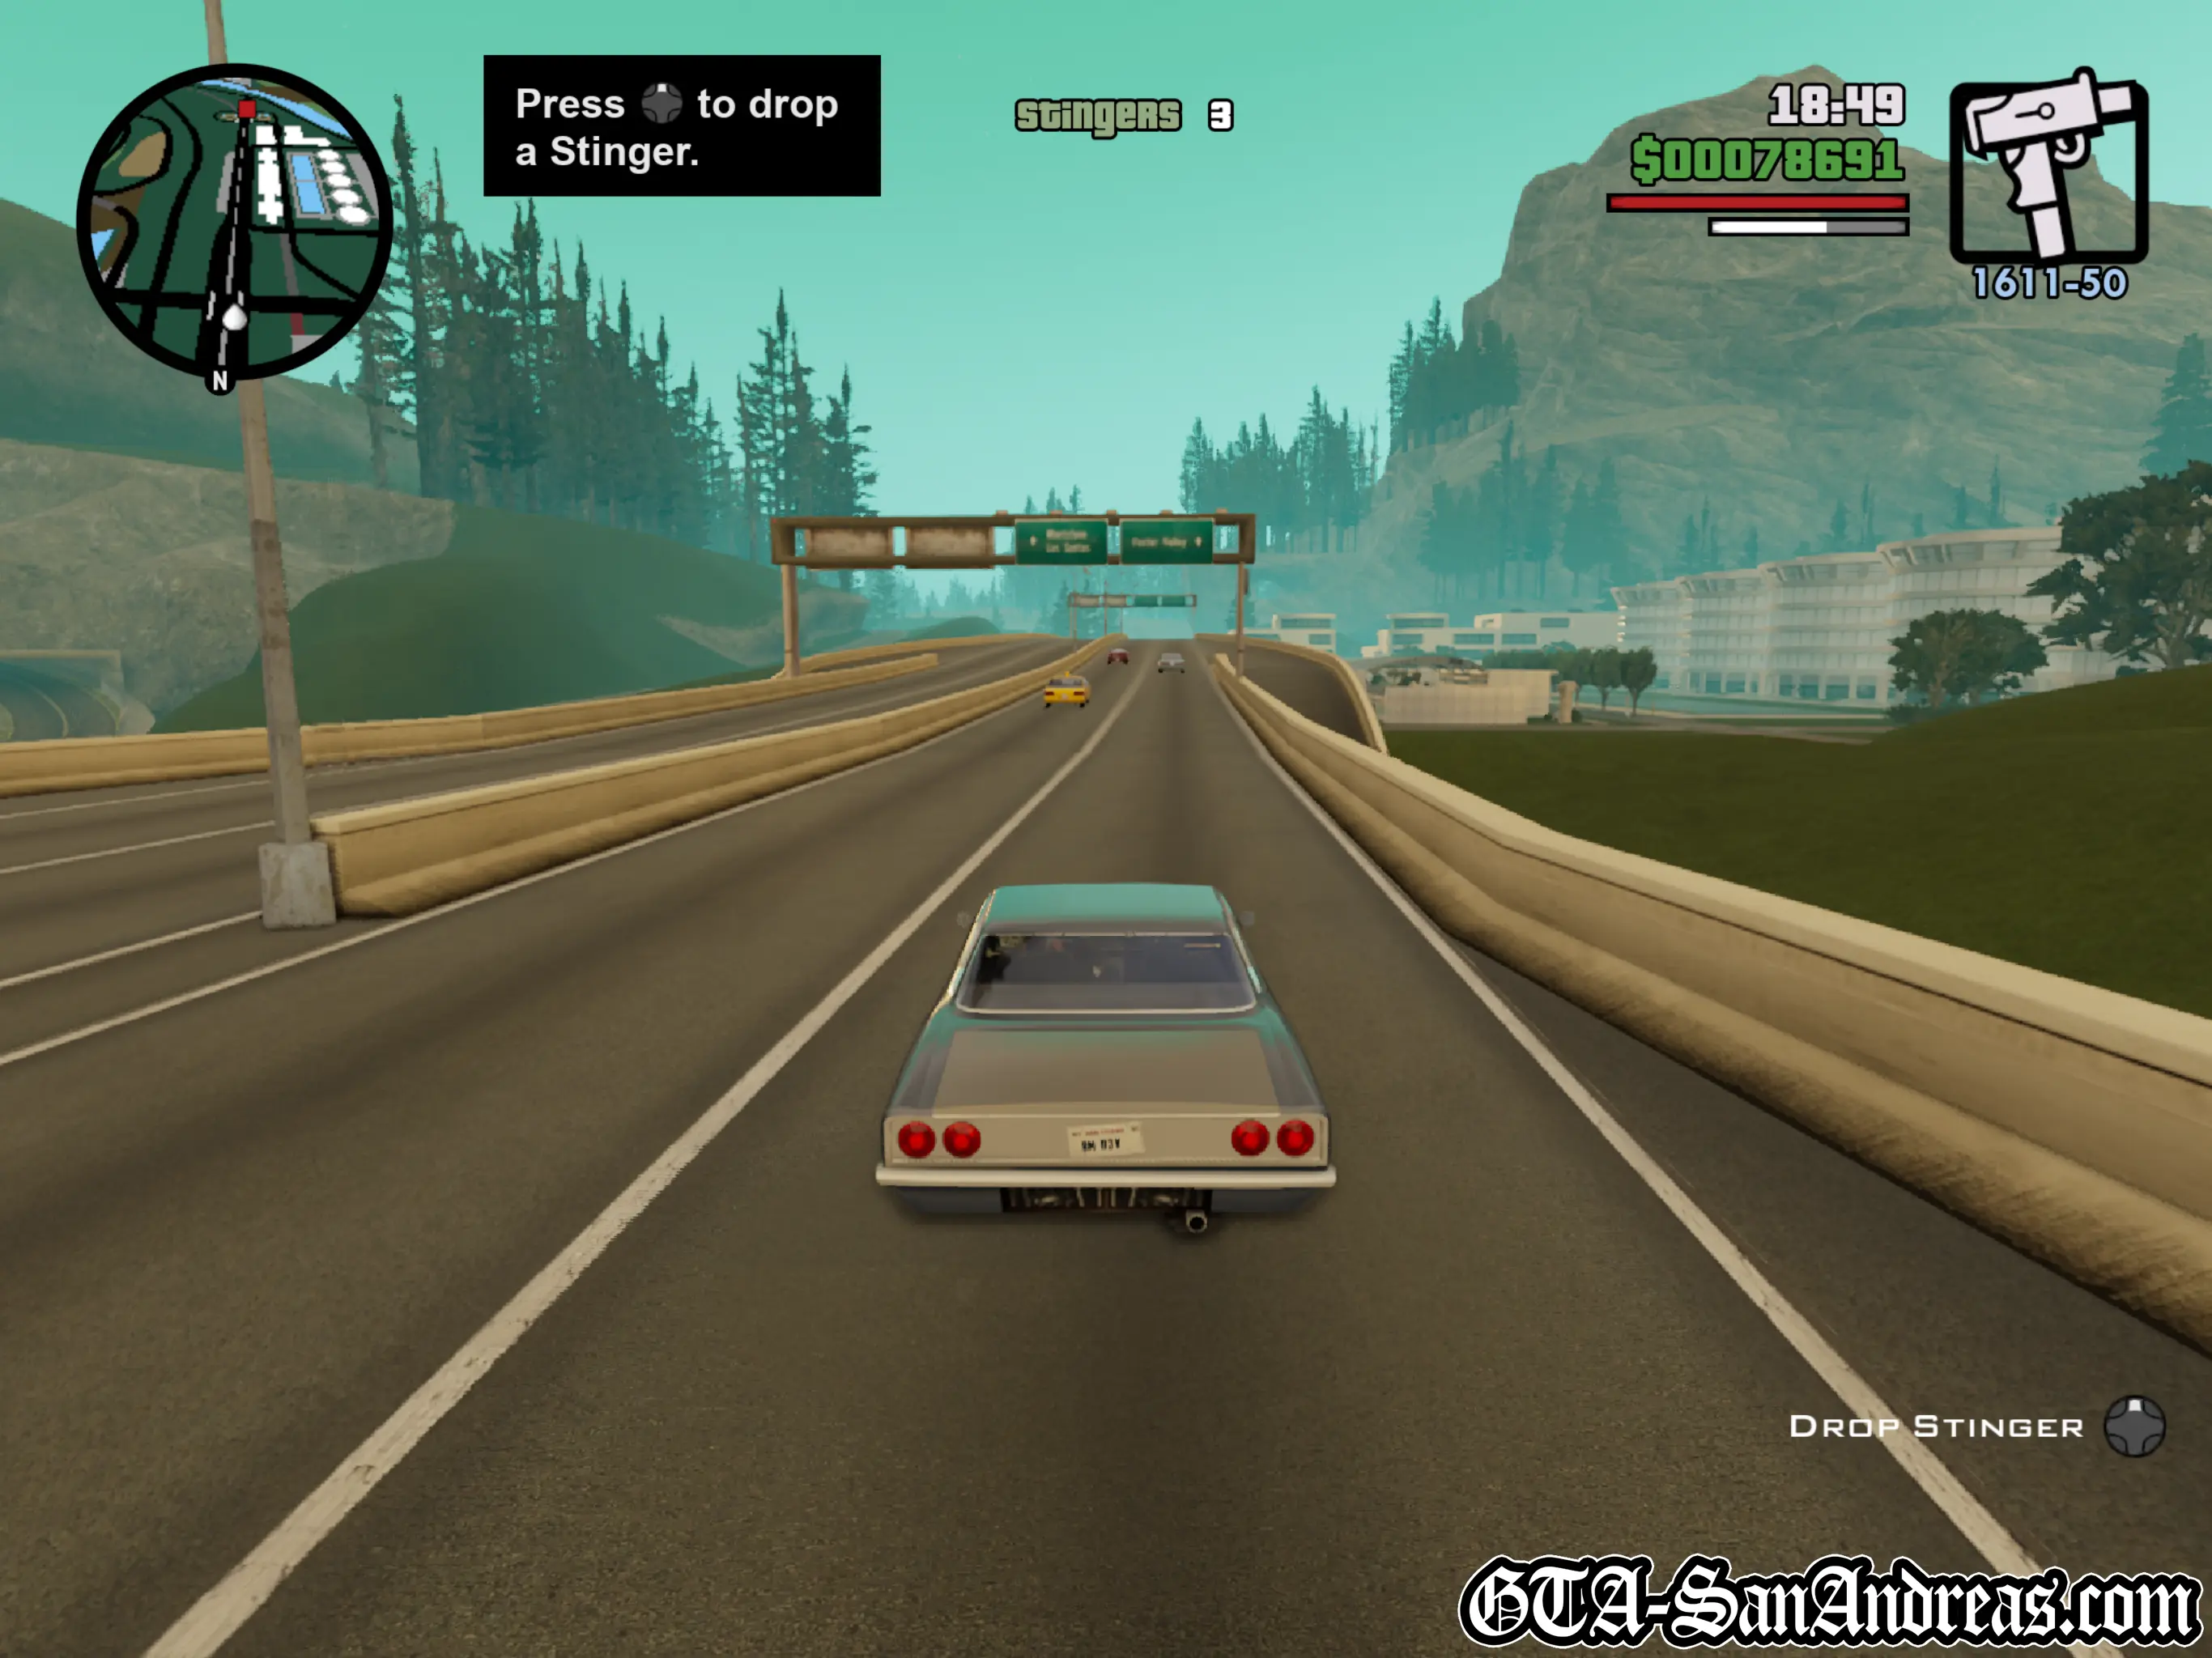
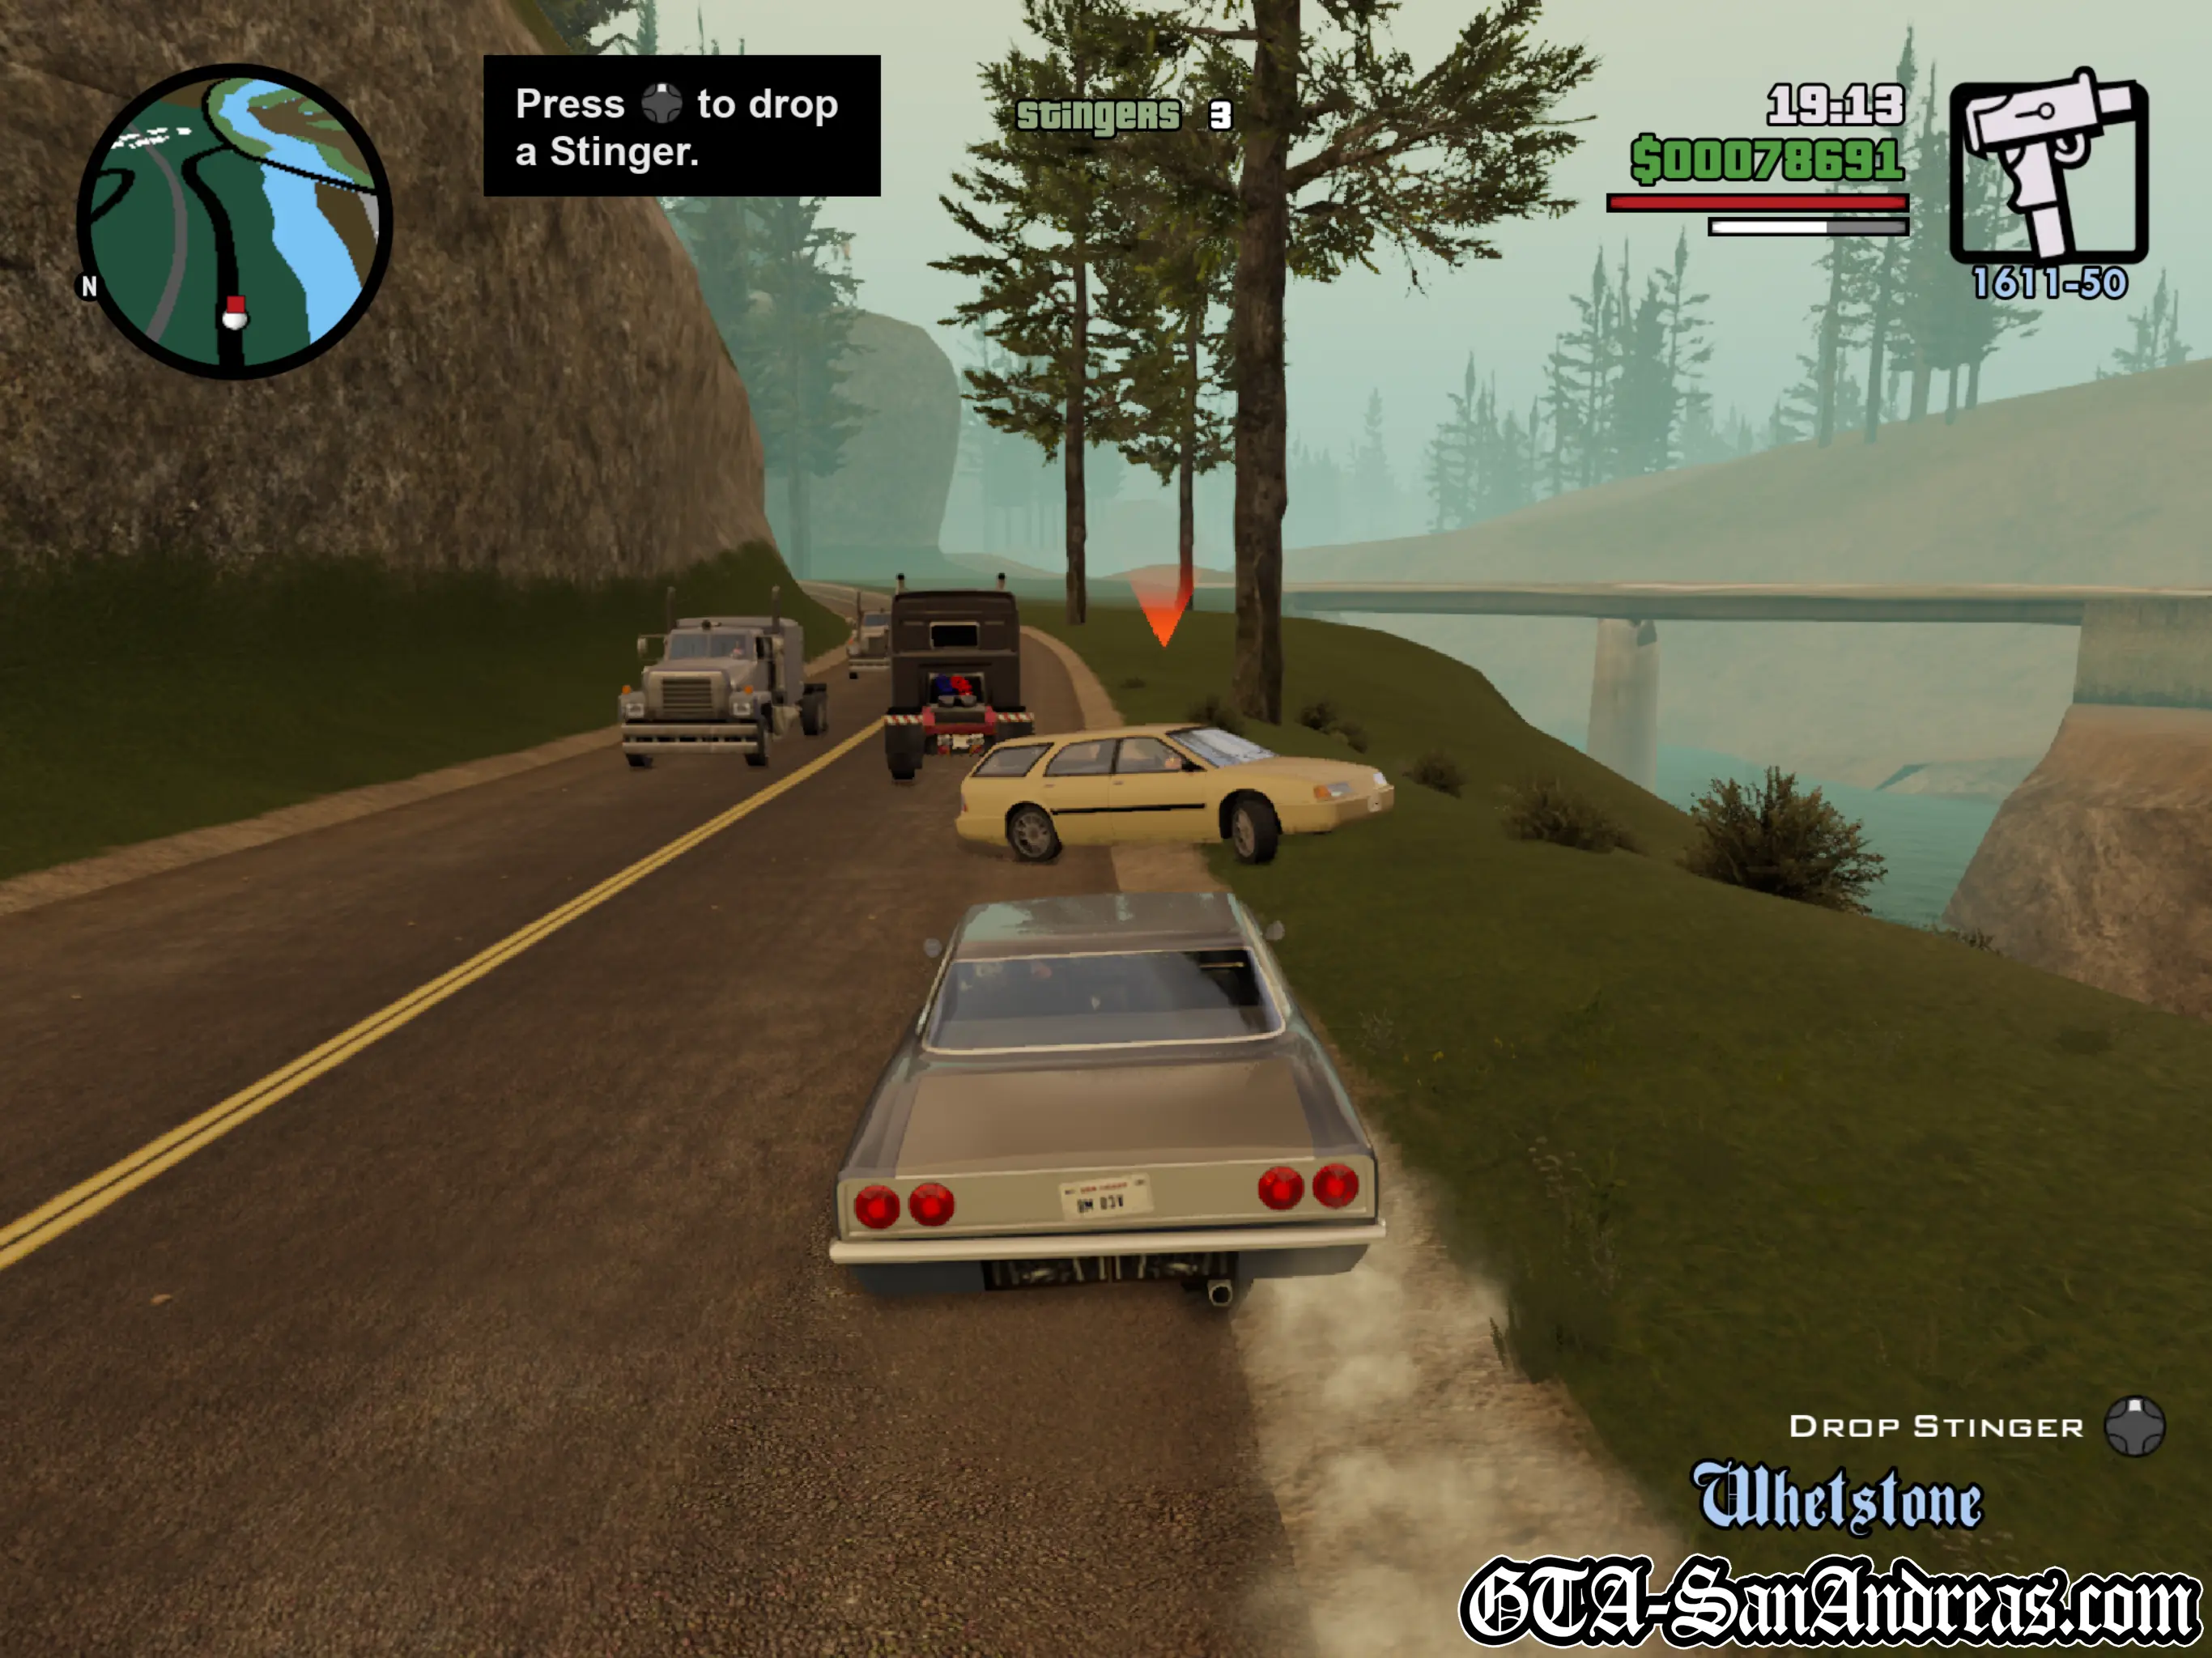
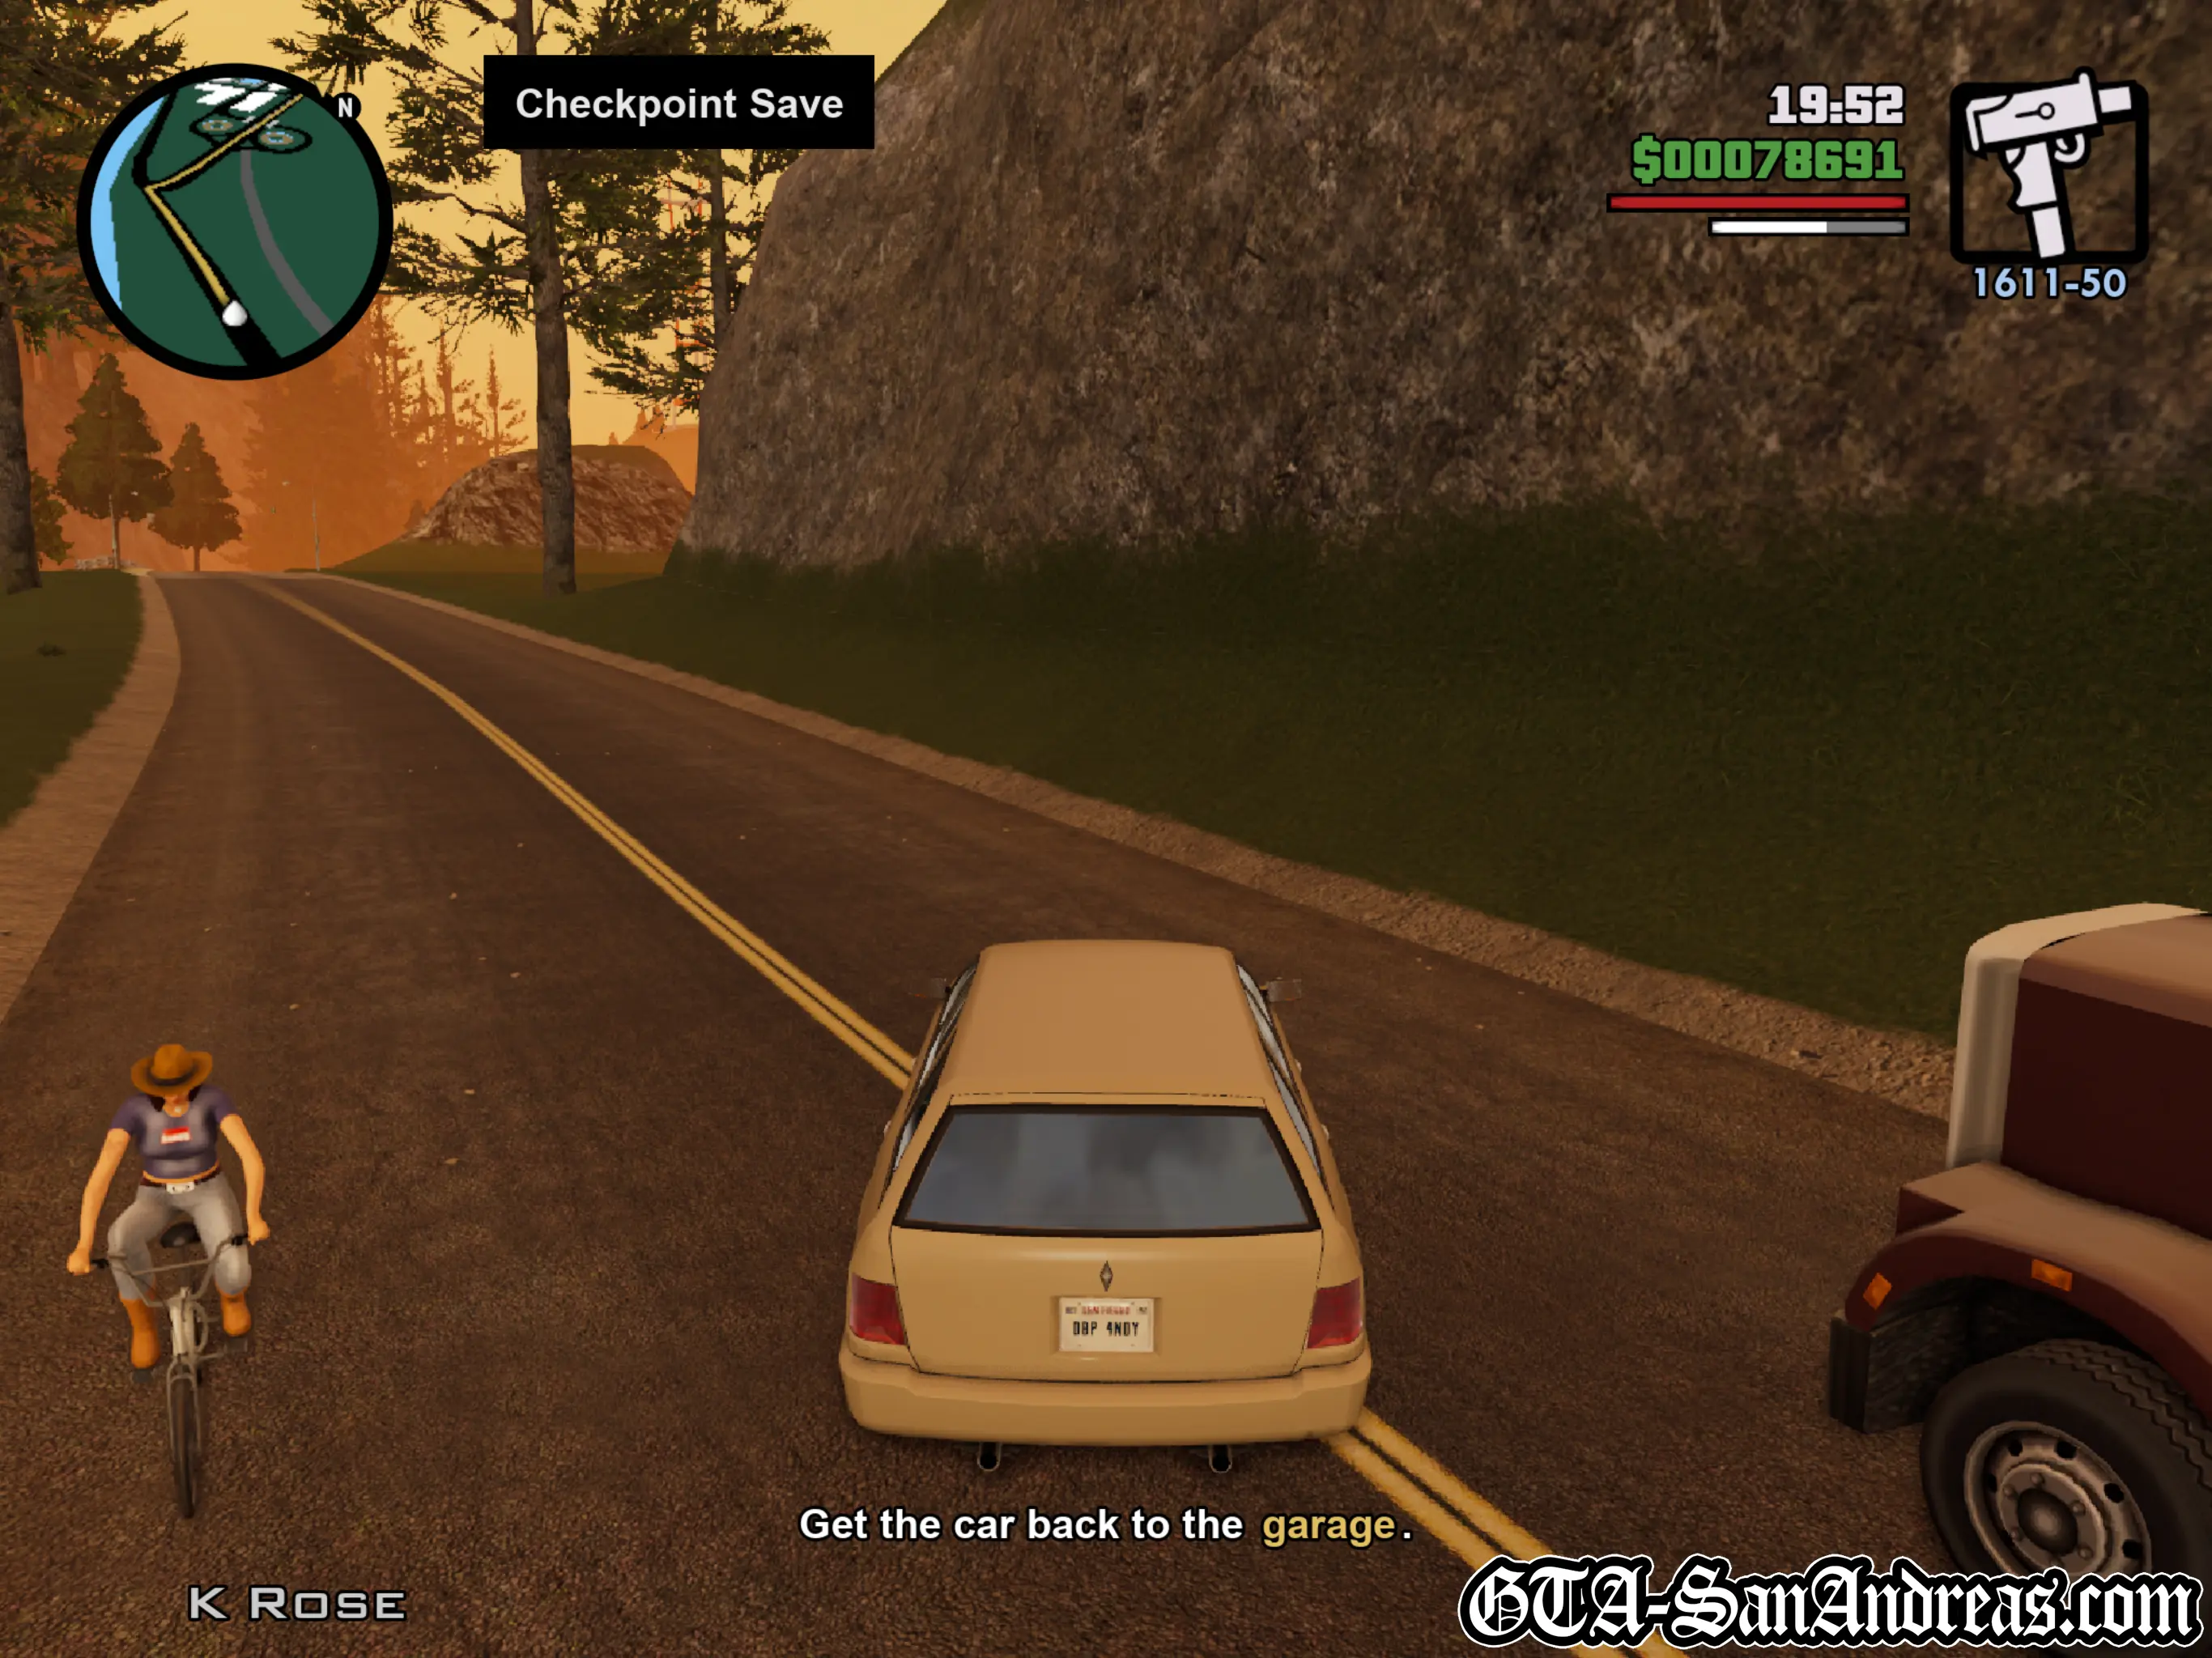
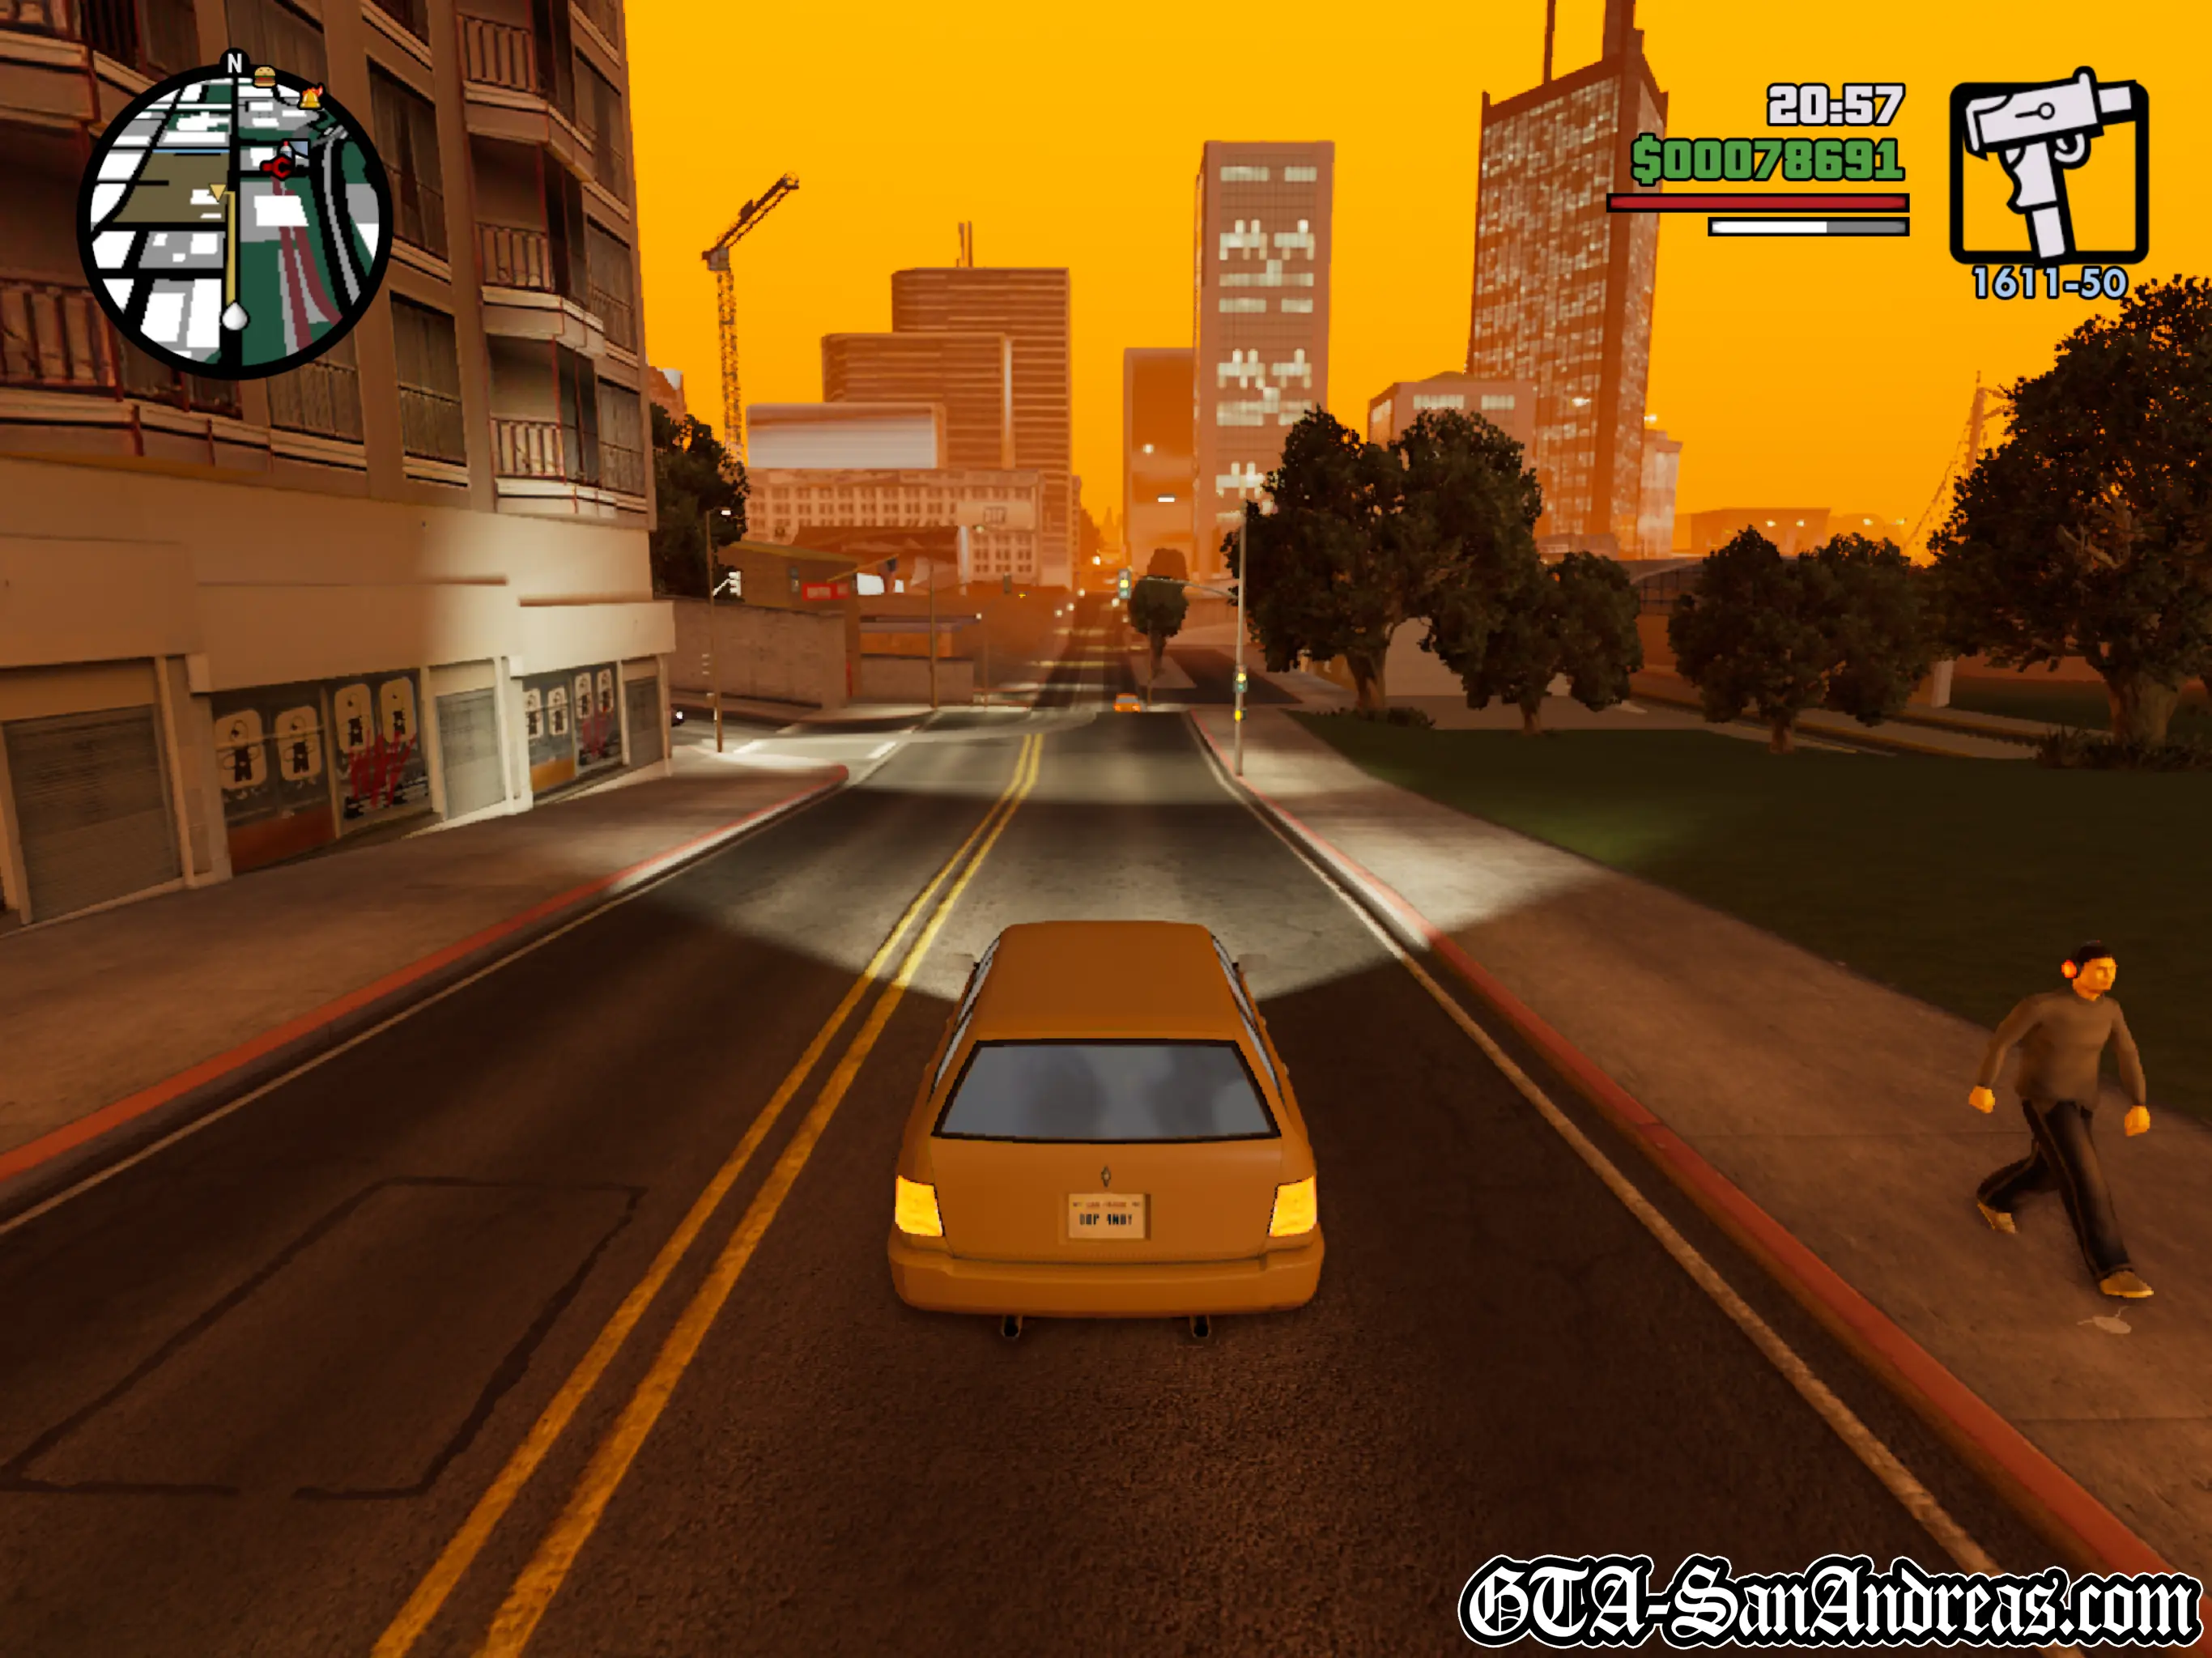
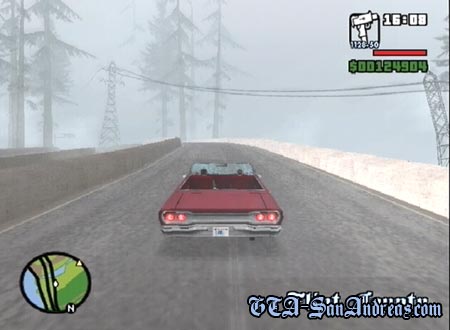
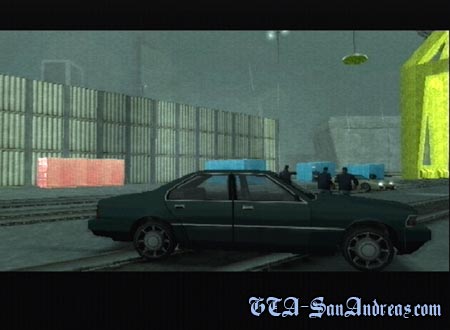
Cesar has been chasing a car on the wishlist for hours, but the driver won't stop for anything. He wishes the Police would pop her tires so she'll leave the car undamaged. CJ has an idea of rigging a car with stingers to pop the tires manually. Get in the modified Tampa and head into the countryside. Following the train tracks is a good way to go. Chase after the red dot on the radar and try to get in front of the vehicle. If you do, push Circle to throw down a stinger. You'll pop her tires and she'll bail. Move close to the car and CJ will fix the tires with a puncture repair kit. After the cutscene get back in the car and drive back to the garage carefully. Damage doesn't matter, but if you flip the car or blow it up you'll fail the mission. Park in the red circle when you get back to the garage.
Wang Cars will now generate revenue up to $8,000 a day. Drop by each day and pick up the cash. All of Cesar and the garages missions are completed.
The next lot of missions we opened up were the question mark's at Toreno's ranch. Head over into the Desert to see what he wants.