Desert Missions
This page contains walkthroughs of all of the Desert missions in Grand Theft Auto: San Andreas. There are 9 story missions in total before the next section of the map is unlocked.
Quick Links
Unknown
 Monster
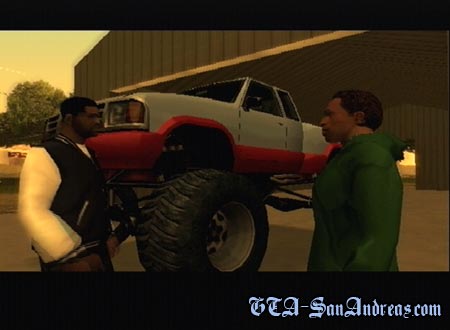
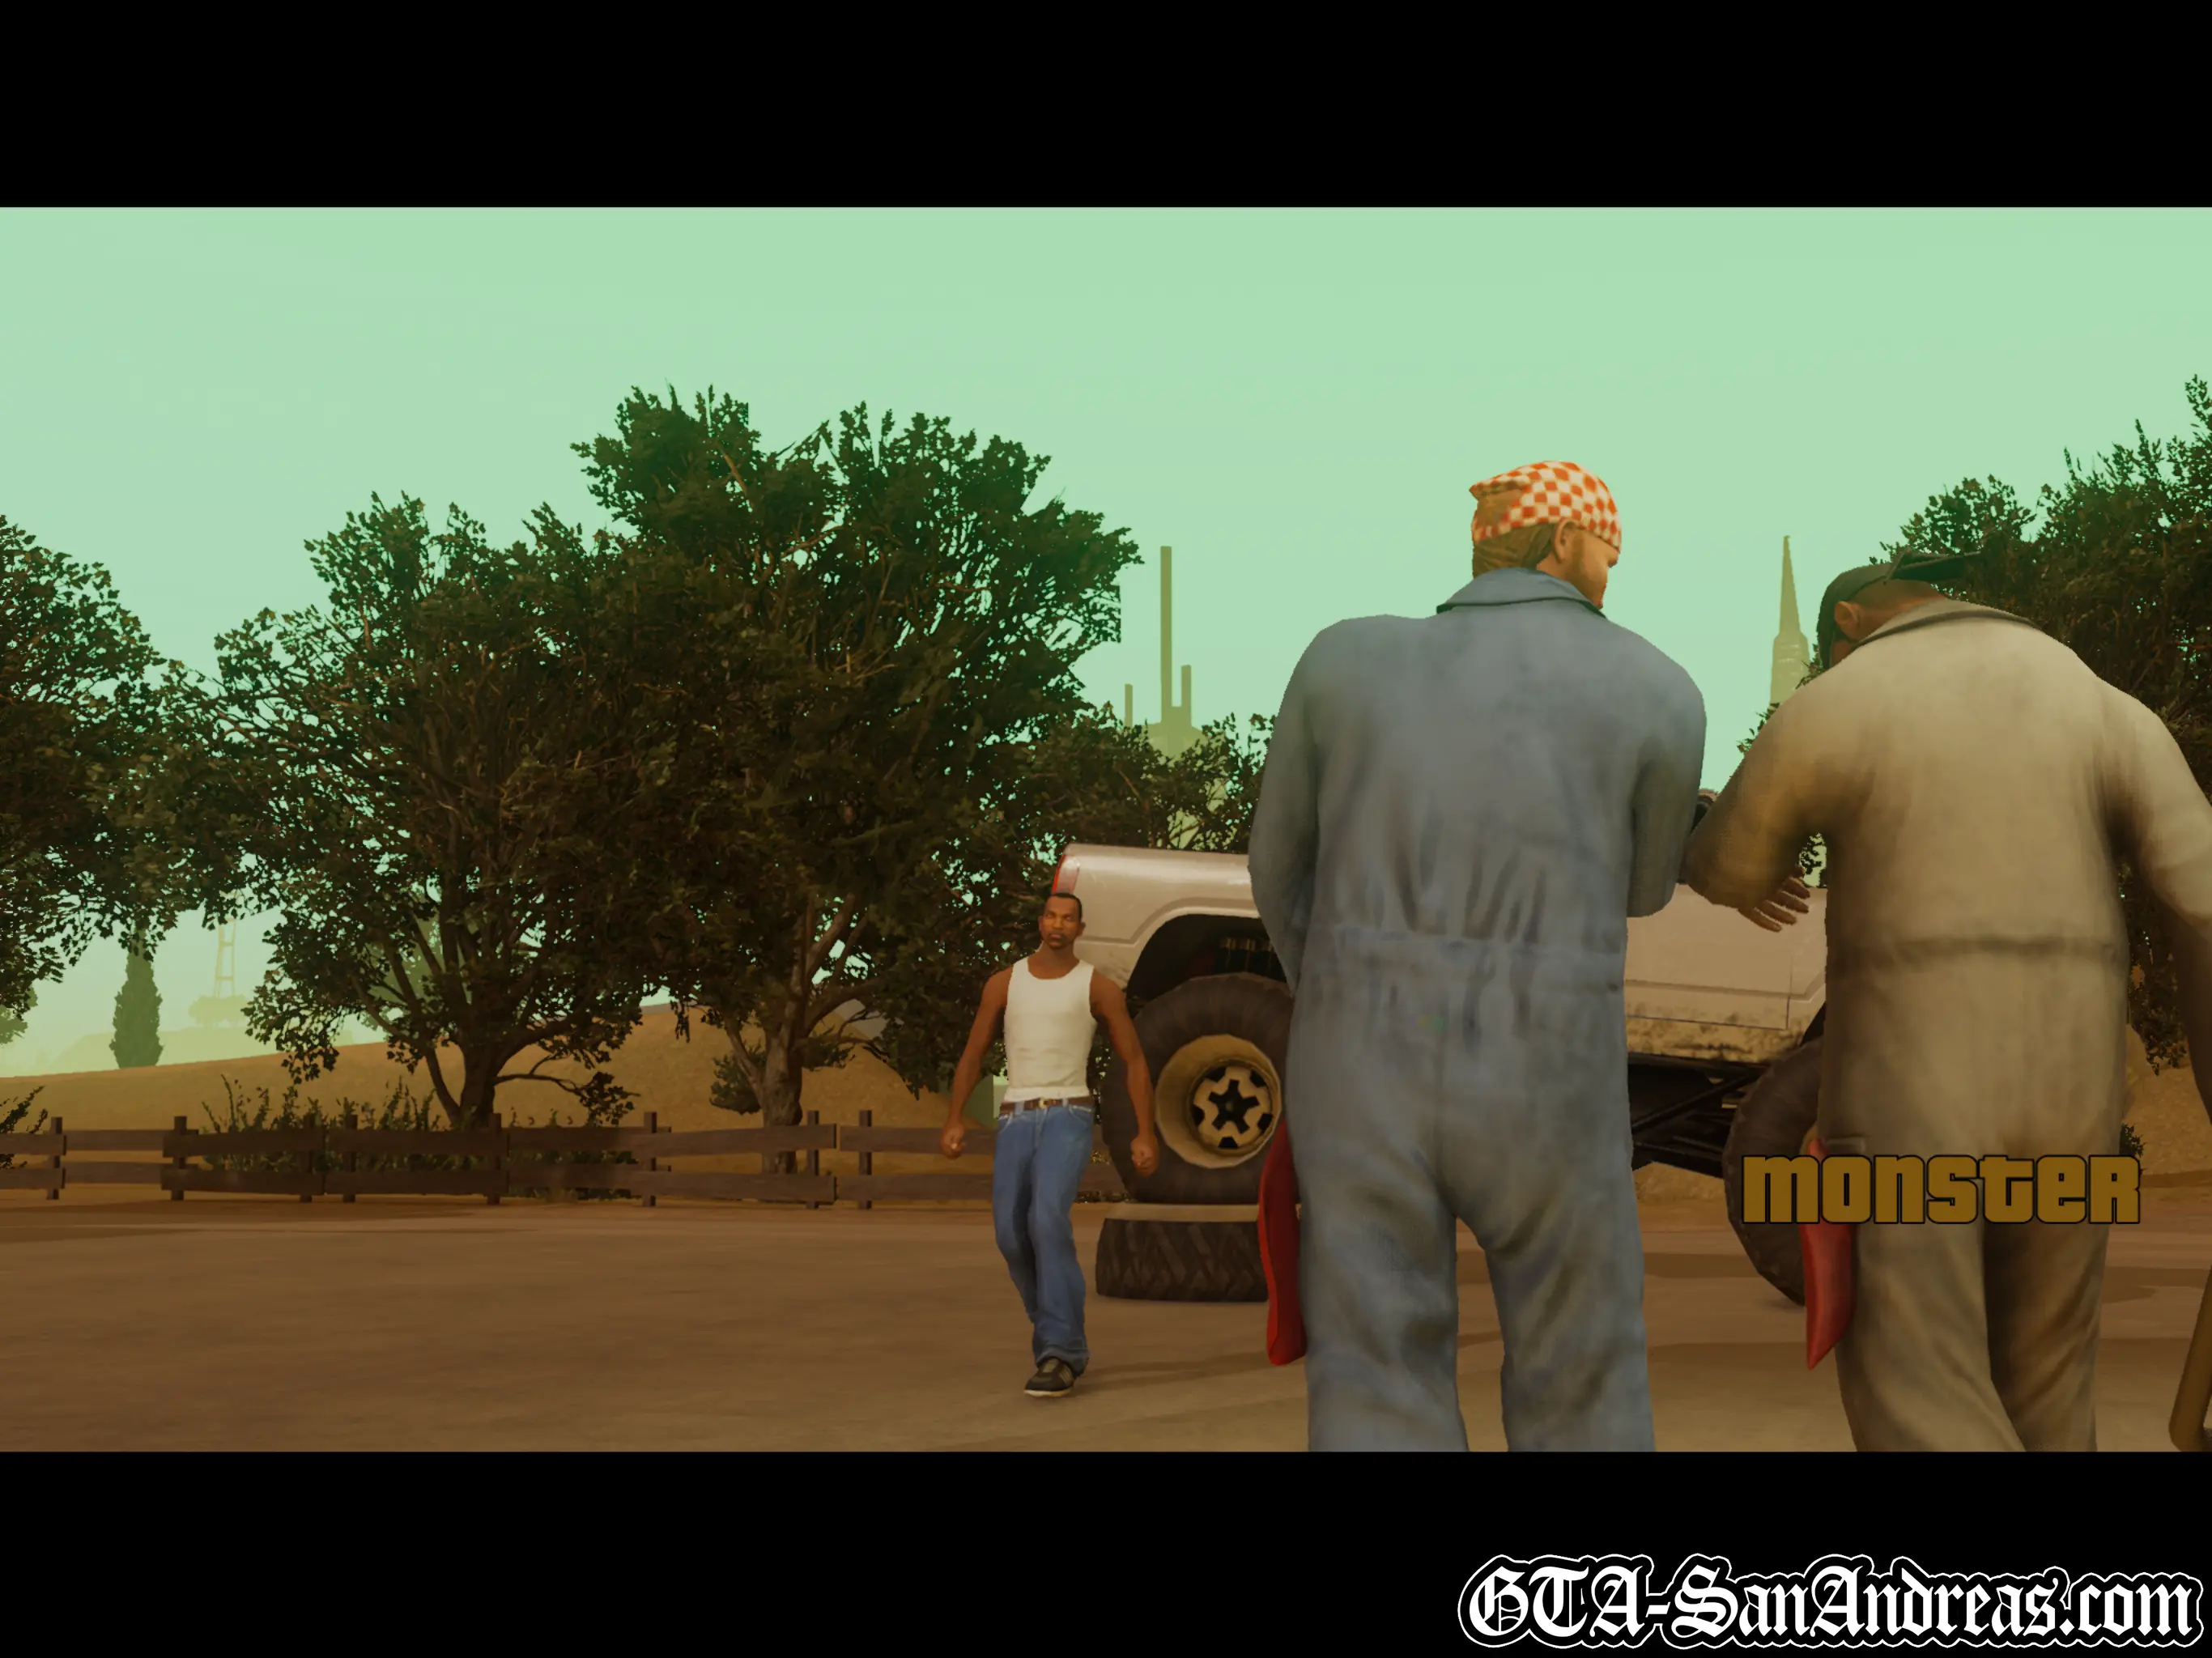
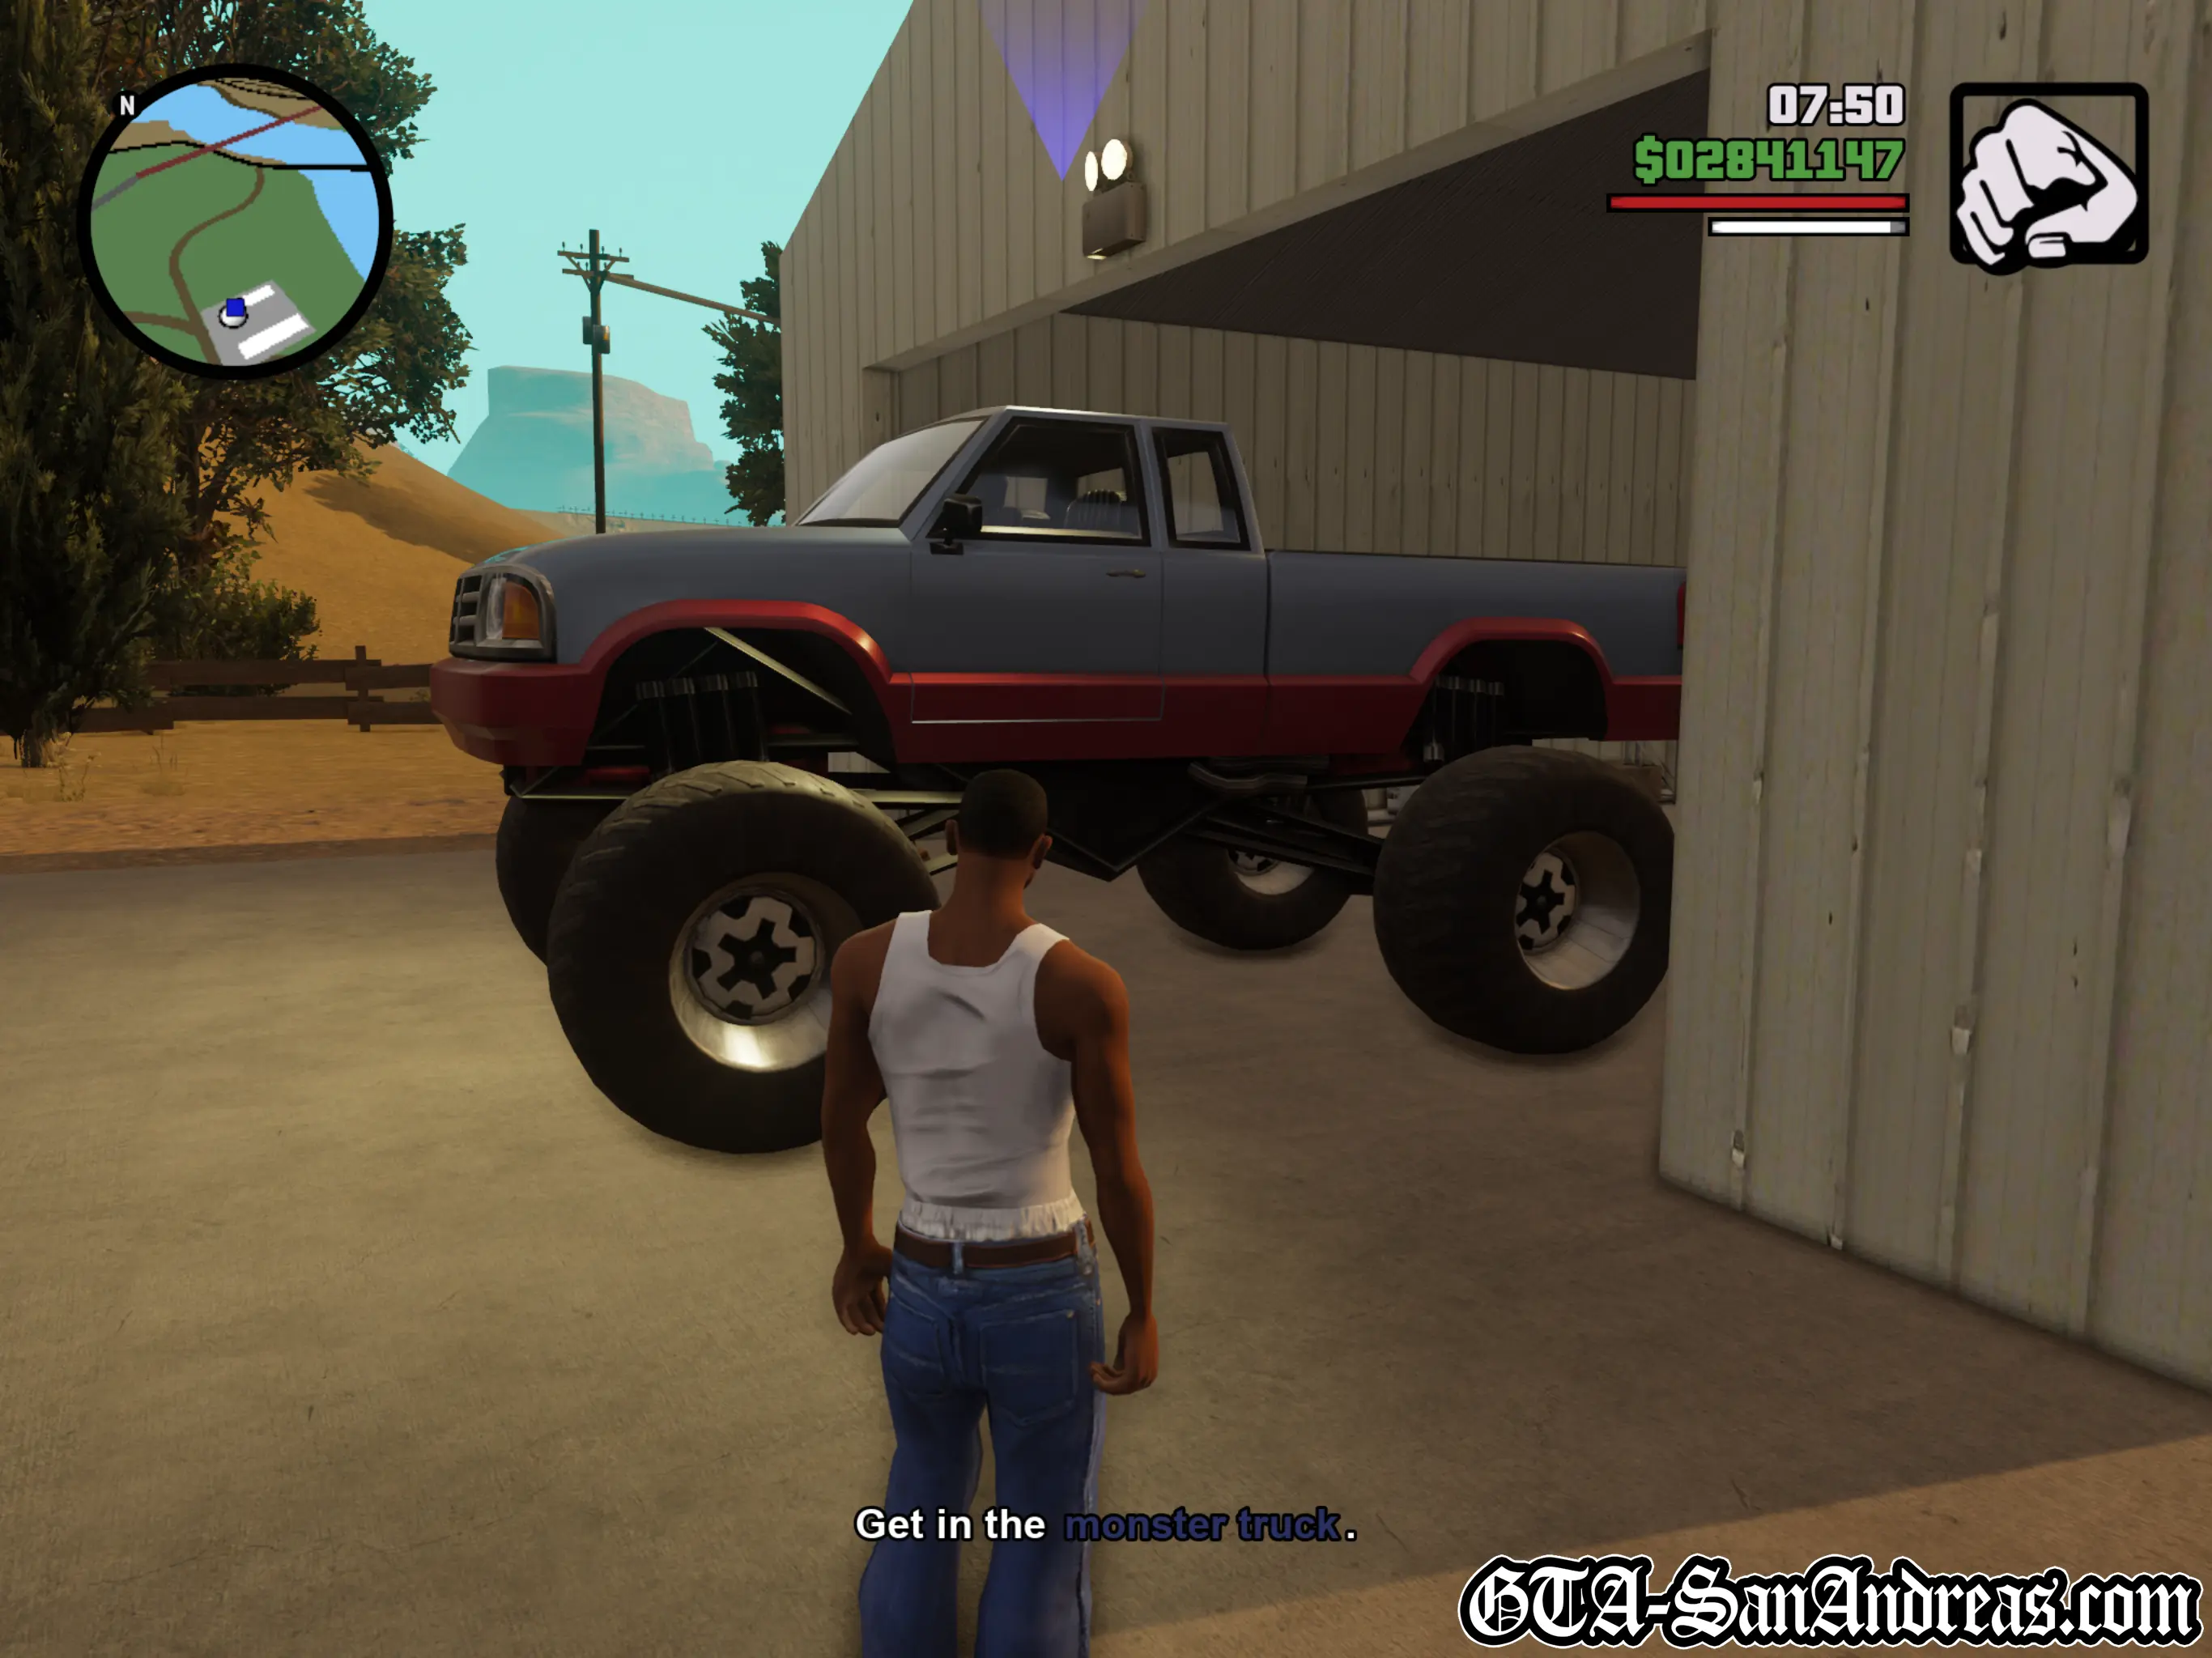
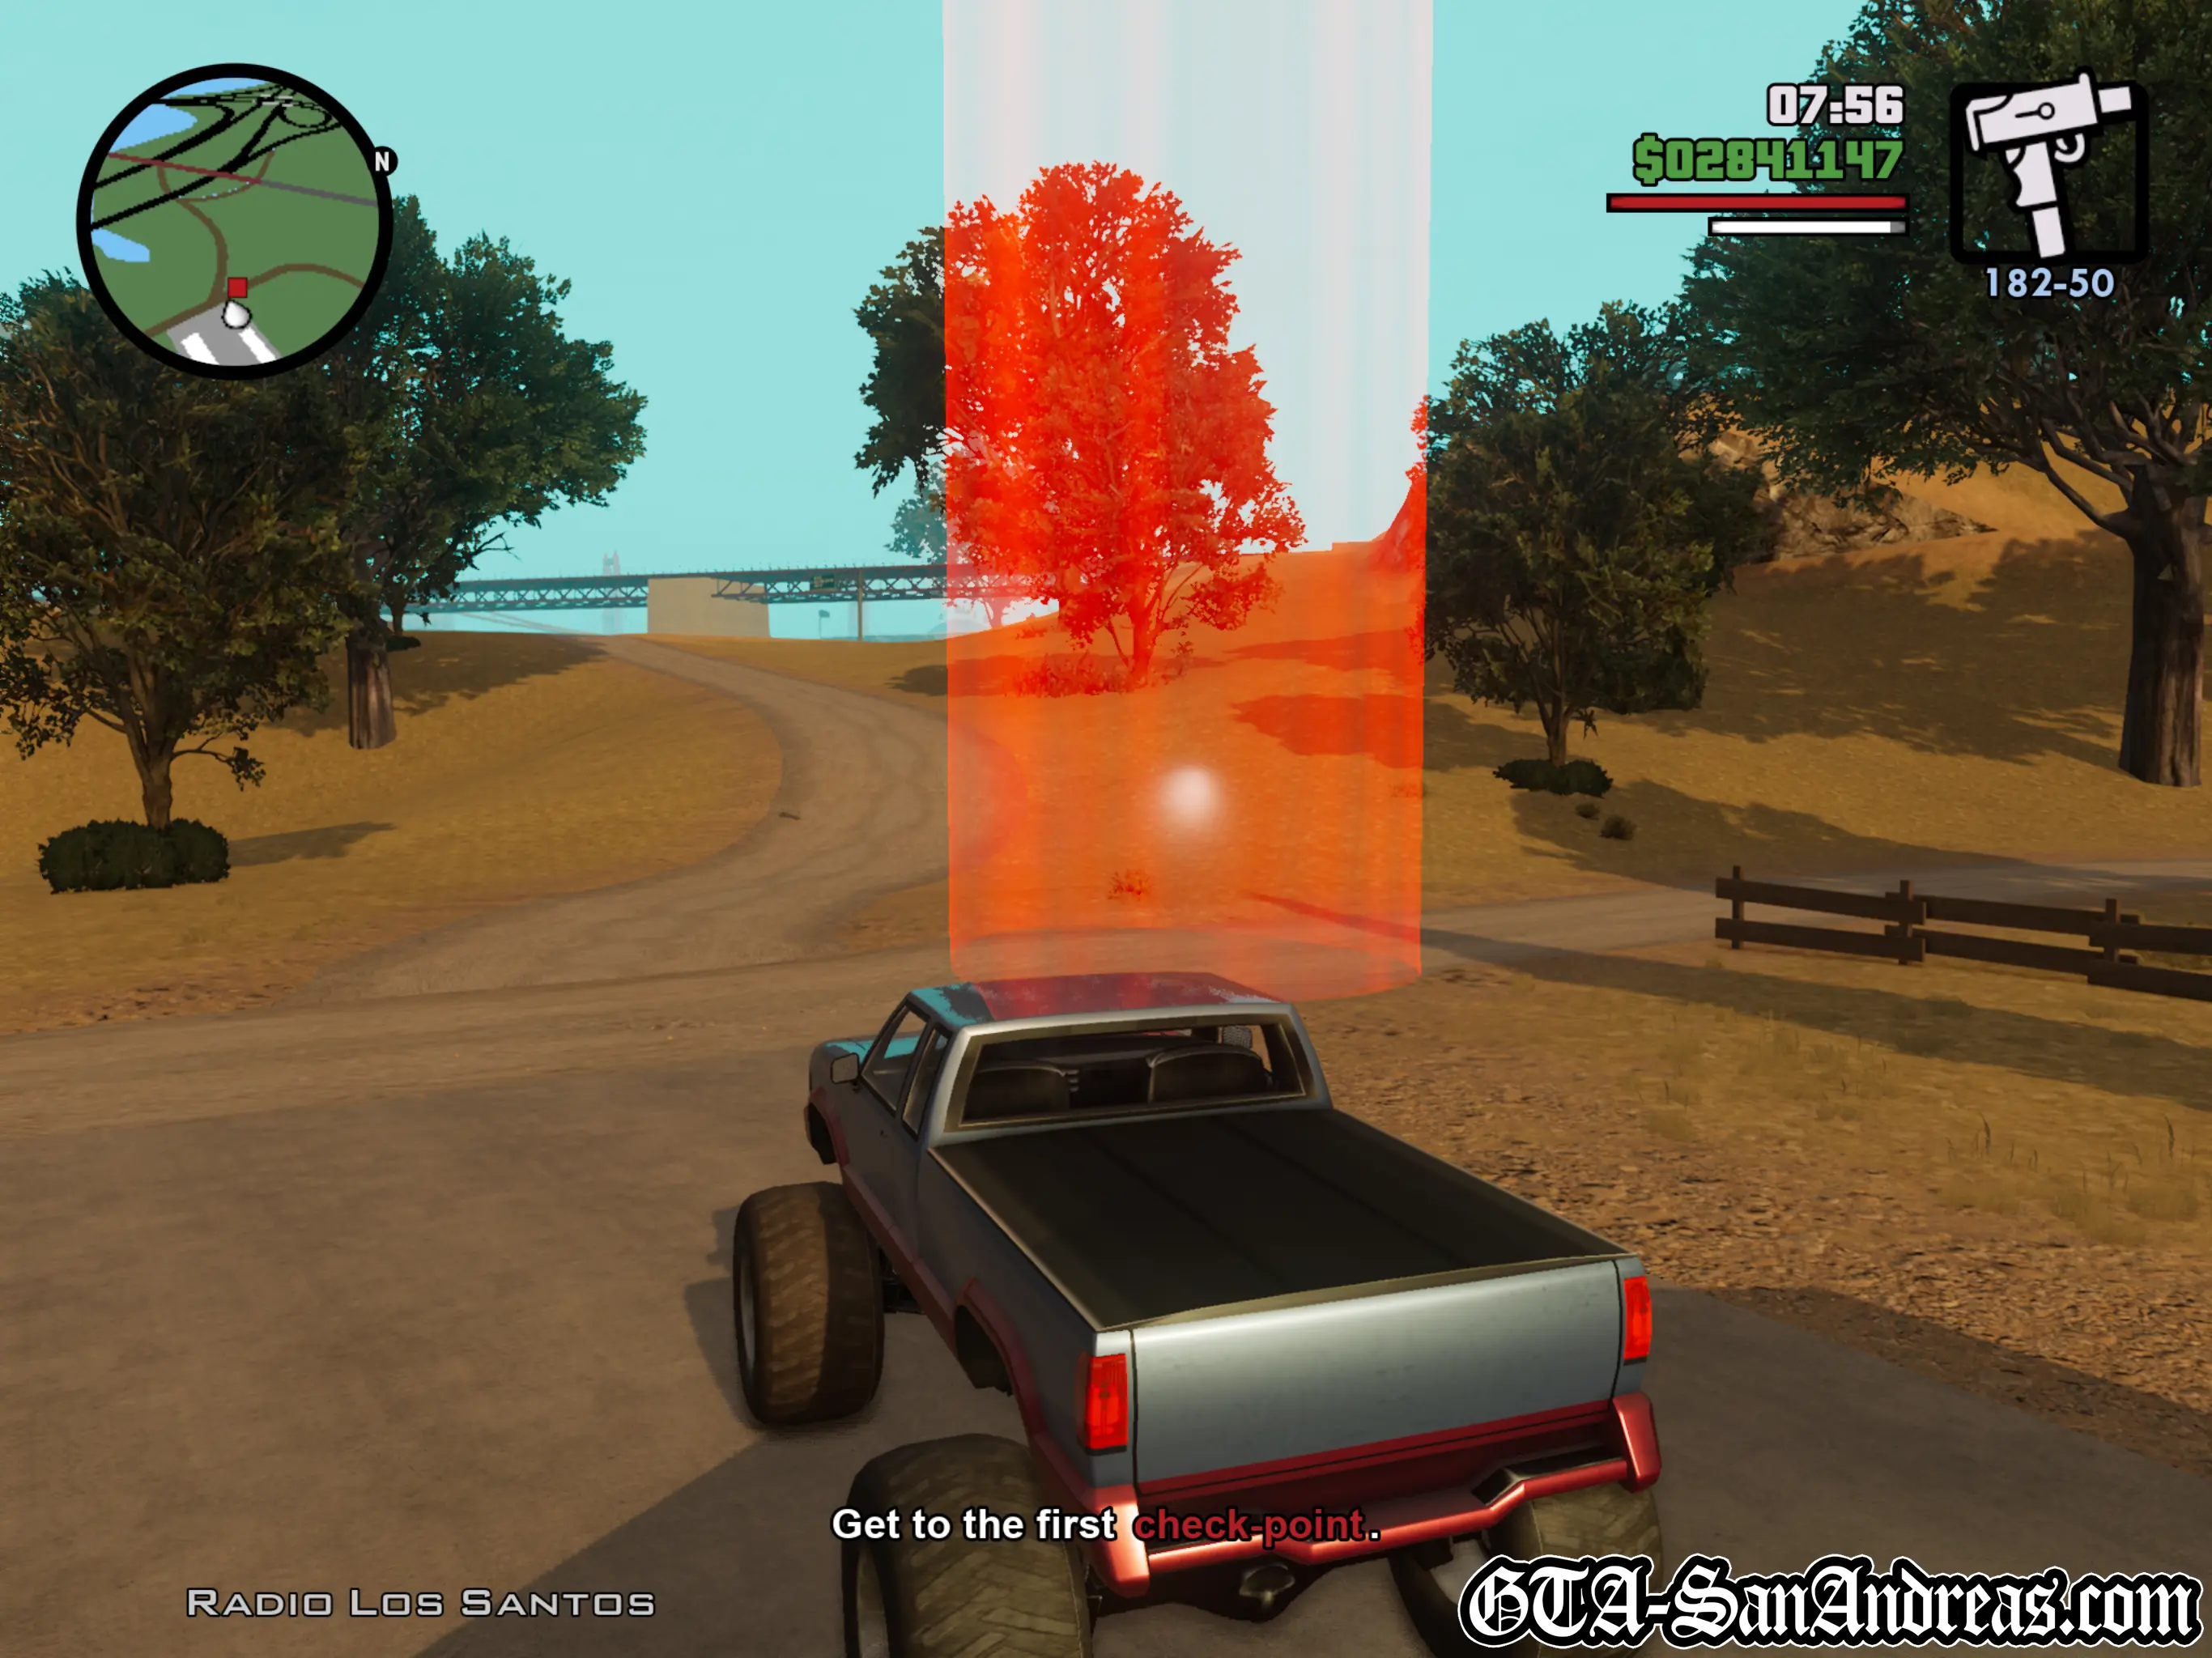
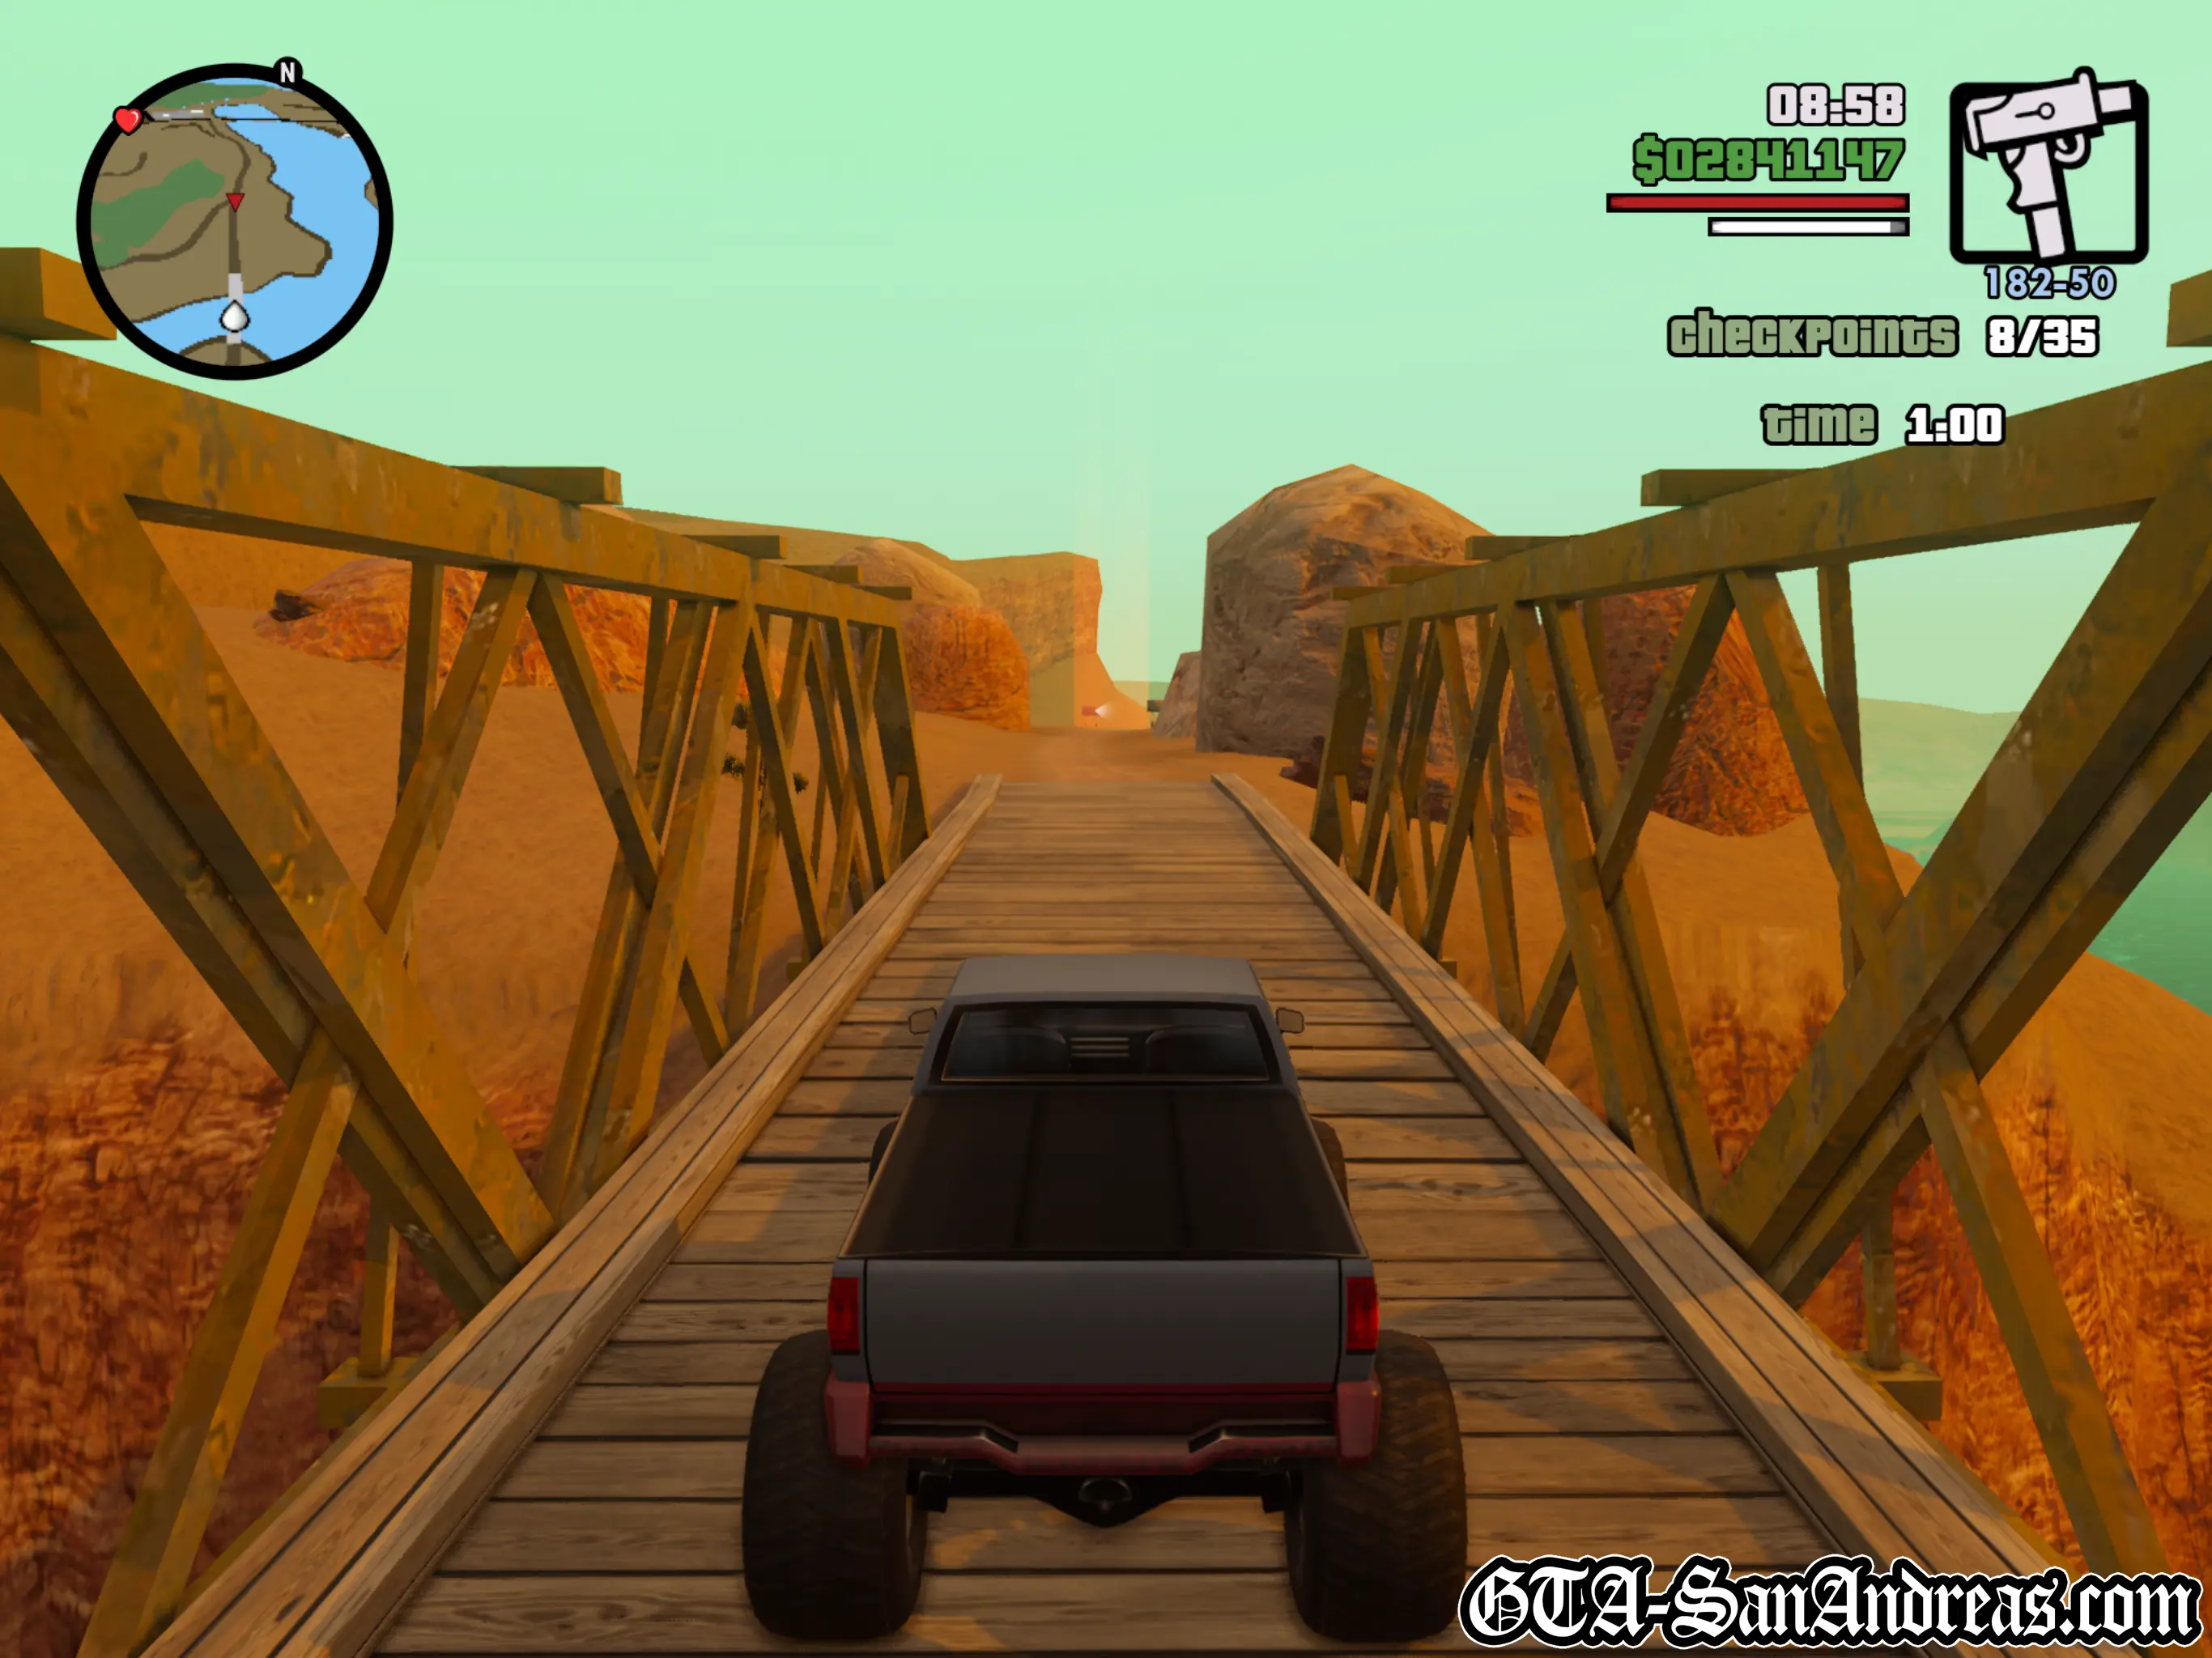
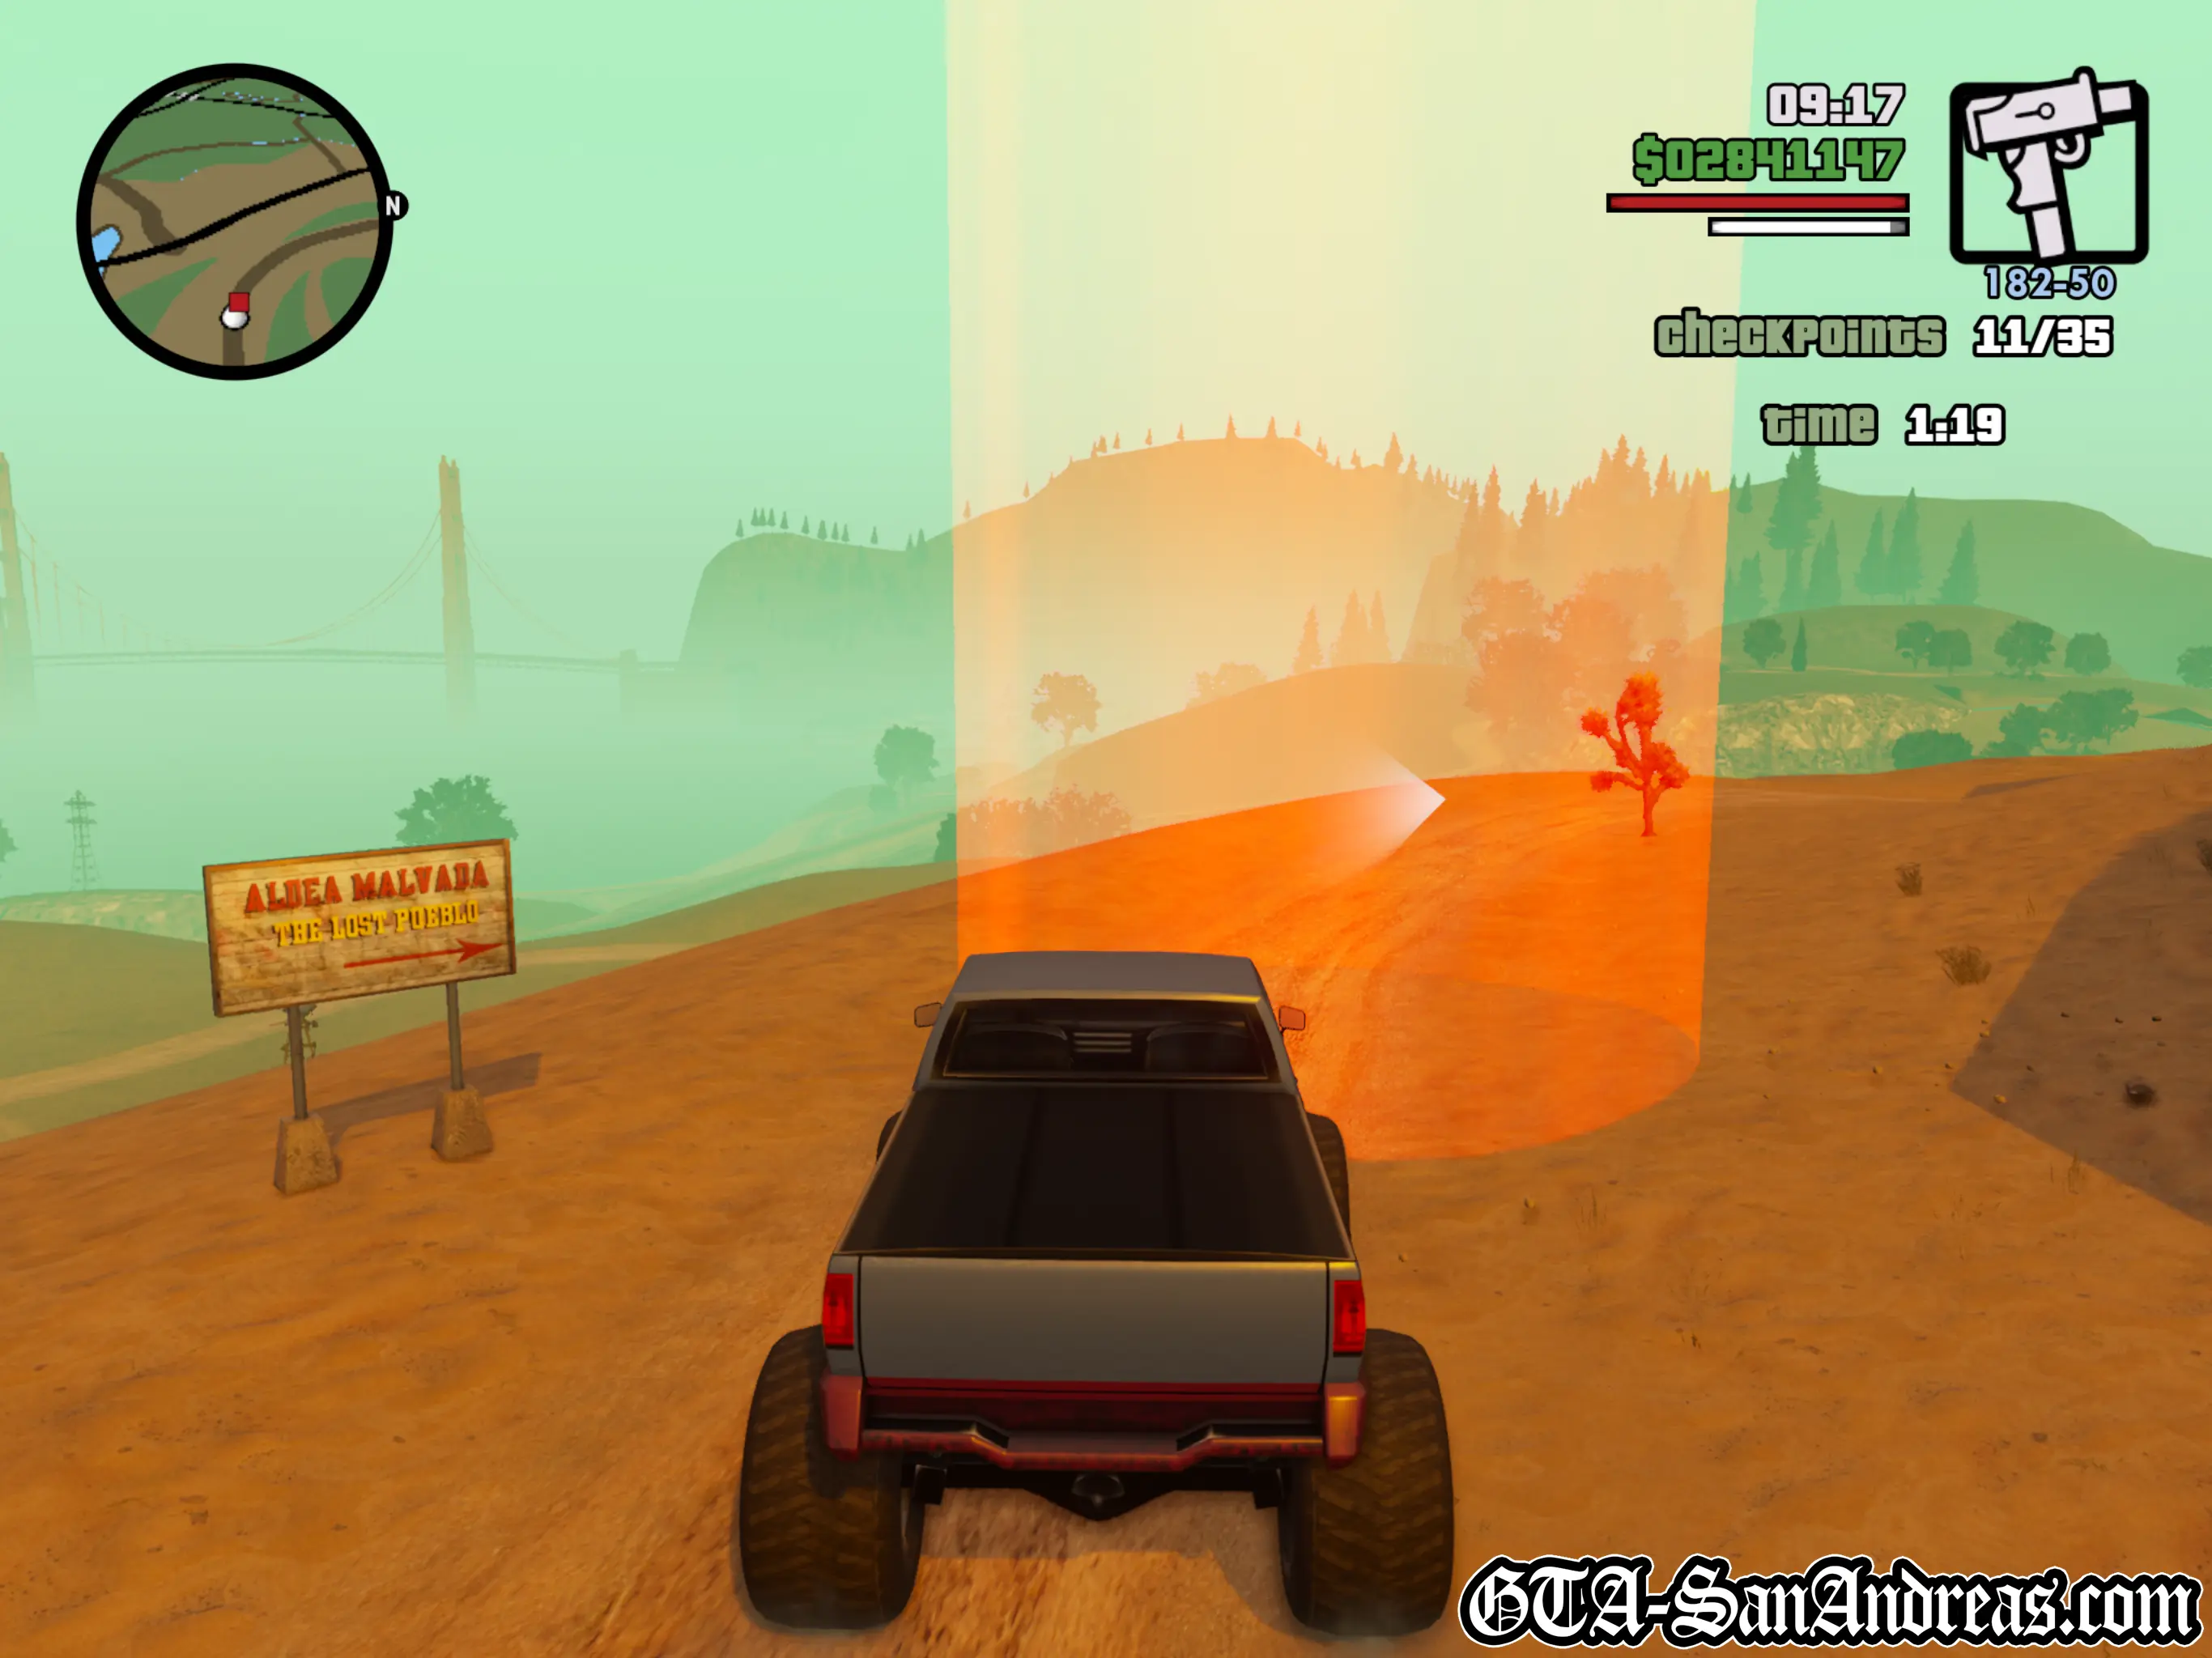
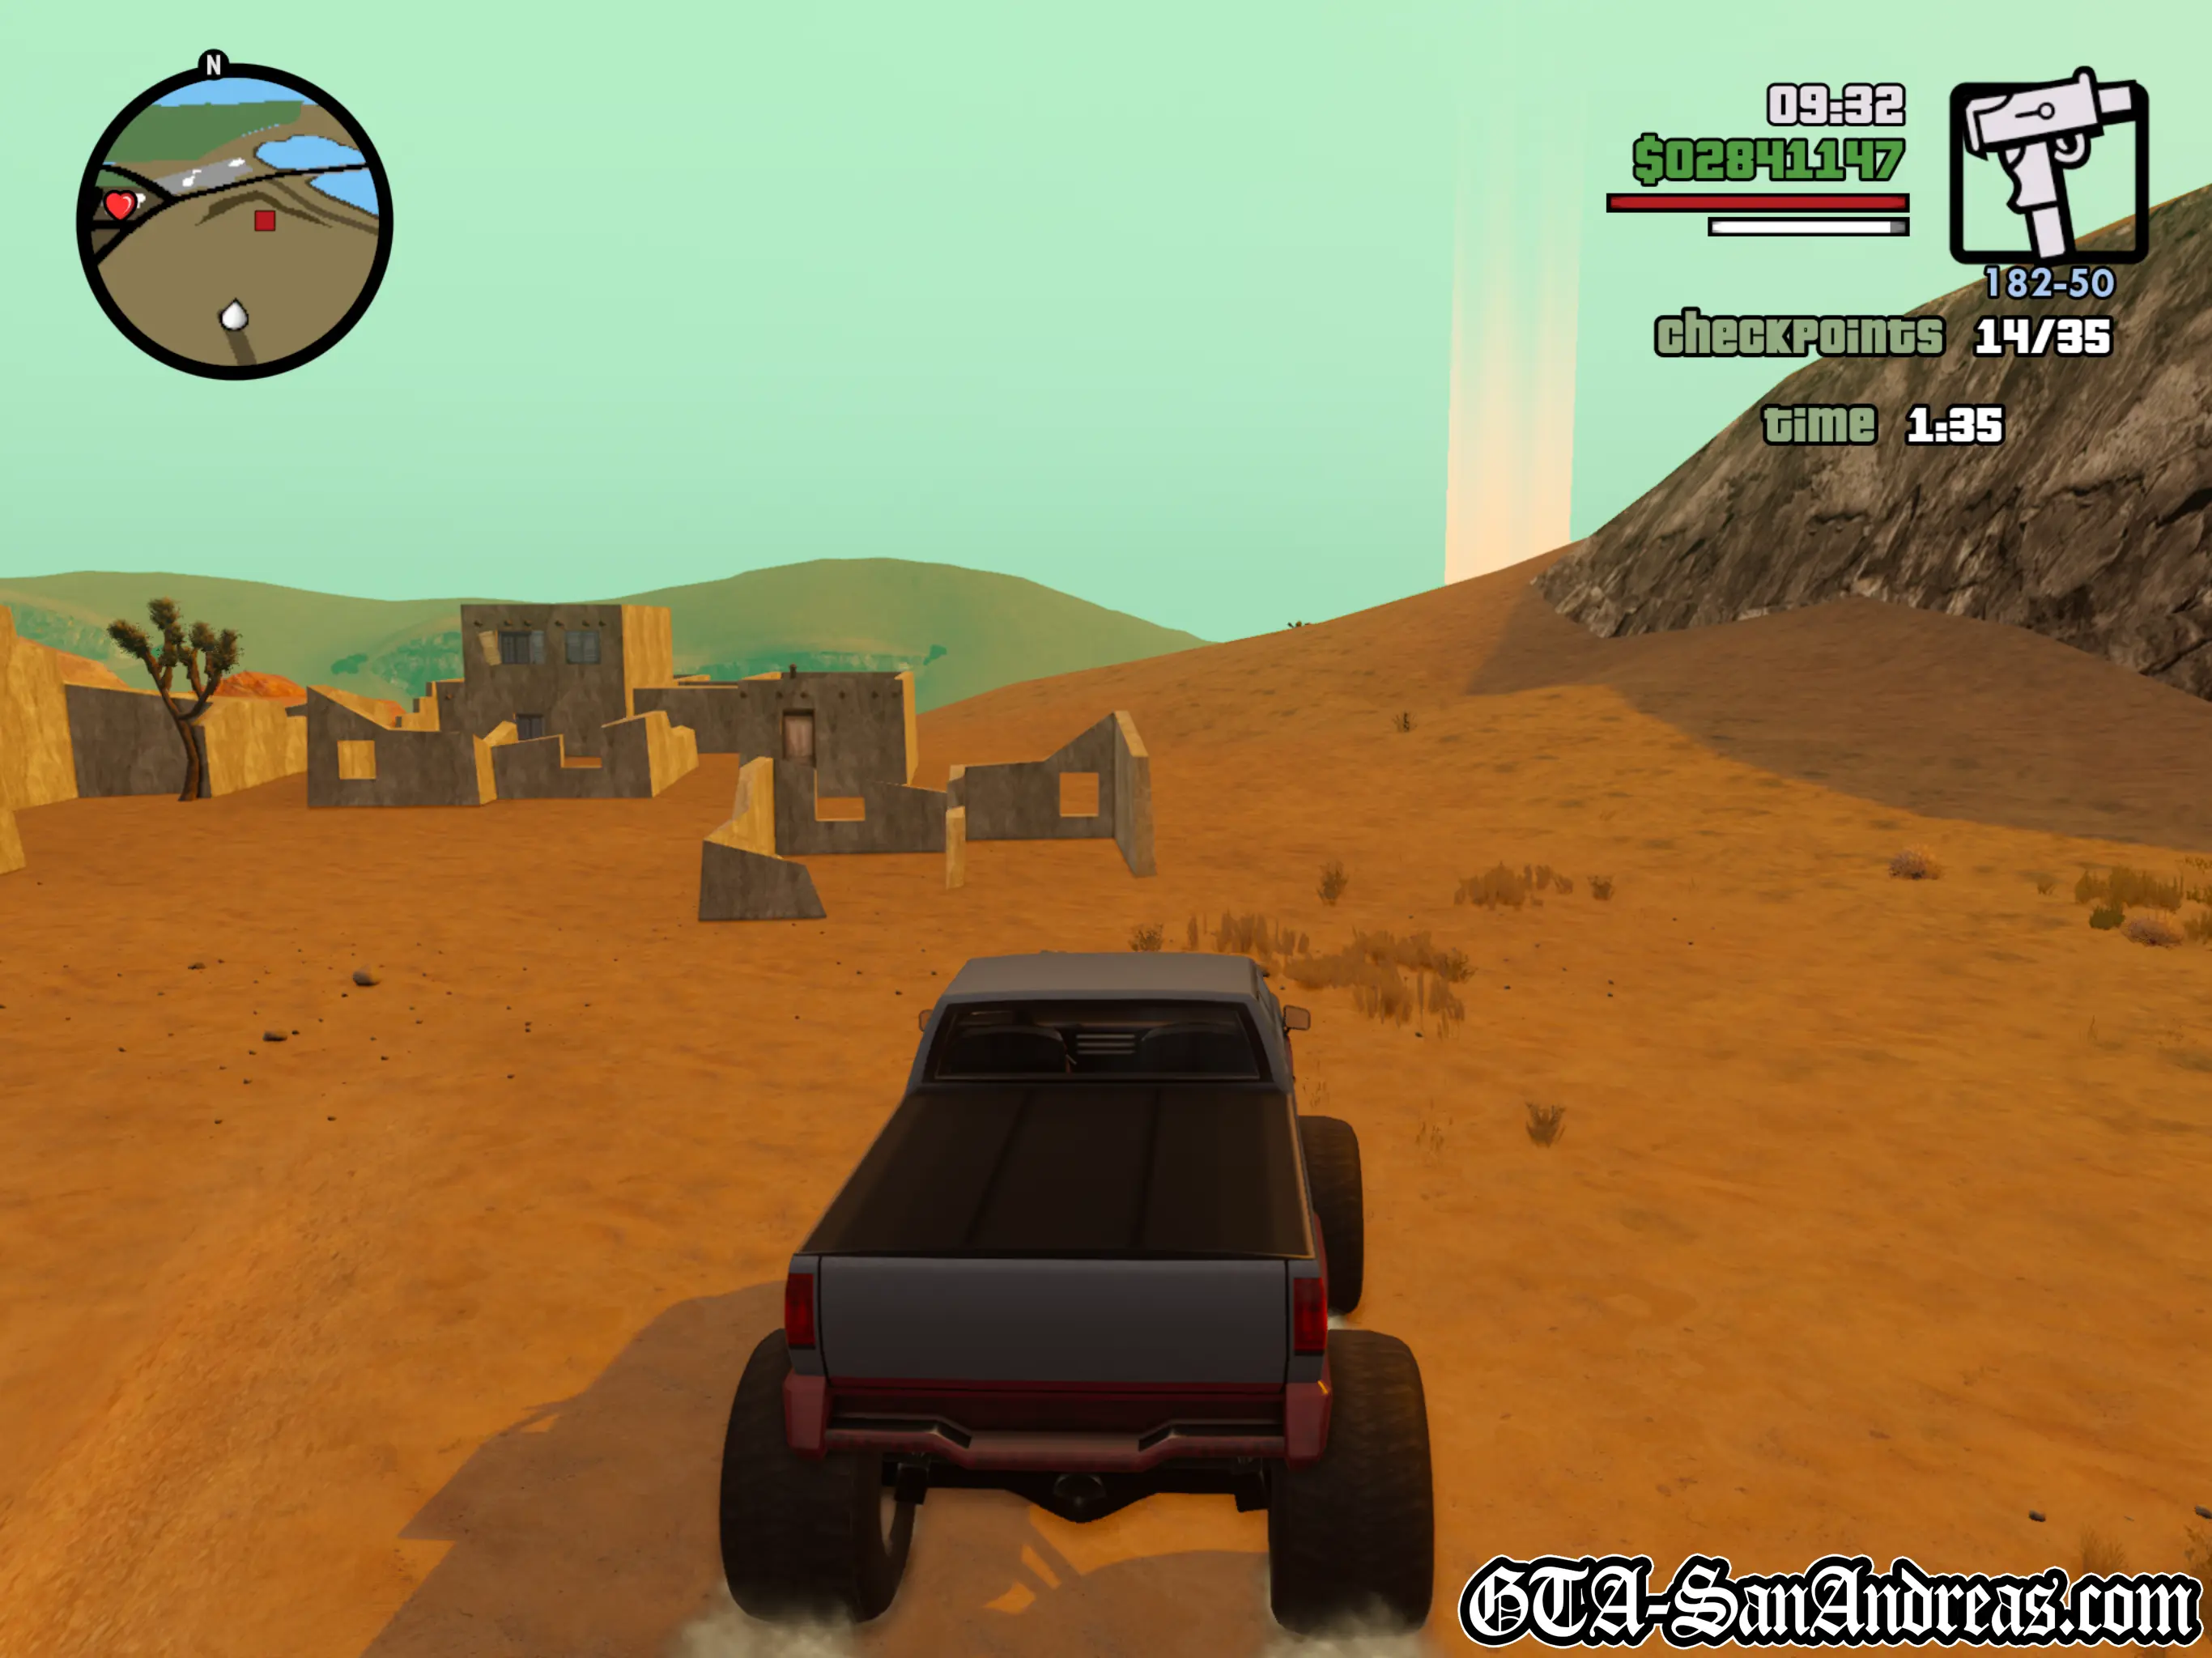
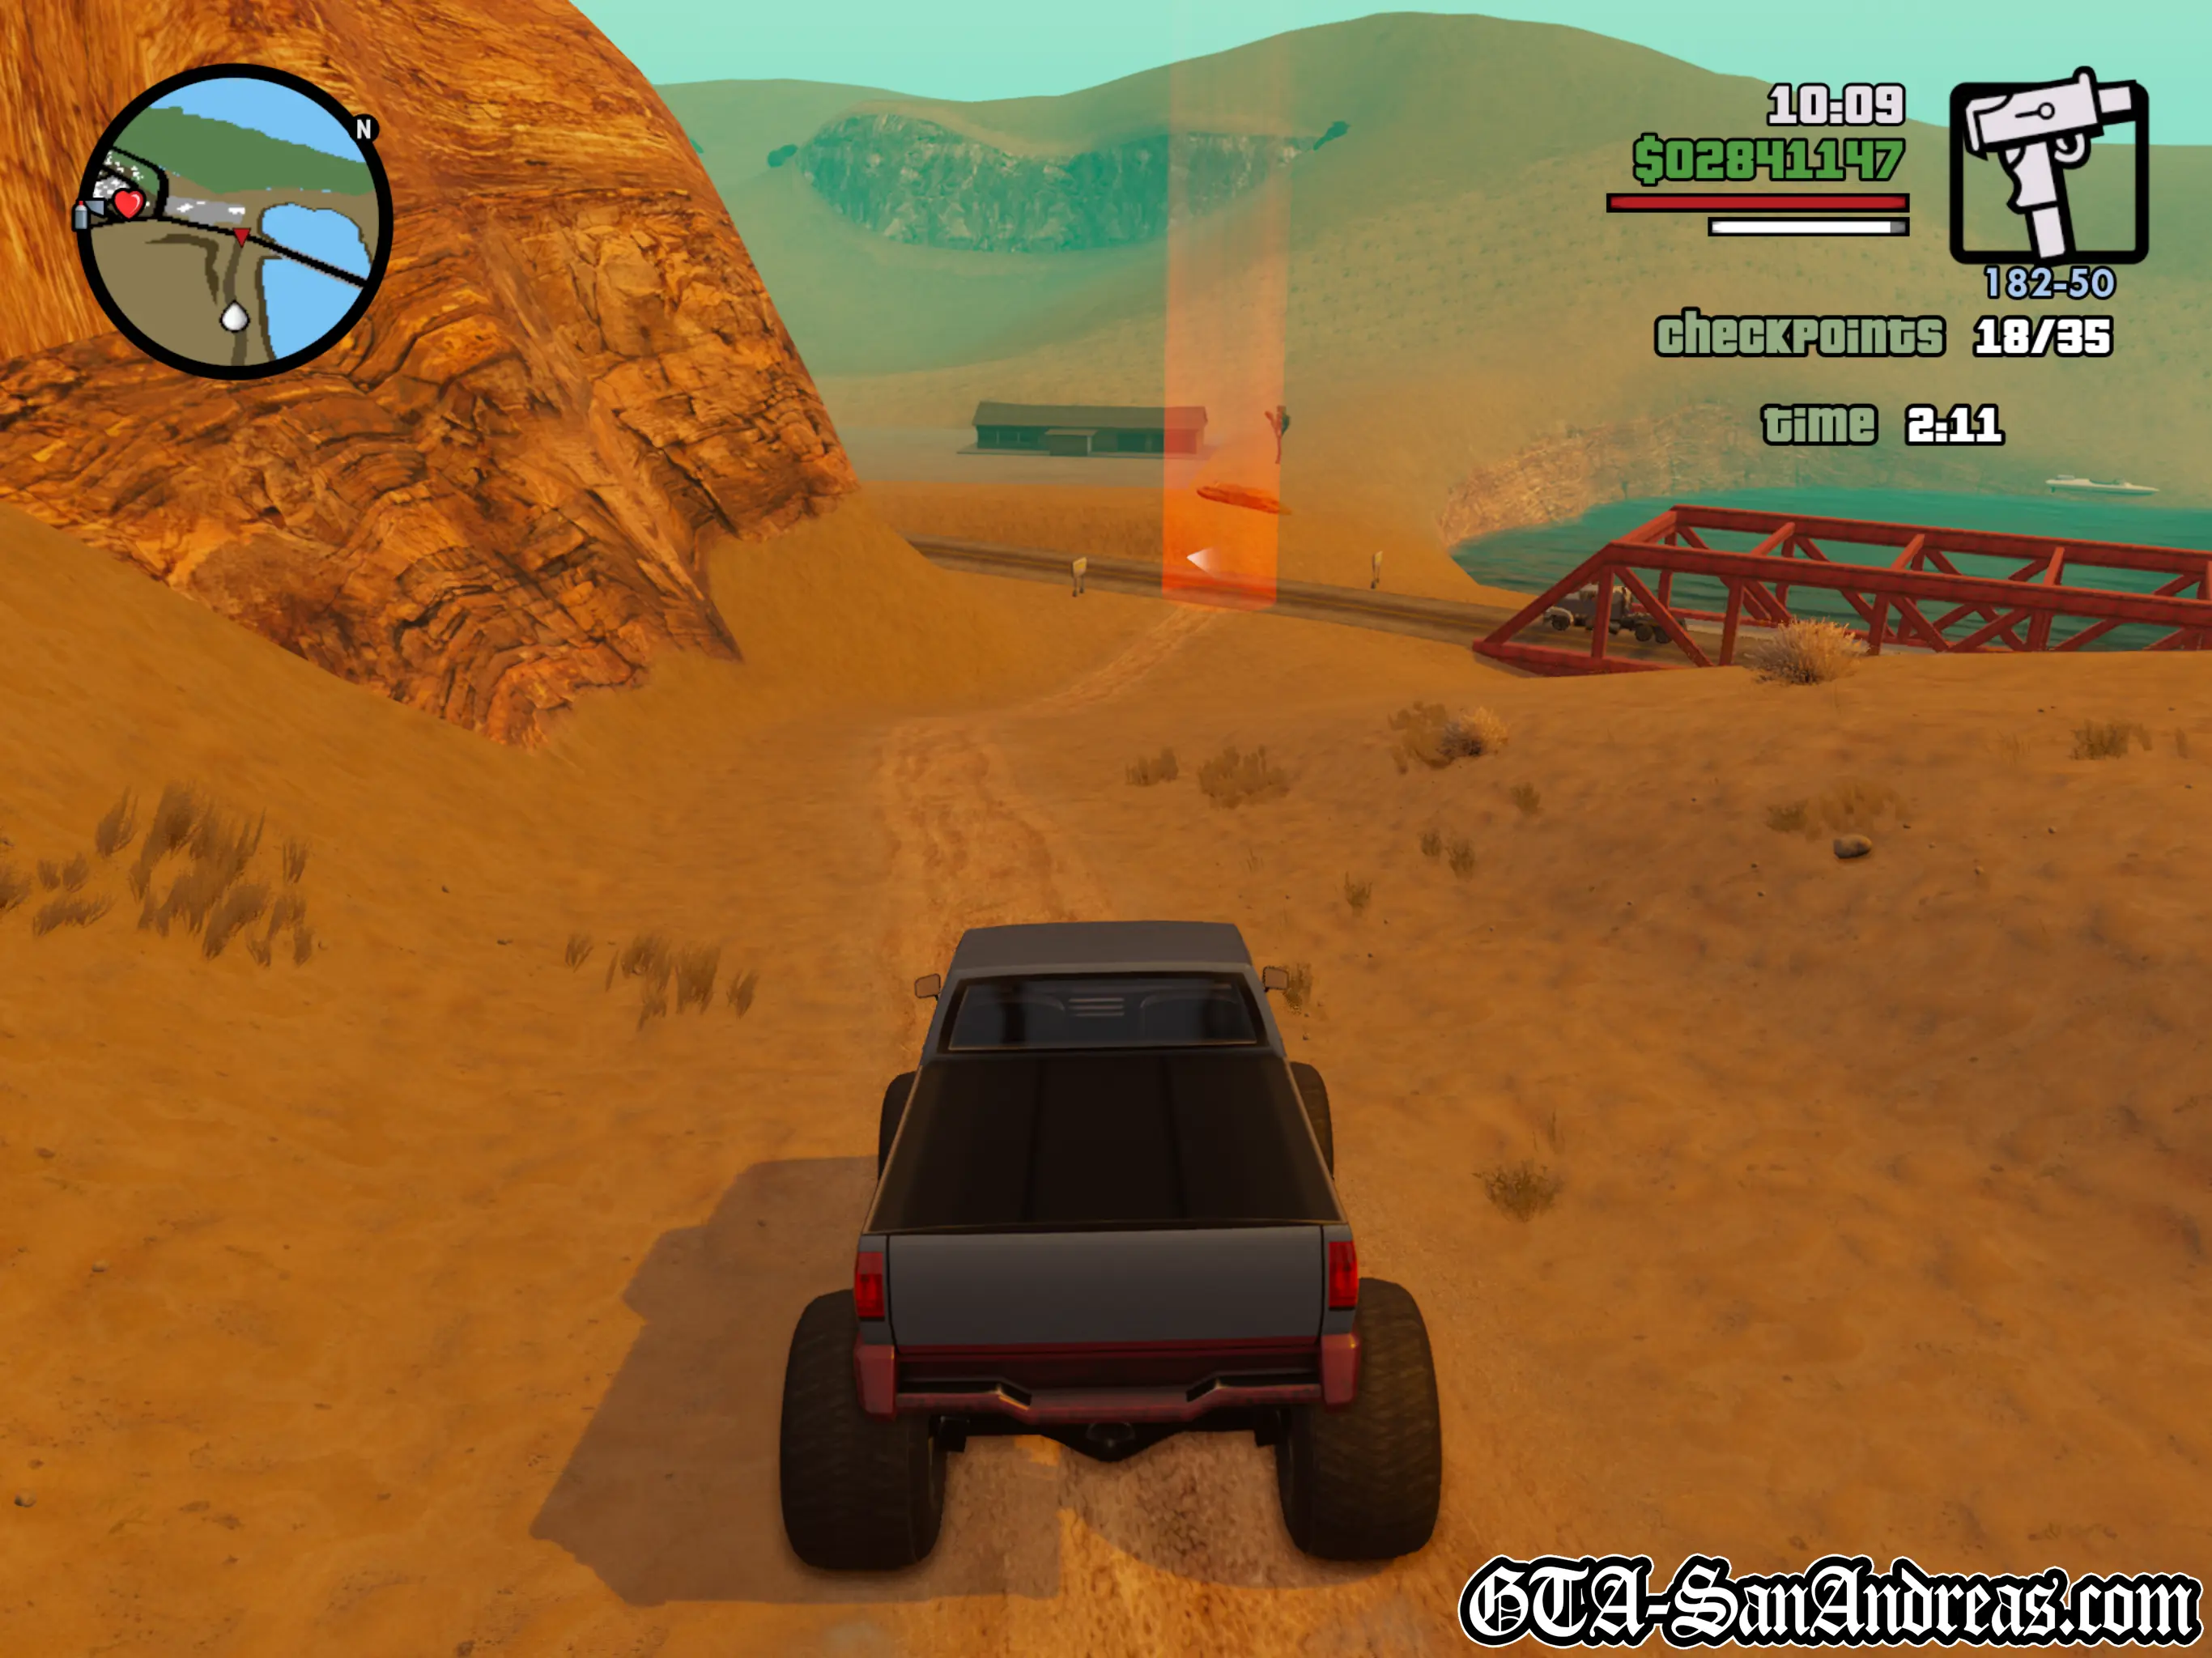
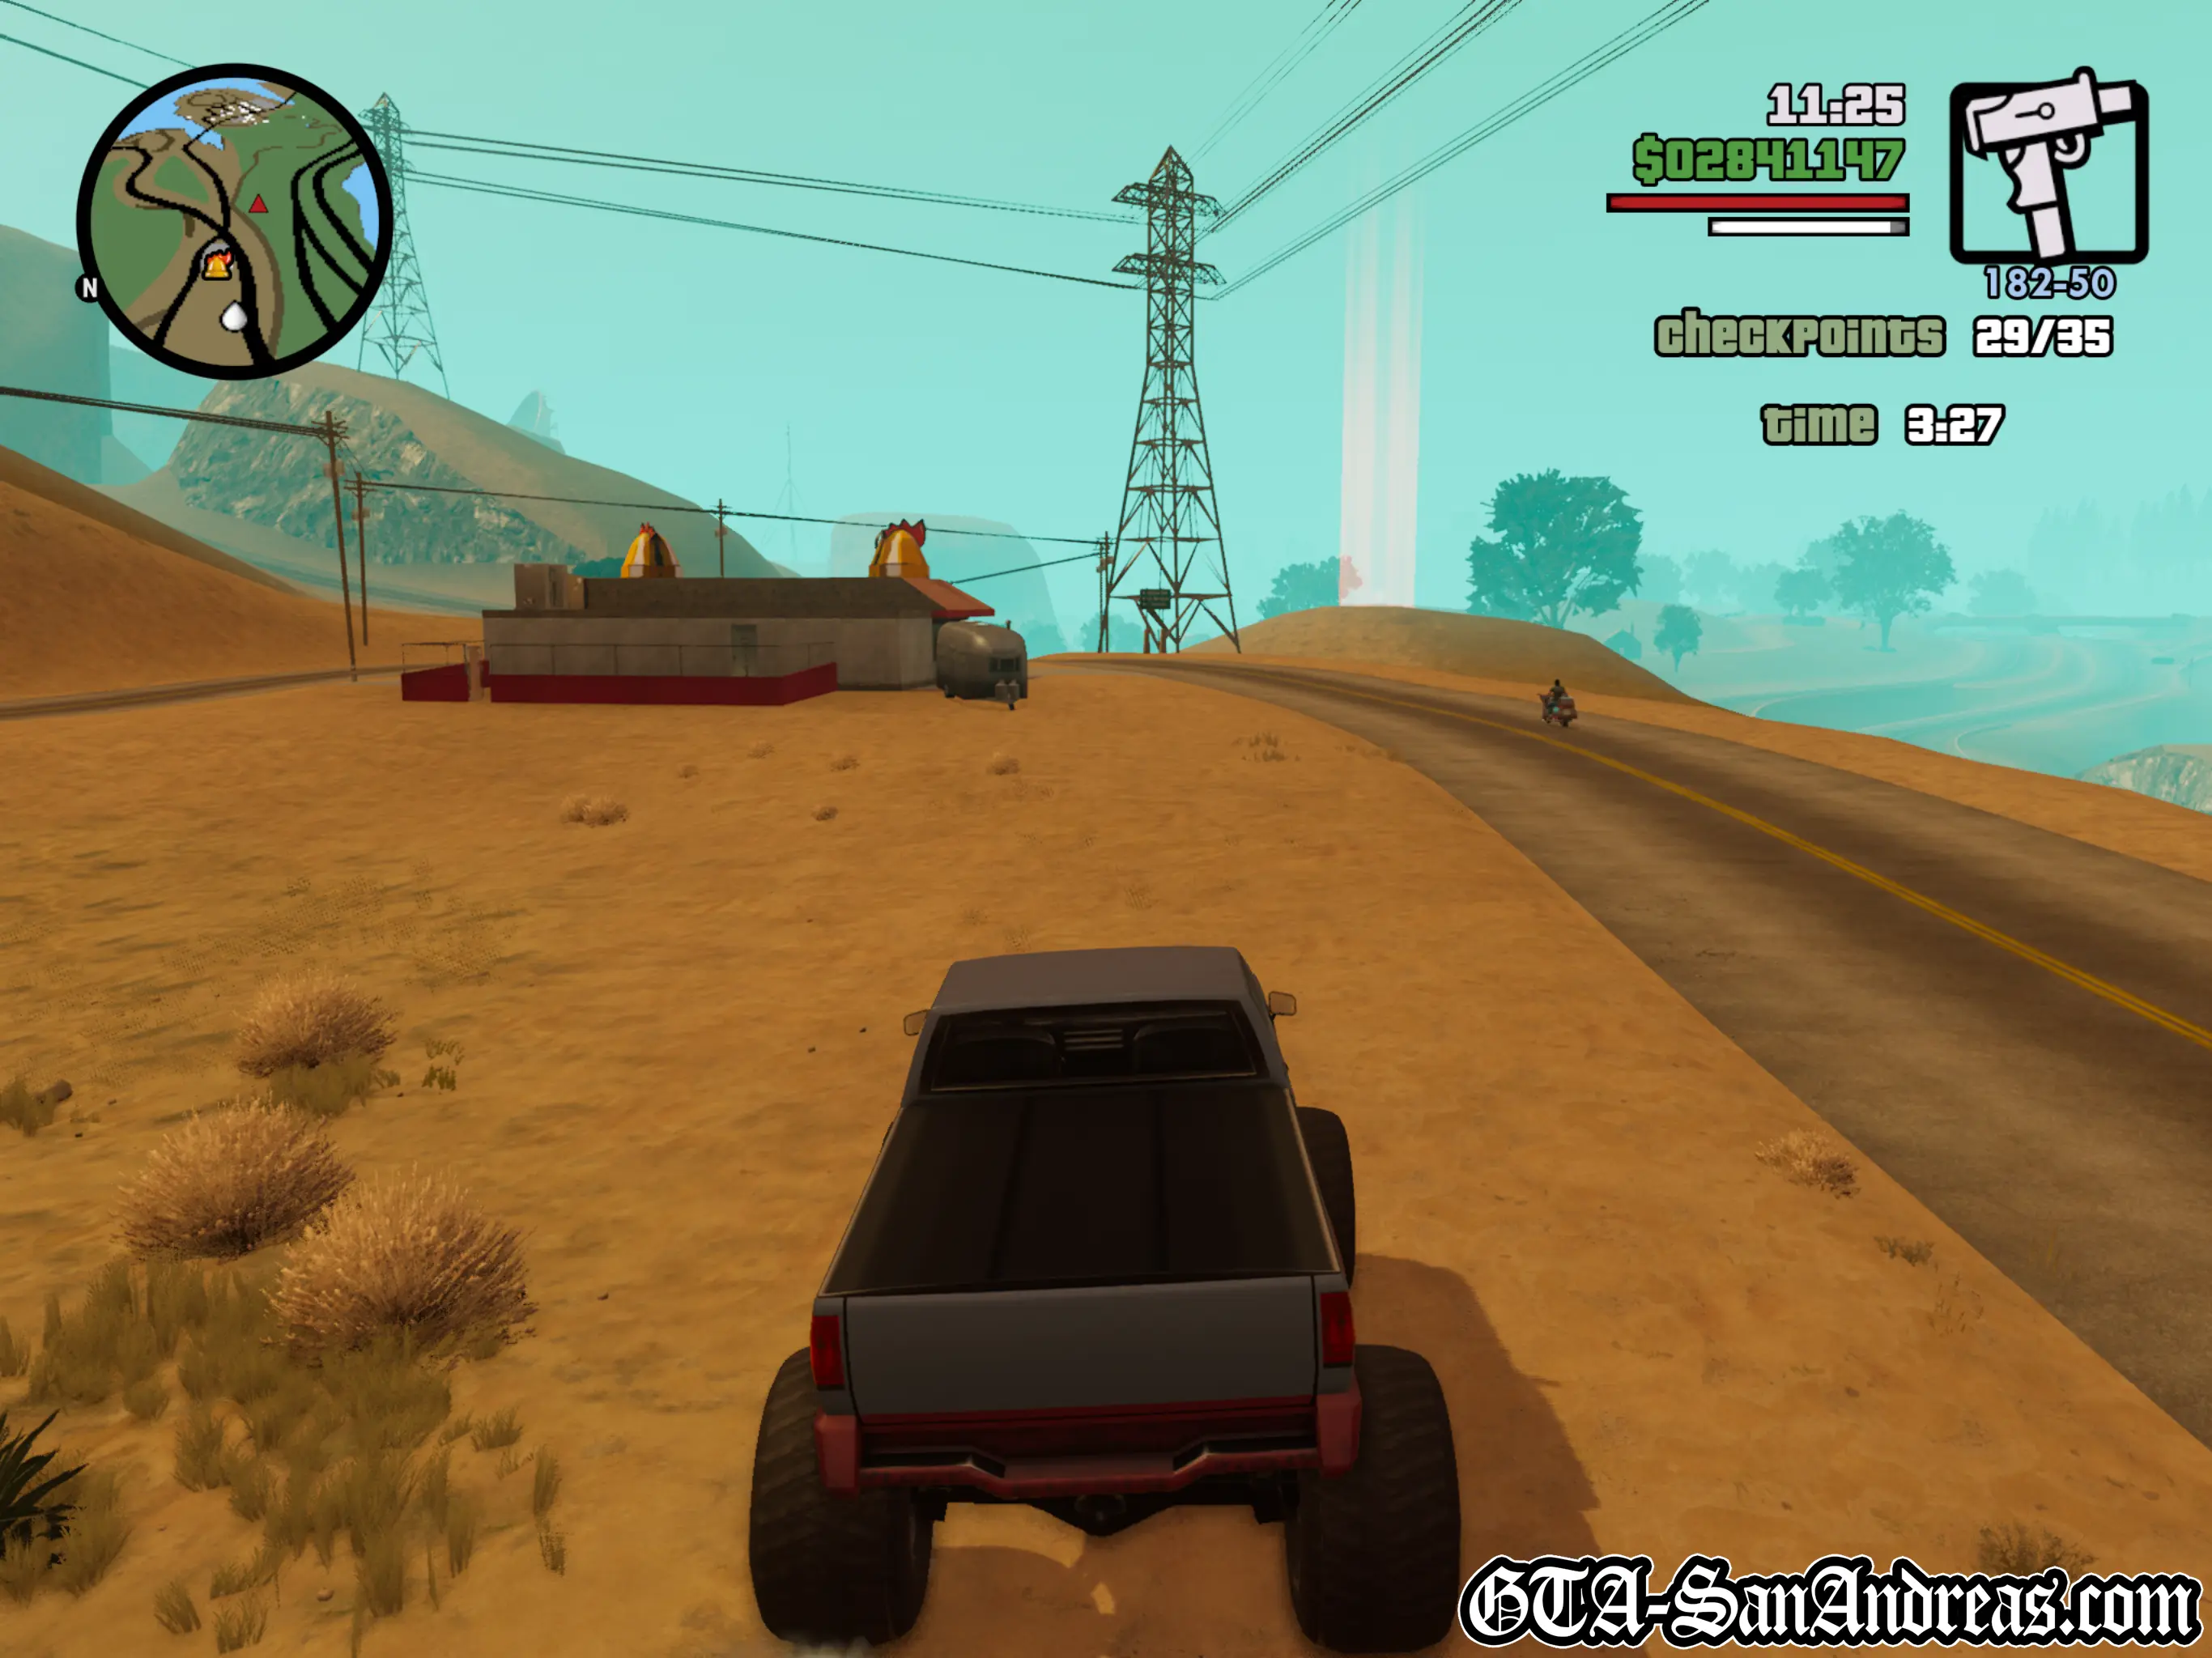
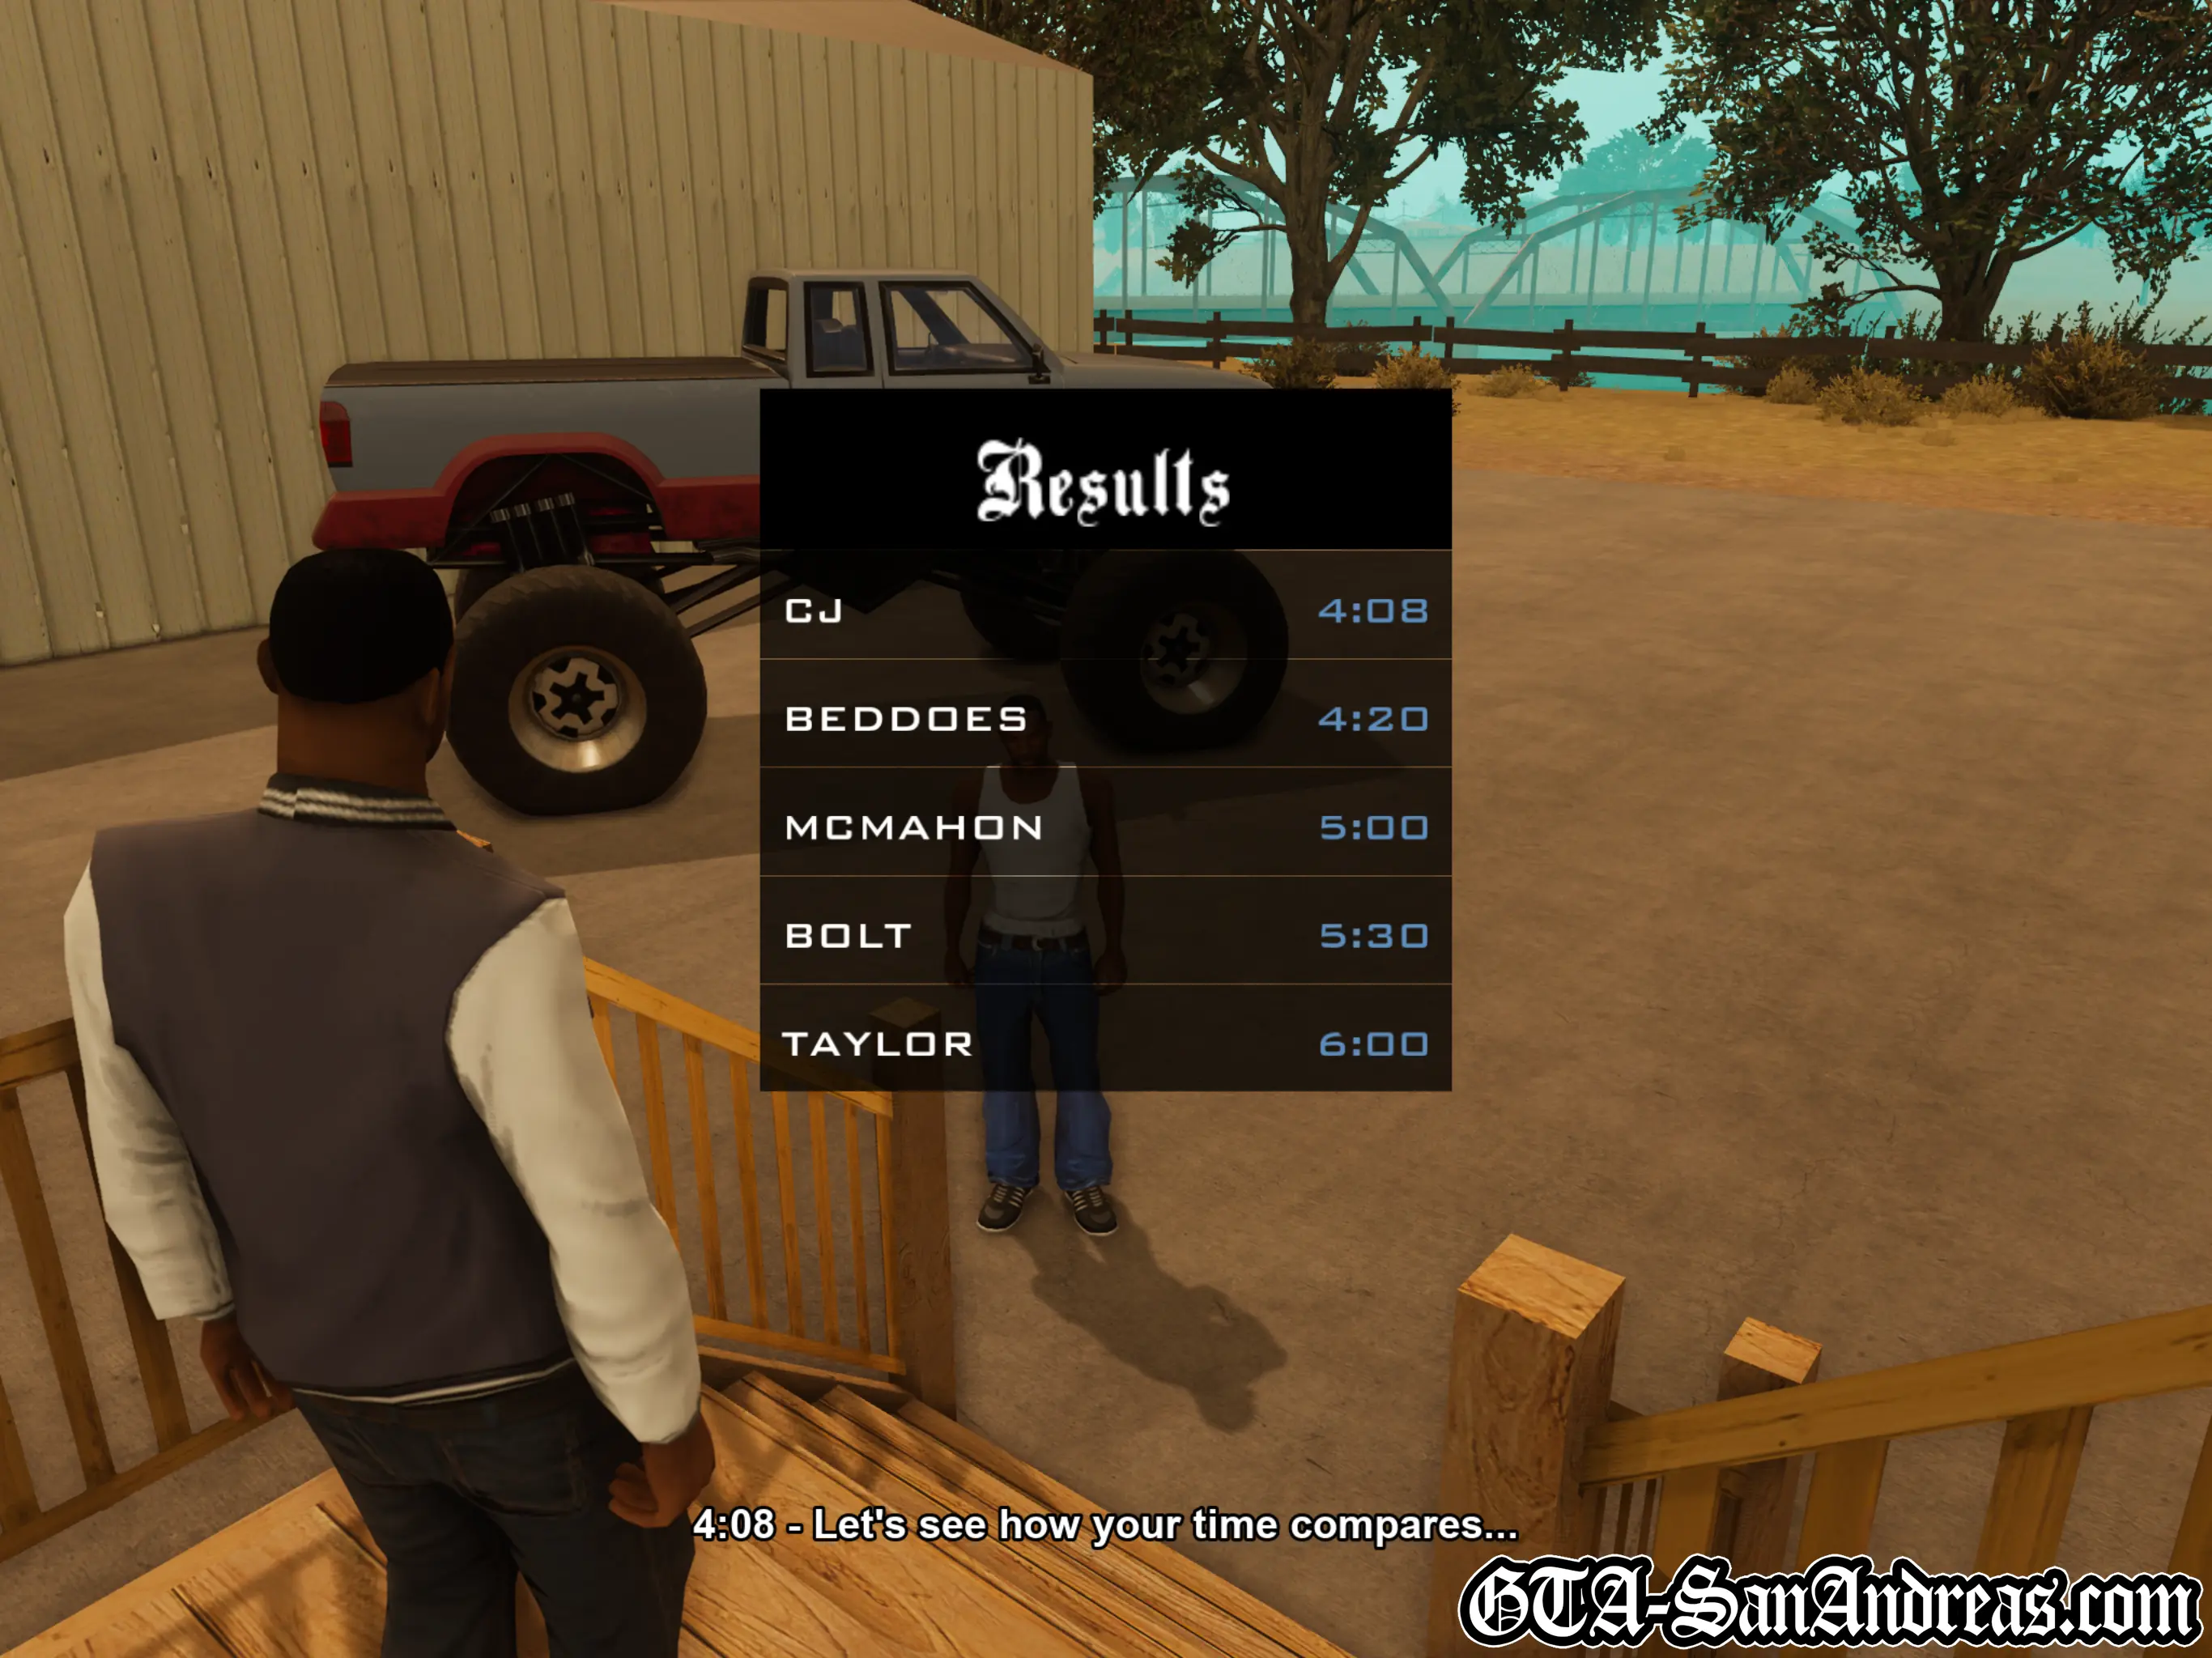
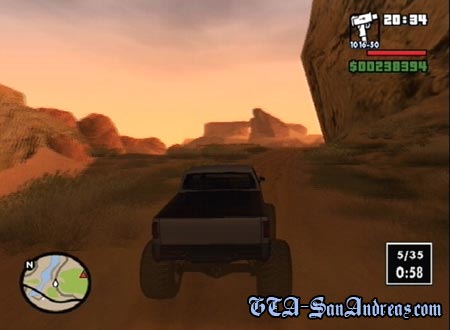
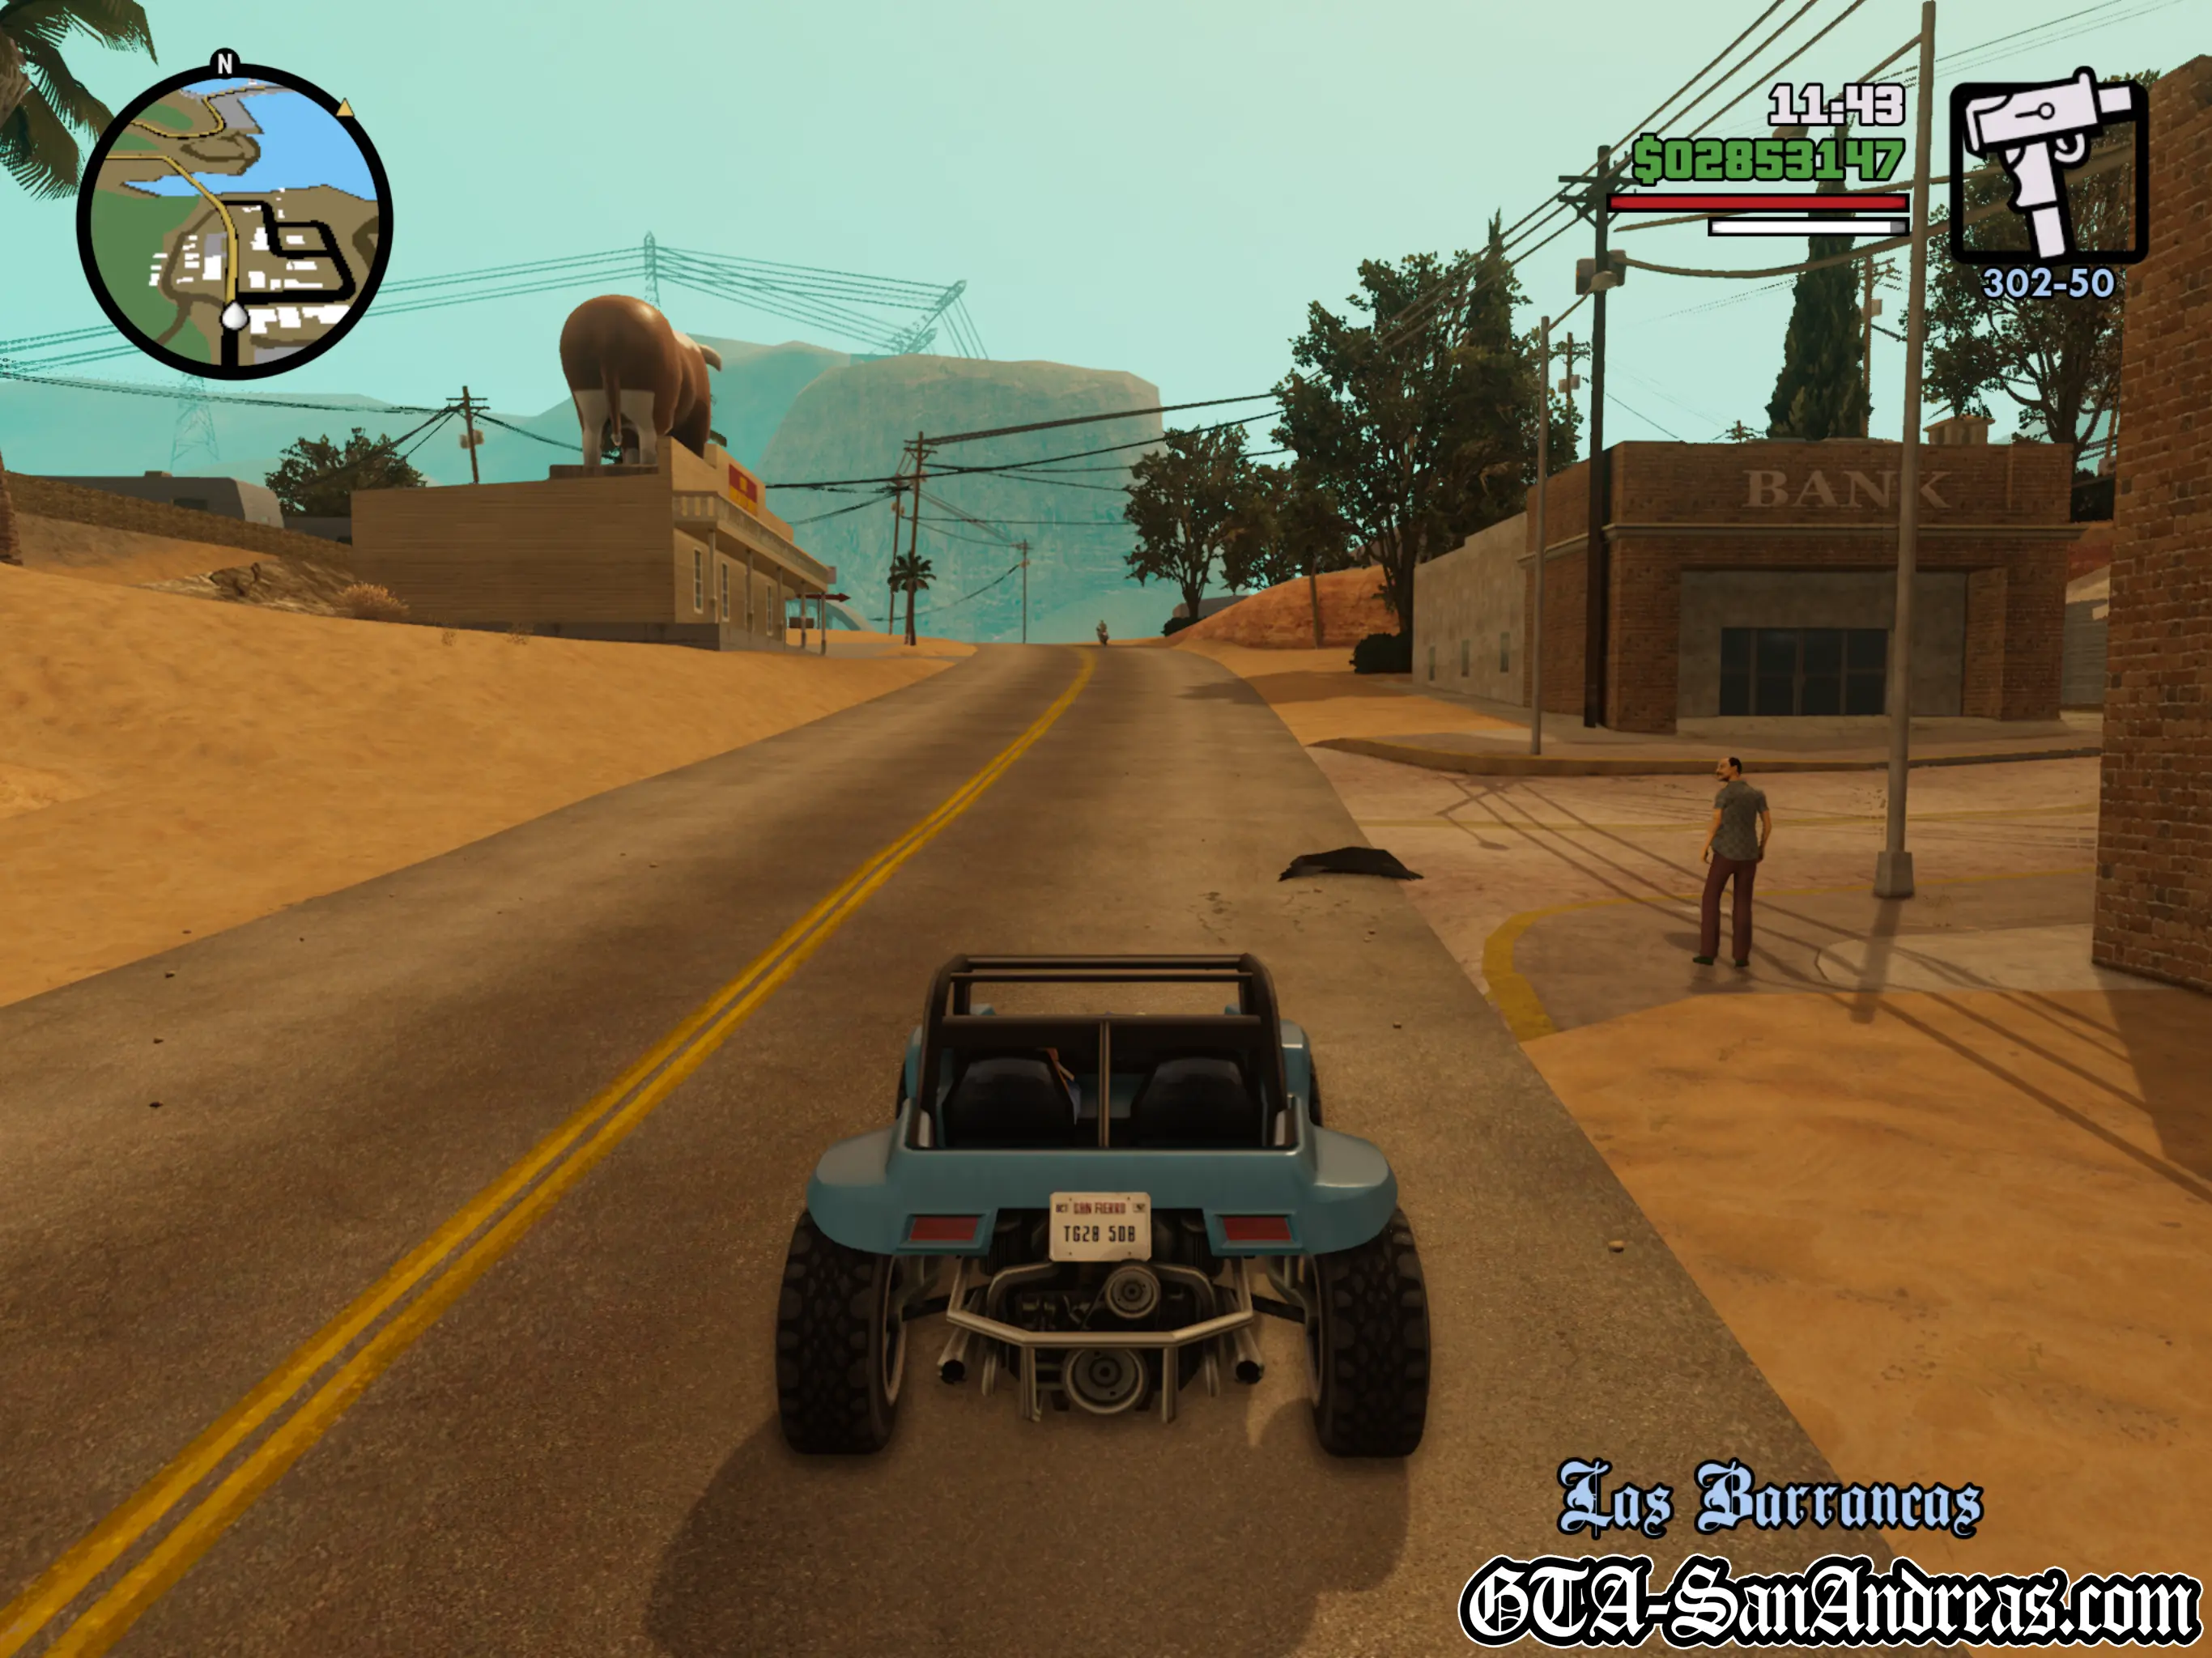
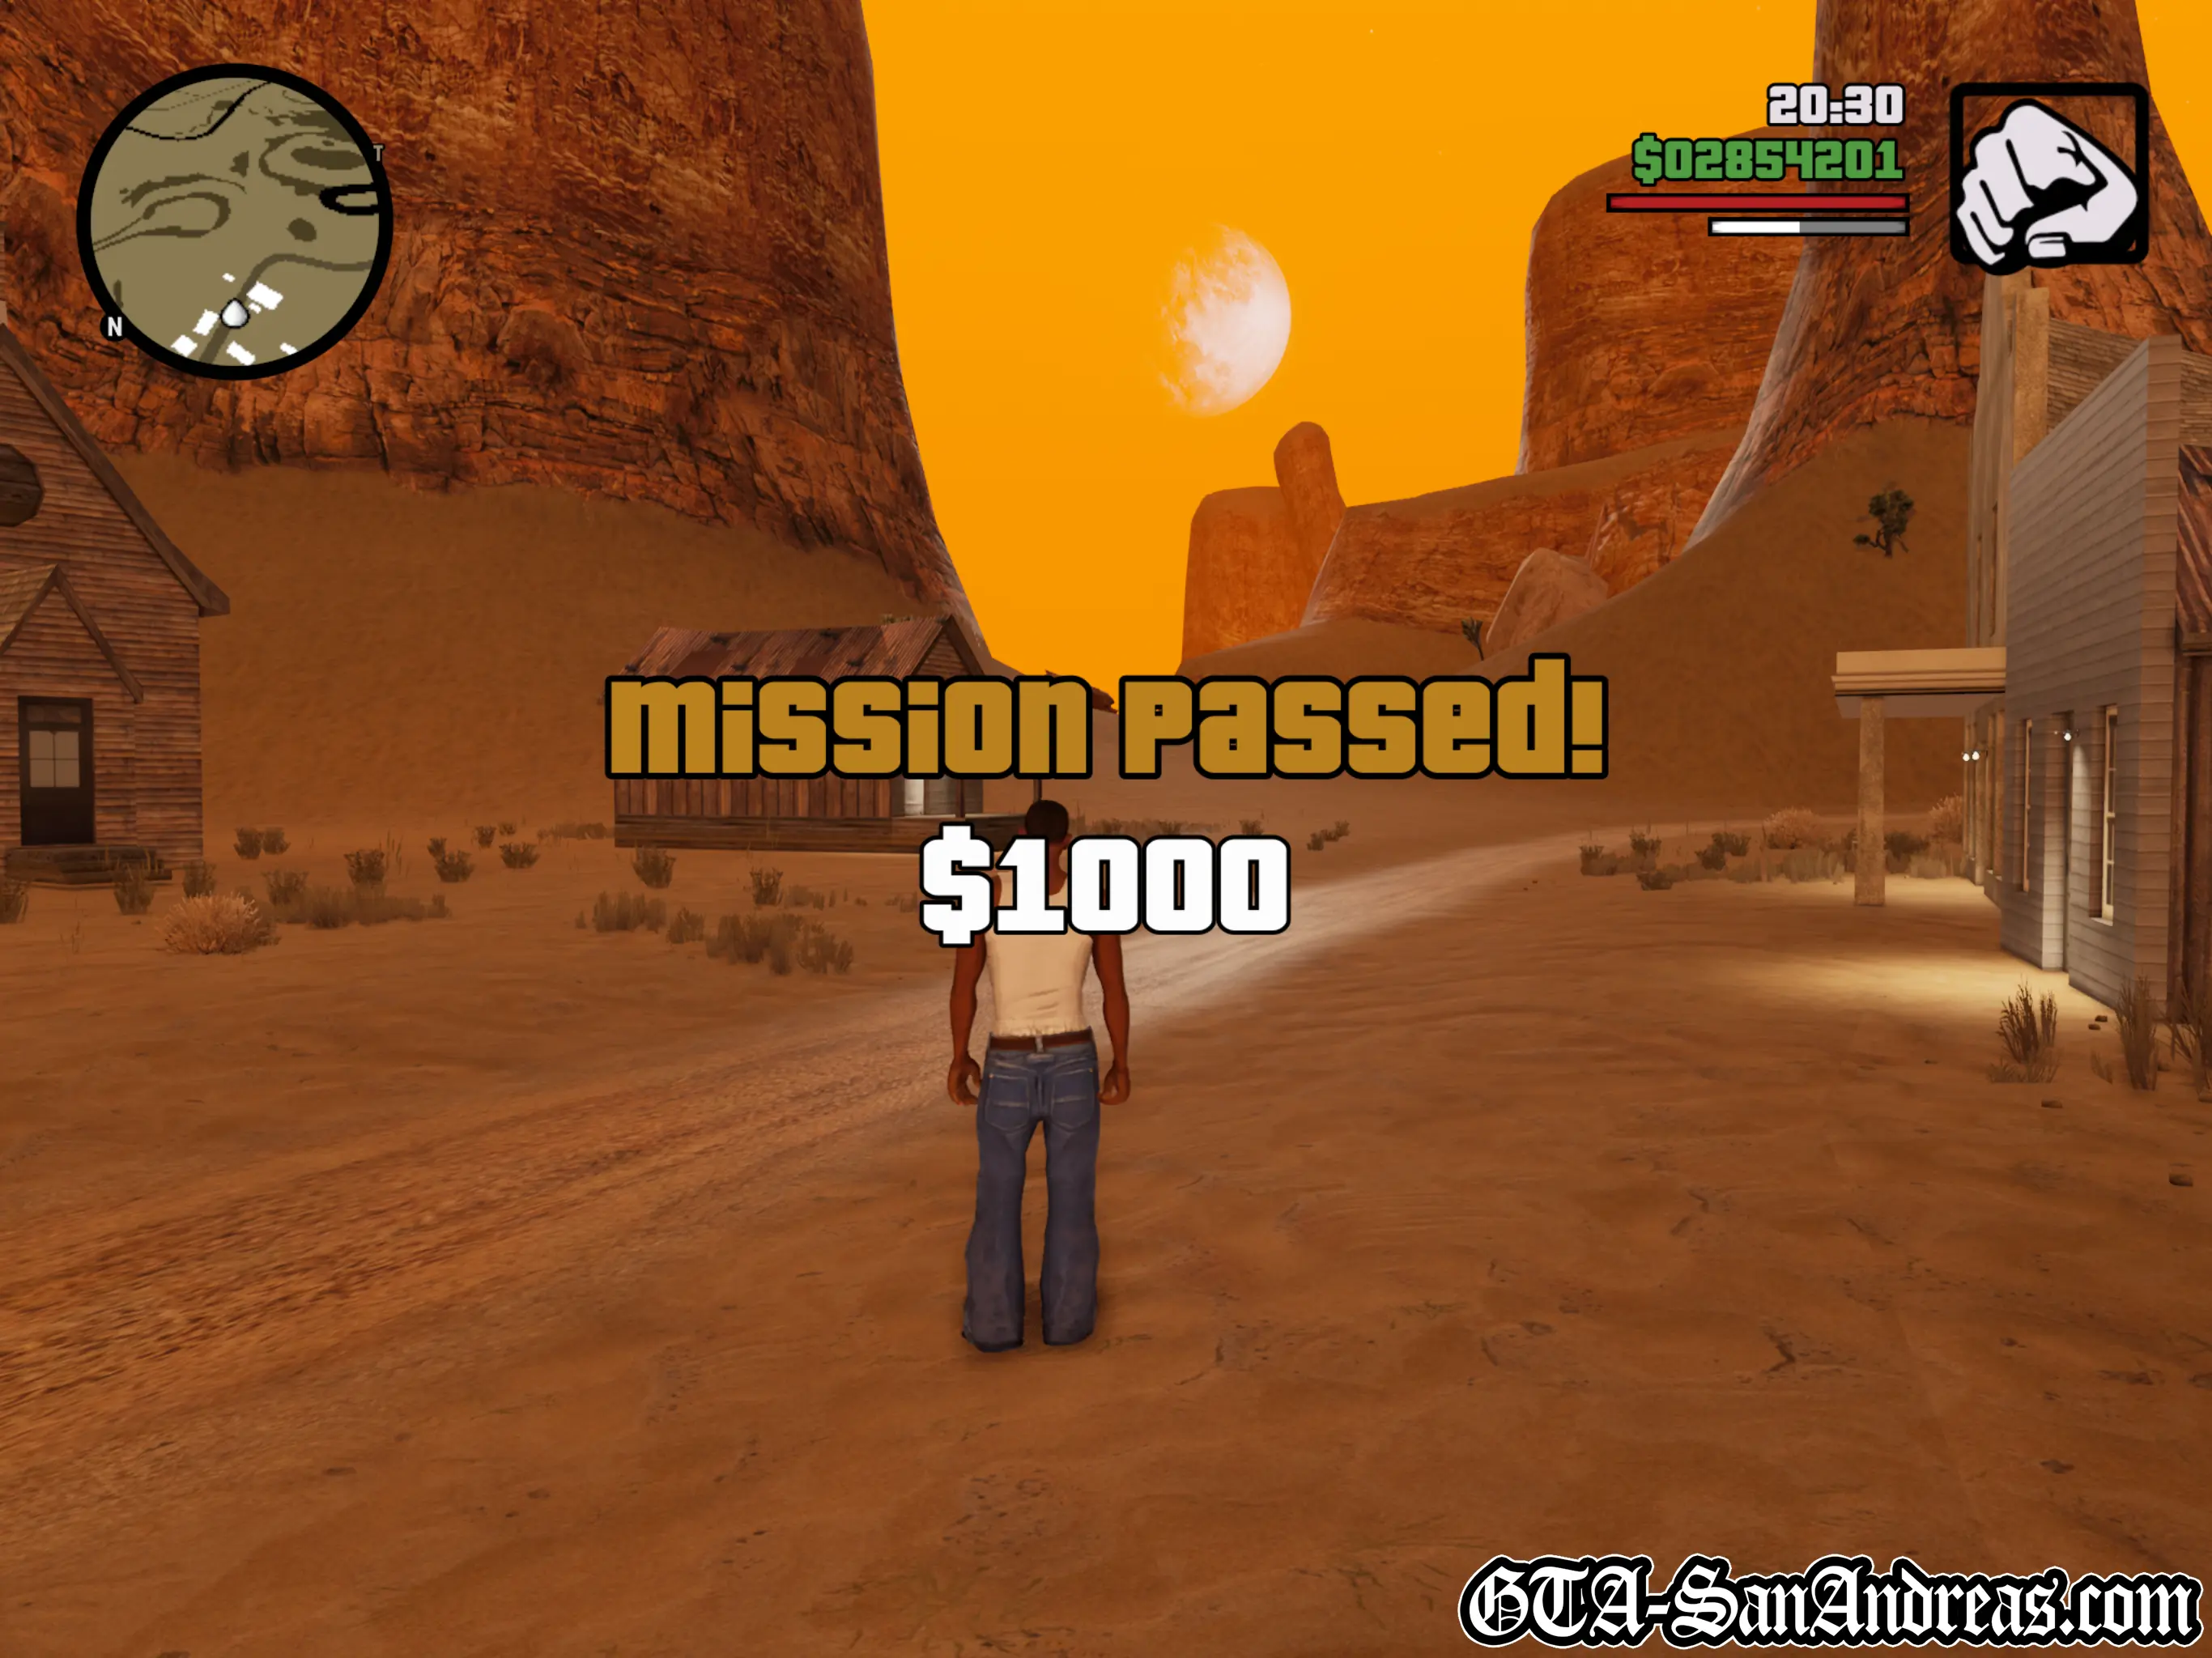
Toreno wants to see how good at driving you are. He's set out a course for you to do in his monster truck. You'll be told that it has four wheel steering instead of a hand brake, so holding R1 will now make you turn much sharper, rather than skidding to a stop. Get in the Monster Truck and begin the course. You need a time better than 6:30 to pass the mission. This is really just as simple at the many races you have done before. Drive as fast as you can through the checkpoints, and use the arrows to point you towards the next one. Remember to use square as your brake this time, as R1 will just make you turn a lot faster. You probably won't need the four wheel drive, so just keep in mind that it's square you need to slow down. Speed across the course as fast as possible and then get back to the ranch to pass the mission.
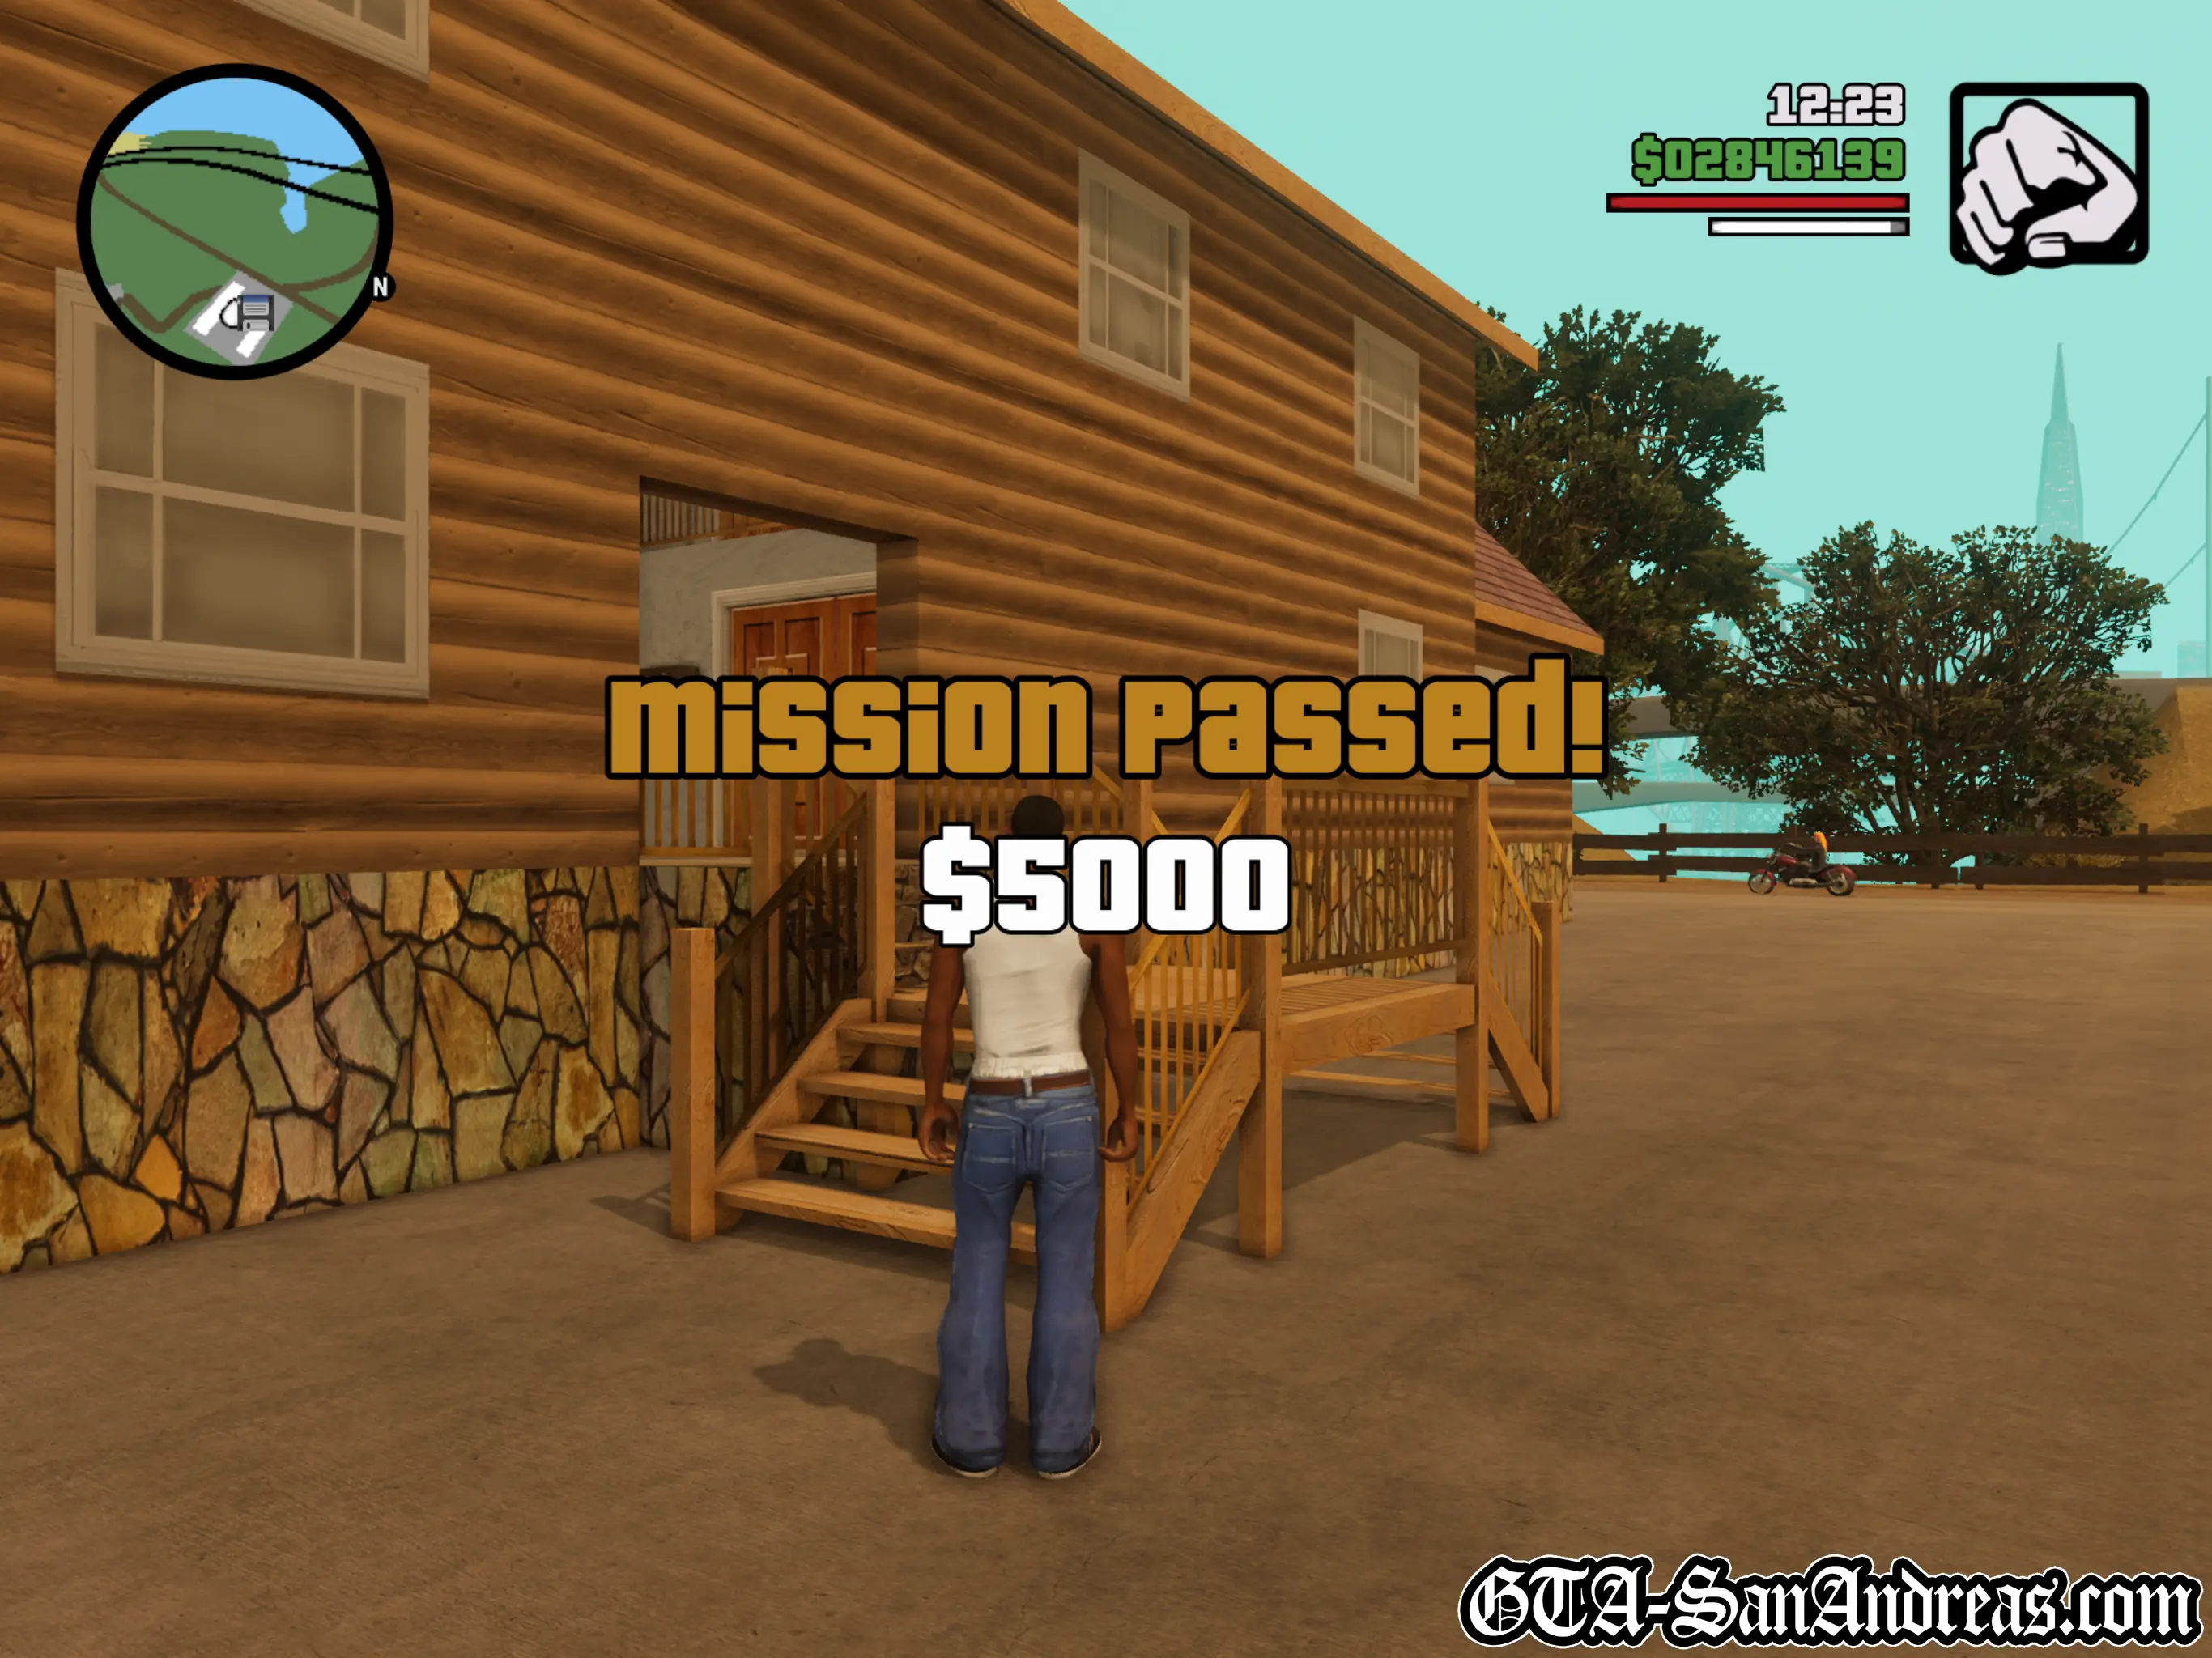
*Your reward is based on the time taken to complete the mission. You'll be ranked on the score board from 5th to 1st. Coming in 5th will earn you a basic $1,000, fourth $2,000, third $3,000, second $4,000 and first will award you the maximum $5,000.
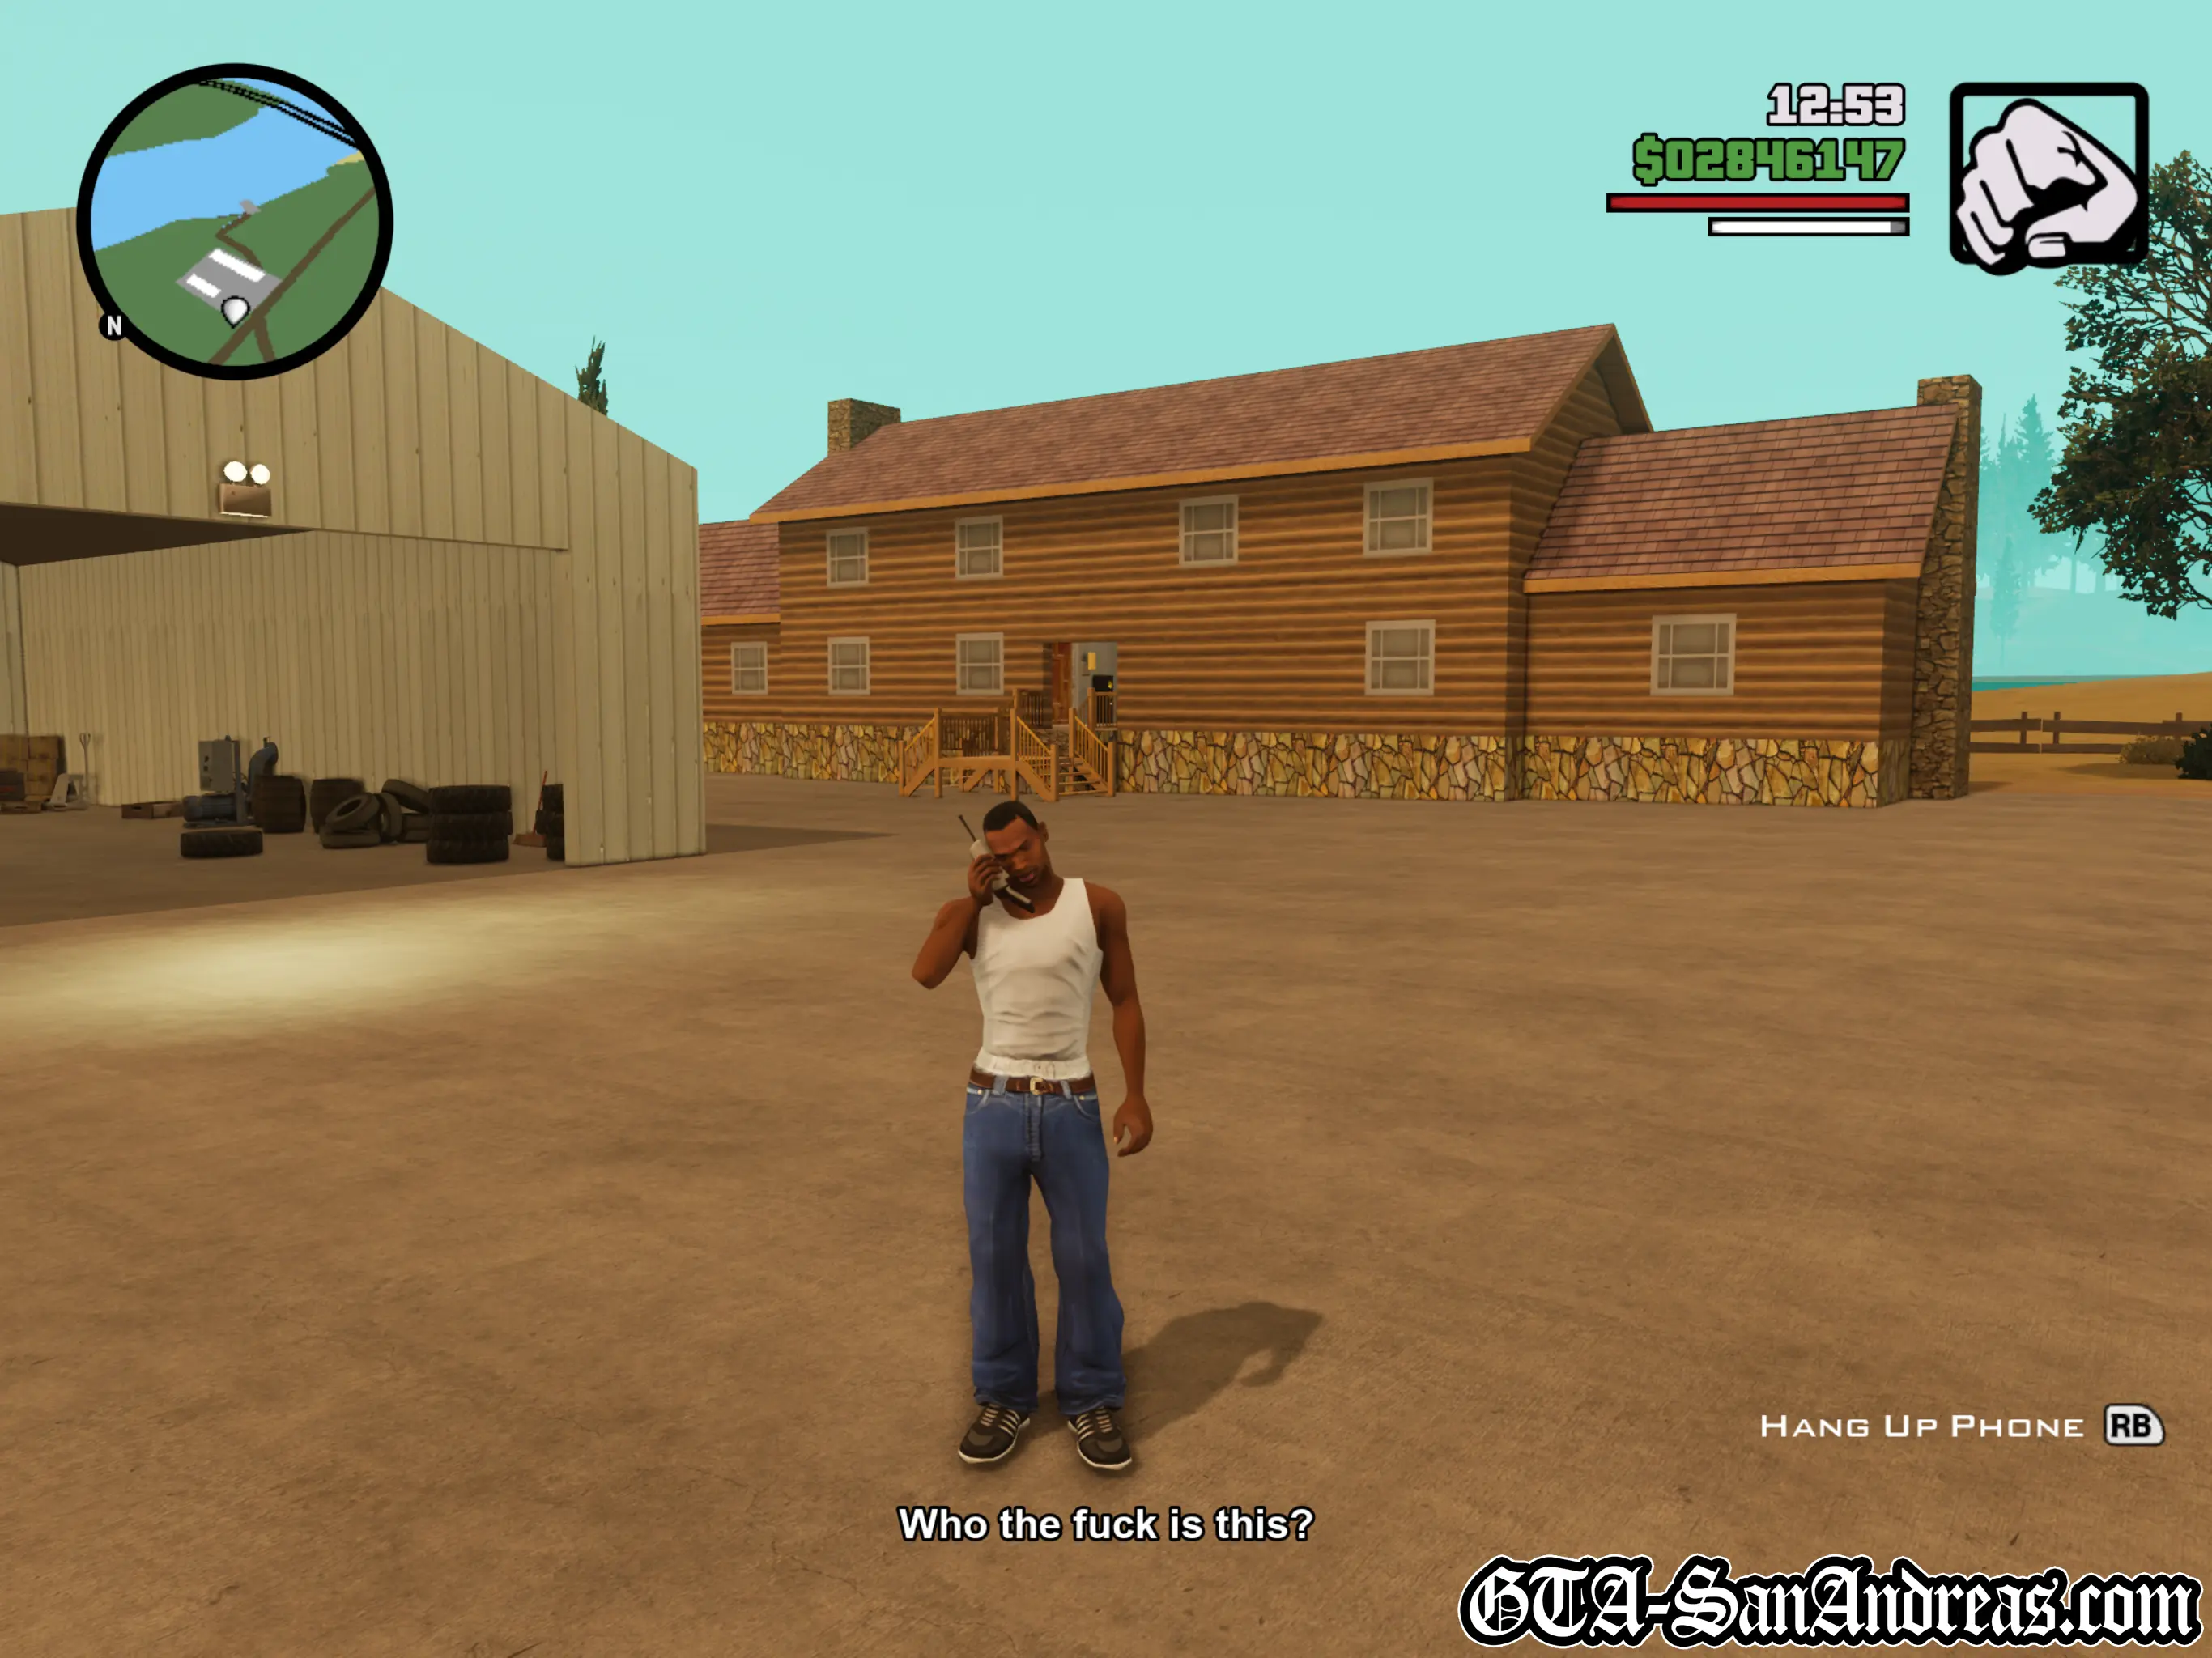
After the mission you'll receive a phone call, so head back to the ranch for another mission.
Screenshots


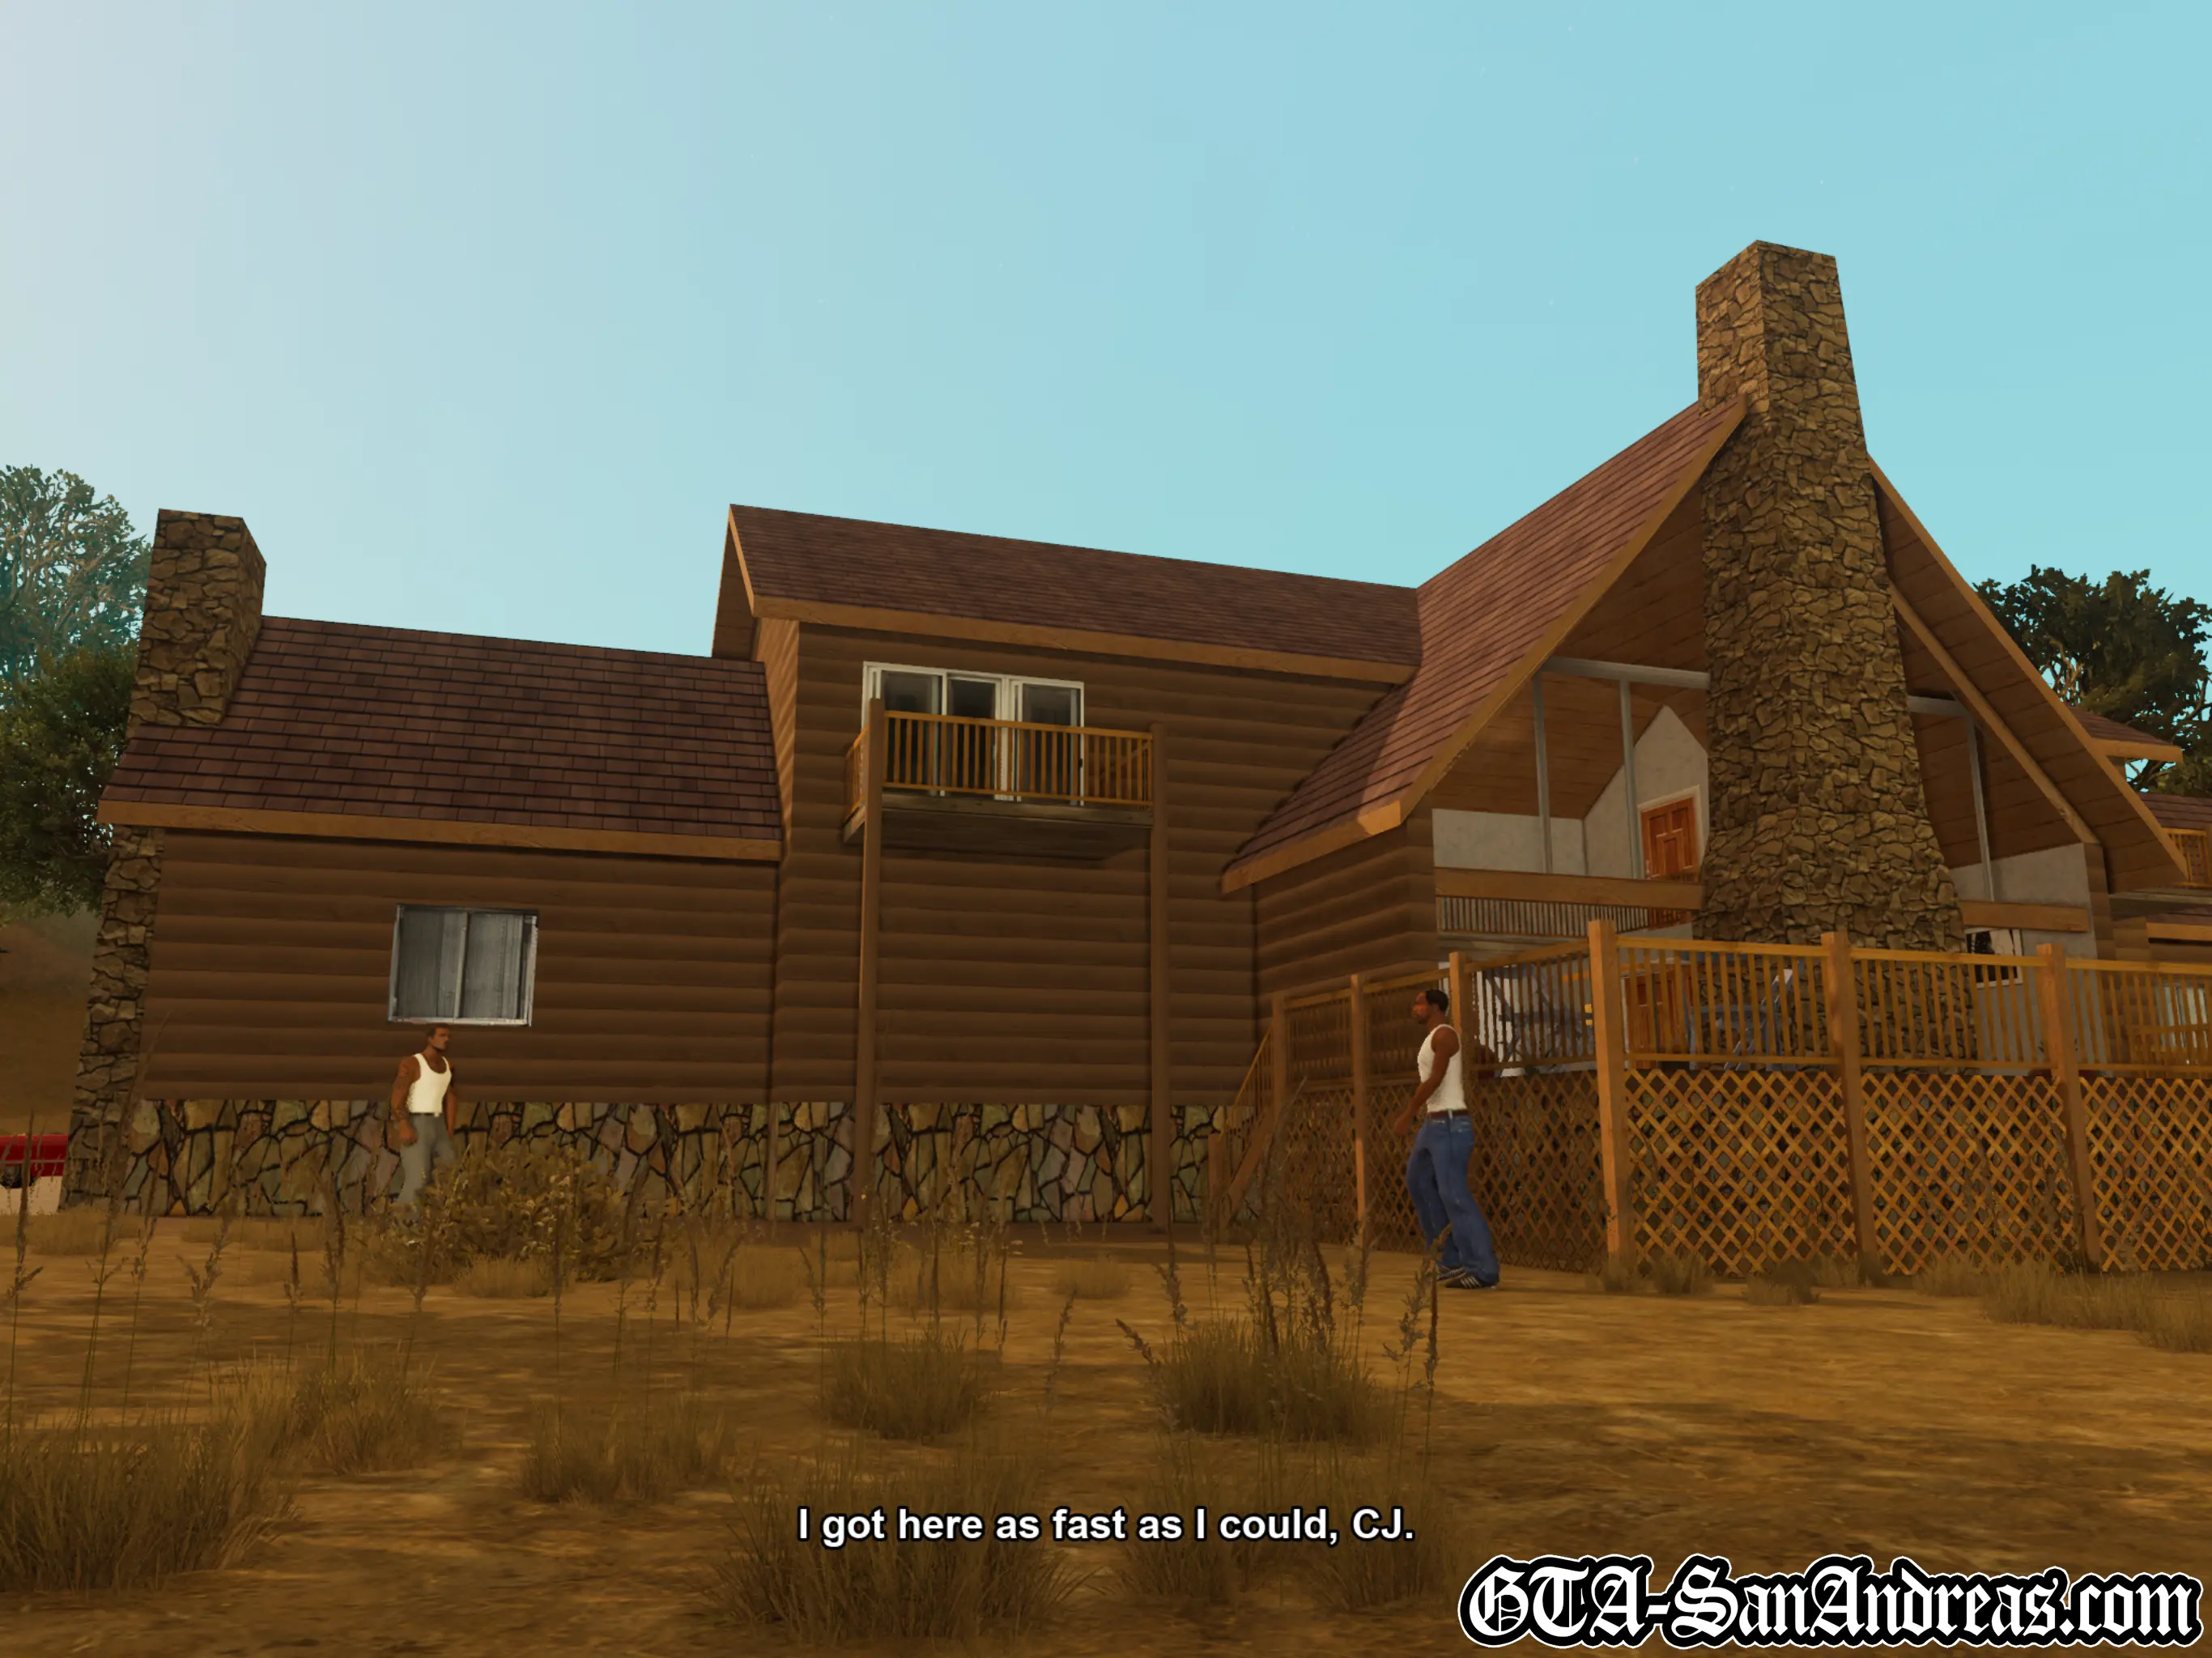
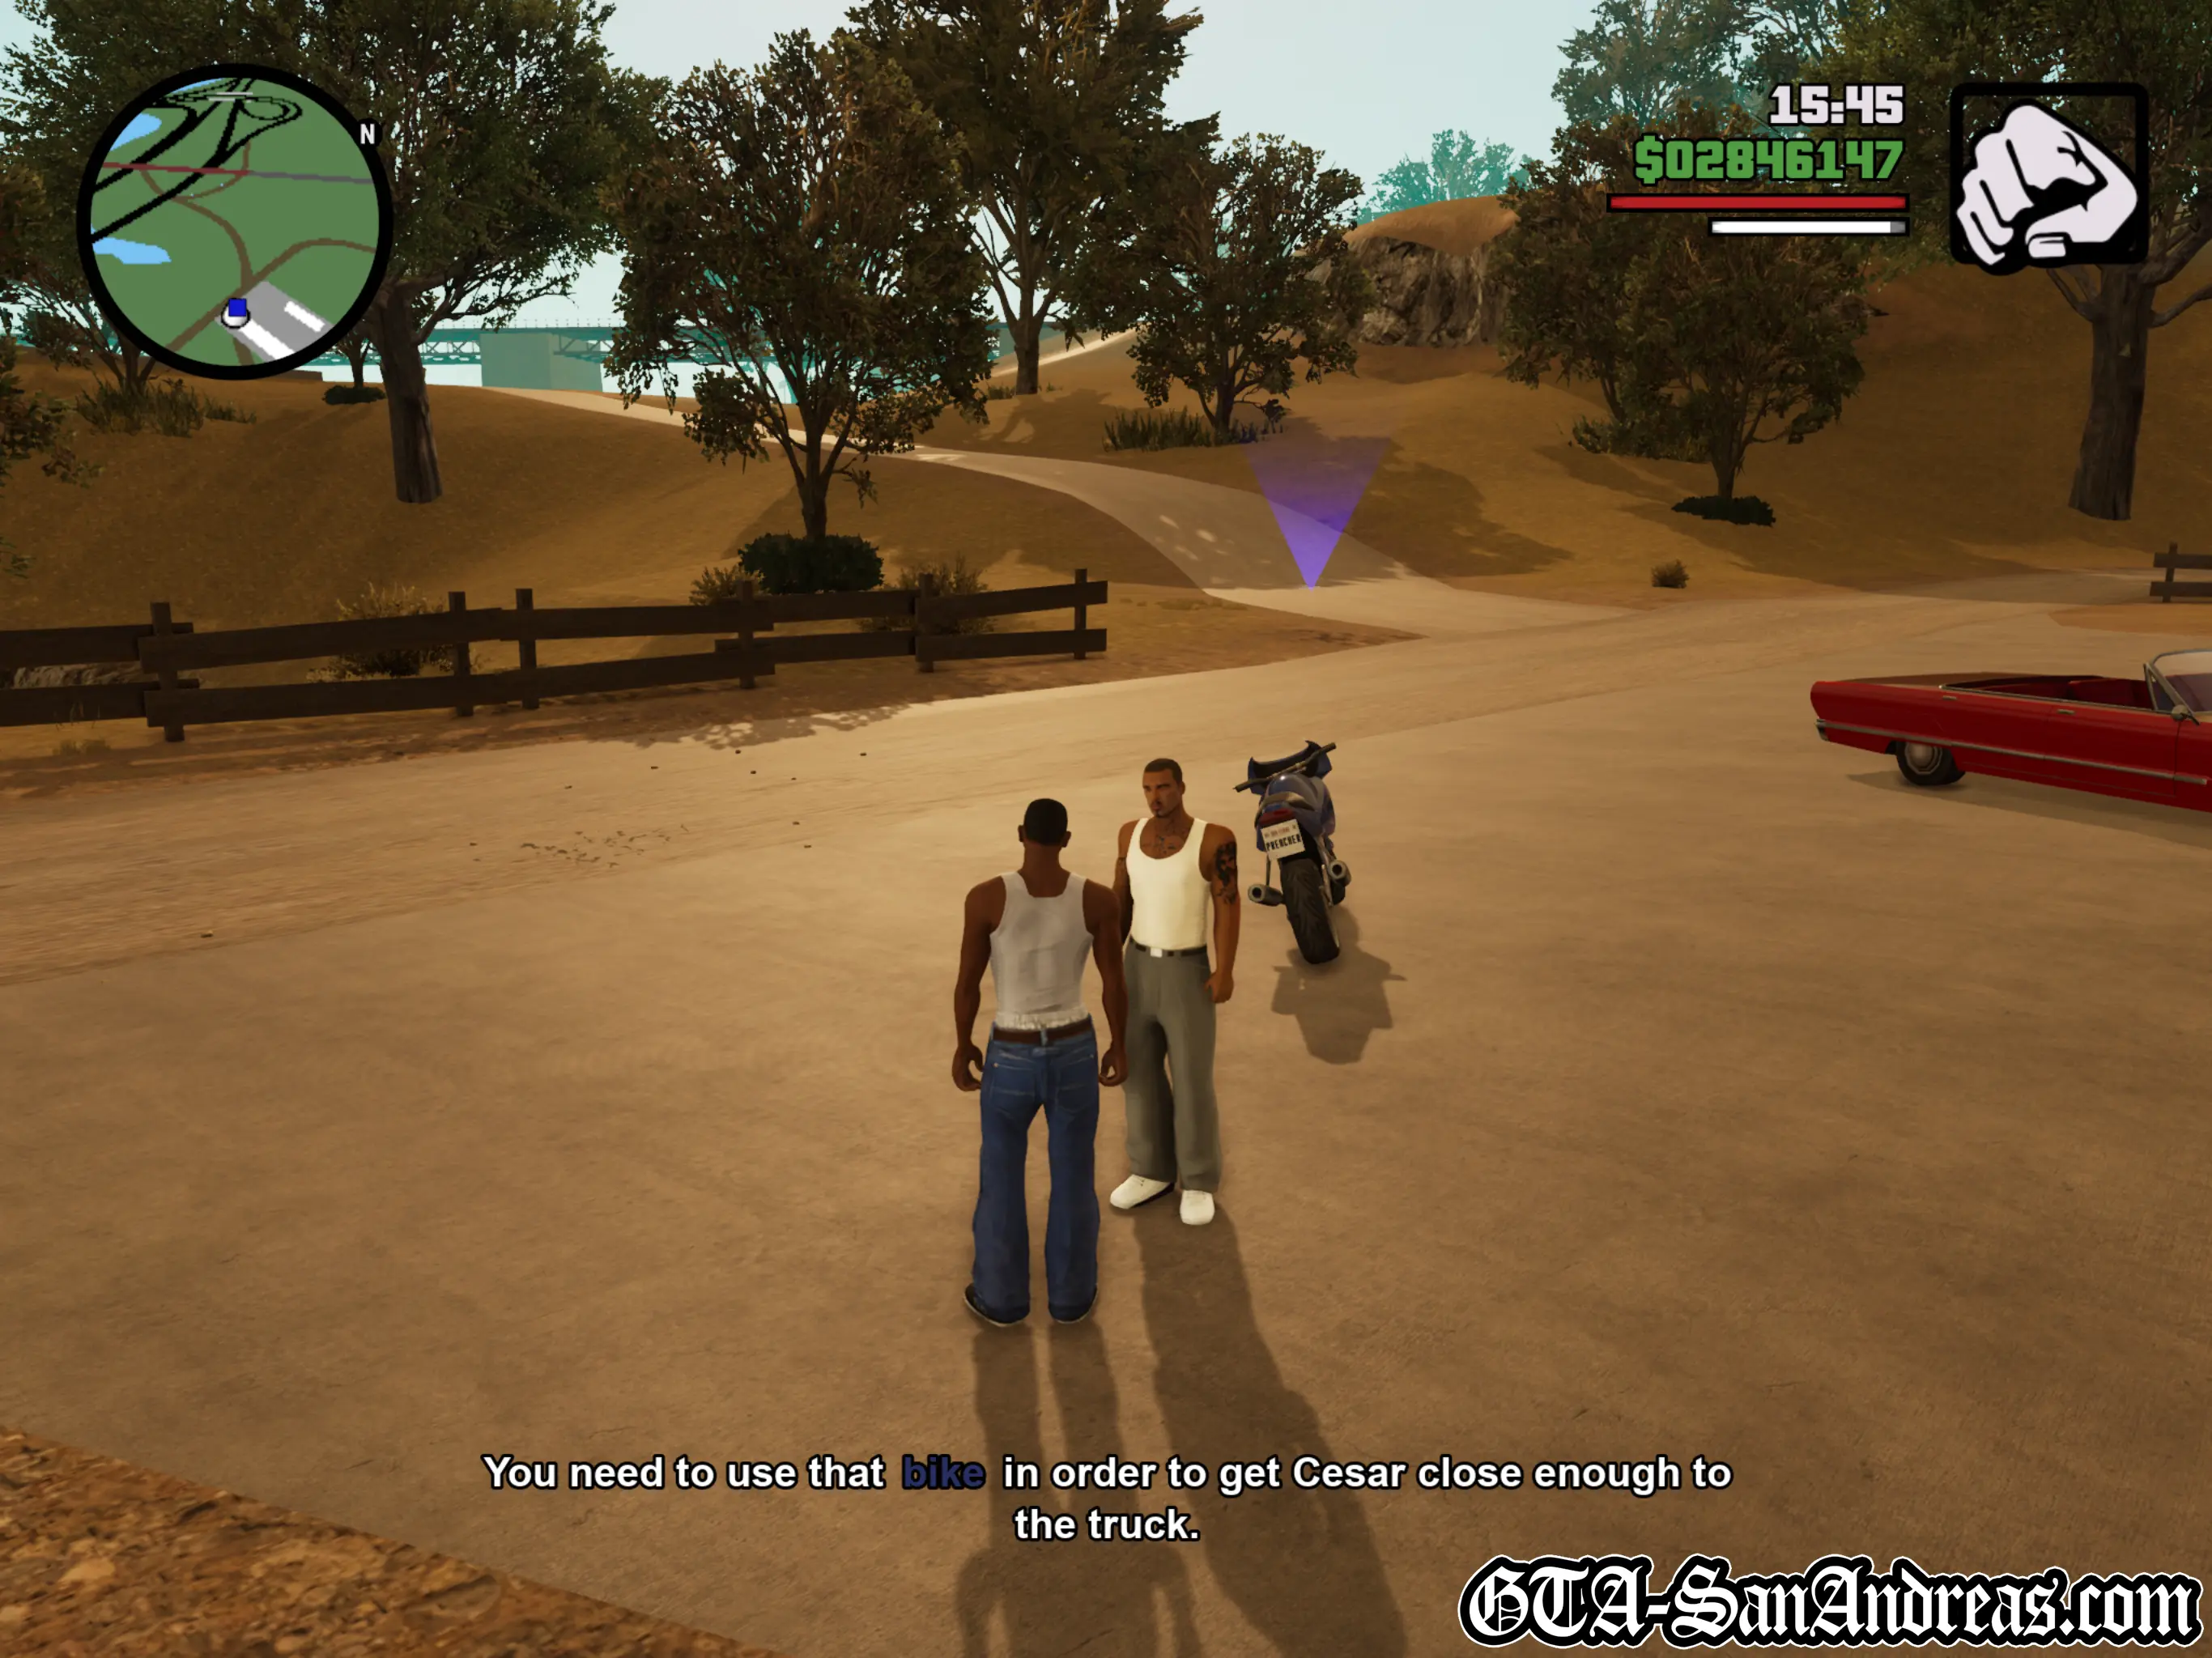
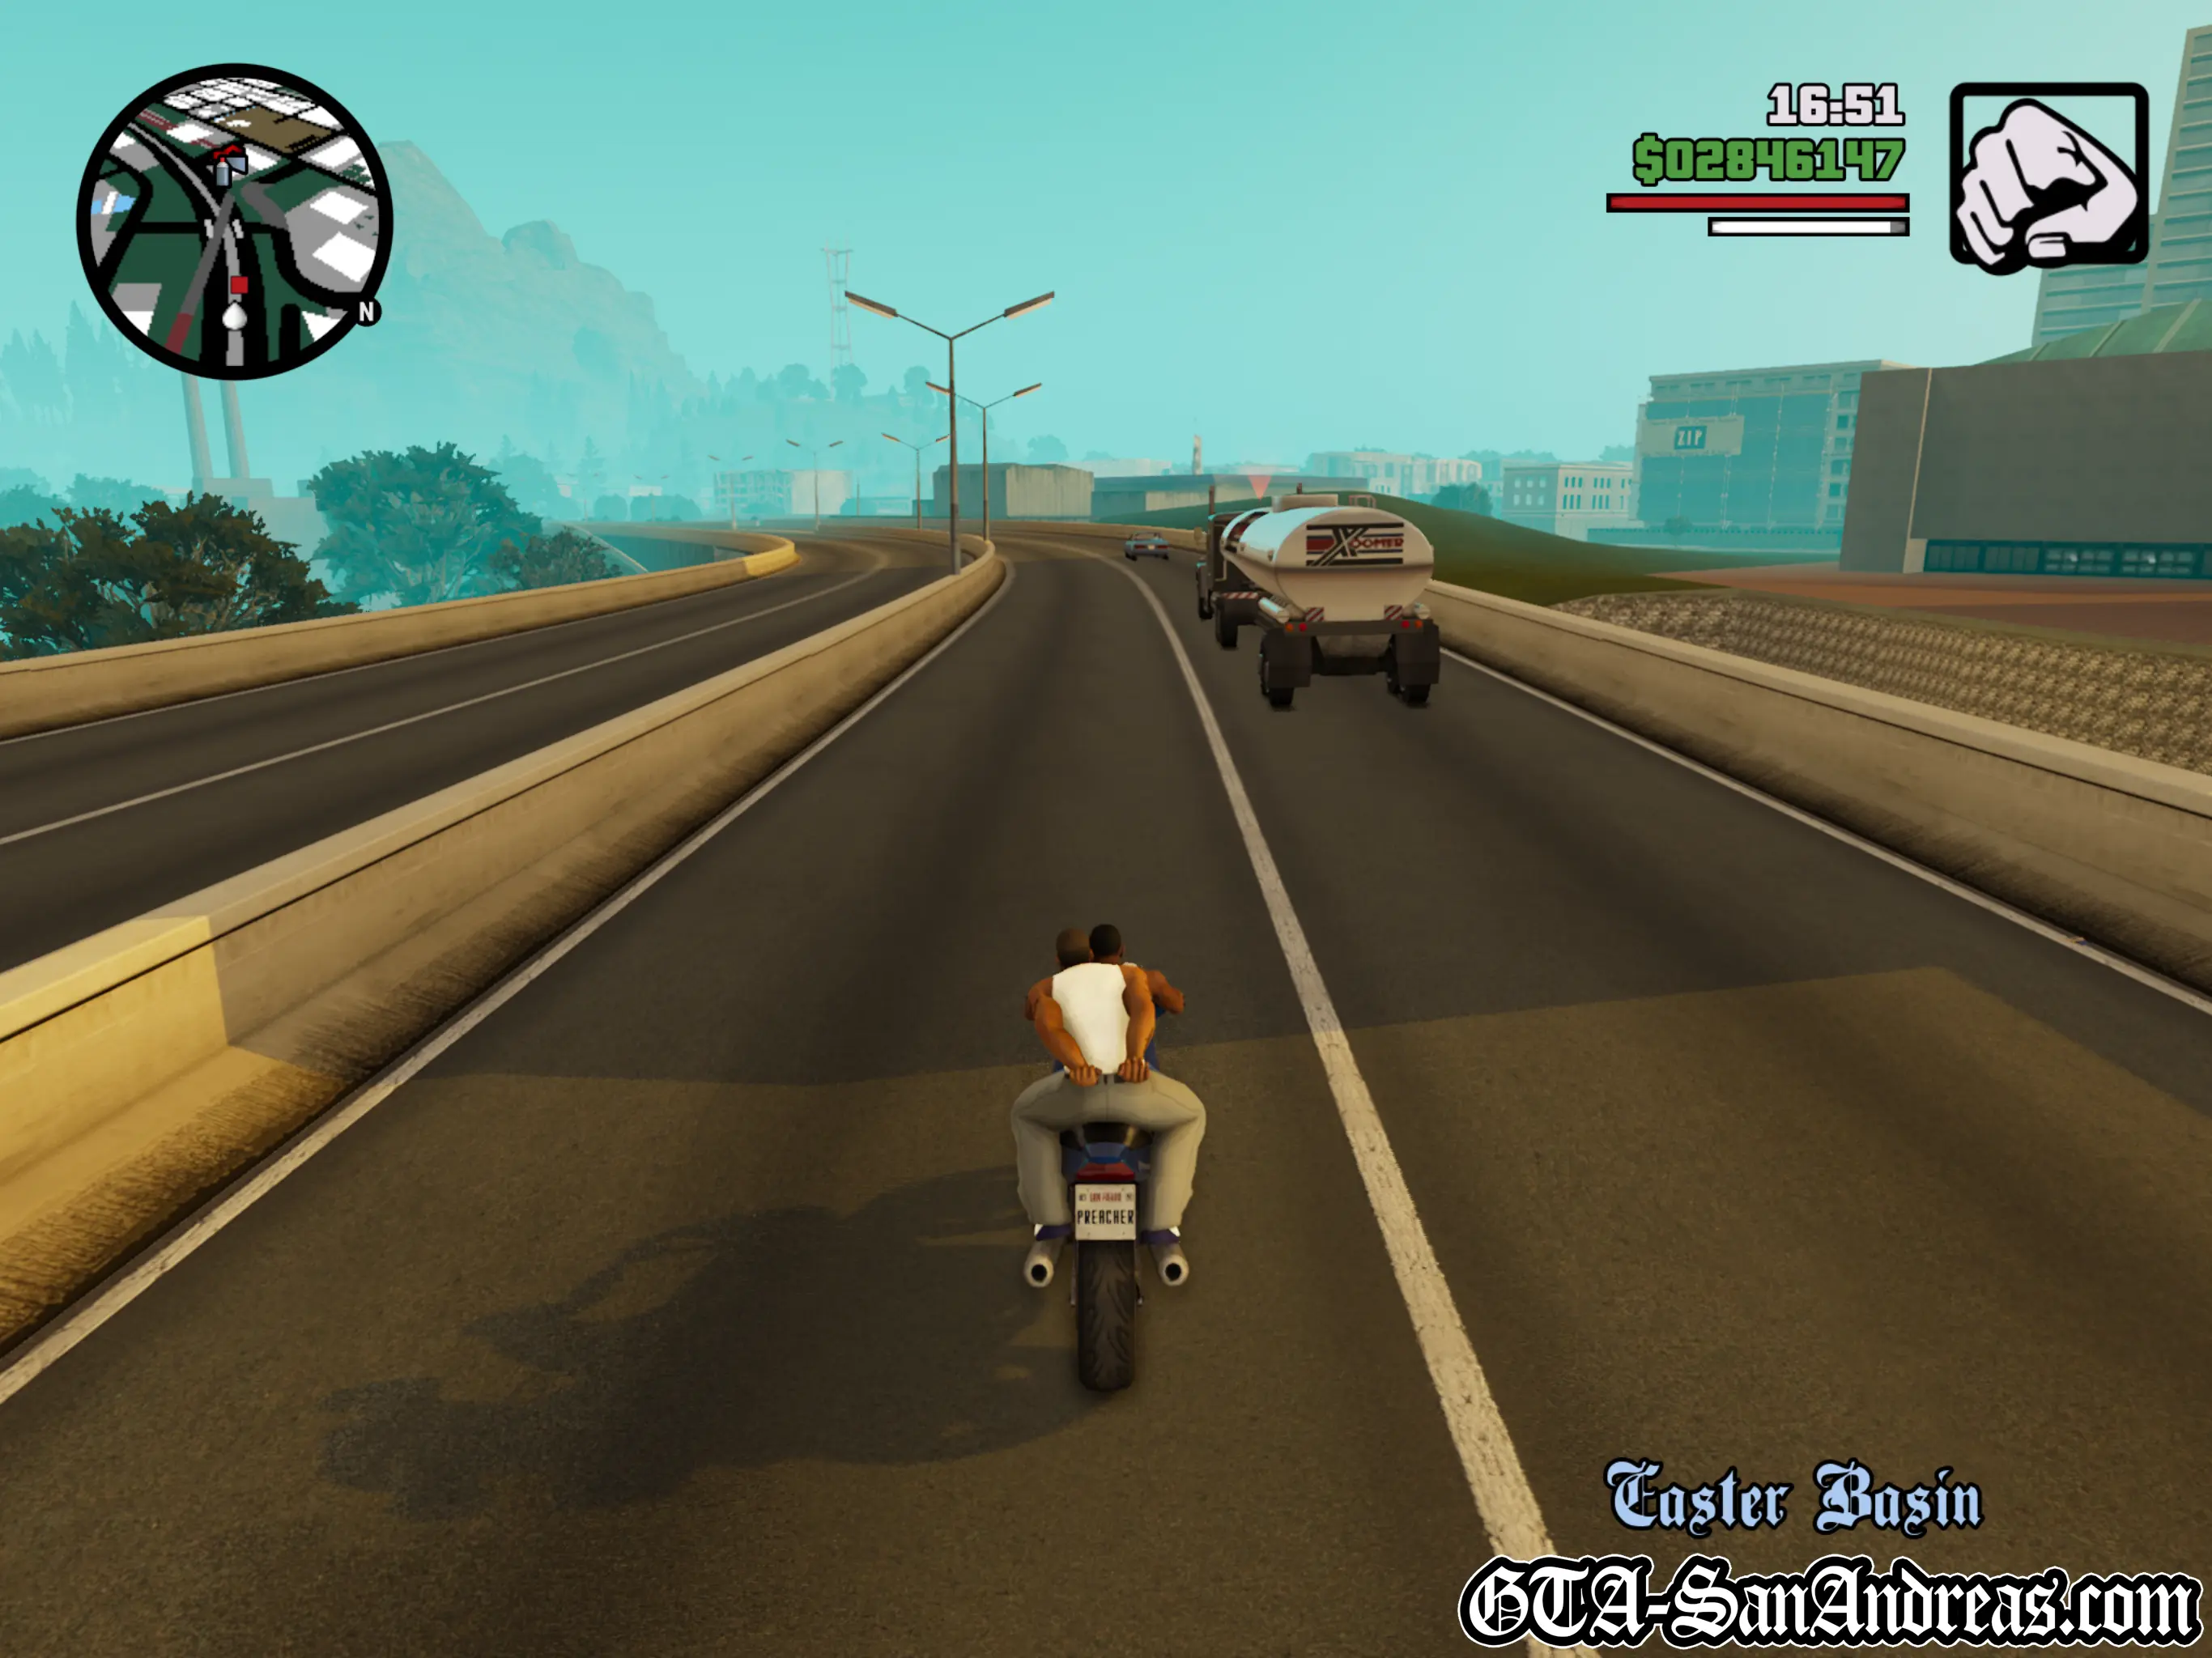
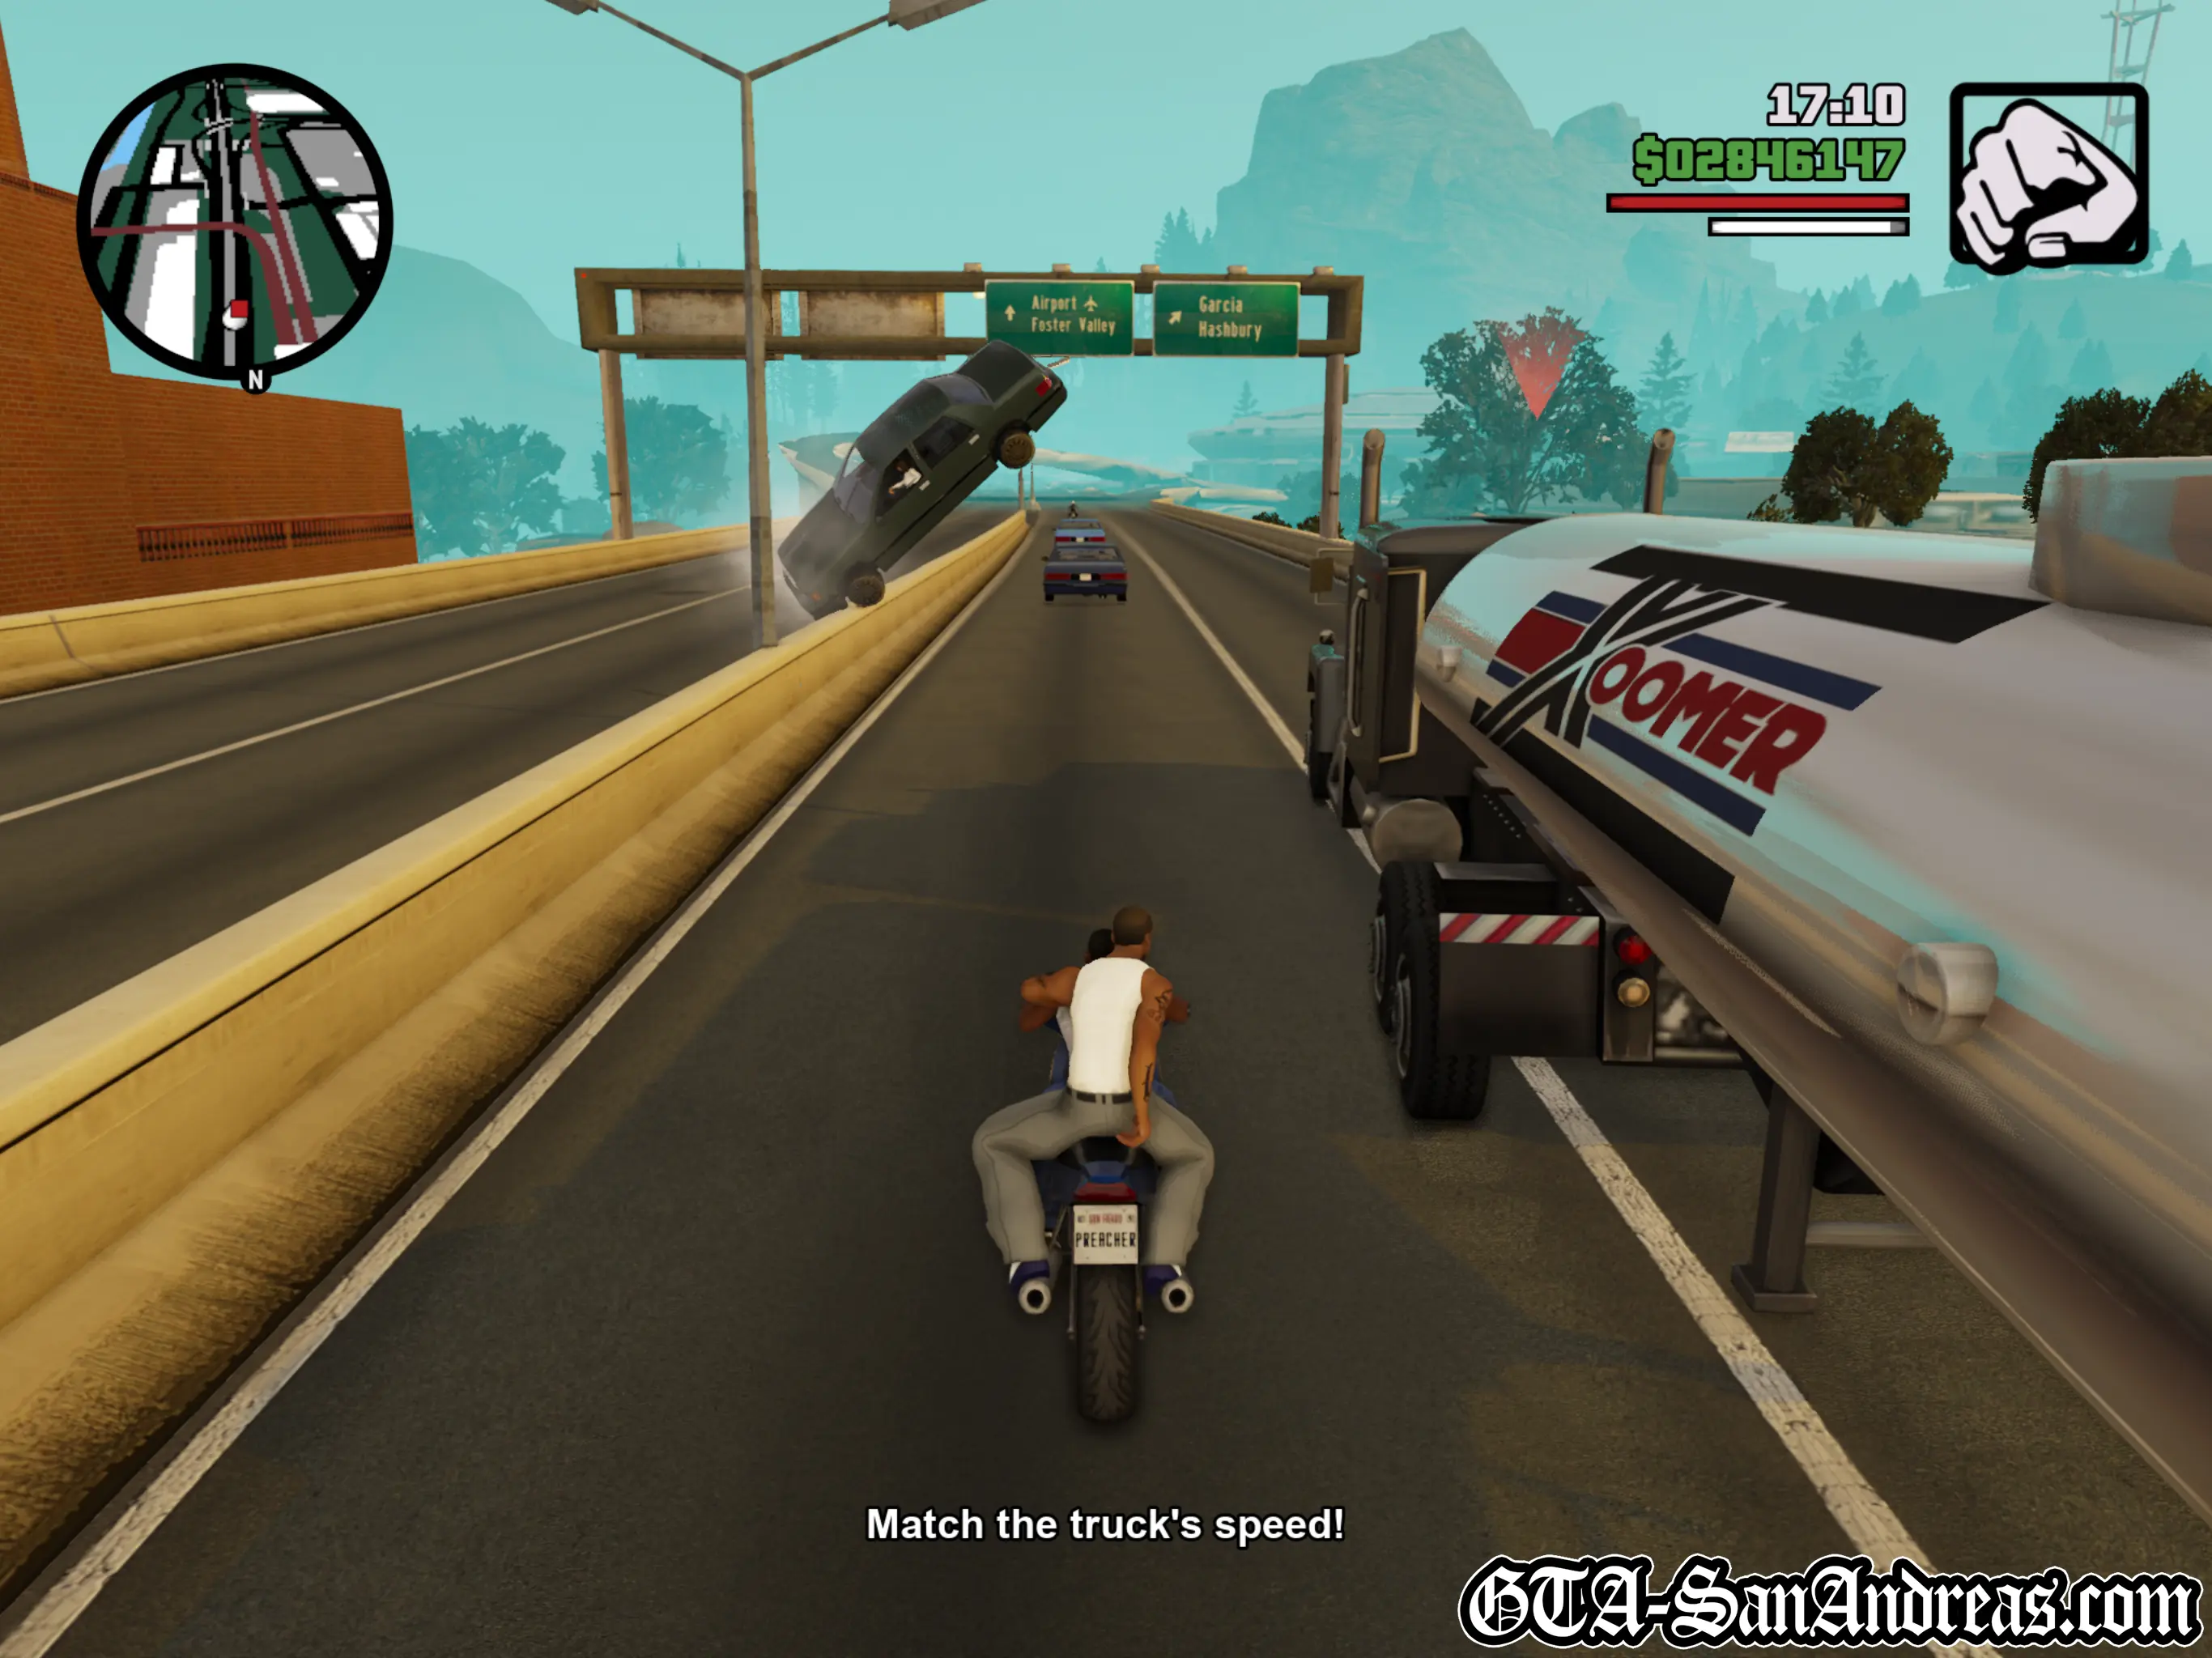
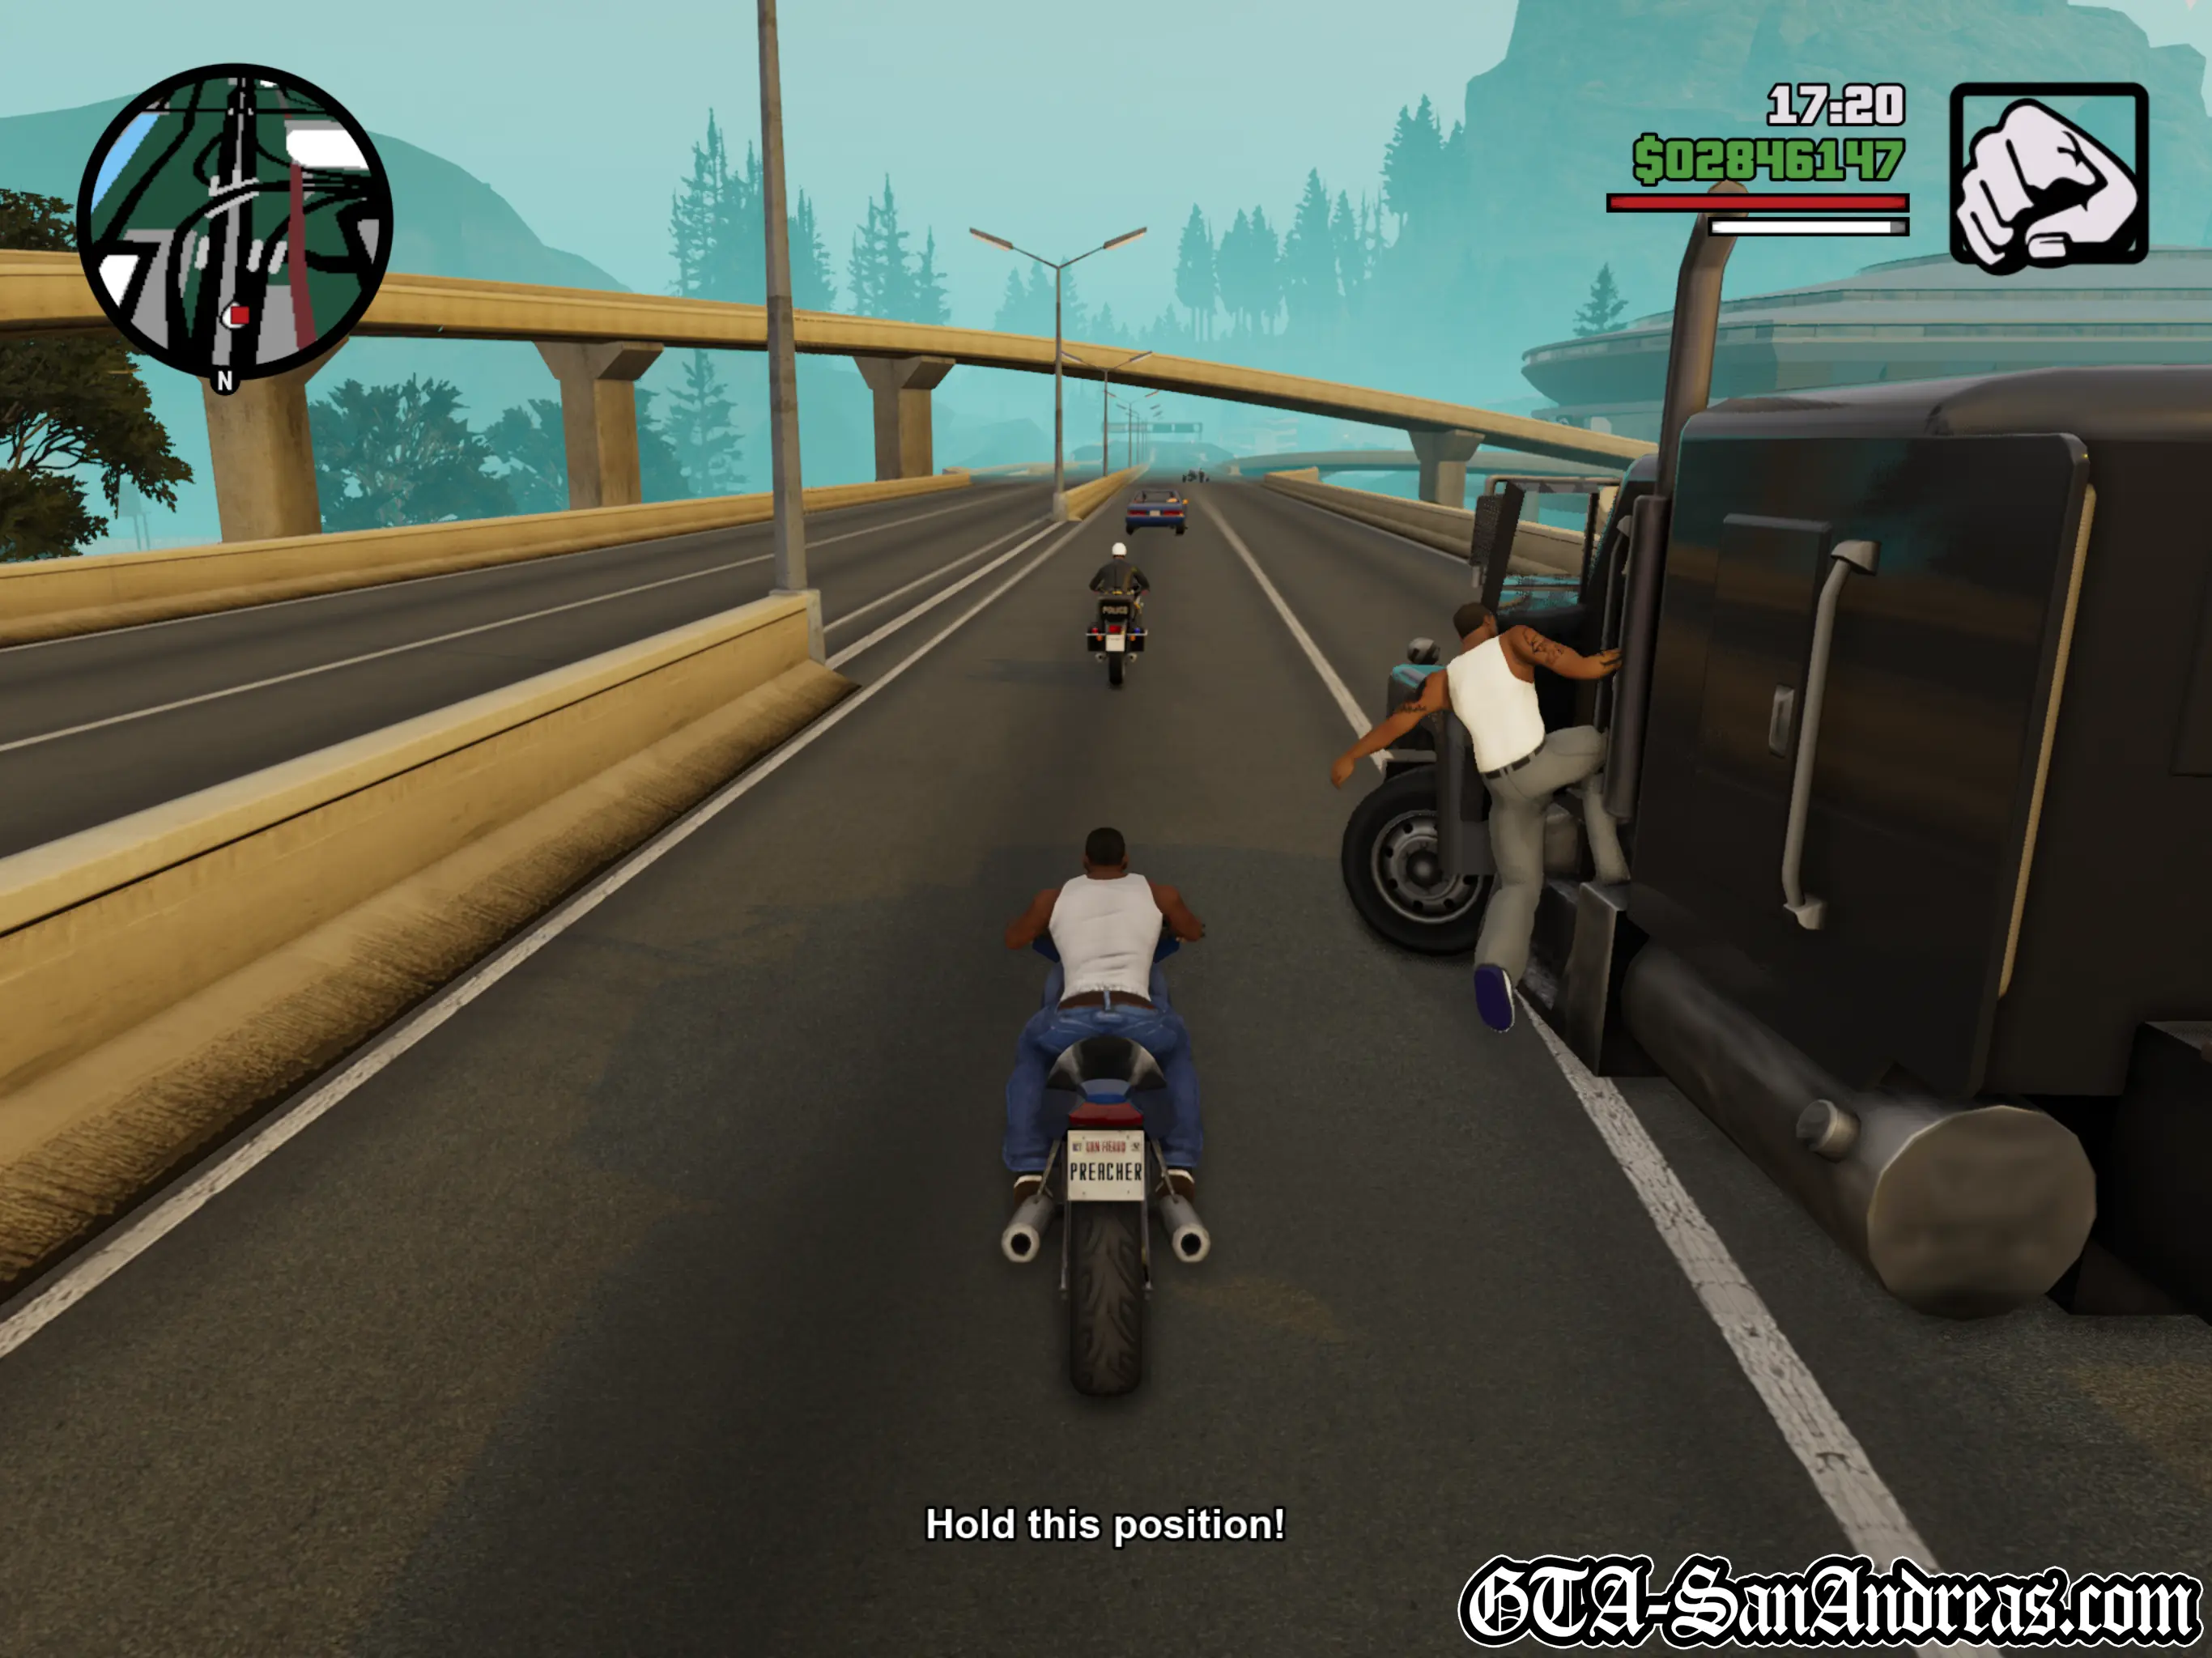
Highjack

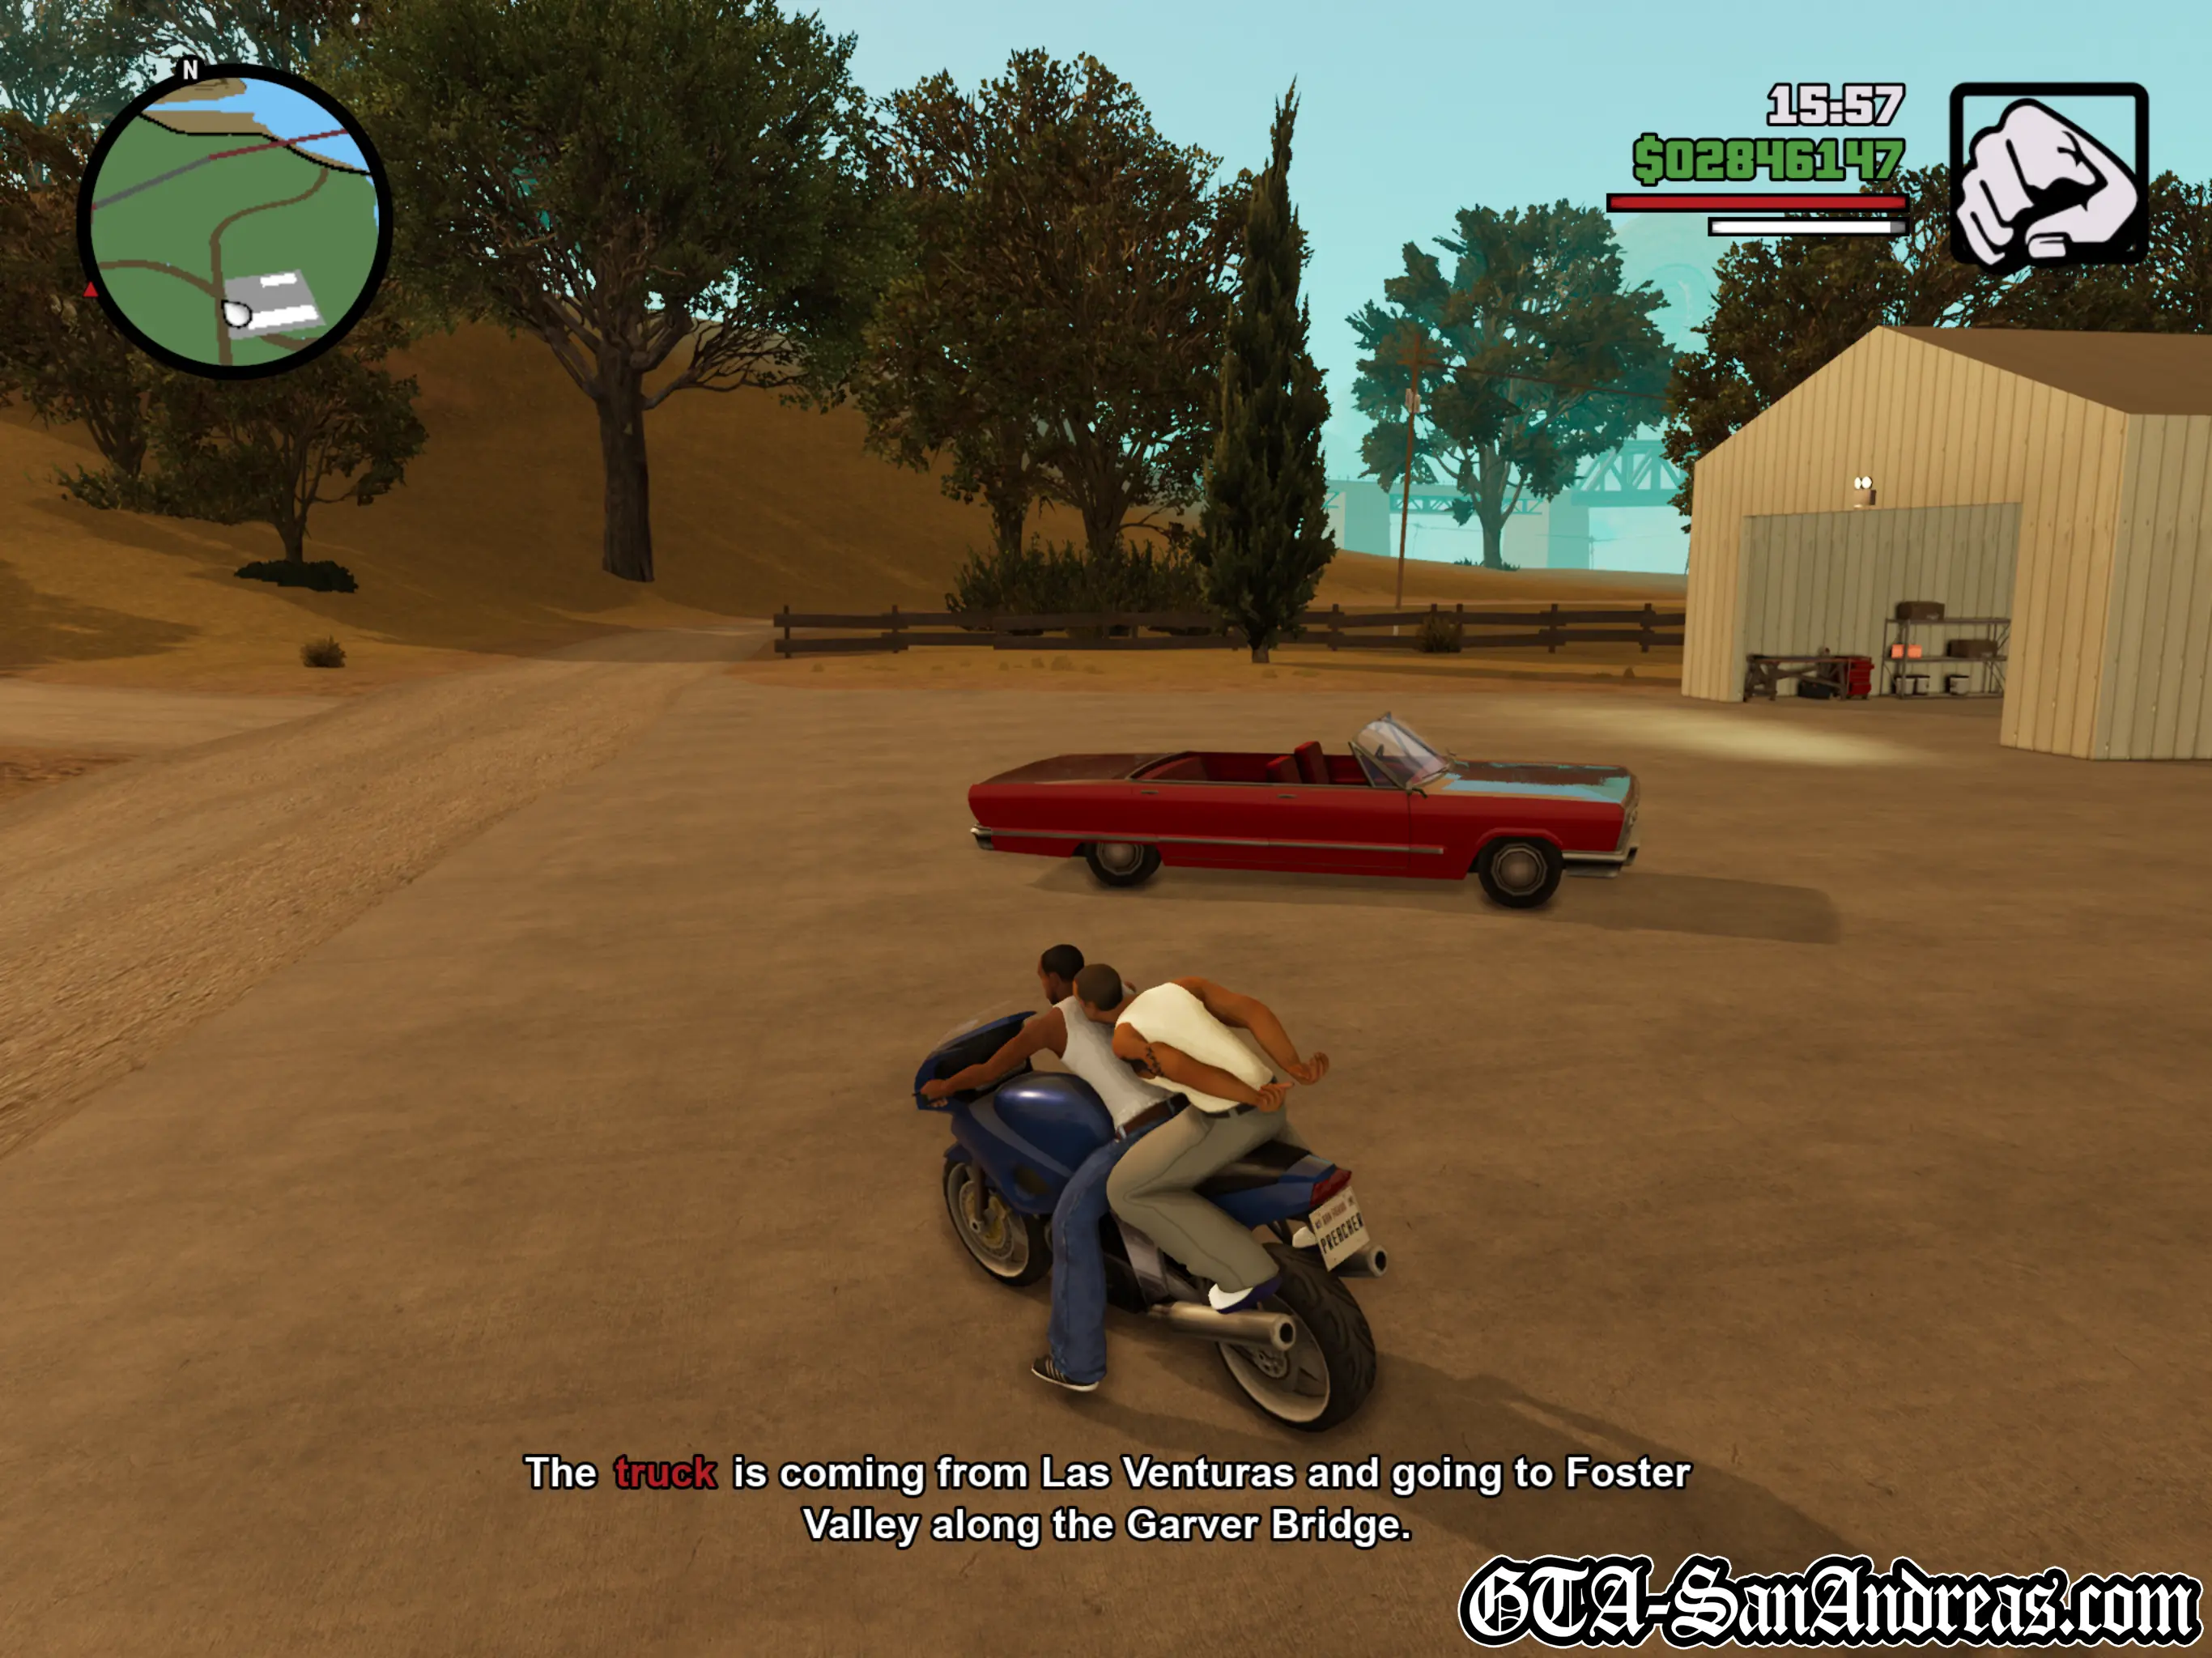
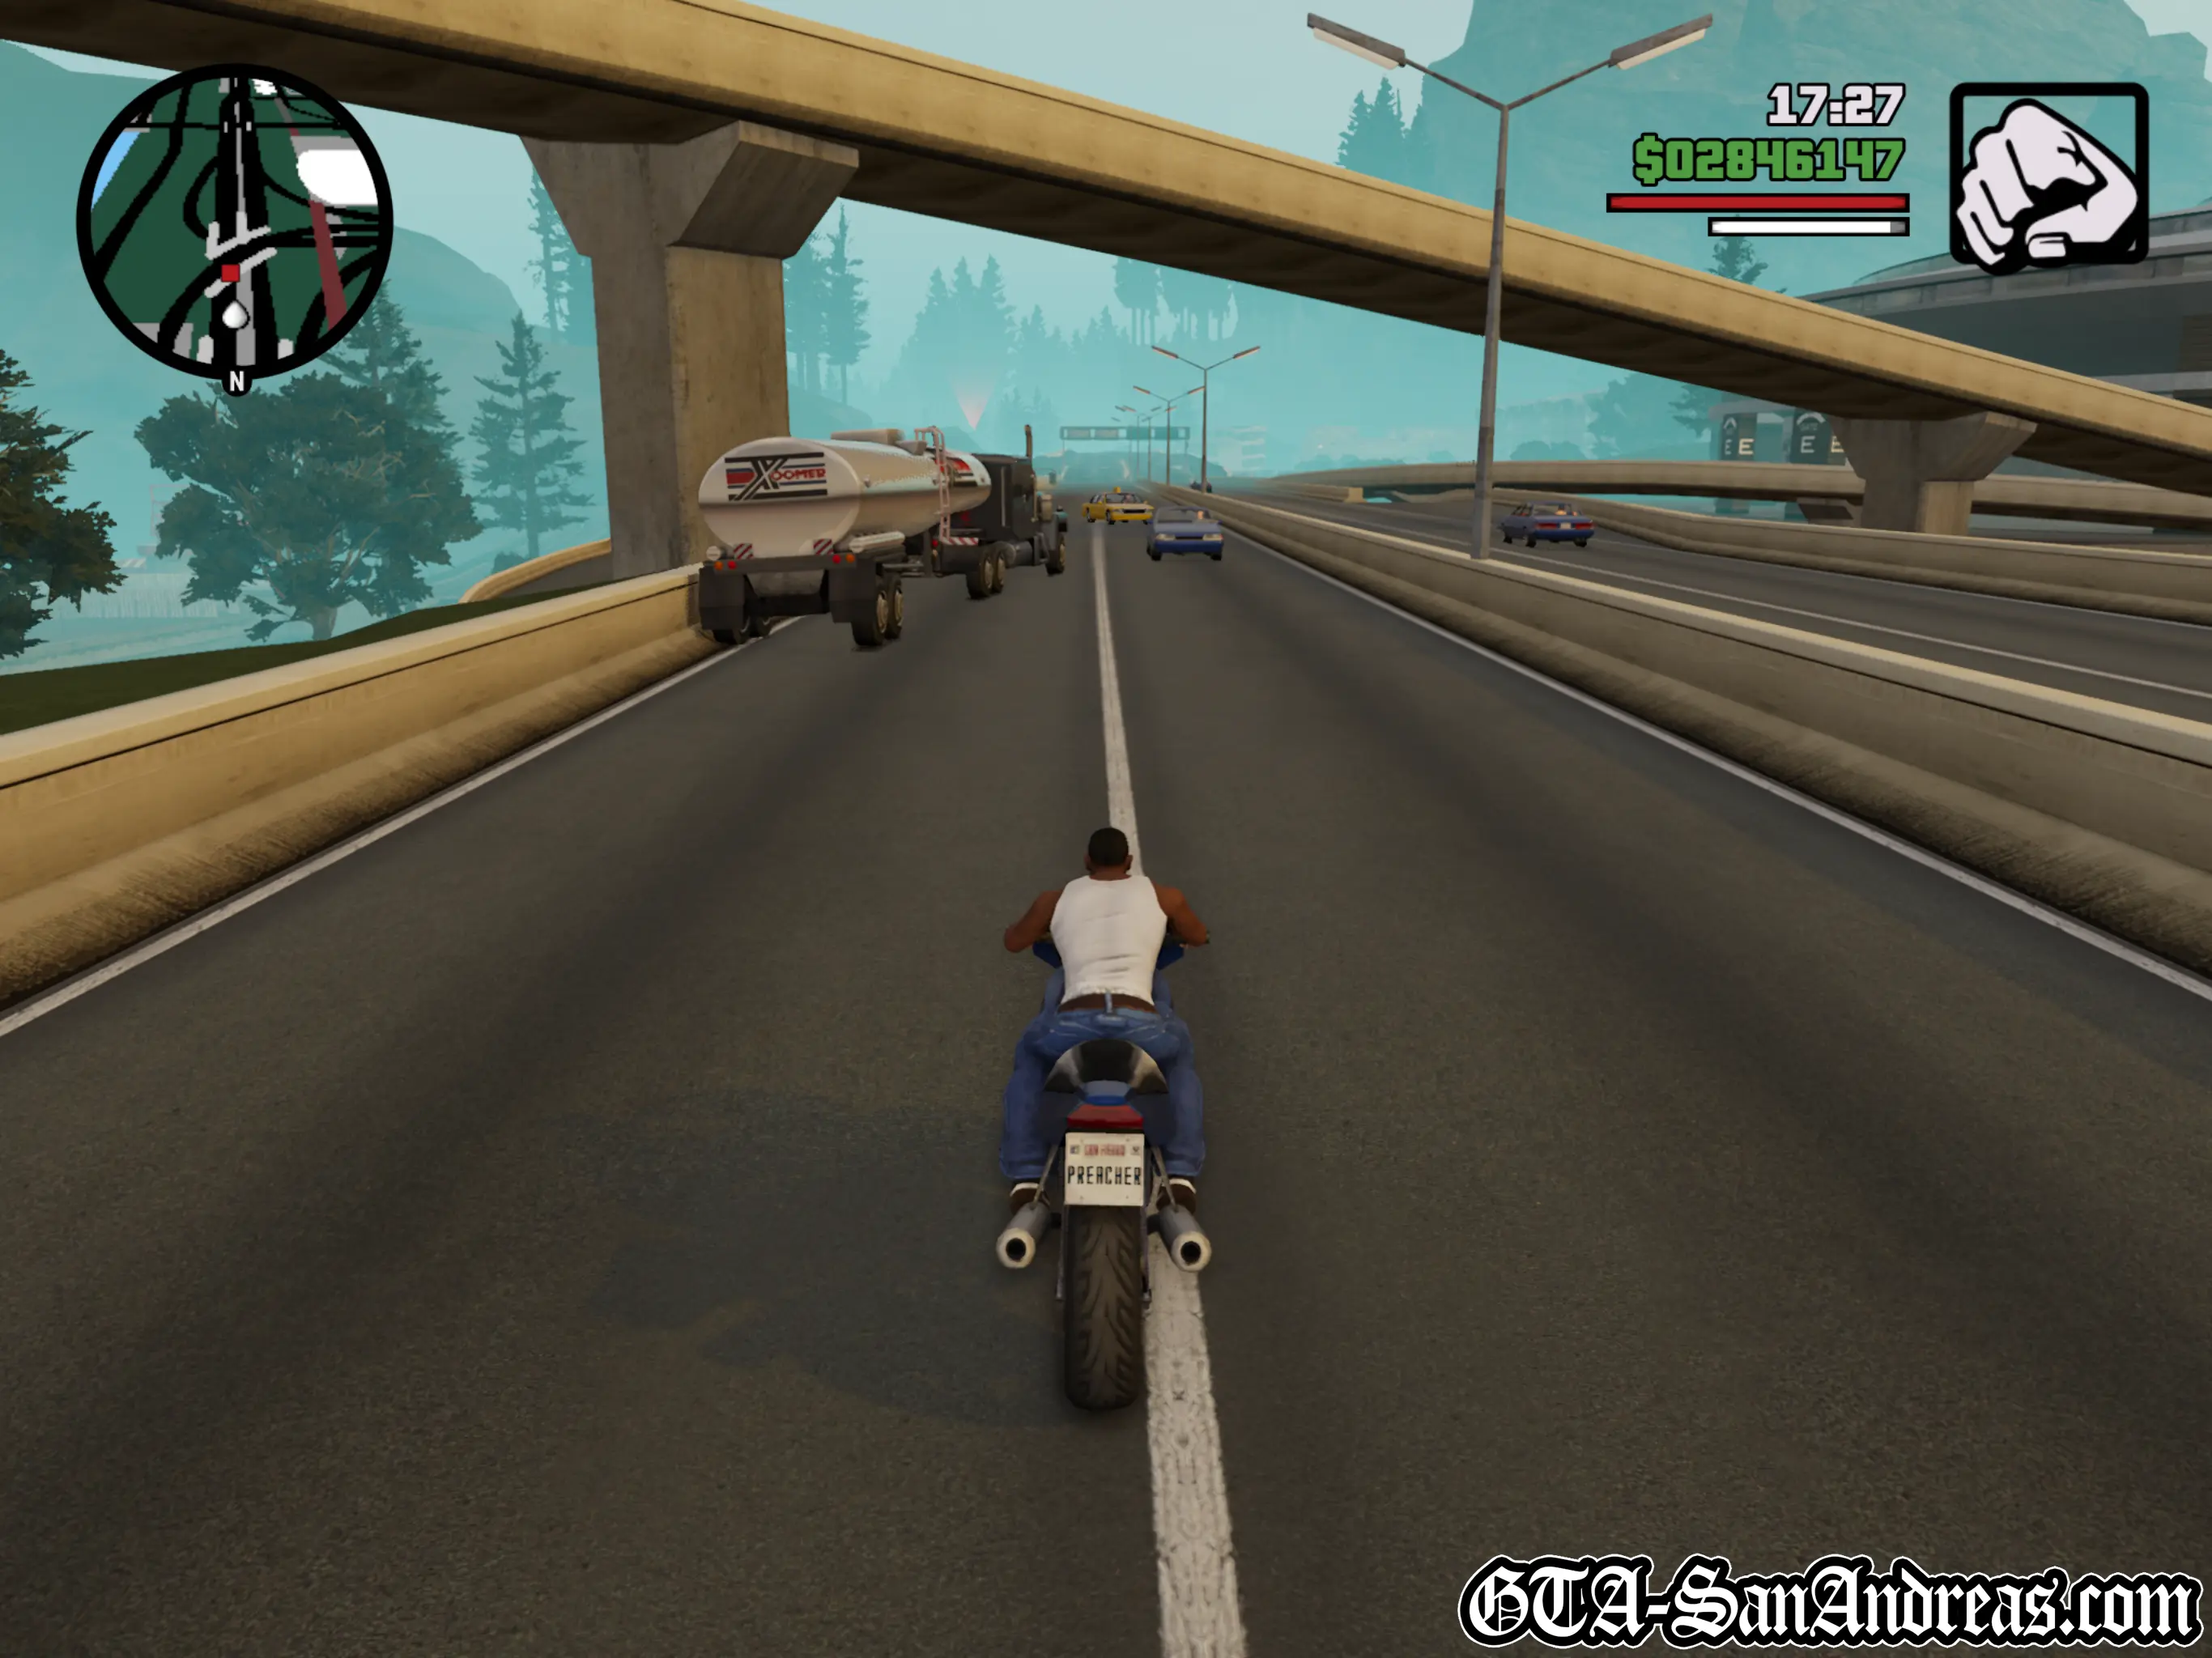
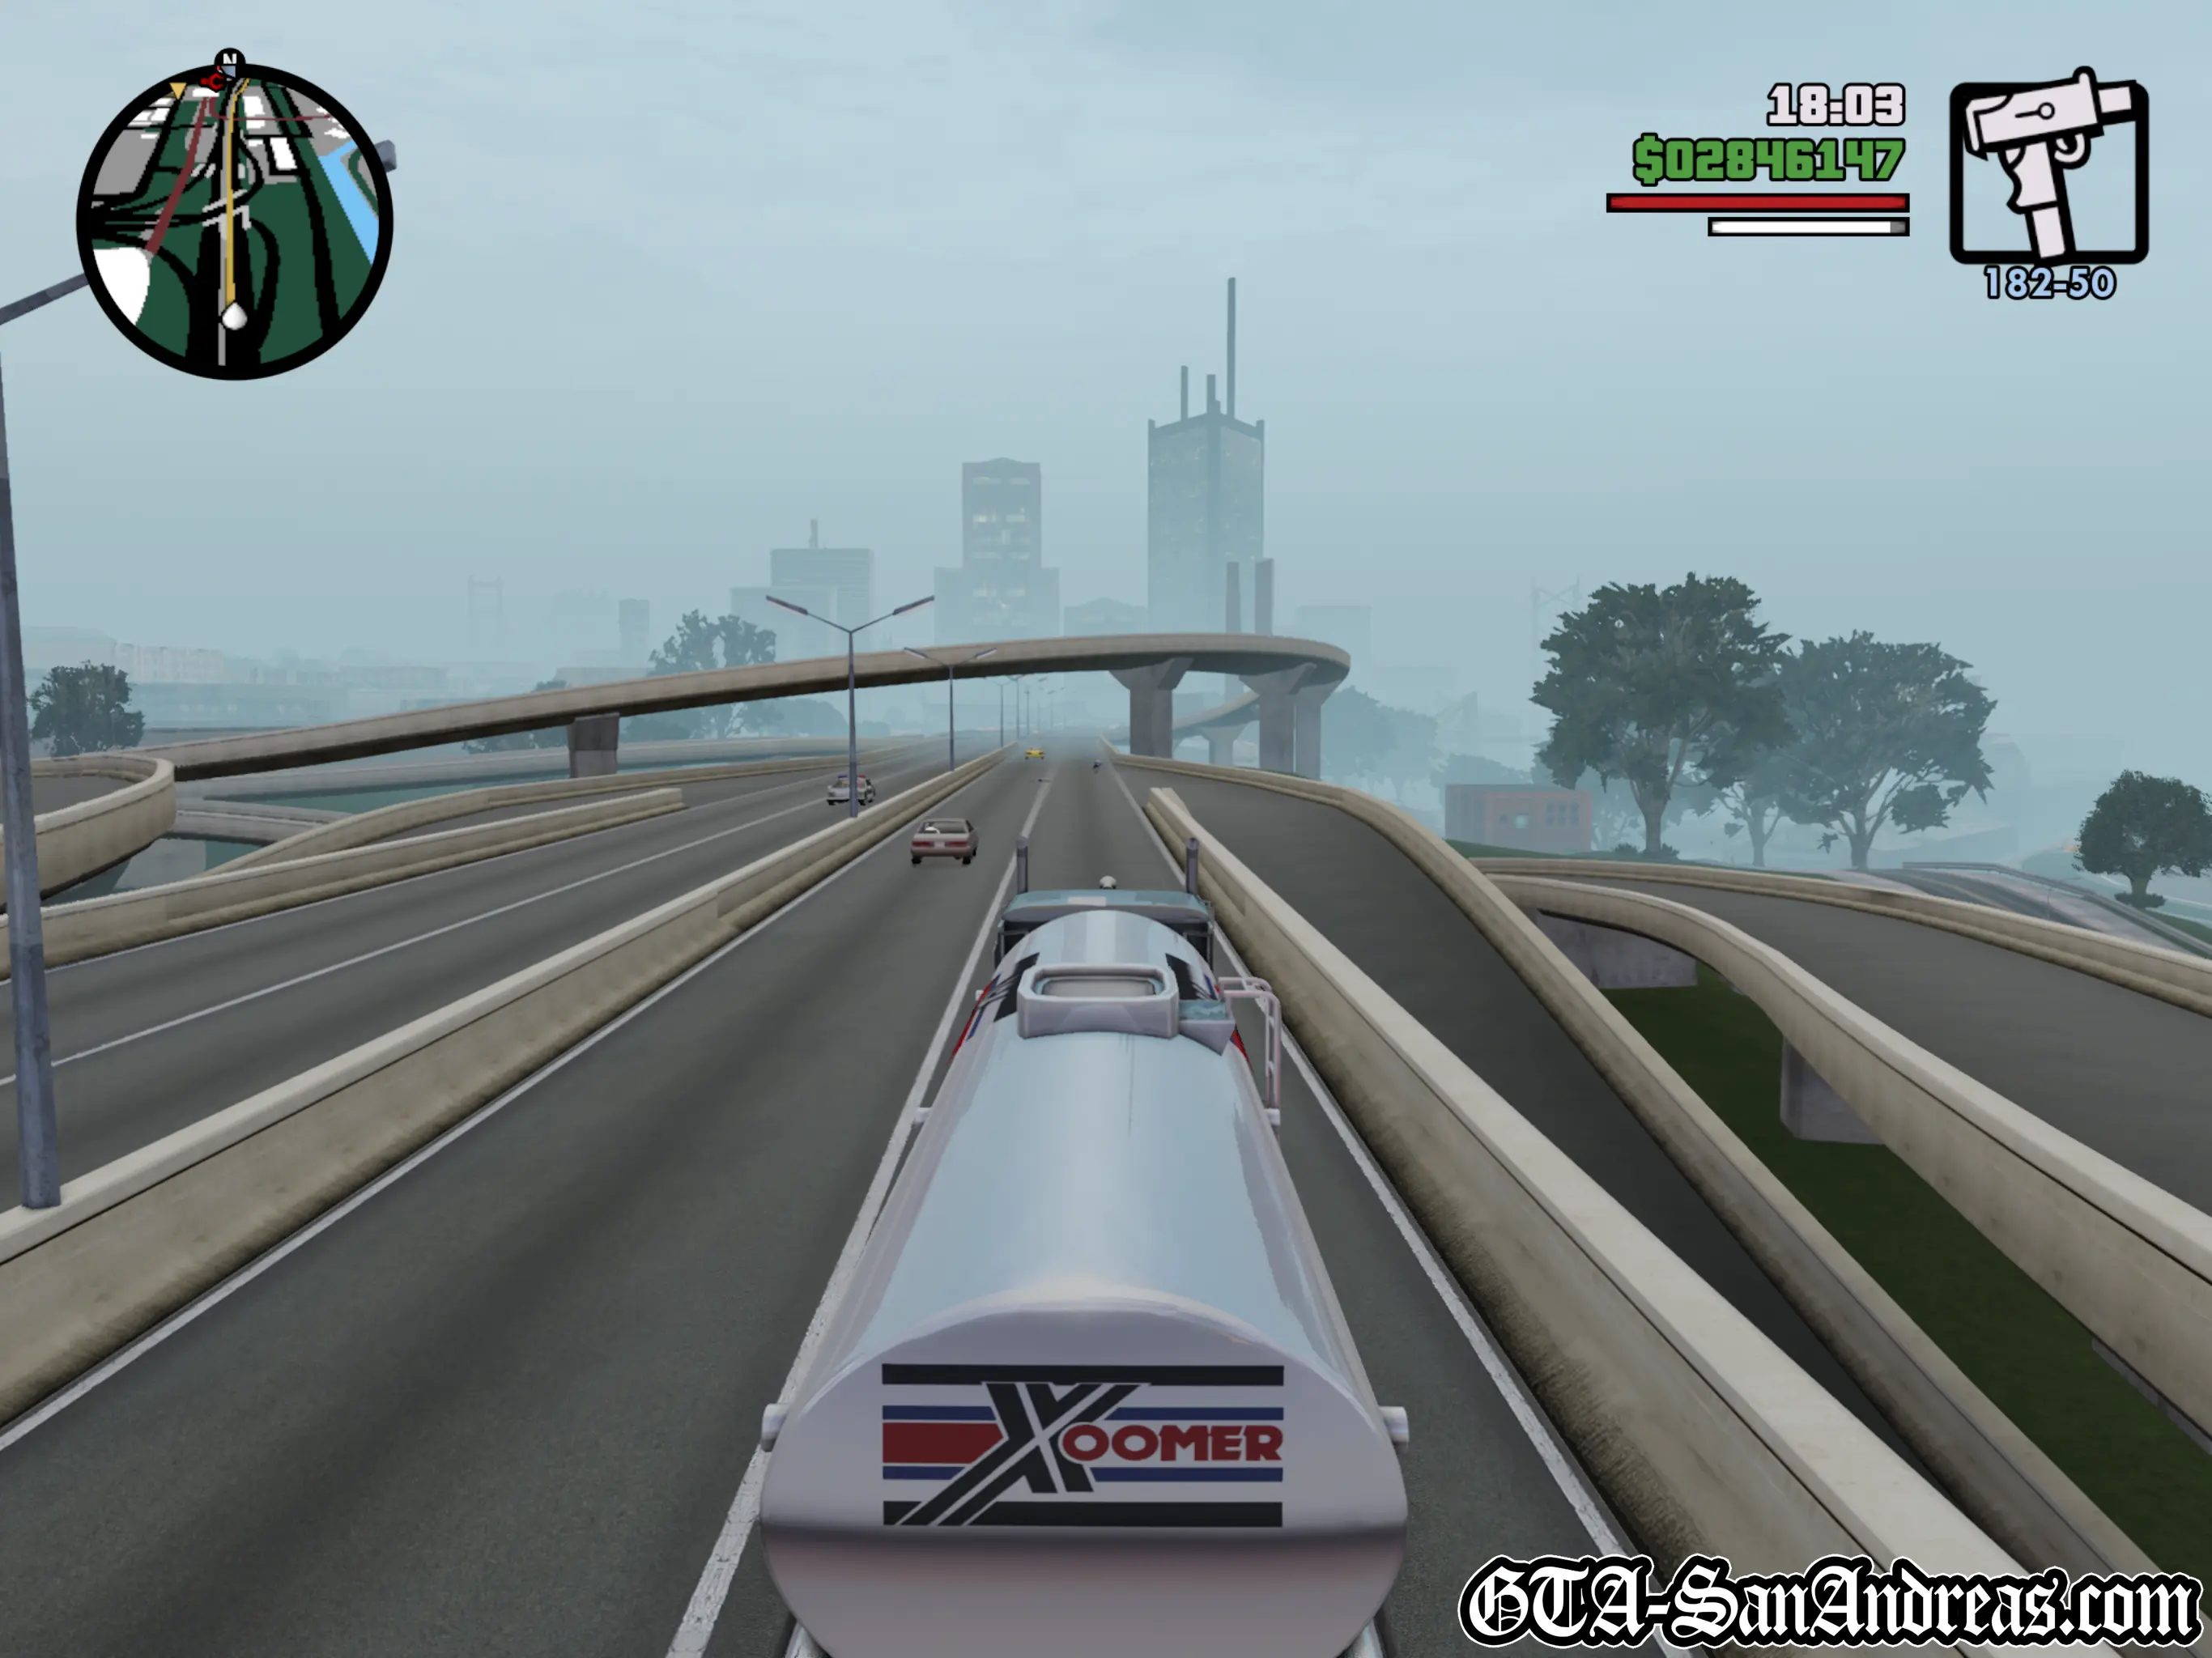
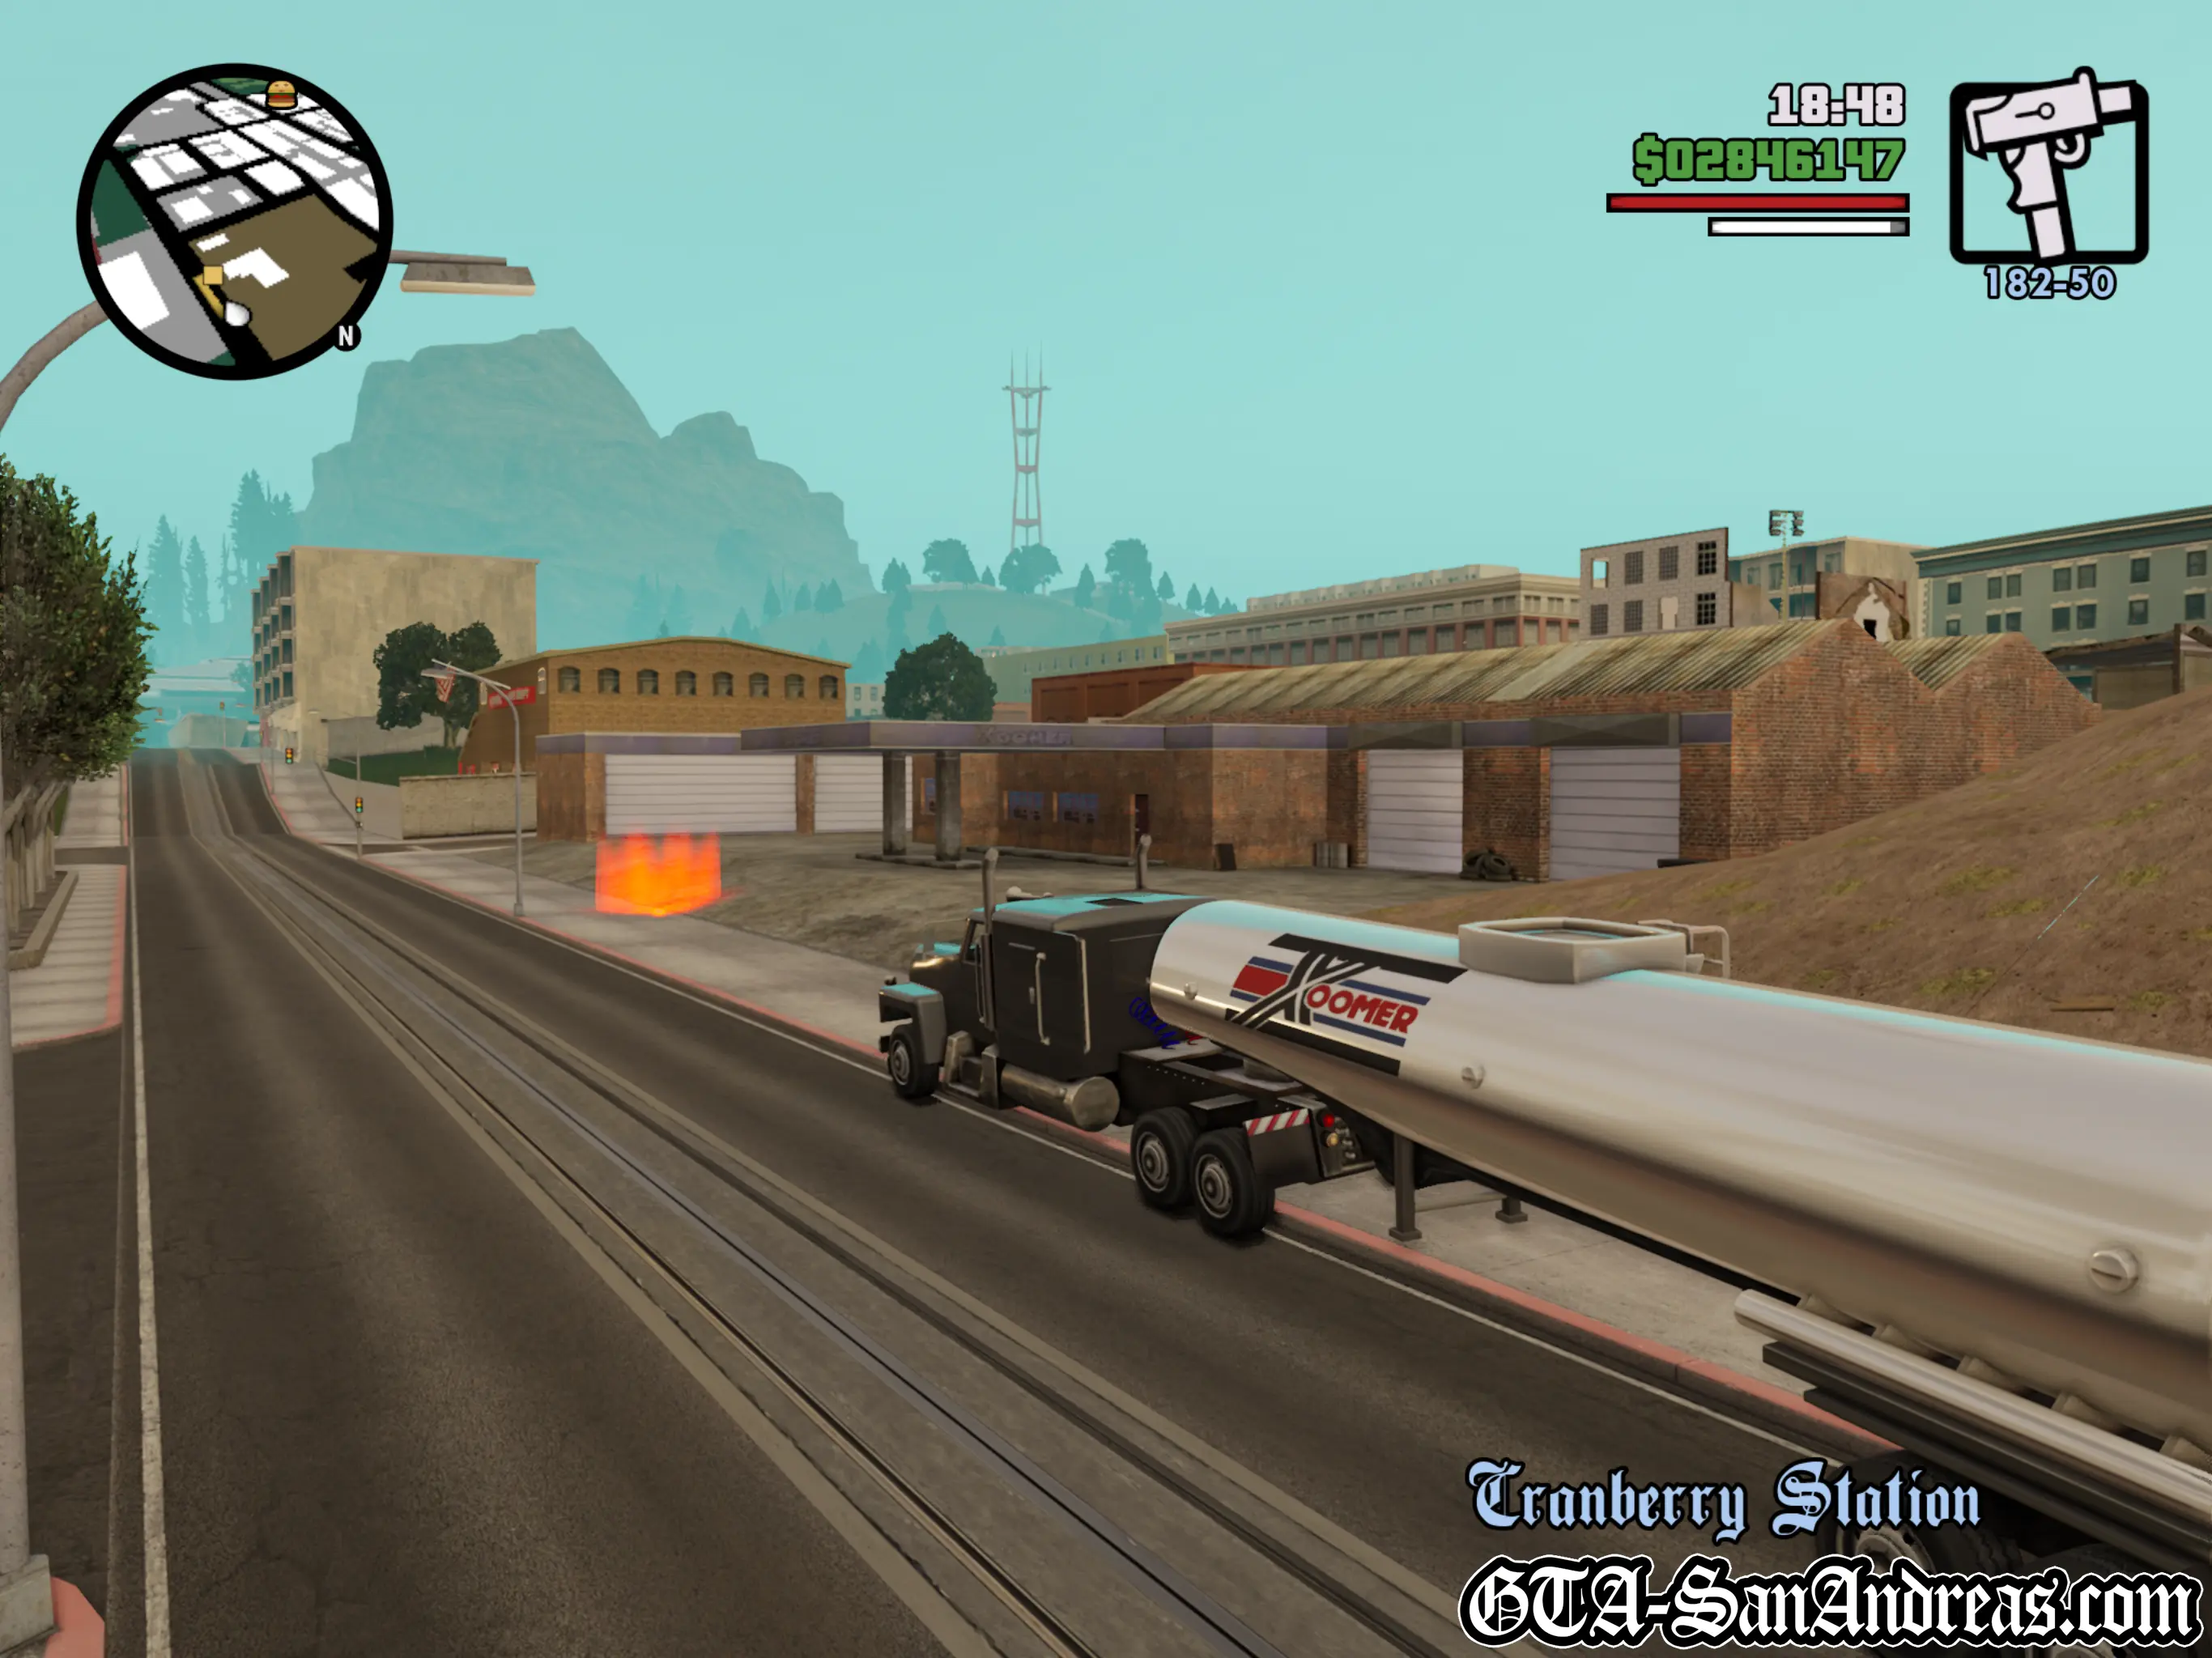
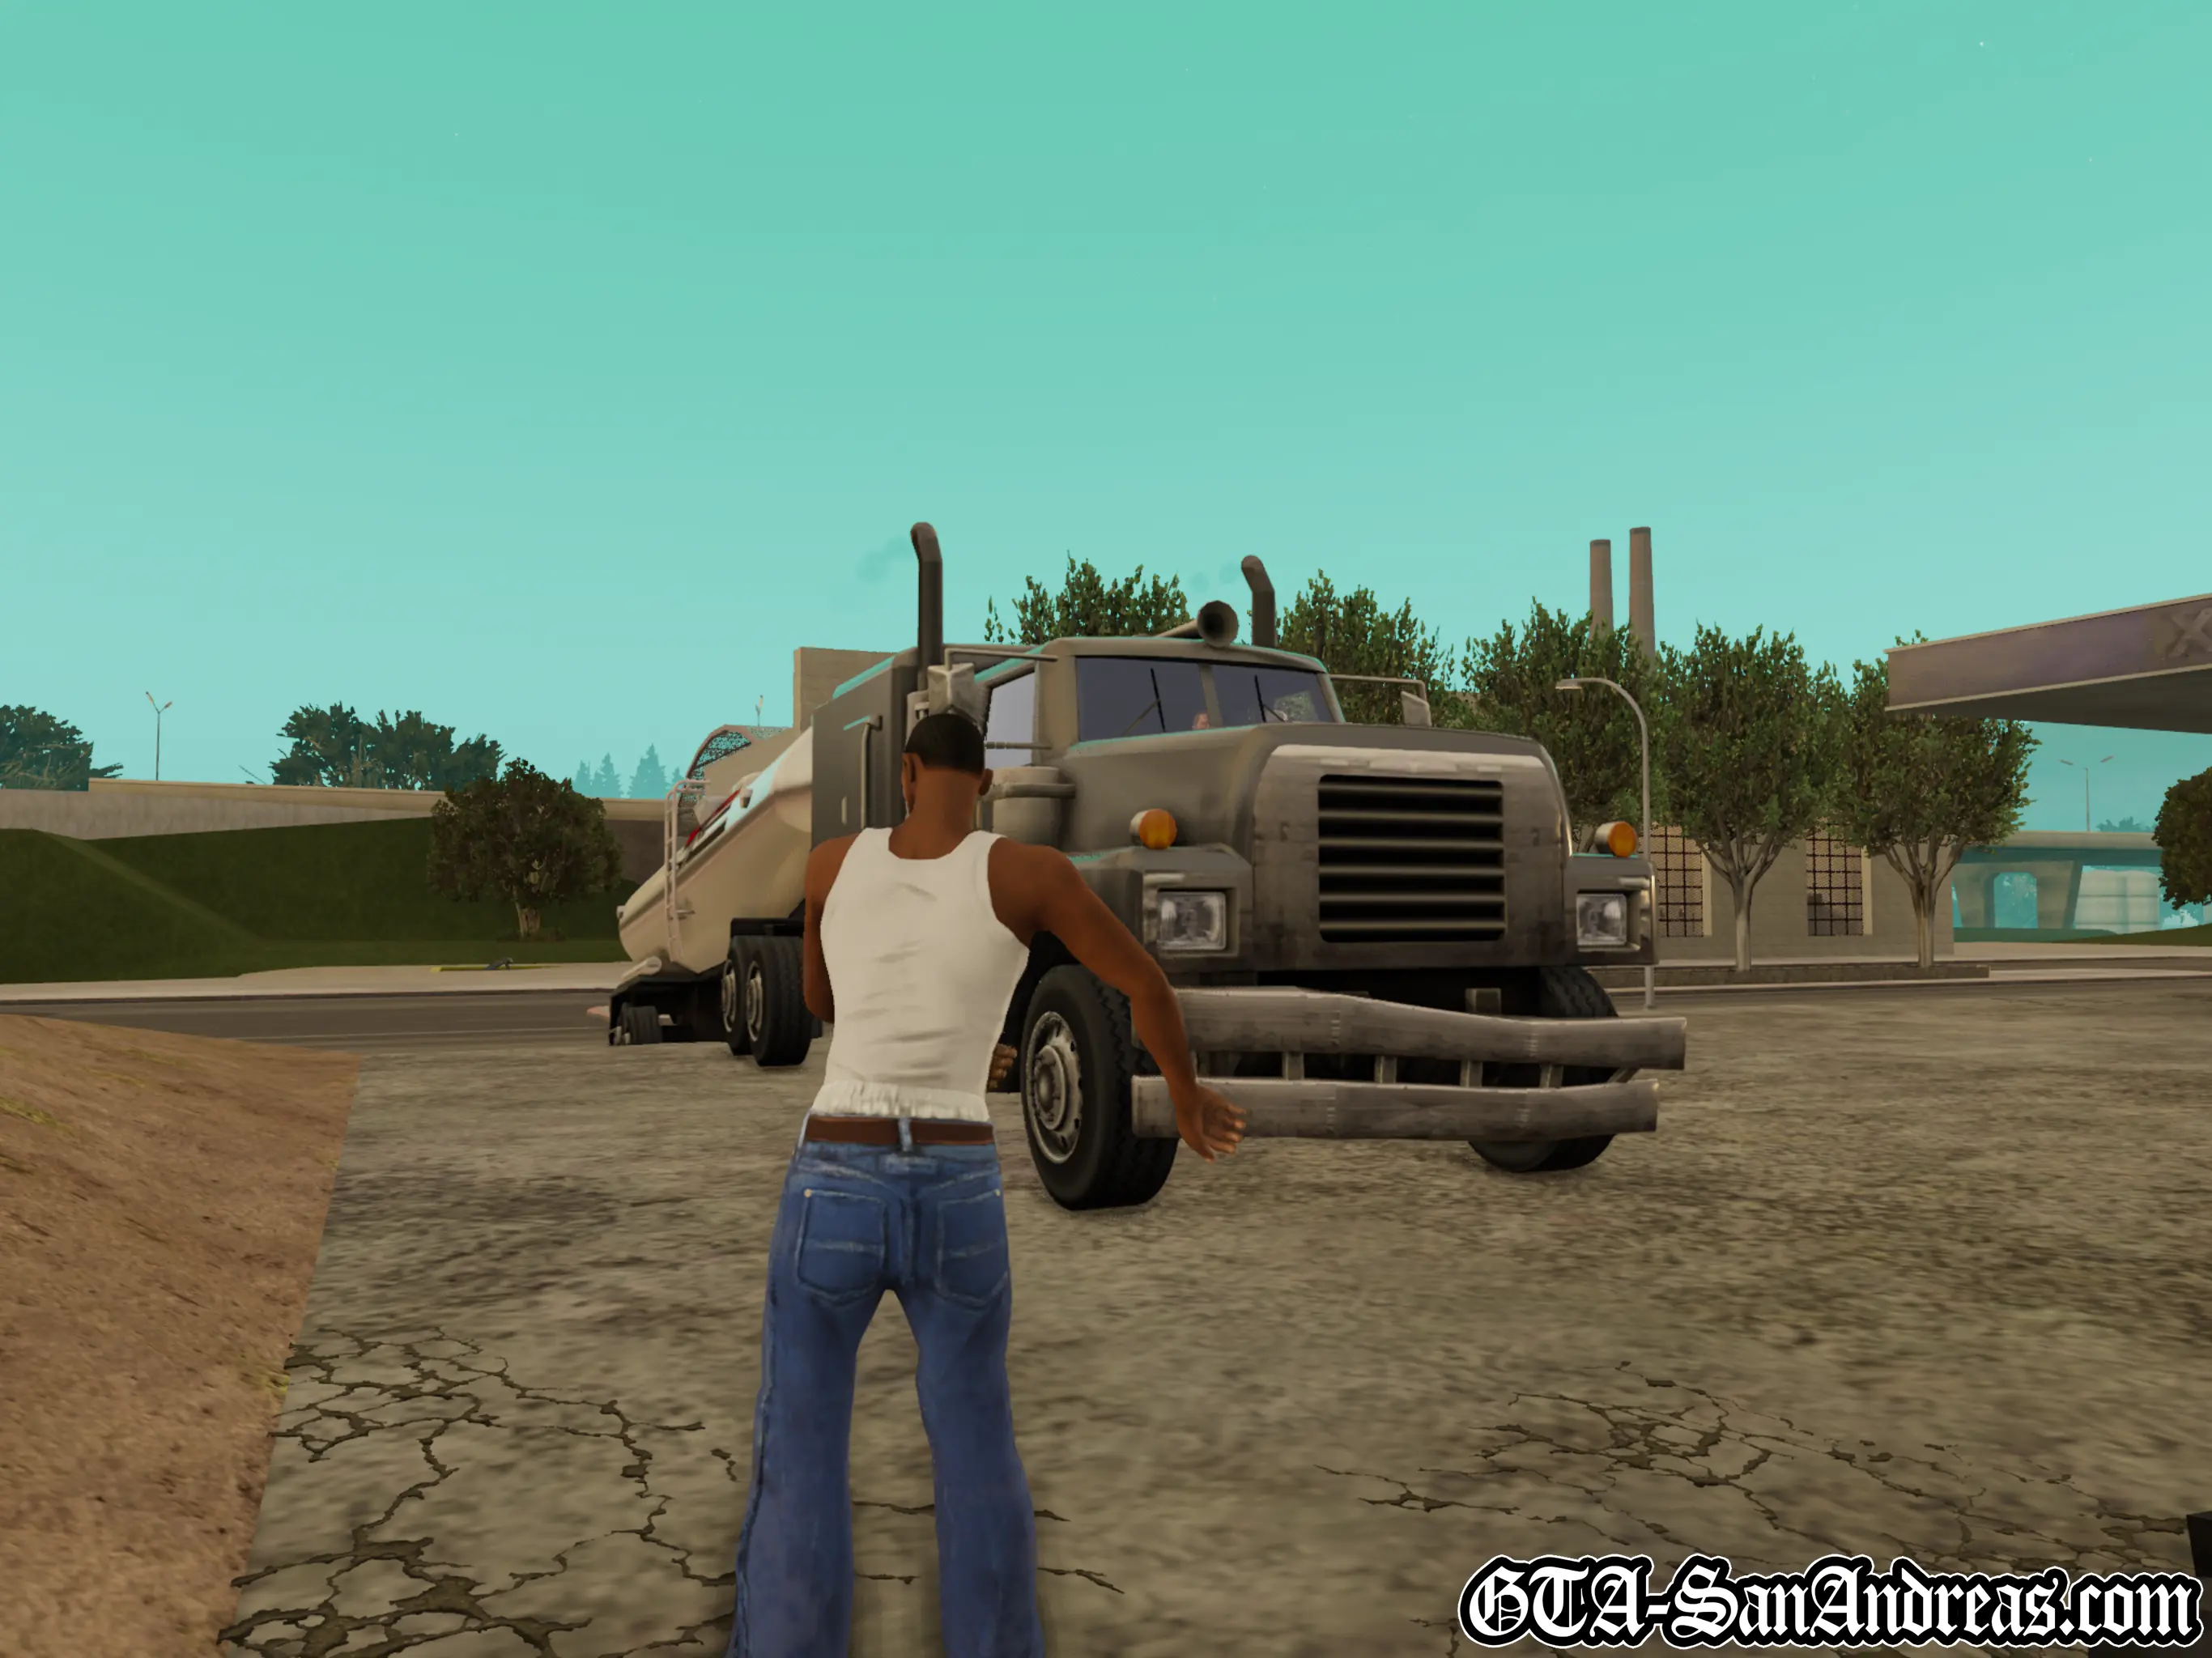
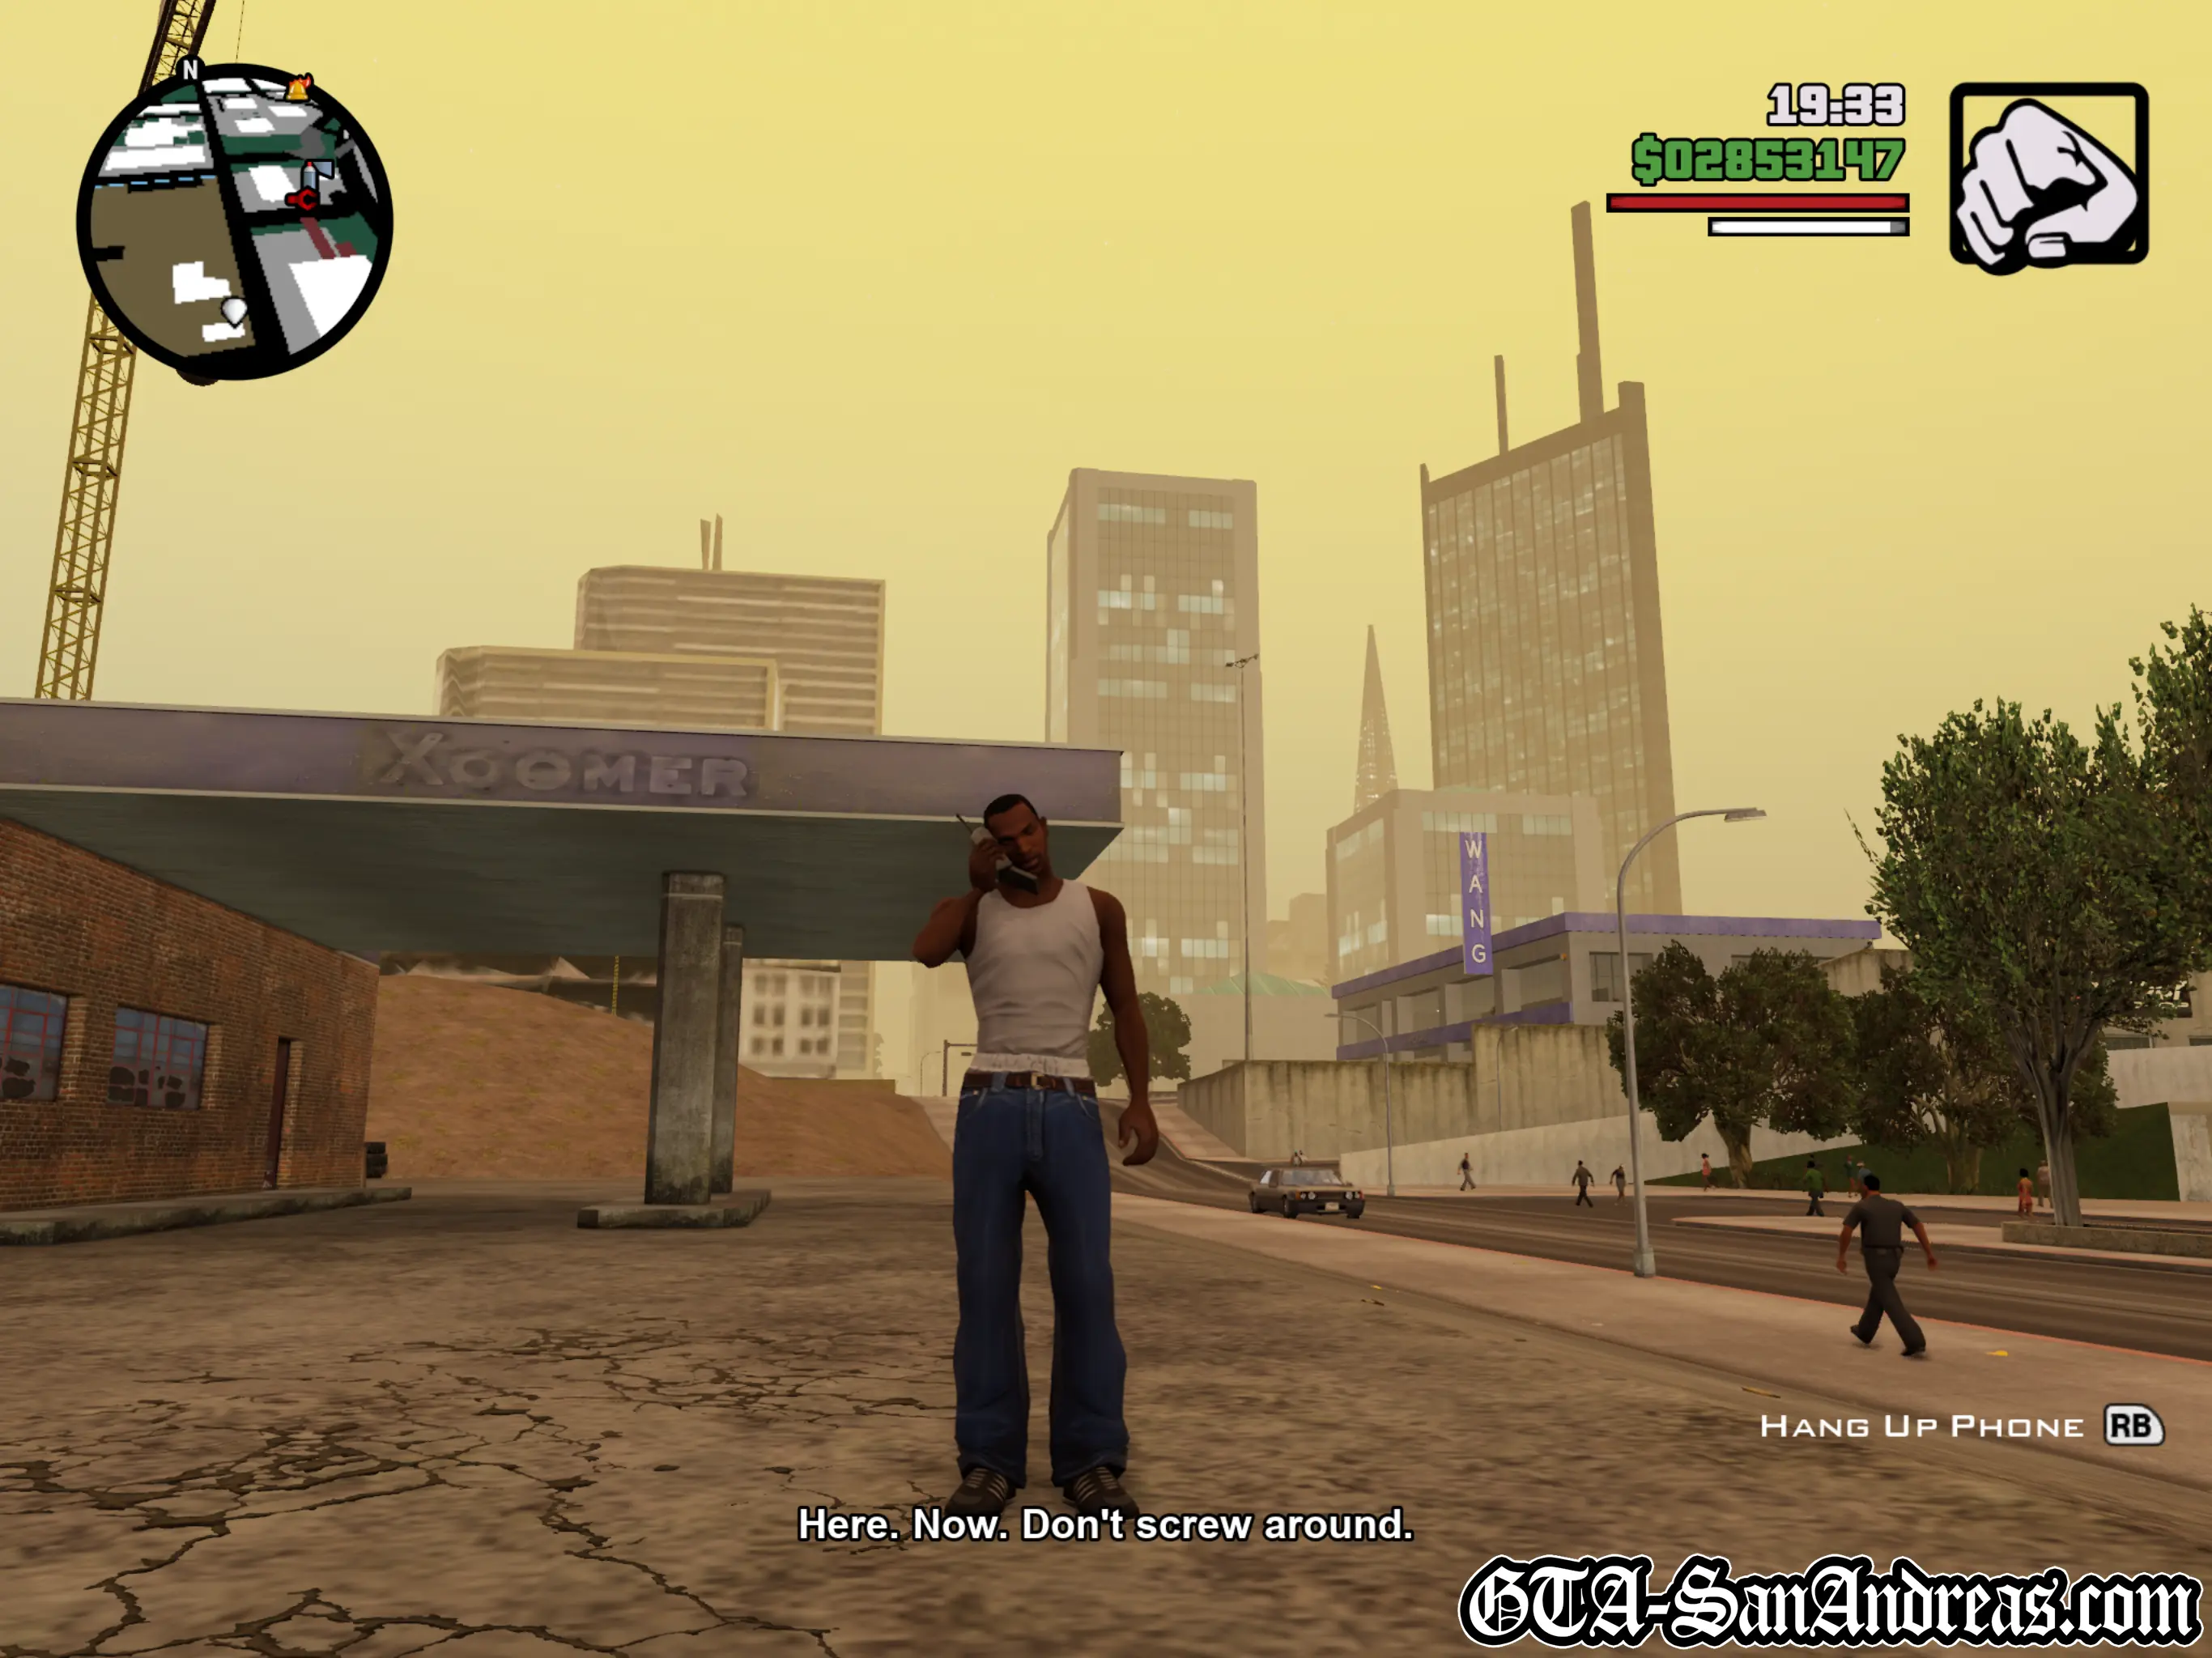
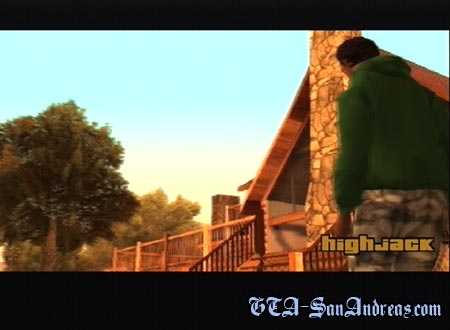
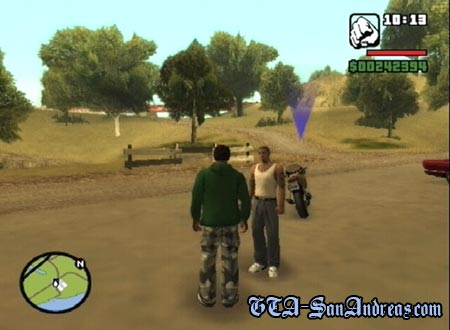
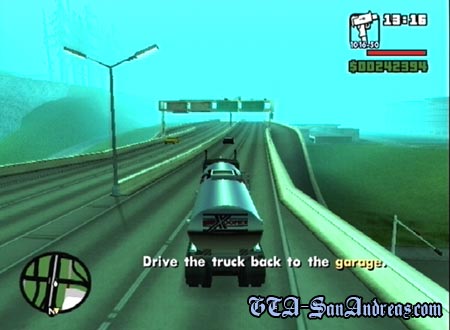
Toreno explains who he is and what he's here for. He needs you to do jobs which he can't be caught doing. The first one is to Hijack a truck. He says you'll need a friend to help you out, so Cesar has come over. When the mission starts, get on the bike with Cesar. Drive the bike across the Kincaid rail bridge and get onto the highway. You'll see a petrol tanker which is driving along happily. You need to drive to the left side of this tanker and hold in position next to the door. Cesar will then jump from the bike onto the truck and jack it. He'll stop the truck a short way down the road and tell you to get in. So get in, and drive the truck all of the way to the end of the highway. Turn around when you reach the grass. You'll need a wide turning area because you can't reverse very well at all with a gas tank attached to the back. Turn around then head back along the highway towards the garage. Go off one of the slip roads and head to the garage where you'll find a red circle to park in.
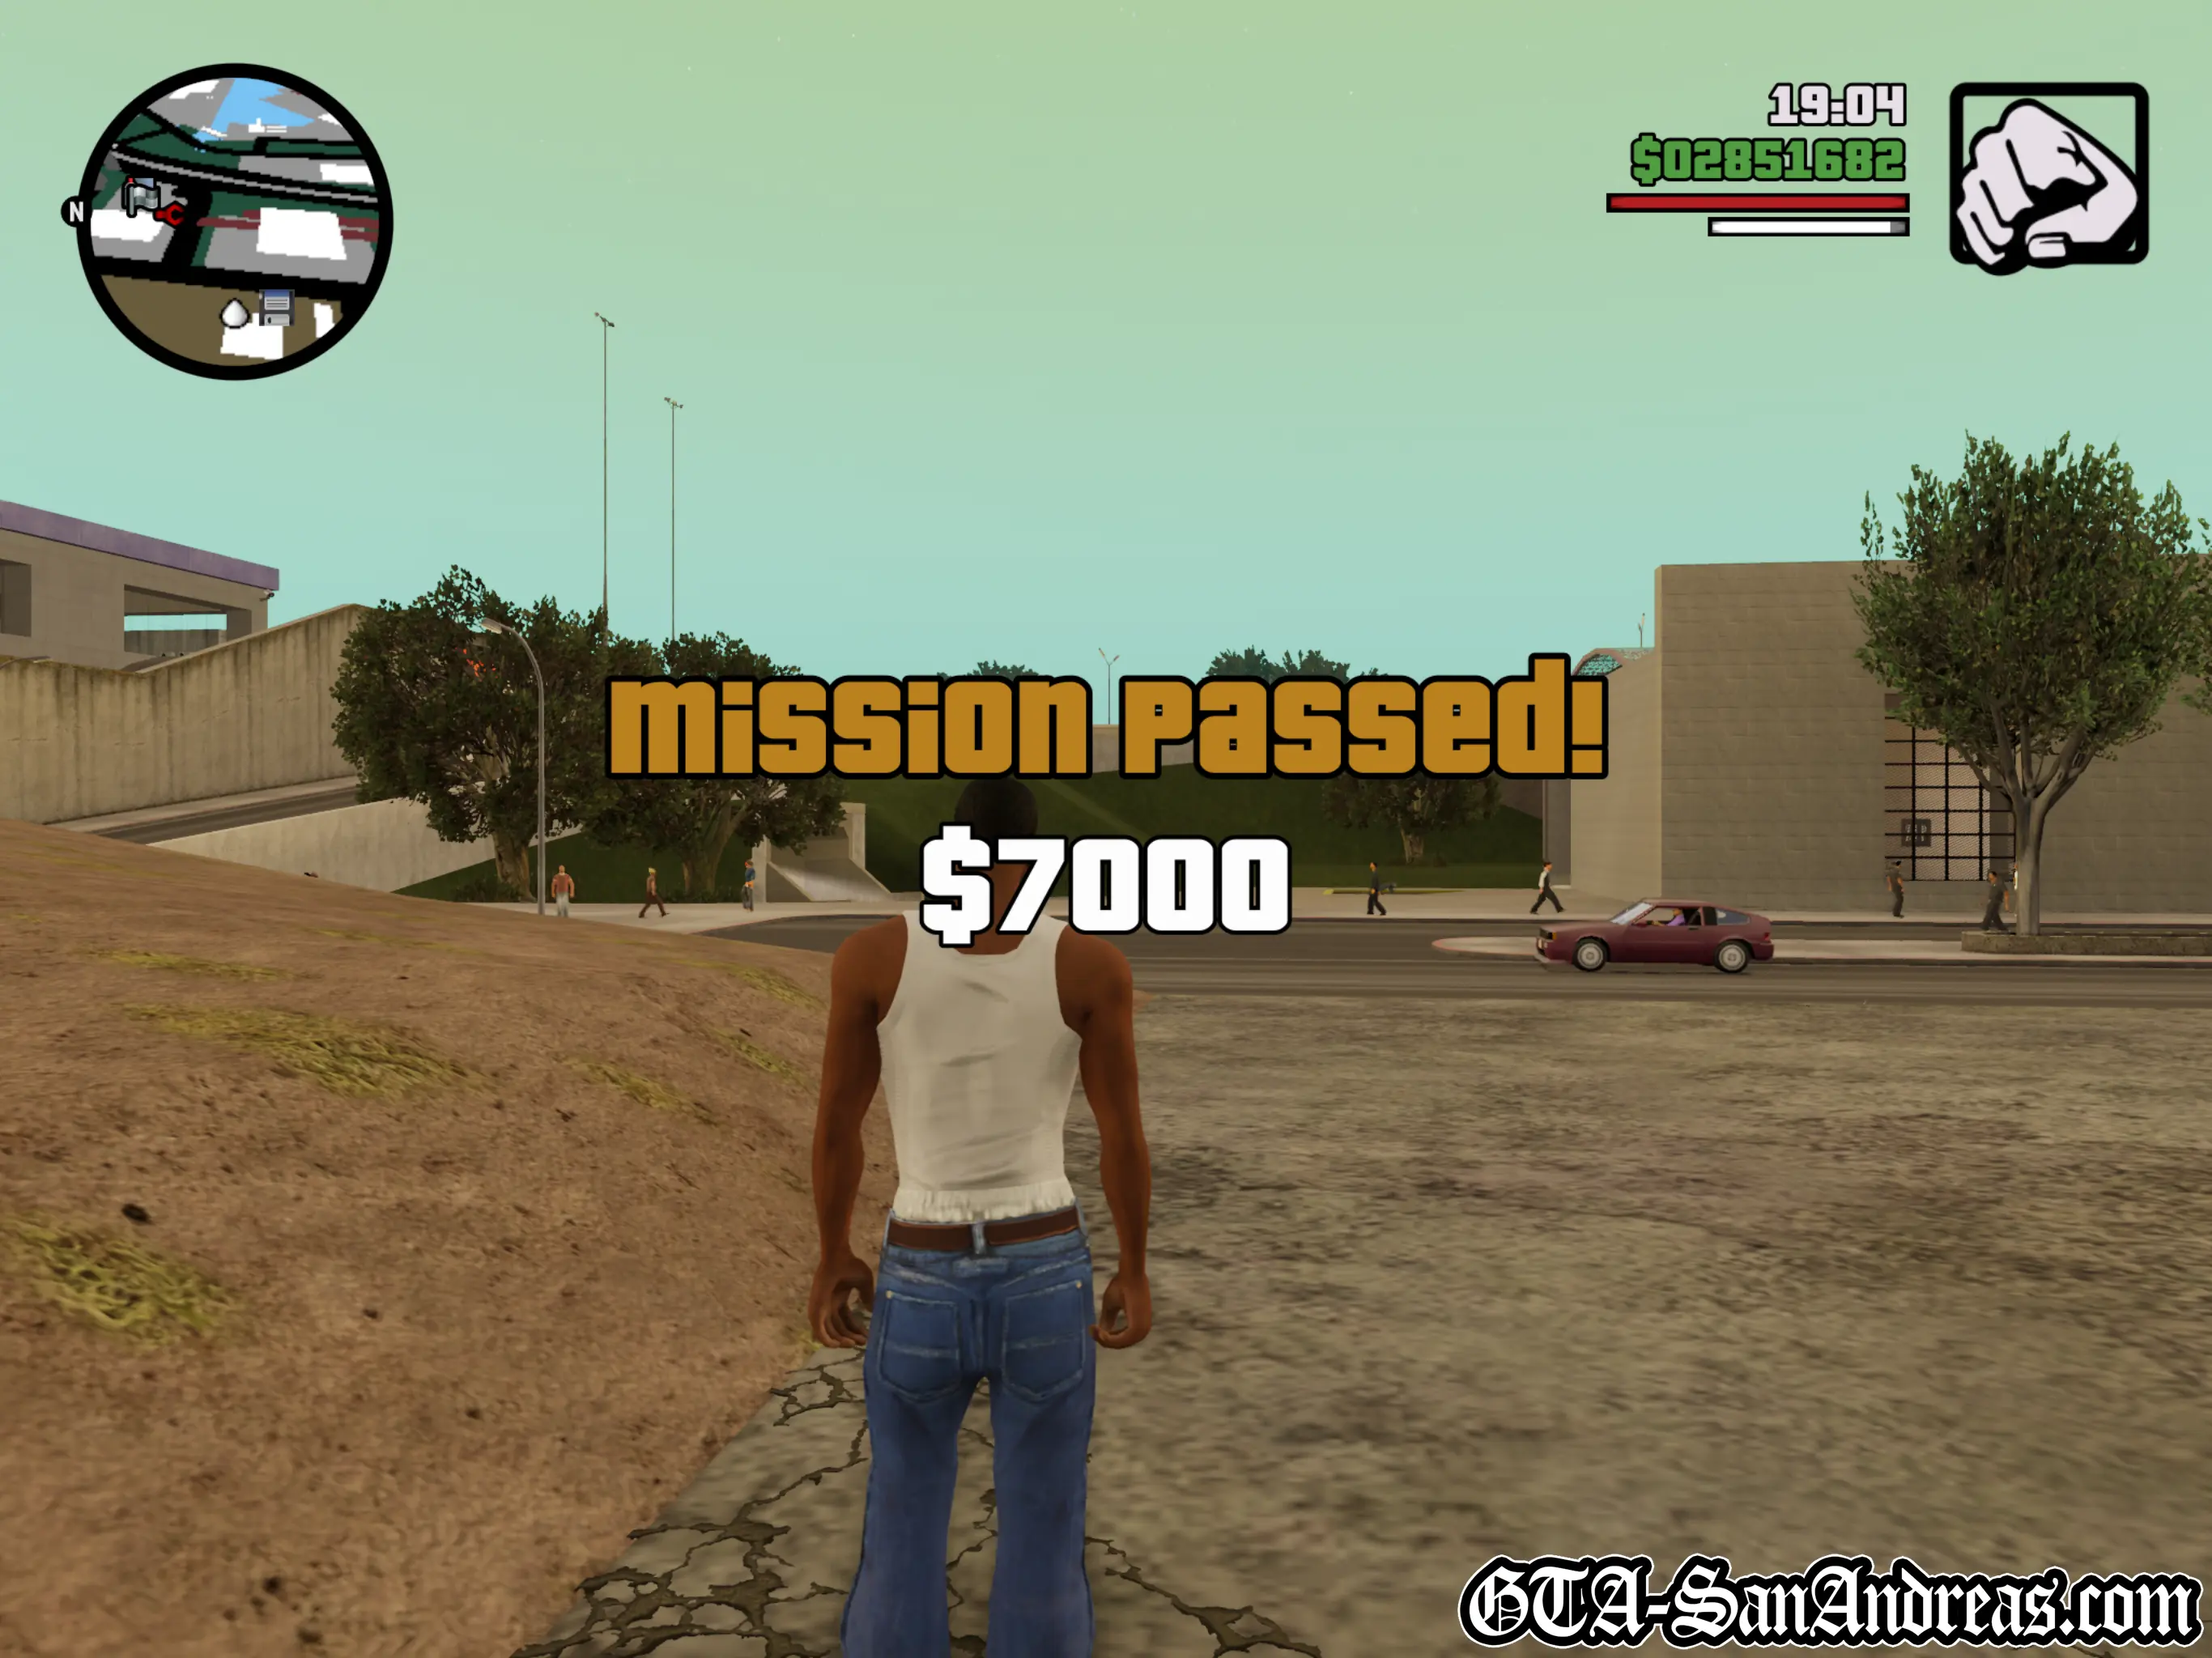
After the mission Toreno will tell you to get back to his place now. So head over there. He's known on the map as Toreno now, so head to the grey T.
Screenshots
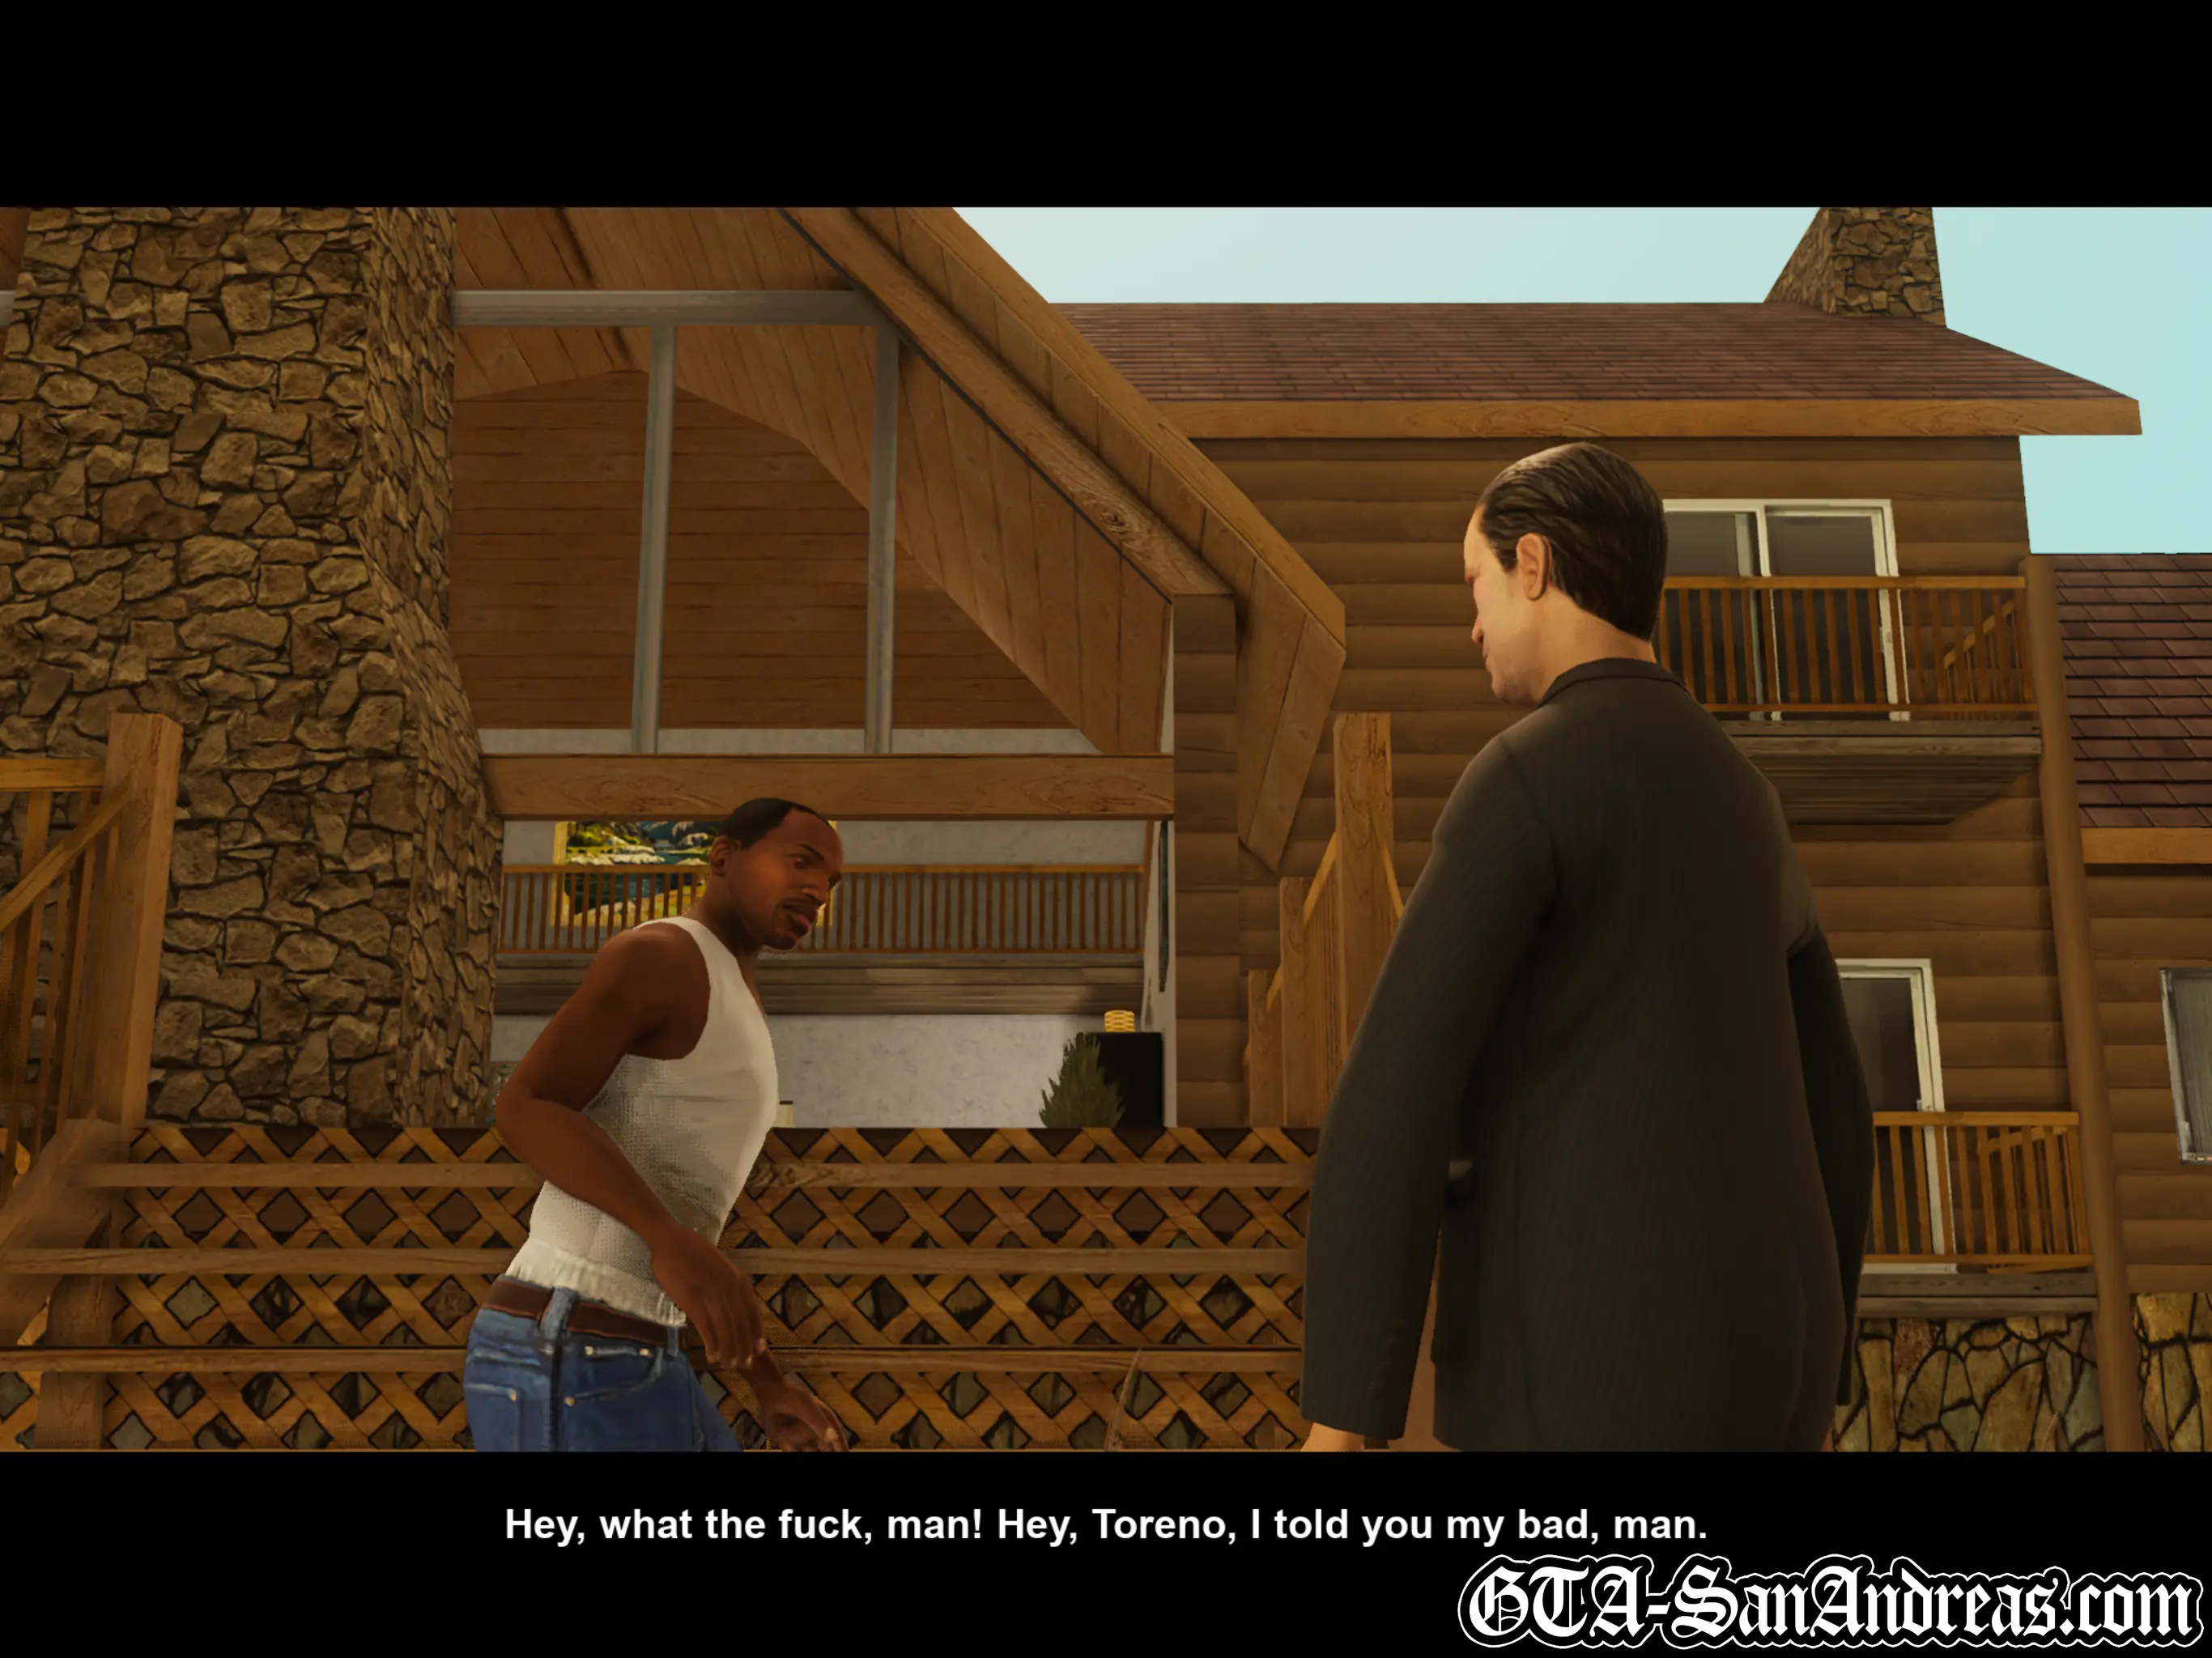
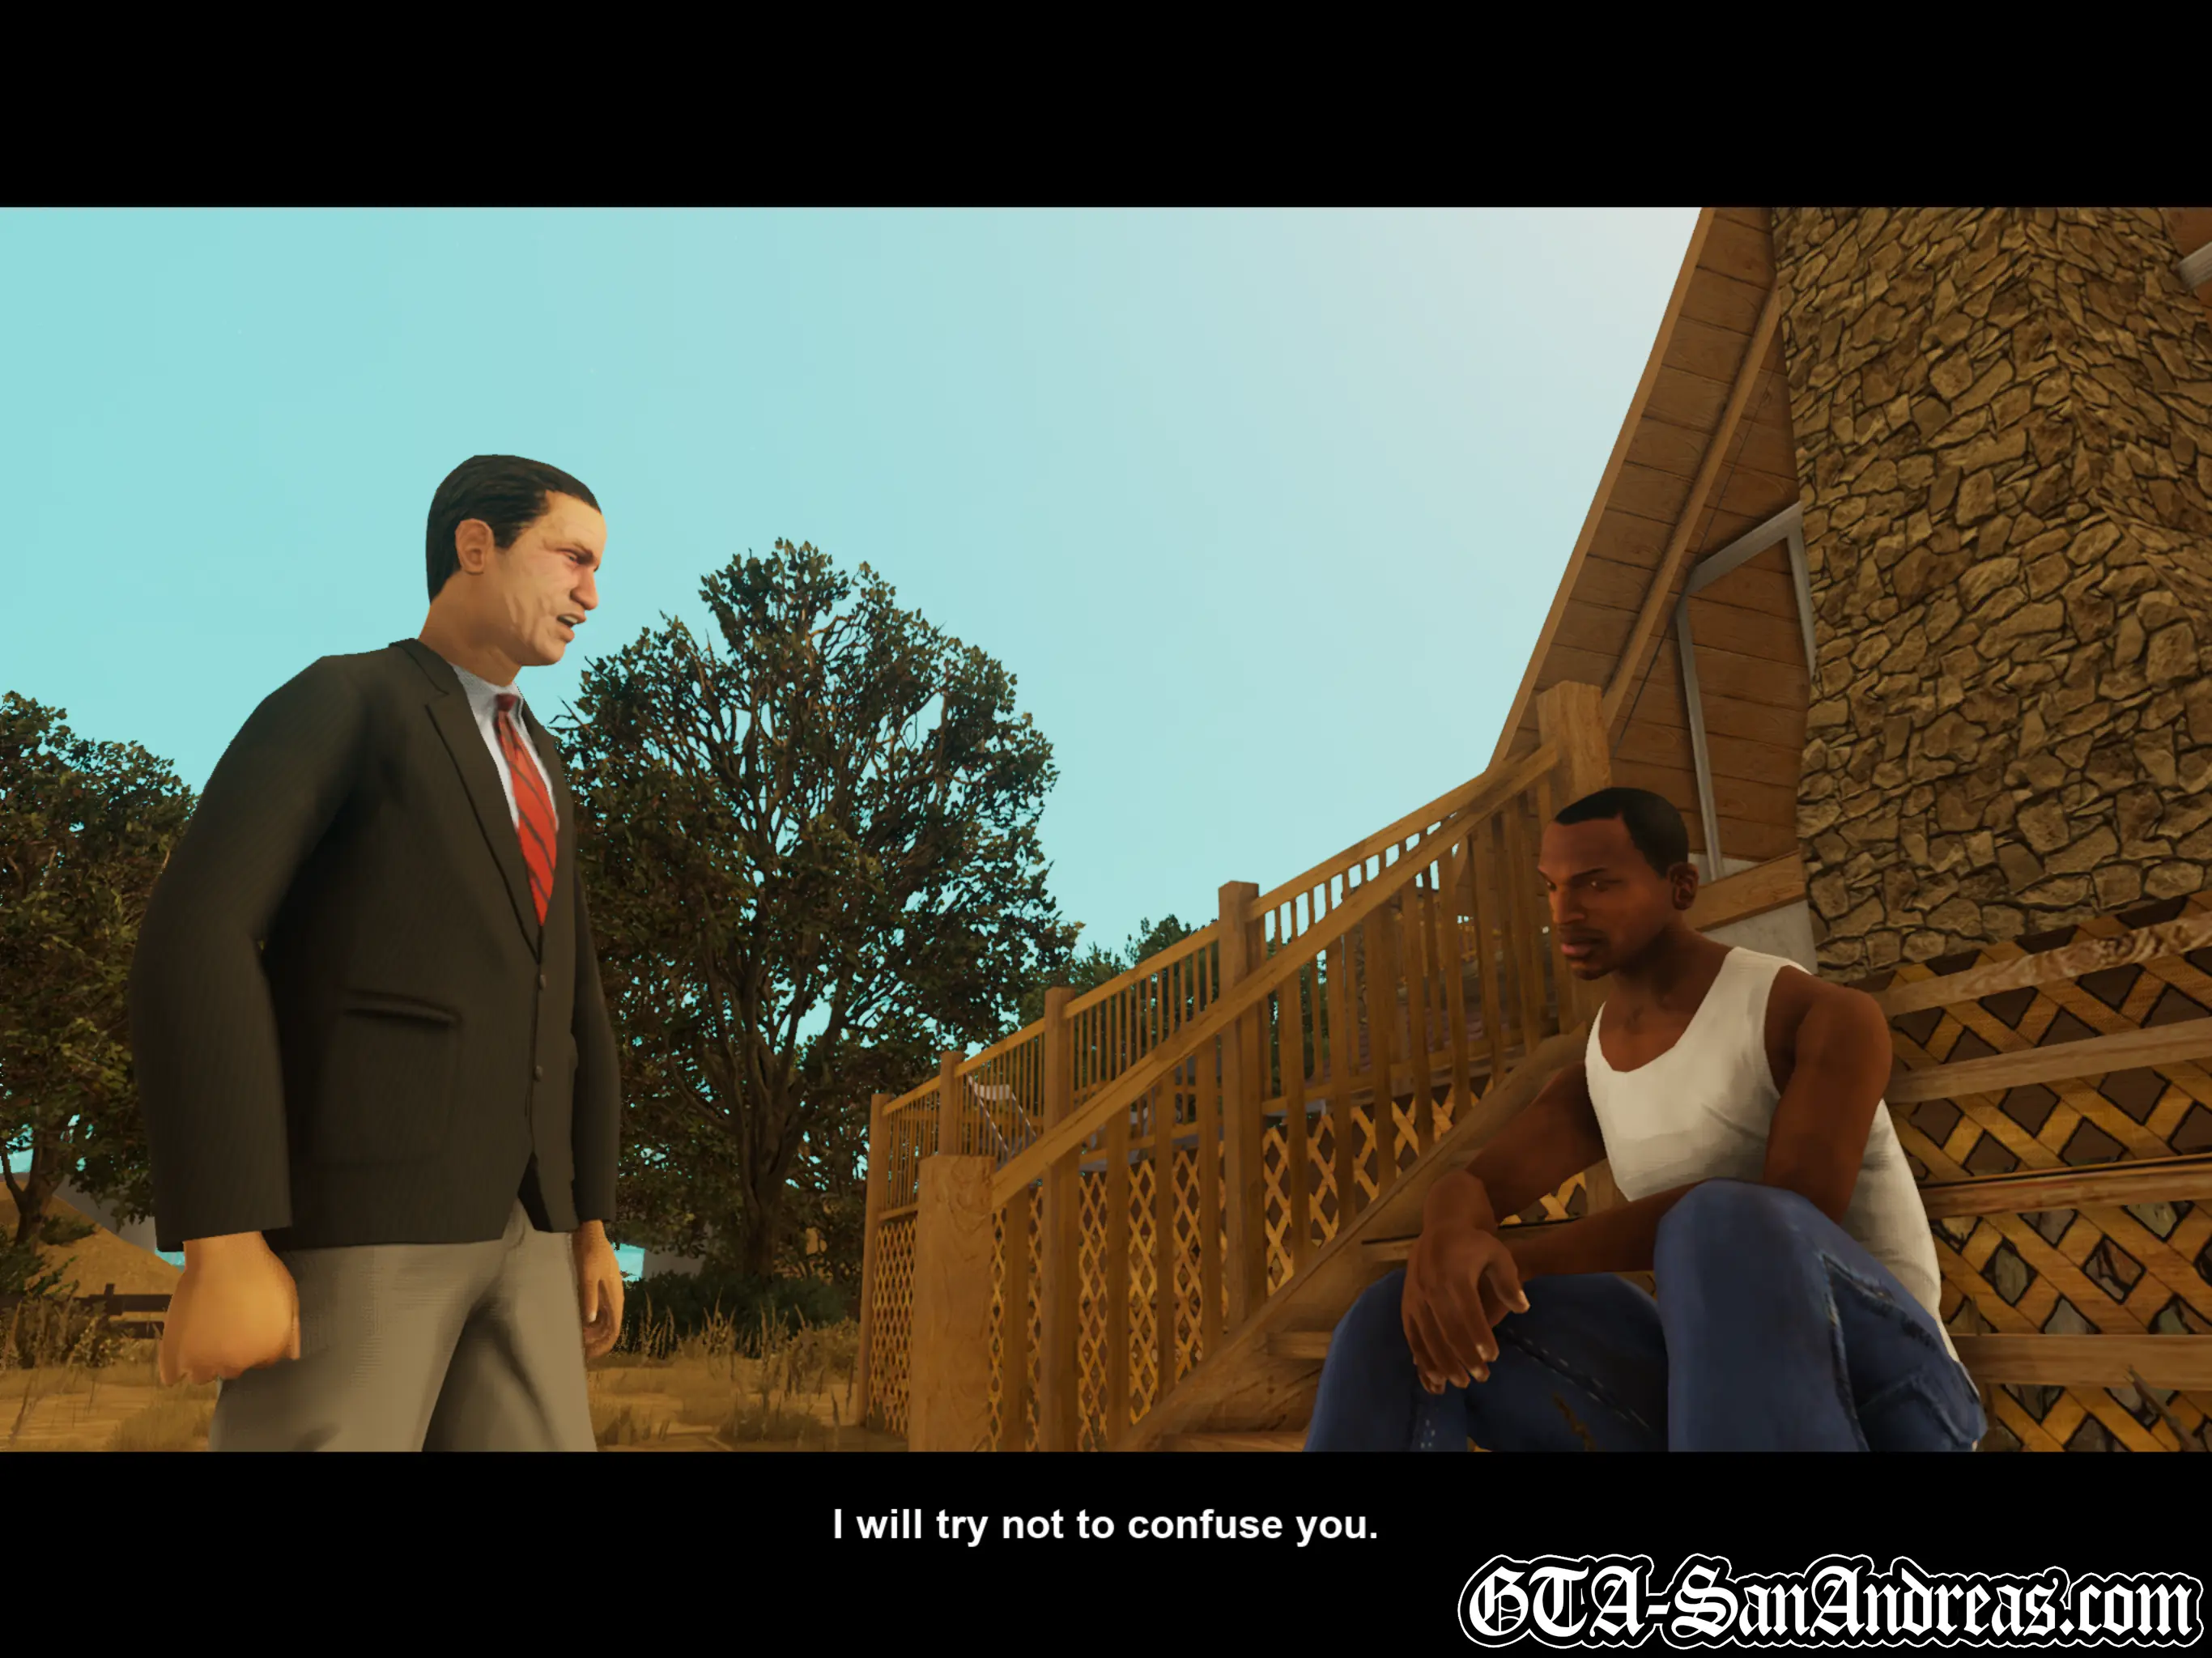
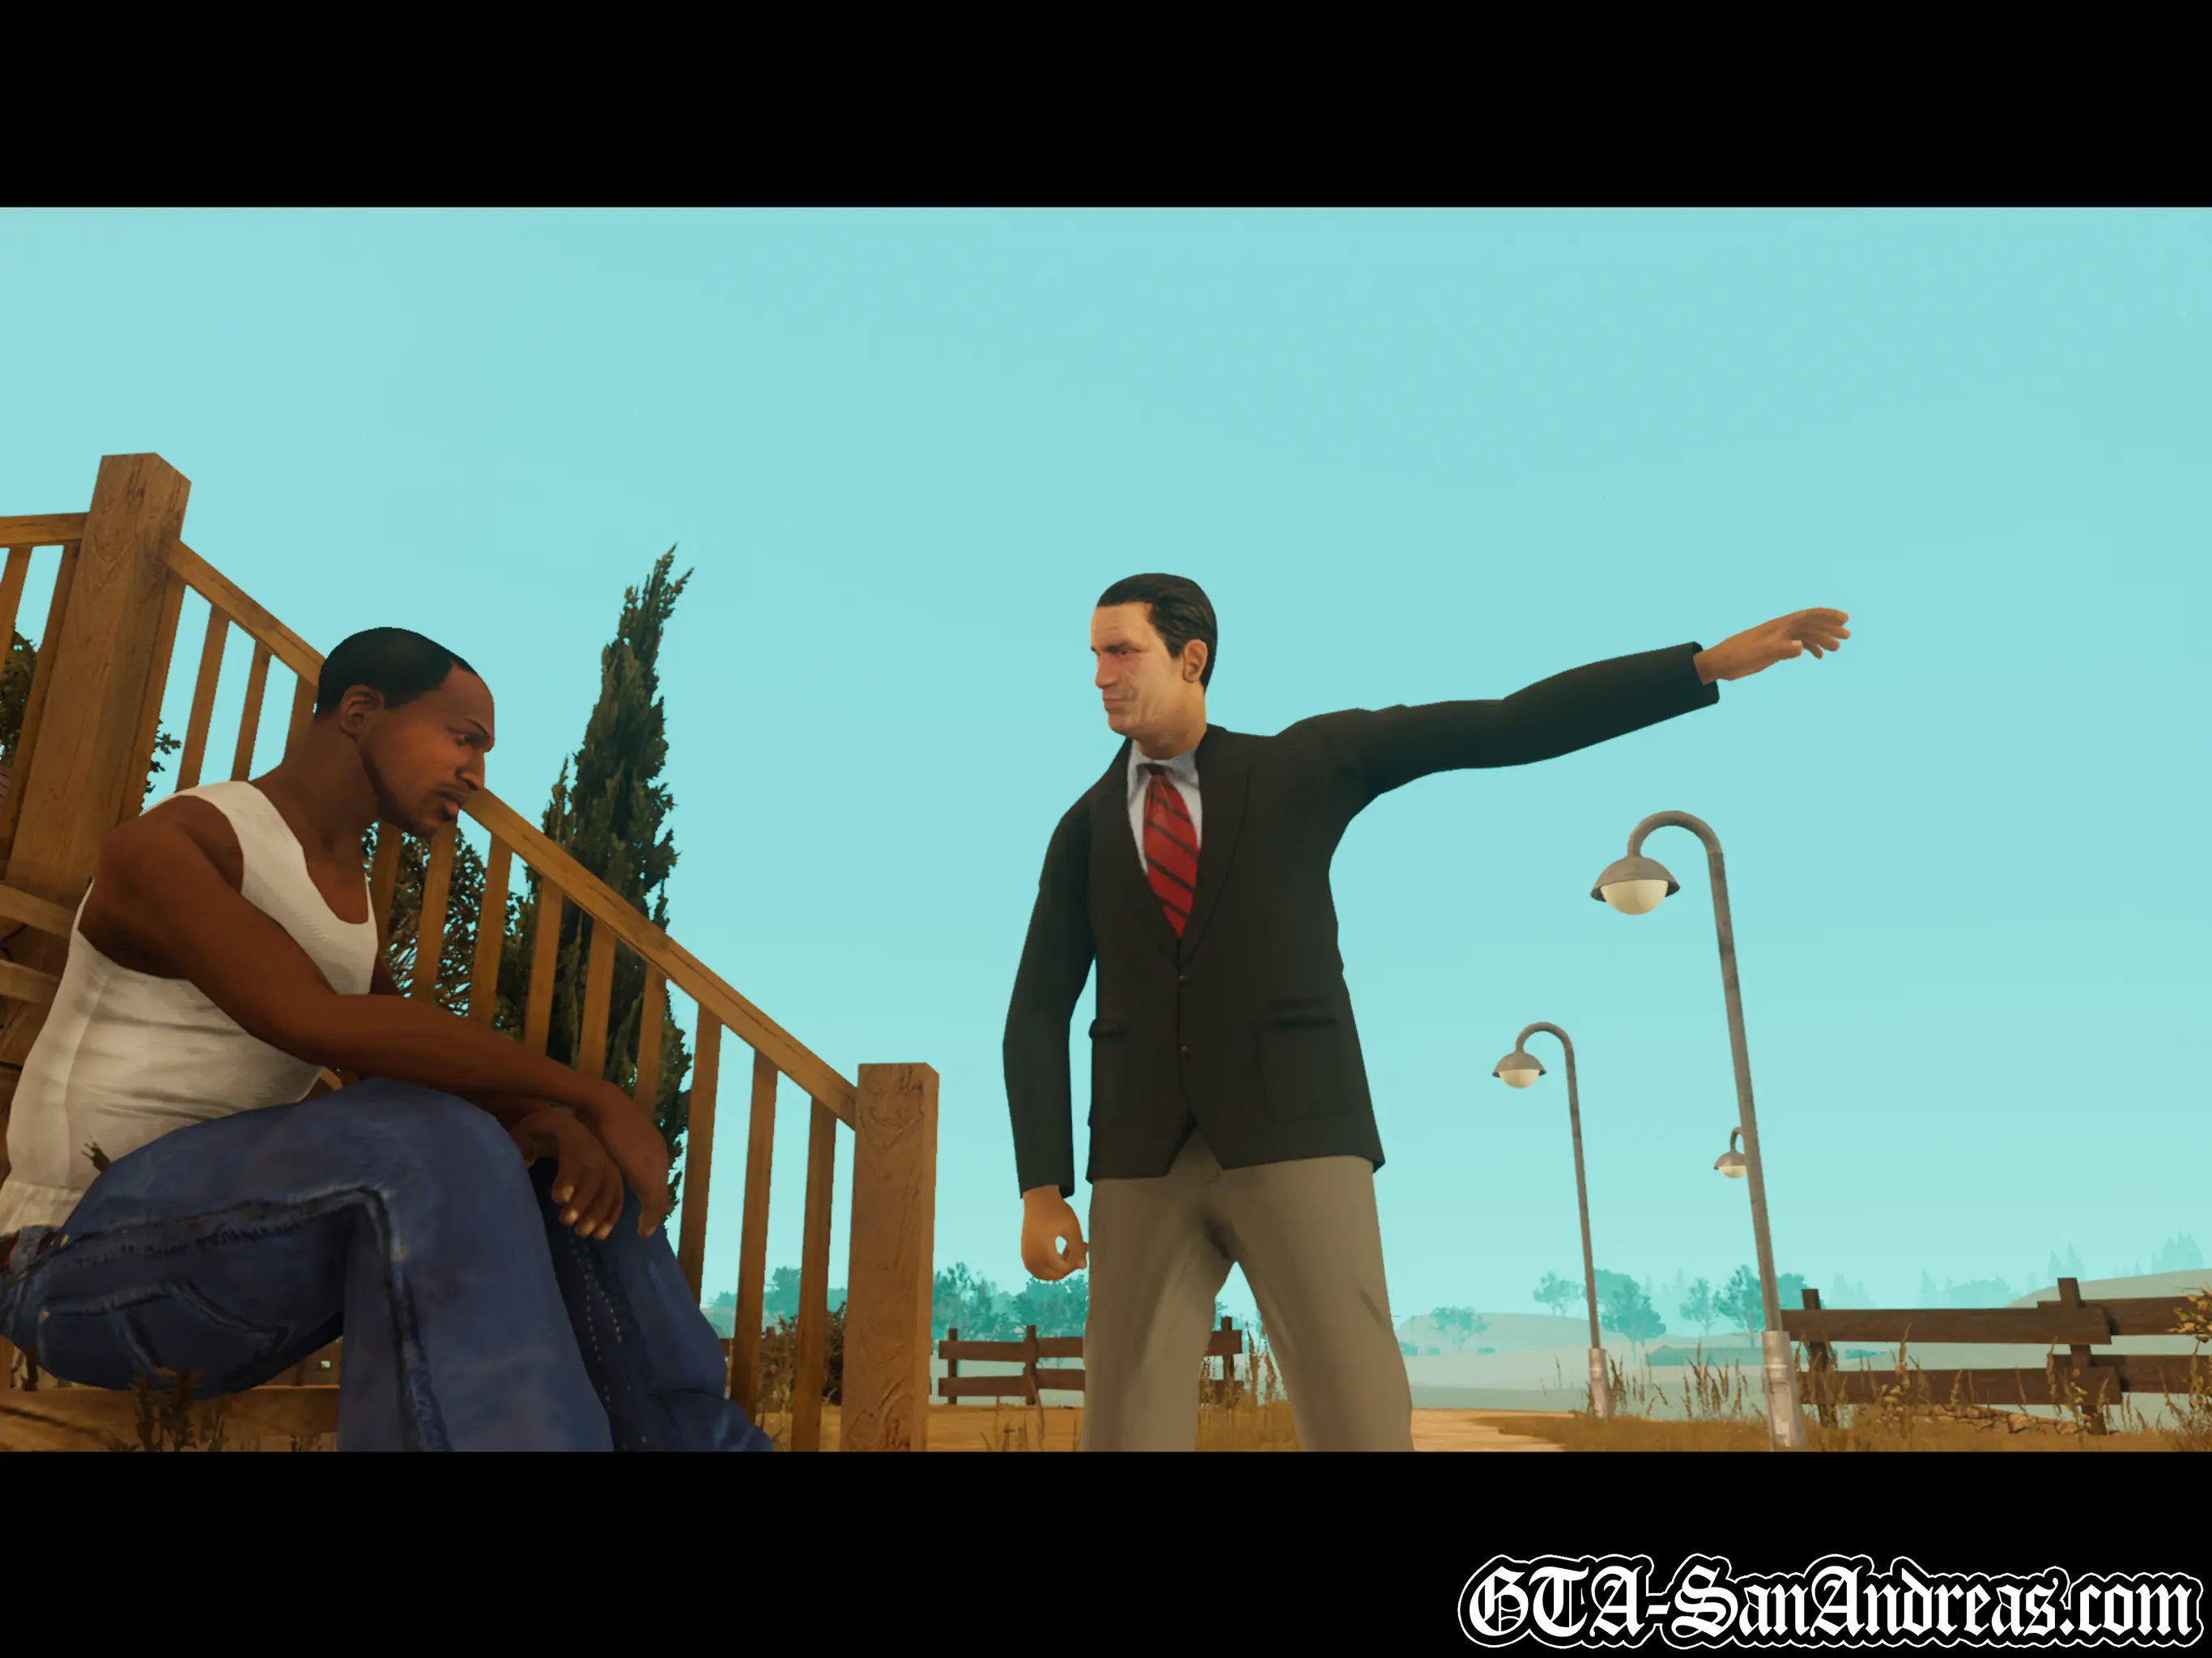
Mike Toreno 
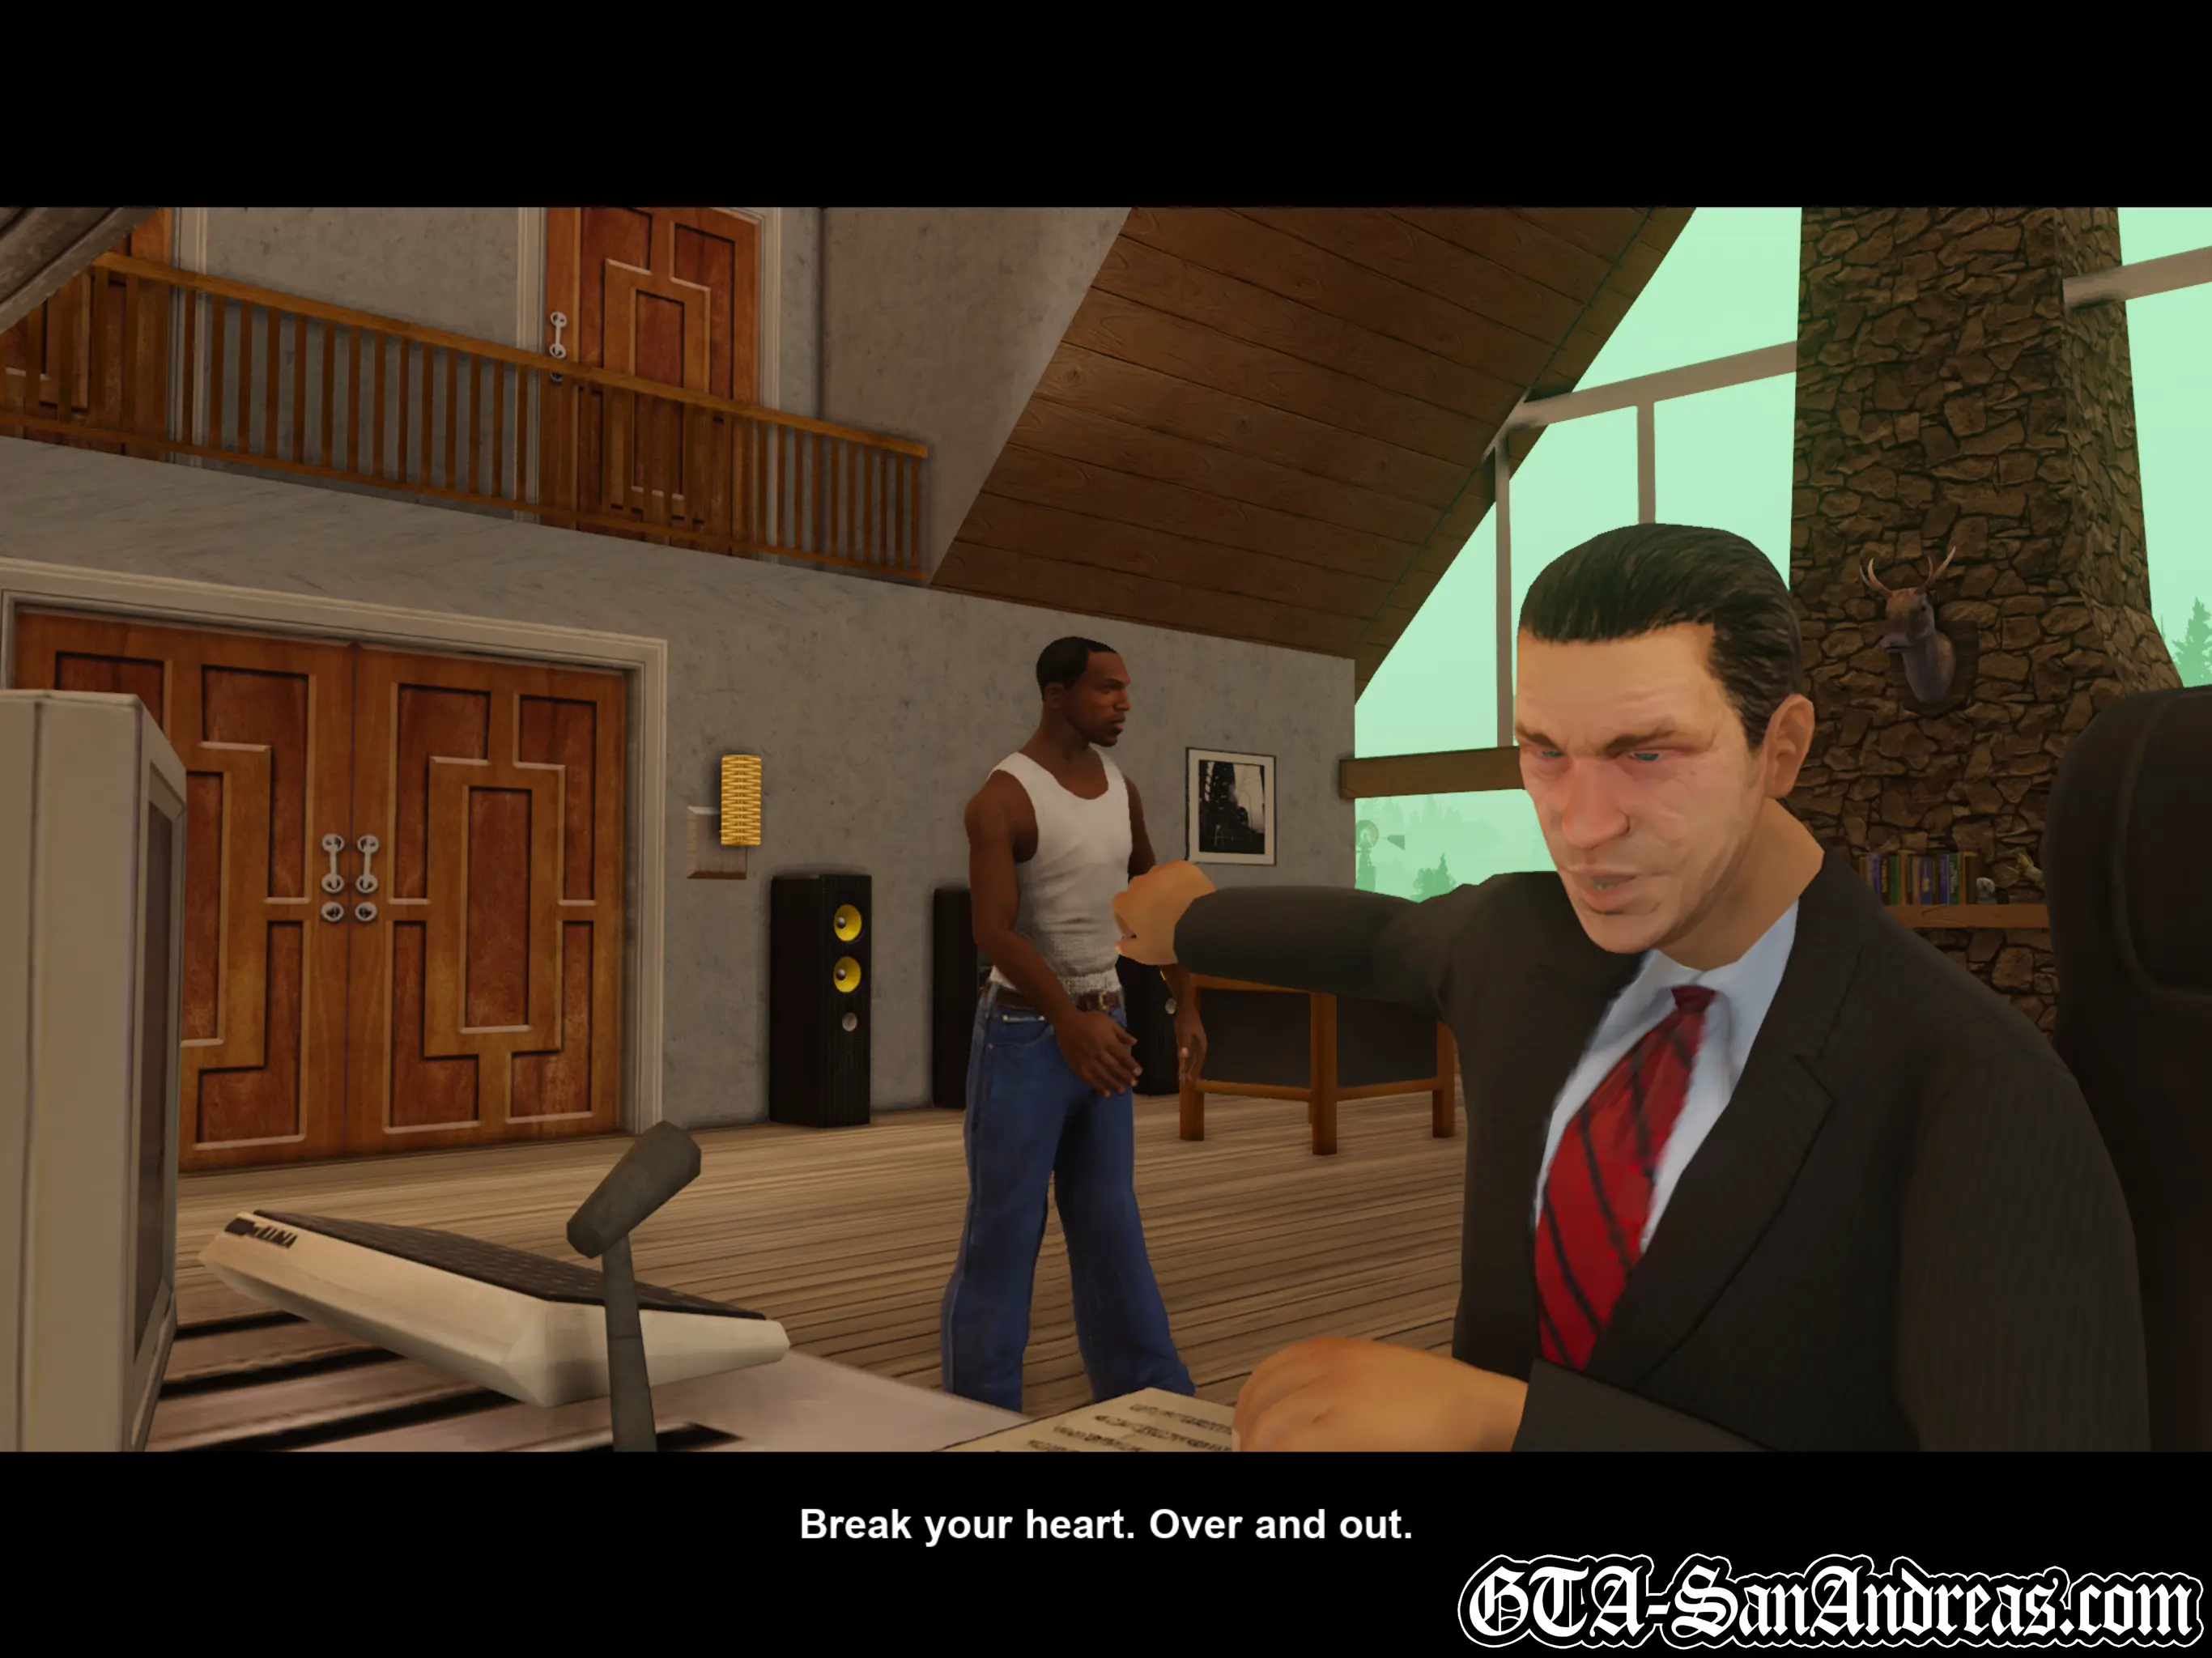
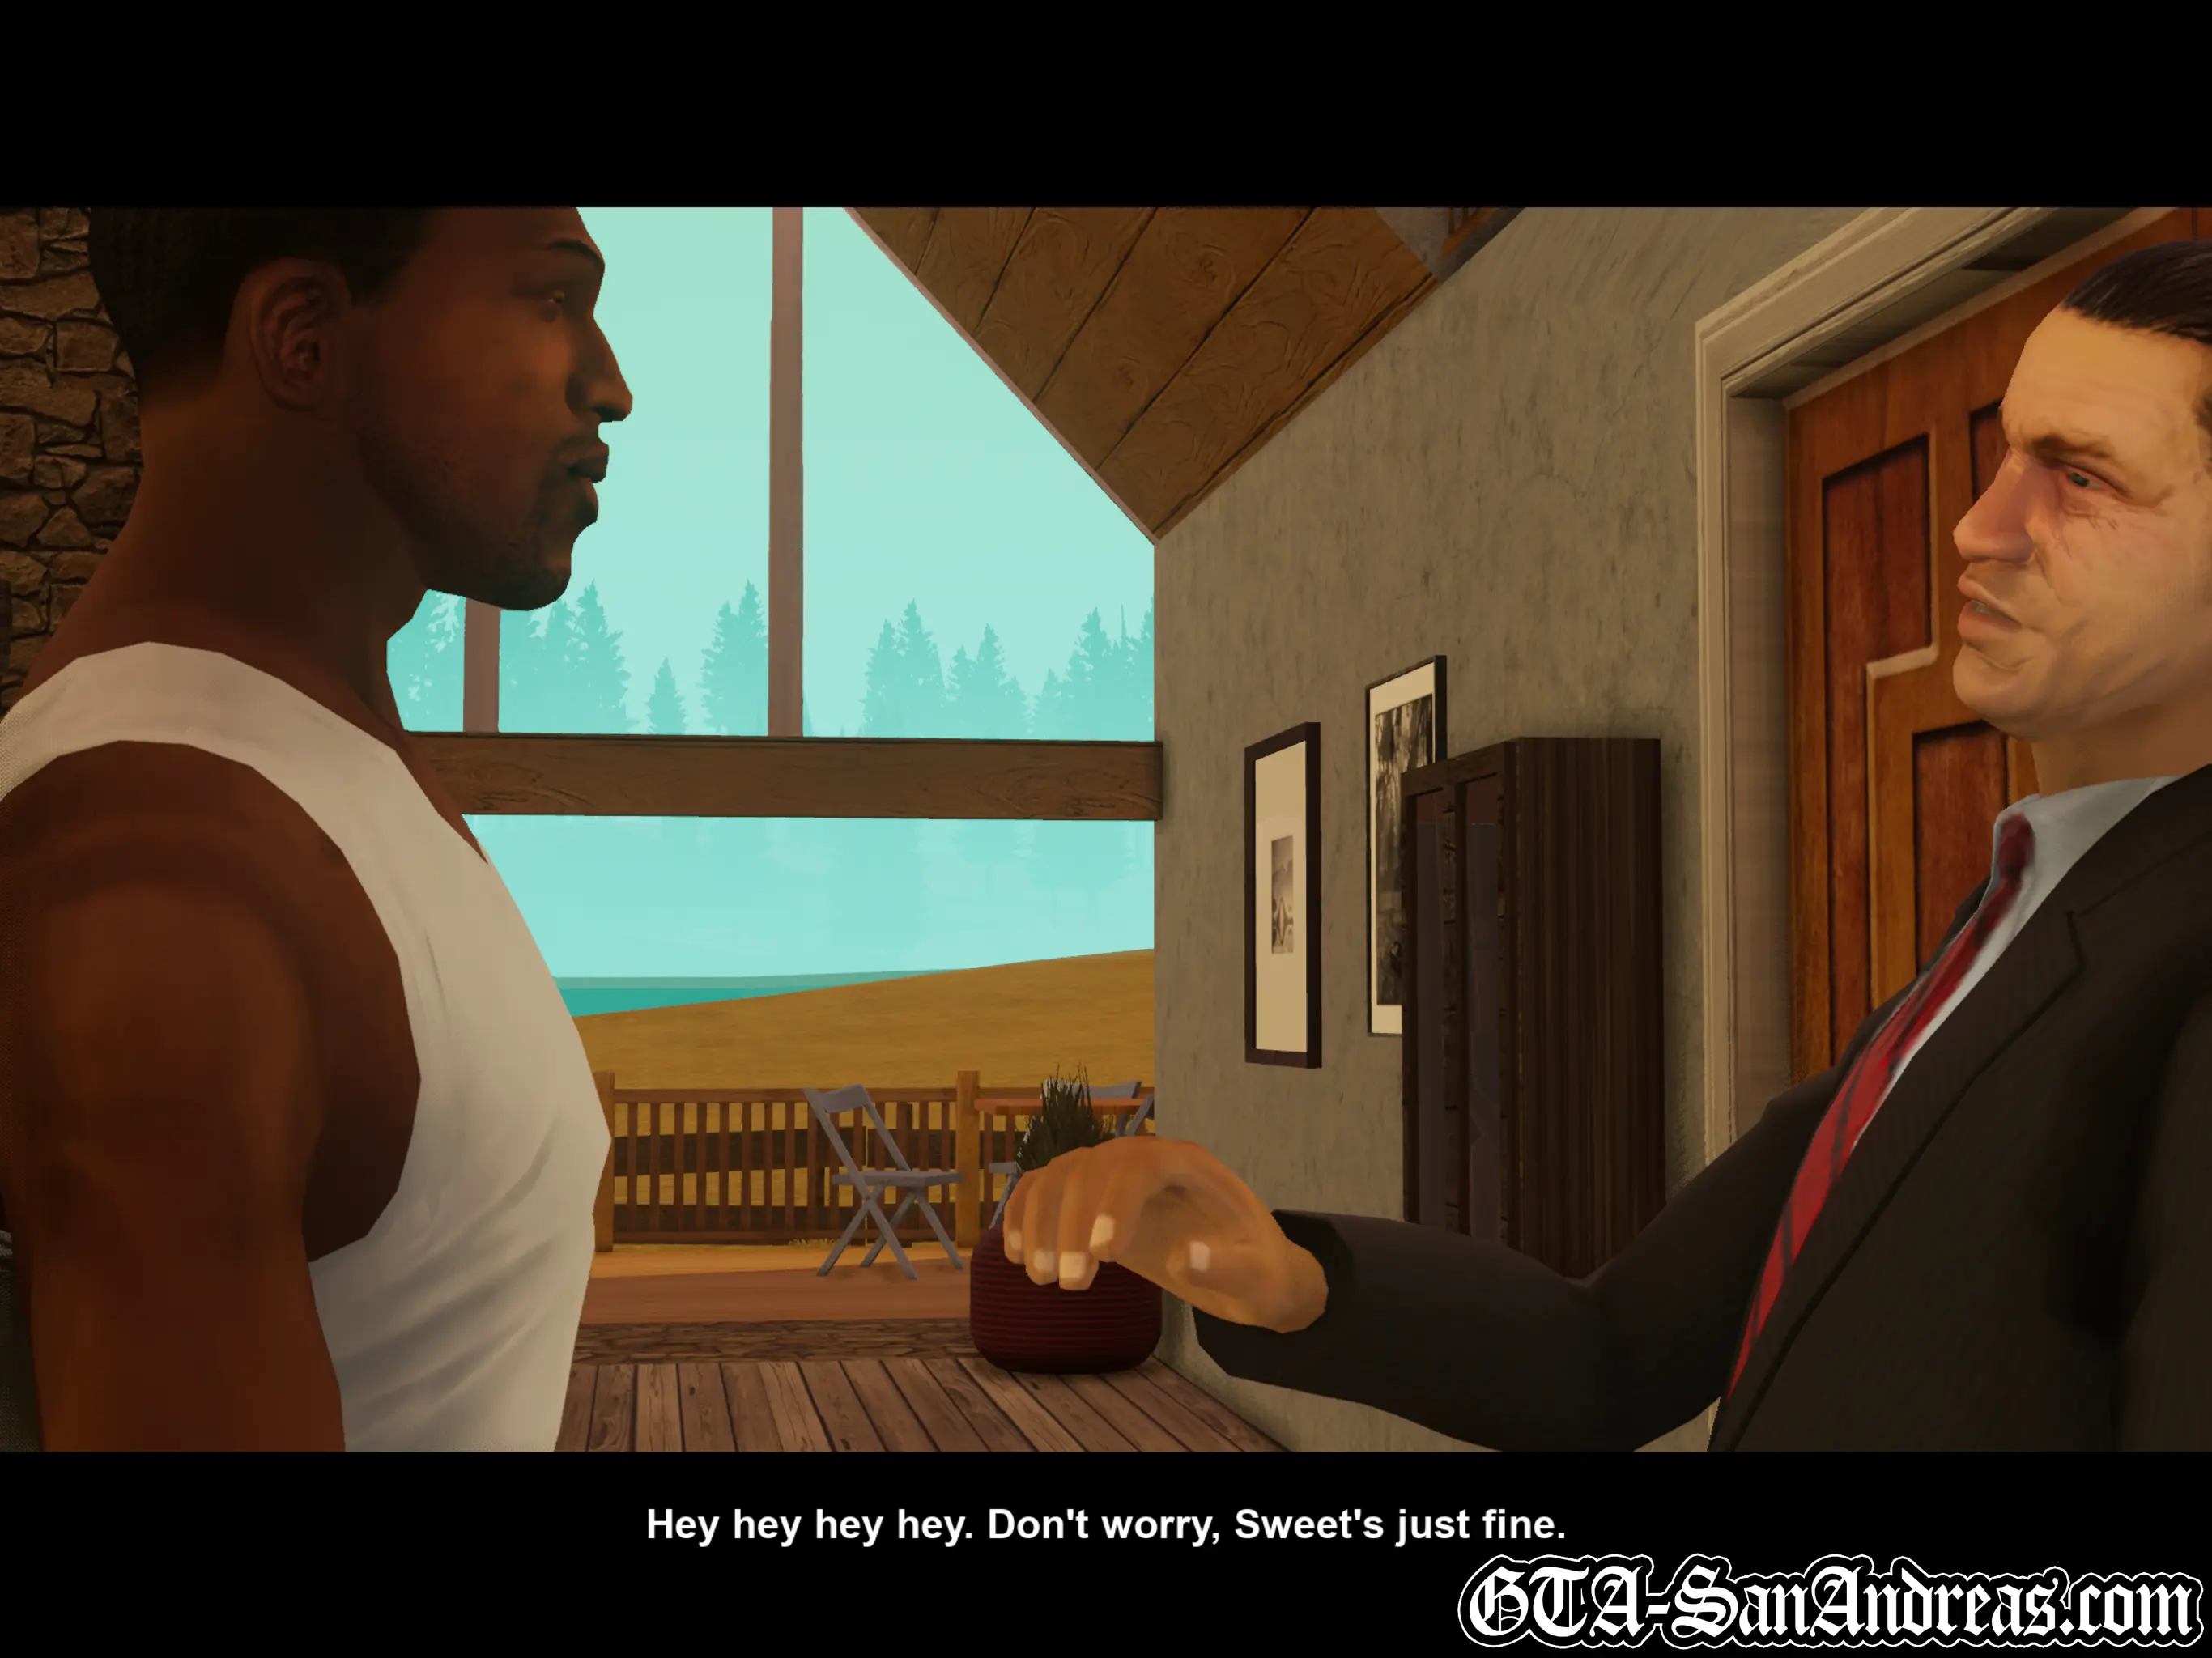
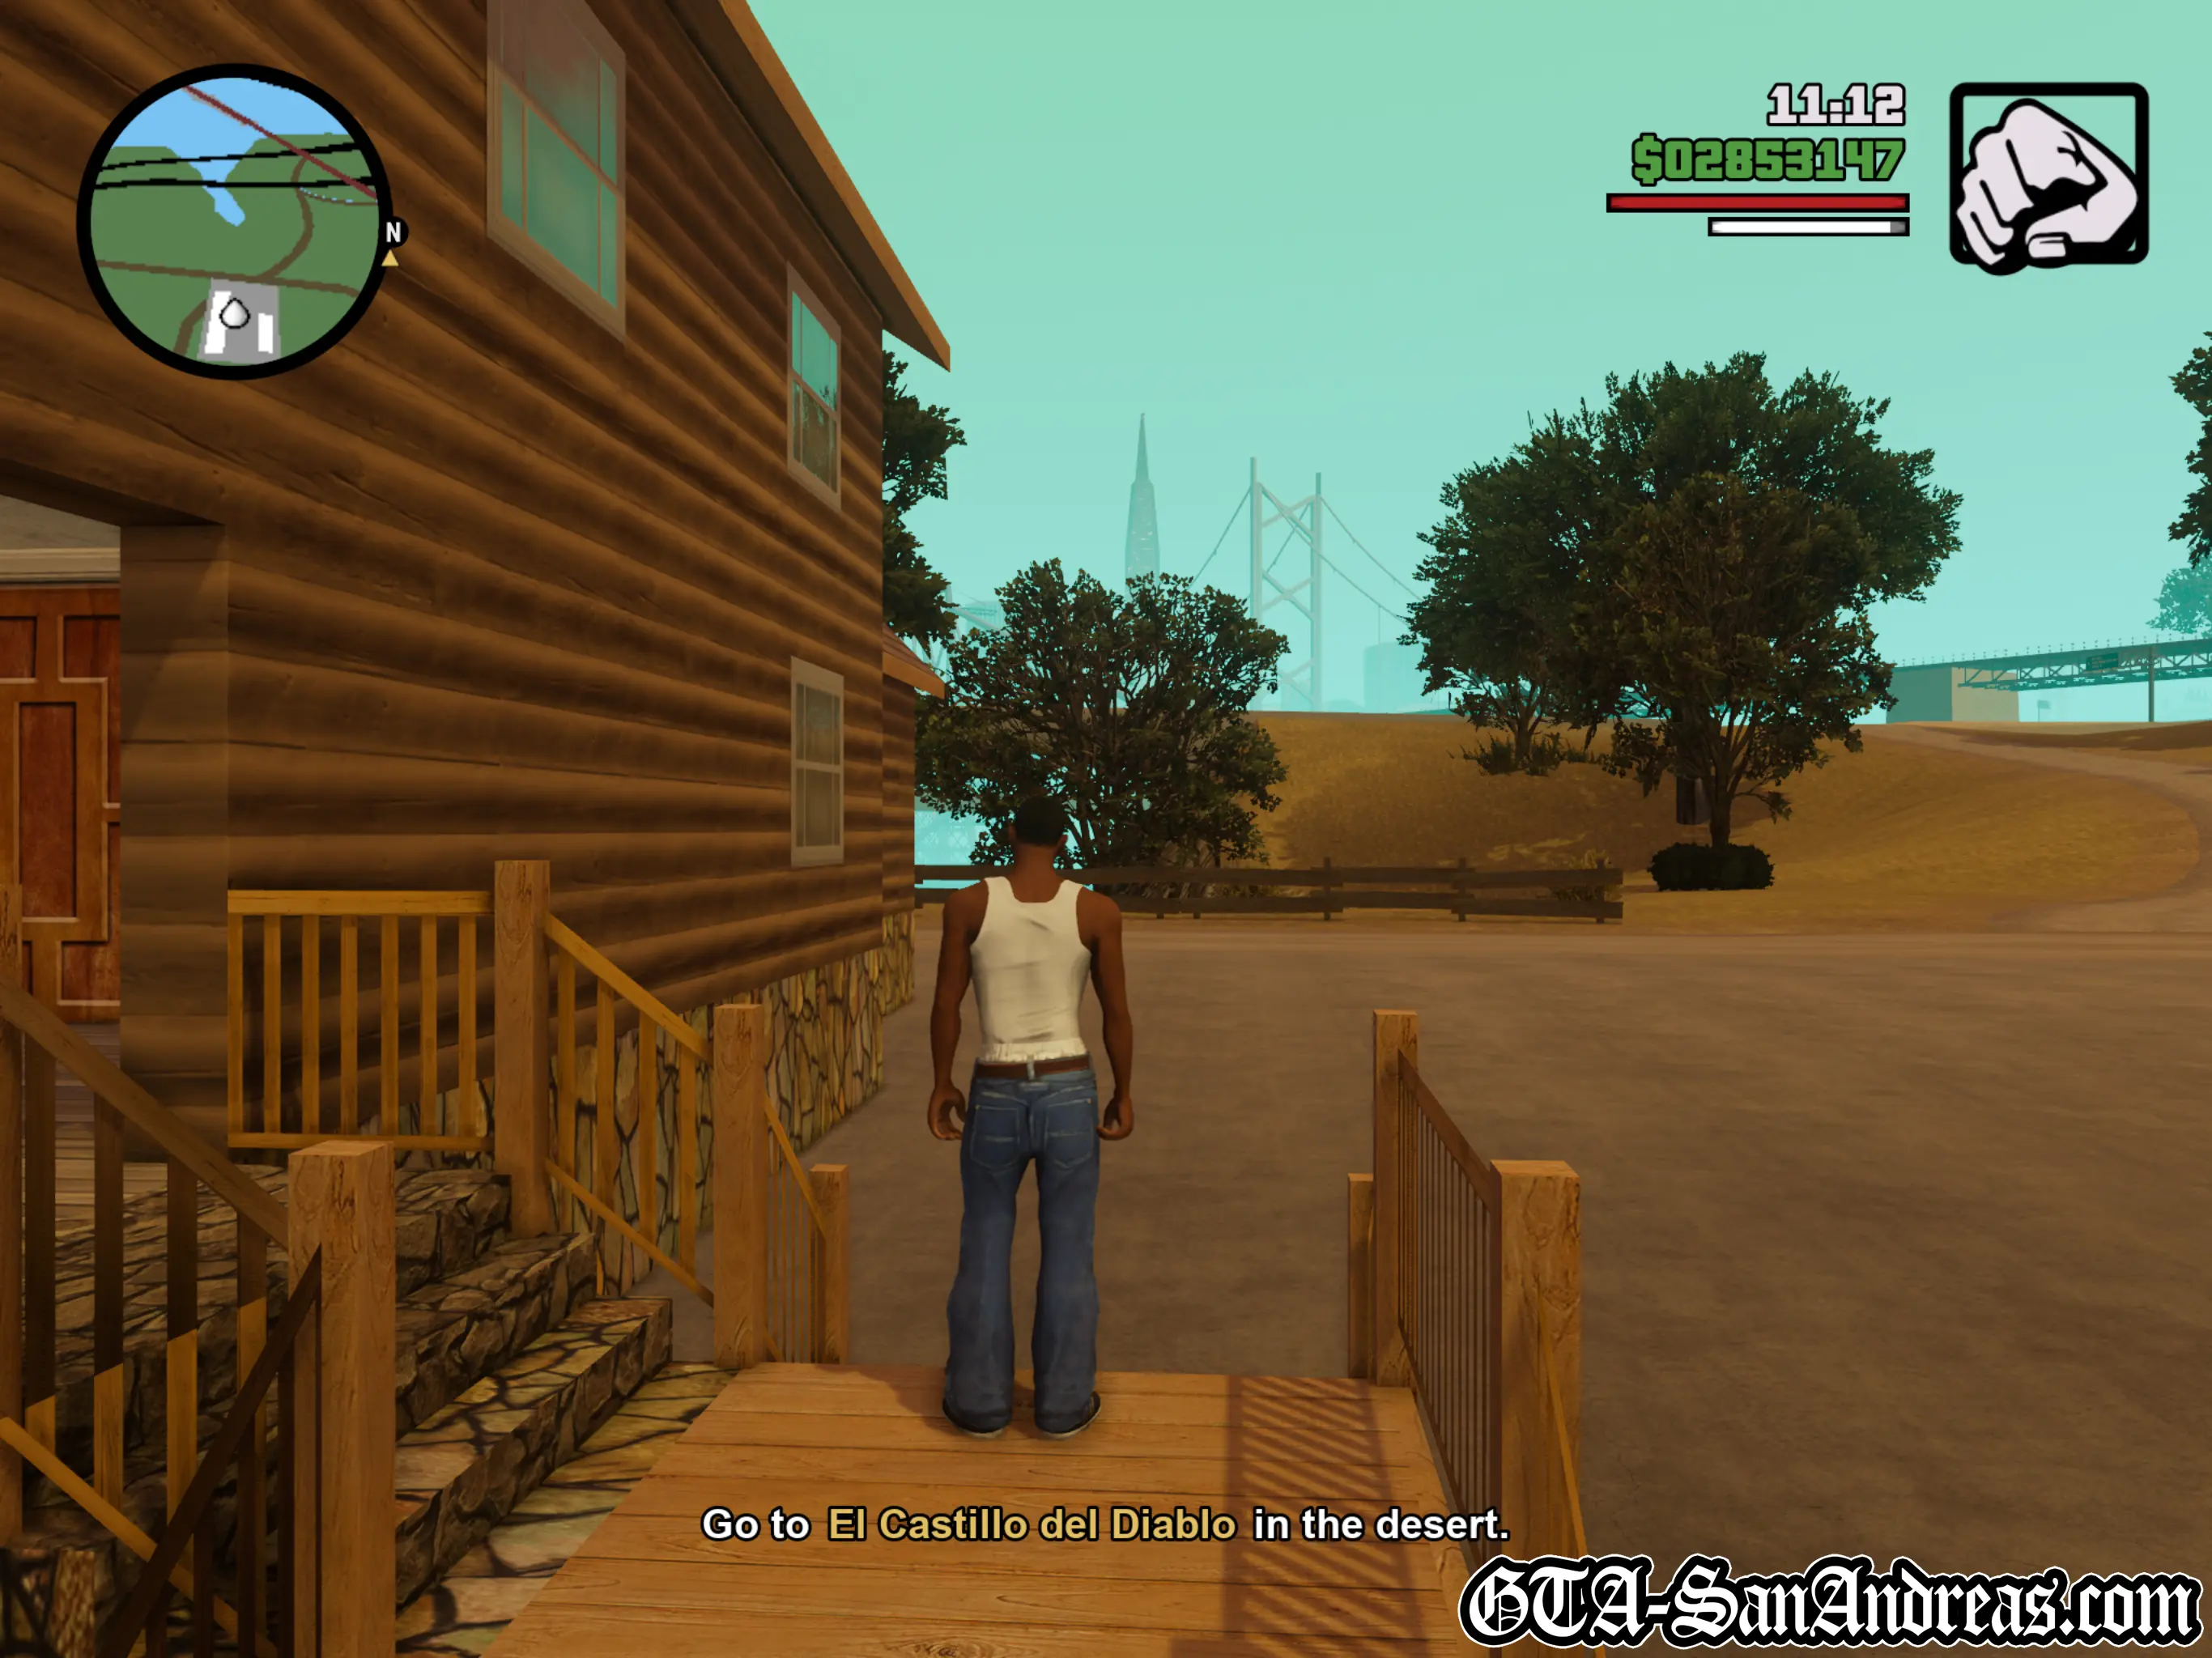
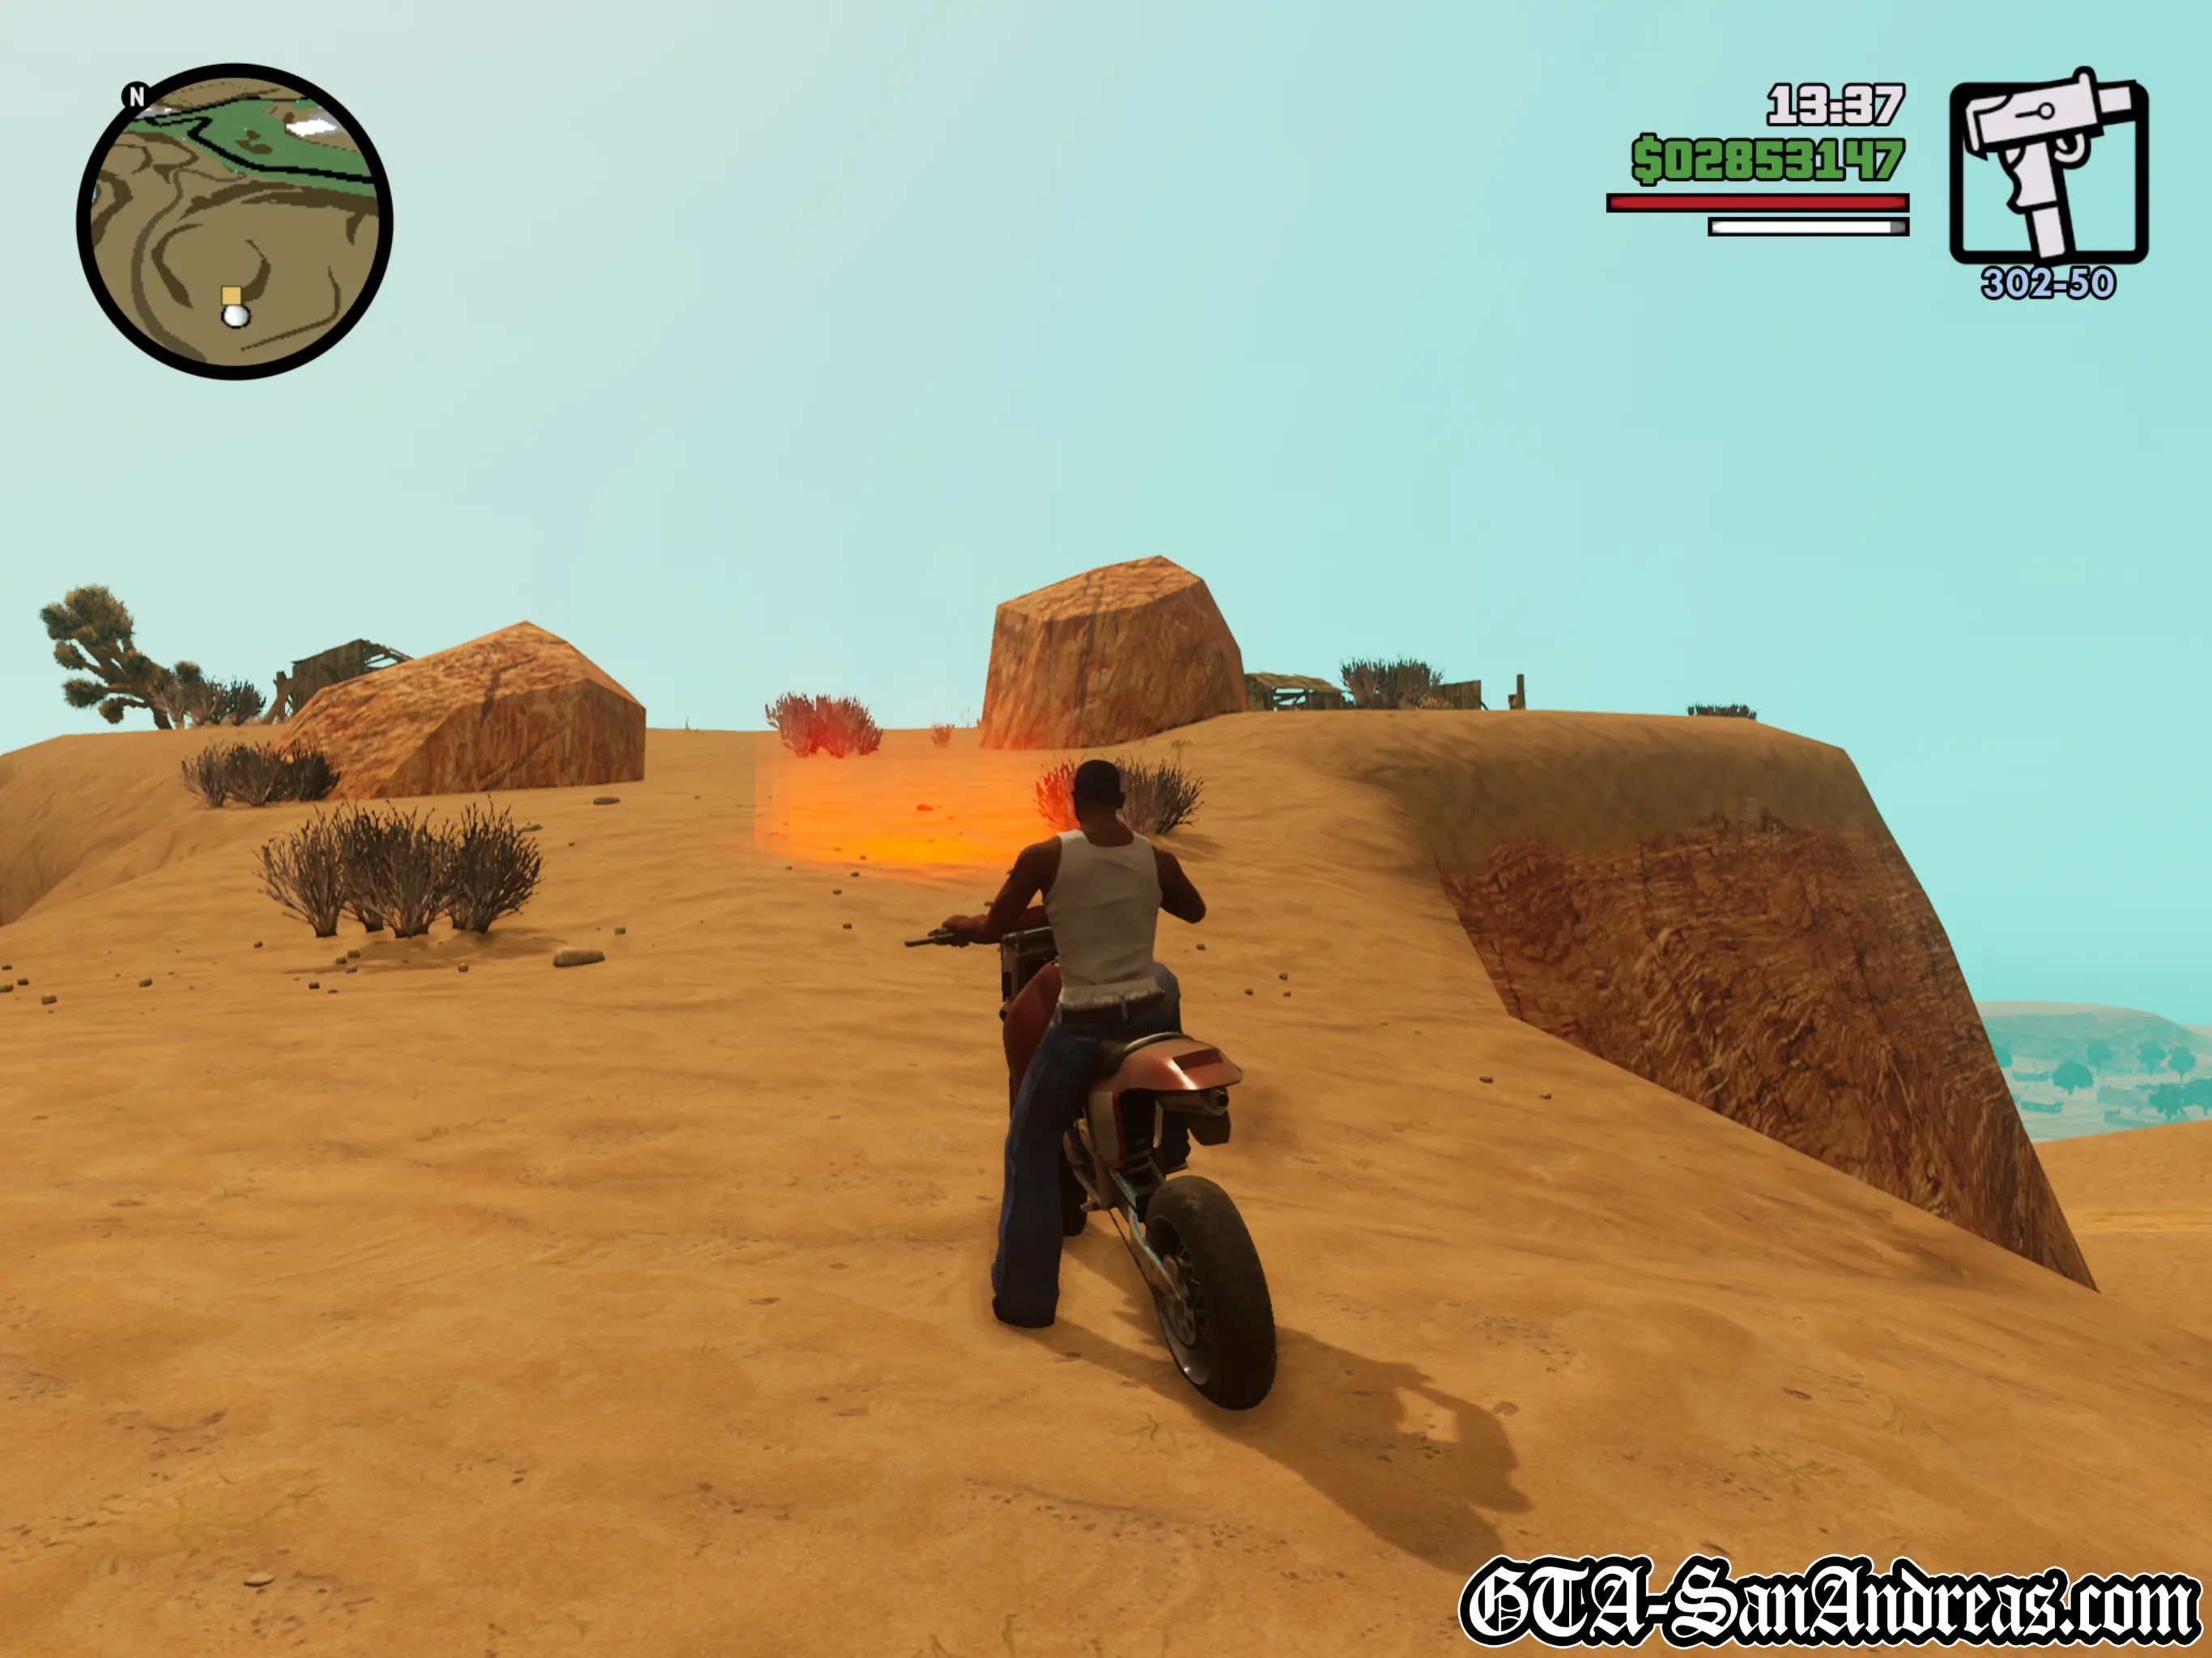
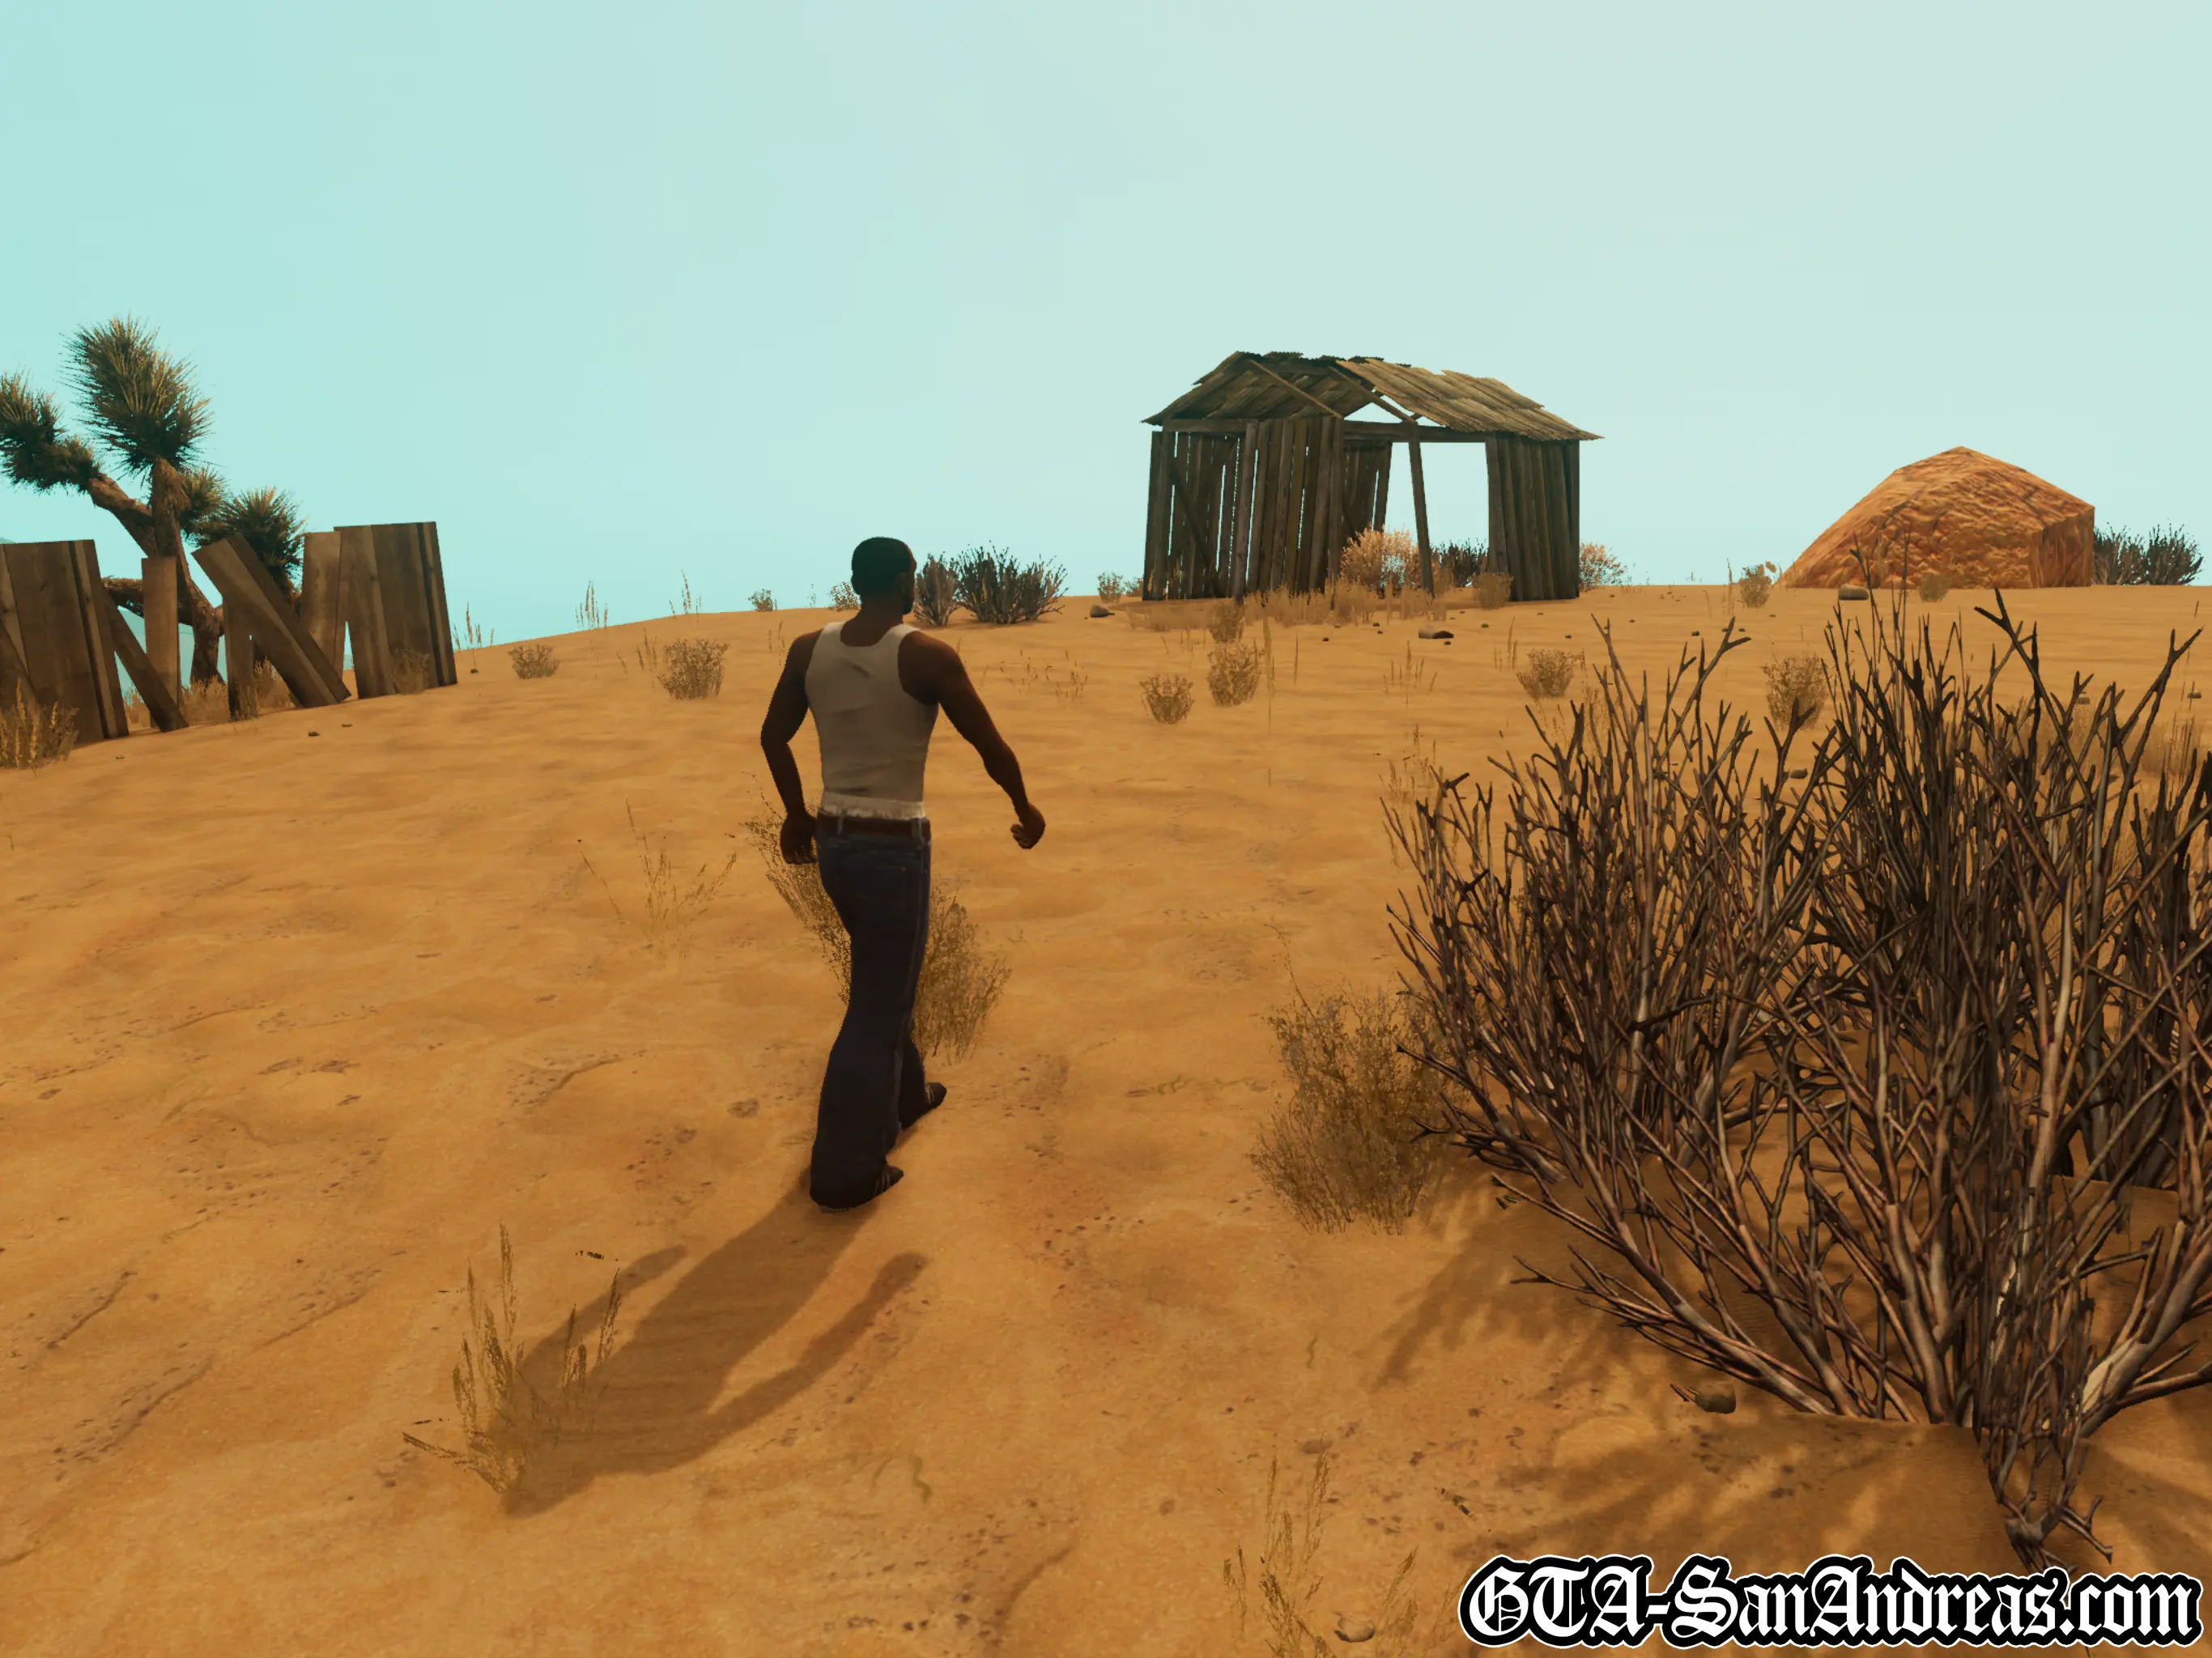
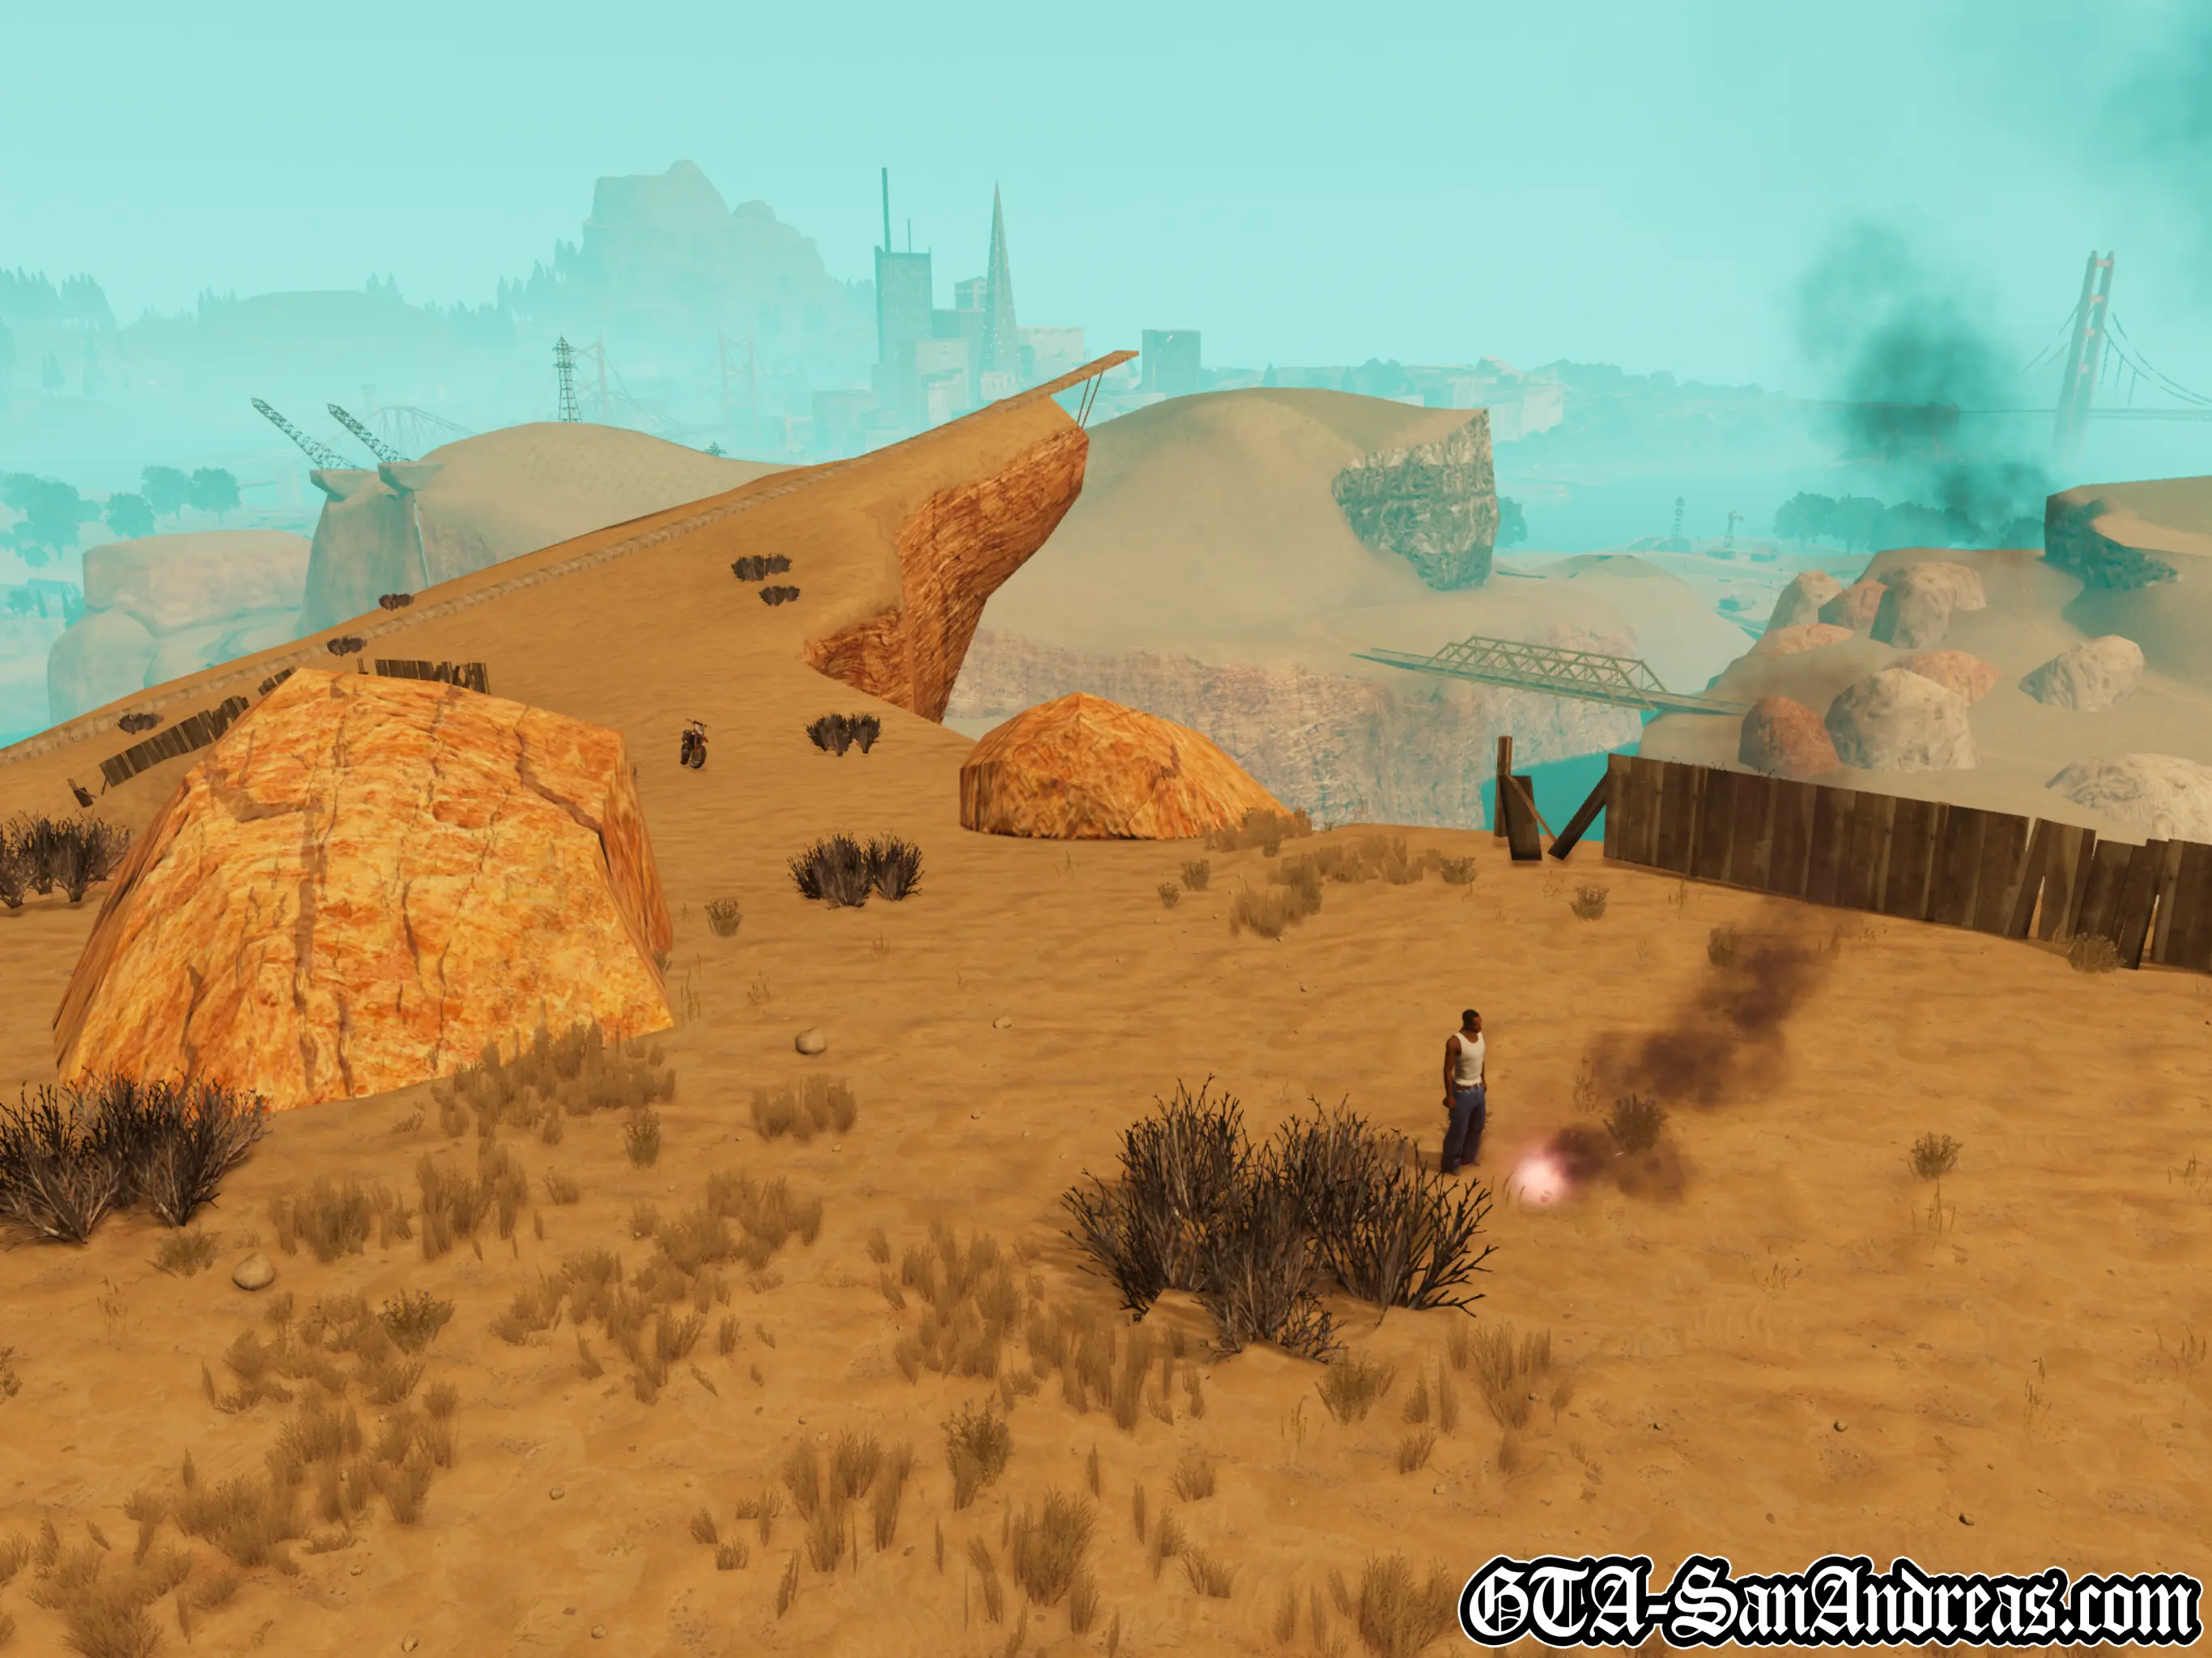
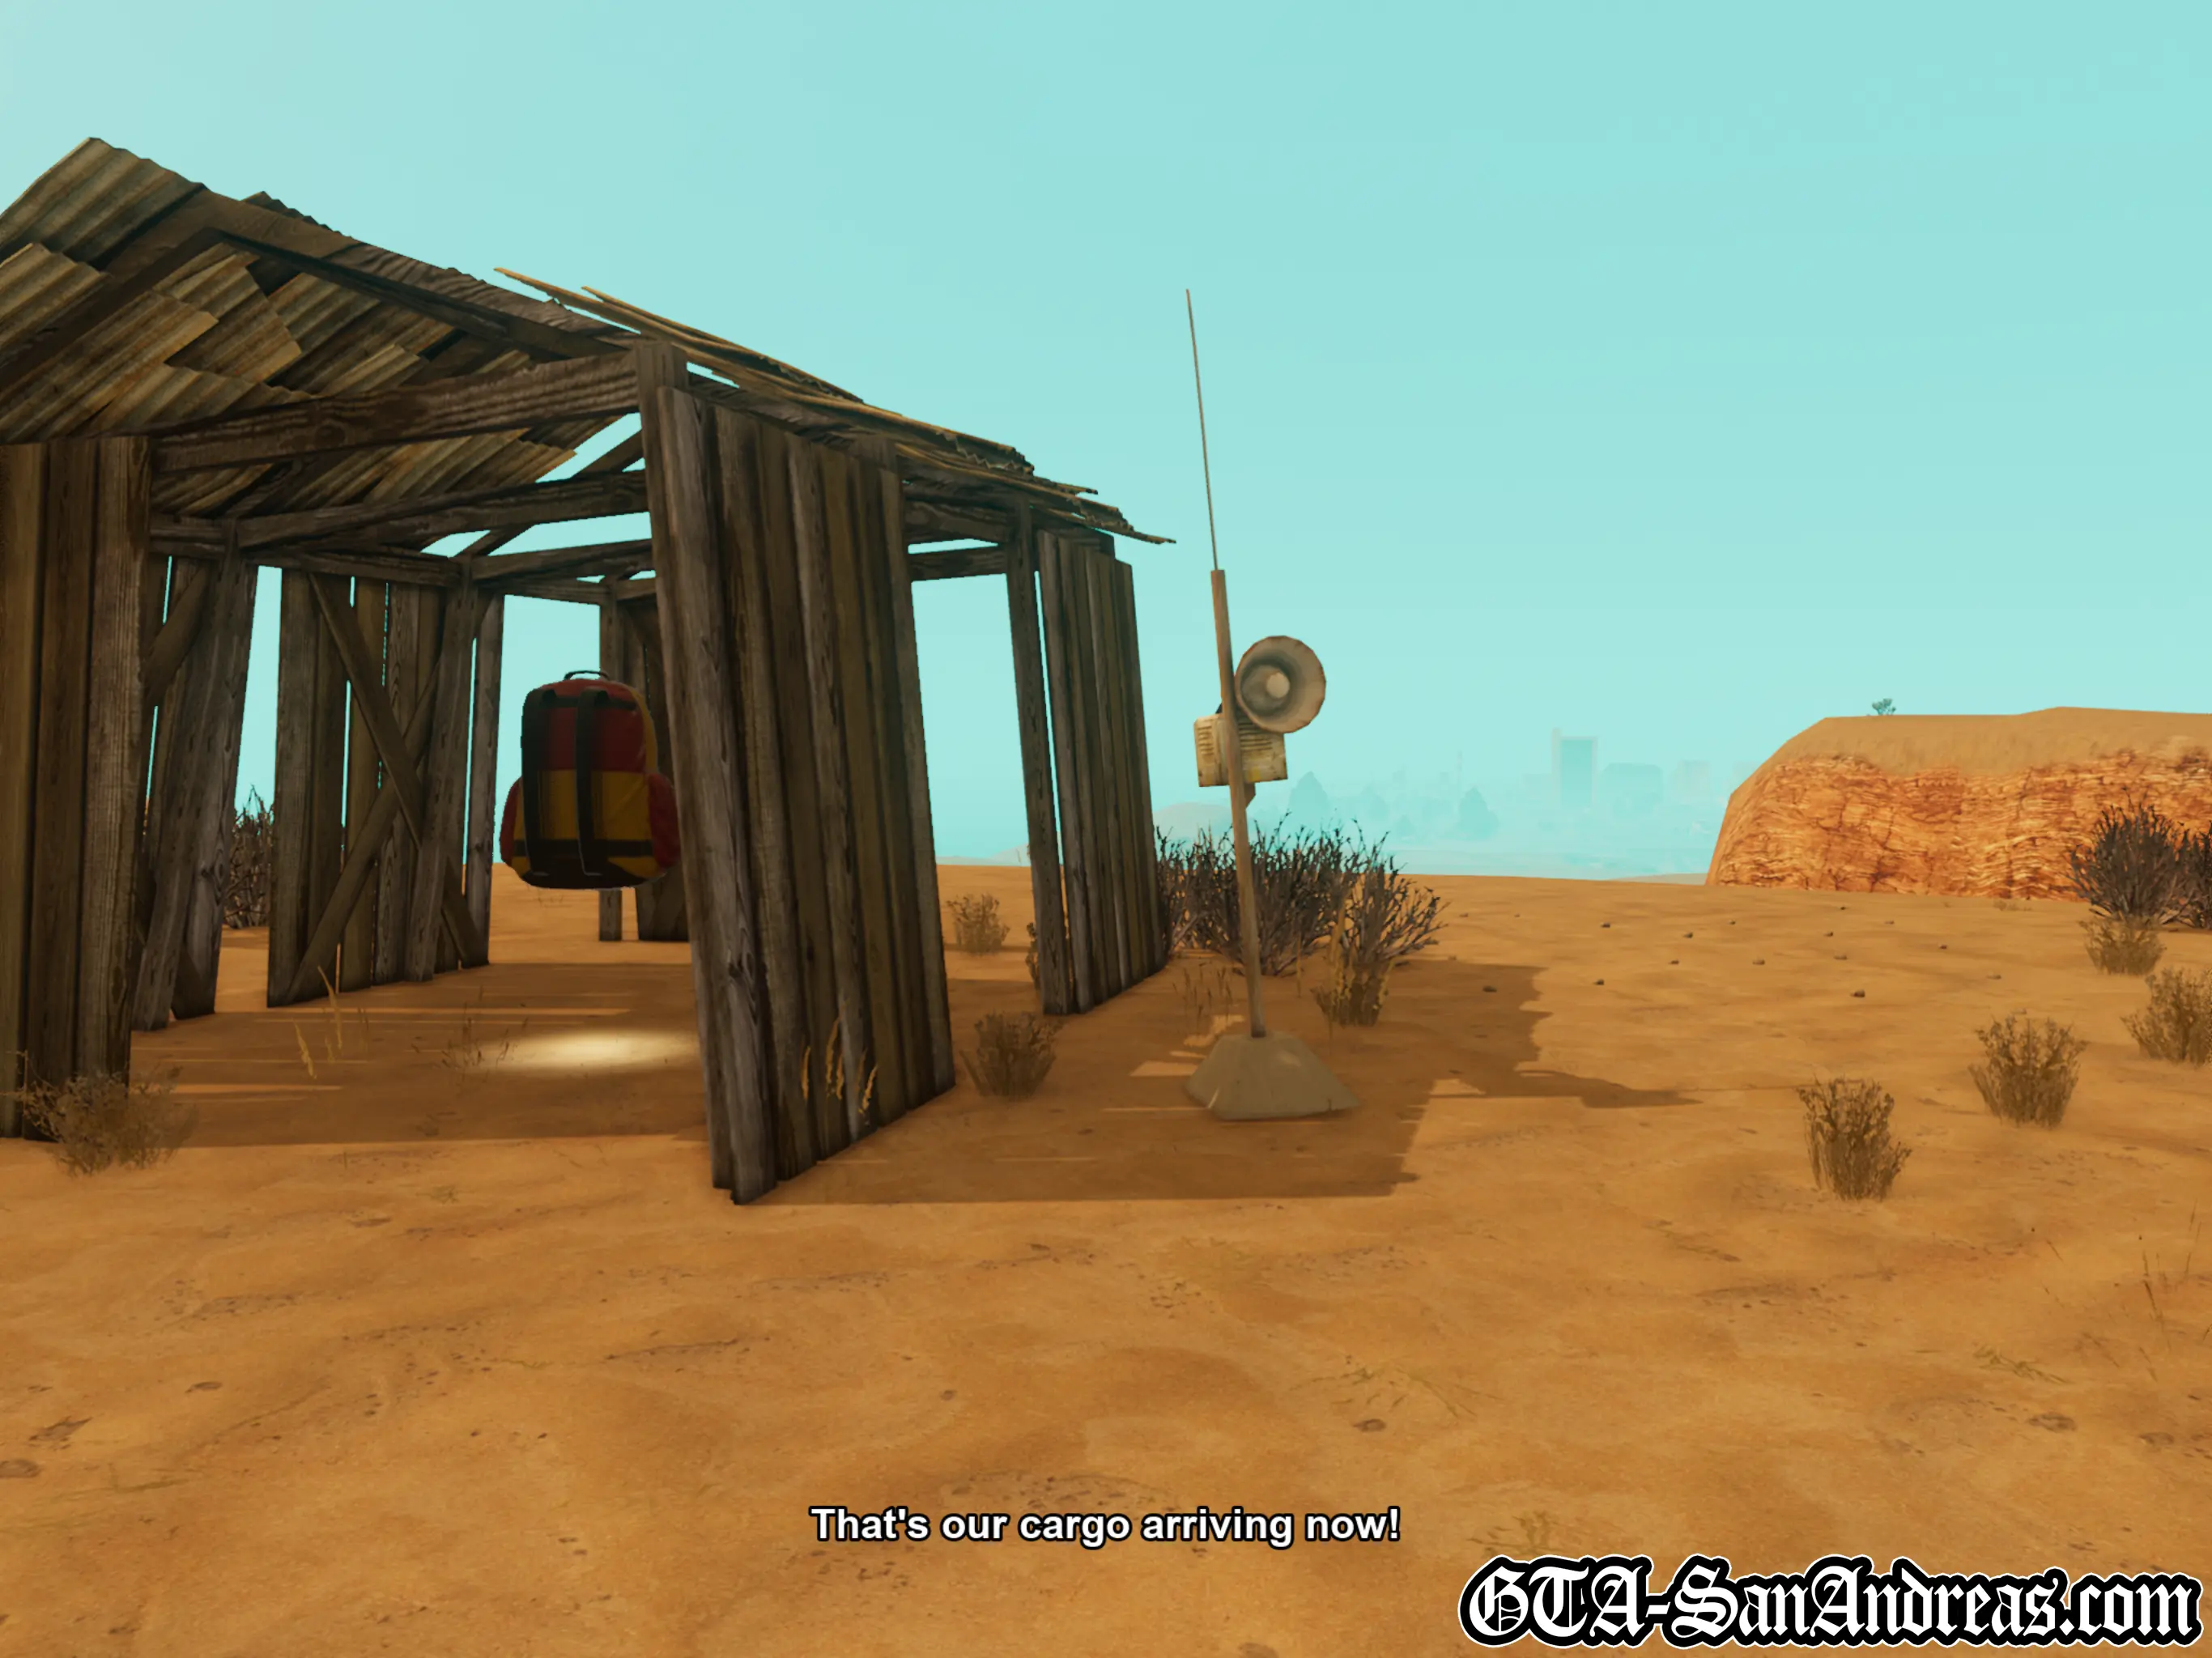
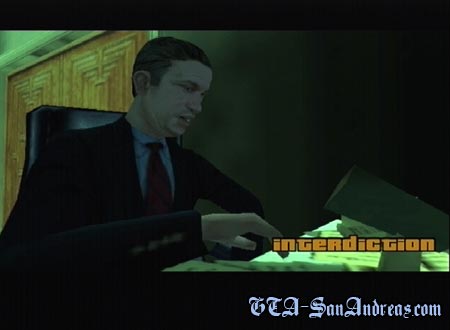
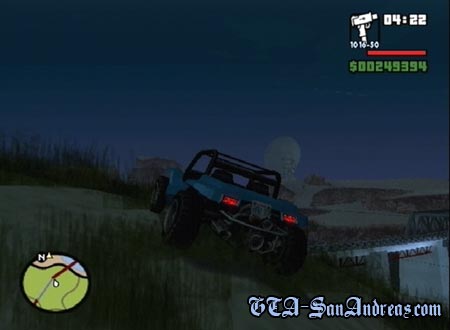
Interdiction
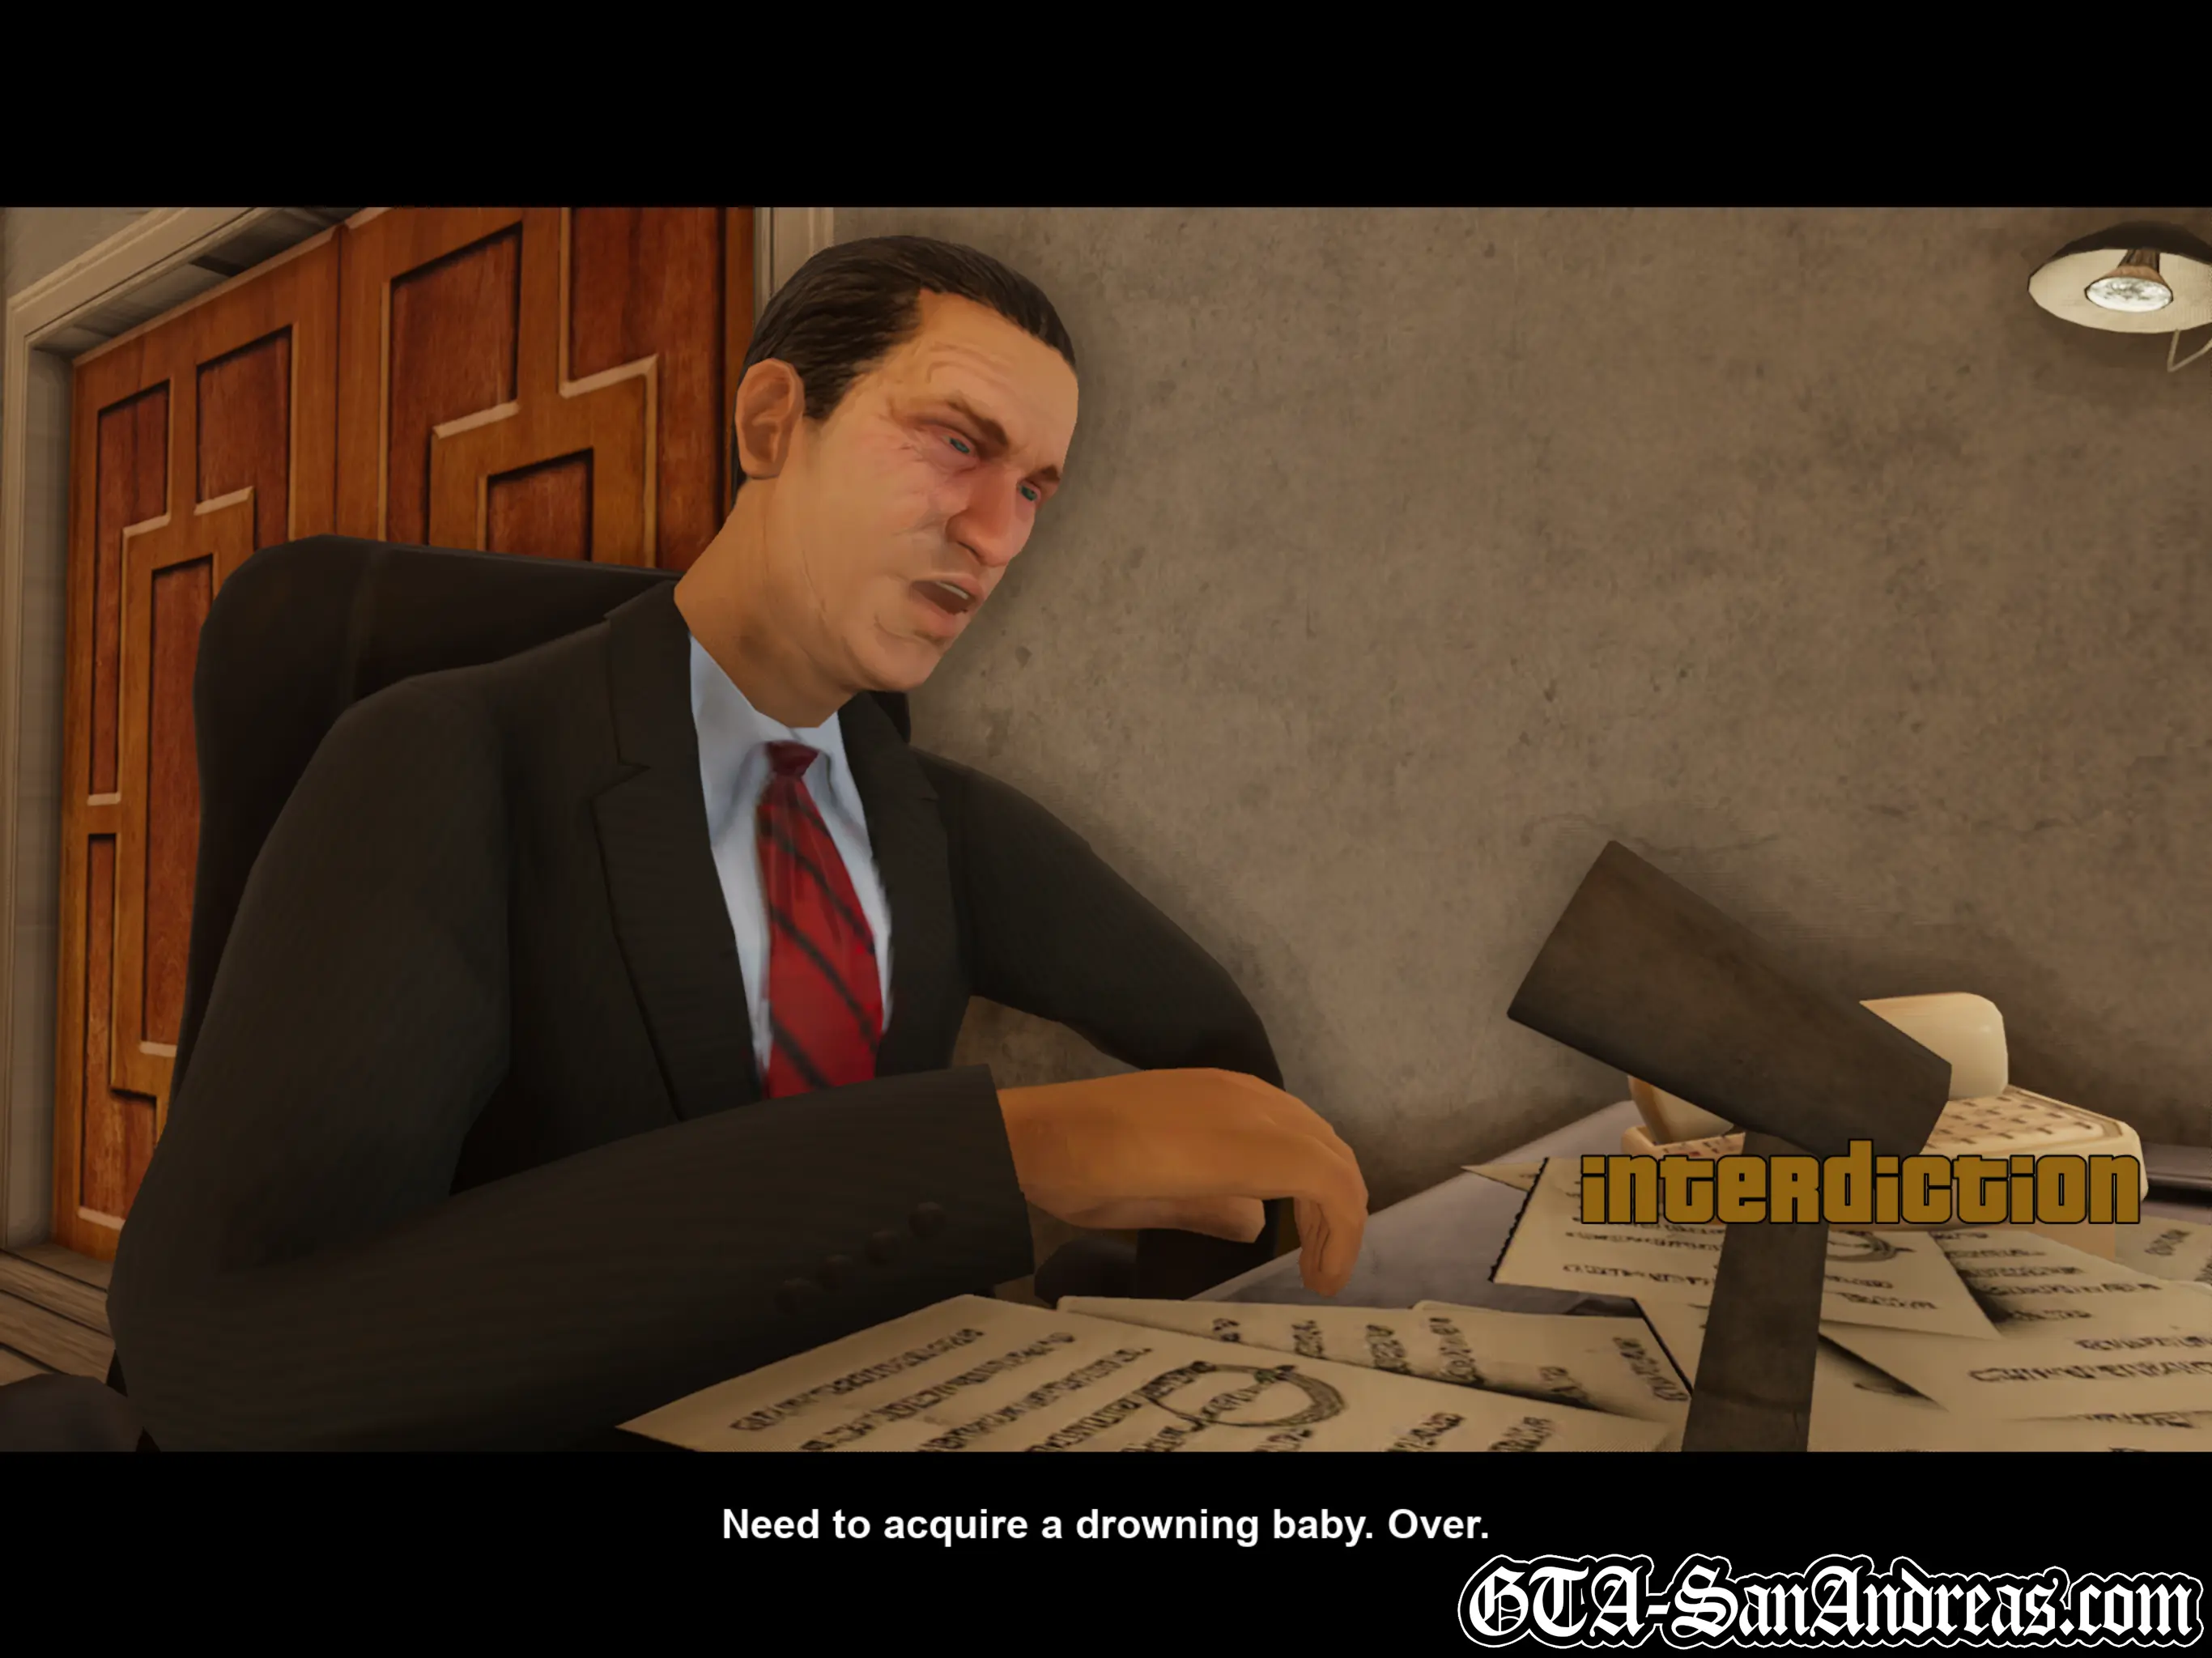
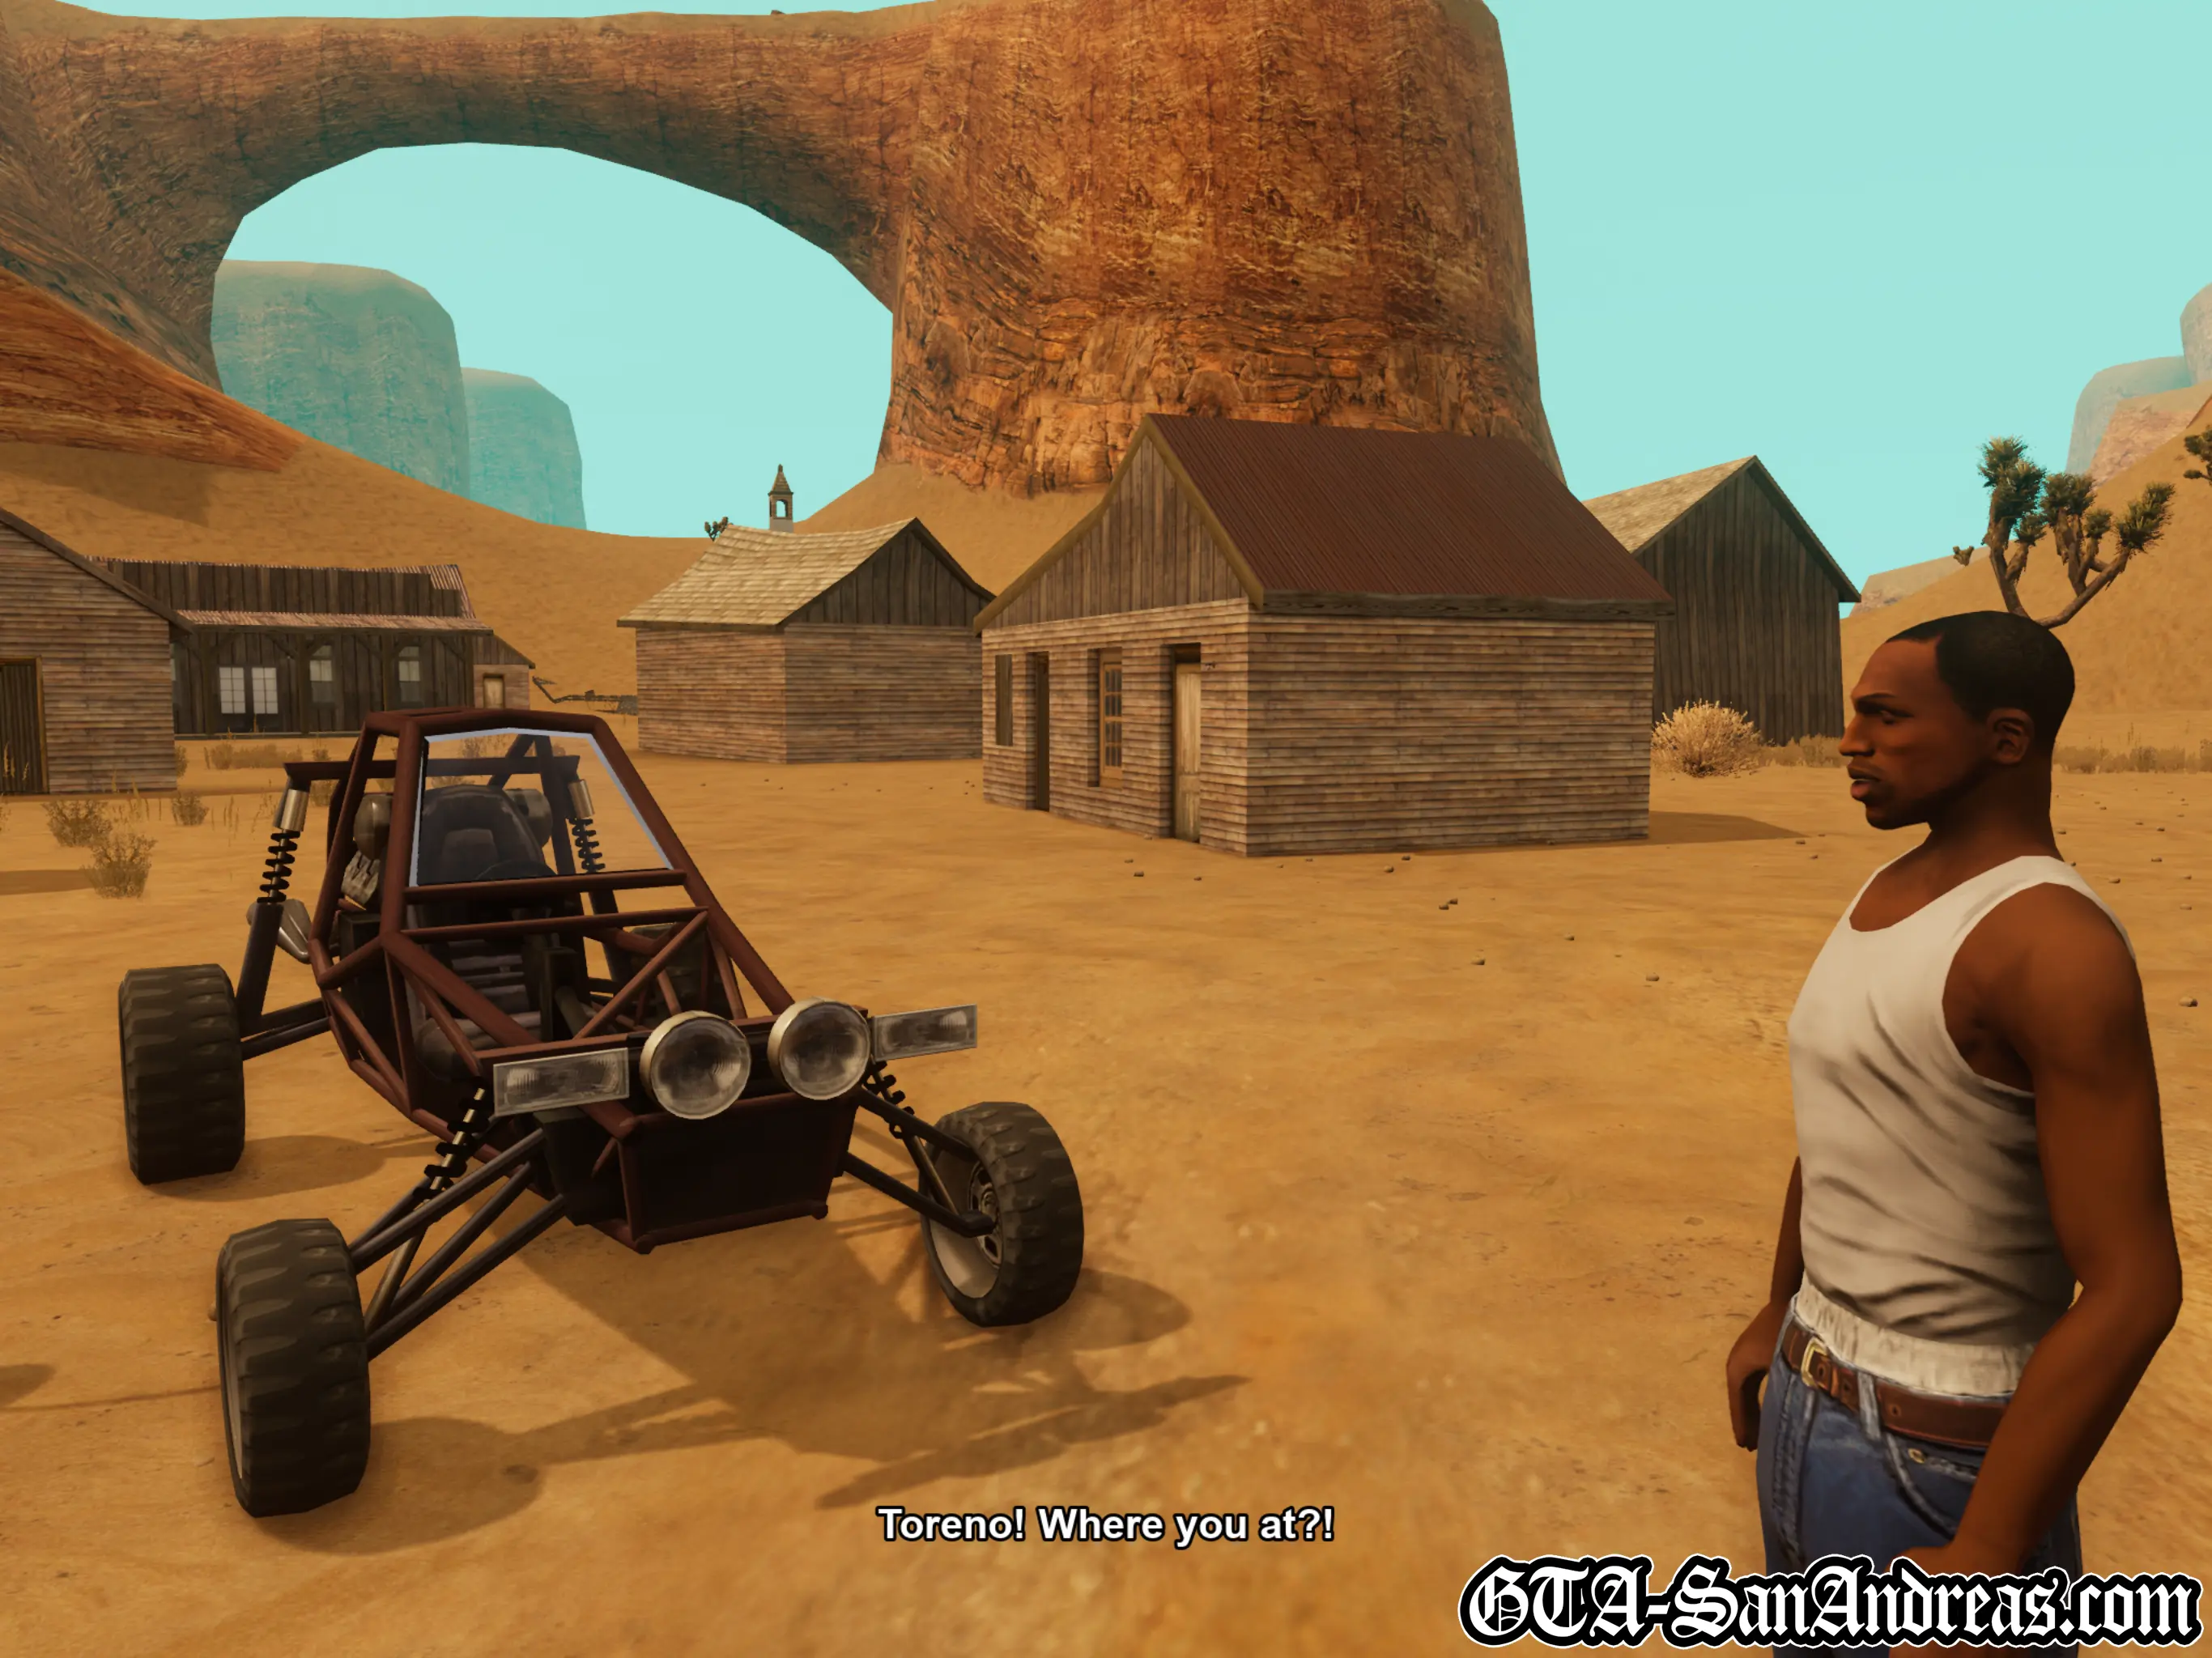
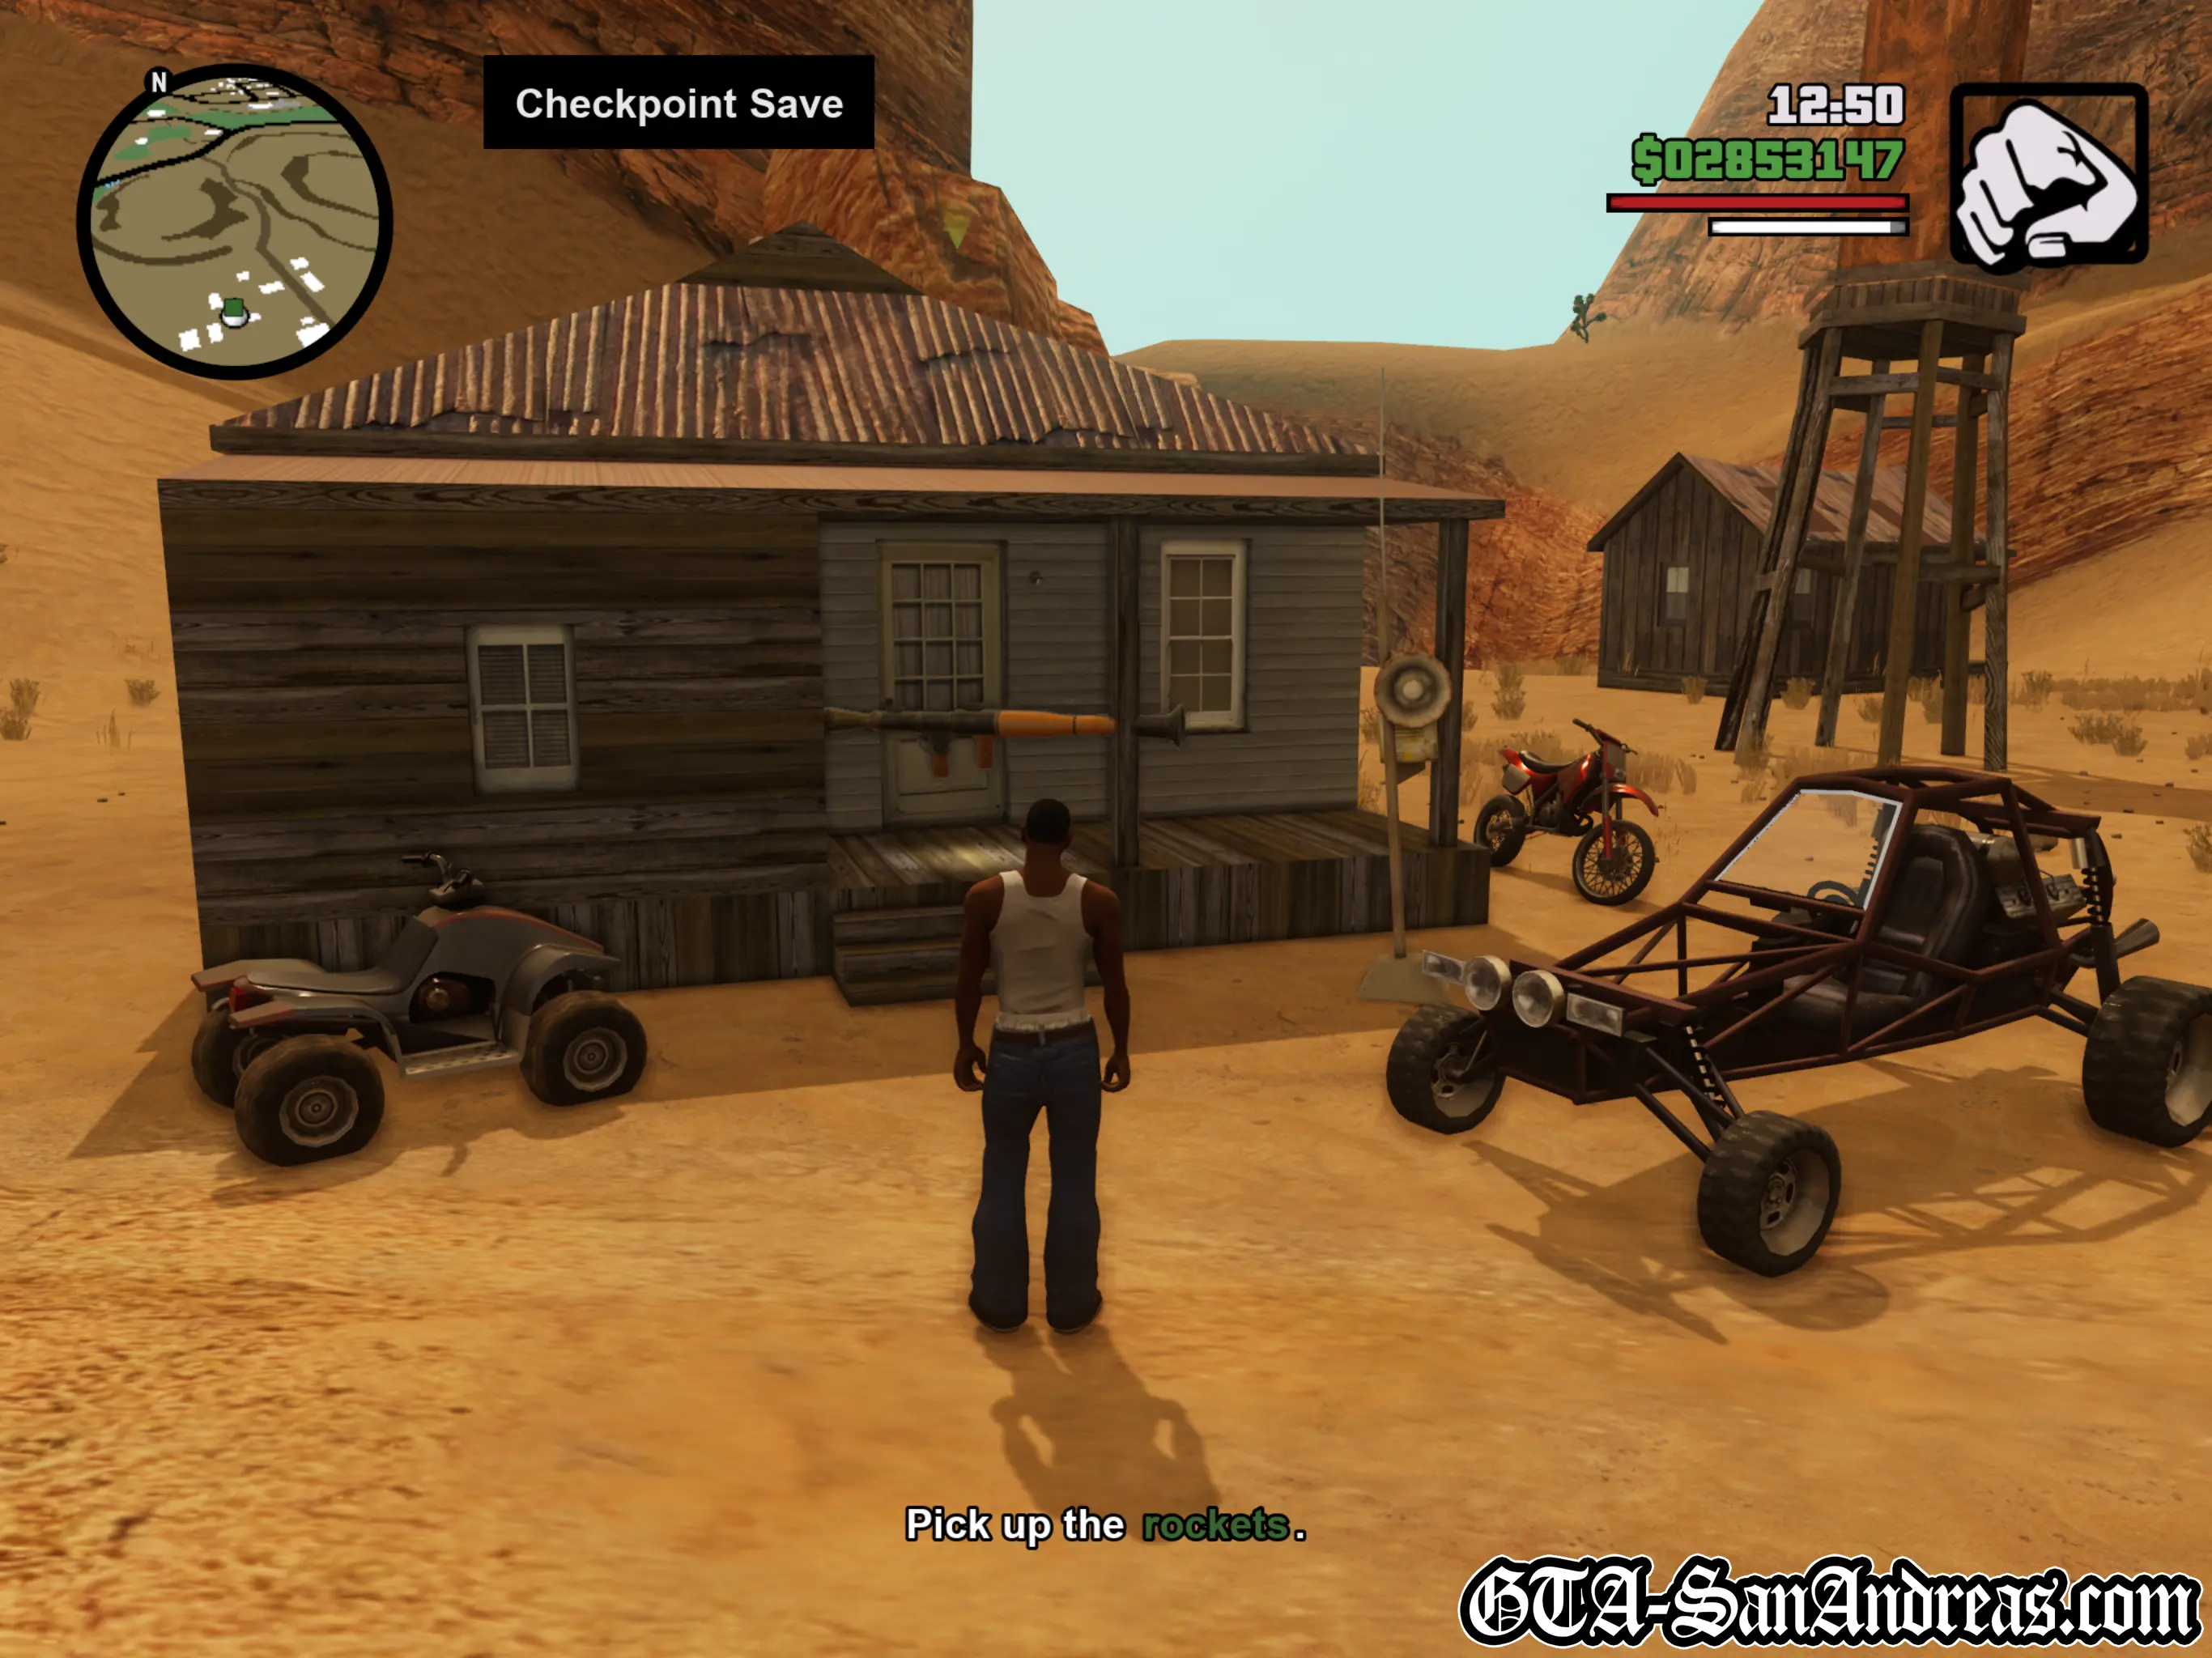
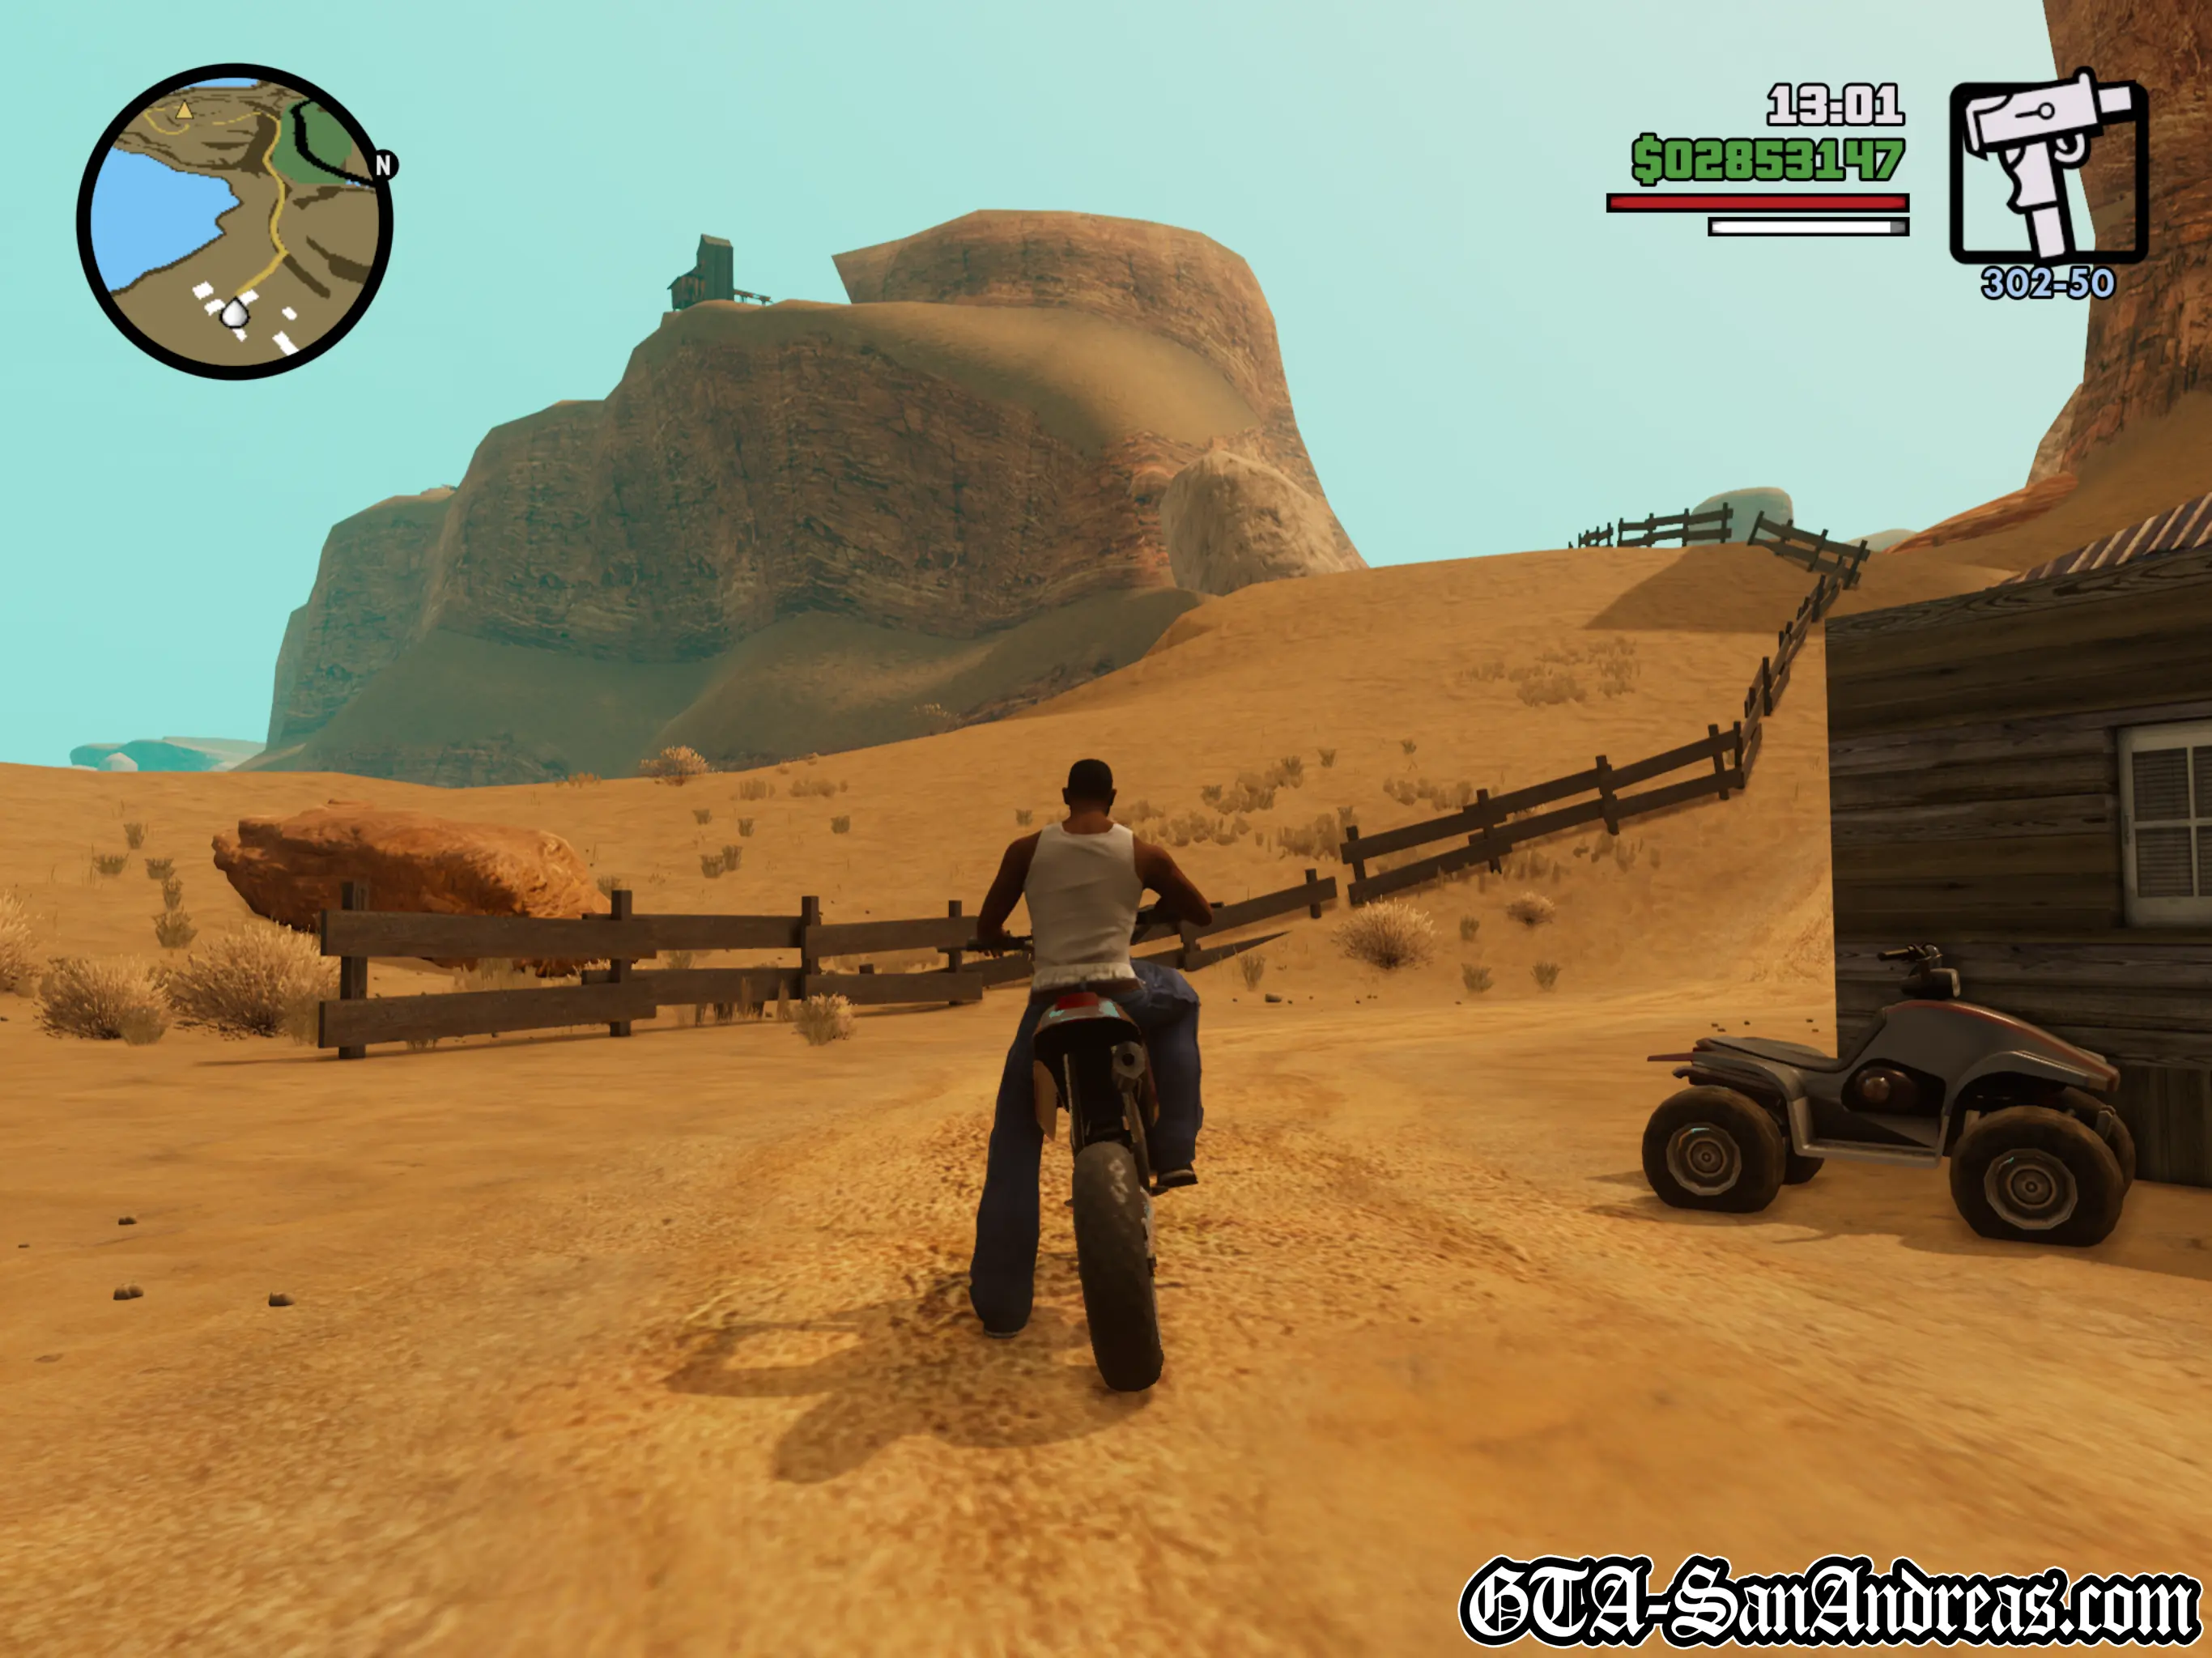
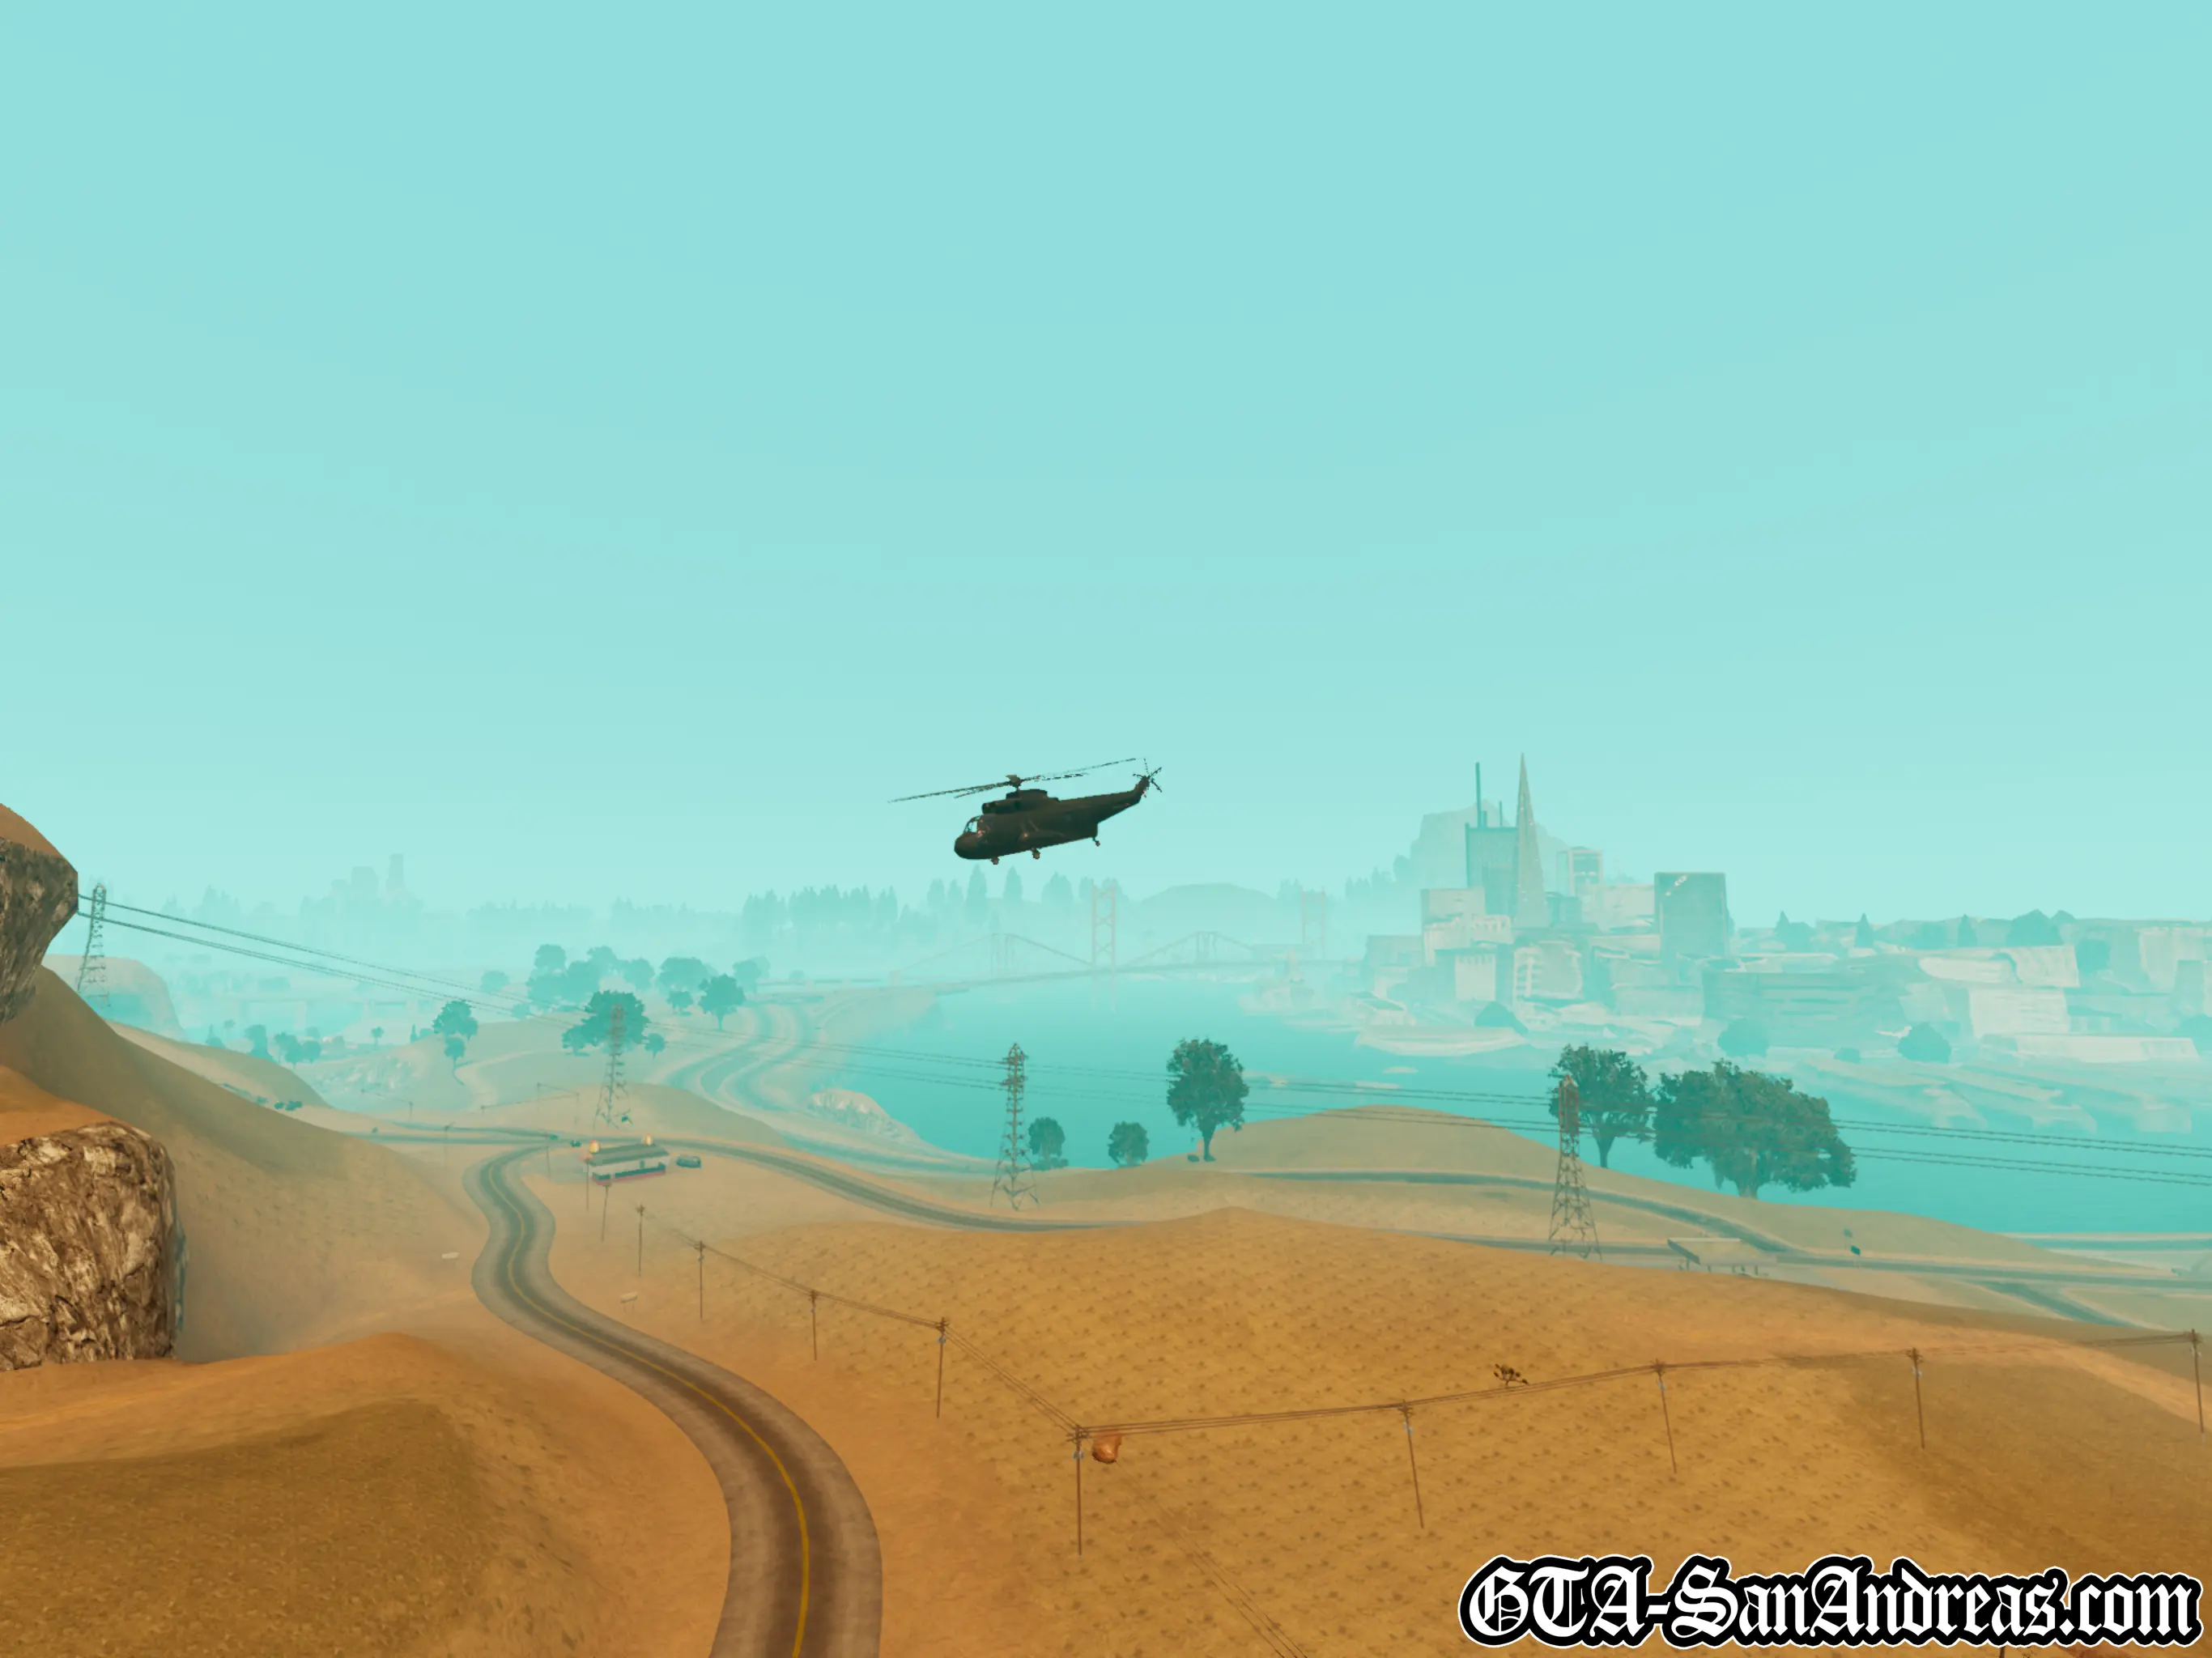
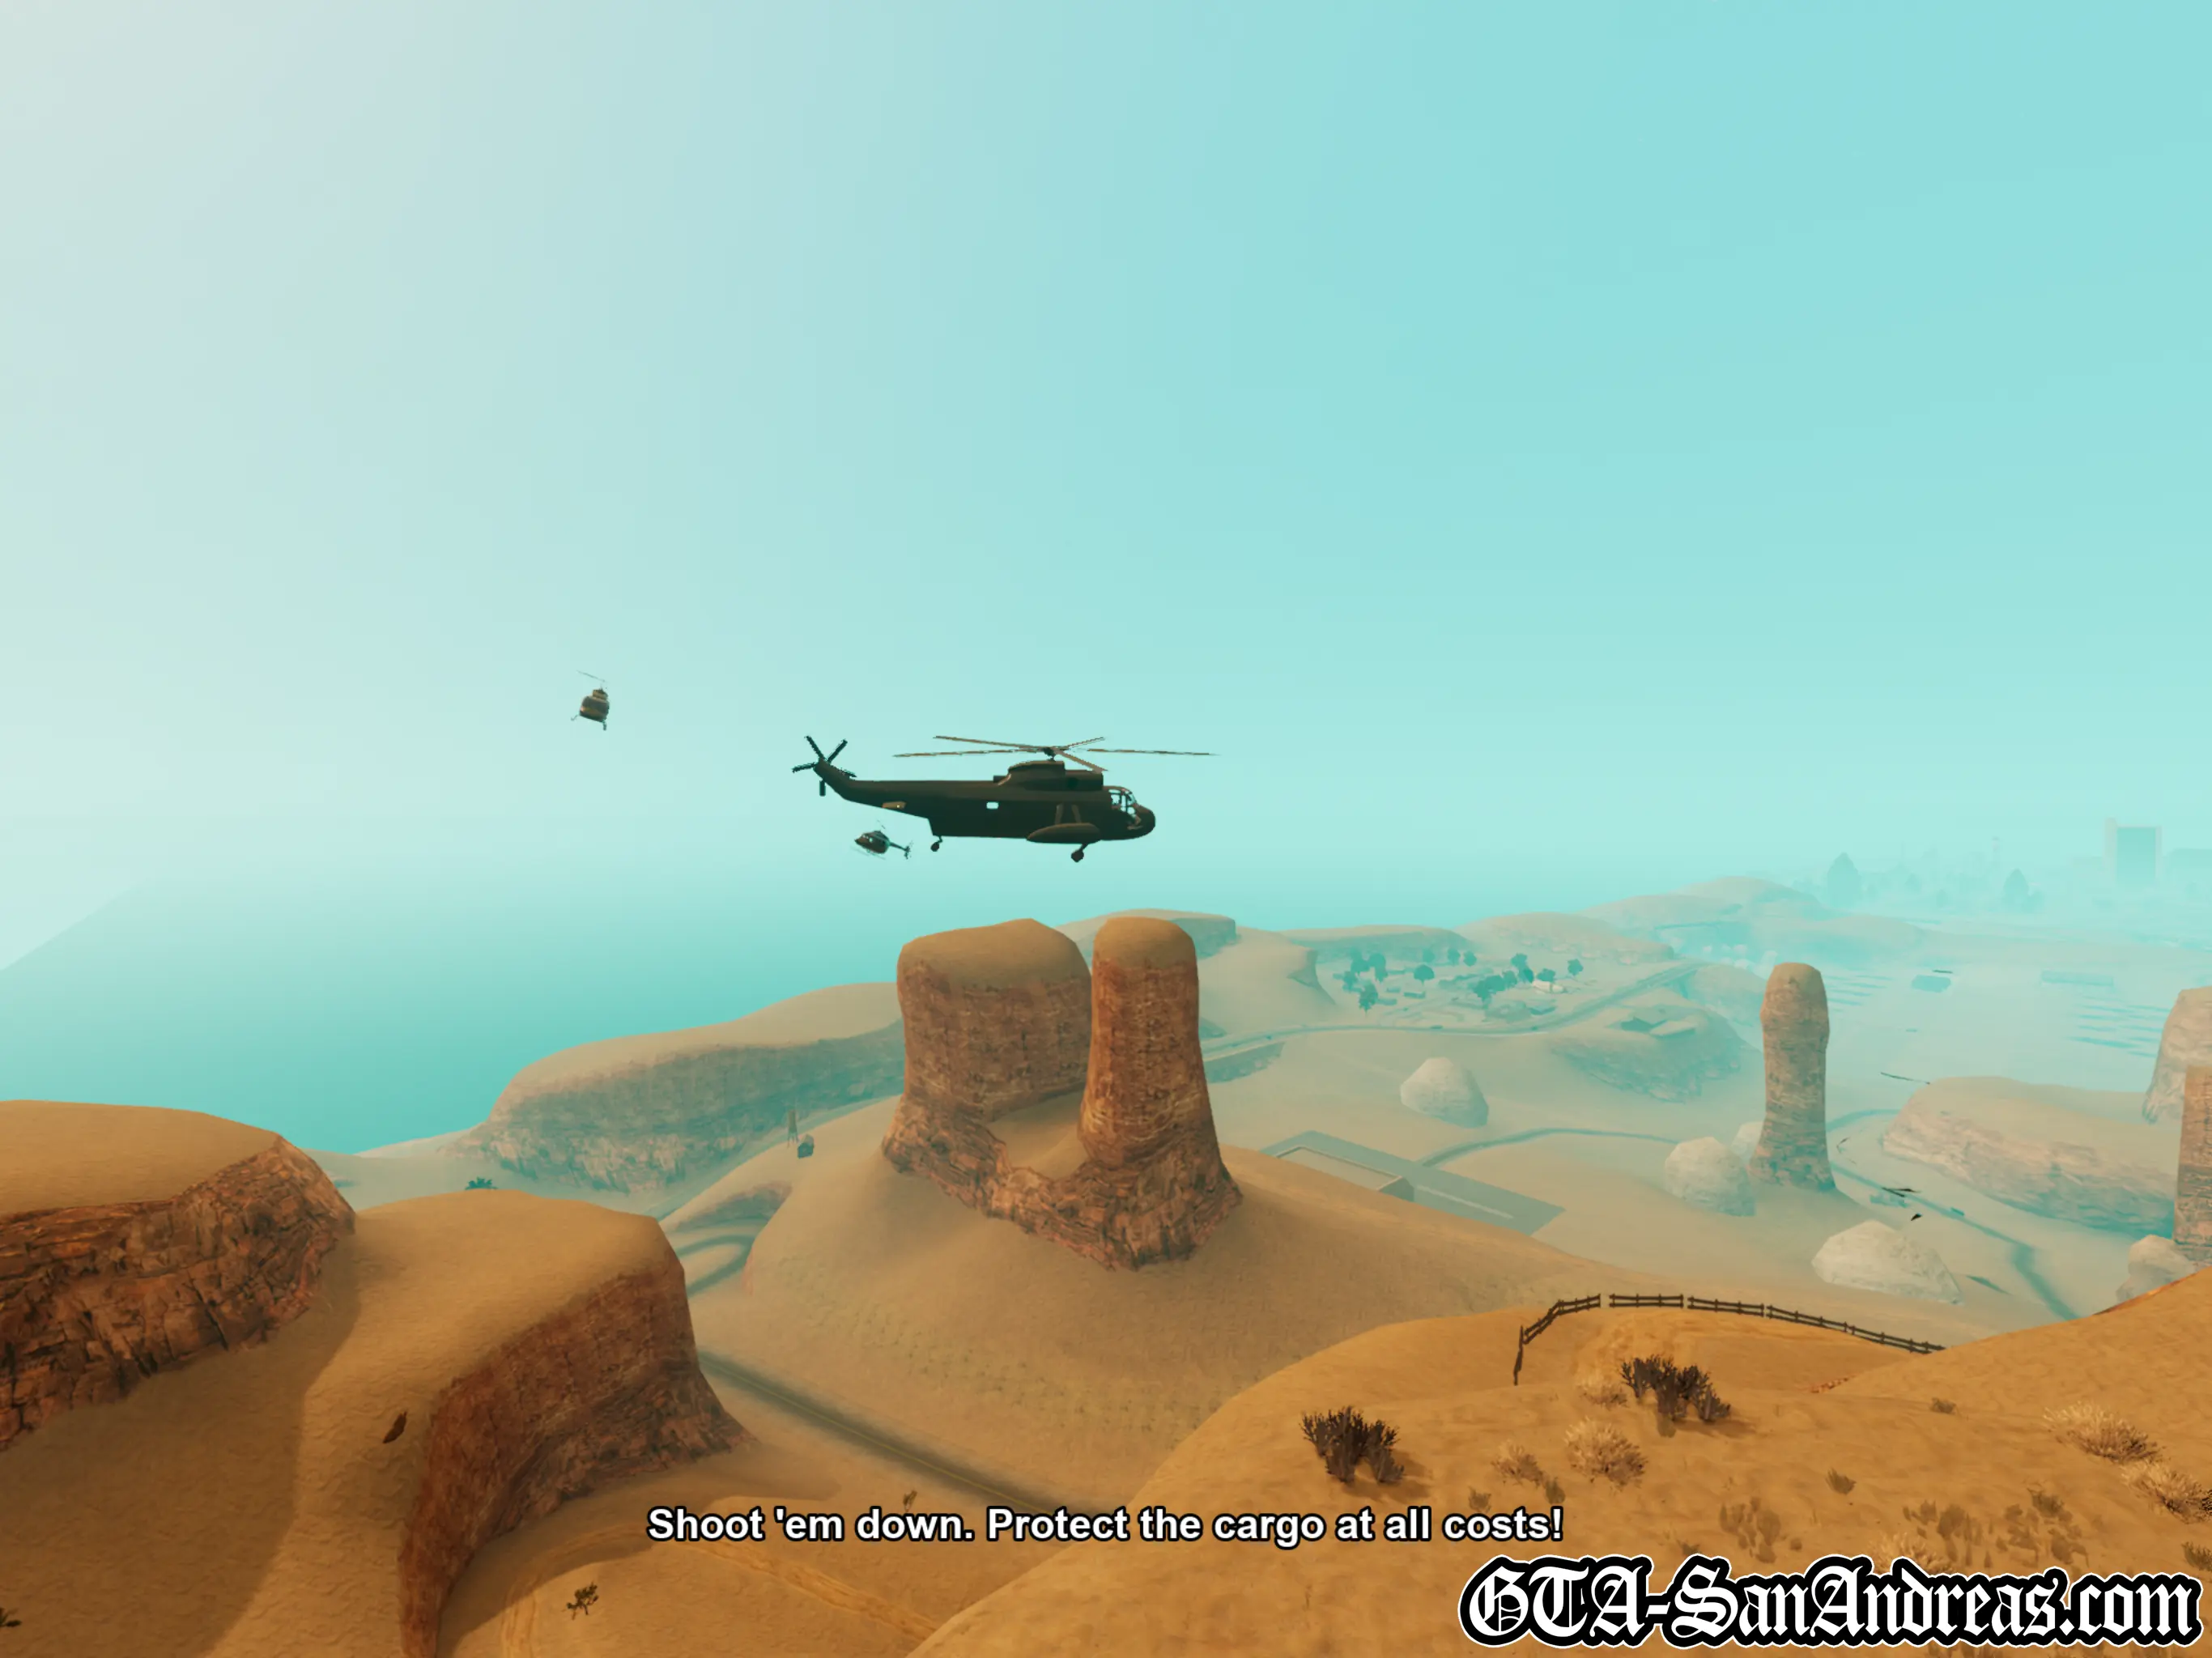
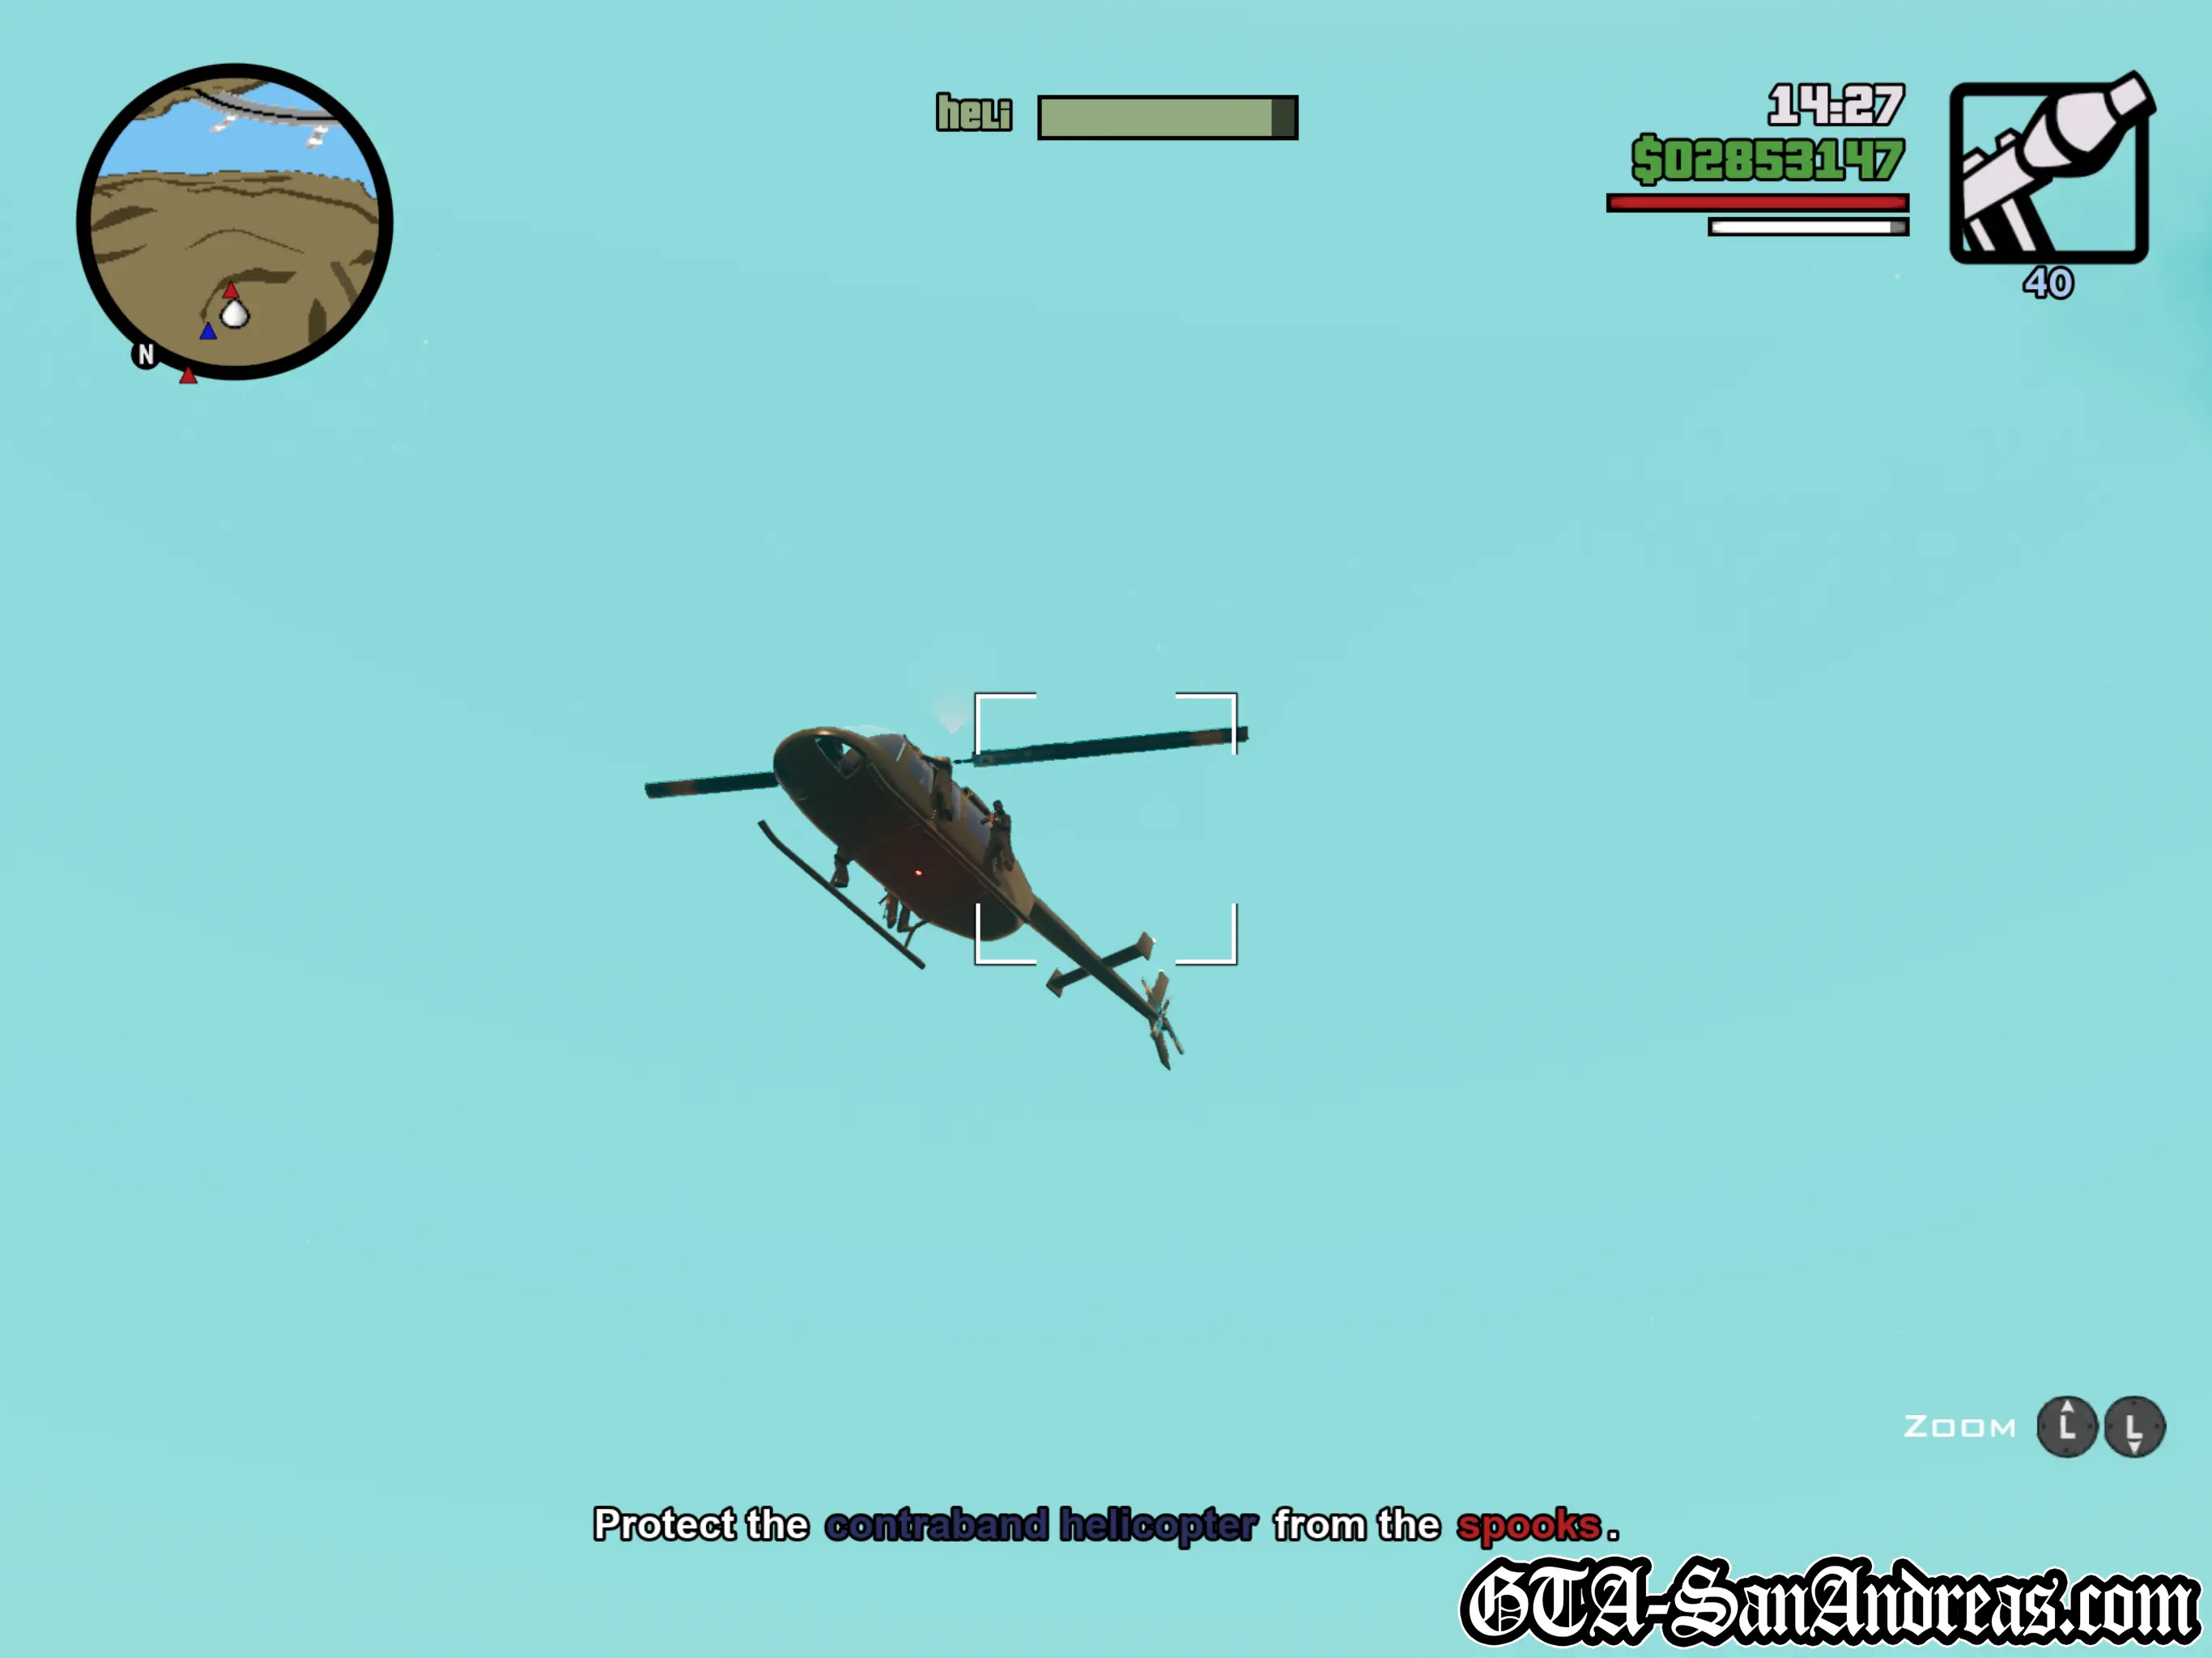
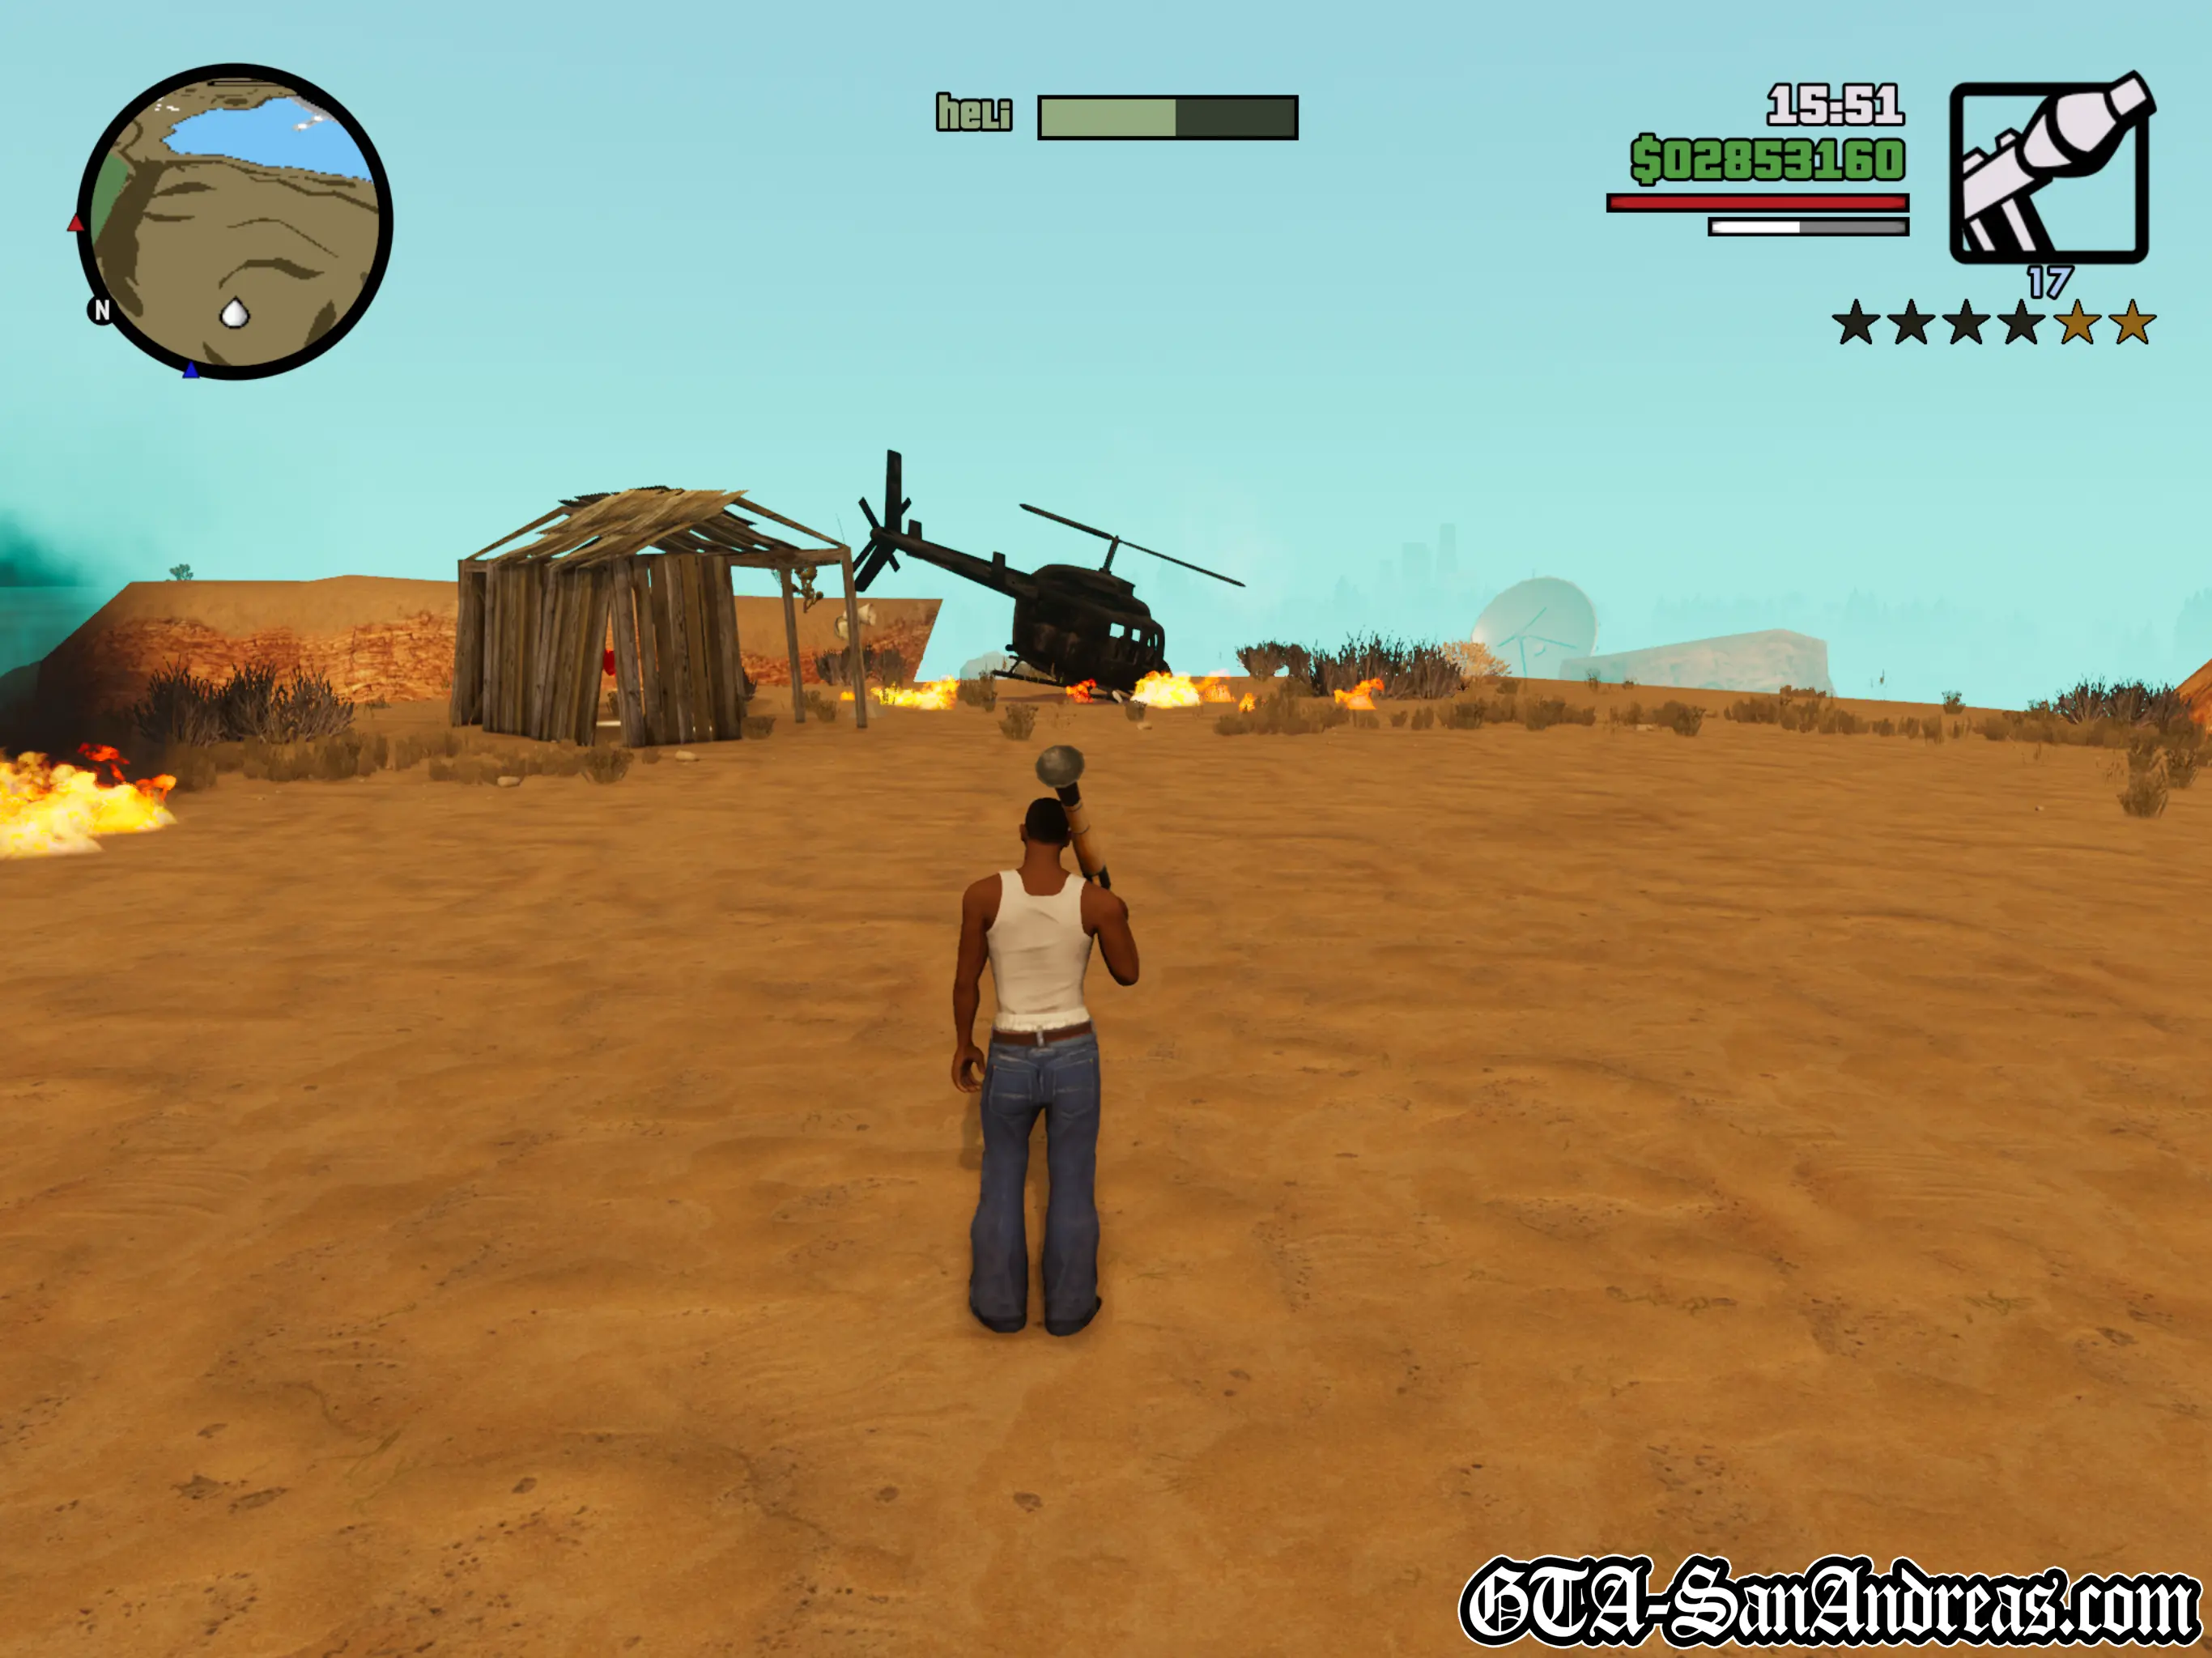
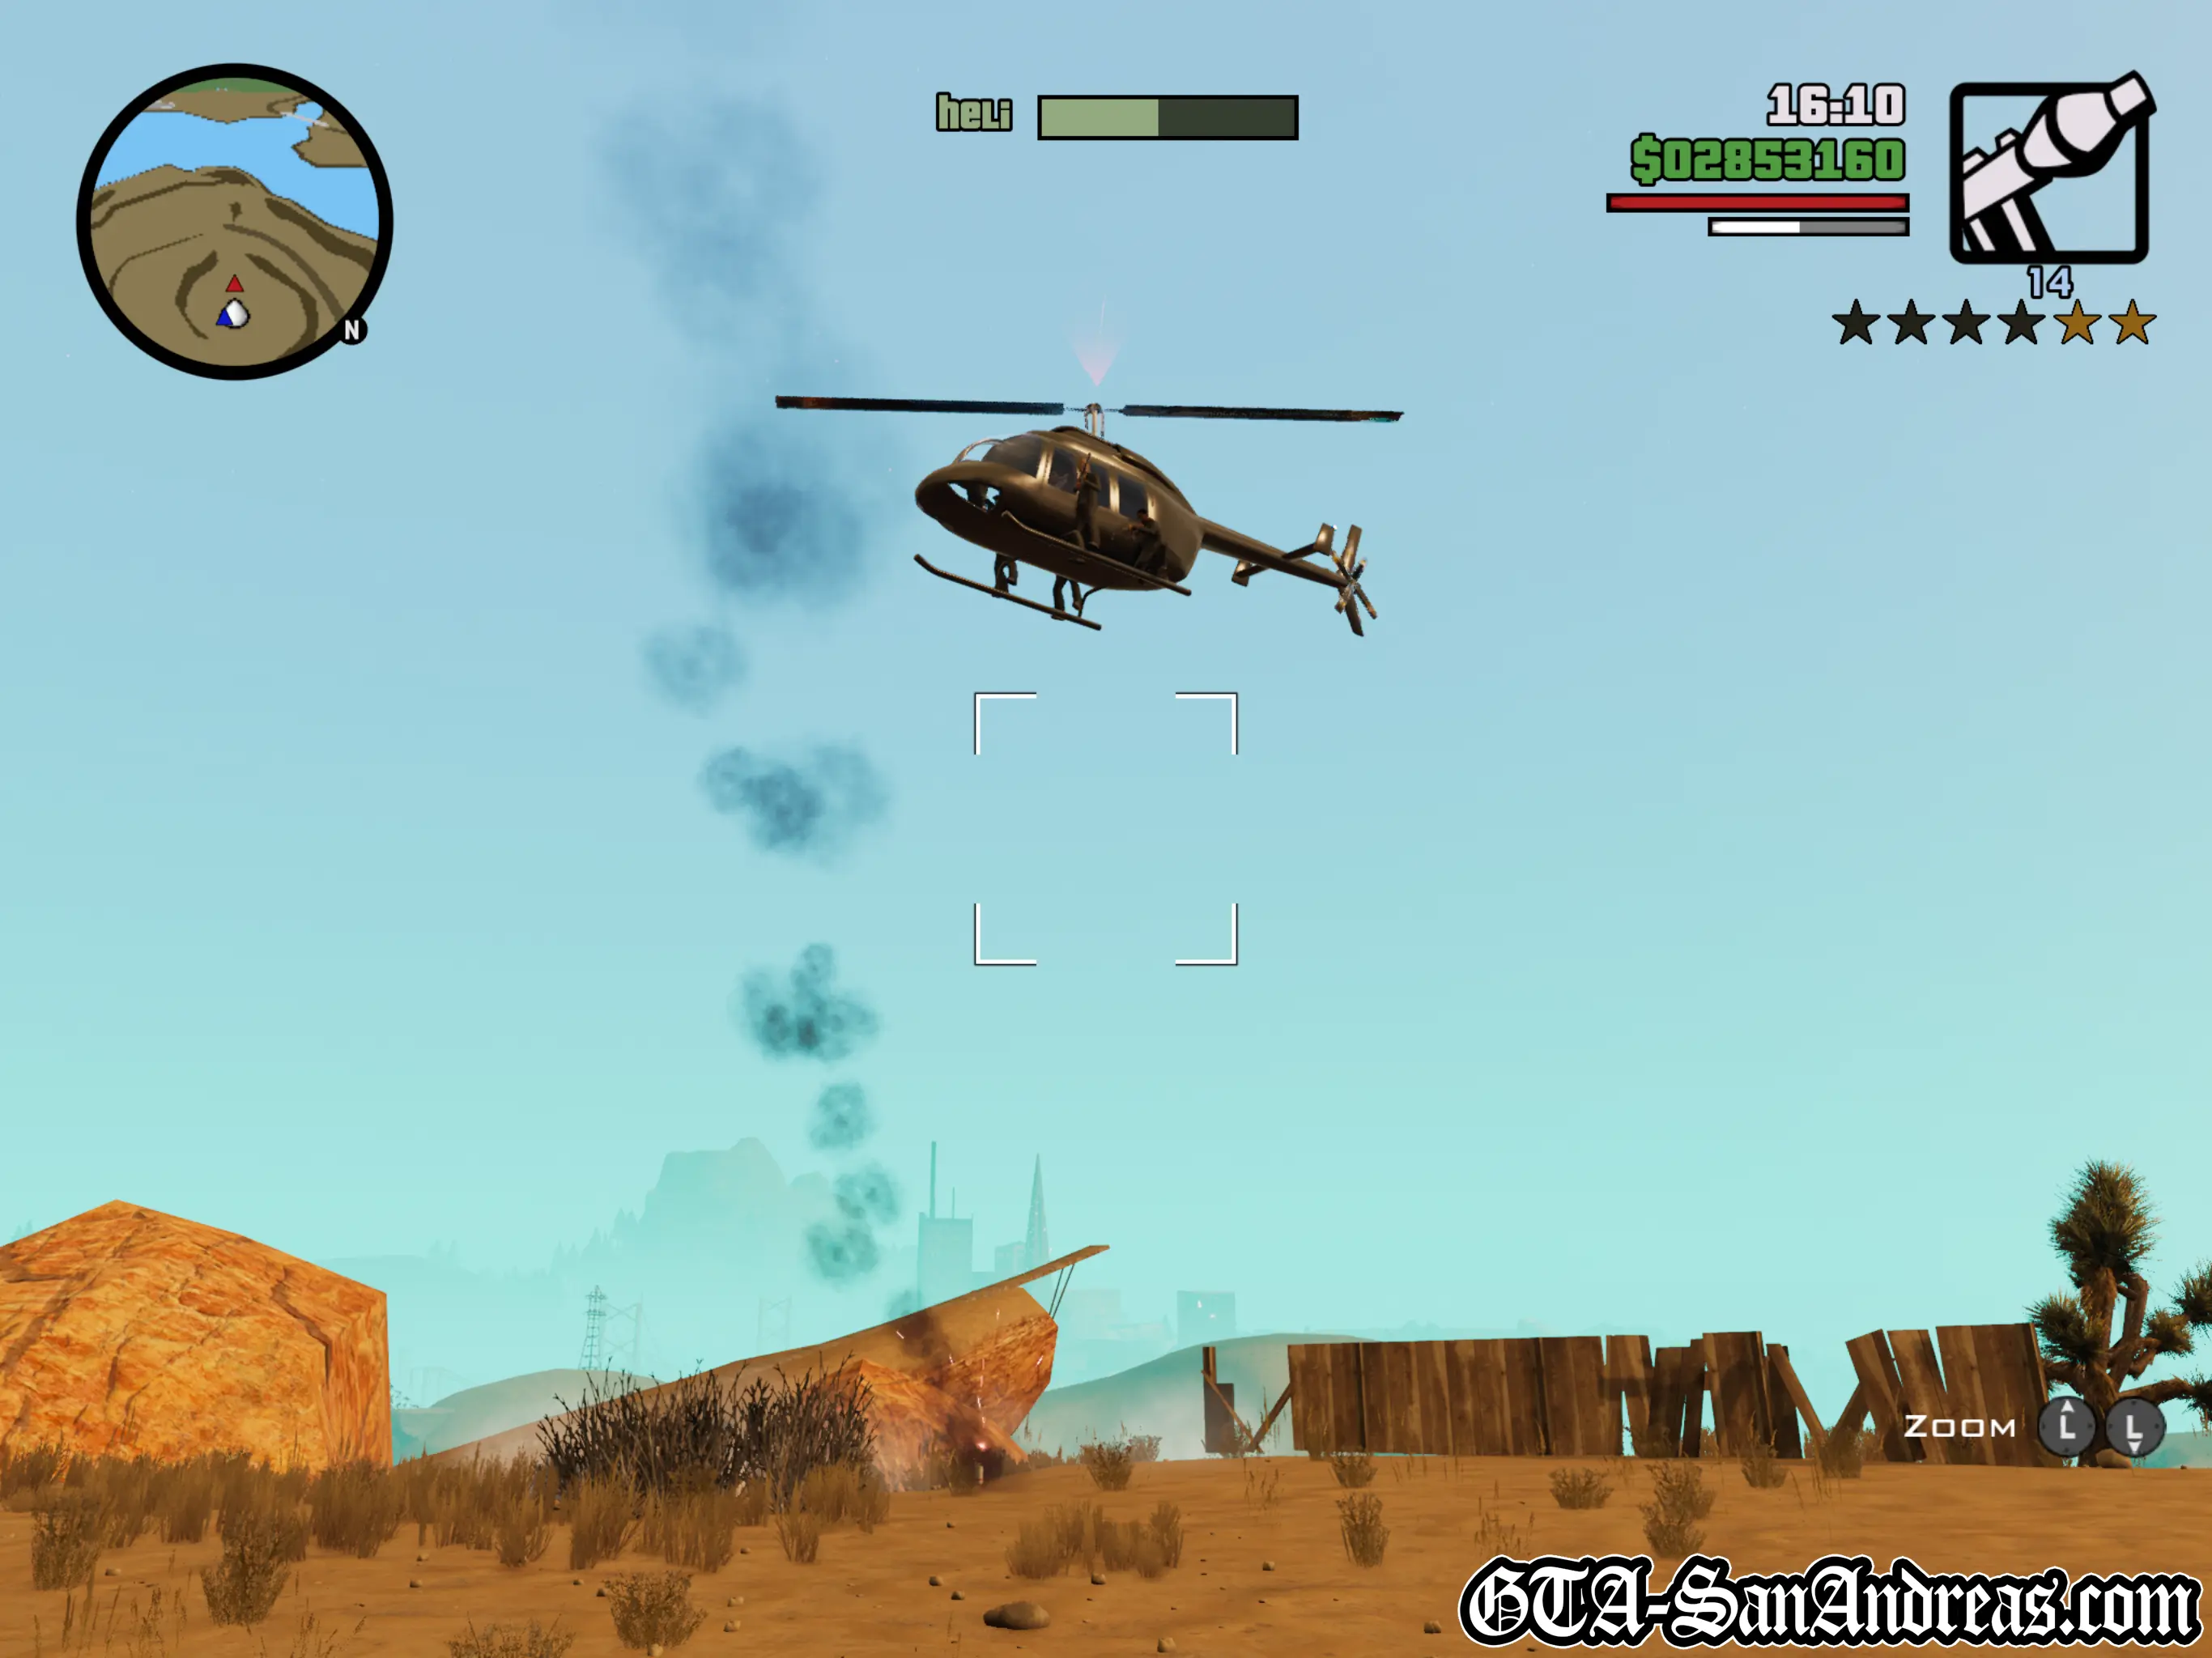
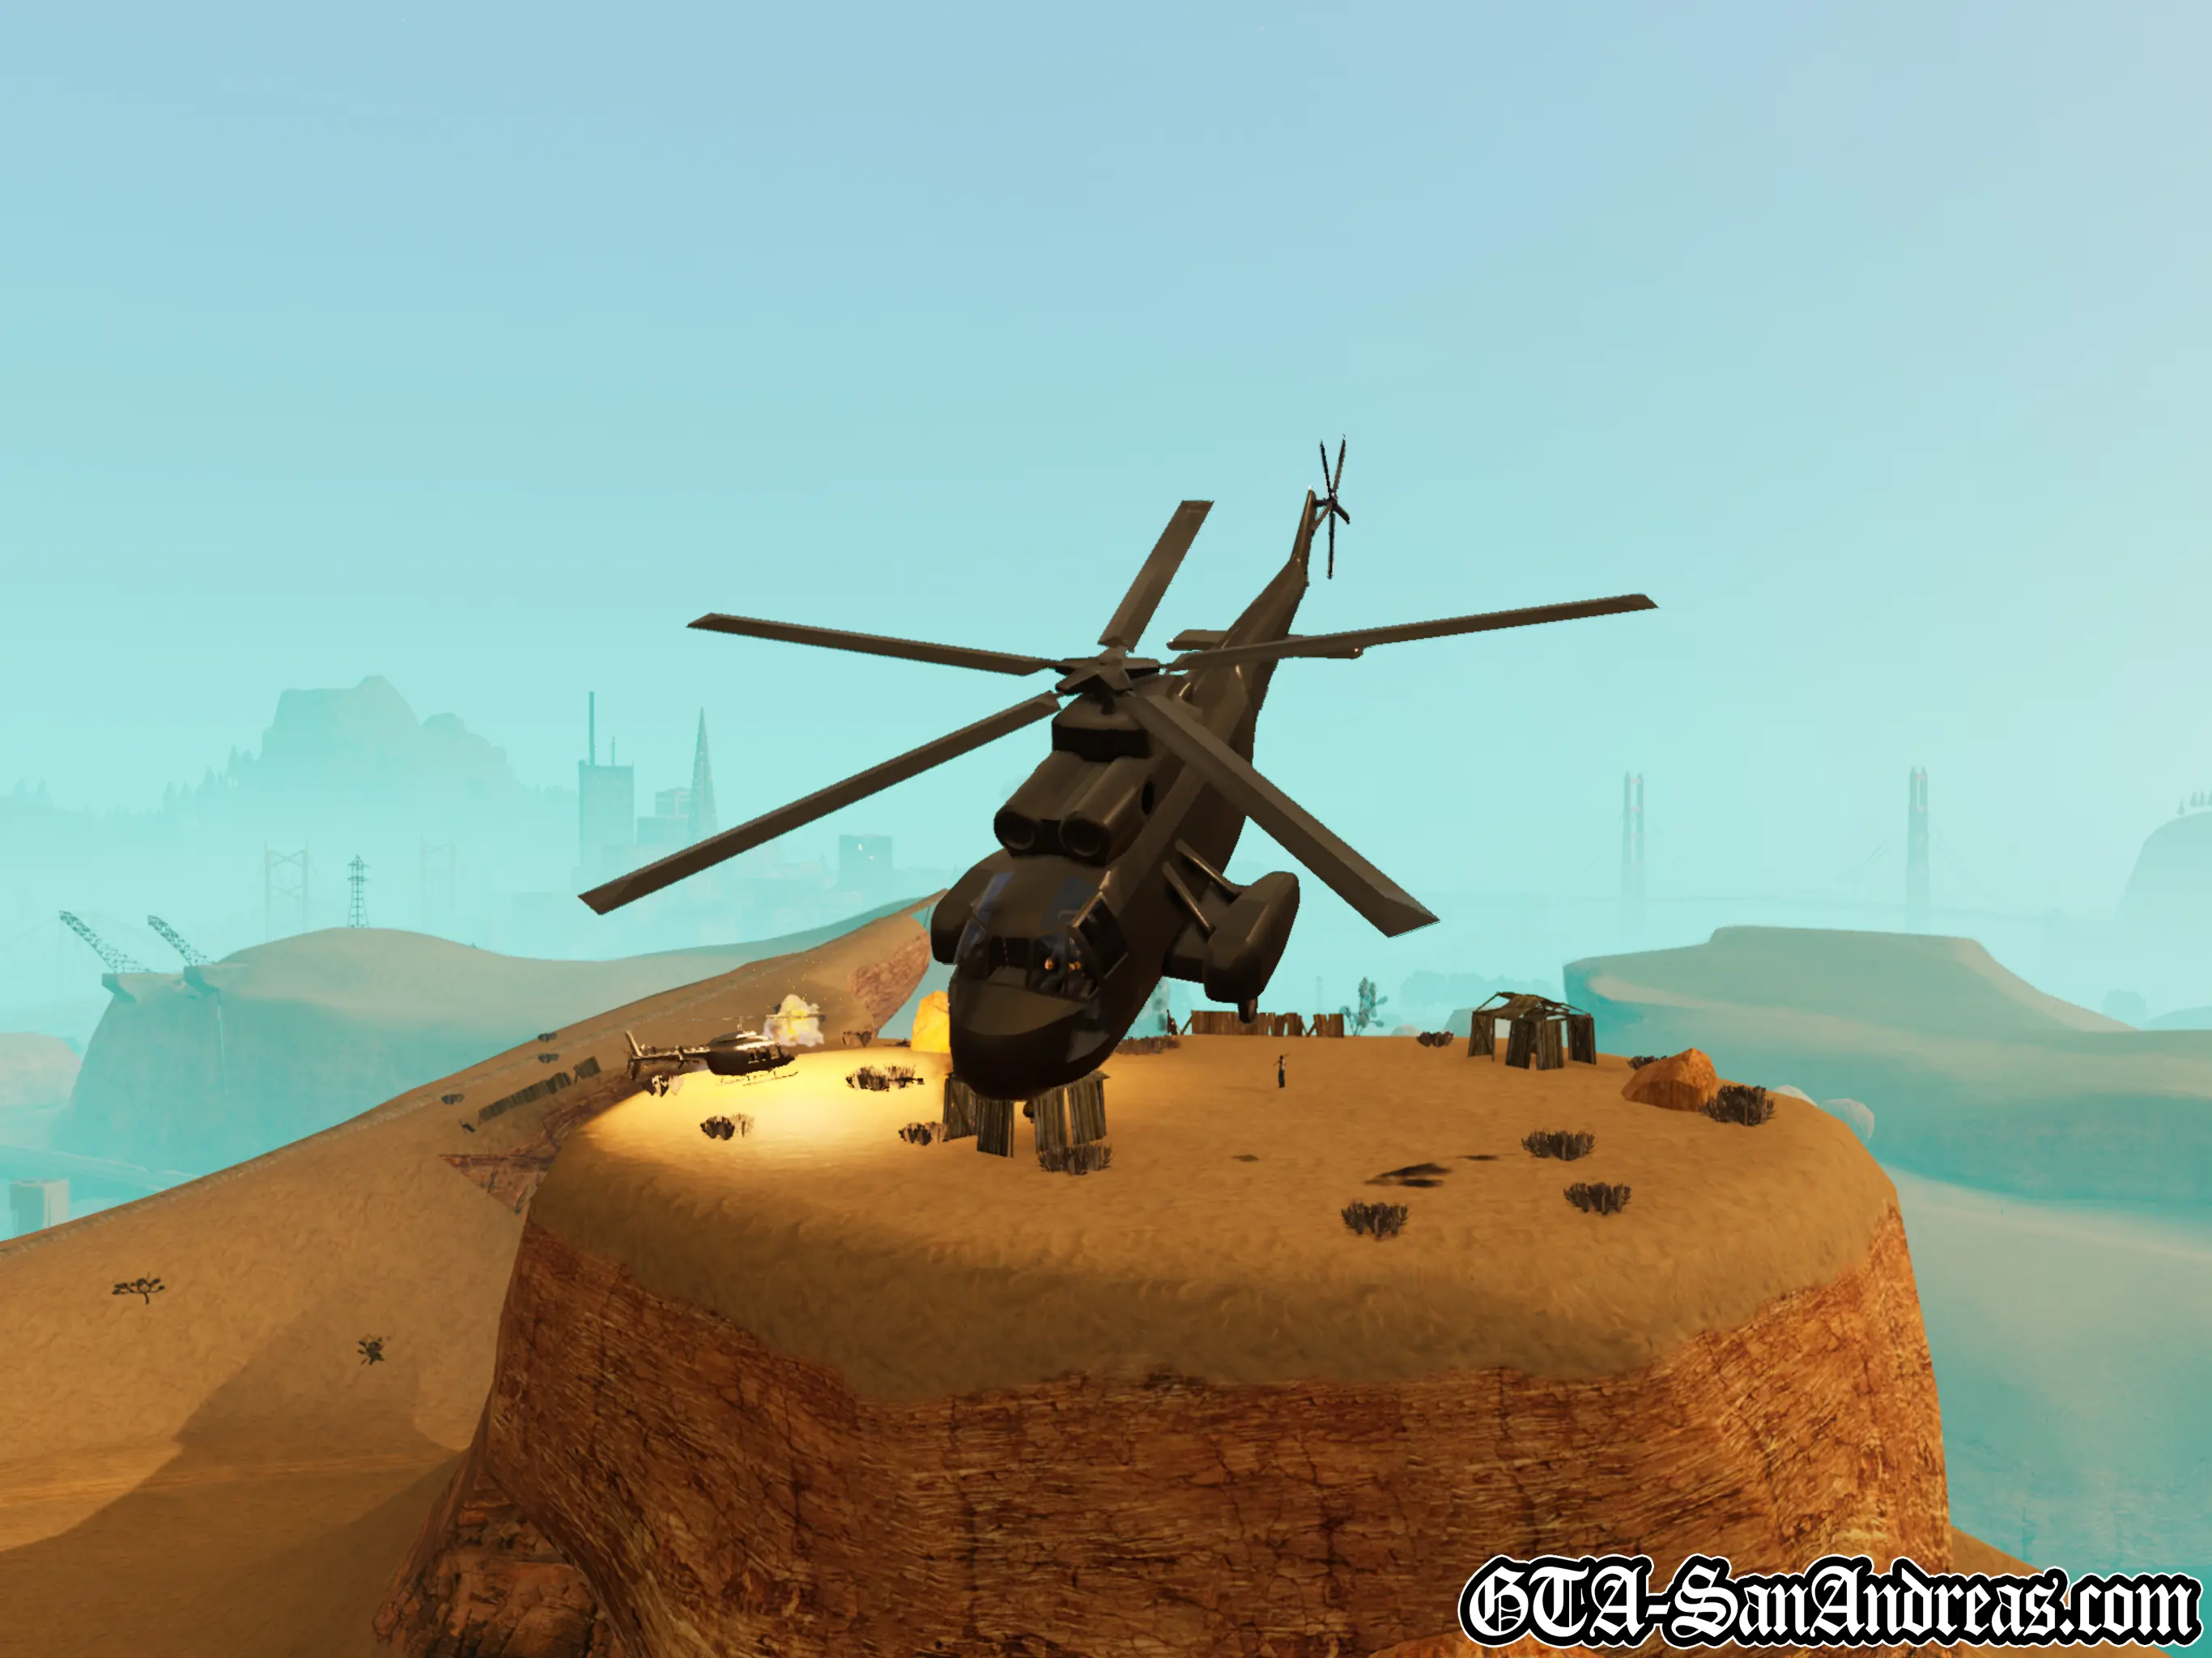
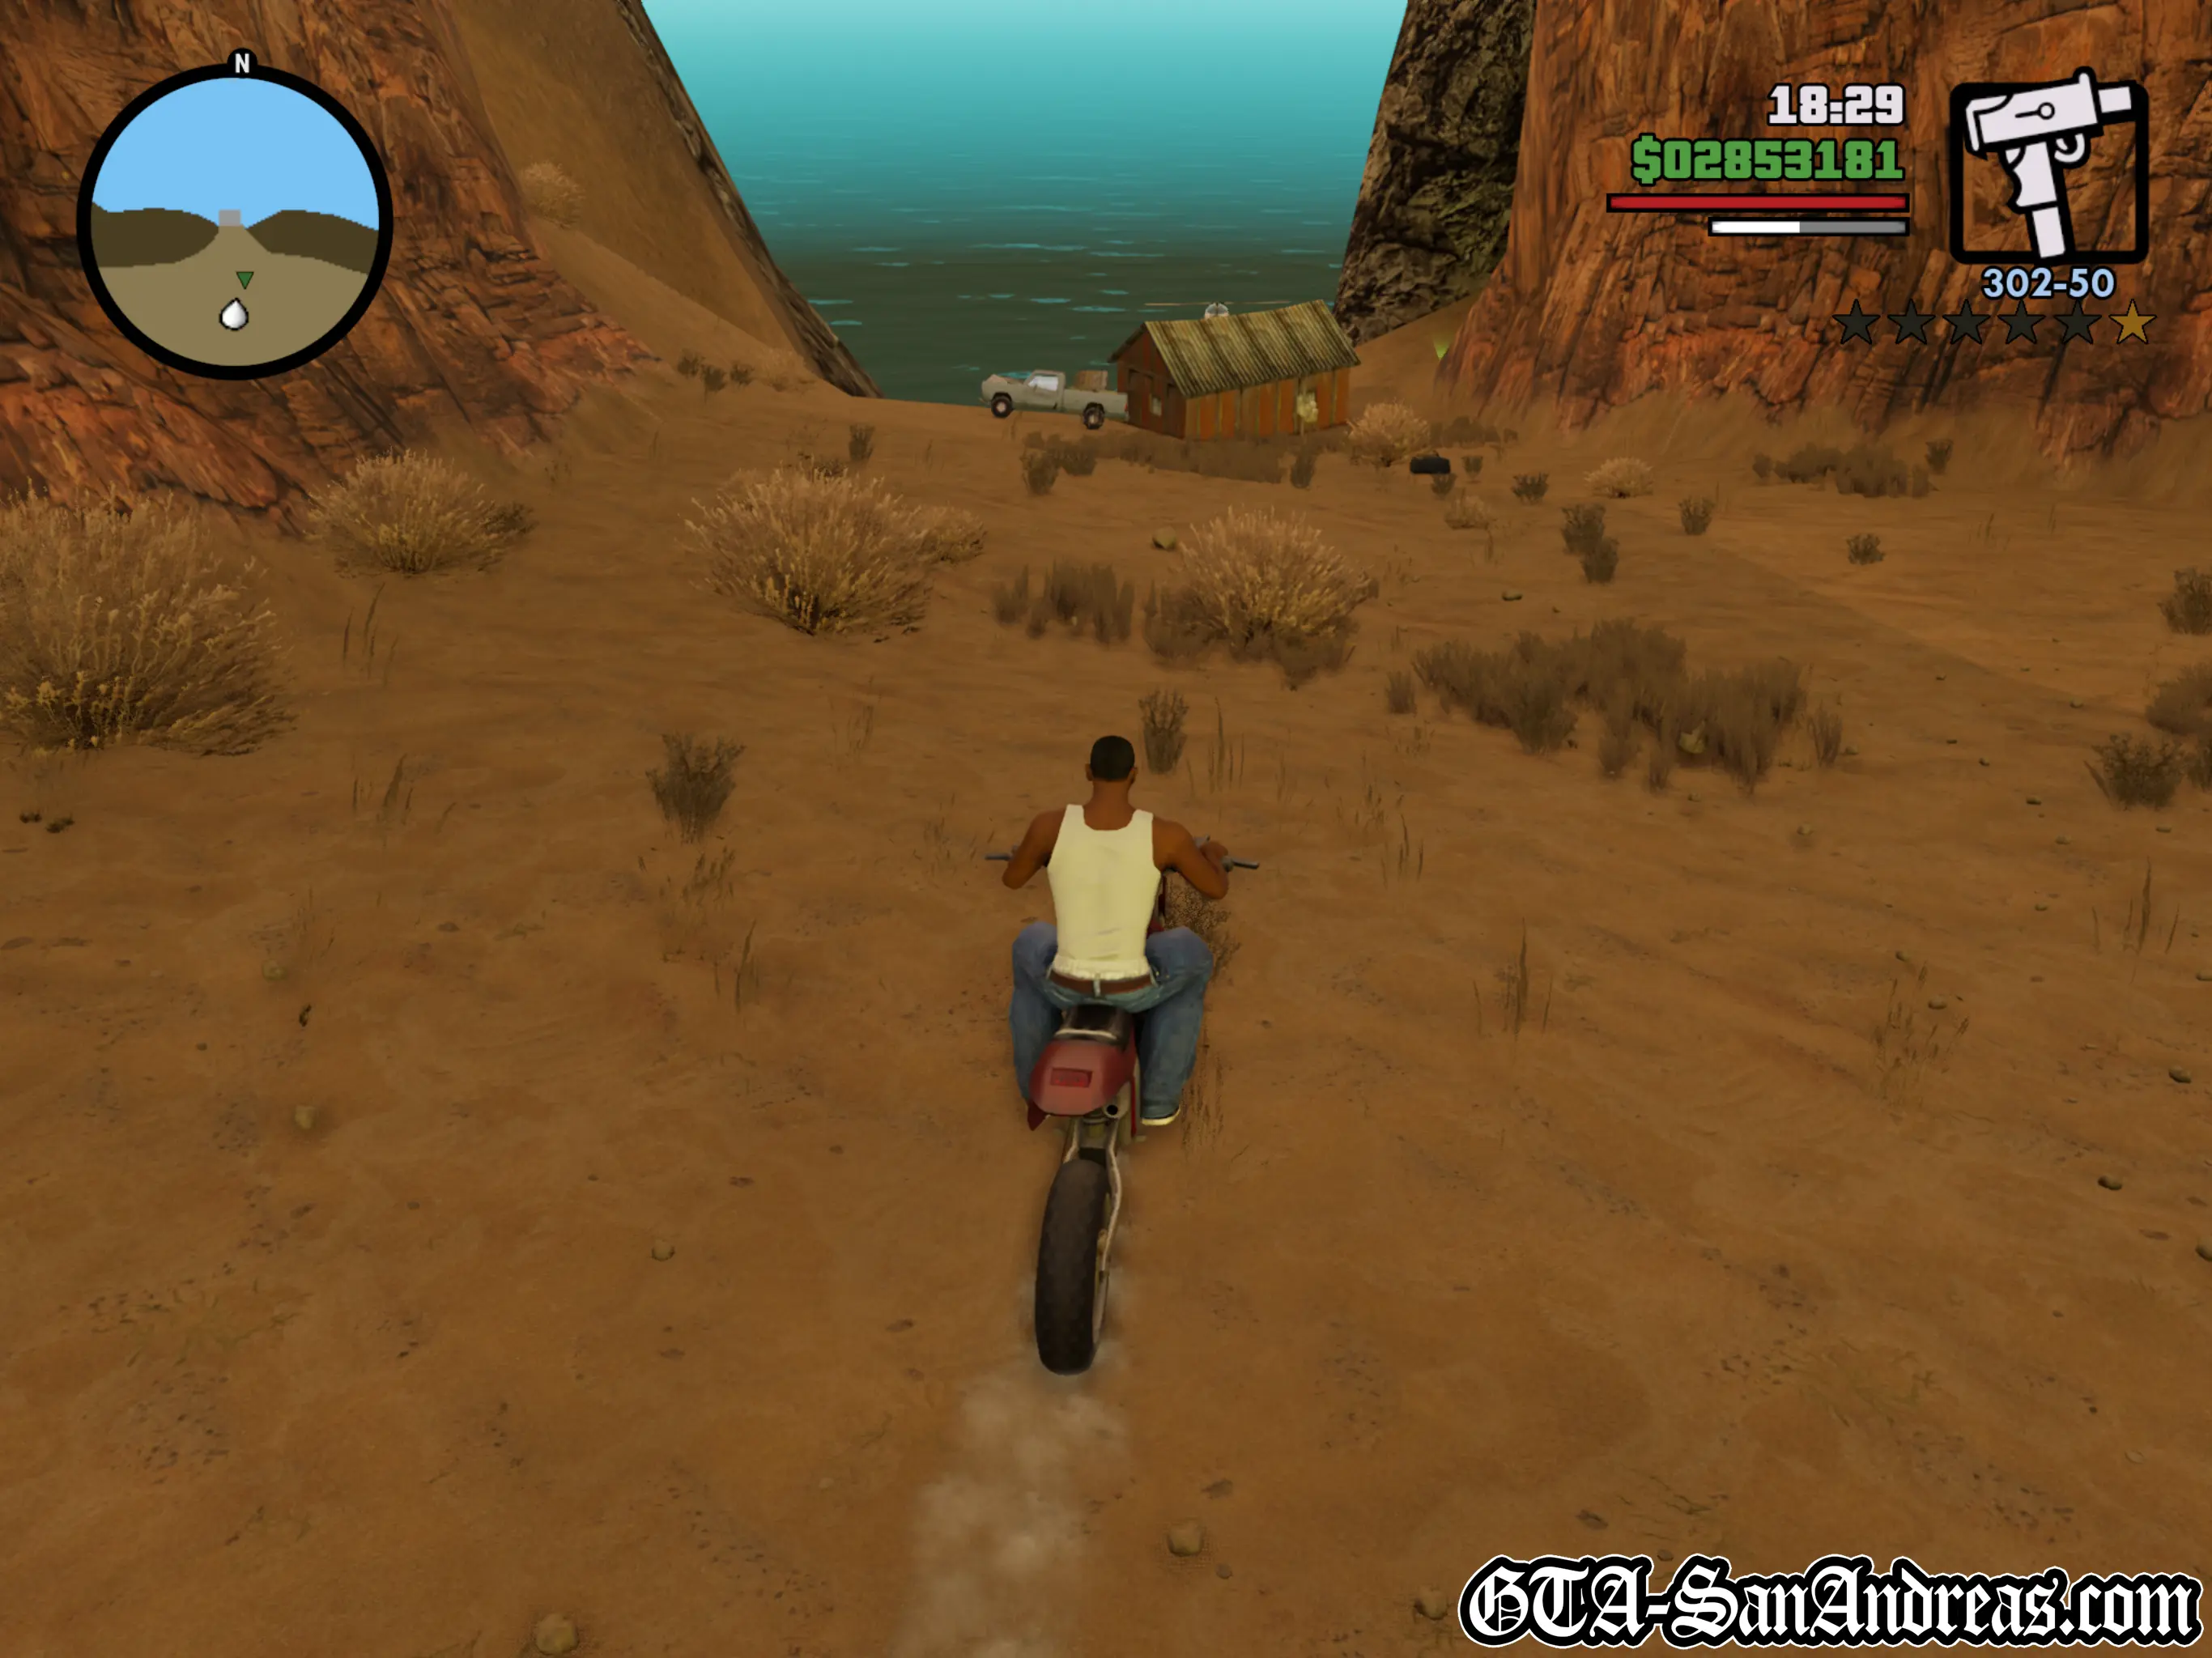
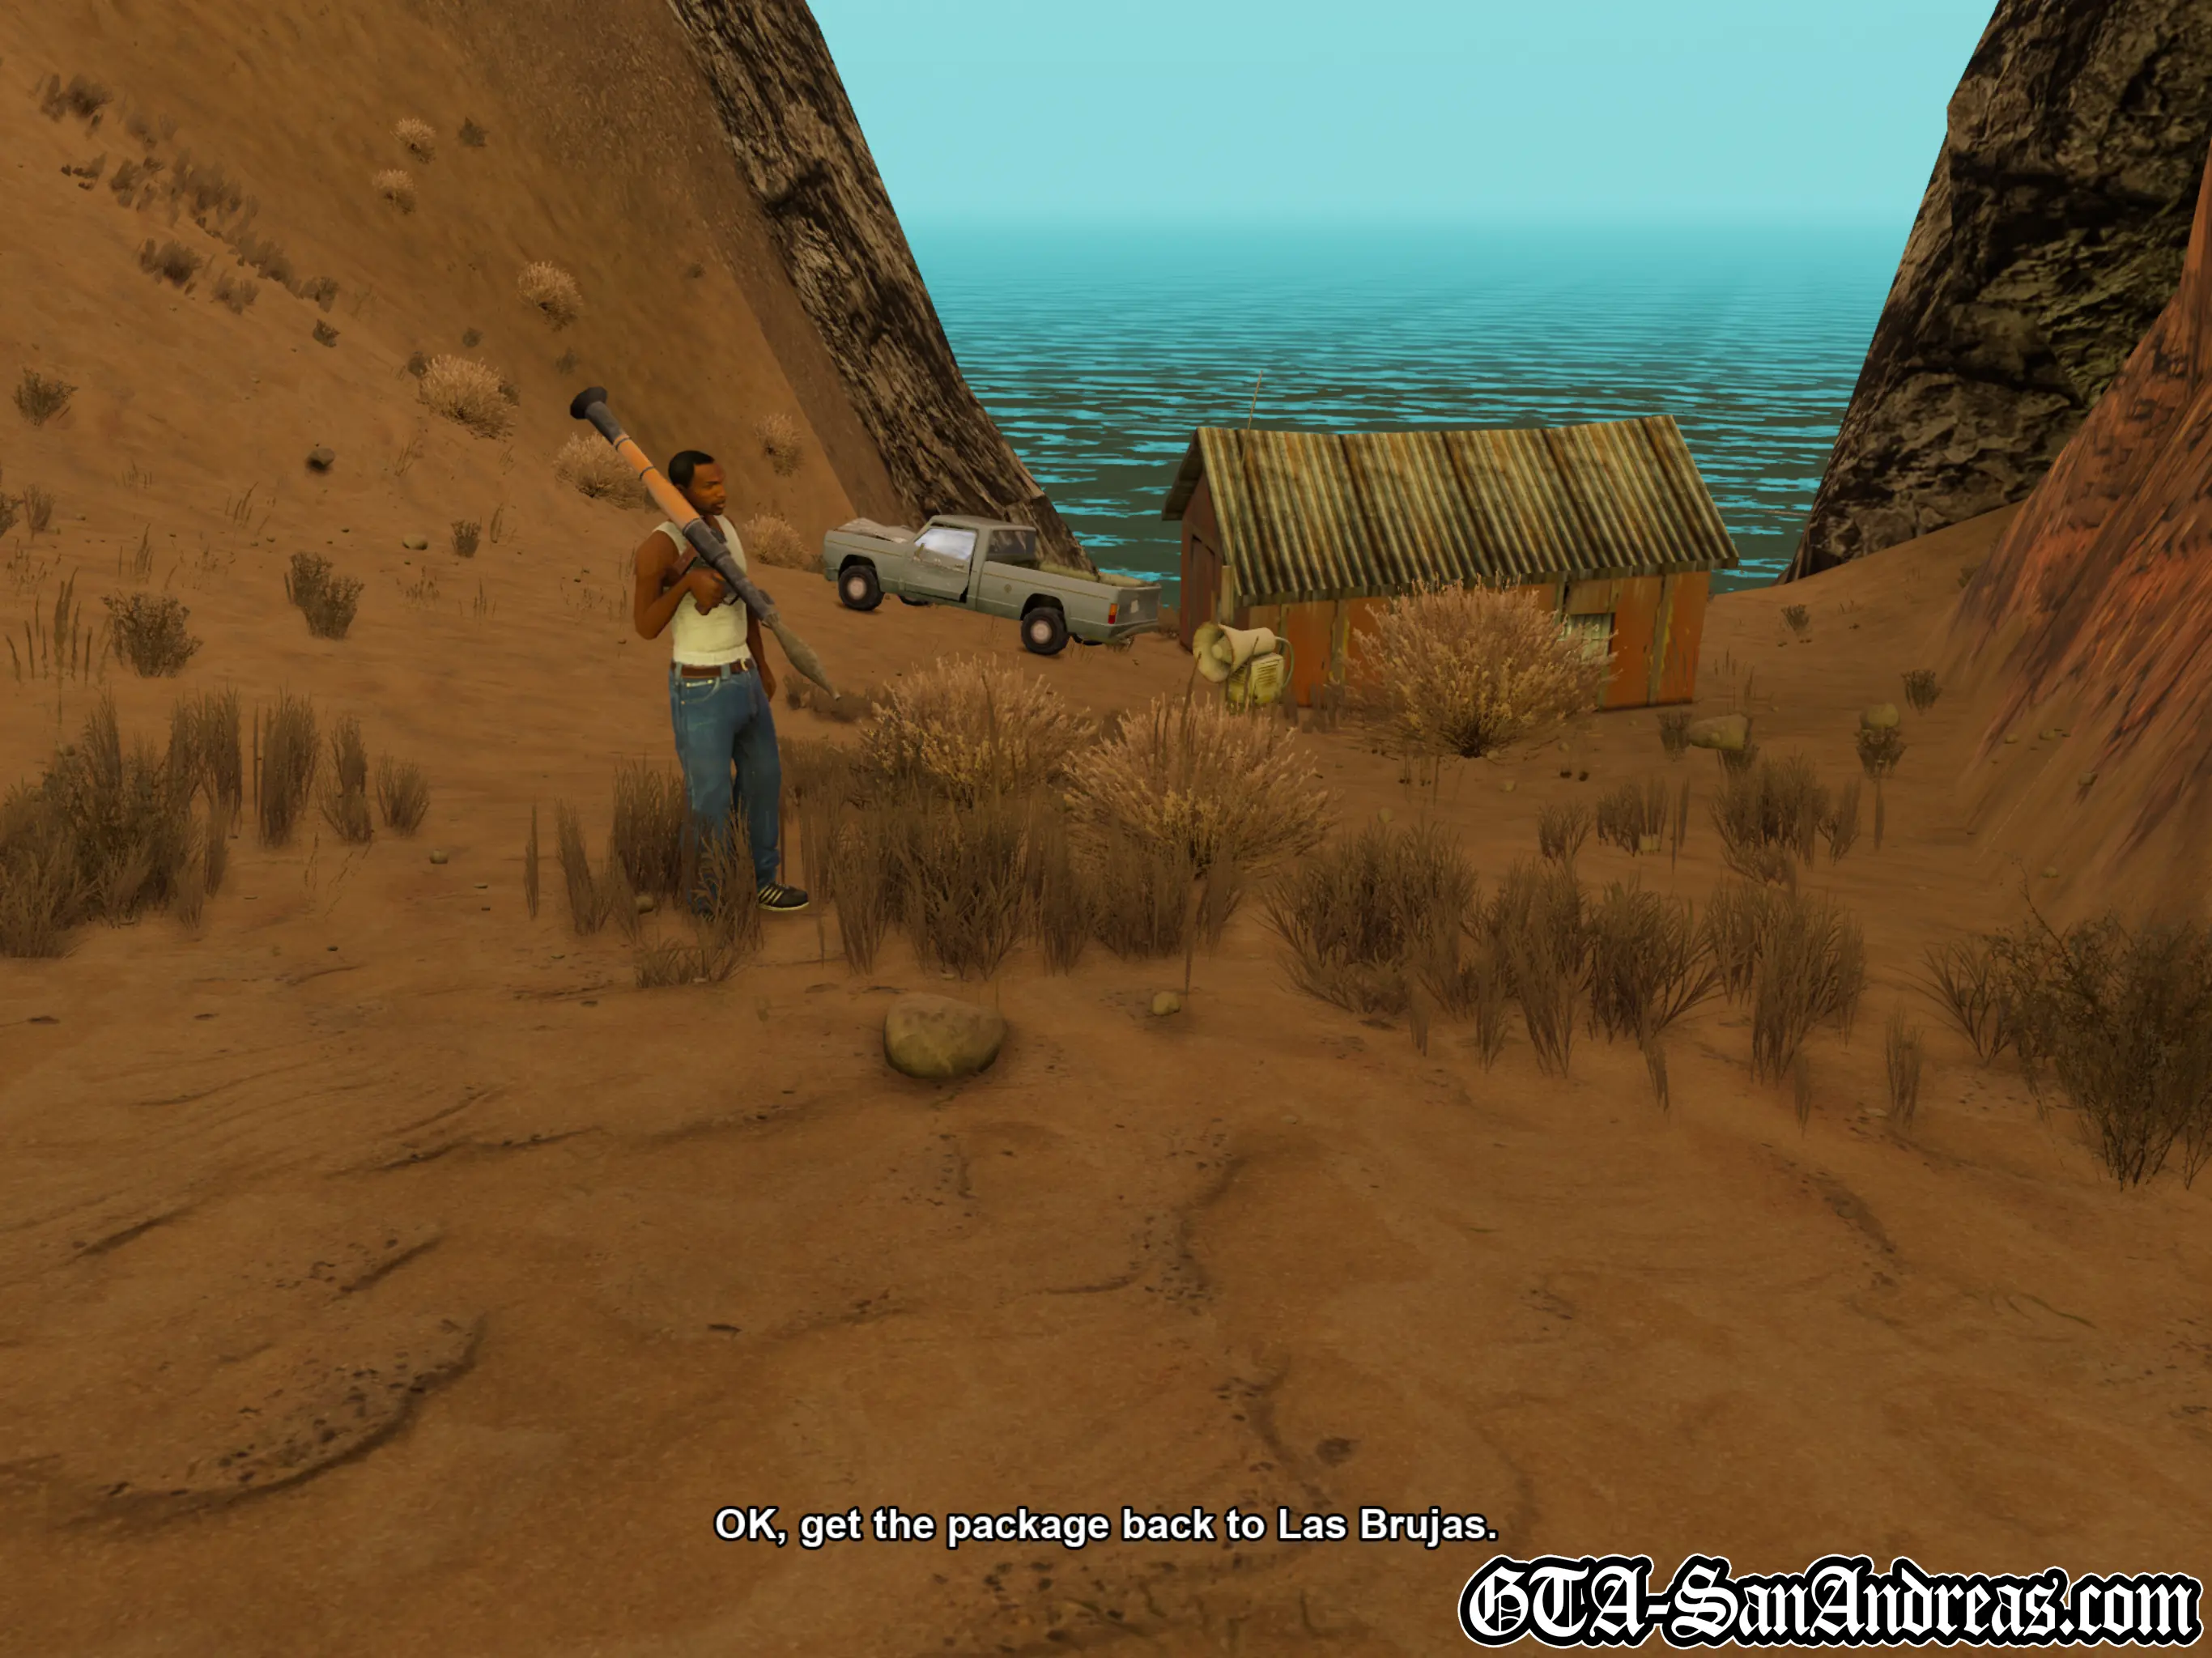
Toreno tells you about some cargo which is being dropped at El Castillo del Diablo in the desert. He wants you to get there and let off a flare so the plane knows where to drop the cargo. Grab the BF Injection outside and head towards the yellow blip on the radar. Park in the red circle and you'll be told to grab the Rocket Launchers and choose a suitable vehicle. I suggest taking the Sanchez. Head up the mountain close by and when you reach the top stop in the red circle. A cargo helicopter will make it's way over to you with the cargo, but a number of agency helicopters will try to take it down. Switch to the Rocket Launcher weapon and shoot at the smaller helicopters while protecting the big one. One or two rockets should be enough to take them out. There'll be about five or six helicopters which will come altogether, and you need to make sure you take them out before they take out the big one. Just aim carefully, and aim slightly in front of where they're flying. Once they're mostly all gone, the Cargo heli will drop the cargo at the abandoned airfield. Get on your bike or whatever vehicle you chose, and get down towards the airfield to pick it up. Once you've got it Toreno will tell you to hurry up and take the package back, so make your way to Toreno's drop off point. Drop it in the garage.
Screenshots

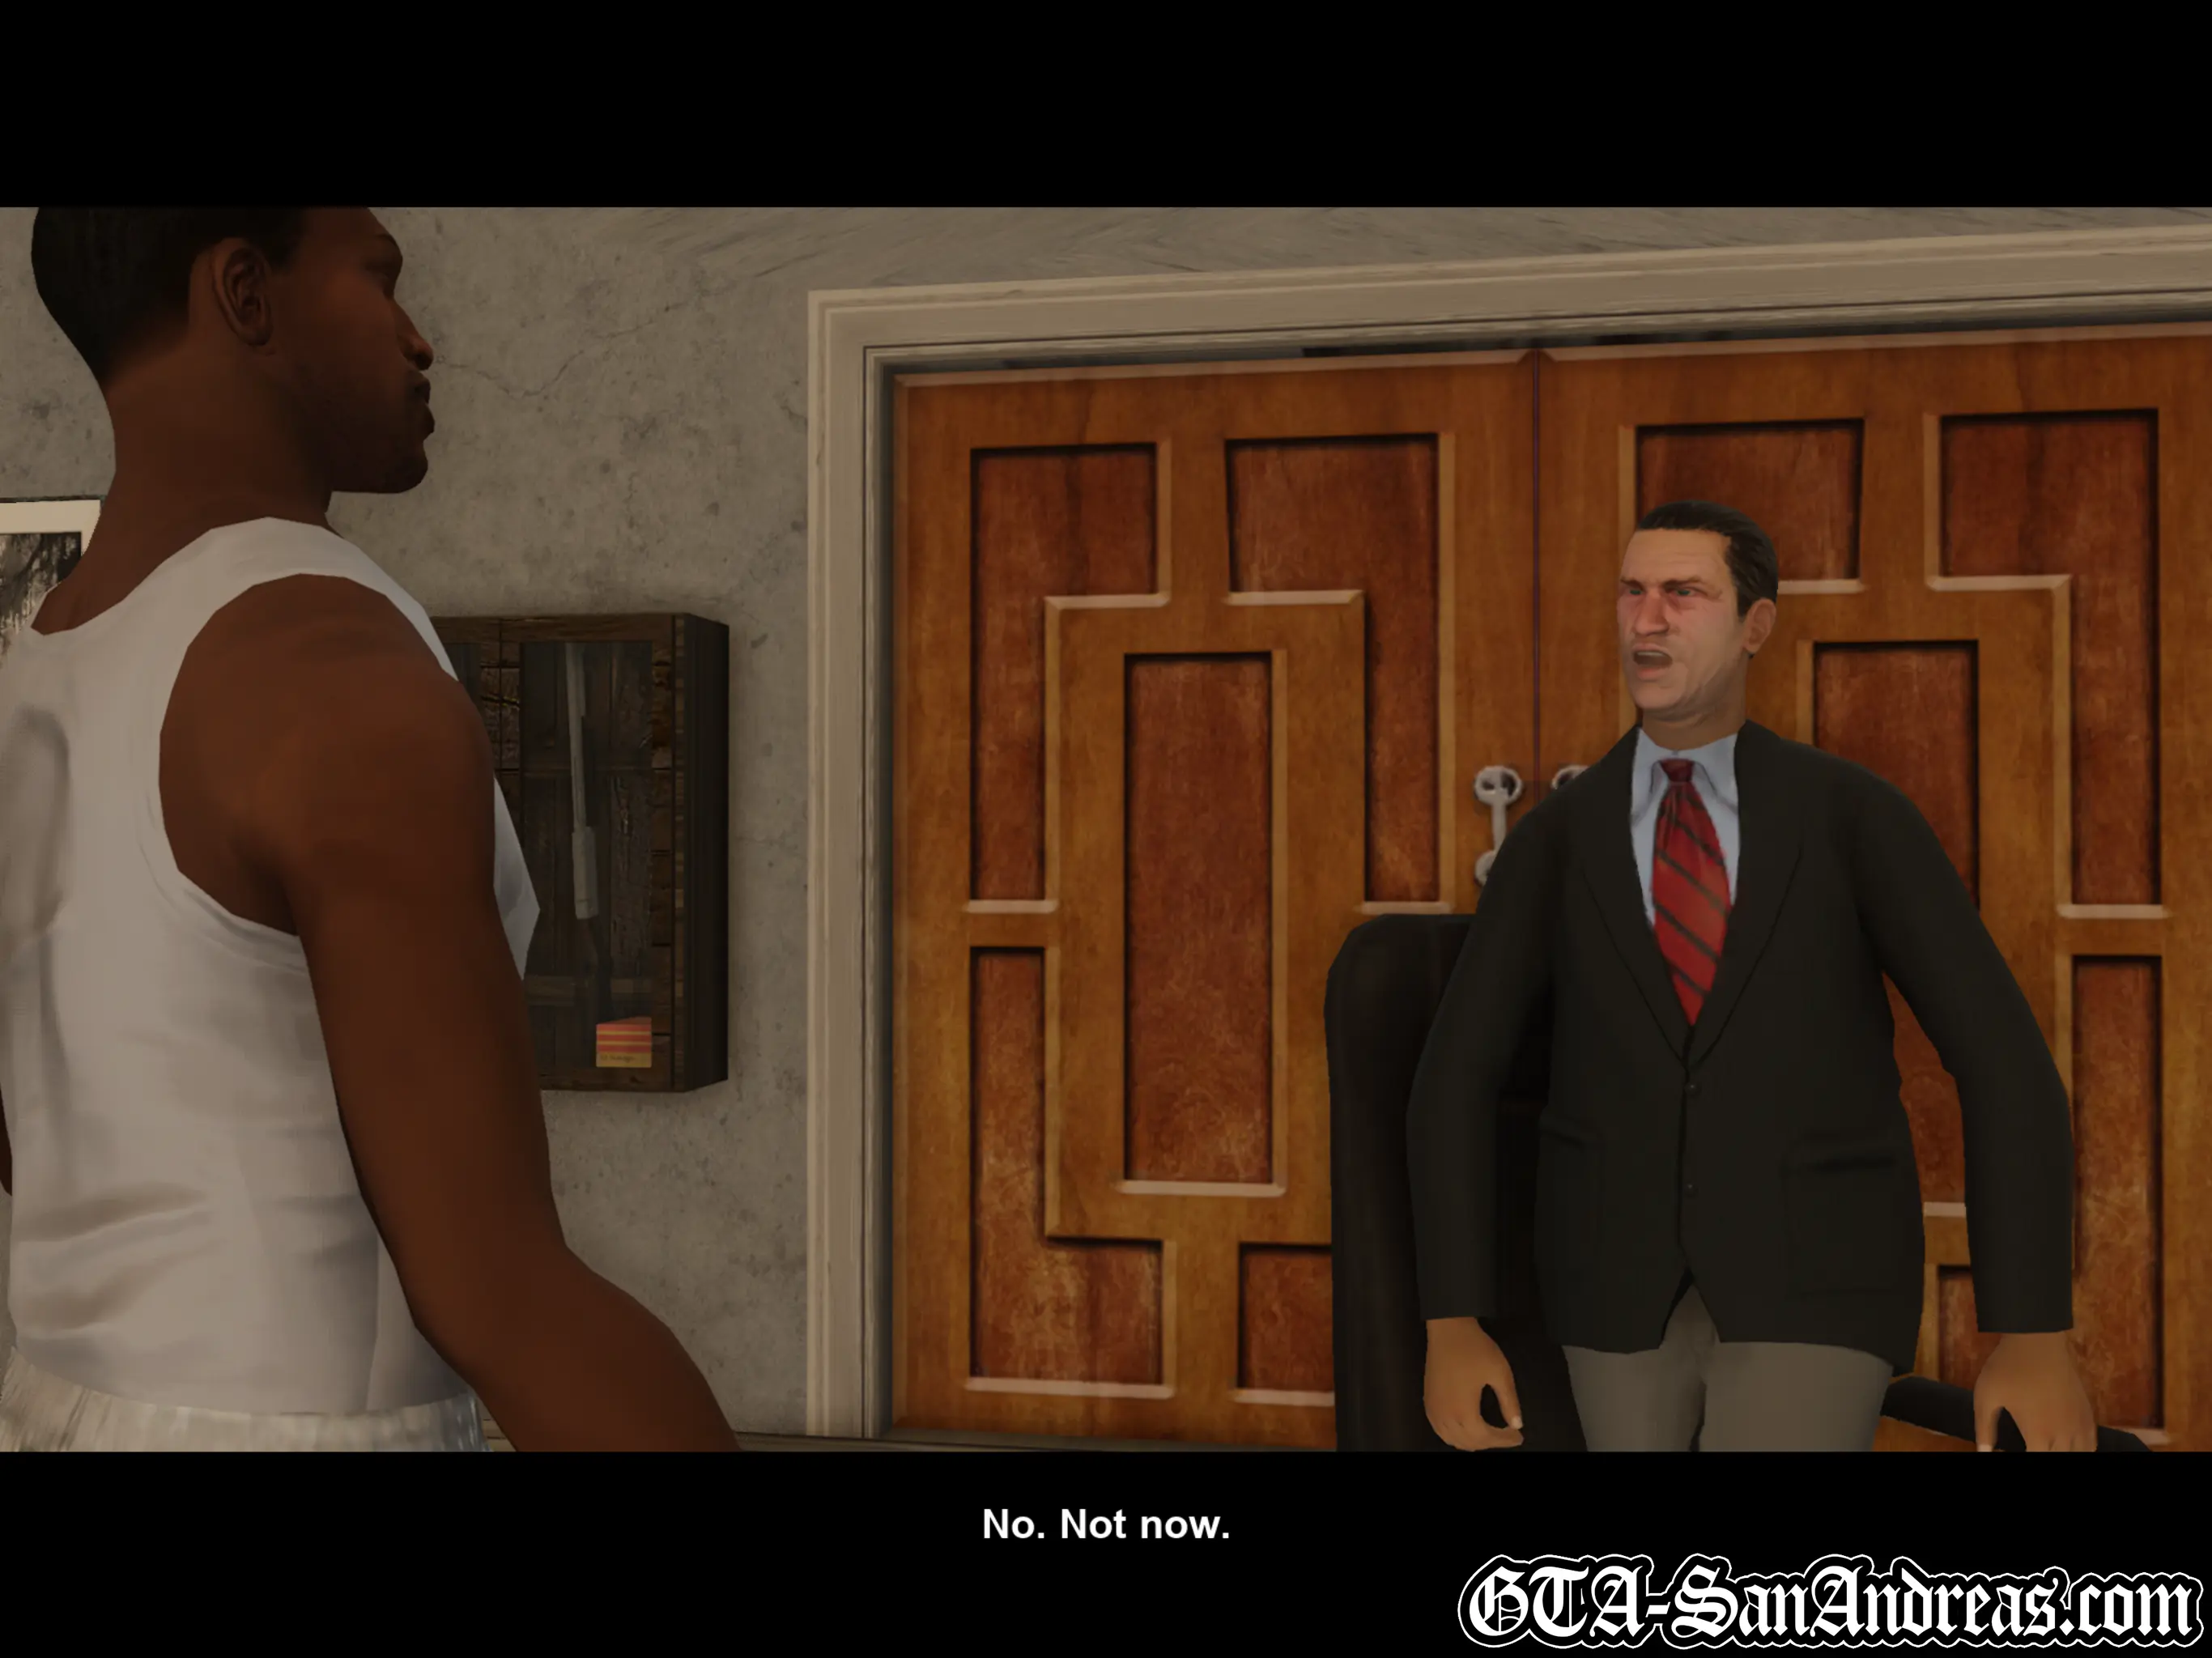
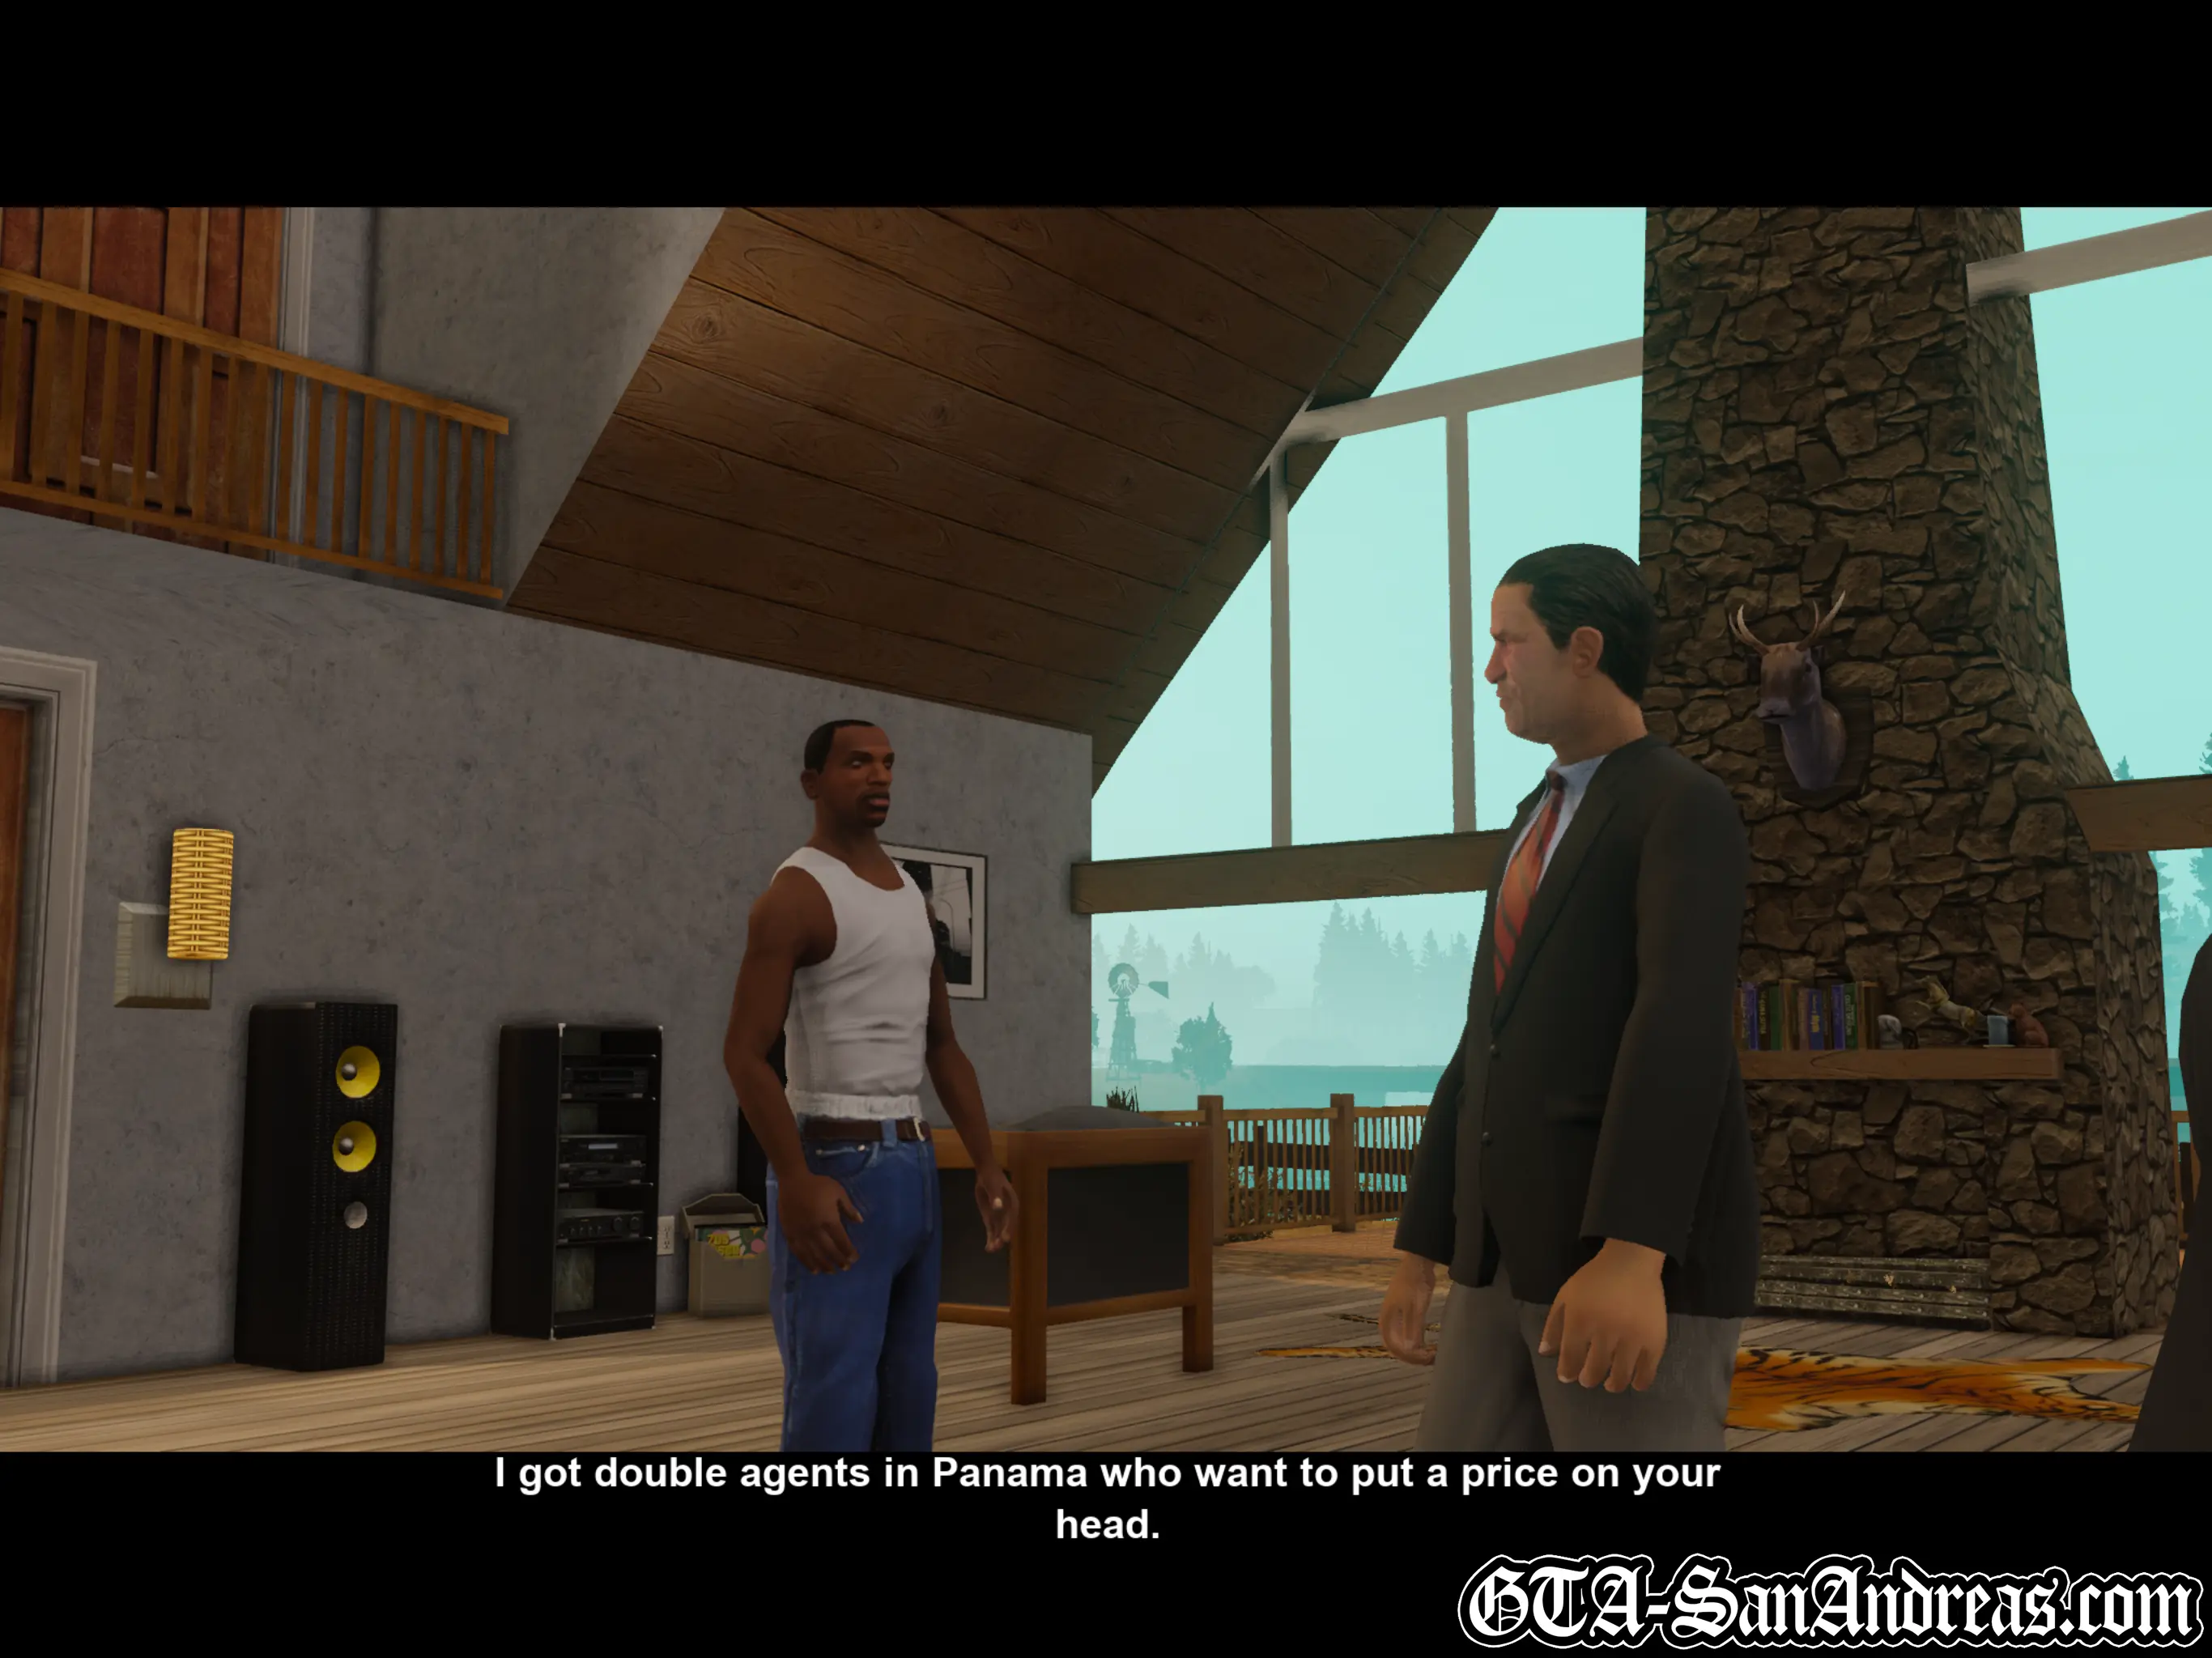
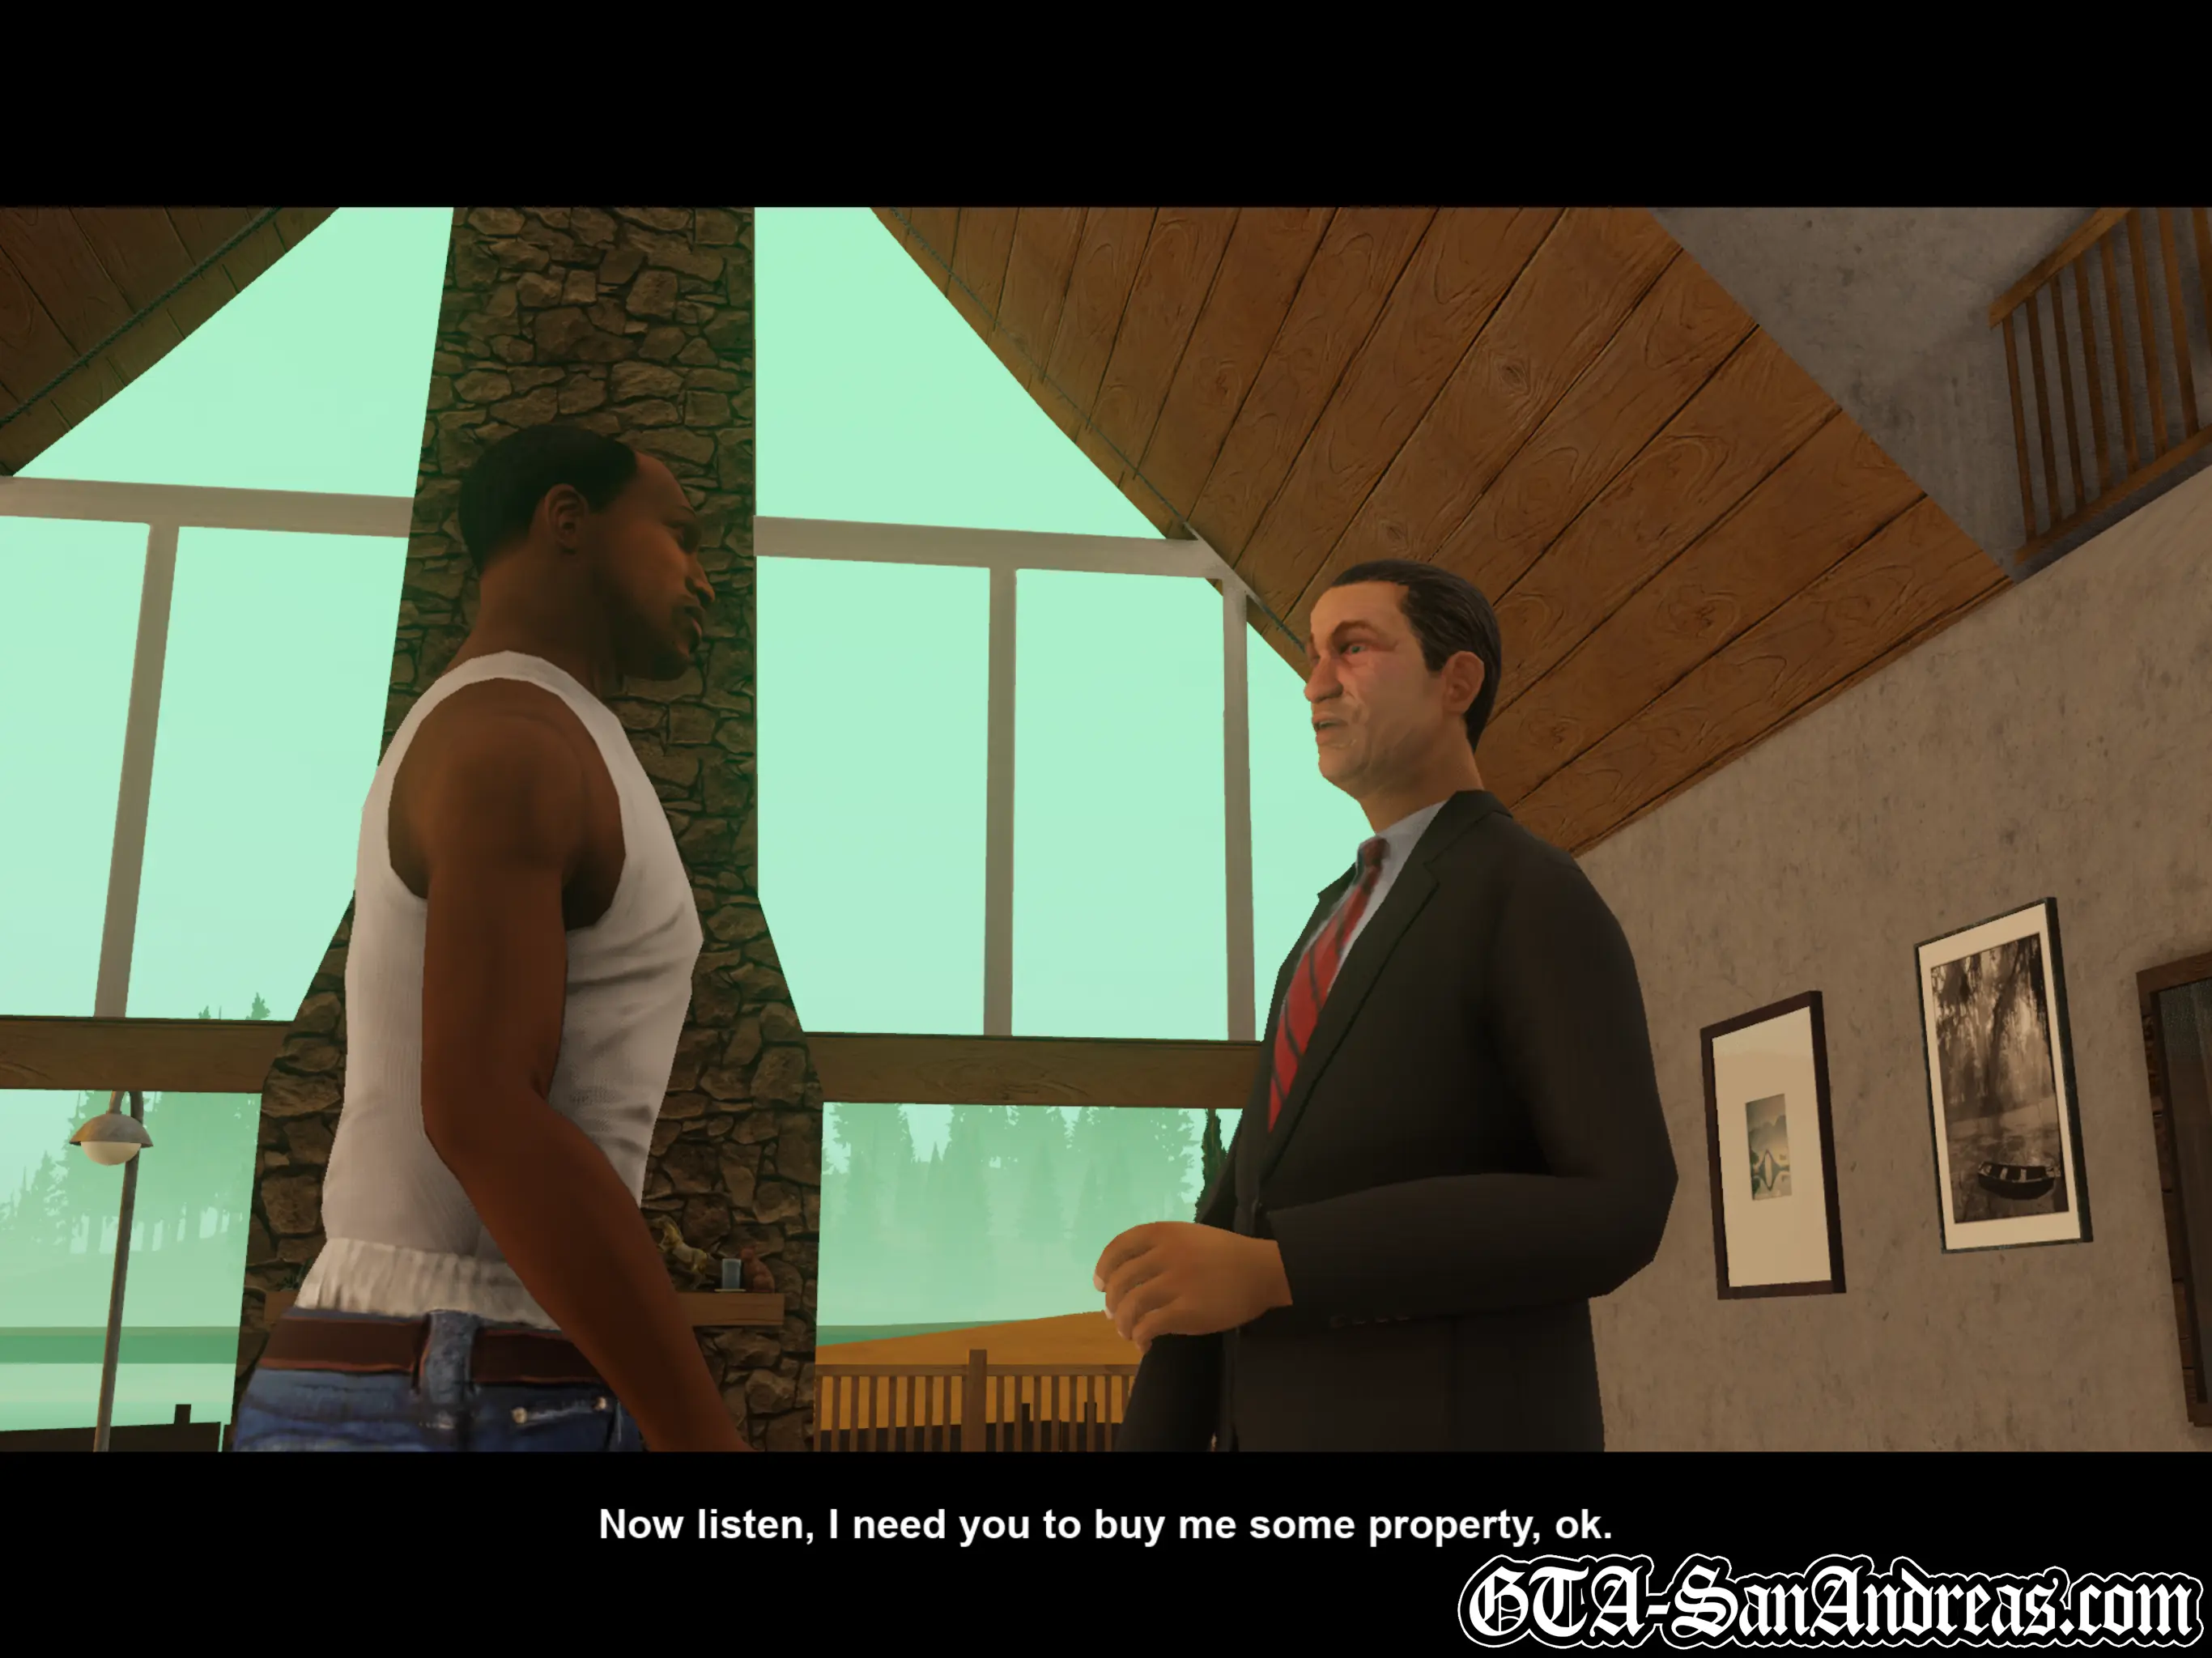
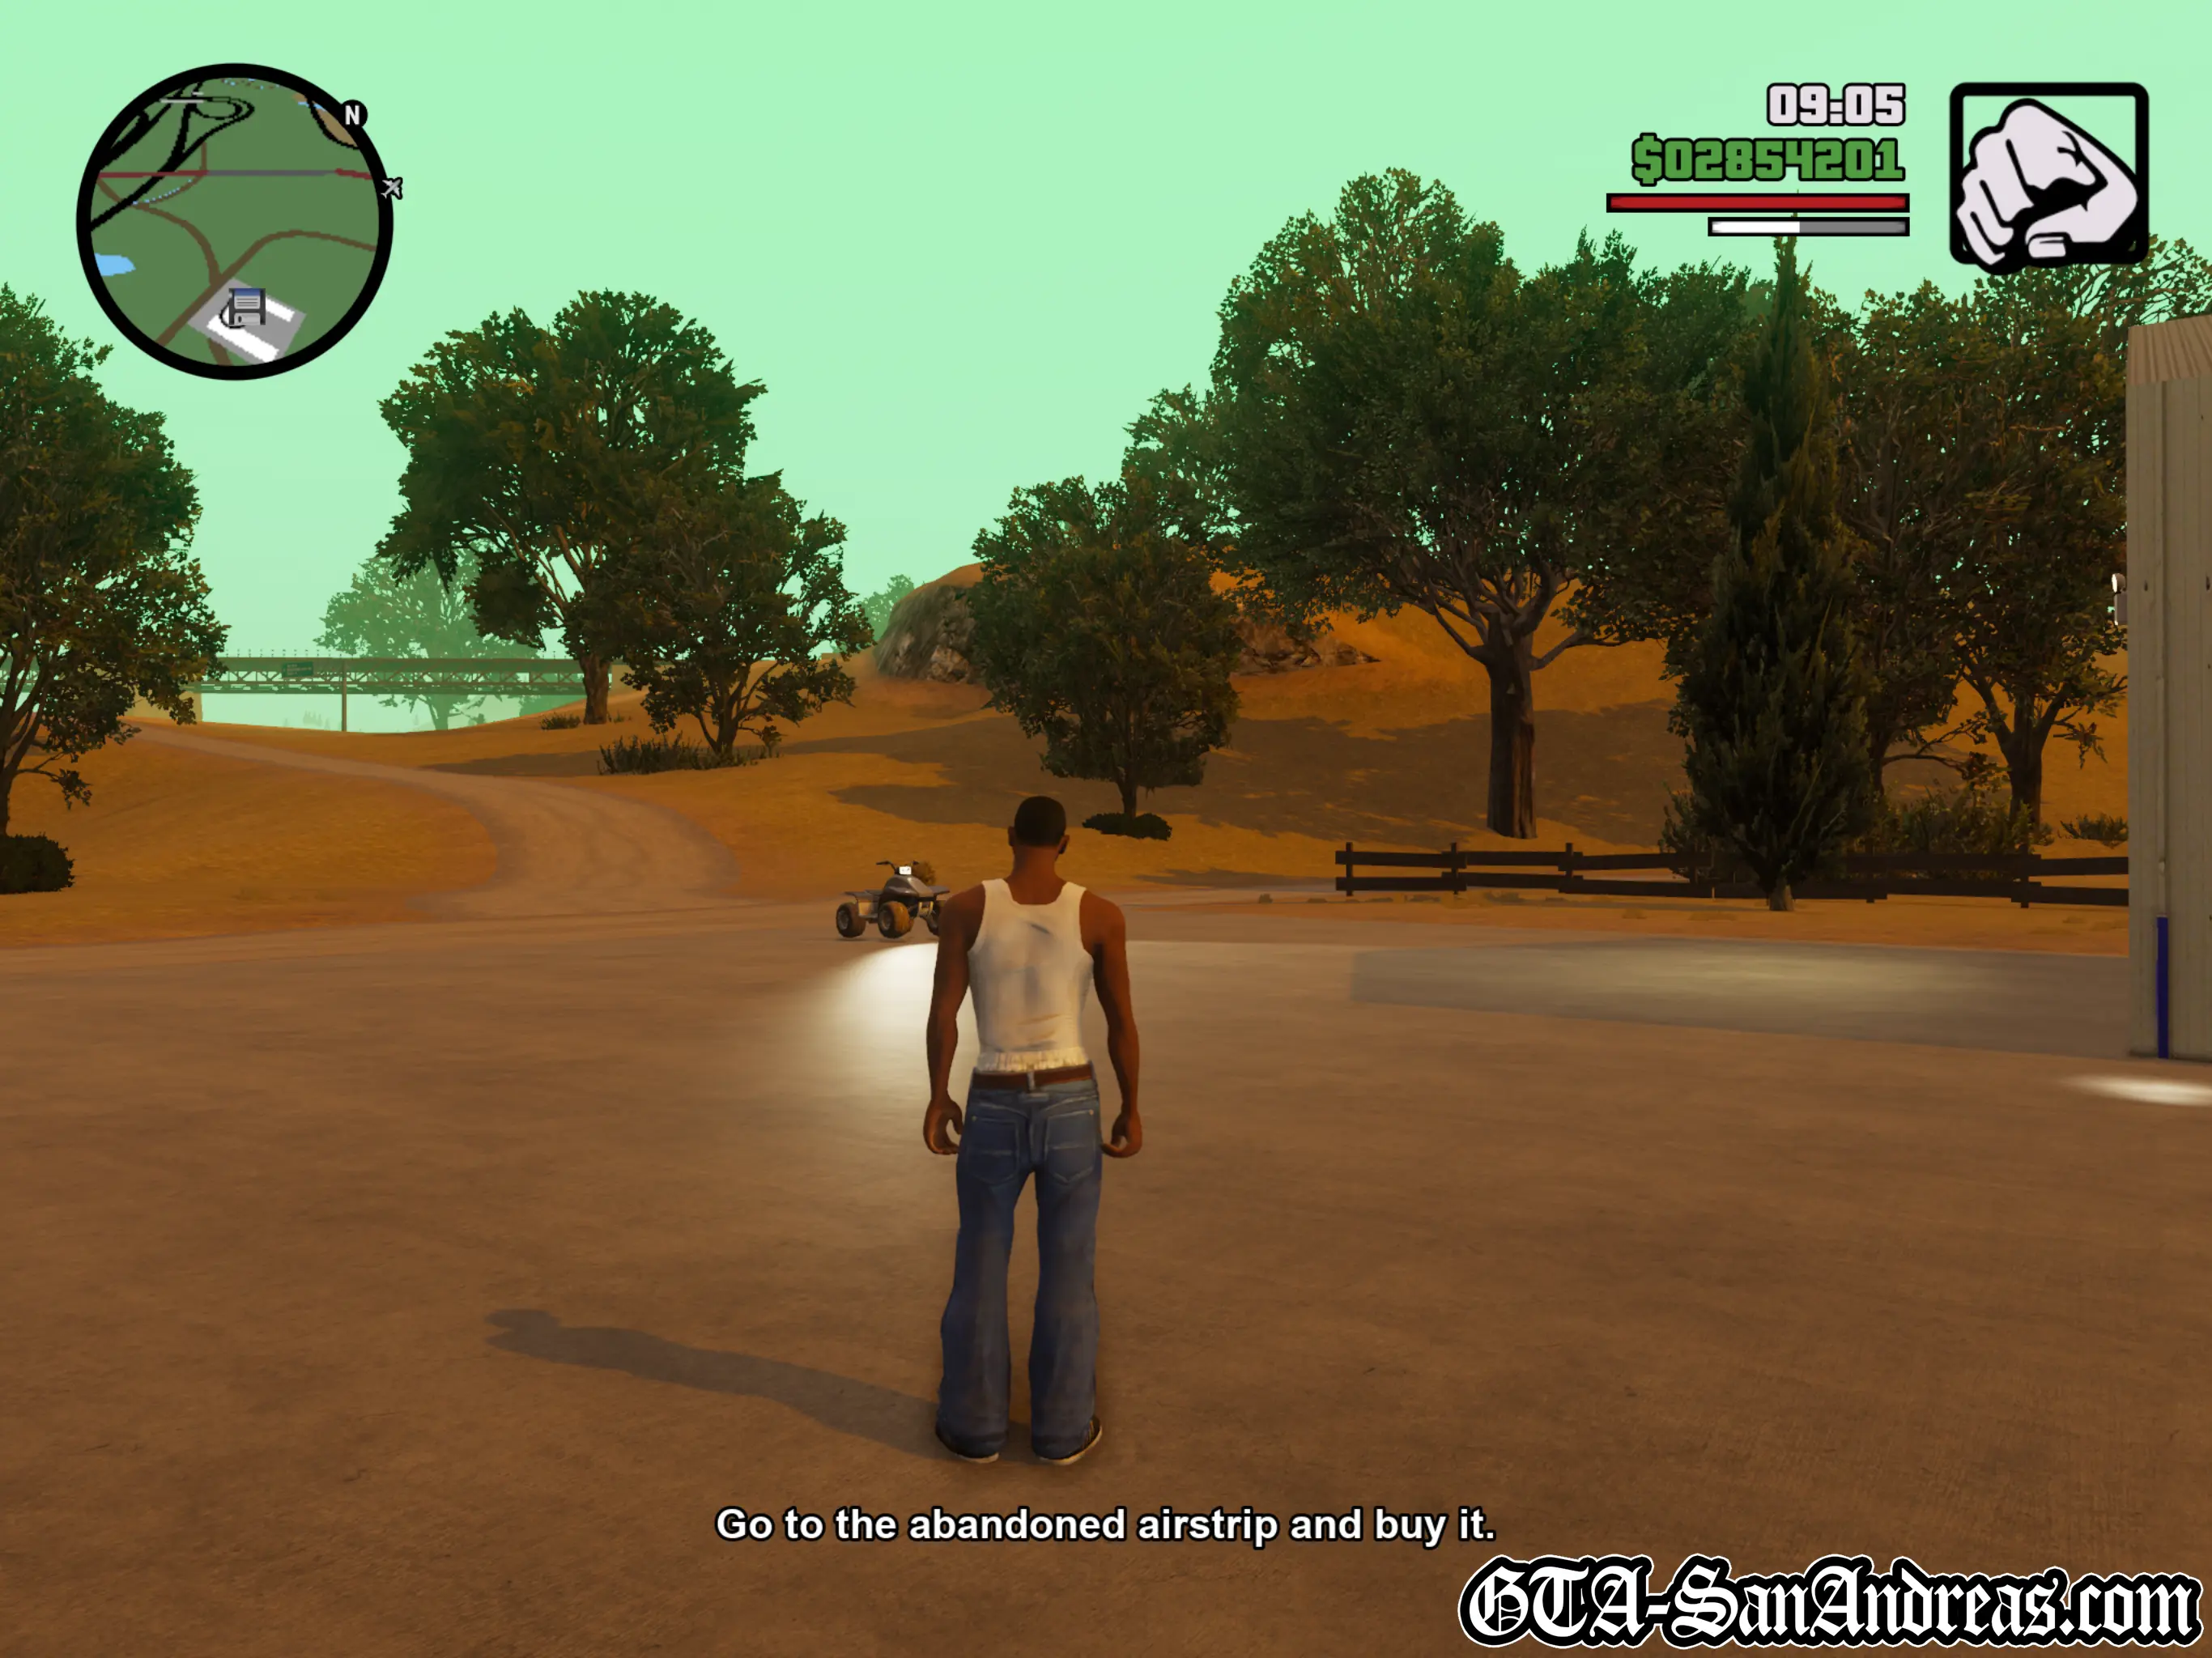
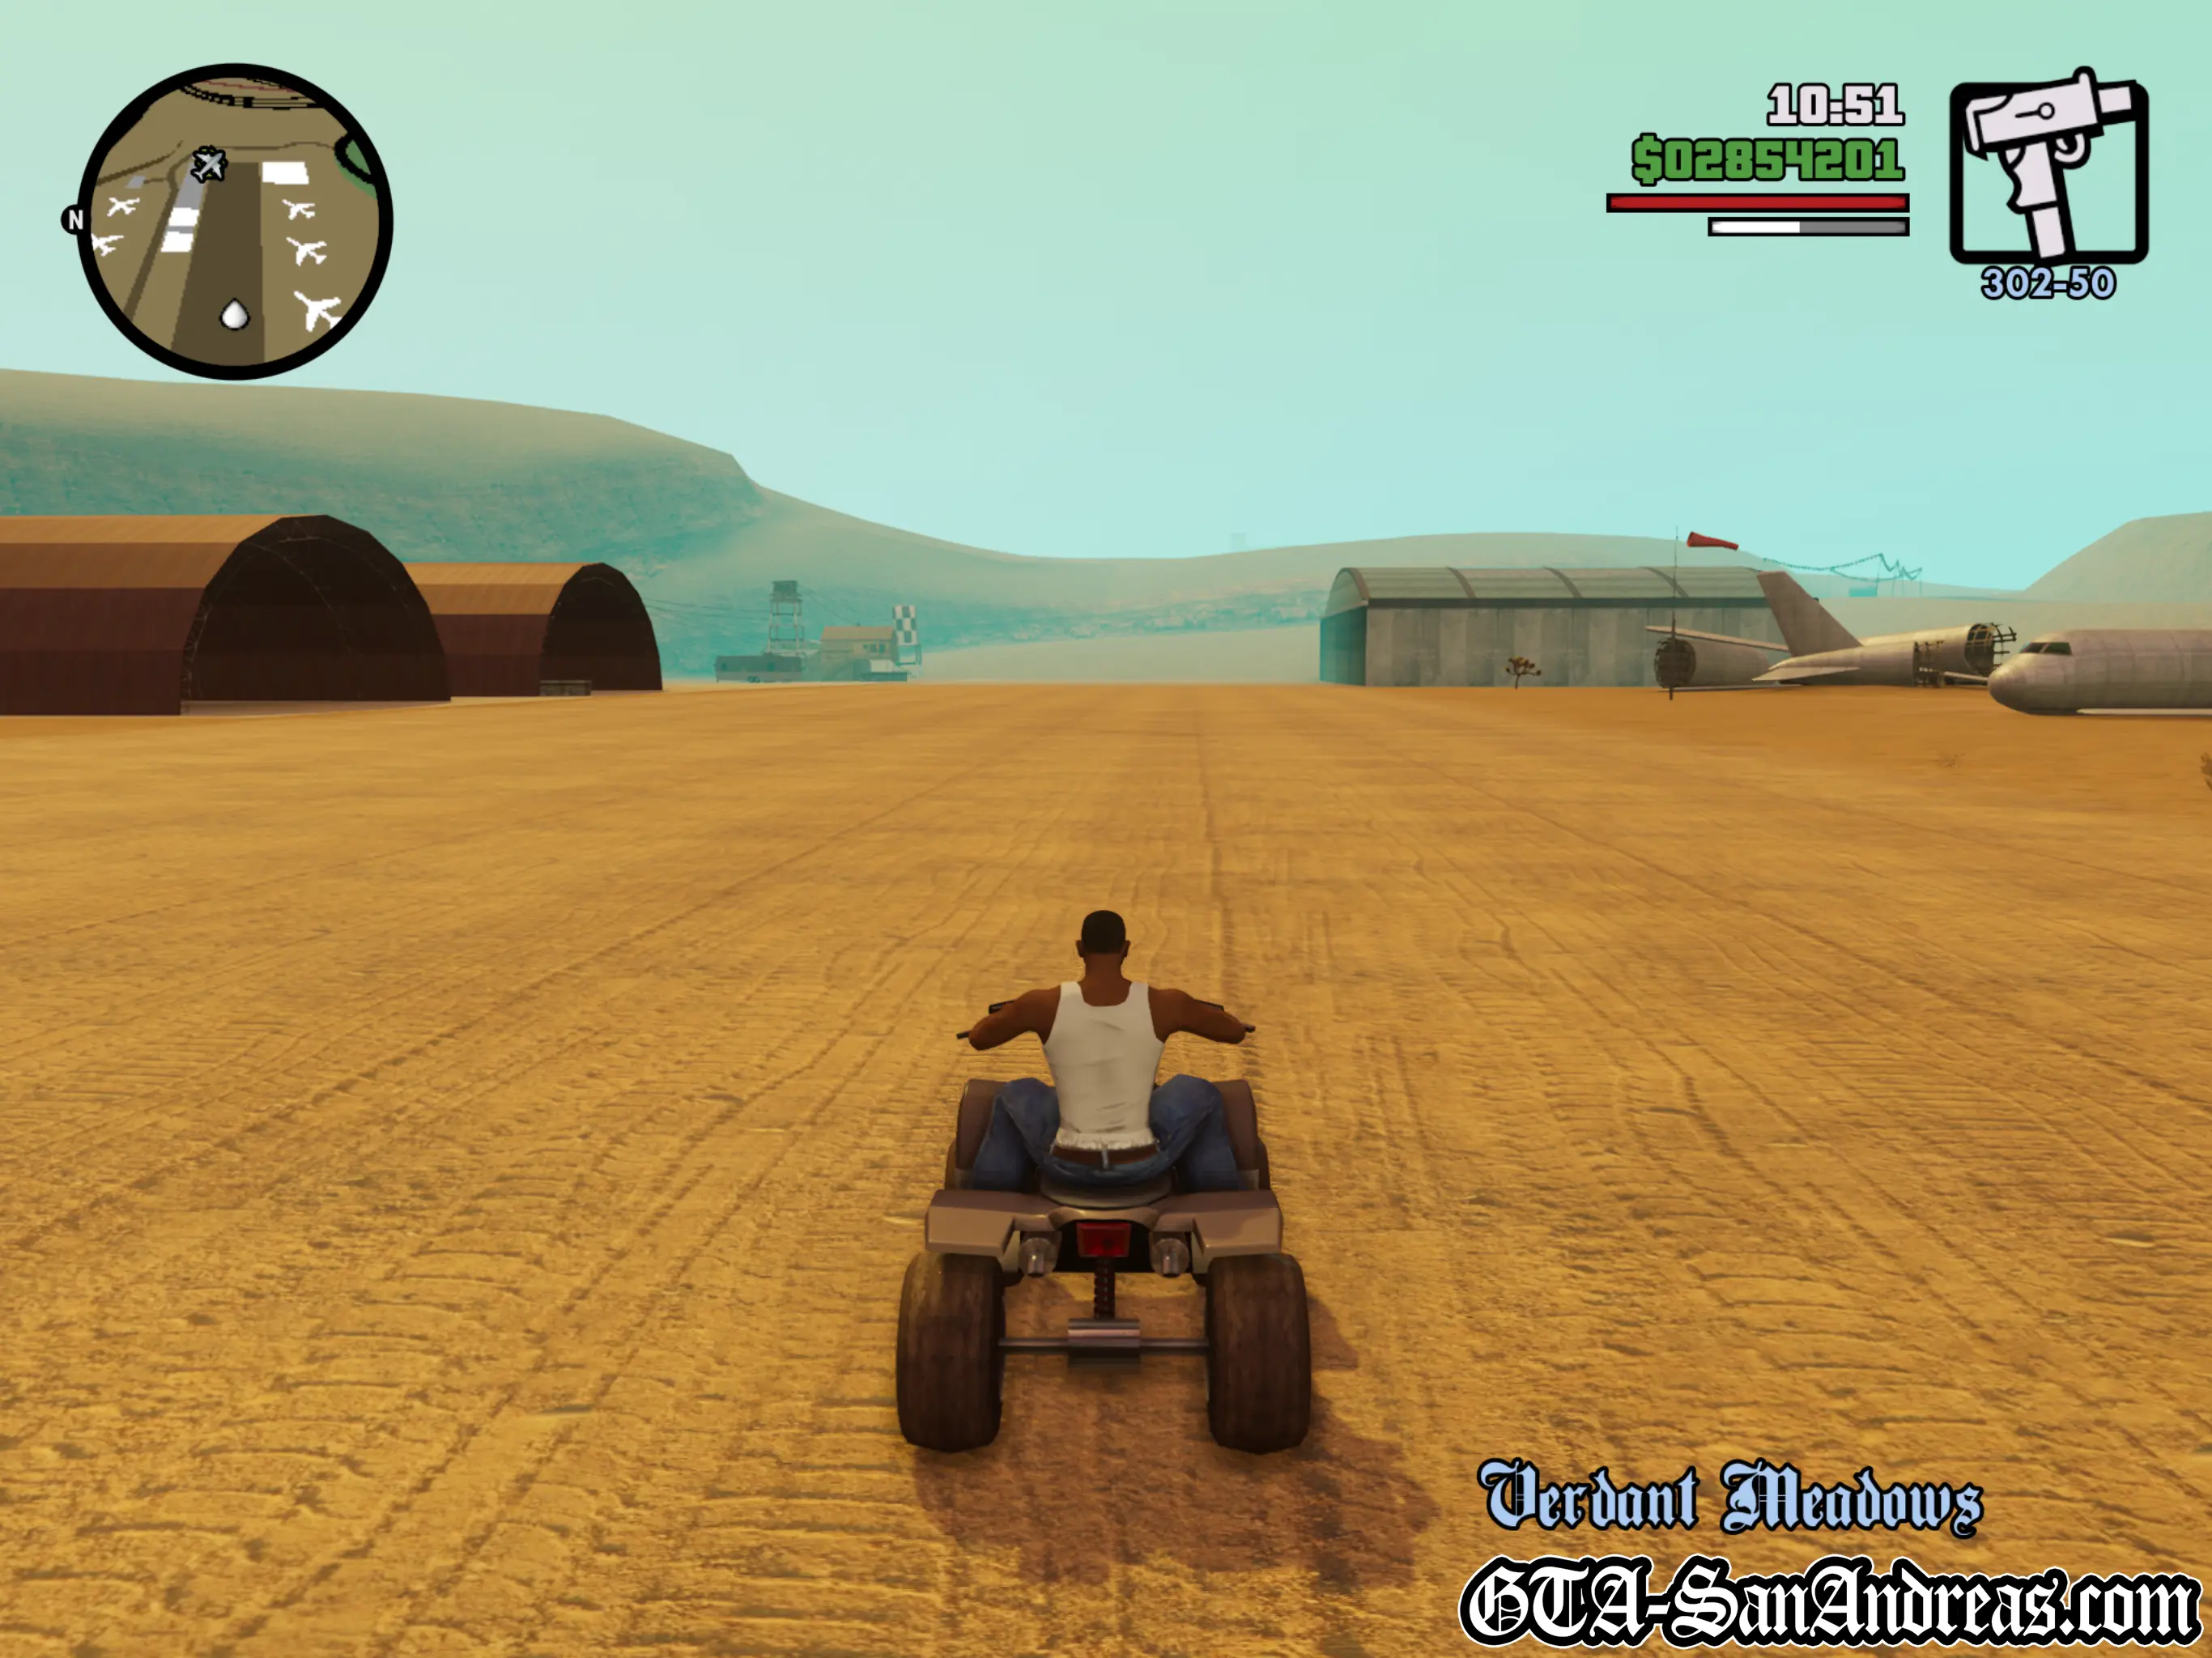
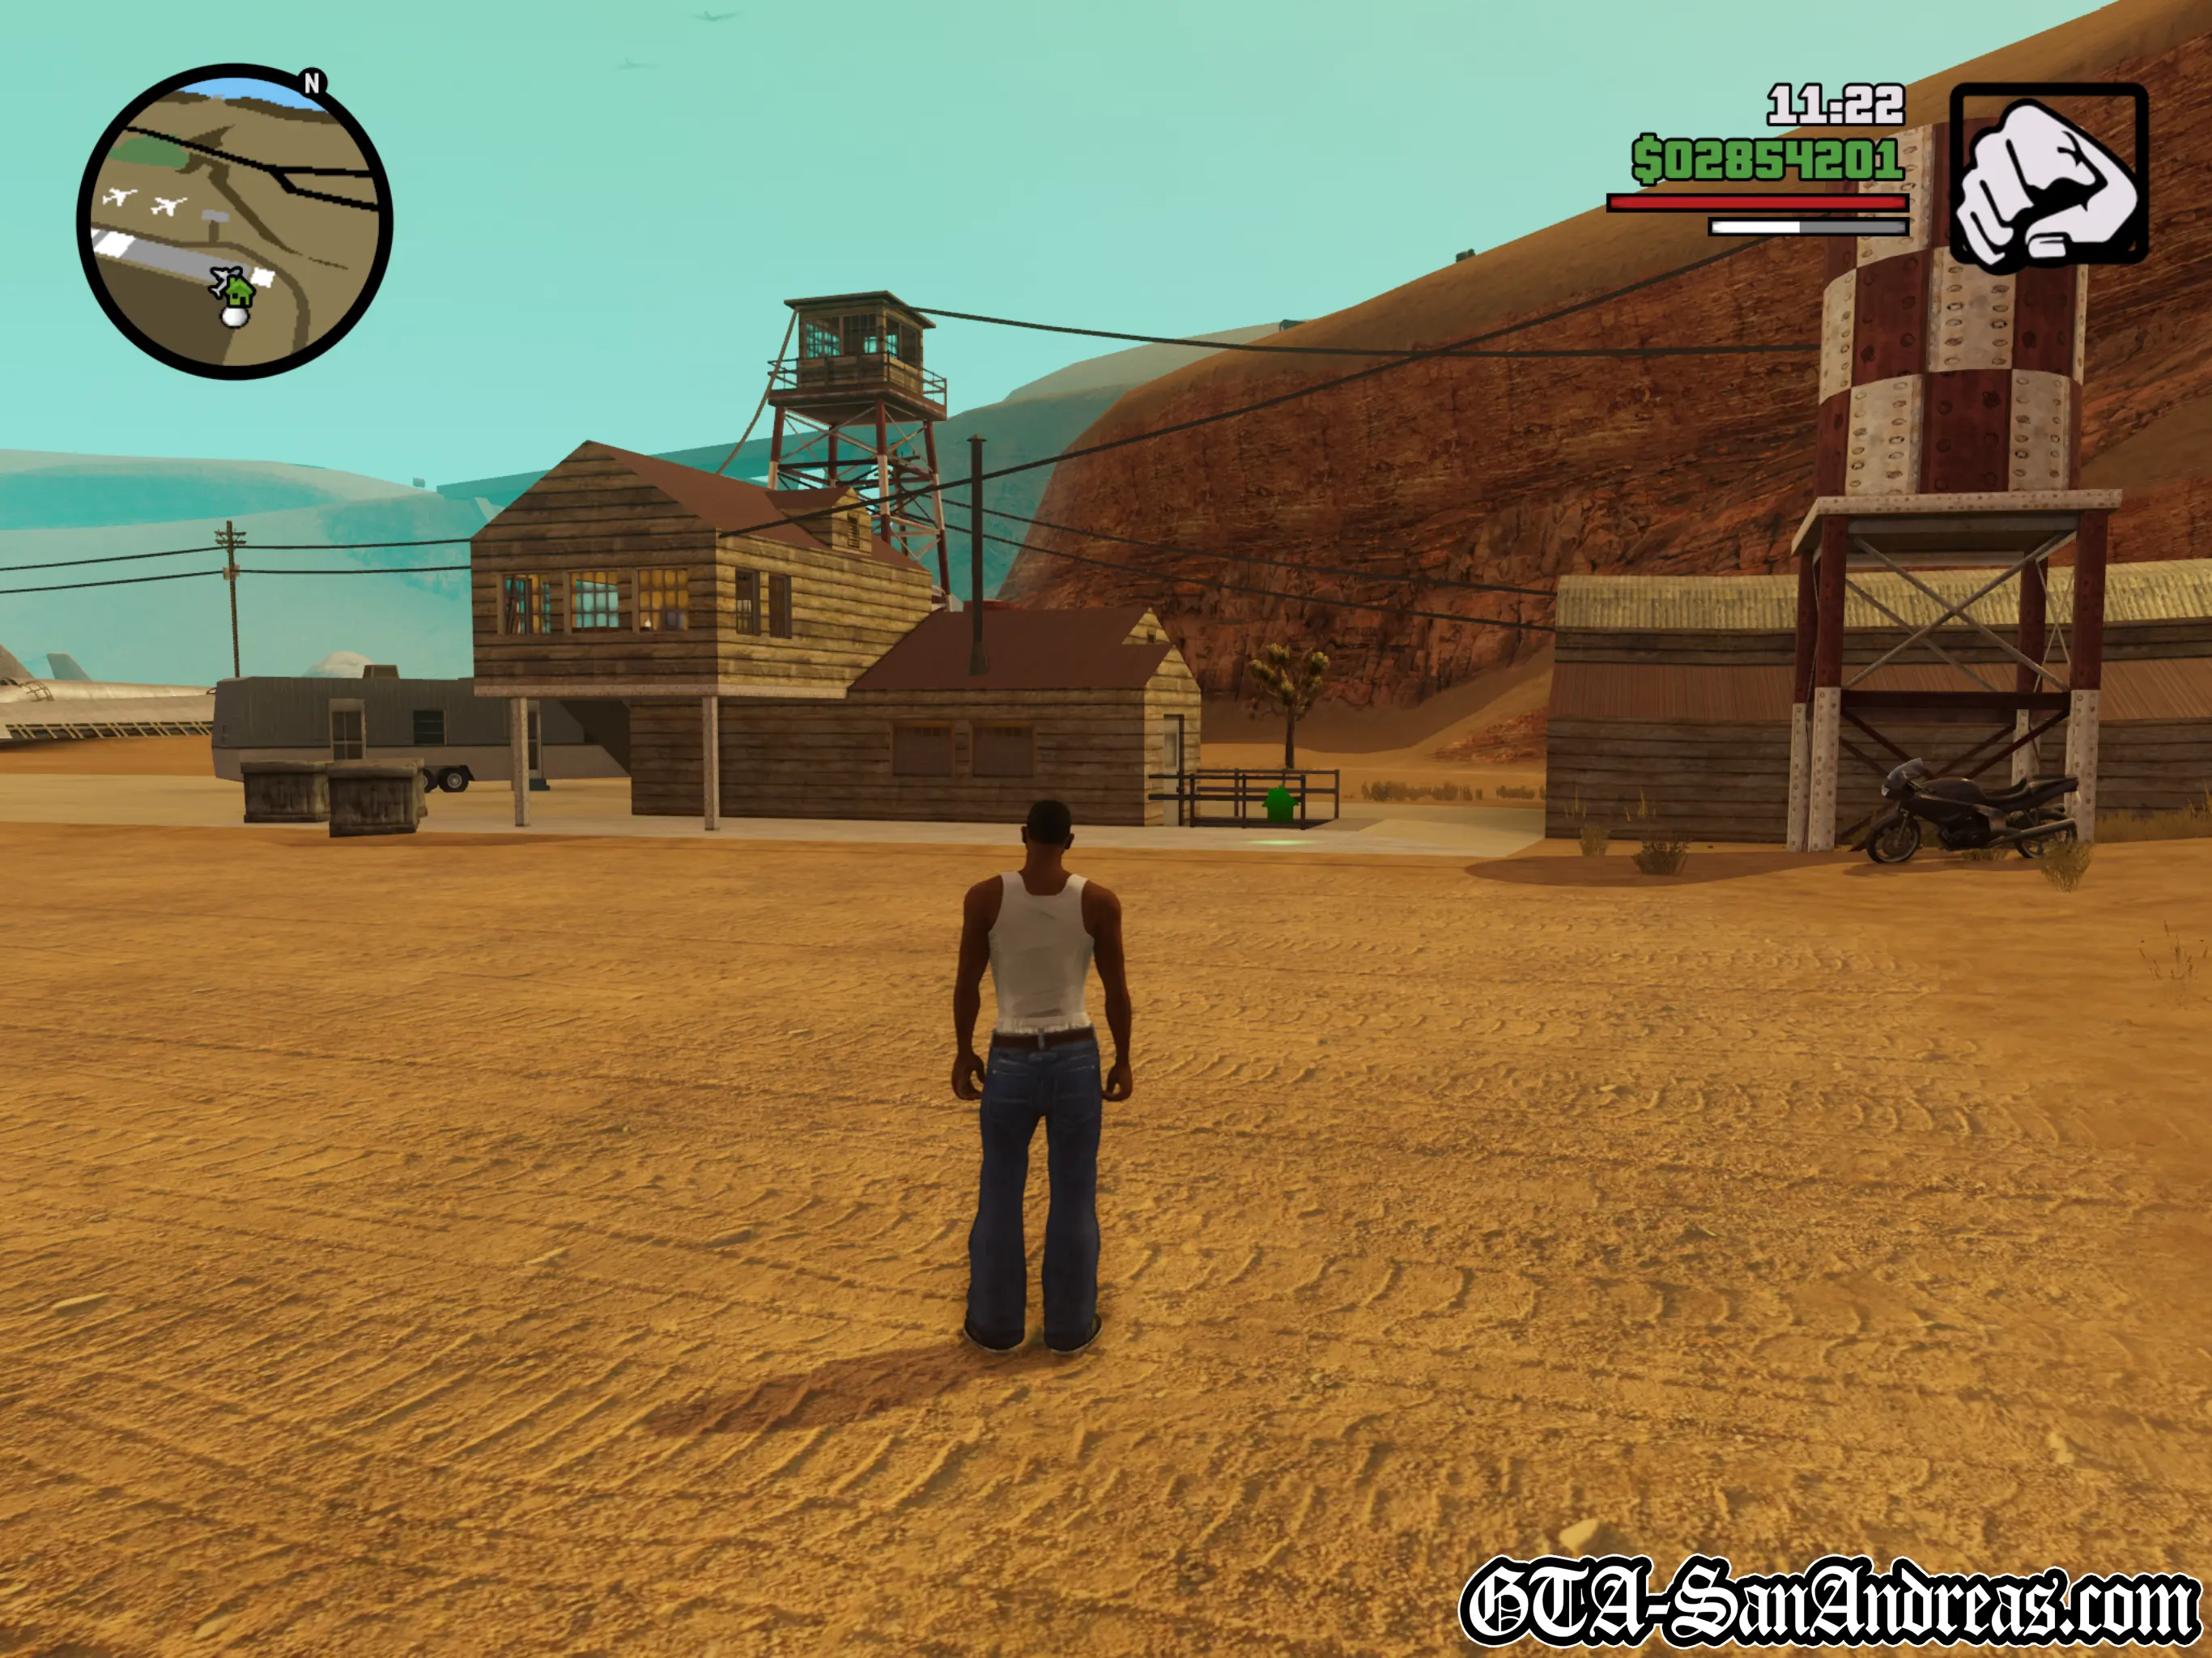
Verdant Meadows
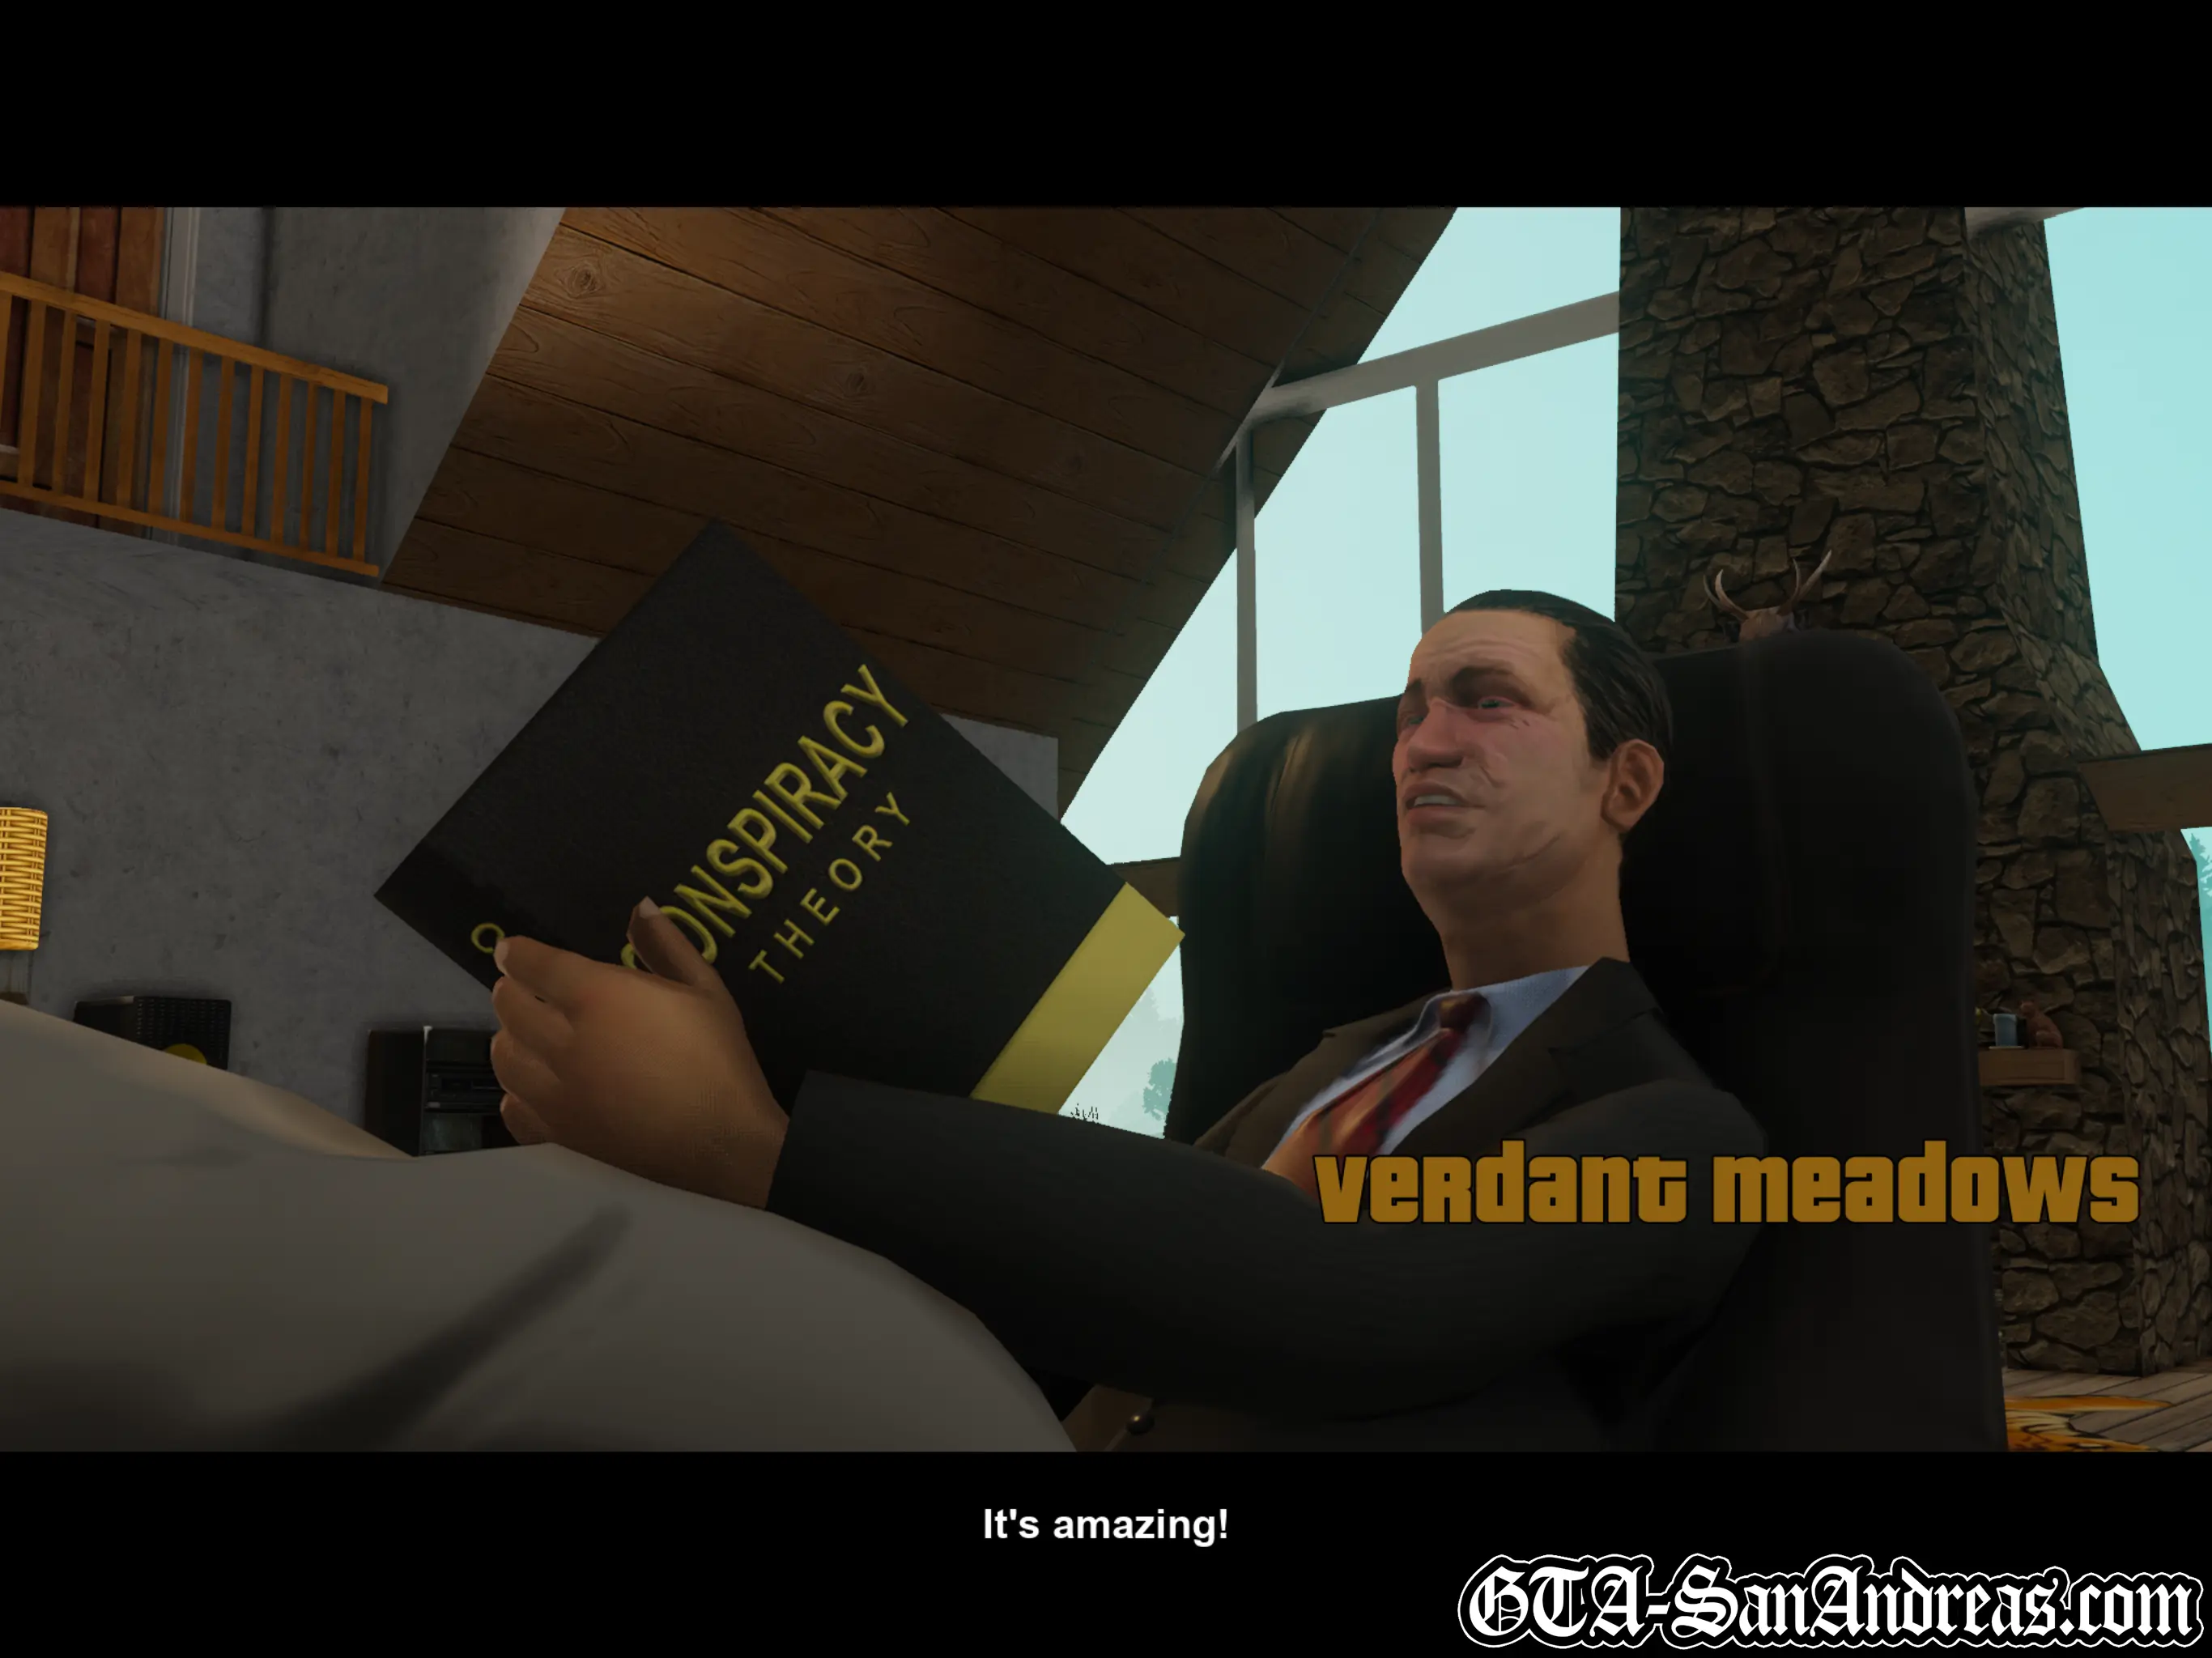
Toreno tells you he needs to you buy the abandoned airstrip. He says it won't cost much, but either way, you need to buy it before you can do any more missions for him. It's $80,000. As usual, if you don't have the cash, go and earn it. Once you've bought the place you'll need to do the flying school missions which have now been unlocked. These are relatively easy, but if you want to get Gold on all of them it's going to be pretty hard work. You can read more in our Flying School Guide, but for now, all you need to know is that you need to complete the flying school.
Just after the cutscene you'll receive a phone call from Jethro telling you about some 'unofficial' street races in San Fierro. These are now opened up behind the Wang Cars showroom and can earn you a lot of cash. You can read more about them in a separate guide.
Screenshots
Learning To Fly
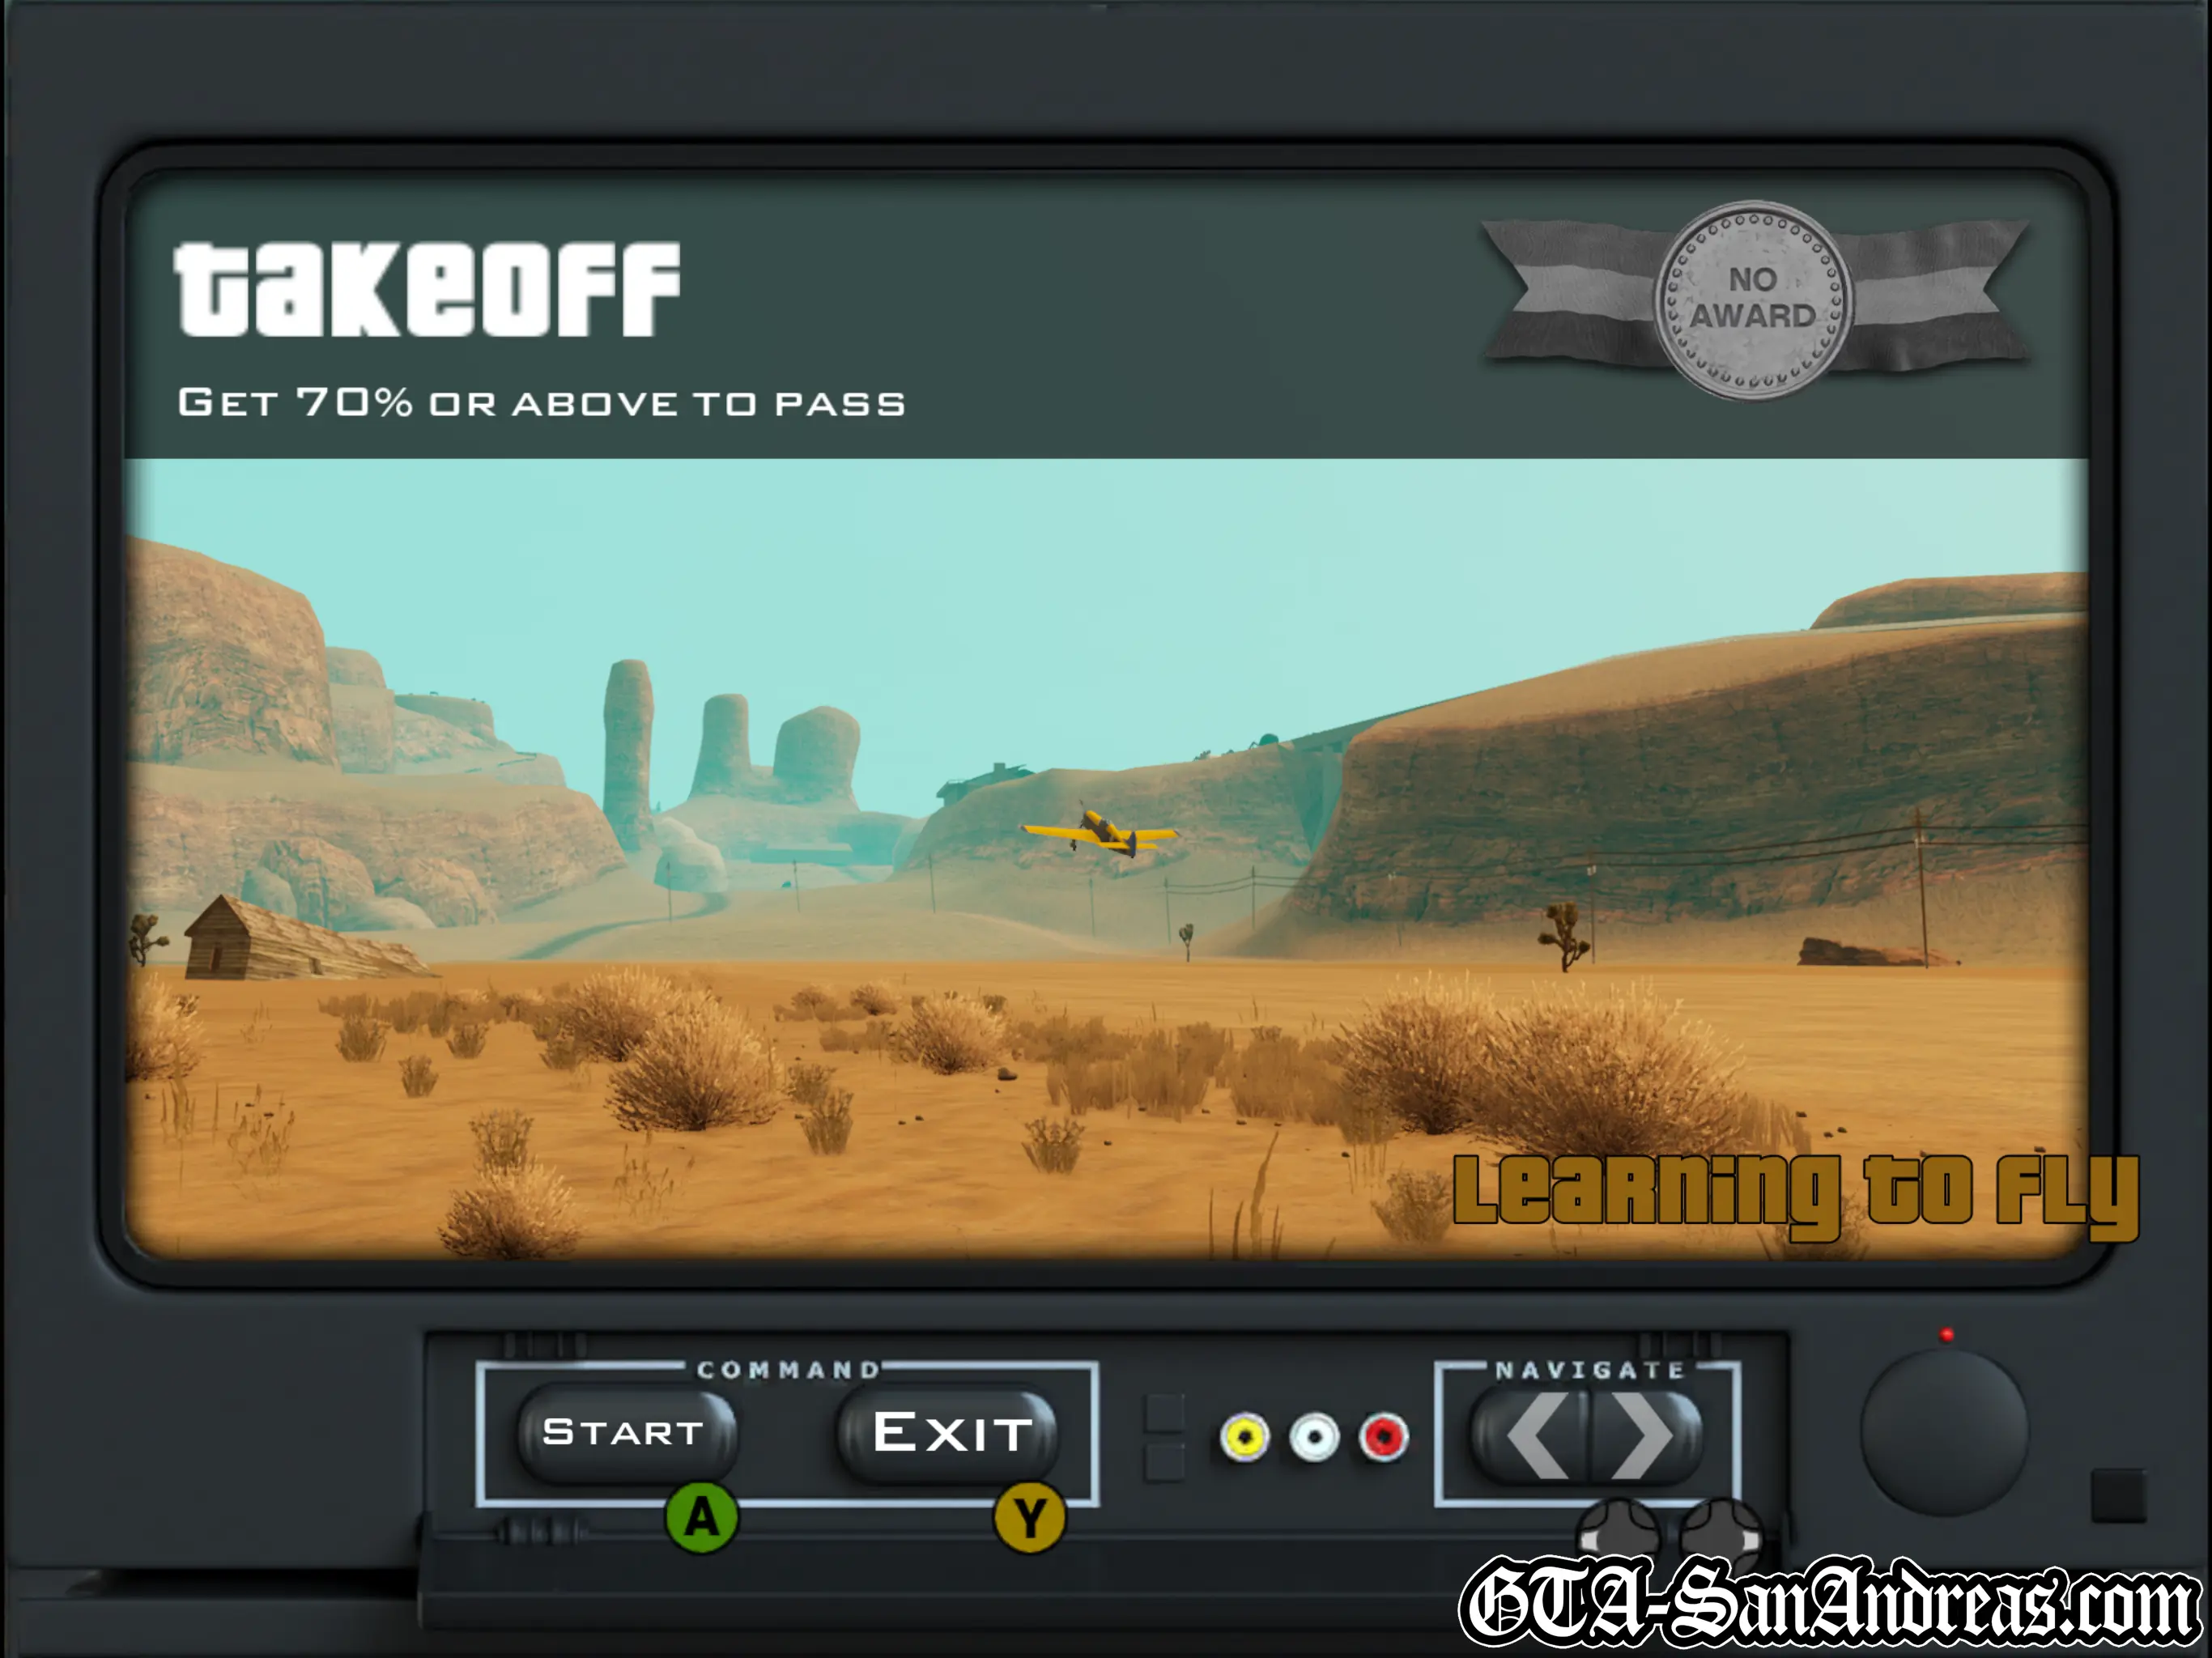
This mission requires you to complete all of the Flying School Missions with a bronze rating or higher. Our Flying School Guide will explain how to complete the schools, so you may wish to read that for more advice, however they aren't too hard once you get the hang of flying.
The Pilots Licence Has Now Been Obtained. You can enter any airport you choose.
After completing the flying school you'll receive a call from Woozie. He now owns a casino on the Las Venturas Strip and wants you to go along and check it out.
Wu Zi Mu's Missions Have Now Been Unlocked.
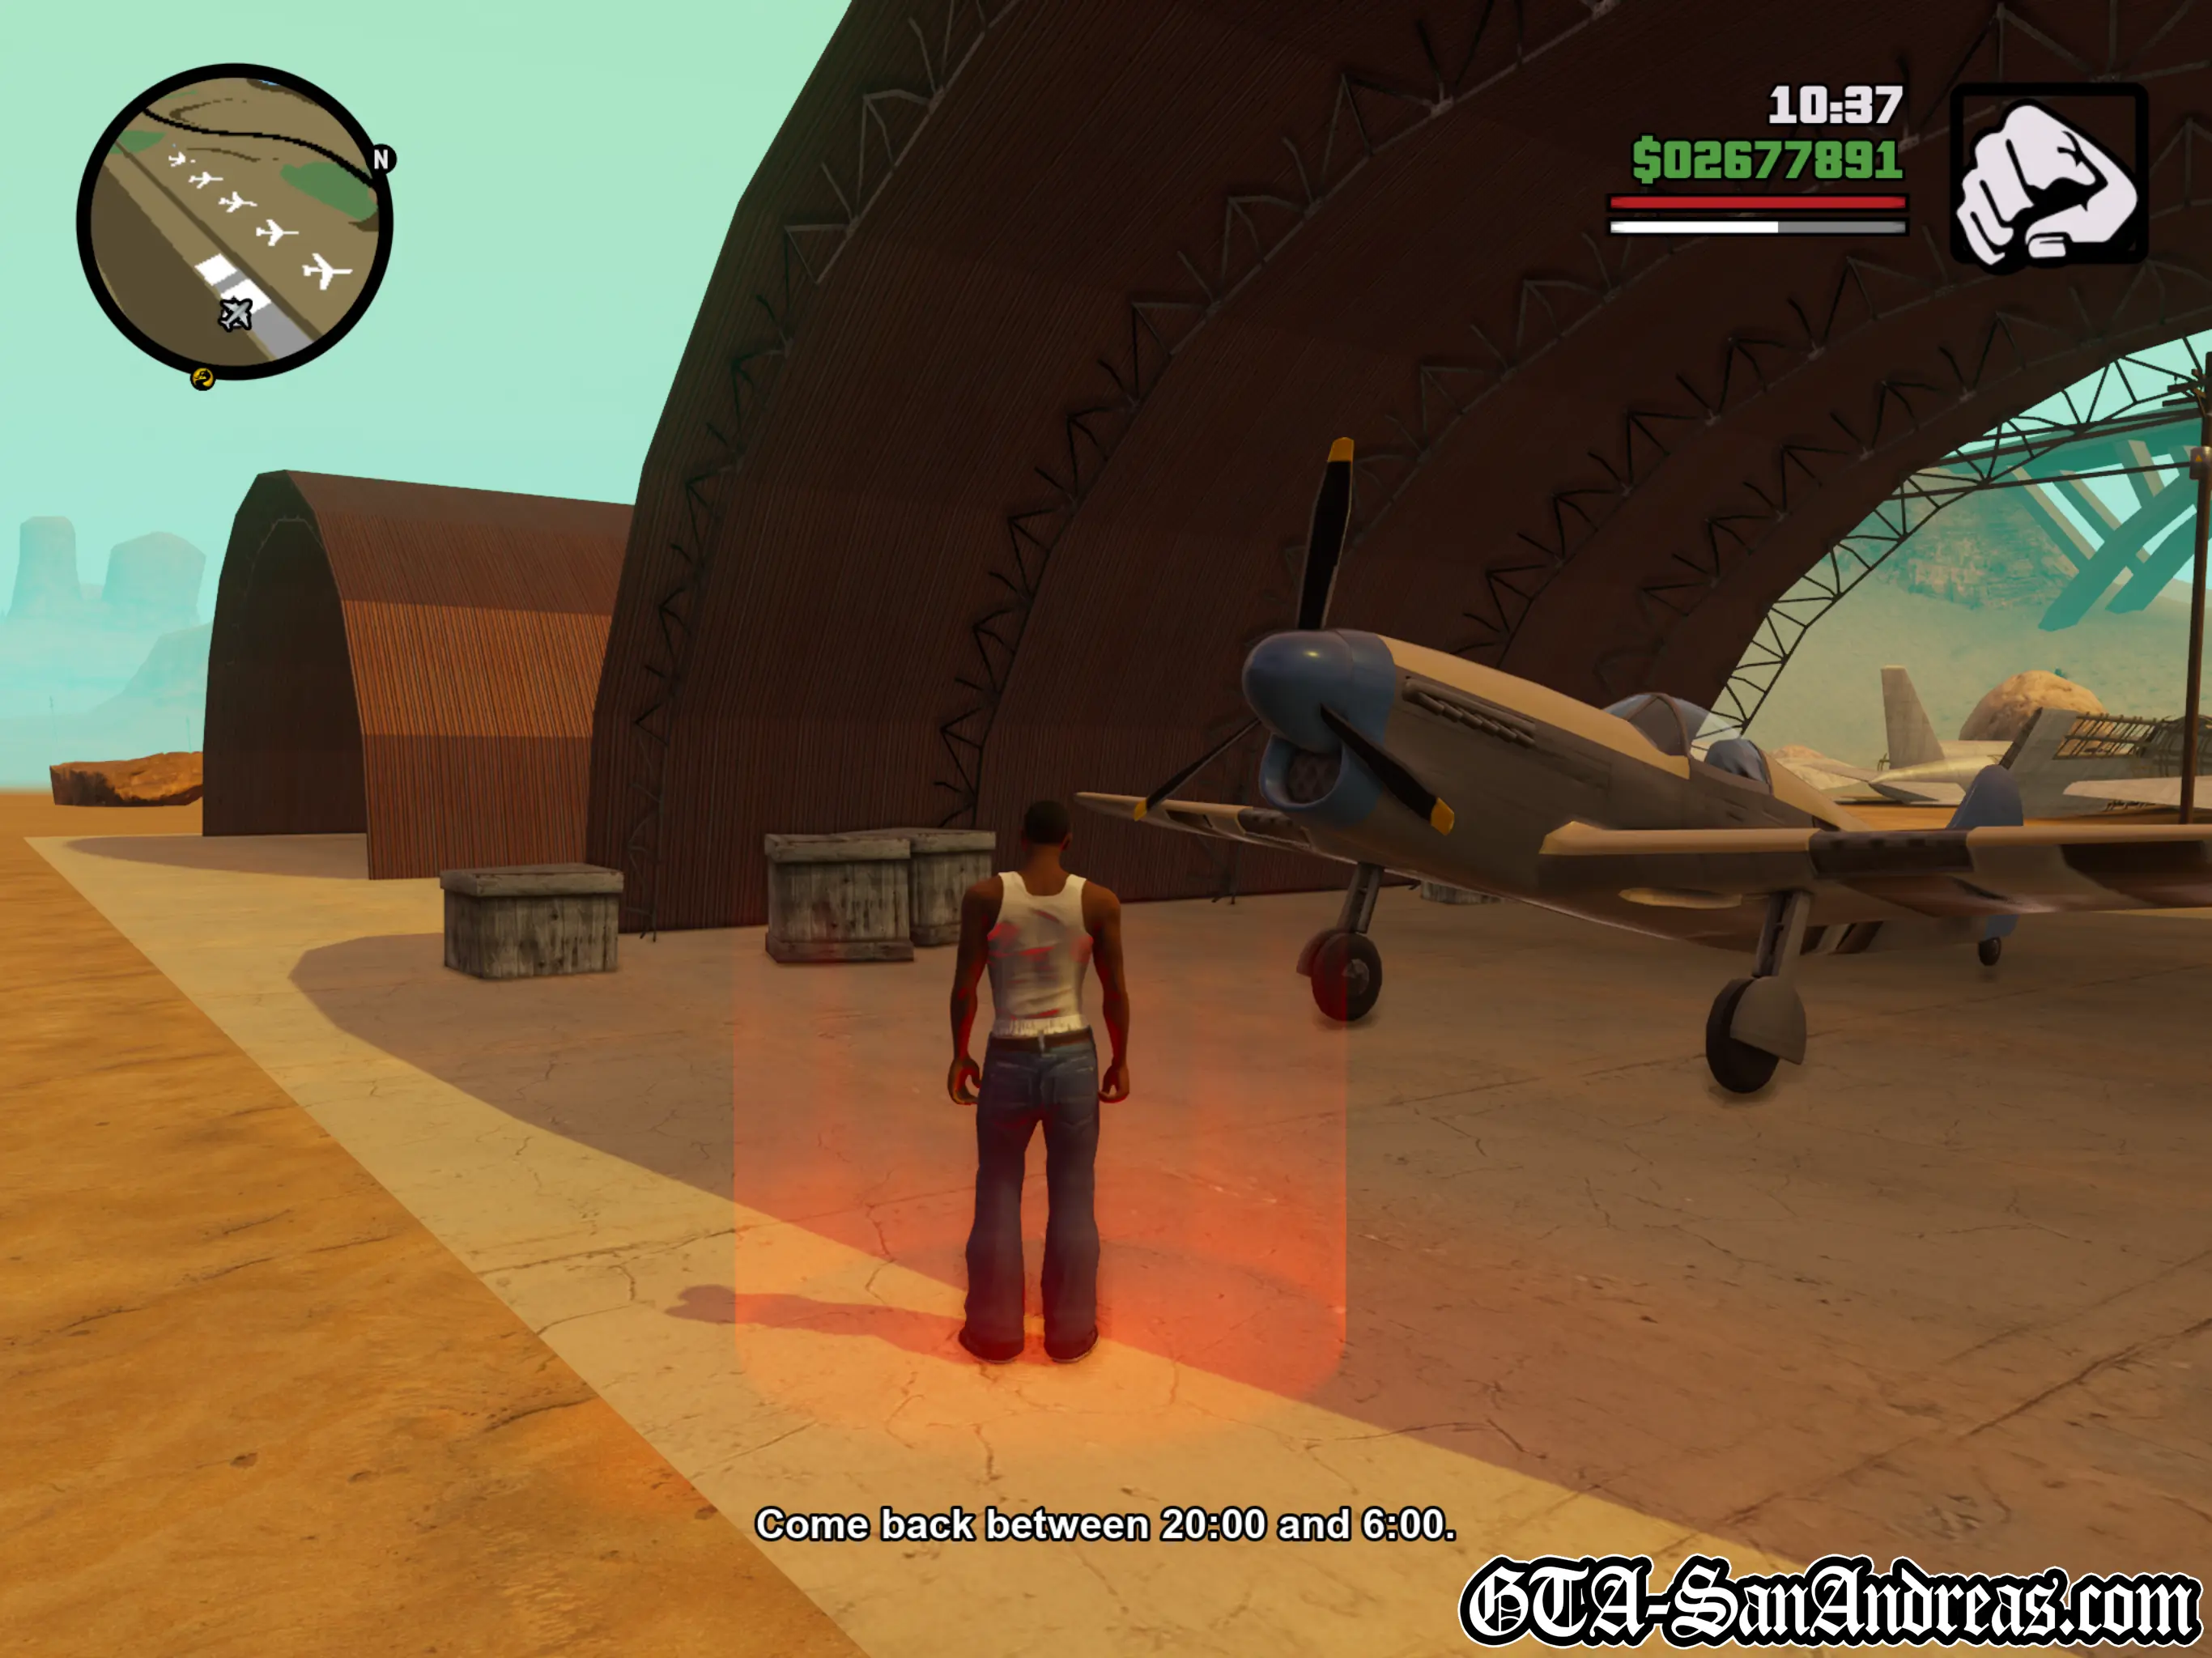
Head along to the red marker parked in front of one of the hangars, with the aeroplane as a radar icon for another mission.
Screenshots
Mike Toreno
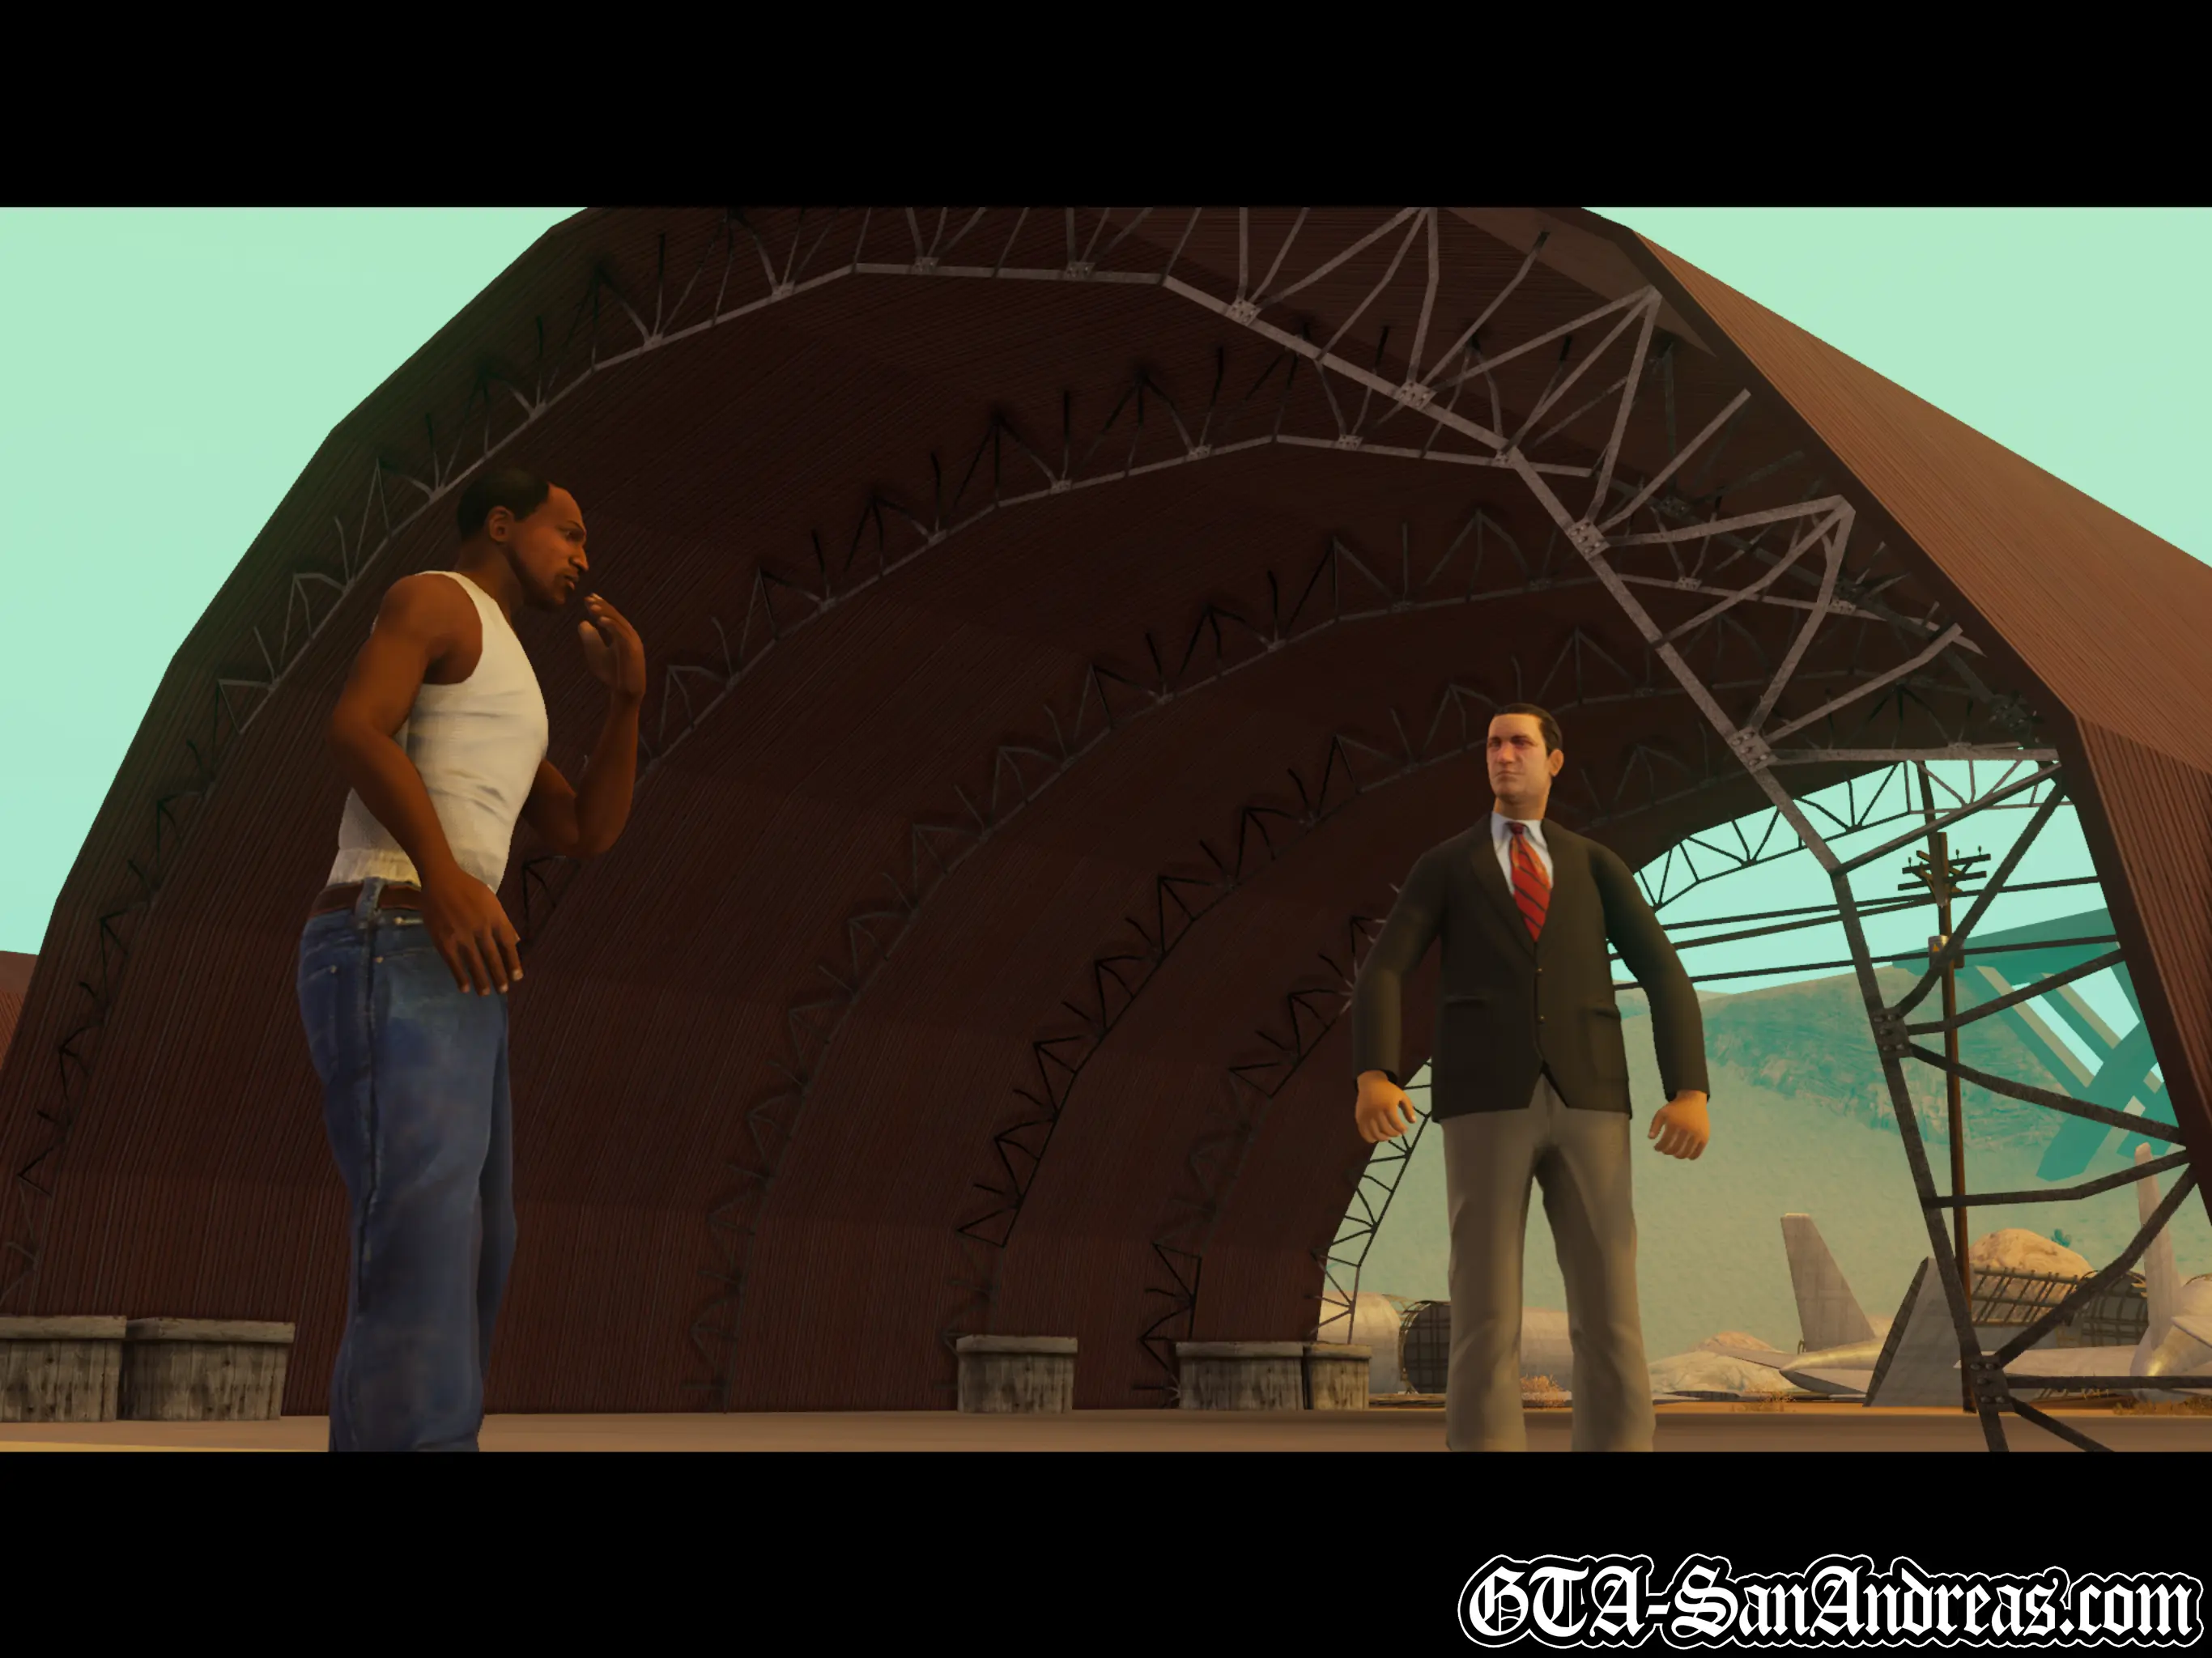
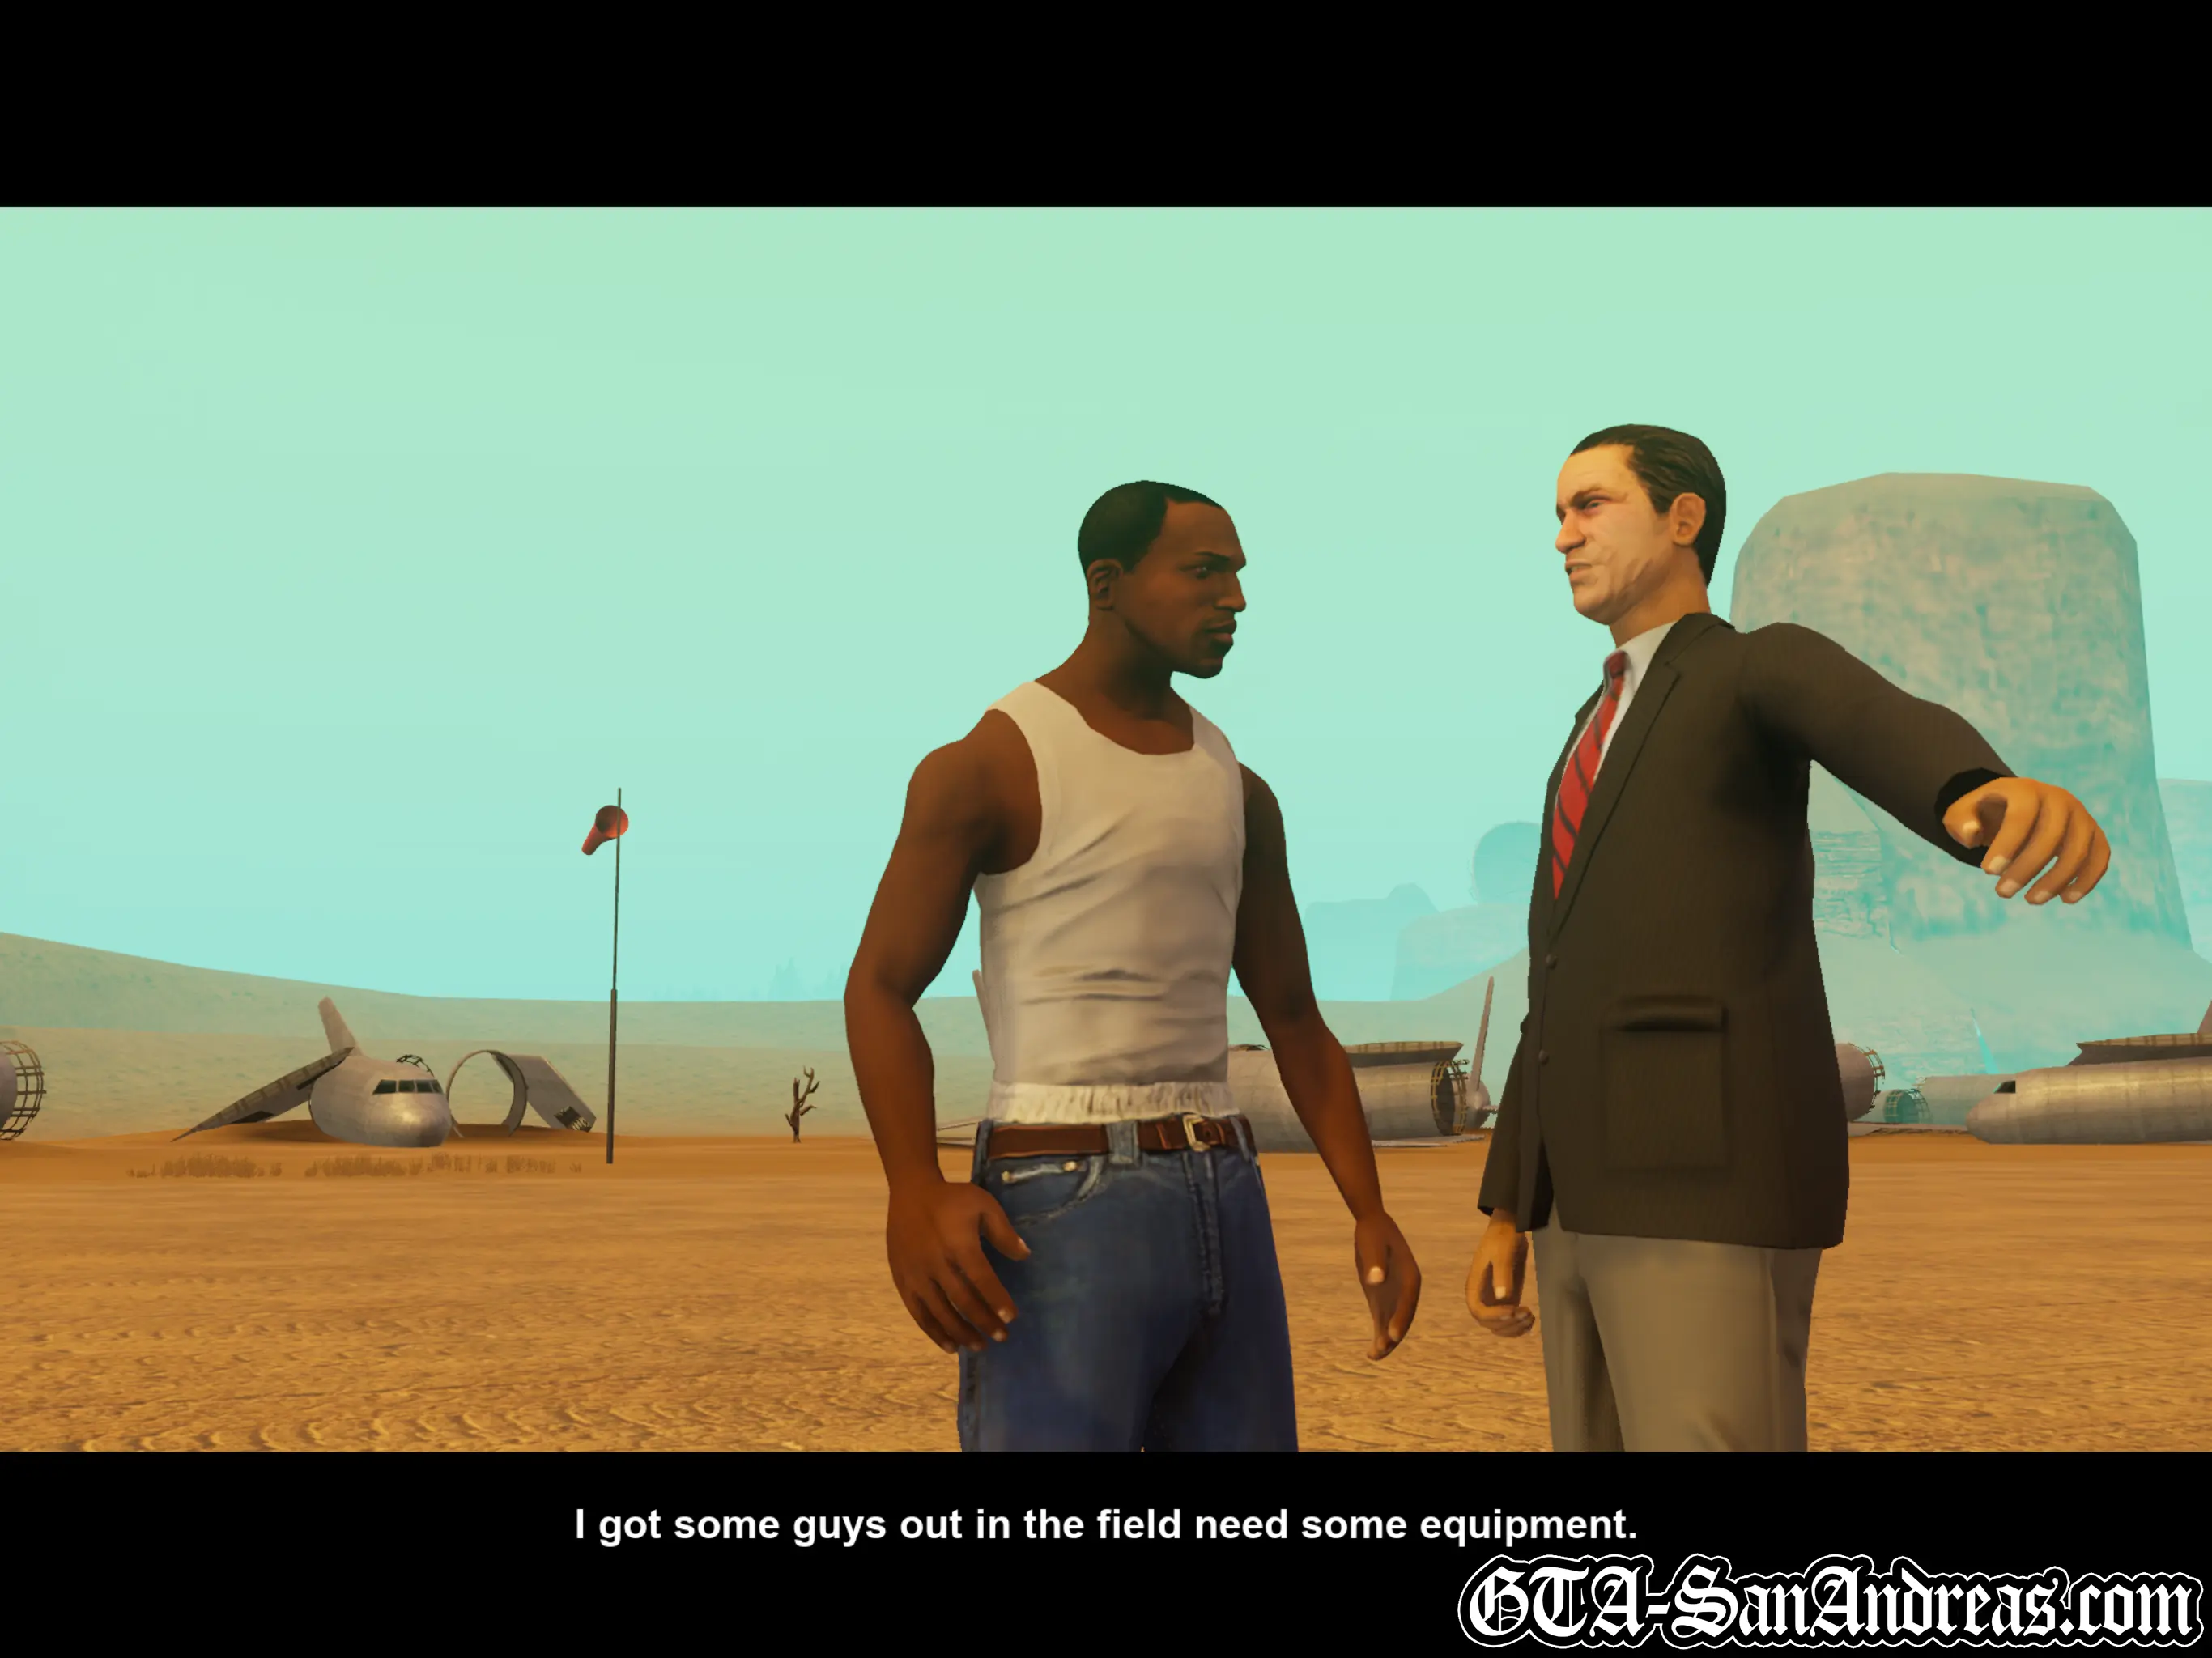
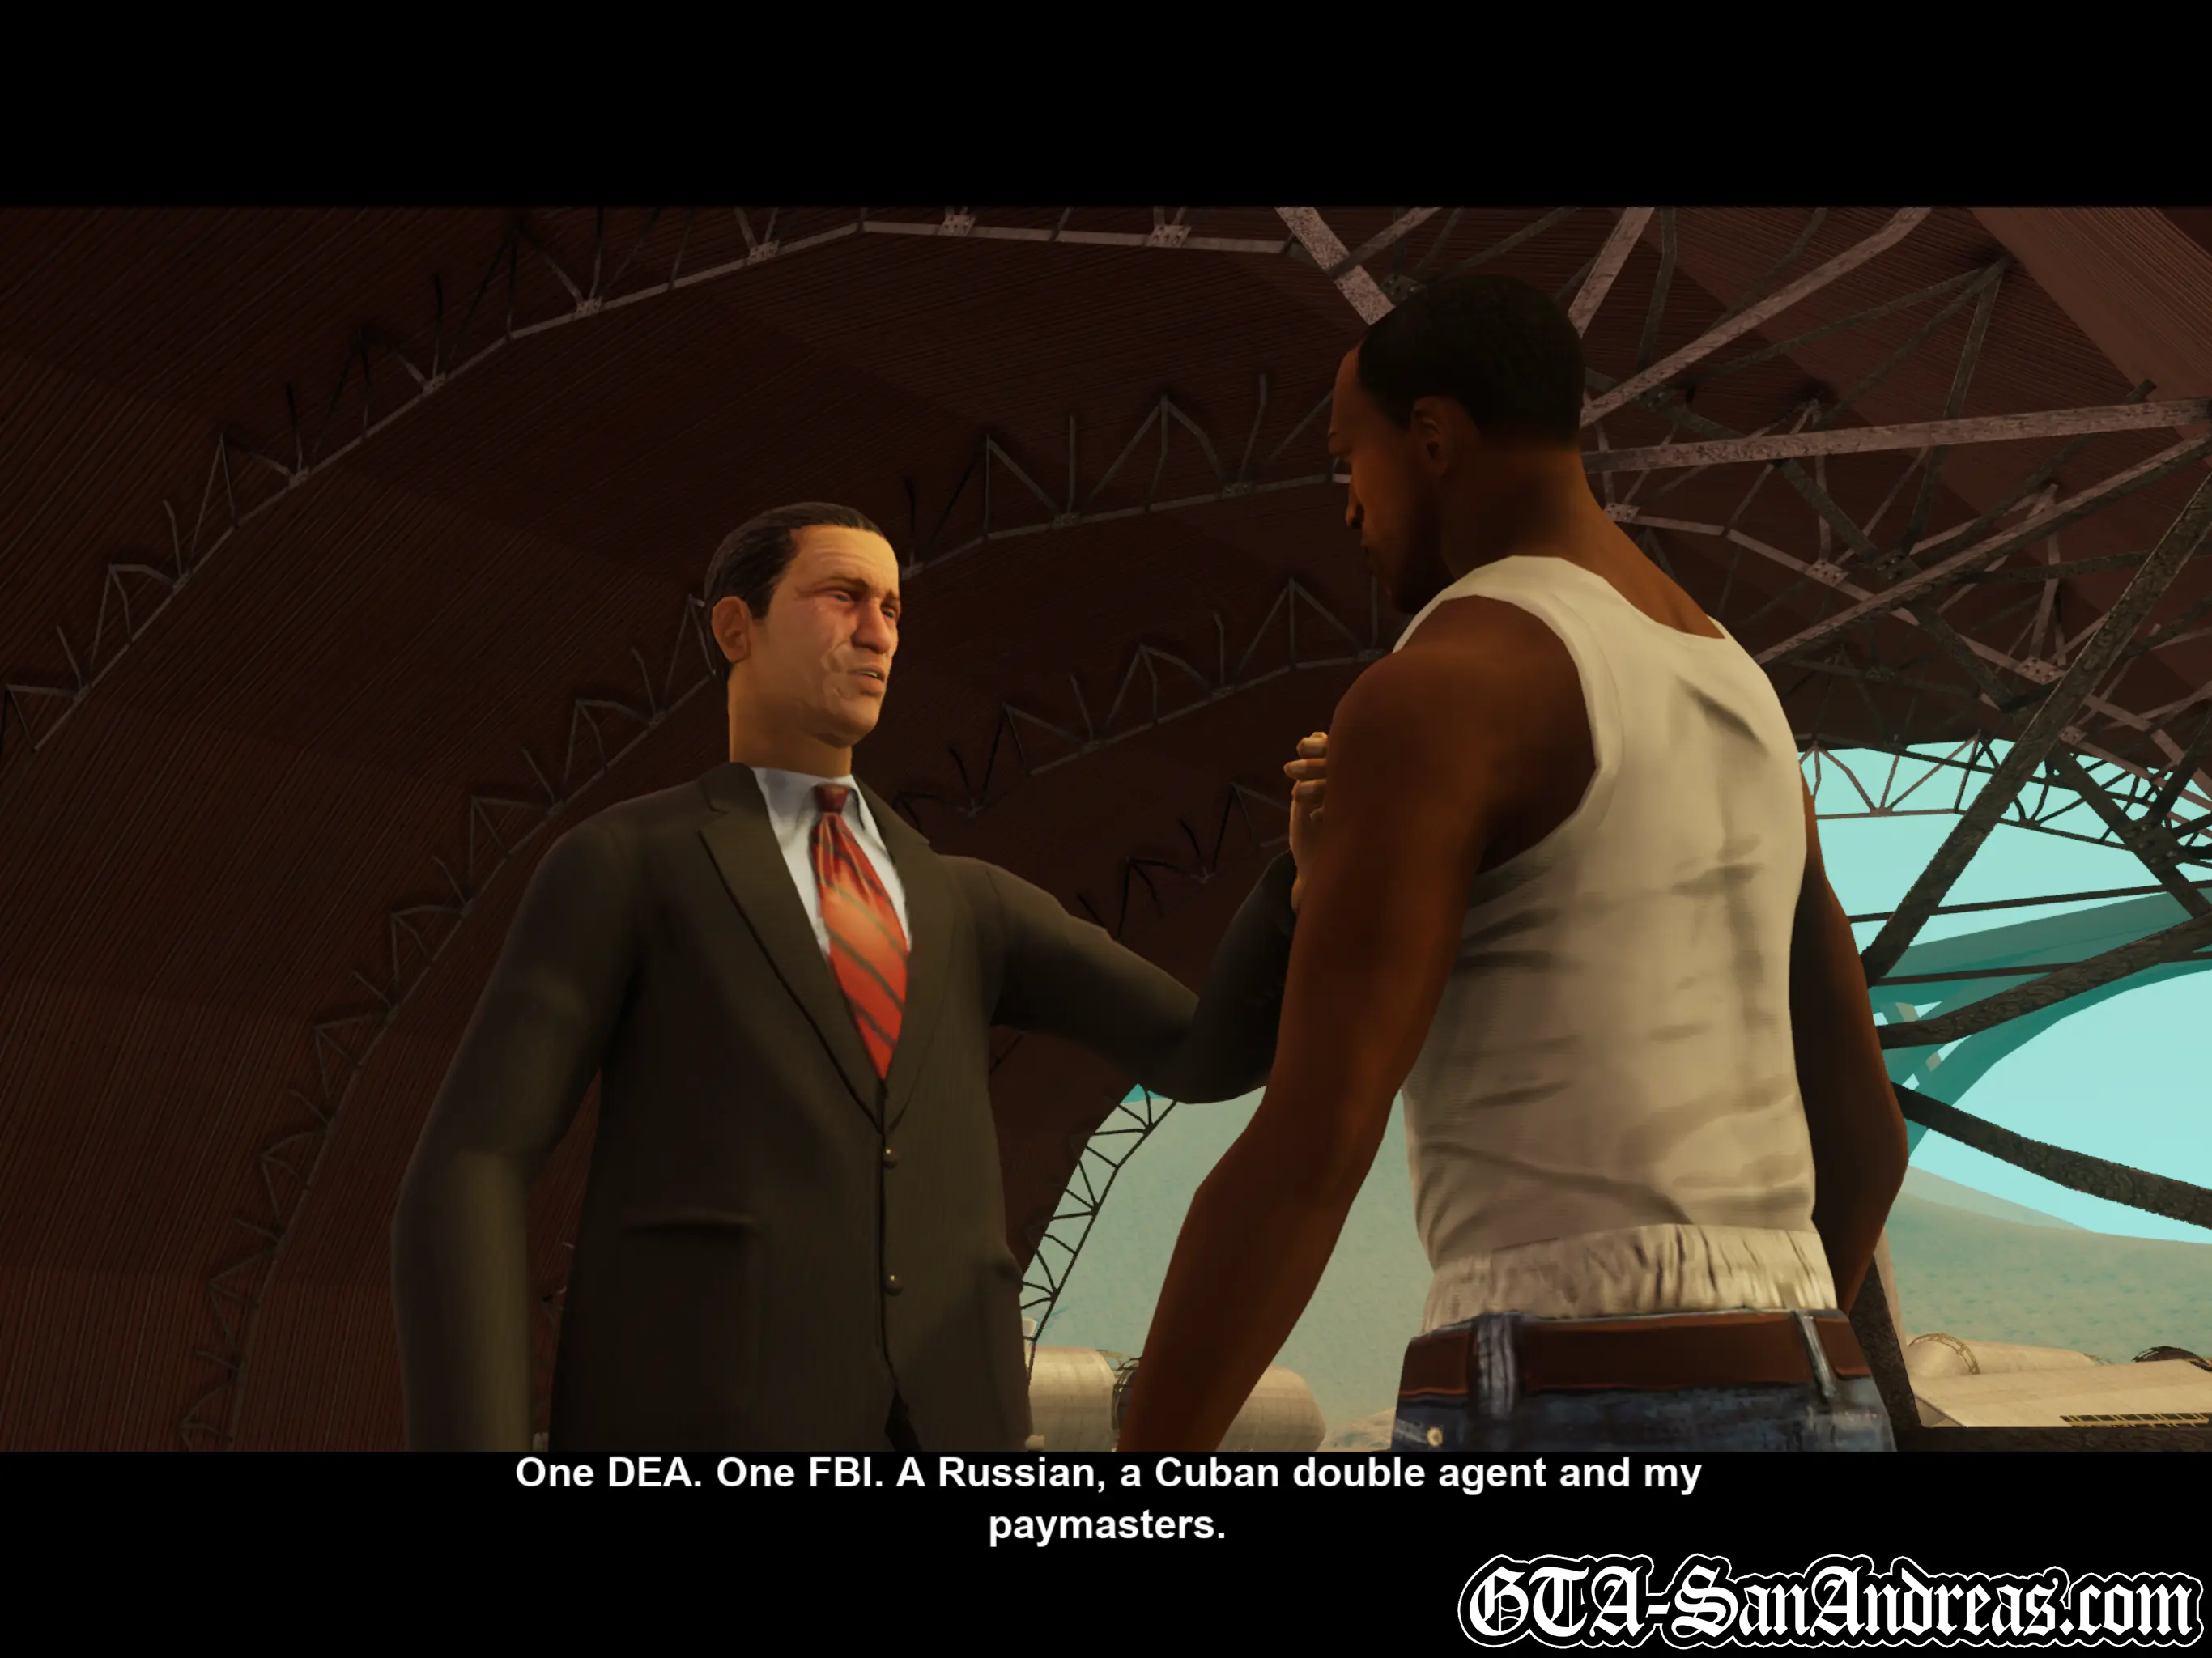
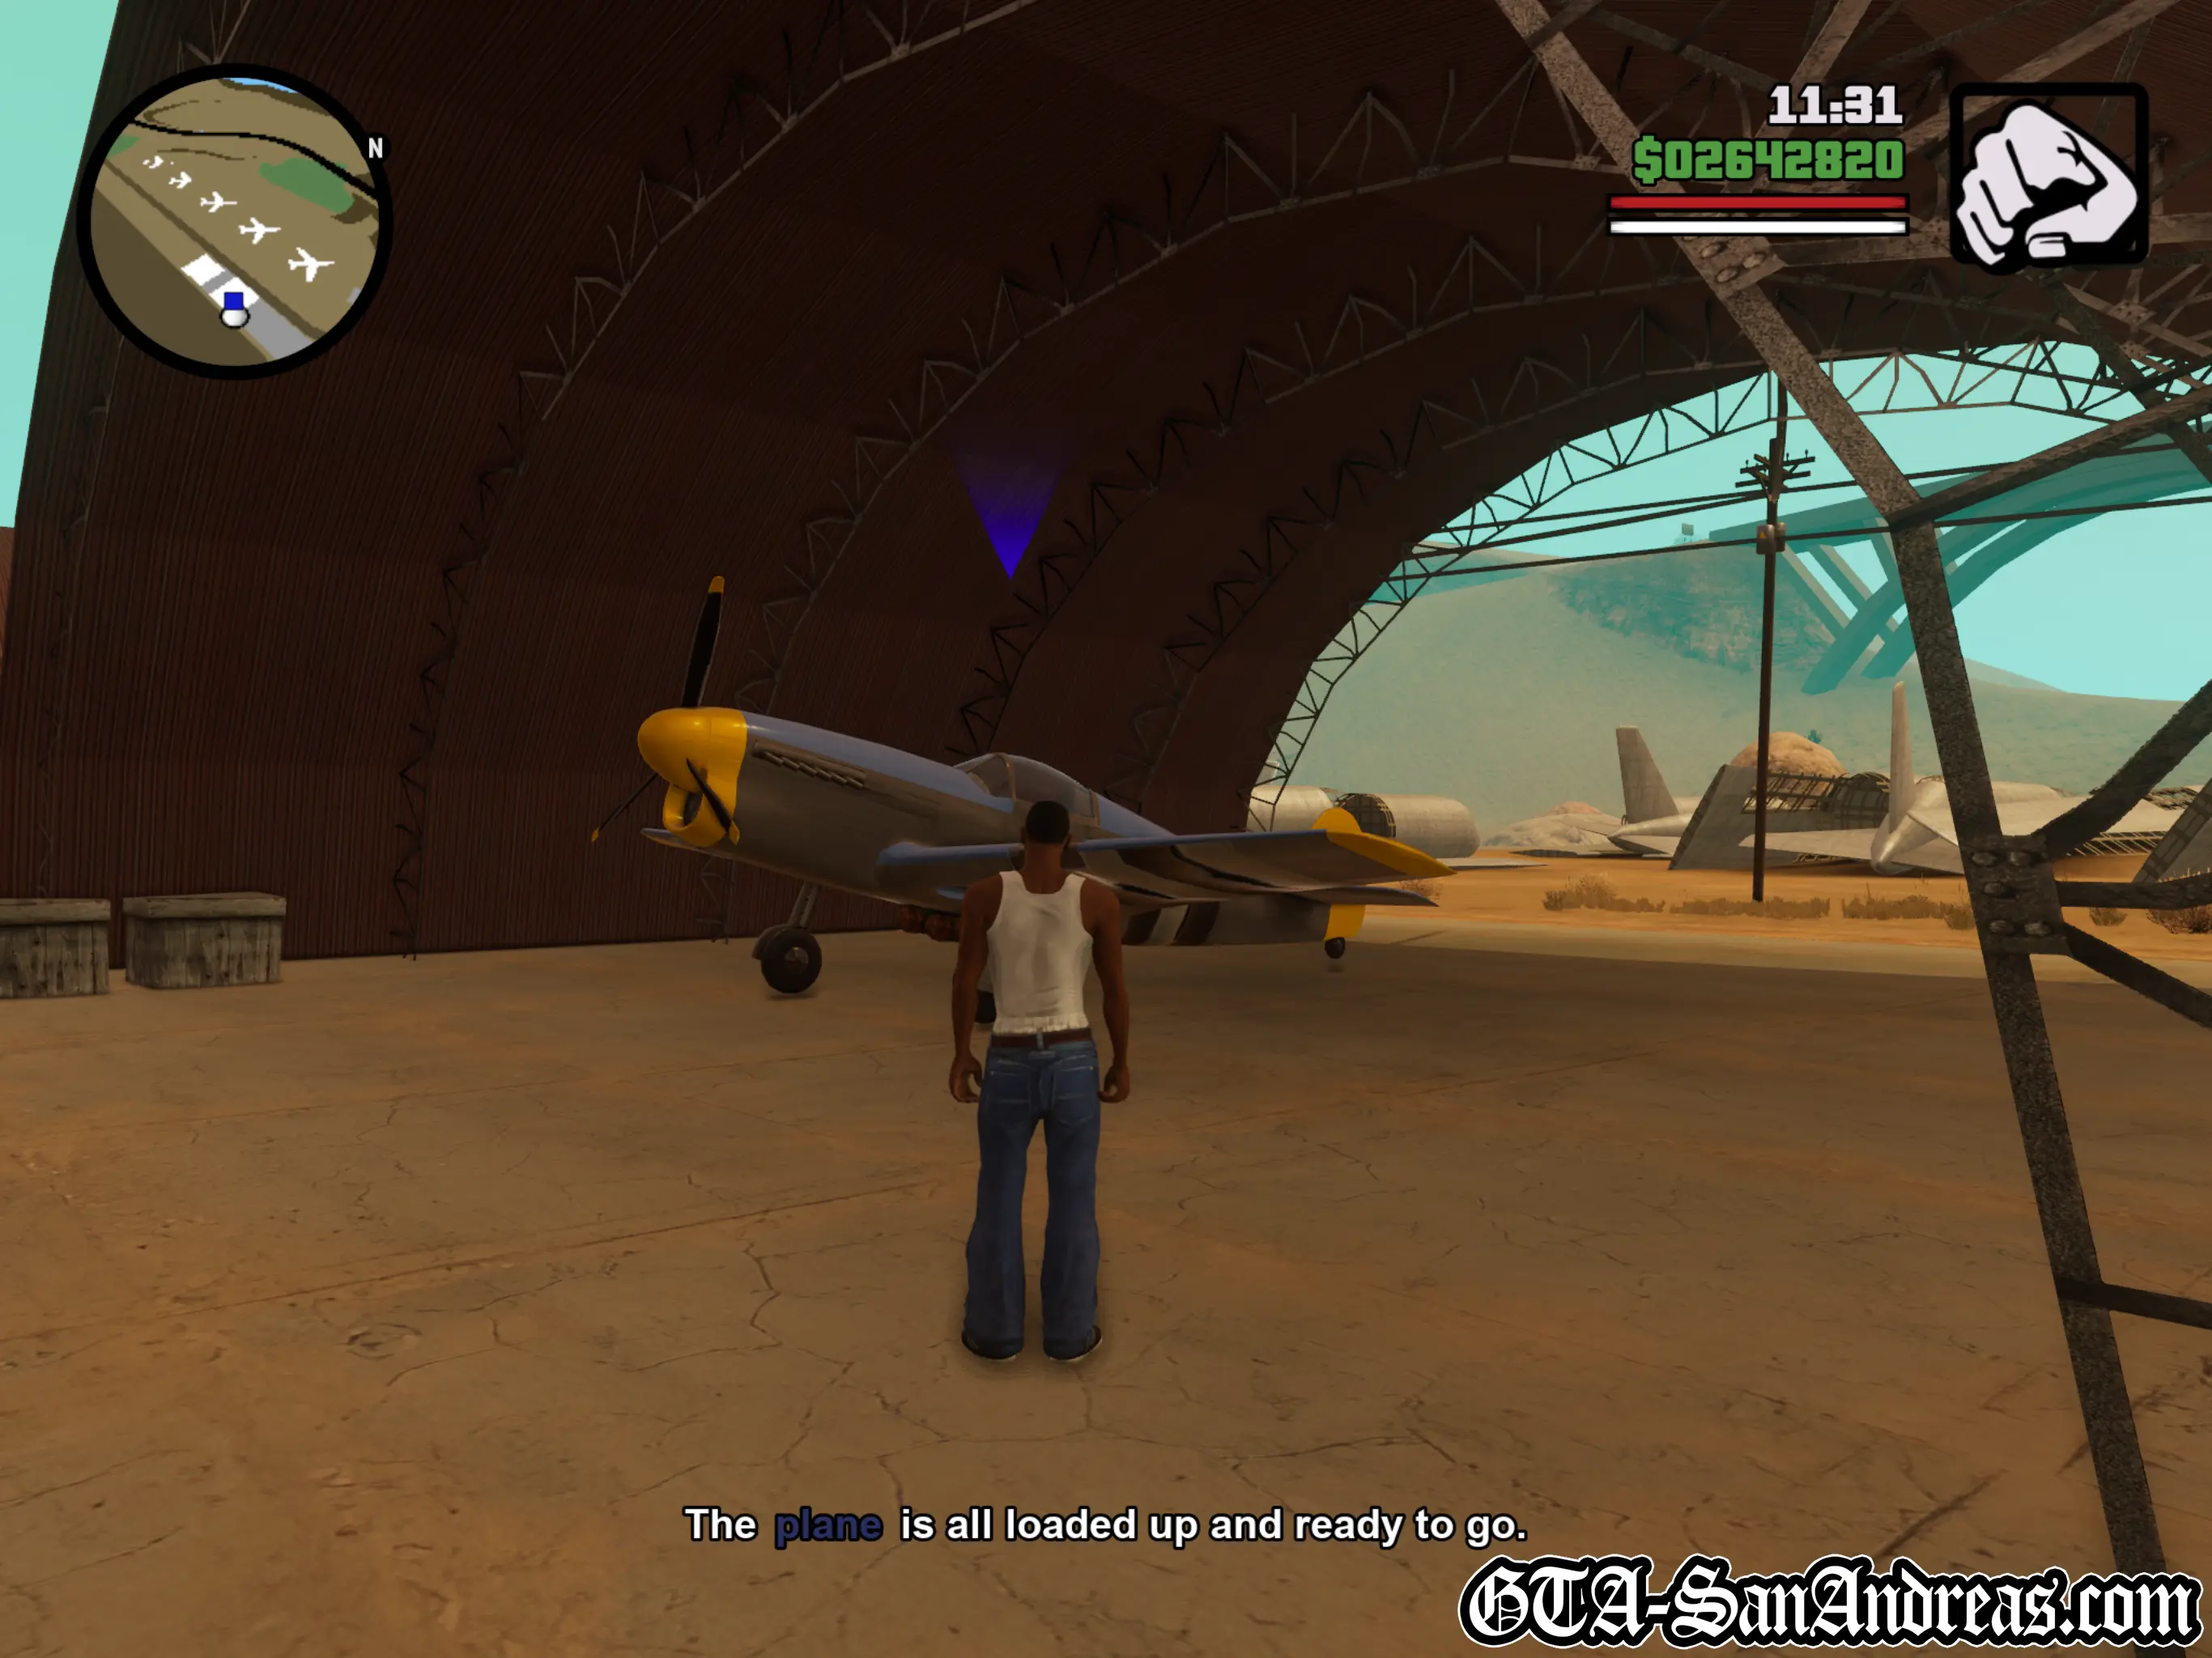
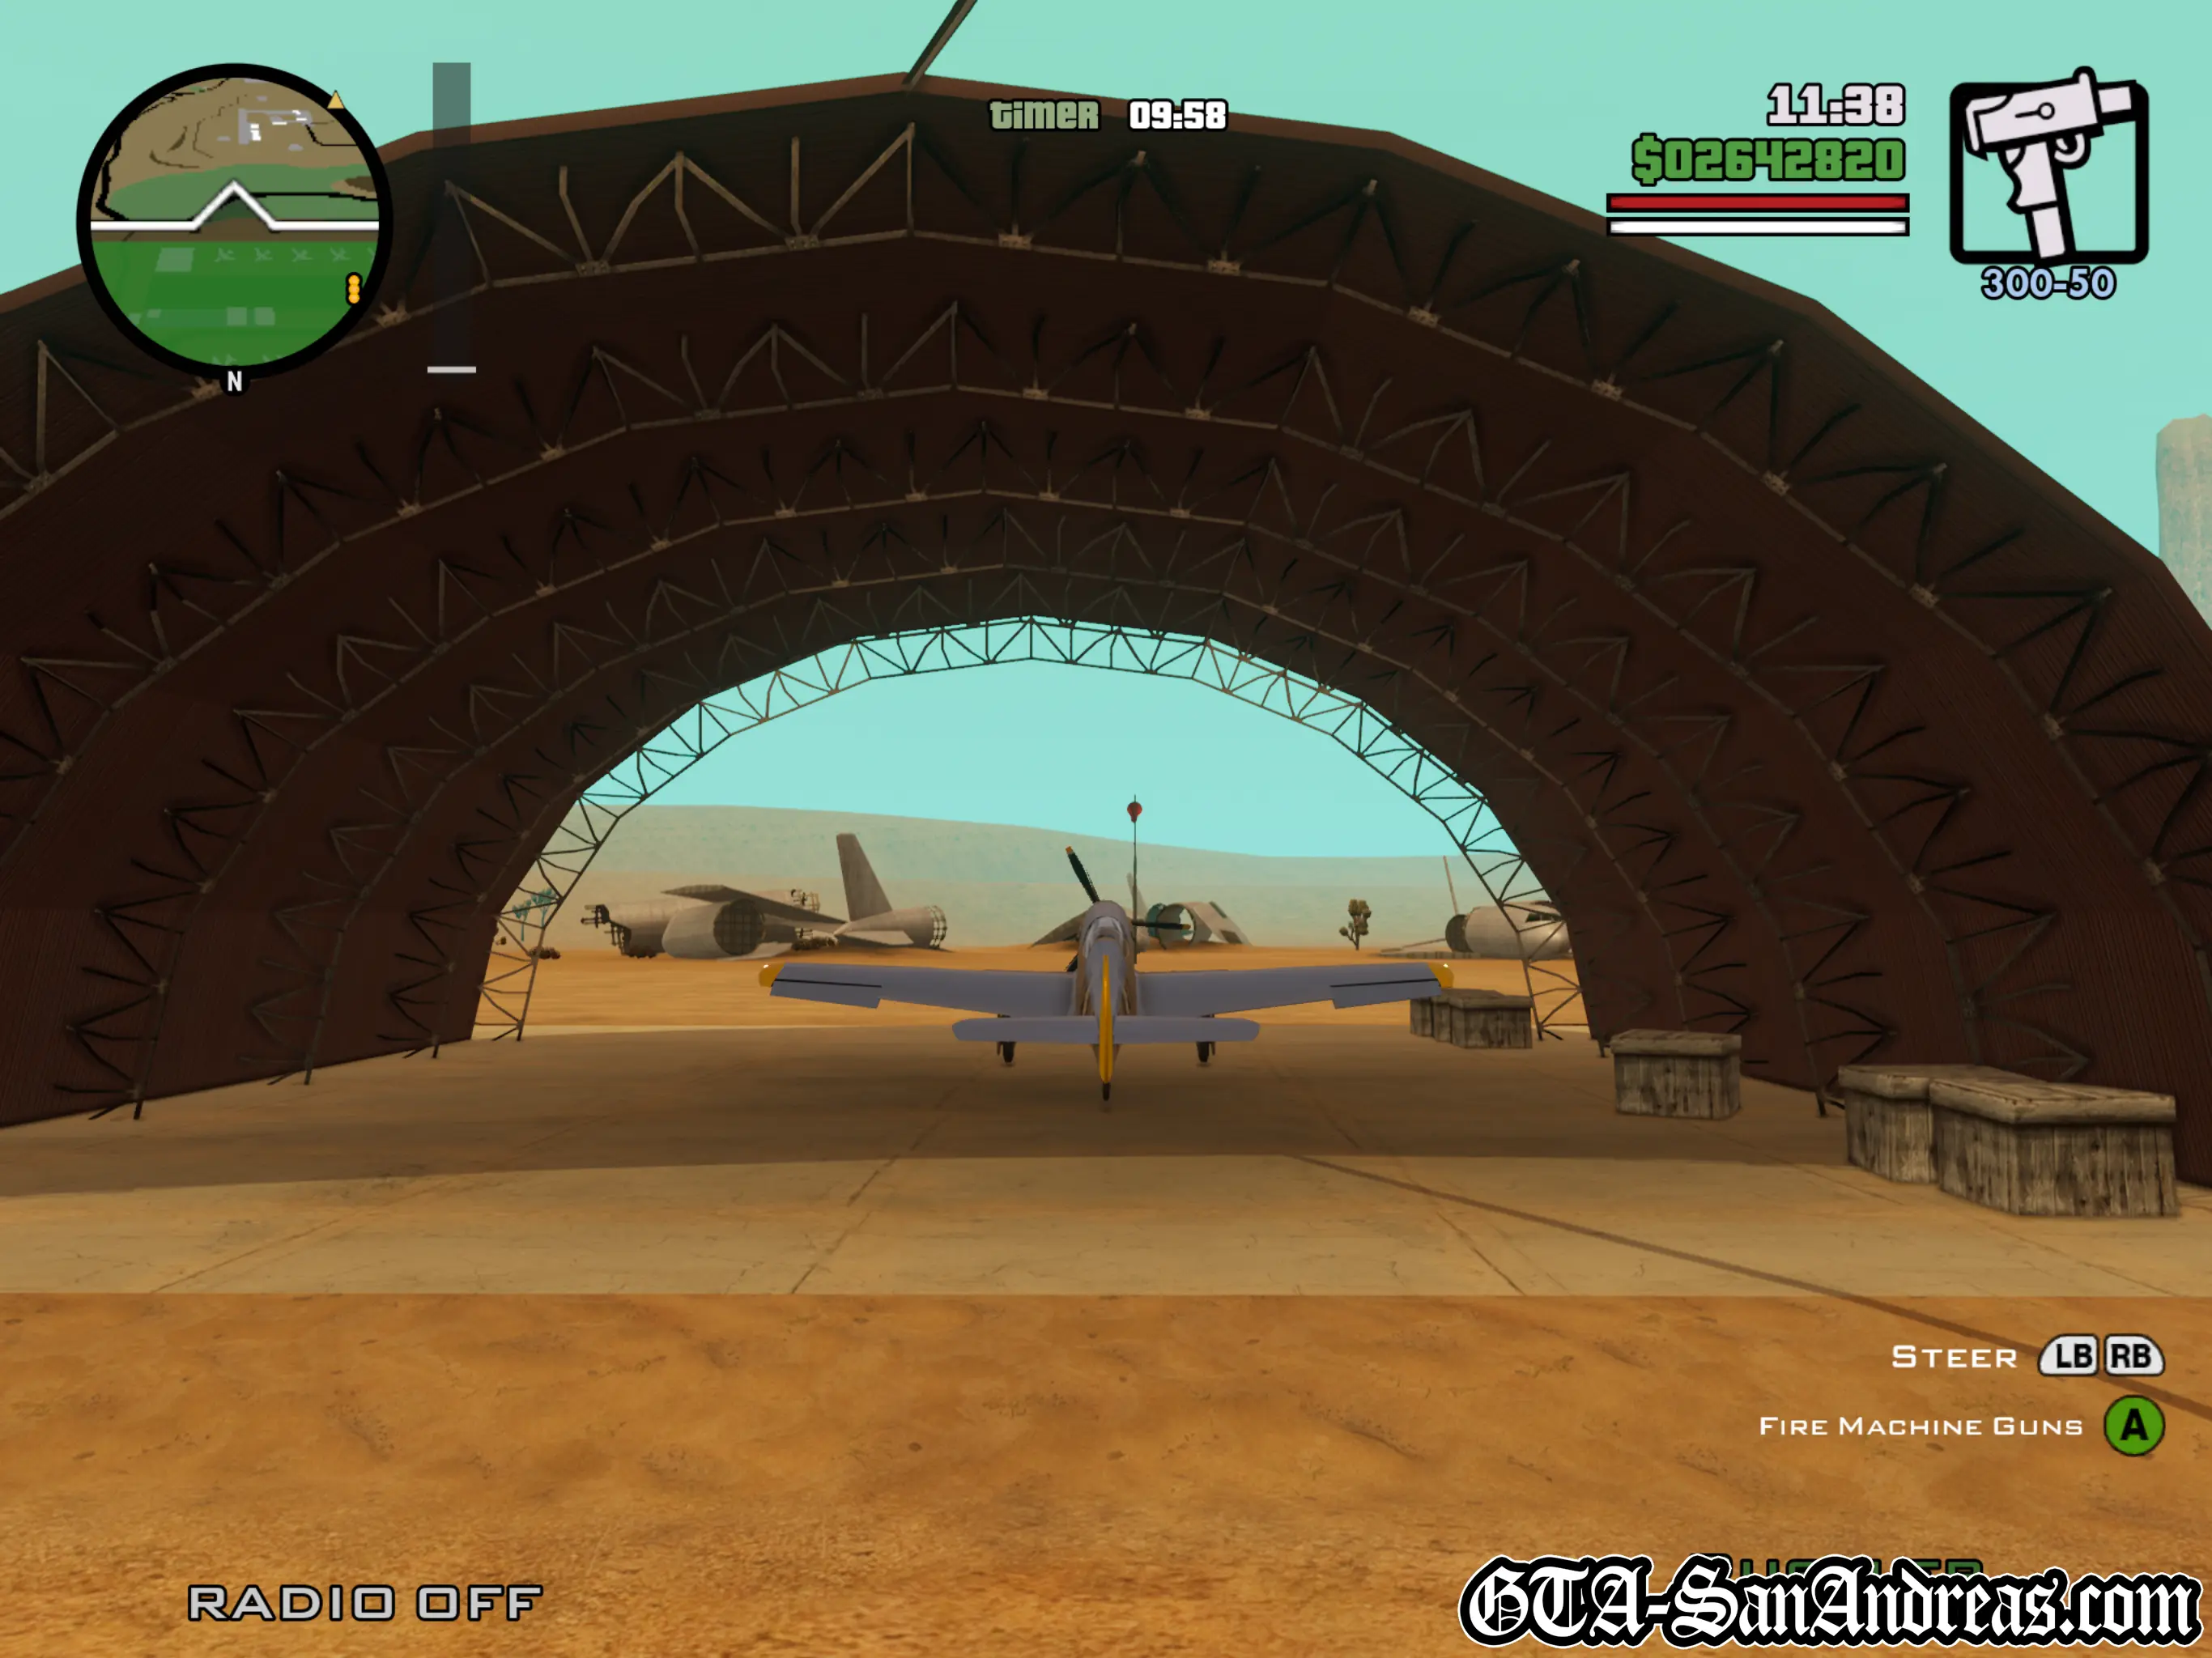
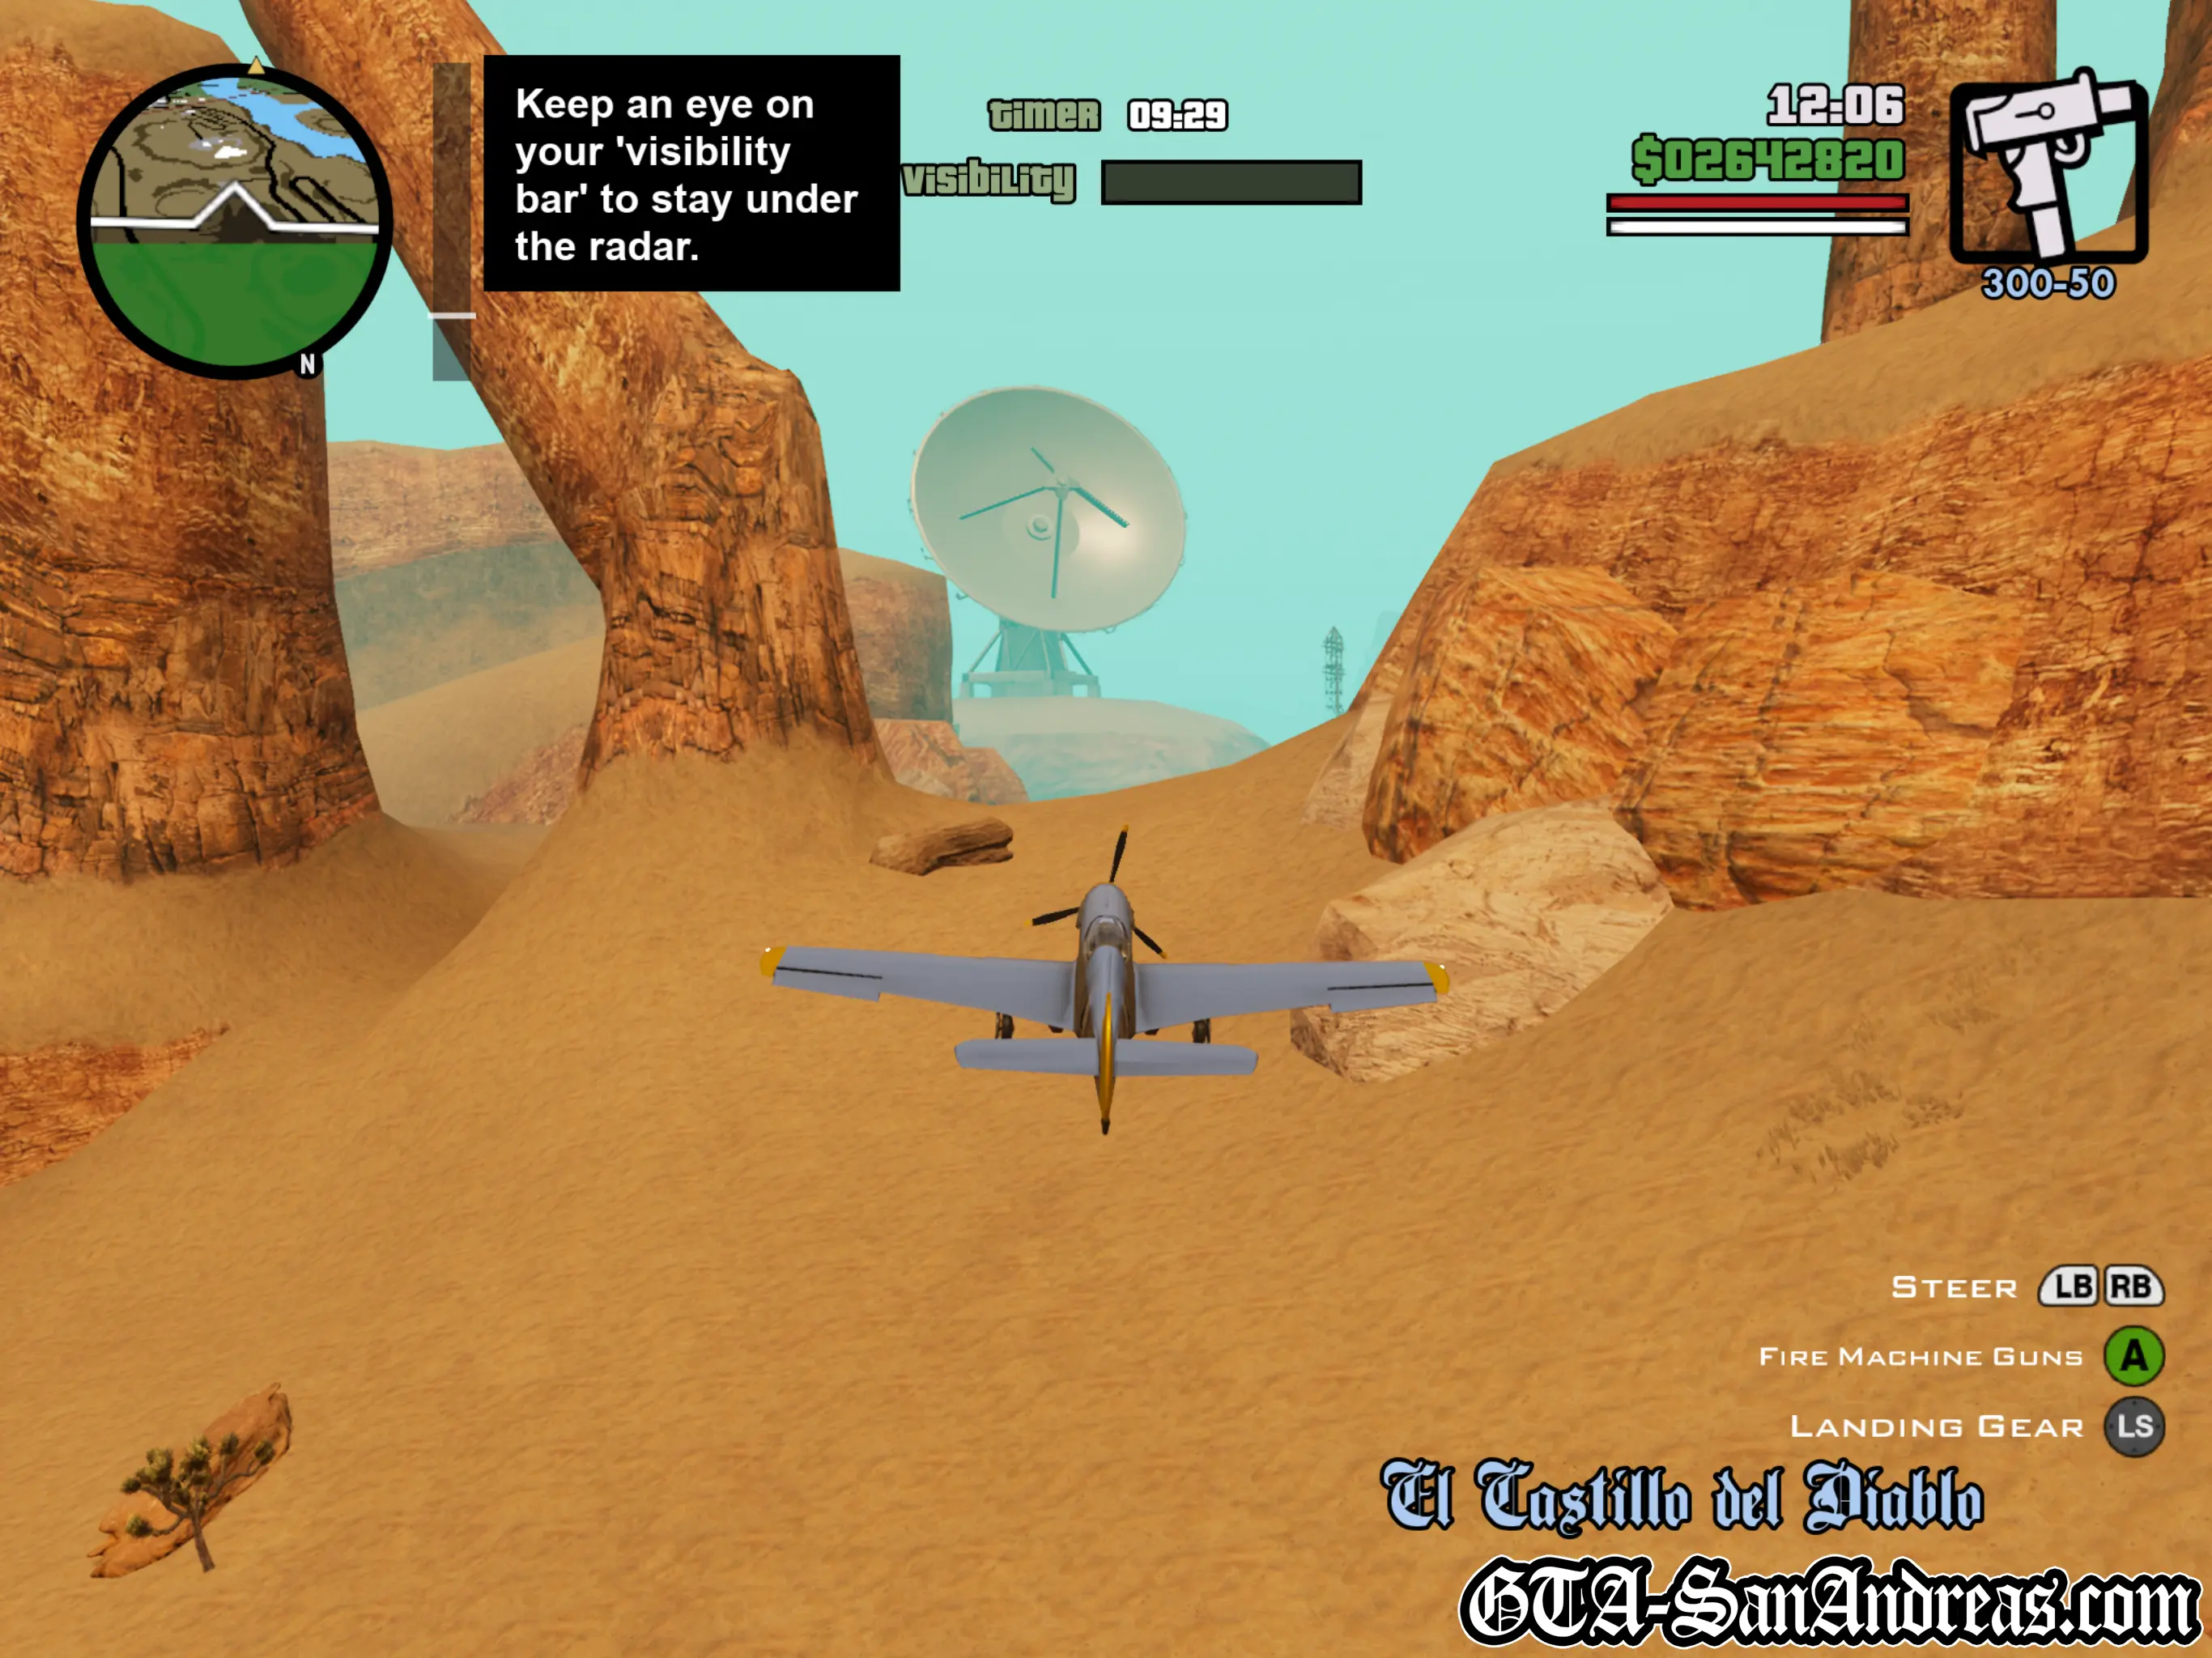
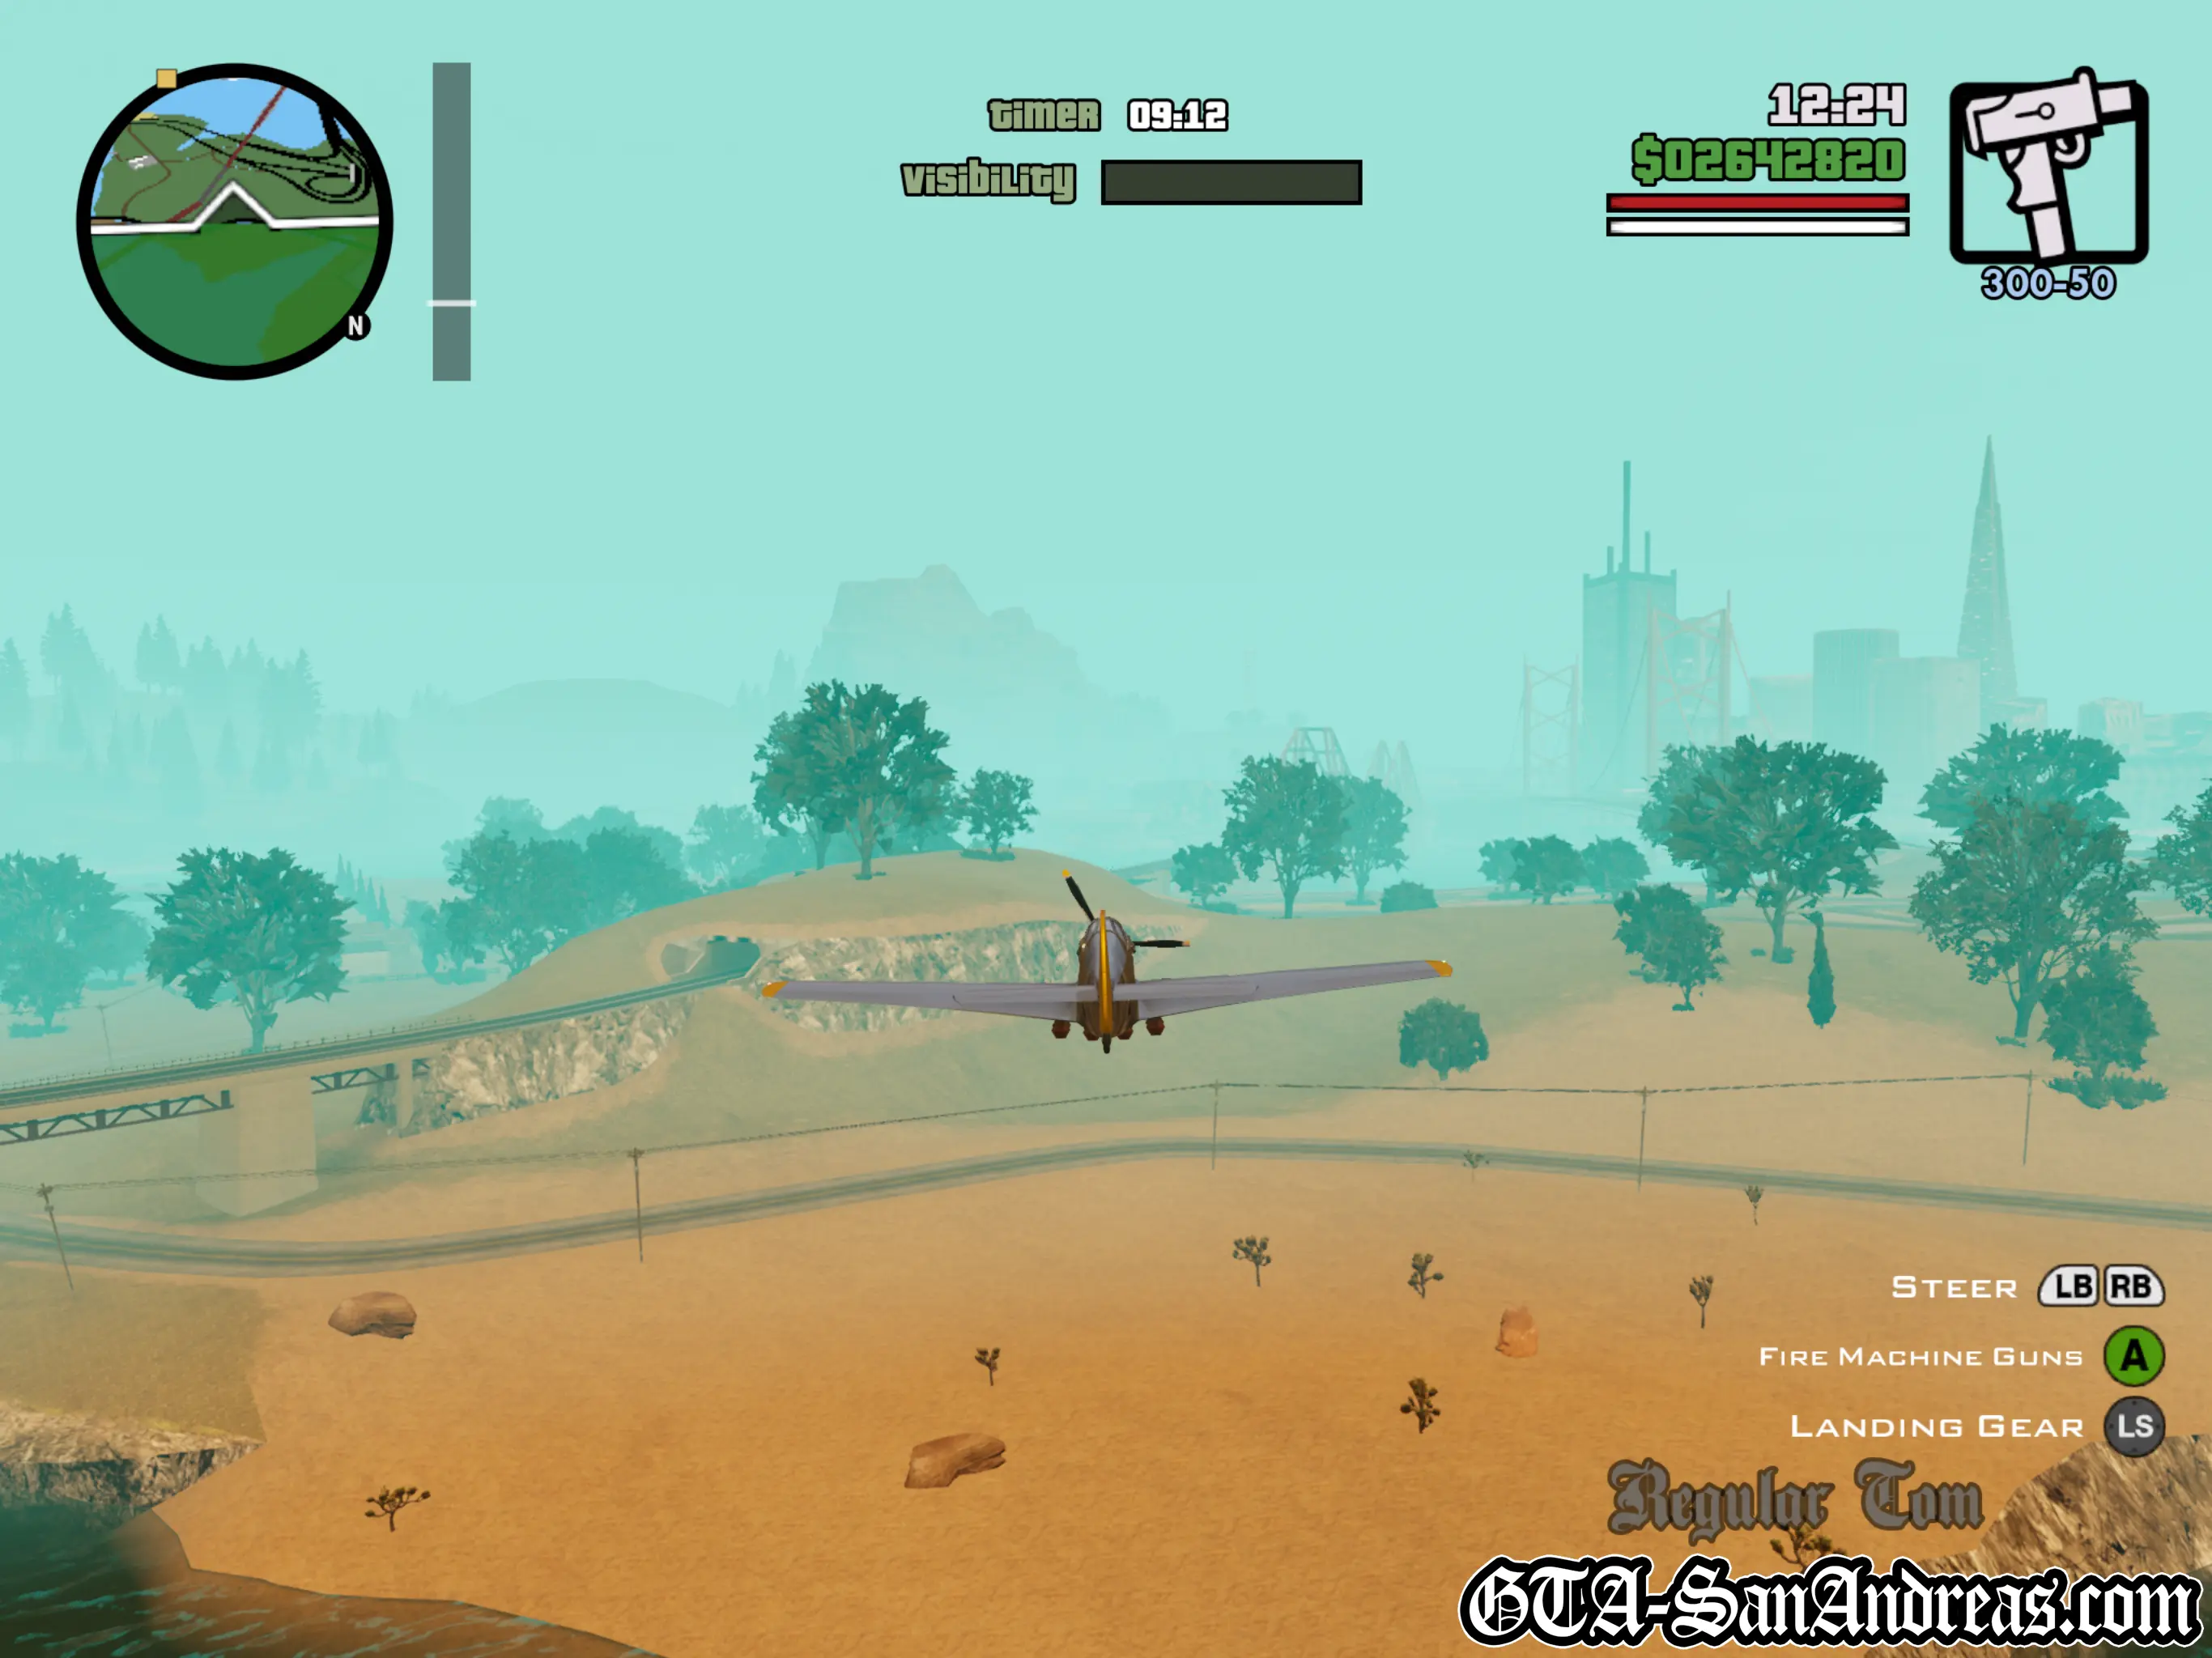
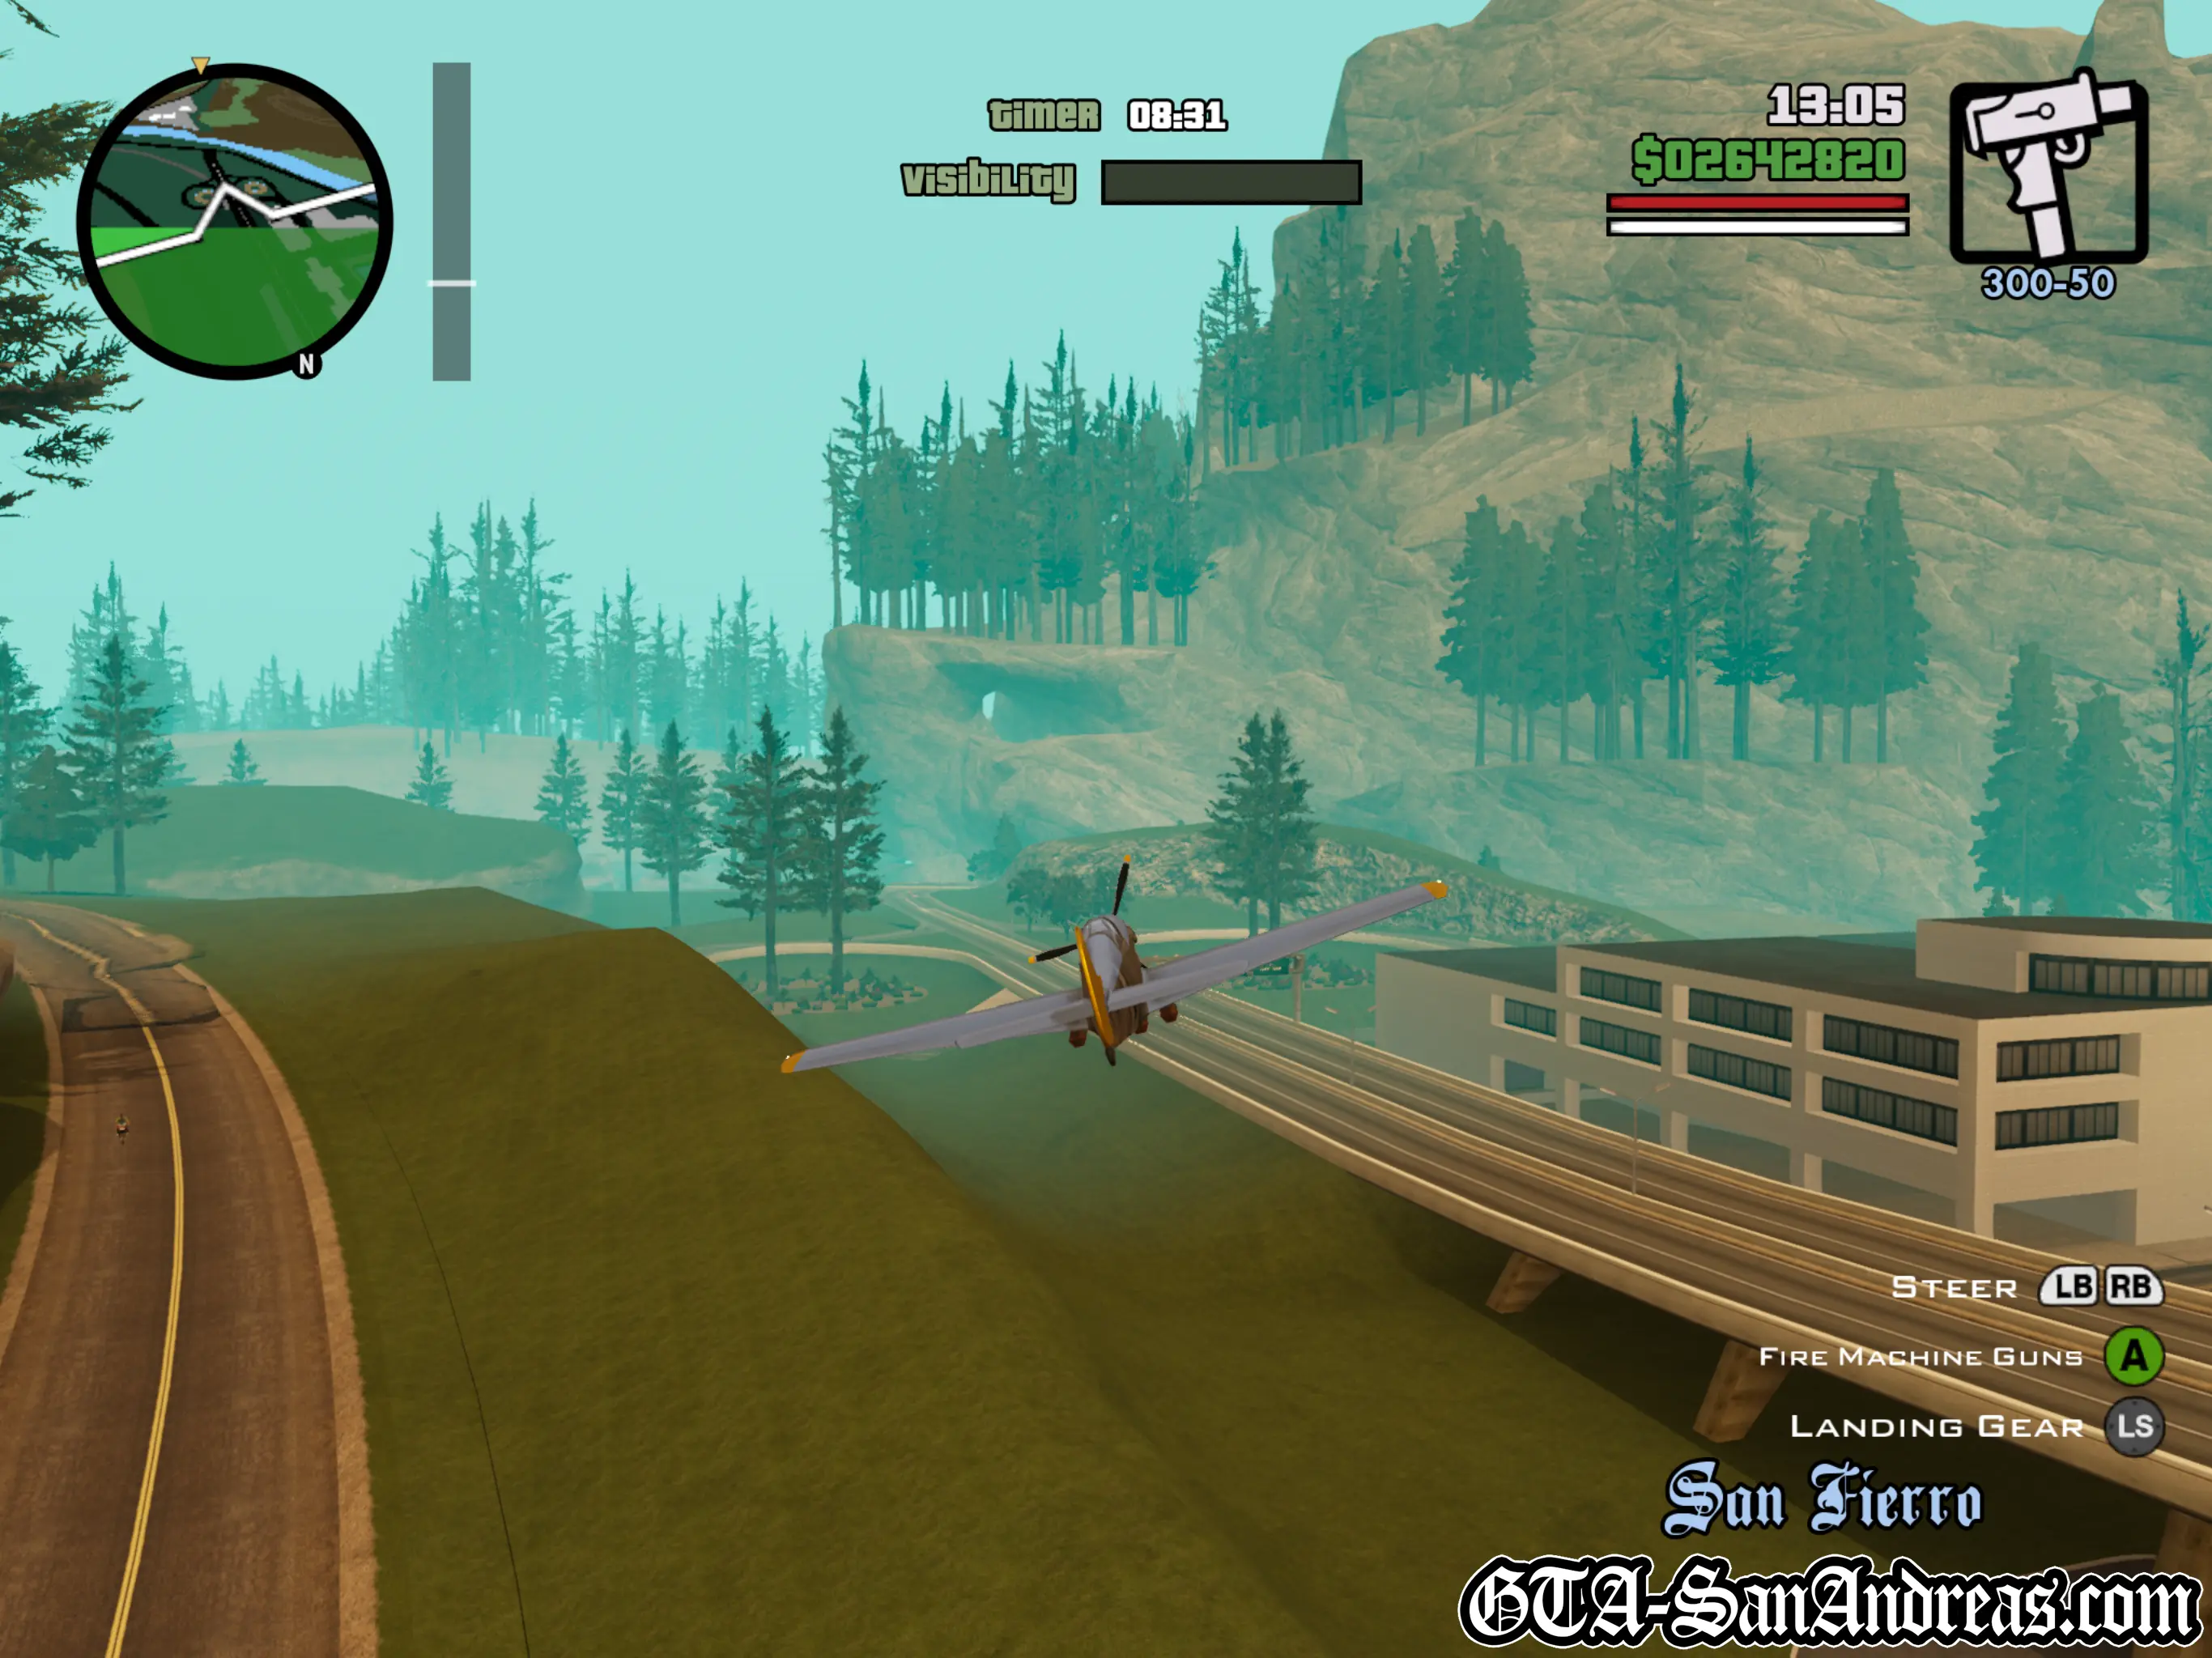
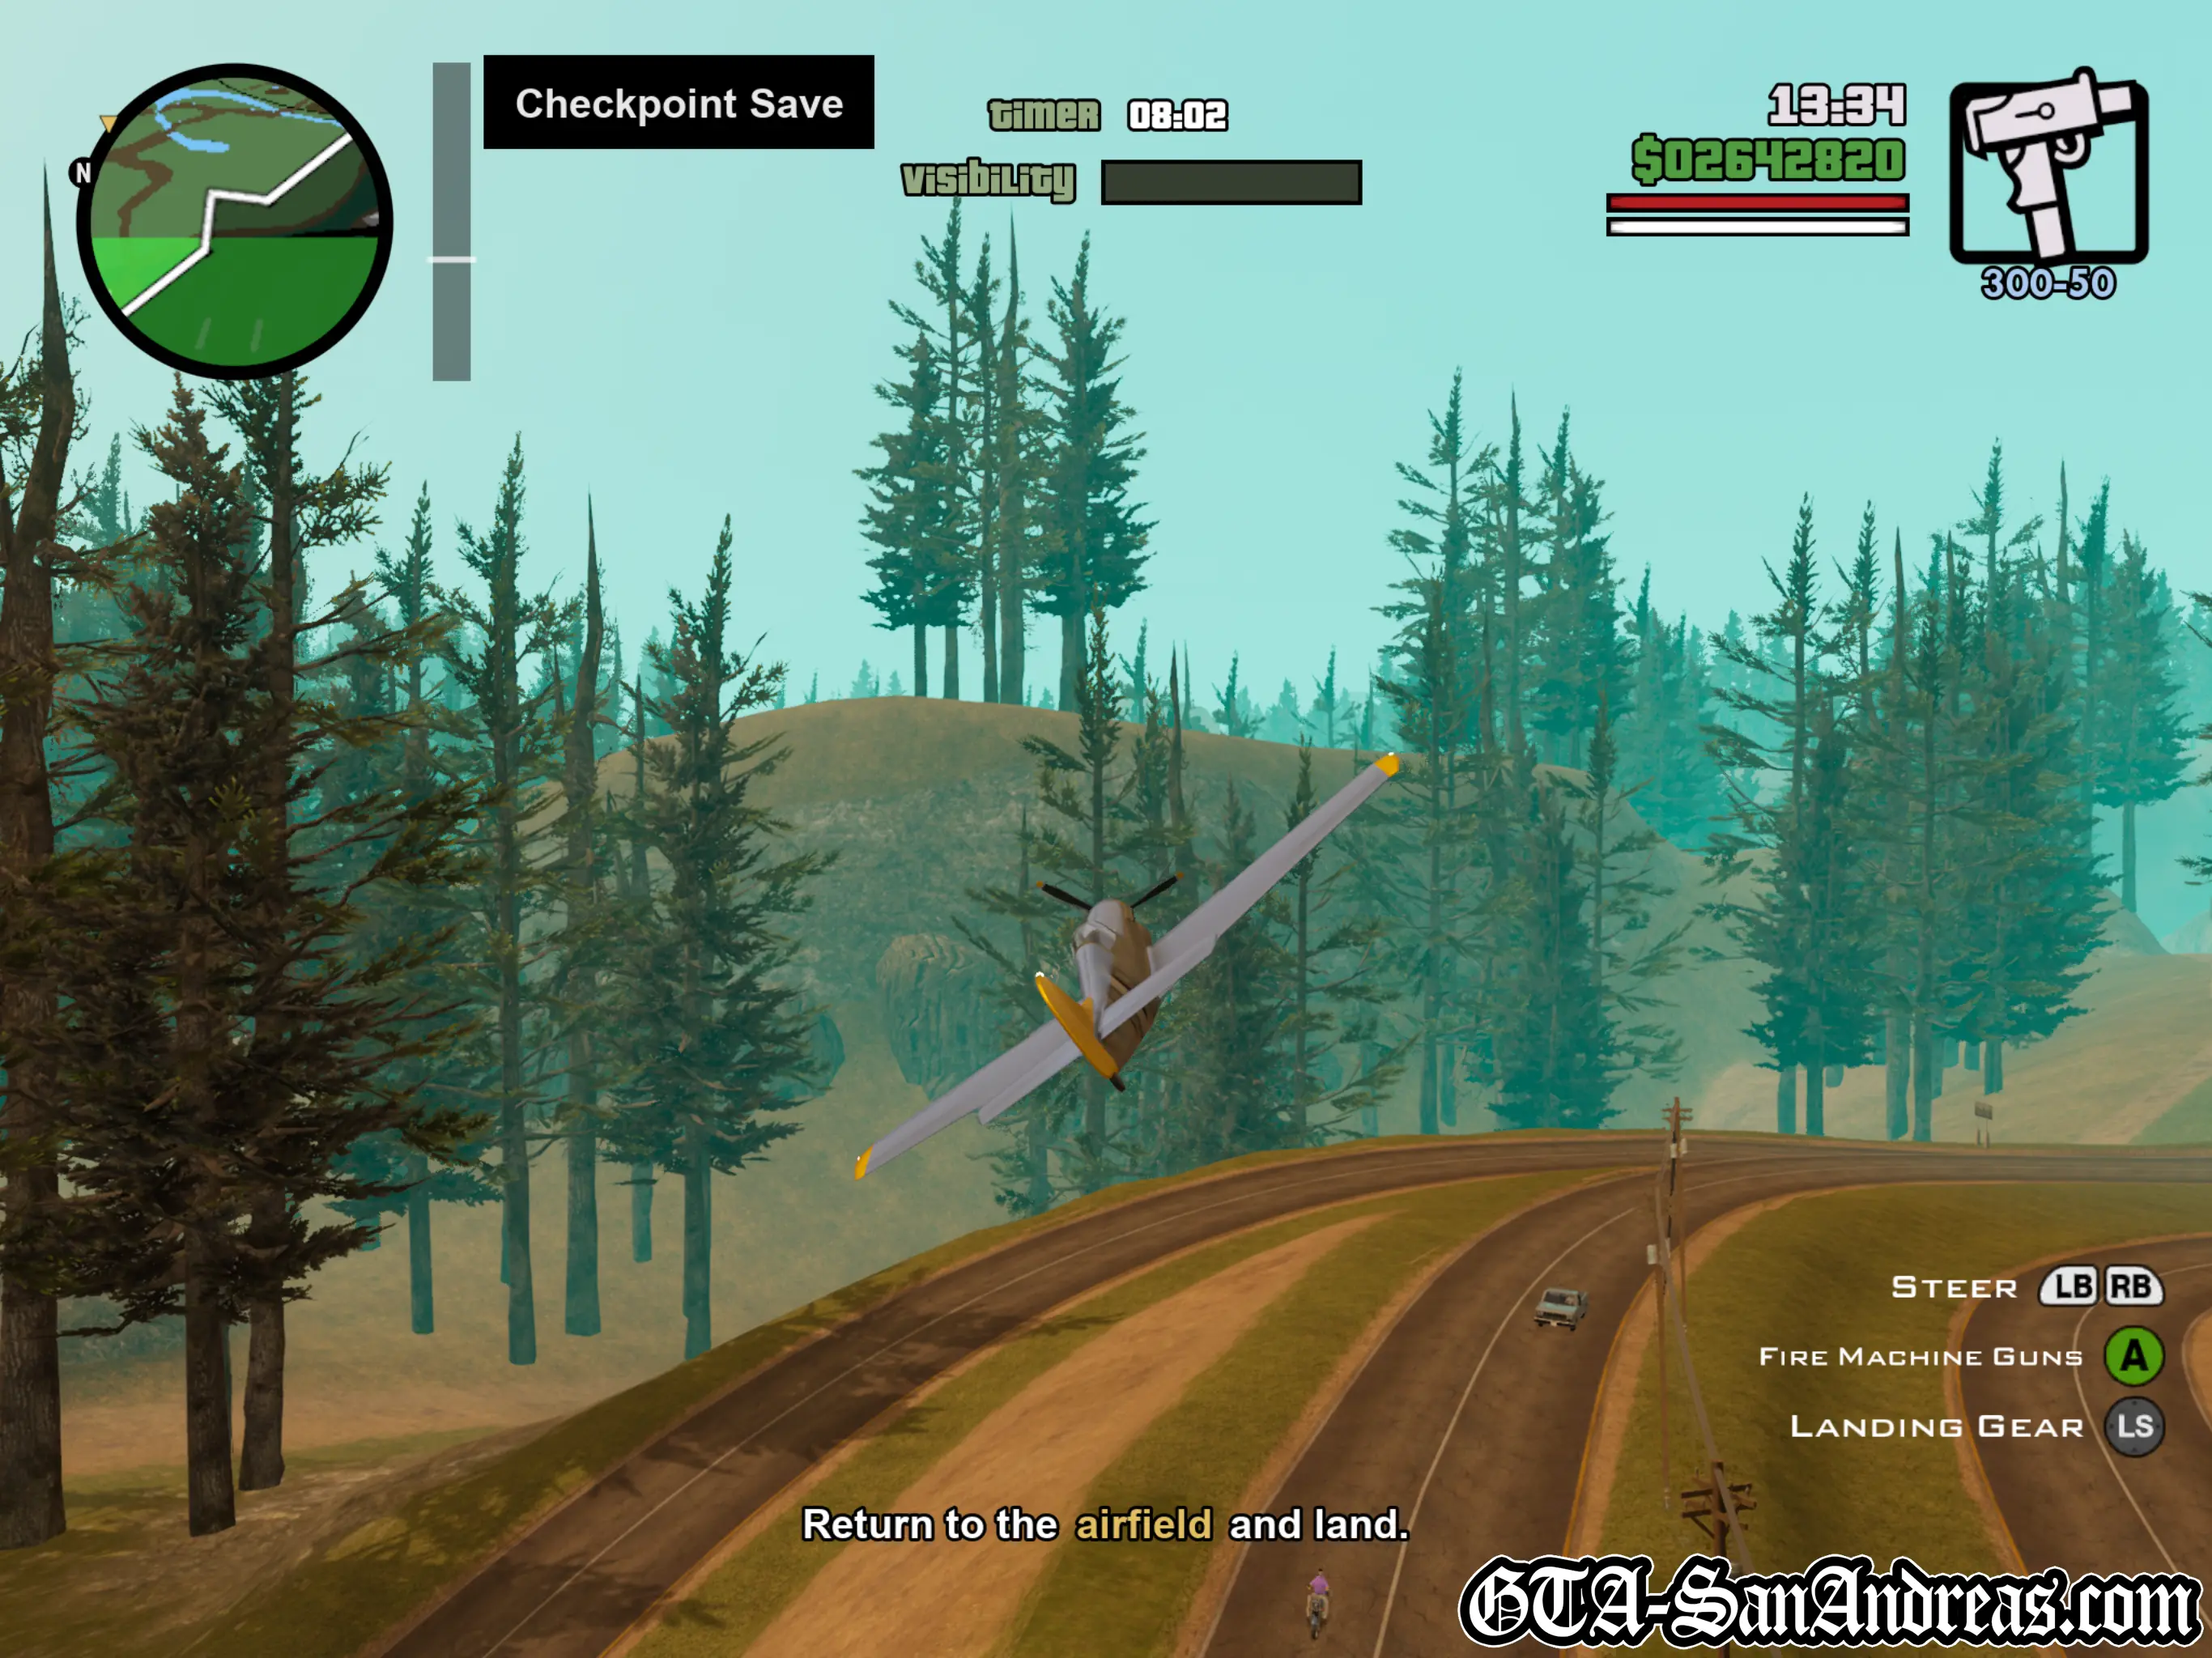
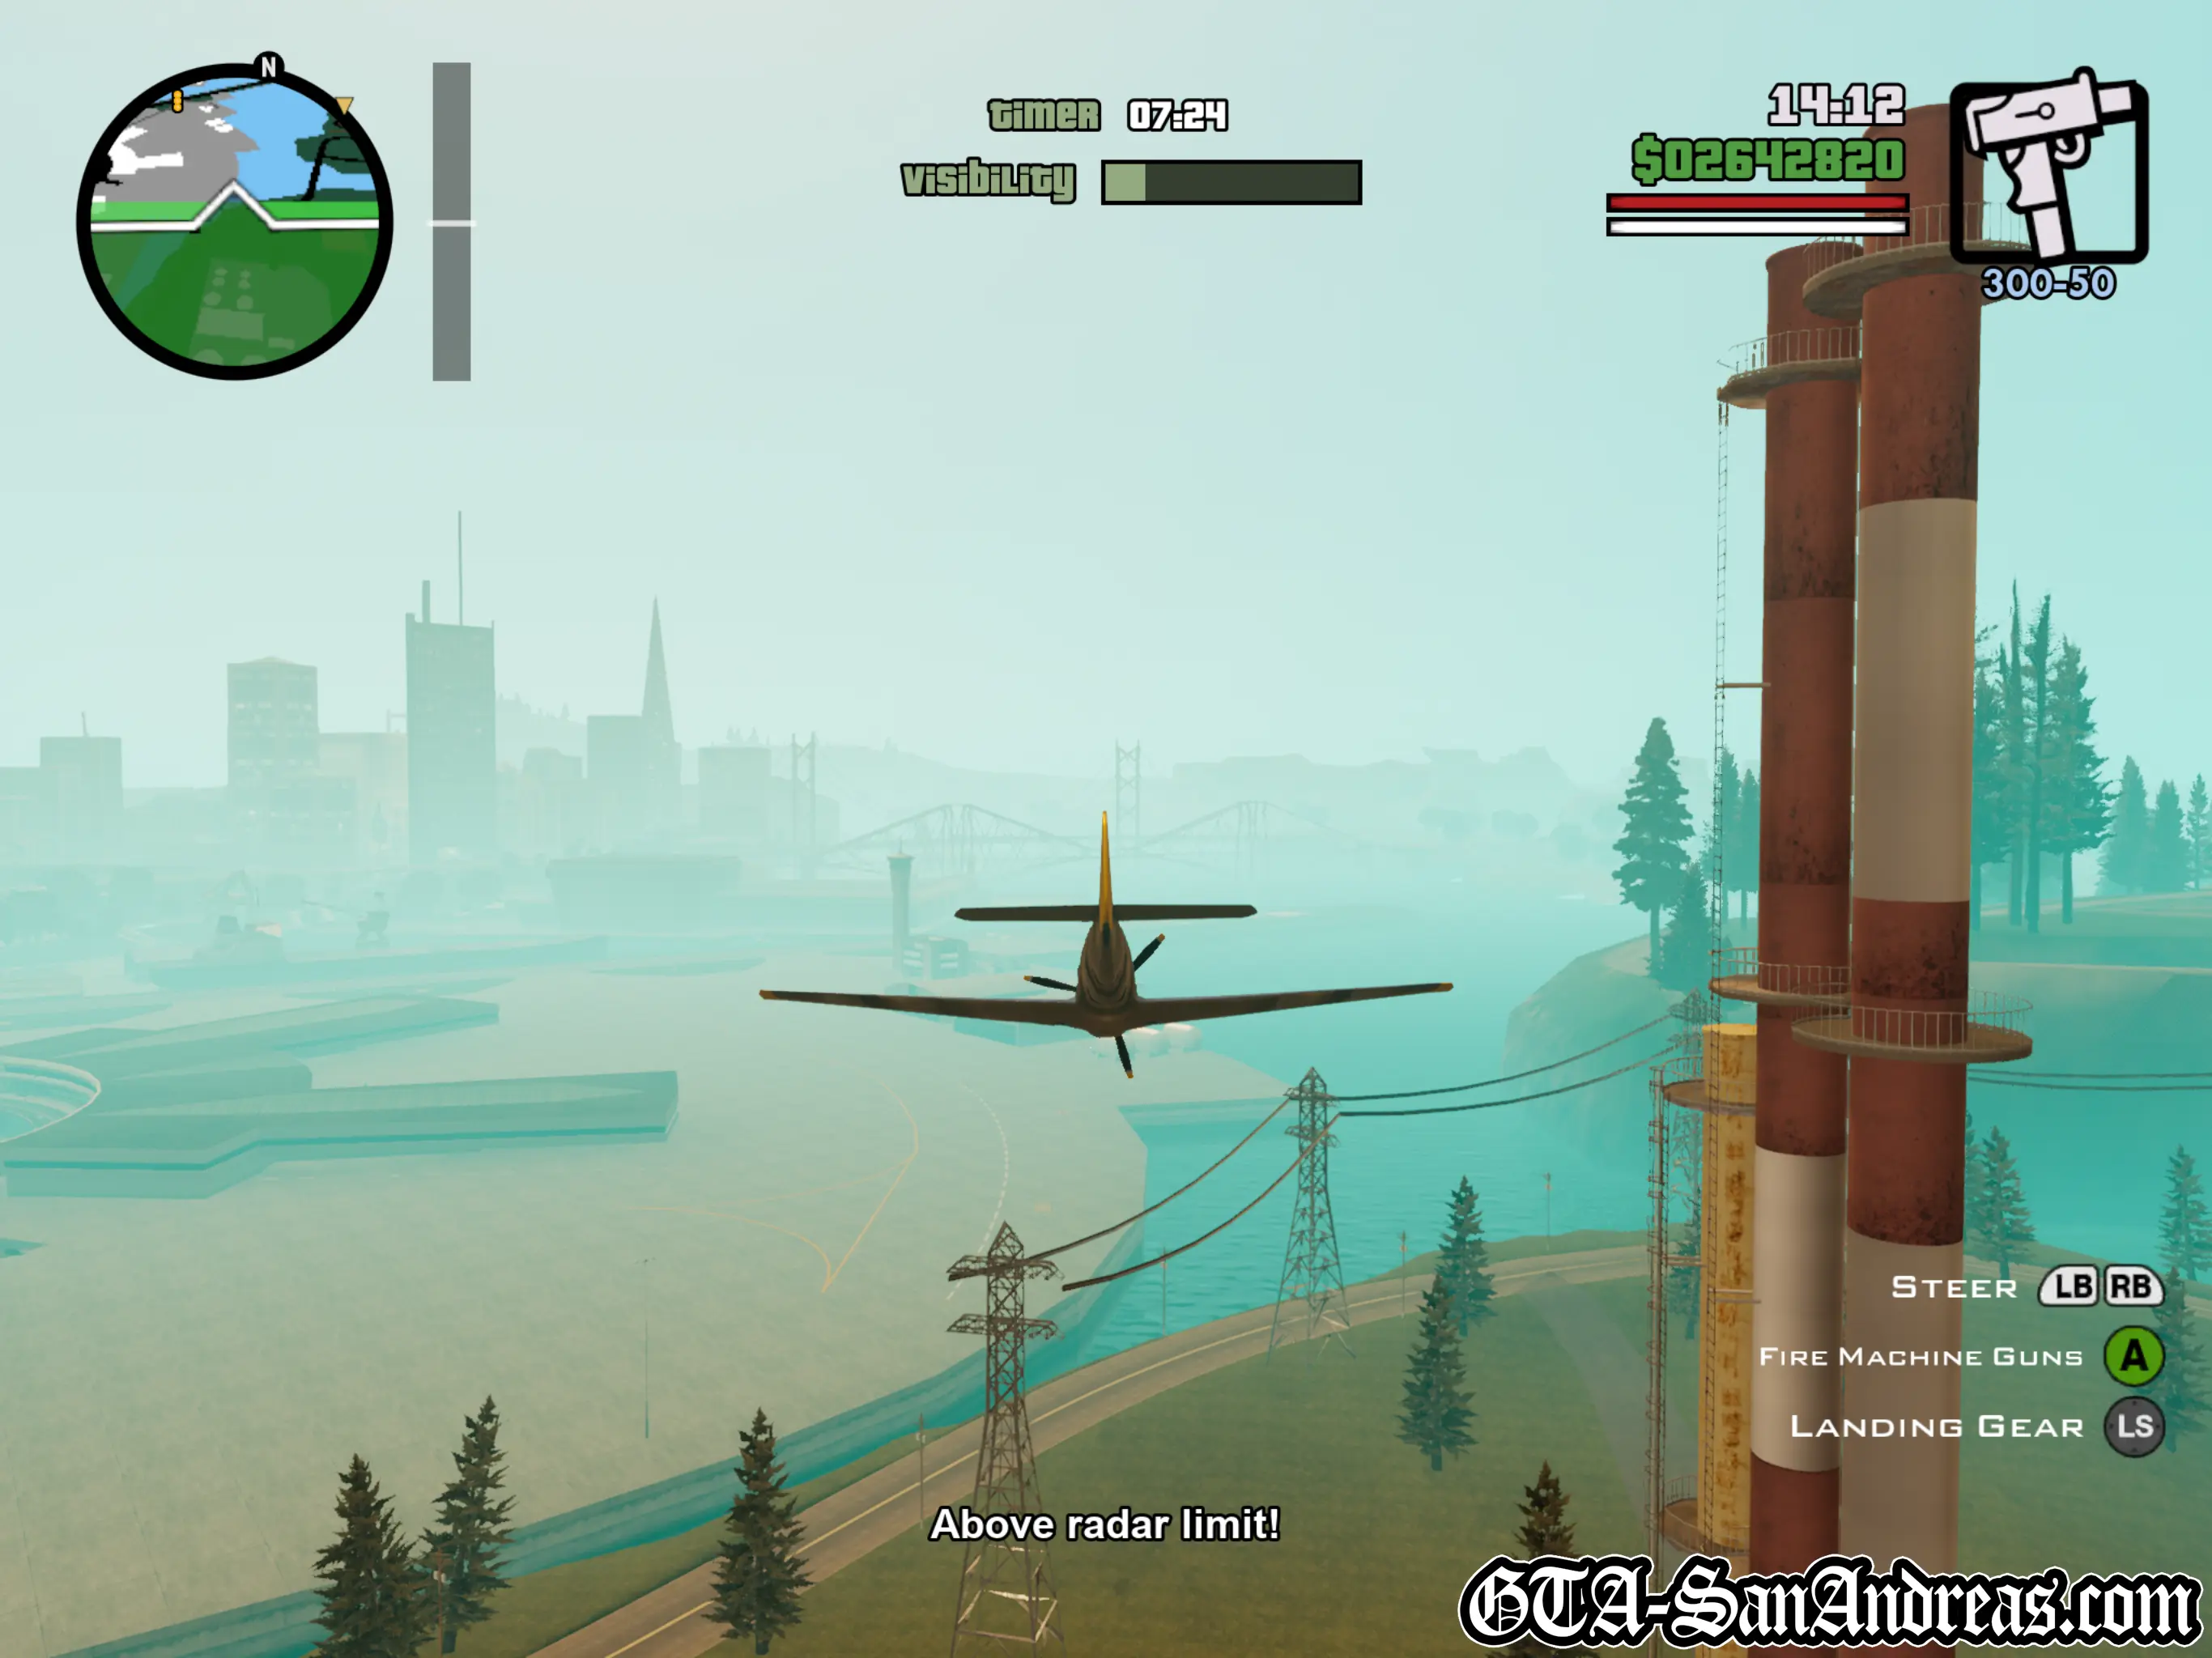
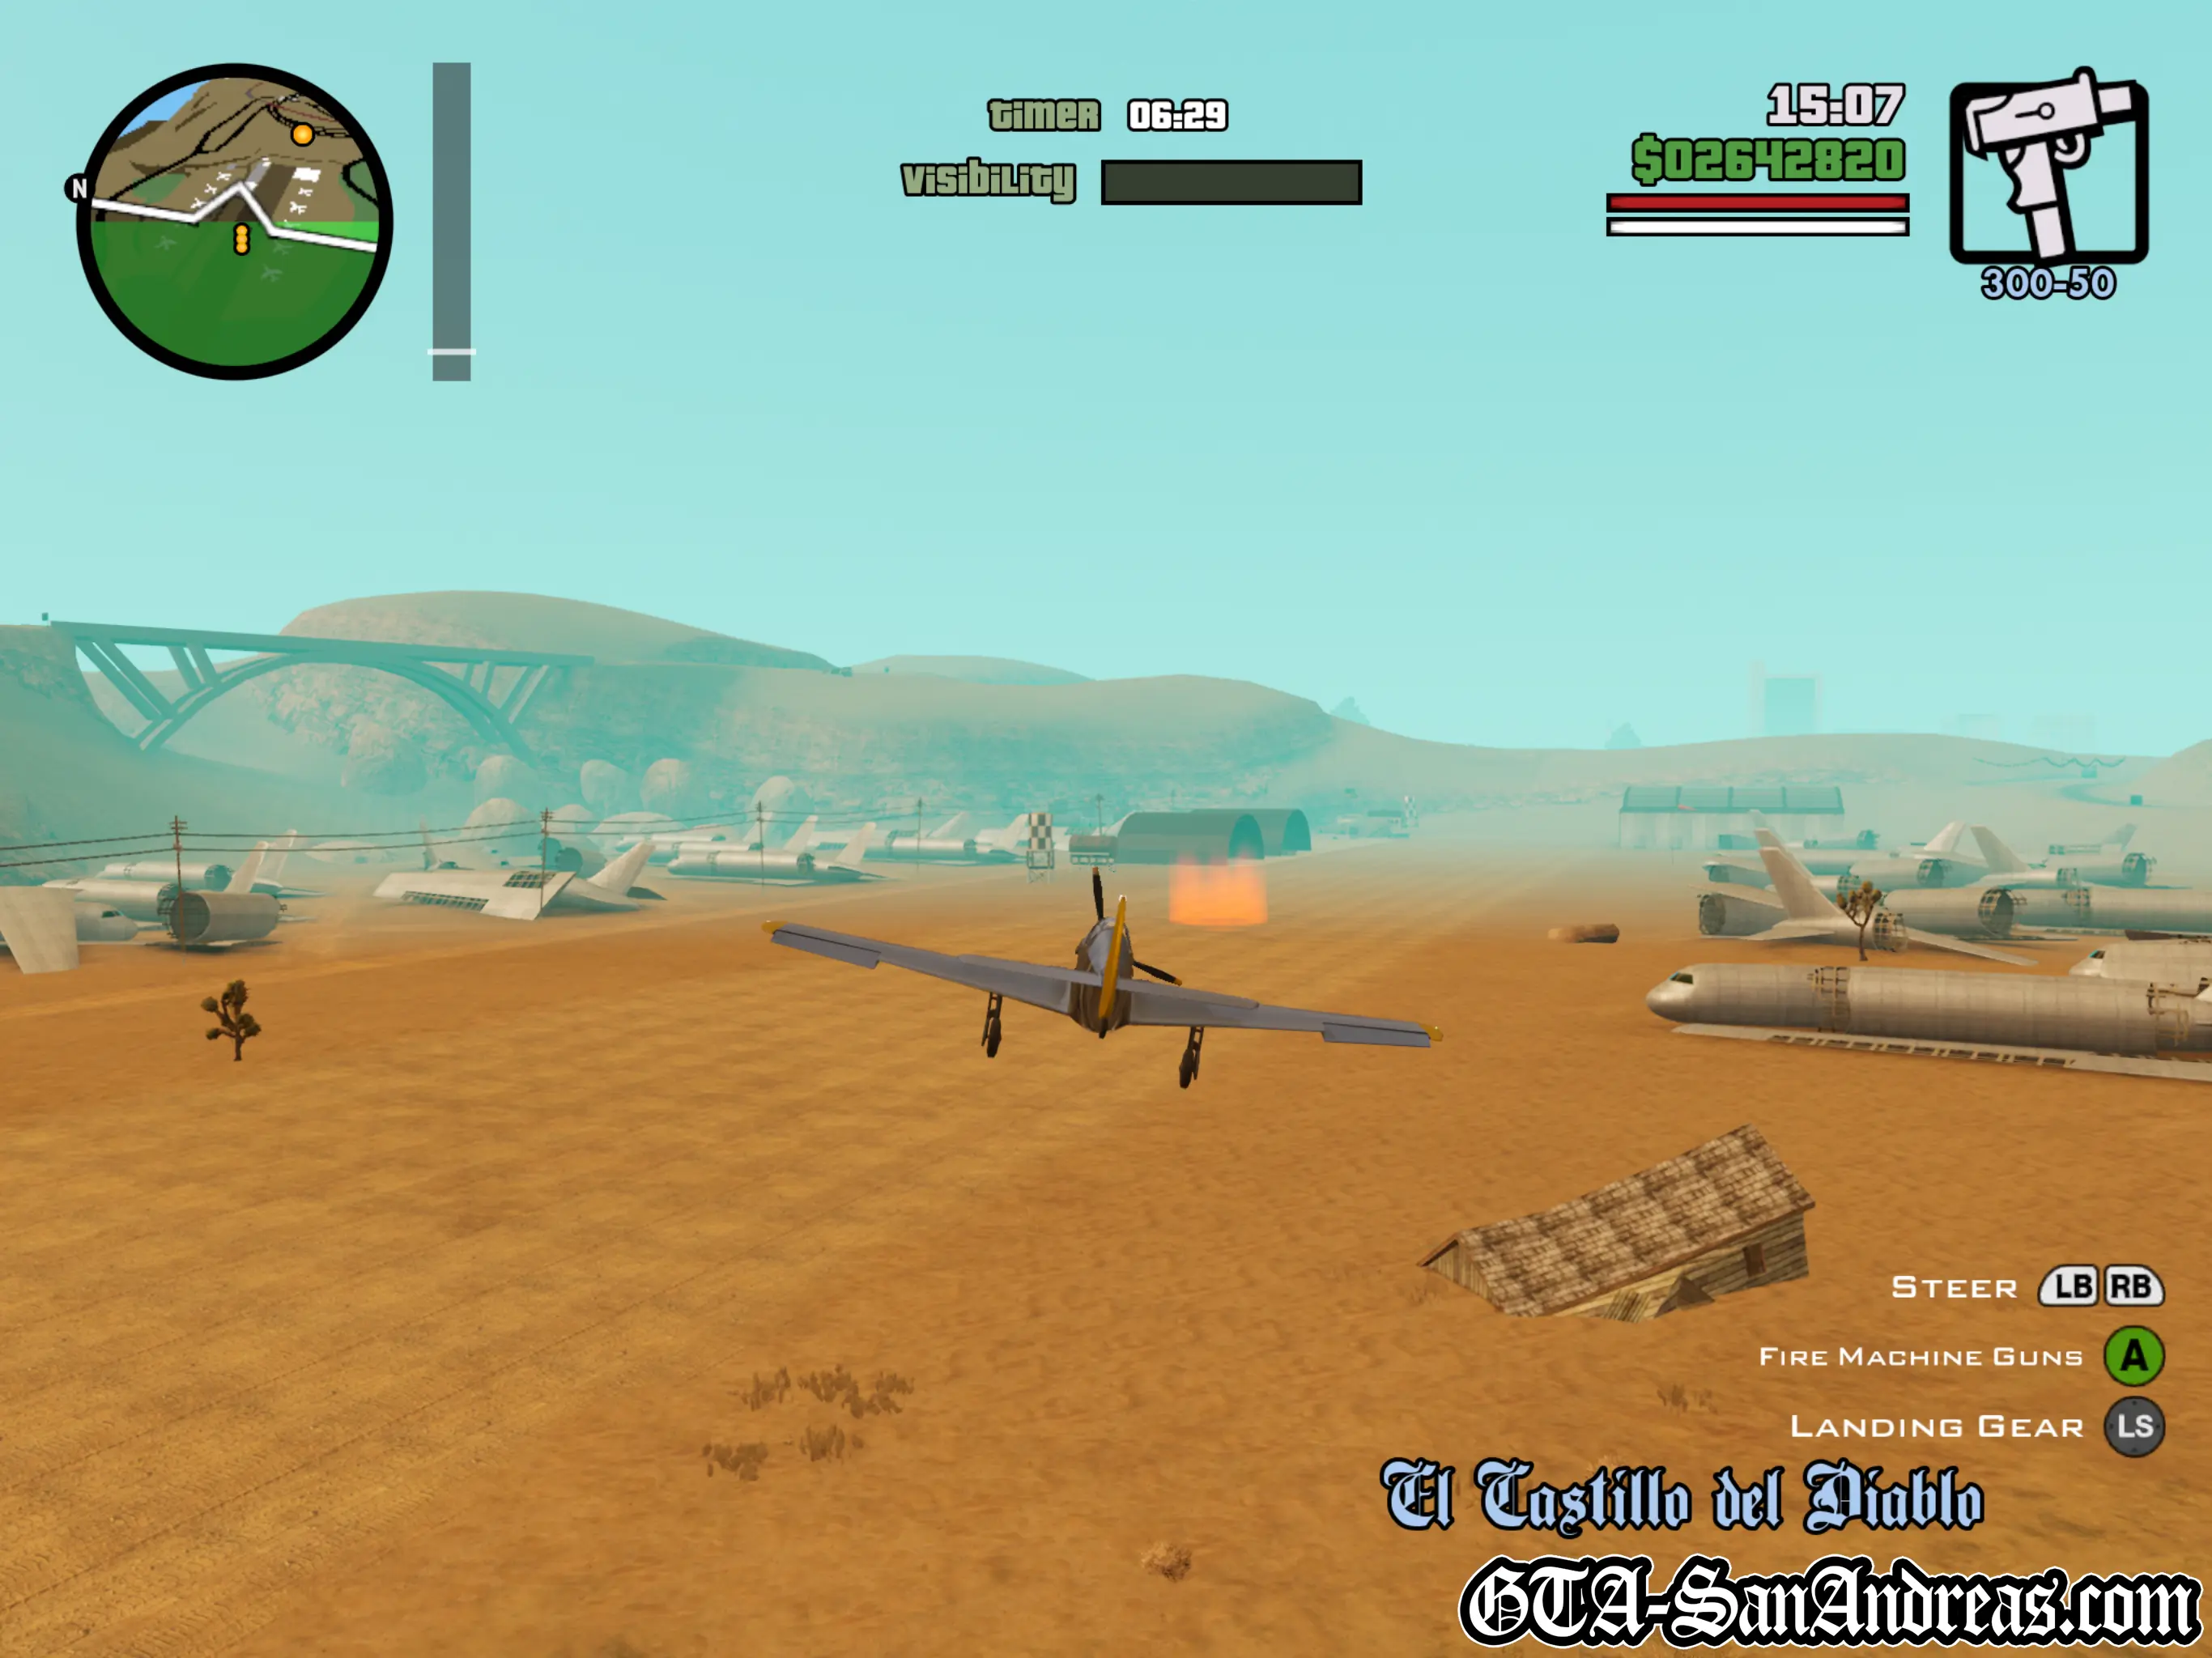
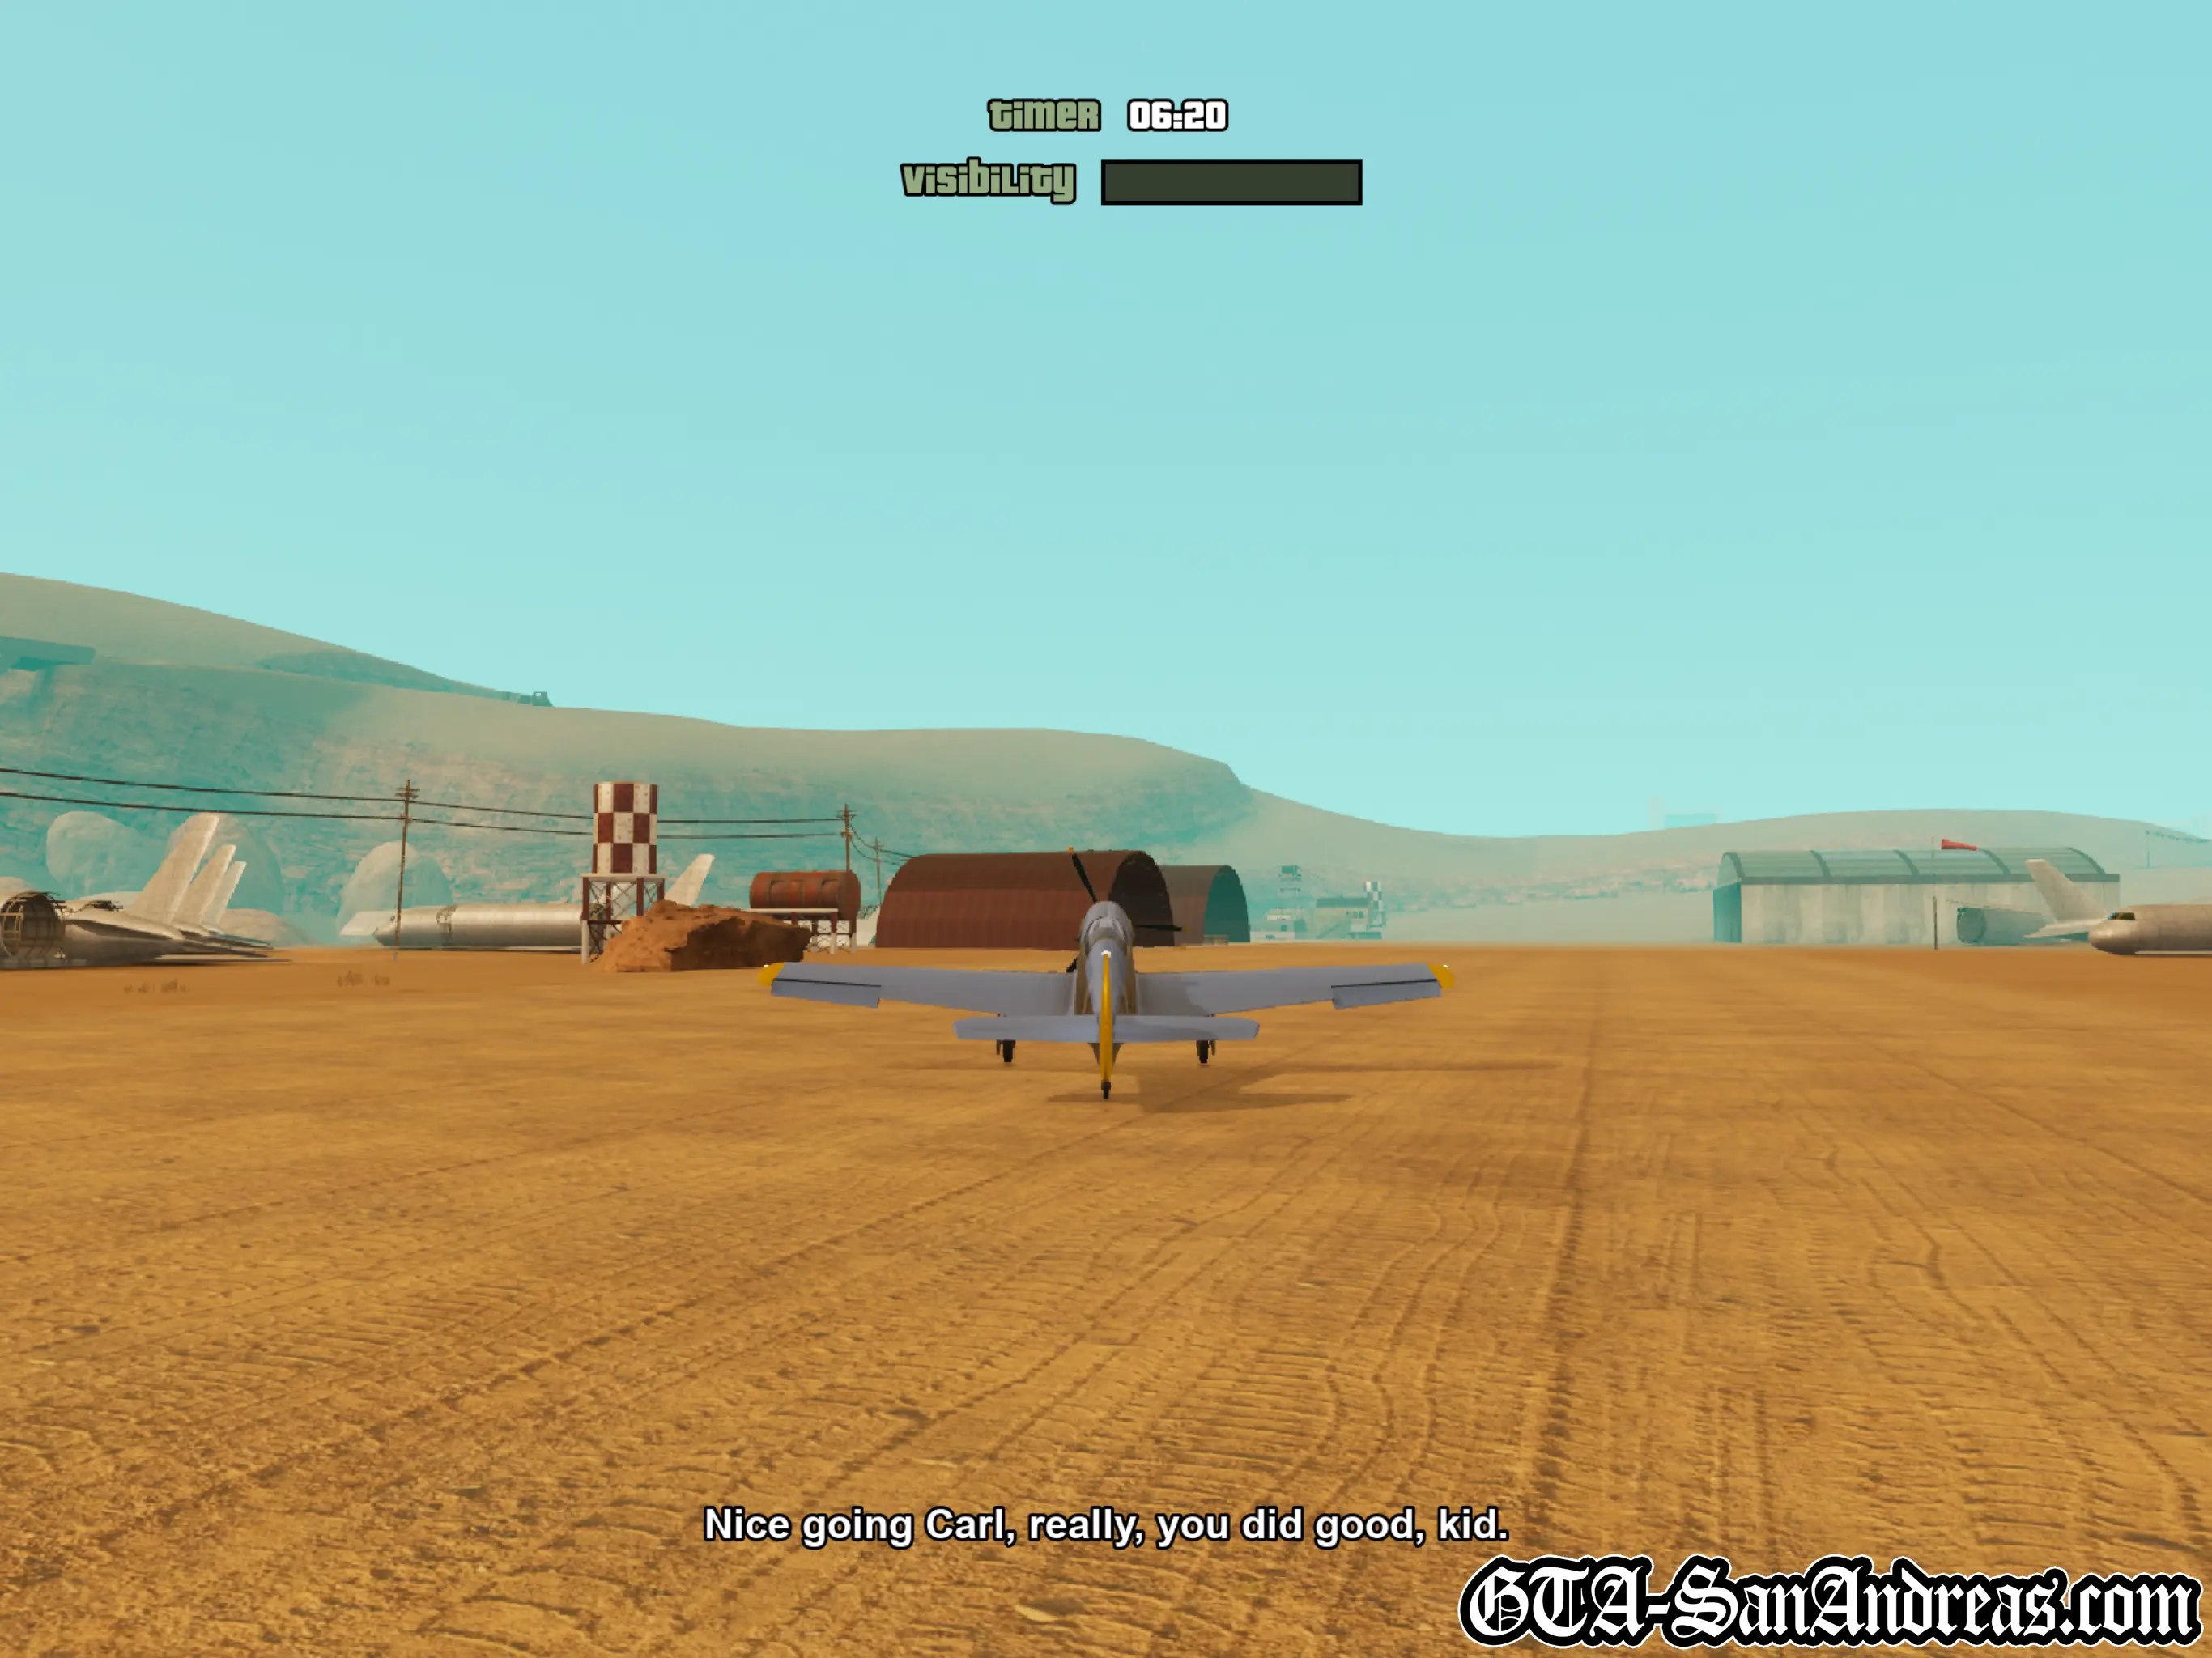
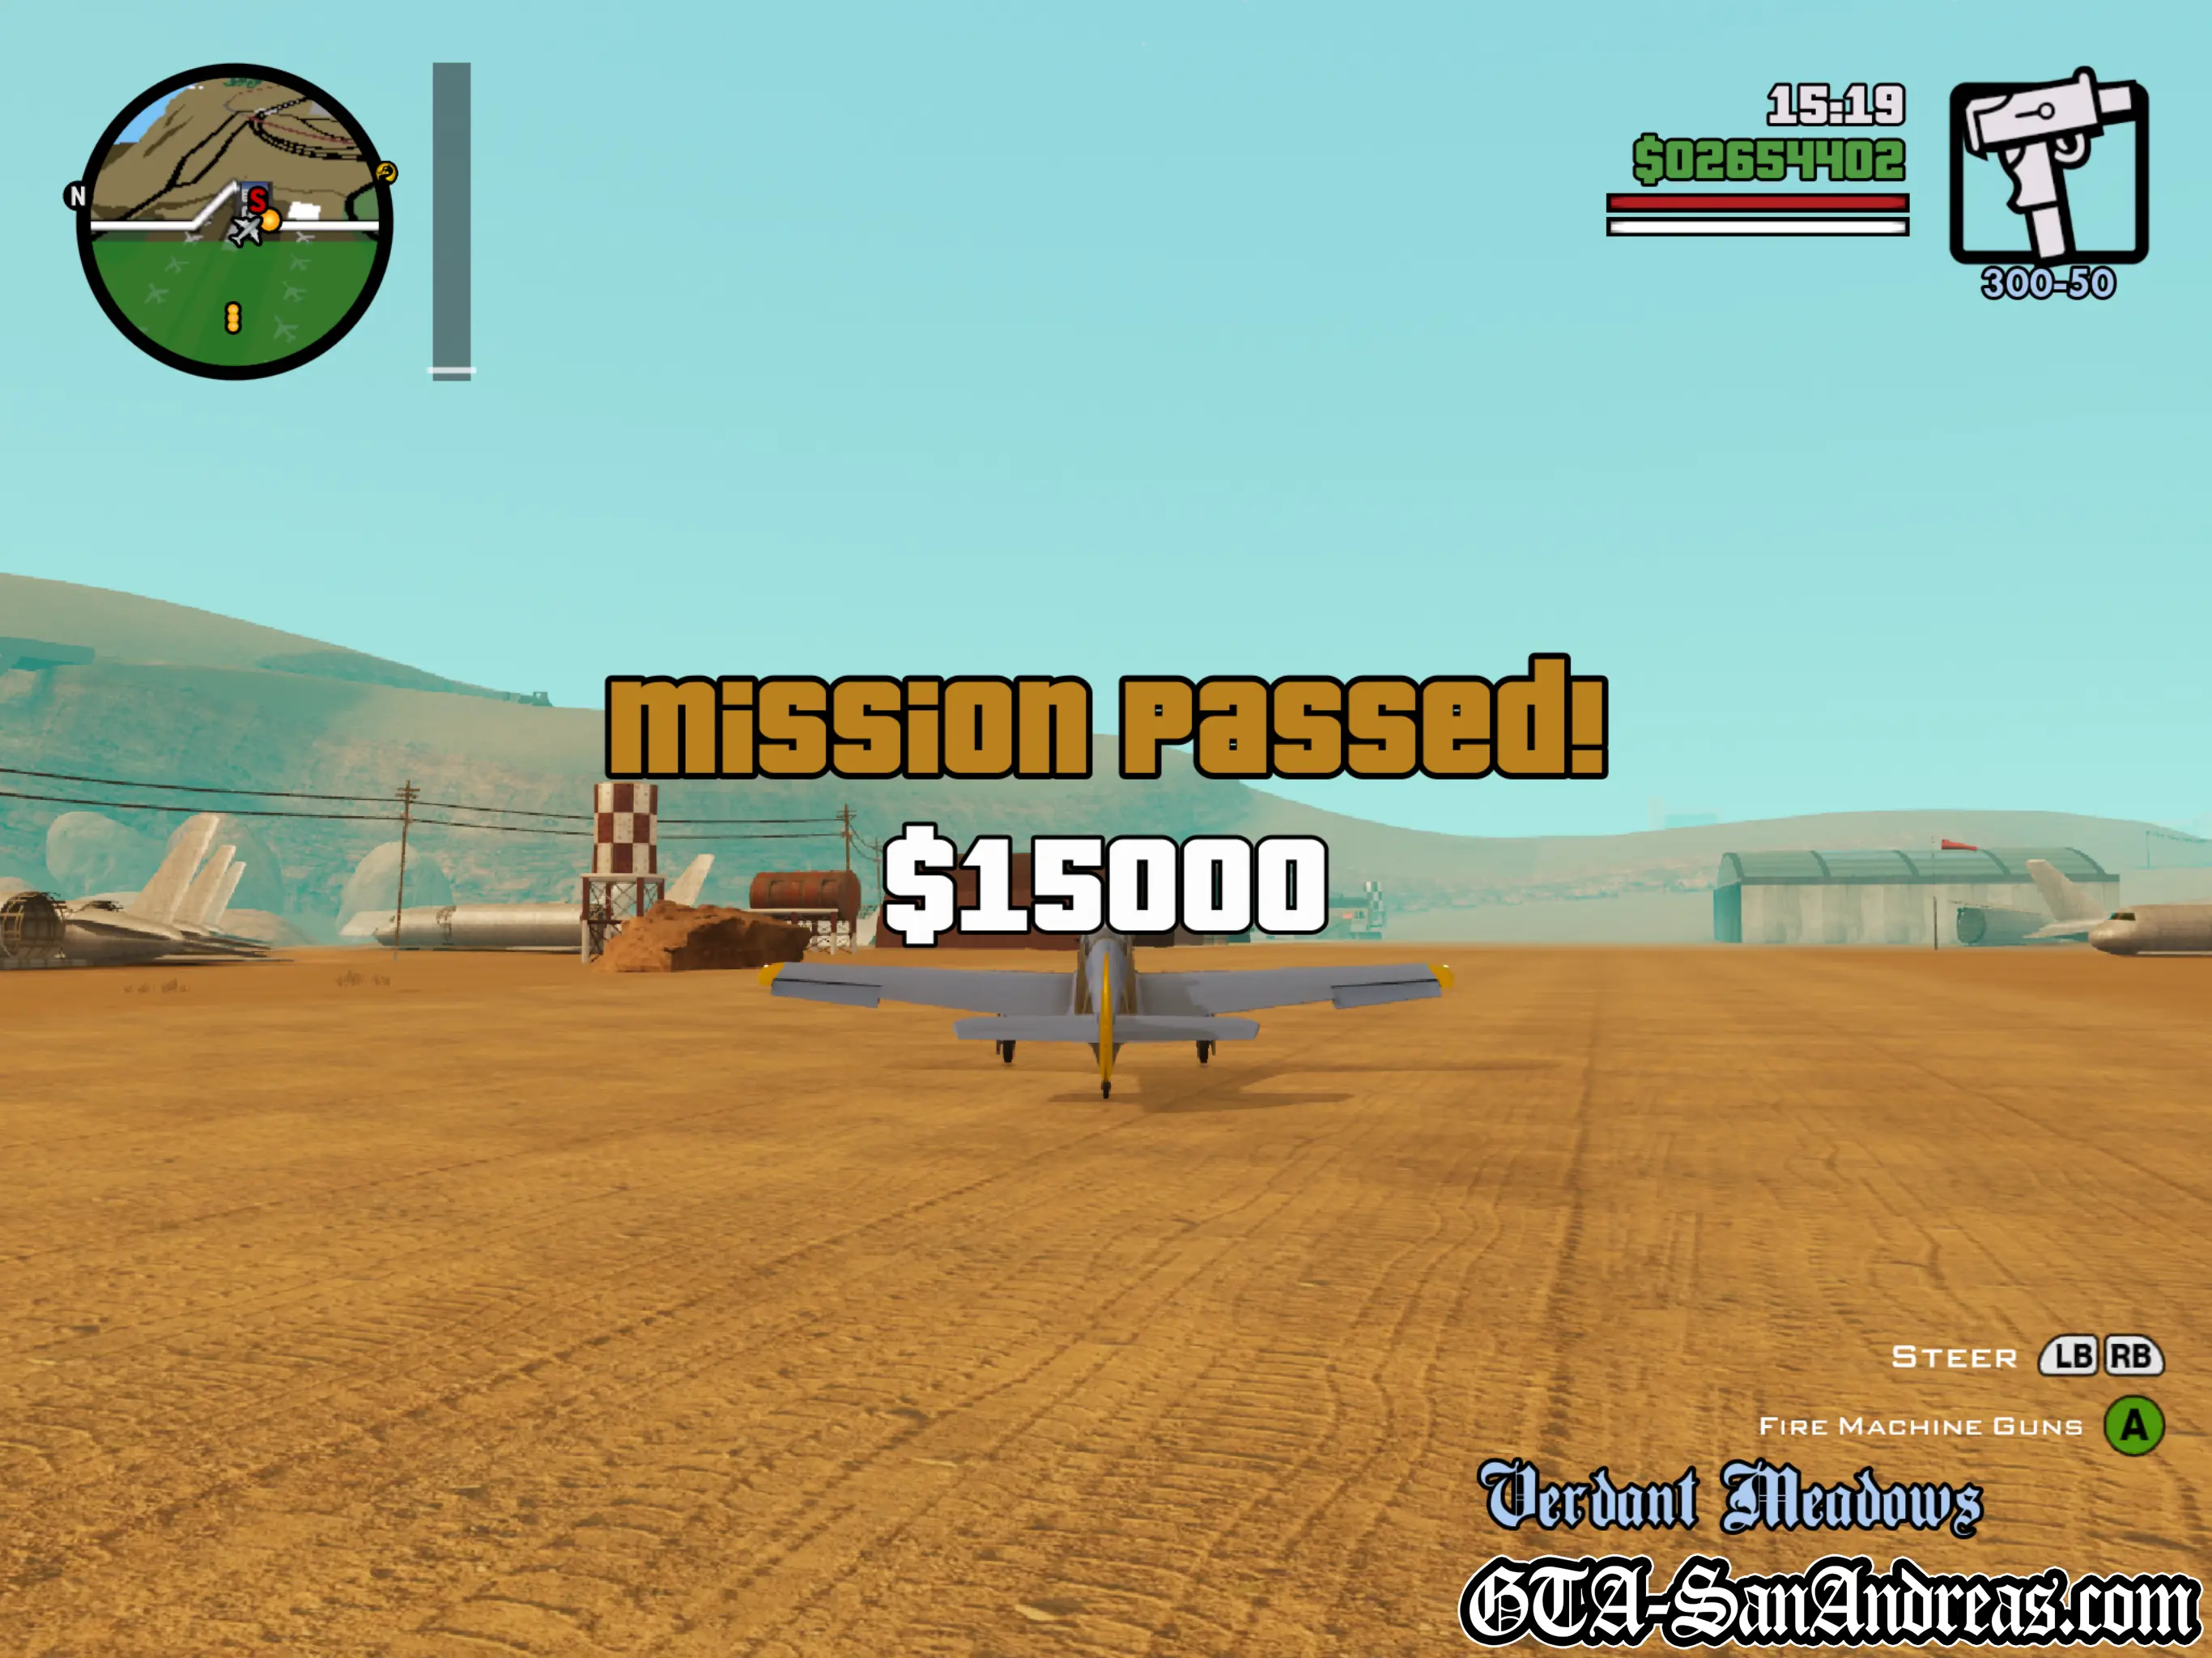
 N.O.E.
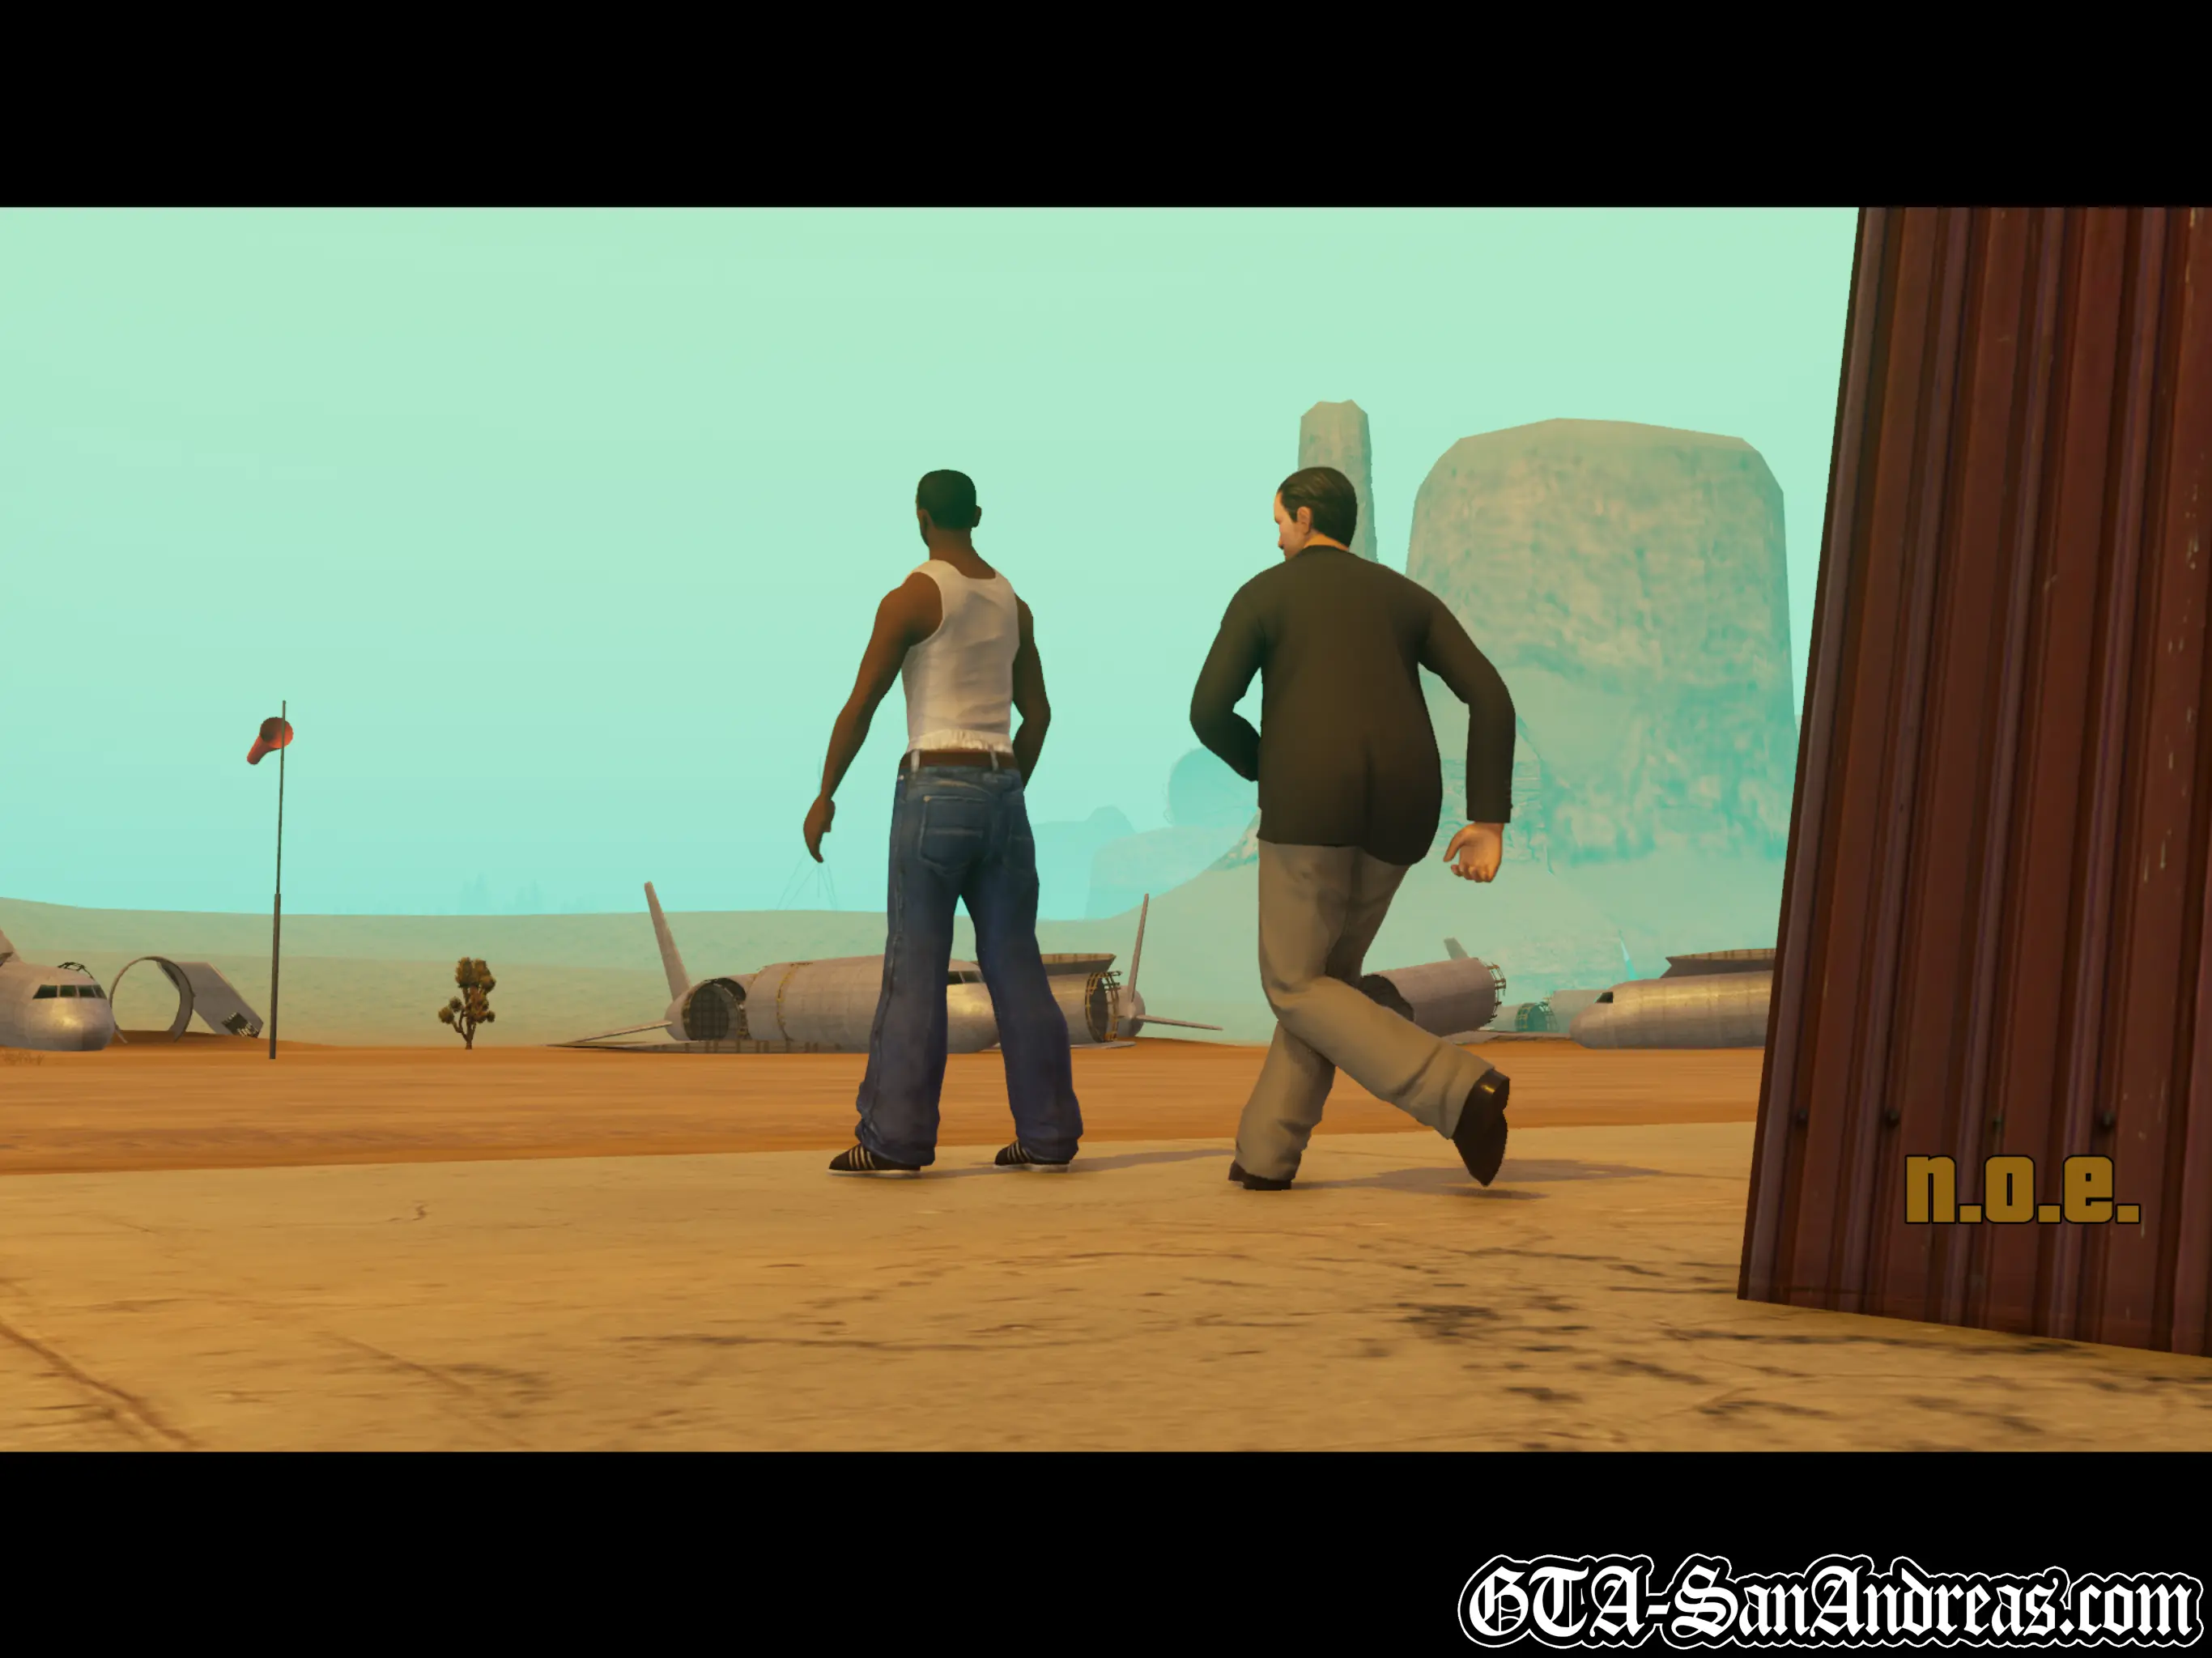
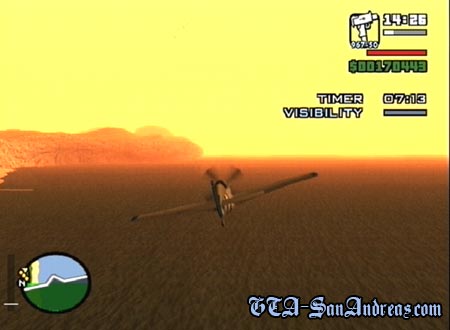
Toreno needs to deliver some cargo to some people he knows, but he can't do it because of people watching him. You need to fly a plane low on the radar so you're not shot down. Get in the Rustler and drive out of the hangar. Tap R2 so you turn slightly to the right, then take off heading almost directly South. Fly to the right and get out of the restricted air space, then fly towards the countryside. Stay as low as you can, but if you need to go up, pull back on the analog stick and clear whatever obstacle is in the way, then push the analog stick forward to drop back down. You can stay above the height limit for about ten seconds which is more than enough time to be able to do something about it. Dodge the trees as you fly through the countryside, and keep heading to the blip on the radar. When you get there you'll be instructed to fly through the corona to trigger the drop. Once that's done, head to the East and fly over the sea. Keep low here, as there's no worries or hitting anything, and make your way towards the new blip on the radar. When you fly over land just avoid the tree's again and keep diving down when you're too high. Eventually you'll be over Las Venturas, so just make your way straight towards the runway. Remember to stay out of the way of the no fly zone though. When you get back you'll need to land the plane, so head to the West and turn around, then hit R3 to bring down the wheels and hold square to slow down and land anywhere on the runway.
Screenshots


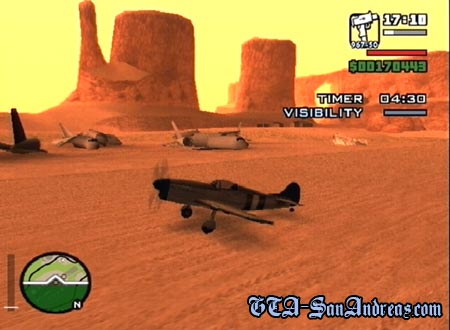
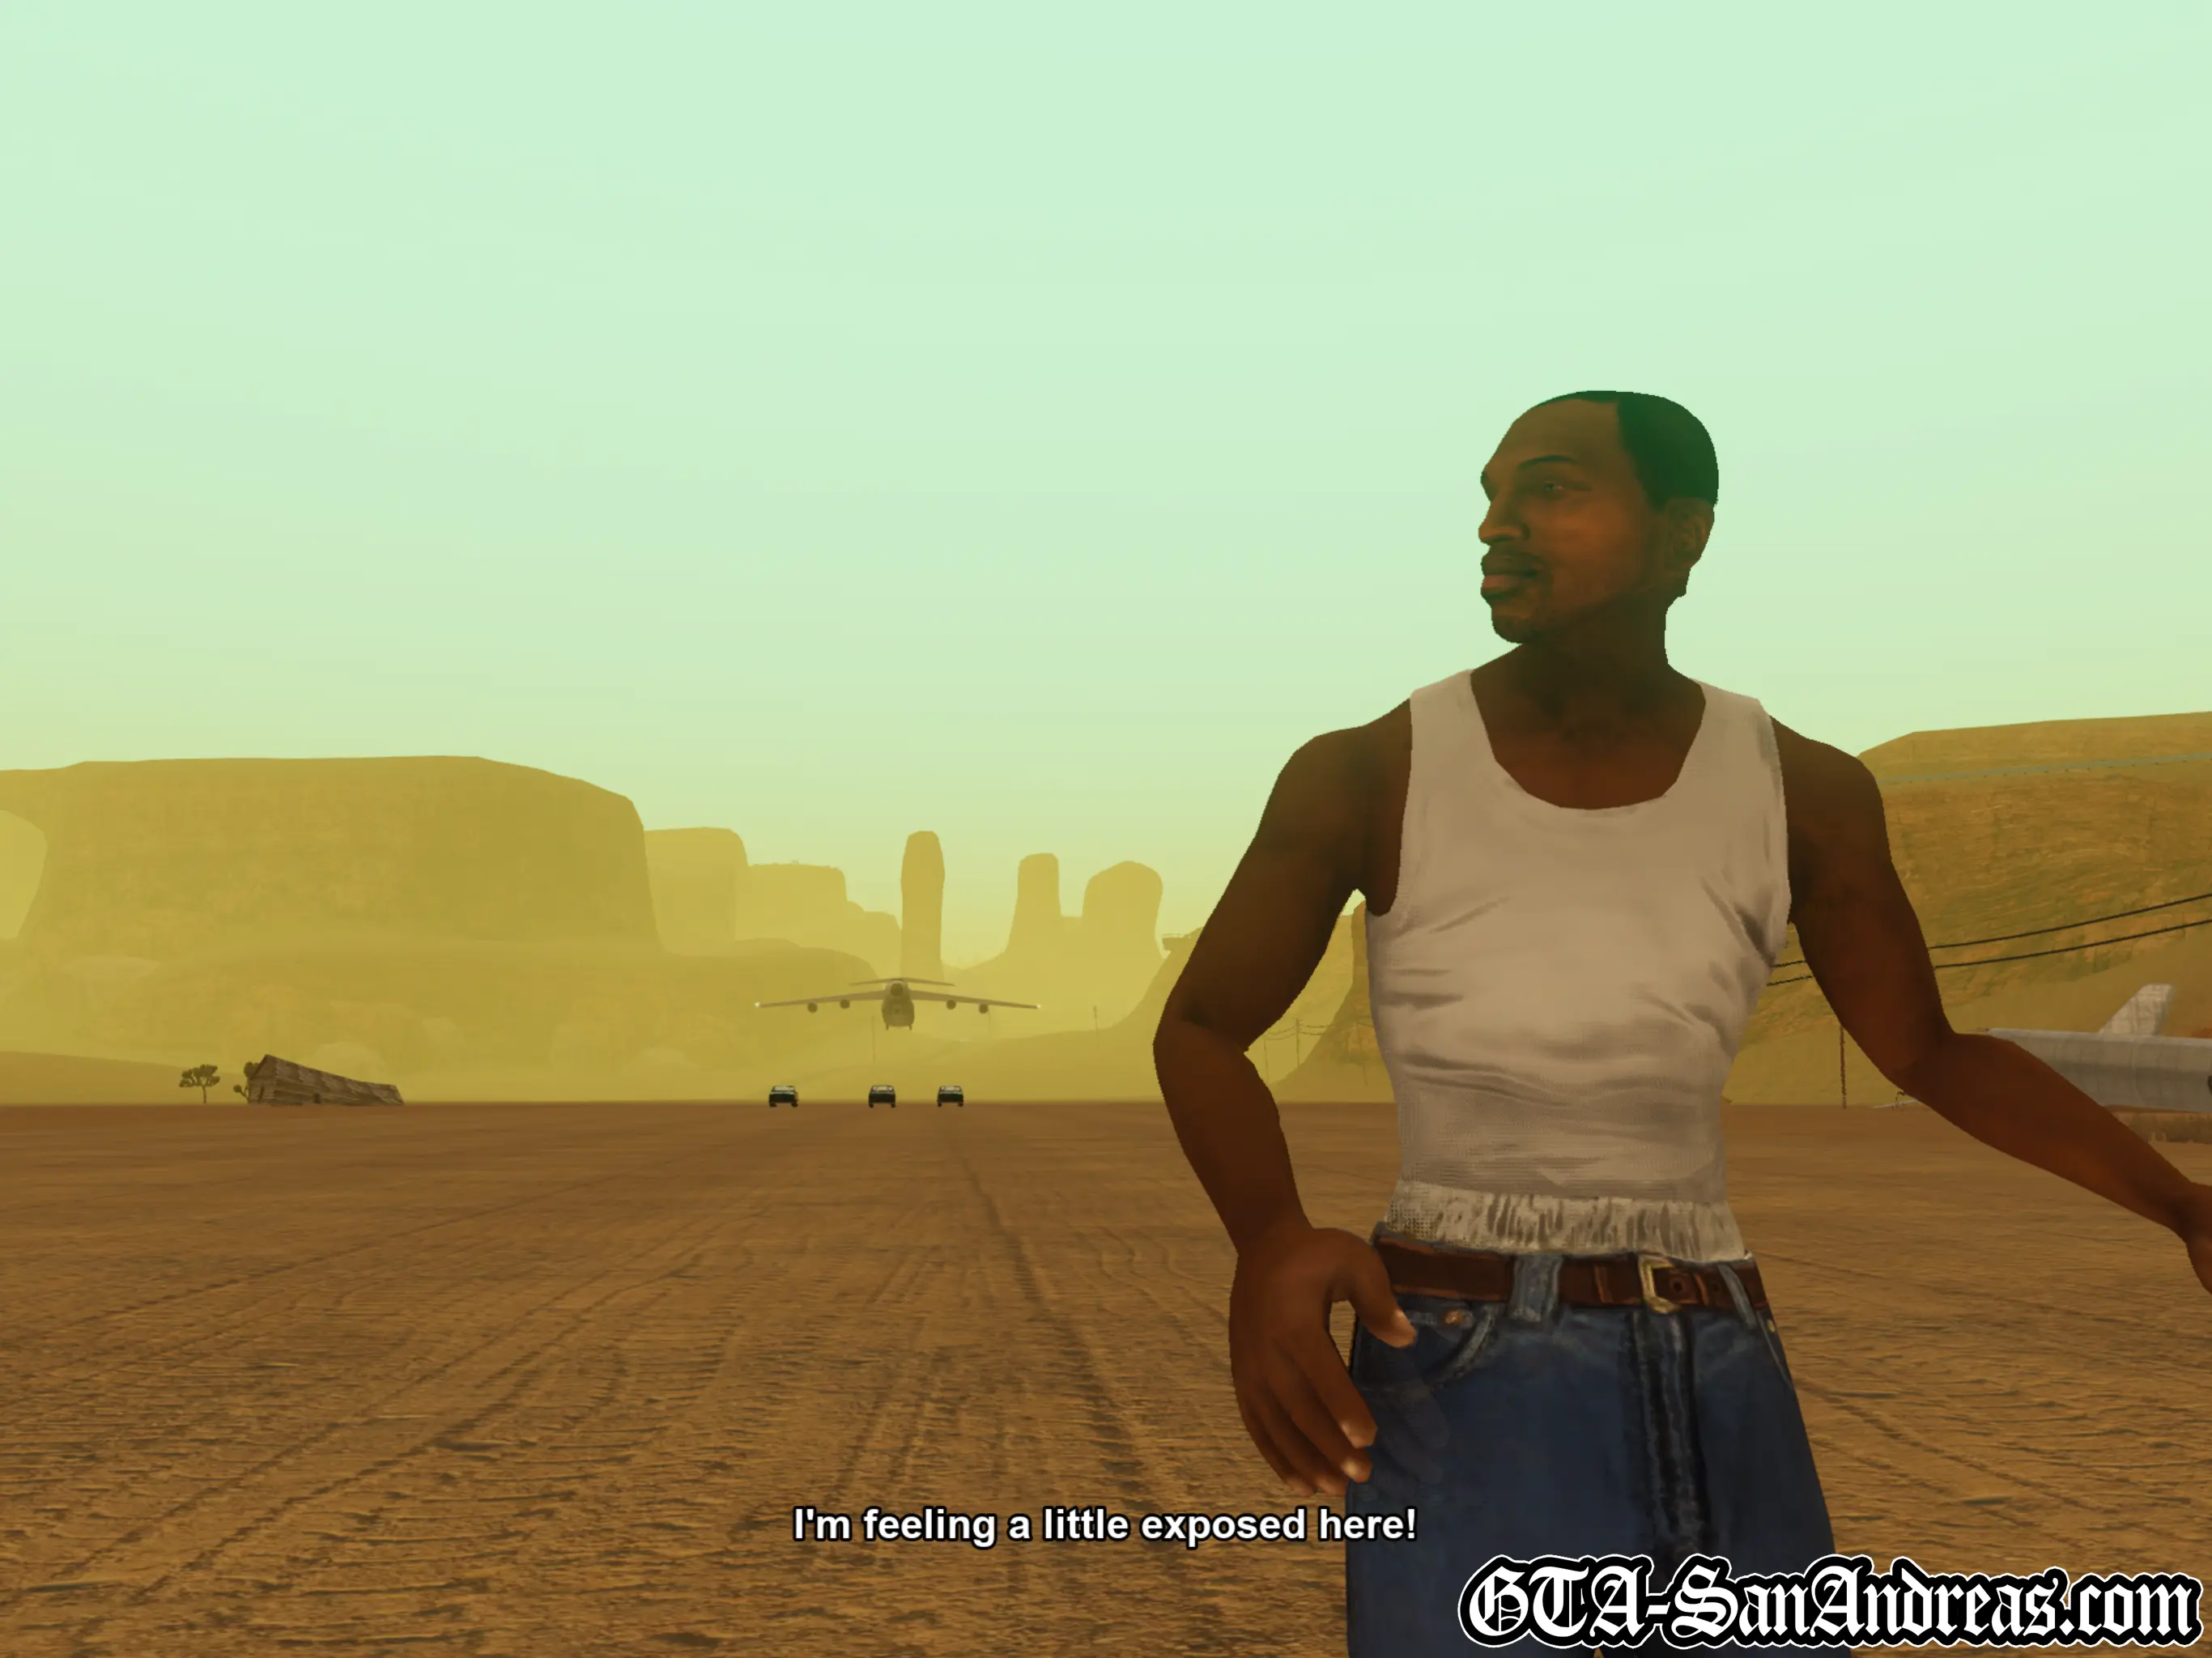
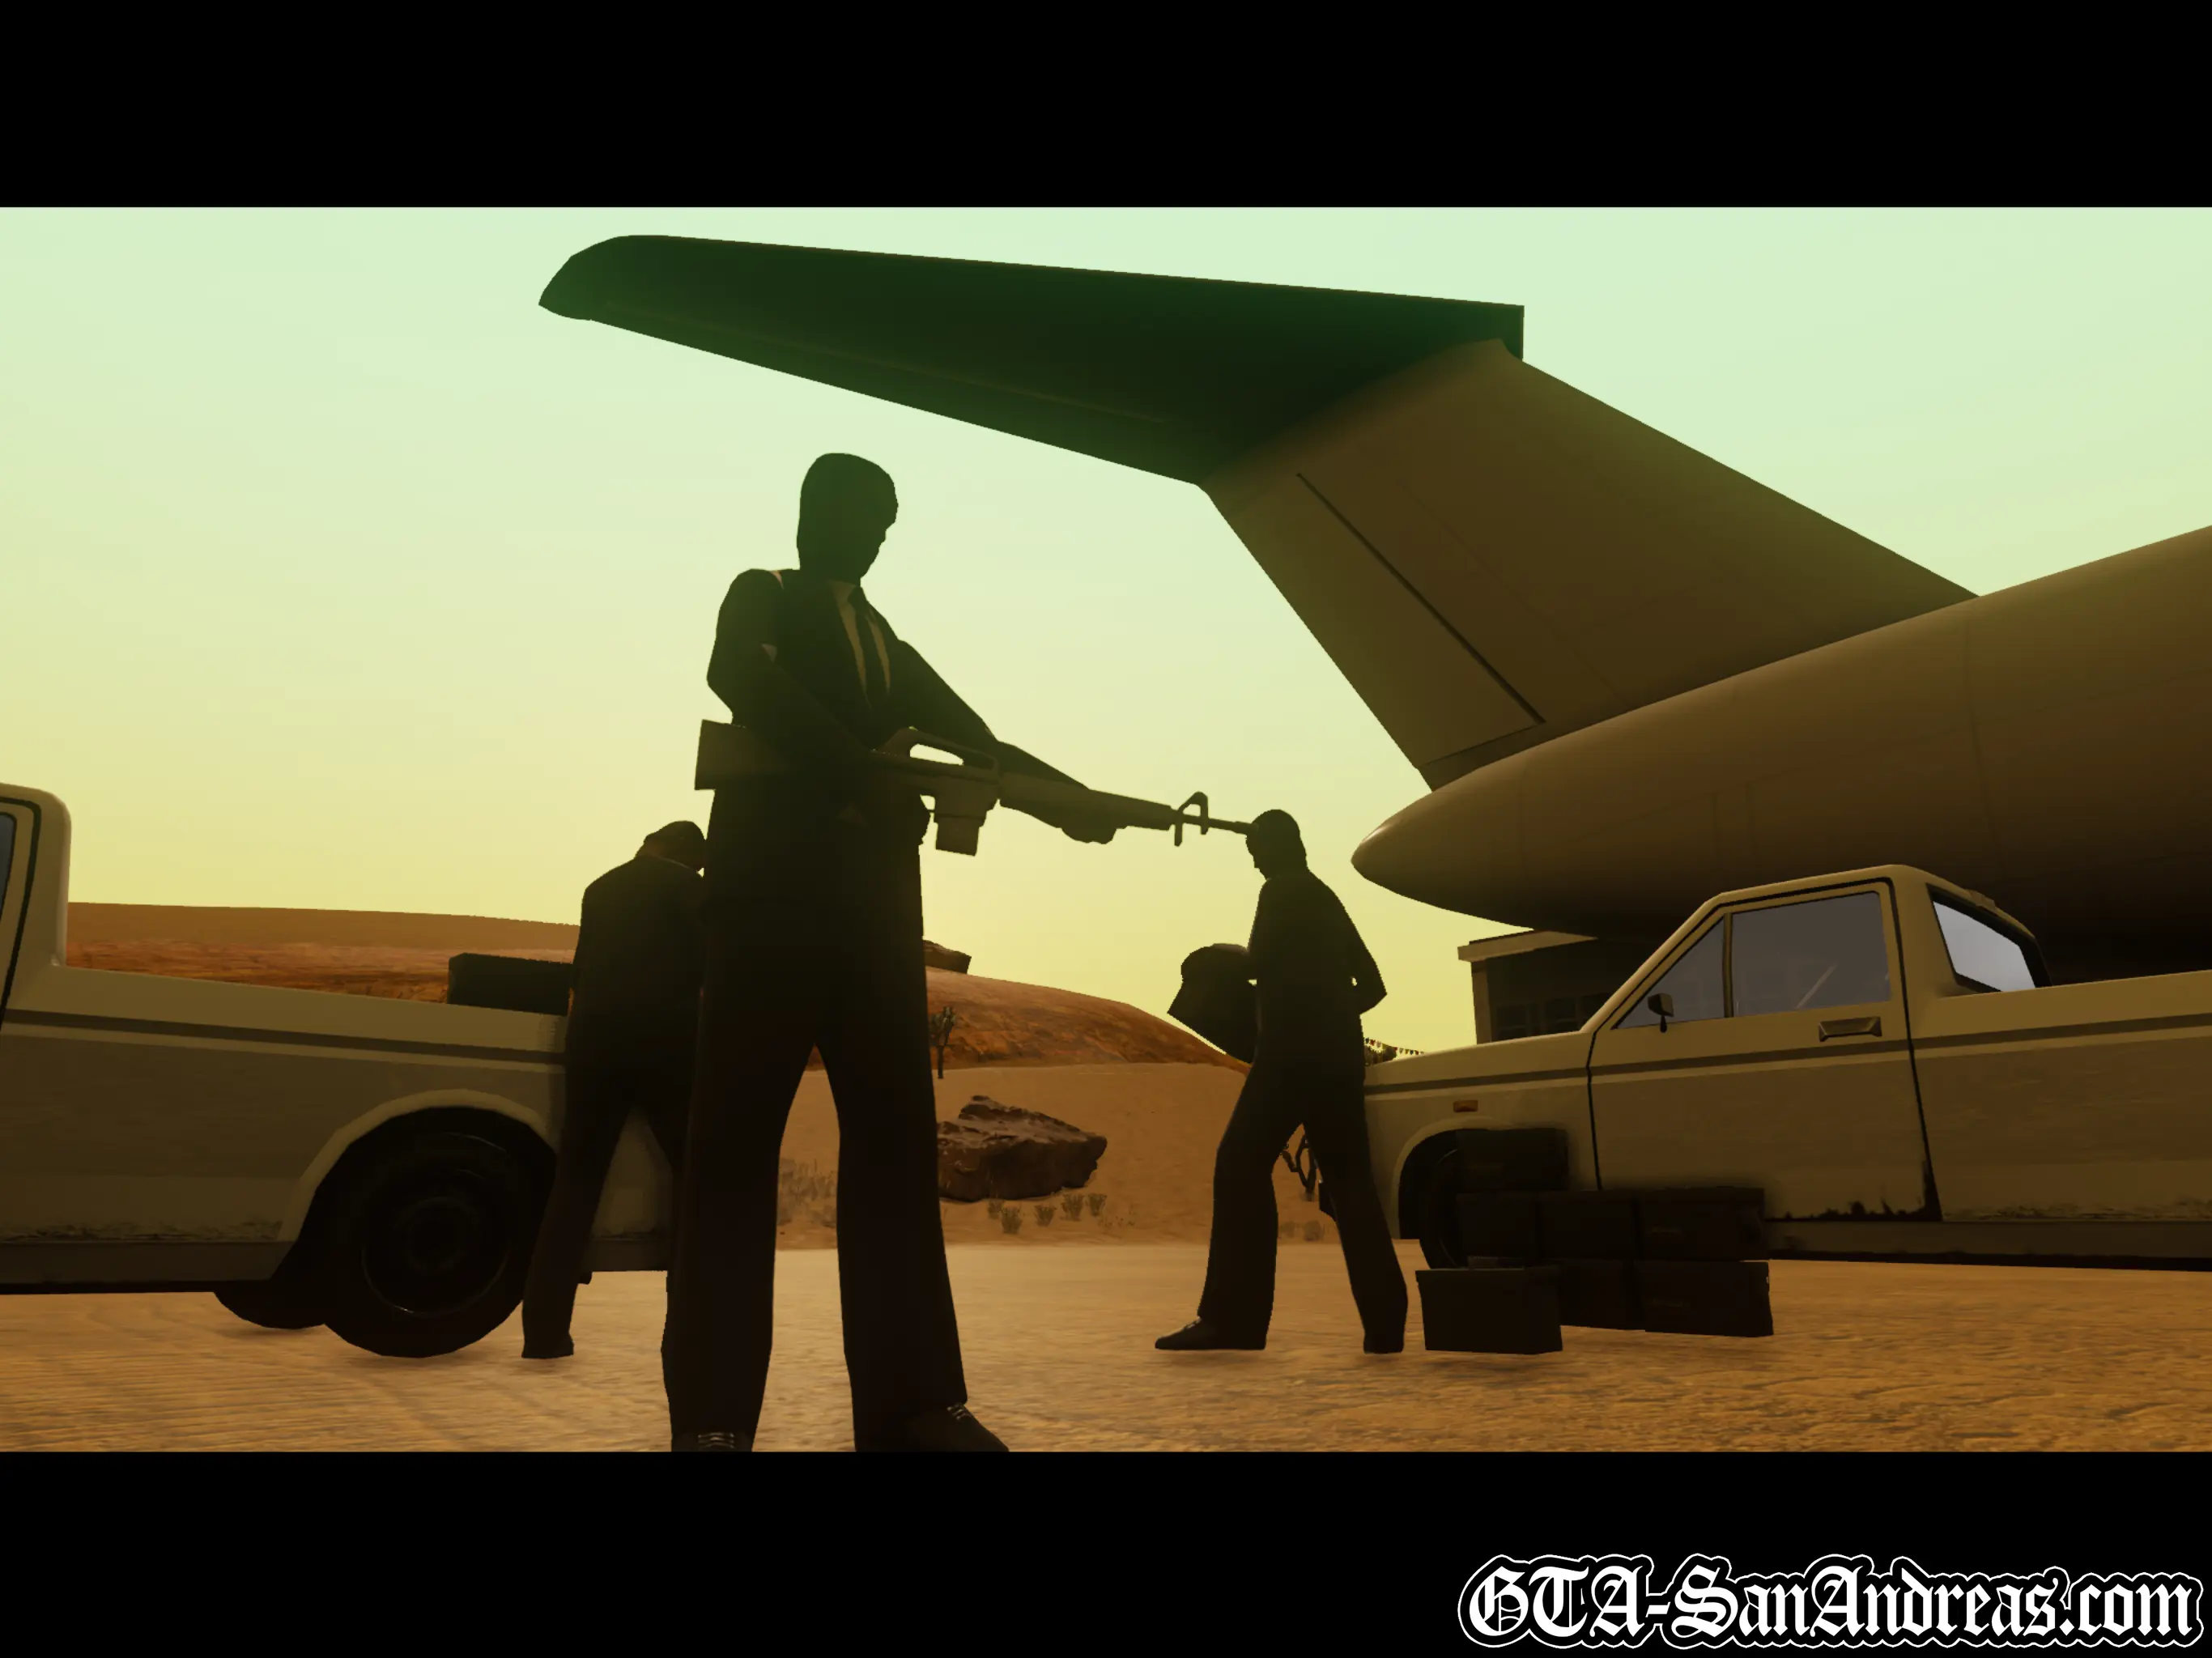
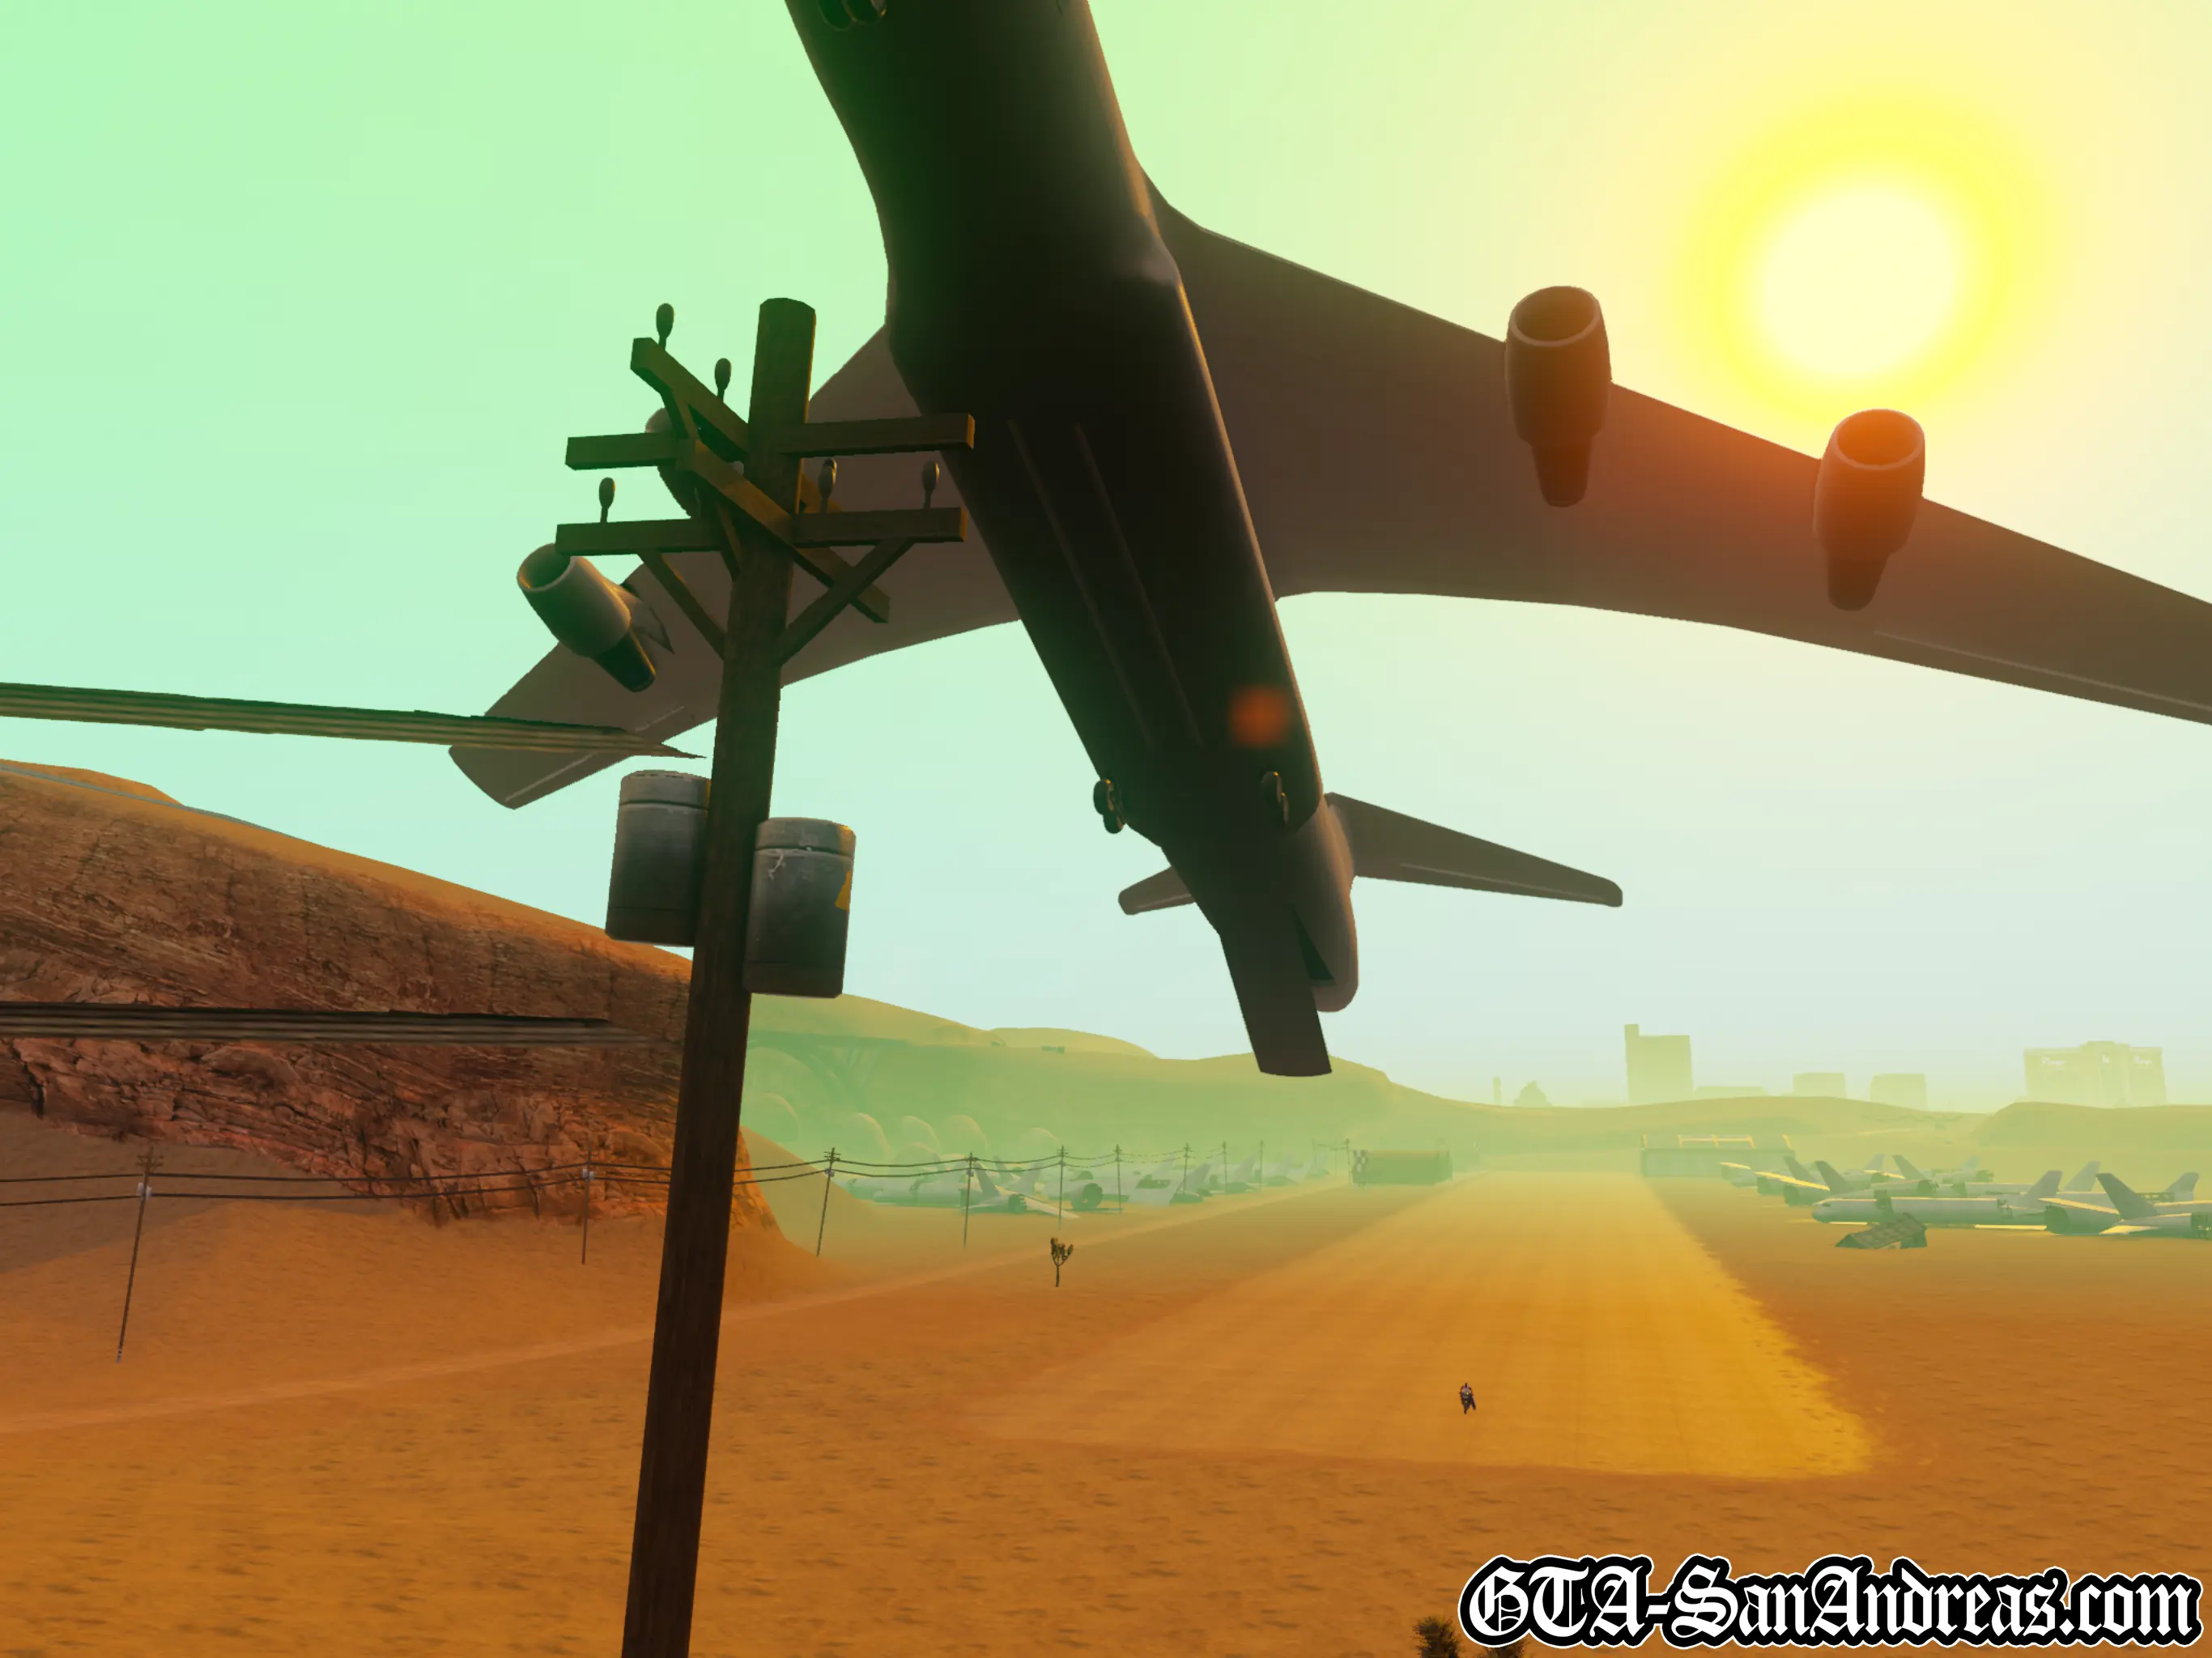
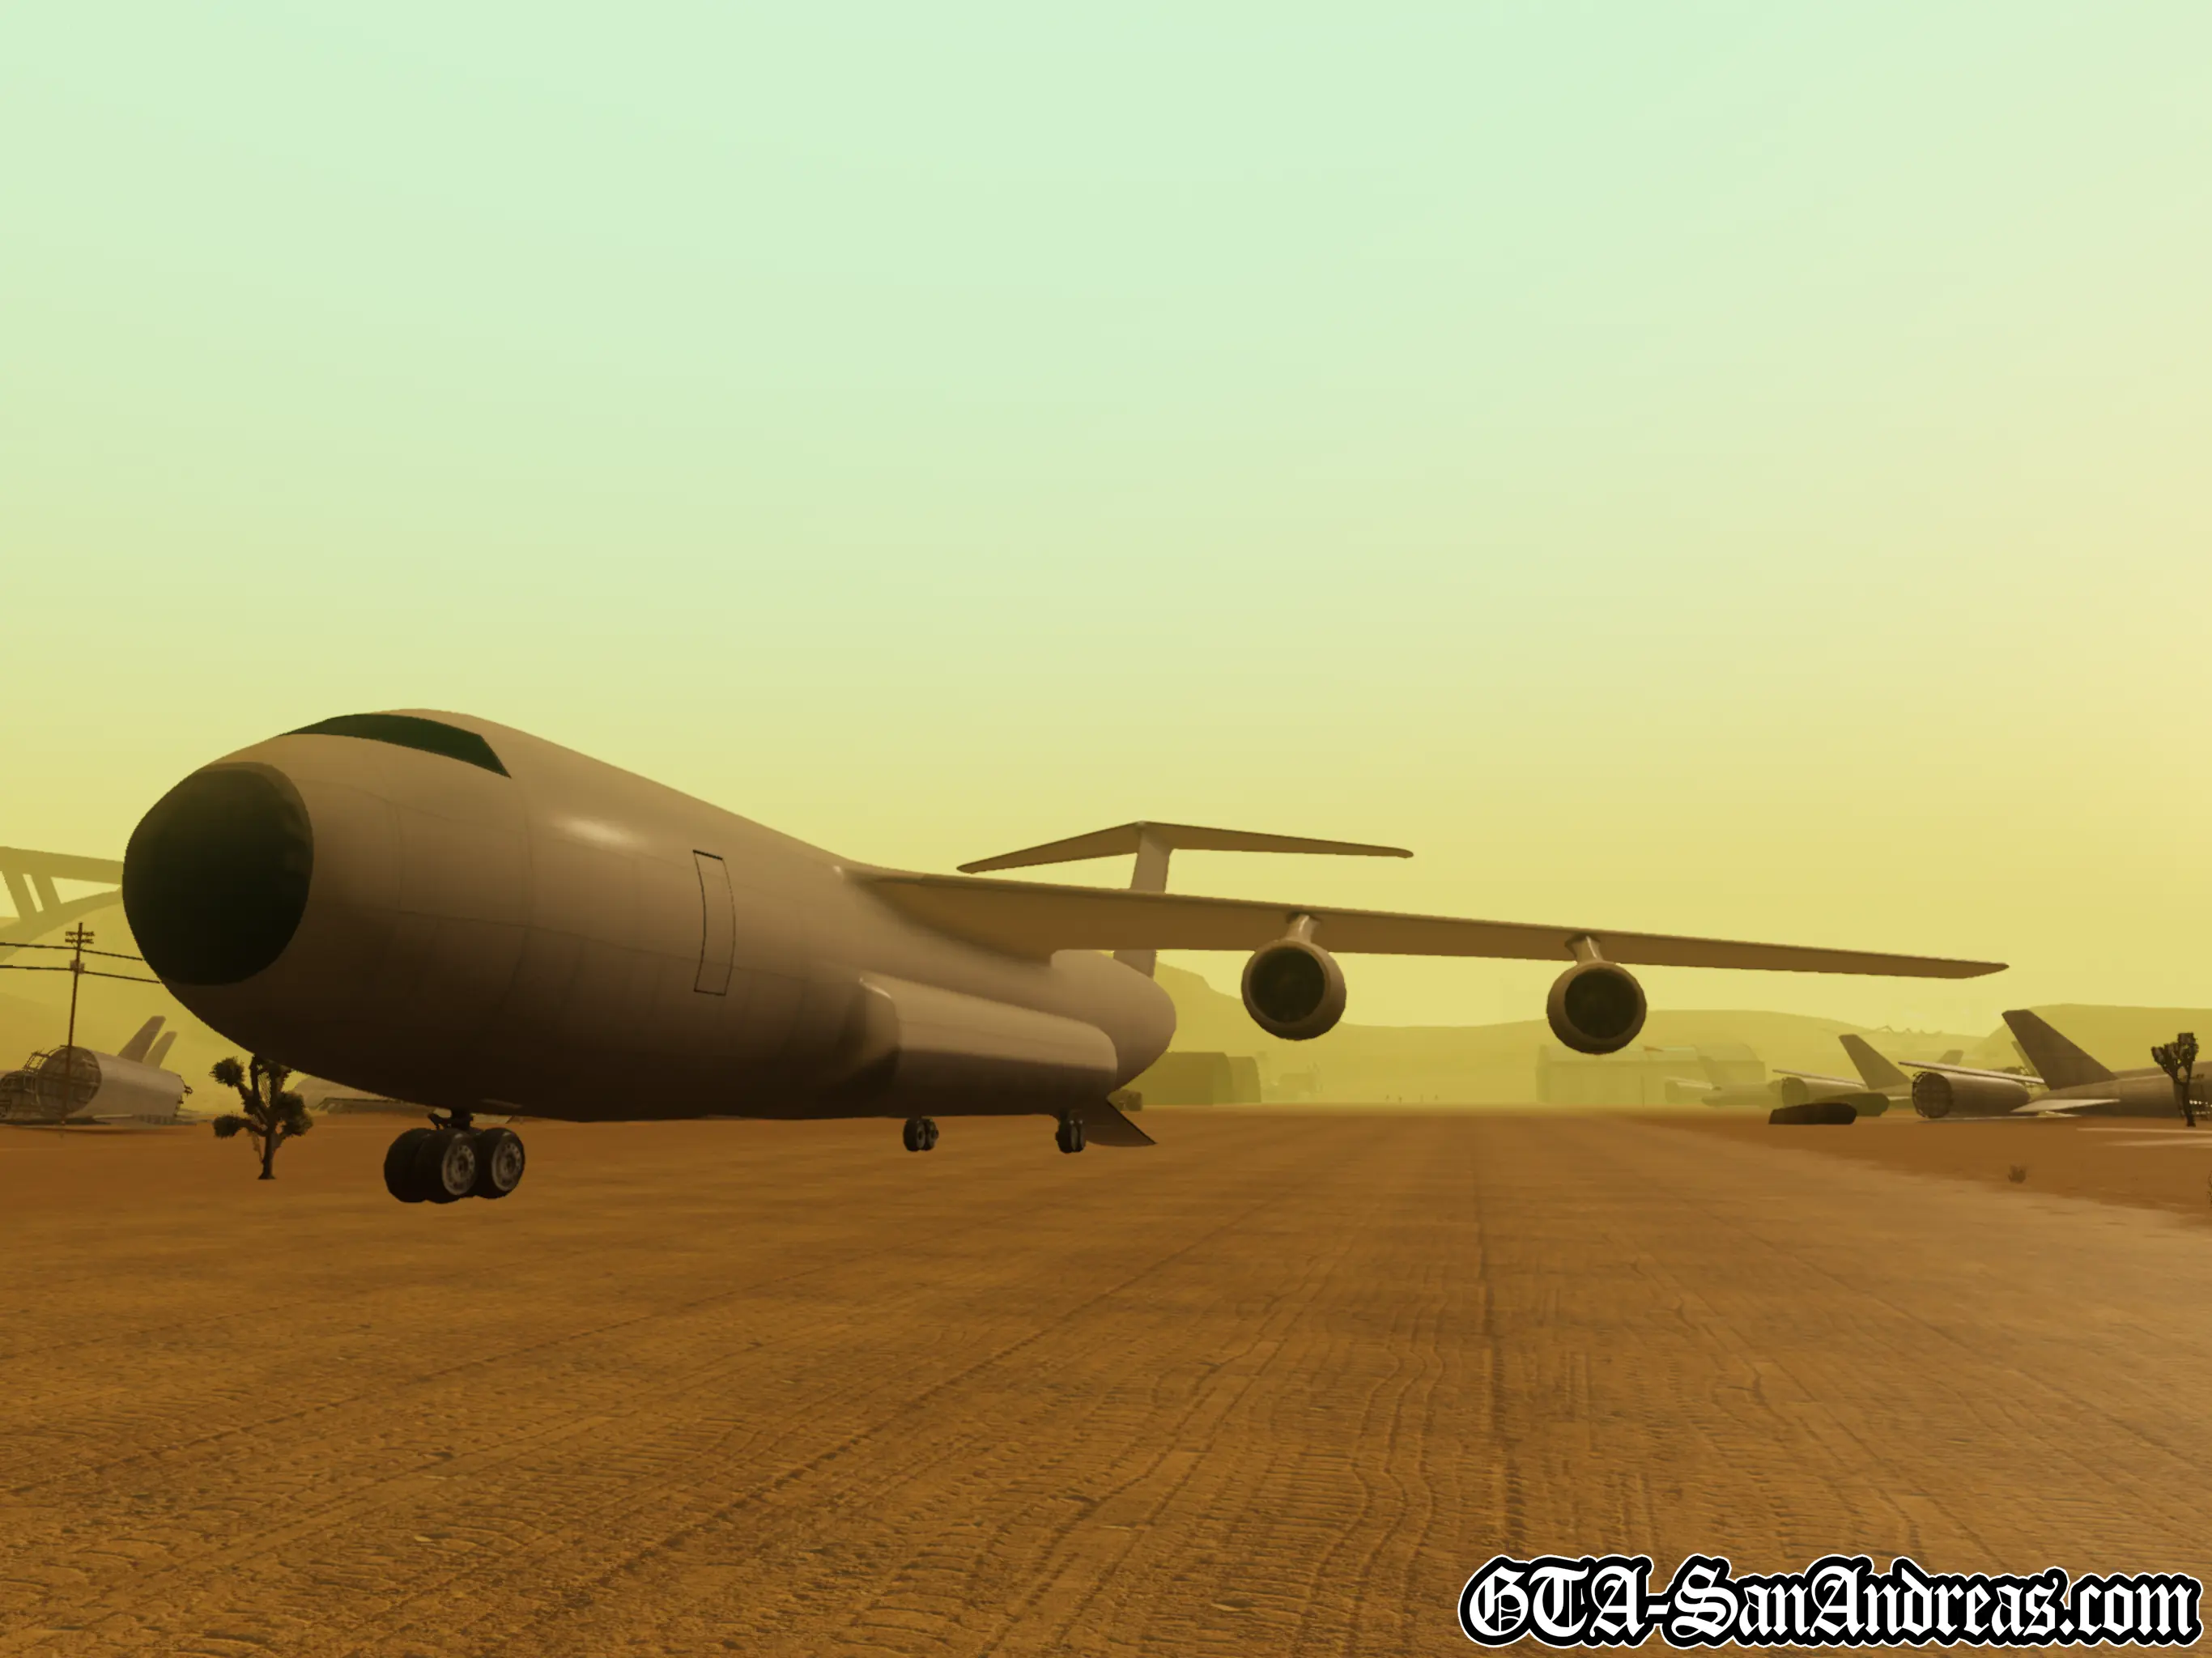
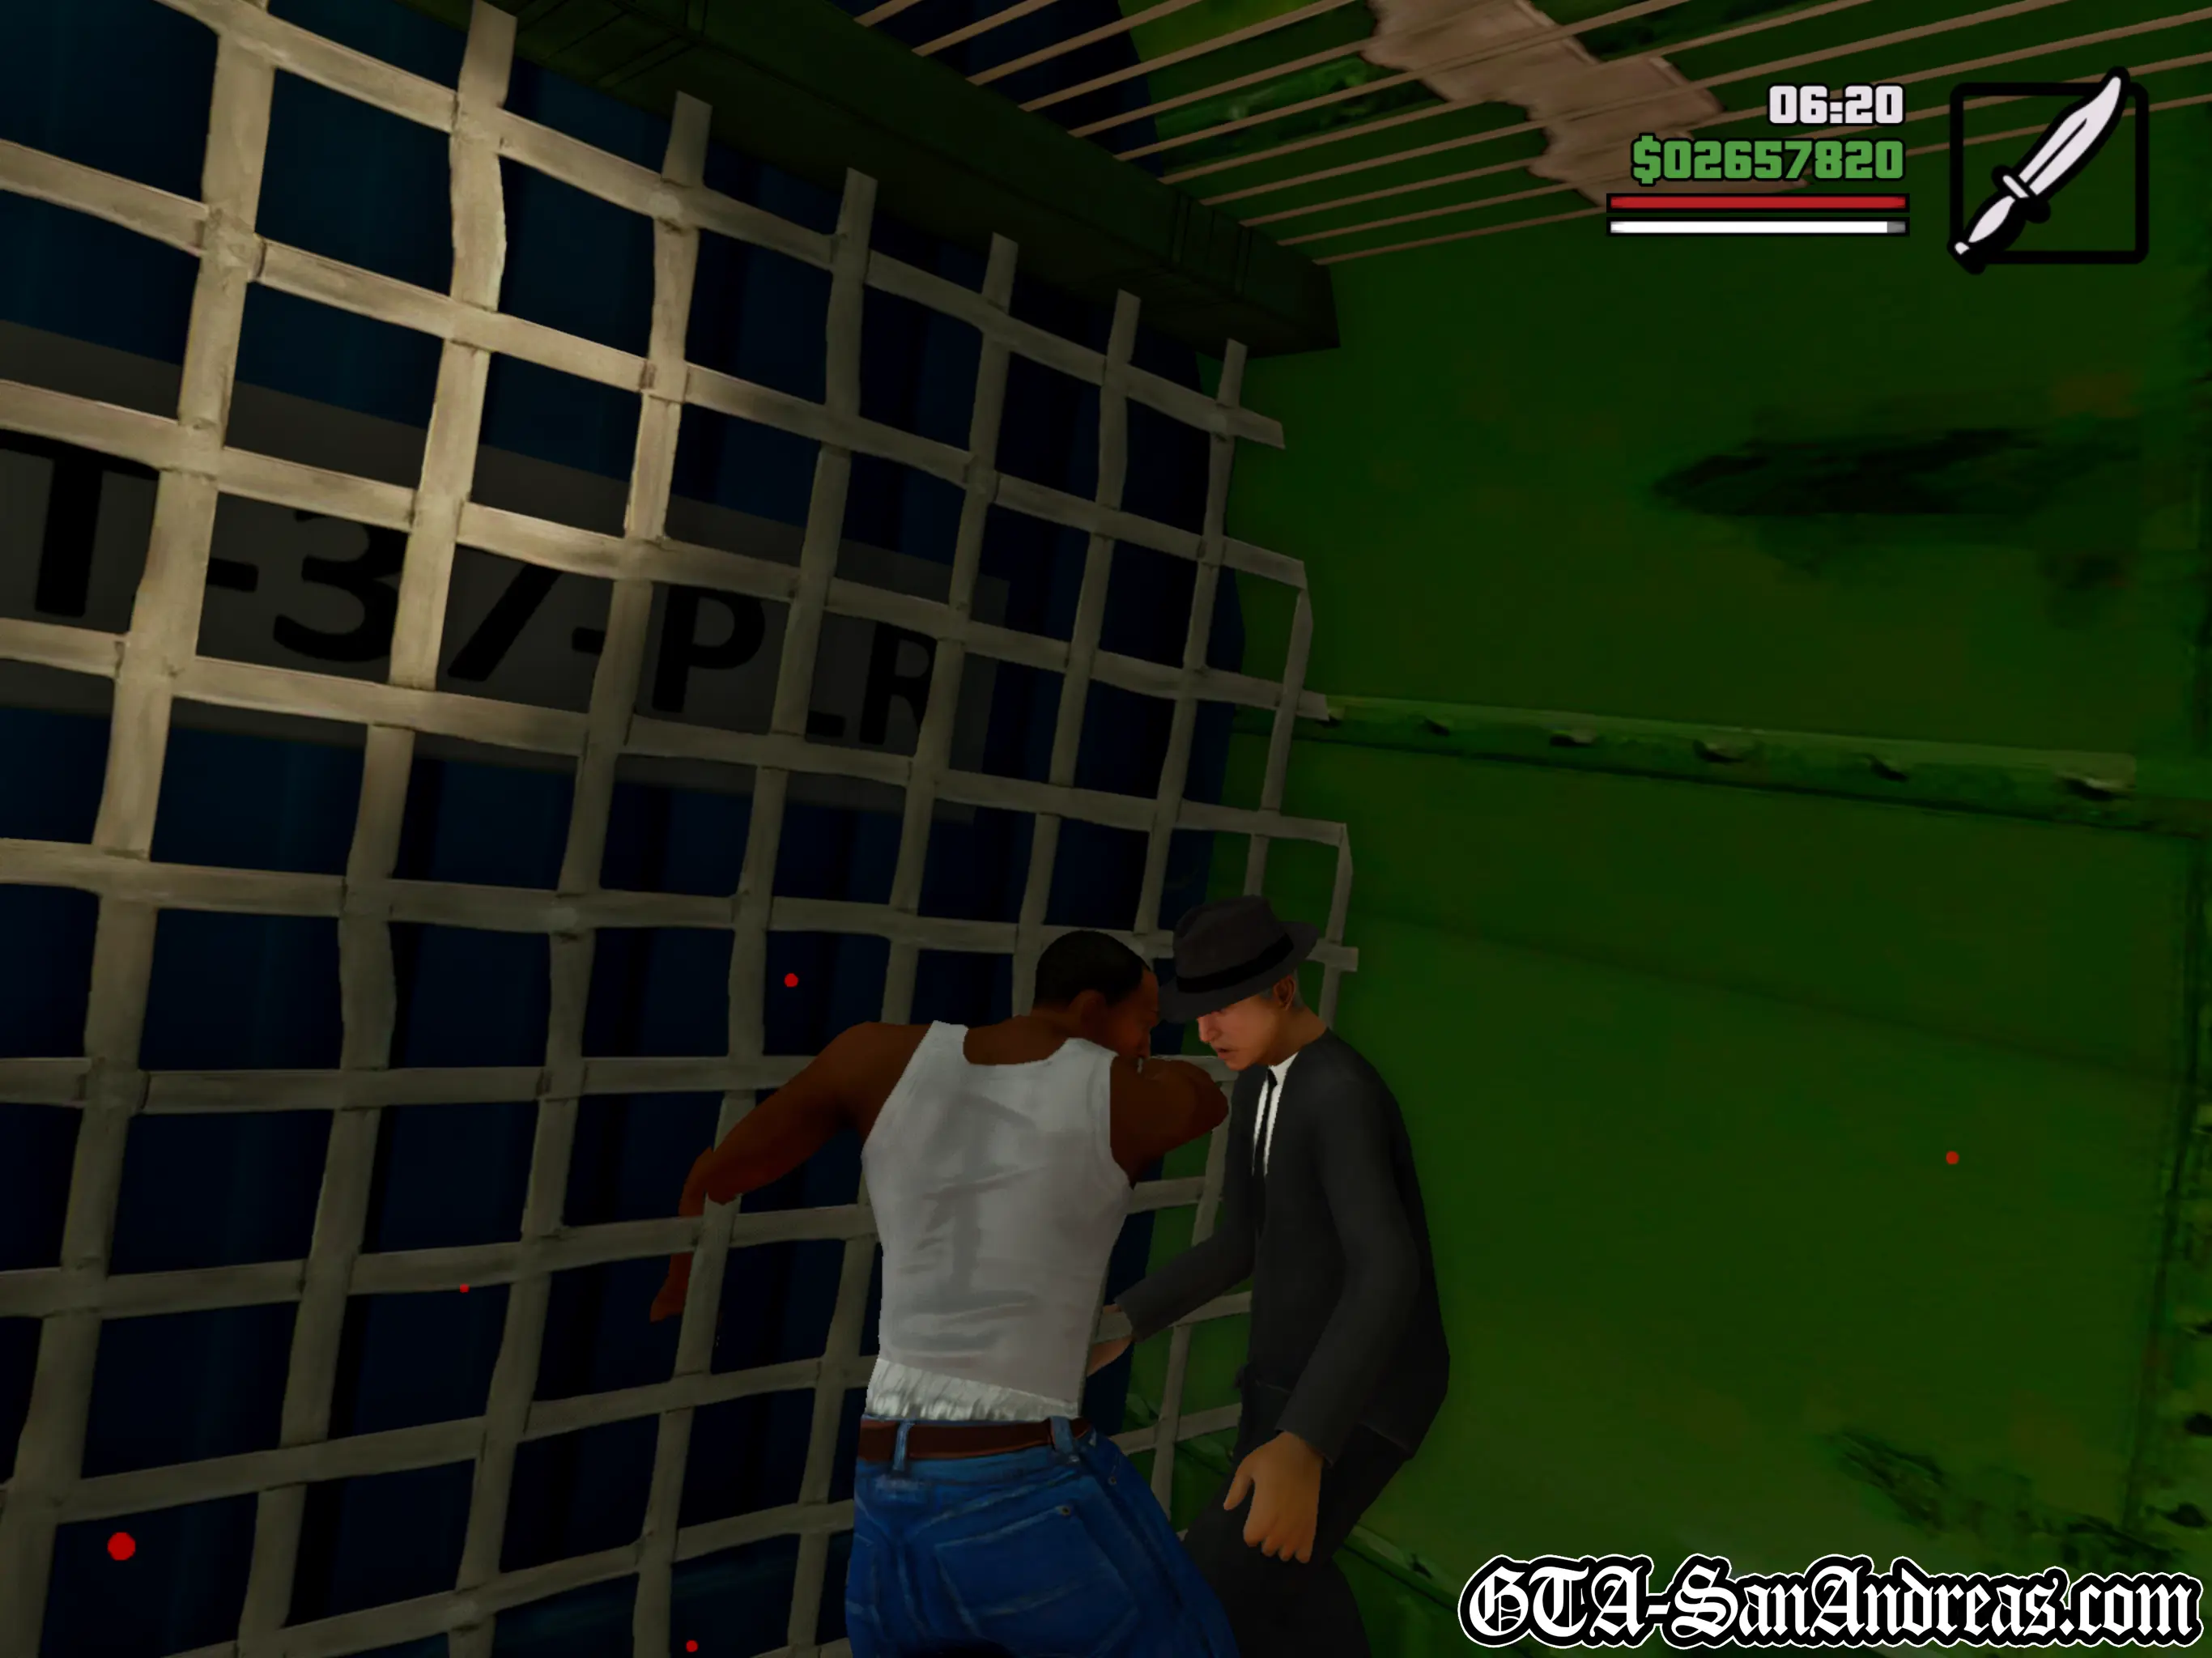
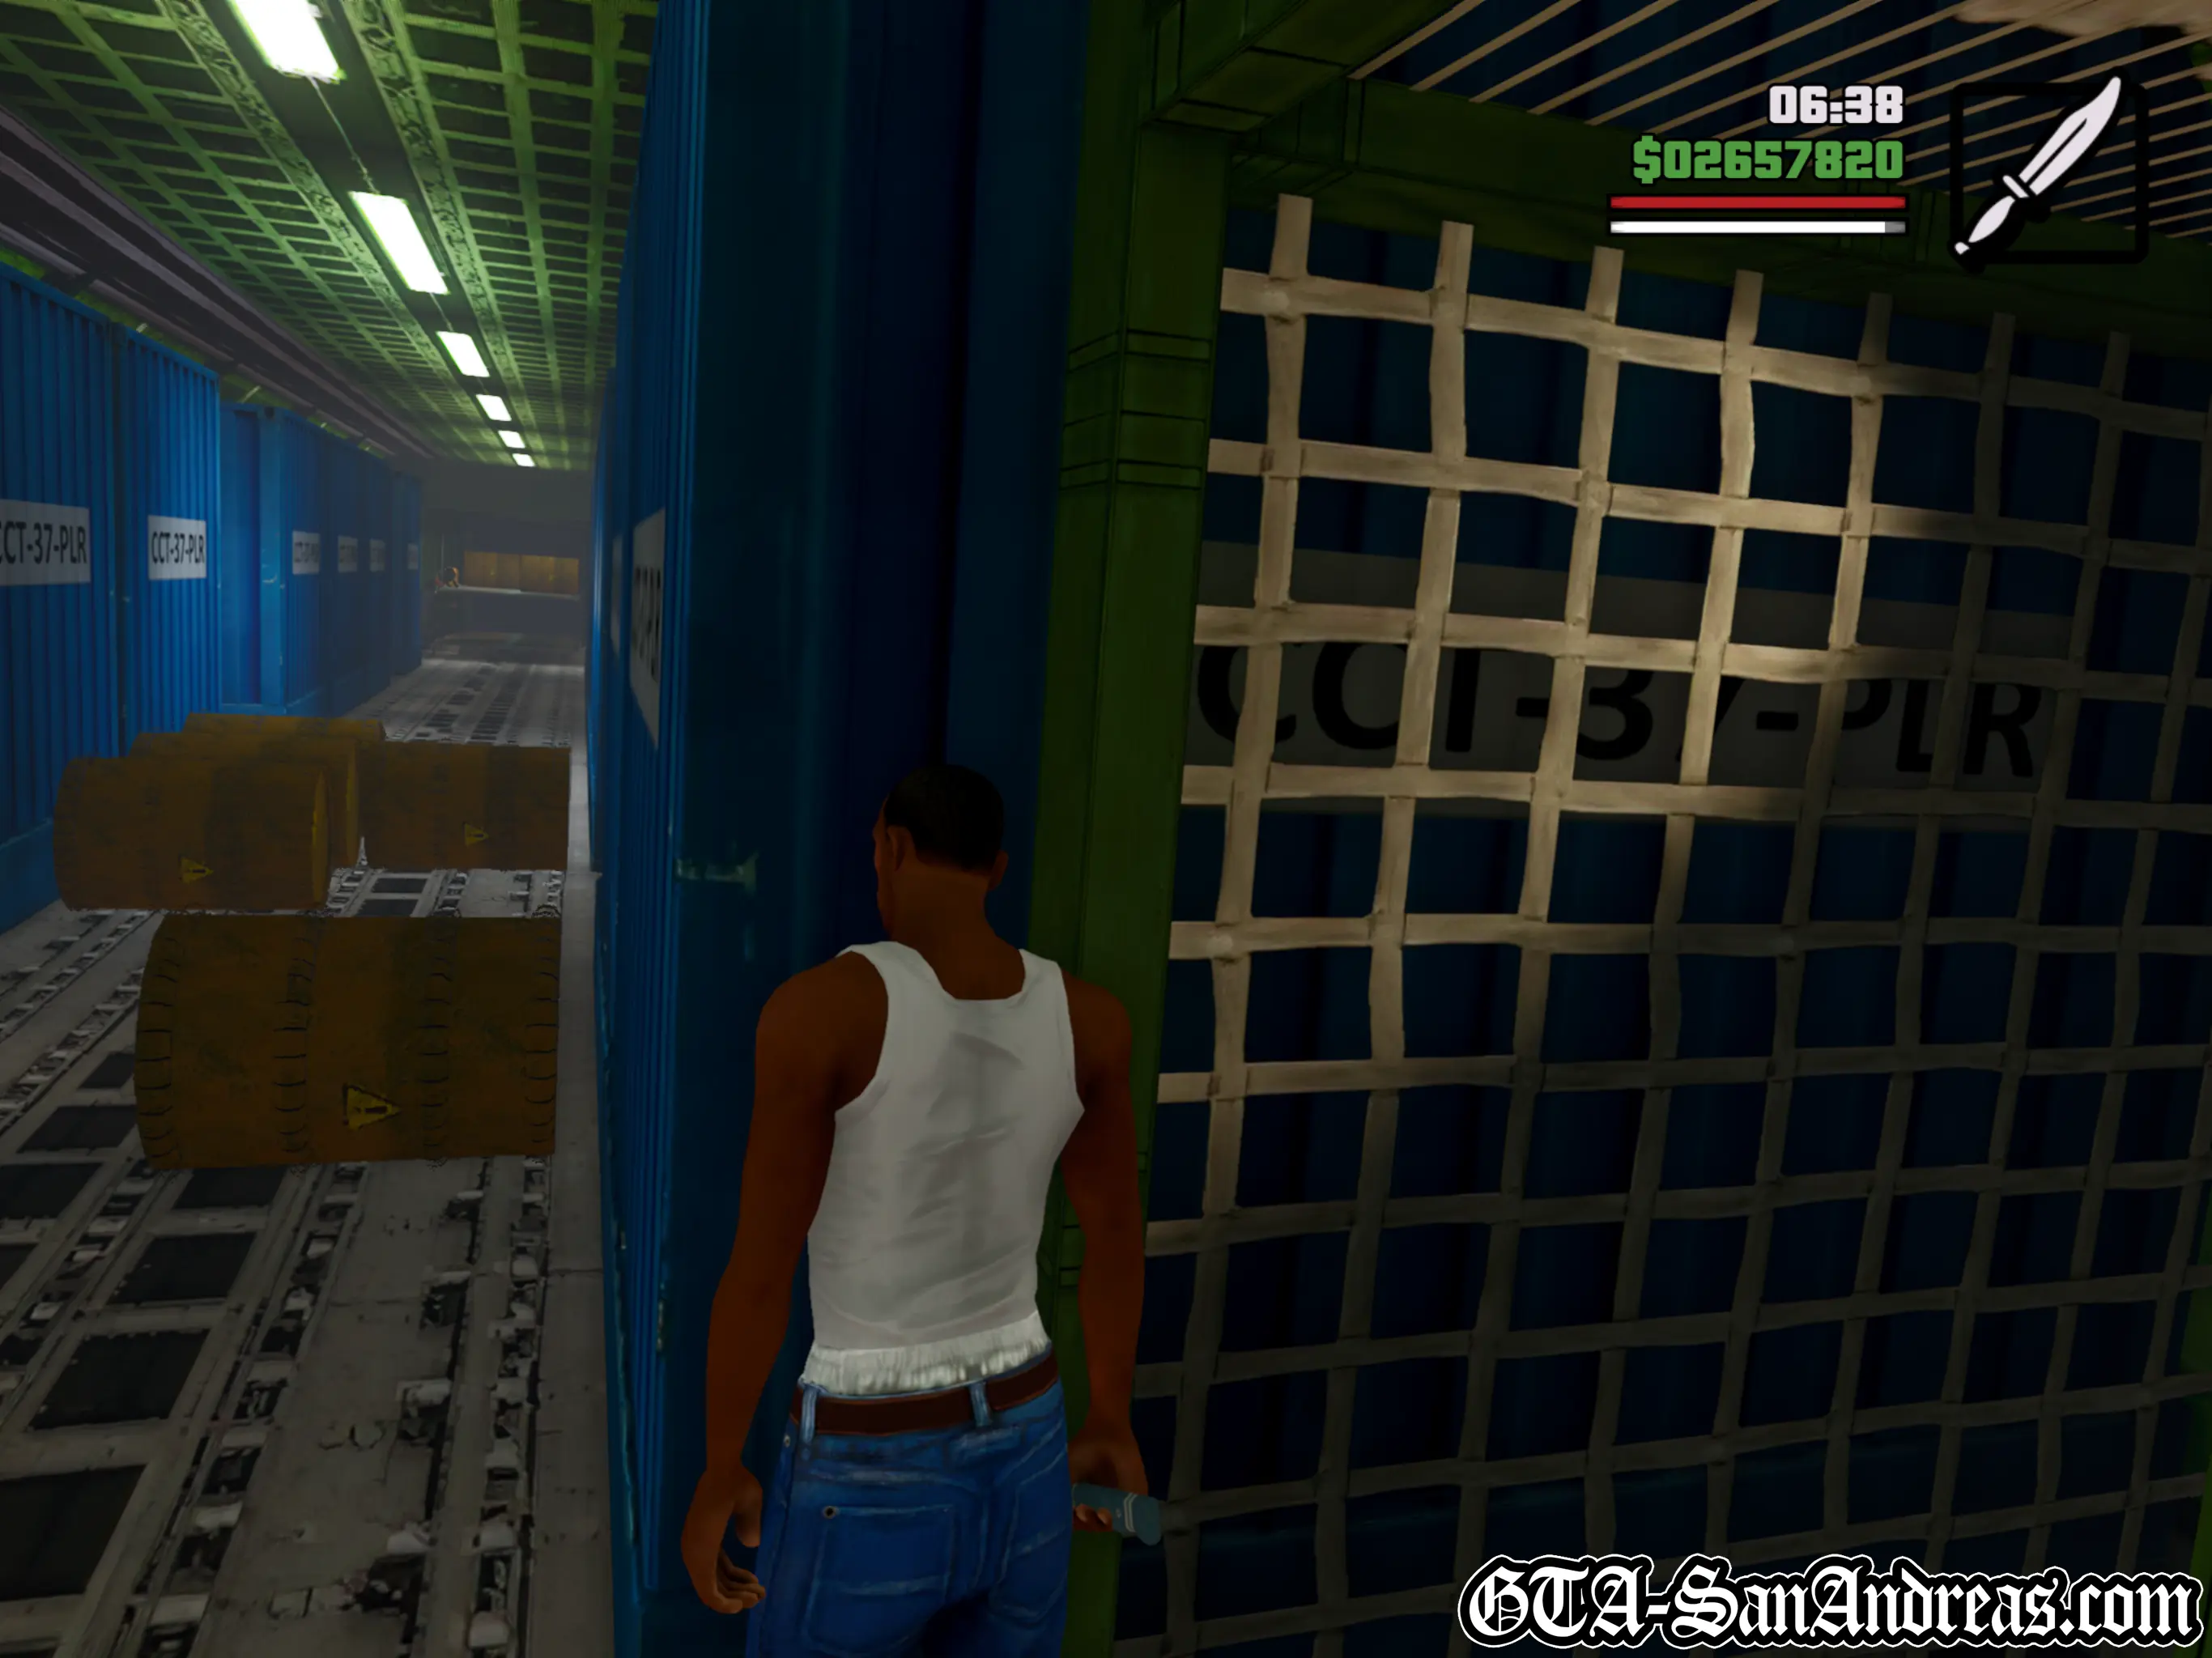
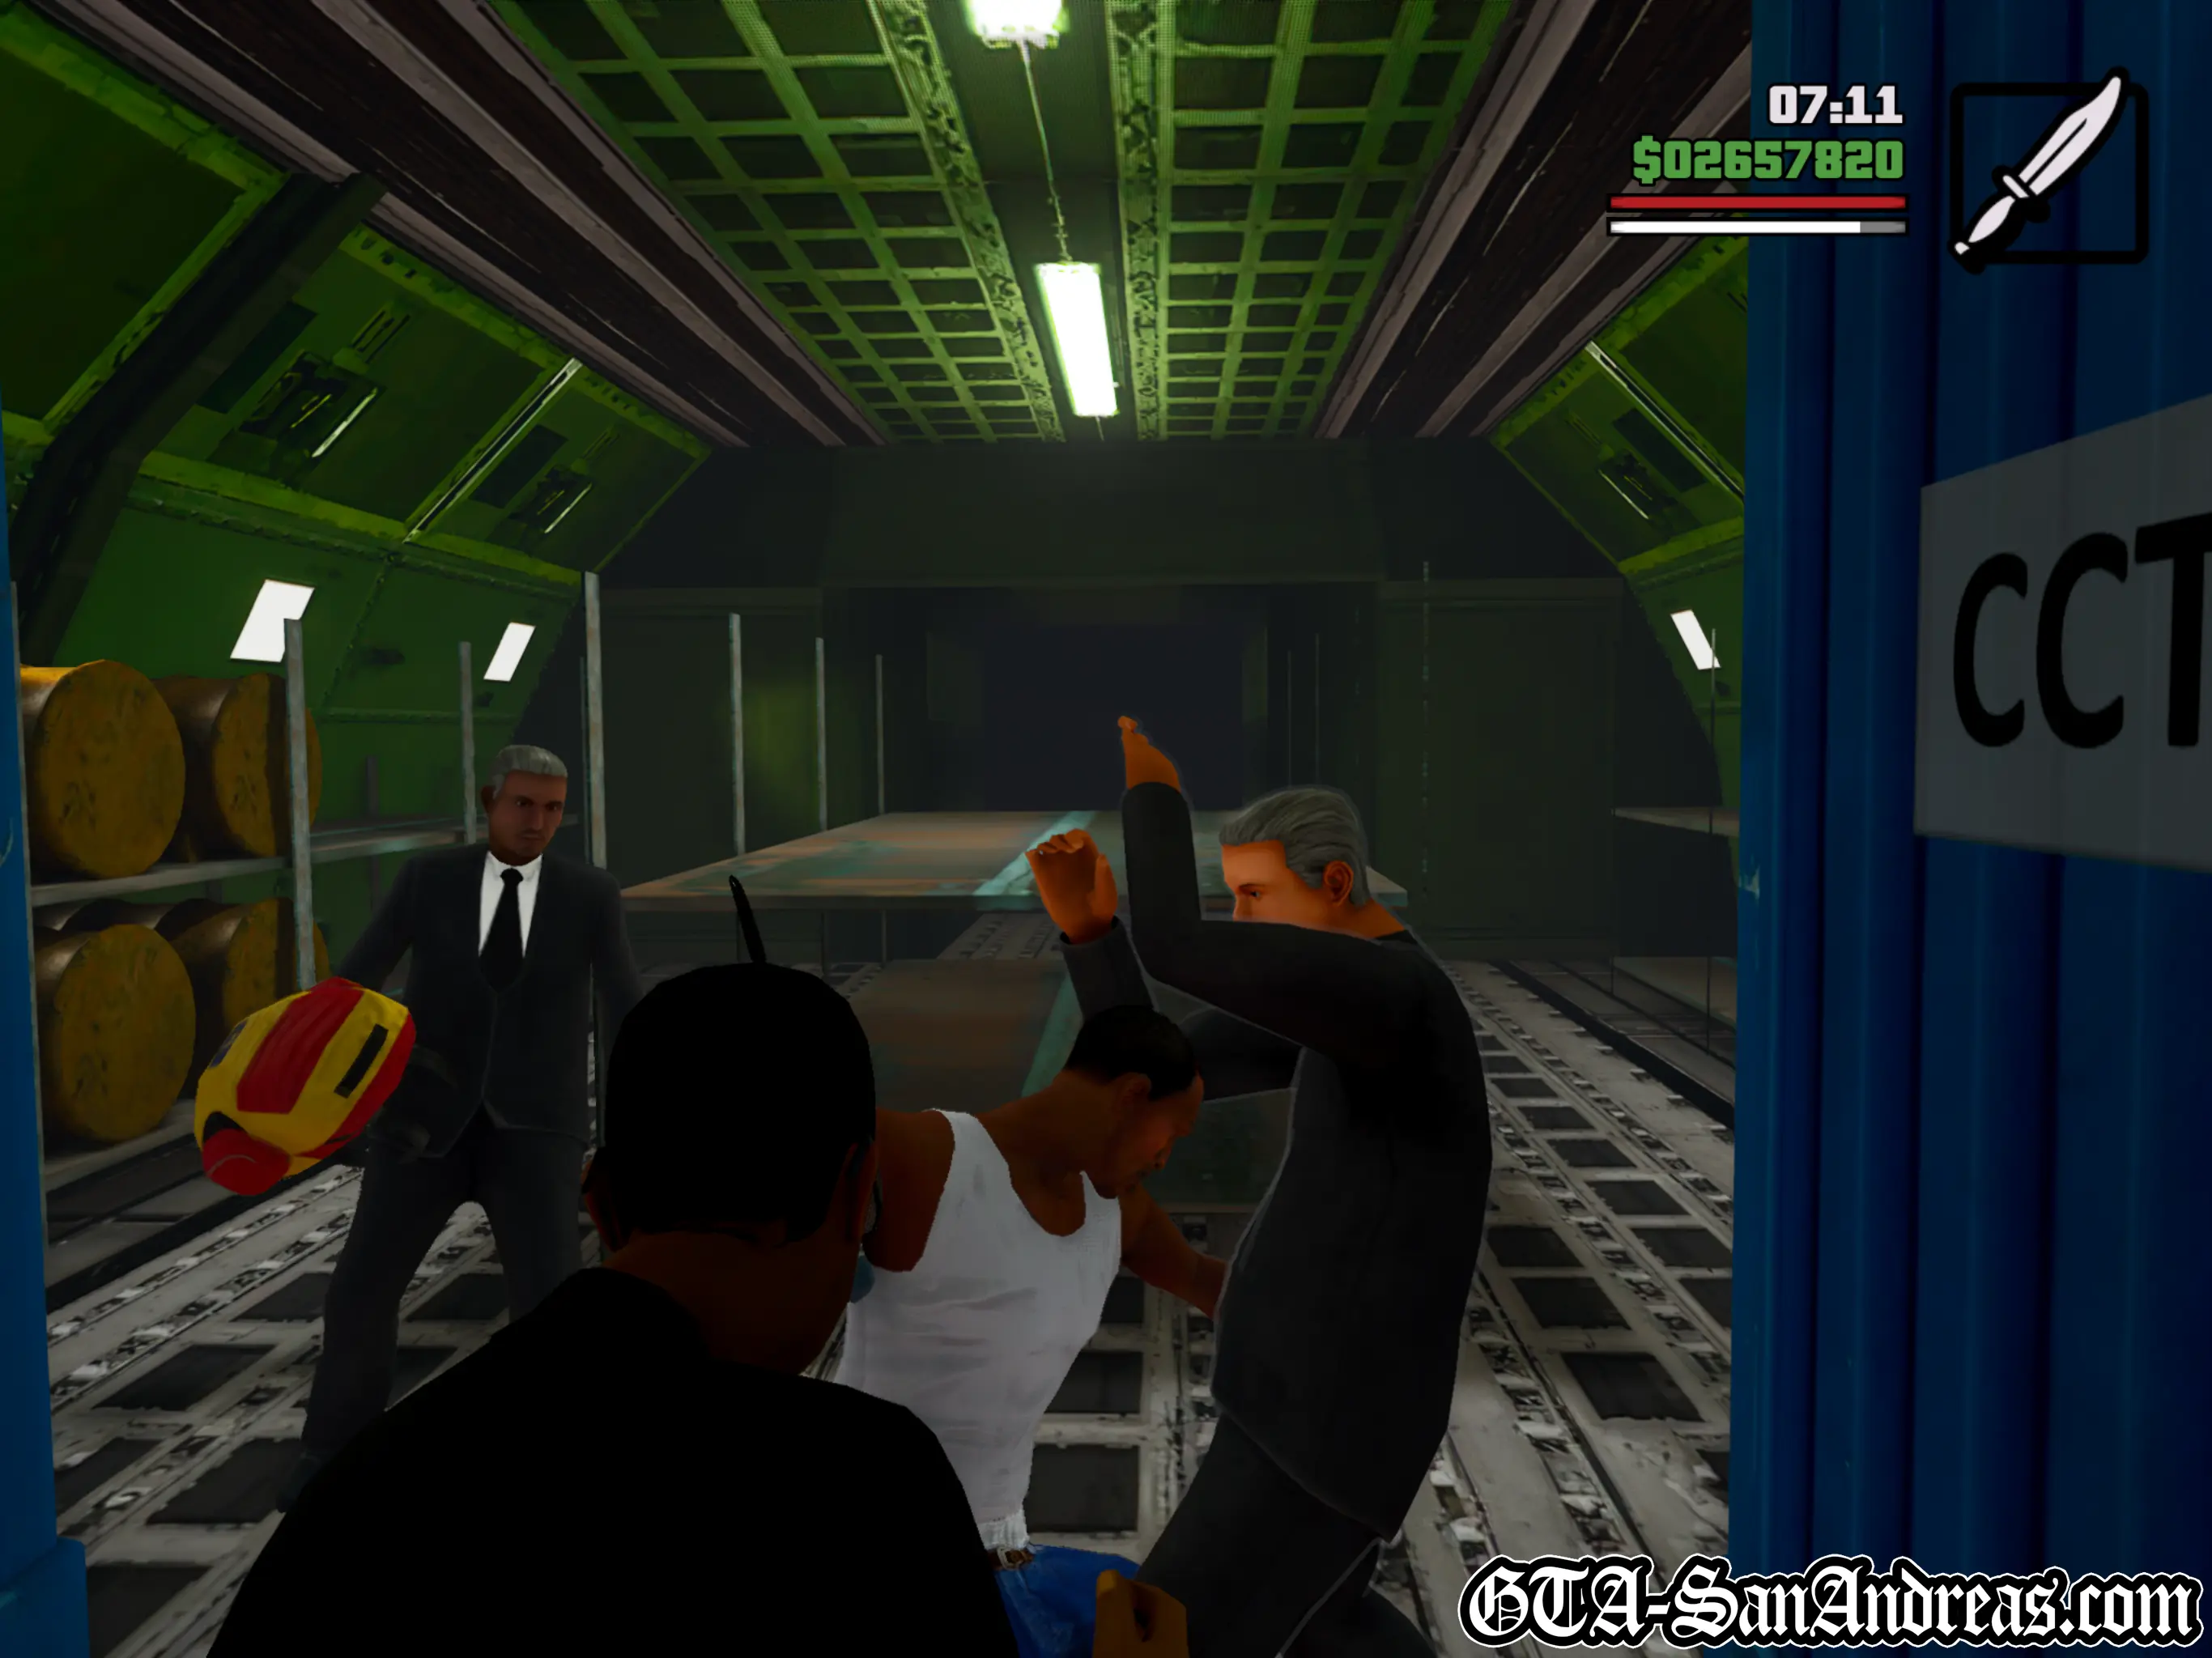
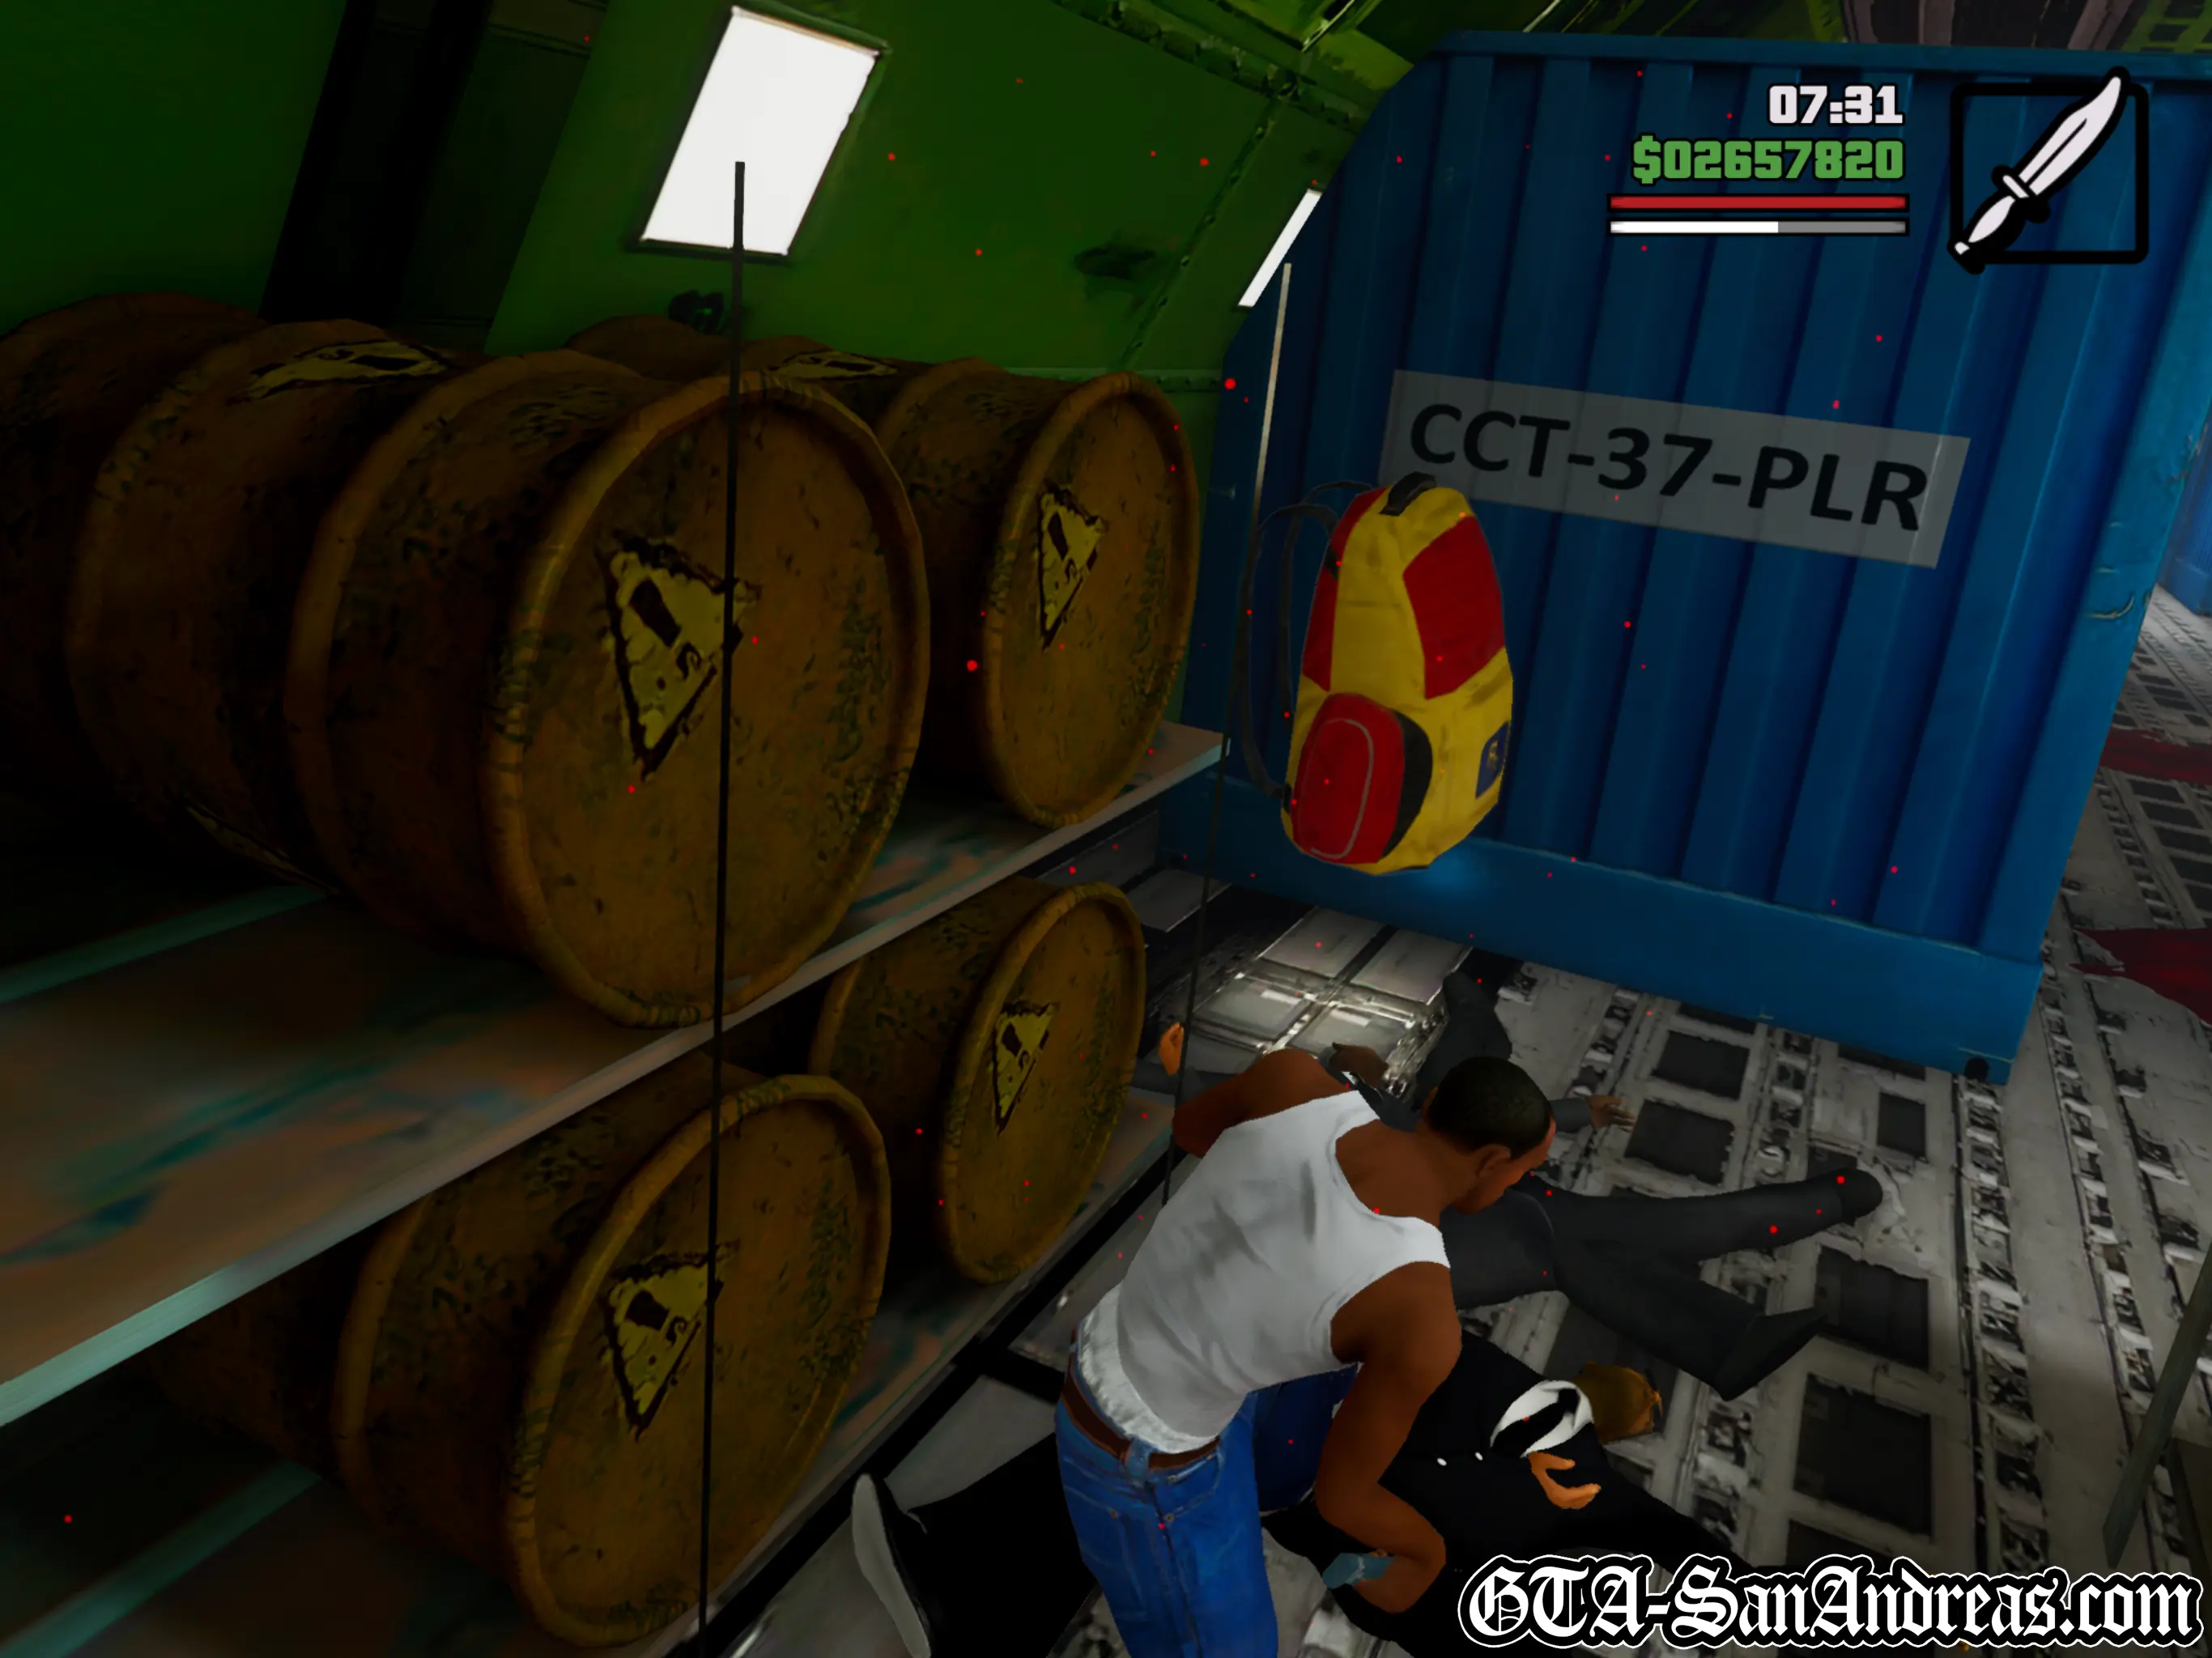
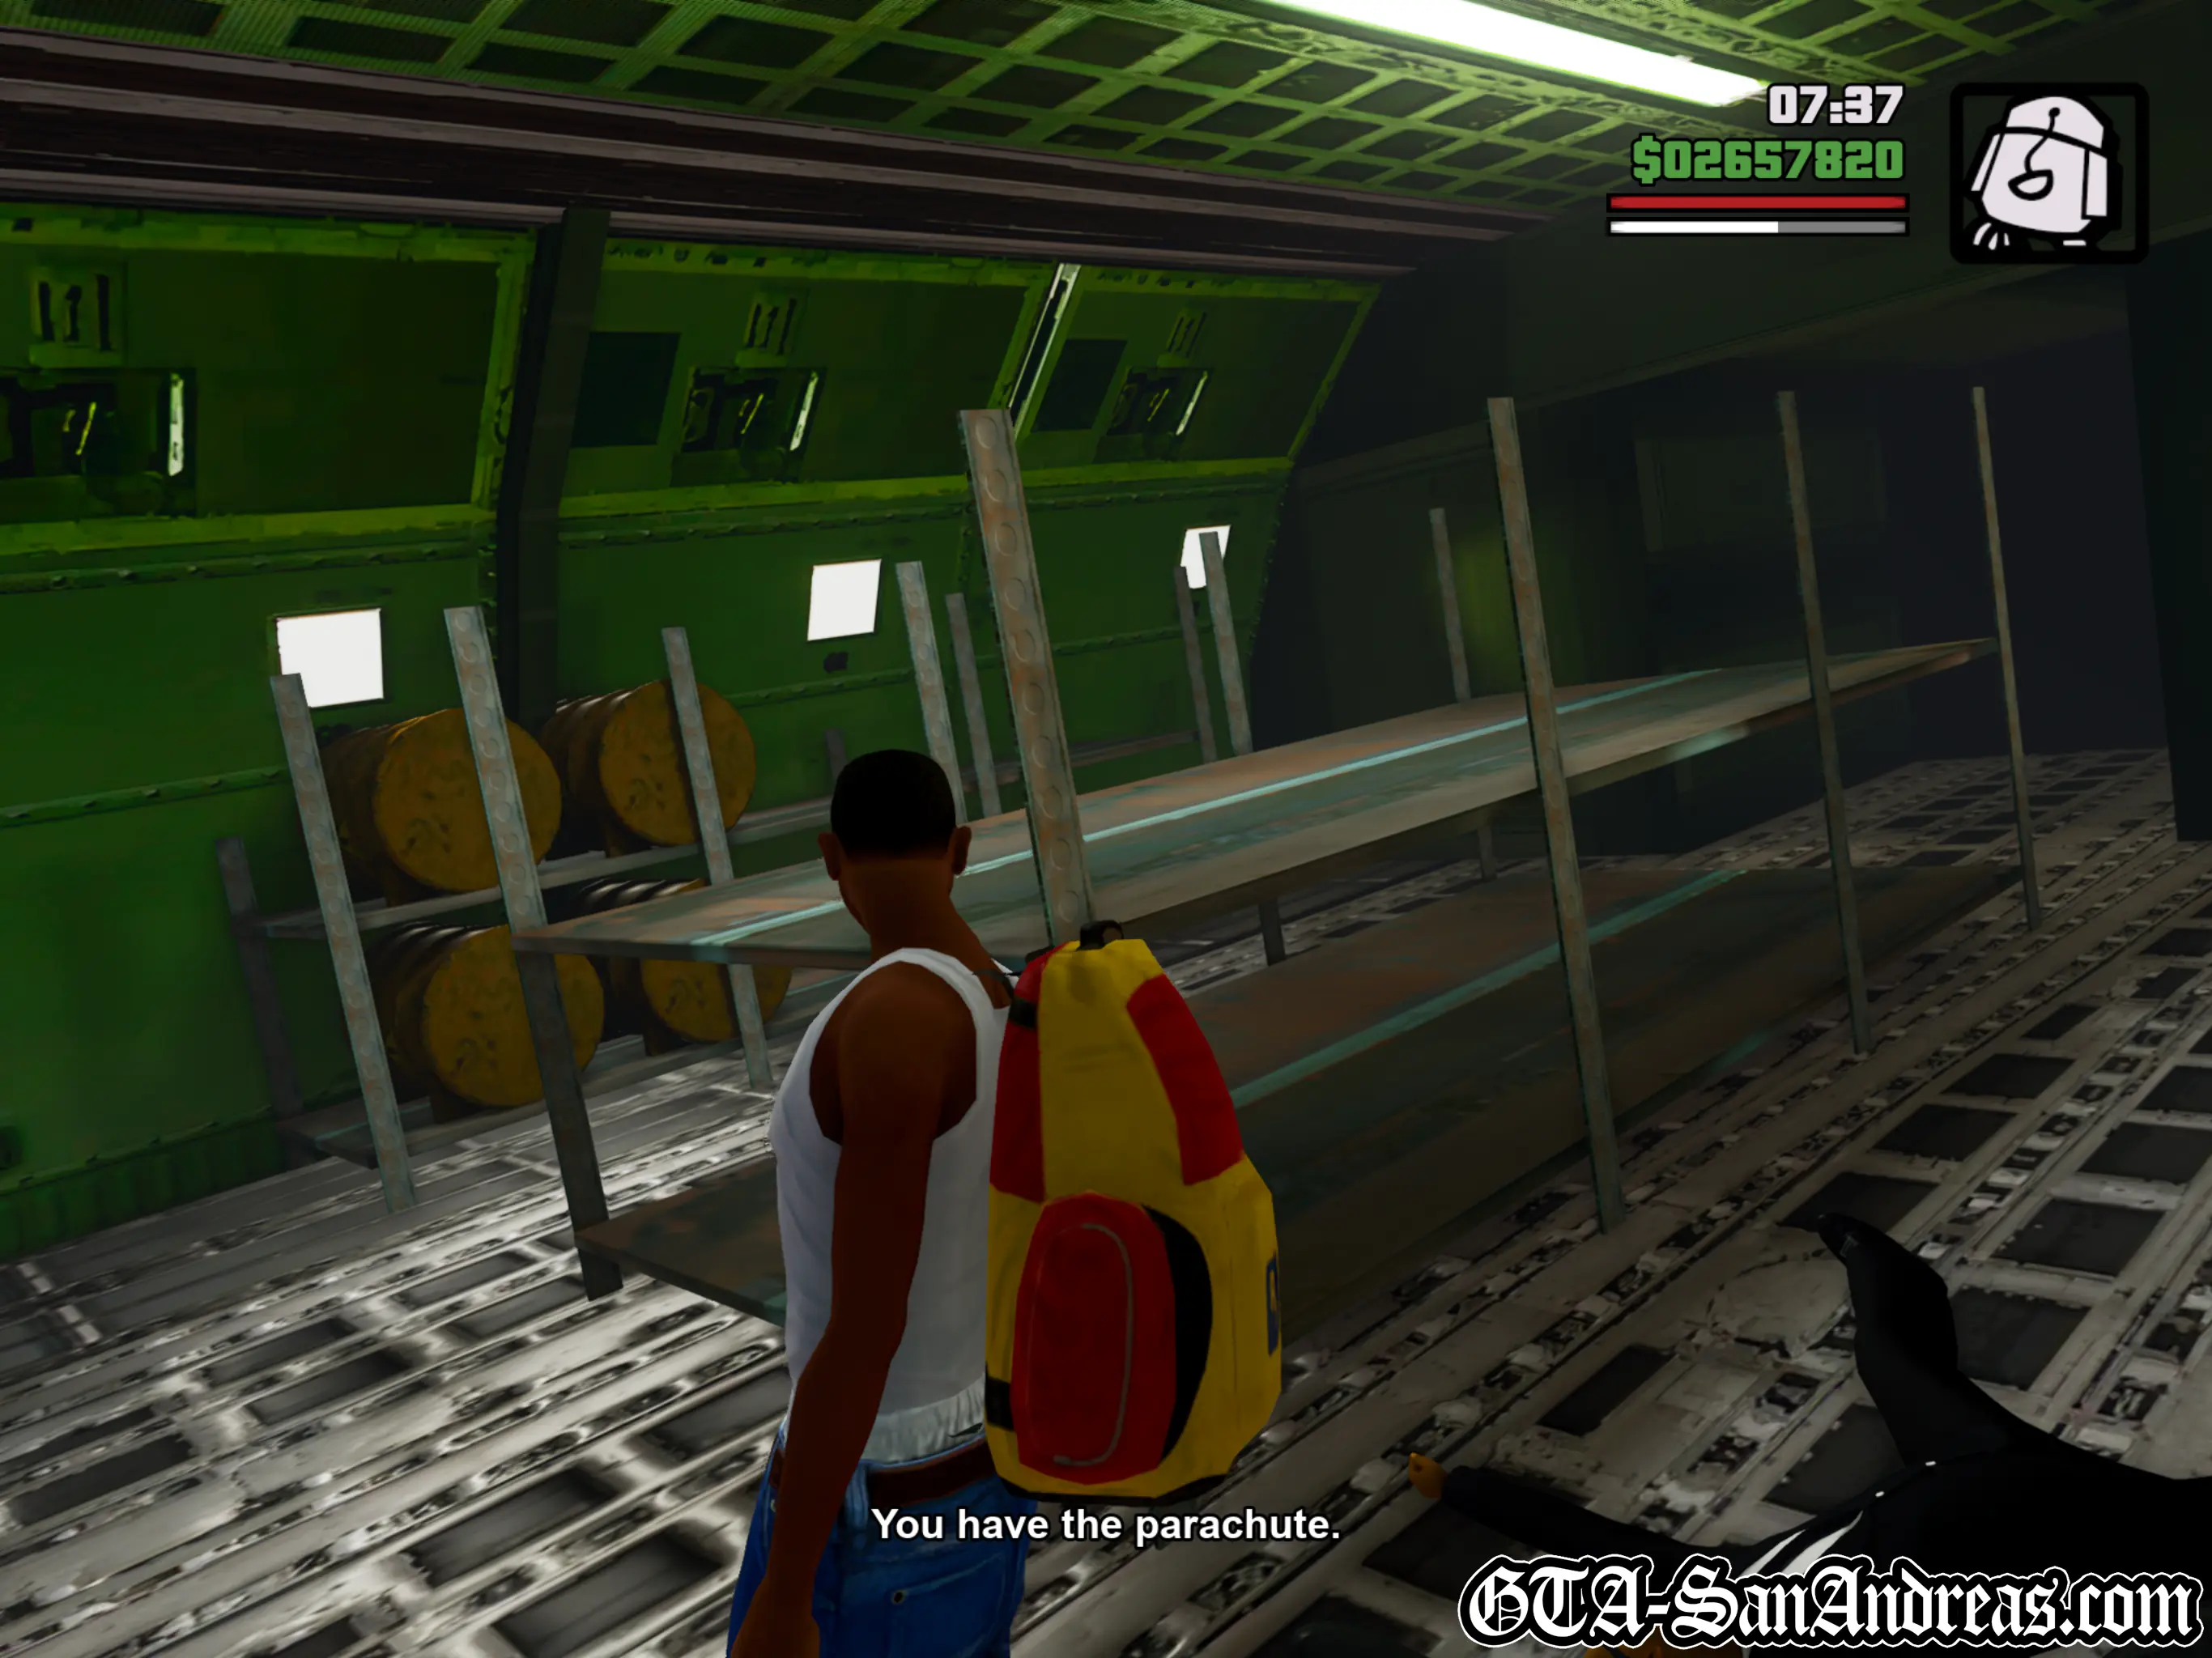
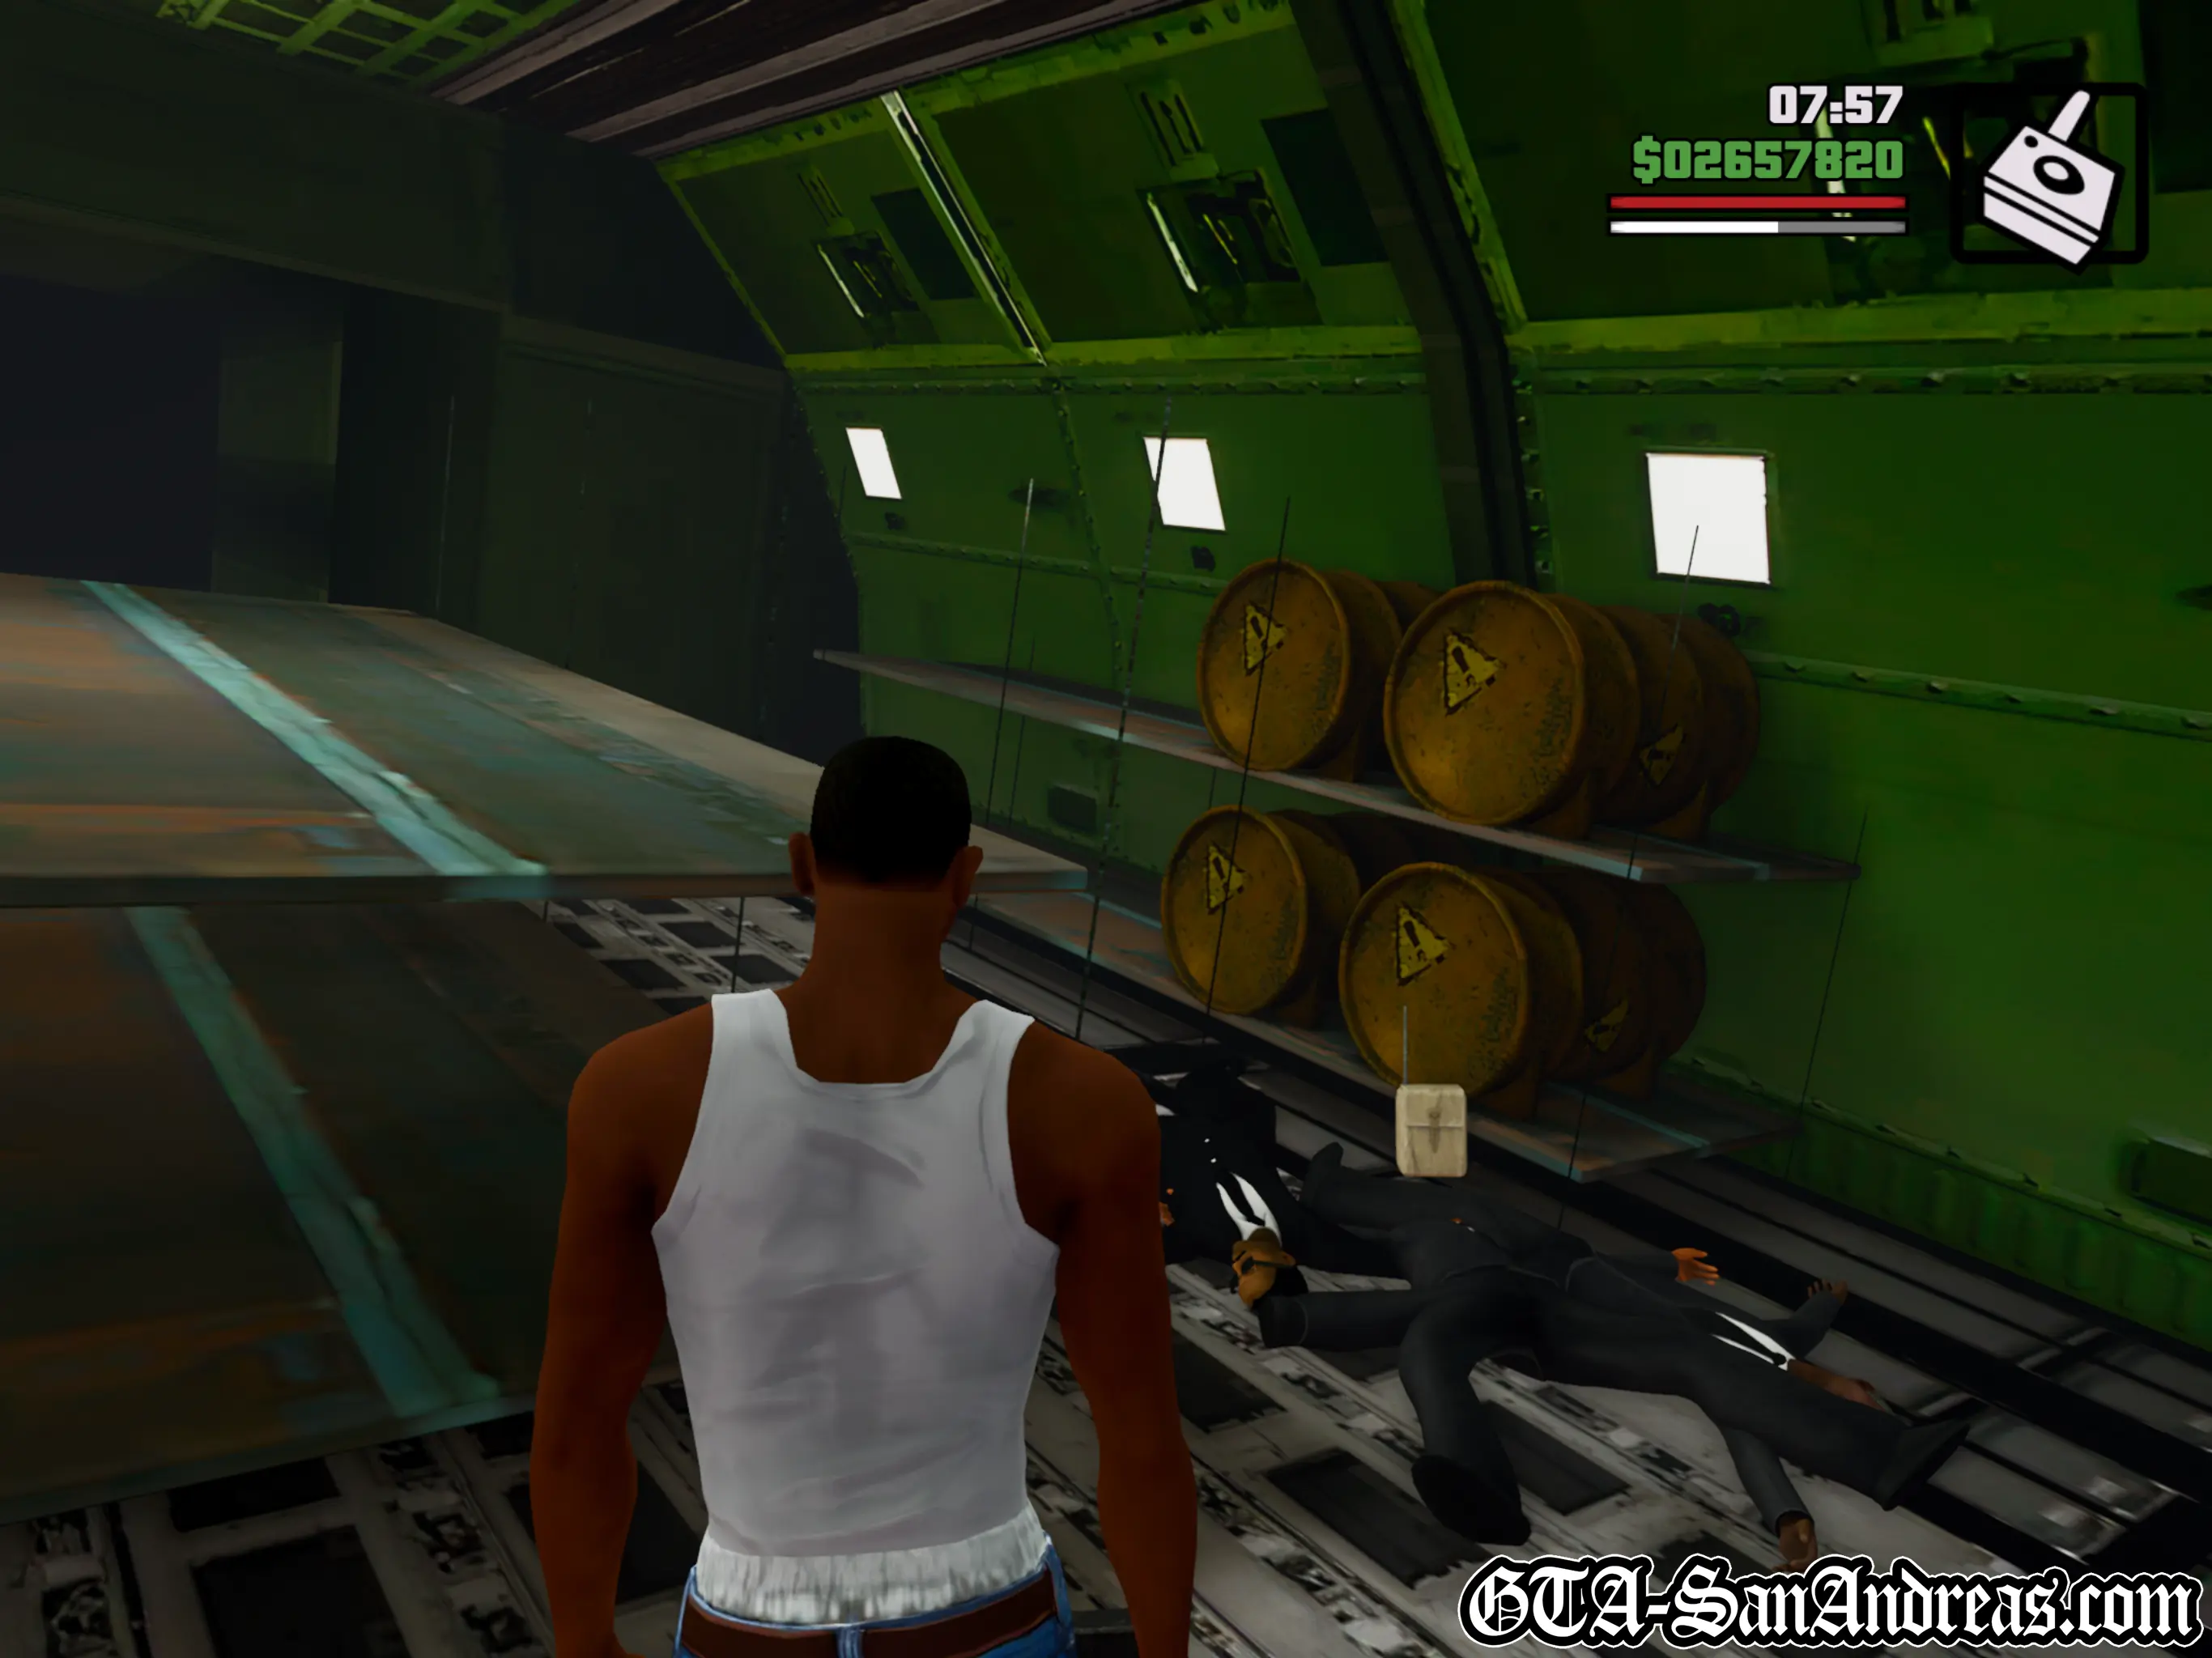
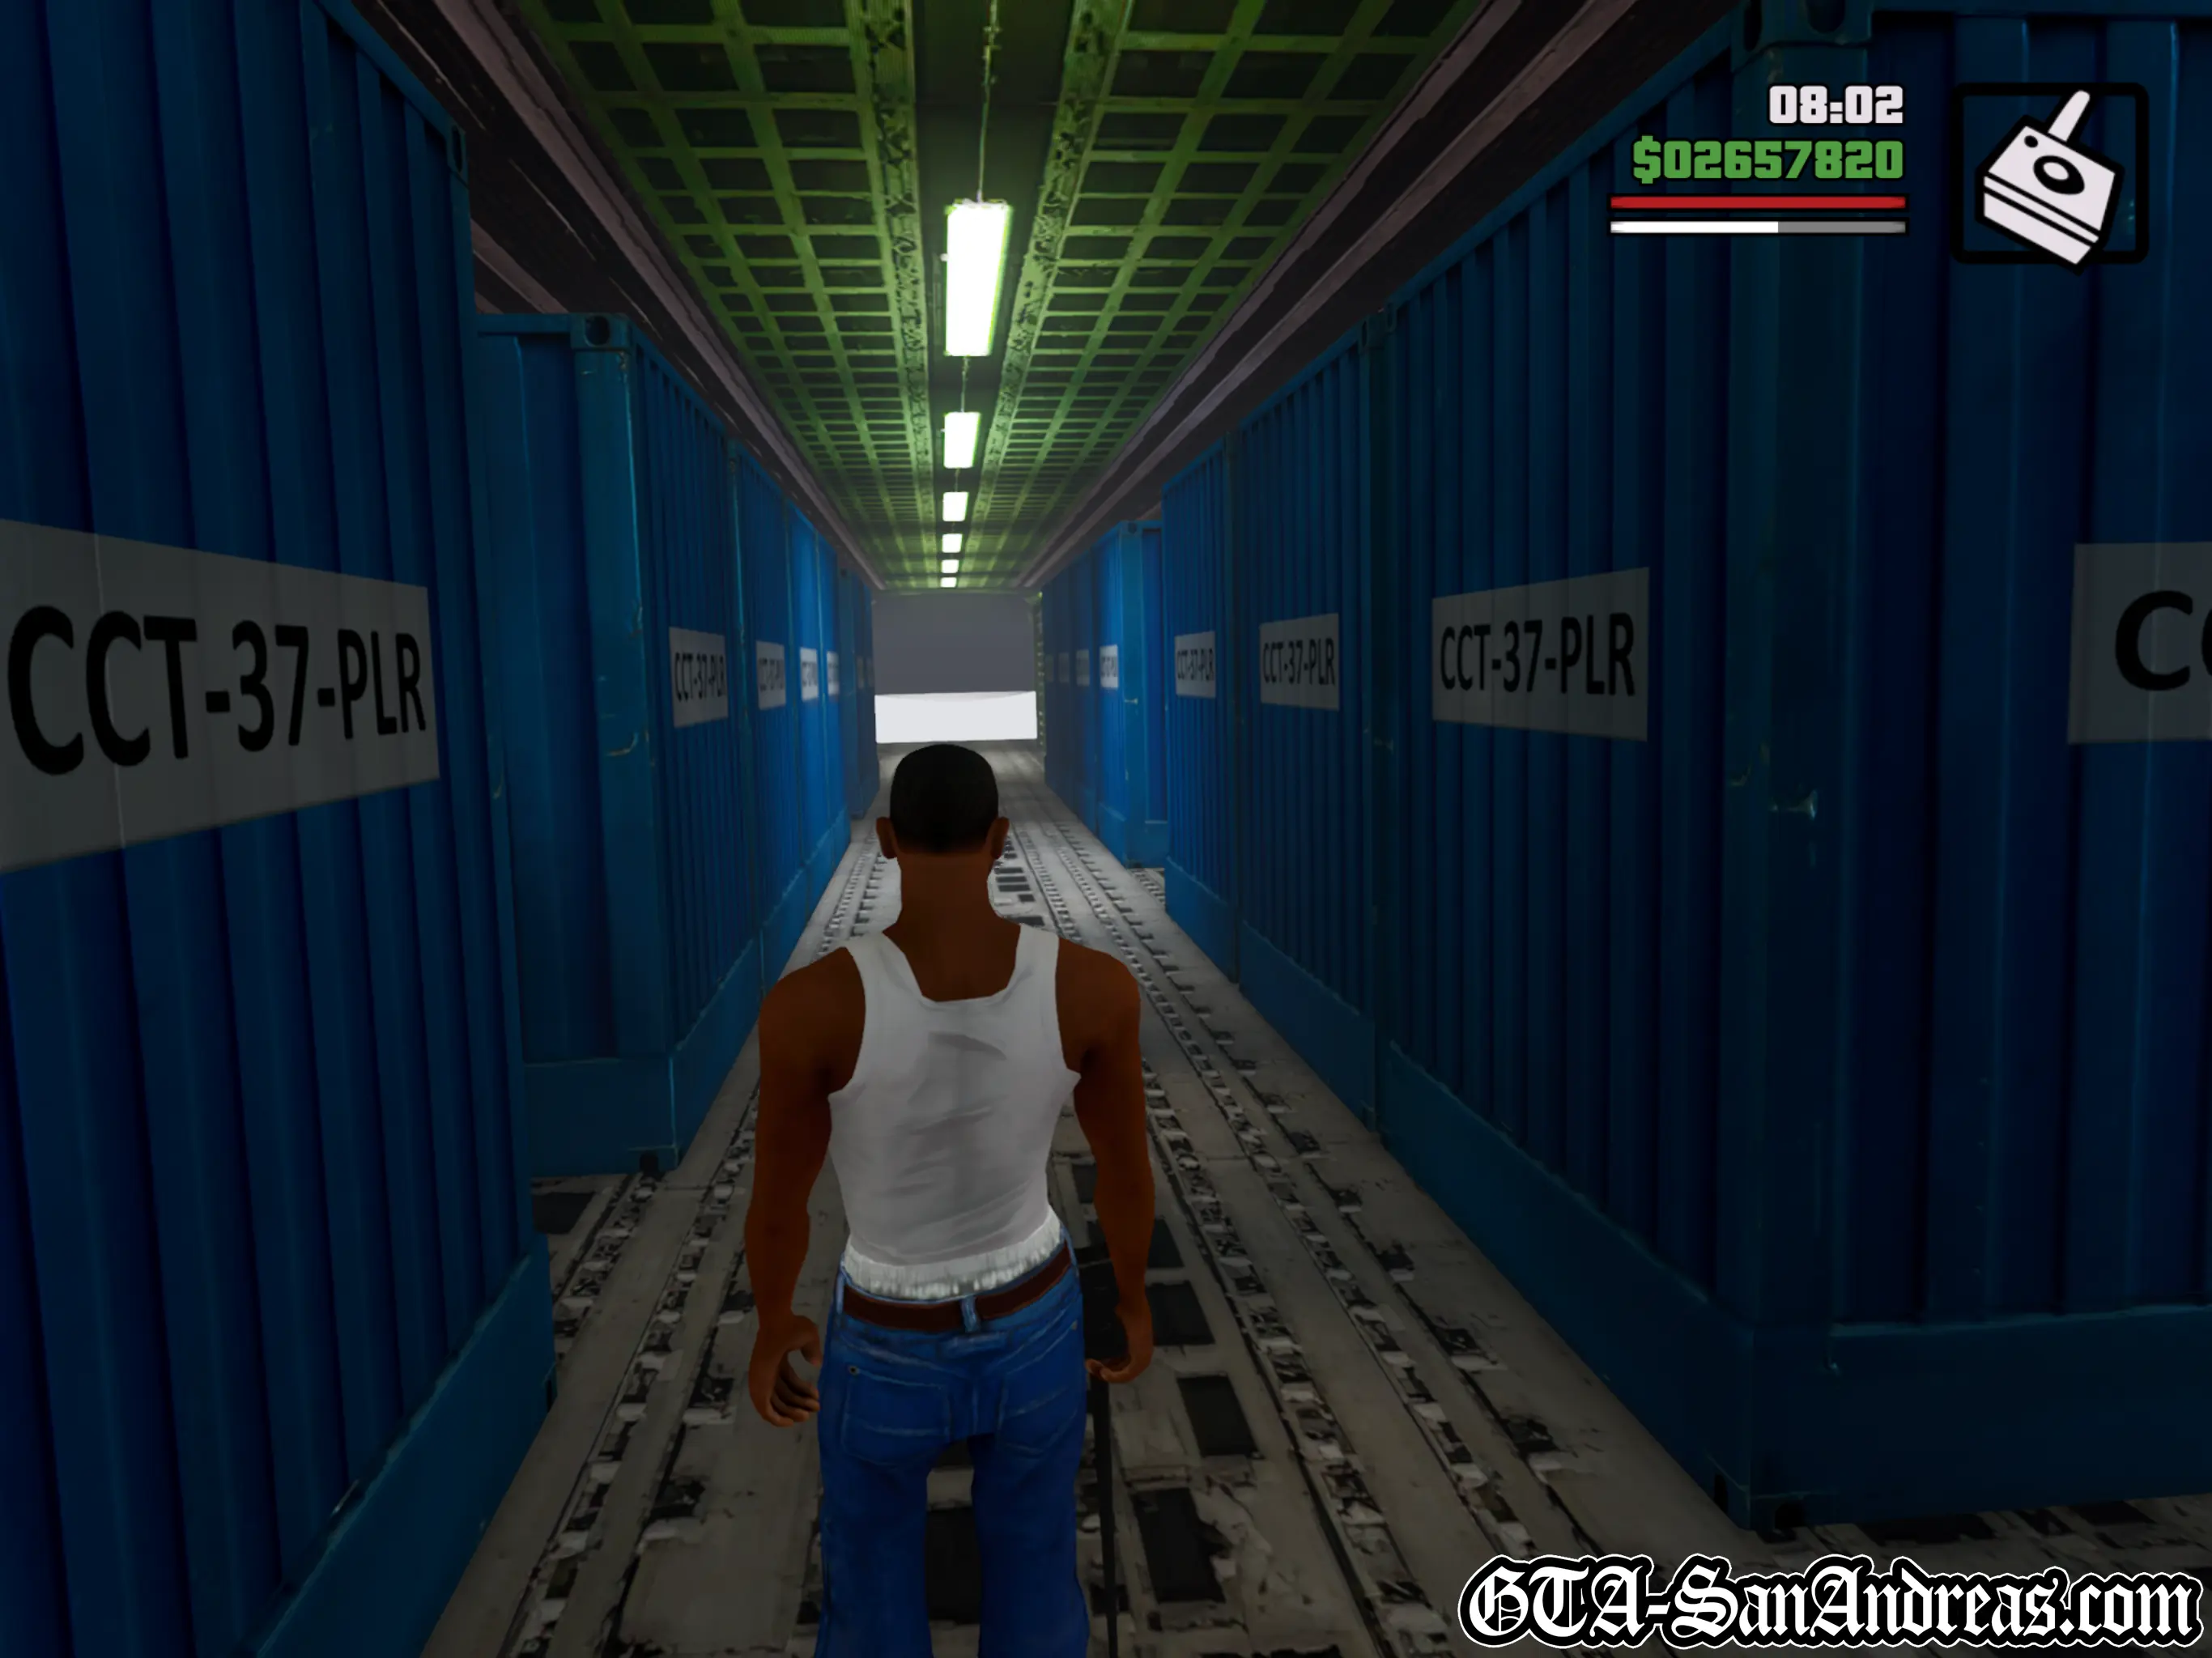
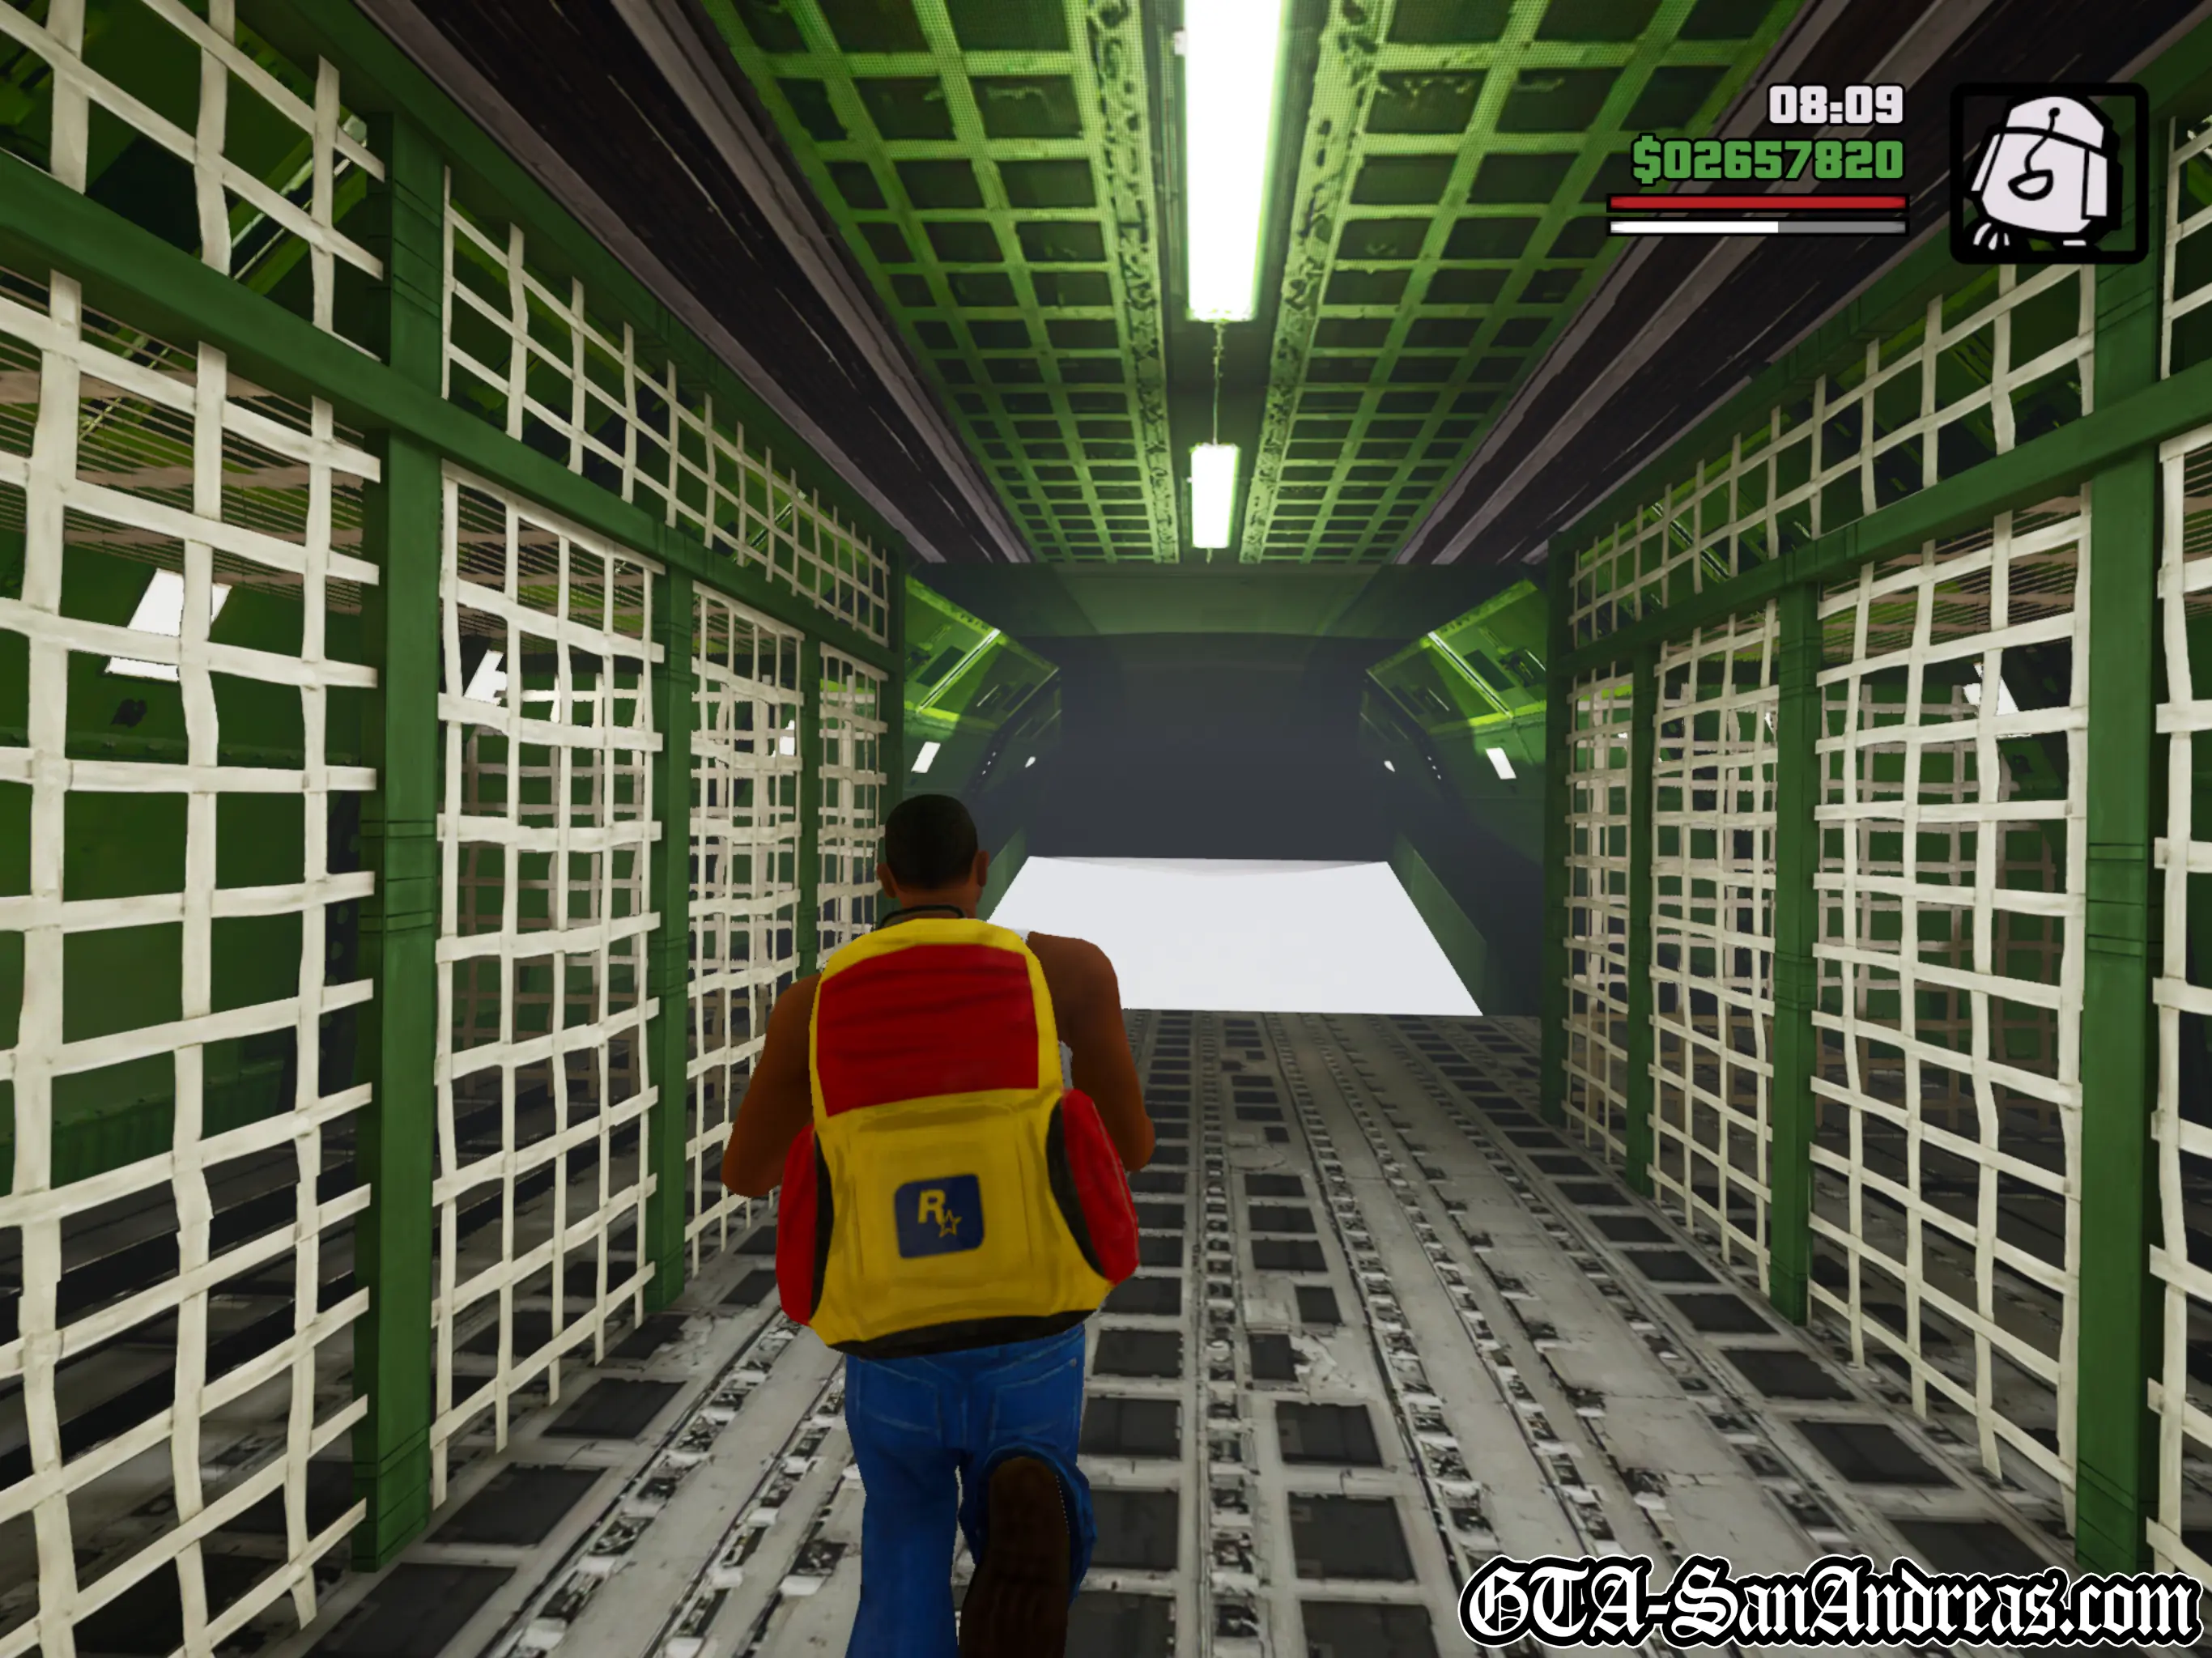
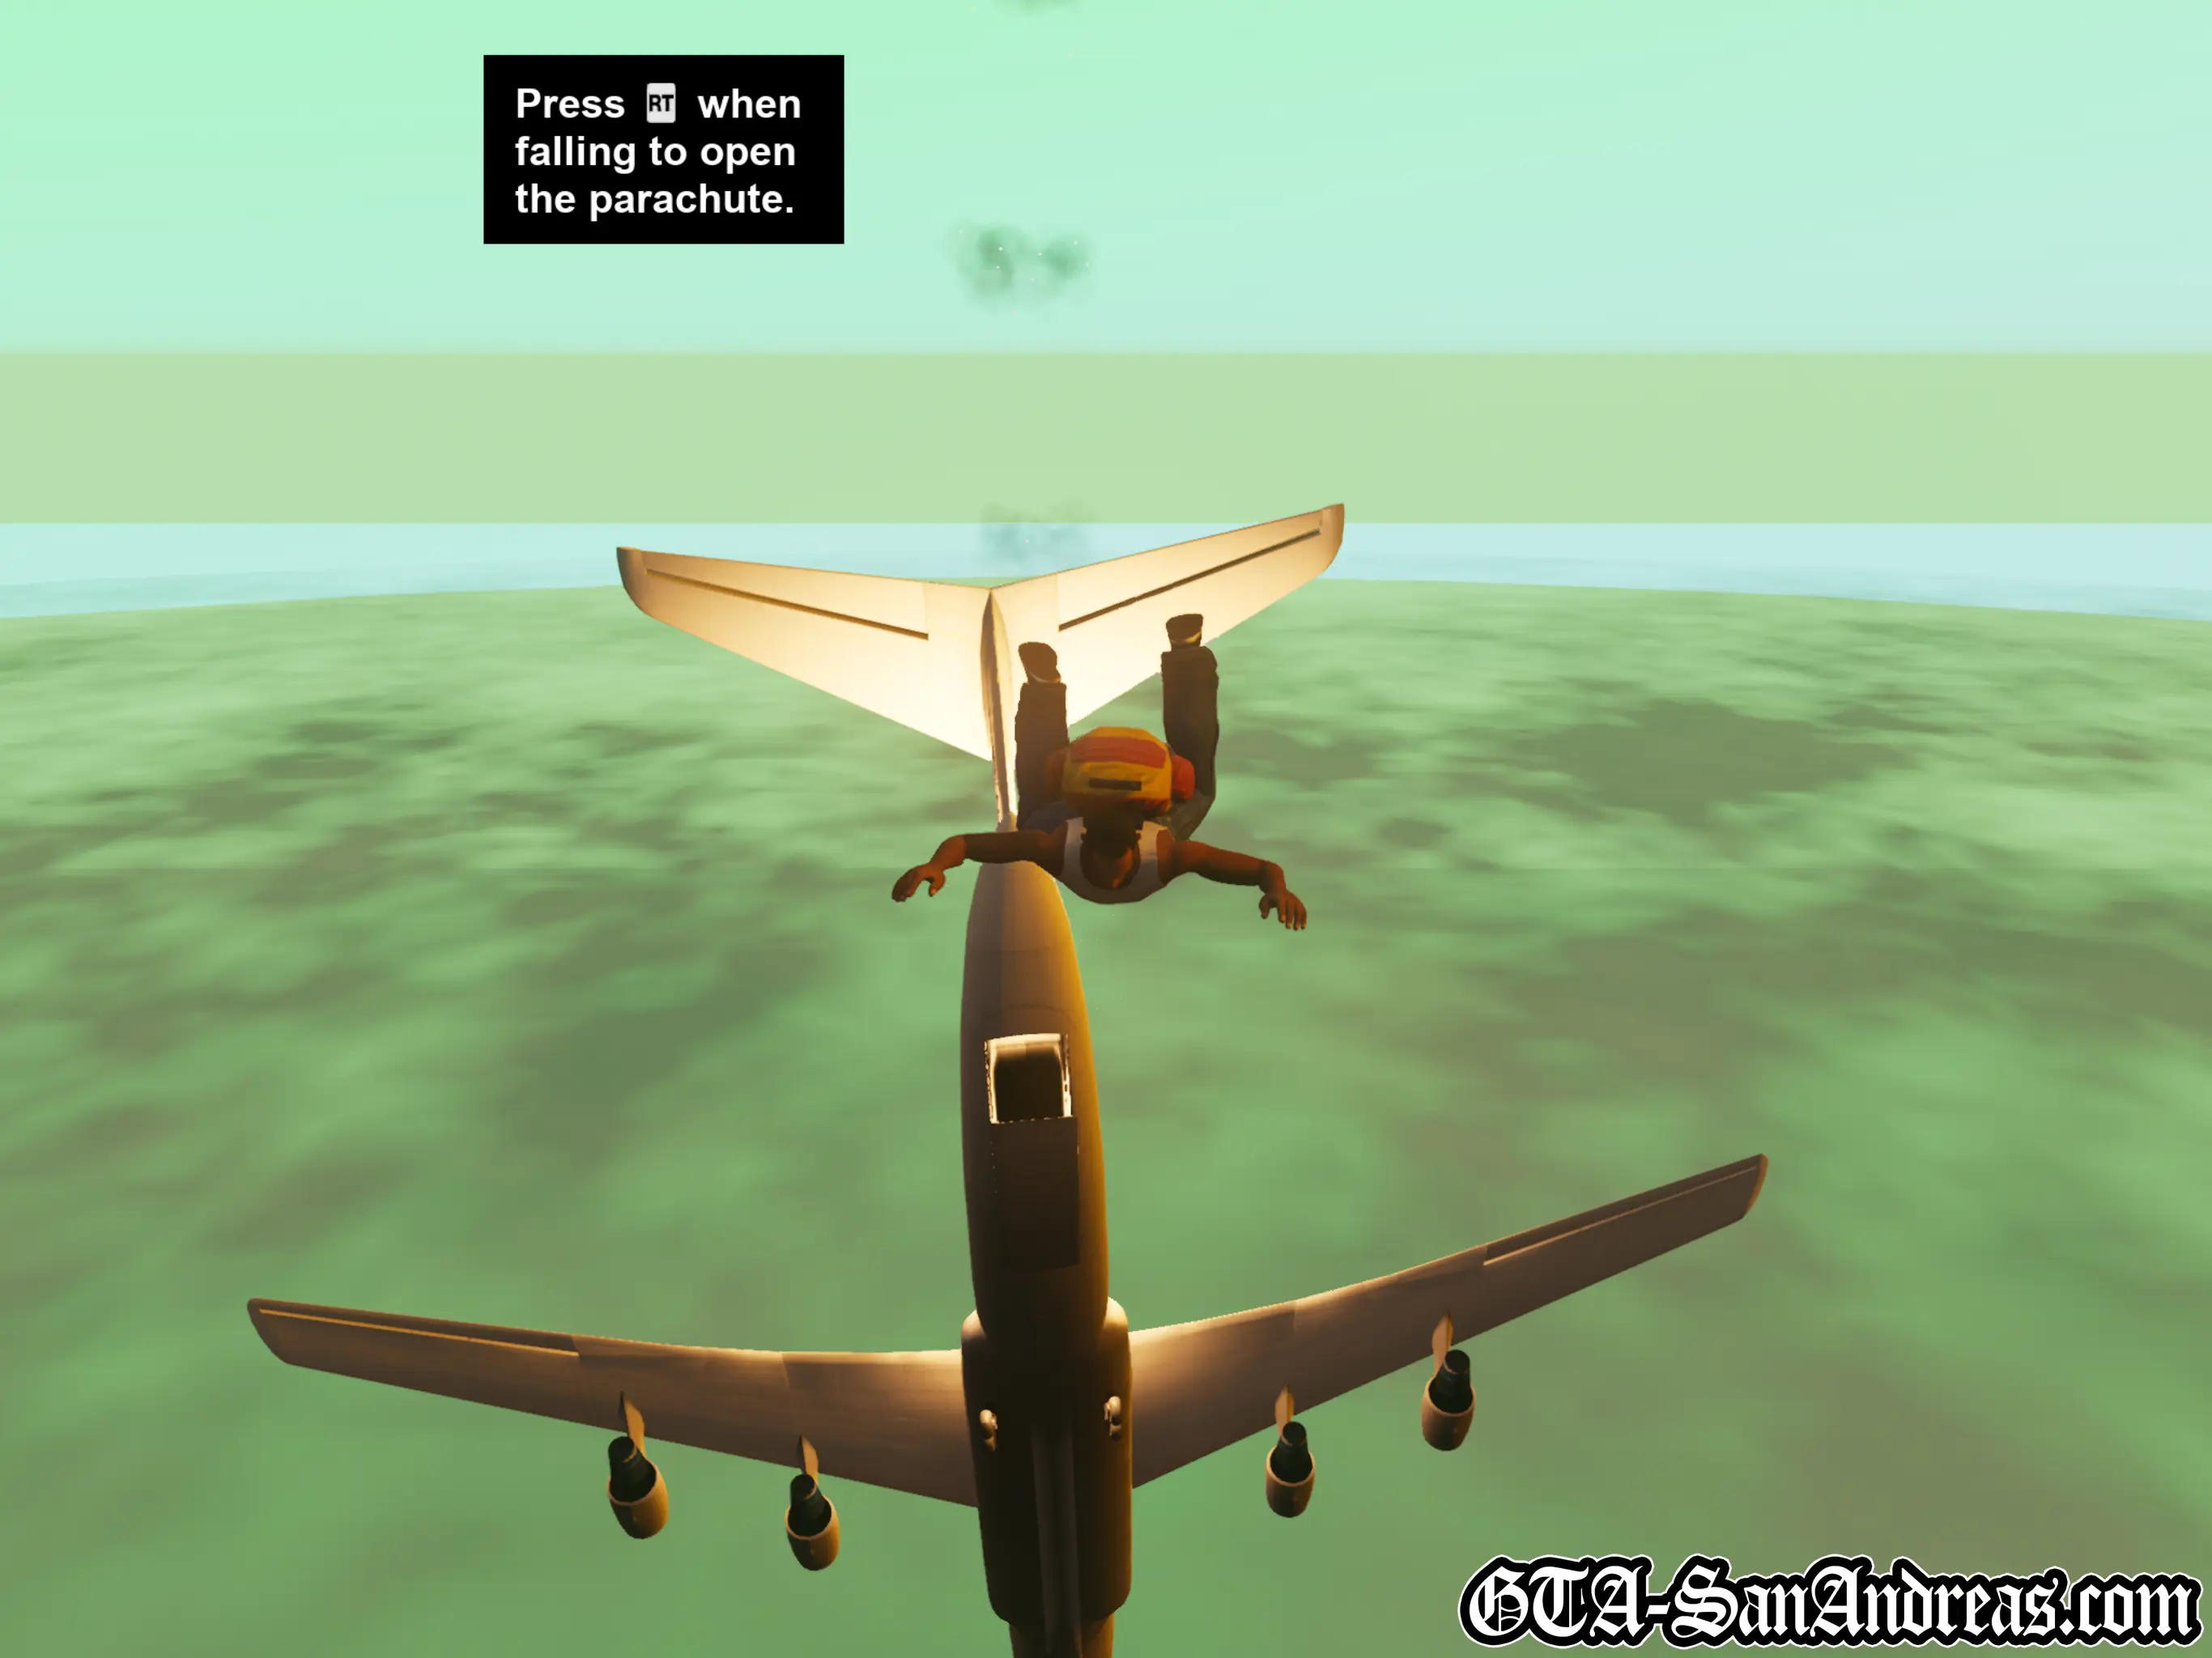
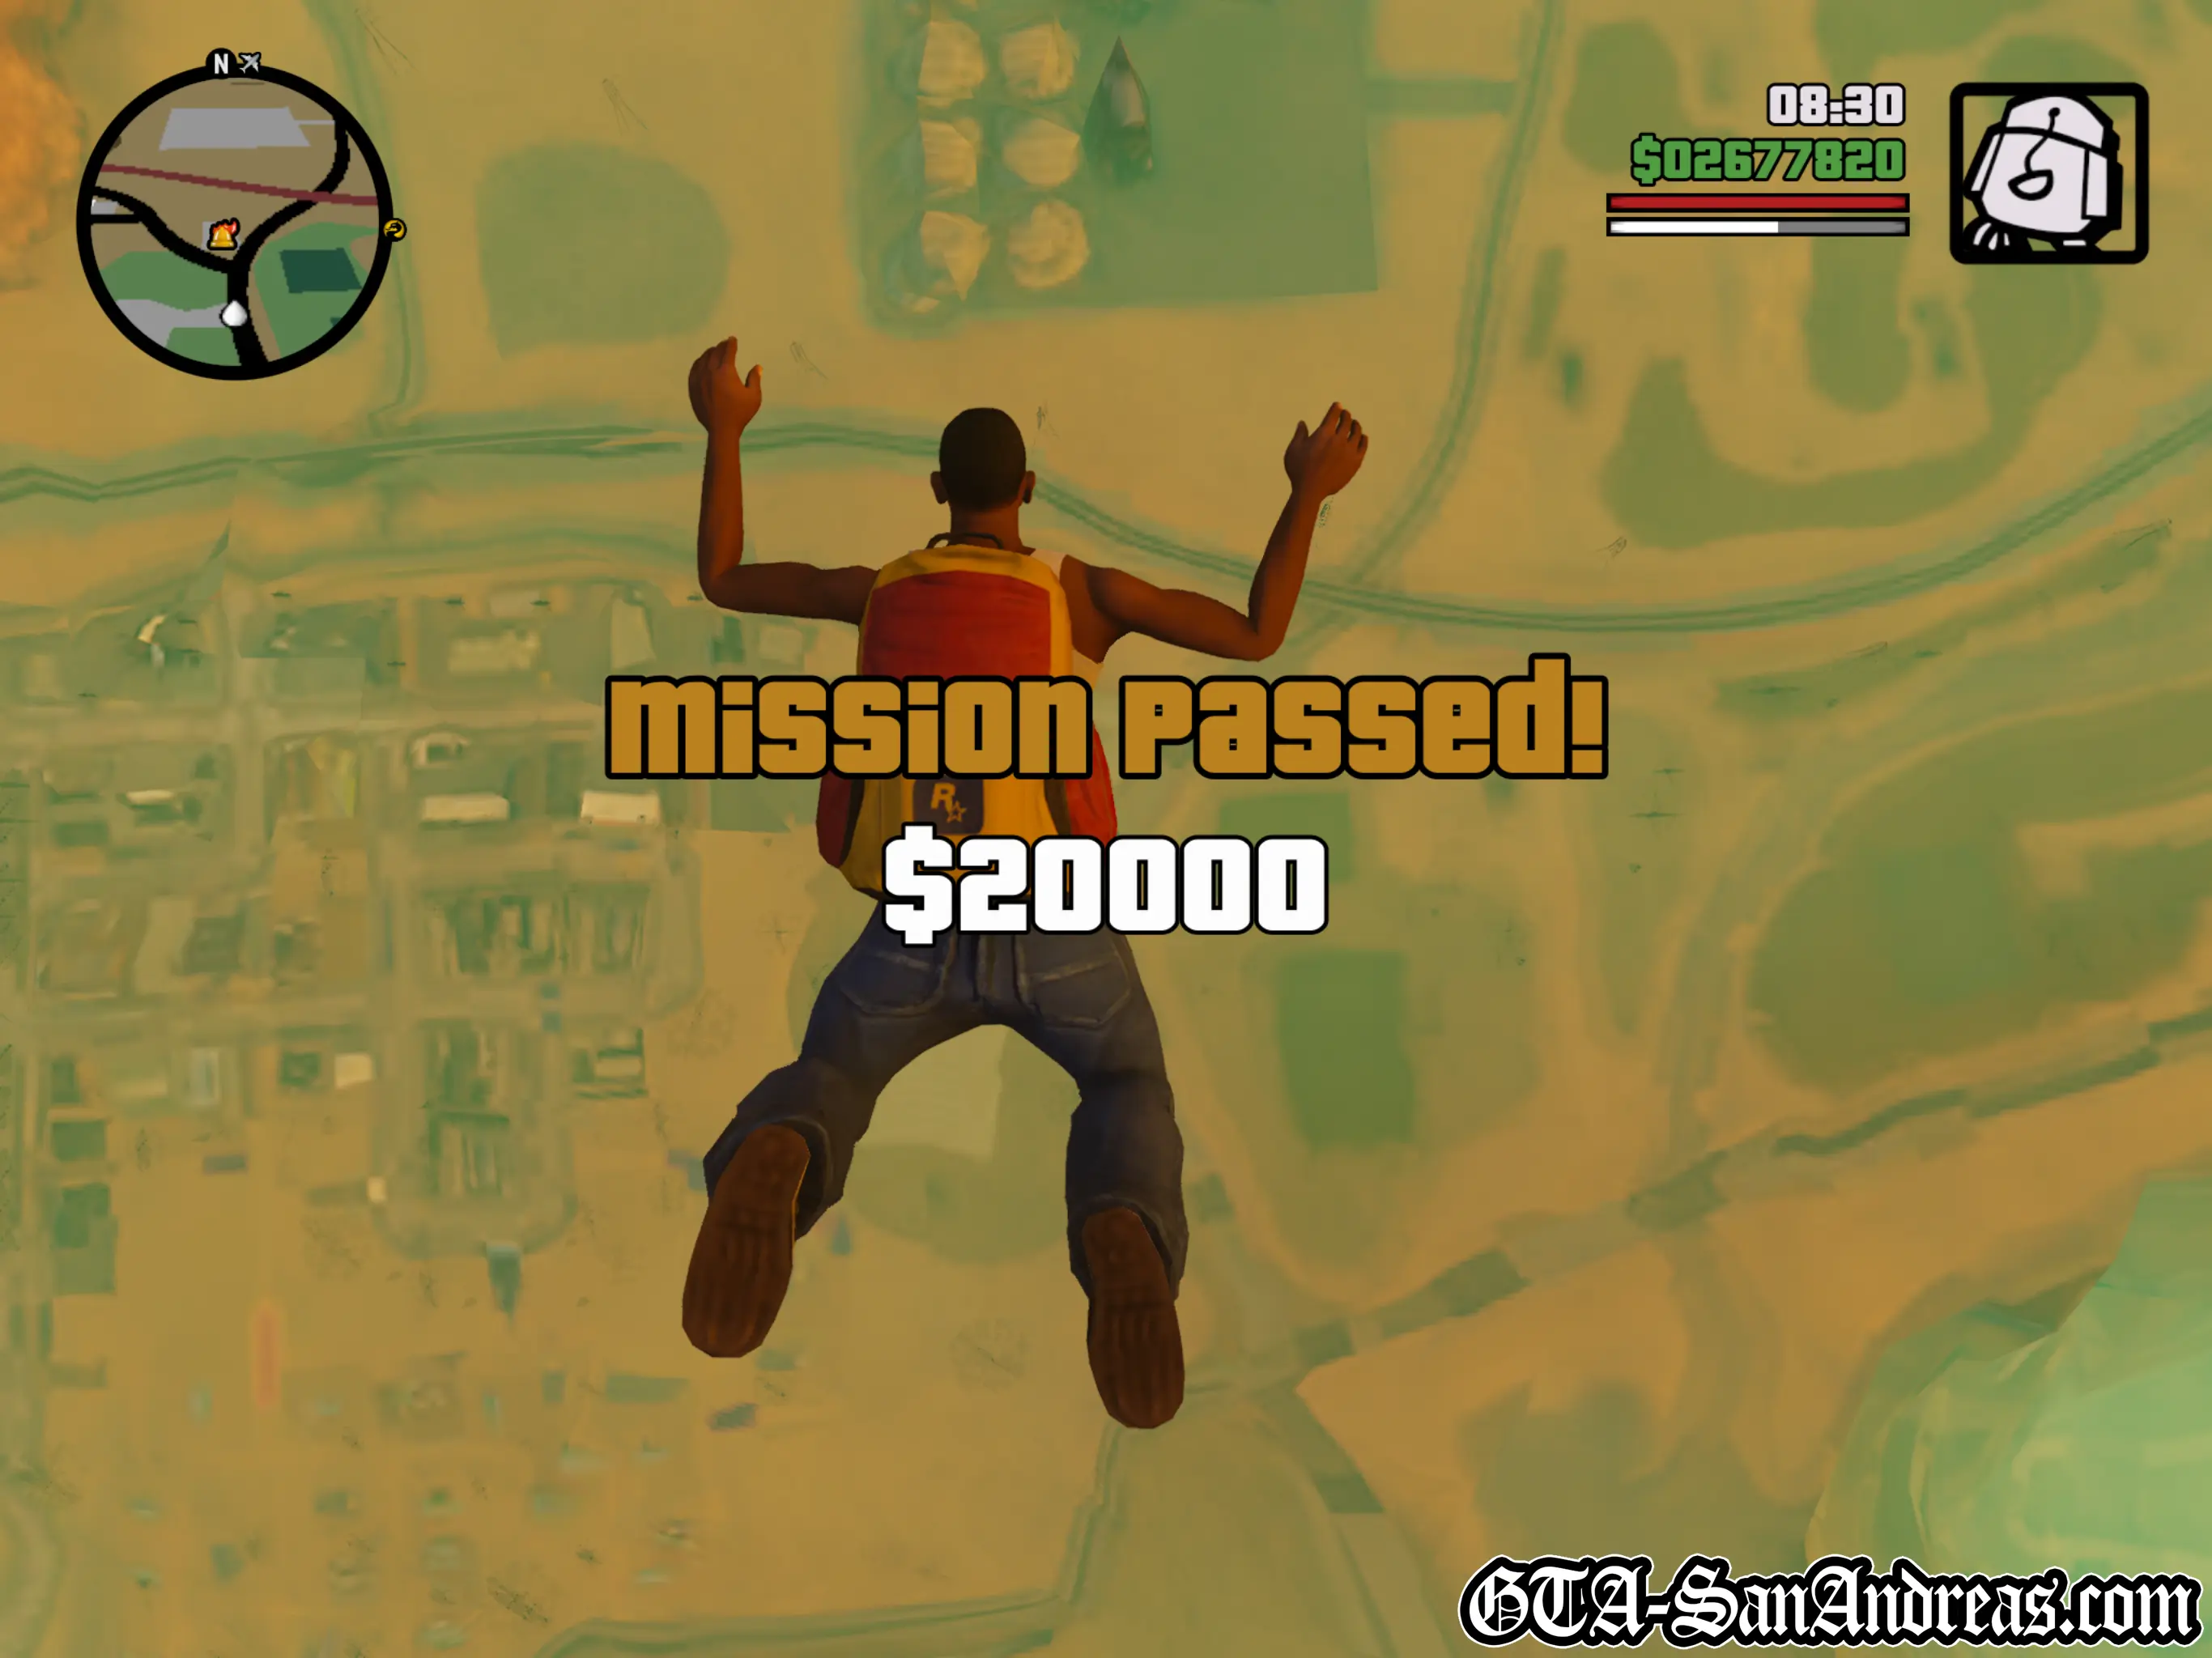
Stowaway
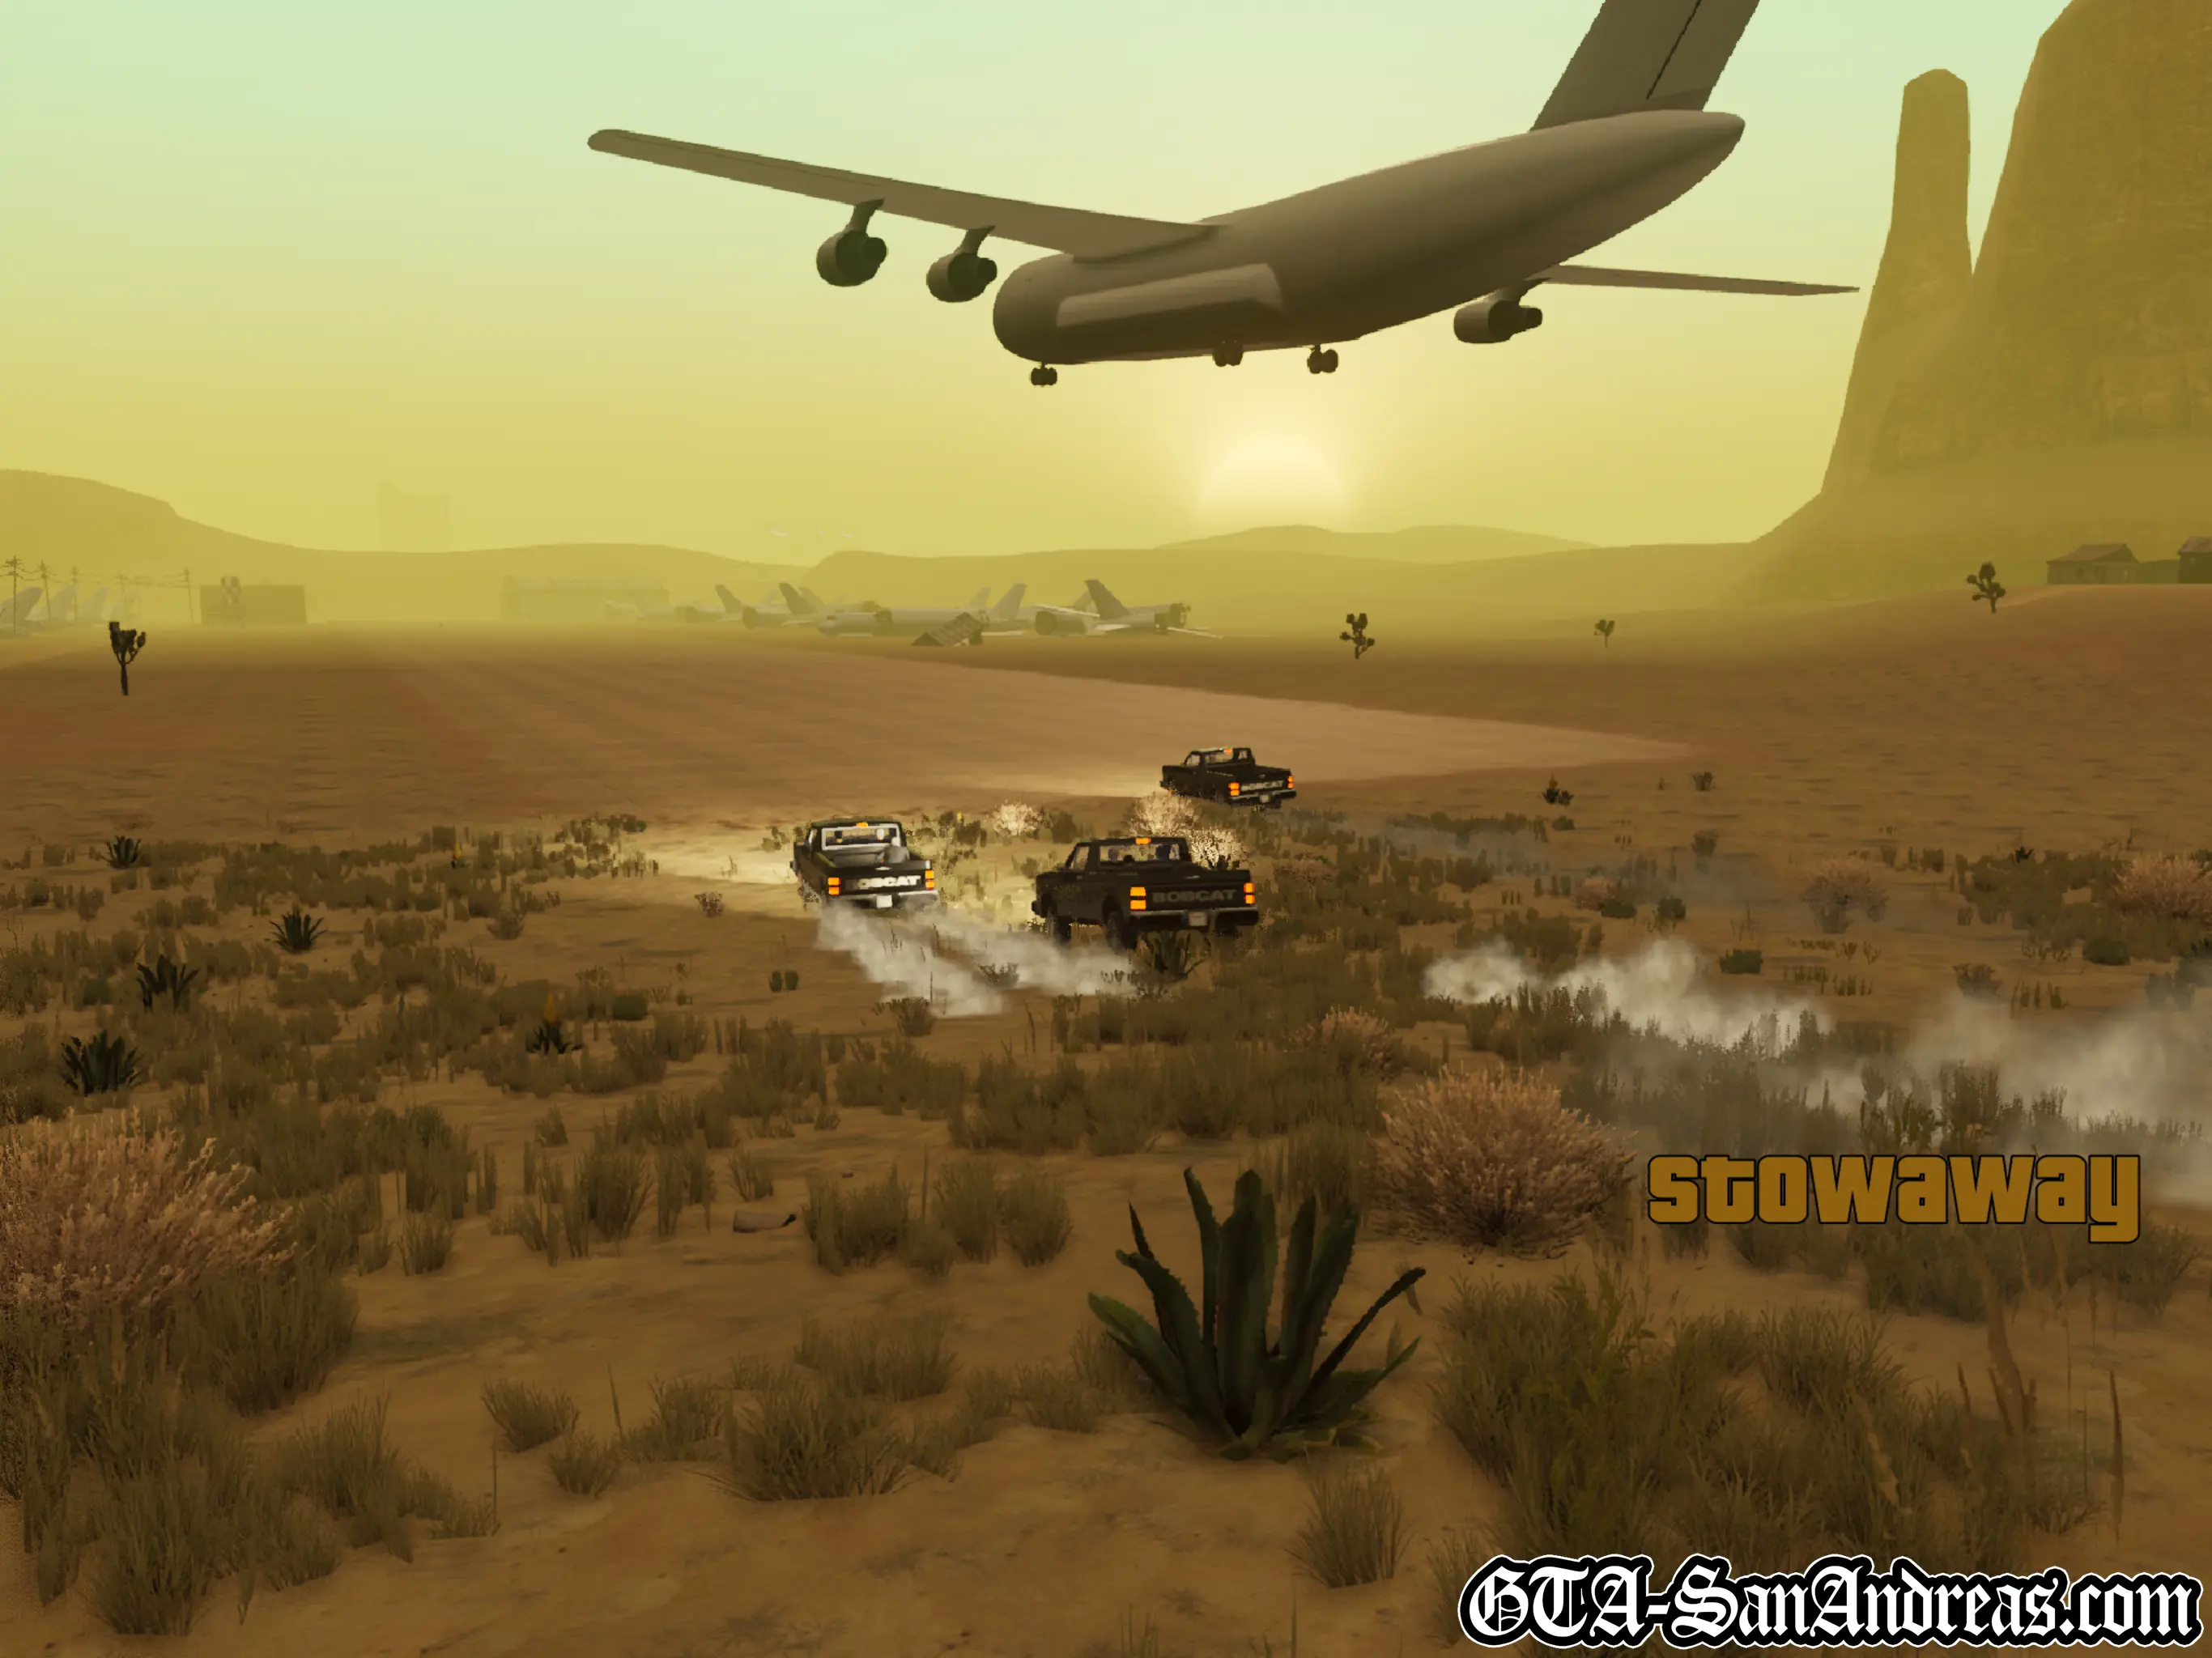
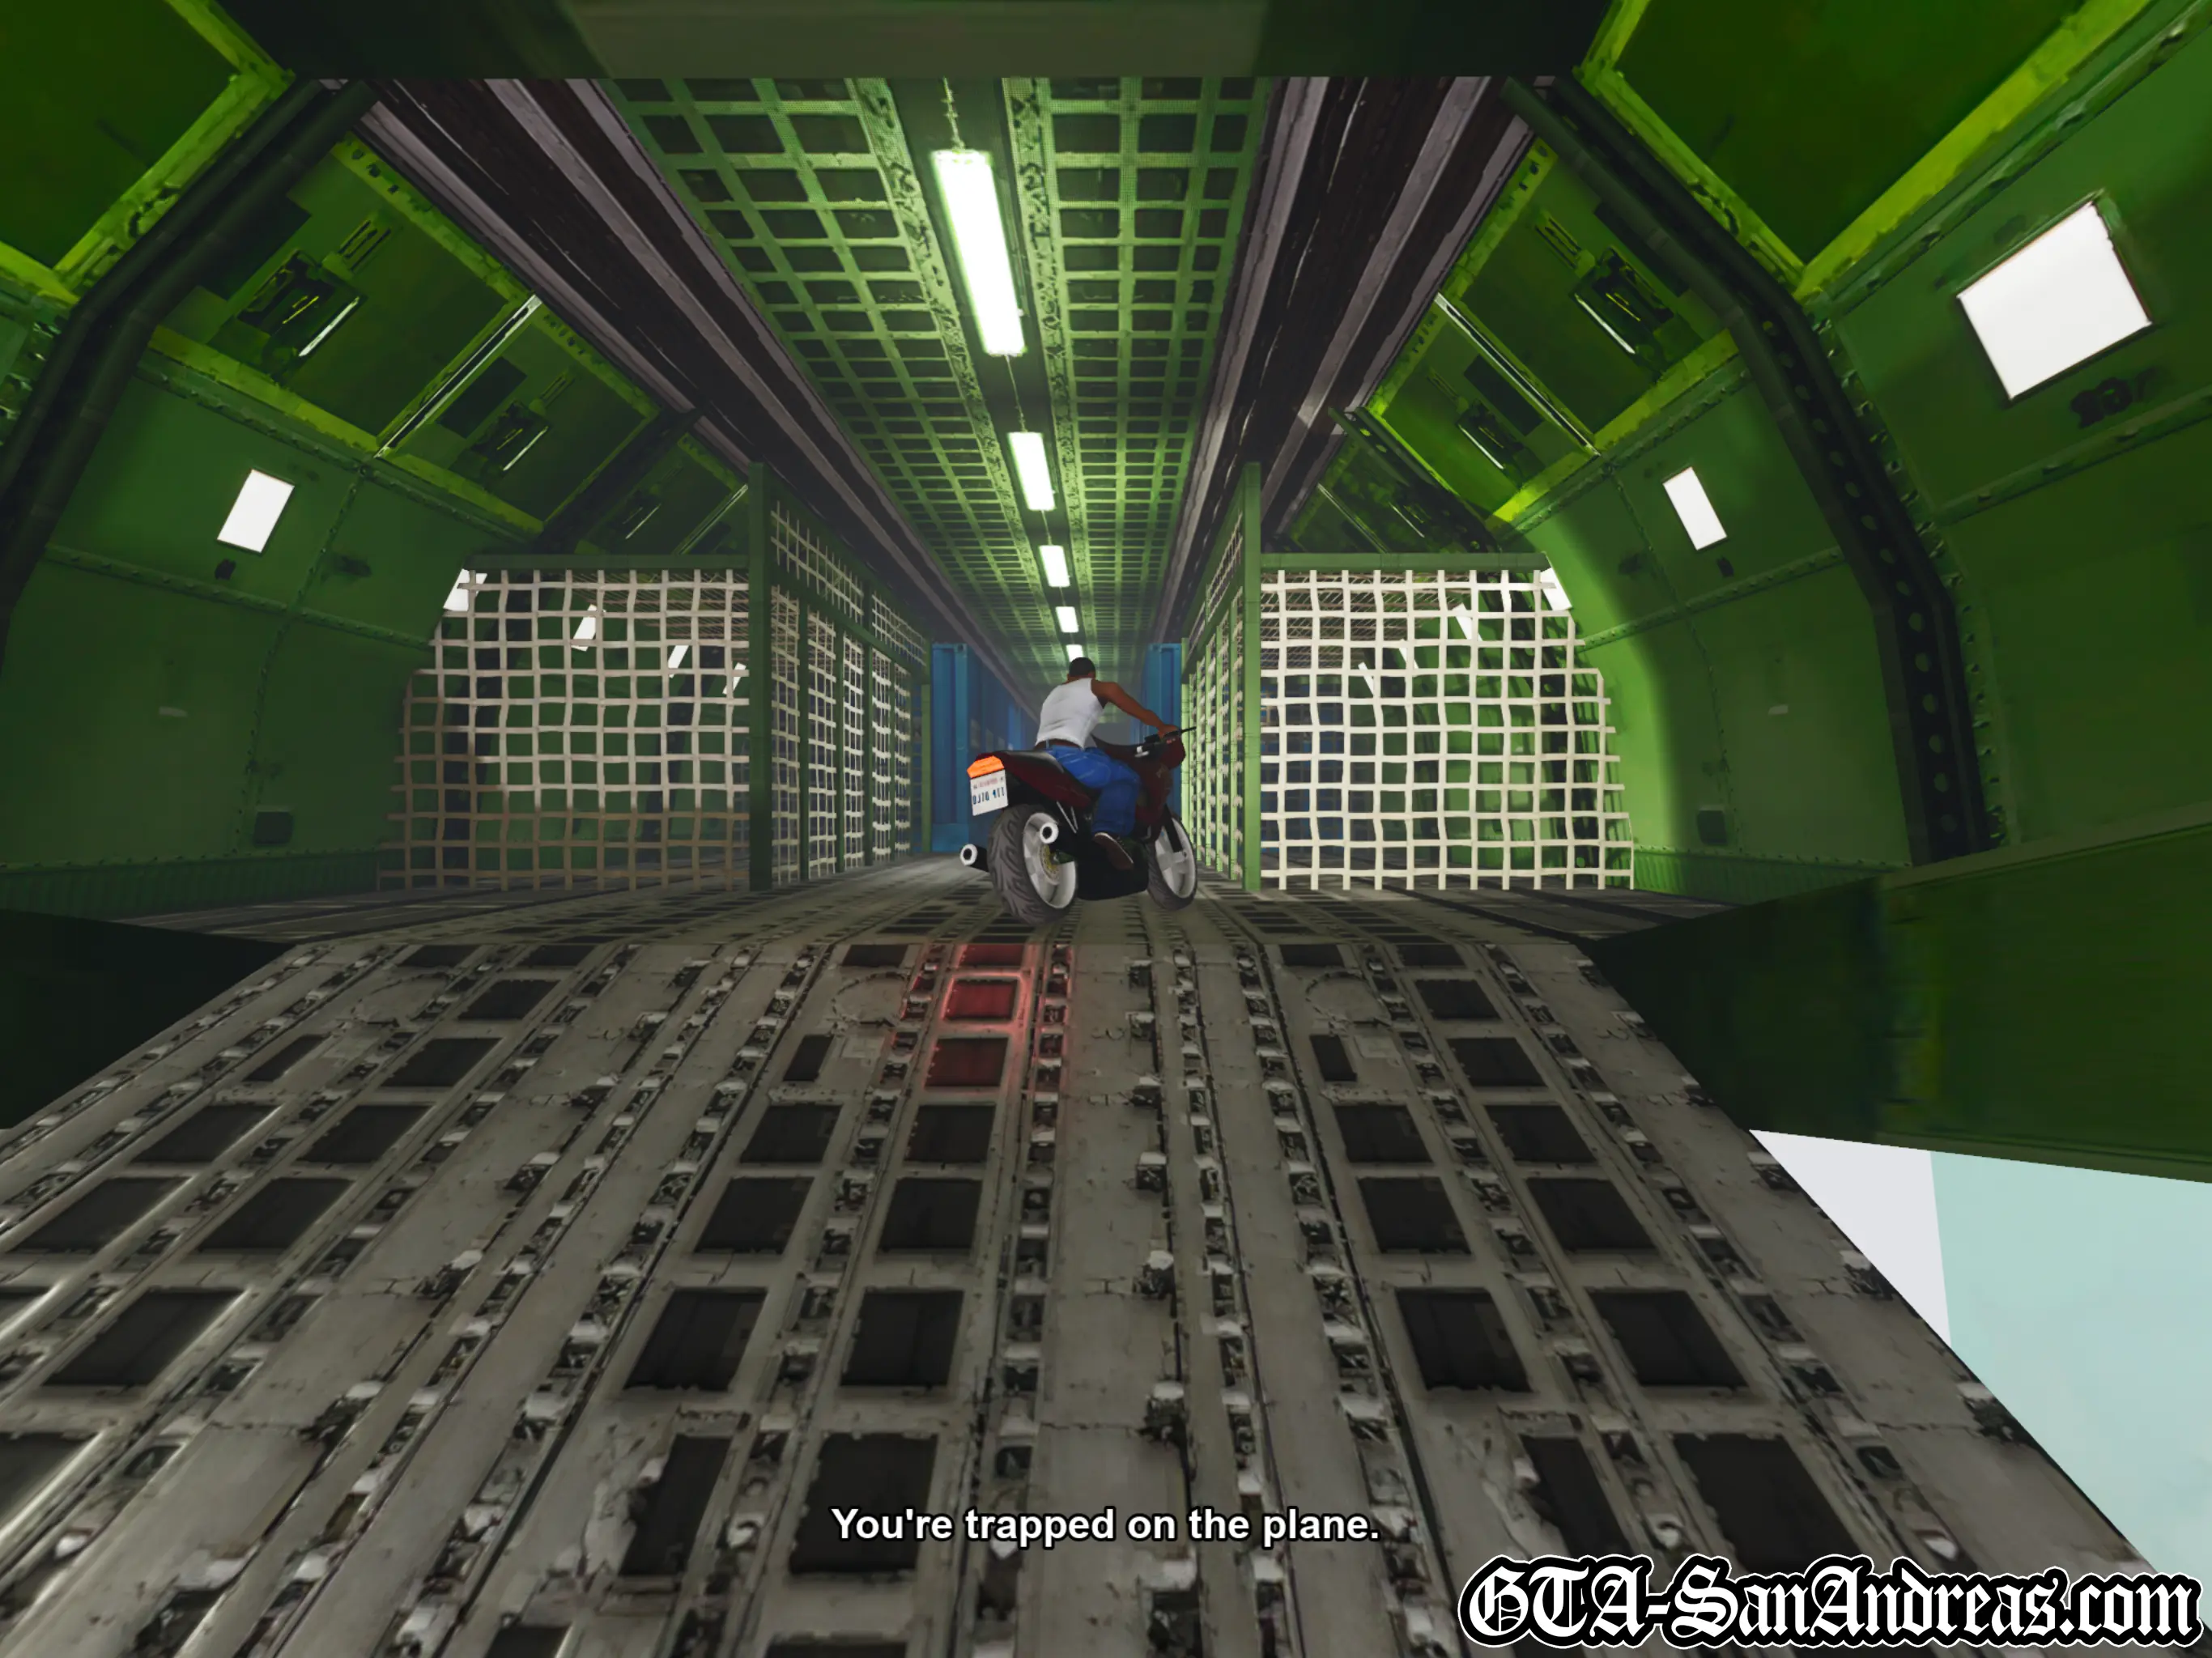
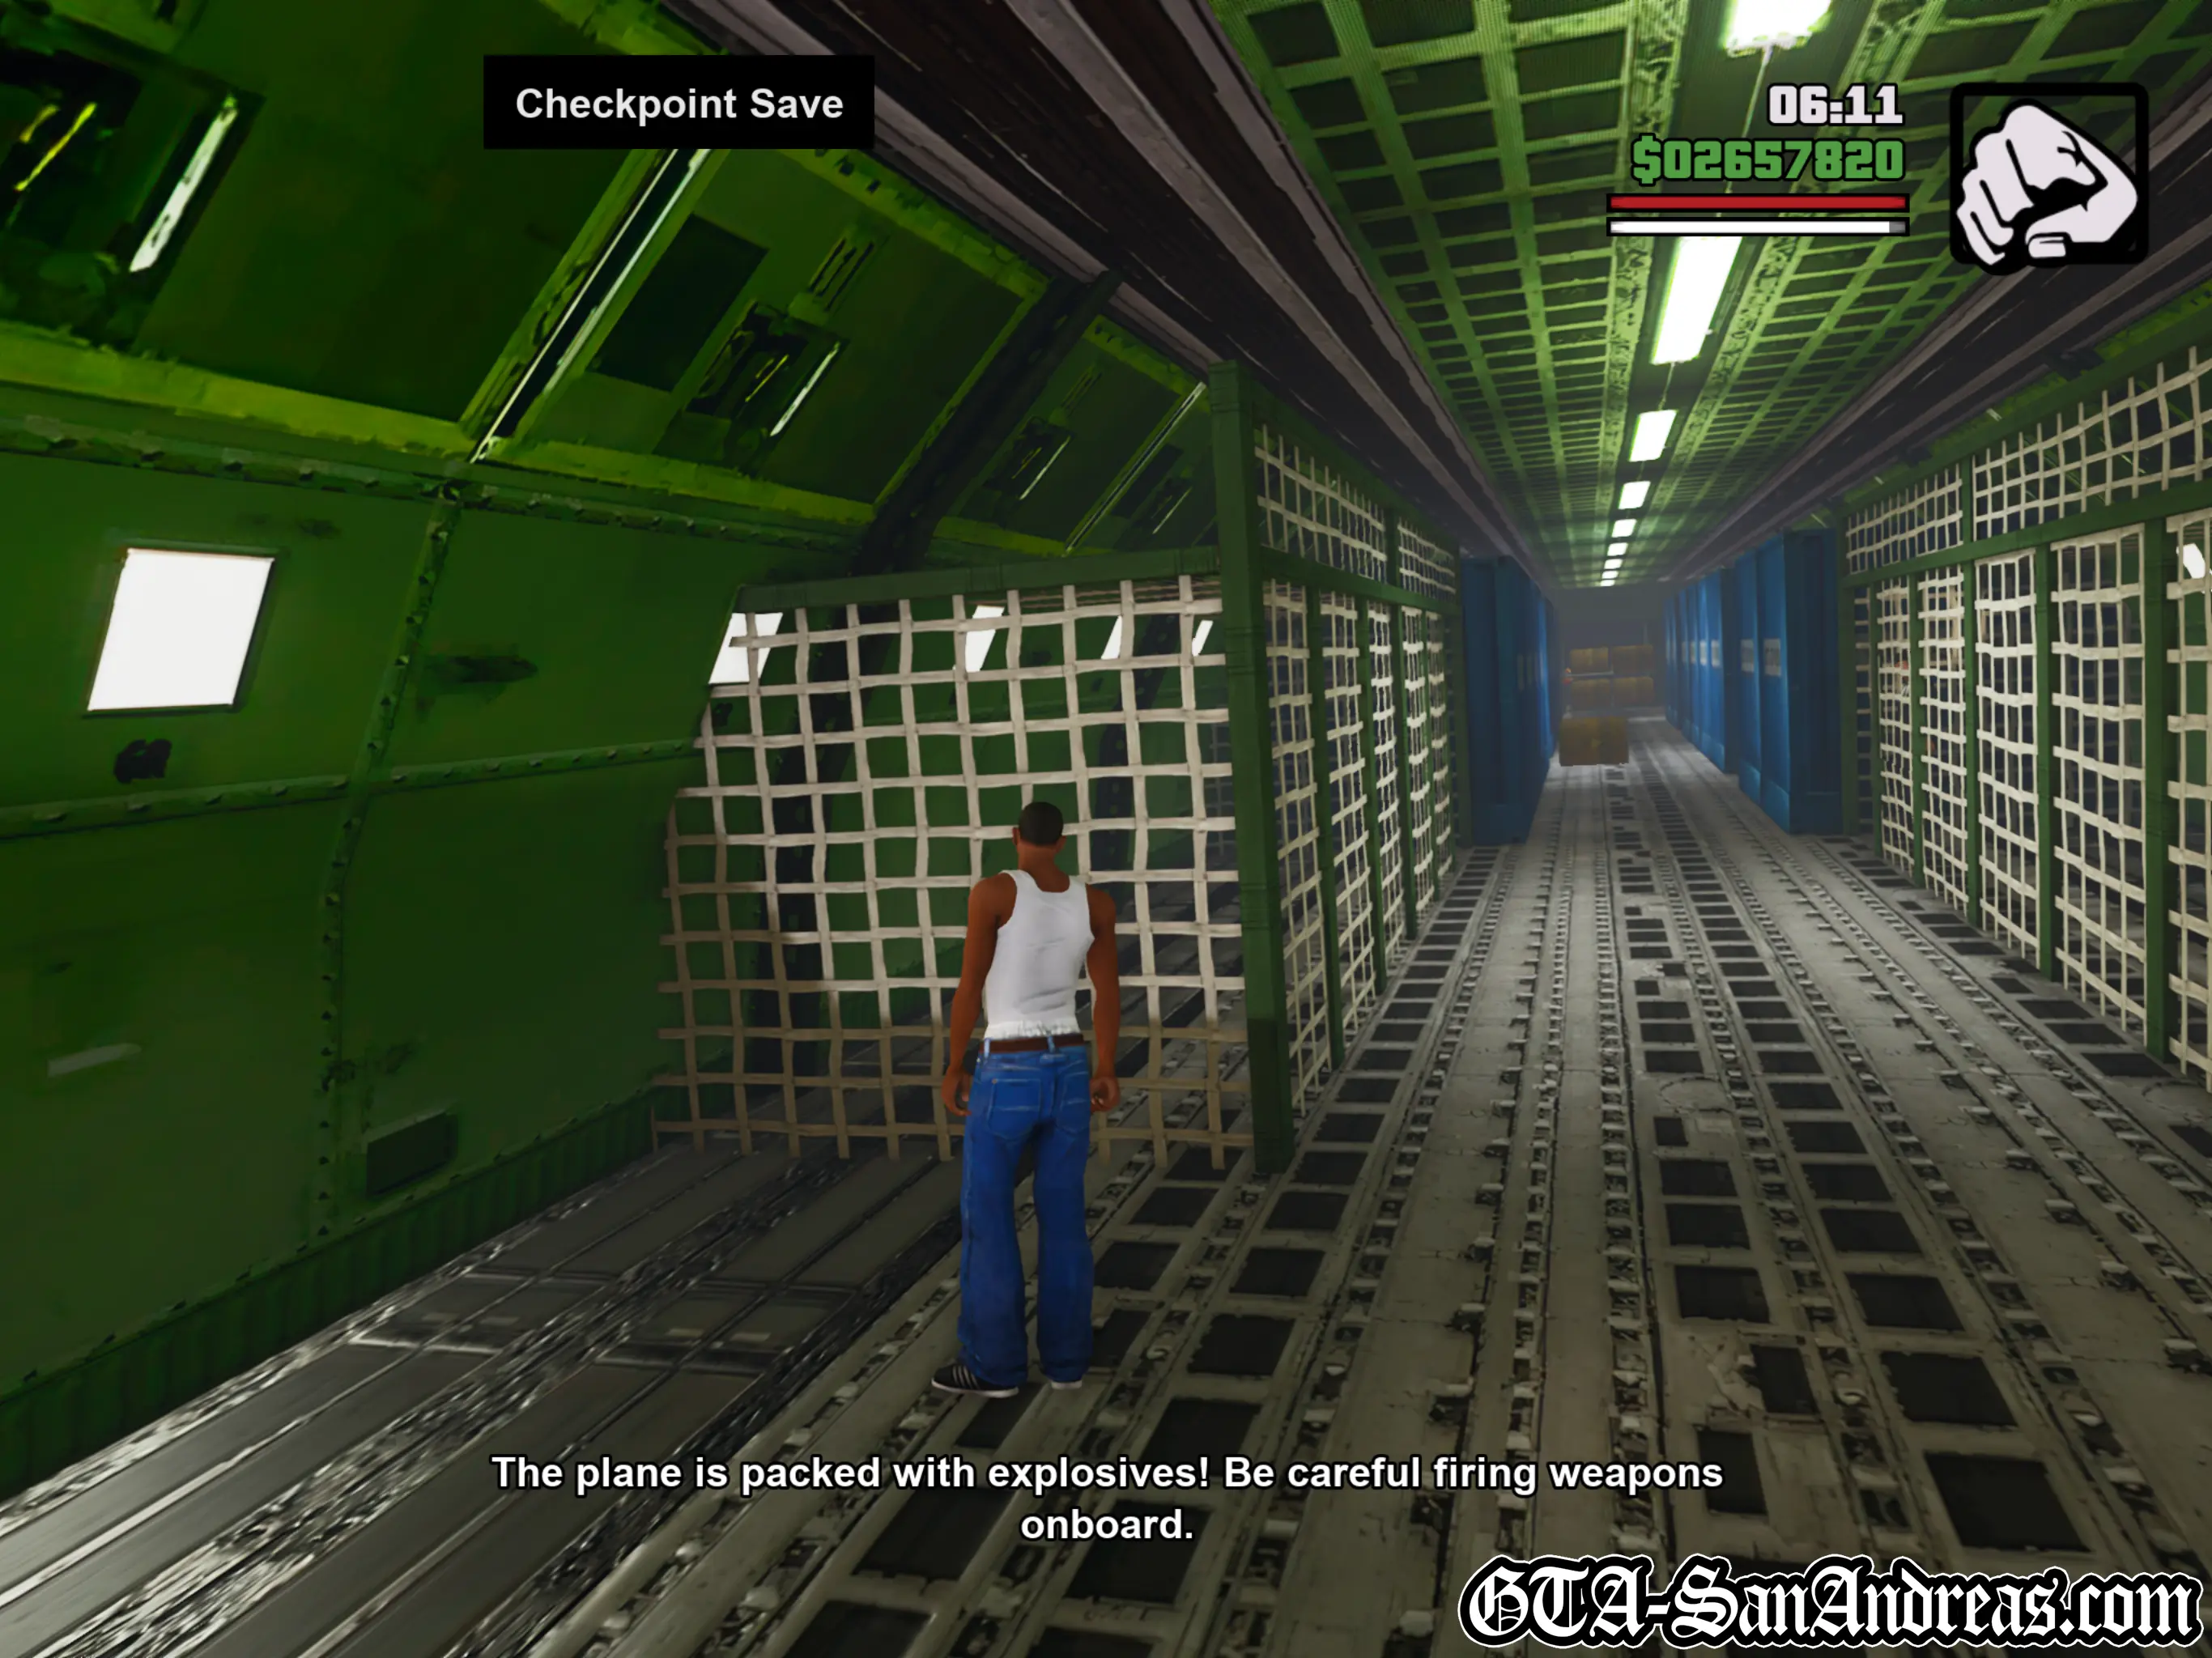
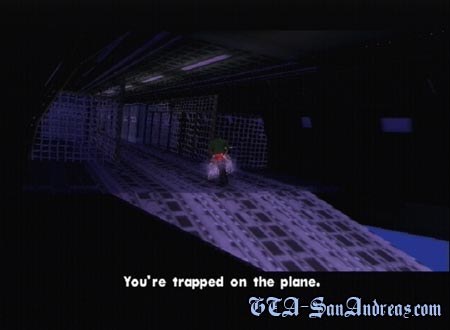
A plane has unexpectedly landed at the abandoned airfield and Toreno needs you chase after the plane which has tons of illegal weapons on board and kill everyone on it. You'll be on a bike when the mission starts and you need to get aboard the plane. Immediately when the mission starts, speed straight forward as fast as you can on the bike. Hold forward on the analog stick slightly for more speed. Dodge the barrels, then when you get close enough to the ramp on the plane, drive up it. A cutscene will kick in and you'll be on board the plane. Now you need to make your way up the aisle while avoiding explosive barrels. Wait for them to go past, then run up to the gap to the right and kill the agent. Be careful when killing through, because if you fire just one bullet that doesn't get caught in their body, you'll blow up the plane and die. I'd suggest beating them to death to be on the safe side. Wait for more barrels to go past, then run to the next place on the right and kill the agent. After yet more barrels go past, run to the gap to the left. Wait for more barrels, then go up and to the right. Kill the agent here and another one behind you. Wait for the last barrels to pass, then head up the plane and kill the last agent. Grab his parachute. Once you've got it you'll be instructed to throw a satchel charge on the plane. Make your way up to the door to the cockpit and throw a satchel. Once you've thrown it, run to the back of the plane and bail while the plane blows to hell. Freefall back down to earth and pull your cord before you hit the ground. I'd suggest not pulling it until after you clear the cloud line, otherwise you'll be falling for about 15 minutes.
Screenshots

The Truth
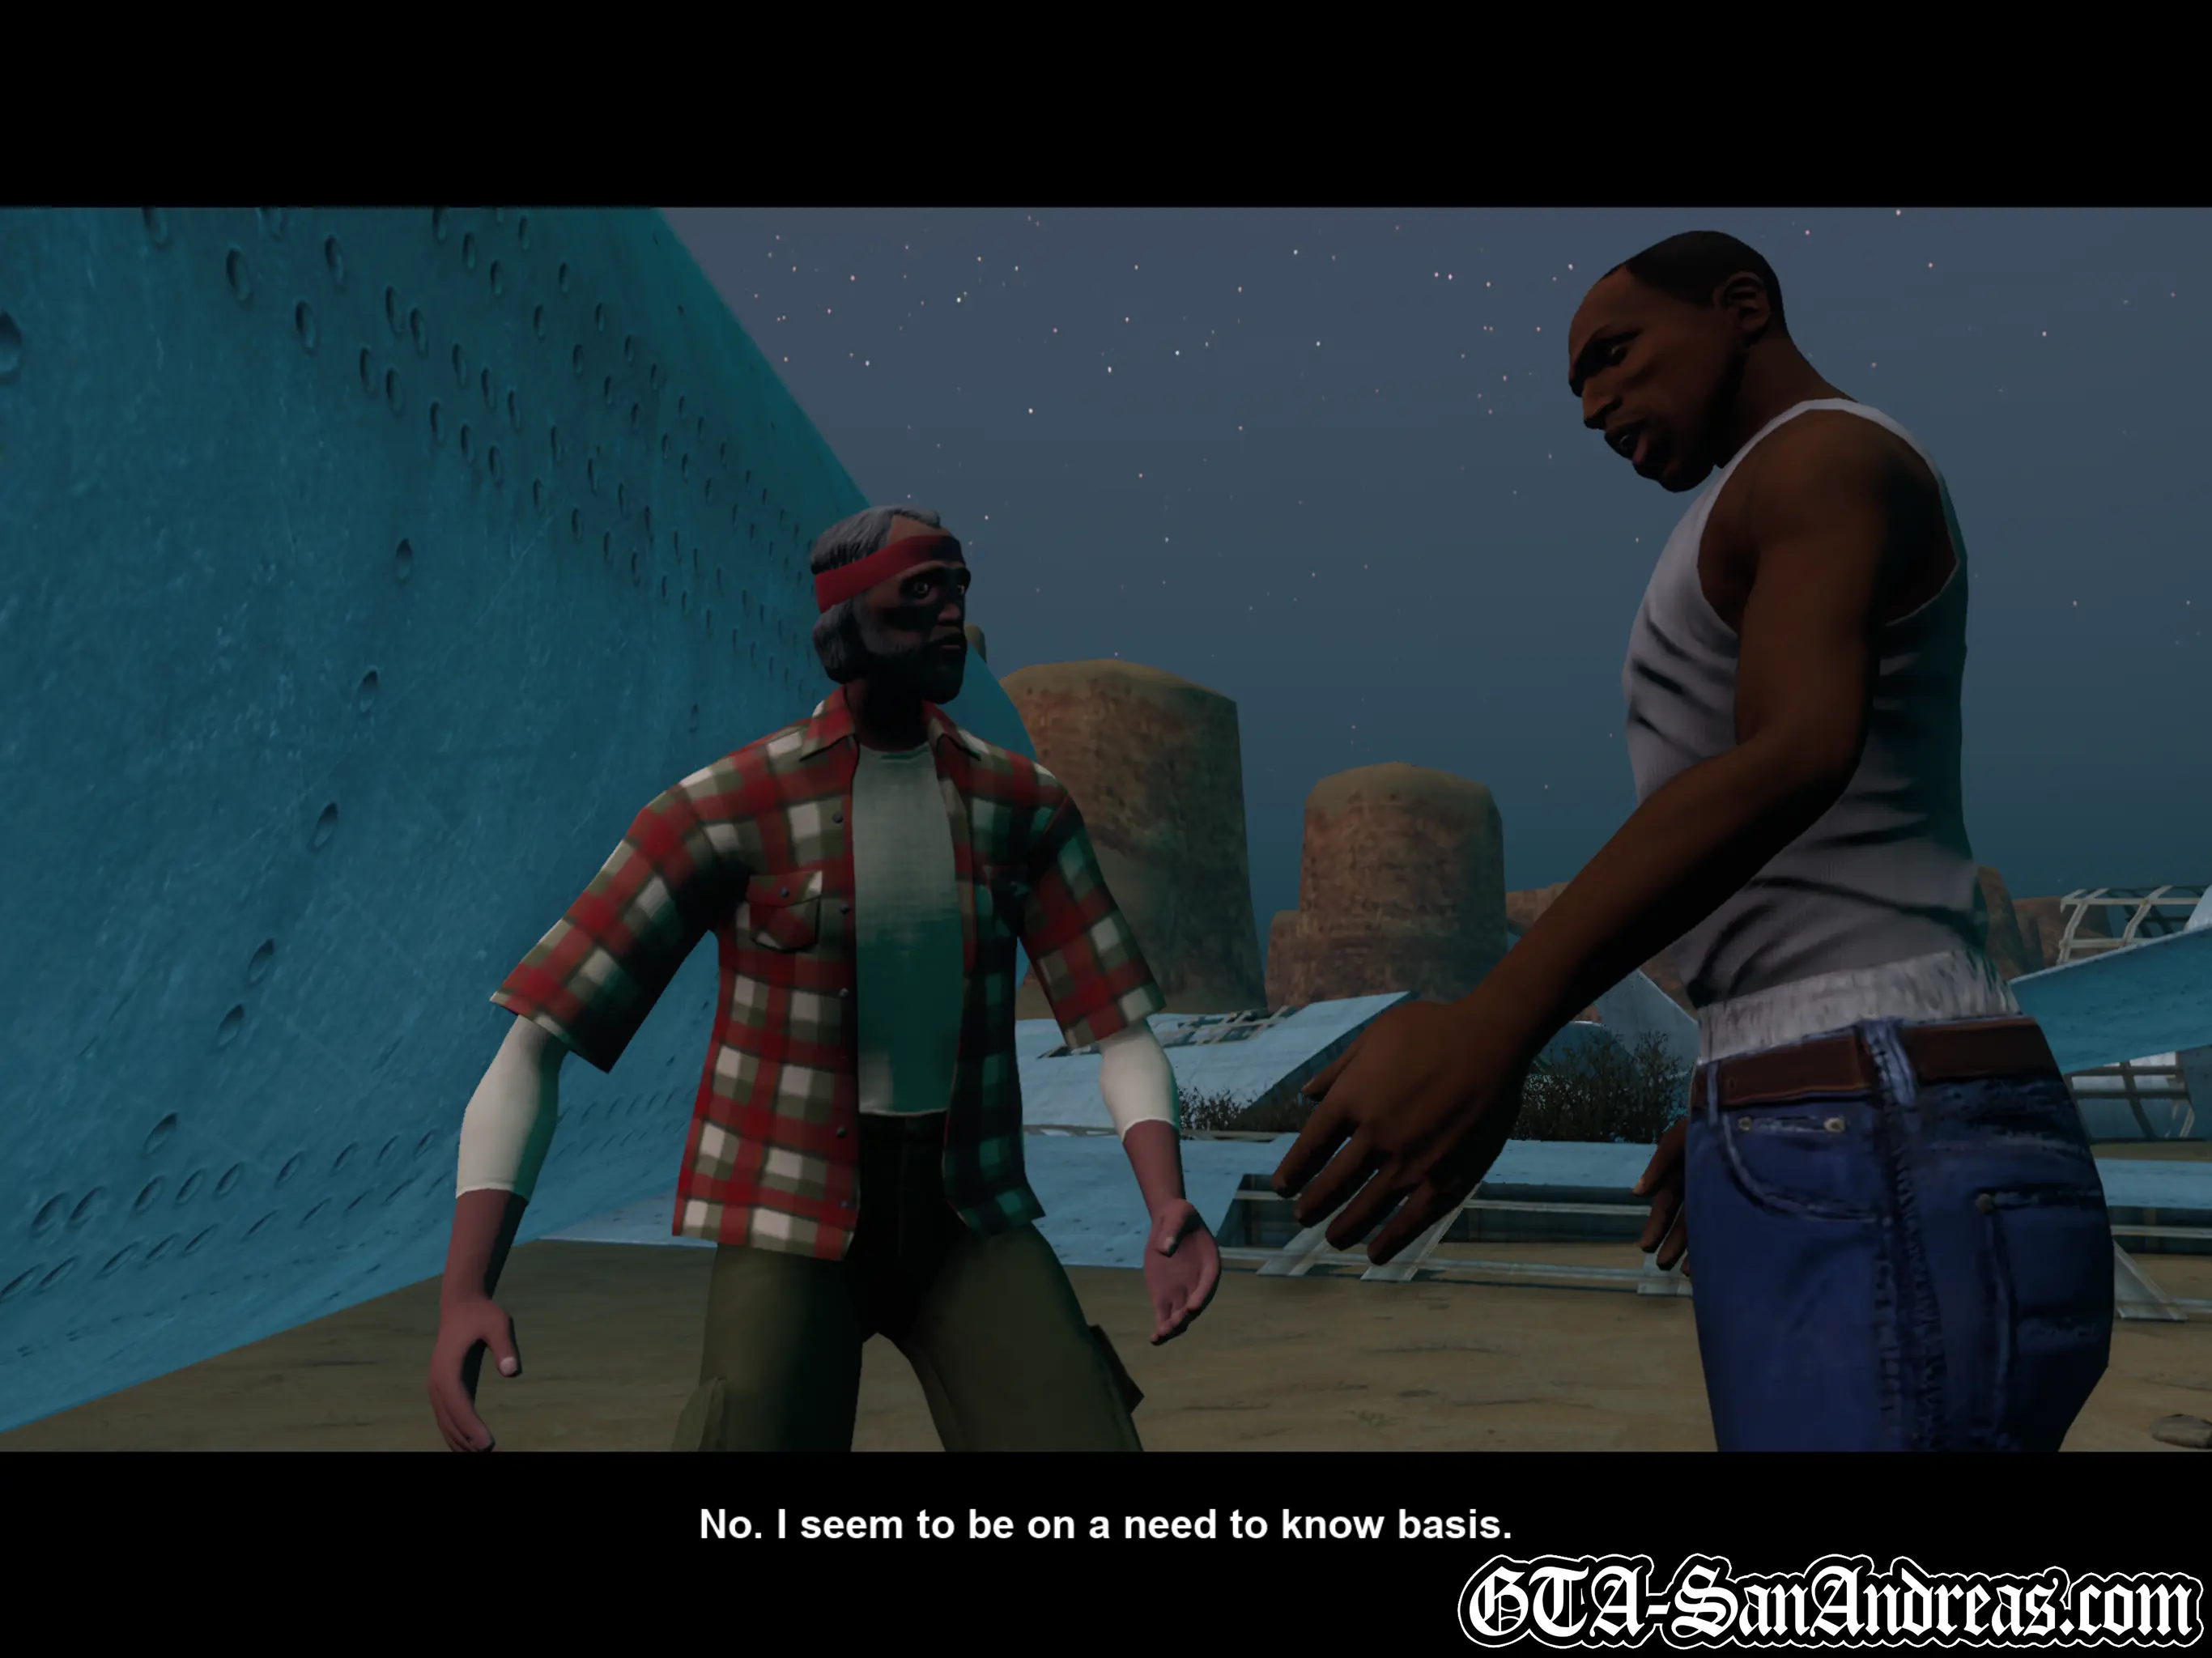
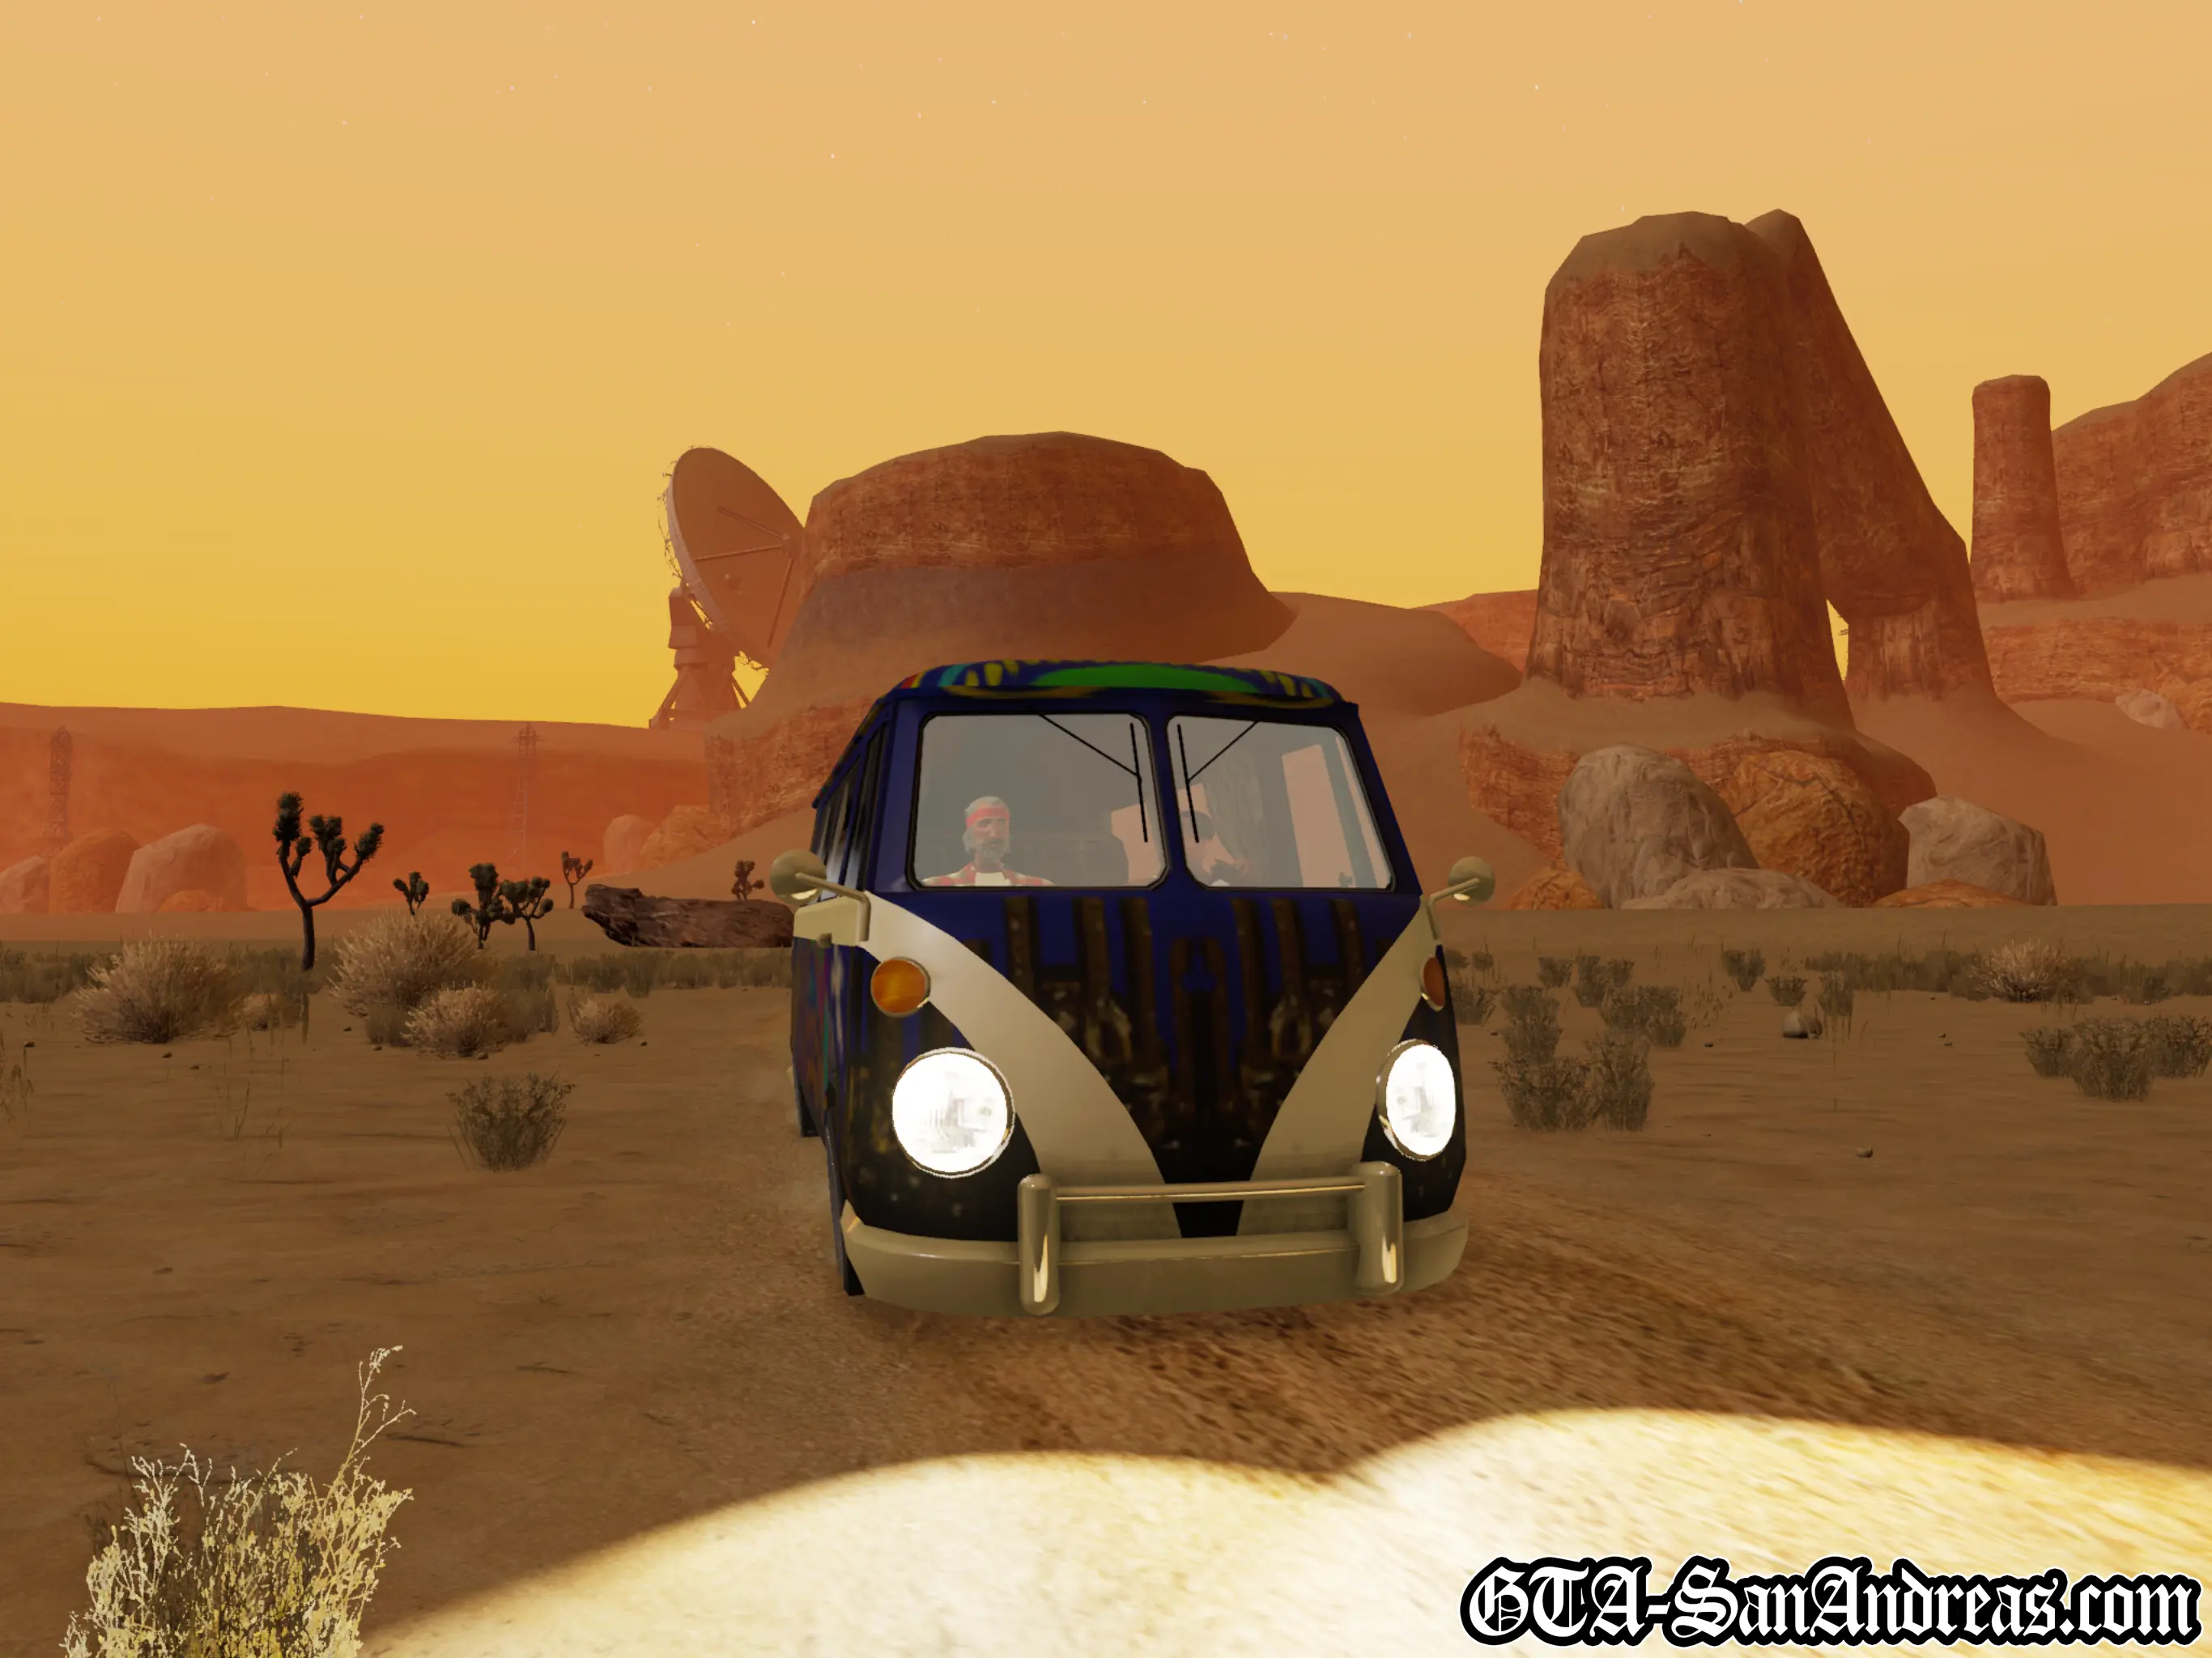
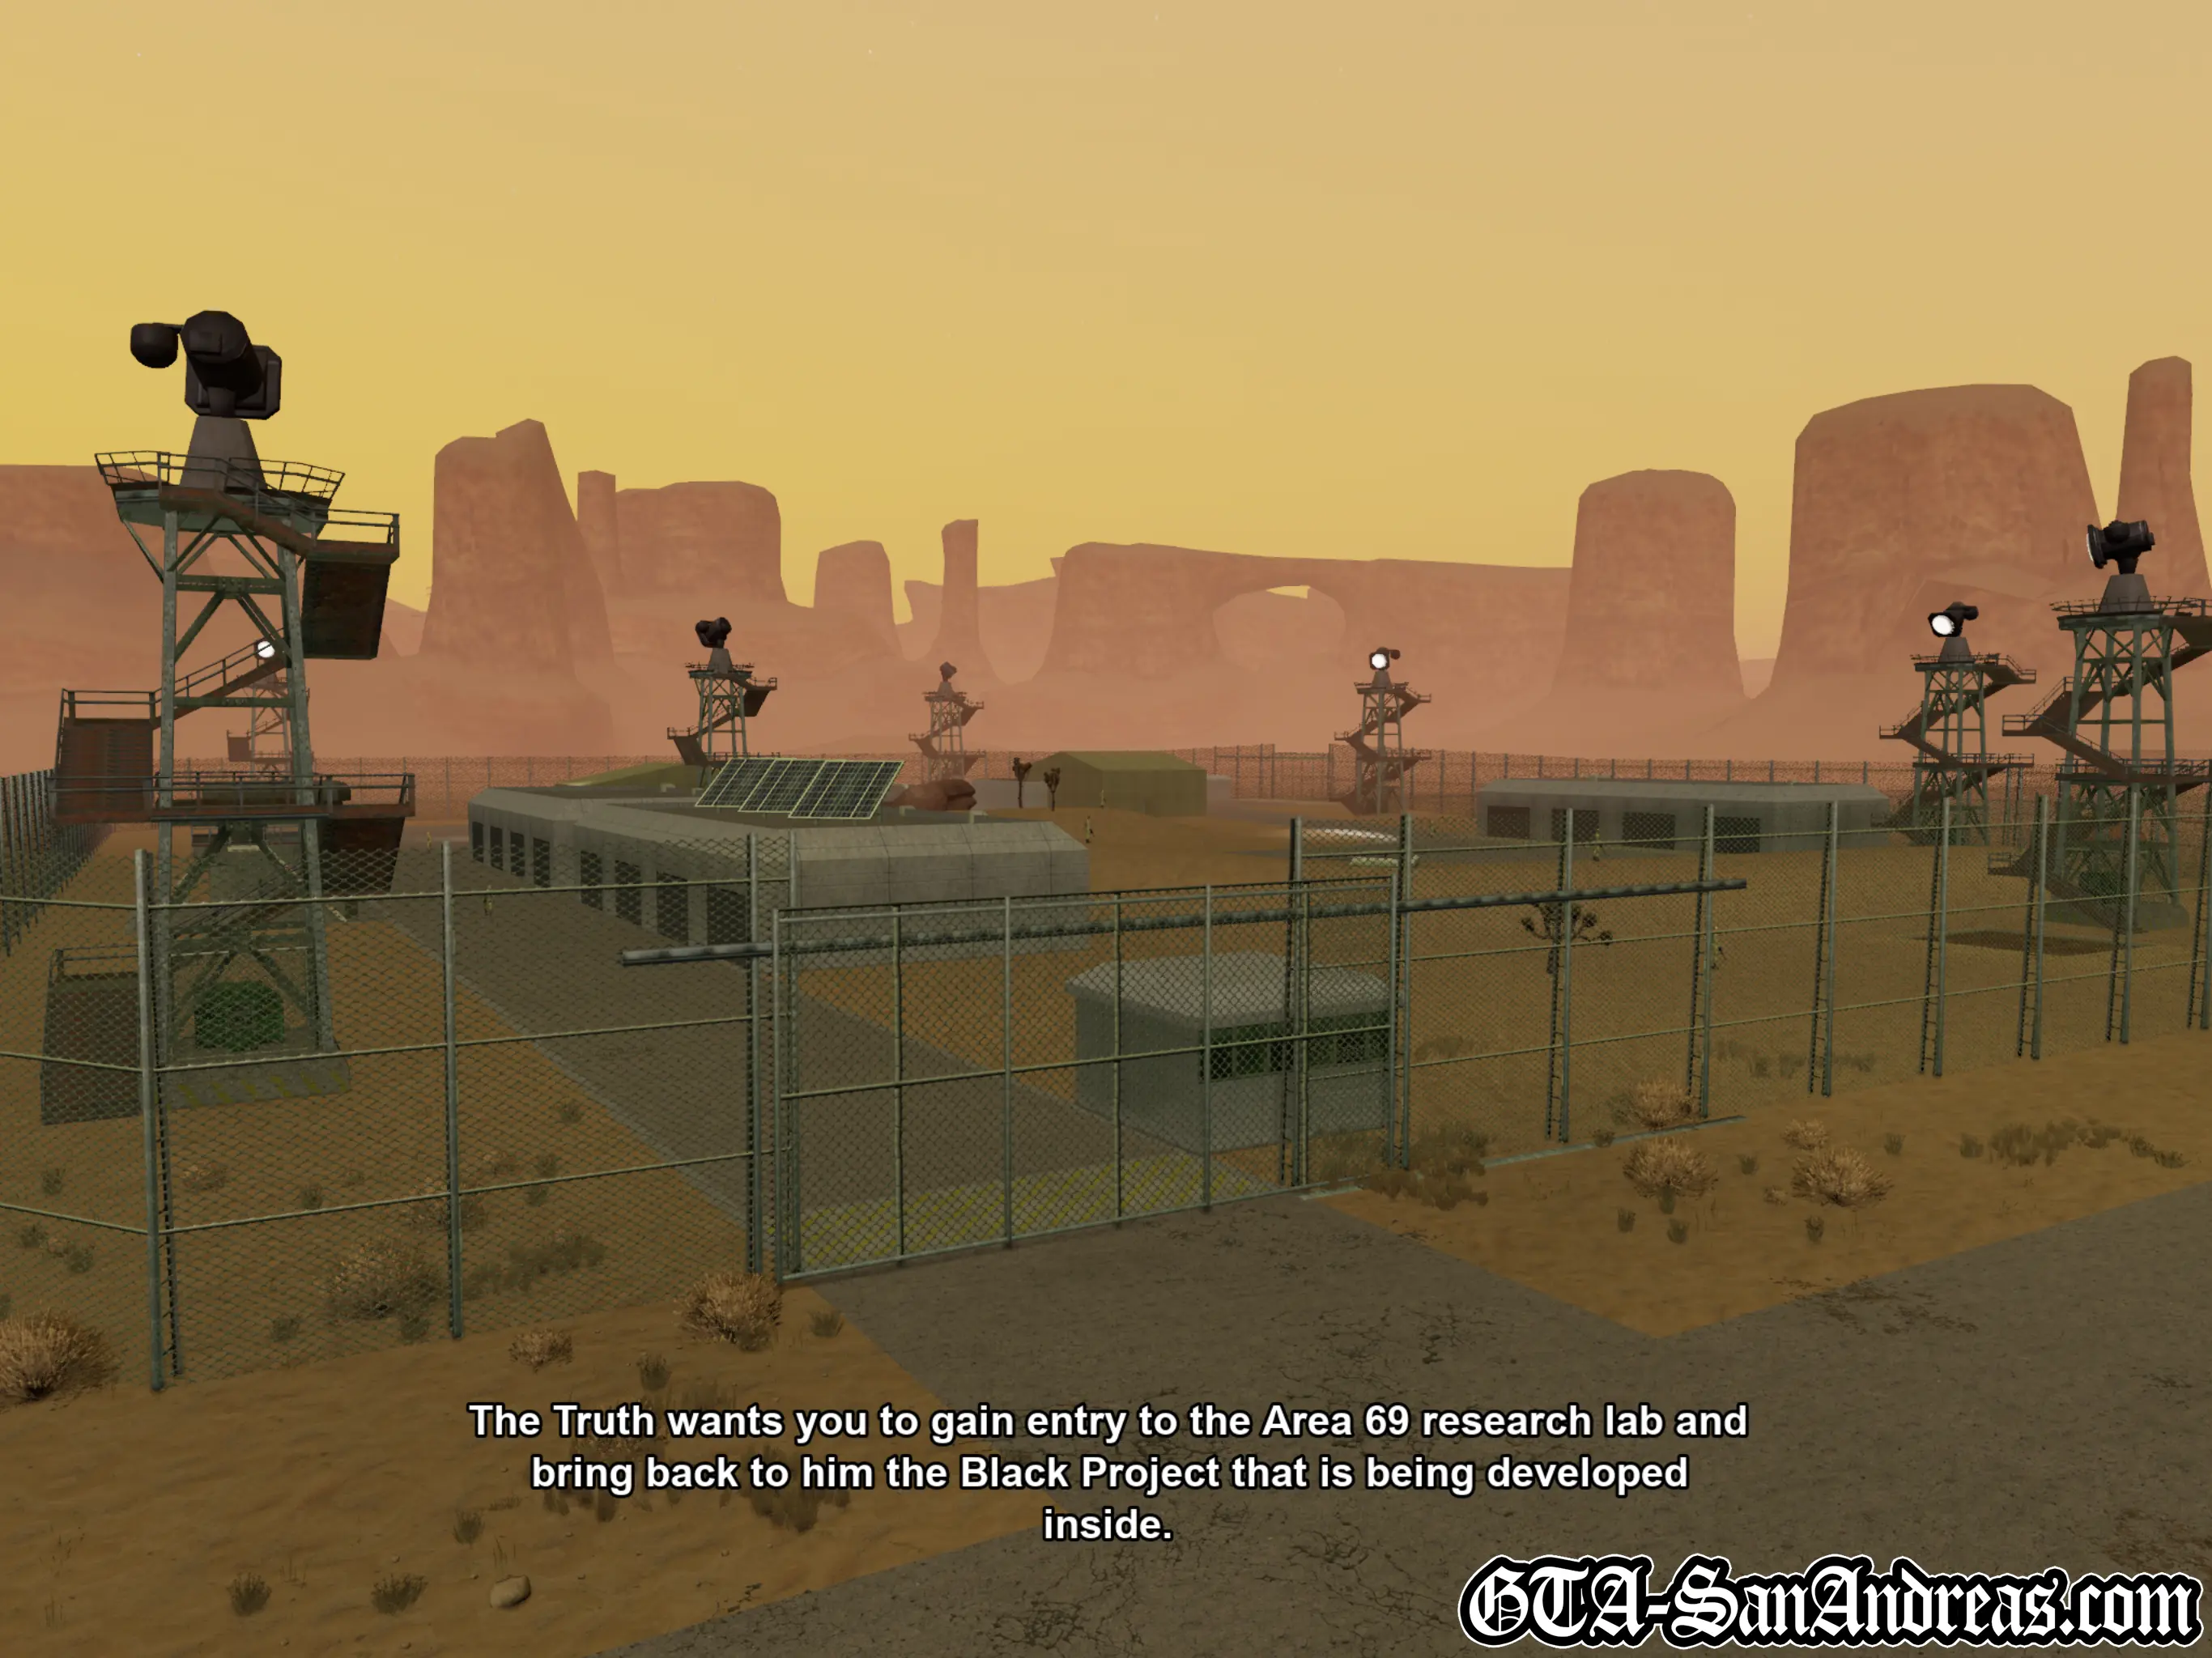
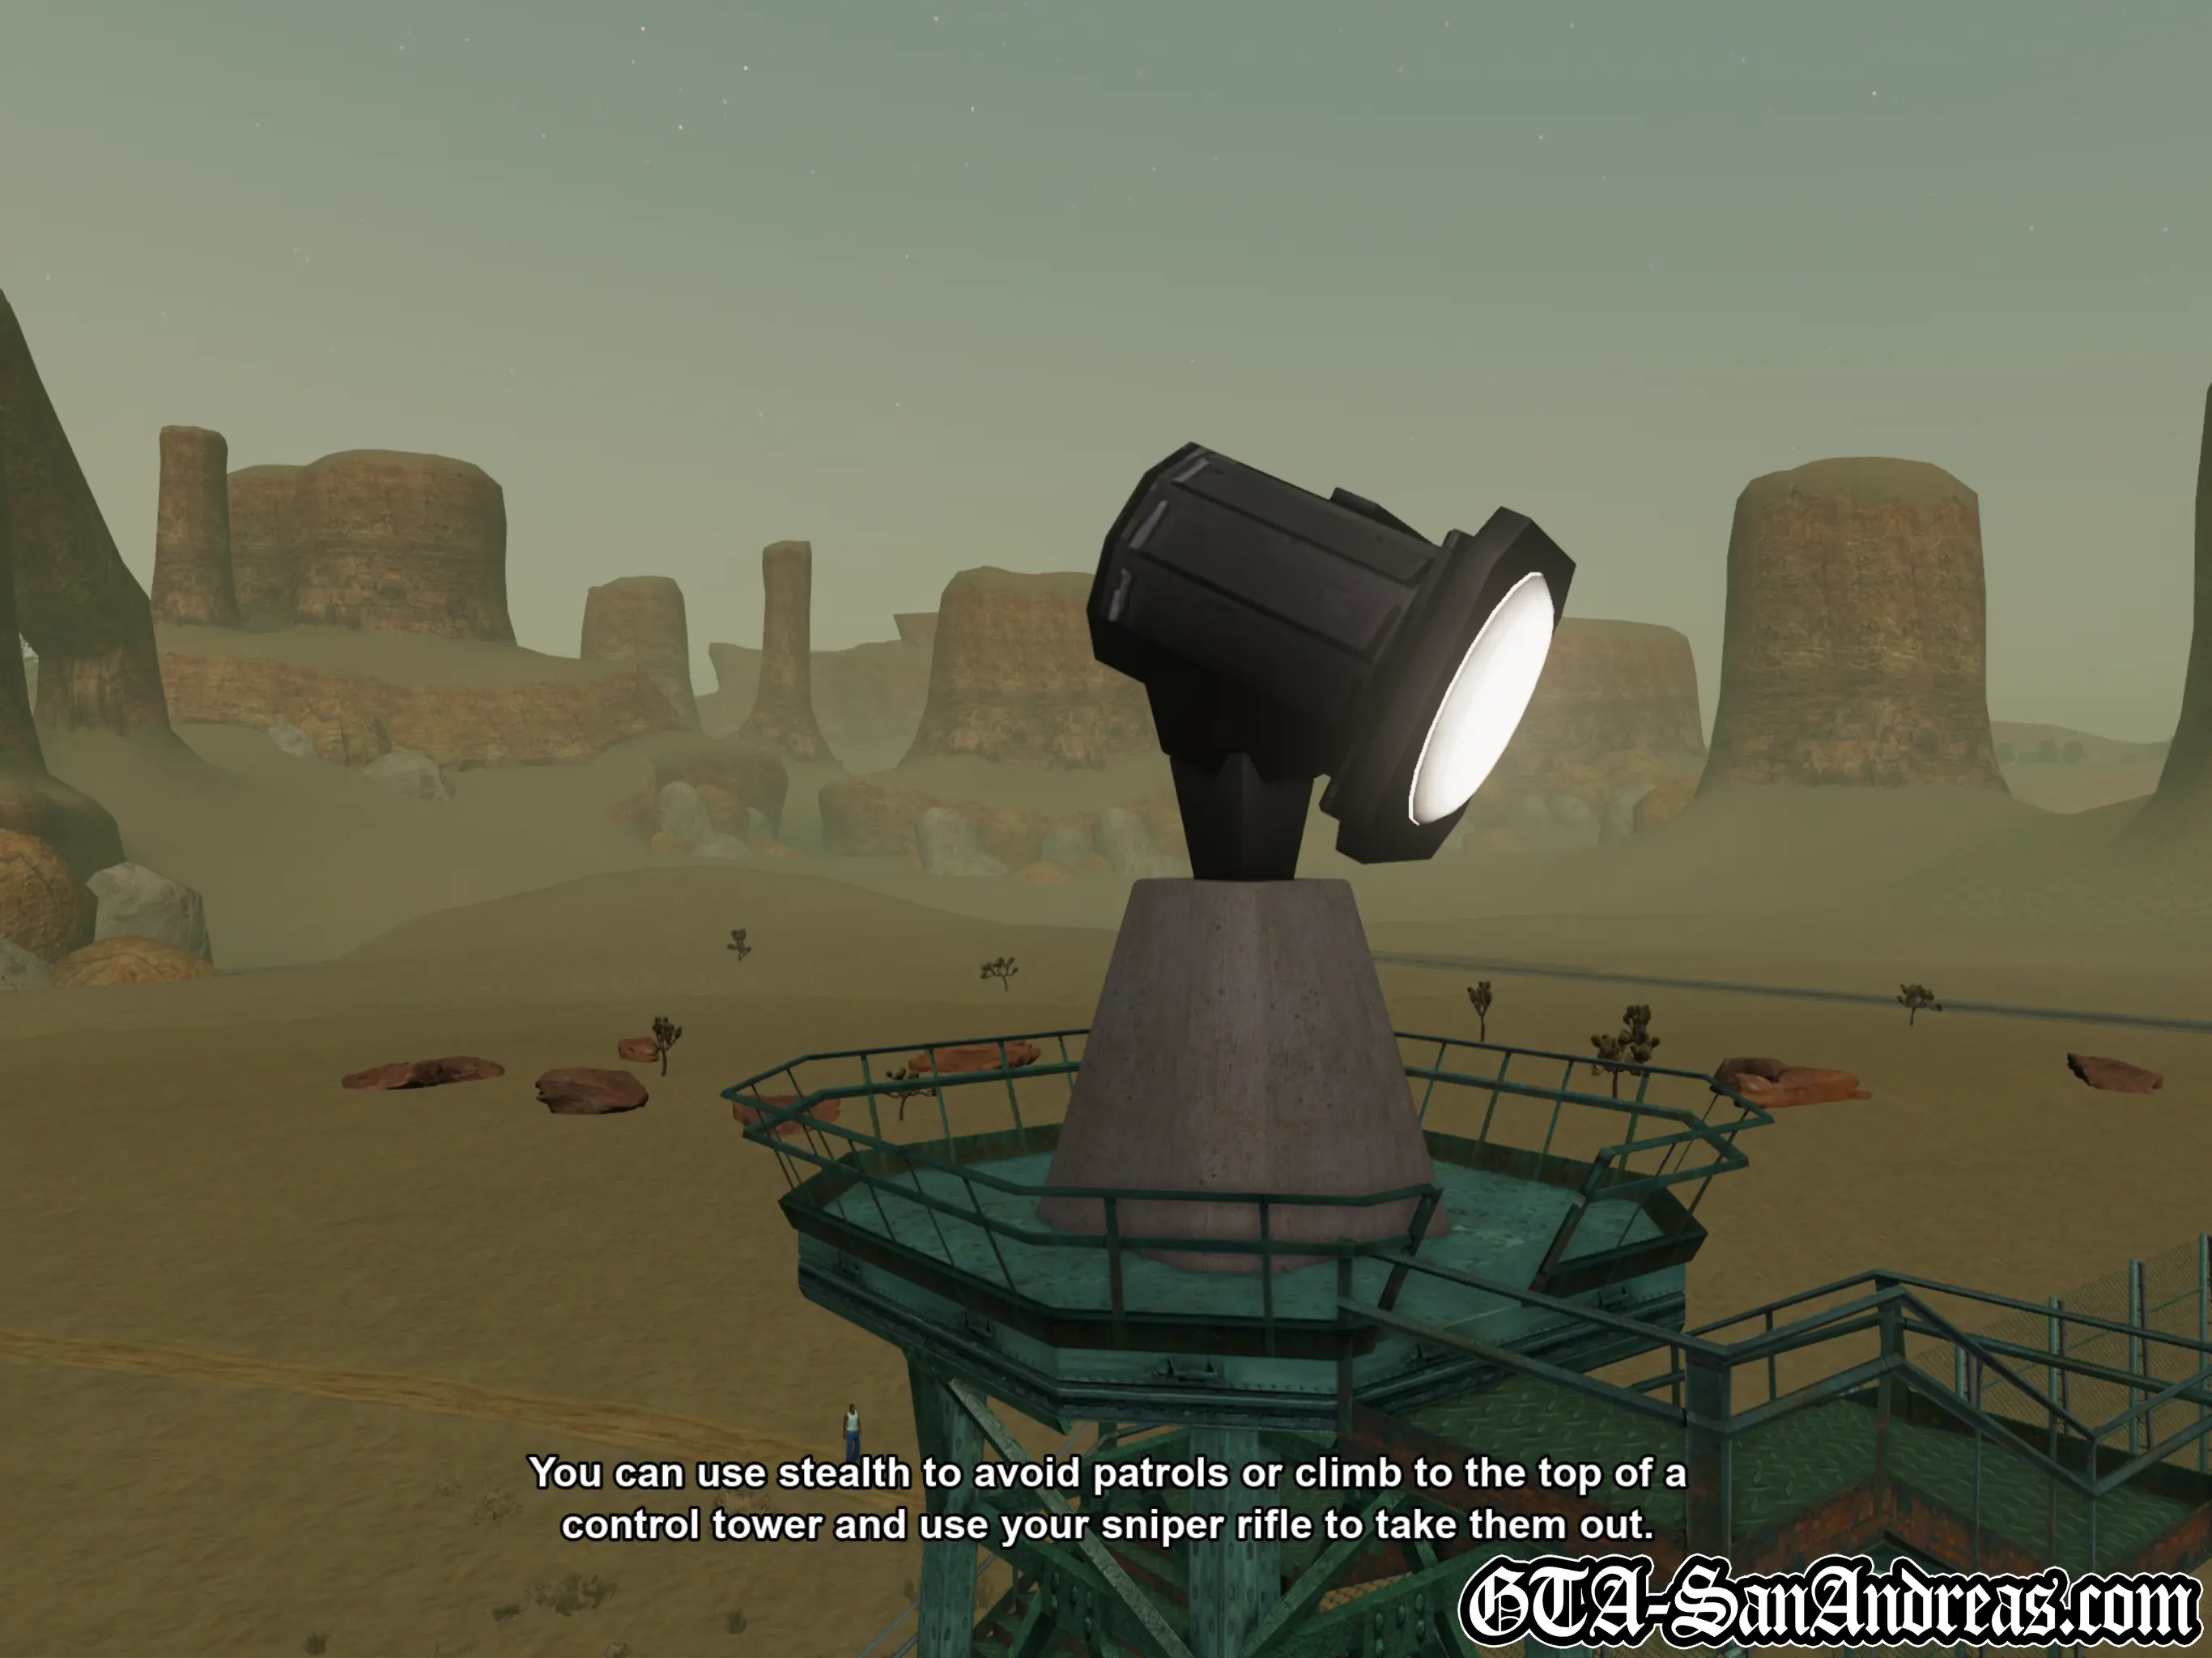
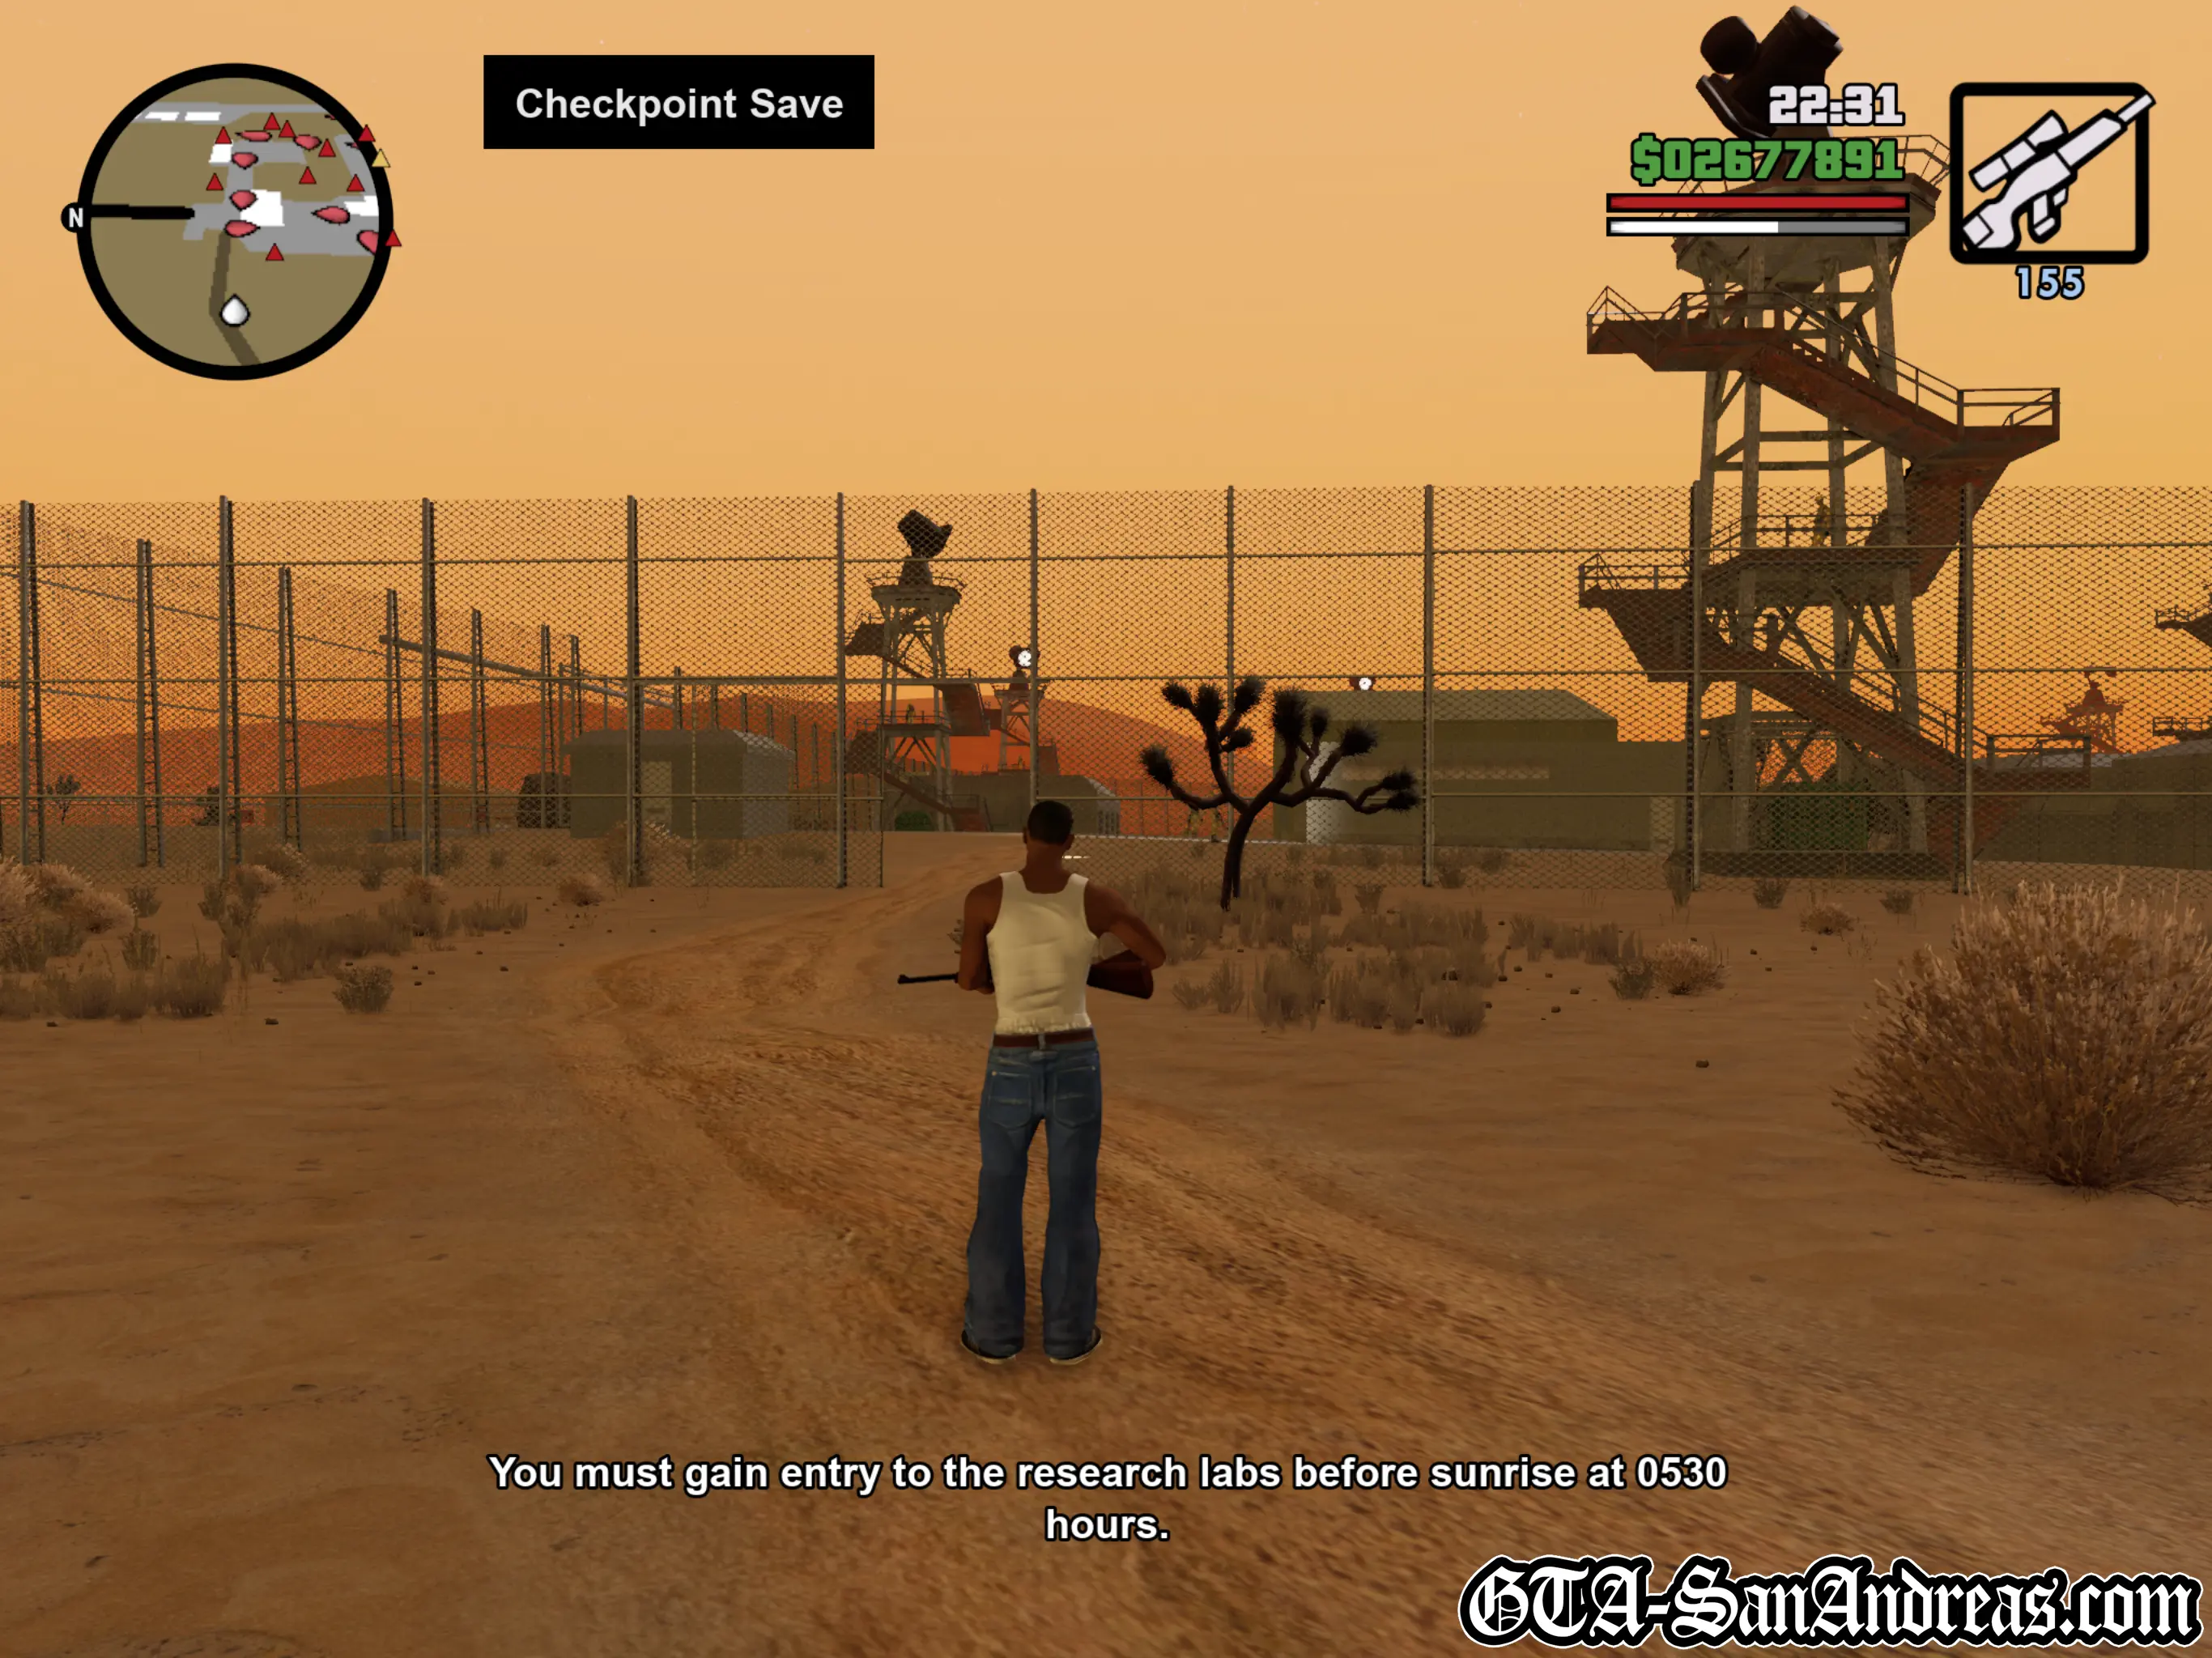
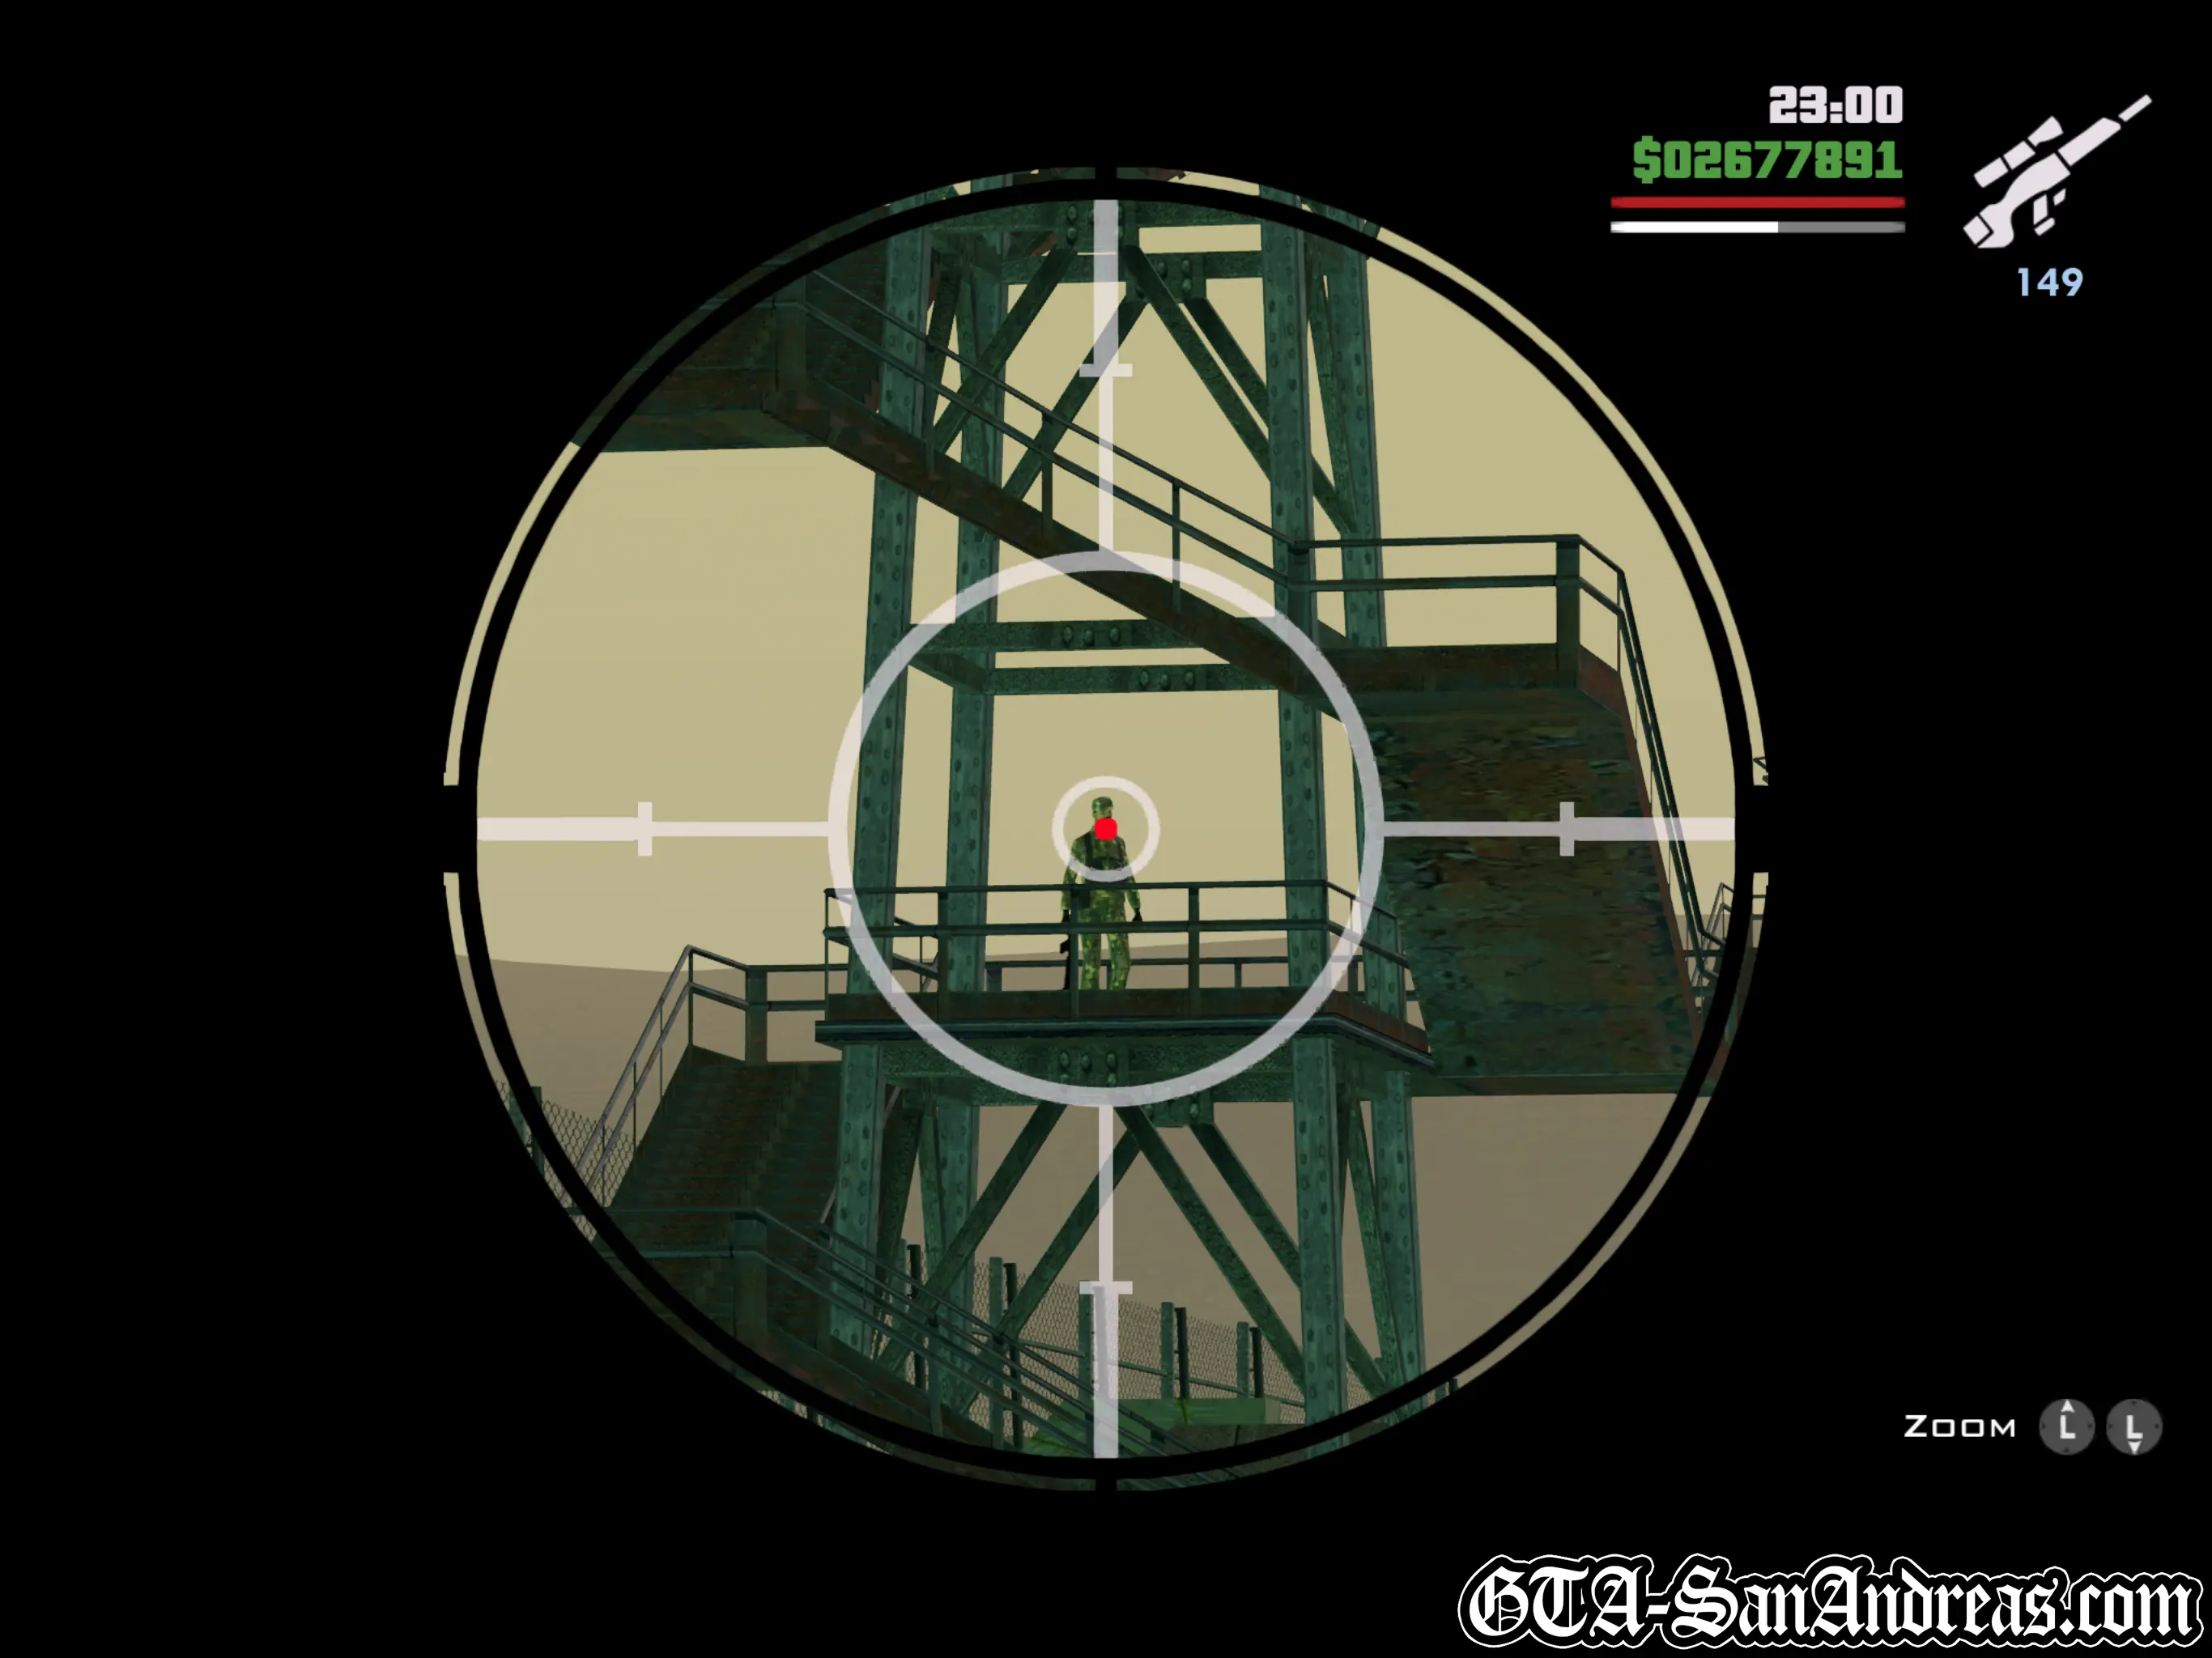
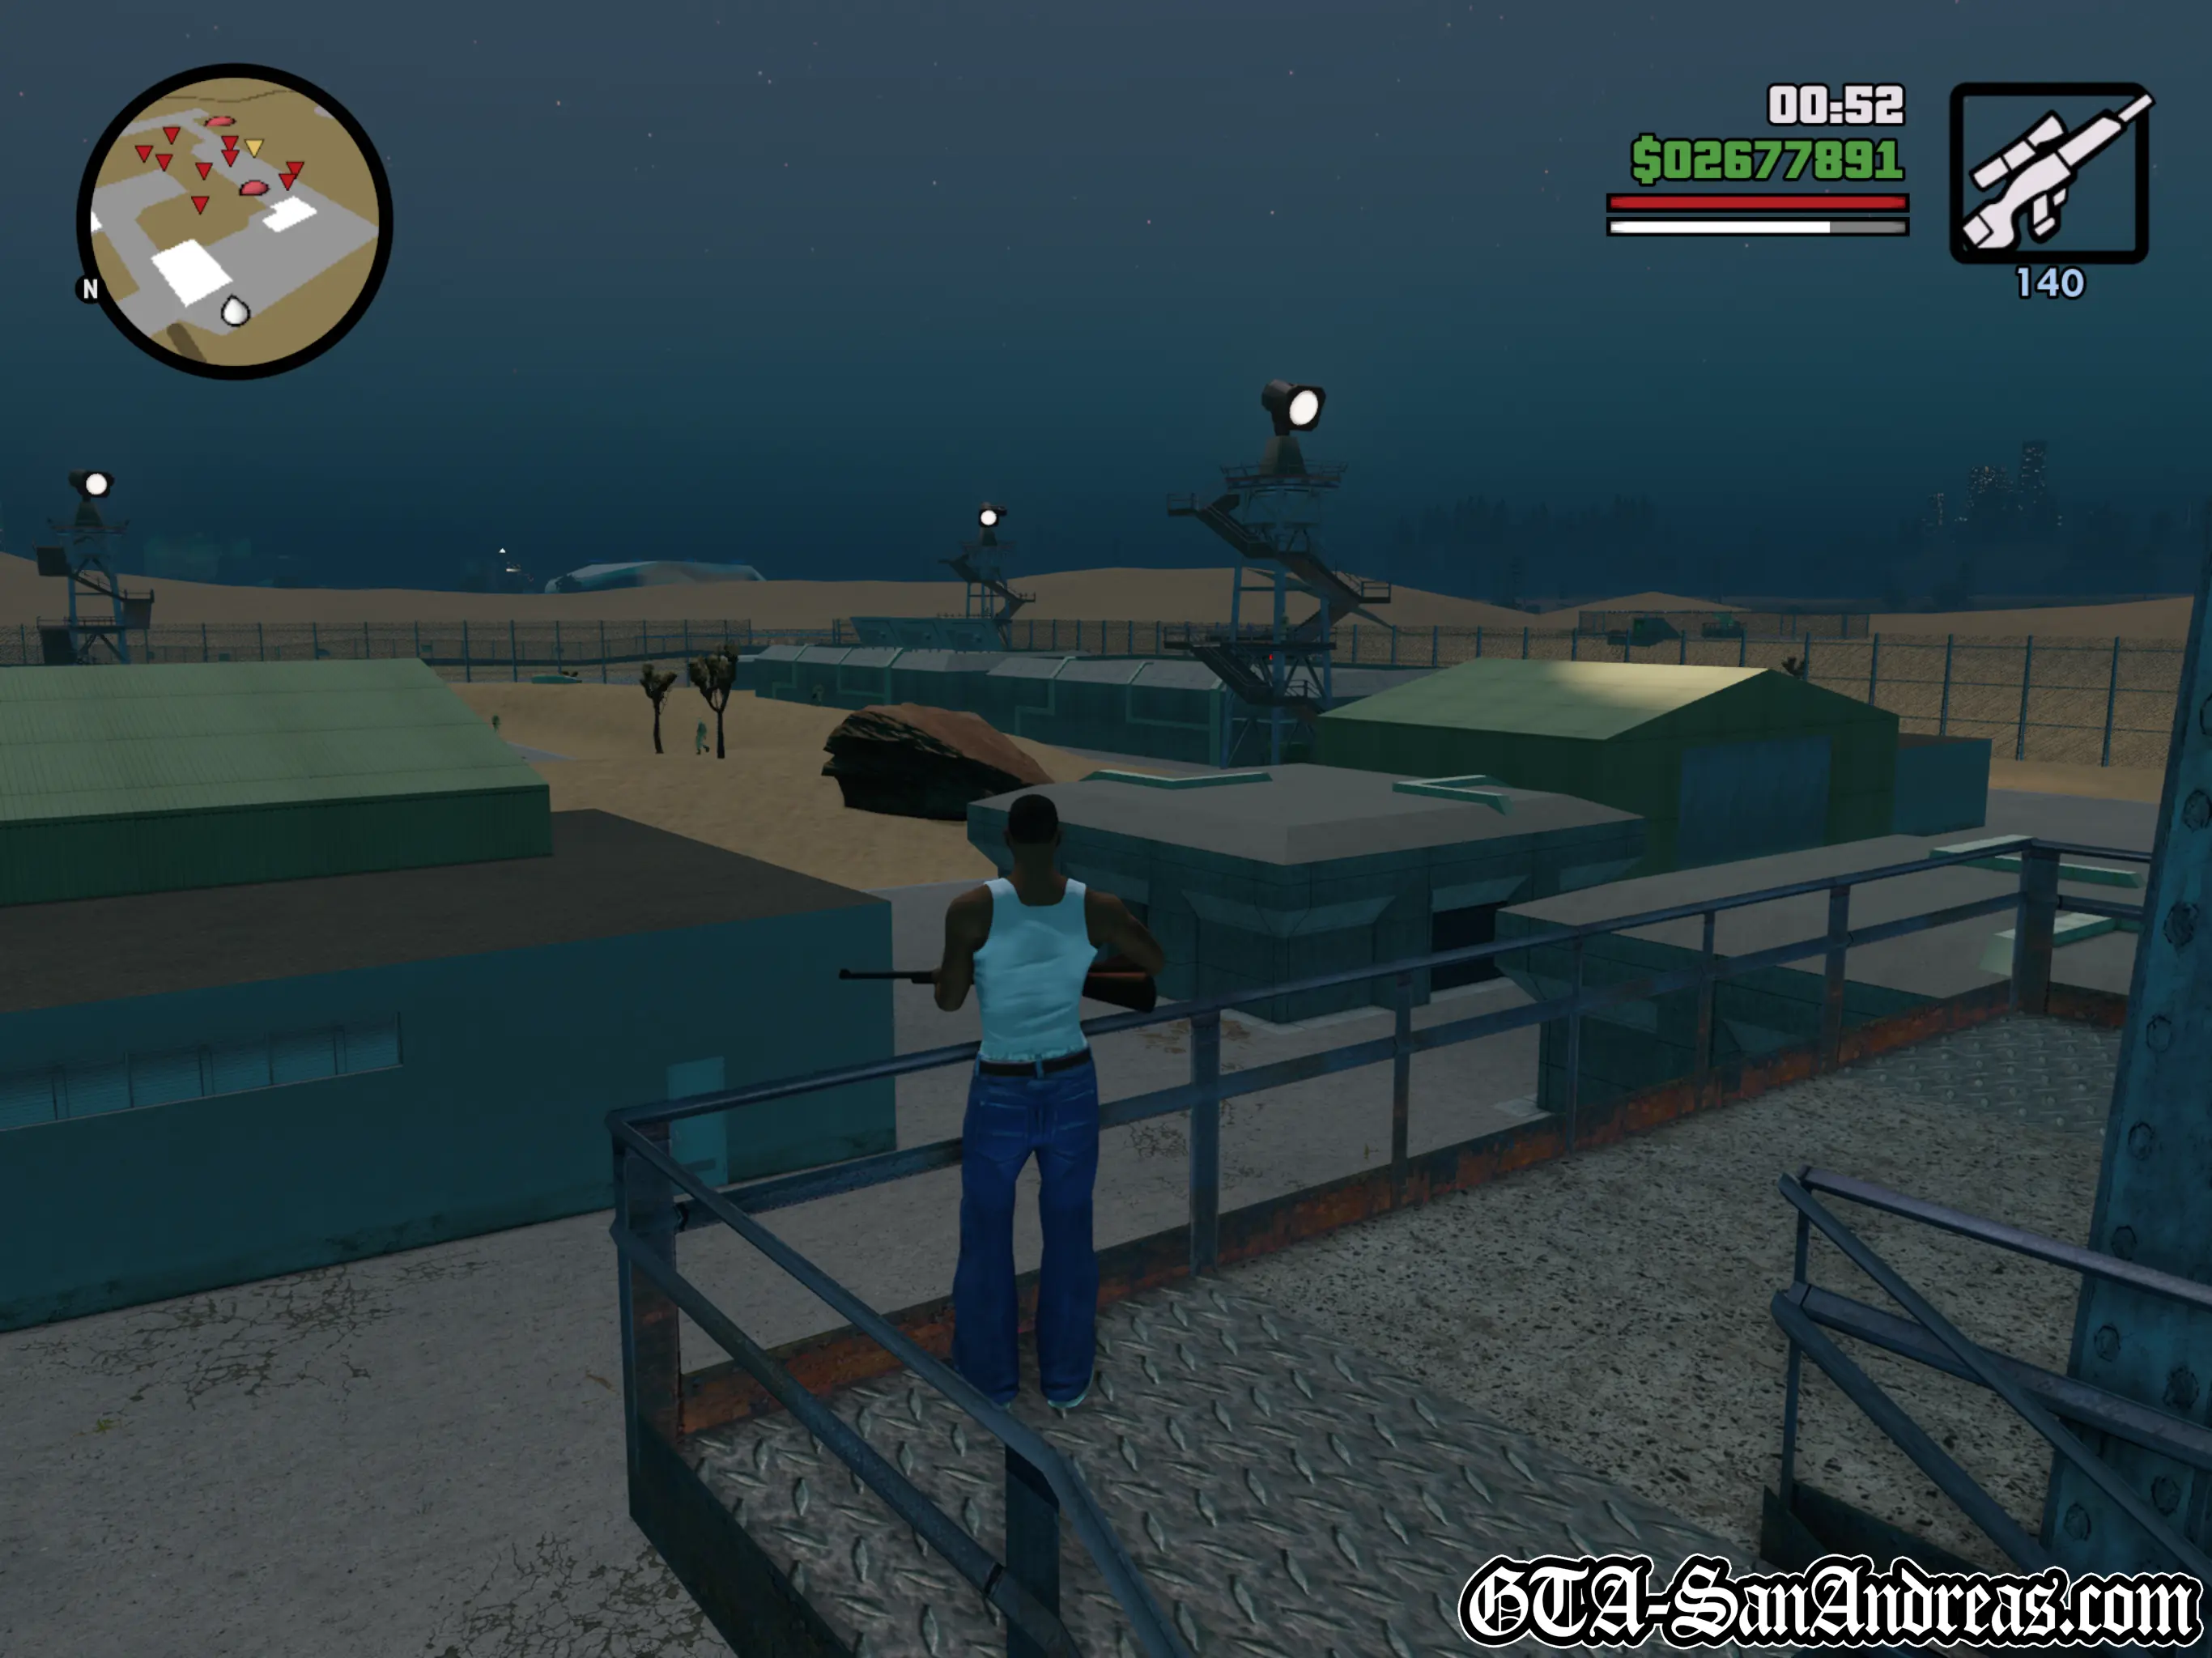
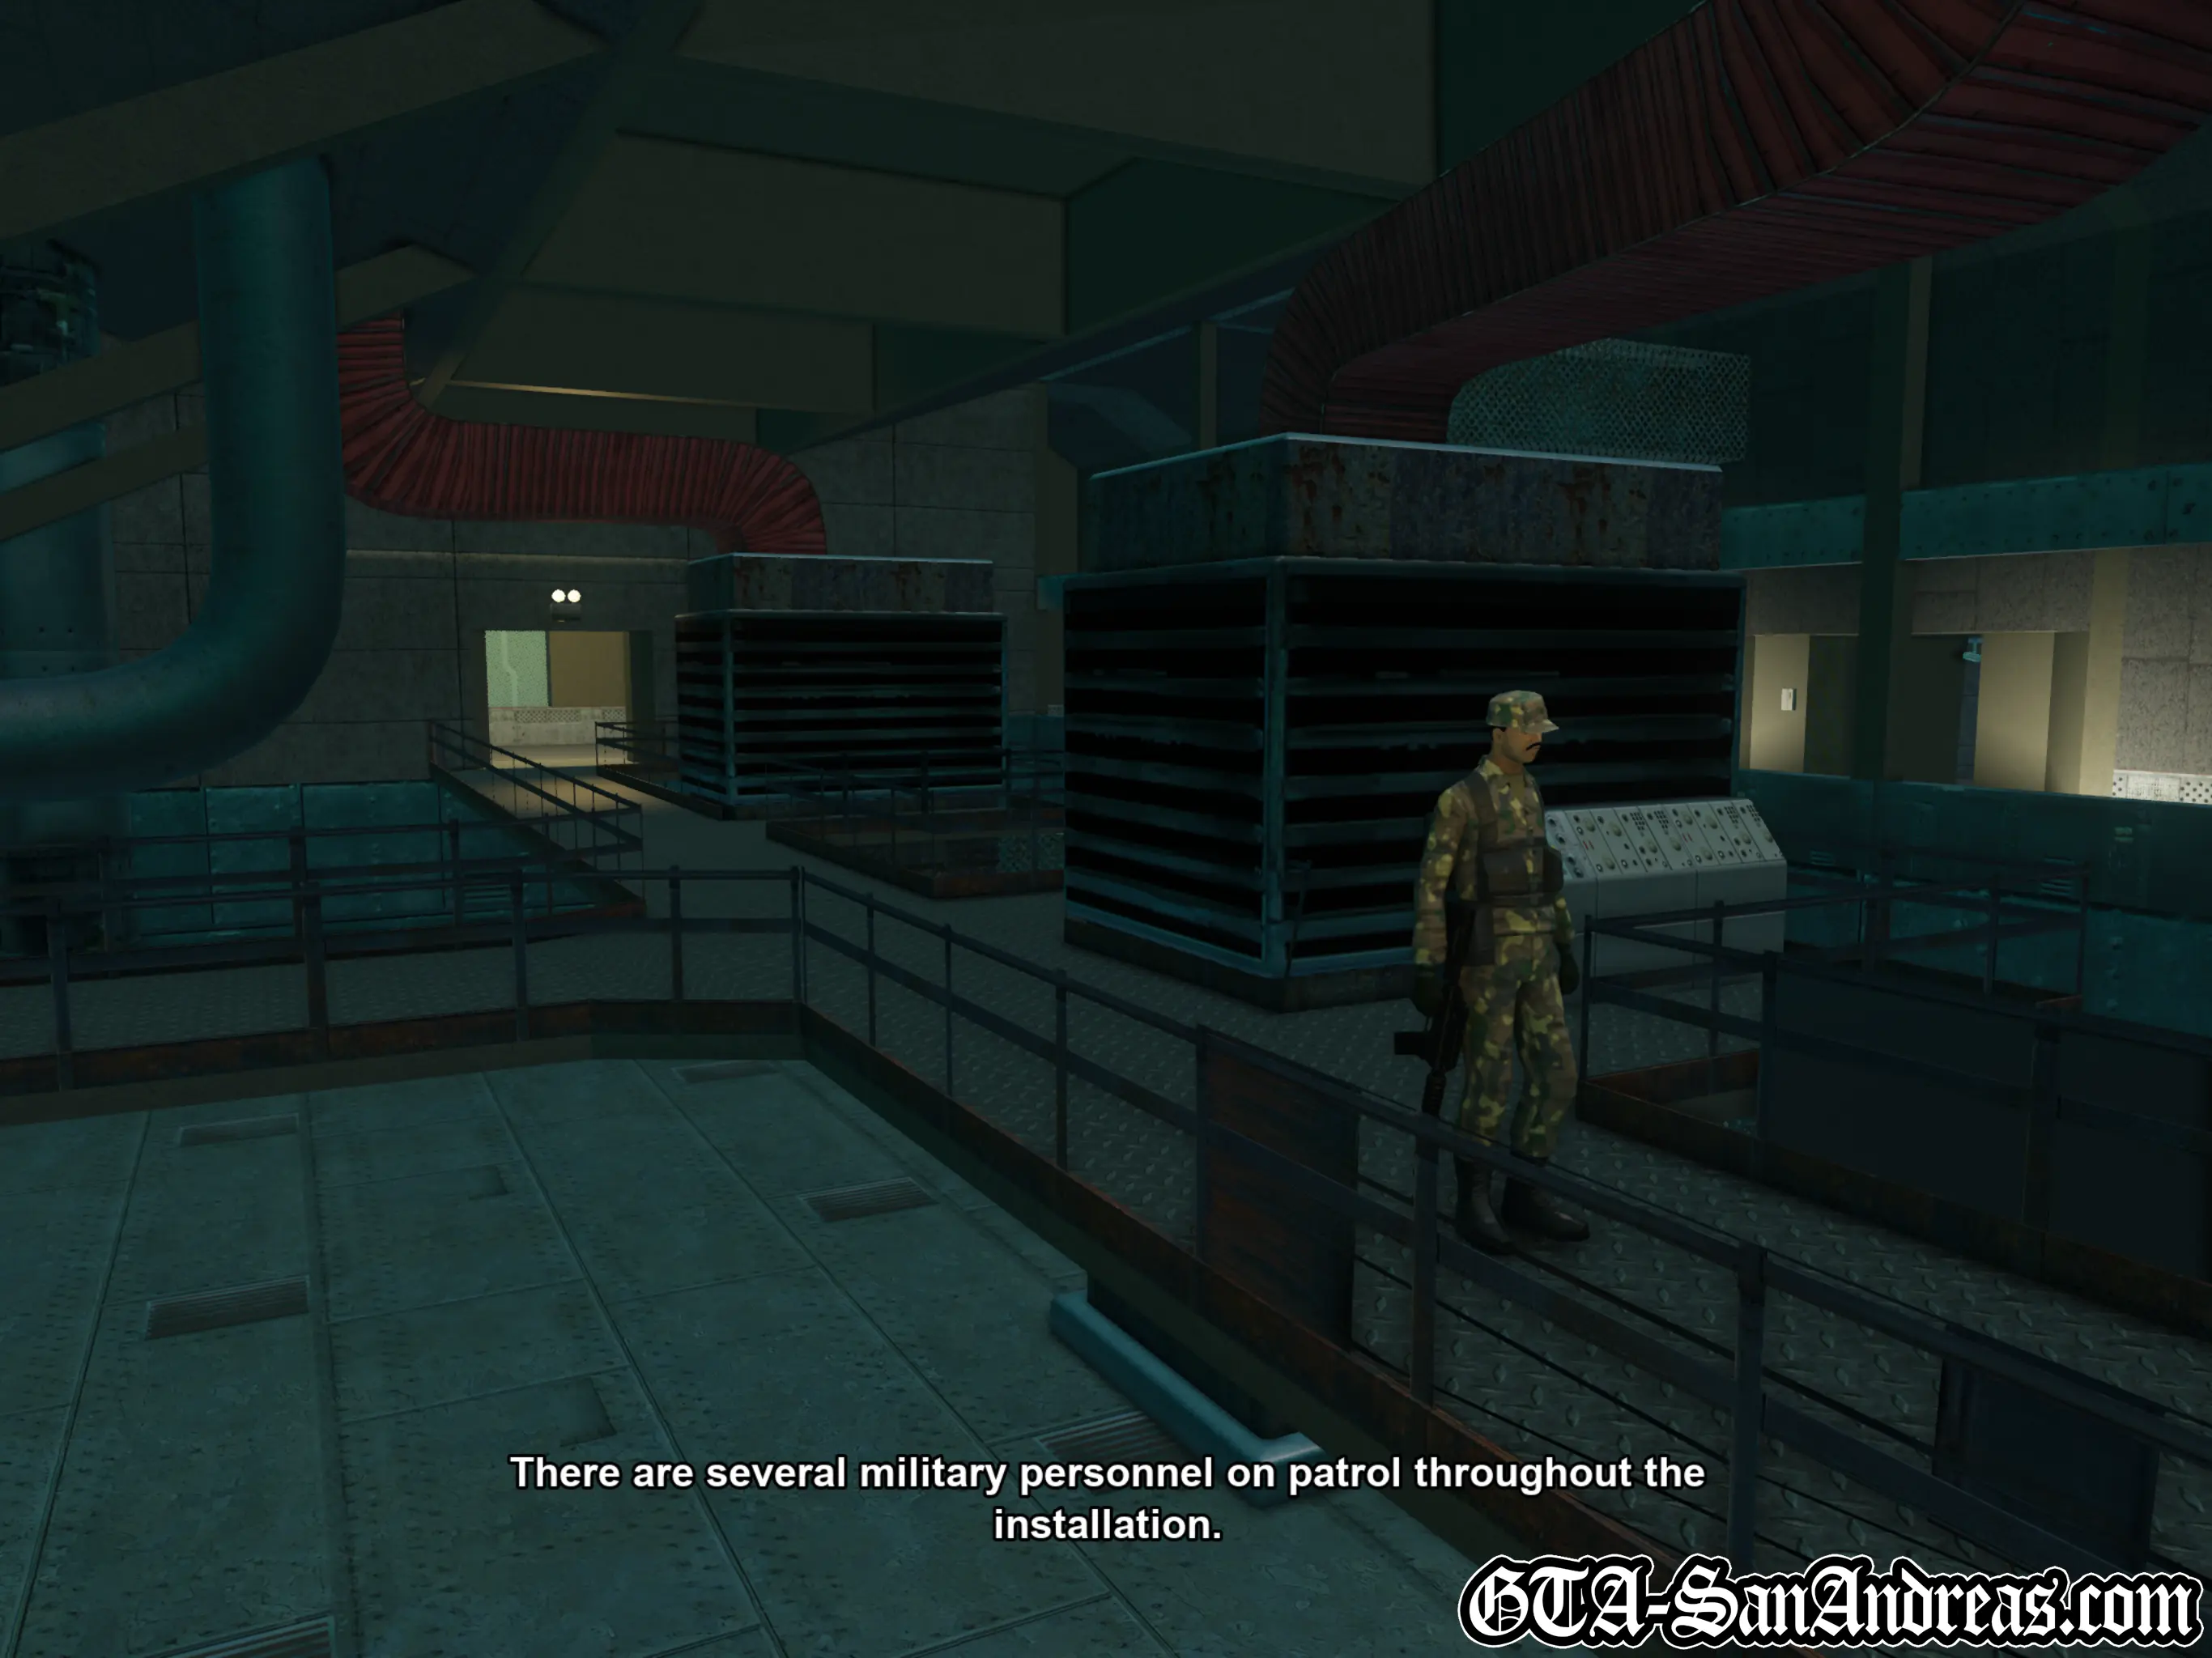
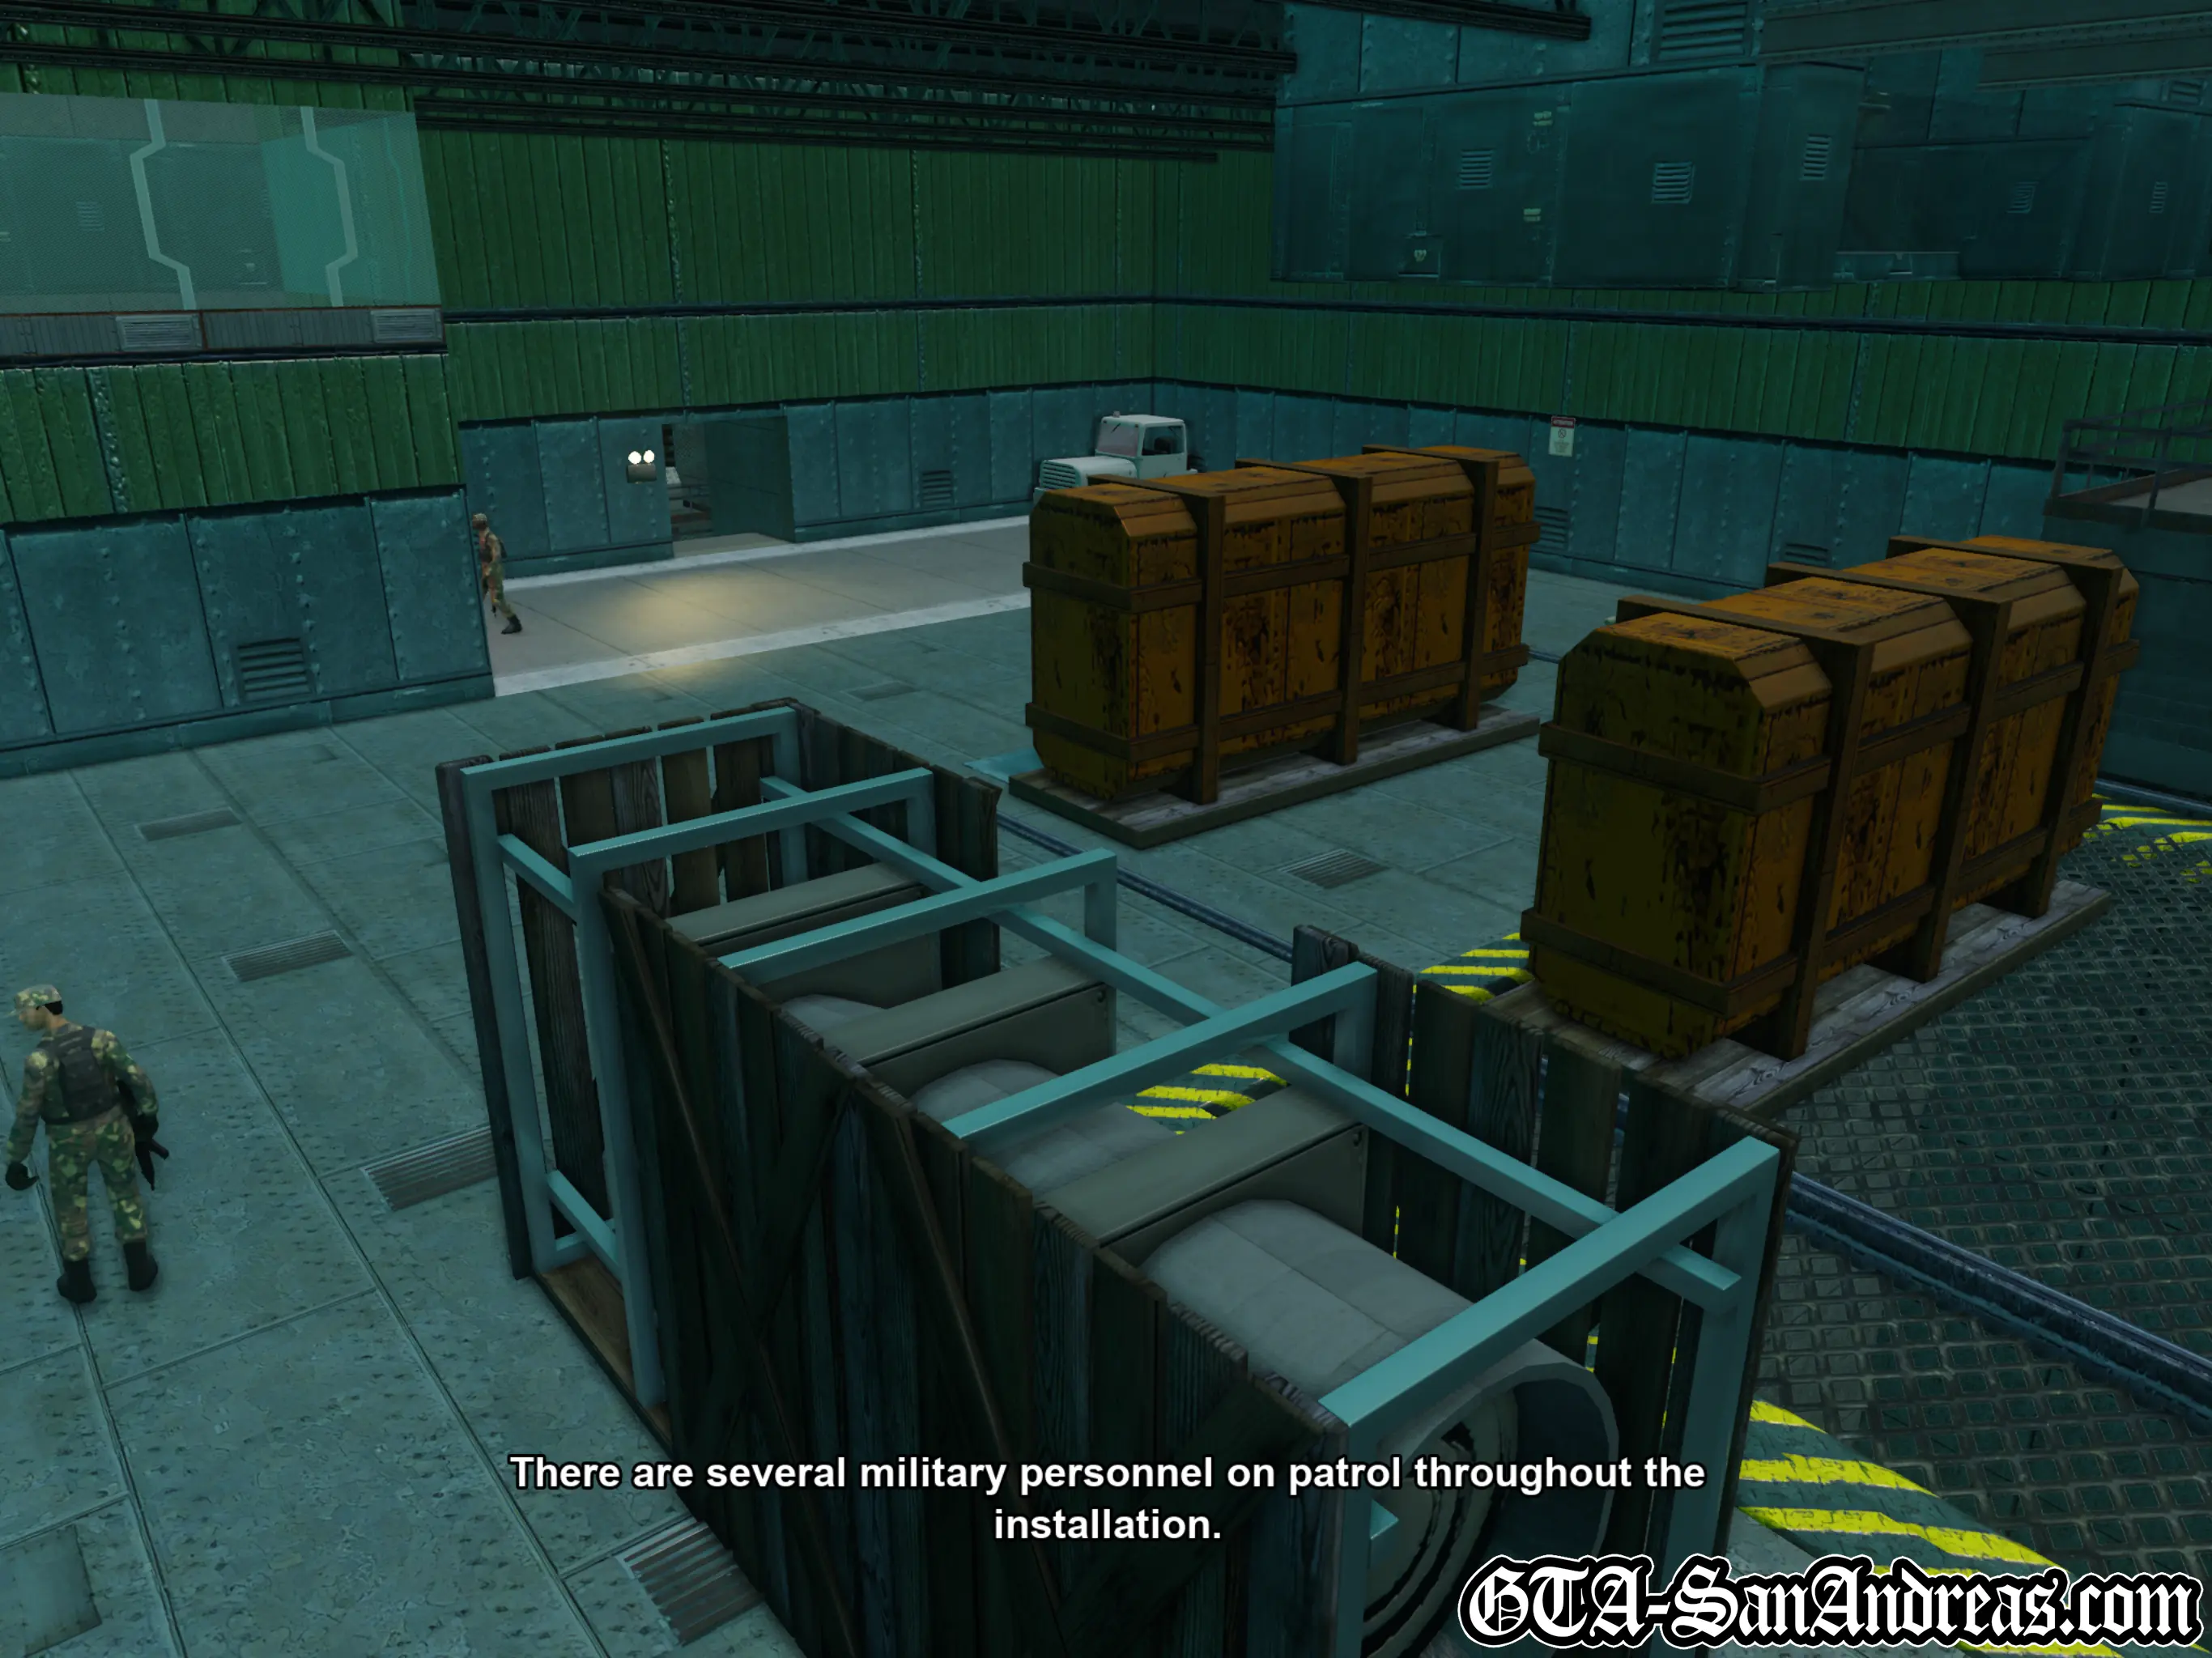
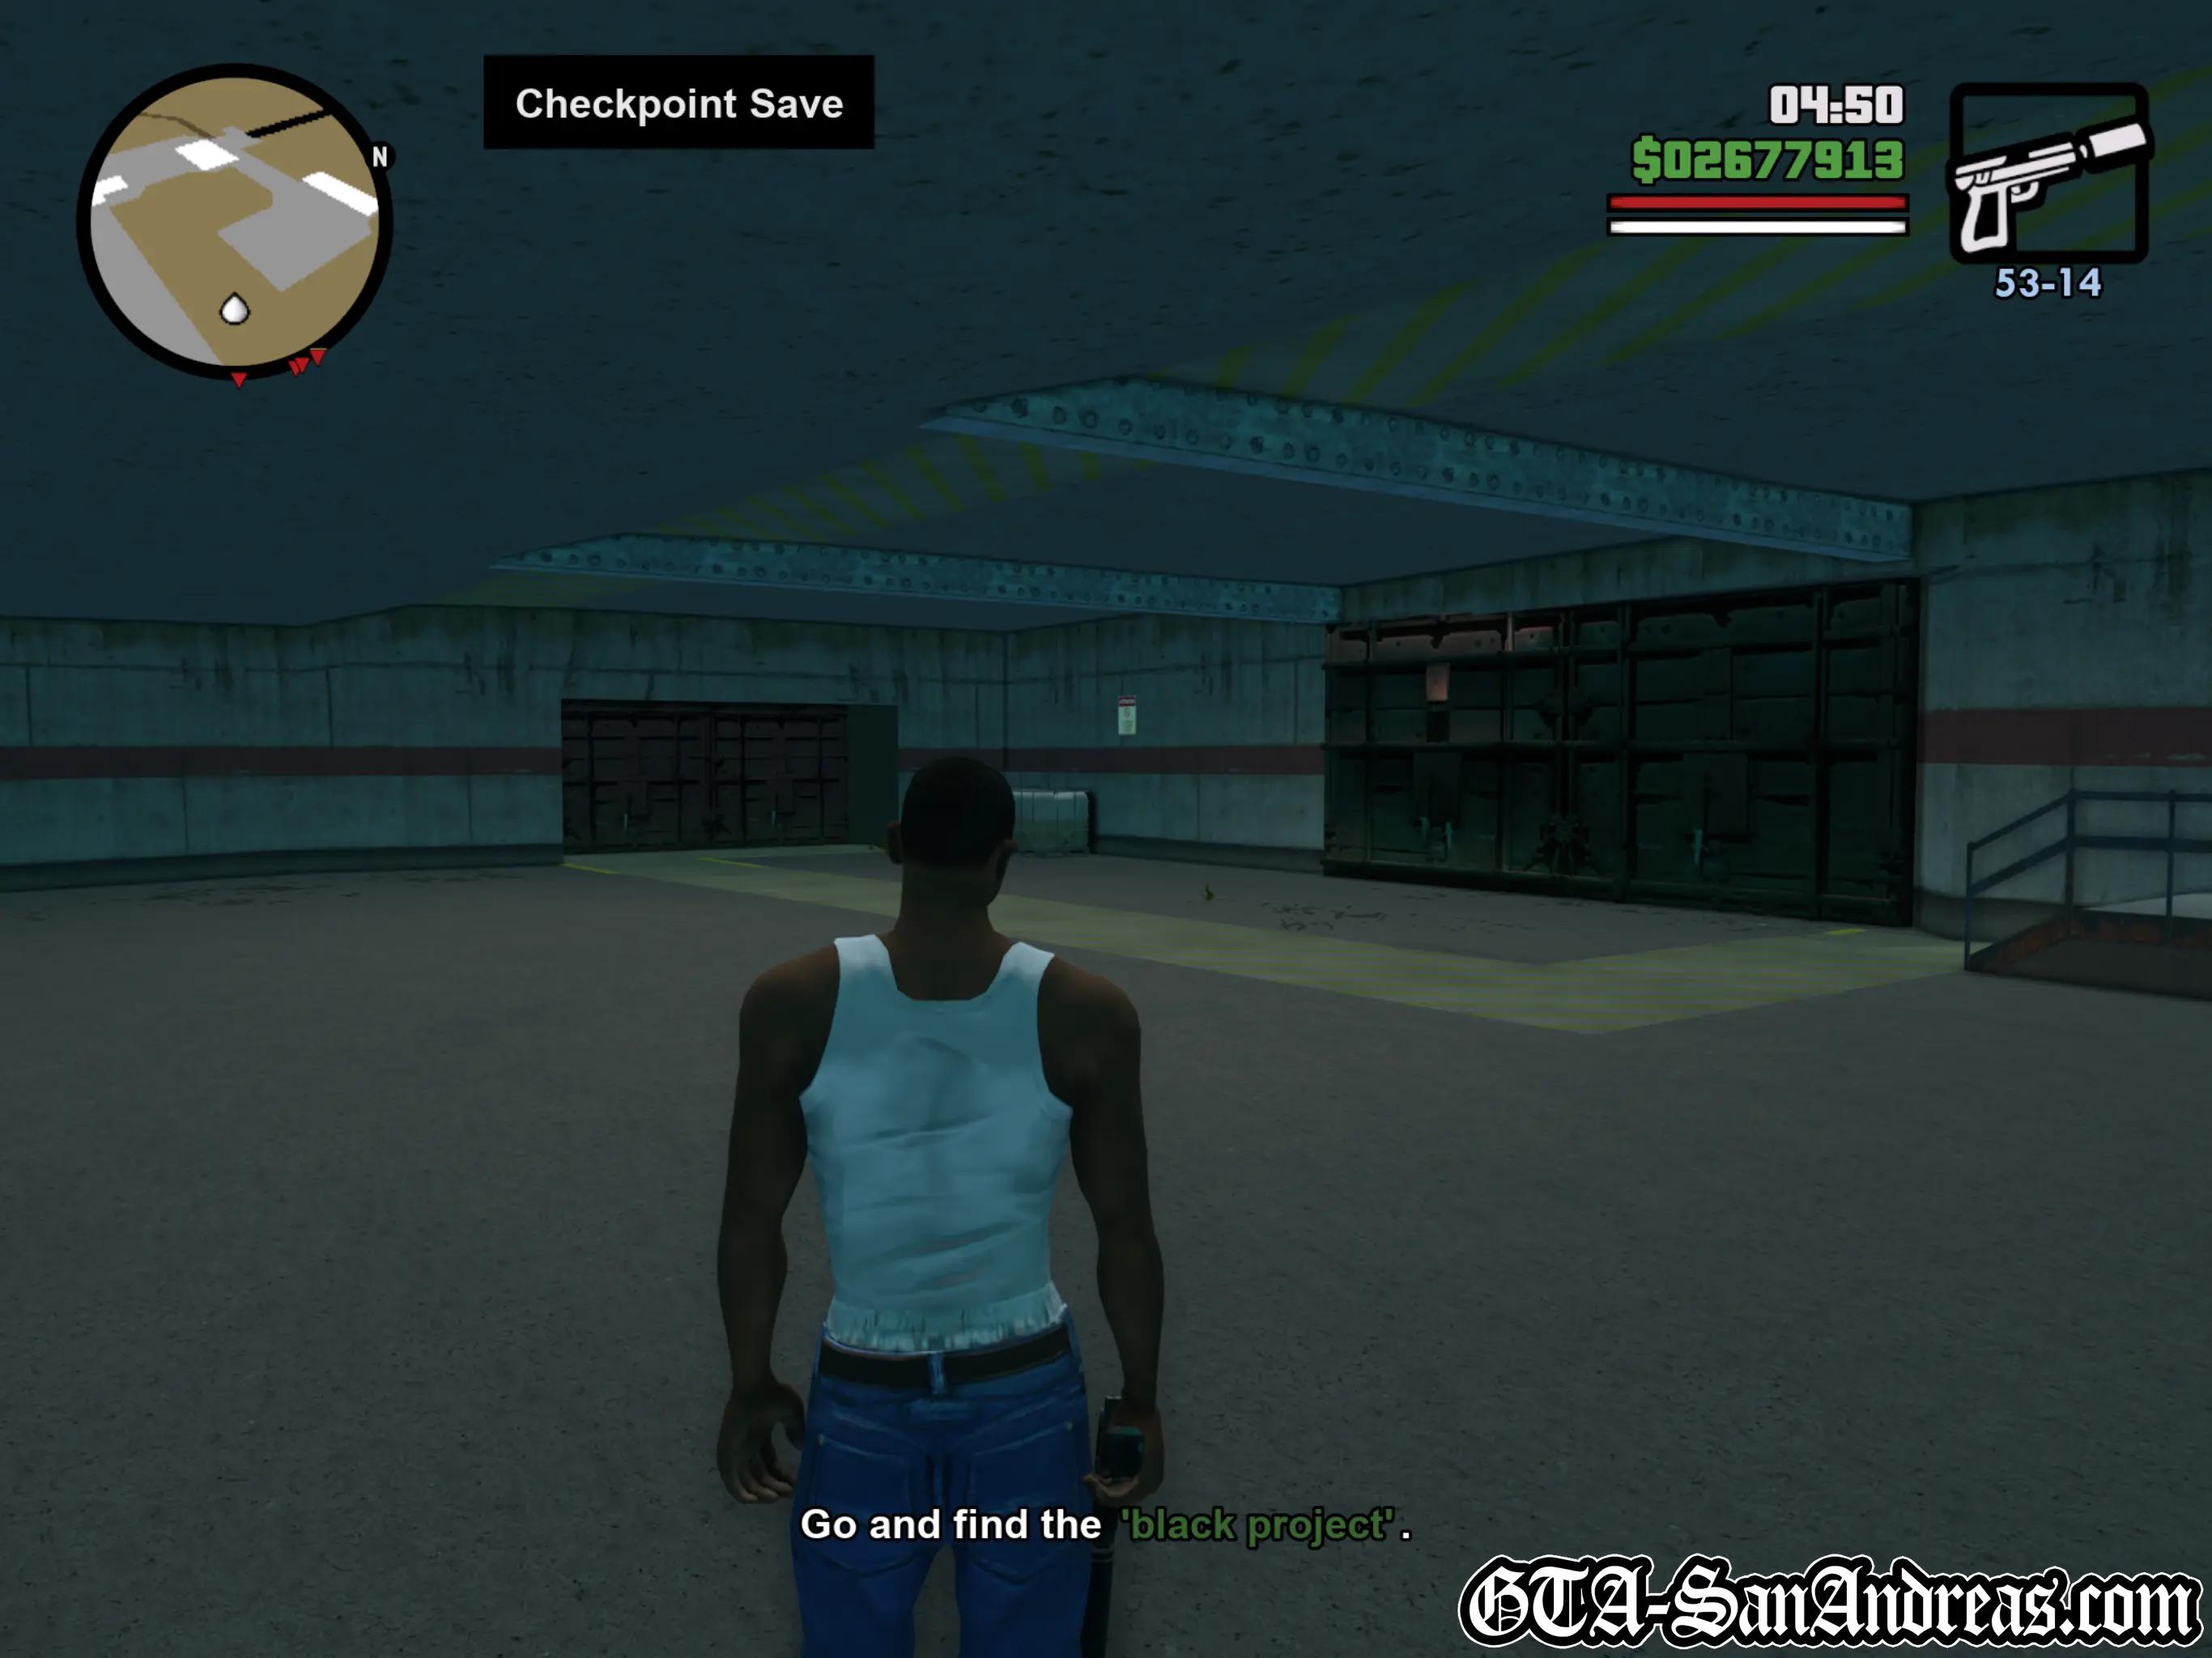
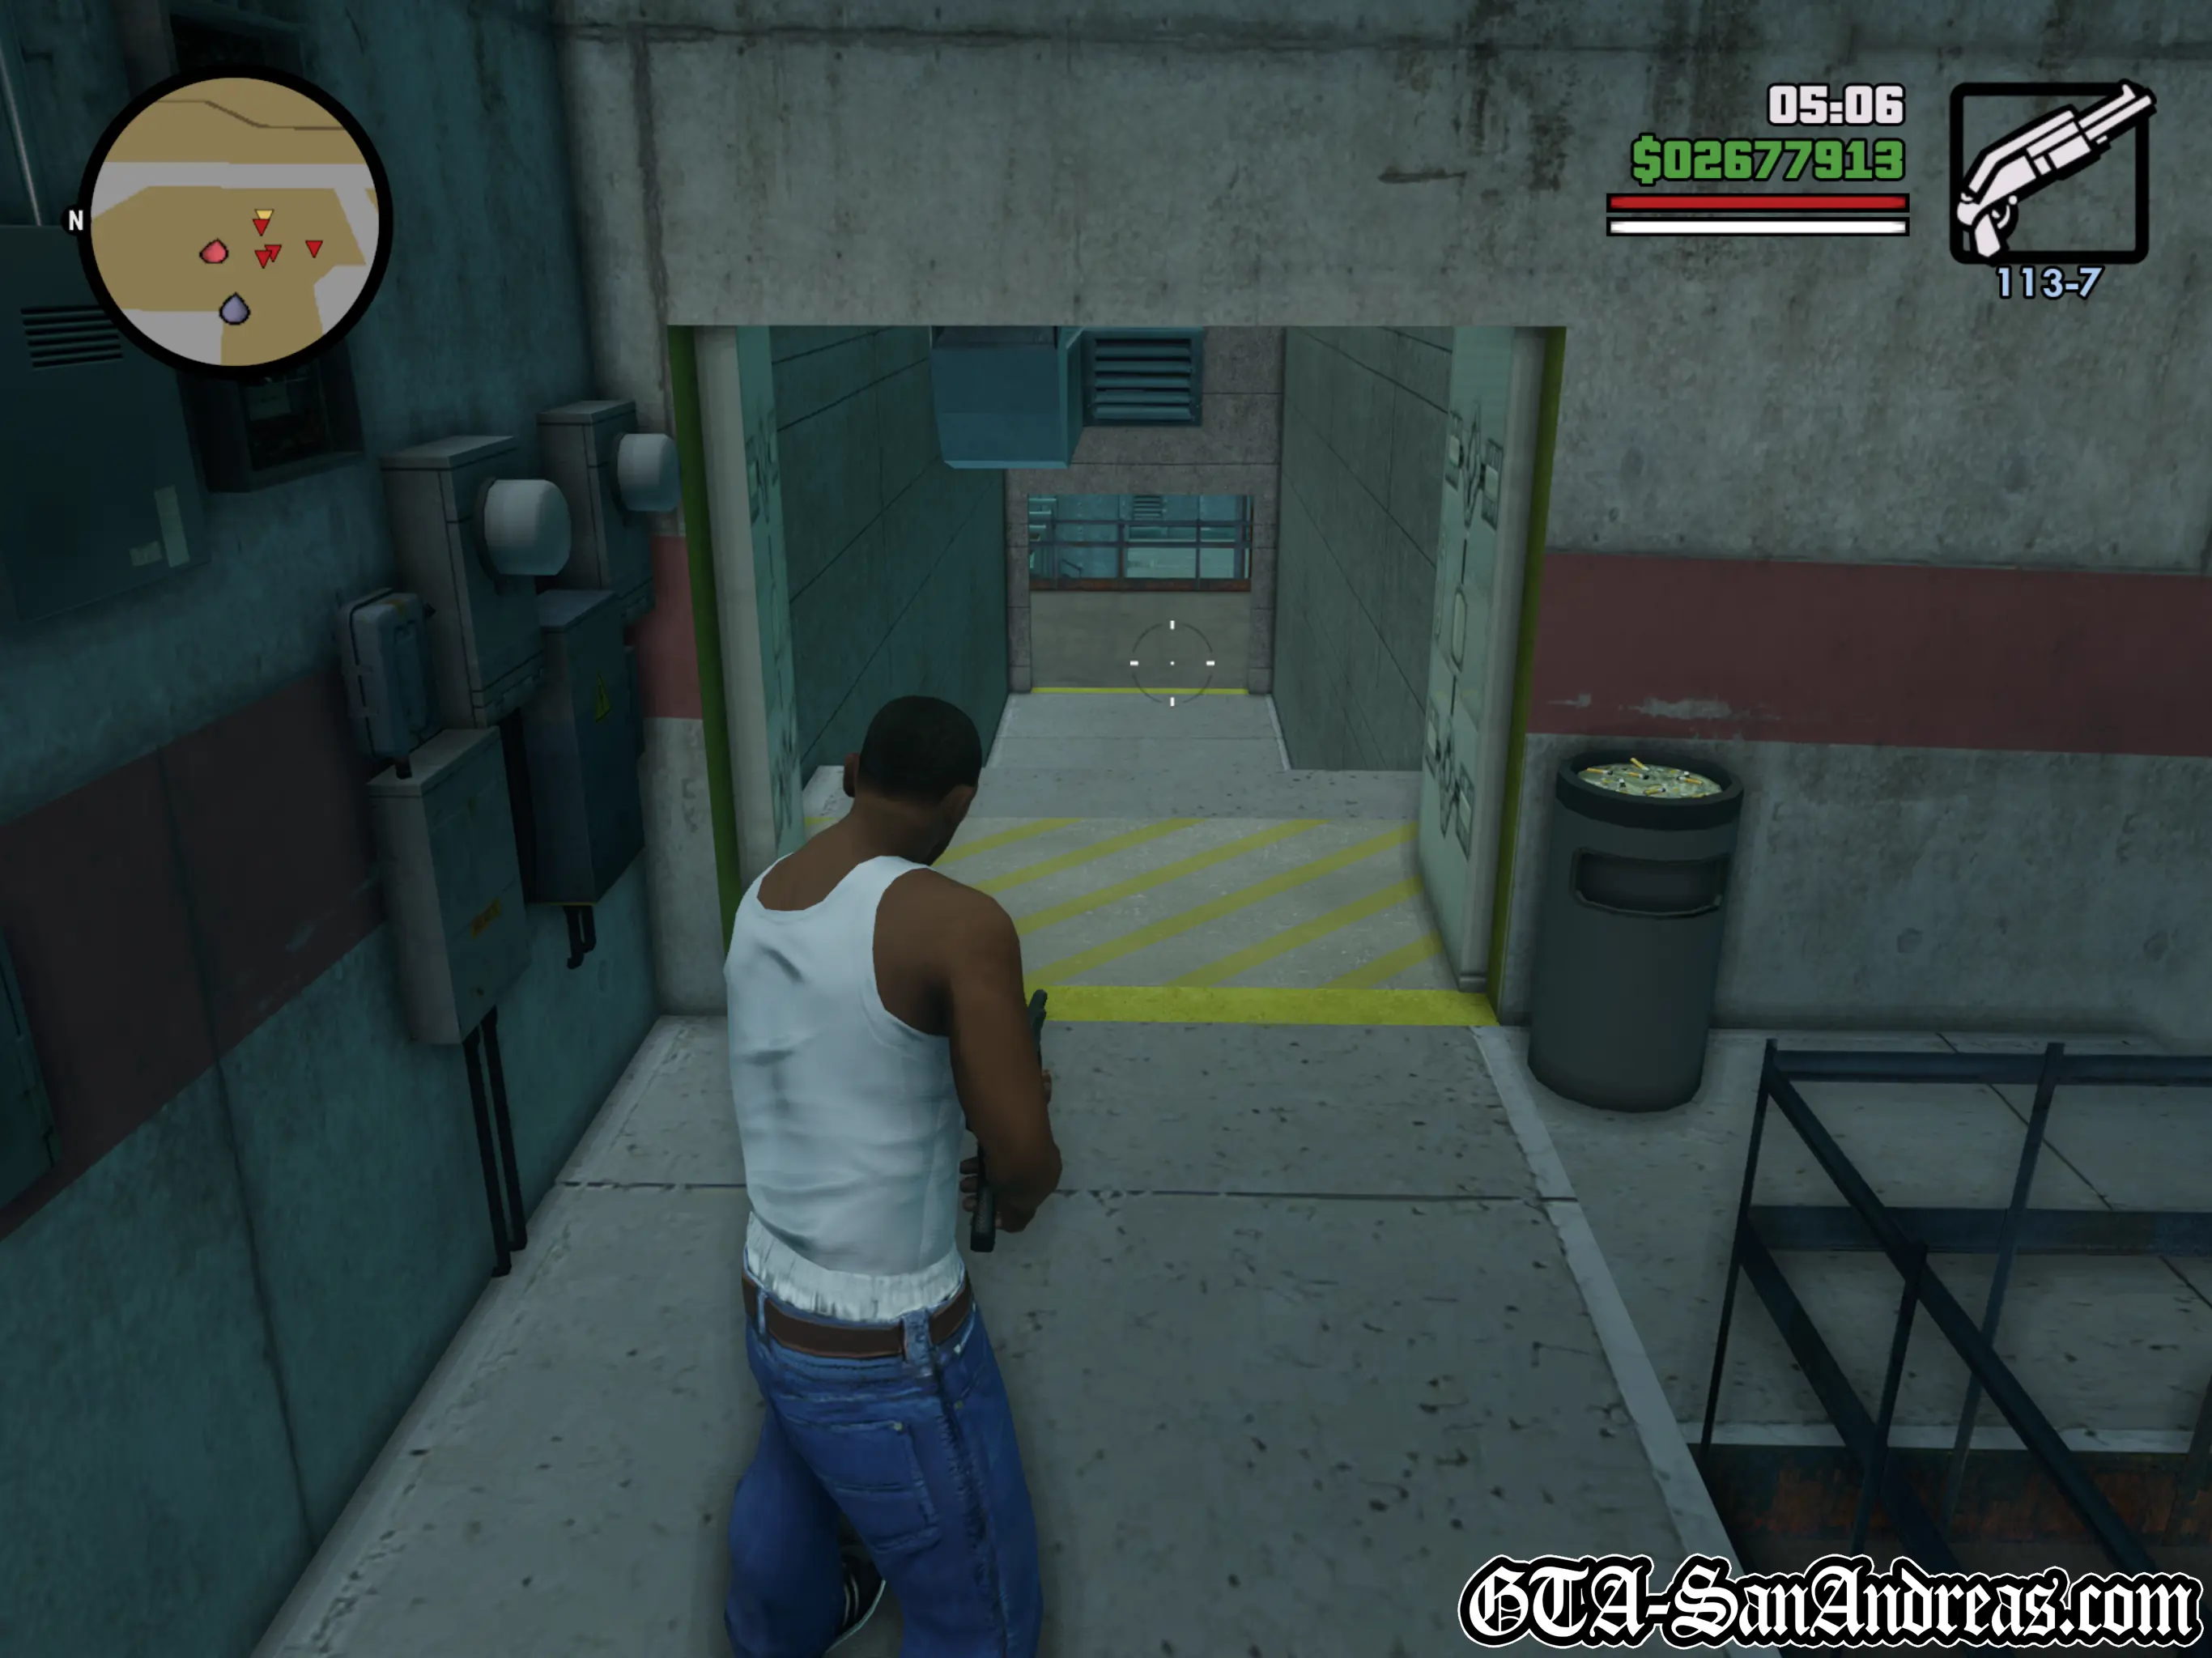
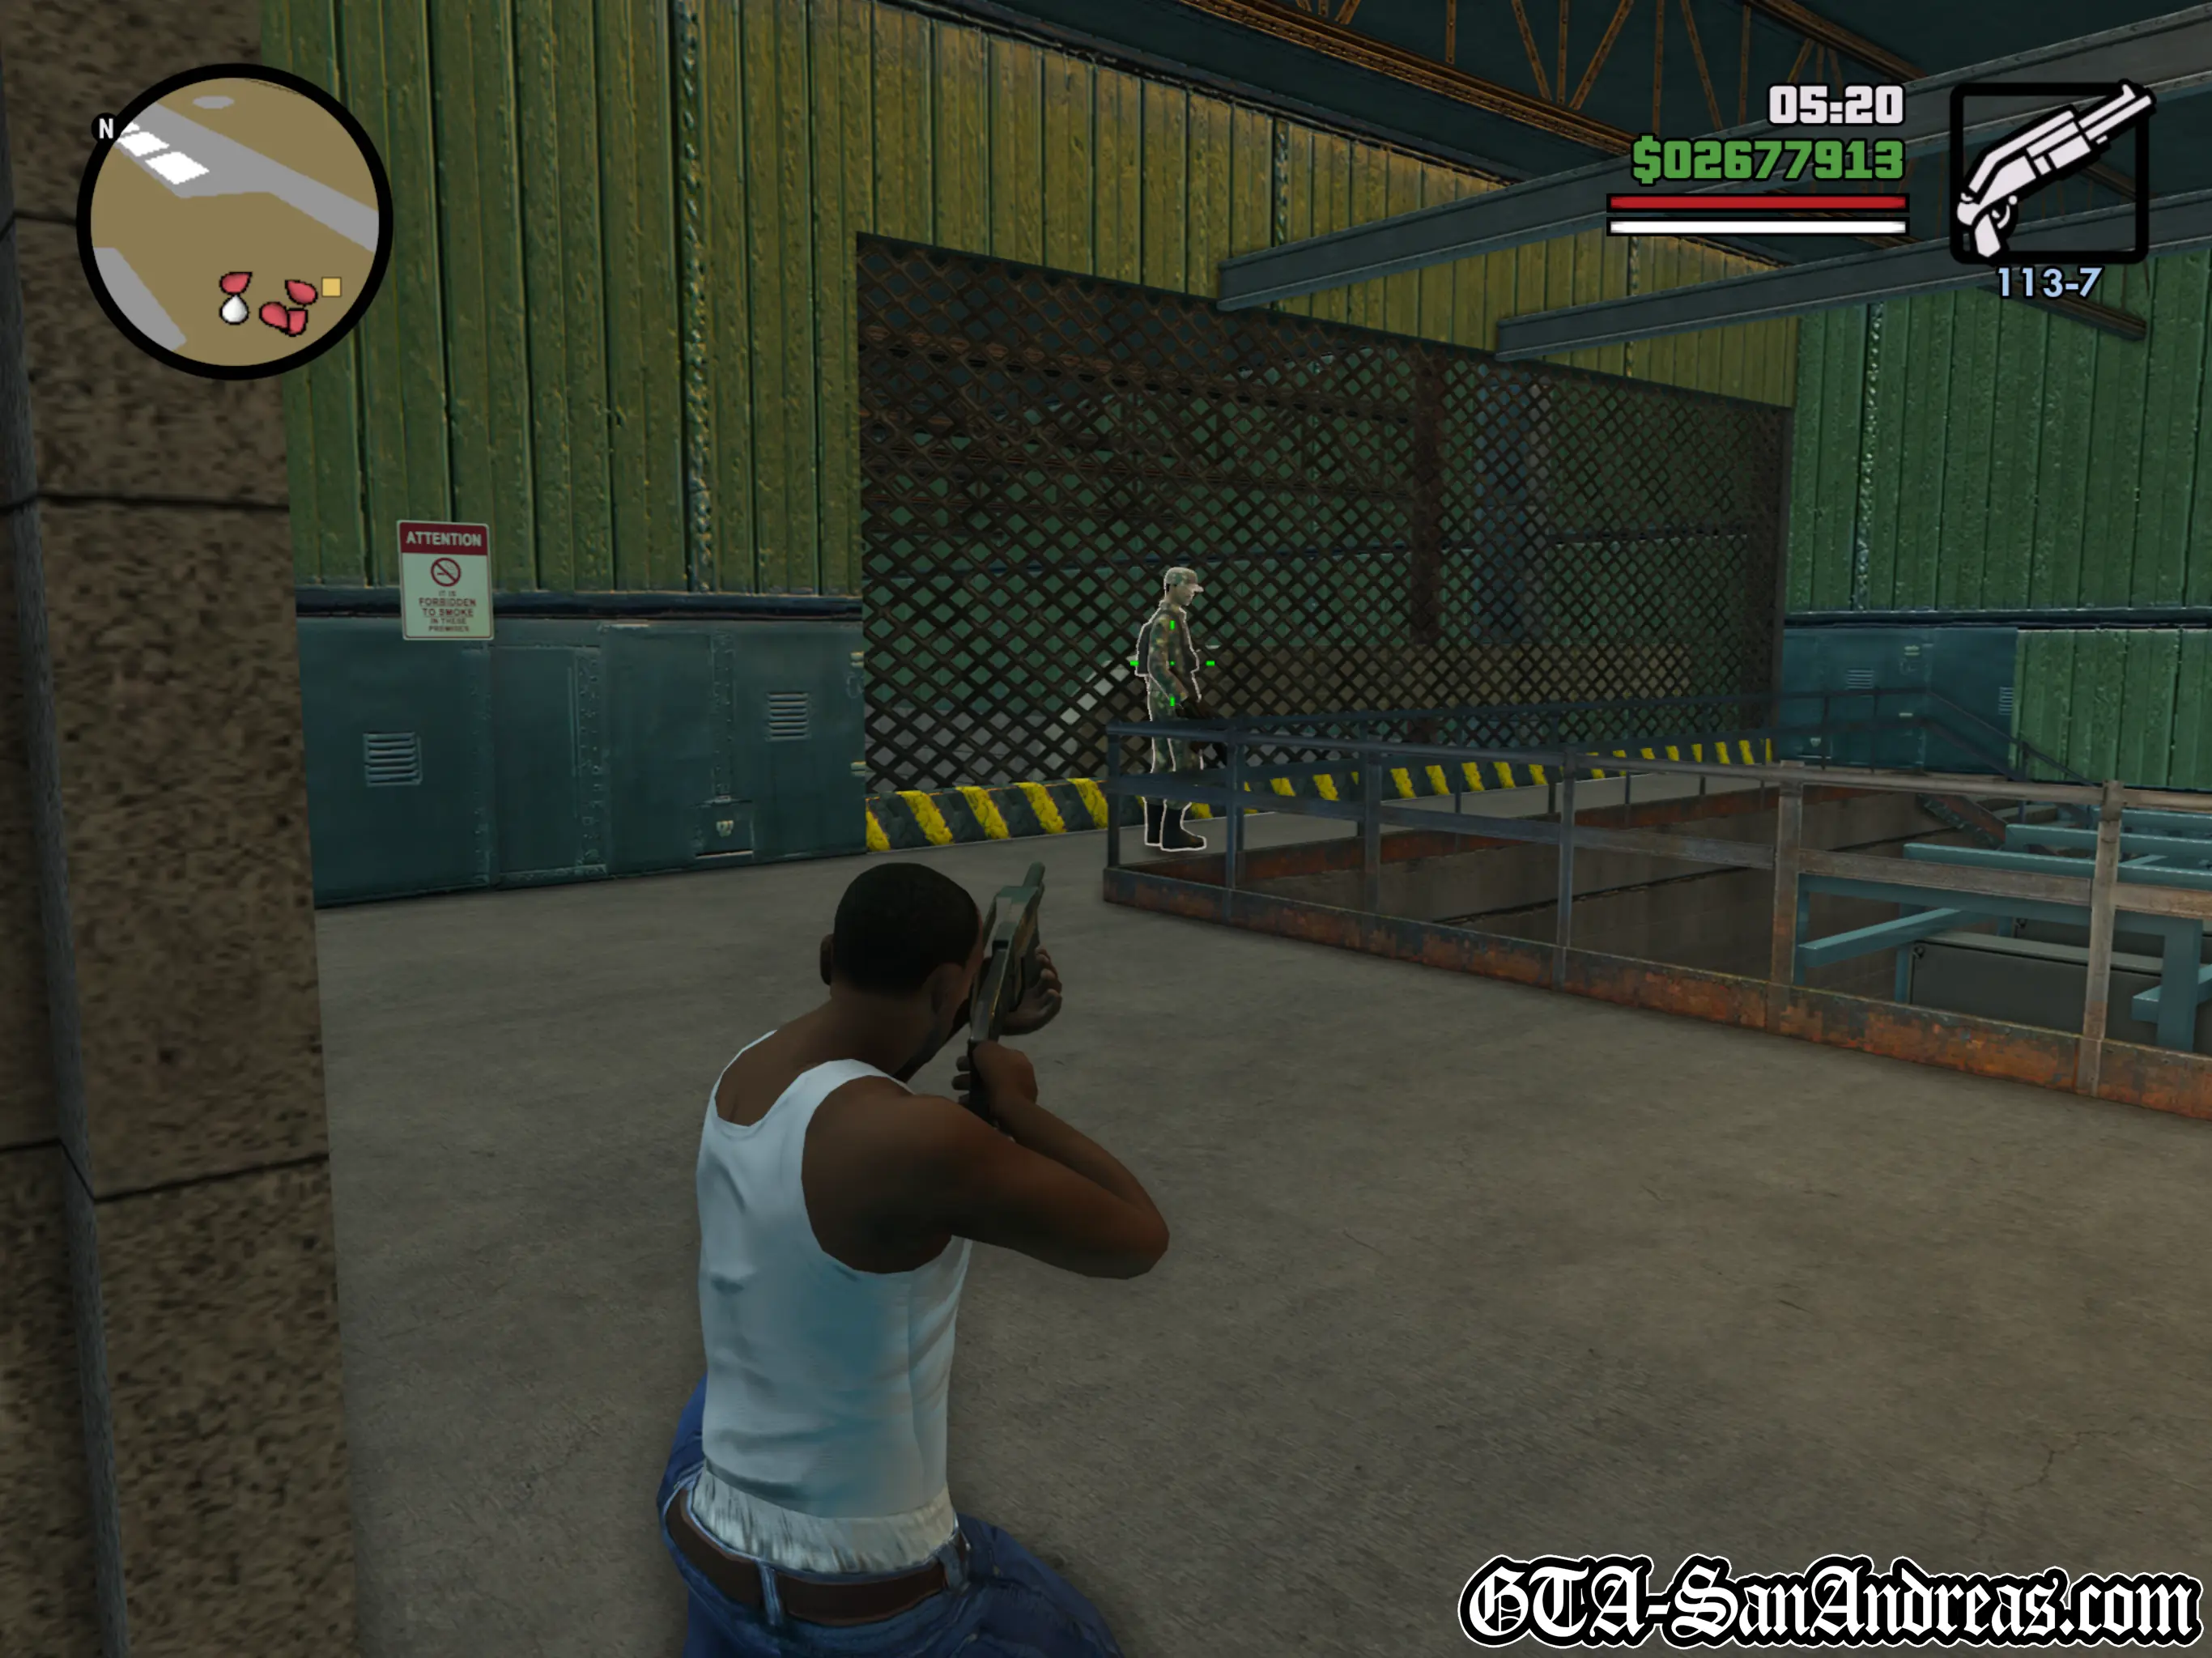
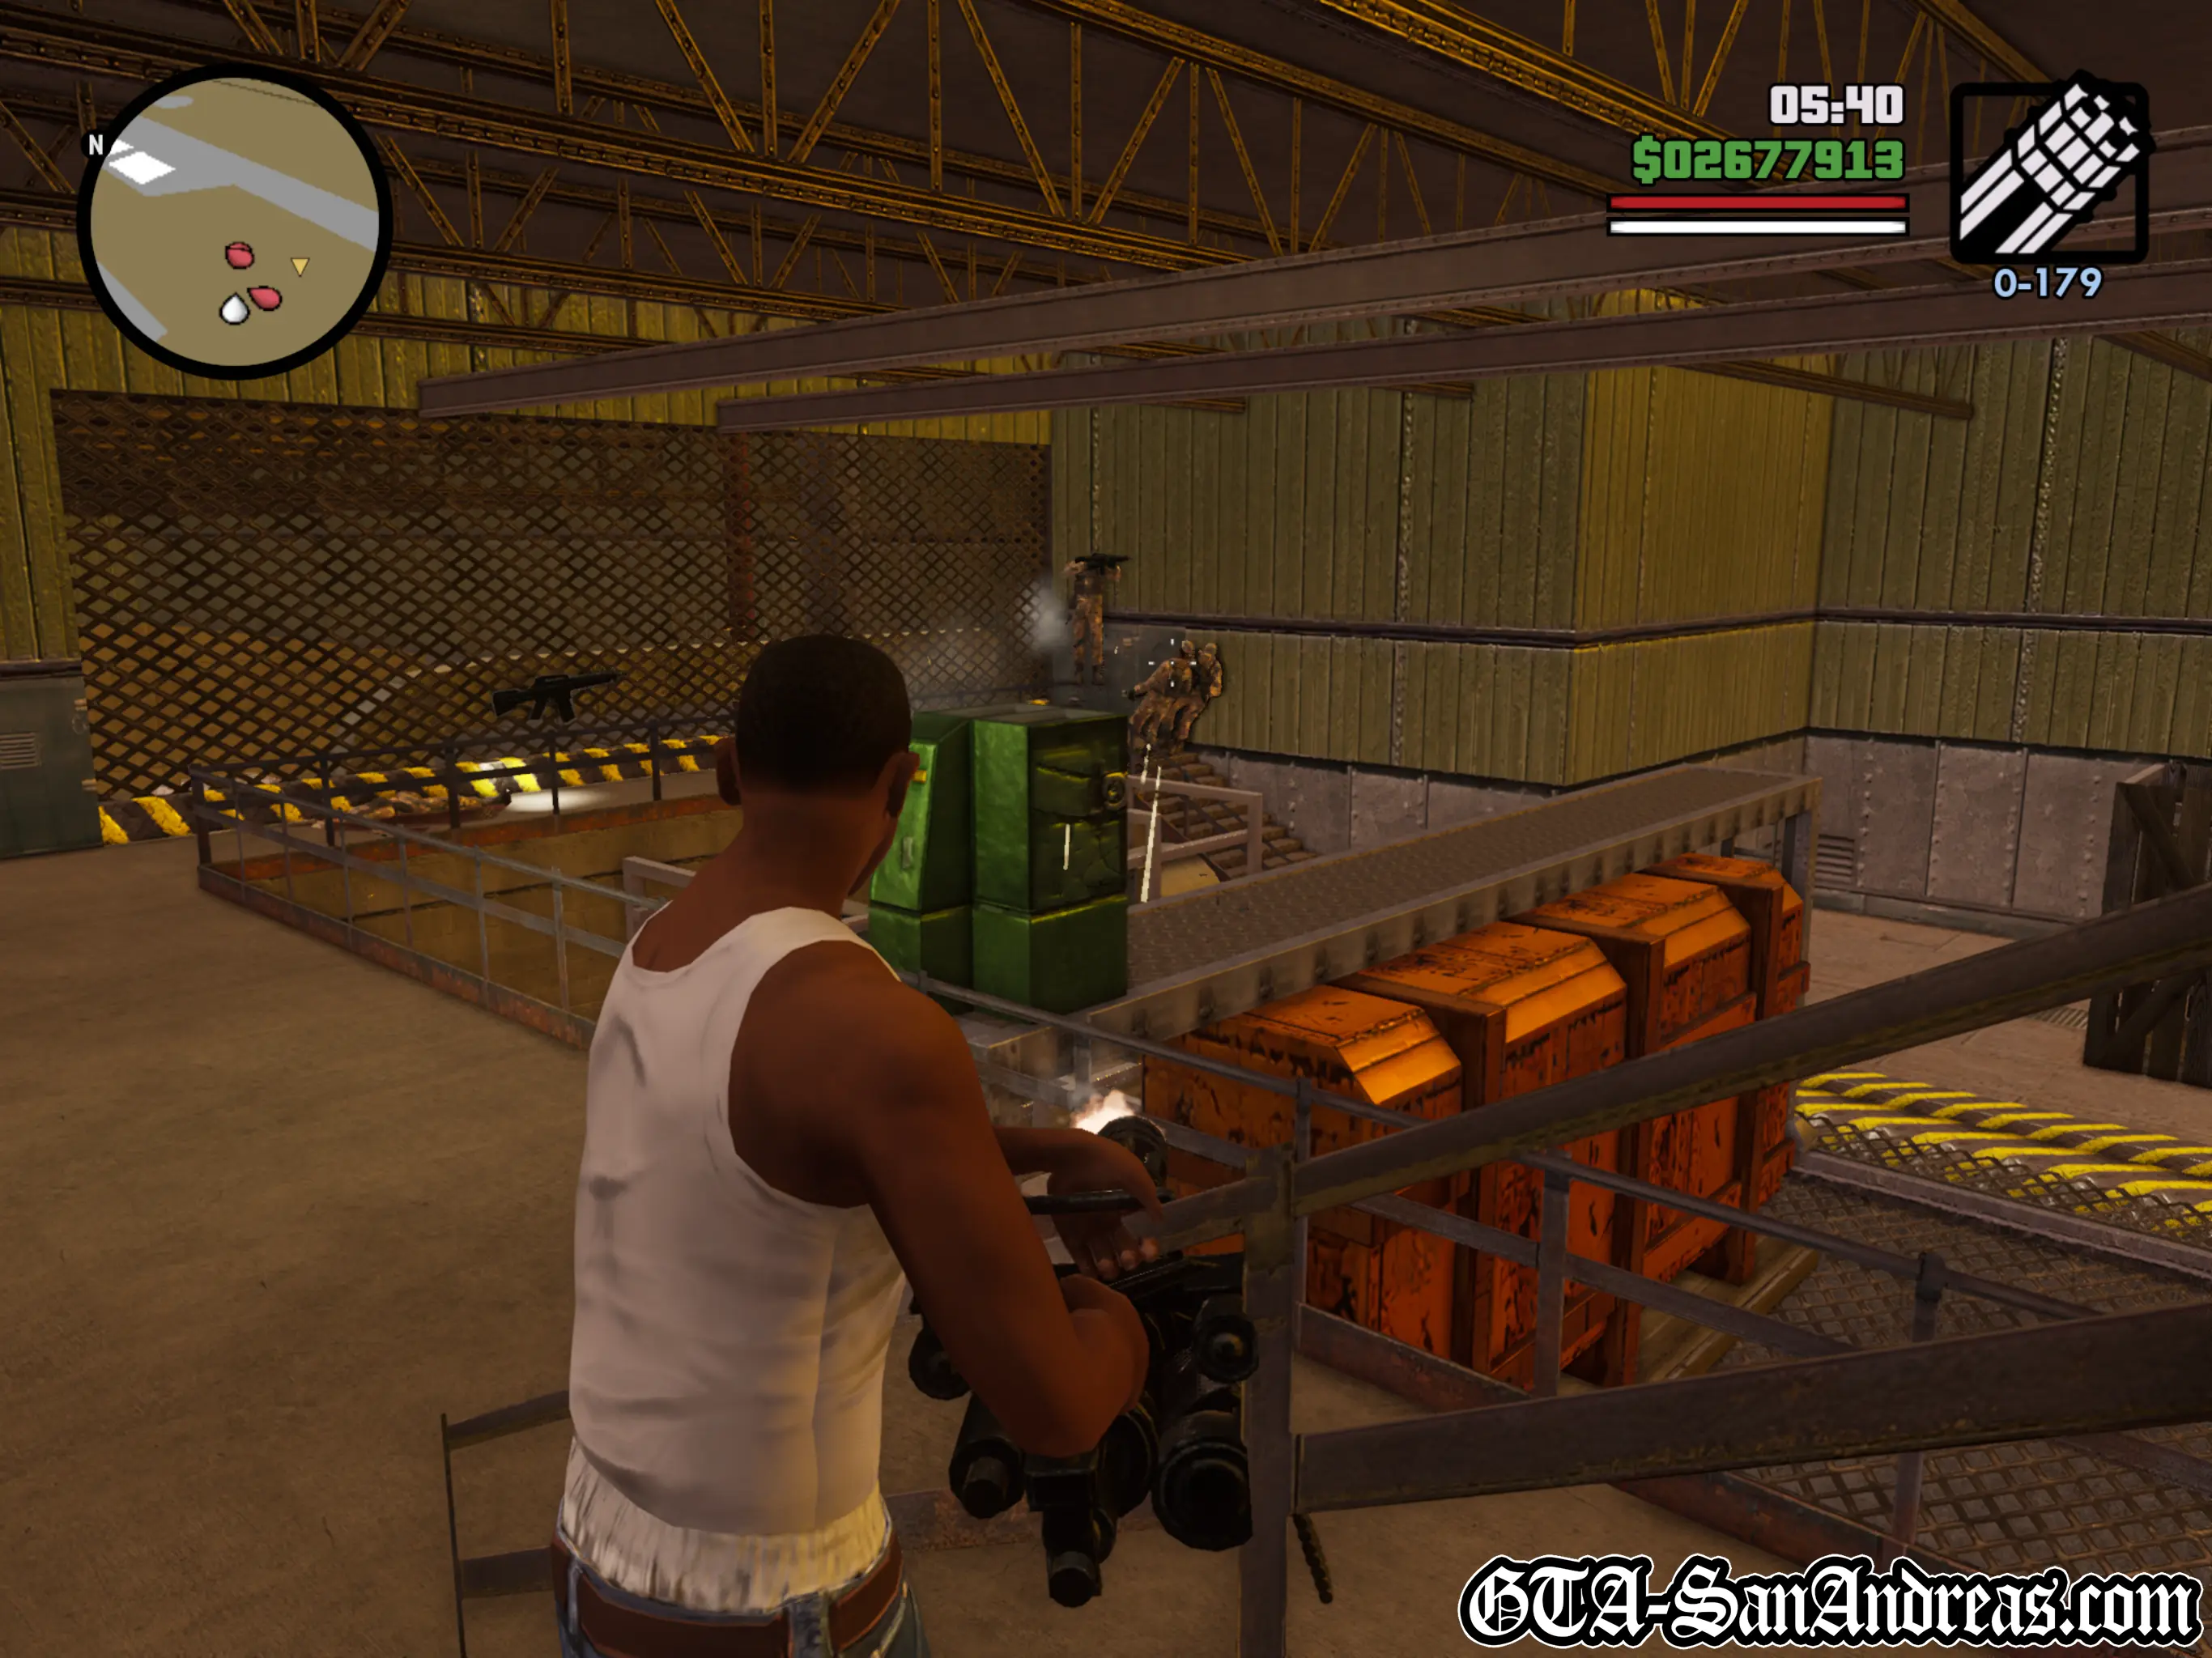
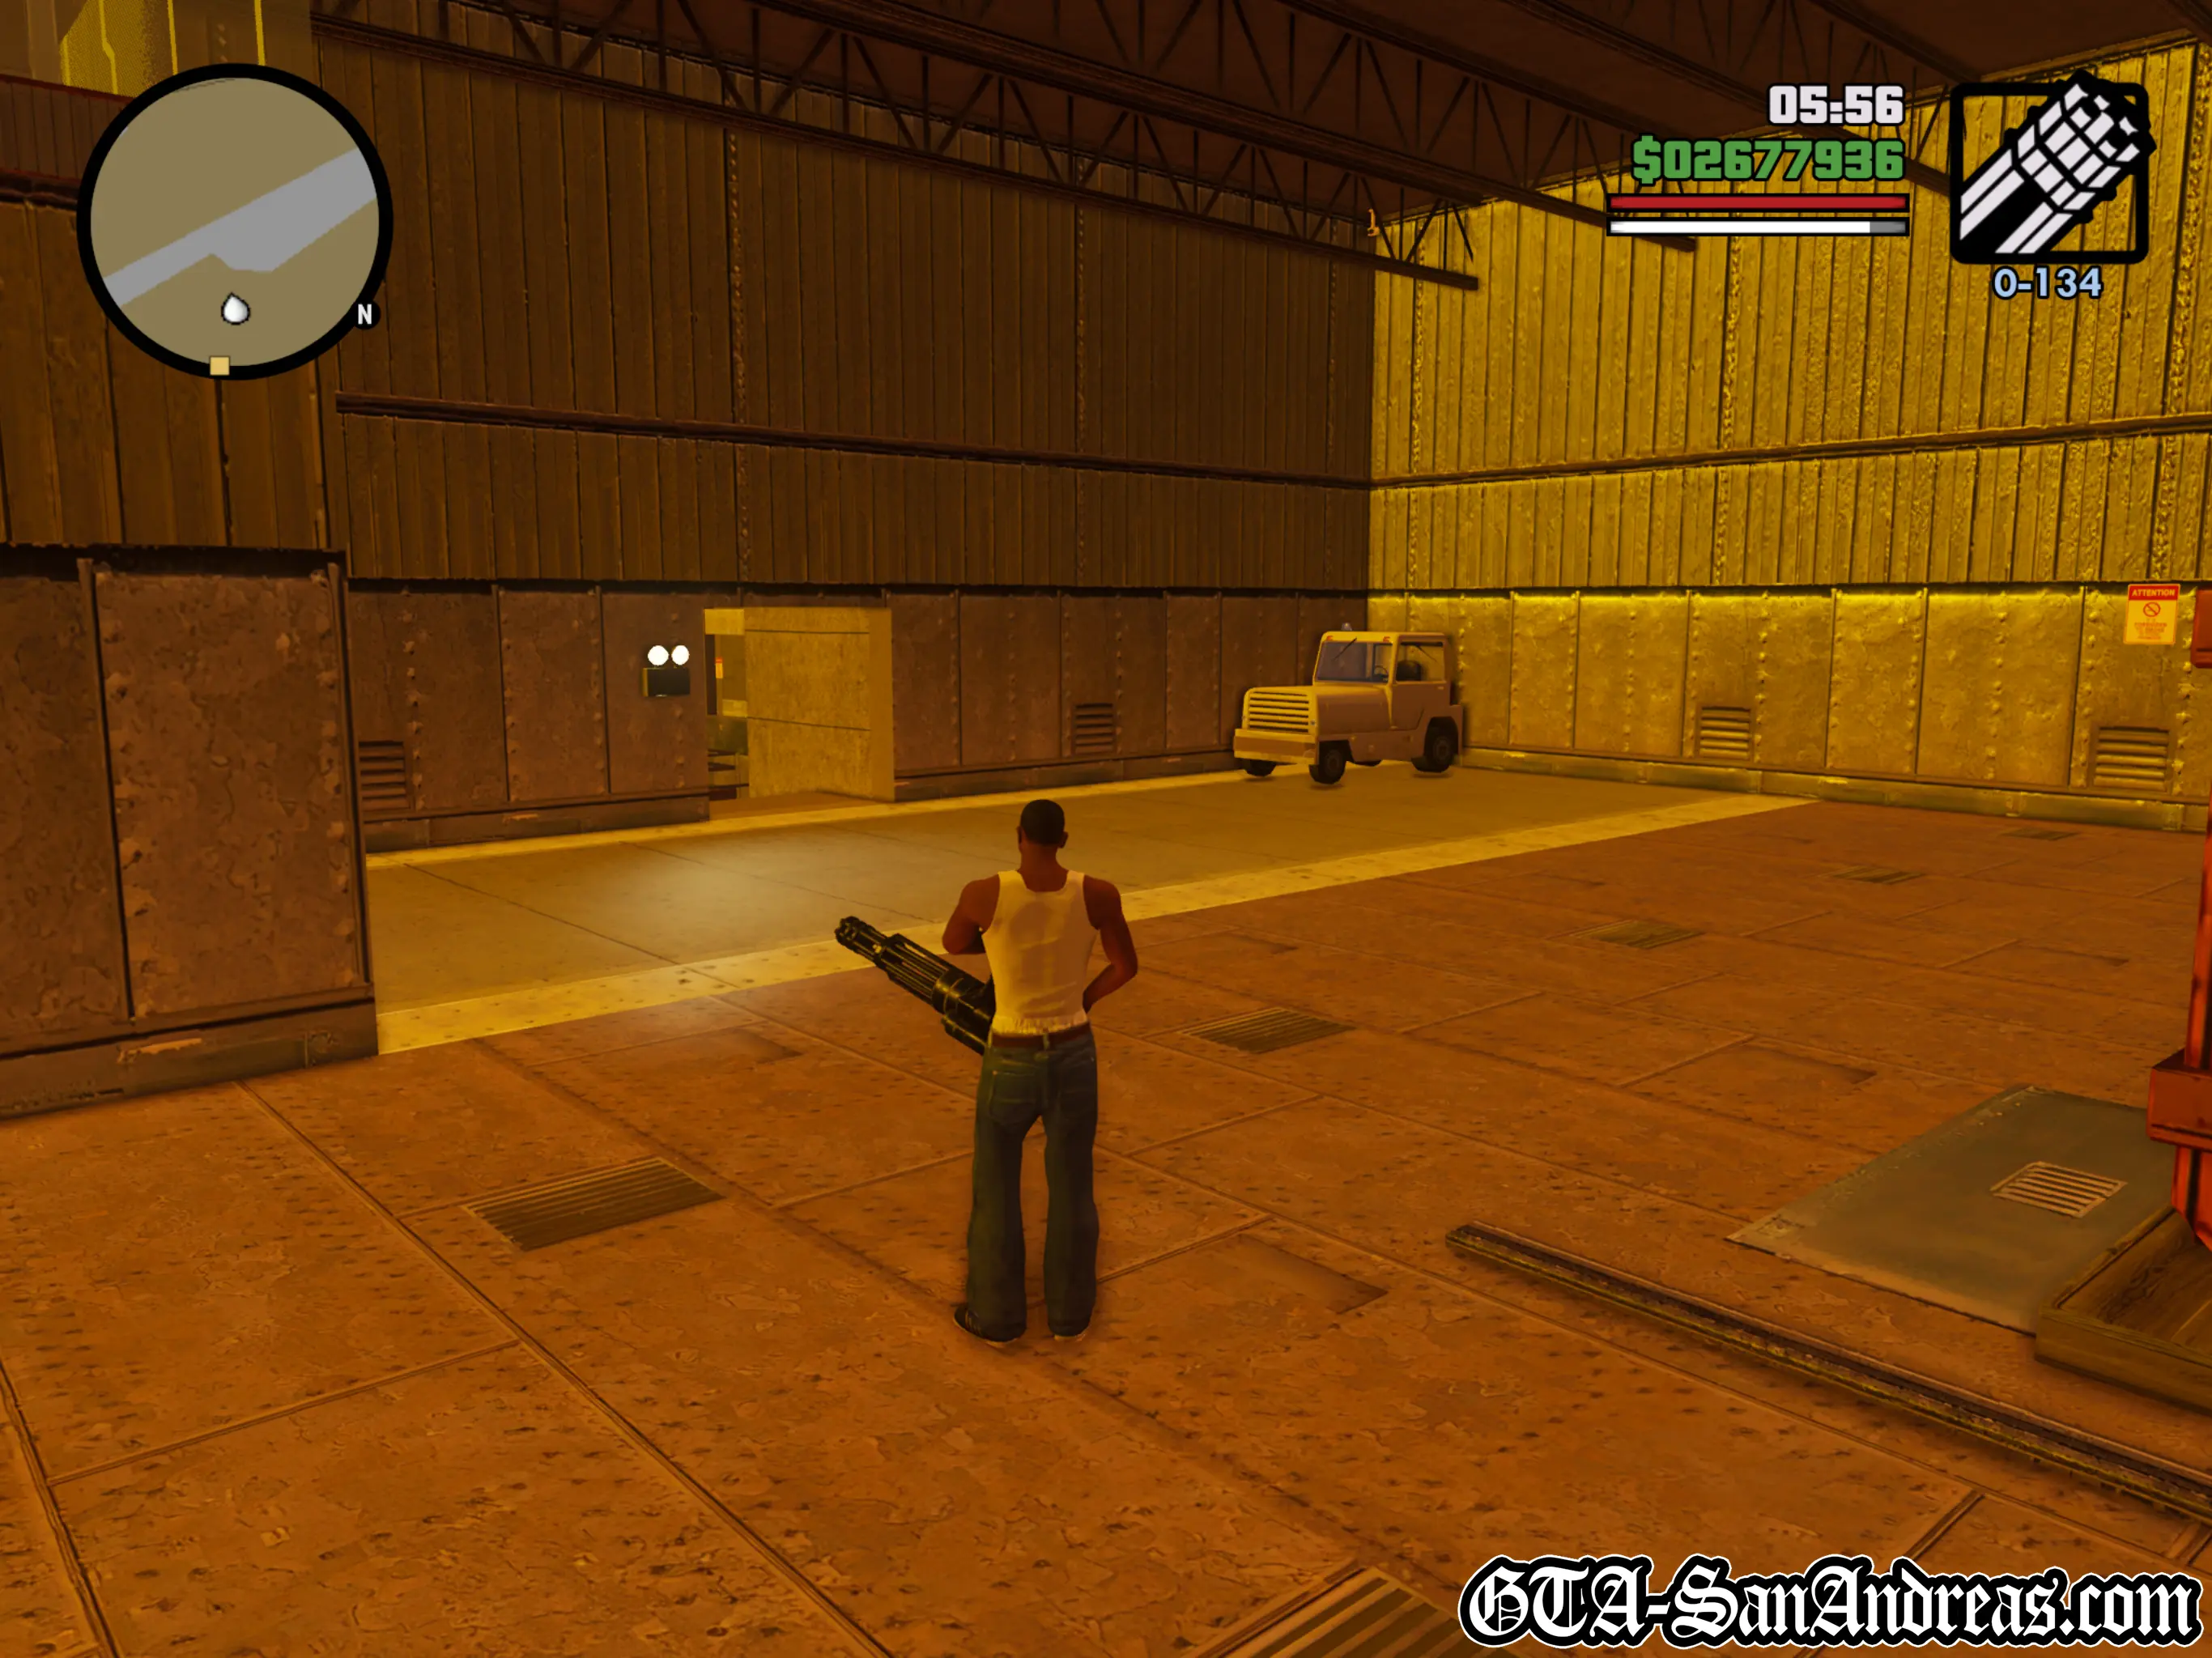
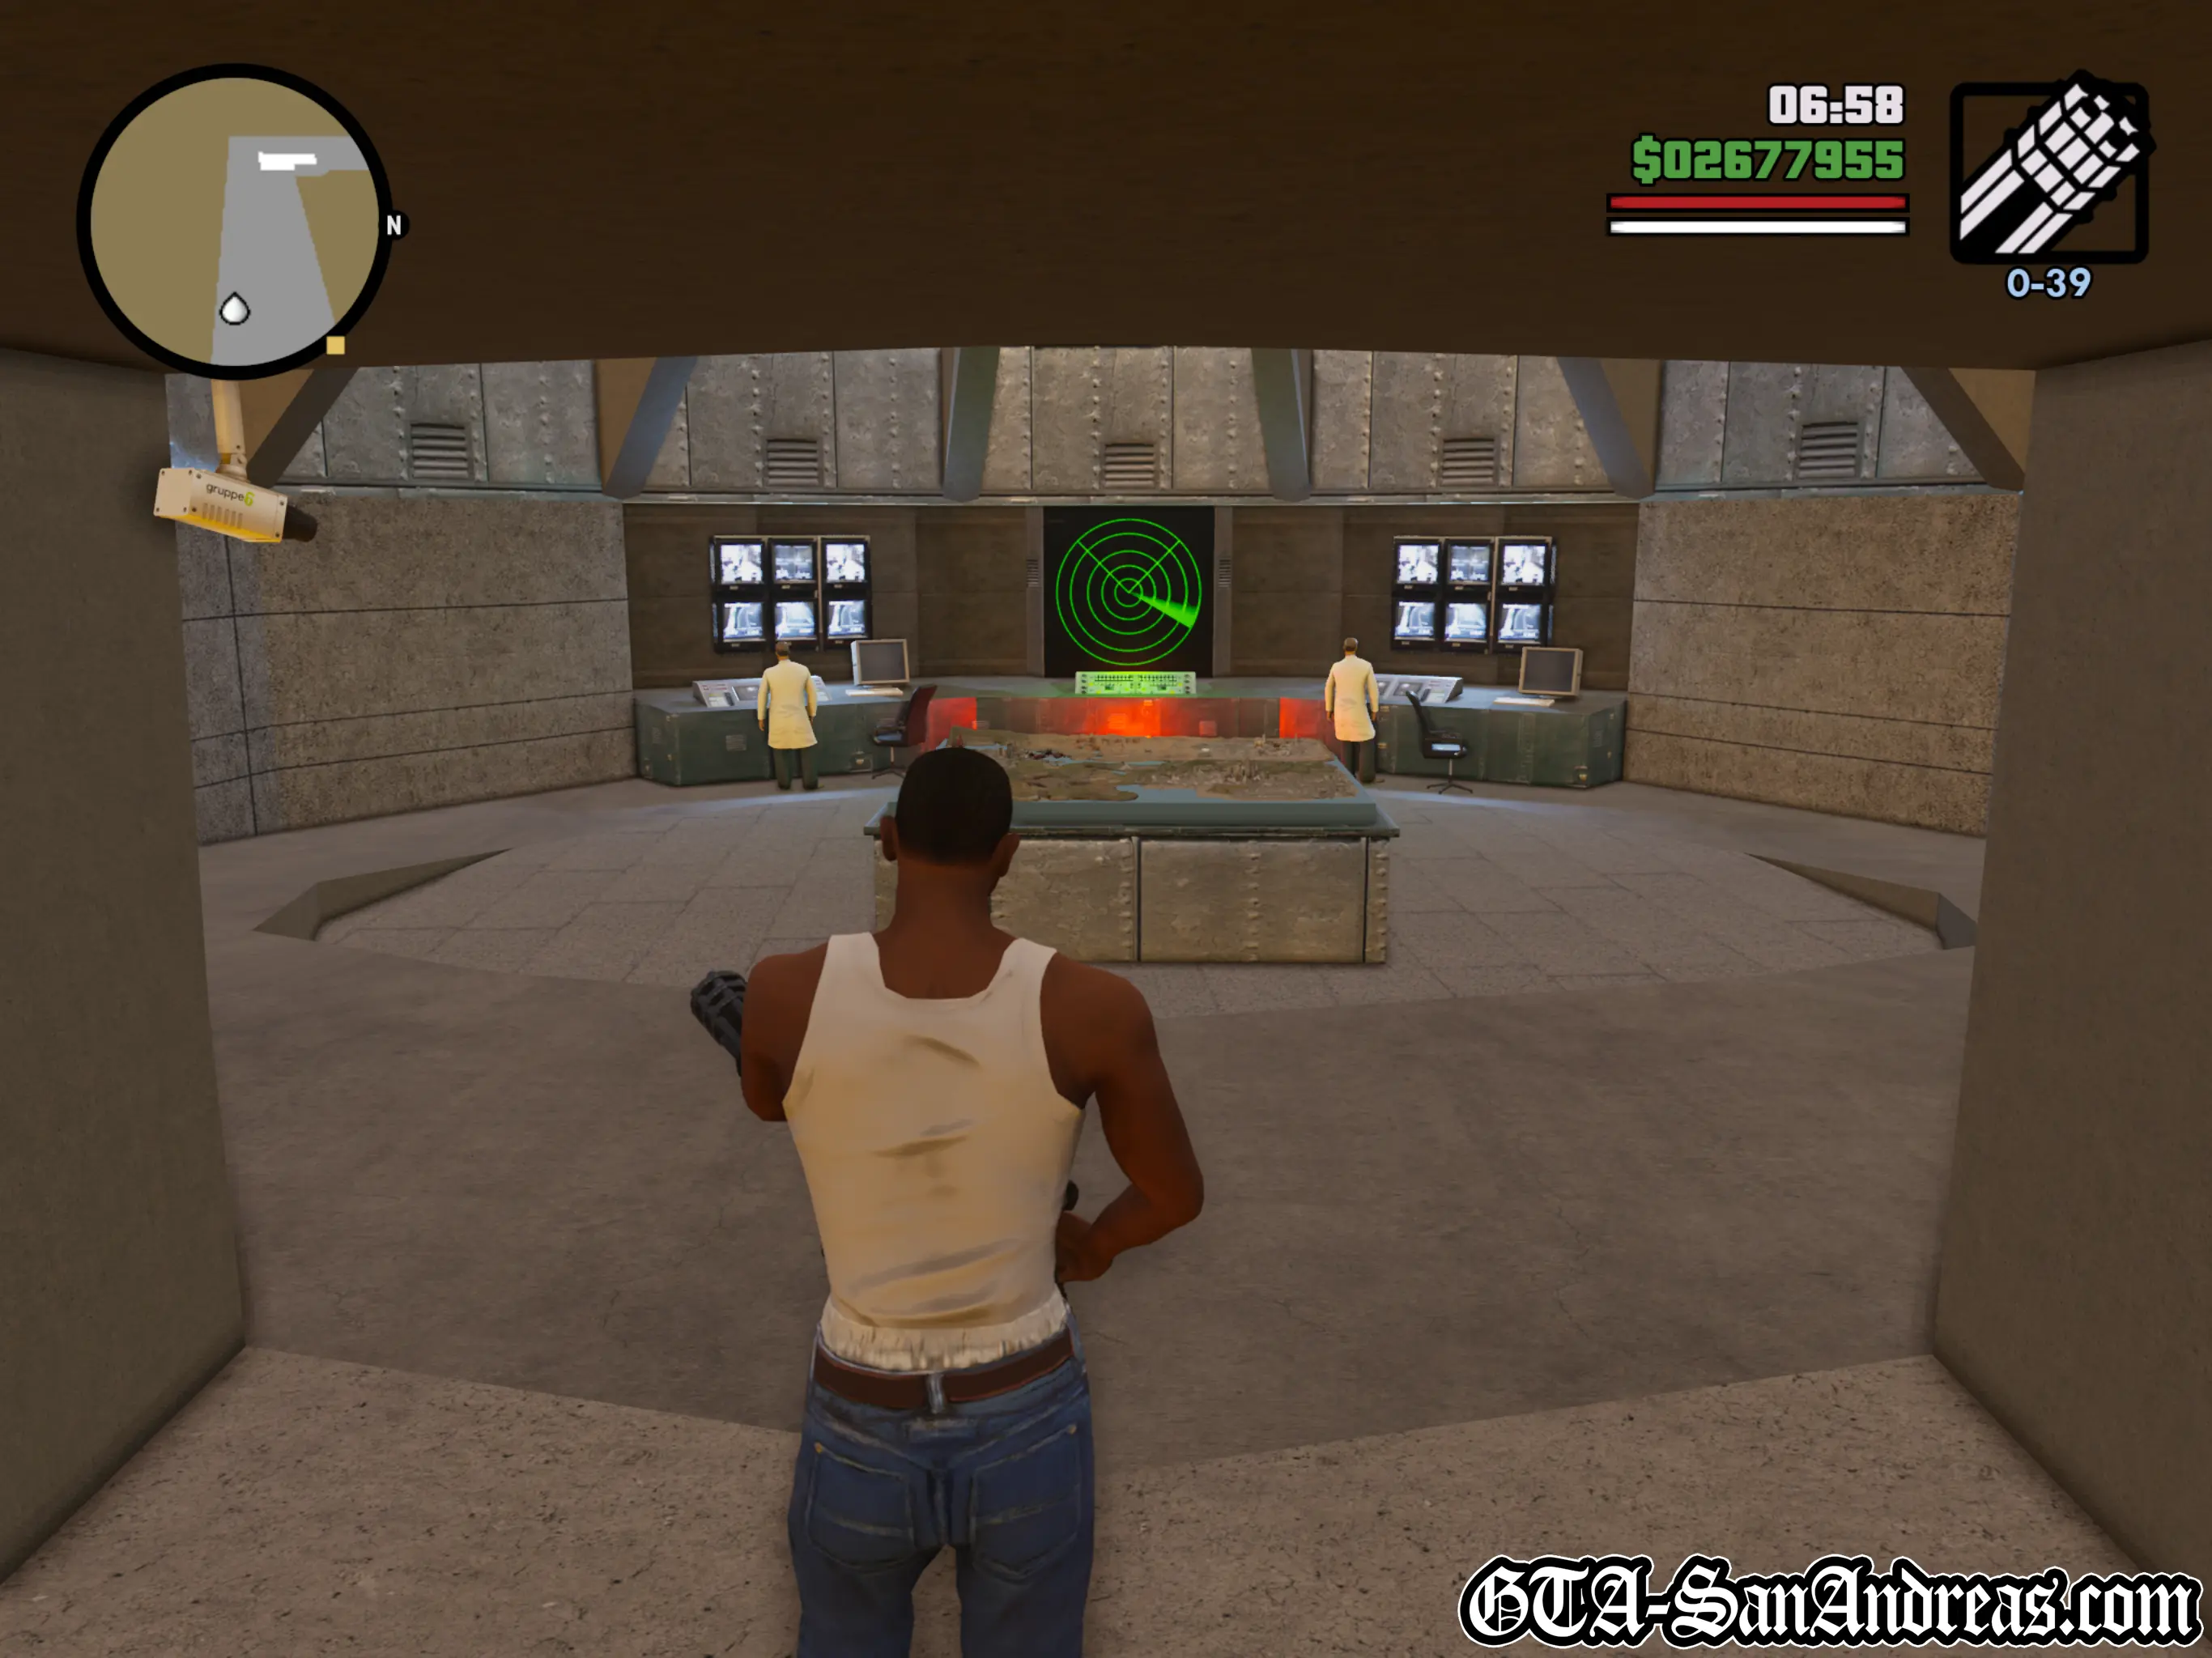
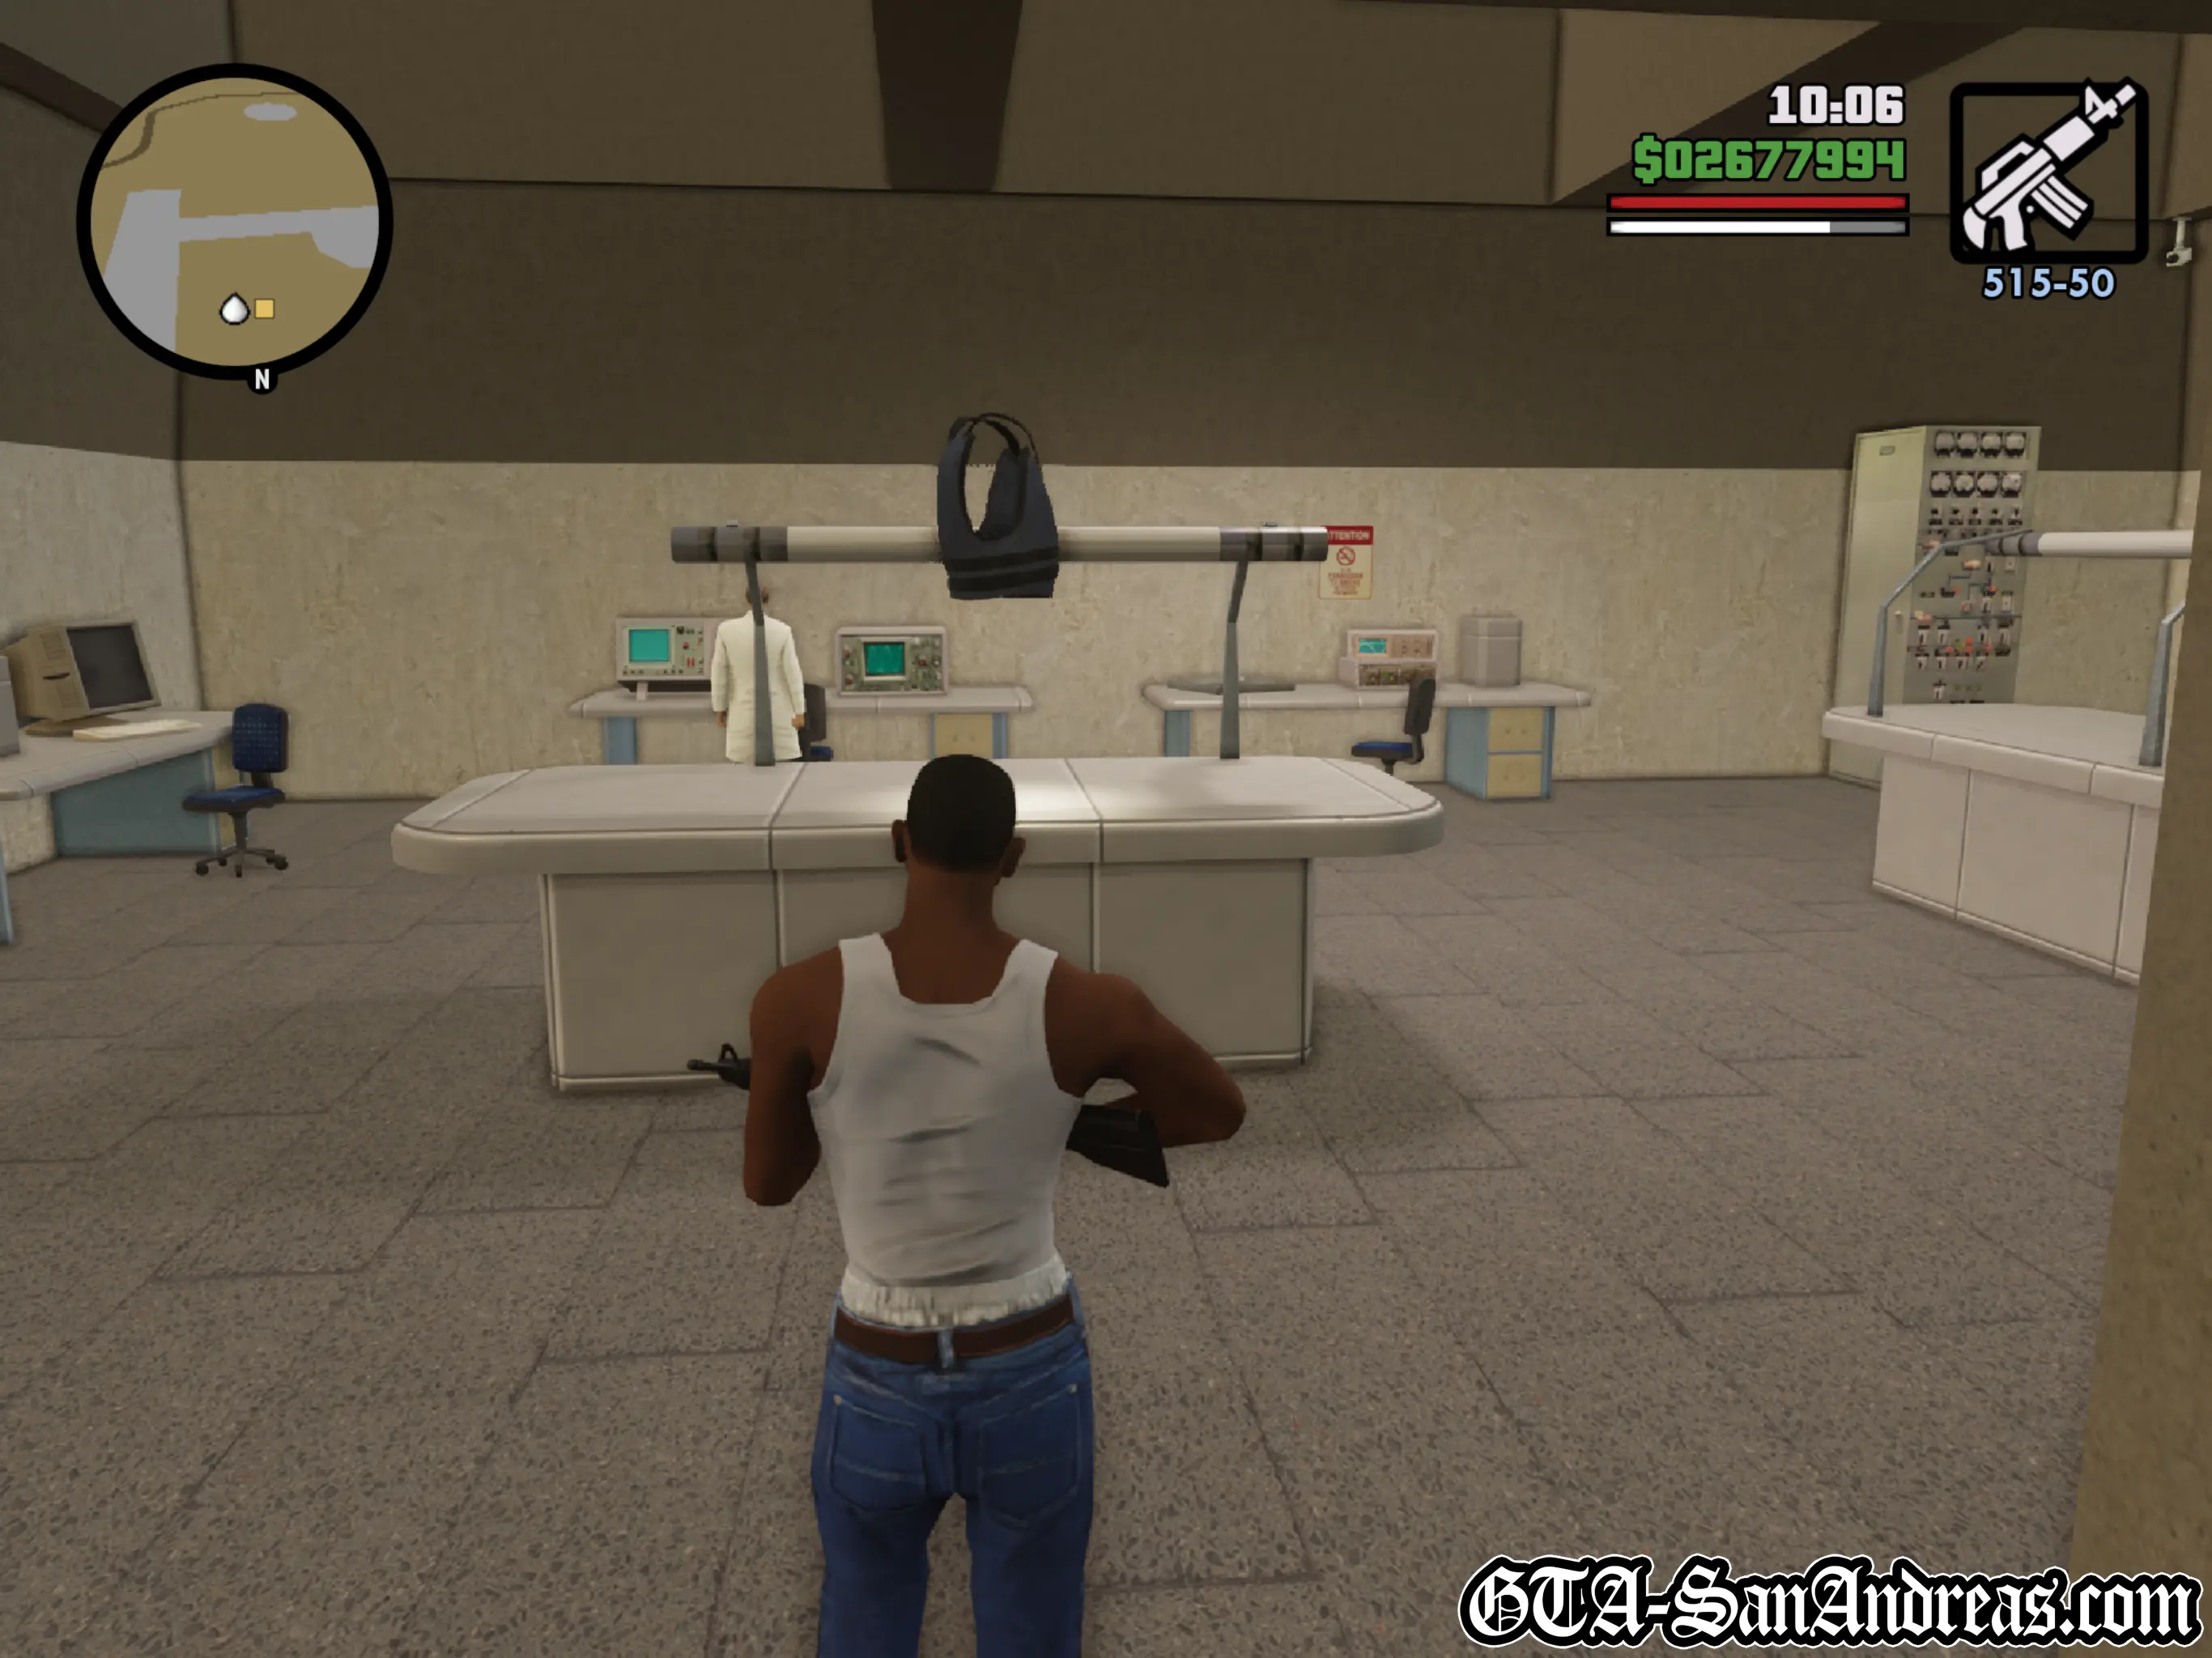
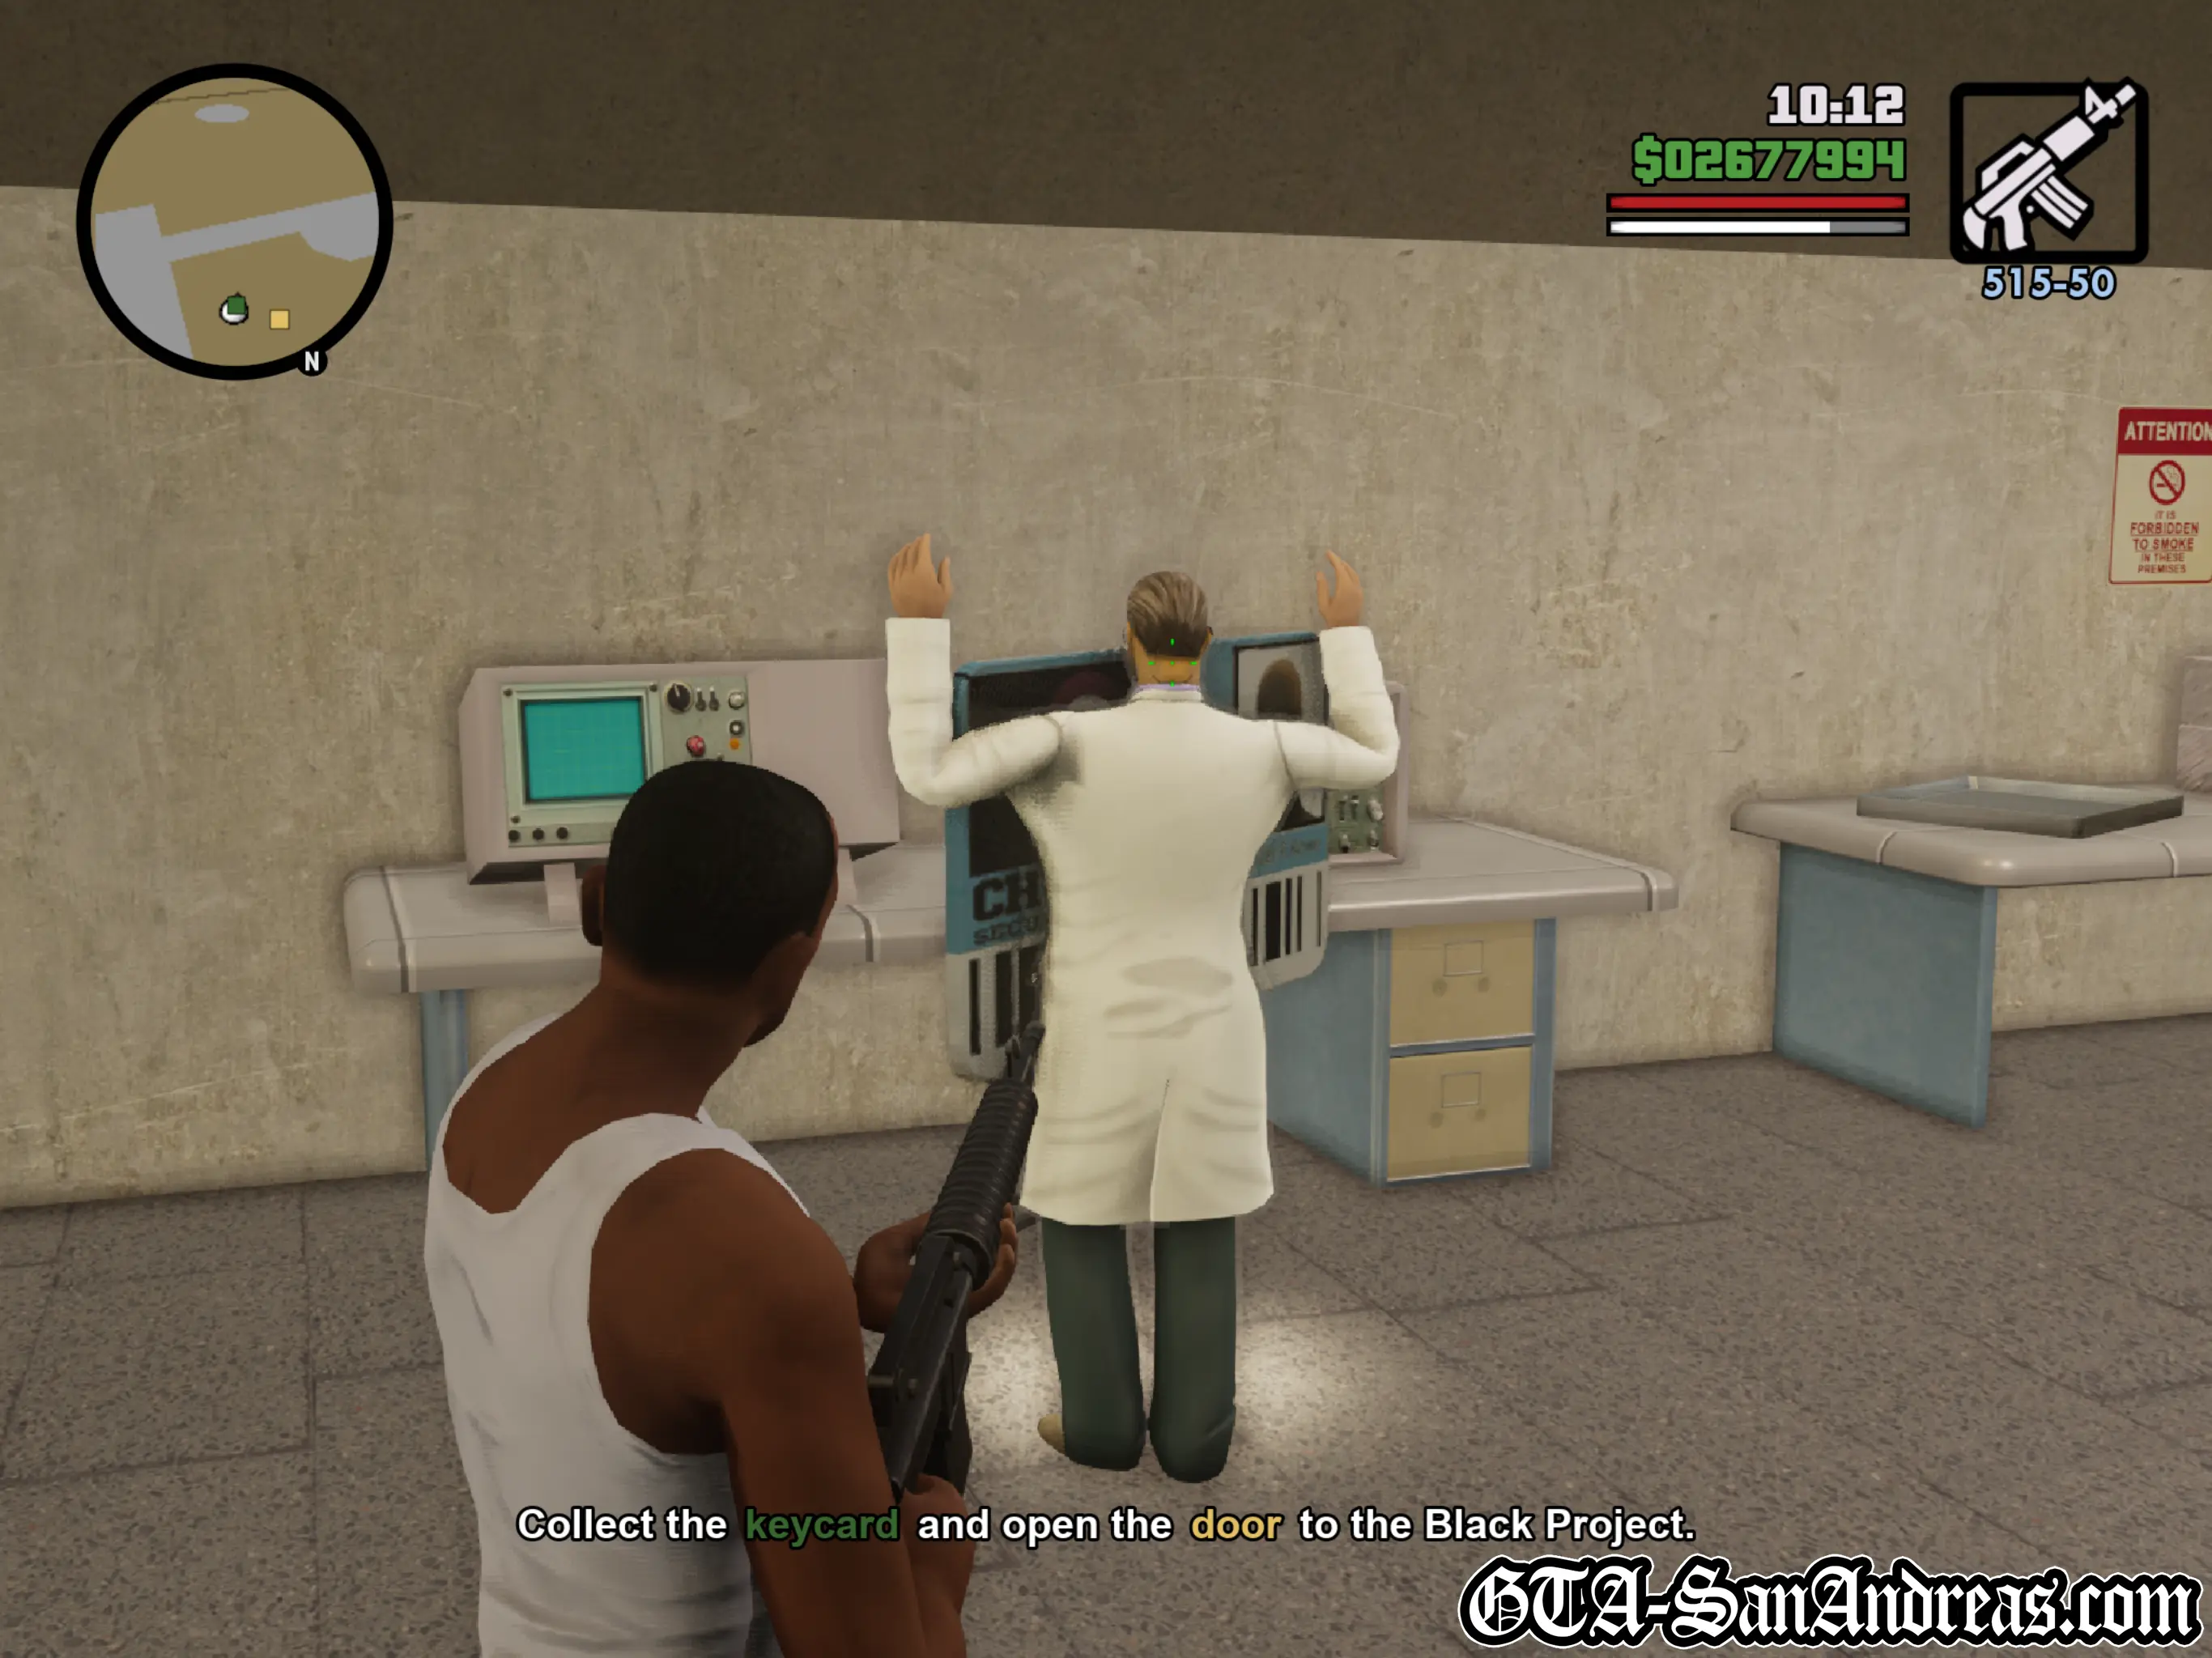
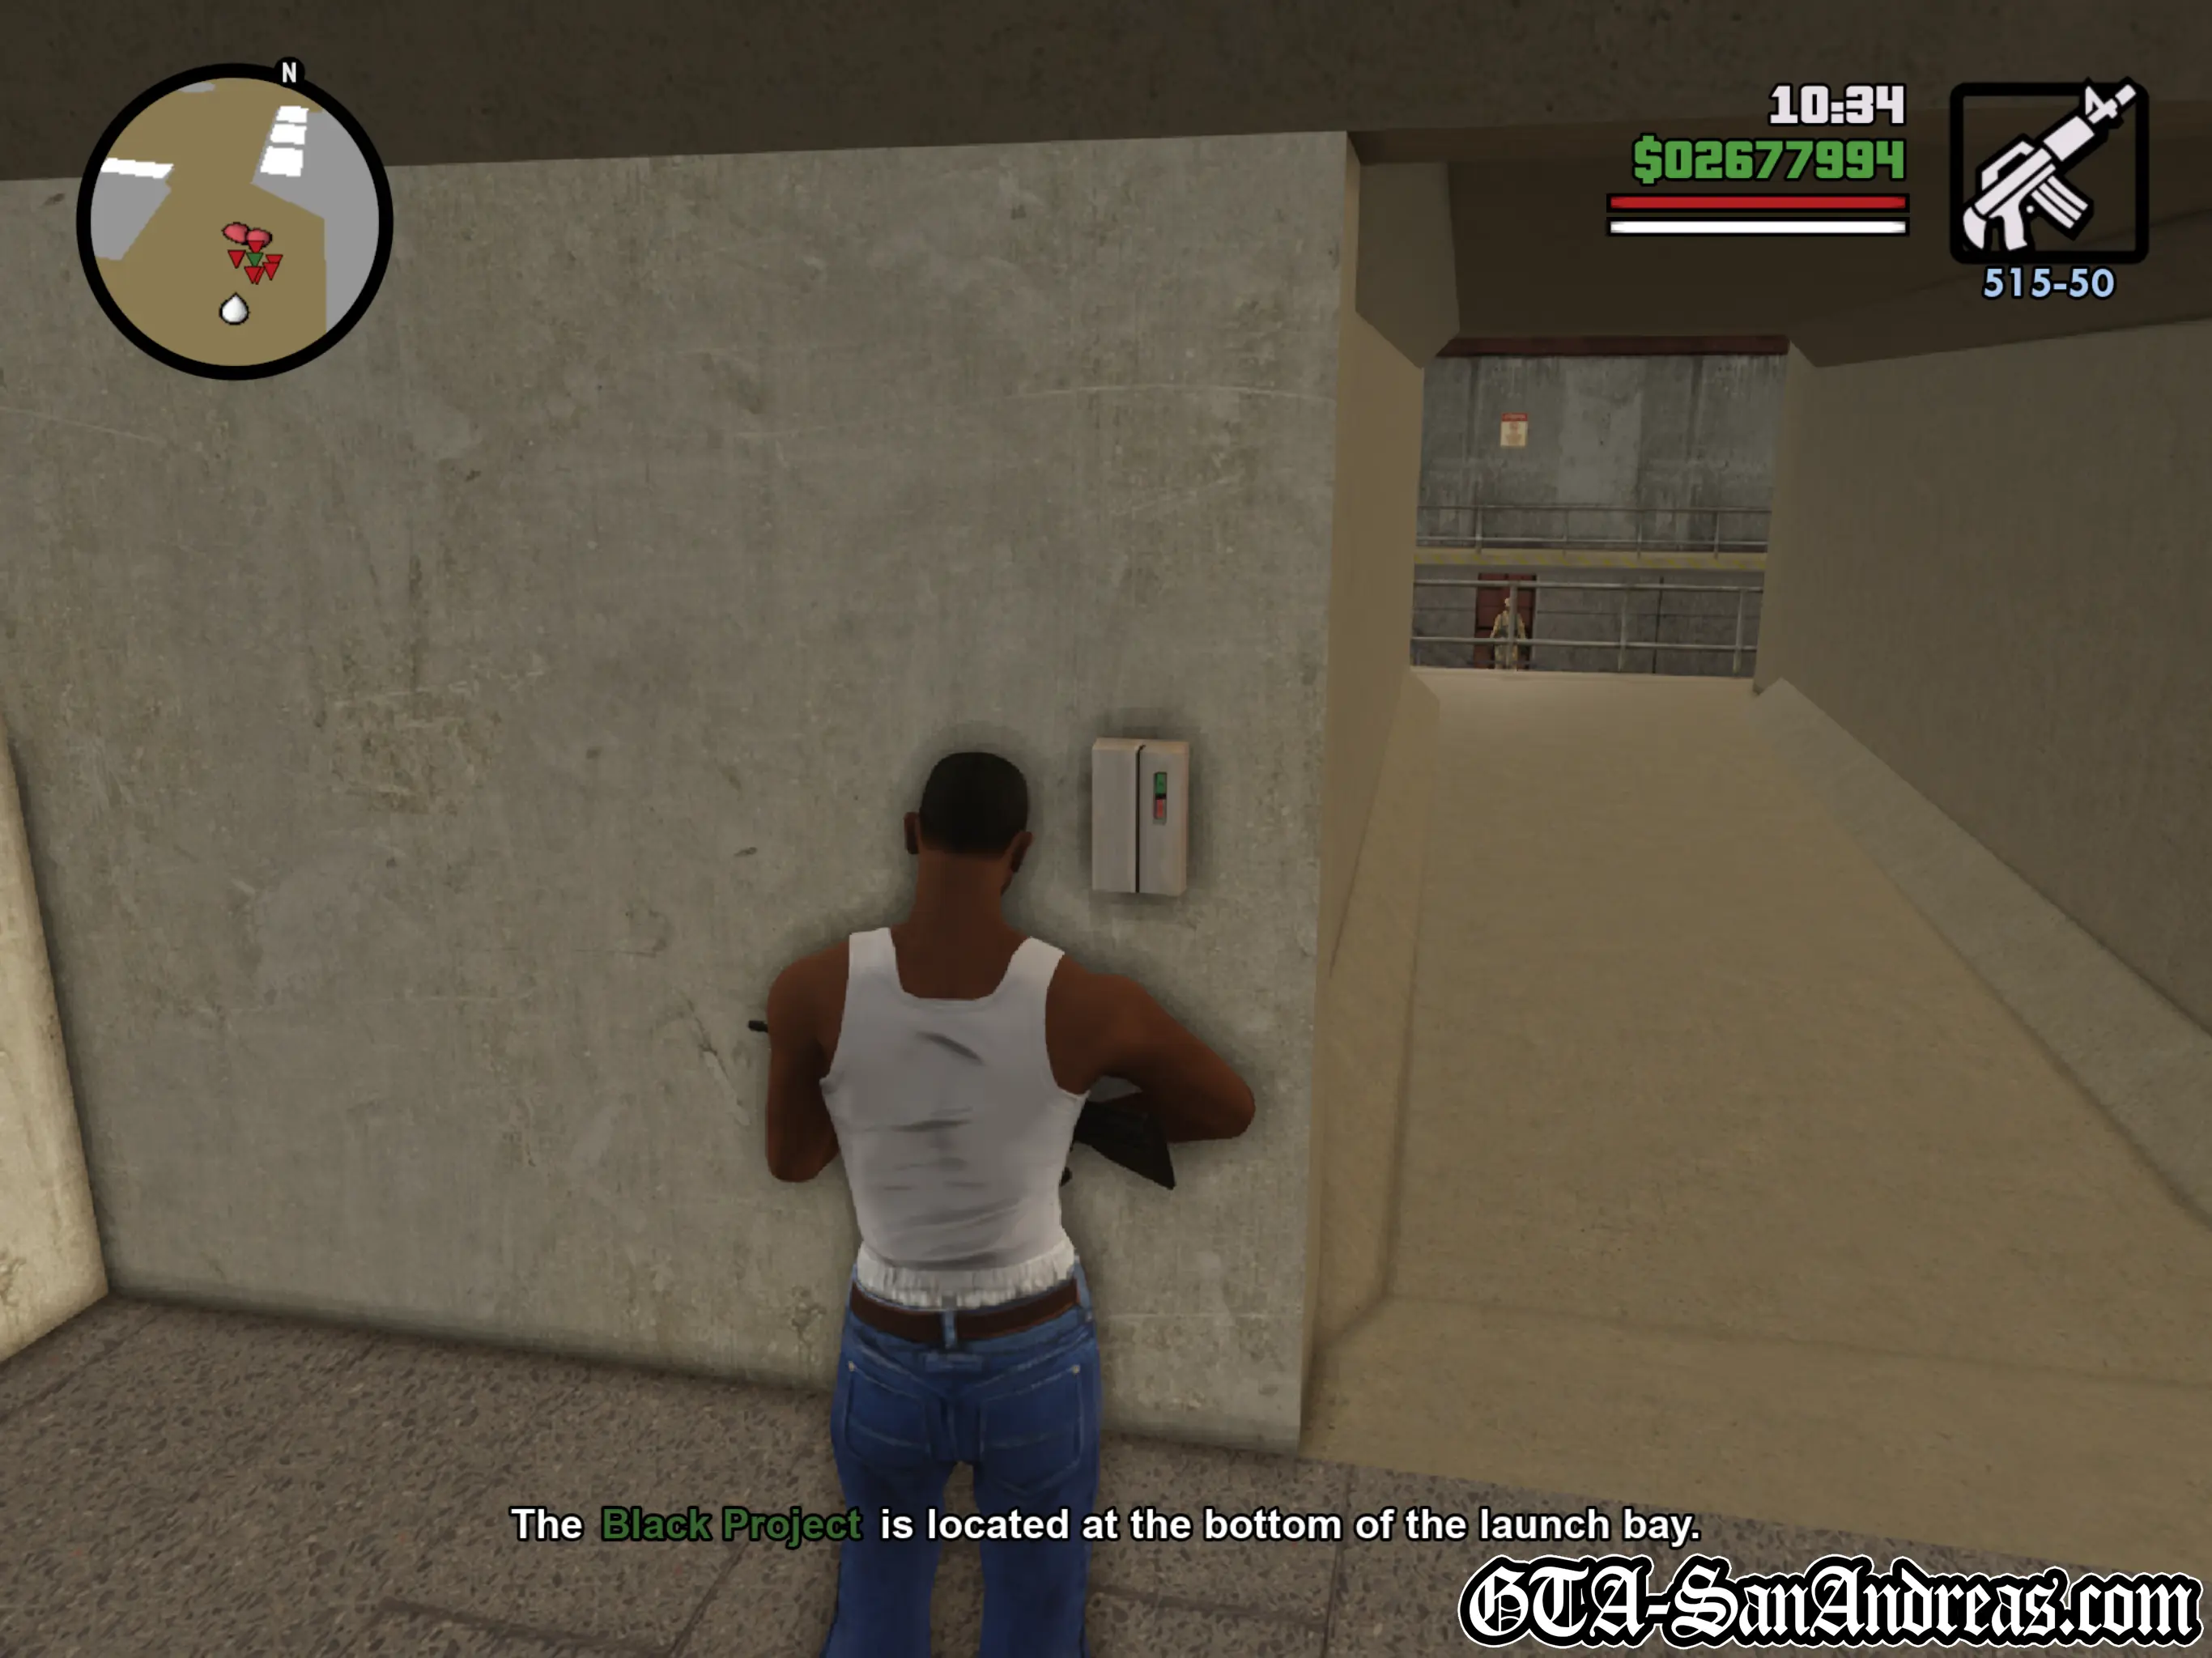
Black Project
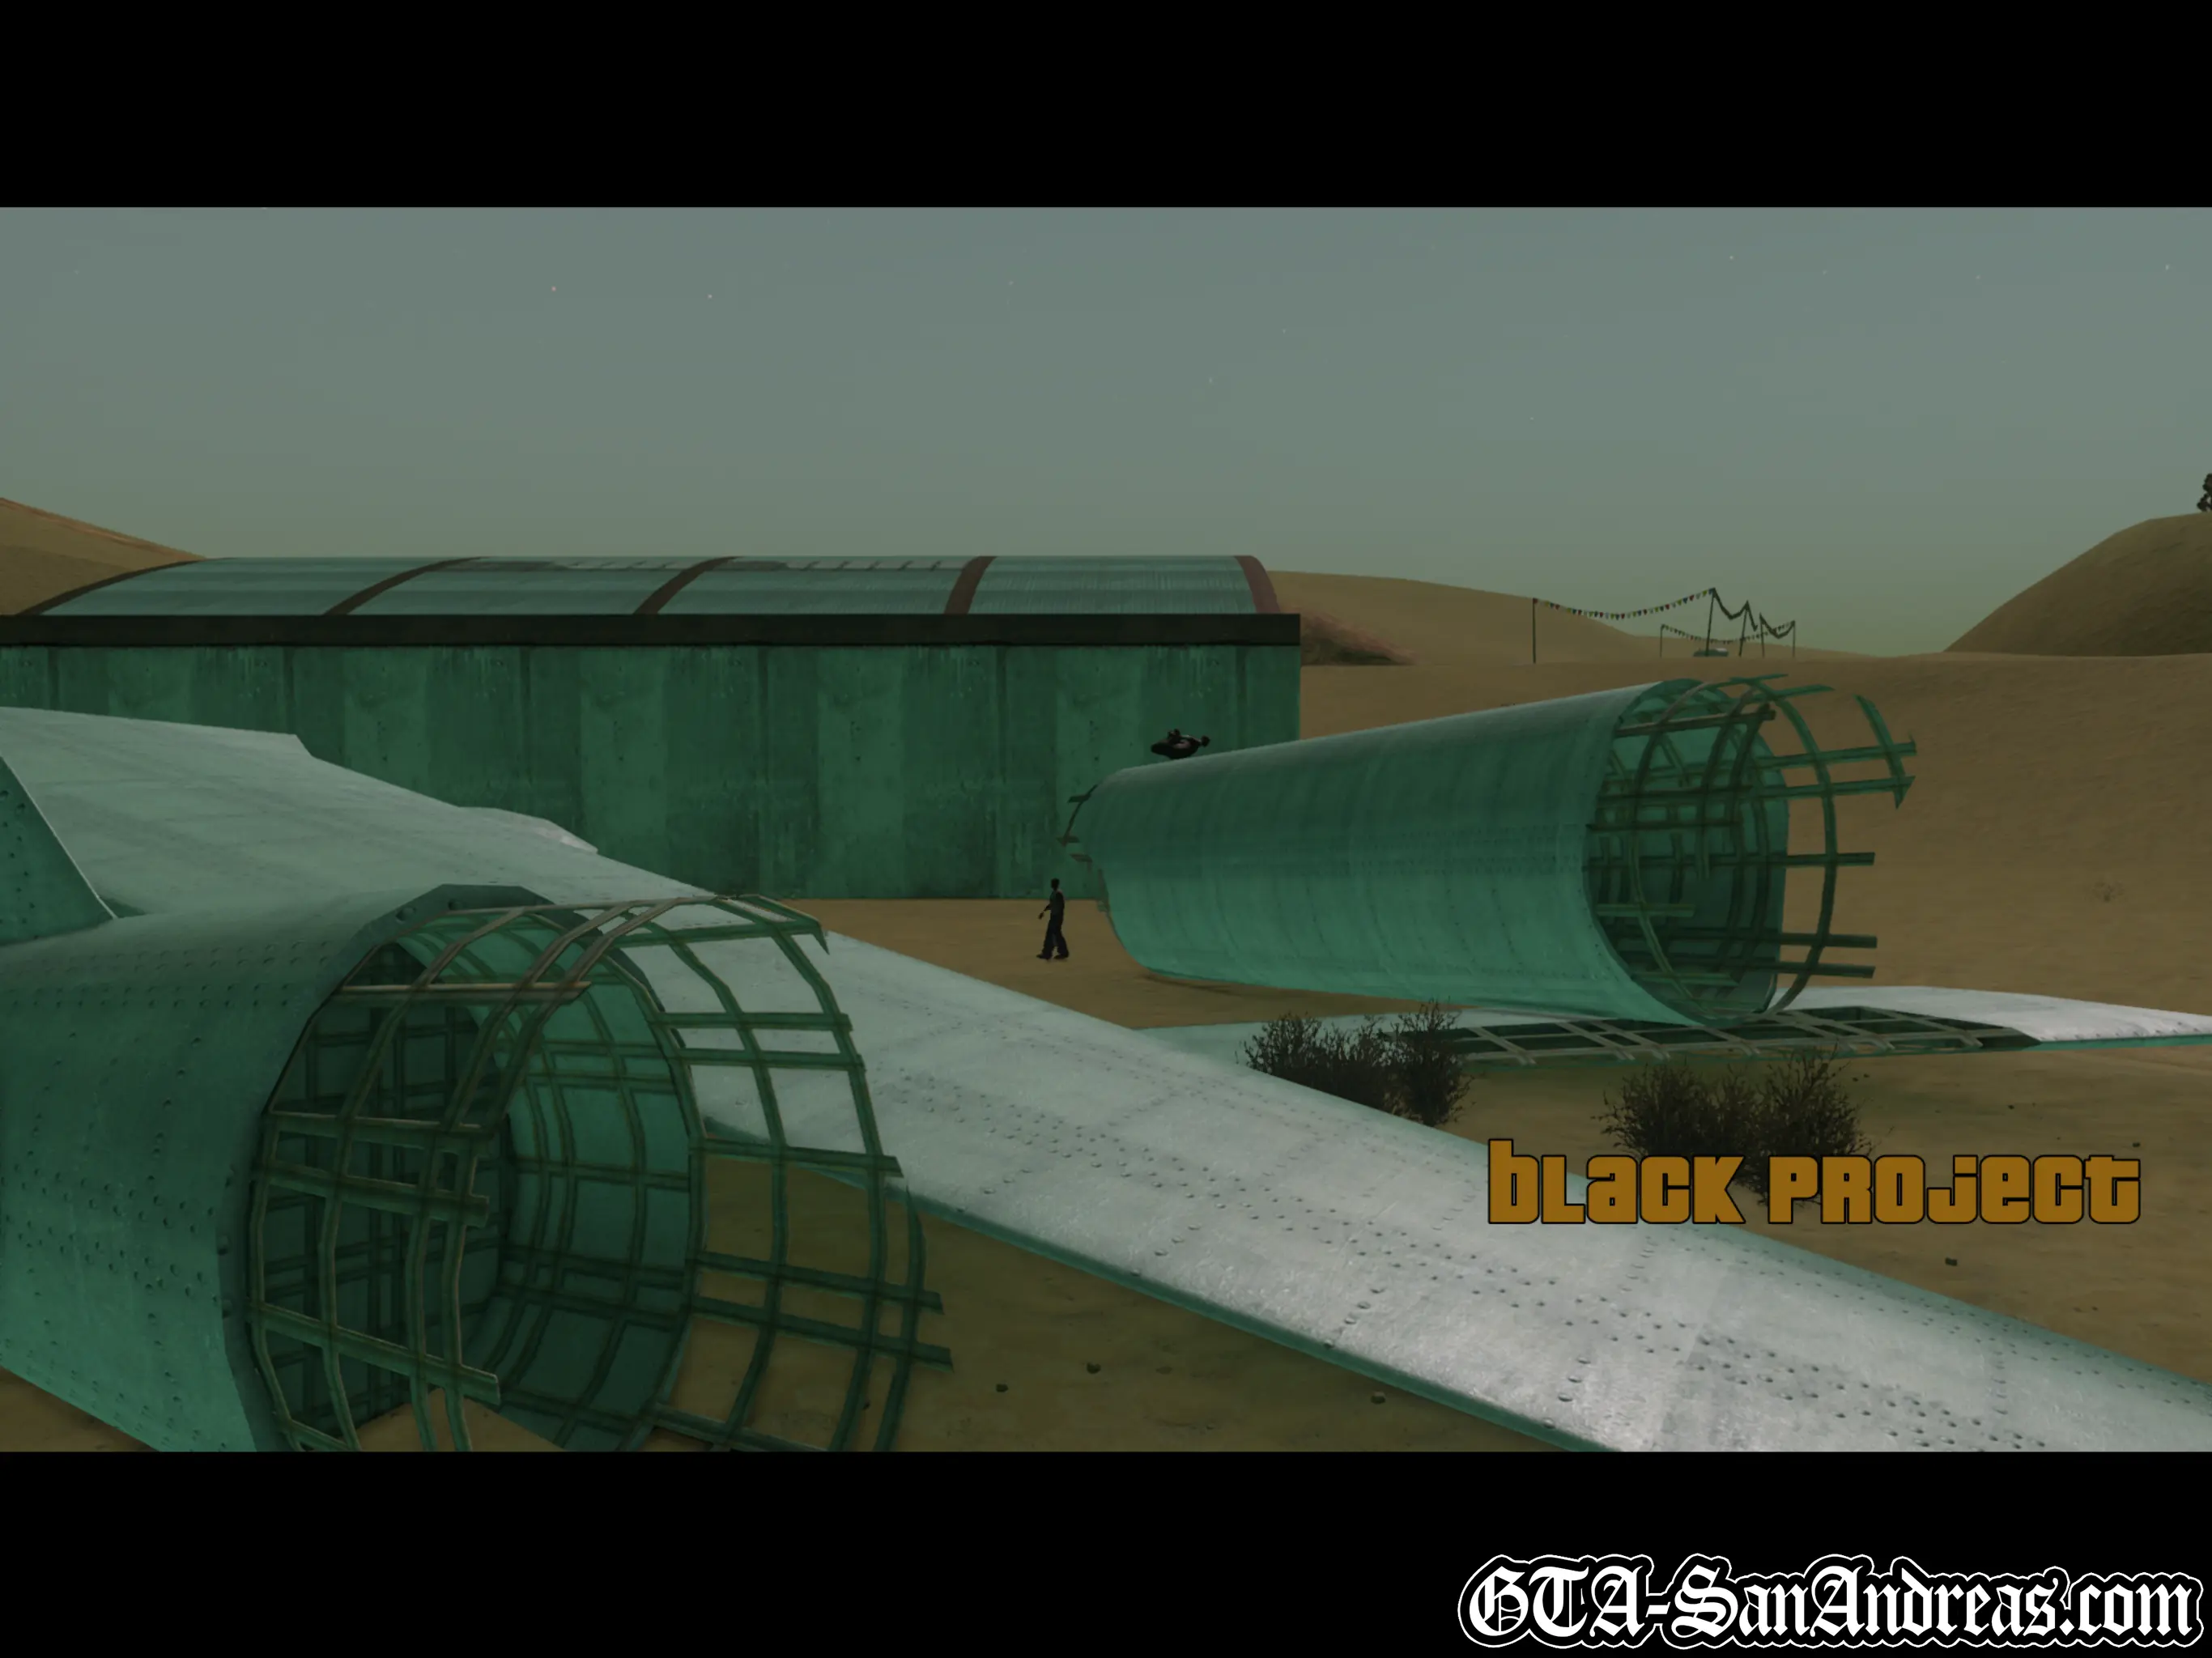
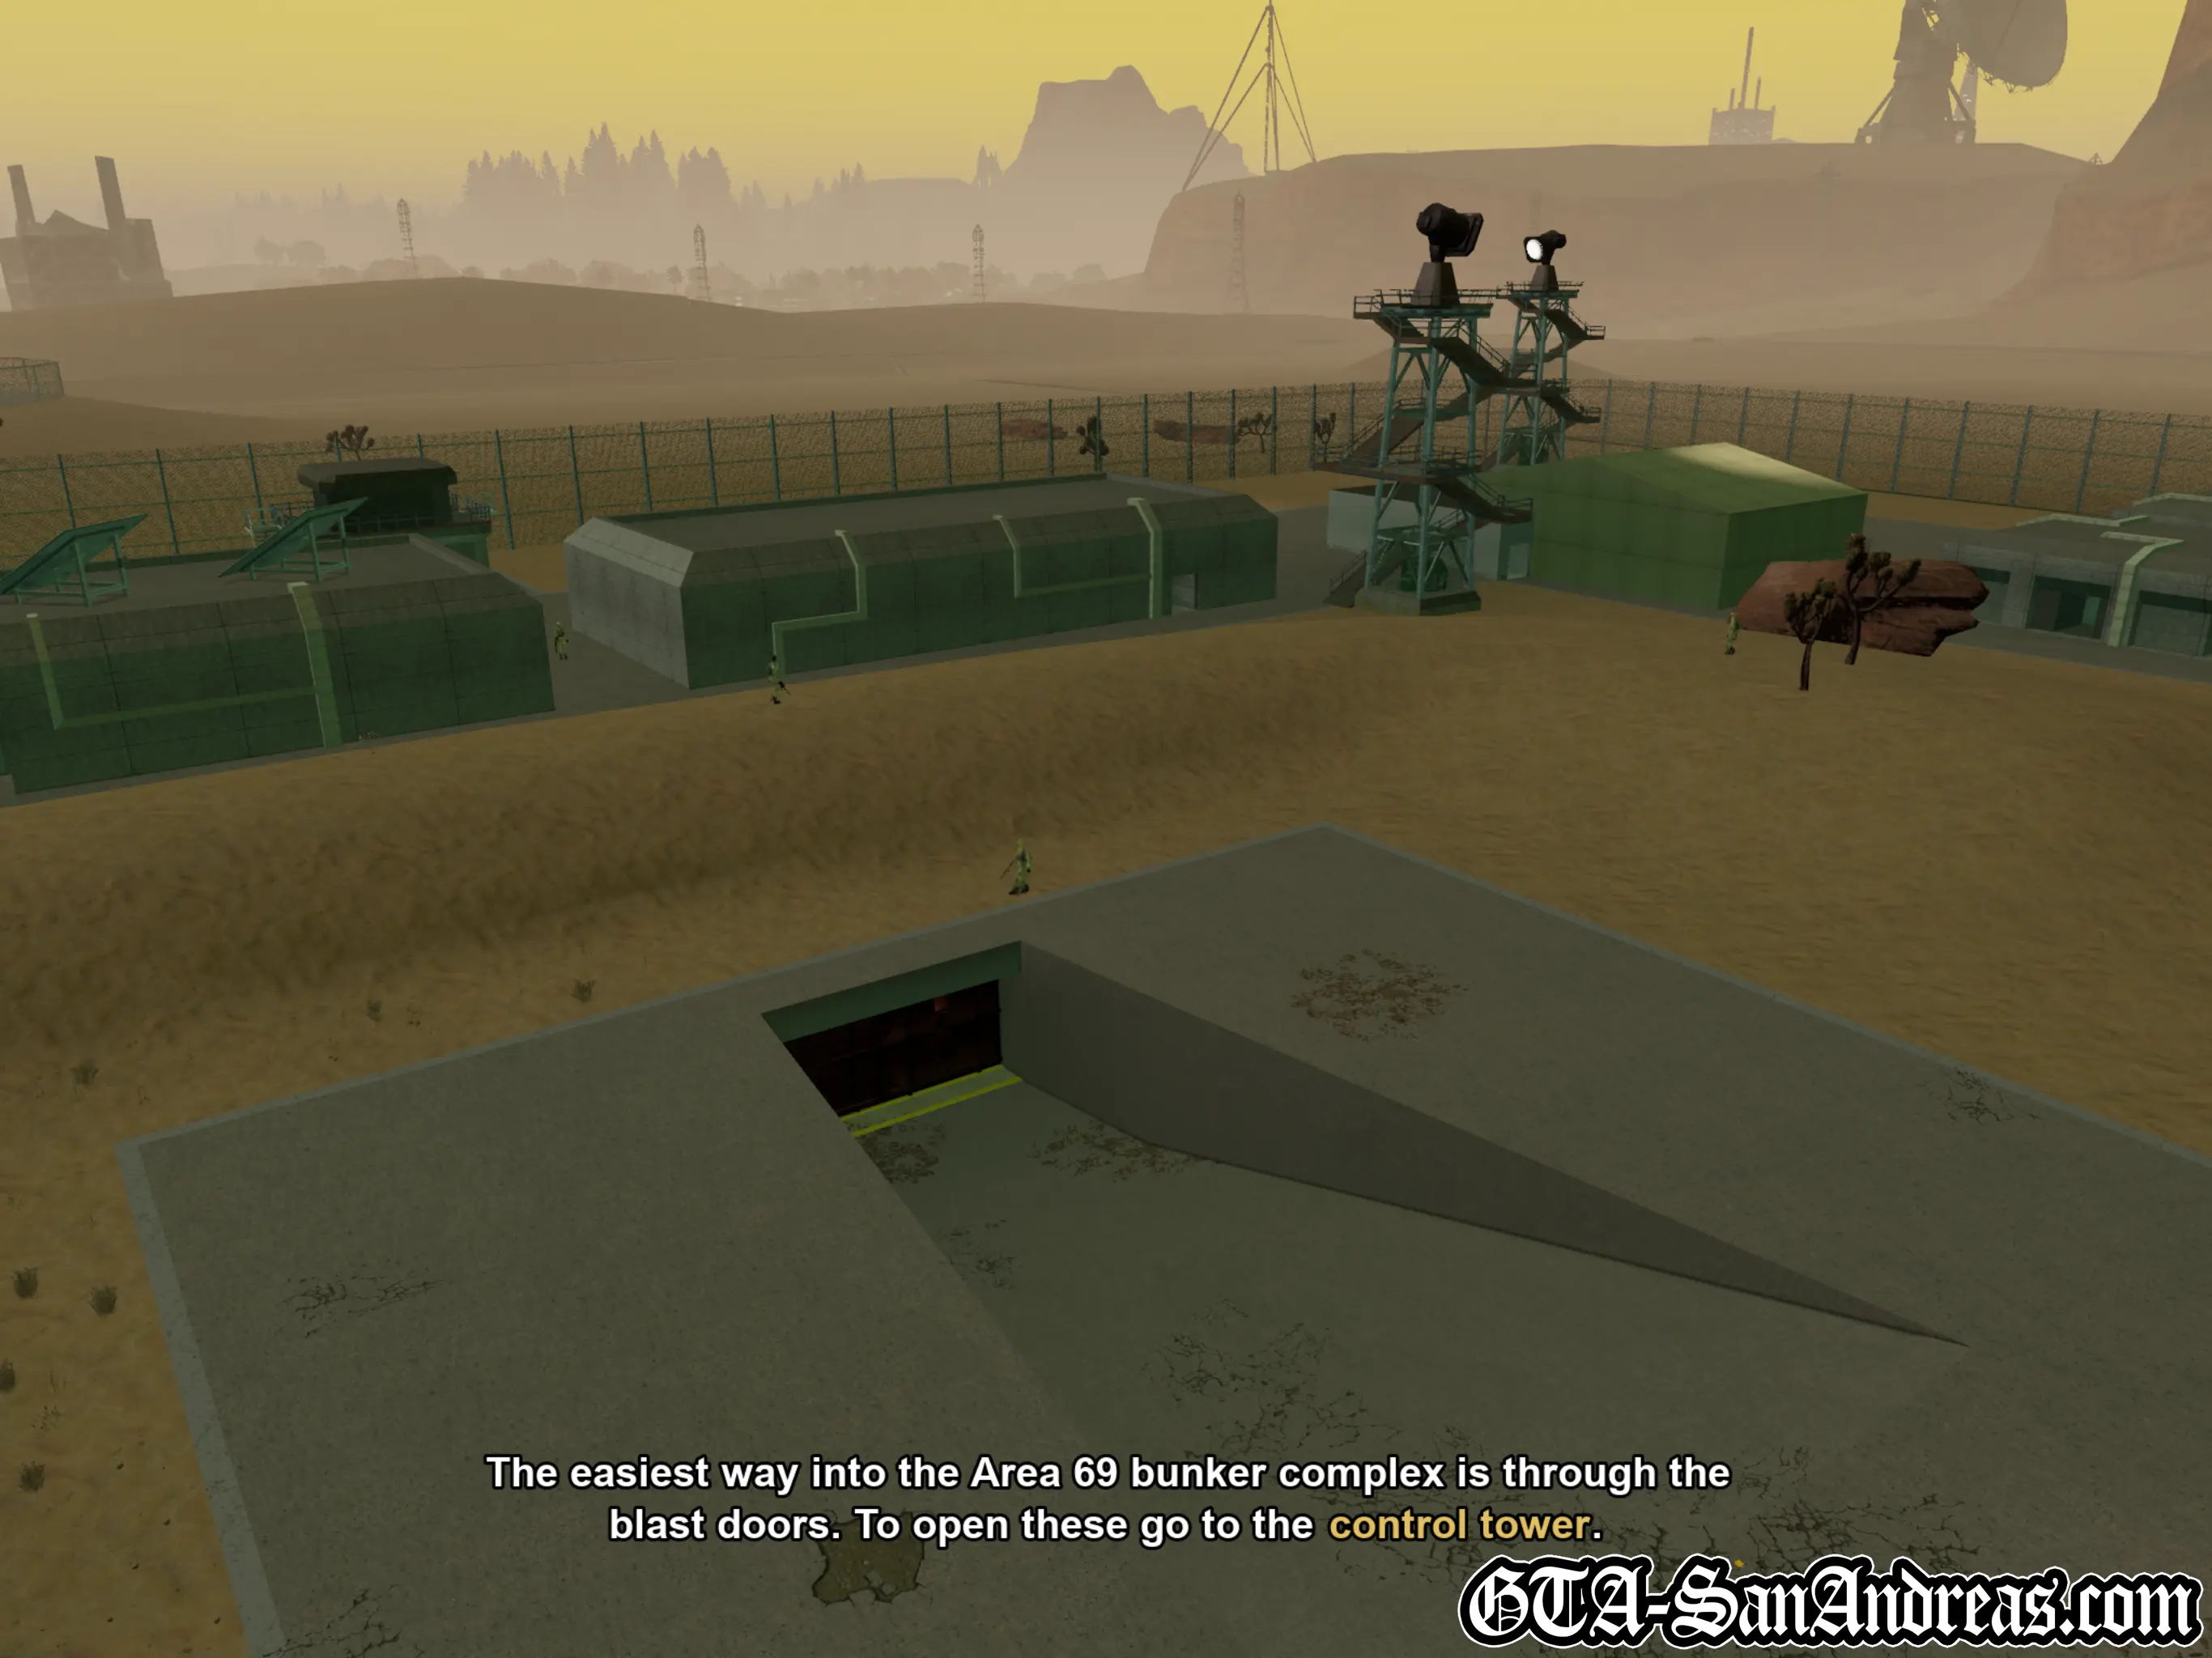
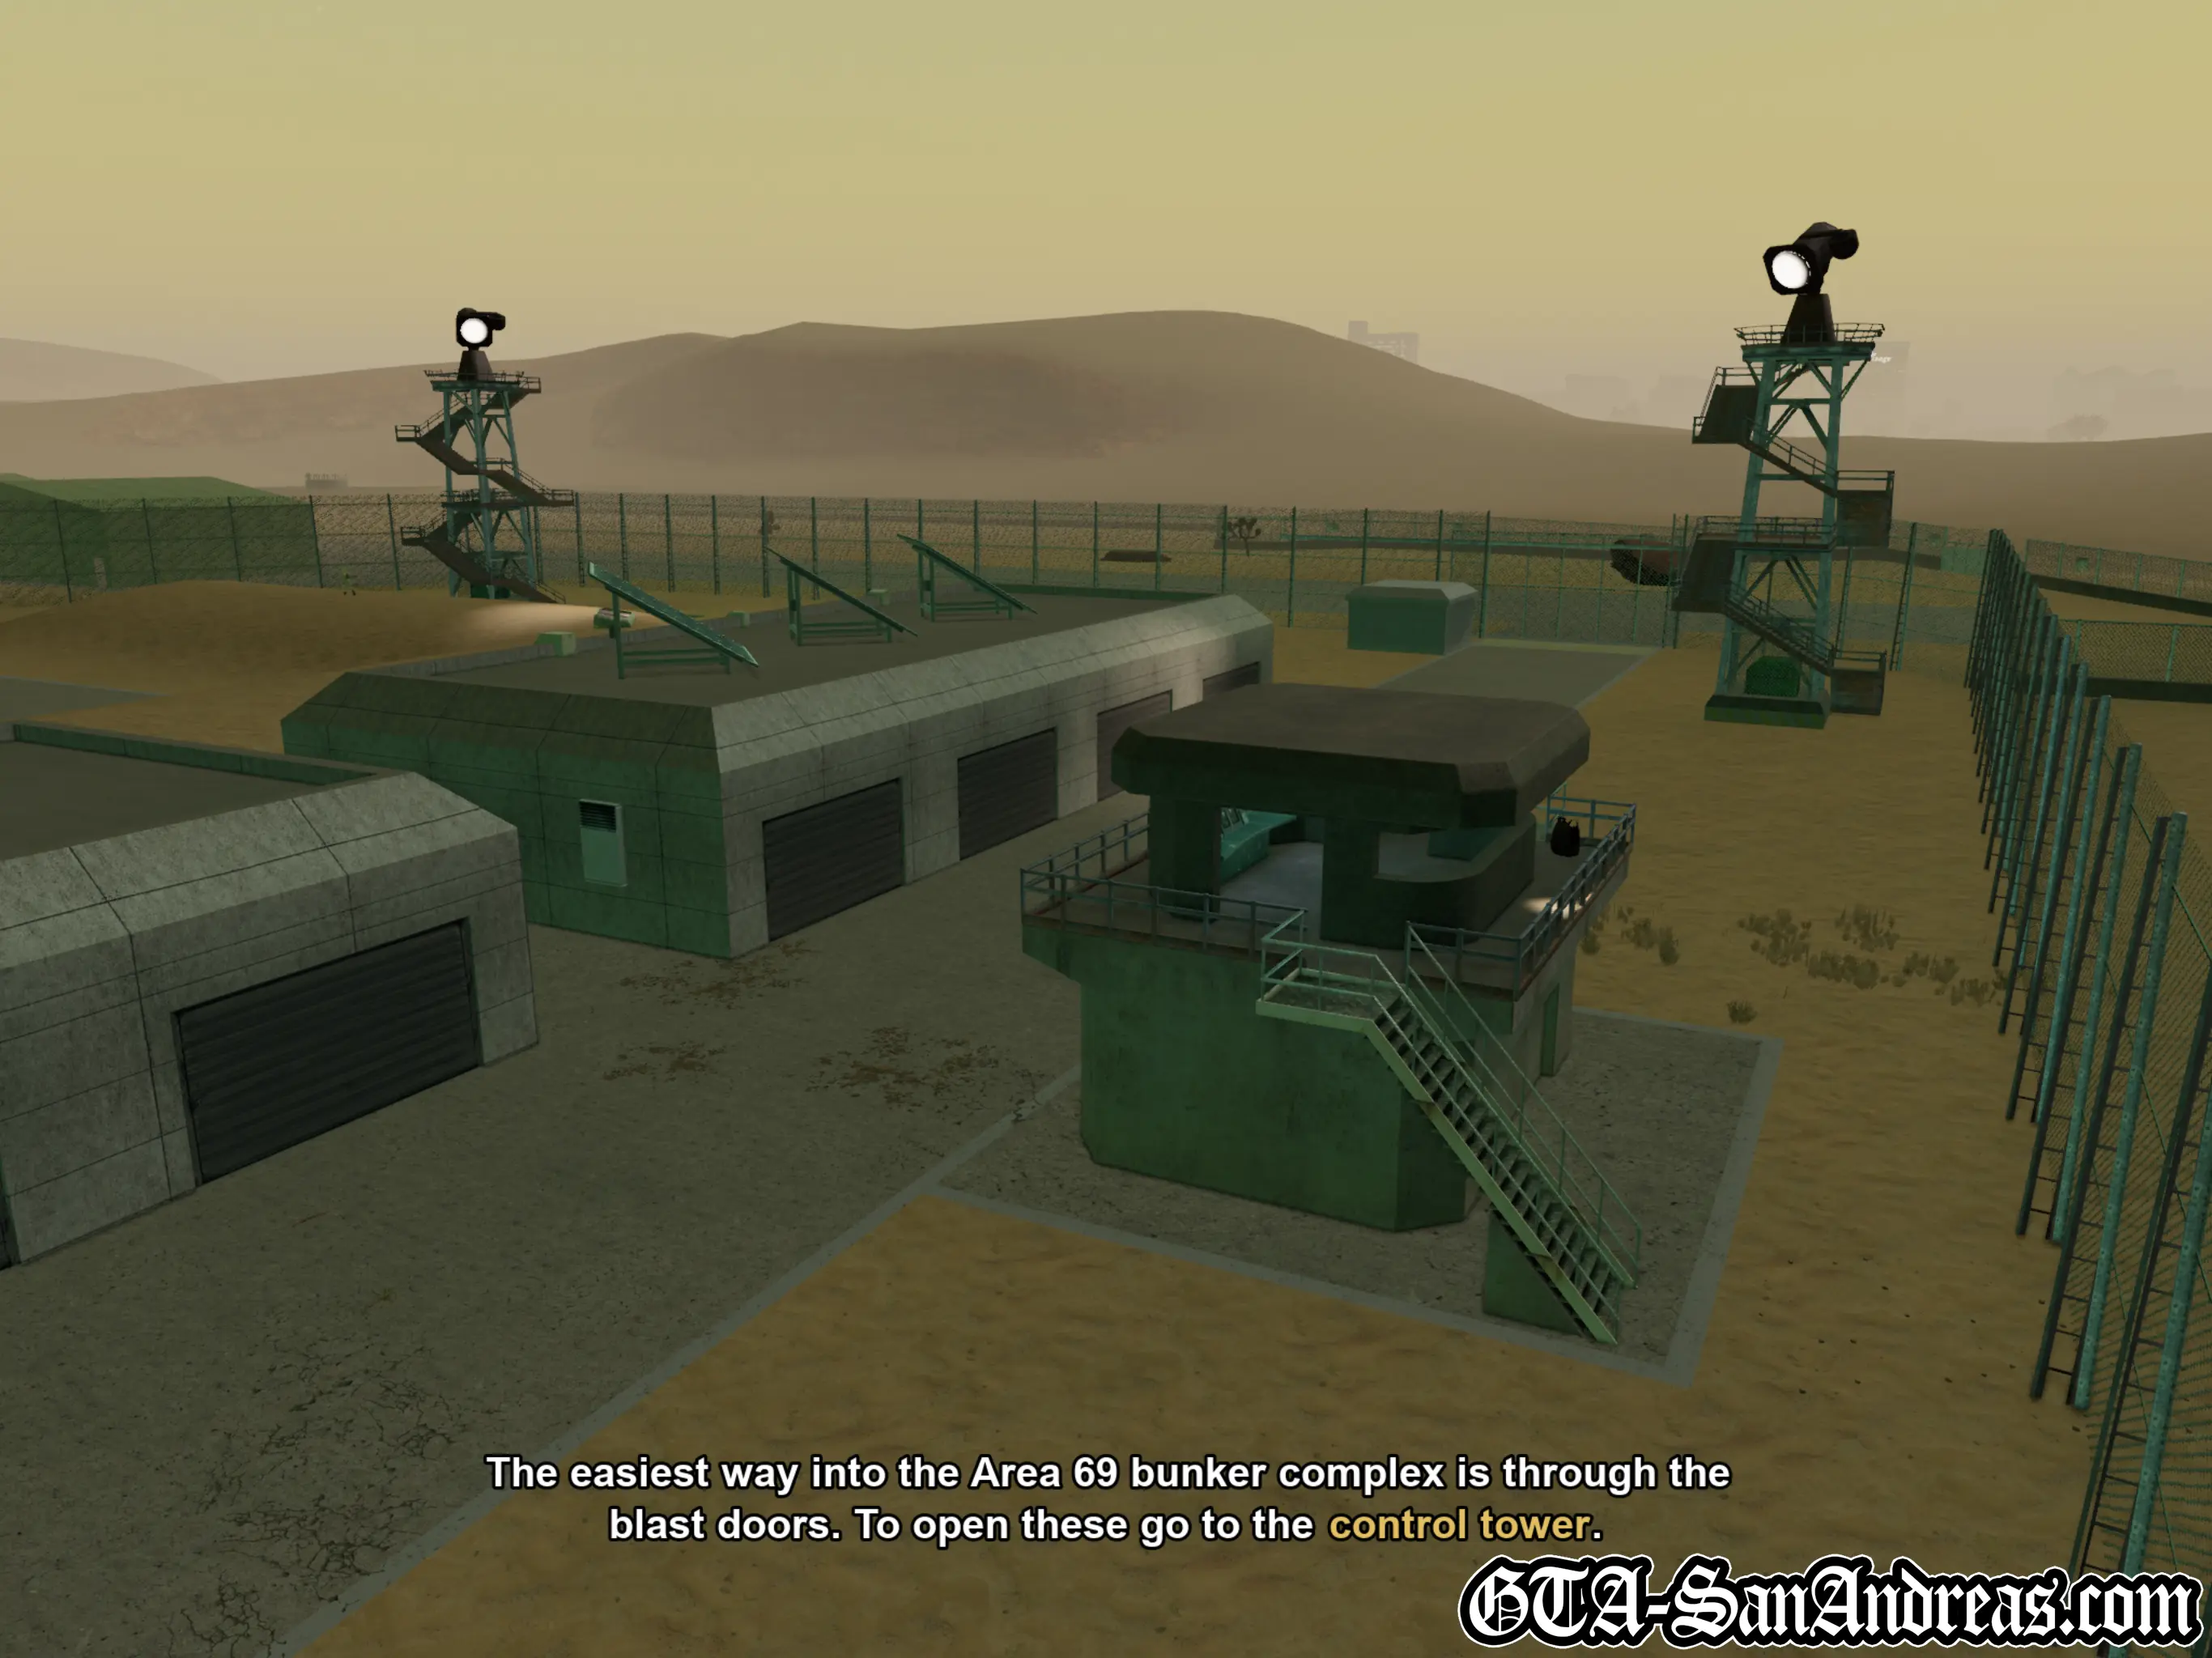
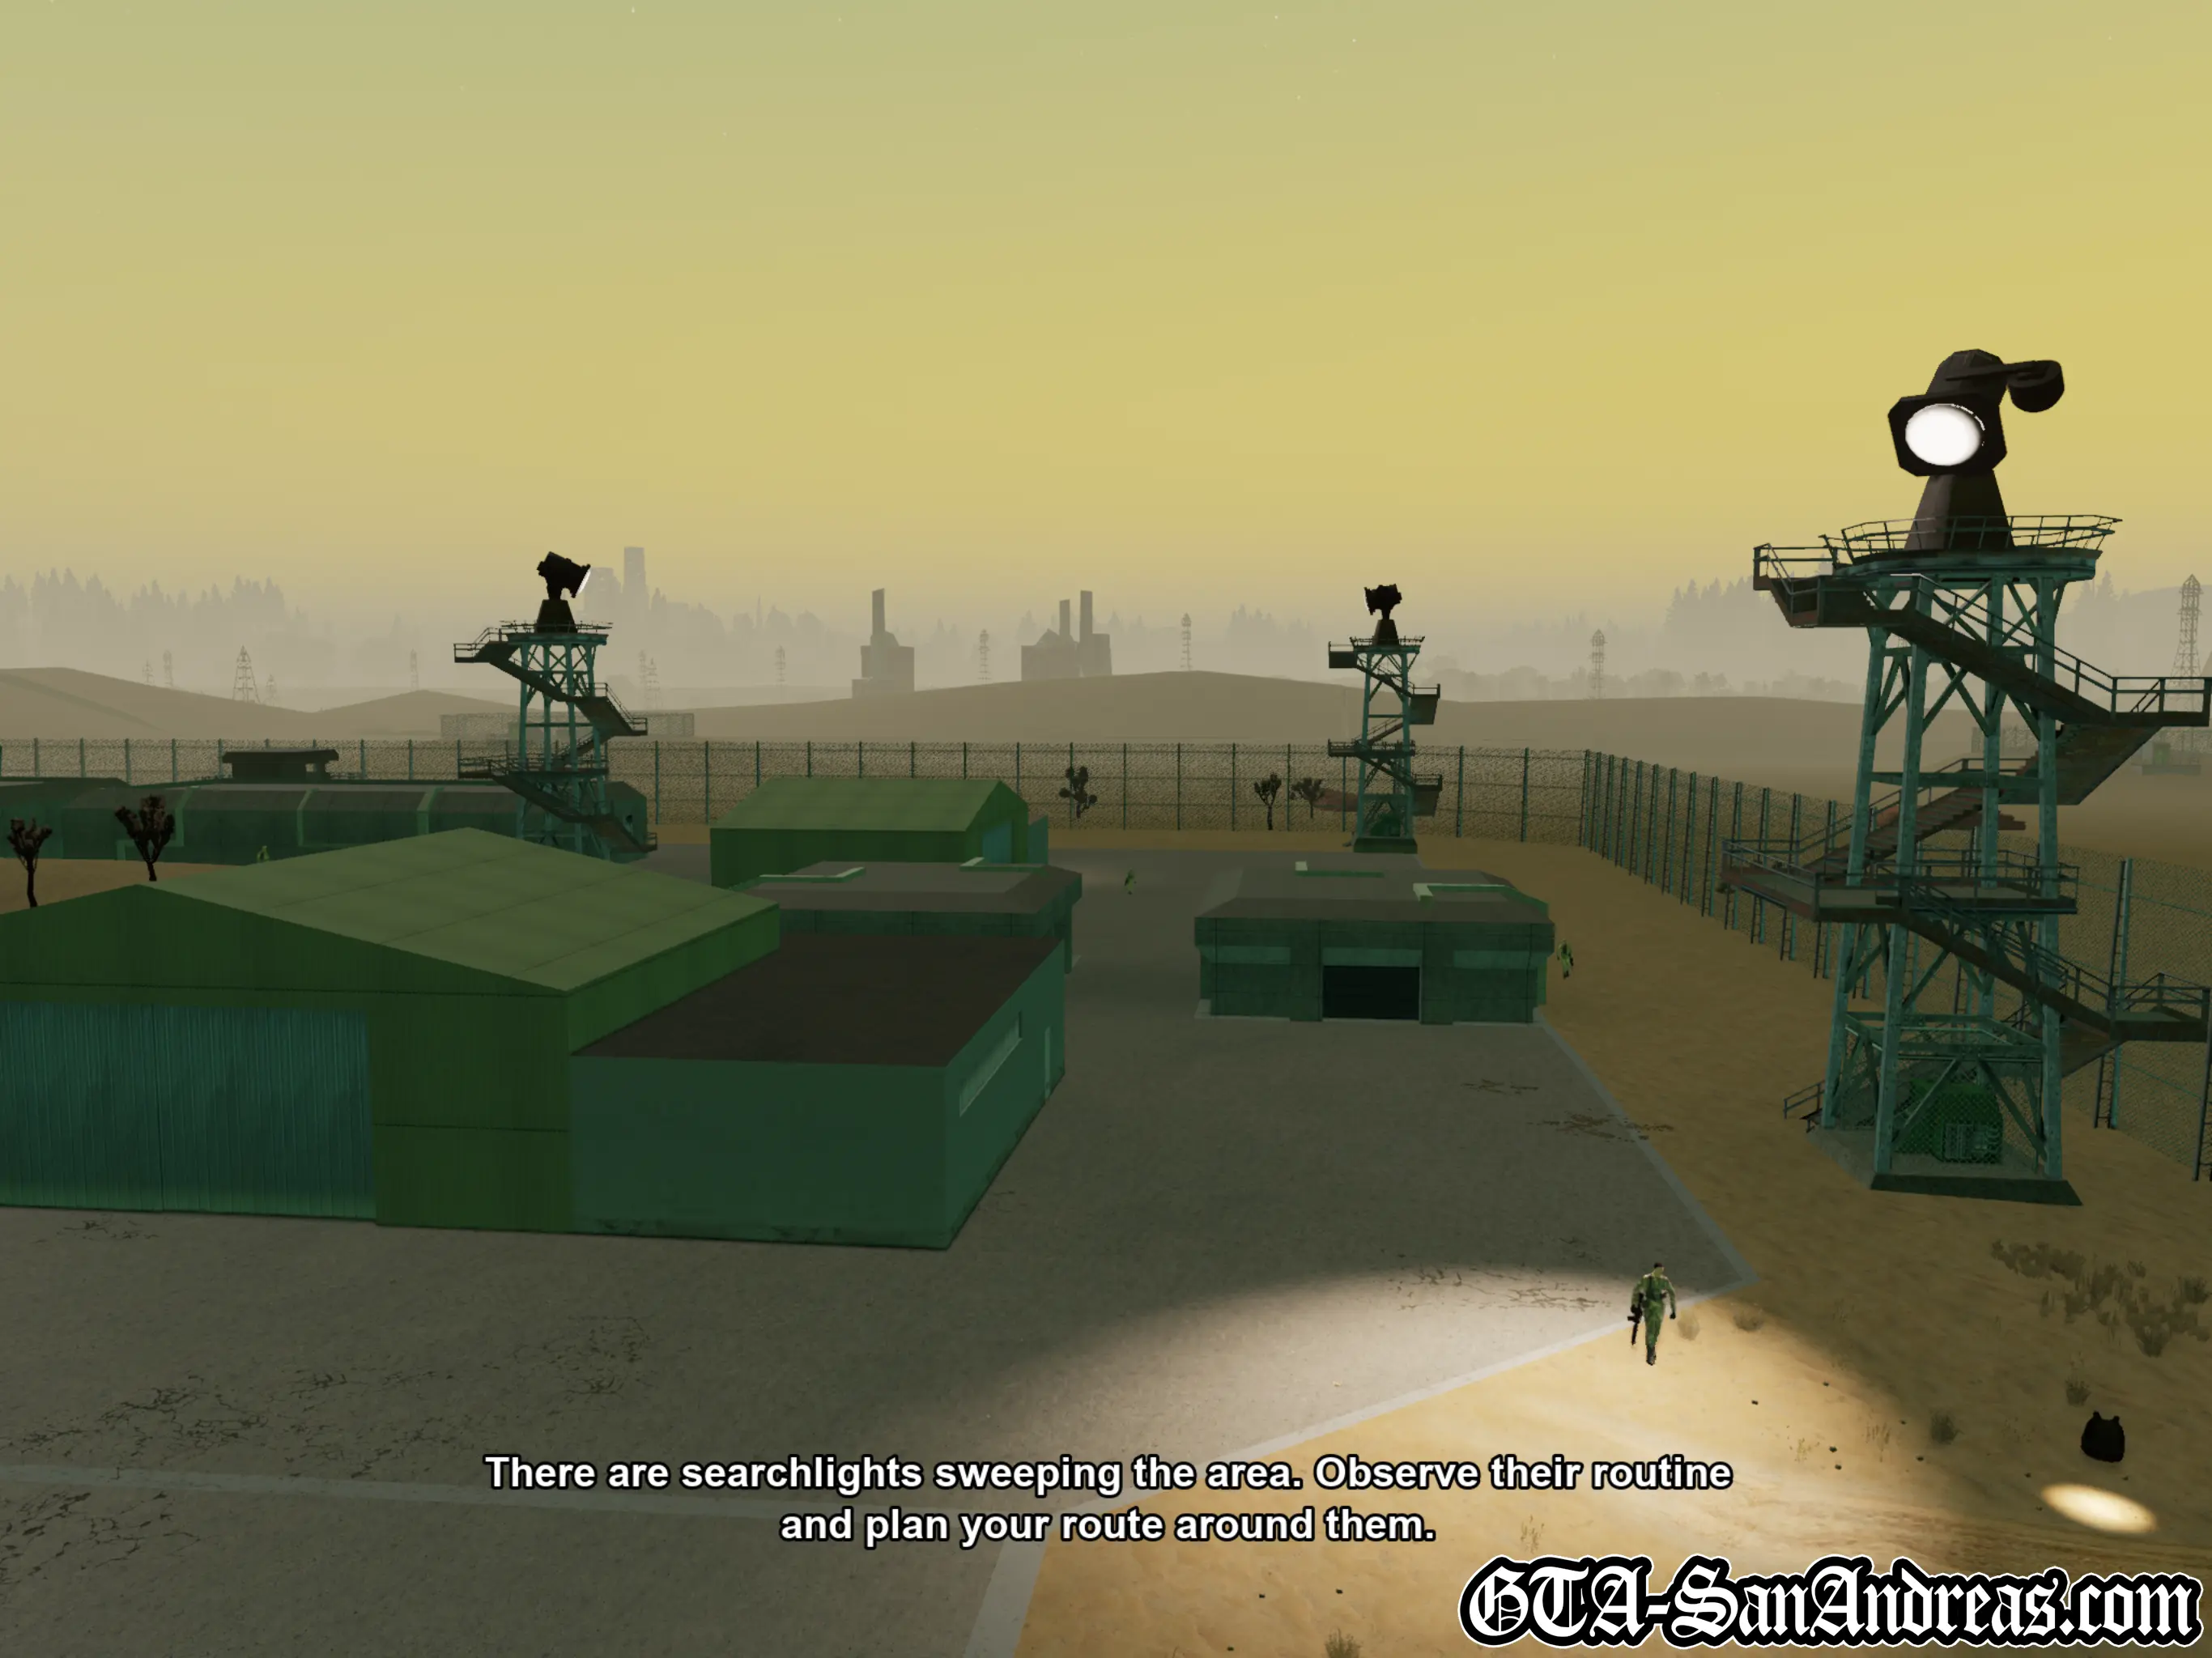
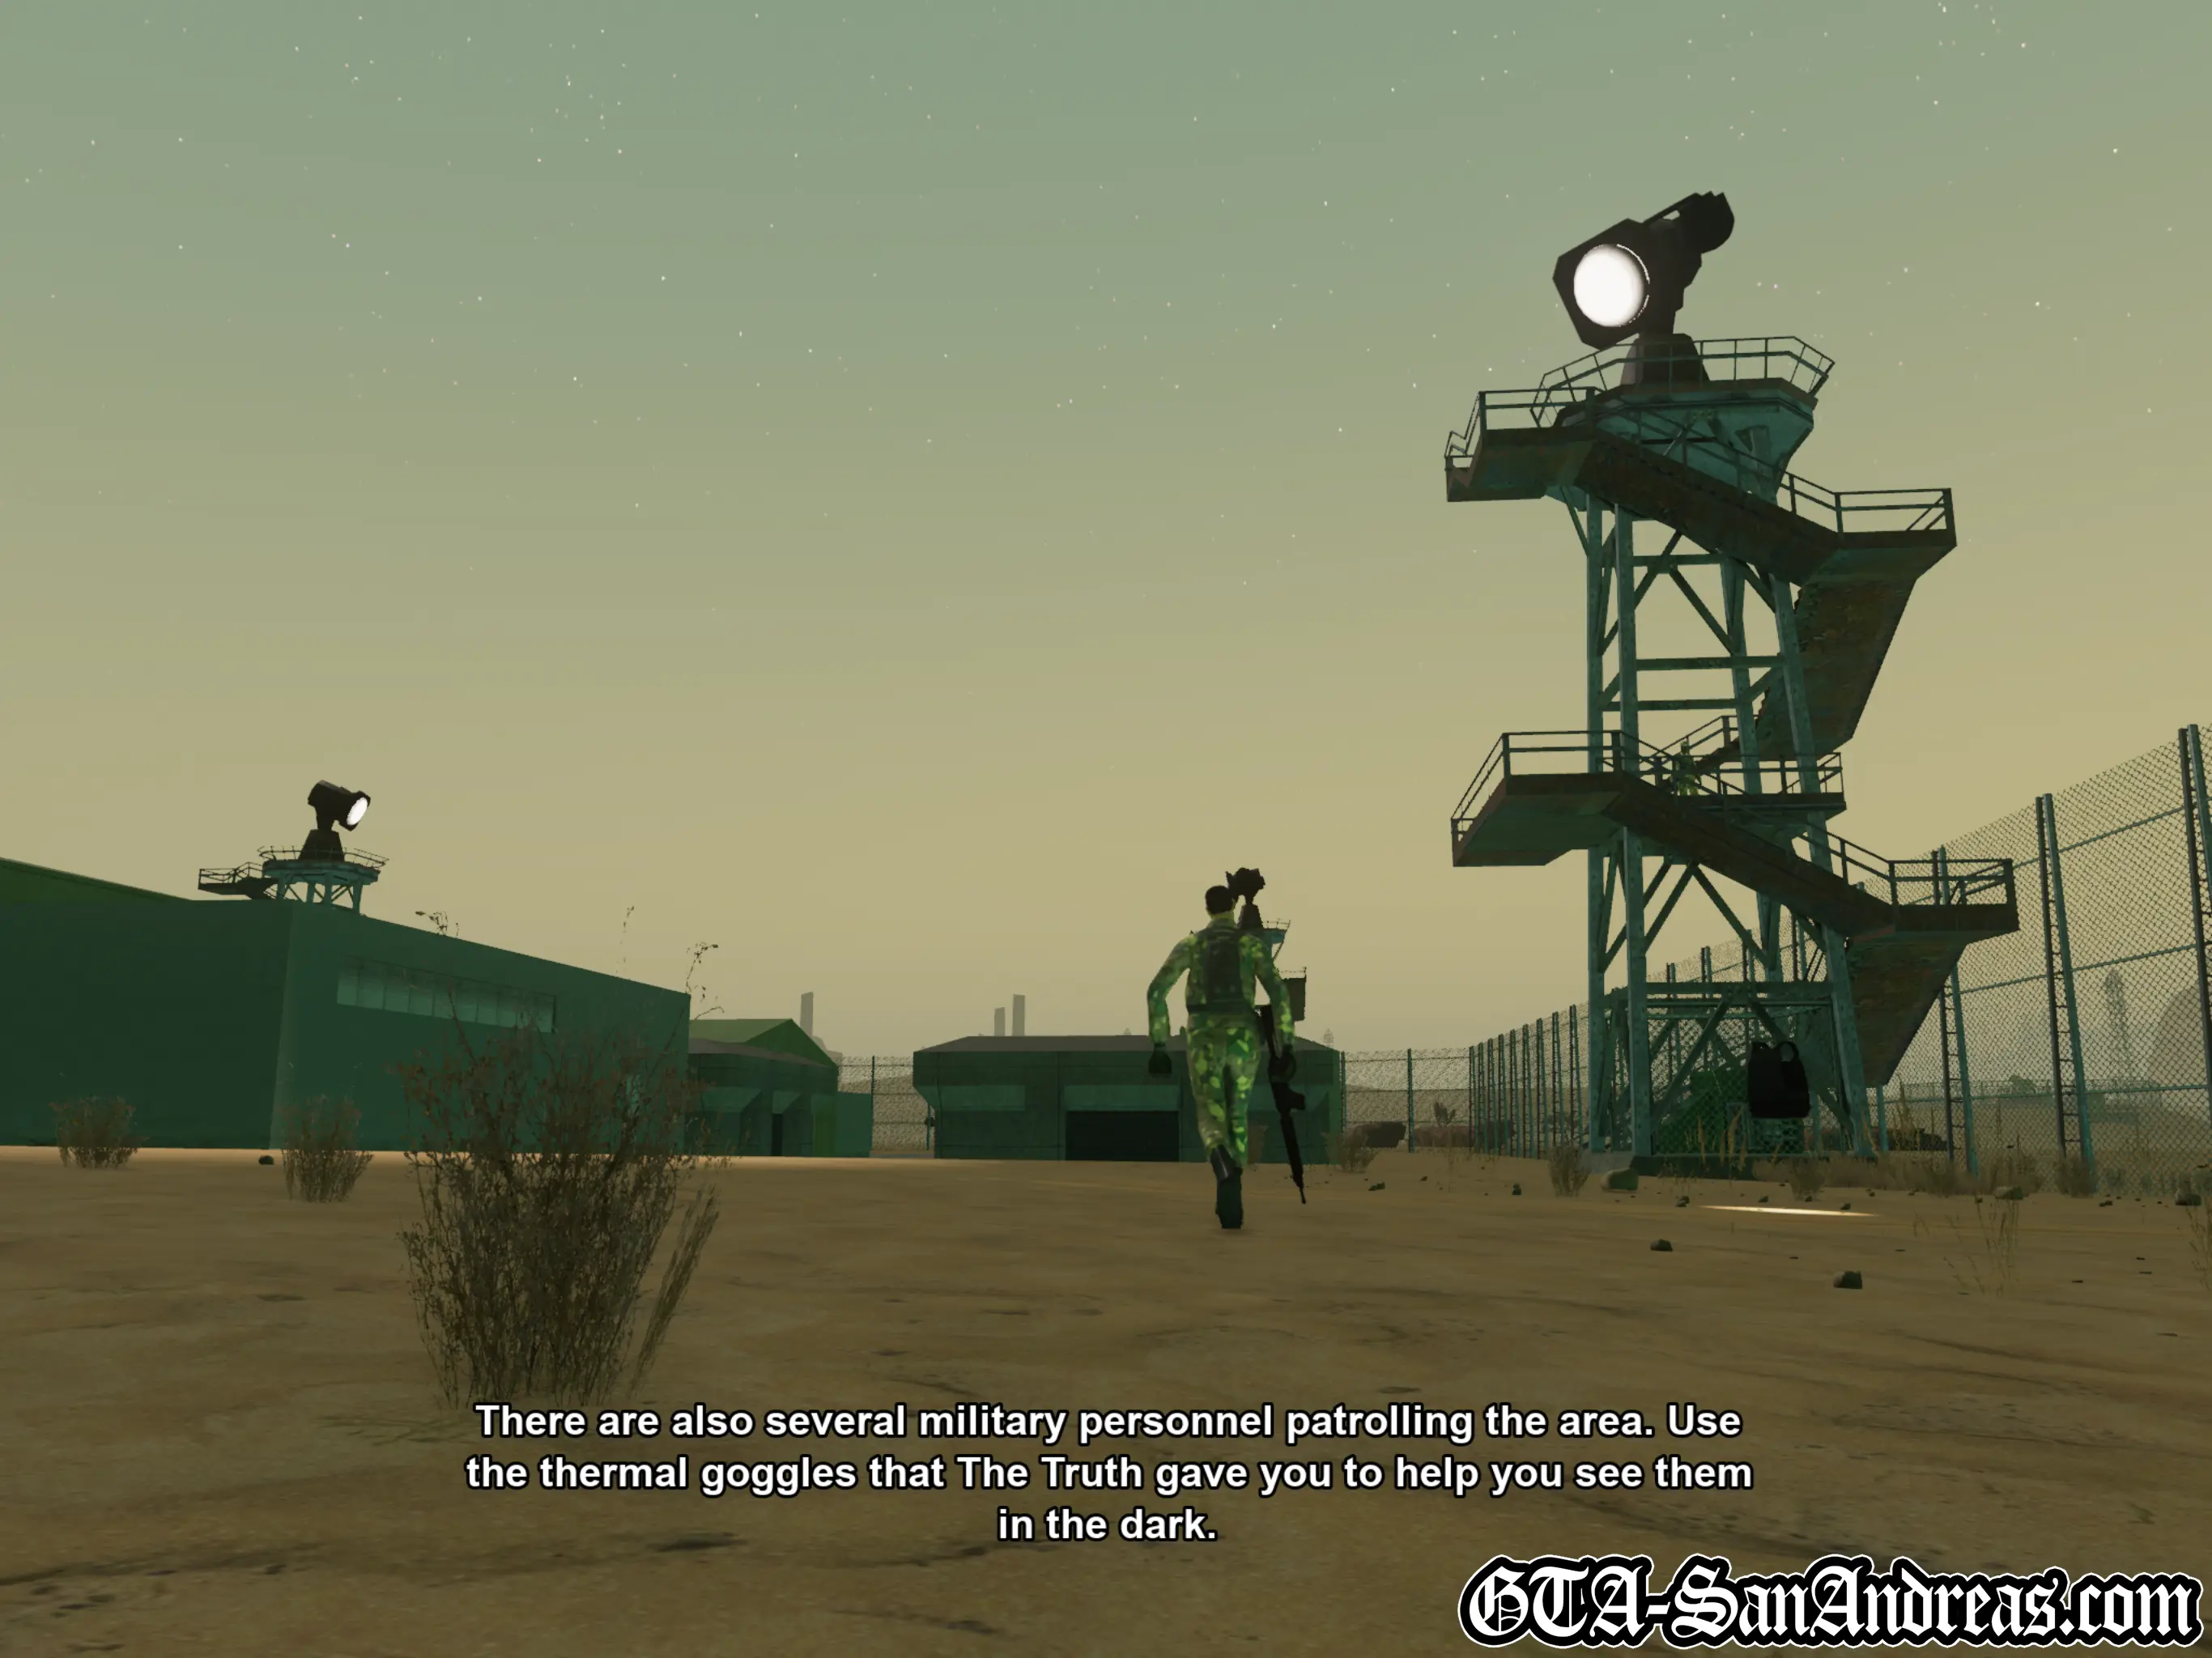
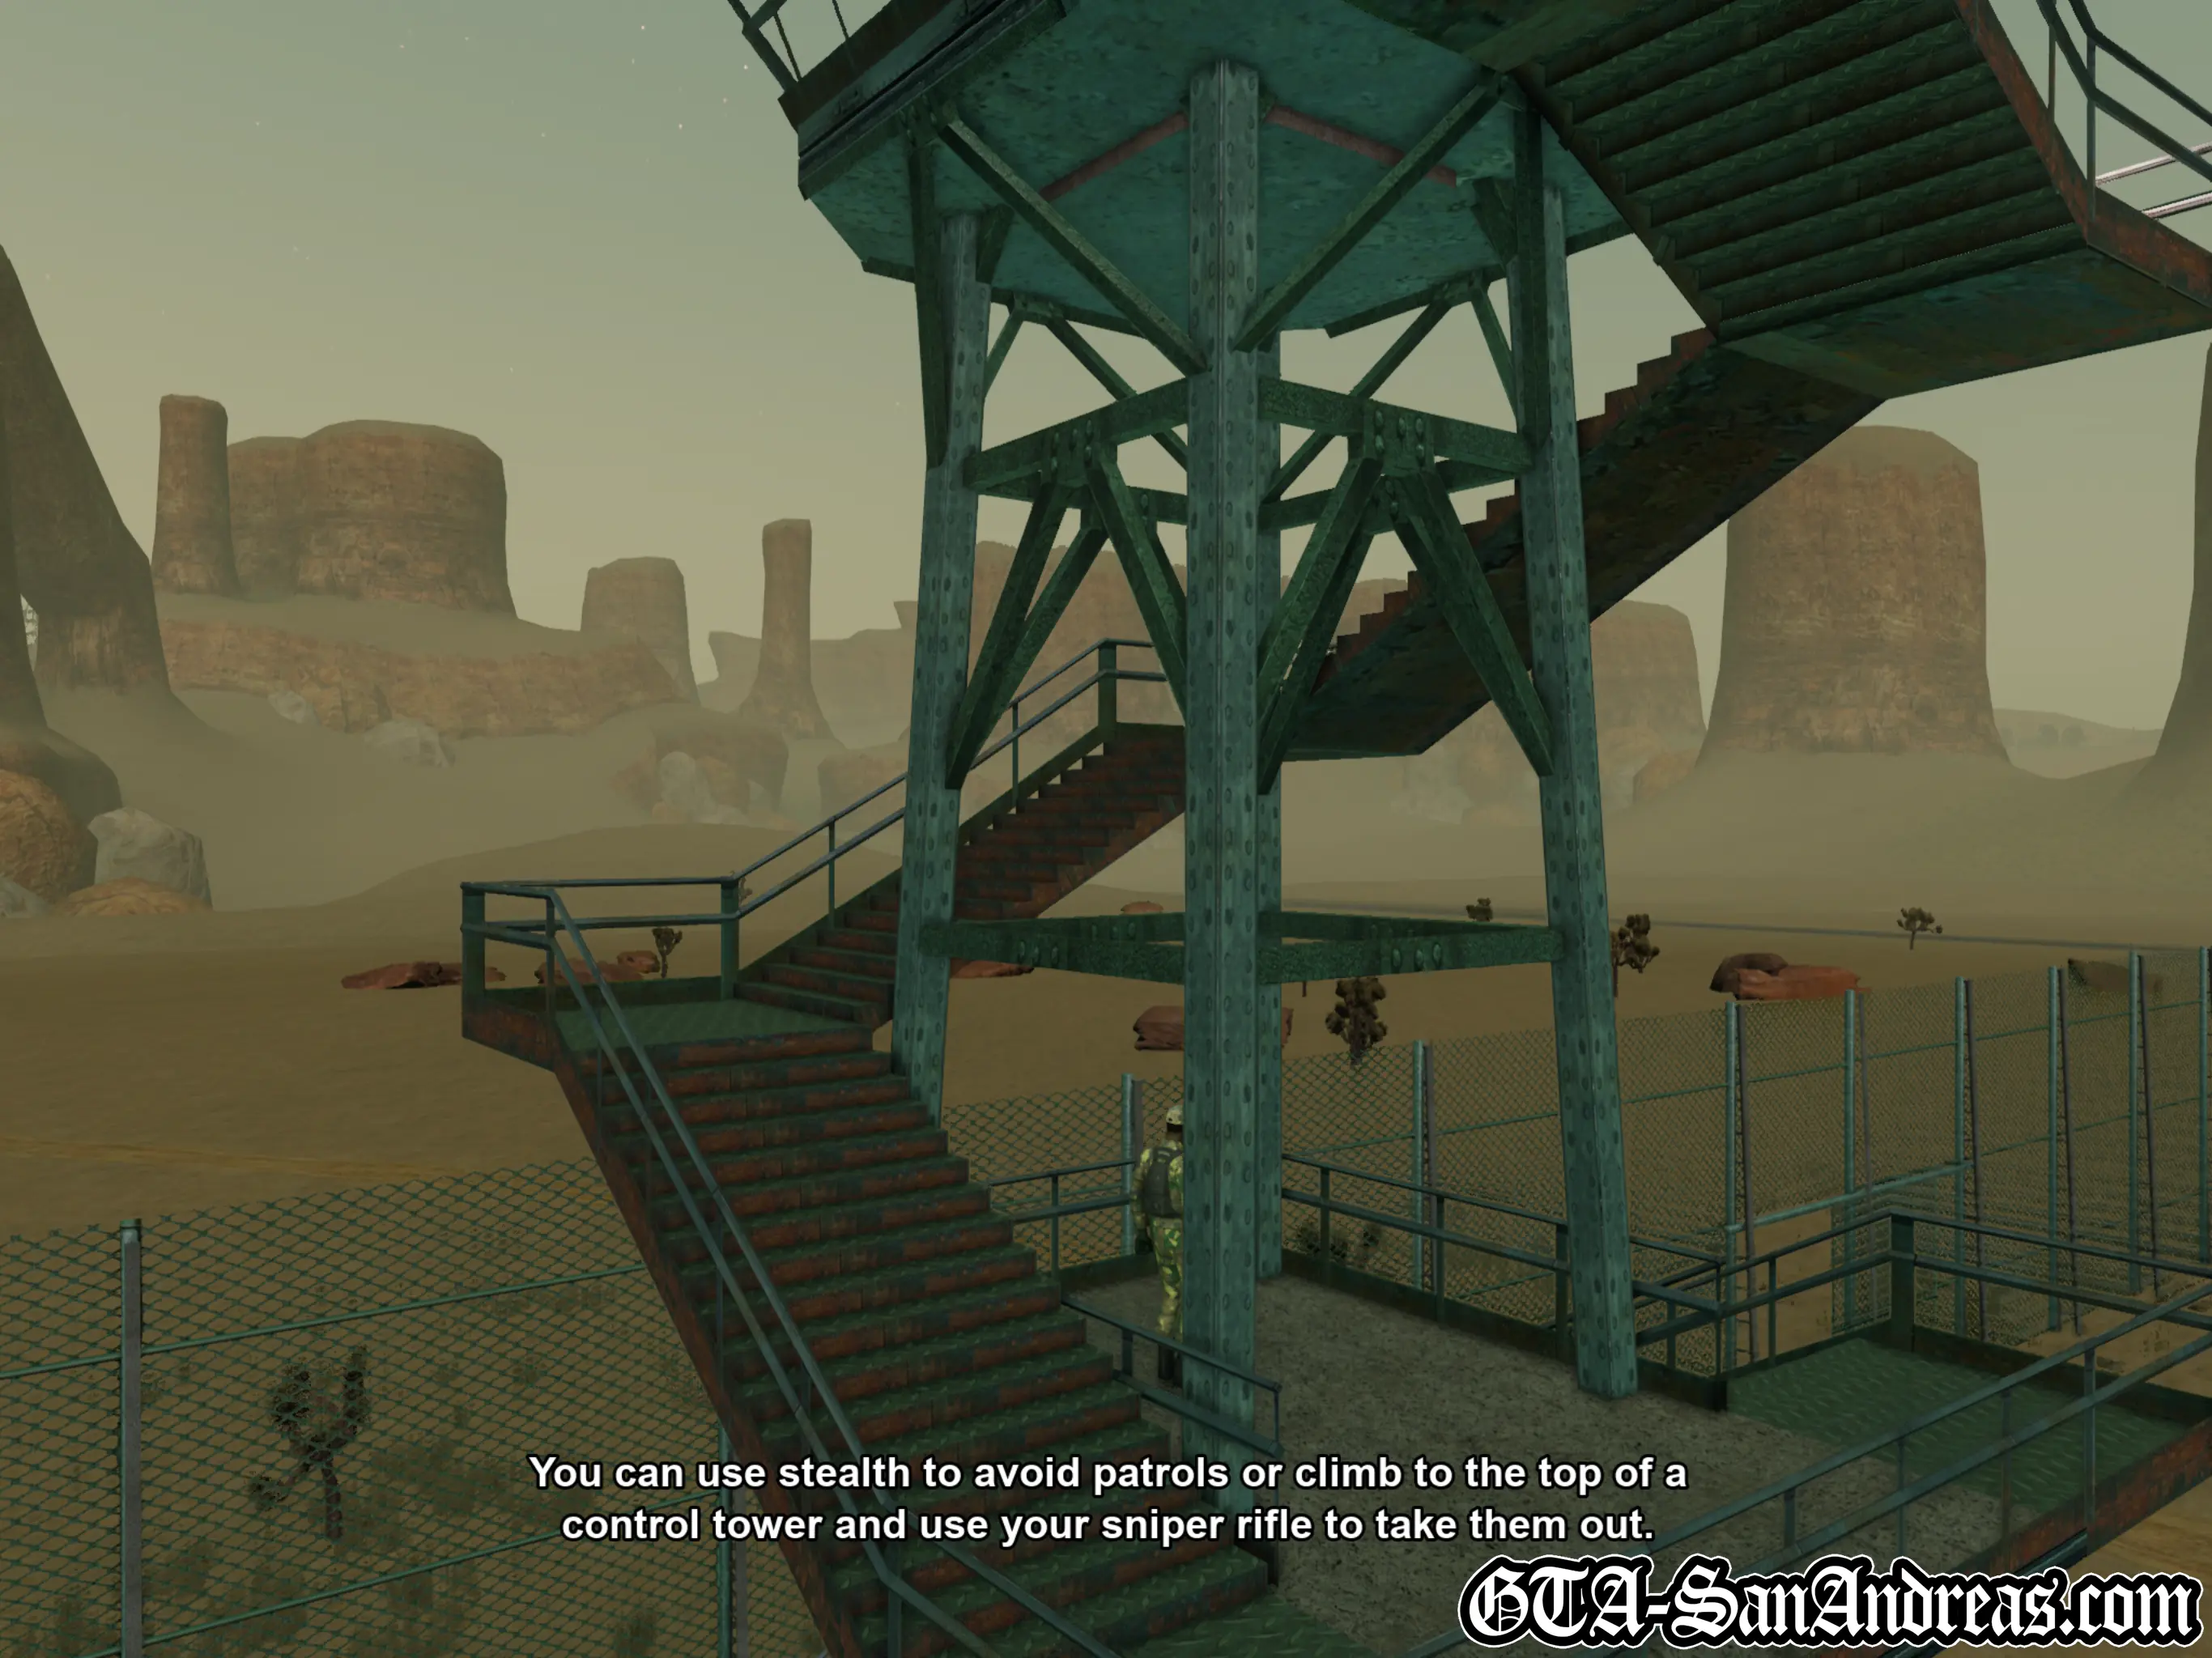
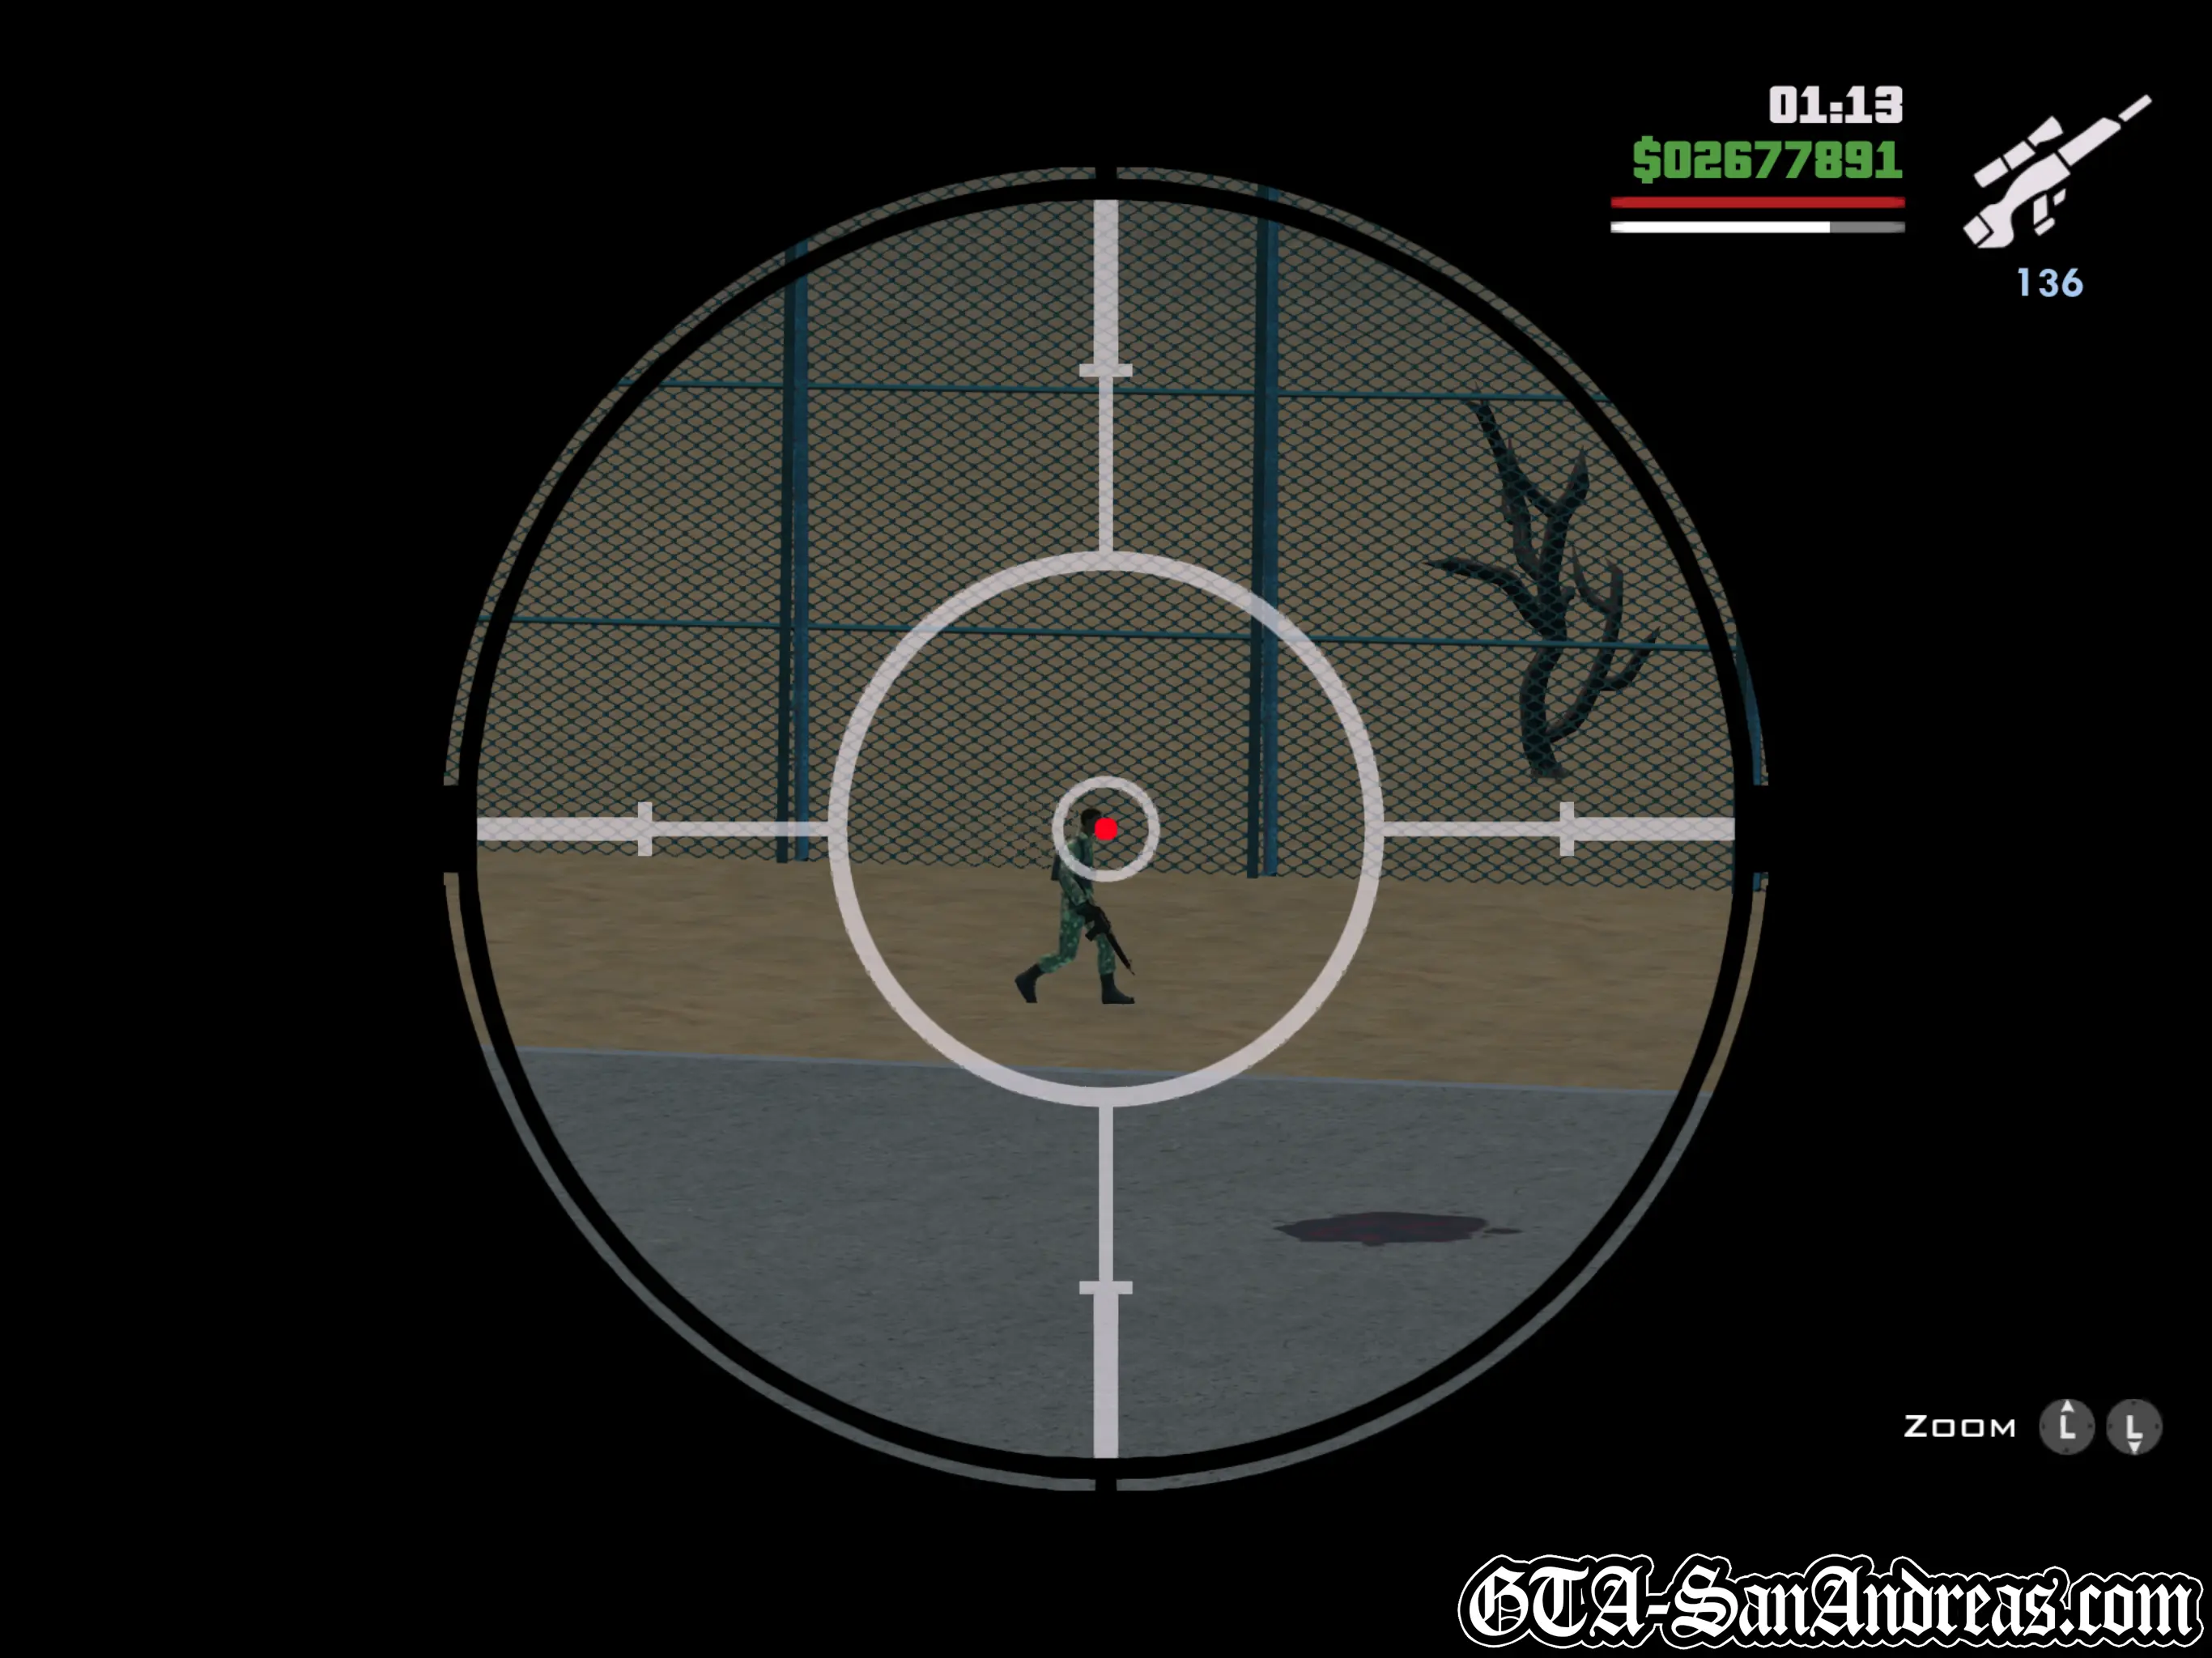
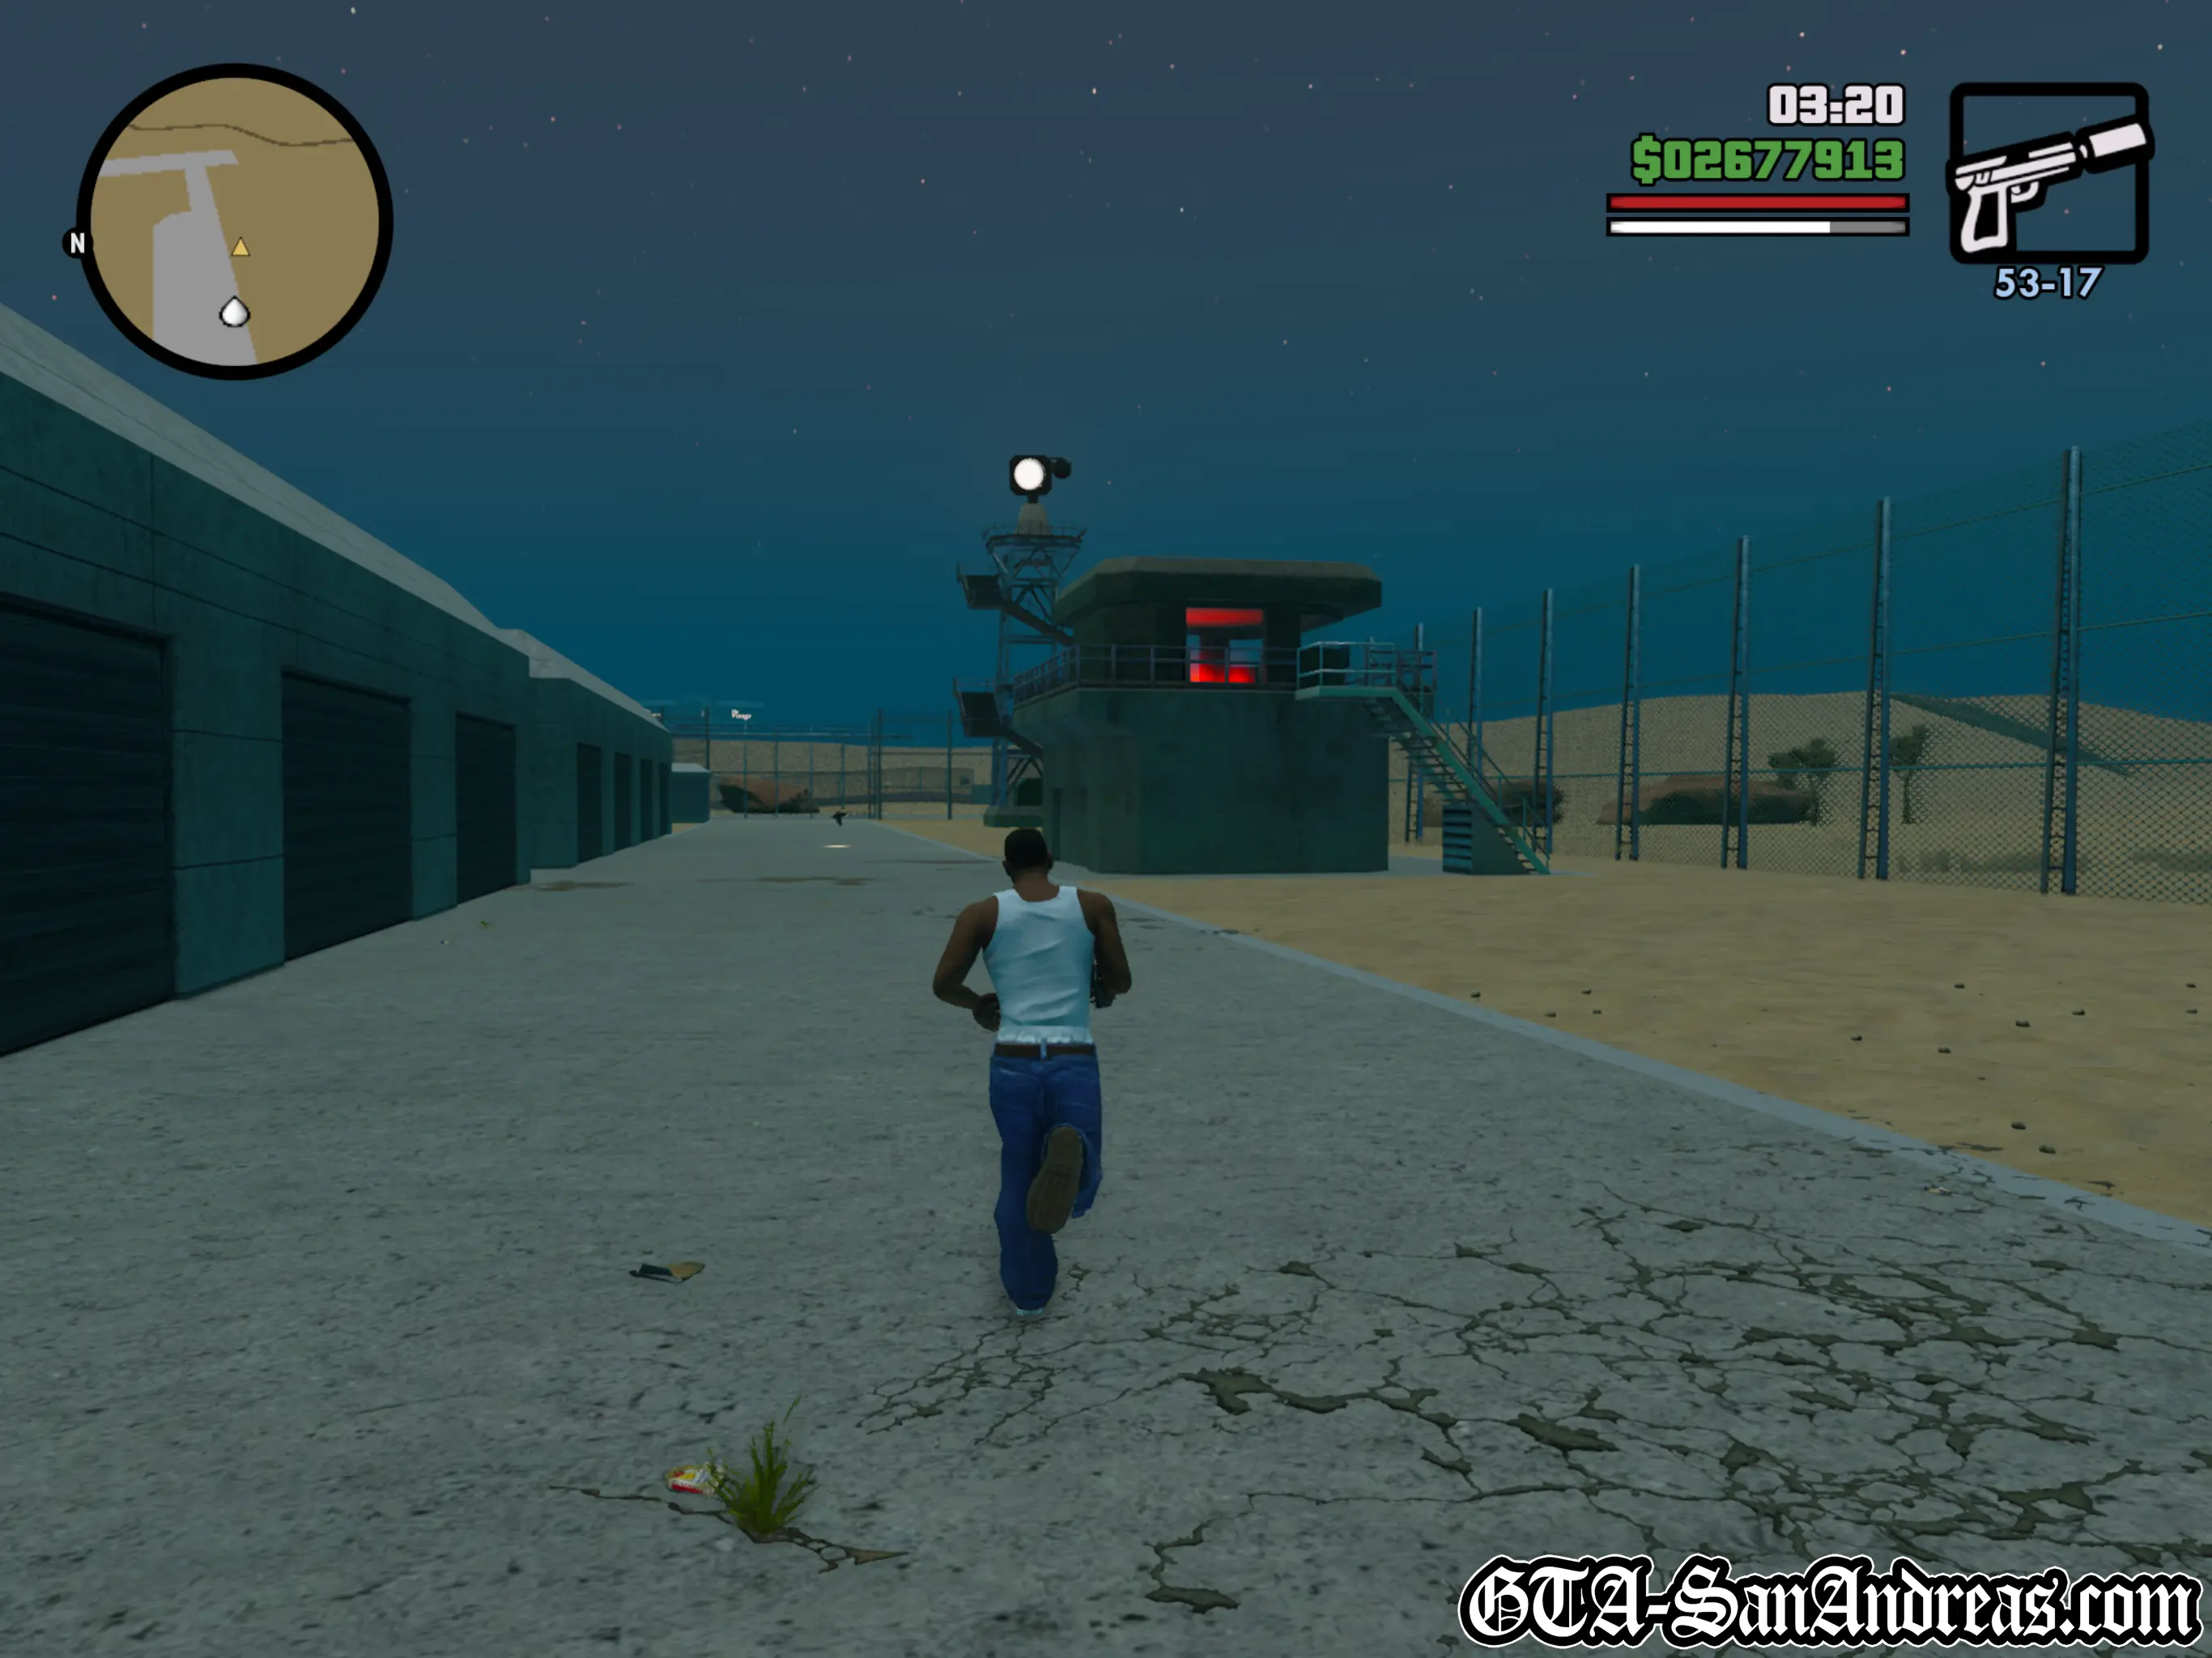
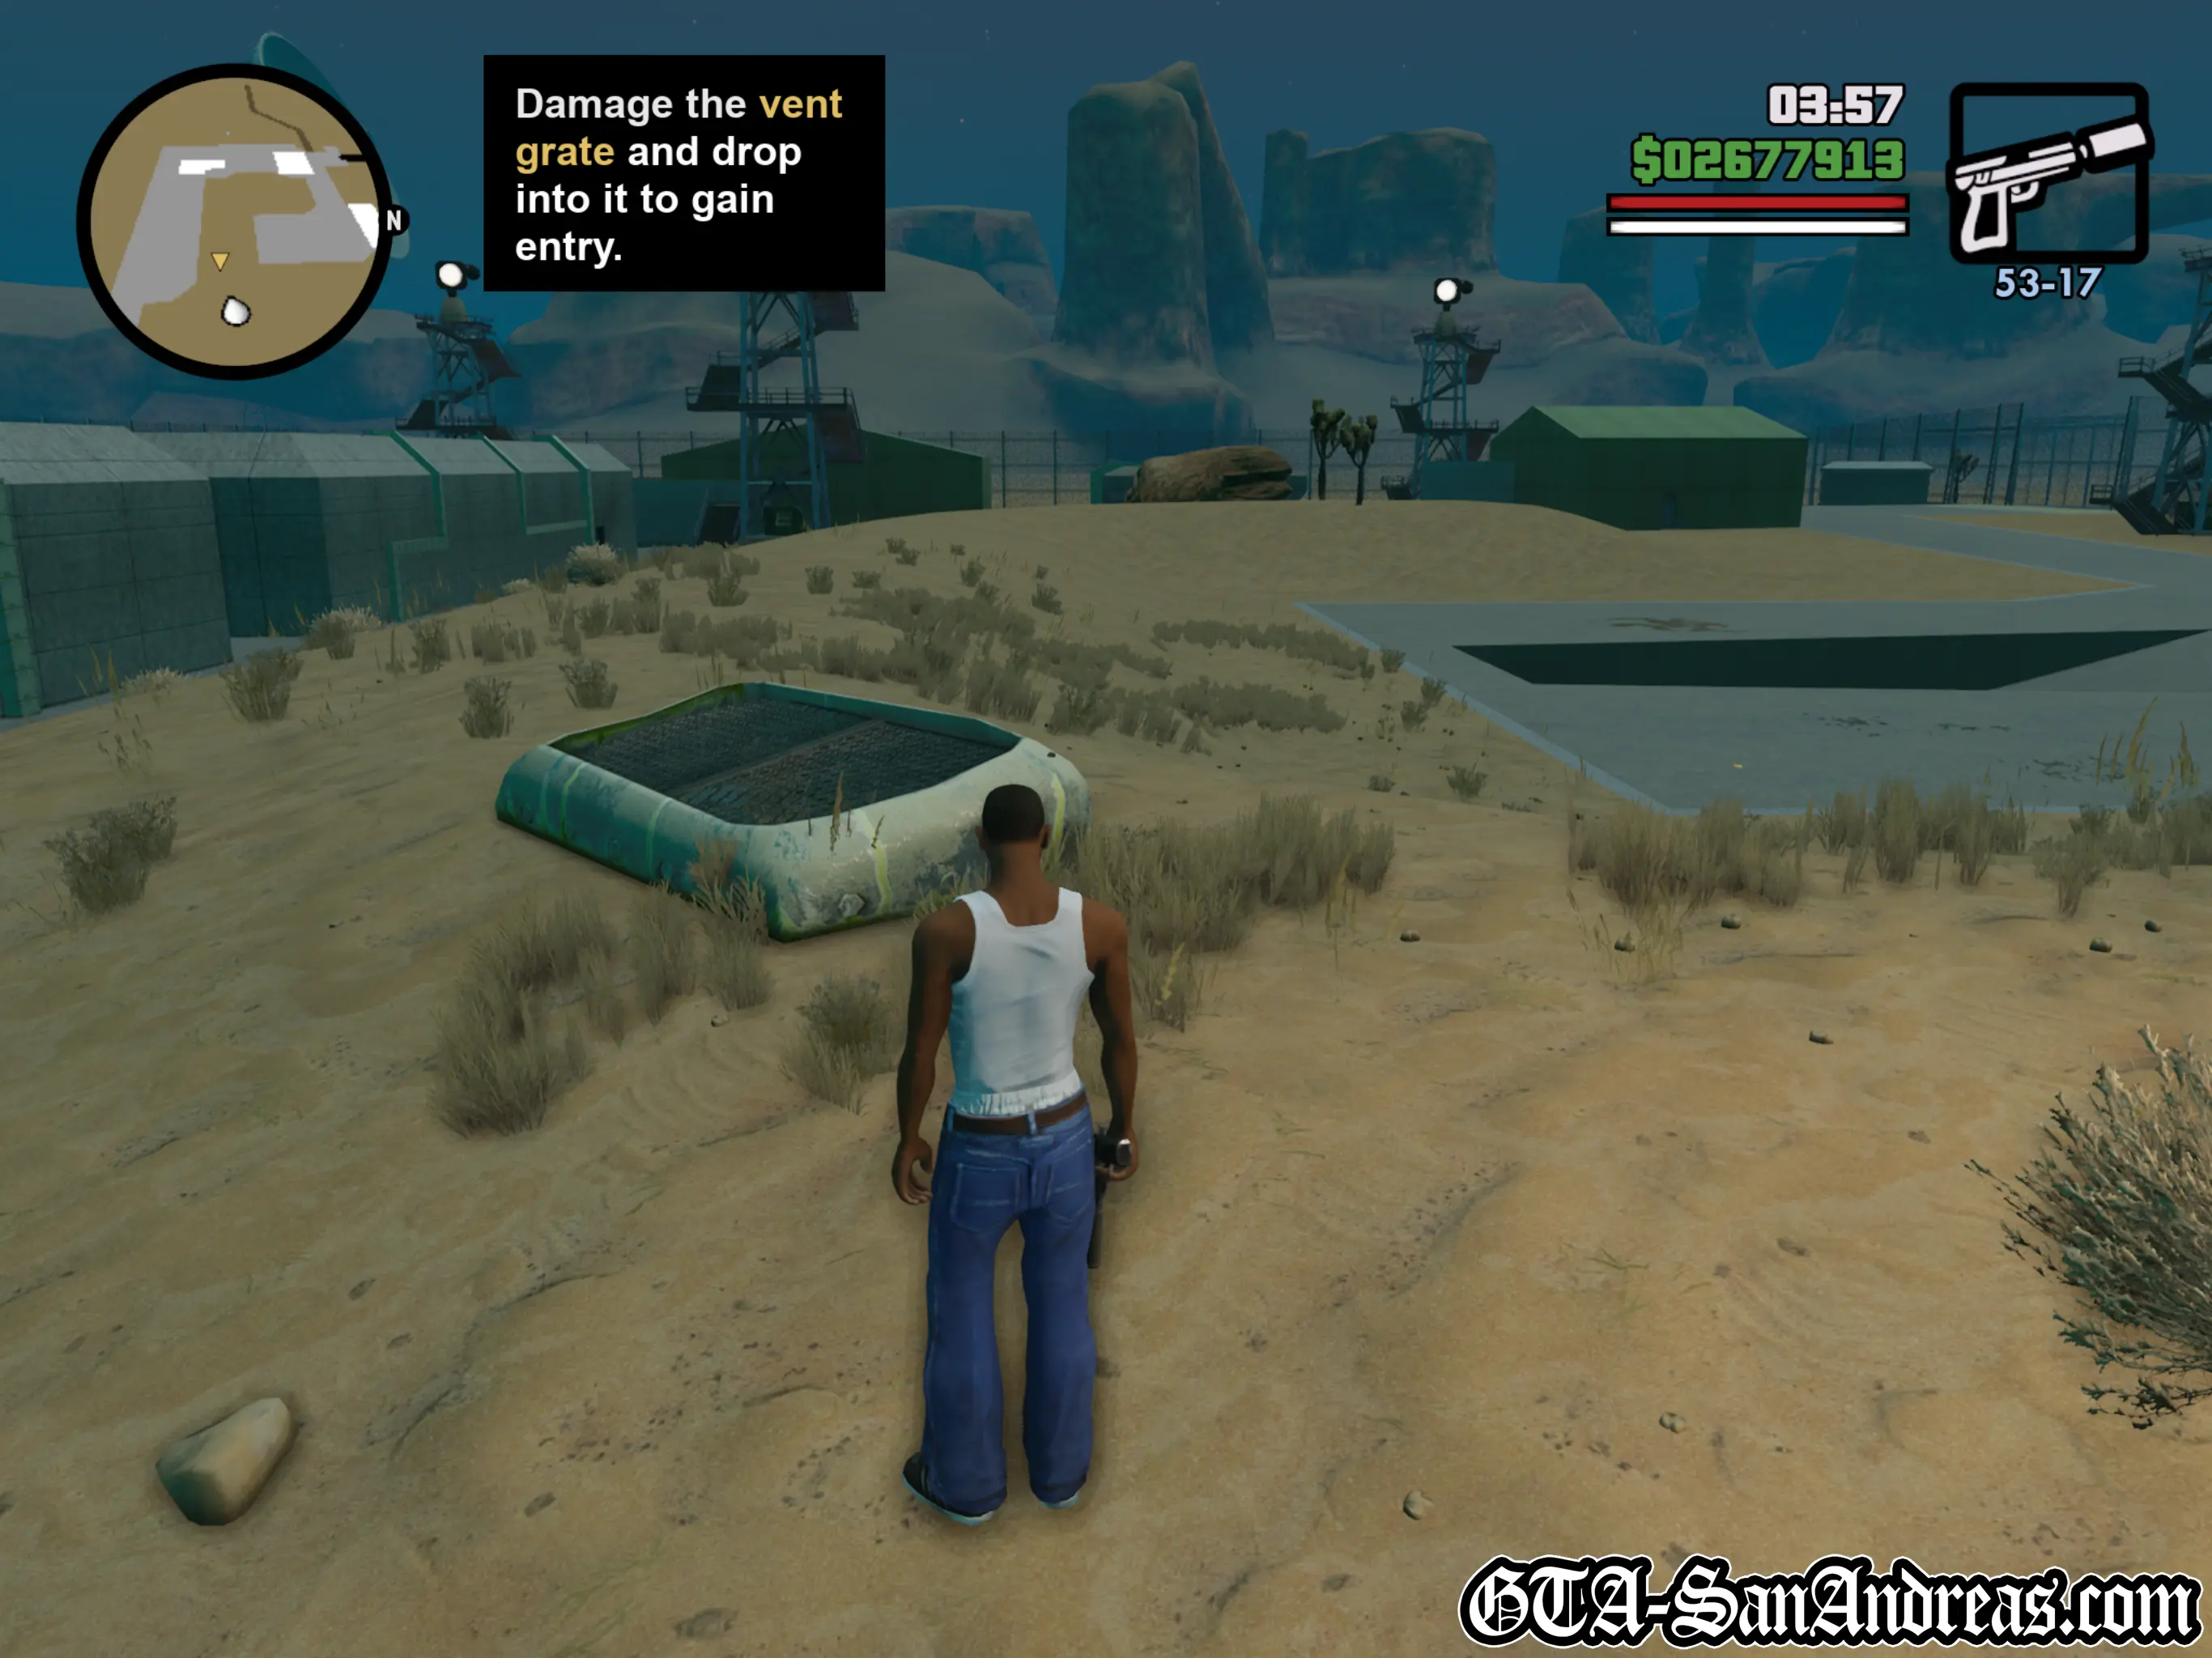
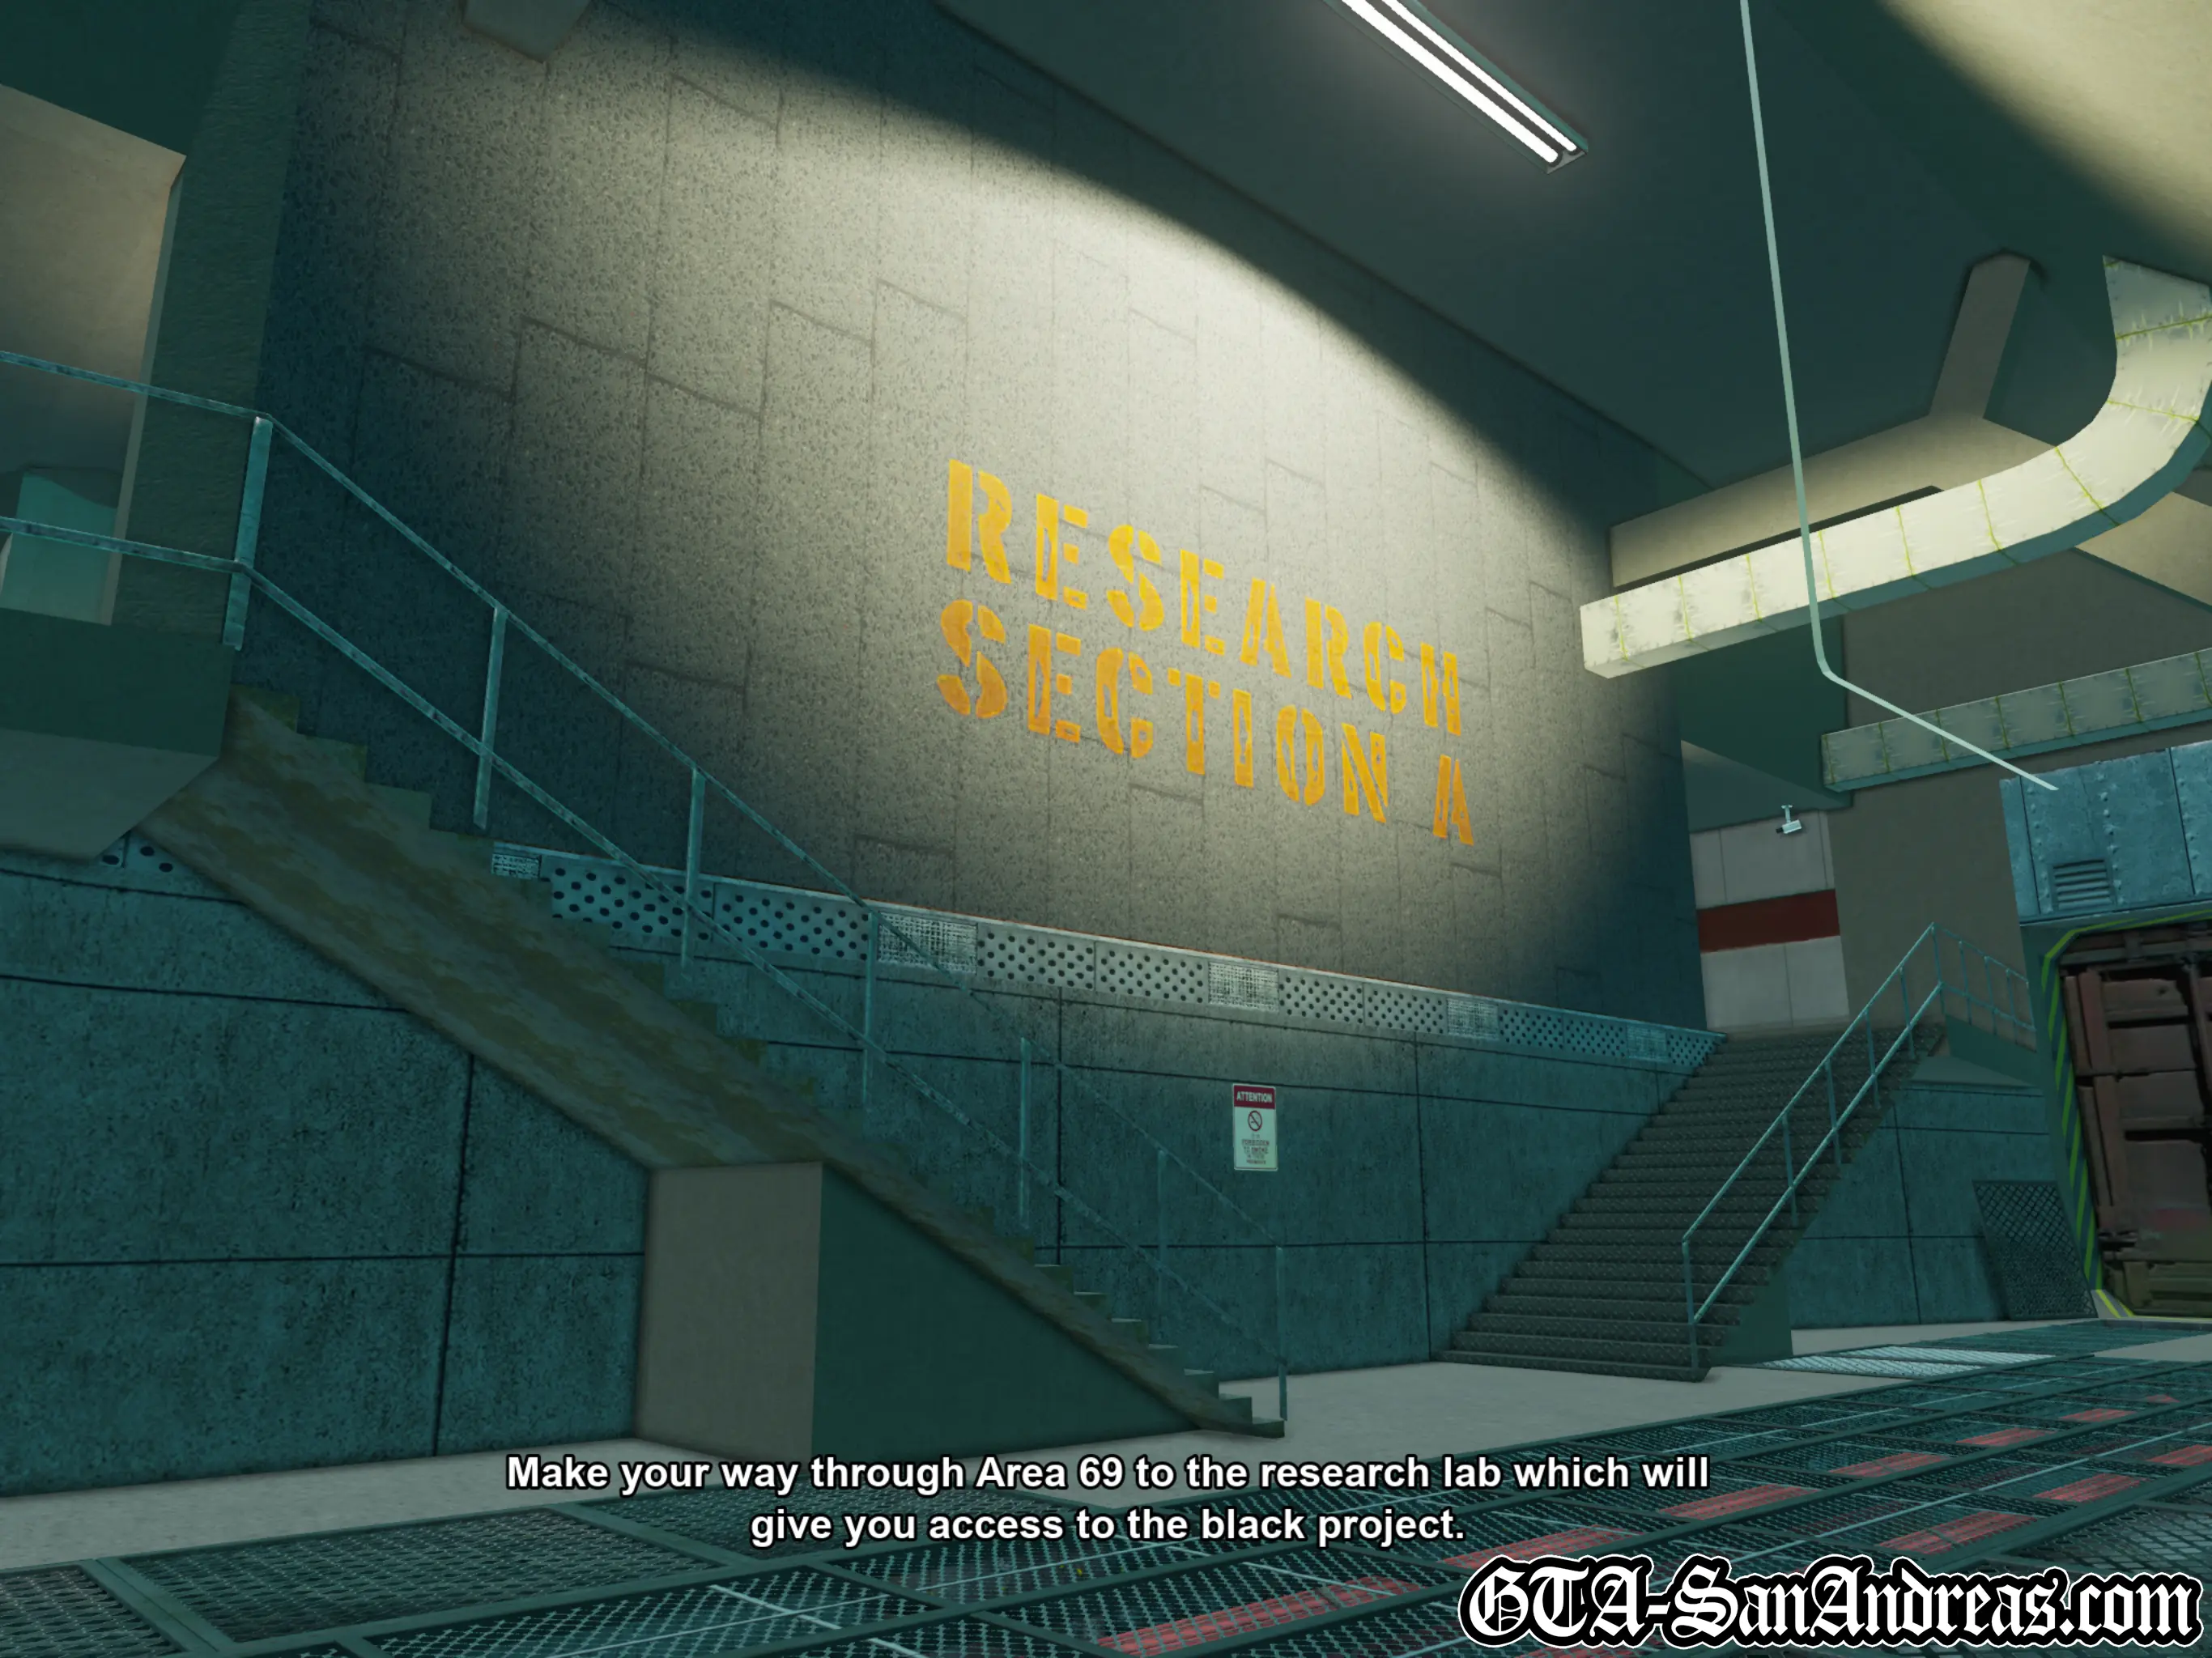
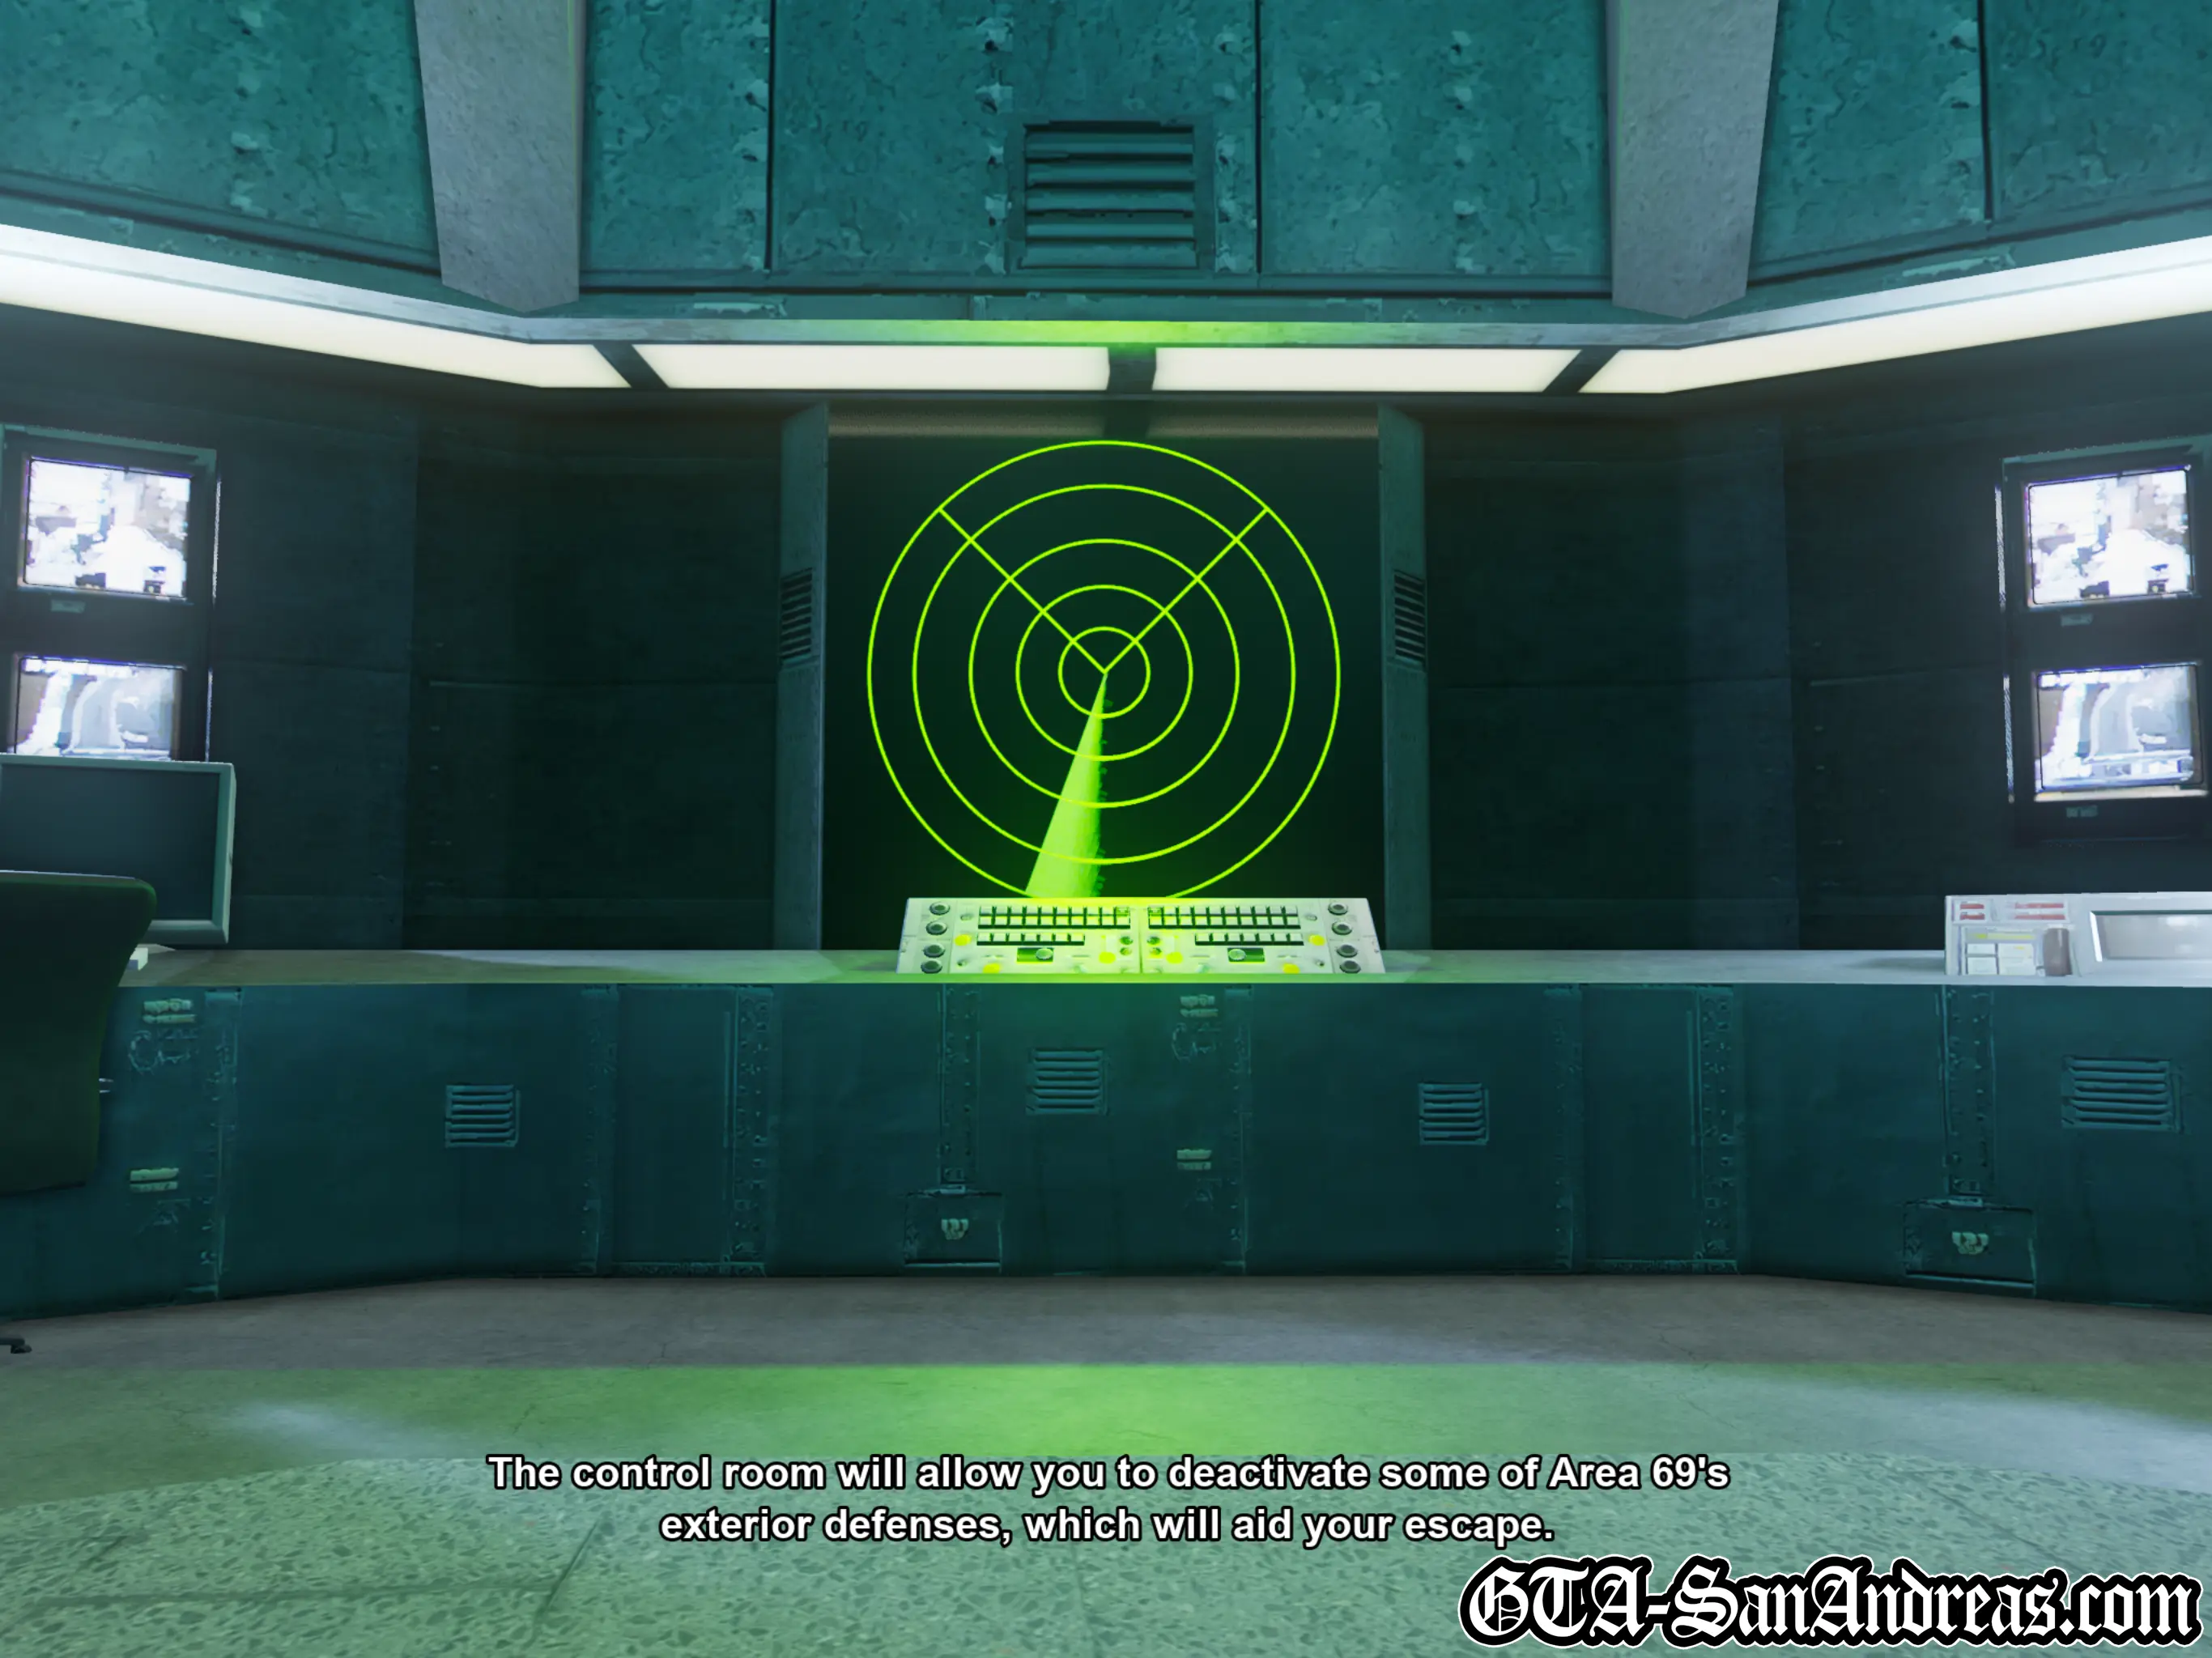
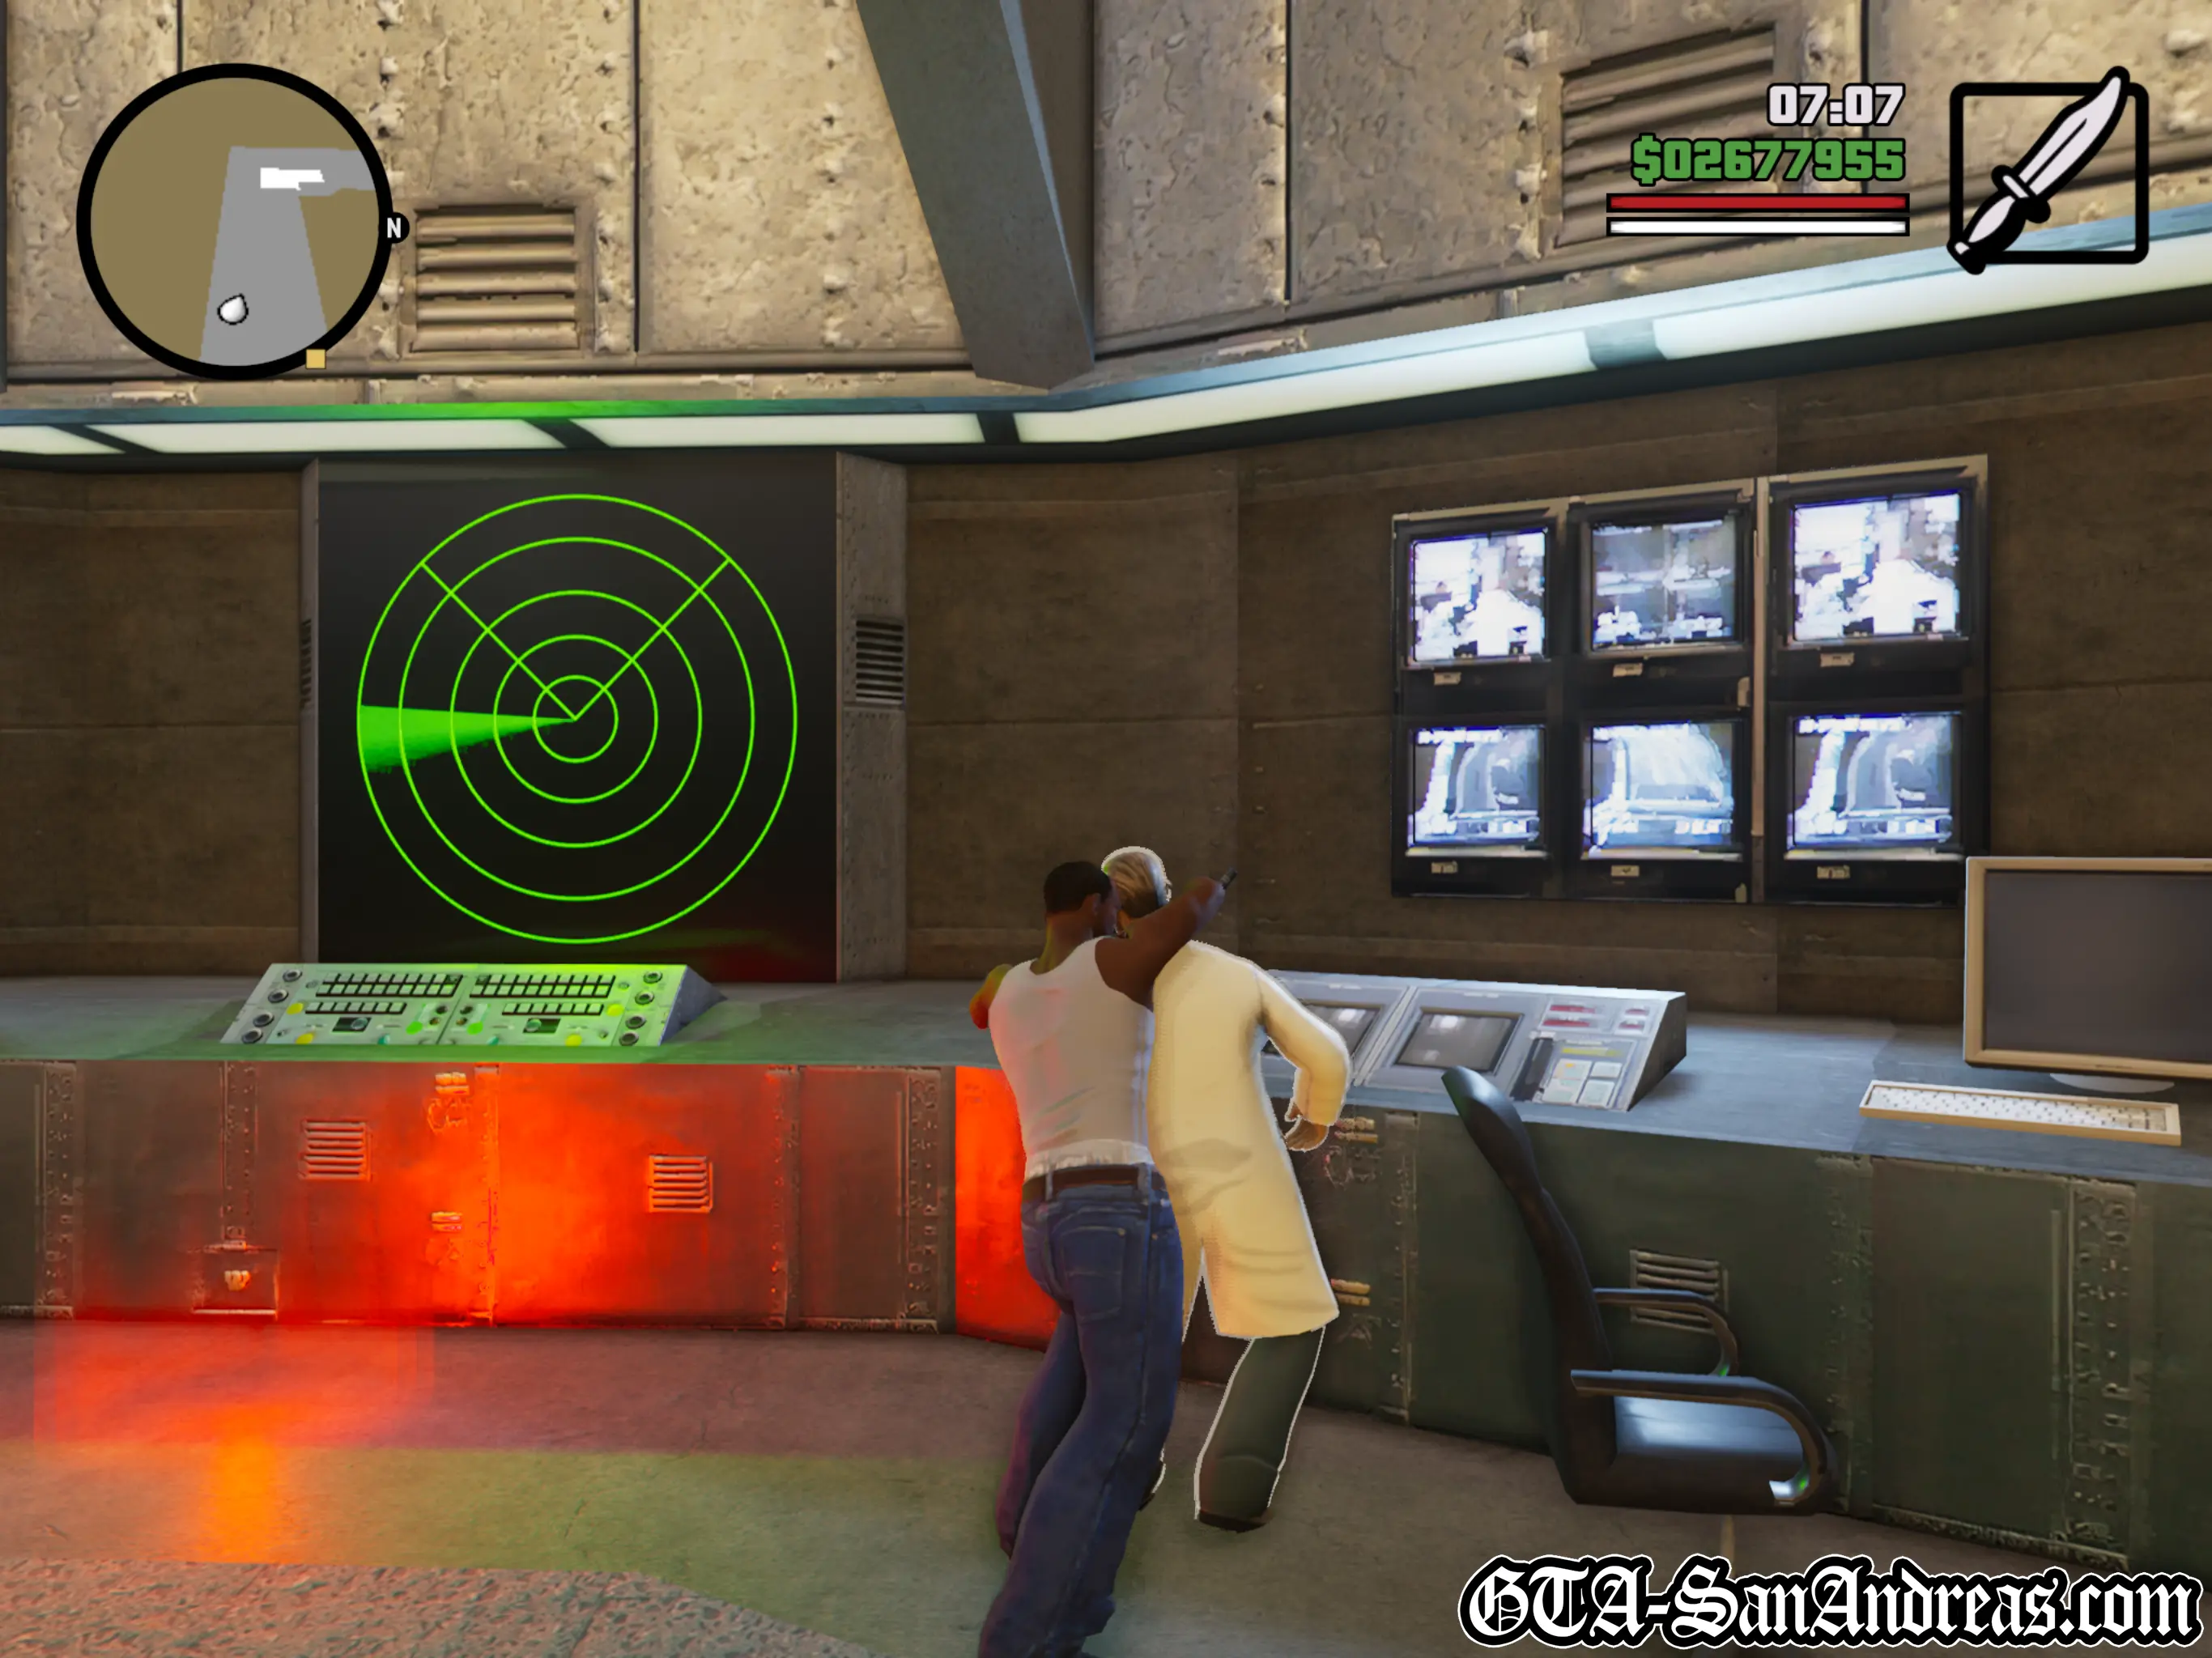
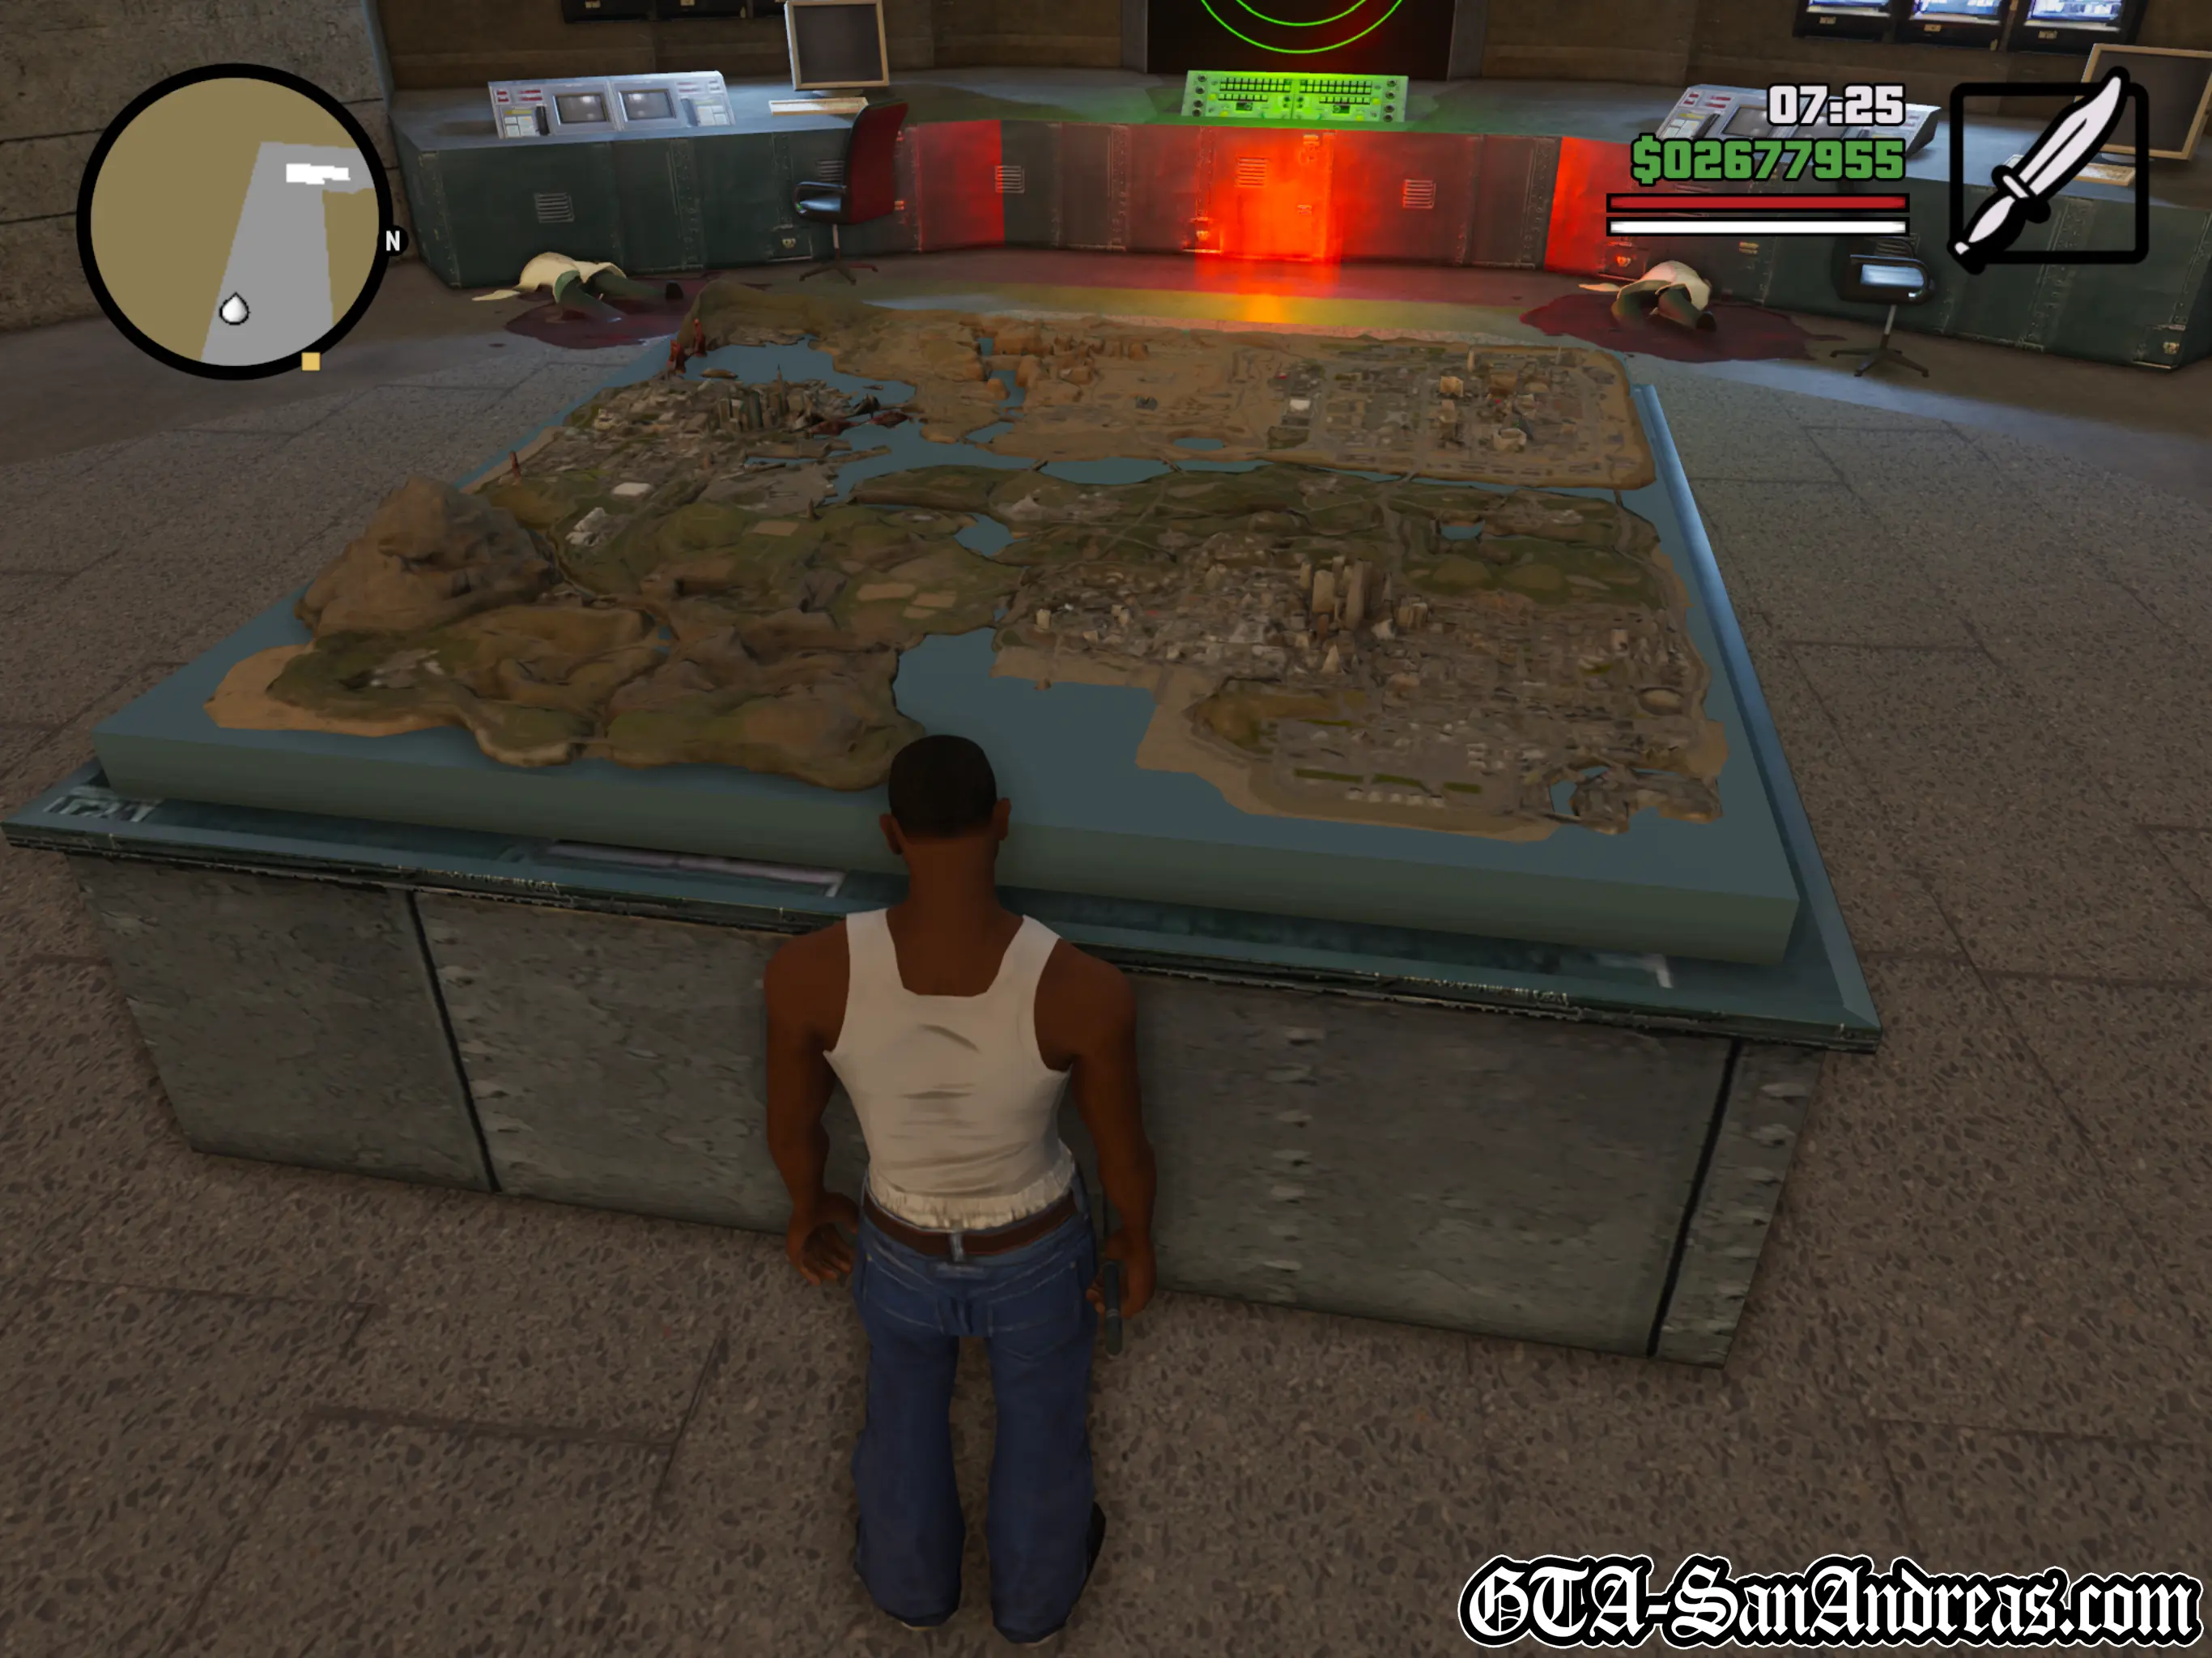
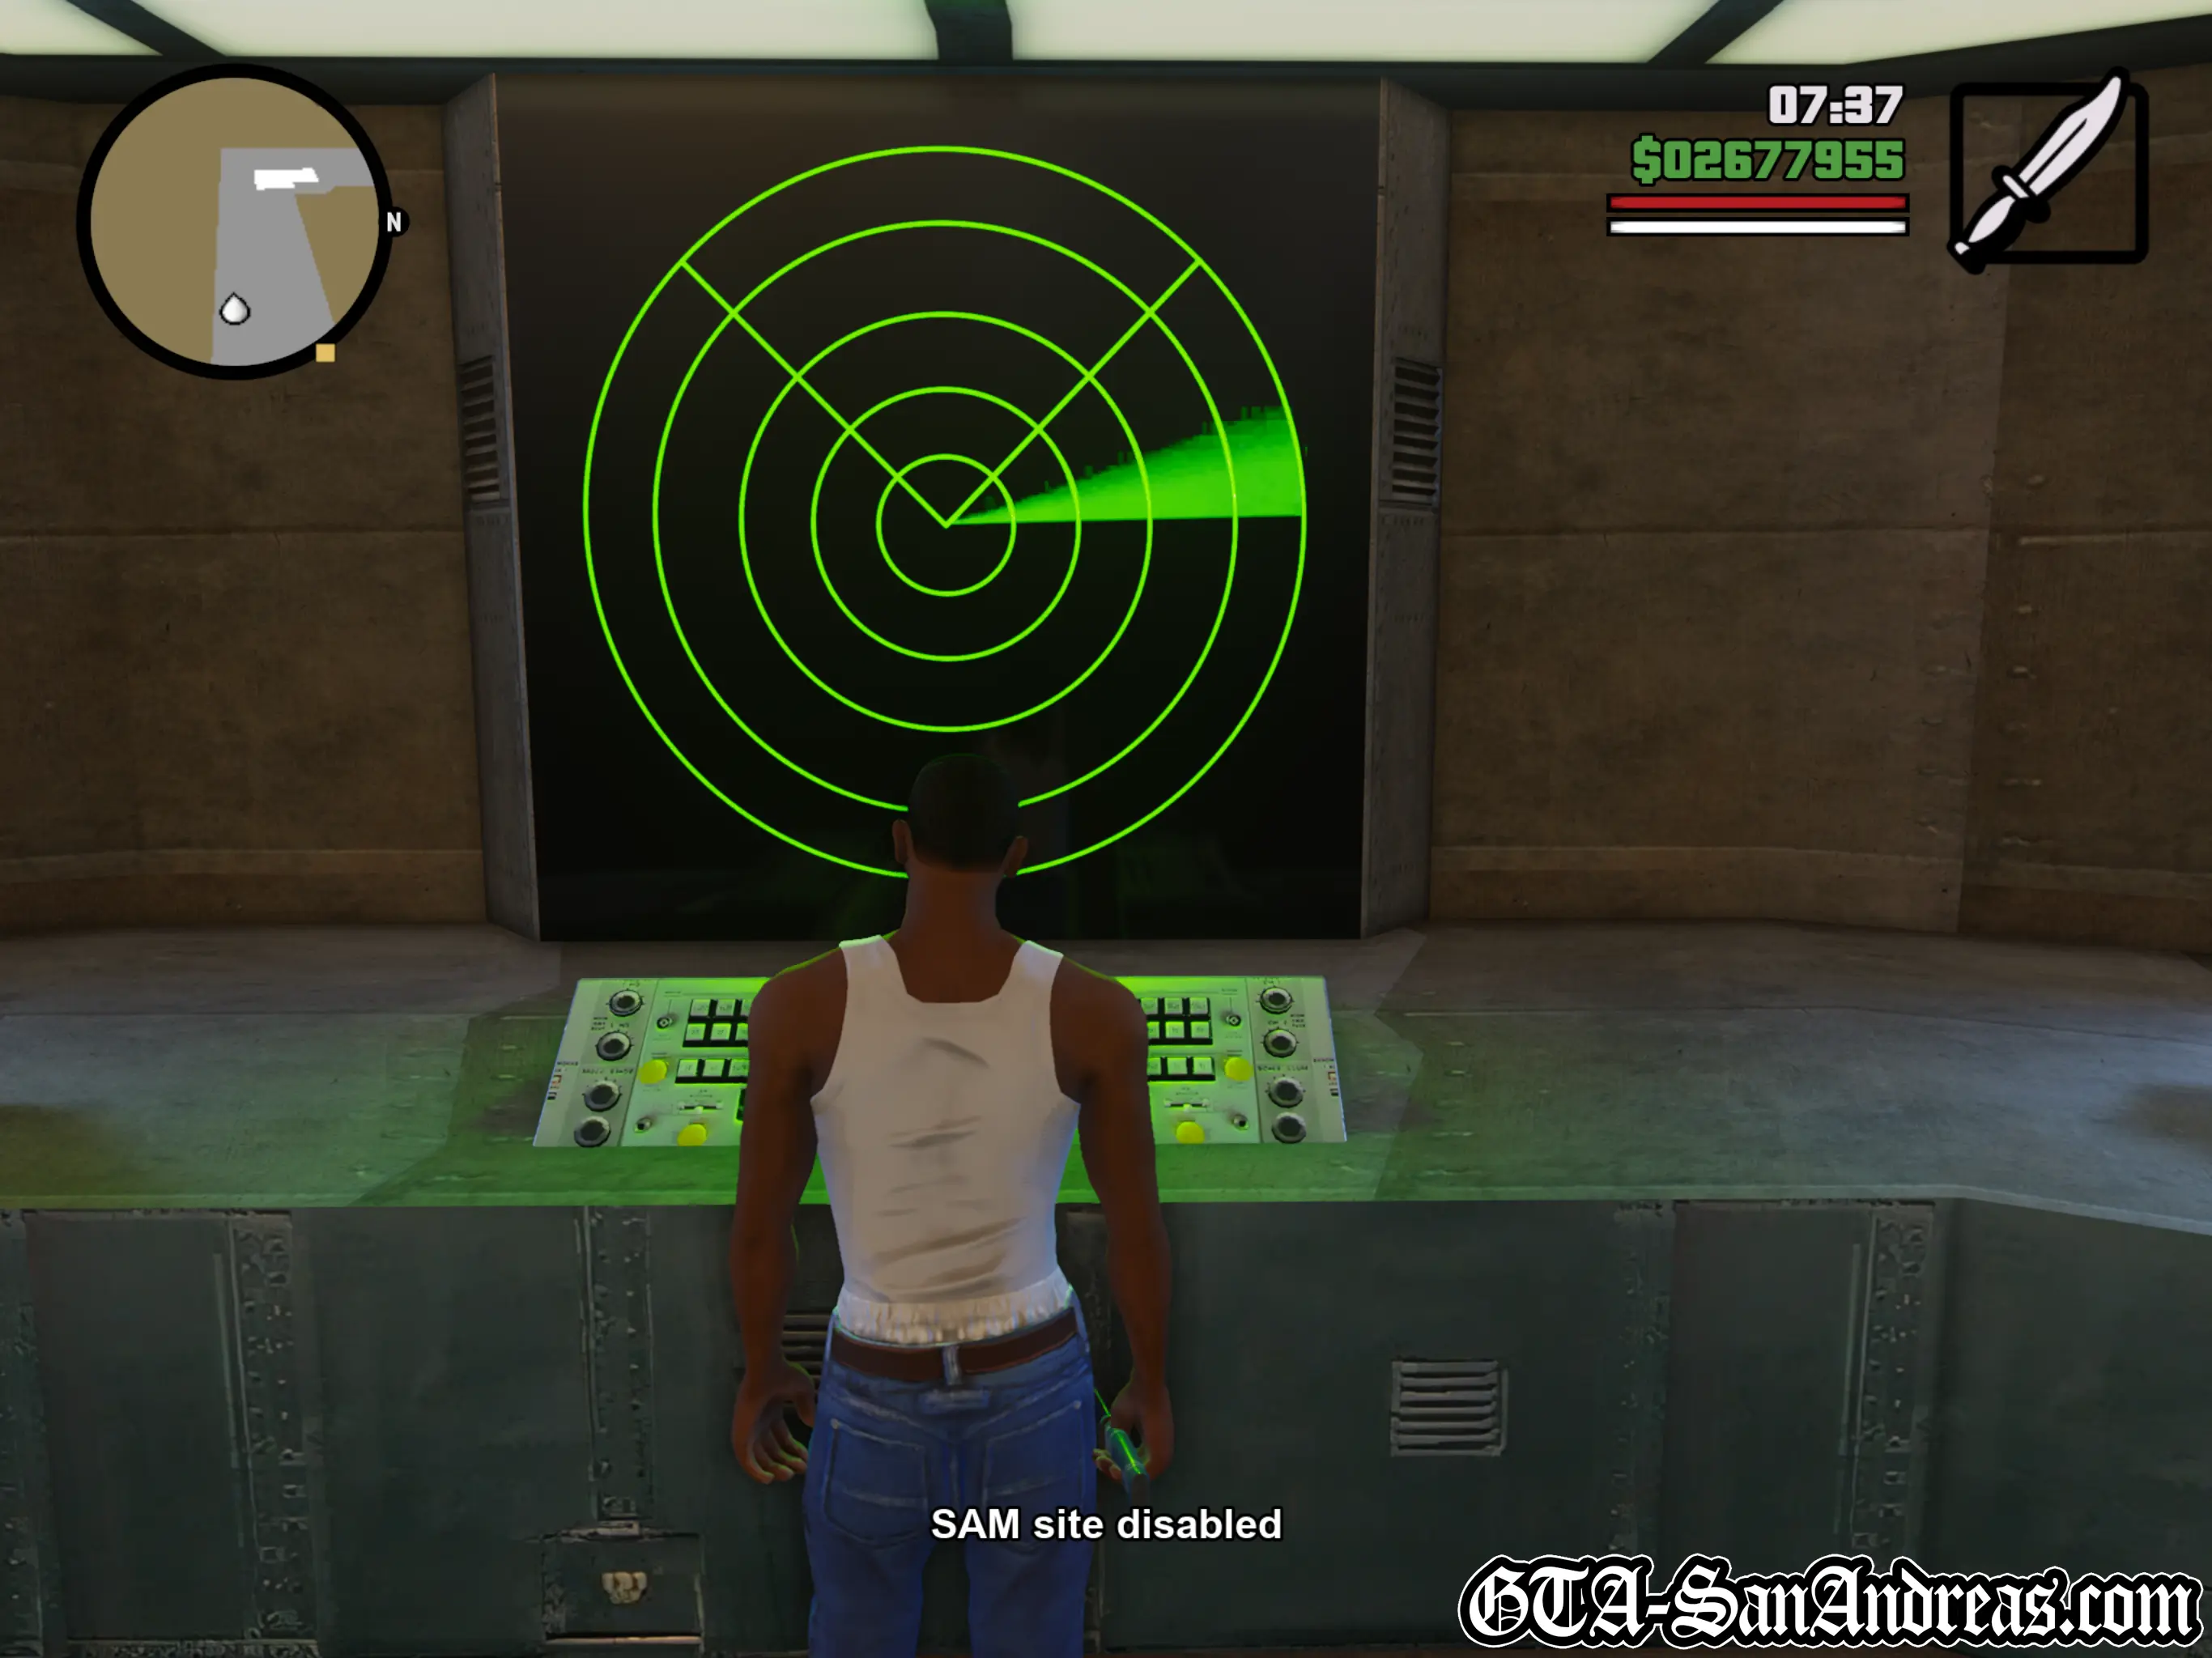
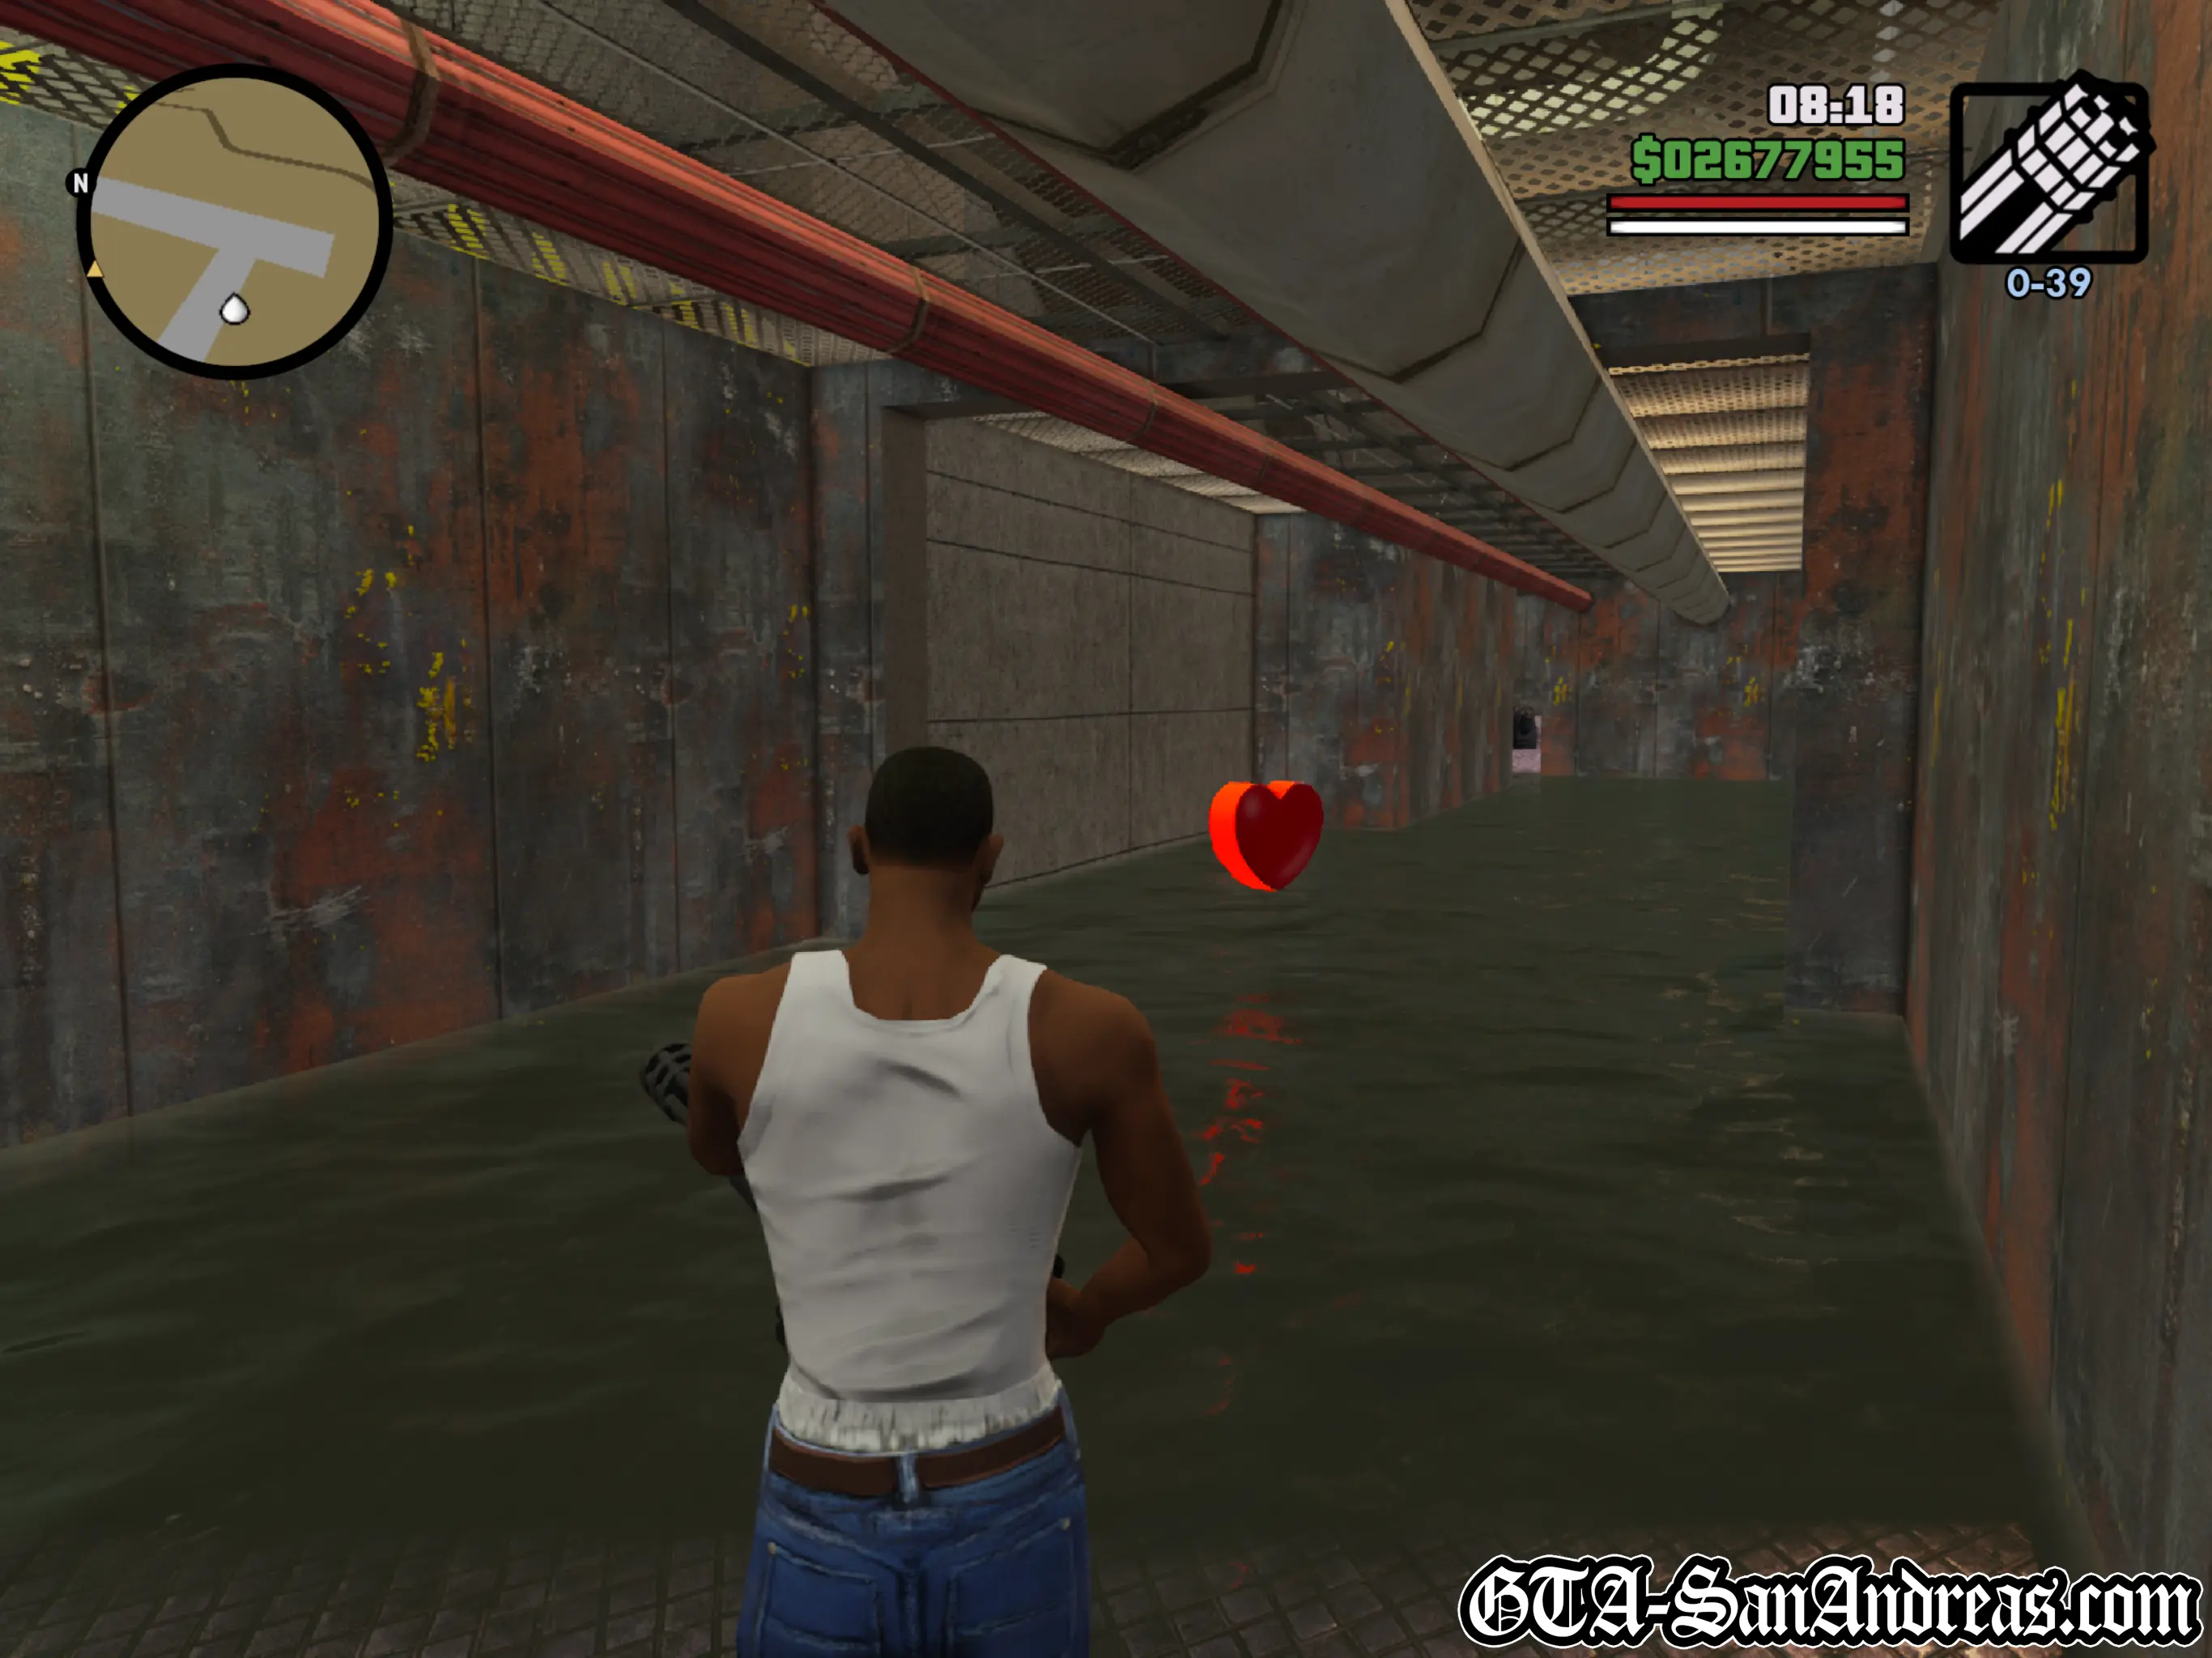
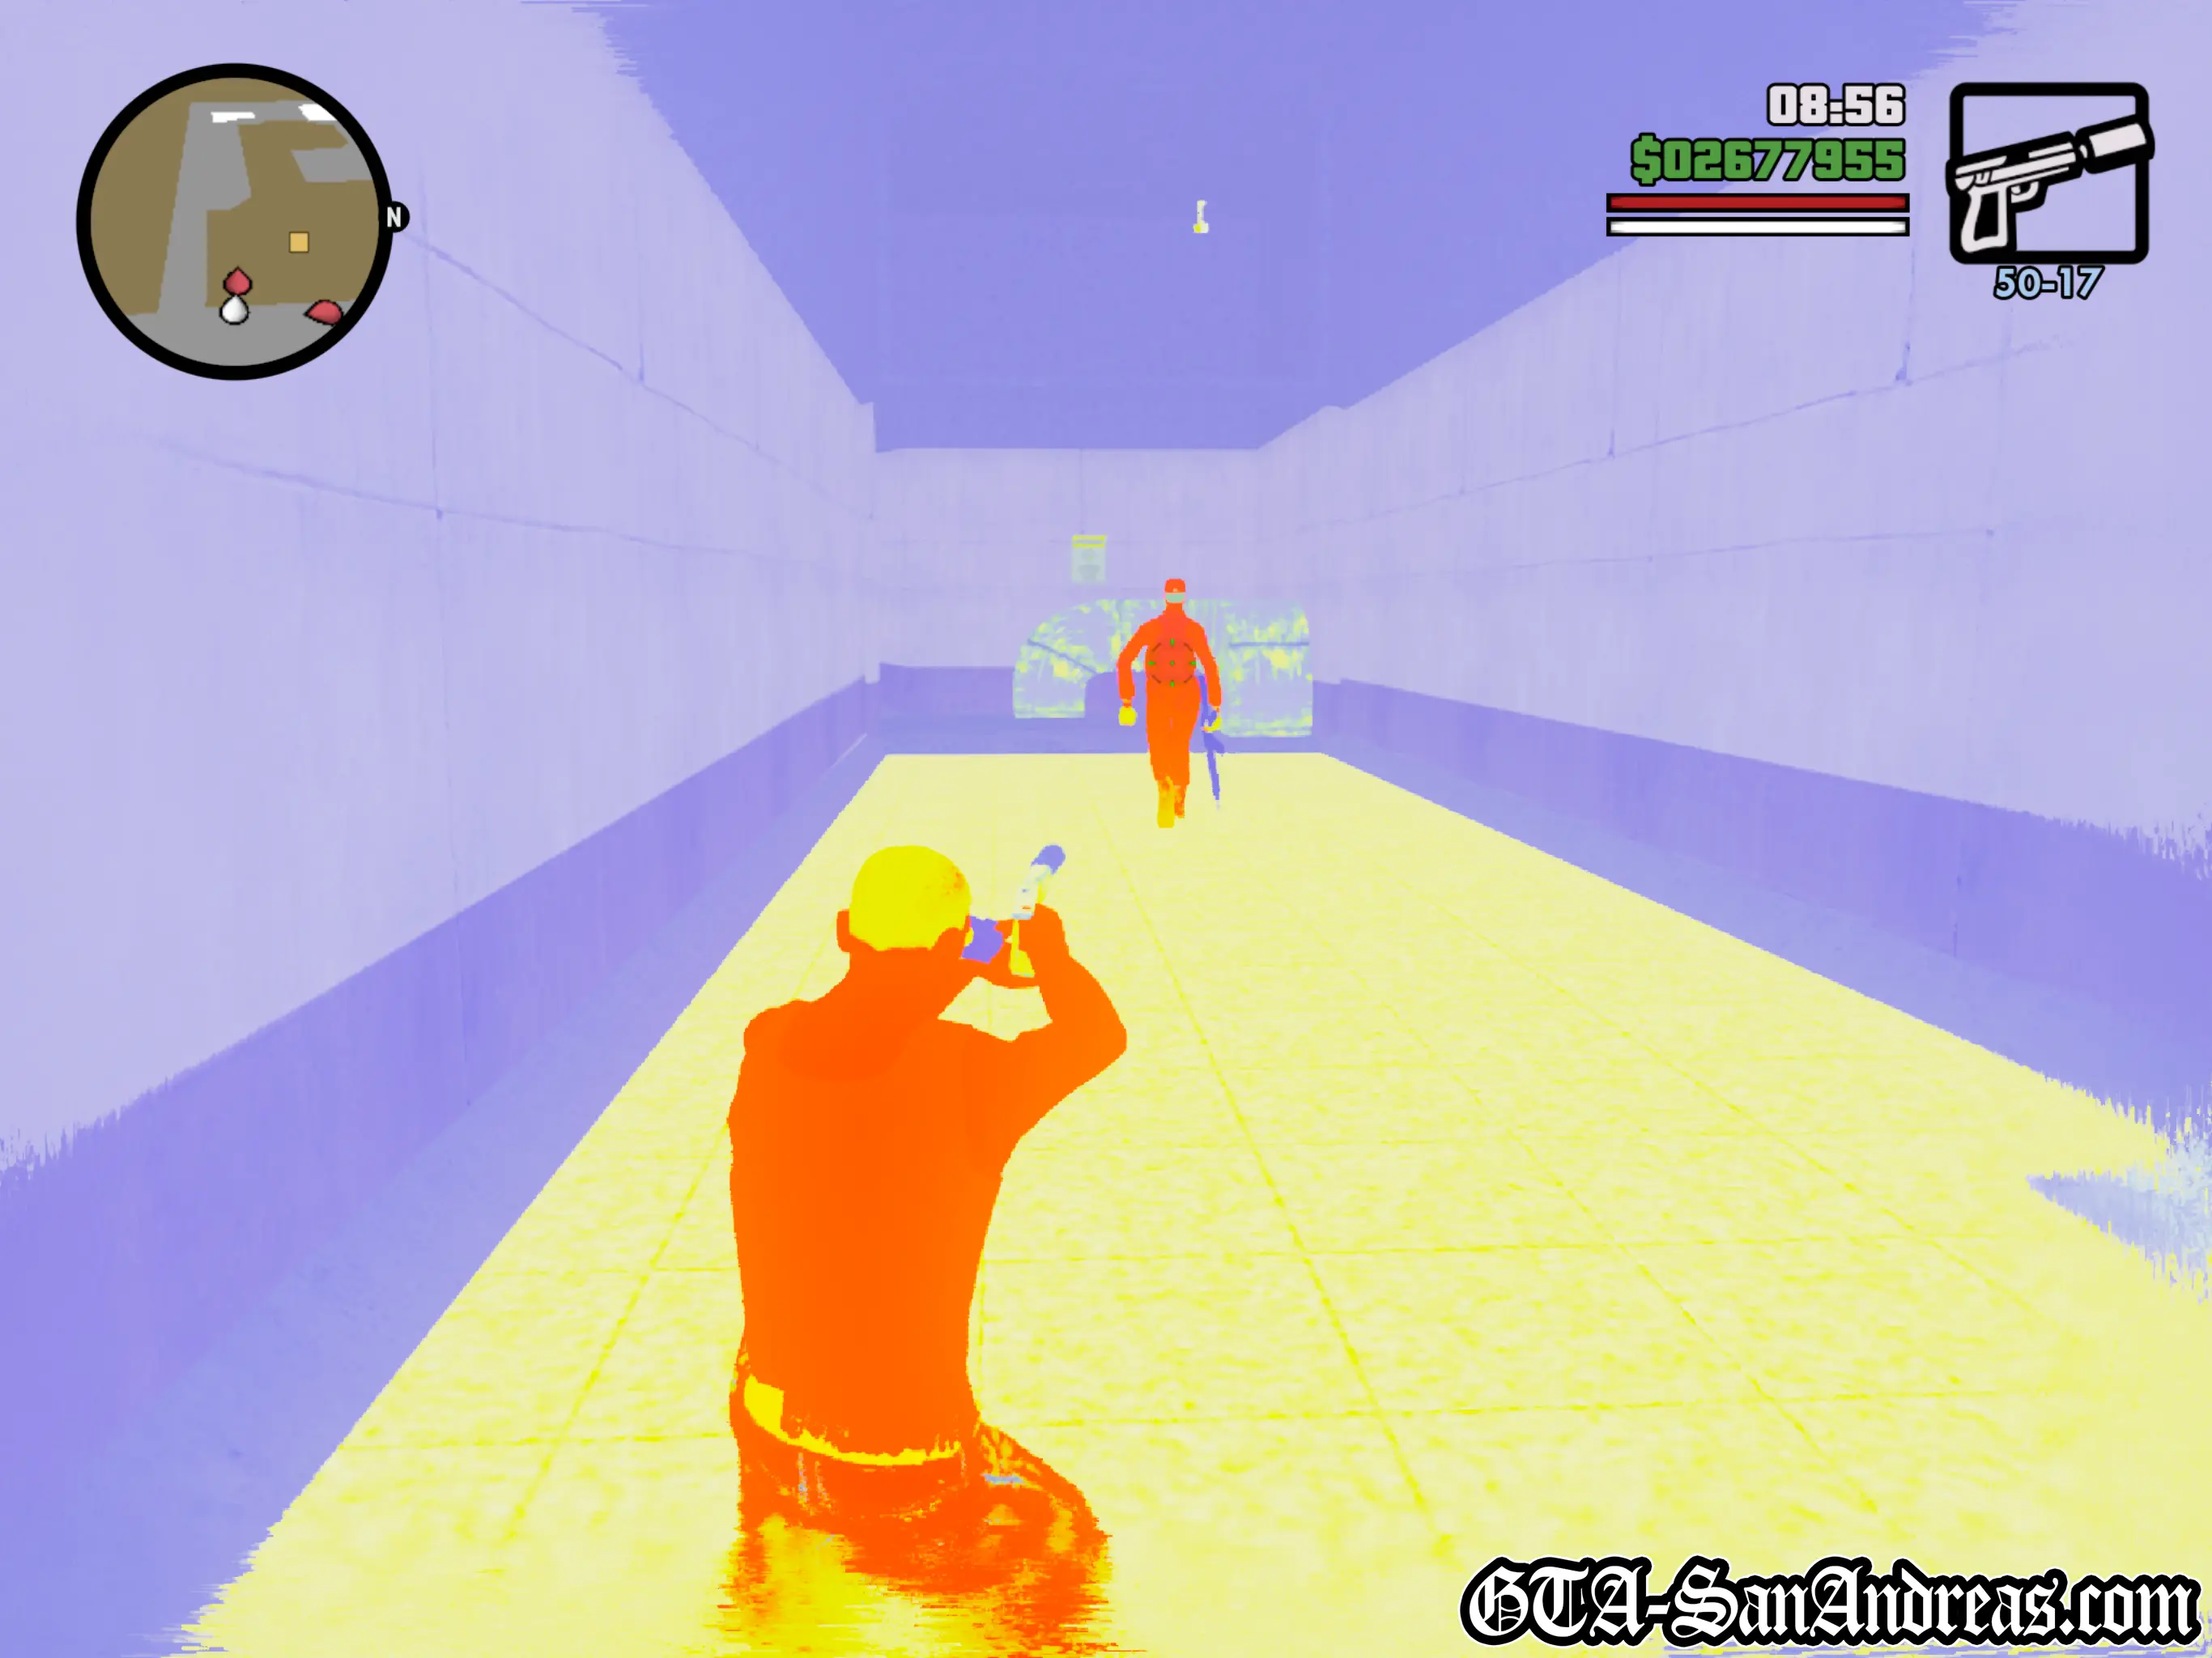
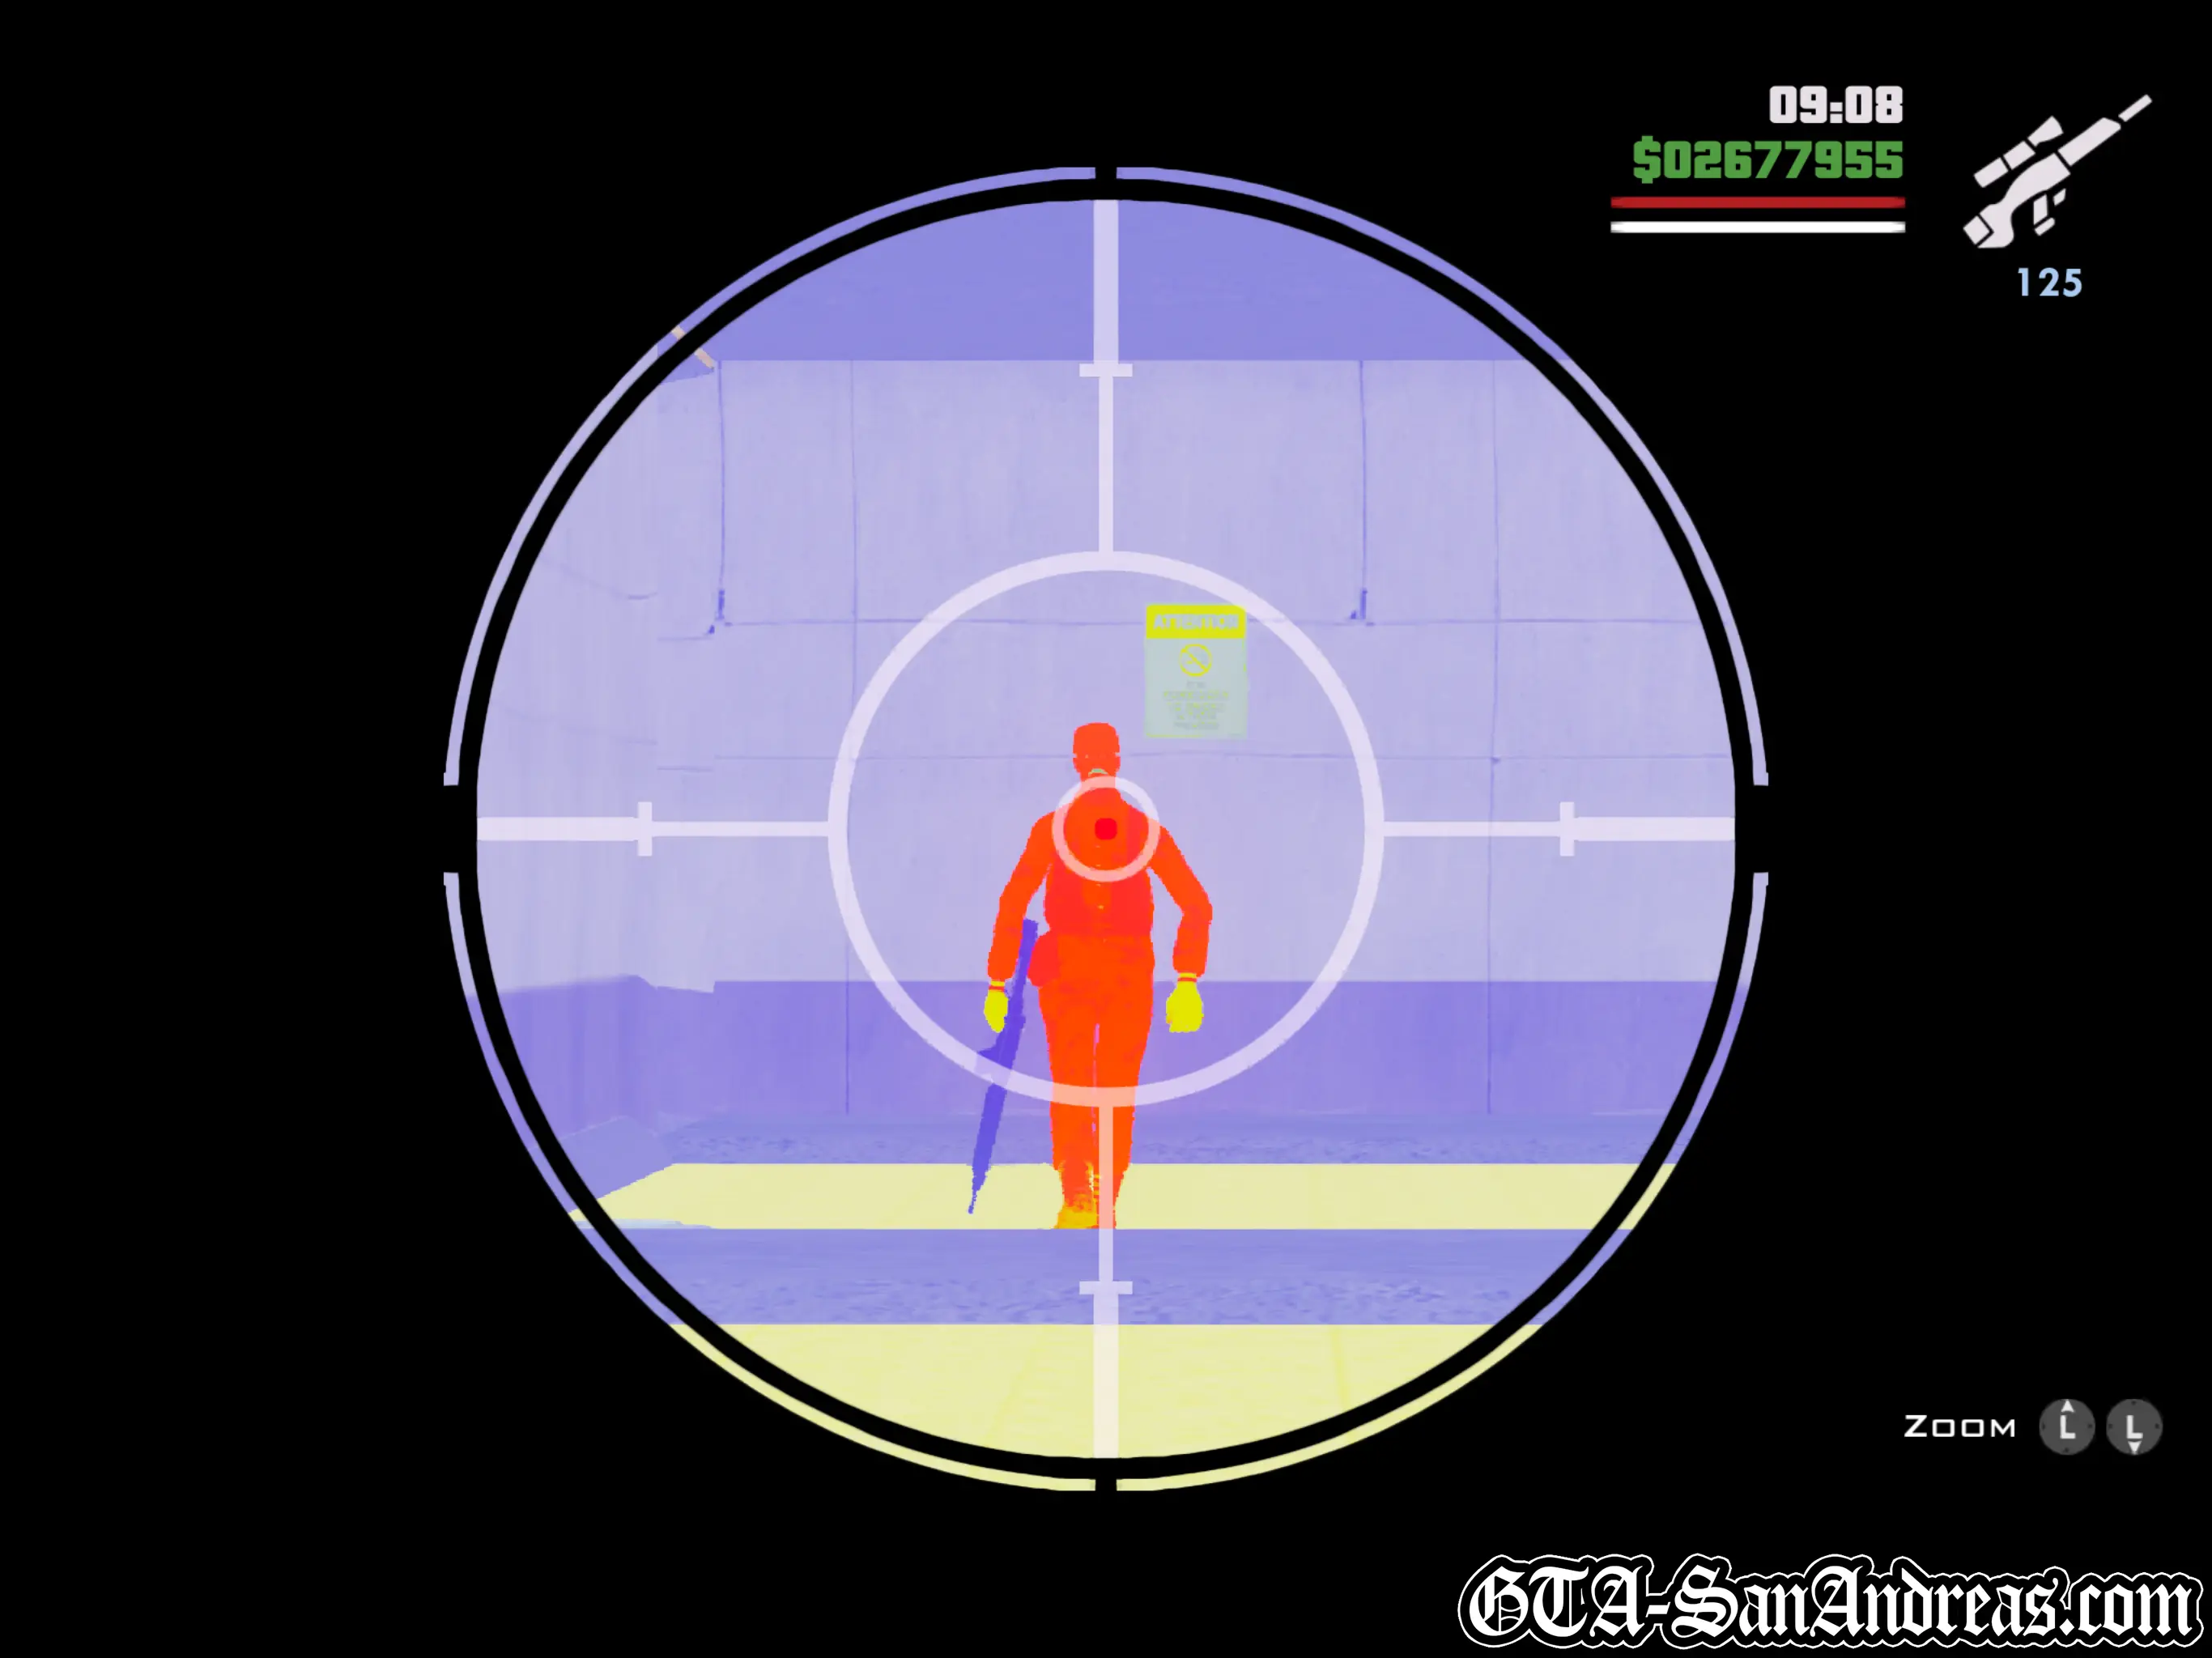
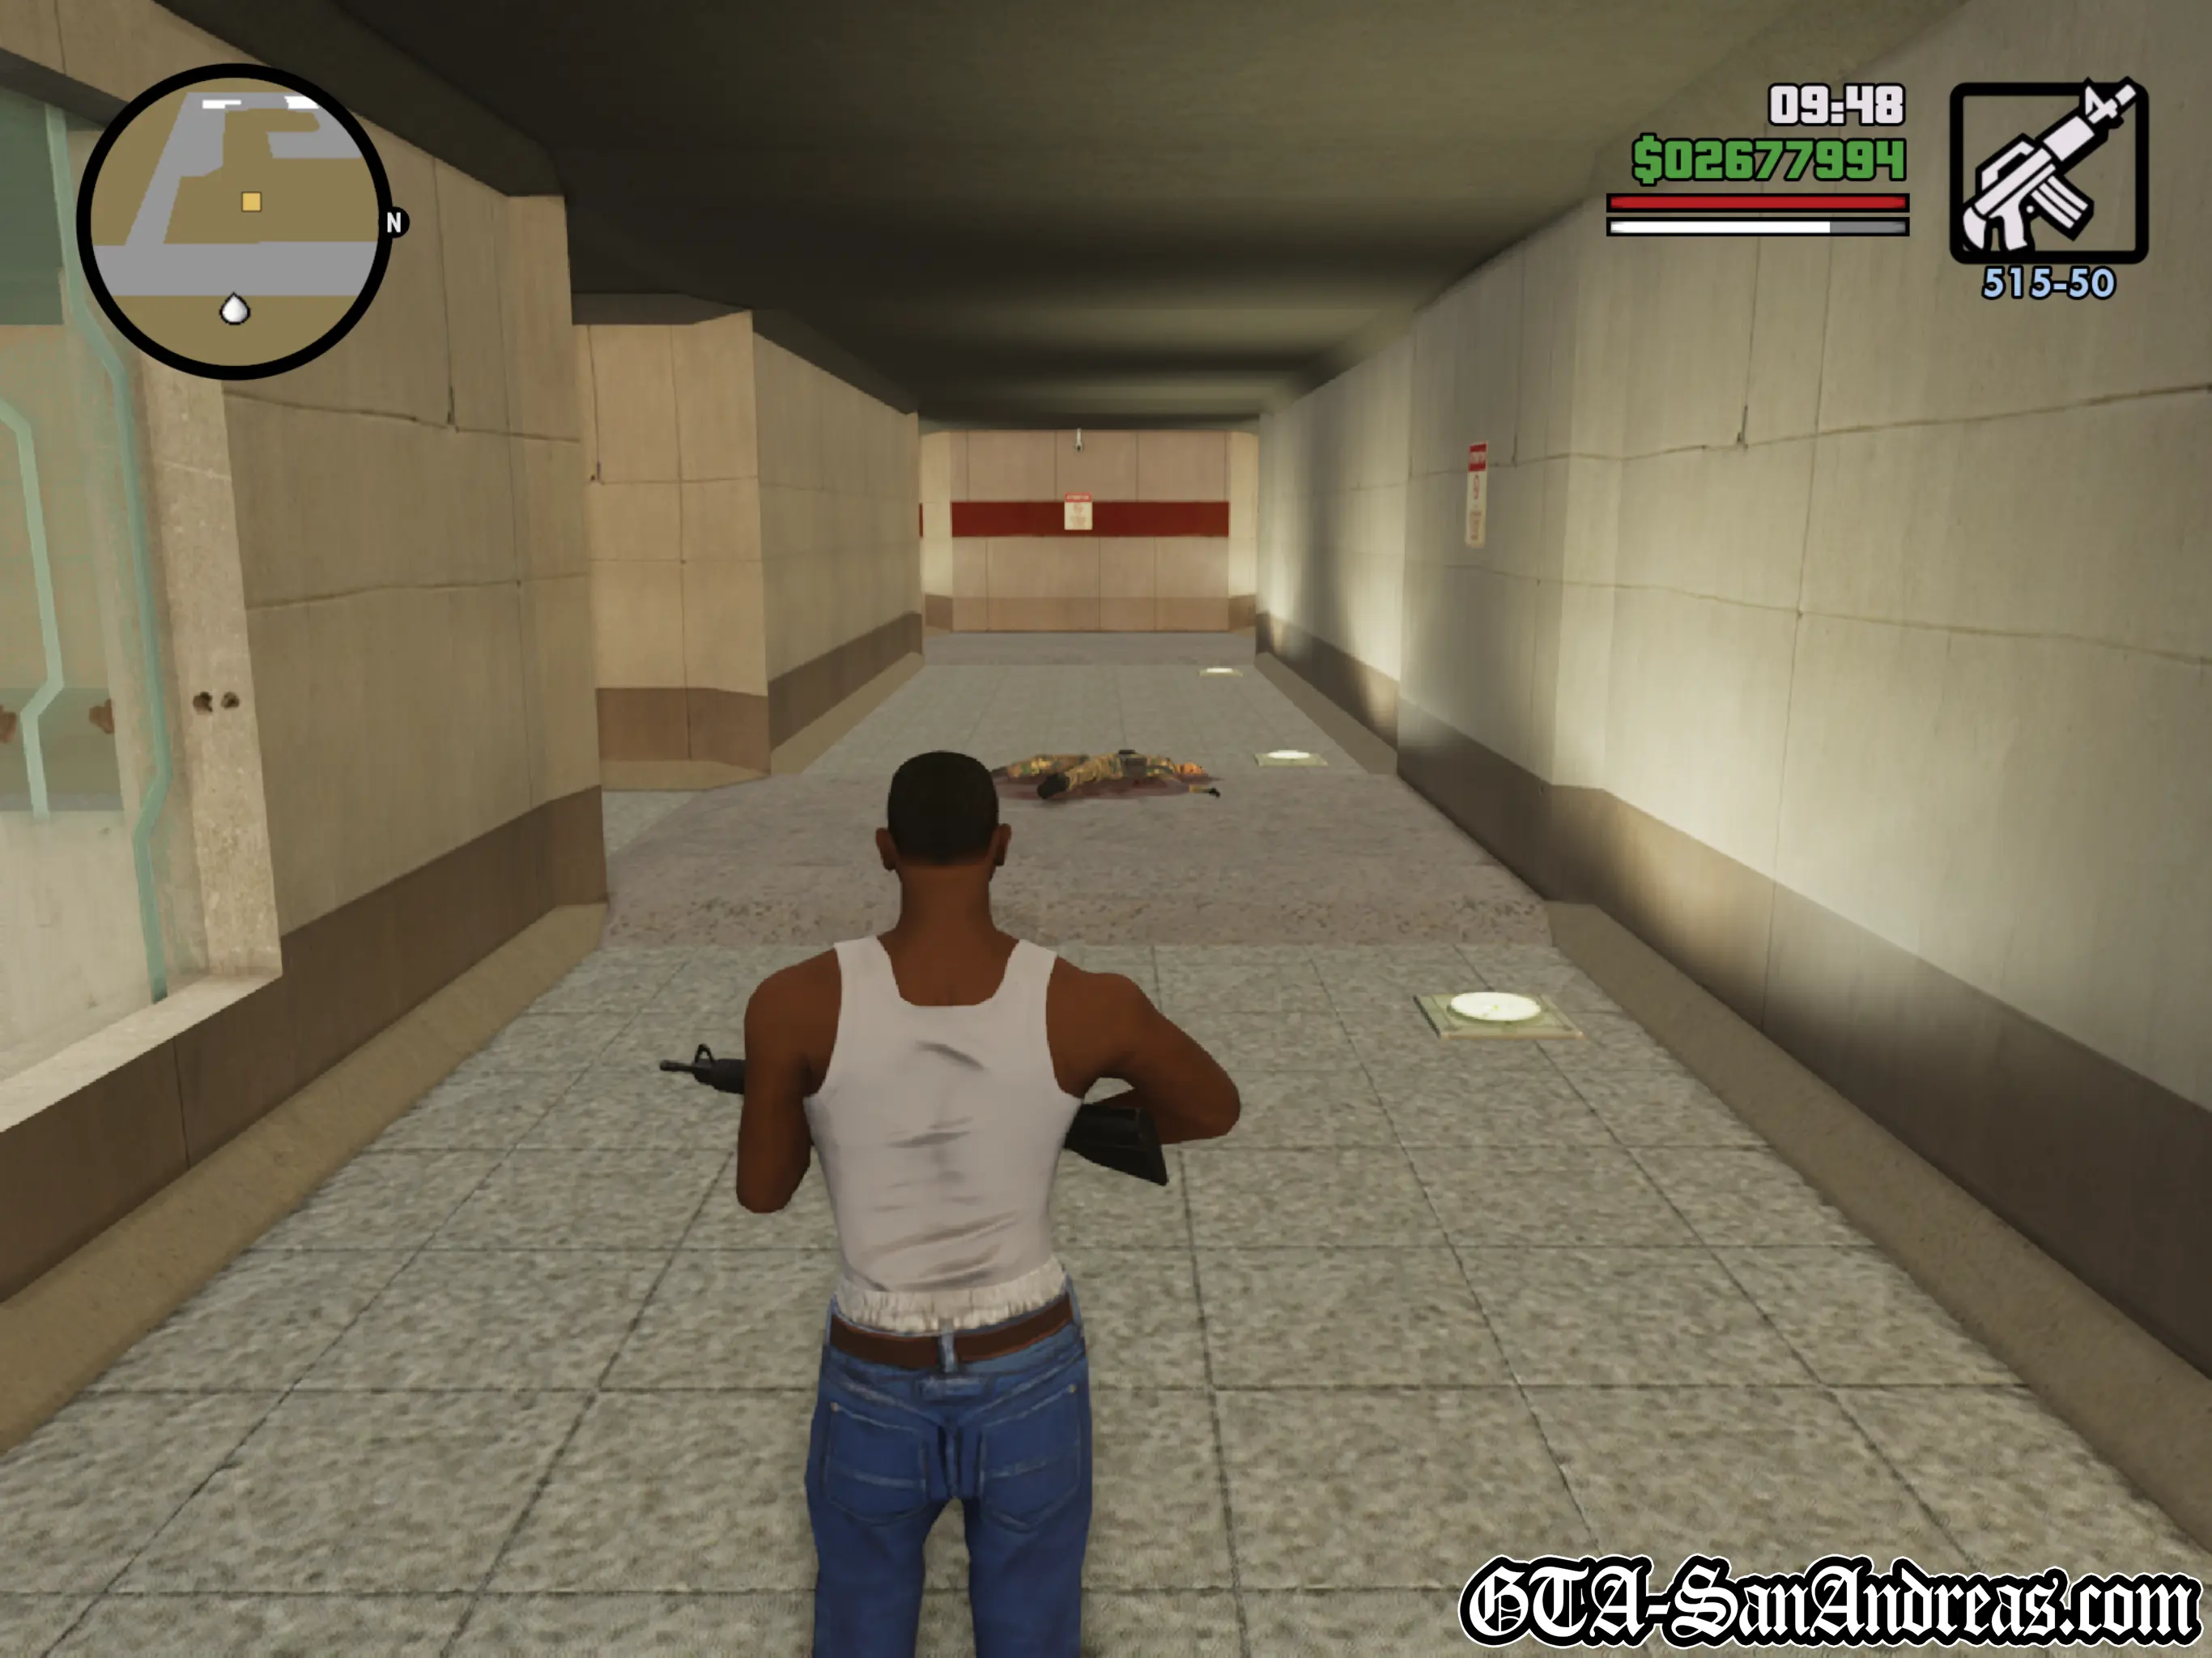
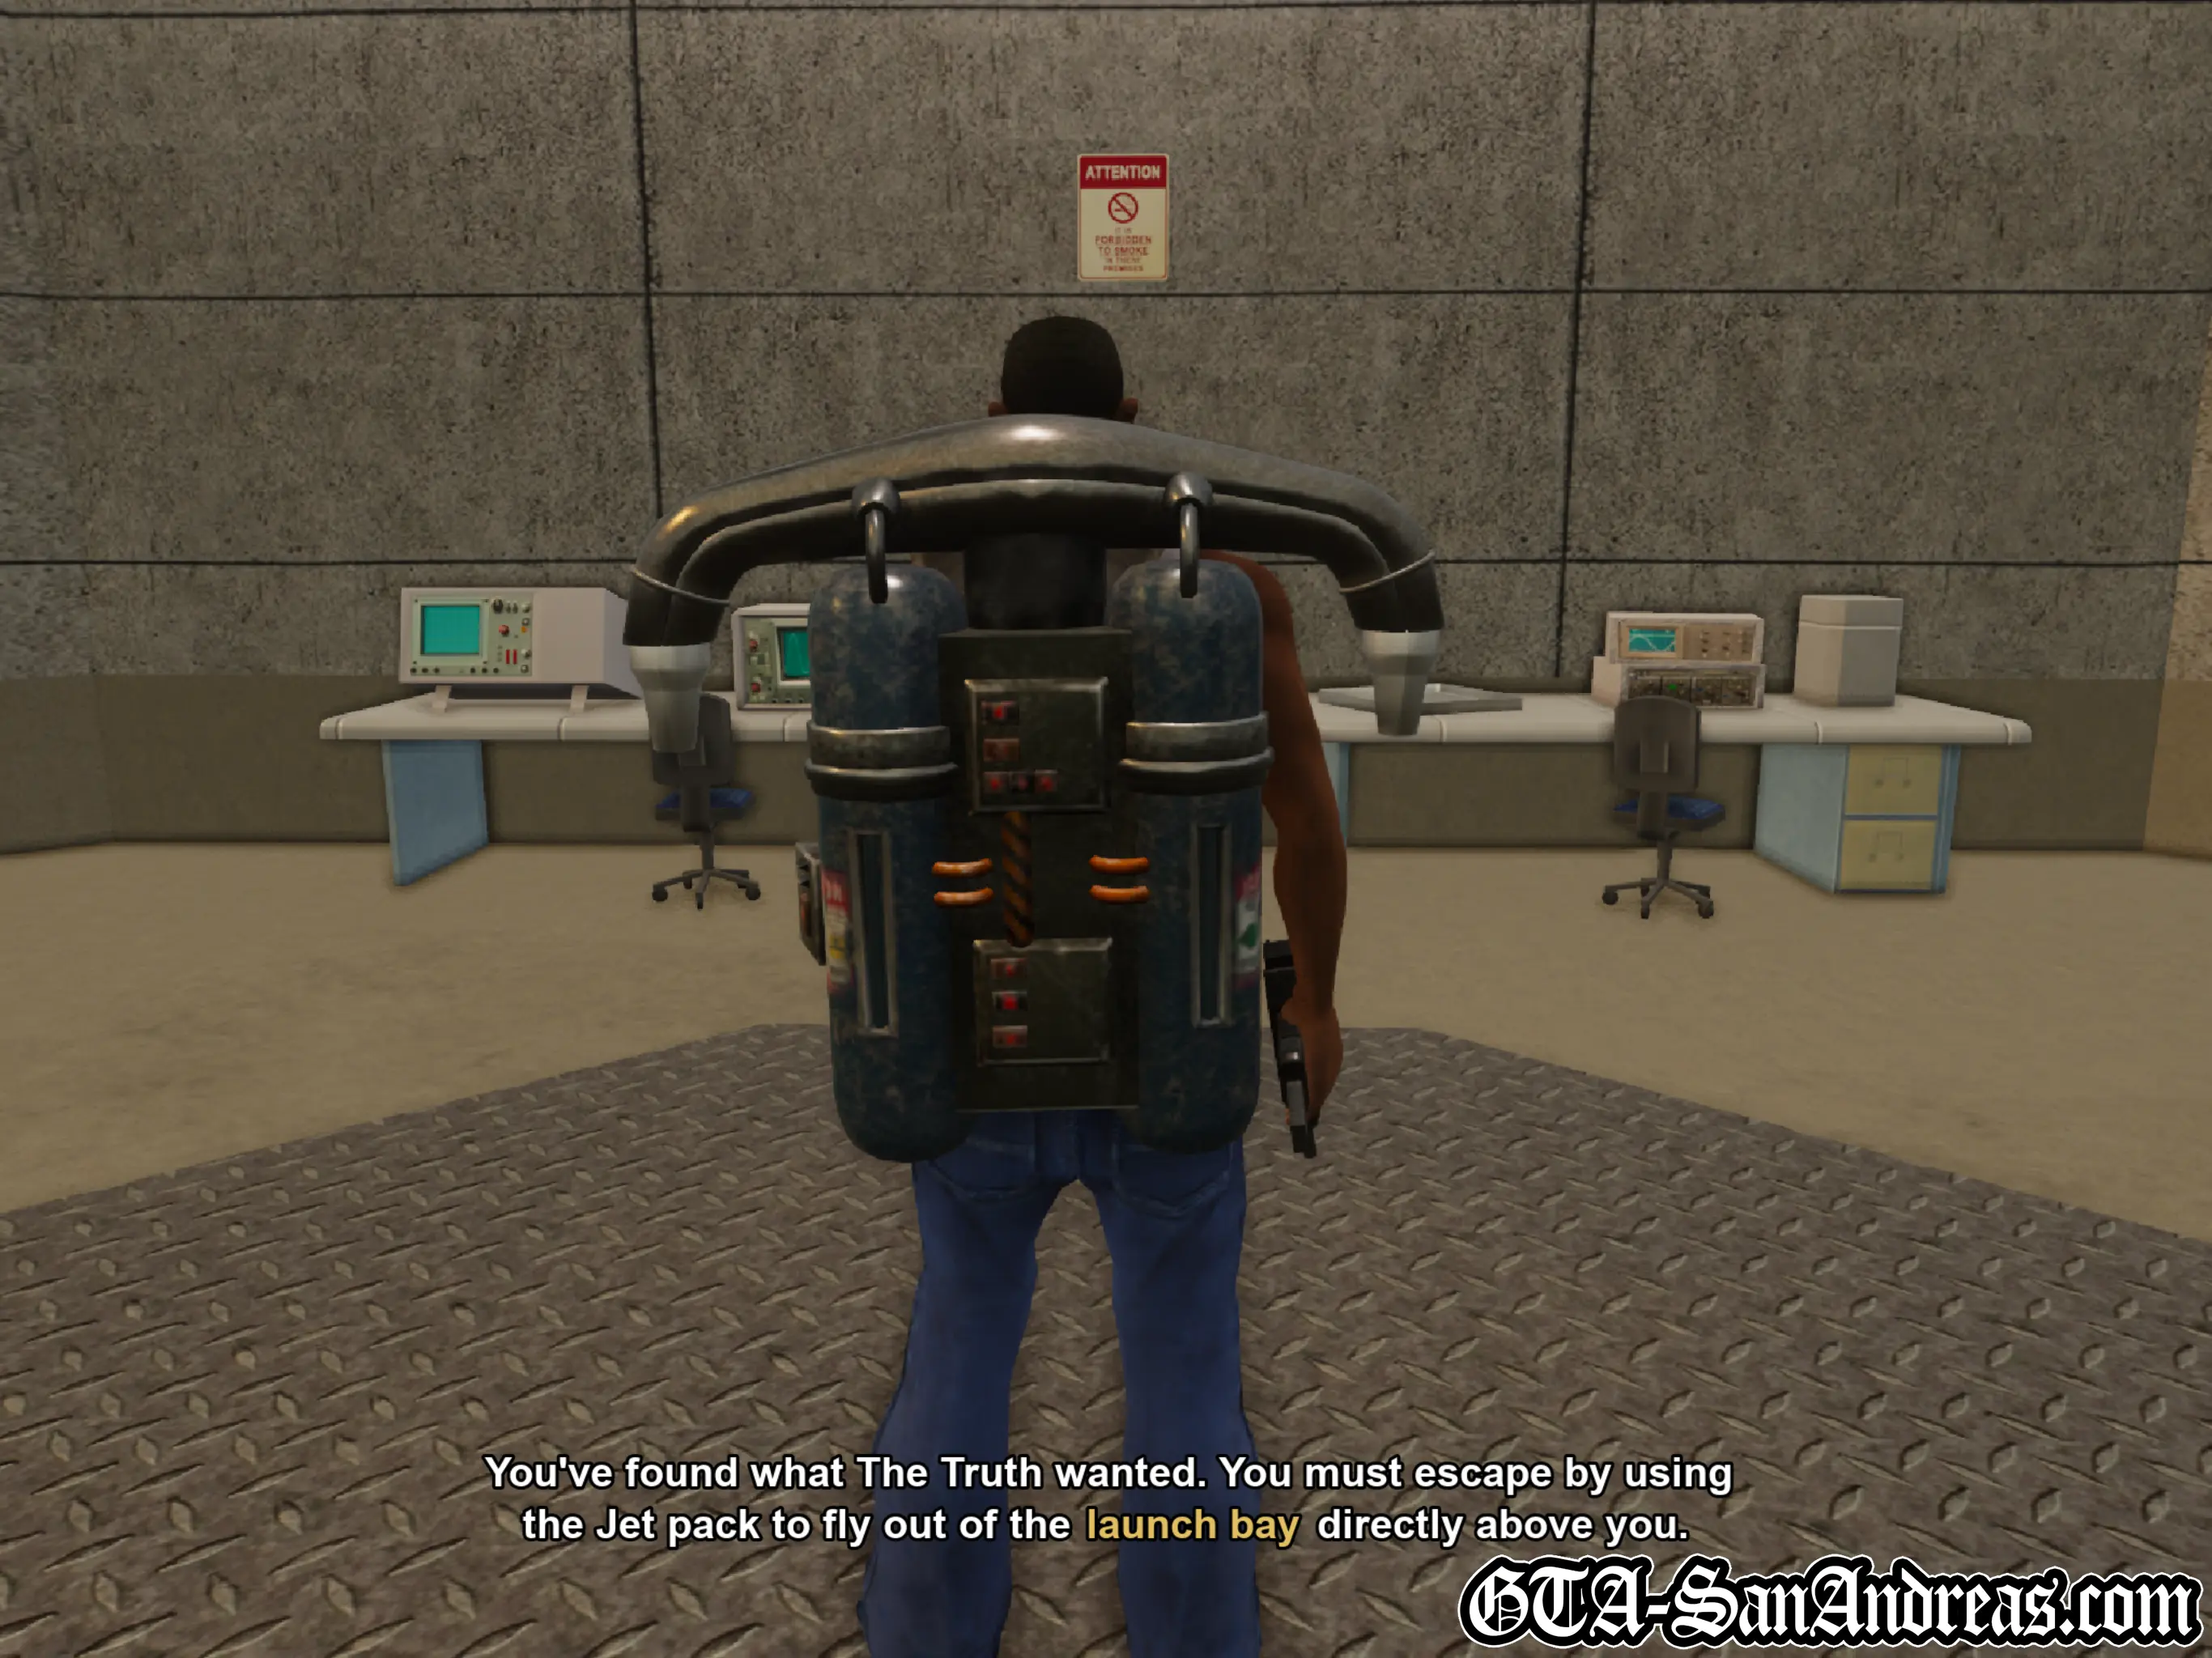
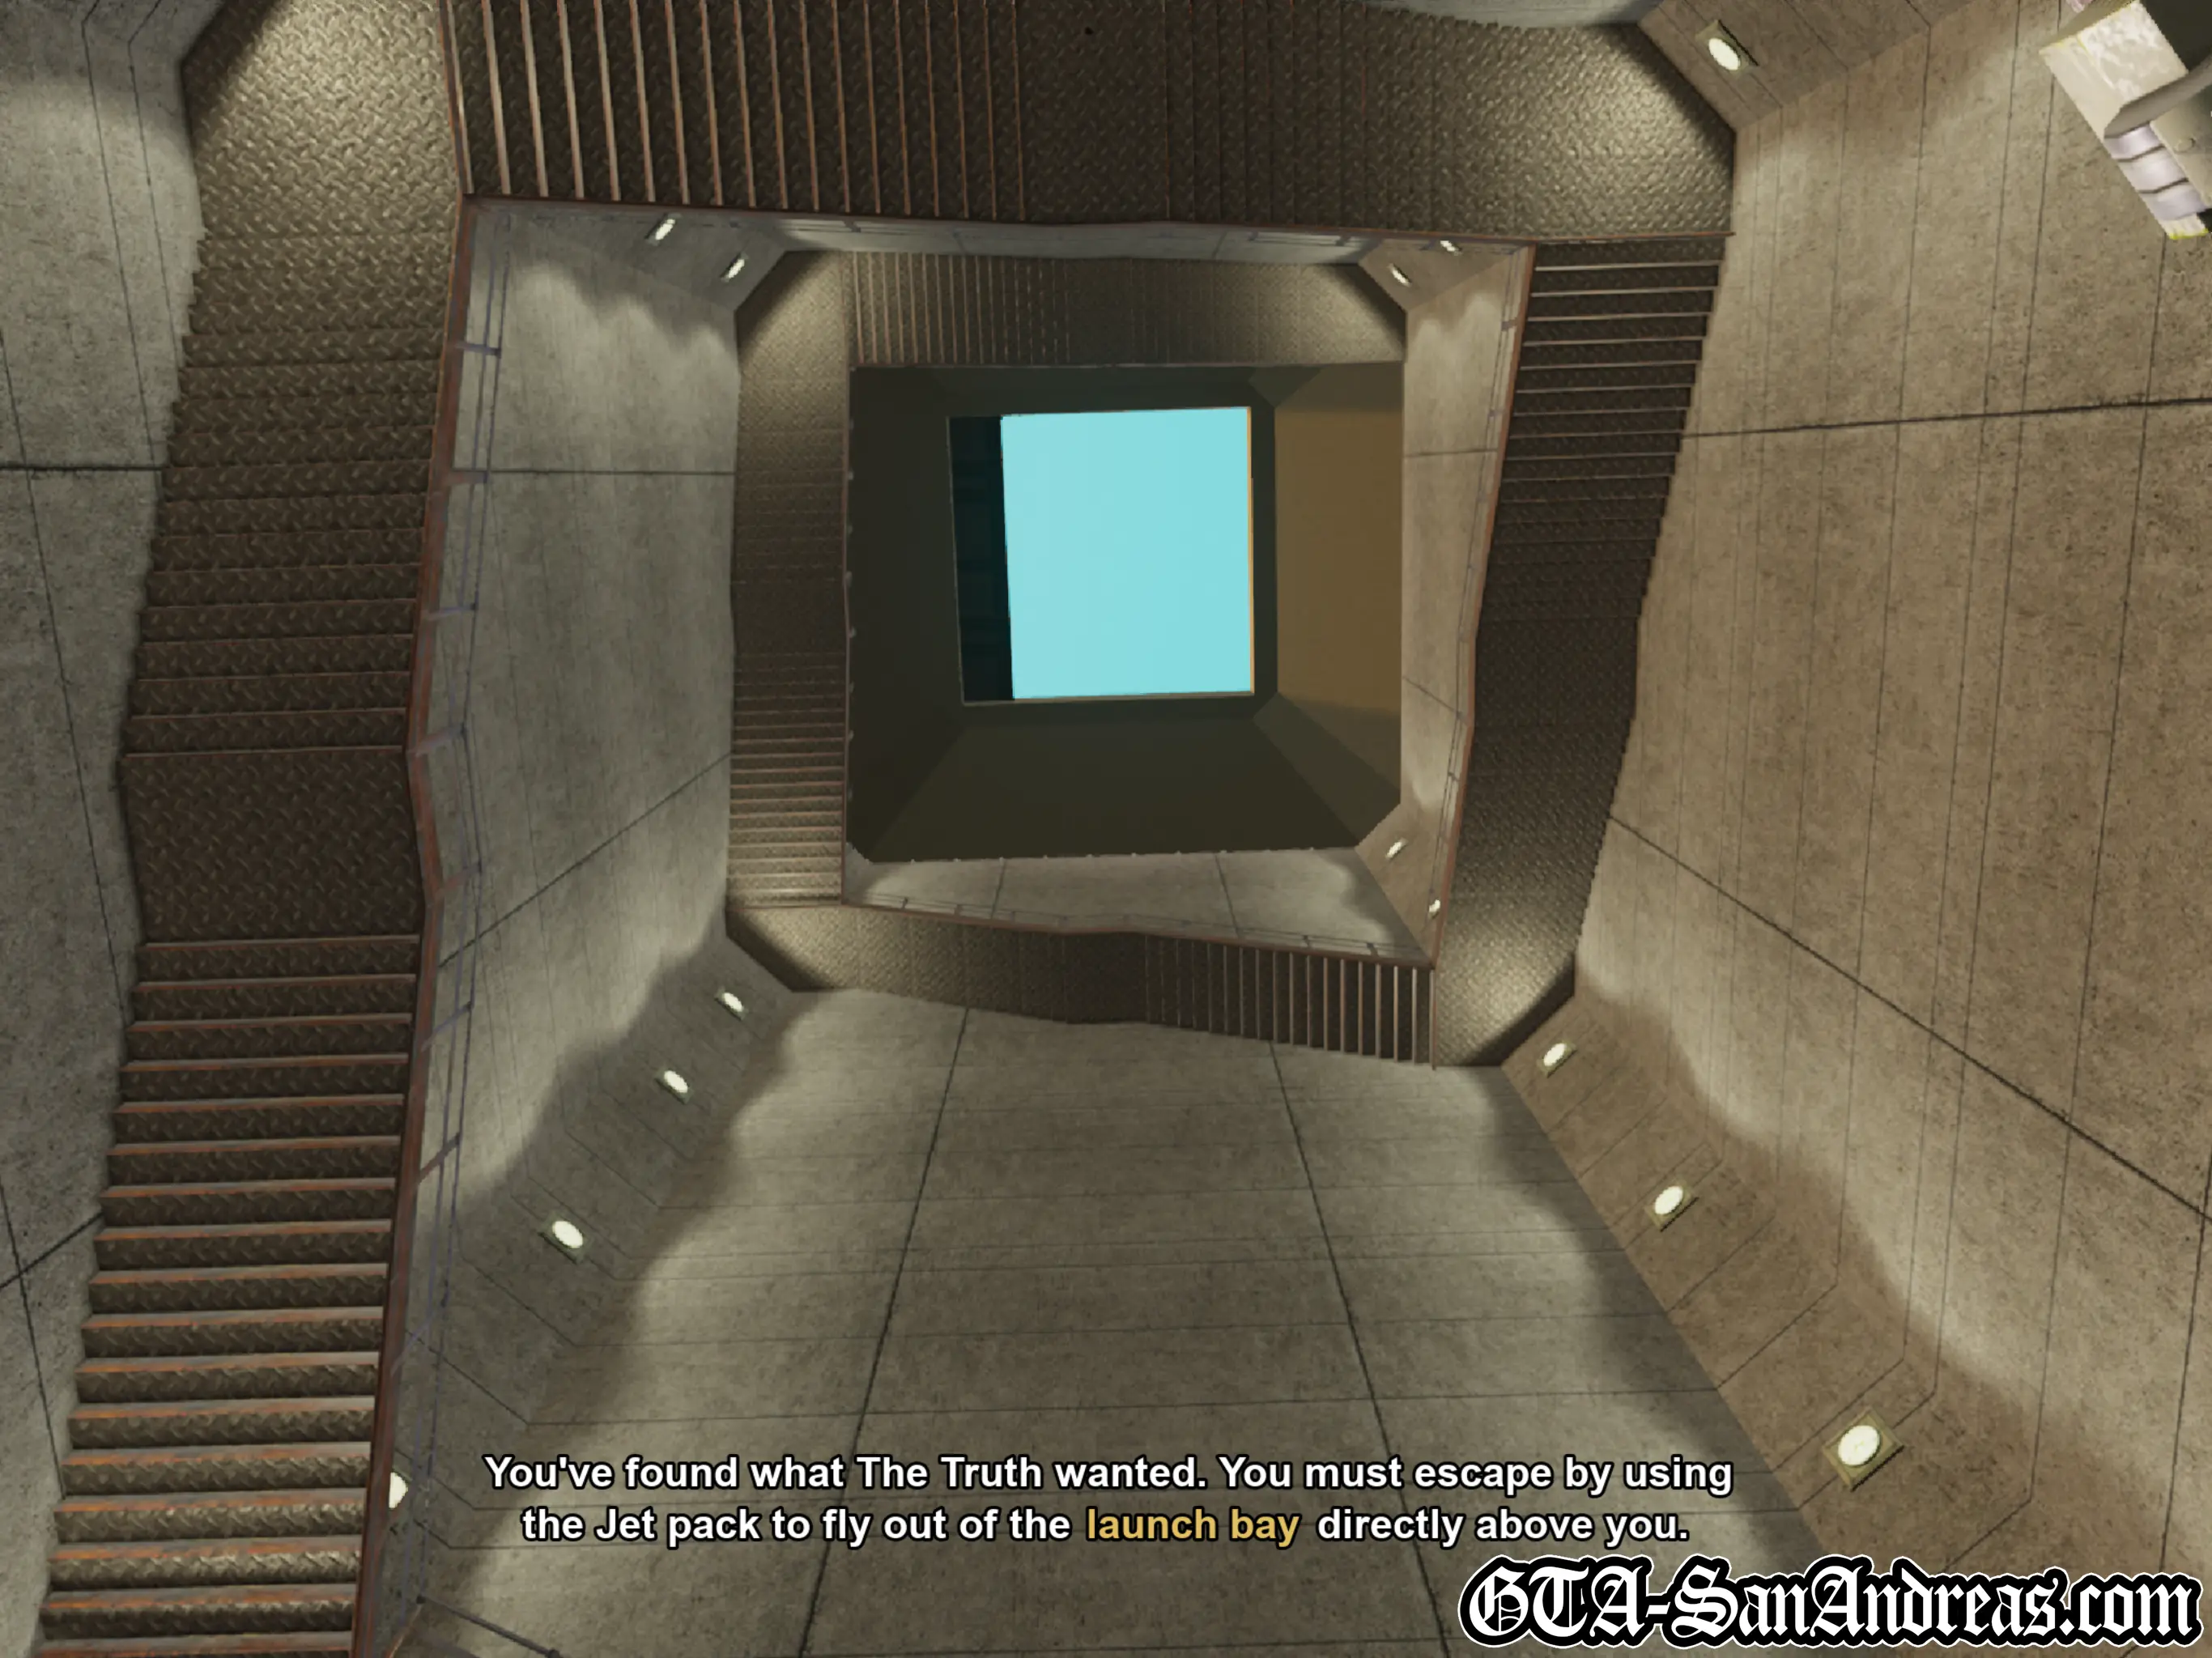
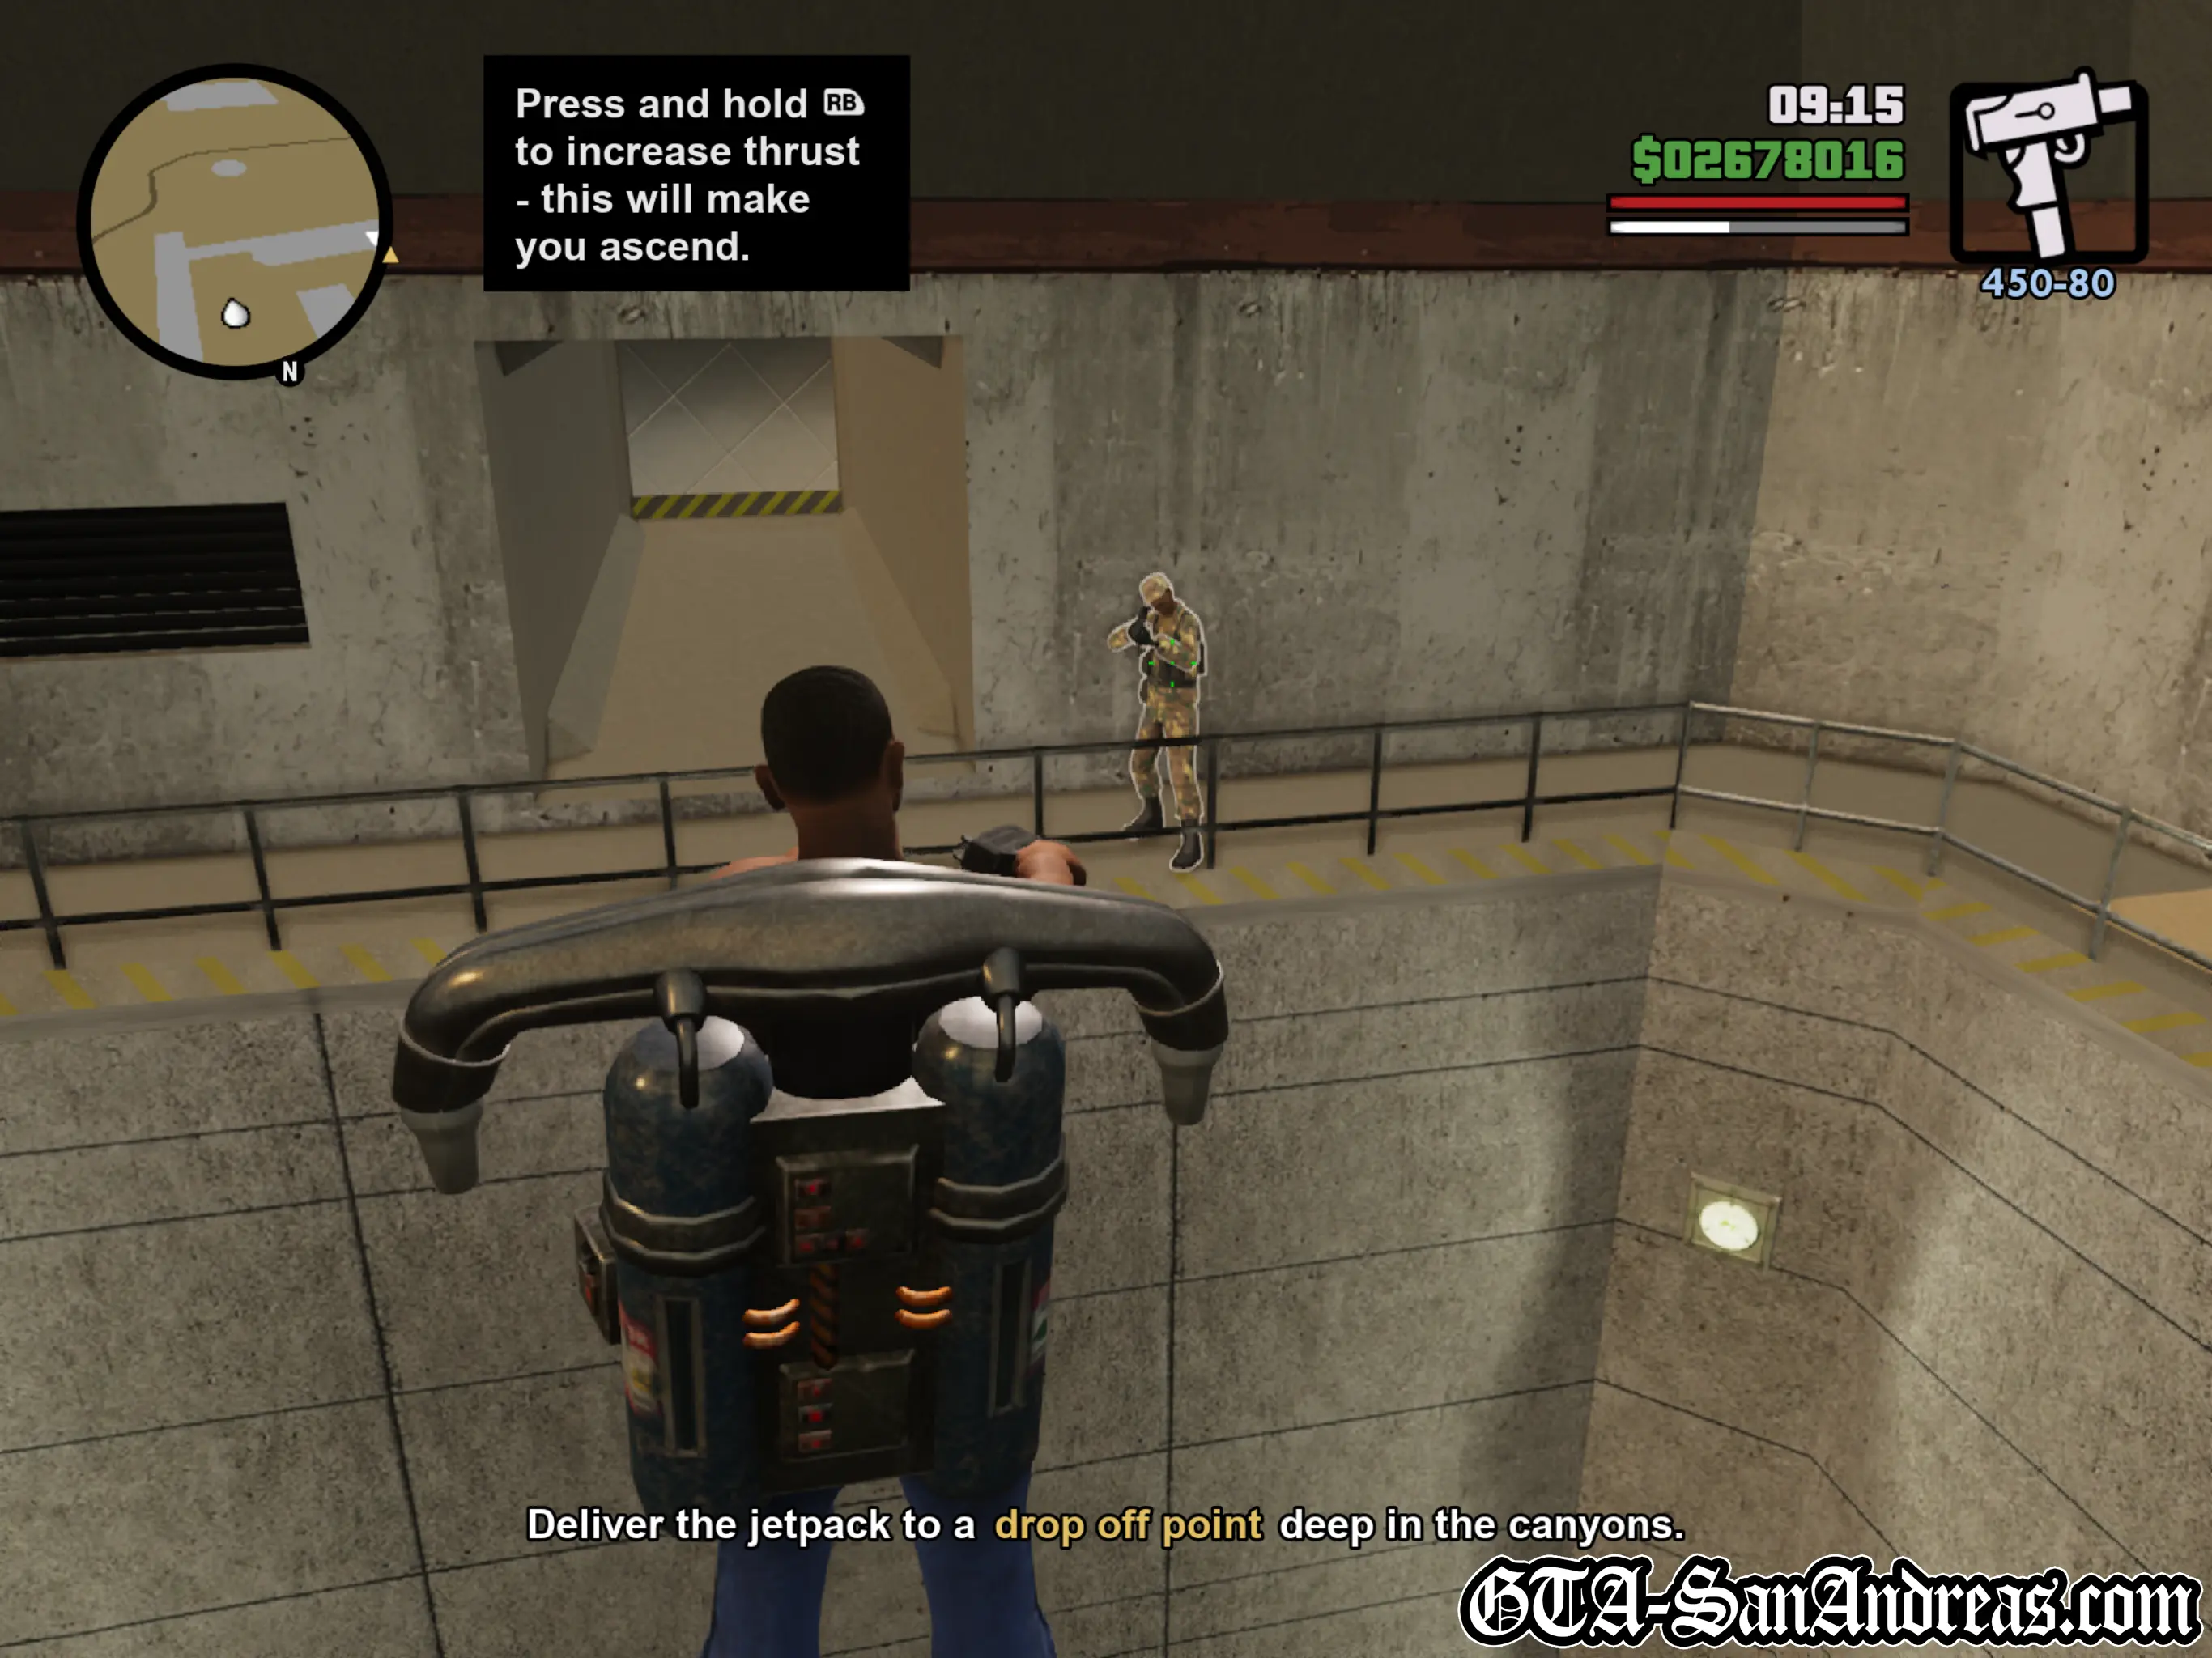
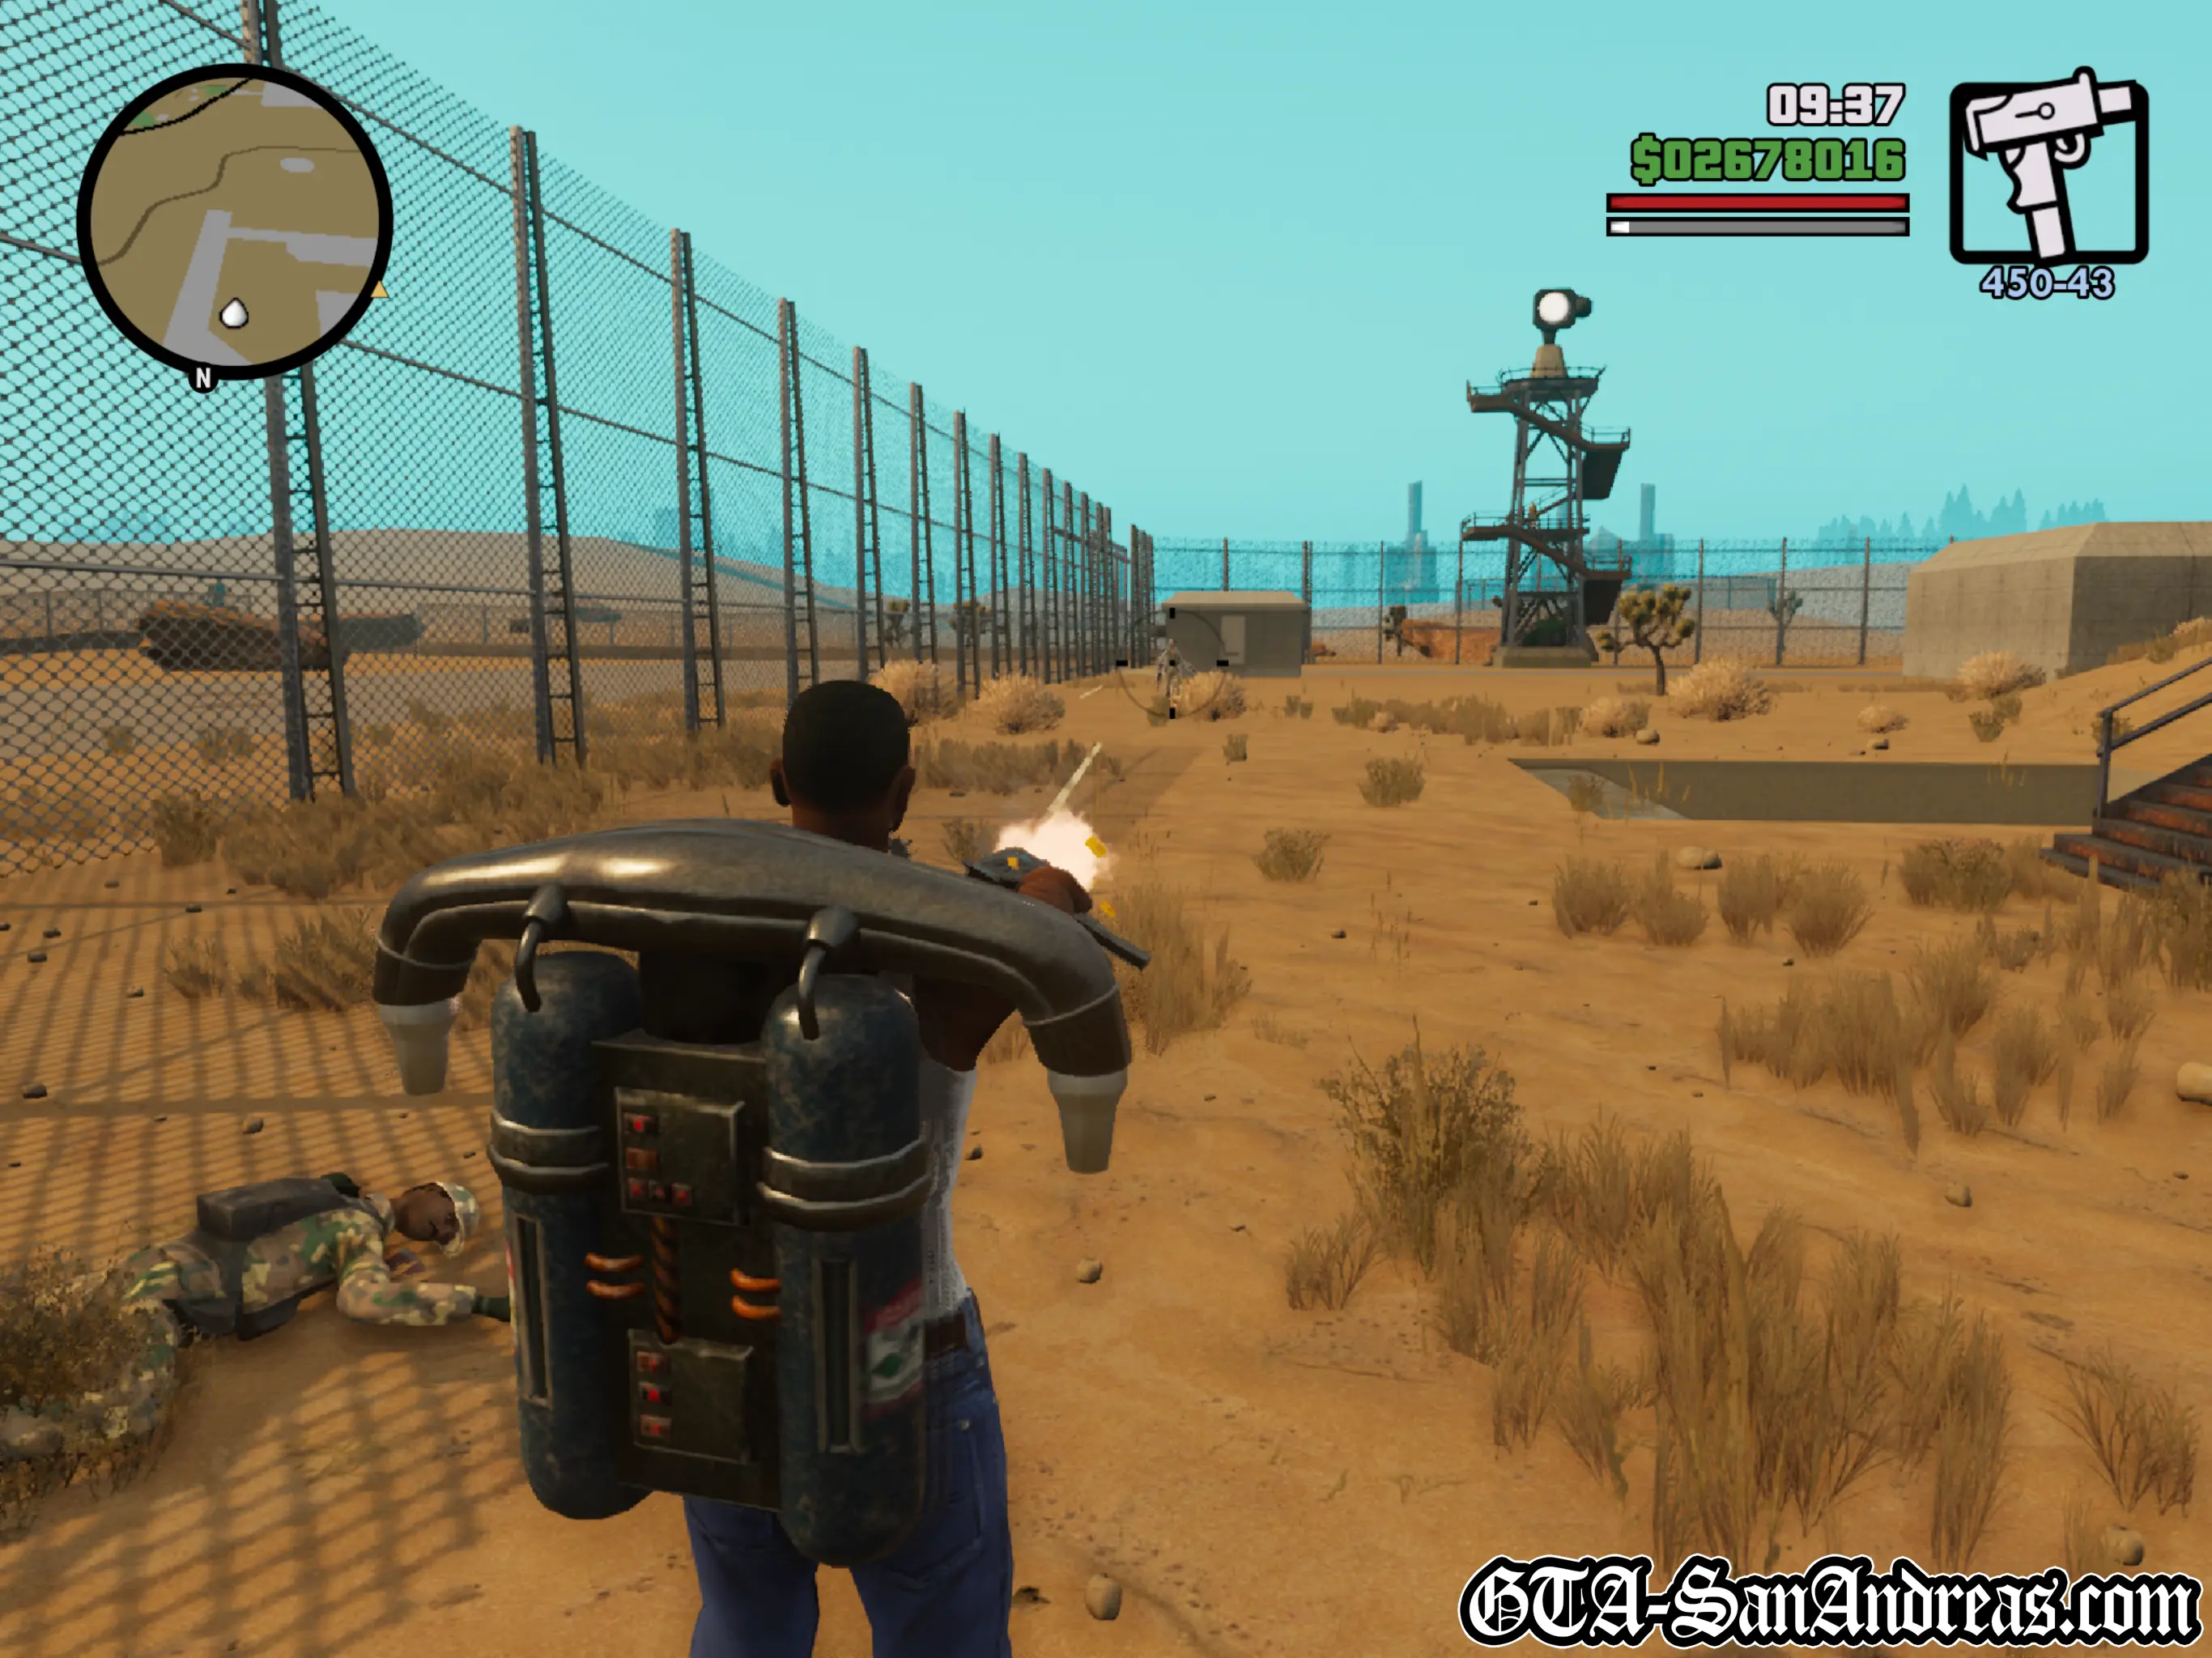
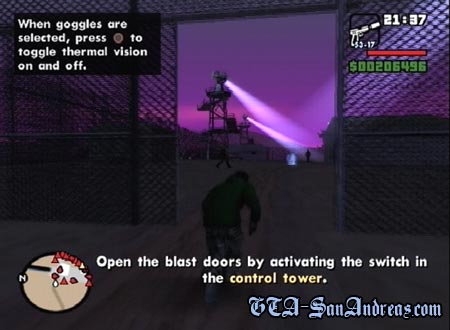
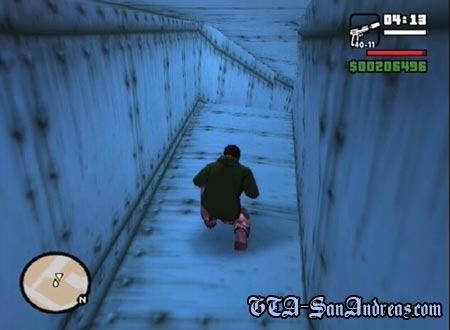
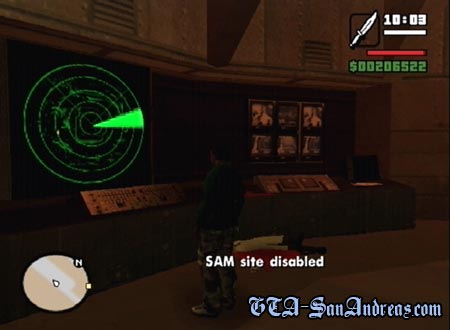
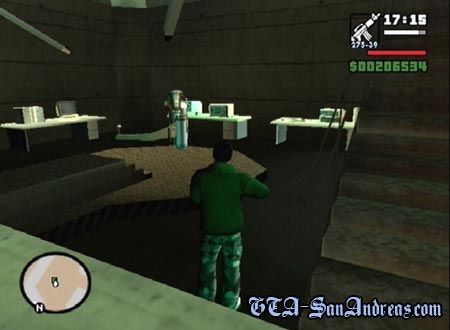
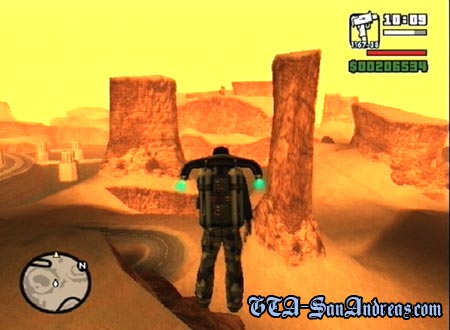
In my humble opinion, this is the best mission in the game. You know Area 69? That "No Fly Zone" place where you get blown to bits just by going near? You're breaking into it and stealing "The Black Project". Cool or what! The Truth will take you there and literally throw you into the desert telling you to Go Go Go! You need to sneak right around the back of the area and make your way to the control tower. Well actually you don't, that's just one way of getting inside. The alternative is to be seen by the lights and get a code red. The area will be locked down, but there's a vent you can break into to get inside. The best technique is to use both stealth and to get caught. When you start, move into the base with a silenced pistol and grab the body armor. Use stealth and sneak around taking out as many guards as you can. I'd suggest killing the few on foot near you at the gates, then climb the watch tower to the right and use your sniper rifle to take out as many guards as you can see. If you can't get them all, move to another tower. Your inventory includes a silenced pistol, a knife, some heat vision goggles (which suck) and a sniper rifle. You have roughly 8 minutes to complete the first objective which is actually getting into the heavily patrolled base. Make sure you're sneaking all of the way! After you've wiped out as many as you can see, make your way to the middle watch tower. From here you should be able to rid the area of any last remaining enemies. Also here you'll probably get spotted, but don't worry, it's just as easy to get spotted as it is to sneak all of the way and get inside. It doesn't matter once you're in, the alarm will be going off anyway. Kill any more guards you can see, then leave the tower and kill literally all of the rest of them. Head to the yellow blip on the radar and you'll come to a vent. Shoot it and it'll smash, then you can jump down. Follow the pipe all of the way to the end, then shoot the cover and get inside. You're no longer being timed, so you can work your way through slowly, cleaning out rooms one by one. Once you get inside, the personnel will be informed that a code red is in action. Fortunately most of them aren't too clever and it's not really anything different to having a high wanted level, besides the fact that the army dudes don't just spawn out of nowhere. Head to the right and enter the first room. You'll find one soldier to the left, and three or four on the floor below. I'd suggest grabbing an M4 and using that to take out the soldiers. Five or six shots will kill them, so tap R1 until you auto aim, then tap L1 to shoot six times, which should result in their death. Once the six soldiers in here are killed, or even before, if you're in trouble, head into the room to the right at the top of the stairs. You'll find a mini-gun and some Body Armor. Once you've grabbed those, head down the stairs and go through the door to the South. Kill the five or so guards here, some will be on the floor below, so you may wish to jump down. From here don't head to the yellow blip yet. You can of course do that if you want, however there's something you should really do in order to survive later on. Get on the walkway and follow the room South. When you come to another room, head to the right and then right again. There's a large room on your left which can be entered, so go in there and kill the two scientists, then stand in the red circle to deactivate the SAM sites. Once you've done that, head out to the East and head towards the metal grating on the floor. You can either run along this, or if you're running low on health, just to the left of this open area, you'll find an open grate on the floor. Drop down here and follow it along to pick up some health and some more armor then pull yourself up at the end. Head up the stairs to the left, and follow the hall way into the black. Kill the two guards to your right, then go along by them and head left. There'll be one guard here, and another who will walk towards you. Kill both of those, then head through this area and to the left where you'll find one more guard. Once he's been disposed of, make your way to the West, then North, then West and go through the door. You'll be told the main door is locked, but a scientist offers to give you his pass card if you don't kill him. Grab the pass card then kill him anyway and stand in the red circle. When you get in the next room, shoot the dude right in front of you, across the stairs, then the dude to the left and to go the right. Stop at the corner of the railing and use manual aim with the M4 to look down and kill five or so guards who are down there. You can just run down the steps and kill them as you get to them, but this way almost guarantees you won't get hit. Kill as many as you can see, then make your way down the stairs. When you reach the bottom you'll find a jetpack! Walk into it and a short cutscene will explain what you're doing next. Hold X to fly upwards and make your way out of the launch pad. While flying you can hold R1 to aim, as you can on foot, and use L1 or Circle to shoot. There will be a few guards to take out on the stairs as you exit, but if you have a decent amount of health, you should be fine. Fly out of the launch pad, then fly to the North West until you reach the top of a mountain. If you went out of your way to disable the SAM site, then you'll have an easy route, just fly straight there, but if not, you'll be getting shot by missiles every few seconds, and there's really no technique to lose locked on missiles in a jetpack. Either way fly to the top of the mountain and stop in the red circle where The Truth will appear and take the jetpack.
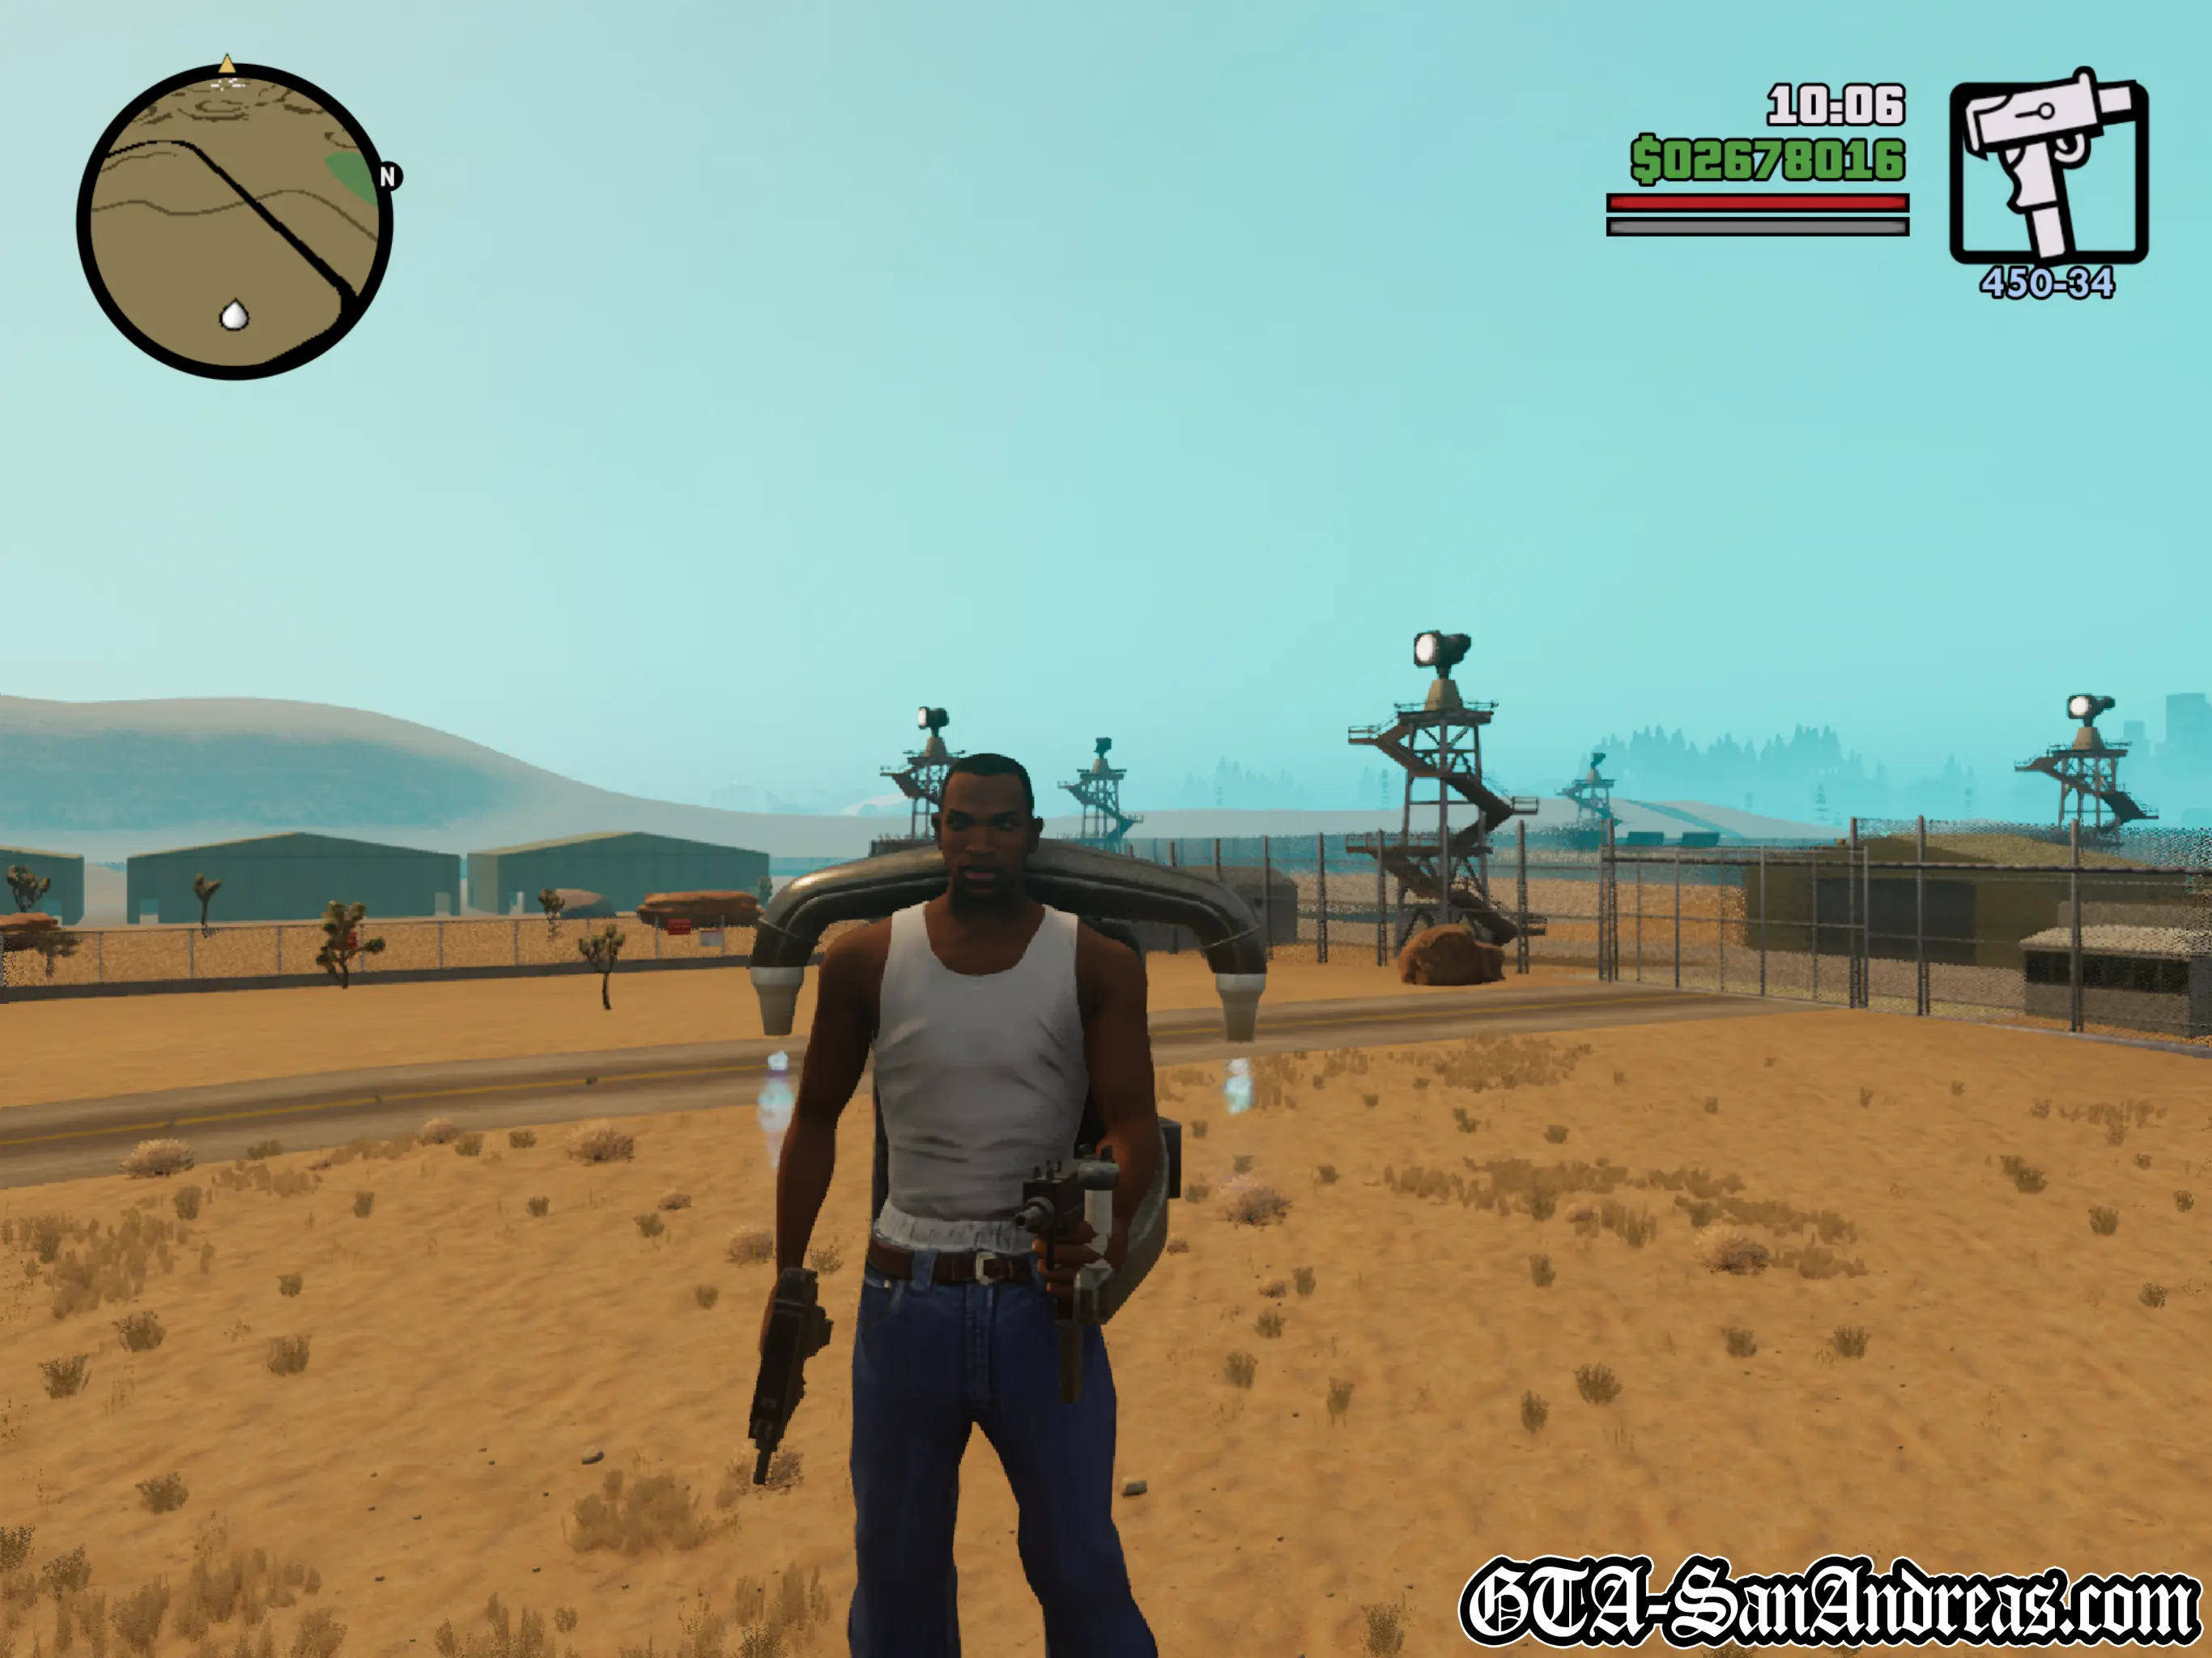
Grab the Sanchez at the top of the mountain and make your way to the airfield for another mission. After you get off the bike you'll receive a phone call from The Truth, this will unlock his next mission on the map.
Screenshots
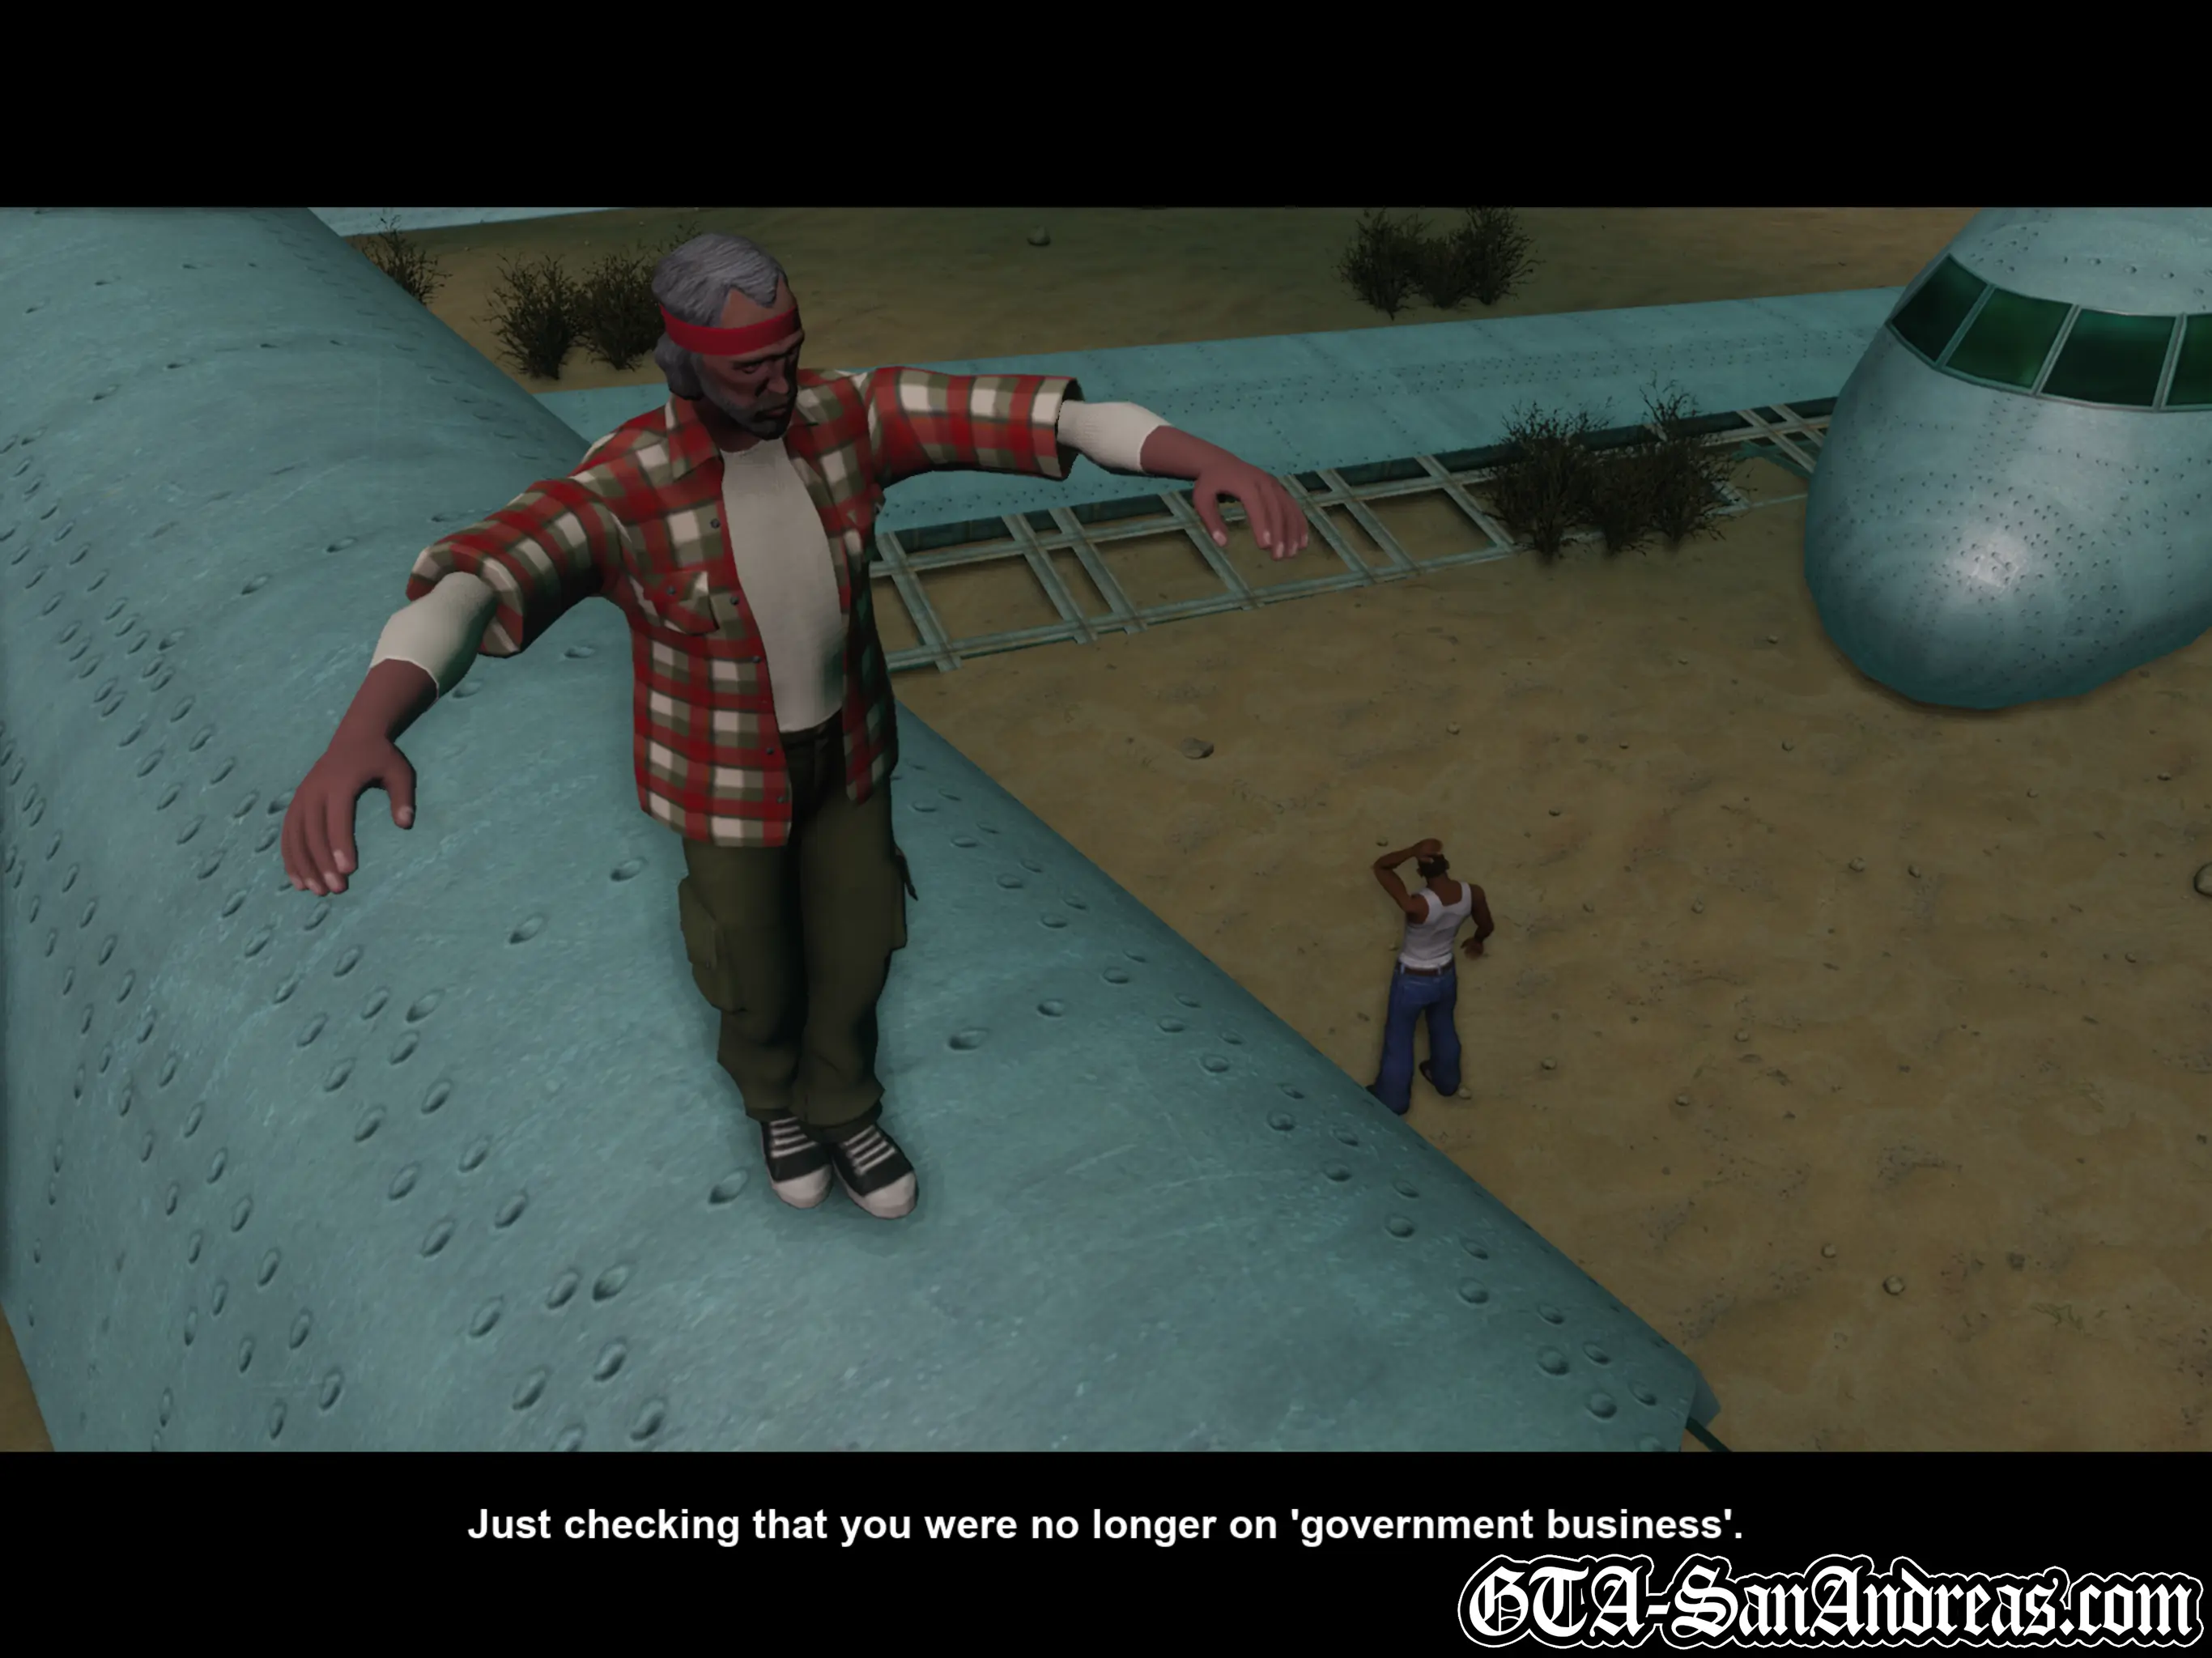
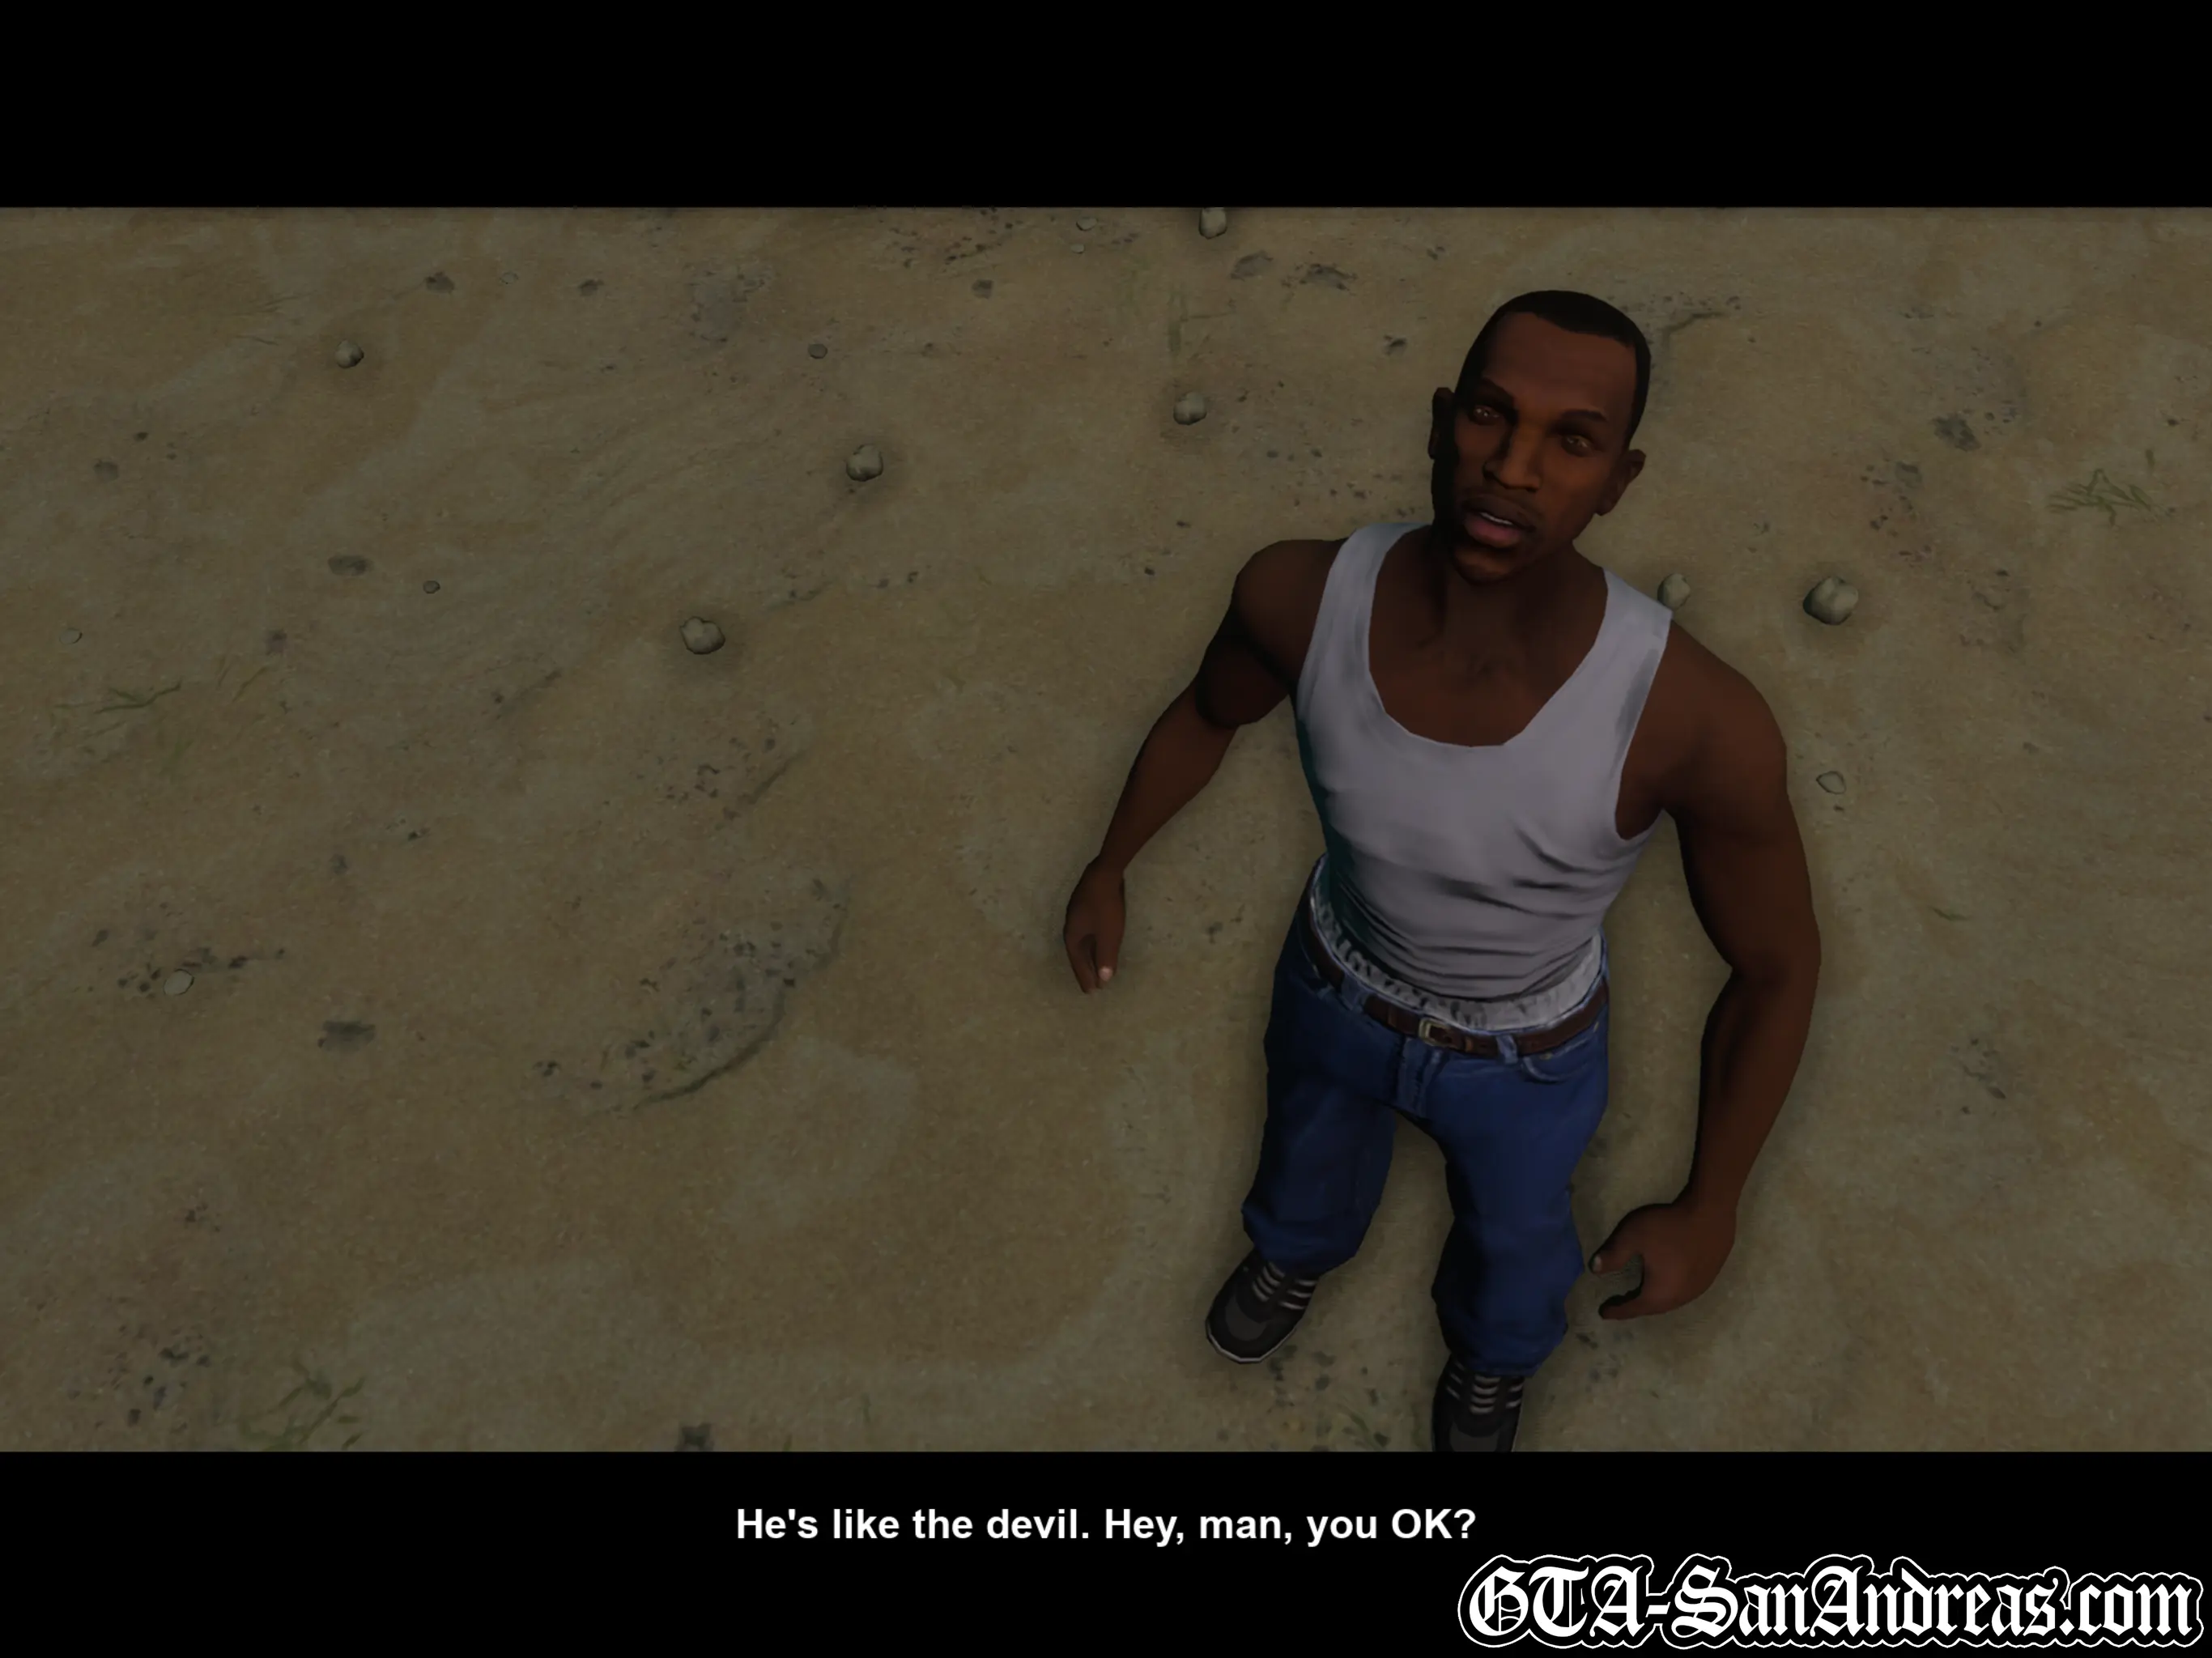


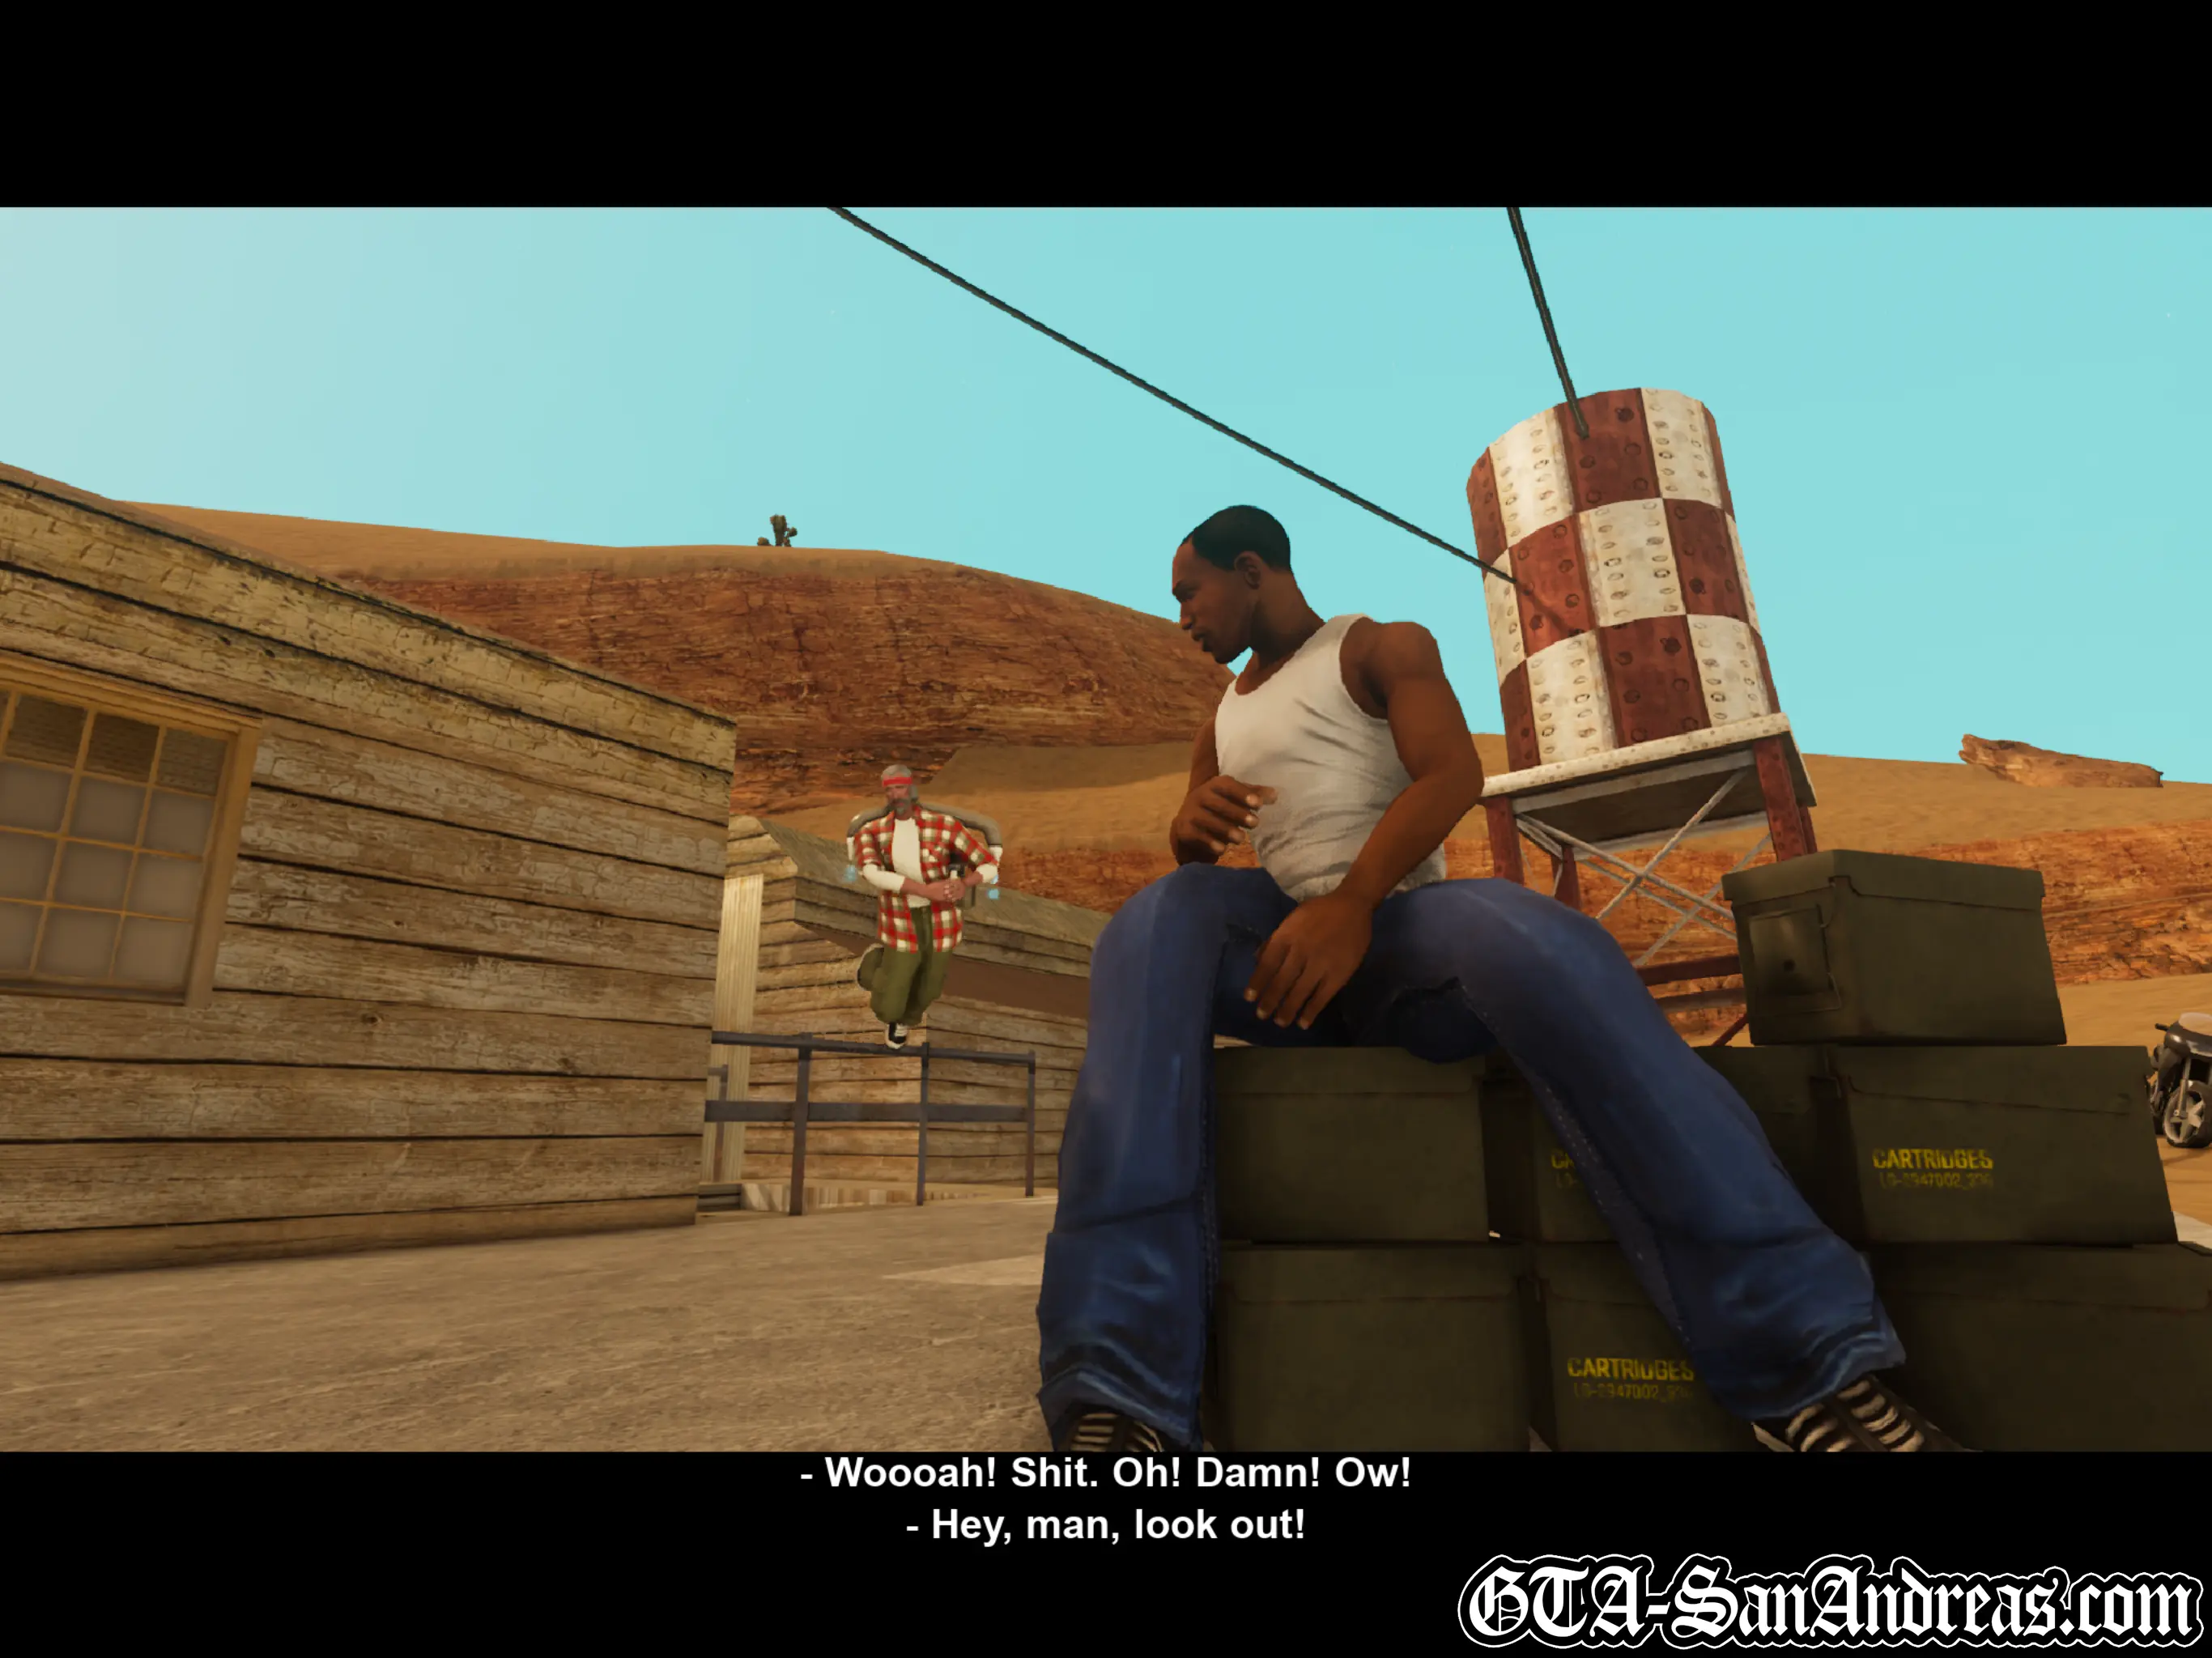
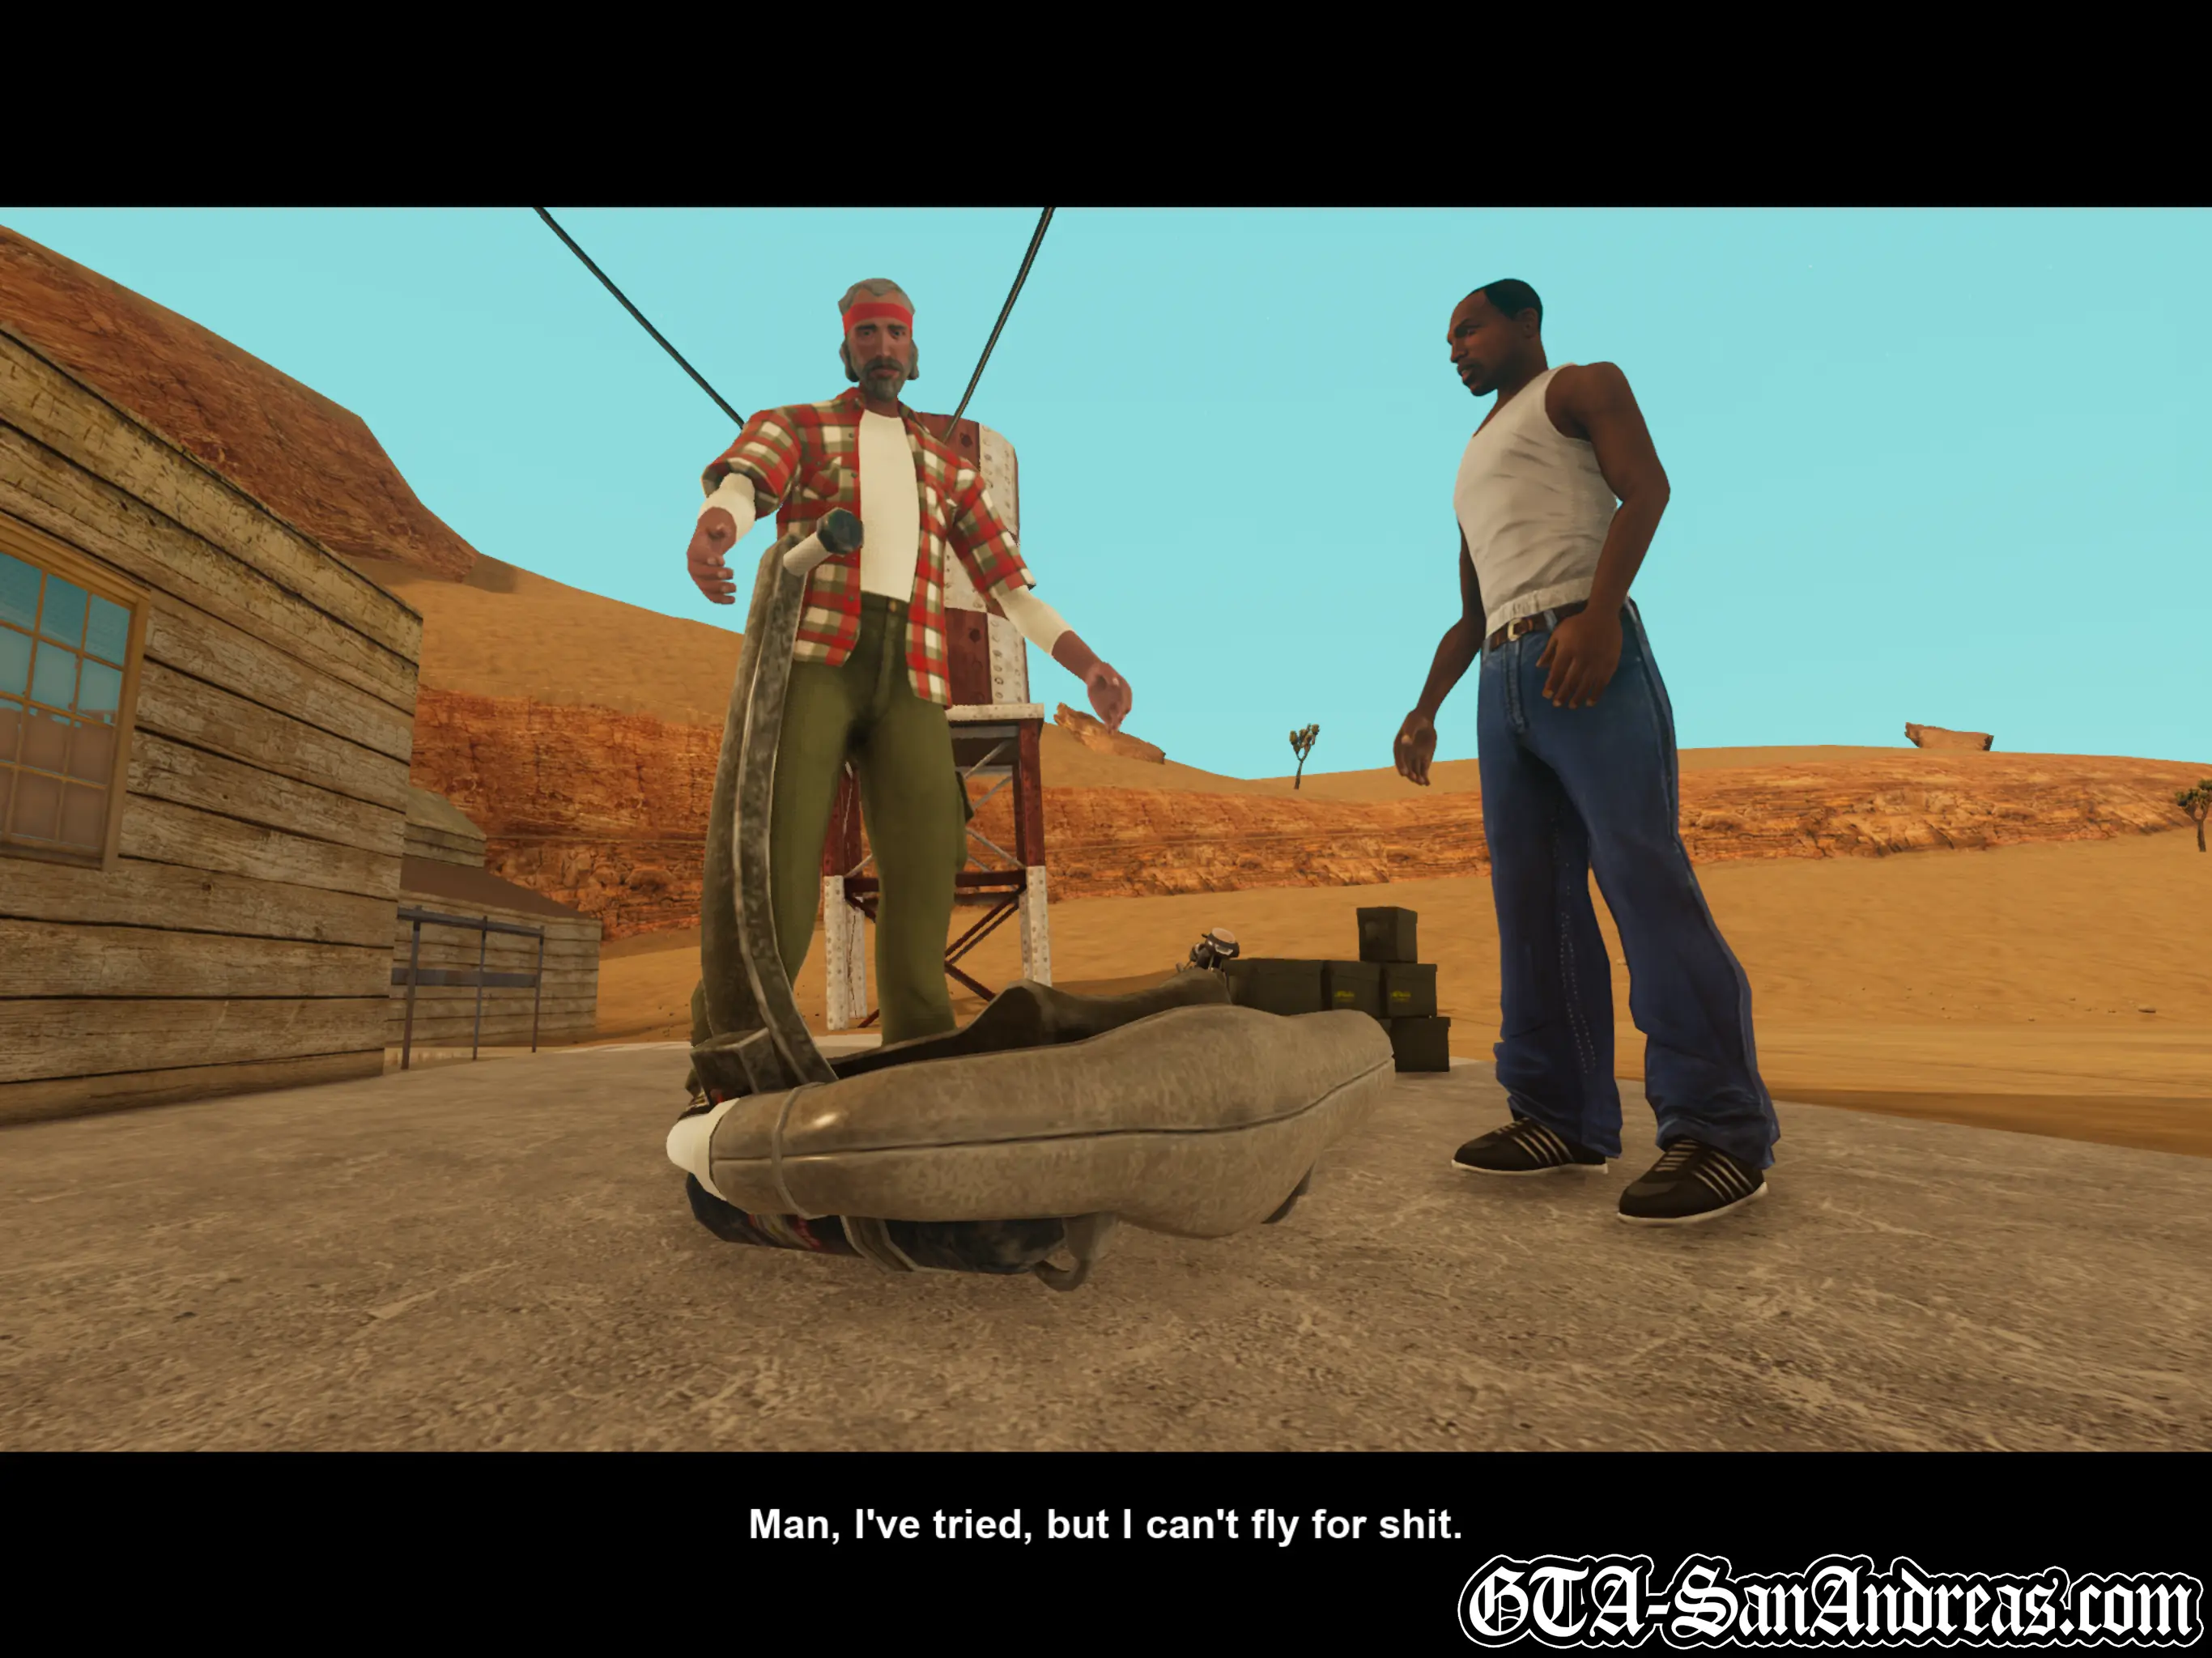
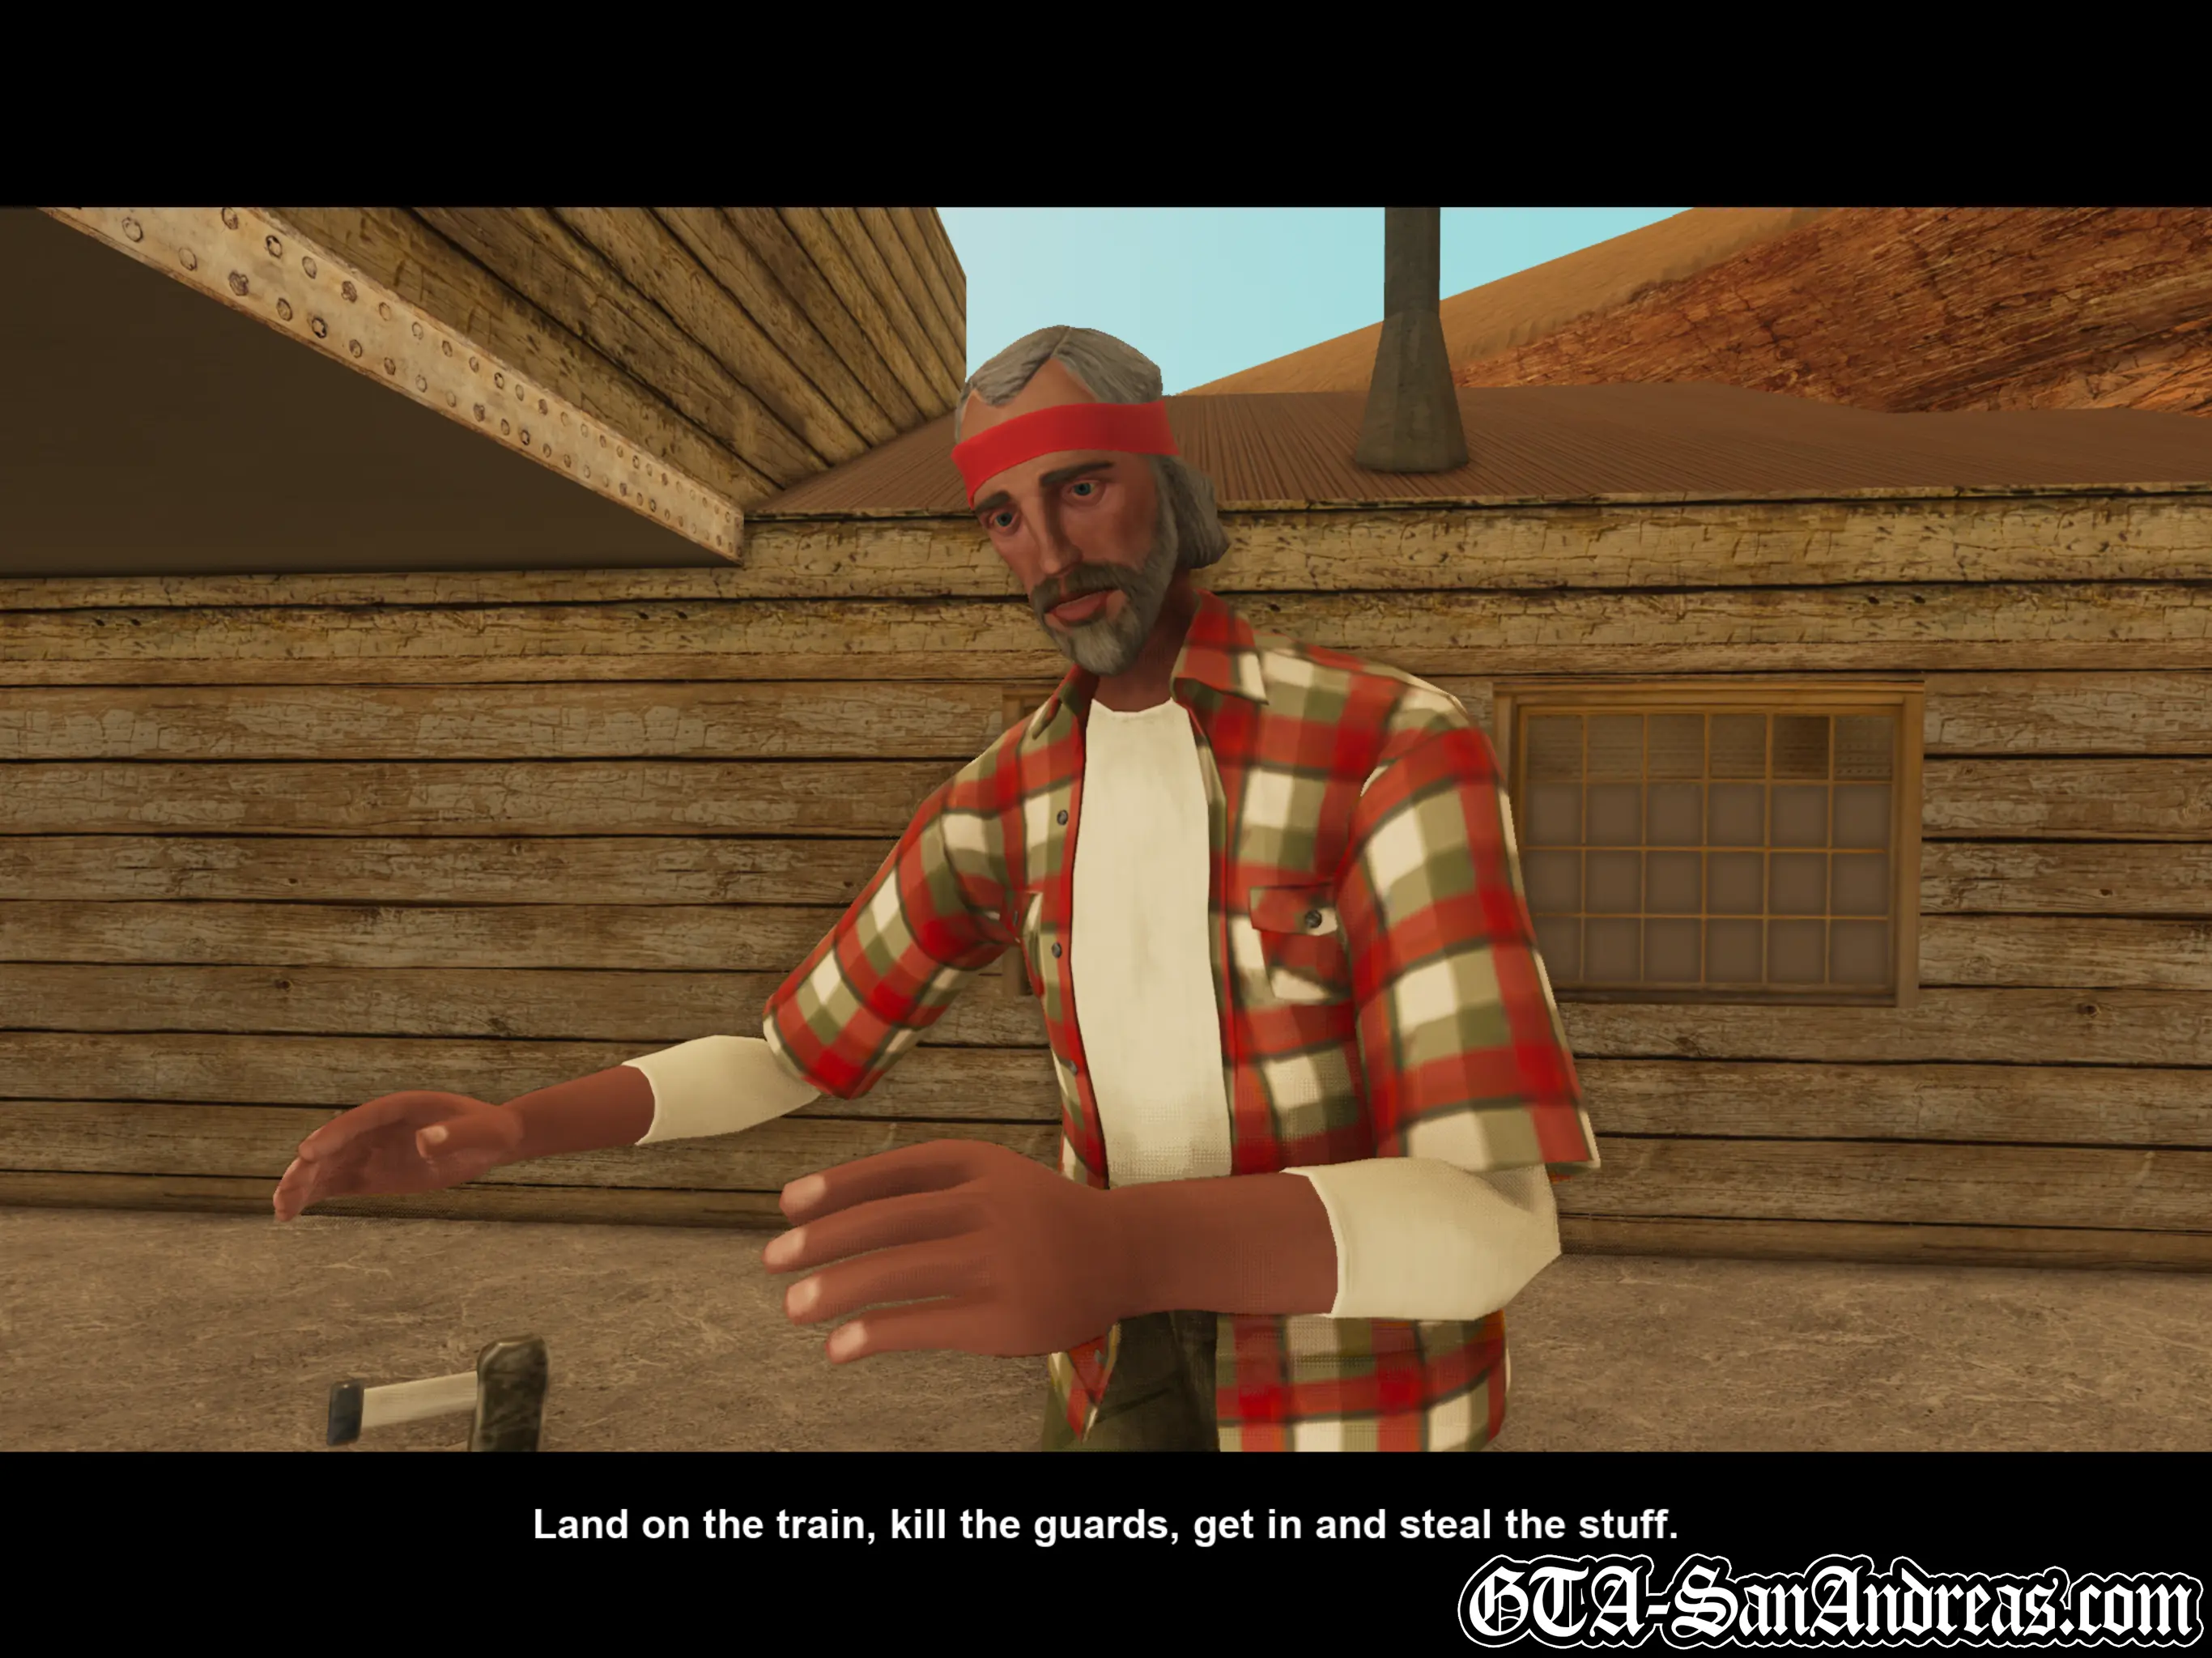
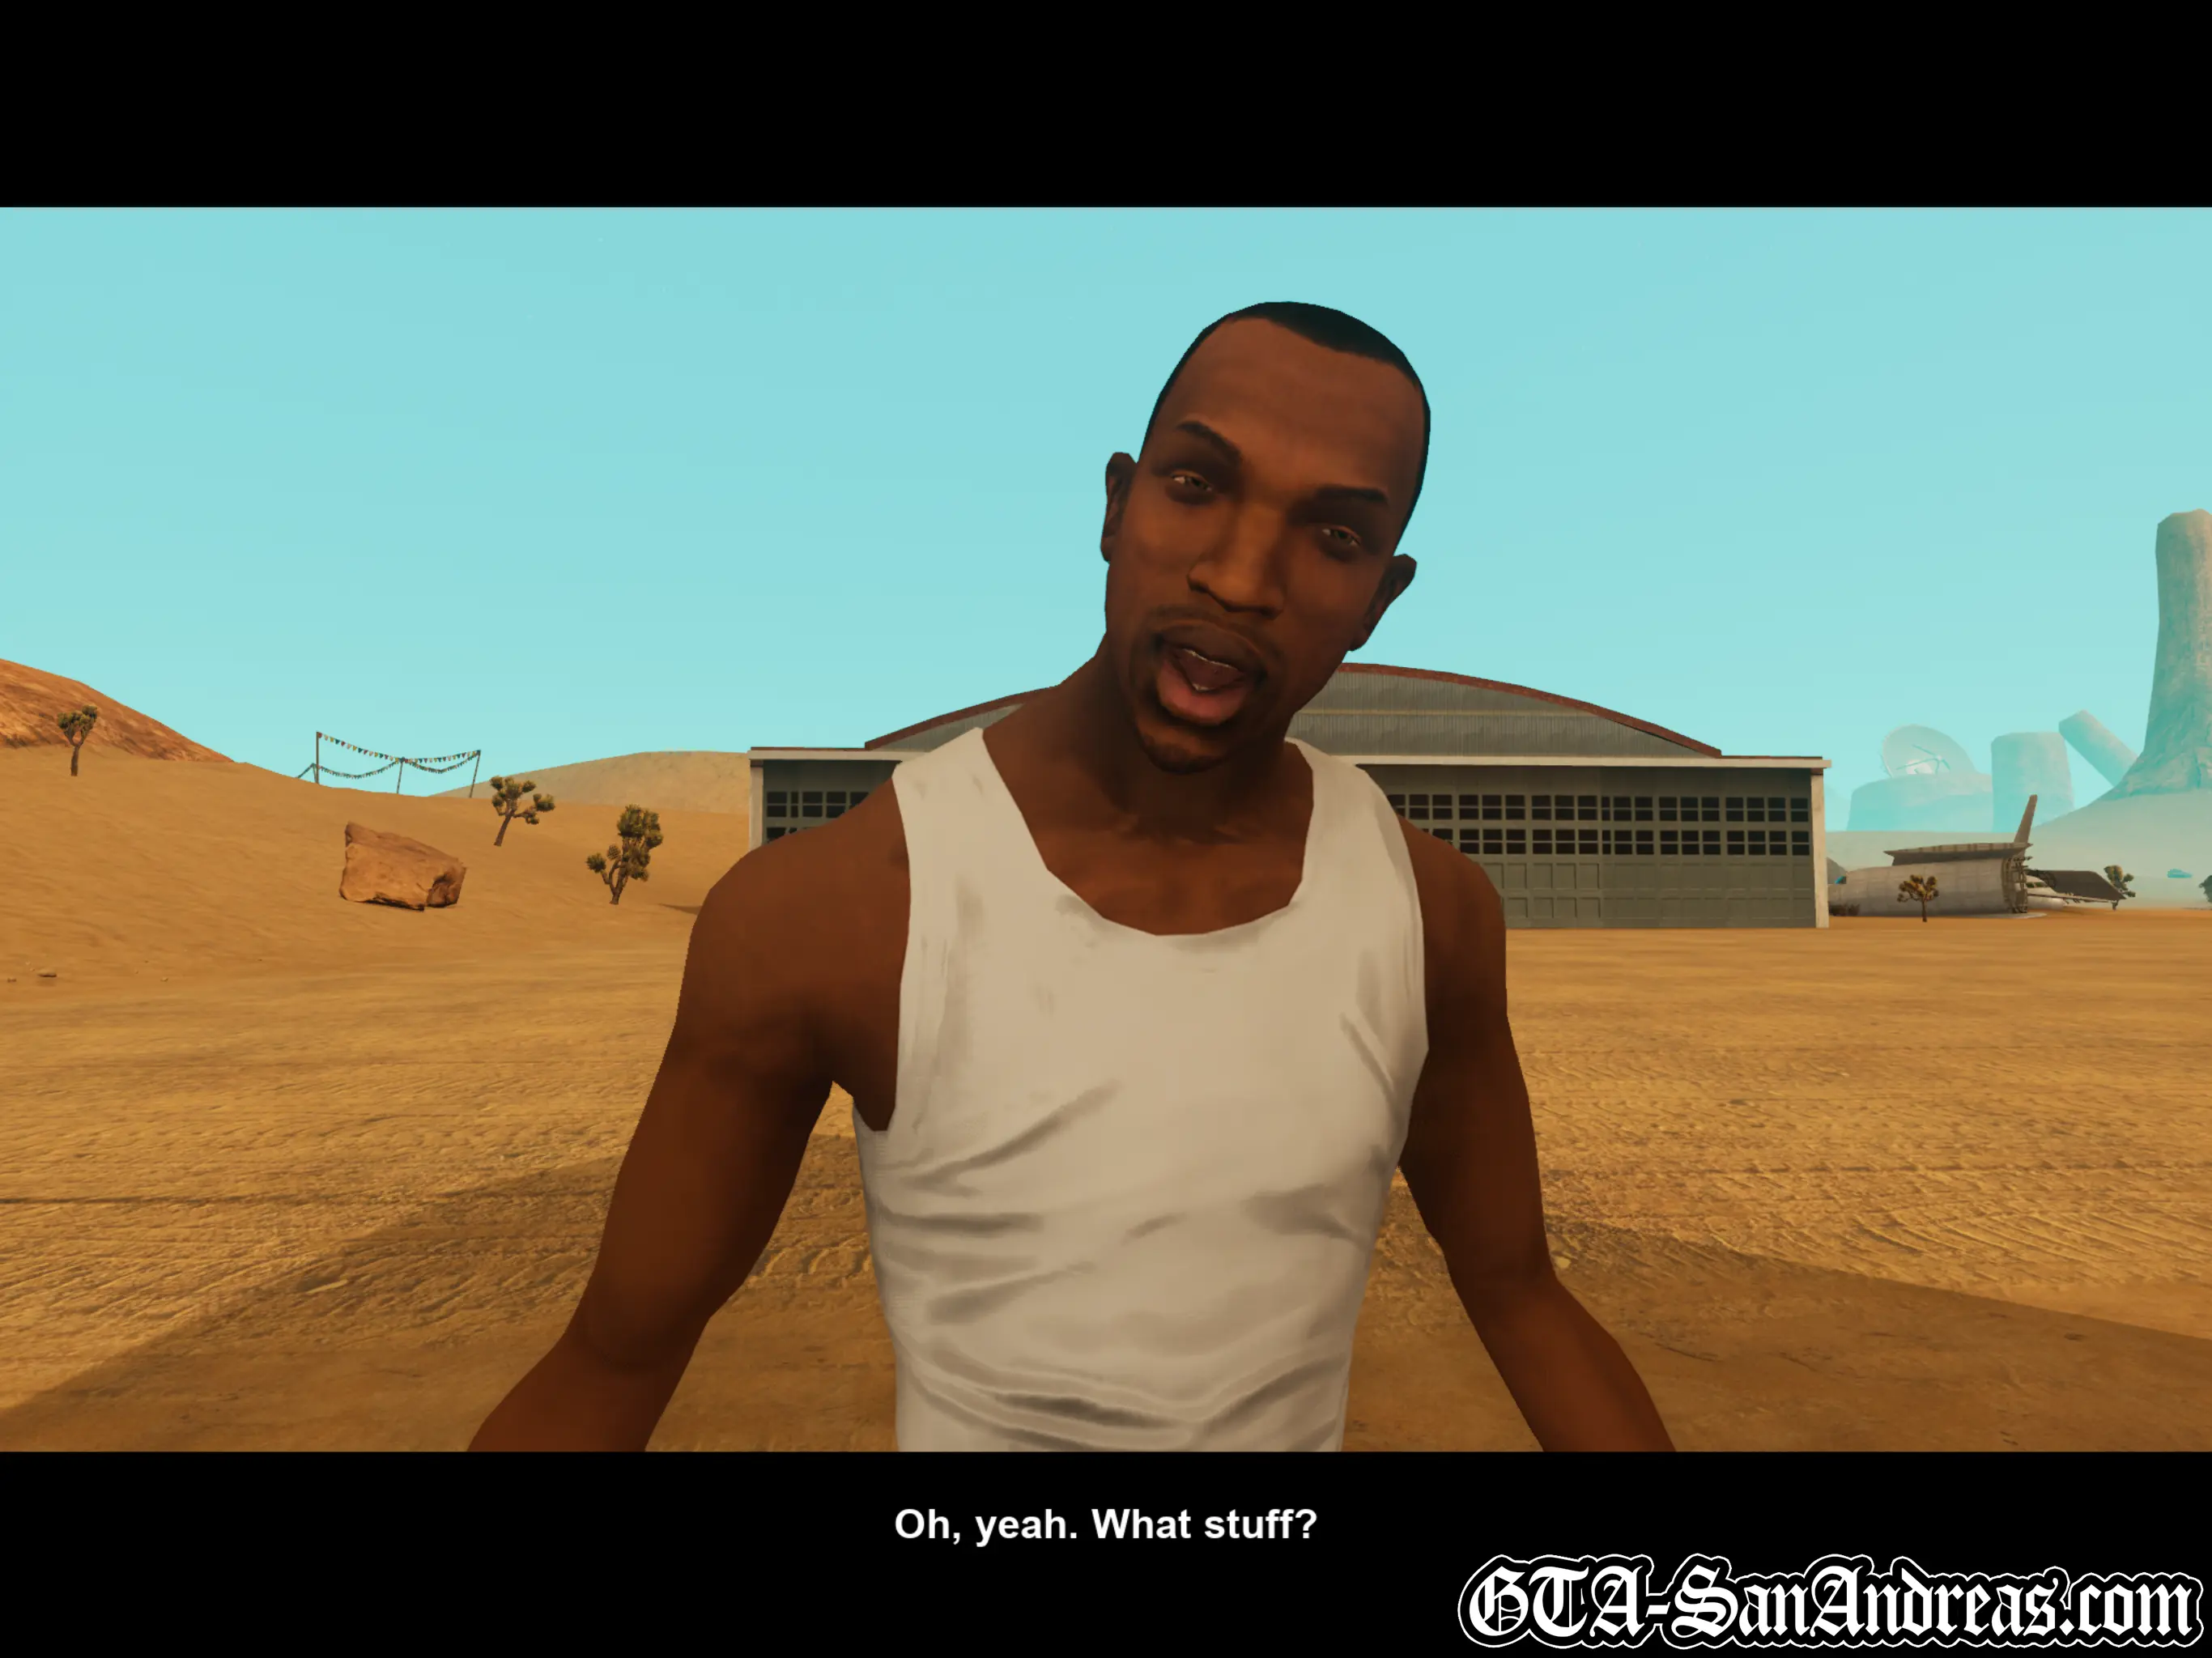
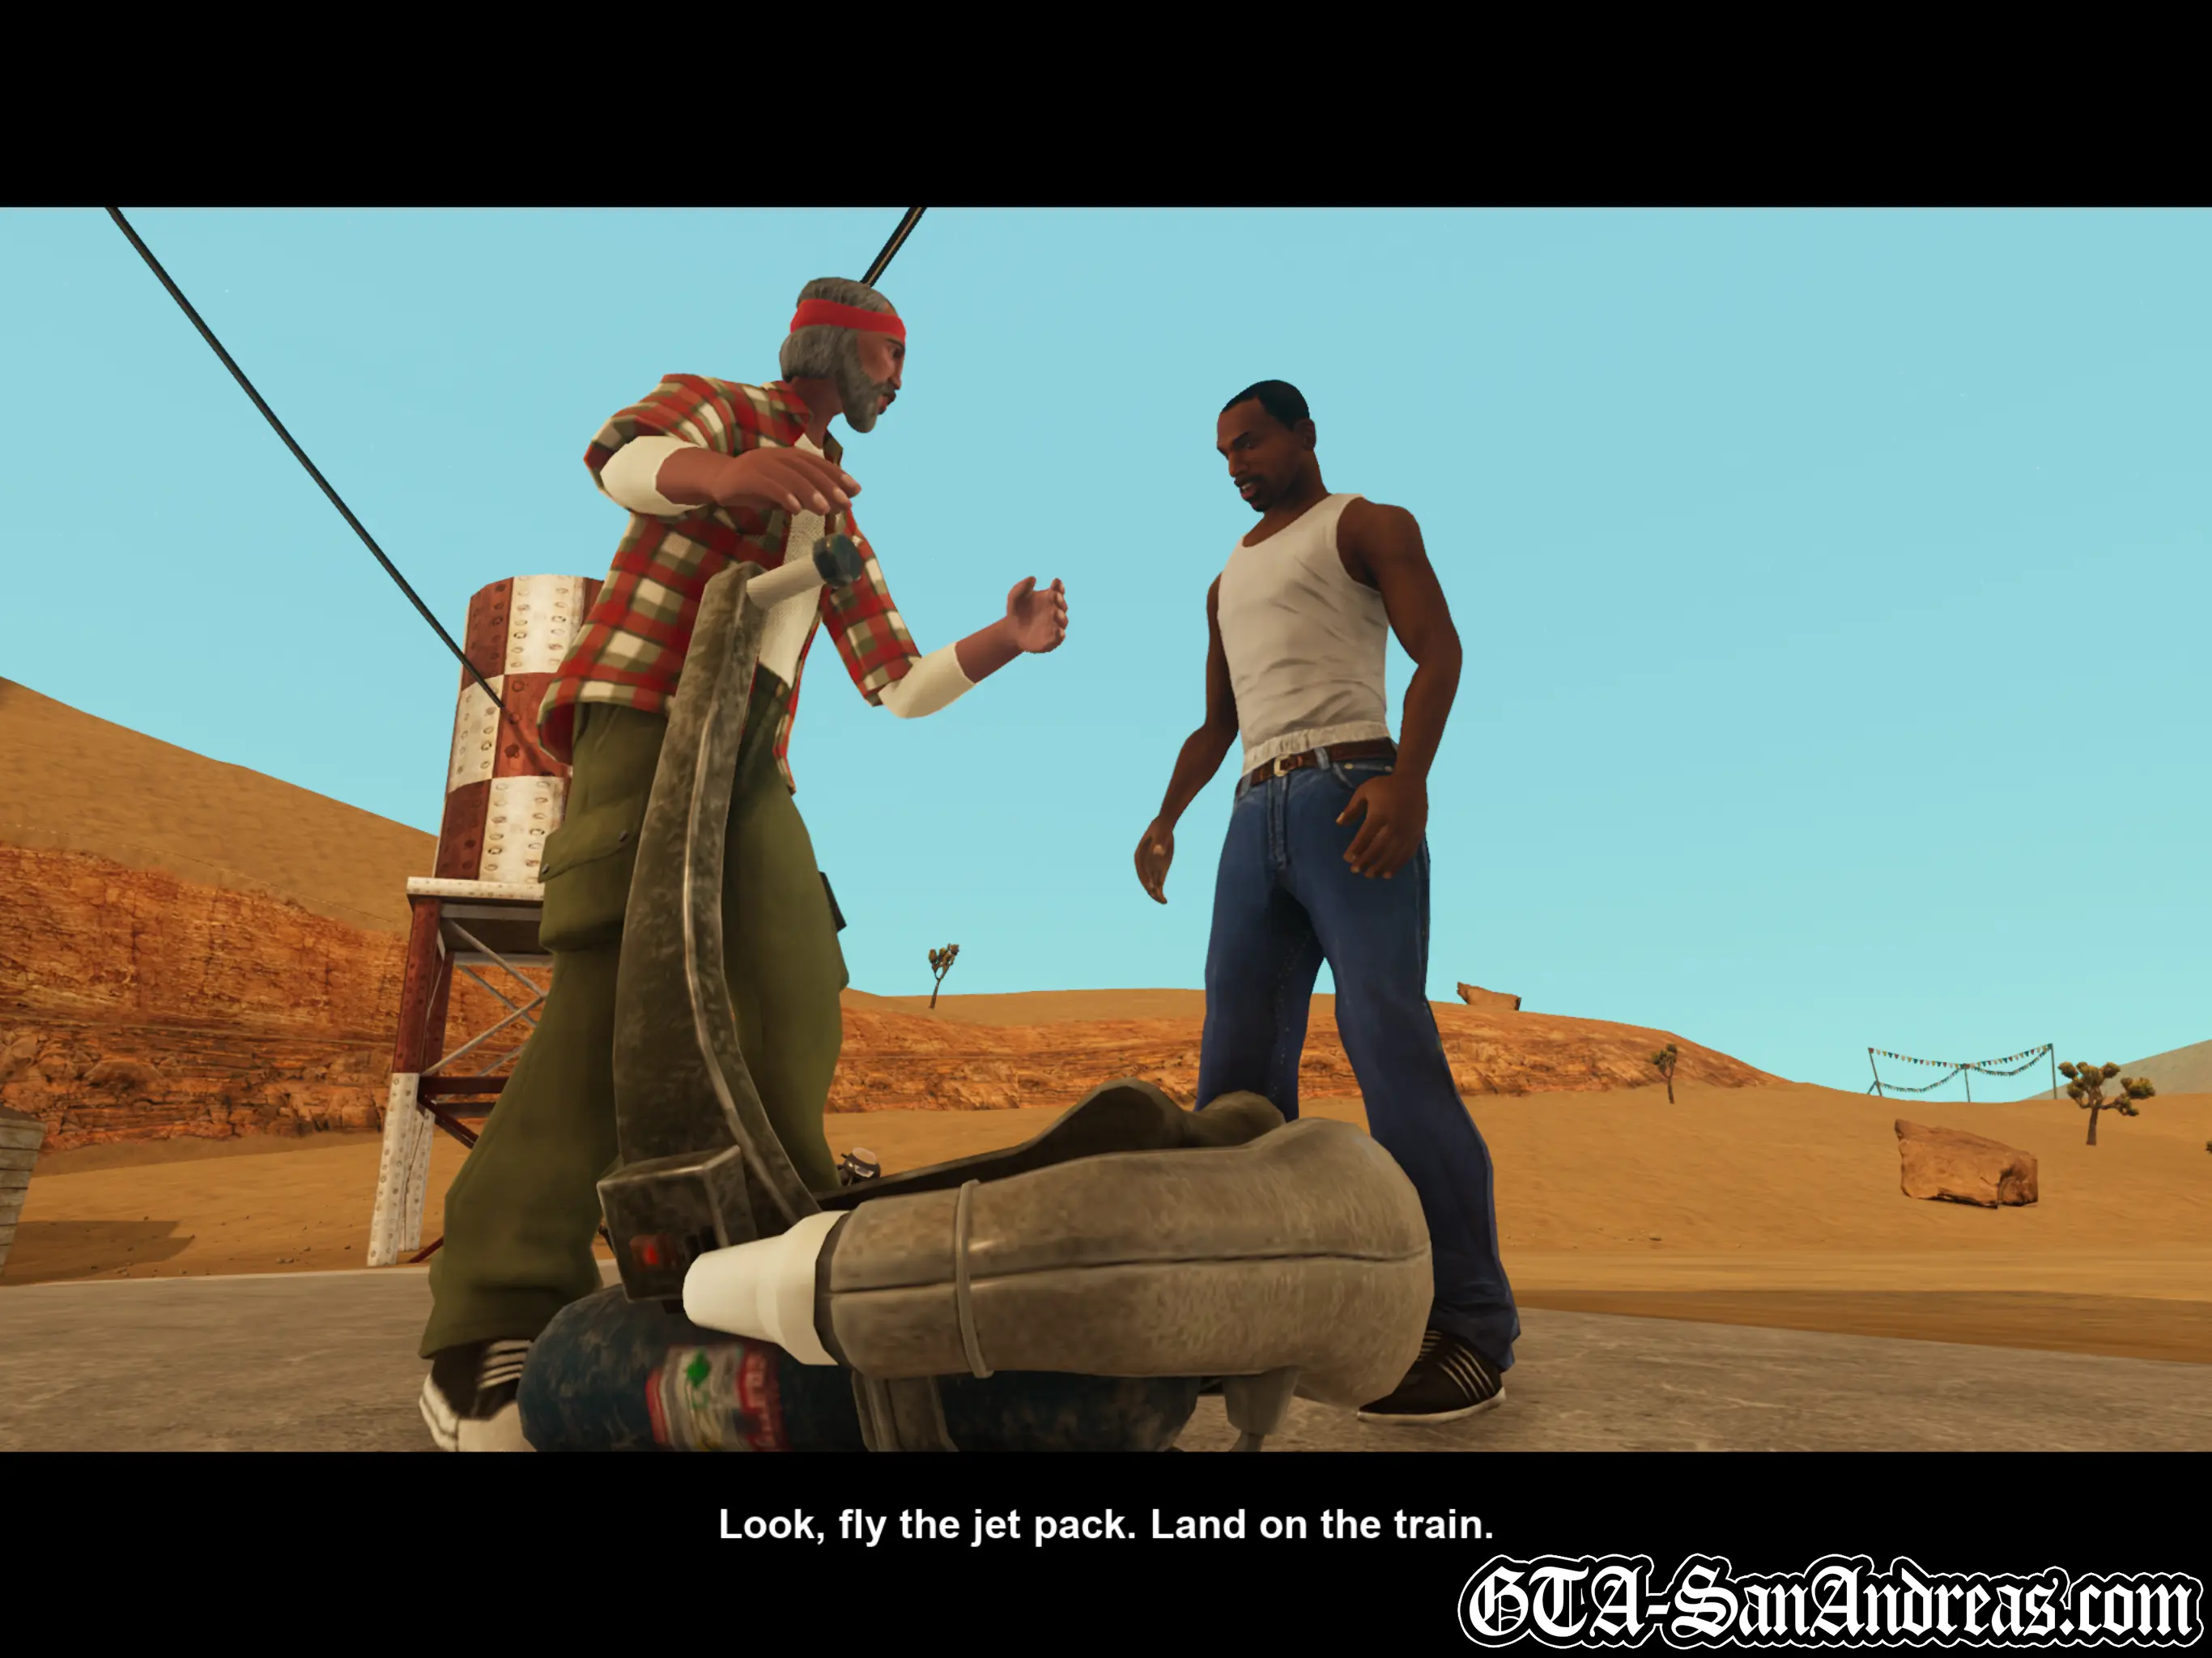
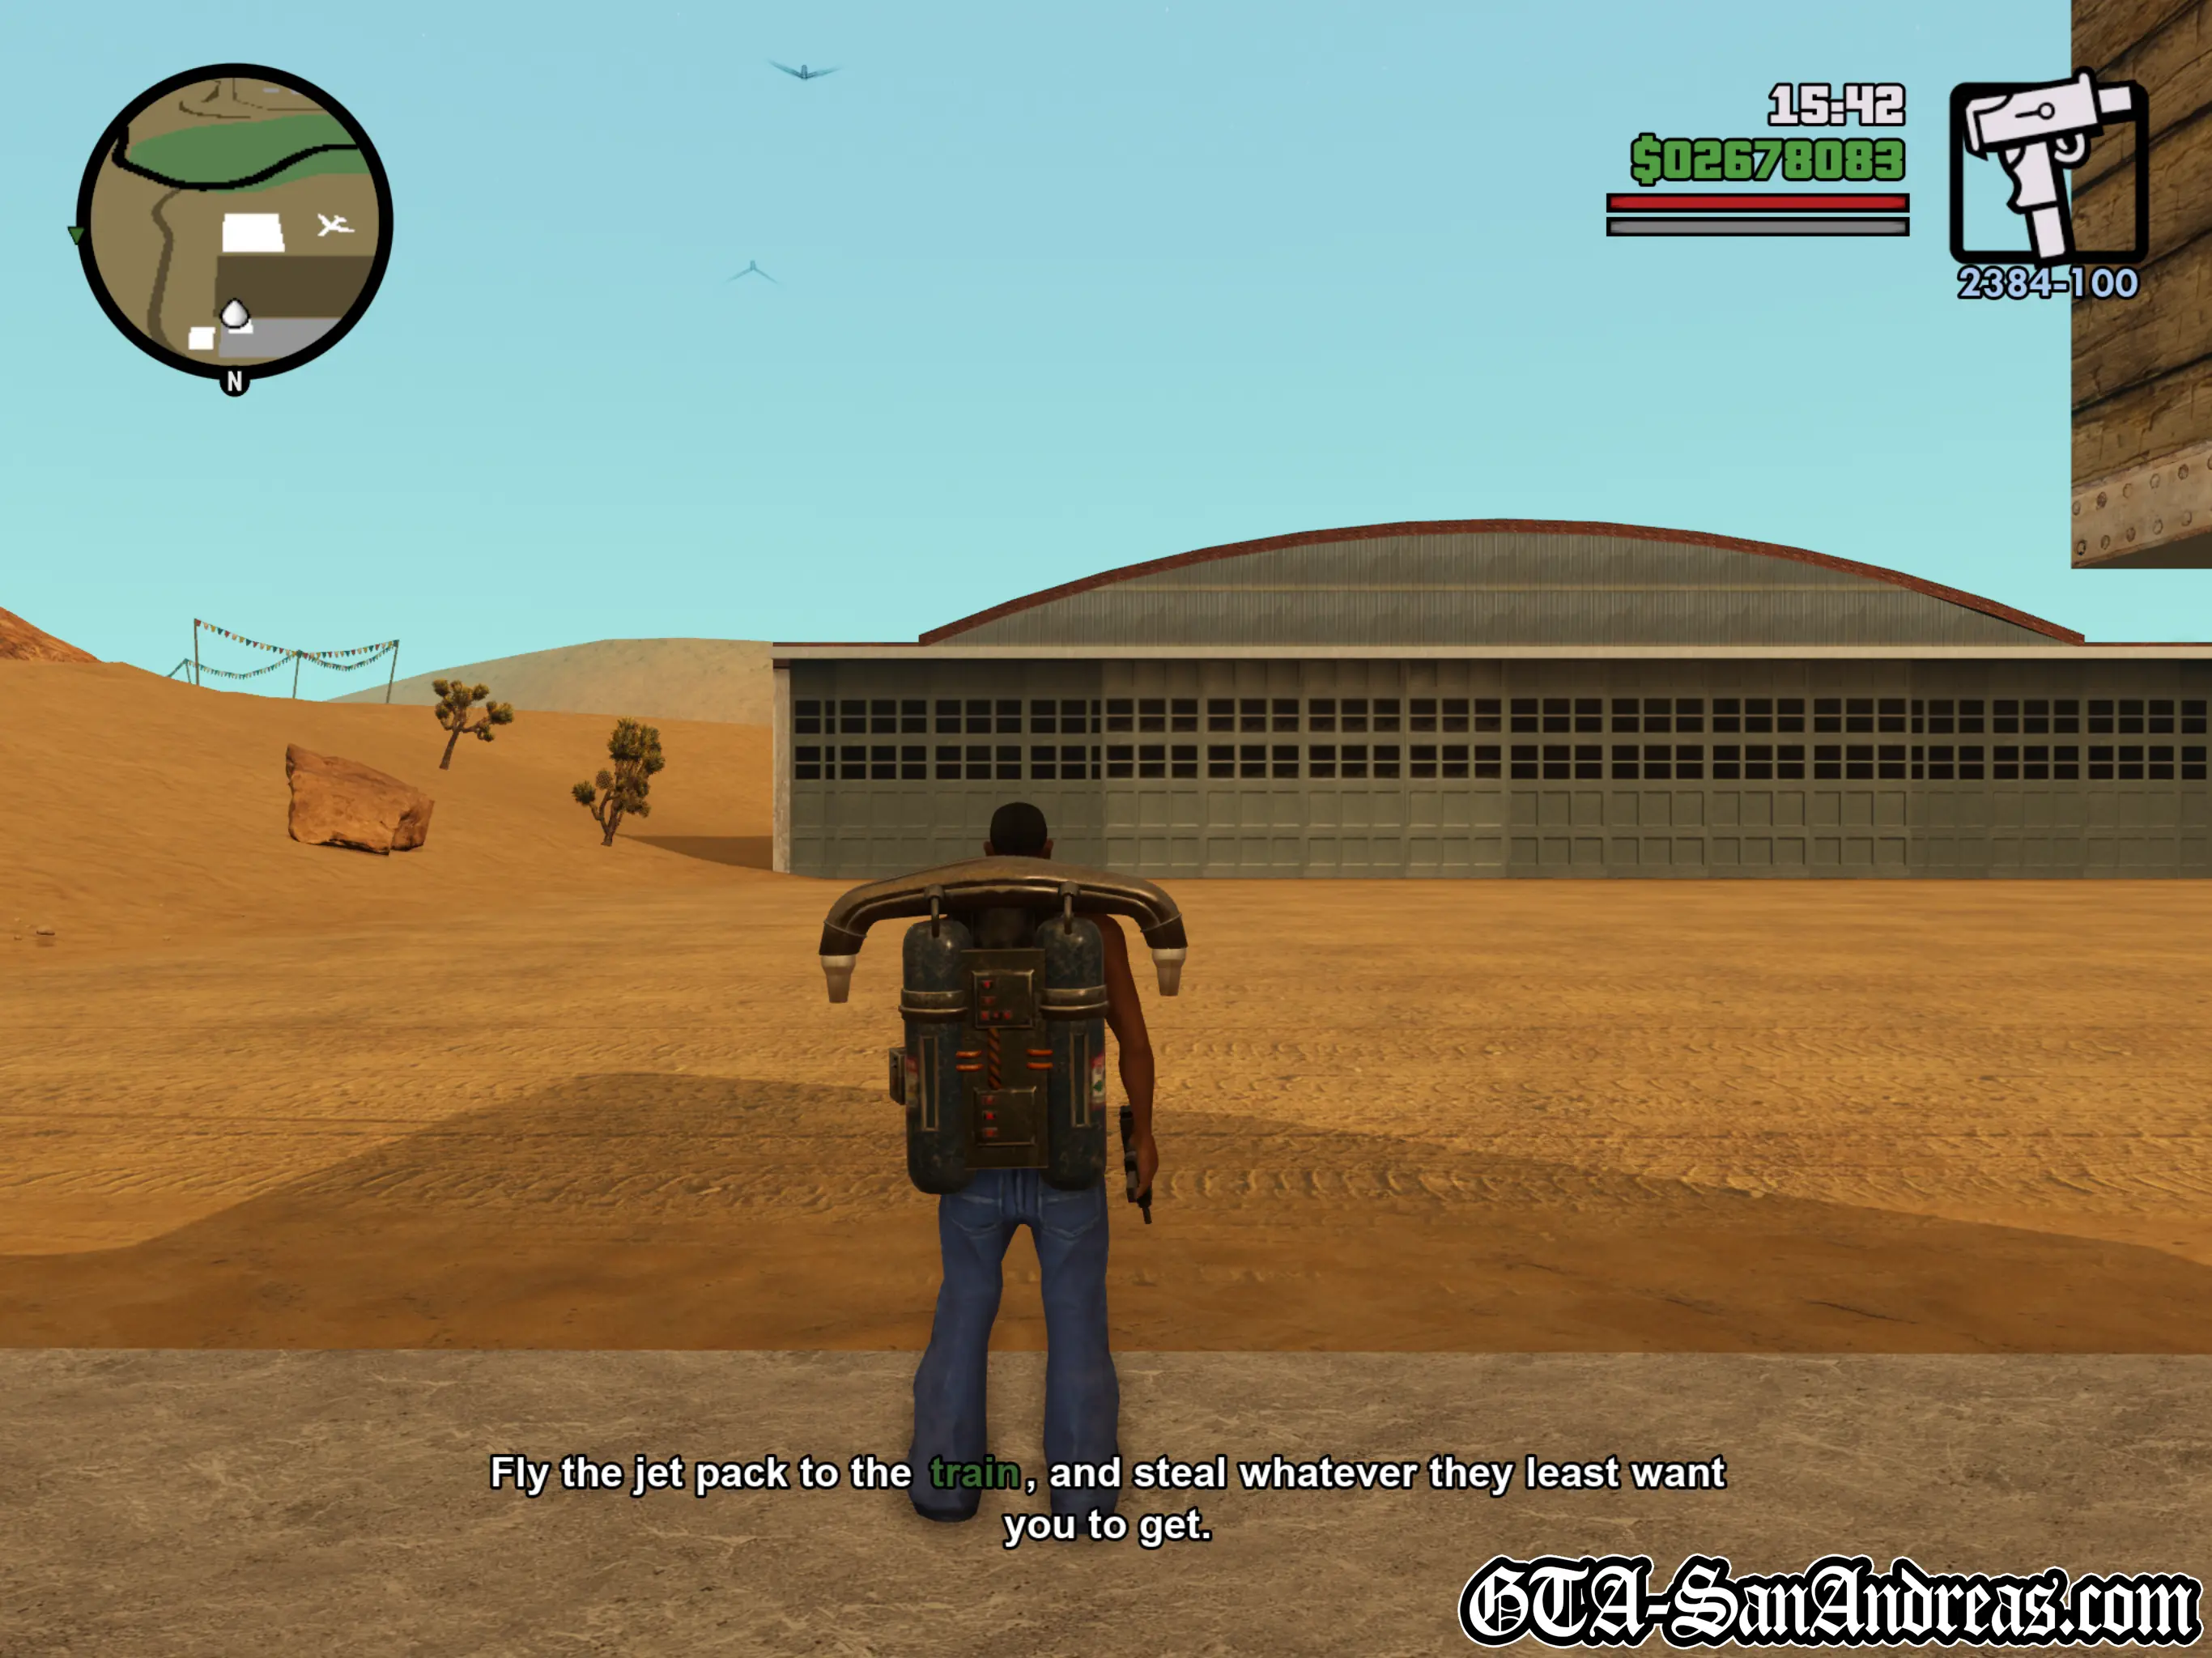
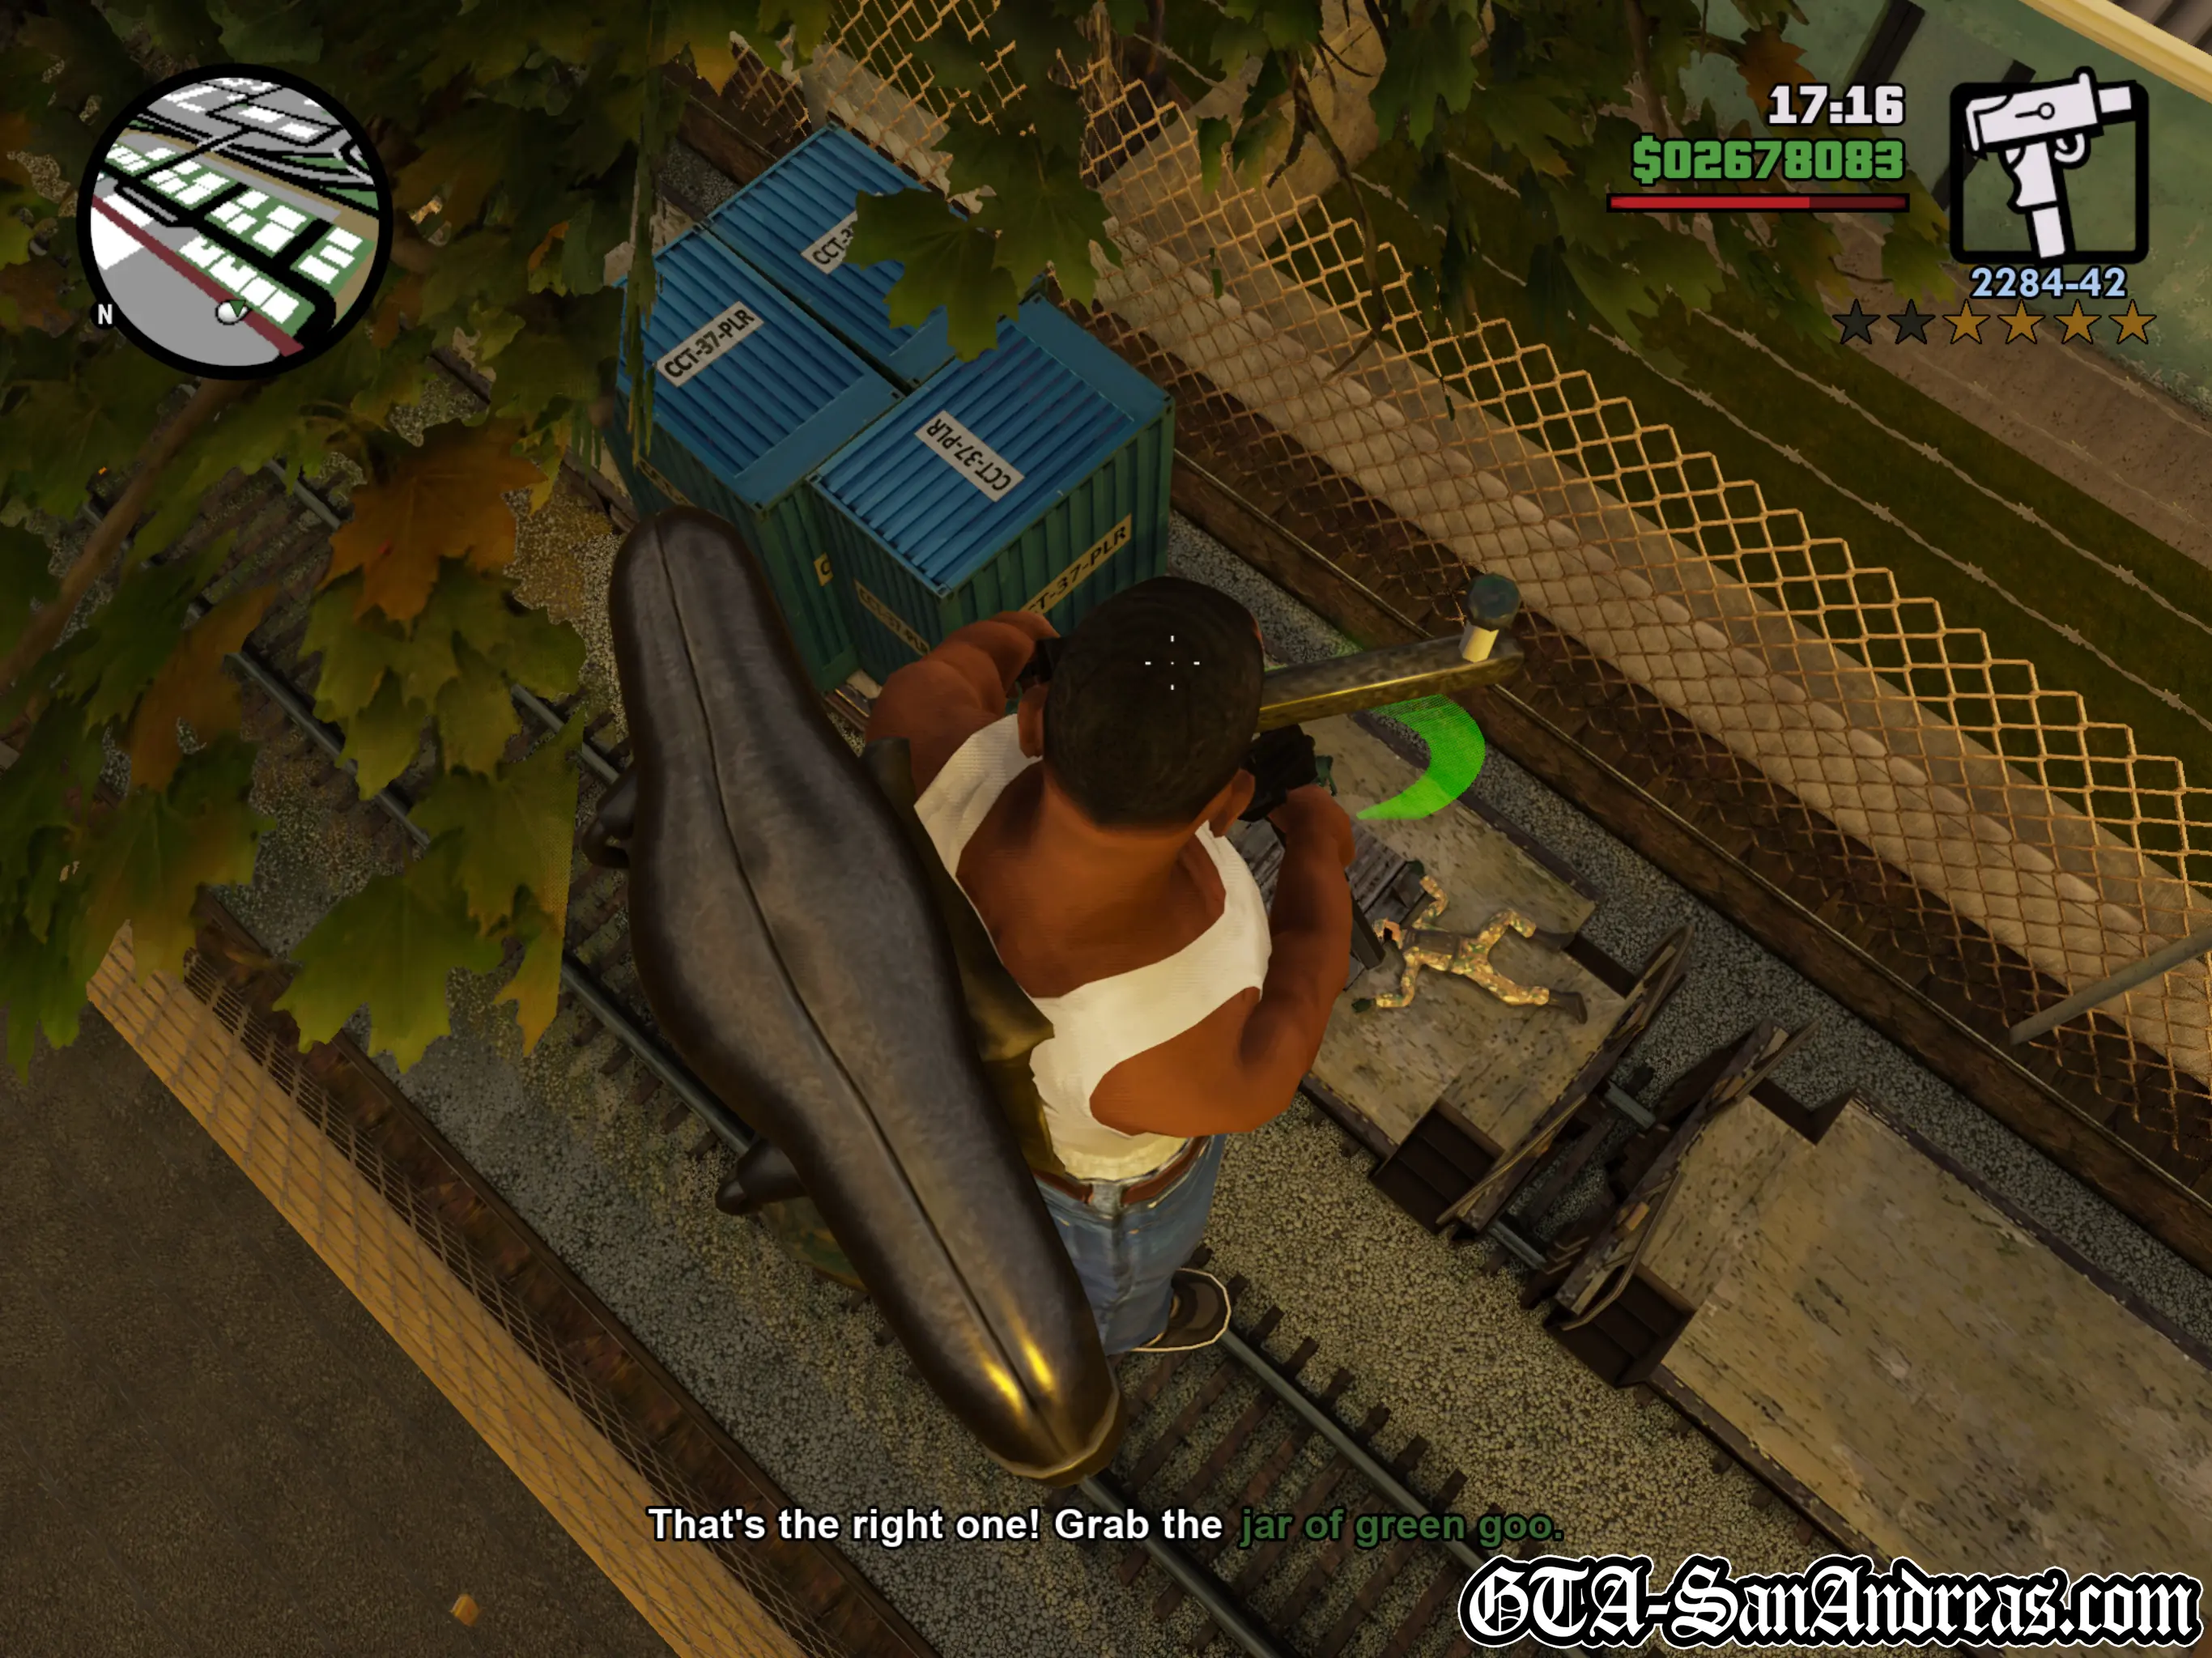
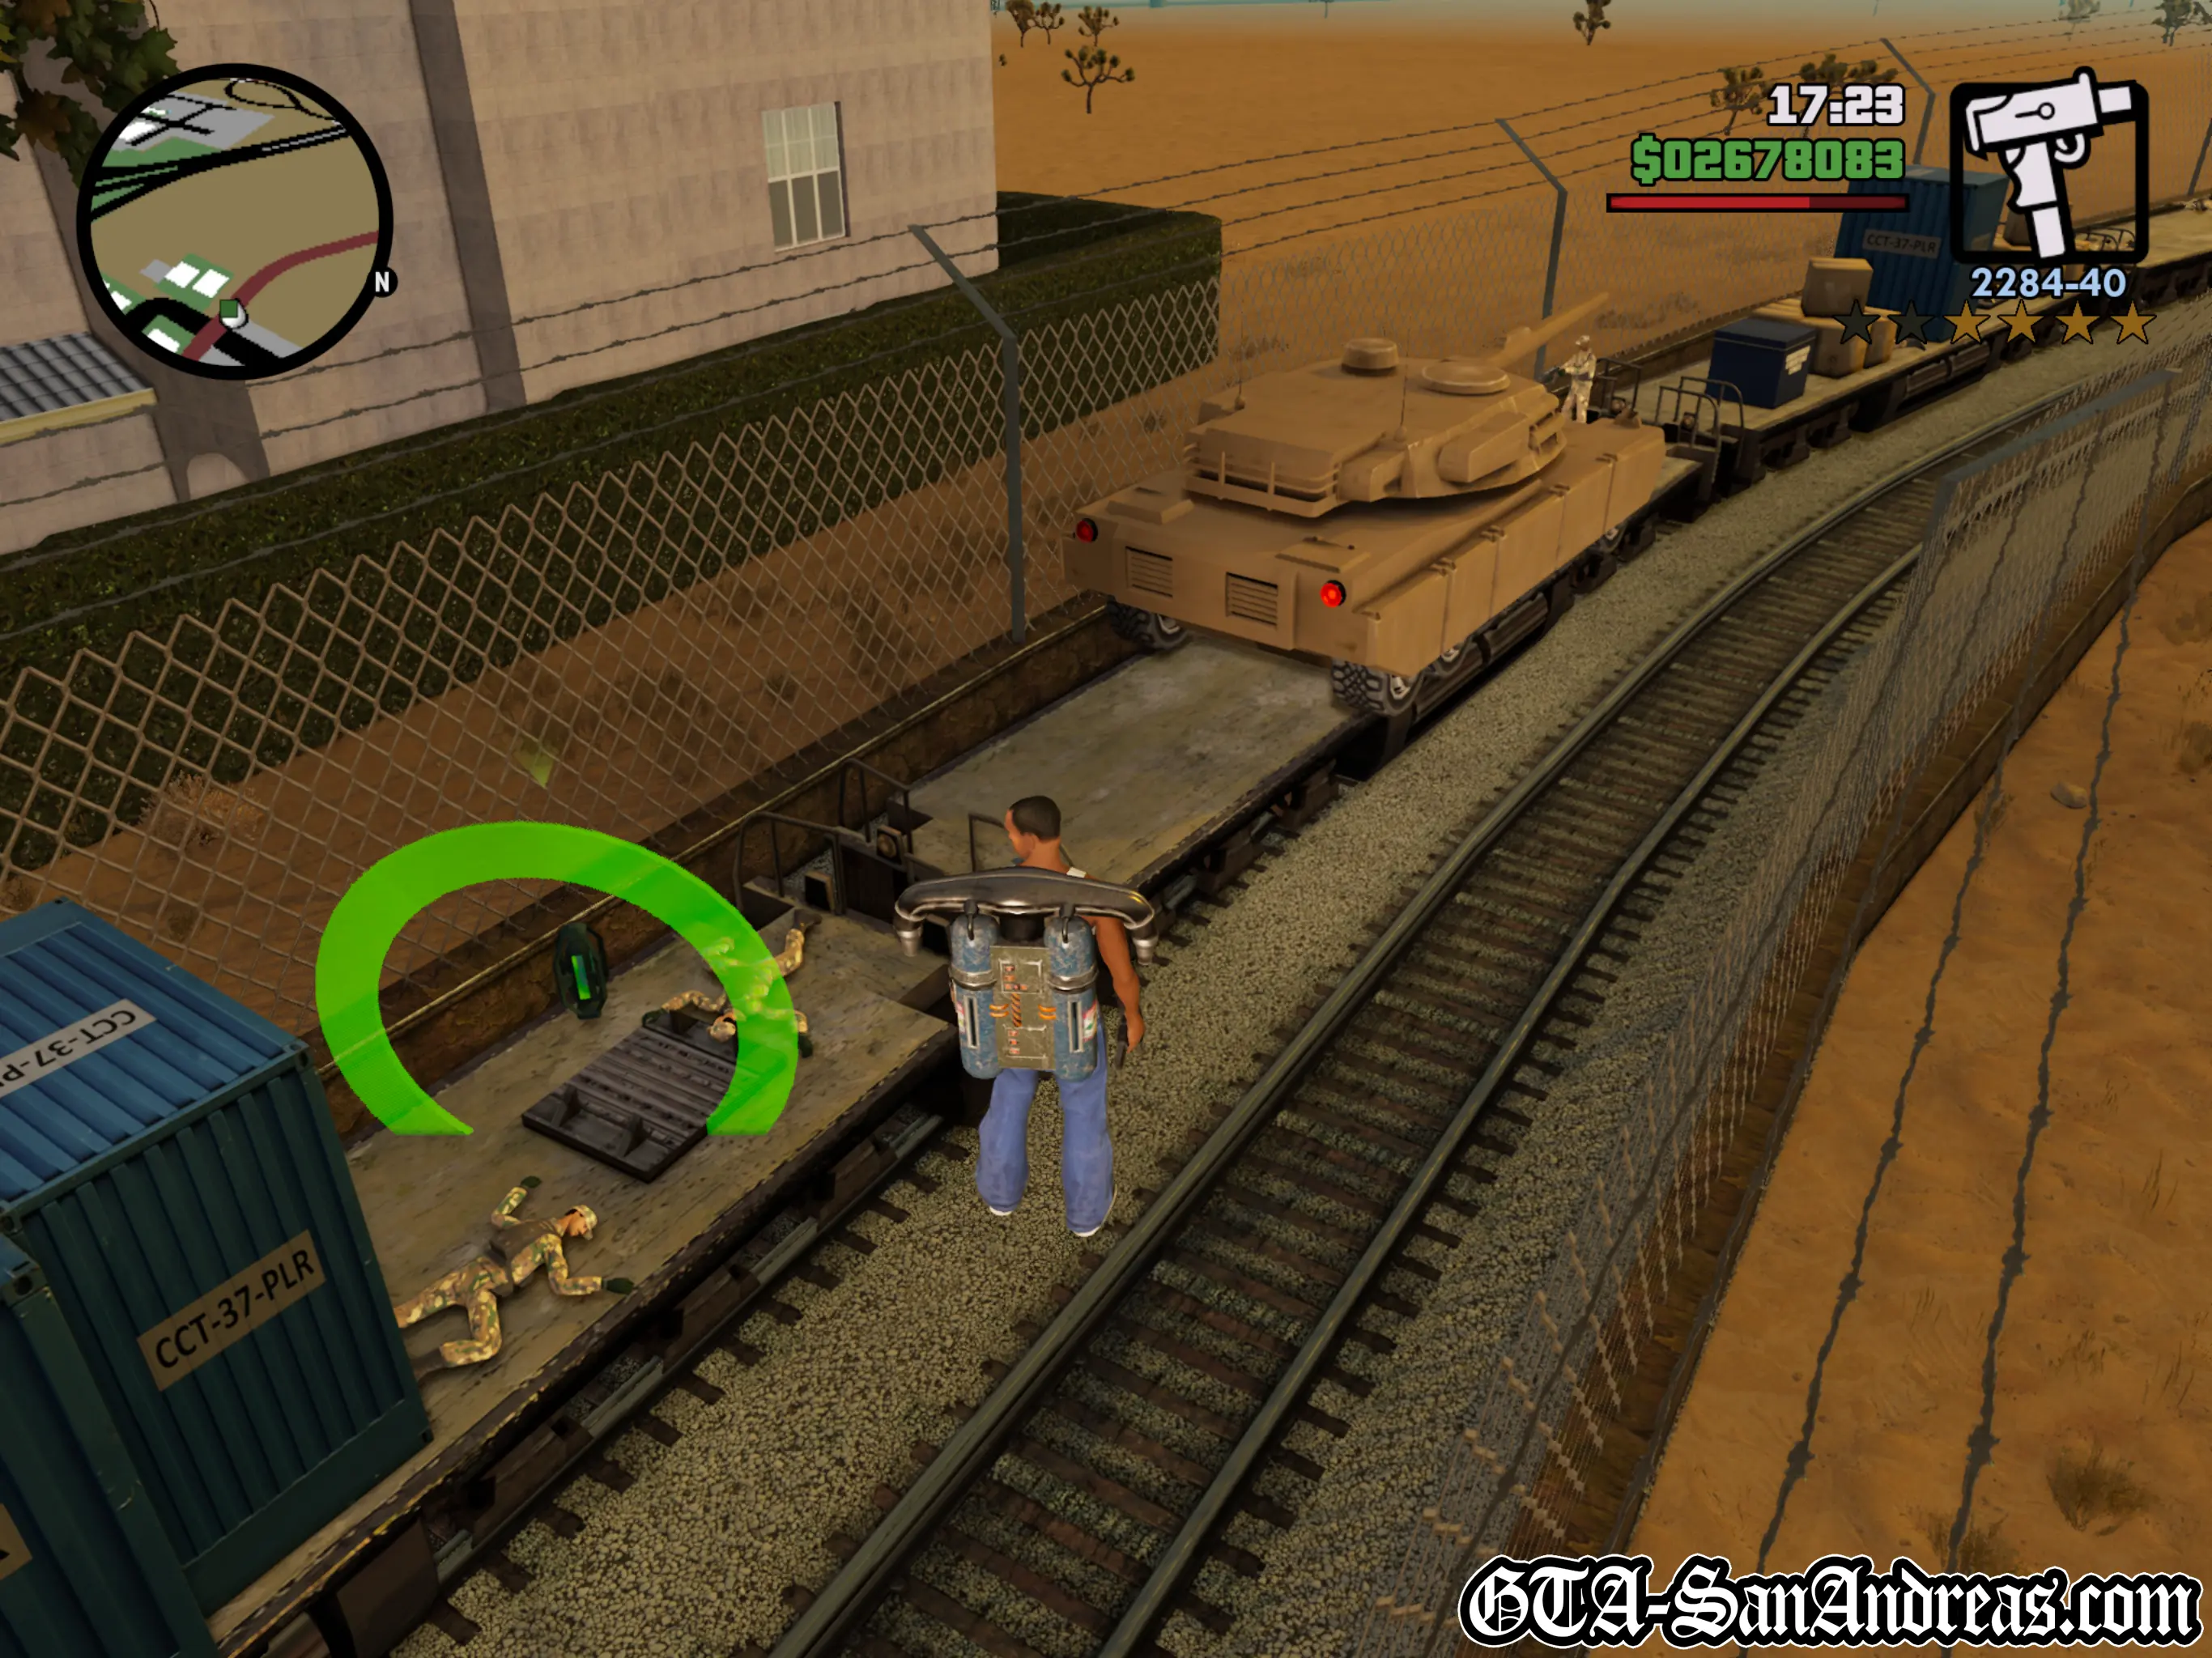
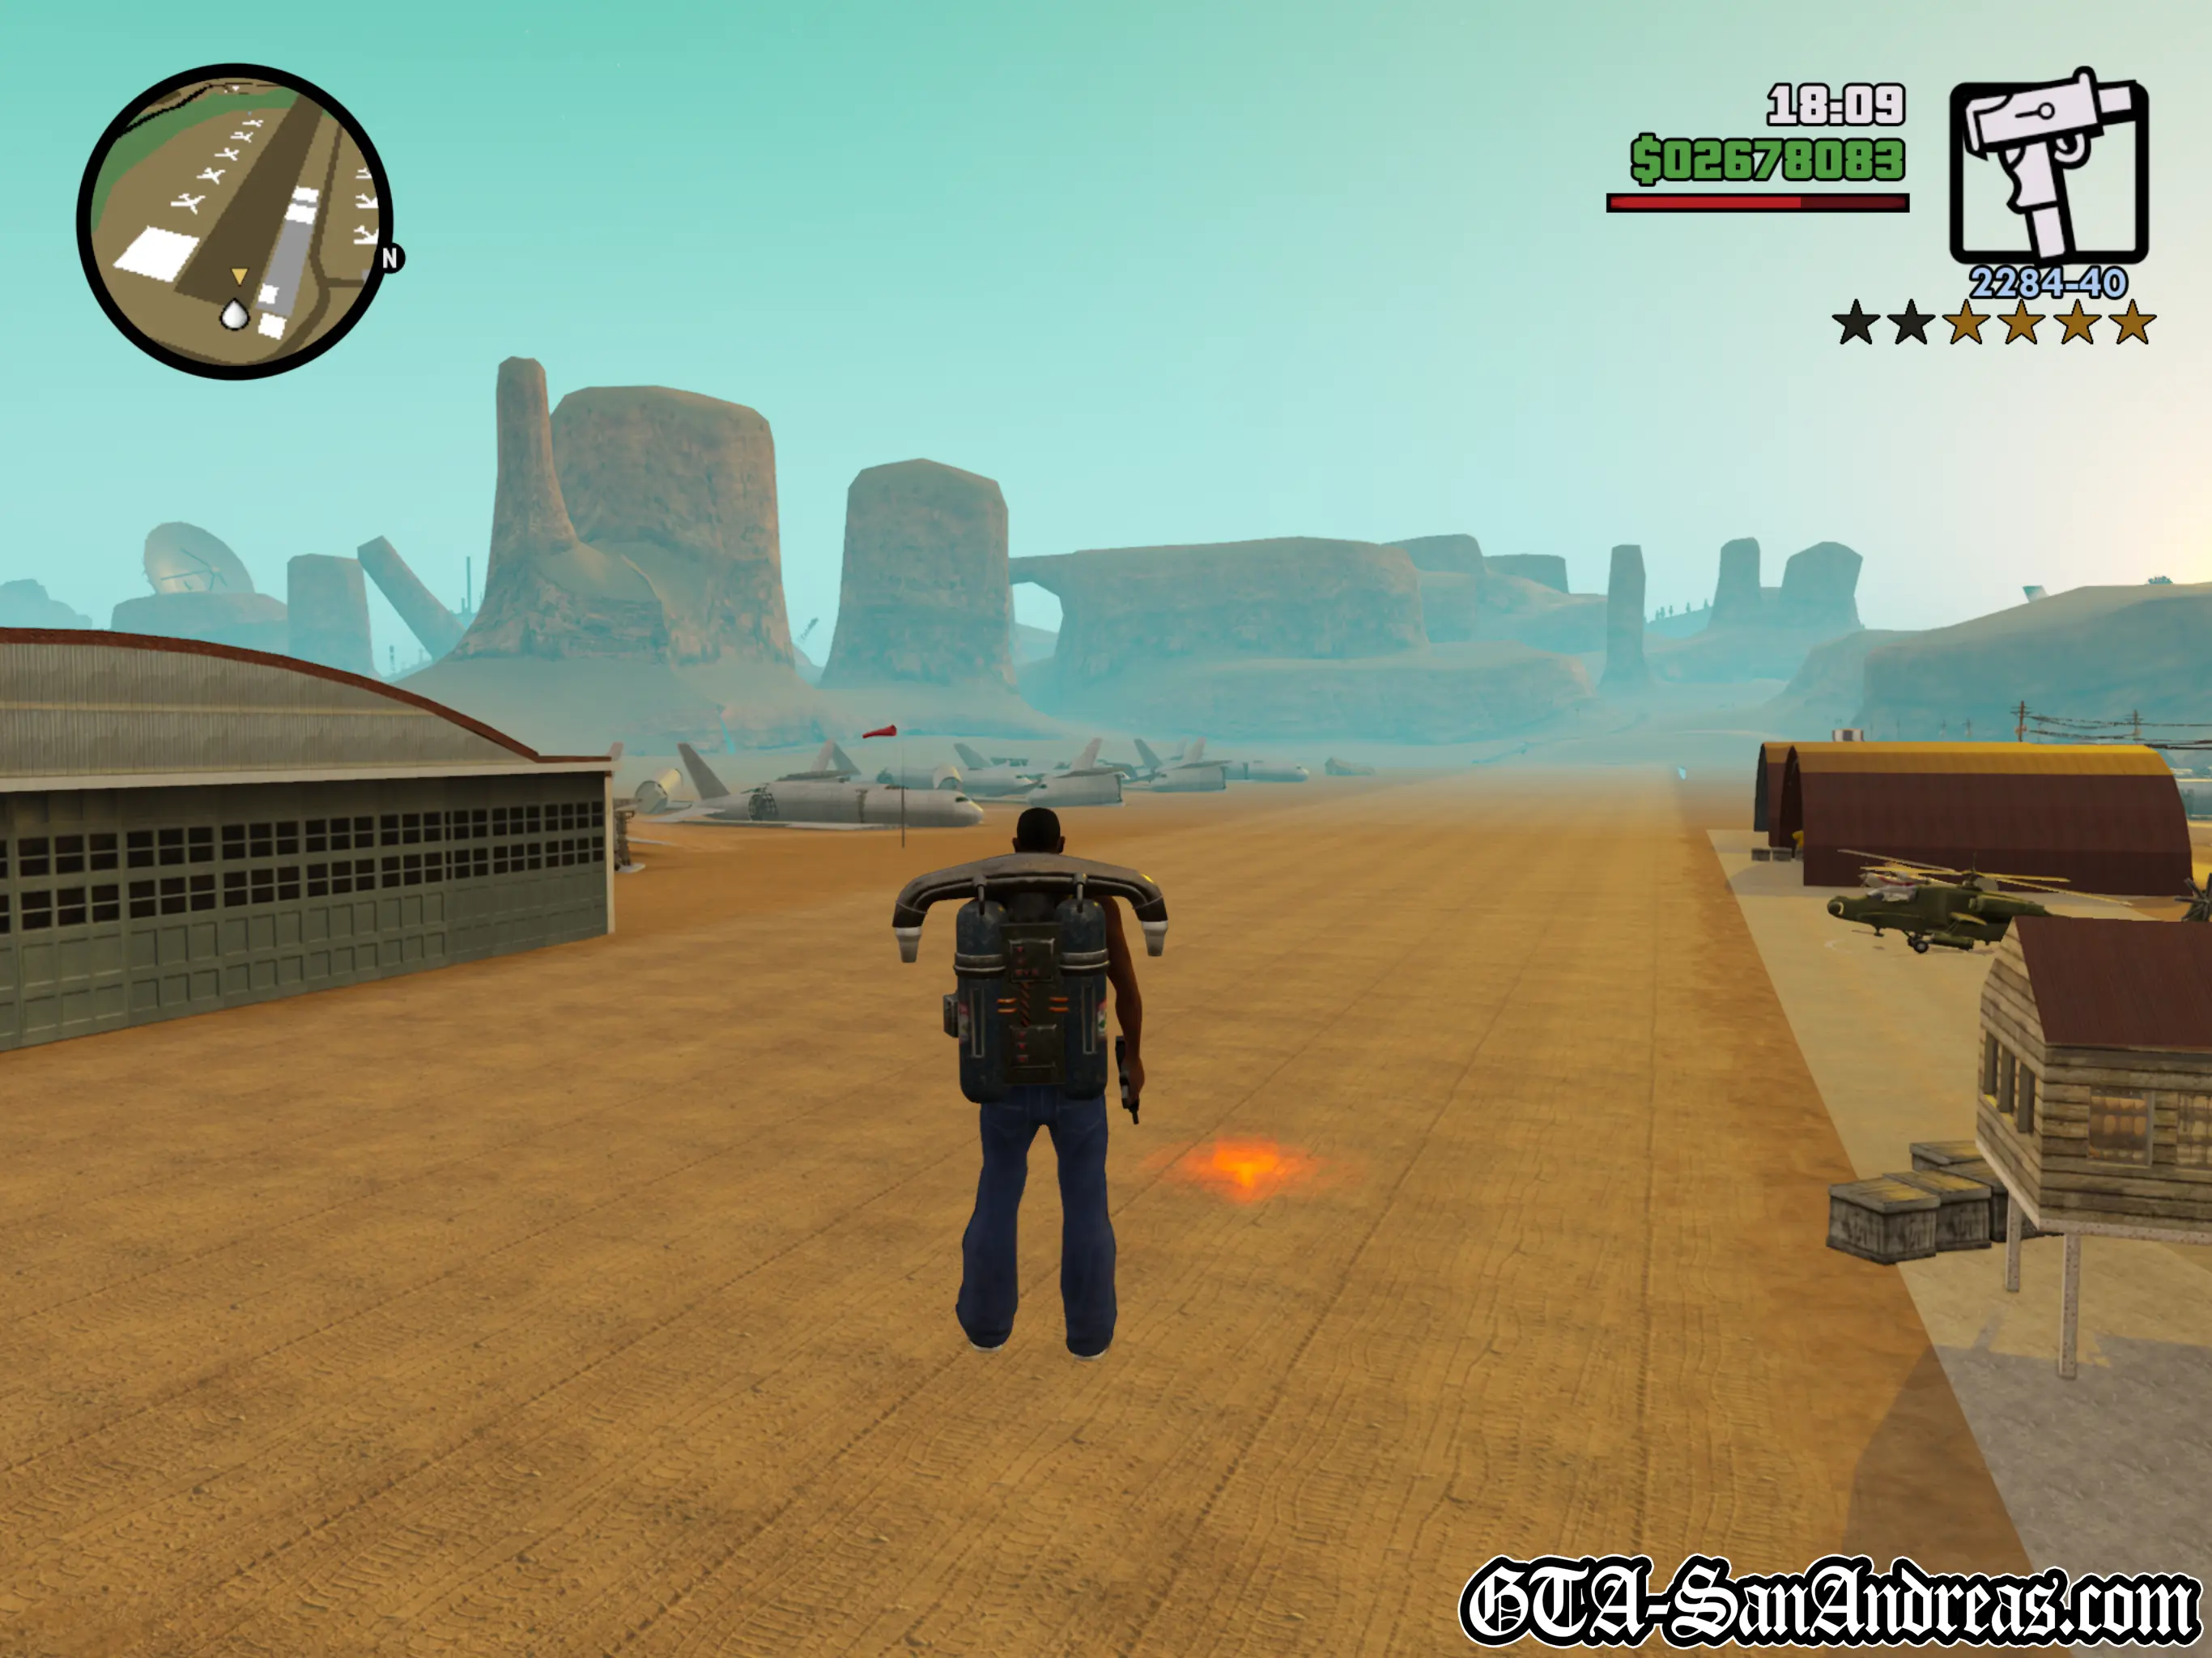
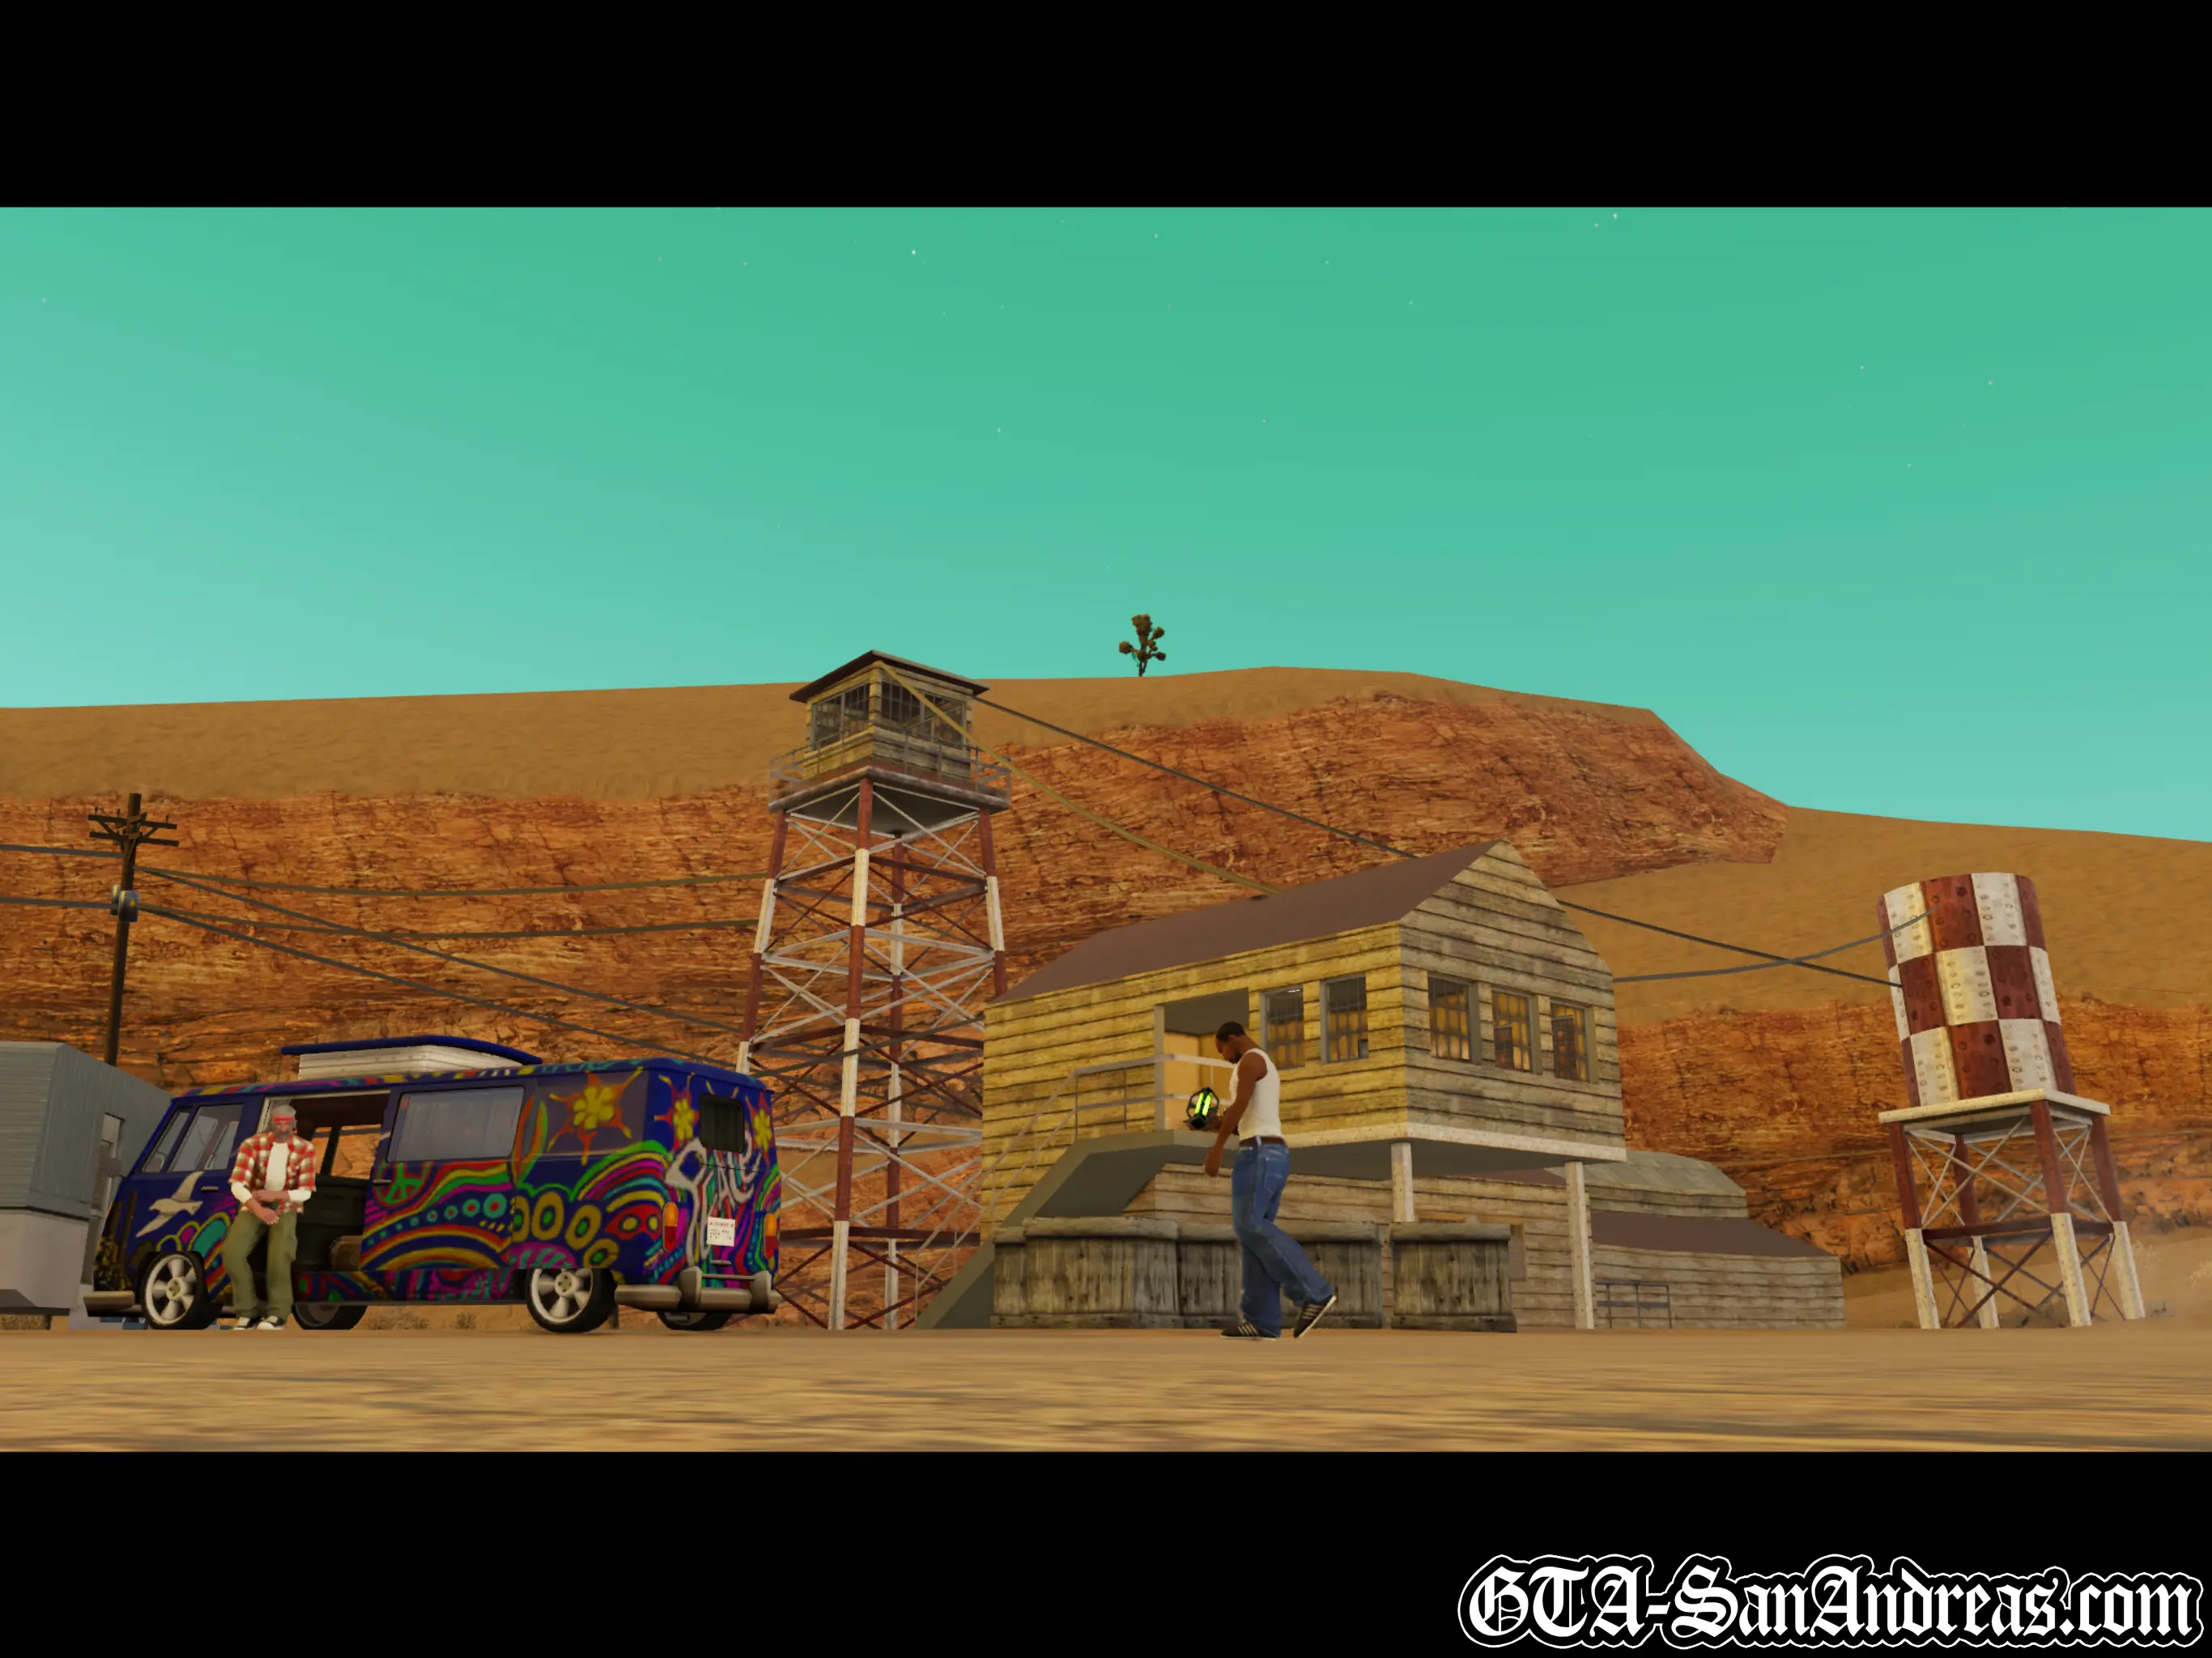
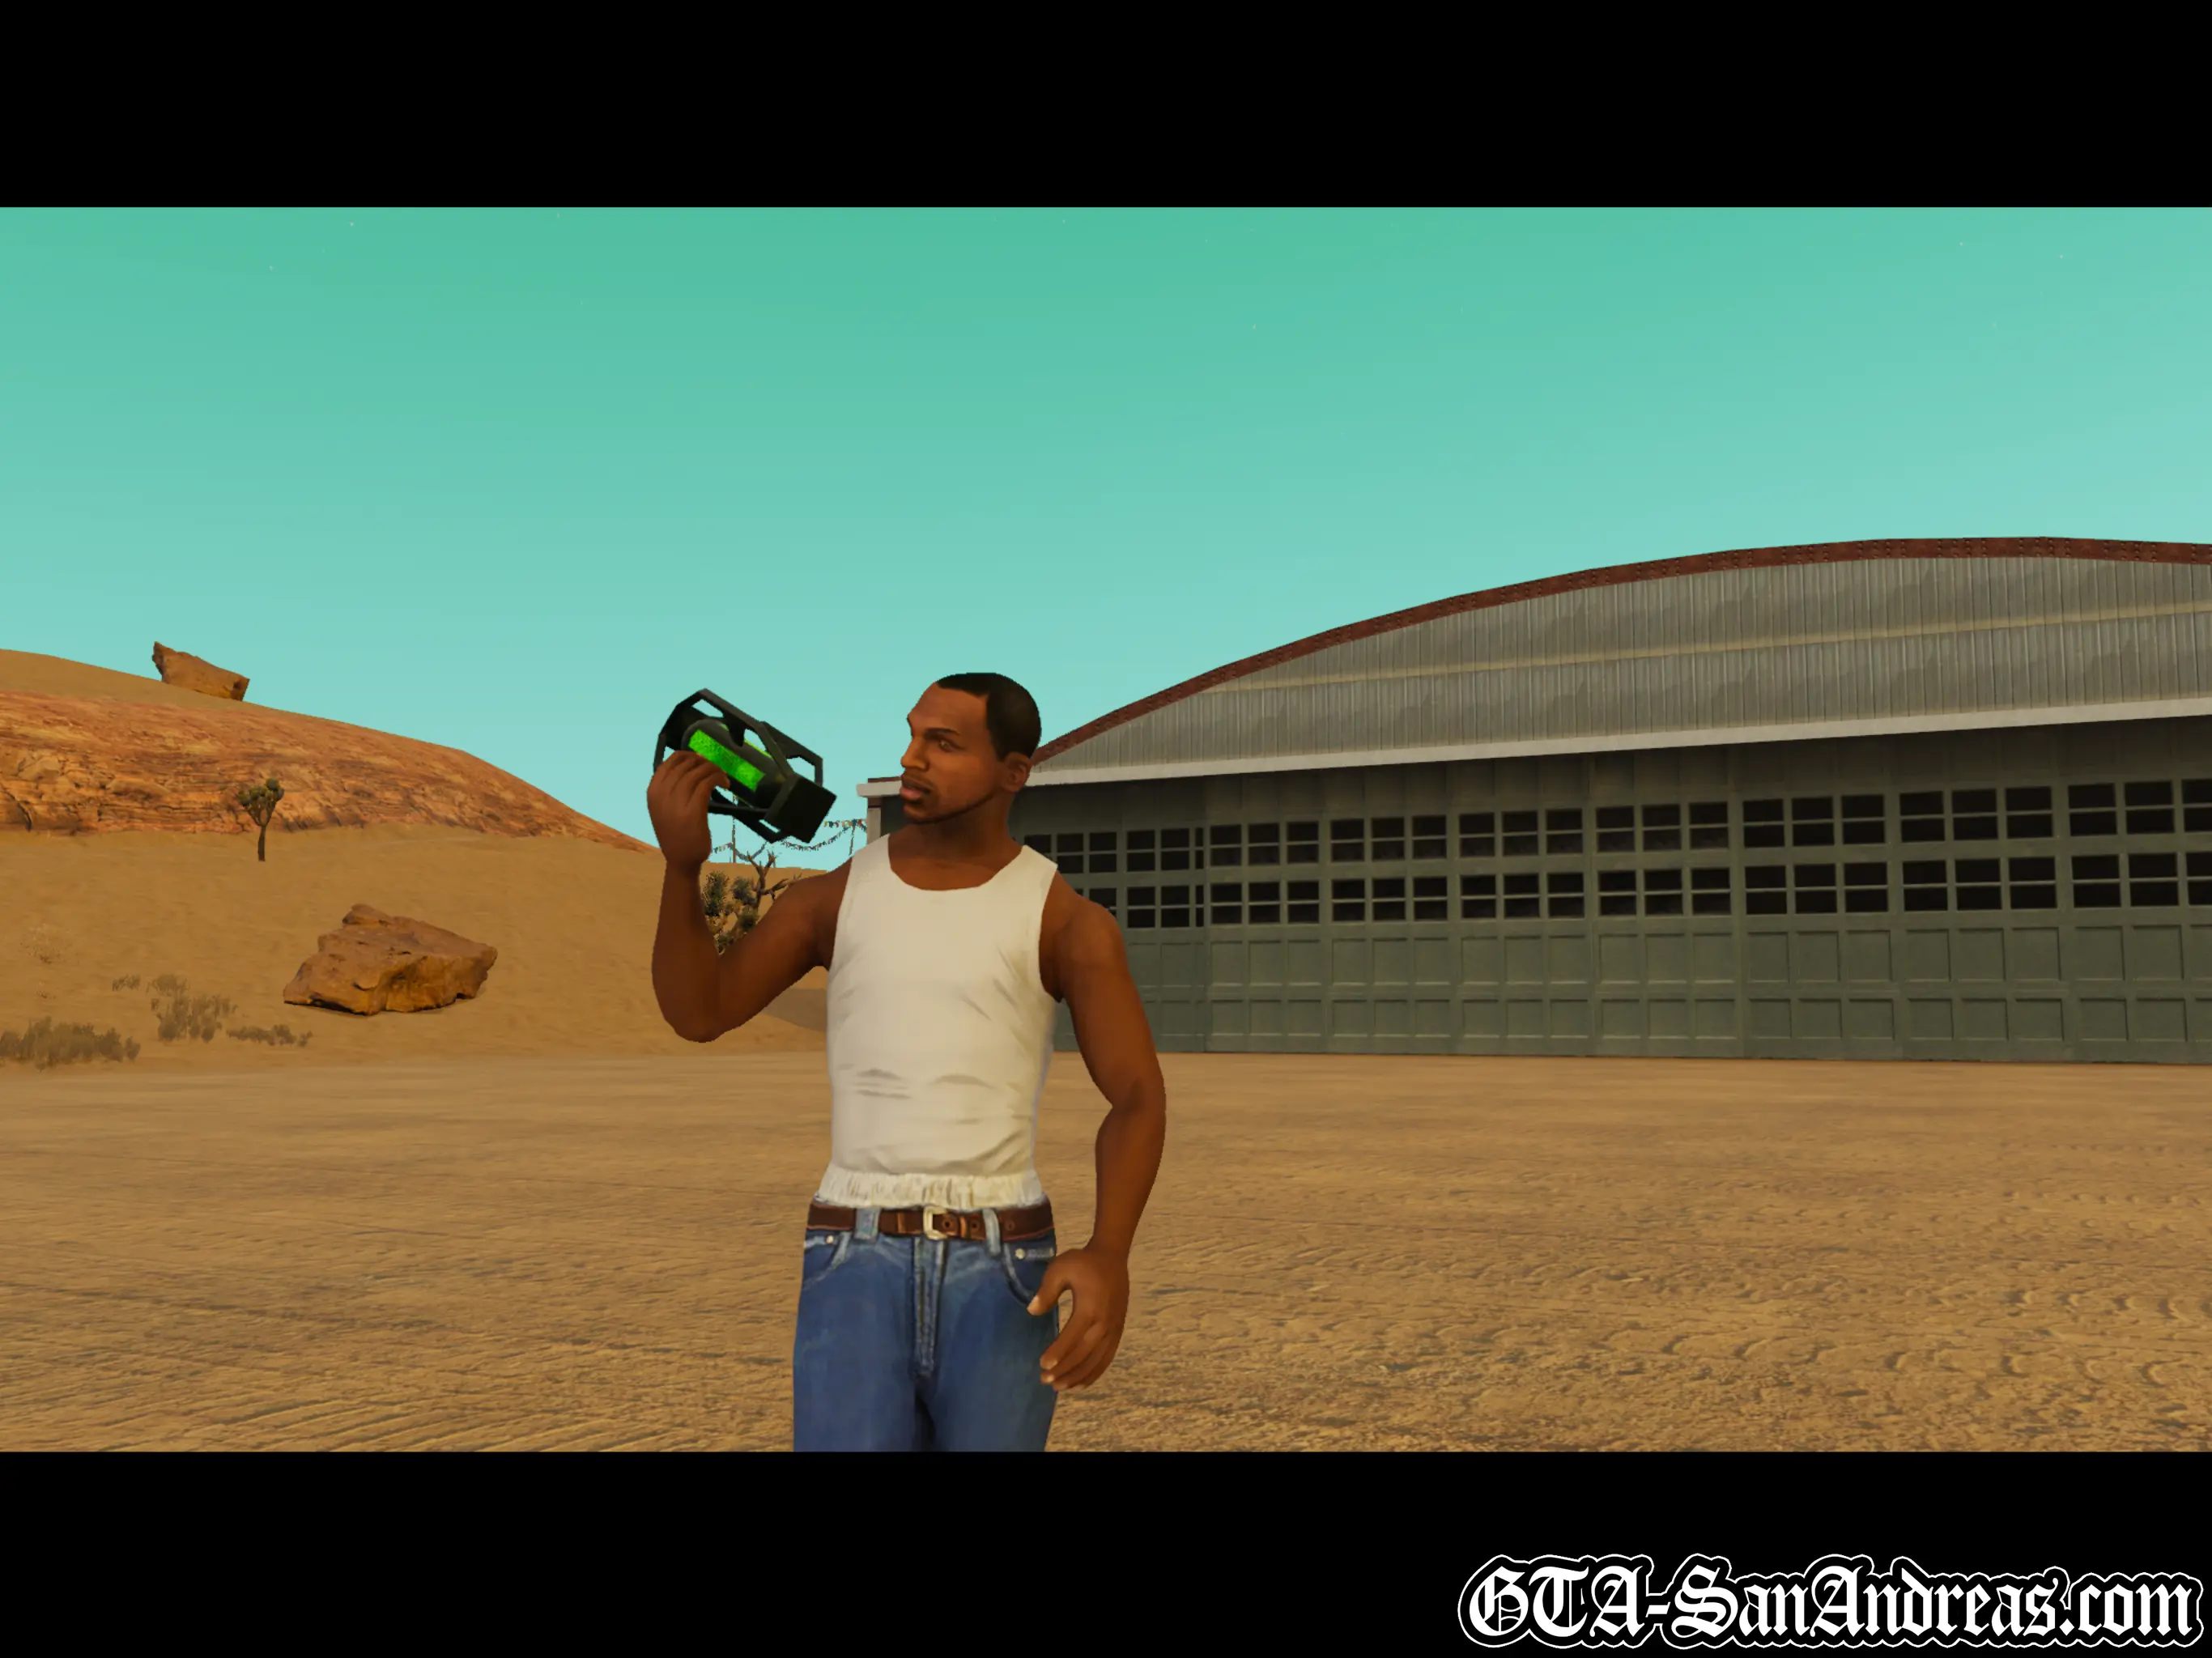
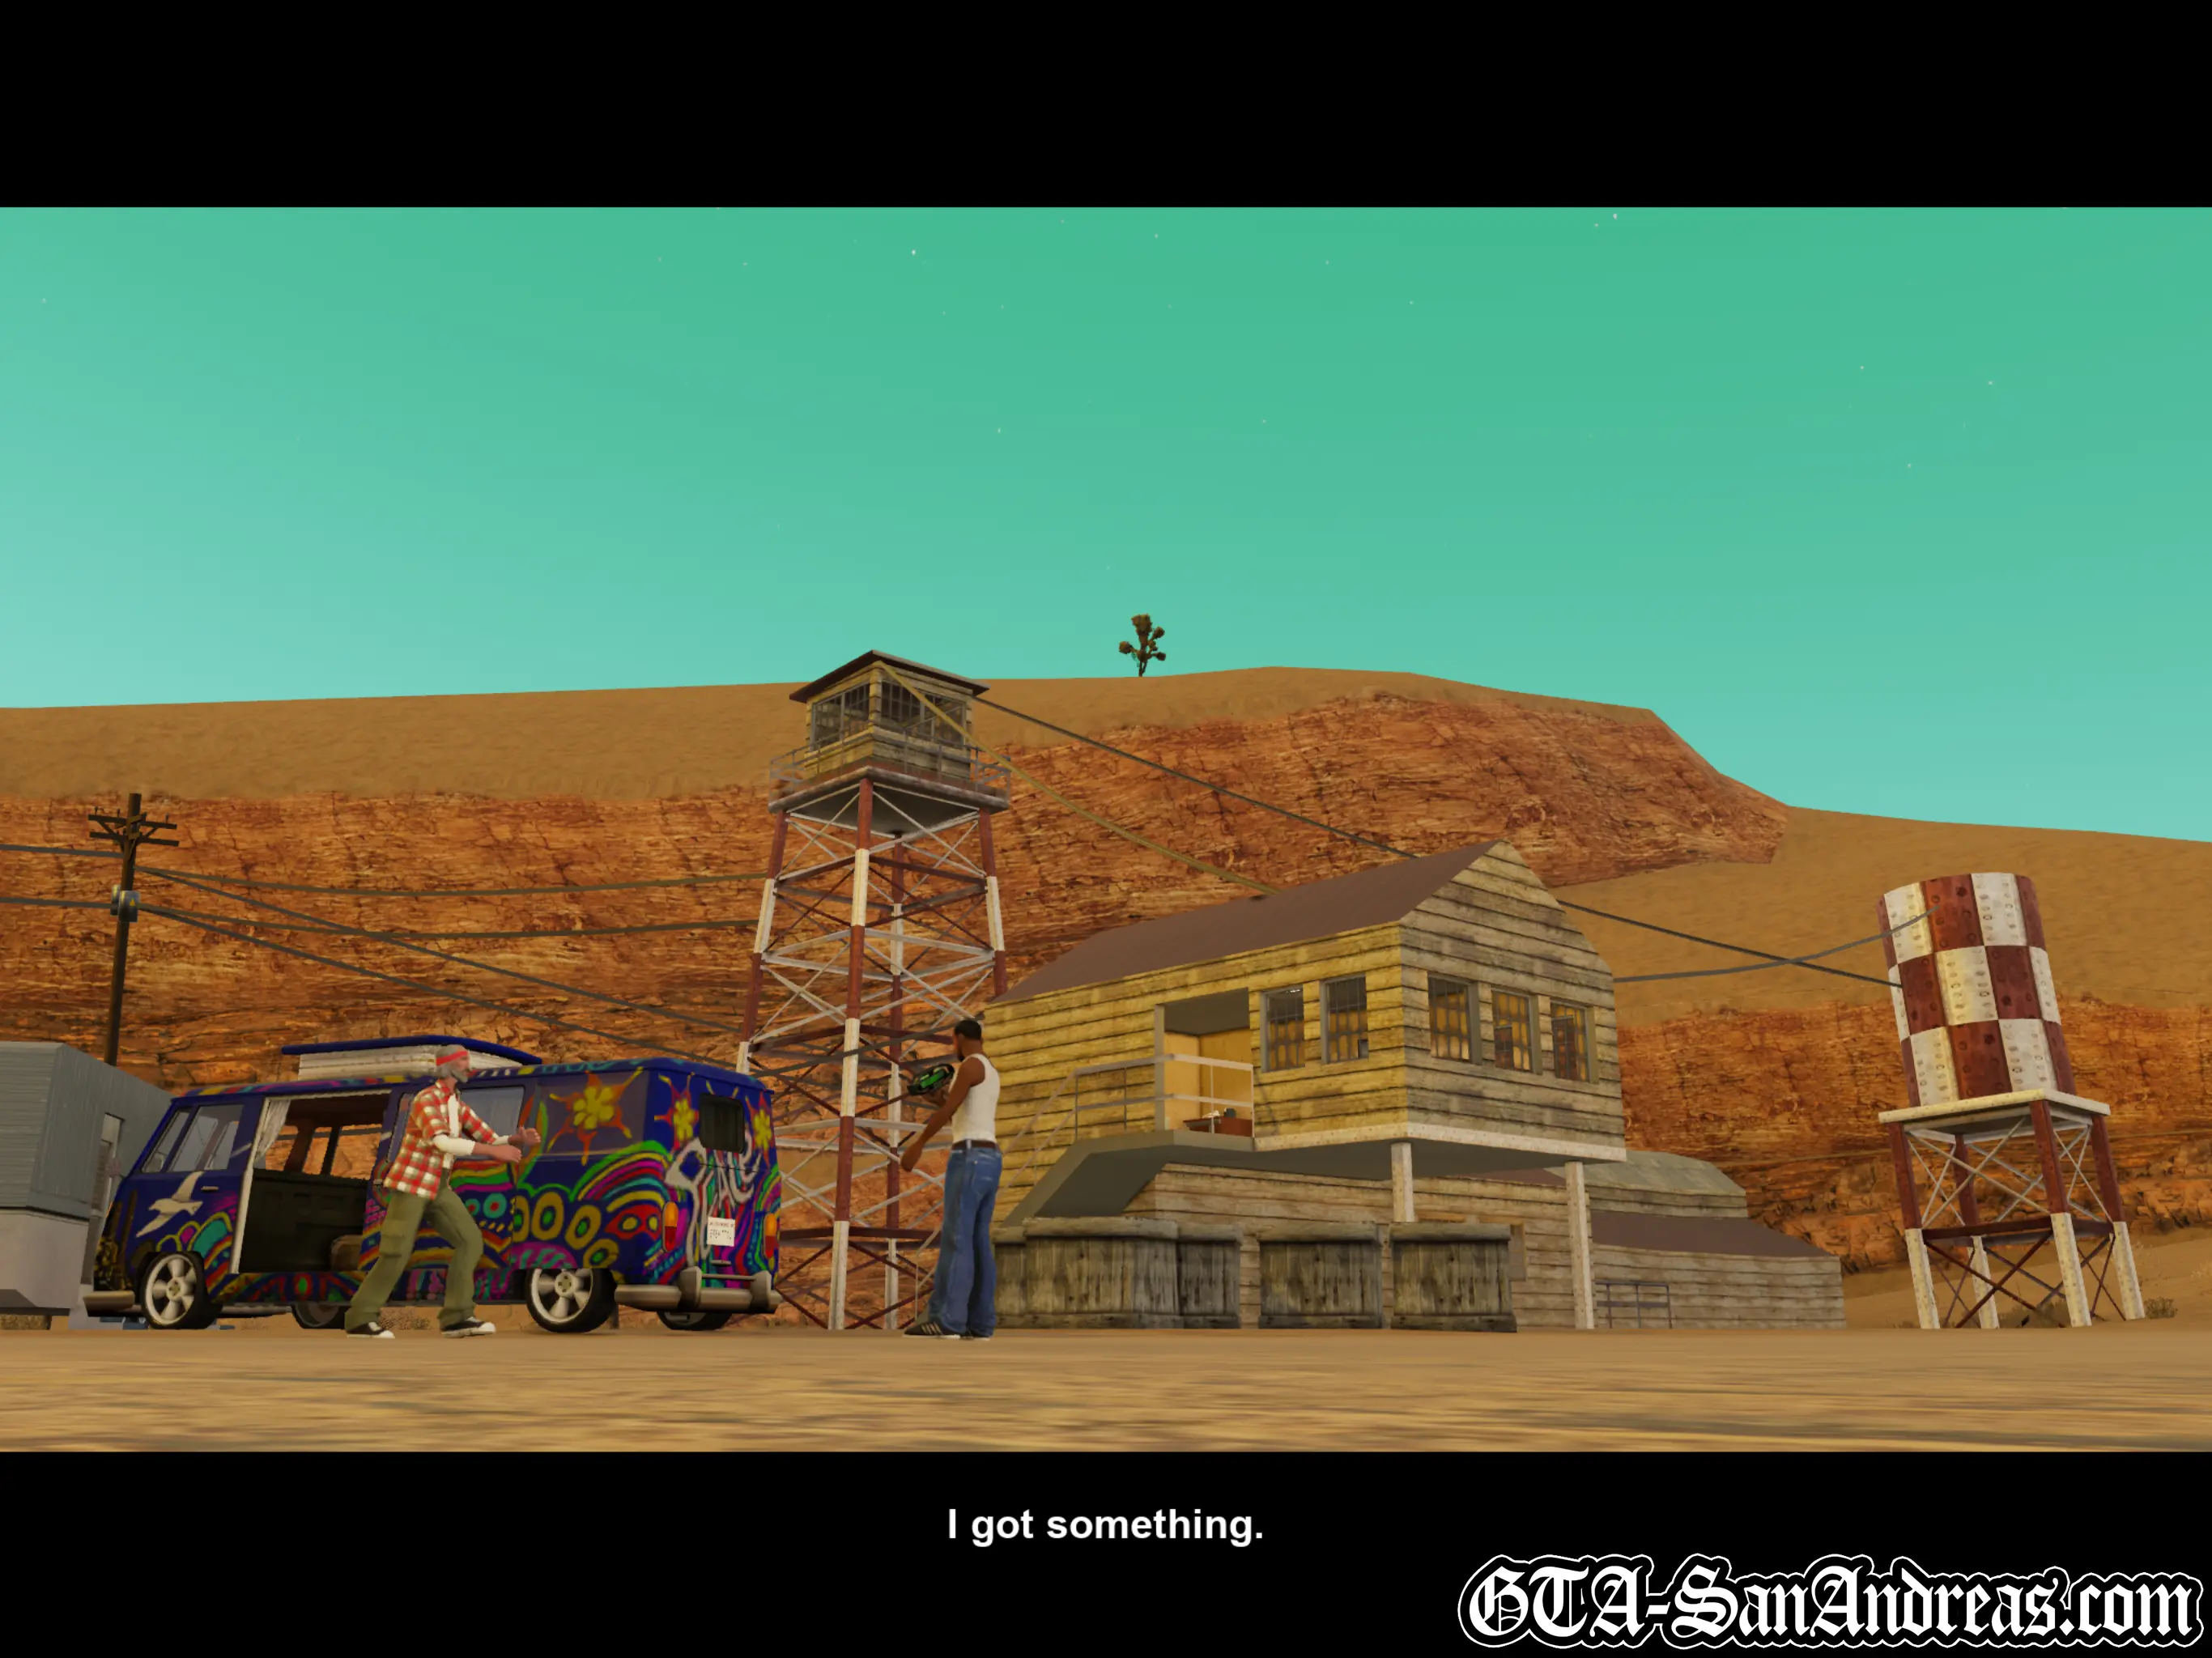
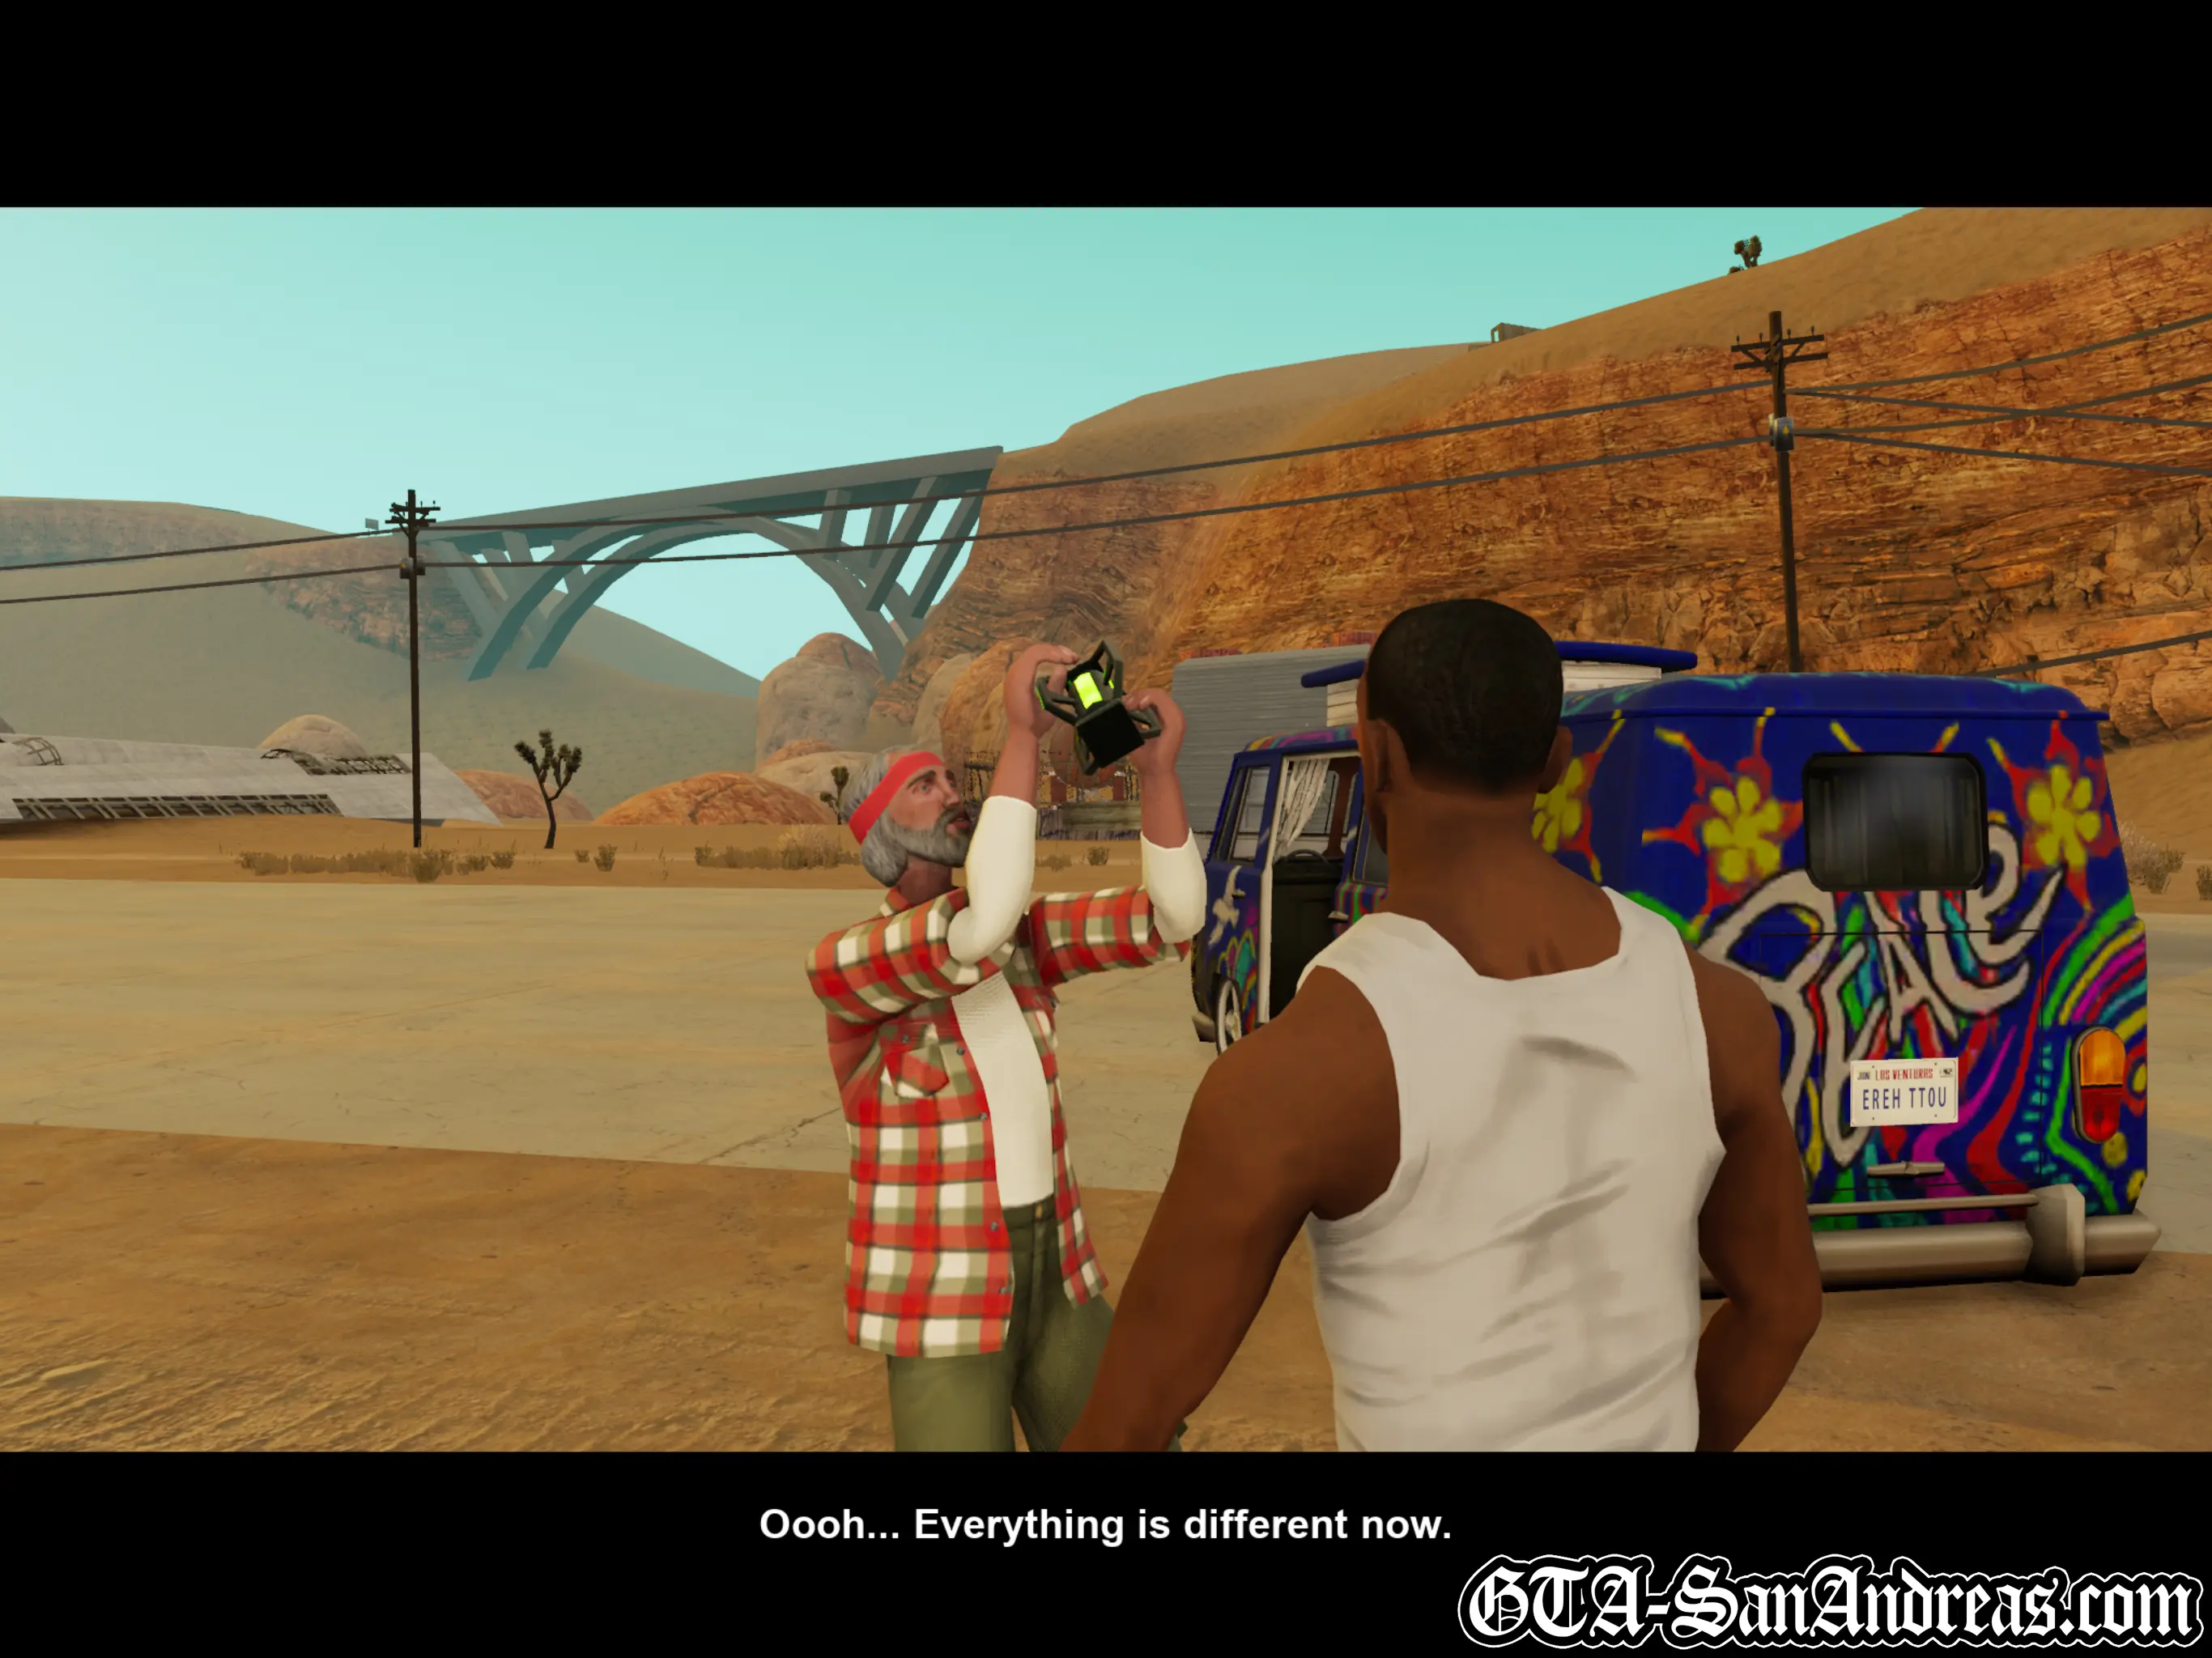
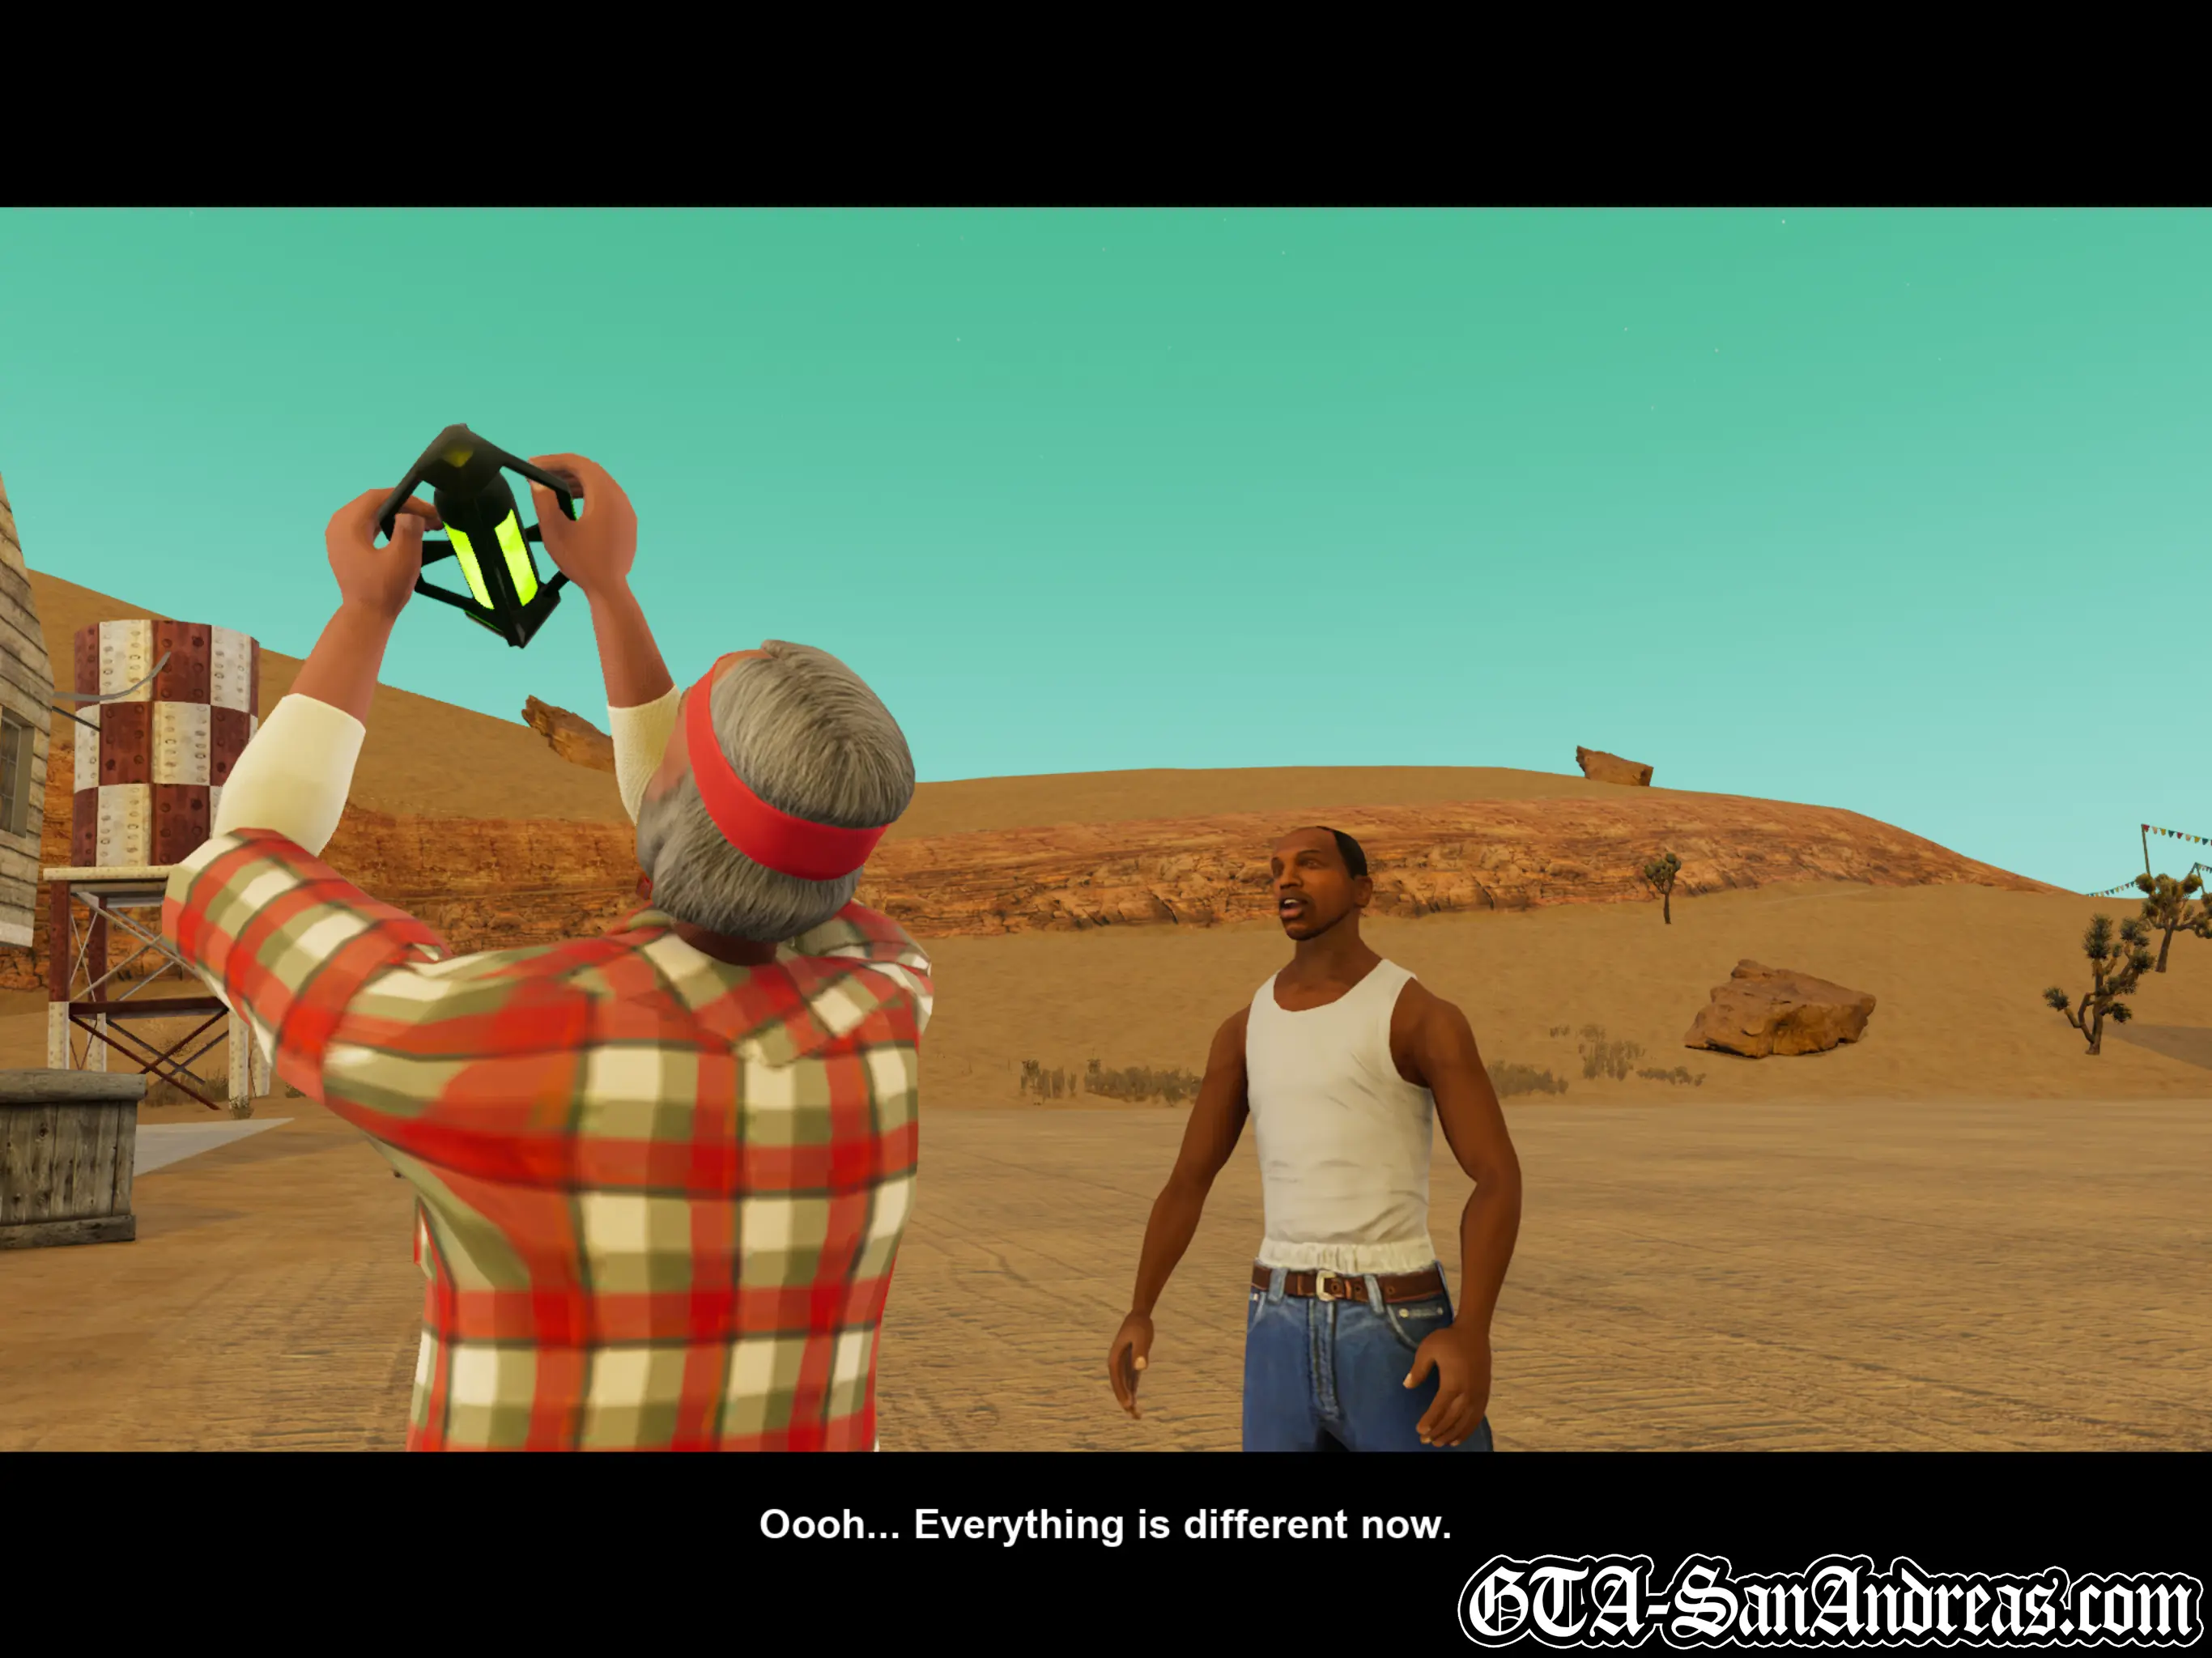
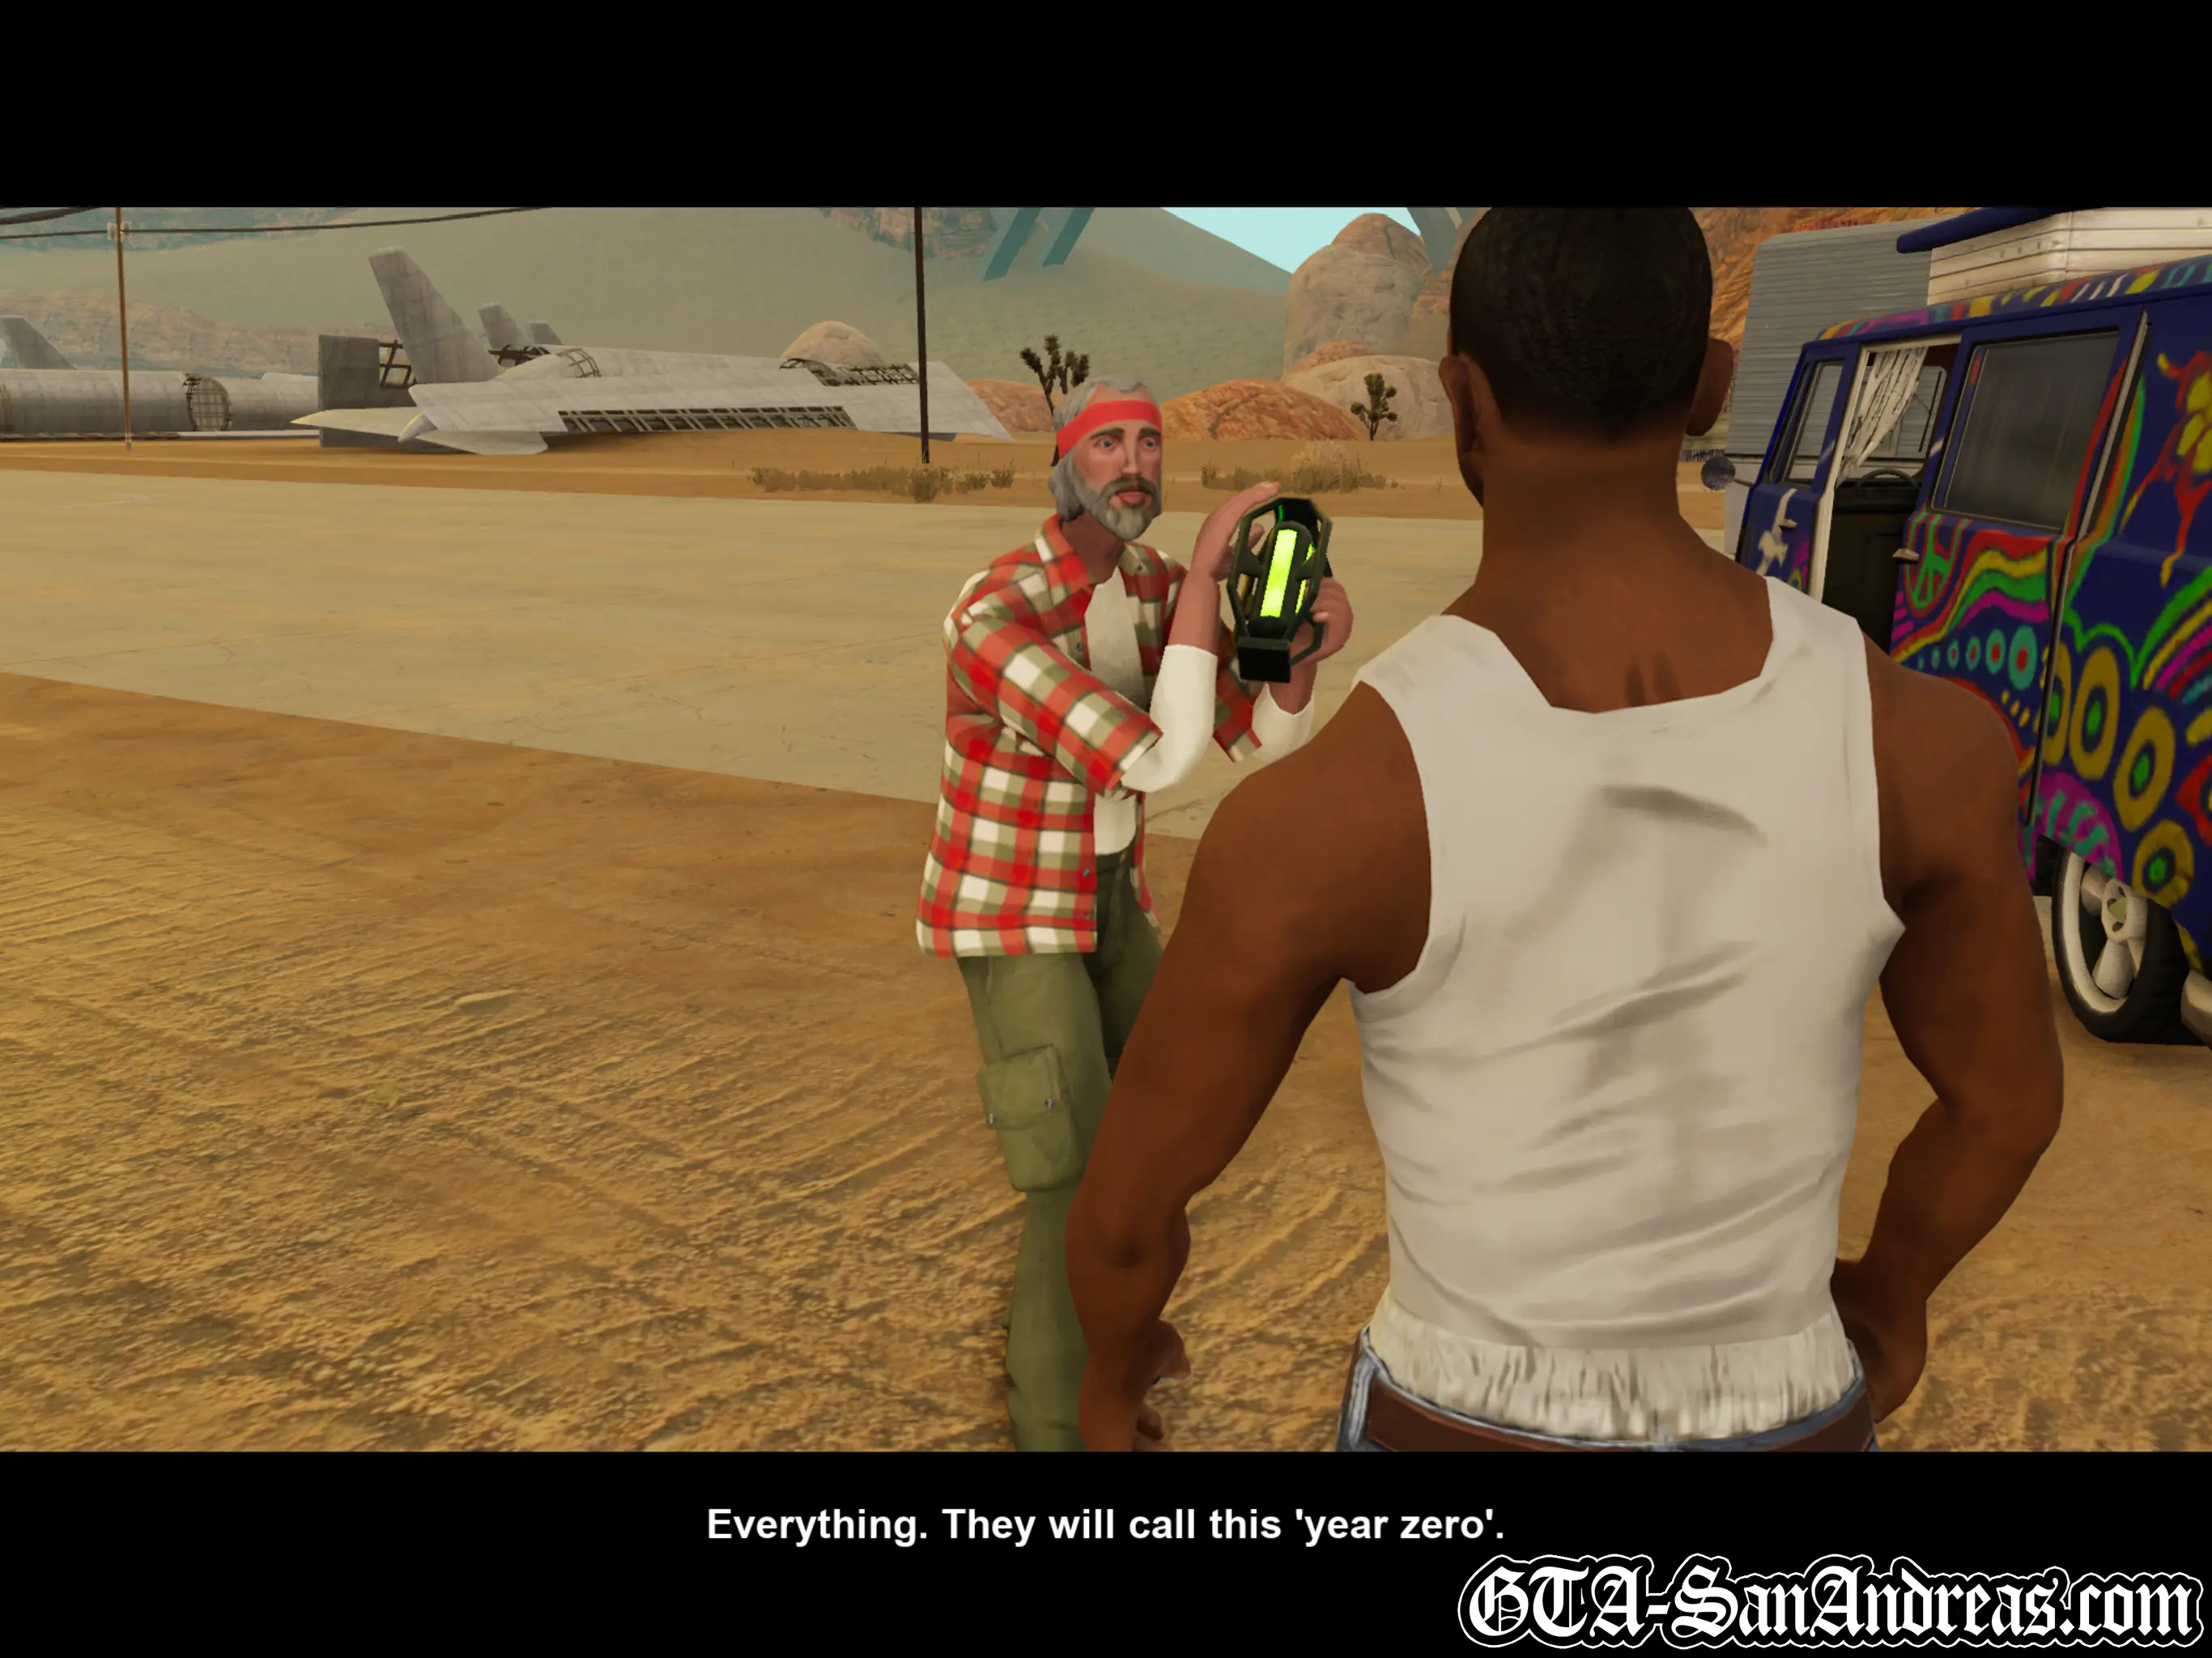
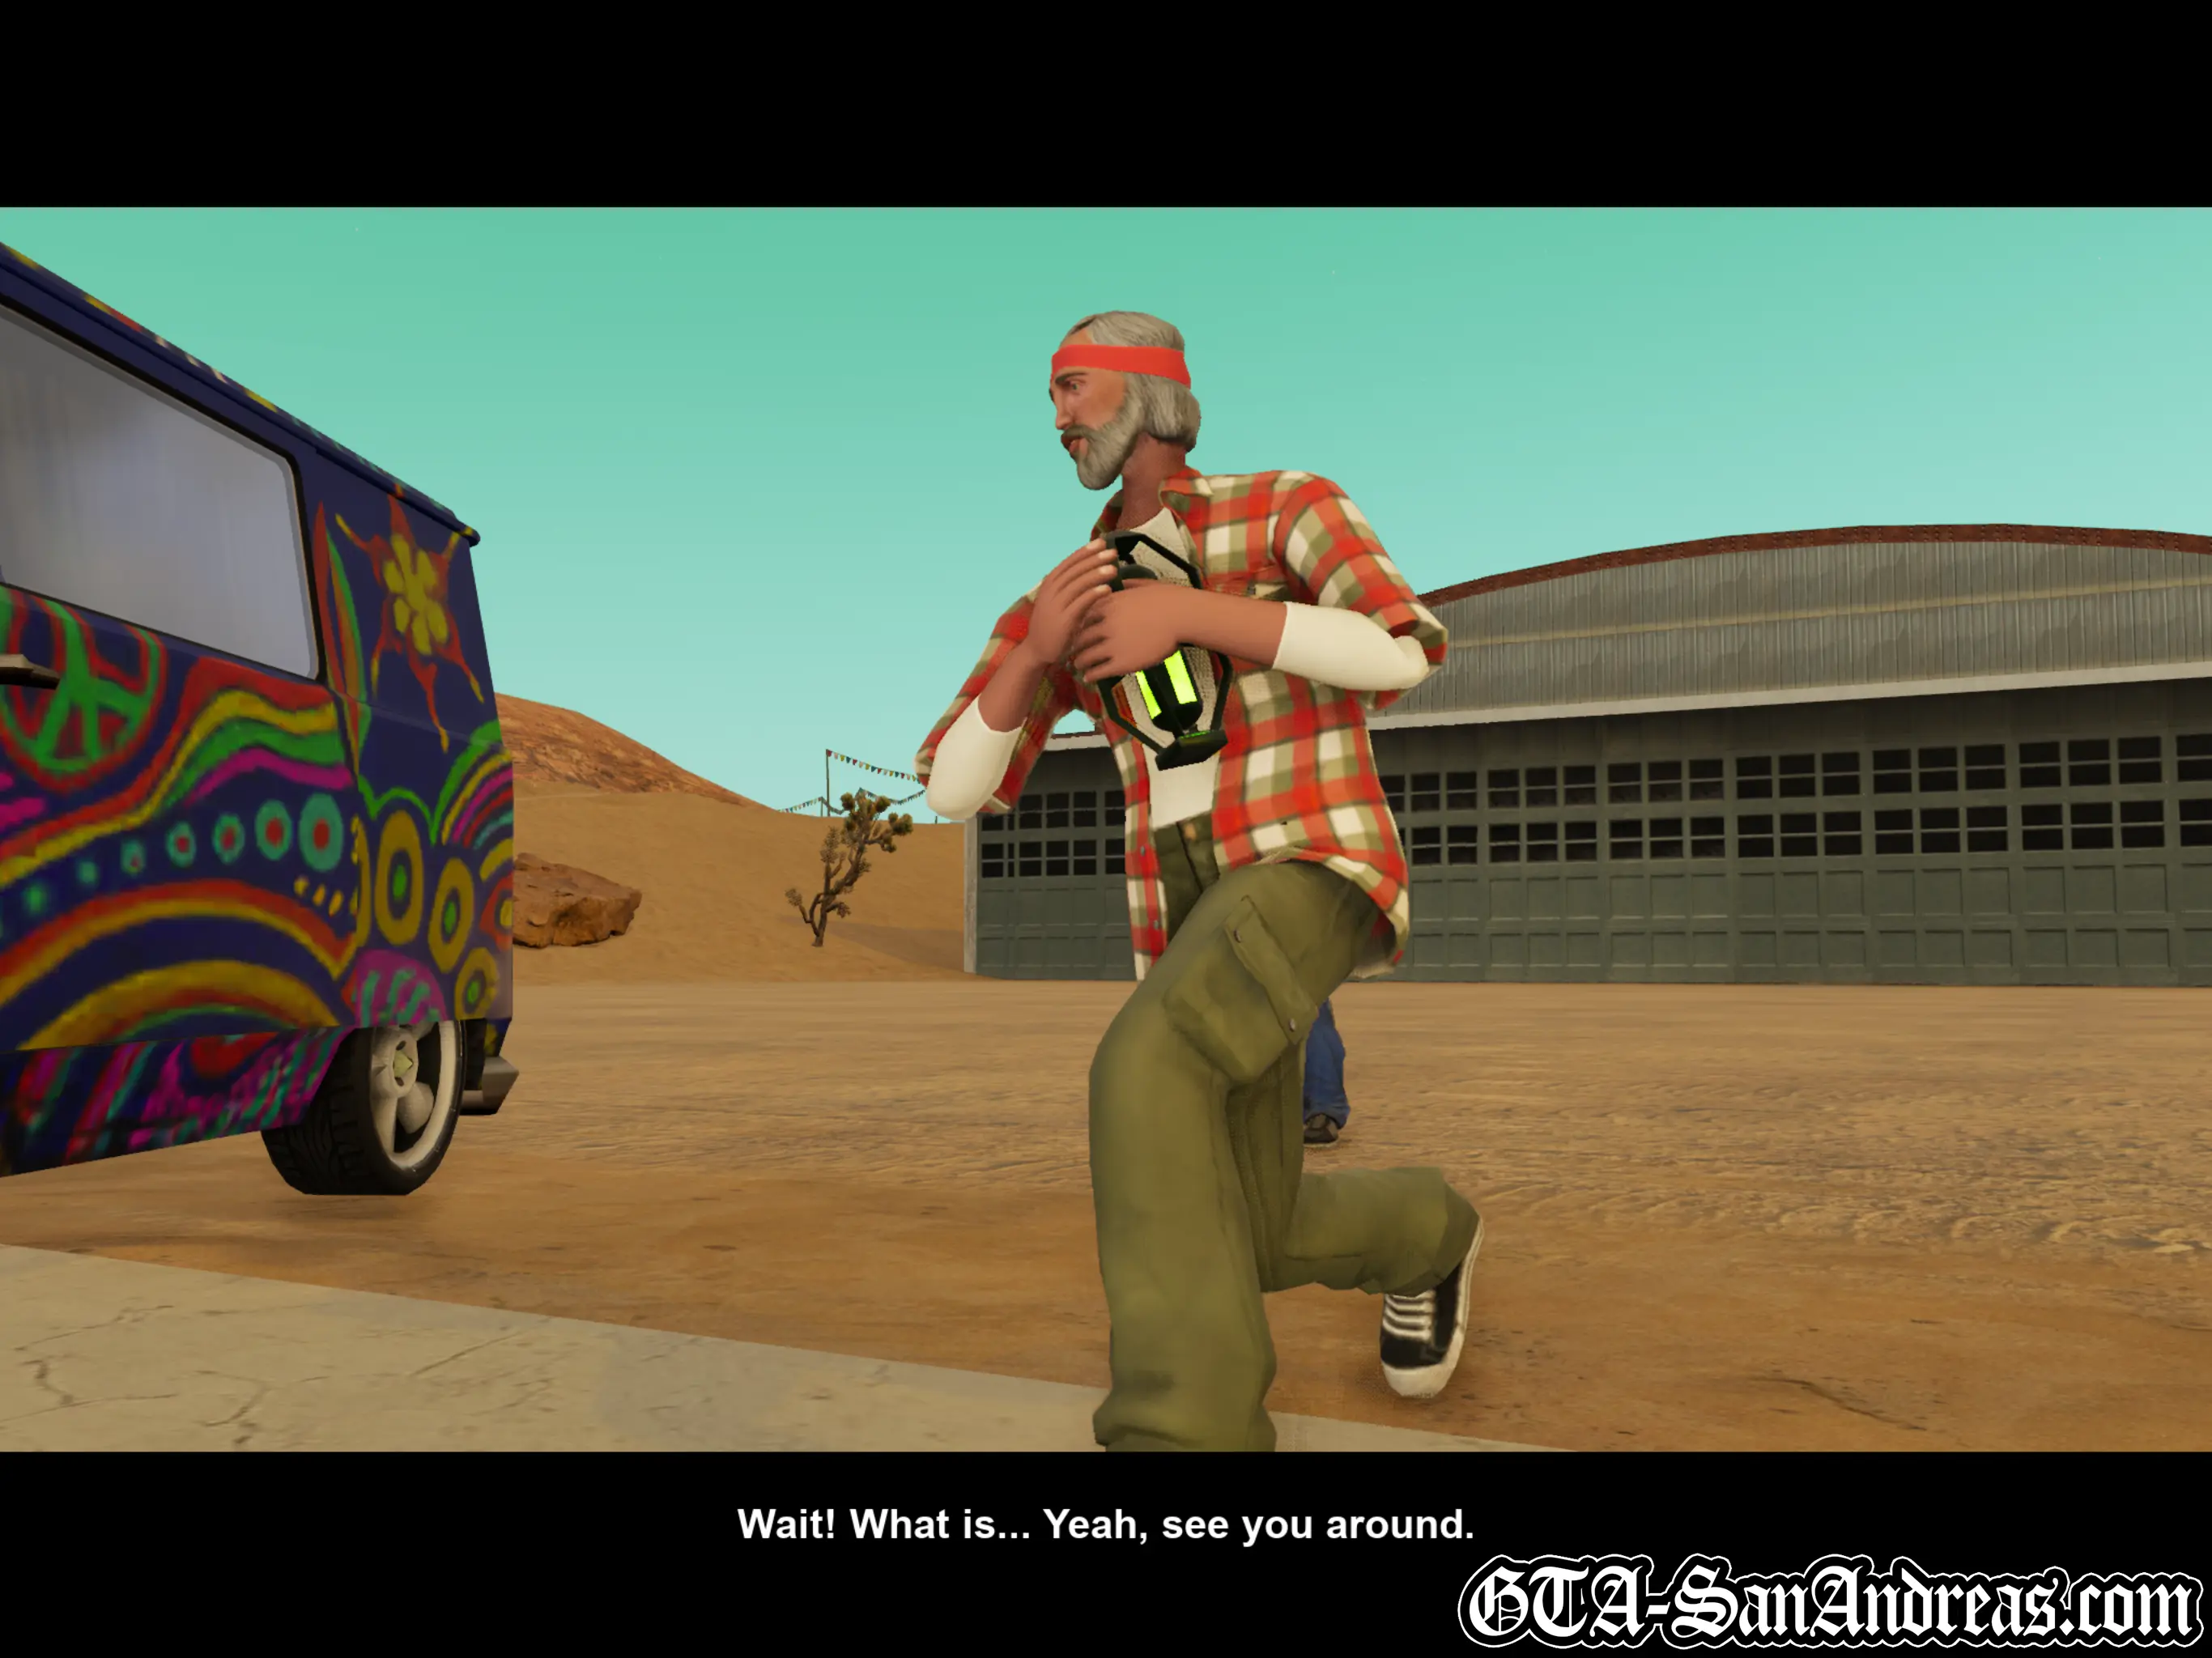
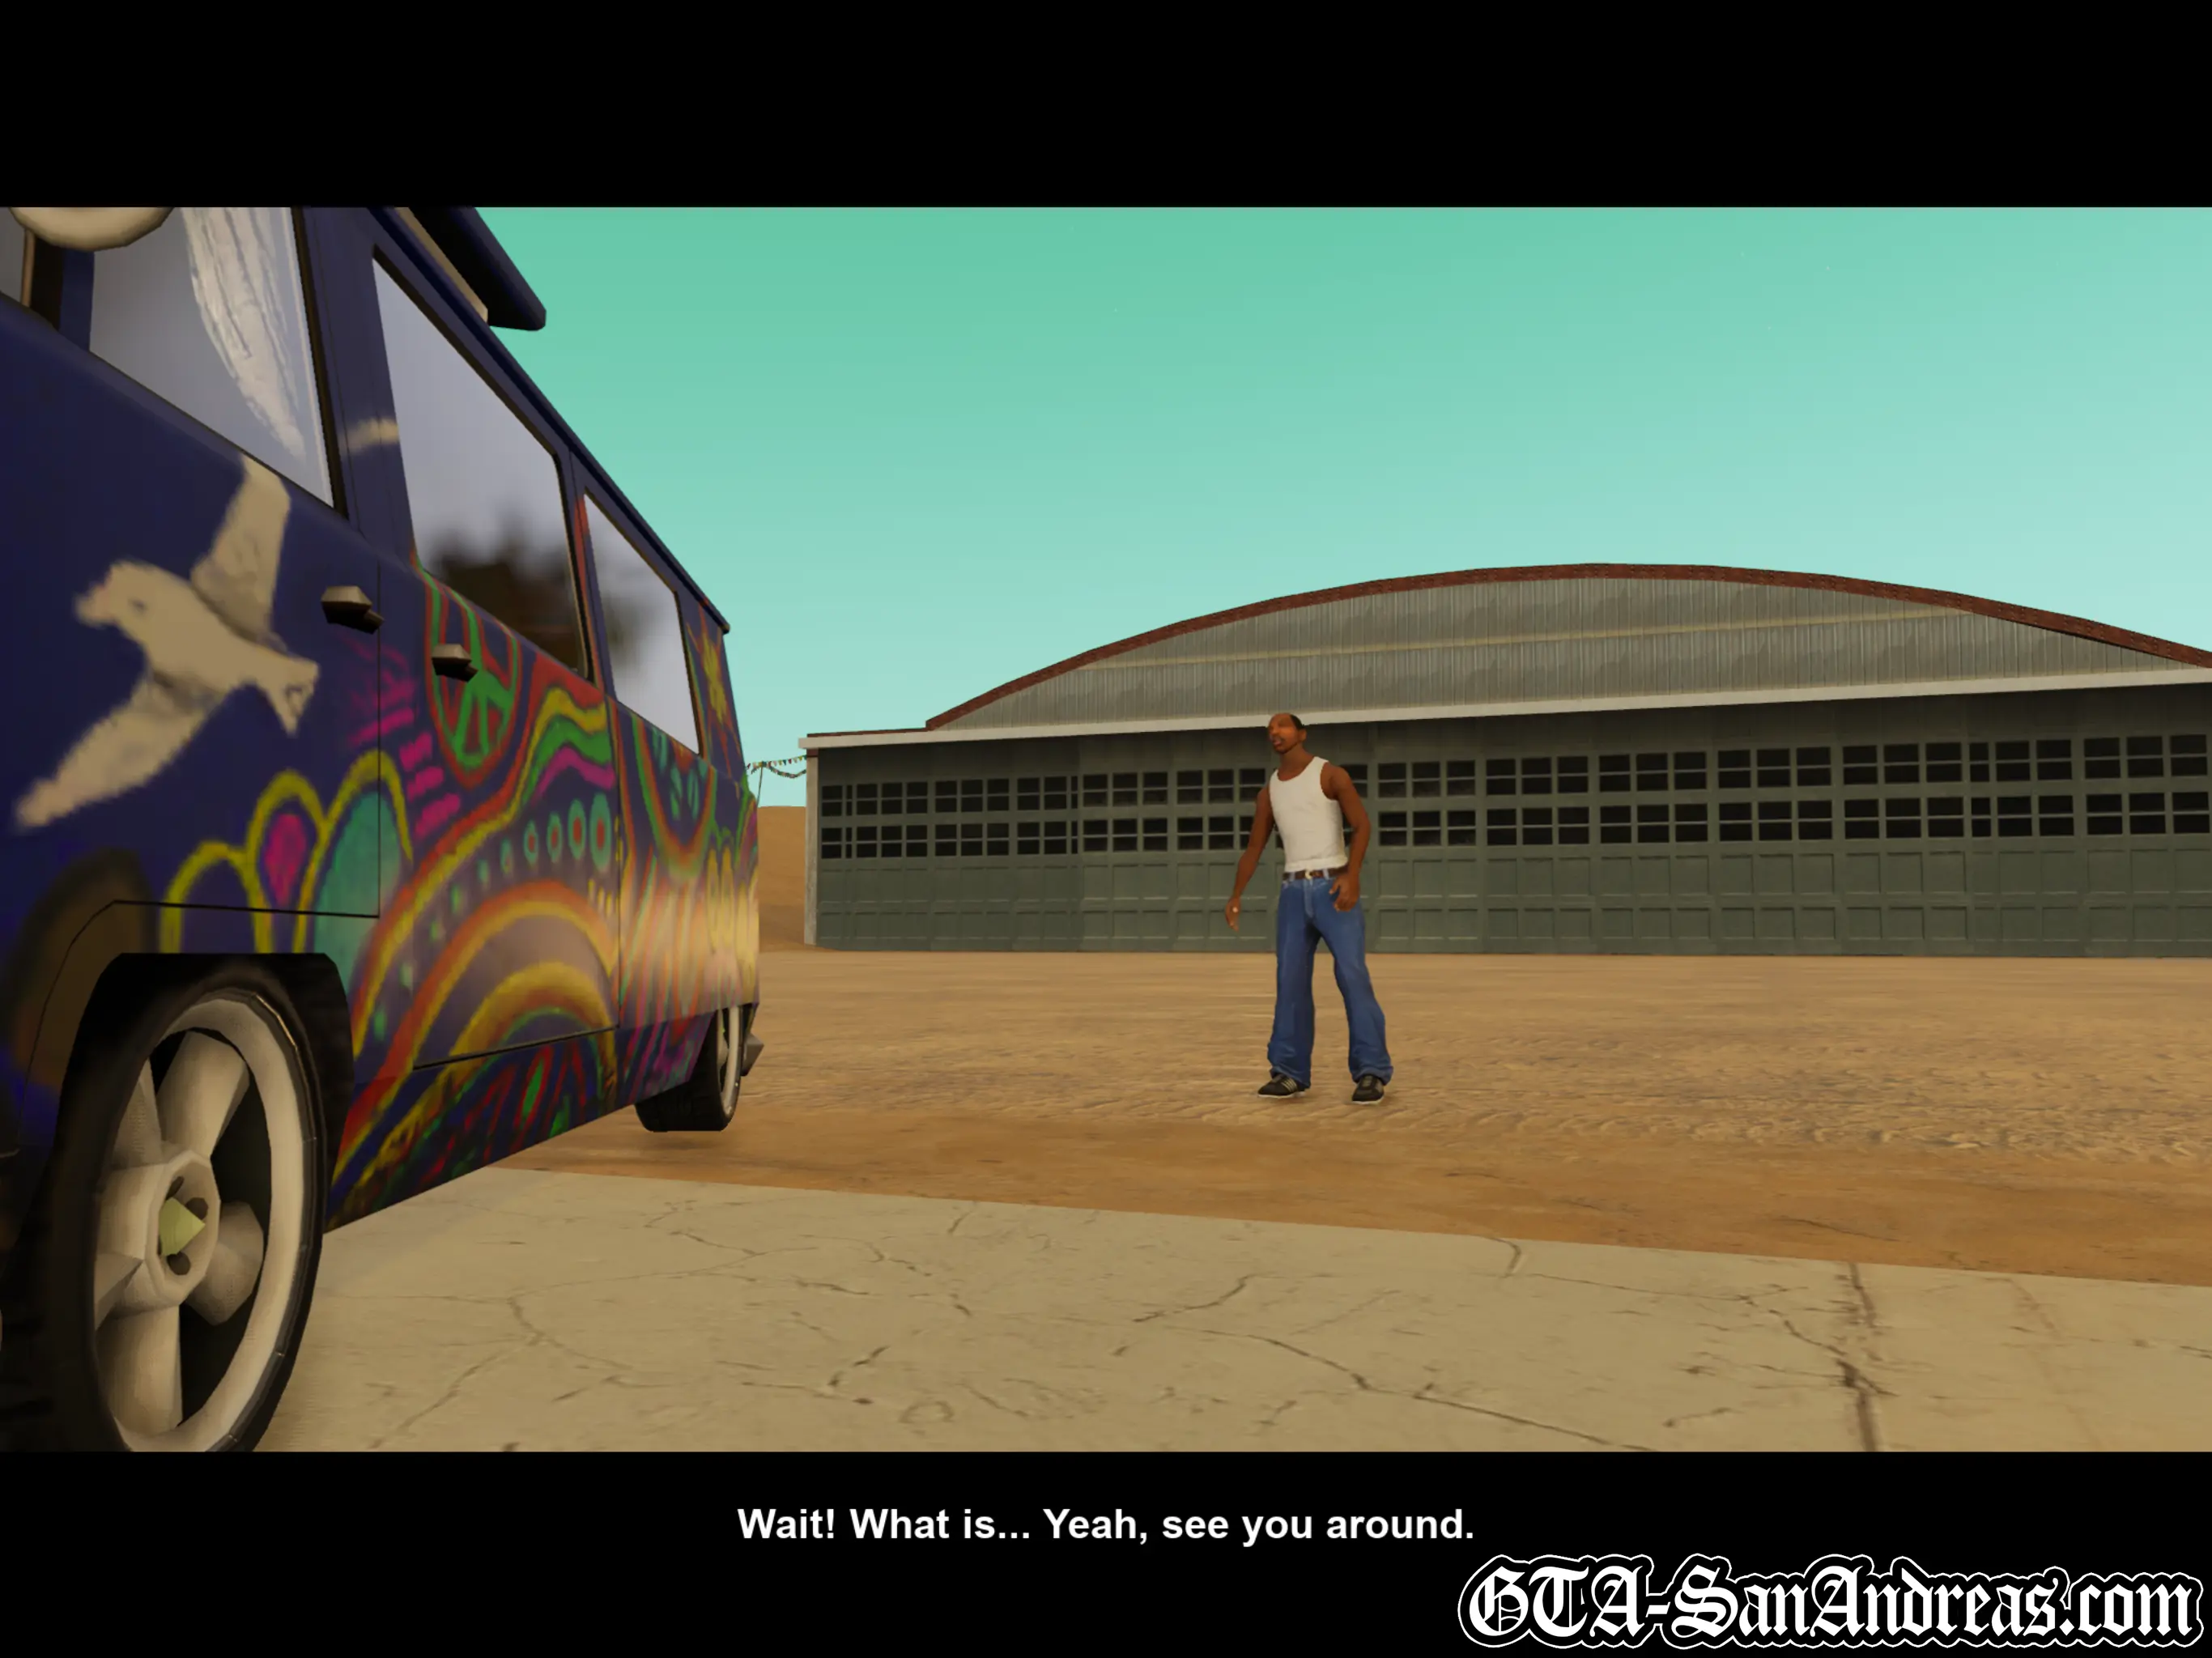
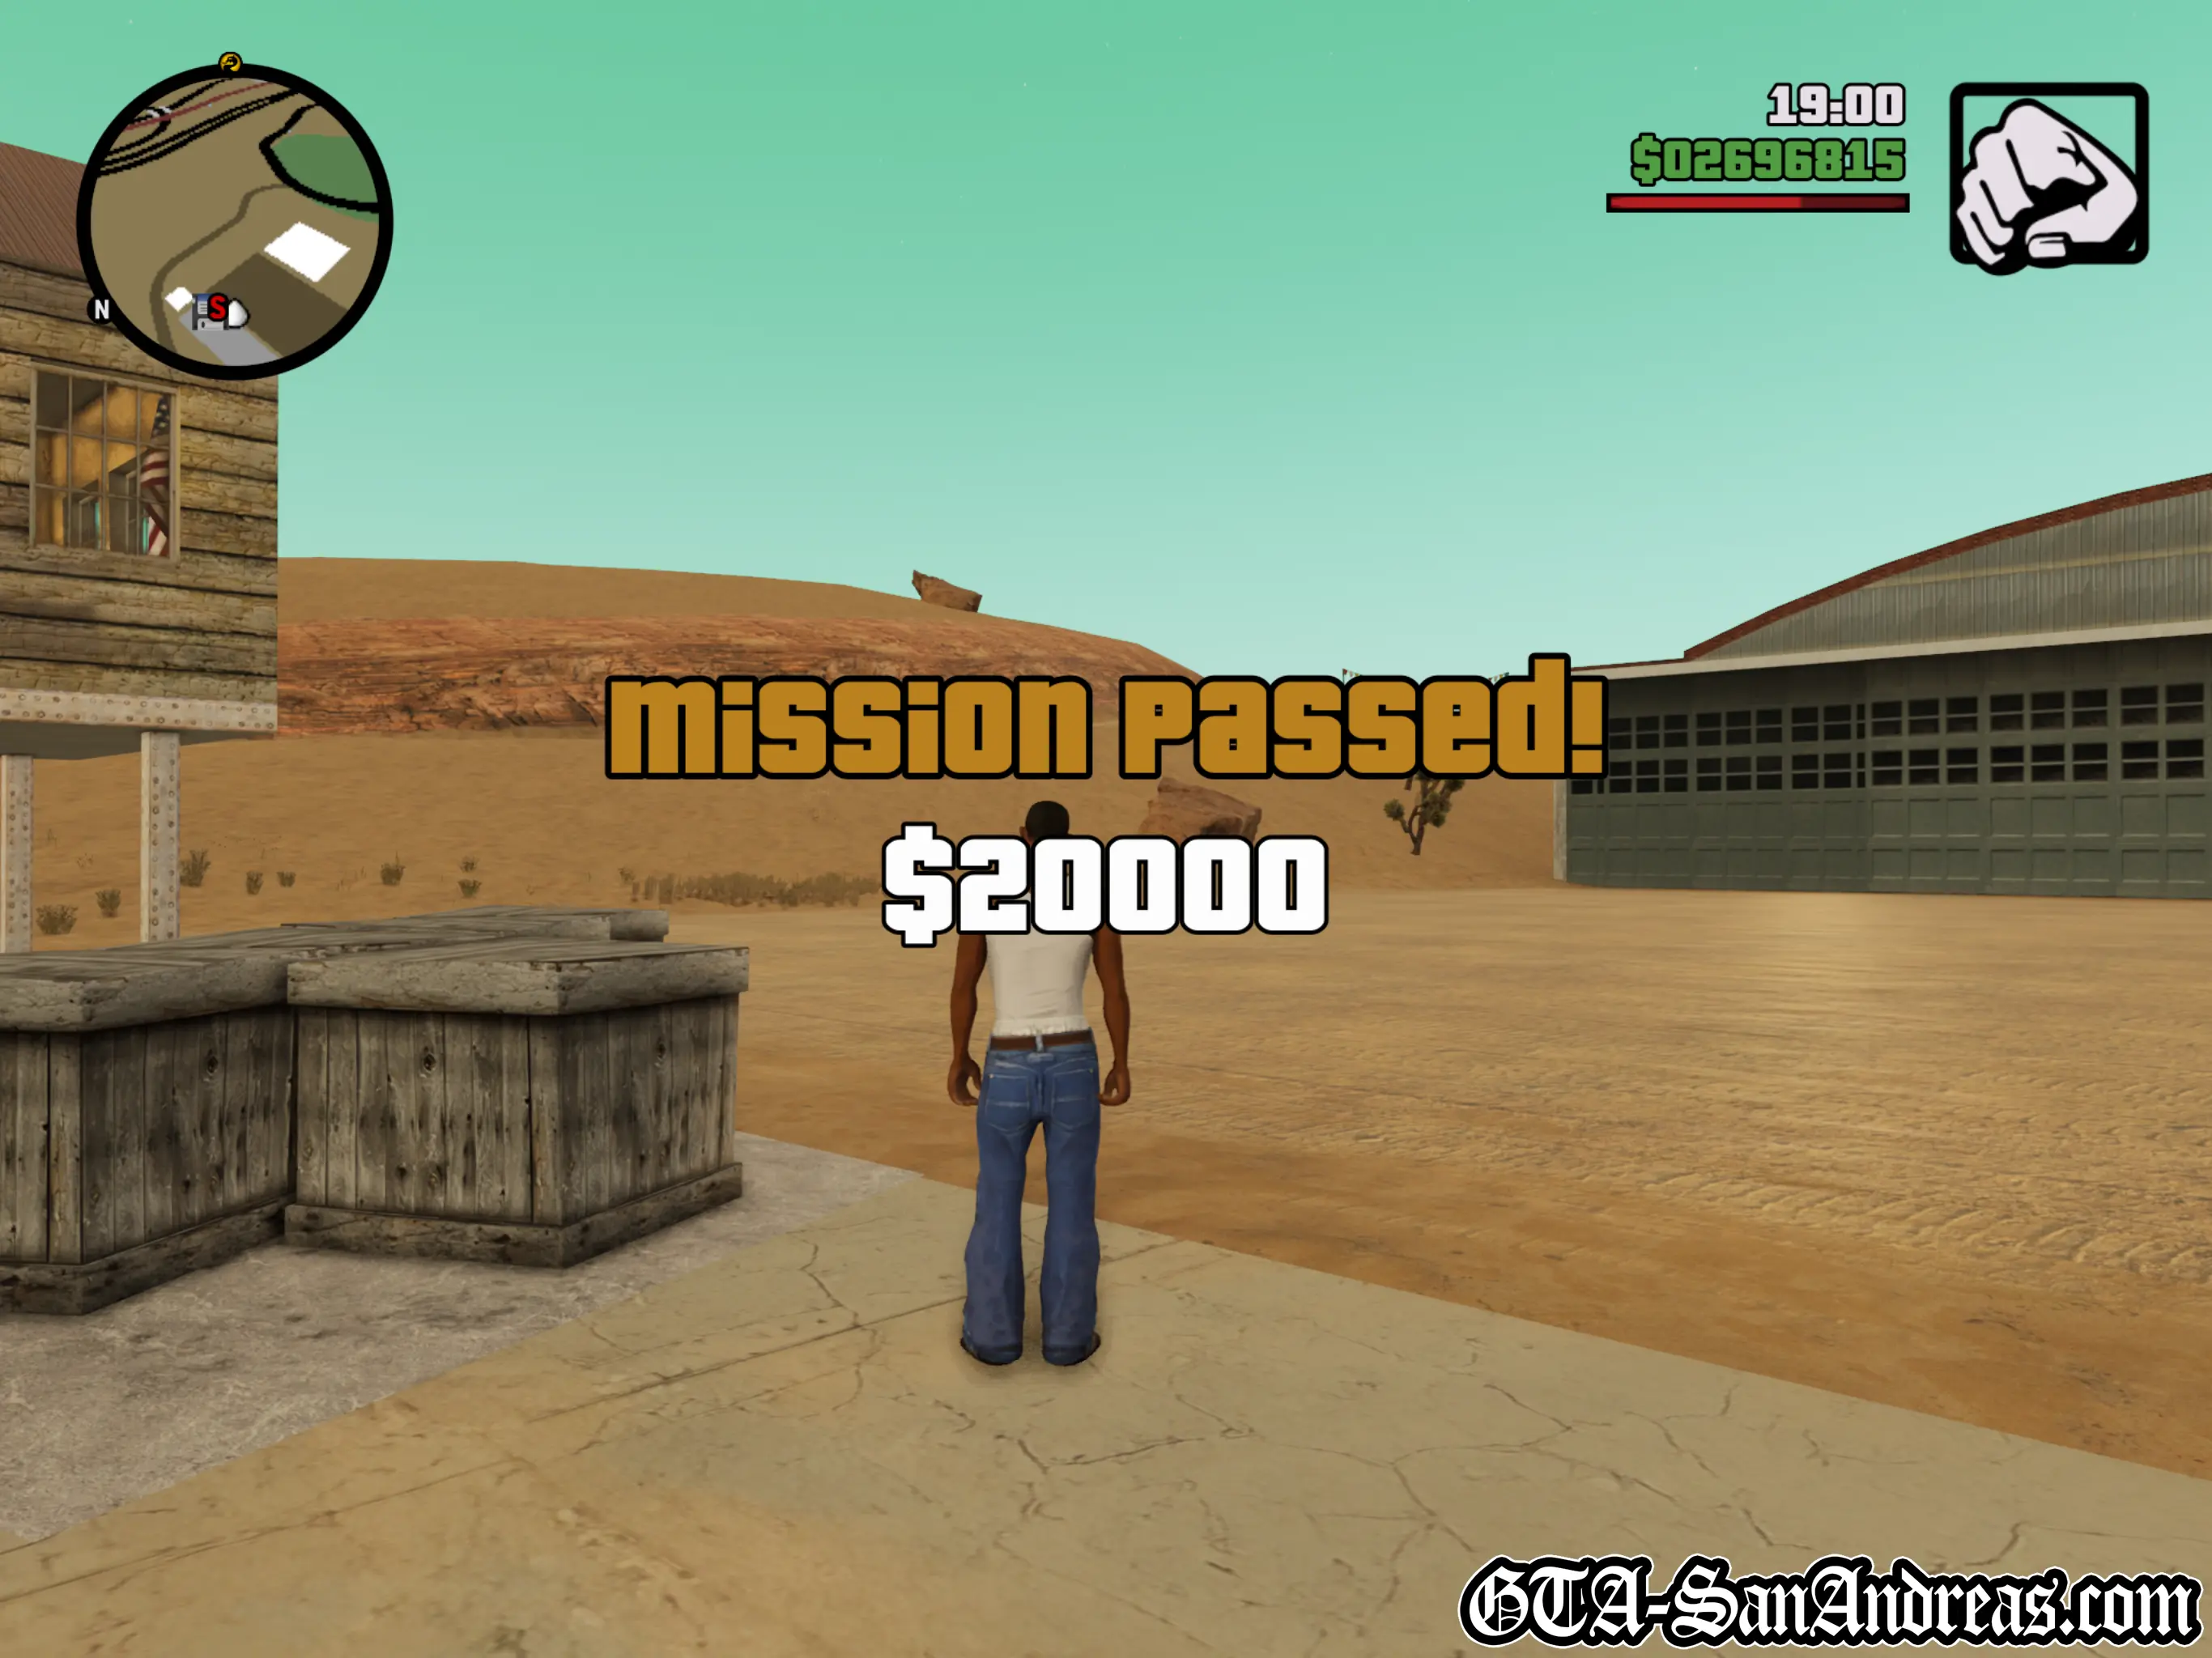
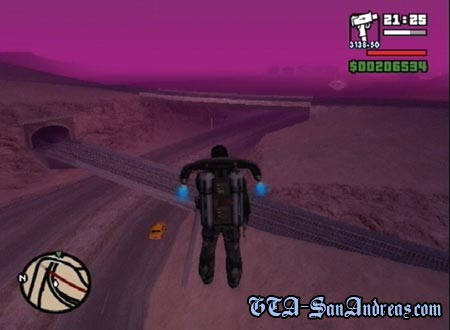
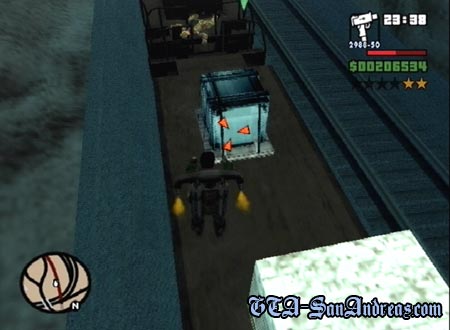
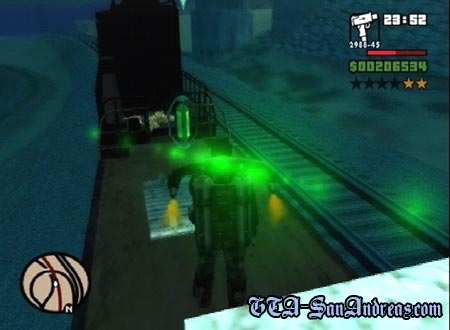
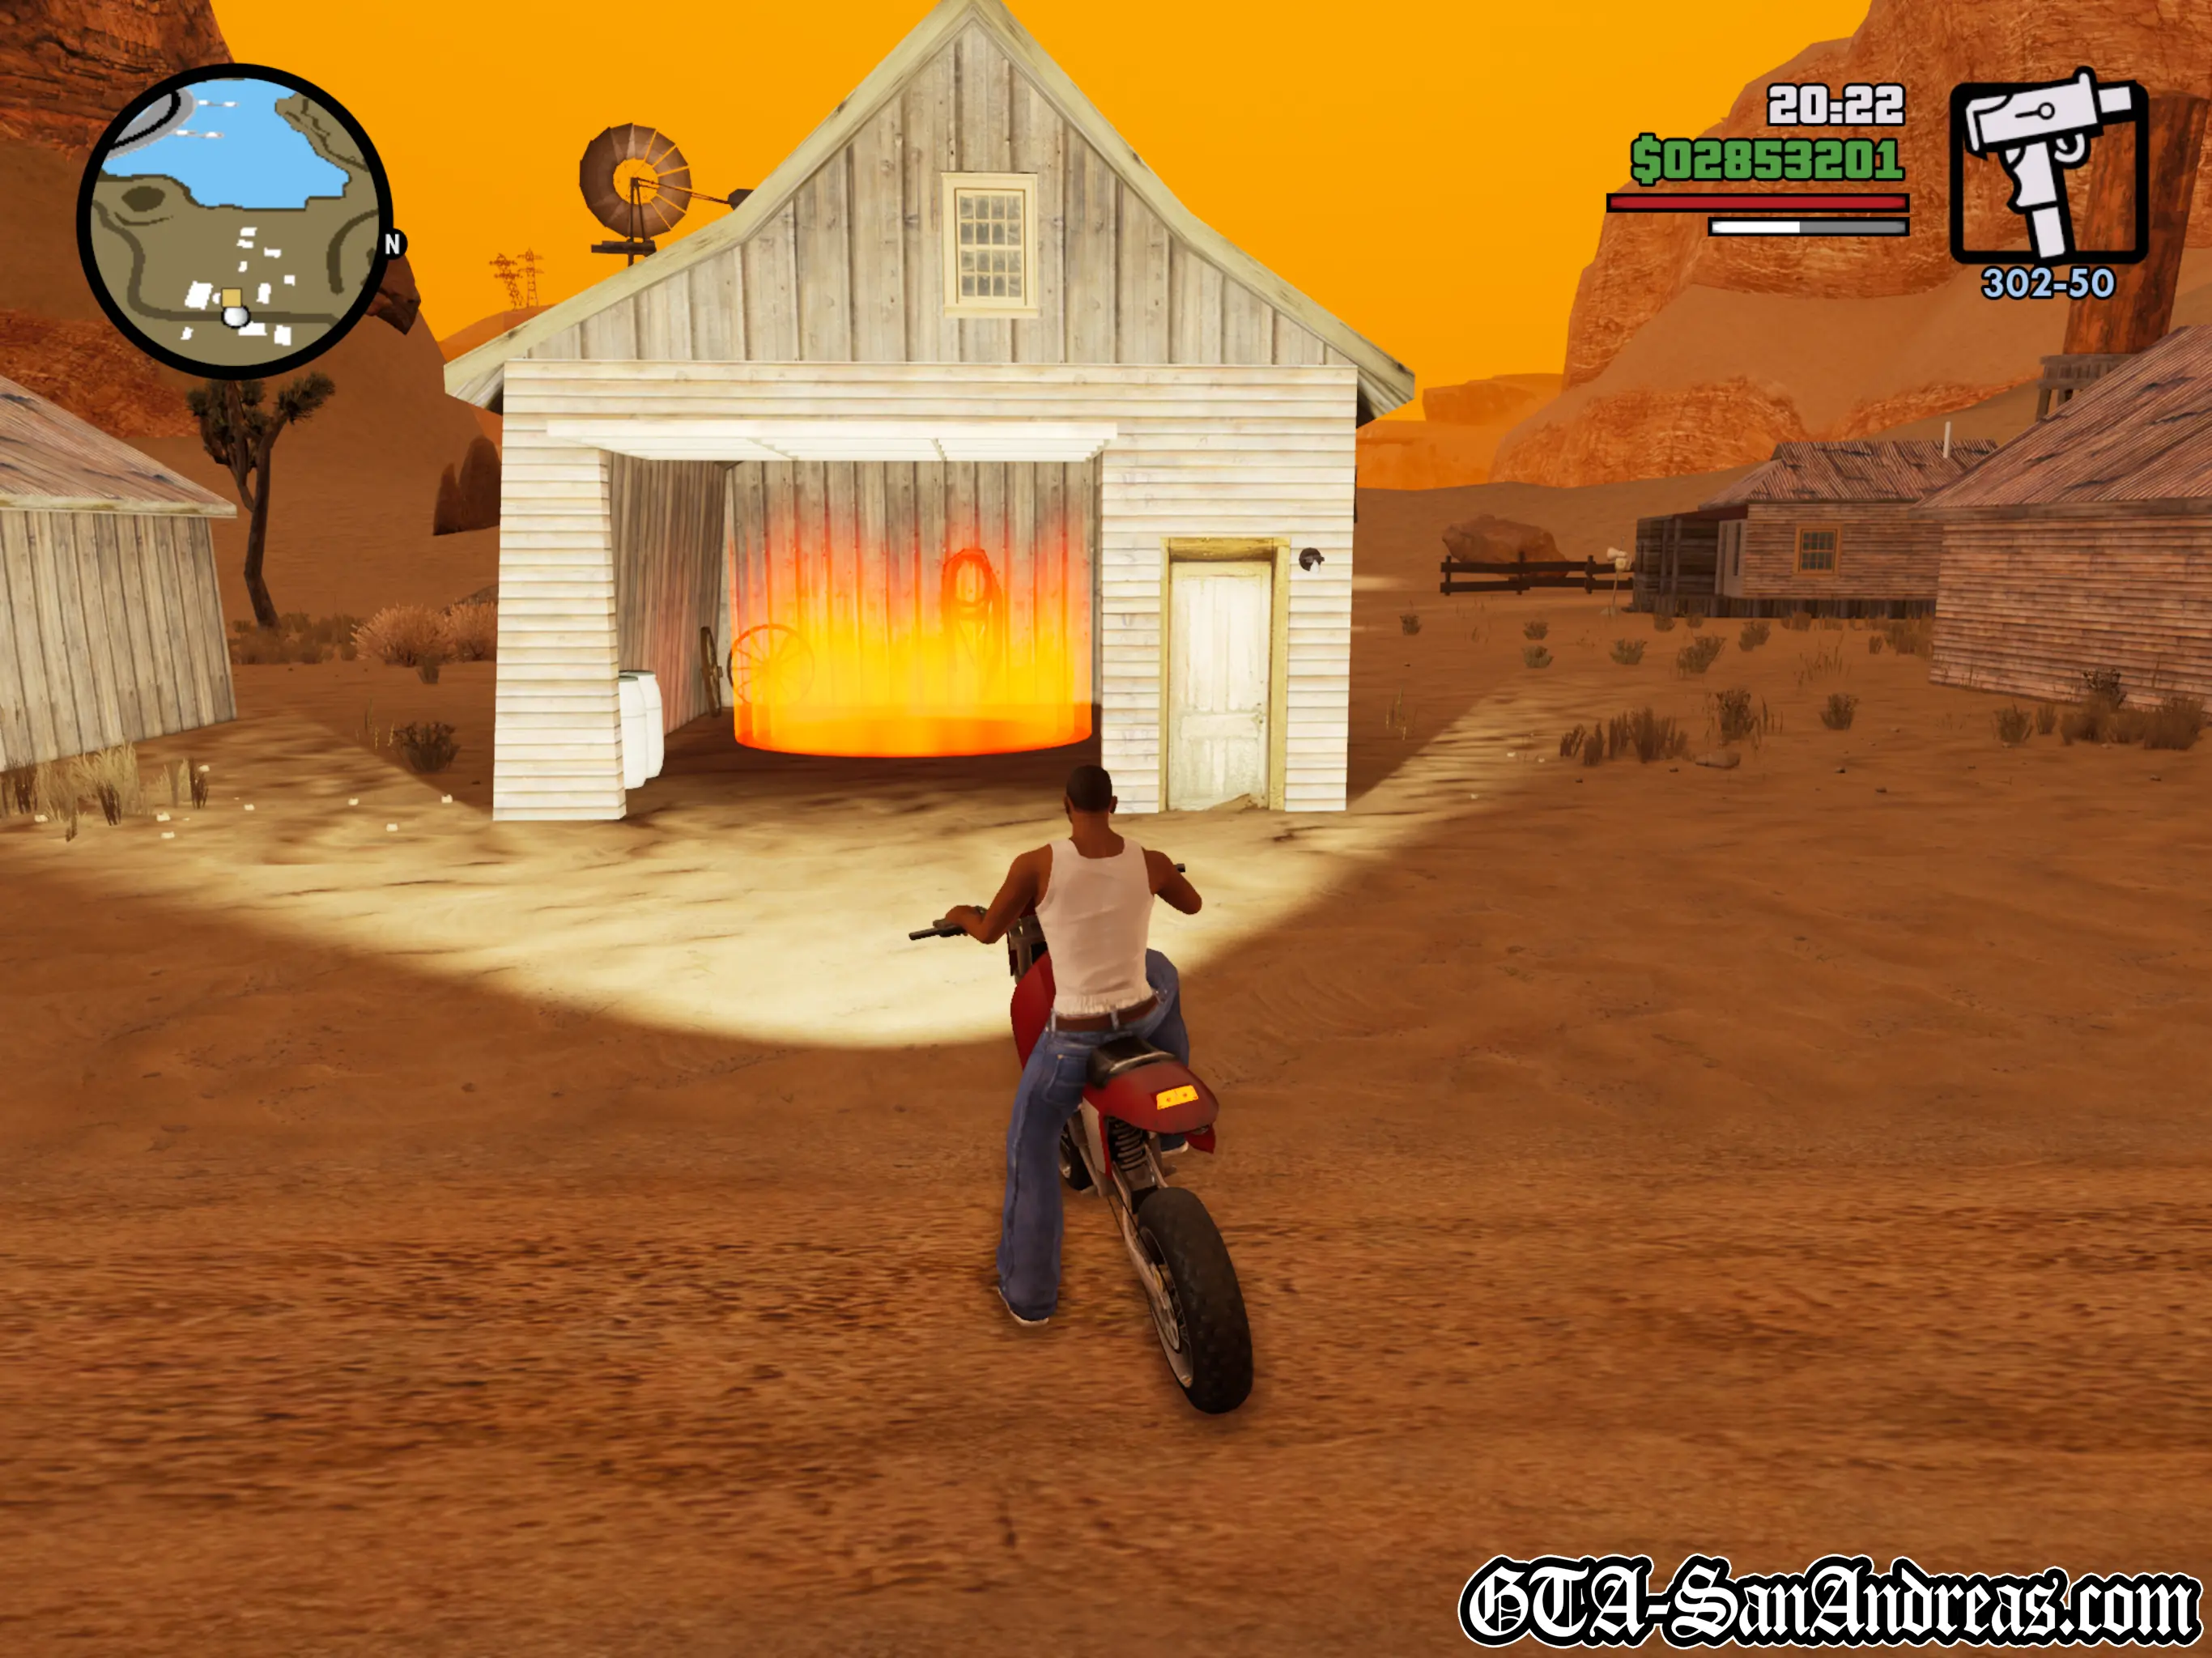
Green Goo
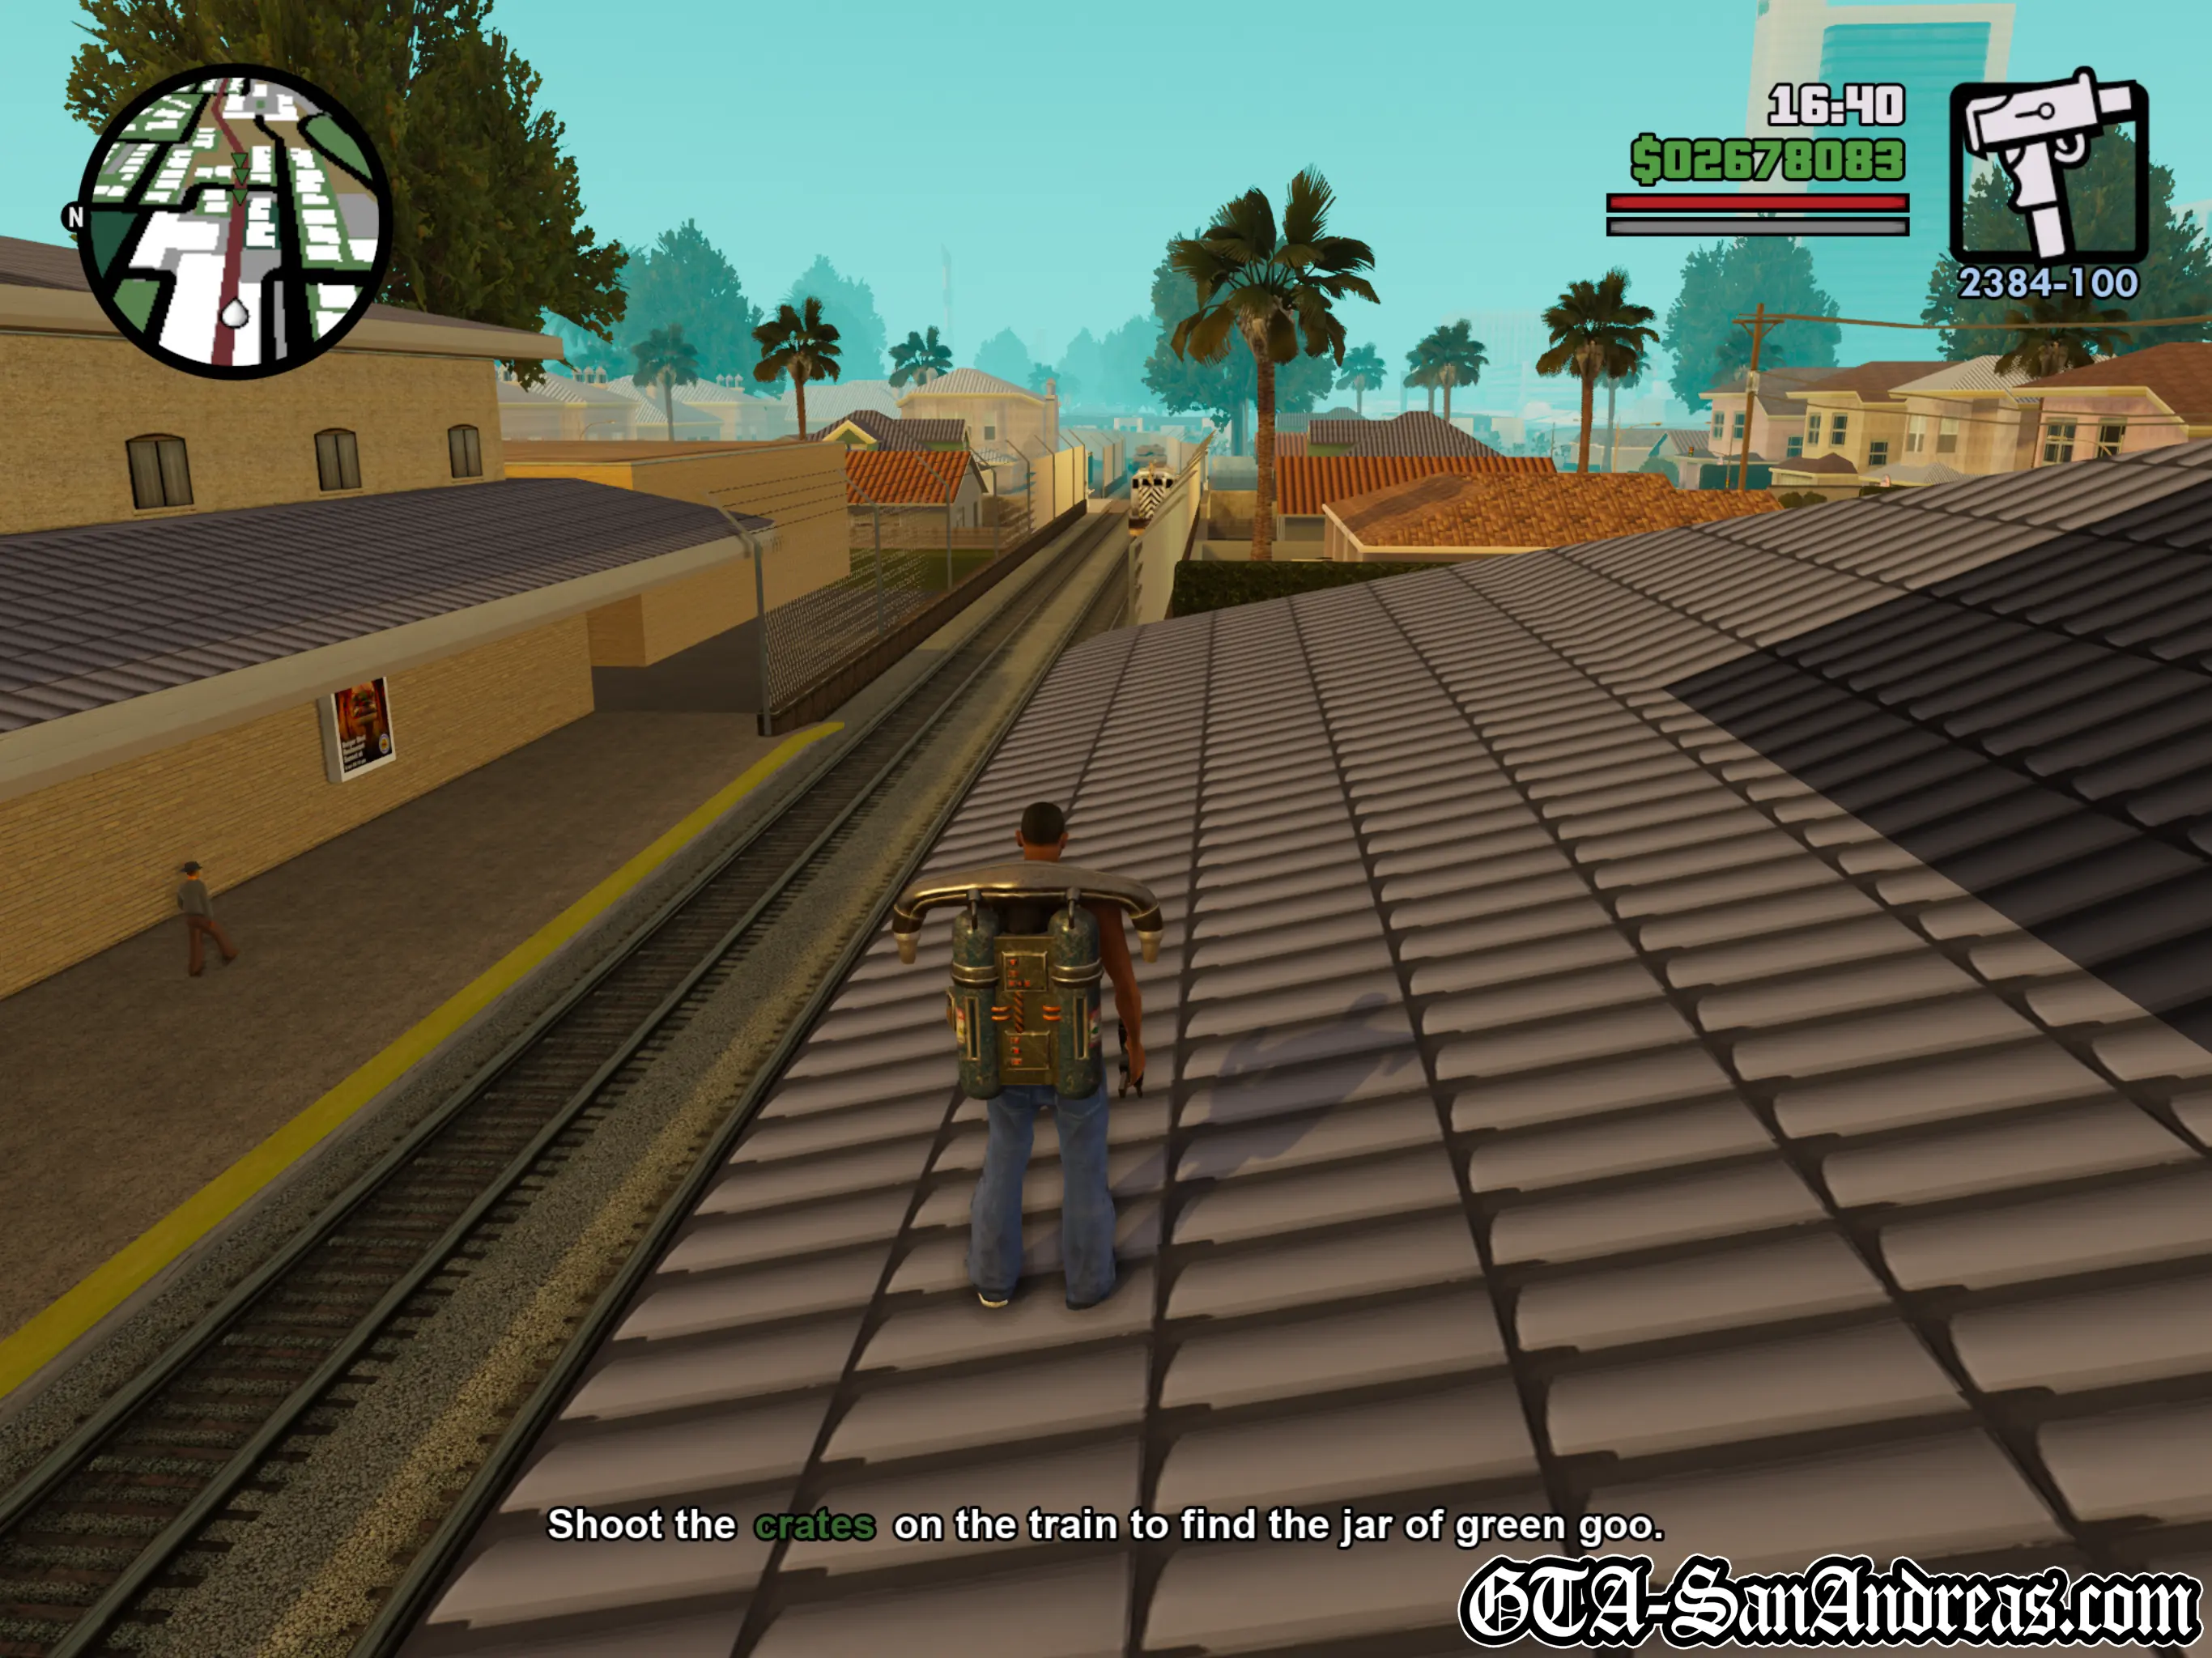
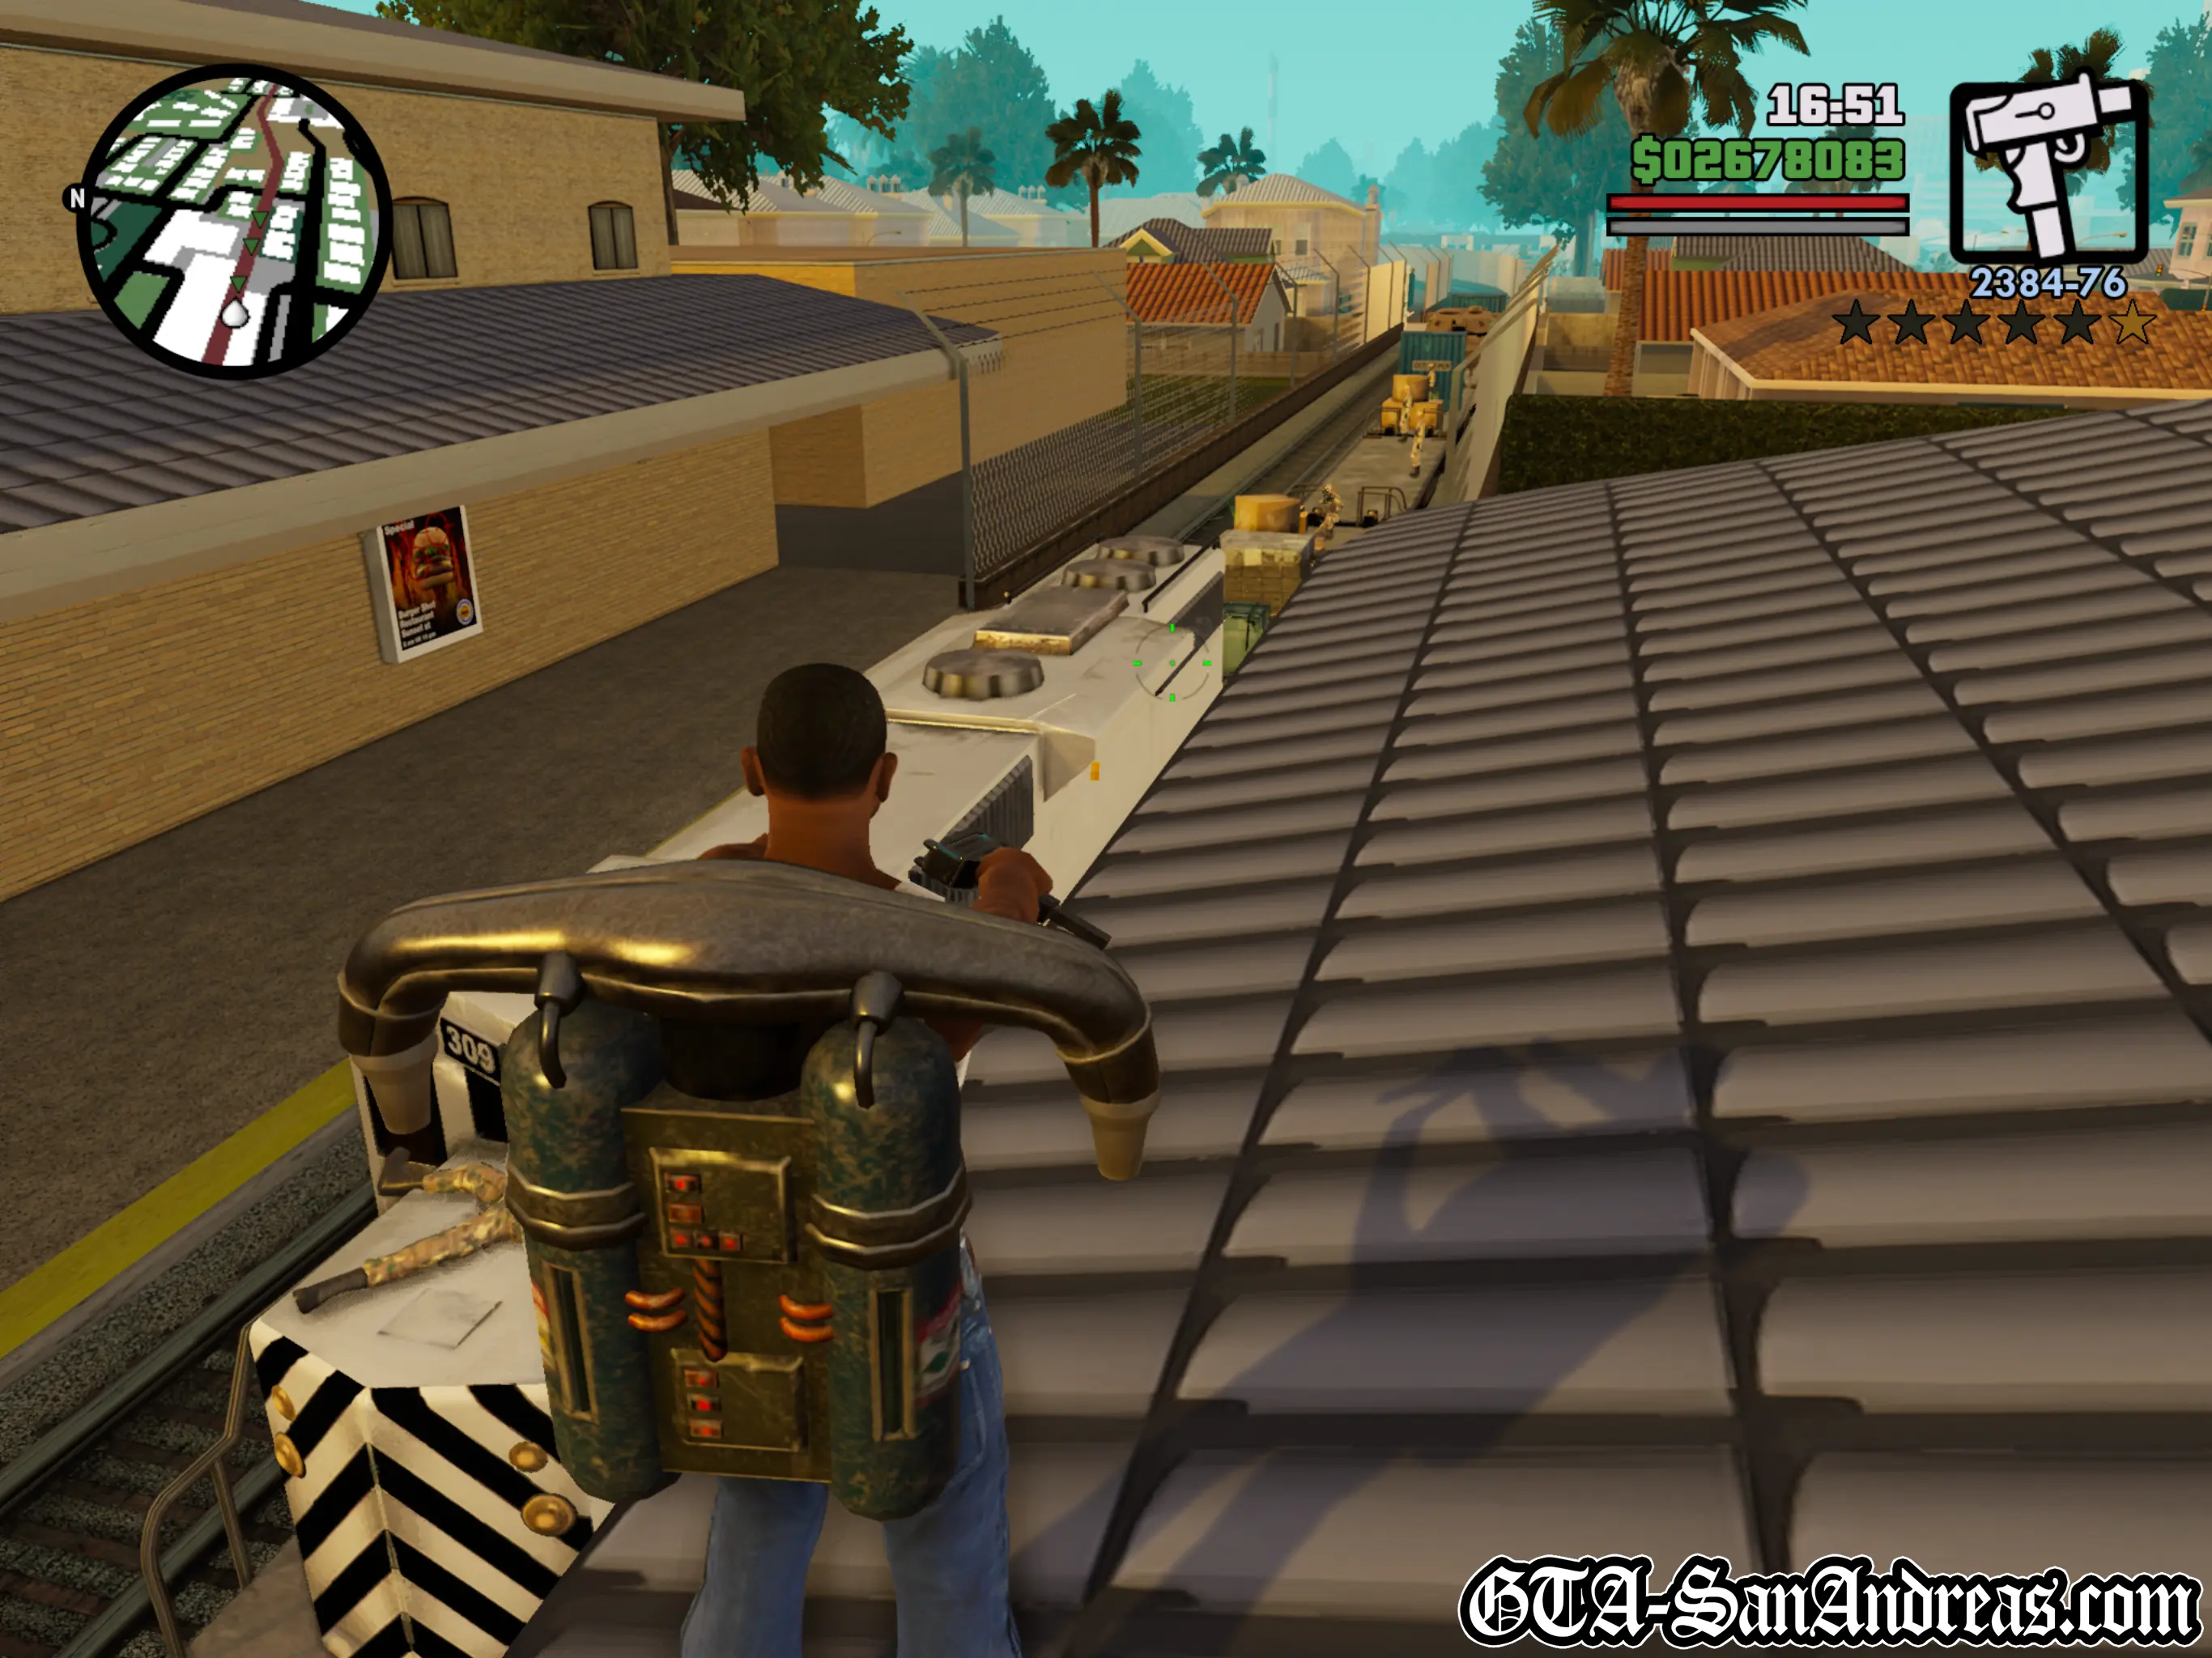
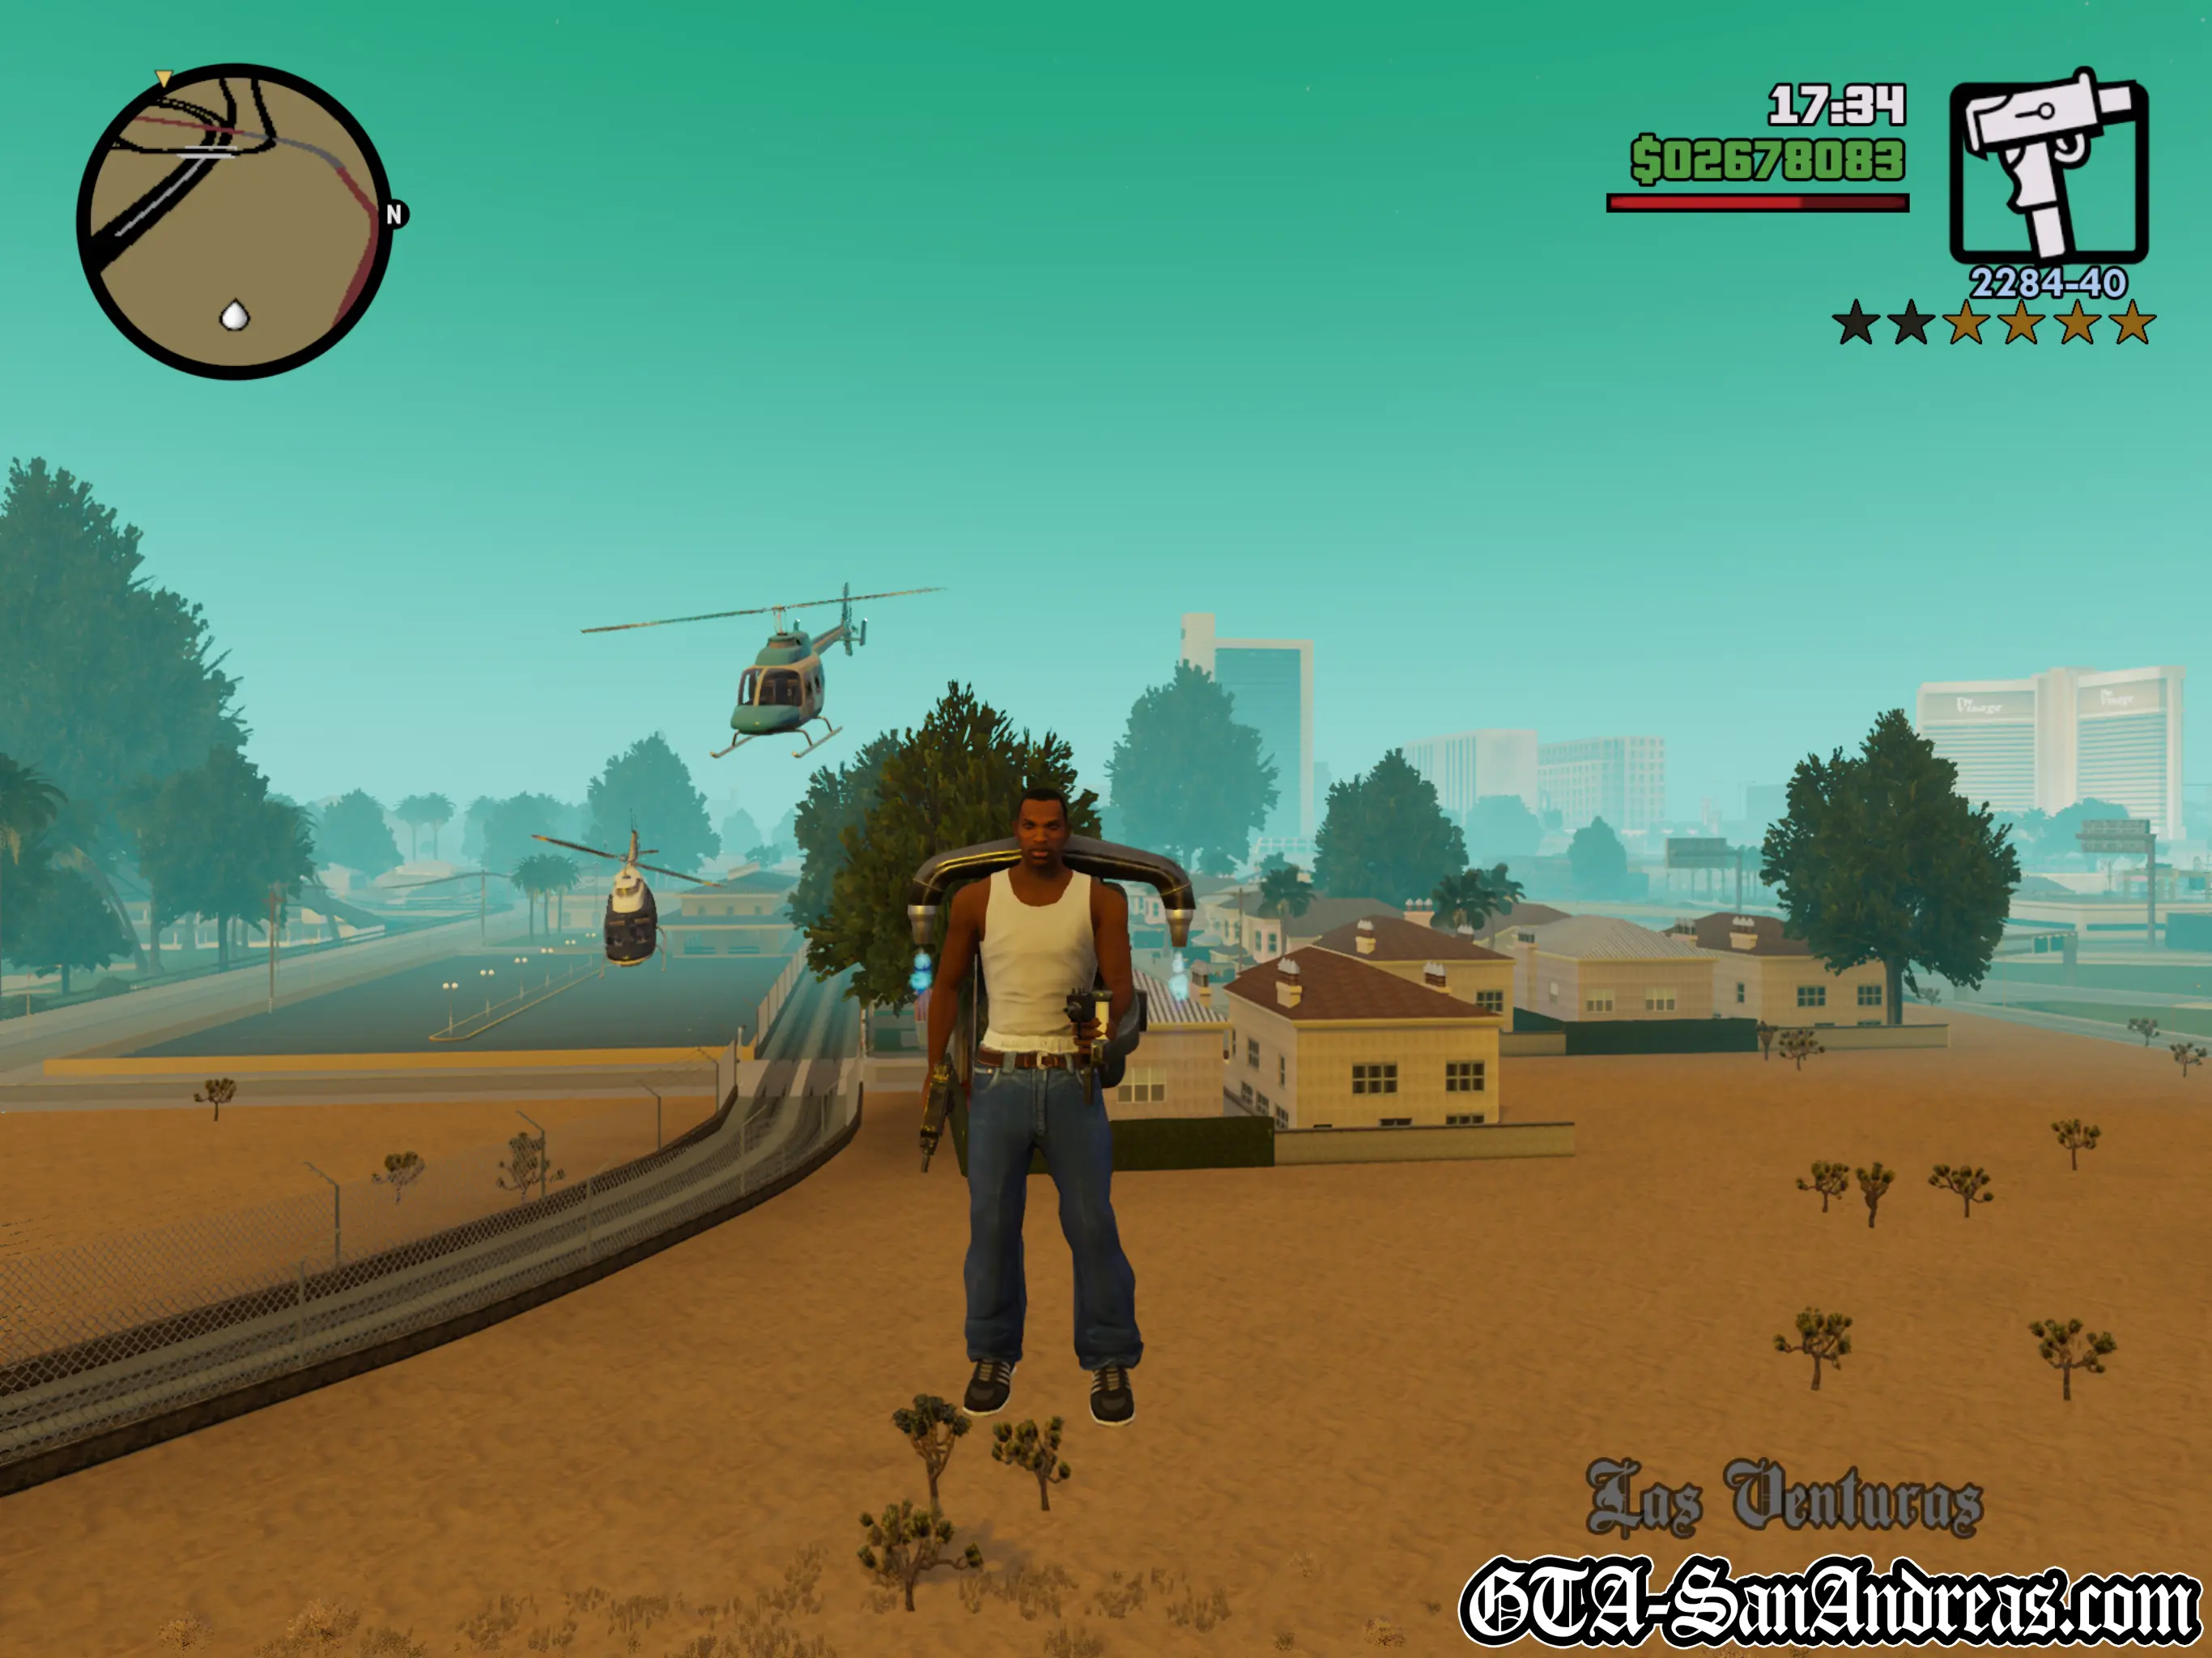
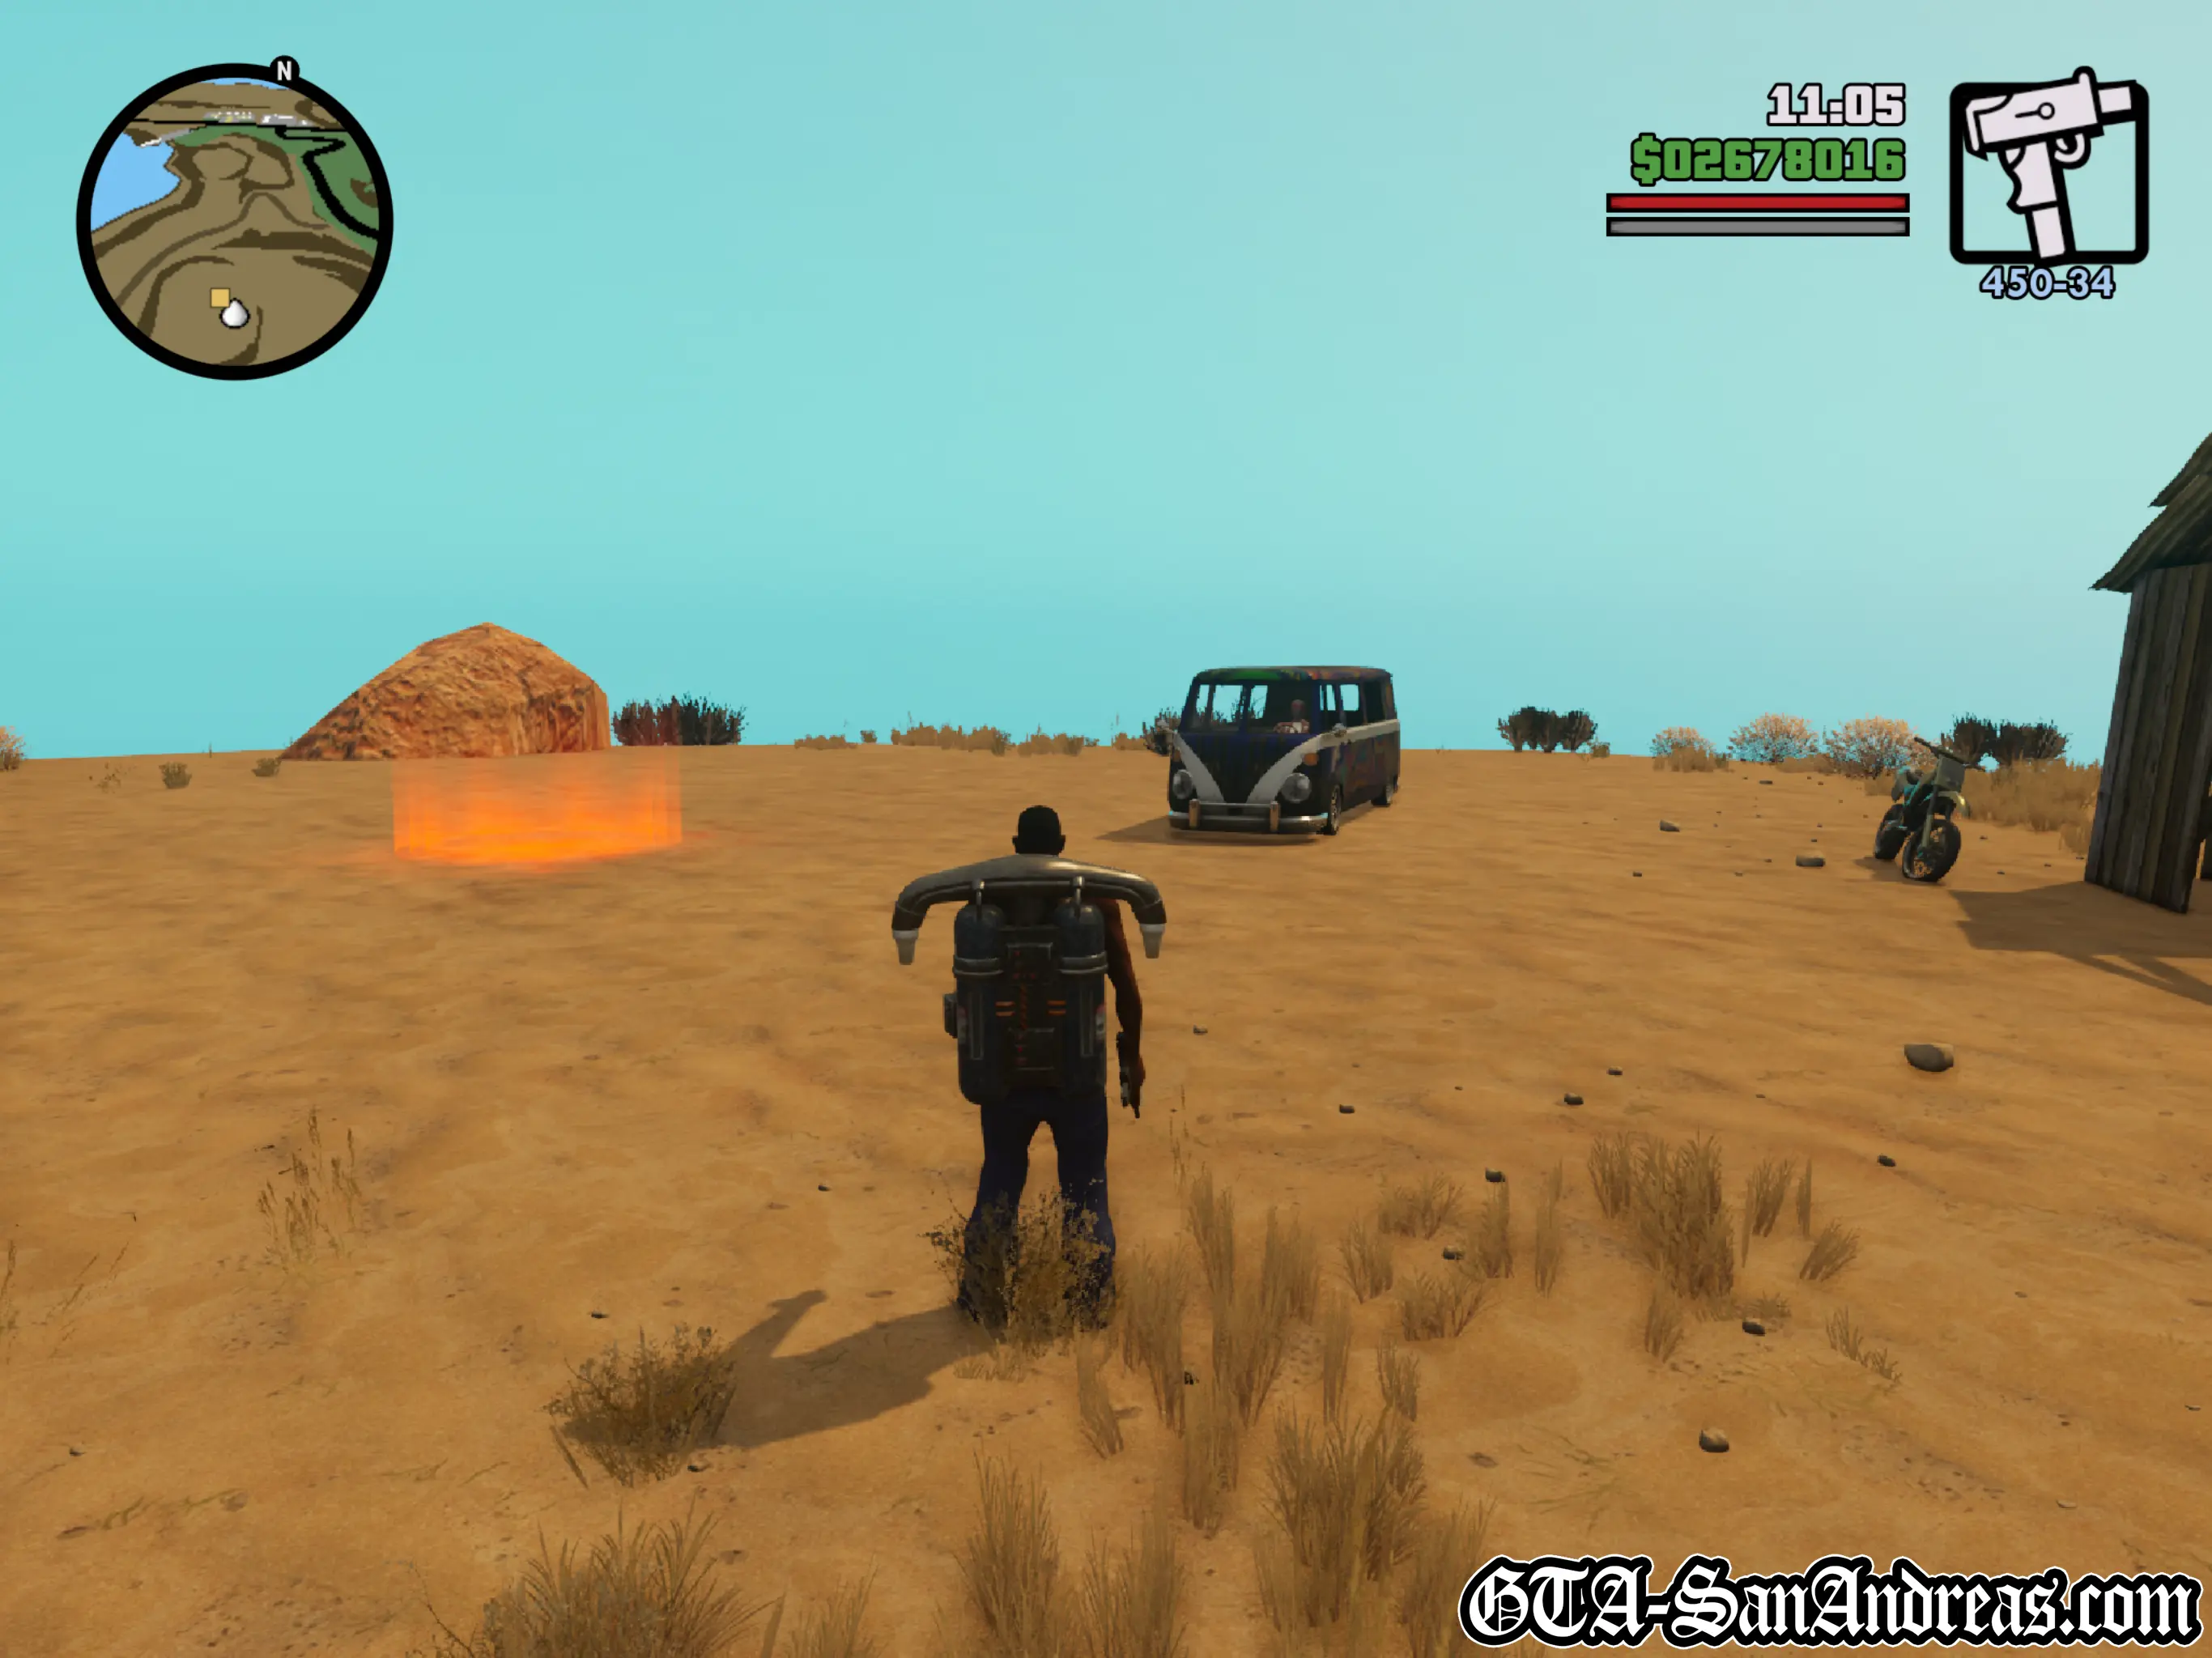
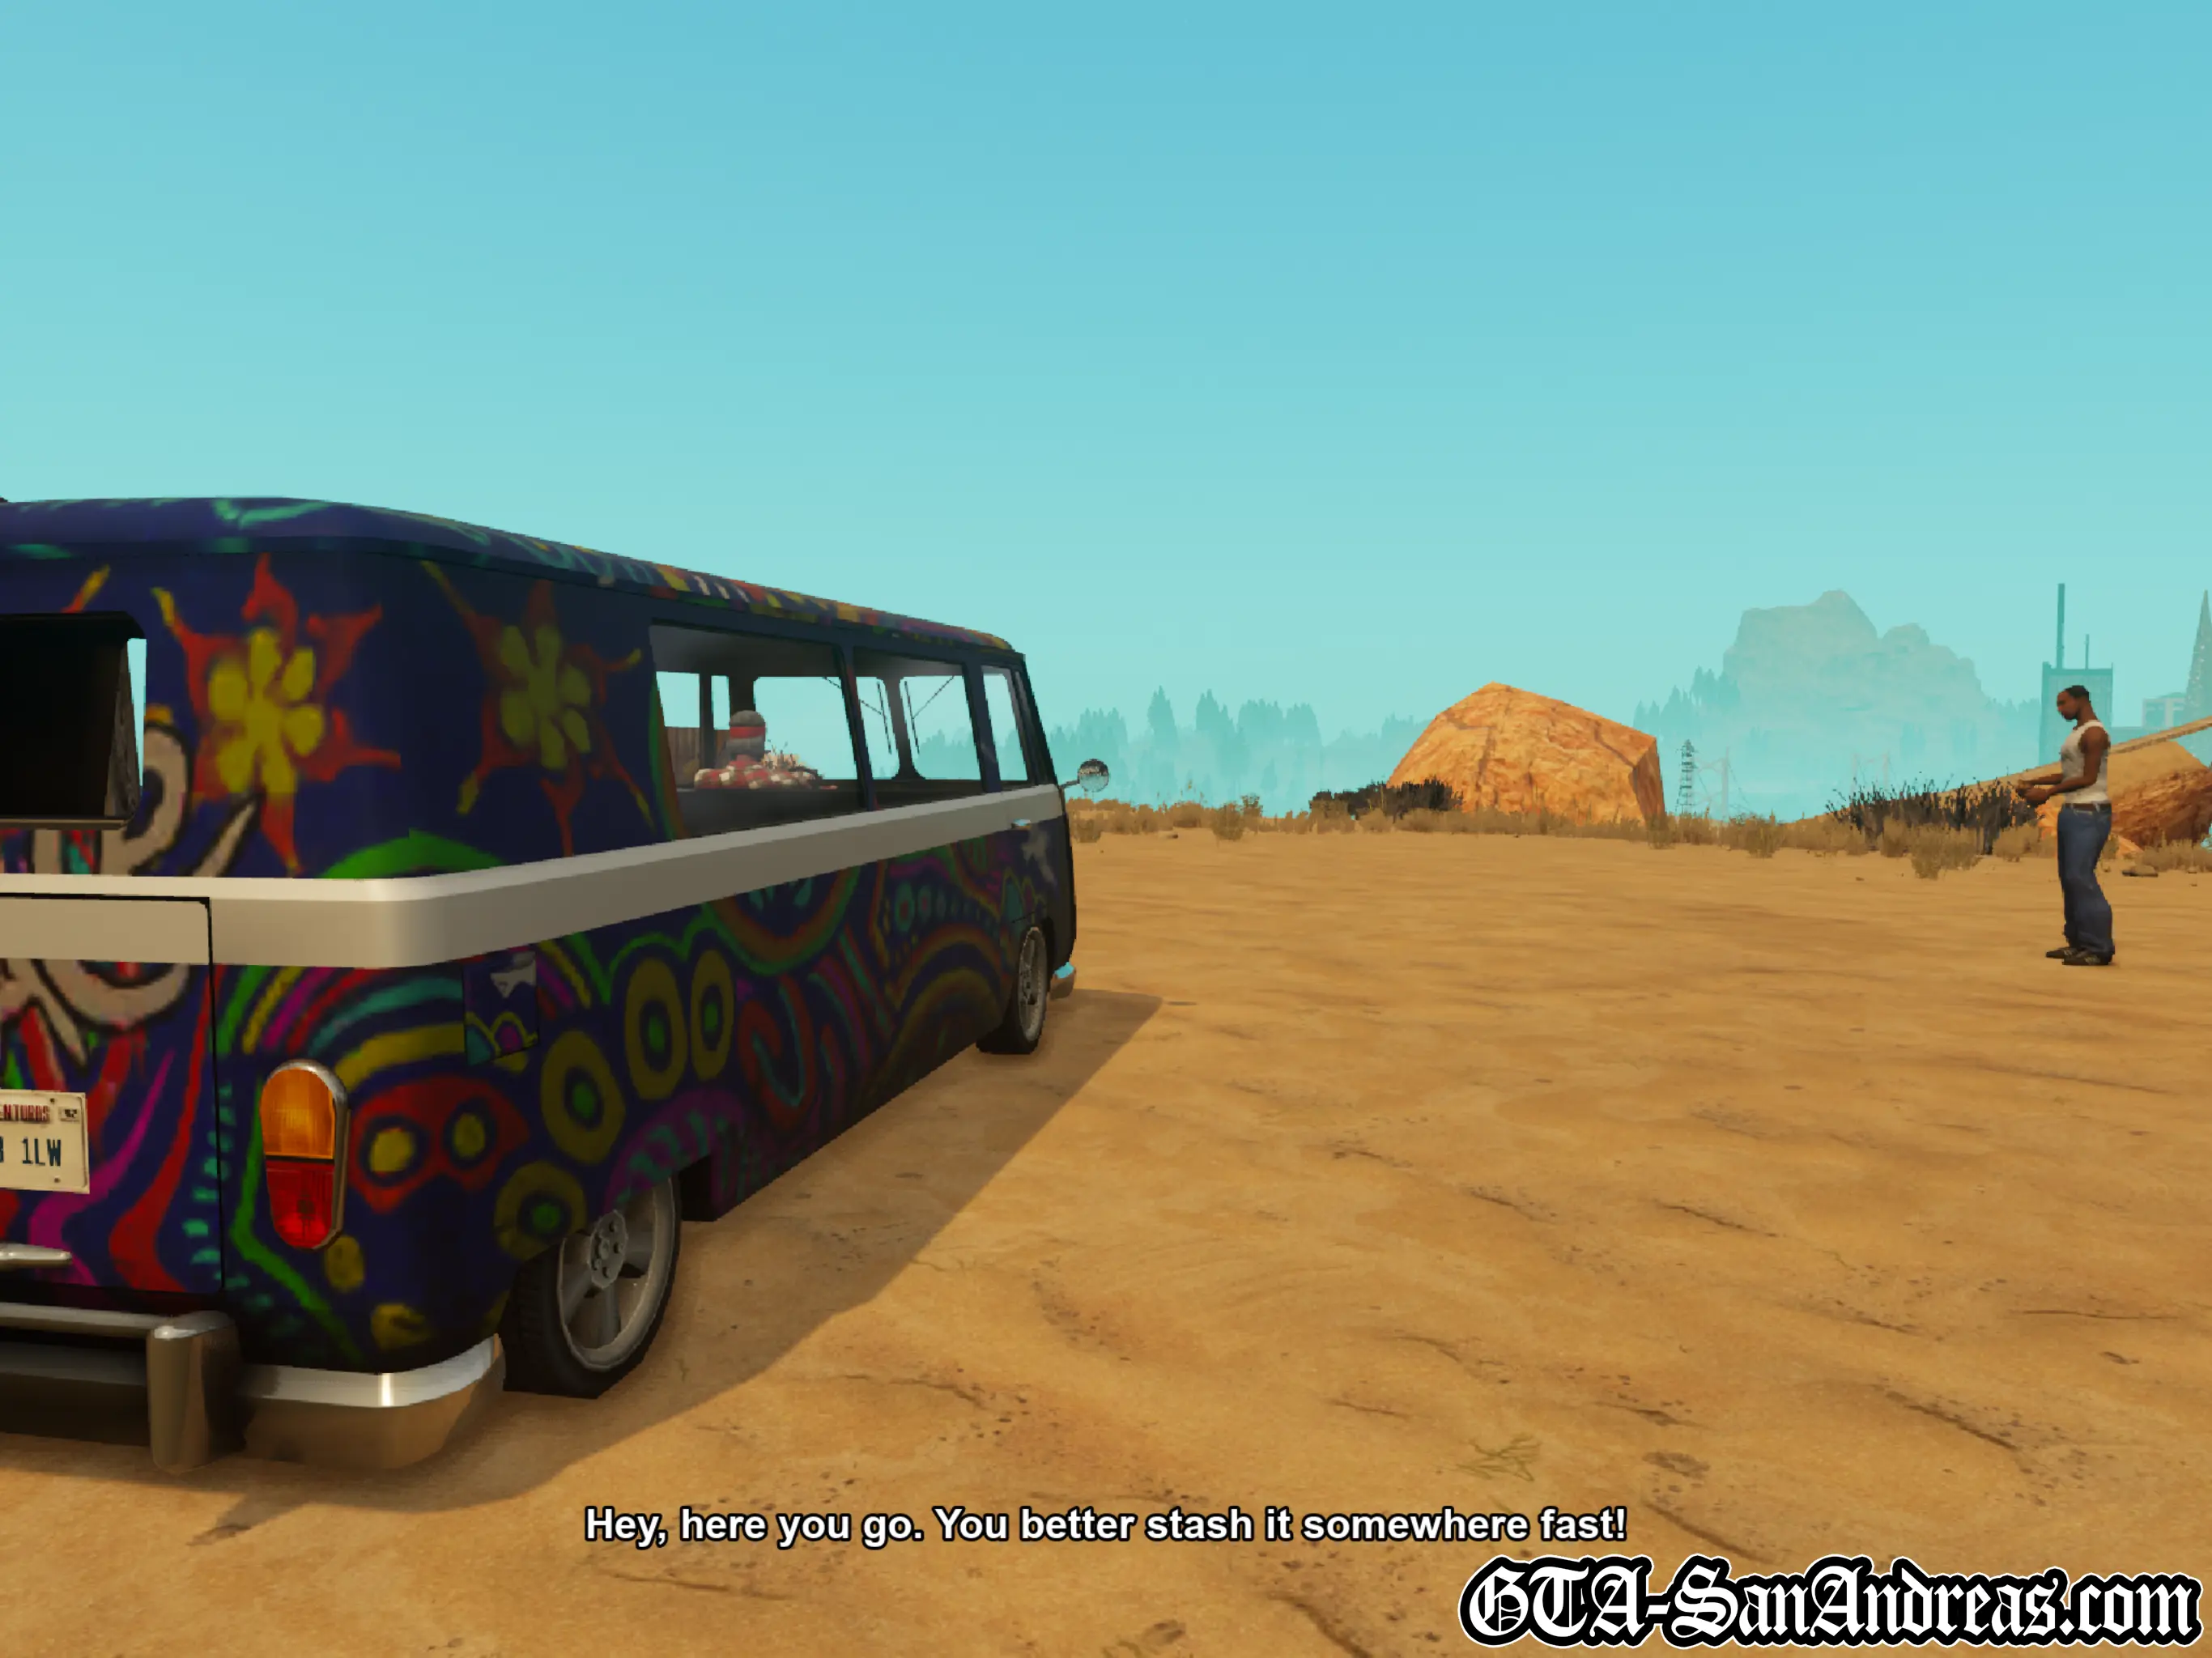
The Truth needs you to fly the jetpack, land on a train and steal whatever they least want you to get. First you'll need to know how to fly the jetpack, which isn't hard if you just did the previous mission. Make your way to the green blip on the radar which you'll find is the train. Presuming you have sub machine gun ammunition, fly over the train, and hold R1 to auto target the guards. Kill the ten or so guards all the way along the train, then land at the back and work your way forwards. Shoot the blue crates until they blow up and see if anything is inside. The first two will have nothing, the last one will have the 'green goo'. Grab it, then fly back to The Truth as the airfield. Stand in the red circle and The Truth will take the goo and leave.
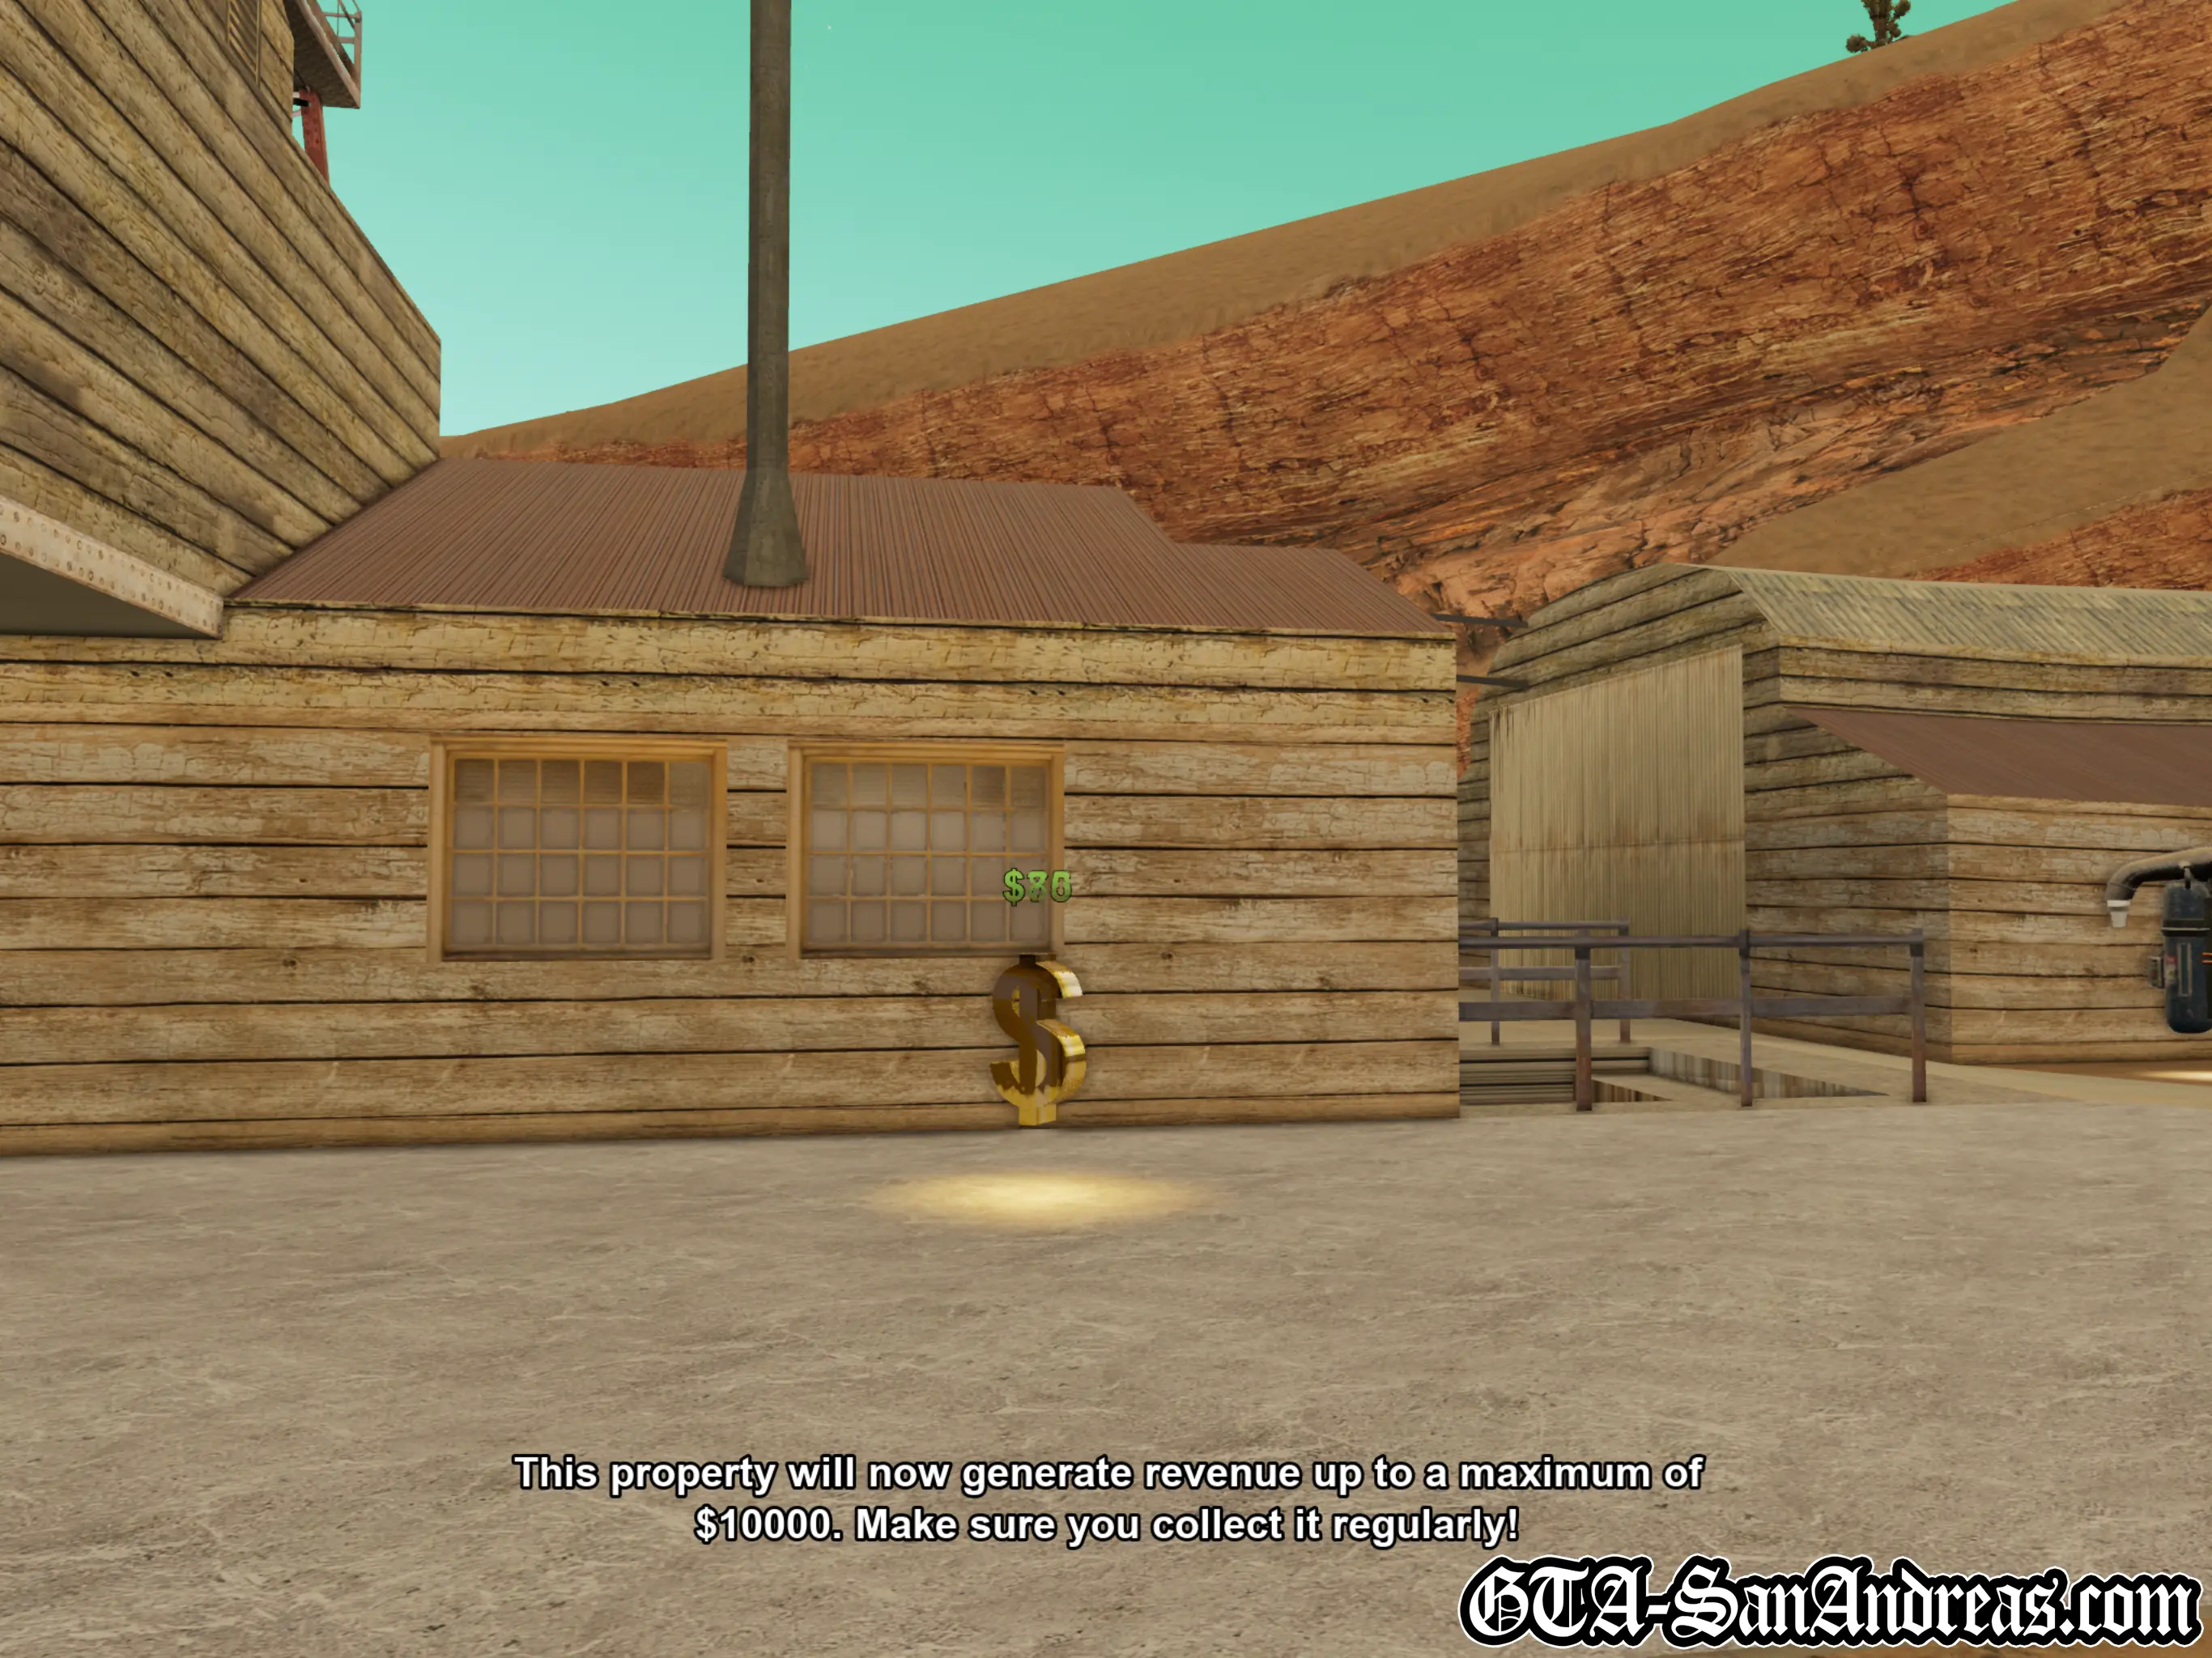
The Abandoned Airfield will now generate revenue up to $10,000 a day. Drop by each day and pick up the cash.
All of the airfield's missions are completed.
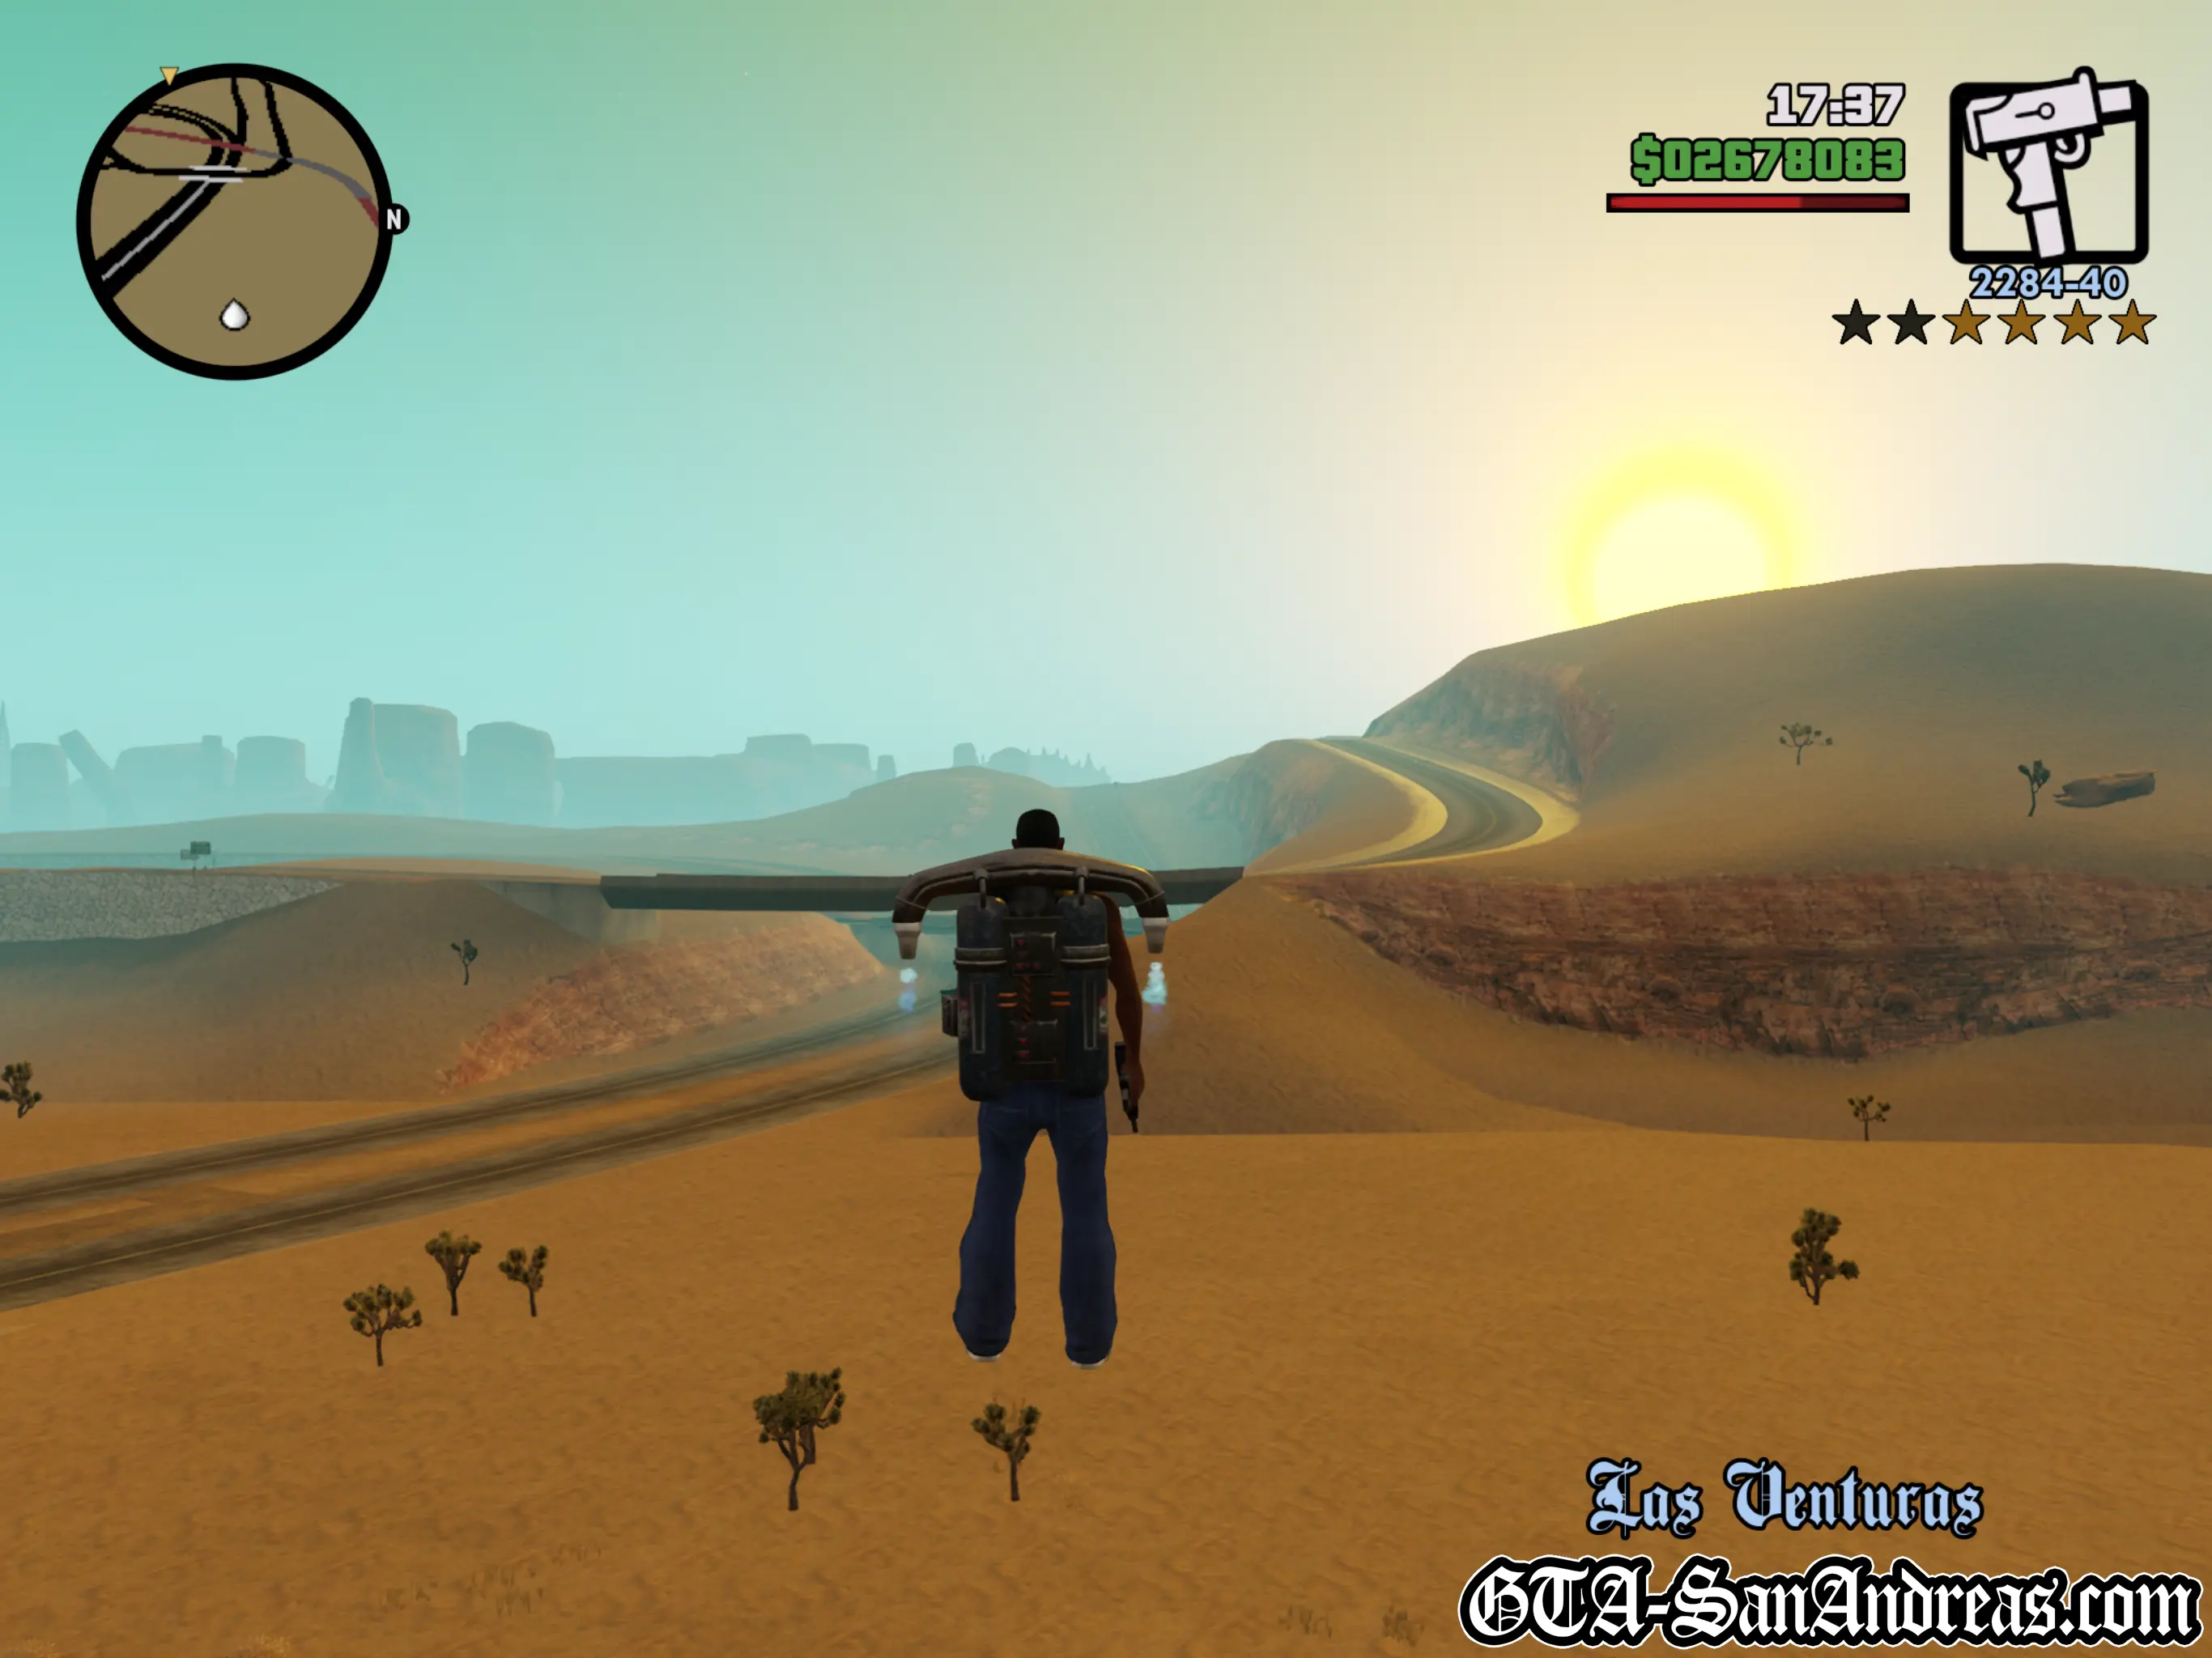
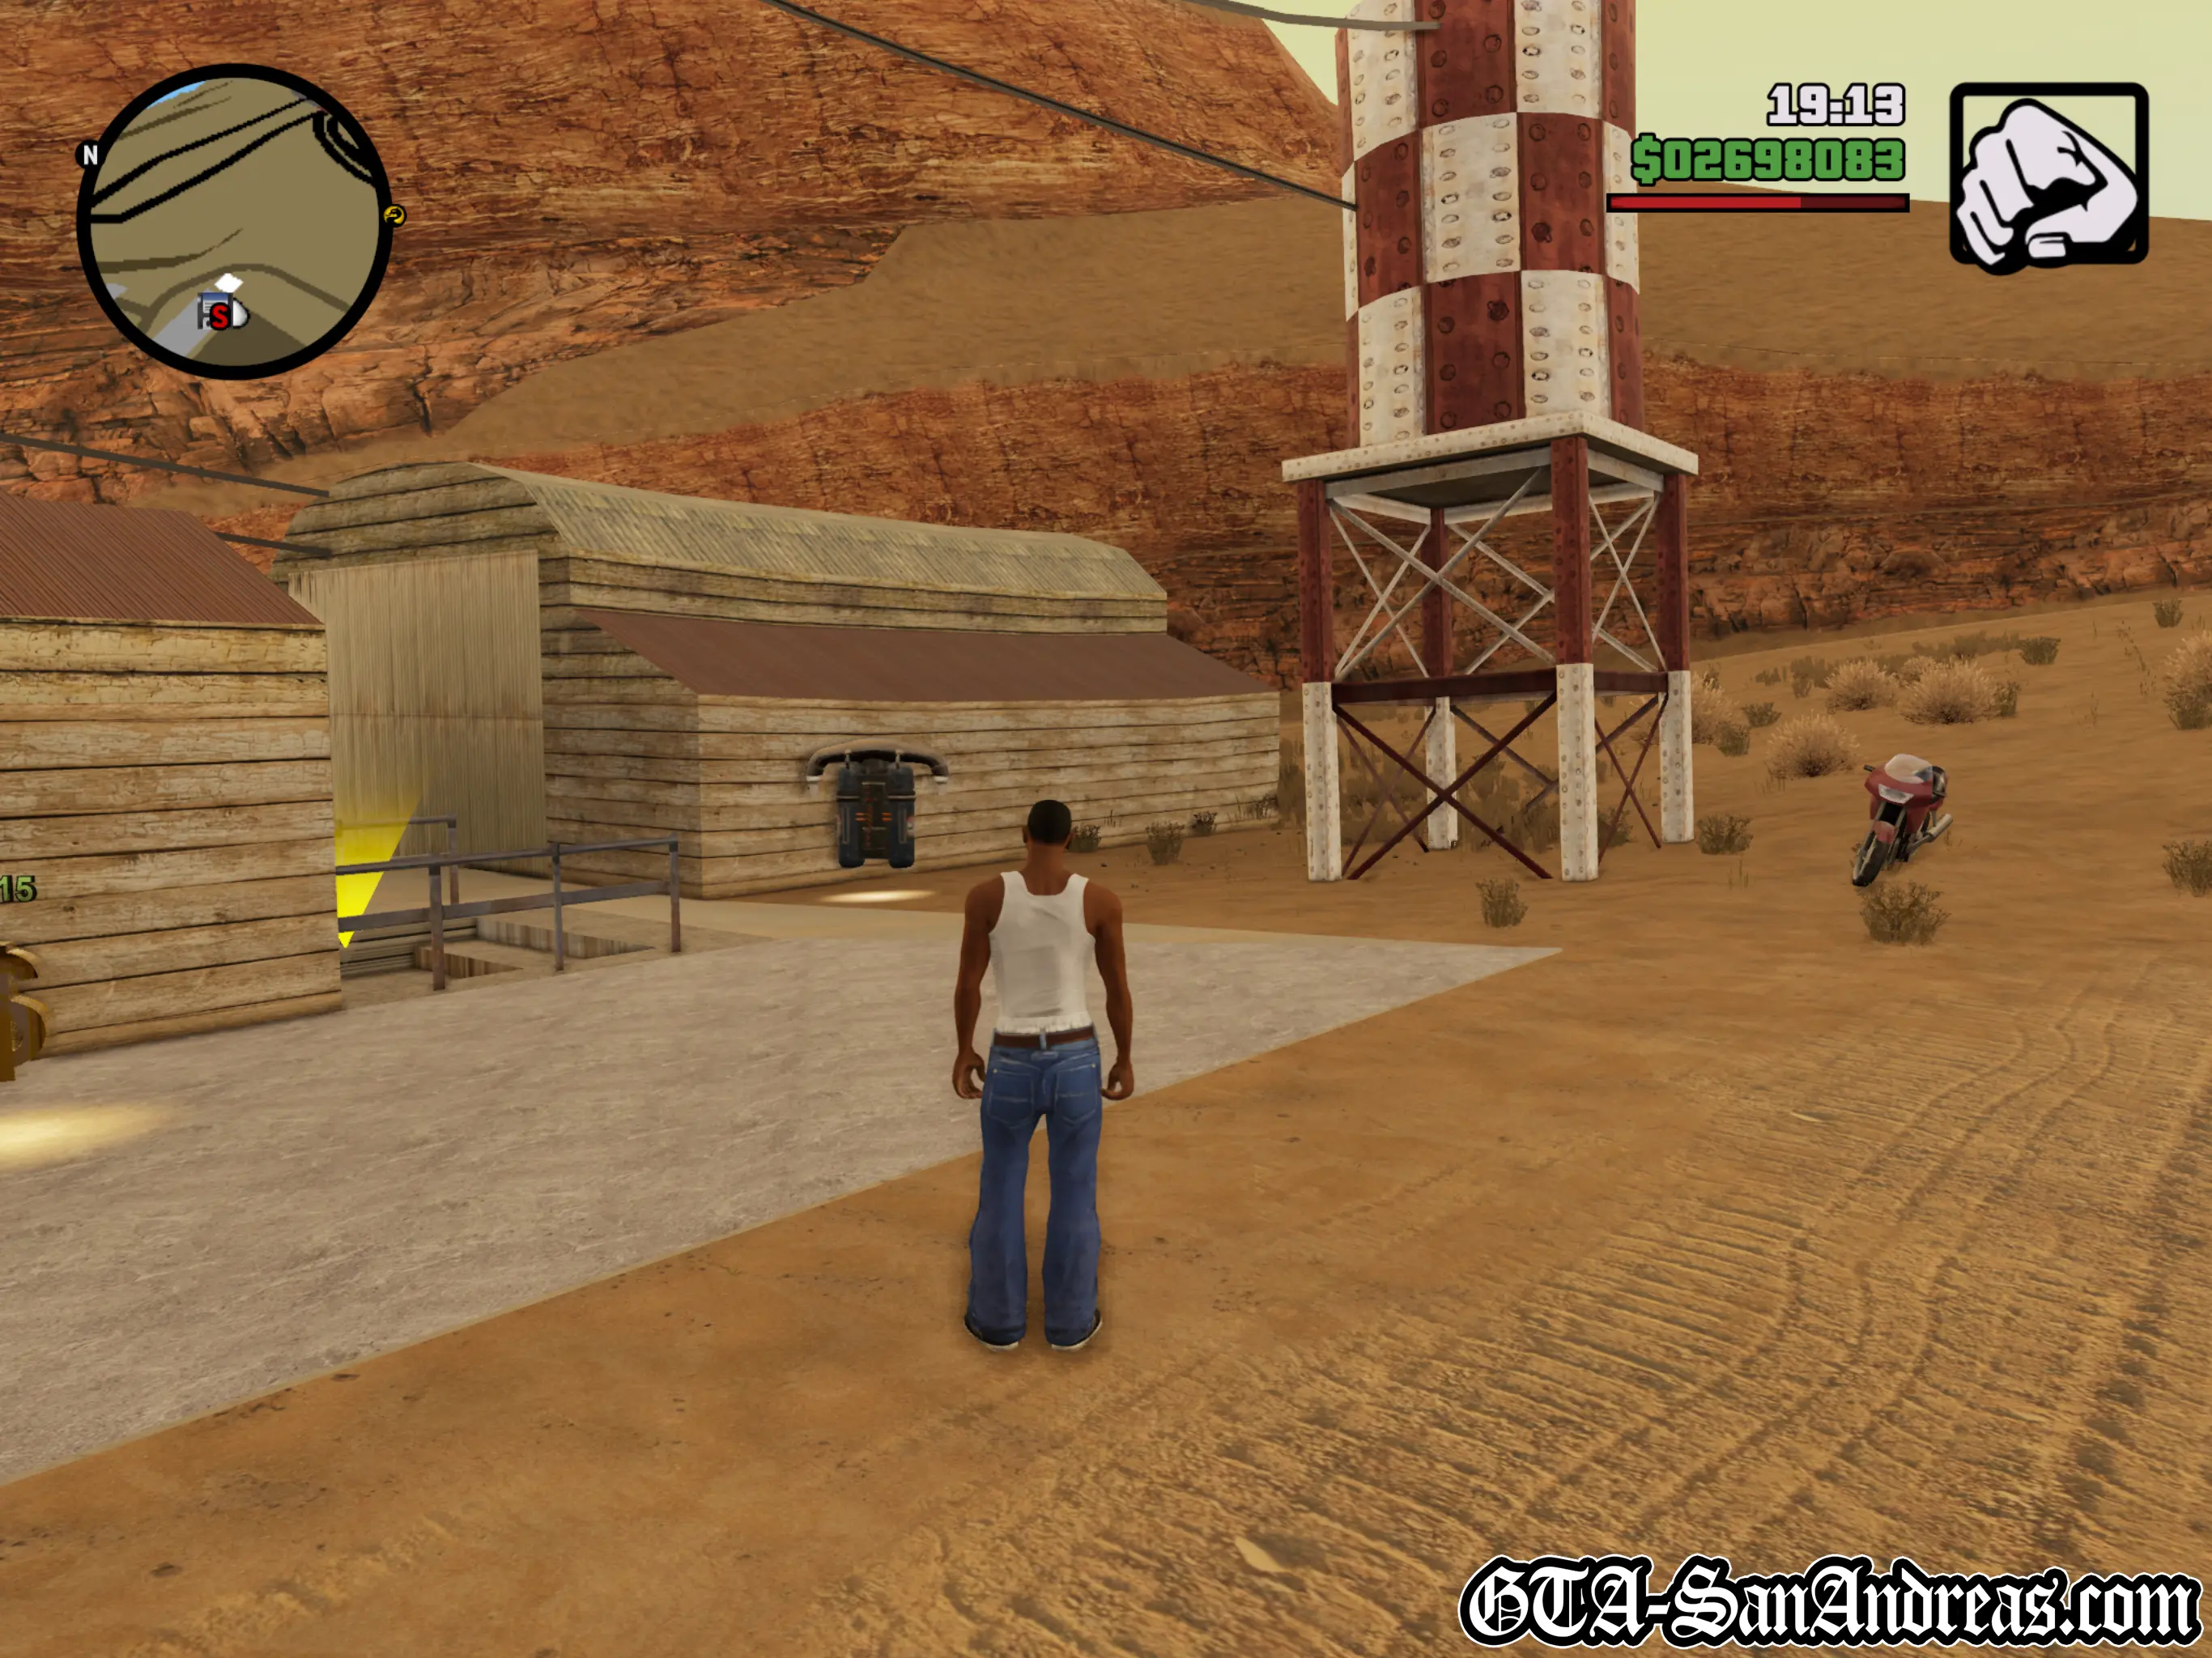
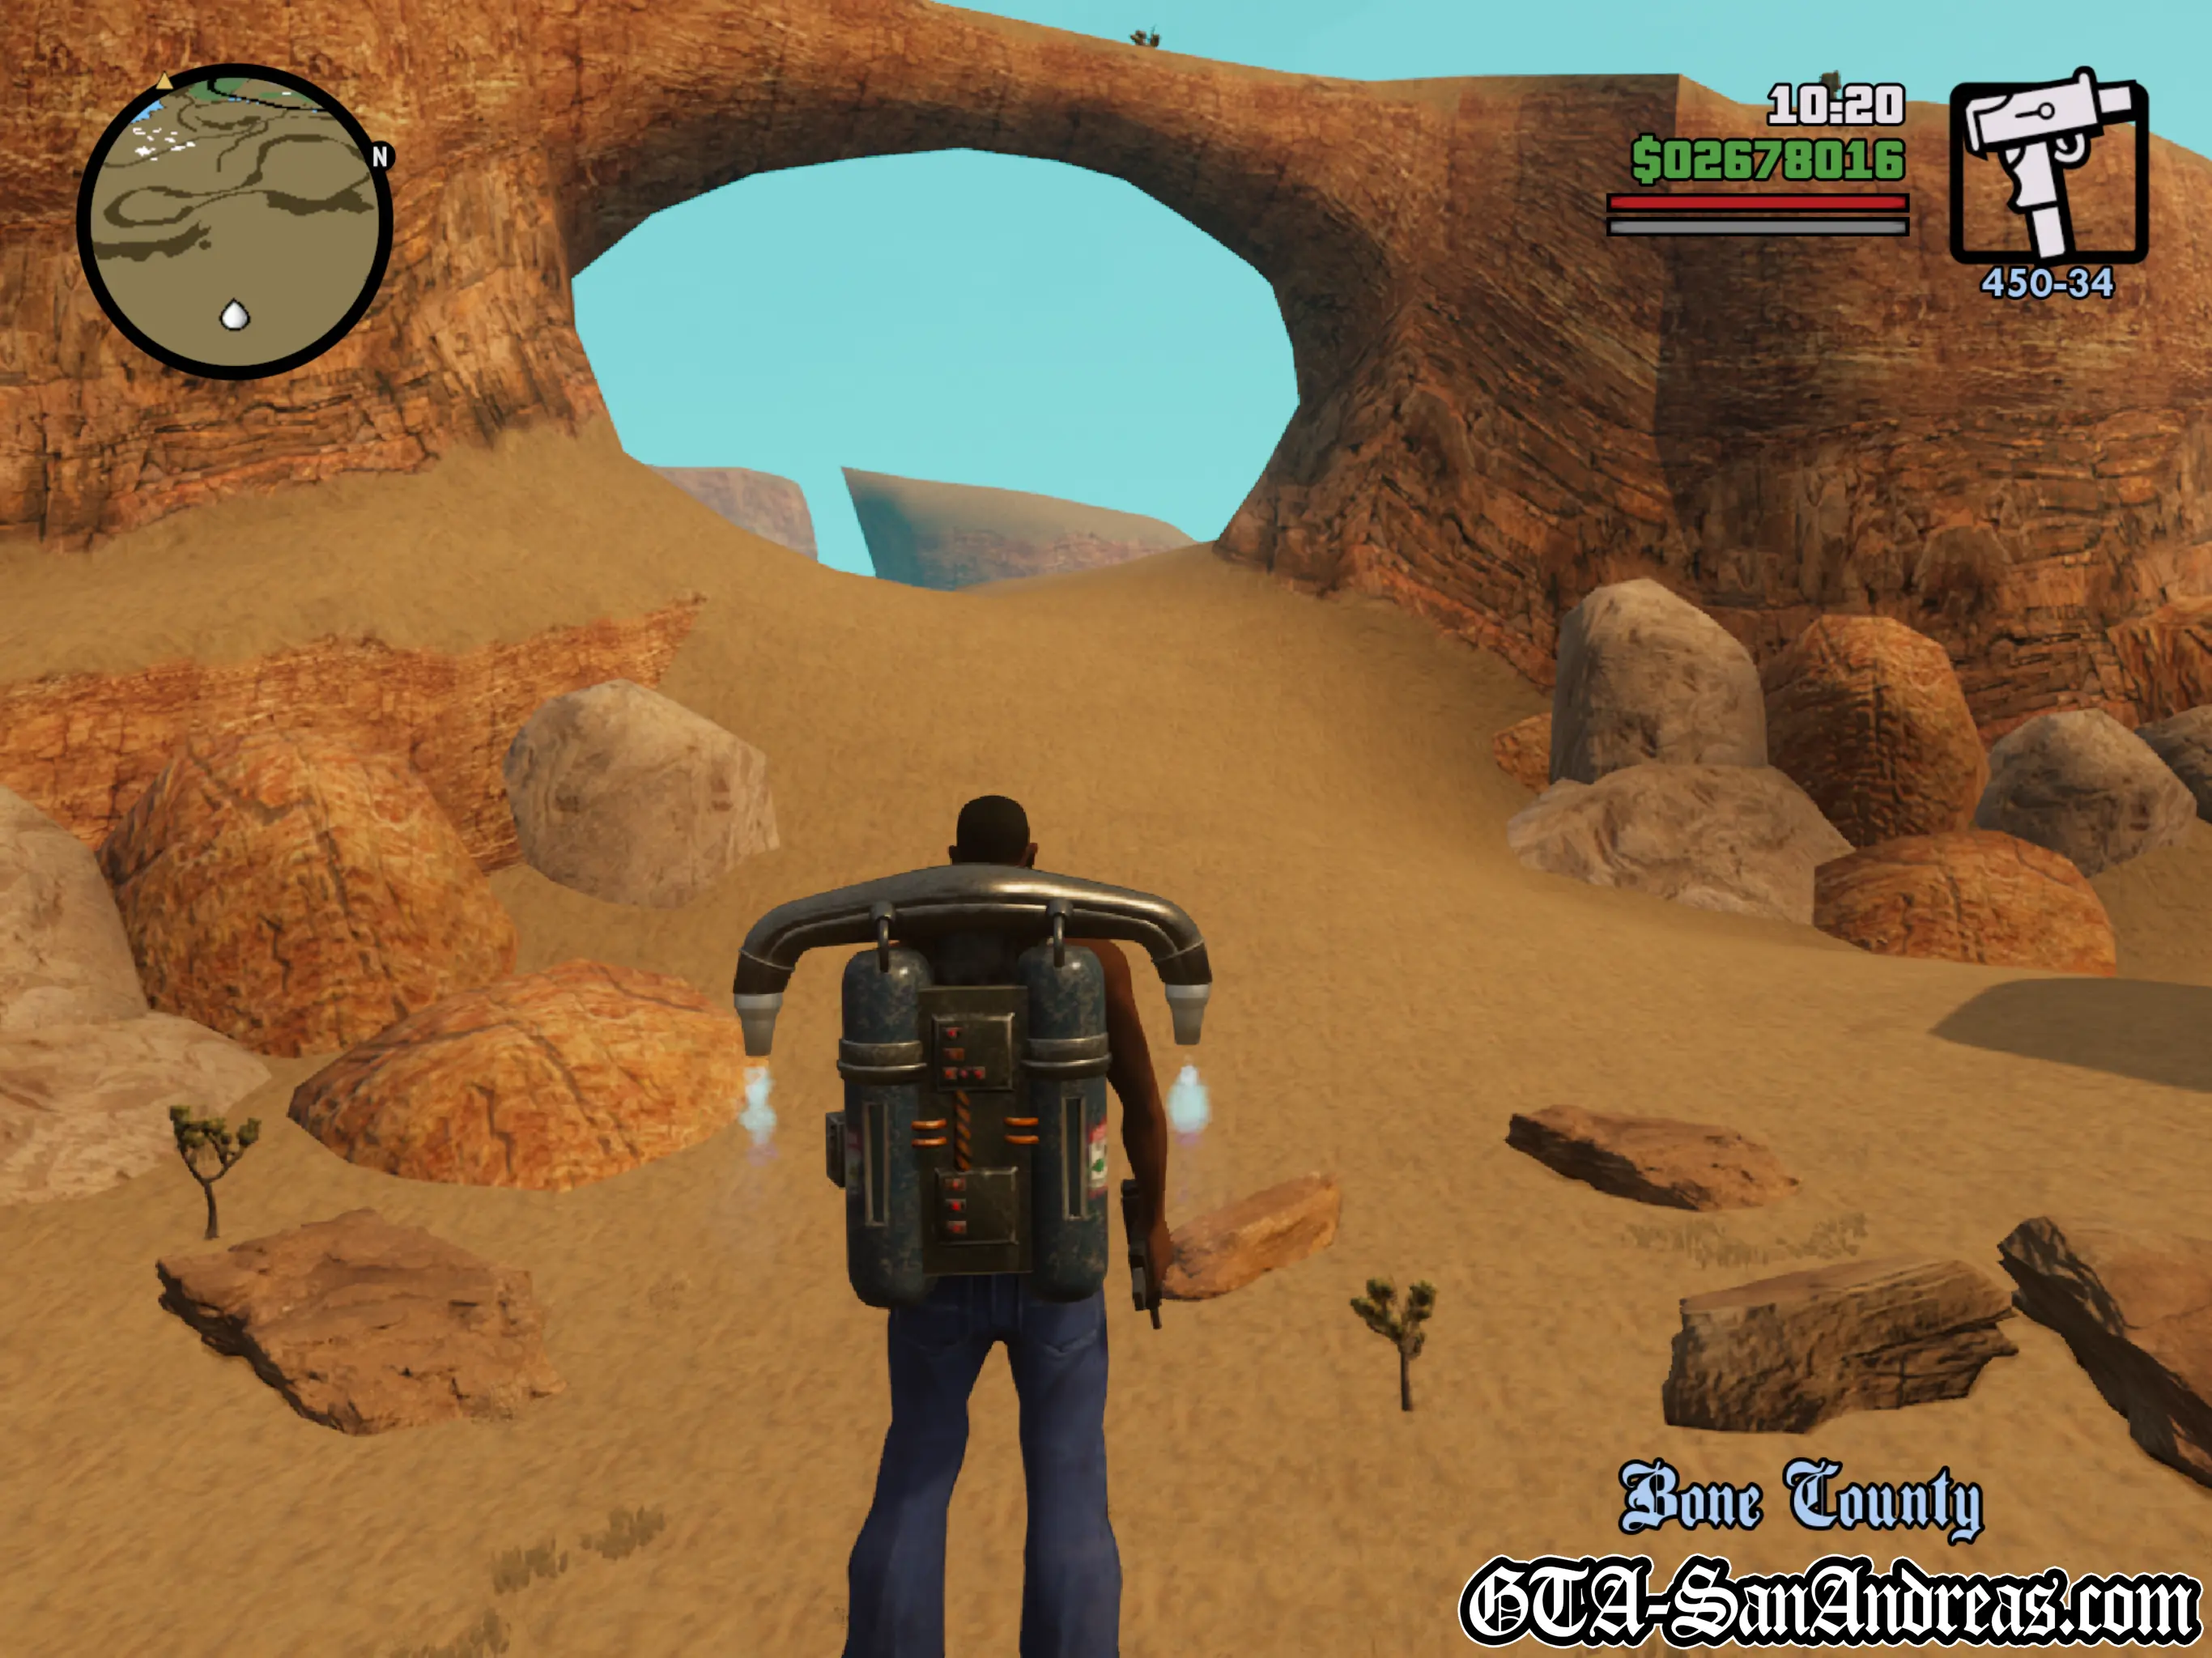
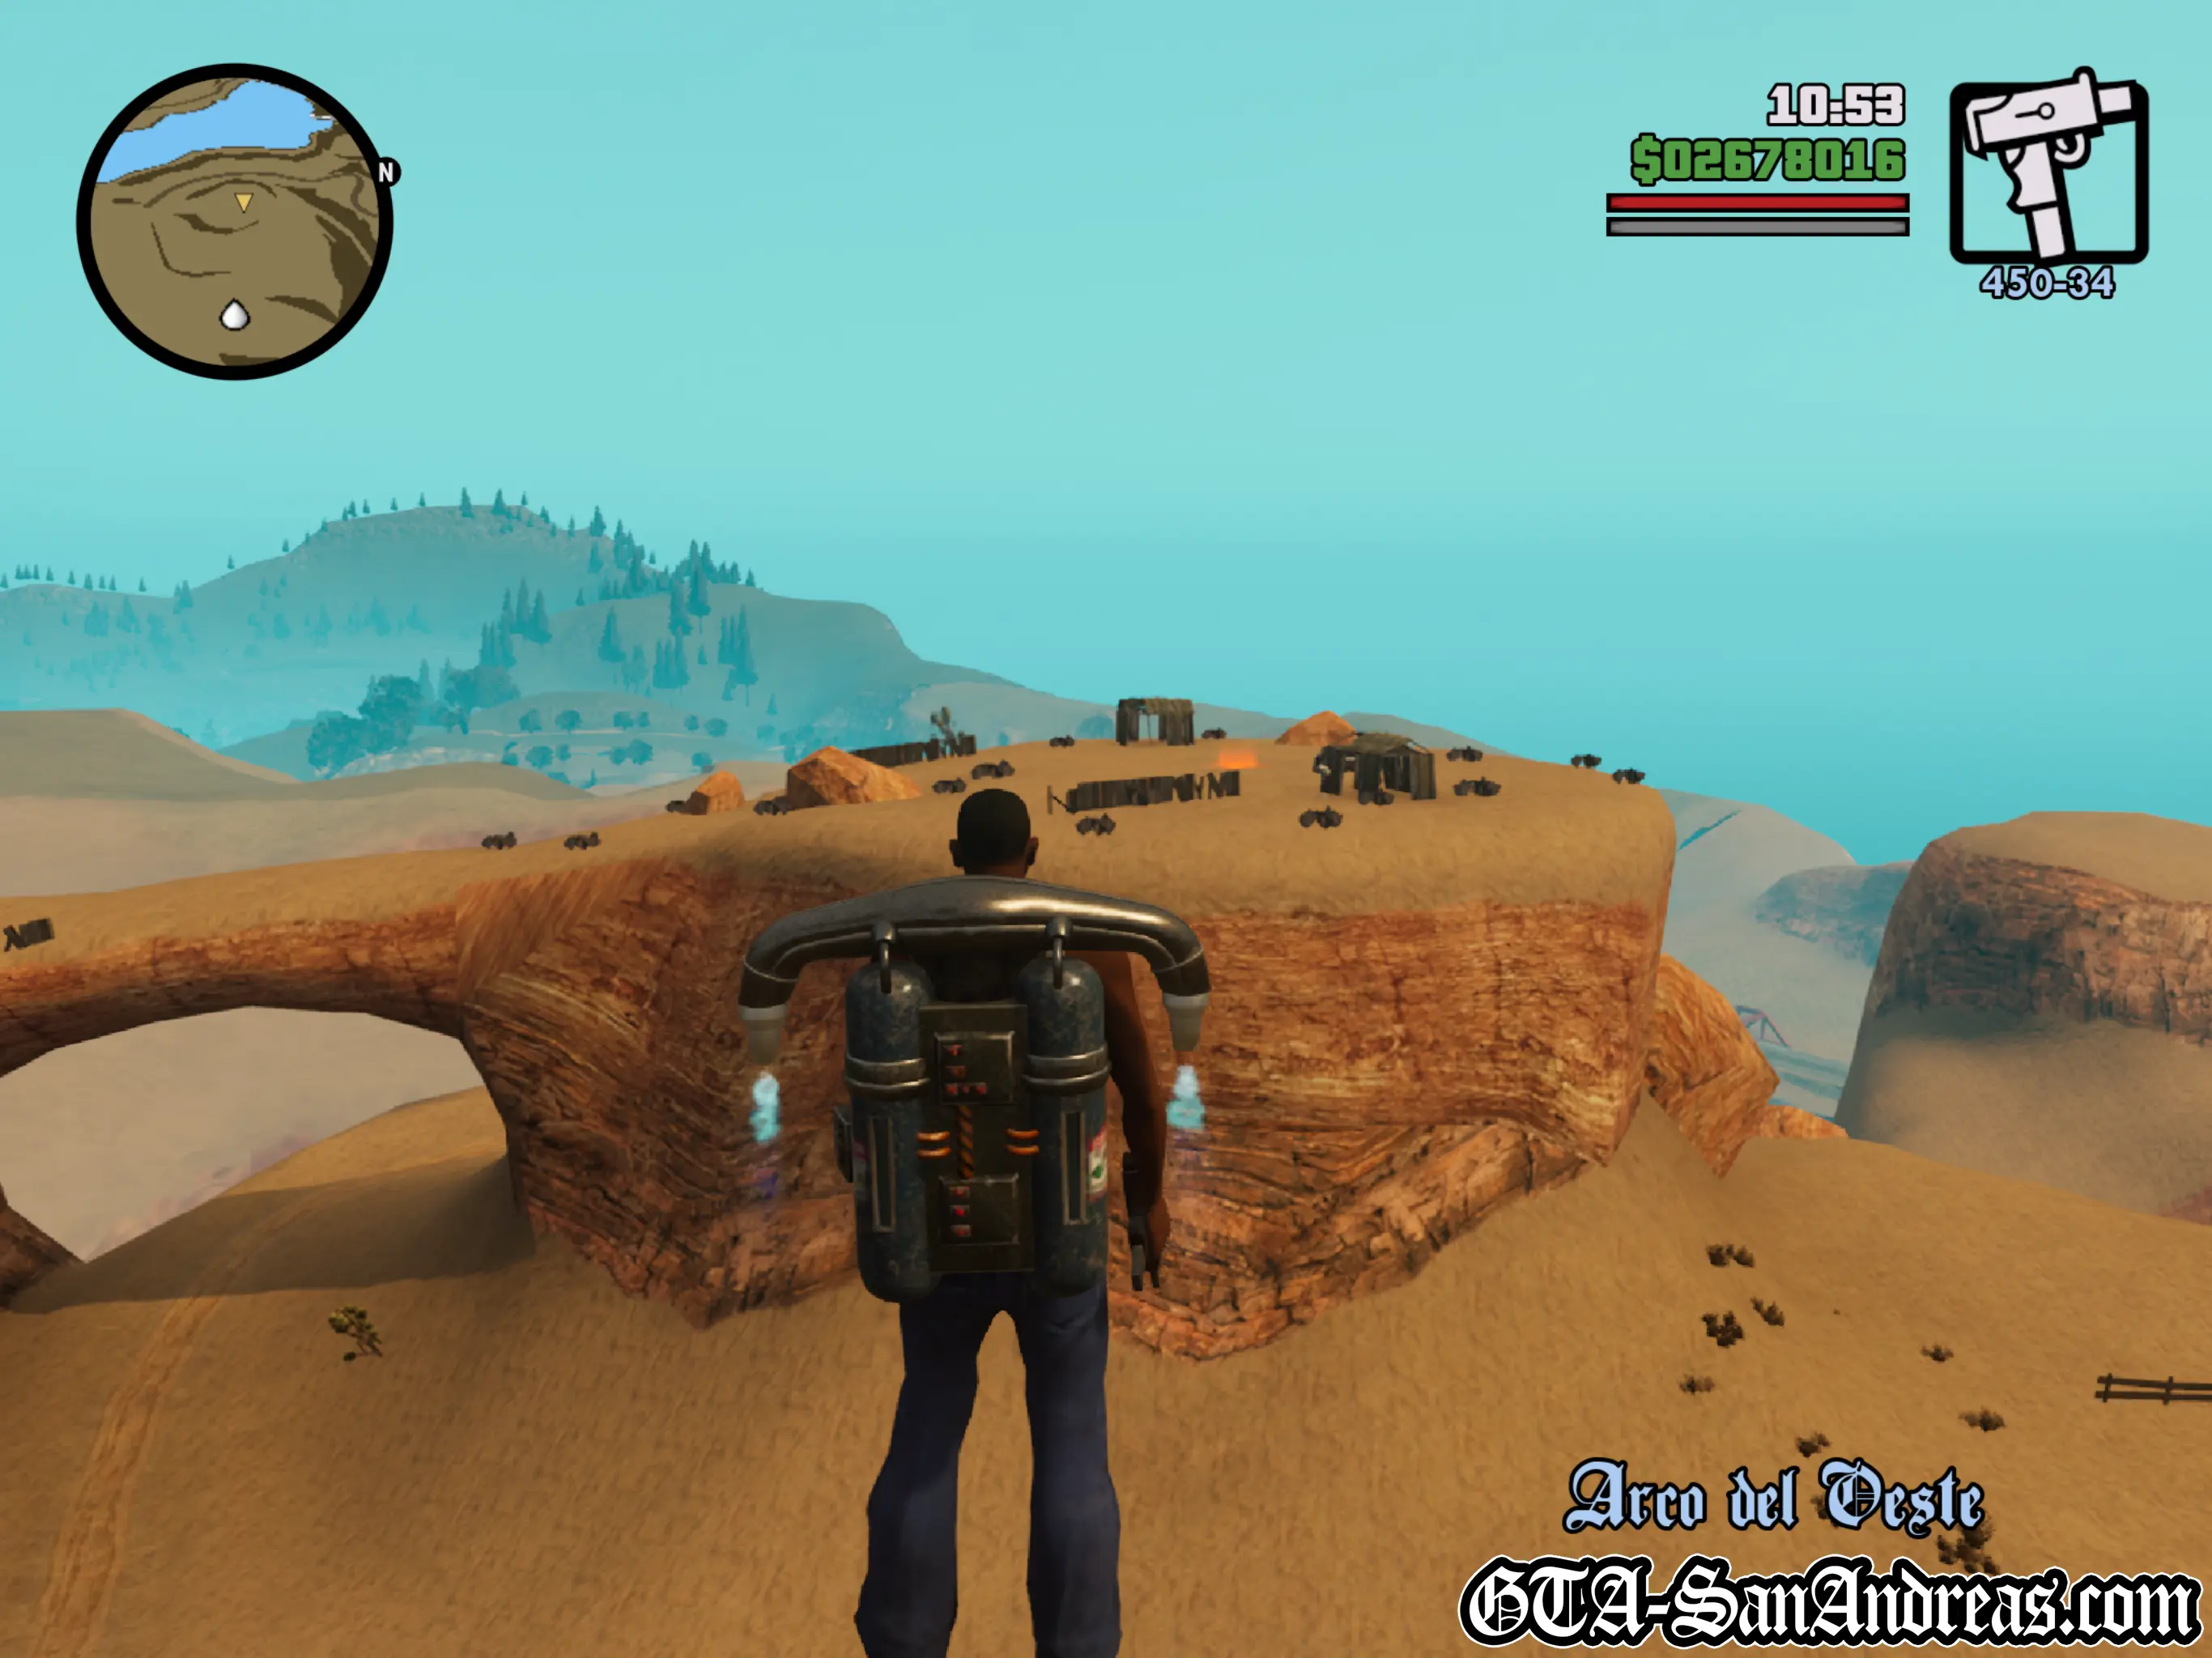
The Jetpack is now permanently available from the East side of the Verdant Meadows airstrip safe house!
Now that you have the jetpack, it would be a good idea to use it to help you find the horseshoes in Las Venturas. You can read more about these in a separate guide, but if you intend to get 100% completion you need all of the side objectives, and they can be pretty hard to do when you've just found random ones, so I'd suggest following a guide through all of them.
The next lot of missions you have to do are Woozie's at his casino. He can be found at the Yellow Dragon on the radar.