Sub-Missions
All of the previous GTA games have featured vehicle-specific sub-missions and San Andreas is no different. Not only are these missions required for 100% completion, you'll also earn some useful rewards and bonuses for doing them as well as a wad of cash.
Quick Links
Paramedic
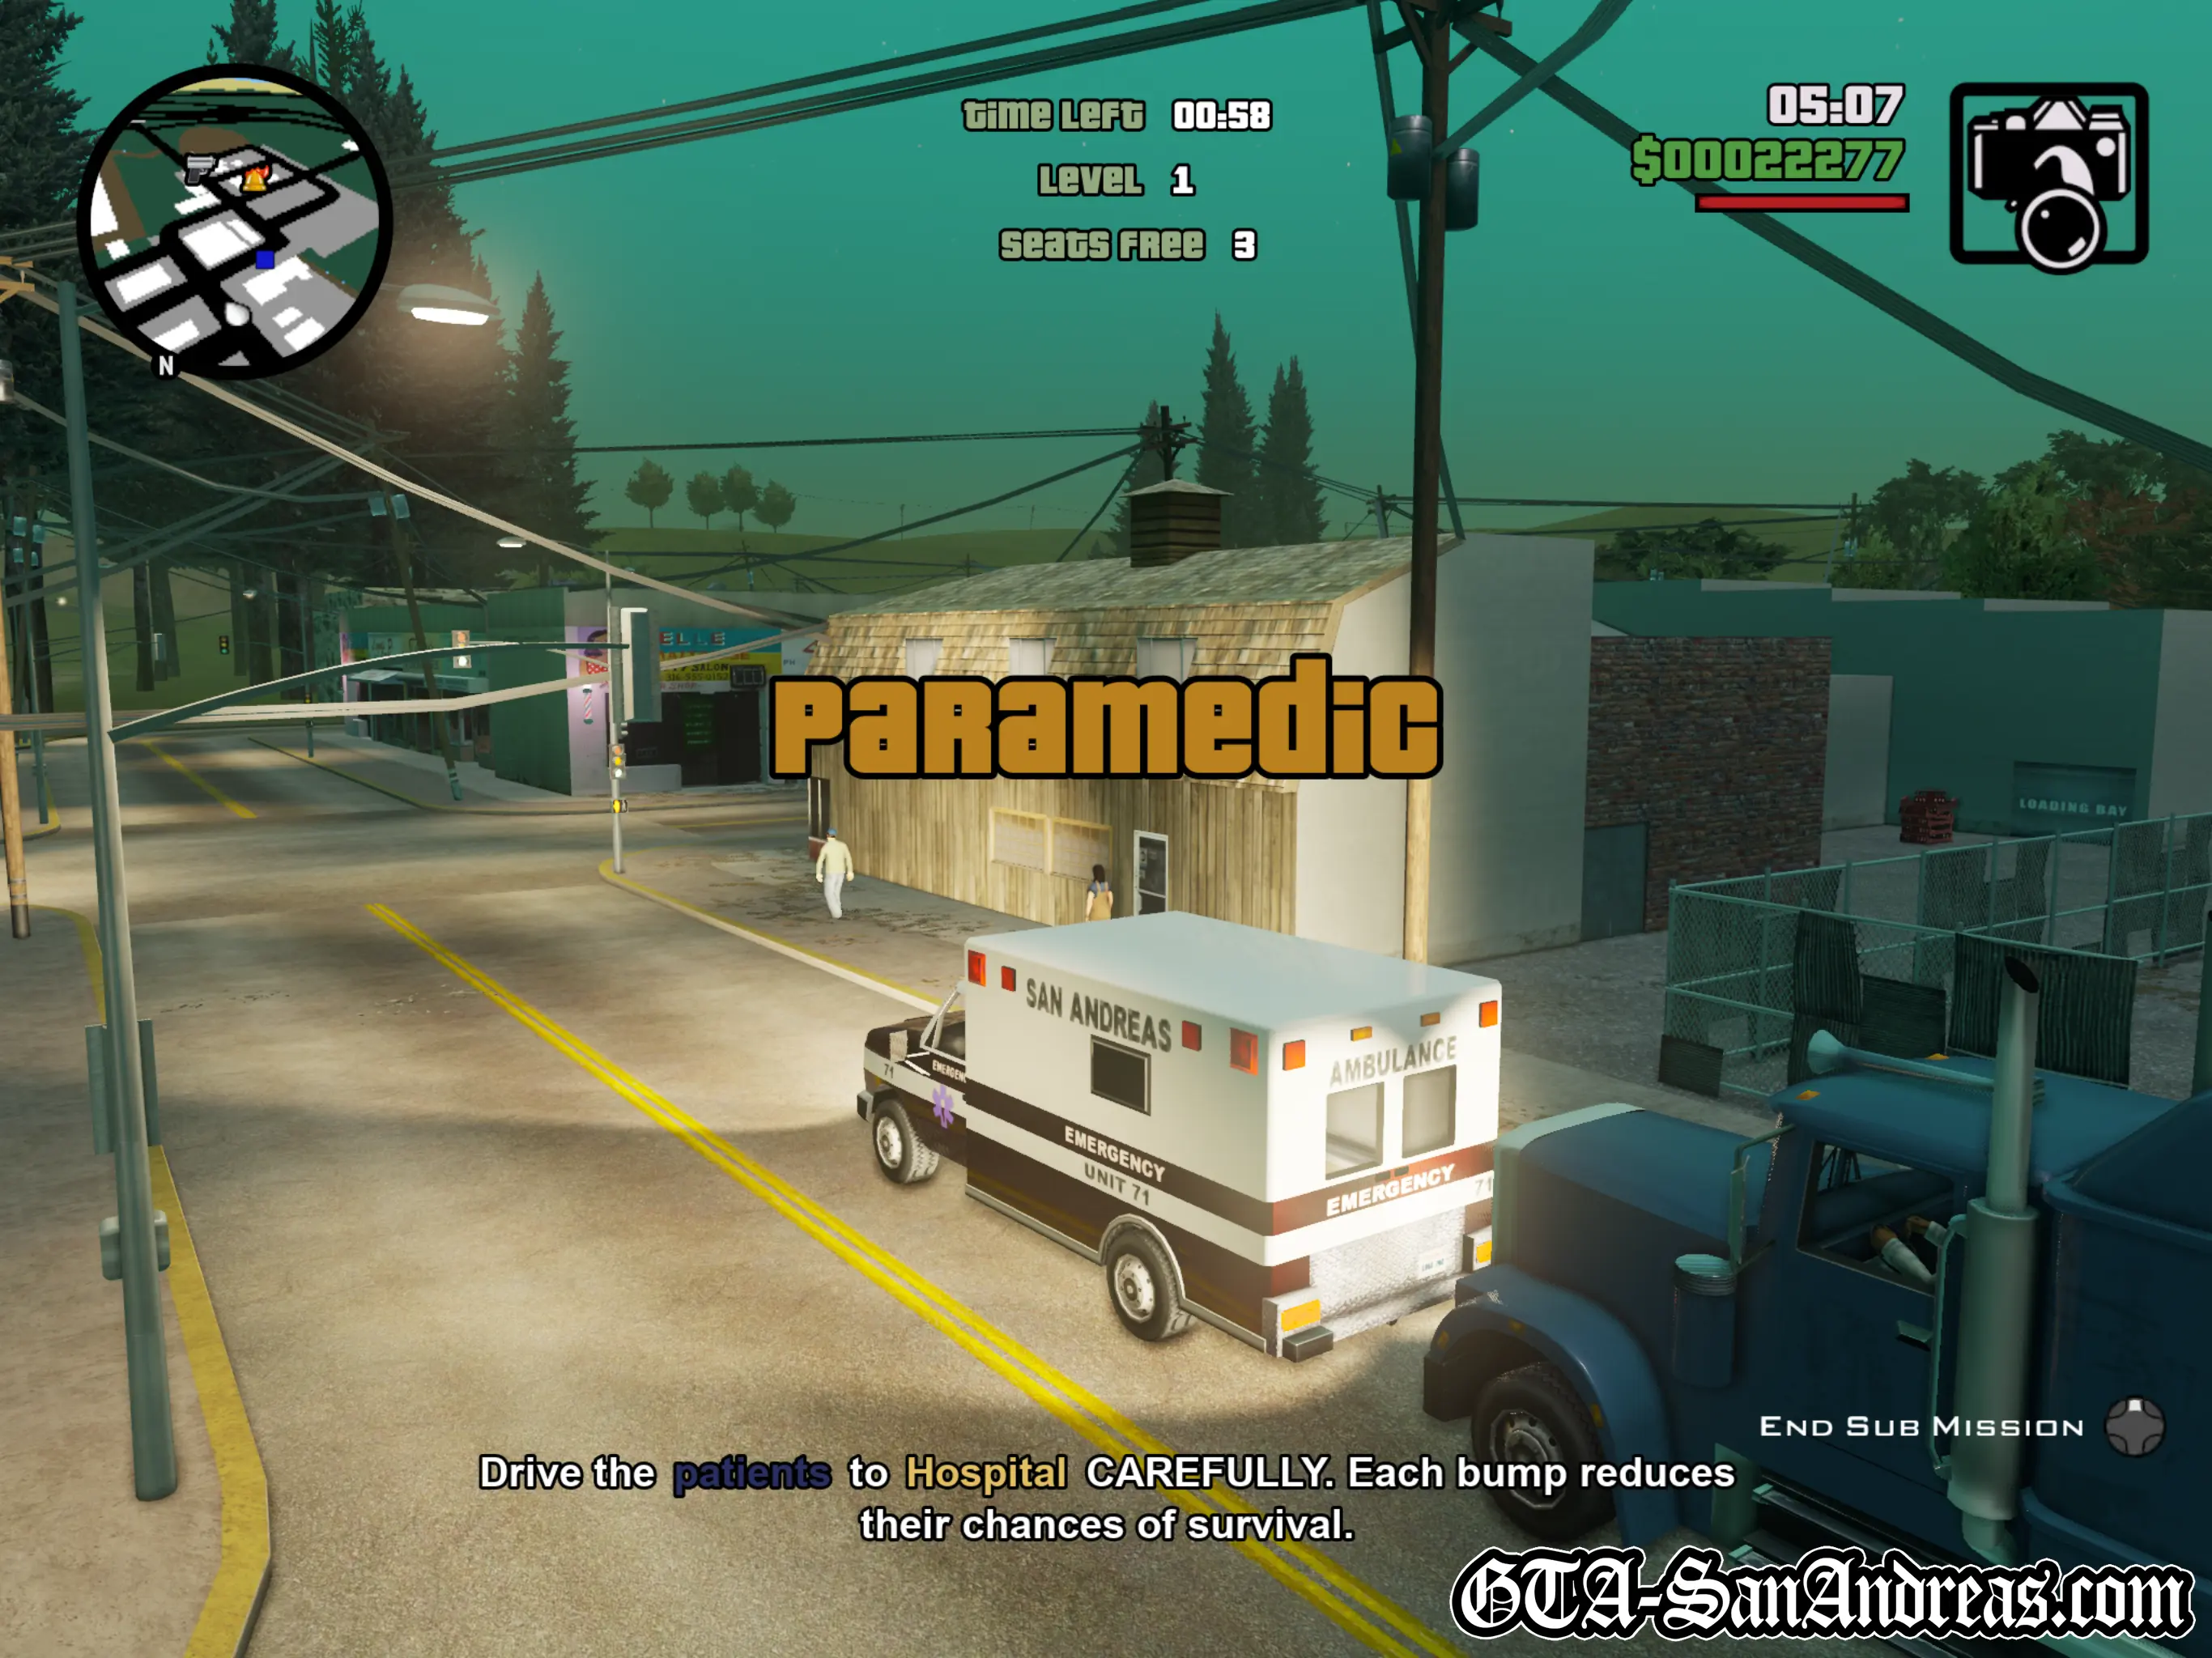
The Paramedic missions which appeared in GTA III and GTA Vice City have returned once again, however they are a lot easier this time around.
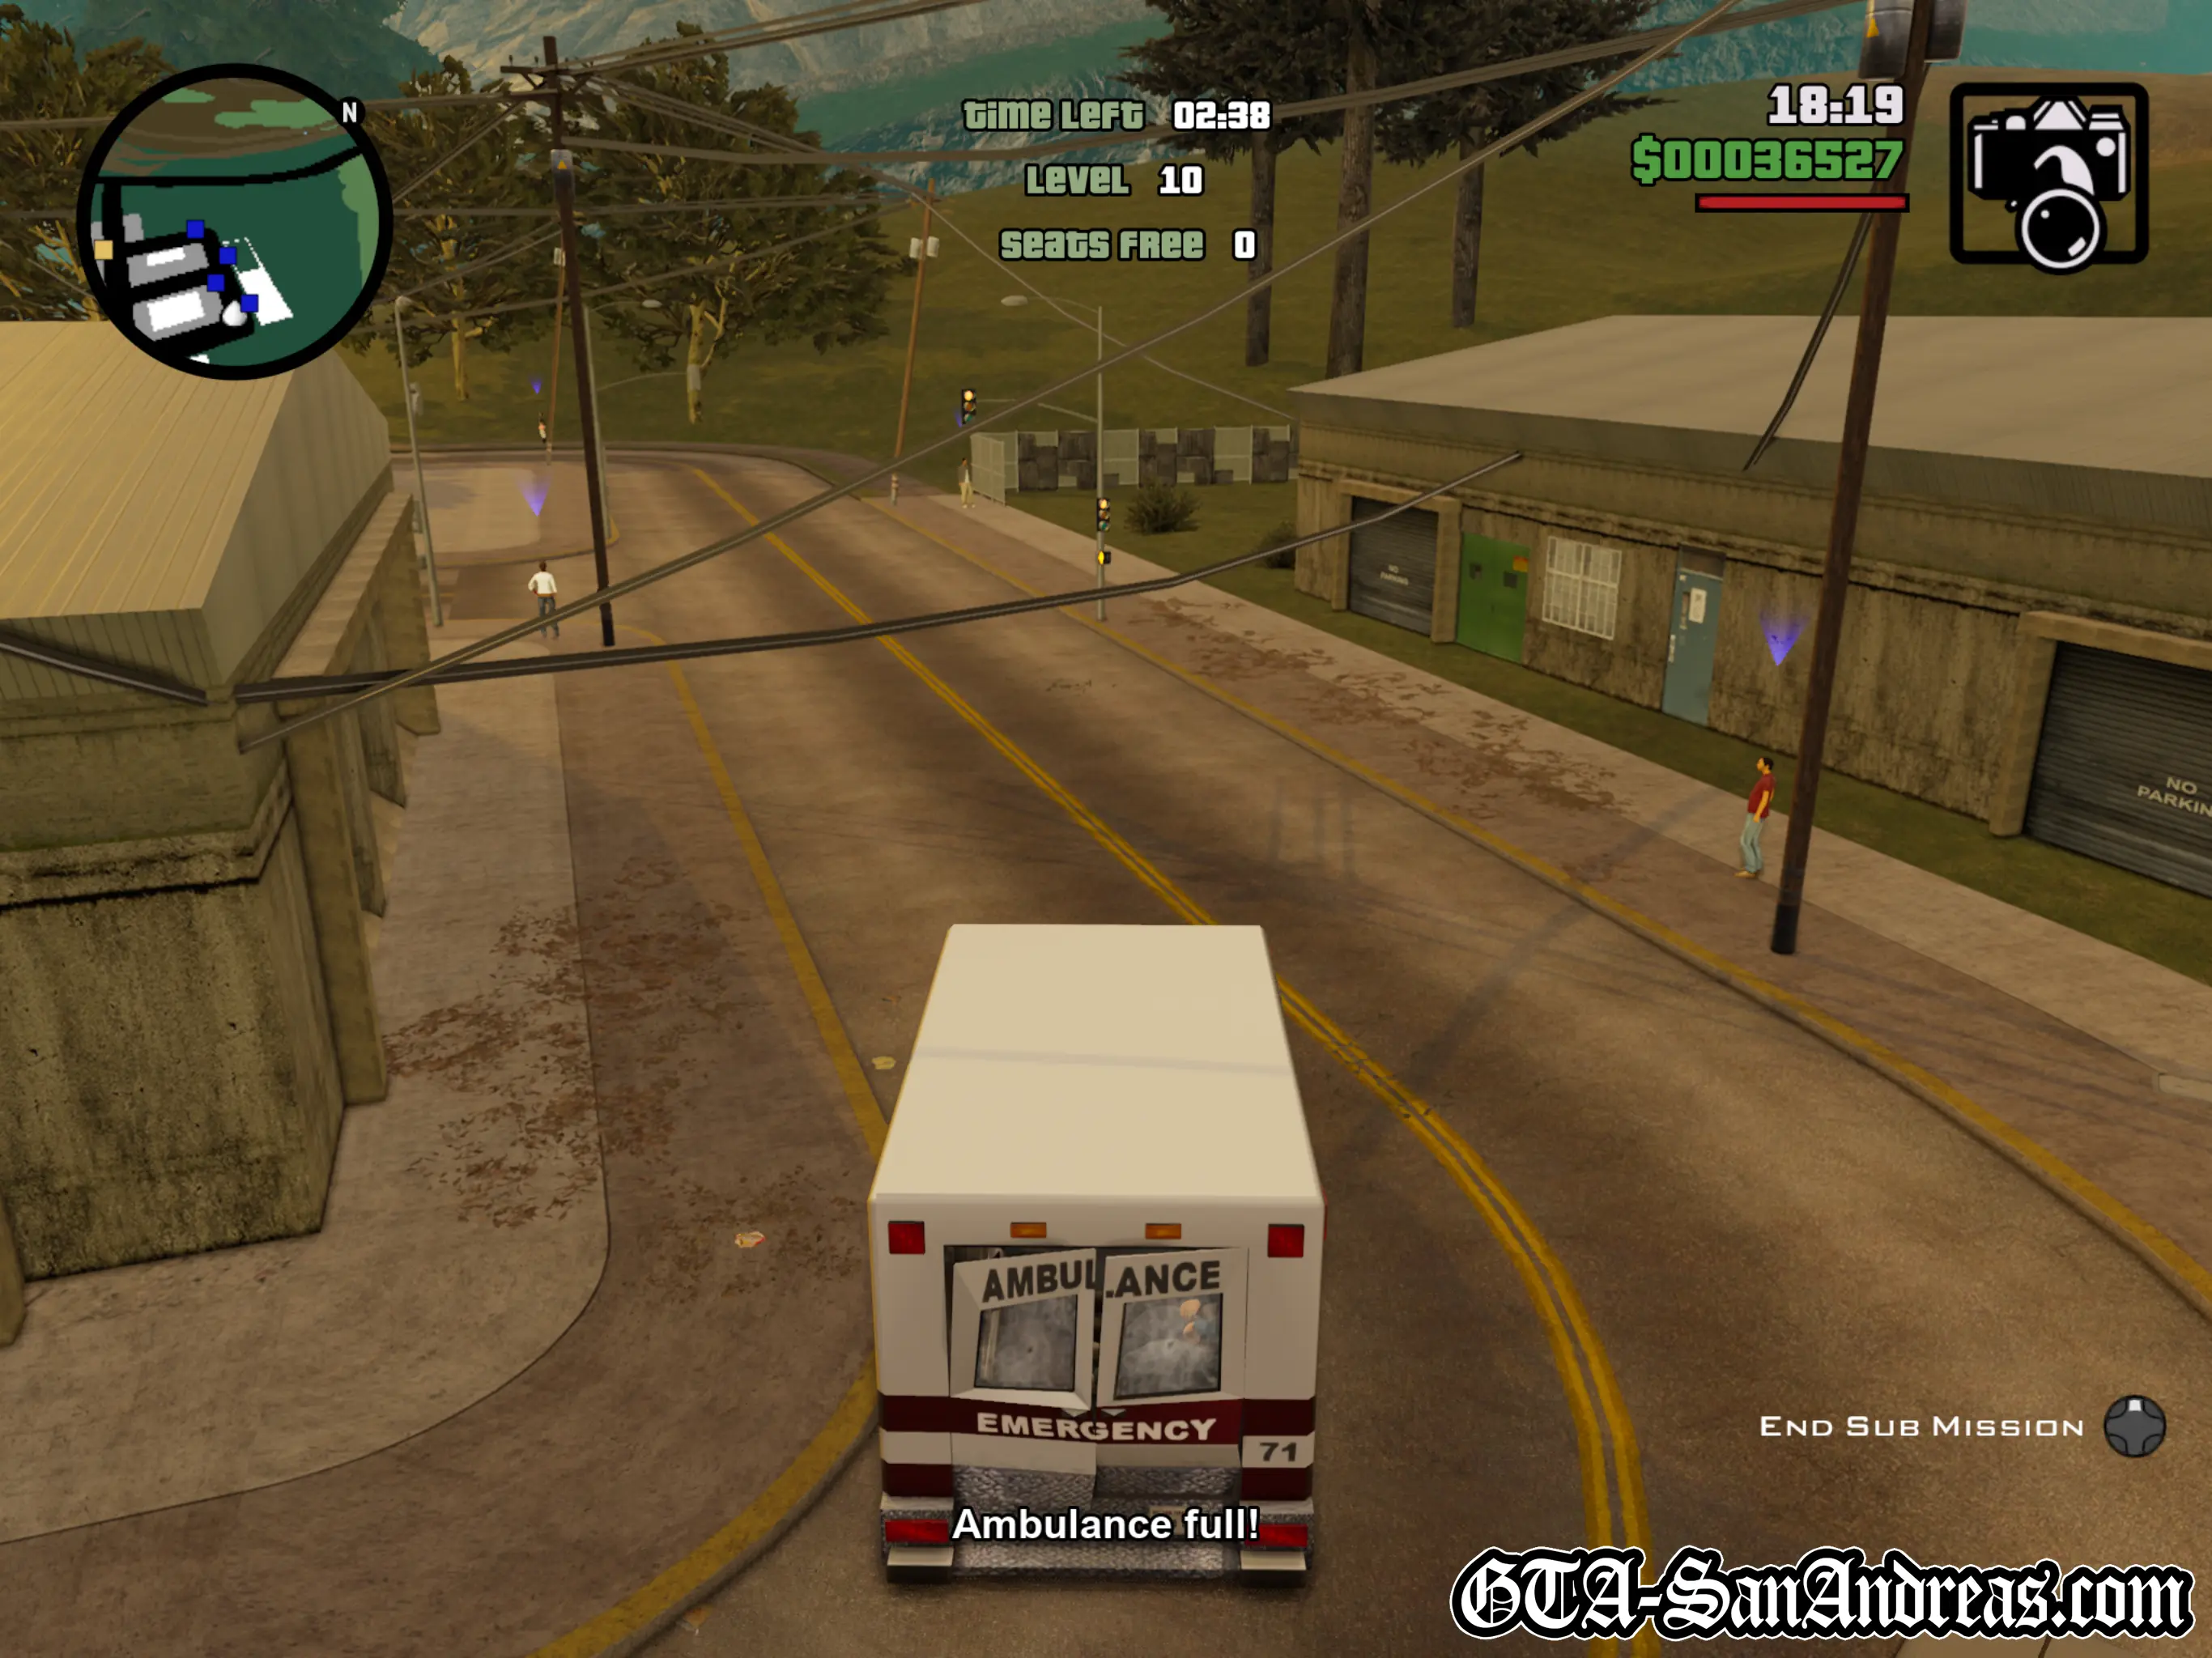
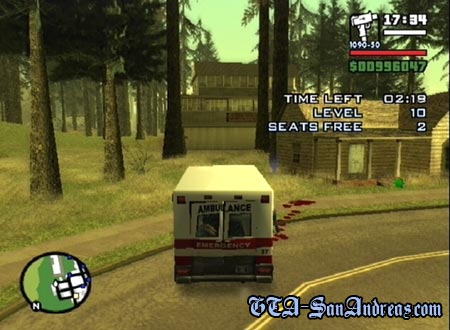
For those who haven't played previous games, your objective is to drive an Ambulance to wounded pedestrians who are placed in specific positions around the city, pick them up in the Ambulance and take them to the hospital.
The actual picking up and delivering is very much like the Taxi Missions, however damaging the vehicle can result in the patients getting even more injured or even dying. Because of this you need to be careful when driving the Ambulance or you can fail the mission. Luckily the Ambulance has rather good stability and can take a lot of damage before flipping or blowing up.
Vehicle Needed
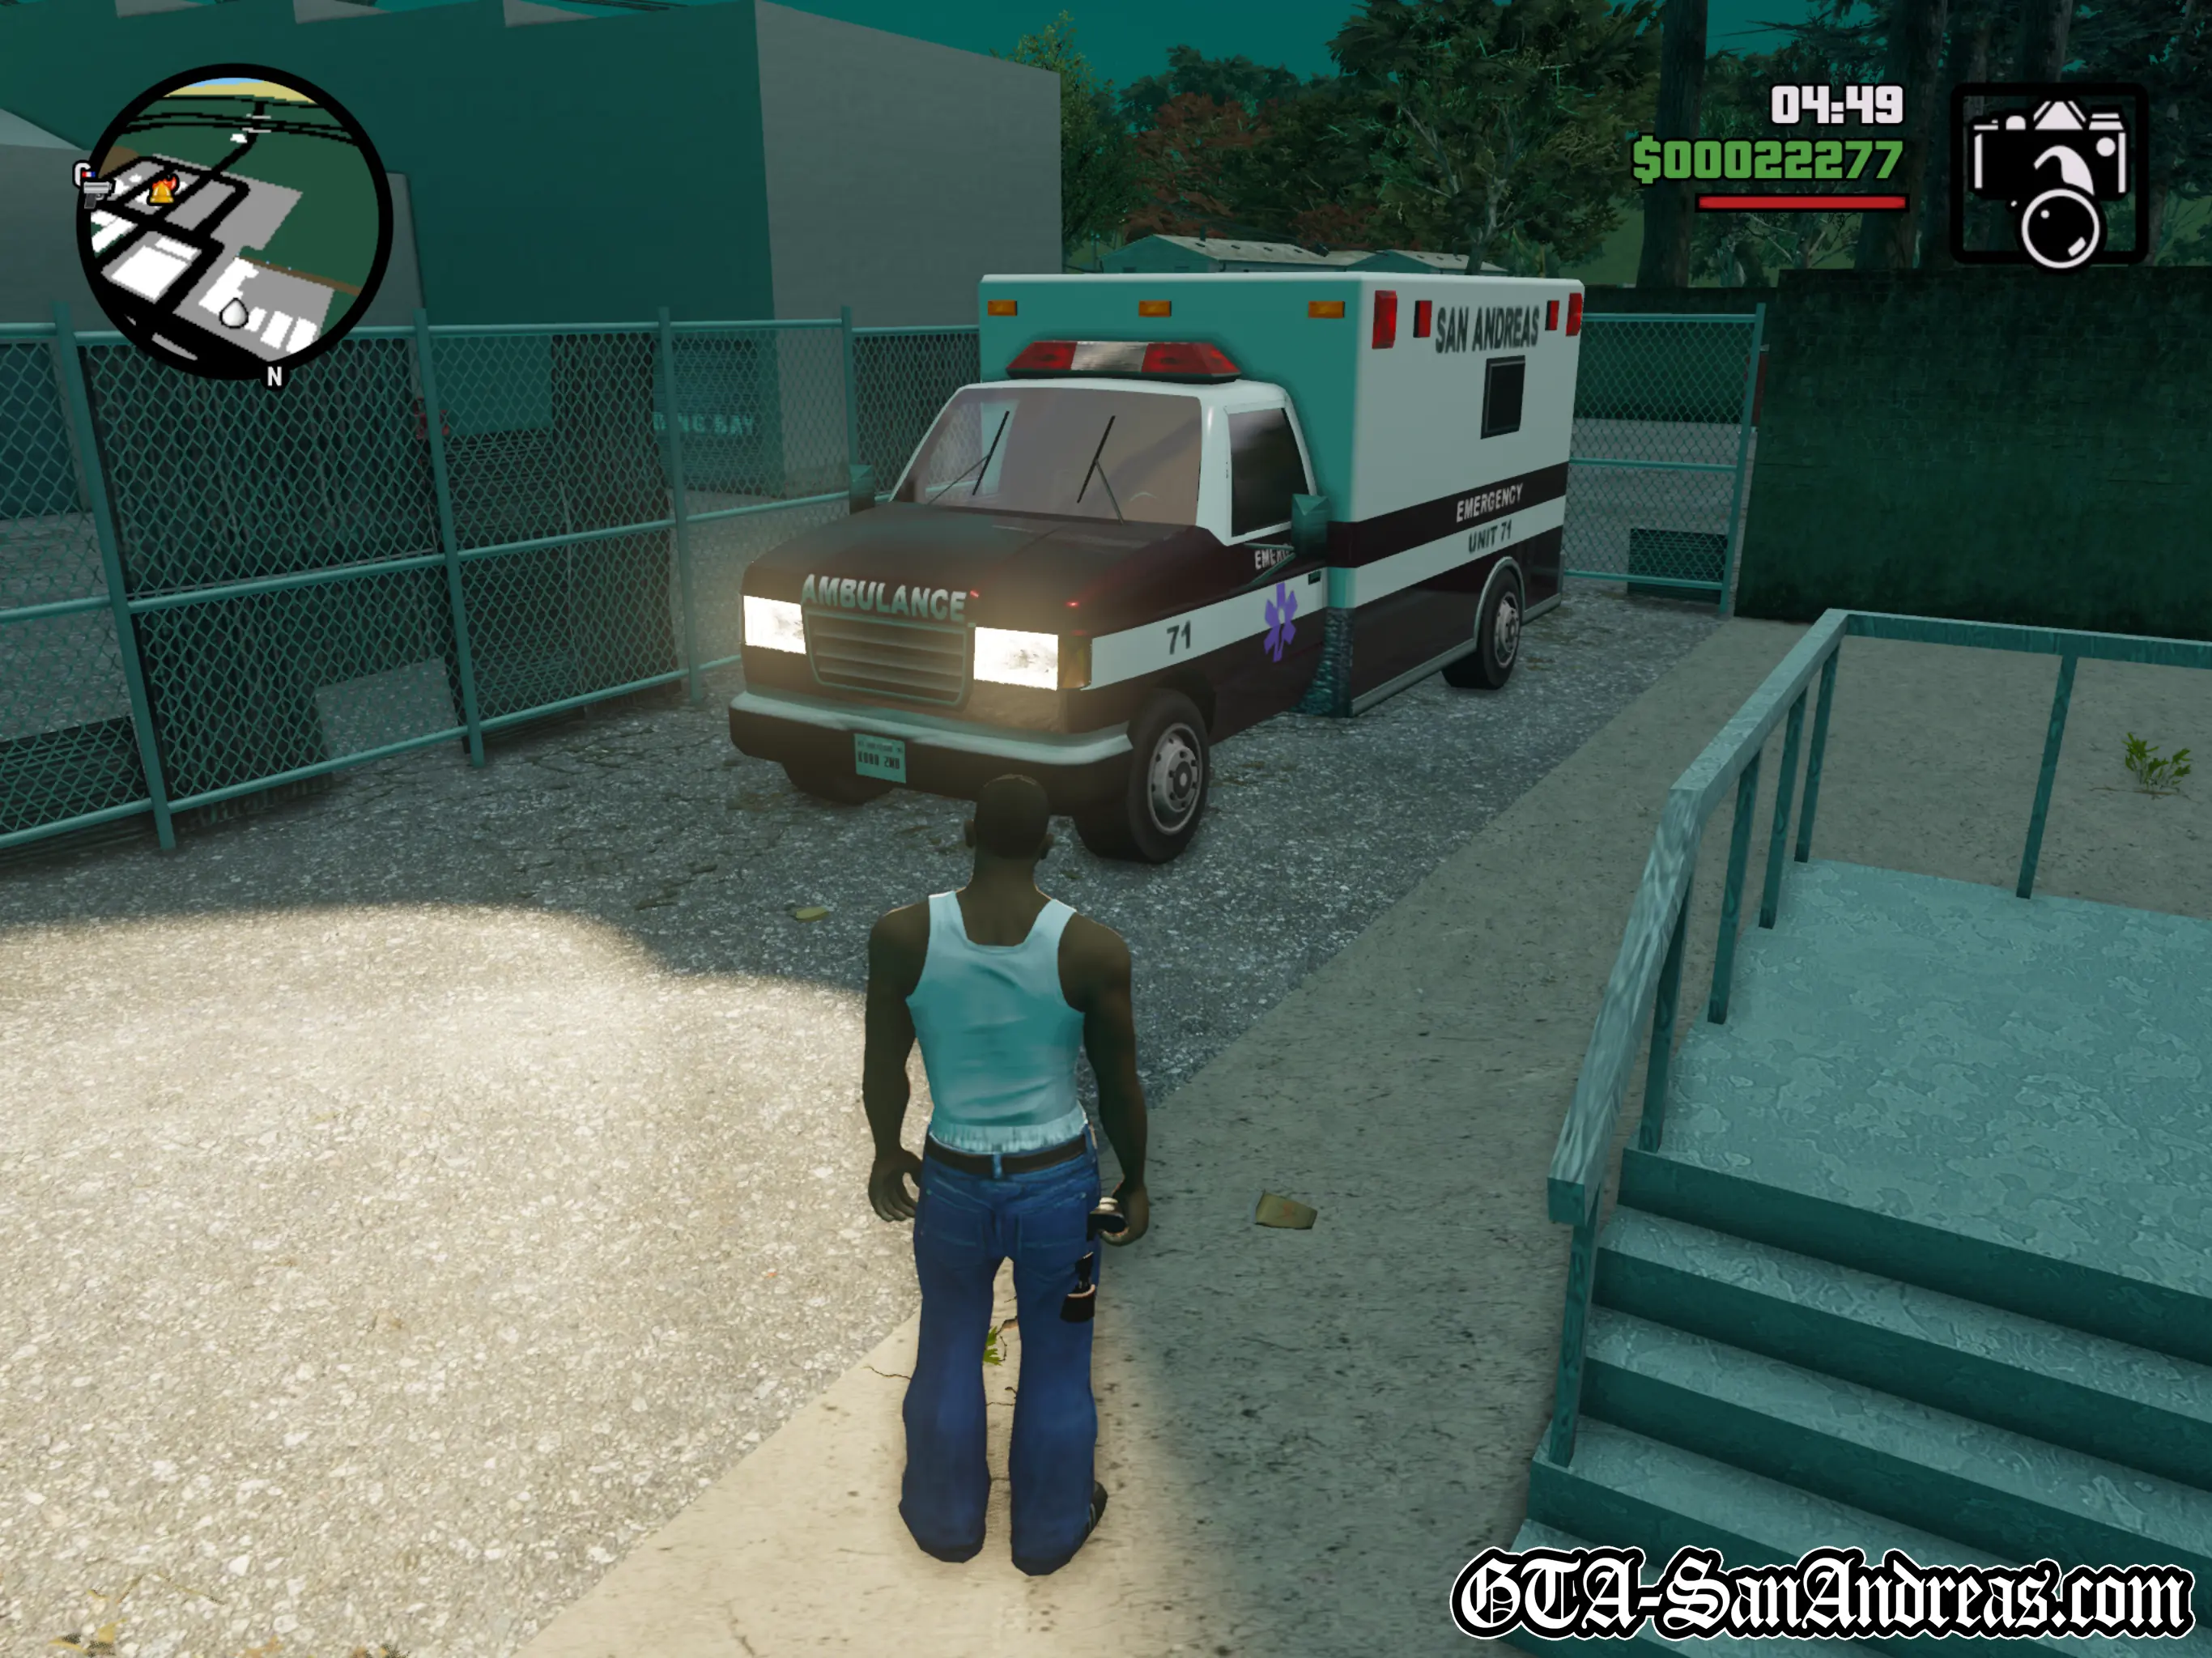
- Ambulance
Reasons For Mission Failure
- The Ambulance falls into water.
- The Ambulance blows up.
- The Ambulance flips onto its roof.
- You kill a patient. (Running them over or crashing the Ambulance too much)
- You are arrested.
- You exit the vehicle.
- You push R3 to cancel the sub-mission.
- Your time runs out.
The Basics
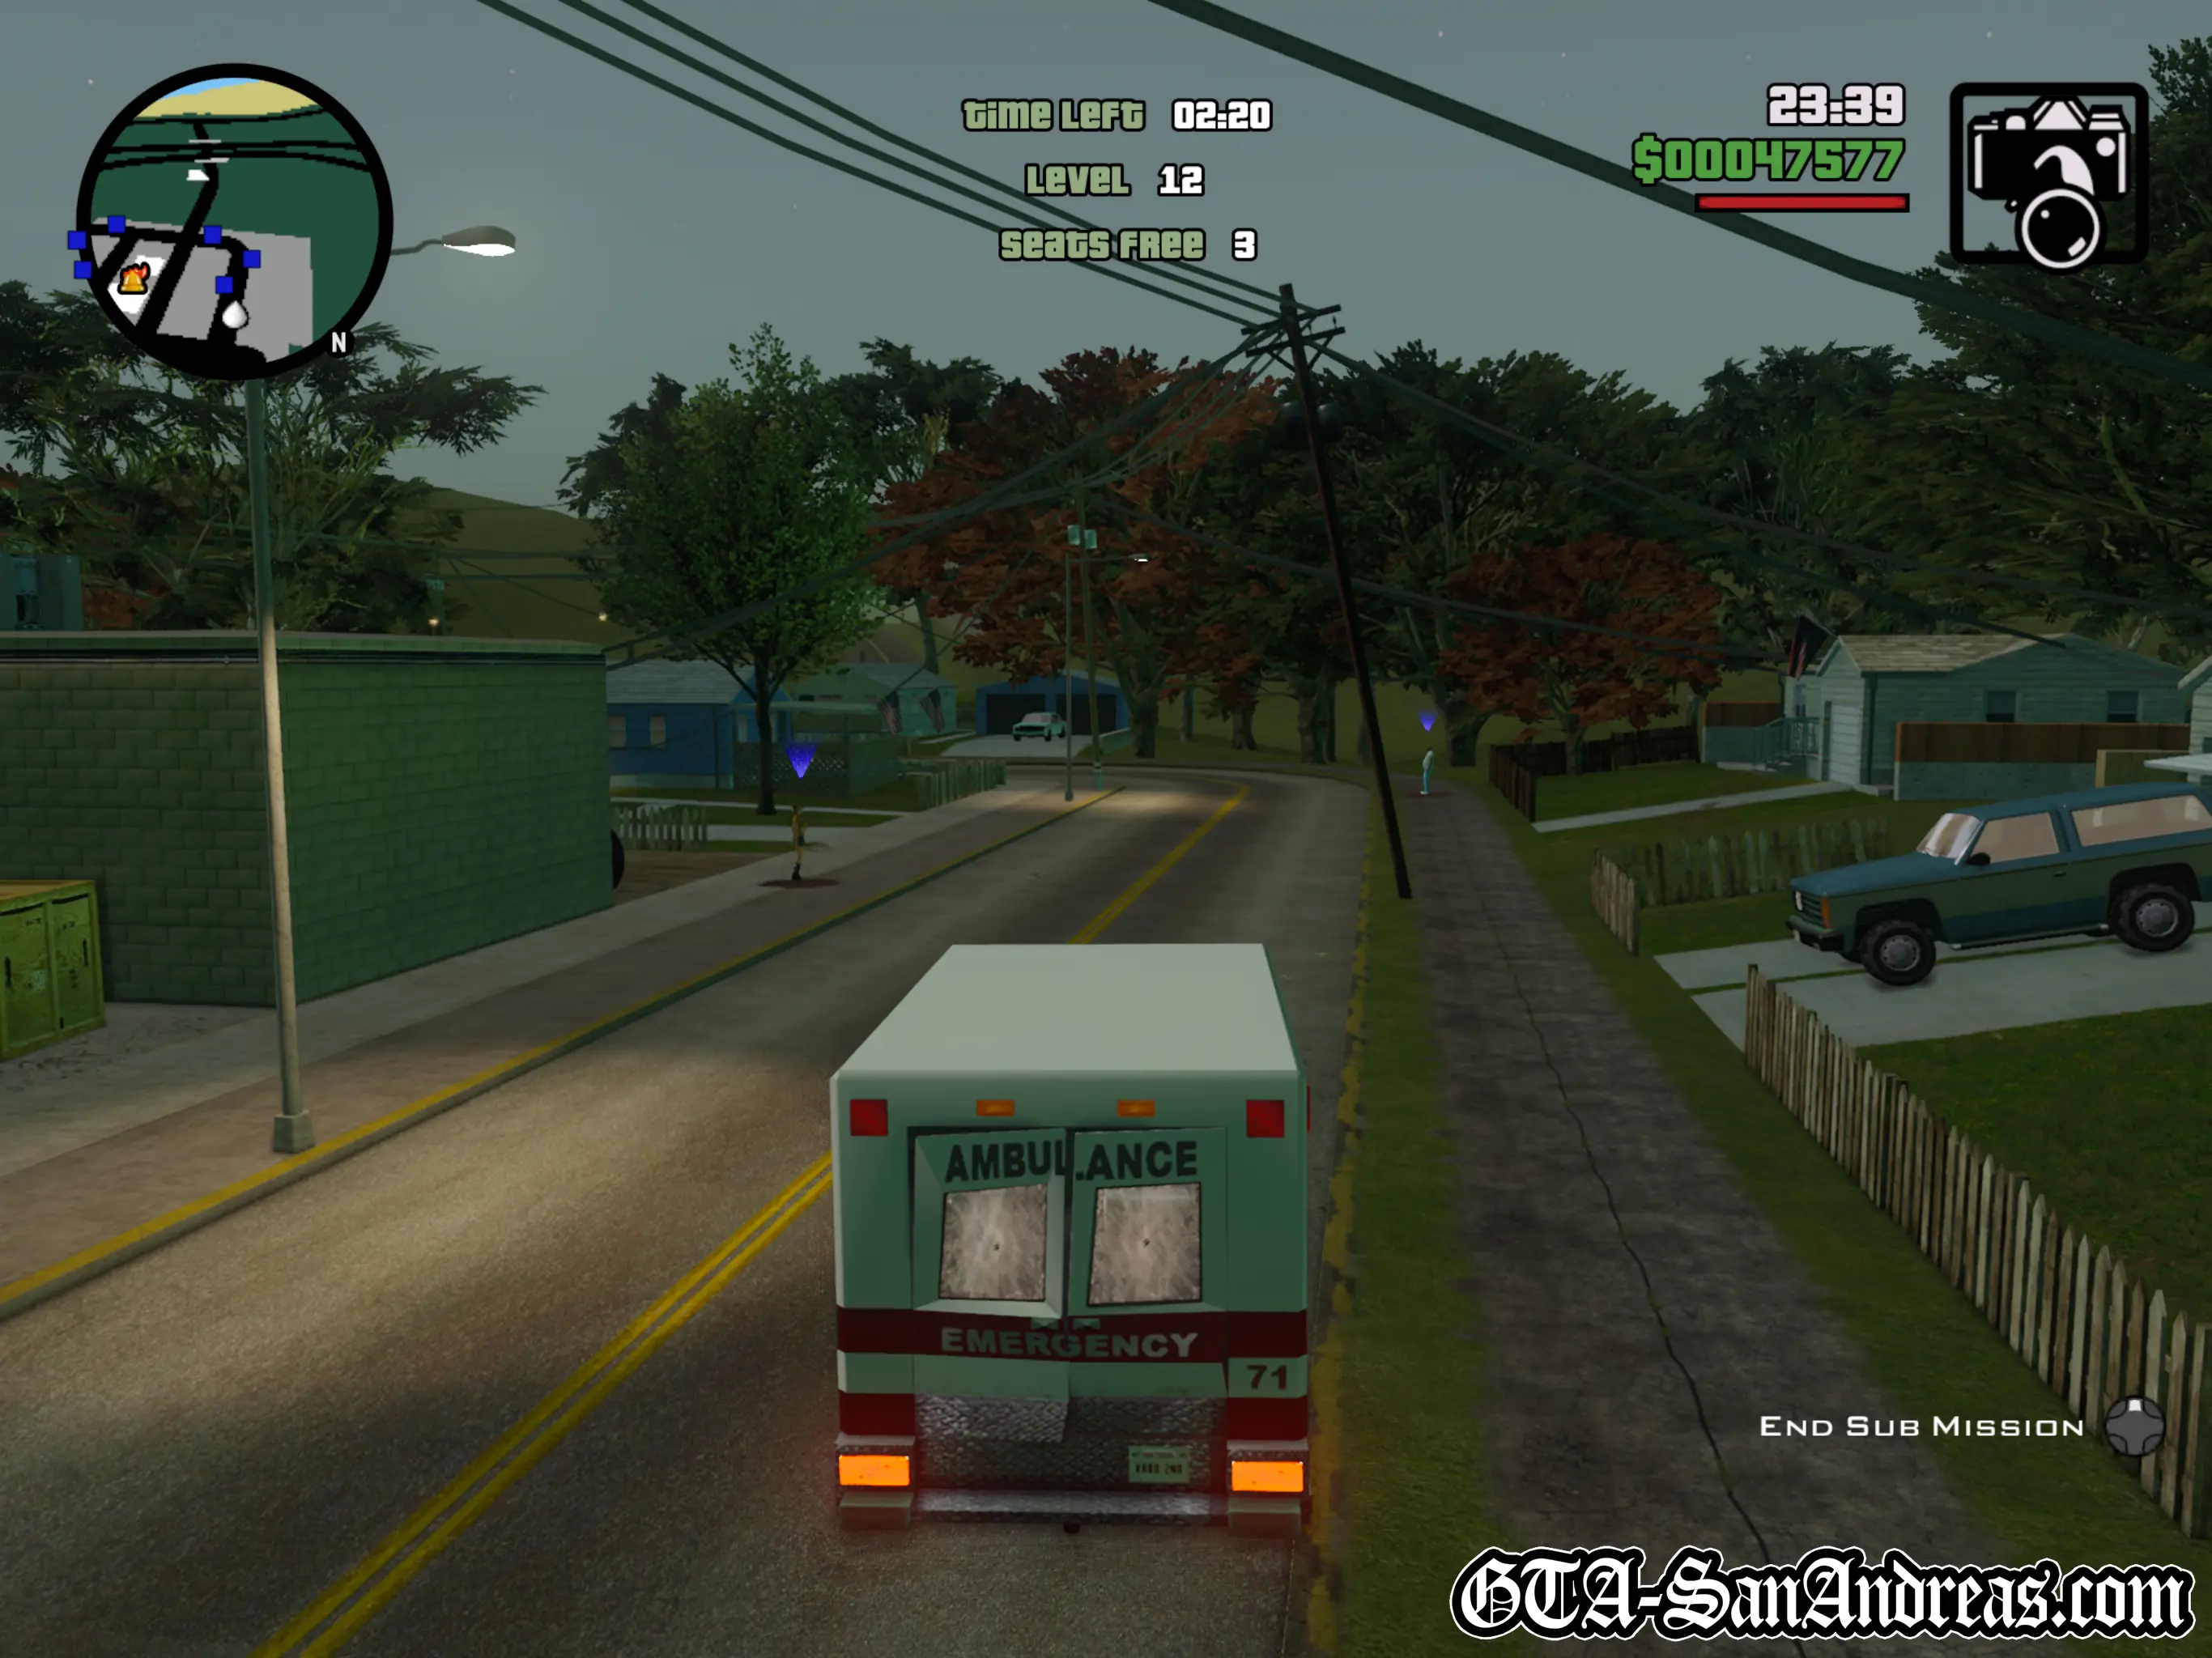
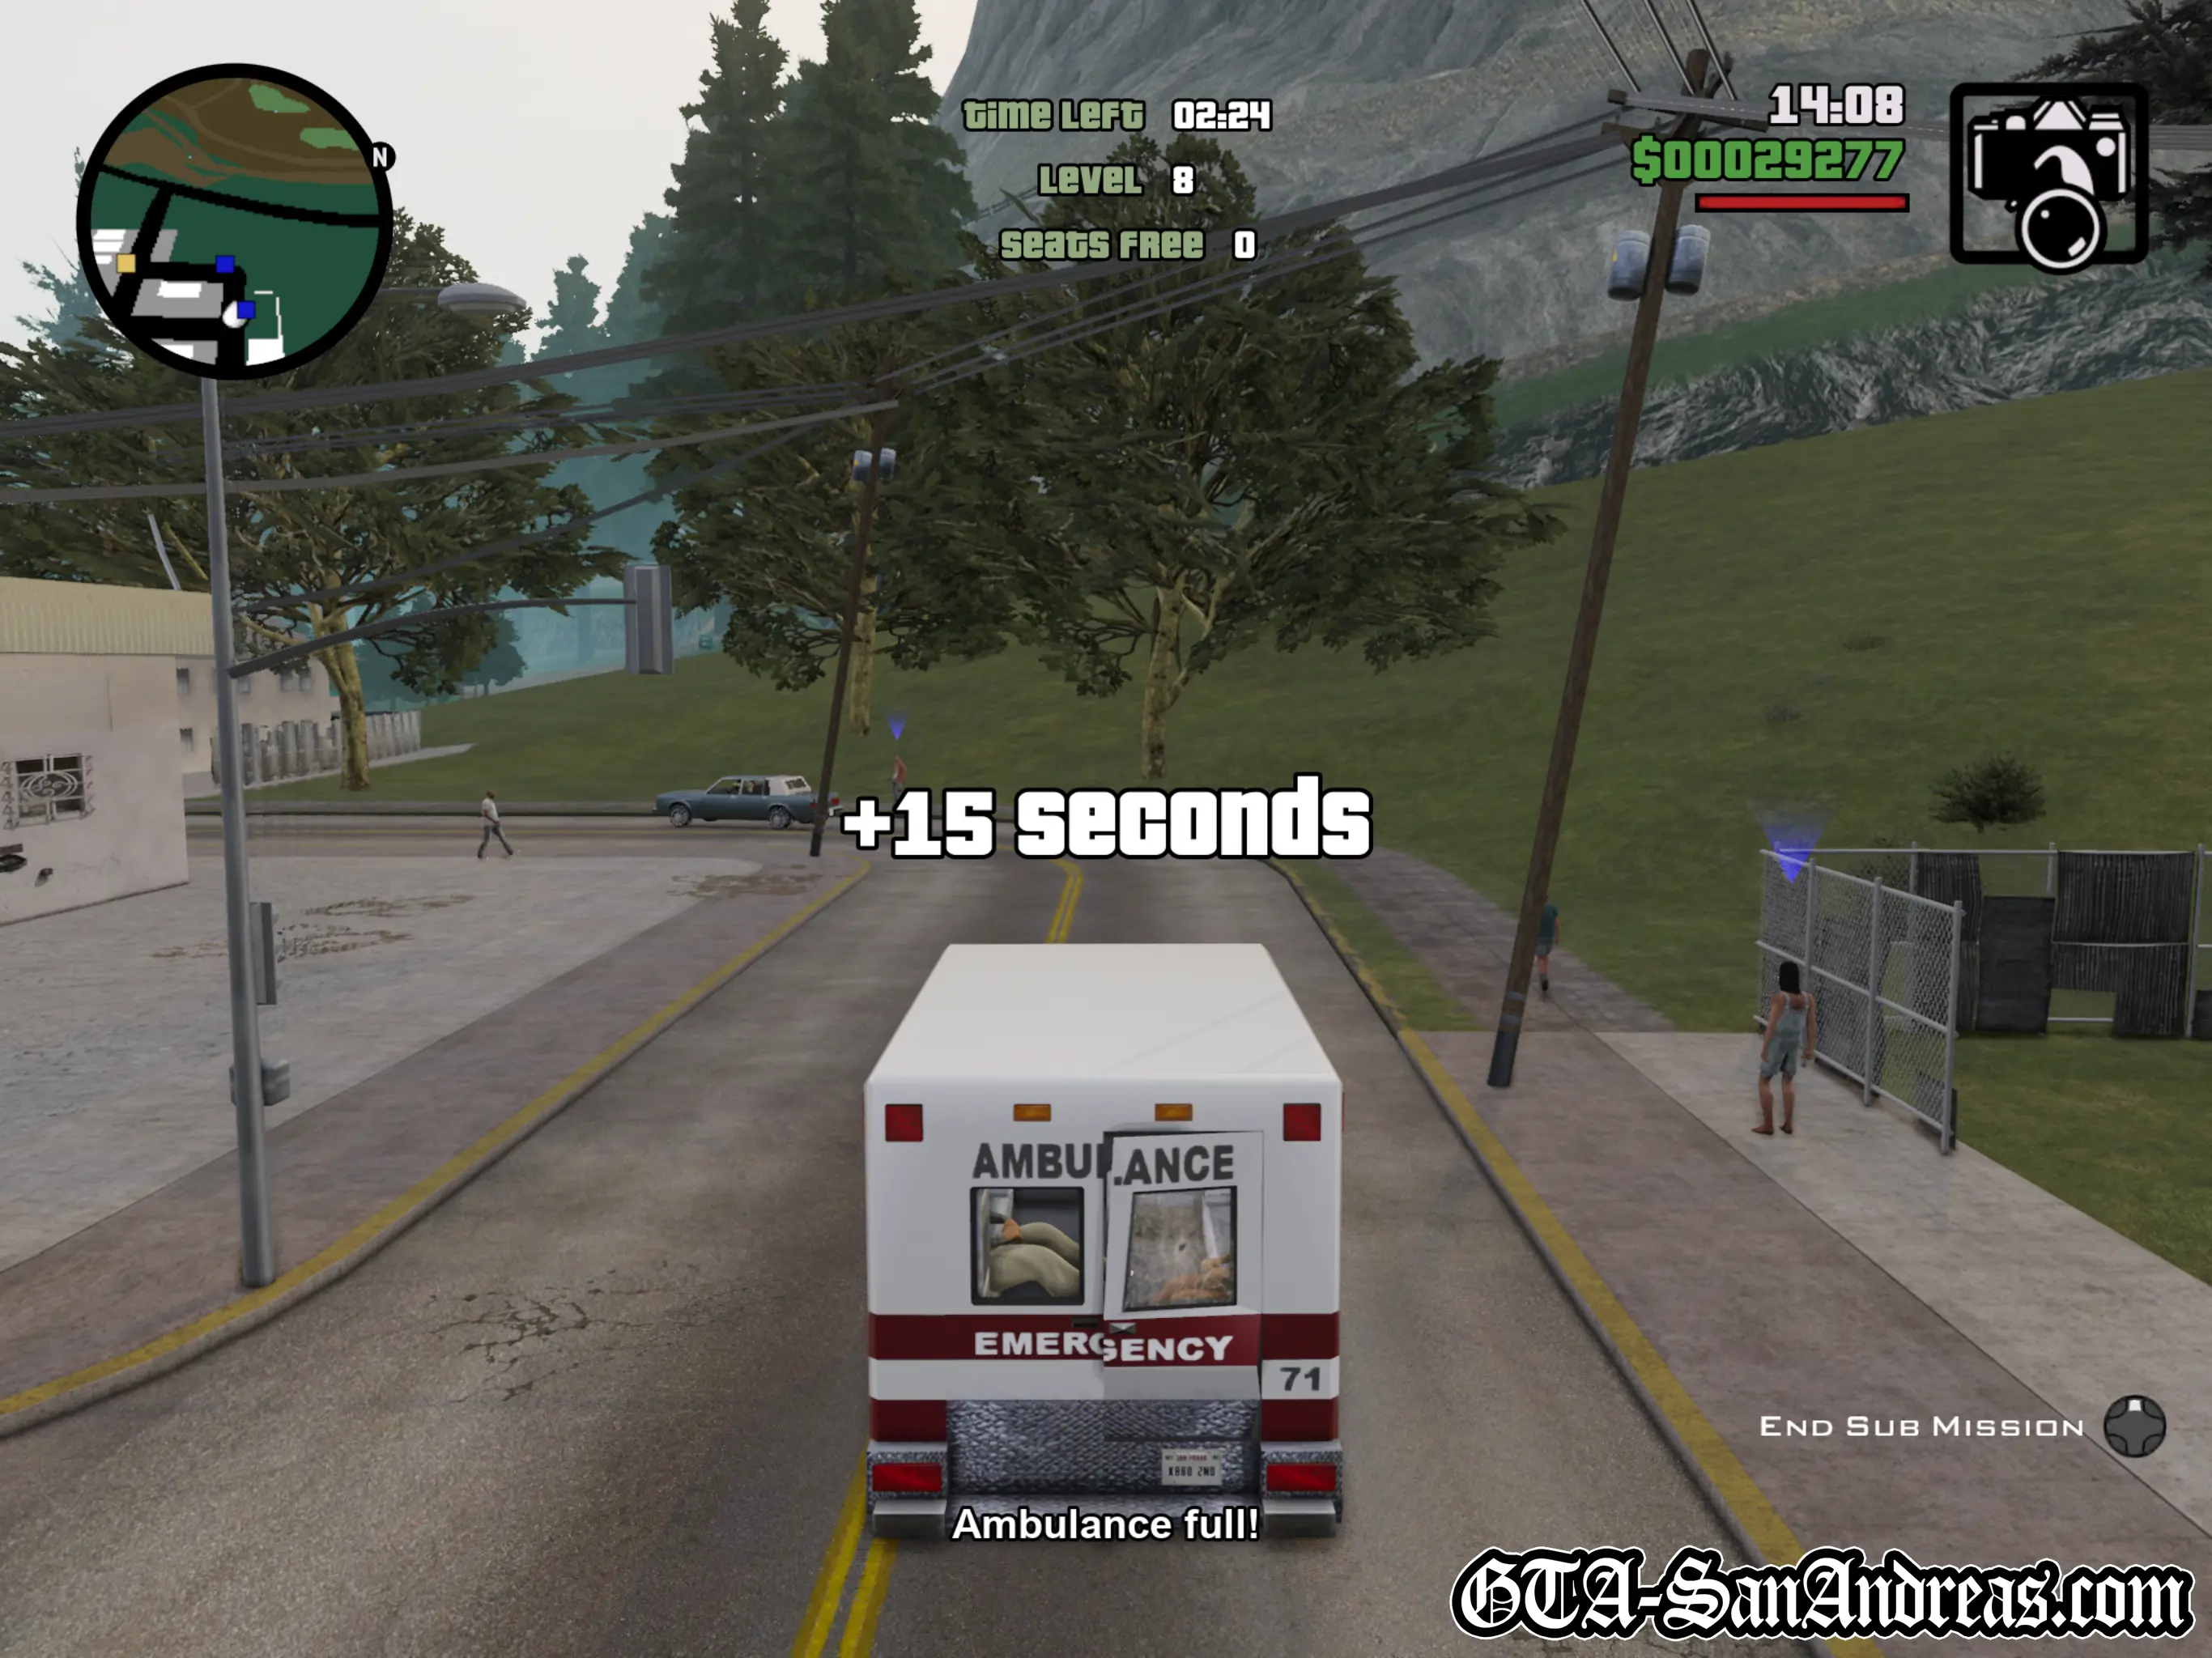
When you enter an Ambulance and you're not currently on a mission, hit the R3 button to start the Paramedic Missions. A blue icon will appear on your radar which symbolises a pedestrian who needs to be picked up.
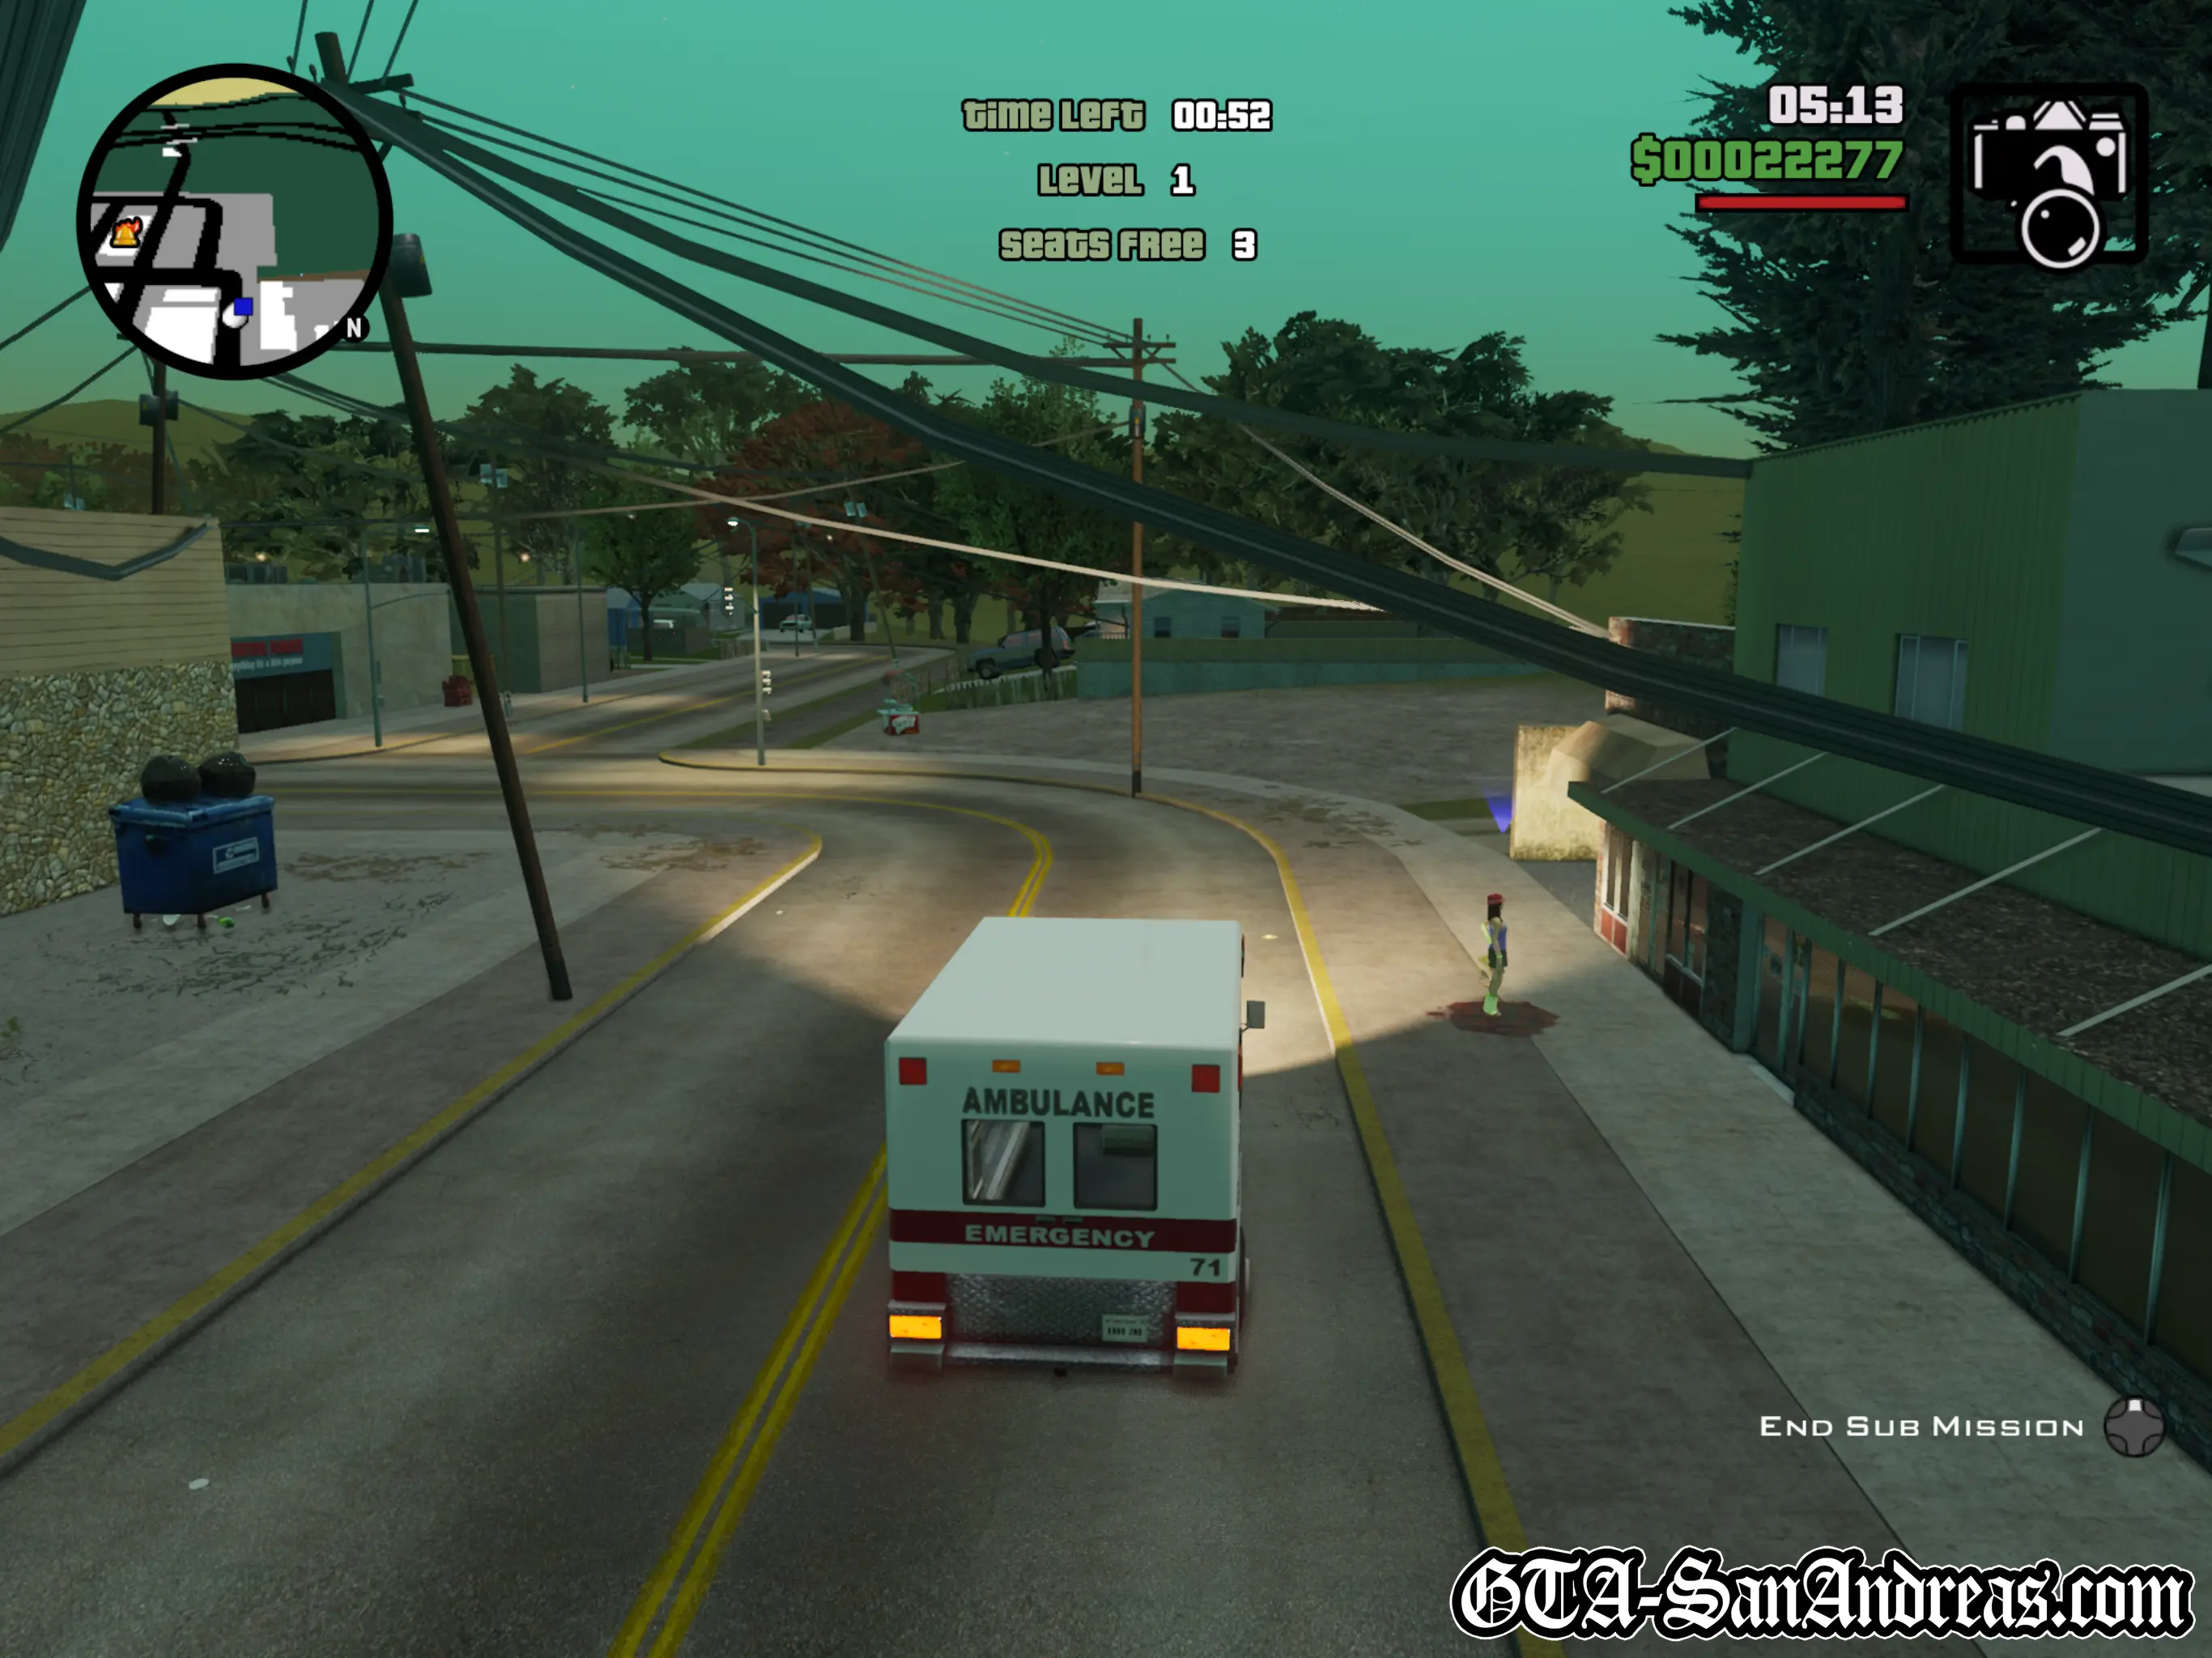
Make your way as quickly as you can to the location of this pedestrian, using your radar for directions and stop a few meters away from them. Always slow down before getting near them, because killing them will result in a mission failure and you don't want to do that on level 11 or 12!
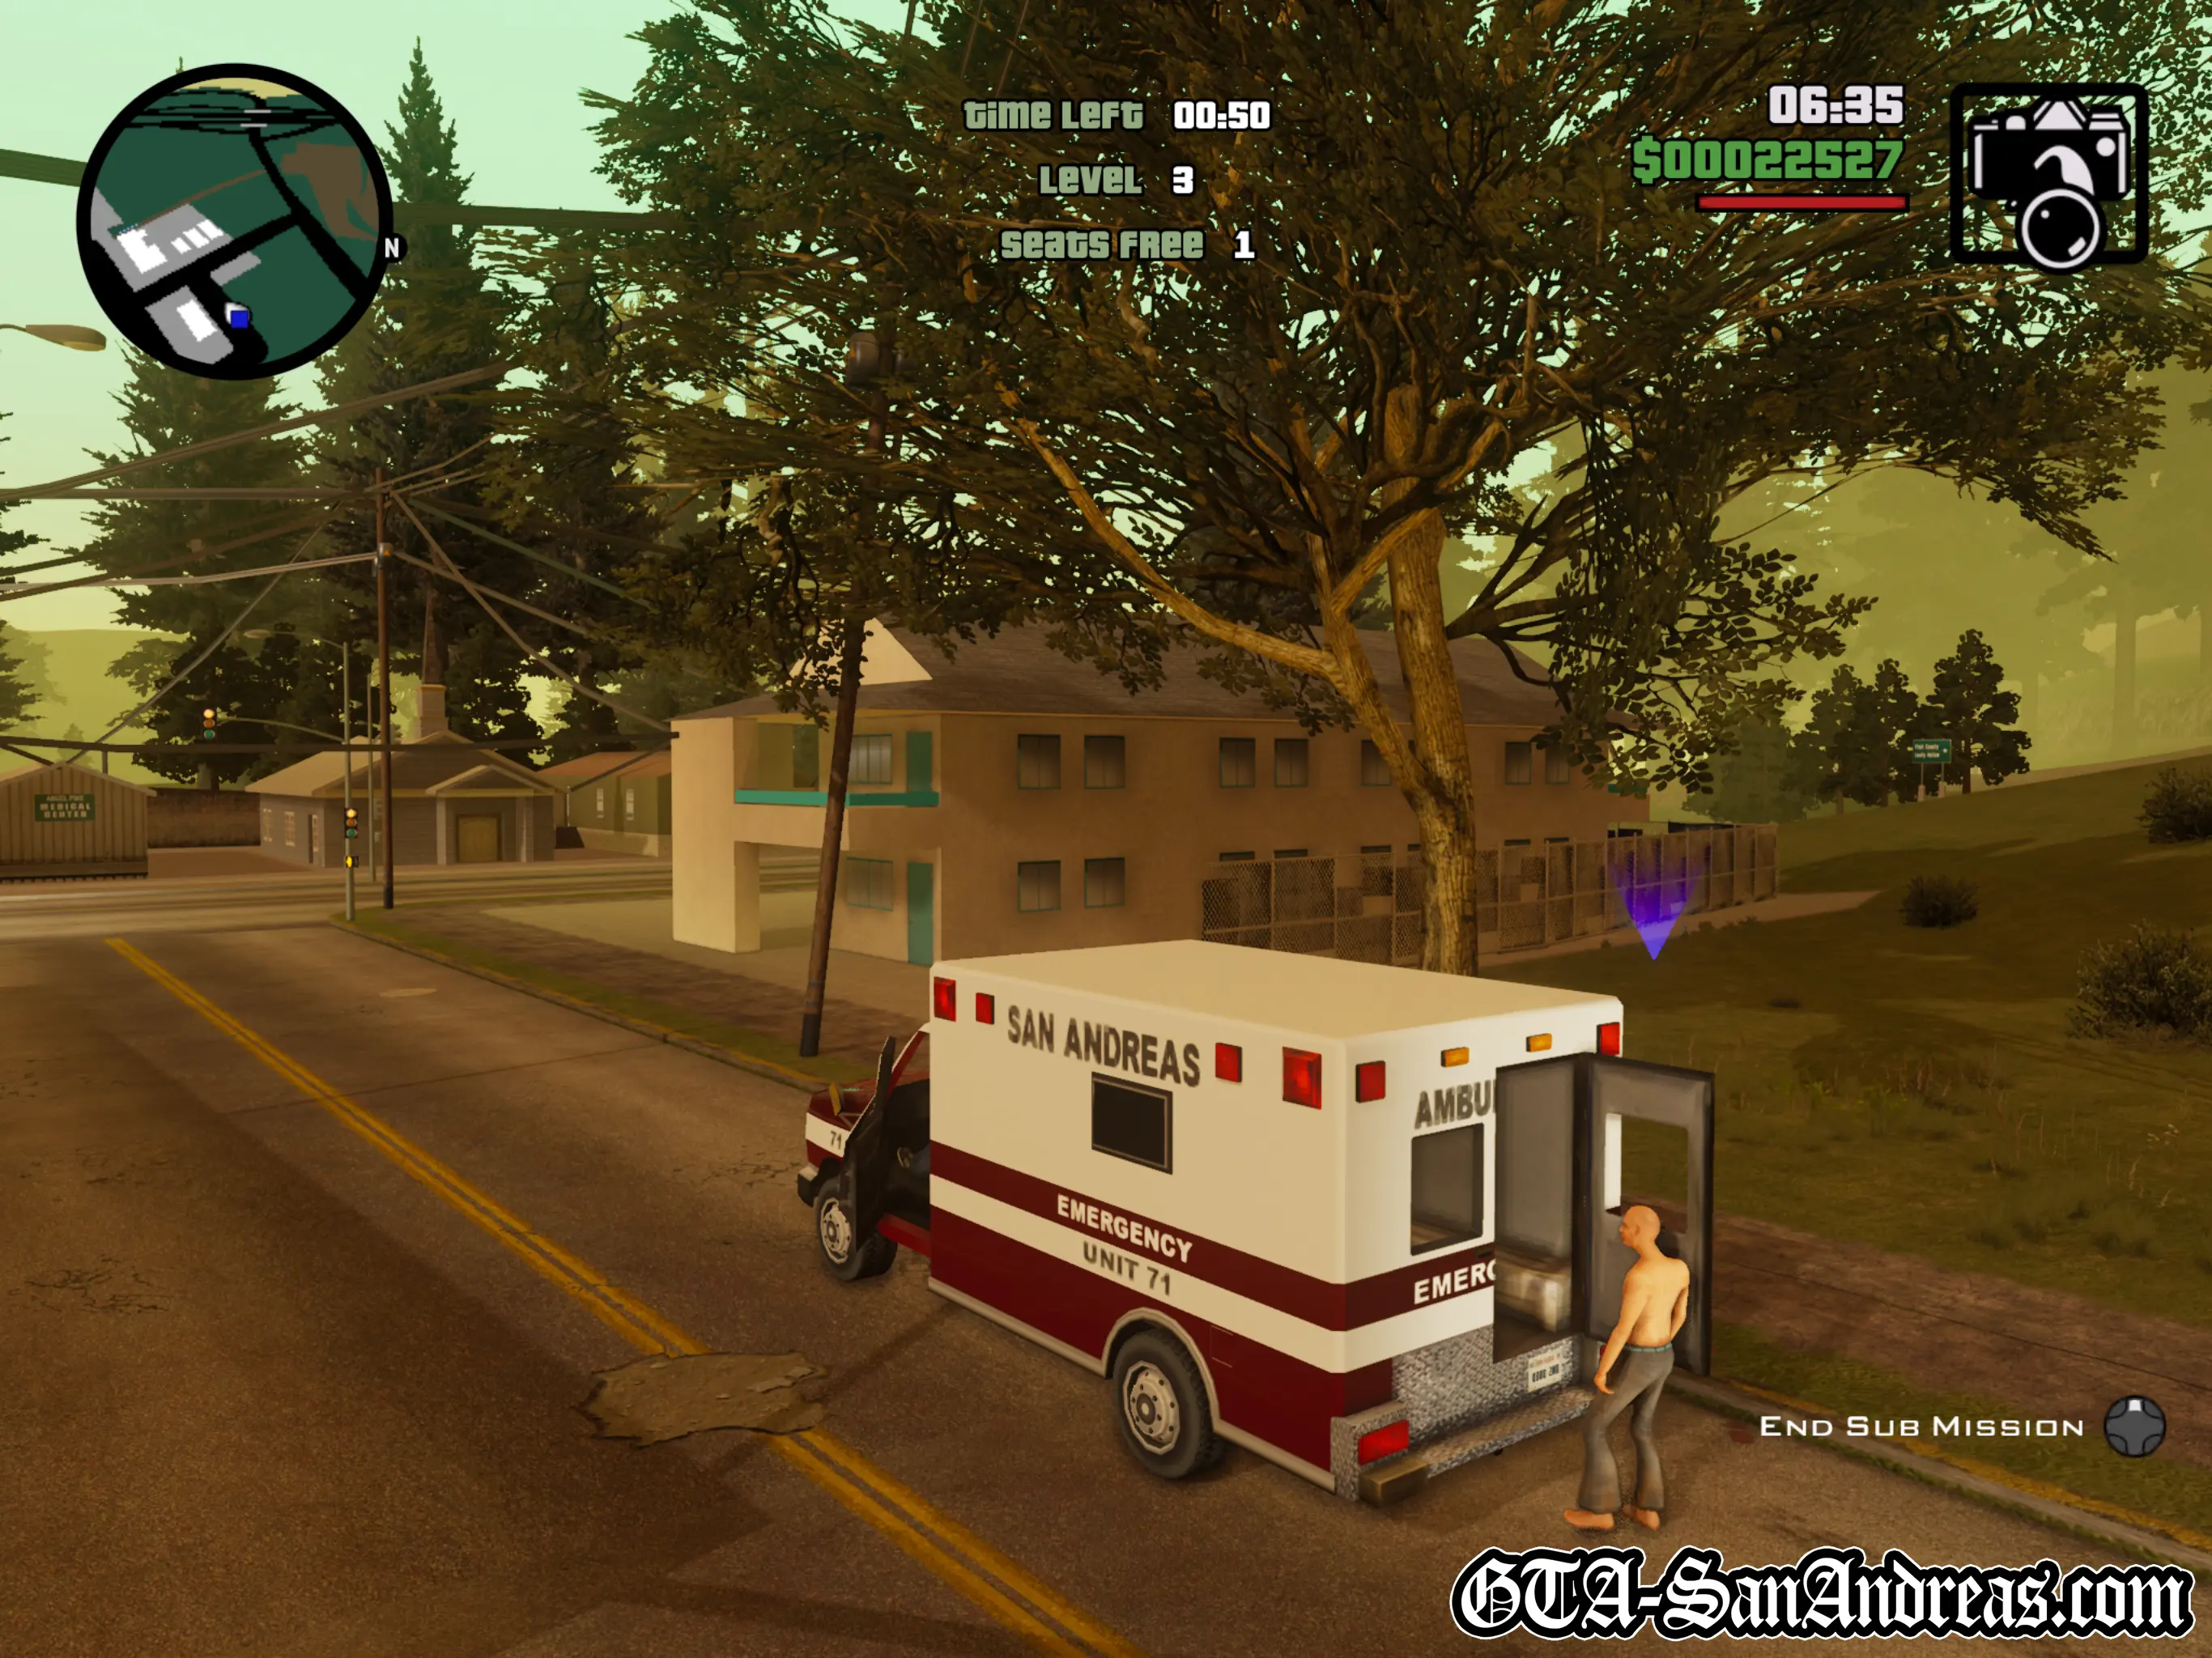
Park next to them and wait for them to get in the Ambulance. Pretty much as soon as they have pulled the door open and started to climb in you can begin to drive away.
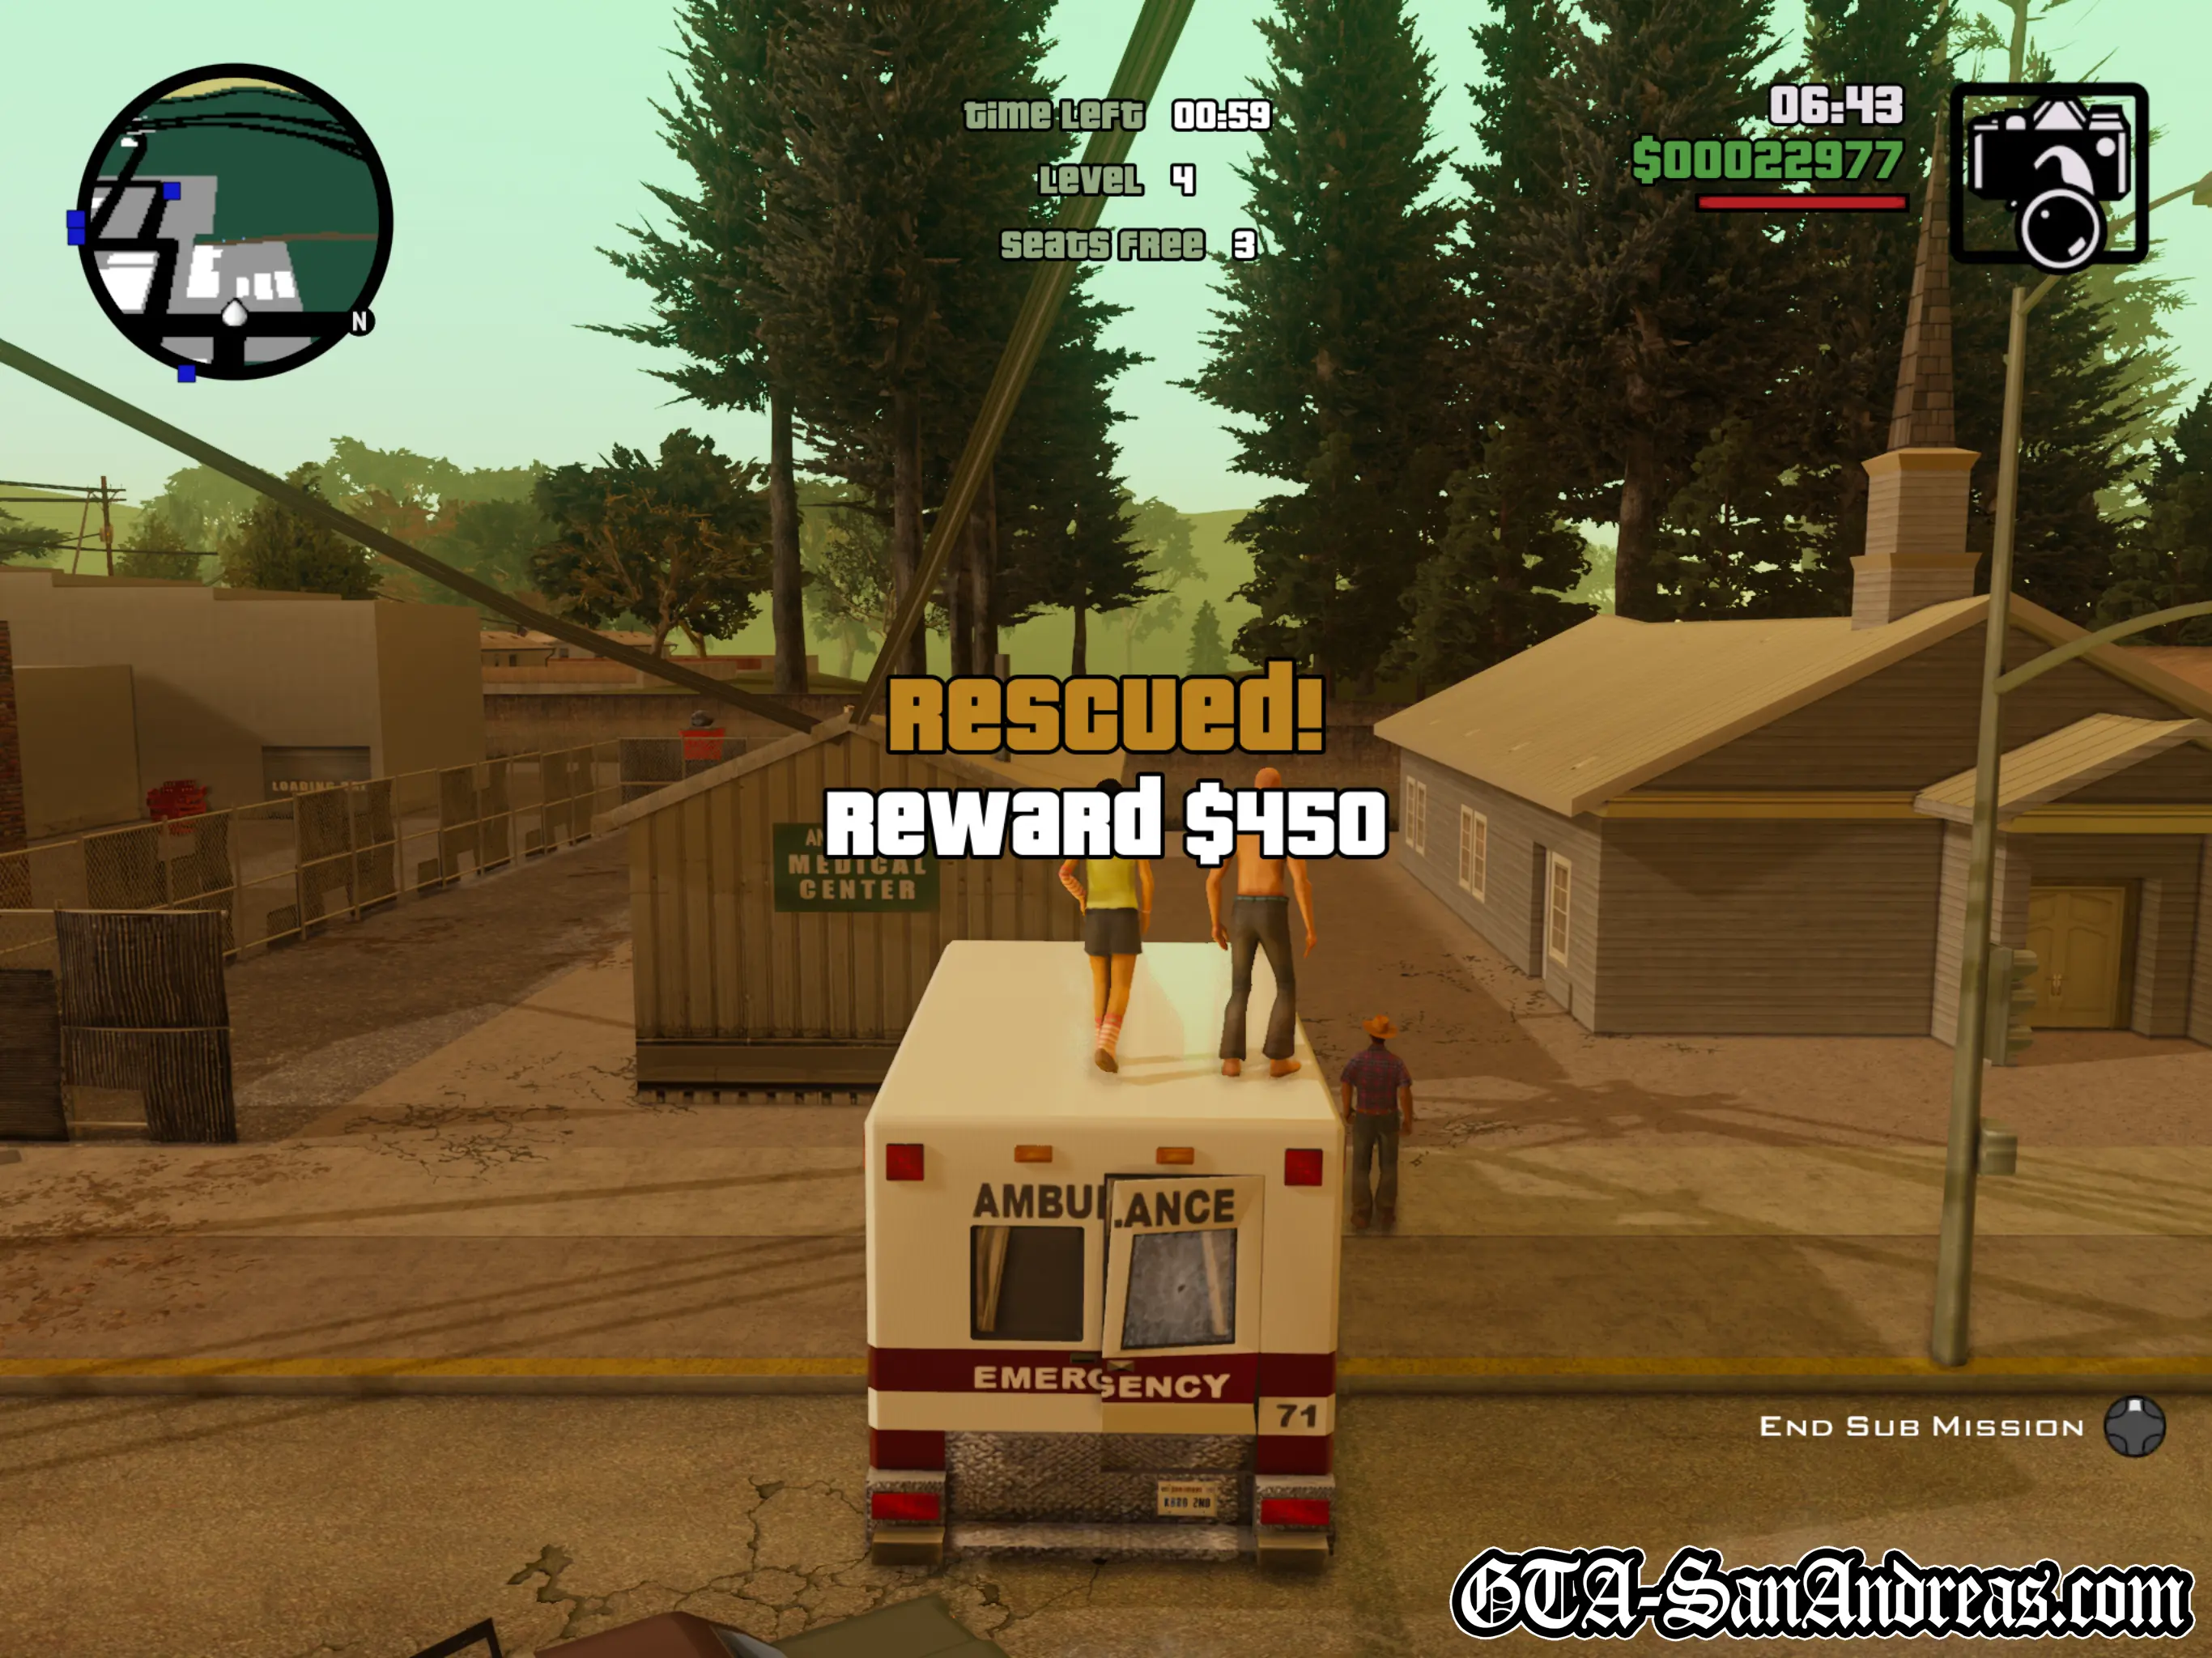
Once you've picked up all of the passengers for a specific level, make your way to the hospital and deliver them to the red circle. As soon as they get out of the vehicle and you hear the "bleep" you can reverse or drive forwards and head out to pick up more patients.
It doesn't matter if you 'accidentally' kill the patients you've just saved, providing they have definitely been saved in the red circle.
On Level 1 you'll need to save one pedestrian, on Level 2 you need to save two, and so on, however the Ambulance can only seat three, so after level three you're going to need to make two, three or even four trips to the hospital and back to pick up everyone. During all of this the time is of course counting down, however you should have at least 40 seconds extra time, usually more on the higher levels, so if you do make a mistake it shouldn't cause too much trouble.
Work your way up through the levels delivering the patients until you complete level 12.
Tactics
I usually suggest you do all of the "Sub-Missions" as soon as possible as the rewards for completing them will help greatly with the story or just gameplay in general.
Hints & Tips
If you wait until you complete "The Green Sabre", which is around 30 missions through the story, the Paramedic Missions can be done in Angel Pine, the small town right next to Mount Chiliad. The great thing about this is that all of the patients will spawn within the small town, with very little traffic and you'll have no more than a 20 second drive from the hospital to pick them up or drop them off. This way you can complete the Paramedic Missions in under 30 minutes, probably 3 times quicker and much more easily than you'd do them in the city.
If you don't wish to wait until after "The Green Sabre" to unlock Angel Pine, then I'd advise you do them in Montgomery, the countryside just North of Los Santos. The people won't spawn as close to the hospital as they do in Angel Pine, however for the most part, it's a lot easier out there with less traffic and shortcuts over fields - just ensure you watch out for water or steep hills which could flip your vehicle.
Occasionally when doing the later paramedic levels in Montgomery, the patients can start spawning in the main city of Los Santos which makes it more time consuming, so I'd advise waiting until Angel Pine unless you really need the extra max health bonus.
Throughout the paramedic missions it's important to plan your route wisely. Always try to make a round trip rather than dotting all over the place as it will keep your time organised and make it easier to plan your next route before leaving the hospital.
Beware to never push R3 in the middle of a mission. On foot, R3 will allow you to look behind, however in a vehicle it's L2+R2 and many people have accidentally cancelled the mission while trying look back. Just a warning!
Fairly random and in no way useful, but if you reverse immediately after dropping off some patients, they can spawn on the roof of the ambulance.
Mission Overview
| Level | Patients To Save | Min. Drop Offs |
|---|---|---|
| Level 1 | 1 | 1 |
| Level 2 | 2 | 1 |
| Level 3 | 3 | 1 |
| Level 4 | 4 | 2 |
| Level 5 | 5 | 2 |
| Level 6 | 6 | 2 |
| Level 7 | 7 | 3 |
| Level 8 | 8 | 3 |
| Level 9 | 9 | 3 |
| Level 10 | 10 | 4 |
| Level 11 | 11 | 4 |
| Level 12 | 12 | 4 |
Completion
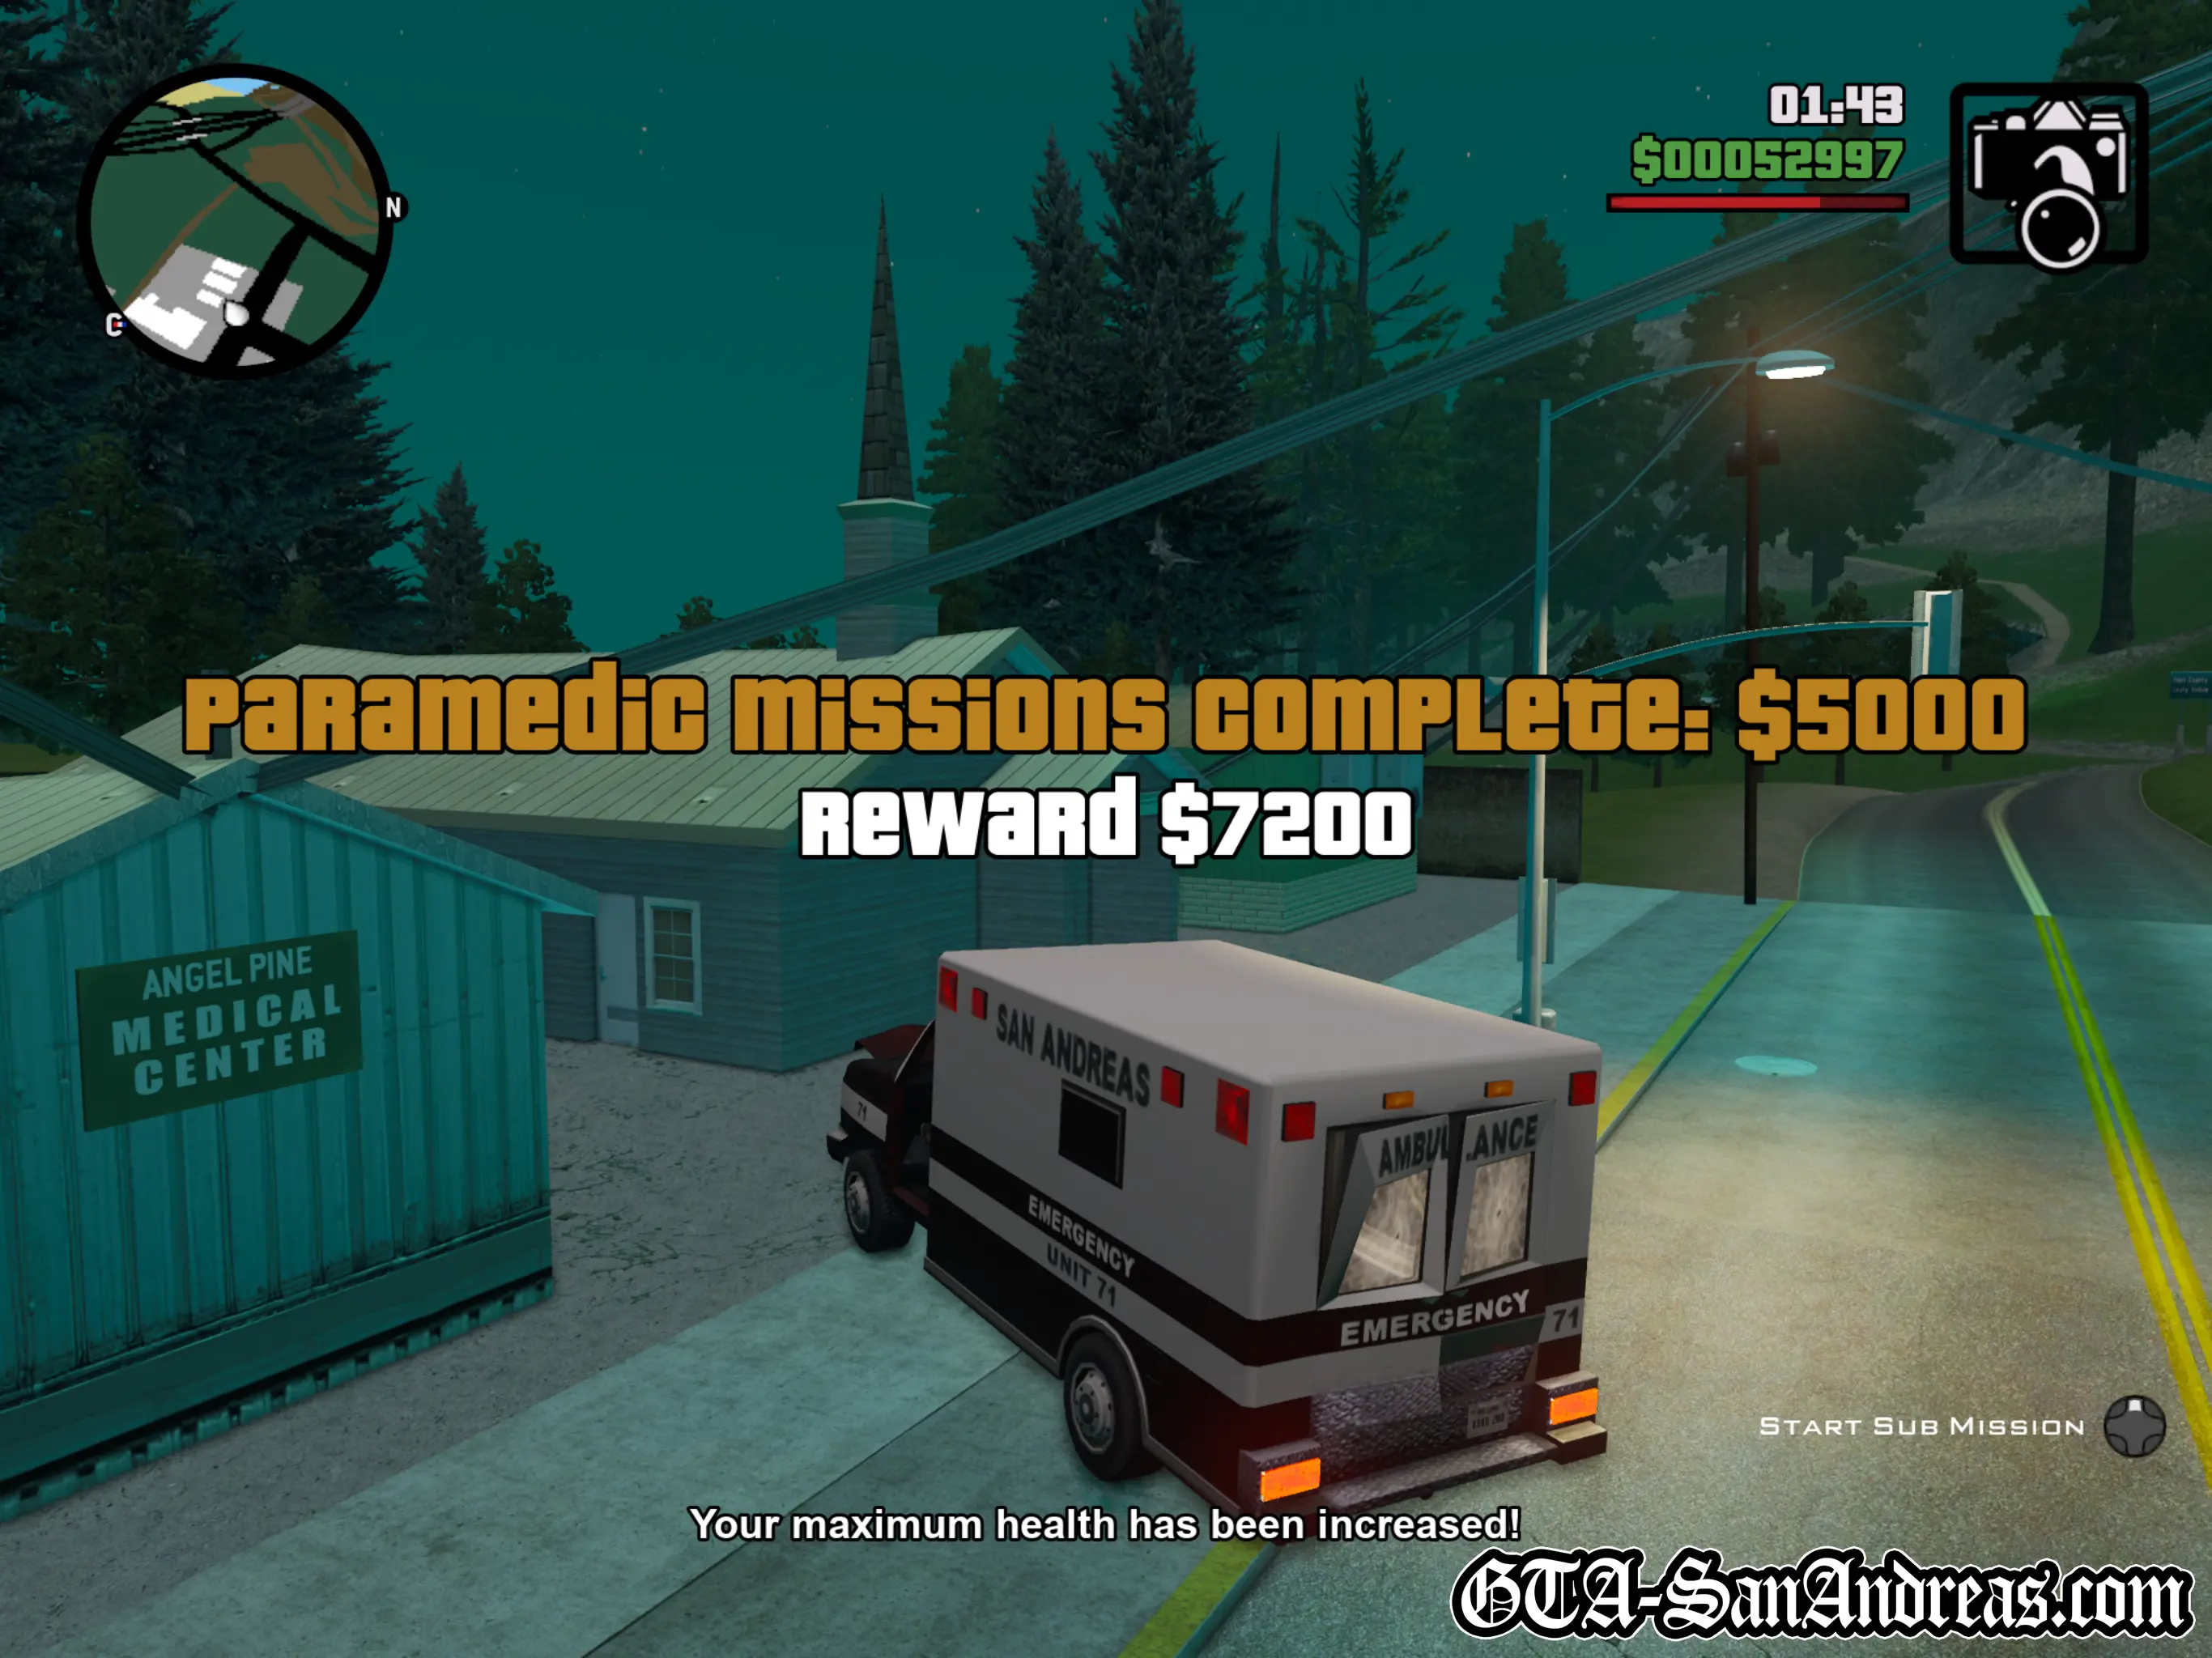
You will need to complete Level 12 of the Paramedic Missions in order to finish this Sub-Mission. Level 12 must be done consecutively and altogether you will save 78 people, however this may increase in your stats if you fail or cancel the mission. The average time for completion of the Paramedic Missions ranges from about 30 minutes to 1 hour and 30 minutes depending on location, however I'd advise waiting until Angel Pine.
Rewards
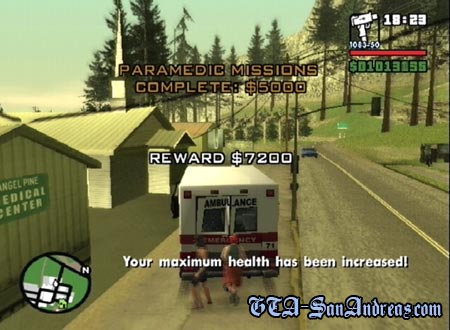
Upon completion of Level 12 your health bar will be increased to it's maximum. Early in the game this can result in your health raising by double or more. This of course helps greatly with missions. You will also make a rather large sum of money while working through the missions.
Paramedic Missions are required for 100% completion, however the actual health increase reward can be obtained through lots of regular gameplay. Every so often you will see a message about your maximum health increasing and usually as you approach the last few missions you'll reach maximum anyway but Paramedic Missions are the best way to max it out fast and early.
Screenshots
Original PS2 Screenshots
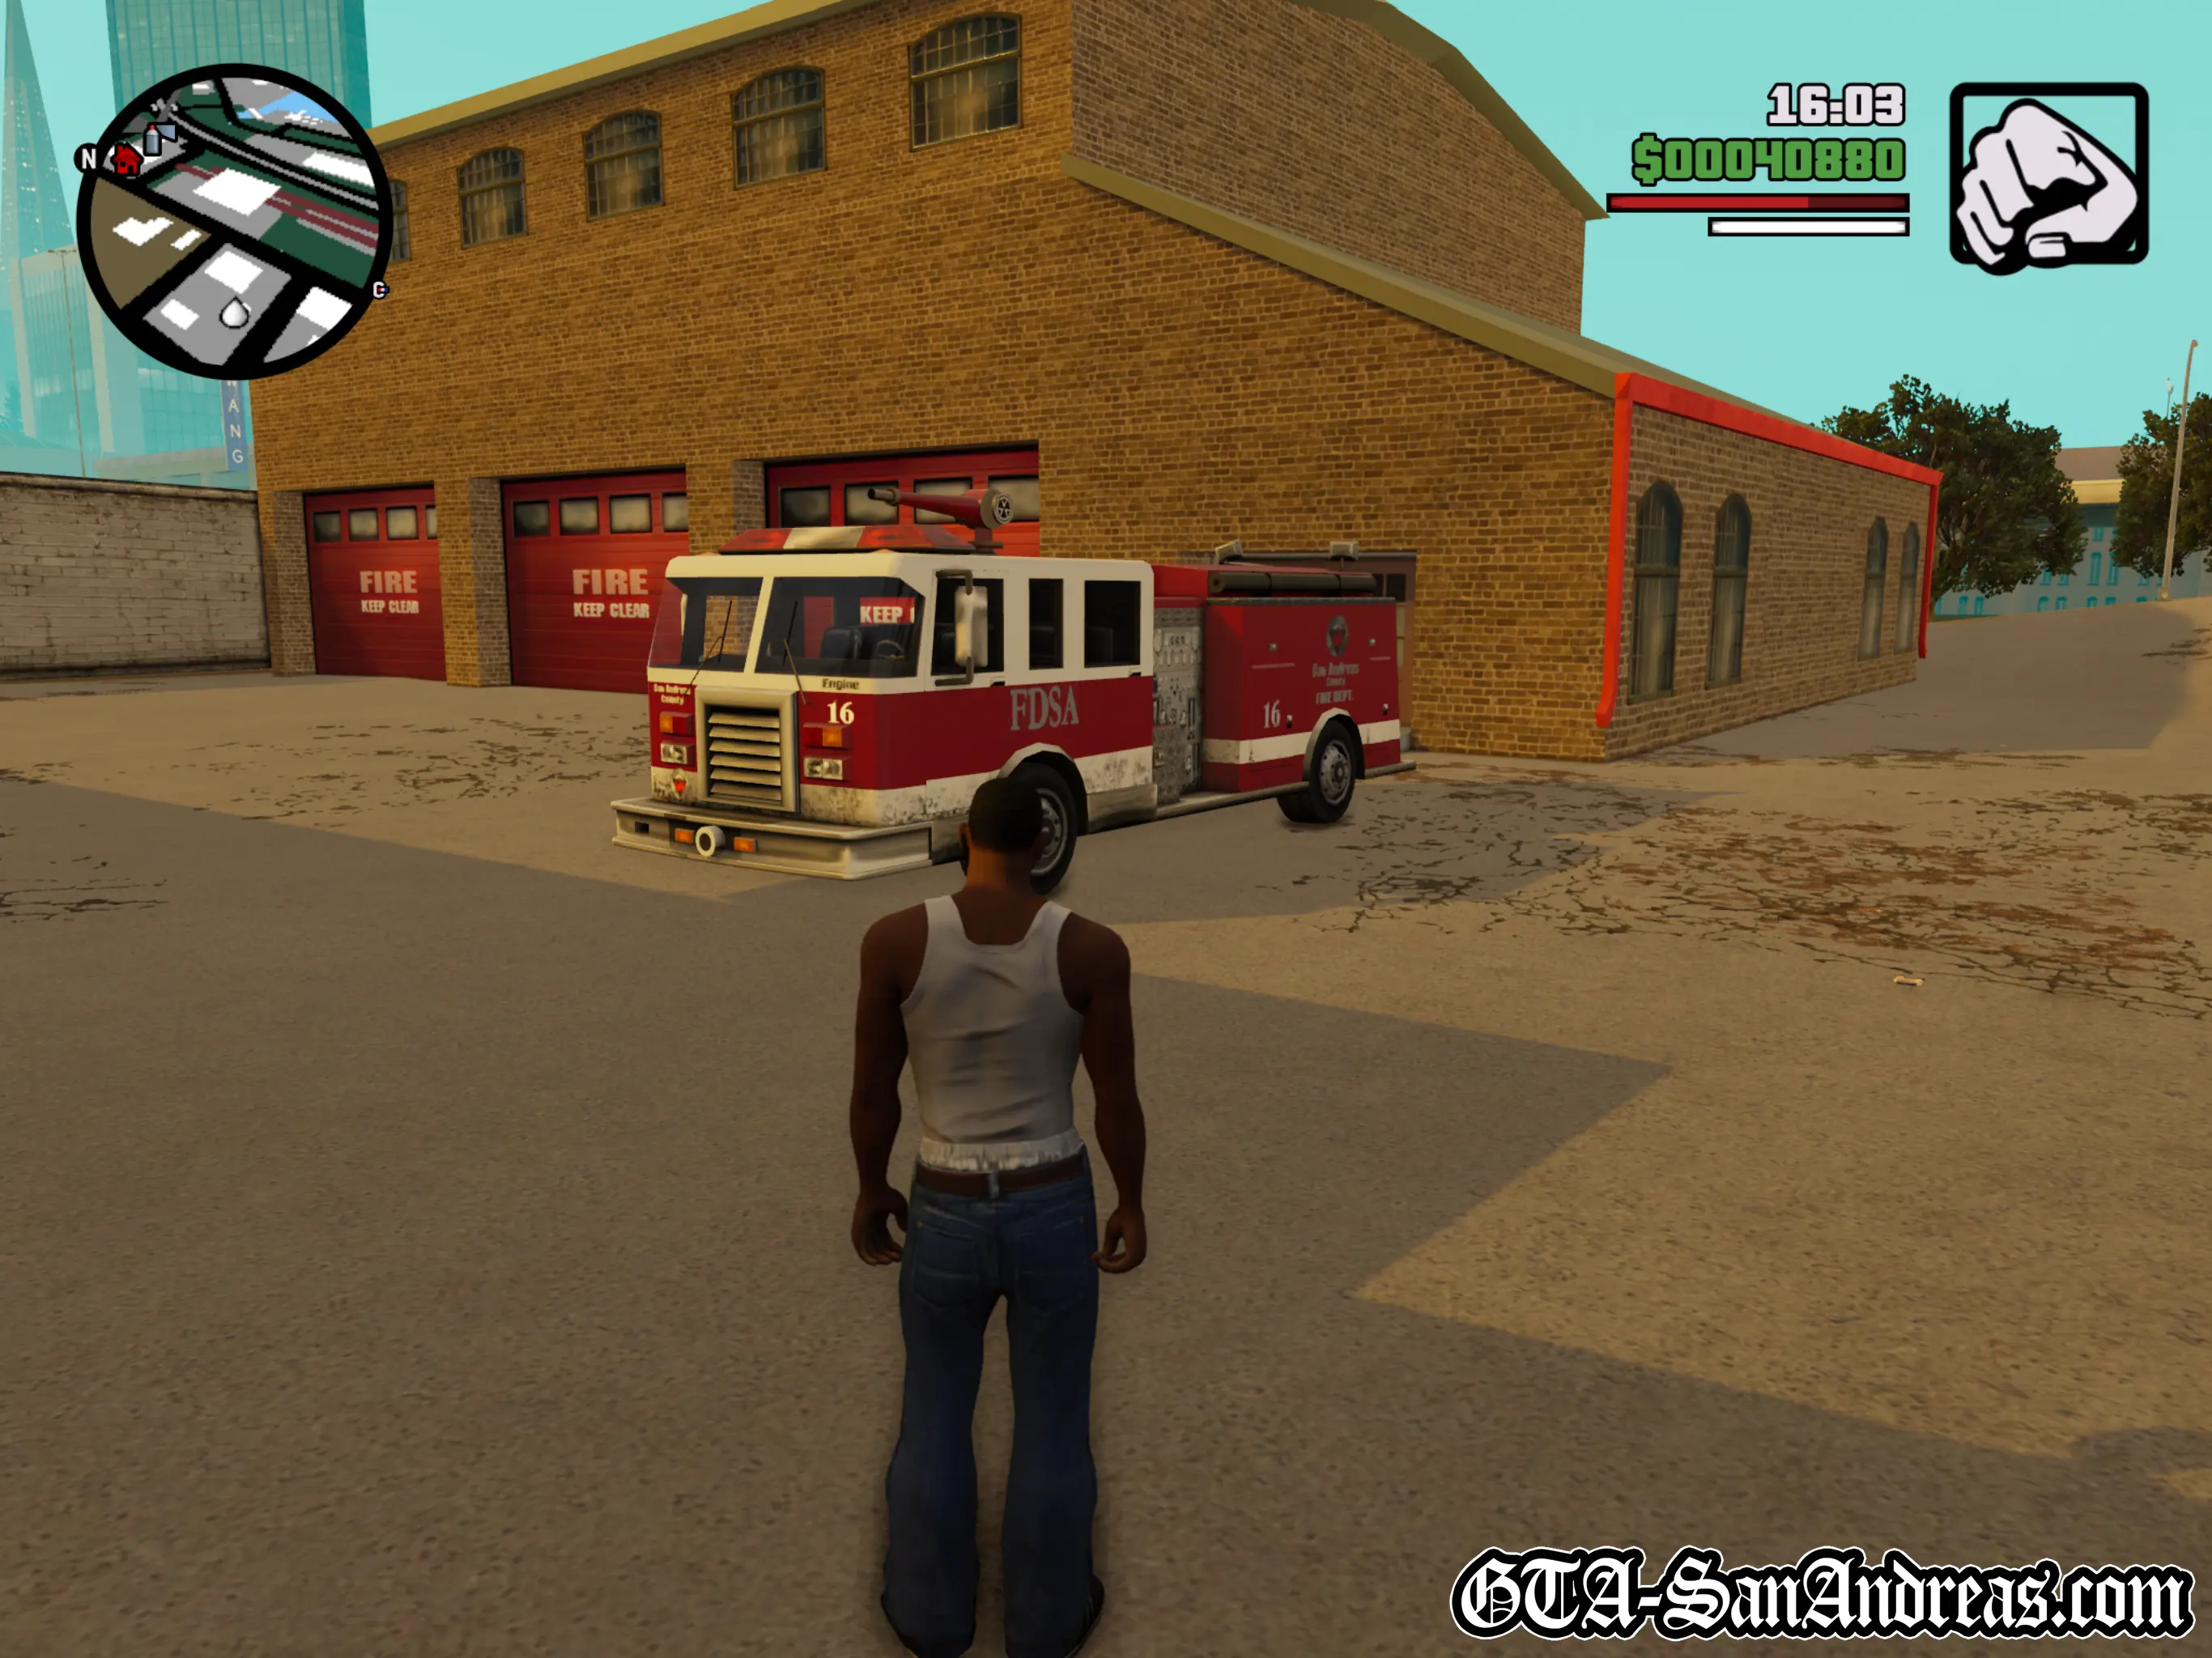
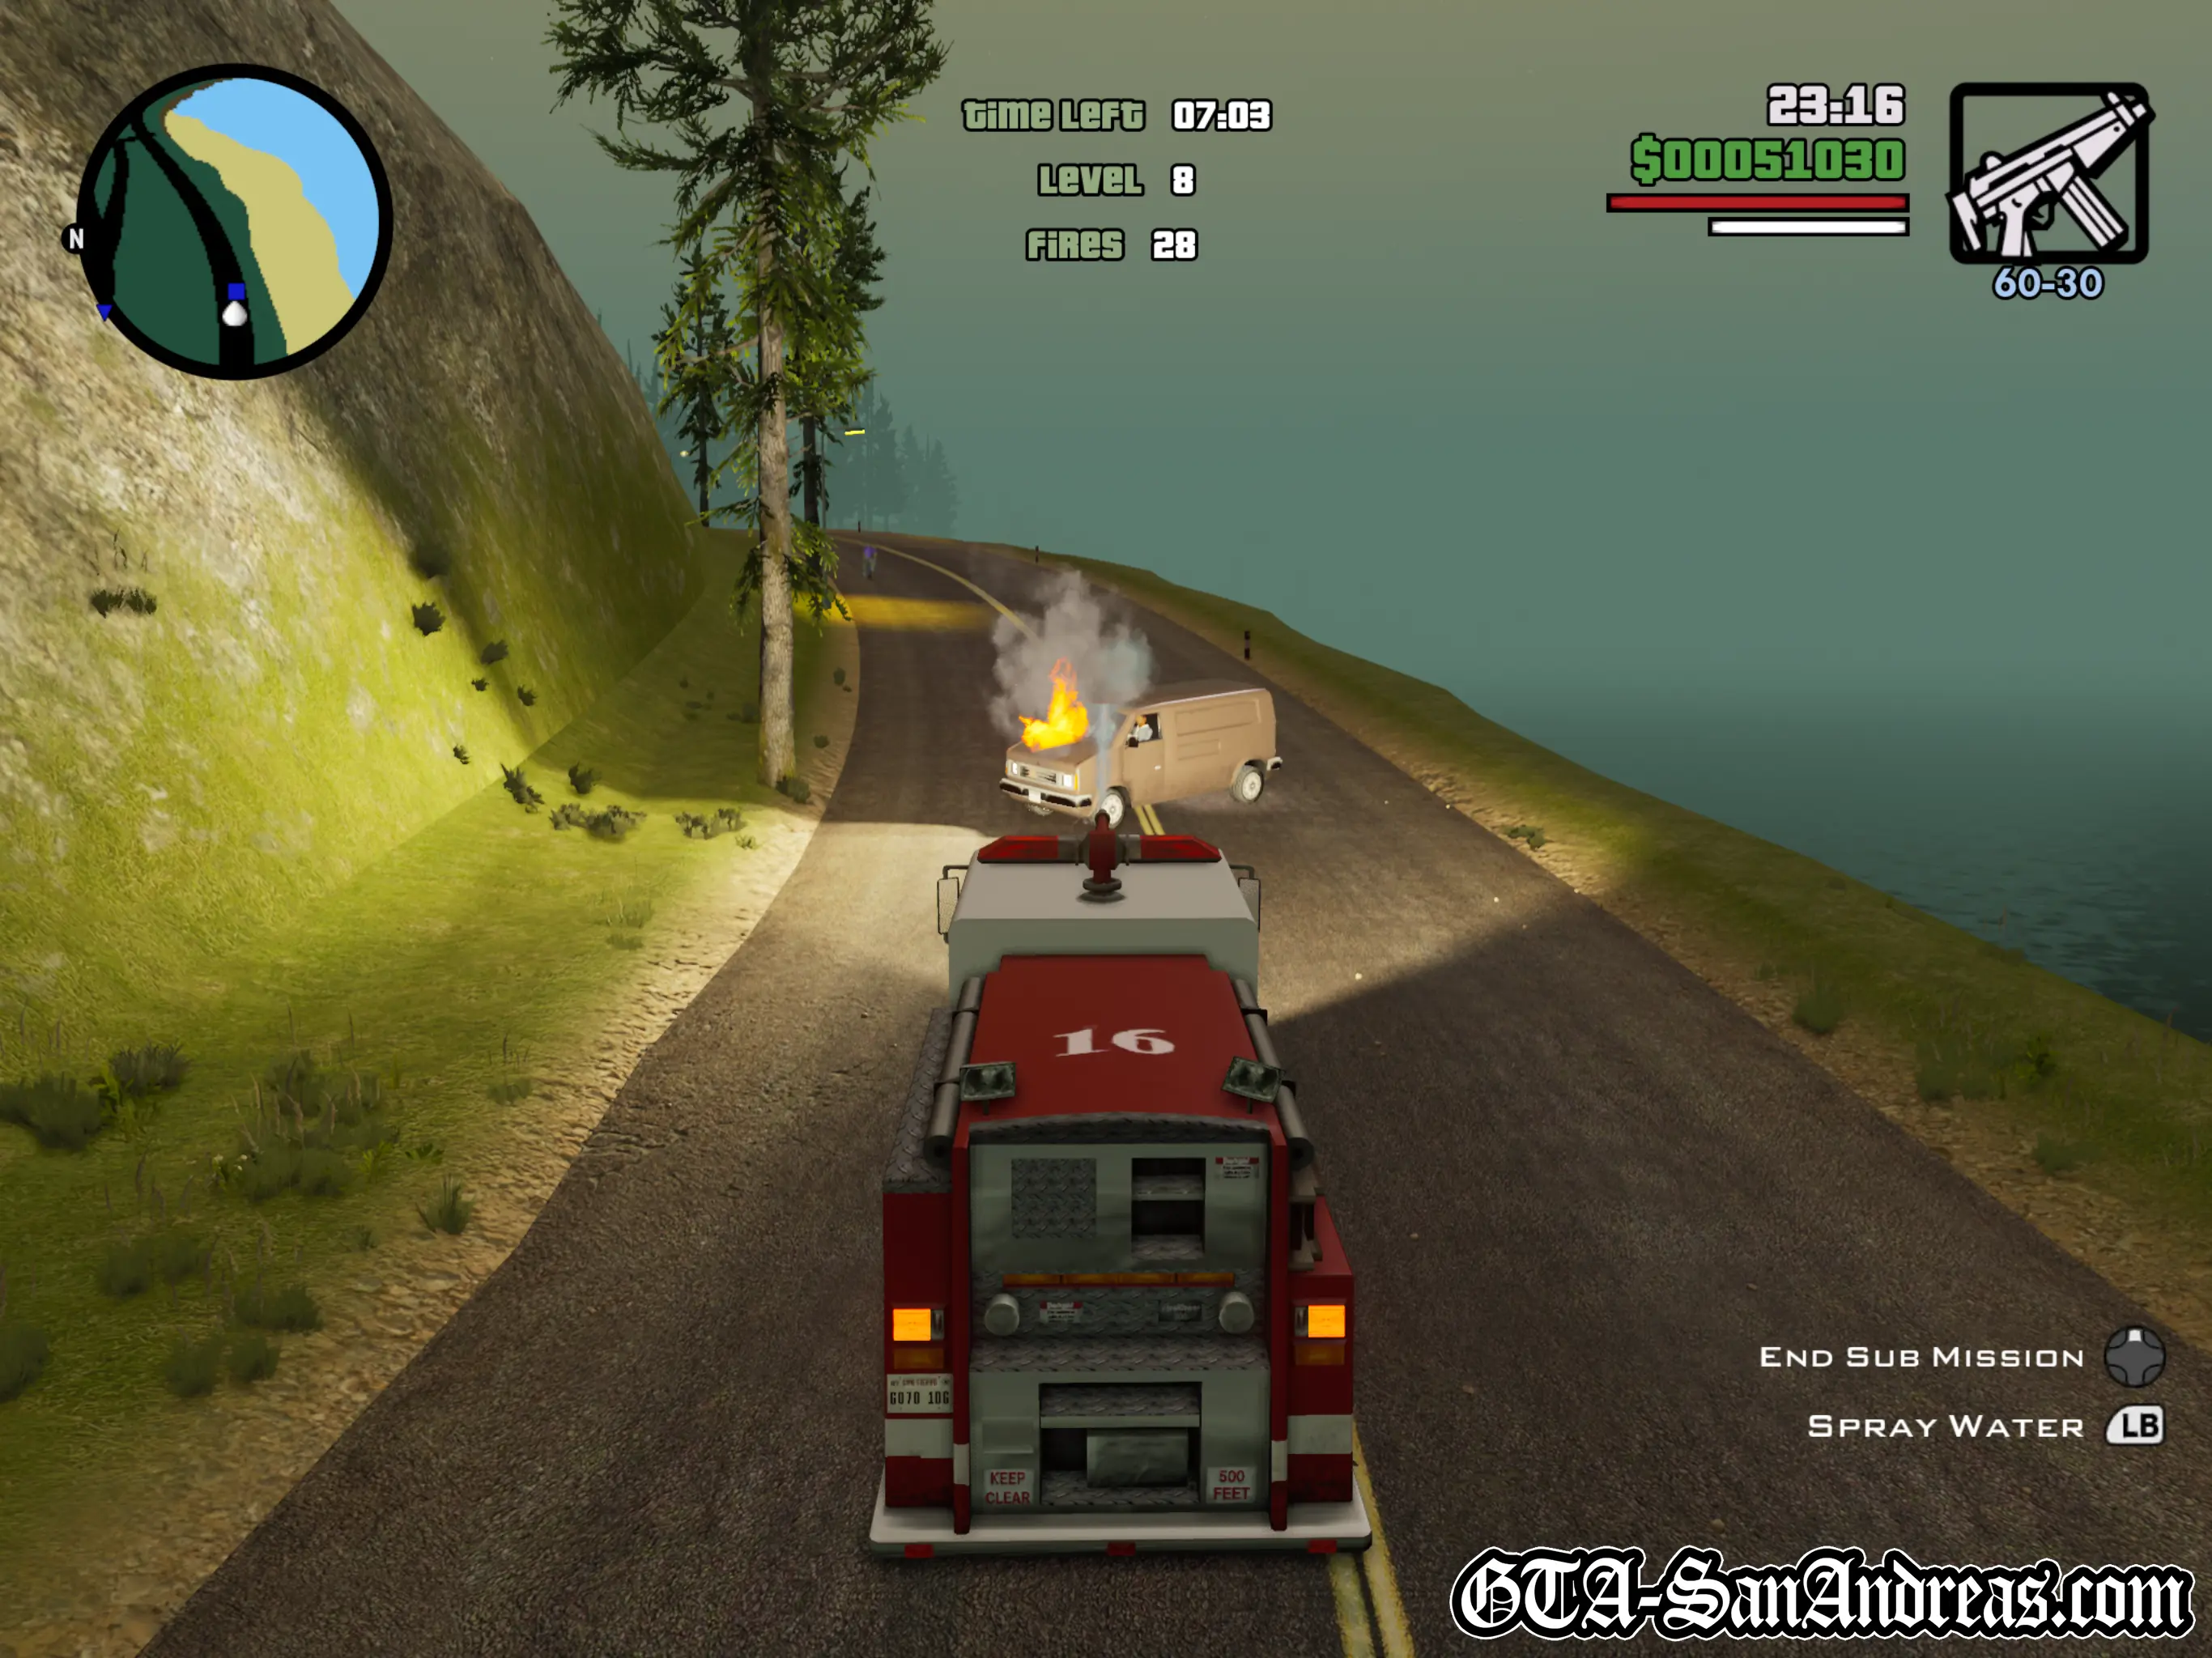
Firefighter
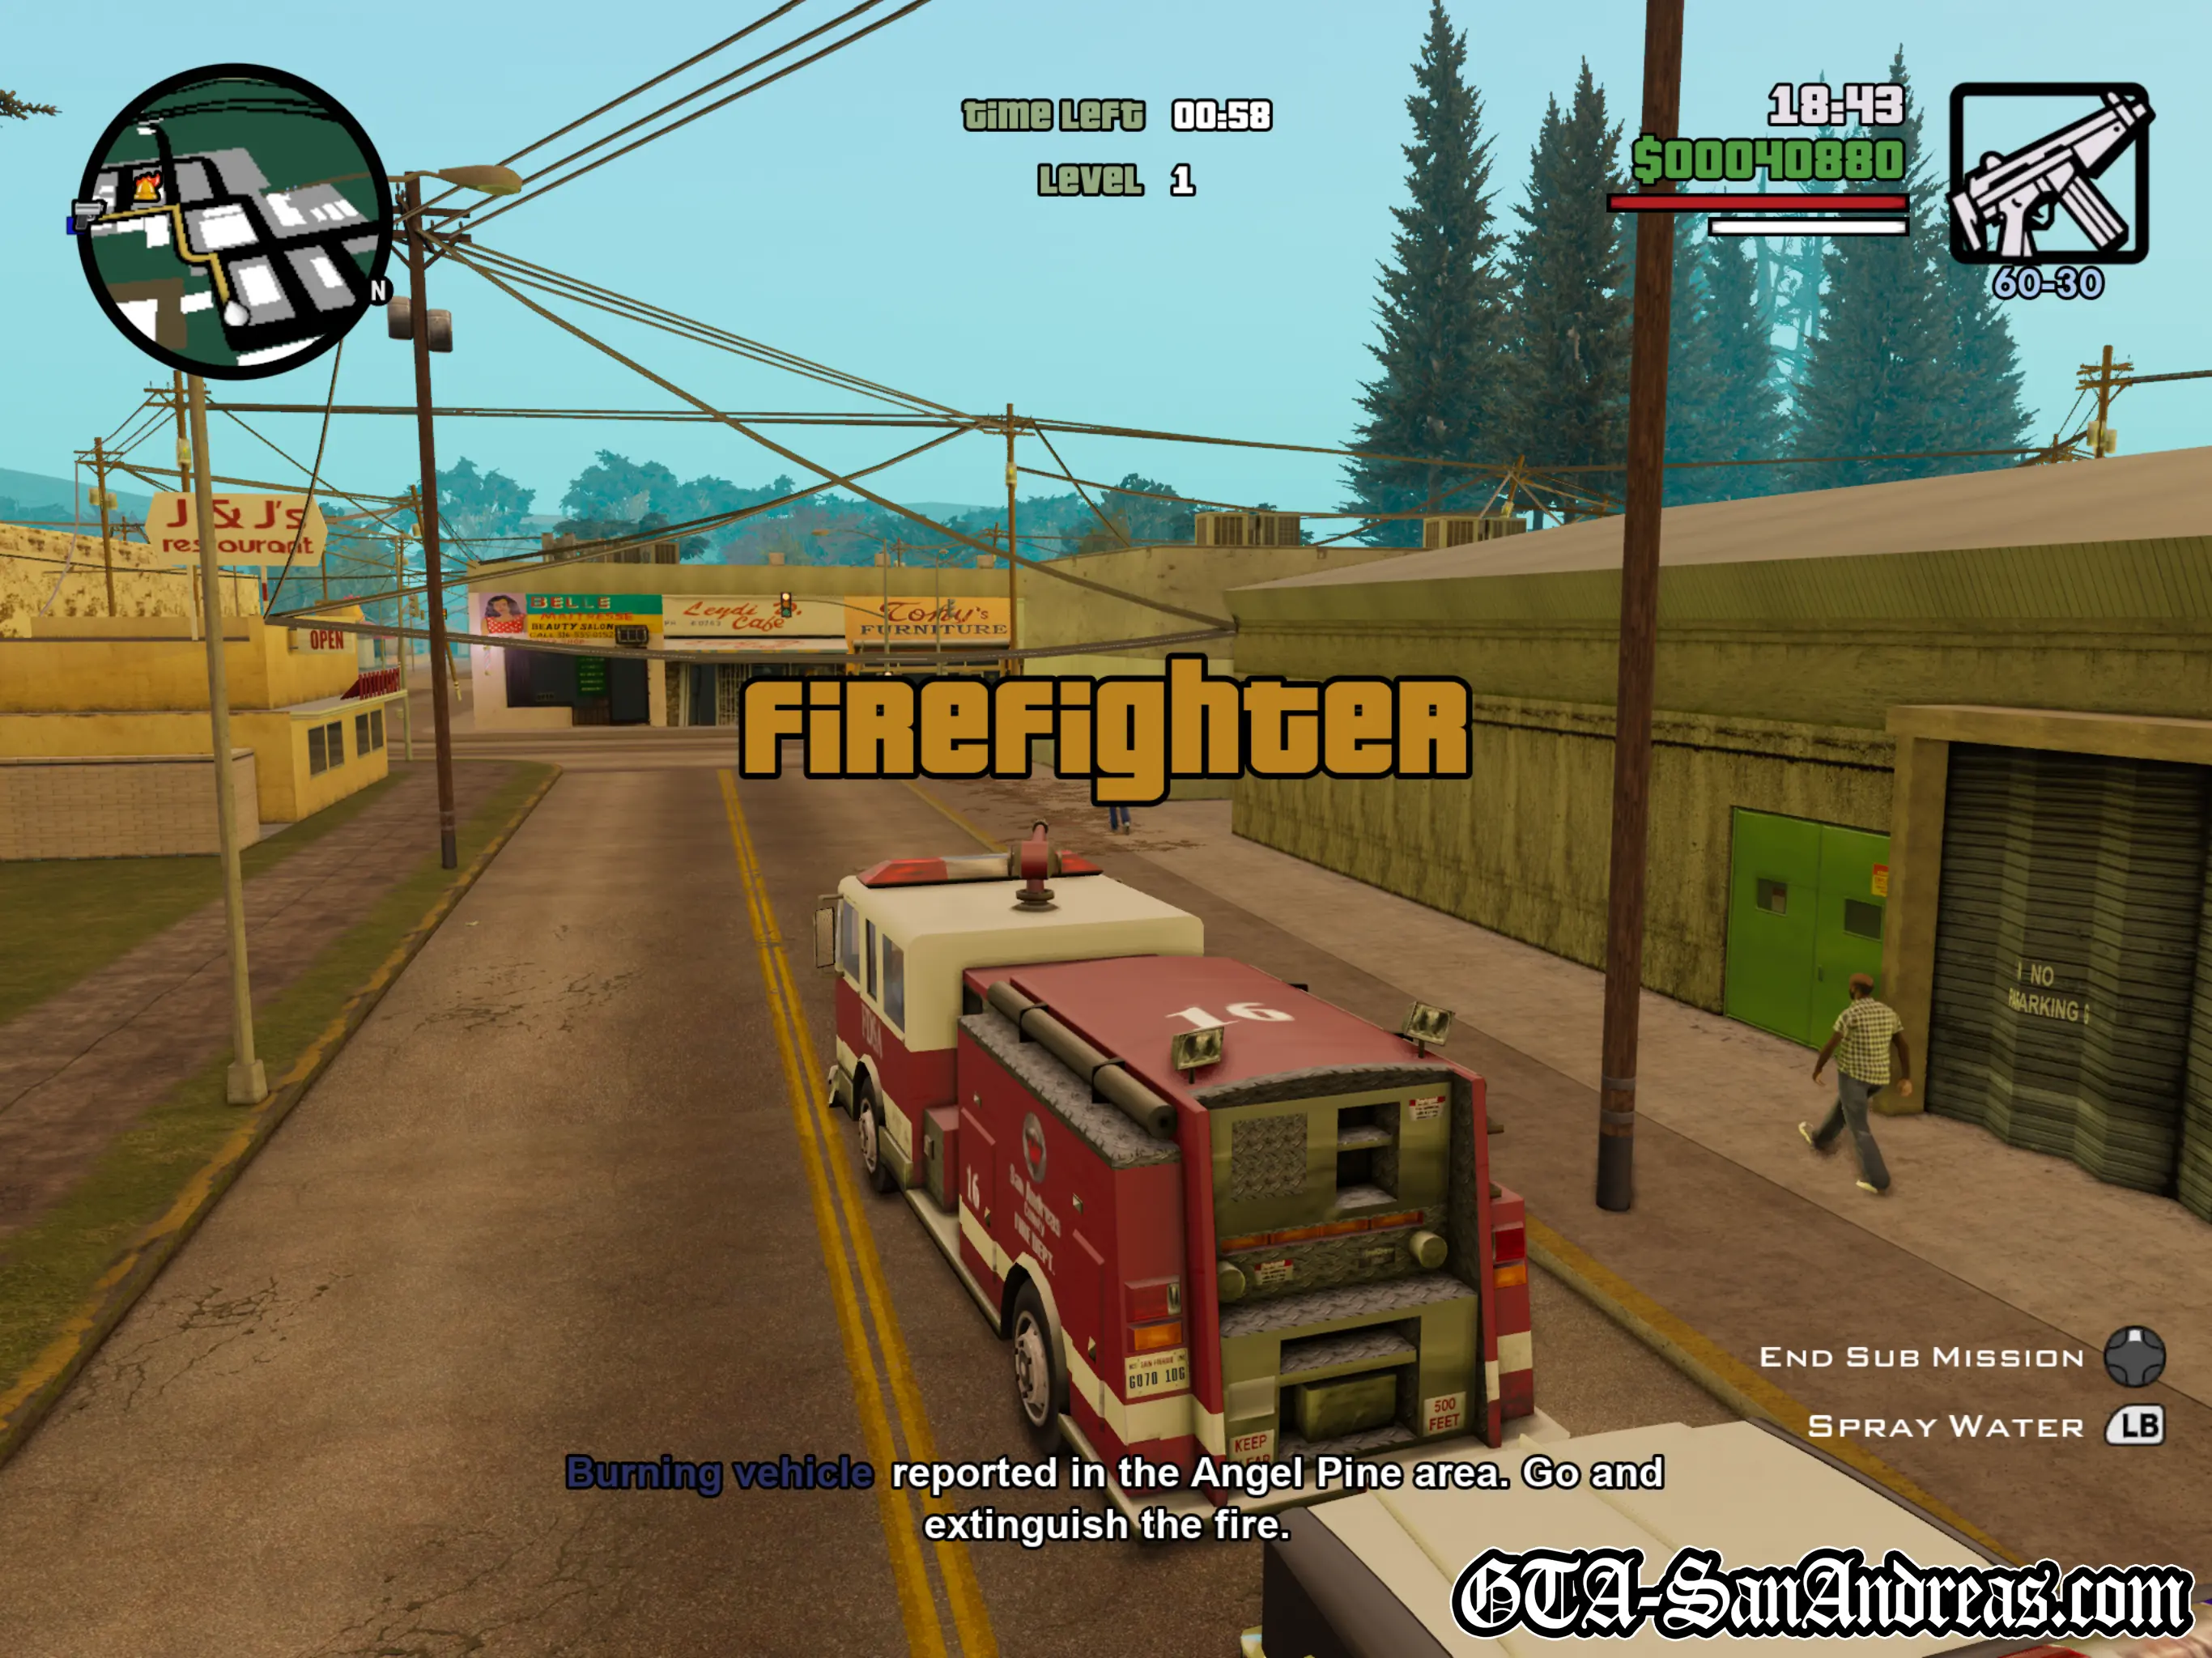
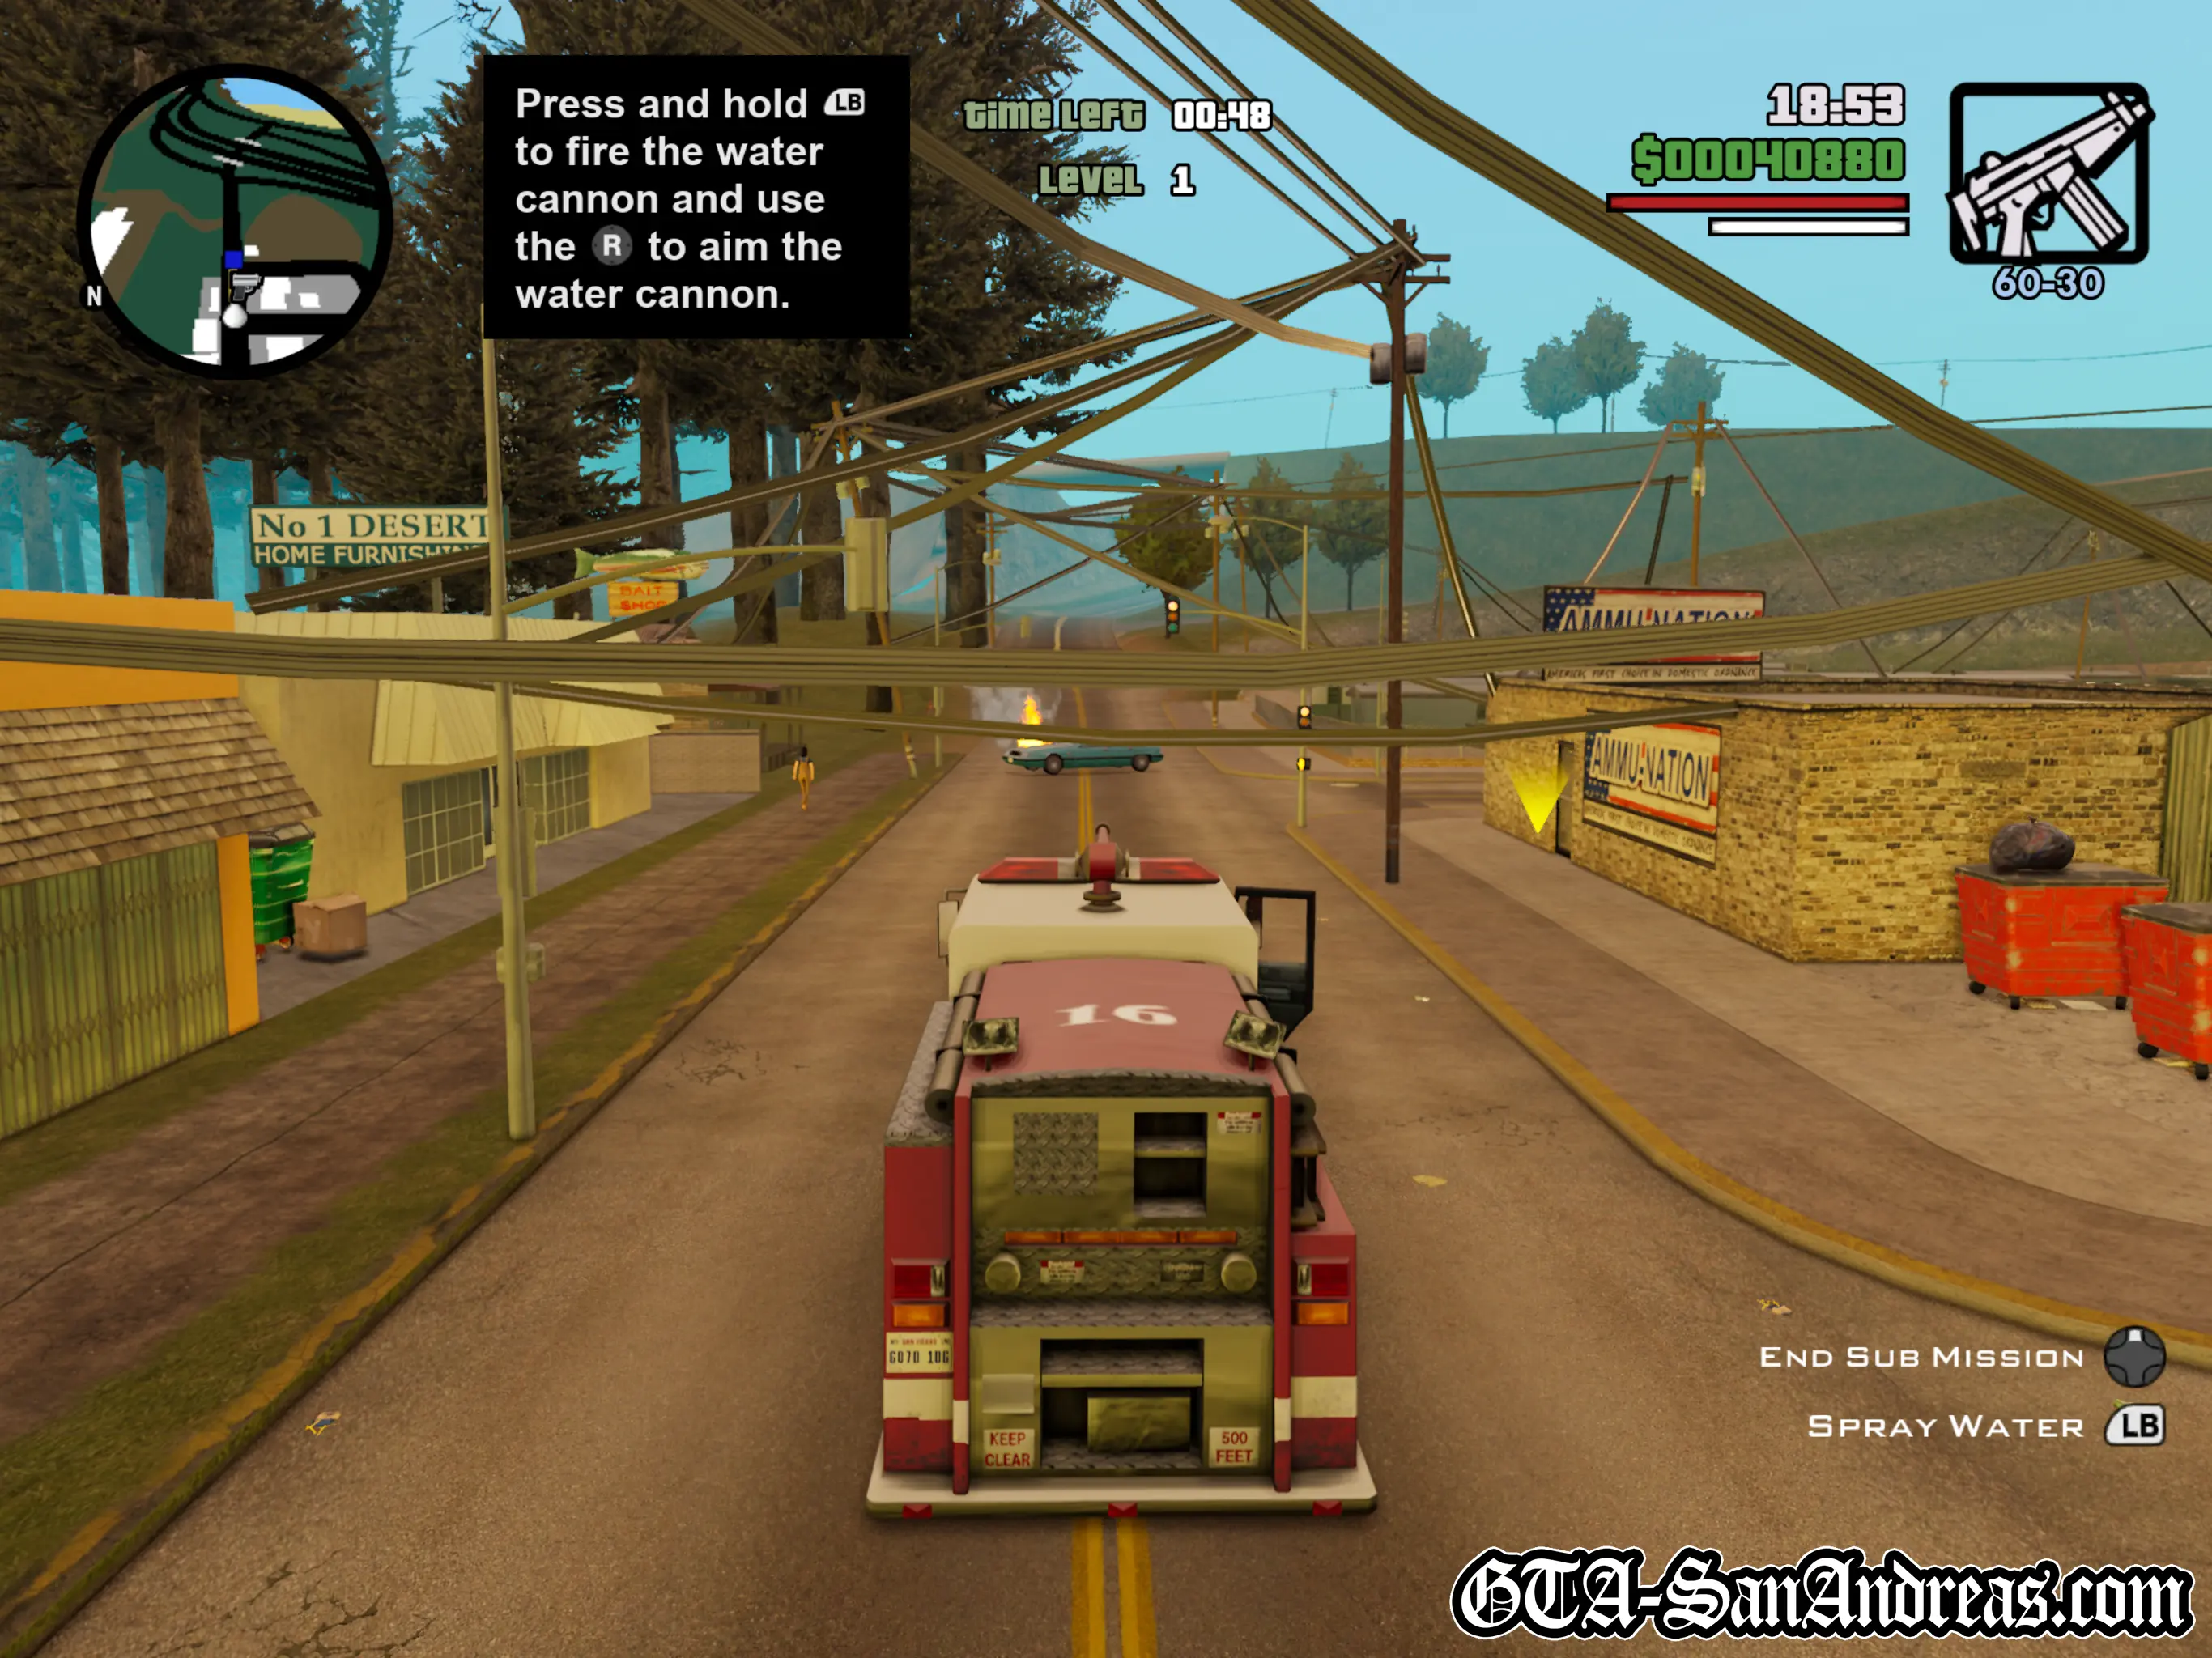
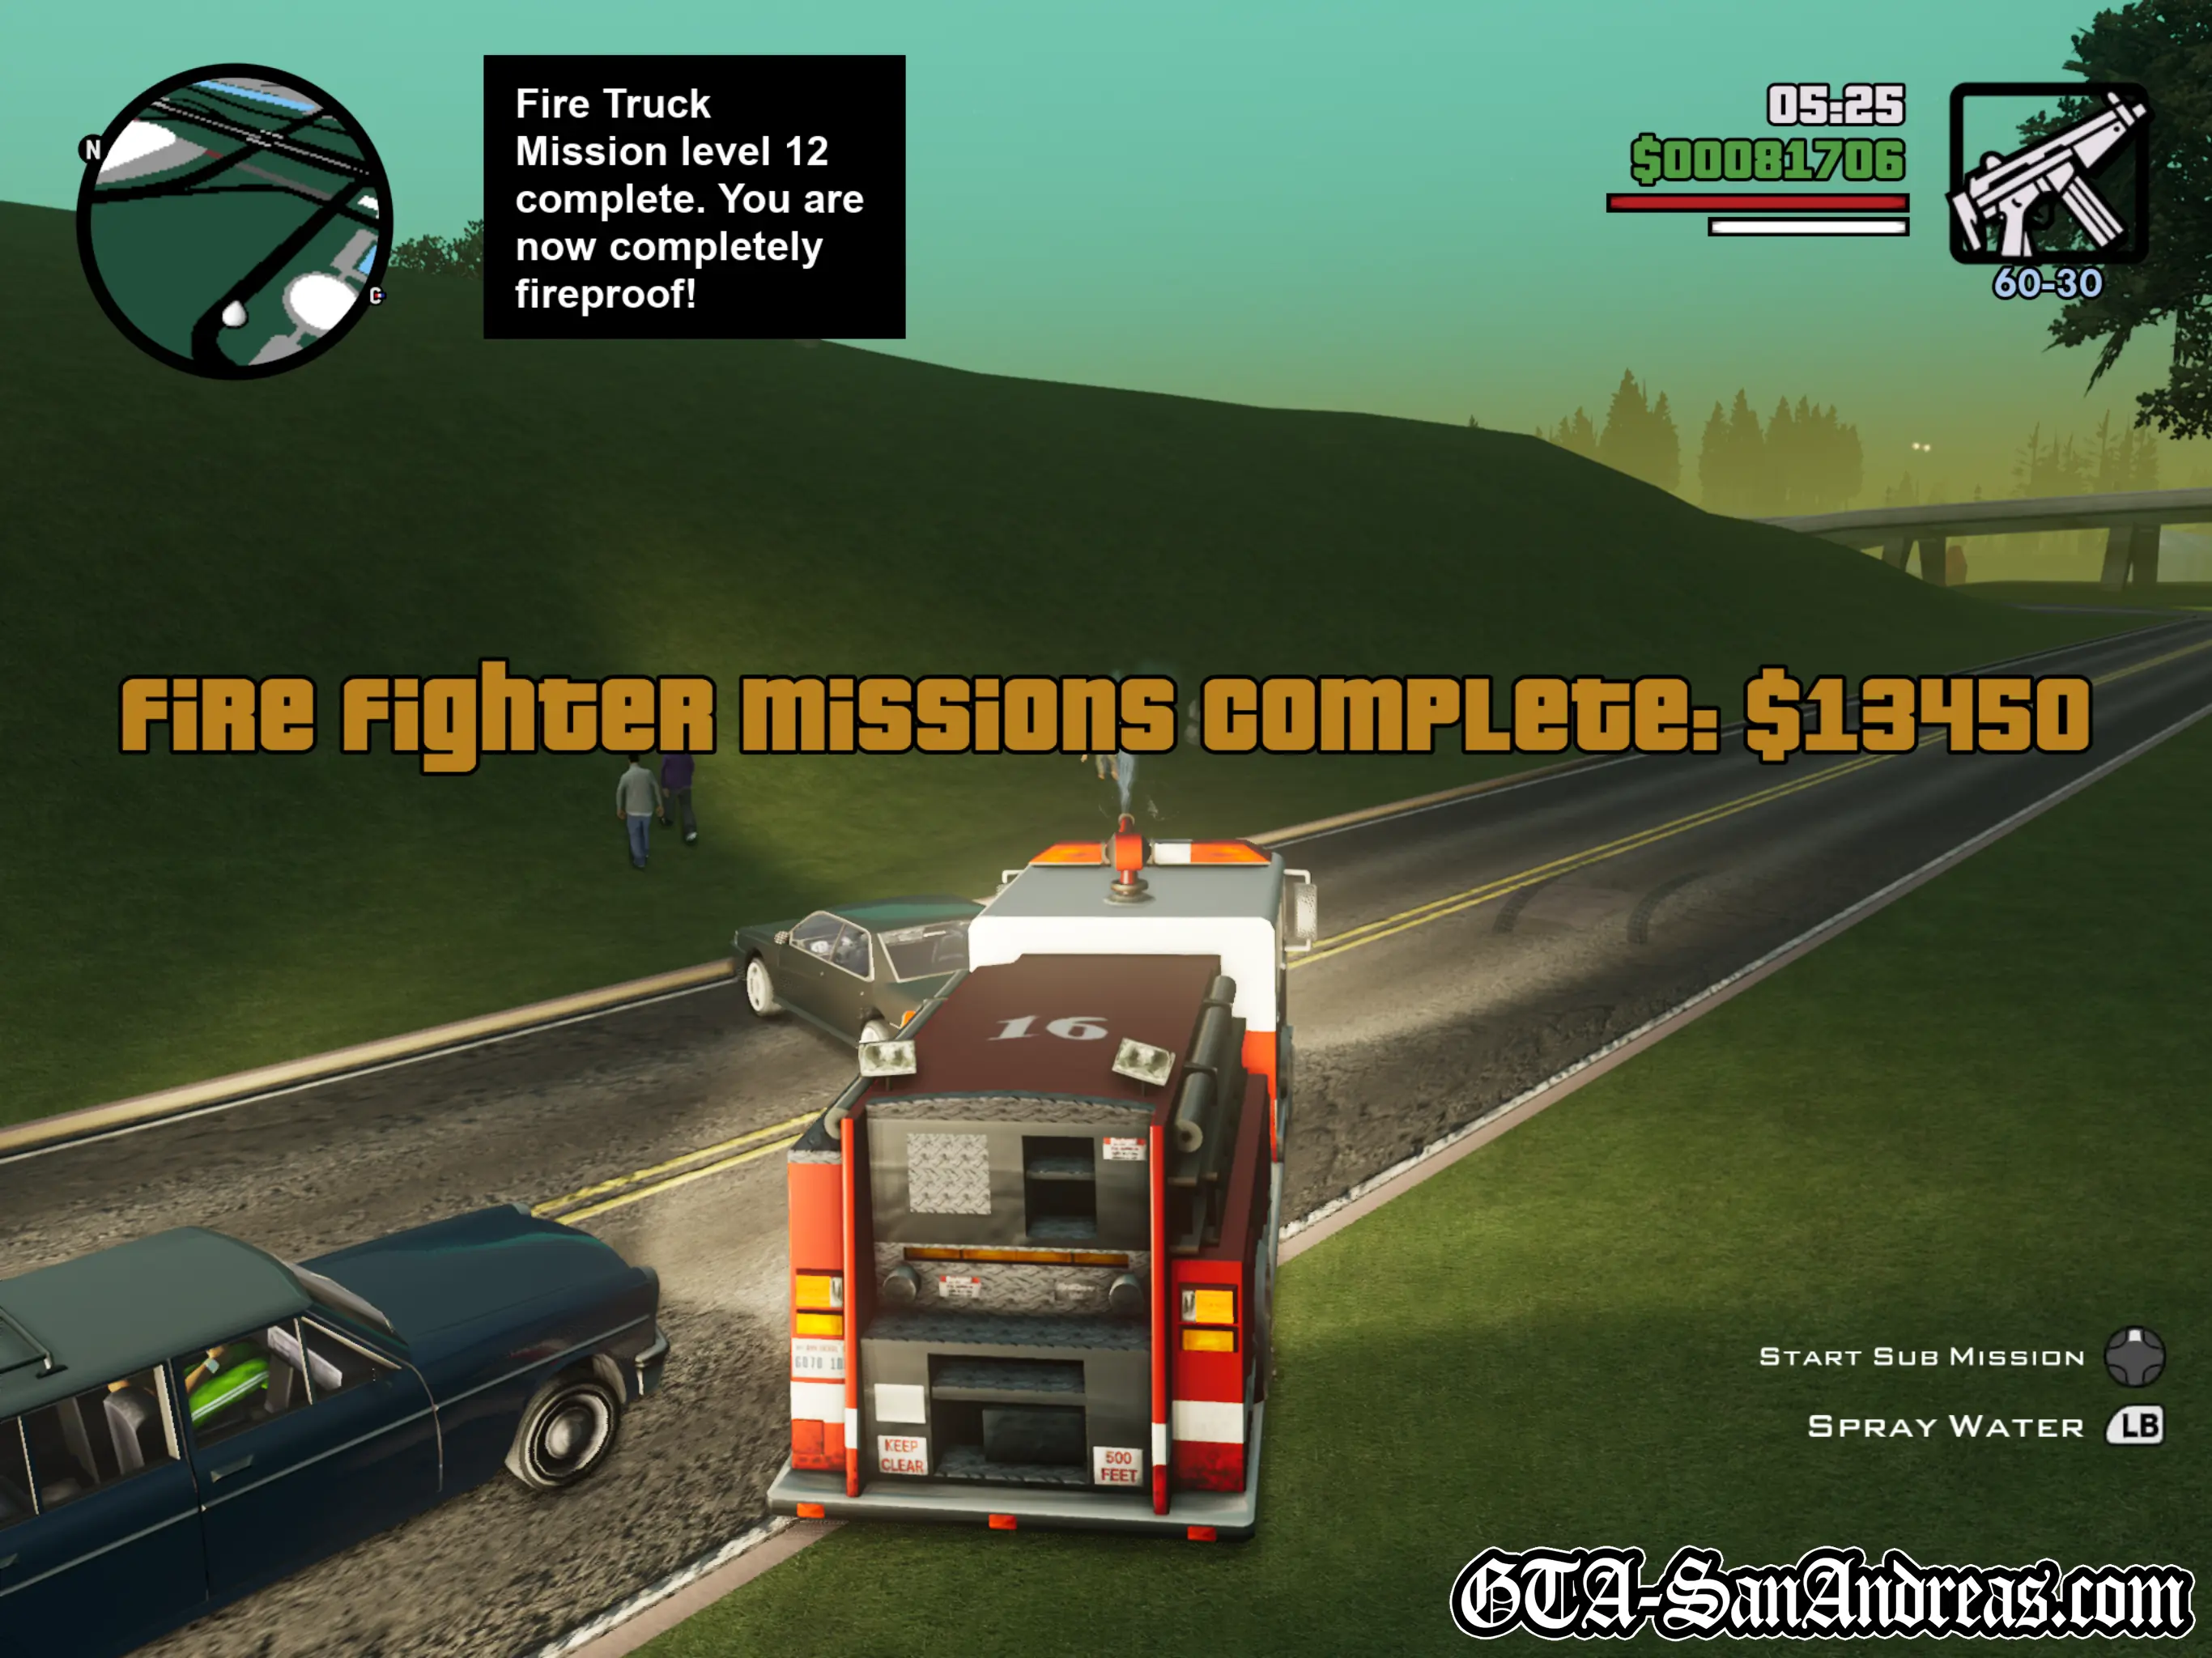
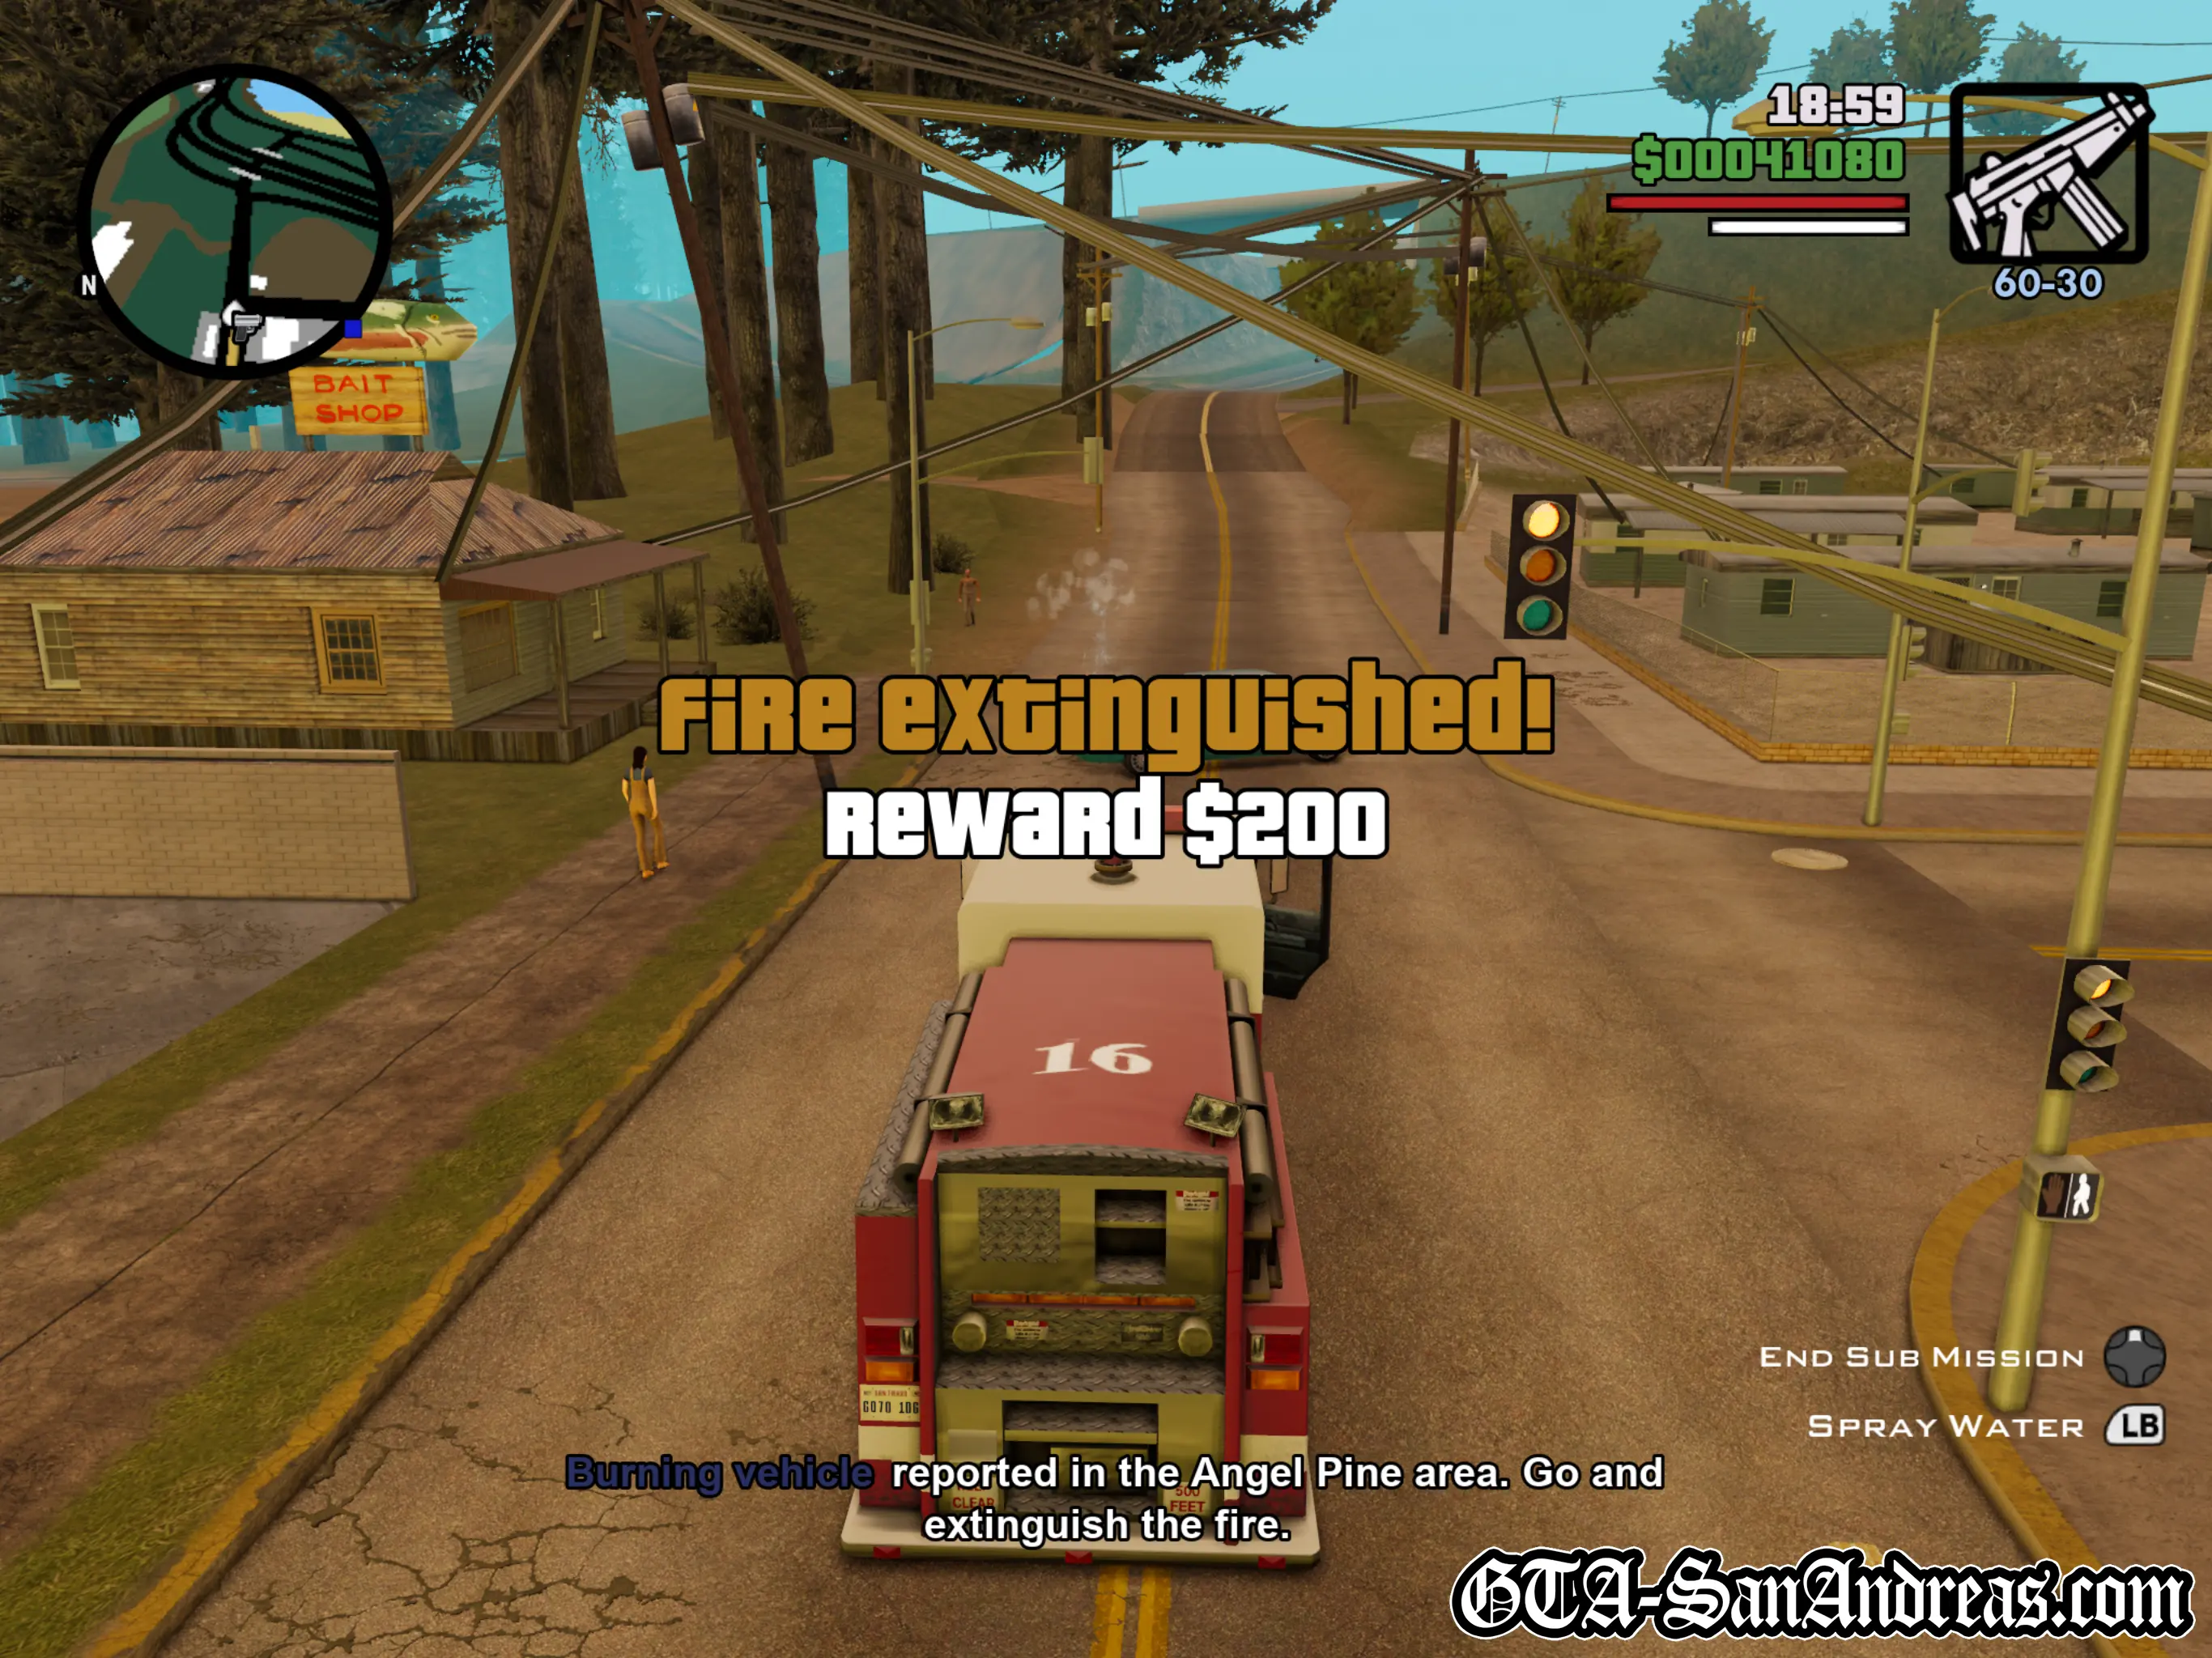
The Firetruck Missions also made an appearance in GTA III and GTA Vice City. Nothing much has changed from the Vice City version of Firefighter, which was one of the easiest Sub-Missions in the game, so this shouldn't be too much trouble.
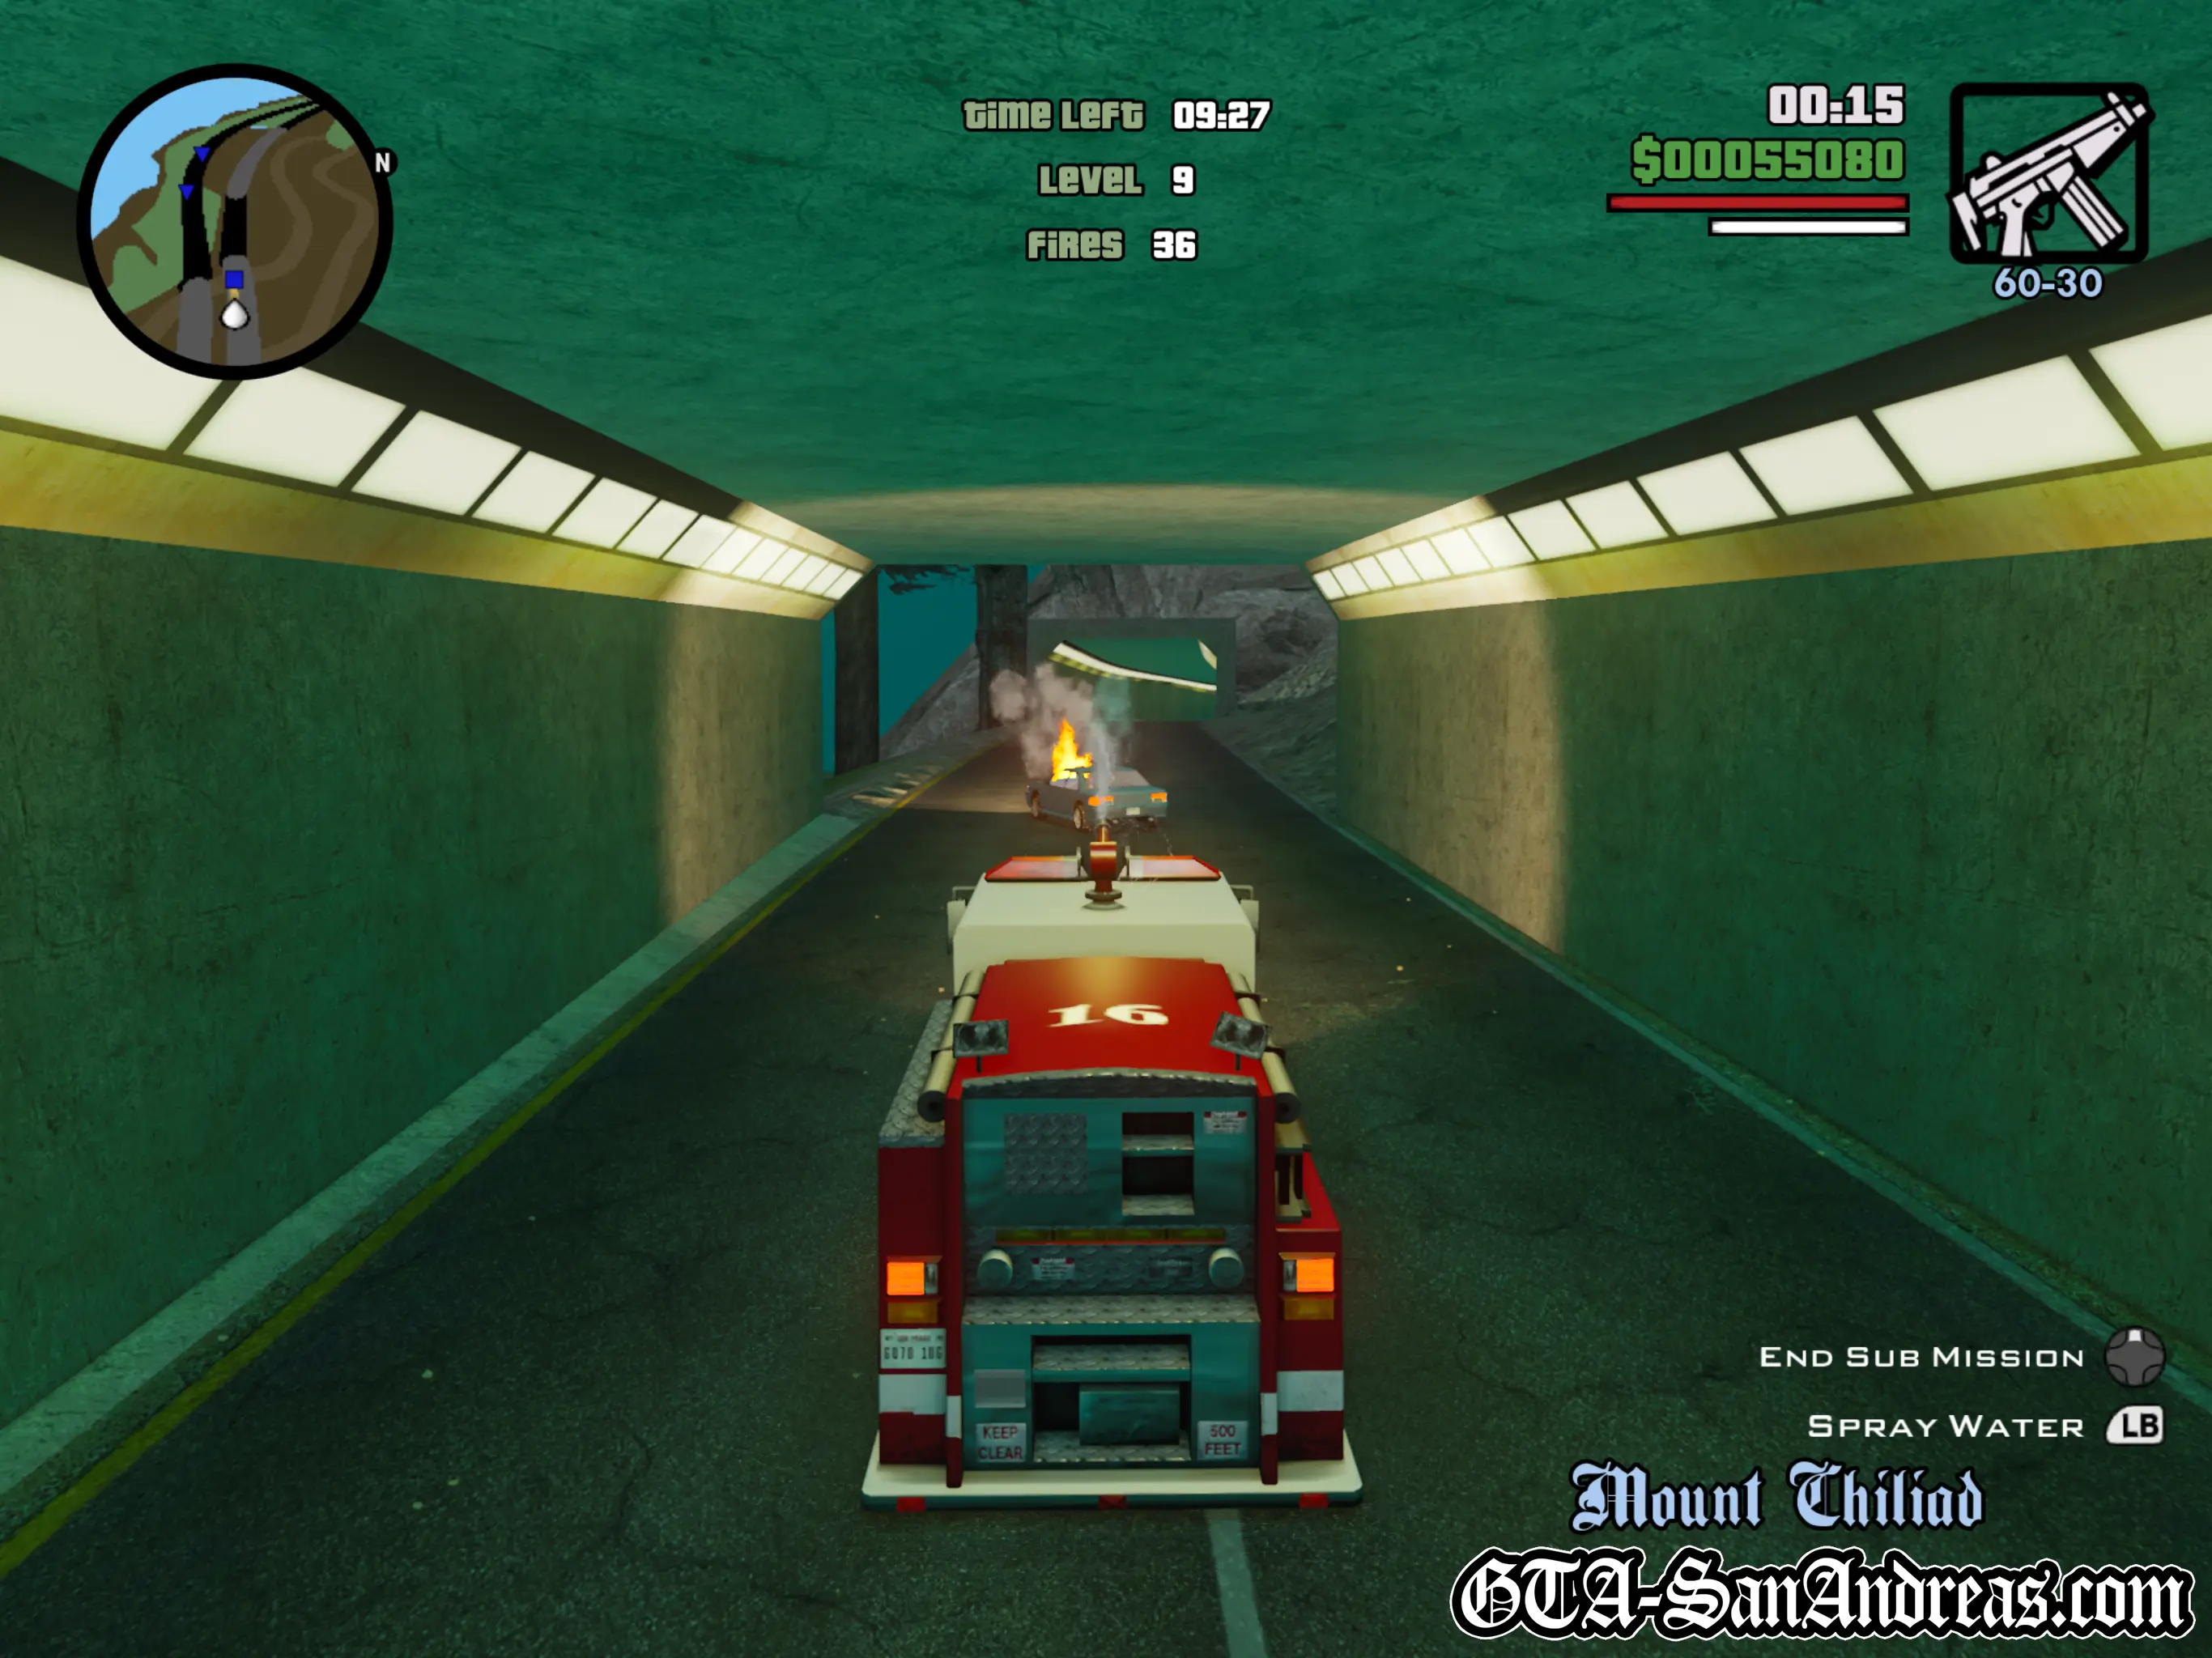
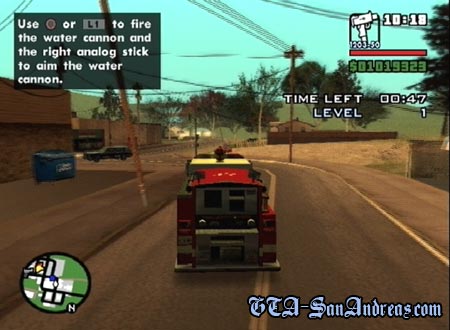
Your objective is to drive around in the Firetruck putting out vehicles which are on fire and the people inside them. Luckily the vehicles won't be moving, however the people inside each vehicle will run around like idiots while on fire and it can be quite difficult to put them out before they hide up an alley way or down a cliff or something.
The Firetruck has a water hose attached which can be squirted by holding Circle or L1 and is aimed with the right analog stick. You will need to squirt water at the base of the fires on vehicles in order to put them out.
Vehicle Needed
- Firetruck
Reasons For Mission Failure
- The Firetruck falls into water.
- The Firetruck blows up.
- The Firetruck flips onto its roof.
- You kill a pedestrian on fire.
- You blow up a flaming car.
- You are arrested.
- You exit the vehicle.
- You push R3 to cancel the sub-mission.
- Your time runs out.
The Basics
When you enter a Firetruck and you're not currently on a mission, hit the R3 button to start the Firefighter Missions.
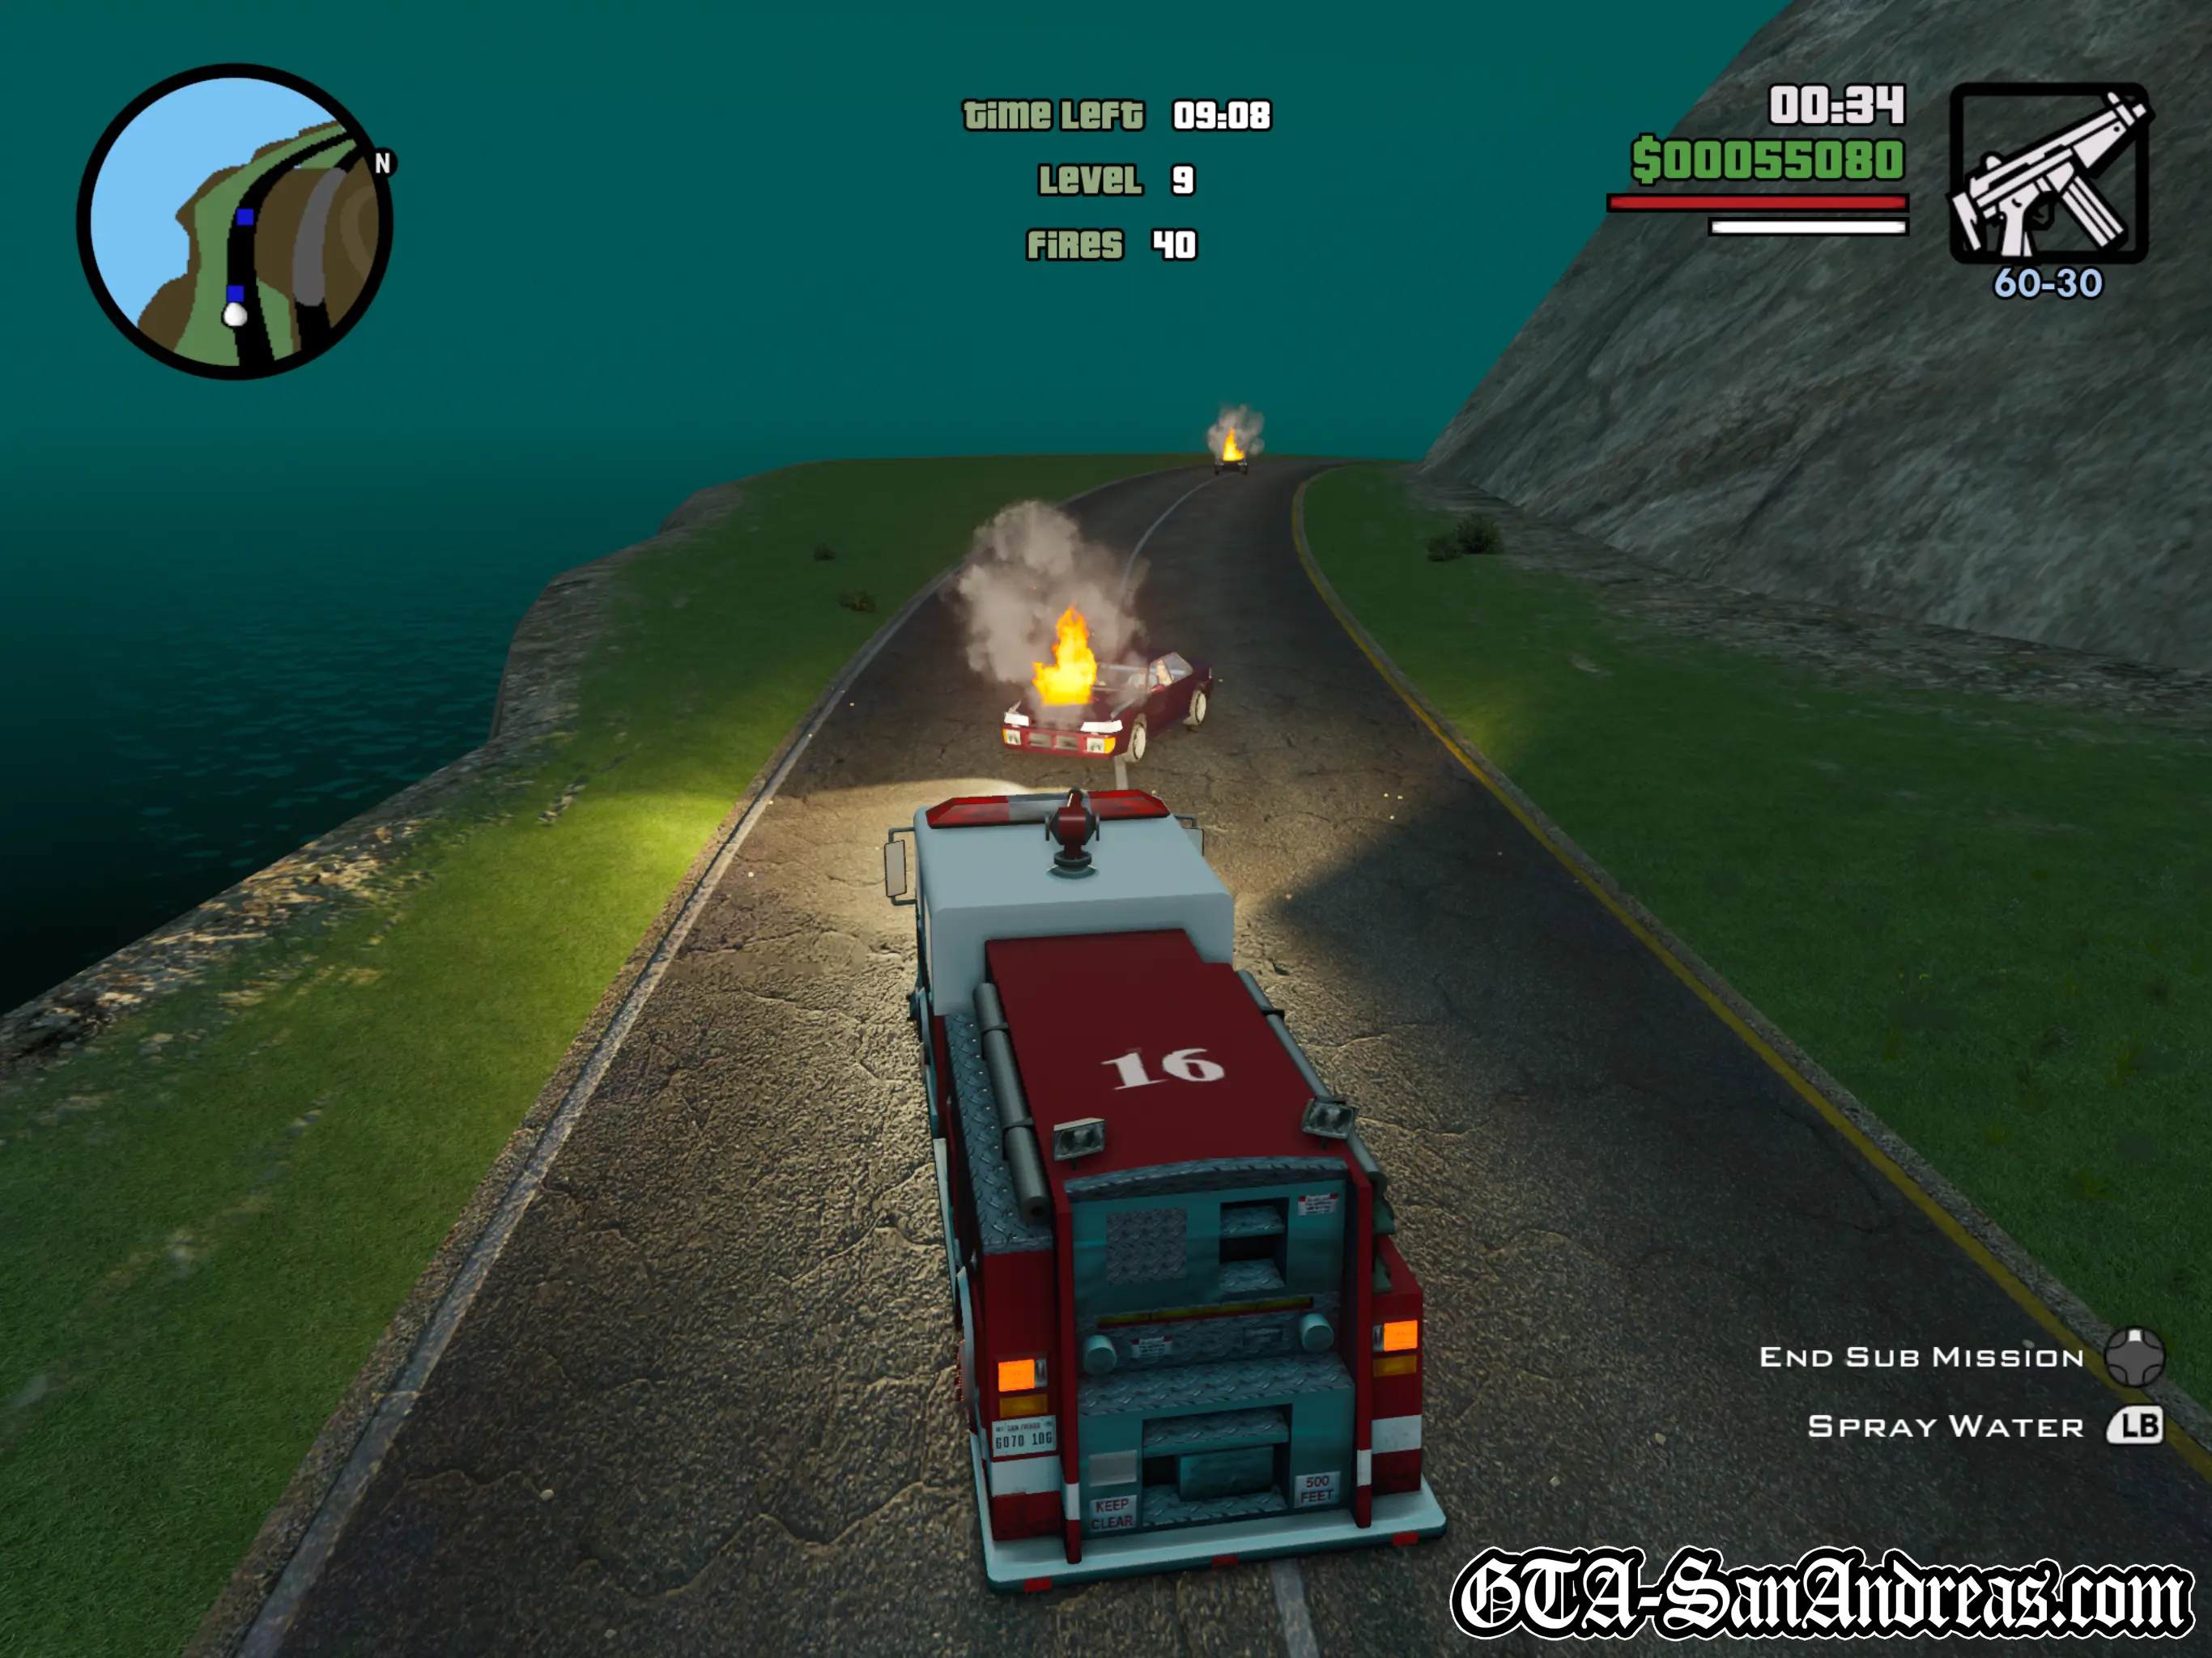
A blue icon will appear on your radar which symbolises a fire which needs to be put out. Make your way to the location of this fire or fires using the radar and stop a few meters away from it. Always slow down before getting near the flaming vehicle or you risk smashing into it and blowing it up.
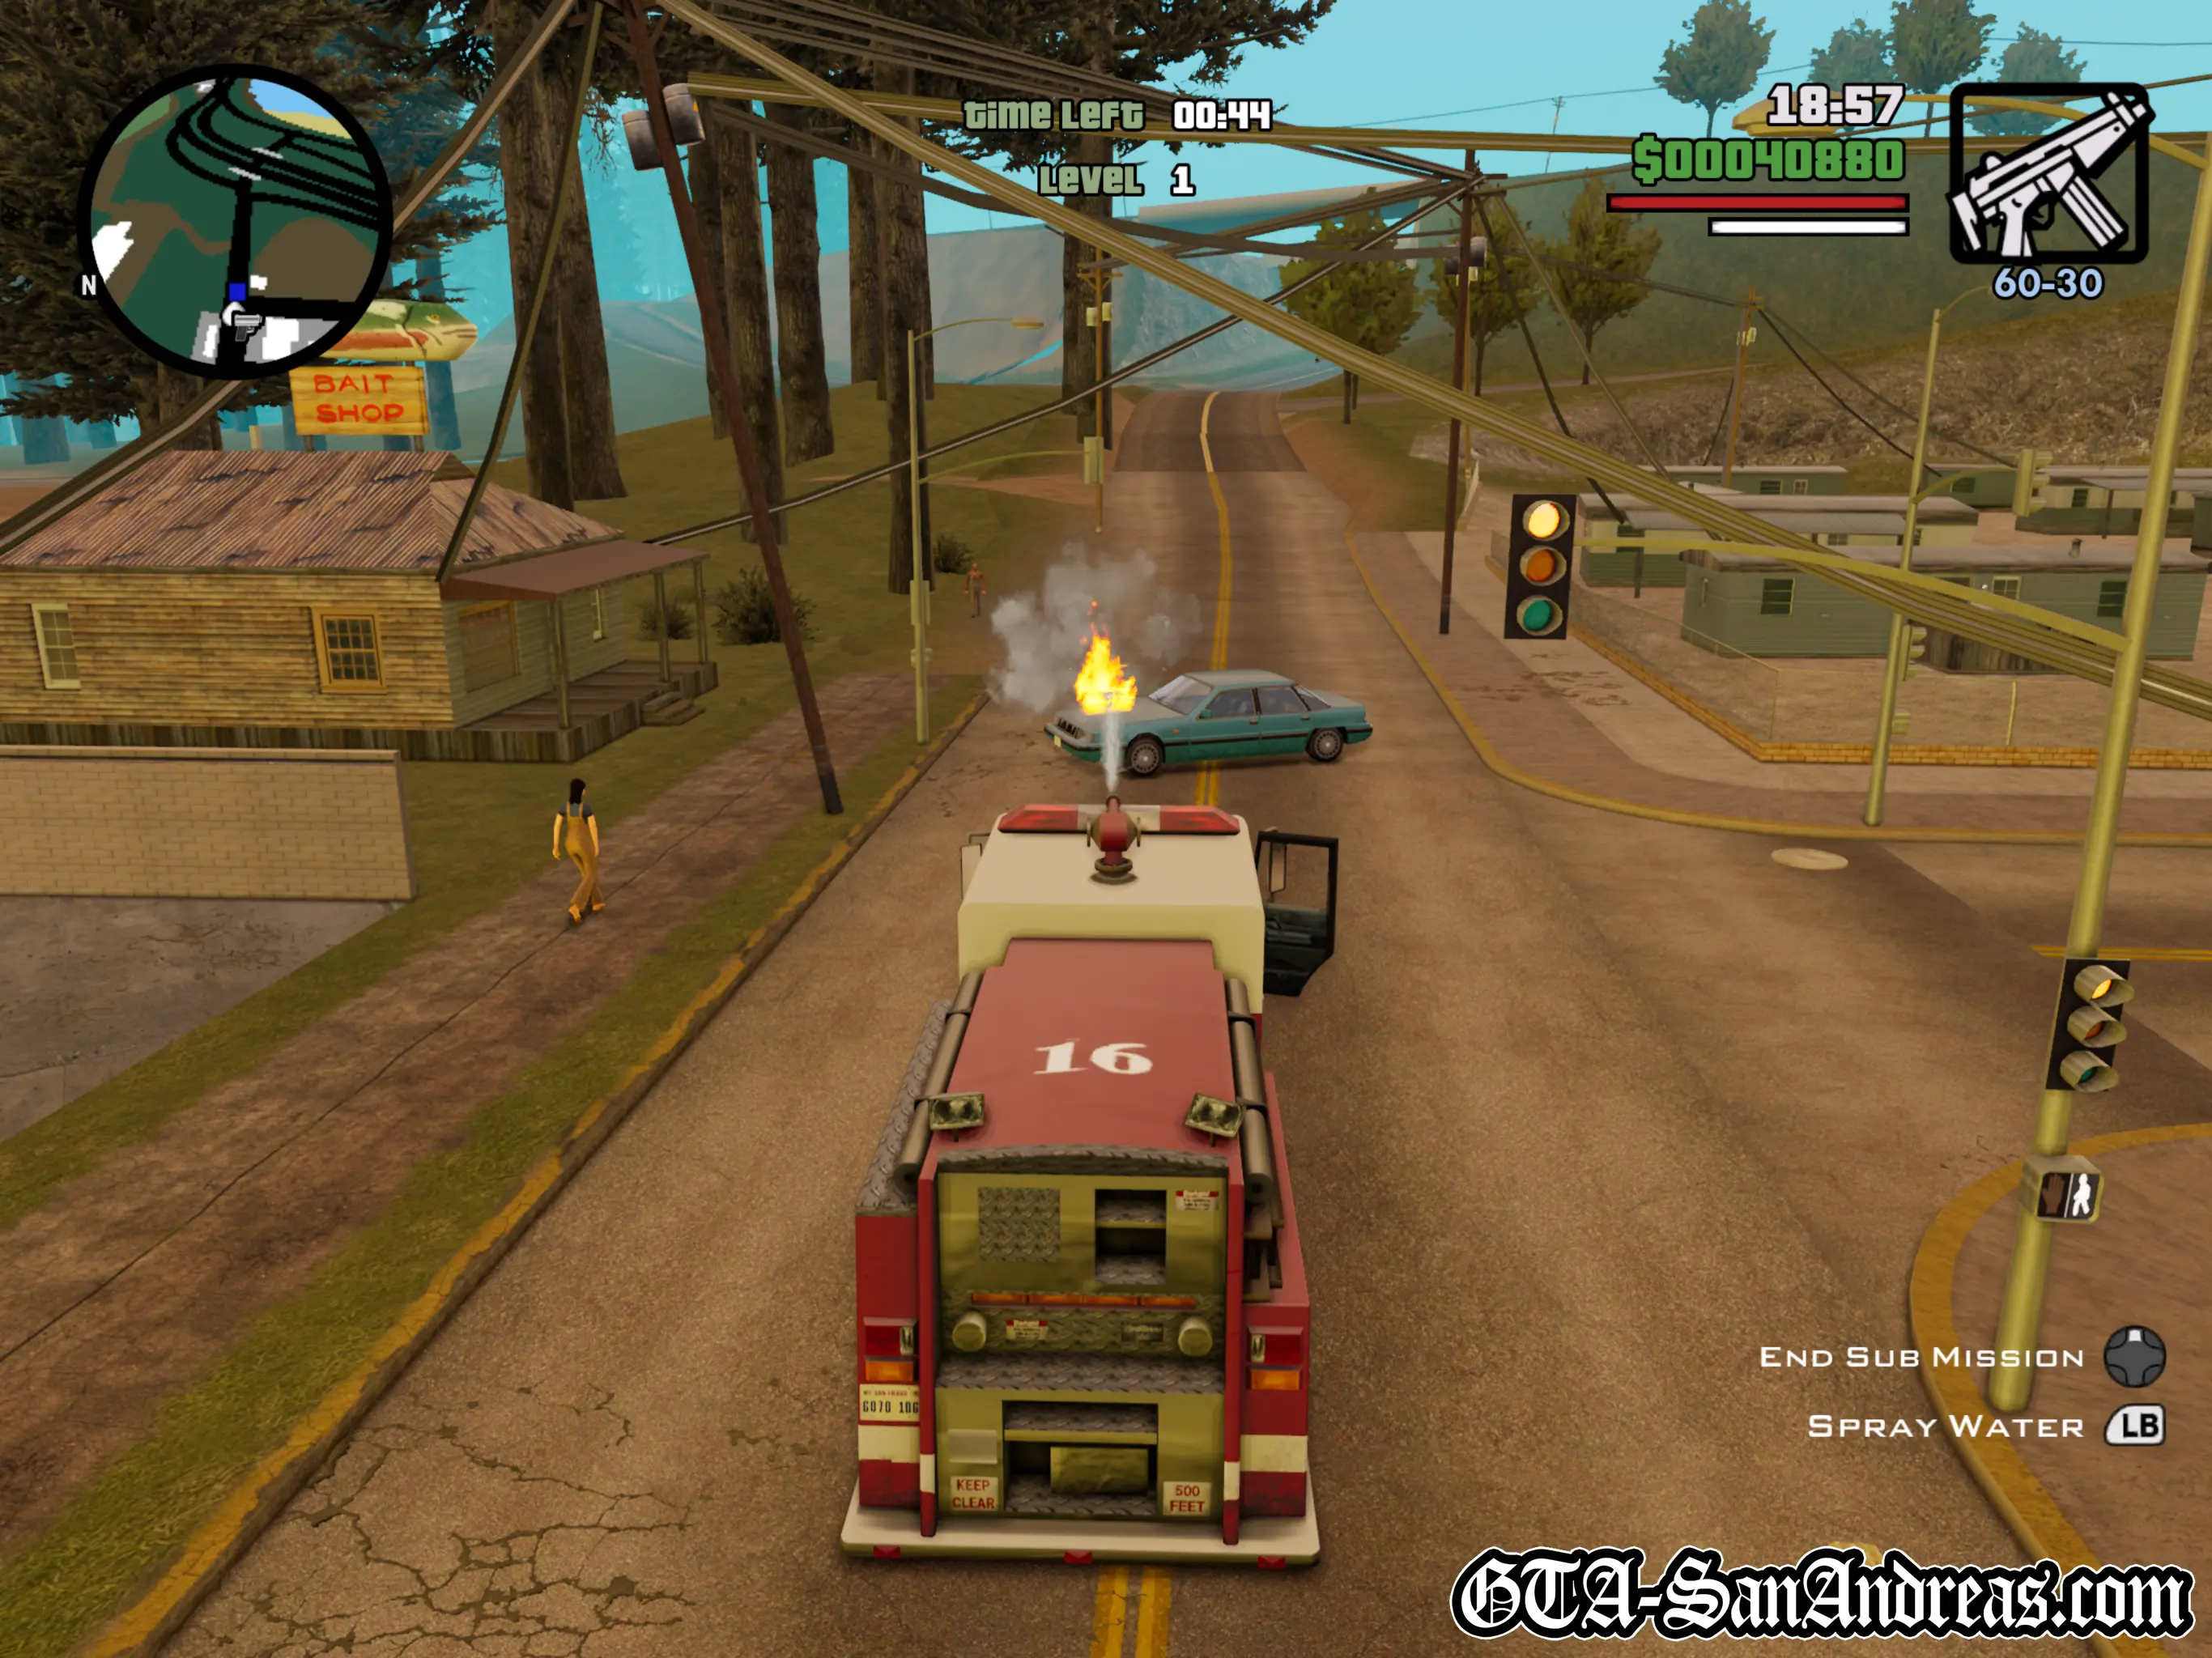
Stop next to the flaming car and hold circle to squirt water on the fire. If your accuracy is off, use the right analog stick to position the hose, or just adjust the vehicles position. Keep squirting water on the fire, which is usually at the front of the car and you should see some steam being released. Keep this going for a few seconds and the fire will disappear.
On the first level this is all that's required, but from level 2 onwards there will be a pedestrian in the car who is also on fire. As soon as the car has been put out, the pedestrian will get out and start running around.
You need to spray the pedestrians with about 2 or 3 seconds of water to put them out. Be warned that they can run into some pretty difficult areas and your hose can knock them a few feet across the ground when it's being squirted.
Tactics
I usually suggest you do all of the "Sub-Missions" as soon as possible as the rewards for completing them will help greatly with the story or just gameplay in general.
Hints & Tips
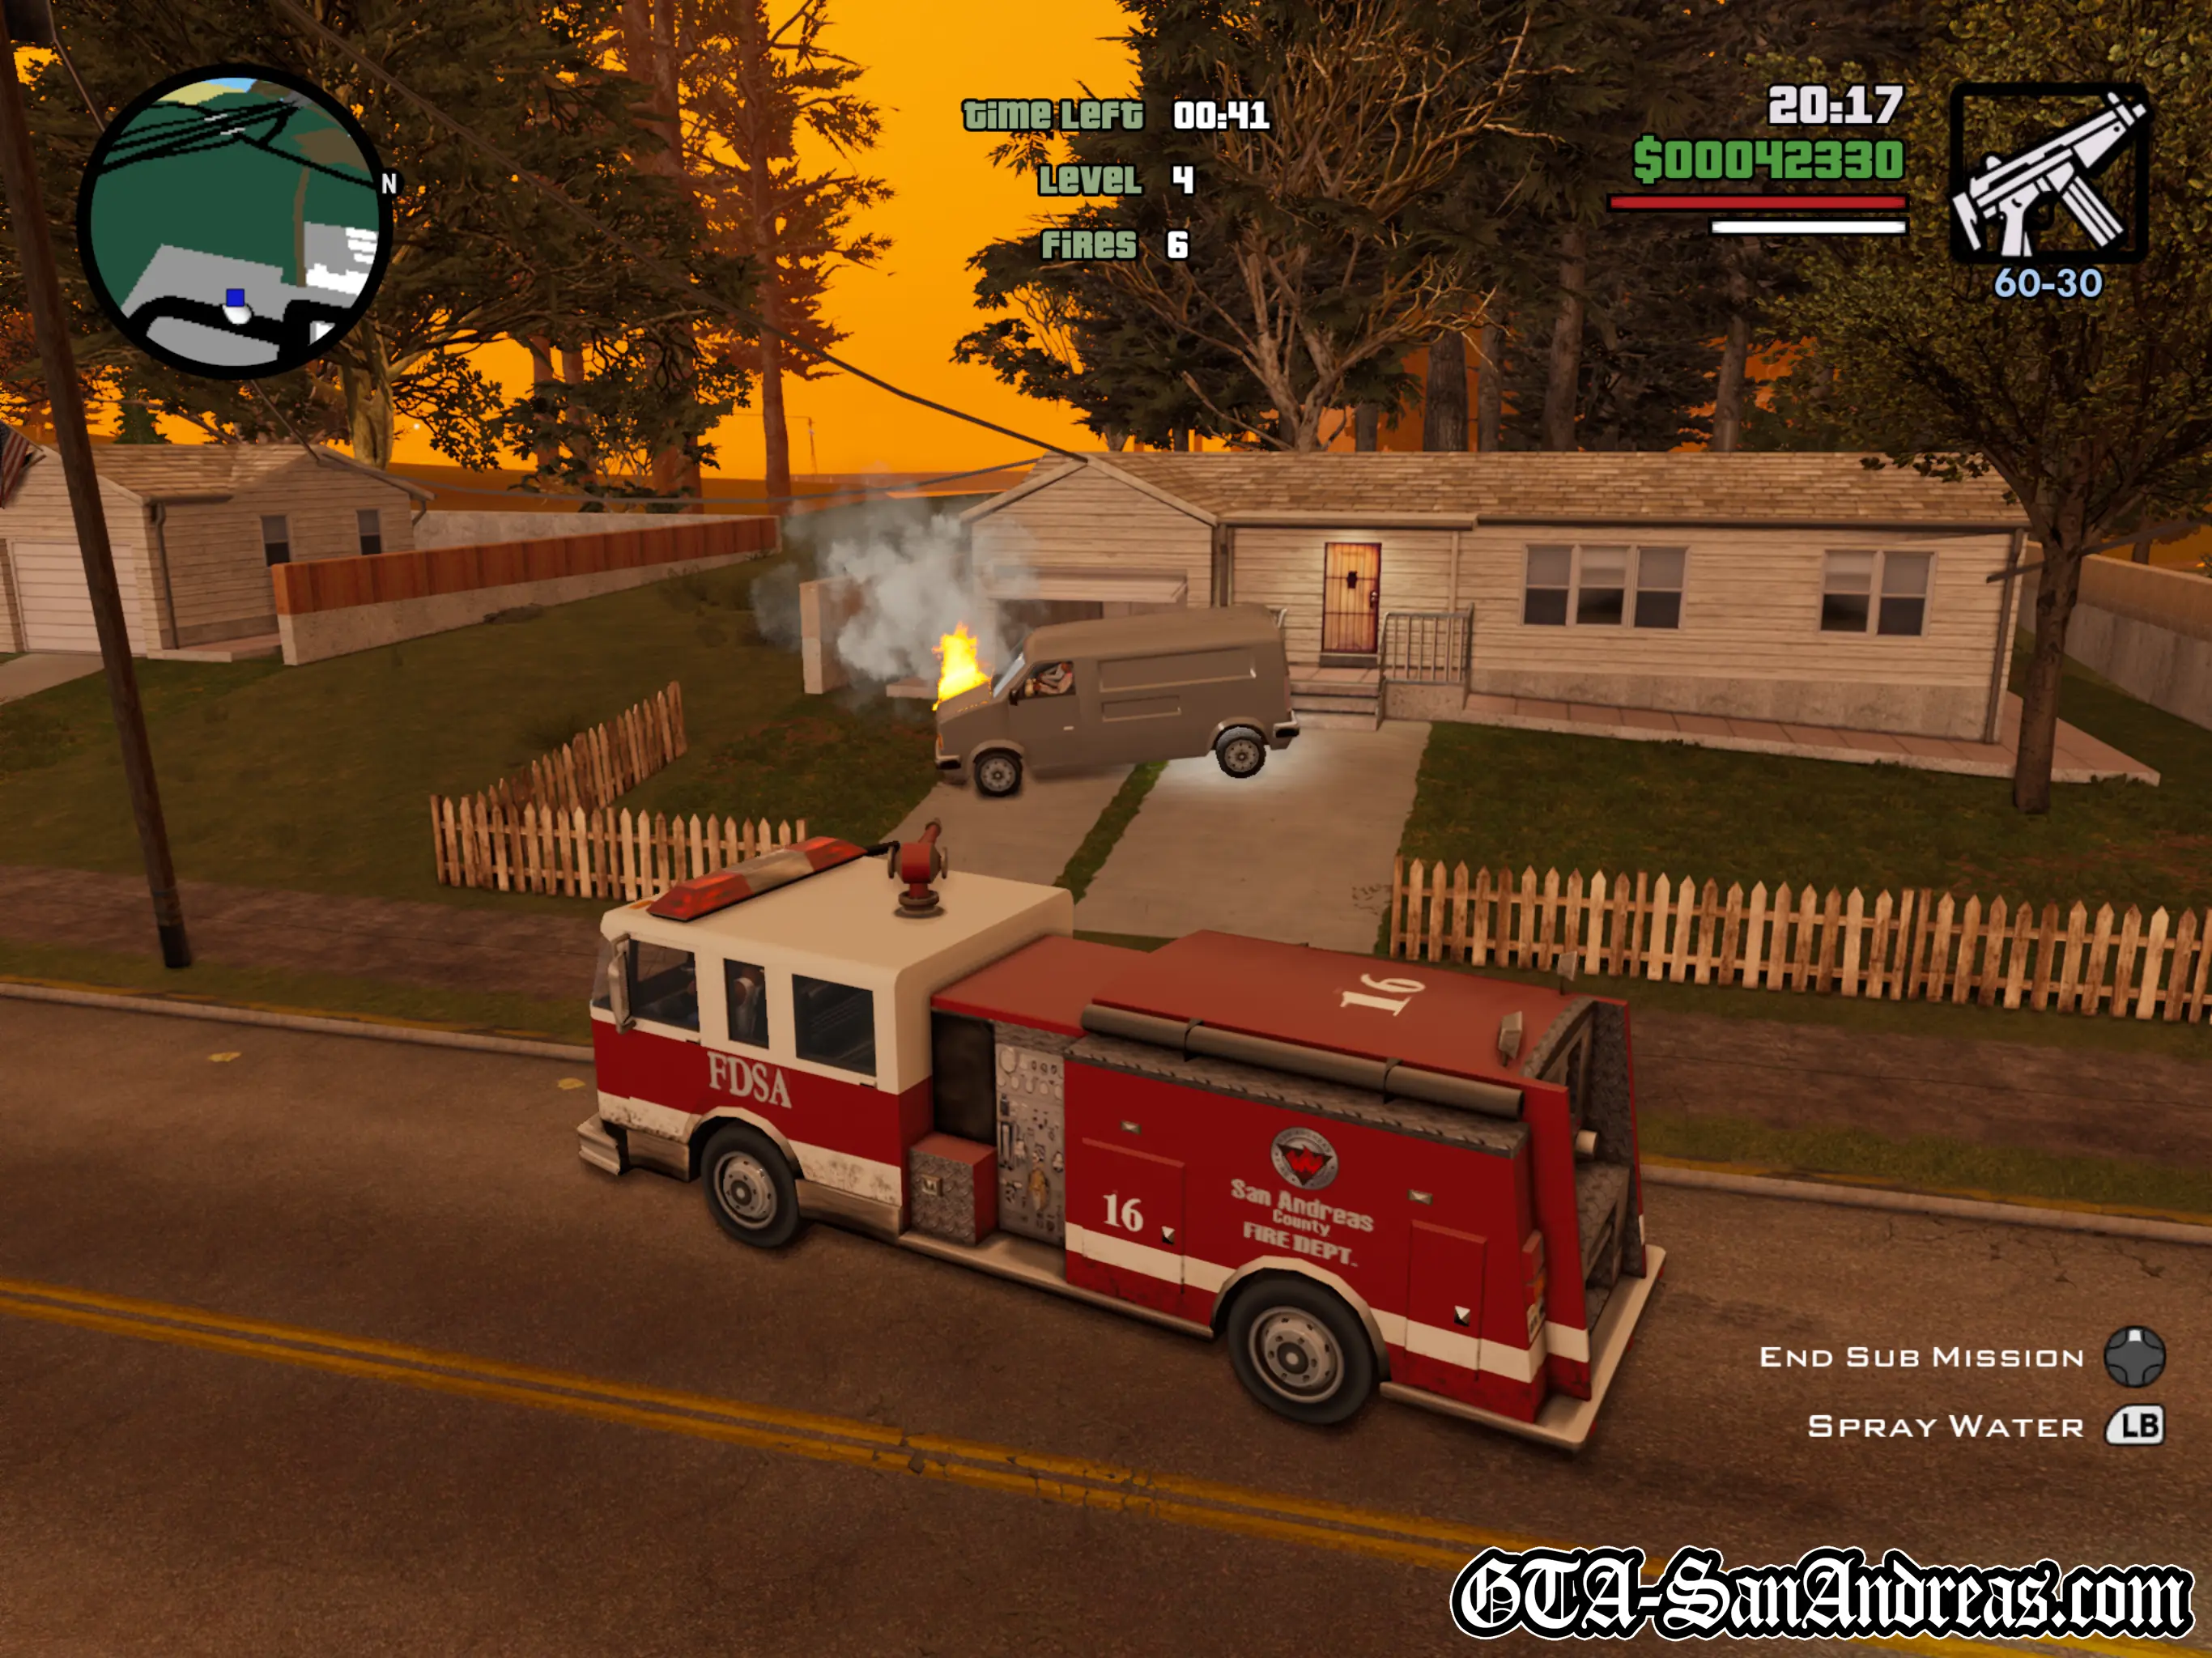
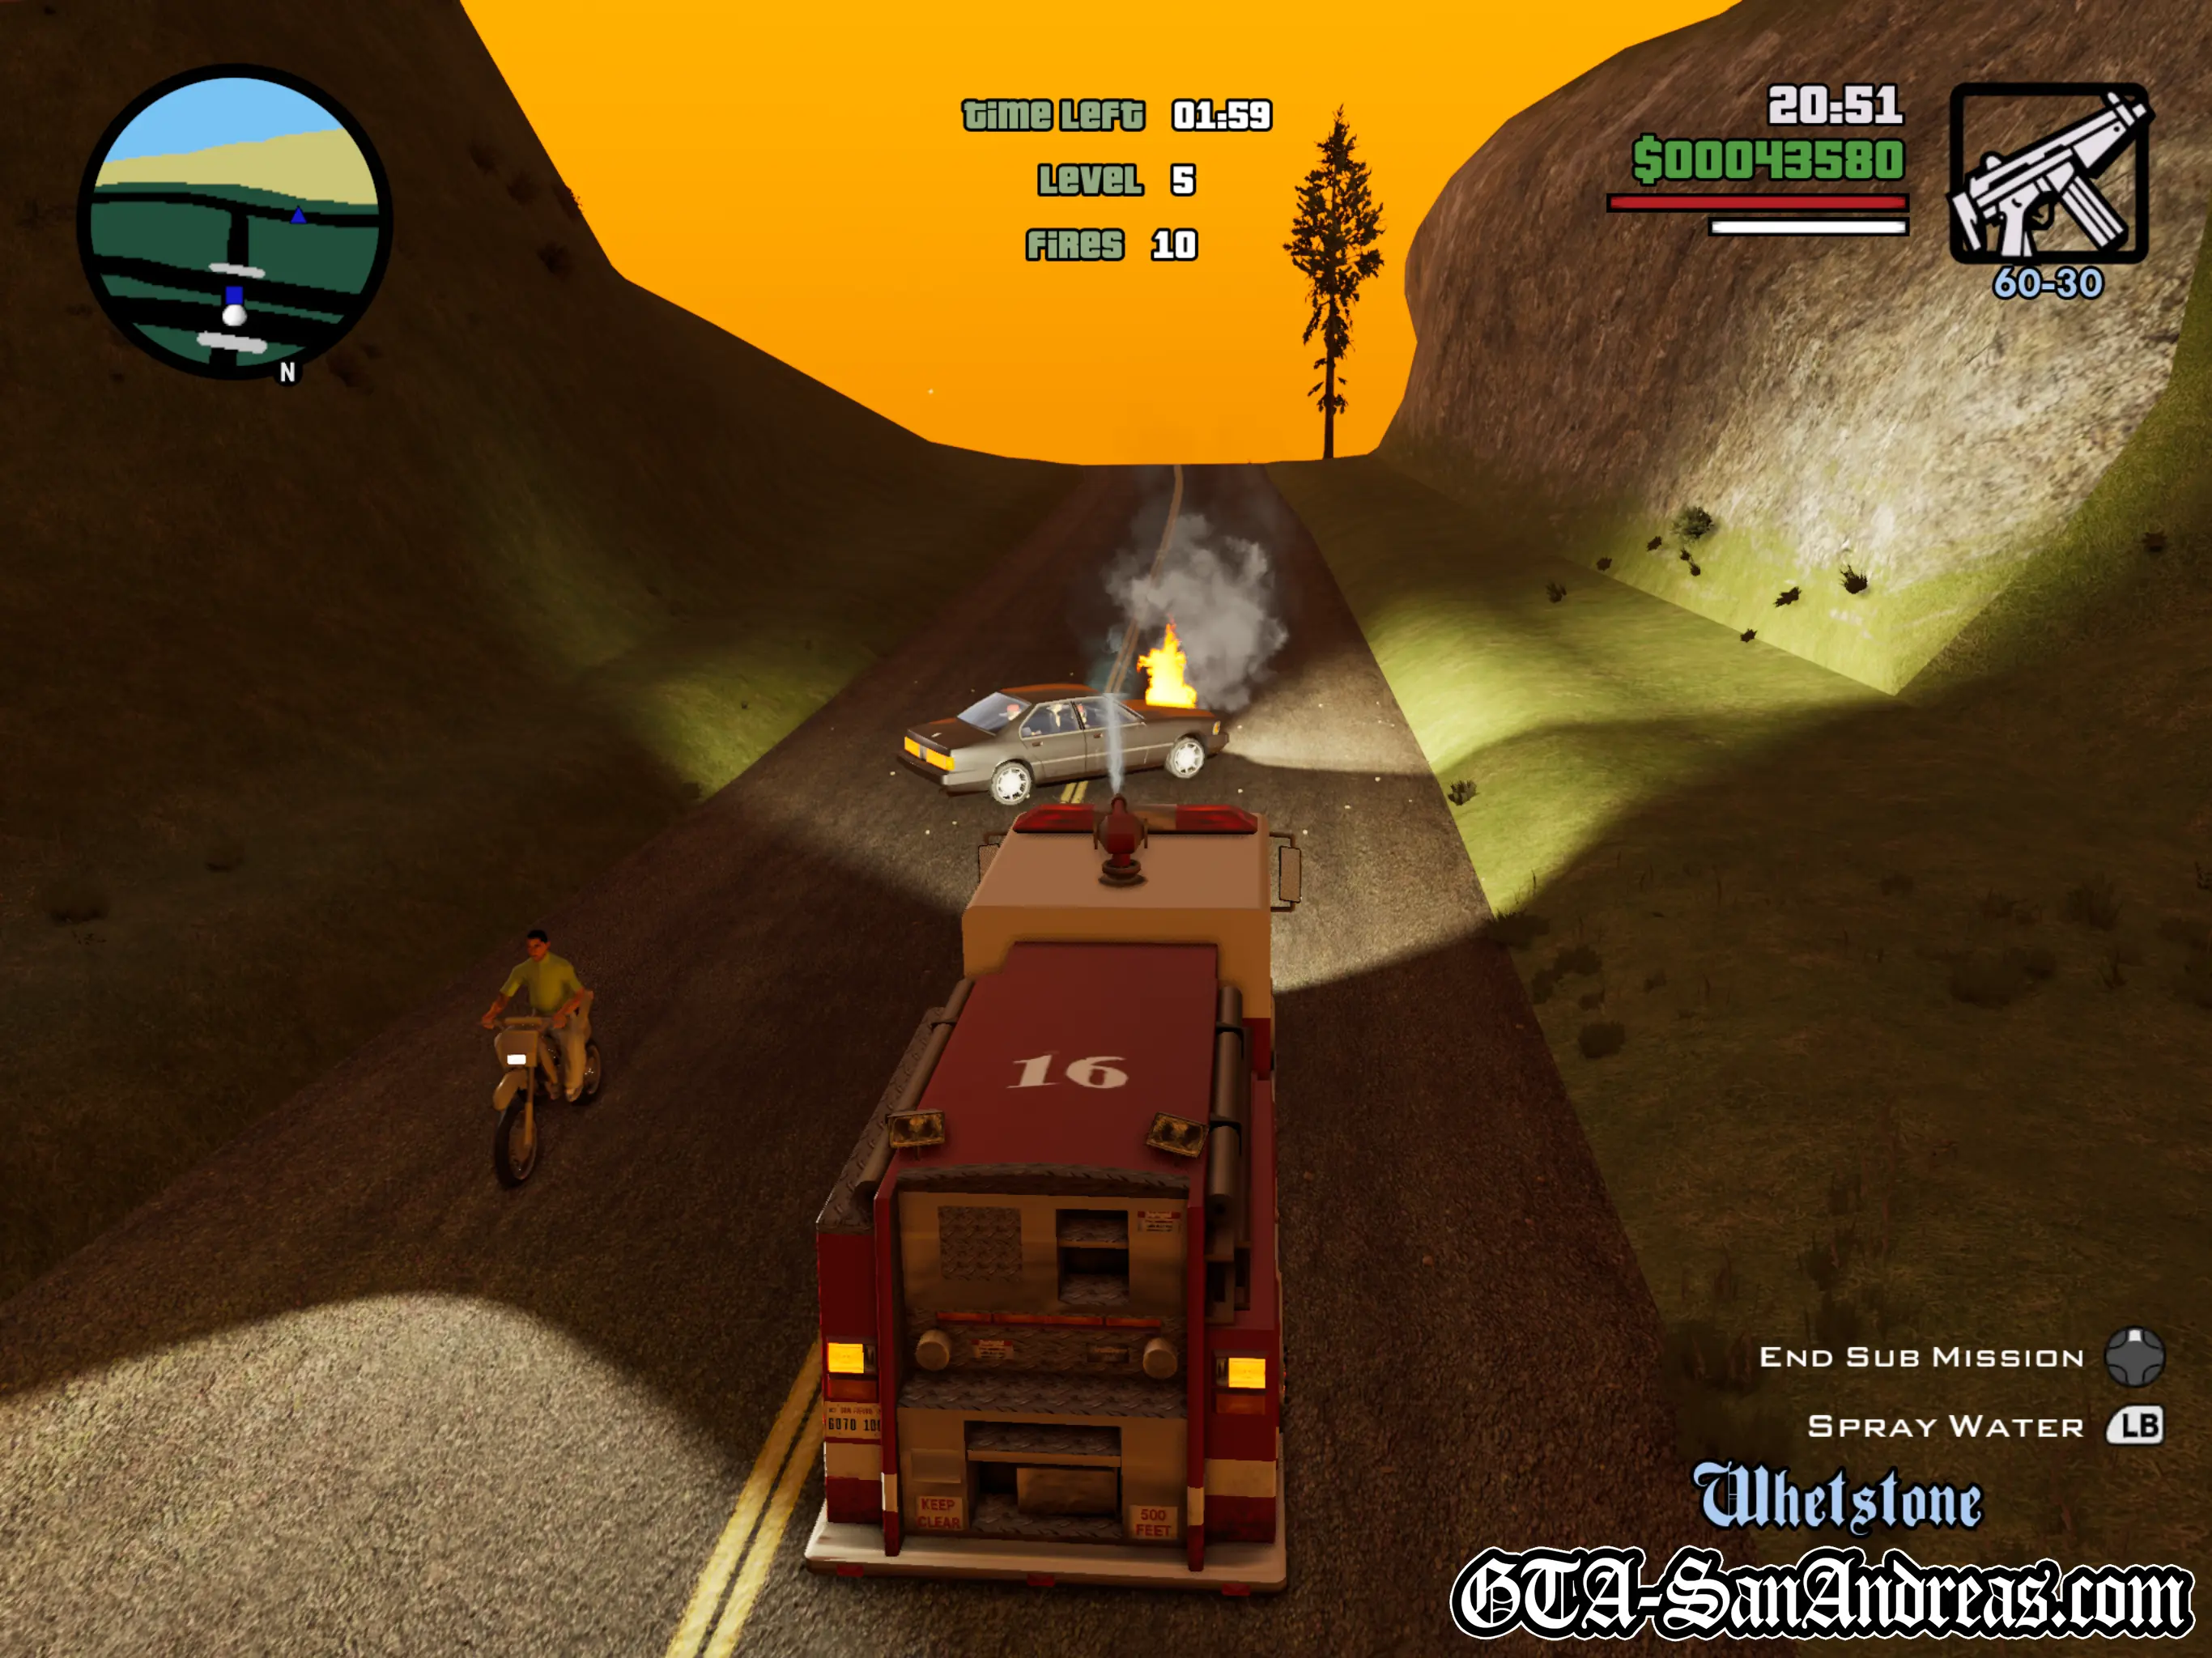
If you wait until you complete "The Green Sabre", which is around 30 missions through the story, the Firefighter Missions can be done in Angel Pine, the small town right next to Mount Chiliad. The great thing about this is that the majority of fires will spawn just outside the town at both ends of the freeway heading towards Whetstone. This makes the missions much easier and allows them to be completed in just over 20 minutes. The terrain can be pretty dangerous however, and although the firetruck is pretty steady, you still run the risk of flipping it when trying to take shortcuts down hills. Stick to the roads and go at a medium speed unless there's not much traffic, and it shouldn't be too much trouble.
If you don't wish to wait until after "The Green Sabre" to unlock Angel Pine, then I'd advise you do them in Montgomery, the countryside just North of Los Santos.
Remember to start spraying any flaming pedestrians as soon as they get out of the car. You can usually put out two or three of them in the first 2 seconds or so, but if they manage to run away they can stop in some stupid positions.
Beware to never push R3 in the middle of a mission. On foot, R3 will allow you to look behind, however in a vehicle it's L2+R2 and many people have accidentally cancelled the mission while trying look back. Just a warning!
Mission Overview
| Level | Total Fires | Breakdown |
|---|---|---|
| Level 1 | 1 | 1 Car |
| Level 2 | 2 | 1 Car + 1 Ped |
| Level 3 | 3 | 1 Car + 2 Peds |
| Level 4 | 4 | 1 Car + 3 Peds |
| Level 5 | 5 | 2 Cars + 3 Peds |
| Level 6 | 6 | 2 Cars + 4 Peds |
| Level 7 | 7 | 2 Cars + 5 Peds |
| Level 8 | 8 | 2 Cars + 6 Peds |
| Level 9 | 9 | 3 Cars + 6 Peds |
| Level 10 | 10 | 3 Cars + 7 Peds |
| Level 11 | 11 | 3 Cars + 8 Peds |
| Level 12 | 12 | 3 Cars + 9 Peds |
Completion
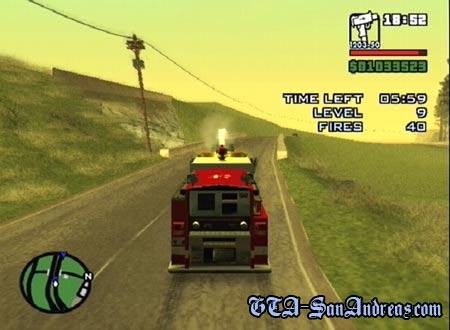
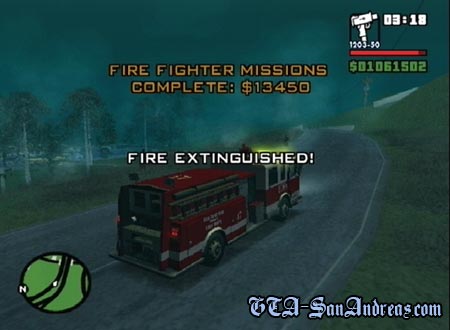
You will need to complete Level 12 of the Firefighter Missions in order to finish this Sub-Mission. Level 12 must be done consecutively, and altogether you will put out 78 fires, however this may increase in your stats if you fail or cancel the mission. The average time for completion of the Firefighter Missions ranges from about 30 minutes to 1 hour, depending on location, however I'd advise Angel Pine if you can get there.
Rewards
Upon completion of Level 12 you will be fully Fireproof on foot. This means that walking through fire will not cause you any damage. You will also make a rather large sum of money while working through the missions.
Screenshots

Original PS2 Screenshots
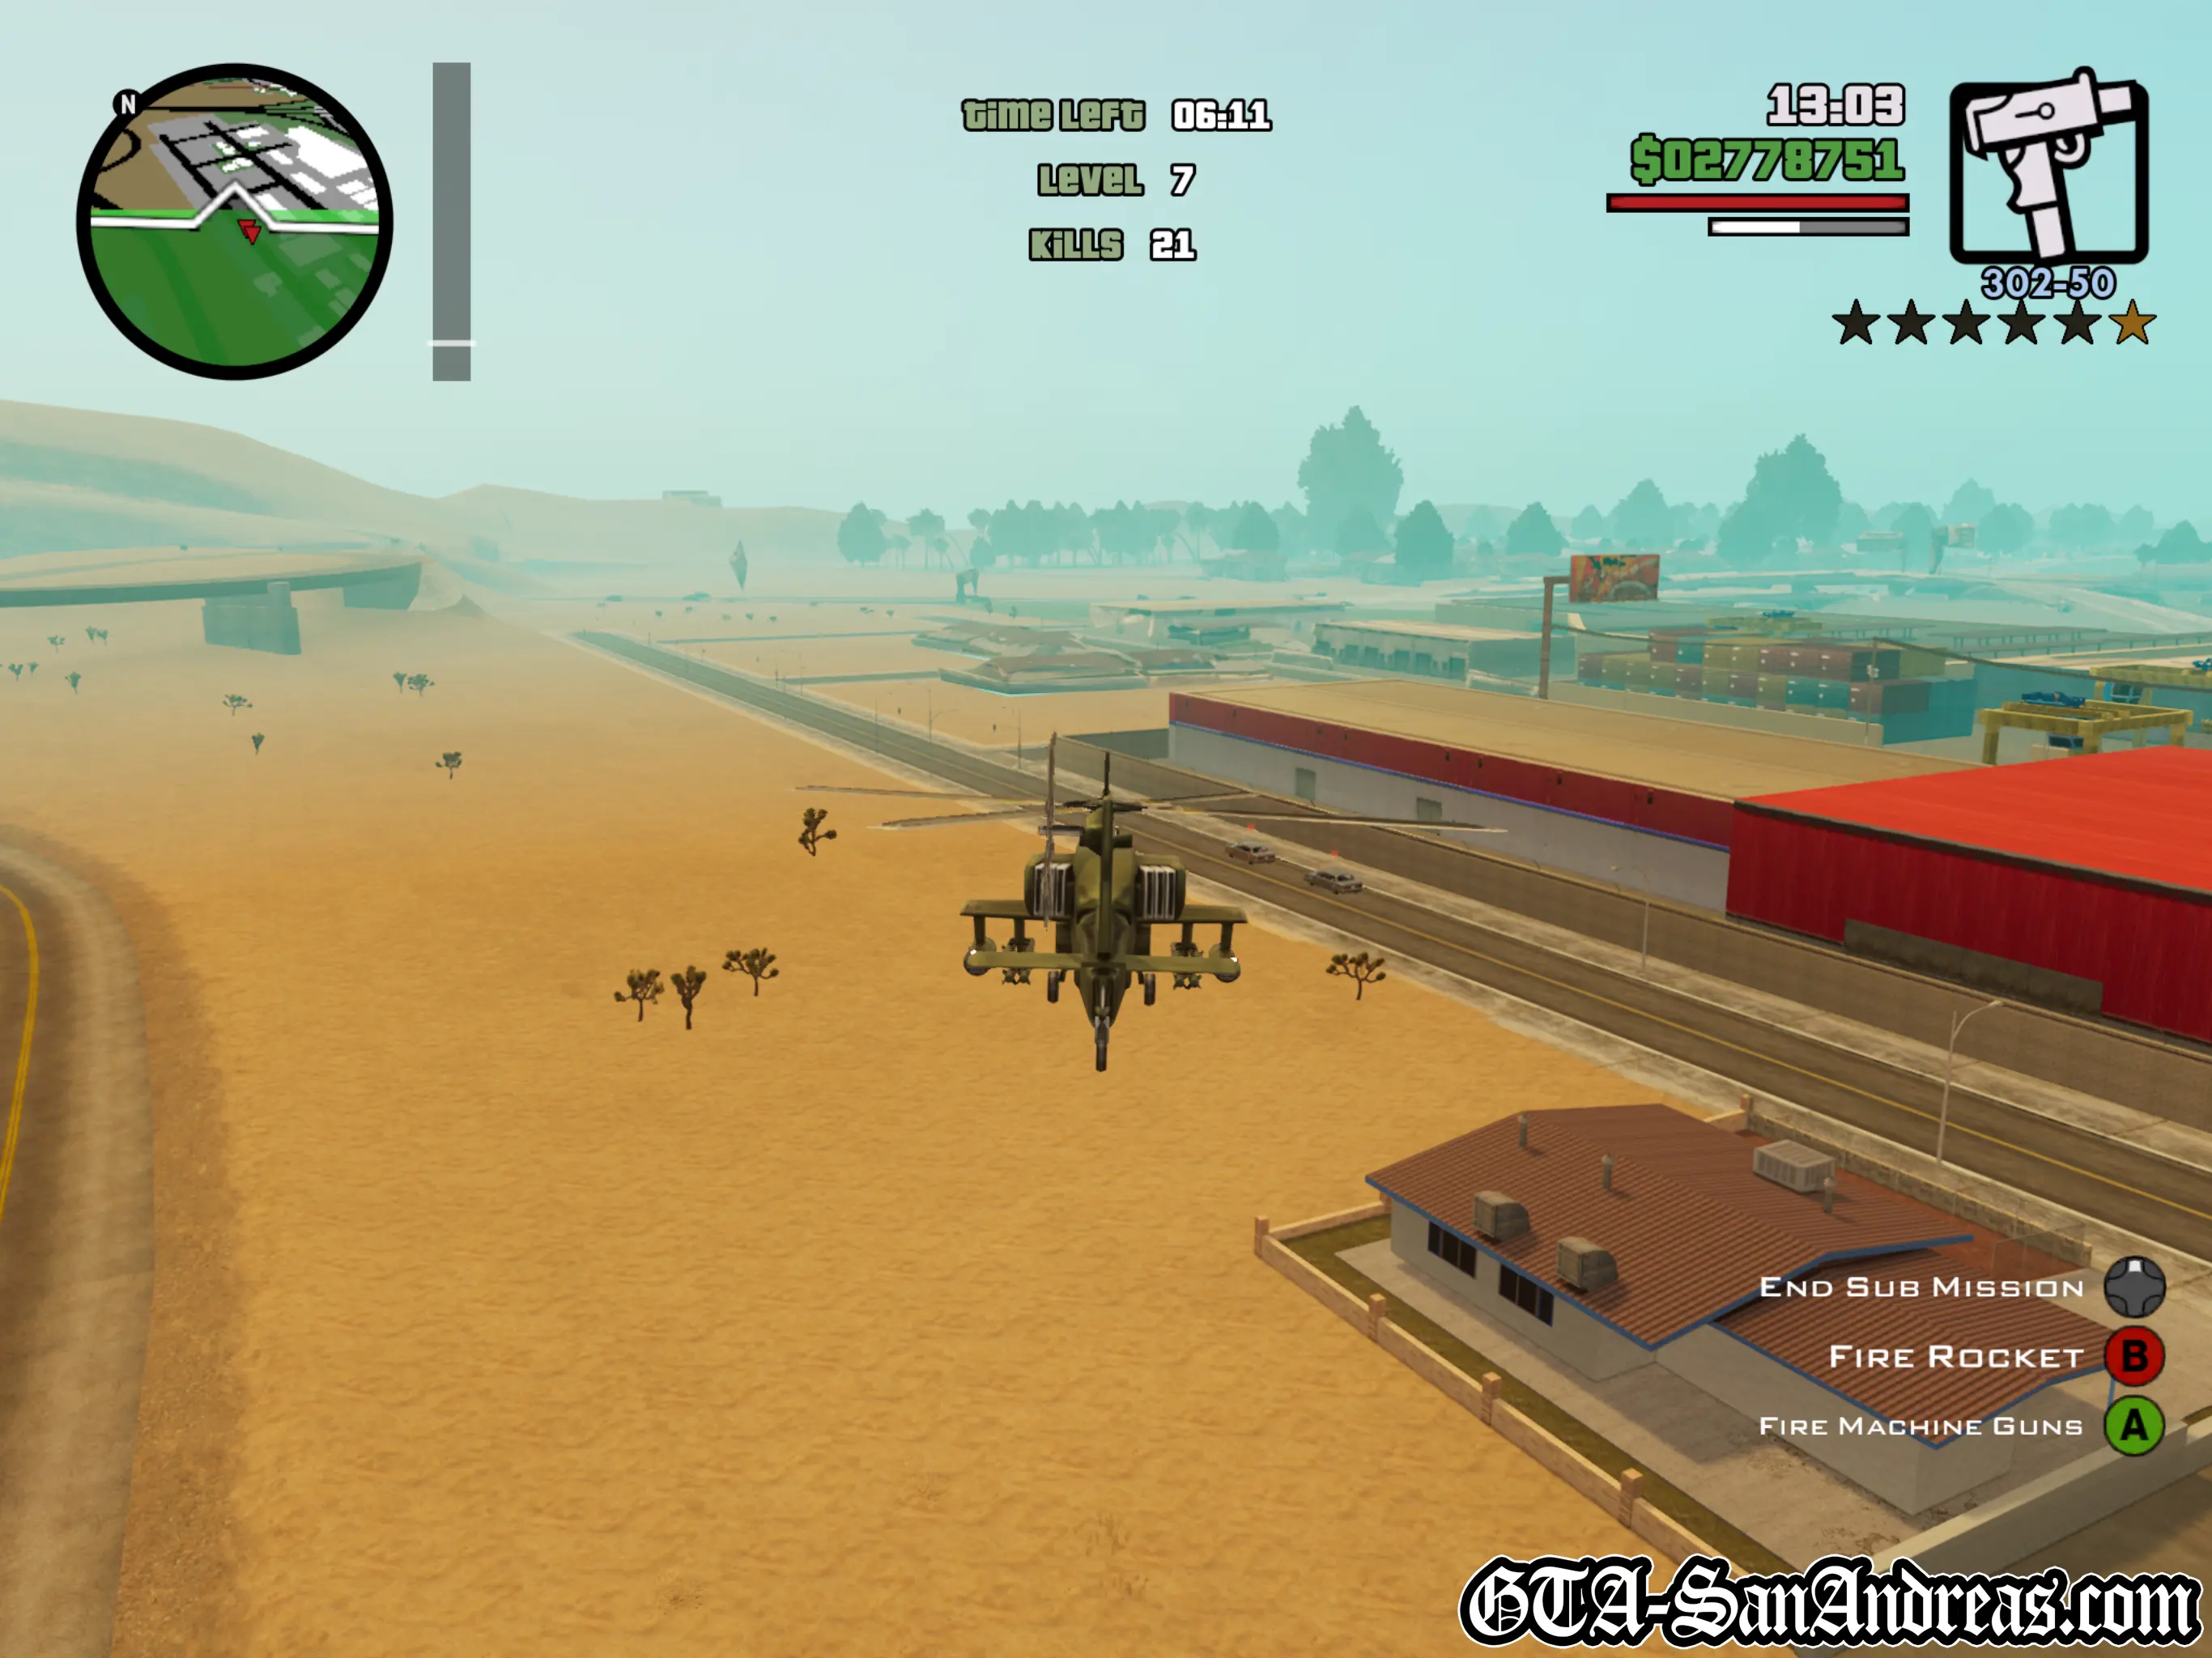
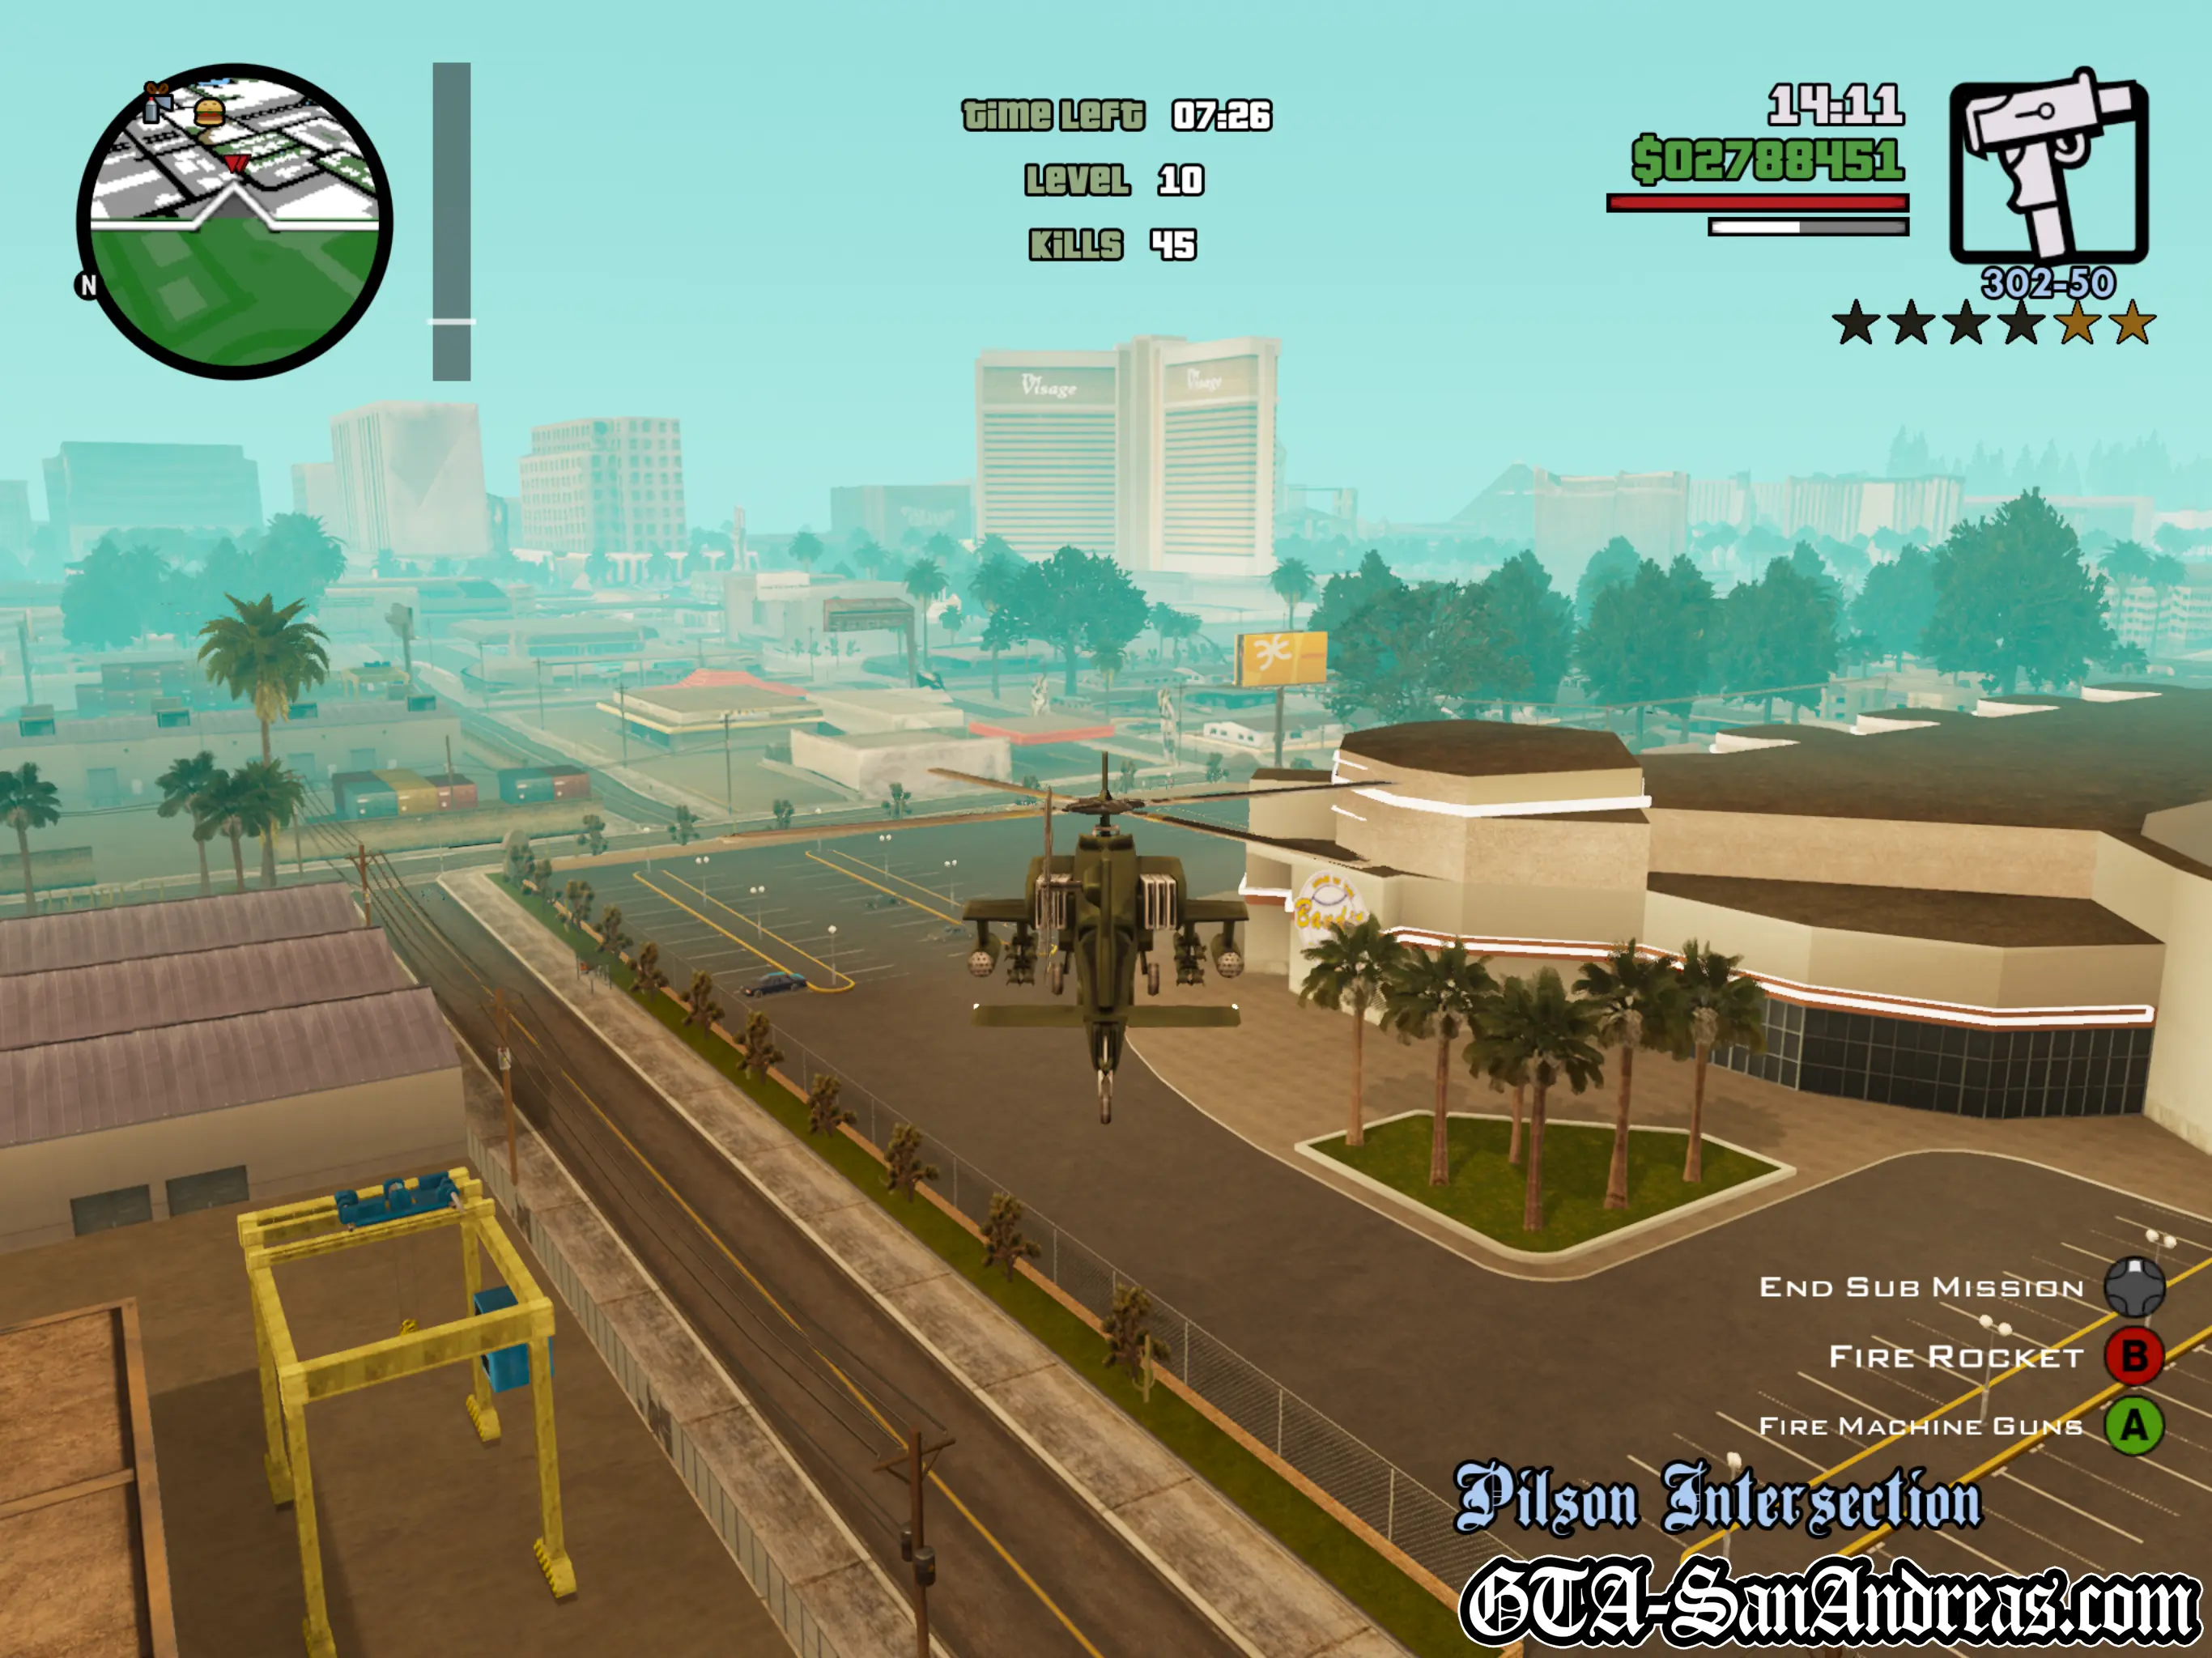
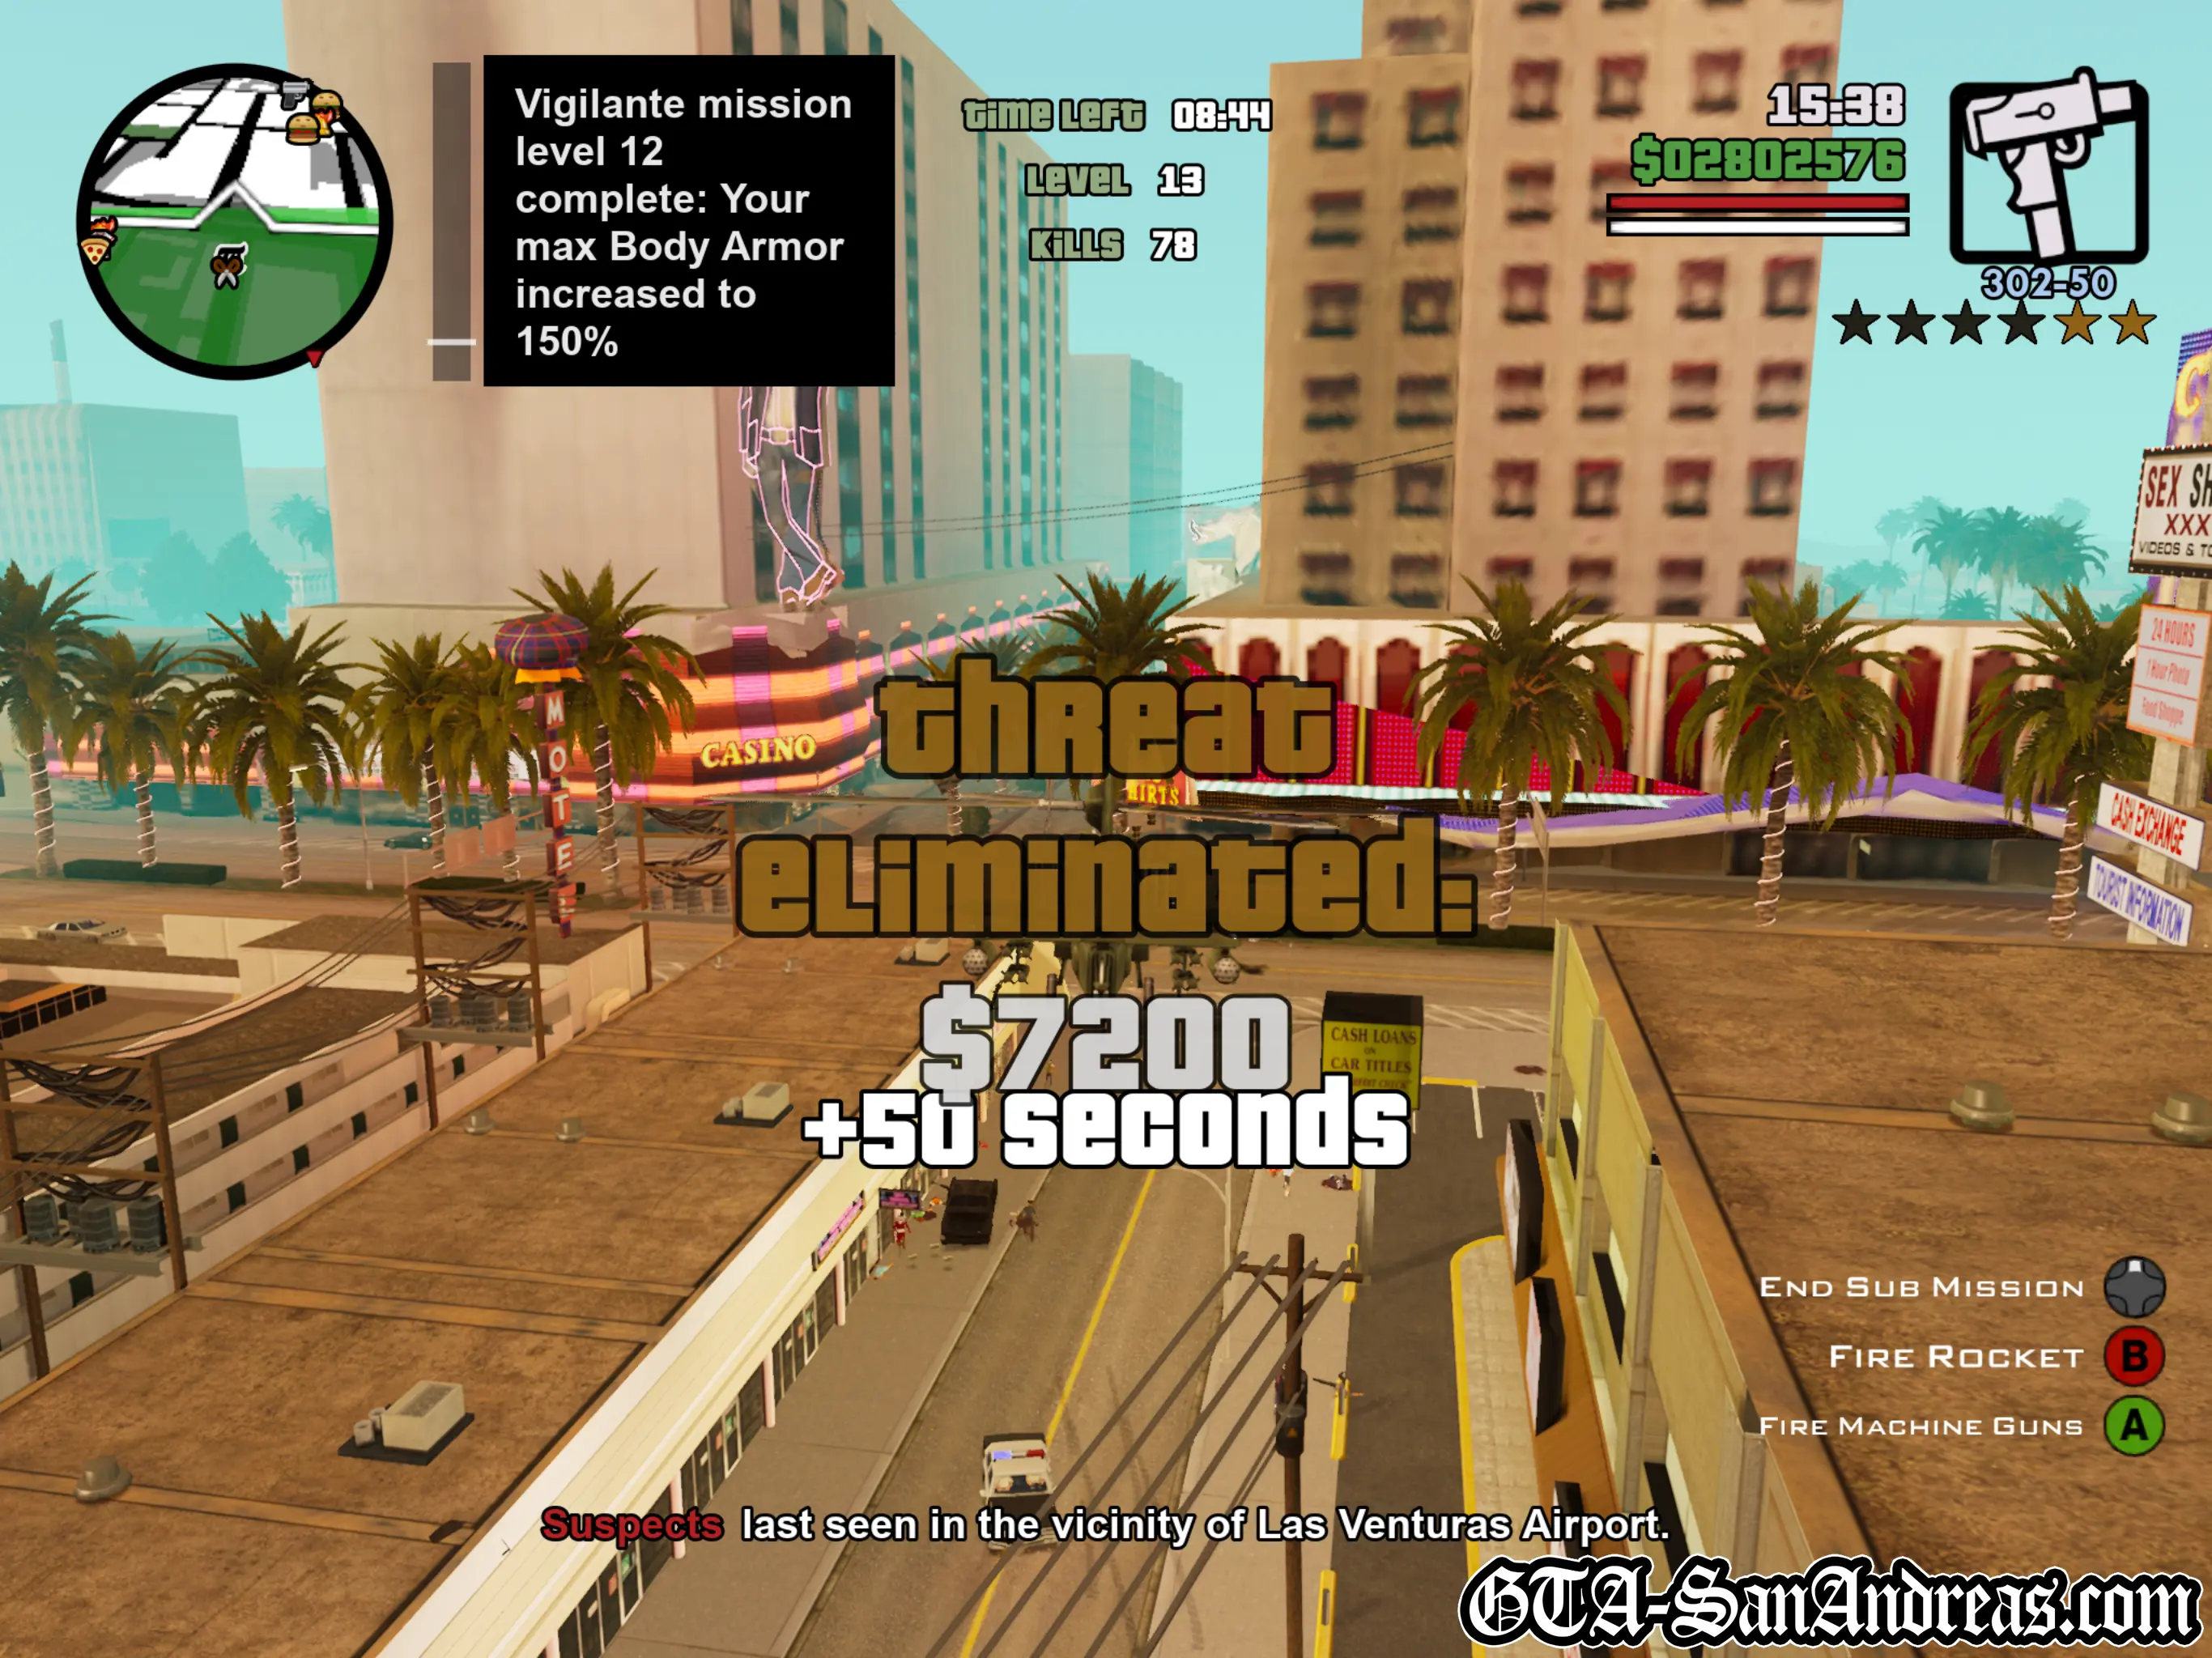
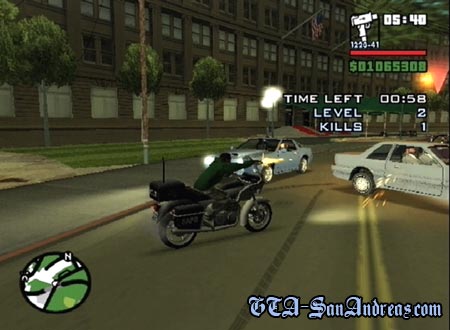
Vigilante / Brown Thunder
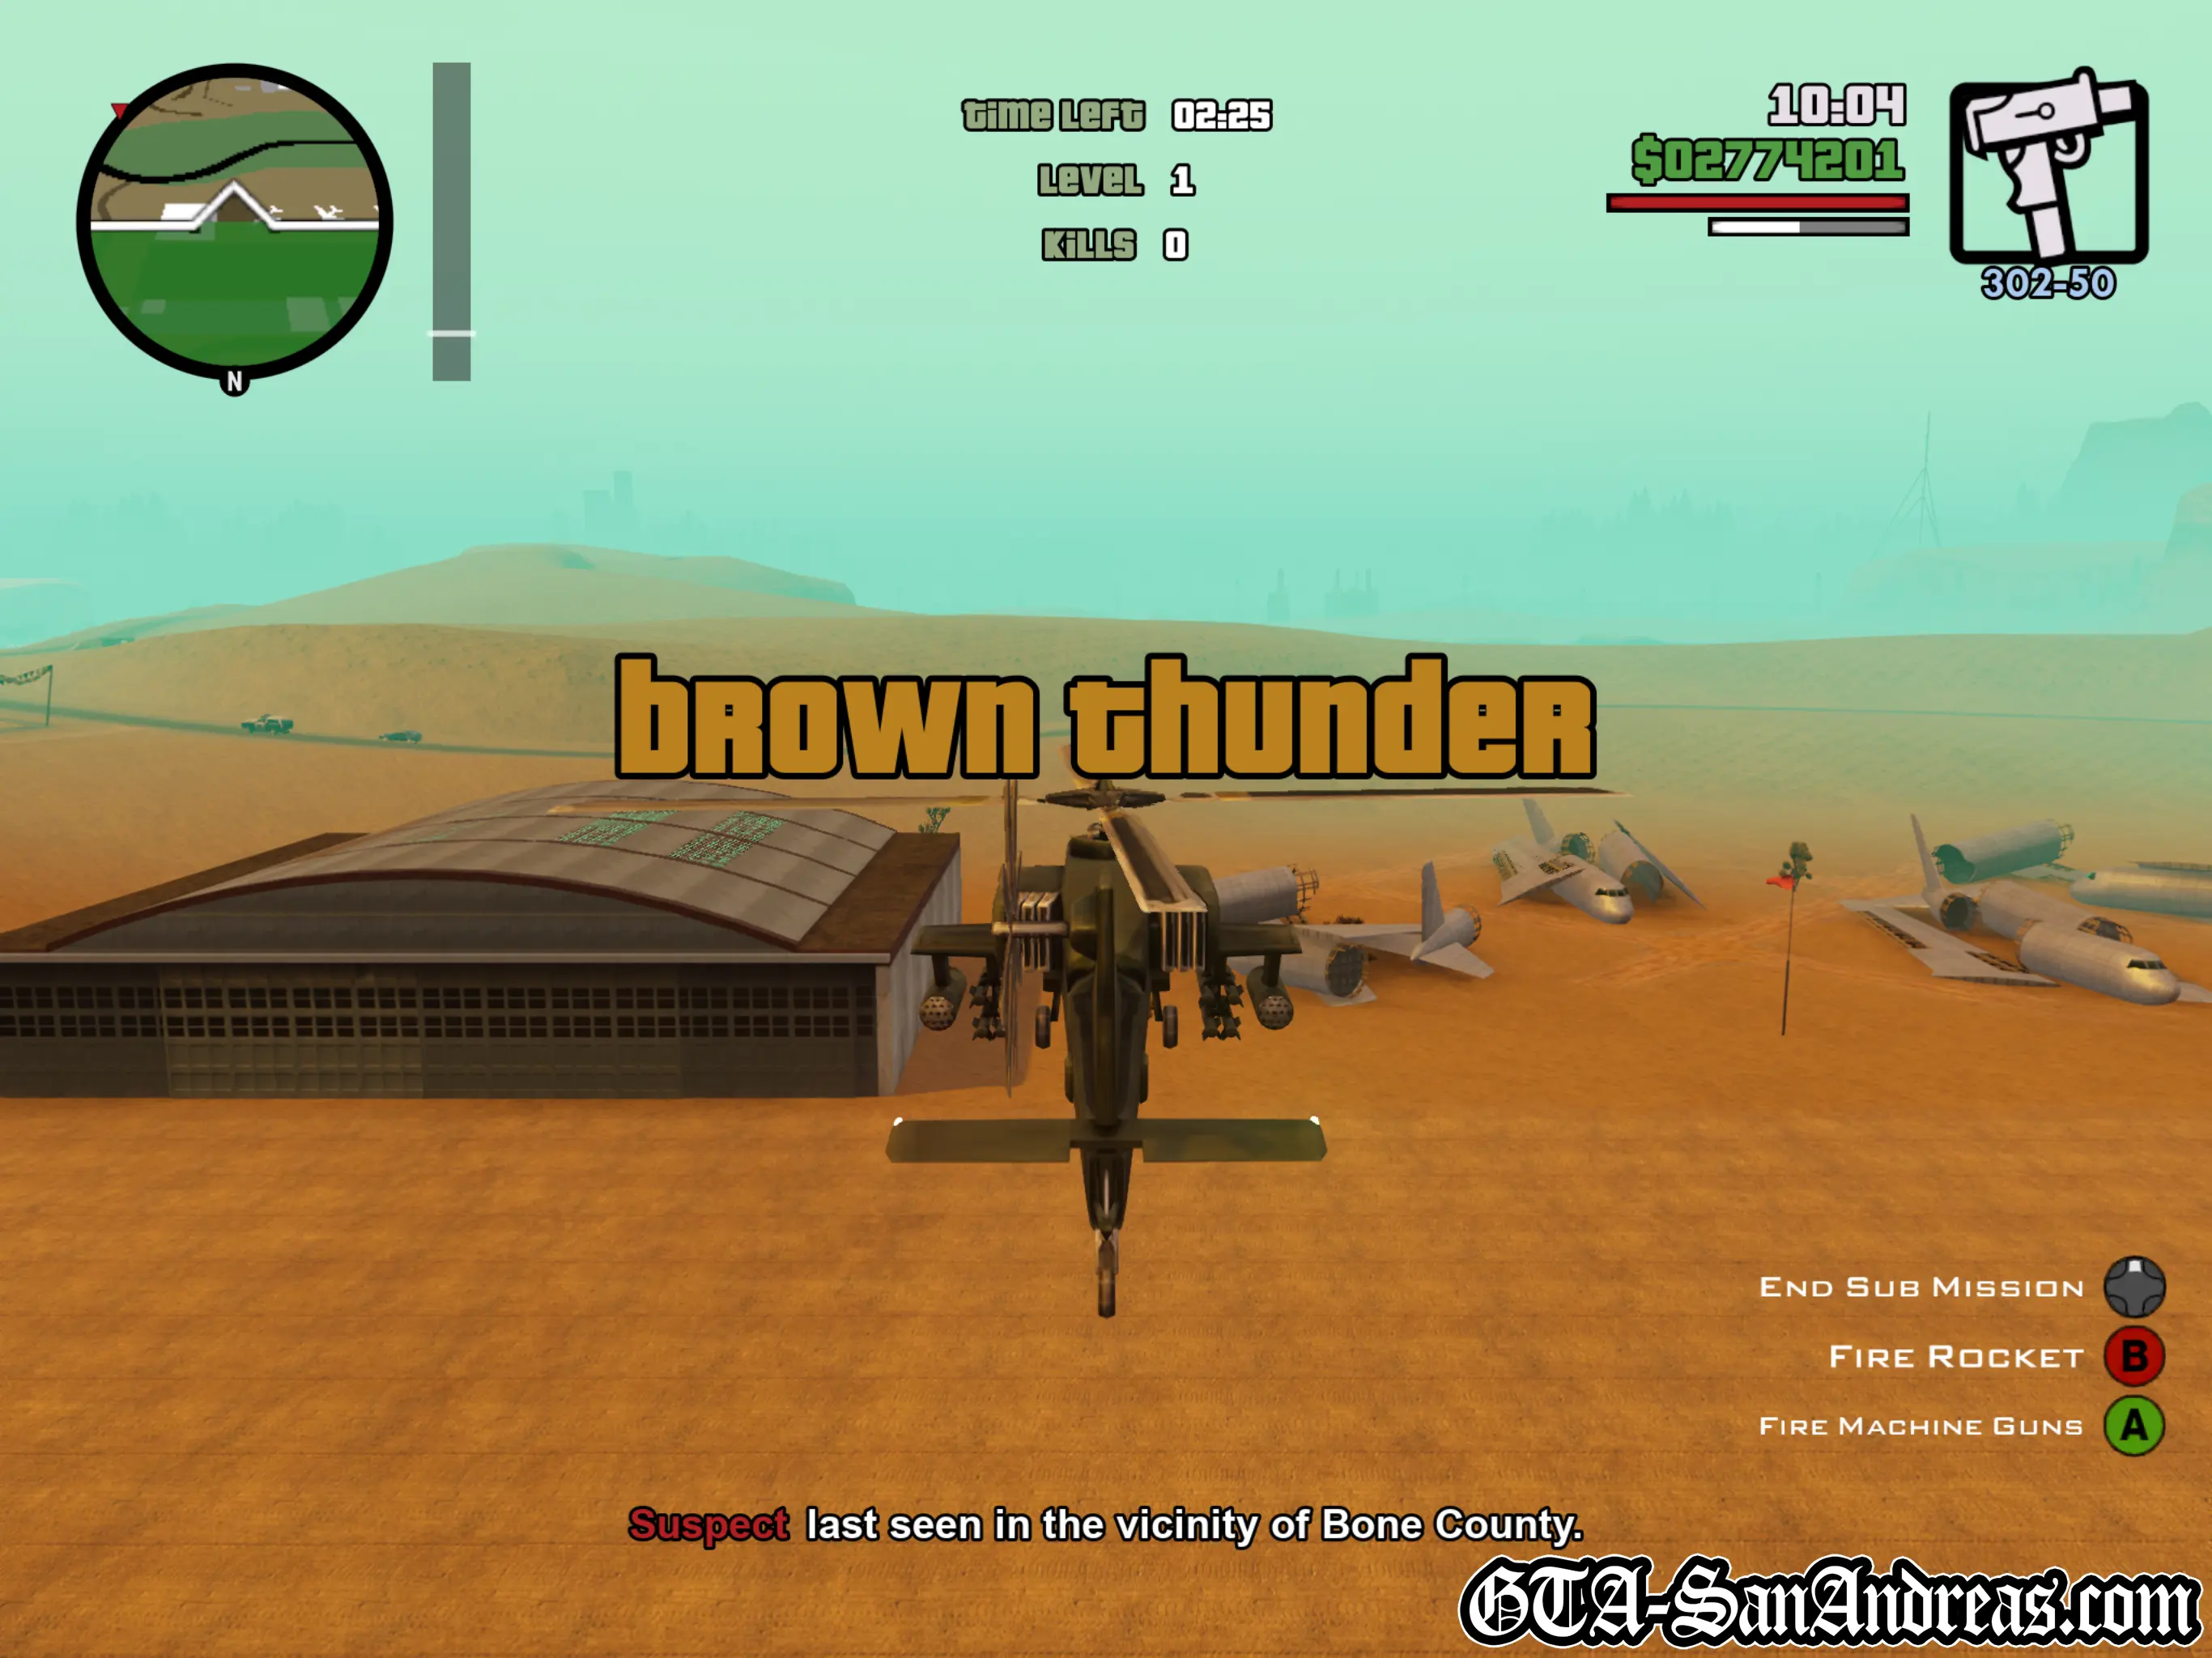
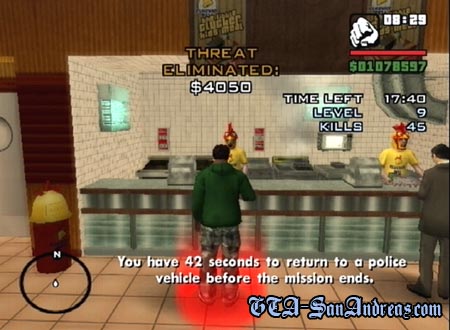
The Vigilante Missions from GTA III and GTA Vice City once again make an appearance in San Andreas. Nothing much has changed from the previous iterations and your objective is the same as always - to chase after criminals in their vehicles and eliminate them by whatever means necessary.
The huge array of vehicles which can do this mission makes it a walk in the park but they are also extremely fun.
Rockstar Games famously stated Grand Theft Auto is a chasing game, not a driving game and this, if anything, shows just how that works.
In order to eliminate the enemies, you'll ideally need a sub-machine gun in order to drive-by the hell out of their vehicle. I'd recommend starting the mission with at least 3000 bullets if you're trying to beat them. Save up some money and go to Ammu-Nation first or grab free weapons from your safehouse after spraying all 100 gang tags.
Vehicles Needed
- Police (LS)
- Police (SF)
- Police (LV)
- HPV1000
- Ranger
- FBI Truck
- Rhino
- Hunter
- FBI Rancher
- Enforcer
Reasons For Mission Failure
- You are arrested.
- You exit the police vehicle and don't get back in for 60 seconds.
- You push R3 to cancel the mission.
- Your time runs out.
- You die.
The Basics
When you enter a Vigilante capable vehicle (see above) and you're not currently on a mission, hit the R3 button to start the Vigilante Missions.
A red icon will appear on your radar which symbolises a criminal threat which needs to be eliminated. Head towards this red blip and when you get close you'll need to give chase.
If you're on the HPV1000 police bike you can just chase after it and use your forward drive-by ability to fire shots into the back until it blow up, then kill any criminals who they bail, if not, you'll need to get alongside and either try to use your car to spin them out of control, or drive-by them from the side.
There's nothing complicated about this mission, you just need to chase after the cars marked with blips and kill the people inside before your time runs out. If you are a good enough driver and you have enough ammo, it shouldn't too much of a problem.
Tactics
I usually suggest you do all of the "Sub-Missions" as soon as possible as the rewards for completing them will help greatly with the story or just gameplay in general.
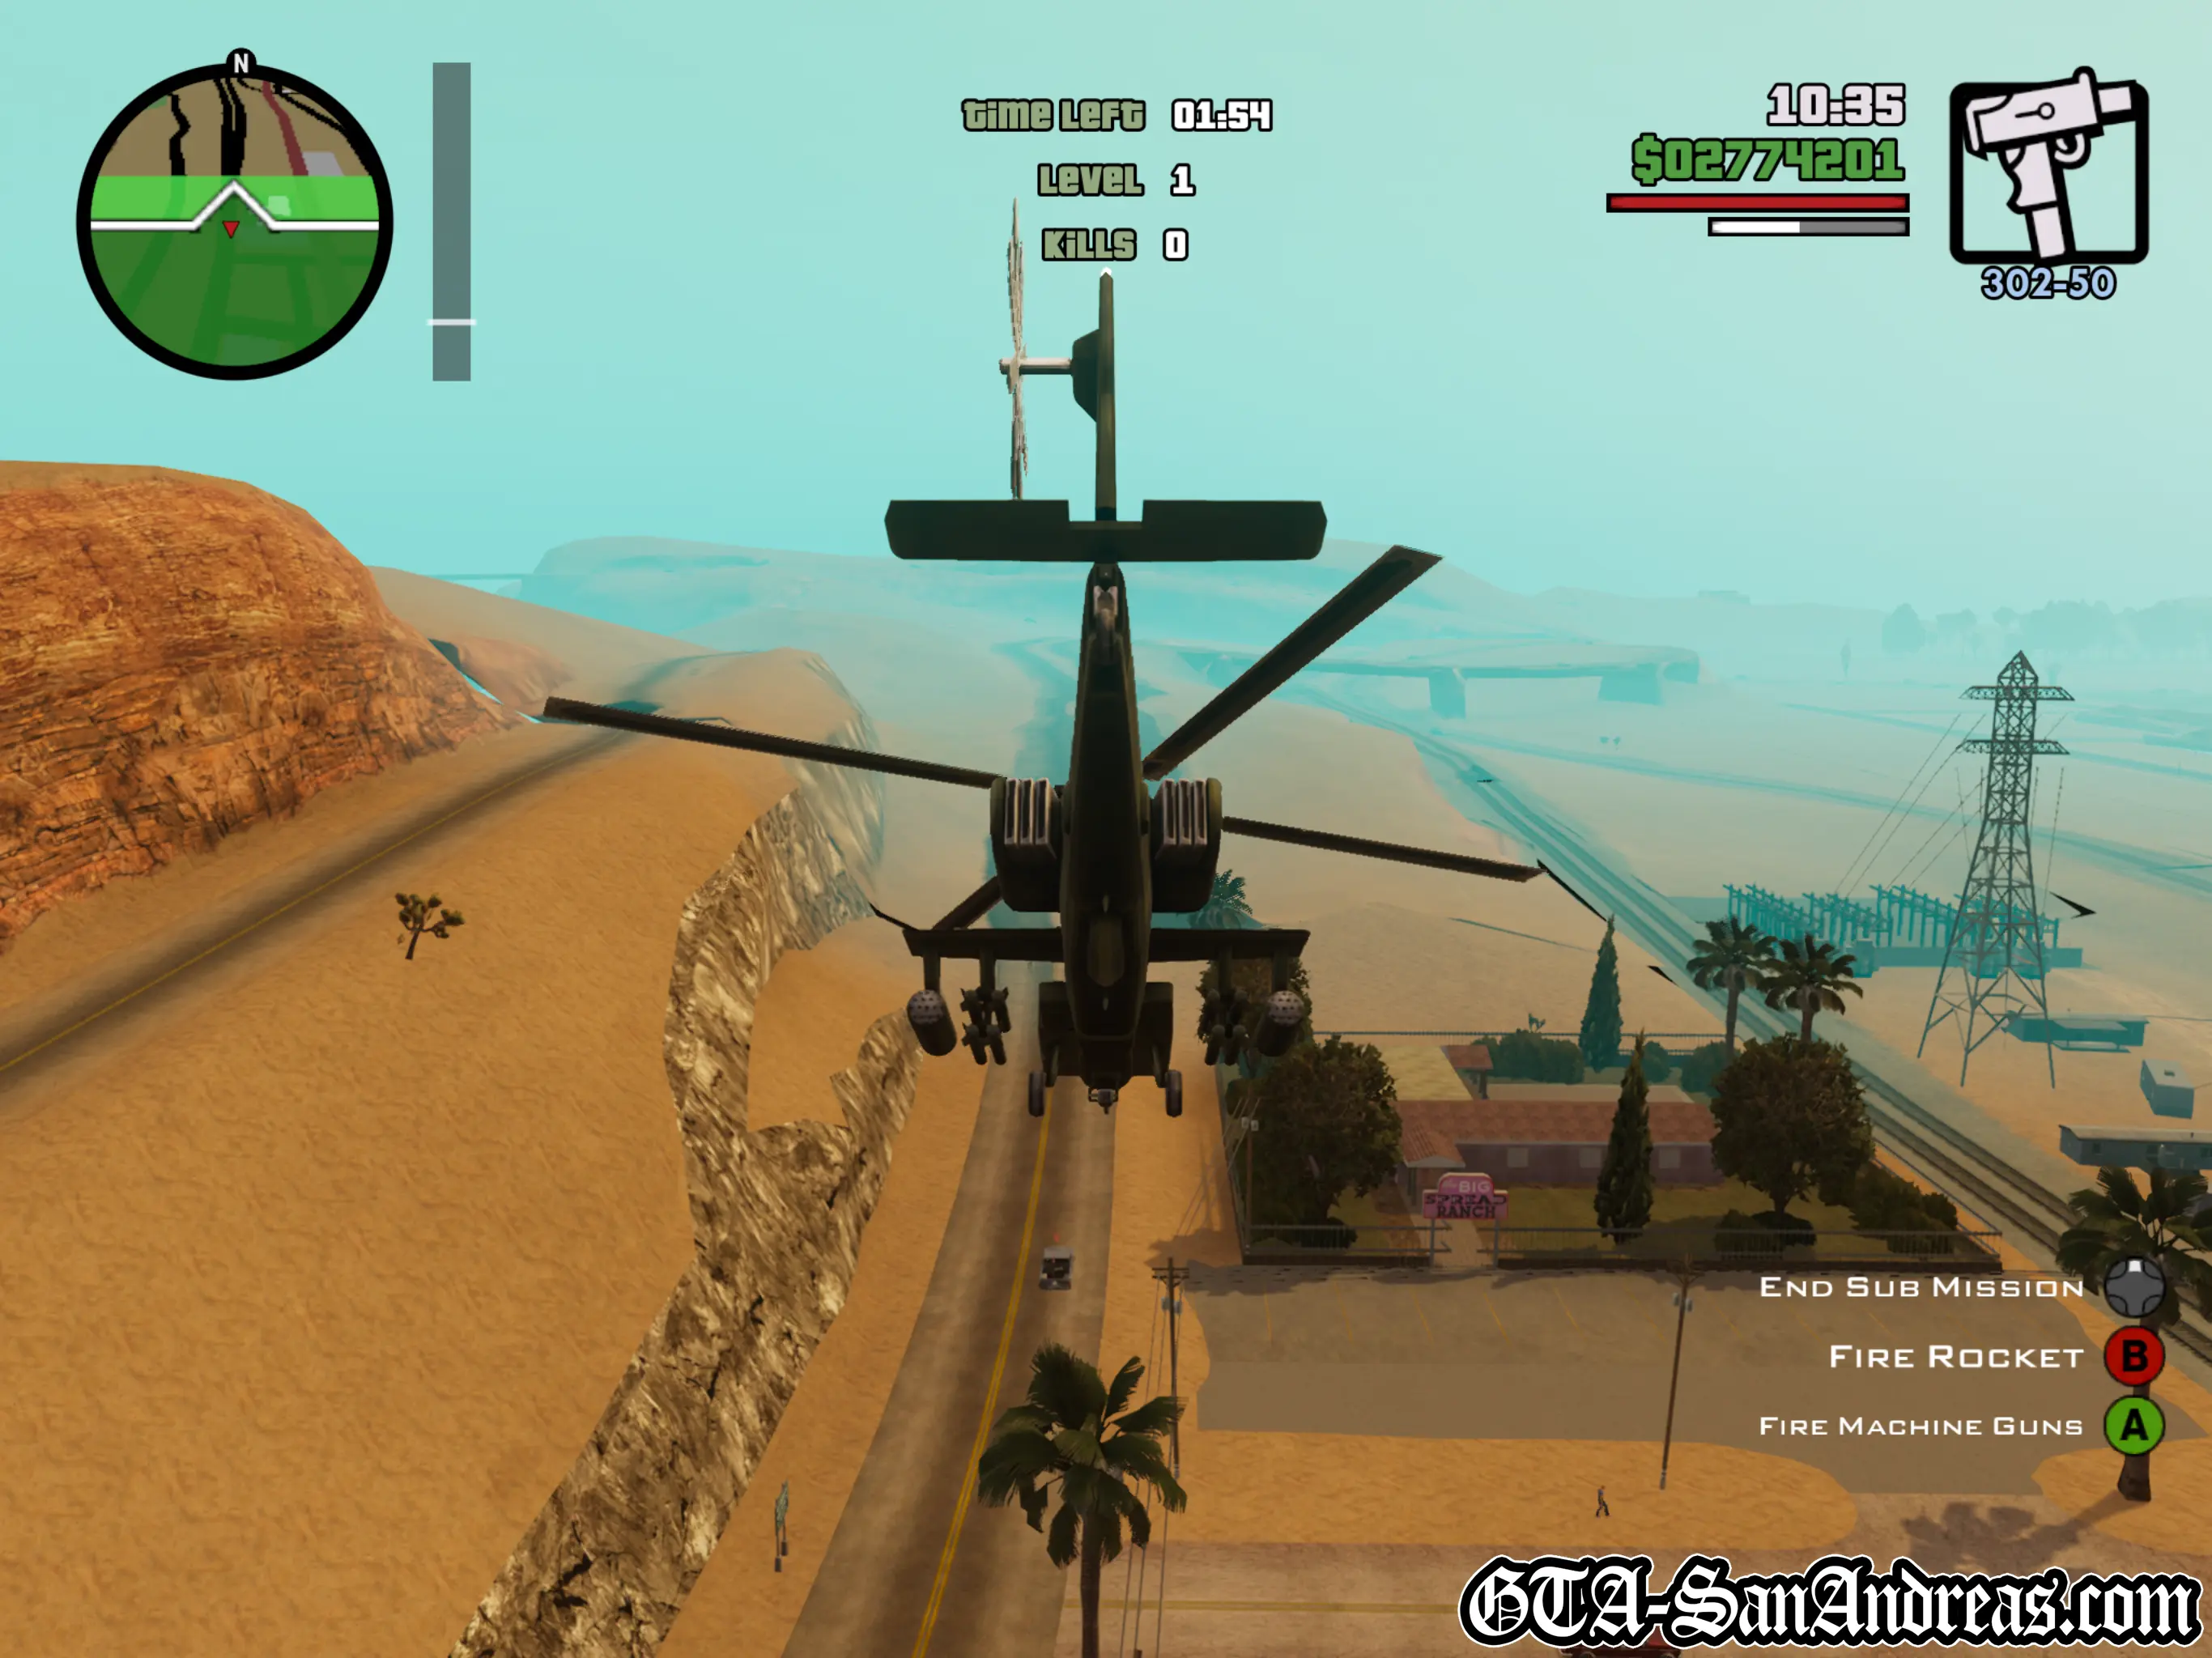
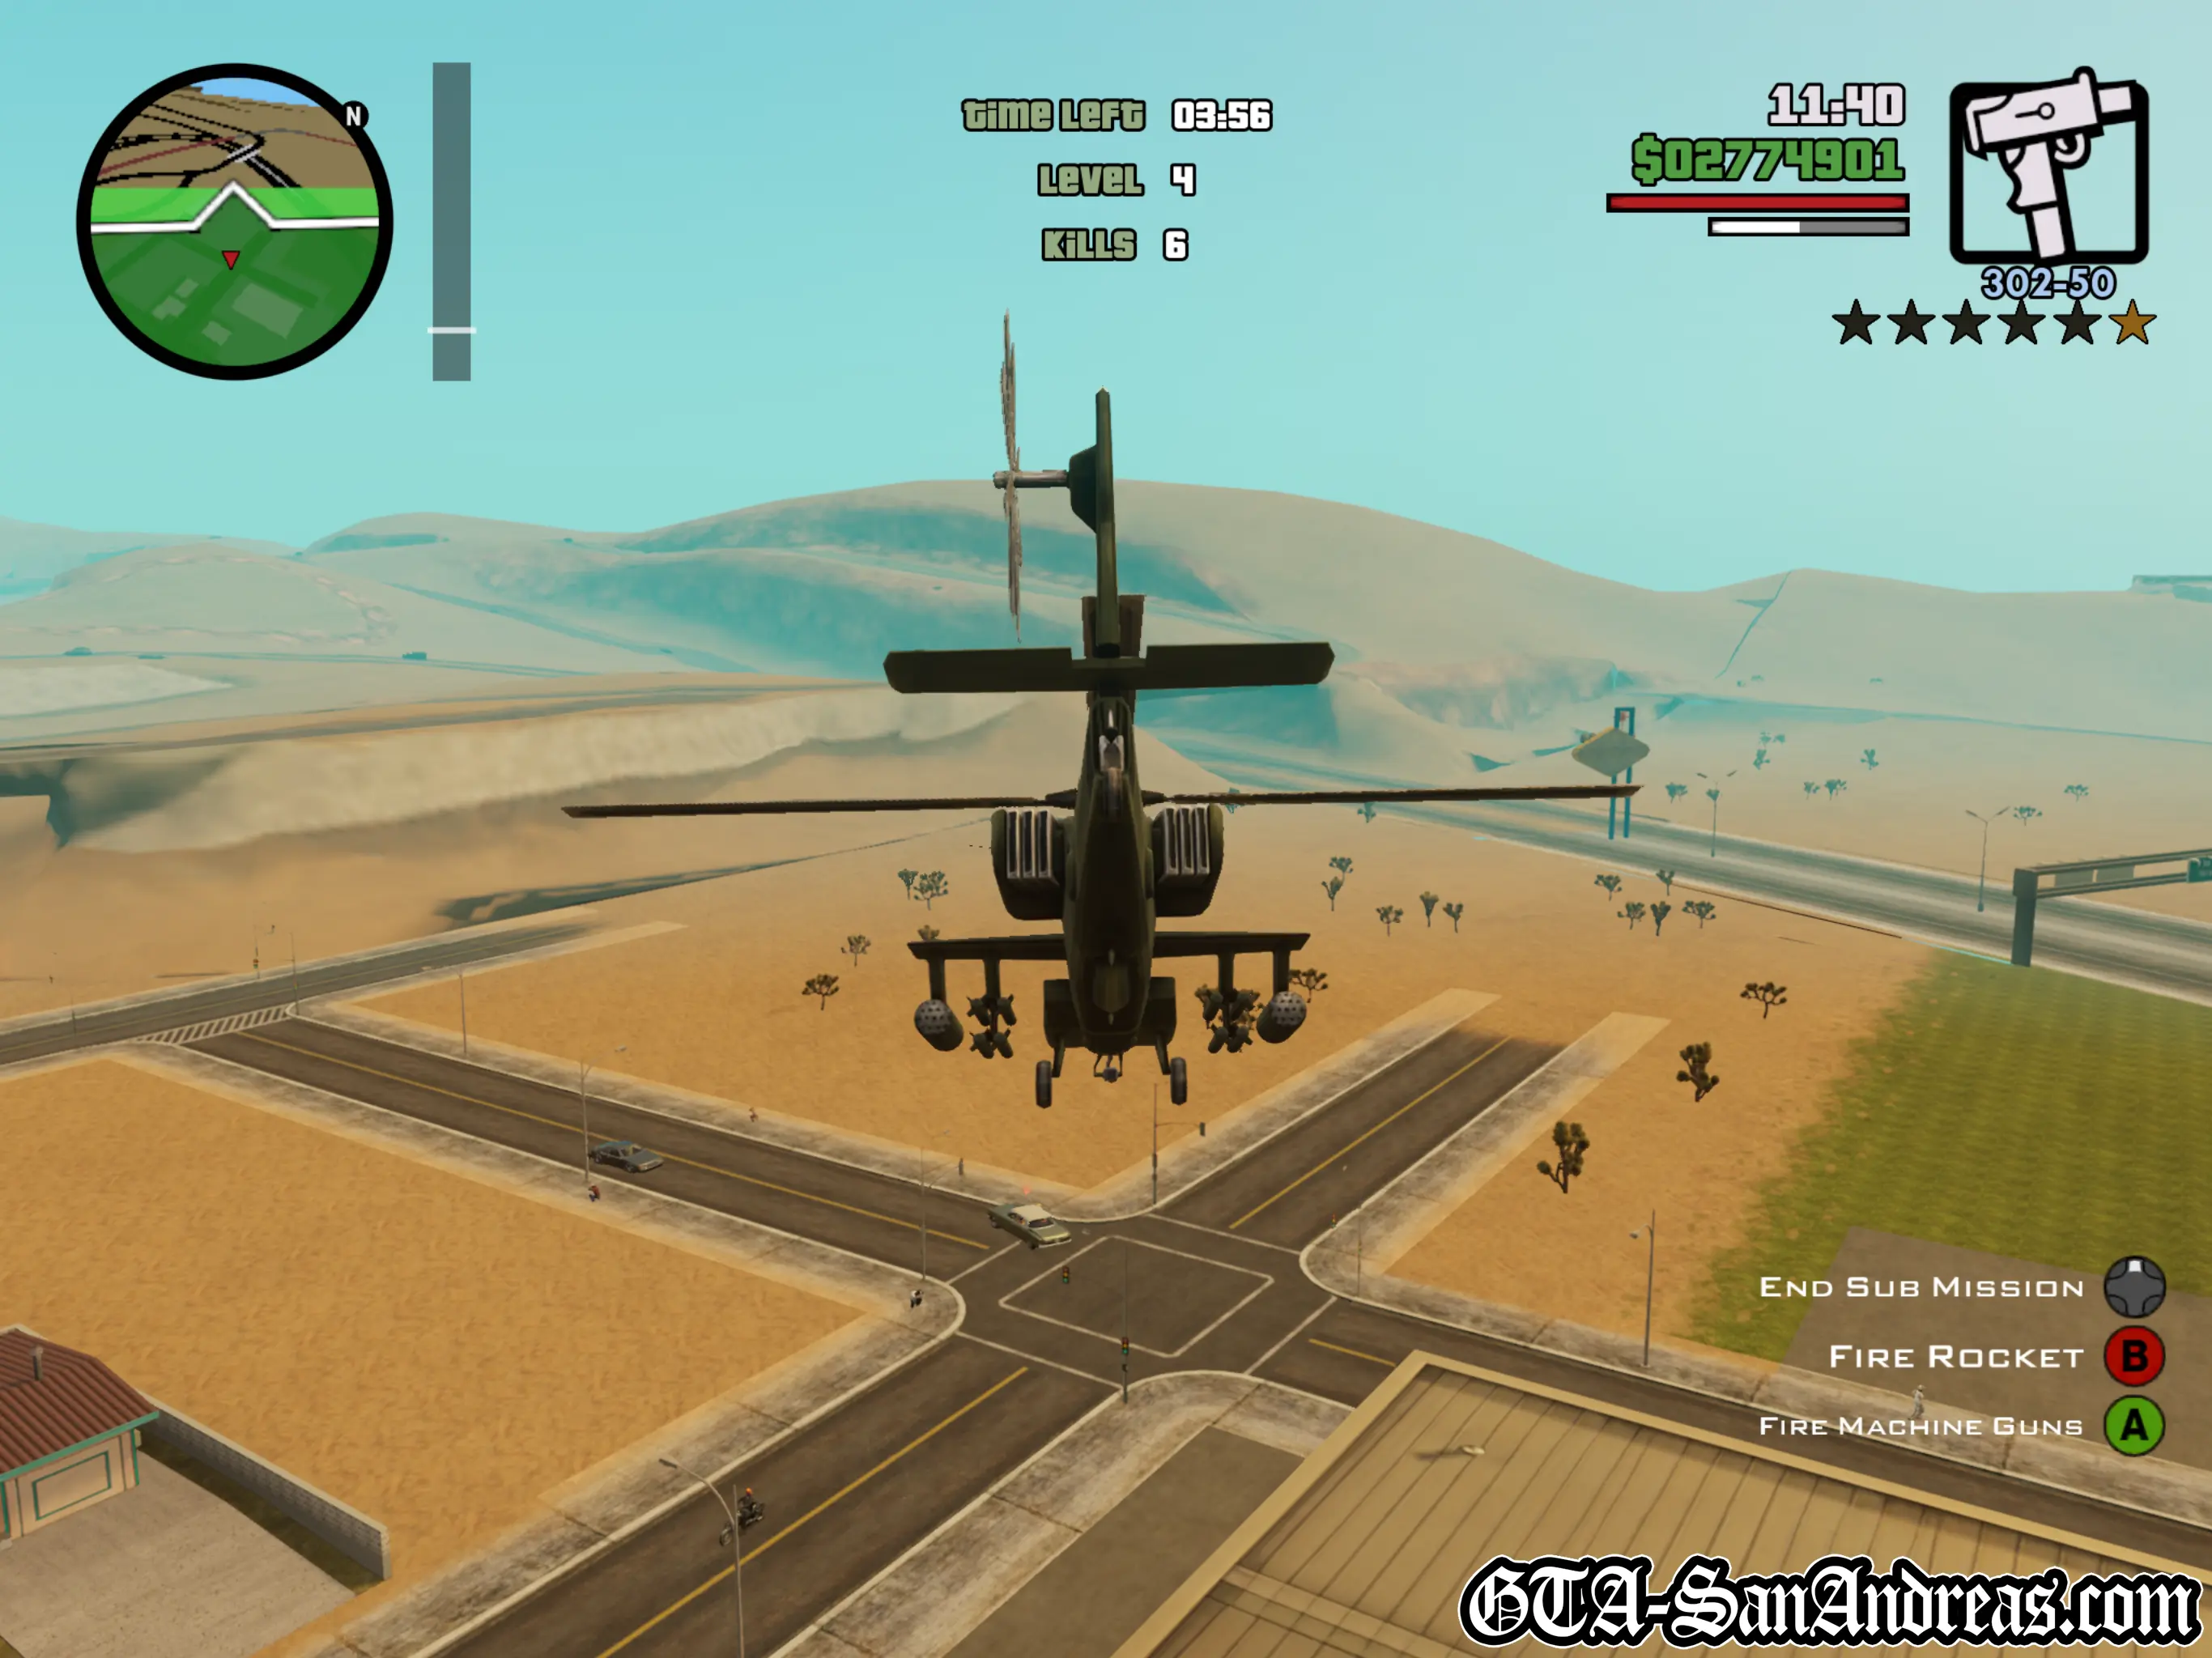
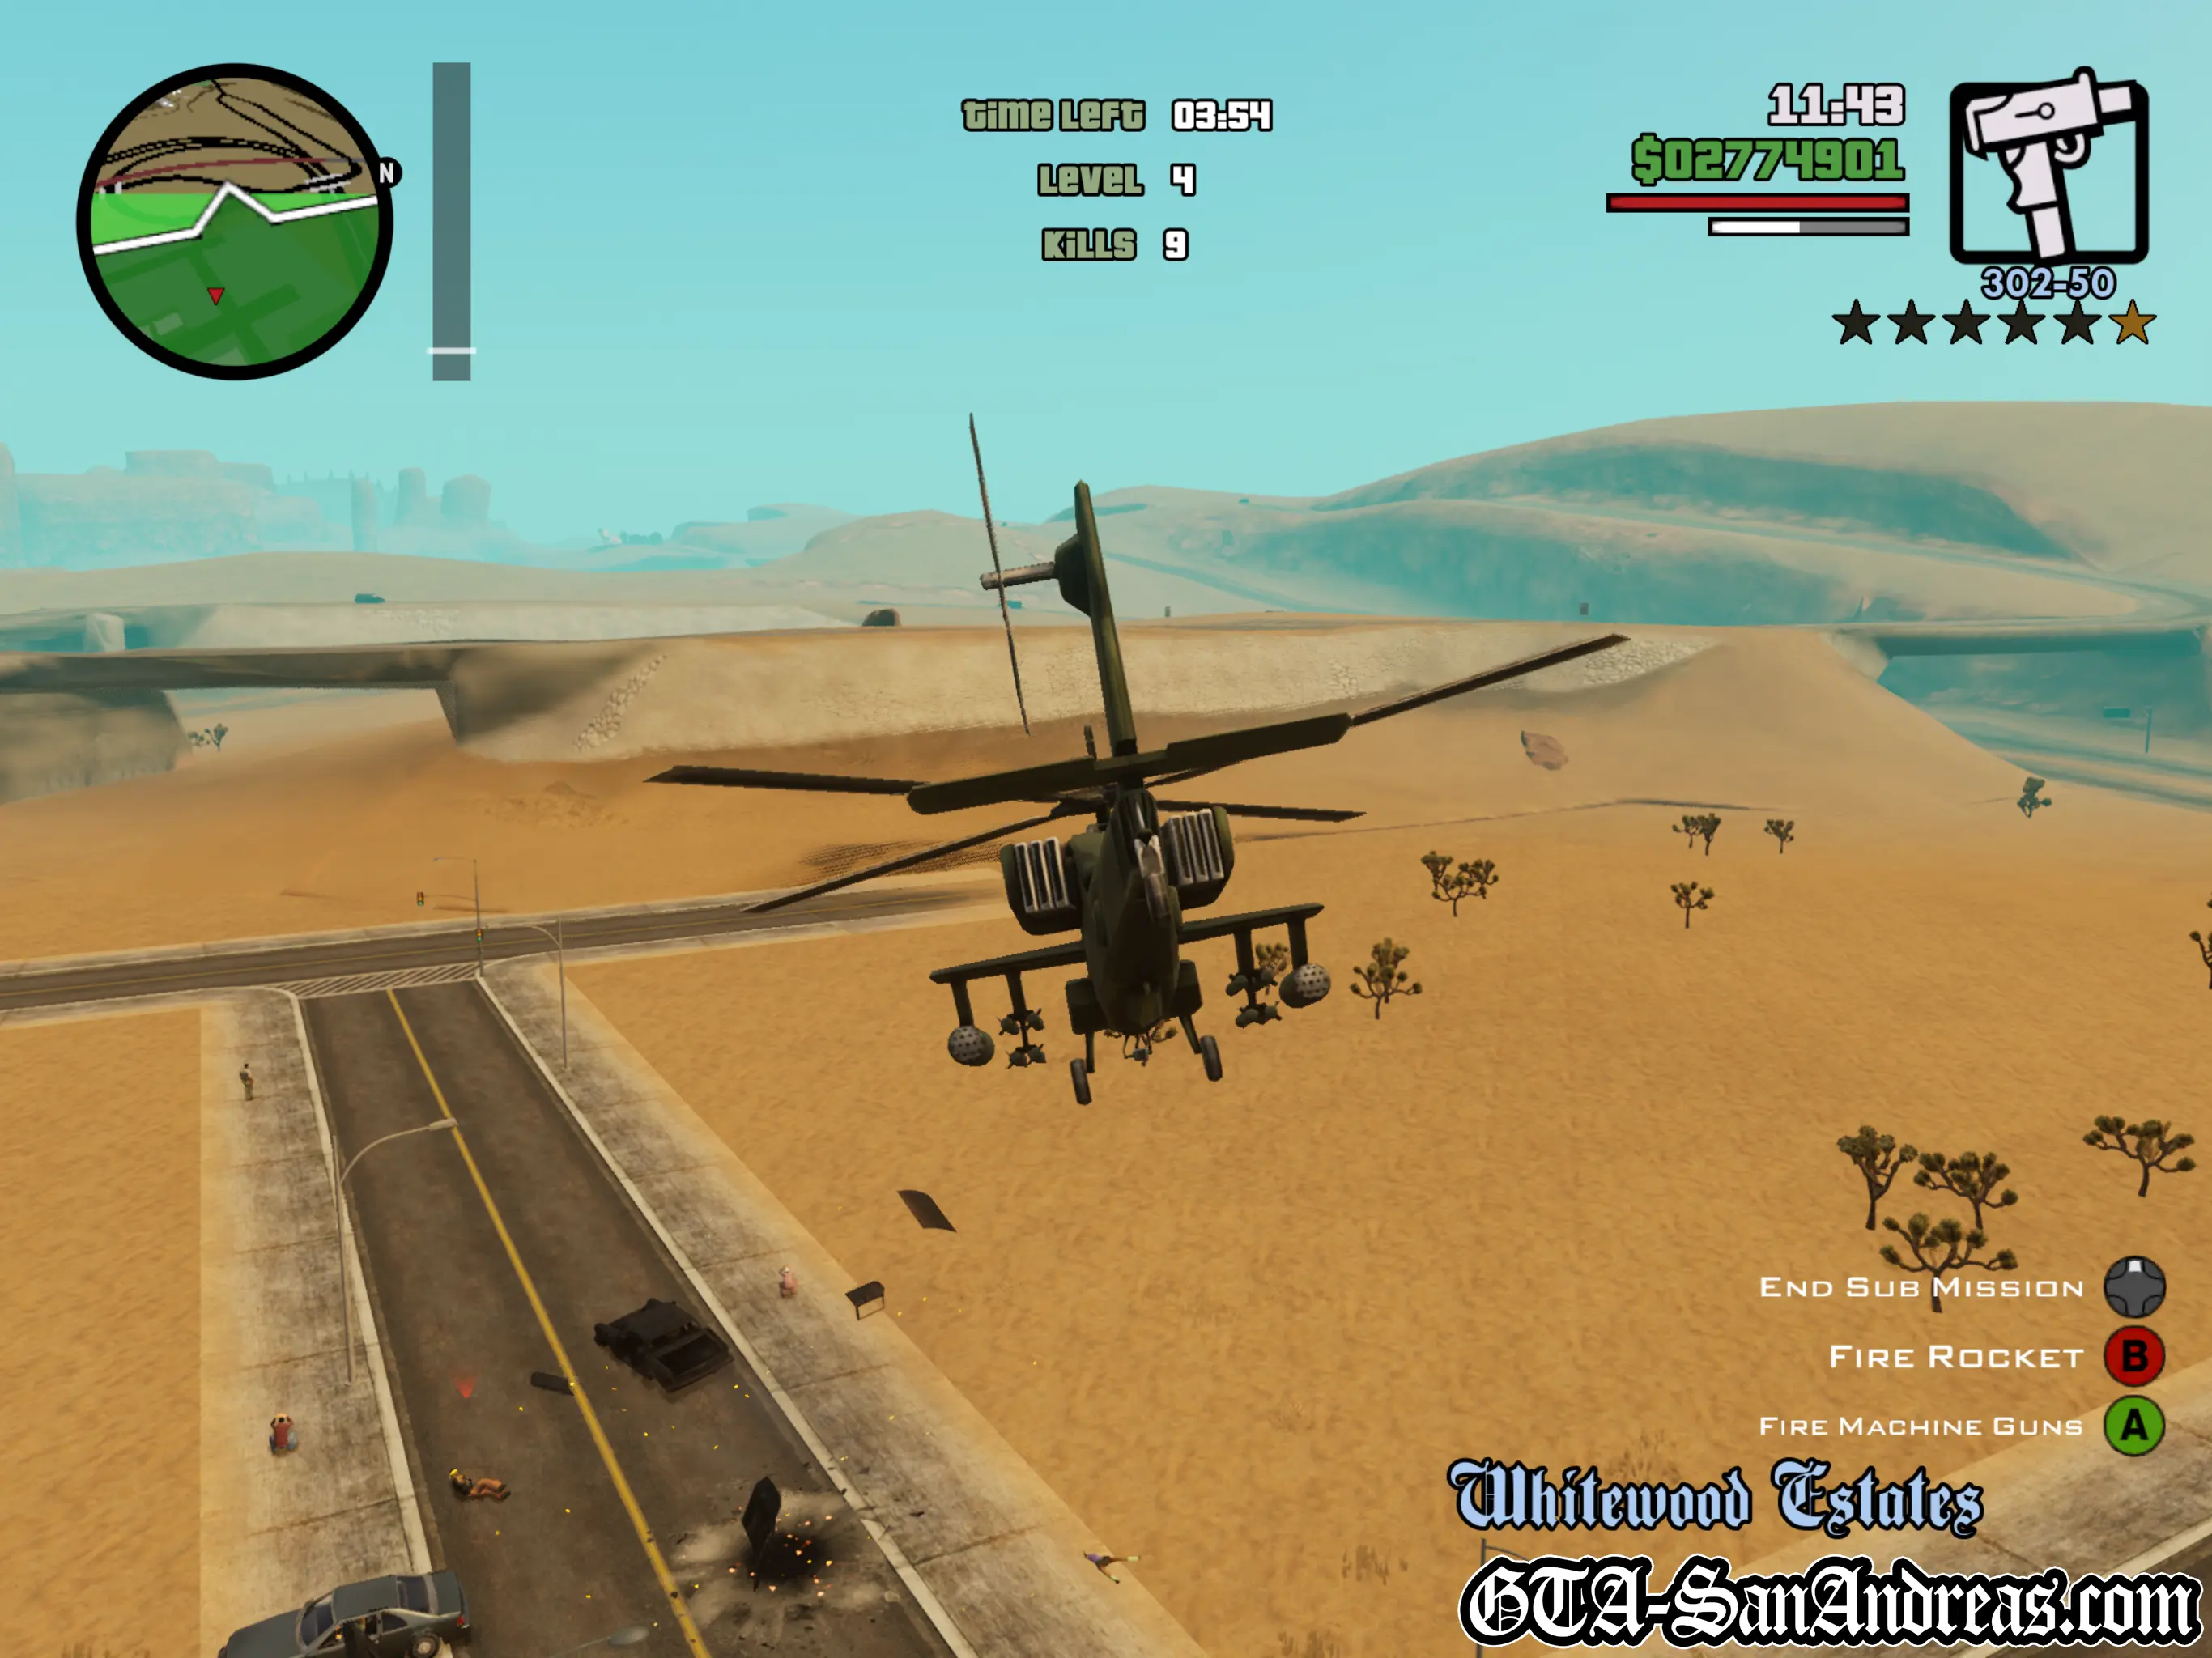
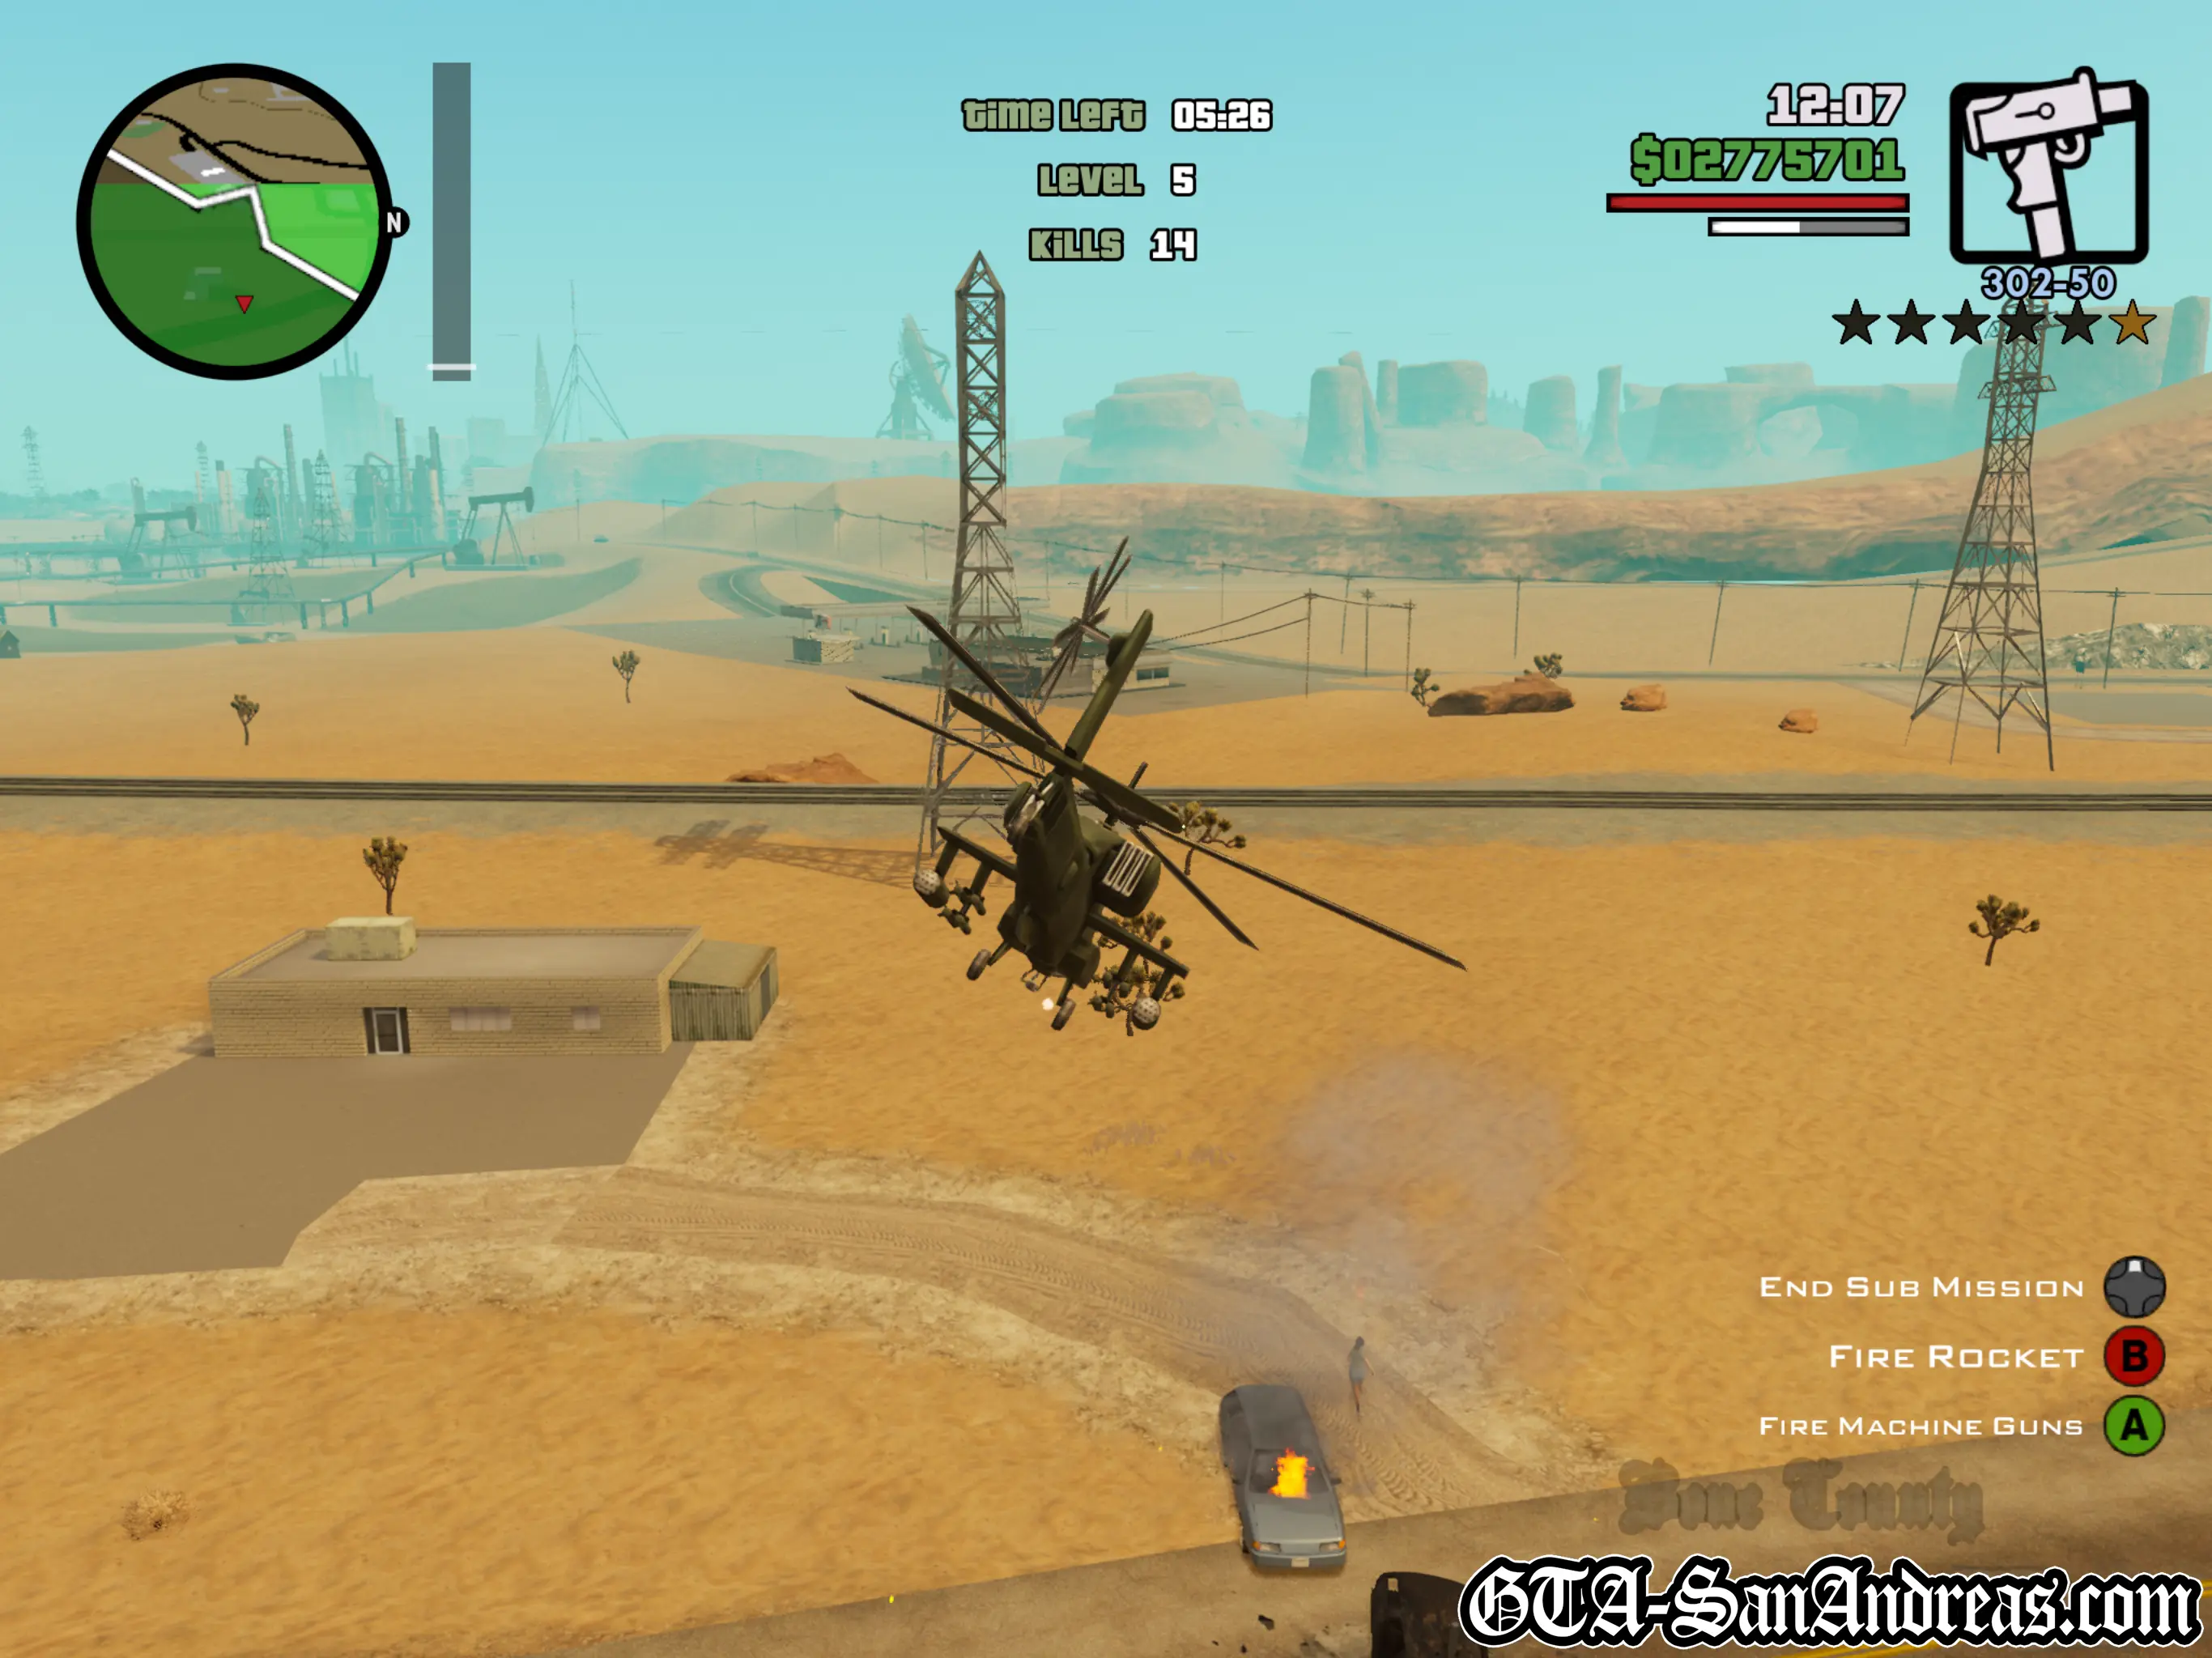
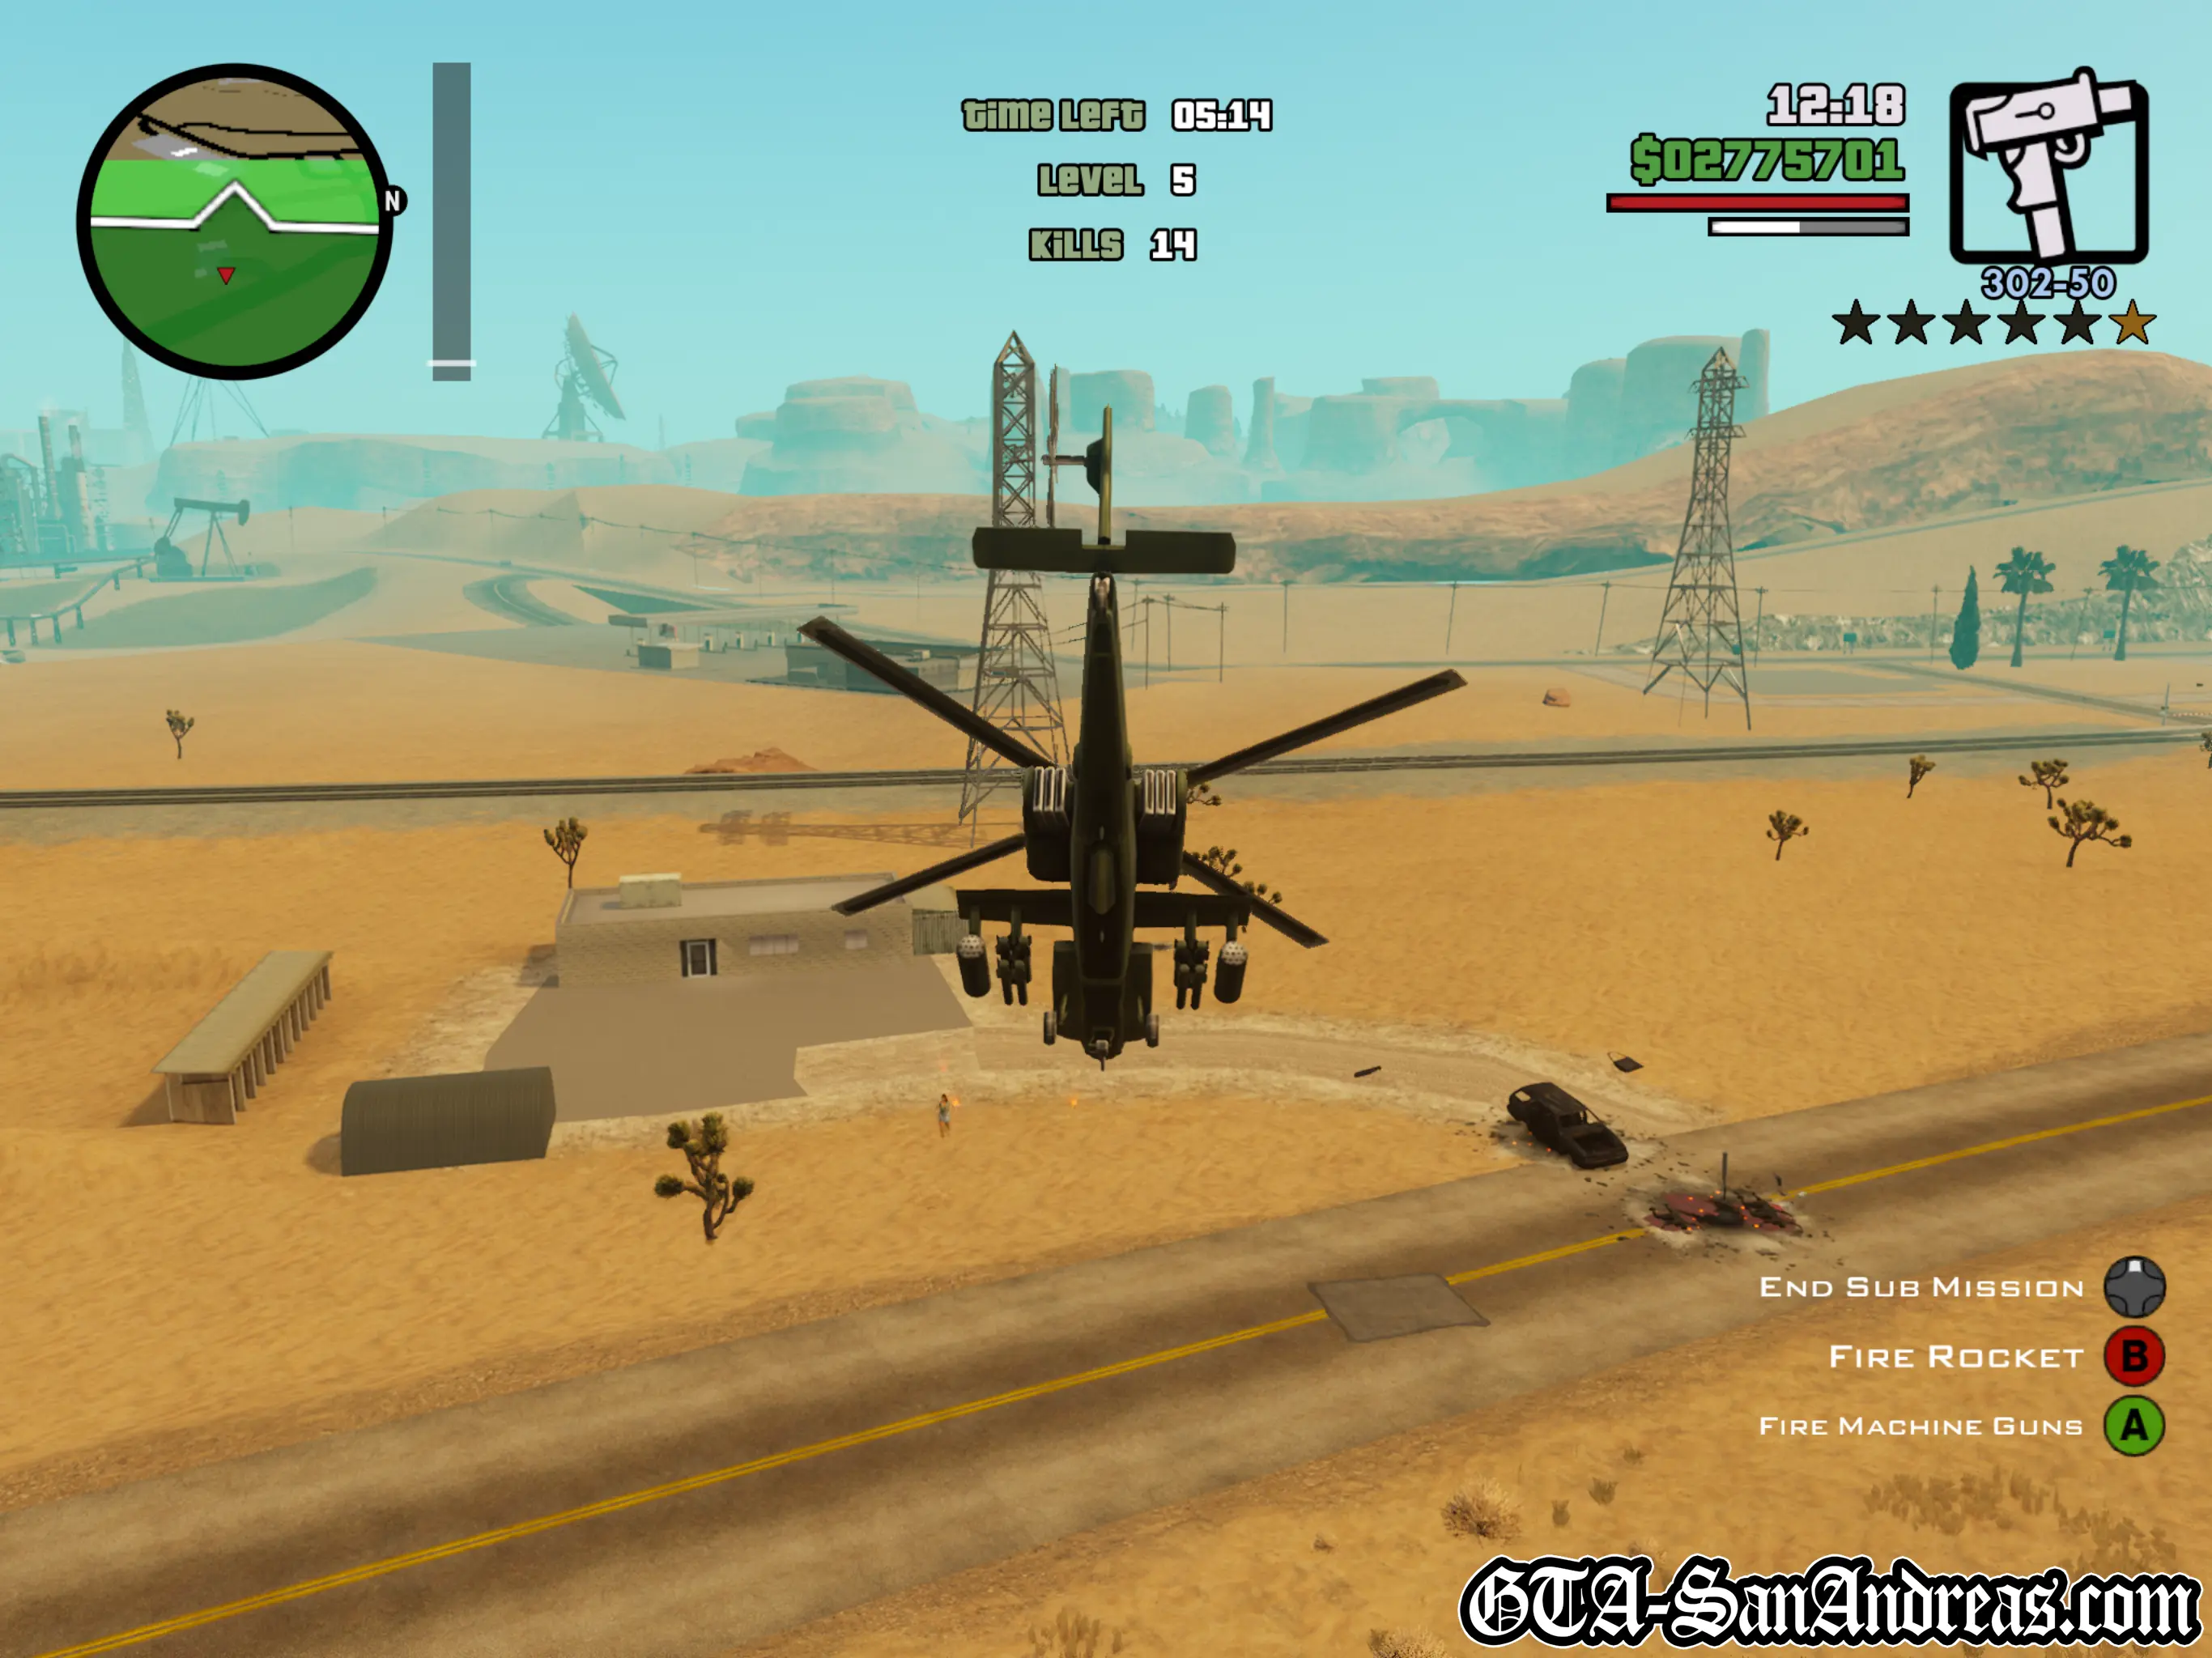
Brown Thunder
If you'd rather wait until you're quite late in the game, completing the Flying School will unlock the Hunter (apache helicopter) at the desert airstrip.
The hunter is incredibly easy to maneuver and the attached machine guns have infinite ammo and will auto-target any vehicles below you.
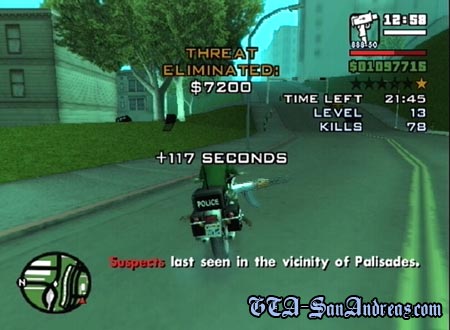
This makes the missions very quick and easy to complete and also provides large cash bonuses if you keep going after level 12.
You can easily complete all 12 levels in under 10 minutes with the Hunter.
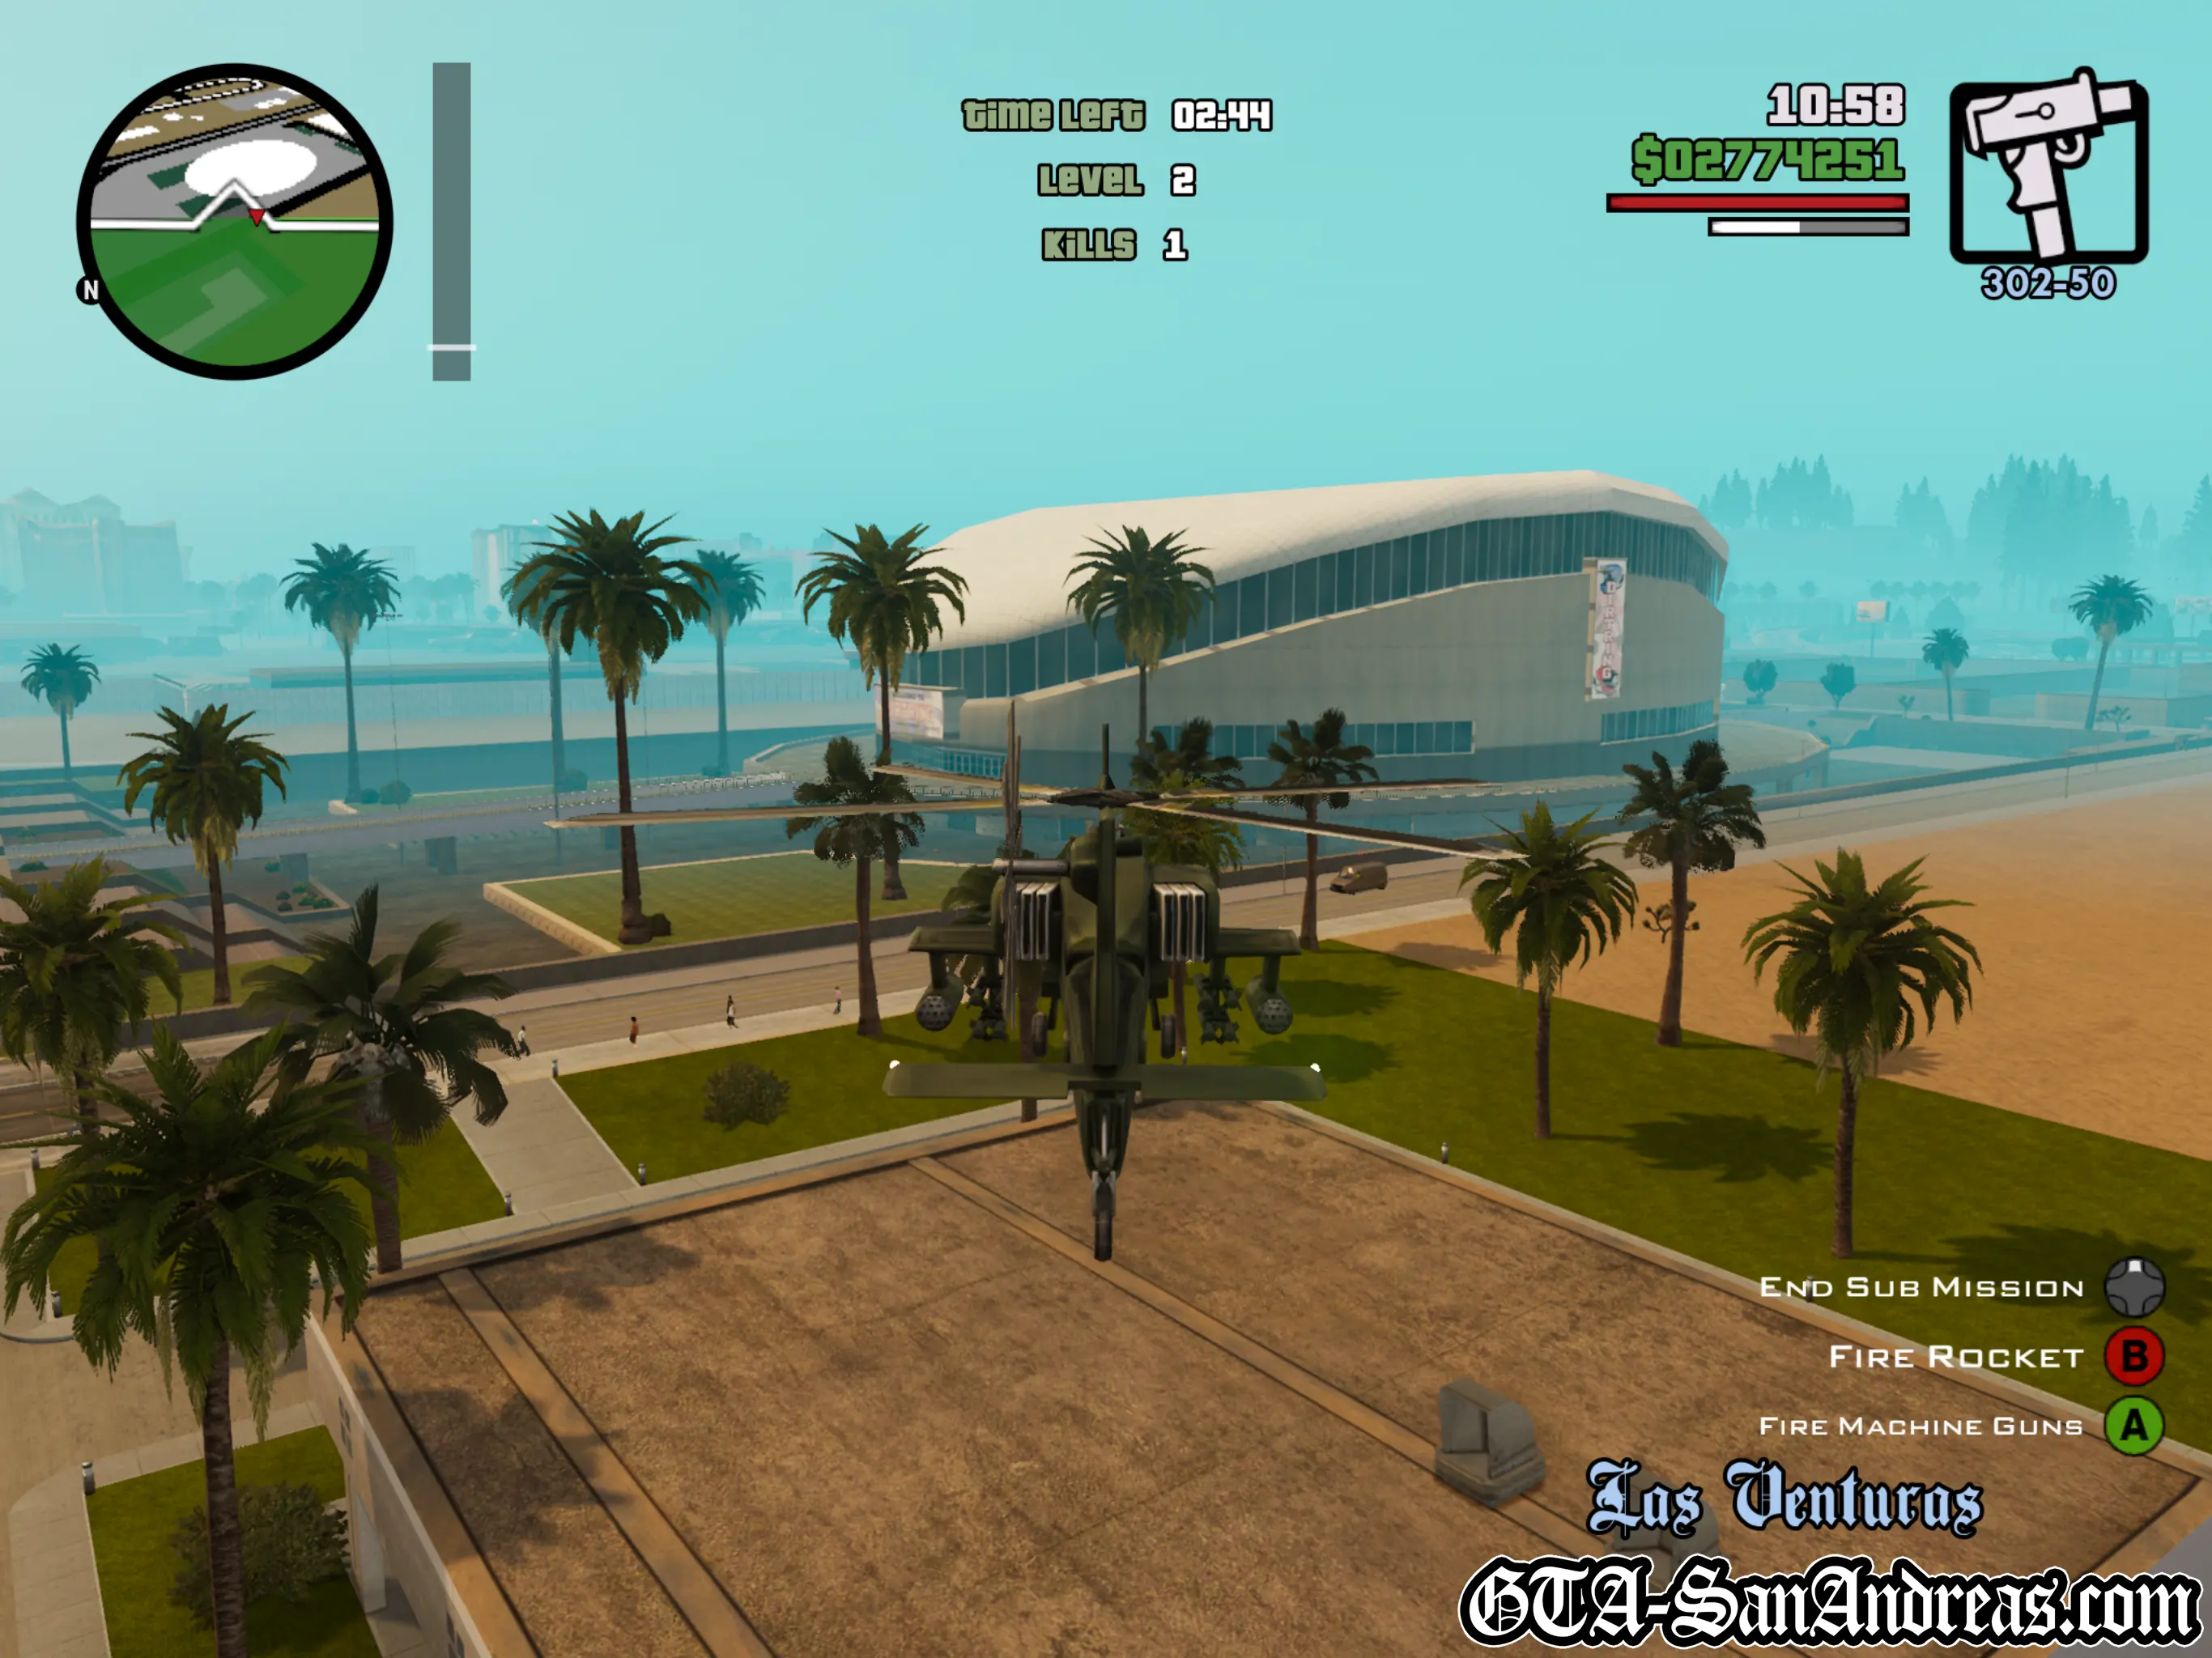
There doesn't seem to be a specifically easy place to do these missions, unlike the other emergency vehicle missions, however they aren't too challenging wherever they are attempted. In the countryside you have more opportunity to take shortcuts across fields, however that also increases the chances of crashing and wrecking your vehicle too.
One of the problems with this mission is the amount of heat you'll have on you. Despite the fact you're actually helping the police with their work, they take a strong dislike to anyone killing criminals unless they're responsible and after a few levels you'll have a two or three star wanted level which makes everything more challenging.
In the countryside you'll have more chances to lose the cops however, but the distance and terrain you'll have to travel in order to get to the criminals can take away the advantage that it may bring. My advice would be to complete the missions in a city such as San Fierro.
Get to know the map, know where Ammu-Nation is if you need some ammo and know where the Pay N' Sprays are. If you're heavily wanted, ditch the cop vehicle, grab a normal one, get it sprayed then get back in the vigilante vehicle and continue.
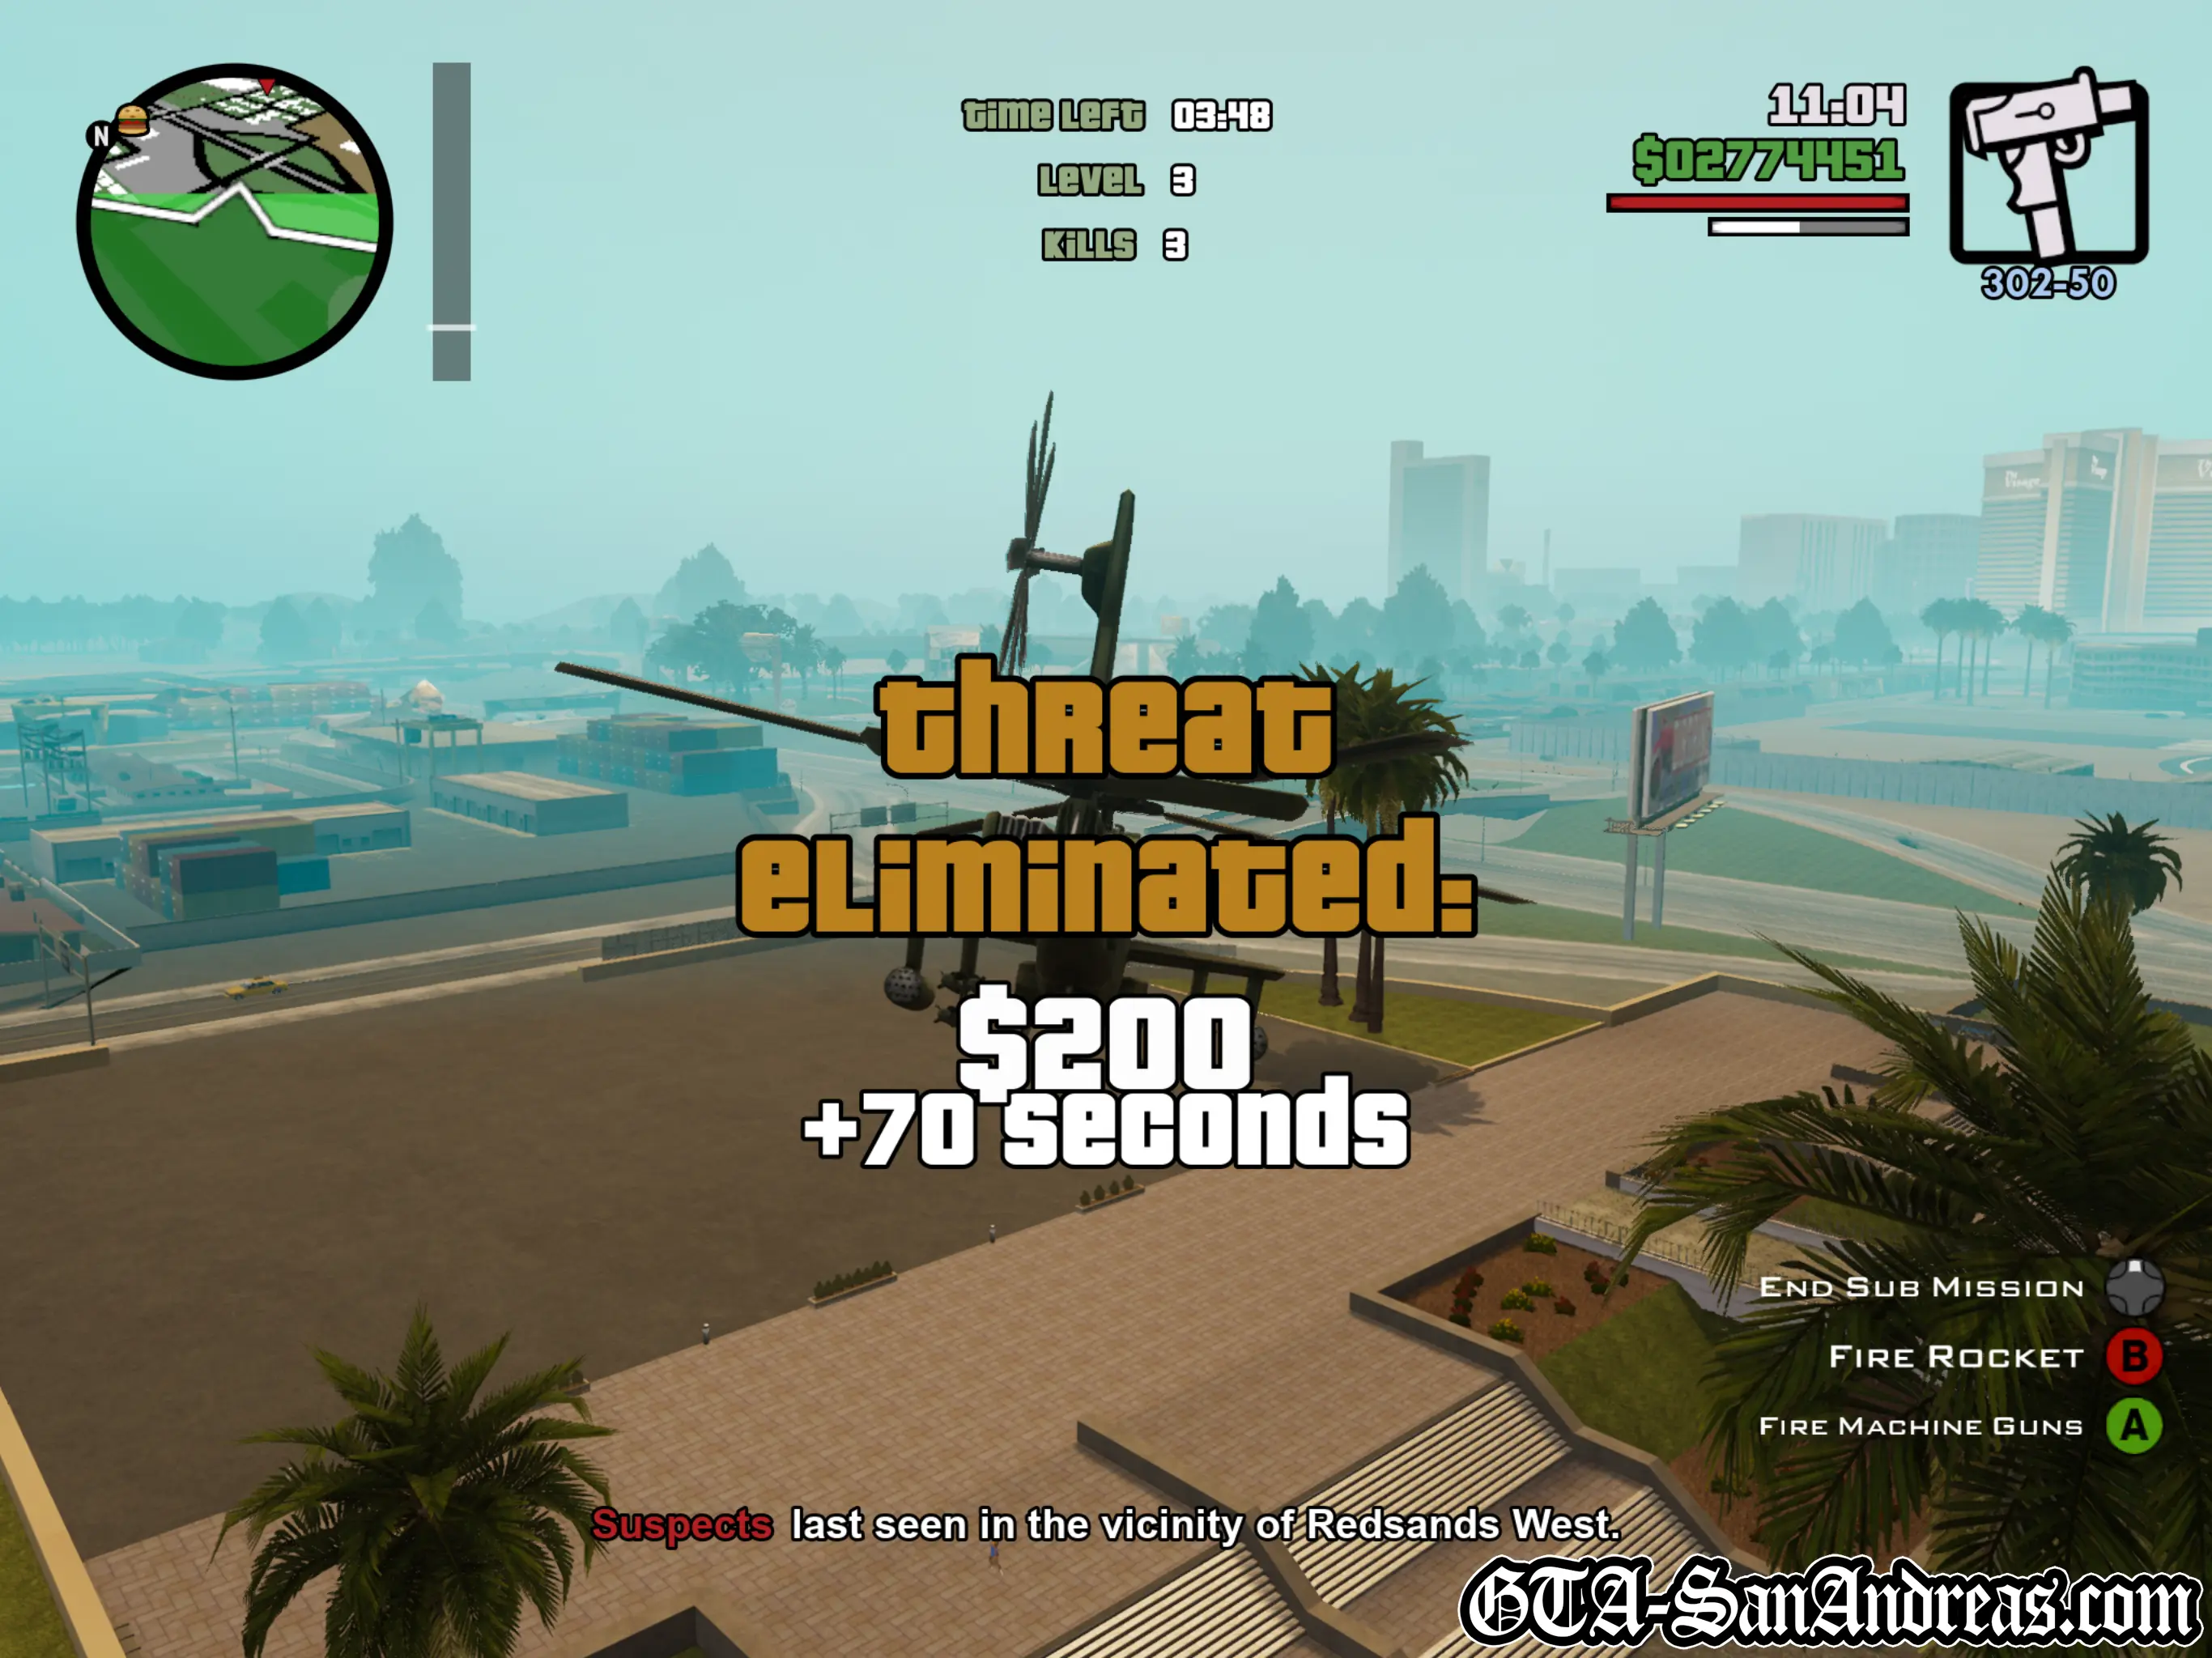
Keep this up and kill all of the required criminals to beat the missions. Advice for drive-bying would be to try and hit the cars gas tank which will save ammo, time and wipe out everyone in the vehicle in one go - just be careful you're not in the blast range.
The vigilante missions don't end automatically upon completion of level 12 and you can keep playing to earn increasingly large cash bonuses.
A Glitch!
In the original version of the game there is a glitch which can make Vigilante missions unbelievably easy. Grab a vehicle, drive to Cluckin' Bell or another fast food restaurant and park outside. Ideally on the nearest road rather than right outside the door.
Hit R3 to start the Vigilante mission, then go inside and buy some food. Because you're inside an interior and the criminals are driving around the main map, after 20 seconds or so the game will usually lose track of the vehicle it's supposed to be keeping a blip on - possibly due to them falling through the map that is no longer loaded in the games' memory, and will award you the kill.
Go back outside, get in the police vehicle so the timer resets and a new criminal spawns, then go back inside and do it again.
You may have to go in and out a few times before it actually kills the criminals for you, however this definitely does work. This will sometimes only work up until Level 10 though, after that you may not be able to make the game delete the cars, so you'll still need to finish those off on your own, however the time and ammo saved from using the glitch should make it easy enough to wipe out the last few criminals.
Mission Overview
| Level | Total Criminals | Criminal Cars |
|---|---|---|
| Level 1 | 1 | 1 |
| Level 2 | 2 | 1 |
| Level 3 | 3 | 1 |
| Level 4 | 4 | 1 |
| Level 5 | 5 | 2 |
| Level 6 | 6 | 2 |
| Level 7 | 7 | 2 |
| Level 8 | 8 | 2 |
| Level 9 | 9 | 3 |
| Level 10 | 10 | 3 |
| Level 11 | 11 | 3 |
| Level 12 | 12 | 3 |
Completion
You will need to complete Level 12 of the Vigilante Missions in order to finish this Sub-Mission. Level 12 must be done consecutively, and altogether you will murder 78 criminals, however this may increase in your stats if you fail or cancel the mission.
The average time for completion of the Vigilante Missions ranges from about 45 minutes to 1 hour 30, depending on how lucky you are in getting criminals to die quickly or if you are able to use the glitch outlined above.
Rewards
Upon completion of Level 12 you will be awarded an increase to the strength of your body armor, now adding on 150 extra hit points to protect your life. This will become extremely useful in some of the later story missions.
Screenshots


Original PS2 Screenshots
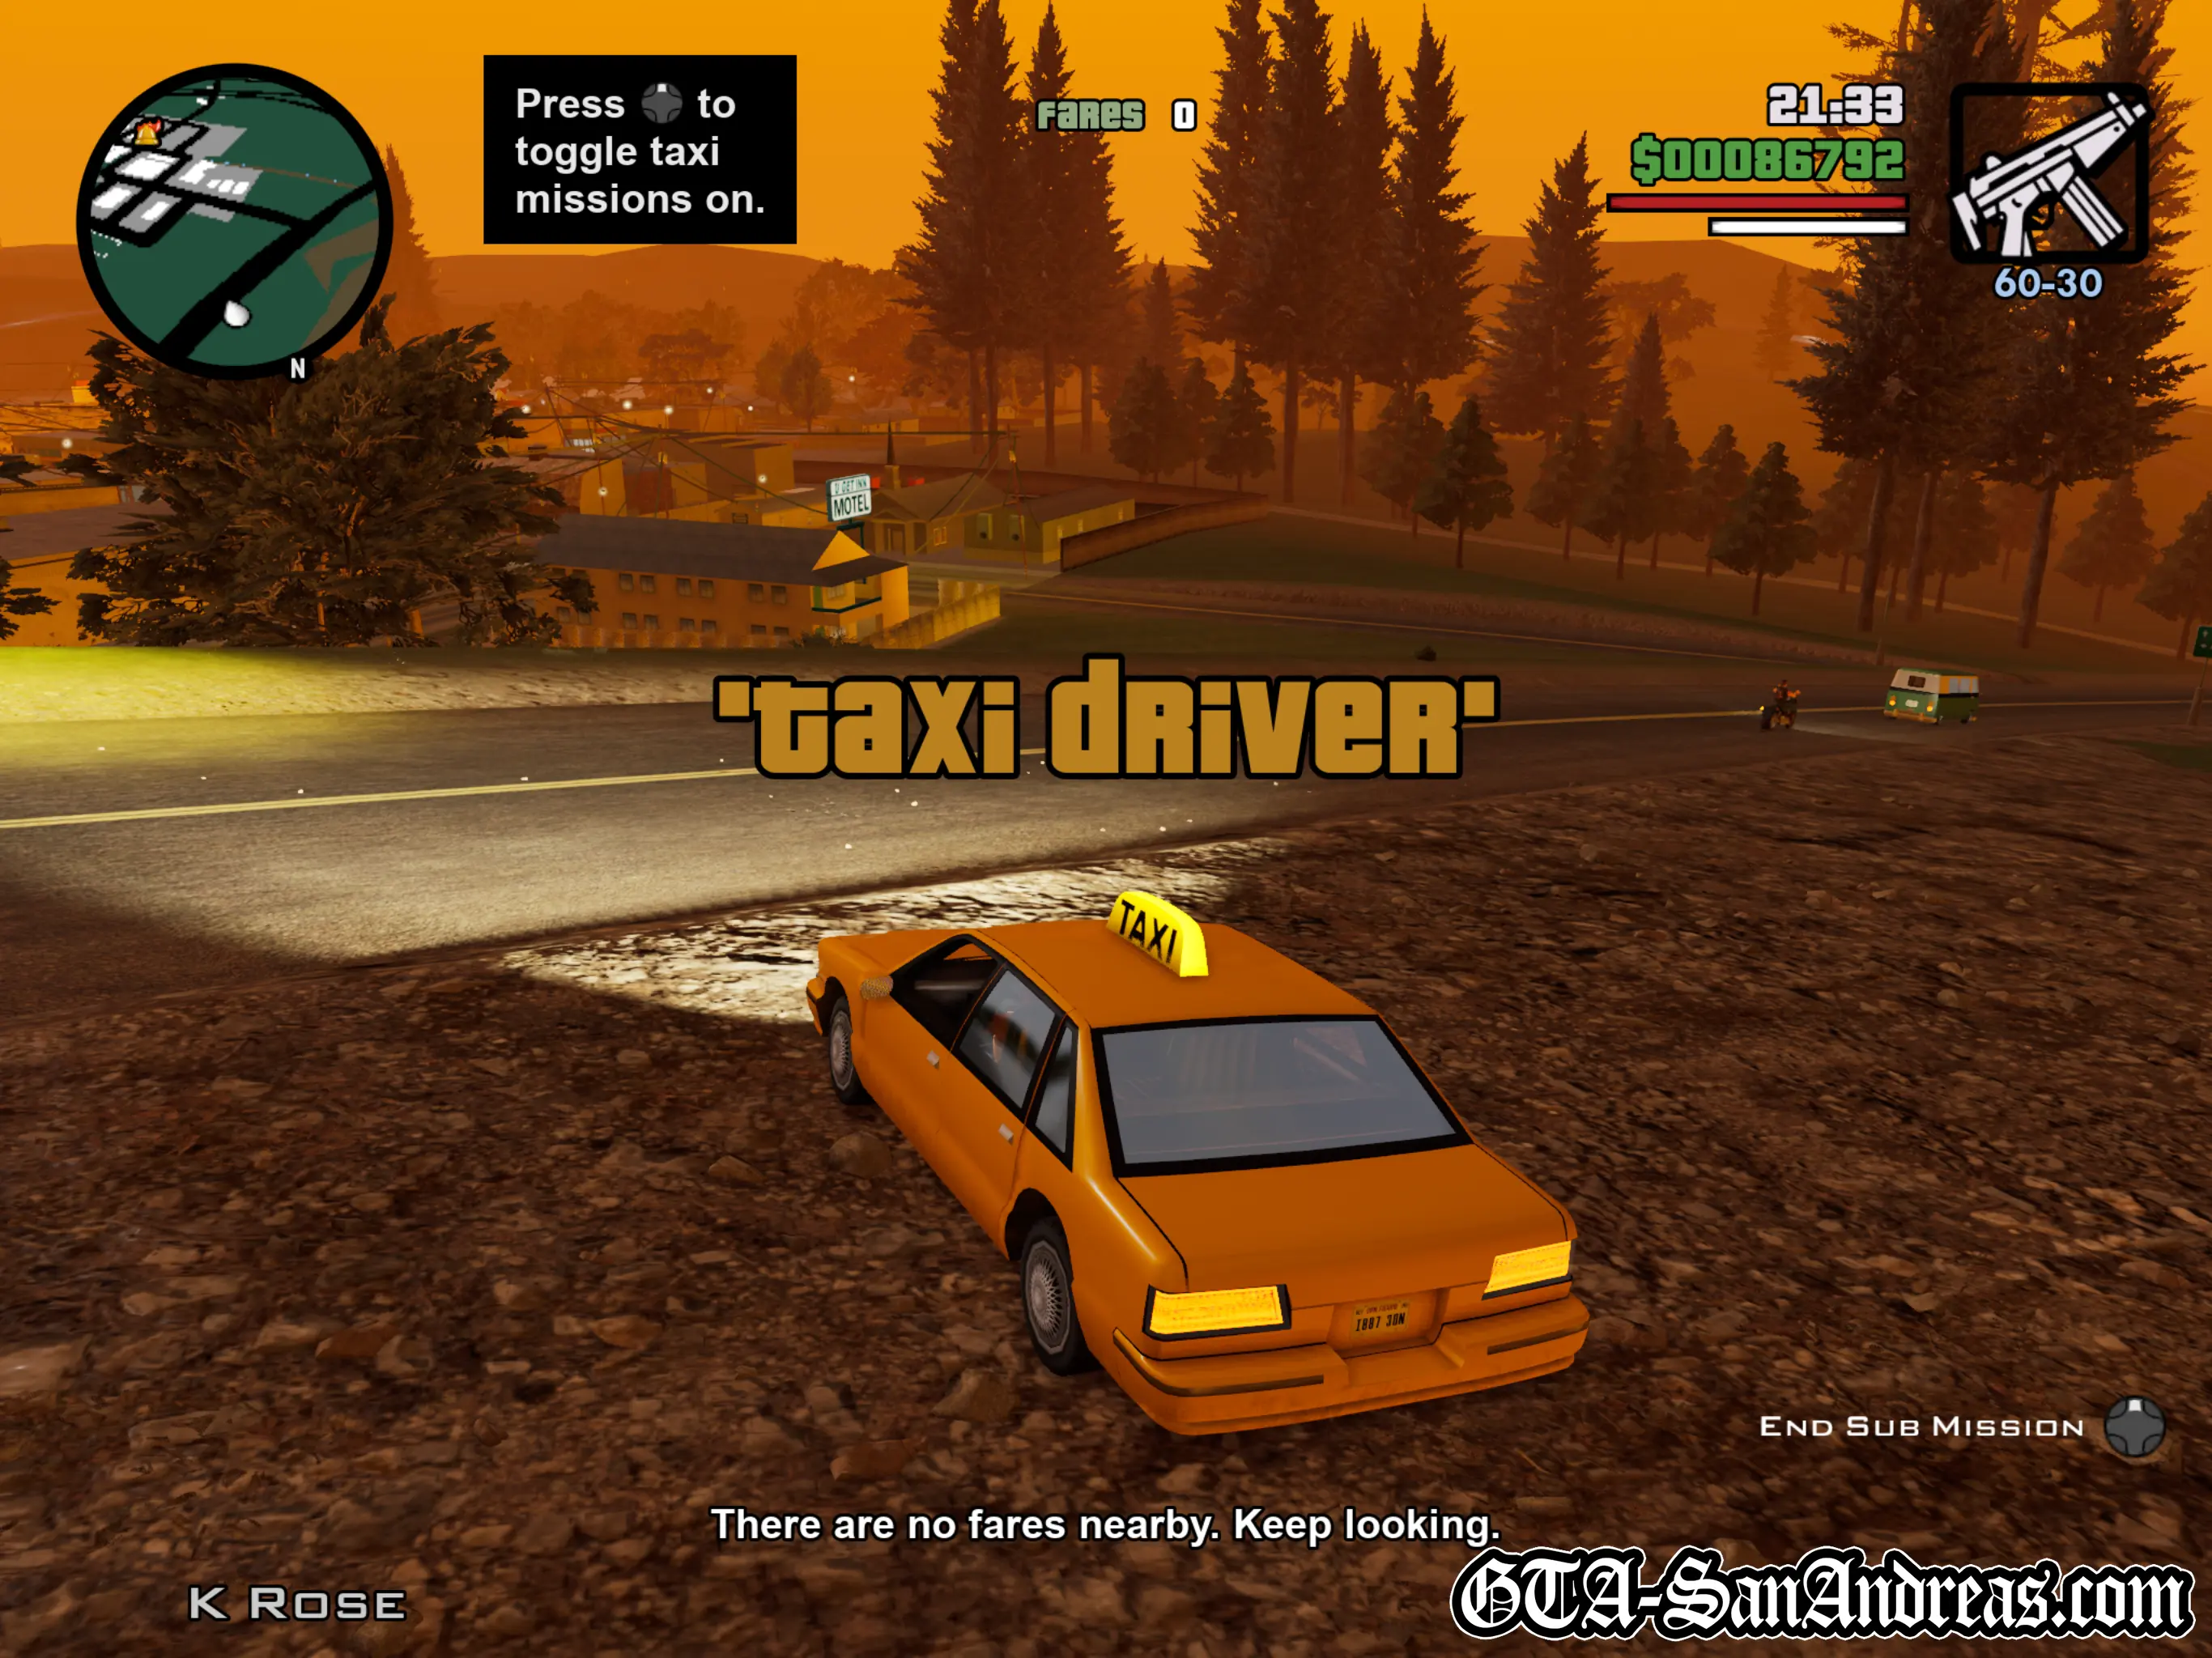
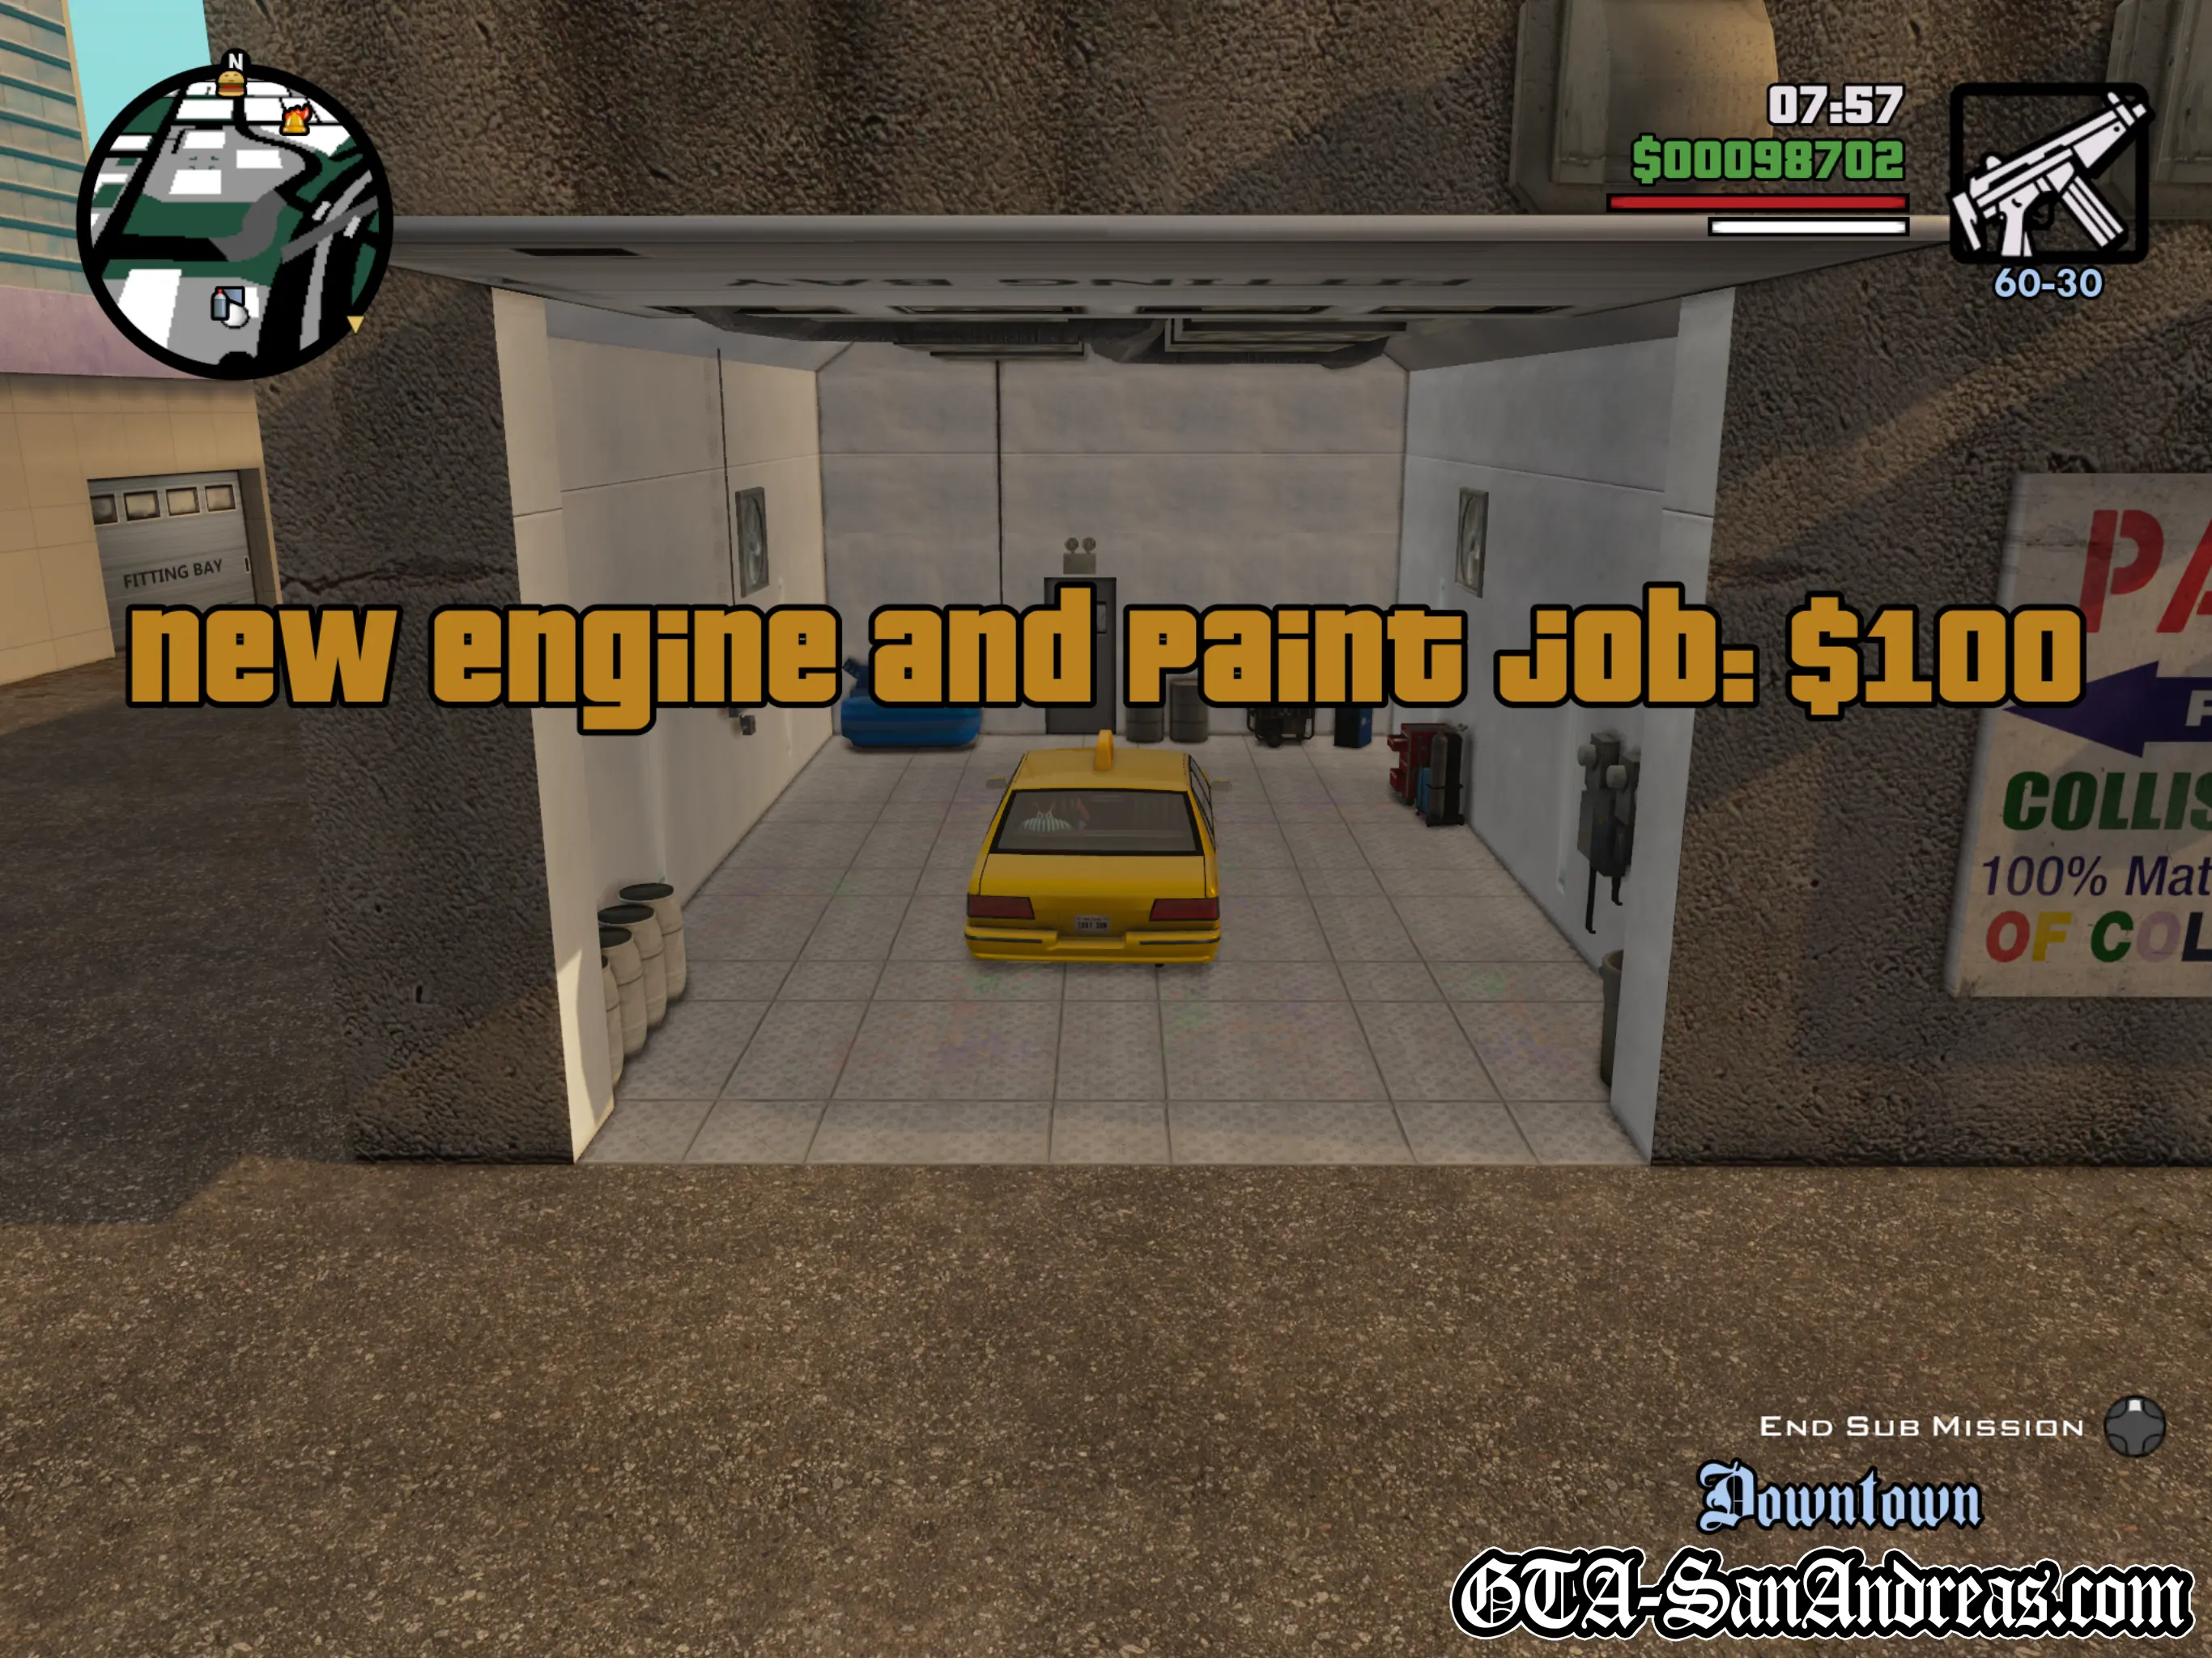
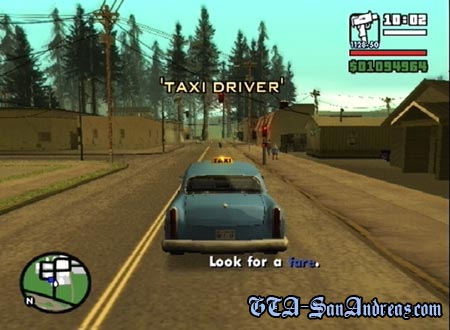
Taxi Driver
Another of the returning sub-missions from GTA III and GTA Vice City is arguably the most frustrating. Not because of difficulty but more because of their length and repetition.
You need to drive around the city until a pedestrian flags down your Taxi, then let them in your vehicle and drive them to wherever they want to go, with a timer counting down every second.
Unfortunately the pedestrians usually want to go literally to the other end of the city, so journeys can take up to 5 minutes per fare and you'll need to complete 50 of them in total. Expect this to take a few hours.
Vehicles Needed
- Taxi
- Cabbie
Reasons For Mission Failure
- The Taxi falls into water.
- The Taxi blows up.
- The Taxi flips onto its roof.
- You are arrested.
- You exit the vehicle.
- You push R3 to cancel the sub-mission.
- Your time runs out.
The Basics
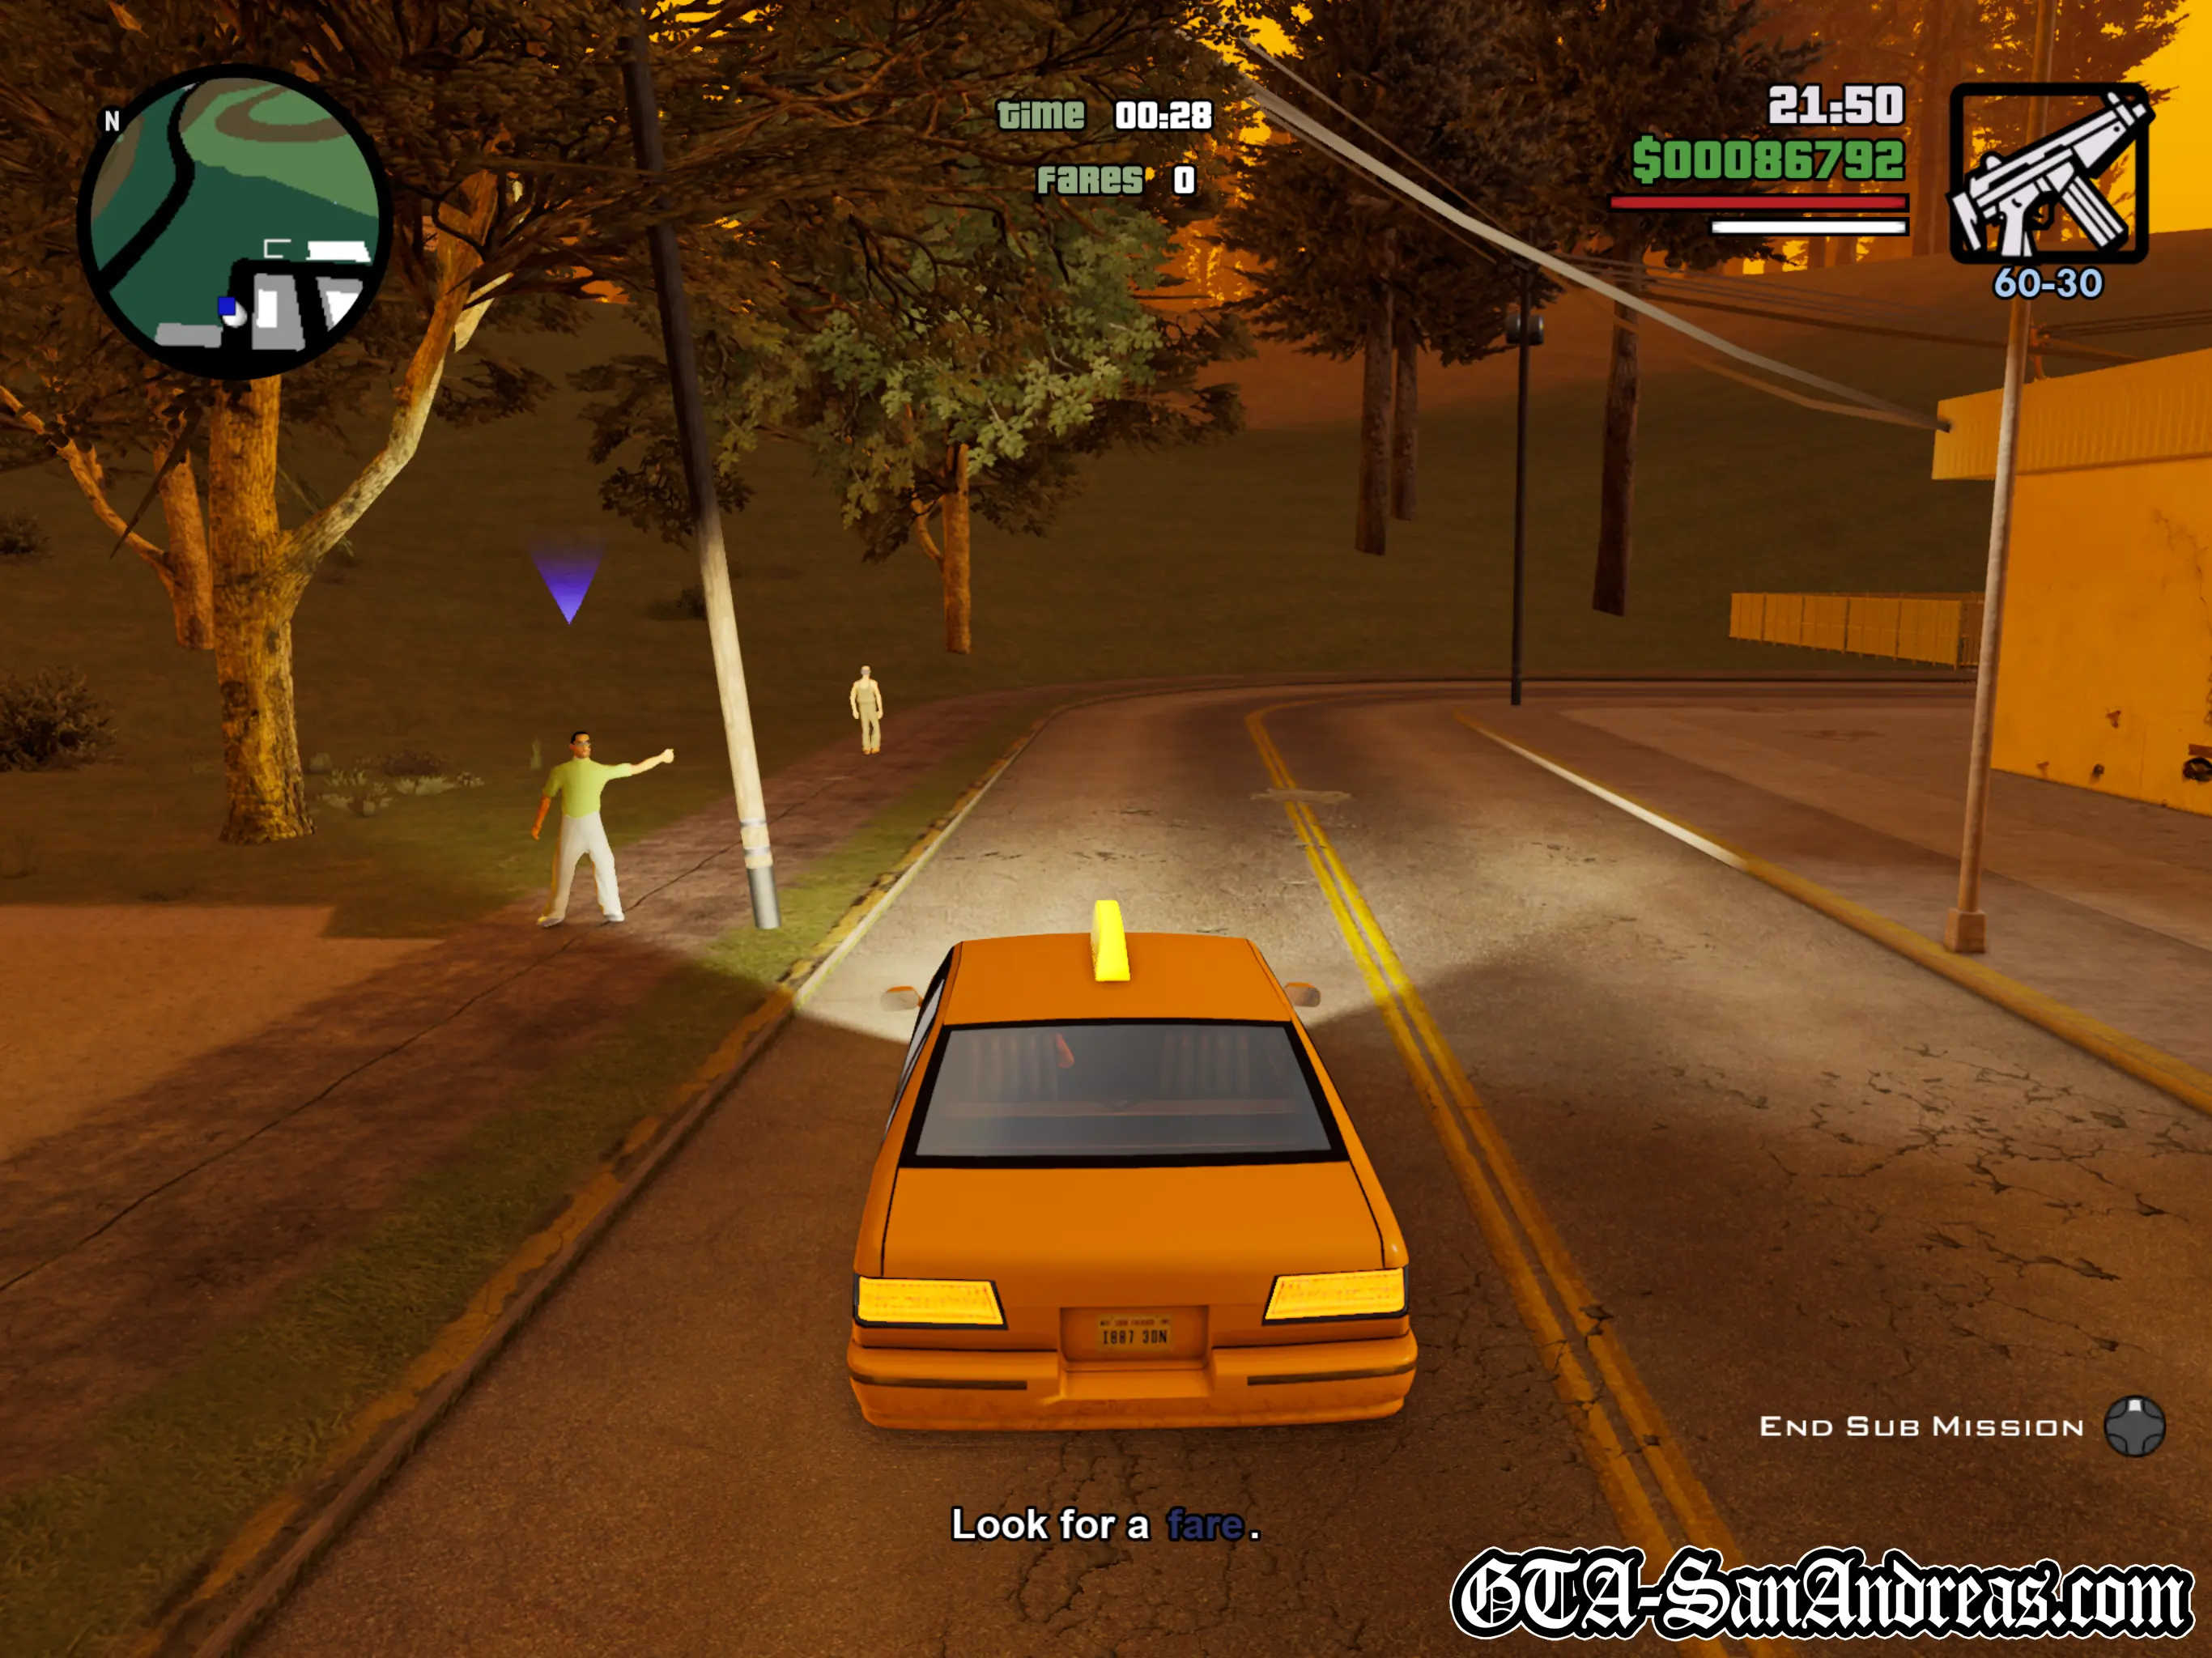
When you enter a Taxi or Cabbie and you're not currently on a mission, hit the R3 button to start the Taxi Driver Missions.
Drive around near some pedestrians and a blue icon will appear on your radar which symbolises a potential fare.
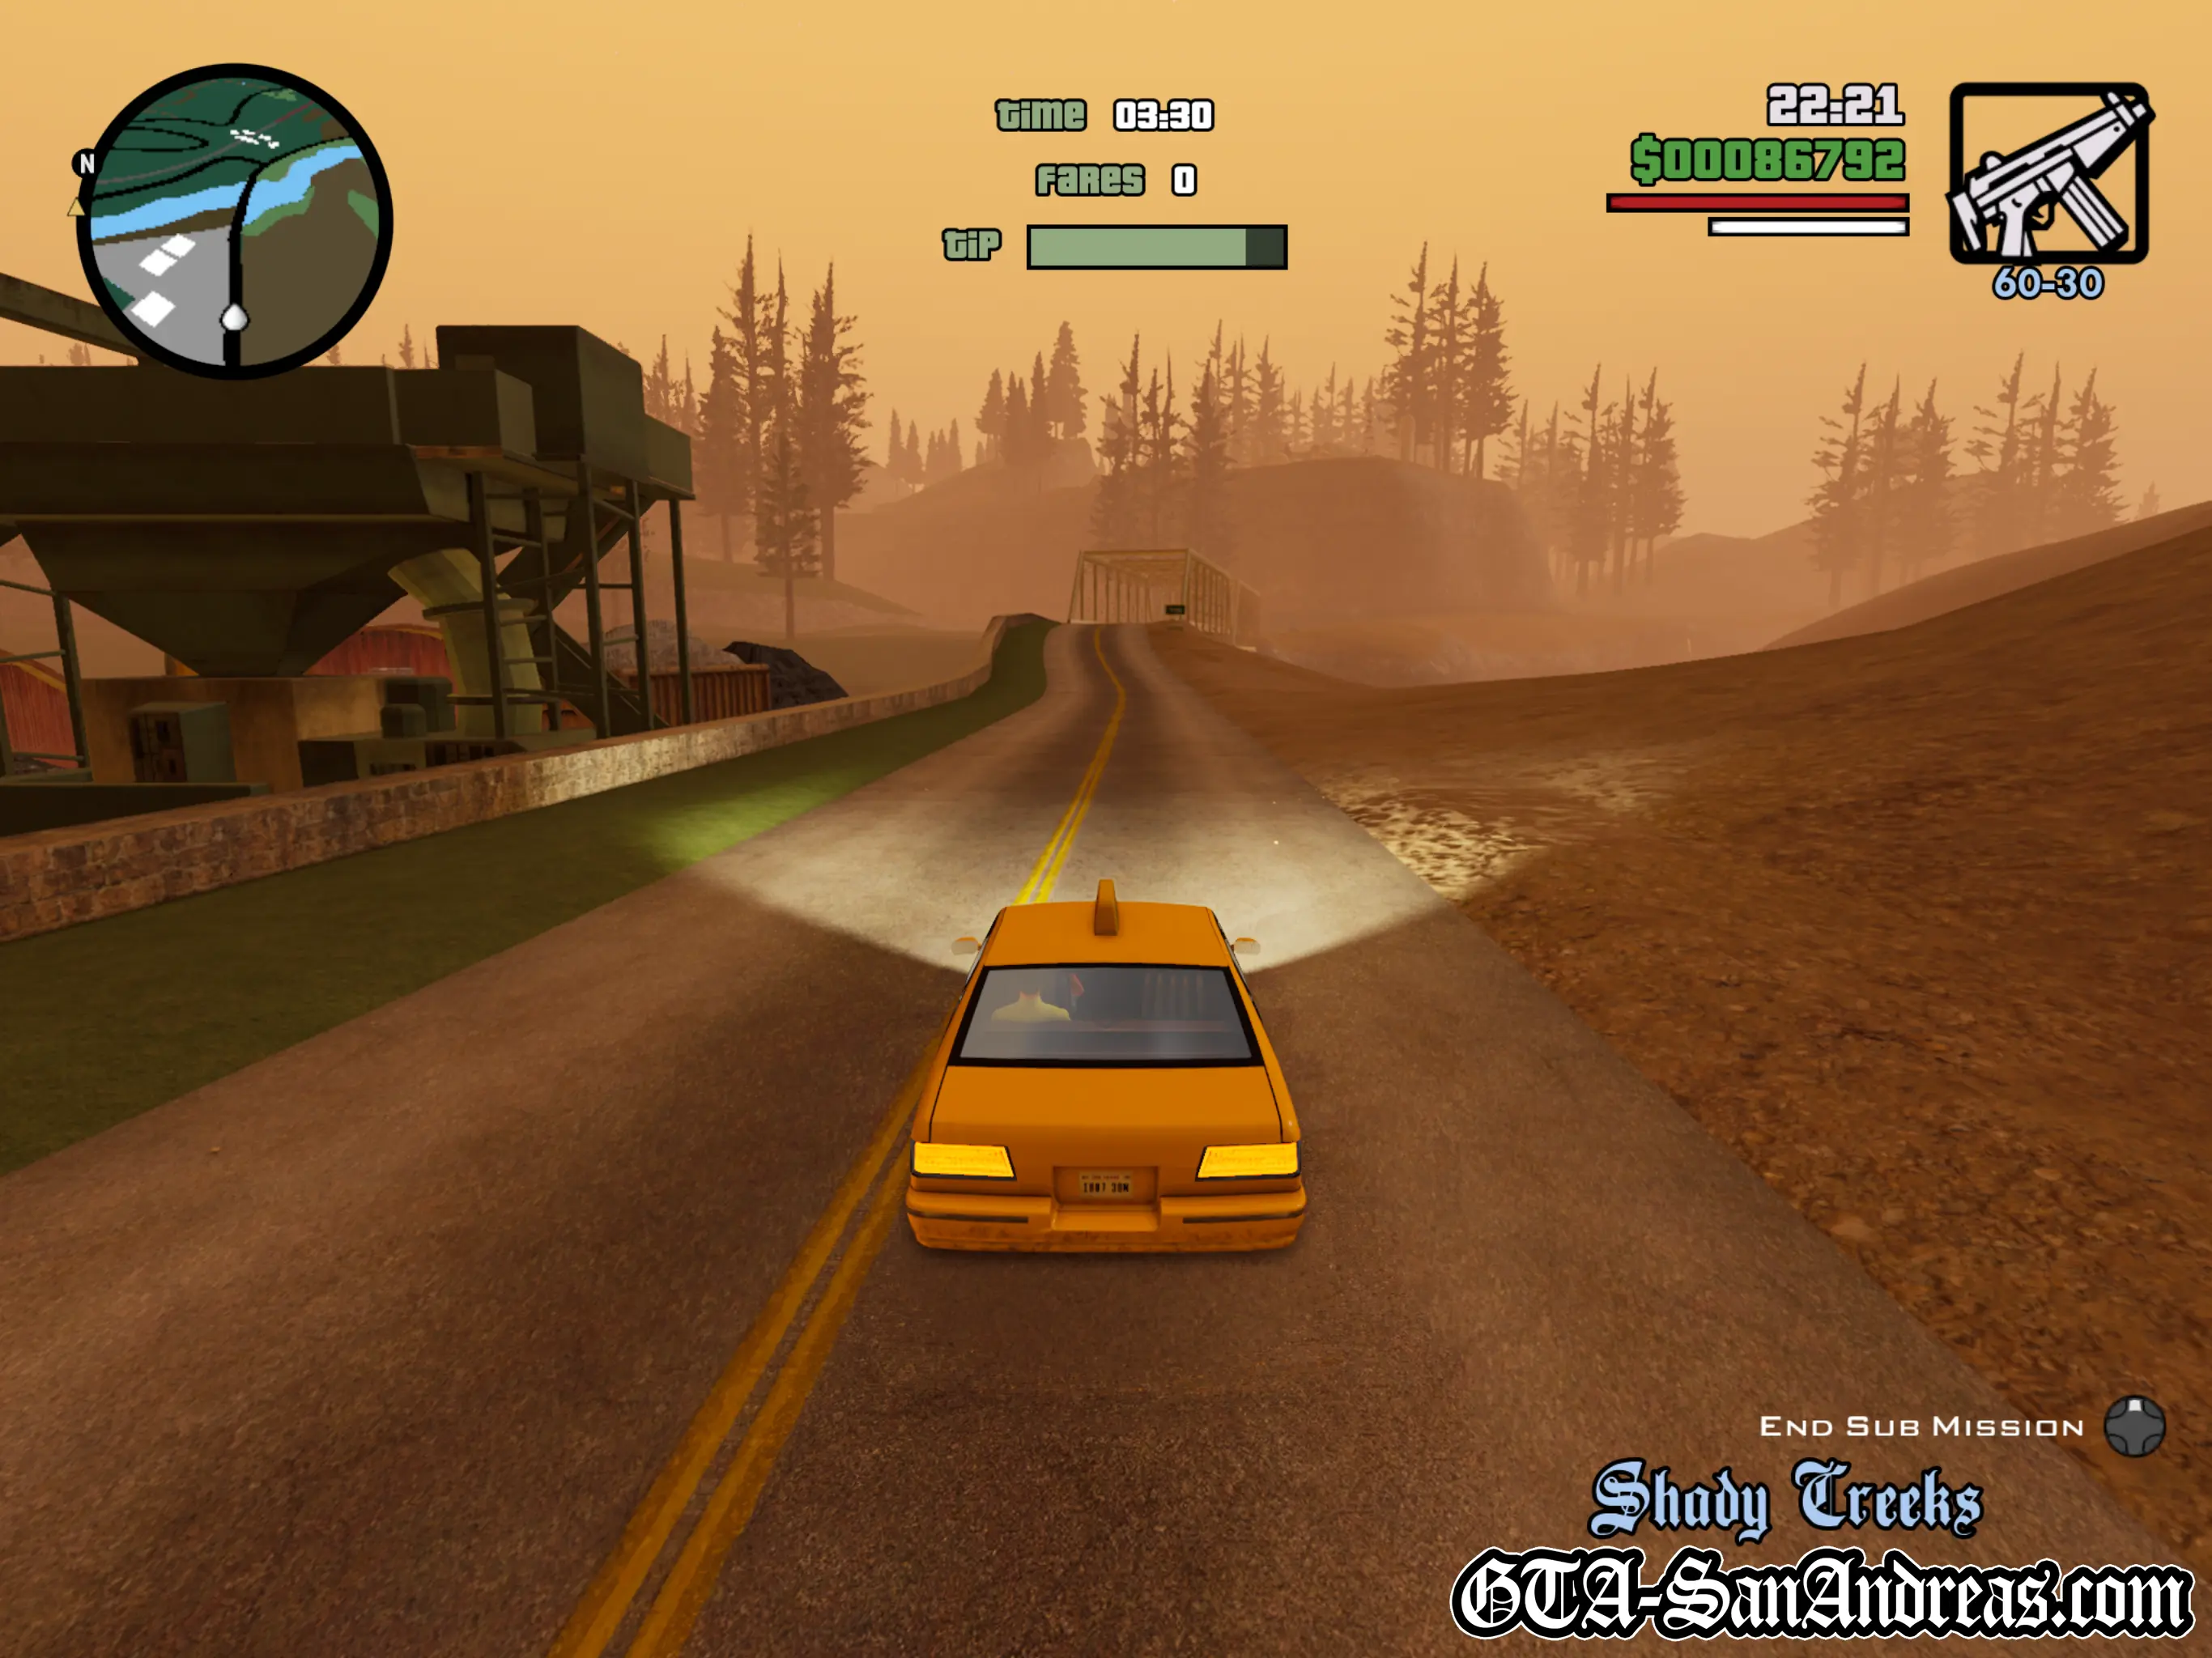
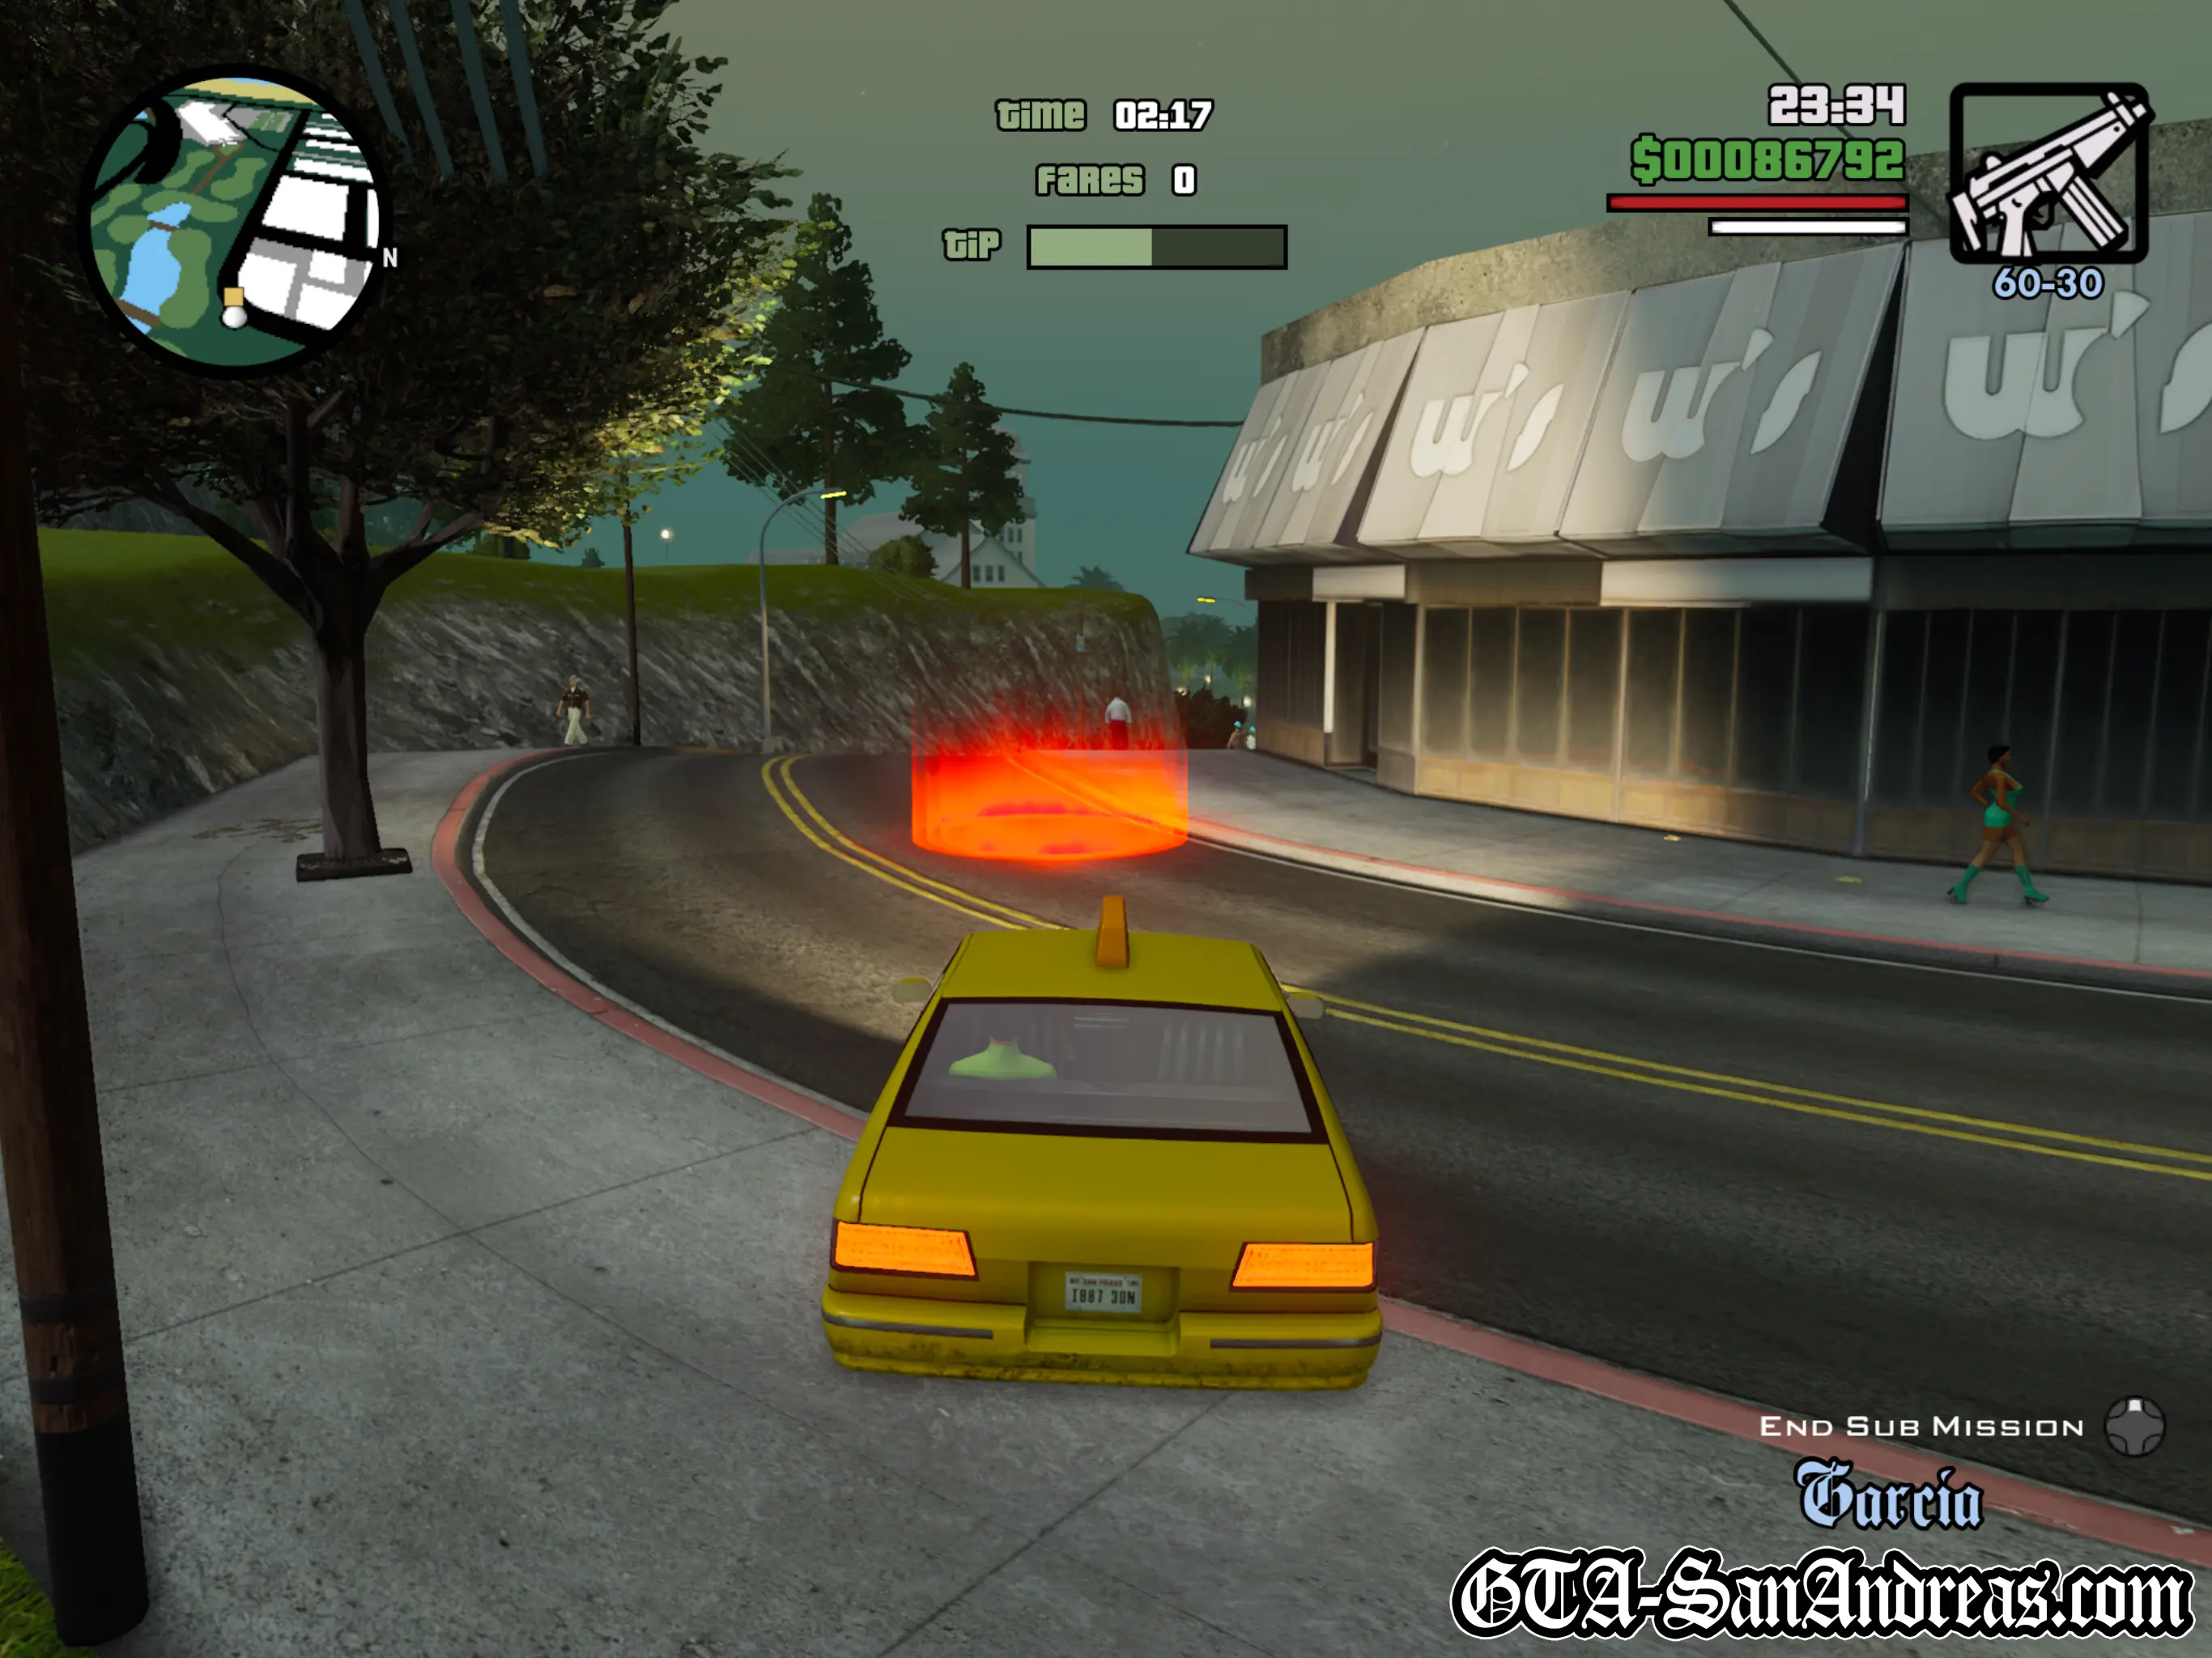
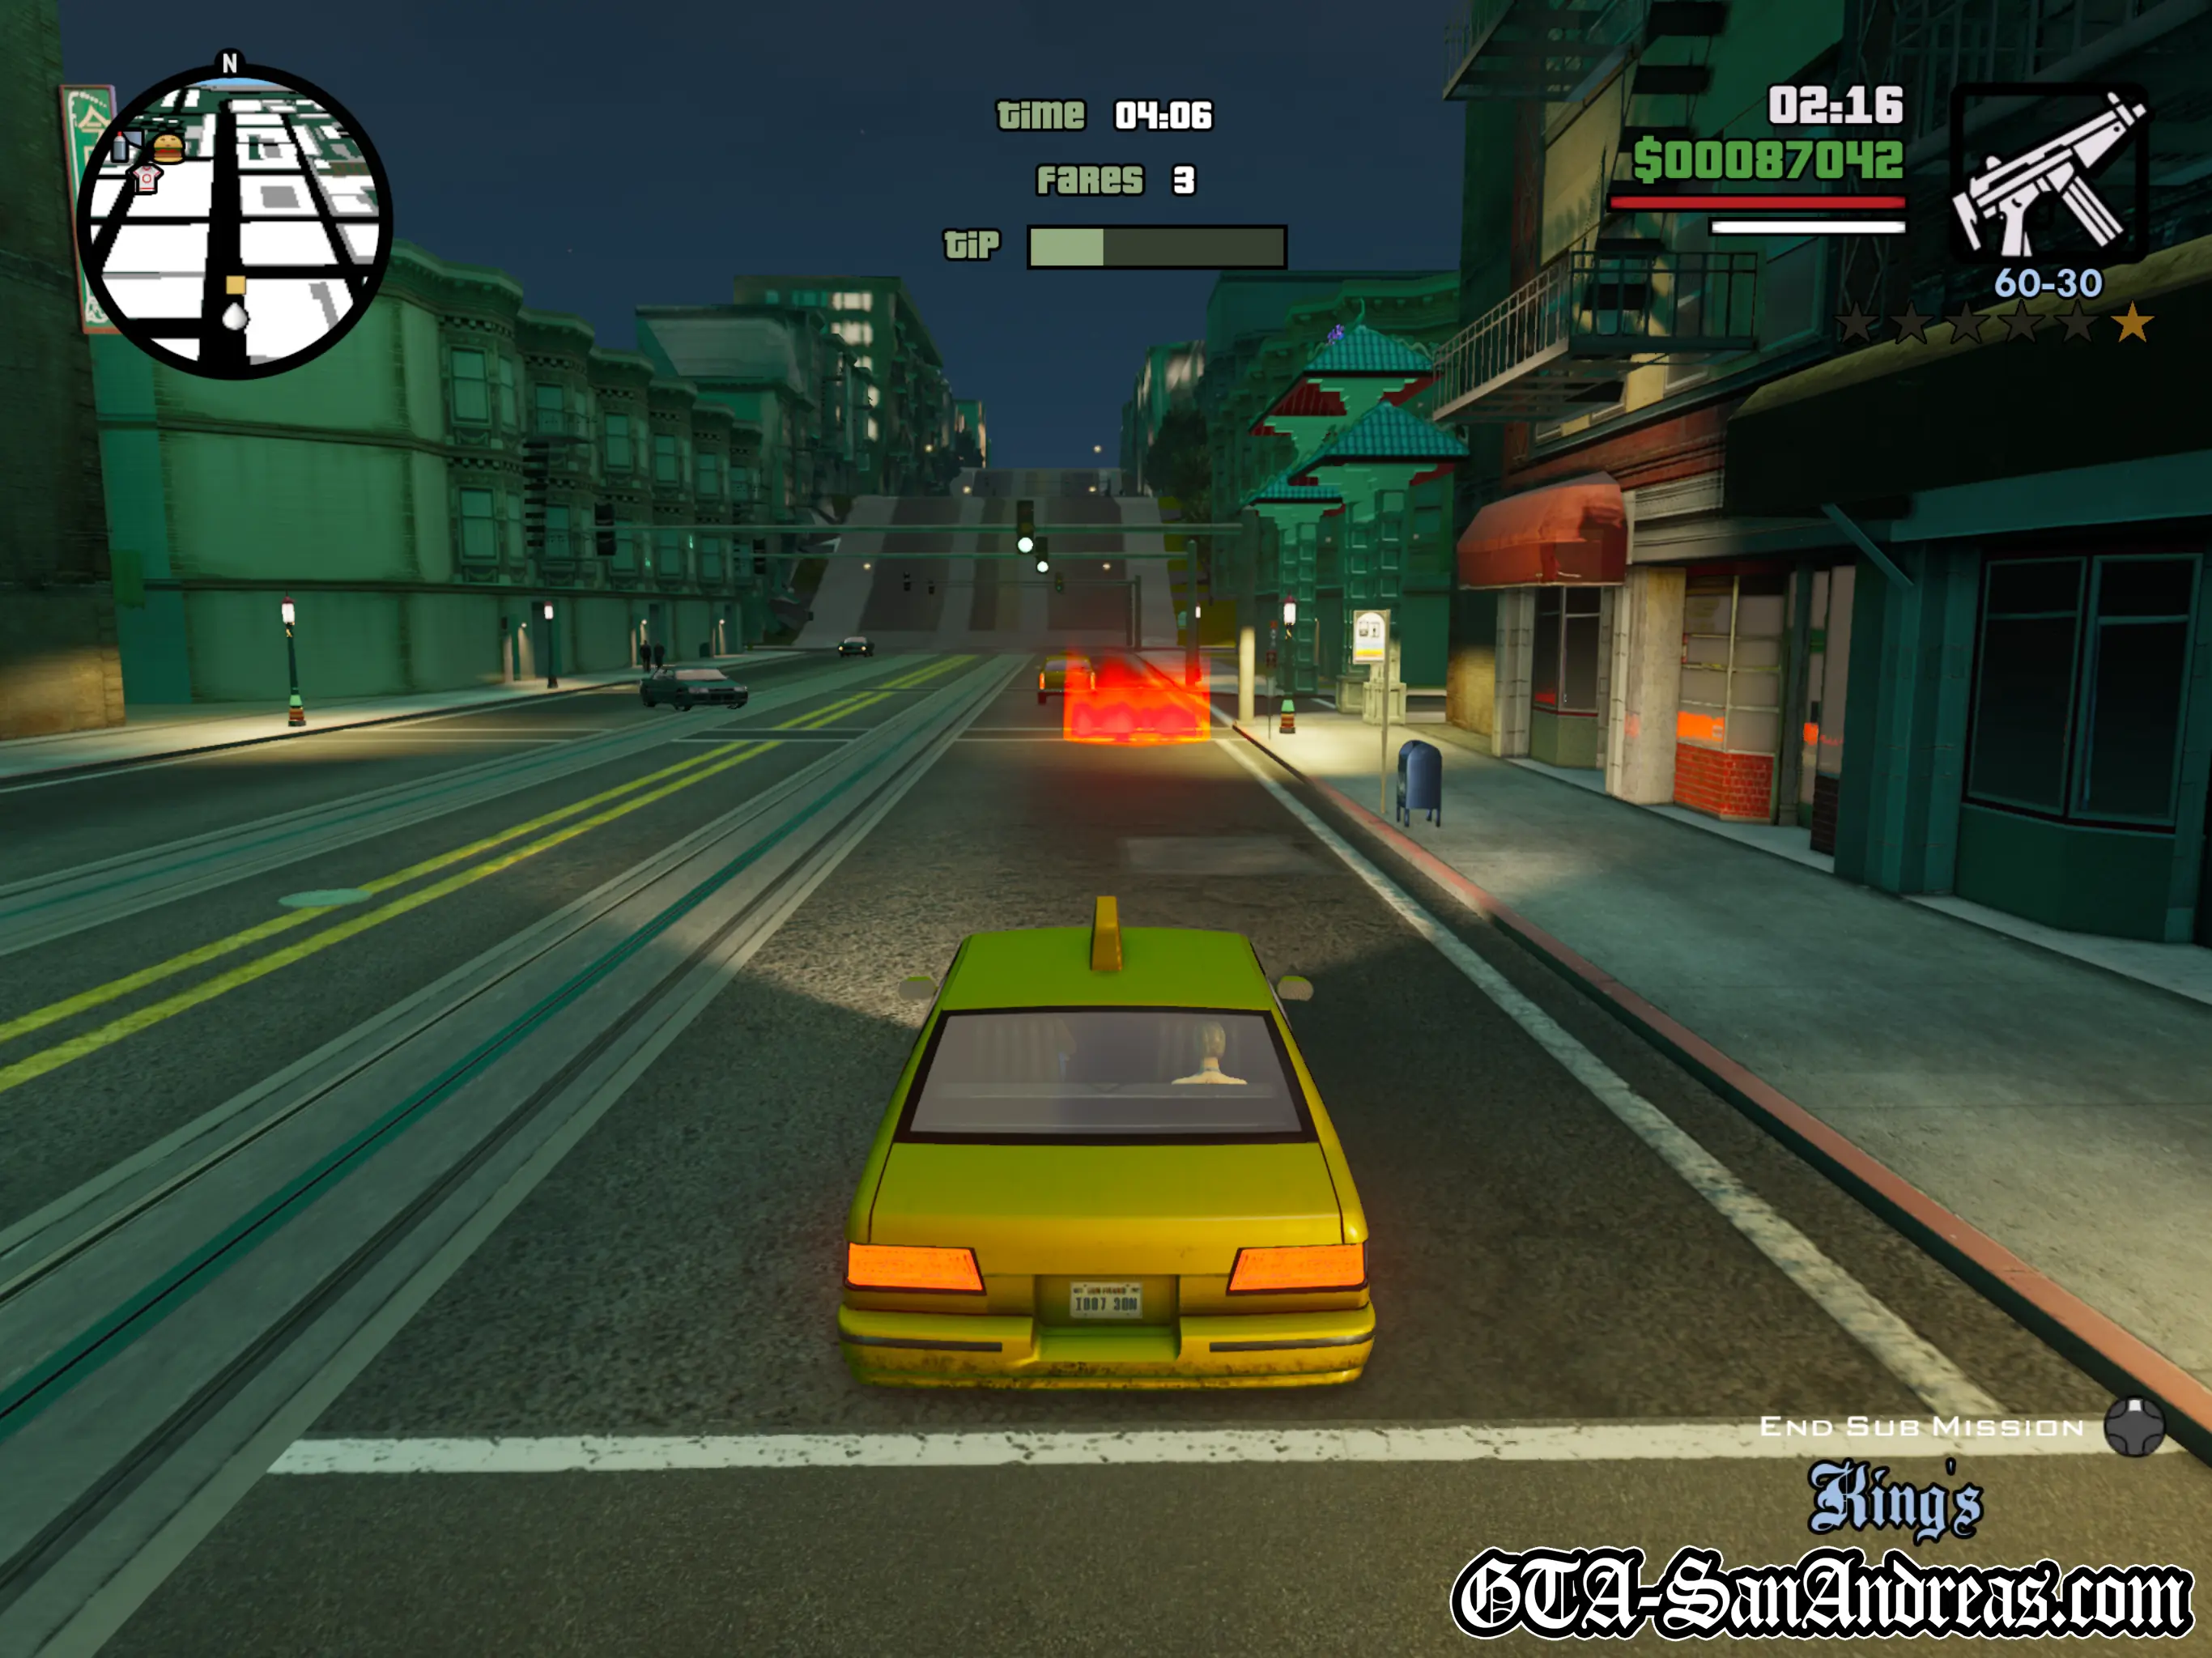
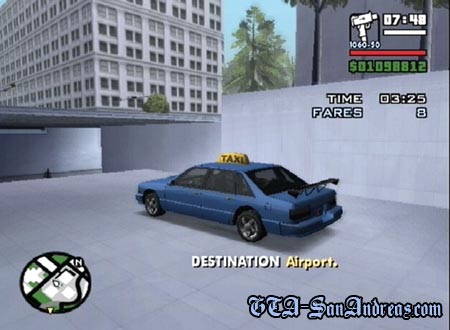
Park next to the pedestrian and they will get into your vehicle, then a message at the bottom of the screen will tell you where they want to go, followed by a yellow blip on the radar marking your destination.
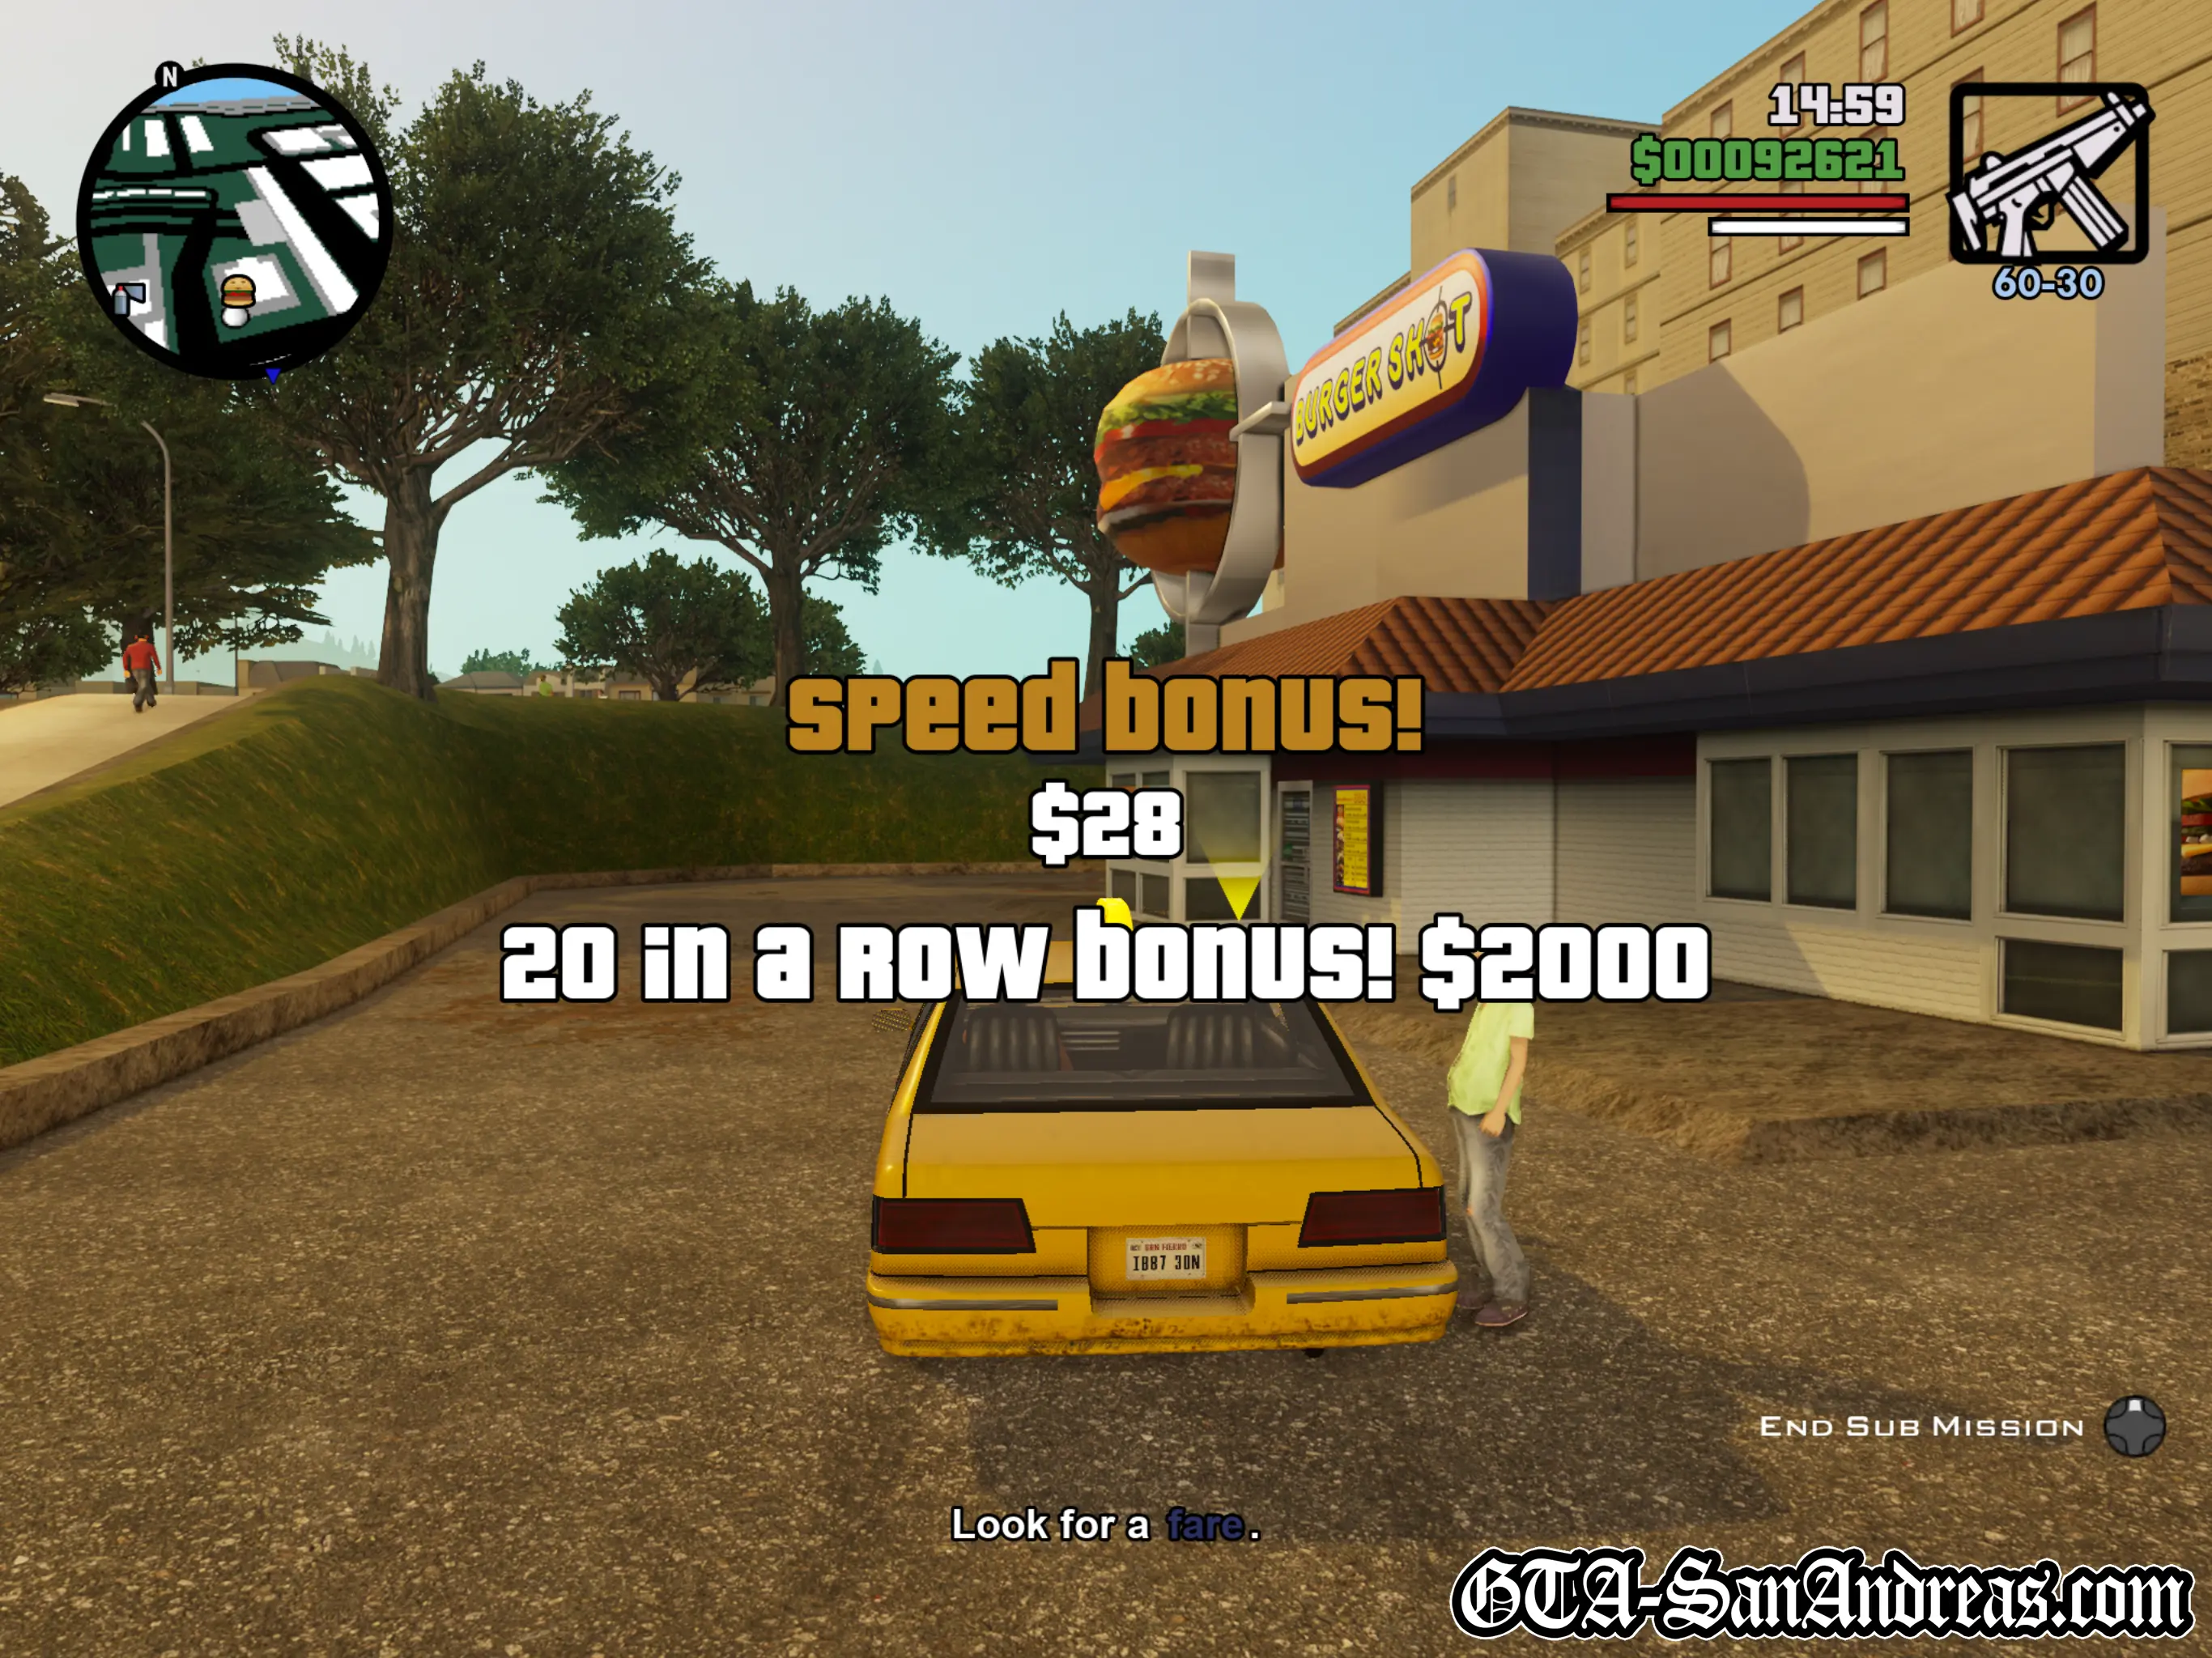
As previously stated, they will regularly want to travel pretty far, but the game tries to make these journeys worthwhile by adding a "Tip Bar" which counts down throughout the trip.
The quicker you deliver your passenger, the more money you'll receive from the tip. The tip bar will decrease over time, but also with damage taken to the car, so if you want to use these missions to make yourself a lot of cash, you'll need to drive fast and carefully.
To make the missions a bit more fun, I might advise heading to TransFender and tricking out your taxi with a new colour and some new wheels. I also like to make up my own reasons why each pedestrian wants to go to their specific destination.
Tactics
I usually suggest you do all of the "Sub-Missions" as soon as possible as the rewards for completing them, in this case the cash reward, will help greatly with the story or just gameplay in general.
There doesn't seem to be a specifically easy place to do these missions, unlike some of the emergency vehicle missions, however they are relatively easy wherever they are attempted.
Regardless of where you start the missions, you'll most likely have to drive into the next main city and drive around delivering people there, so I wouldn't advise you drive to Angel Pine just to be forced to have to drive to Downtown San Fierro on your next fare.
The only way to beat these missions is through perseverance. There are no glitches or shortcuts to make it quicker, however the mission isn't difficult.
Just remember to always speed to the next blue arrowed fare once you've dropped someone off, try to plan the quickest route to their location and stick to the roads.
There's nothing worse than flipping your car just after you start to get going, plus you'll earn more bonus money for more consecutive drop-offs.
Your time will be way more than you need after about 8 or 10 fares, so you'll be able to take it easy and head to the Pay N' Spray to get your vehicle fixed.
Try to refrain from taking shortcuts unless you're about to run out of time or you'll most likely flip the Taxi vehicles.
Modifying your taxi with hydraulics can improve its handling and a few extra colors can make the missions feel slightly less repetitive, but the only real way to beat them is through determination and time.
Completion
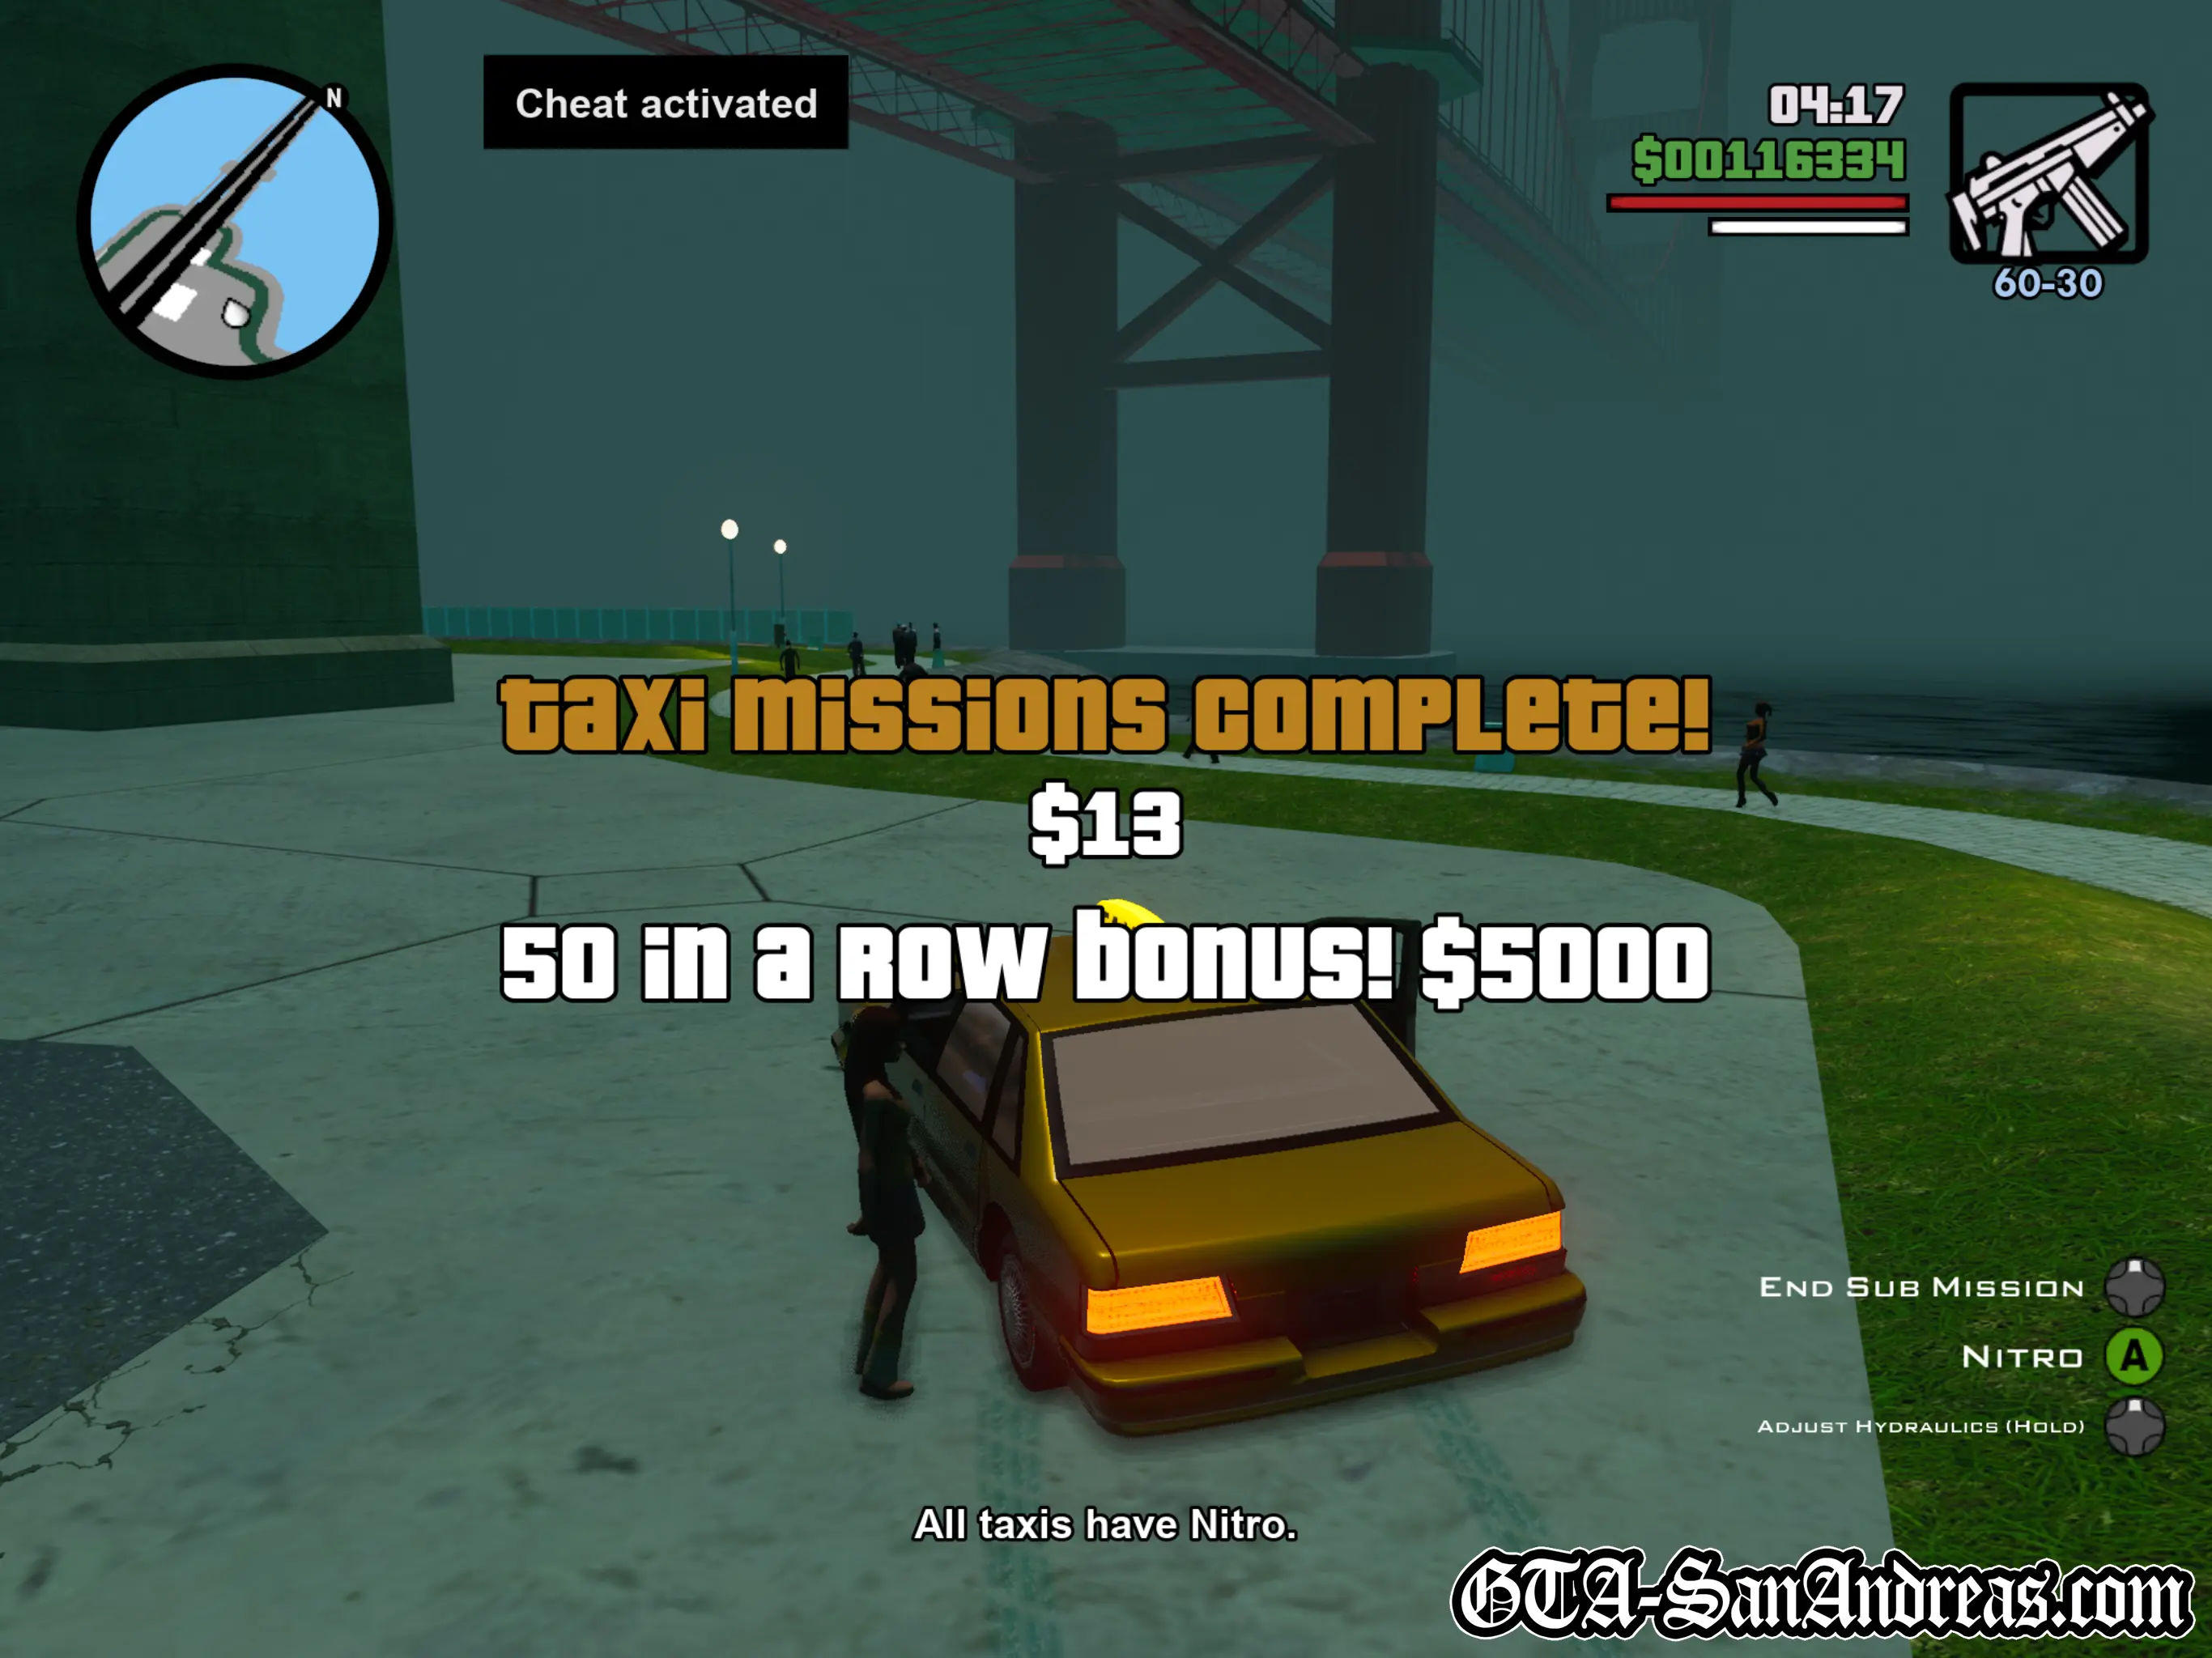
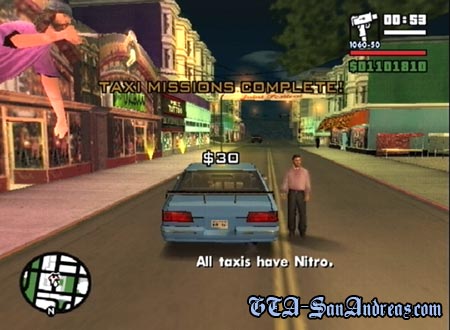
You will need to successfully deliver a total of 50 fares to 'complete' the Taxi Missions. This requirement is 50 in total, not in a row, so you could just do 5 every now and then until you hit 50 altogether, but the cash bonuses for doing them in a row may just make it worthwhile to try them all in a few attempts.
Rewards
Upon successful delivery of 50 passengers, all taxi vehicles will be provided with some fancy new features. Every Taxi and Cabbie in San Andreas will now have Infinite Nitro attached, meaning you can use it over and over, however it will still need to recharge after 15 seconds or so.
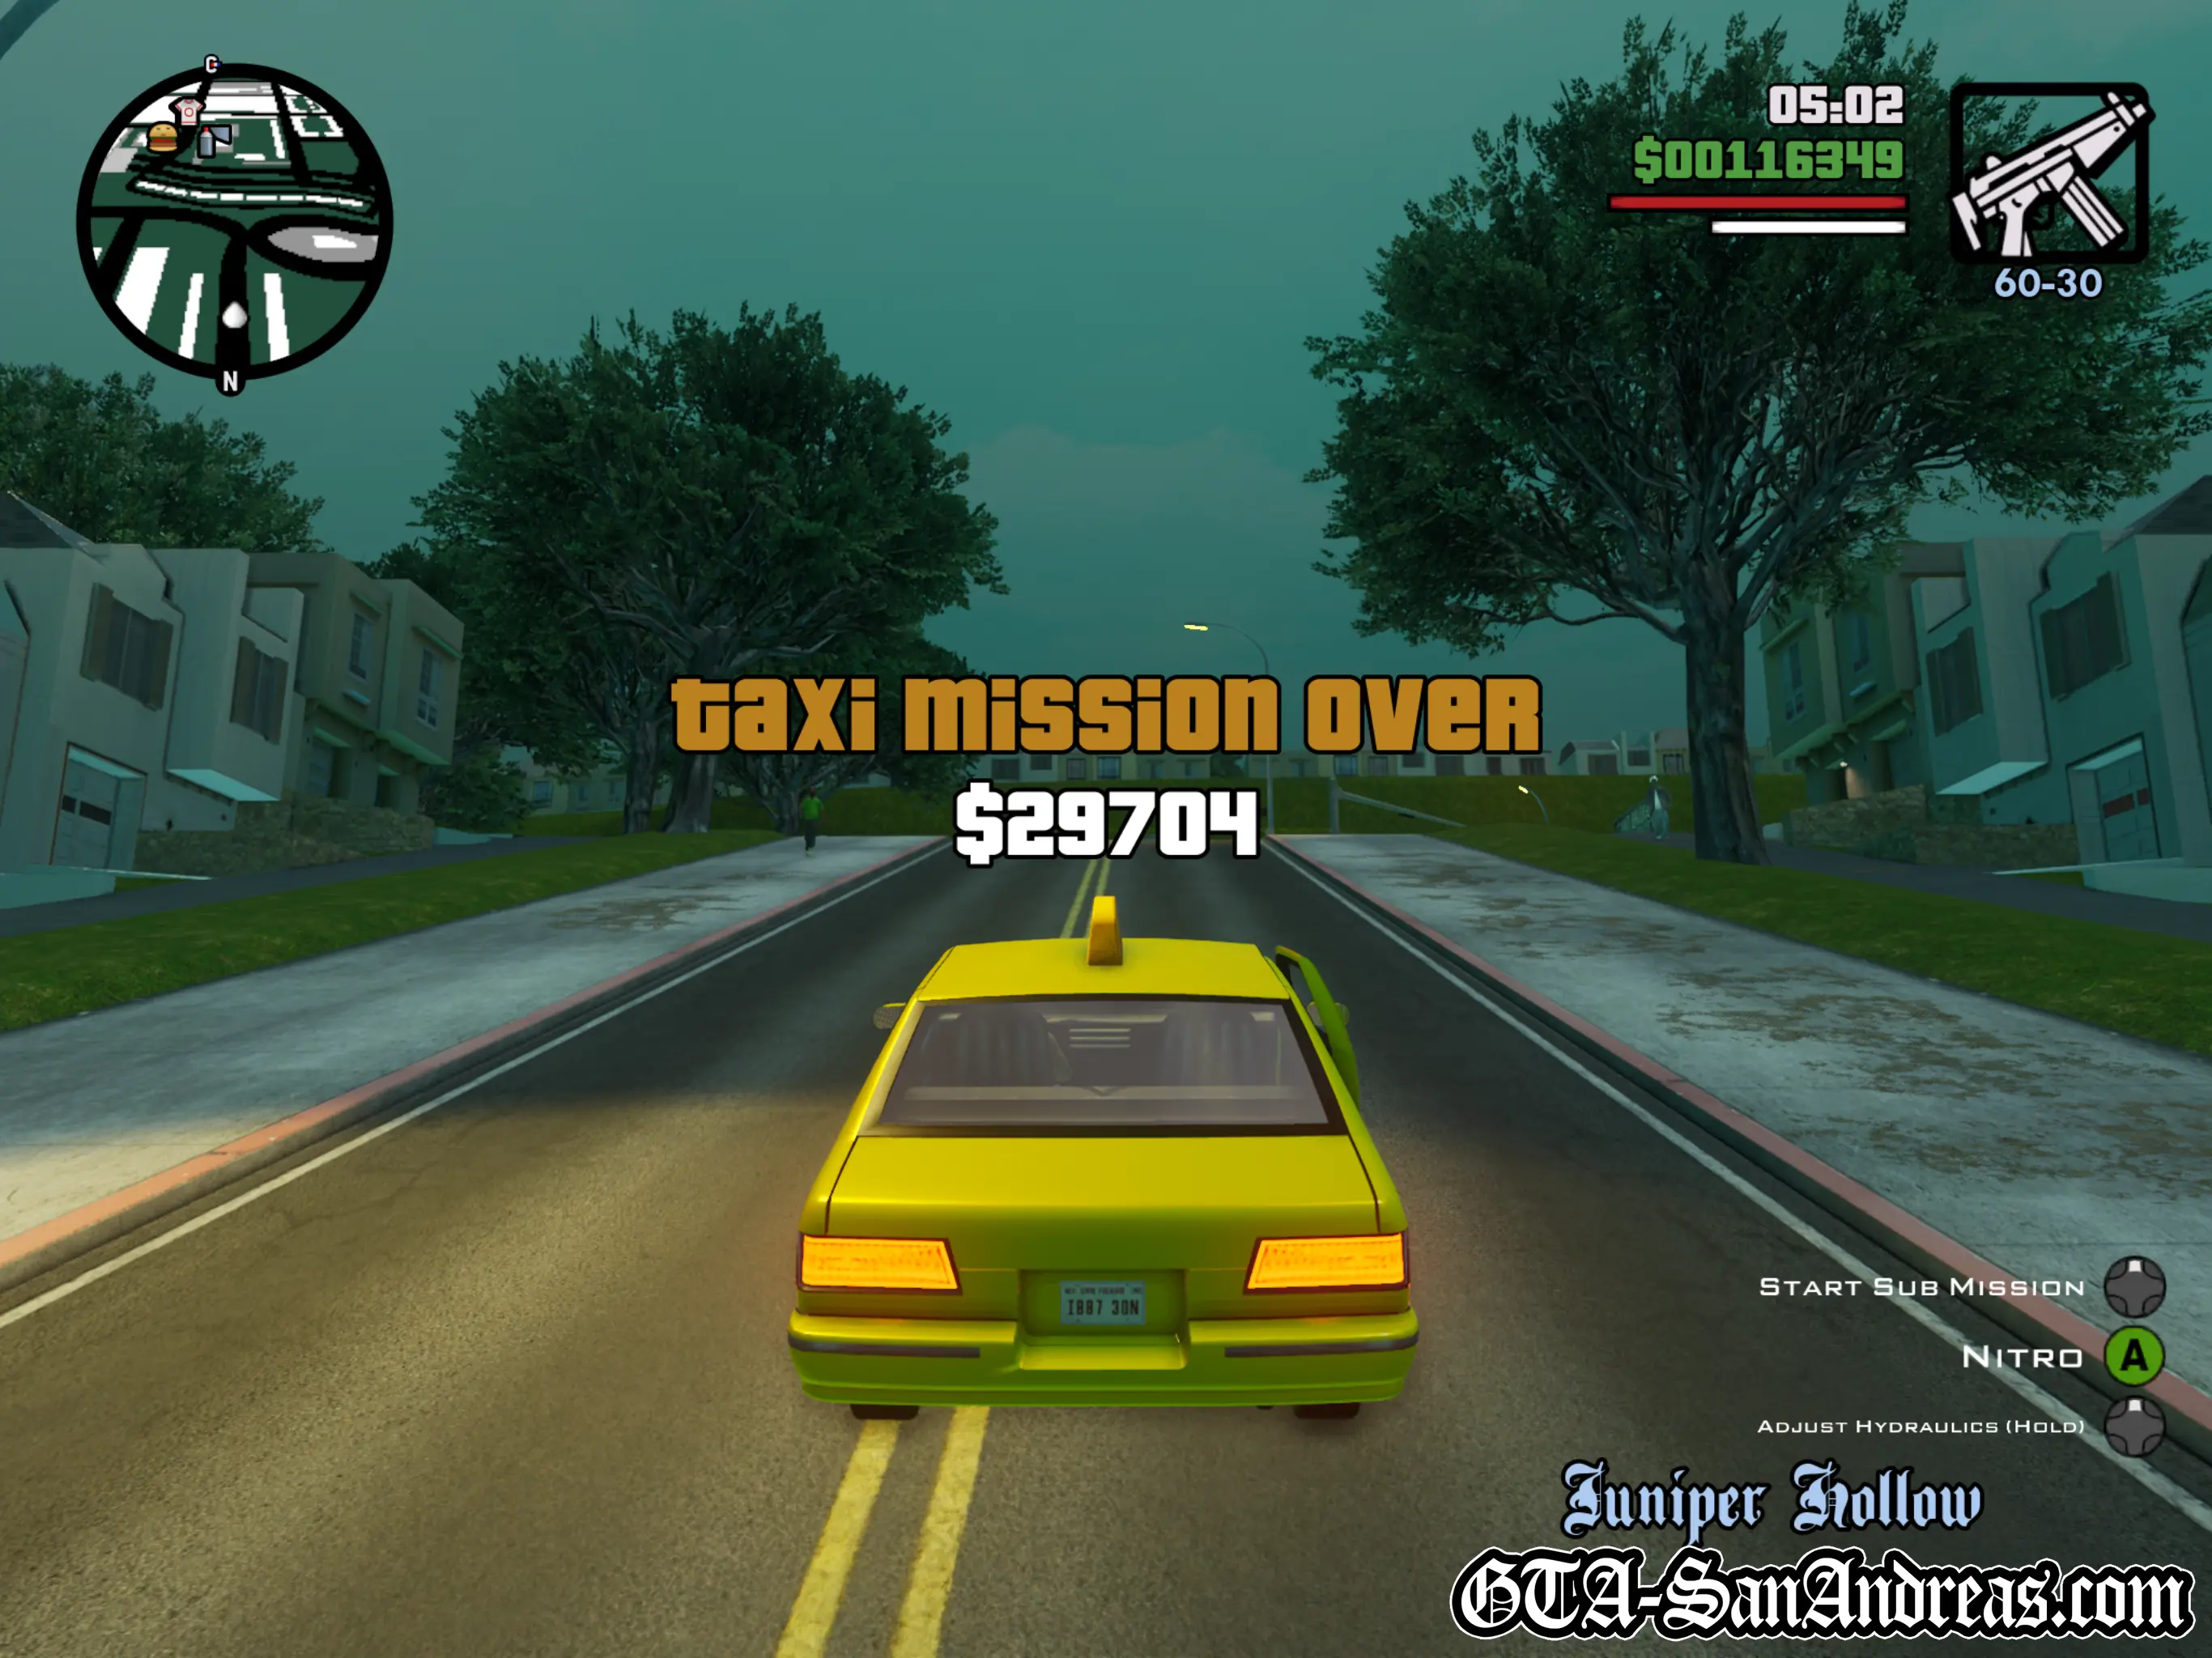
Additionally you will unlock the 'Taxi Boost' on both vehicles, which means pushing L3 while you're driving along will cause your taxi to hydraulics boost itself off the ground.
If you combine nitro and jumping from a ramp with the hydraulic boost, you can get a lot of extra speed and distance making it very helpful for completing Unique Jumps.
Screenshots
Original PS2 Screenshots
Pimping
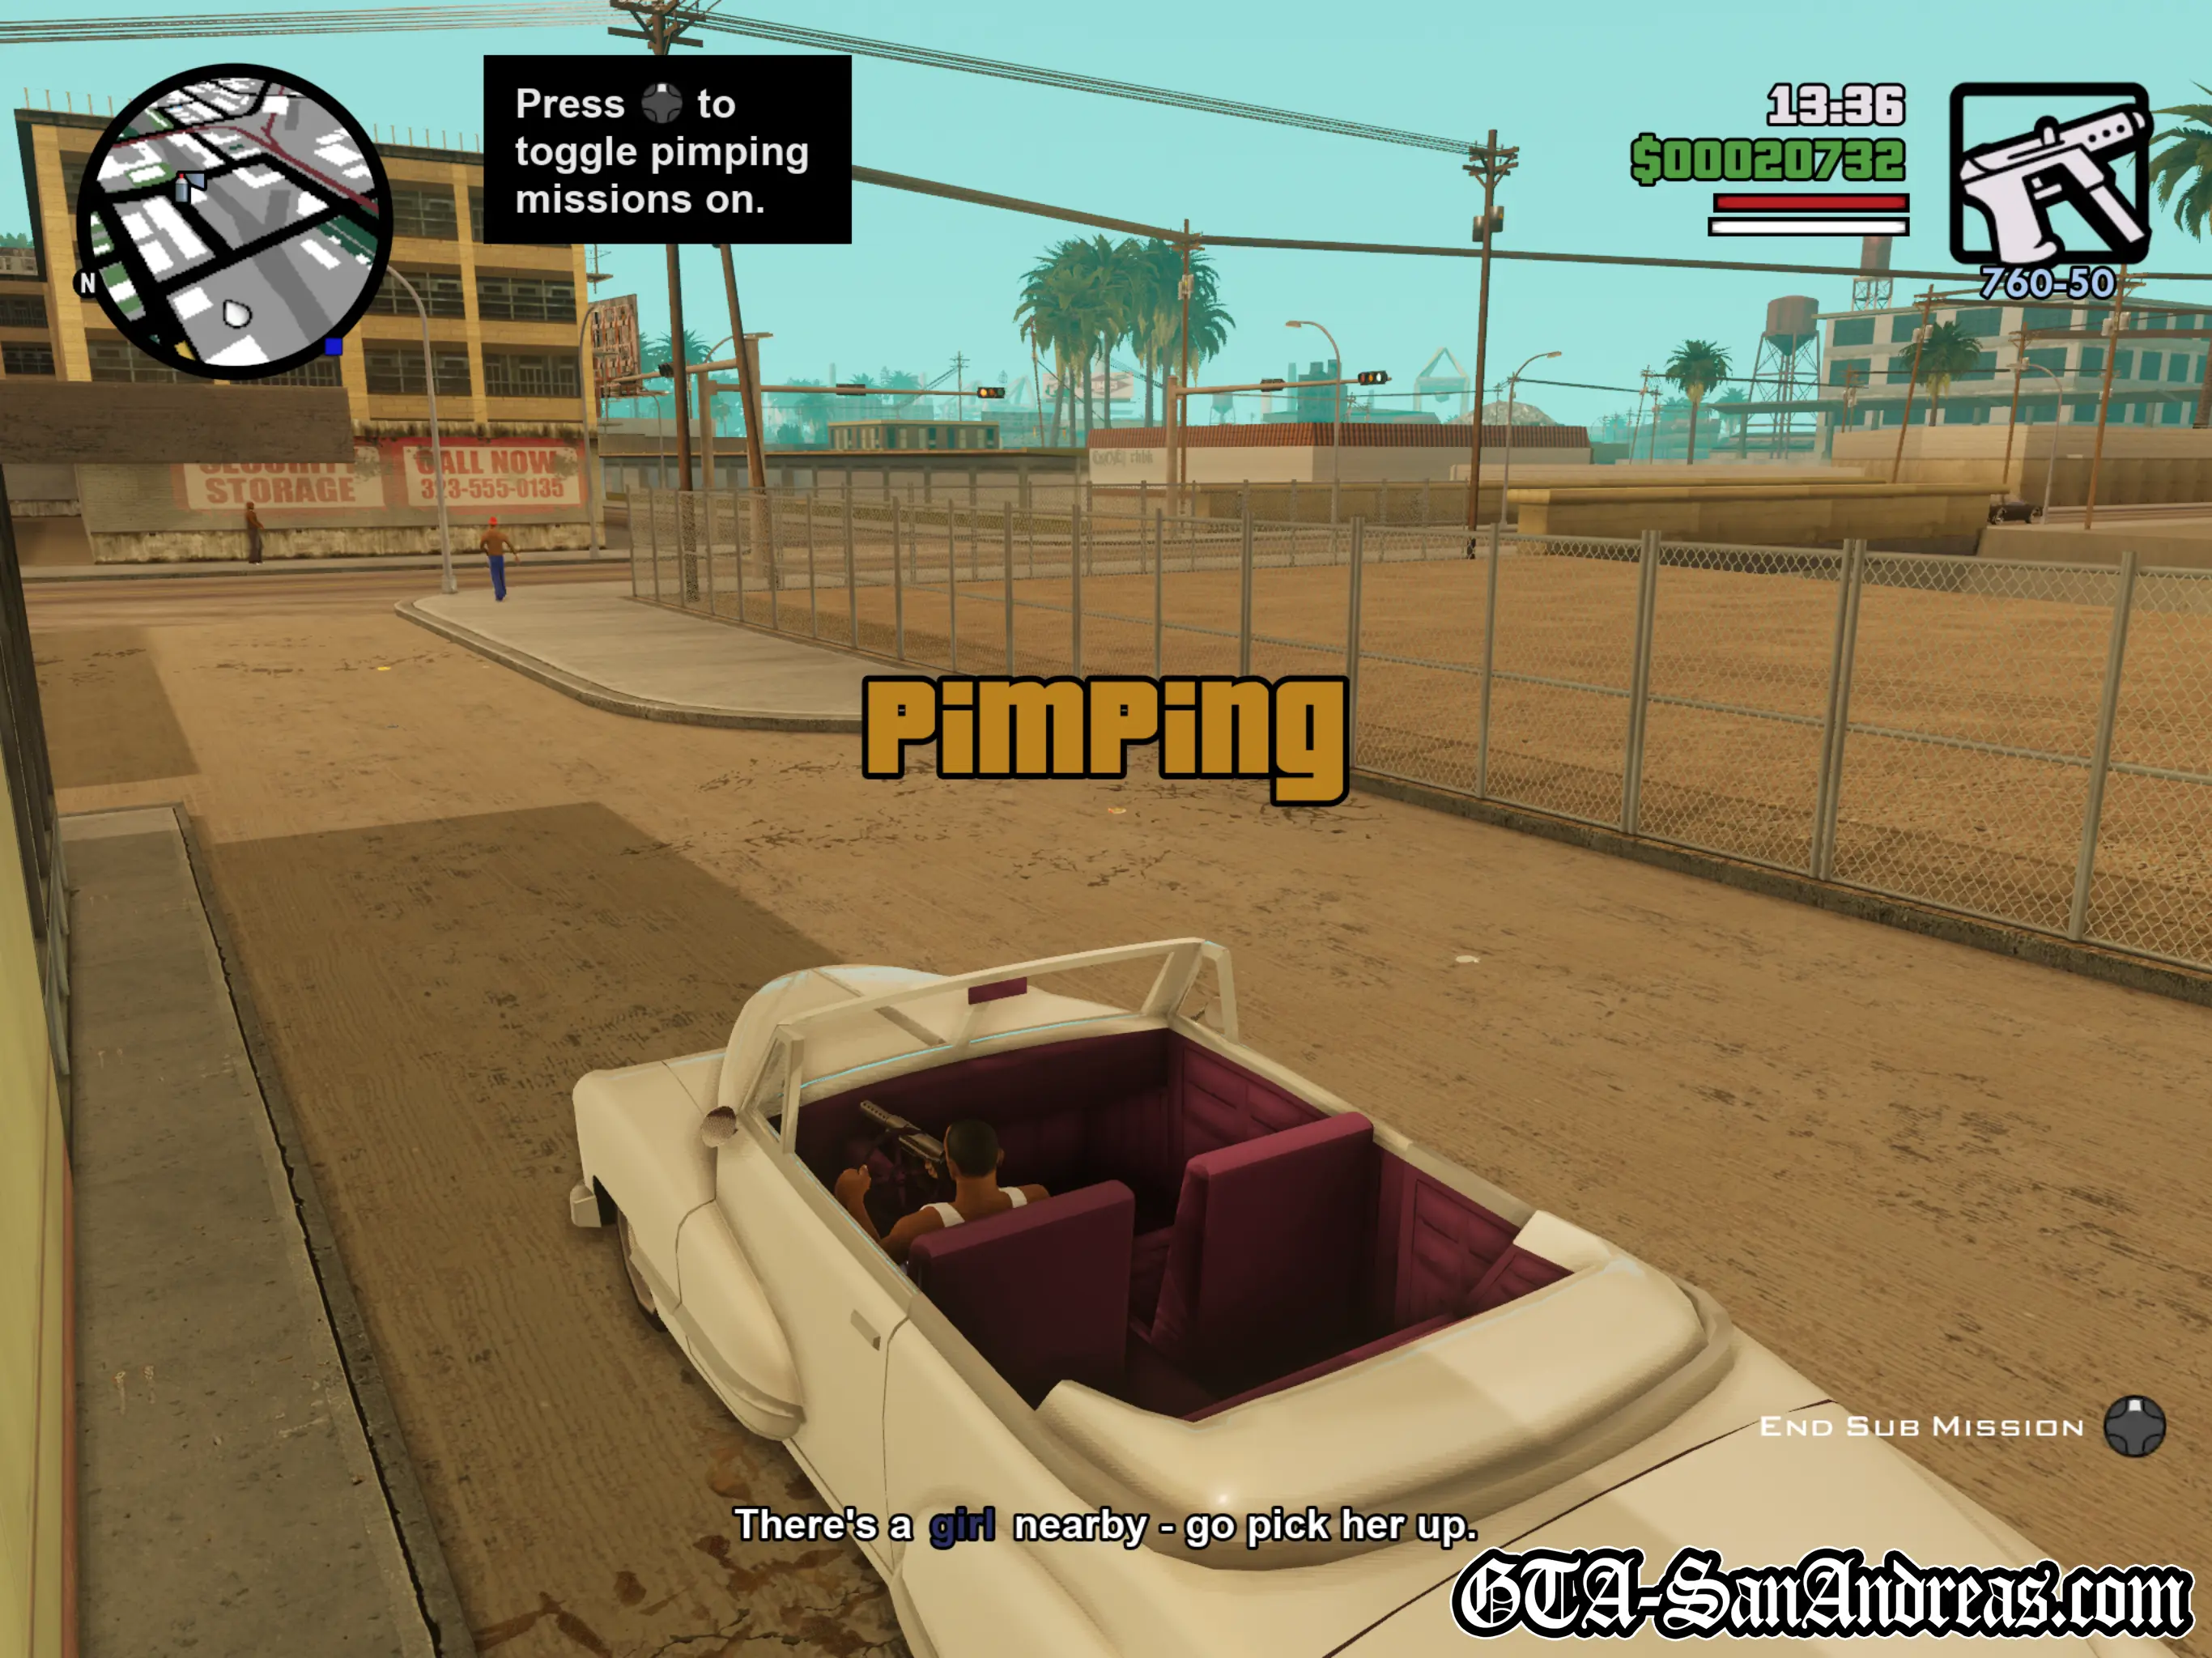
One of the new missions introduced in GTA San Andreas is the ability to 'Pimp'. While this may sound a lot of fun, in reality it's just a disguised version of the Taxi Driver missions which involves you to pick up two Girls and drive them around town, dropping them off with their men, then picking then back up and taking them elsewhere.
You will occasionally have to exit your vehicle and kill a few clients who are causing trouble for the girls, but the basics of it are that you need to drive and deliver girls the same way you would in a taxi.
Vehicle Needed
- Broadway
Reasons For Mission Failure
- One of your girls is killed.
- You are arrested.
- You are killed.
- You push R3 to cancel the sub-mission.
- Your time runs out.
The Basics
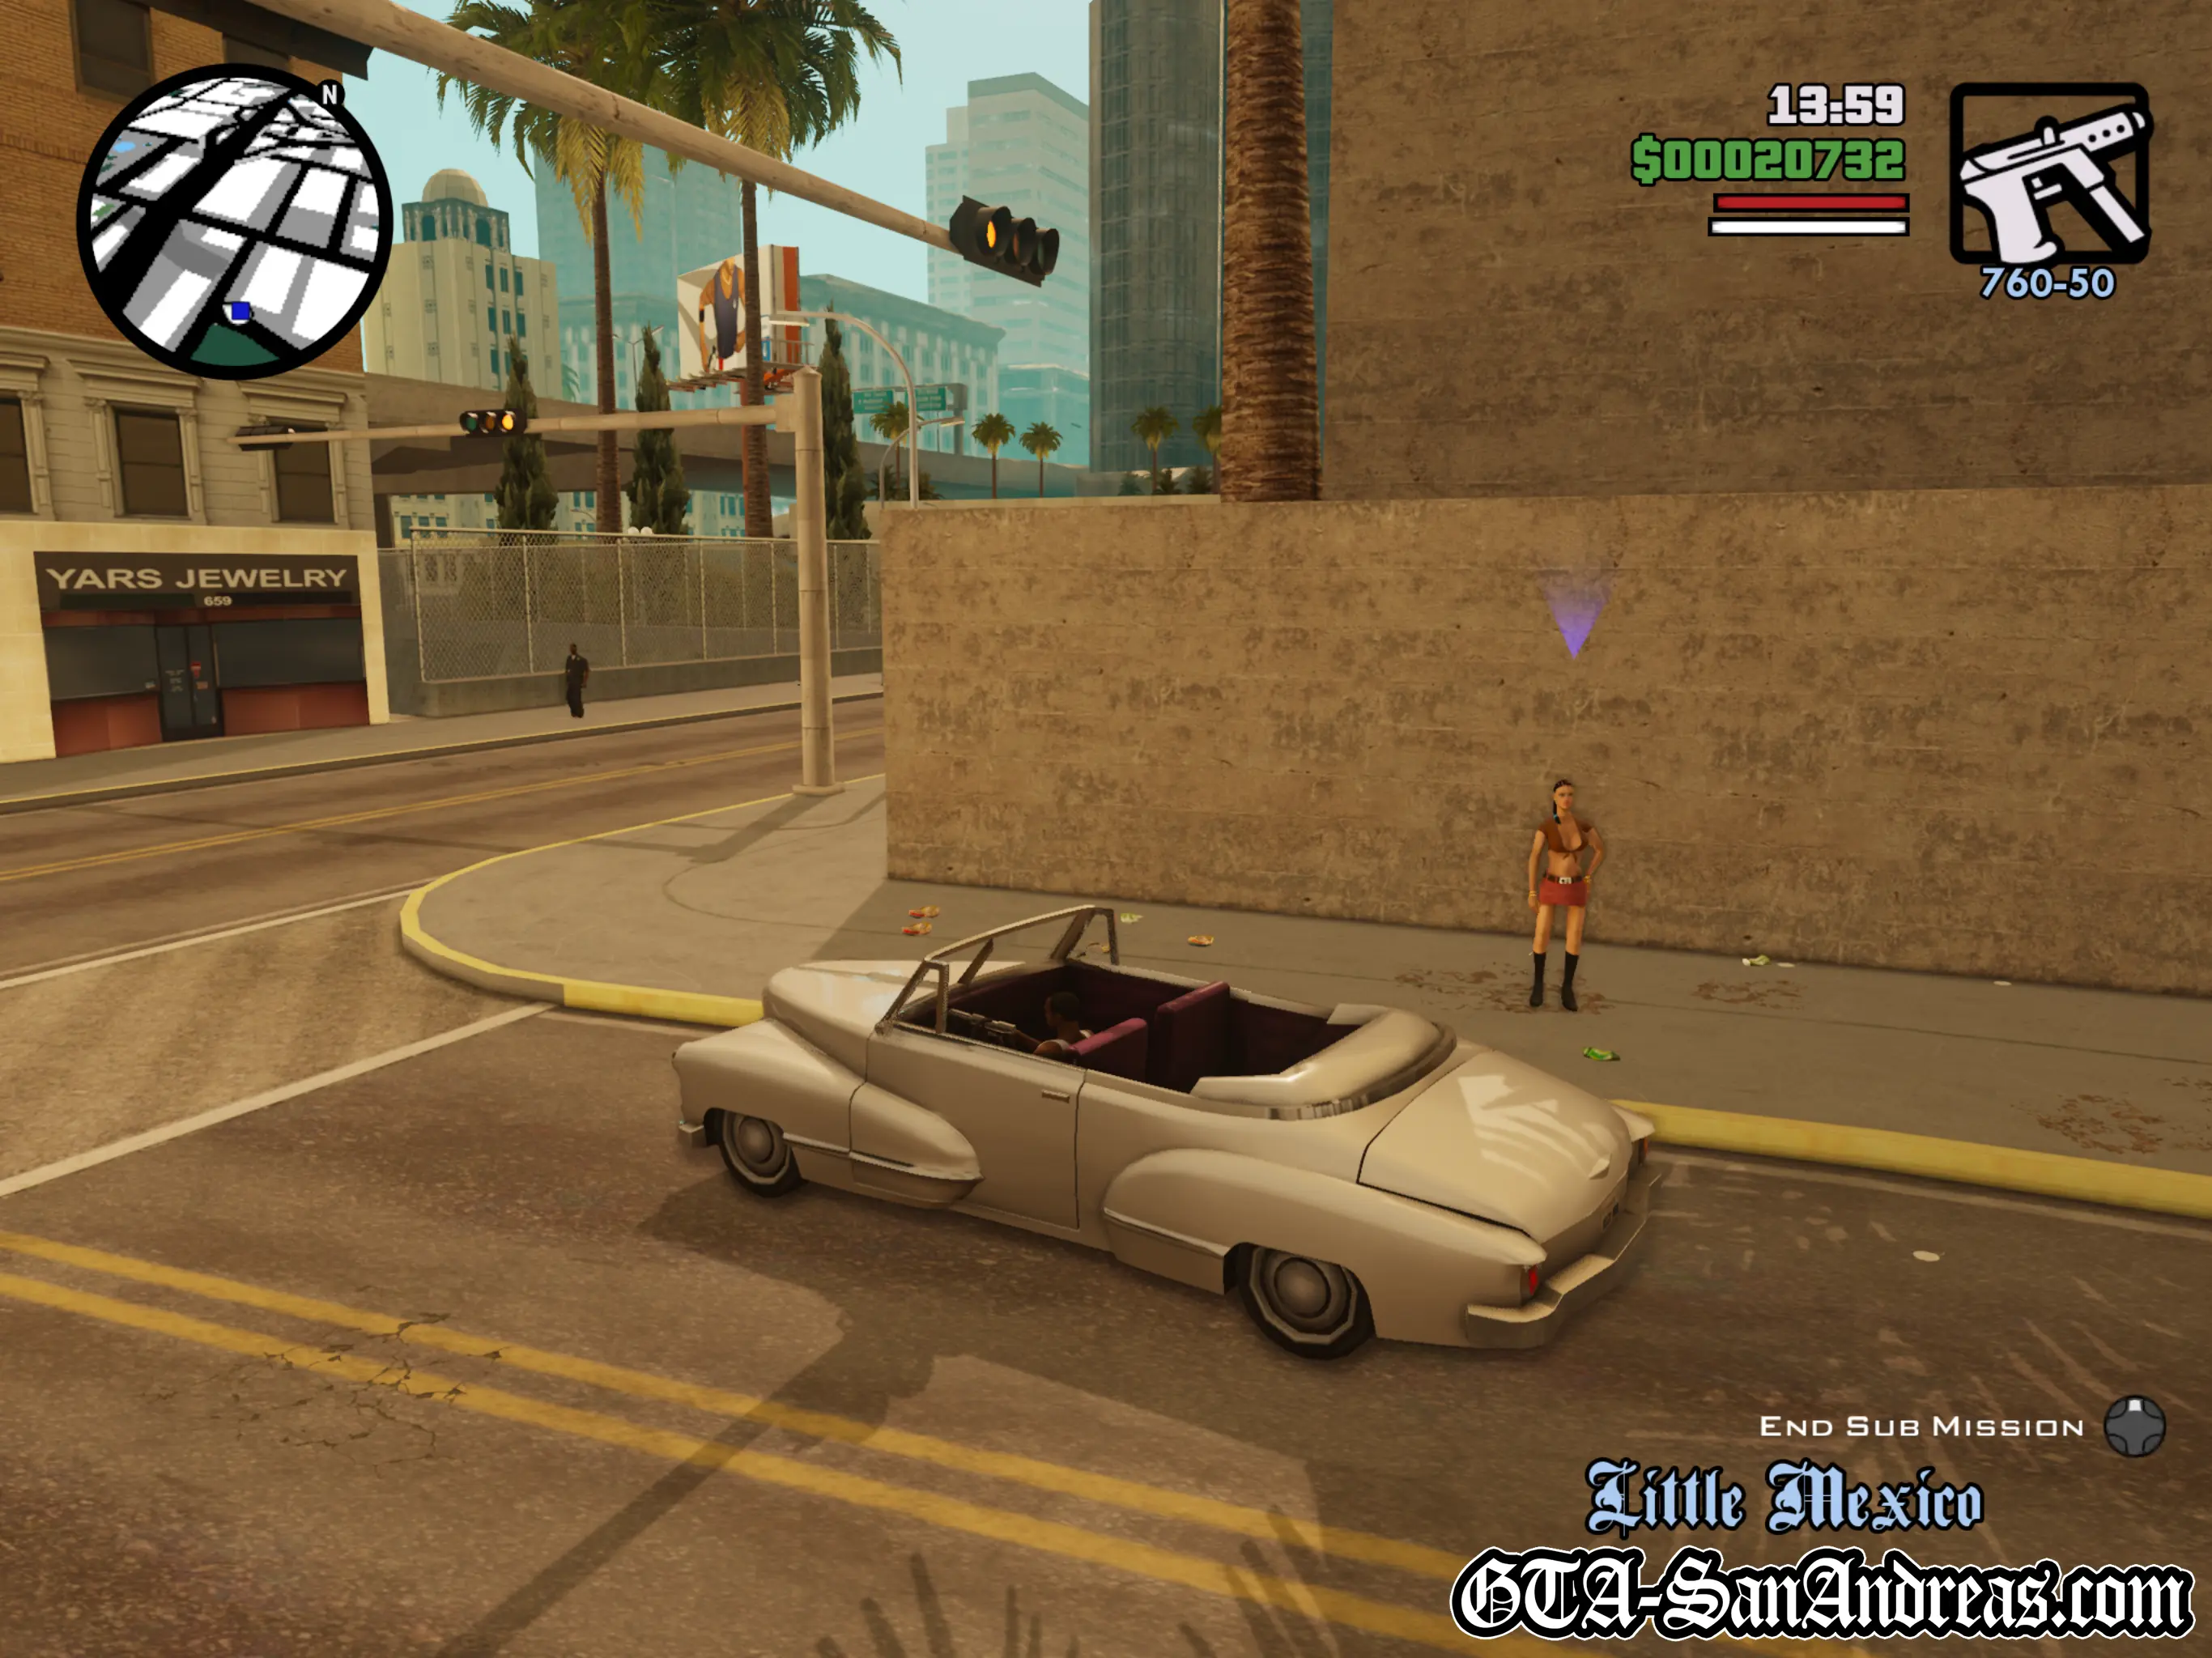
When you enter a Broadway vehicle and you're not currently on a mission, hit the R3 button to start the Pimping Missions.
A Blue icon will appear on your radar, highlighting a girl who needs a ride, so drive over to her and park next to her while she gets in the car.
A message will then be displayed at the bottom of the screen which will tell you where they need to be taken, followed by a yellow blip on the radar to mark your destination.
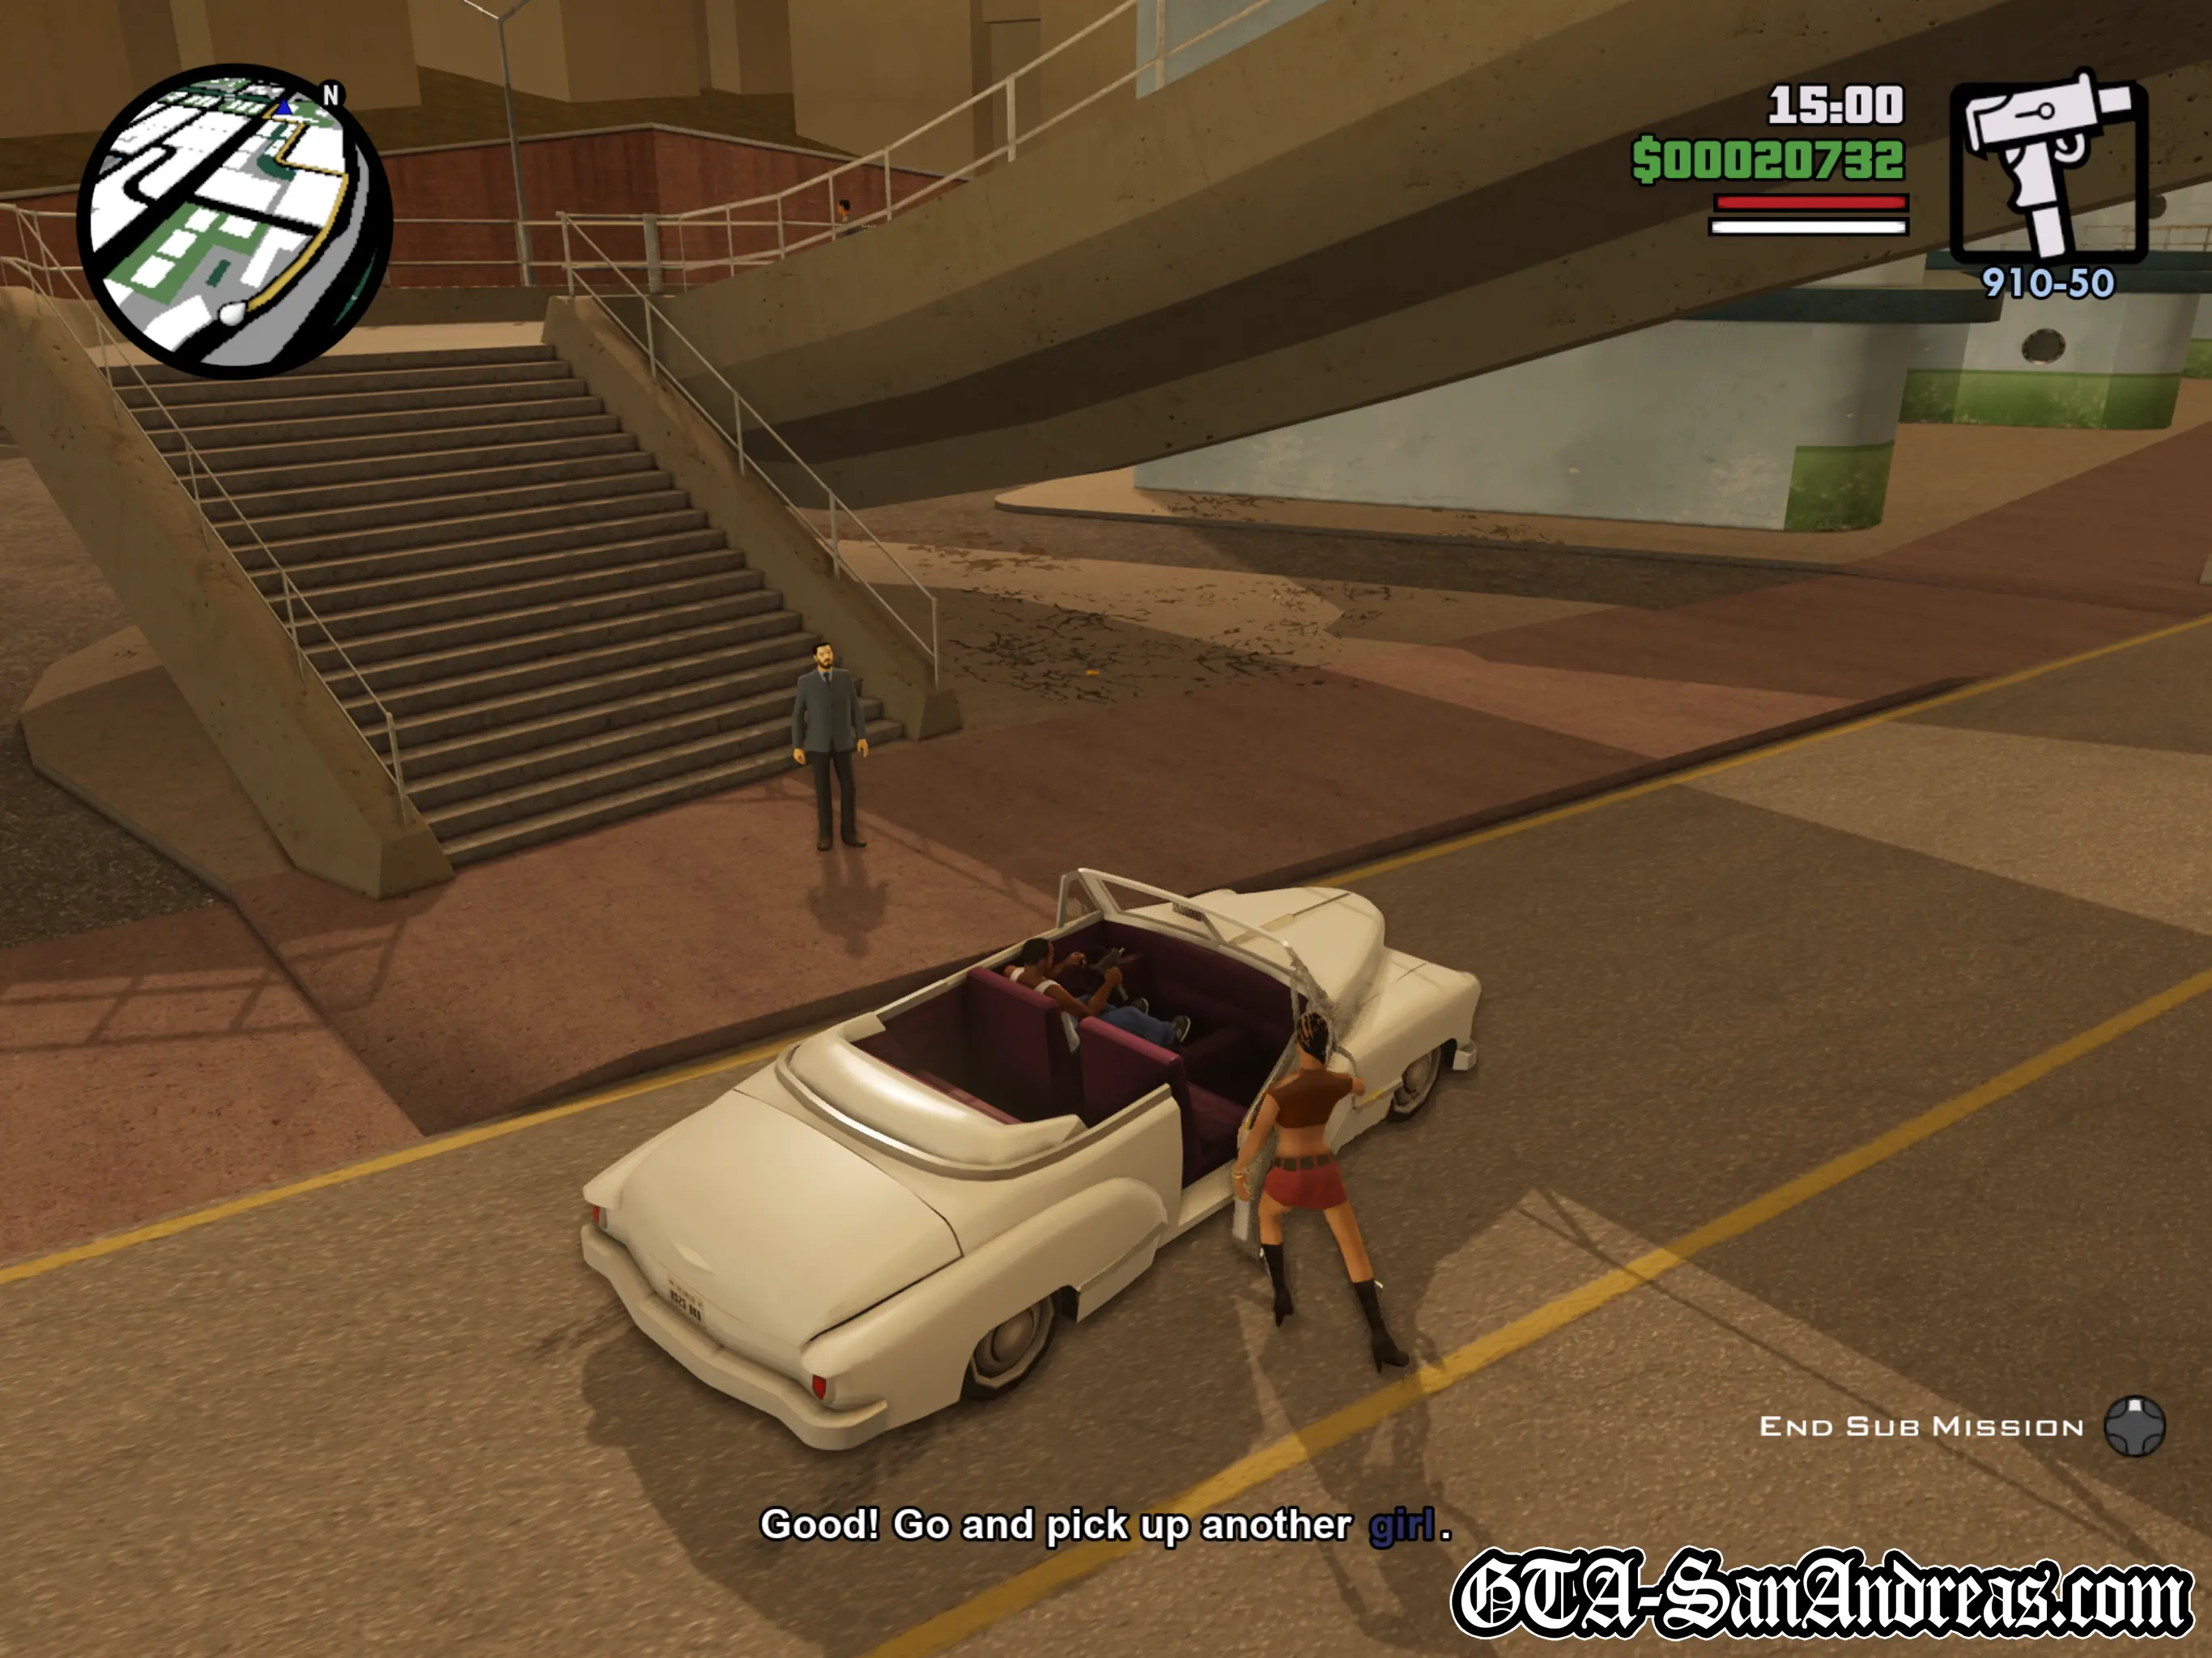
A countdown timer will be started and you'll have a set time to get your girl to her man, who'll be highlighted with a yellow arrow when you get close.
Park next to him and the girl will get out, then you can casually make your way to another girl and pick her up.
Deliver the second girl to her man too, then you'll be told to pick up the first girl again. This will alternate continually and occasionally you'll have to do more than just drop-off and pick-up, such as chasing down clients who won't pay or murdering dudes who are being a bit too rough with the girls.
Tactics
There isn't too much you can really say about this. It's not too difficult and it doesn't take too long, however you do need to be in a Broadway vehicle in order to do them. Those cars can be pretty rare at times, so you won't want to ruin your vehicle or you're very likely to run out of time and fail.
Plan your route and keep up your speed when you've got a timer, but other than that, just be careful not to destroy your car or kill your girls.
Remember where your girls have been dropped off and as soon as you drop off the other one, head back towards the previous girl and pick them up. It's pretty straight forward.
Mission Overview
| Level | Objective |
|---|---|
| Level 1 | Pick up girl 1 from her man |
| Level 2 | Pick up girl 2 from her man |
| Level 3 | Pick up girl 1 from her man |
| Level 4 | Pick up girl 2 from her man |
| Level 5 | Pick up girl 1 from her man |
| Level 6 | Pick up girl 2 from her man |
| Level 7 | Pick up girl 1 from her man |
| Level 8 | Pick up girl 2 from her man |
| Level 9 | Pick up girl 1 from her man |
| Level 10 | Pick up girl 2 from her man |
| Level 11 | Pick up girl 1 from her man |
| Level 12 | Pick up girl 2 from her man |
Completion
You will need to complete all 10 levels of the Pimping Missions, which is essentially 5 drop-offs and pick-ups for each girl.
The whole mission must be completed consecutively, unlike the taxi missions you can't exit and continue where you left off.
Rewards
Upon successful delivery and pick-ups through 10 Levels of Pimping Missions, you will be informed that girls will now pay you to have relations with them.
This means that you can drive along the streets until a prostitute comes up to your vehicle and if you invite her in, you'll be paid and your cash will increase over time instead of the other way around.
It's a pretty useless reward which you'll probably never use, but it needs to be done for 100% completion.
Screenshots
Original PS2 Screenshots

Burglary
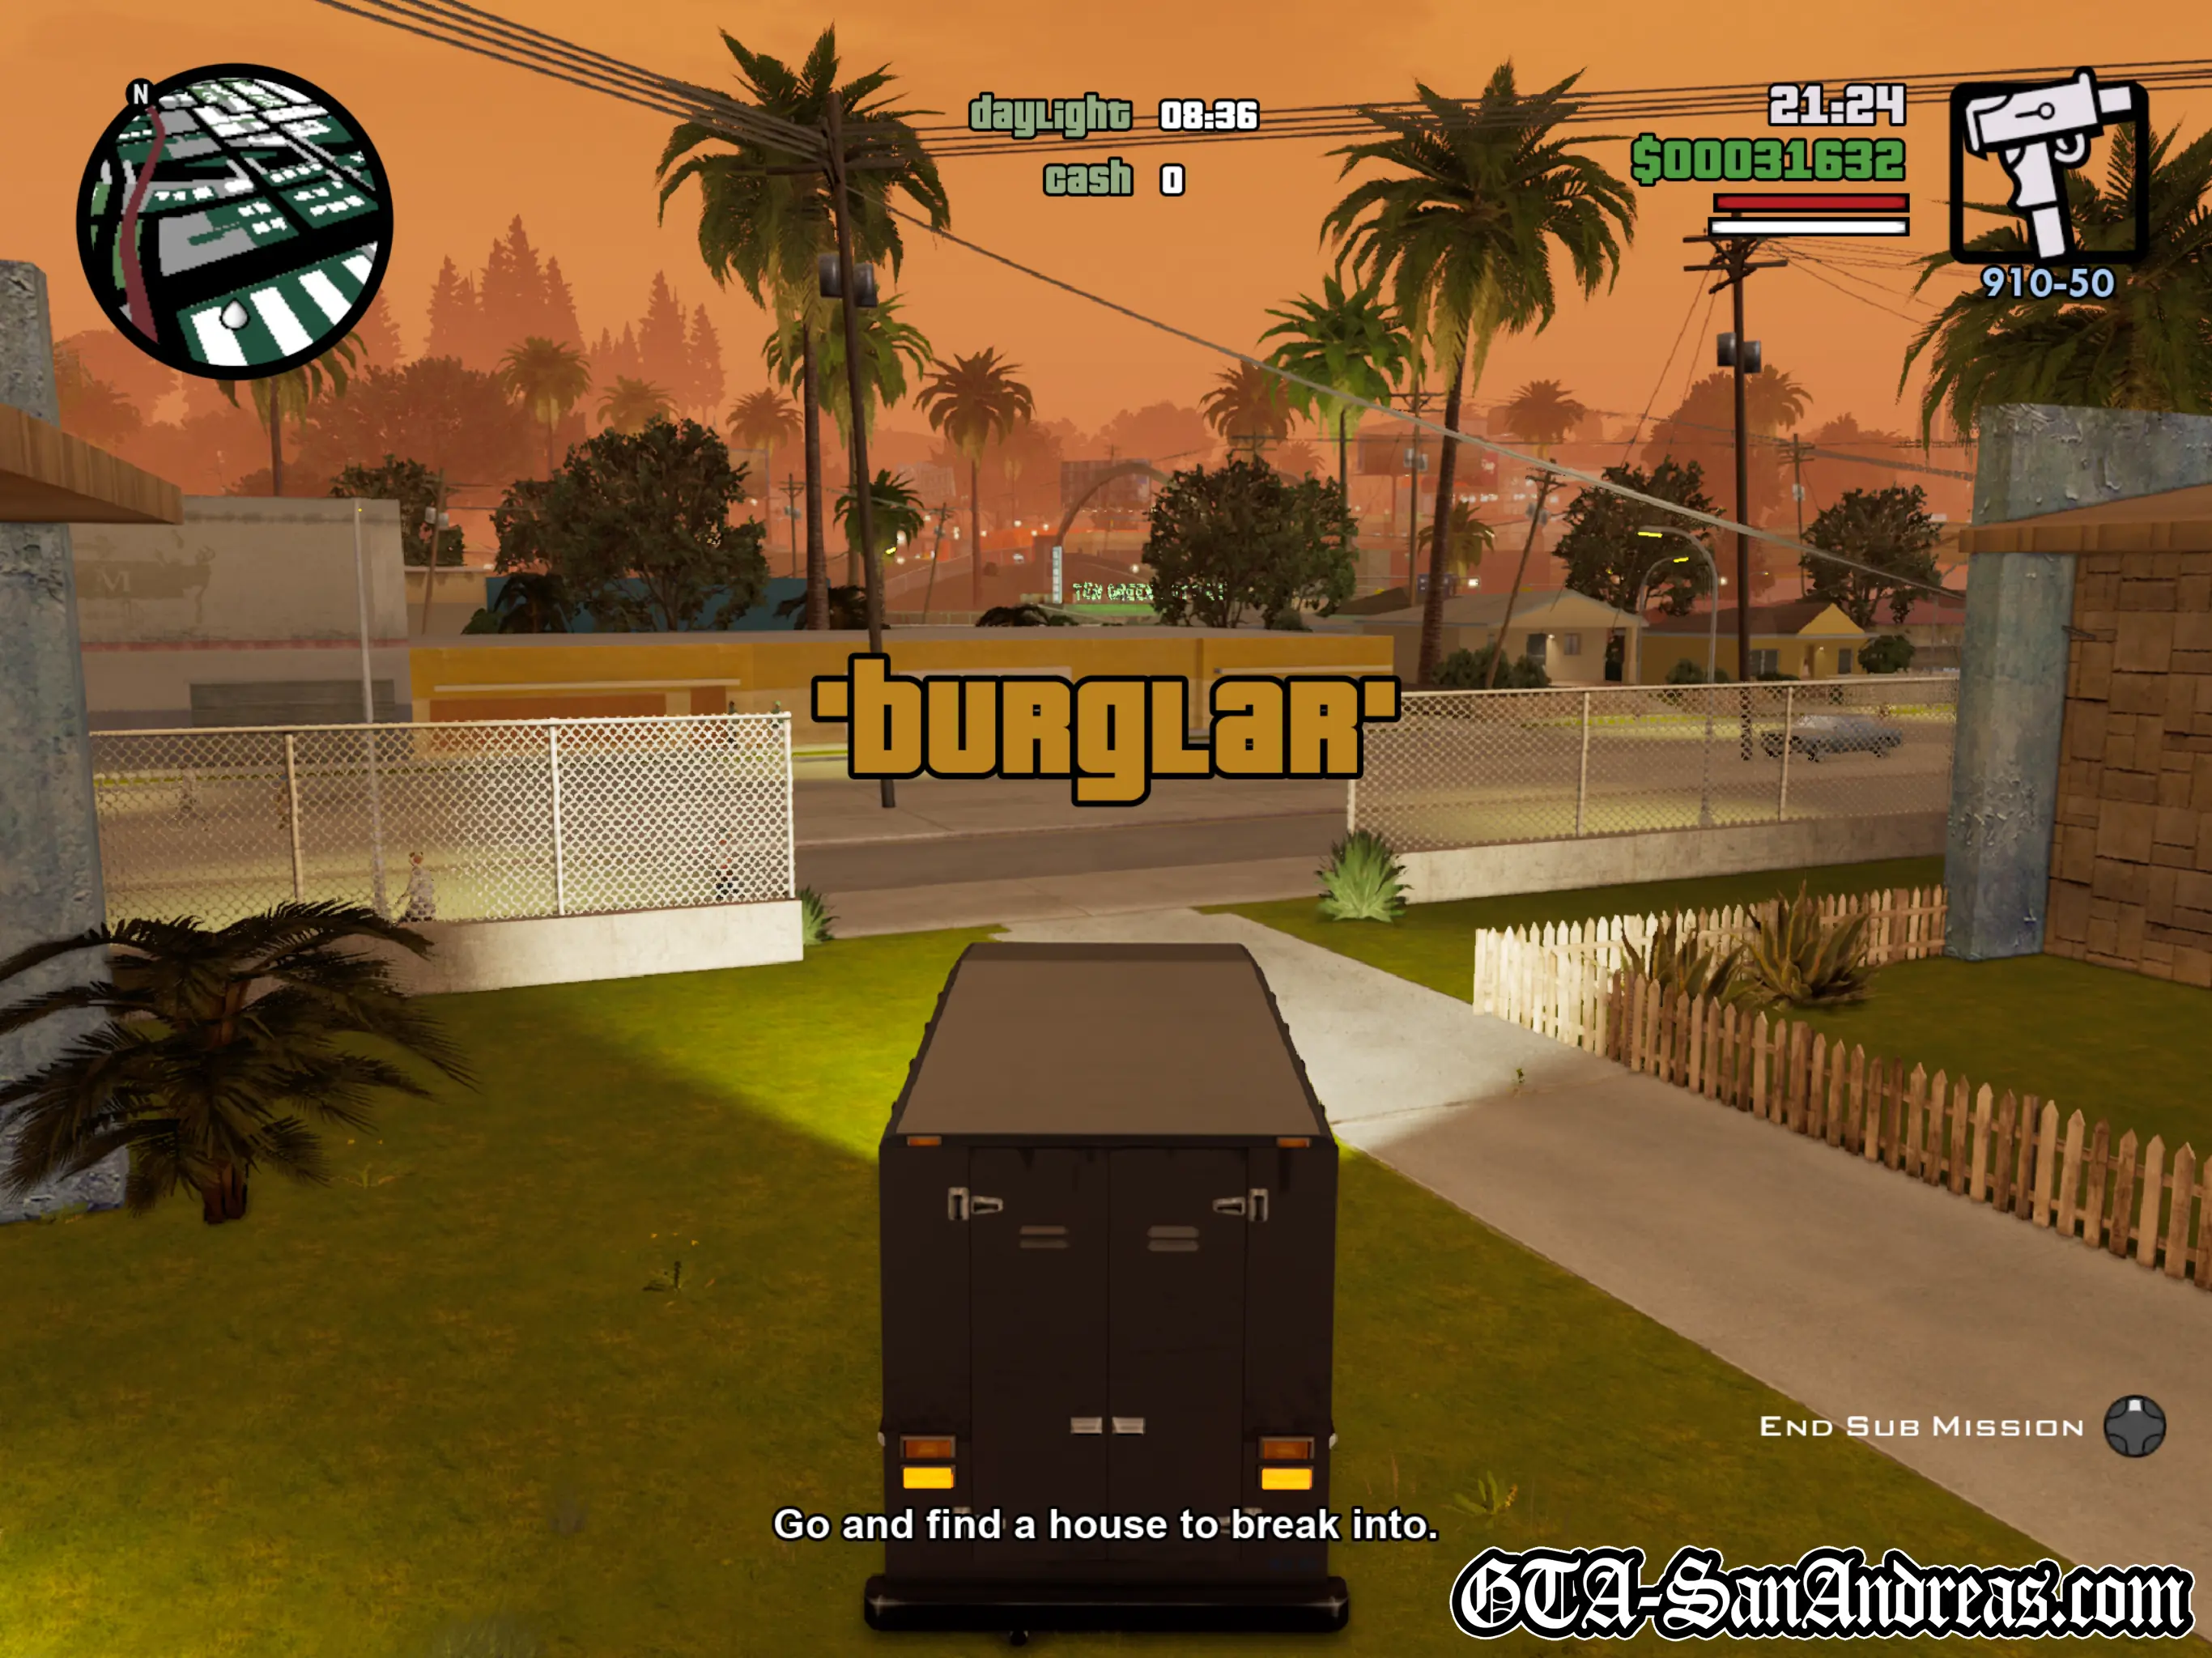
This sub-mission isn't required for 100% game completion, however the cash rewards and infinite stamina perk it unlocks make it very worthwhile.
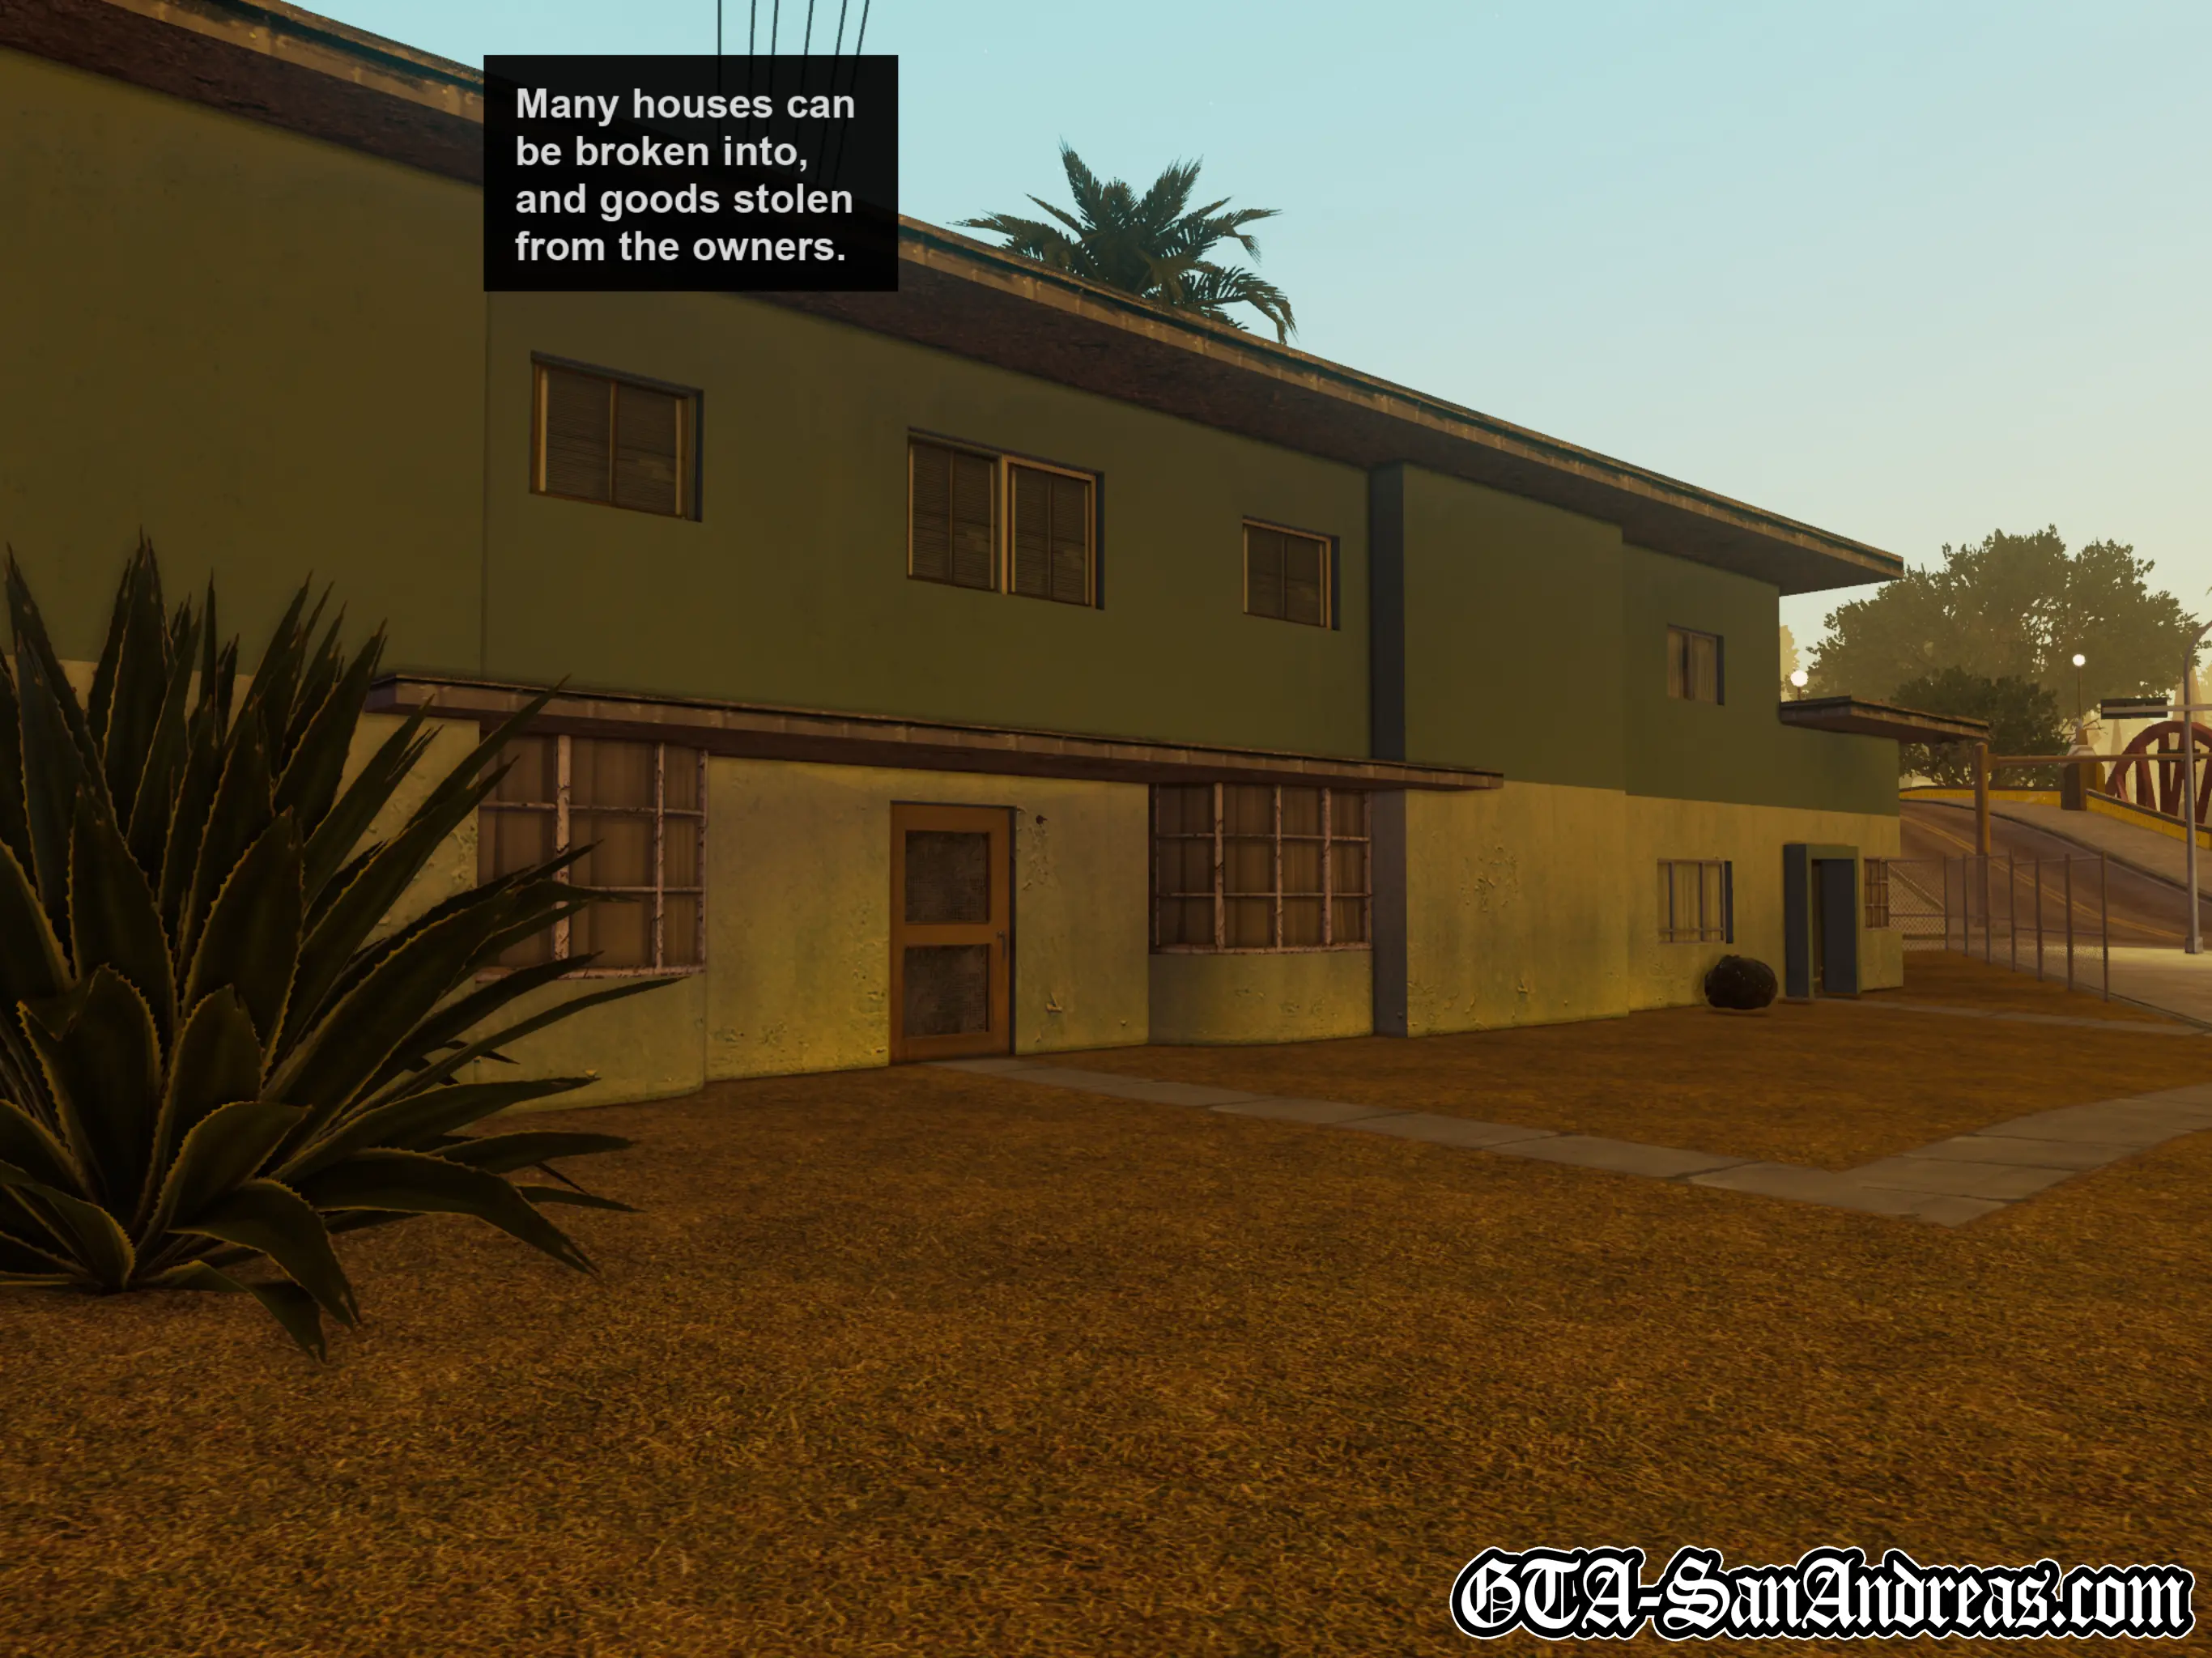
Another of the new missions which is quite useful in GTA San Andreas is the ability to rob peoples homes. This can make you a bit of extra cash, but is also involved in missions early on in the game, so you'll be taught how to do it.
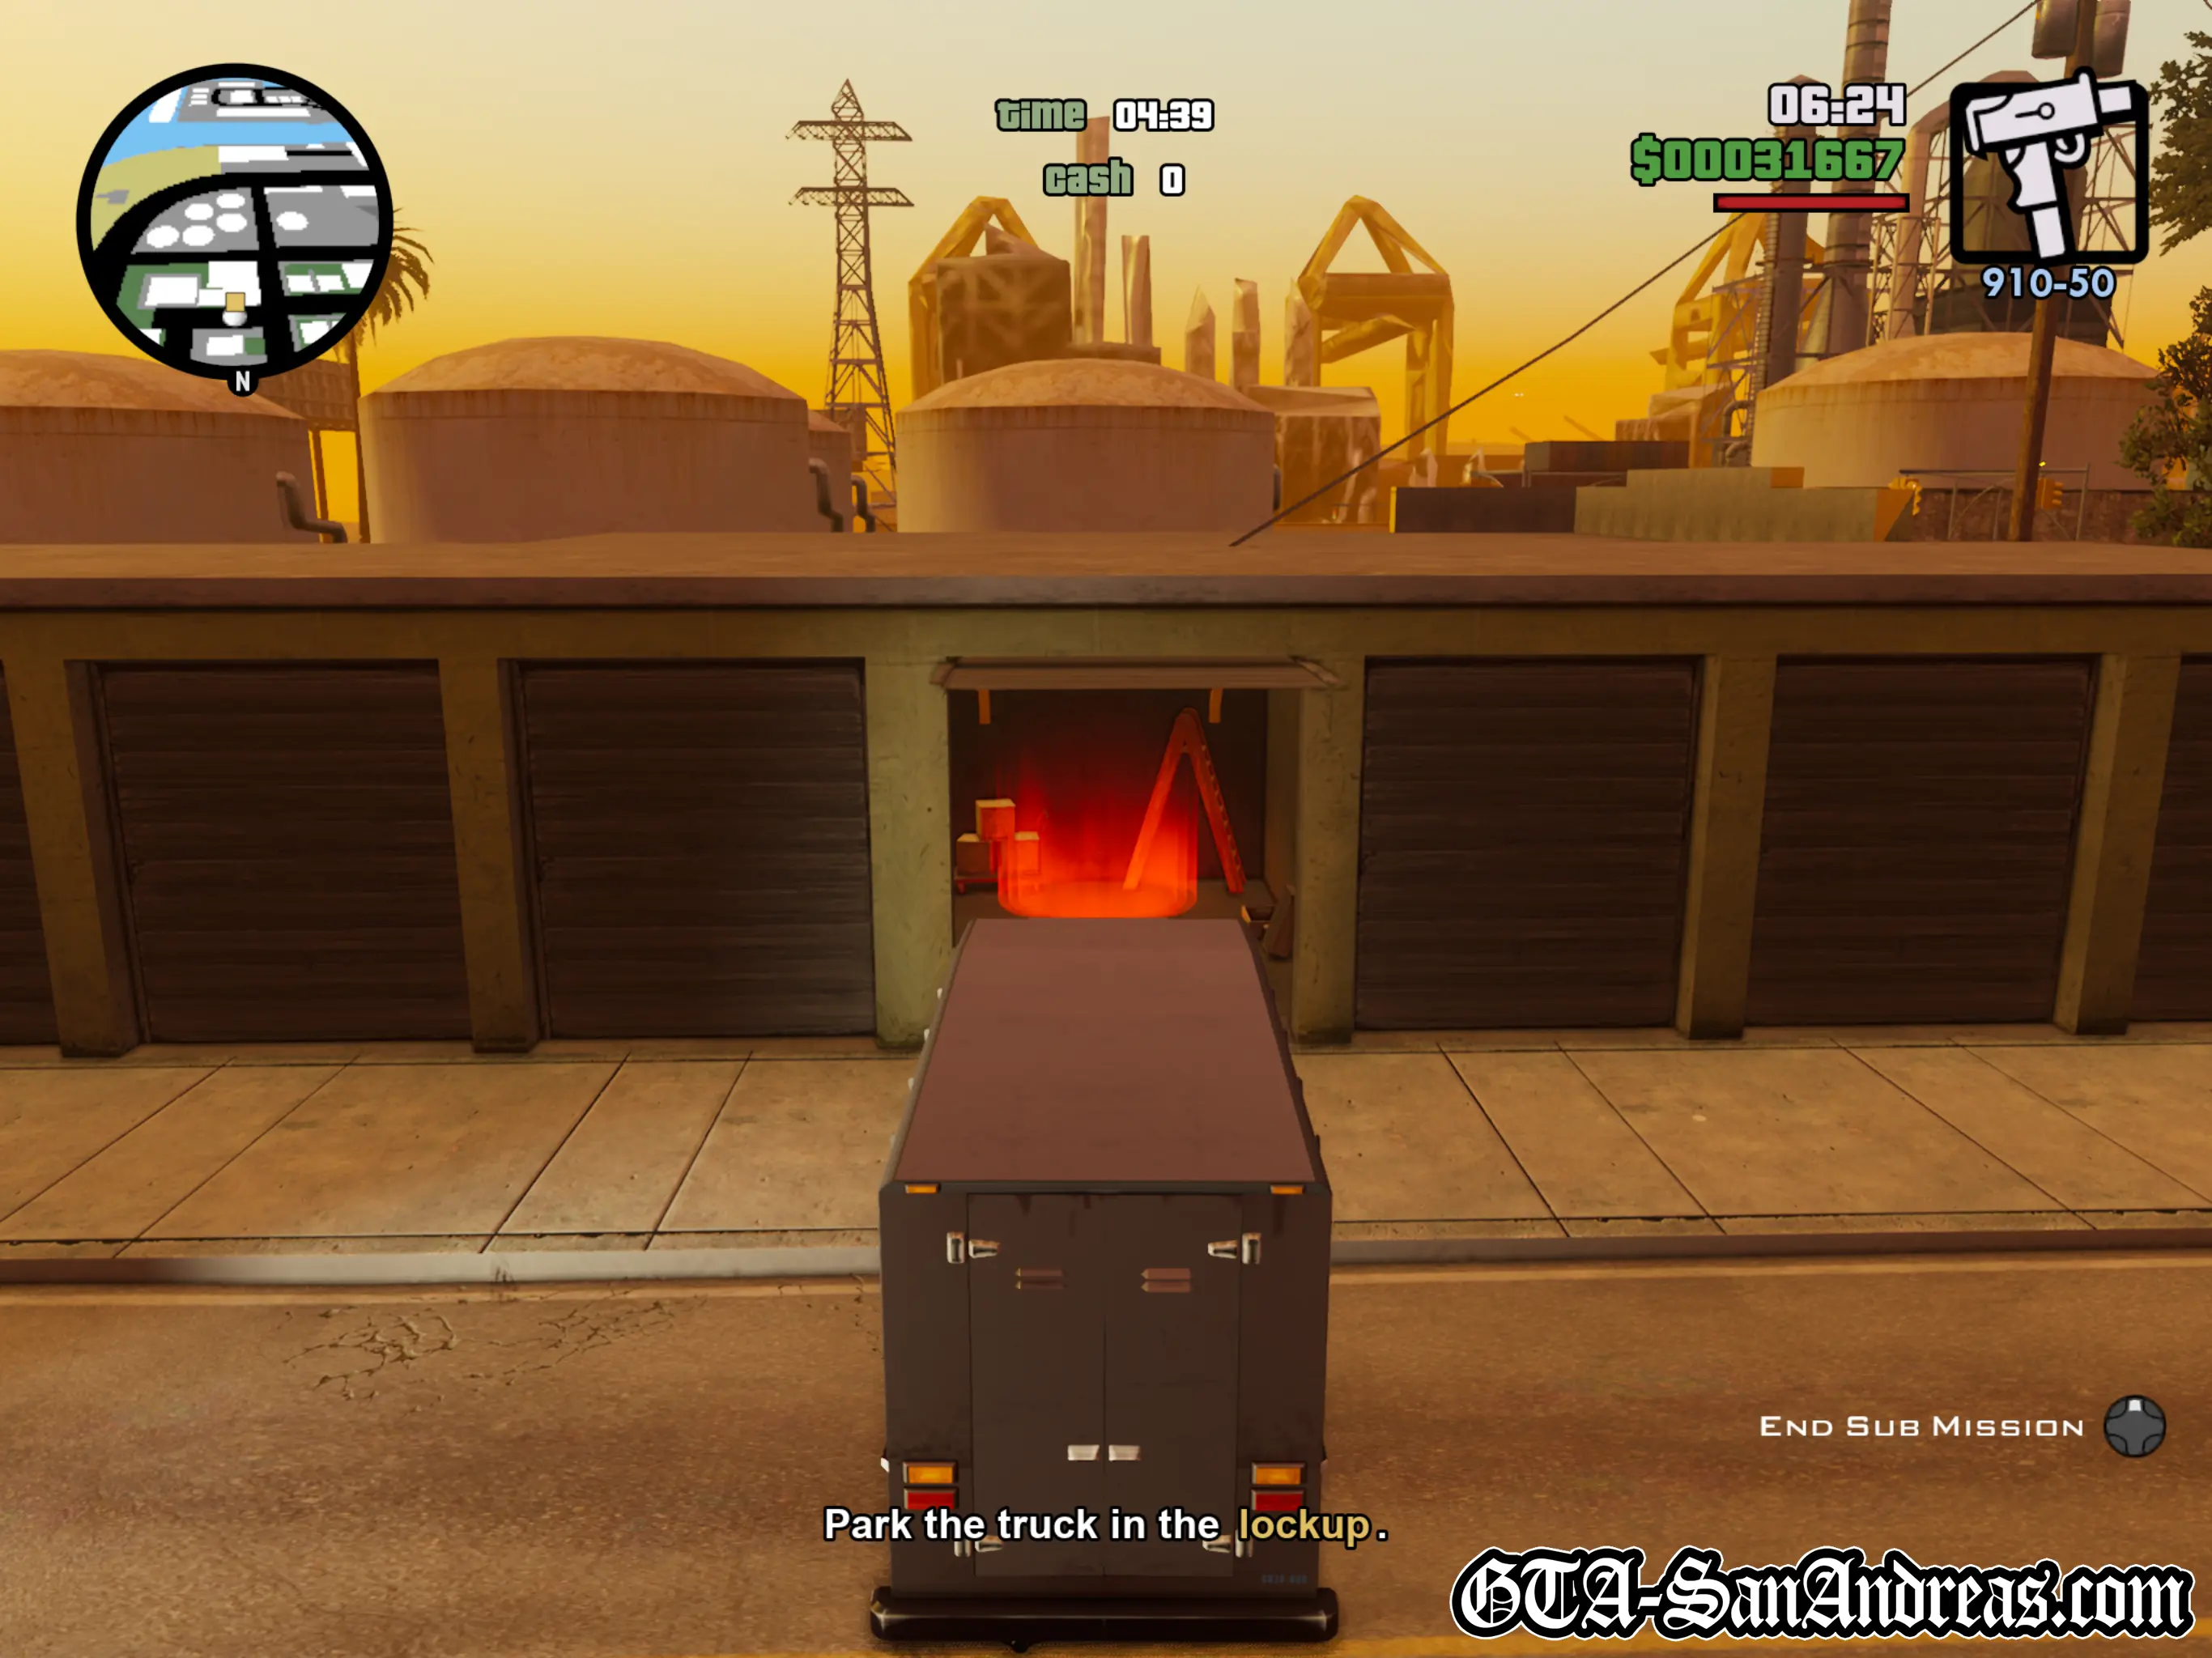
It involves you driving a Boxville van up to someone's house, sneaking inside and picking up objects they may have worth stealing, then depositing them in the back of the van and going in for more. Once you've gotten everything they have you can either rob some more homes, or take what you've got to the lock-up.
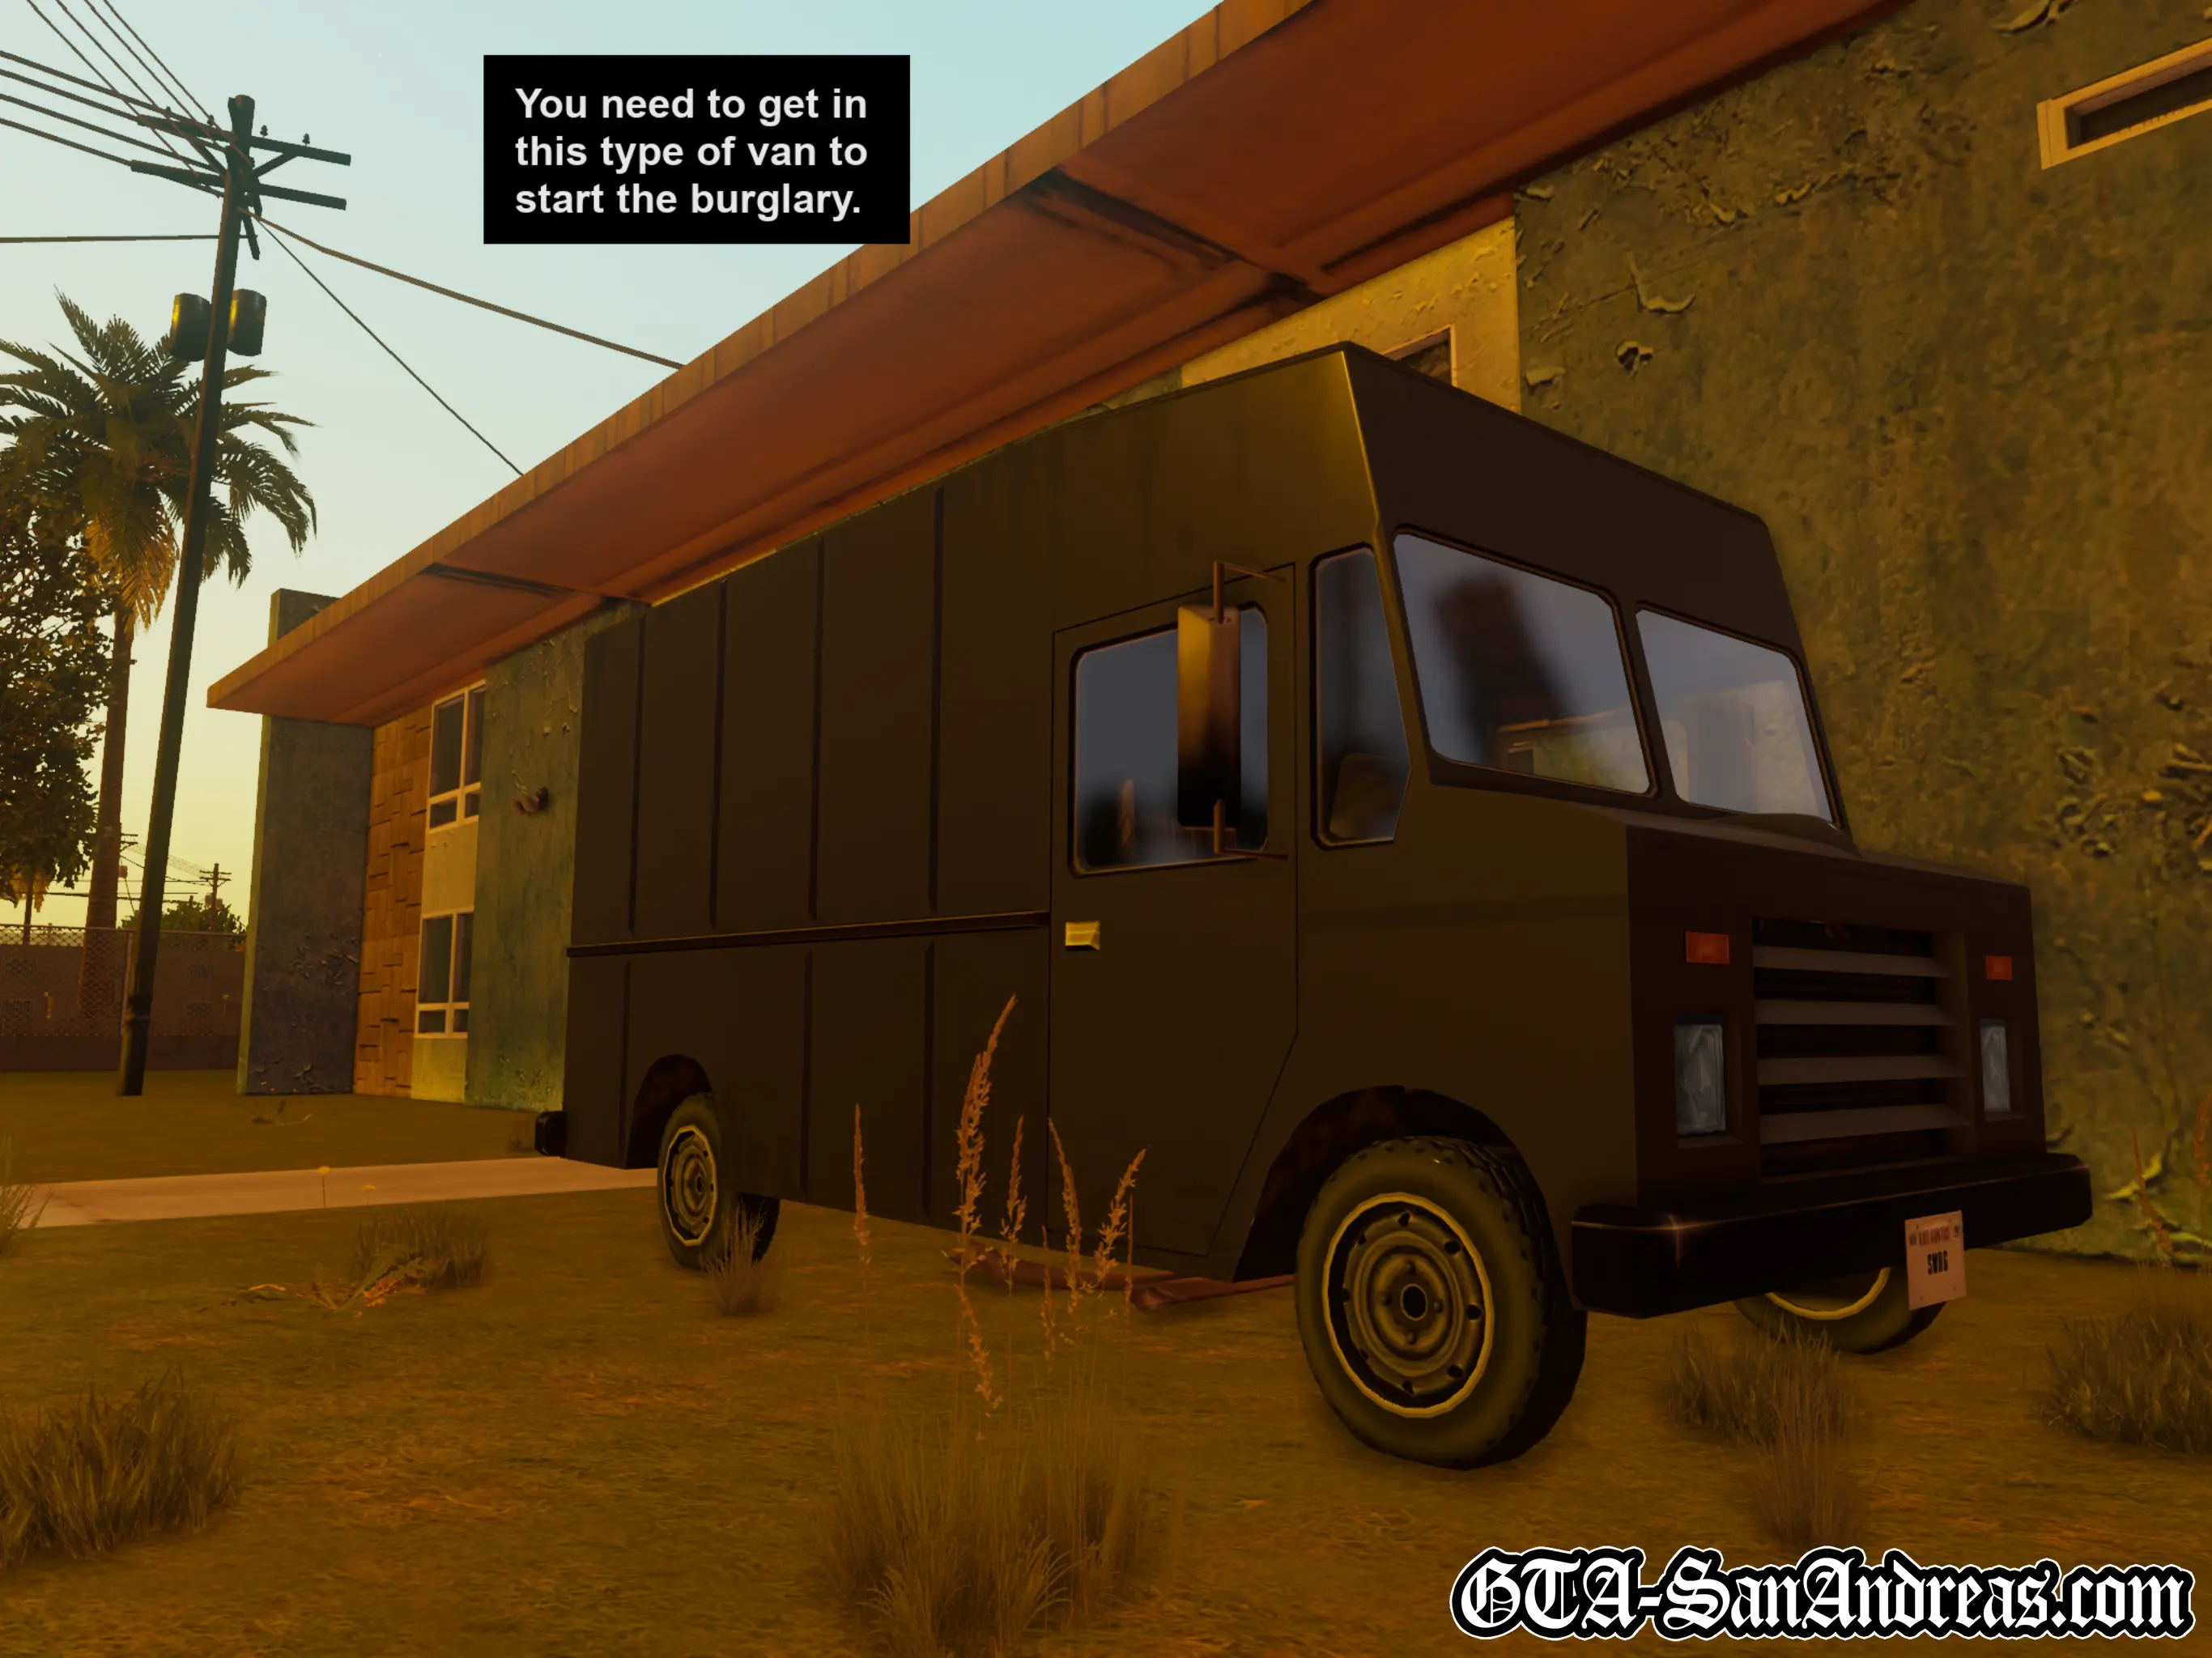
Vehicle Needed
- Black Boxville
The burglary mission can only be activated between 20:00 (8PM) and 06:00 (6AM). You must be in the Black Boxville found in the parked locations mentioned below in order to be able to attempt the mission.
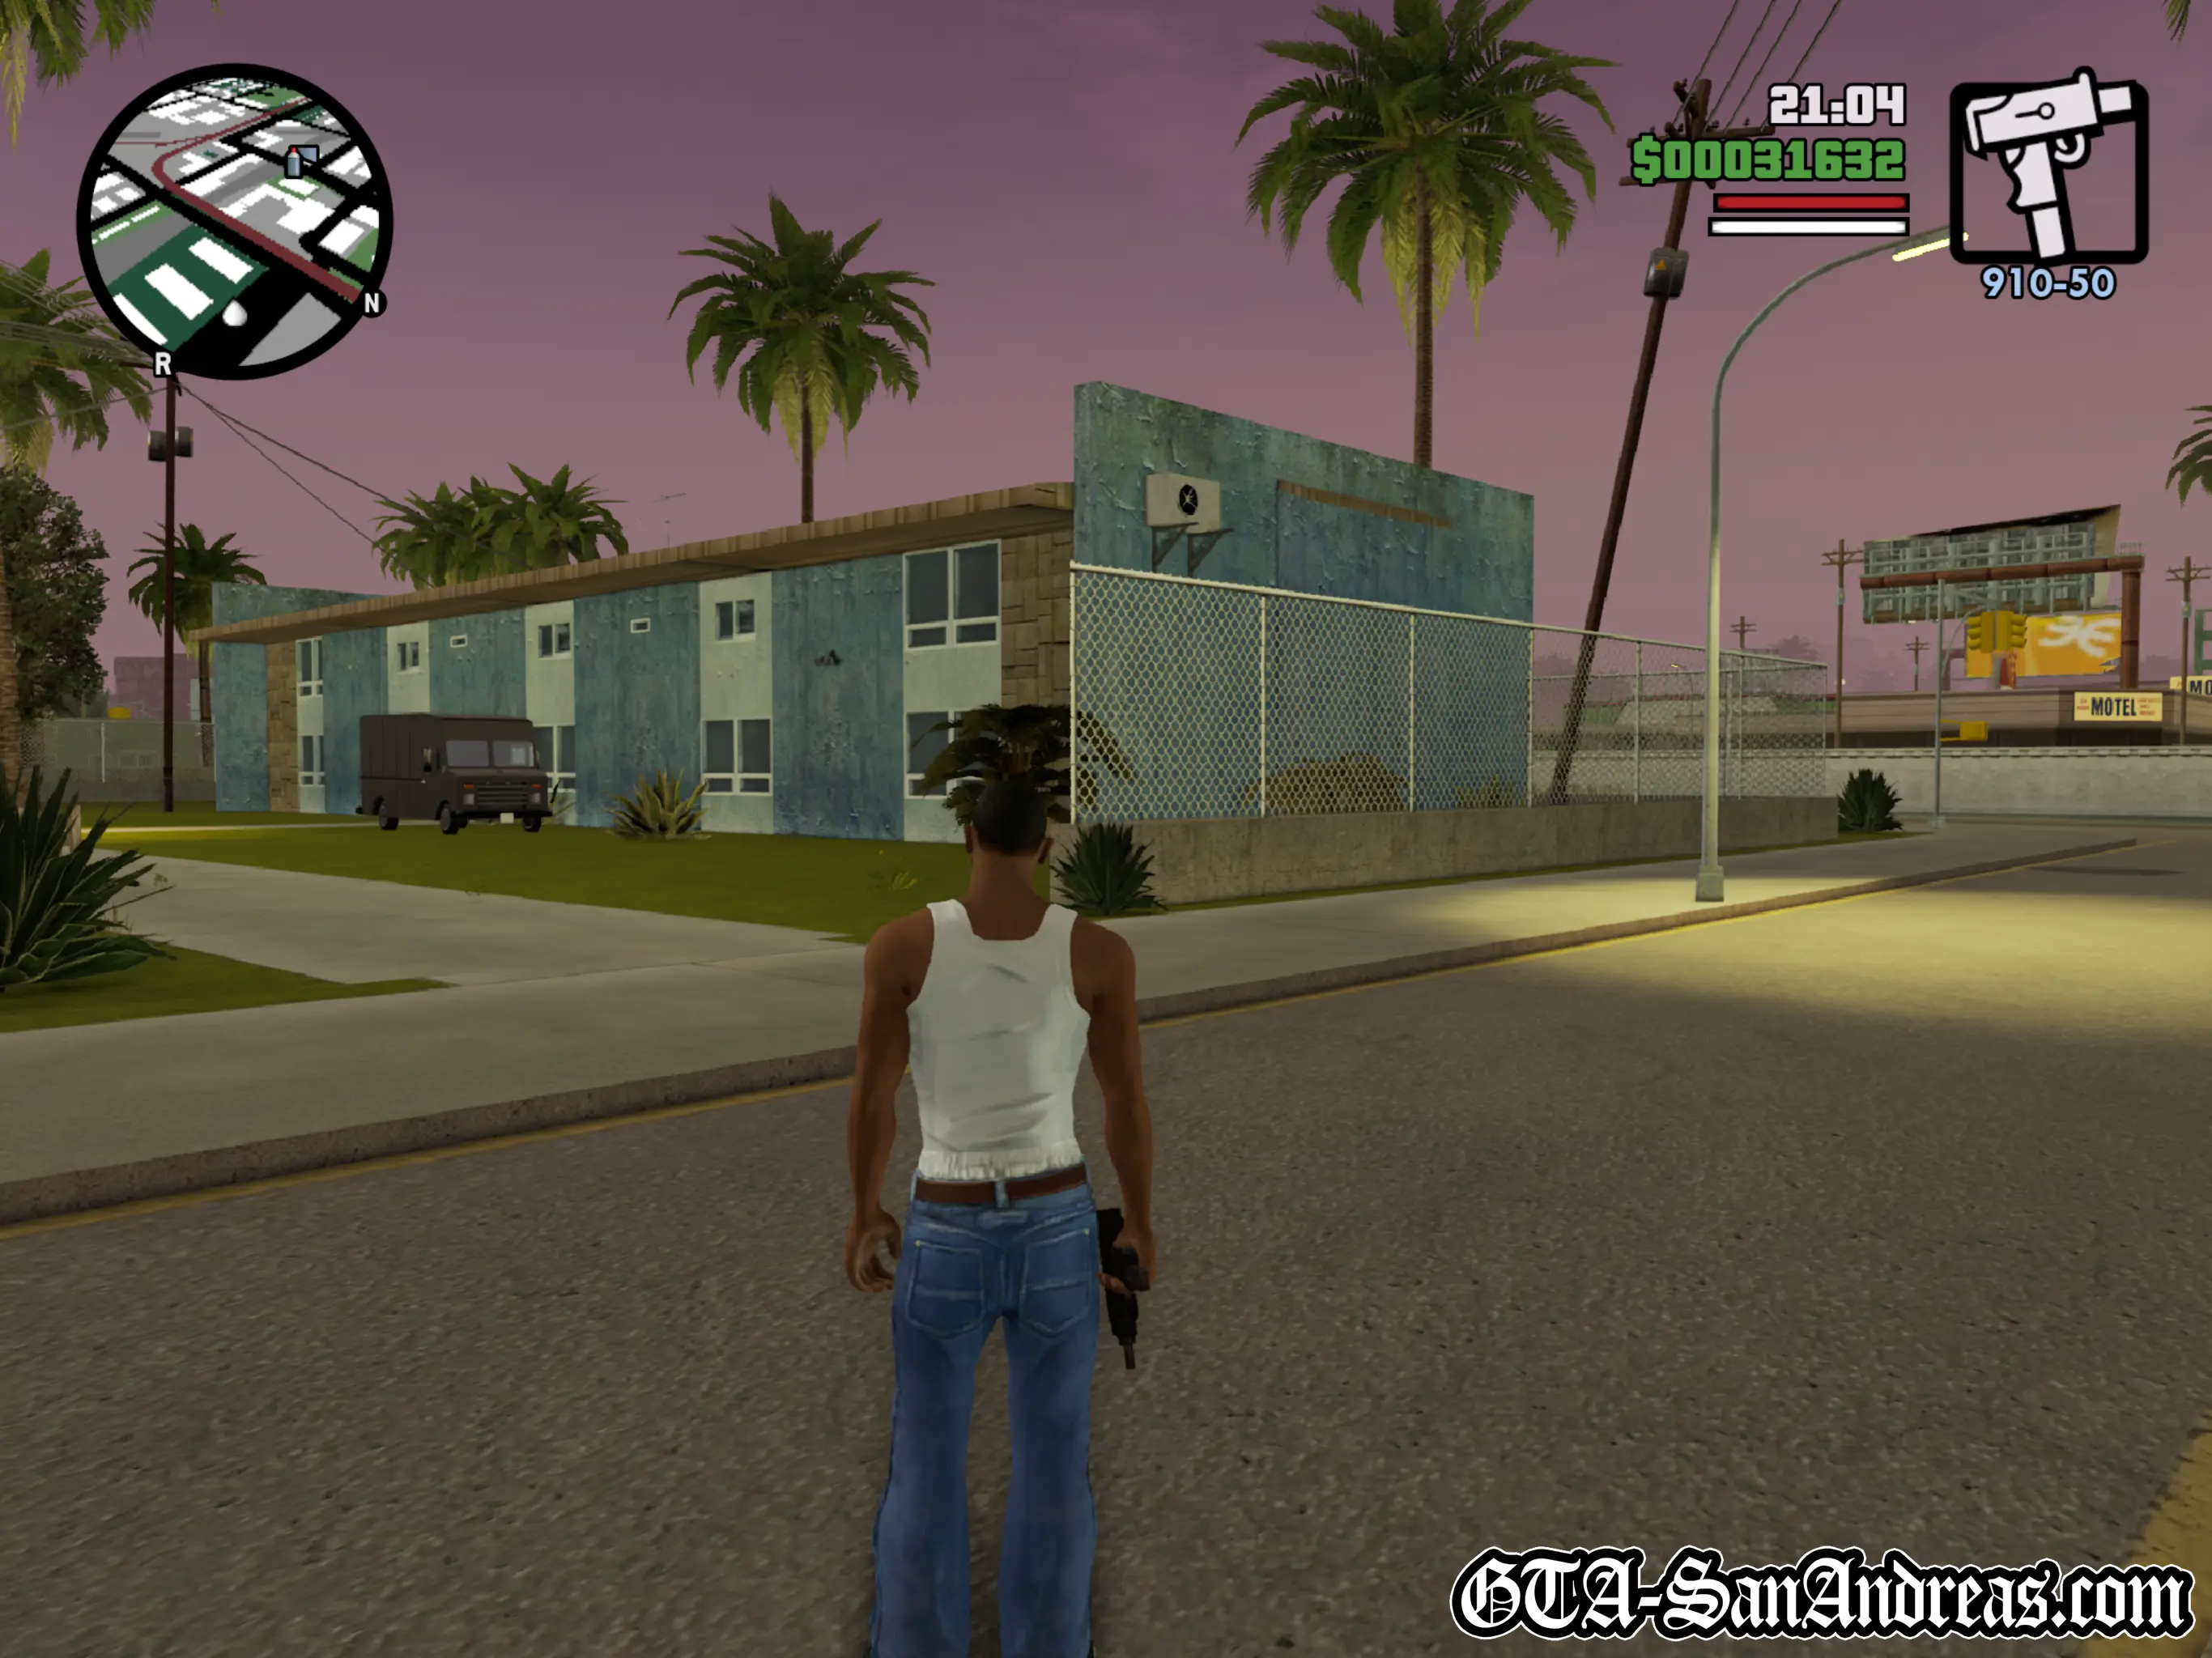
You can find a Boxville in Los Santos parked across the street, South of the gym. It's about half-way in the first garden, in front of the house.
You'll also find a Boxville parked in an alleyway just in front of the Driving School in San Fierro. From the doorway of the driving school head North and navigate your way through the alley until you see the Boxville.
Reasons For Mission Failure
- You are killed.
- You are arrested.
- You push R3 to cancel the sub-mission.
- Your time runs out when delivering the goods.
- You wreck the vehicle.
The Basics
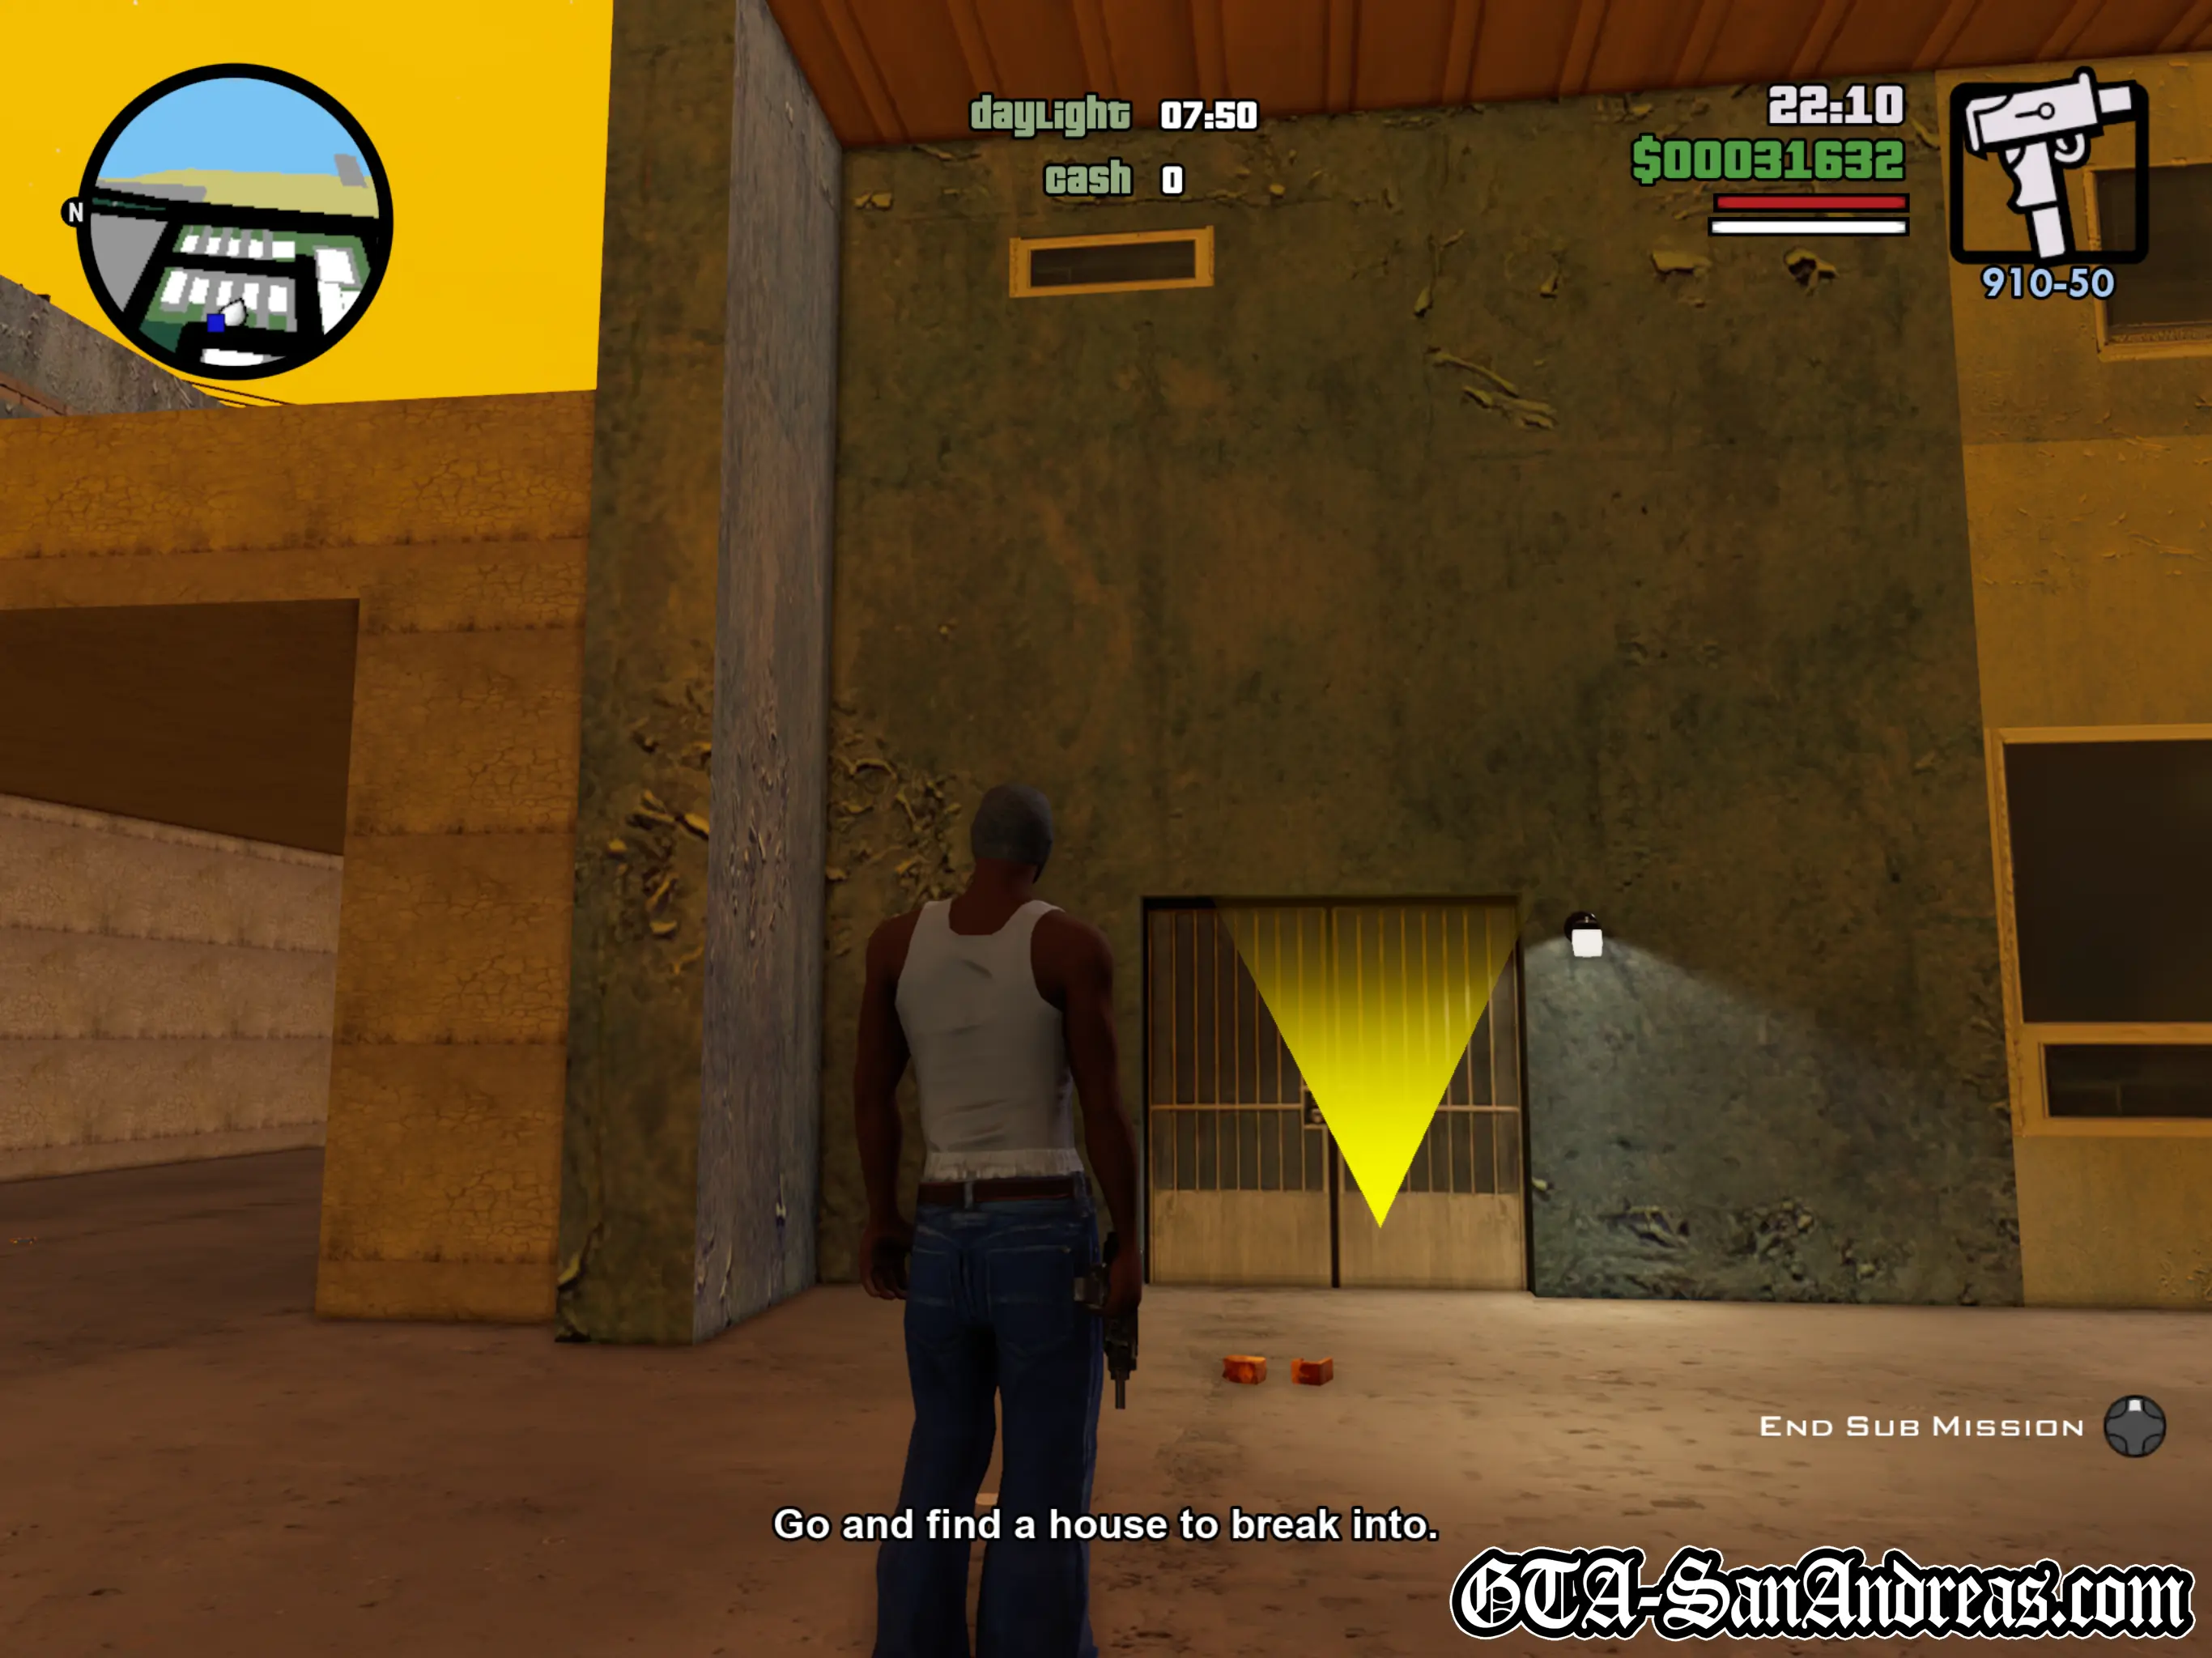
When you enter a Boxville van between 20:00 PM and 06:00 AM (during the night) and you're not currently on a mission, hit the R3 button to start the Burglary Missions.
You'll be told to find a house to break into, so drive around until you see a house with a yellow arrow in front of the door. You're looking for a house remember, not a store or other normally enterable building.
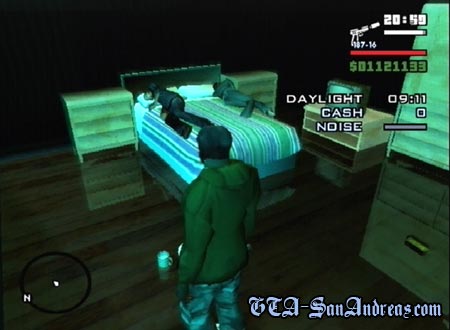
Park the van outside, ideally reversed so that the back end is facing the door, then enter the house.
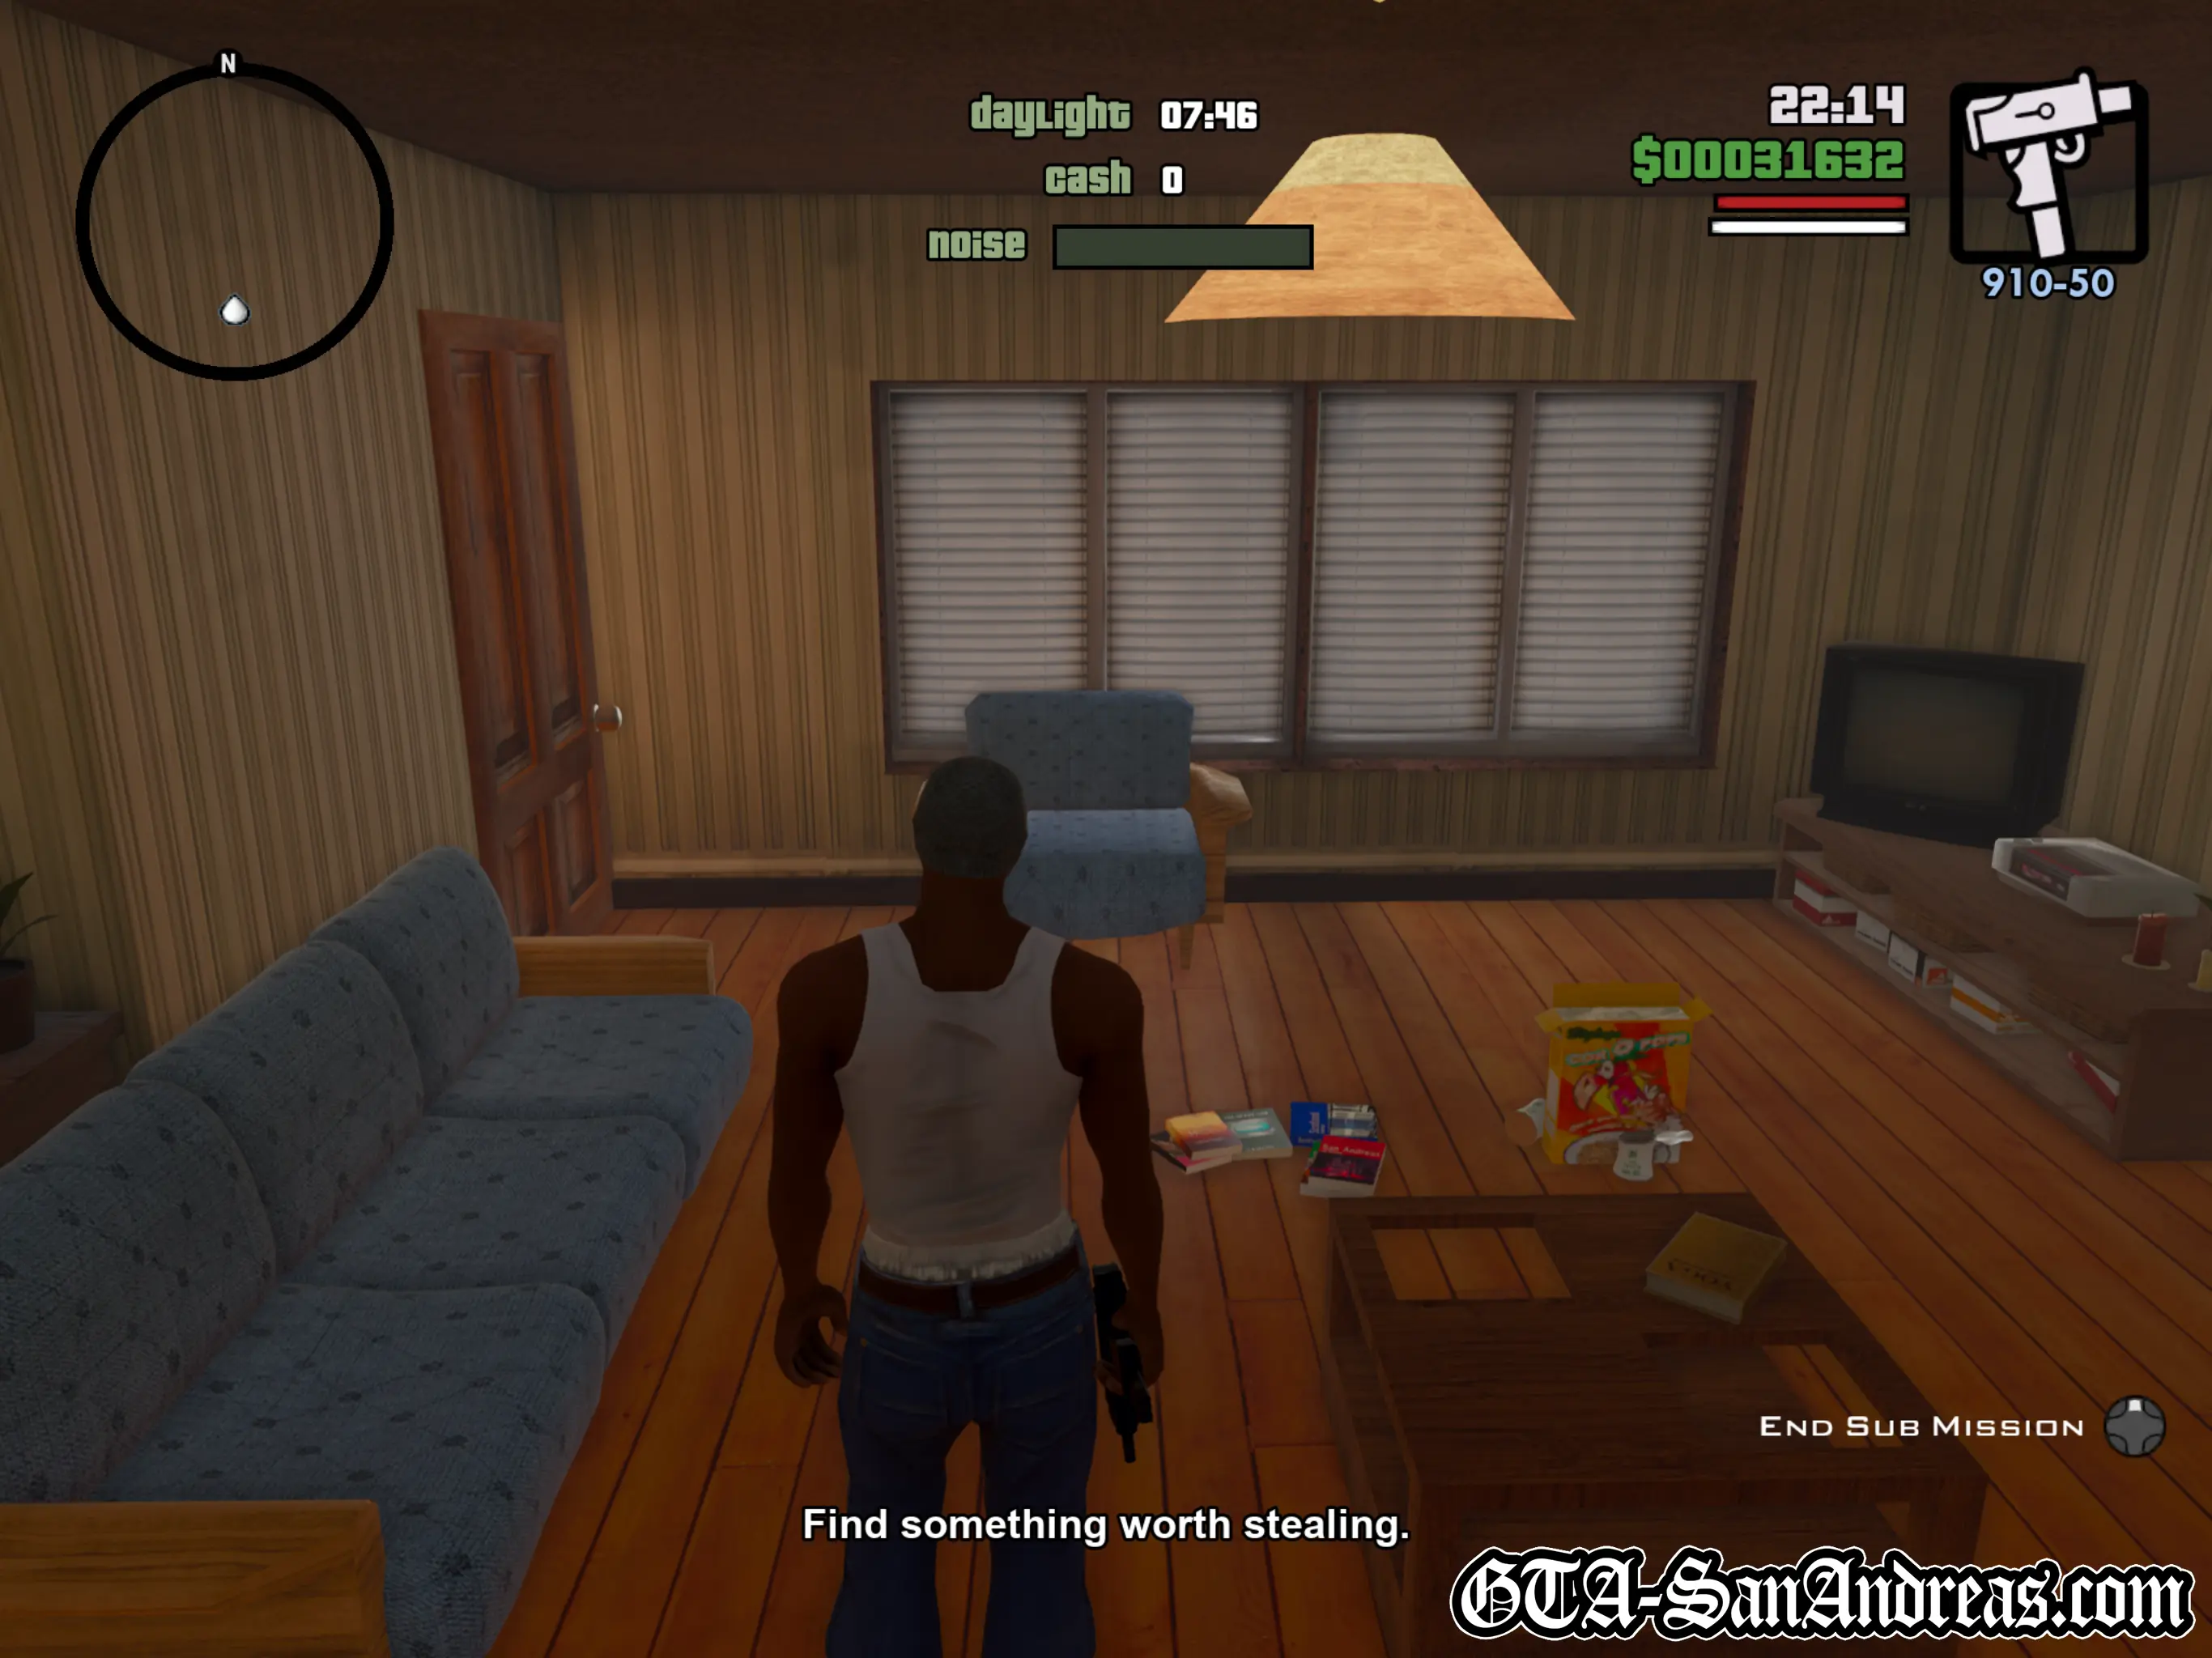
Gently press forward on the left analog stick to sneak. Depending on where you did the missions you may have some people inside the house who are watching TV or waiting for you to enter, so you'll either have to very carefully edge your way out of the doorway and shoot them in the head, or get the hell out of there because they will call the cops after 10 seconds.
If you have a silenced pistol the missions will be a lot easier as you can silently kill the house occupants meaning you'll no longer need to sneak around.
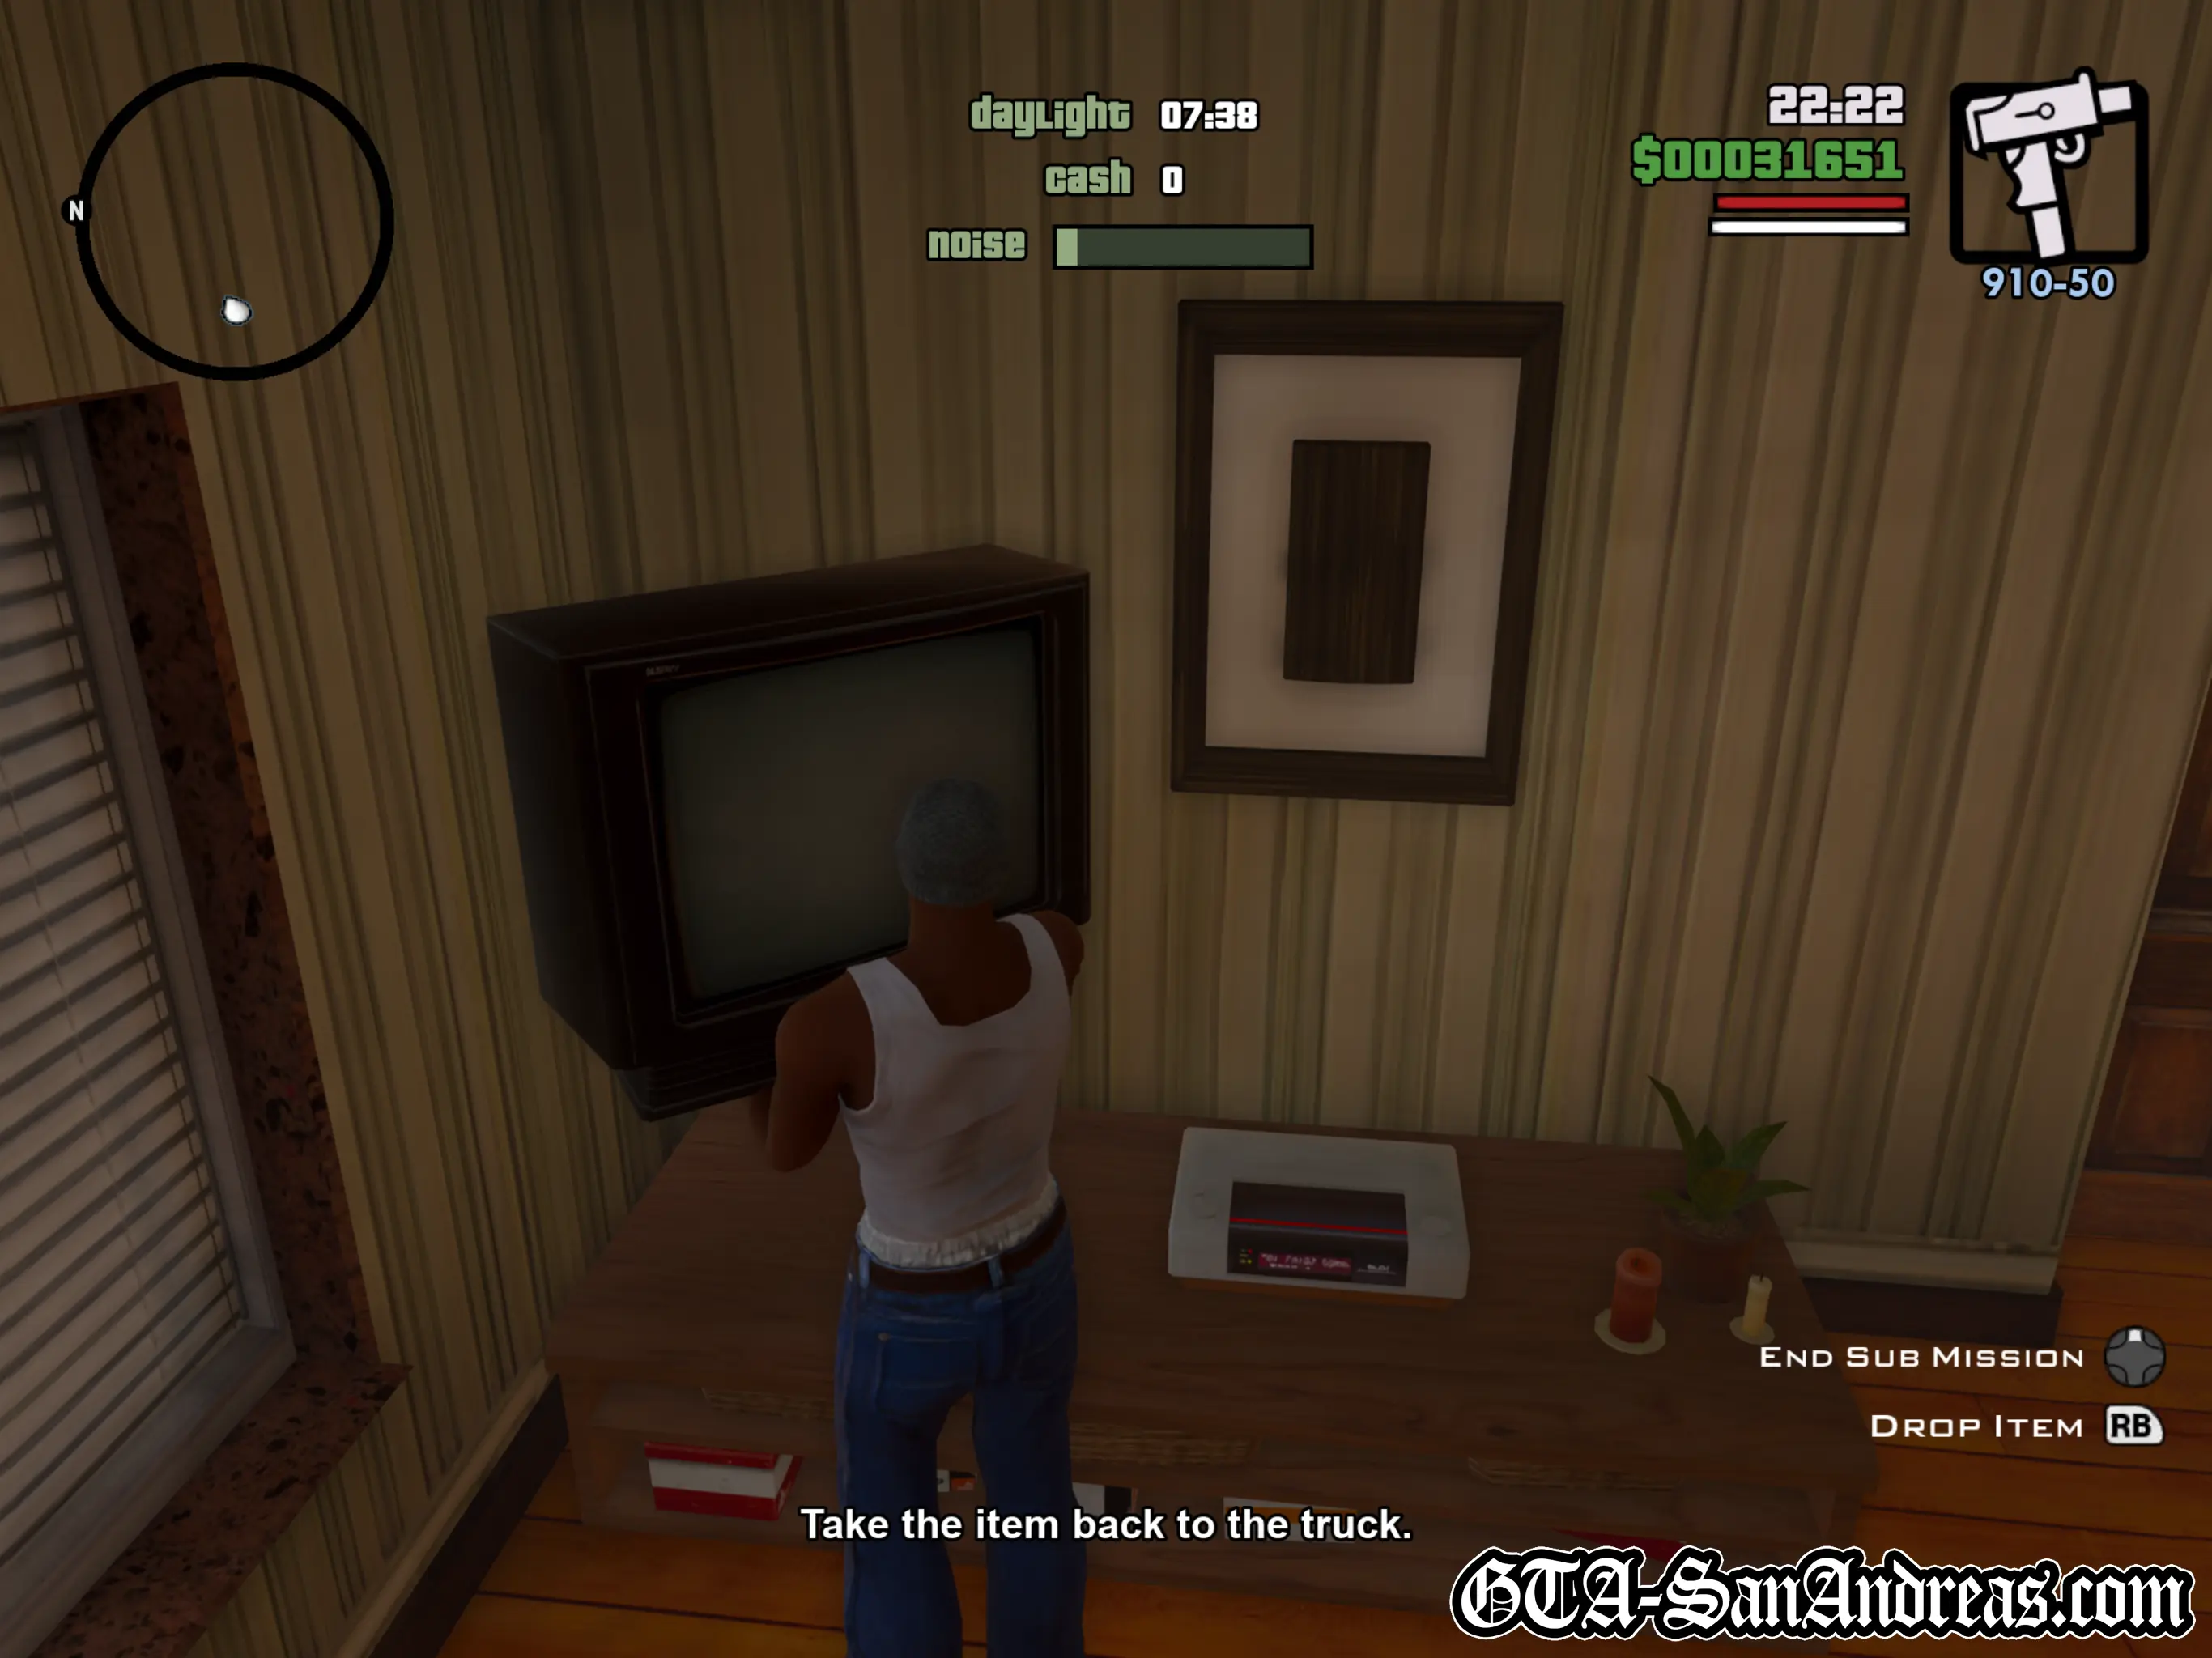
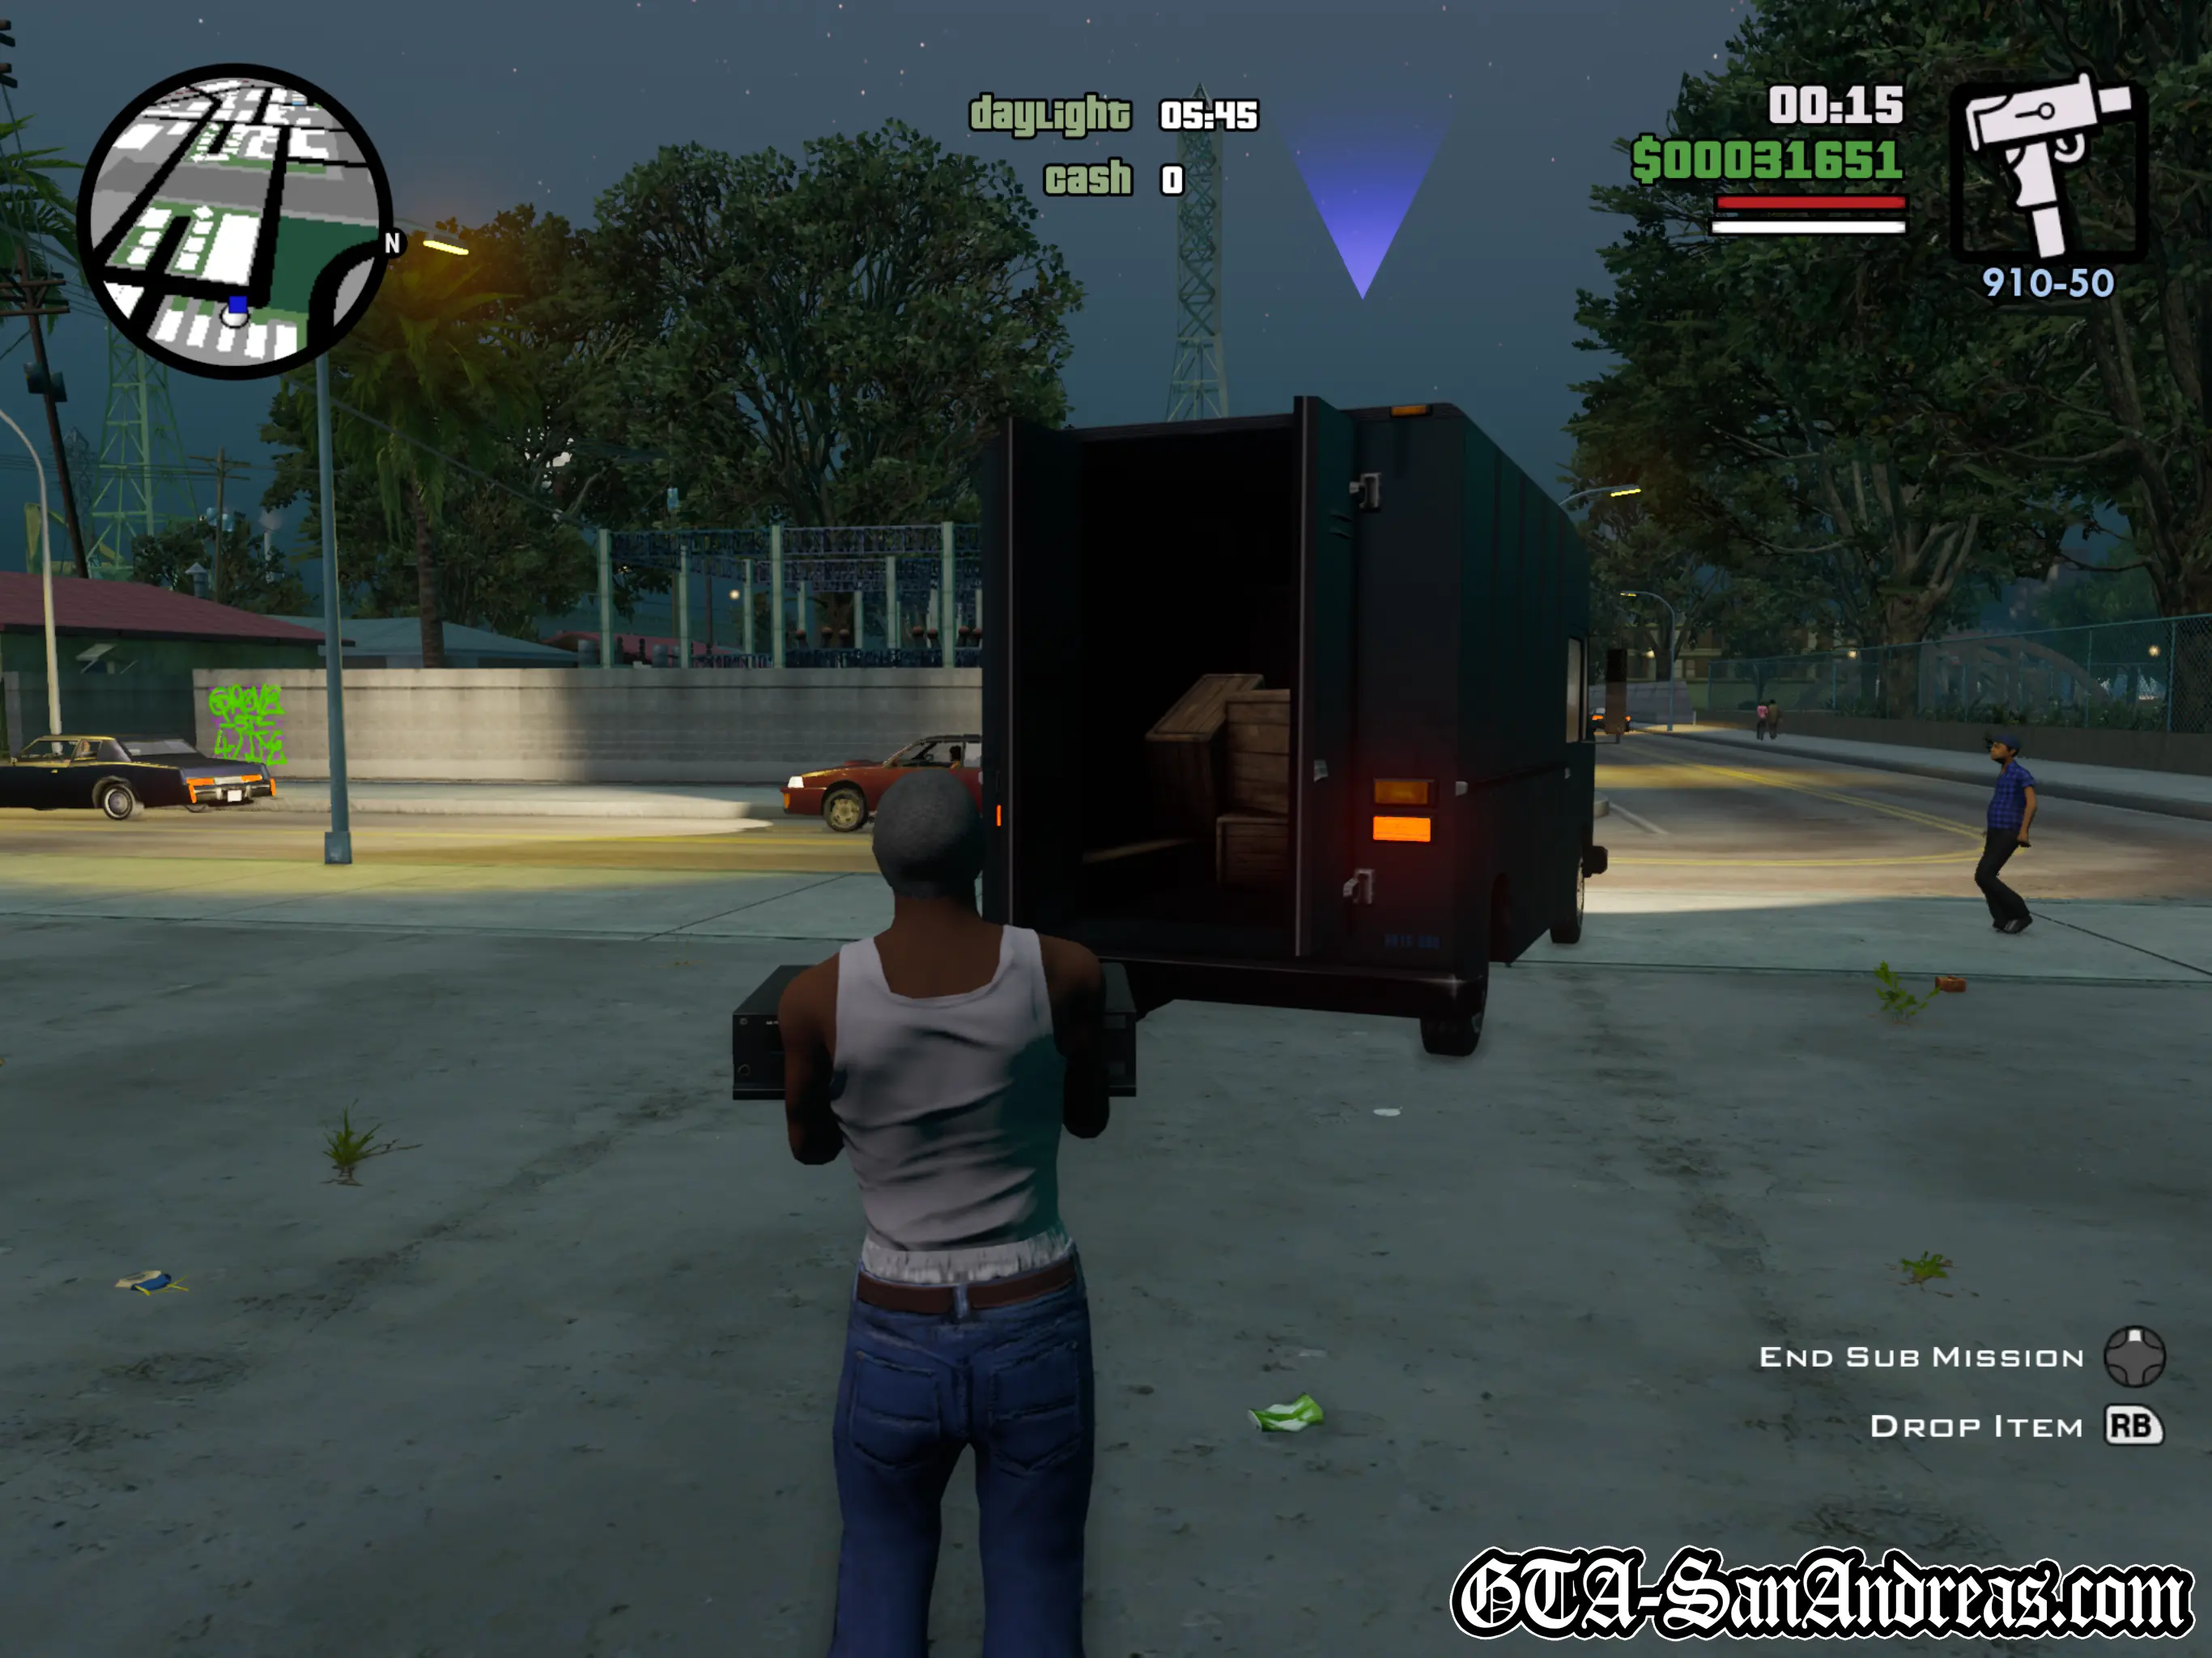
Once you're inside, sneak around until you find an object which can be picked up, for example a TV, hi-fi system, VHS player or games console. Push triangle when standing next to it and Carl will pick up the item, then make your way out of the door to the van. Push triangle again when you're close enough, and it will be deposited into the van. You'll then need to head back in and look for more stuff.
Tactics
The best thing you can do on this mission is to waste the occupants of the house in your first run. Whether they're in bed or awake, shoot them in the head with a Silenced Pistol and after you exit the house, it'll remain empty.
Now you have the added bonus of being able to make as much noise in the house as you want. Dead men tell no tales! Doing this means you can run in and out, grabbing everything they have which will save you time which would be wasted trying to sneak.
Another tactic is to try and find two 'robbable' houses next to each other. Once you've cleaned out a house, the one next door can be cleaned out, then when you enter the first house again, all of the stuff will have re-appeared! You can just keep going back and forth between the two houses until your time runs out and grab a lot of stuff fairly quickly.
The best place to do this is actually in Grove Street or at the houses right next to the lock-up. Once time runs out and daylight is coming, exit the house you were in, deposit the stuff in the truck, then get in the van and start heading to the lock-up.
You need to get there within 5 minutes, but that shouldn't really be too much trouble at all if you're nearby.
You can keep robbing the house right up until the time runs out, so do that and try to start right at 20:00 so you have more time for robbing. Los Santos is probably the best place to do these missions.
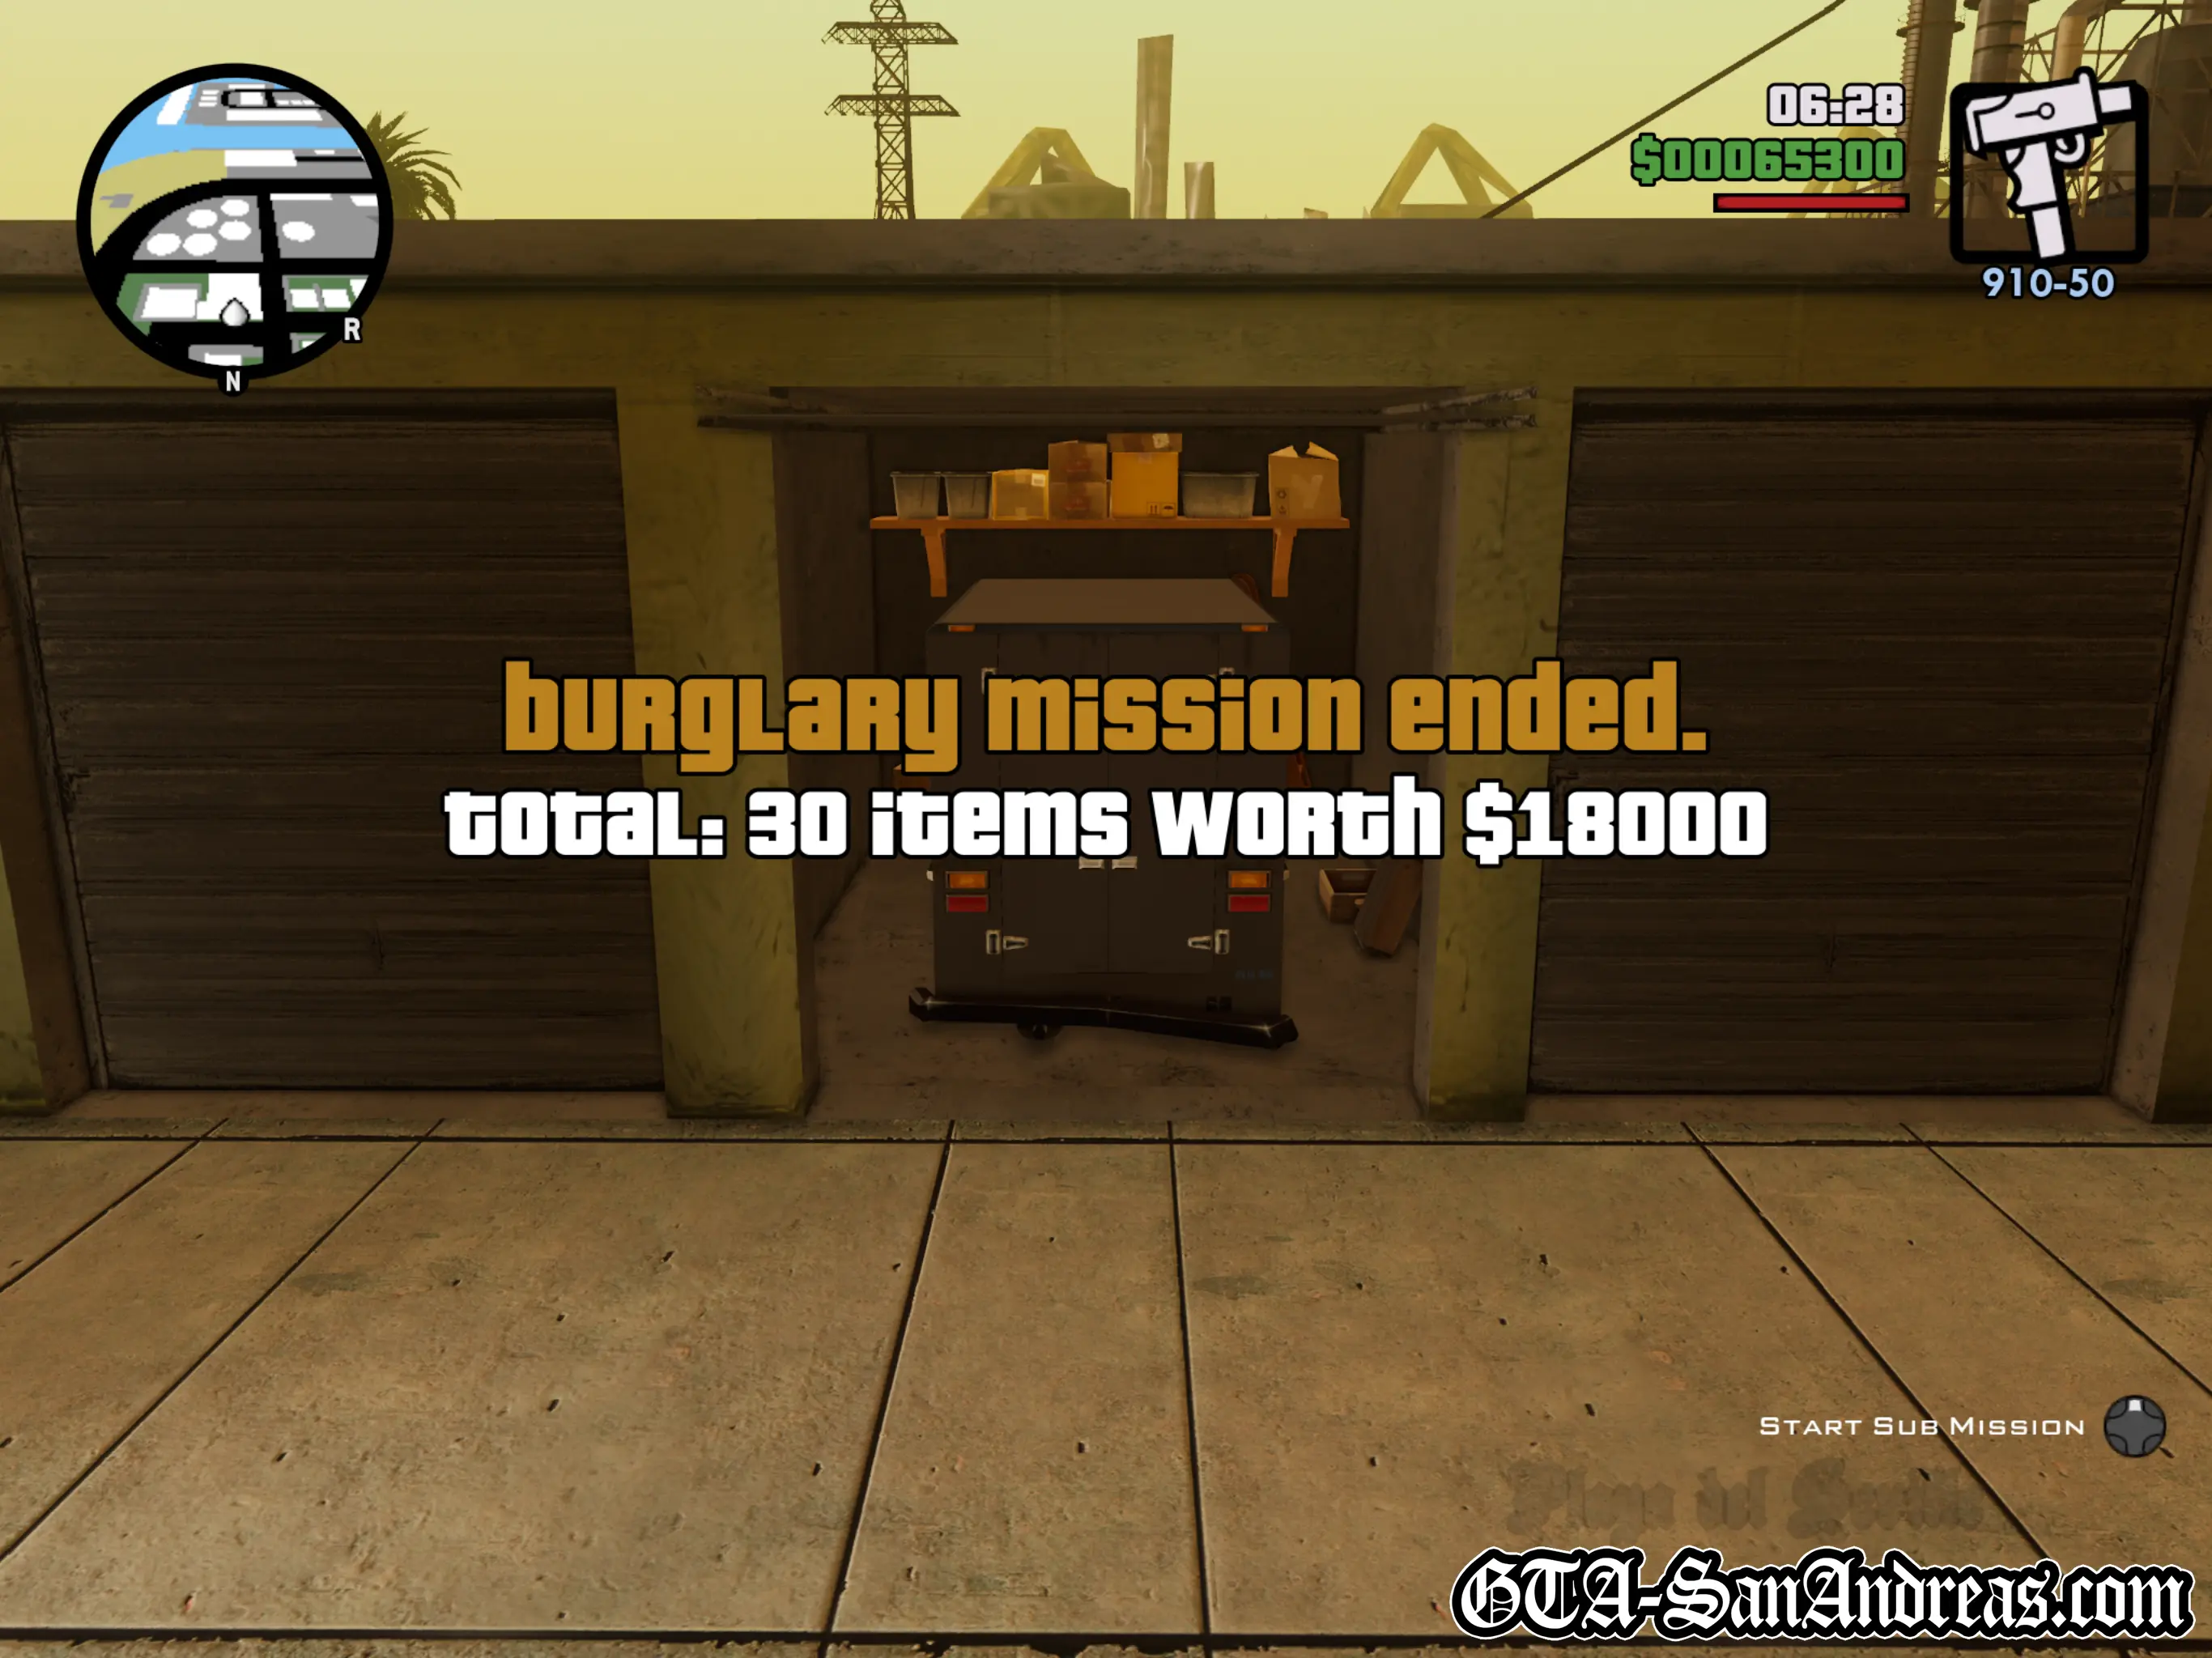
Completion
Altogether, you need to steal over $10,000 worth of objects in the burglary missions. Individual objects can earn you roughly $20 per piece, so as you can imagine it can take a long time, but it seems that grabbing everything in a house will add some sort of bonus and you can make about $3,000 for every 10 items
Usually I'd say try for $3,000 or $4,000, but 7 or 8 thousand is easily possible if you go as quickly as you can. You'll most likely need to do the burglary missions on two or three separate days in order to raise the cash high enough to complete the mission.
Rewards
Upon successful delivery of over $10,000 of stolen goods, you will be rewarded with $3,000 cash, but you'll also unlock Infinite Stamina which is incredibly useful for general gameplay. It allows you to sprint or pedal a bicycle at full speed without ever getting tired.
Screenshots
Original PS2 Screenshots


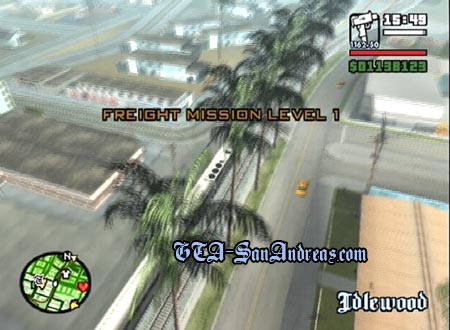
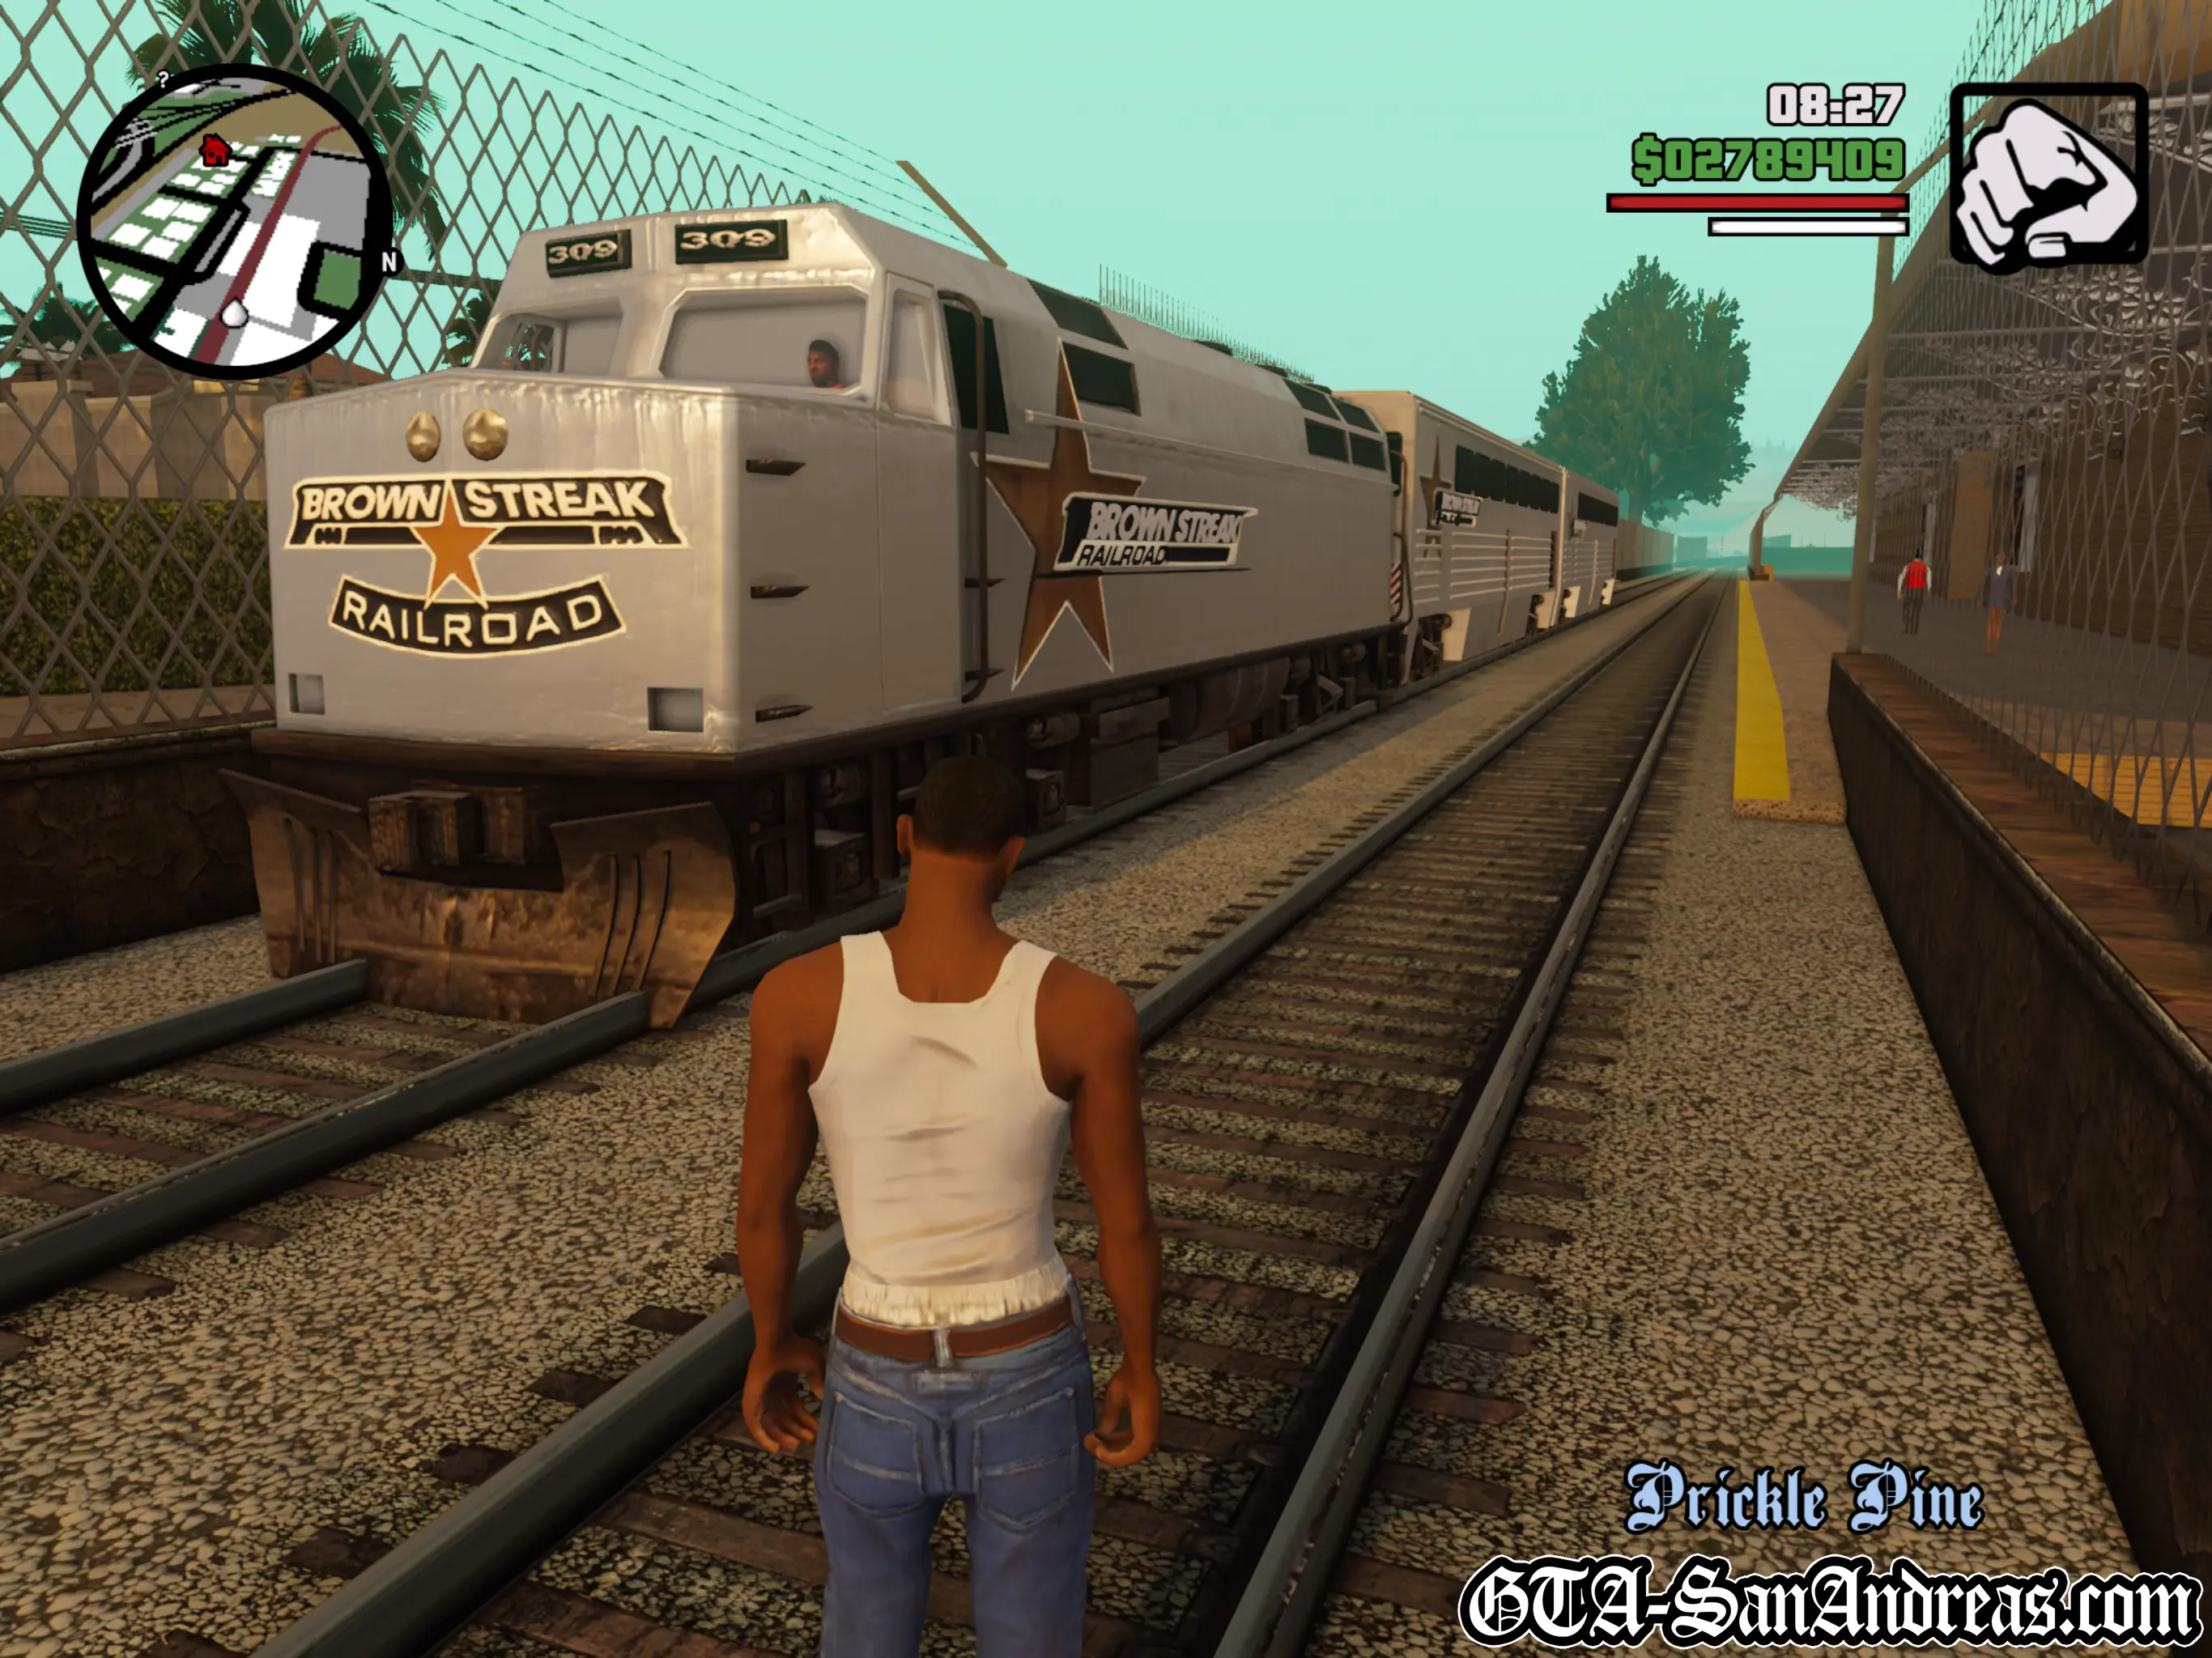
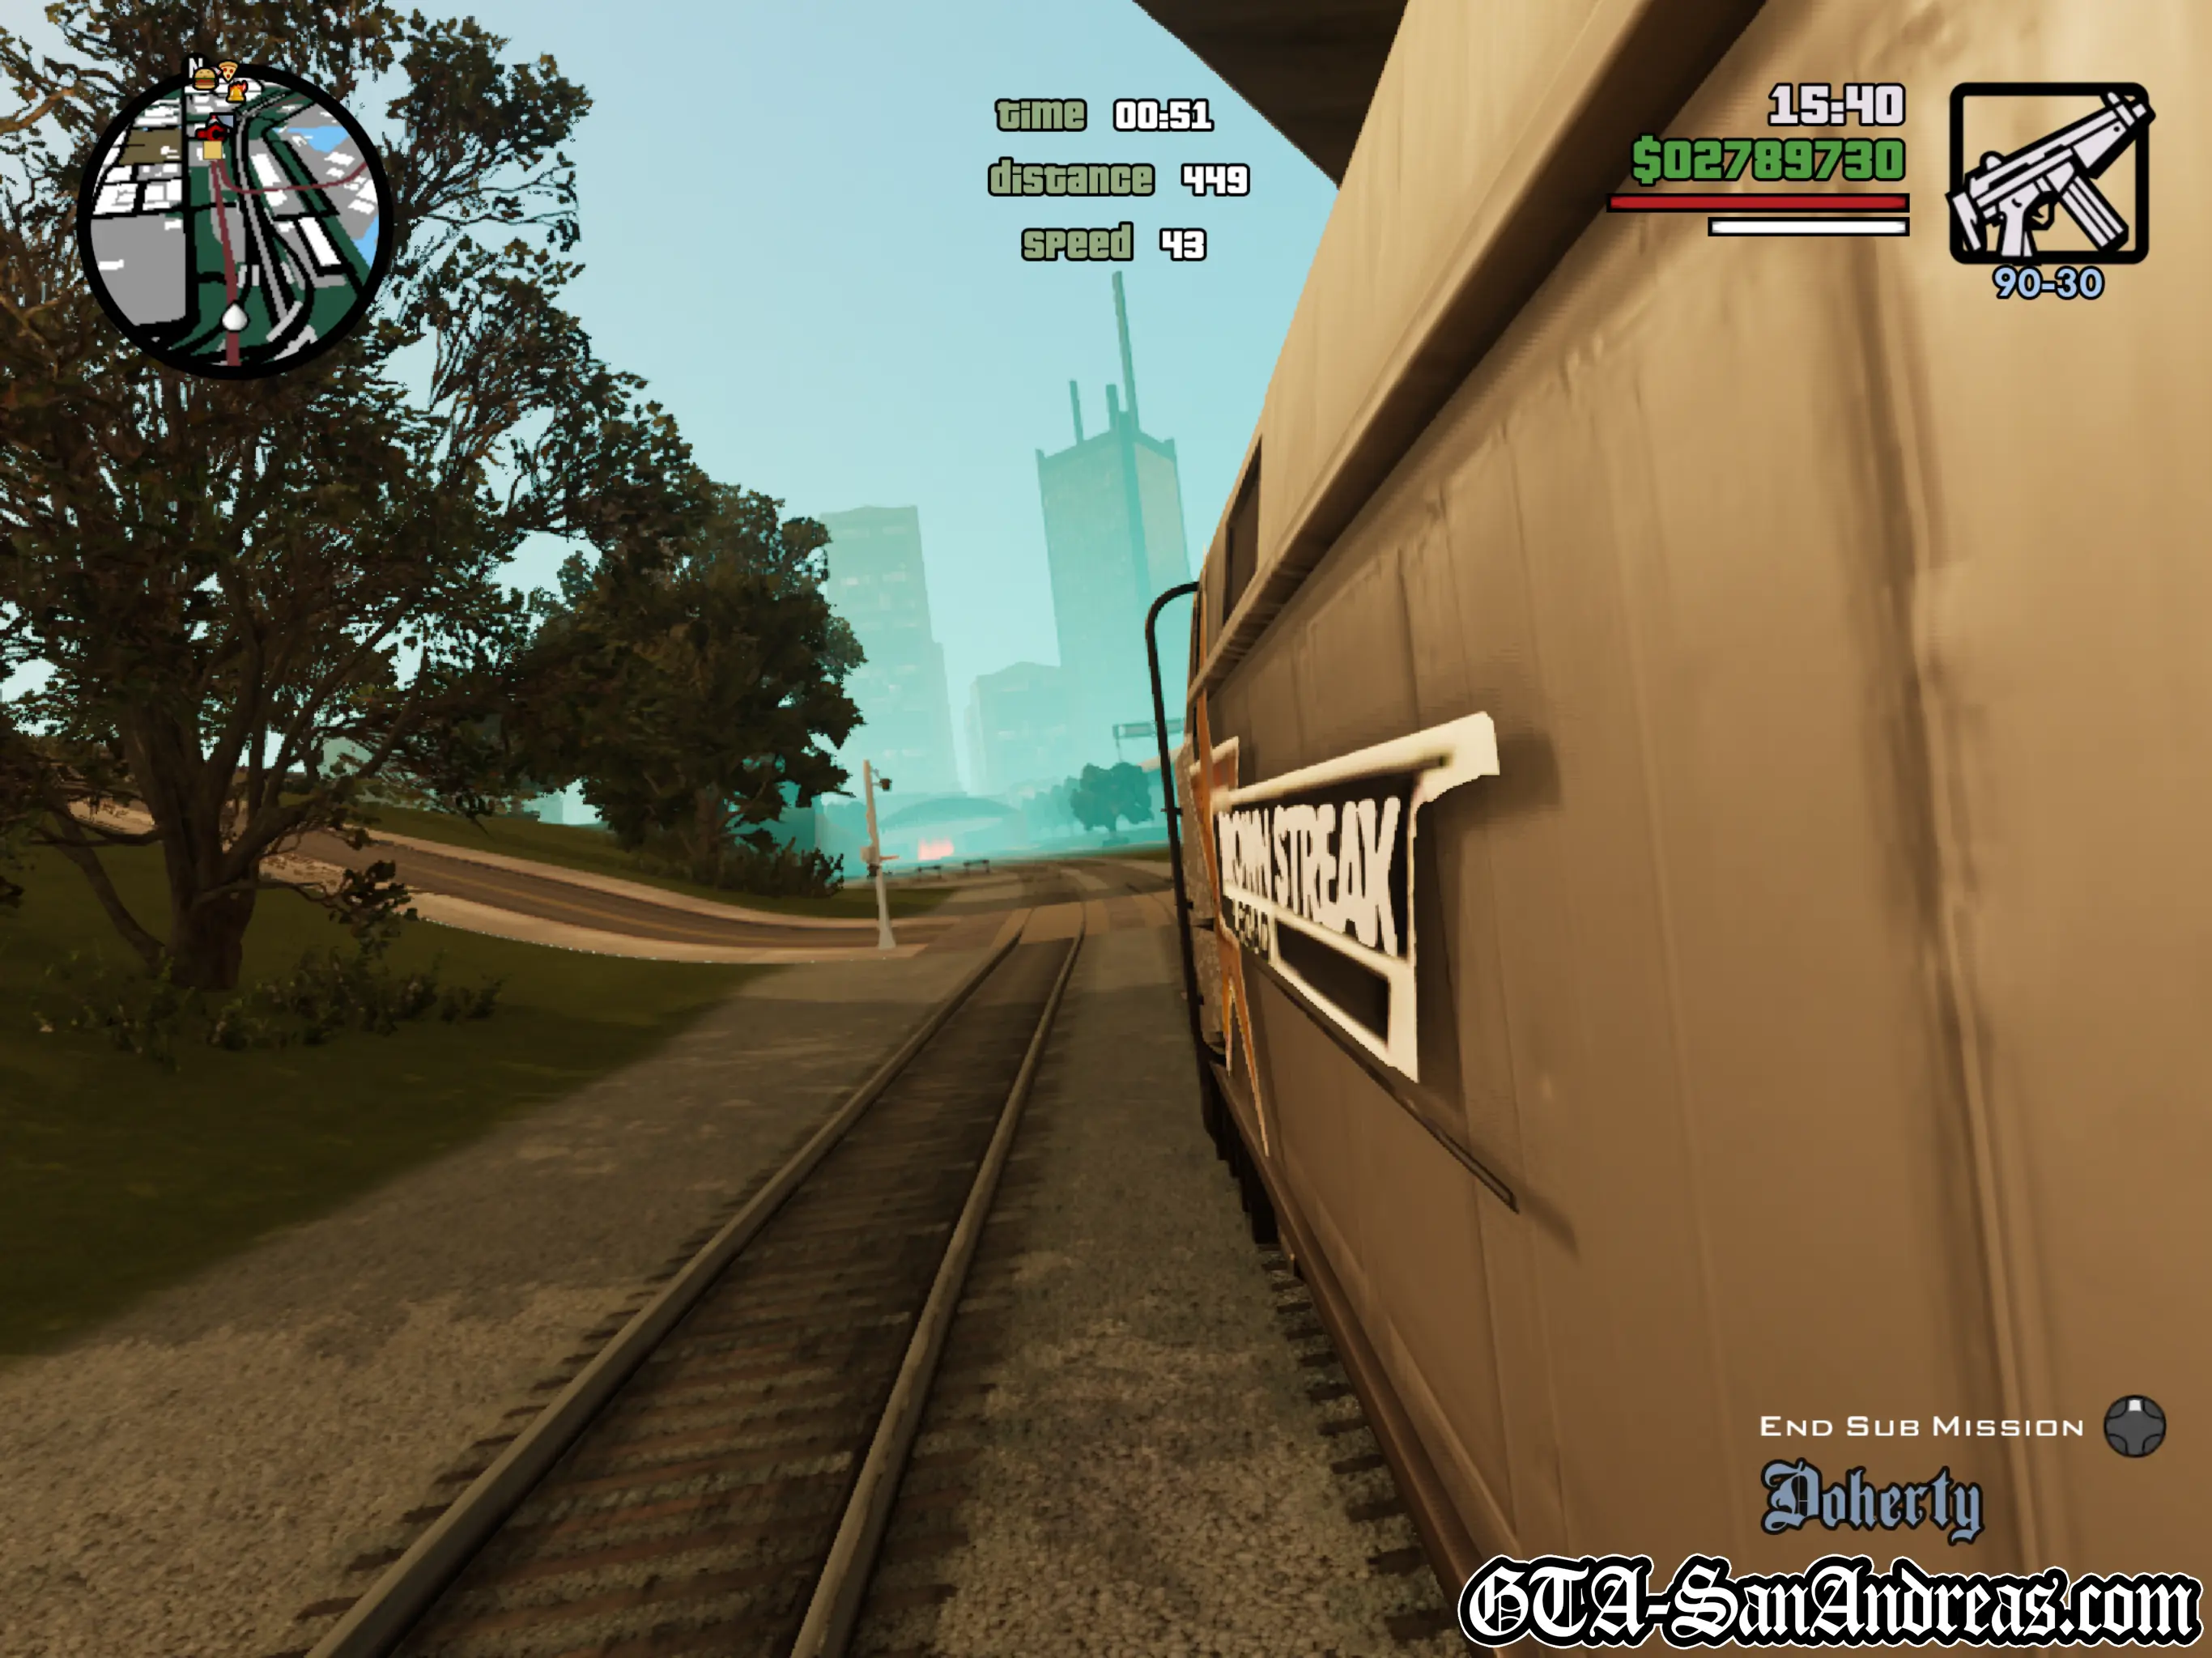
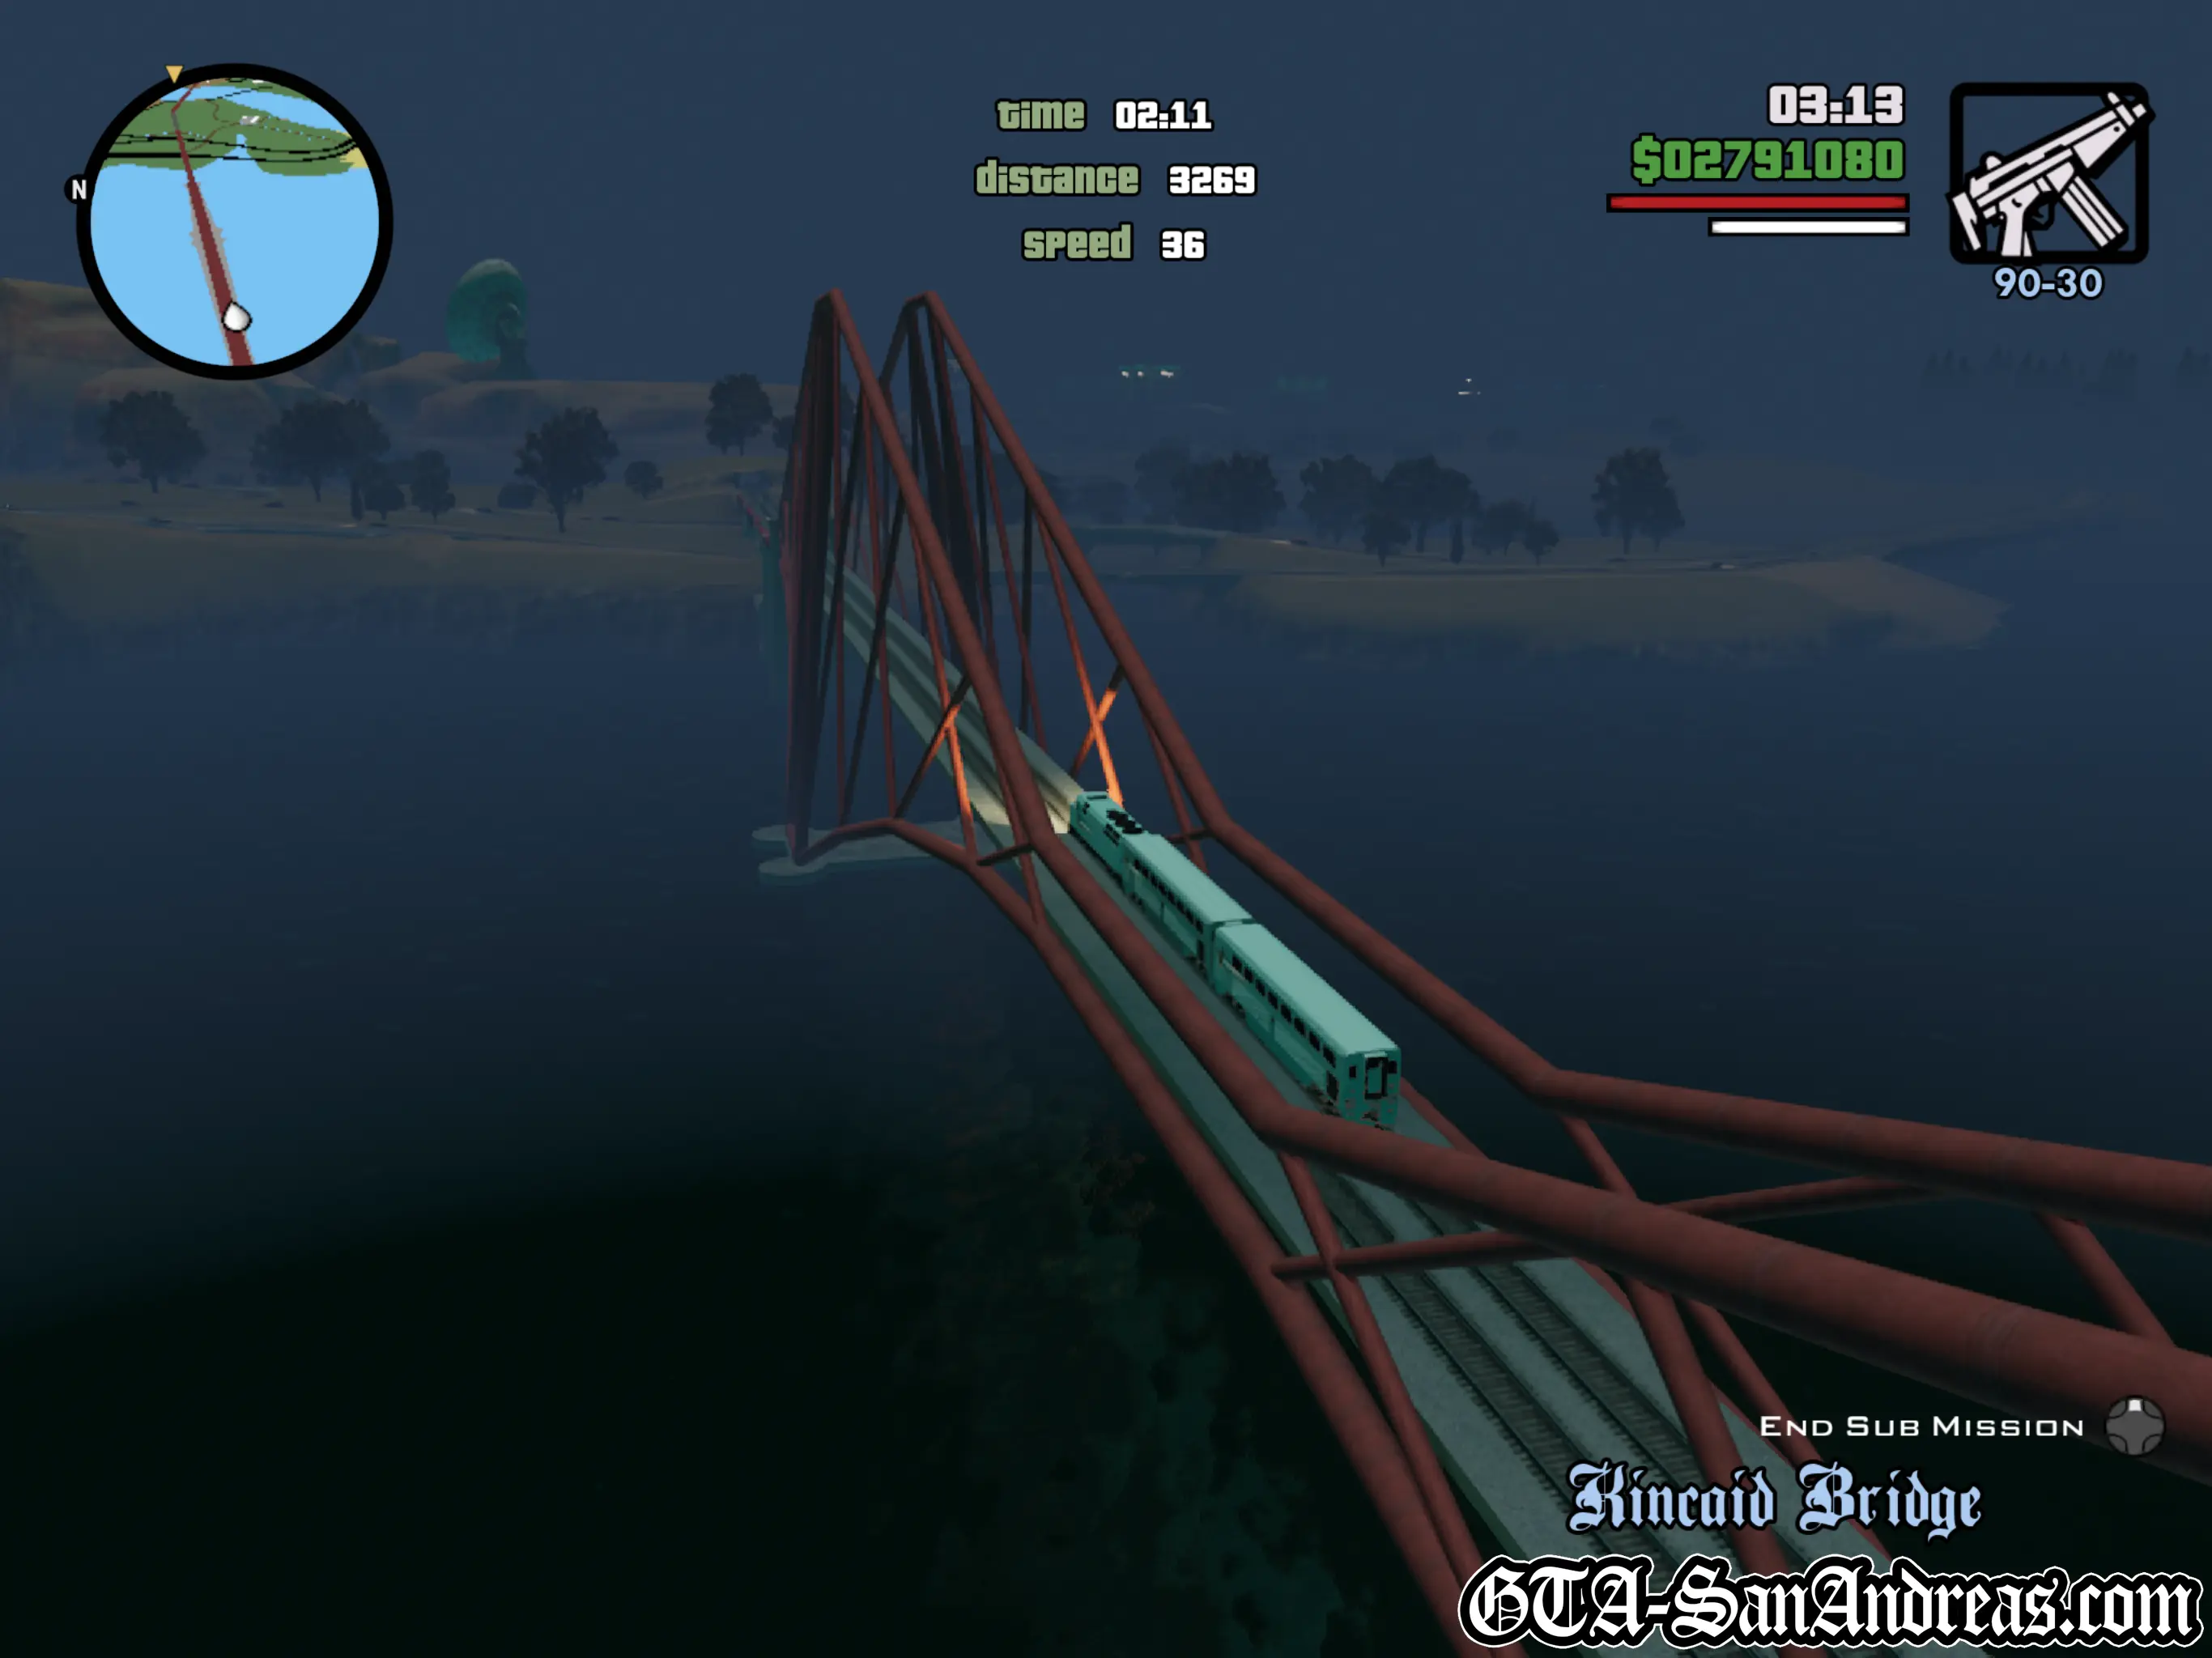
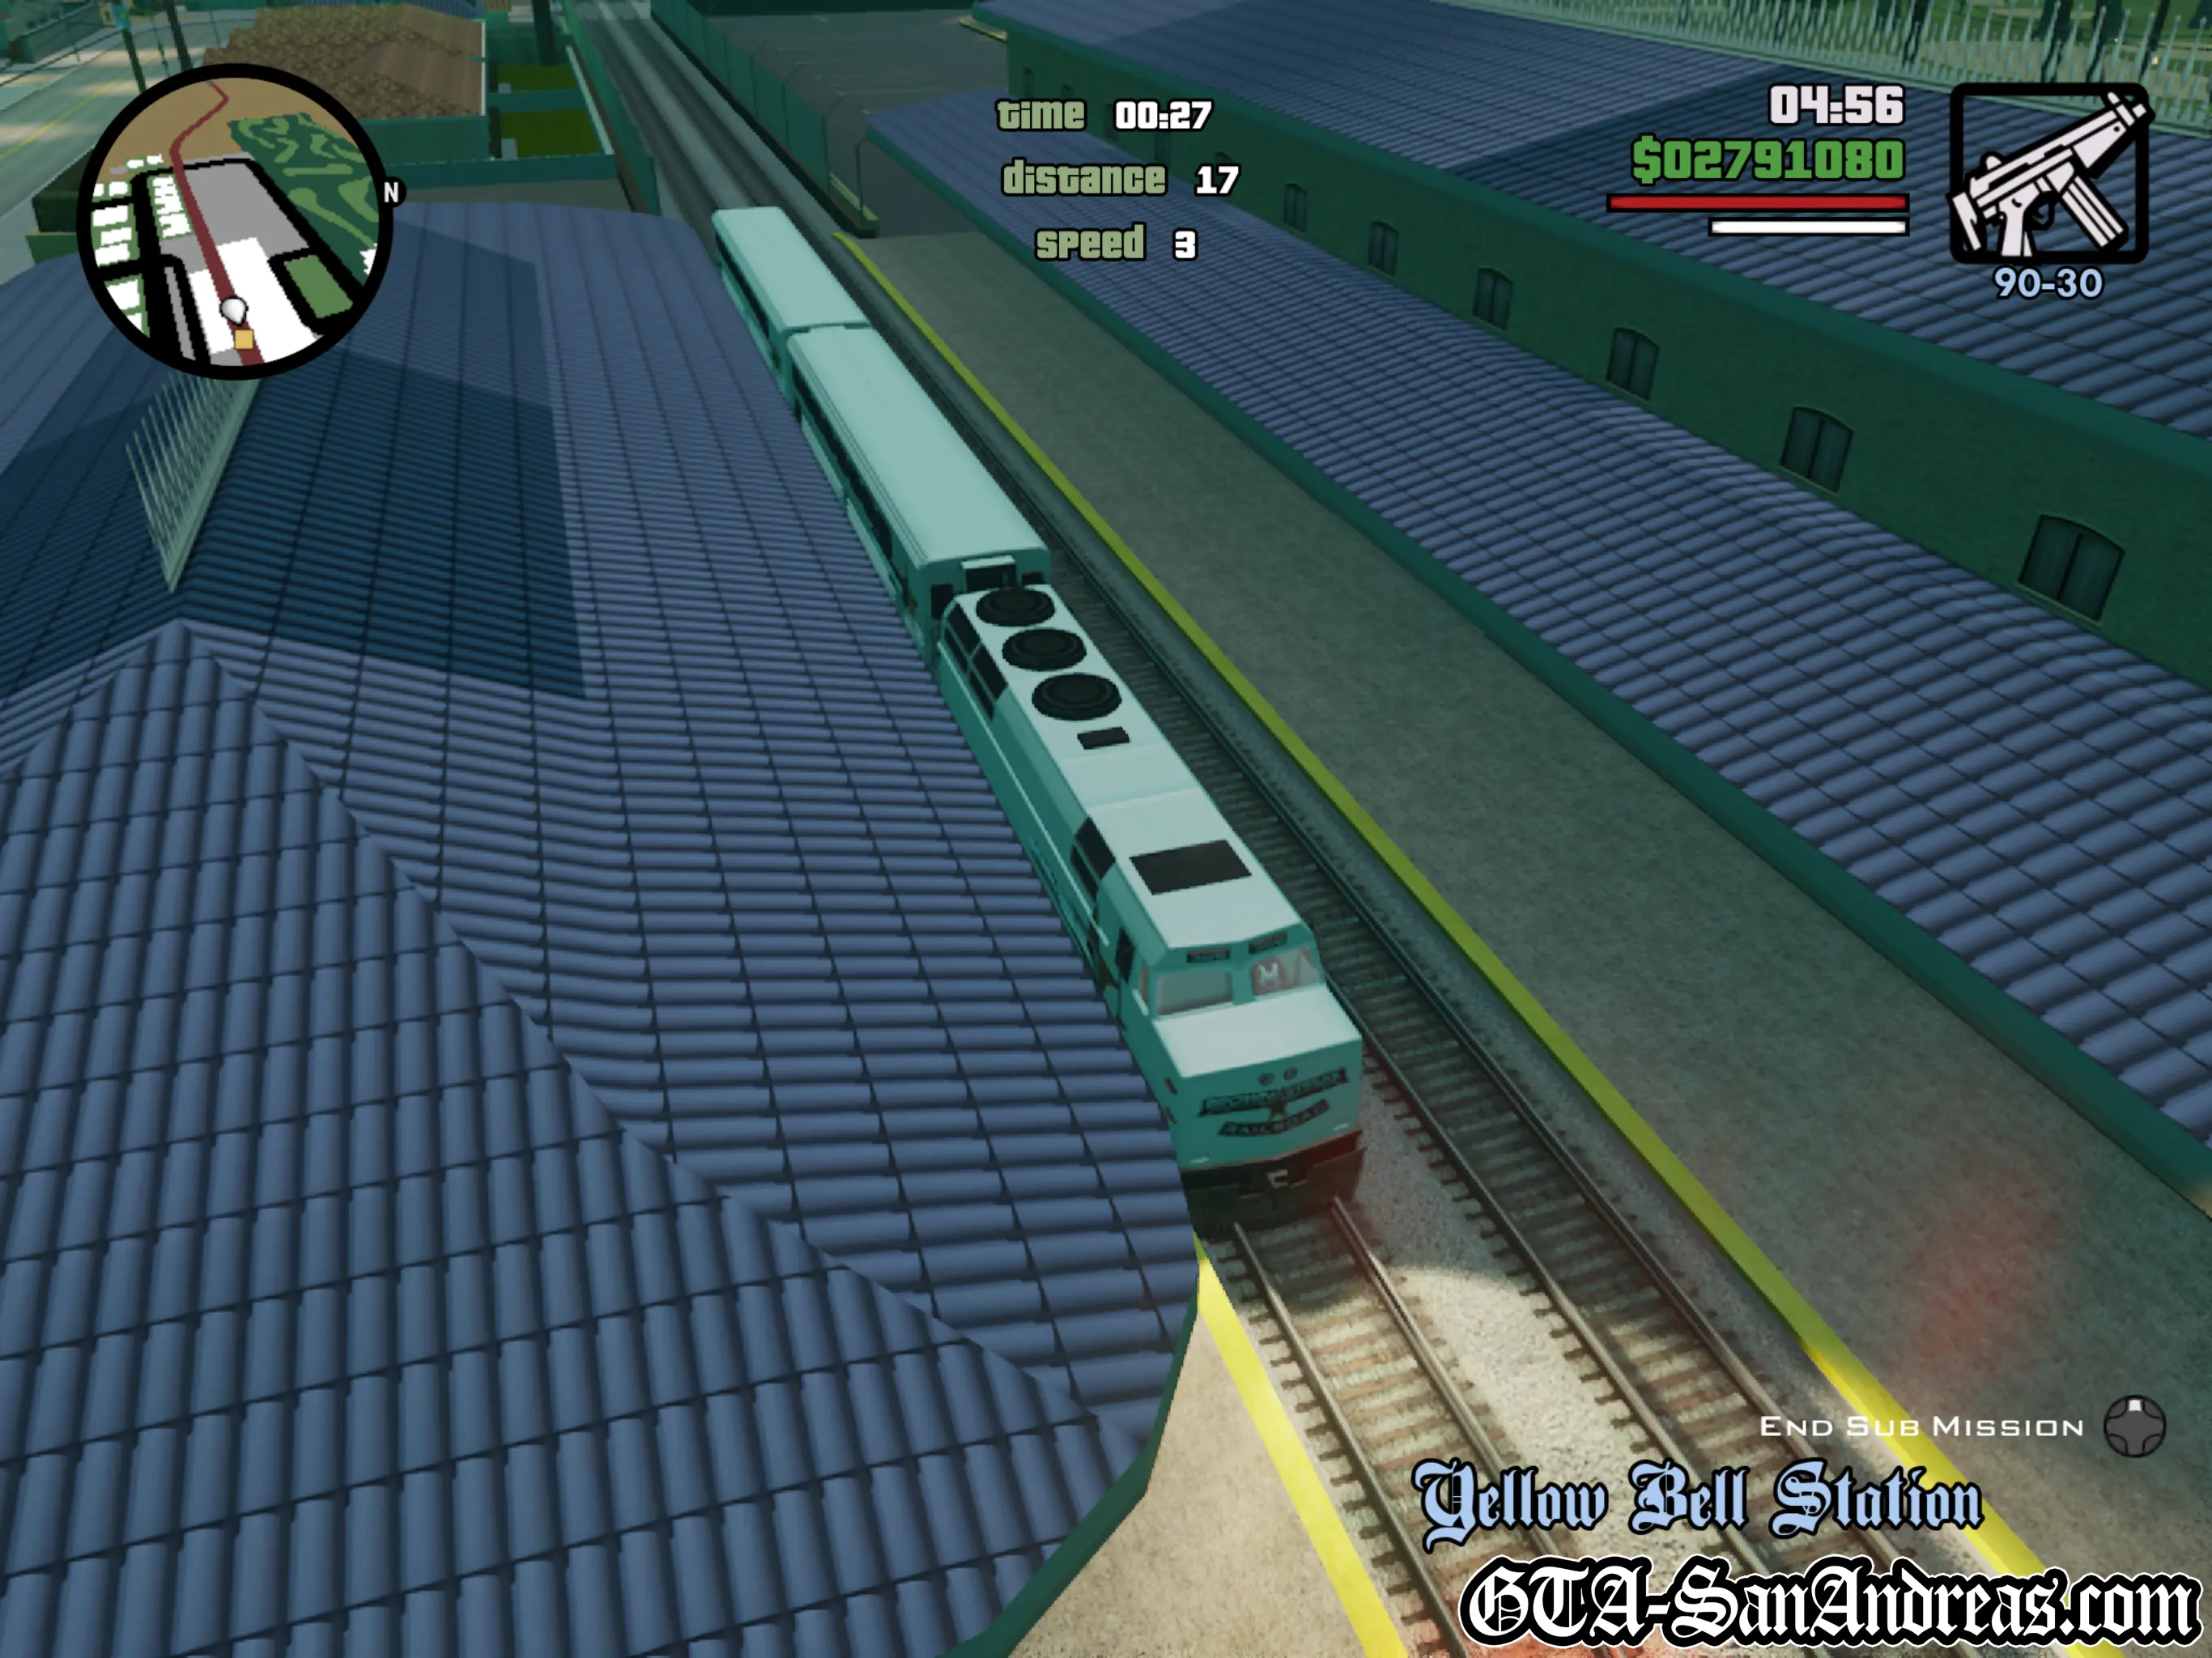
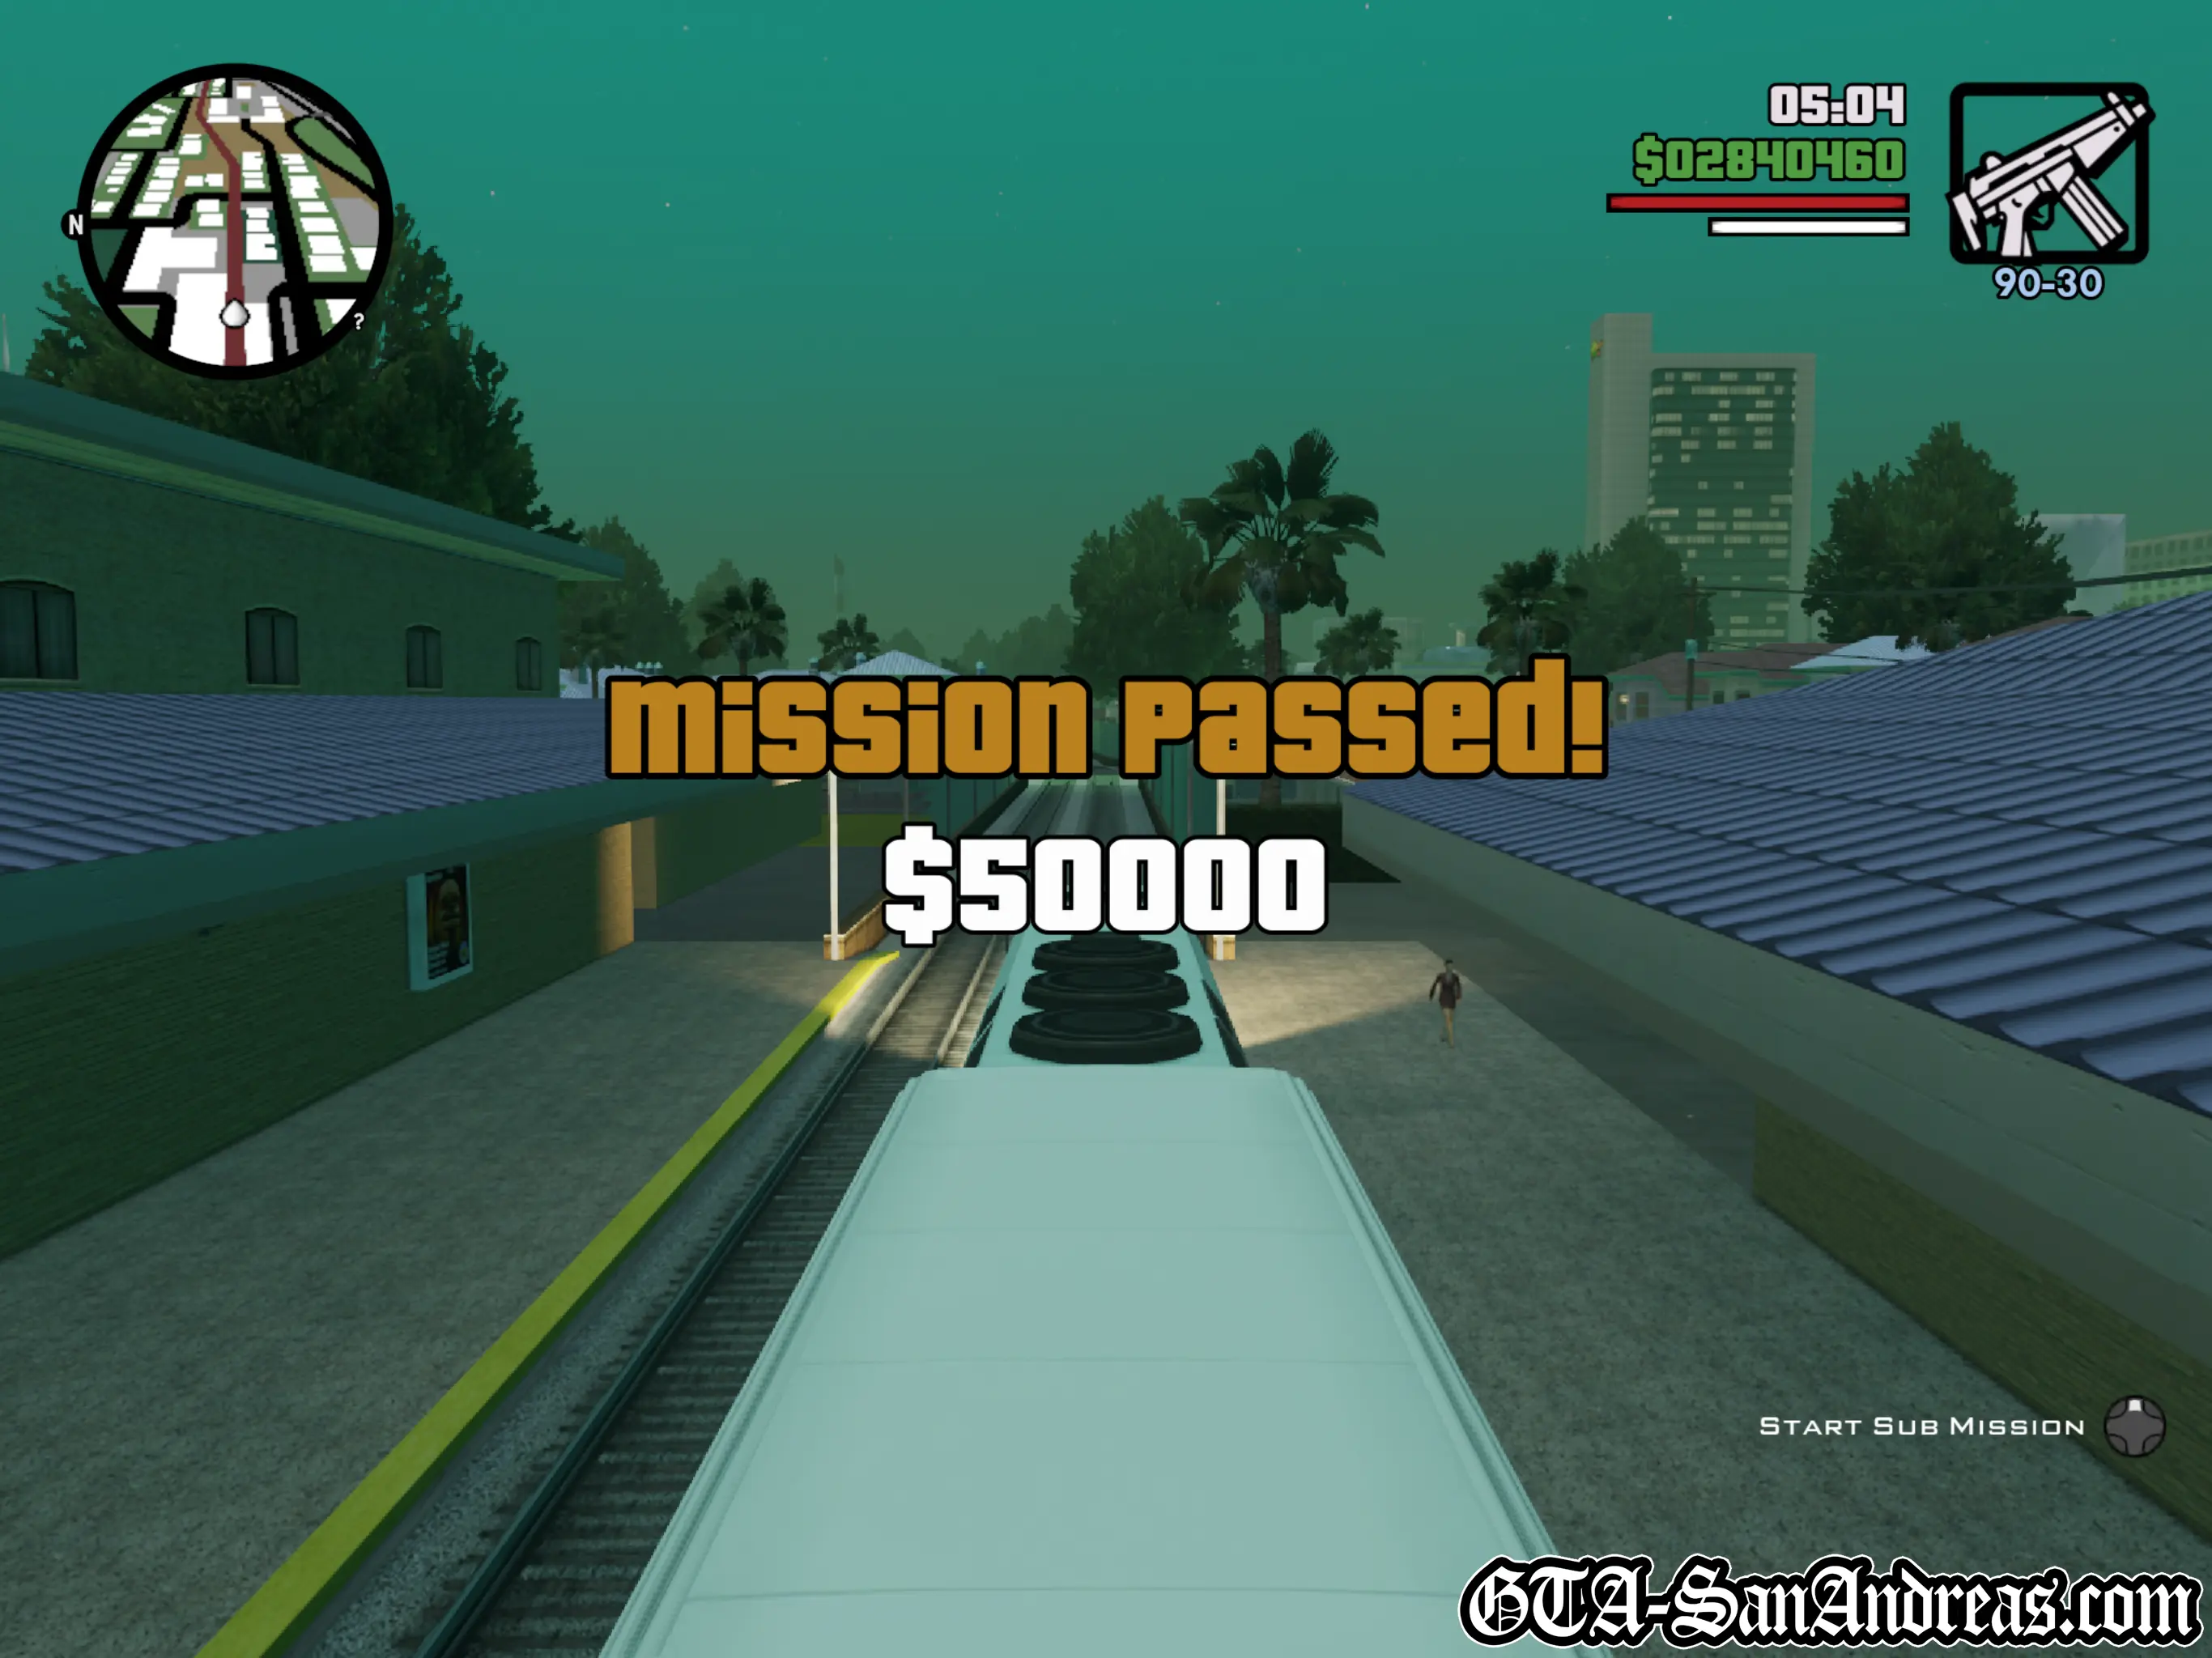
Freight
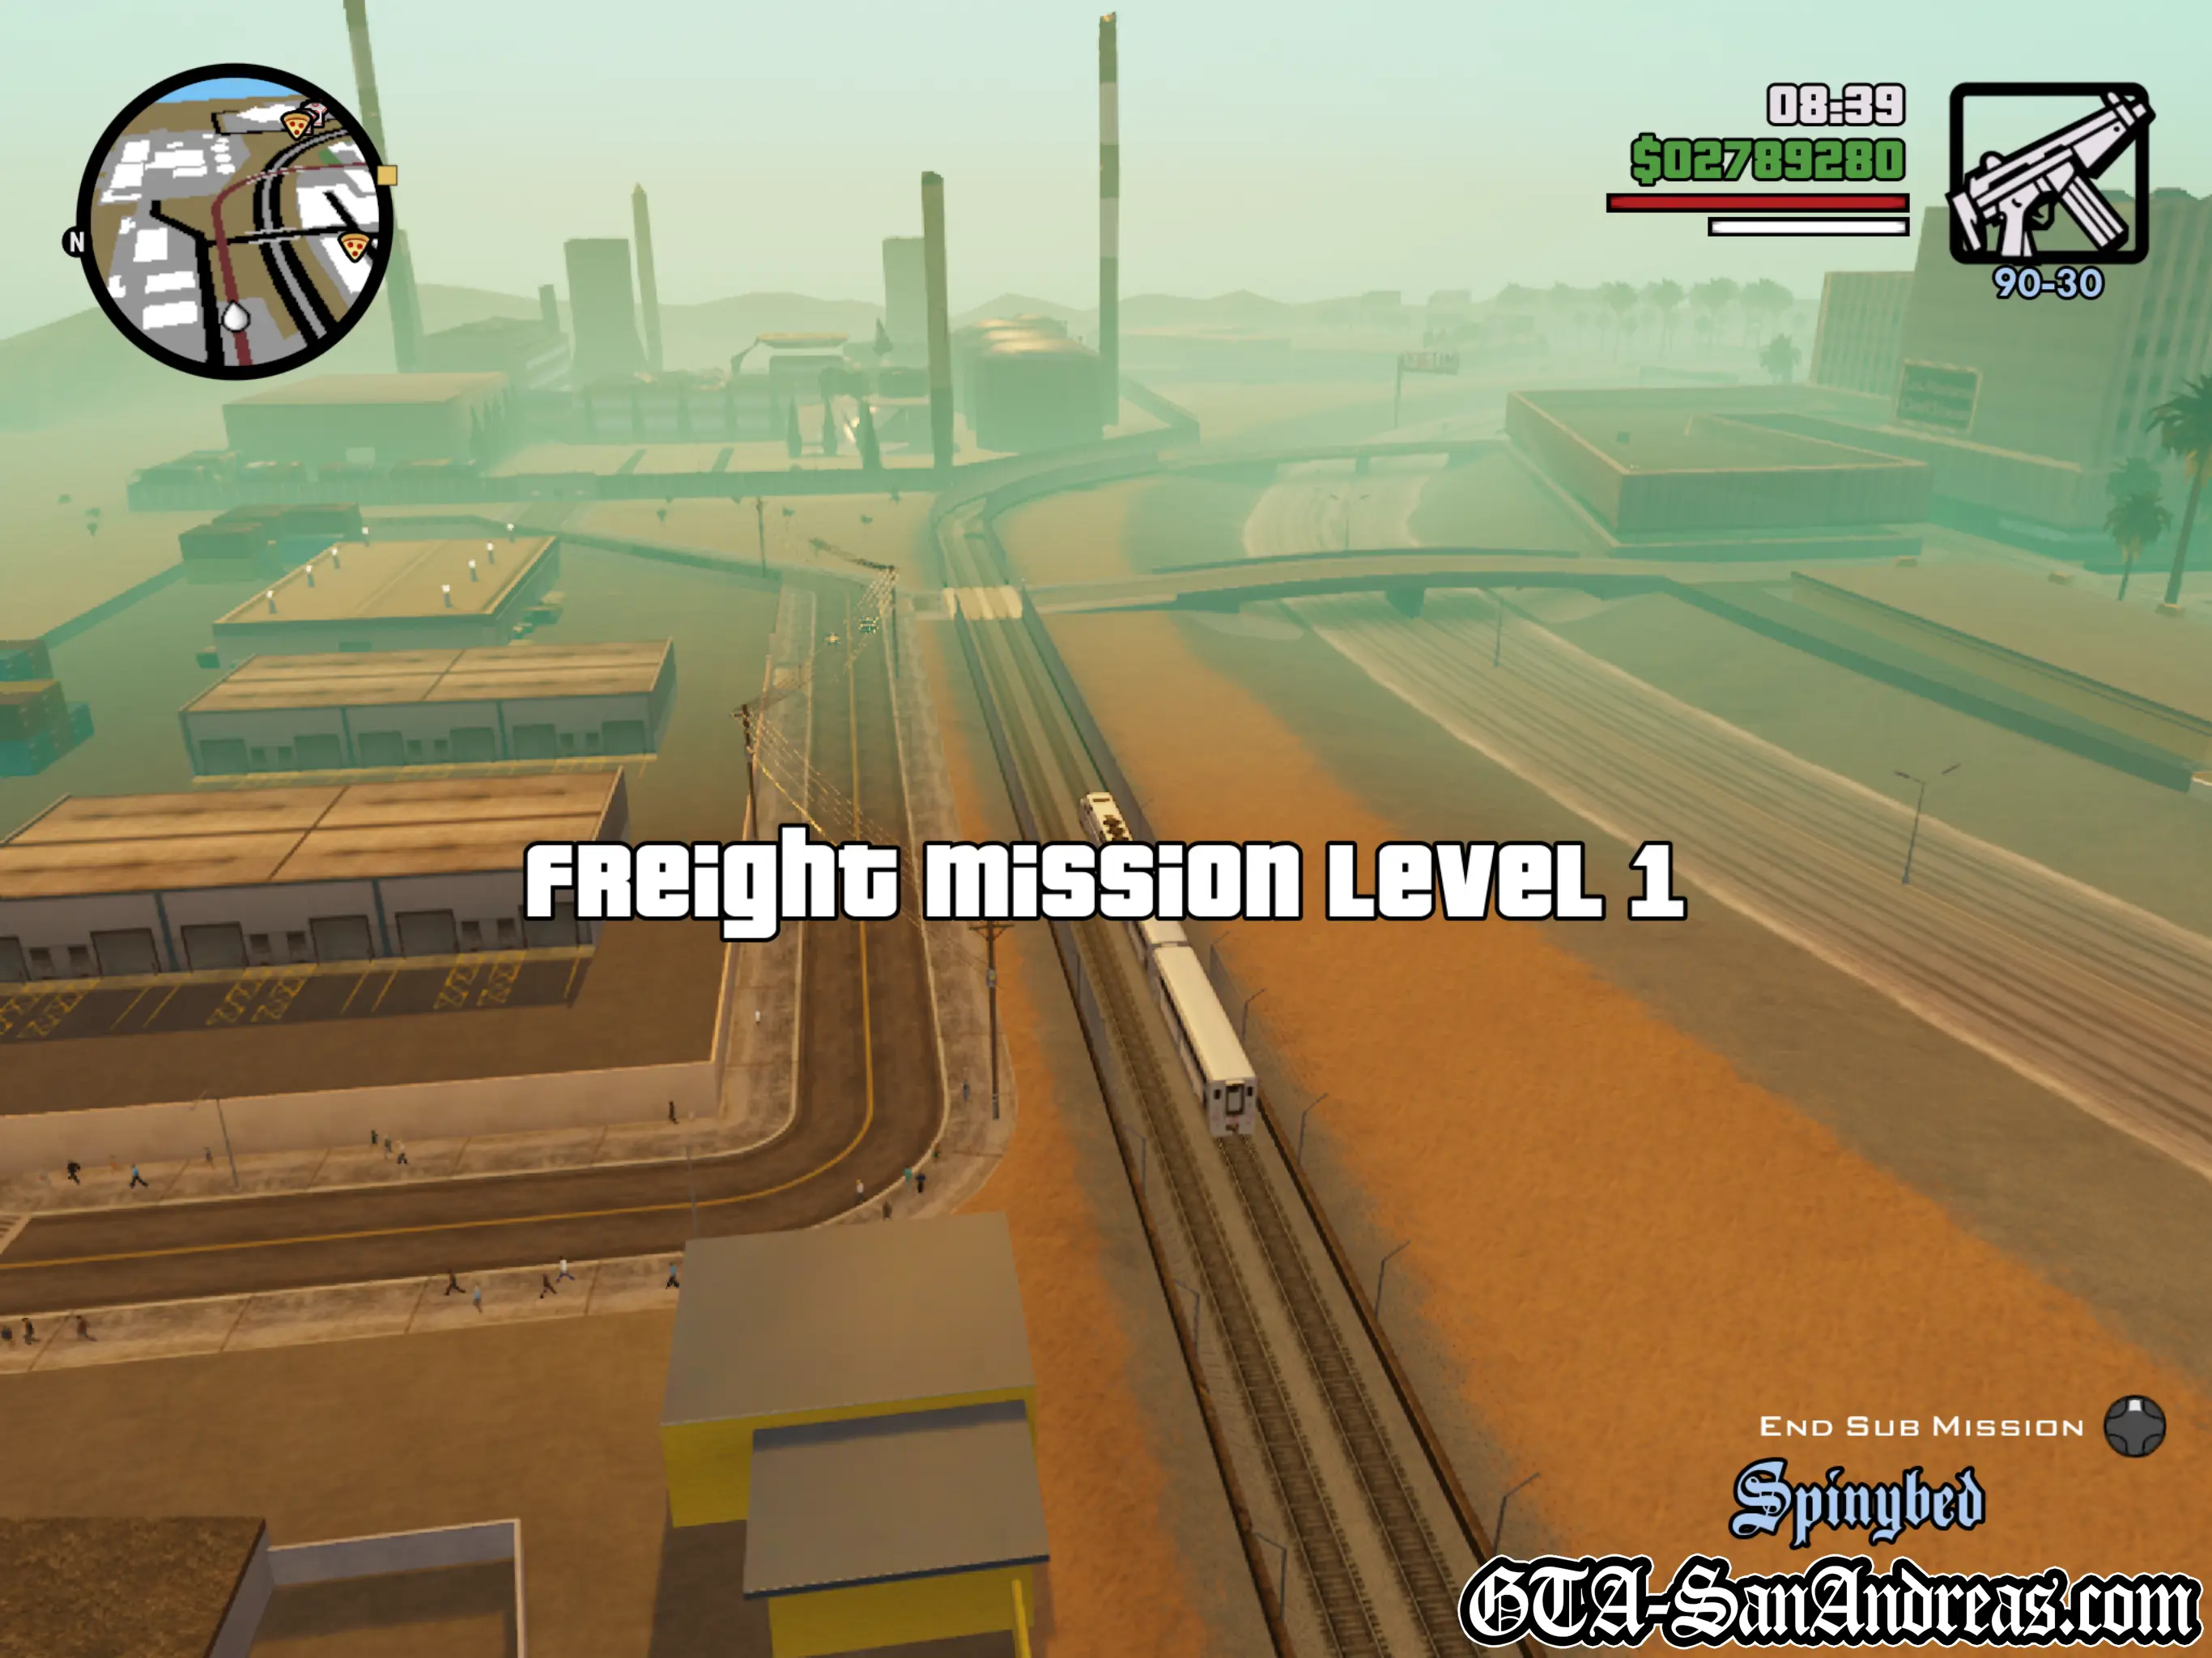
This is another of the new sub-missions introduced in San Andreas and probably one of the most interesting.
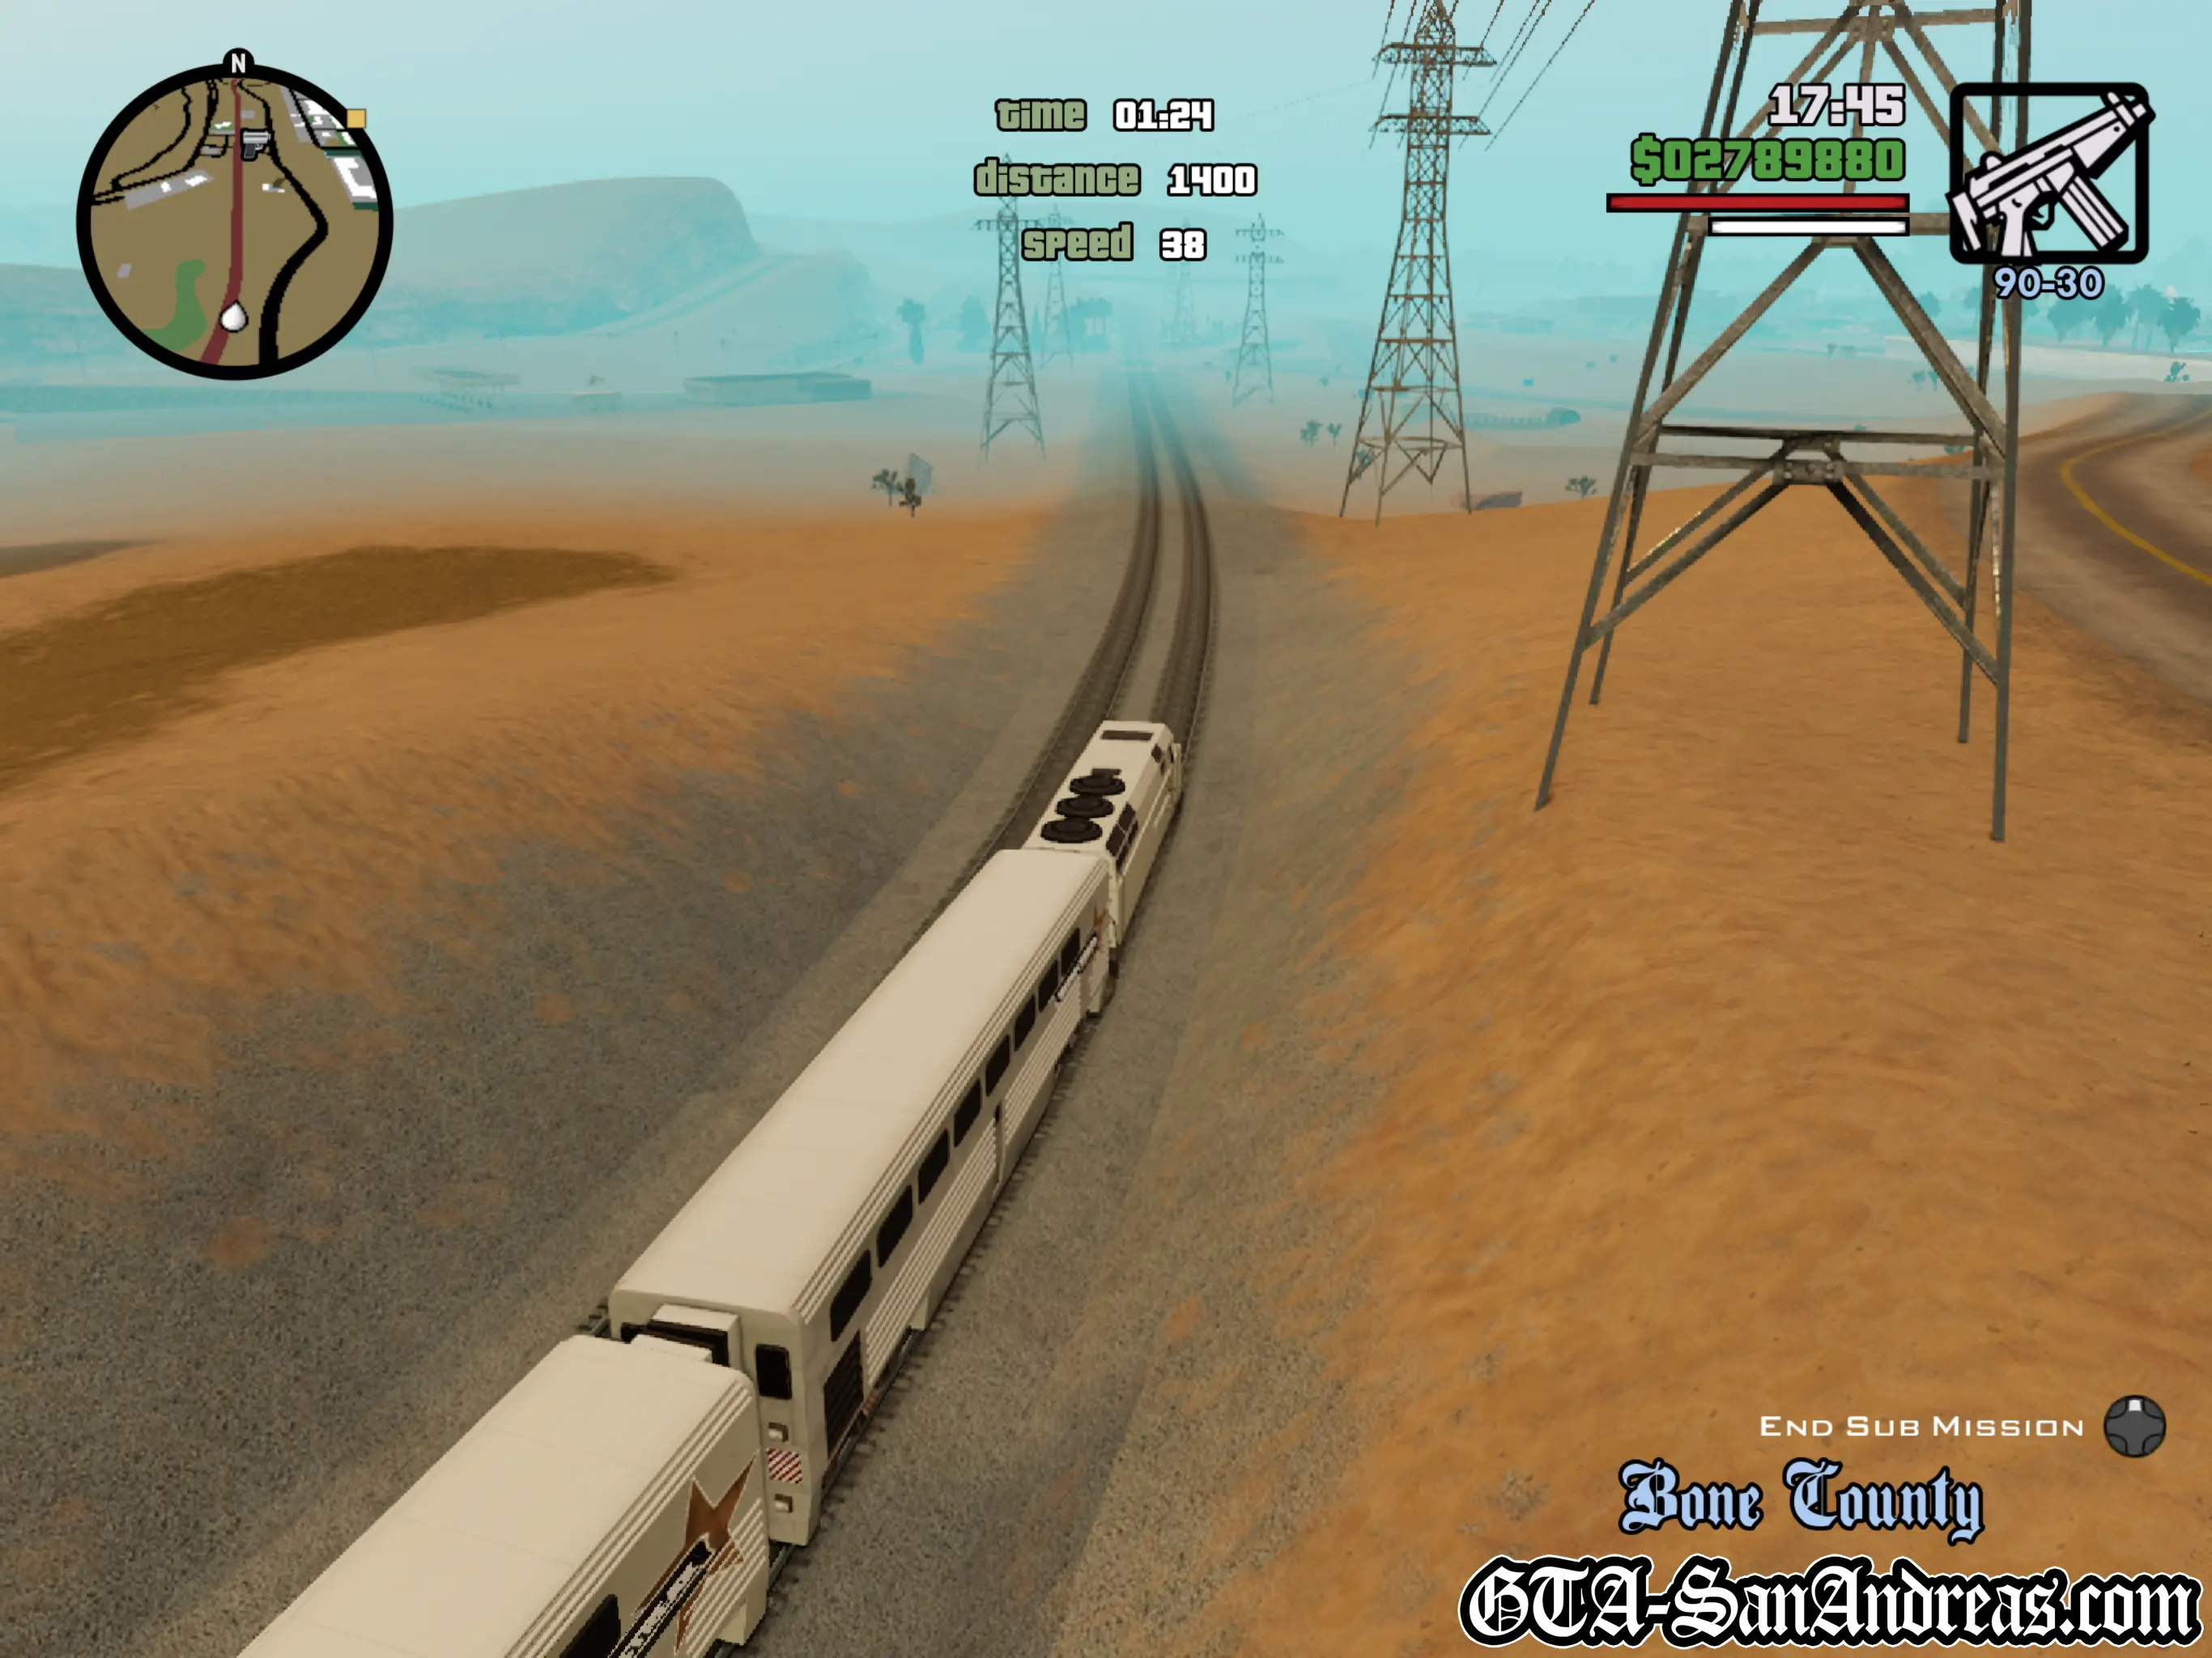
Like all sub-missions, they can get a bit repetitive, but driving a train around a track at full speed, trying to judge when you should slow down in order to get to the station at the right time is a lot of fun for awhile.
Essentially you really just need to hold the accelerate and brake buttons and give the train the power to drive itself around the track. You'll need to slow down when going around sharp corners or derailment will occur, but you'll need to keep up your speed too in order to beat the clock.
Vehicle Needed
- Brown Streak
- Freight
Freight missions can only be activated after Las Venturas has been unlocked.
Reasons For Mission Failure
- You derail the train.
- You run out of time.
- You overrun the station by a large distance.
- You exit the train.
The Basics
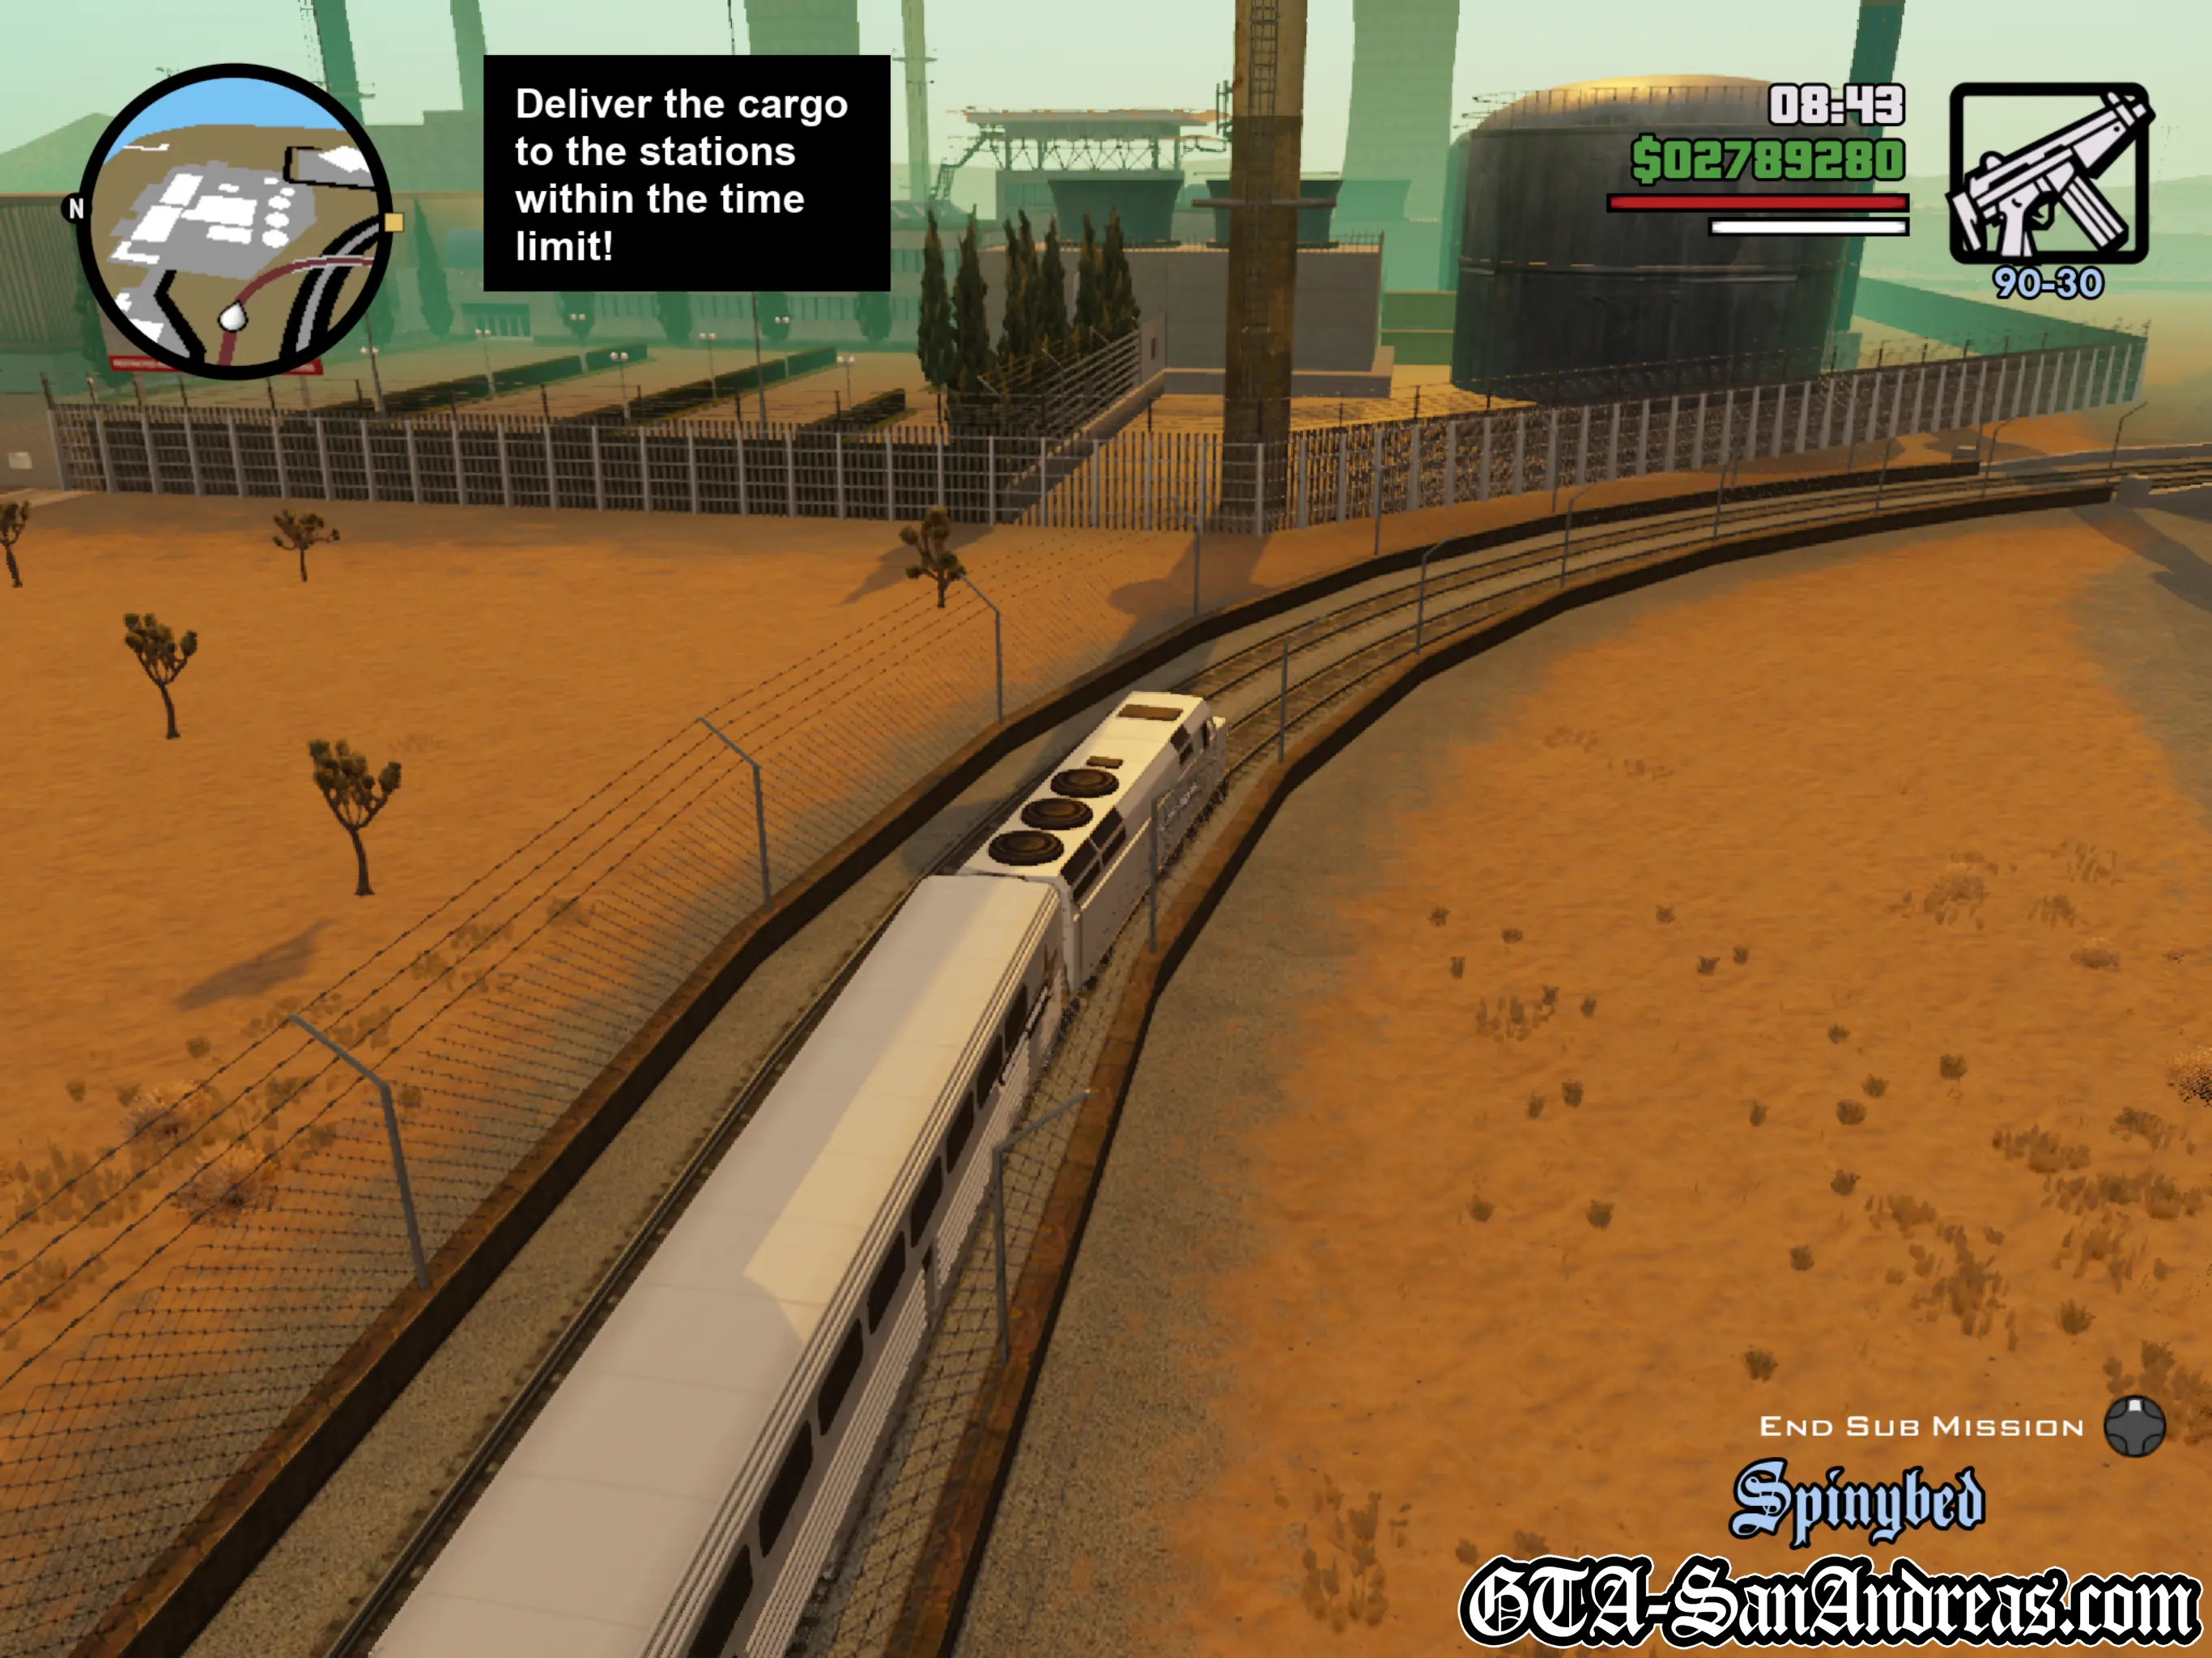
When you enter a Train and sit in the drivers seat, not currently on a mission, hit the R3 button to start the Freight Missions.
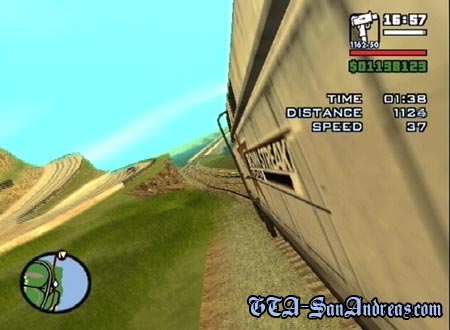
You'll then be told to deliver the cargo to the next station within the time limit. This will be marked on the radar with a yellow blip but you can't exactly miss it as the train tracks will lead you right to it. There's no turning involved, all you need to do accelerate and break at the right time.
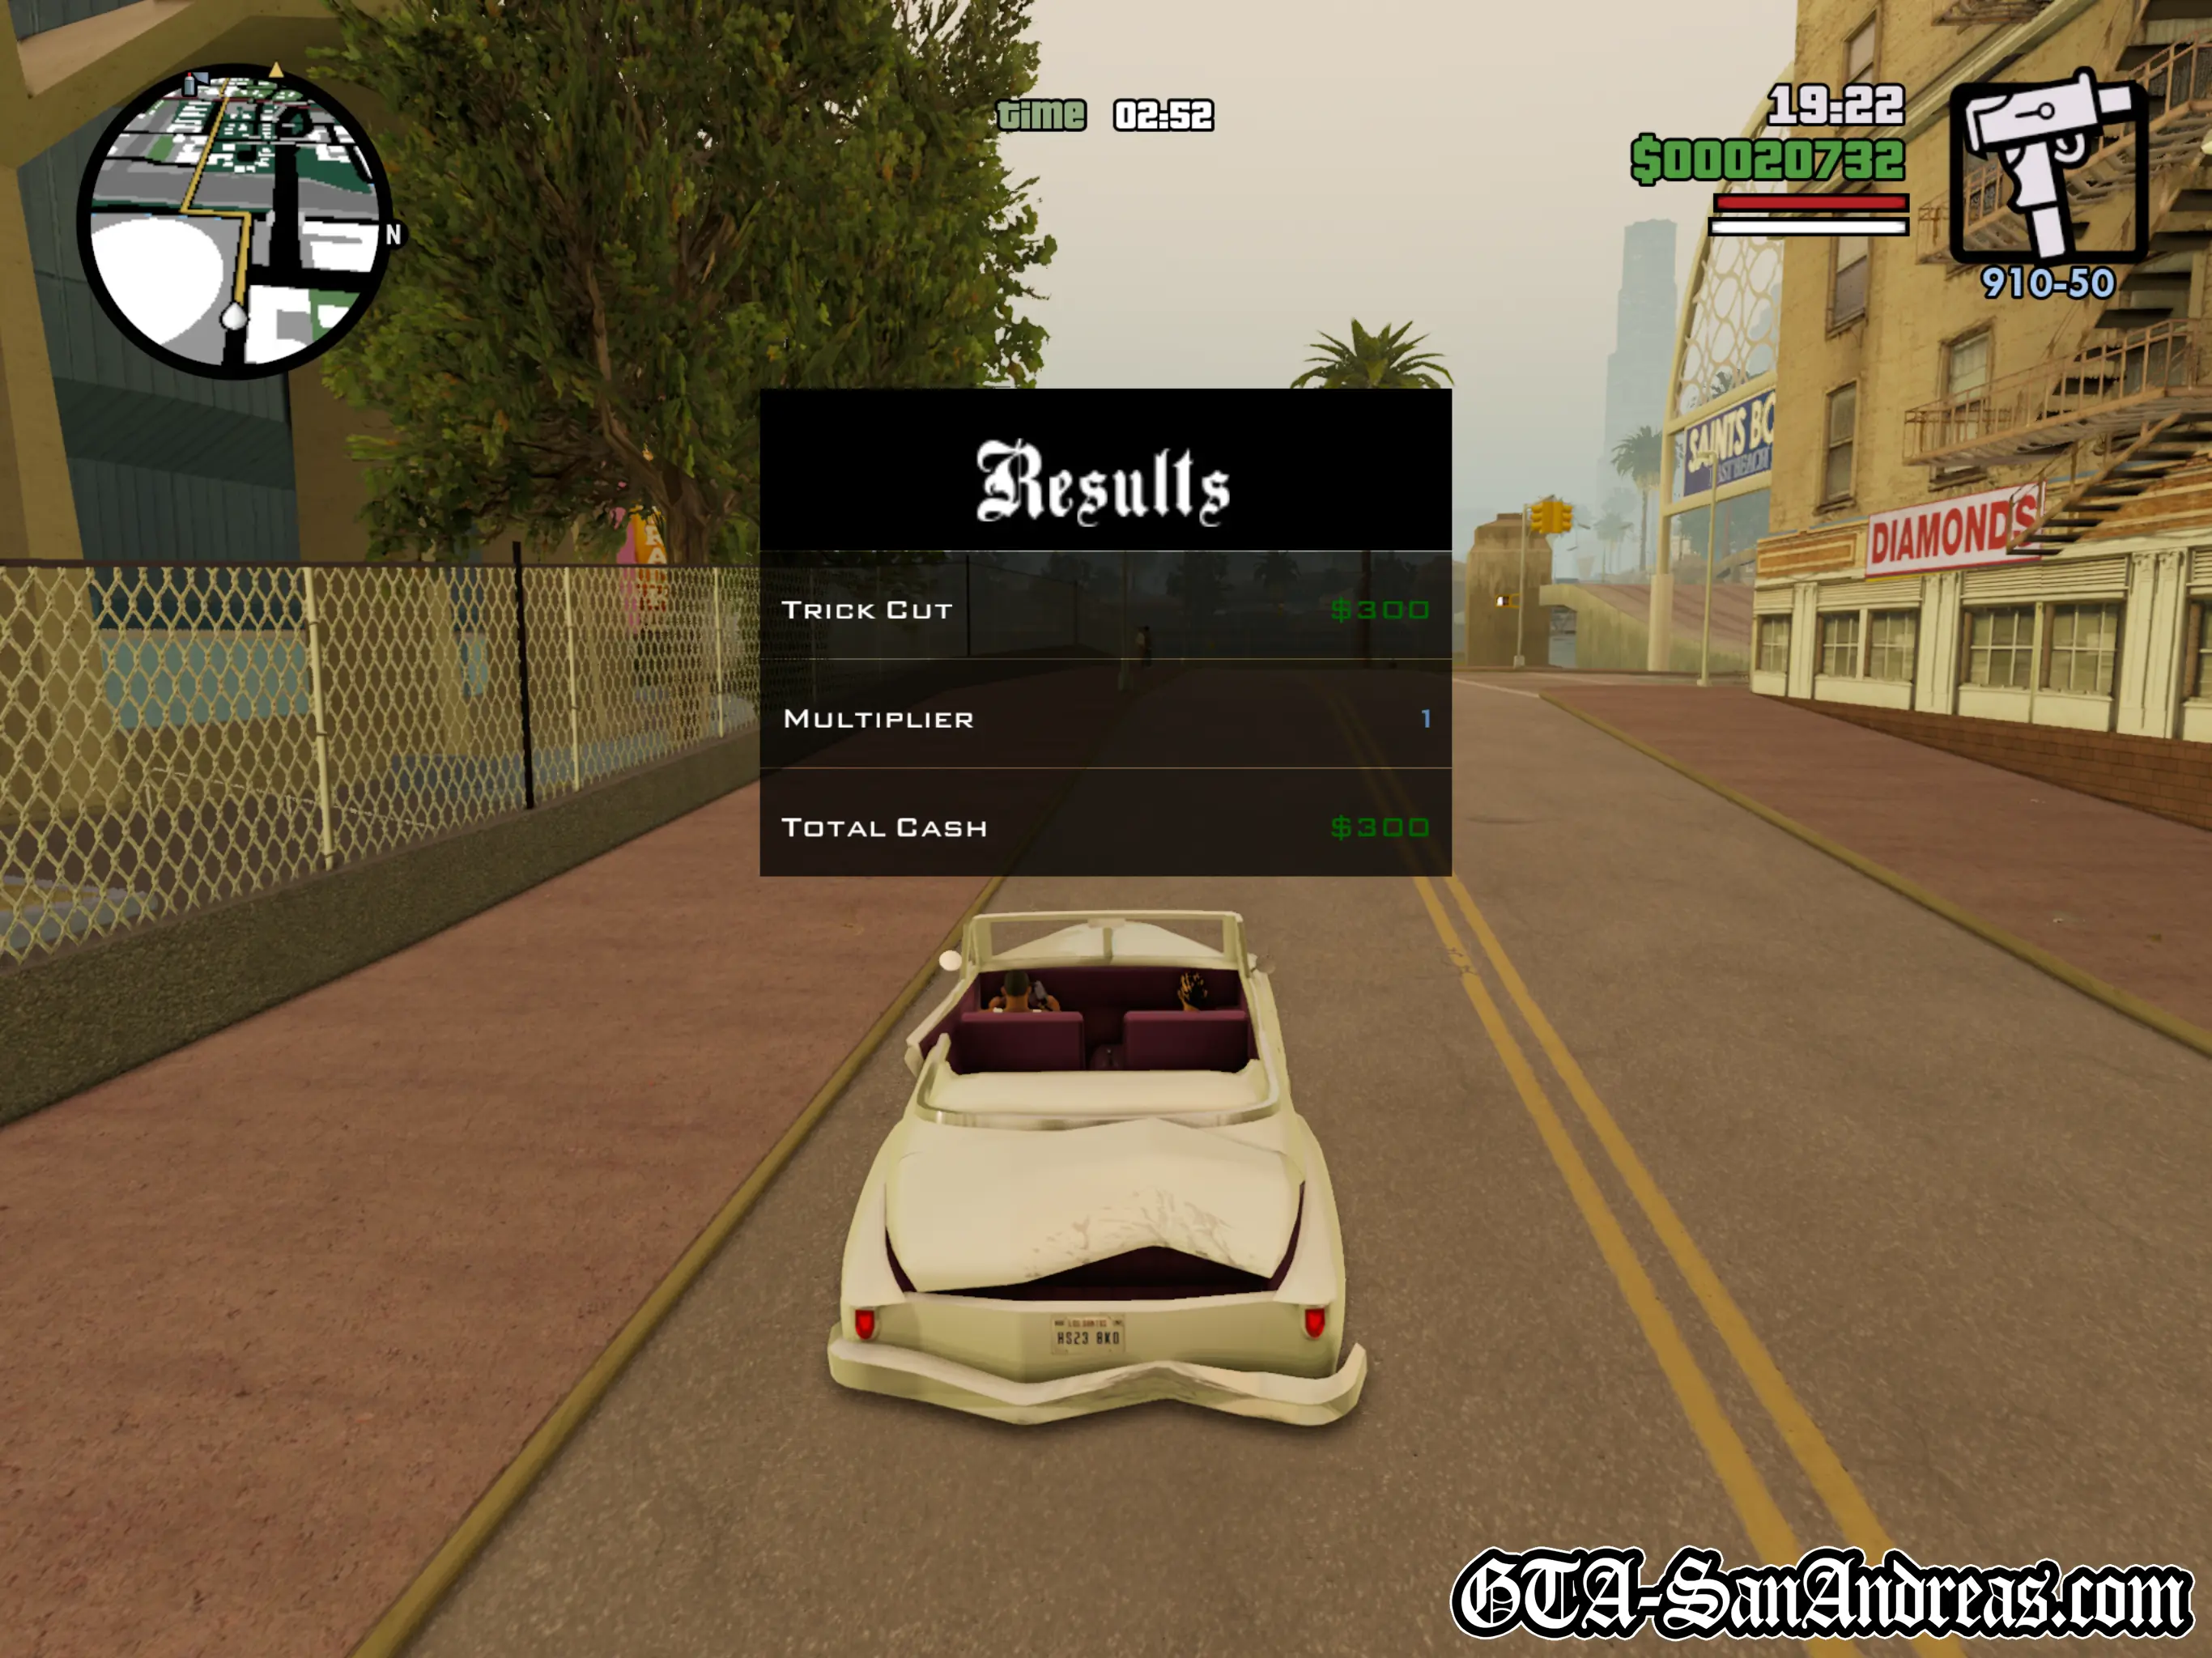
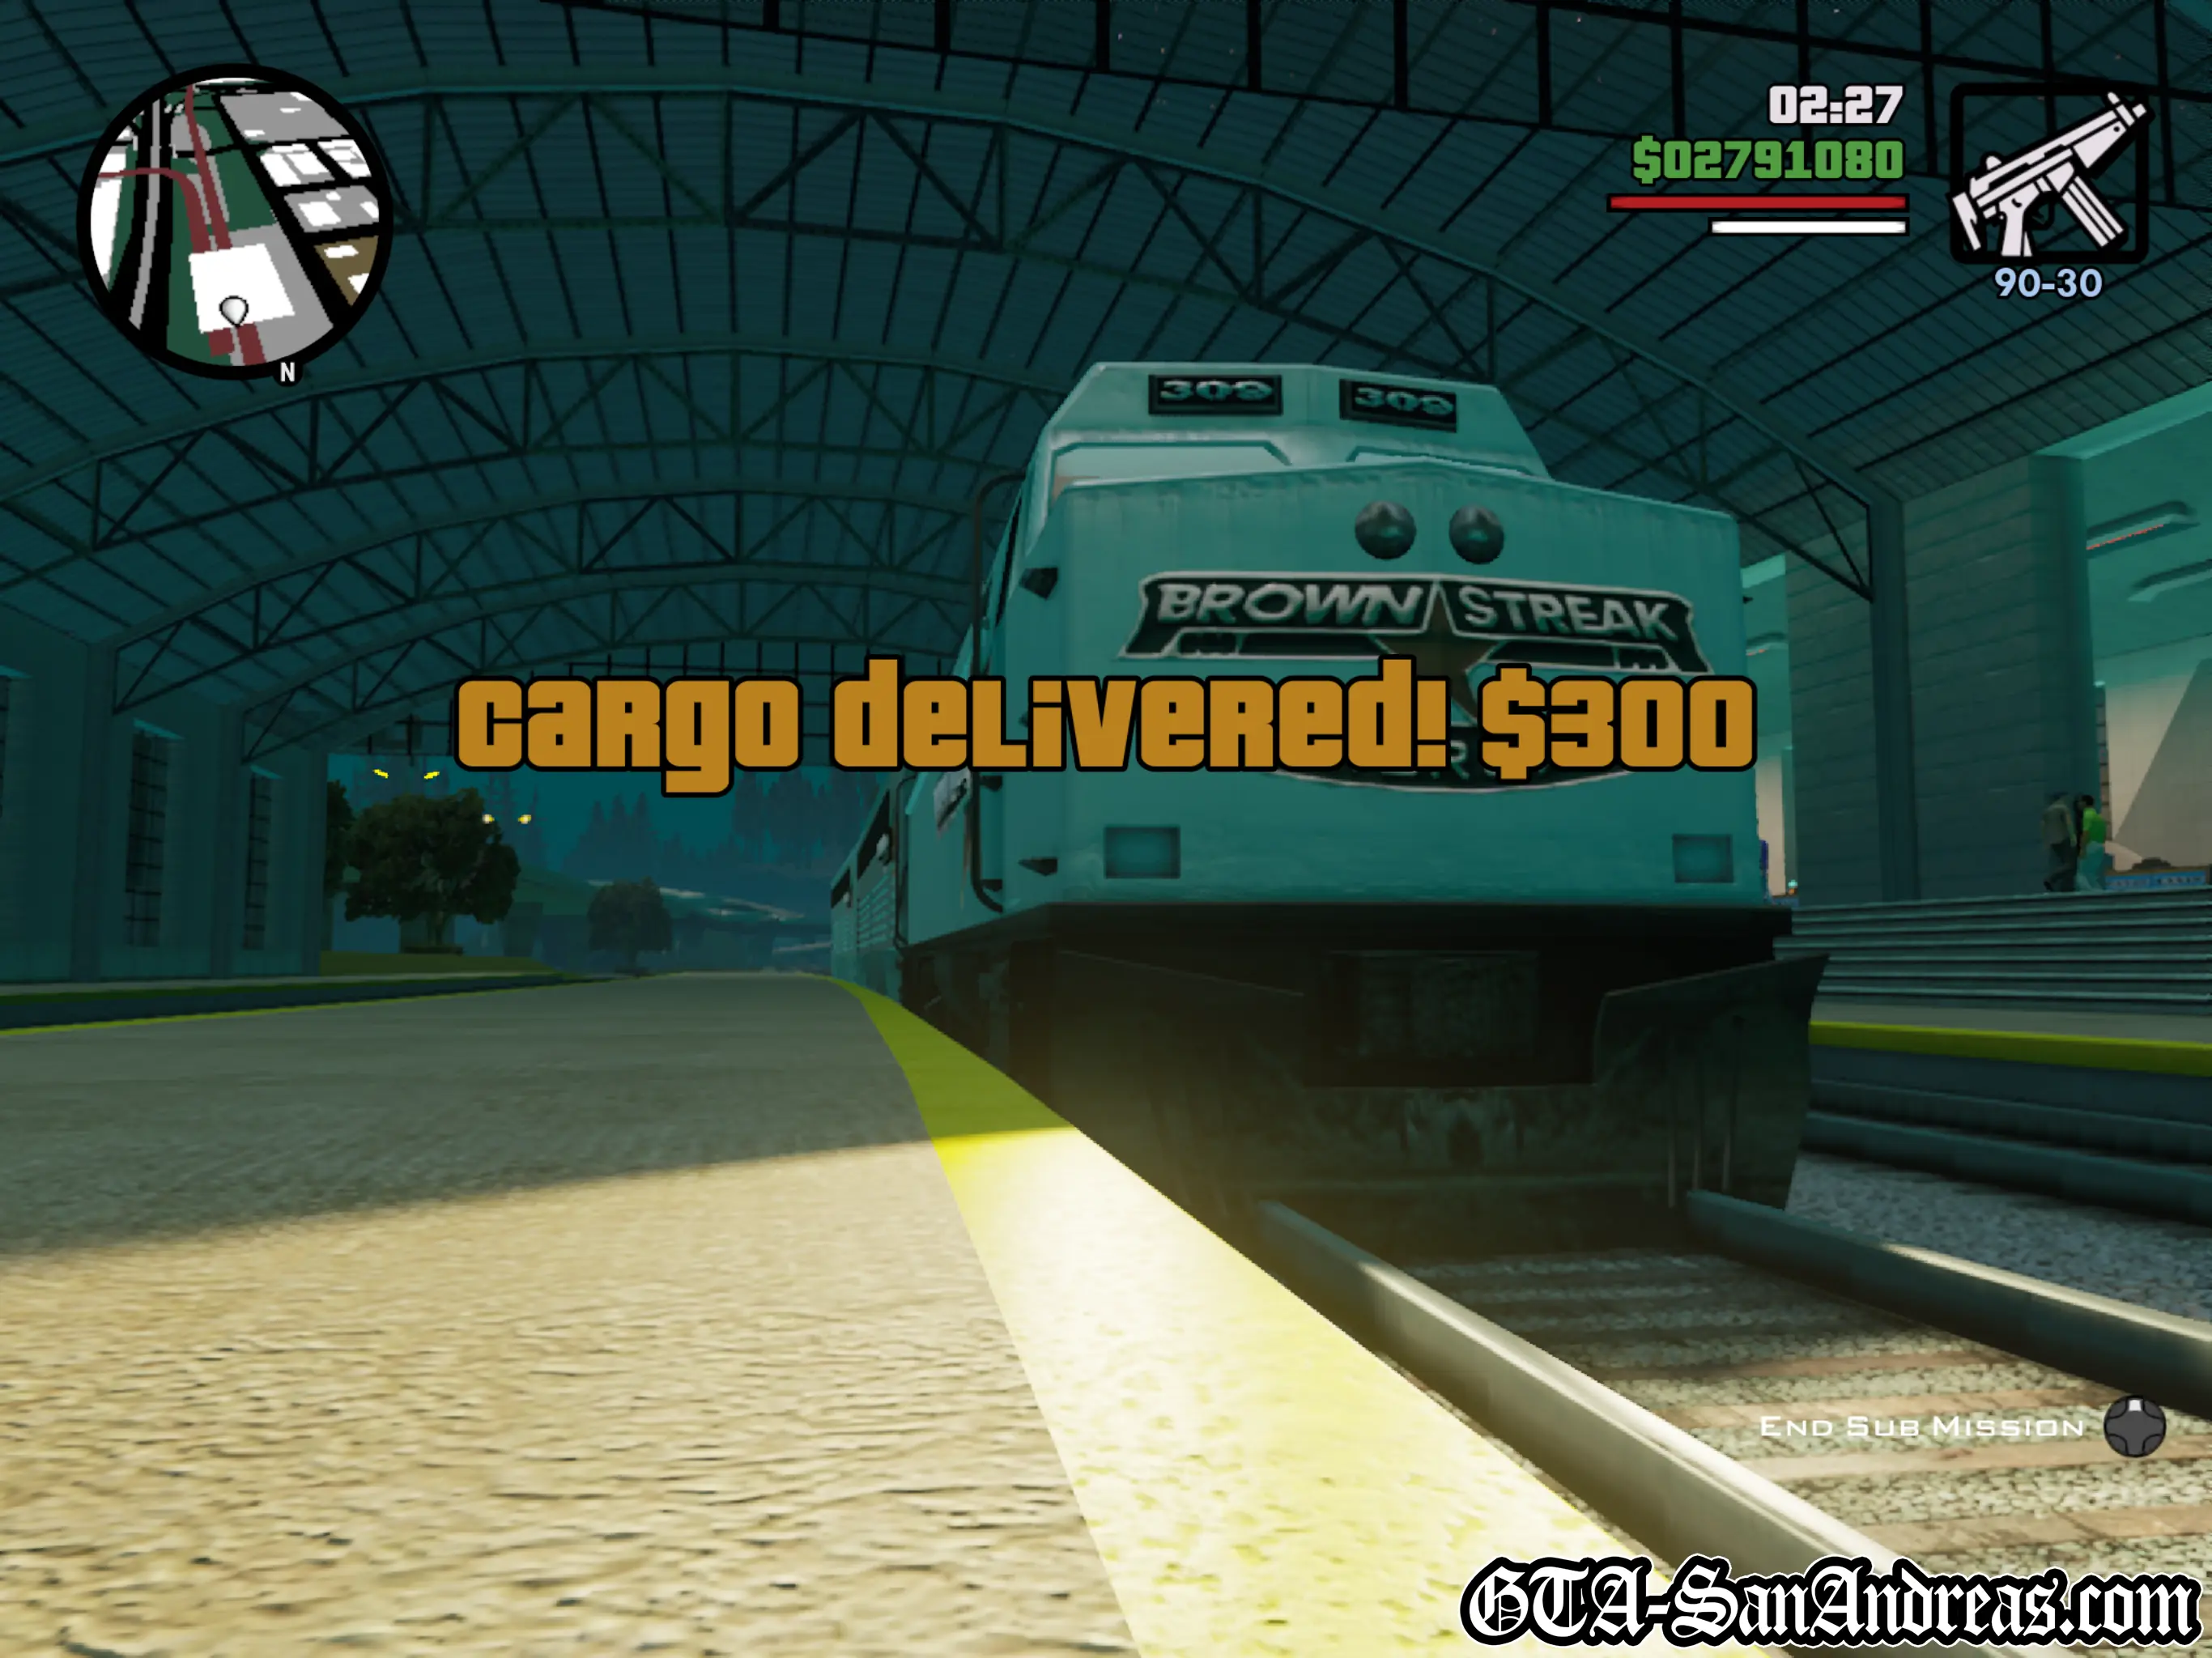
After dropping off the first lot of cargo you'll need to set off again towards the next station and repeat the process. You'll receive a bonus for any remaining time, as well as how close you get to the red circle with the front carriage of the train.
On Level 1 you will receive a max of $150 per station, on level 2 that will double to allow you to receive $300 per station.
Tactics
Before hitting R3 to start the mission, I'd advise starting to speed around the track towards the next station. The mission will start with enough time to get there from a stopped position, but because you're already moving, you'll save a good 20 or 30 seconds which will carry over to make other deliveries easier.
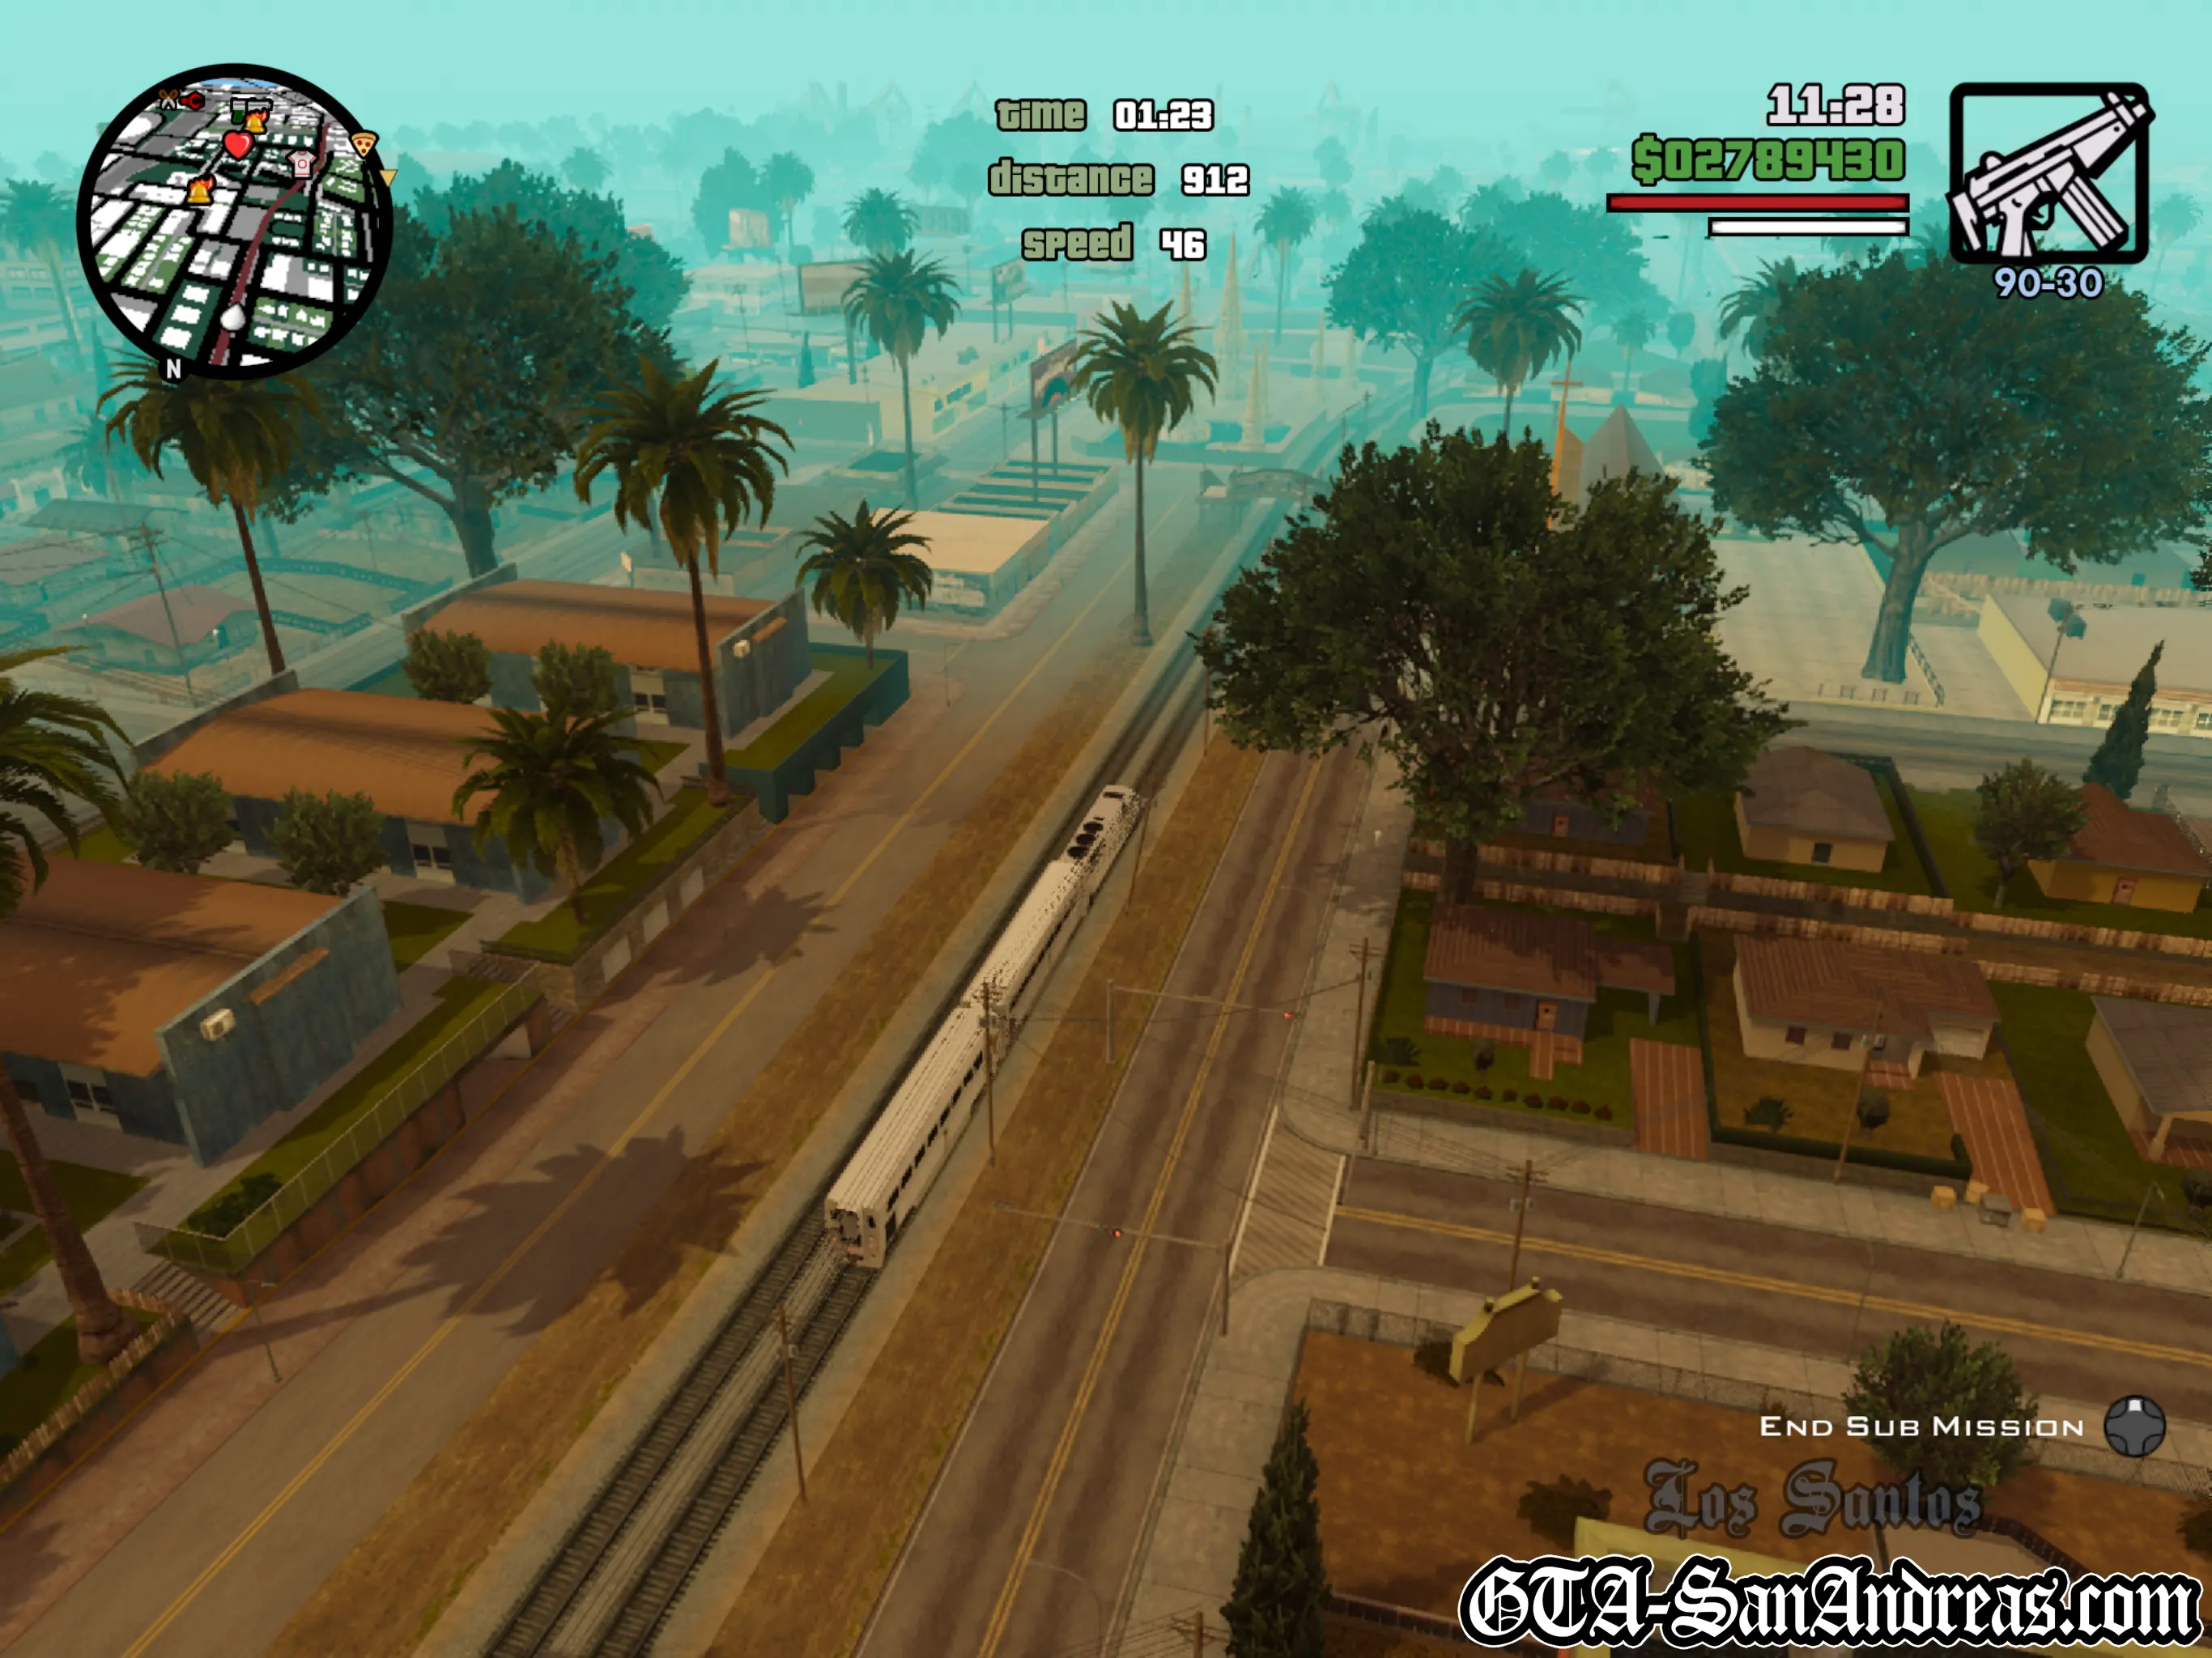
Keep hold of the accelerate button until your speed hits about 45. On 45 I'd advise letting go of accelerate and just letting the train coast along the tracks and drive itself because if you get anywhere near 50 or sometimes just past it, your train will derail, so don't push it too hard.
As your distance to destination starts to decrease below 500 I'd advise trying to keep your speed relative to a power of 10, such as 45 speed for 450 distance, 20 speed for 200 distance, etc.
This can be pretty hard to do, but slower you go, the slower the distance will decrease, so you'll have more time to reach the drop-off location.
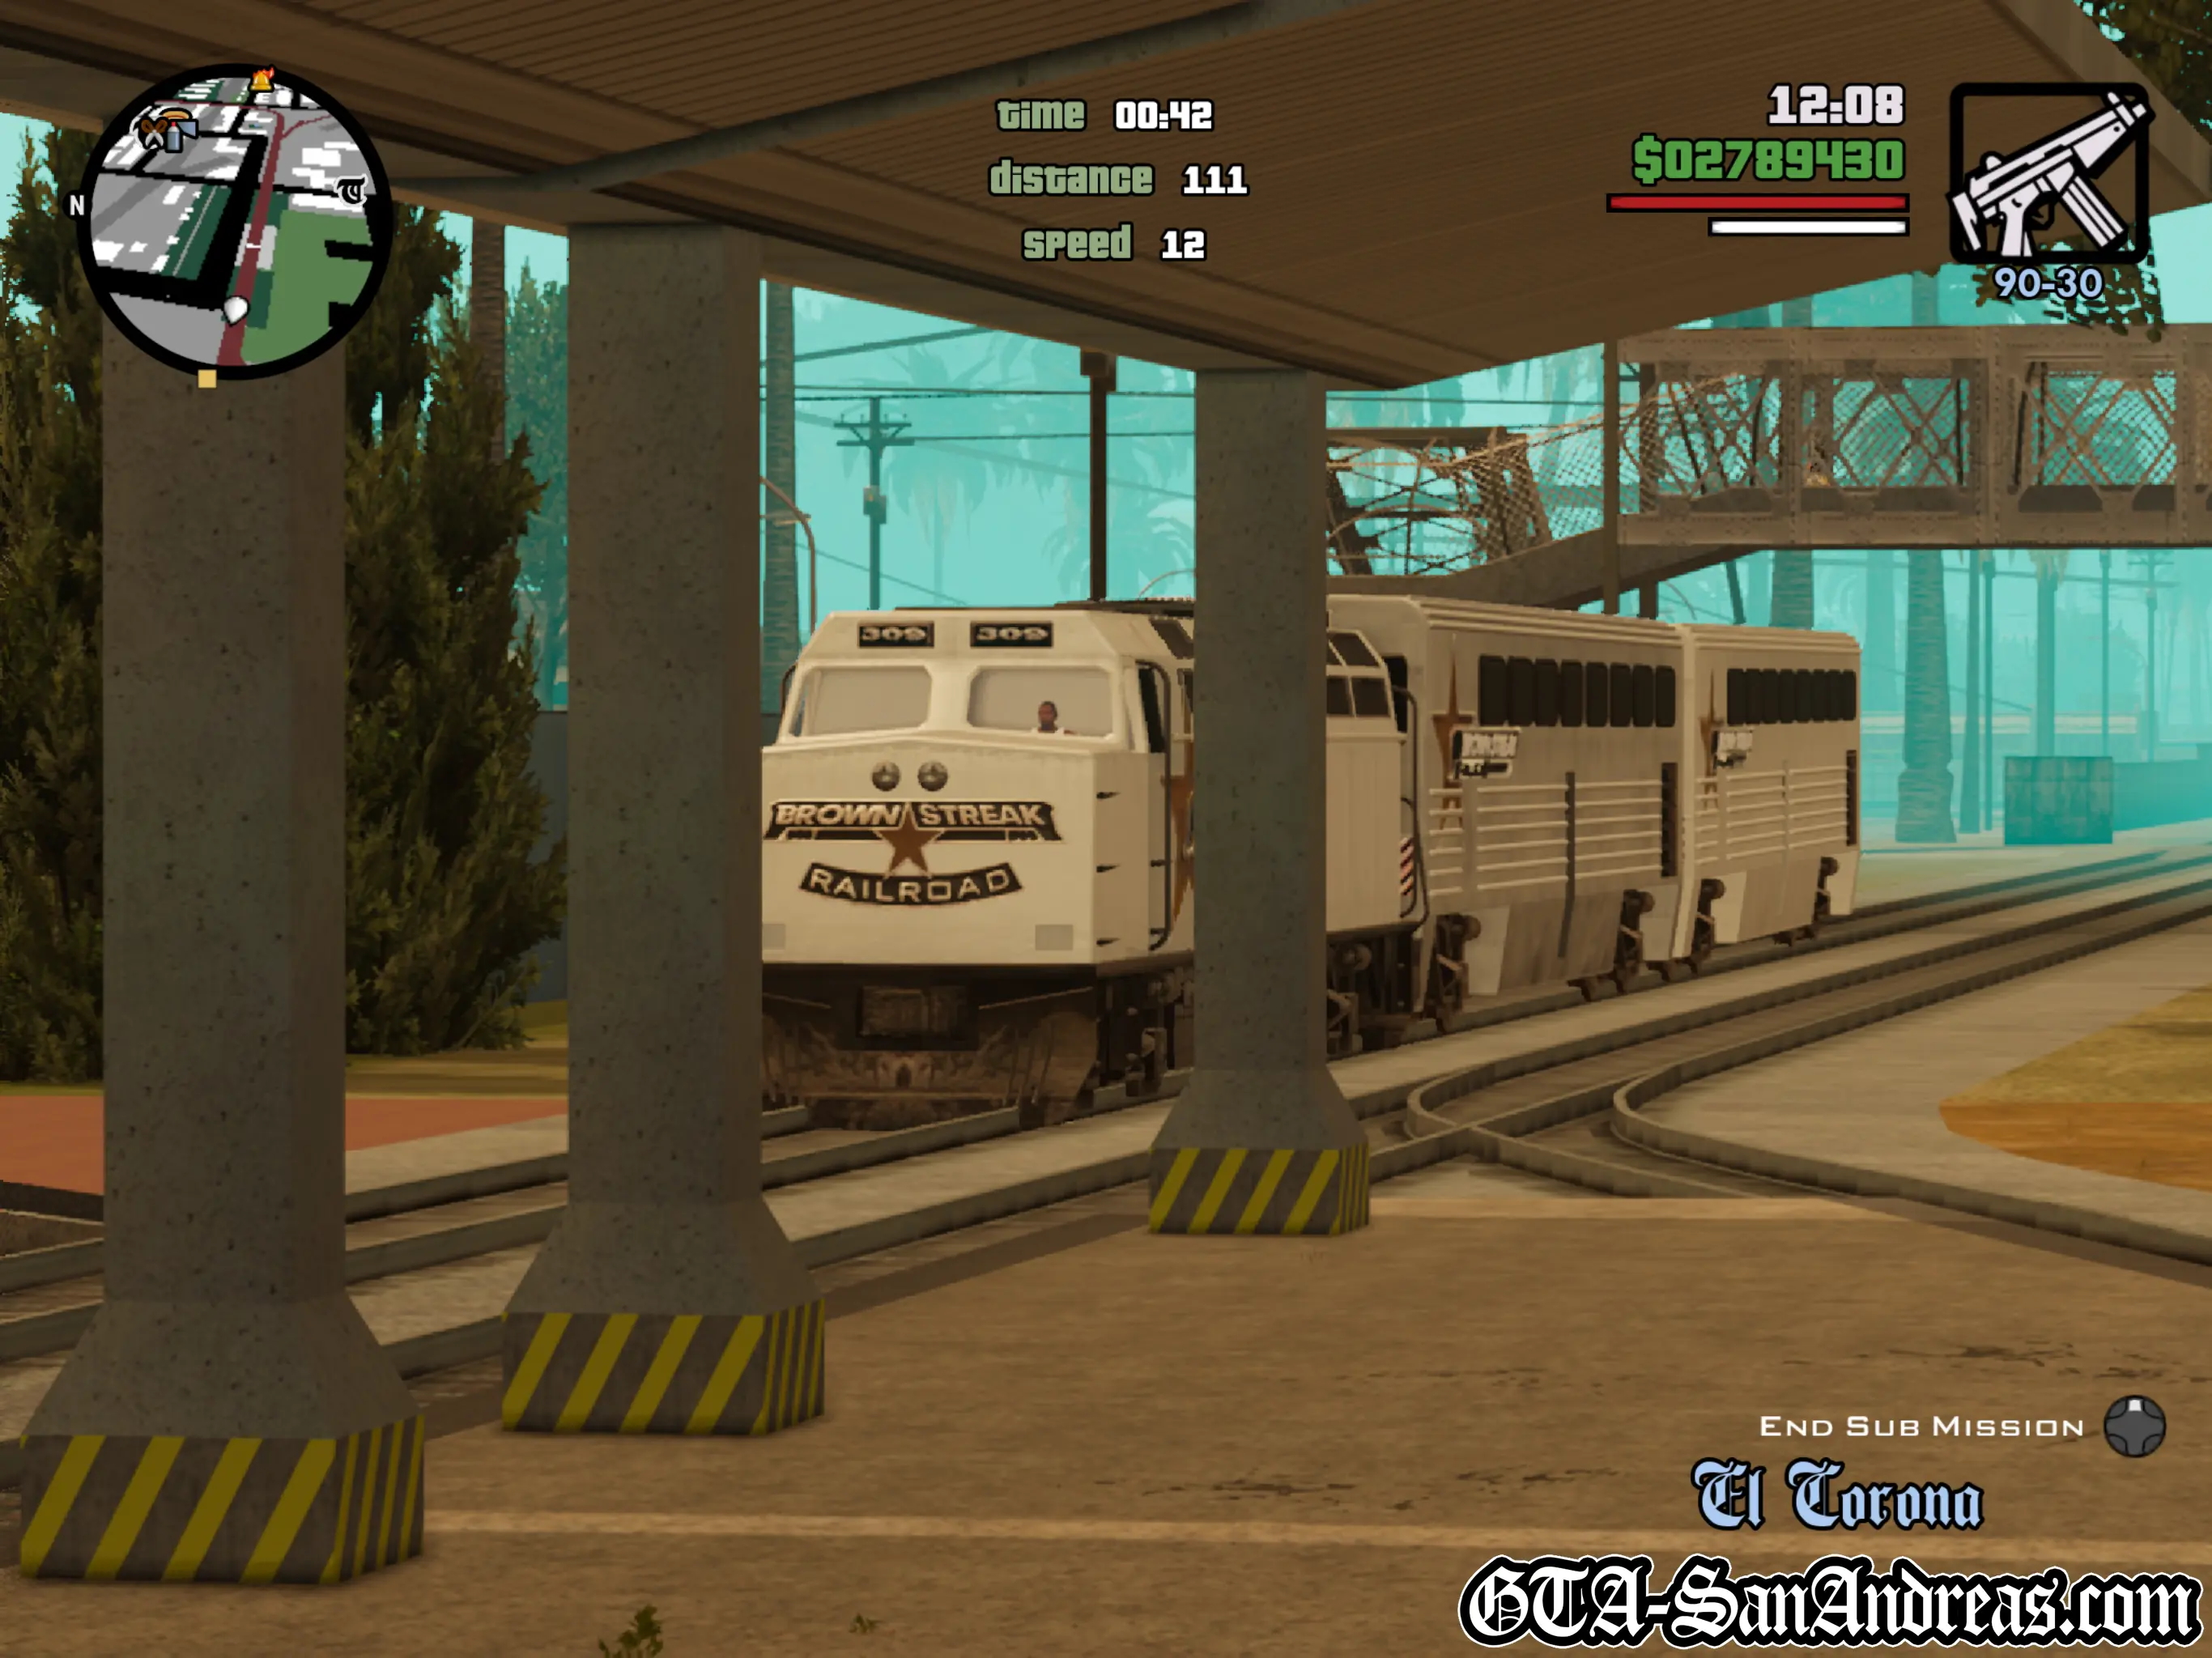
Remember to reduce speed when you're going around a sharp corner. The sharpest corner is probably in the countryside heading between San Fierro and The Market Station in Los Santos and also Between Las Venturas and Los Santos, so remember to slow down there, but overall the mission isn't too difficult.
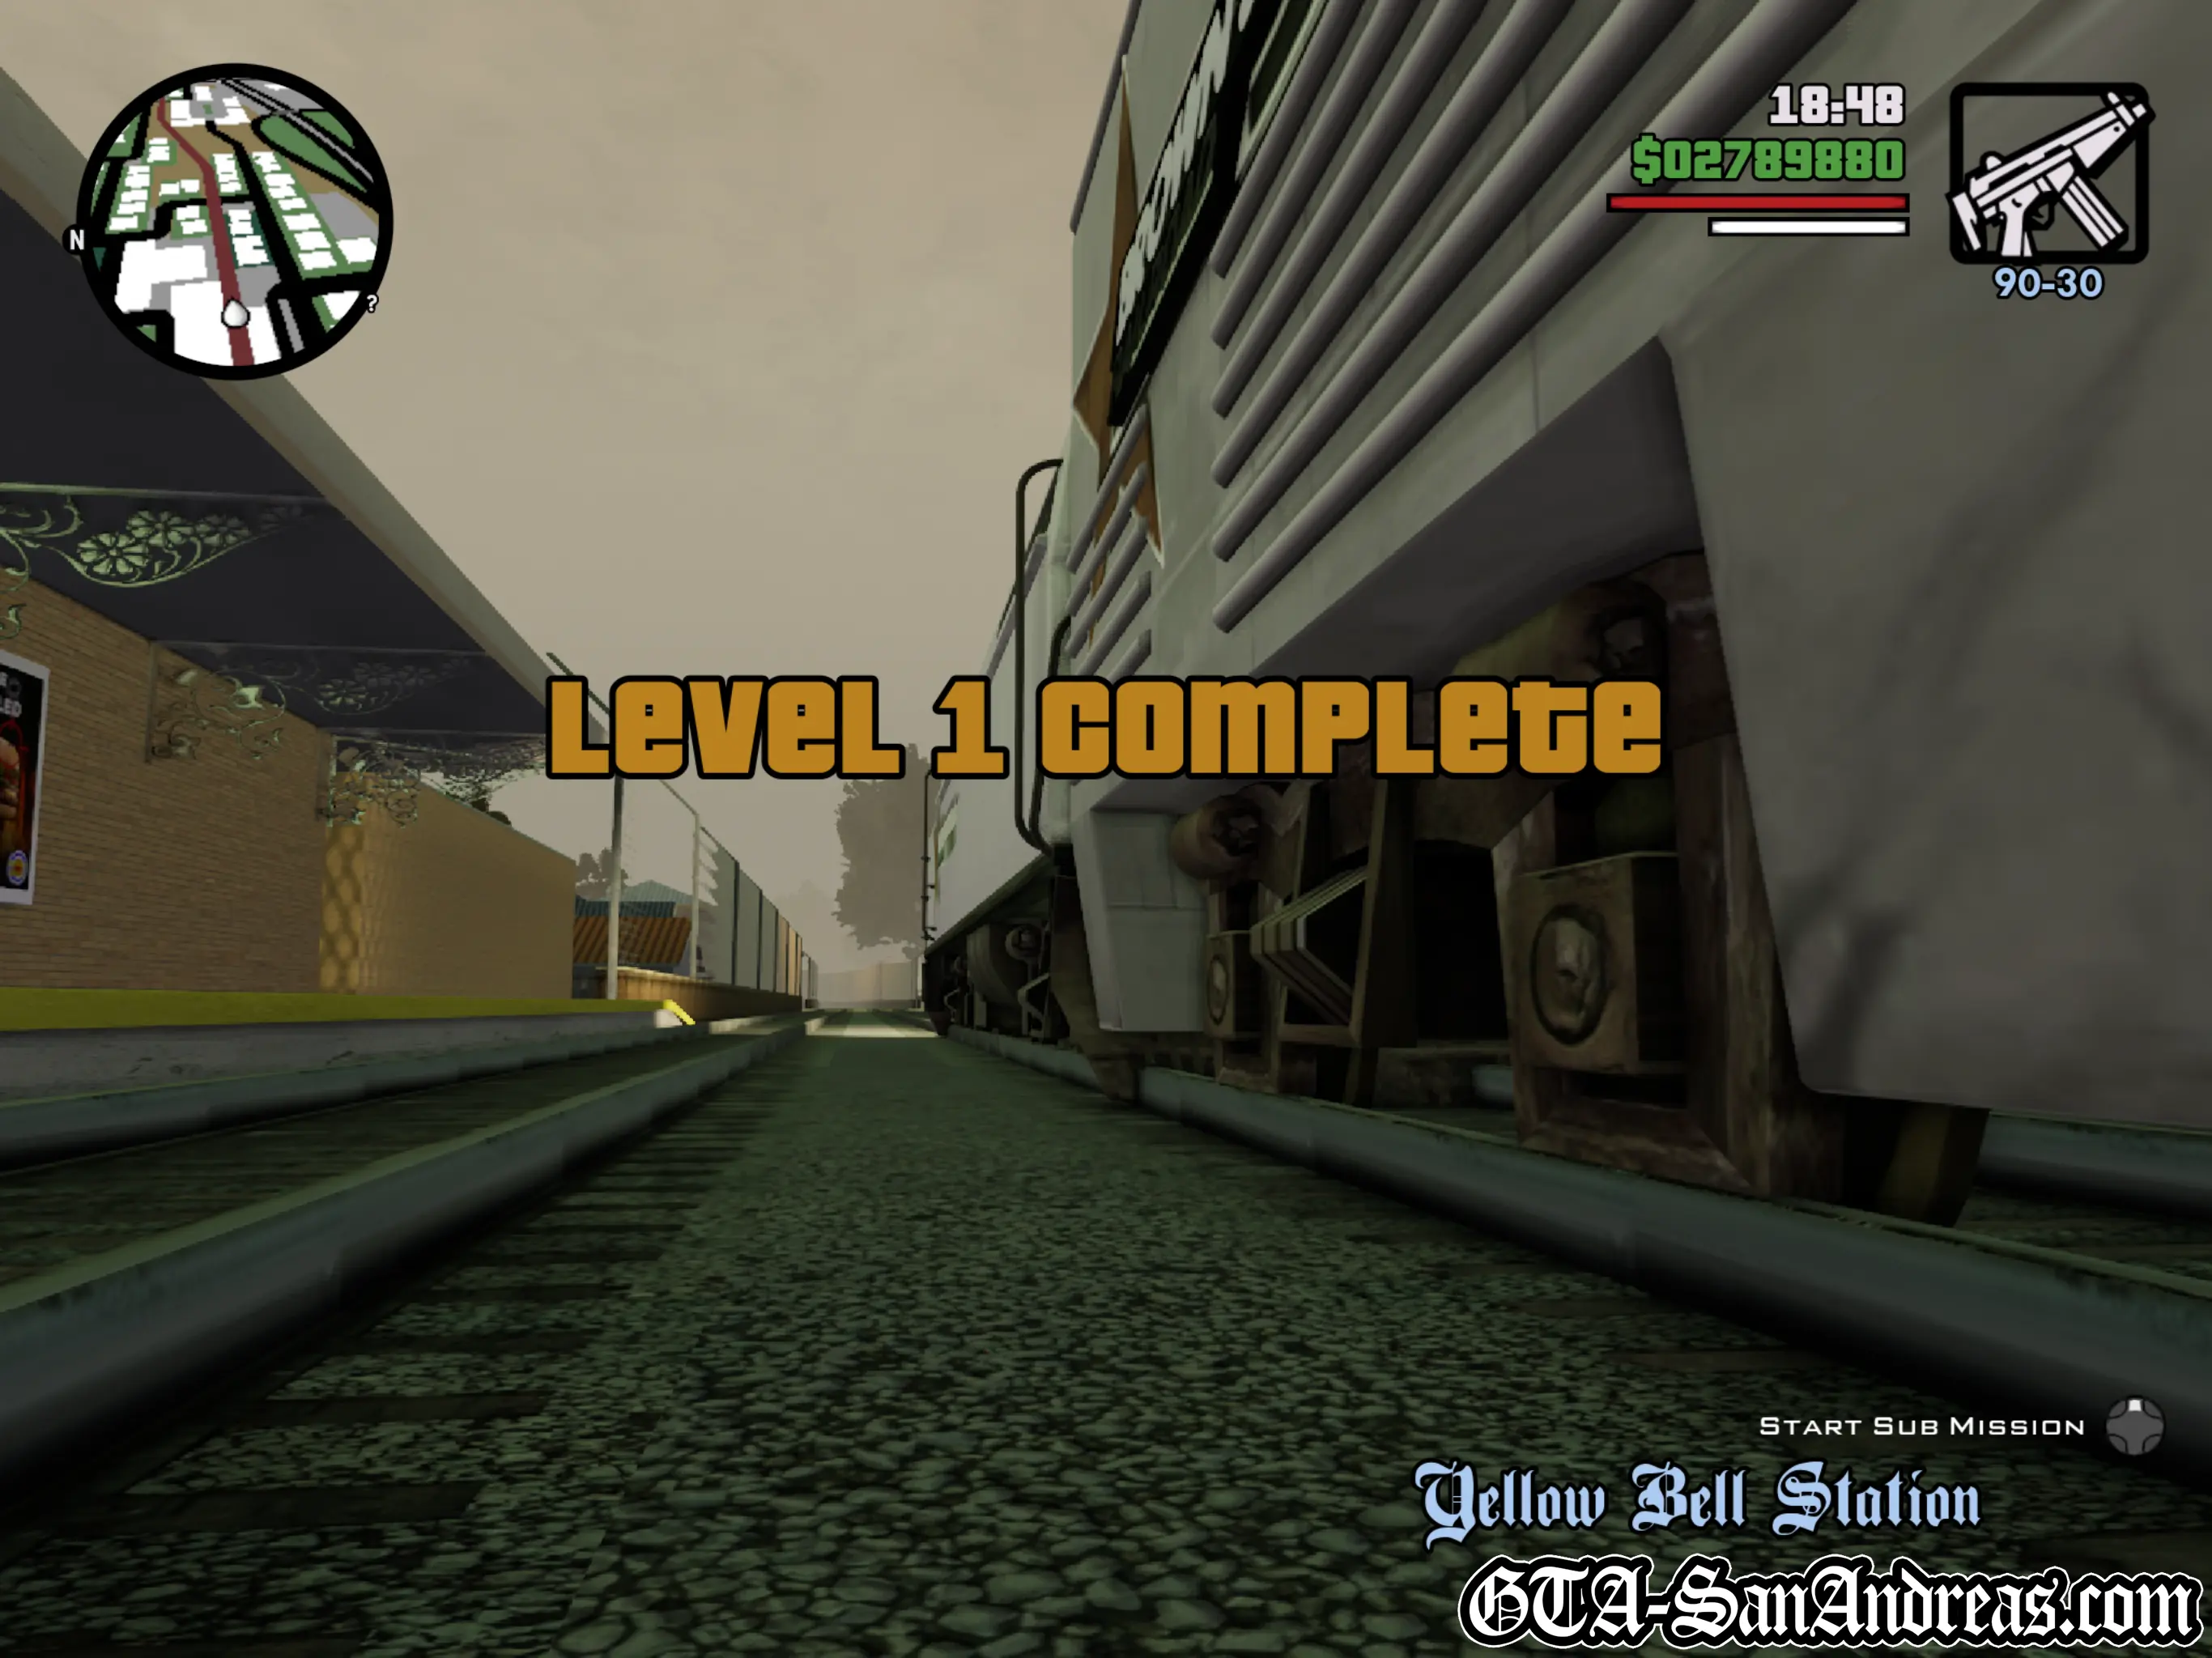
Mission Overview
| Level | Objective |
|---|---|
| Level 1 | Delivery cargo to all 5 stations |
| Level 2 | Delivery cargo to all 5 stations |
Completion
You will need to complete 2 levels of the Freight missions. Both missions require driving the train to all five stations, so in total you'll need to do 10 deliveries.
The mission won't automatically move you to Level 2 after completing the first lot of deliveries though, so I'd suggest as soon as you complete the first 5 deliveries, hit R3 to start the second round and get them out of the way.
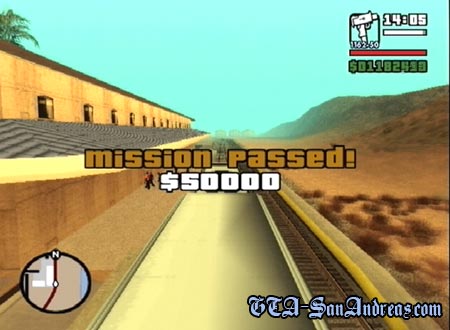
Rewards
Upon successful delivery of the 10 lots of Cargo (over the two levels) you'll be awarded a whopping $50,000! You'll also be told you can replay the mission to make extra cash.
Screenshots

Original PS2 Screenshots